

Jobbie
-
Posts
220 -
Joined
-
Last visited
Content Type
Profiles
Forums
Gallery
Events
Posts posted by Jobbie
-
-
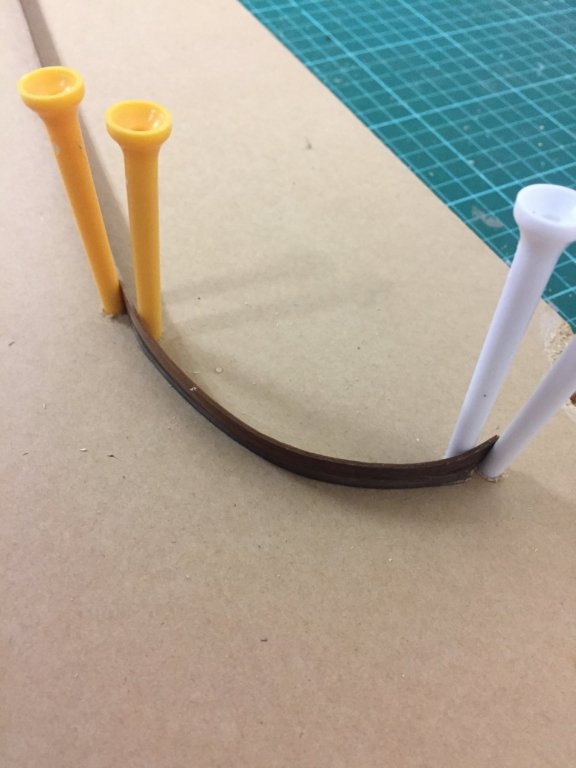
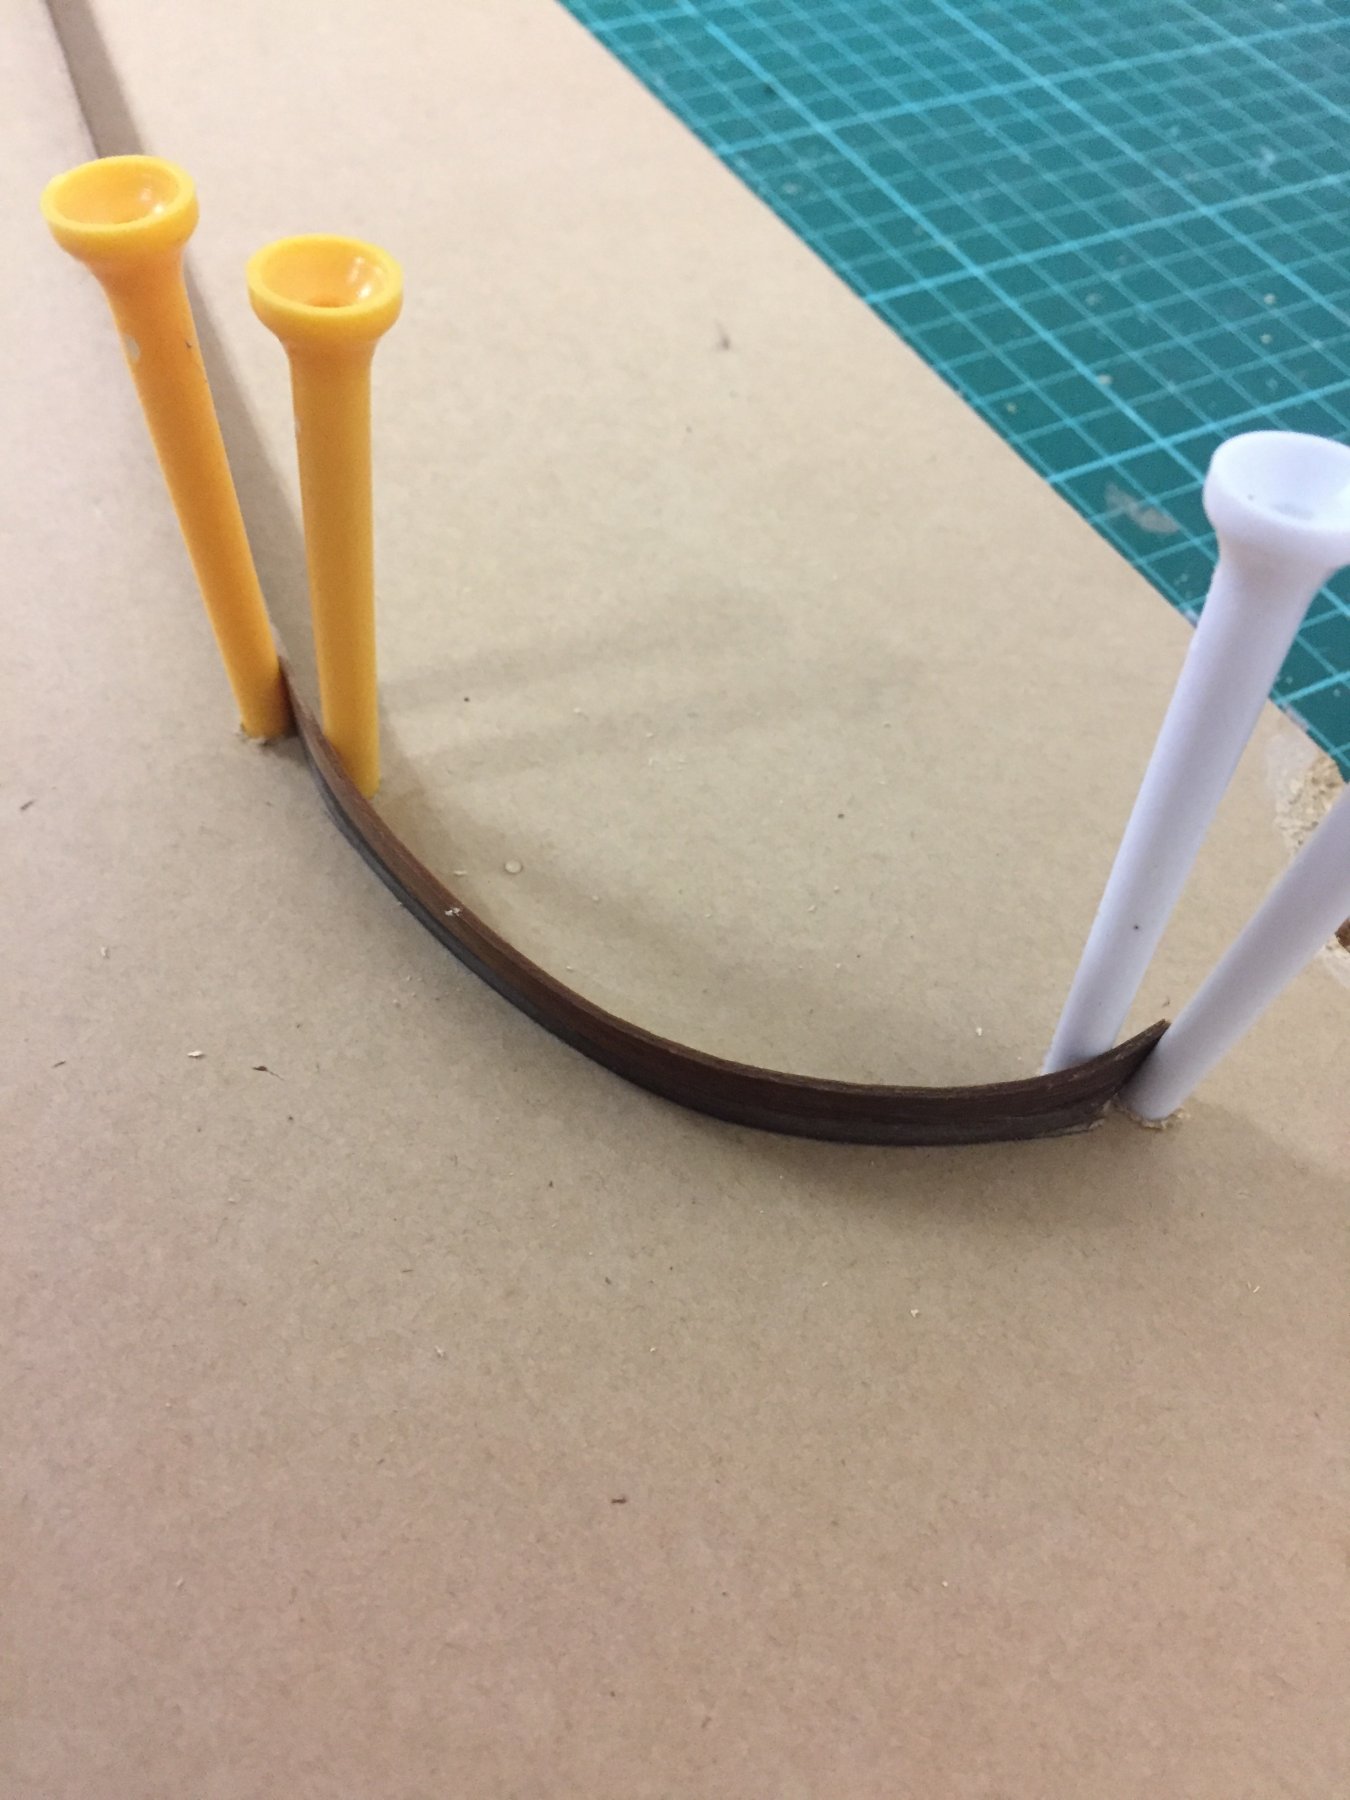
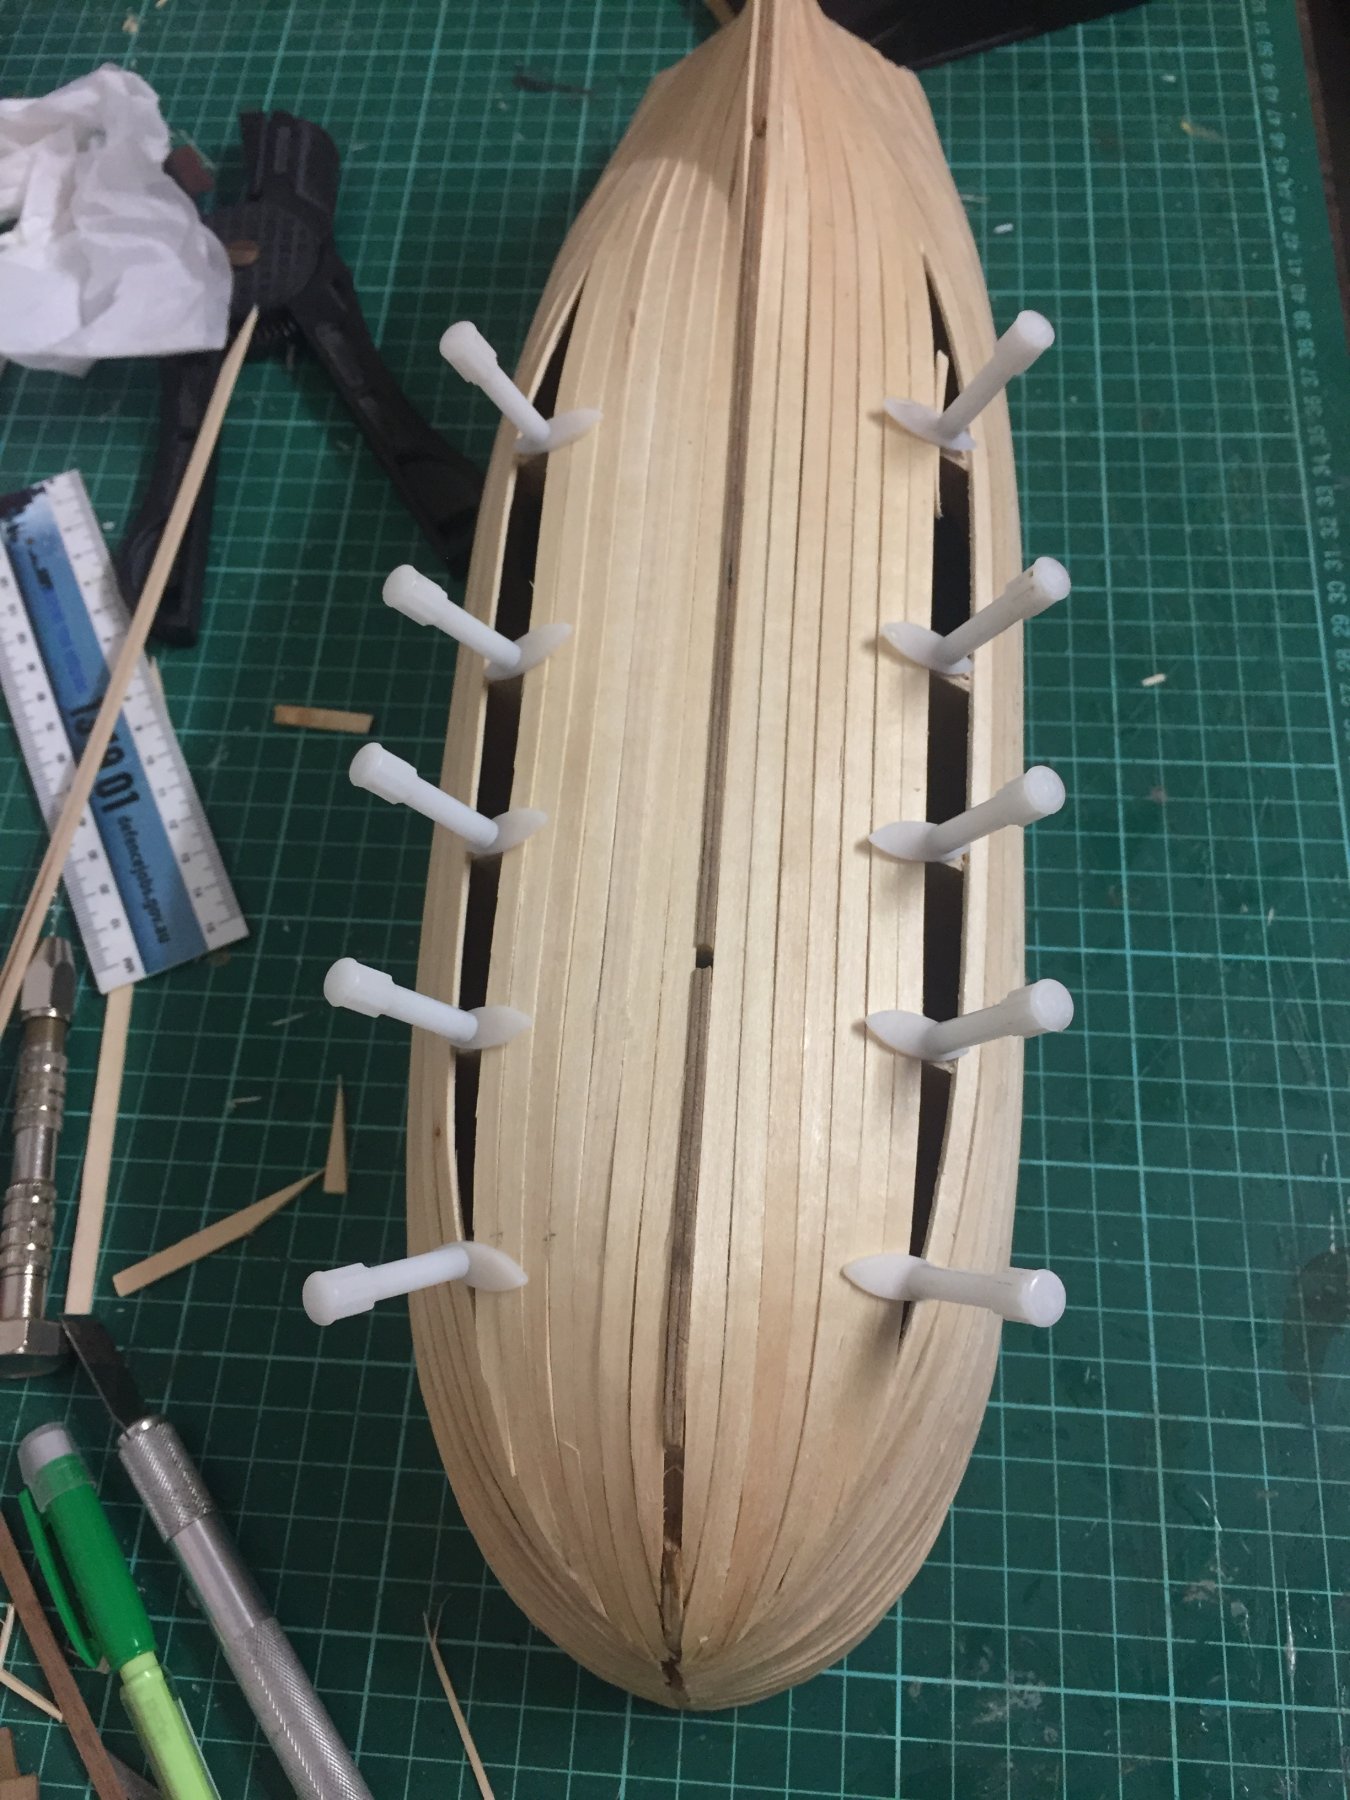
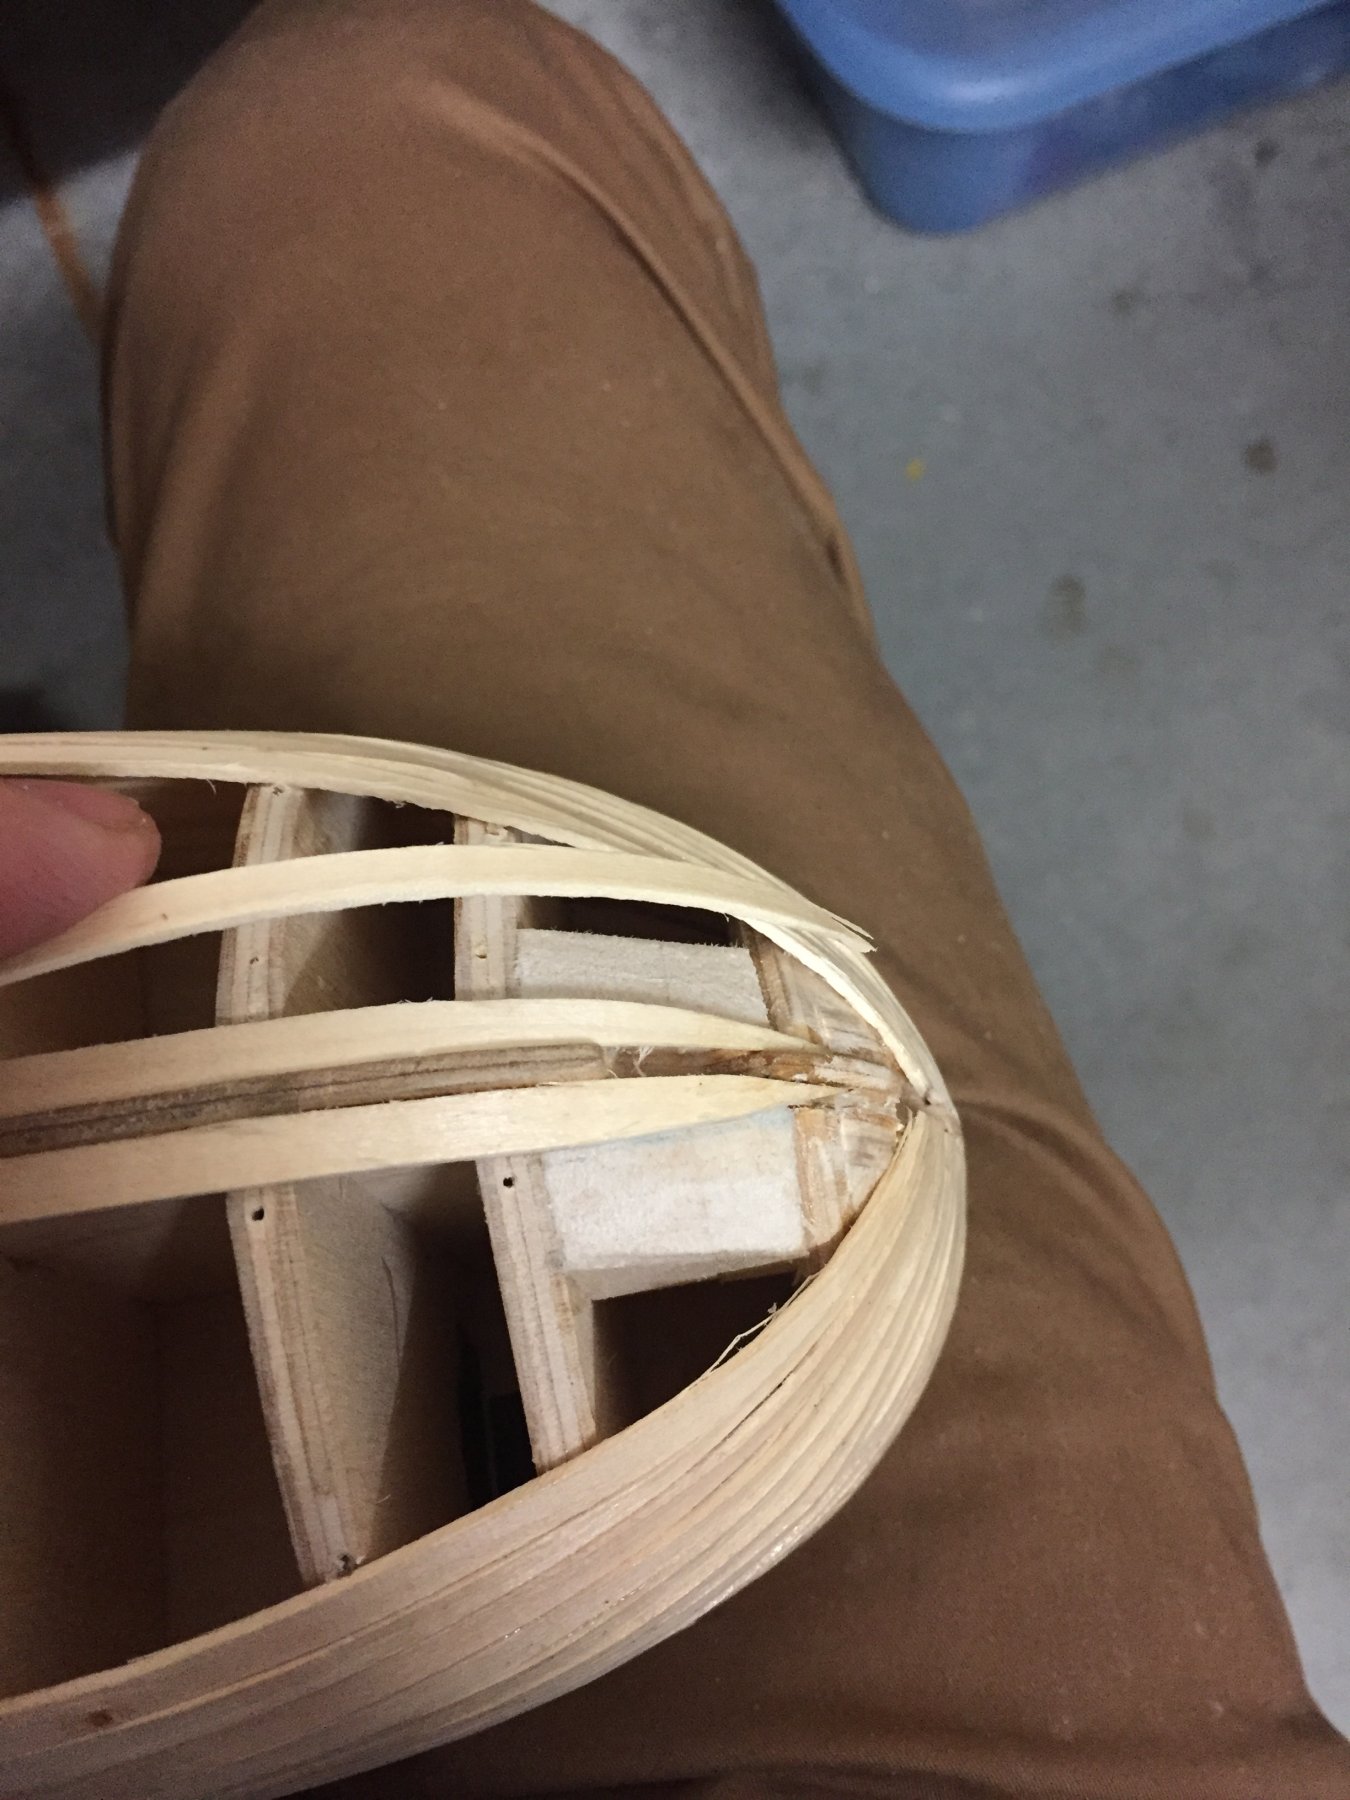
Well, after letting the planks dry overnight, they sprang back to half their desired bend radius. So now I’m trying to soak them and induce a sharper bend by using golf tees in MDF.
-
-
I have those nippers, Rob. Usually, they do a fine job. But not with these strips. I’ll see how I get on in the morning.
-
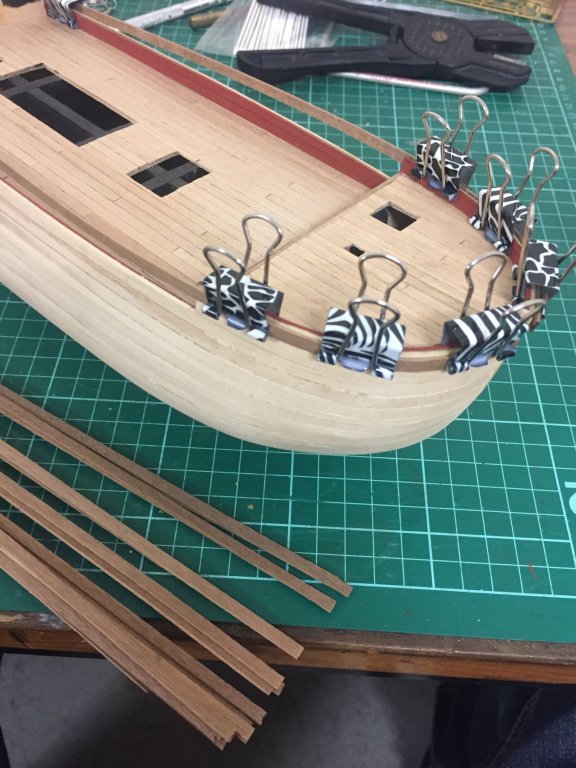
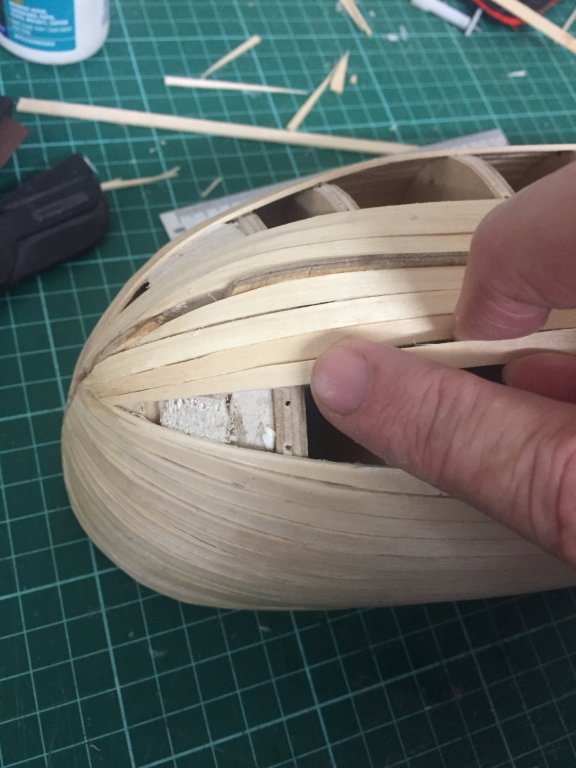
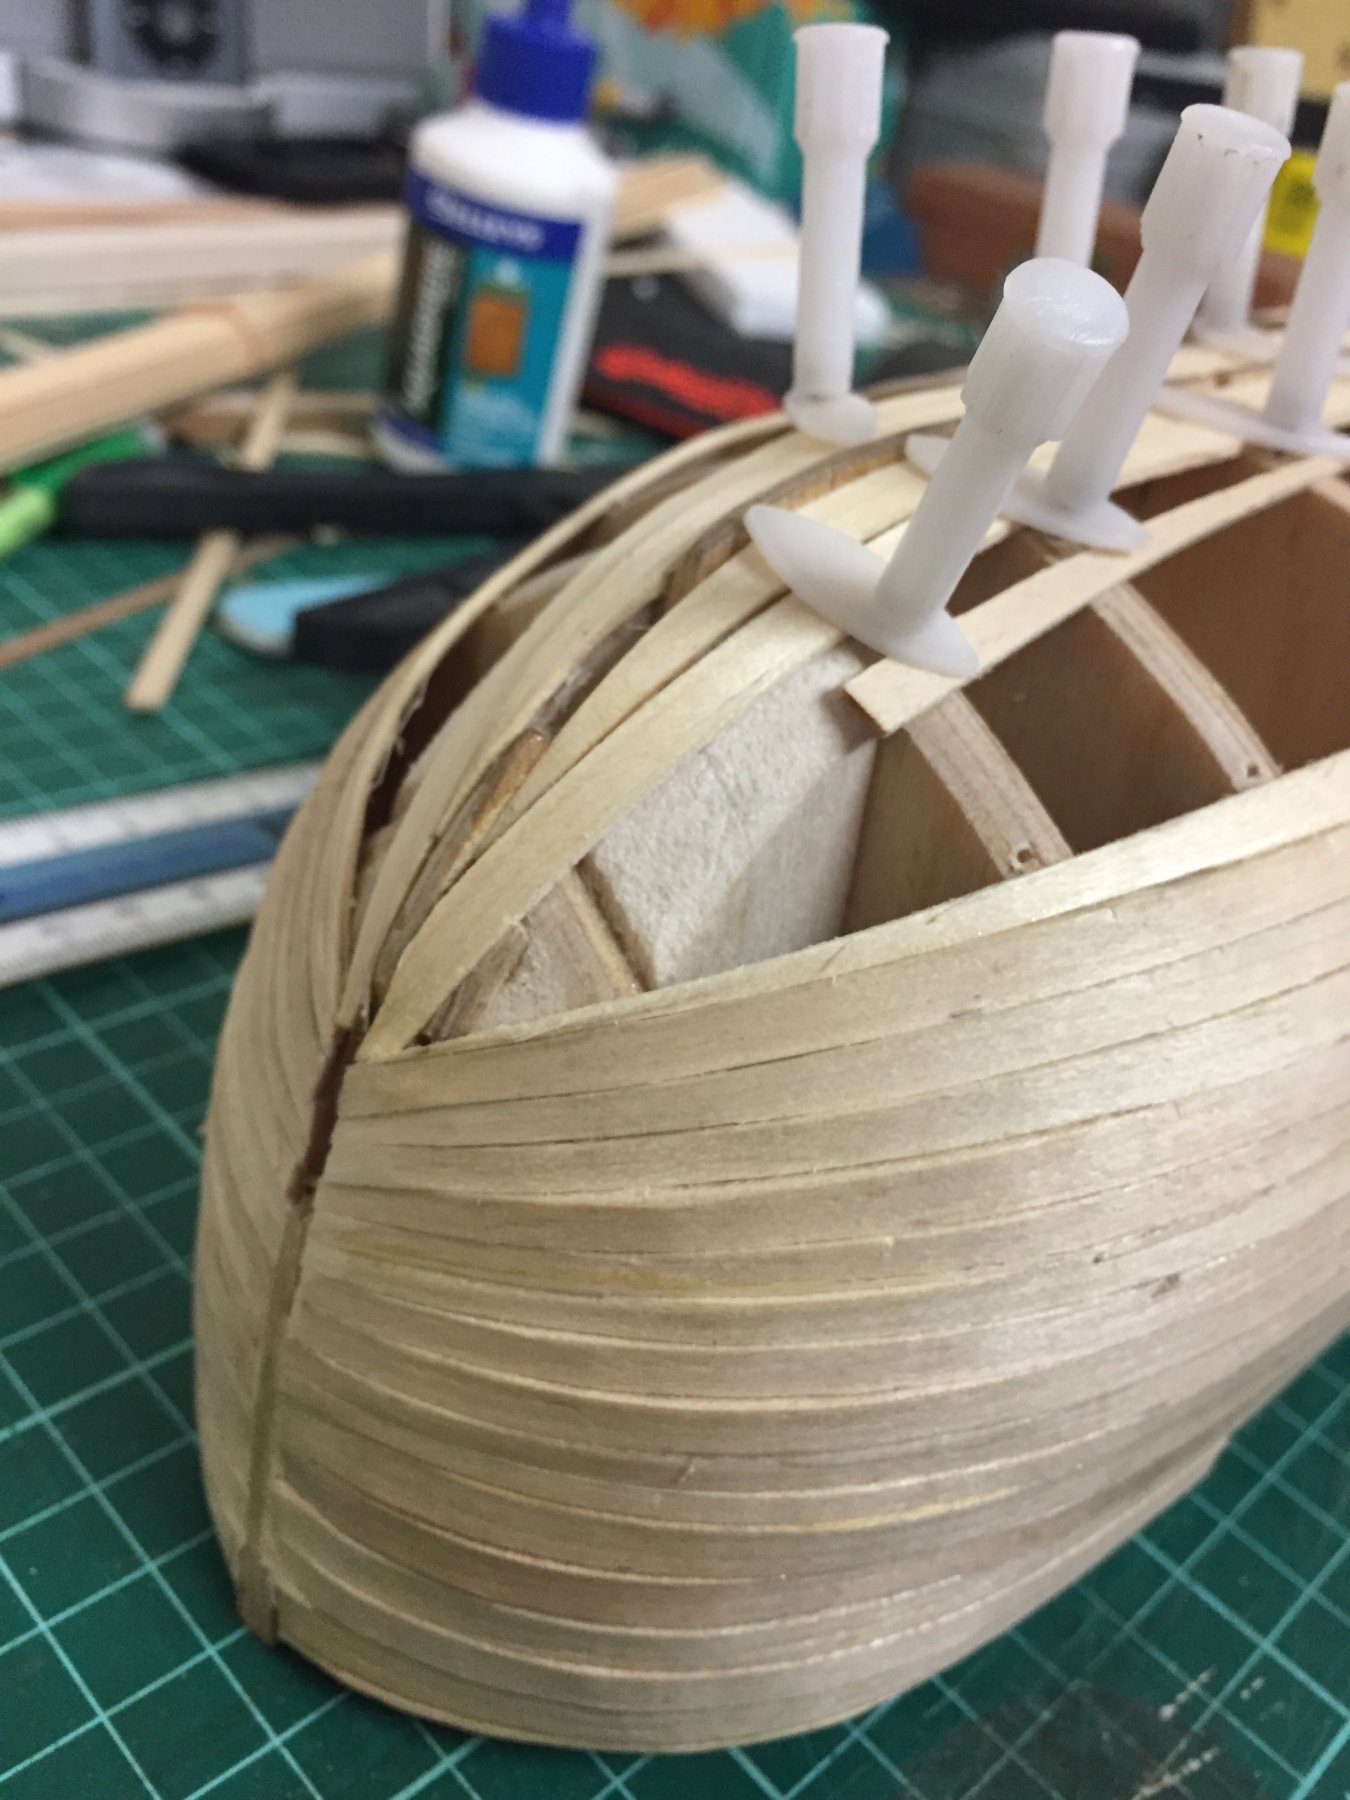
Ok, on to the second planking.
I’m finding the 1mm x 4mm walnut strip used for the second planking doesn’t like bending too much. I’ve tried nipping with planking pliers but I hardly get a warp.
I’m now trying soaking them in warm water for a few minutes, and I’ve clamped them to the contour of the bow. I’ll let them dry overnight and see how I get on.
Does anybody have any tips to assist me at this point?
-
I'm posting these to my Facebook page as well, and one of my friends asked me a question I don't have an answer to. If deck planks are typically 21 feet long (1:64 scale length of 100mm), how long are the hull planks? I guess he's asking about the first planking, because it's the full length of the ship.
Should I attempt to keep the hull second planking strips to roughly 100mm? And if so, is there a shift pattern I should try to follow?
-
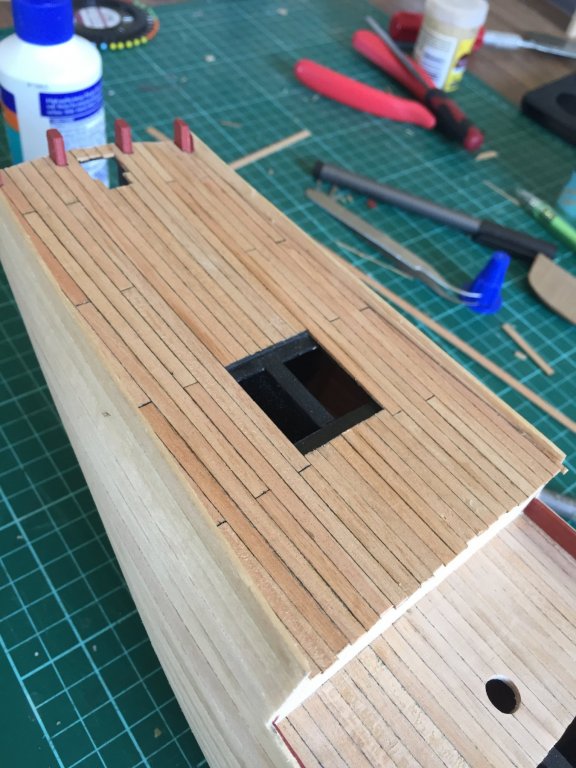
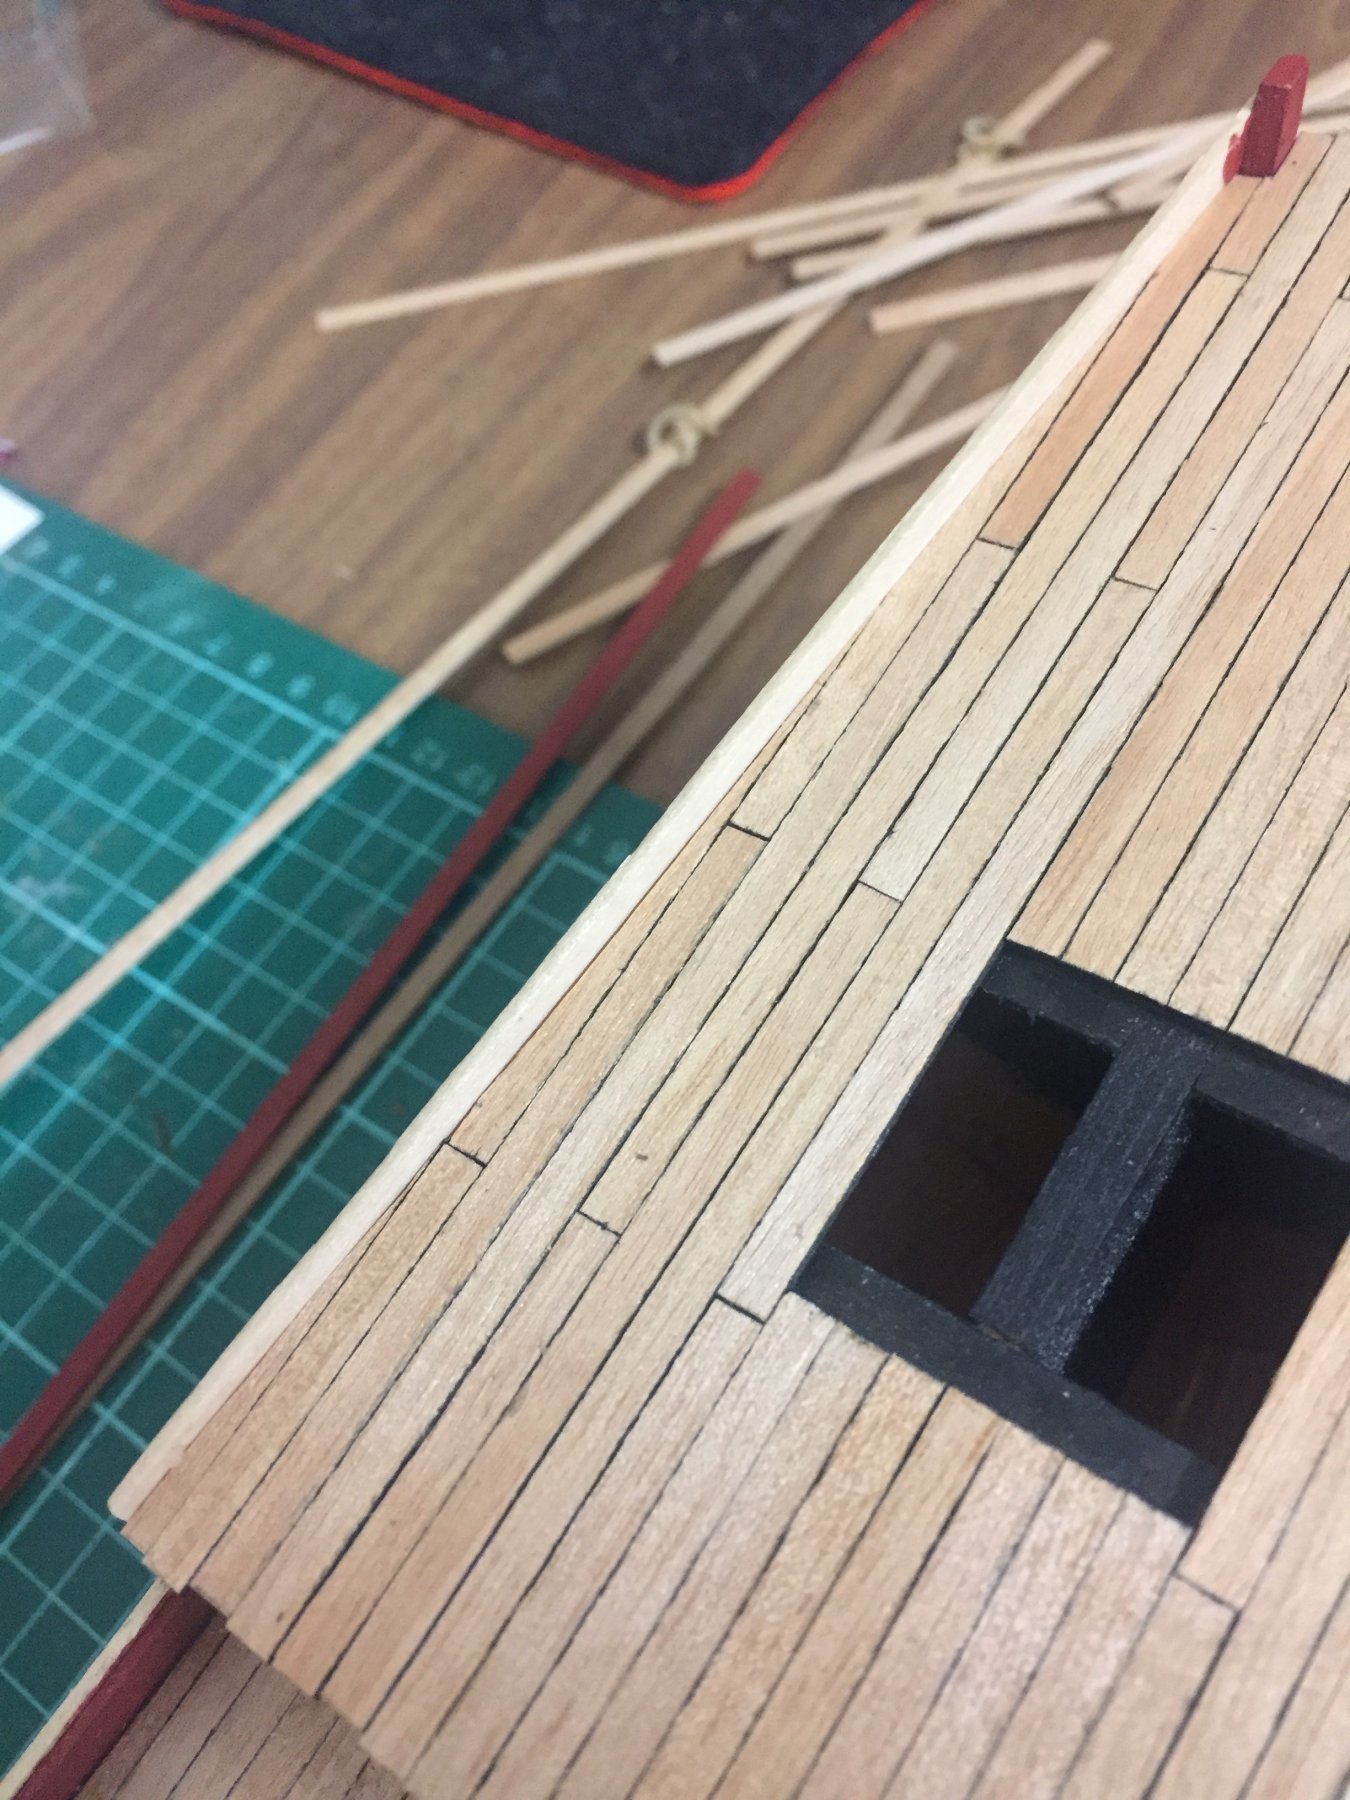
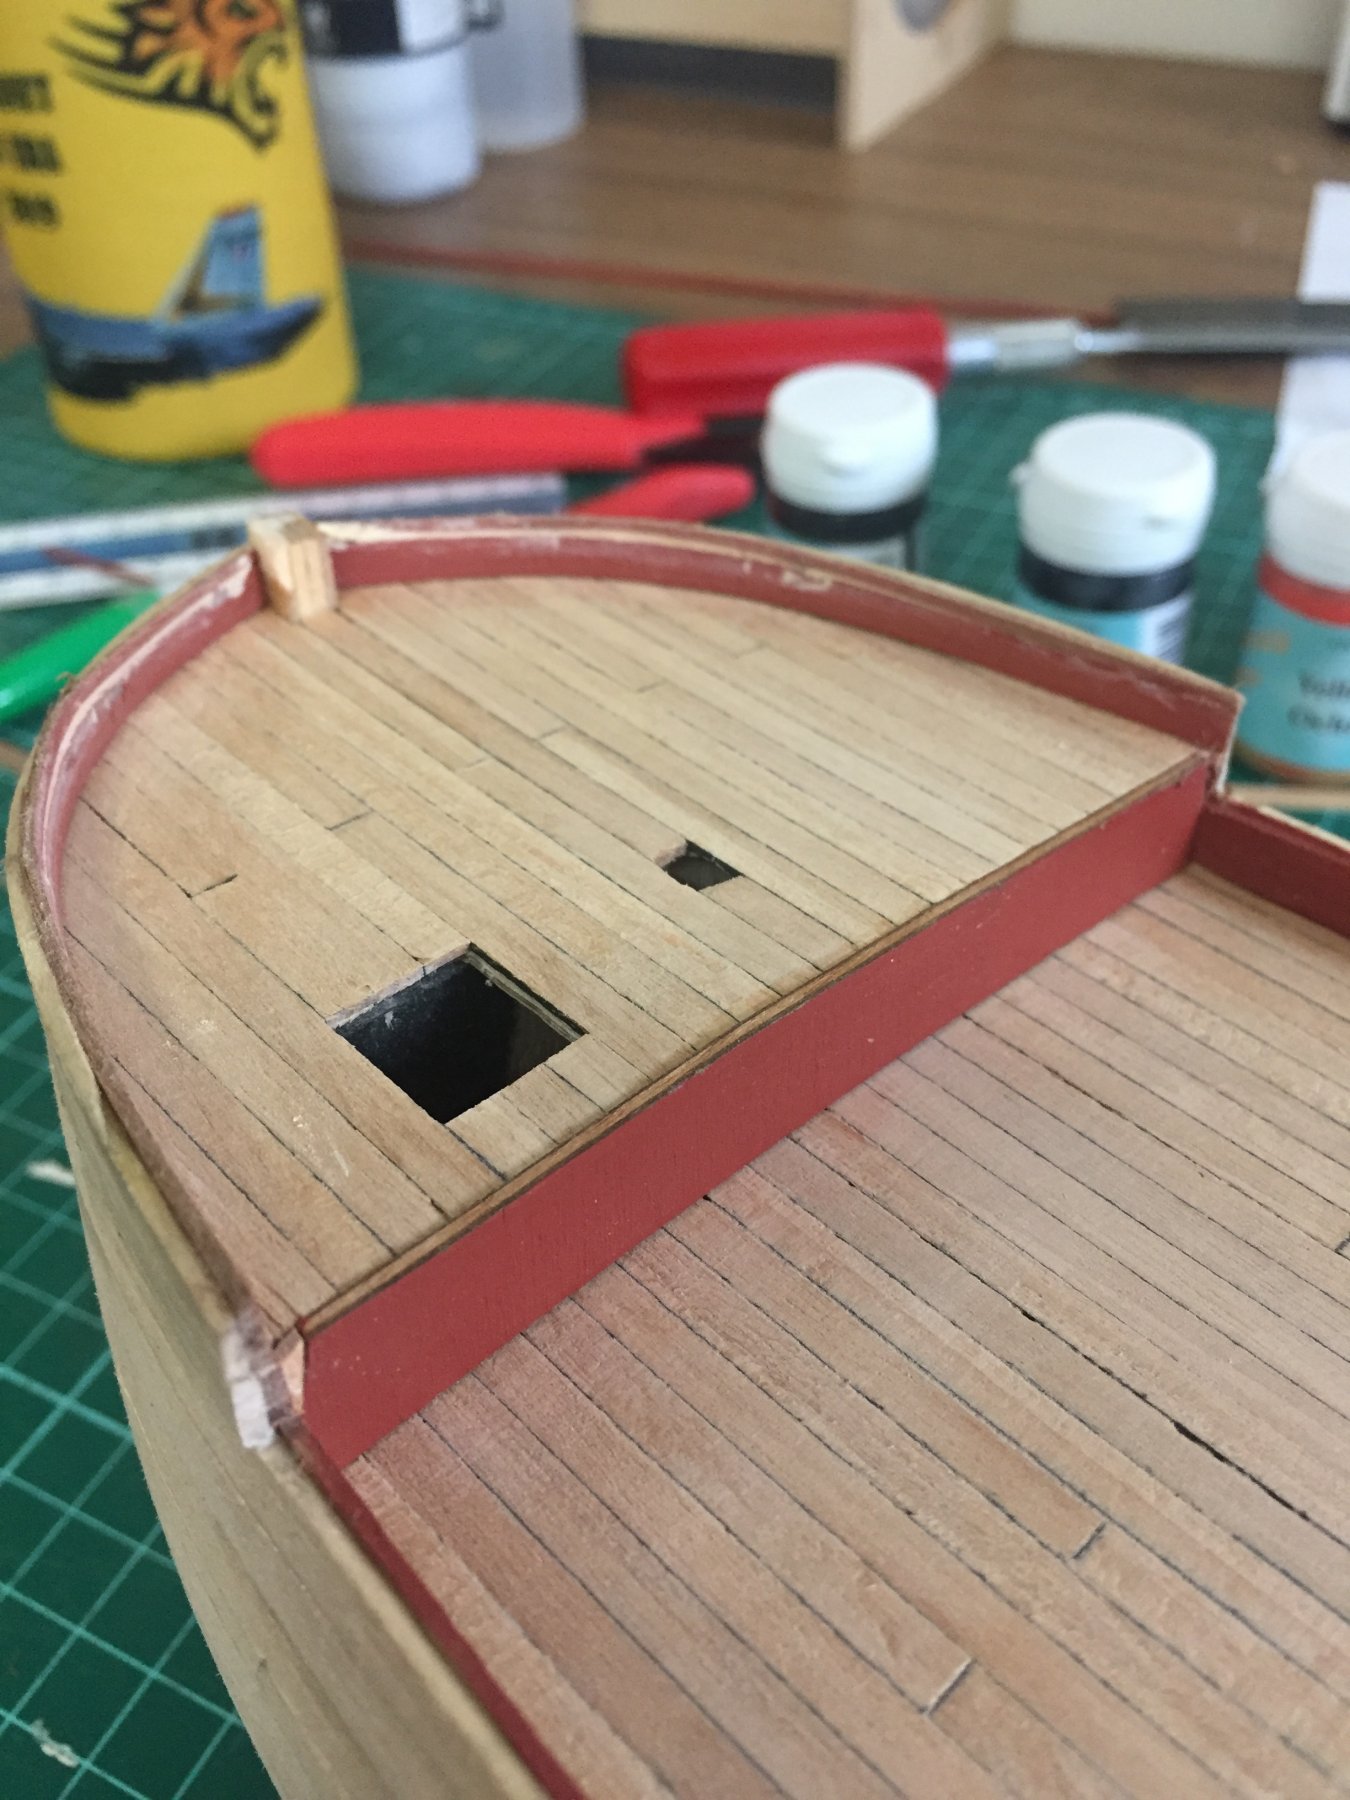
Bugger. Looking back at these photos, I've noticed I've made an error in the left-most quarterdeck plank...It throws out the 3-shift pattern. Oh well. It will remain.
-
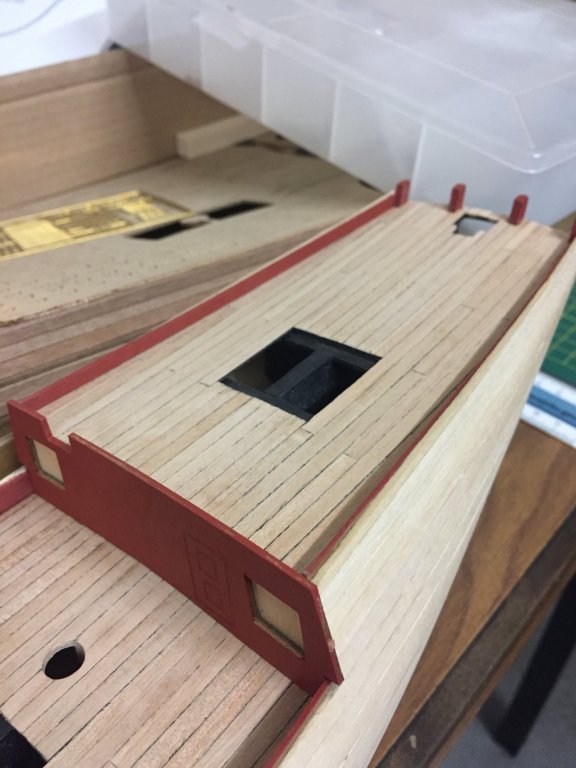
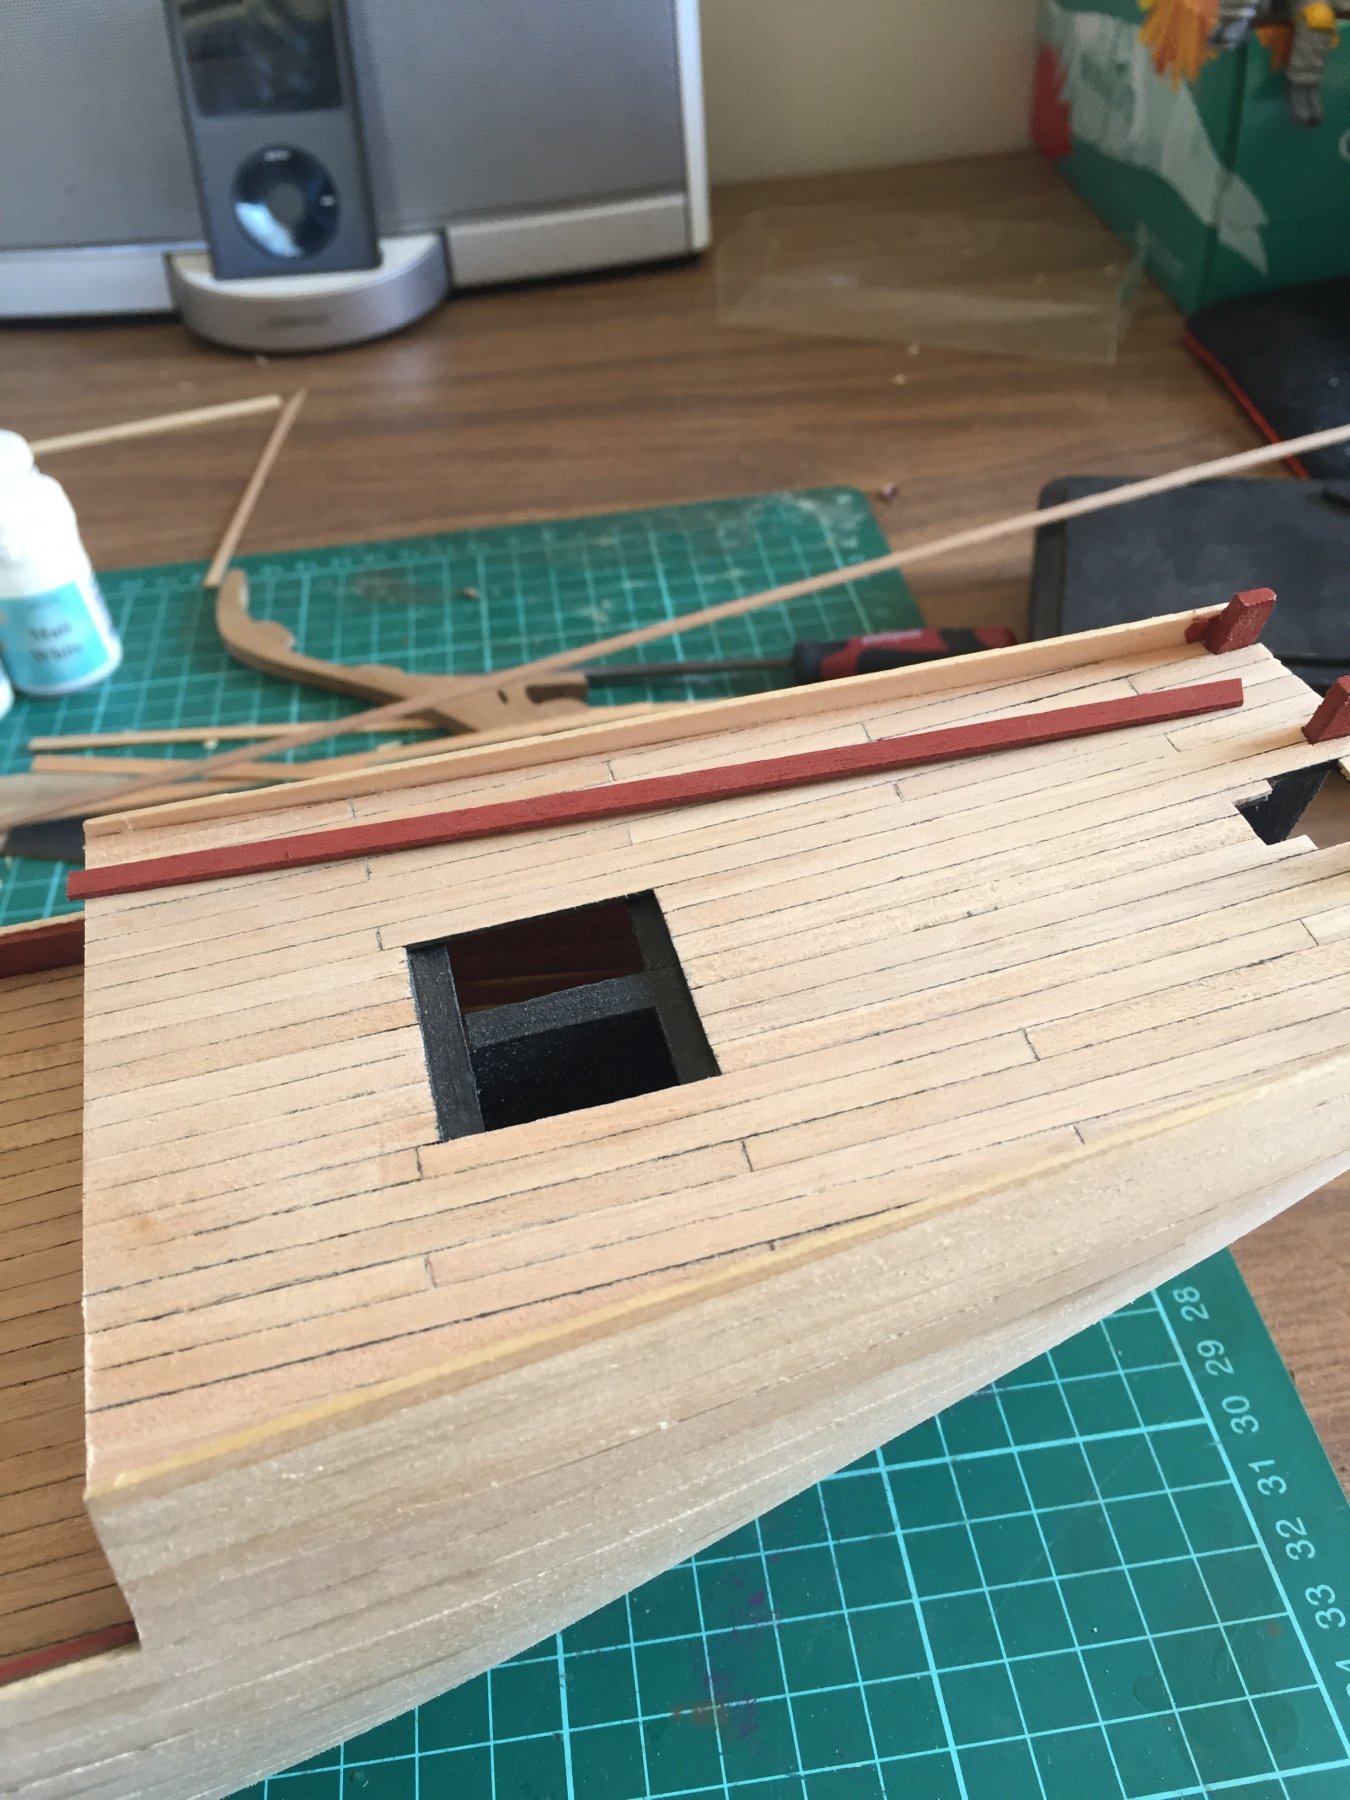
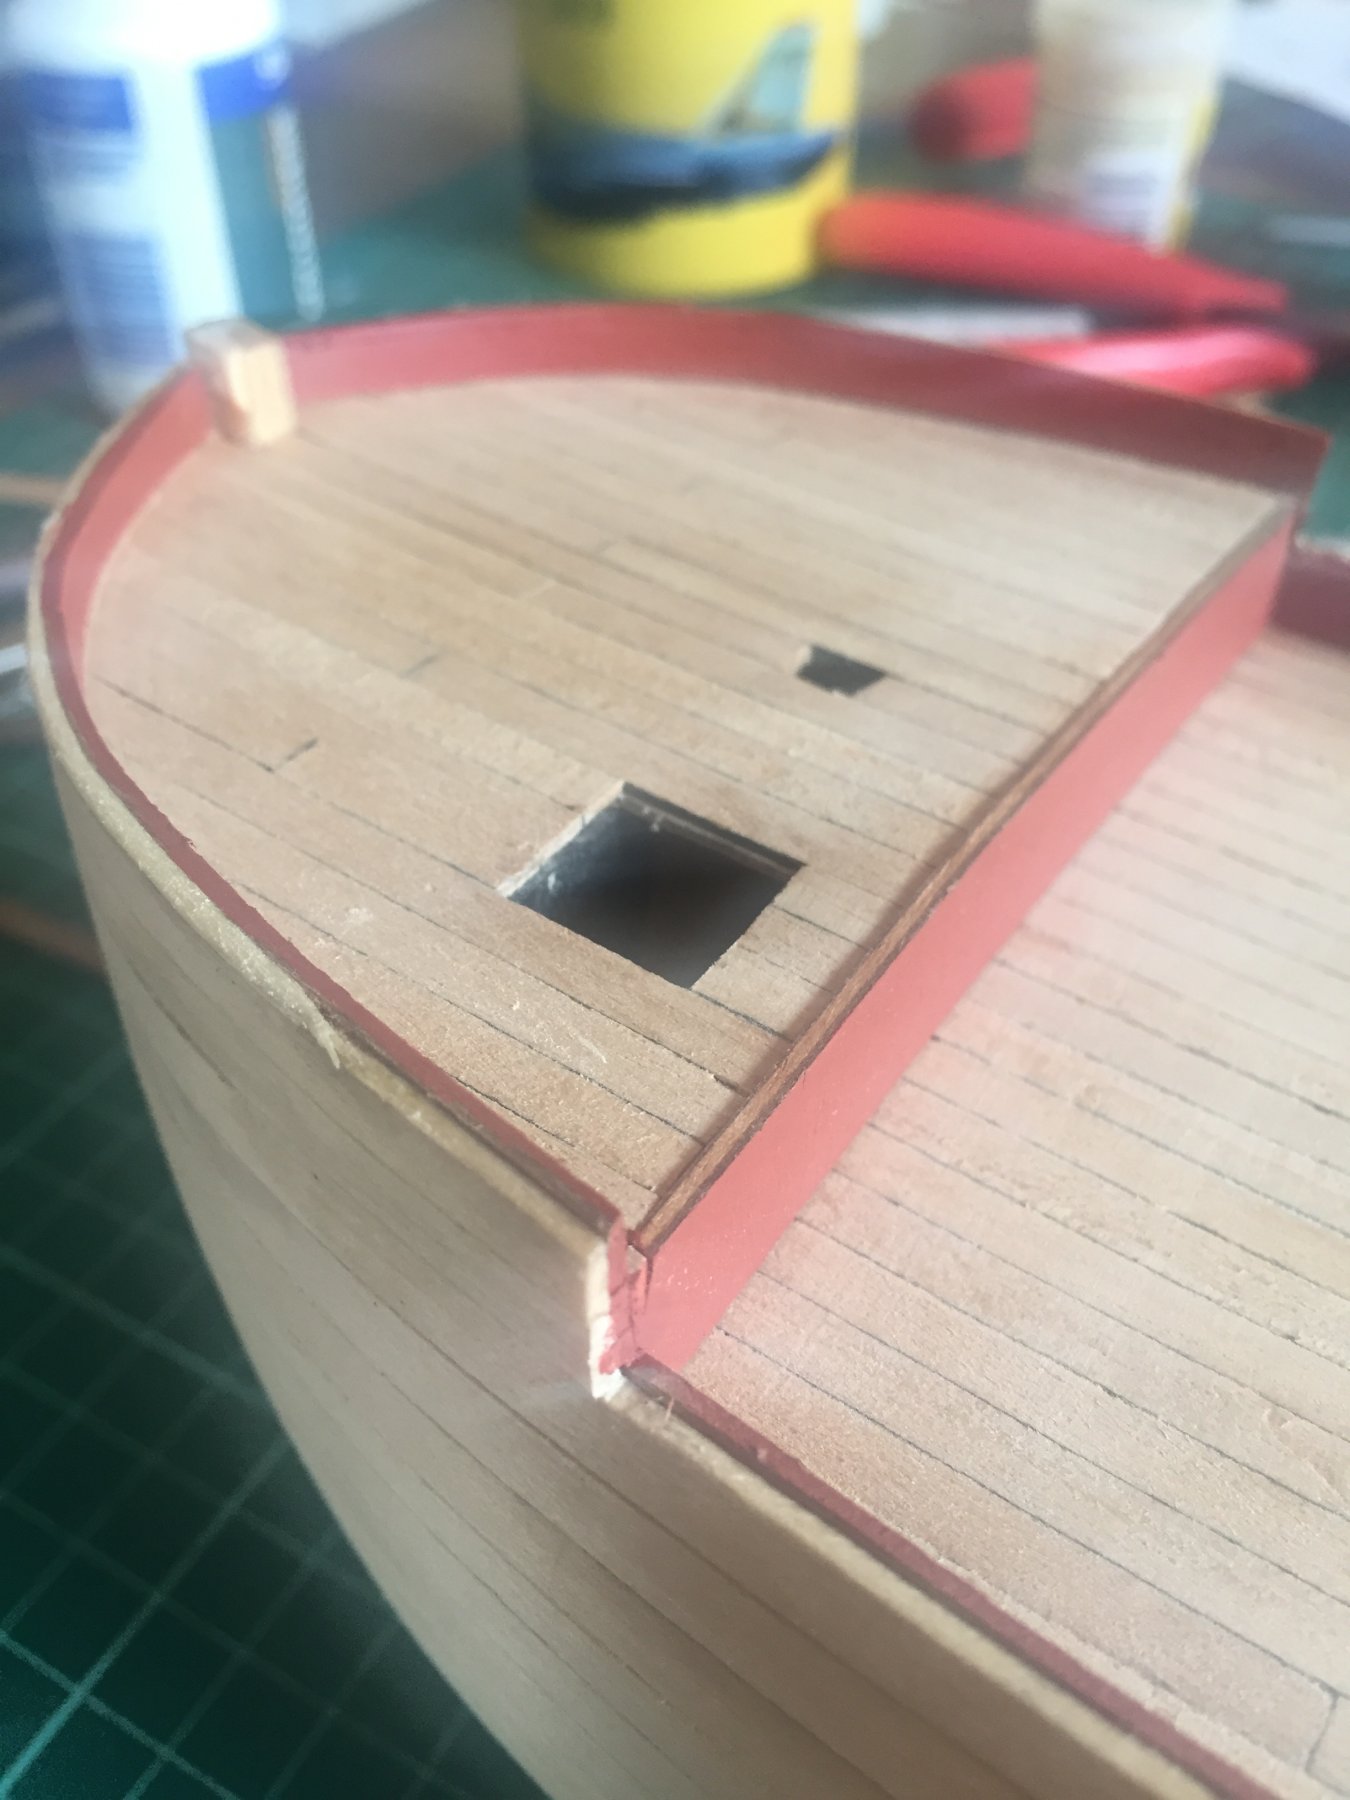
Quarterdeck planking and bulwark lining complete. First coat of Admiralty Paints red ocre on the cabin facia panel.


- Dan Vadas, JpR62, Quimp Slattery and 1 other
-
 4
4
-
-
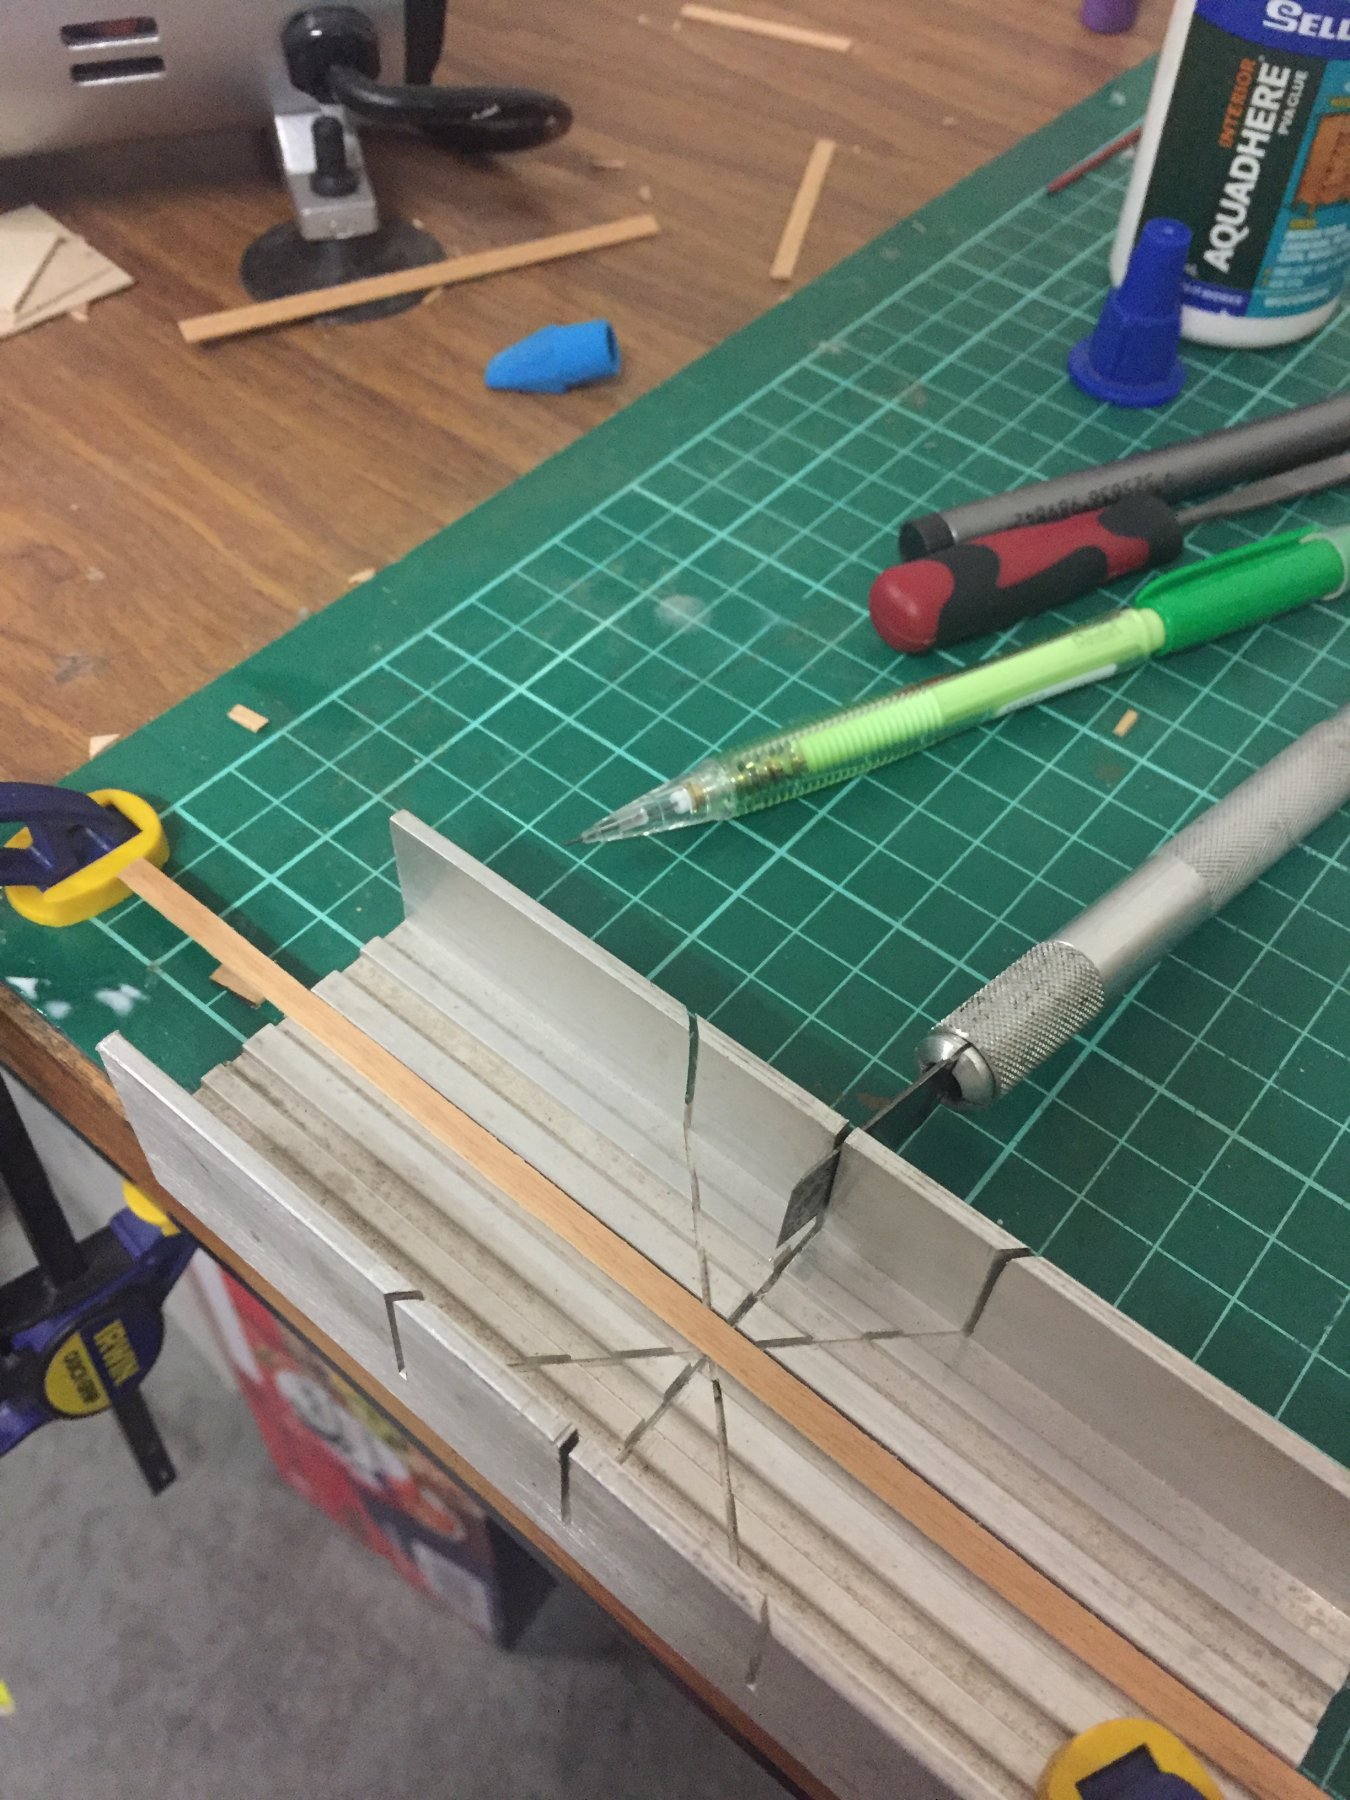
My ad-hoc 100mm jig.
1:64 Scale - 21ft plank.

-
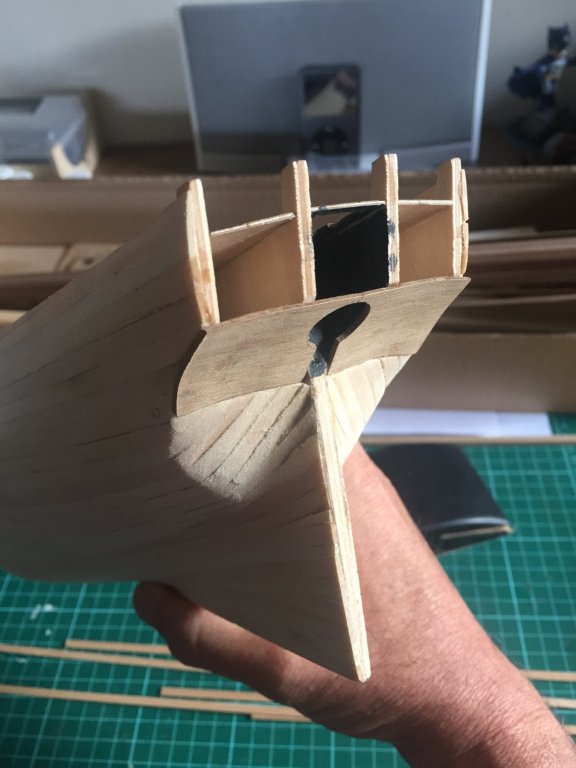
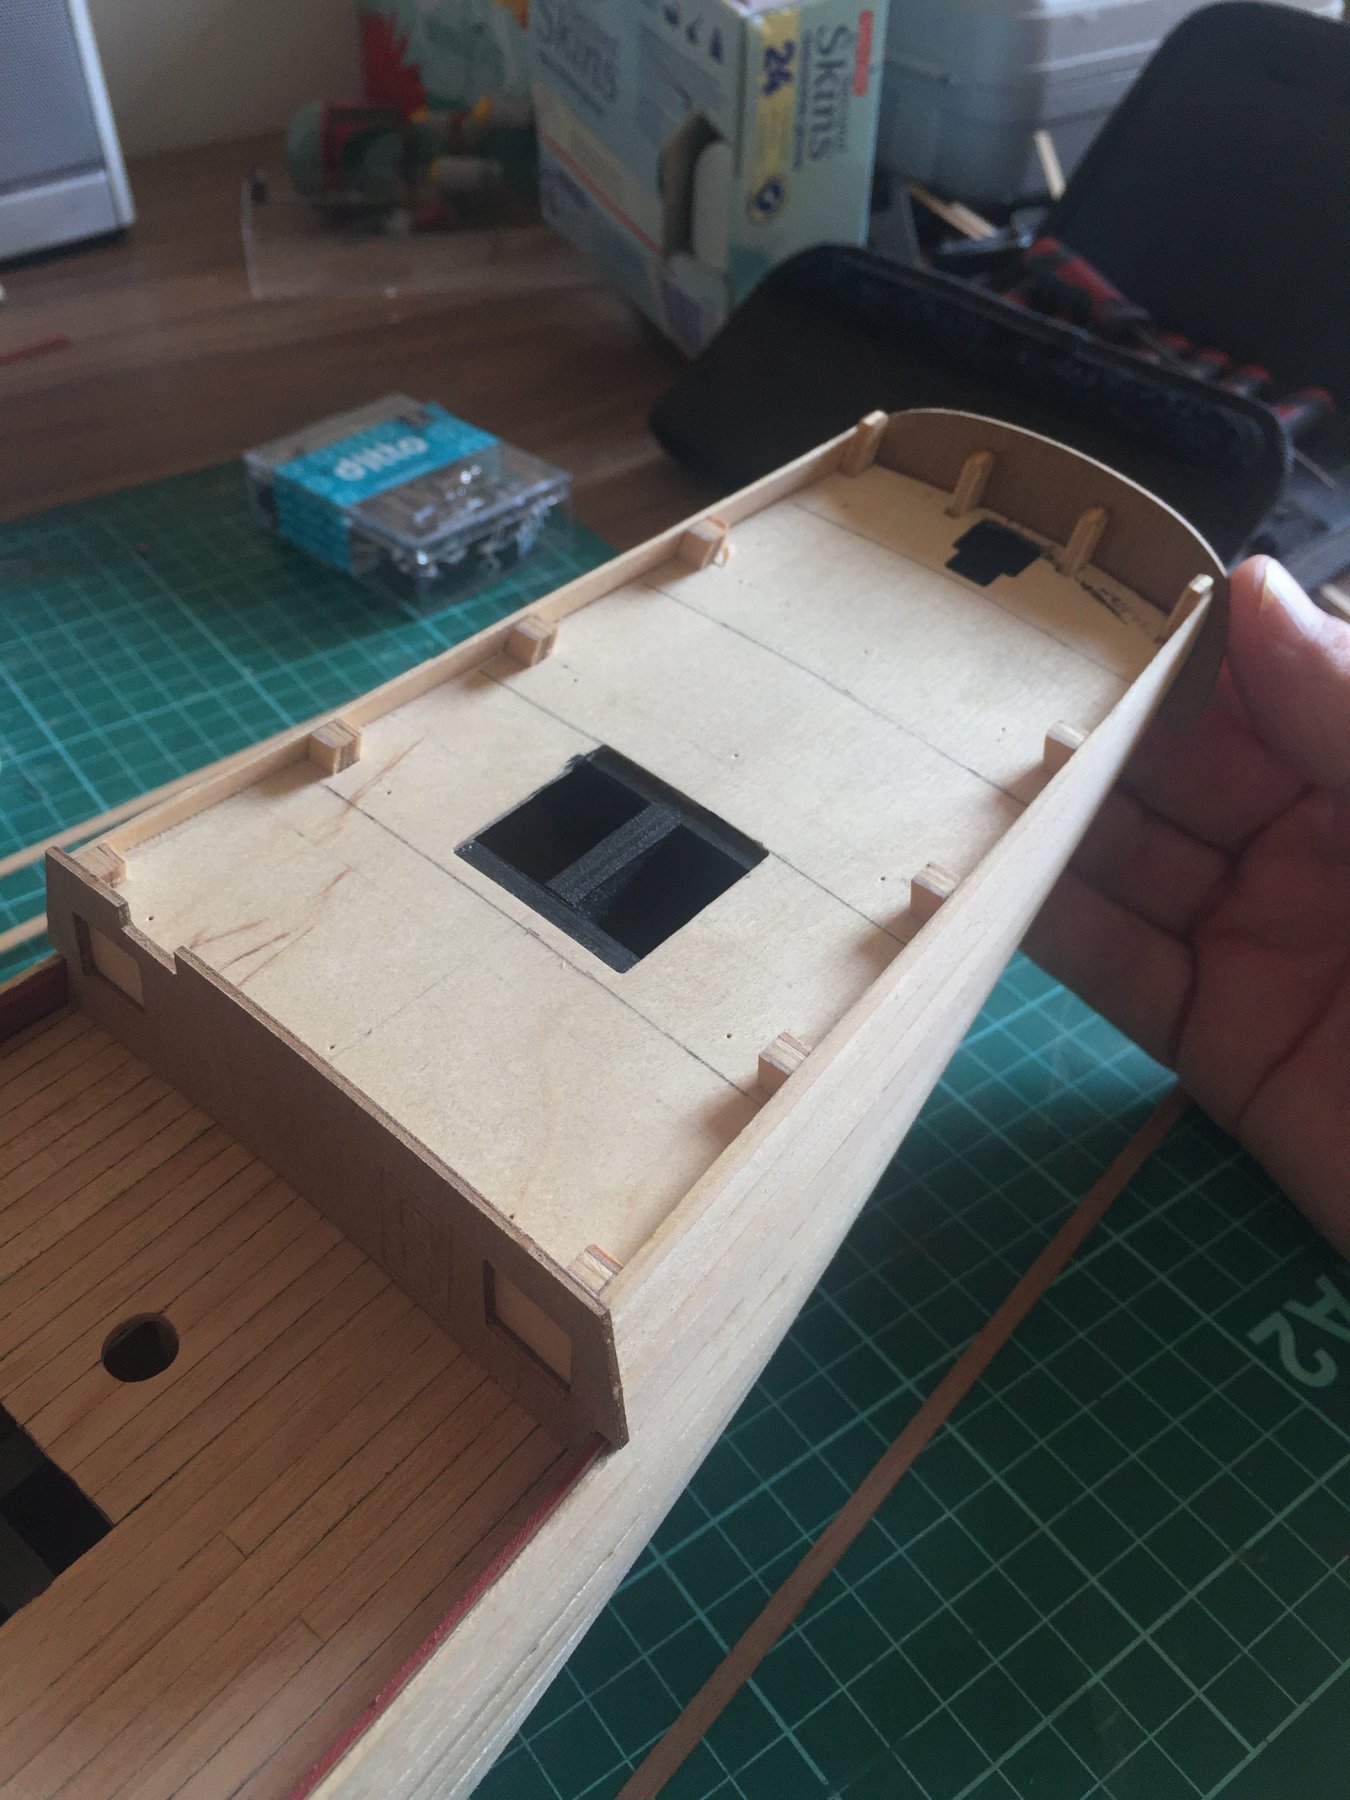
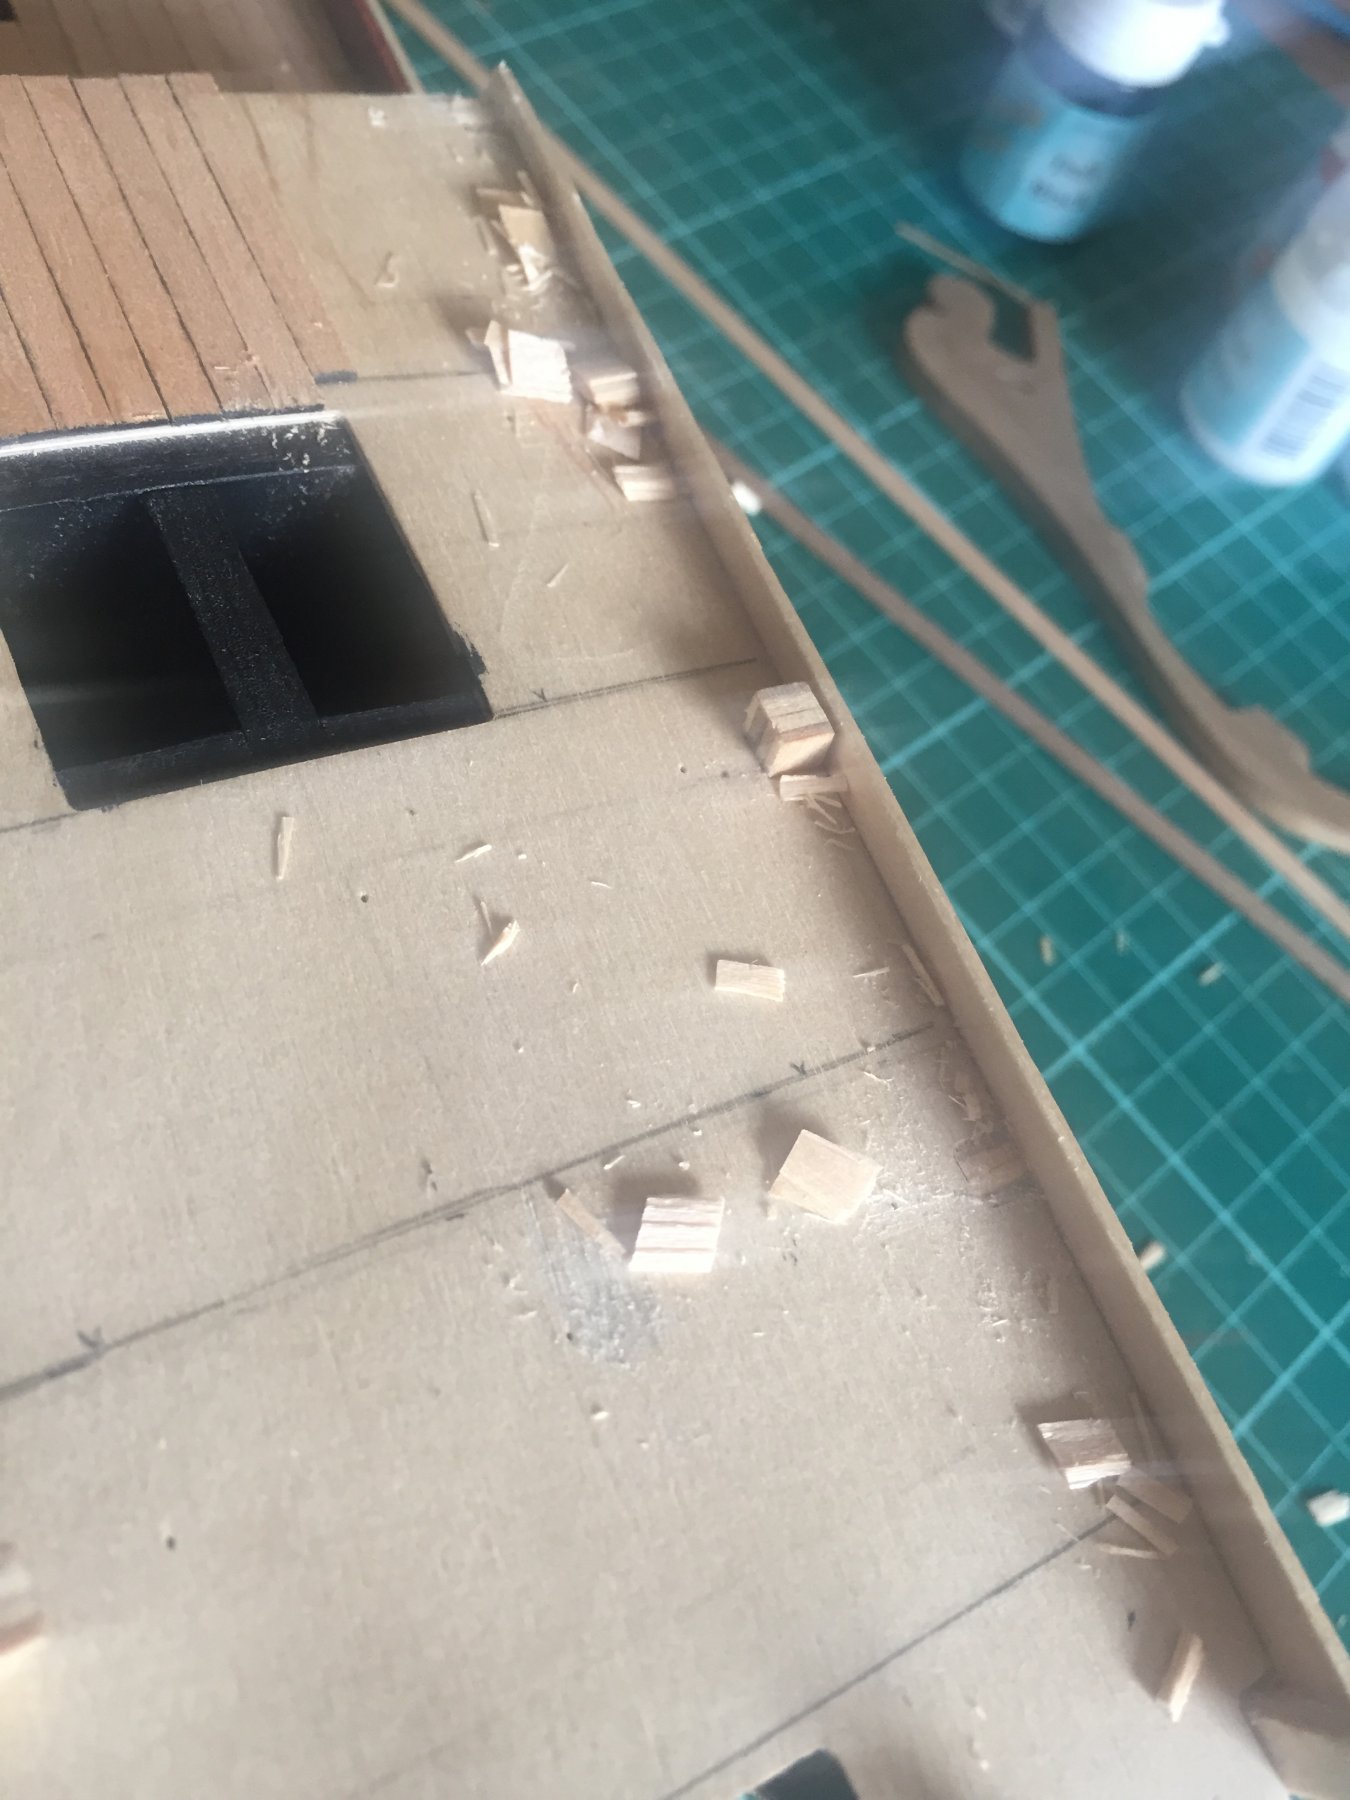
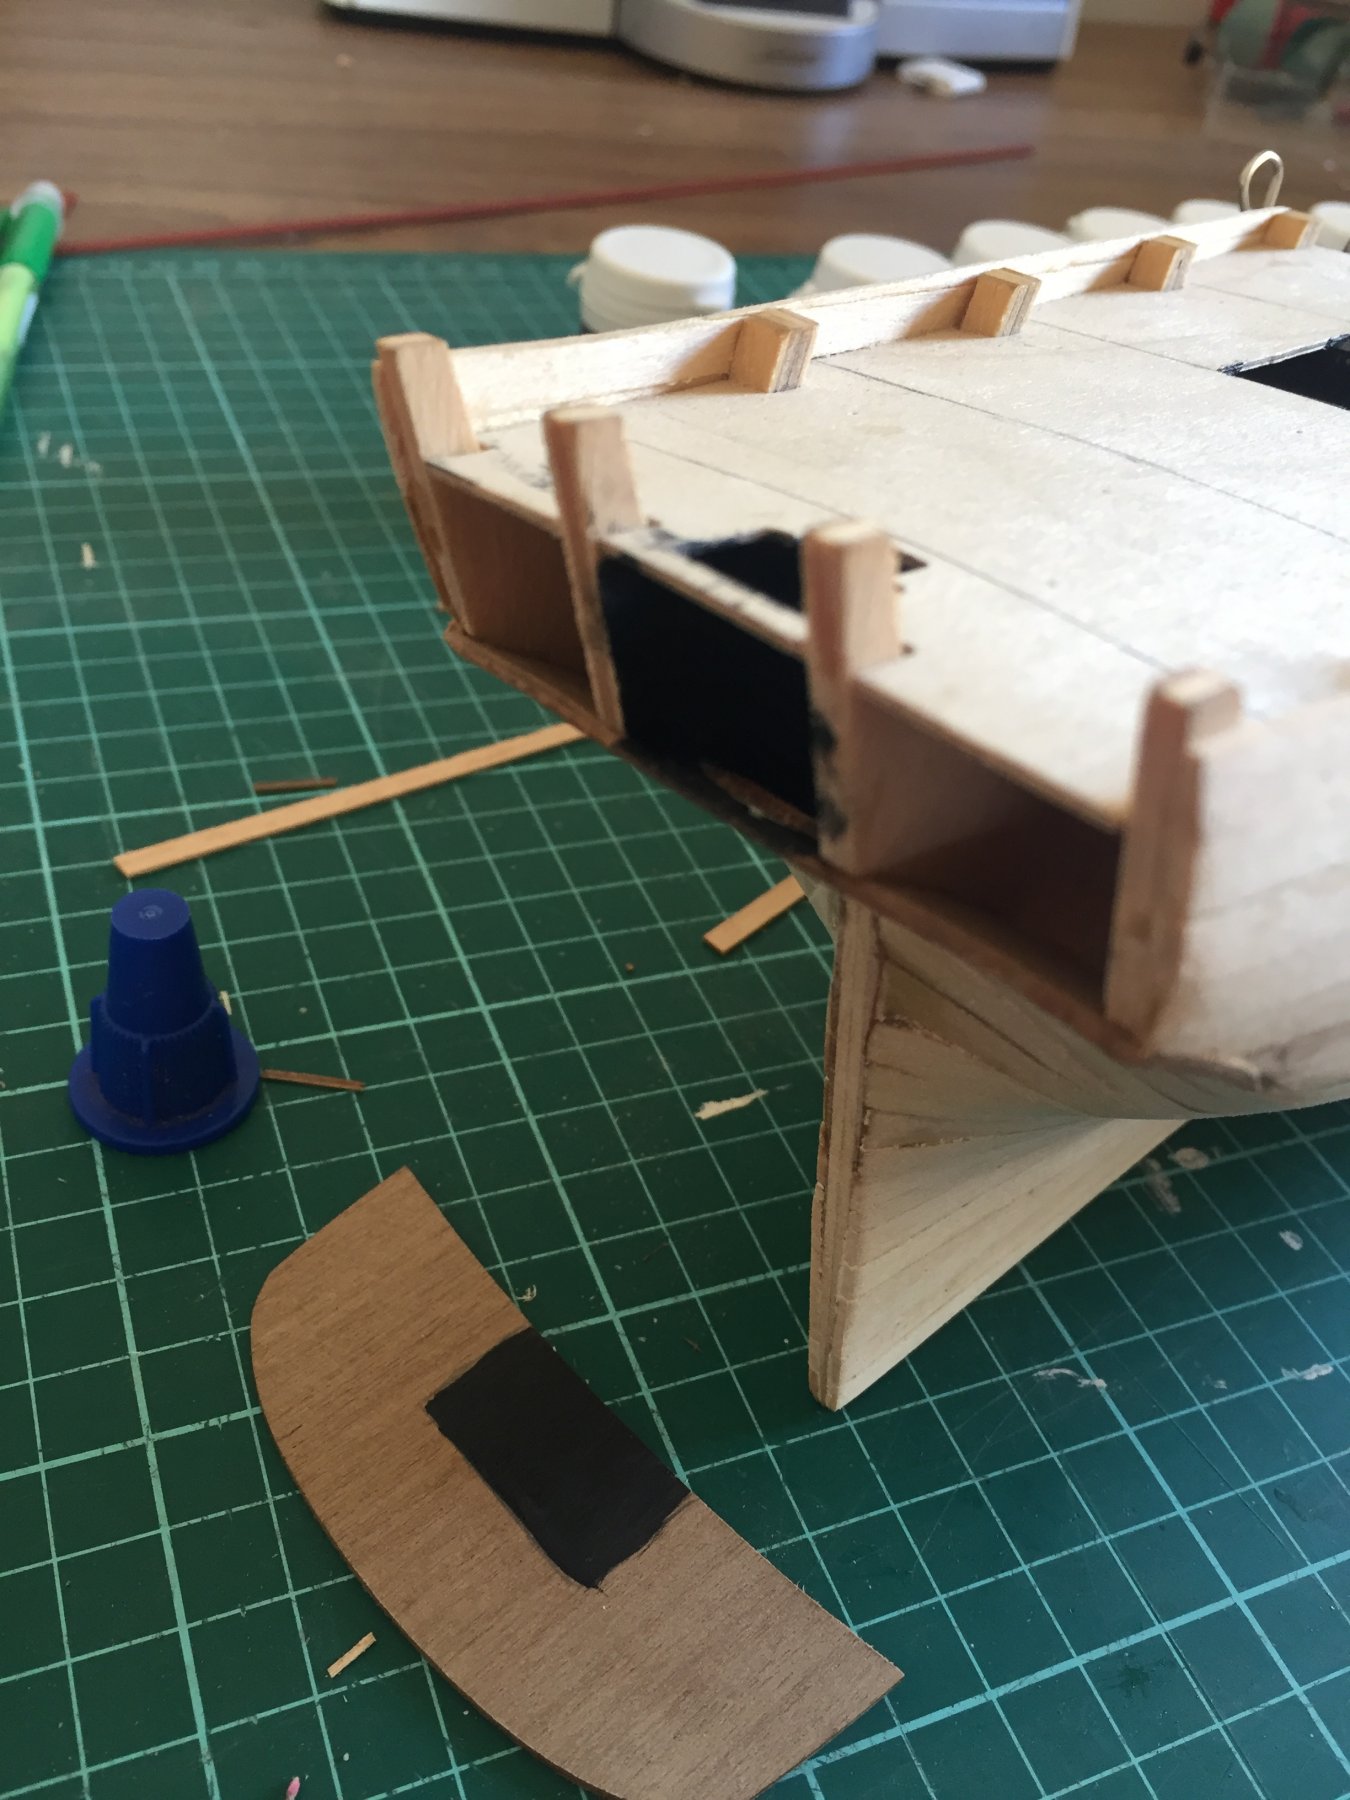
I’ve had to think about in what order I do things. I want the hull planks to sit over the side edges of the cabin facia, so it will need to be fitted first. But I also want the quarterdeck planking to overlap the forward and rear edges so I can sand them down flush. The transom sticks out sideways proud of the hull, so that will have to go on last.
So so there we have it- Quarterdeck planking next, then cabin front facia, then hull second planking, then transom. So I’ve trimmed away the quarterdeck bulwark guides from sections 8, 9, 10 & 11.
Ive been wondering whether I should laminate the facia and transom with left-over deck planks. But I’ll prefer to leave them as one piece.

-
-
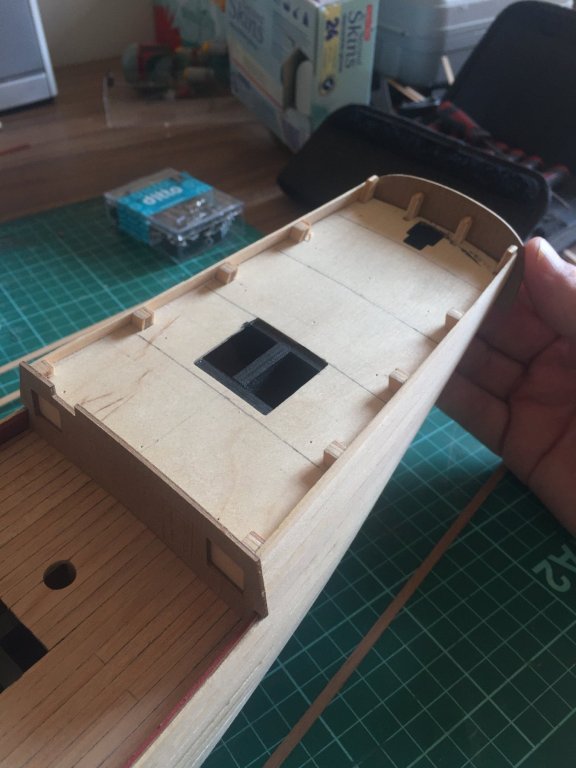
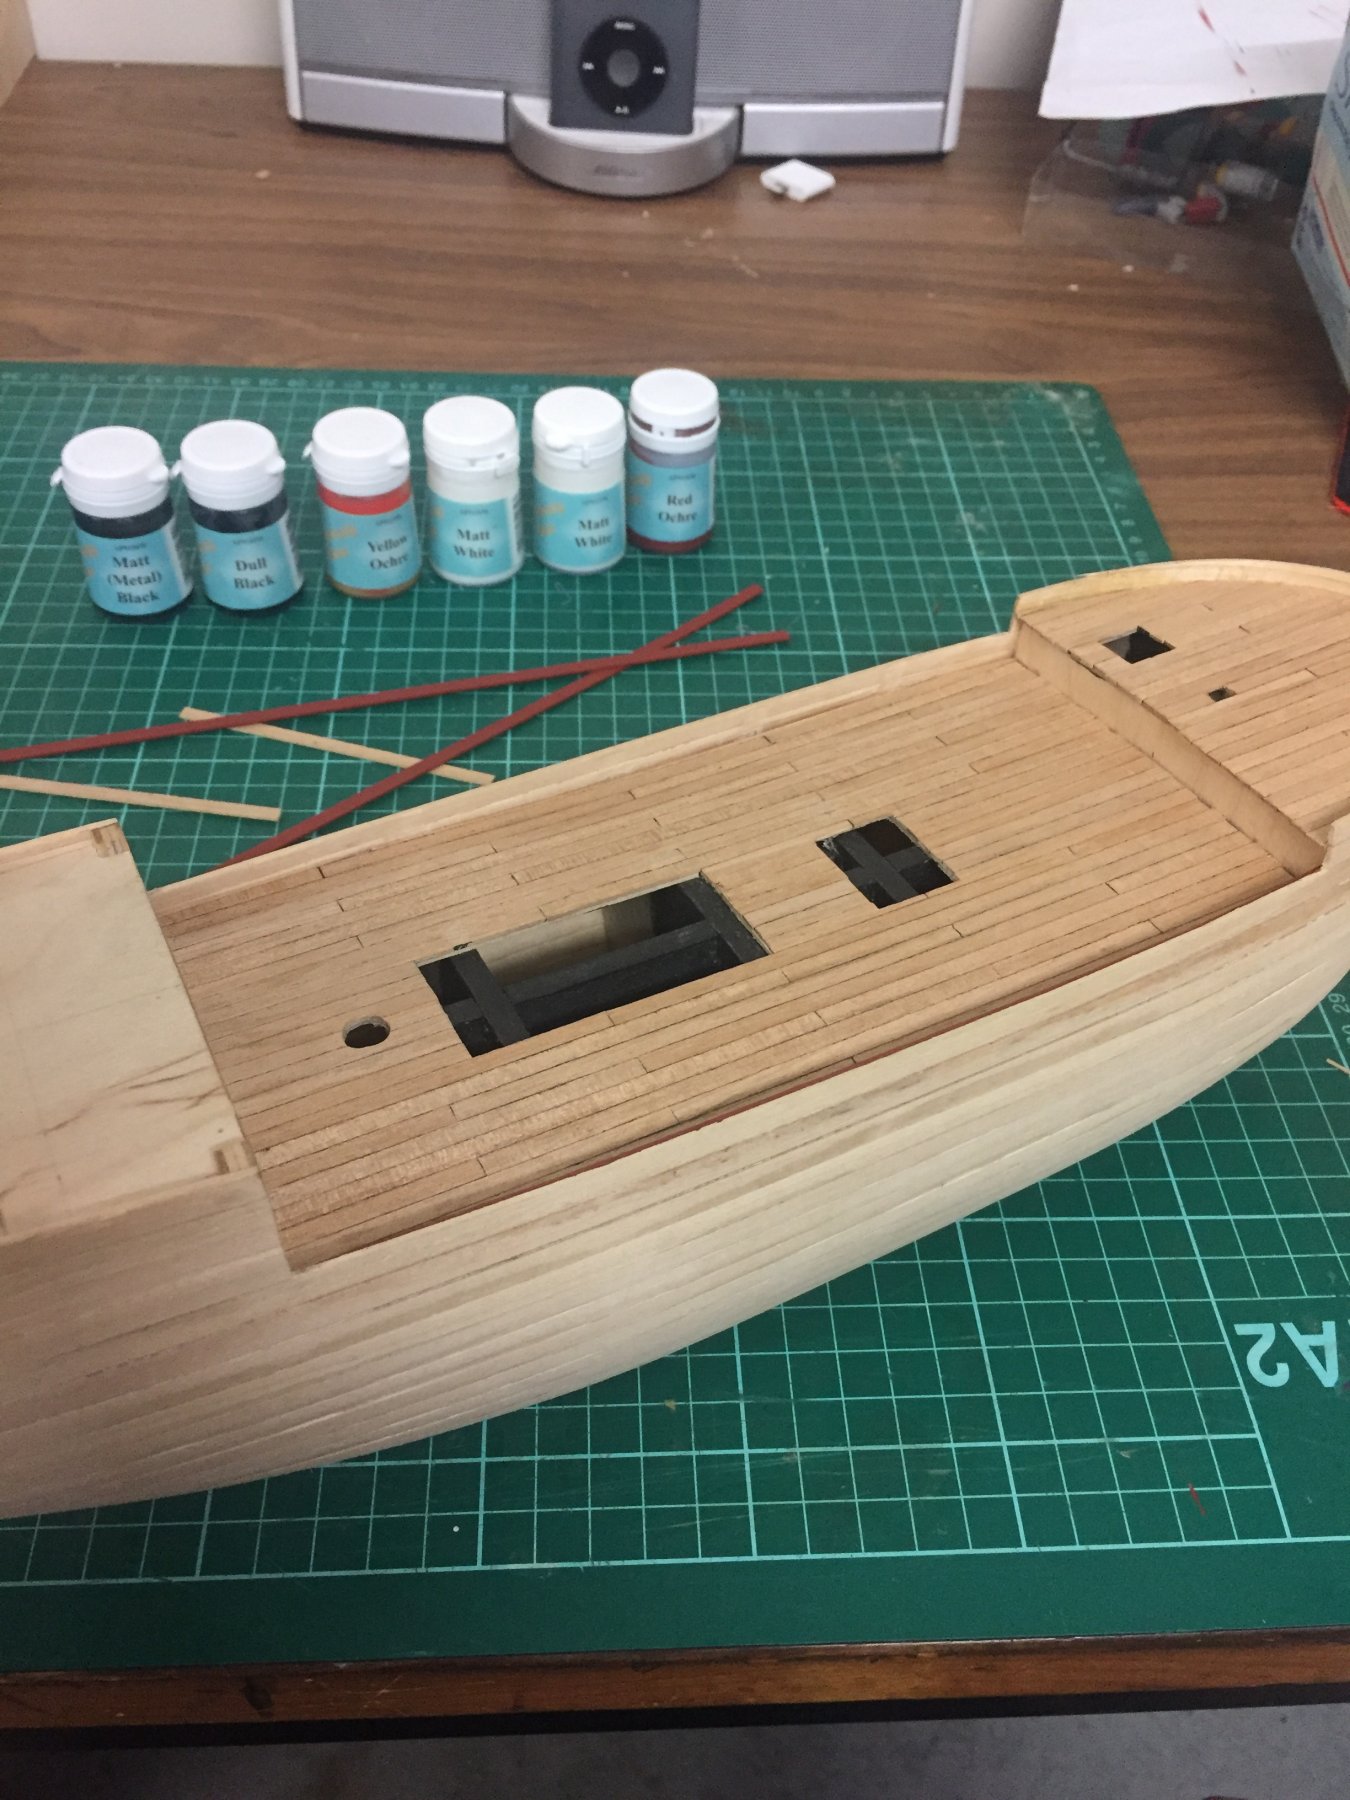
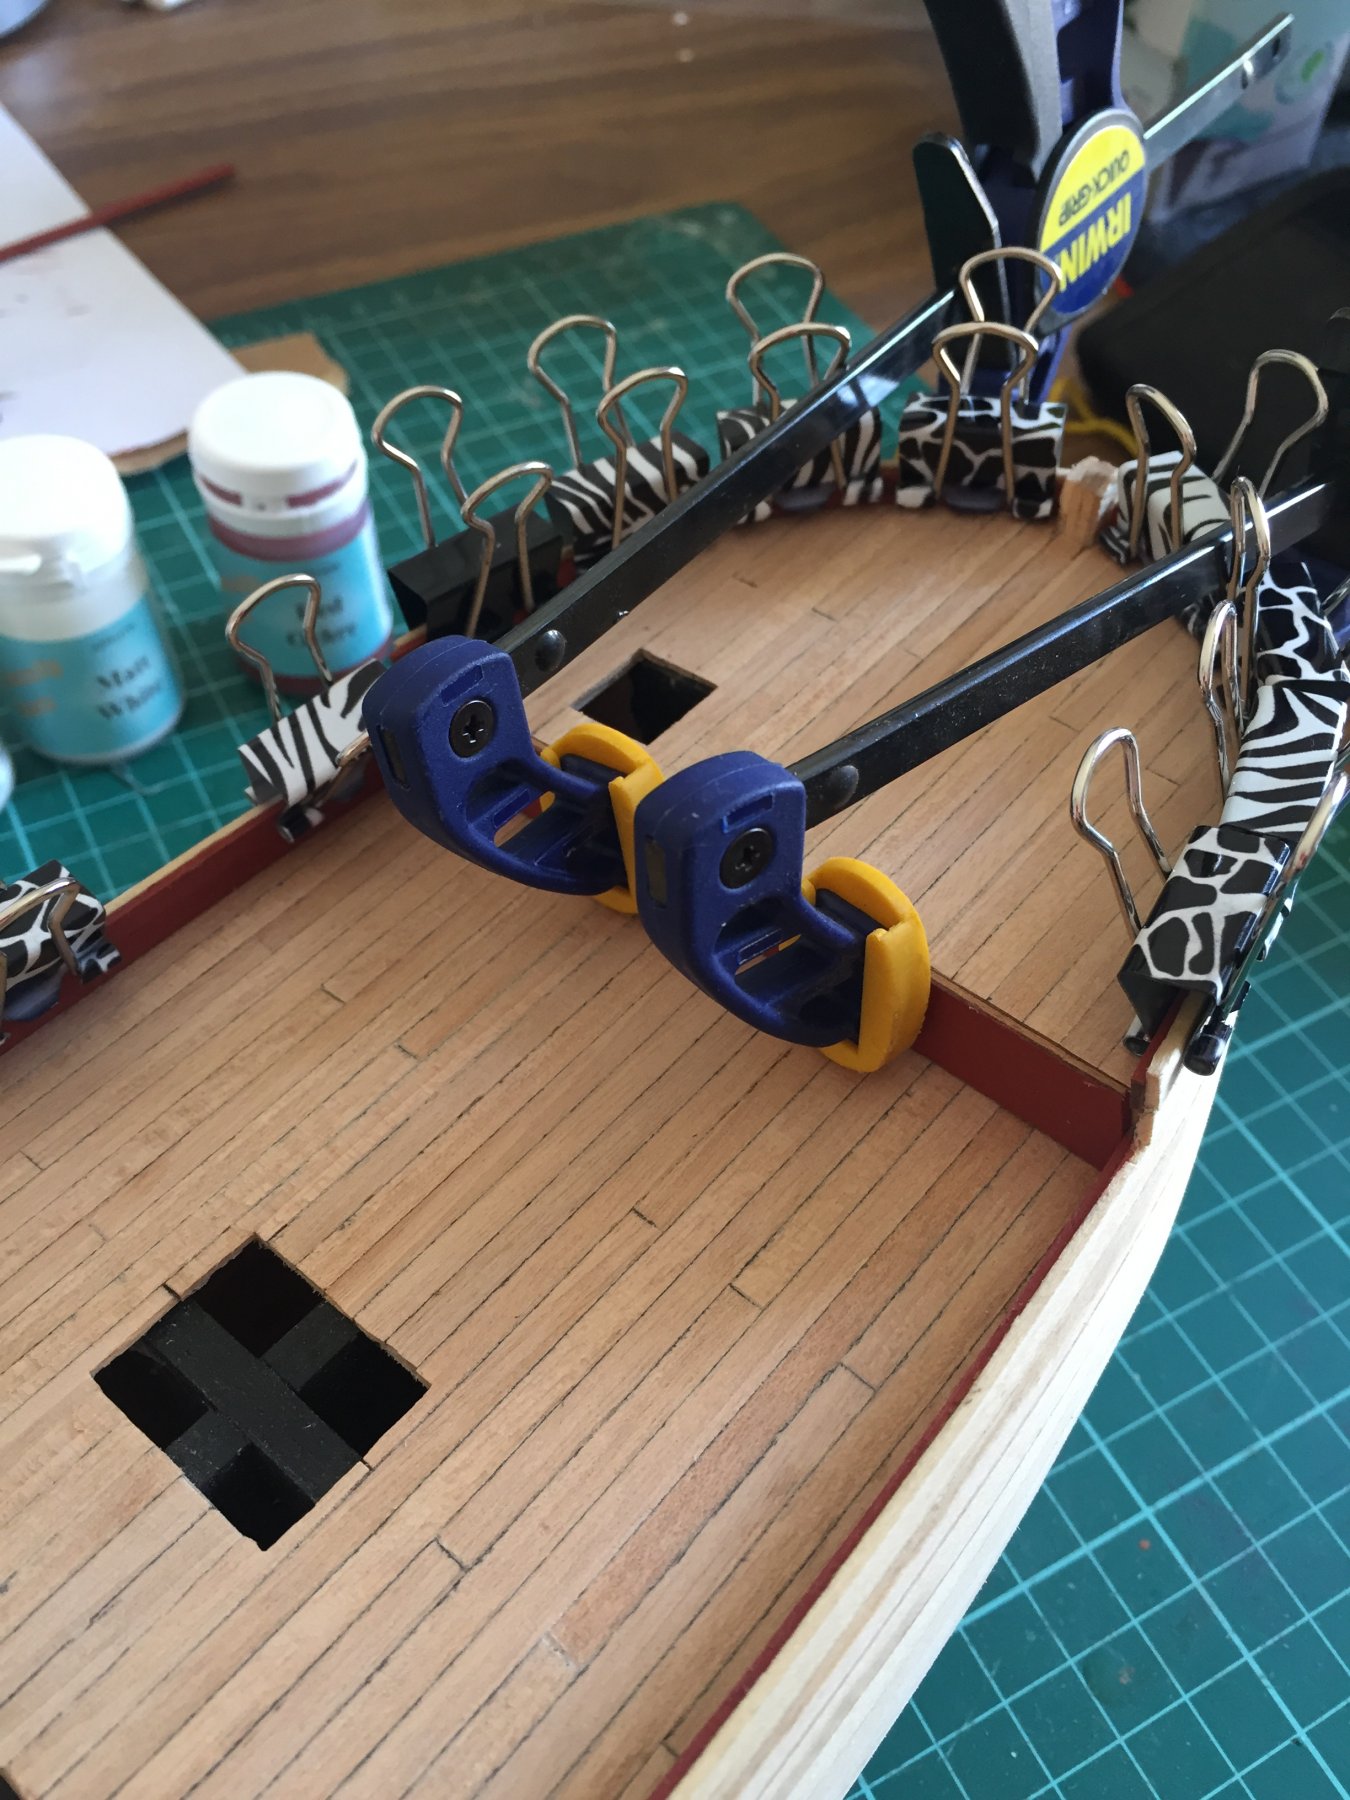
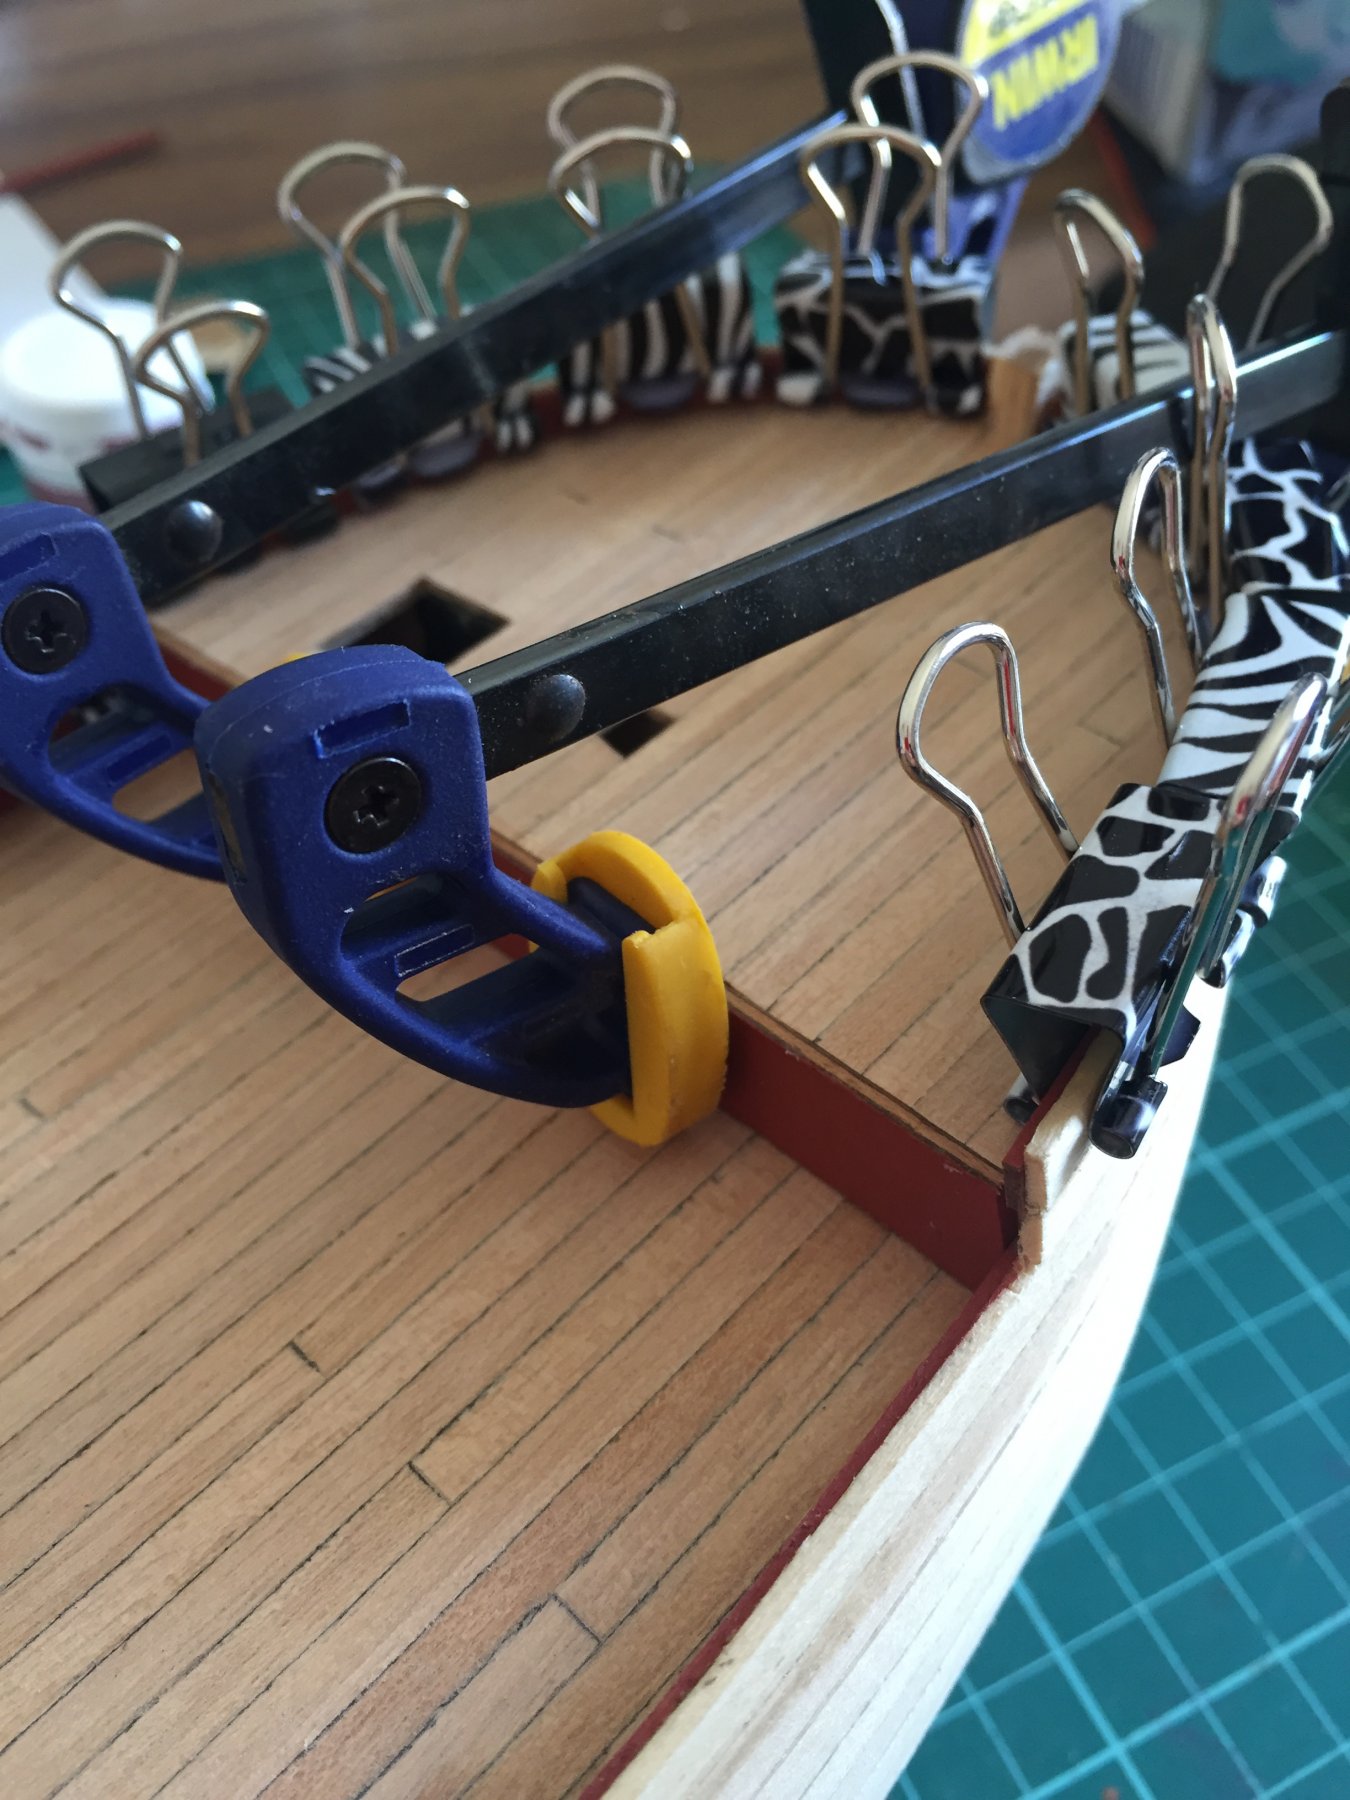
I’ve completed planking the forecastle and main decks. Now I’m lining the inside walls of the bulwarks with pre-painted second planking.
A heap of spring clips hold everything in place until it dries.
I’m using Admiralty Paints red ochre. I love it. It goes on a real treat!


-
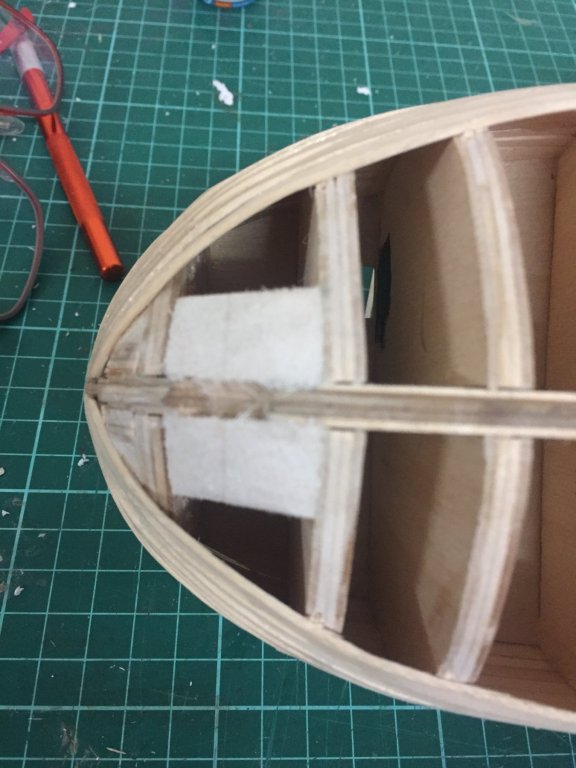
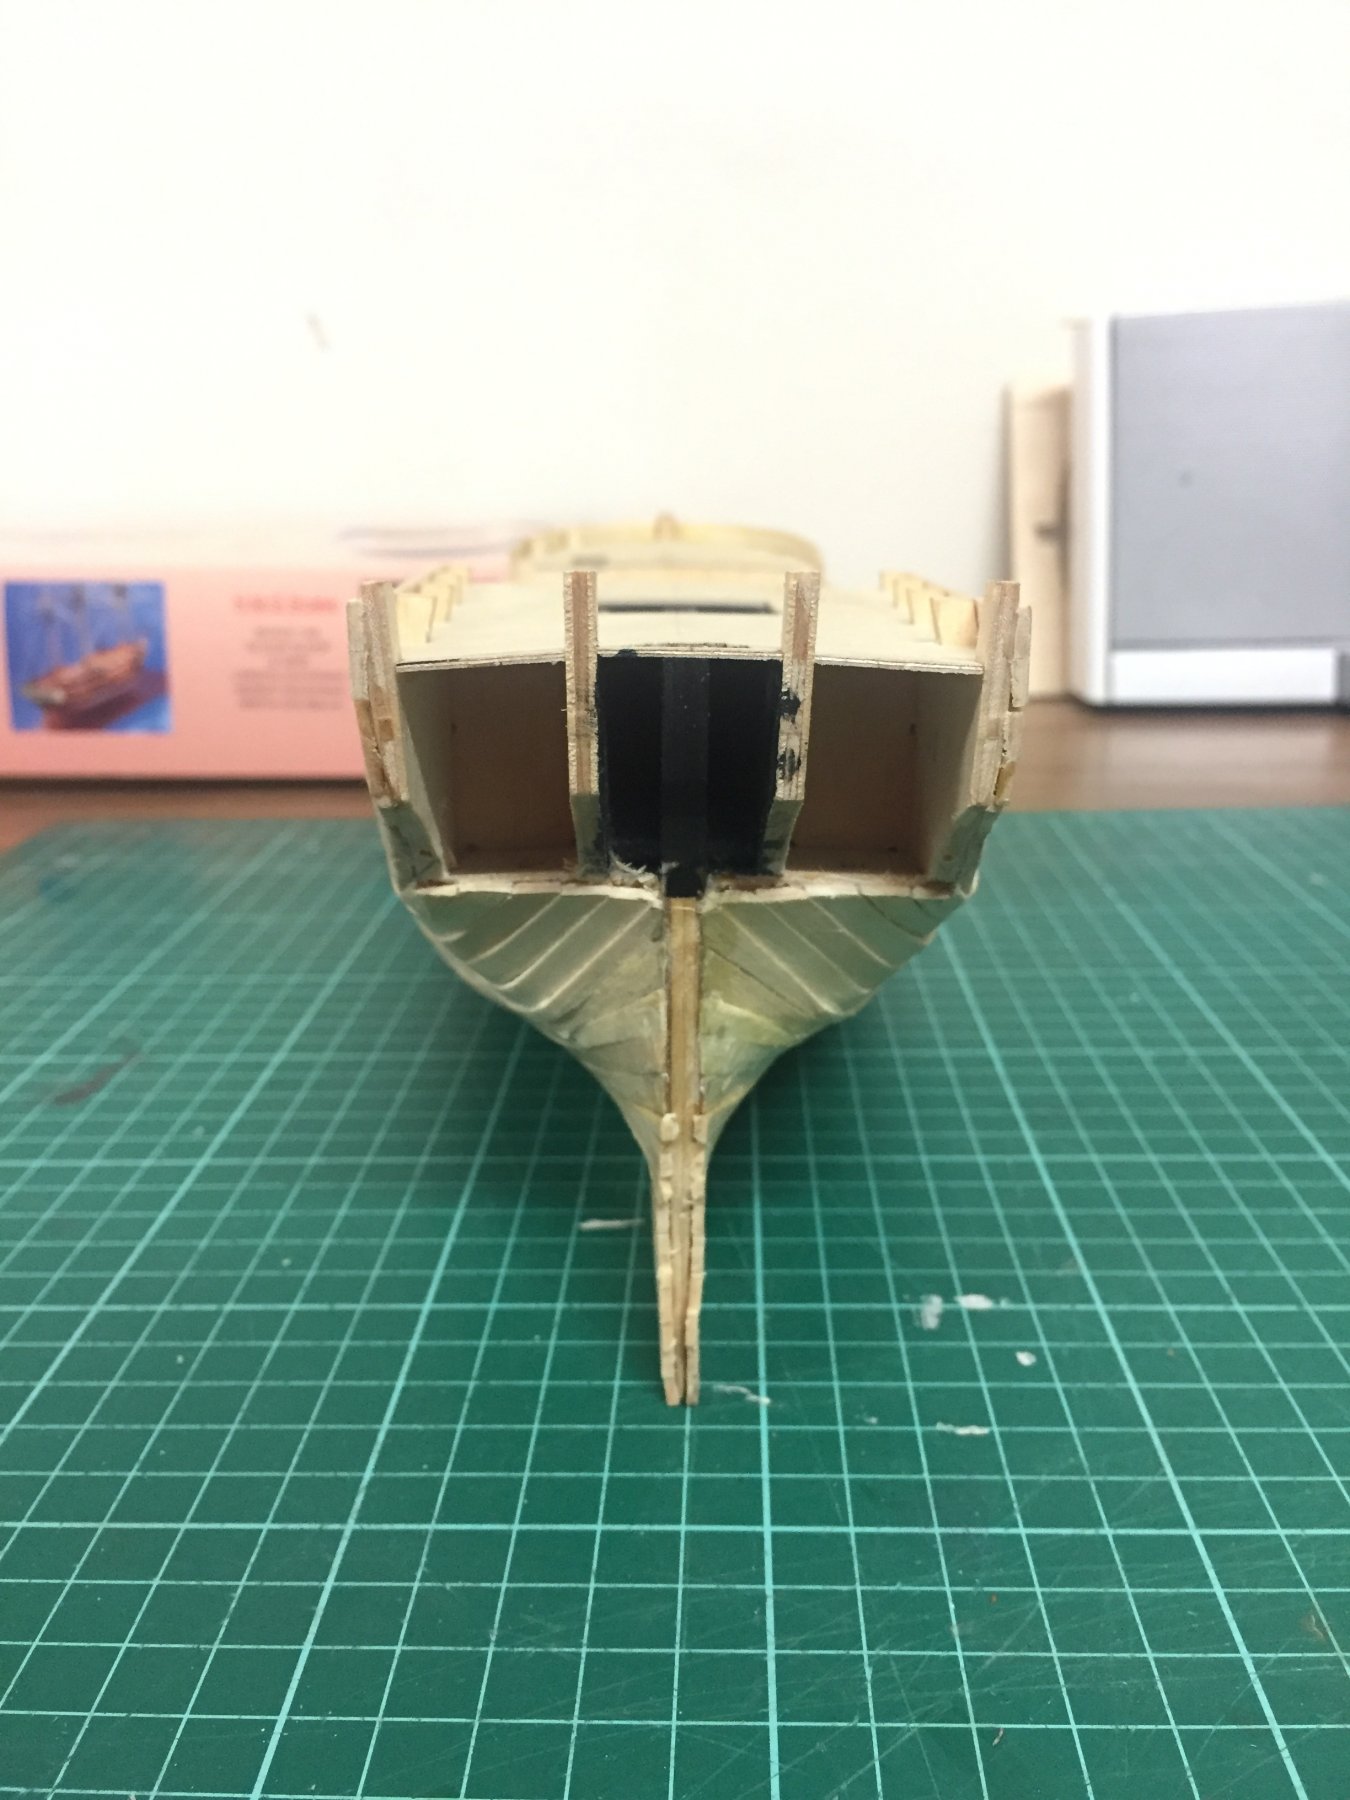
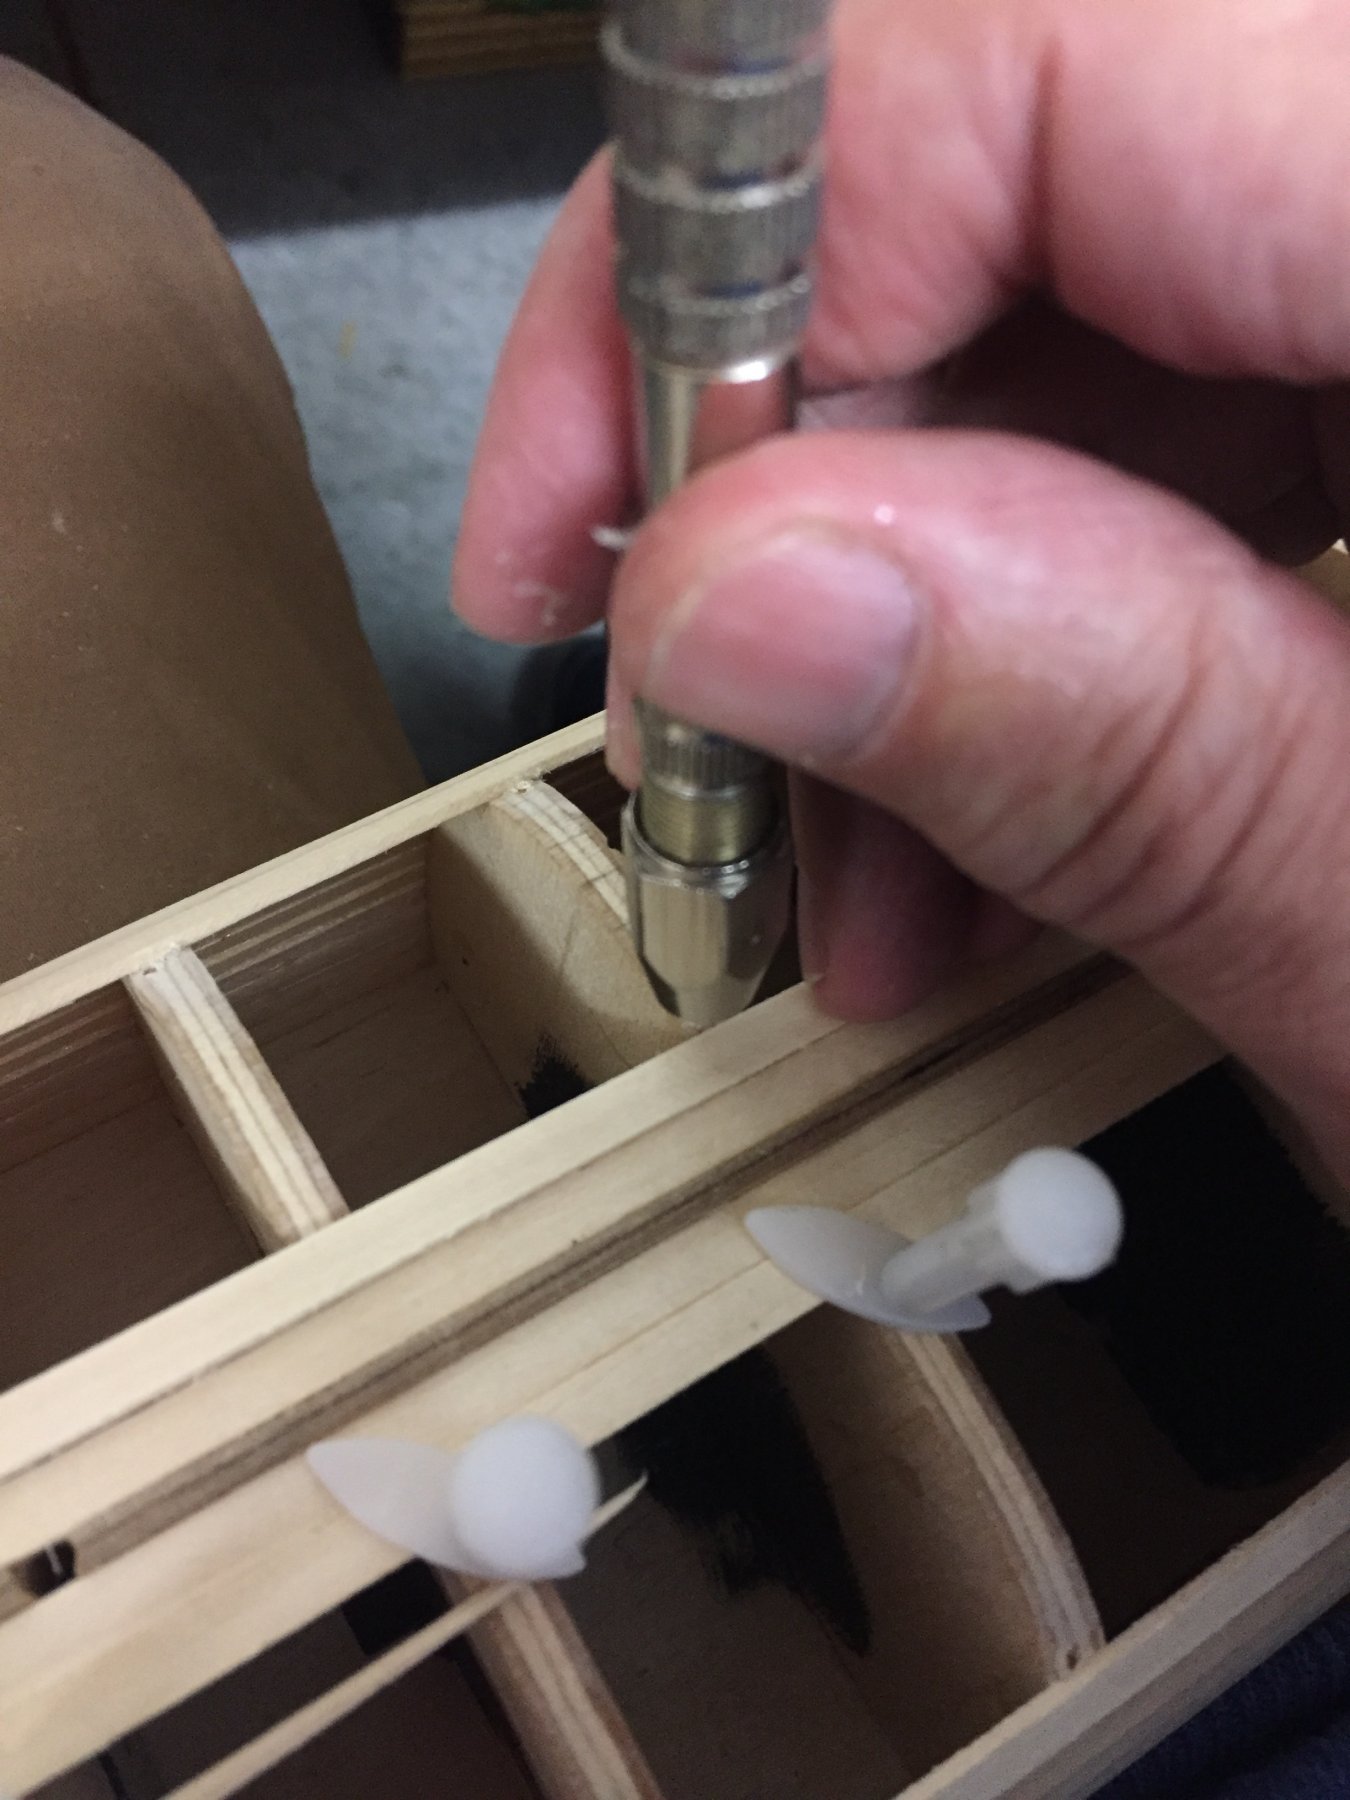
I’ve painted the inside of the hull black where possible, so it doesn’t show up later.

-
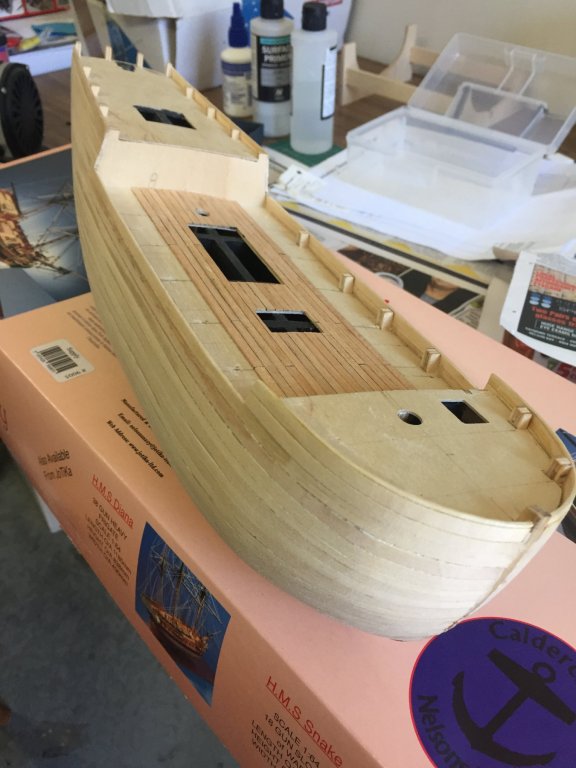
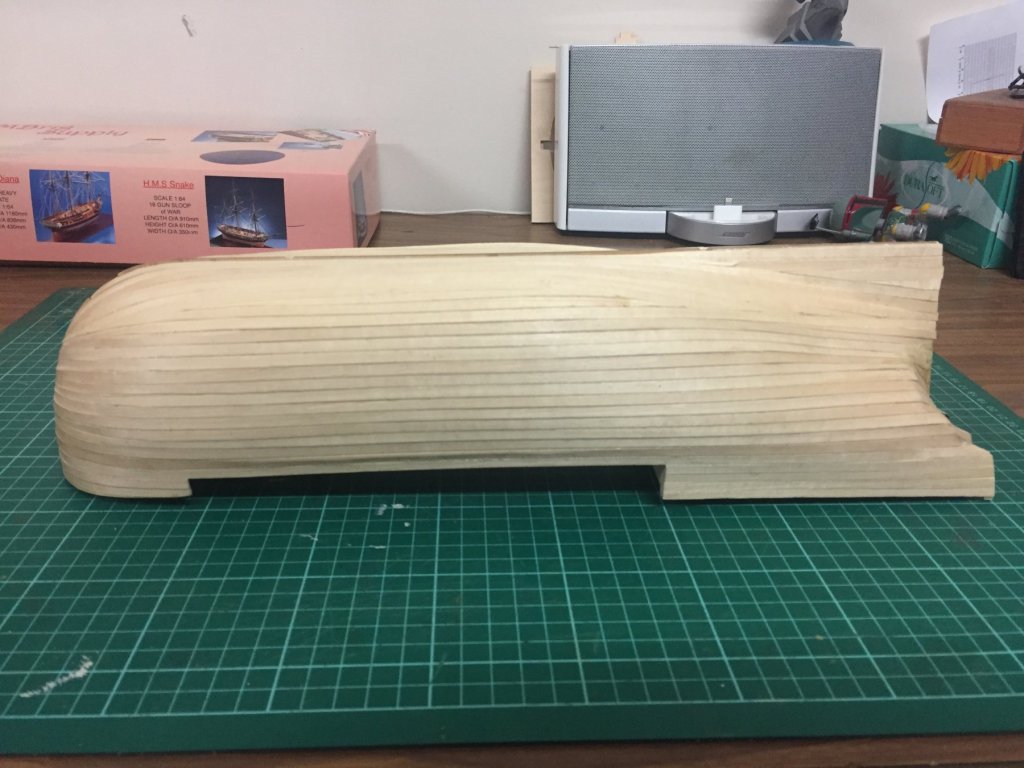
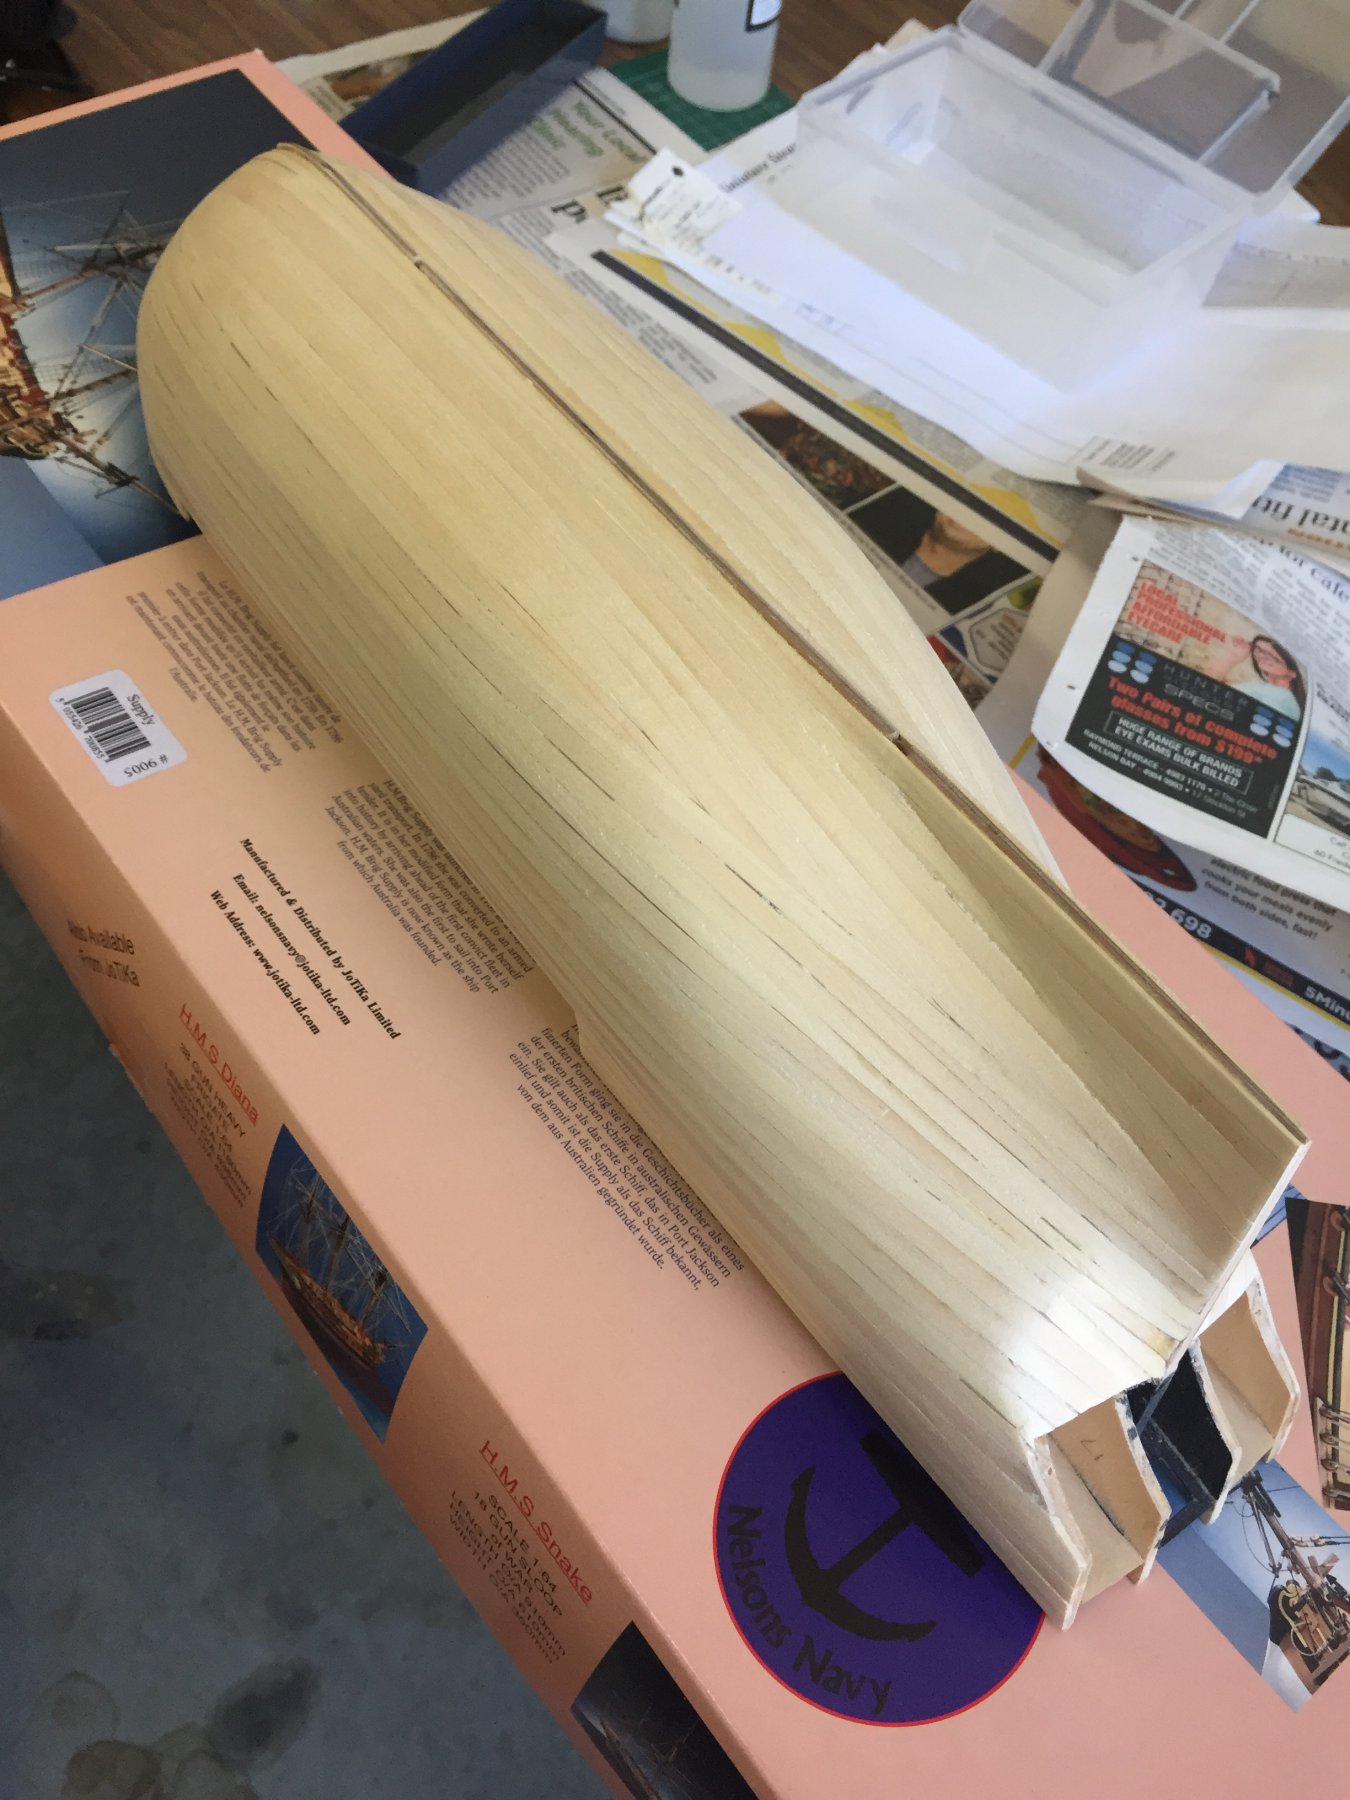
I’ve given the hull a thorough sanding, and I’m quite happy with the result.
The transom plate snapped in half a while ago, but I’ve found after gluing it in place, it all meets up rather well.


- GrandpaPhil and Dan Vadas
-
2
-
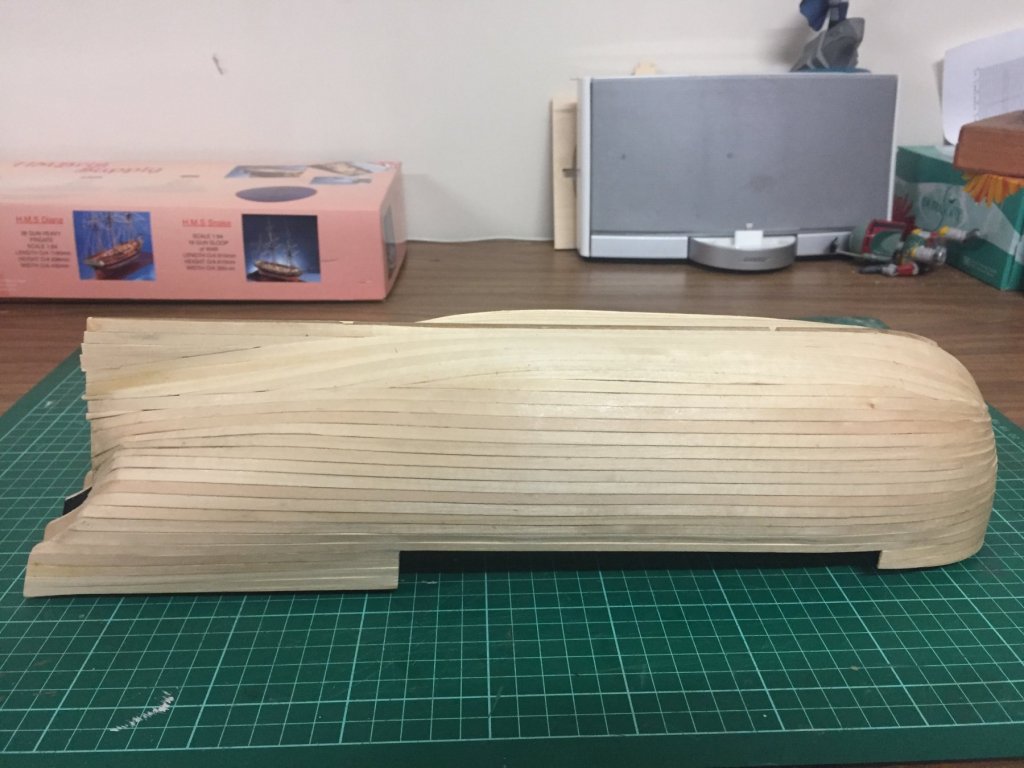
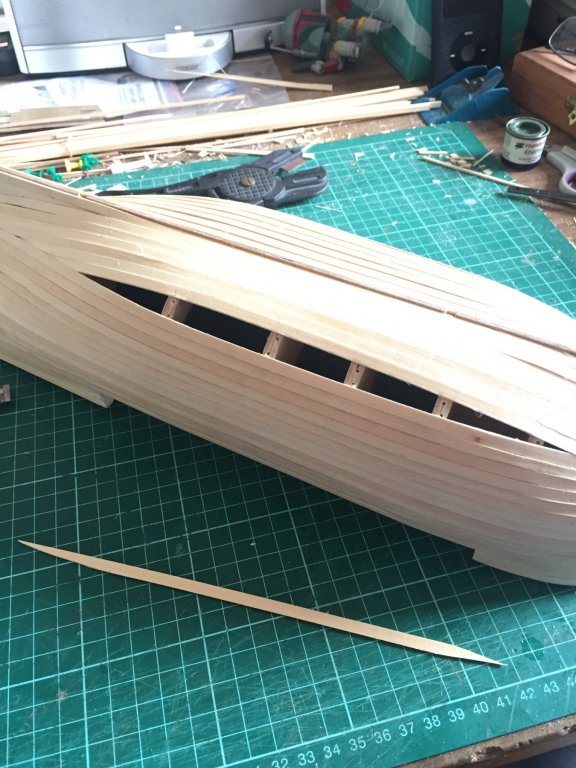
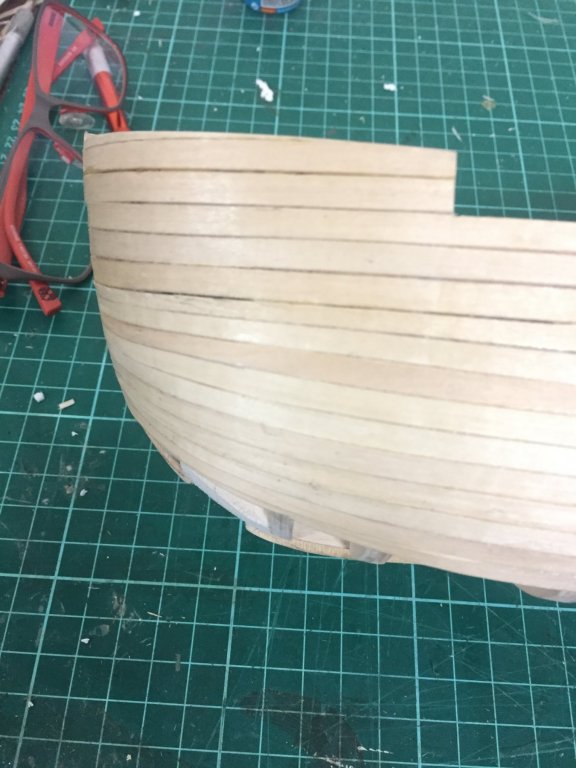
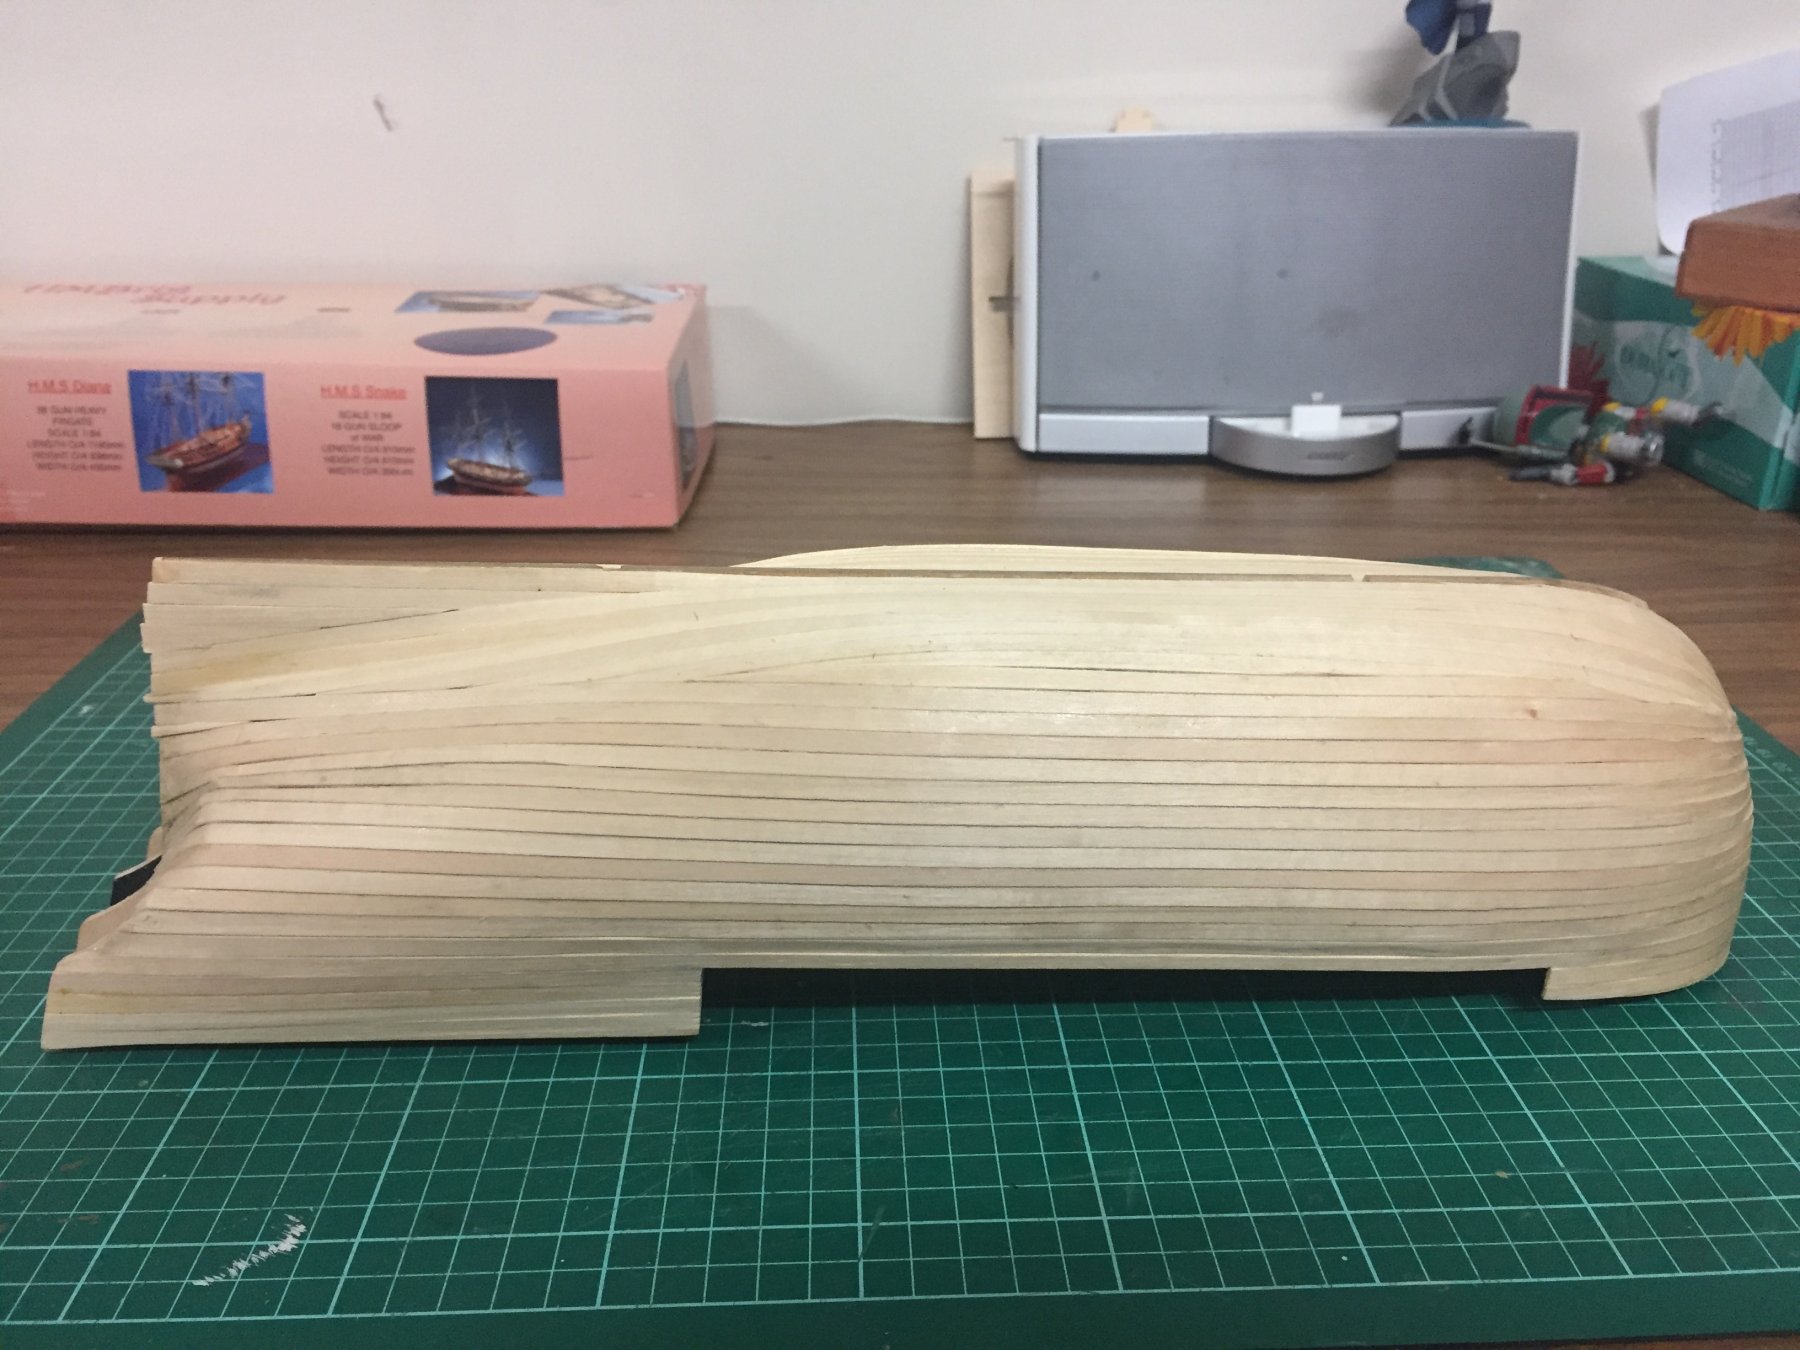
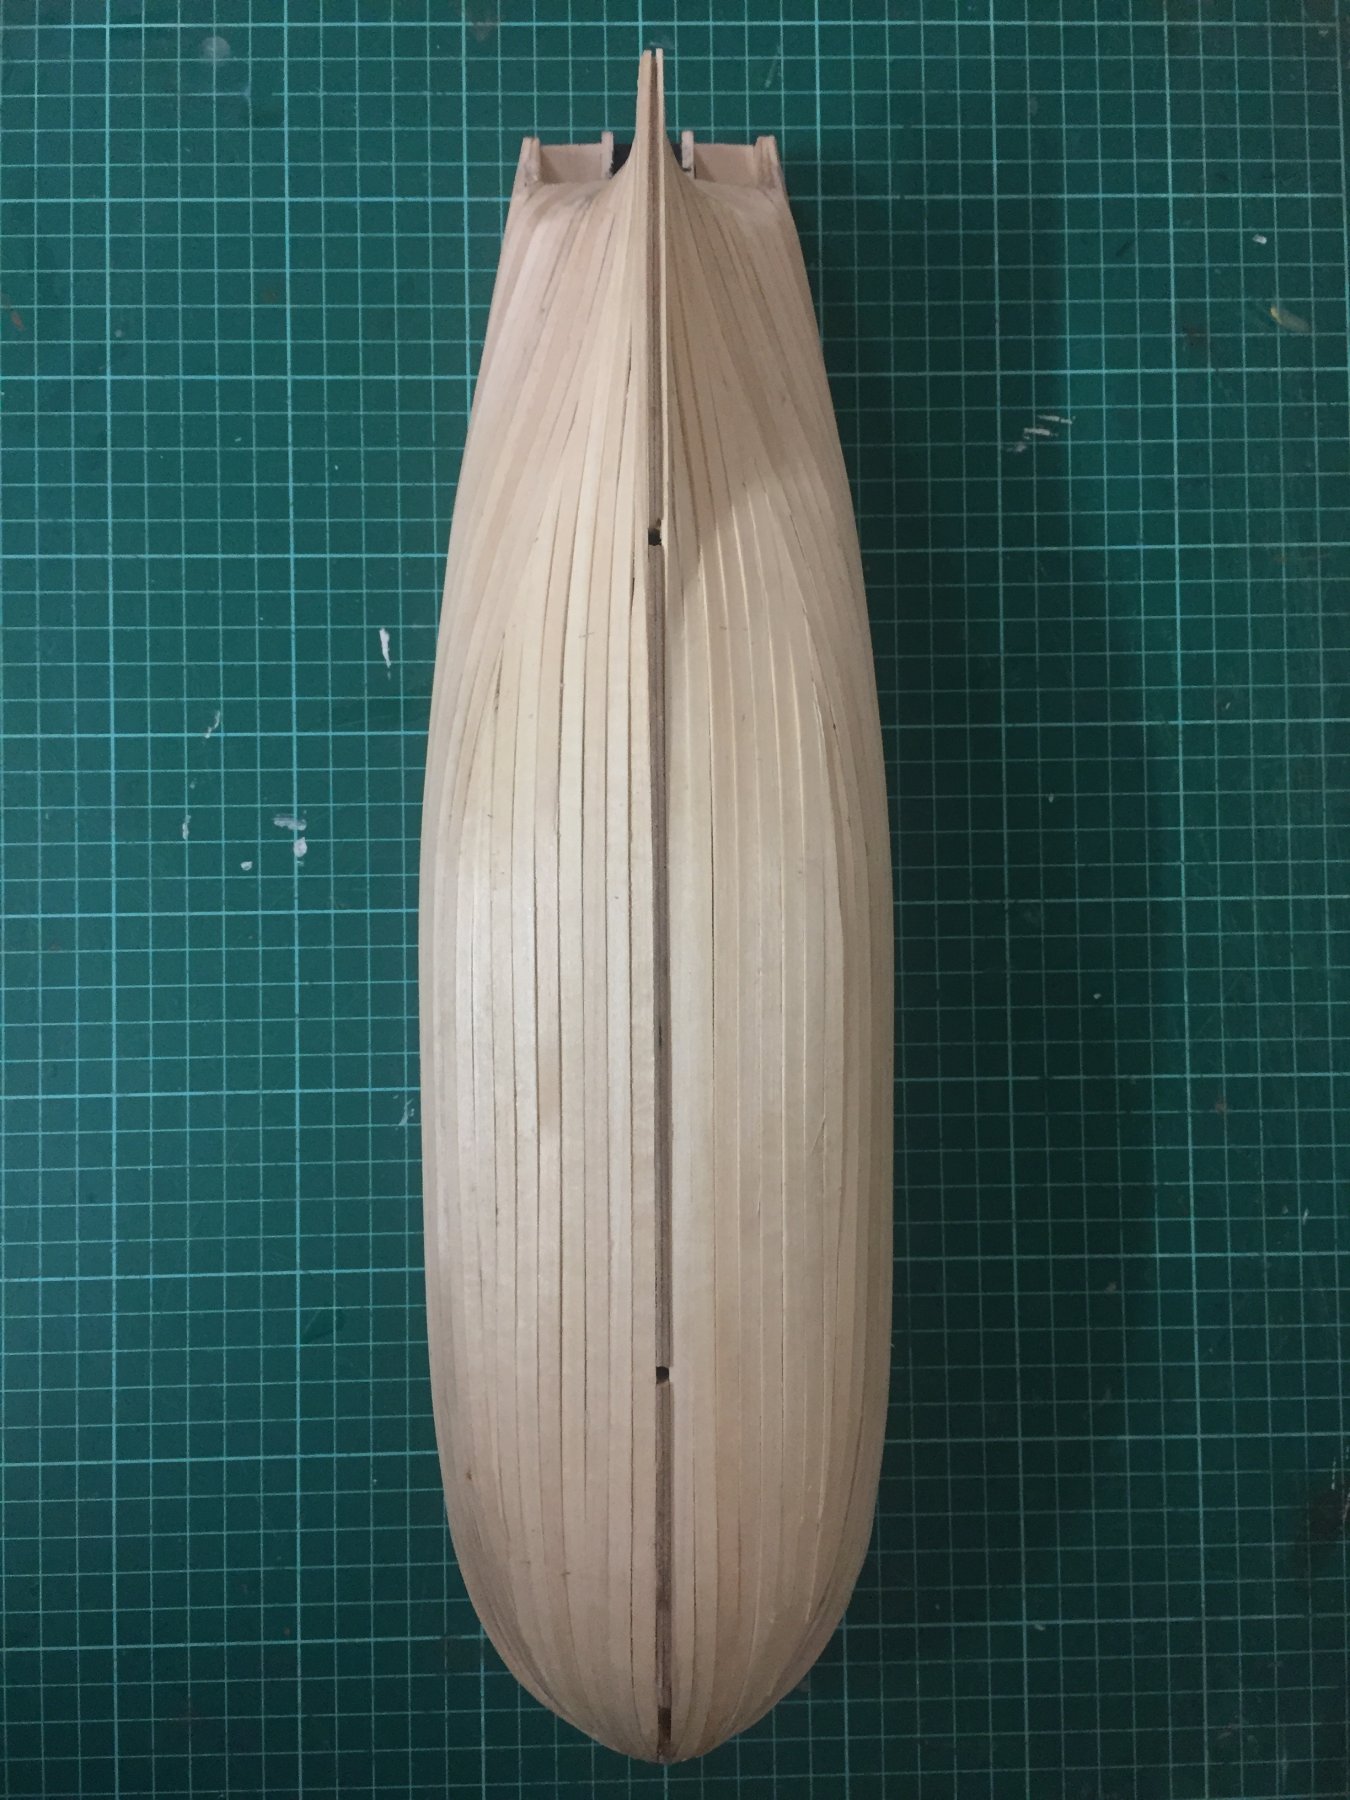
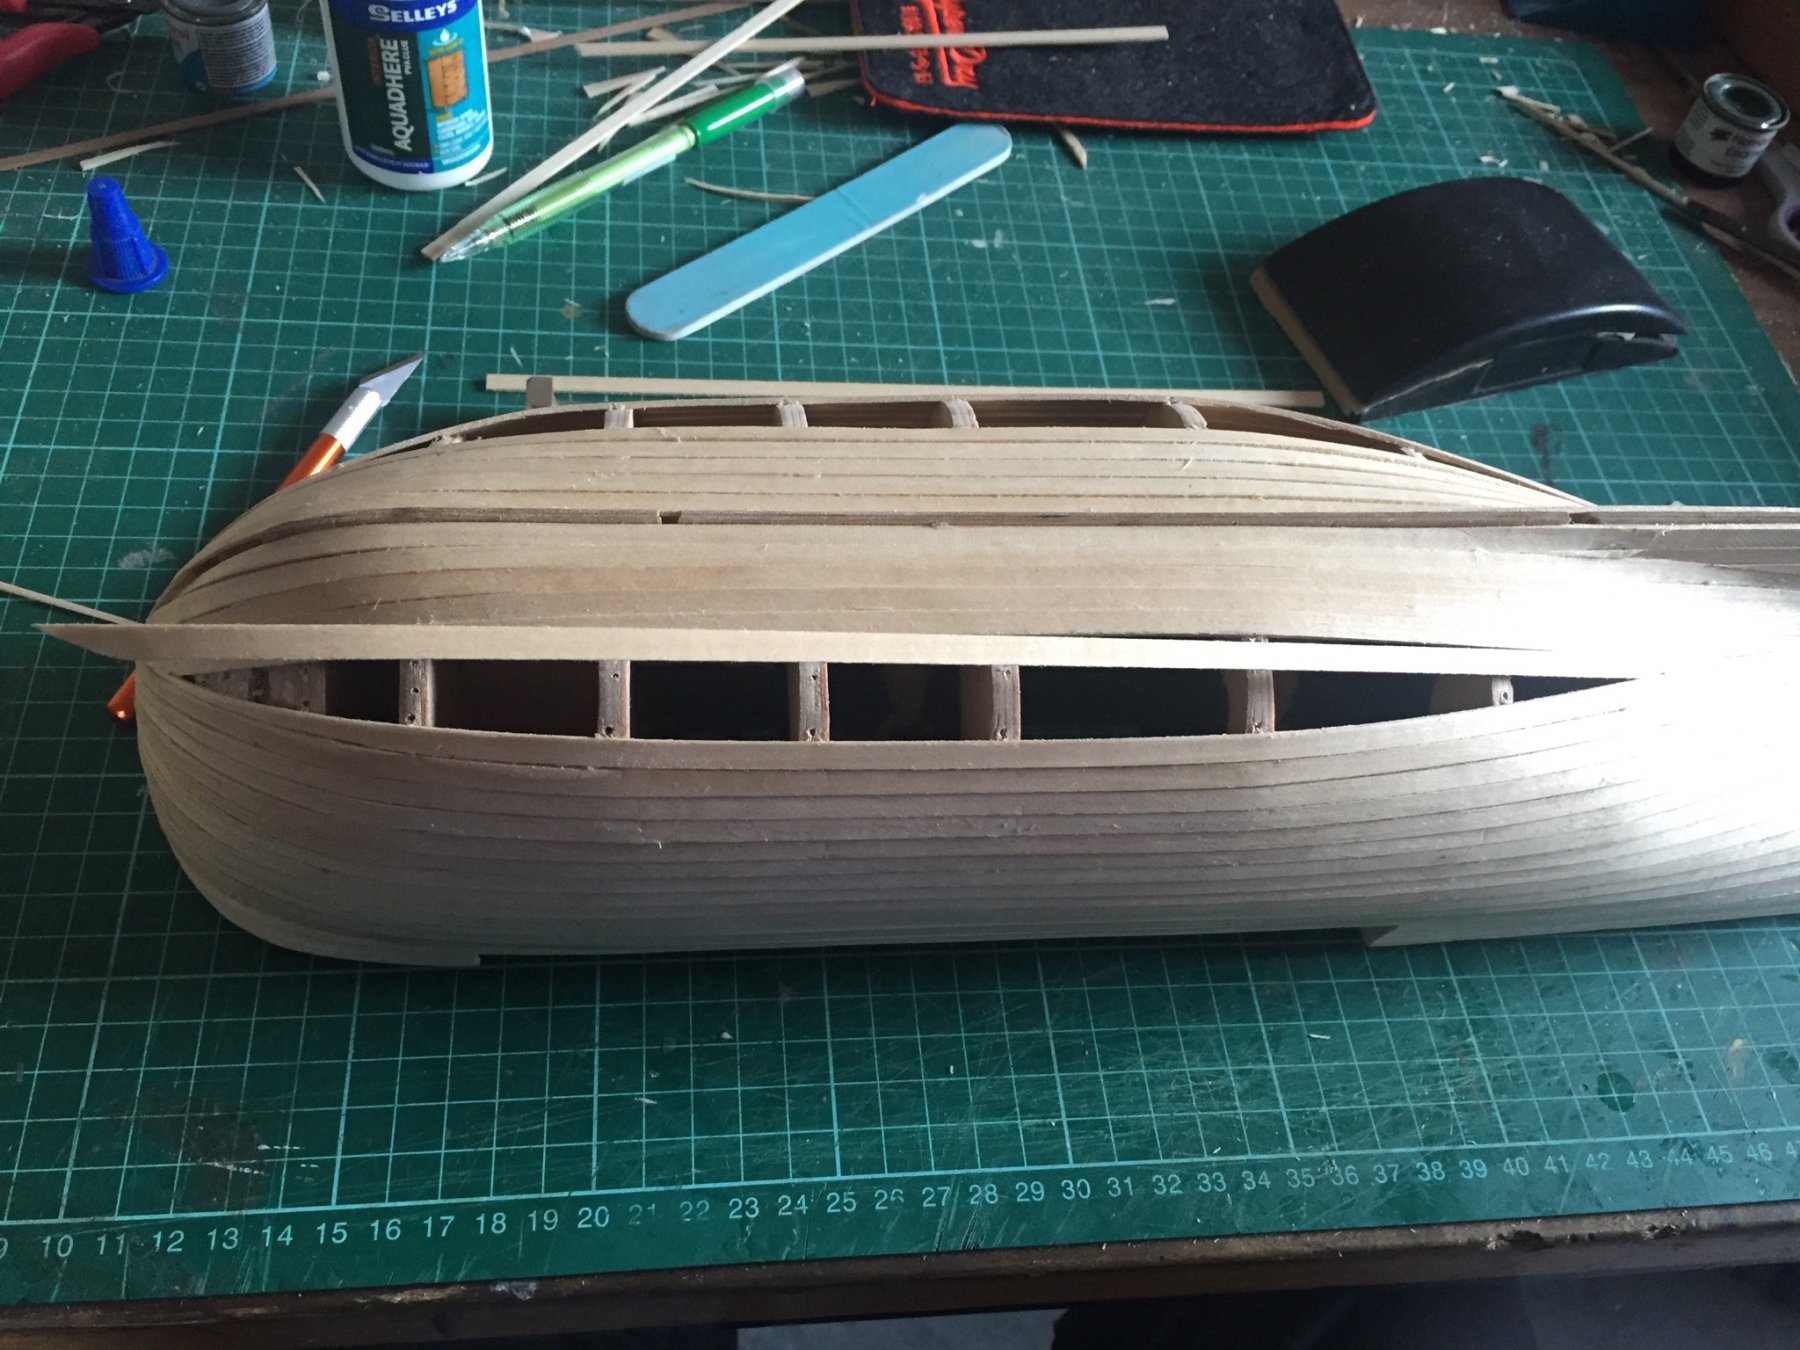
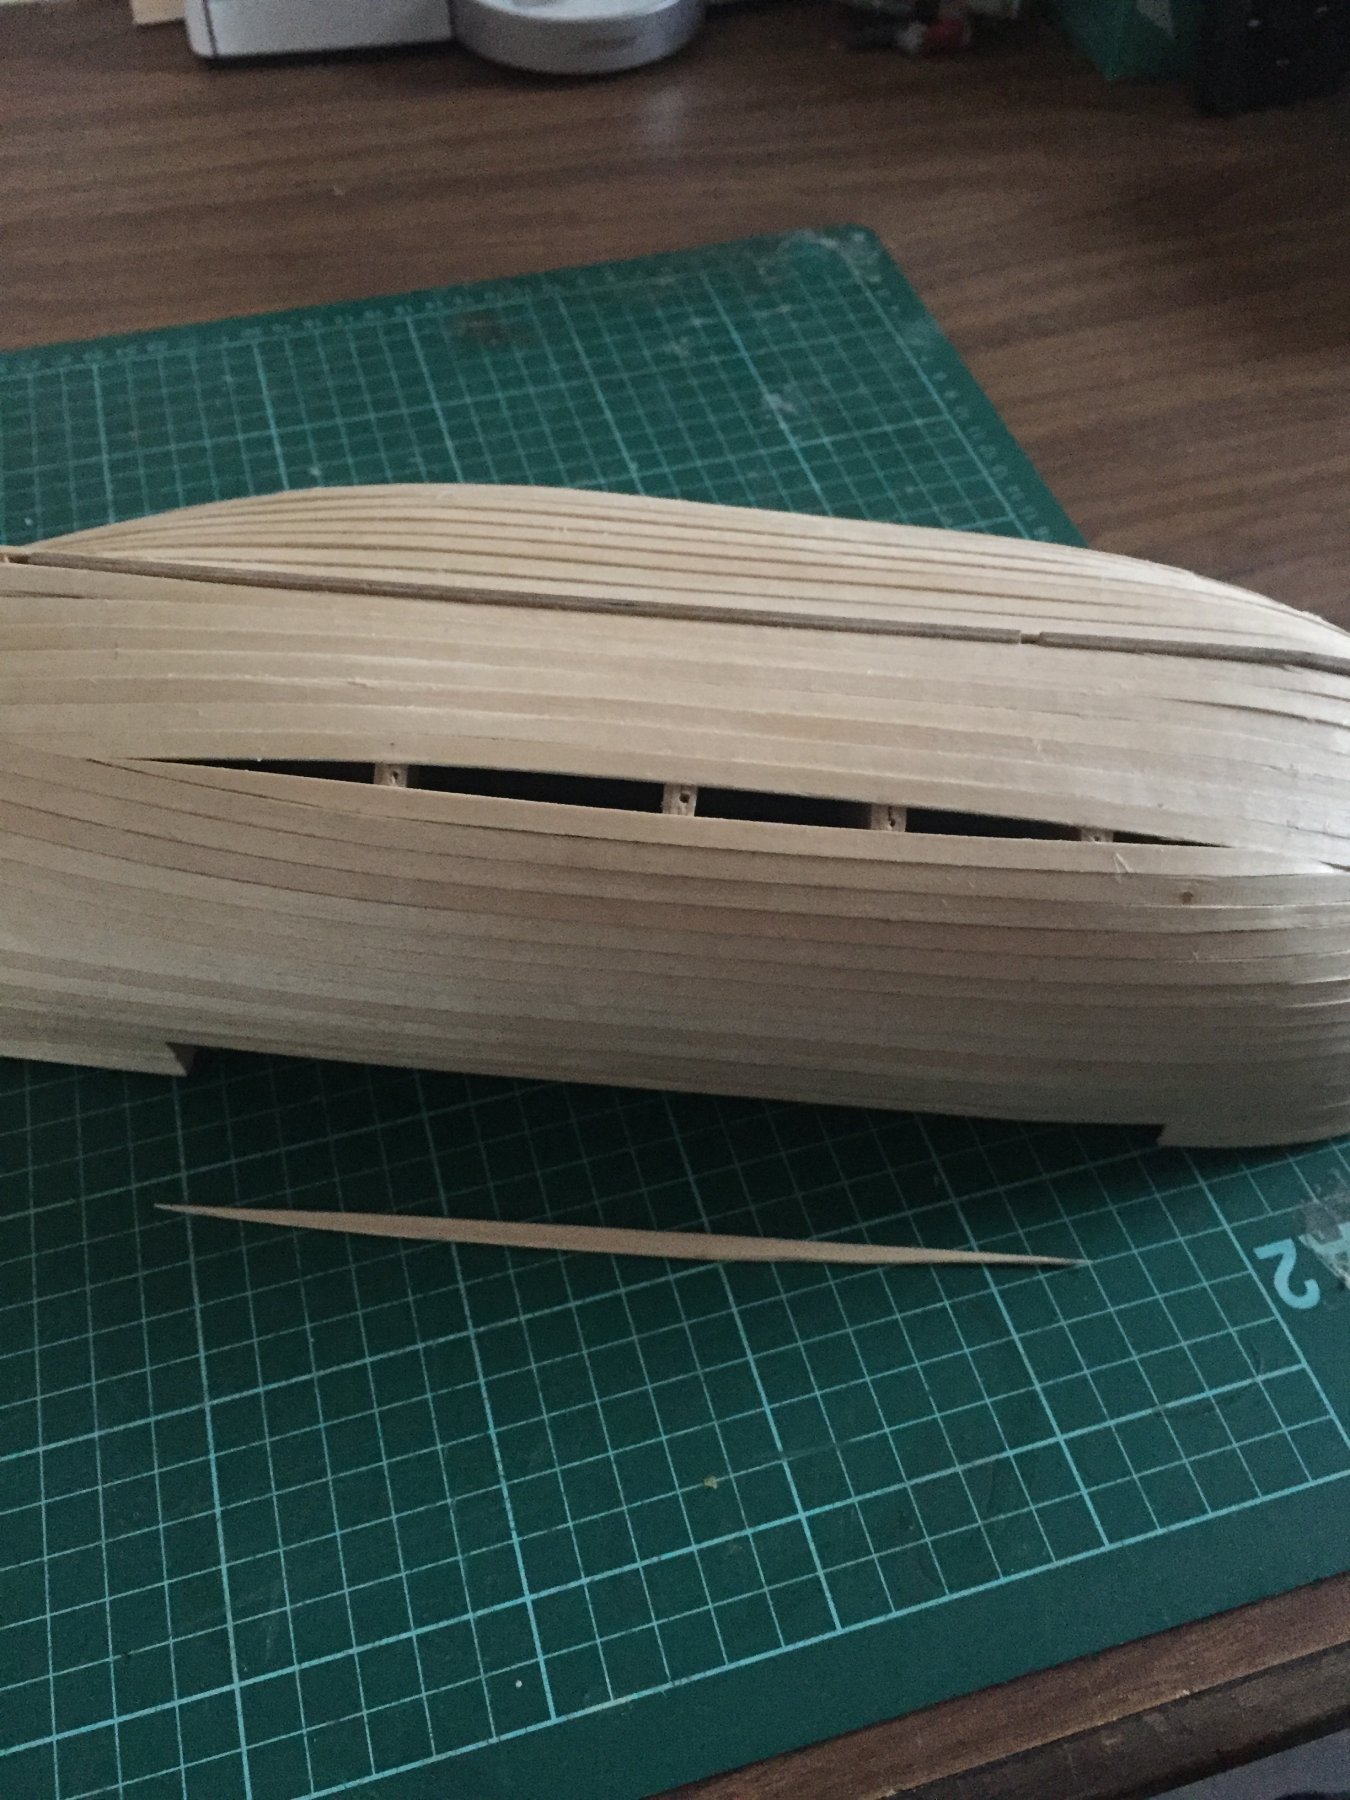
First planking complete. 23 planks per side (from the bulwark to the keel), with 15 full length planks left over.
Next- Lots of sanding.


-
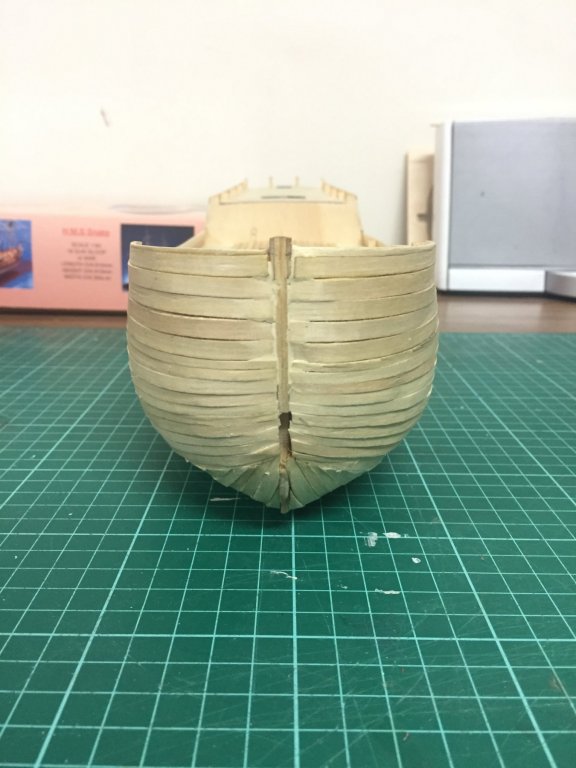
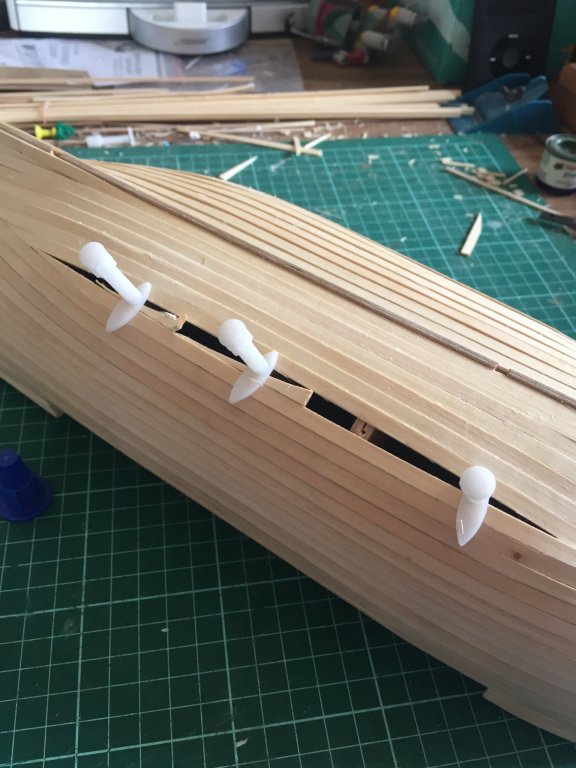
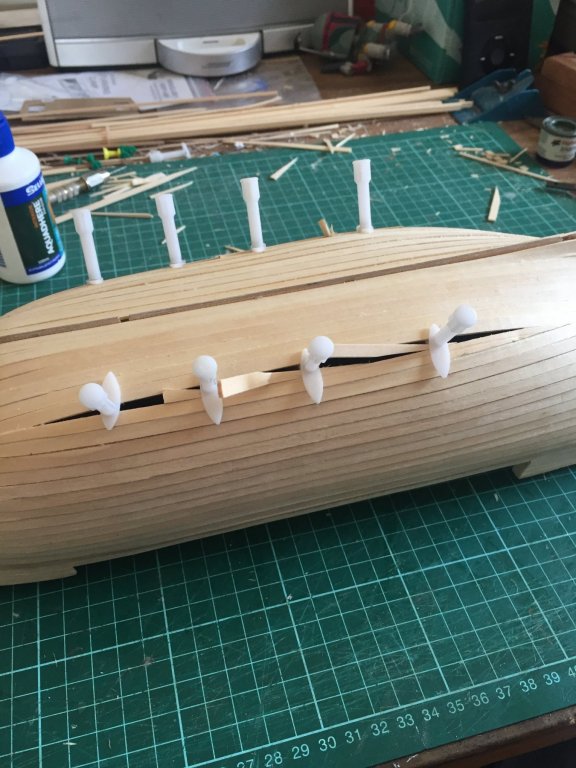
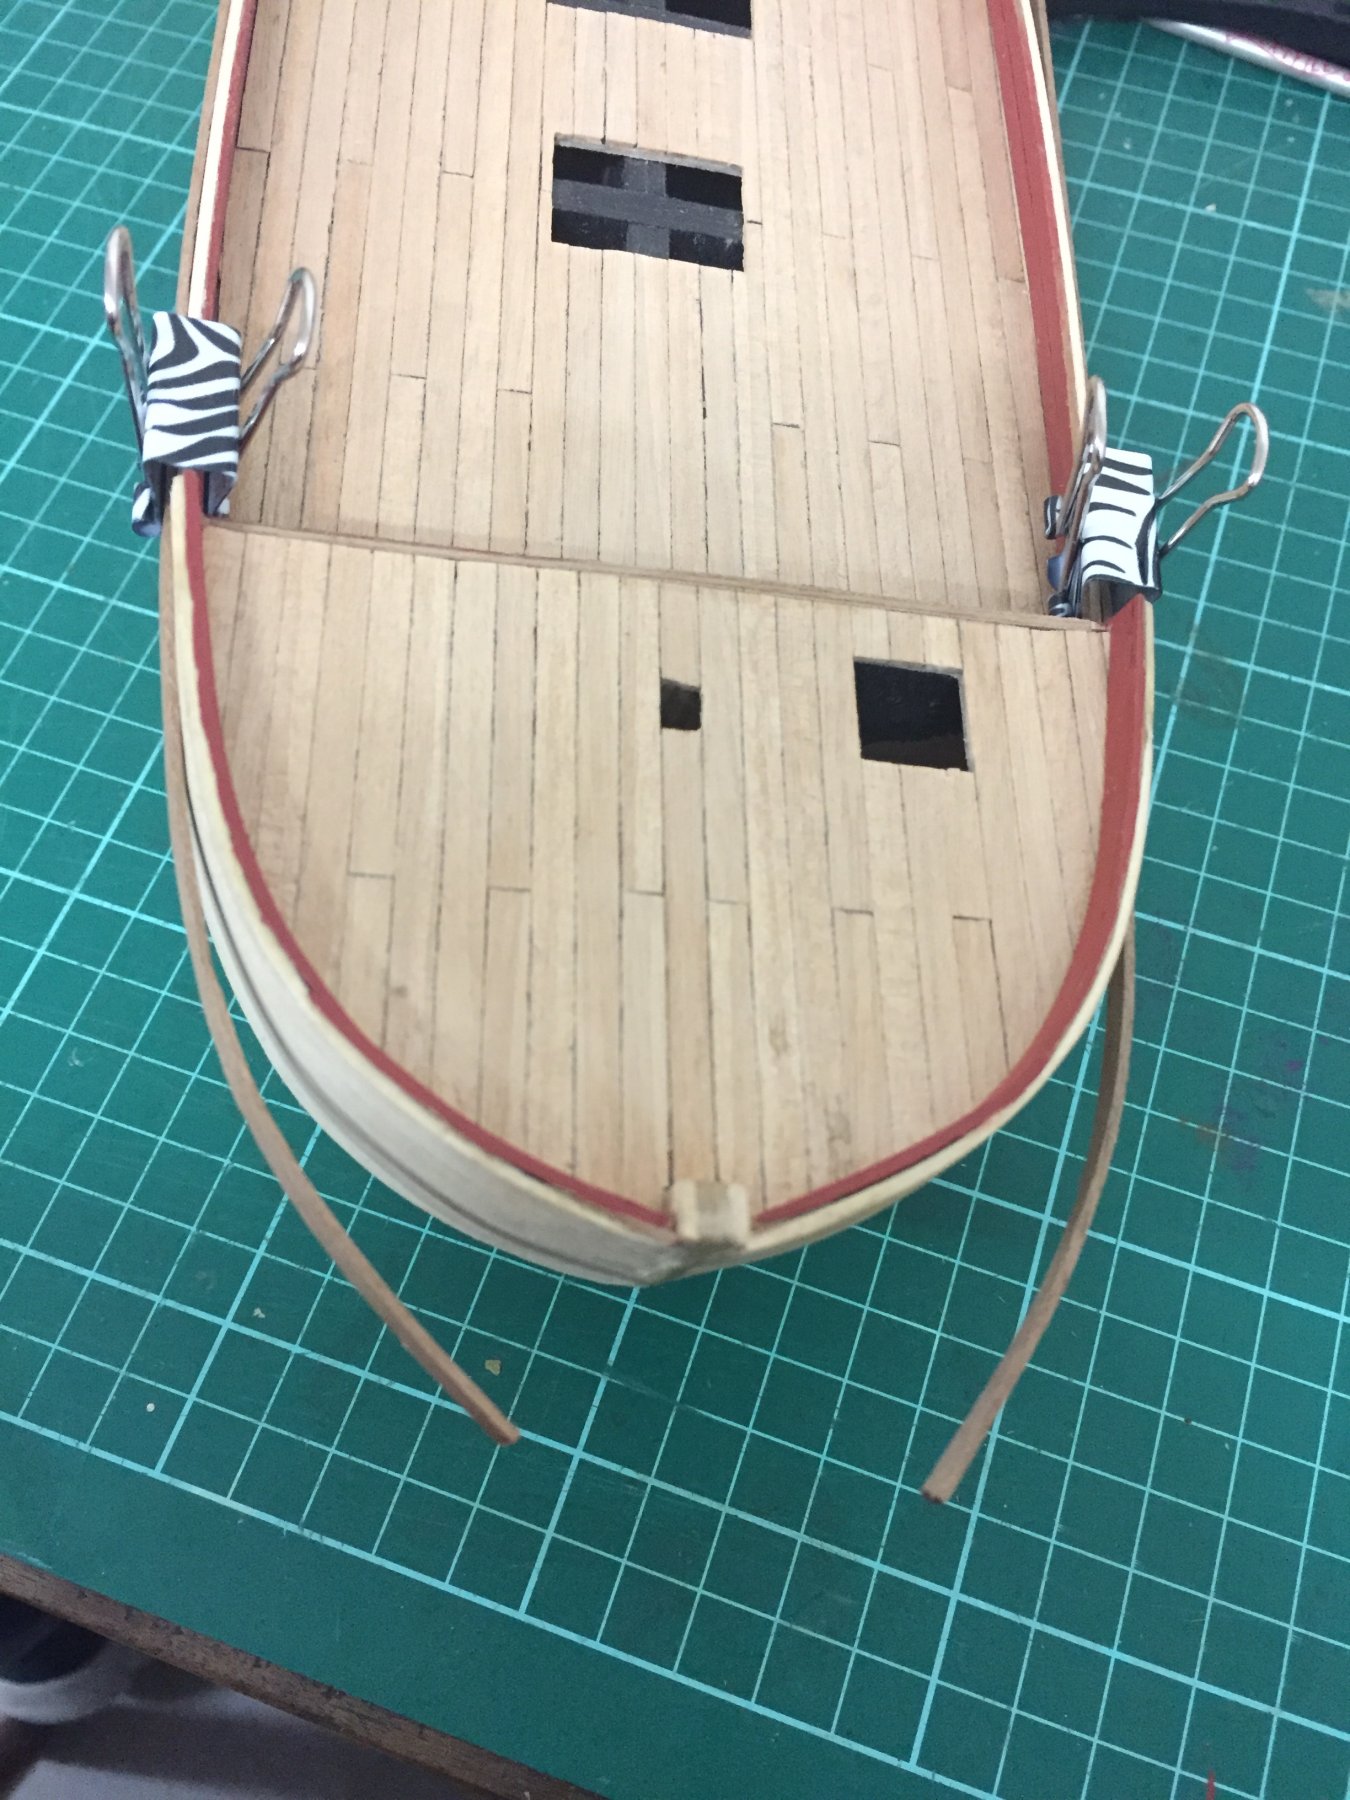
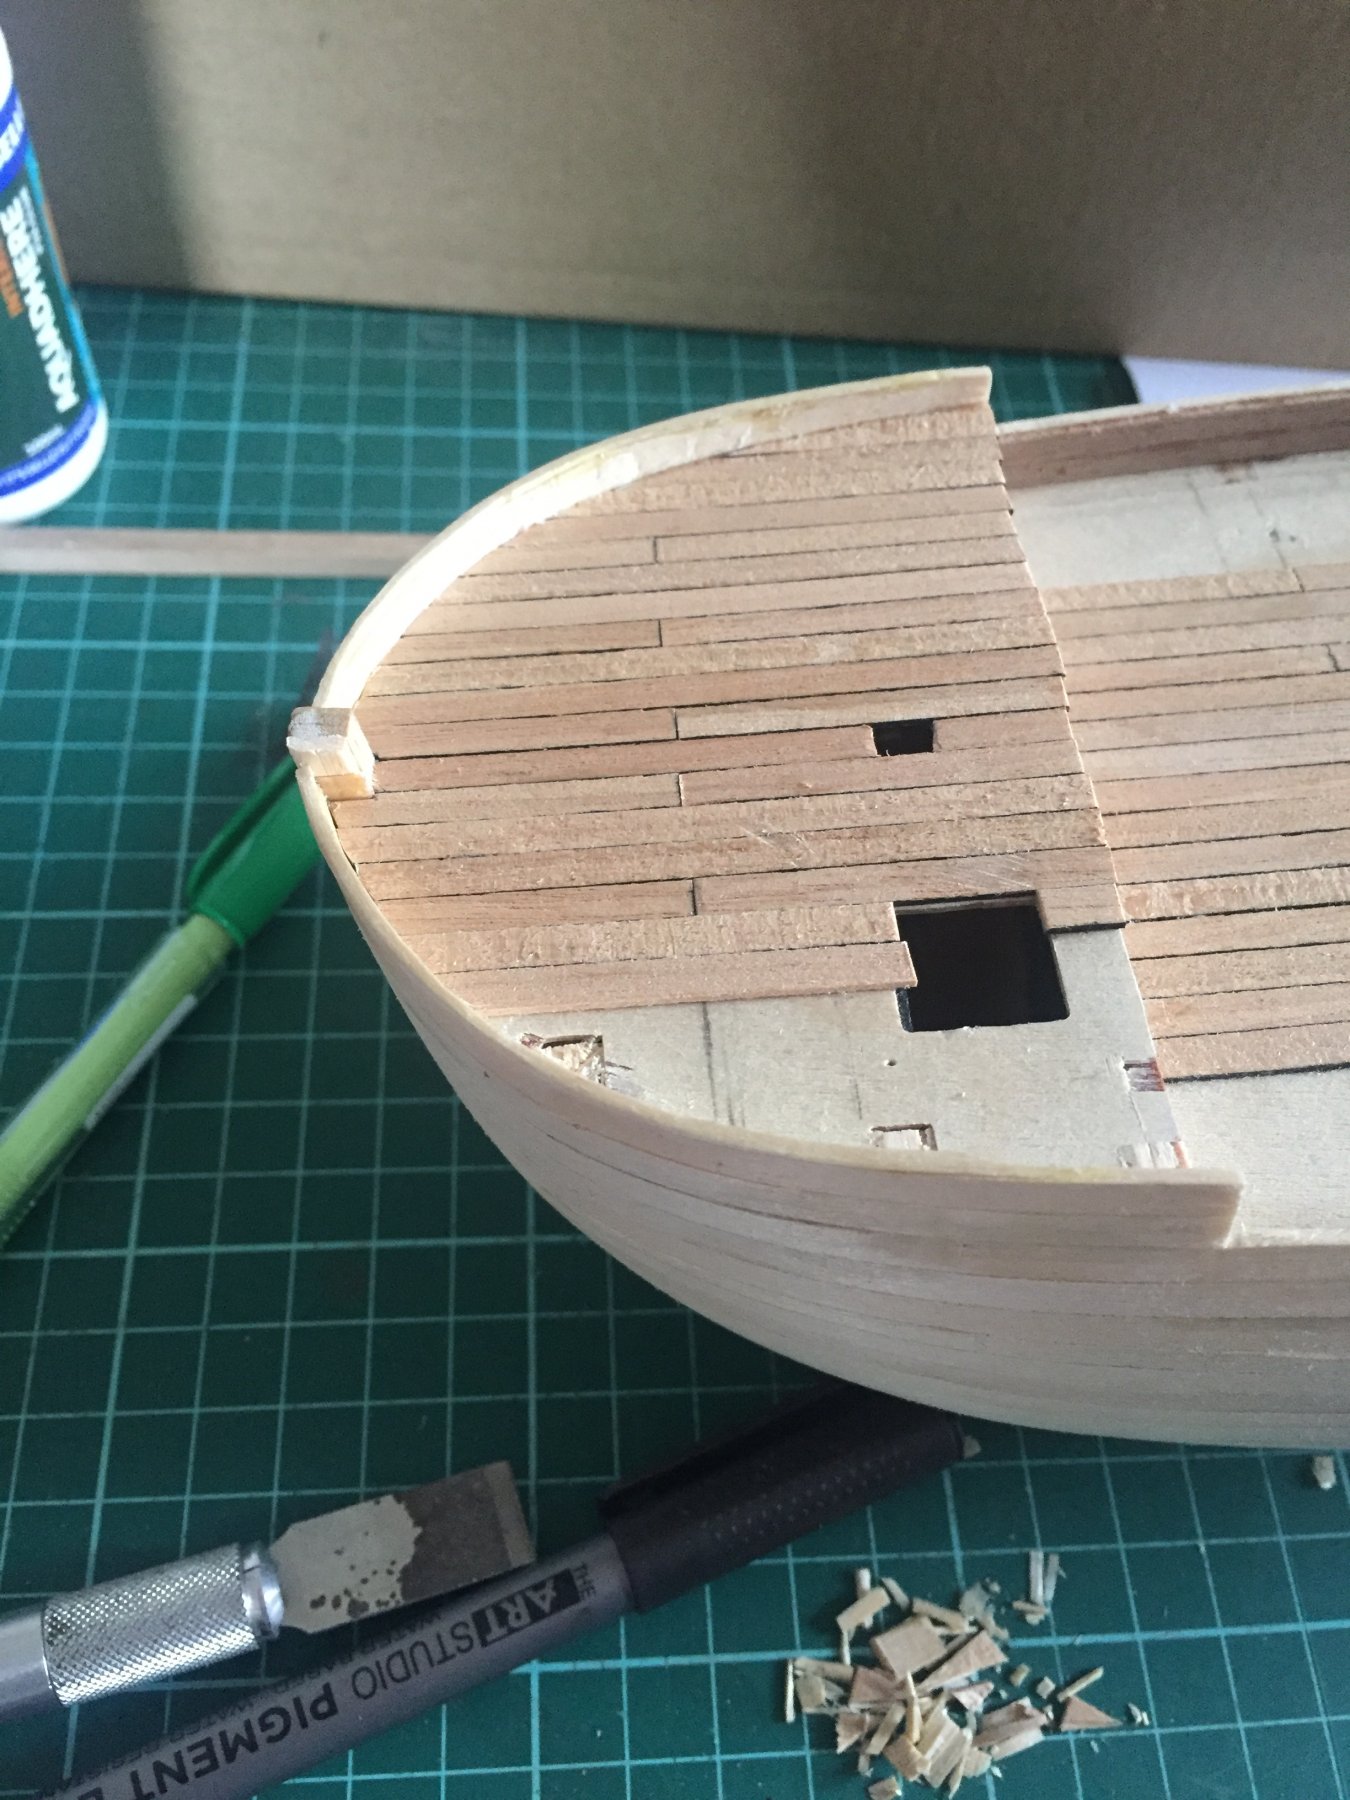
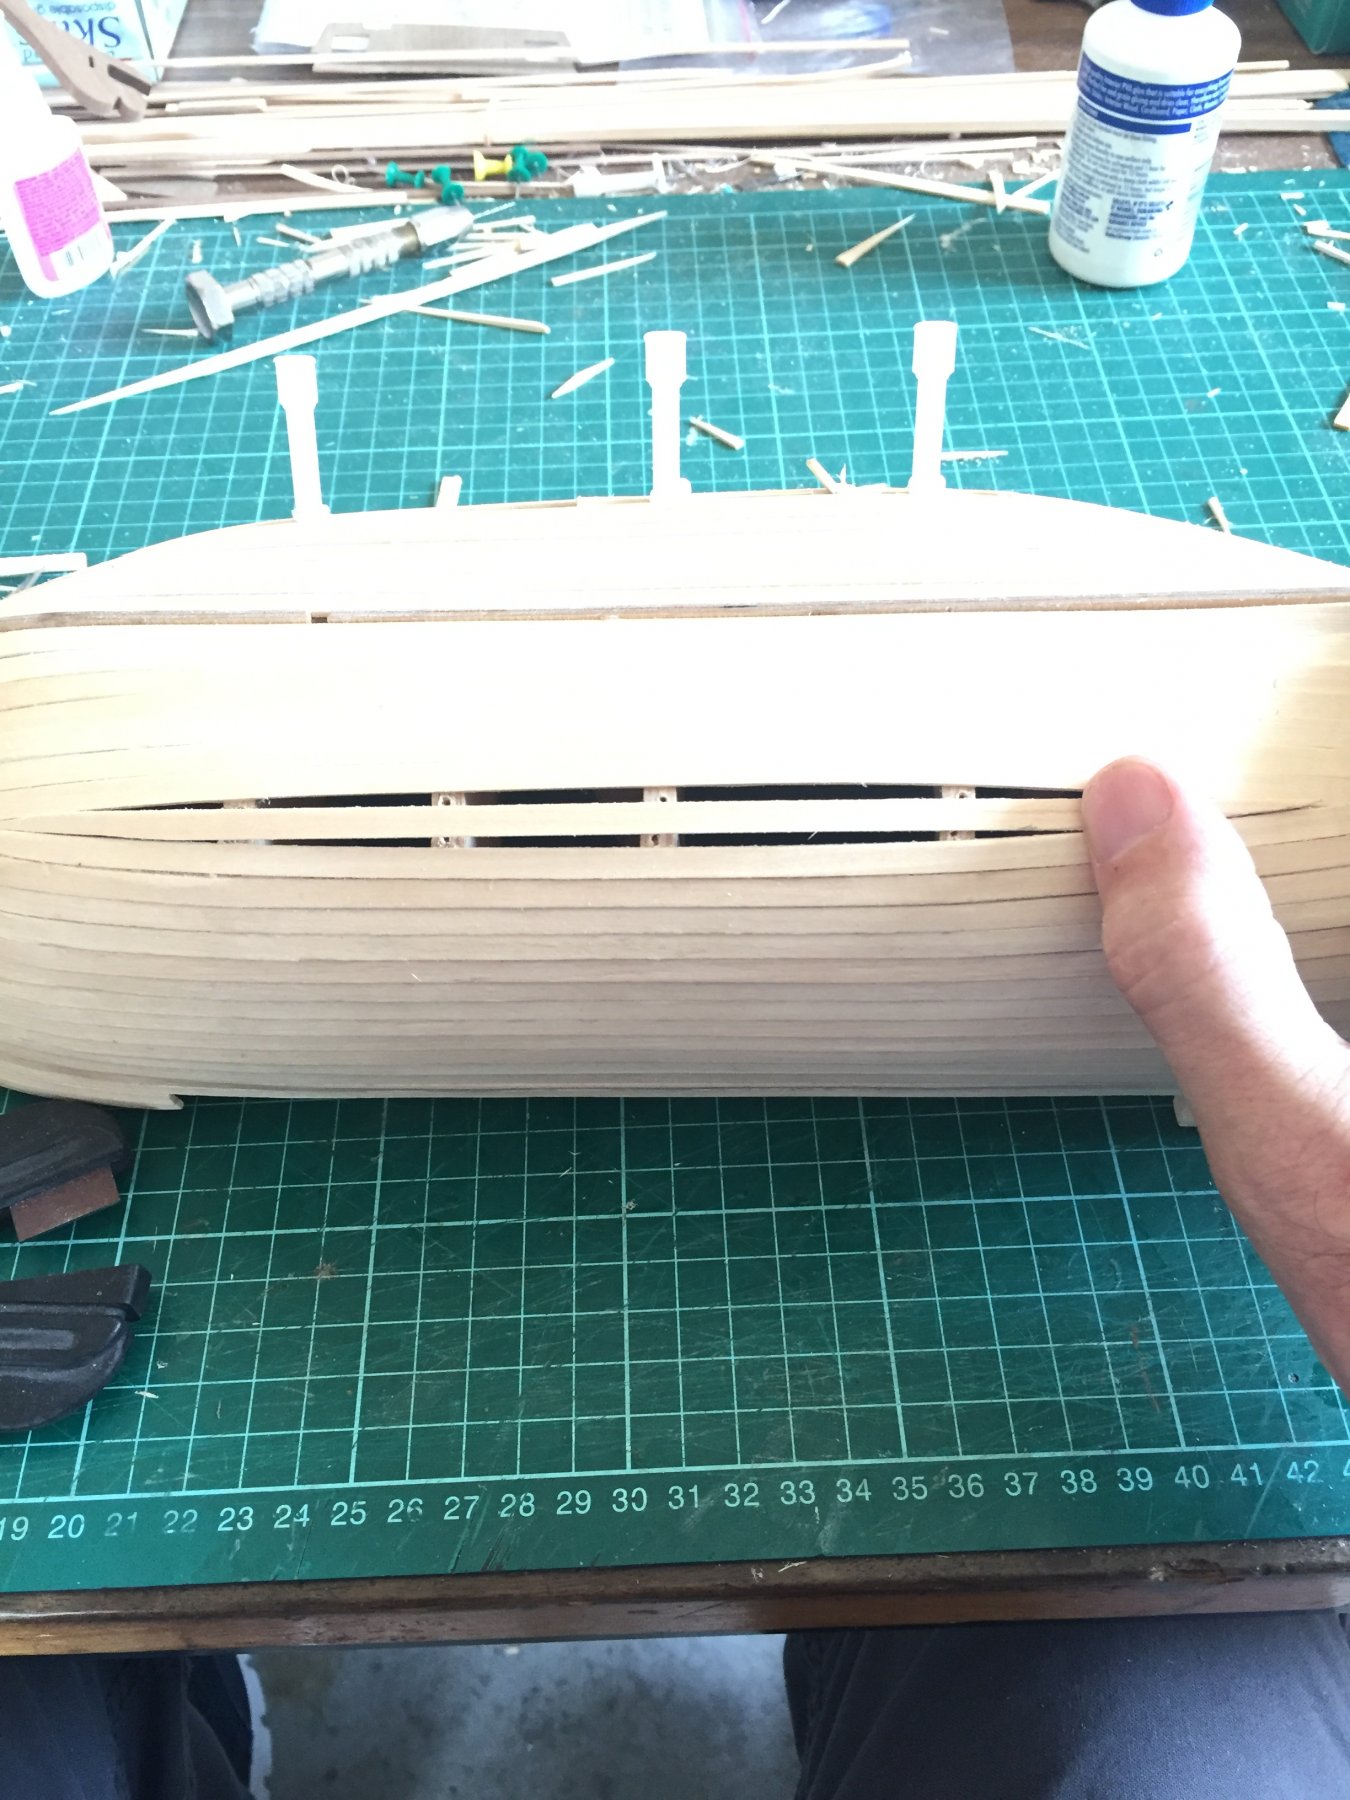
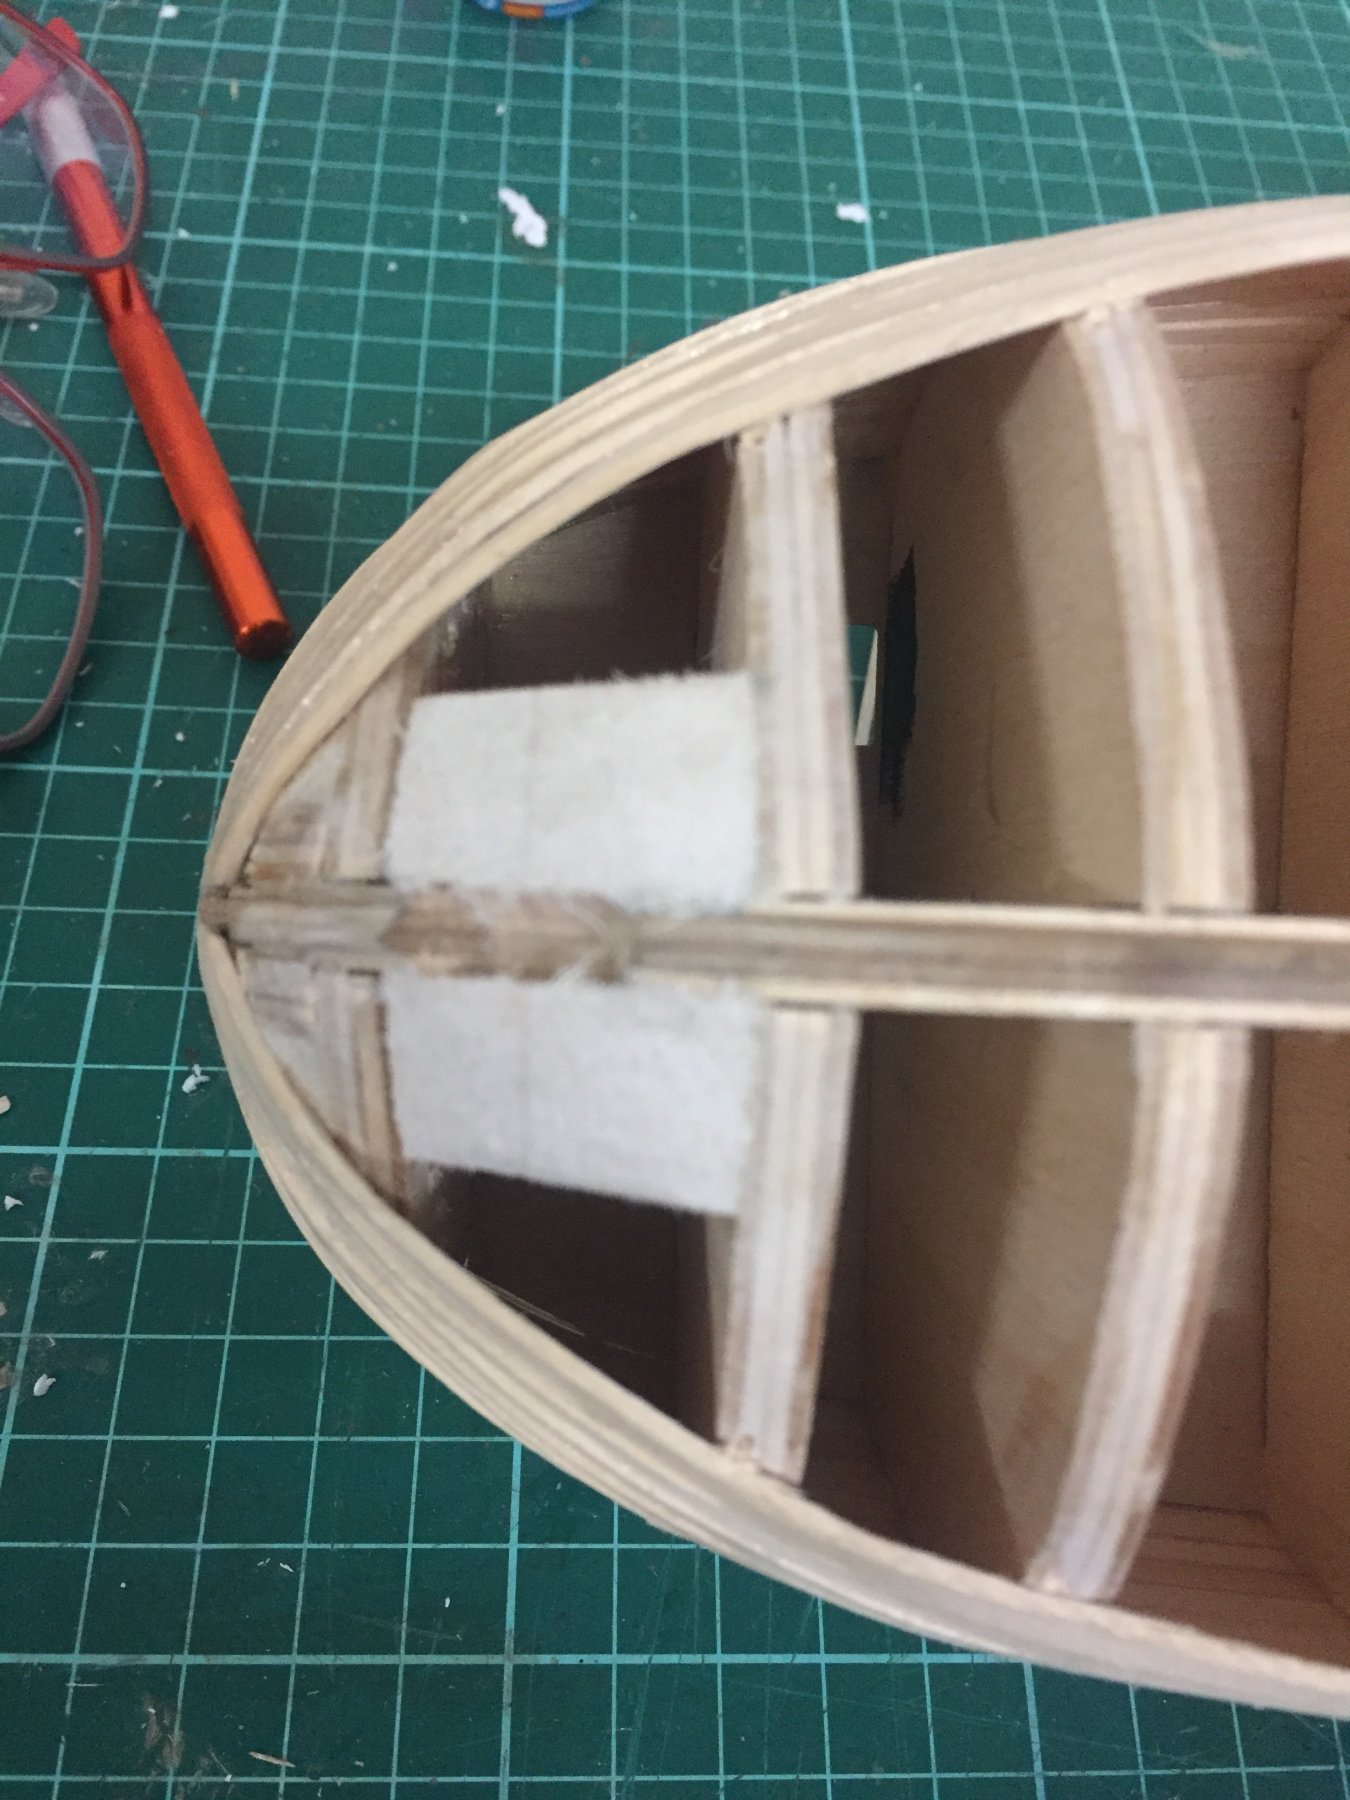
Closing the gap- I’m finding this bit easier than I thought I would. Still working from the keel, I’m planking towards the other planks. As you can see from the photos, the second last plank wants to stay centered. I don’t want it to. So I use off-cut wedges to push it to one side. That leaves exactly one plank width as the last gap. Happy with that.


-
Personally, I’d stick to the yellow ochre.
-
-
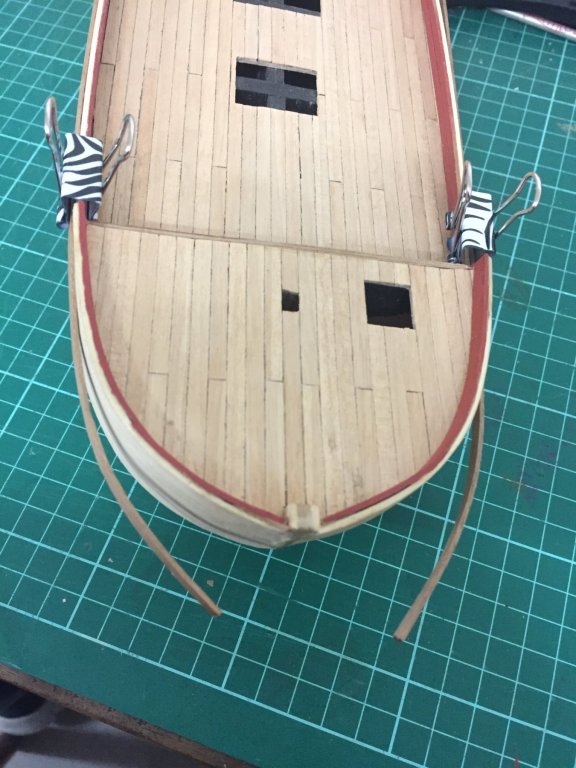
For these planks, I’m trying to ensure they have a close fit at both the bow and stern.

-
There’ll be a next time.
-
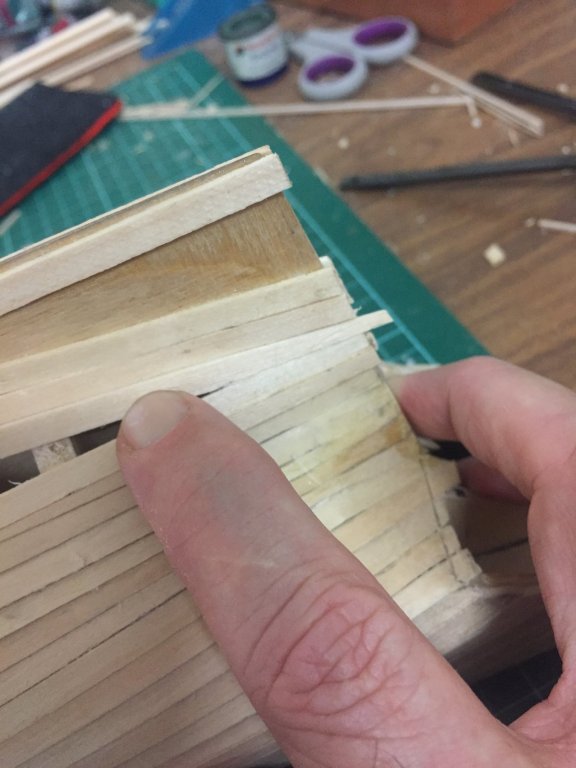
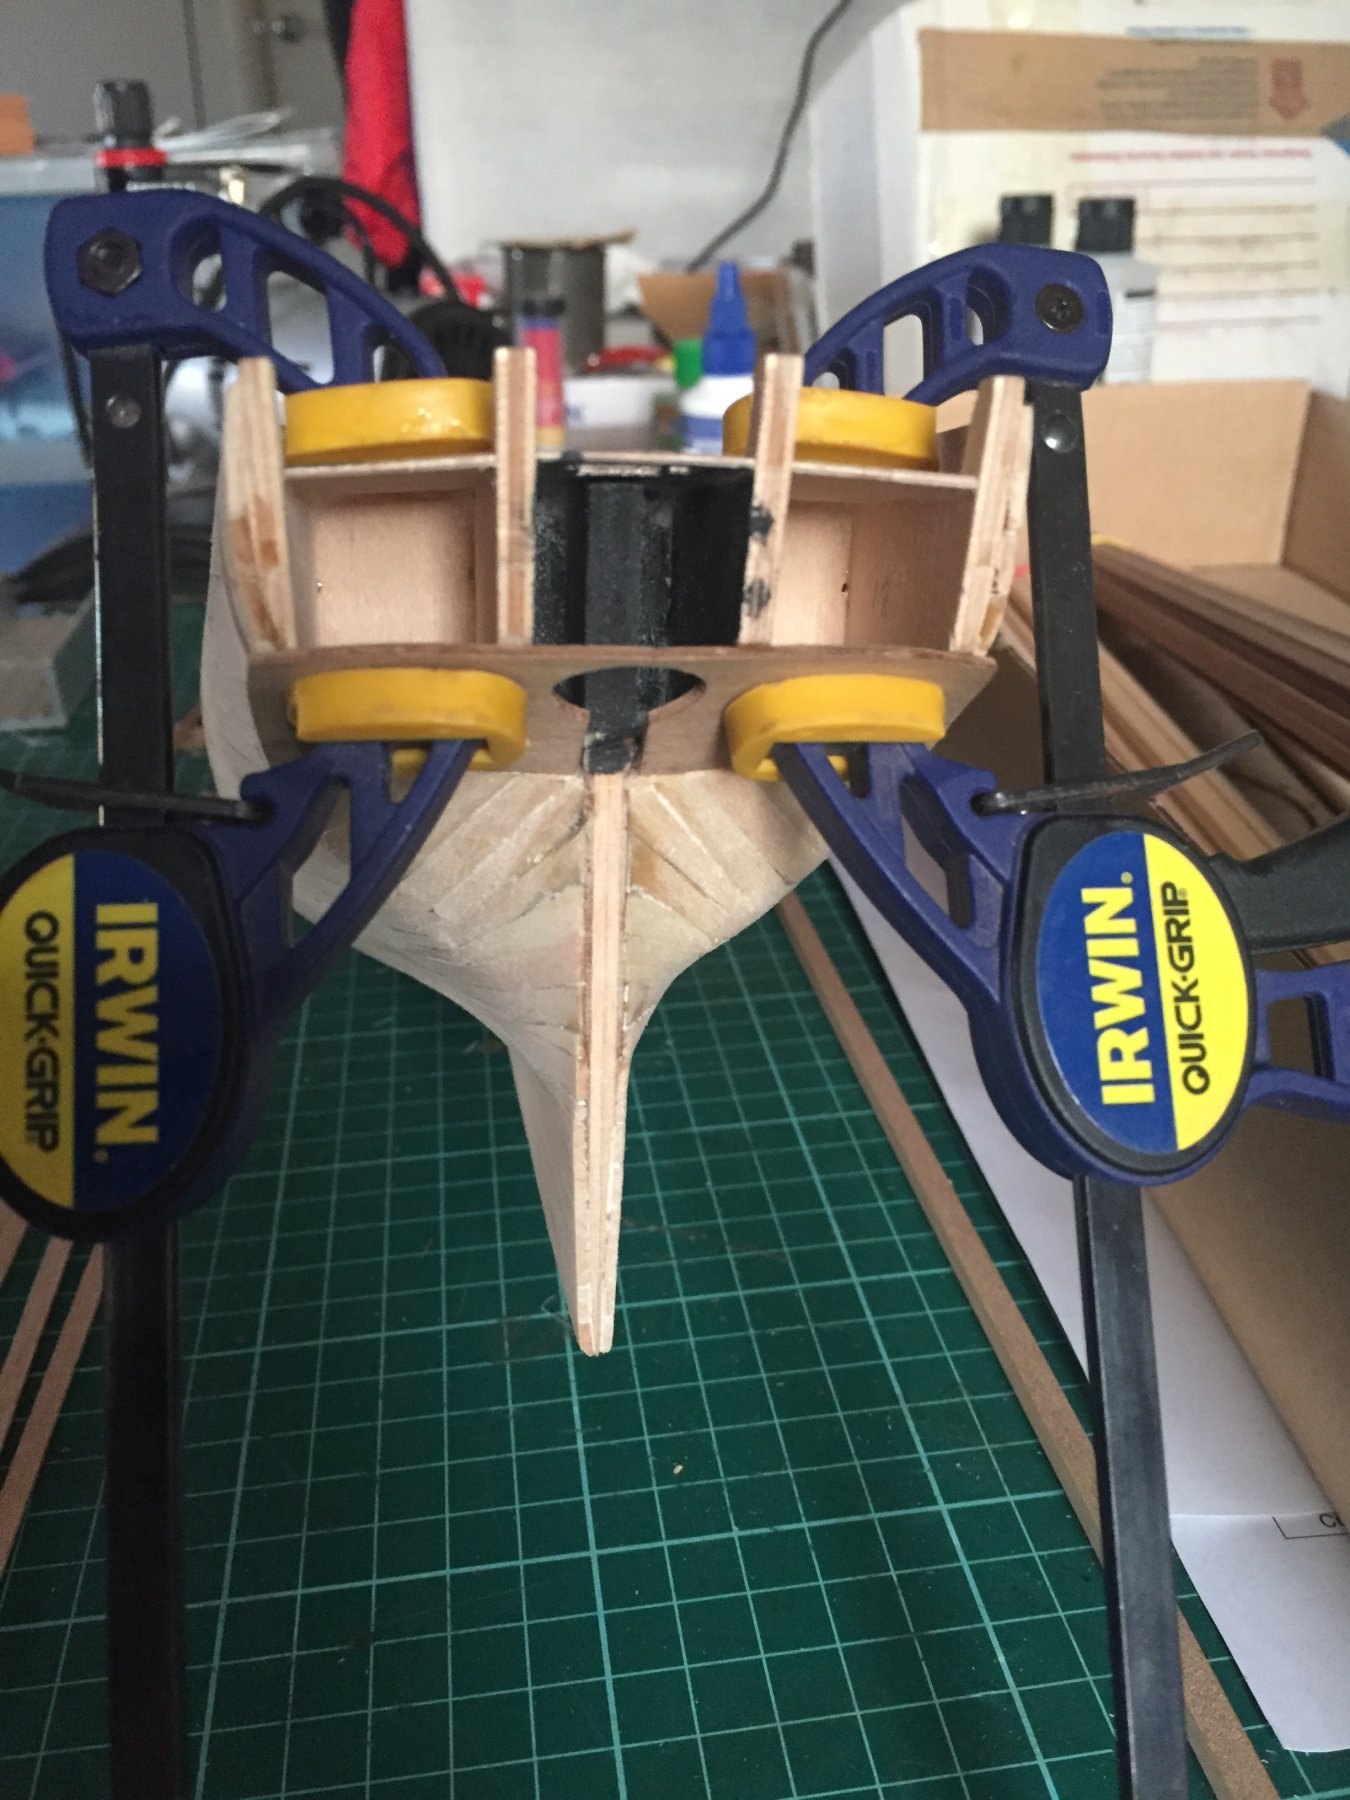
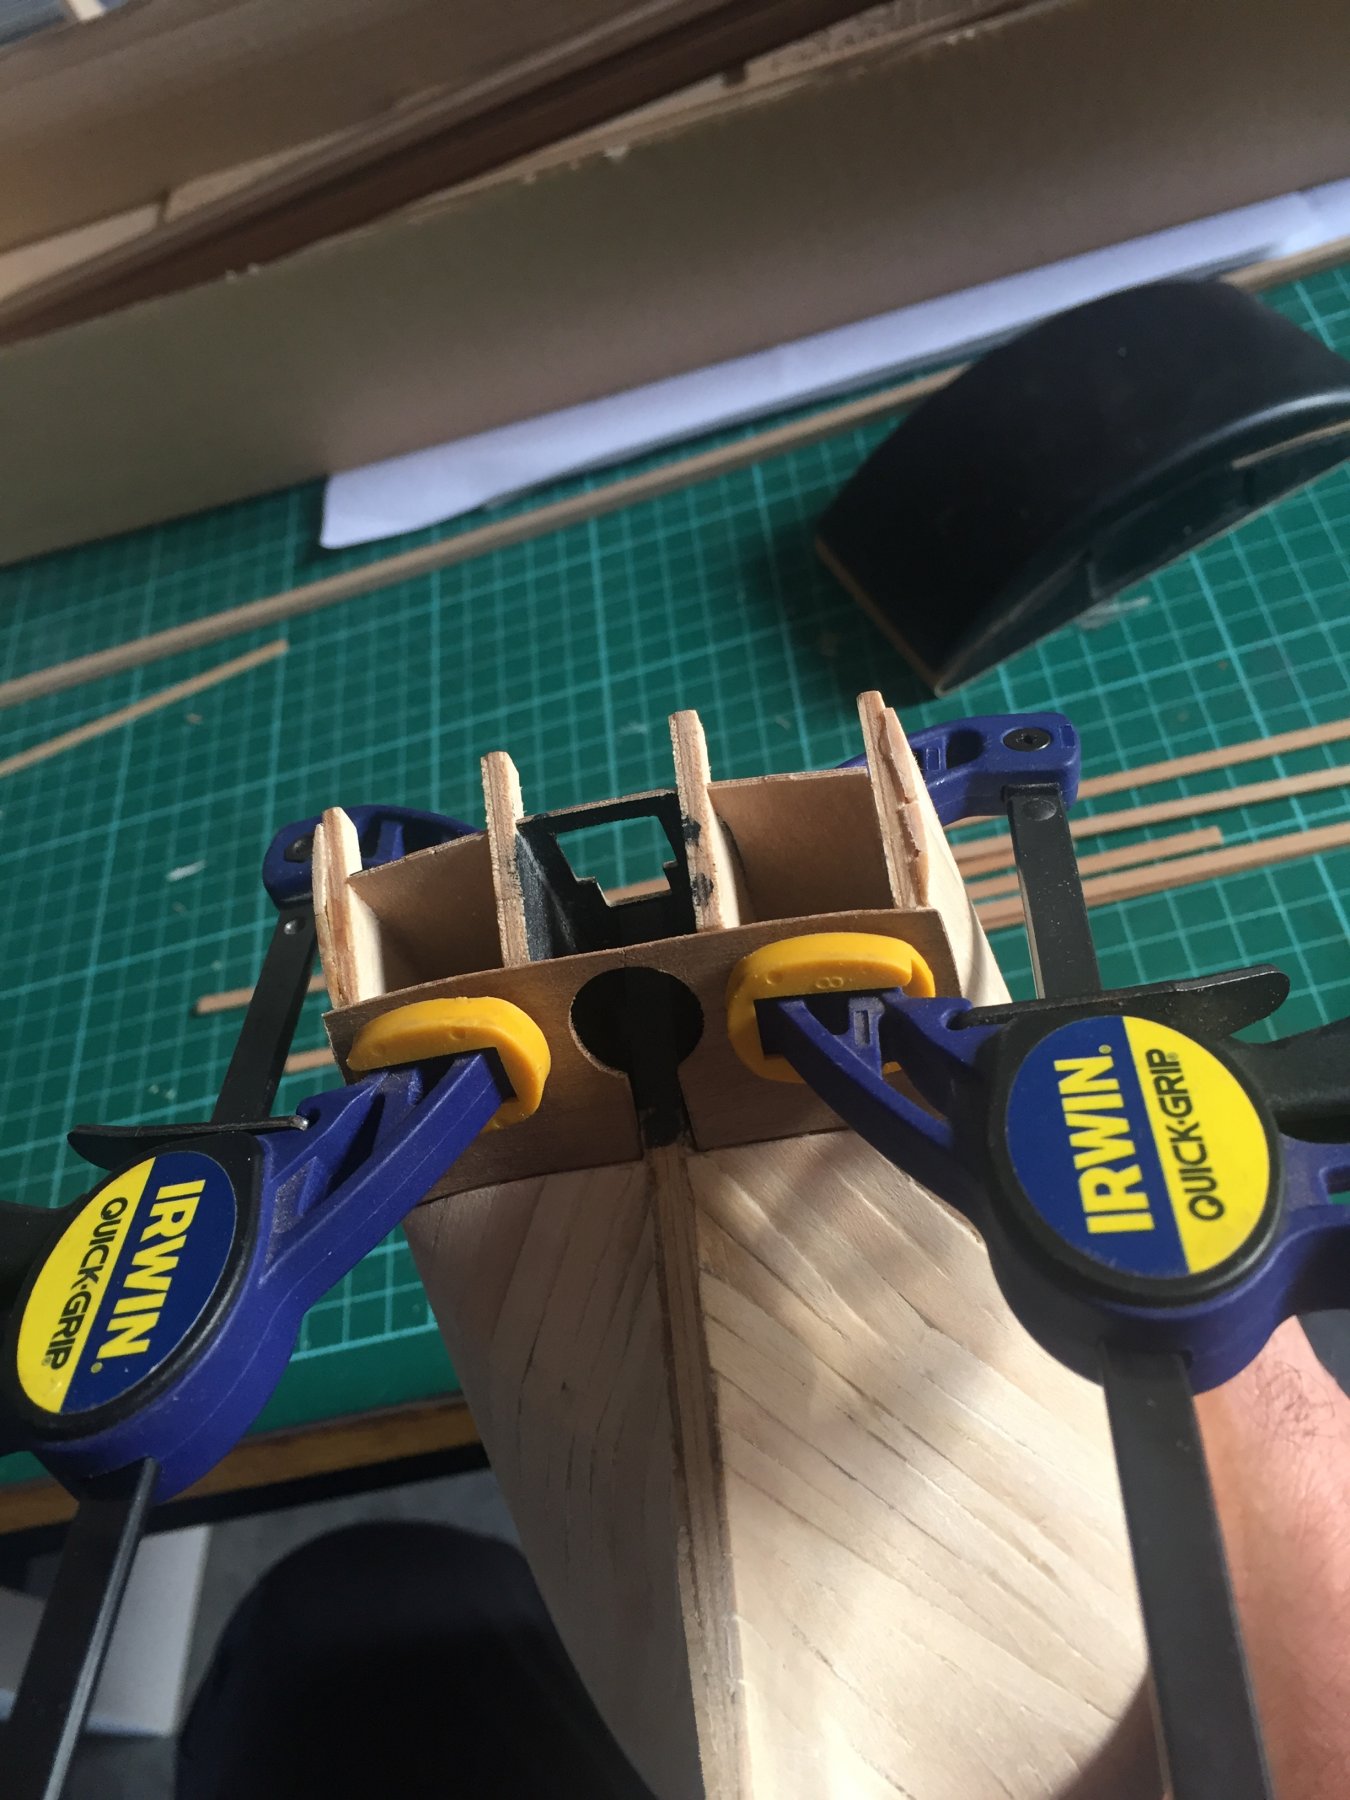
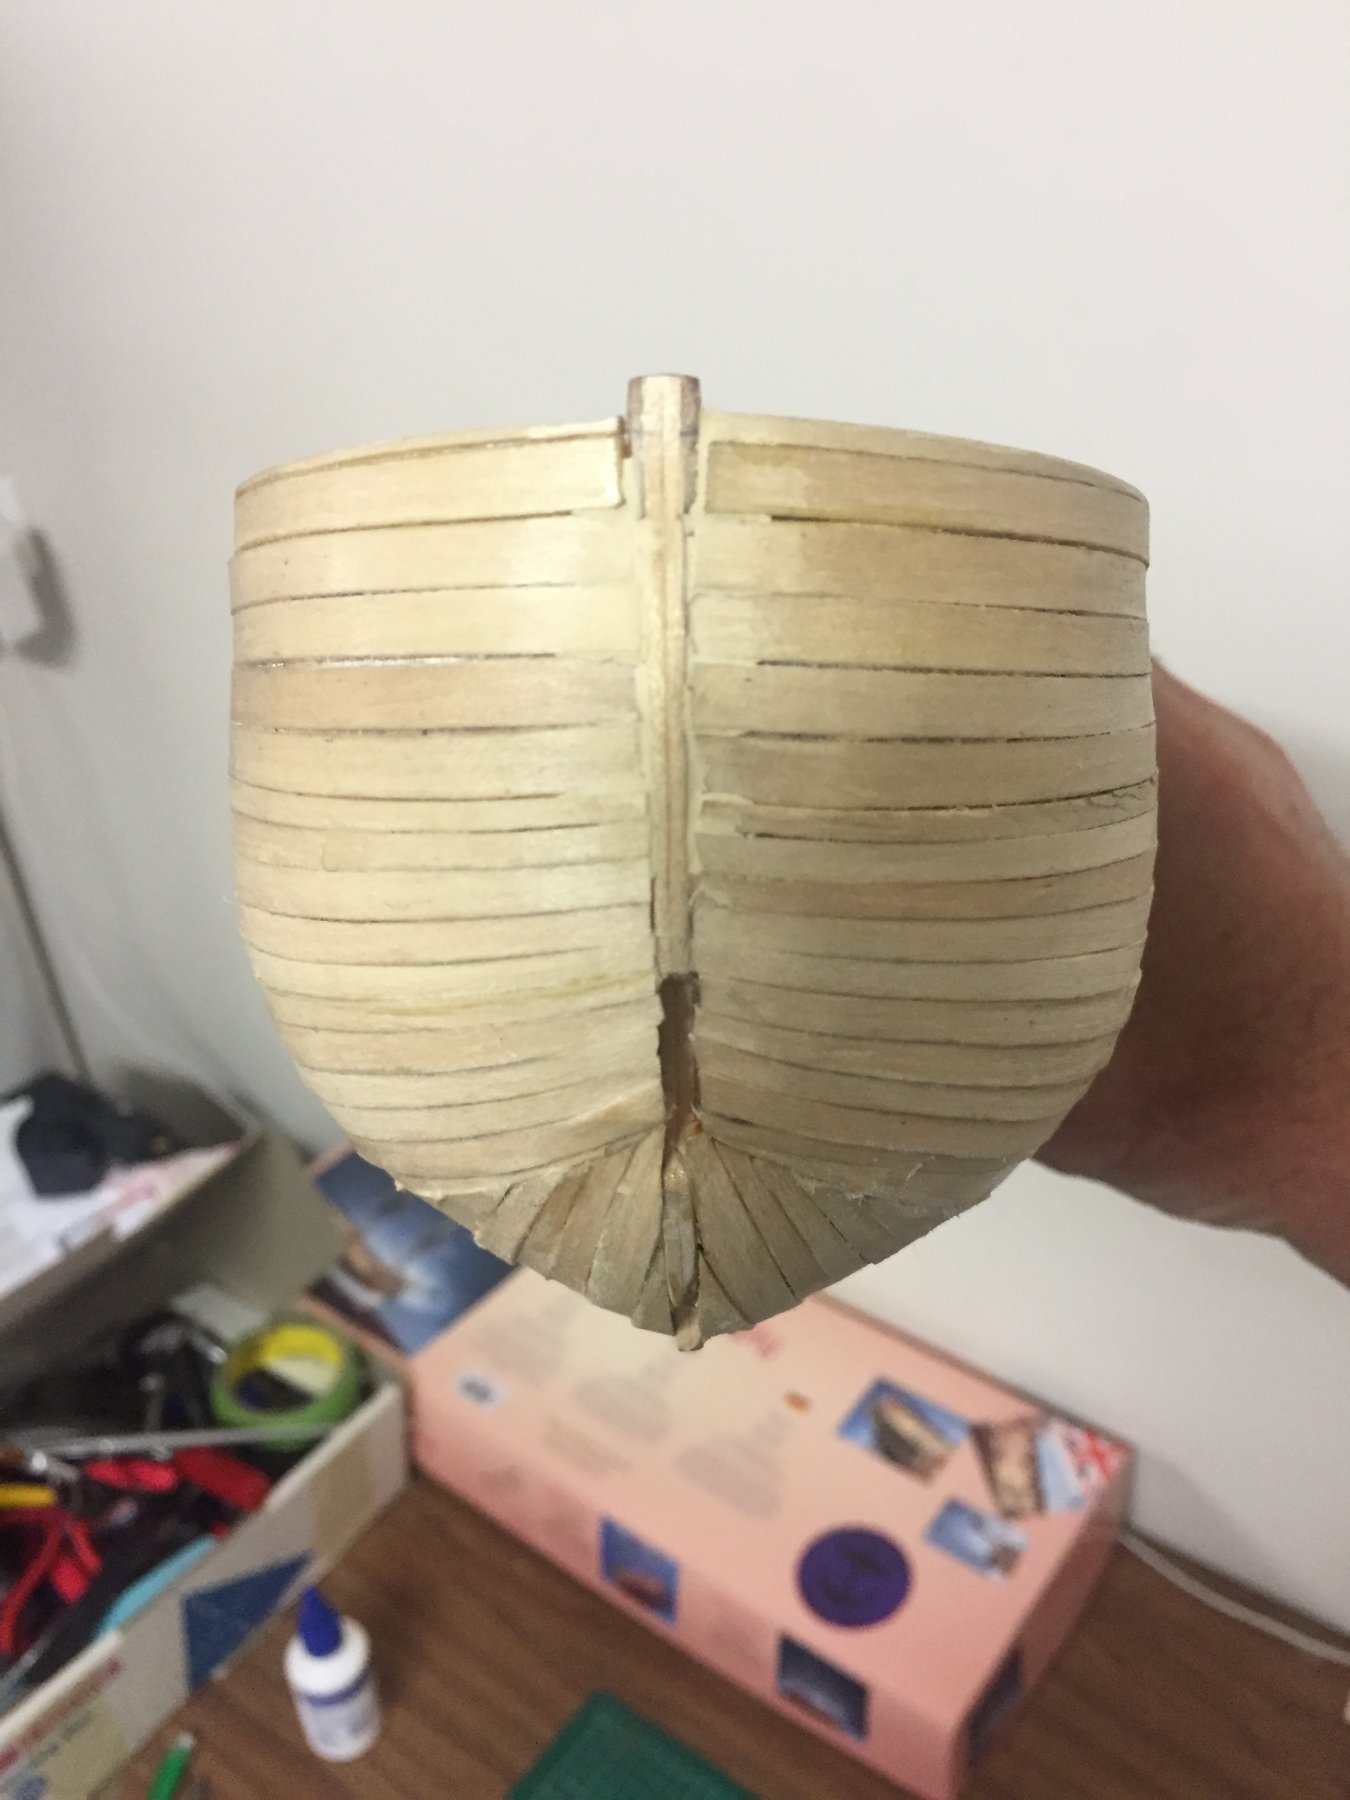
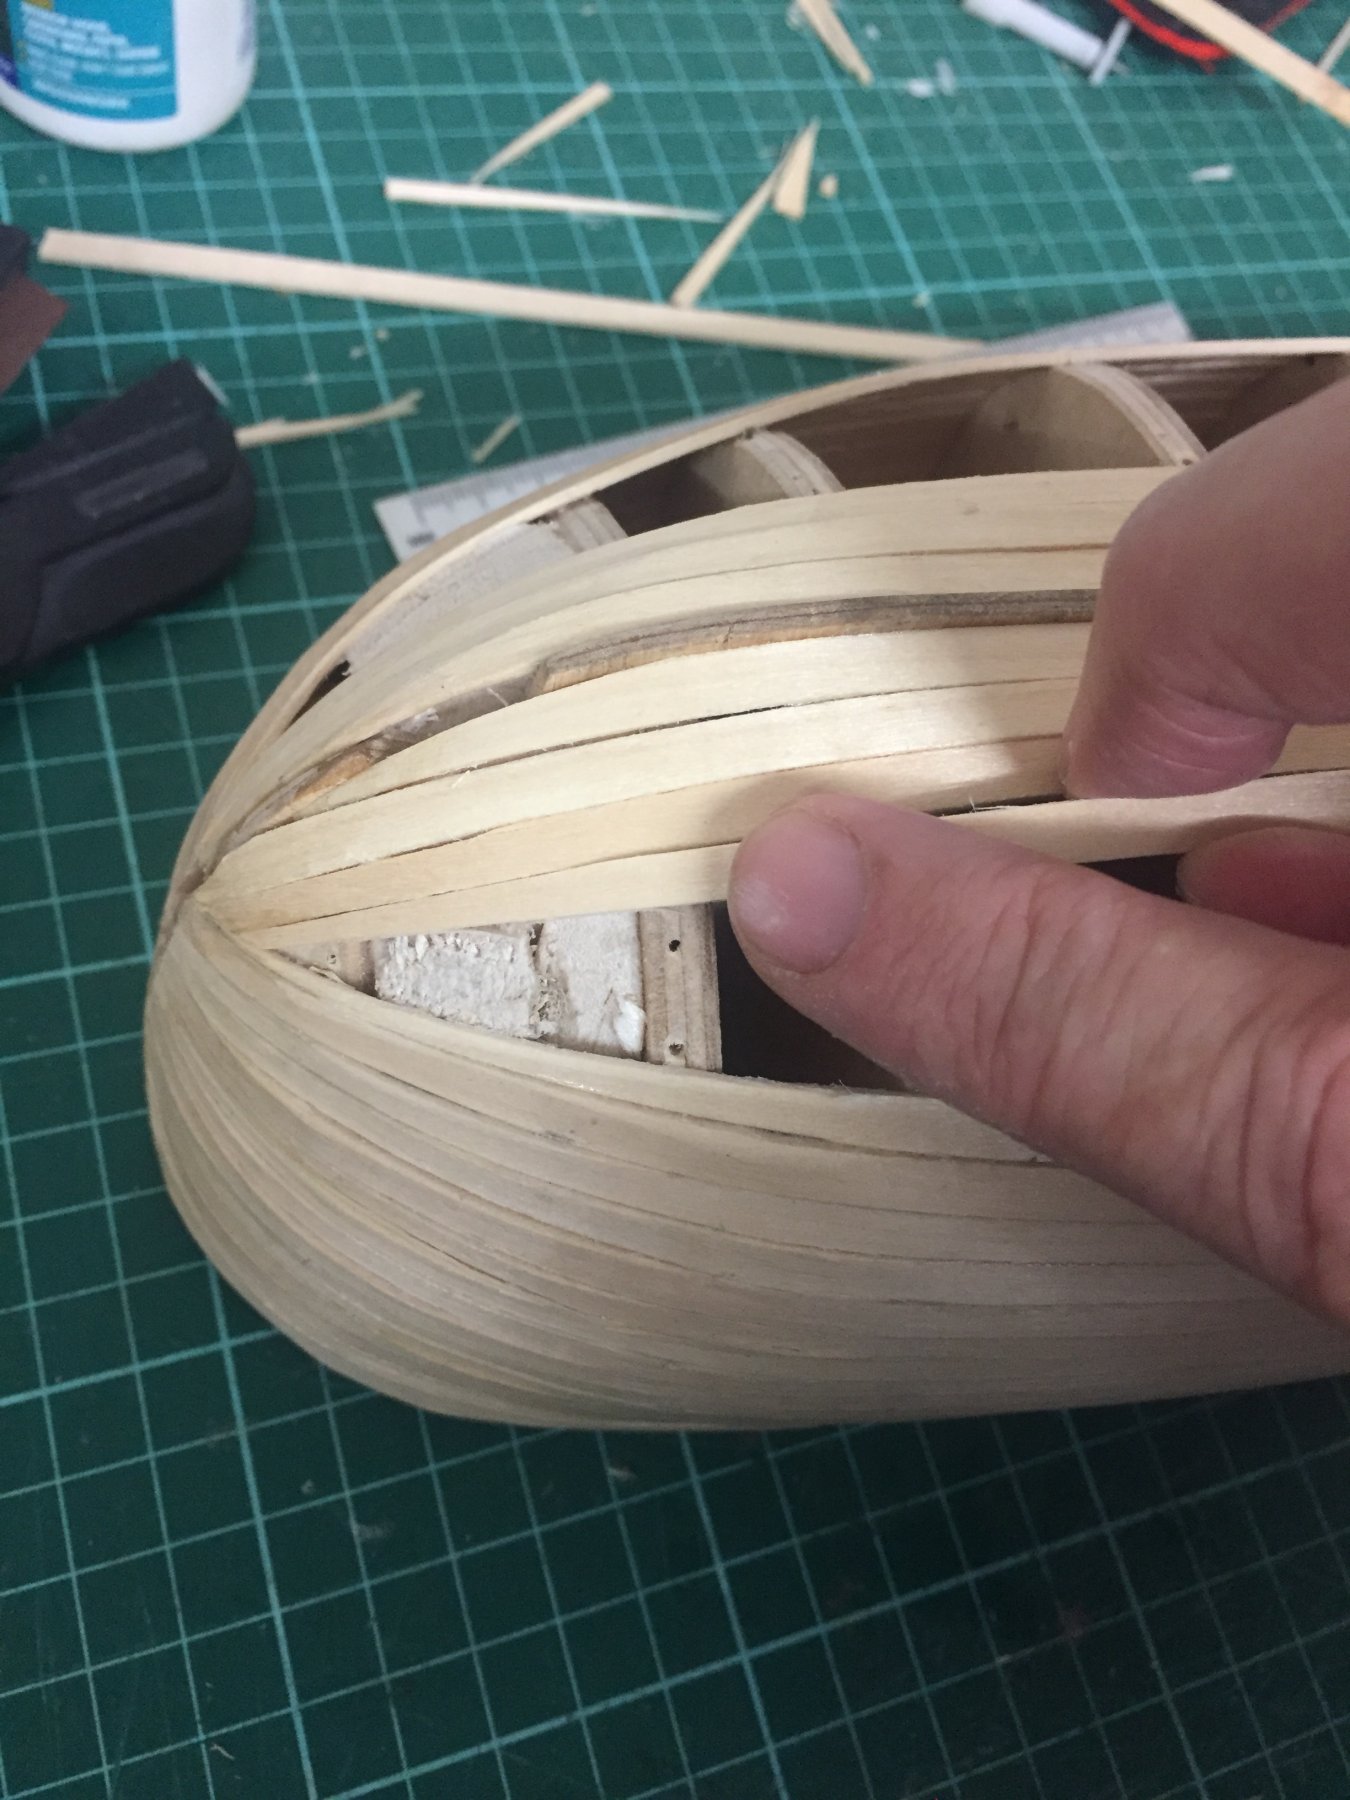
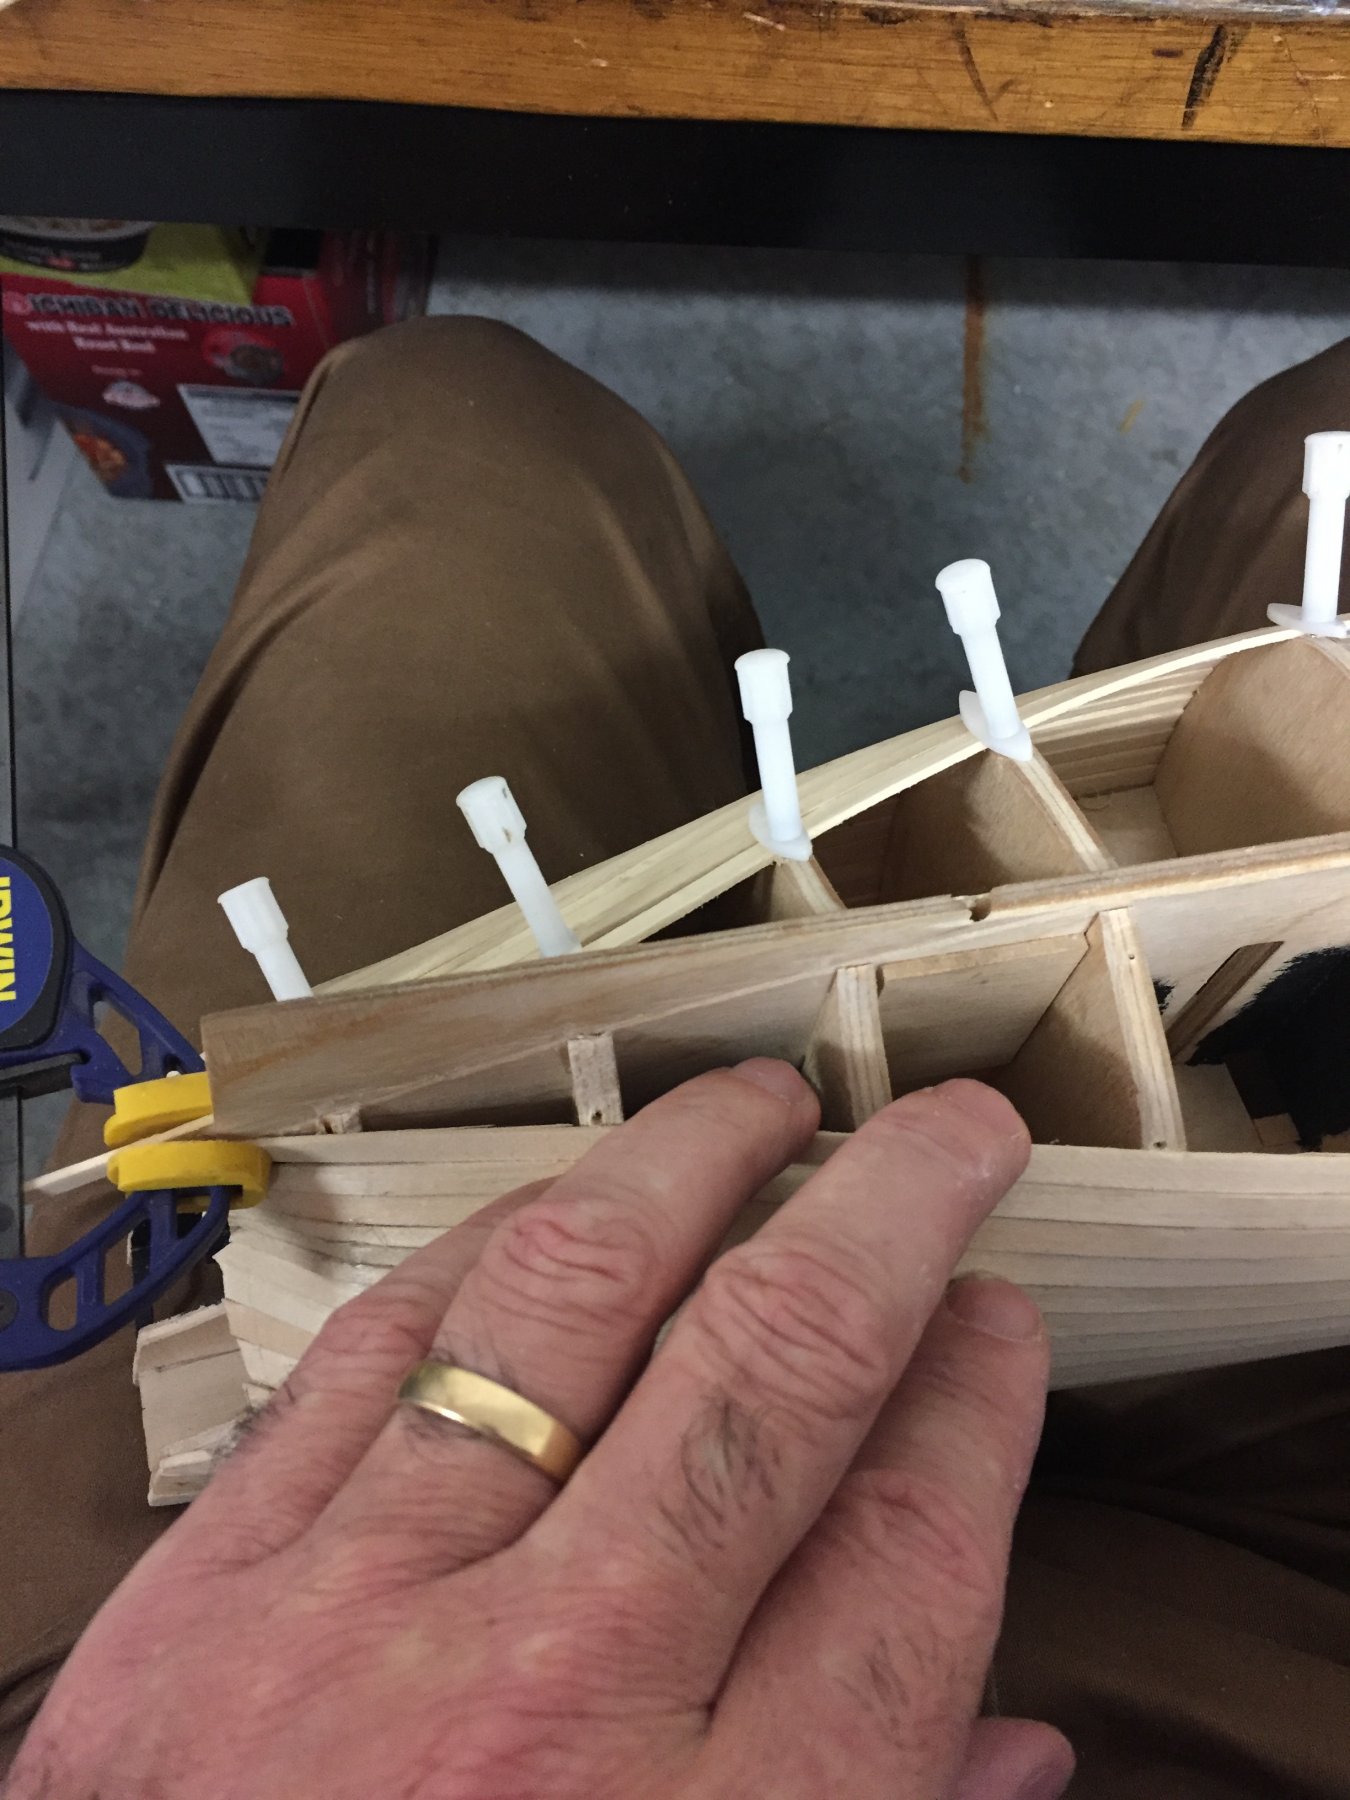
Well. I’ve tried to the best of my ability to plank this hull in manner and style I see every day on this forum- planks reduced no more than half width, no pointy ends, etc. Unfortunately, my skills won’t allow that. I’m now working up from the keel. I’ve placed the garboard plank and let it follow its own curve to the bow.
I was was also planning on ending the first planking in a rebate in the stem, and than only having the second planking continuing to the stern post. I’ve decided not to. The garboard plank follows the keel to the rear. Each other plank on the stem will follow their natural lay, with stealers placed in between.
I’m still loving this, though.

-
Finally able to get back to this. Sorry about the break. Life happens.

- zappto, SIDEWAYS SAM and JpR62
-
3
-
I’ve found (as you’ve guessed) a problem where the planks at the bow now need to bend two directions at once. I see no choice but to start planking from the keel, upwards, and terminate those ones with their natural contour lay. I’ll get on to that within a couple of weeks.
- Dan Vadas and GrandpaPhil
-
2
-
Sorry I haven't posted in a while, but other things have taken priority. I should be able to get back to it shortly. Life is good, though.


HM Brig Supply by Jobbie - Caldercraft - Scale 1:64
in - Kit build logs for subjects built from 1751 - 1800
Posted
Going to great lengths to ensure the first plank of the second layer sits flush. Again, I’m letting it dry overnight.
I’m going to have to consider how I do this more efficiently as I move forward.