
Jobbie
-
Posts
220 -
Joined
-
Last visited
Content Type
Profiles
Forums
Gallery
Events
Posts posted by Jobbie
-
-
-
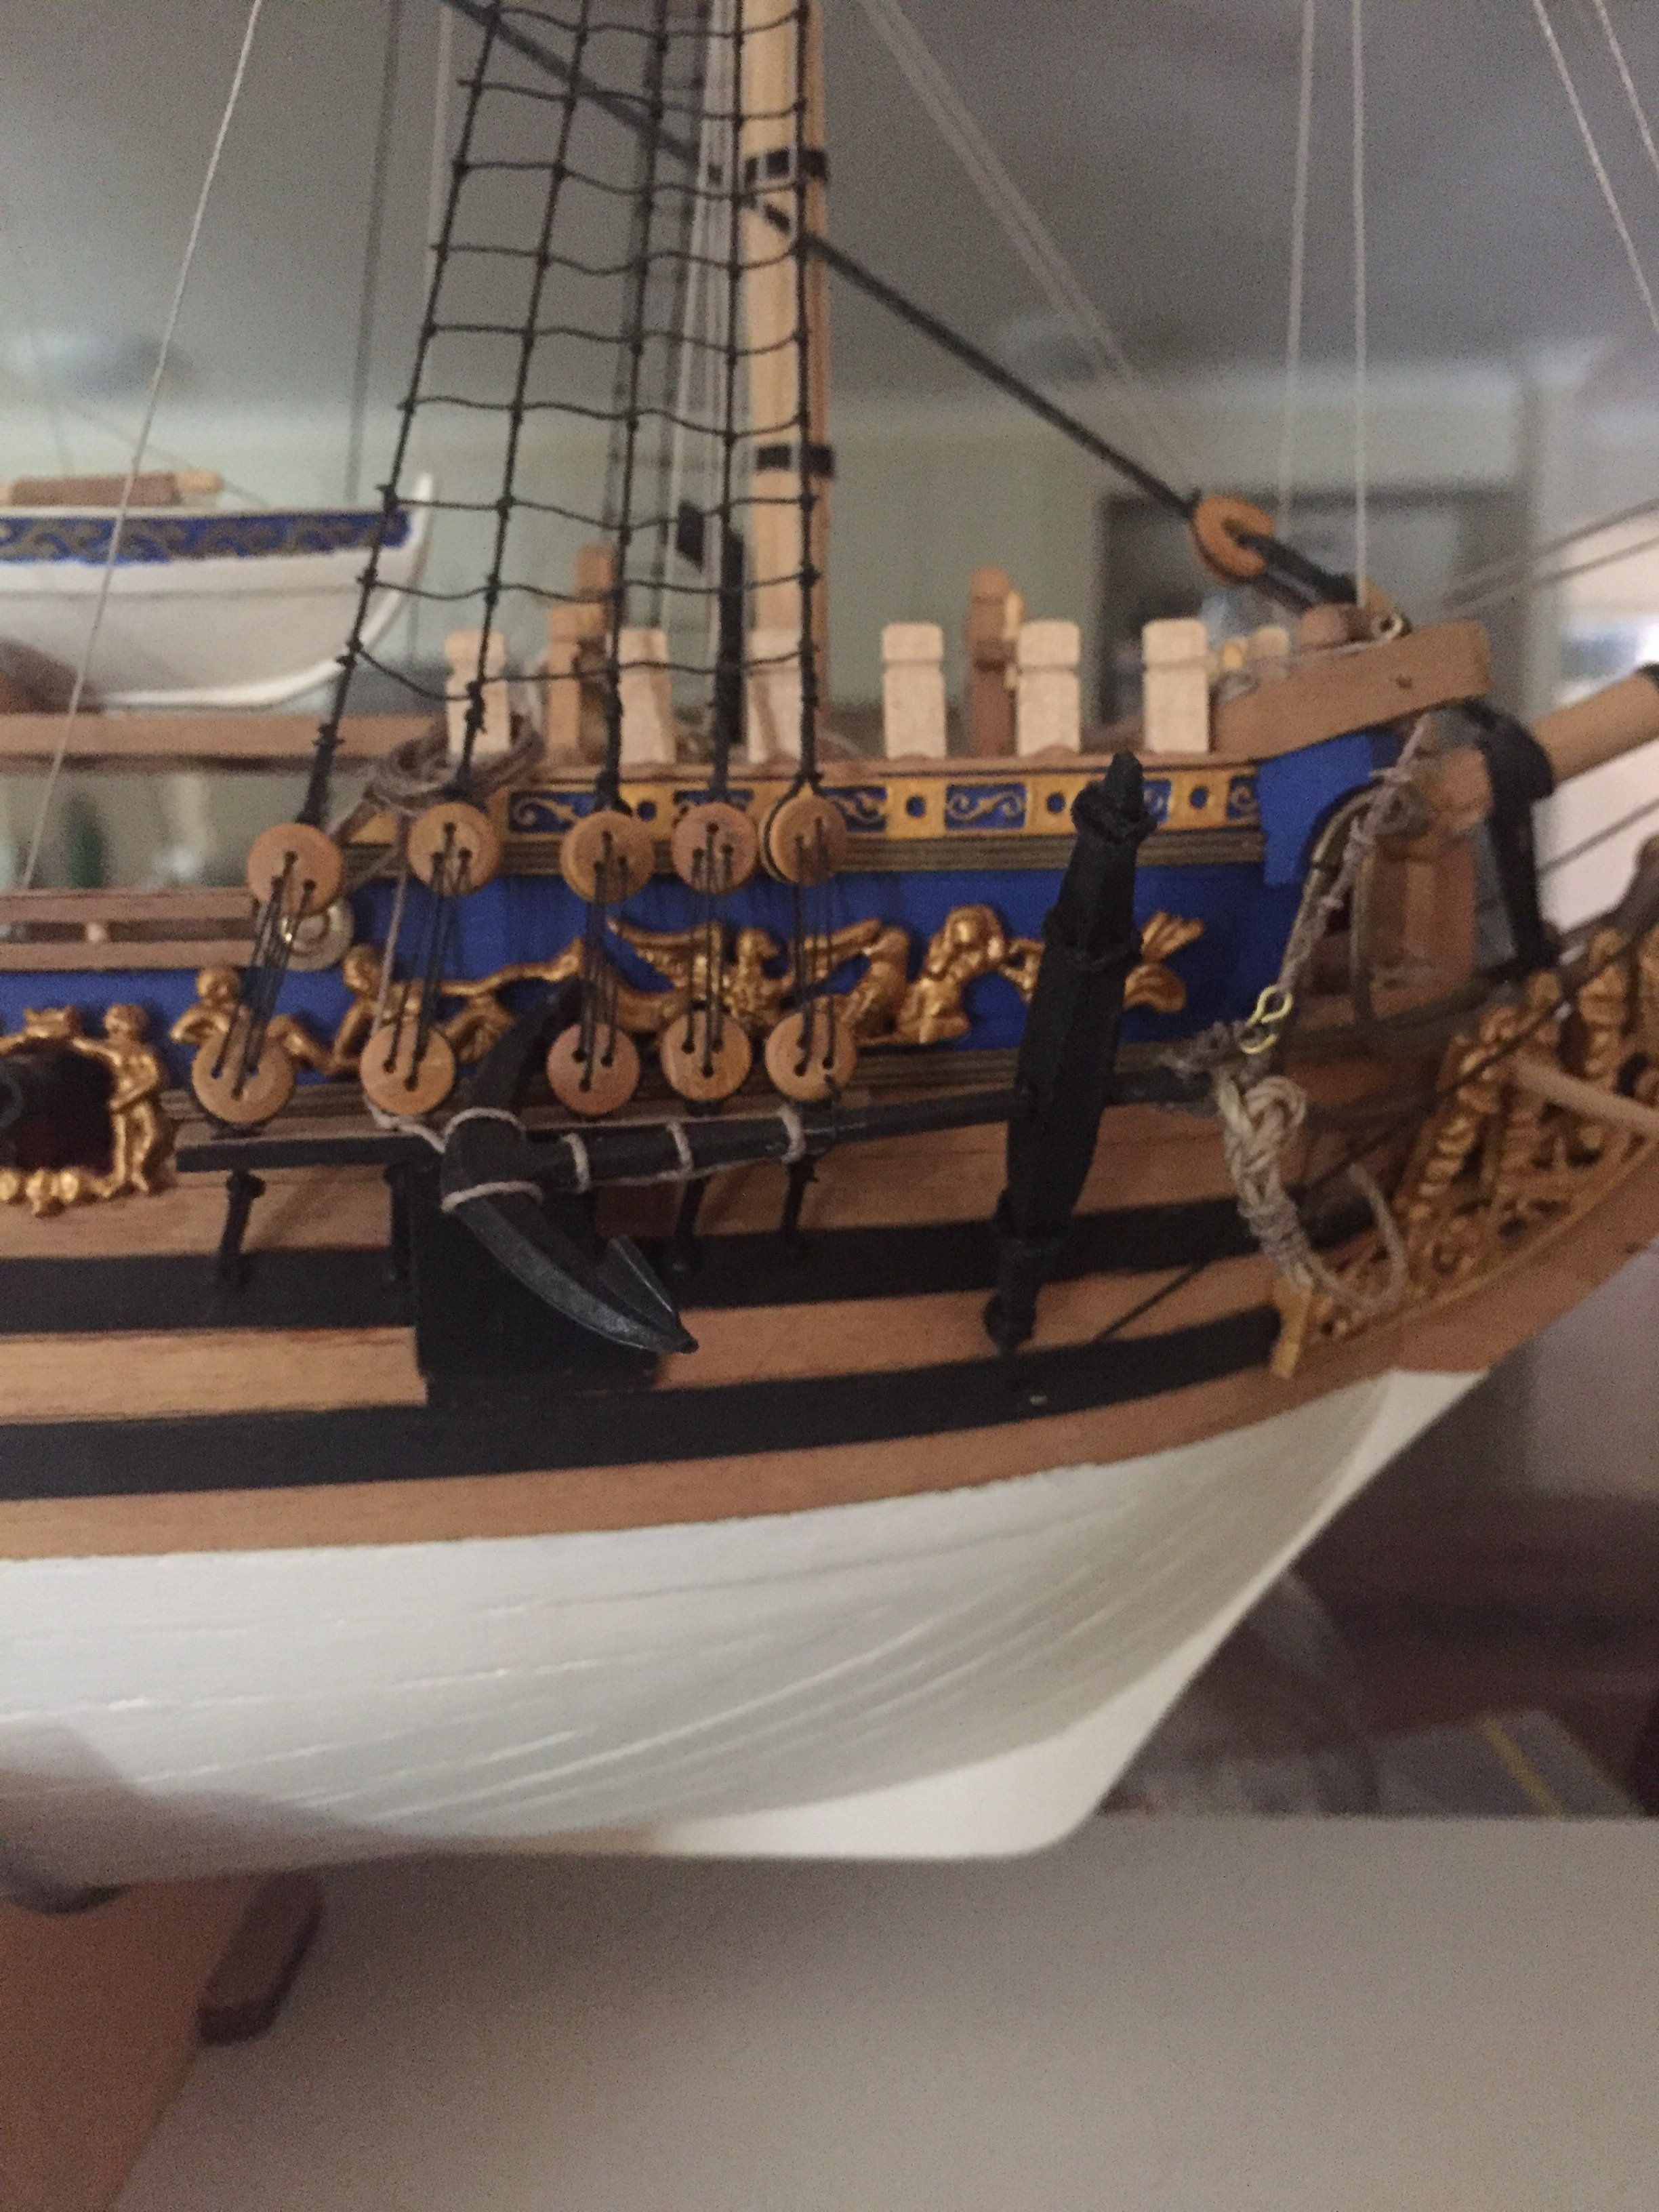
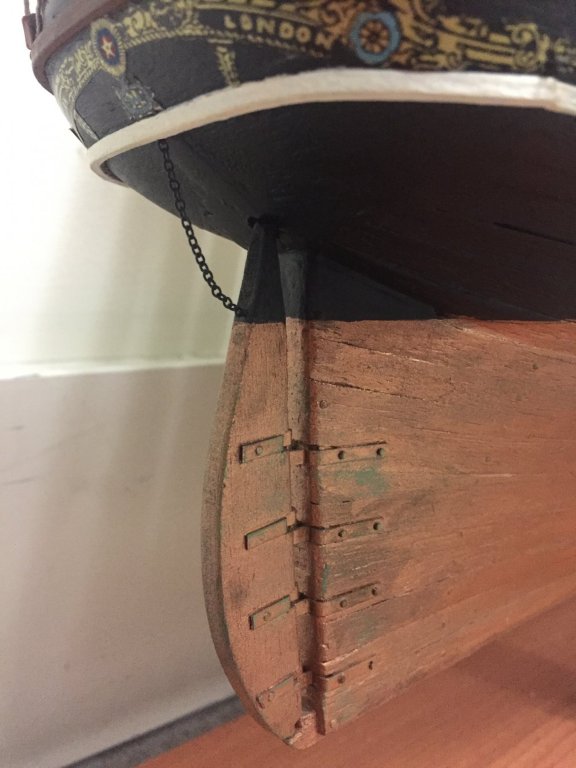
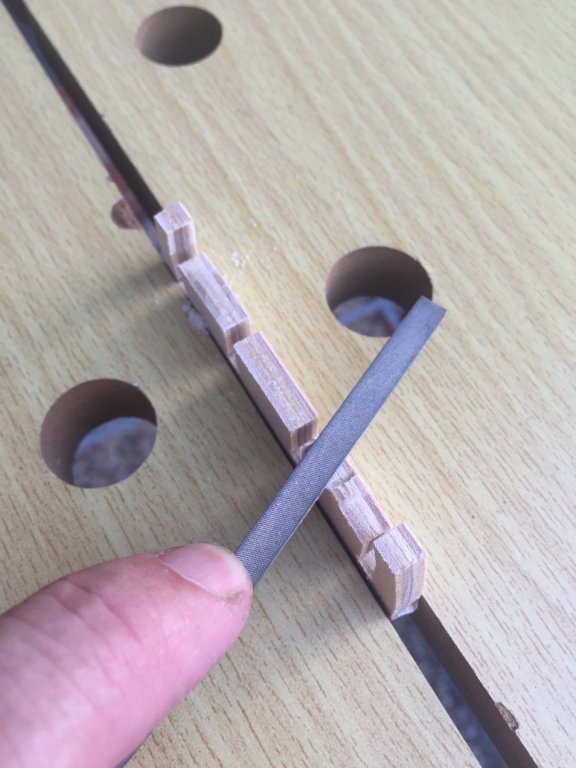
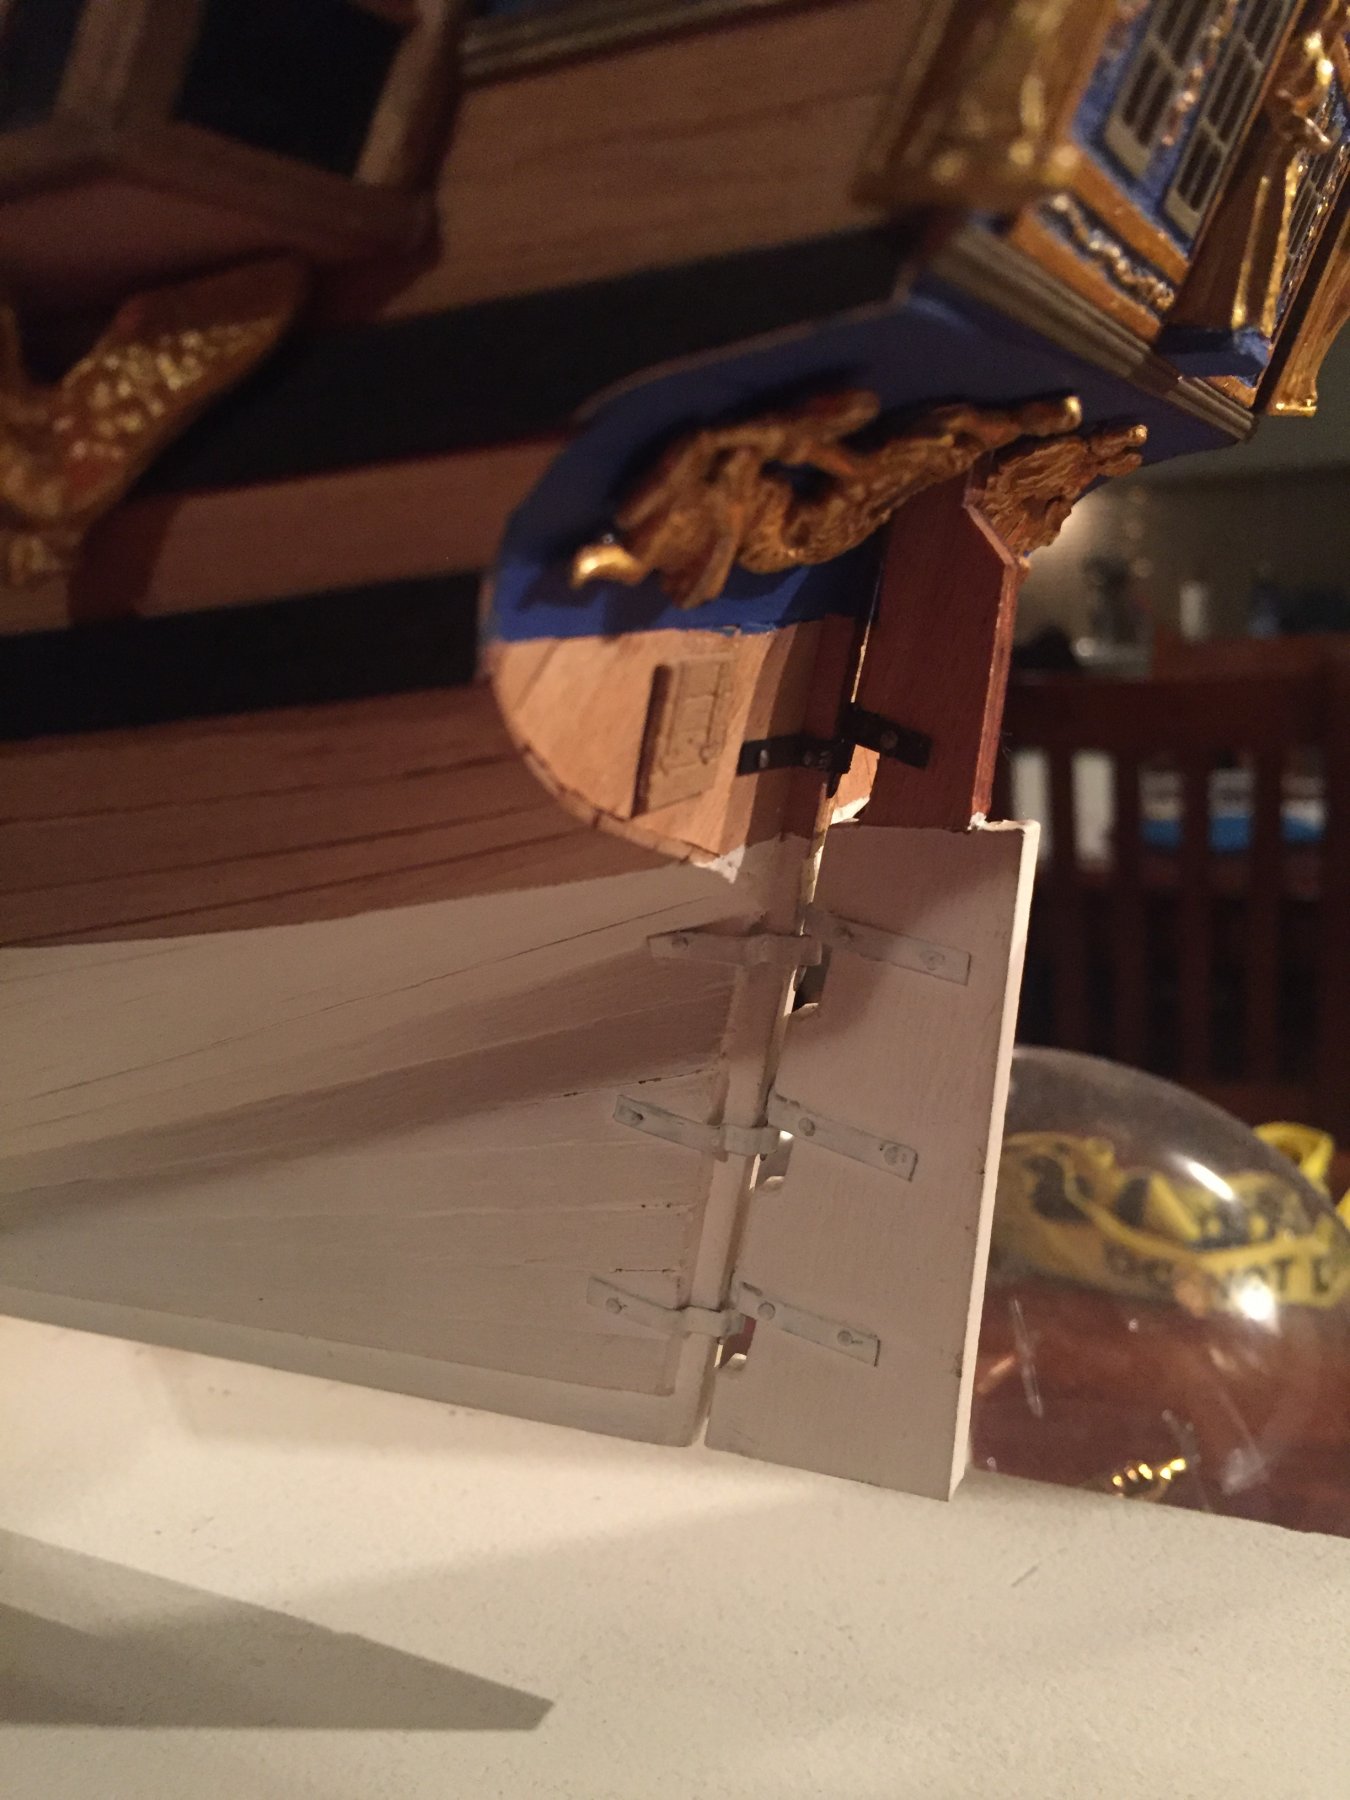
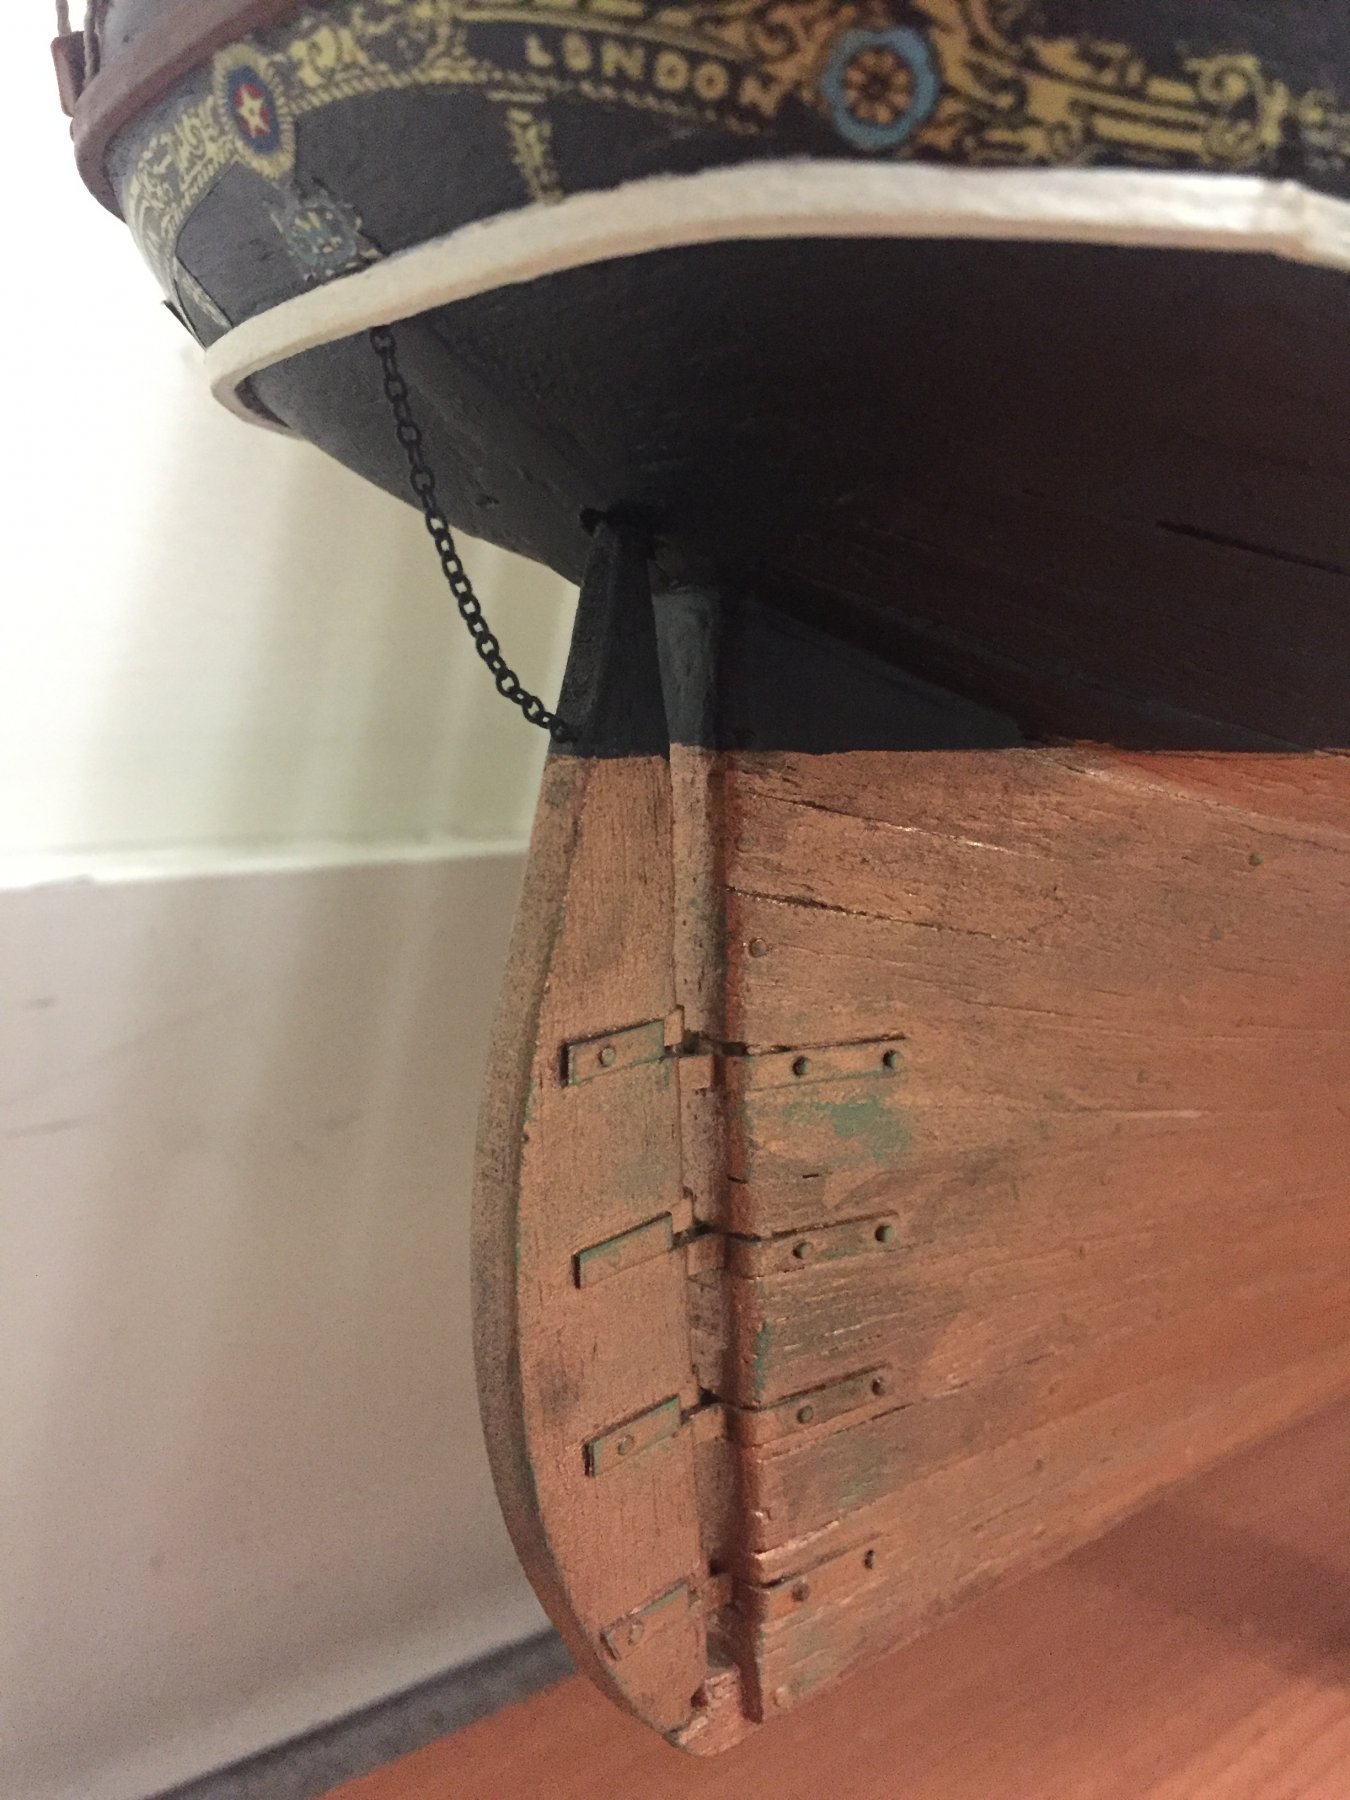
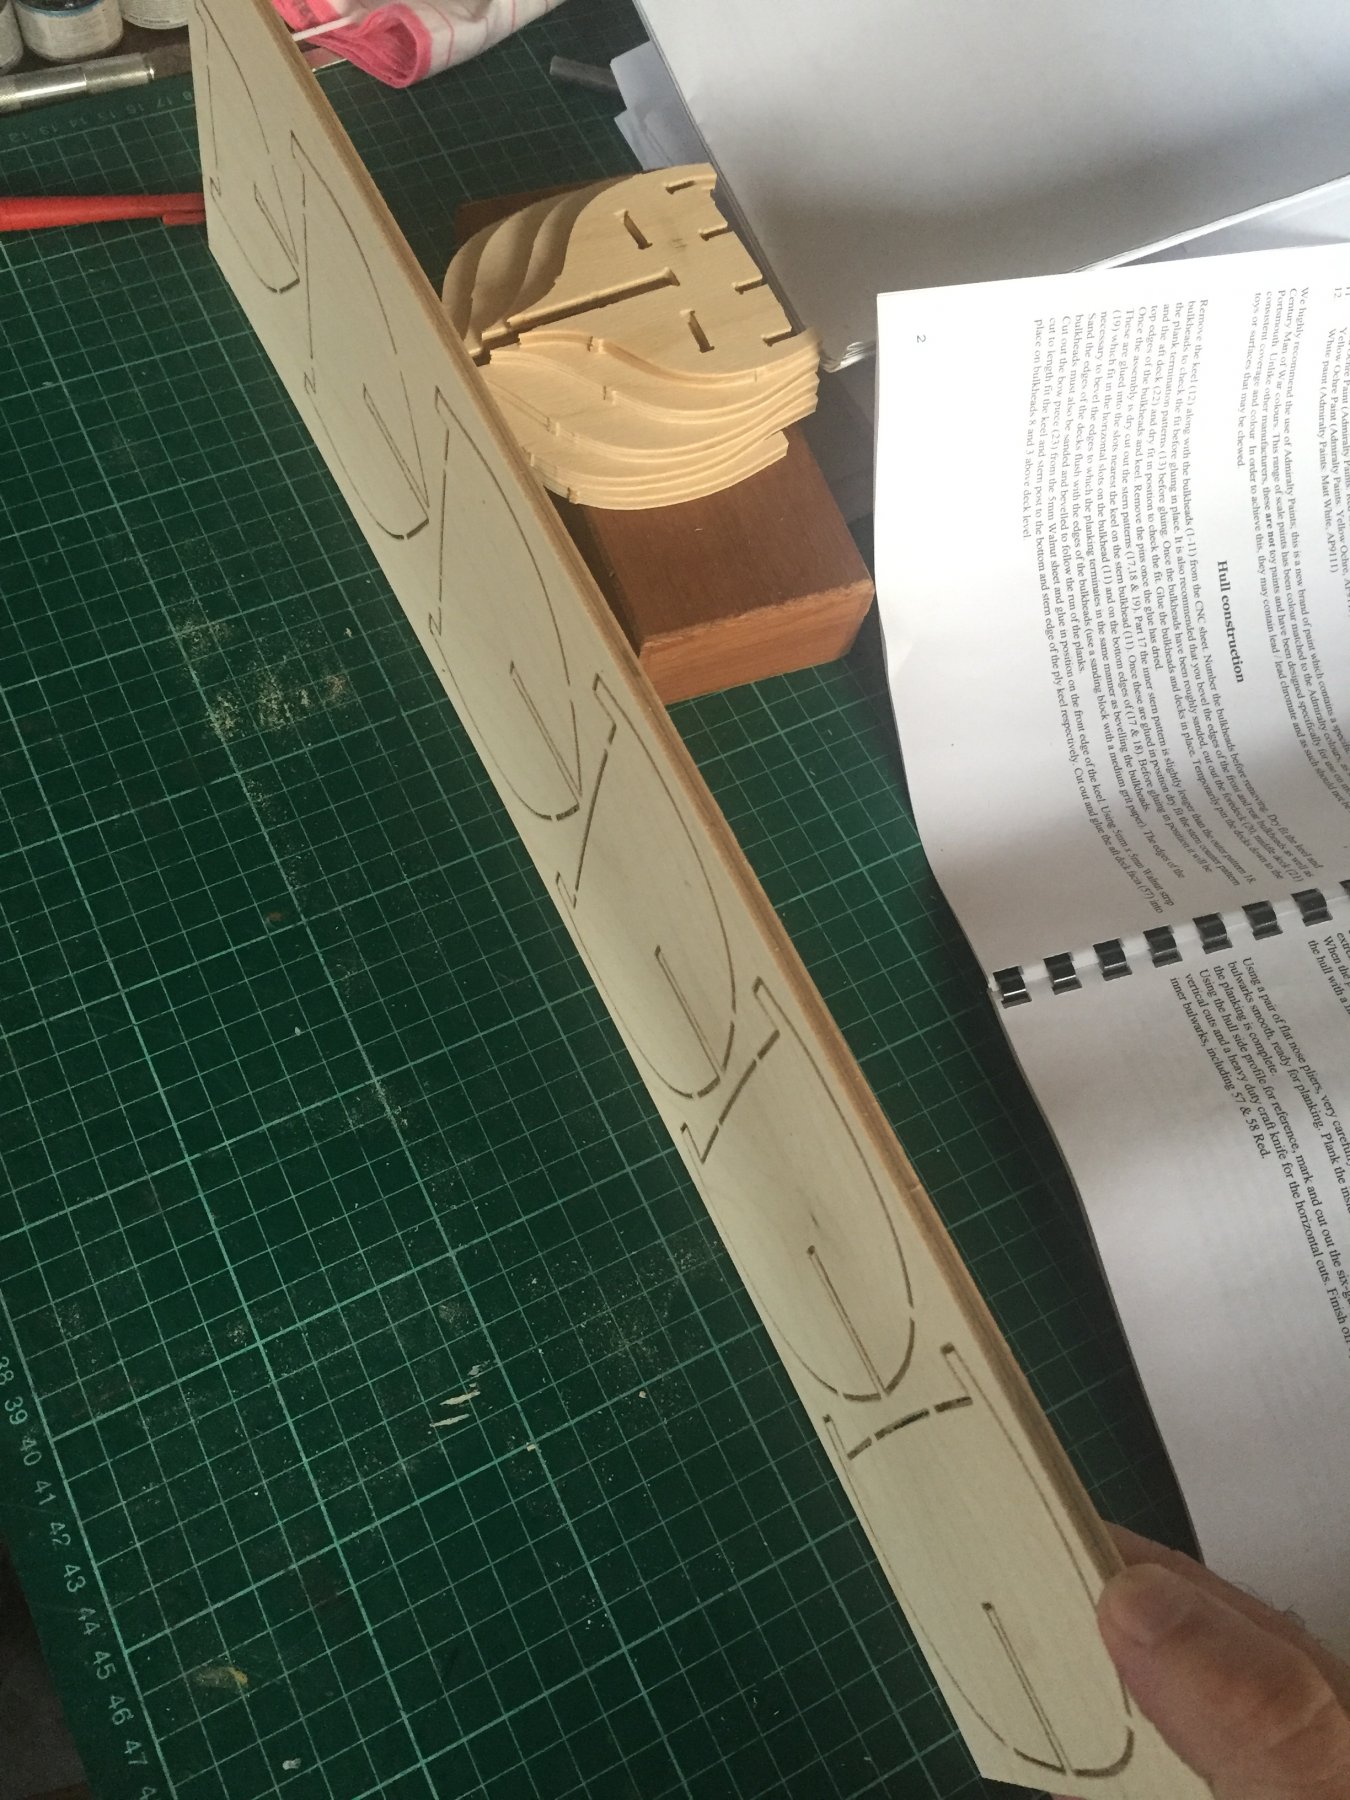
I plan to gradually taper the keel from the pencil line backwards- to subtract the thickness of the first and second layers of planking on each side. I’d like to not repeat the error I made on my previous builds (showing here), where the planking effectively doubles the keel width. My aim is for the keel stem to end up the same thickness as the rudder.
I haven’t tried this before...What could possibly go wrong! 🤣

-
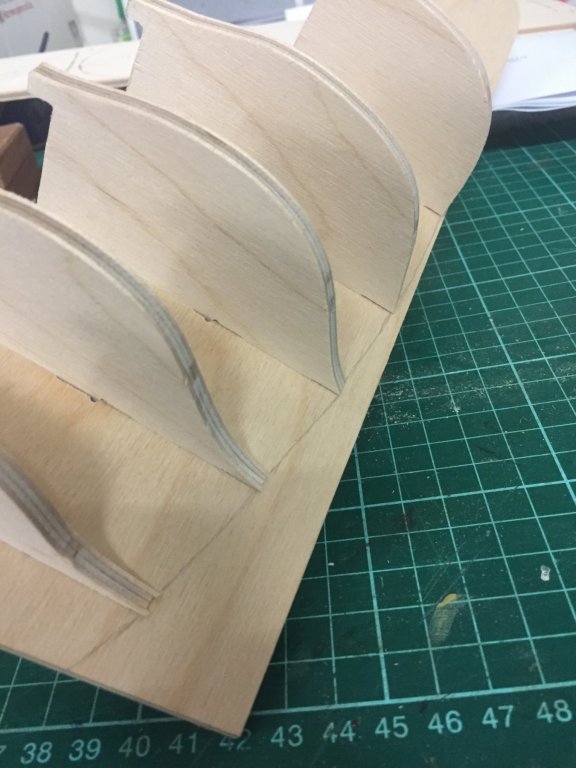
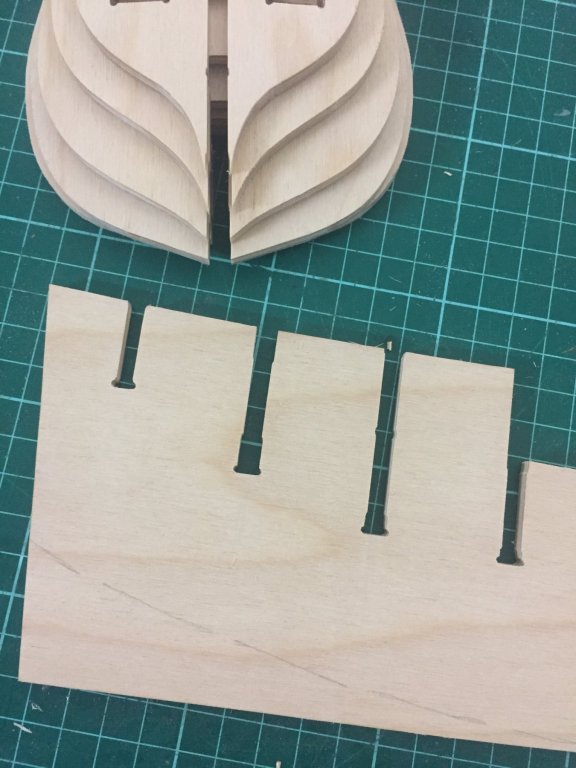
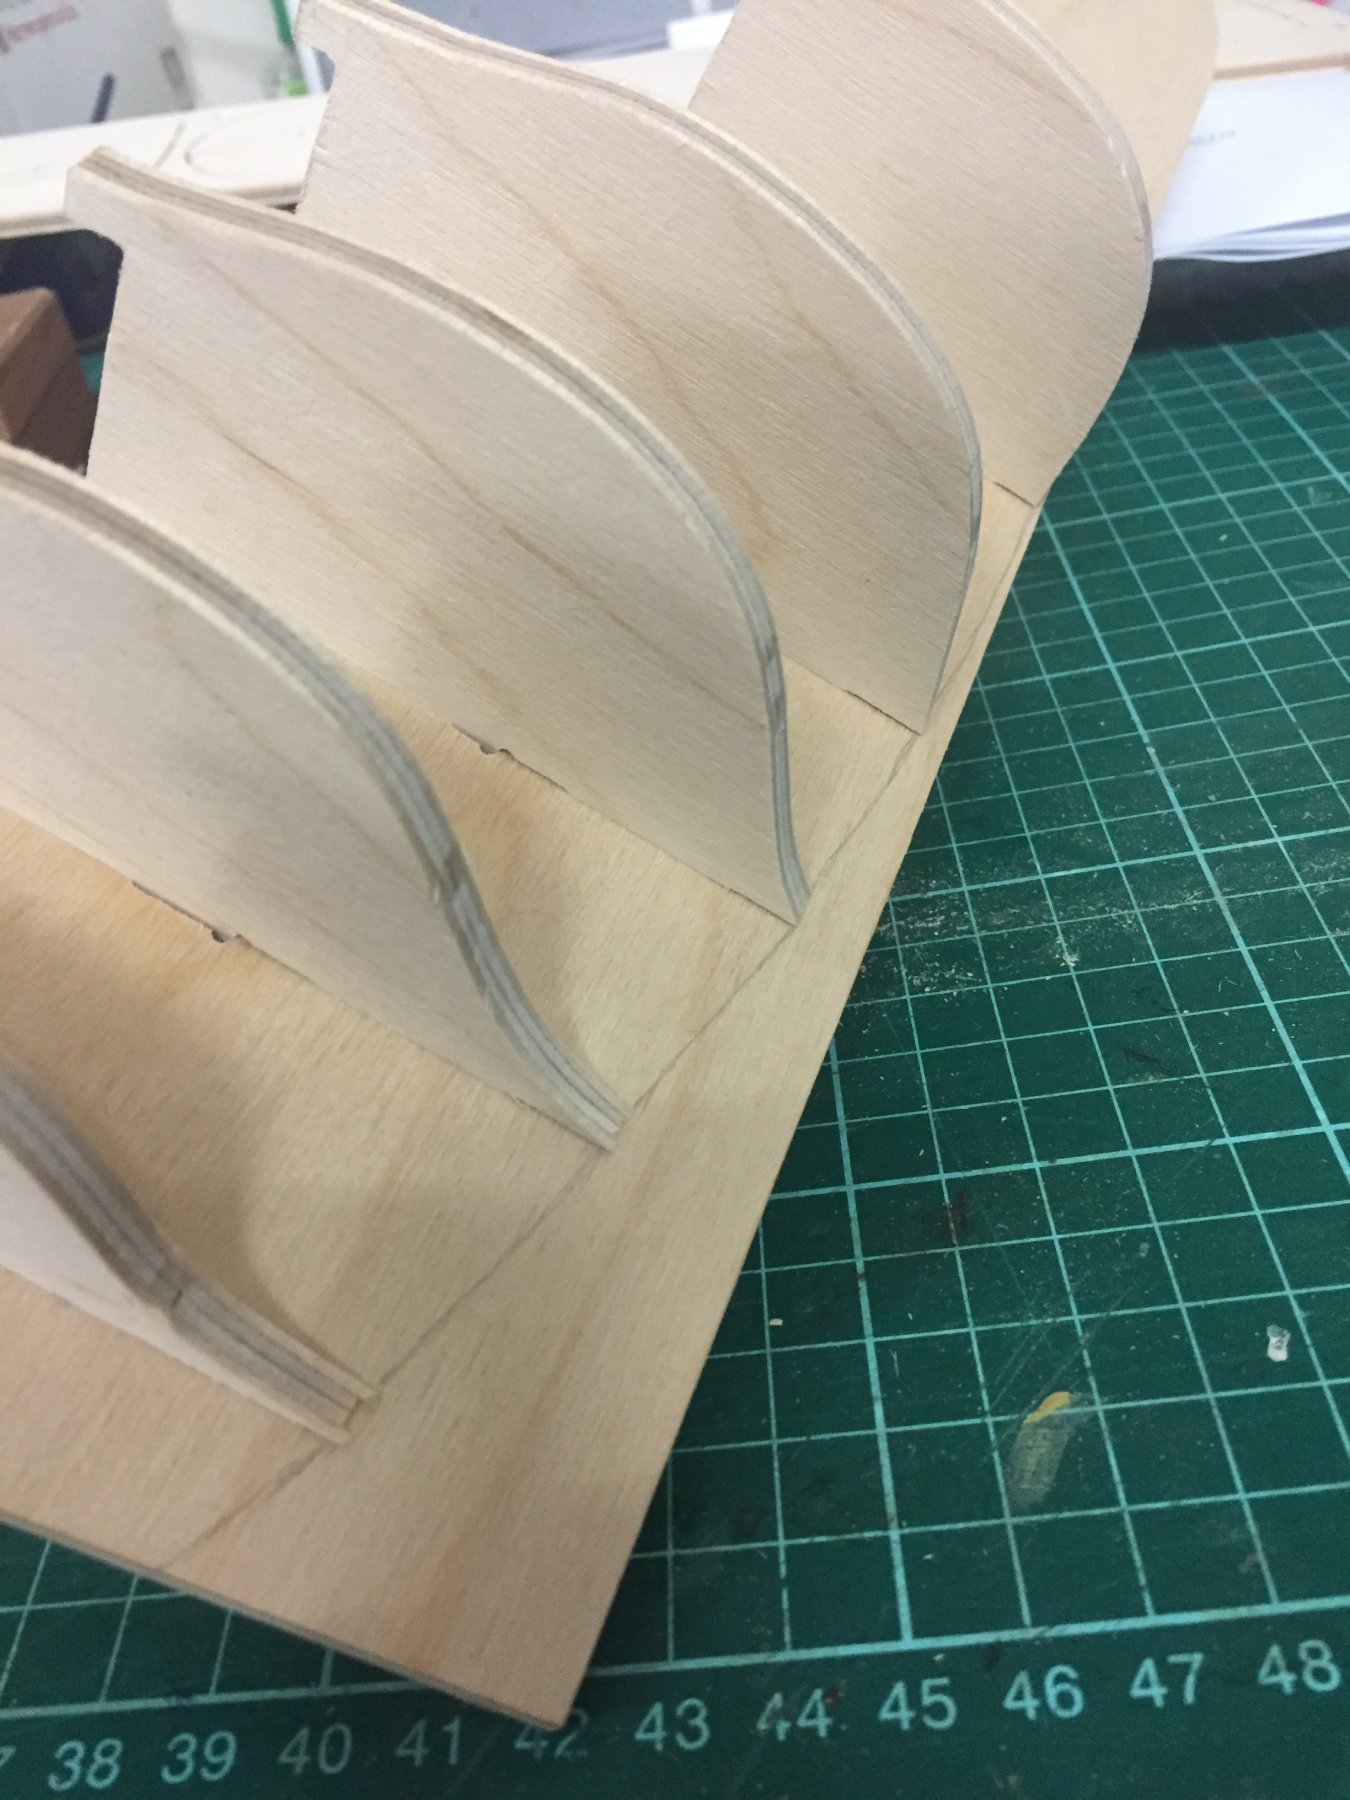
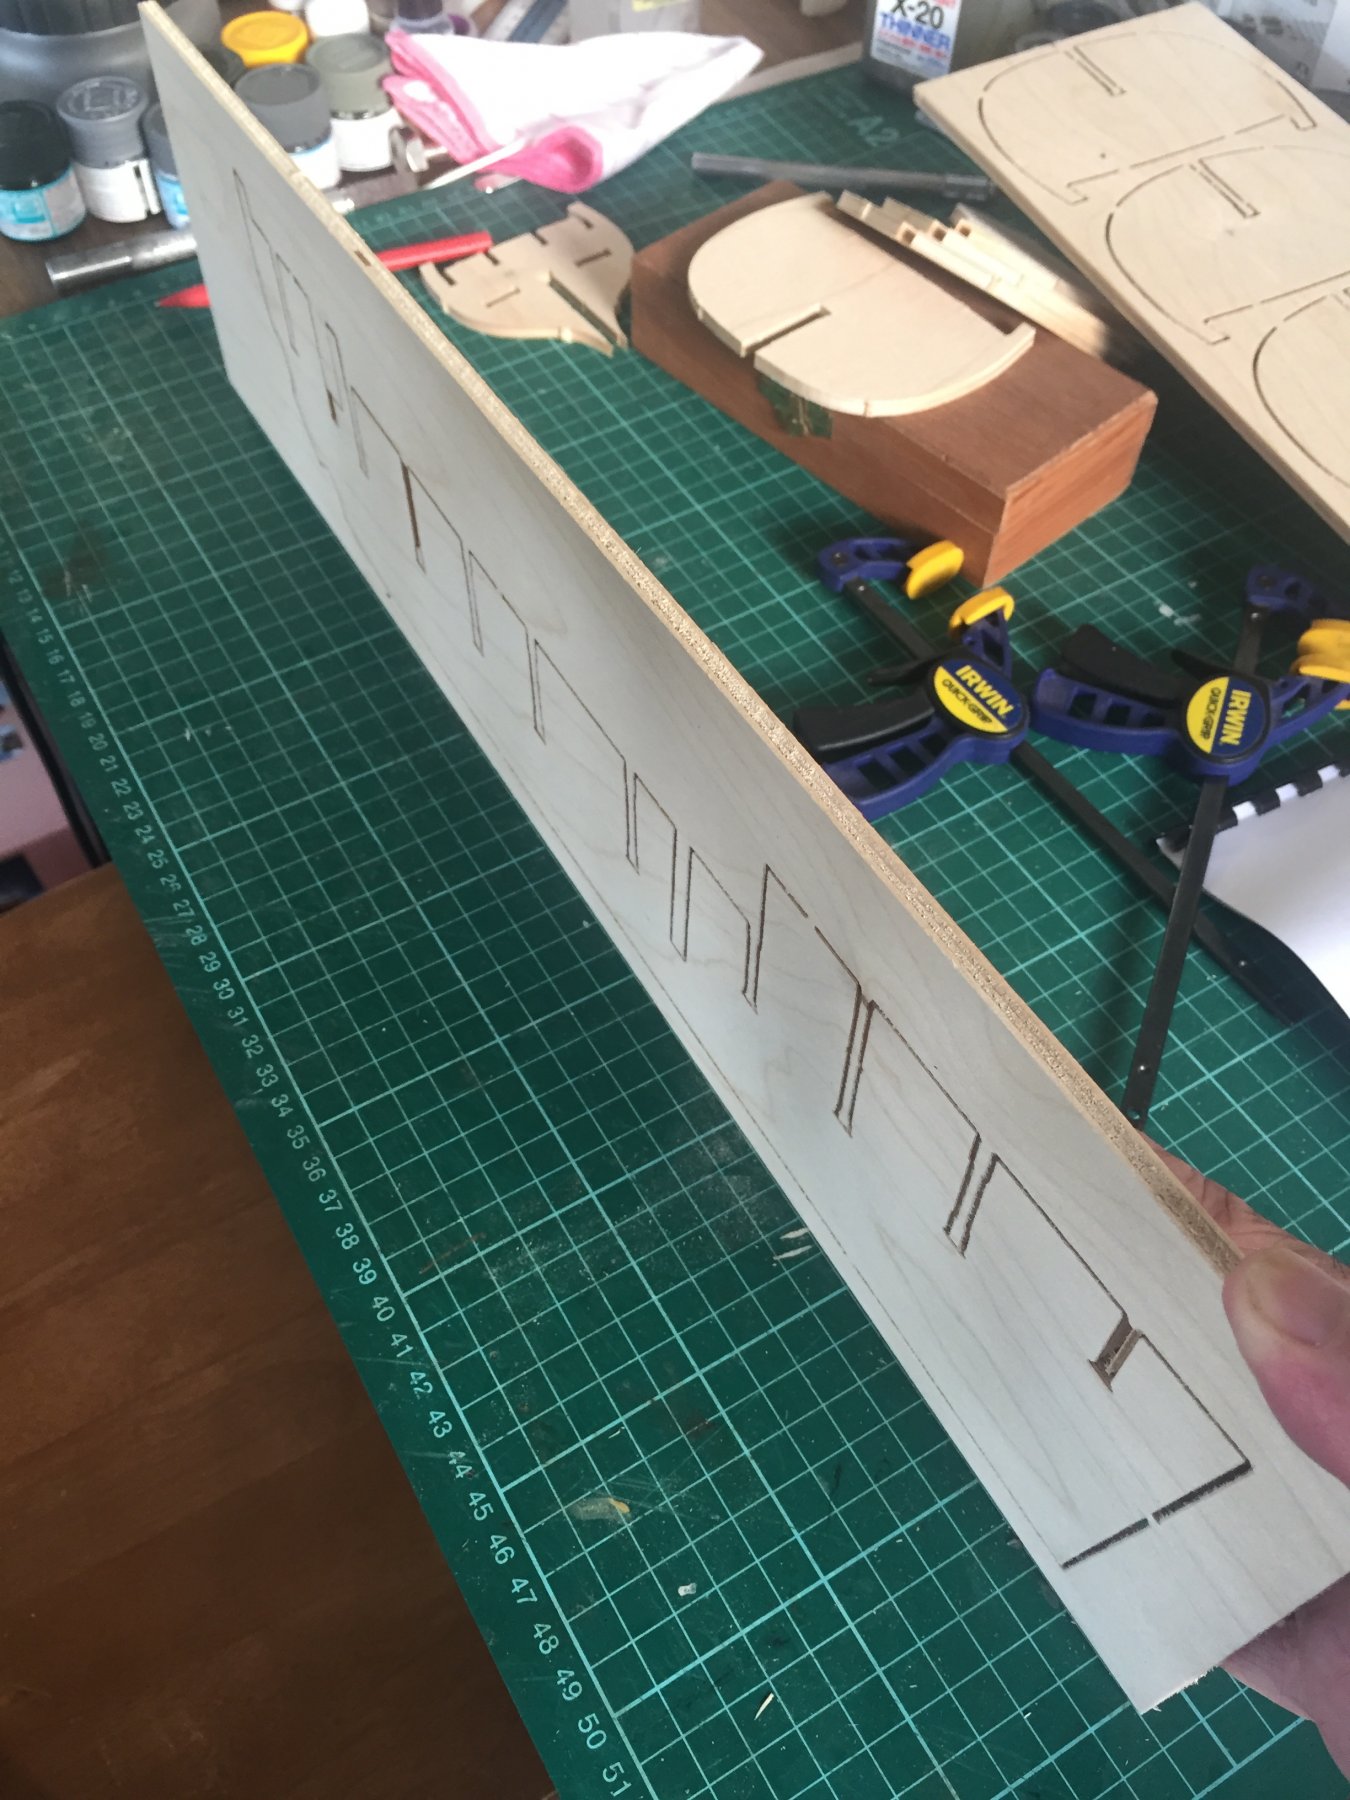
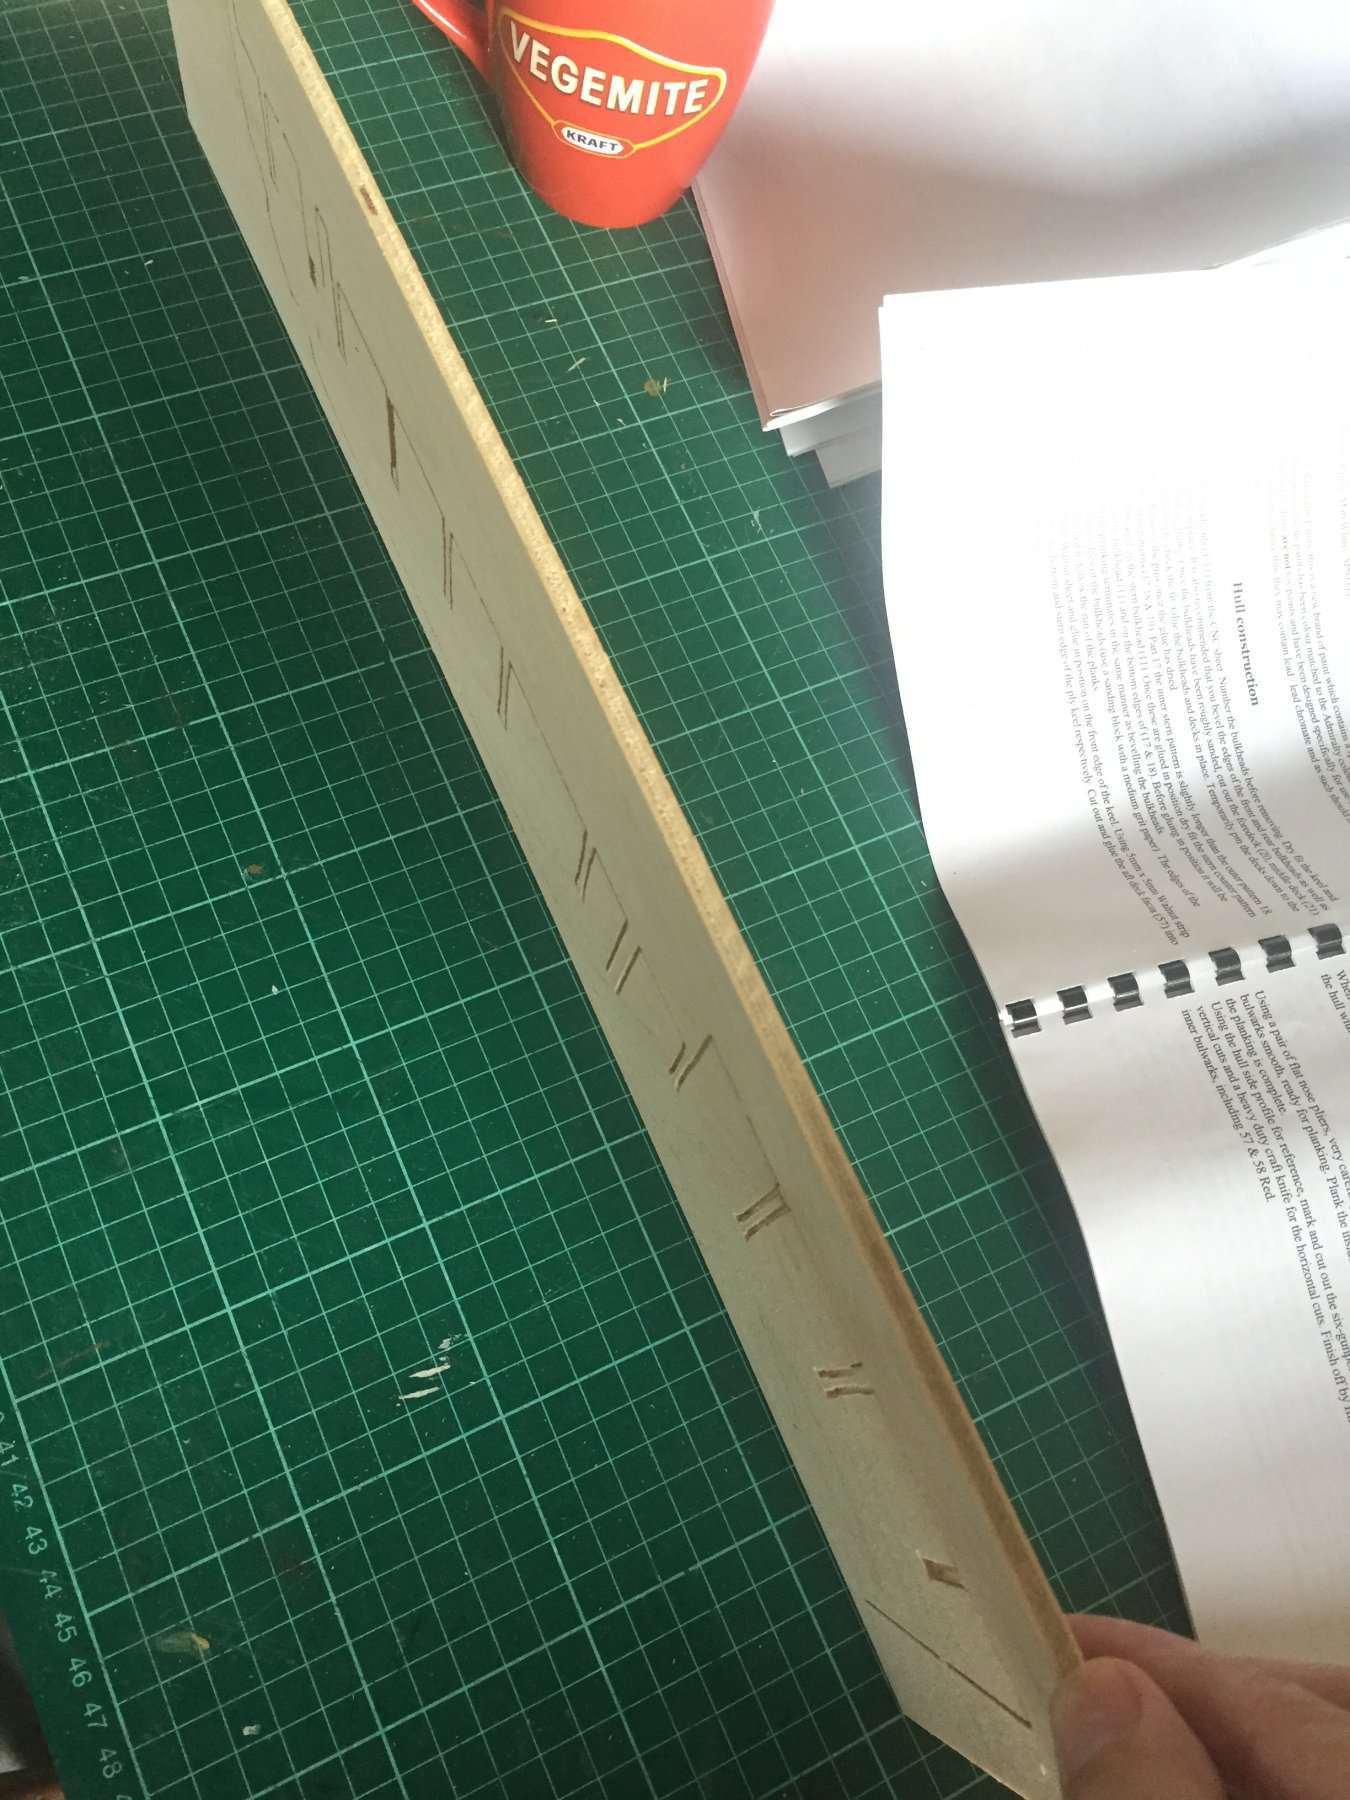
With the stem bulkheads in place, I’m marking the false keel where they sit. I’ve drawn the line to the lowest point on the front face of each bulkhead (because the rear face will be sanded away soon) and simply continue the line to the next bulkhead.
-
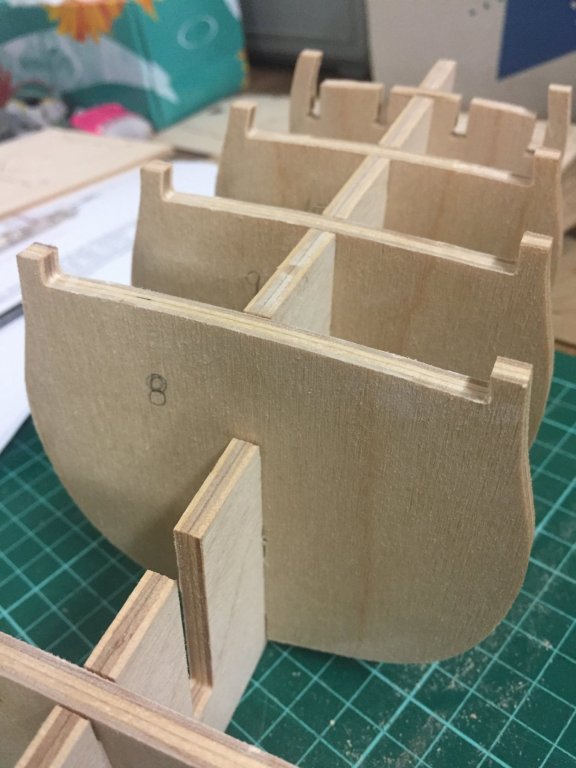
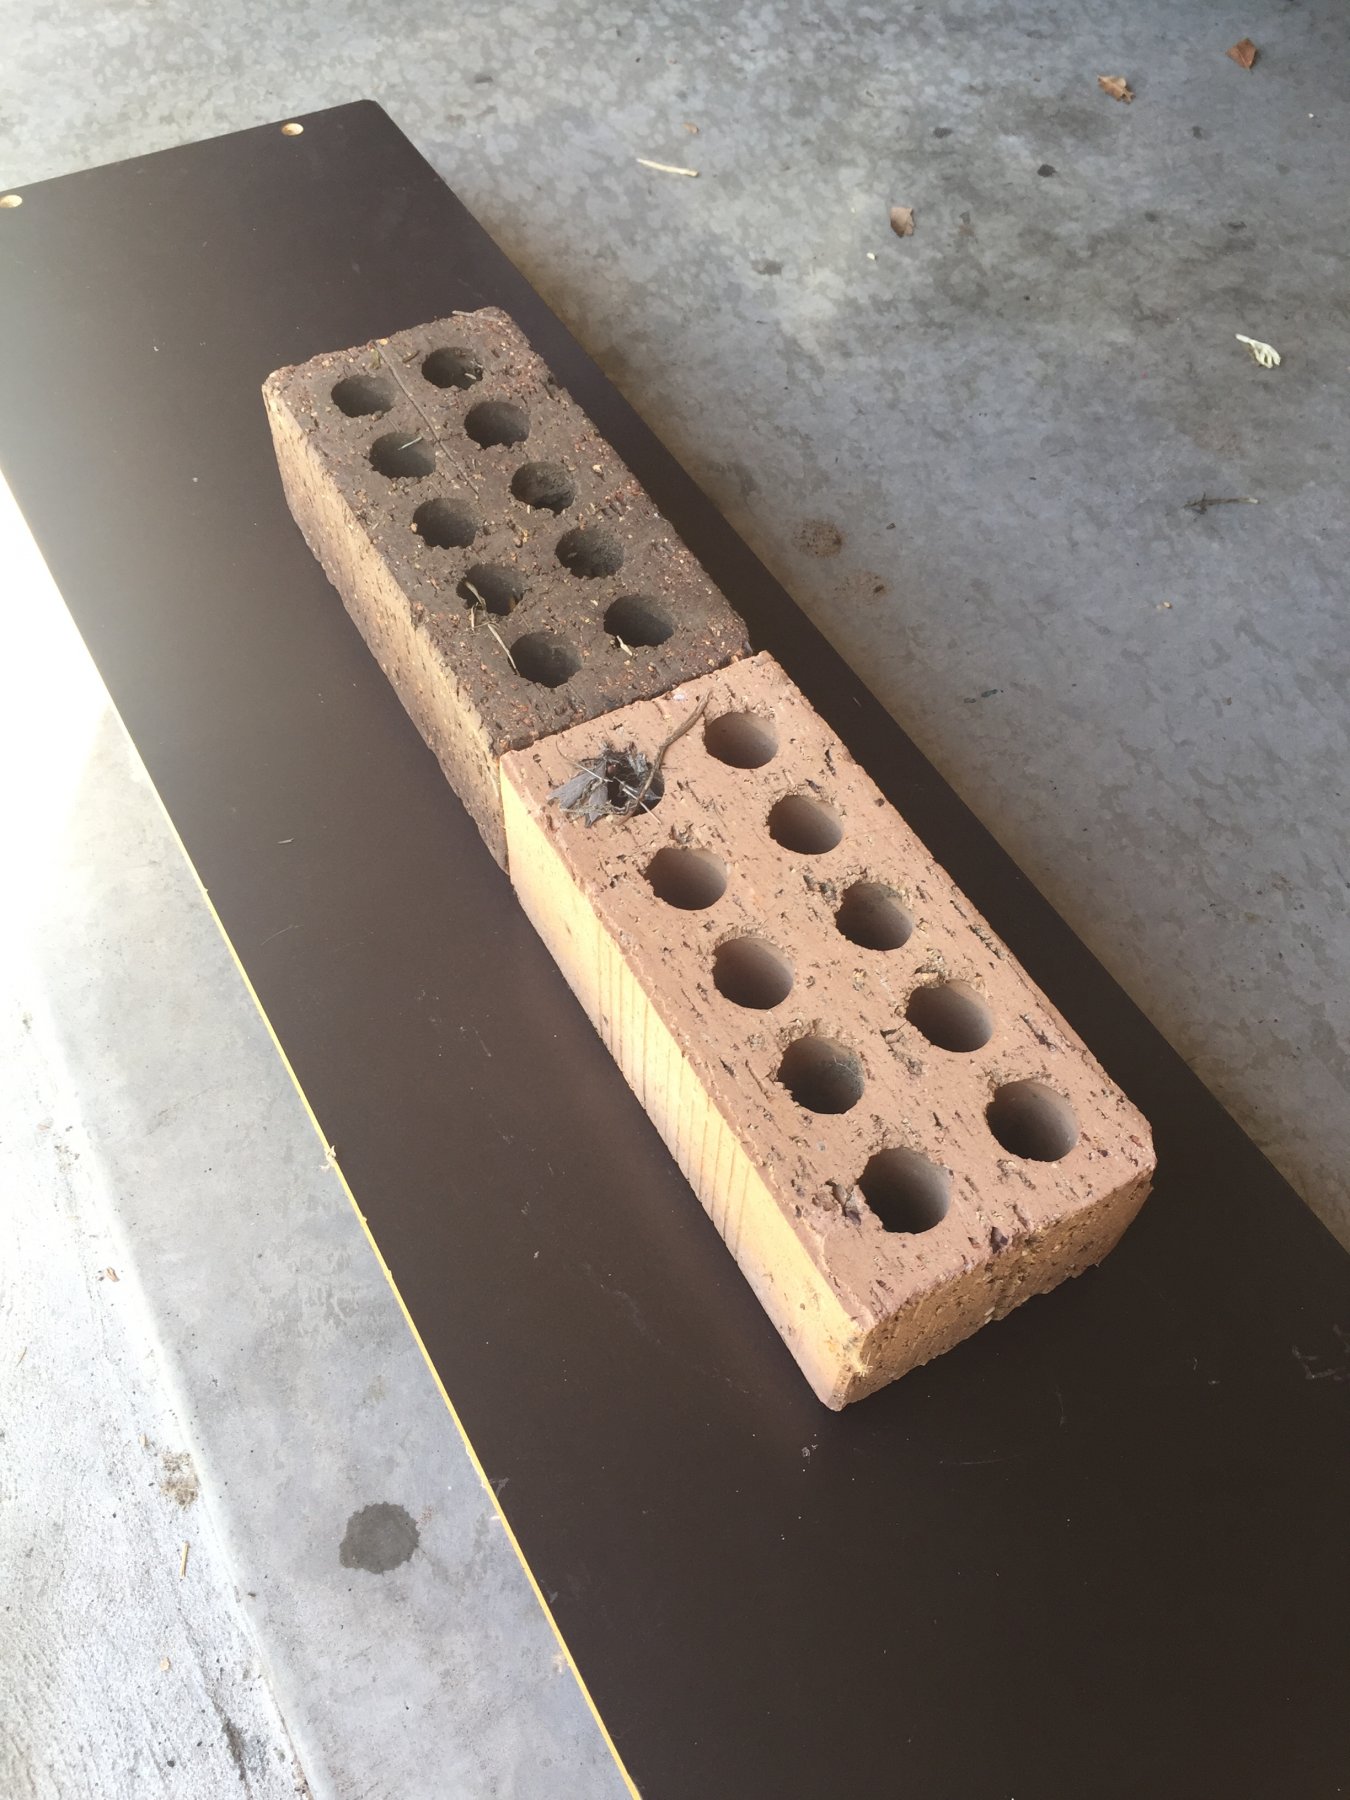
I am very impressed with this kit, though! Without any shims, filing or heartache, all the bulkheads are literally snapping into place on the false keel with absolutely no height adjustment necessary and no wobbling. I haven’t had a kit do that with such accuracy before! I don’t believe I’ll need to use Lego bricks as 90 degree set squares when I glue them together.
-
-
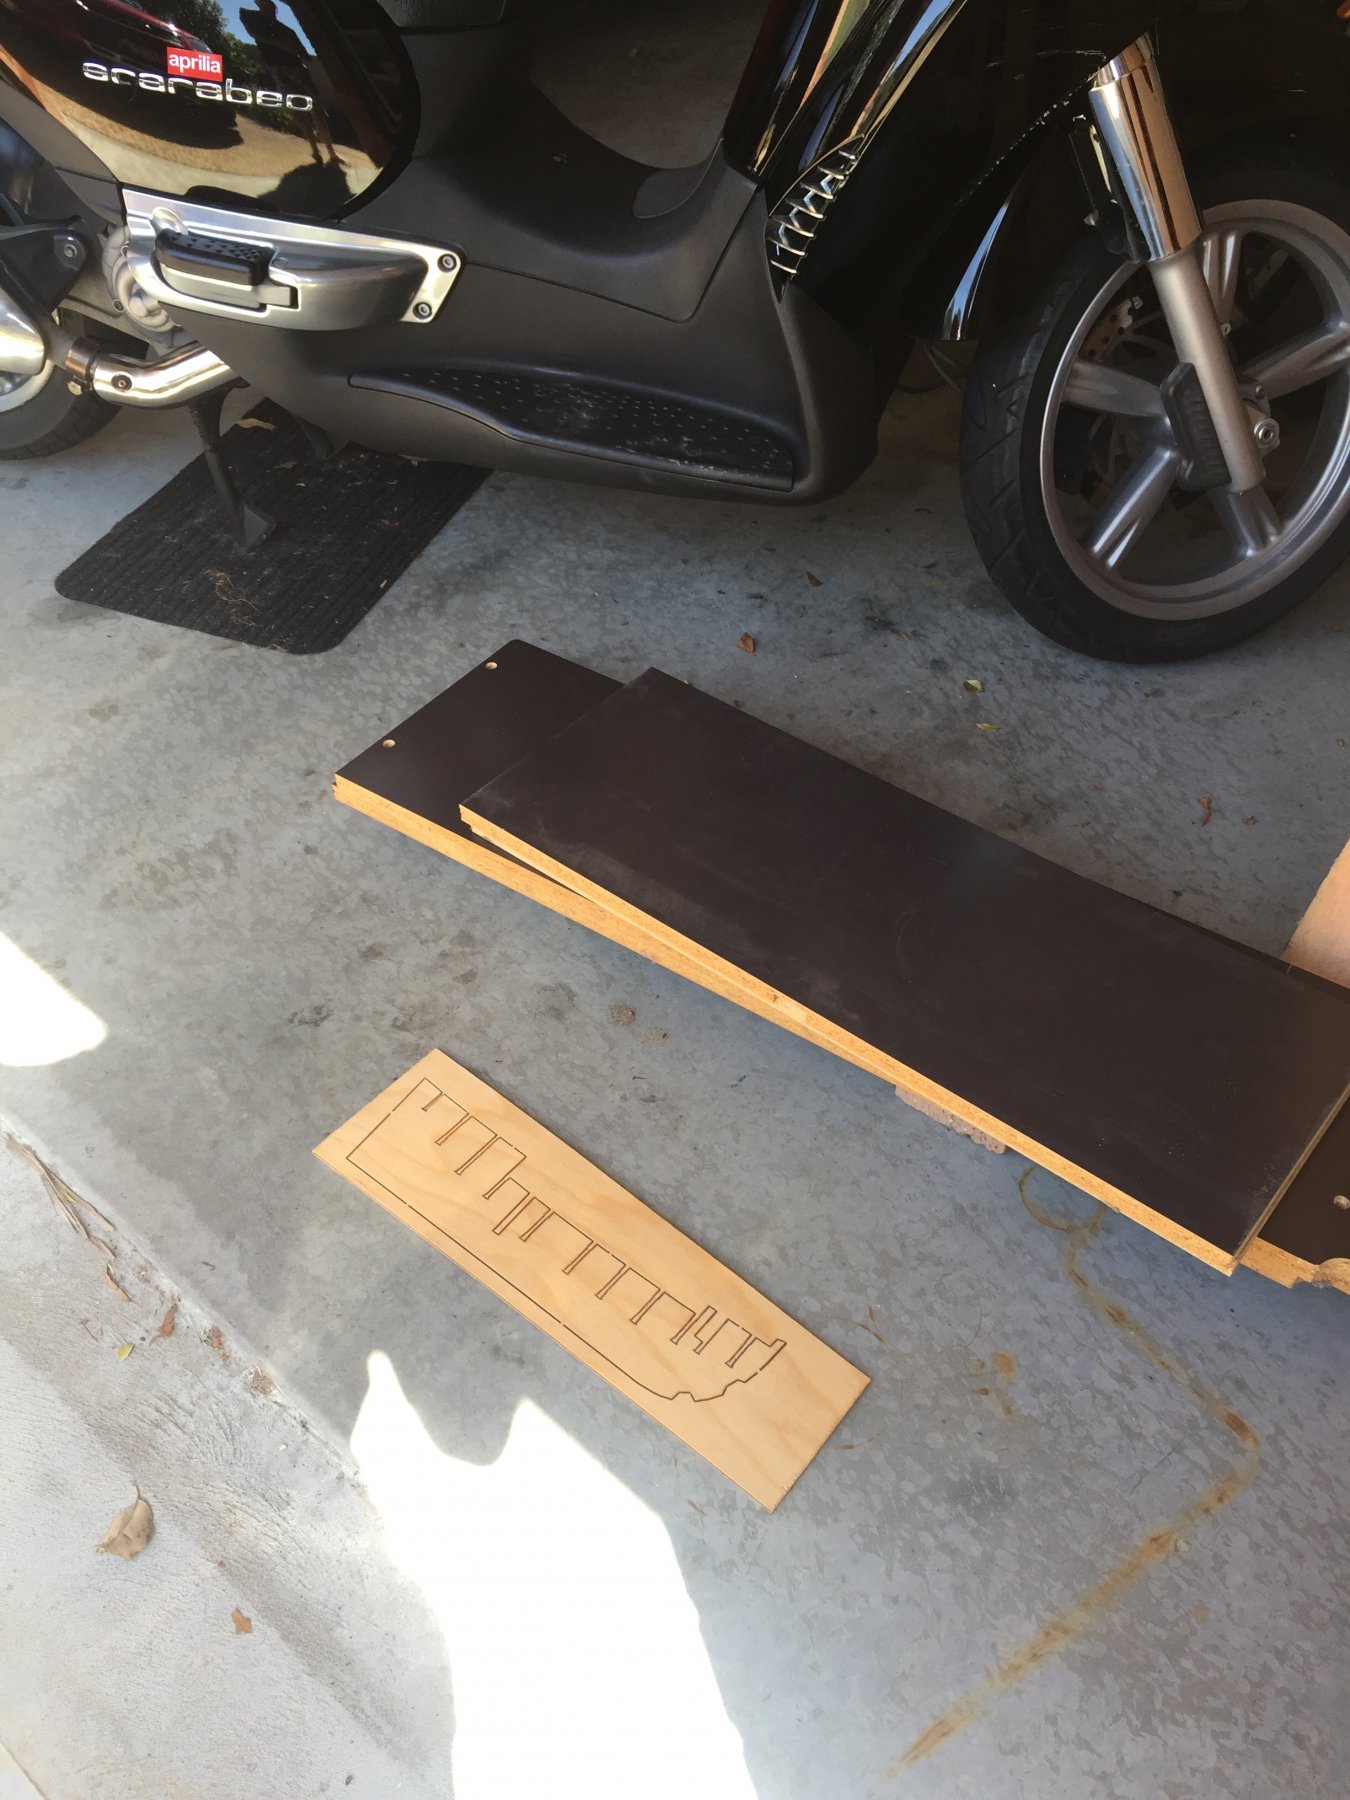
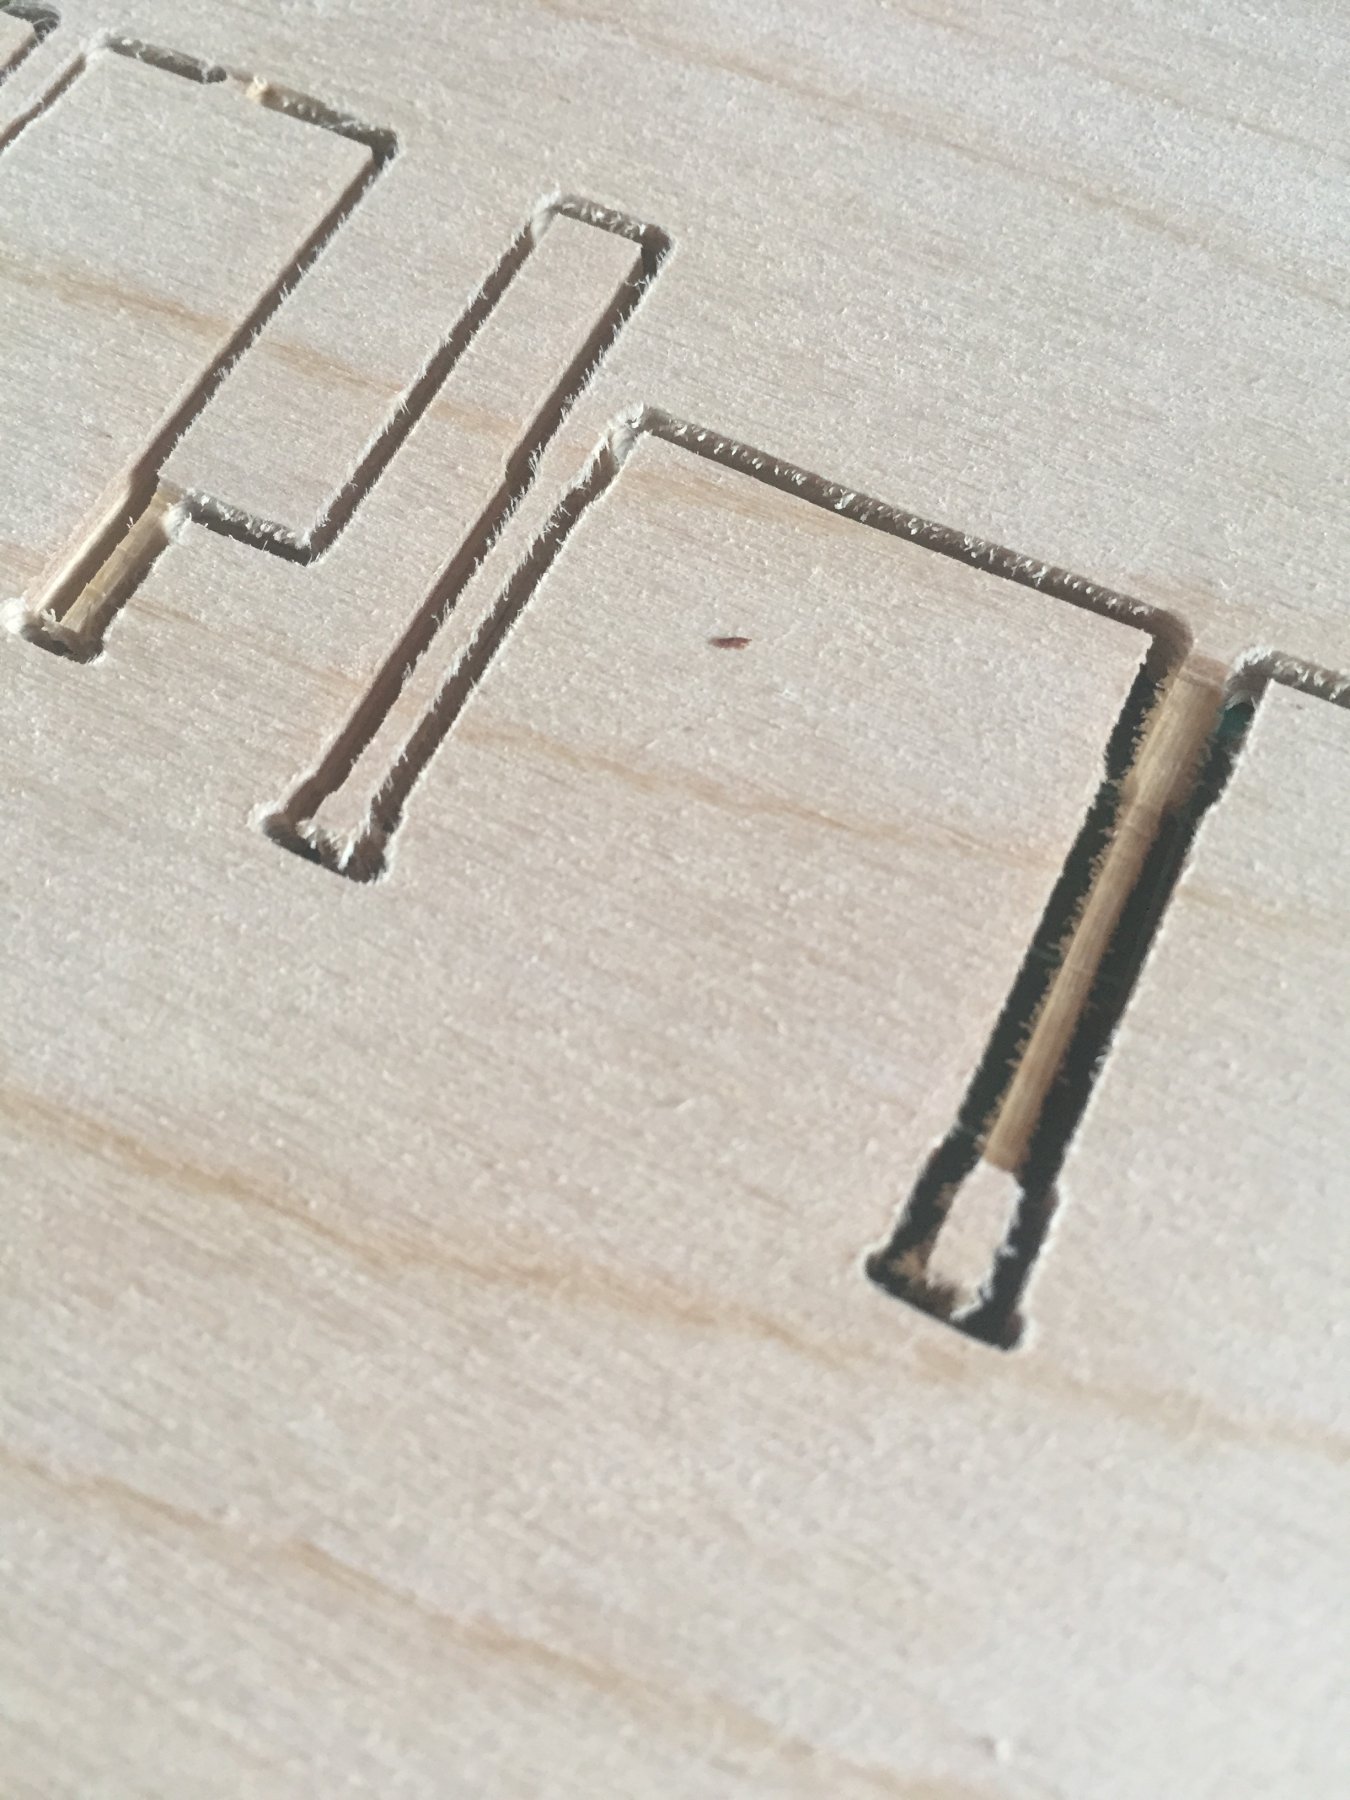
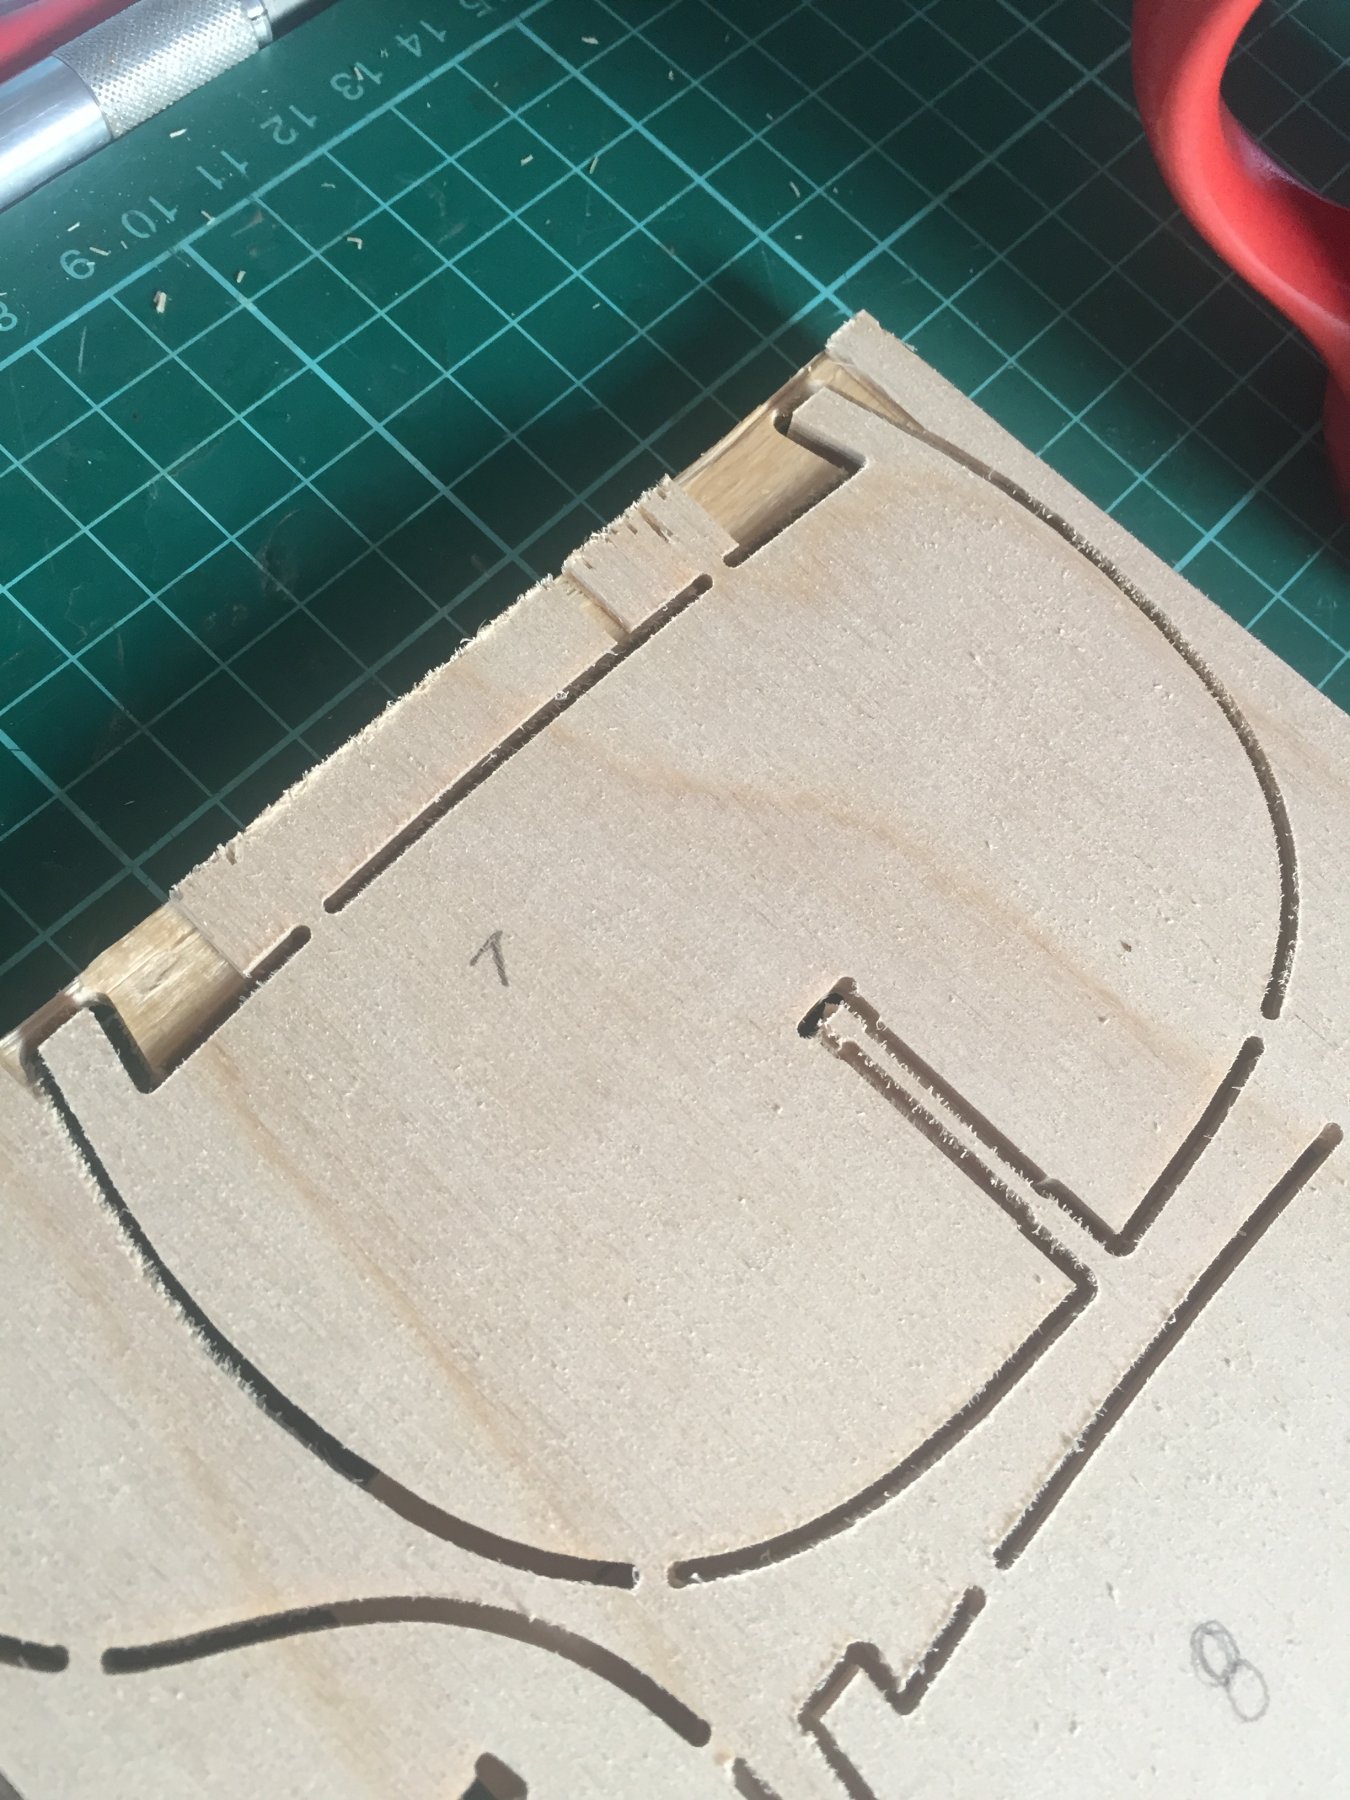
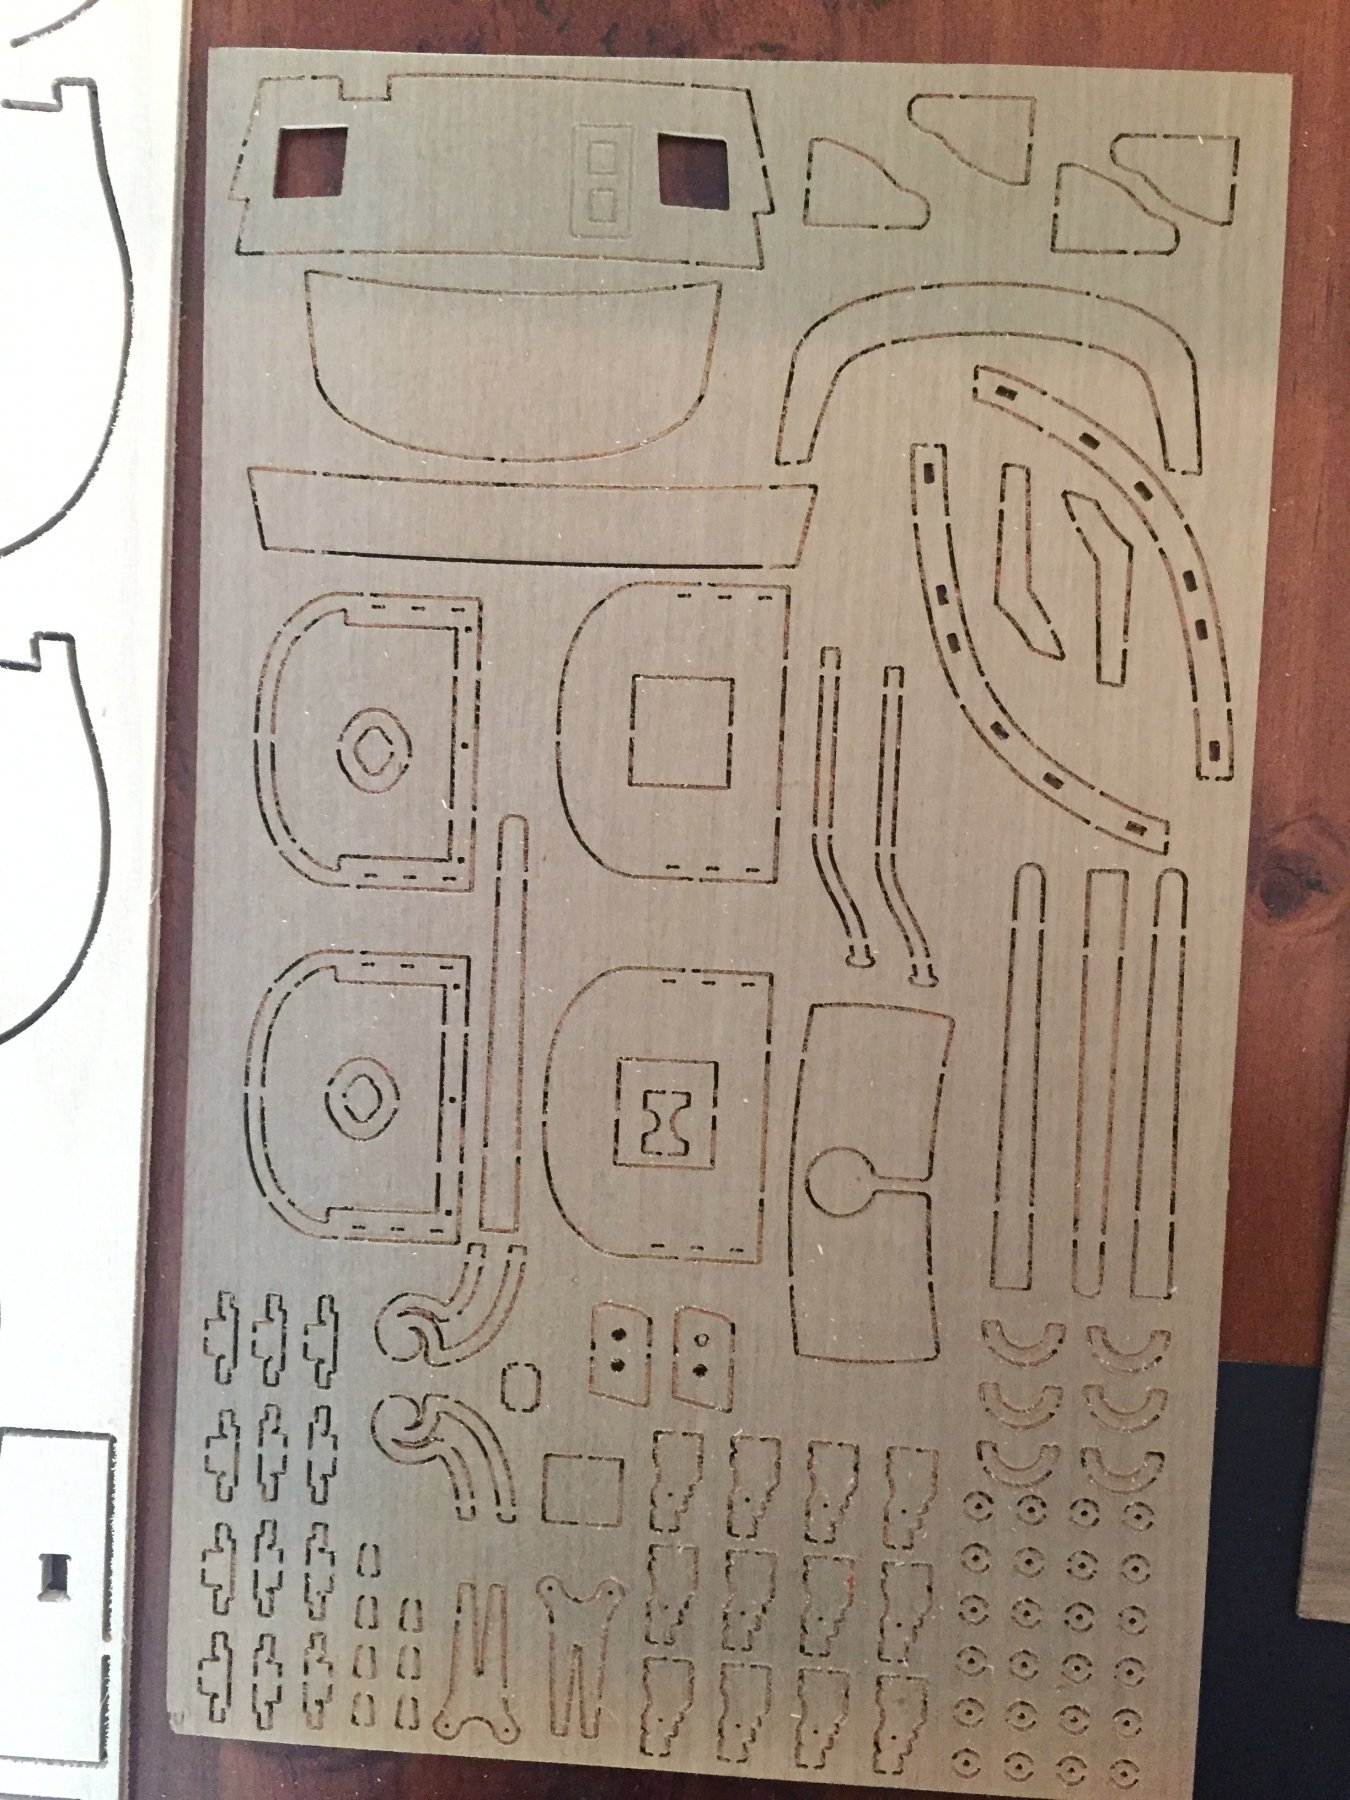
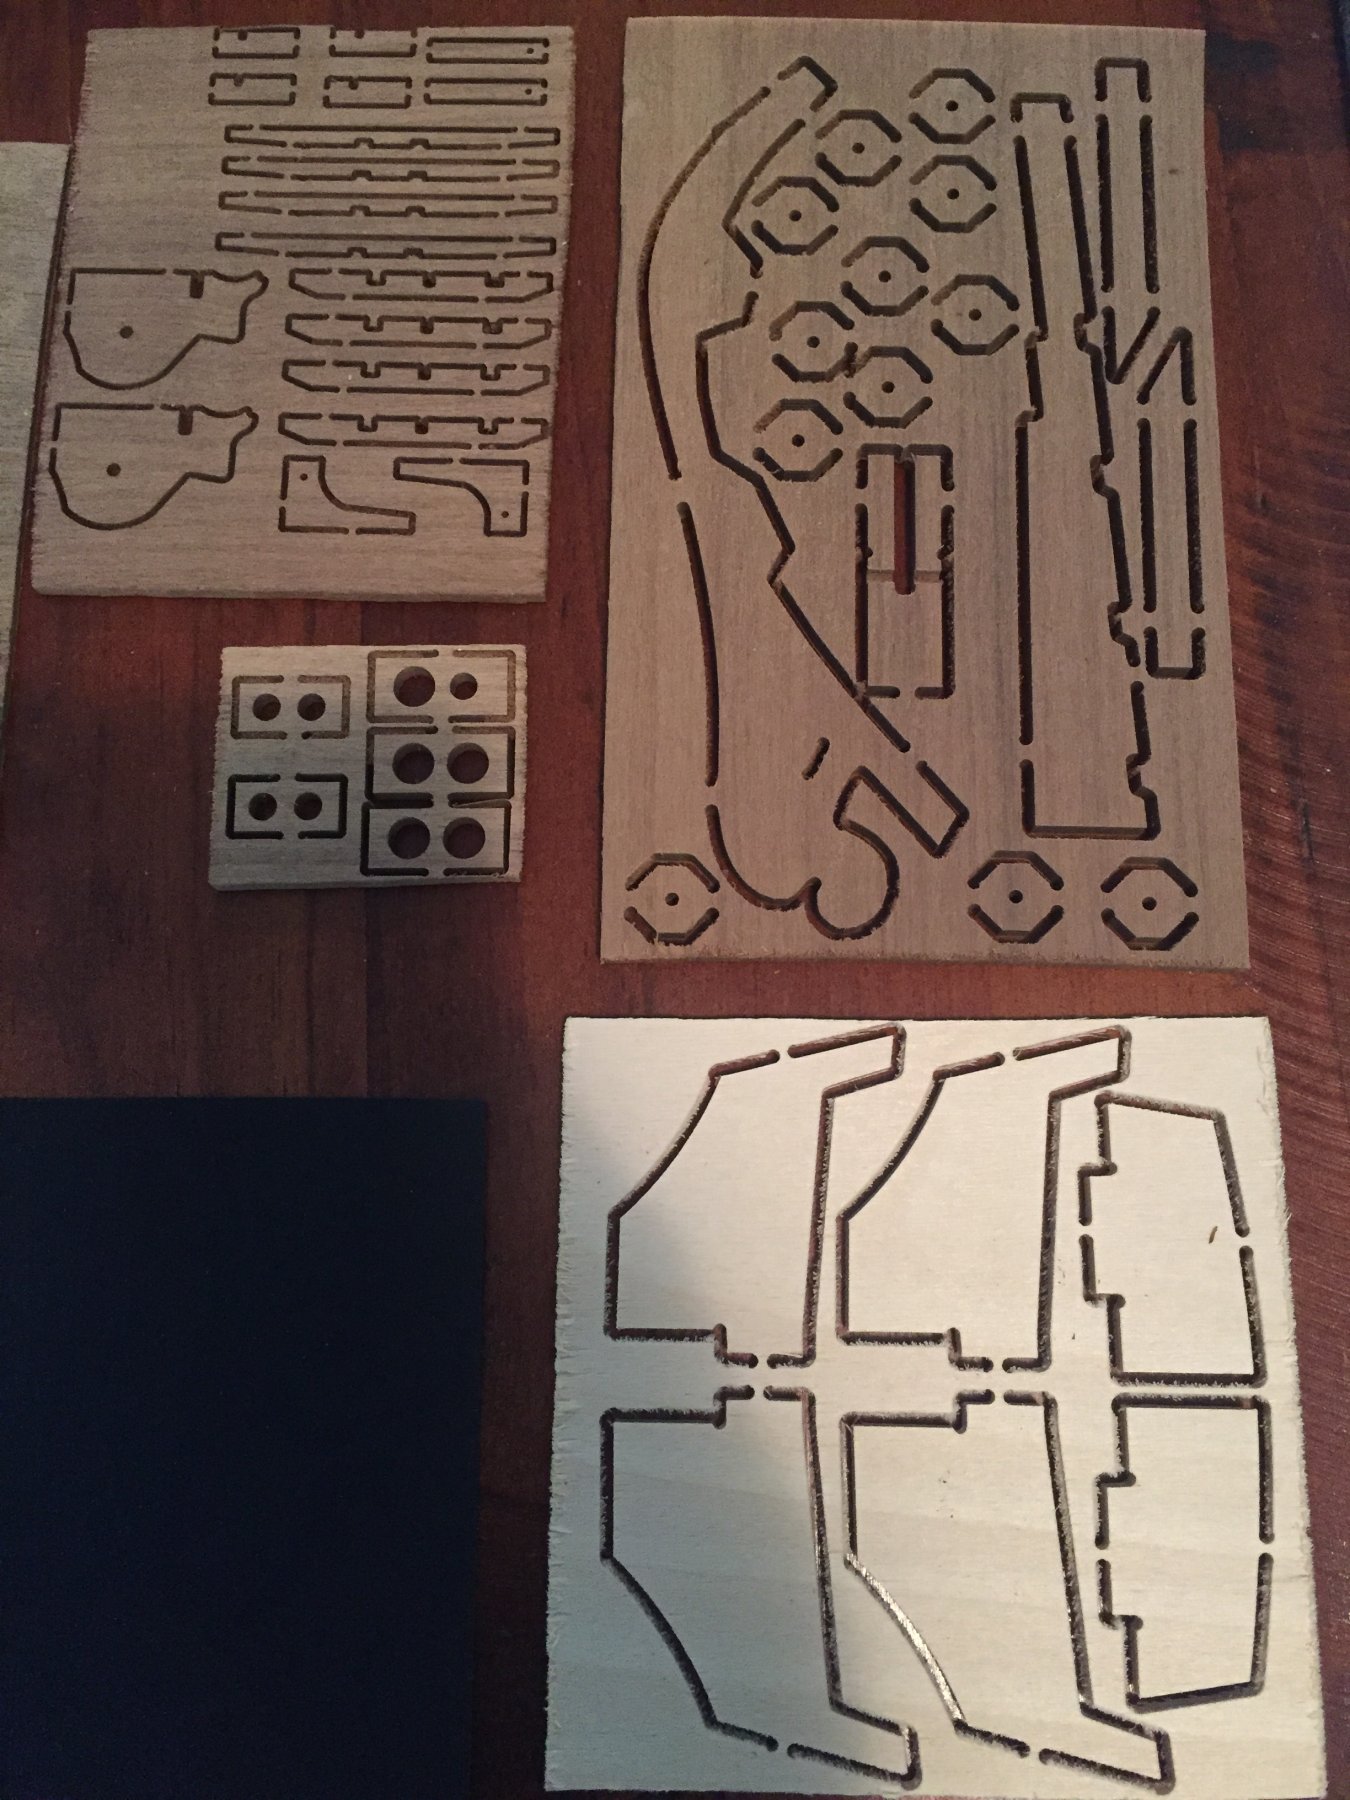
Cutting away the parts from their boards, leaving some fudge factor and filing back down ‘til smooth. Just like plastic modeling.
- Dan Vadas and Ryland Craze
-
 2
2
-
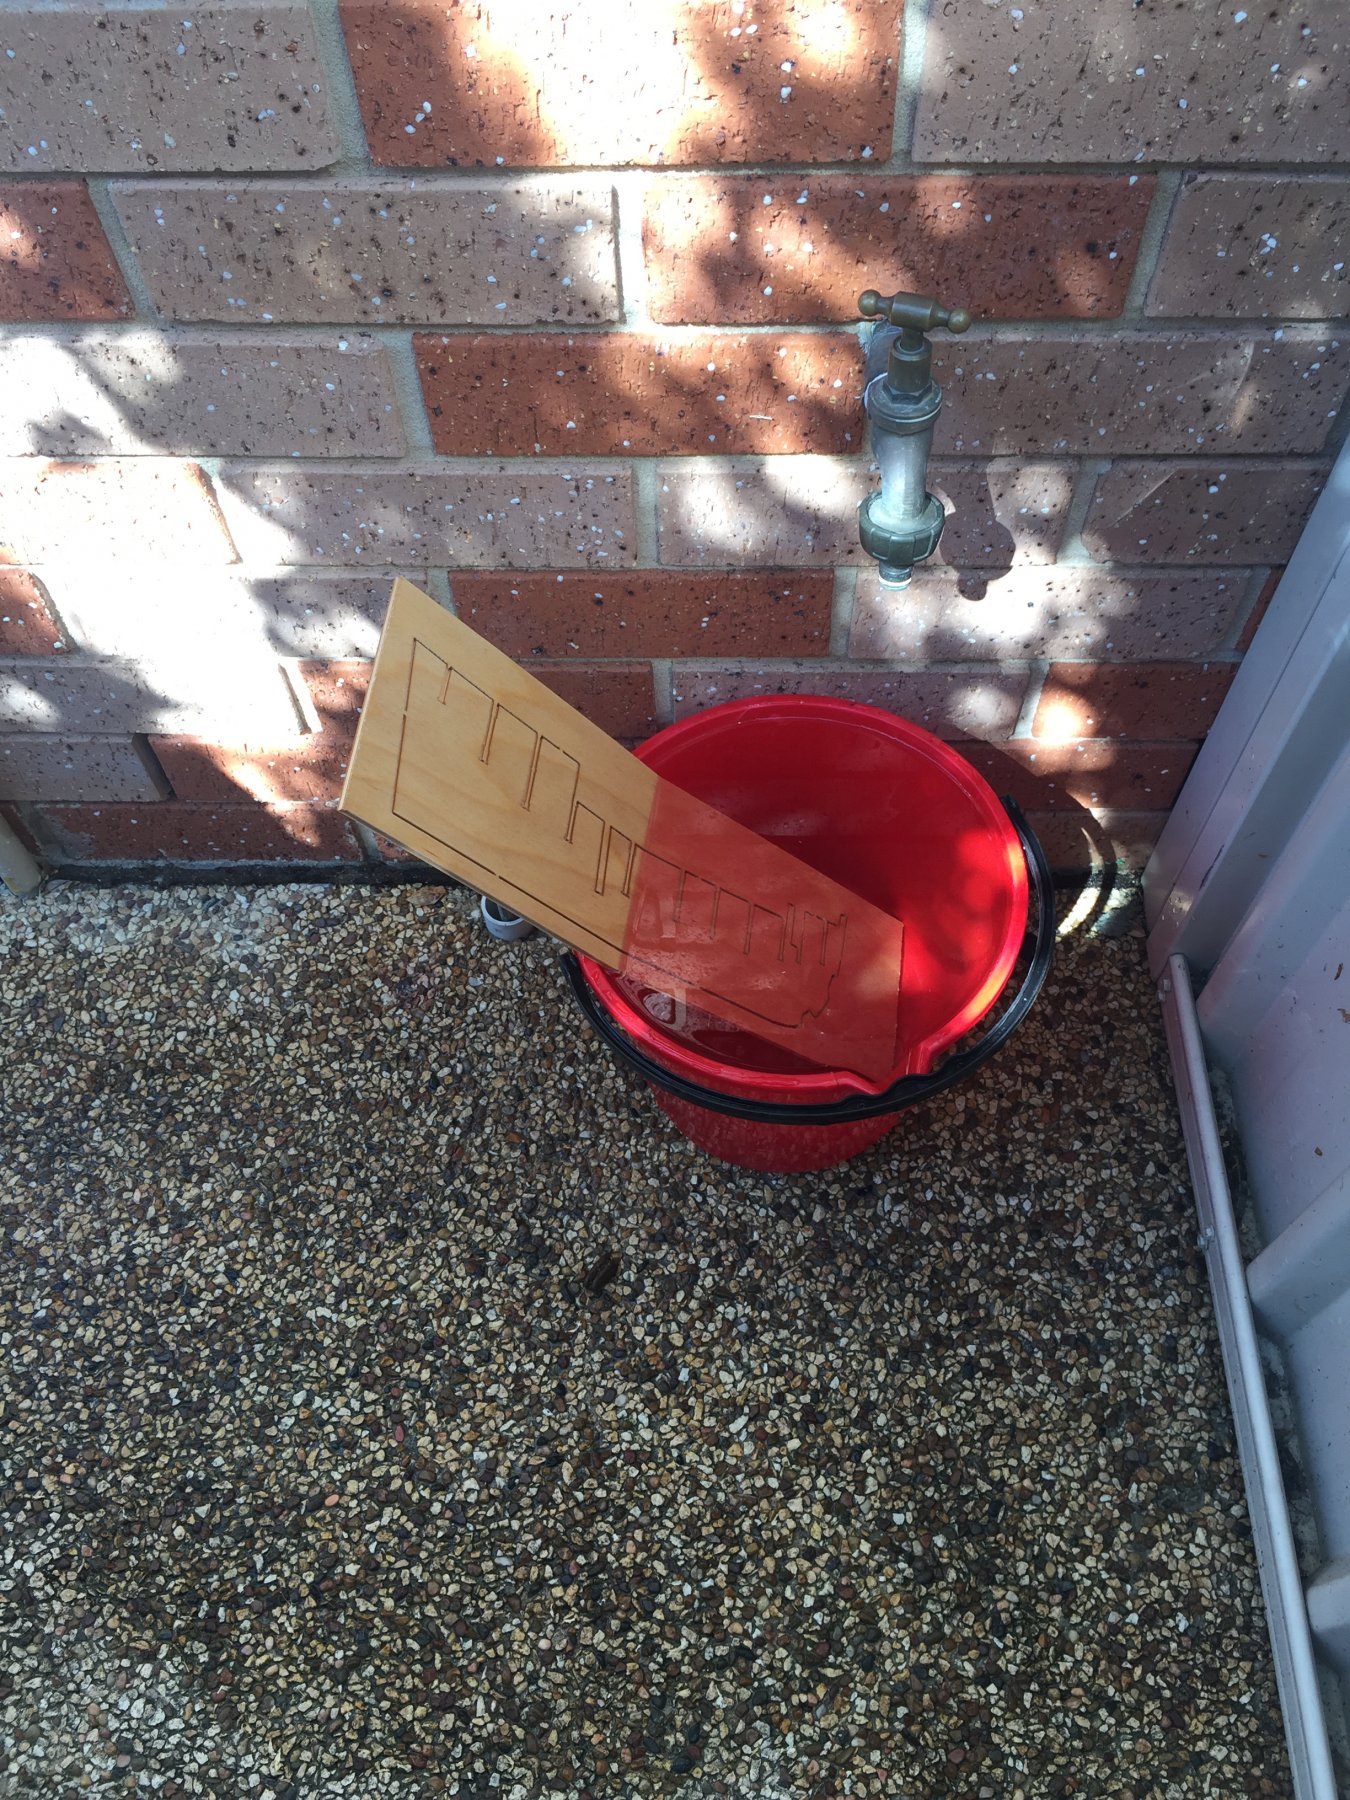
Phew! No longer bowed. I guess if you avoid applying too much heat too quickly, and let the wood dry naturally, you can avoid further distortion. Now... on to test-fitting the frame.

- Dan Vadas and Ryland Craze
-
2
-
1 hour ago, kopeikin said:
Oops. This looks scary. I am currently trying to straighten a keel of Mamoli 1:90 Victory which initially had just a slight bend. I am afraid to tell that after a week of fooling around with it by soaking it in water, drying it under weights, ironing it with dress iron, drying and ironing again and again, I got it looking worse or may be no better than when I started. I regret I started this process. May be I still will be able to use this part but in any case it became about 0.5 mm thicker than other keel parts which I still have to cope with. Sorry to intrude with my own pictures. This is item 19 I tried to straighten. Burn marks are from ironing.


Don’t apologise for intruding, Kopeikin, I appreciate the input. I haven’t had to try to straighten a keel before, so I’m as nervous as you are!
-
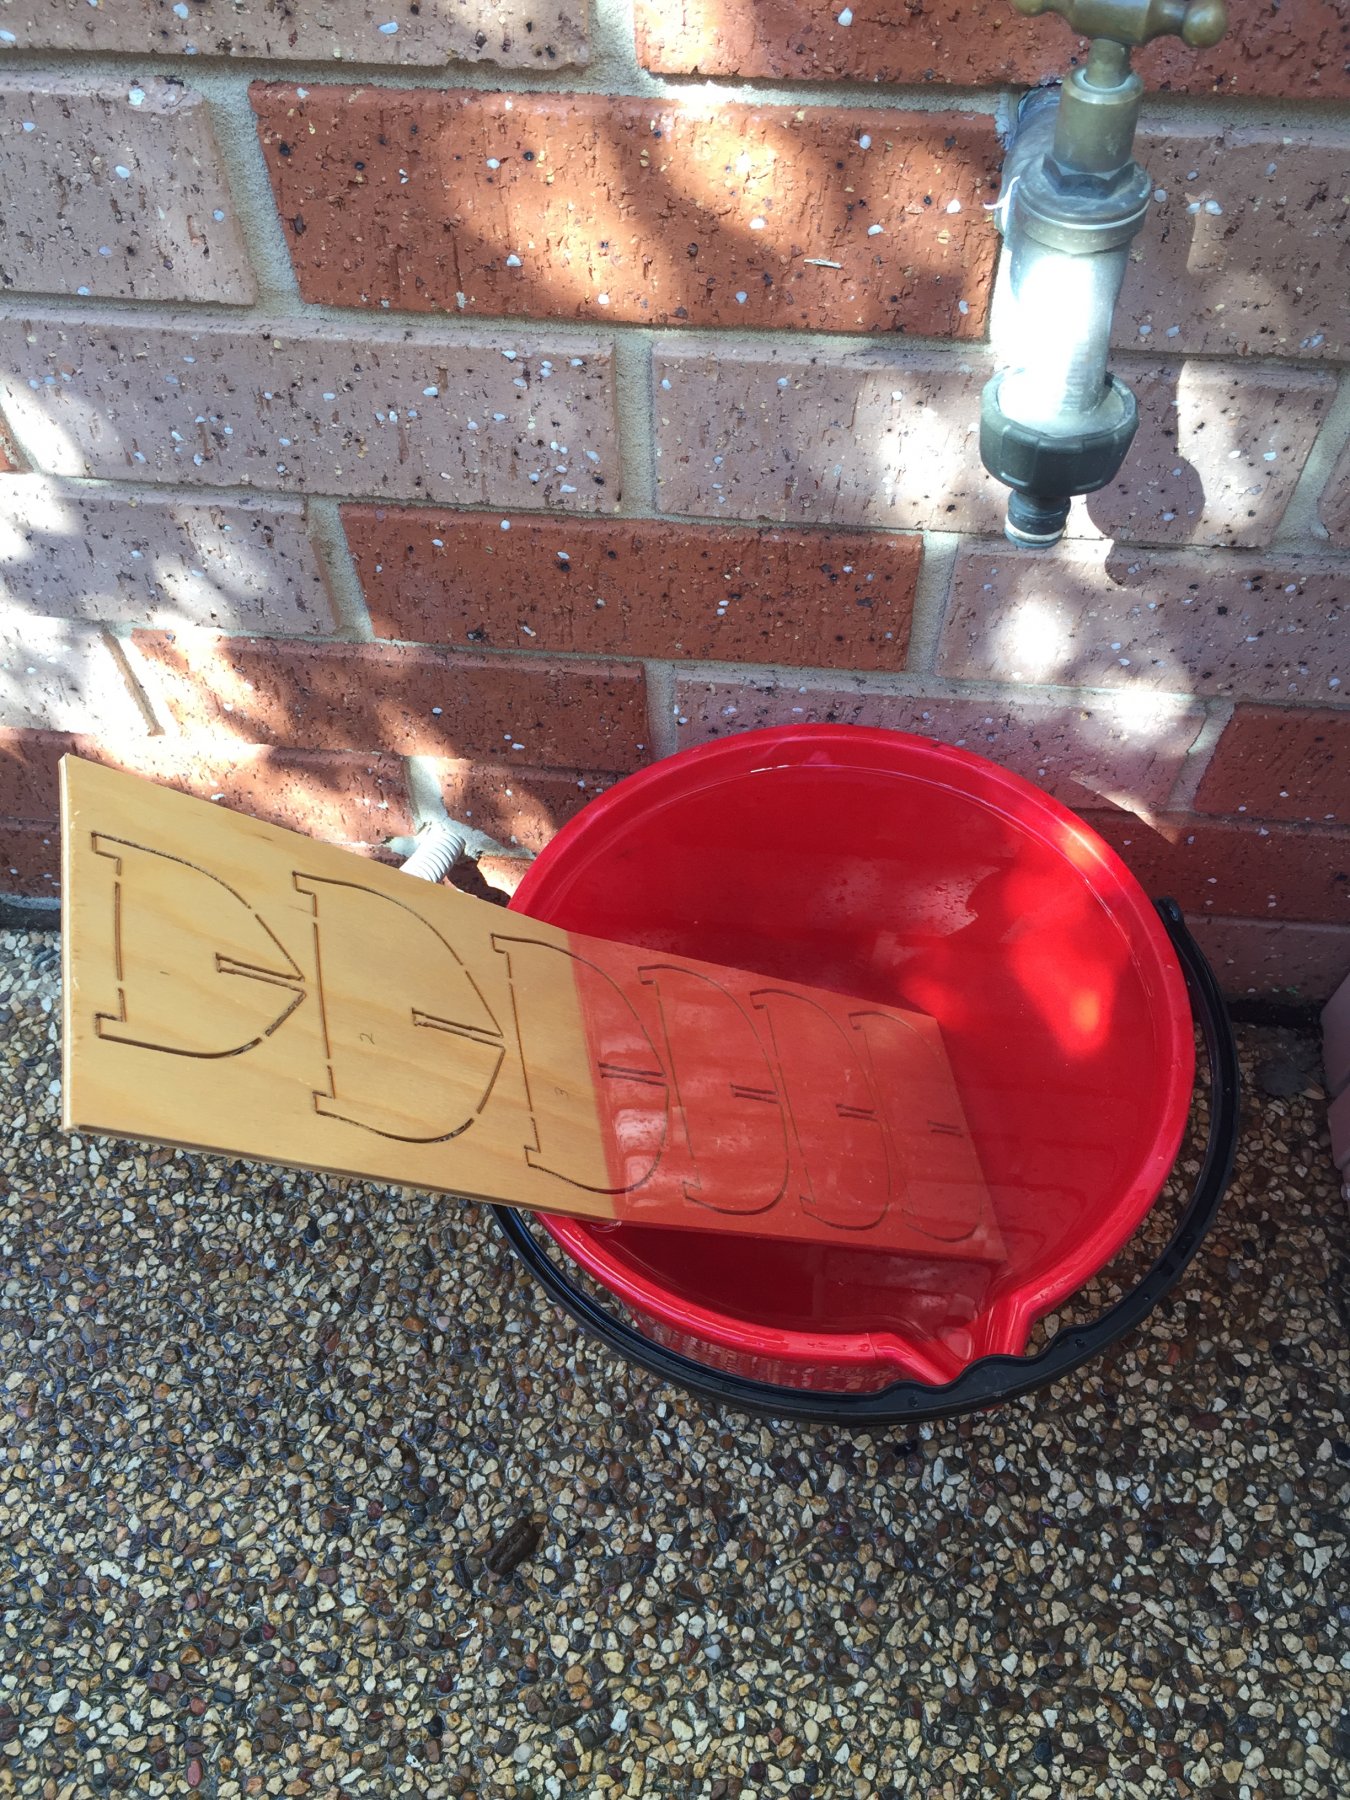
I can’t see one method being more accurate than the other, but at least there’s no unsightly burn marks.
-
-
-
-
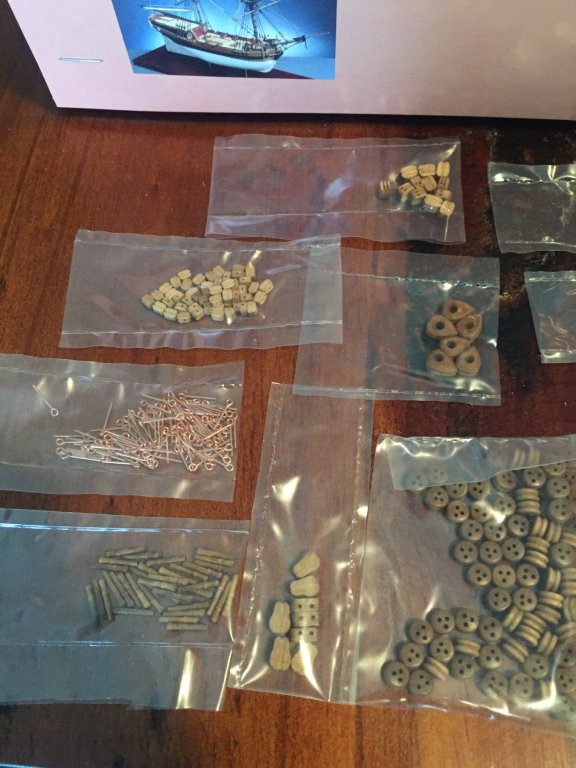
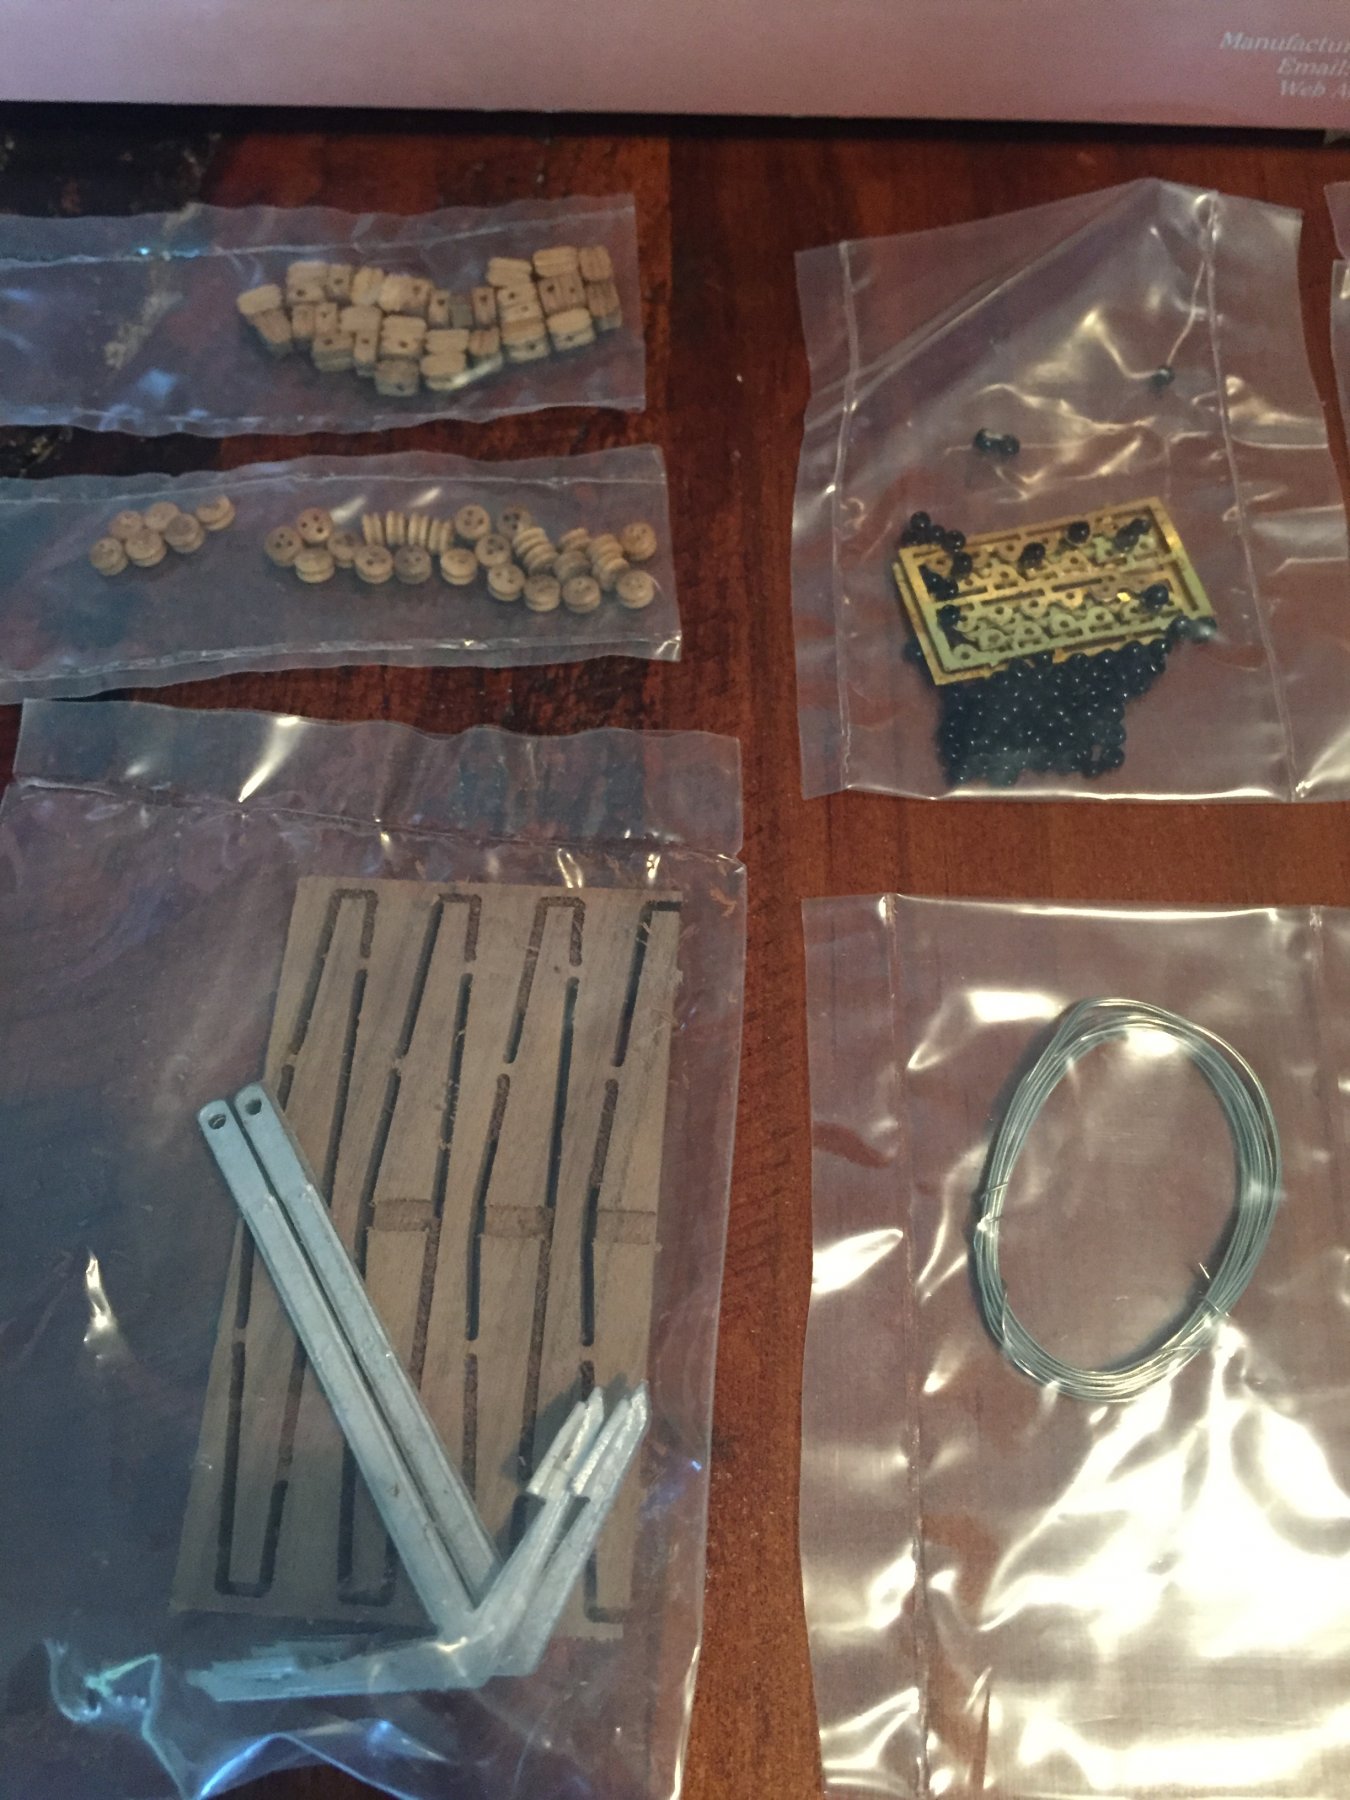
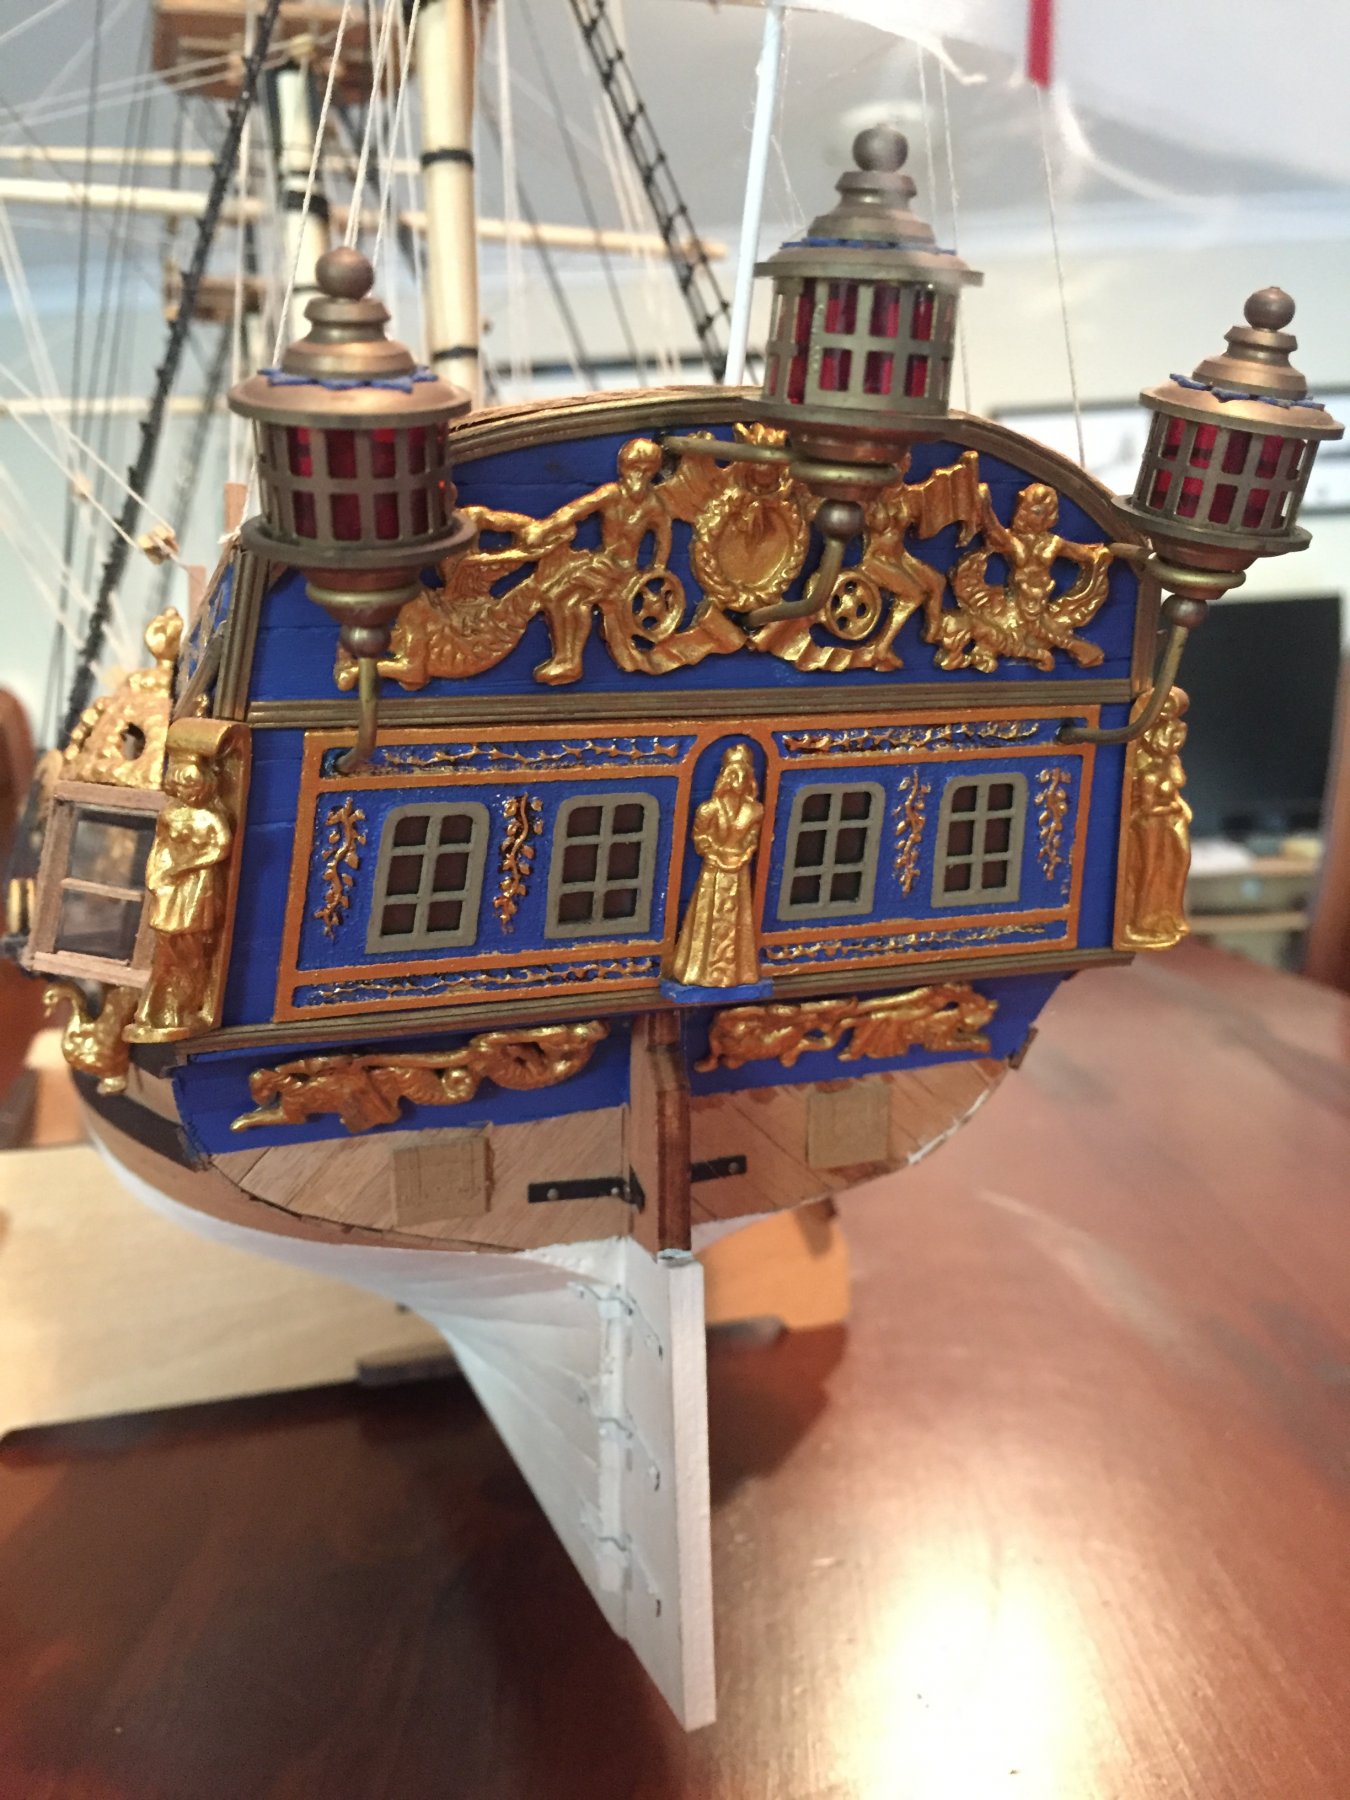
The fittings- All individually bagged photo-etched brass and tin cast. All look complete, at this stage. (I’ve registered my kit with the manufacturer, so I’m not worried about problems I may find later.) Most have burrs, flashing and cast marks, but a run-around with a file will clean them right up.


-
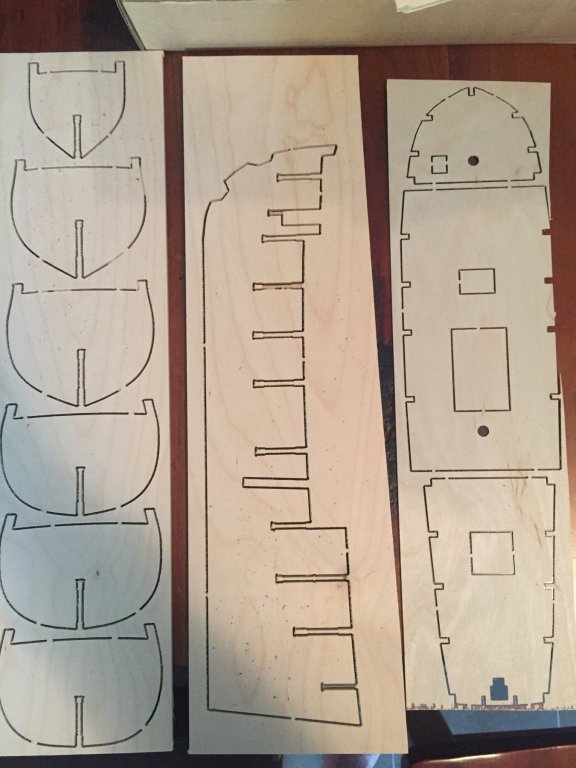
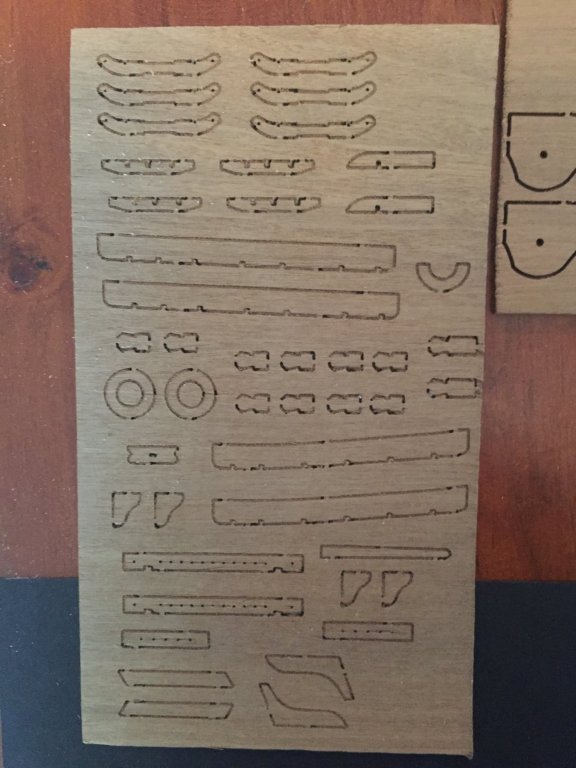
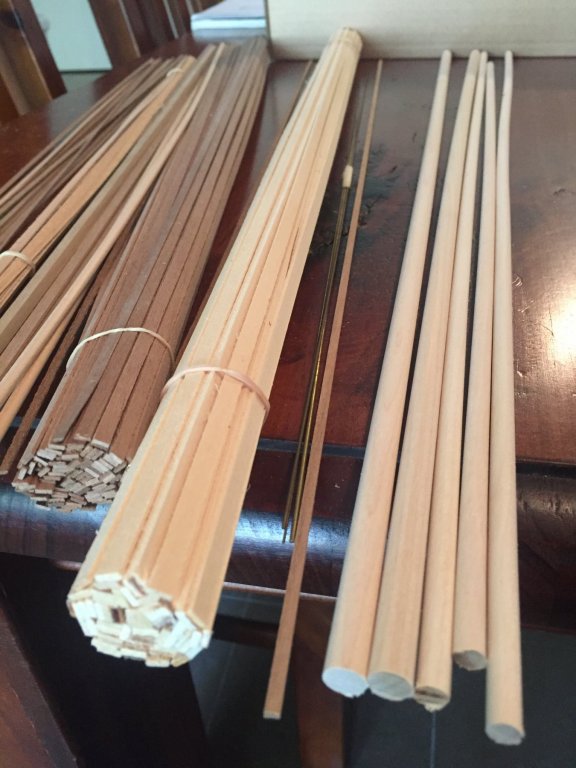
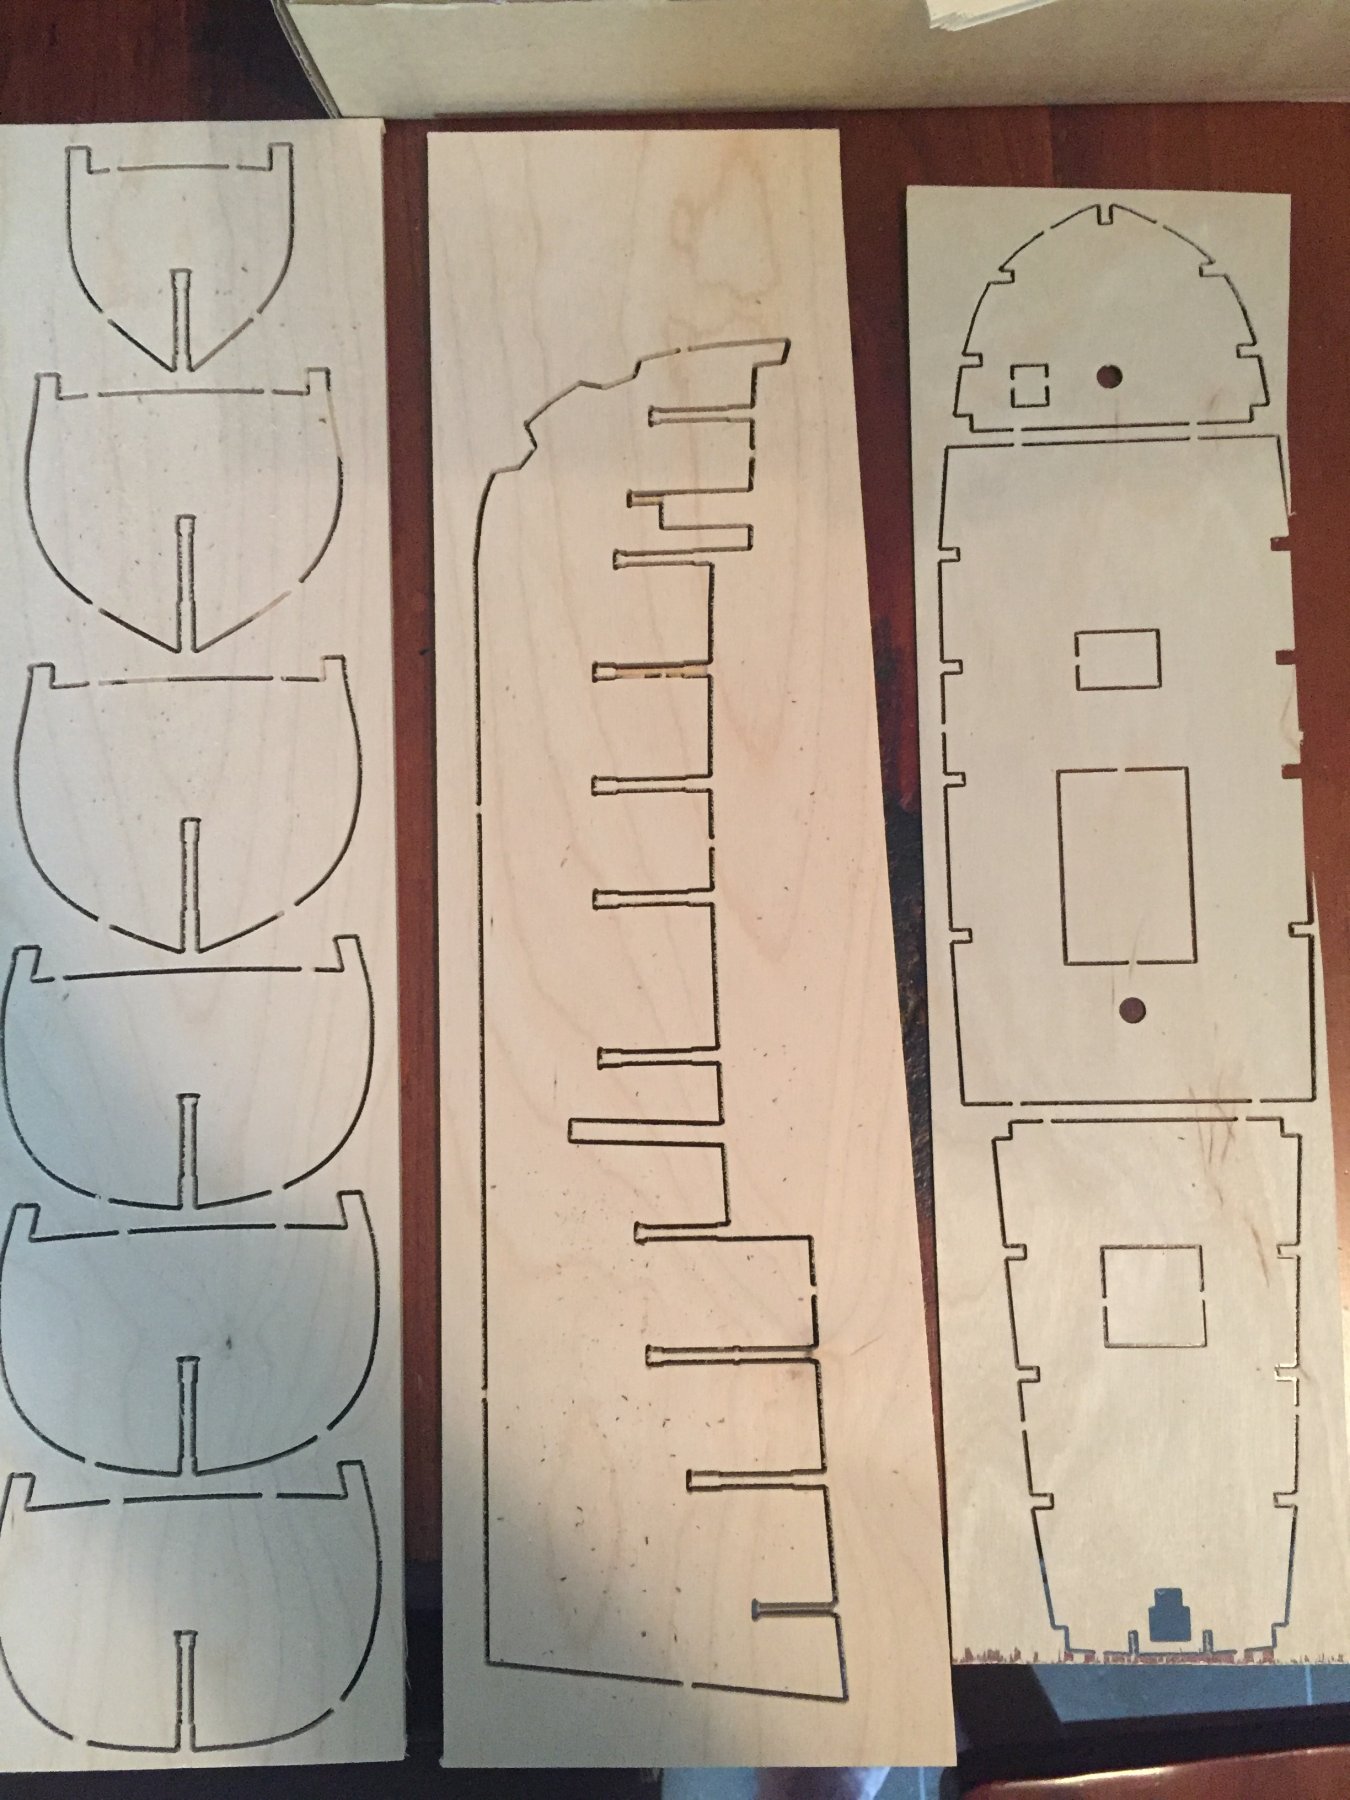
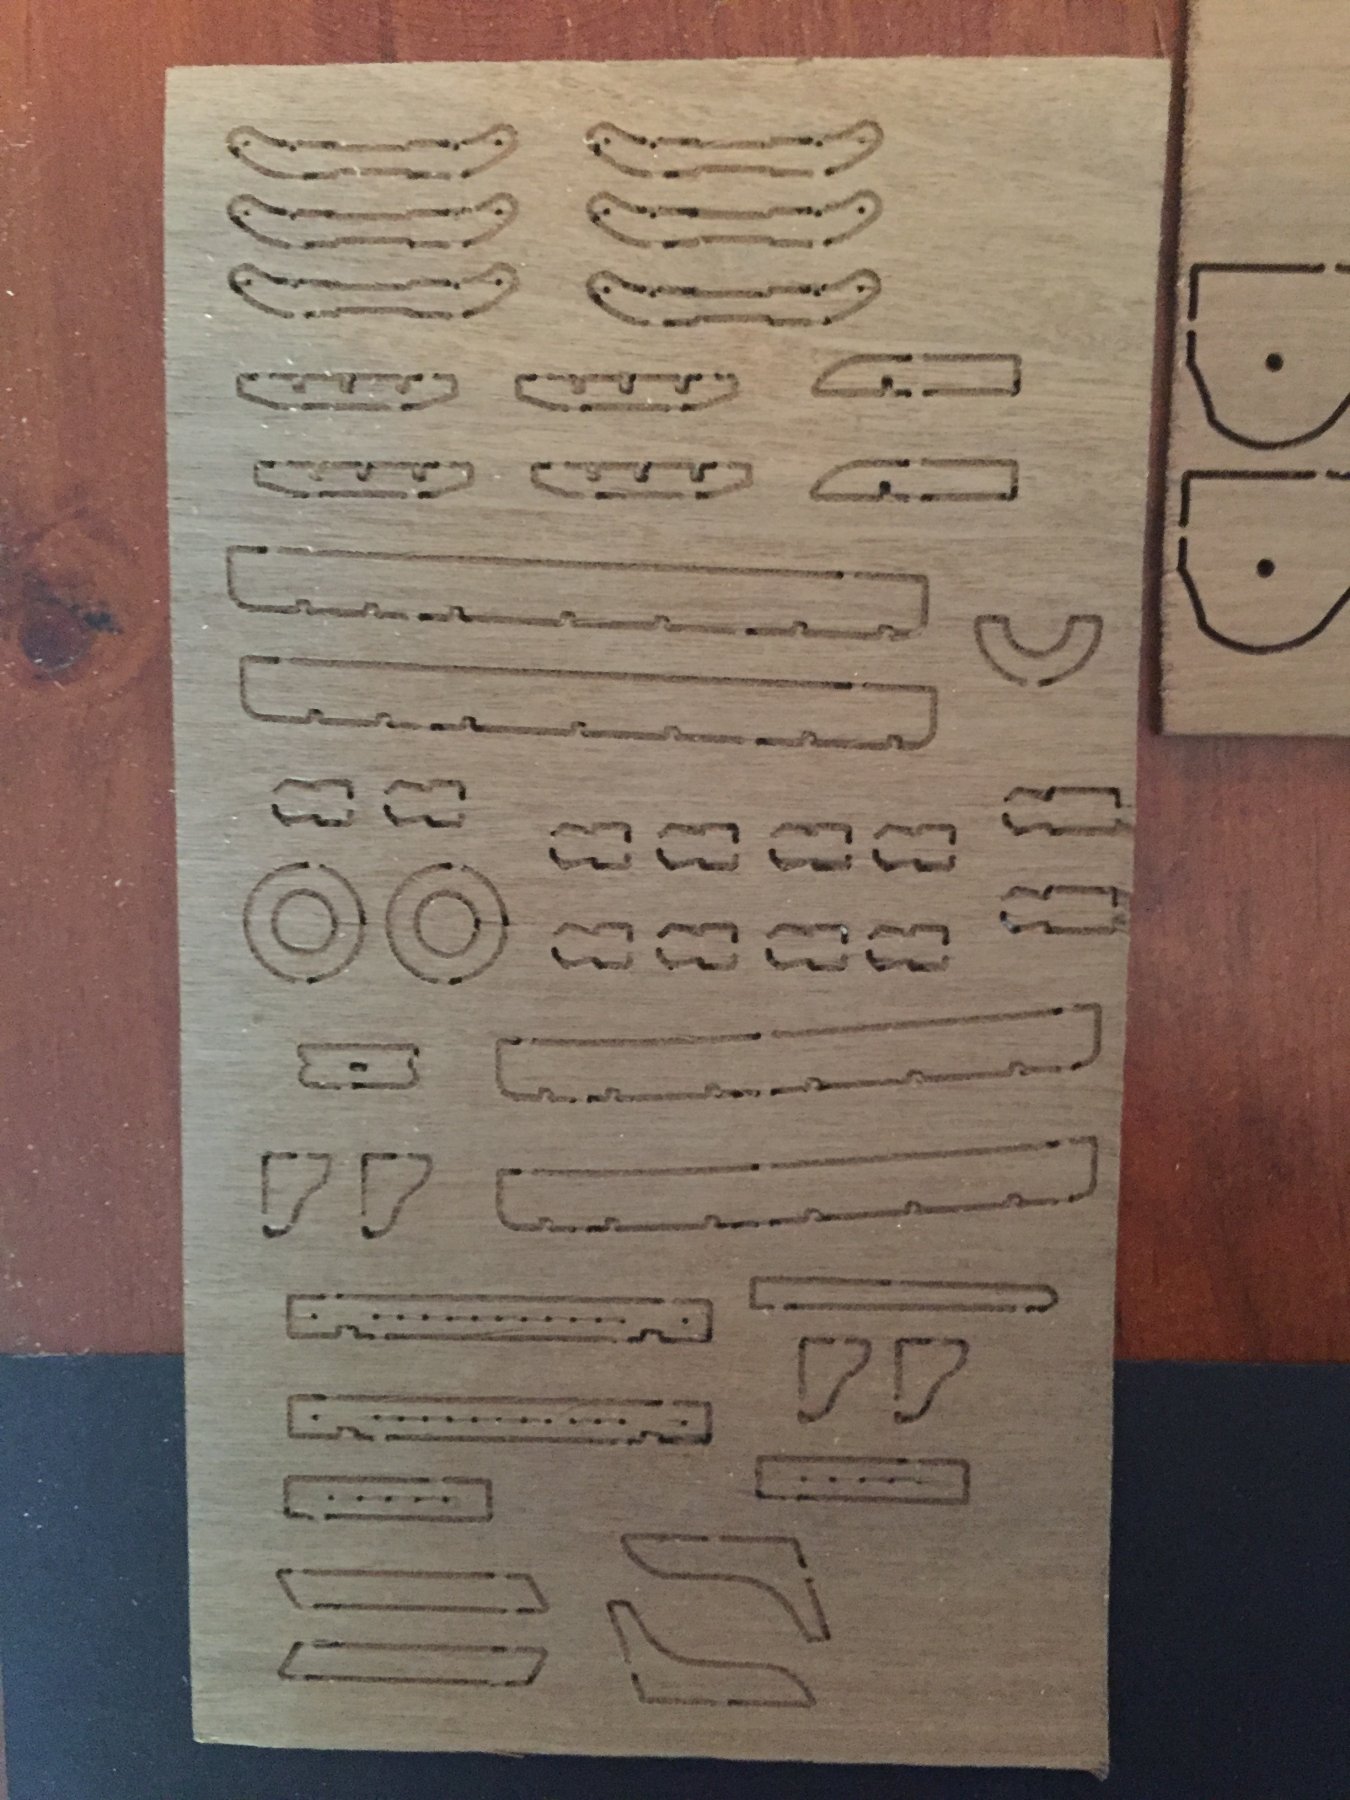
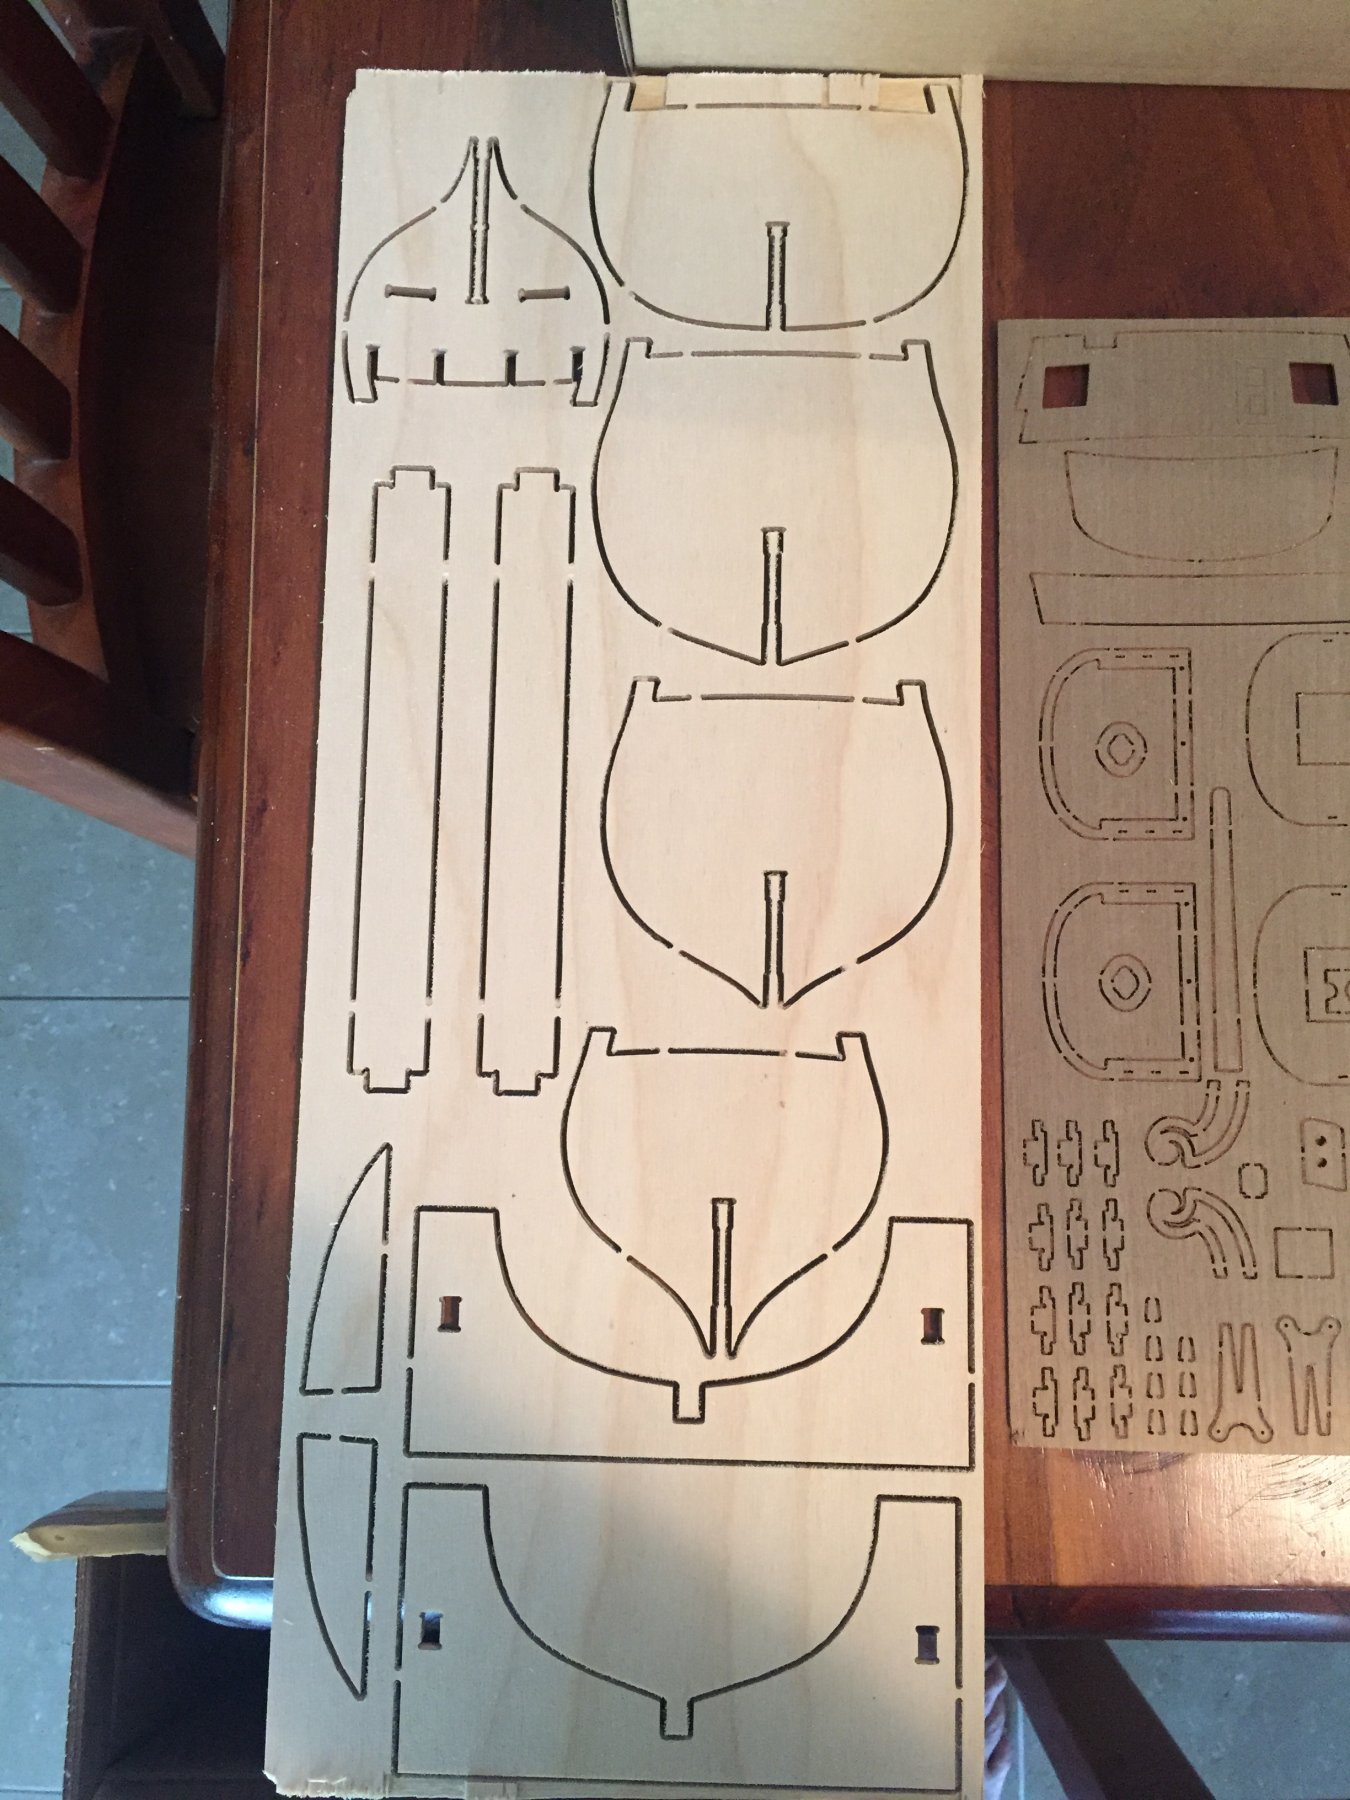
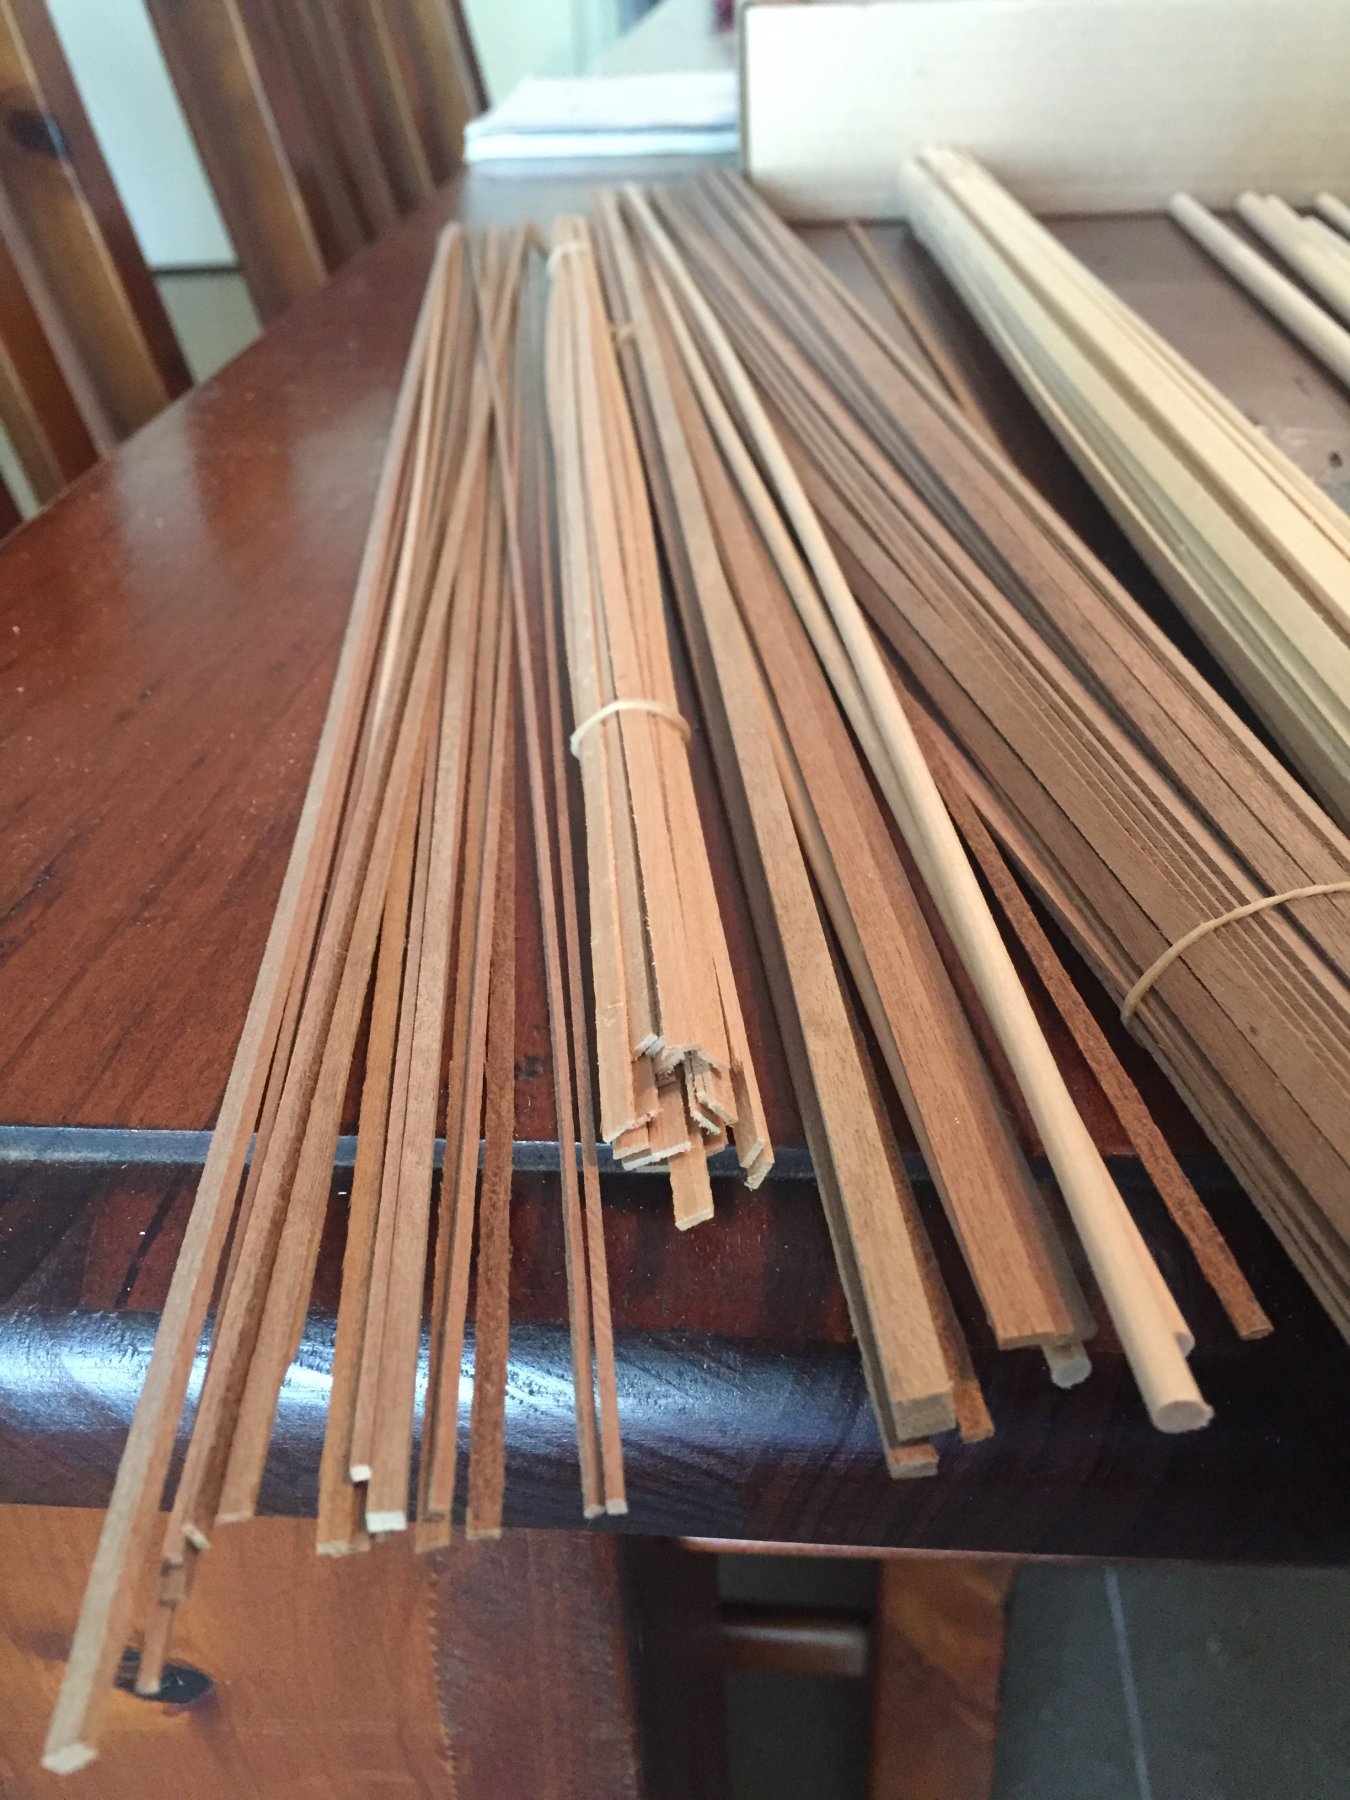
The wood- First thing that struck me when I opened the kit was the amount of sawdust. Because these kits are CNC-cut (Computer Numeric Controlled 3-axis lathe) and not laser-cut, the wood is machined and not burnt, so sawdust is simply a byproduct of the process, not dodgy quality control. I figure I’ll make plenty more sawdust anyway. The gaps in the smaller cuttings are filled with tightly compressed sawdust. I’ll keep it all there until I cut out the piece to prevent breakage.


- yvesvidal, aviaamator, BLACK VIKING and 1 other
-
4
-
G’day. I’m a new member, so this will be my first build log. I’ve been trying to decide whether to commit to a log, as there are already finished logs of the same kit here, but I’ll do this for a couple of reasons:
1: To possibly aid newcomers overcome self-doubt in starting a kit.
2: To force myself to pay more attention to my own processes, because I find myself looking at details of kits I’ve completed and wonder “How the hell did I do that bit?”
3: To benefit from other member’s advice and thereby improve my own skills.
I’ll try to detail the planking process because I think it’s the bit that worries new builders. And I won’t try to hide my shoddy workmanship.
Feel free to pull up a pew. But grab a cushion, this may take a while.

- BLACK VIKING, Haliburton, vossy and 4 others
-
7
-
Thanks for all your kind words. I've been probing around this forum for a few days now, and I'm in awe of the workmanship and good will of all members here. It's a nice place to hang out, and I think I'll be sticking around.
- Dan Vadas, Haliburton and mtaylor
-
3
-


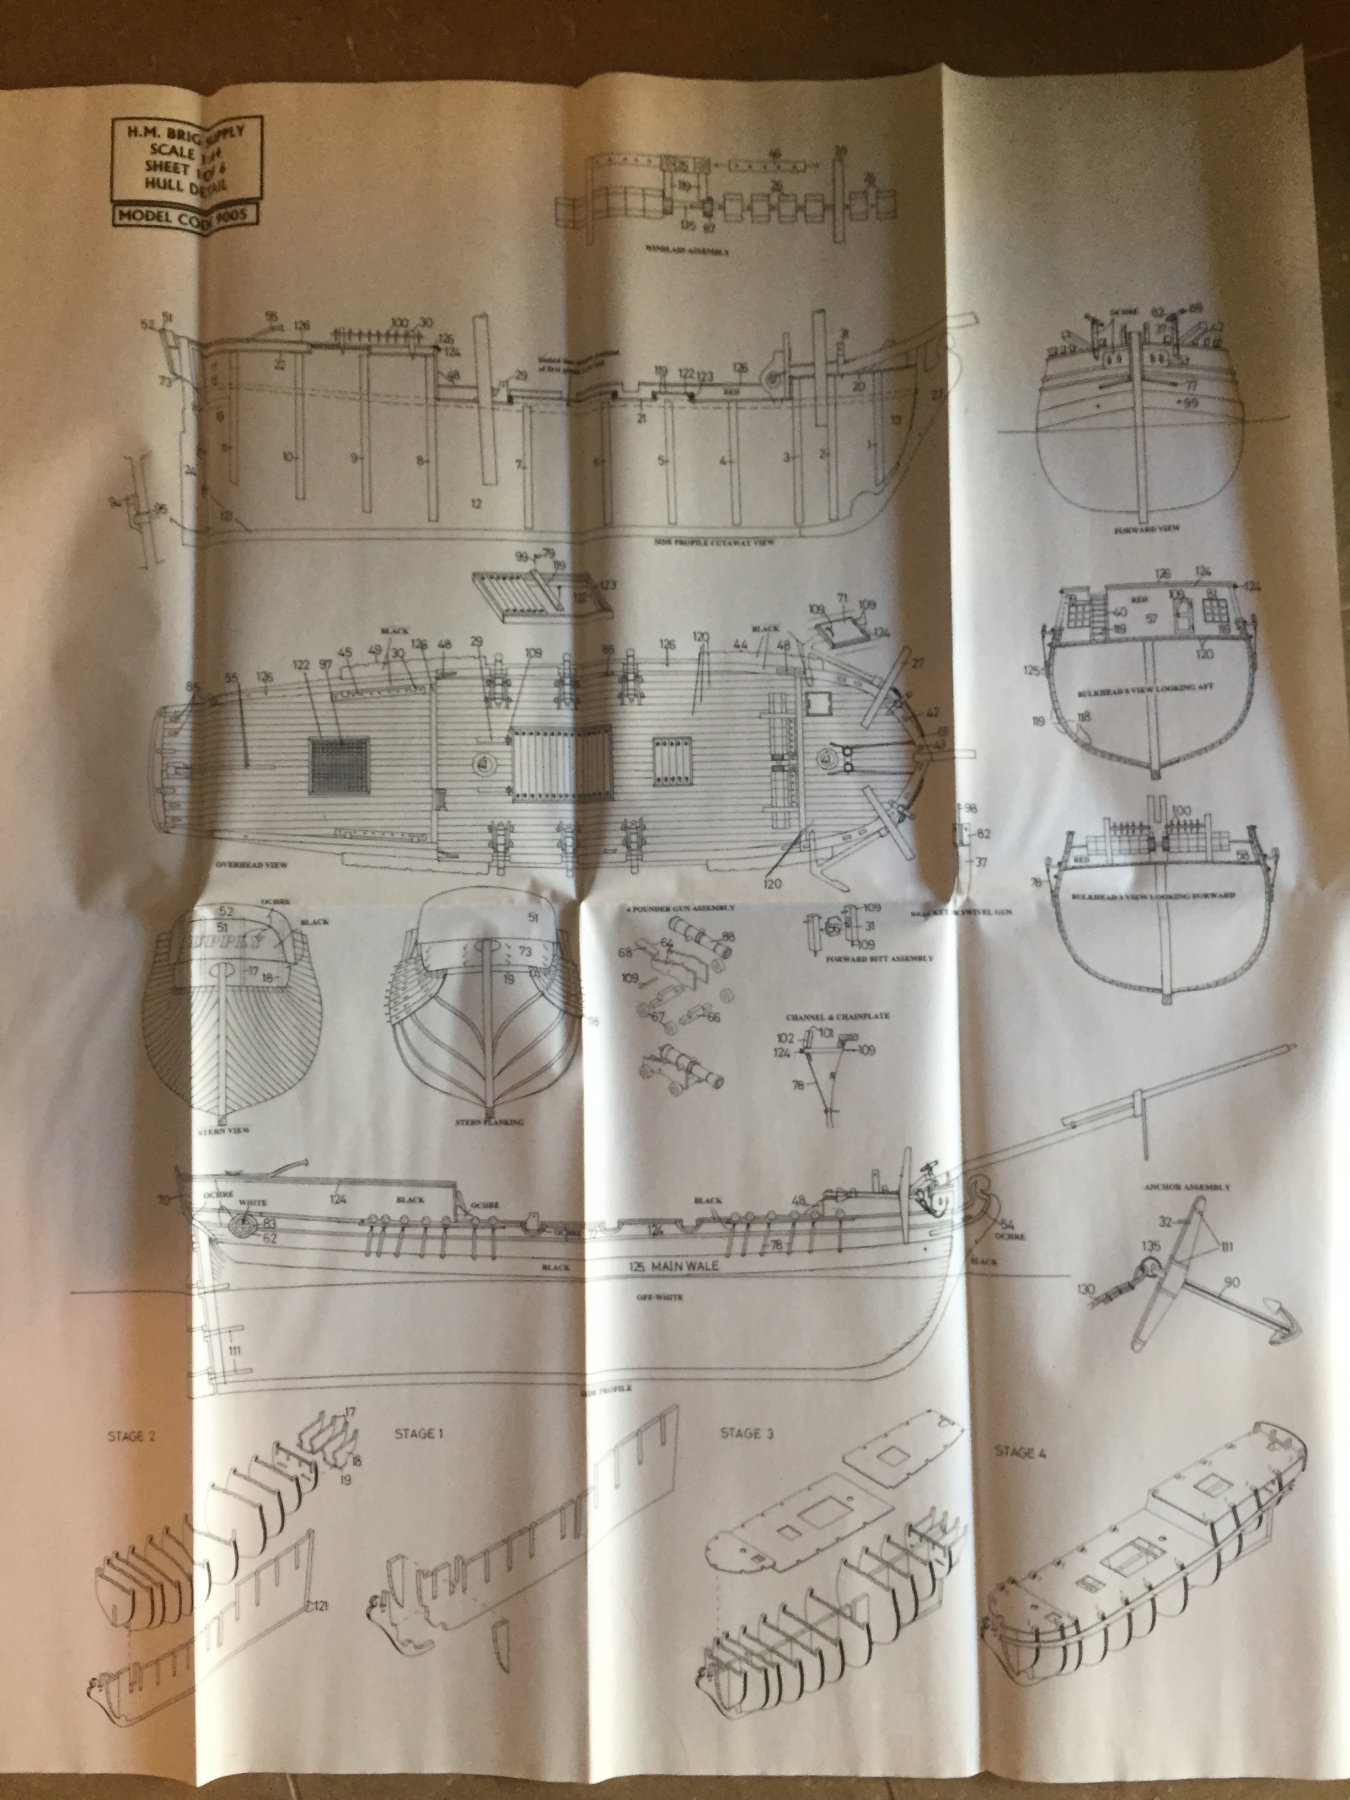
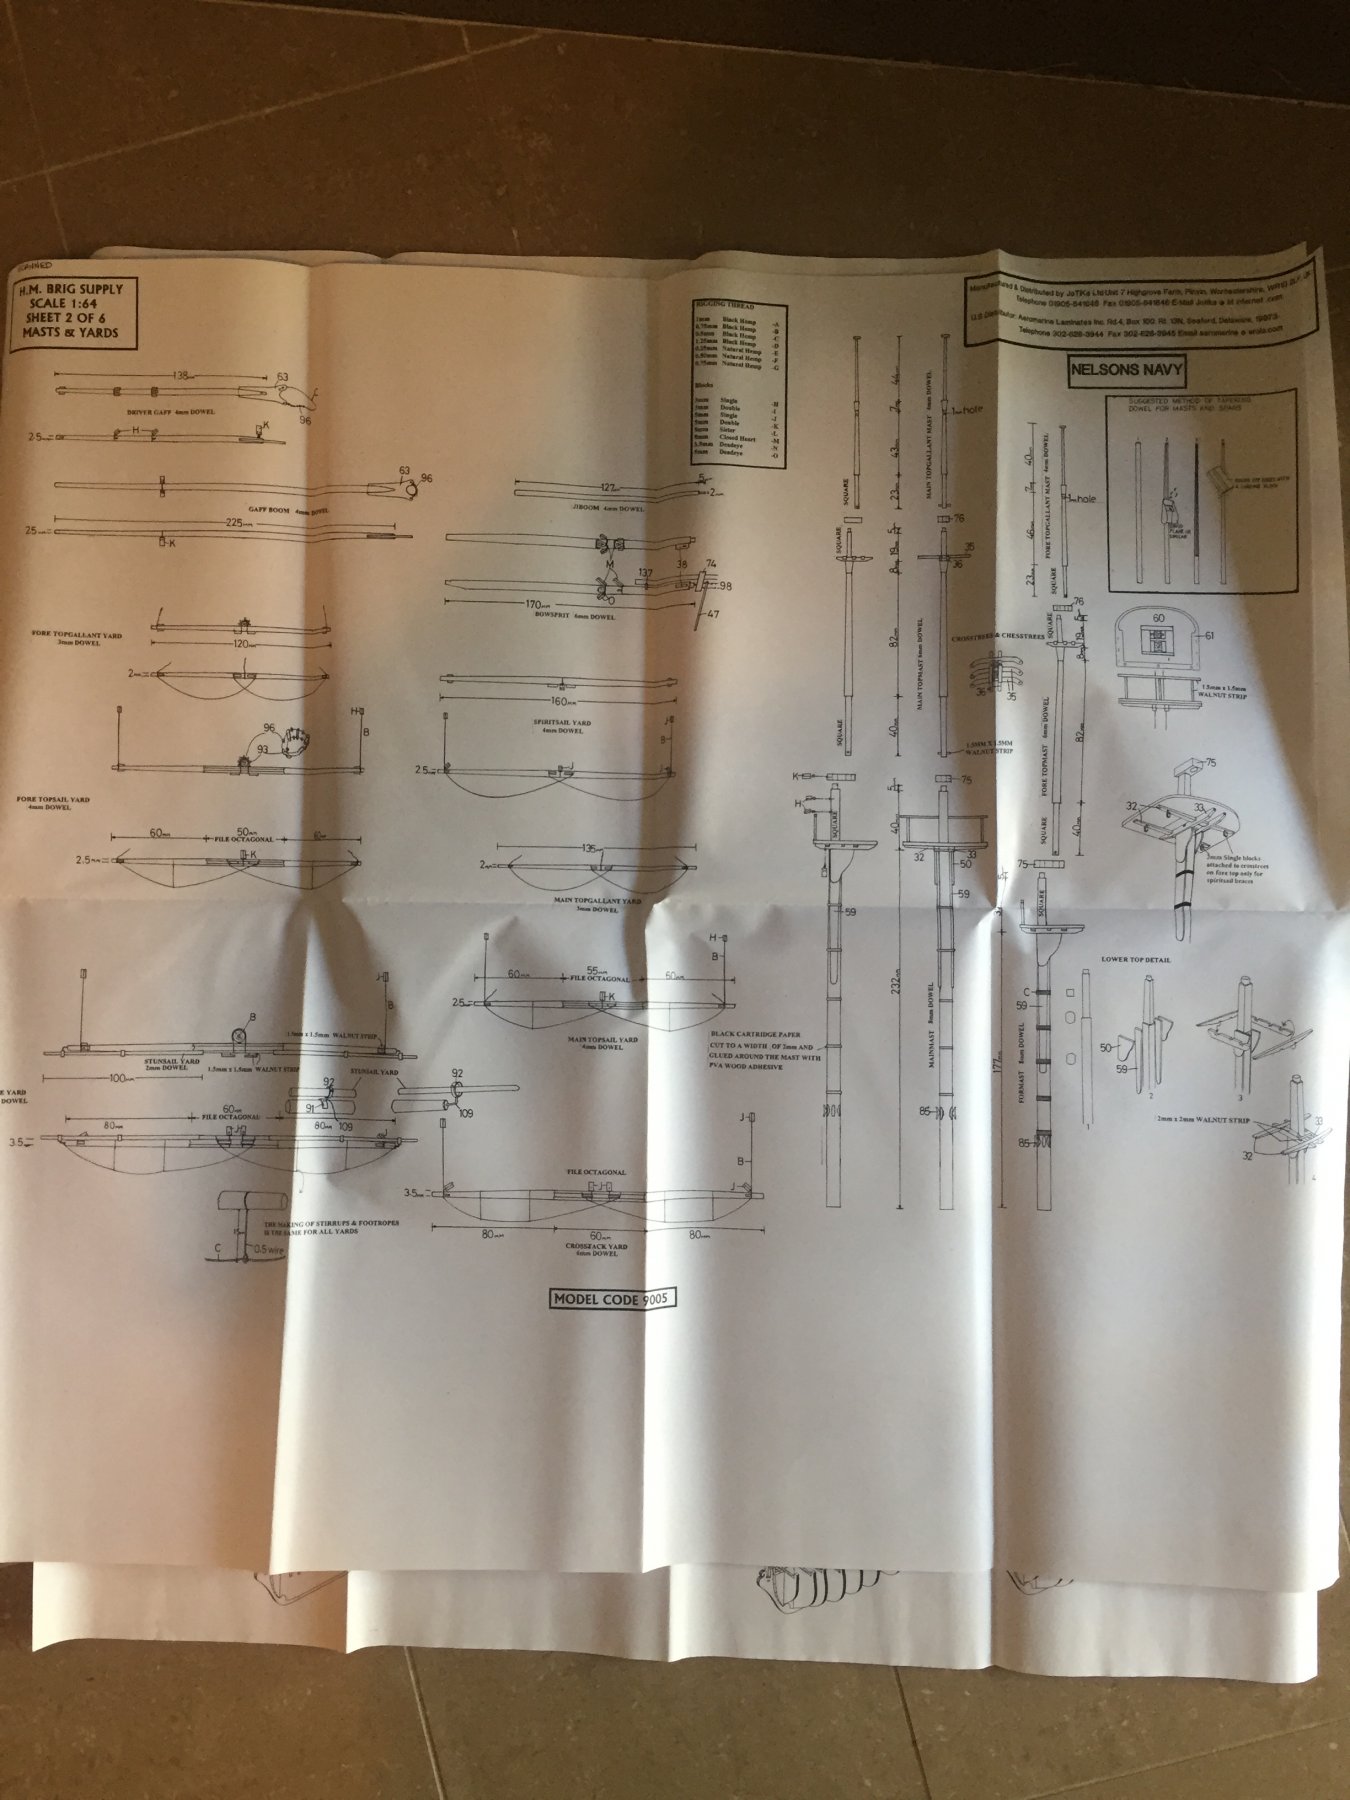
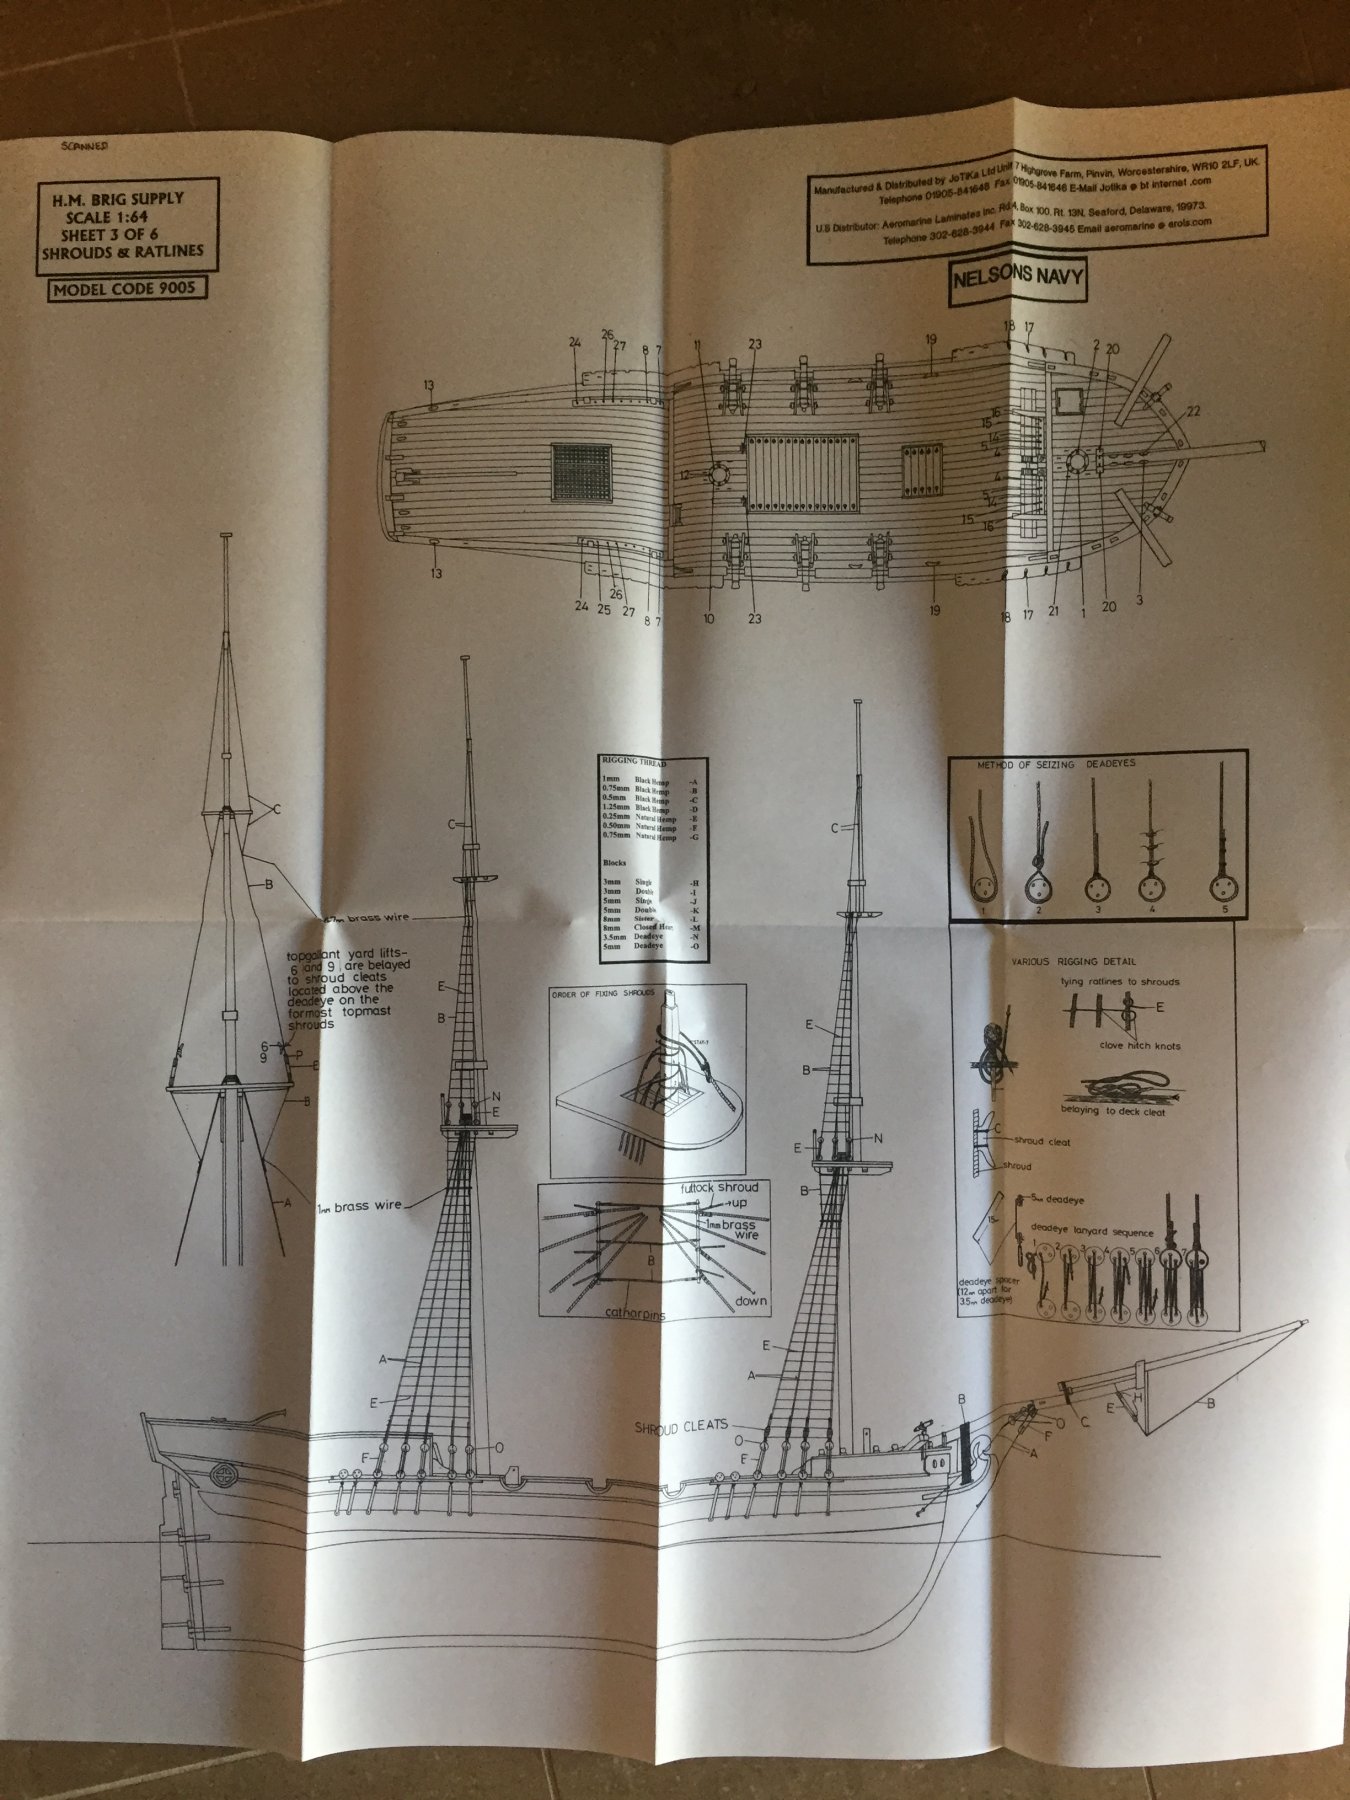


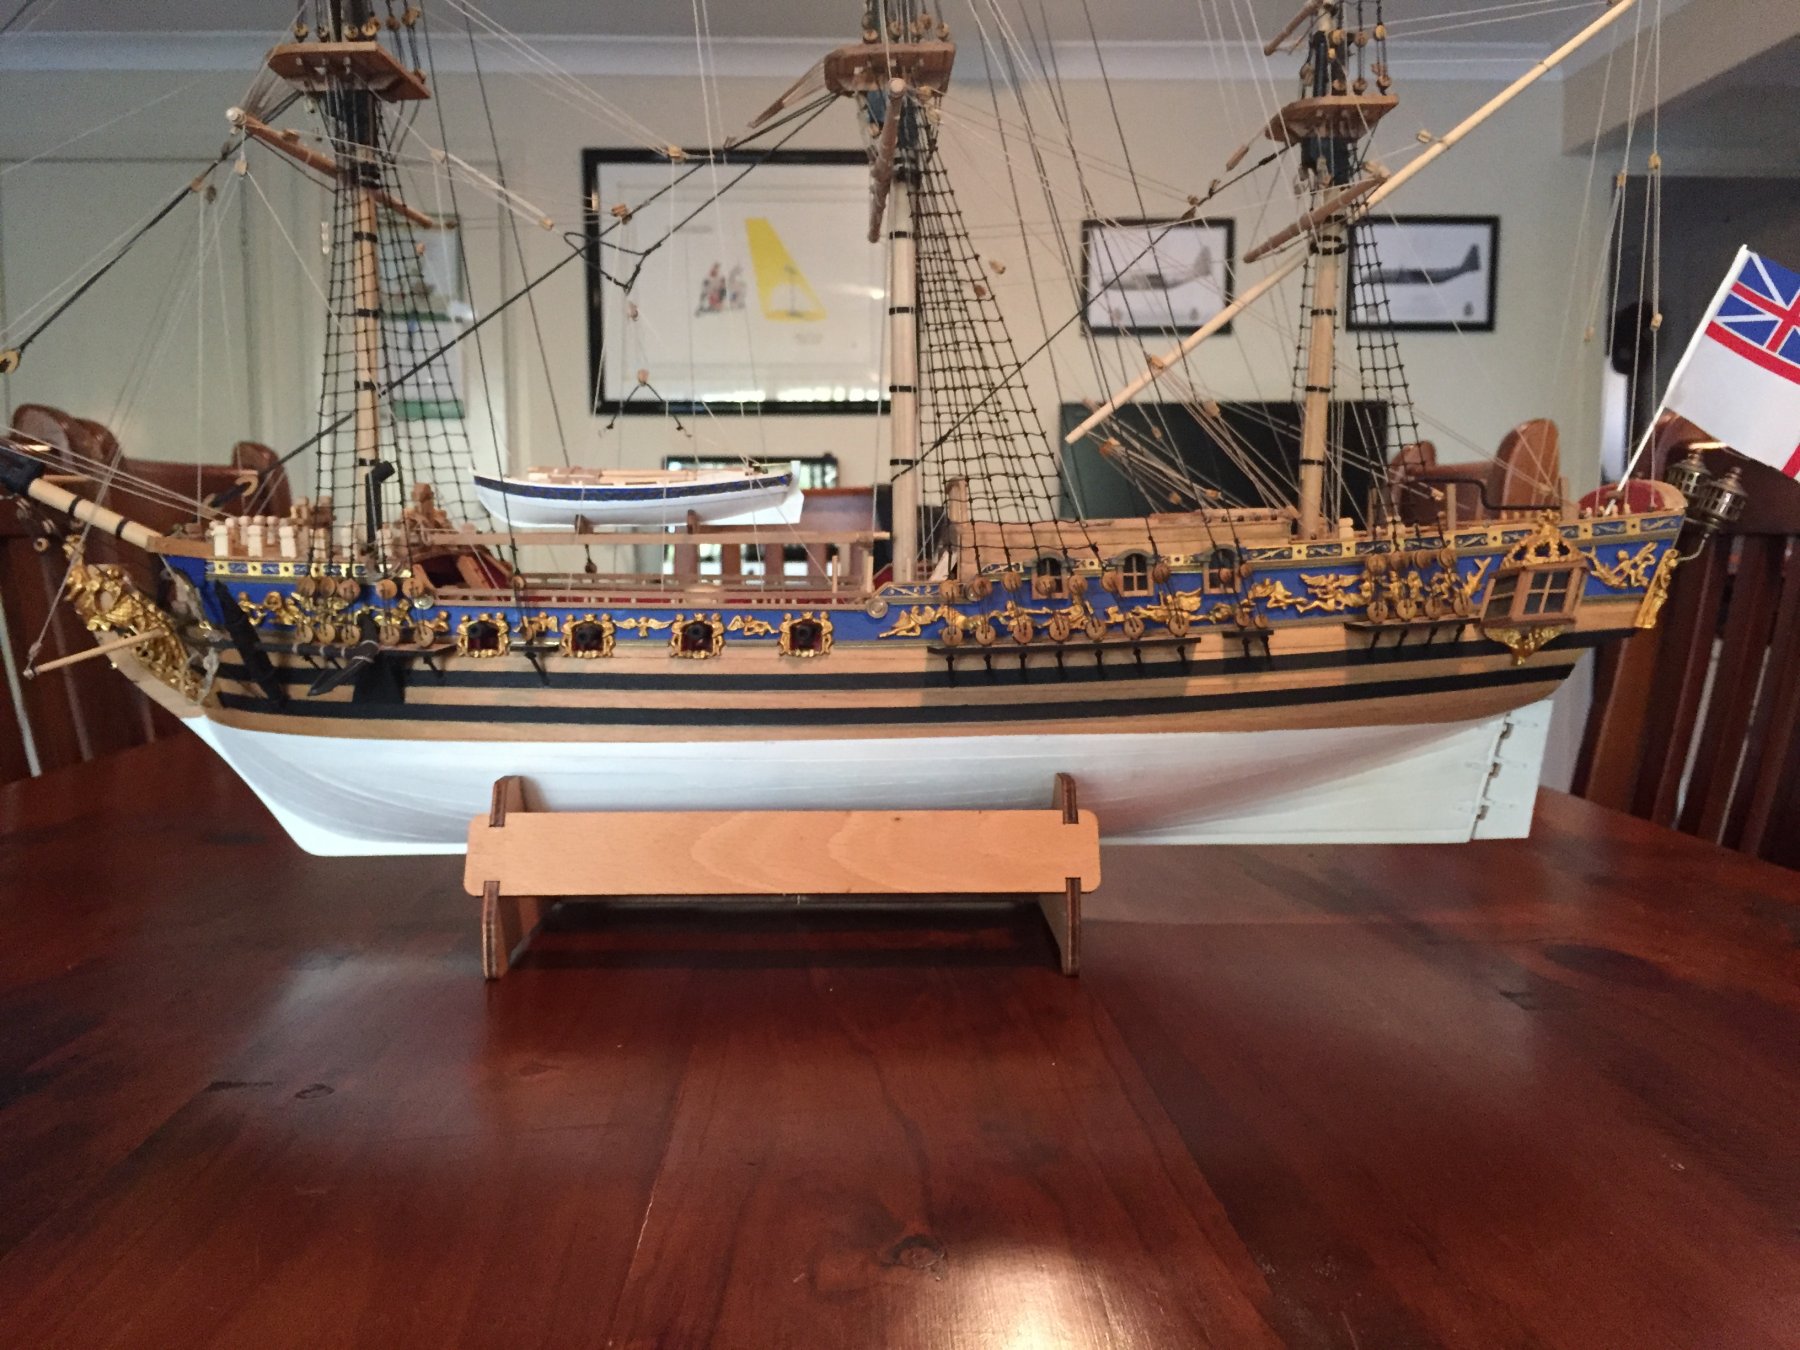


HM Brig Supply by Jobbie - Caldercraft - Scale 1:64
in - Kit build logs for subjects built from 1751 - 1800
Posted · Edited by Jobbie
Screw size correction.
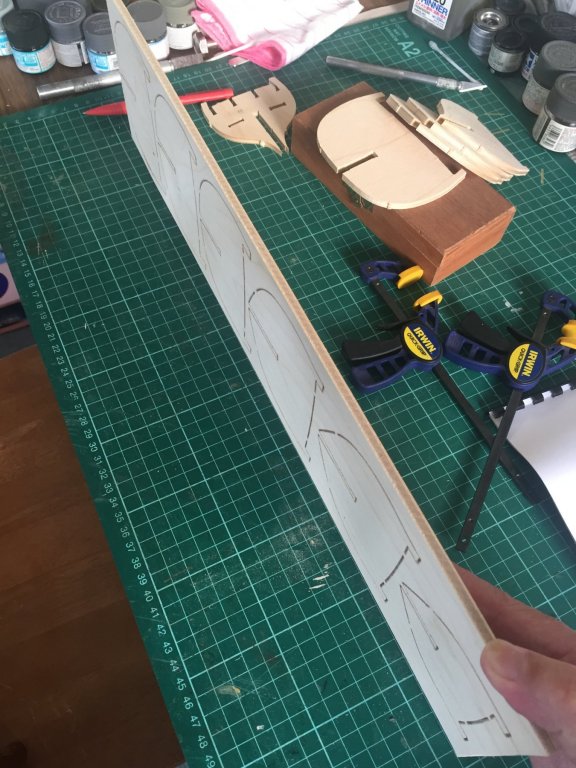
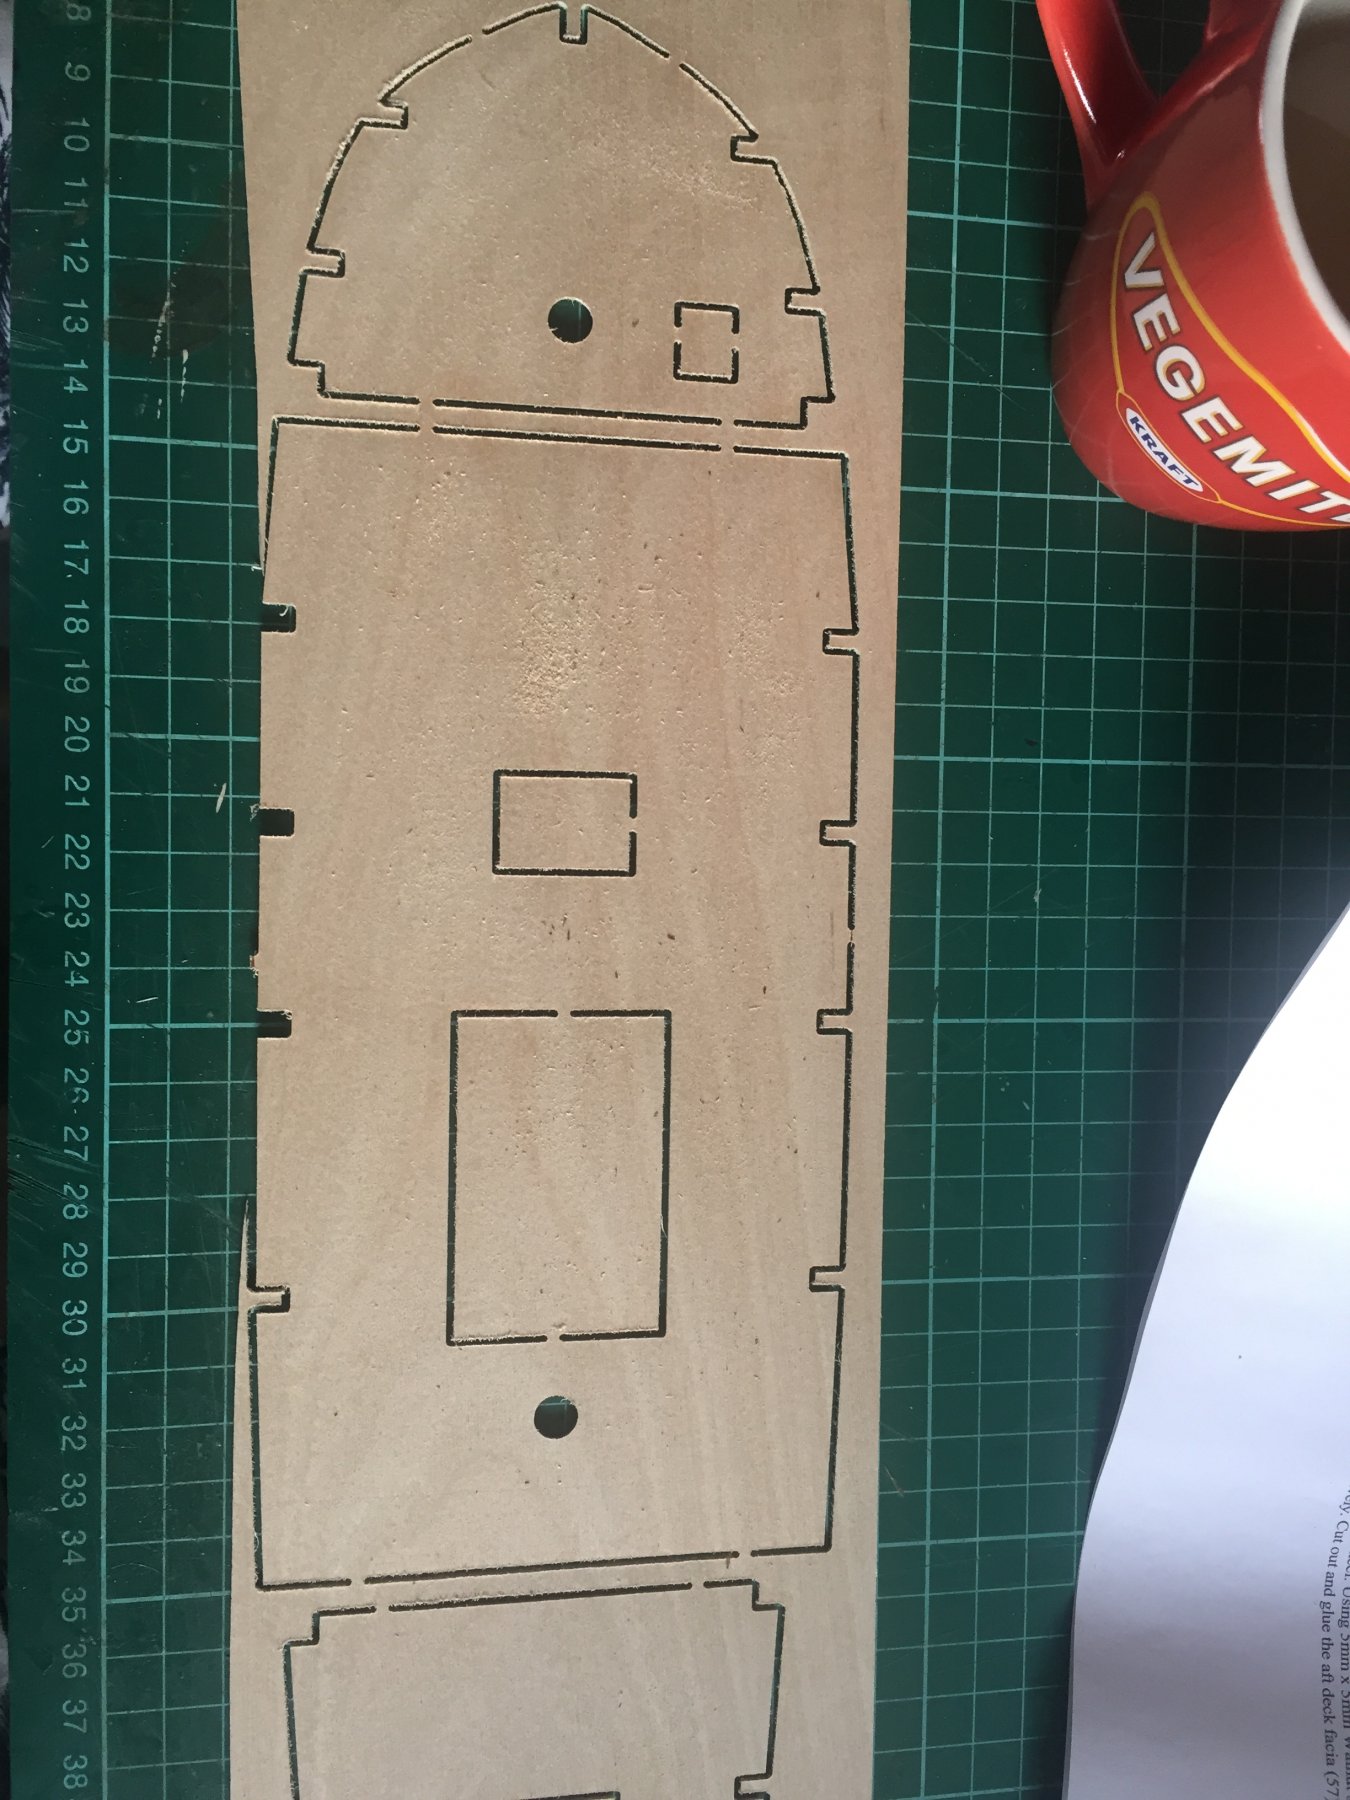
Thinking ahead: I drilled two 4.1mm holes in the false keel, 200mm apart. I’ll epoxy glue two 5/32" nuts in line with them to assist mounting the ship to a baseboard. When completed, I plan to use these mounting holes to screw her via two brass pedestals onto a display base.