-
Posts
363 -
Joined
-
Last visited
Content Type
Profiles
Forums
Gallery
Events
Everything posted by AndyMech
-
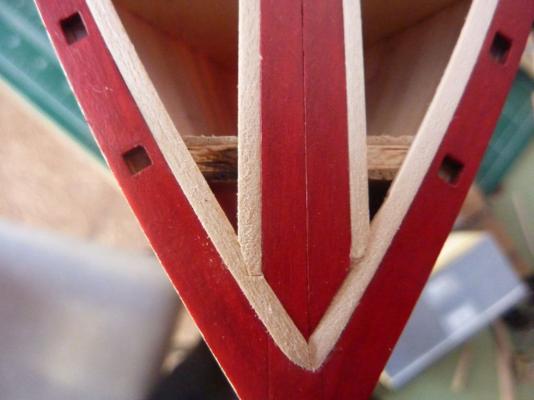
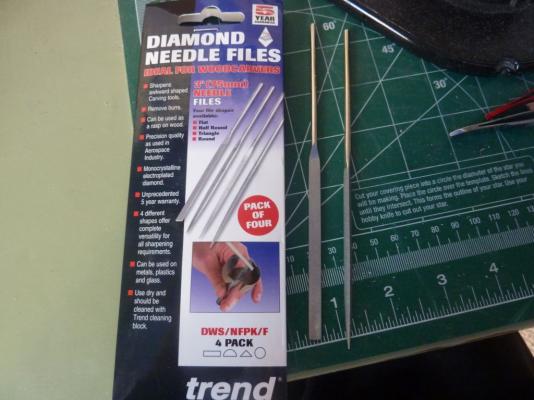
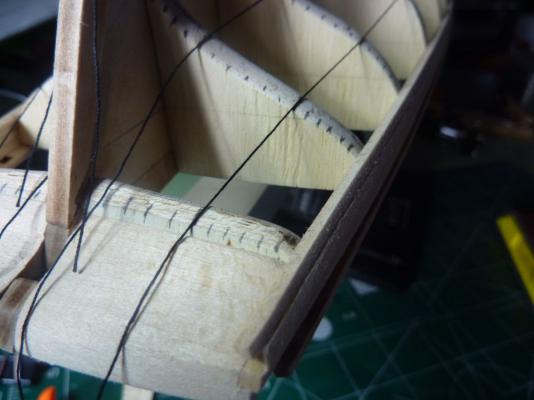
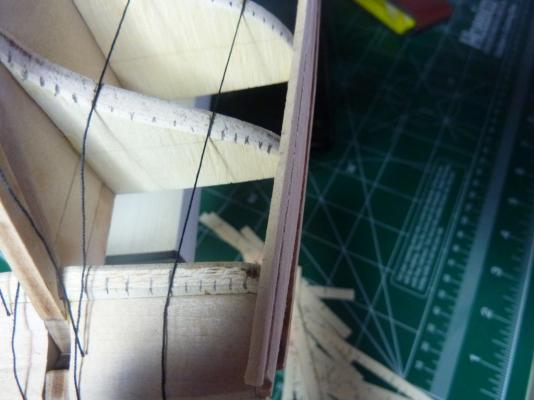
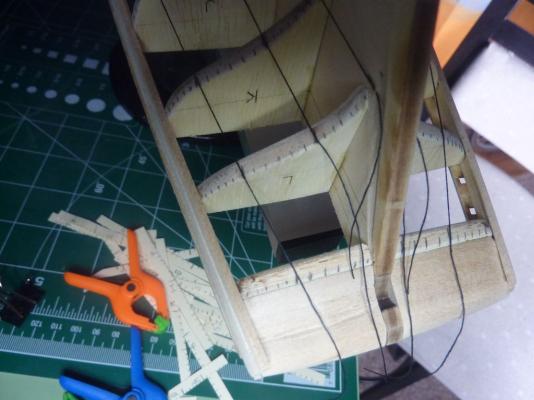
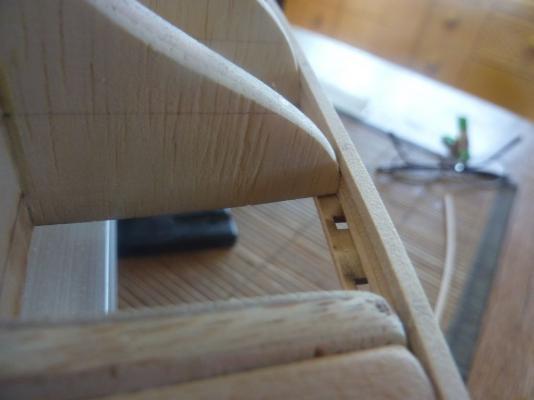
A quick update on my nibbing technique and results. First, I bought a set 4 diamond files from Trend. Not as expensive as the jewelers files in the previous post, but not cheap either. It took a week for them to arrive, so in the meantime I've been planking the inner planks between the coamings. Not photo yet of that. This morning, I nibbed the starboard side - here's a photo comparing the two. I think the improvement is mostly due to practice, but confidence in the needle file can't hurt. Planking will continue - I'll show a more complete photo of the planking in progress after the rest of today's work. Andy.
-
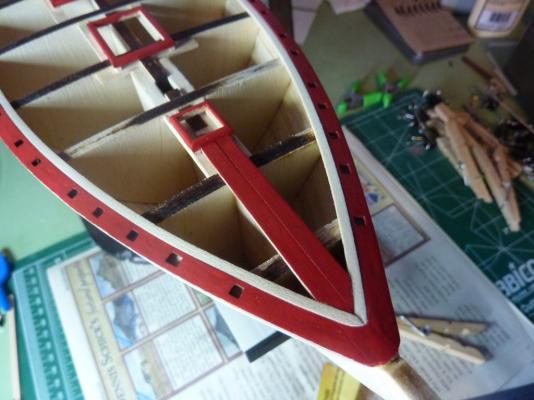
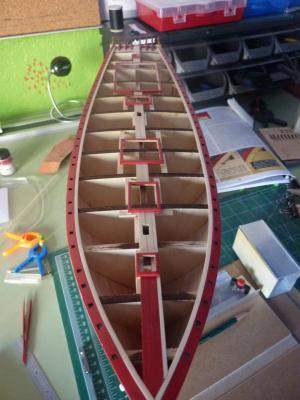
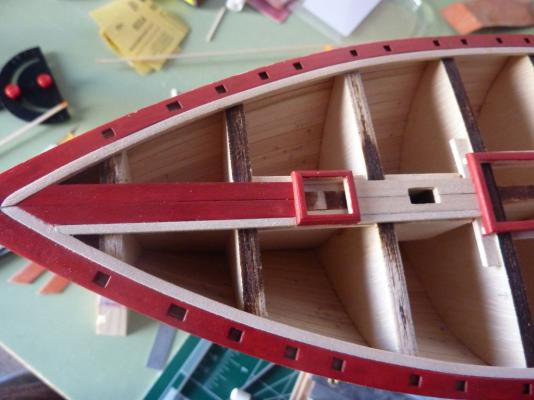
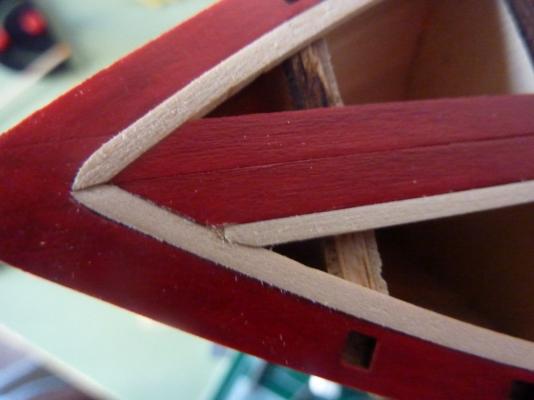
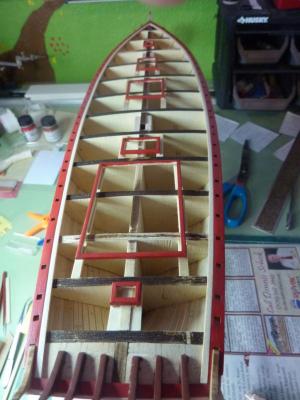
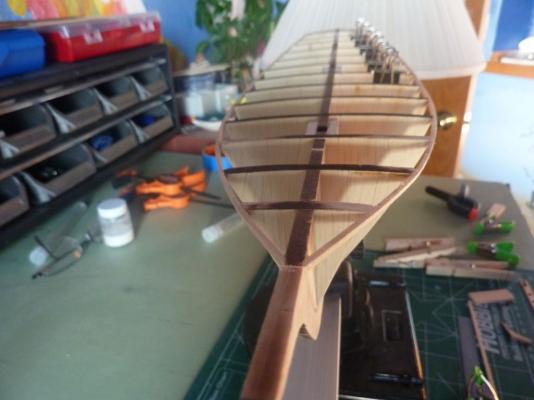
I completed the center planks. There are two wider center planks that go right down the keel, and the section near the bow are painted red. I then started the regular deck planking. I had to thin these first two planks a bit to maintain symmetry, but I think these are only ones on the whole deck that will need it. I'll see when I get to other sections, but since I put the coamings in already, I'm planking around them. My plan is to use a 3-butt shift for the planks, but since I'm going around the coamings, some of the butt ends are not possible as they lay inside the coamings. I think I can maintain the rest of them with some careful planning. The first butt ends are on the 4th bulwark down, so the first few planks are simpler. I'm simulating caulking by using a pencil marking on one of the planks, as it's laid. I do not plan on doing trenails. I'm also nibbing the ends of the planks as they join the nibbling plank. The first attempt here is poor - I don't have good files, so getting a clean angle in there is difficult. I'll be looking on-line for a good set of needle files. Any recommendations would be welcome. This particular one will be partially hidden by the bowsprit later, and I filled it with sawdust and glue, which should be ok once the glue dries. But, I like to show places I'm not super happy with, to contrast with areas I think look better. Still learning!
-
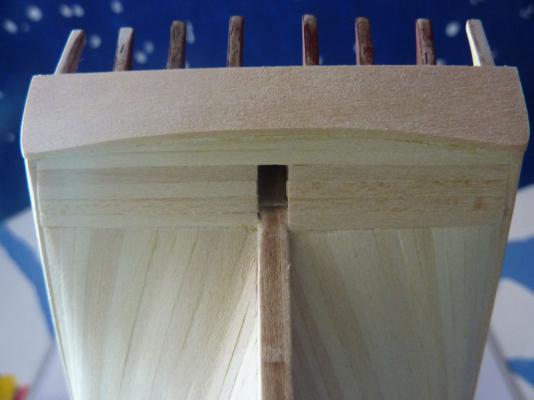
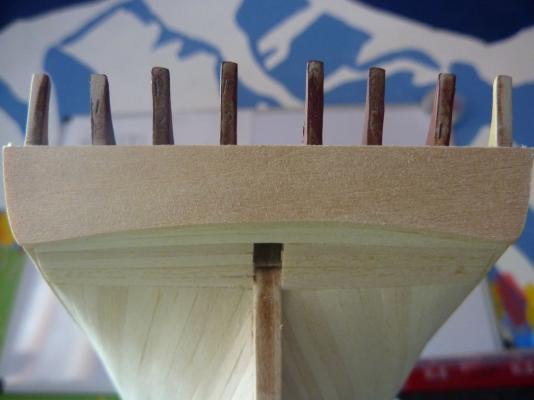
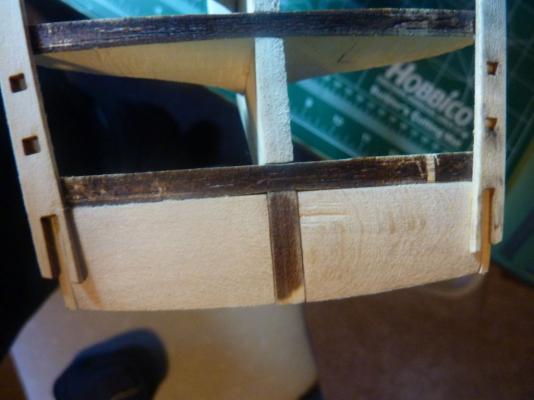
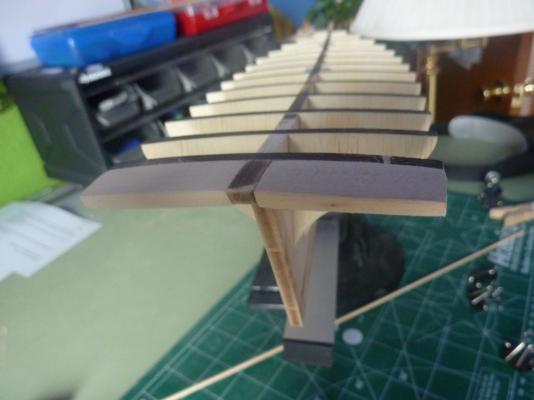
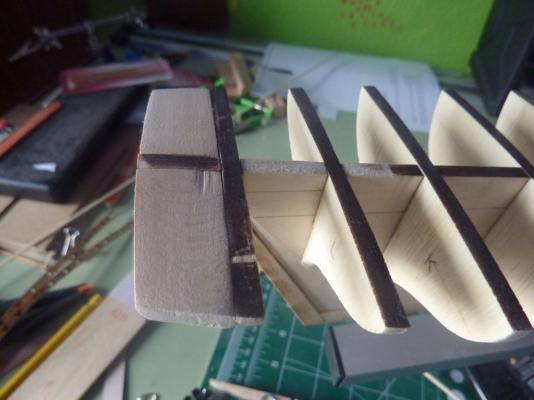
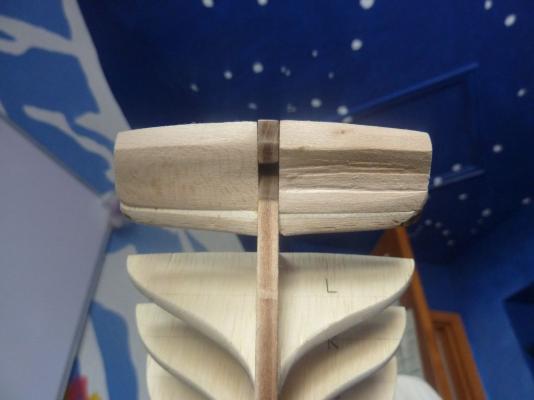
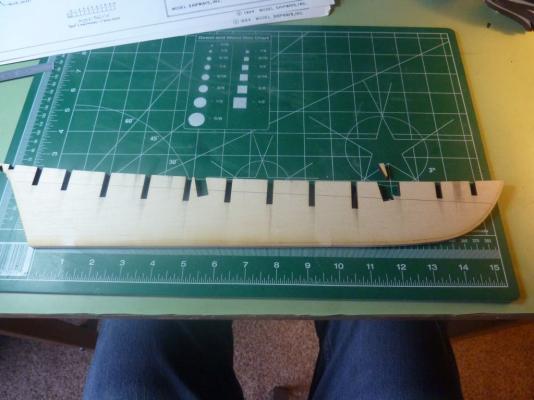
Next, I added the lower transom. This was one piece of 1/32" thick wood, cut along a curve to match the counter, then sanded flush. I will hold off on the upper transom until after I do the railings and plank up to it. Next, I plan on planking the deck. I started with the nibbling plank, all in one piece (per side): The center planks will be next, but that's a future update (as I've not done it yet). Andy.
-
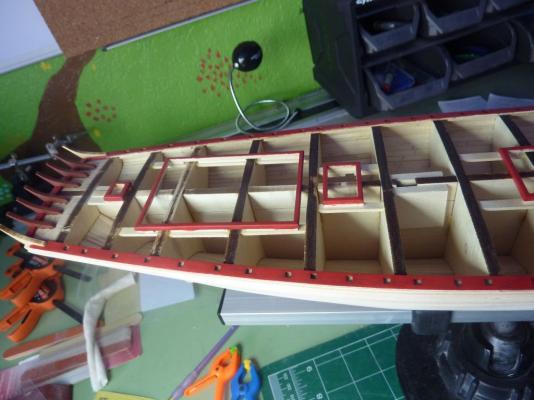
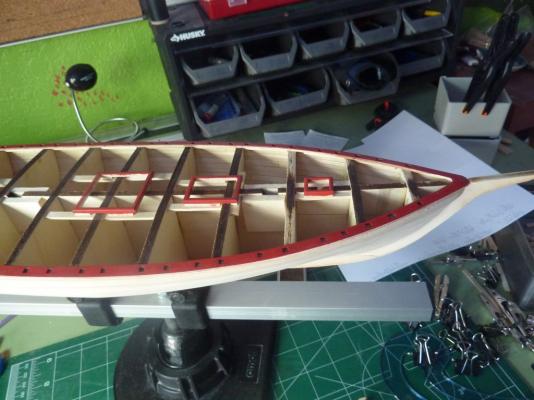
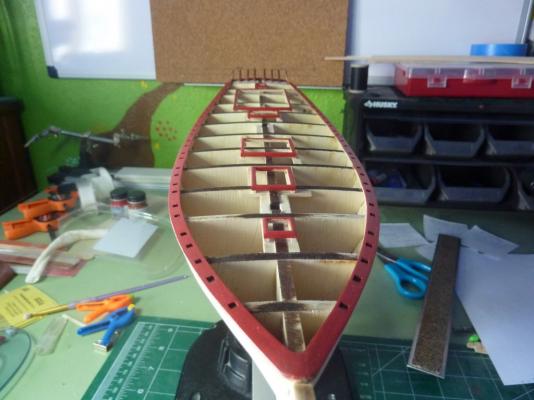
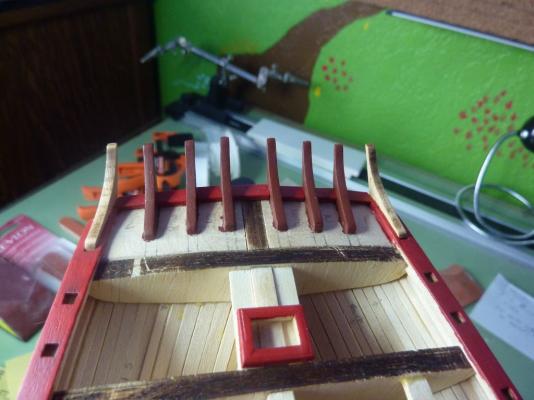
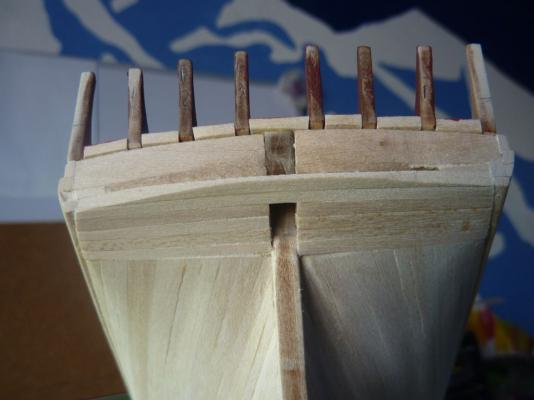
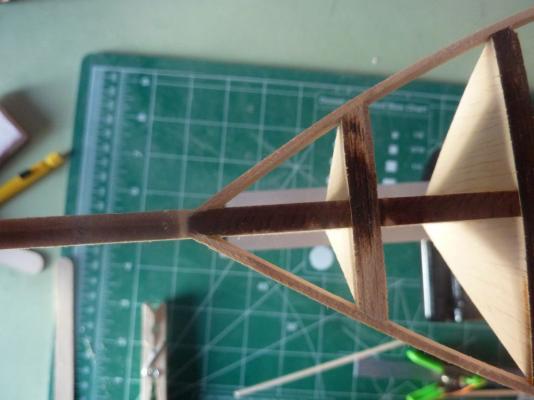
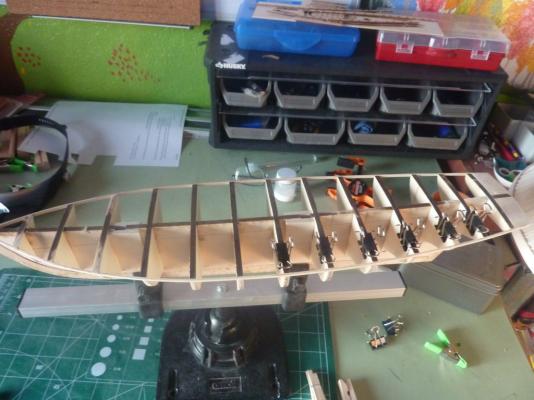
Progress has been made, time for an update. Since the last update, I've: - Planked the Counter - Added the supports for the transom - Added coamings (prior to planking the deck) - Painted the coaming, waterways and transom supports. Here's the planked counter: and the transom supports: These are of the coamings and the painted waterways: I spent a lot of time getting the coamings straight and at the proper height. I also added scrap supports under the waterways so the deck railing stanchions will have something to stand on - a lot of the holes for the stanchions didn't have anything underneath them. I've also been very careful to have the transom supports be planar with the end of the counter, especially the bit of waterways that goes between the transom supports - those were all sanded at a severe angle to be flush with the eventual transom planking.. But the transom will wait for another update. The place where the transom meets the counter is tricky, but the plans call for a bit of molding there to cover it up. Andy.
-
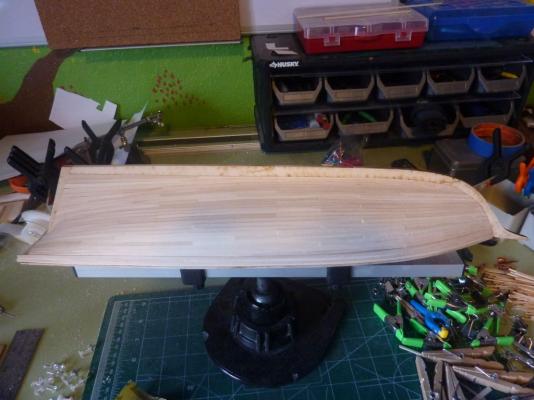
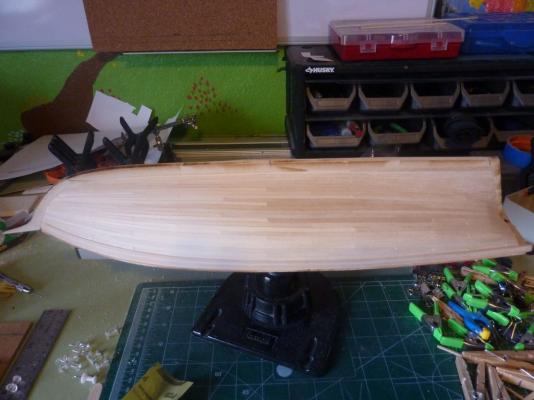
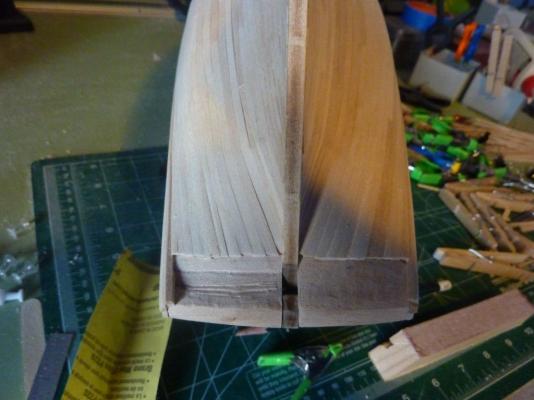
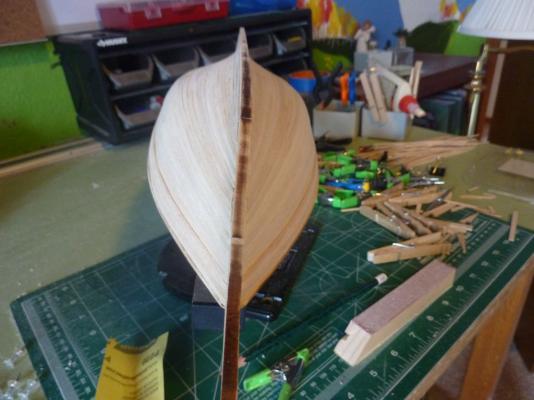
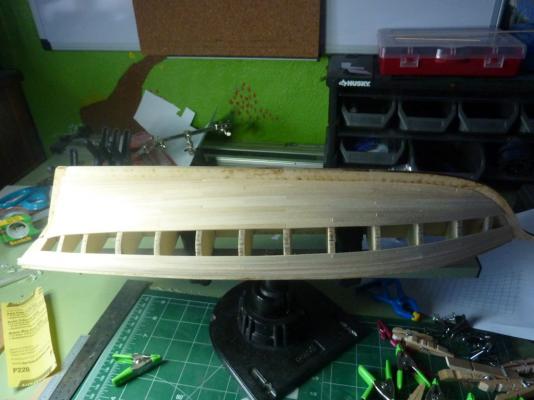
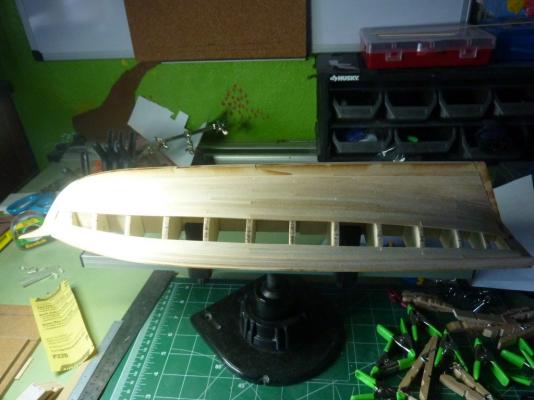
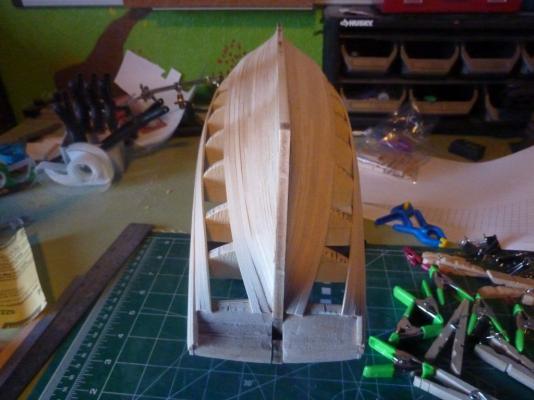
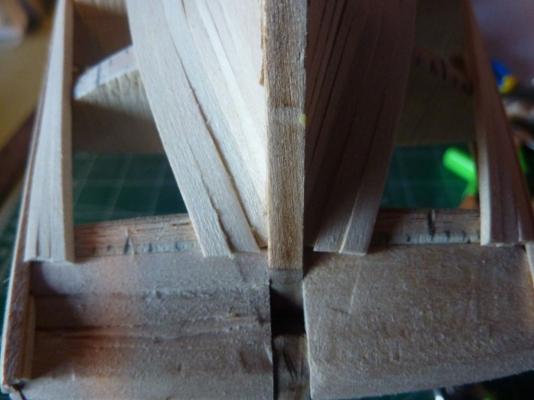
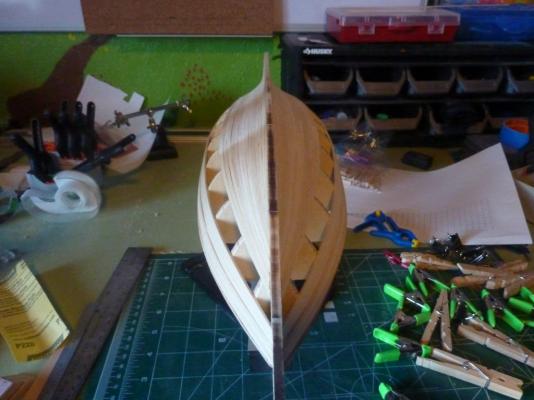
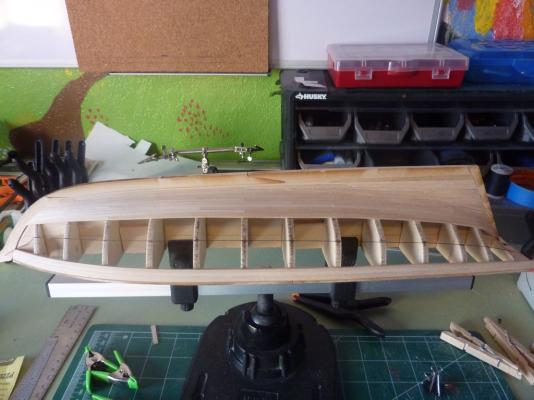
Well, I'm posting this on December 24 - the holiday break has allowed me the time to complete the hull planking on my Pride of Baltimore. A Christmas gift to myself. This is my first planking job for a complete hull. I had done the hull of the Constitution cross-section, but there was no bending involved, no stern, no bow to plank. I'm slow, the planking took me about 4 months of work (not counting the few months not working at all). I think I sped up near the end, and improved my technique as well. No sanding of any consequence has been done yet. Photos: Next up, I think, will be to sand the hull, then plank the counter and stern. Honestly, I've not looked at the instructions much beyond this planking task. Thanks to everyone who commented, offered advice and "liked" my work thus far. Much appreciated. Andy.
-
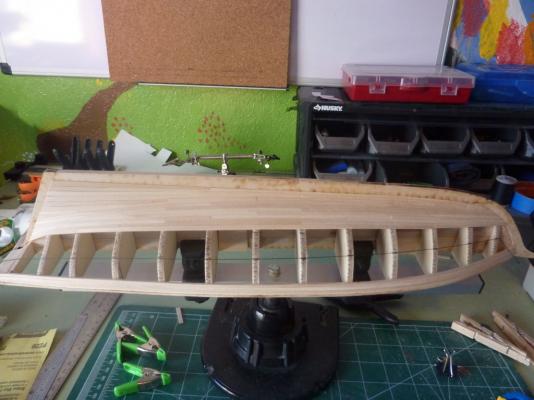
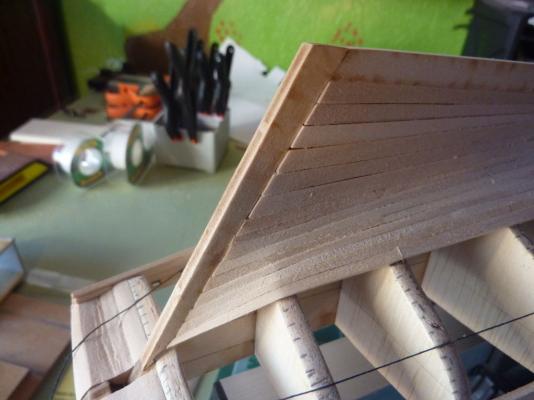
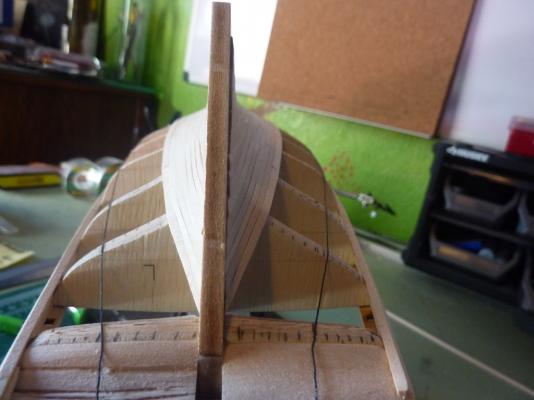
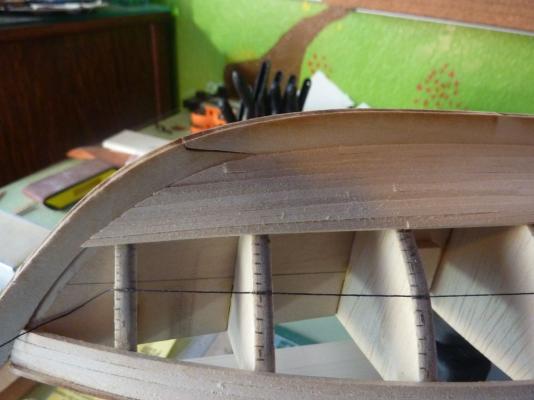
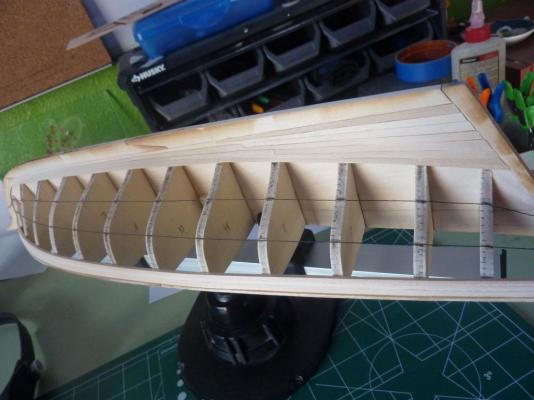
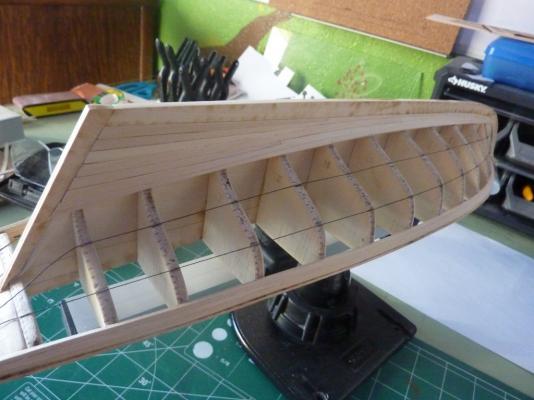
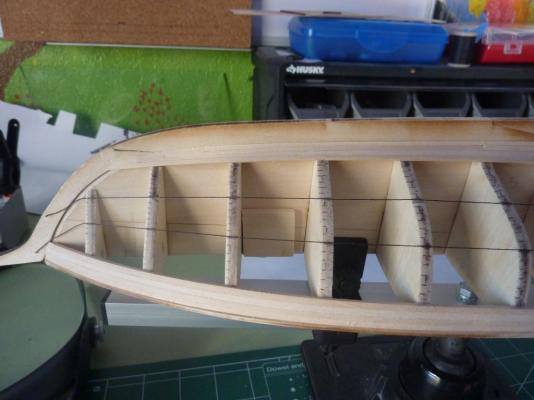
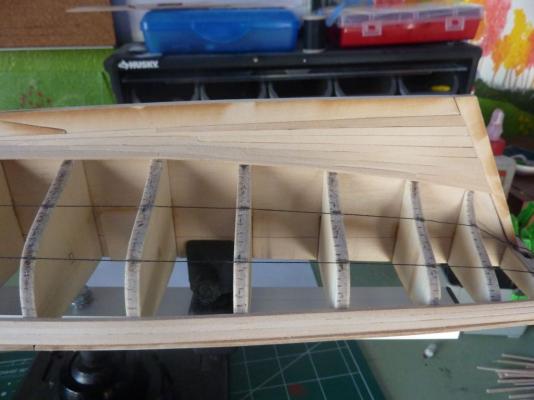
These pictures I took today. I've added three planks from the wales toward the keel - section A, and then 3 more planks from the previous one towards the wales as well. I'm closing in on gap from both sides, with 6 more strakes to go. The last picture is a close up of the stern as the planks meet the counter. They extend a little more than they have too, but I will sand that down after they're all in place. Also bear in mind that I've not little to no sanding after the planks have been glued (each plank was sanded to taper and bevel), so it's a little rough, but I think (hope) it will smooth out once I finish planking and sand the entire surface. Andy
-
Well, it's been almost 2 months since the last update, and I've made slow but steady progress. I'll post twice here - these pictures were taken about a month ago at the completion the 2nd zone - zone C I think - working at the keel towards the wales. My opinion is that I'm slowly getting better at placing the planks, but not getting much faster at it. I'm soaking, bending, letting dry each one before gluing.
-
The plastic deck pieces have some subtle wood and plank raised features, which makes it possible to see the "individual" planks if you look closely. I used these plastic ridges and a #11 knife to score along these lines so I could see them better and then hand-painted the individual planks the different shades of wood color to make them a little more obvious. It was really an experiment for me, but I think overall it turned out pretty good. Andy.
- 246 replies
-
- revell
- constitution
-
(and 2 more)
Tagged with:
-
All the blocks for the Revell kit are the original blocks supplied with the kit - they are plastic. I painted each one a "wood" color and then added black paint for the stropping and the loops. I'm glad the effect came through - my goal was to have them look like wood/iron. Yes, it was a lot of tedious painting, but for me it was worth it. For my cross-section Constitution from Mamoli, the wood blocks they supplied were pretty bad, so I purchased replacements, so that is an option if you don't want to paint the plastic one or don't trust that they will hold up to the rigging tension. I only broke a couple of the plastic ones during the whole rigging, so I think they're fine. The wood blocks I purchased for the Mamoli kit were from the Syren Ship company, which I'm sure you'll find references to here. They are of great quality. Andy.
- 246 replies
-
- revell
- constitution
-
(and 2 more)
Tagged with:
-
No, I did not use anything photo etched. Pretty much built the kit straight out of the box. Andy.
- 246 replies
-
- revell
- constitution
-
(and 2 more)
Tagged with:
-
Well, it seems then that I'm on the right track and I need to hone my skills with practice. It's nice to get the assurance that what I'm doing isn't totally out of left field. Brian, thanks for the advice - I'll keep plugging along. I can do maybe 1-2 strakes a day at my rate, but I only really get to work on the weekends, so it may be a while before the next photo update. Andy.
-
Brian, Thanks for that explanation. I spent some time today trying to see how I would apply that to my situation, and it's really not too different than what I am currently doing: - Each plank I'm putting on spans 4 bulkheads, so a reasonable length - I mark the width of the plank to be fitted at each bulkhead, based on the tick marks, not just the two ends. - Using a sharp #11 (as you indicated), score line in the plank, connecting the dots - each width at the bulkhead locations - Sand, as necessary to fit - I often soak each plank in water after initial sanding, and then clamp in place to get the bend in the plank - let it dry, then shape/sand it more before gluing. There are some planks which are indicated to be wider in the middle than at the ends - planks in the center bulkheads for example. Using just the "end mark" technique, wouldn't I end up cutting too much off the middle of the plank? Maybe in that case I should mark the widest part of the plank and taper to each end? Then, it's not much different than my current technique. Andy.
-
Well. It's been quite a long time since I've updated my log. Summer activities and feeling like needing a break in the shipyard, combined with my modelling room being used for other purposes were the main causes. I re-started the planking in September, deciding to do the keel-most section first, then I plan on doing the section next to that, followed by the top-most section (near the deck), finishing with the middle one. Here are the results of the keel section: Starboard: And Port: I forced myself to make a mental re-adjustment. Instead of stressing so much to make everything perfect the first time (and this is my very first planking job), I decided to try the techniques from the planking documents found on the forum and treat all mistakes as just learning experiences instead of something to beat myself up about. I learned that I'm pretty bad at shaping individual planks and had a difficult time sticking to the tick marks. A lot of the planks' width was terribly wrong. I also learned that using the threads to mark off the different sections was super useful. As I finished up the first section (seen in the photos), I used that thread to get a good line of planks. If I didn't have that, errors would have compounded more and more as I move up toward the wales. I've been using transparent tape to transfer some of the contours of the previous strake to the plank-in-progress, but it's not clear on the best way to transfer the tape pencil marks to the wood plank. If anyone has advice for a non-powertool user on how to best "thin" the planks moving forward, I'm all ears. Each plank in this next section will need to be tapered at the ends, or flare depending on the position. My current technique is to mark the width at each bulkhead (using the tick marks) and then "connect the dots" to get the overall plank tapering. I tried to use a french curve to connect those dots, but the curve is very small and subtle and the french curve doesn't fit it very well. Andy.
-
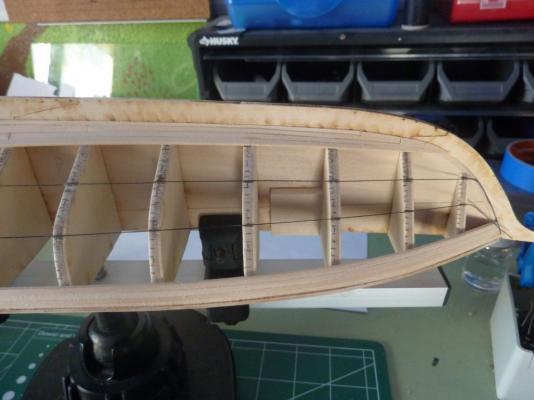
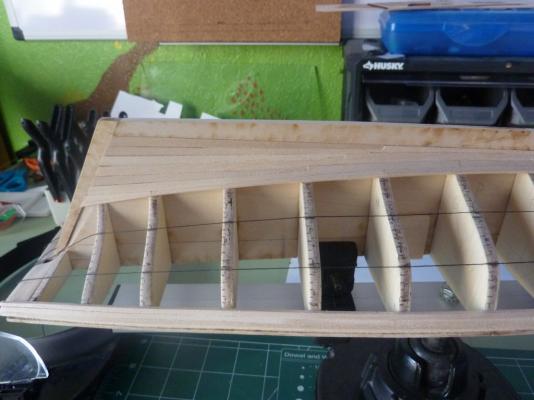
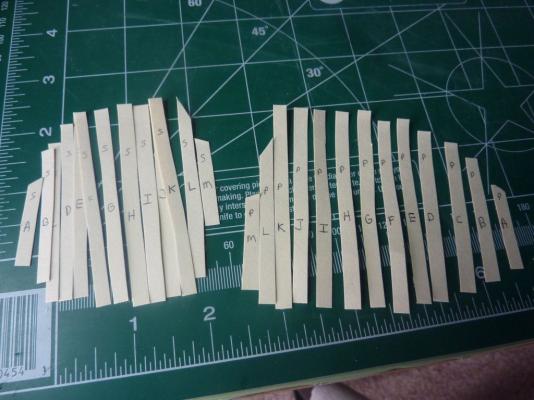
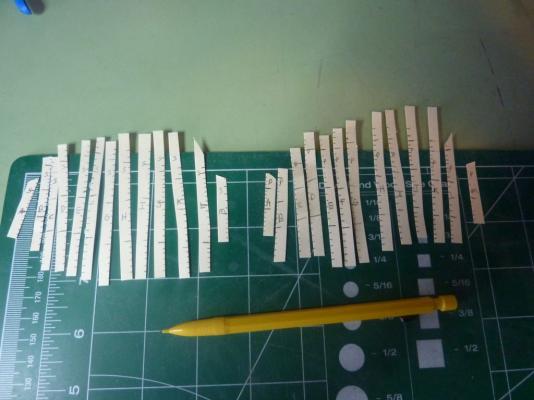
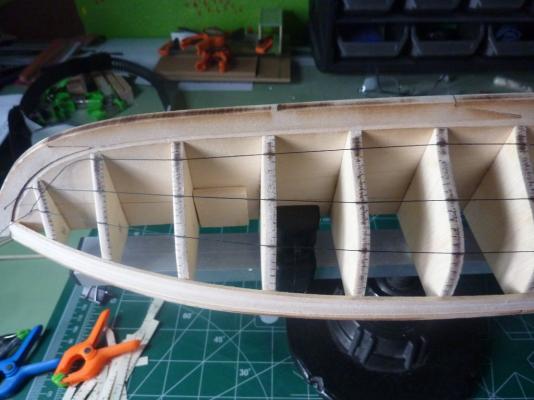
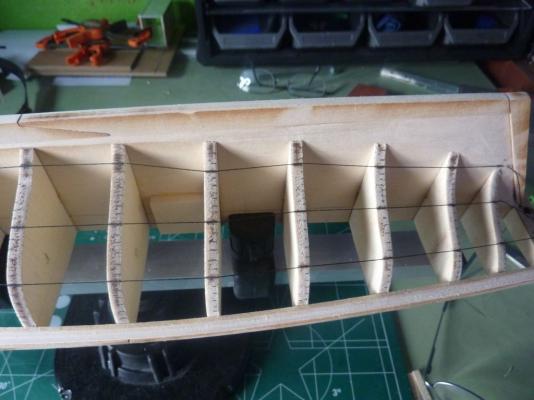
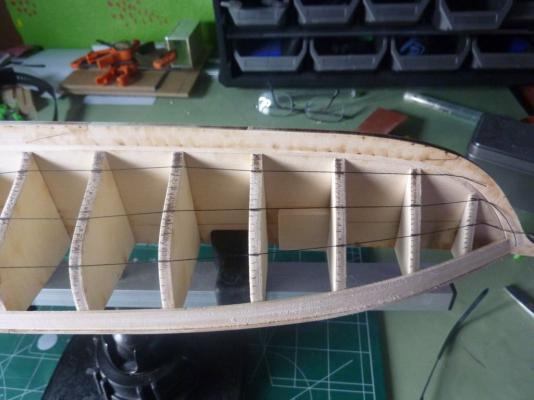
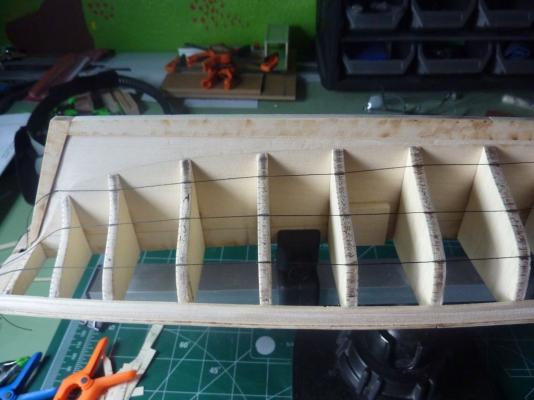
Next up was to mark the planking bands on the bulkheads. The instructions and plans both called for 4 planking bands and the planks had them marked for each bulkhead. First, I cut strips of stiff paper to the curved length between the wales and keel, labeling each one with the bulkhead letter and a Port or Starboard mark: Then, curving the paper to the plans, I marked each plank, with a thicker mark for the bands separation. Next, I placed the marked paper on the appropriate bulkhead and marked the bulkheads with the plank and band markings. Lastly, I glued (with diluted white glue) black thread to the marking on the bands. So, a couple of observations. One, I certainly need to now adjust the thread for a clean run. I will probably also use a strip of wood to help with this - in order to ensure a nice curve without sudden changes. You can see some obvious abrupt shifts in the thread that need to fixed. Without using the thread or some other batten, I don't think it would have been so obvious. Another observation is that such obvious errors in the thread layout is surprising to me. I double-checked the plans, and all the measurements are fine and correct, yet the thread lays poorly. I guess I had hoped the plans would be better than that, or my previous shaping of the bulkheads and wale planks caused some errors. I will post again with the fixed thread layouts. Finally, I think I should NOT have included the internal plank markings - since I have to move the threads a bit, I think I should erase them and re-draw them using the actual distance between the battens and just divide by 6 or 7 depending on which band it is. That should give me a better, more even distribution of the plank widths on each bulkhead. Any thoughts or comments or "stop! you're doing it wrong!" are appreciated at this point. Thanks for reading. Andy.
-
Wow, it's been over a month since my last post. The ship has progressed, and I first want to address the issue I was having laying my wale strips on the bulkheads. Mark the nail on the head when we speculated that I was not following the bulkheads, but the previous planks instead. That's exactly what I was doing, for some unknown reason. I guess I assumed the wales stacked on each other like lumber and the bulkheads should have been tall enough to support them. Most were, but not near the stern. Hopefully, lesson learned and I won't repeat that mistake when doing the rest of the planking. Here's the result of my laying the 3rd wale plank: I beveled it pretty severely and after gluing, sanded it flush with the previous wale planks. No filler has been added yet, but I might still need to in the future. As you can see, I've started to mark and line the bulkheads for planking (ignore that - I'll cover that in my next posting). Andy.
-
Mark and Augie, First, thanks much for spending so much time for me on this - a response like this is what I like best about this forum. Here's what I hope is a better photo of my issue - it also matches the diagram I created: The gap there between the bulkhead and the square plank (2nd plank of the wales) is 3/64" or about 1/2 of the plank width itself. This shows the 3rd wales plank dry-fitted in at close to a 45 degree angle to make it's edge touch to the bulkead. My thought, at this point, is to bevel that plank dramatically - maybe sand up to half the plank in this section to make it fit. Mark's diagram pointed out that I should have done that for the 2nd plank when I saw the 3/64" gap, but since I didn't I feel I have to make up for 2 plank's worth on the 3rd one. Here's my (rough) idea: Then, sanding the outside, using sawdust+glue if necessary to fill it in will hopefully make it look ok. Quick question for Mark - you mentioned specifically to NOT use PVA (wood glue) when mixing with sawdust. I'm curious - what's the reason behind that? I'm not sure I'll have enough time to do this today, and I'm going out of town for a week, so it may be a while before responding. I'm not giving up though! Andy.
-
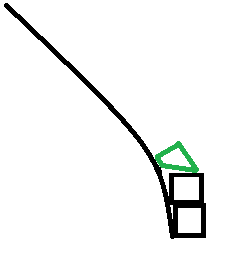
Hi Augie, (and anyone else who might be reading) Yes, that's been my technique when laying the wales planks - I cut them to size, soak in water for a while, then clamp them to the hull in position to let them dry in the shape needed. After they dry, then I glue and clamp them in place. Here's a picture I drew of the issue with the wales: The bulkhead is sloping drastically away from the line of the other 2 that it leaves quite a step, which doesn't seem right. Beveling it won't push it further out from the bulkhead, it would make the step-effect worse, I think. To me, it seems like the bulkhead should have had a longer straight run before sloping to the keel to allow room for the 3 wale planks. But, maybe I was too aggressive when fairing them, so it's probably my fault. The question is, how to fix it? Should I either 1) line up the 3rd wales plank with the other 2 and fill in the gap with some shim or 2) lay the 3rd plank against the bulkhead and live with this step effect? Going with option 2 seems bad, so I'm inclined to do option 1, but I would want to ship the bulkhead before adding the 3rd plank, yes? Any advice would be most welcome. Andy.
-
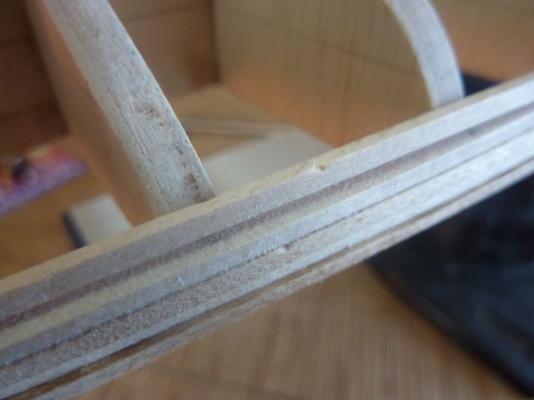
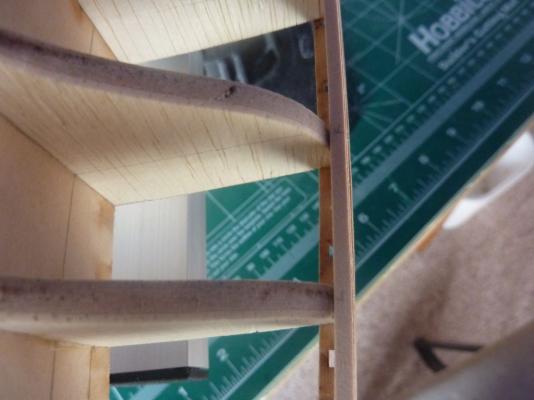
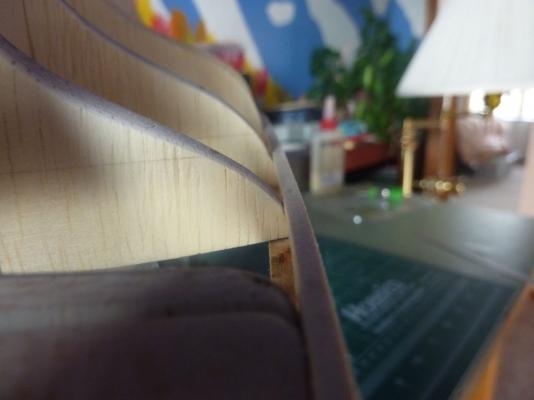
I moved forward with getting the wales in. 3 thicker strakes, which taper at the stern to a 1/16th inch. I've installed the first two, and have prepared the 3rd, but have a question. Here's some photos of the wales near the stern - the 2nd to last bulkhead, (L) is highly curved, and the 2nd wales didn't really follow the curve, but sat on top of the first one. I'm not at all what to do about the 3rd strake: In the last photo, I placed a piece of wood that same size the 3rd strake up against the bulkhead and you can see the substantial ledge or stair-step it makes with the one below it. Should the wales be curving against the bulkheads? If so, then perhaps I made a mistake on the 2nd one? I suppose I could remove it, but it is edge-glued (not just to the bulkhead), so liable to be destroyed. Or, do I just sand them all down to the same outside width? Andy.
-
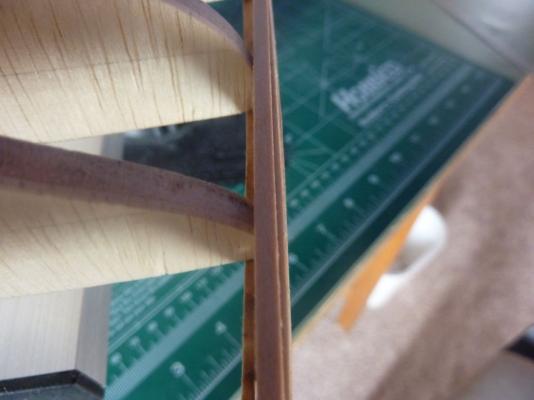
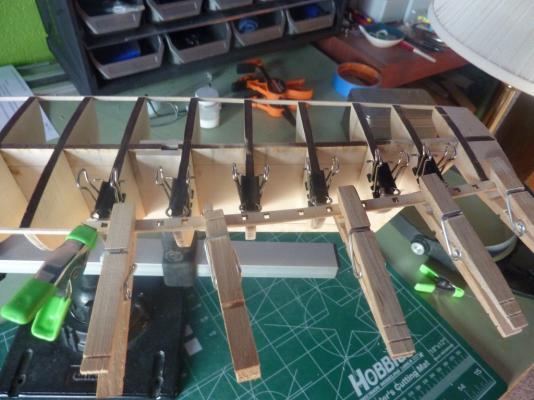
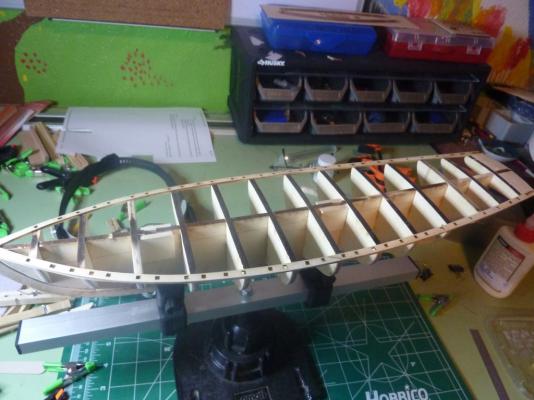
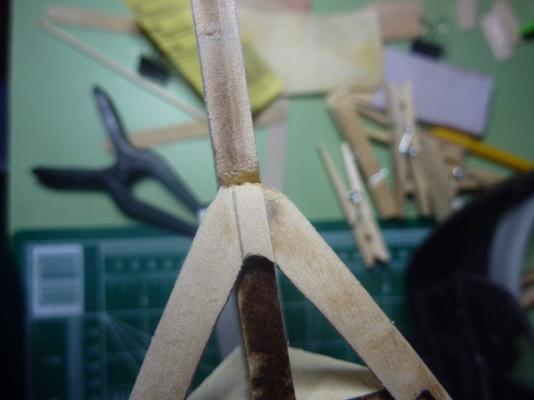
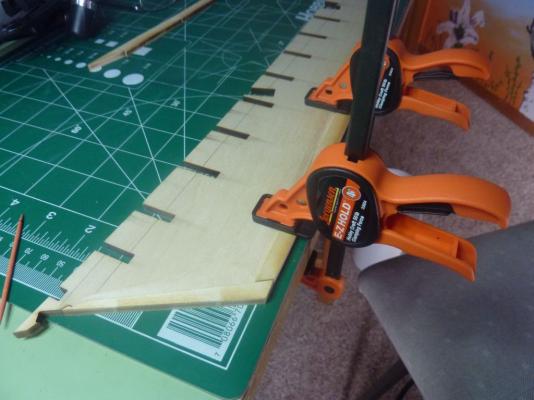
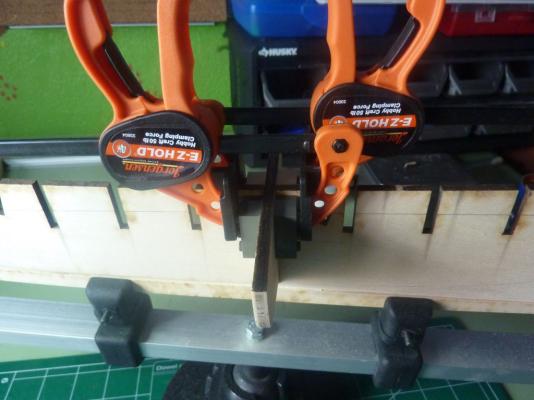
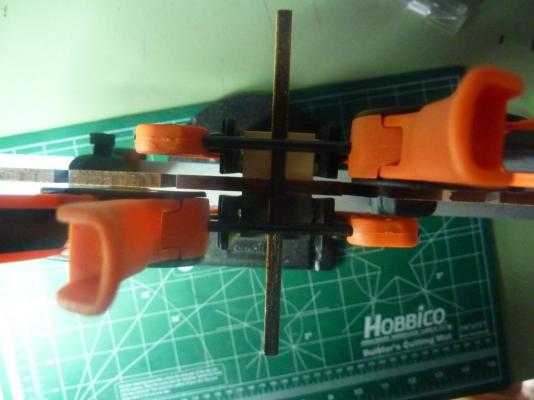
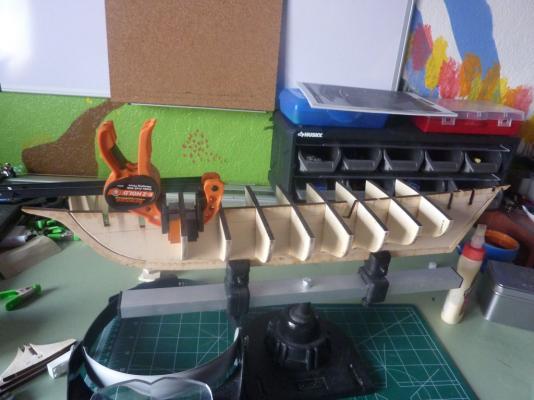
The next part was to add the planksheer, or waterway, on top of this plank and on top of the bulkheads. I used the binder clips as shown to get a uniform 1/32 overhang on the planksheer over the first strake. I had to soak and bend the pieces to achieve this. The stern overhangs a little bit - I dry fitted the knees to place the end of the planksheer: This meant the bow piece was too short for the two sides to come together properly. I added a center filler piece and attempted to shape it correctly. Since I think the bowsprit will cover this up, I'm reasonably happy with how it turned out. Andy.
-
Thanks to everyone for the advice. I missed an update last week, as other things have gotten in the way, and all I seem to have done on the ship is sand, sand, sand. I faired the bulkheads as best I can, and I'll treat it still as a work in progress, but they seem to look pretty good, using the wood strip as a guide. I didn't see the need to put in filler blocks everywhere as the bulkheads were pretty stable and I could sand them easily without breaking. I also created two stern filler blocks, as per the instructions. These I found to be quite difficult to form - a complex 3-D shape. They are made from blocks of 1x1 1/2 basswood, included in the kit. I traced the template from the plans on them, and started carving and sanding. From the photos below, you might tell I did the starboard one first, followed by the port one. They both have their flaws, but I think I can make them work. I might need to add wood filler later perhaps, but since I can't quite visualize the run of the planking on them, I going to keep them in place and modify them as needed as planking continues. The next step, according to the instructions, is to add the stanchions to these filler blocks and then the waterways. I don't think putting free-standing stanchions on right now is a great idea since I'll likely knock them off during planking, etc. So, I plan to place the first plank, then the waterways, then the wales. At that point, I should be ready to do the hull planking and after that I can work above deck on the stanchions, etc. This is essentially the order in the Bob Hunt practicum, of which I just have the sample chapter 1. Andy.
-
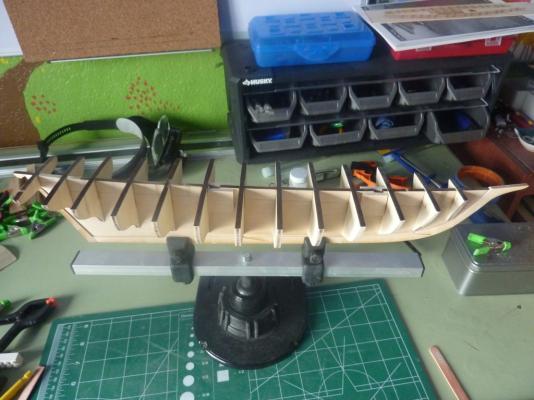
This is the start of my build log for the Model Shipways kit Pride Of Baltimore II. A little history before getting into the details. I finished my last kit, the Mamoli USS Constitution cross section right at the beginning of the year. After that ship, my first wood model, I wanted to do a complete, planked, hulled ship and the Pride of Baltimore fit the bill nicely. A larger scale than my previous efforts (1:64 vs 1:96), plank-on-bulkhead, but not quite as large or complex as a full wood Constitution or Syren. As I've mentioned before, I have a Syren waiting in the wings as my next build, so the Pride of Baltimore is a very nice transition model. For anyone who's followed my previous ships, I do slow, but hopefully steady work. I try to get a few hours in each weekend day and not let it sit for months at a time. So, I'll typically update the log late on a Sunday. The other thing I hope to accomplish with this log is getting answers to questions as I go along. I've not done a plank-on-bulkhead model before, and while I've read a bunch of logs on the site here, doing one myself will undoubtedly be a different experience. I'm already leery of planking, for example. (Which is probably not unique) Anyway, on to the build: First, the latest Model Shipways kit does NOT have the keel in 2 pieces - it's a single formed piece and mine was perfectly flat and true (Yay!) Here, I've cut the rabbett as best I could using a #11 blade and sandpaper: Next, the keel is attached in a few pieces: After that, the bulkheads were added. Now, my bulkheads were all too thick to fit in the slots - the bulkheads were 3/16" thick, and the slots were about 5/32" wide. So, I had to sand each bulkhead at the center so they would slid into the slots. I used clamps and Legos to get a square fitting, as well as measuring the distance between bulkheads once the center bulkhead was glued. This shows all the bulkheads glued in place. I also added some side supports for the mast slots. My next step is to fair (bevel) all the bulkheads. I did not do this prior to gluing (perhaps I should have?), so I expect this to be time consuming. Any advice on proper fairing techniques would be appreciated. Andy.
About us
Modelshipworld - Advancing Ship Modeling through Research
SSL Secured
Your security is important for us so this Website is SSL-Secured
NRG Mailing Address
Nautical Research Guild
237 South Lincoln Street
Westmont IL, 60559-1917
Model Ship World ® and the MSW logo are Registered Trademarks, and belong to the Nautical Research Guild (United States Patent and Trademark Office: No. 6,929,264 & No. 6,929,274, registered Dec. 20, 2022)
Helpful Links
About the NRG
If you enjoy building ship models that are historically accurate as well as beautiful, then The Nautical Research Guild (NRG) is just right for you.
The Guild is a non-profit educational organization whose mission is to “Advance Ship Modeling Through Research”. We provide support to our members in their efforts to raise the quality of their model ships.
The Nautical Research Guild has published our world-renowned quarterly magazine, The Nautical Research Journal, since 1955. The pages of the Journal are full of articles by accomplished ship modelers who show you how they create those exquisite details on their models, and by maritime historians who show you the correct details to build. The Journal is available in both print and digital editions. Go to the NRG web site (www.thenrg.org) to download a complimentary digital copy of the Journal. The NRG also publishes plan sets, books and compilations of back issues of the Journal and the former Ships in Scale and Model Ship Builder magazines.


