HOLIDAY DONATION DRIVE - SUPPORT MSW - DO YOUR PART TO KEEP THIS GREAT FORUM GOING! (Only 68 donations so far out of 49,000 members - Can we at least get 100? C'mon guys!)
×


AndyMech
-
Posts
363 -
Joined
-
Last visited
Content Type
Profiles
Forums
Gallery
Events
Everything posted by AndyMech
-
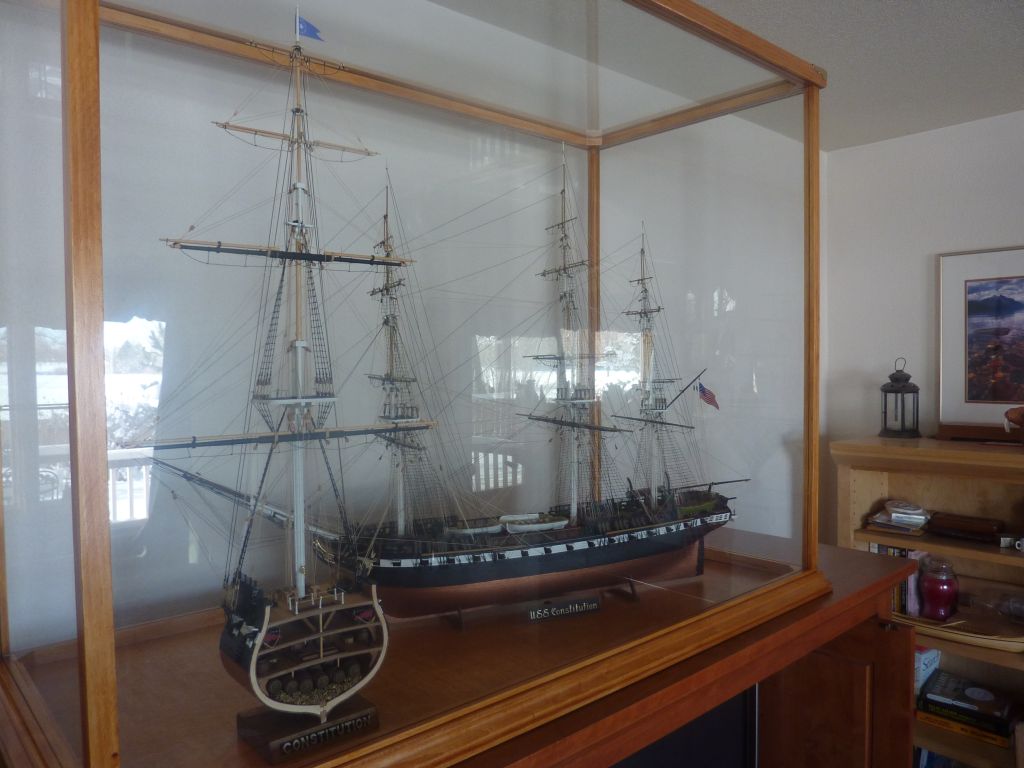
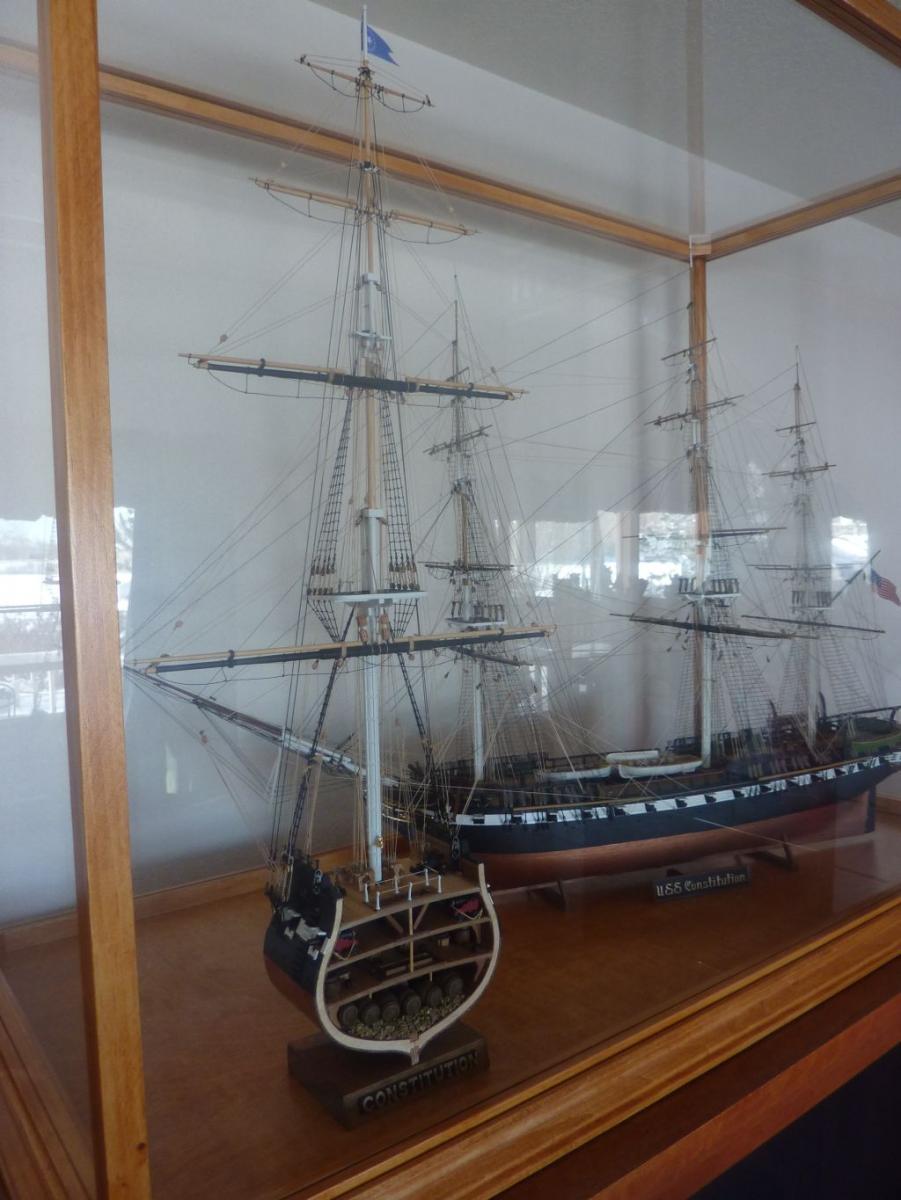
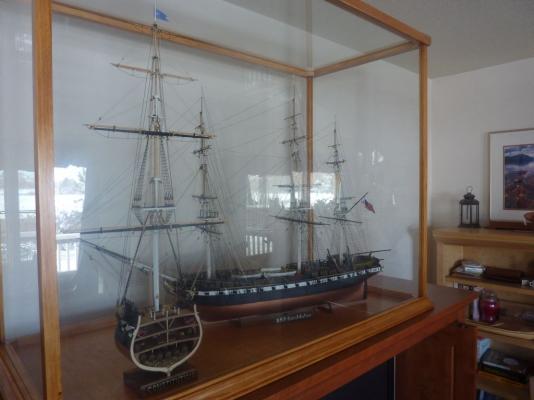
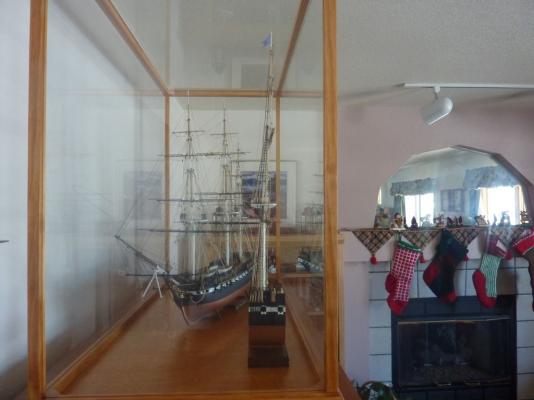
Well, this should be the final pictures of the build log. I added the cross section to the same case as my previous Revell Constitution build: Thanks to everyone who followed my build log and offered help, suggestions, "likes" and encouragement. Once my Pride of Baltimore II kit arrives, I'll start a build log for that as well. Andy.


- 188 replies
-
- 9
-

-
- constitution
- mamoli
- (and 2 more)
-
Thanks for the recommendation Augie - I've looked at it on Model Expo and it seems like a good fit - right scale, also a Model Expo kit like the Syren and not overly expensive. So, long story short, I purchased the kit this morning, using a discount code (40% off). I will start a build log when it arrives. Until then, I'll look for other Baltimore build logs and read the on-line instructions. Thanks again, Andy.
- 188 replies
-
- 1
-
-
- constitution
- mamoli
- (and 2 more)
-
"What's next?" is a very good question. I'm thinking about it, perhaps folks would have a suggestion. As I've mentioned before, I purchased the Syren kit a few years back, but I don't feel prepared to do that one. This cross-section was meant as a step along the way, and I think it succeeded in that. BUT, I think one more step might be needed before getting the Syren out: I was think of a fully planked POB kit with minimal masting/rigging so I can focus on learning to plank a curved hull. The cross section planking was pretty trivial, as all the planks were straight and even. Any thoughts? Andy.
-
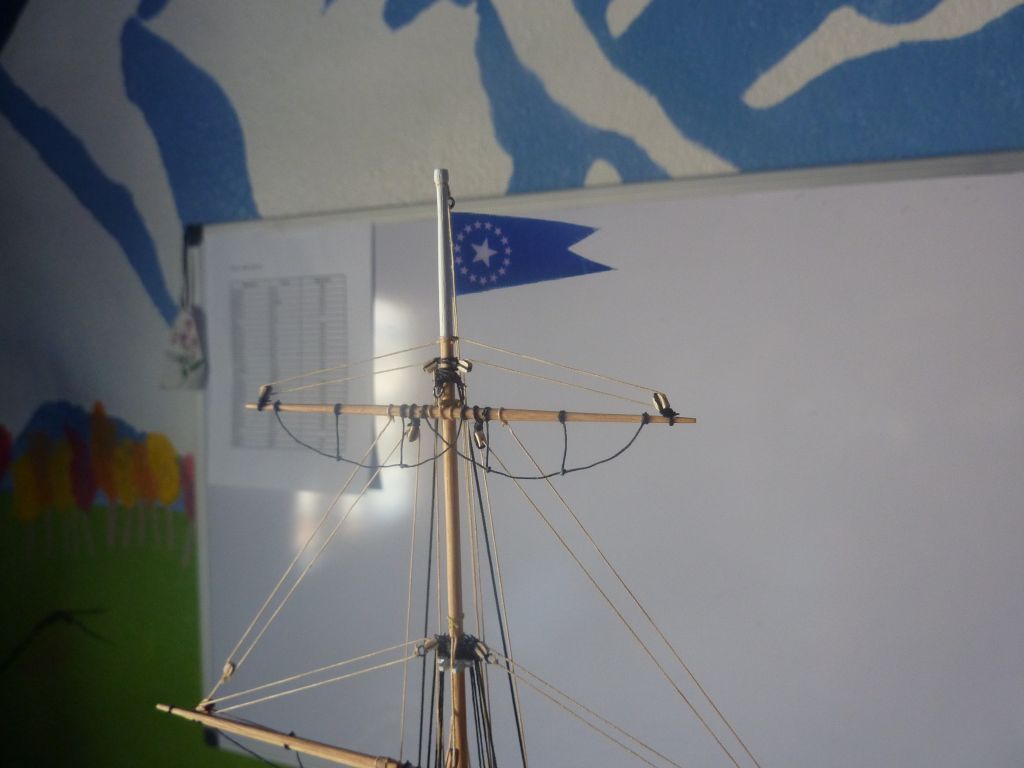
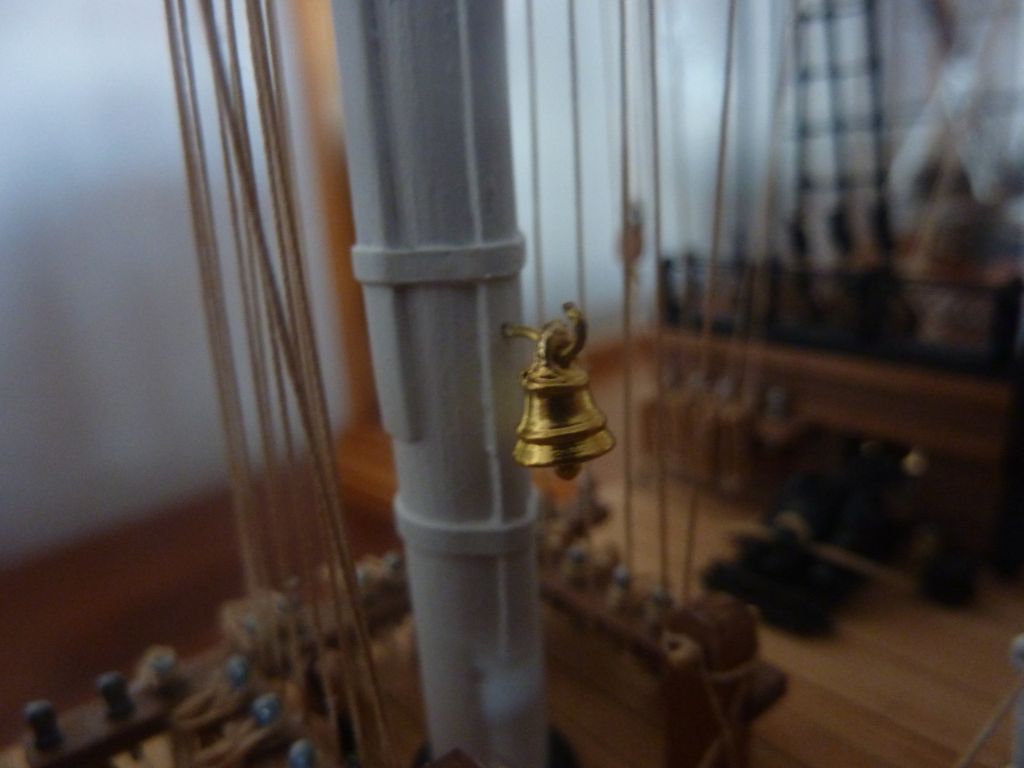
Finished up today! Added the flag: I had stained the base previously, and painted the nameplate. So, I used 5-minute epoxy to glue the nameplate to the base and to glue the model to the base. Finally, added the bell: Here's a nice full on shot. I'll add it to my case after a day or so after all the glue dries and post one final shot in the case.


- 188 replies
-
- 5
-
-
- constitution
- mamoli
- (and 2 more)
-
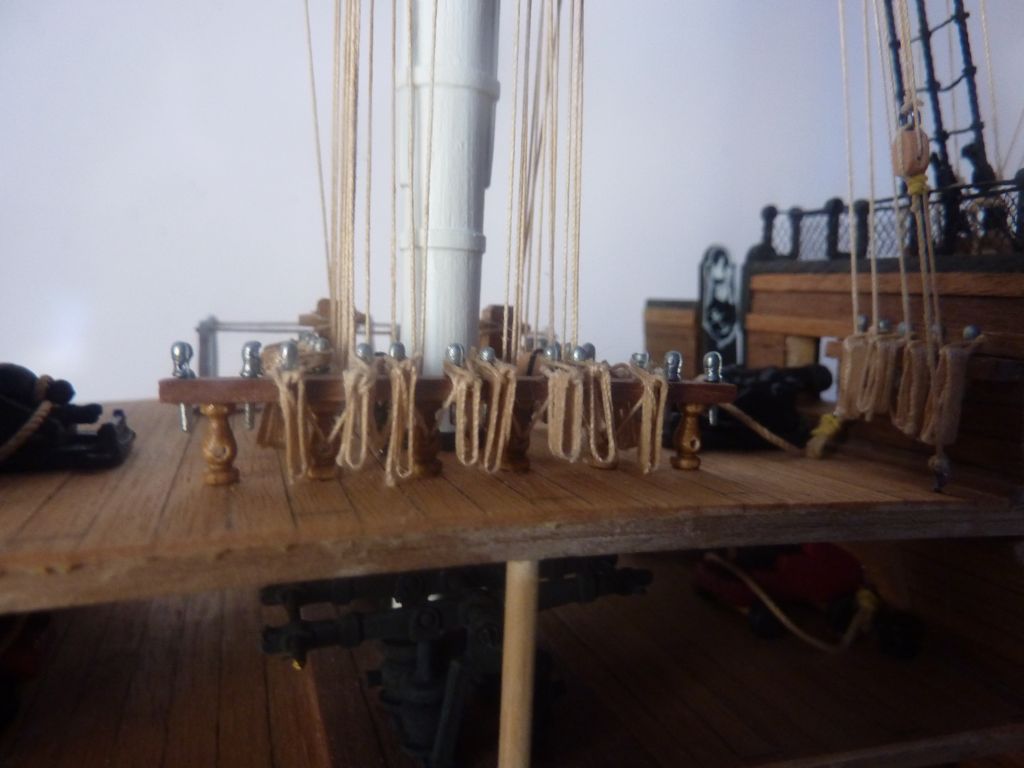
Wow, I can't believe it's been over a month since my last update. Much progress has been made, in the absence of timely updates. First, the rigging has been completed: I also added the final bits of decoration - the railing for the stairs and the cannon covers. I waited until the end for these so as to not knock them about during the rigging steps. Finally, I added rope coils to all the belaying pins. I'm not 100% happy with them, but here they are: Almost done with the model. I just need to add the flag with its rope, mount to the base and hang the ships bell. Should be done later today. More pics to follow. Andy


- 188 replies
-
- 6
-
-
- constitution
- mamoli
- (and 2 more)
-
Thanks for everyone for their comments. I've made some progress on the running rigging. The lower two yards are stabilized, and I am continuing working my way up towards to top. No real issues other than a couple of blocks have come un-done from their yards - not sure what happened, but I've reattached using a different type of black thread and a little PVA at 50% dilution glue. I'll get a full shot of everything once a little more has been completed. Andy.


- 188 replies
-
- 7
-
-
- constitution
- mamoli
- (and 2 more)
-
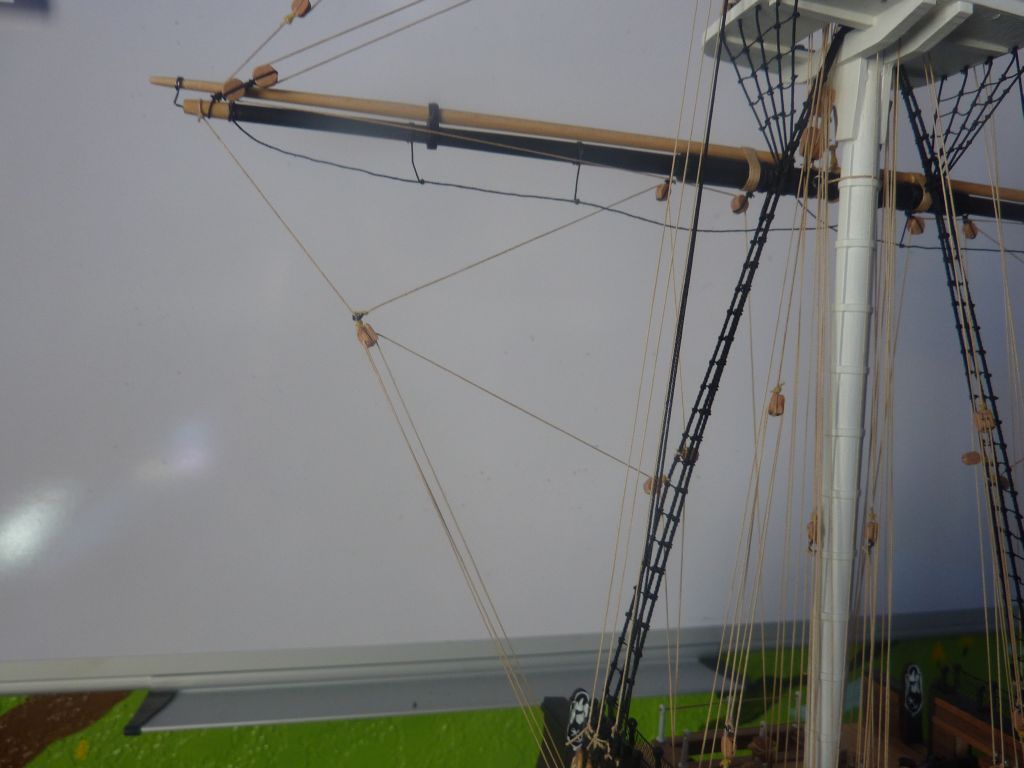
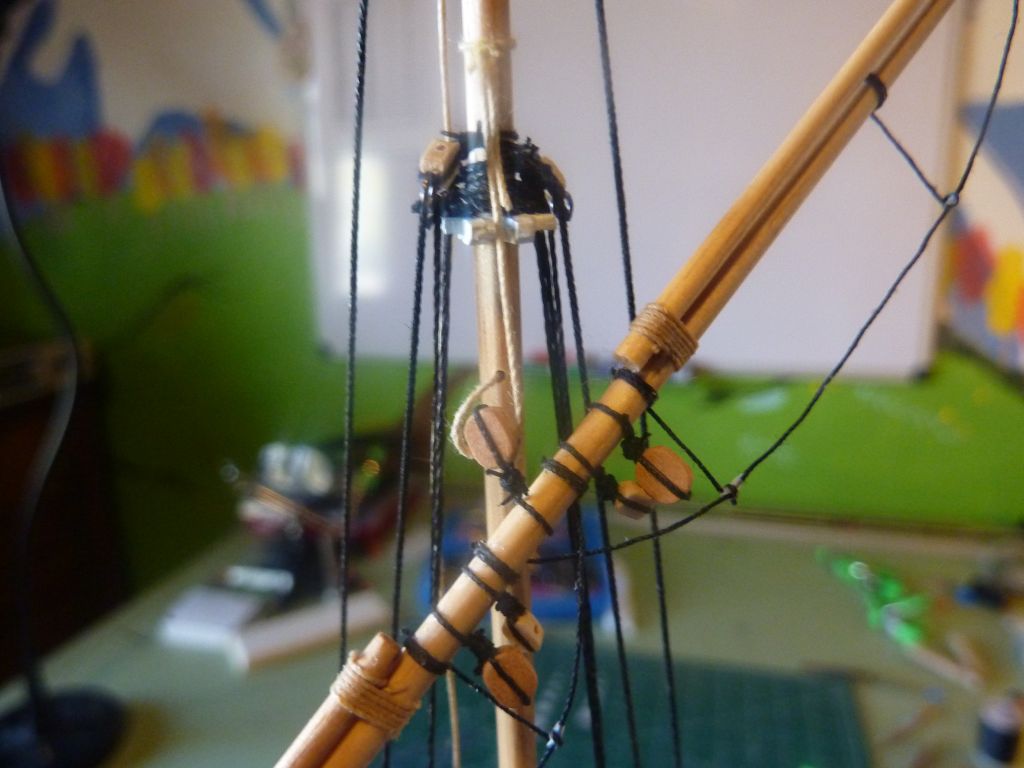
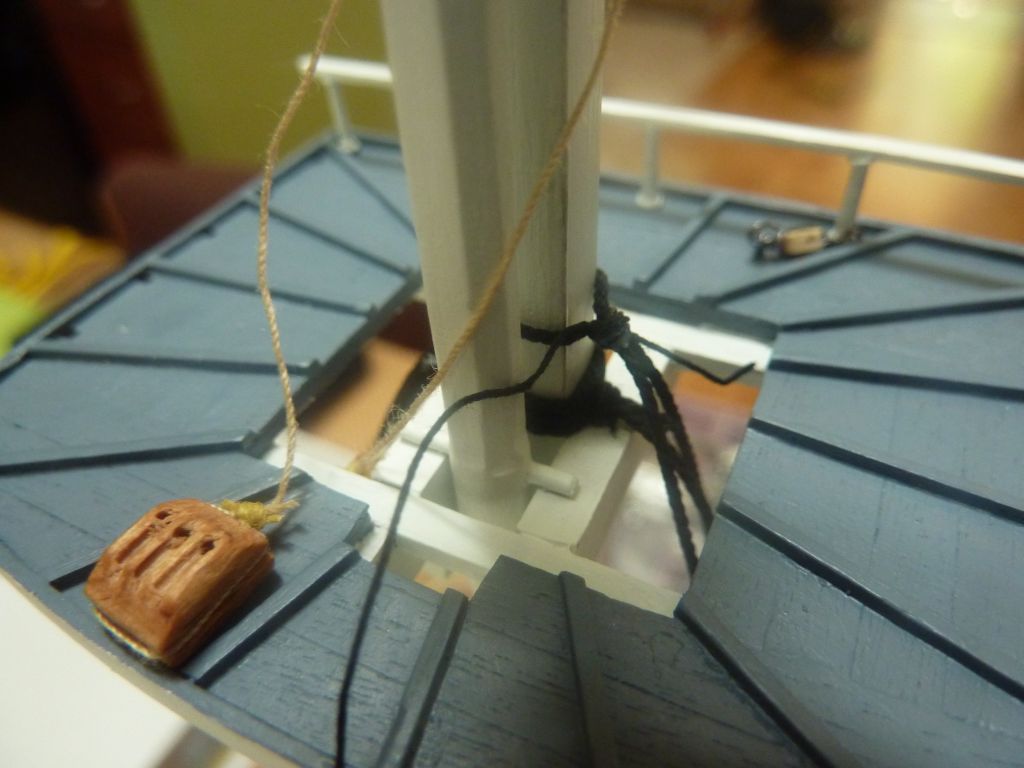
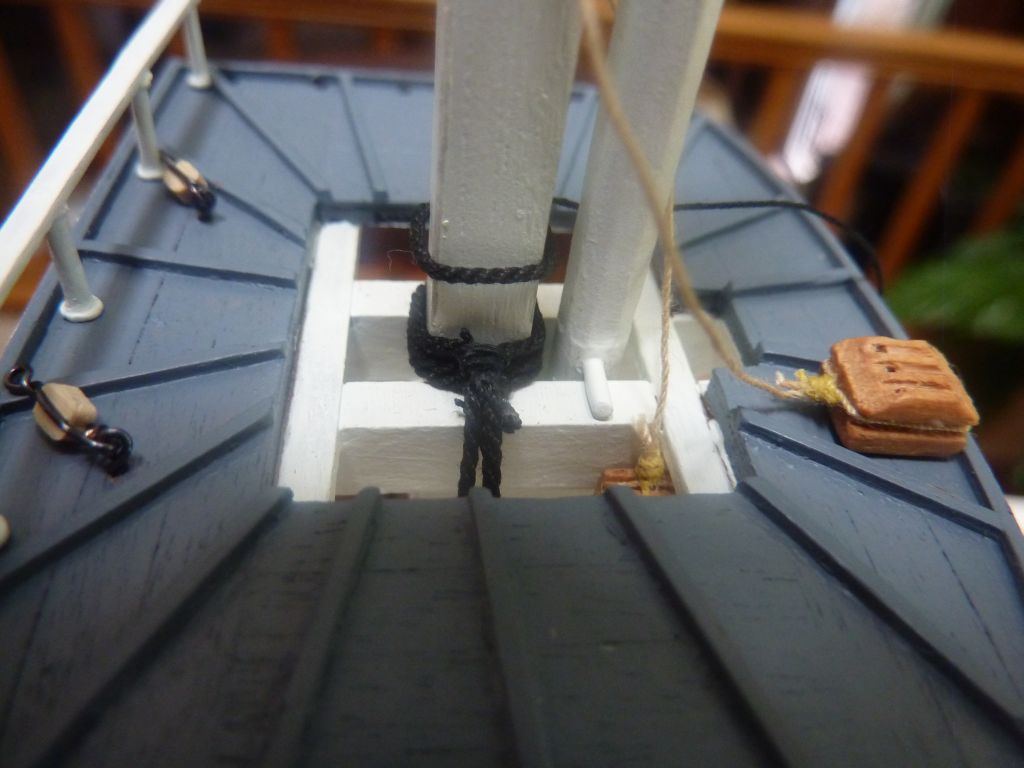
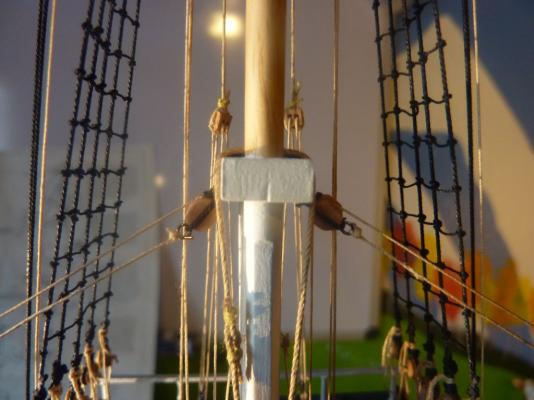
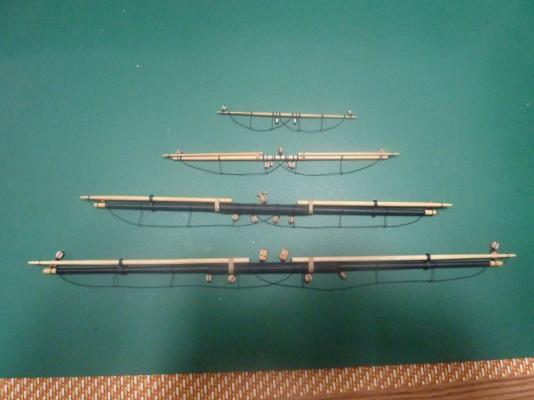
This weekend I got the main yard installed. I pinned it like the 2 above it, and all the rigging is also in place. The sling is the 0.8mm rope, with the next photo showing it wrapped around the mast. Here are all 4 yards: Next up is to apply the rest of the rigging. It's a little slow going, but I really enjoy it. Most, if not all, of the blocks required have already been installed, so this part is pretty fun. Andy.

- 188 replies
-
- 5
-
-
- constitution
- mamoli
- (and 2 more)
-
No photos yet, but I did decide to pin the topgallant yard - it was a little tricky since some of the rigging was attached, but I was able to stabilize it. So, as of now, only the main yard remains. I studied the plans this morning, and I'll definitely pin this one, but wait to apply the glue until after some of the rigging has been applied. Thanks for all the likes and comments everyone. Much appreciated. Andy.
- 188 replies
-
- 2
-
-
- constitution
- mamoli
- (and 2 more)
-
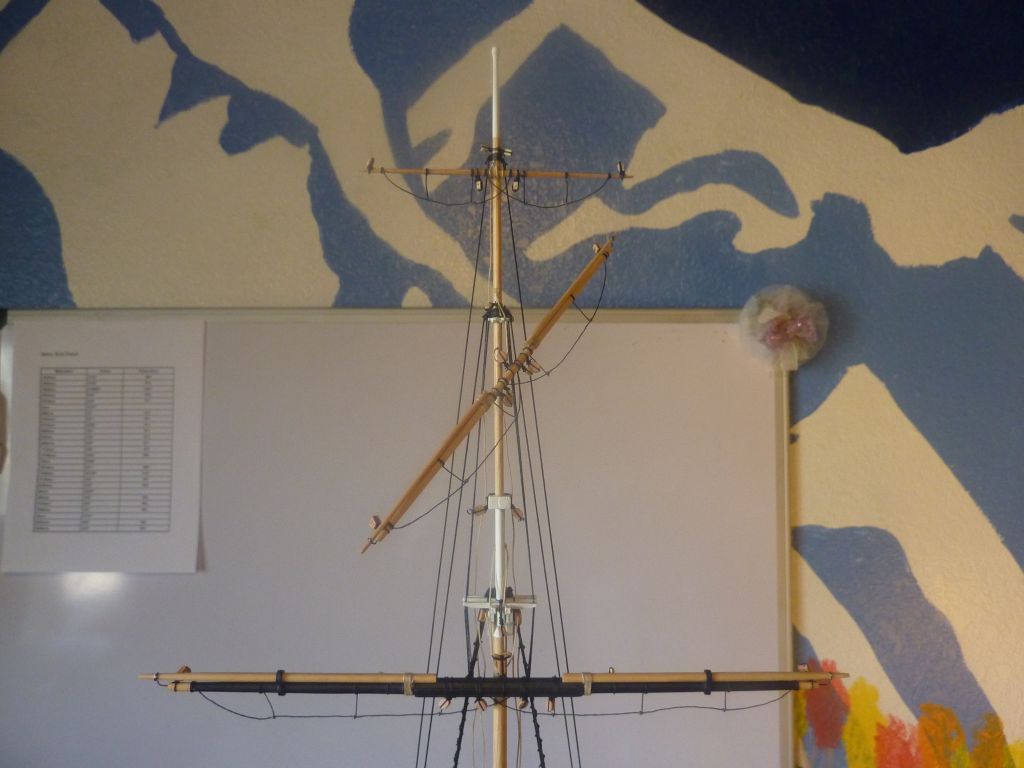
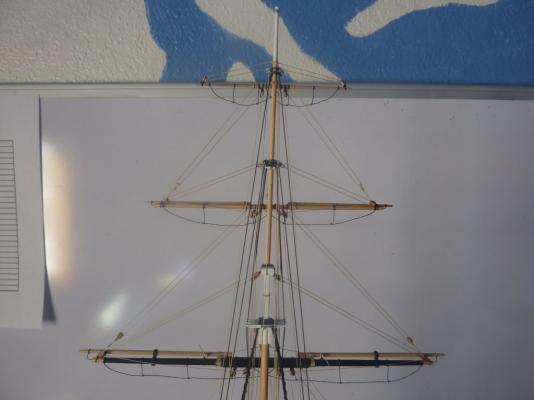
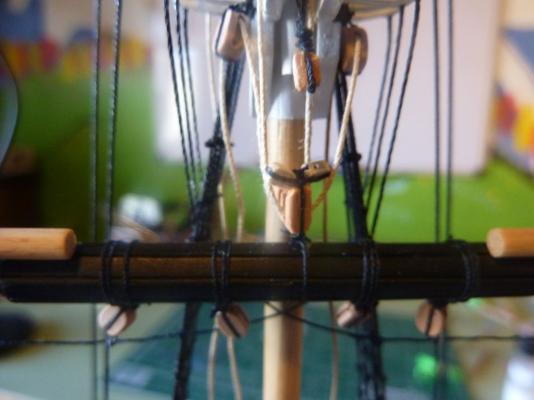
Thanks for all the likes and comments (keep 'em coming). I really do appreciate the feedback. I finally got some photos of the yards as they are progressing. The two top-most yards are not pinned as both the mast and the yards are quite thin and I didn't want to weaken them unnecessarily. The top one is tied and glued into place and i anticipate it becoming more stable as the rest of the running rigging is added. The 2nd from top (forget the name), is troublesome - it's currently tied in as per the instructions, but just hanging loose, as the photos show. I could still pin this one or see how the rigging holds it. The next one down is pinned and it pretty stable. Andy.


- 188 replies
-
- 7
-
-
- constitution
- mamoli
- (and 2 more)
-
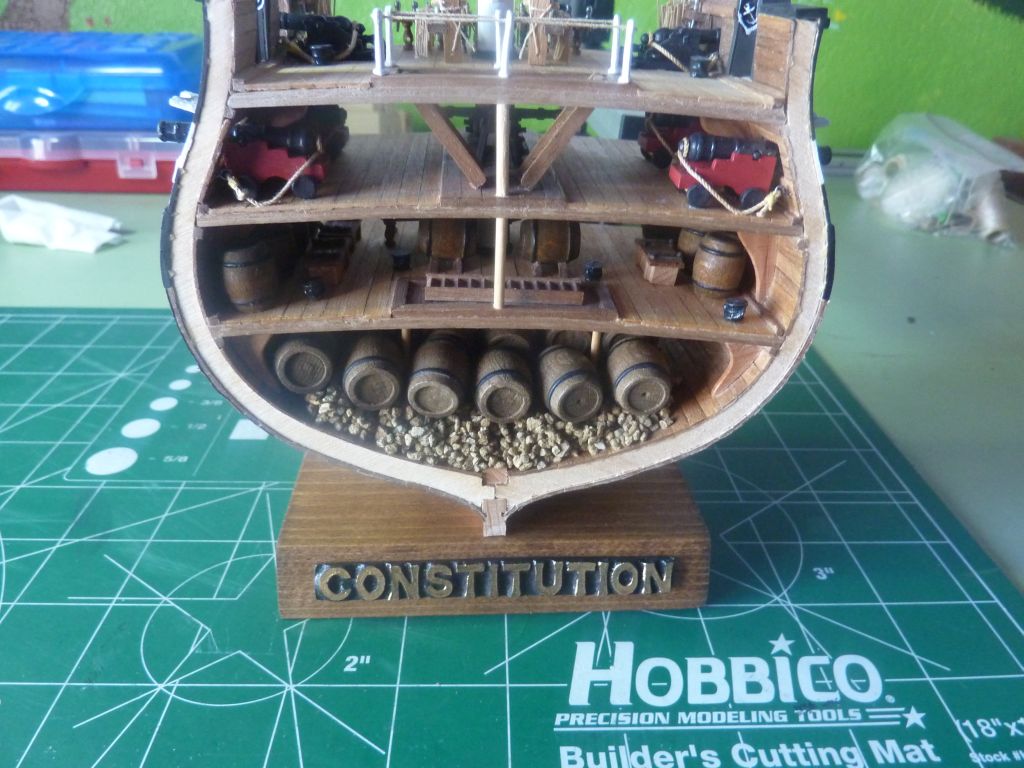
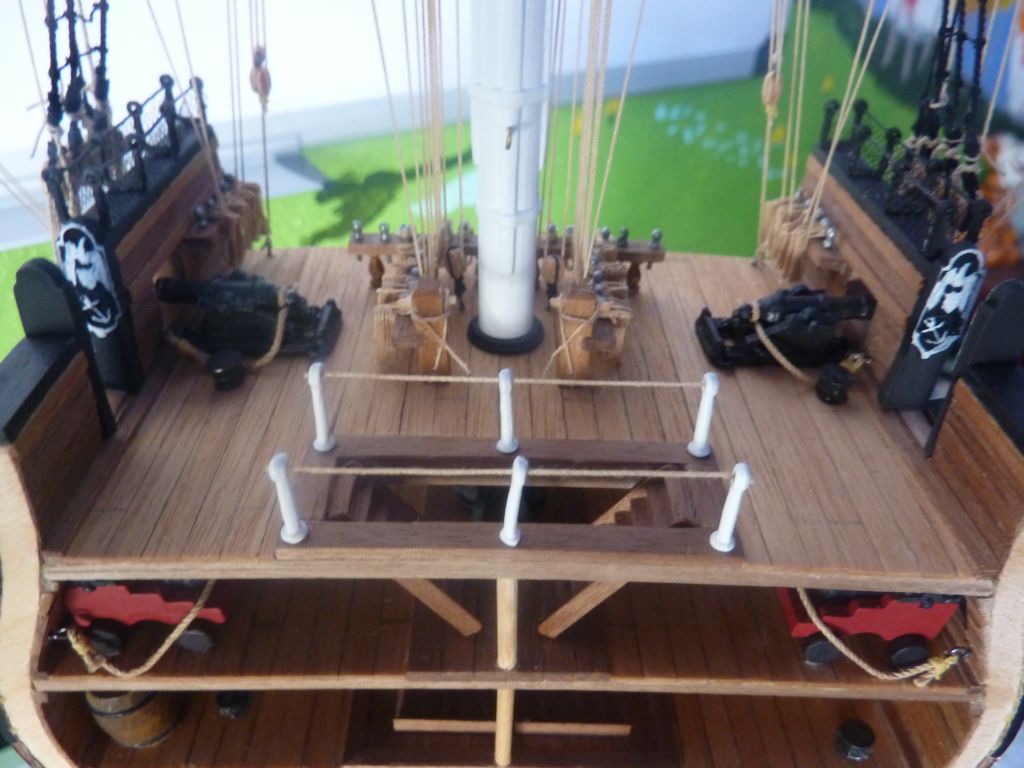
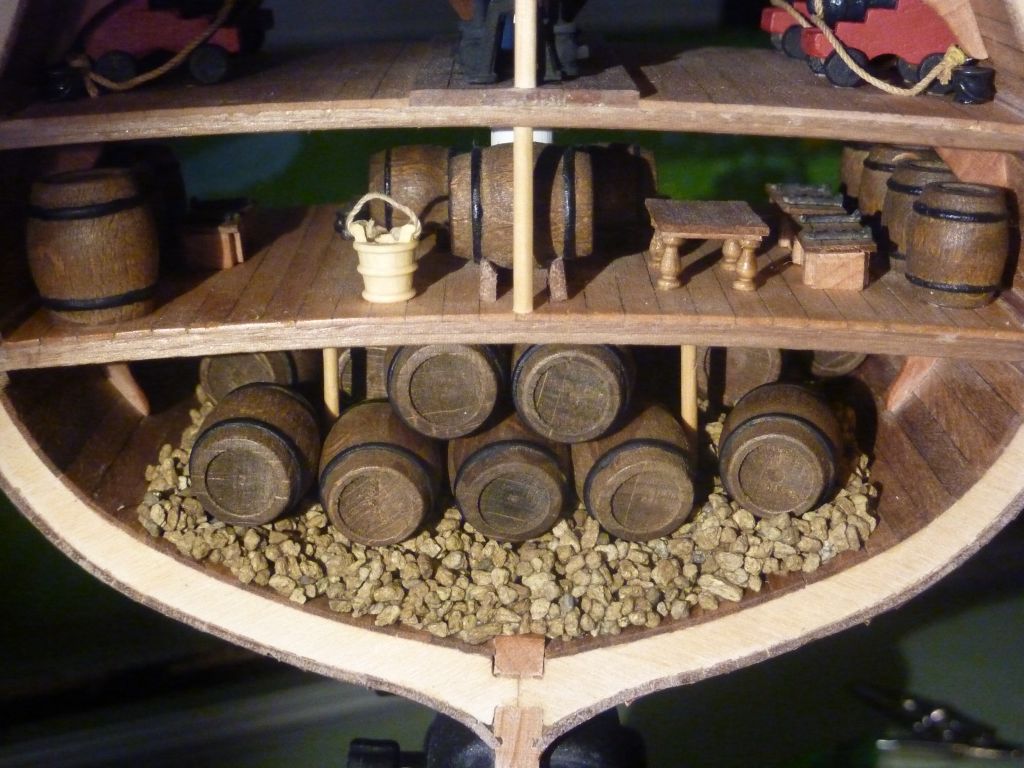
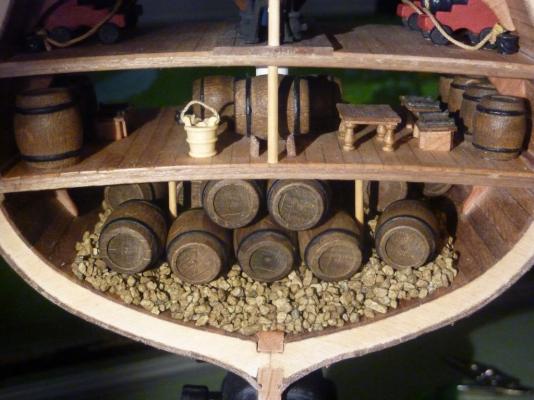
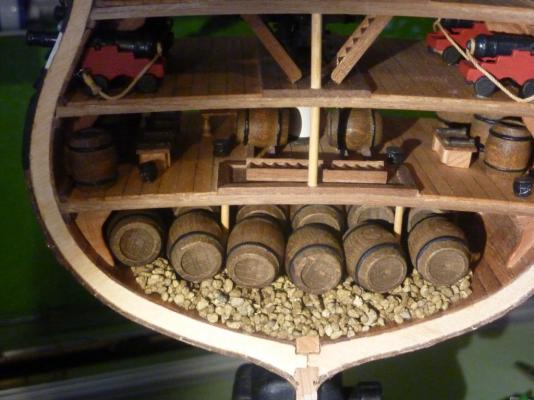
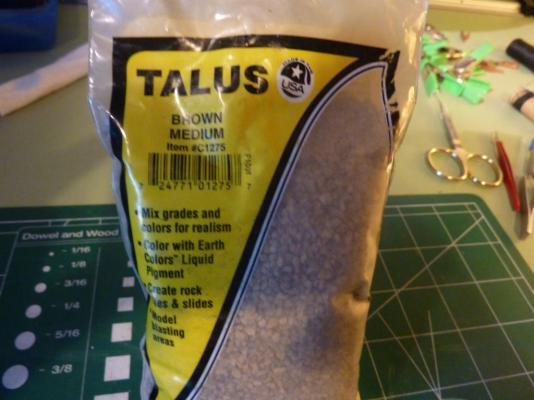
Hi, thanks for looking in. I don't do fast work, but so far I've been happy with the results. This weekend, I figured it might be time to finally install the ballast - rocks and barrels. The instructions said to use 2-3mm rocks, and all I could find around my house were much larger, so I went to hobby shop and purchased a bag of rocks: Next, I mixed a slurry of 50% water and 50% white glue and made a nice paste of the rocks. This stuff will take hours to dry, so I had time to place it around the mast supports and glue the barrels in what I hoped is nice, mostly-realistic manner. It was a fun diversion from rigging, but I fear I can put off the yards no longer. Hopefully, my next update! Andy.
- 188 replies
-
- 9
-
-
- constitution
- mamoli
- (and 2 more)
-
Thanks for the tip, Joe. I was wondering if I would attach the yards just using rigging, or if that wouldn't be strong enough. Using a pin to secure it seems like a robust solution. Appreciate it. Of course, the Mamoli instructions don't say anything about how to secure the yards - just a simple rigging diagram. I wasn't sure if that would be enough to really hold it in place. I'll also look at my Syren instructions to see how it's yards are placed. Andy.
- 188 replies
-
- 1
-
-
- constitution
- mamoli
- (and 2 more)
-
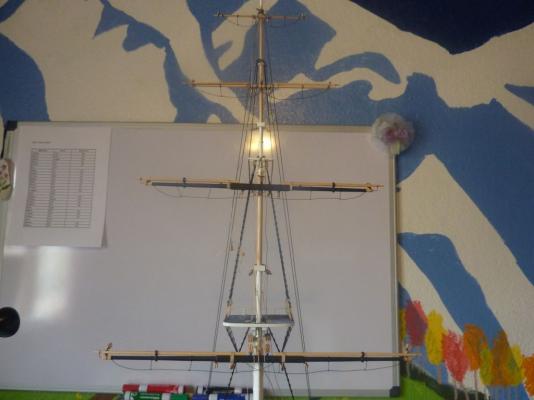
I've finished the topgallant shrouds, and today added the two backstays. The mast, I think, looks crooked, but that's my camera angle combined with the stand which isn't straight. I think that's pretty much it for the standing rigging. Next up, I need to attach the yards and start the running rigging. The yards are already built, so I need to figure out how to attach. Any advice? Do start from the bottom yard and go up, or the other way around? Andy.


- 188 replies
-
- 5
-
-
- constitution
- mamoli
- (and 2 more)
-
Thanks Russ and J. Pett for responding - the information is most useful. I have a block tied to upper cross tree, but I'll have to move it out of the way to get the upper shrouds tied there. Also, I like the lack of a ratline requirement, I'm pretty tired of tying those. Well, this will be next weekends task - my next update will have photos, I hope. Thanks, Andy
- 188 replies
-
- 1
-
-
- constitution
- mamoli
- (and 2 more)
-
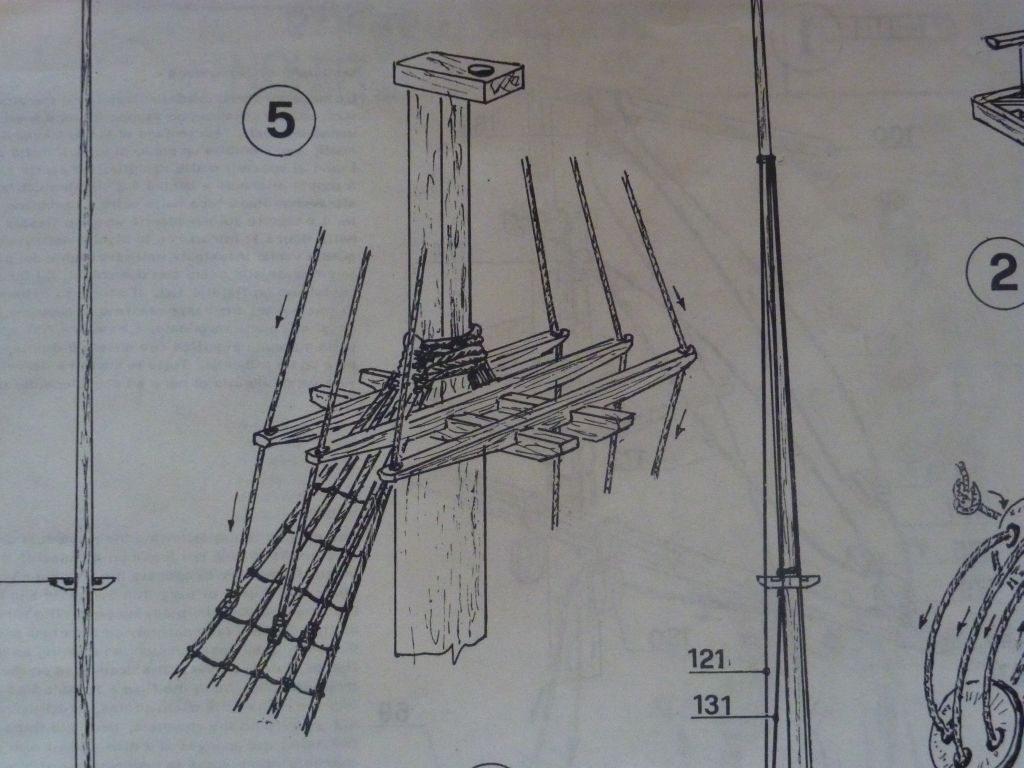
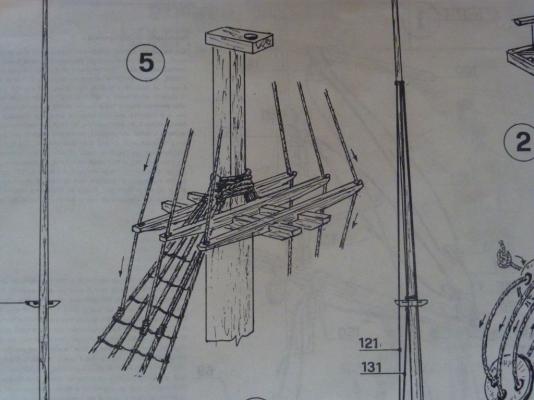
Russ, Here's the instructions for what I'll call the upper shrouds: What I don't understand, or see in the instructions, is where the 6 lines (3 per side) terminate ABOVE. They maybe wrap around the crosstree above them? Probably ratlines on those shrouds too (sigh). Andy.
- 188 replies
-
- 1
-
-
- constitution
- mamoli
- (and 2 more)
-
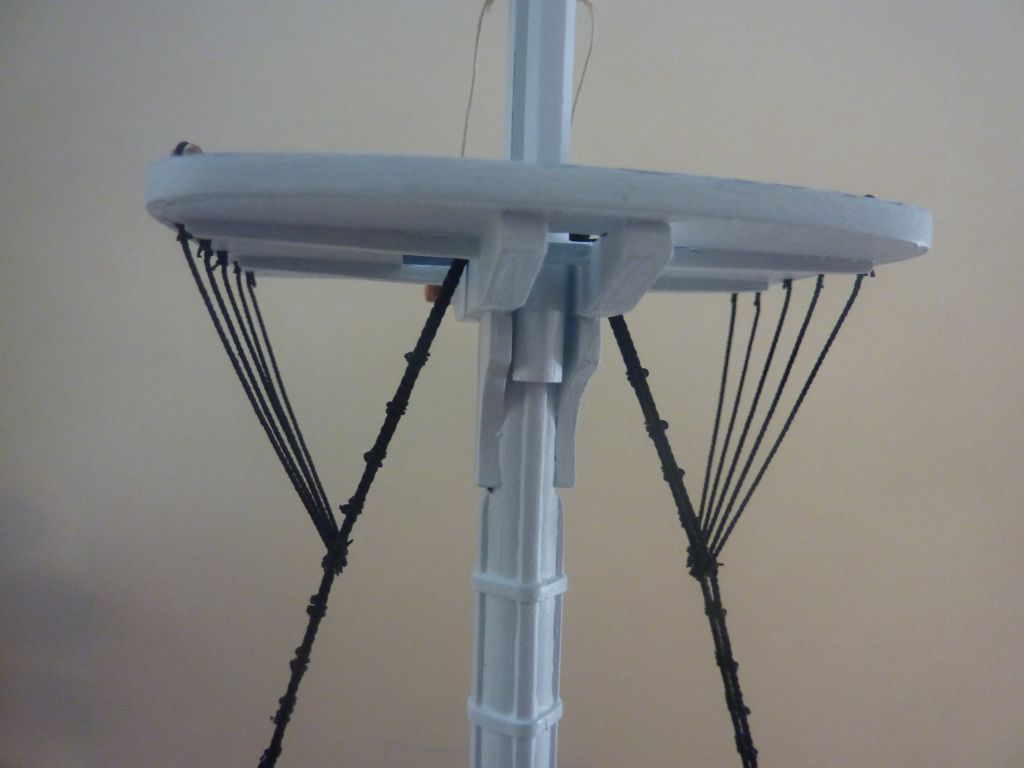
The time since the last update was spent doing ratlines. I find the process only a little tedious - the trick, for me, is to take frequent breaks. Sometimes, I can just pop in the modelling room and do 2 or 4 in just 15-20 minutes and that lessens the overall "my gosh, there's a lot of ratlines!" impression. Next up are some of shrouds that go from the lower deadeyes up to the upper mast. There should also be some sort of line between above the ratlines pictured above, but the instructions don't have any details - they go through the crosstree holes and tie to the middle shrouds, but I have no idea how they terminate to the upper mast. I will have to do a little research. Andy.
- 188 replies
-
- 2
-
-
- constitution
- mamoli
- (and 2 more)
-
@JPett: thanks for the thoughts on lighting. I currently use a head-band magnifier, but a high-quality clamp light like you mentioned is worth considering. @GuntherMT: Thanks! That little canoe was my first wood kit project and I made a few inevitable mistakes, but the overall look turned out pretty good. The tung oil finish should probably take more credit than my skill. Next up: my last ratlines for this kit. I think I'll be using a simple overhand knot for the end knots (instead of the cow-nose knot), but still use a clove-hitch for the internal knots. I'll do my best to not warp the shrouds. The shrouds have tension on them, but I'm afraid to tighten them more lest the deadeyes give way. Finally, one last thing: the knot I used for the stopper behind the upper deadeye was a "Stevedore stopper" which worked great. I experimented with double-overhands and the figure-8 stoppers, but they weren't as effective - the stopper would pull through the deadeye hole under strain. The Ashley stopper was good, but much harder to tie. Andy
-
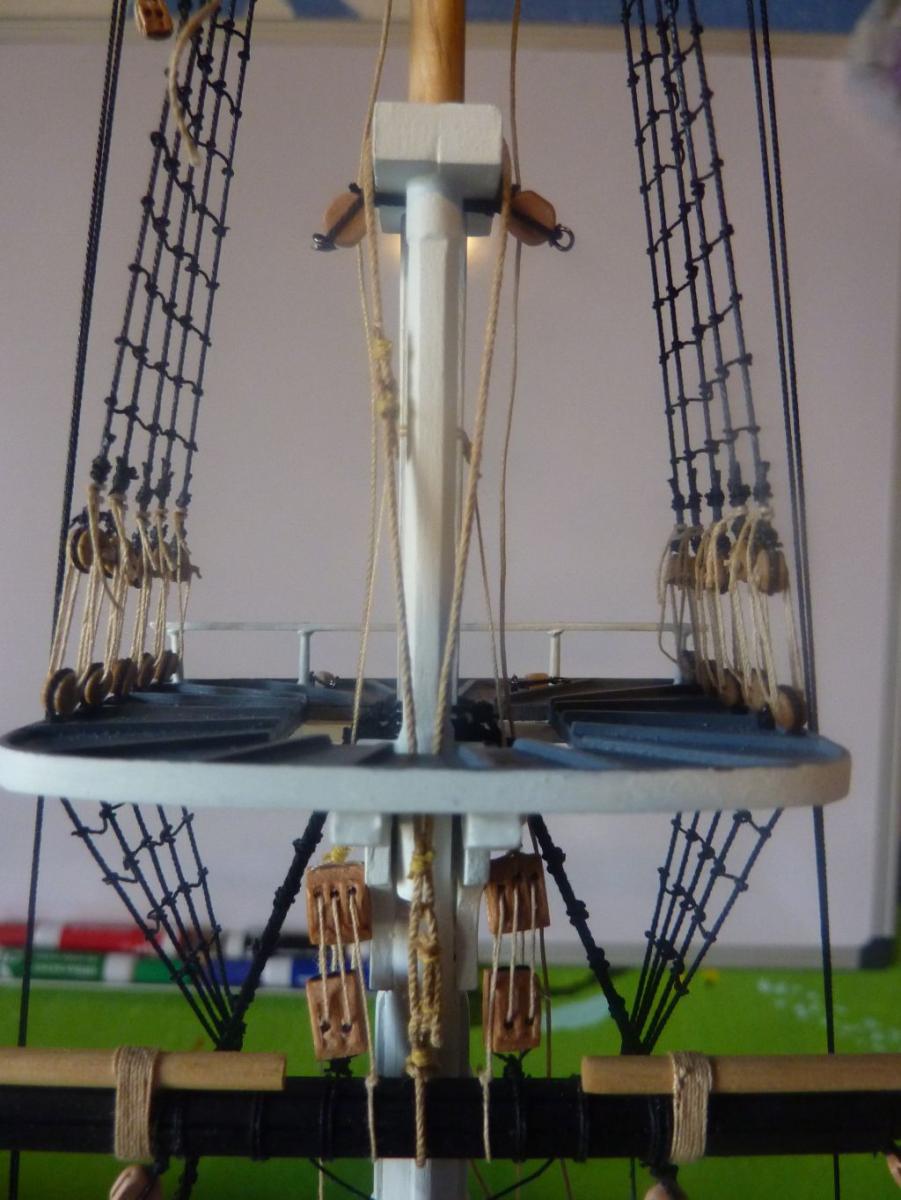
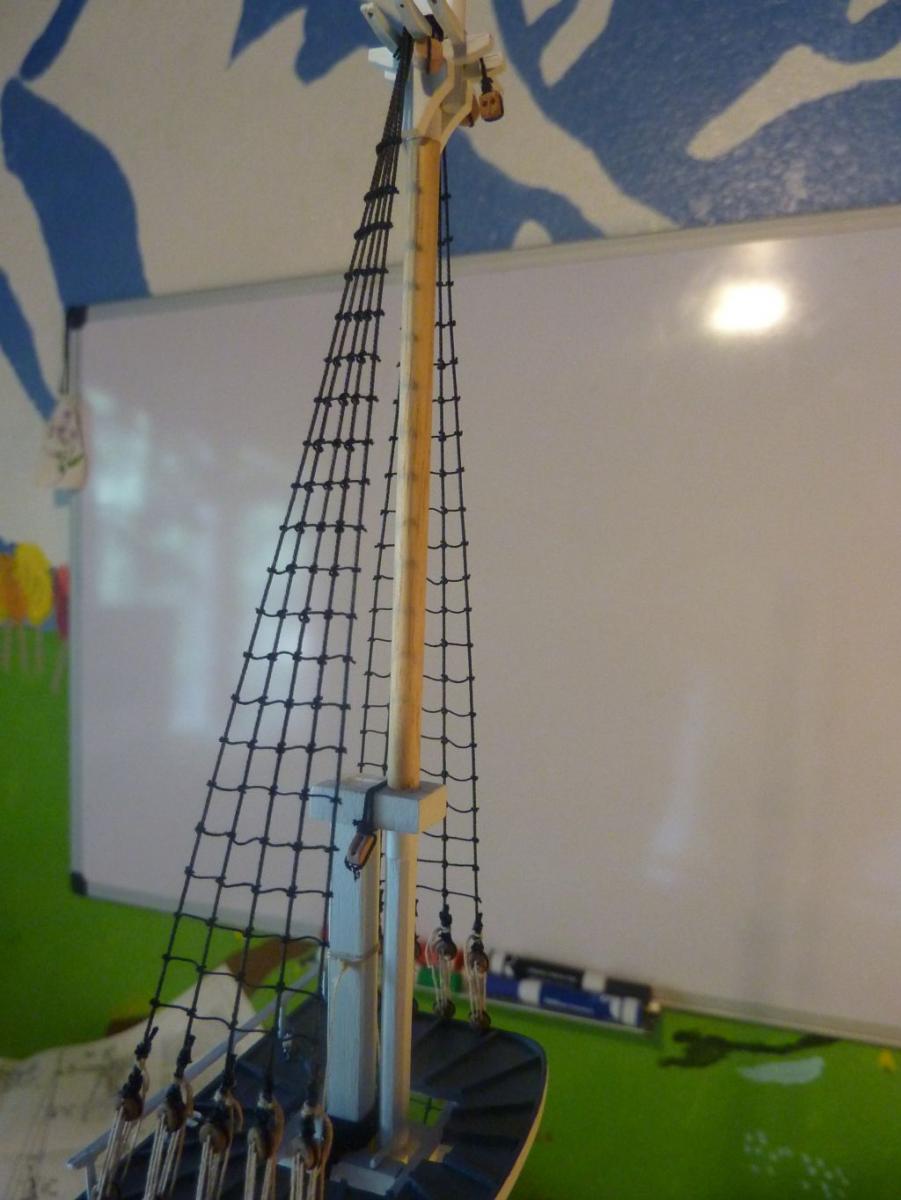
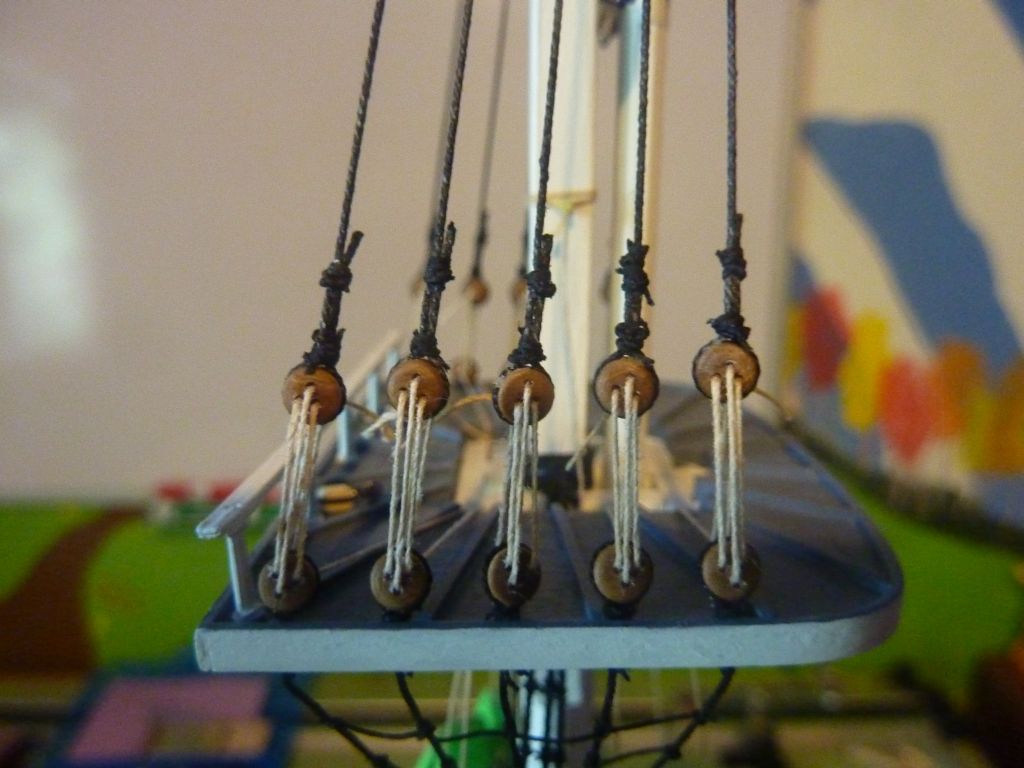
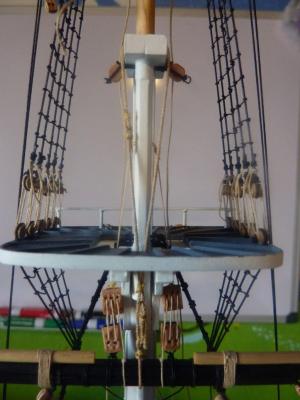
Once again, it's been a while since I've updated my log here. After the ratlines were put in place, I've tried to add the futtock shrouds and then the upper shrouds, with their ratlines. I think I did a little better here, but still could improve. First, the futtock shrouds: Next are the upper shrouds. The first shot is the blocks loosely tied, next has them all tight and glued. Finally, I've moved away from using the kitchen table into the newly freed up bedroom (my eldest child is now off to university, another reason progress has been slow) Having a space where I can leave things out makes for a more relaxed experience, and hopefully will let me make more frequent progress. The lighting is a bit dim still; i think I need a floor lamp or brighter bulbs in the overhead. Andy.


- 188 replies
-
- 2
-
-
- constitution
- mamoli
- (and 2 more)
-
I'm glad the log is useful to you! I don't have time recently to look in every day, so I apologize for the delay. I hope your idea works out. The time I spent on the diluted glue not maybe as bad as my post indicated. I would whip up the dilution, apply it and then wait for 20-30 minutes for it to dry. The bad ones could be removed and then I would try again on just those. Then, a good one would happen, so I would remove all the others I thought were ok and re-apply them. All this was done late at night watching a movie or something - I would just pop up and look, re-apply and go back to waiting. Still, your idea might be more efficient. Only one way to find out. (If you get a nice photo of the result, I would be fine if you posted it here - I'm not sure if you have your own log). Andy.
-
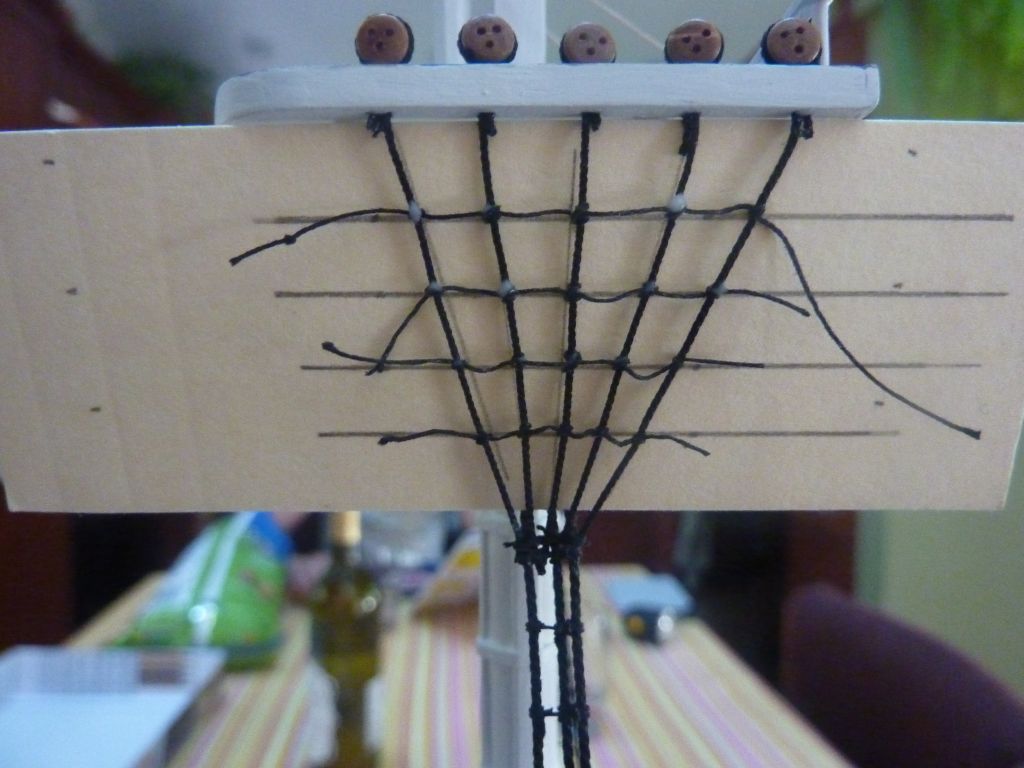
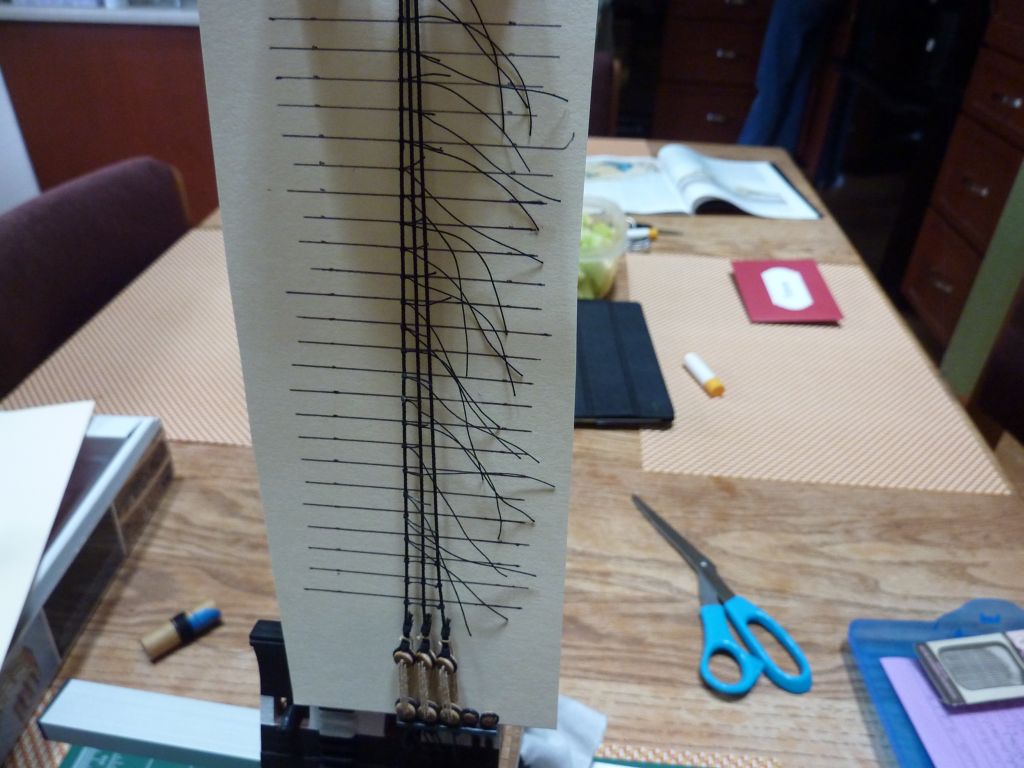
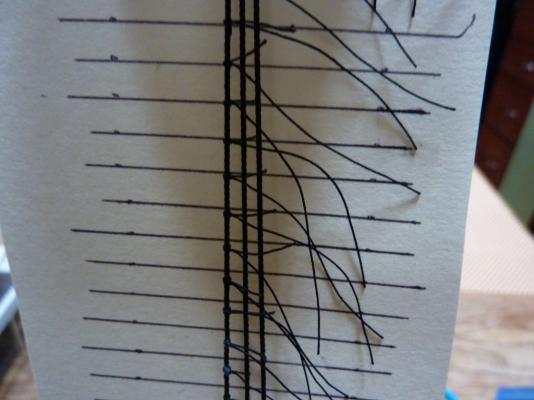
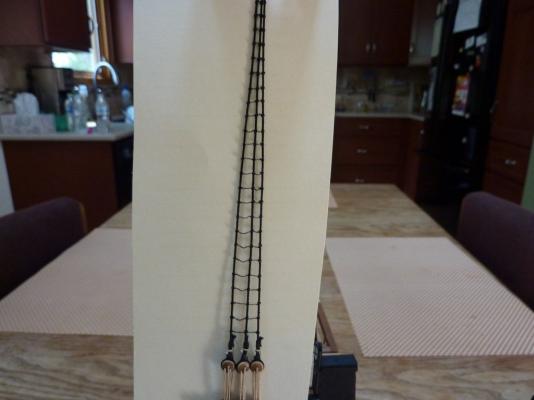
Thanks for the comment, Russ. I'm going to keep it; treat it as both a learning experience and also the need to move forward with the model. It looks worse in the photos than in person. One thing I would do different, I think, would be to draw vertical lines onmh guide to mark the shroud locations. Andy
-
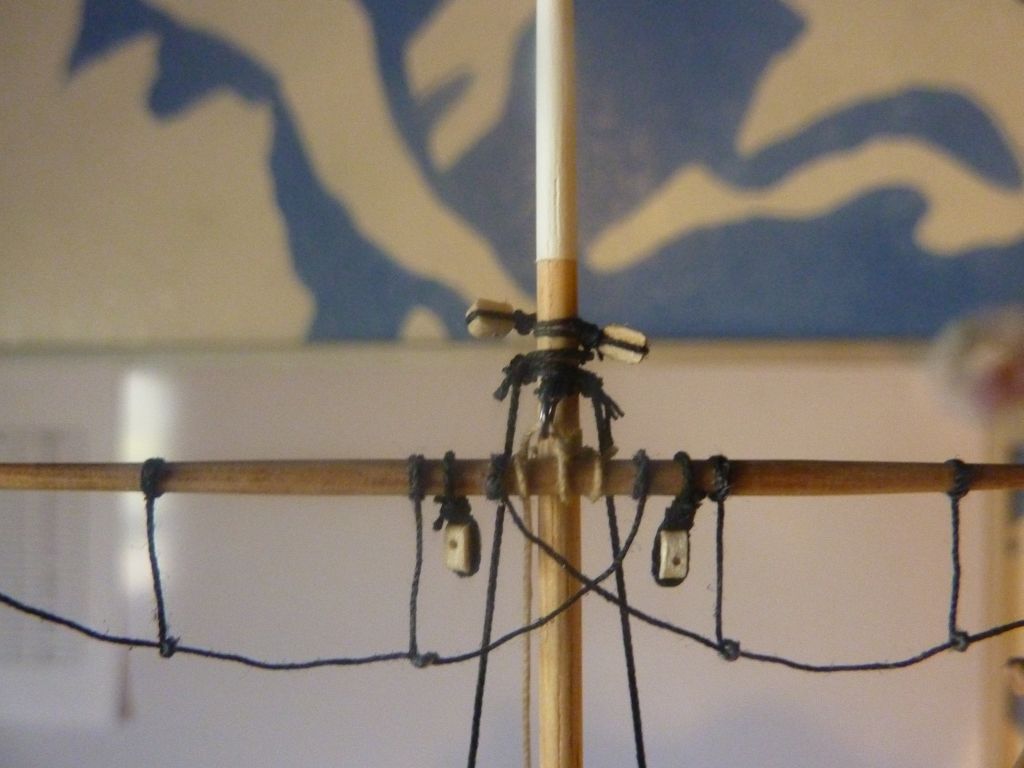
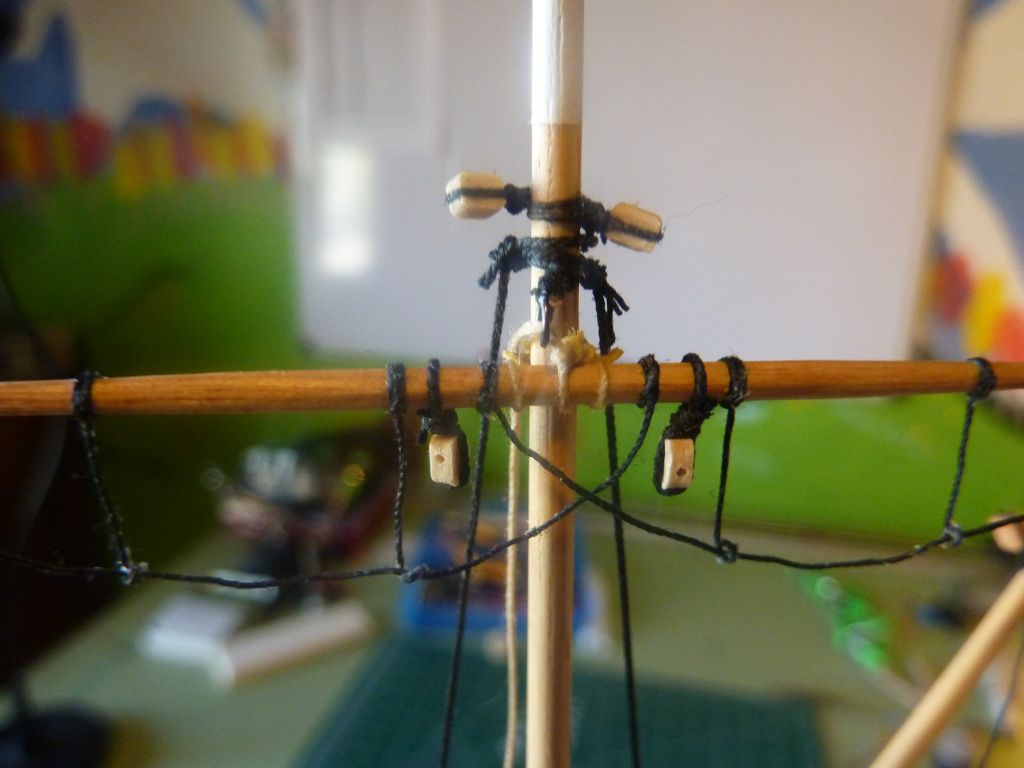
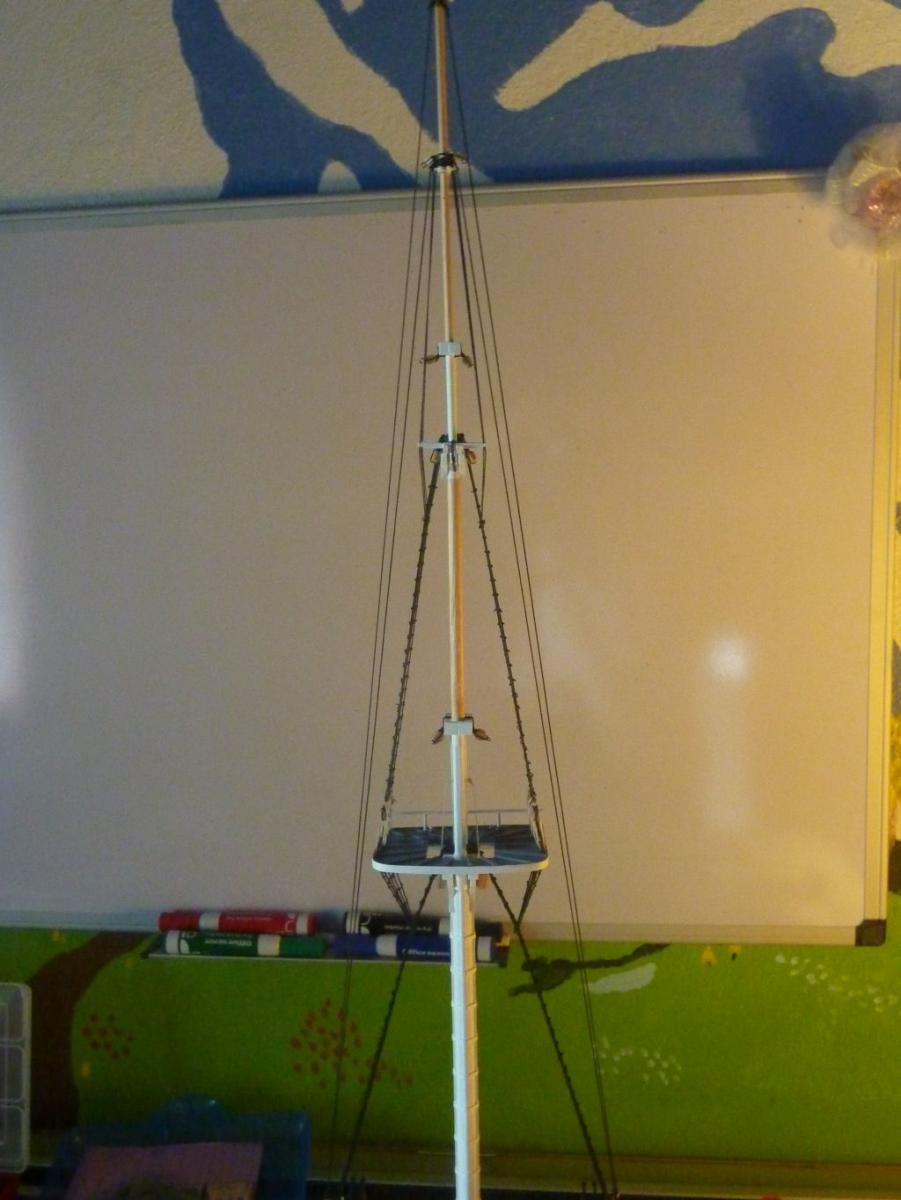
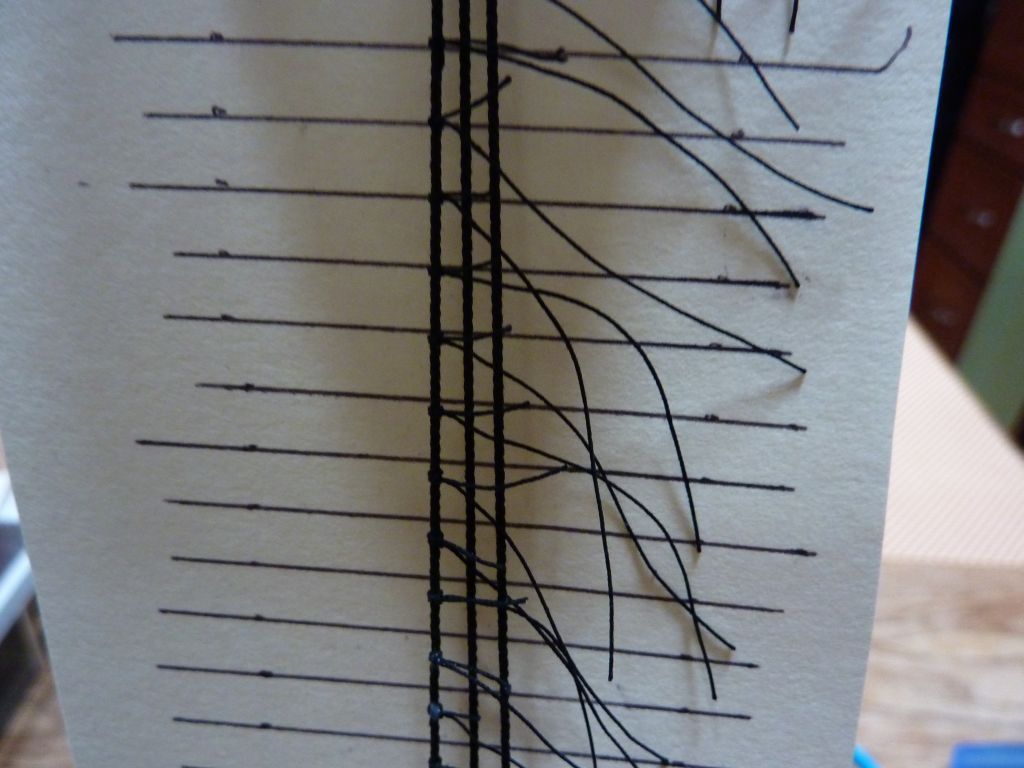
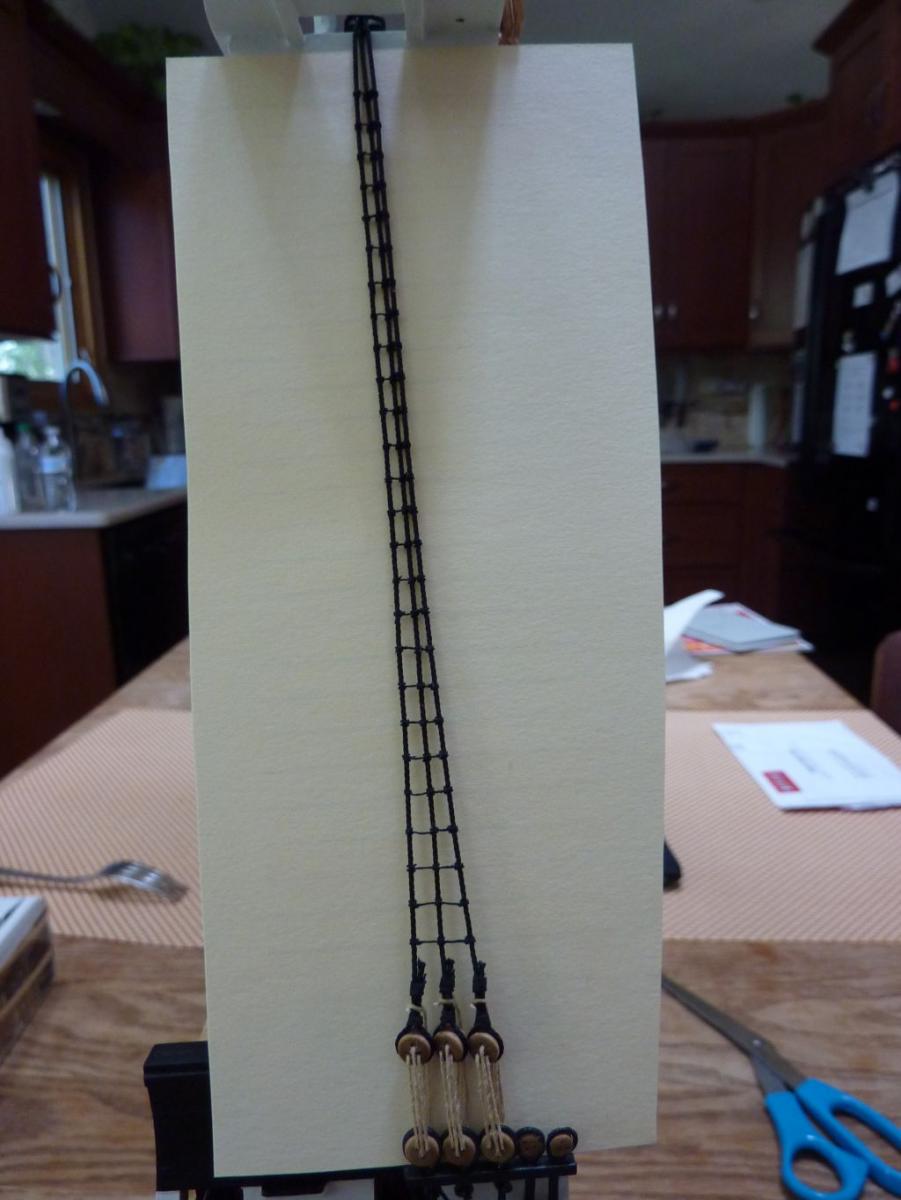
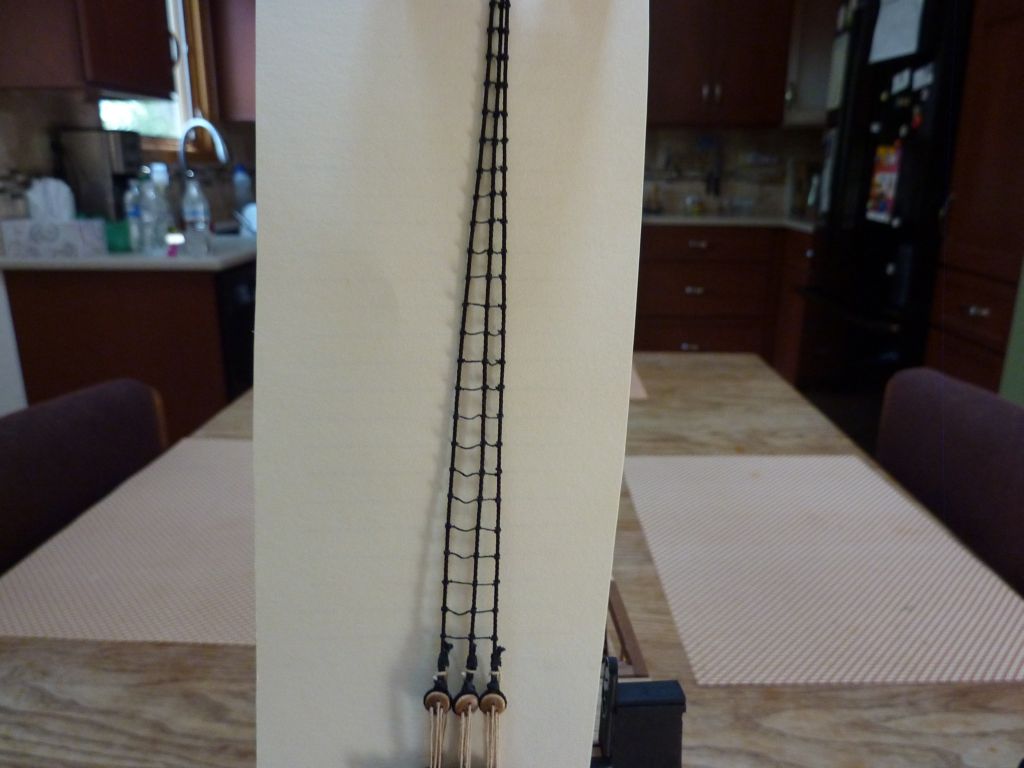
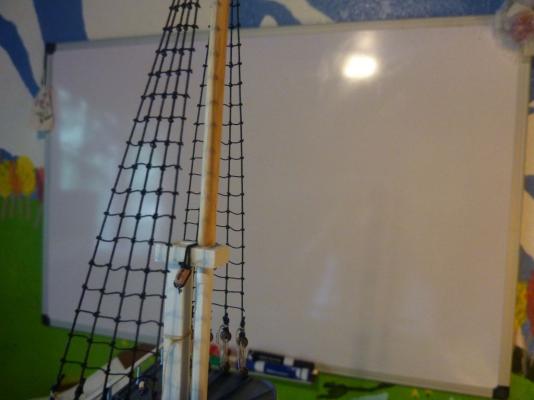
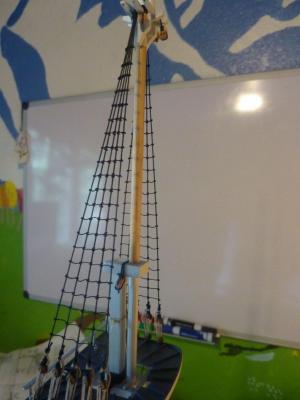
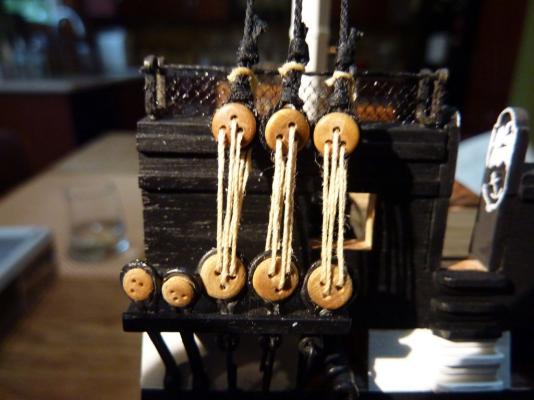
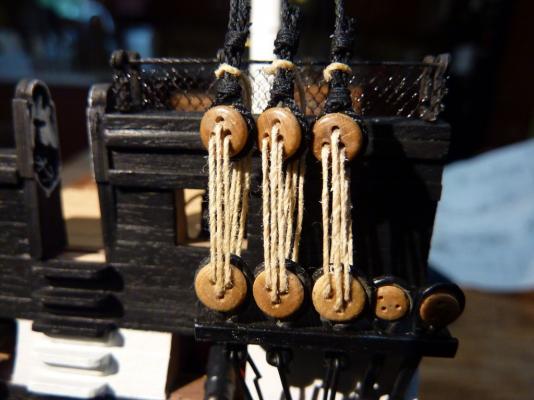
It seems to have been forever since an update, and truth be told, I've been through a low-motivation period on the ship. I have completed the ratlines, so to speak, as there are only 3 shrouds. See the pictures below. I struggled with them - trying to keep the shrouds straight was difficult. It seems the knots wanted to move the shrouds closer together or further apart. Technique: I used a cow-hitch on the ends and a clove hitch in the middle. Andy.


- 188 replies
-
- 5
-
-
- constitution
- mamoli
- (and 2 more)
-
Sorry for the late response. I've been pretty busy with stuff other than my ships and I haven't been on the site either - work has been super busy. (Yes, I admit to browsing MSW at work most times!) My case dimensions are 19" x 41" inches on the base and 30" inches high. For me, the width and length are about right, but it is a bit high. If I mounted the ship on a stand, raising it up 2 inches, it would still fit, so I would recommend a 28" inch height probably, but measure your own ship, especially if it one a base or stand. Andy
-
Thanks for the comments and "likes" everyone. Life and work has been busy of late, so I don't get a chance to browse through the logs as much as I'd like. John - I suppose you mean a full wooden ship, not a cross section? If so, I totally agree. I purchased the Syren a few years ago, but I might do a simpler ship before that. Not yet decided. I'd like some experience with bulkheads and planking. The planking in the cross section was all straight, non-curved, so very straightforward. Working with wood on this cross section has been a great experience - I'm pretty sure I won't be doing plastic anytime in the future. Andy.
- 188 replies
-
- 3
-
-
- constitution
- mamoli
- (and 2 more)
-
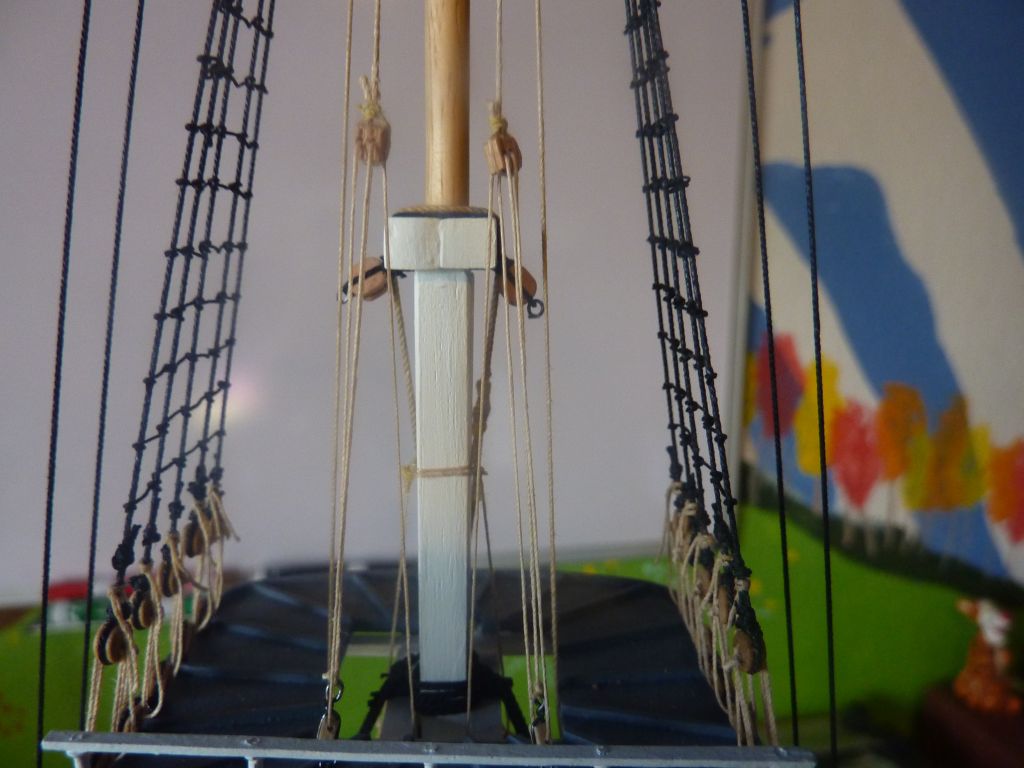
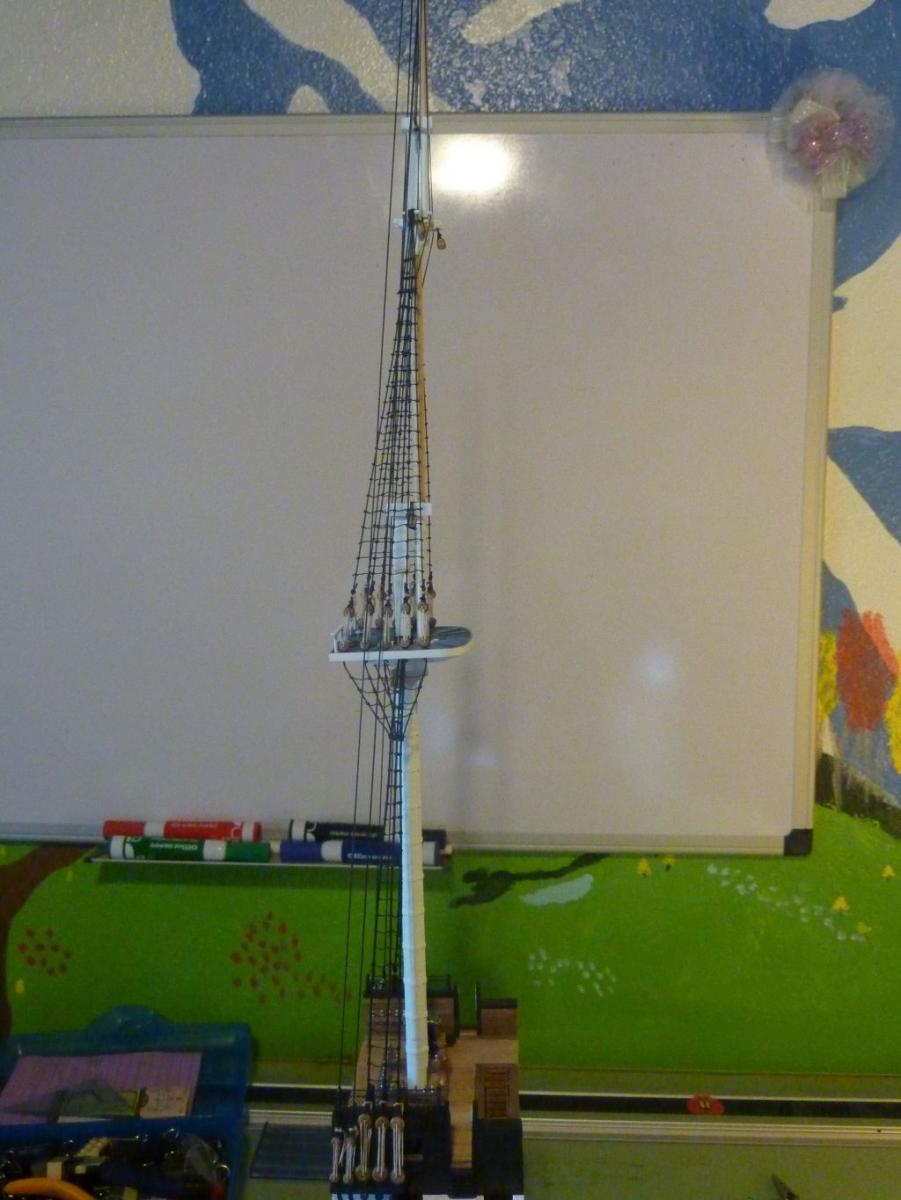
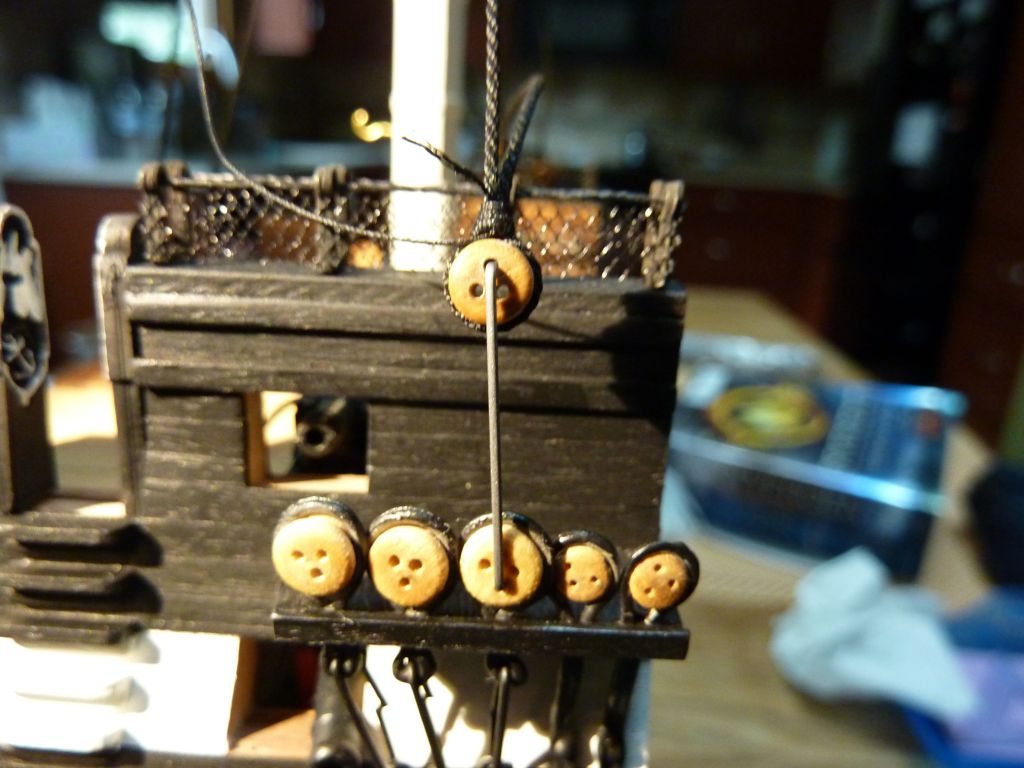
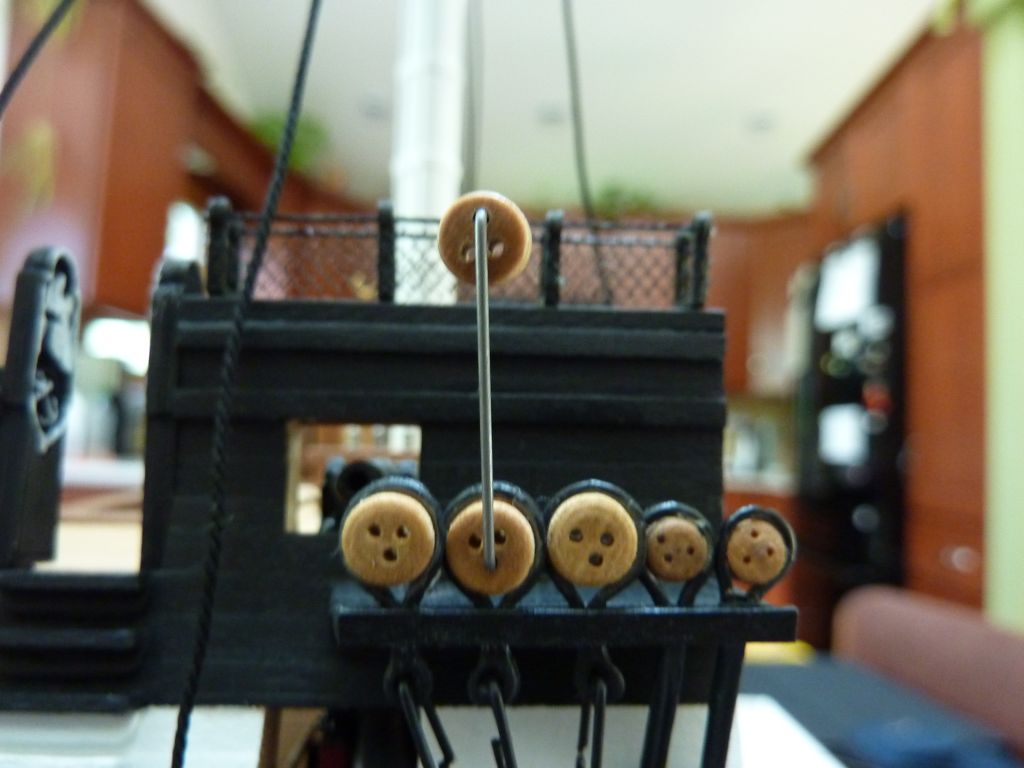
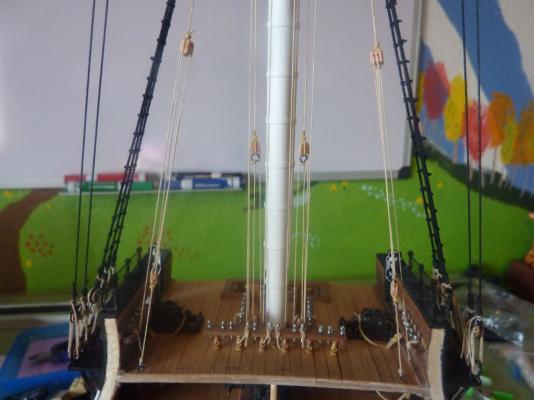
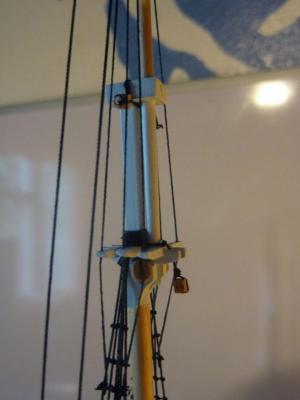
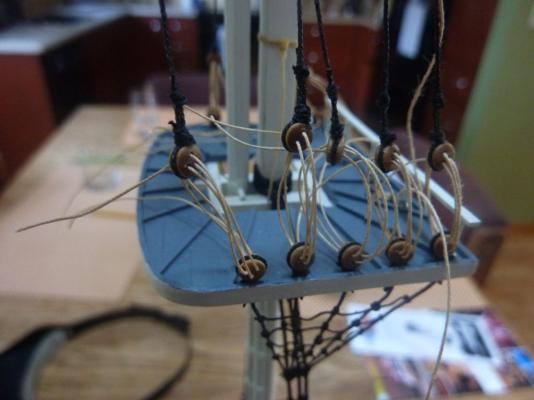
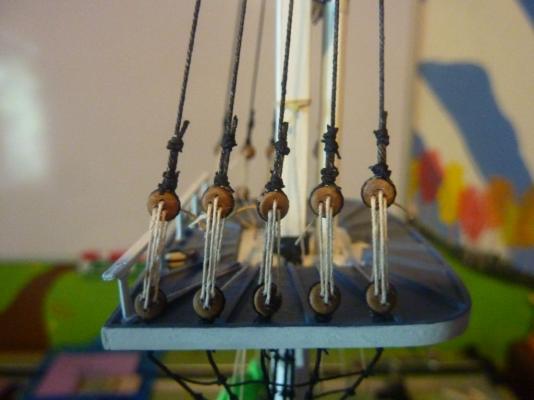
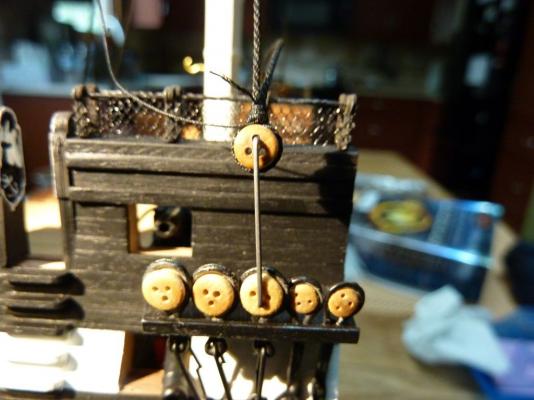
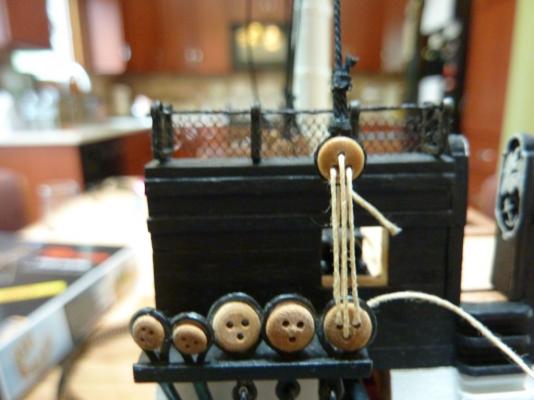
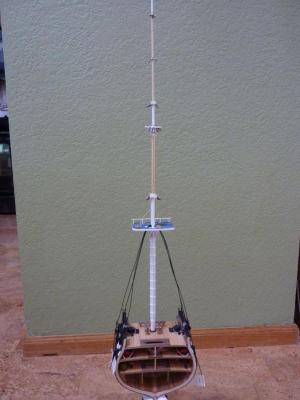
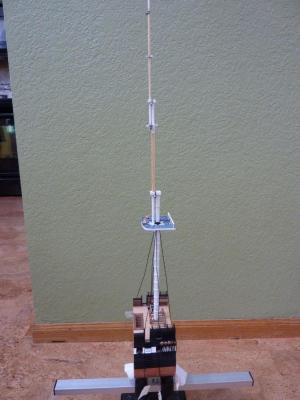
The main mast (ha! only mast) is now securely in place - no glue needed. I had tied the shrouds to the top last week, and this week I got them secured to the deadeyes - nice and tight. I'm still kind of unhappy with the deadeyes and the chains, but they are secure, and I've tightened them as much as I dare - making sure to keep the mast straight. This first picture is using the wire jig to keep the spacing correct while seizing the shroud around the eye. Next is either doing ratlines or working on the upper shrouds. I'll study the plans tonight and see. Andy.

- 188 replies
-
- 5
-
-
- constitution
- mamoli
- (and 2 more)
-
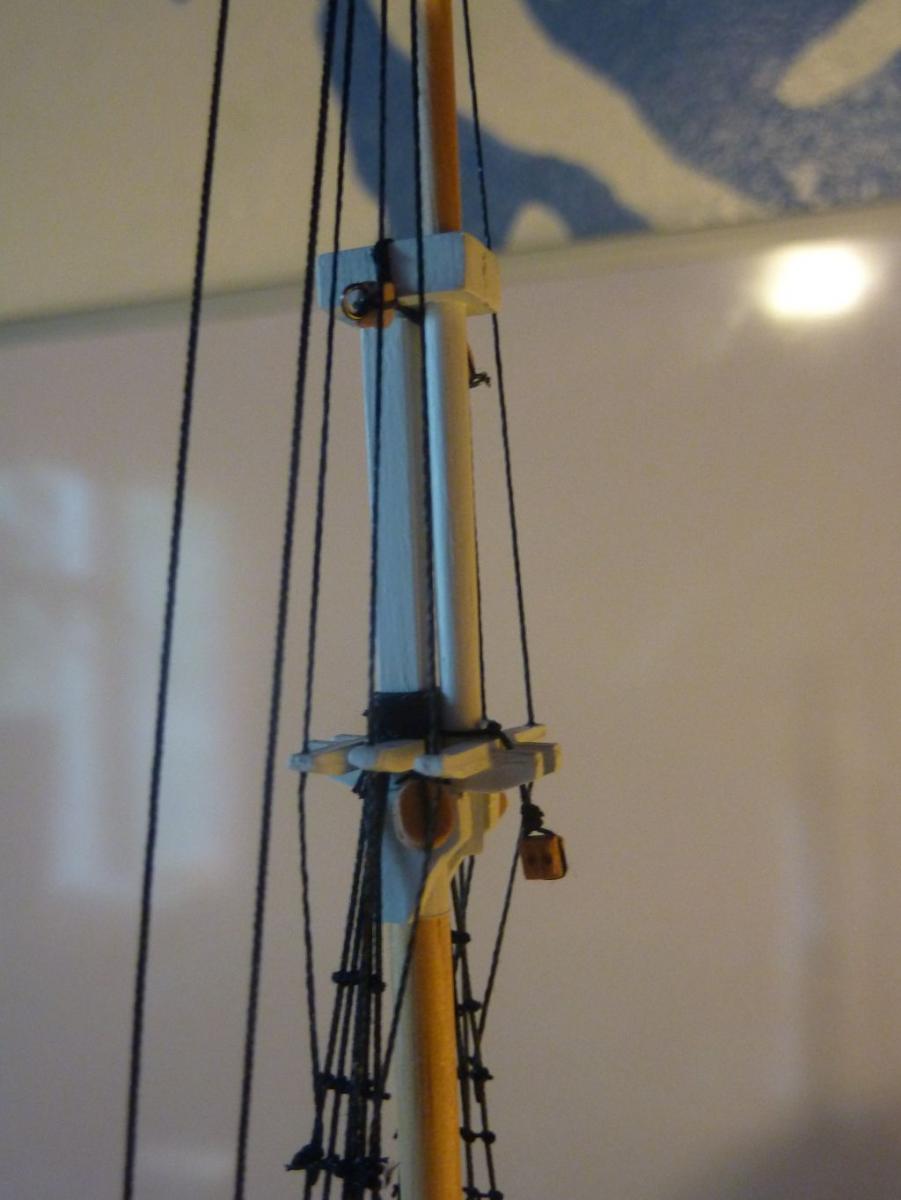
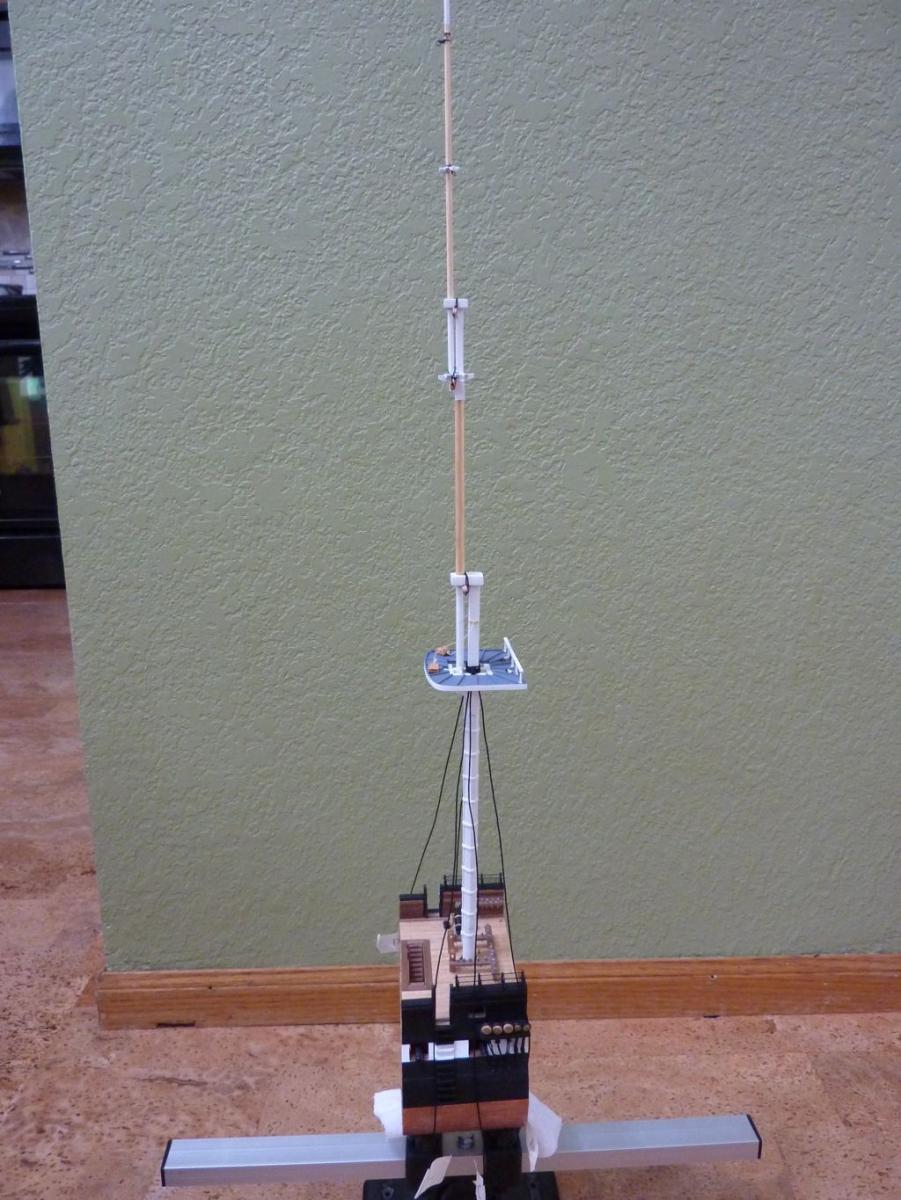
Well, not that Augie can predict the future or anything, but I really had no choice but to erect the mast. After adding one more minor feature to the lowest yard, there was no more reason to procrastinate. I also seized the shrouds over the mast ran the lines towards the deadeyes. I'm using 0.8mm black line instead of the tan line provided with the kit. Finally,here's a shot of the simple jig to hold the upper deadeye in place as it's seized. Andy.


- 188 replies
-
- 1
-
-
- constitution
- mamoli
- (and 2 more)
-
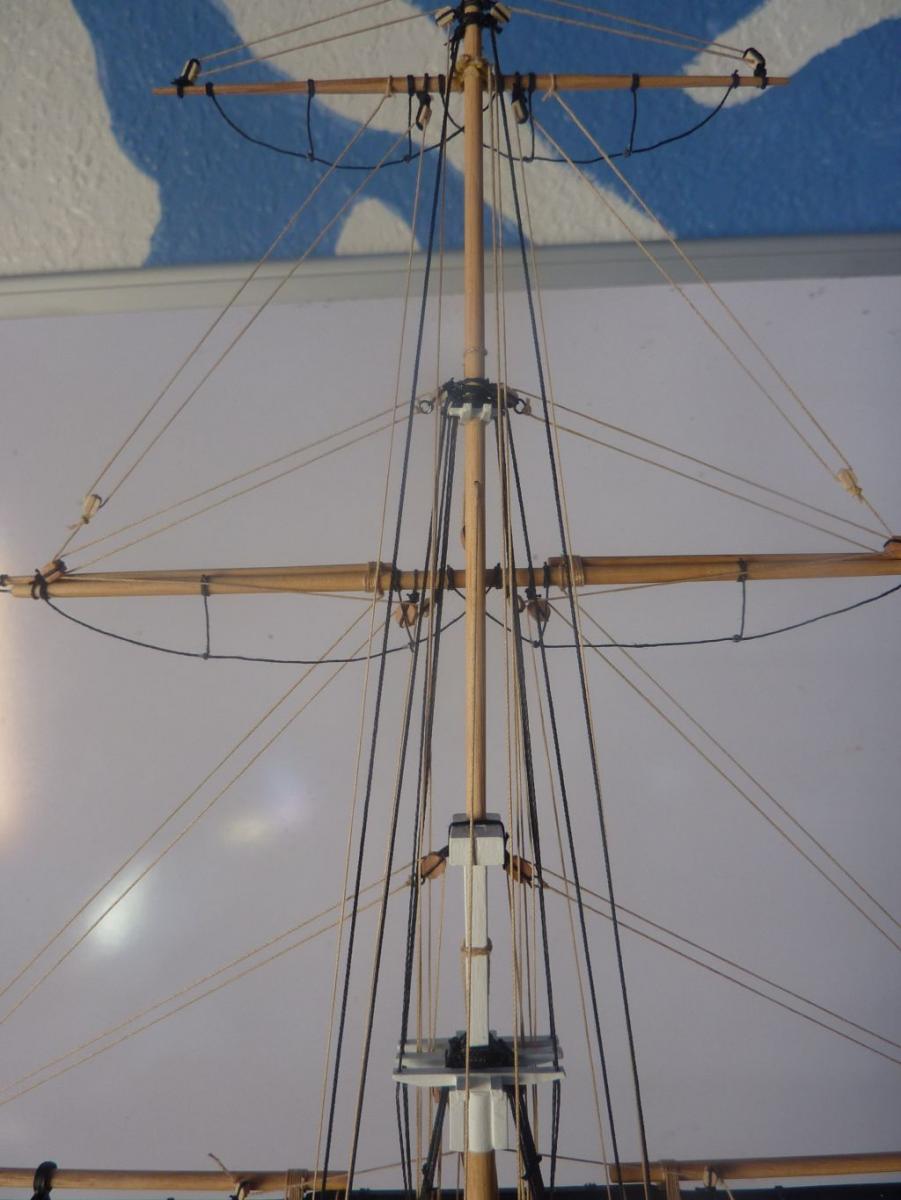
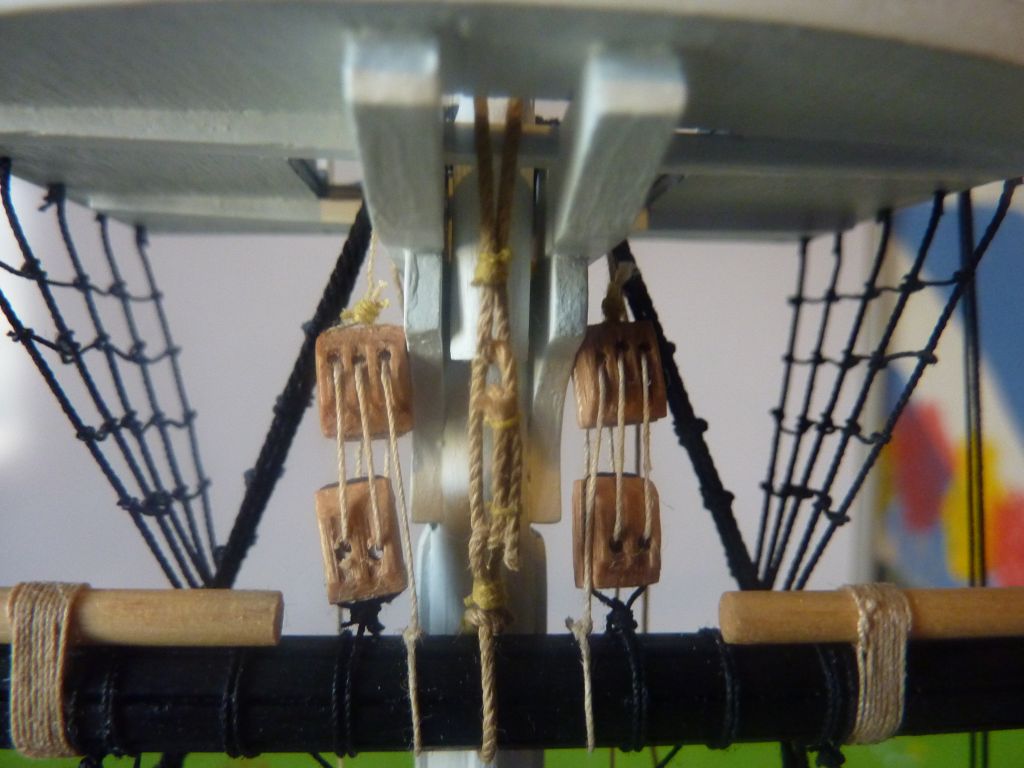
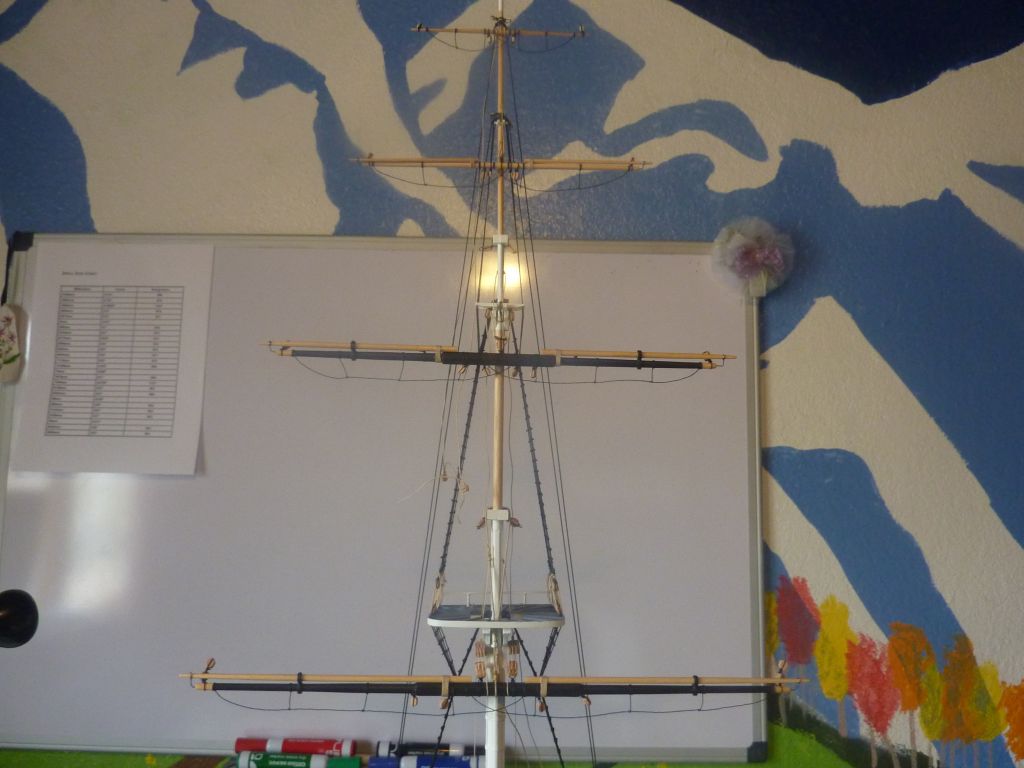
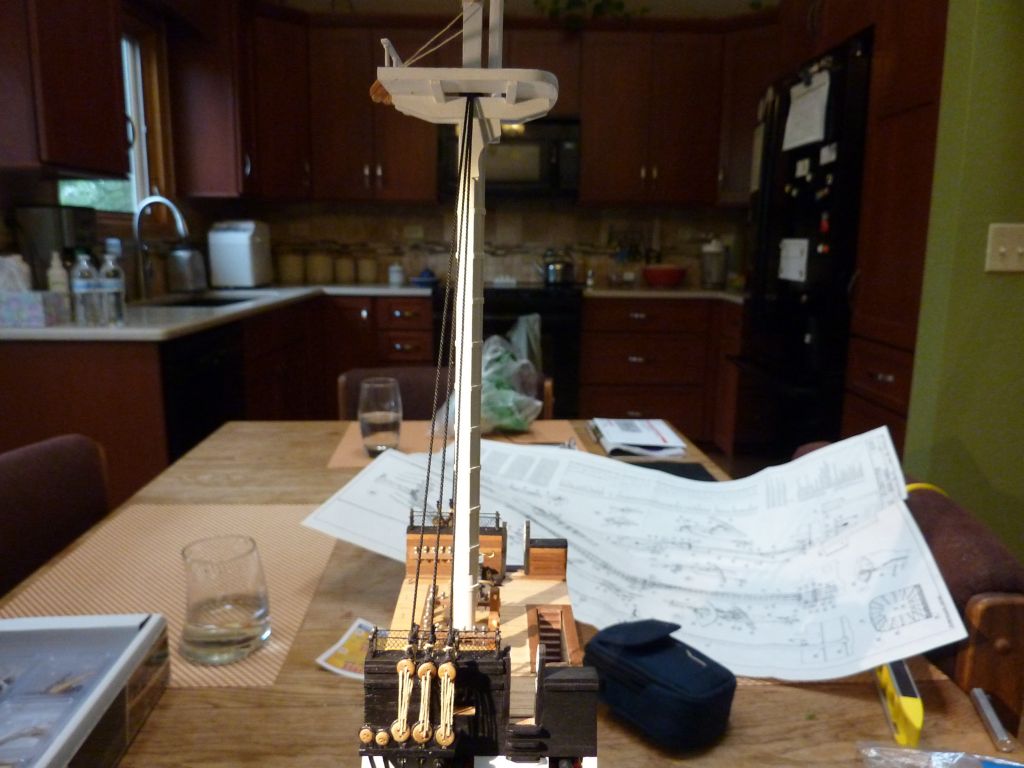
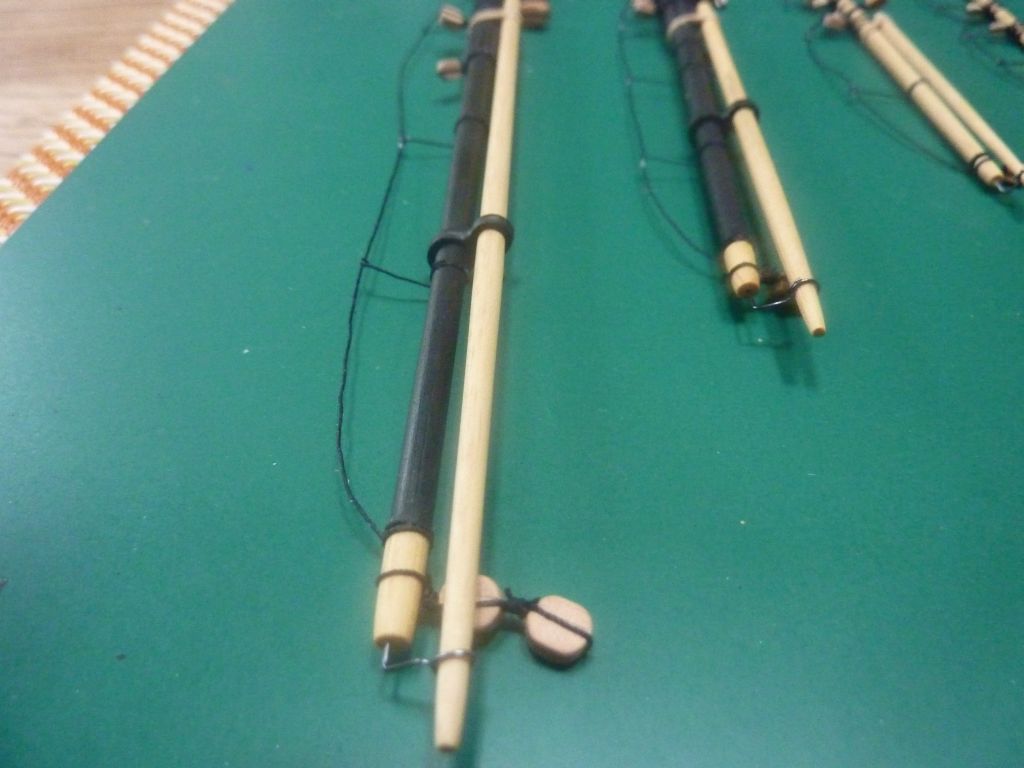
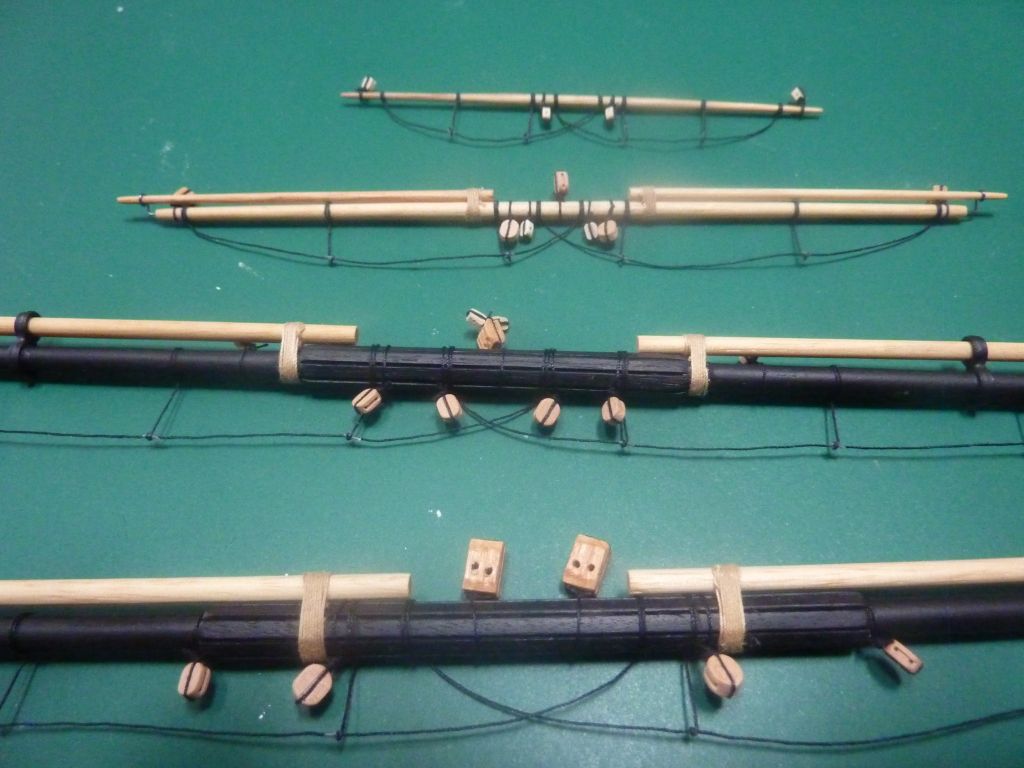
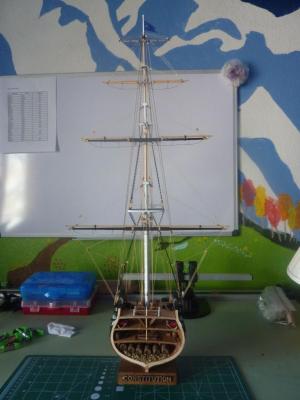
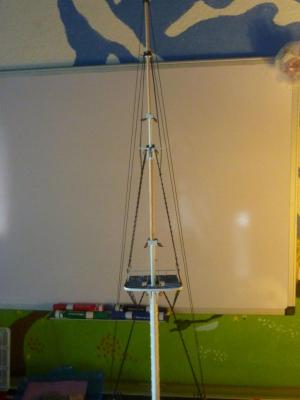
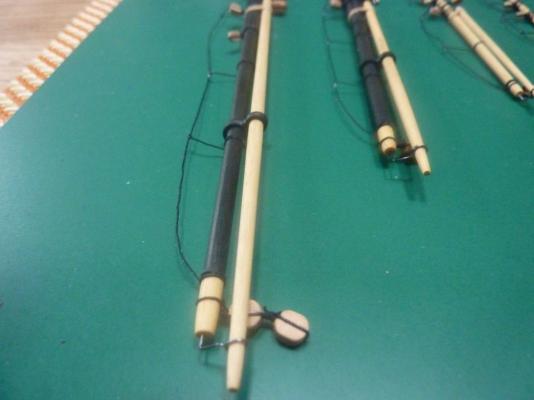
Wow, has it really been since May 11 as my last update? Time sure does fly sometimes. Well, work has been going, albeit slowly. Now that end-of-school activities are over, and my daughter has graduated high school, I can finally post an update. I've been working on the yards - there are 4 total (just the one mast obviously), and I've been attaching blocks, doing the footropes and adding the spars. Here's the result: Next up, the part I've been dreading - the main mast insertion. I'm pretty convinced that I won't need to glue it as it's a snug fit through the 3 decks and into the hull, and the shrouds should hold it in place as well. I am a bit worried about the strength of the lower deadeyes, and I'm still working out in my head how to best attach the shrouds to the upper deadeyes, rig the two dead eyes and keep them all as even and level as I can. Here's my thoughts on how to do it: 1. Since there are only 3 shrouds per side, I was going to tie and seize the 4 lines at the mast top first (2 lines per side, one will go to the center deadeye, and the other will go to the two outer deadeyes) 2. Make a wire jig to guide and attach the lower deadeye to the upper one 3. Tie and seize (tightly) the shroud to the upper deadeye when it's held in place by the wire jig 4. Remove the wire jig and add the rigging through the deadeyes. I figure if I pull the rigging tight enough it will return the upper deadeye to it's jigged position. 5. Repeat for all the other shroud/deadeyes - hoping this will result in a strong, level, even set. If anyone has any advice or better ideas, I'm all ears. Andy.

- 188 replies
-
- 6
-
-
- constitution
- mamoli
- (and 2 more)