GrandpaPhil
-
Posts
6,167 -
Joined
-
Last visited
Content Type
Profiles
Forums
Gallery
Events
Everything posted by GrandpaPhil
-
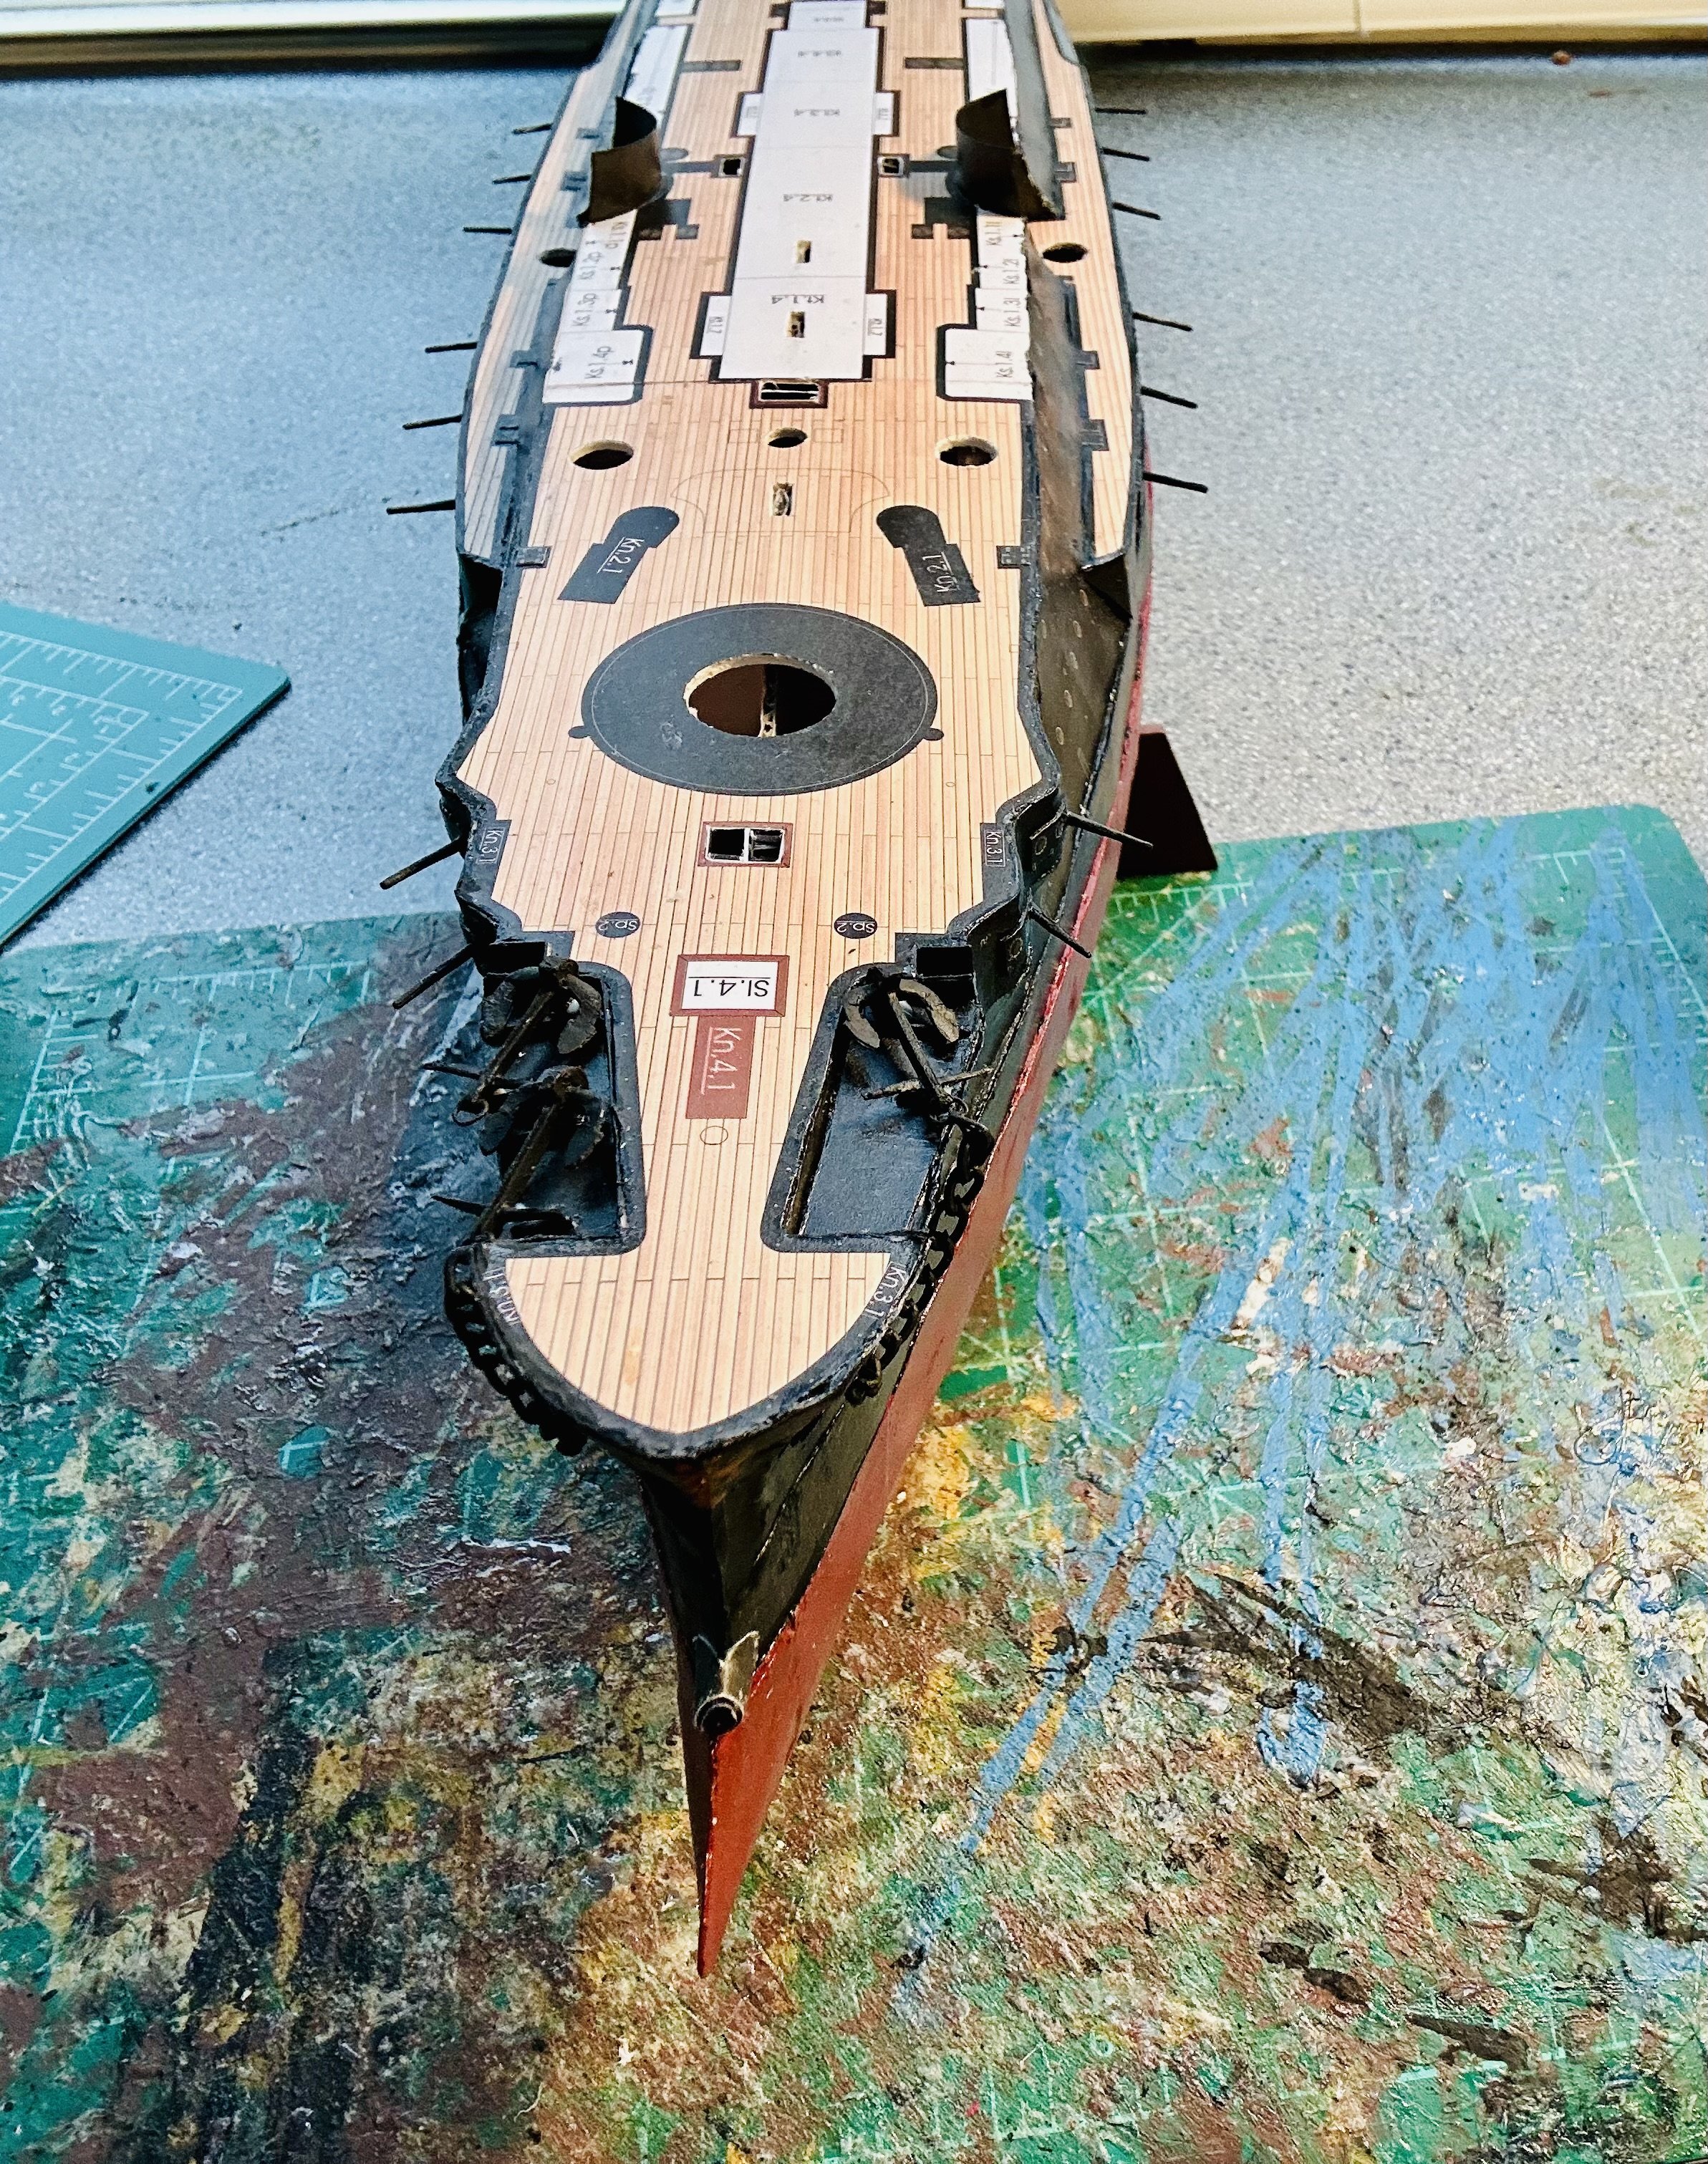
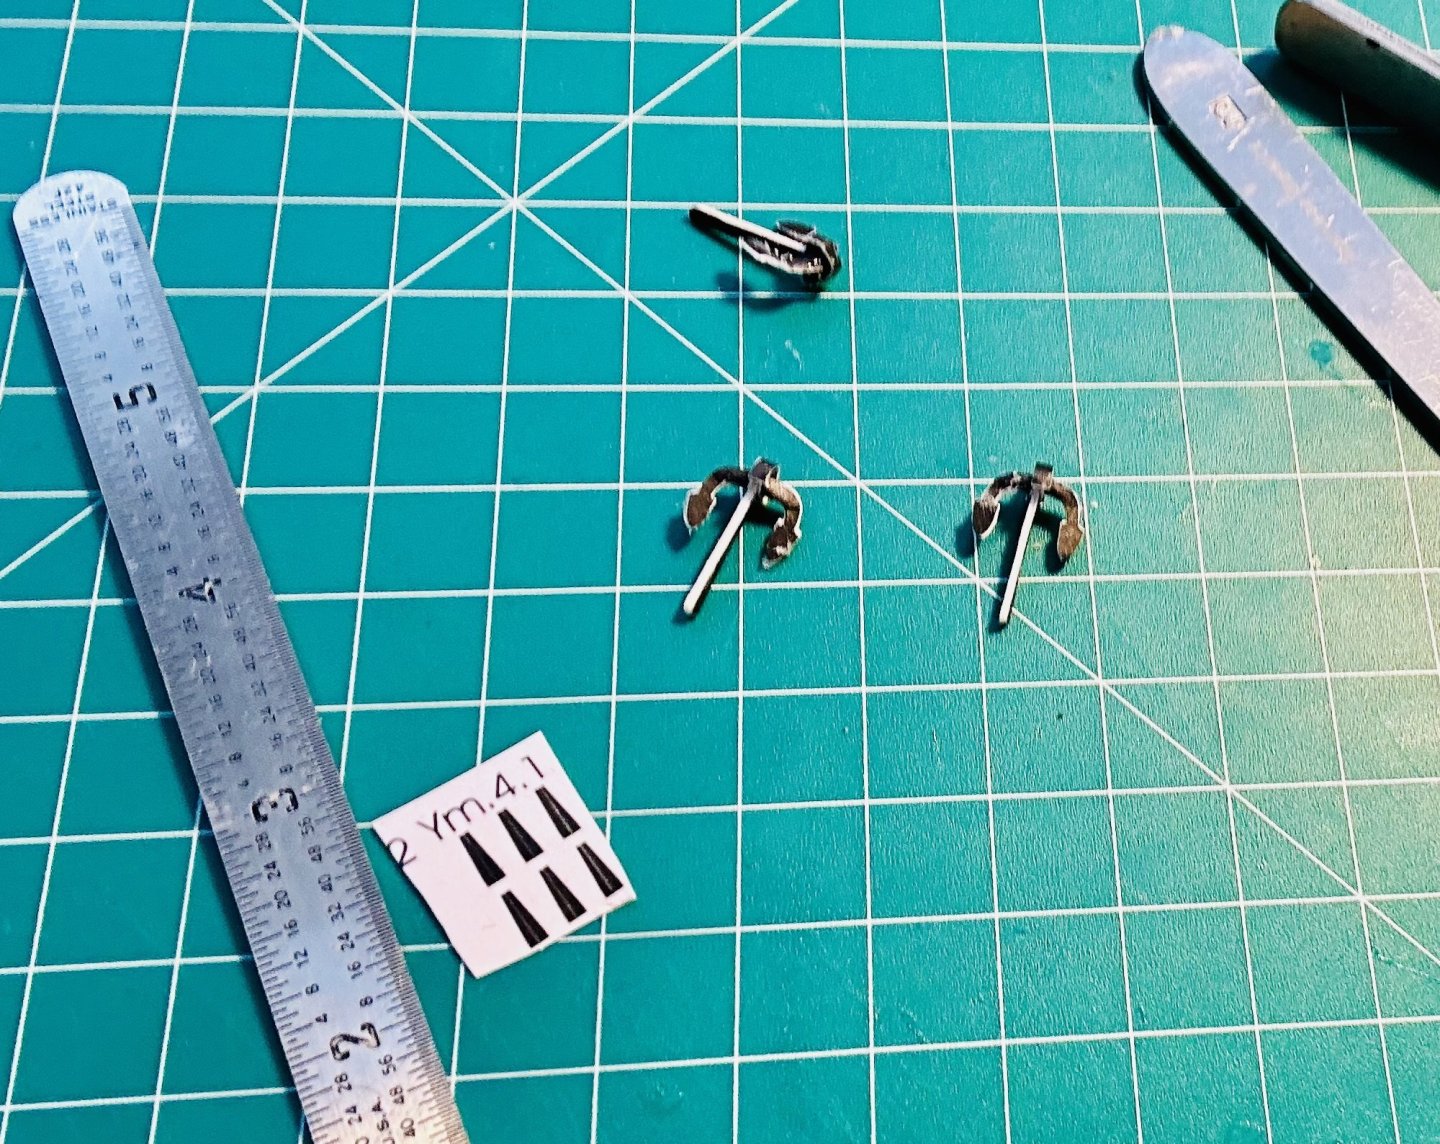
Thank you very much, OC! Thank you very much to all who have hit the “like” button or just stopped by! 2 anchor cranes pending painting and installation:

- 288 replies
-
- 6
-

-
- Card
- Pre-Dreadnought
- (and 3 more)
-
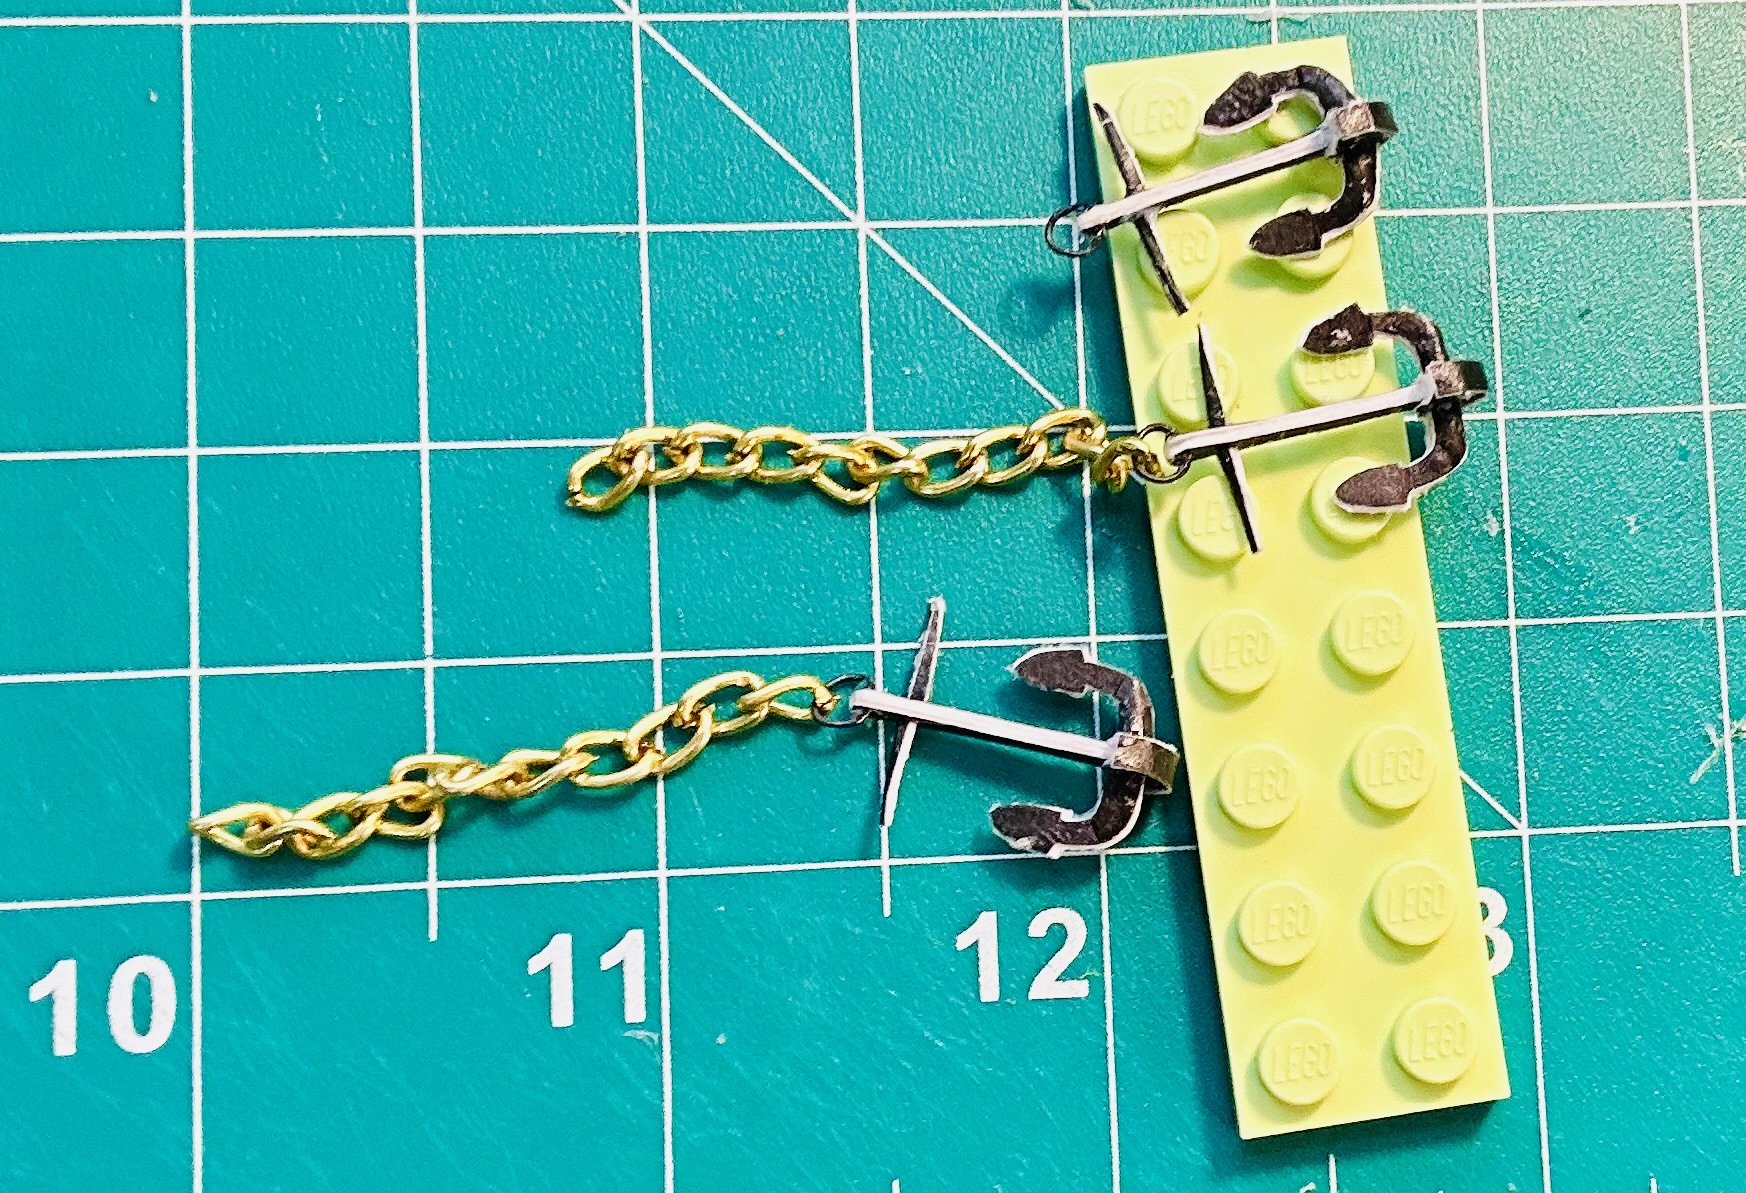
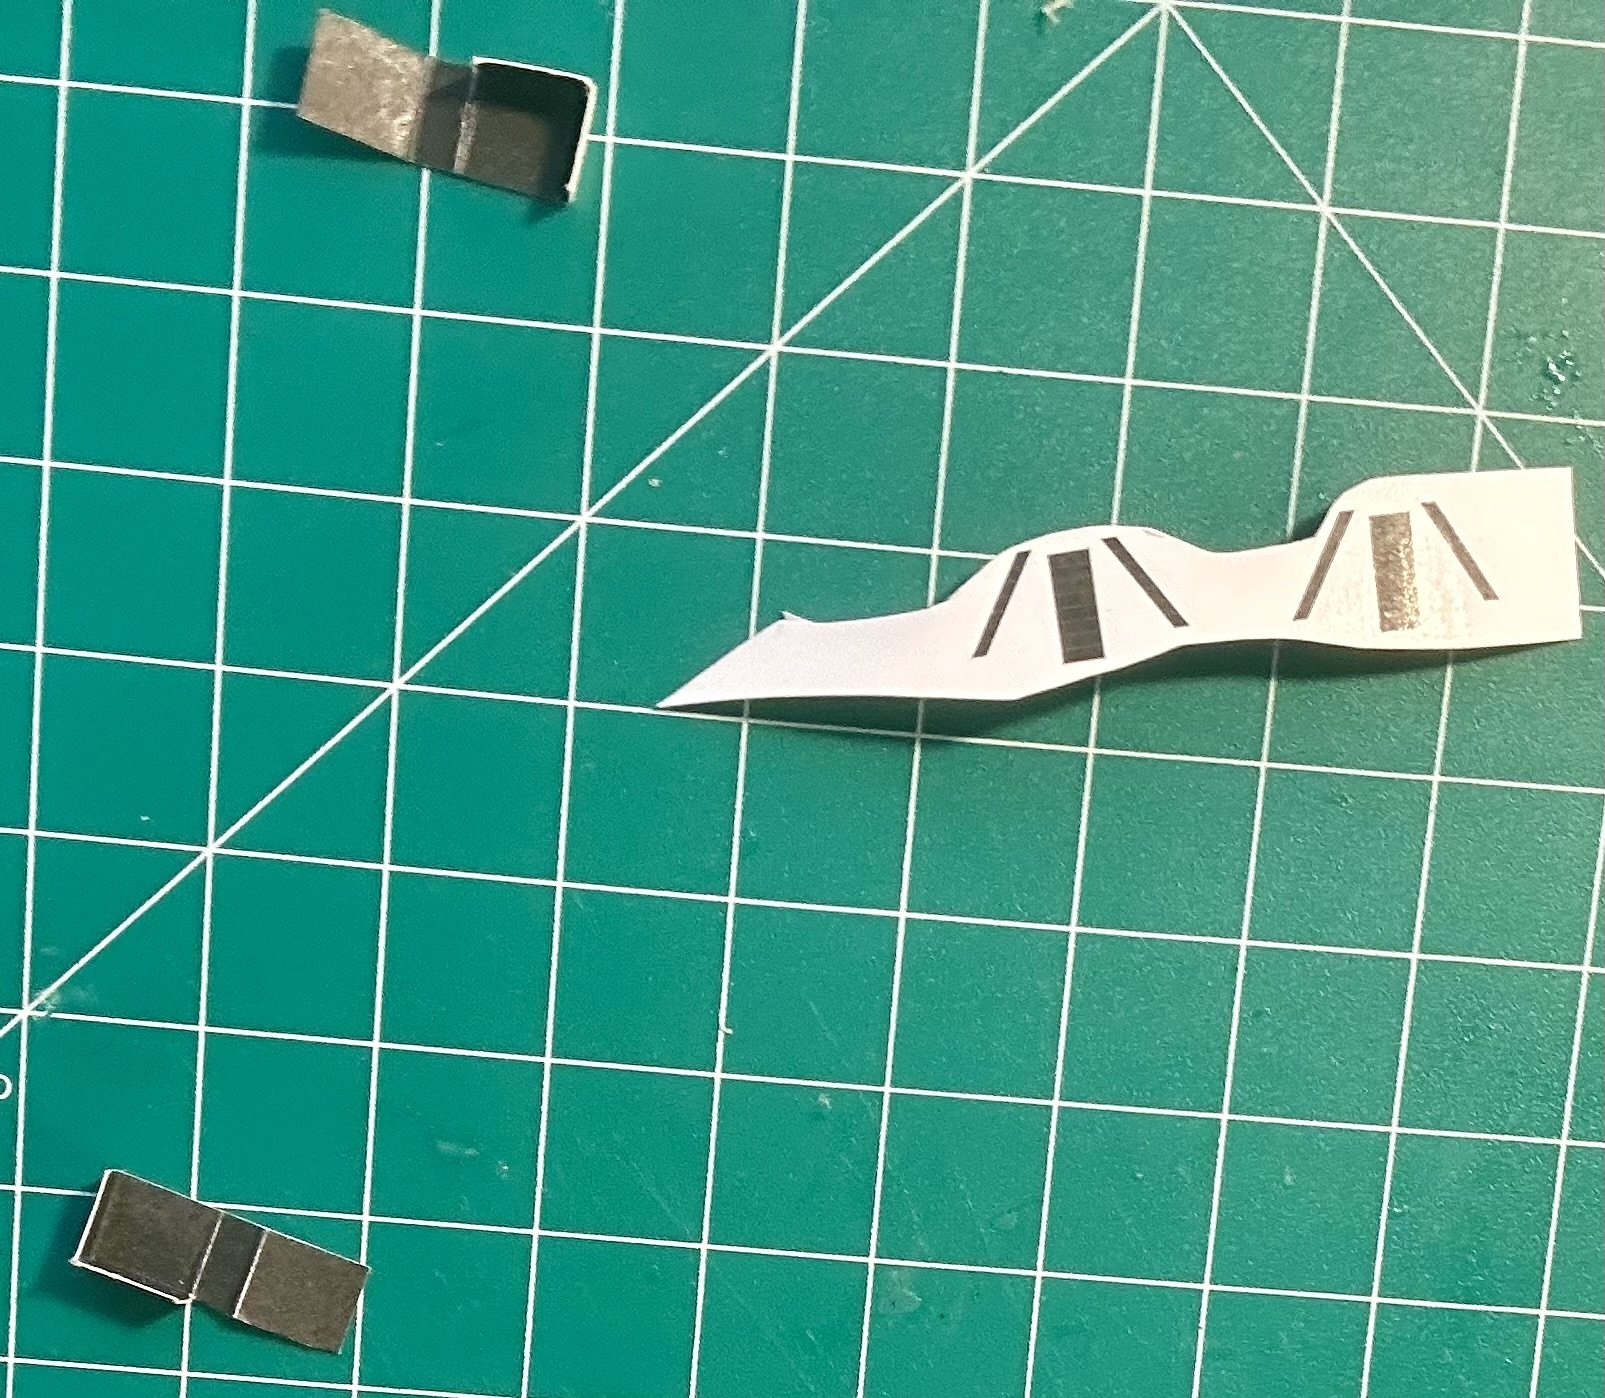
Thank you all for the likes and for stopping by! I started from the bow and am working my way aft like I would on a sailing ship model. So, I am beginning with the anchors! Once I get these done and installed I’ll make the anchor cranes!

- 288 replies
-
- 10
-
-
- Card
- Pre-Dreadnought
- (and 3 more)
-
That is an excellent book!
-
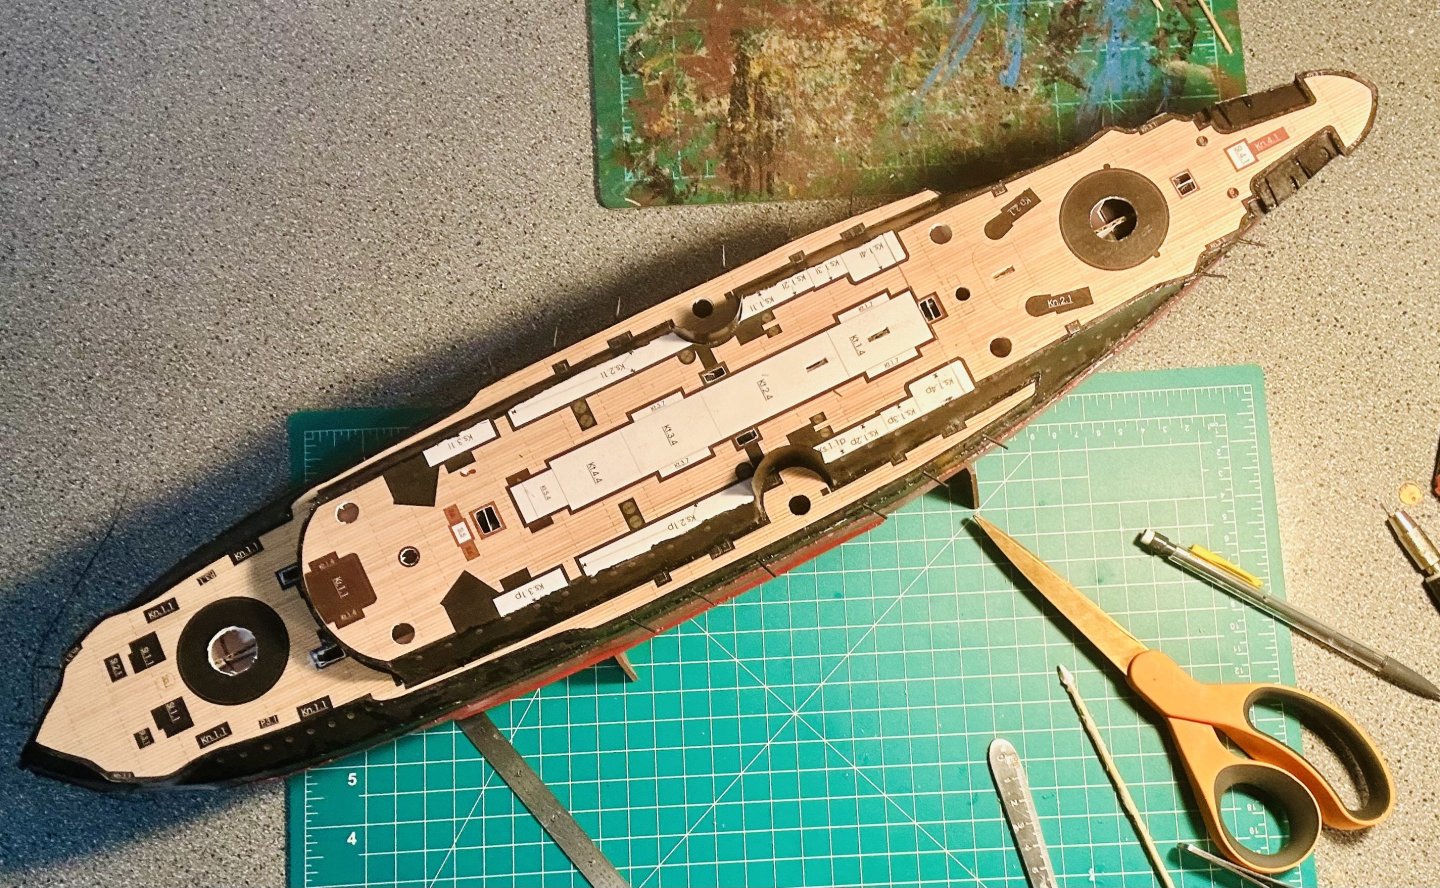
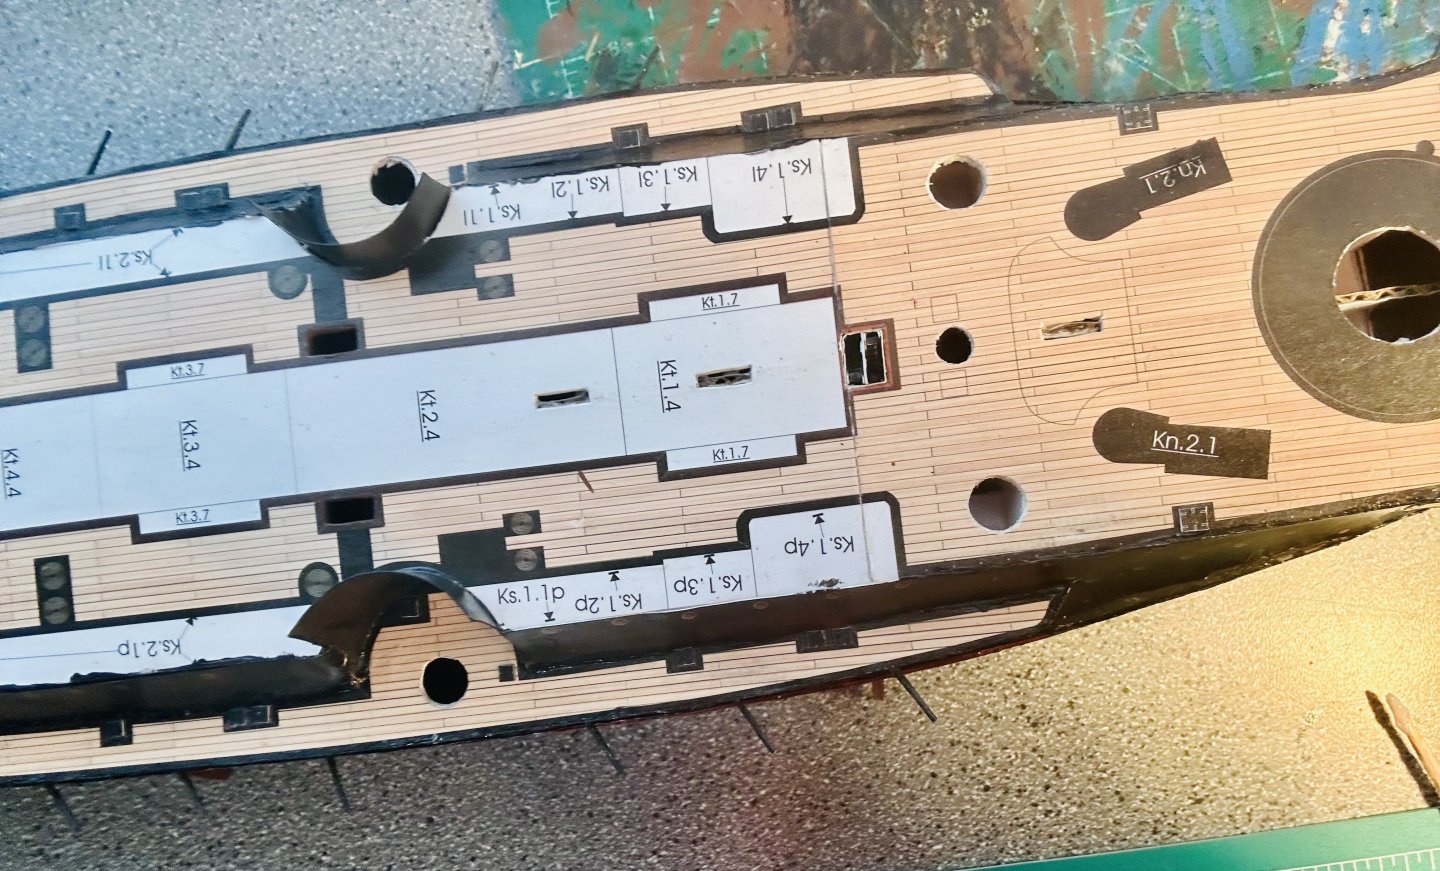
All ladders going down into the ship are made and installed:
- 288 replies
-
- 7
-
-
- Card
- Pre-Dreadnought
- (and 3 more)
-
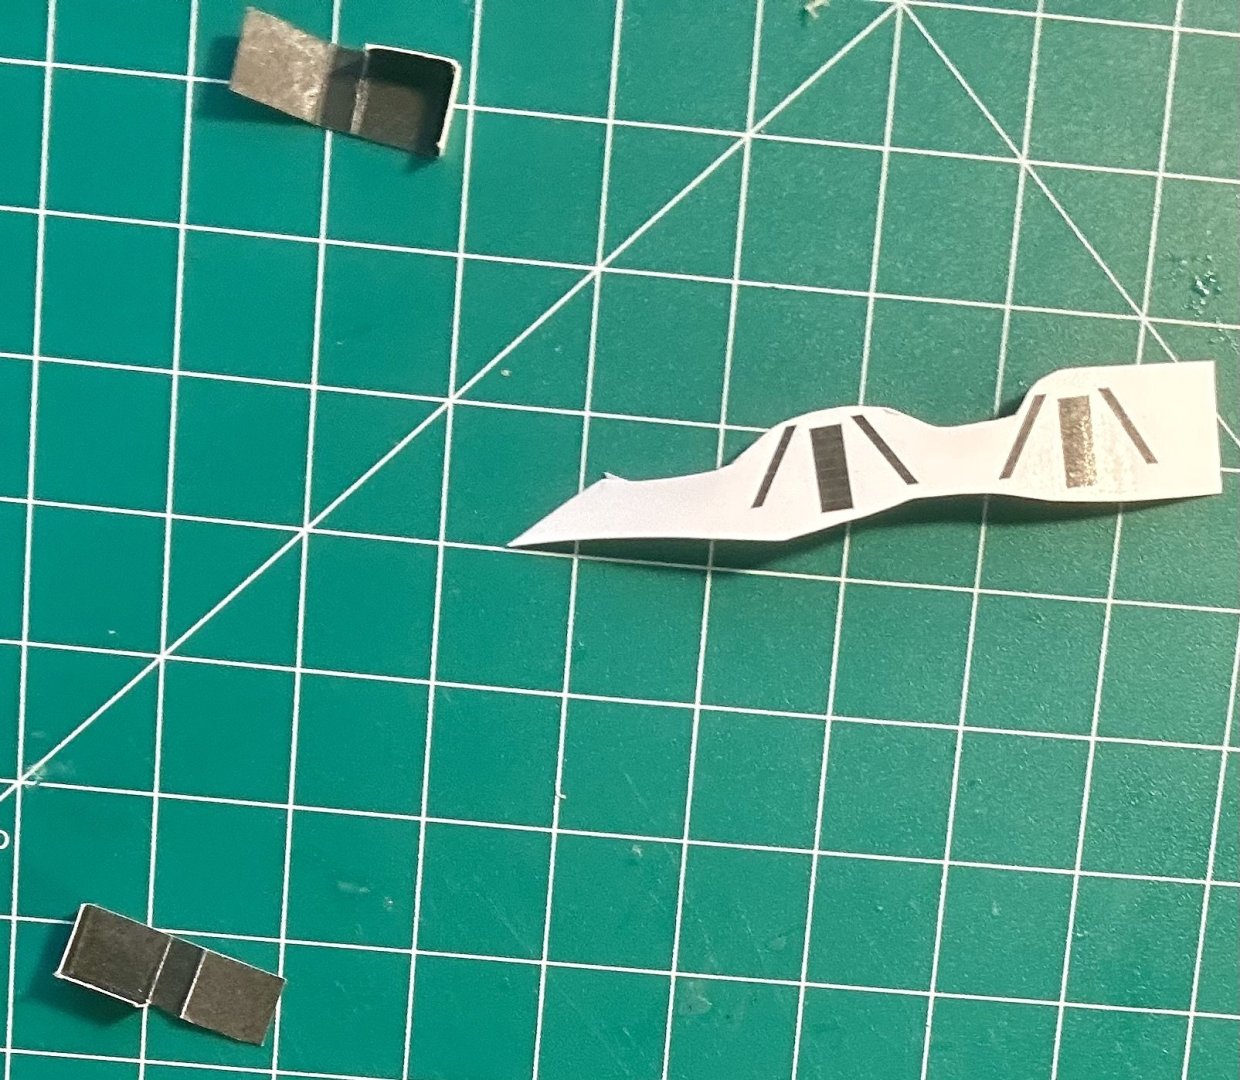
Alan, Thank you very much! Jeff, Lol, I enjoy the hobby quite a lot, and each build I learn something new! The challenge is what makes it fun! I’m having a ladder making party today: Second set for the day: Ladders are one of the hardest parts of a ship for me, especially modernish ships.
- 288 replies
-
- 9
-
-
- Card
- Pre-Dreadnought
- (and 3 more)
-
Very nice!
-
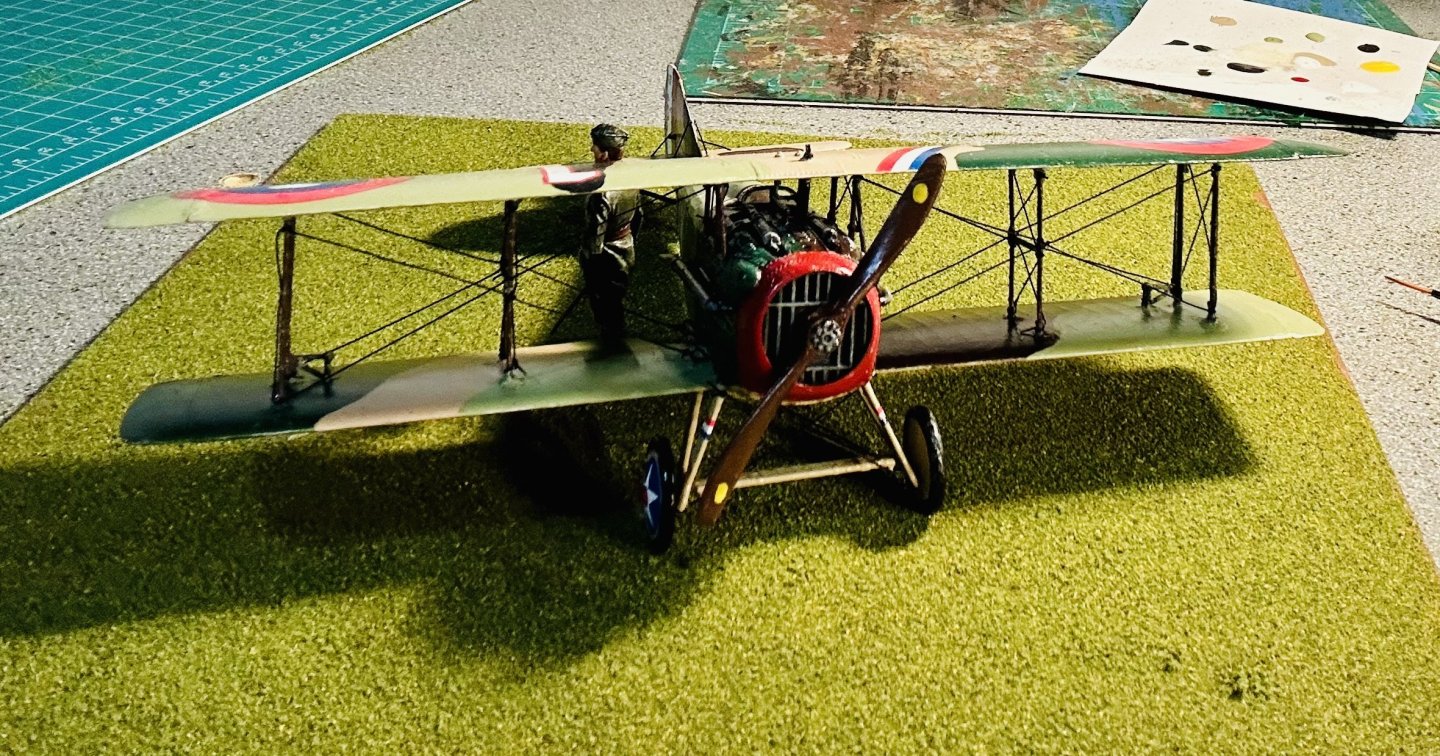
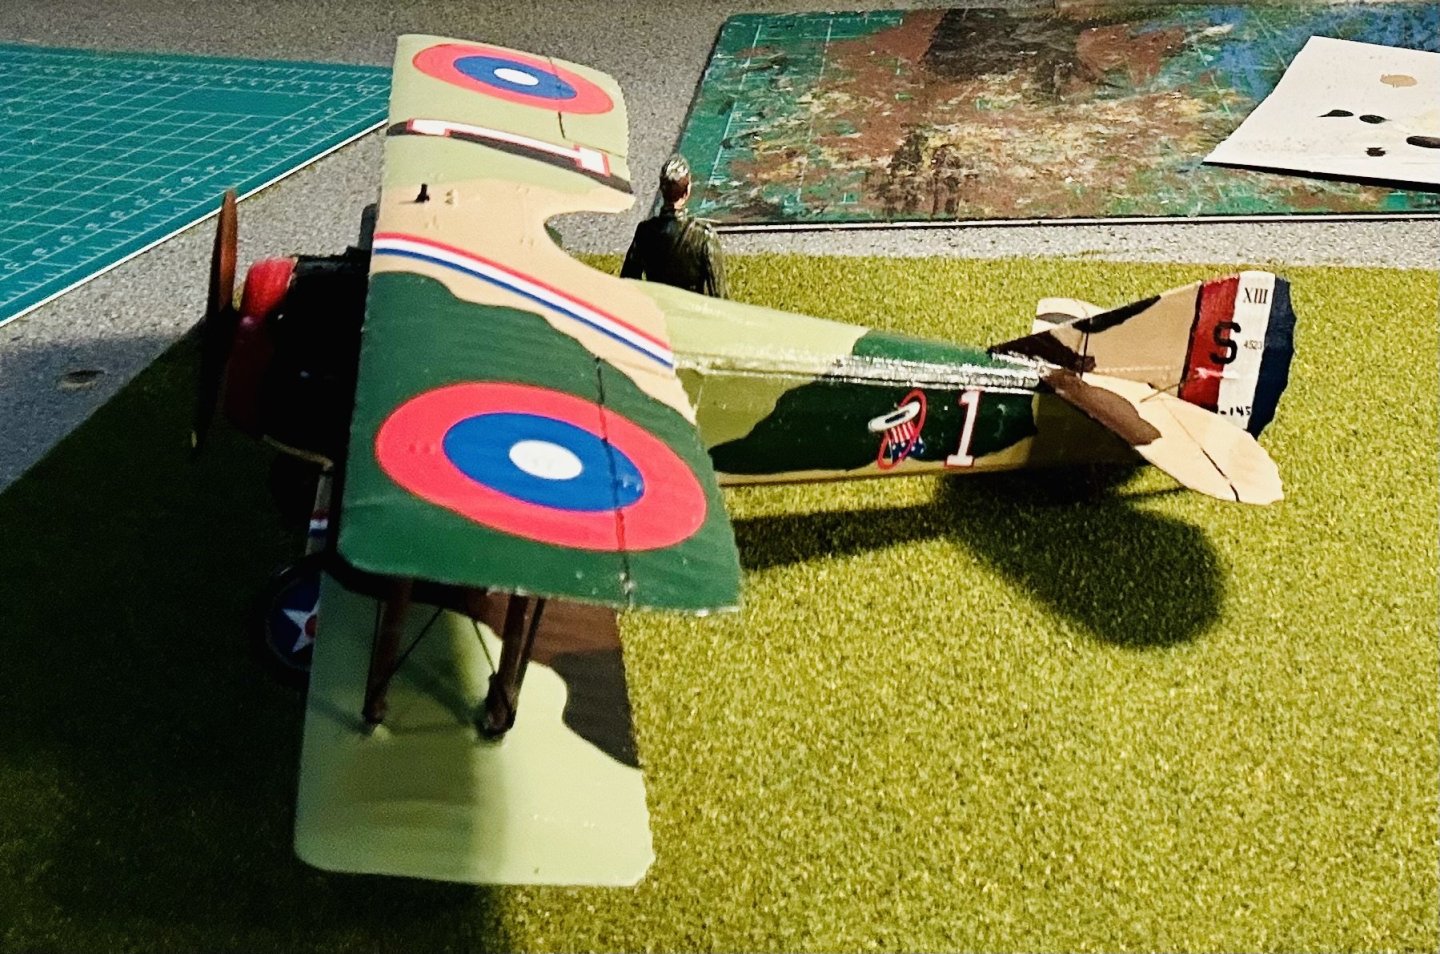
Thank you both very much! Mott’s Military Museum is a very neat place. I like it quite a lot and have been through there a few times. Captain Rickenbacker was a very interesting character. This one took me about 80 hours to build and is now done: I’ll deliver it to its new home this week. Thank you all for watching and following along! Have a very Merry Christmas! And it is now paper ship o’clock!


- 10 replies
-
- 12
-

-
-
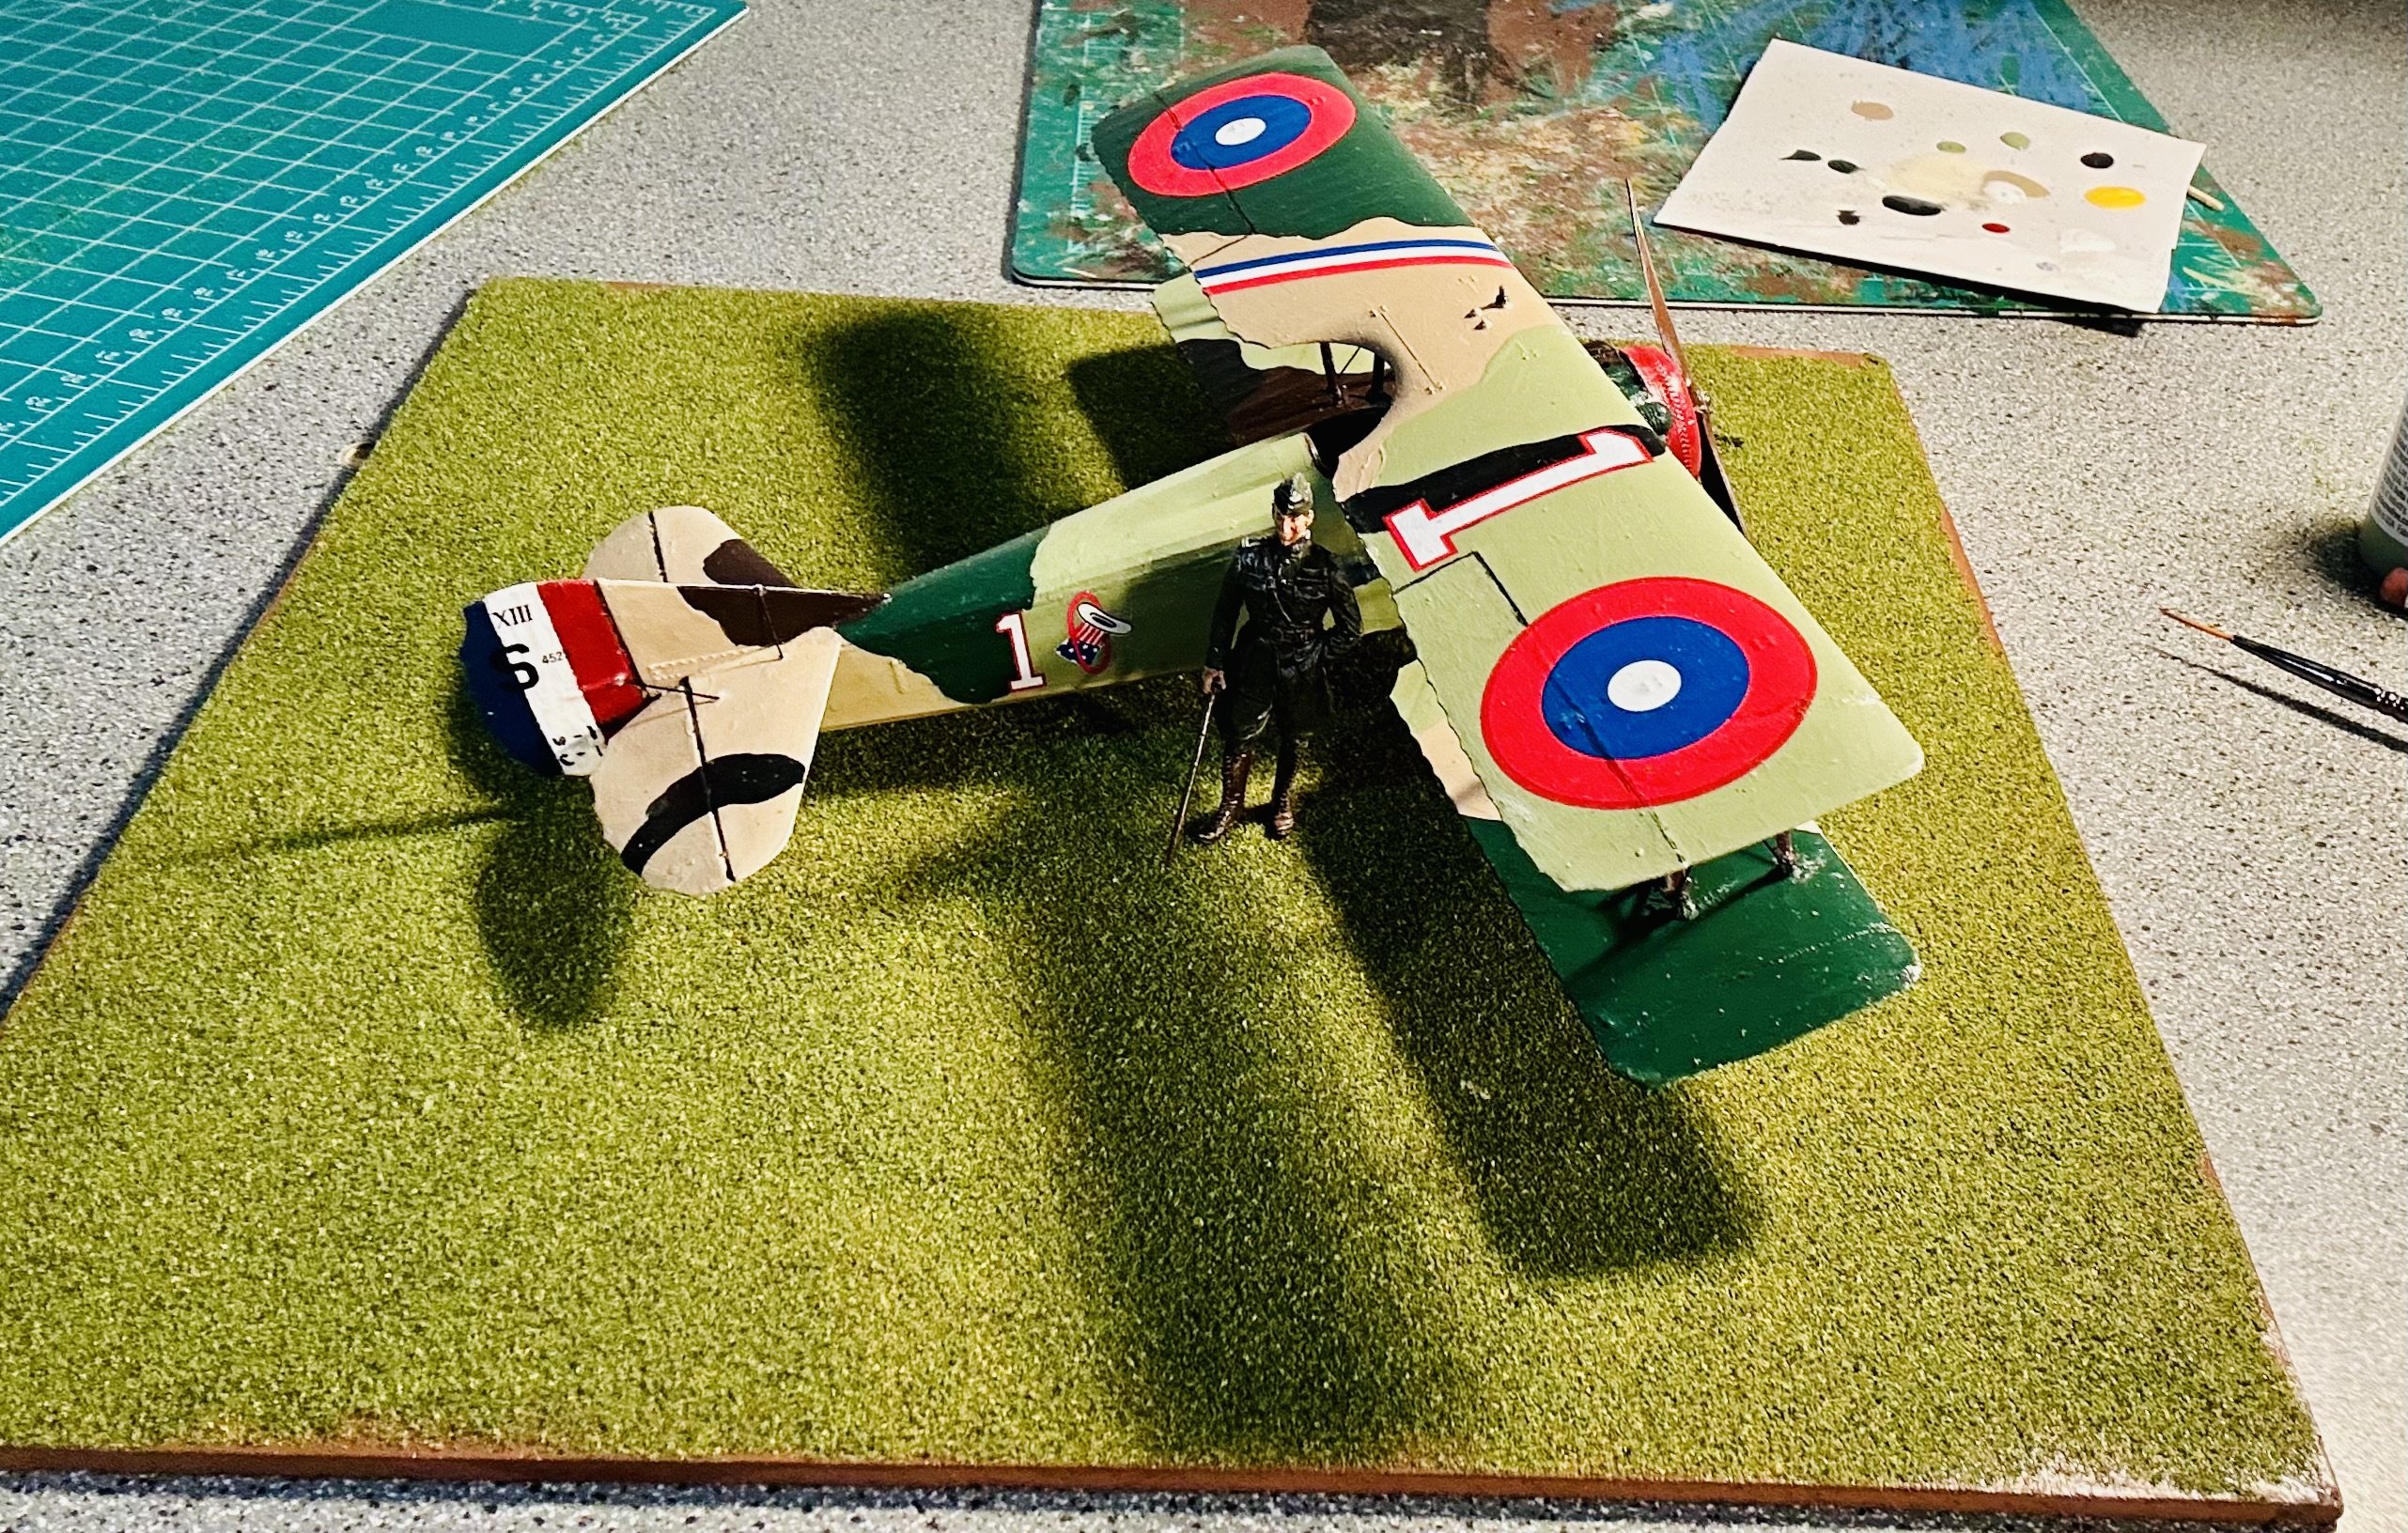
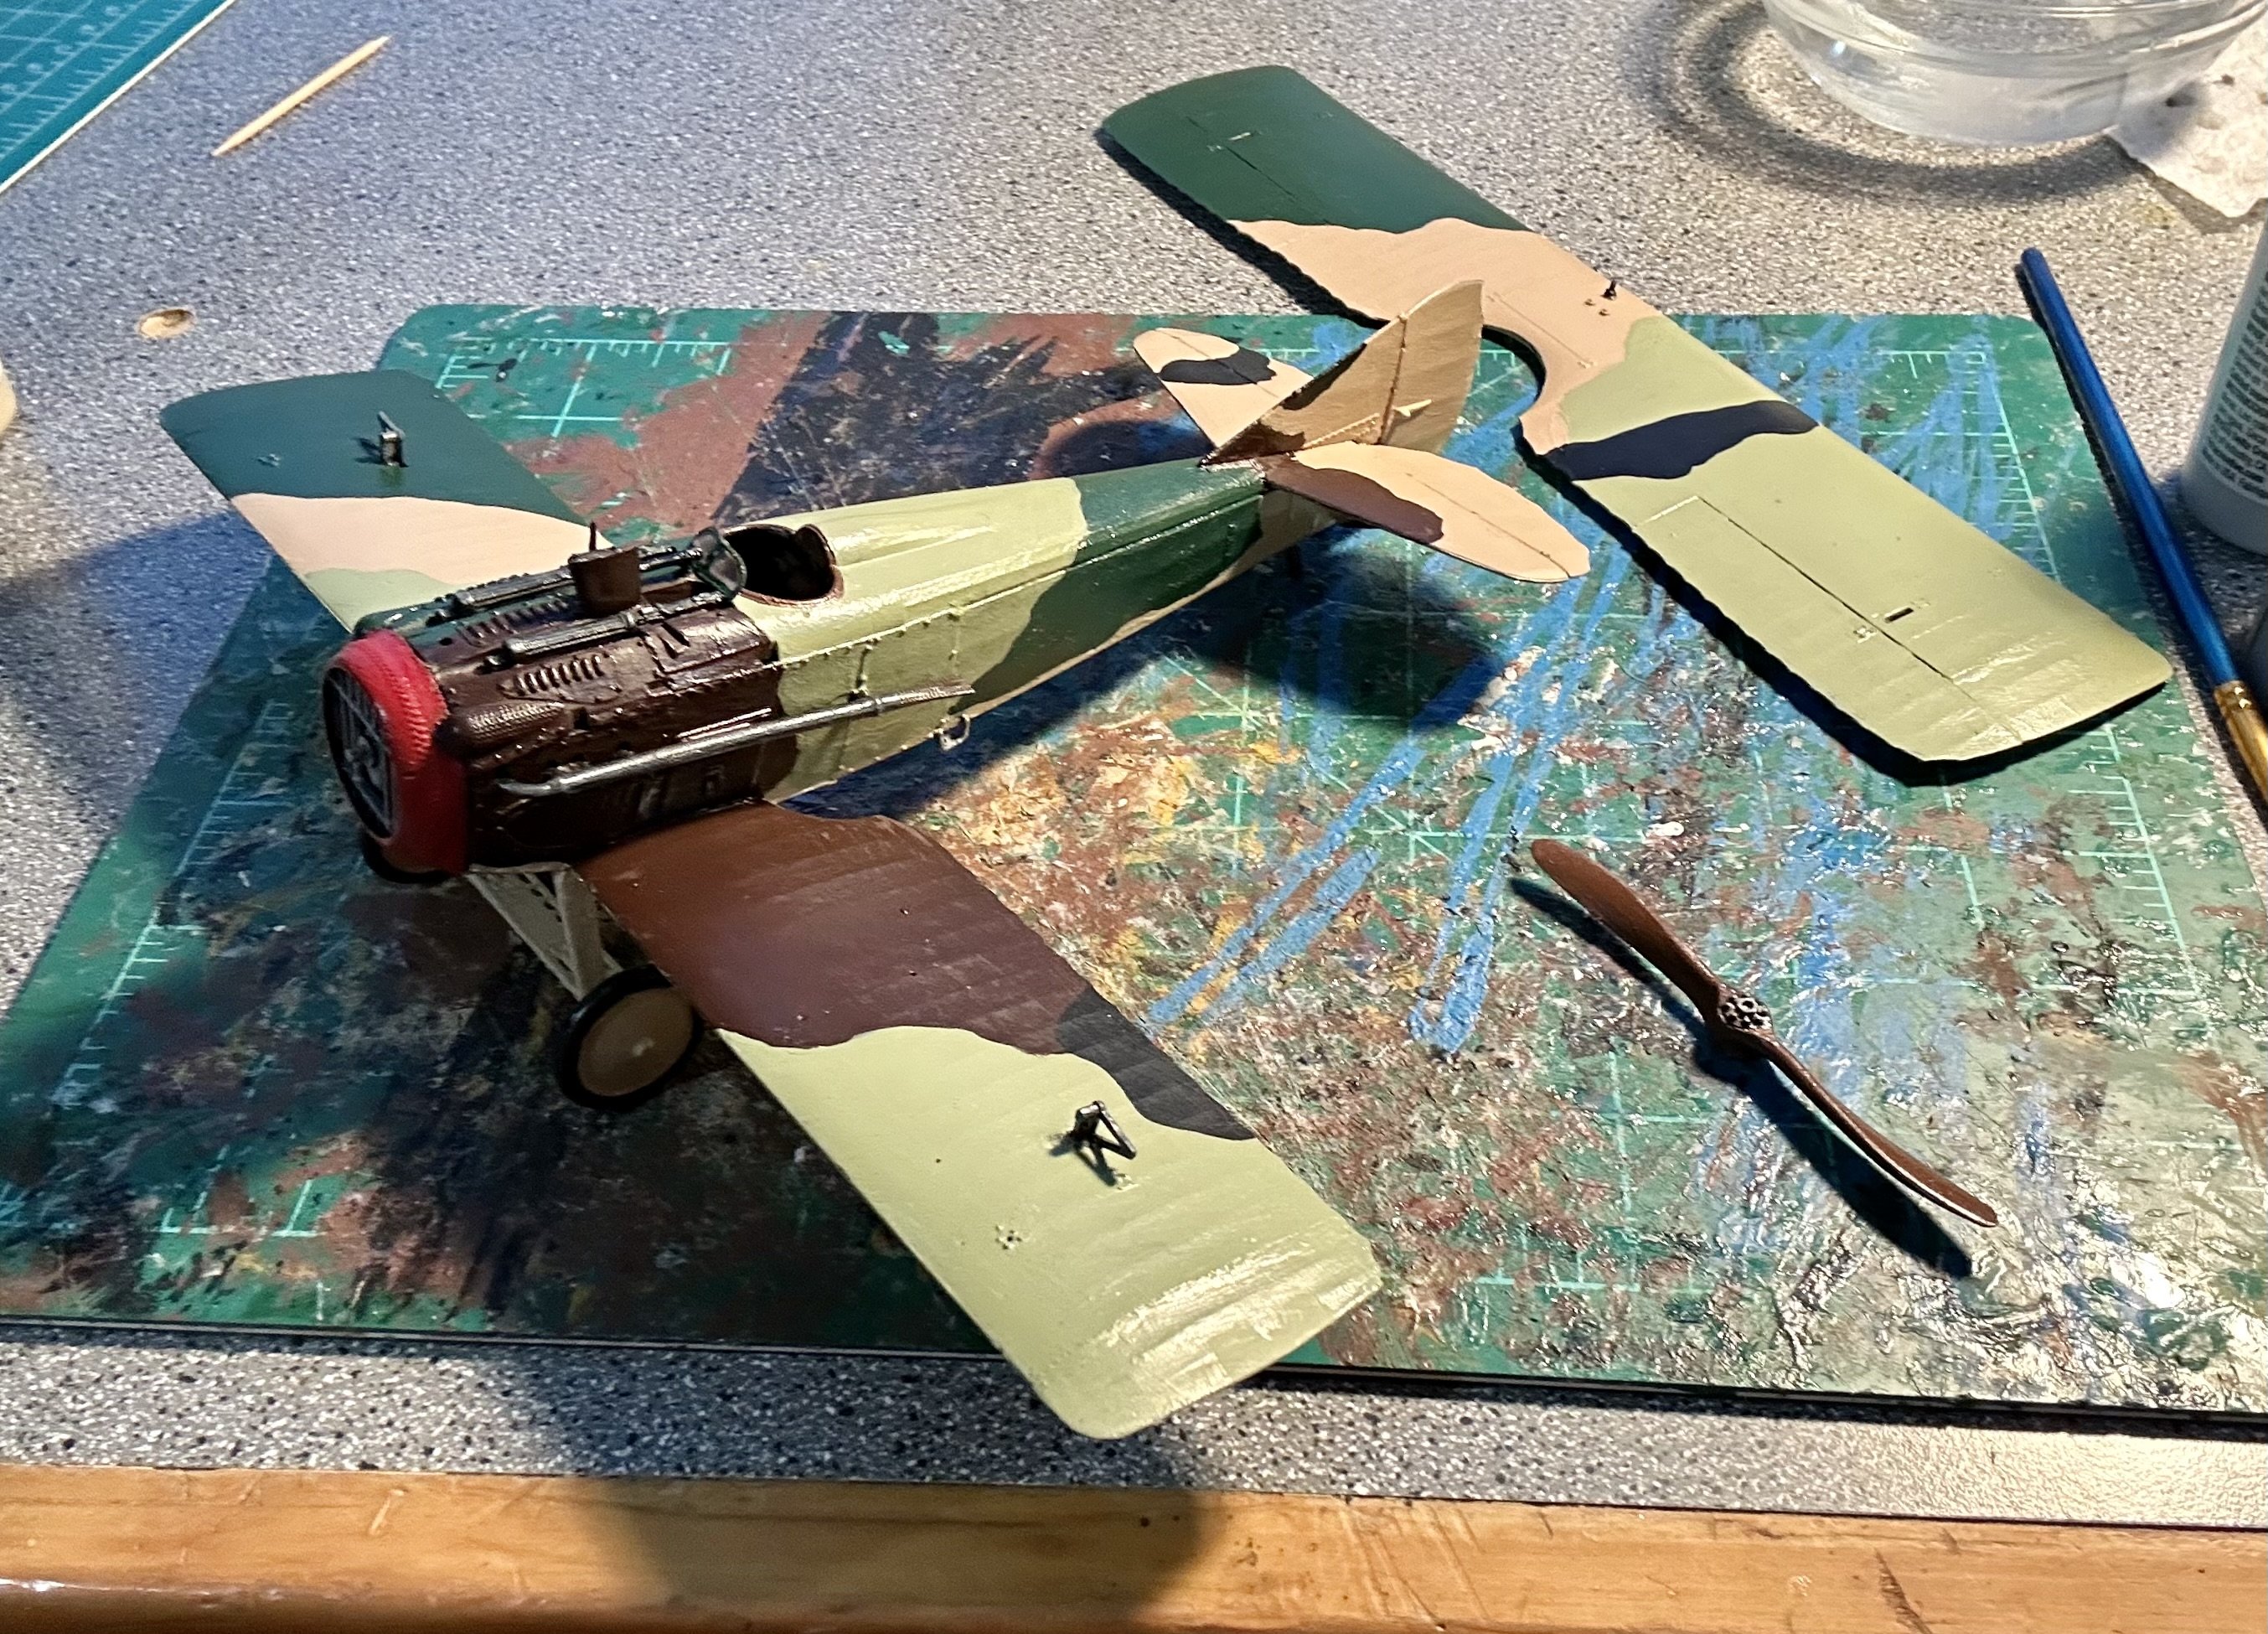
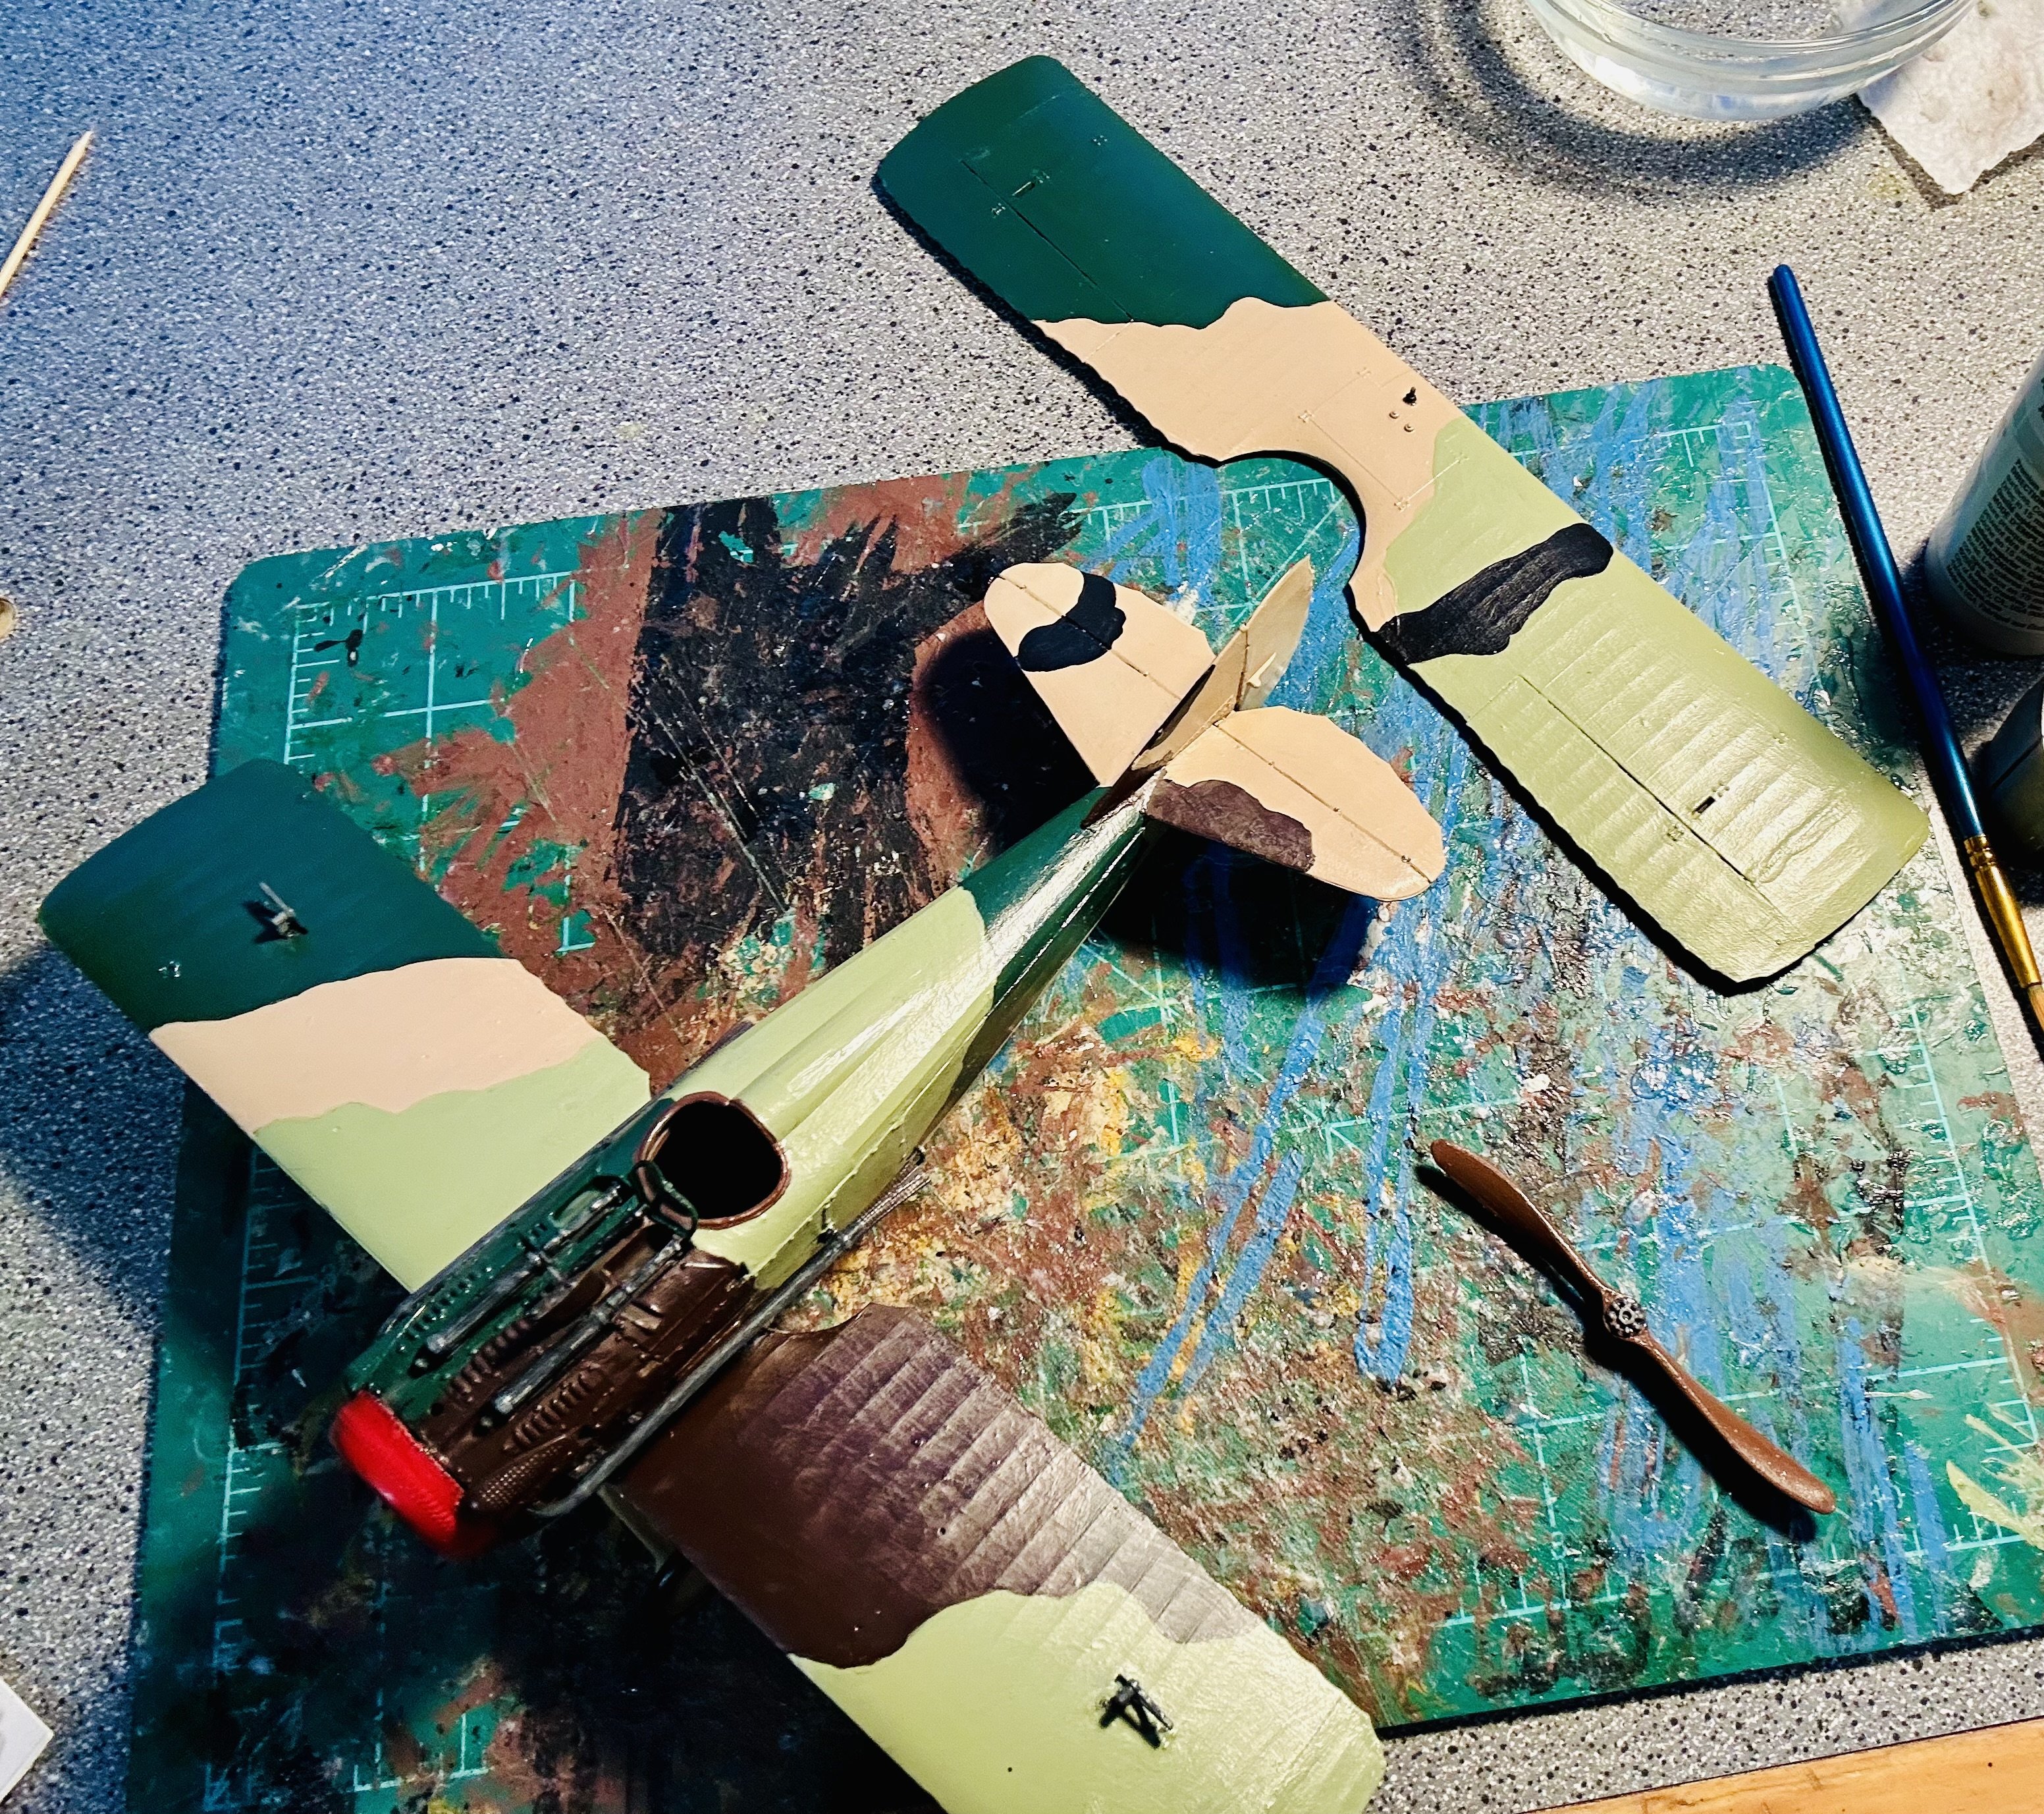
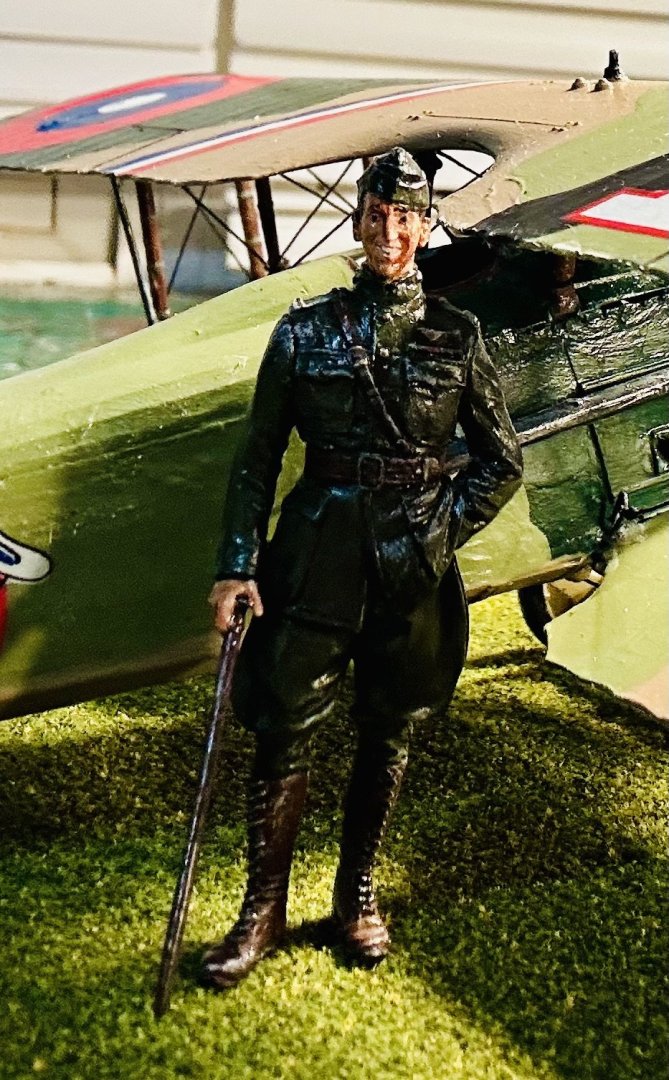
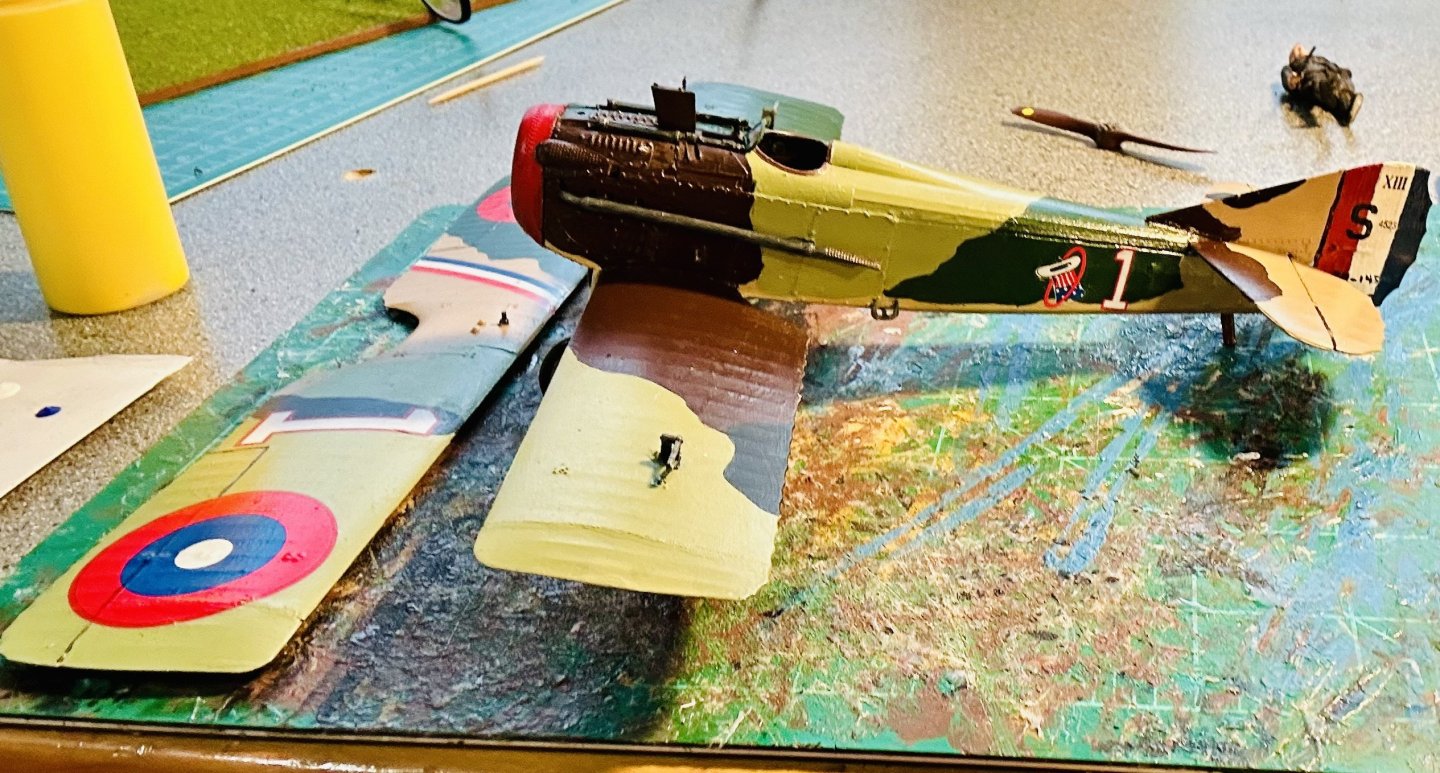
The upper wing is on and the figure is base coated. It’s about time to finish the models for the diorama and assemble all of them. I already stripped the rest of the sprues and added the remaining extra parts to my bits box and extra bag o’ decals.

-
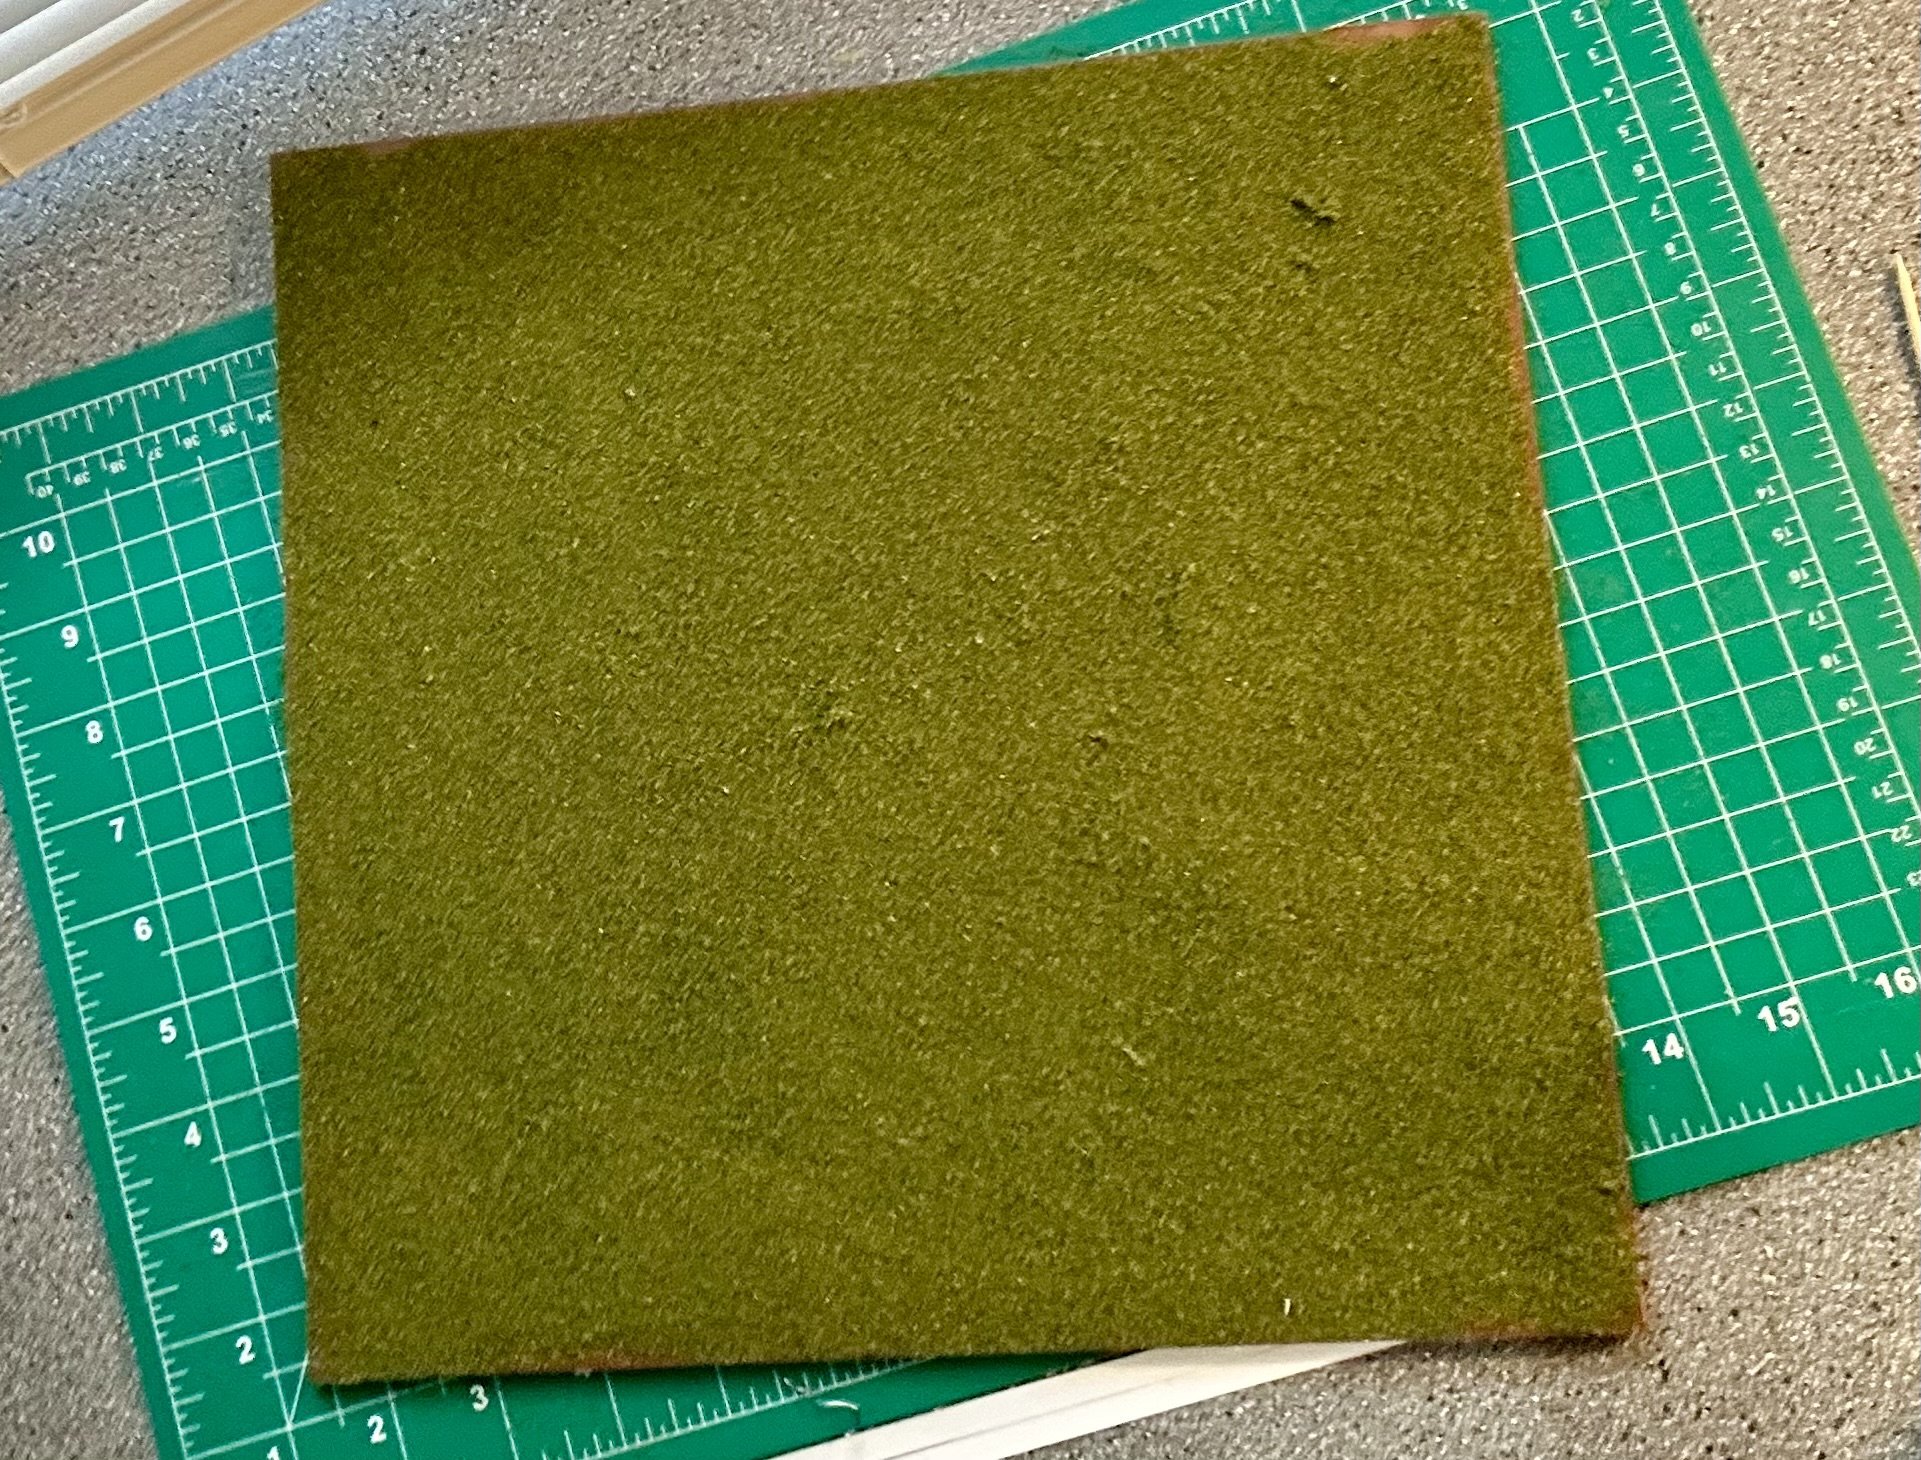
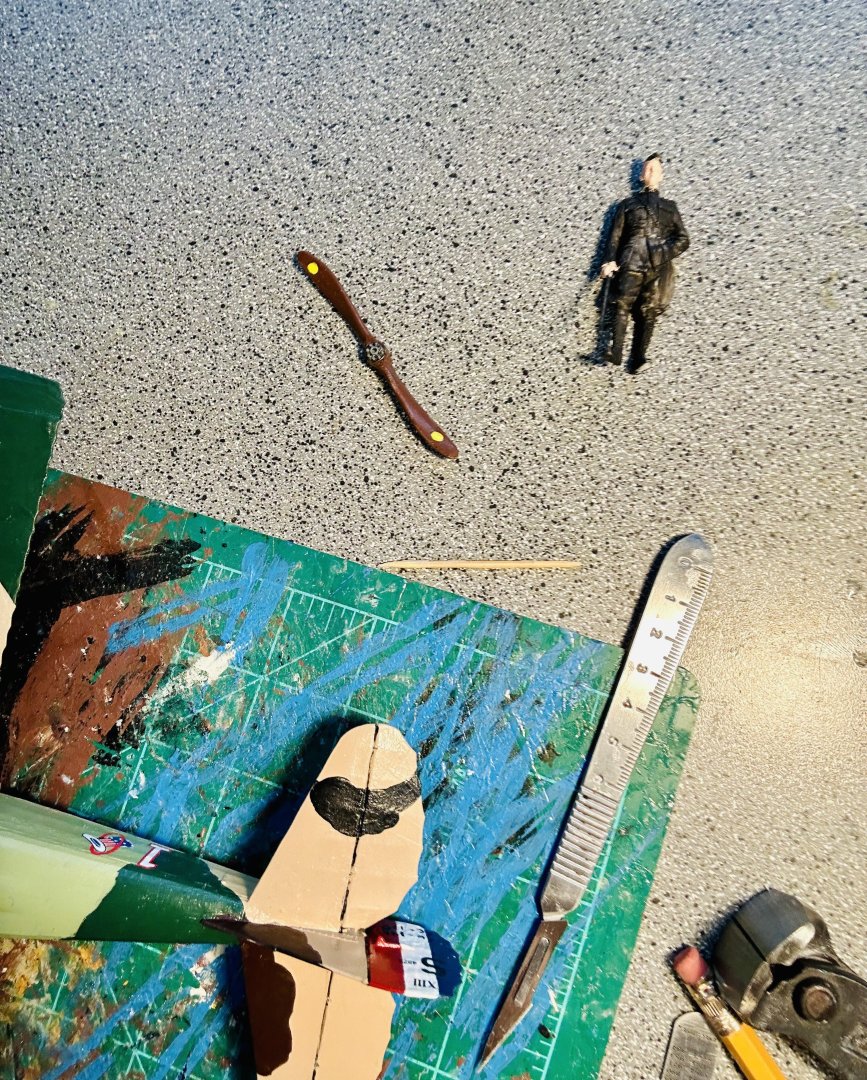
Decals/markings are added: The figure is started: And here’s the base: Time to finish prepping for rigging and add the top wing!

-
Have you seen the Venetian Galleass in Souvenirs de Marine? That looks awesome and I want to build that one day.
- 176 replies
-
- 1
-
-
- la reale de france
- heller
- (and 2 more)
-
Very cool!
-
Harold Hahn’s books have his plans of ARW ships too. Some of them are buildable right out of the books with some resizing.
-
The Smithsonian has plans available for most of the US sailing navy.
-
Welcome!
-
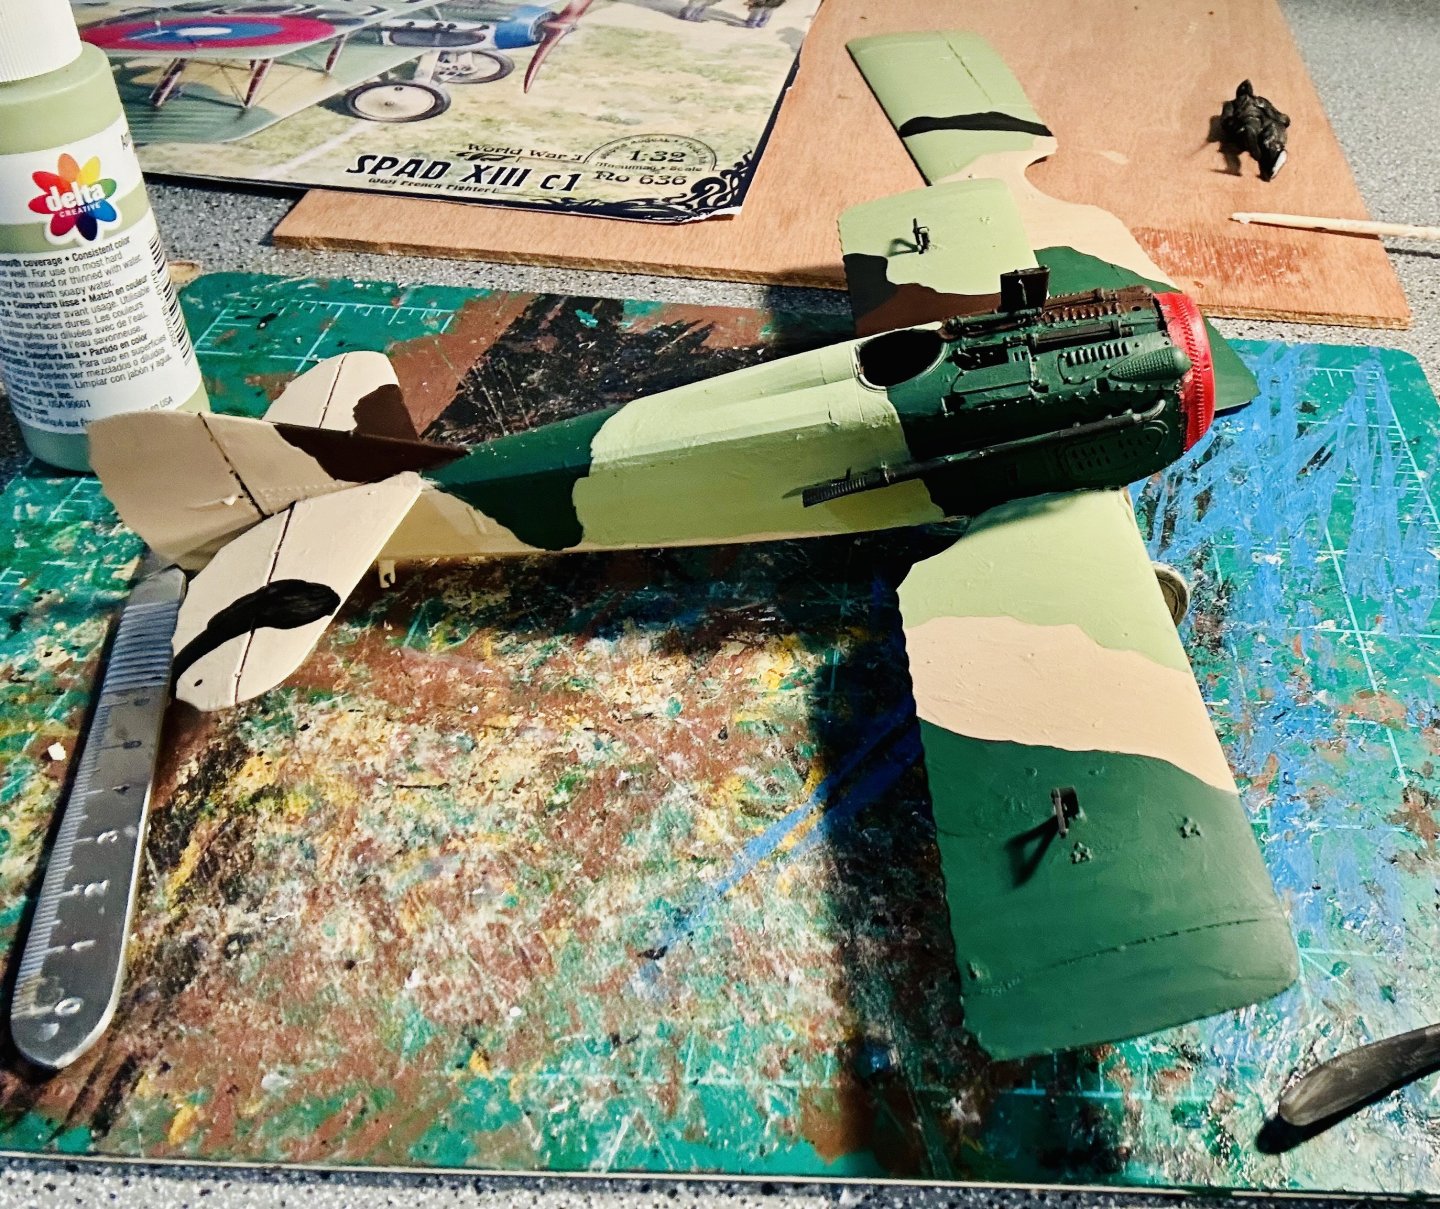
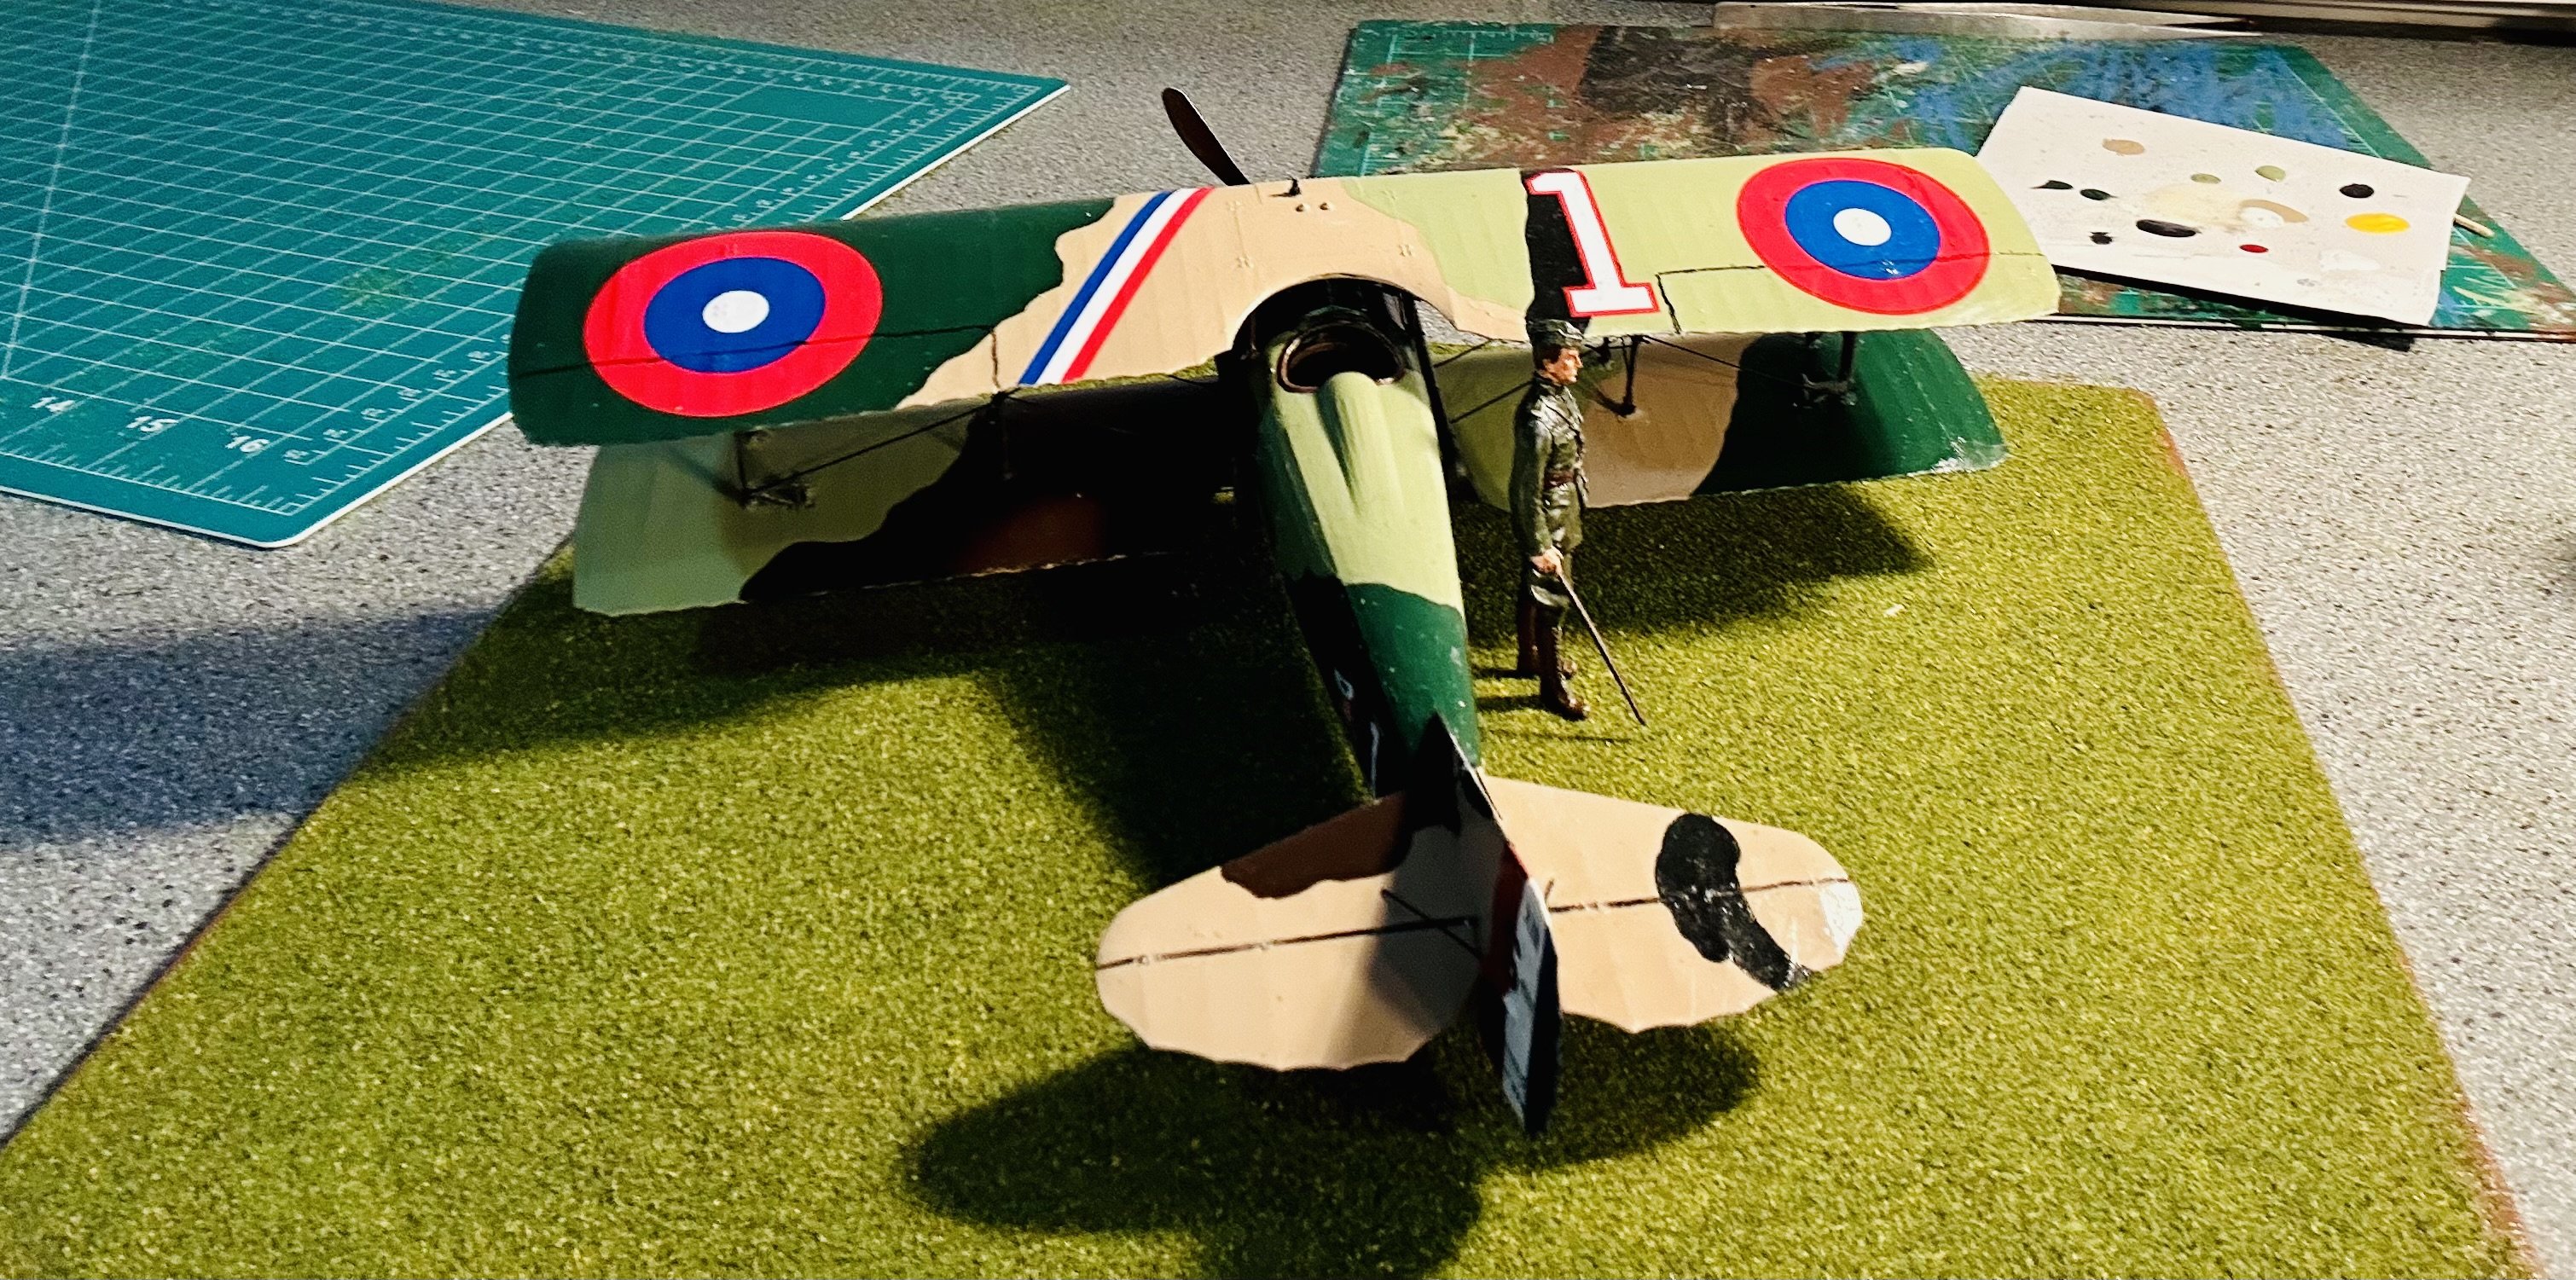
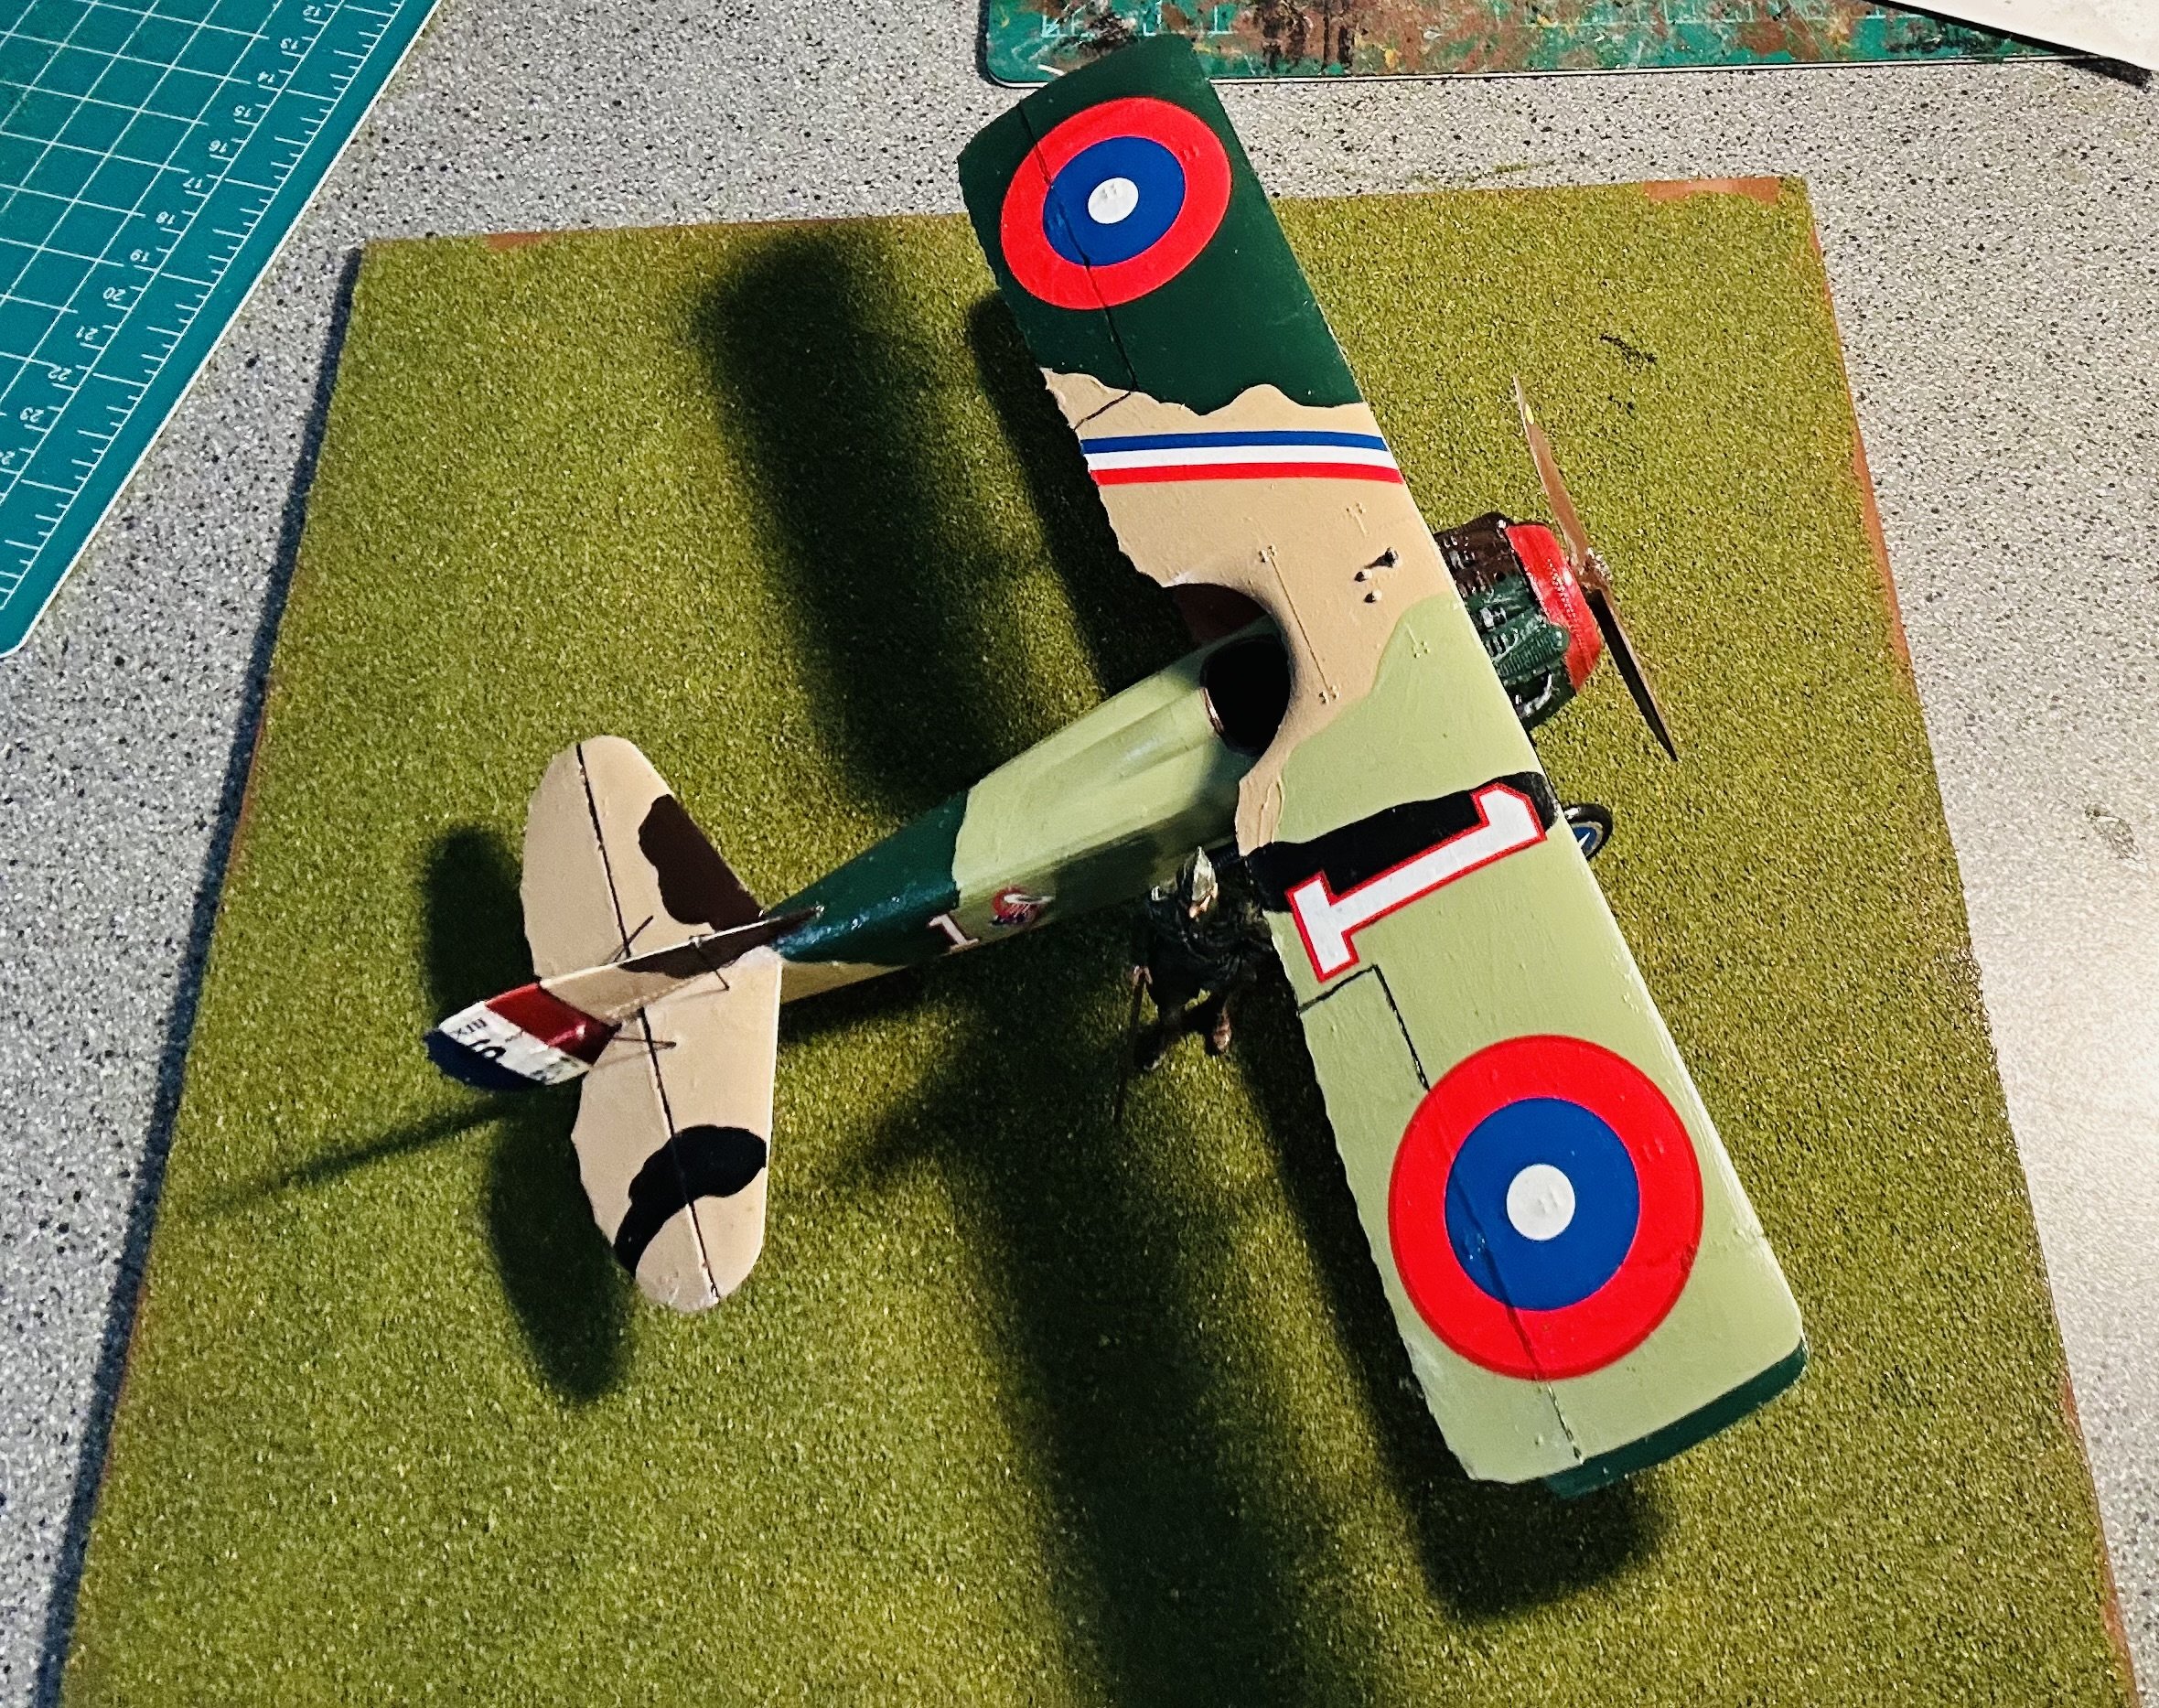
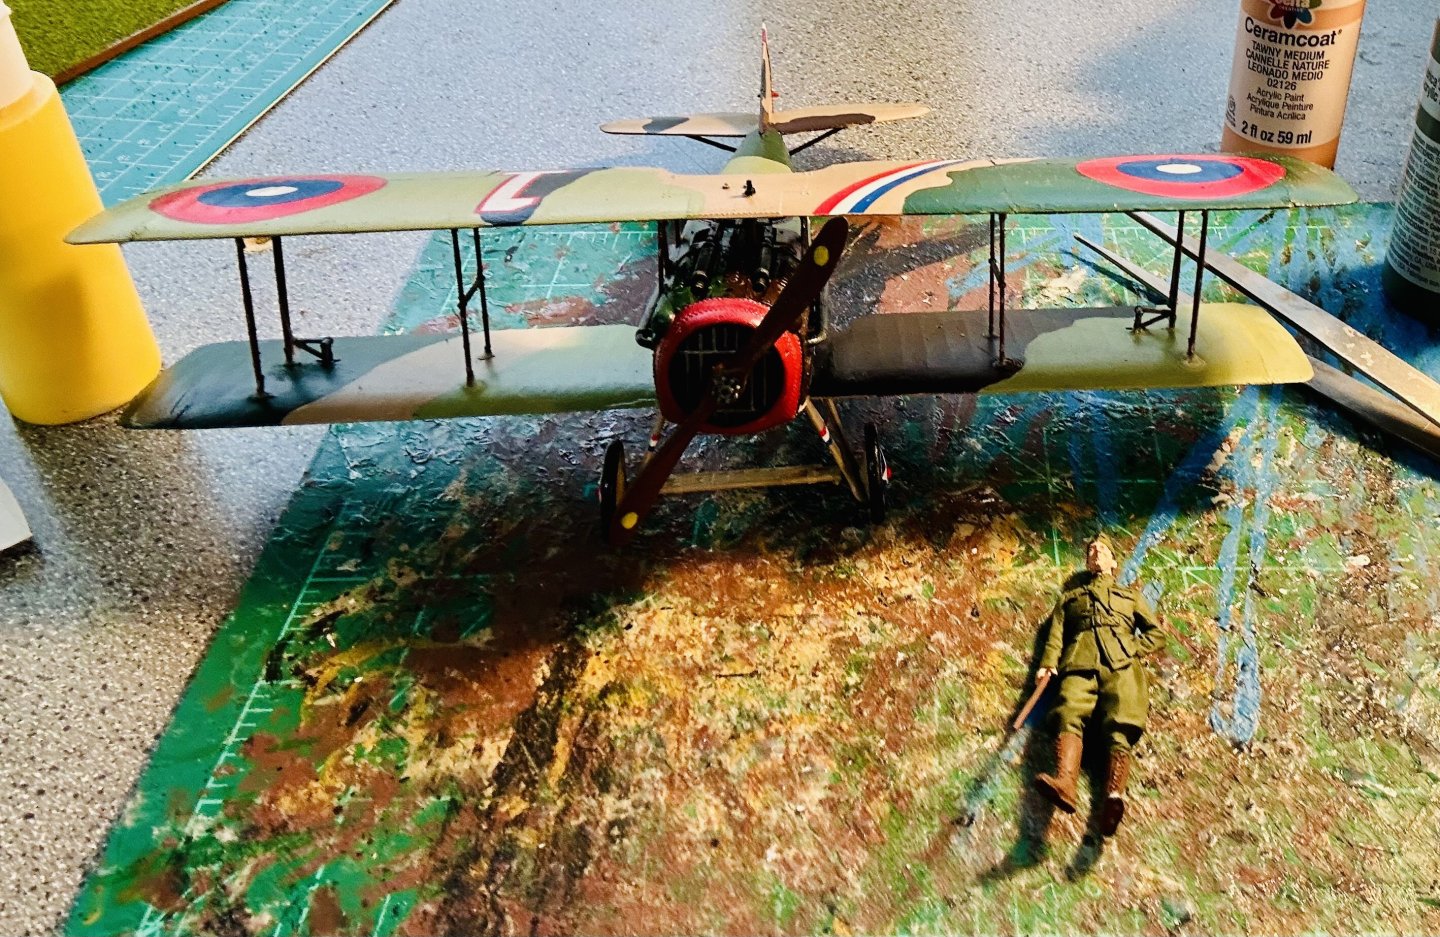
The model is painted and sealed: The base is also made. It is time to add the decals and paint the figure. Then I’ll seal the model again and figure out how I’m attaching the upper wing, lol.


-
Welcome!
-
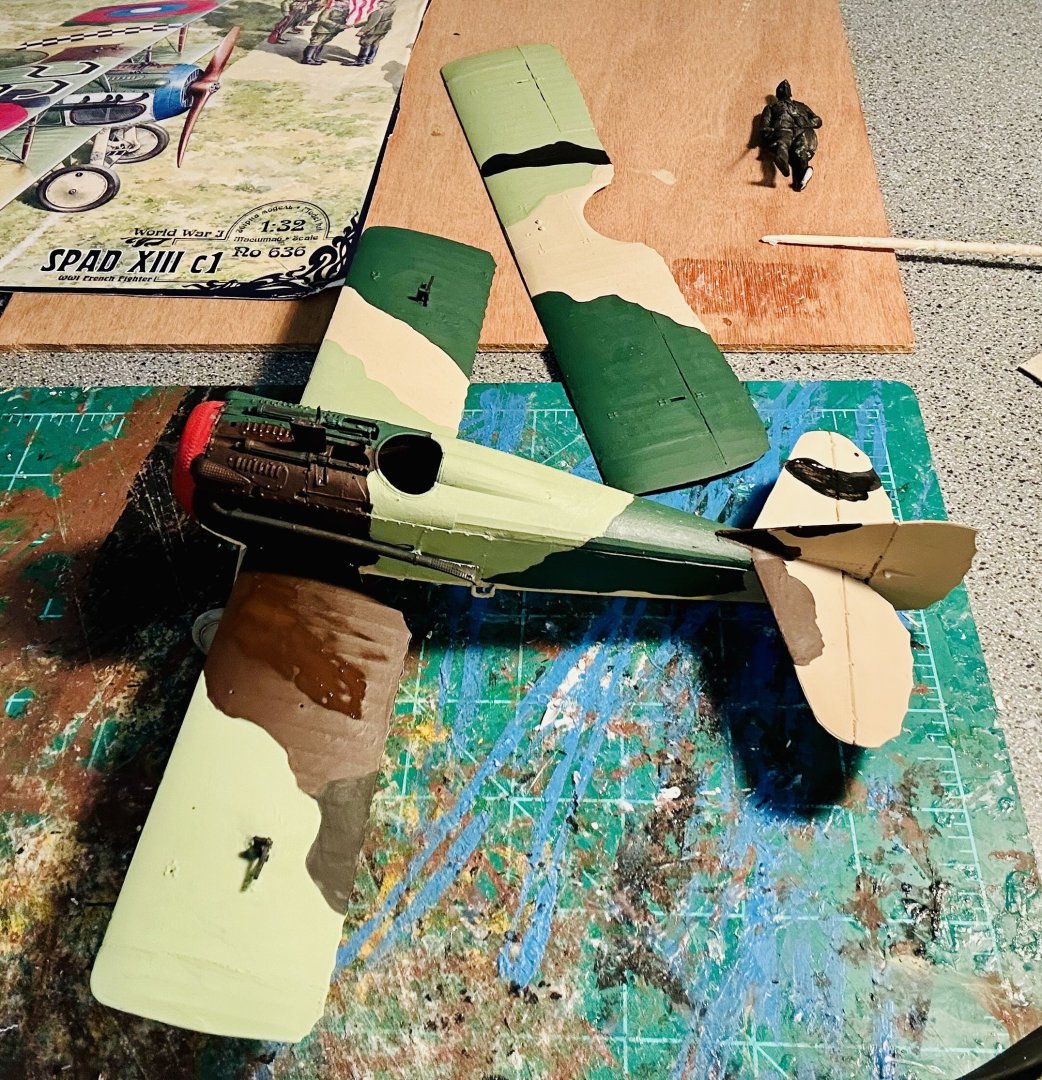
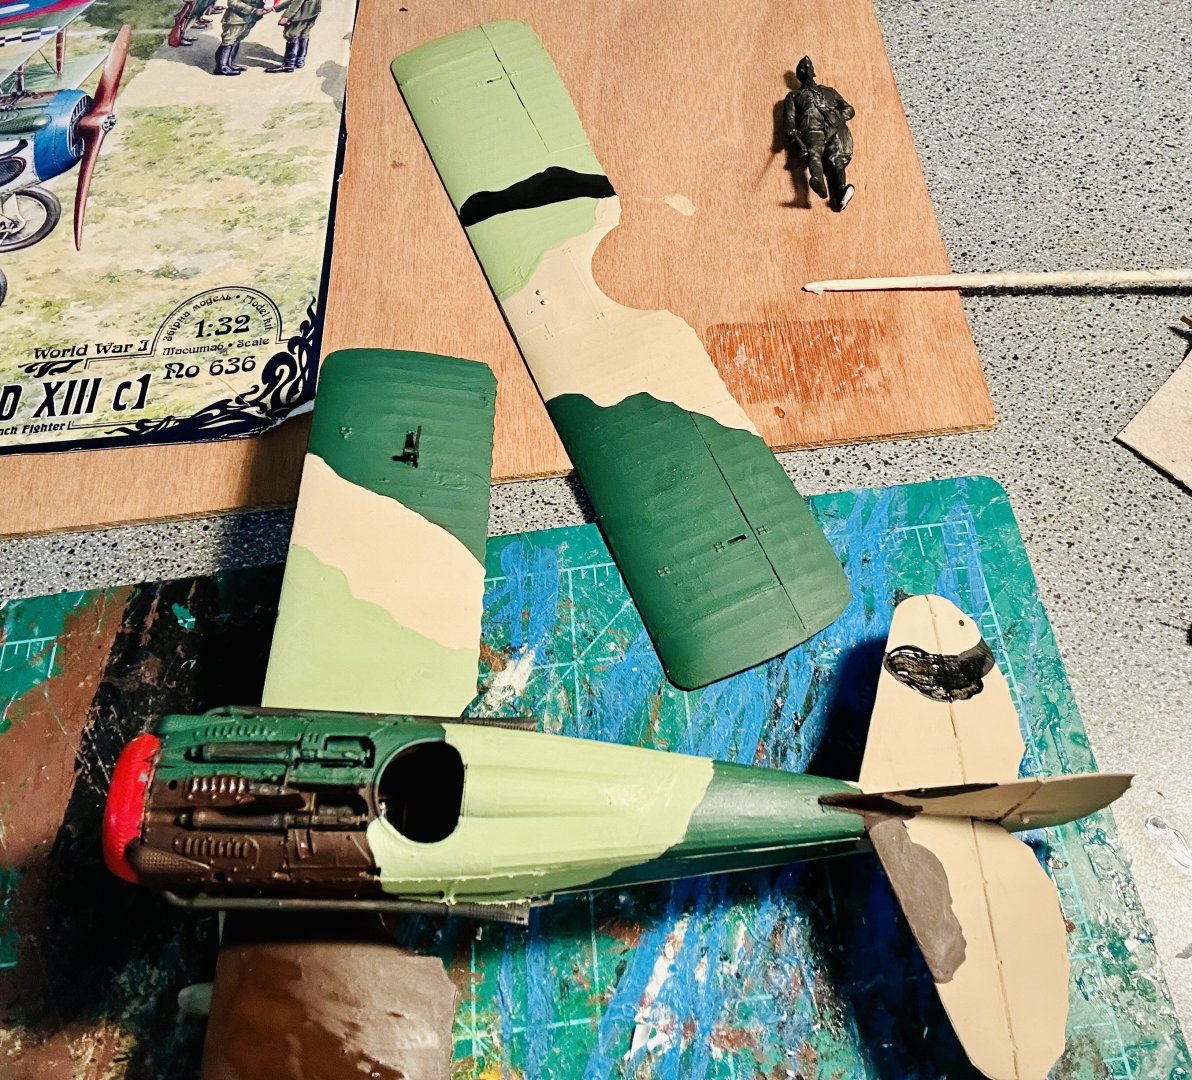
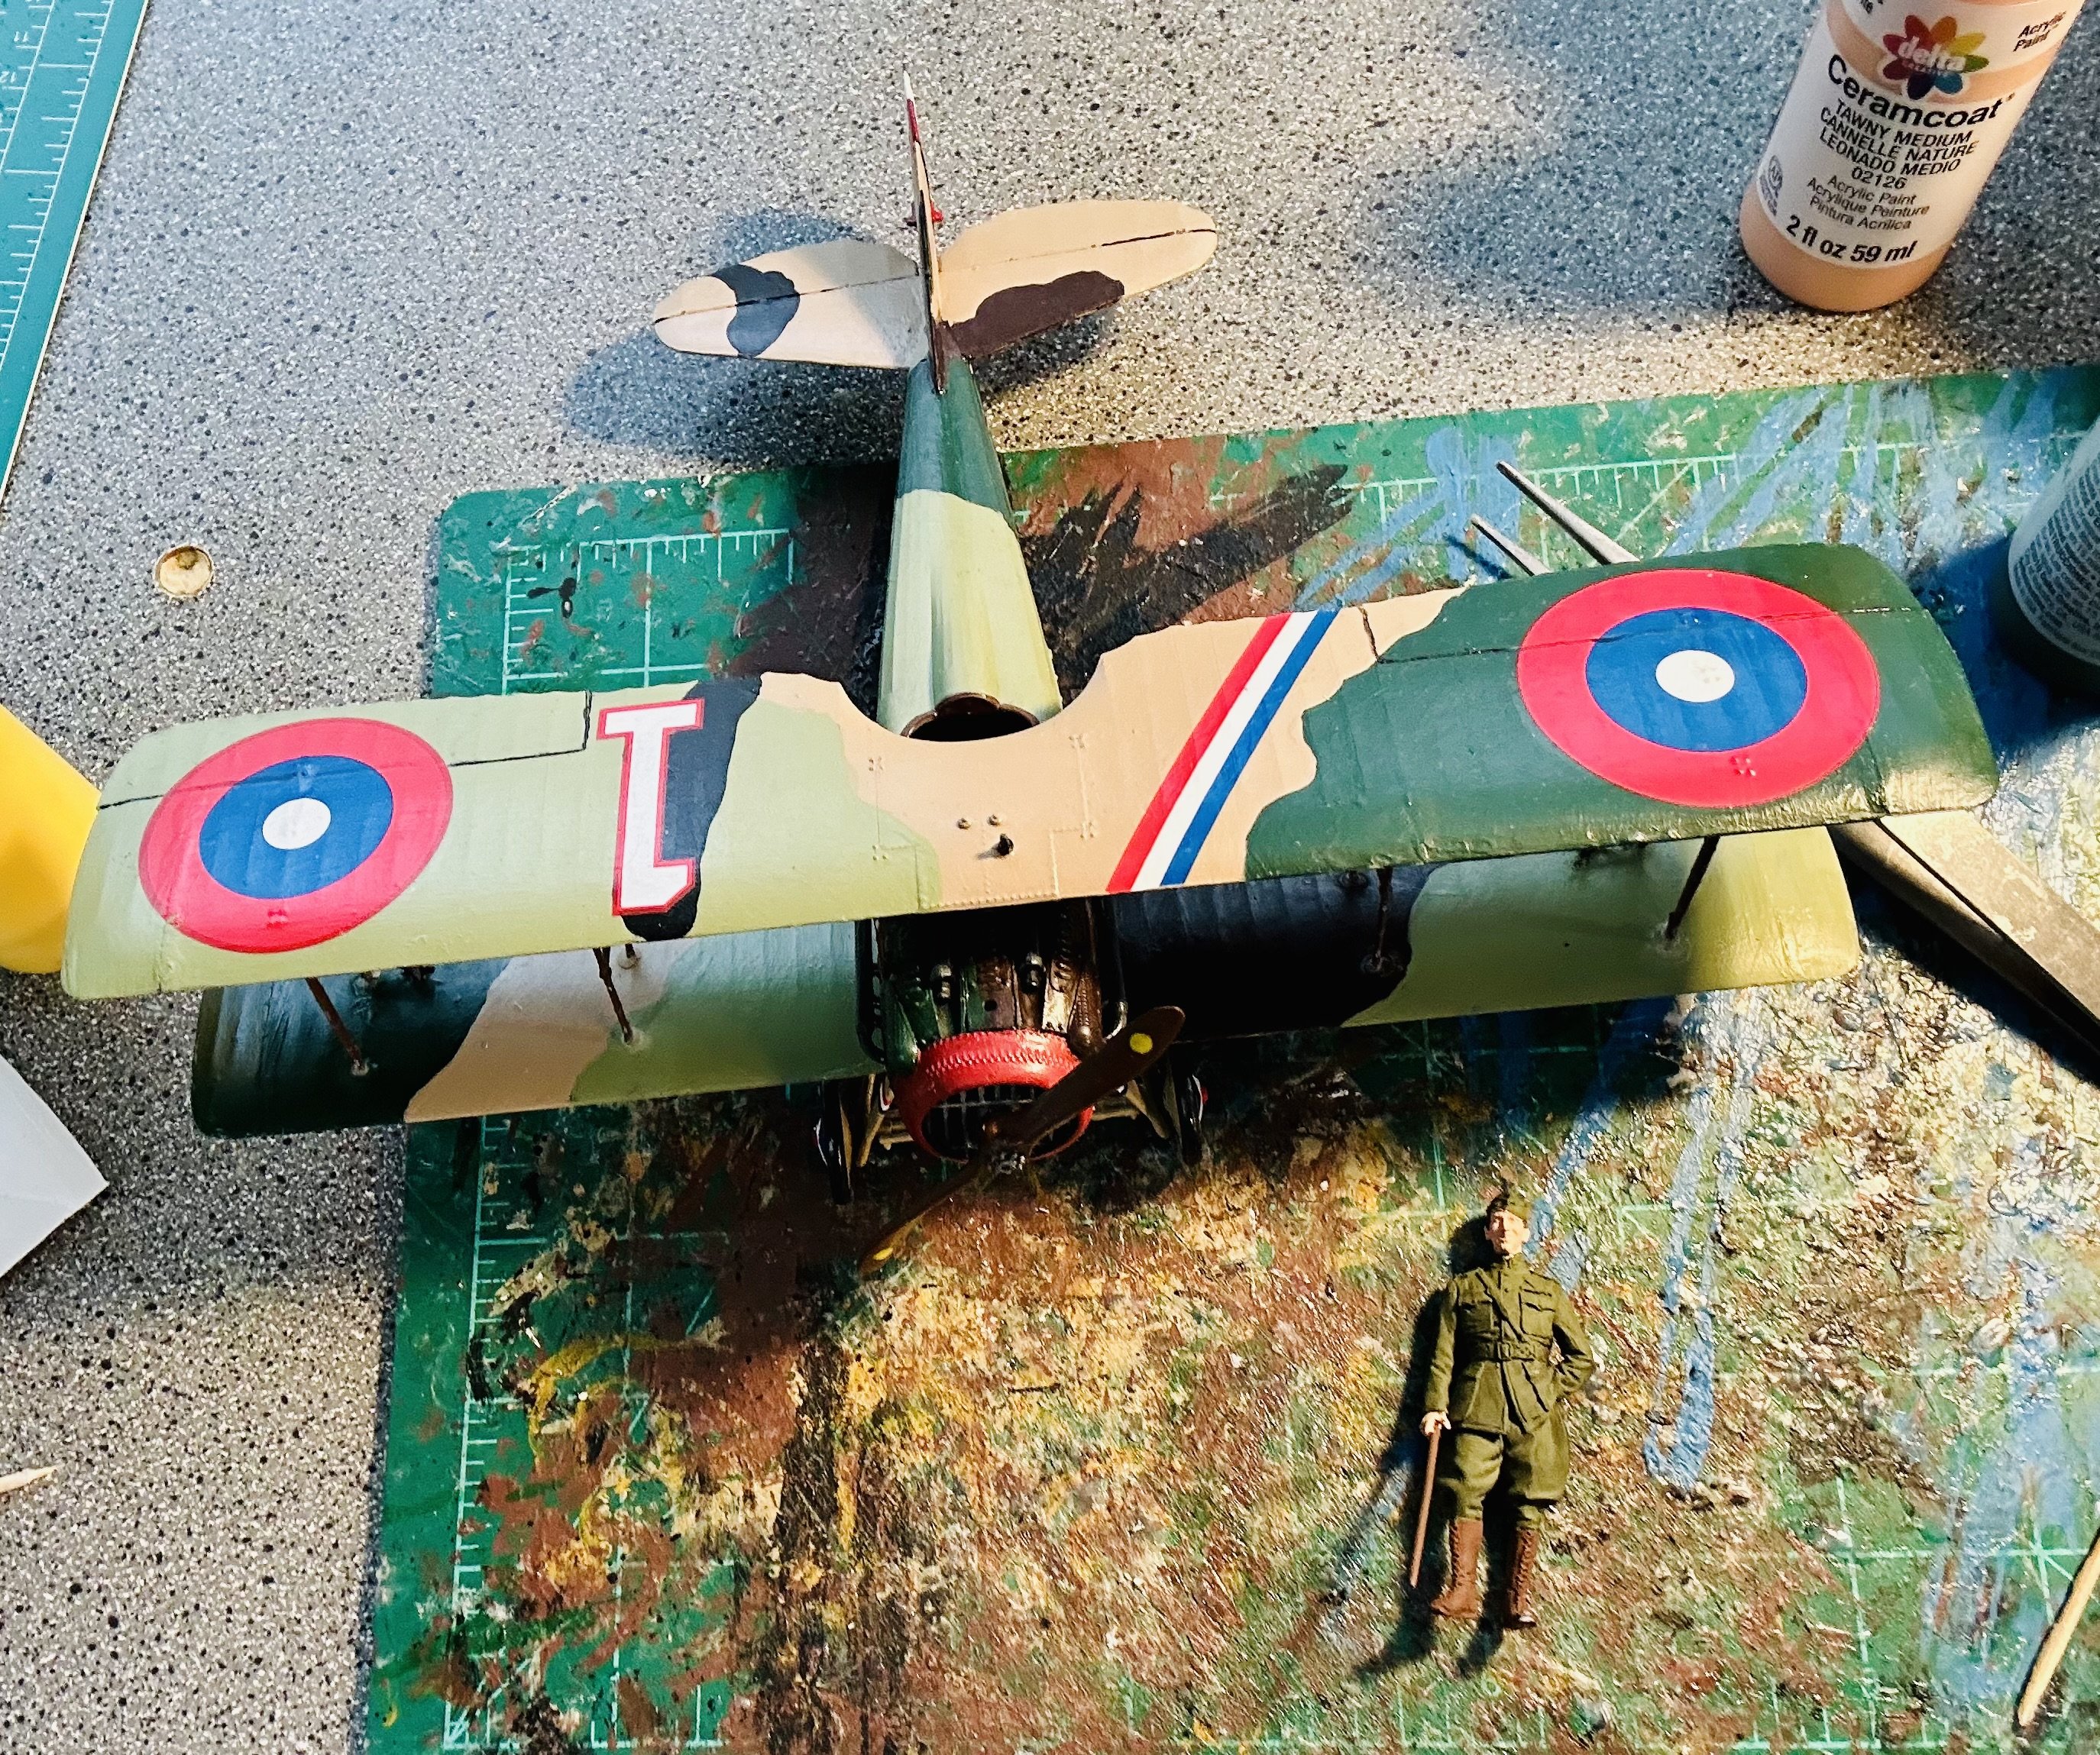
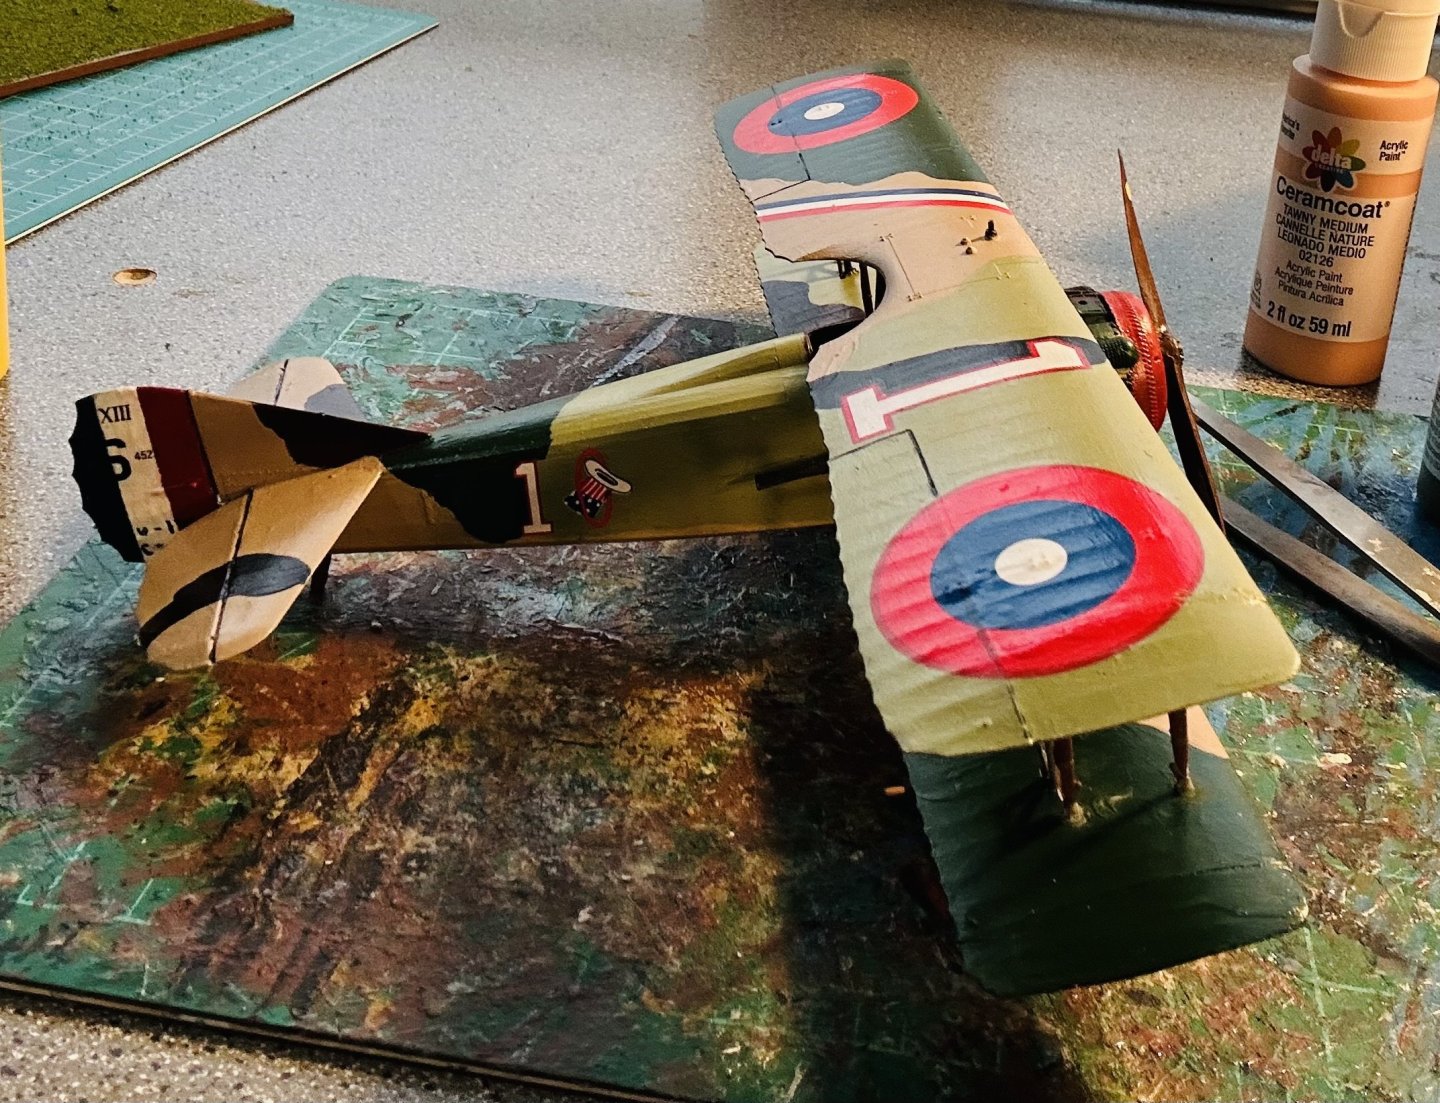
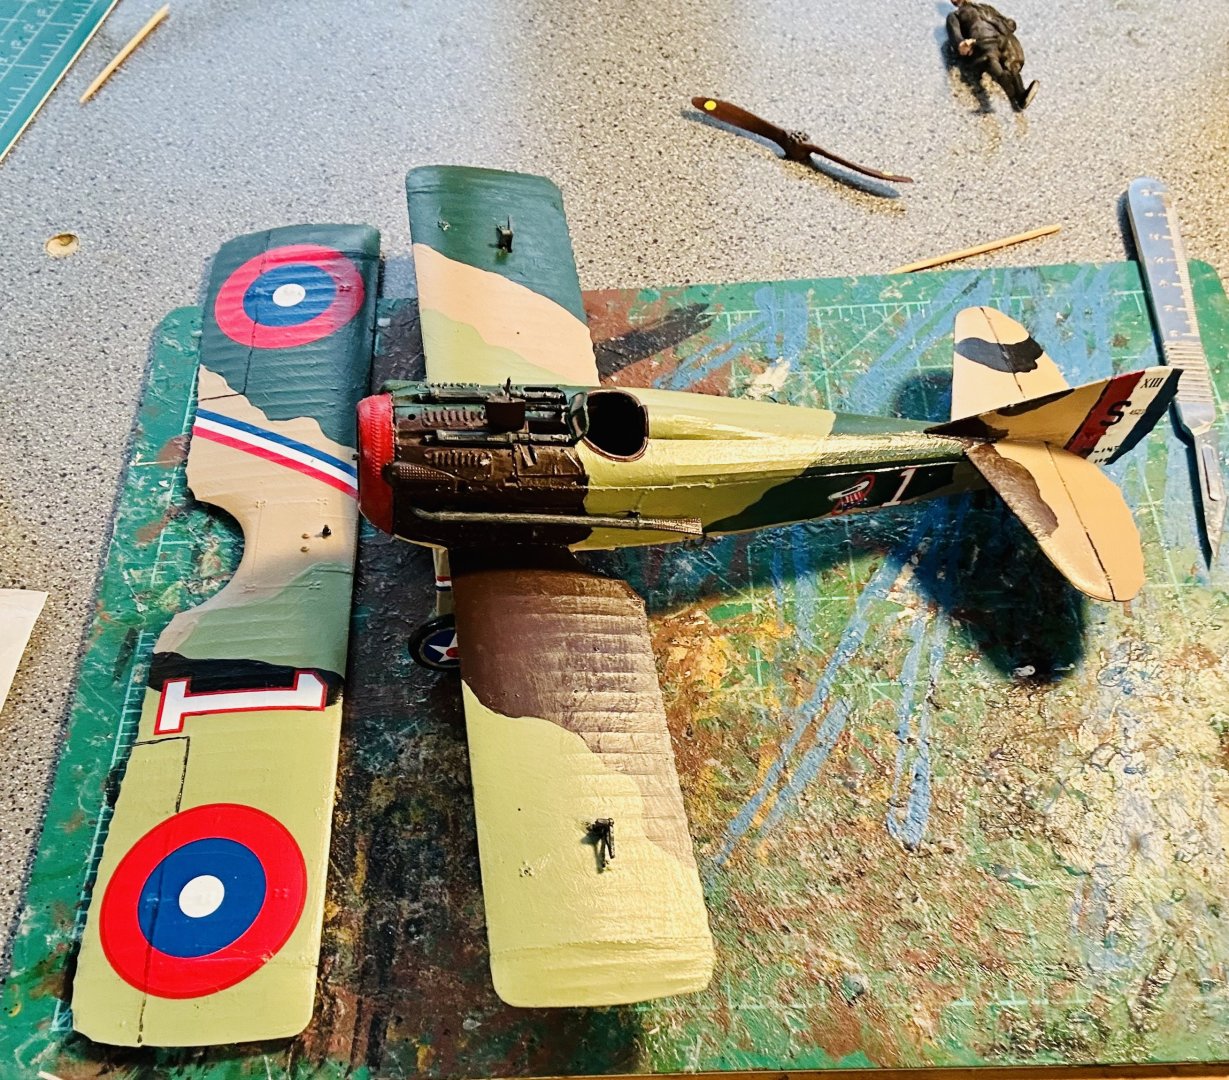
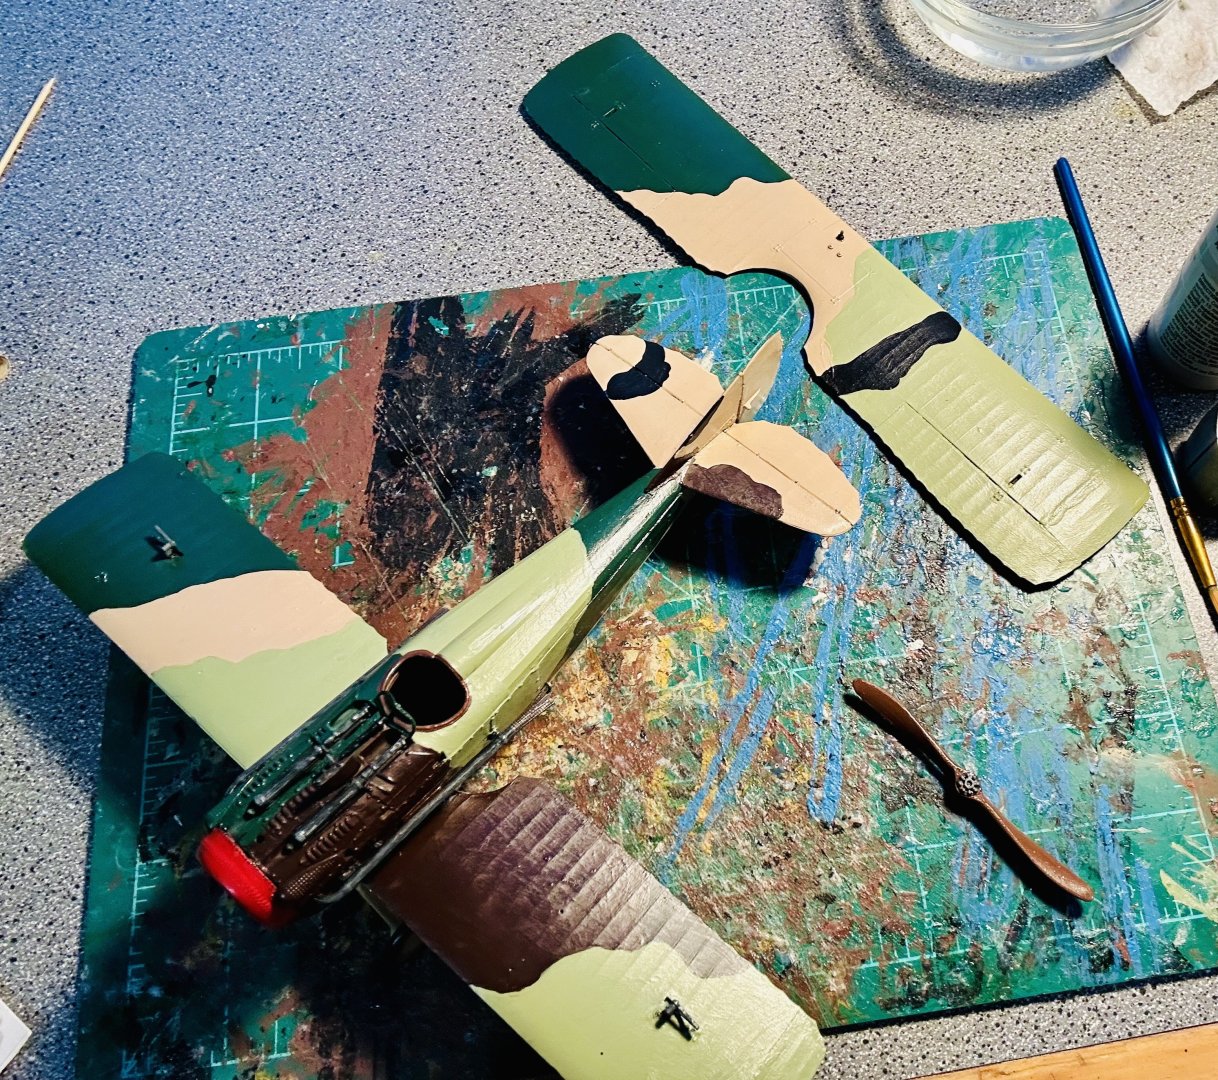
One very roughed out base coated six color Western Front camouflage scheme: The next time I work on it I’ll touch everything up and do all the detail painting. Then everything’s getting sealed and decals are getting added. Then everything gets sealed again before I add the struts and the windscreen. After that I’ll add that top wing and rig the model!