HOLIDAY DONATION DRIVE - SUPPORT MSW - DO YOUR PART TO KEEP THIS GREAT FORUM GOING! (Only 72 donations so far out of 49,000 members - Can we at least get 100? C'mon guys!)
×


GrandpaPhil
-
Posts
6,112 -
Joined
-
Last visited
Content Type
Profiles
Forums
Gallery
Events
Everything posted by GrandpaPhil
-
I really enjoy your builds. They are phenomenal, and I greatly look forward to seeing more of them. Merry Christmas and Happy New Year!
-
Does it work better than Mont Marte, which is what I use?
-
The Avangard is looking good! How does the Aleene’s Tacky Glue work on card models? I have never tried it.
-
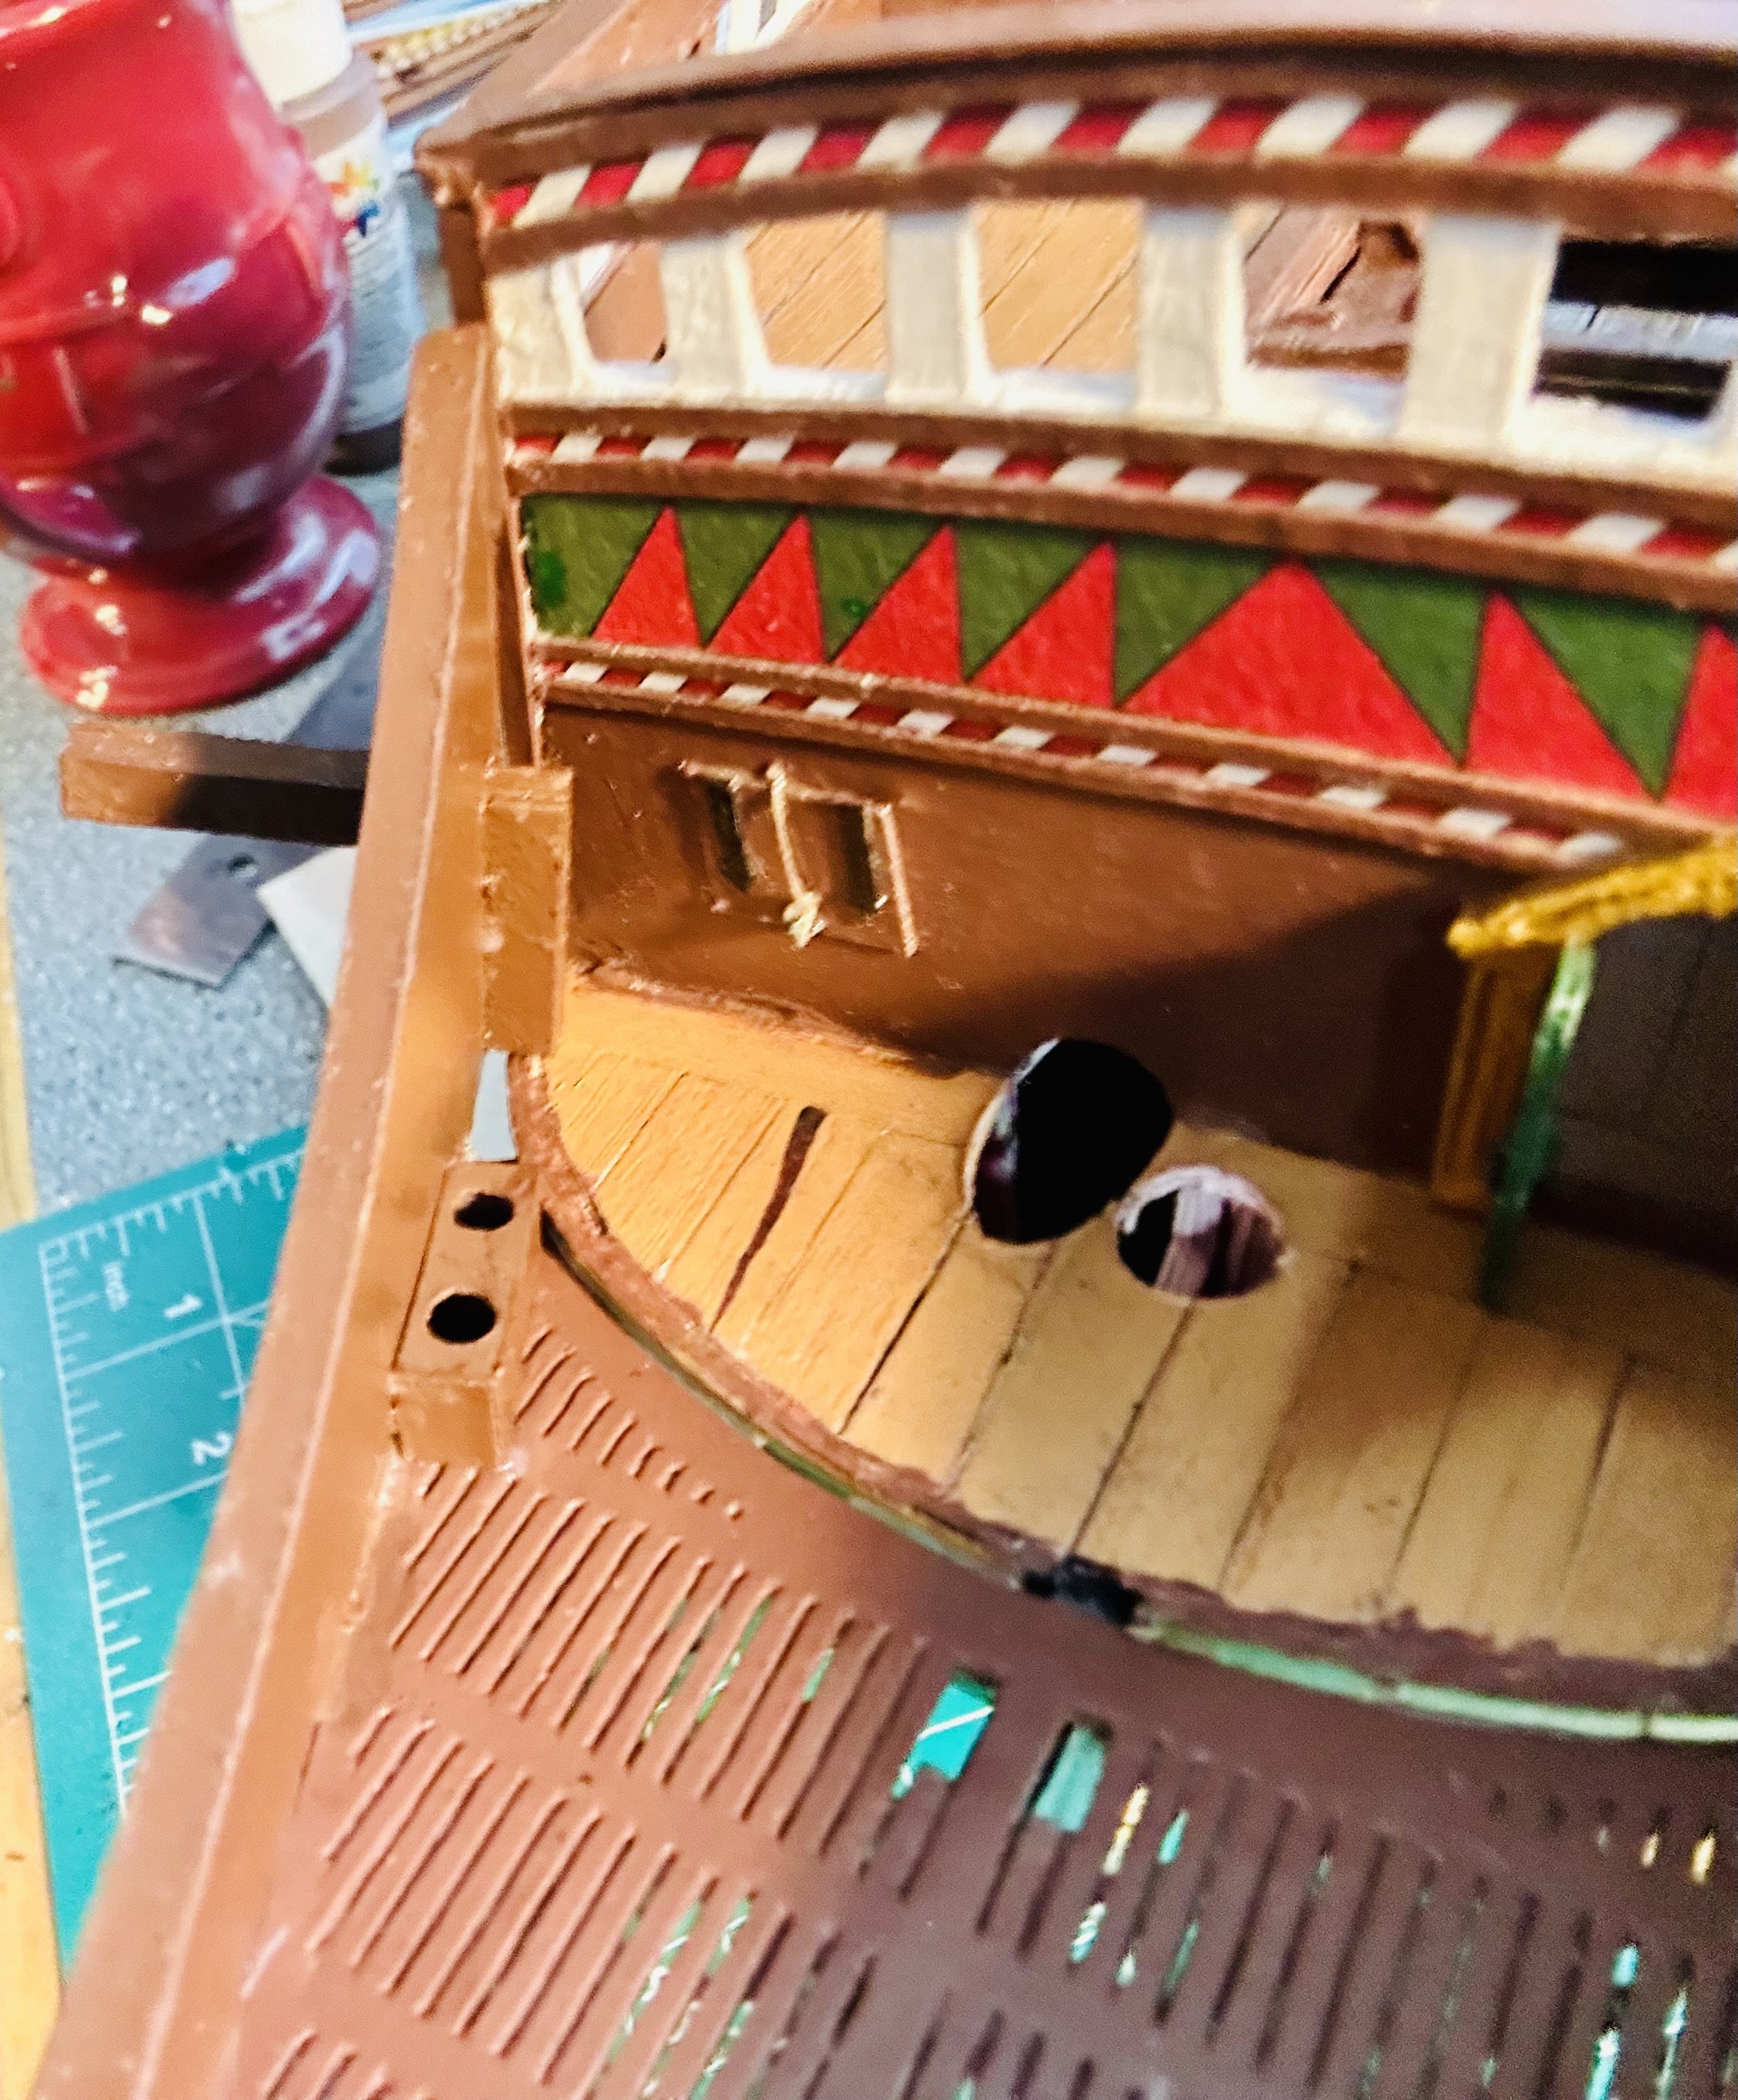
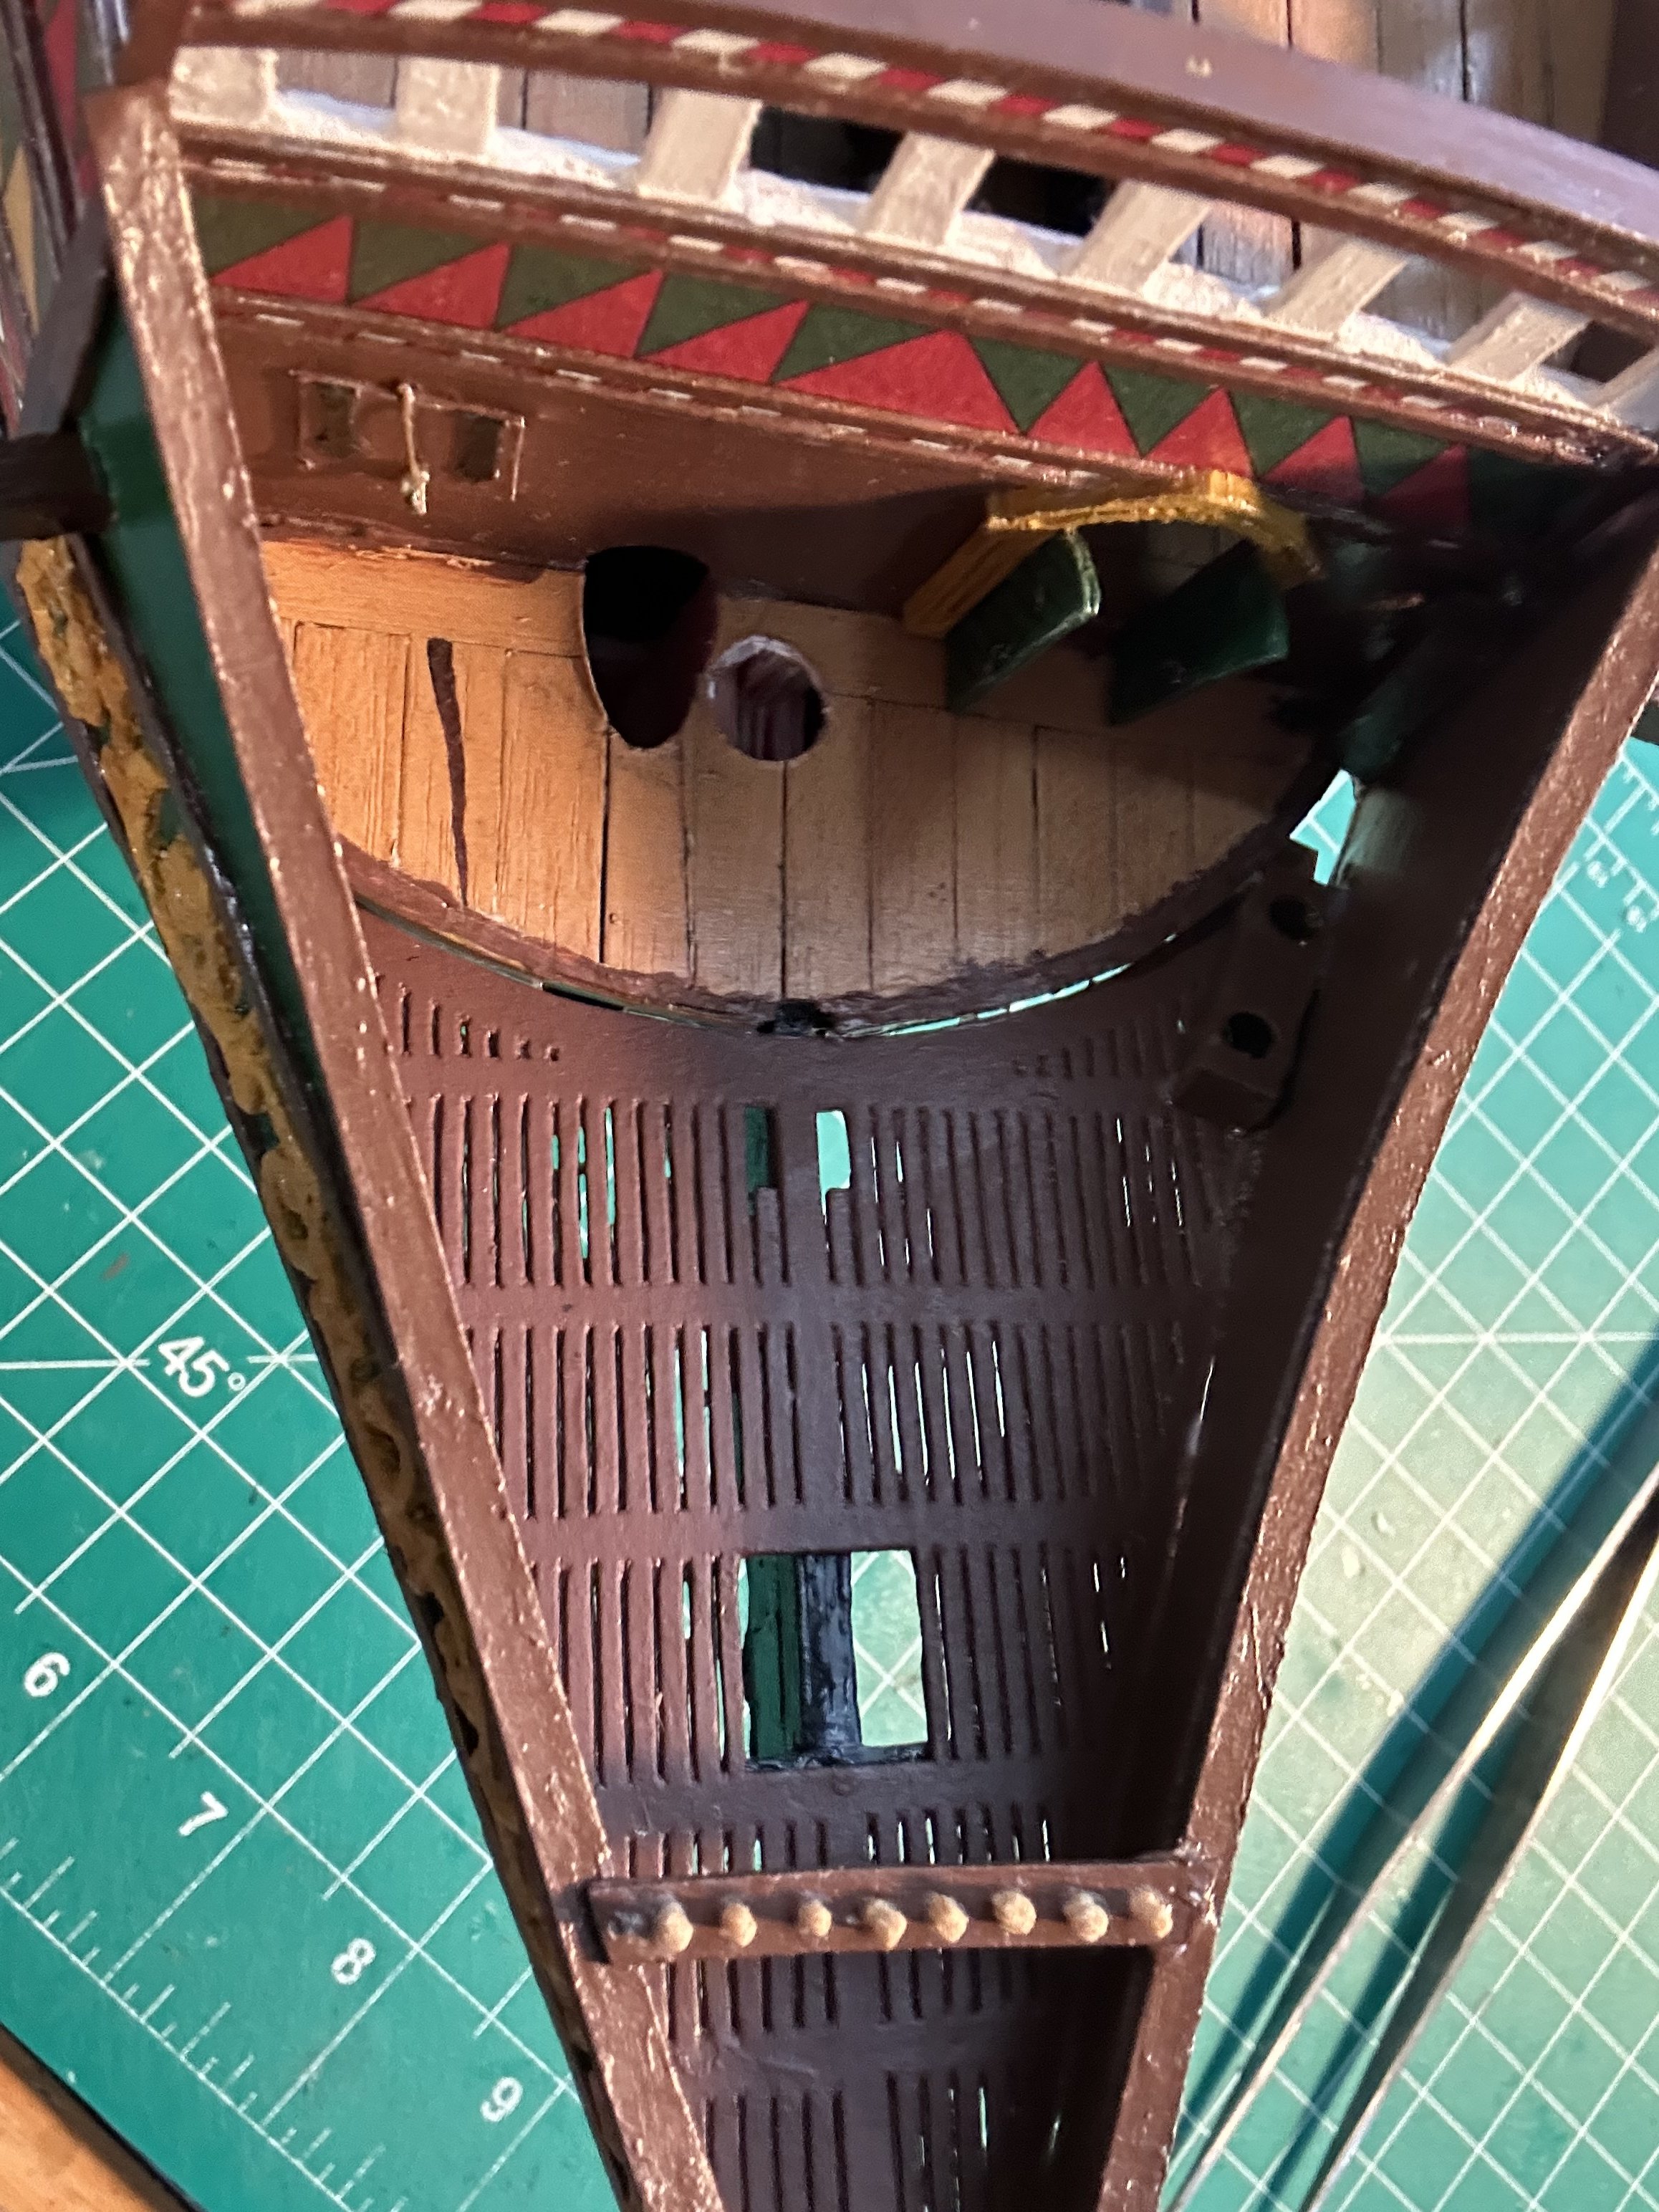
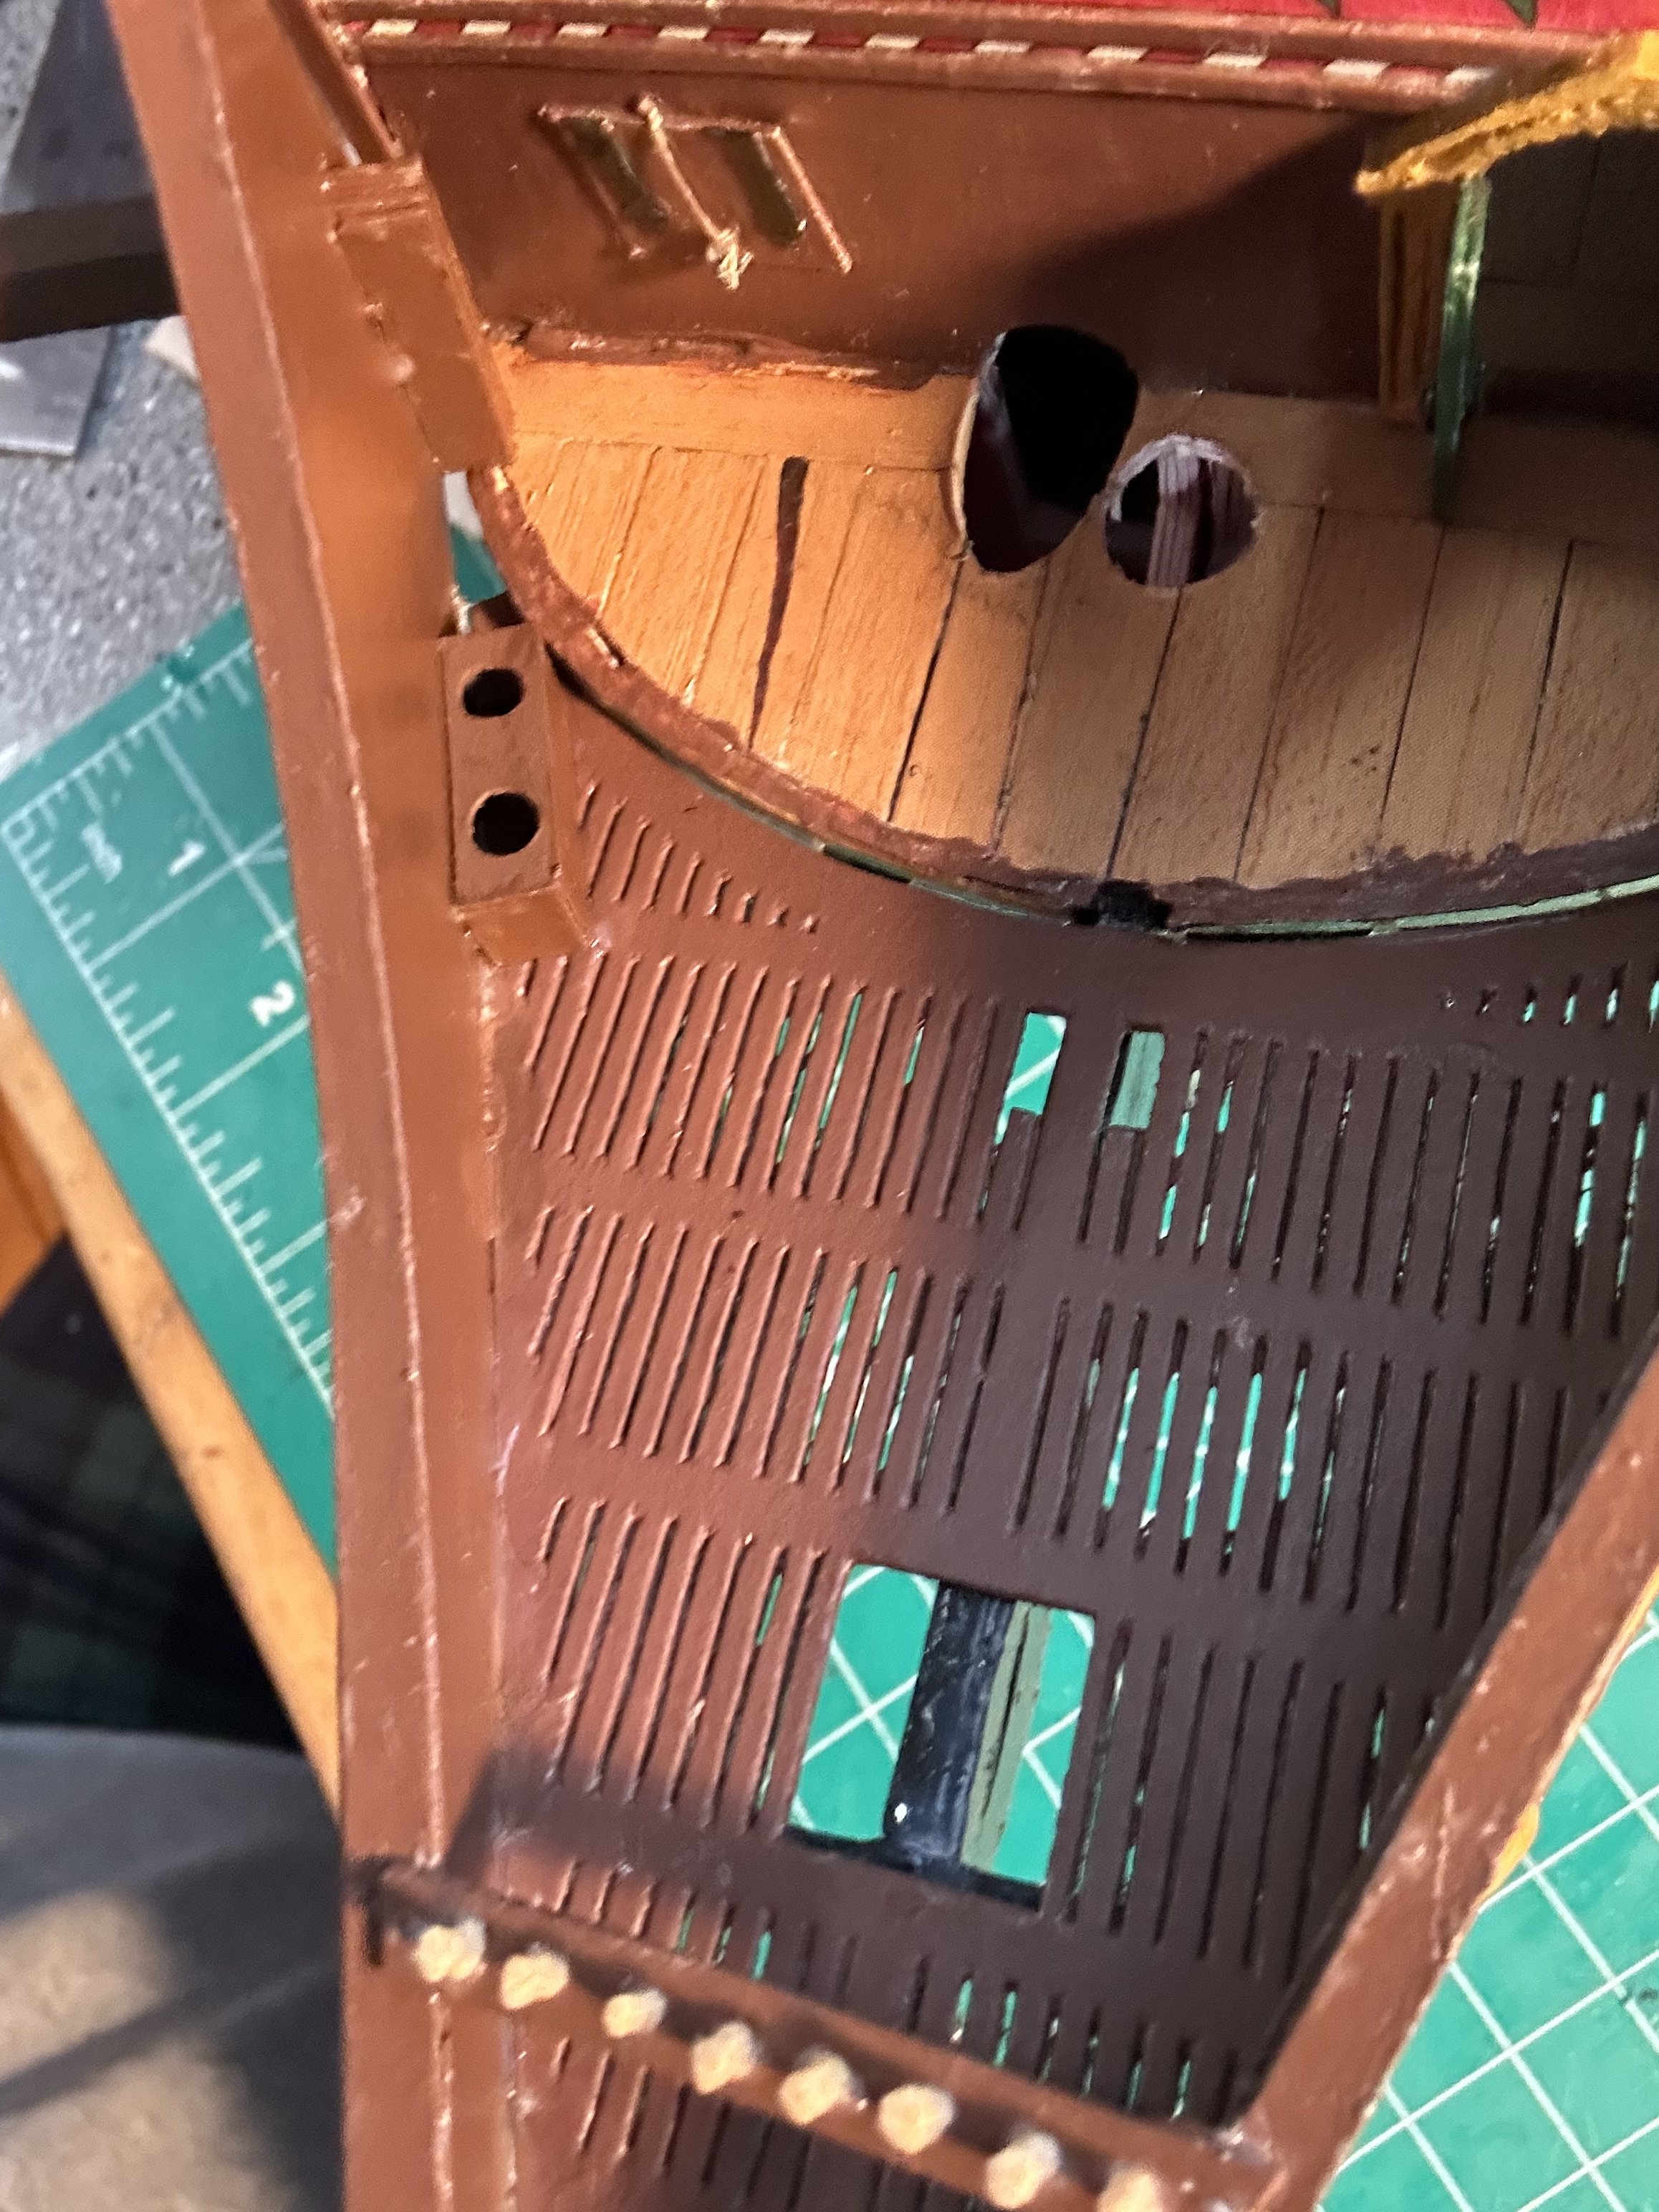
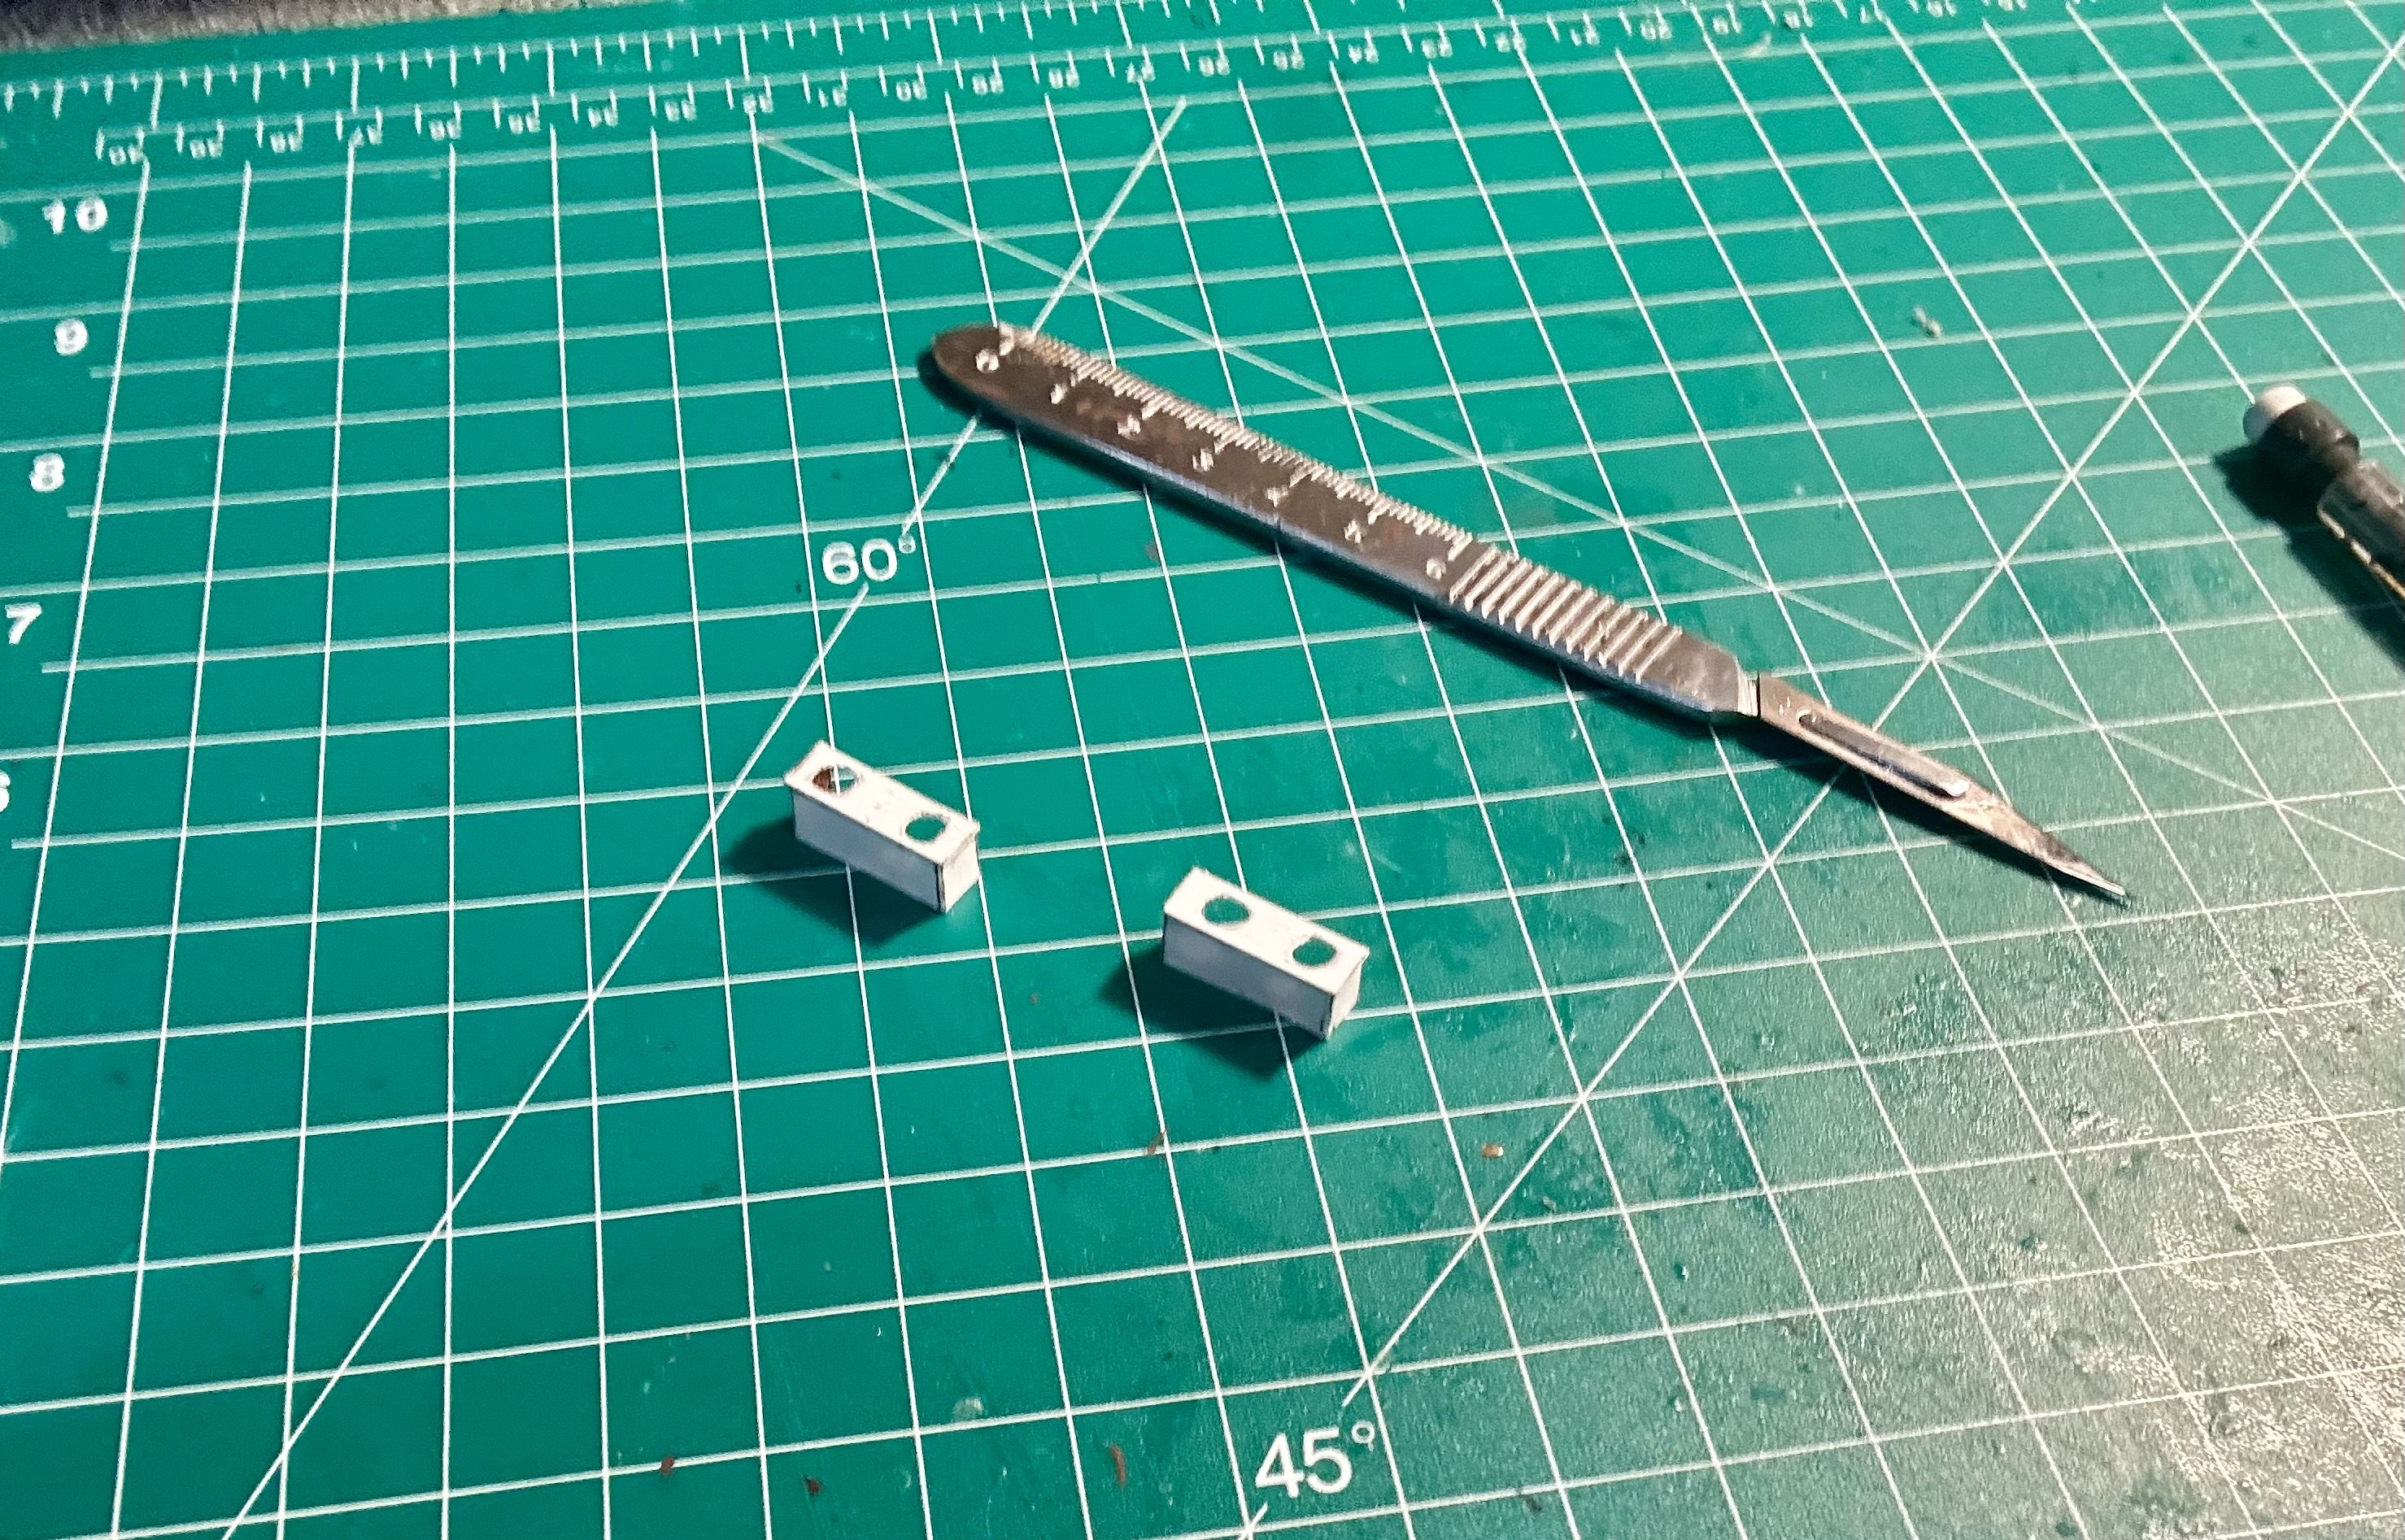
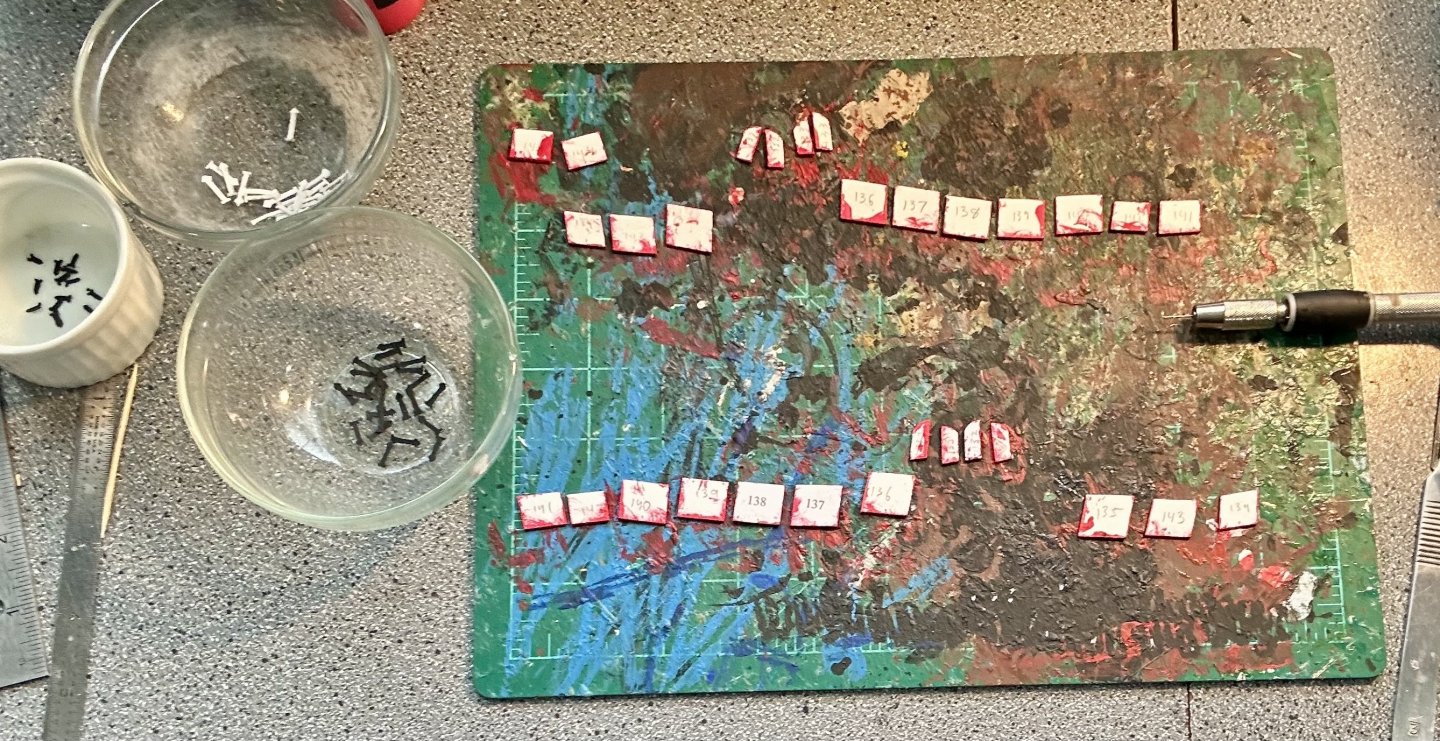
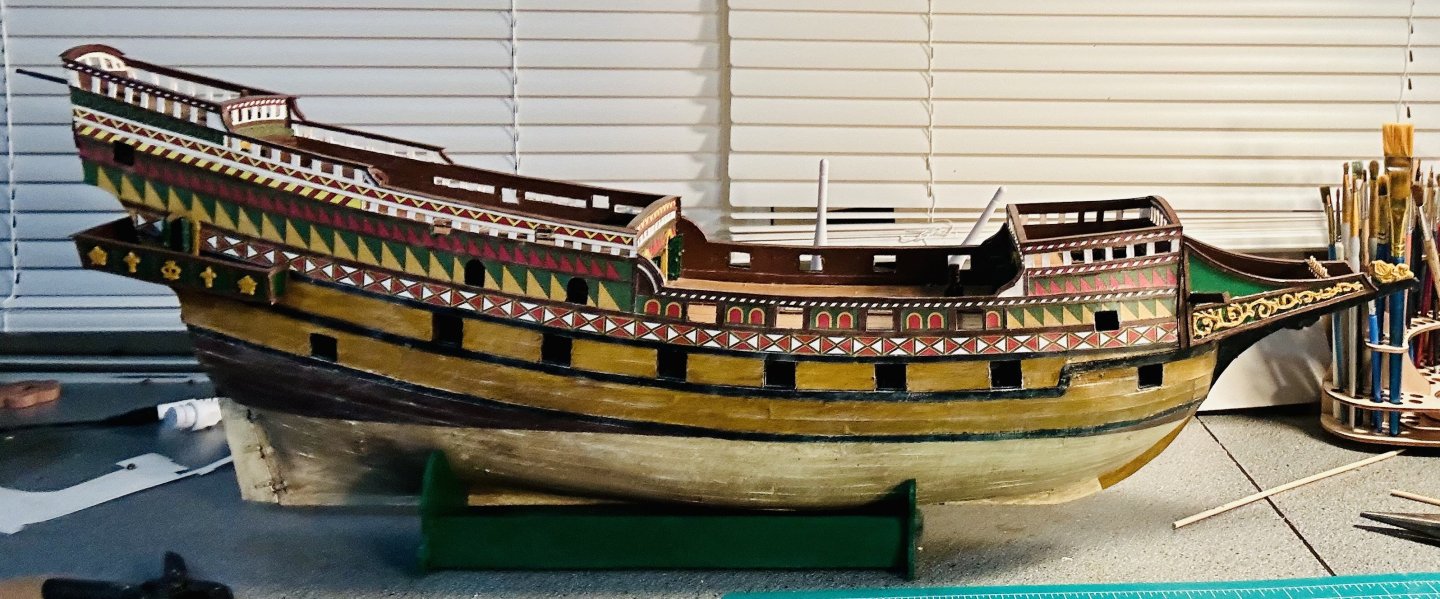
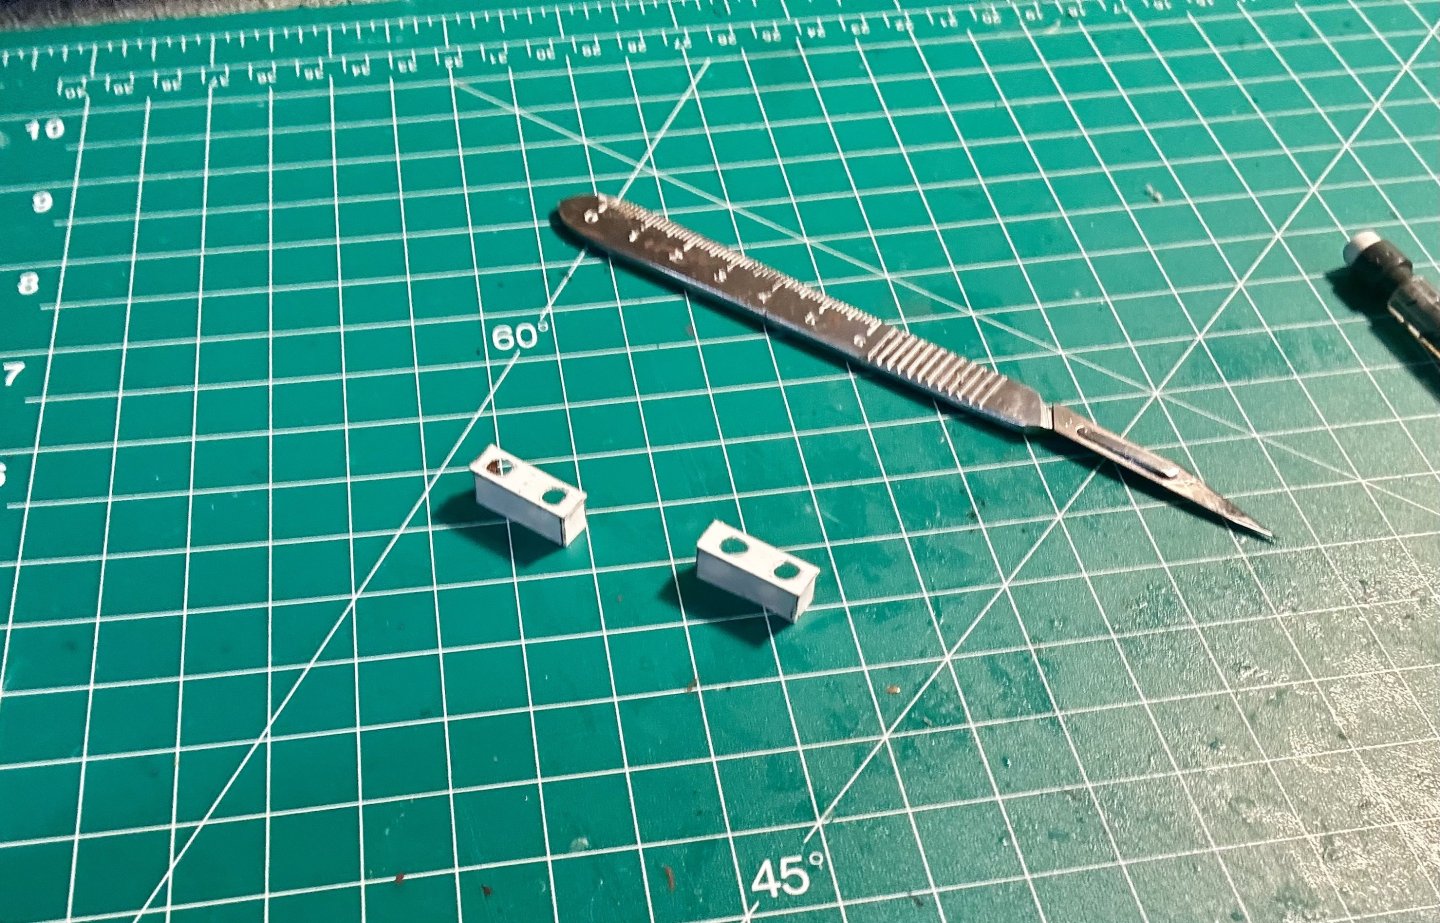
She’s got guns: Here are the lids under way: The undersides of them are red, and I’m still working on the iron work. The outside portions need painted to match their surroundings and they still need eyebolts, which I made another 100 of yesterday. The gunport lids for this thing are not uniform due to 16th Century engineering, and dedicated gun-decks just becoming a thing. Therefore, you must keep track of each individual piece. I laid mine out like the instruction book, which came with the plans, had them.

-
Steve, Very cool!
-
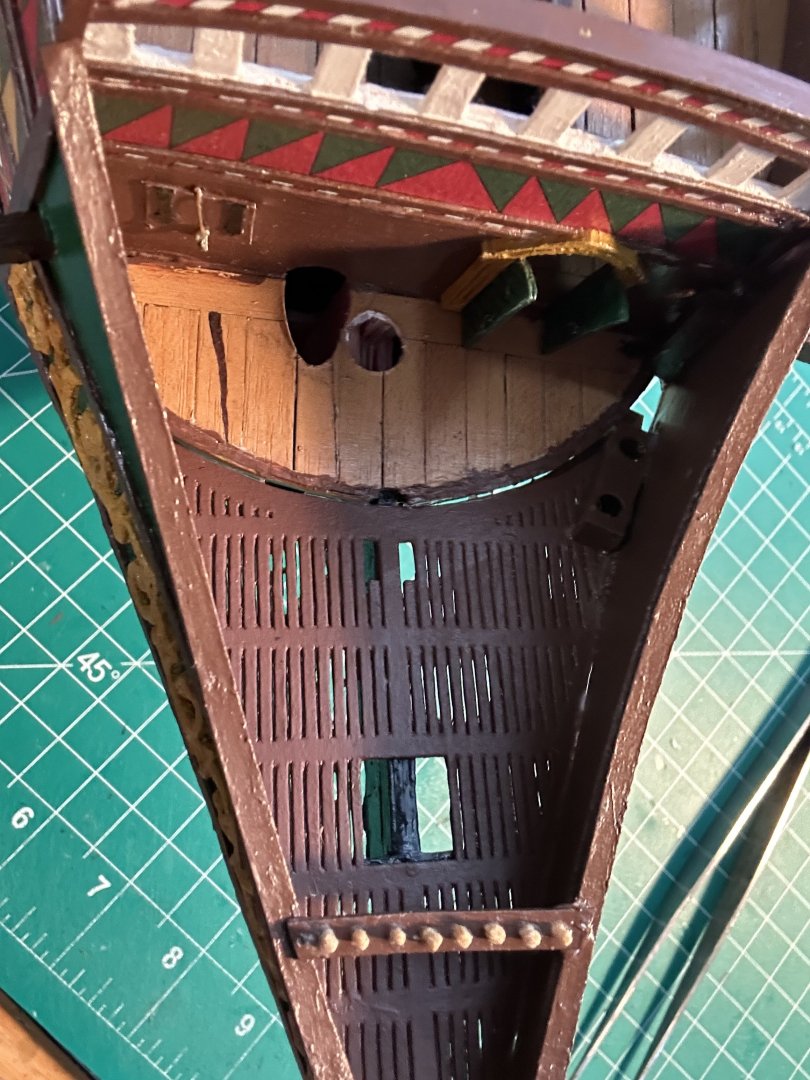
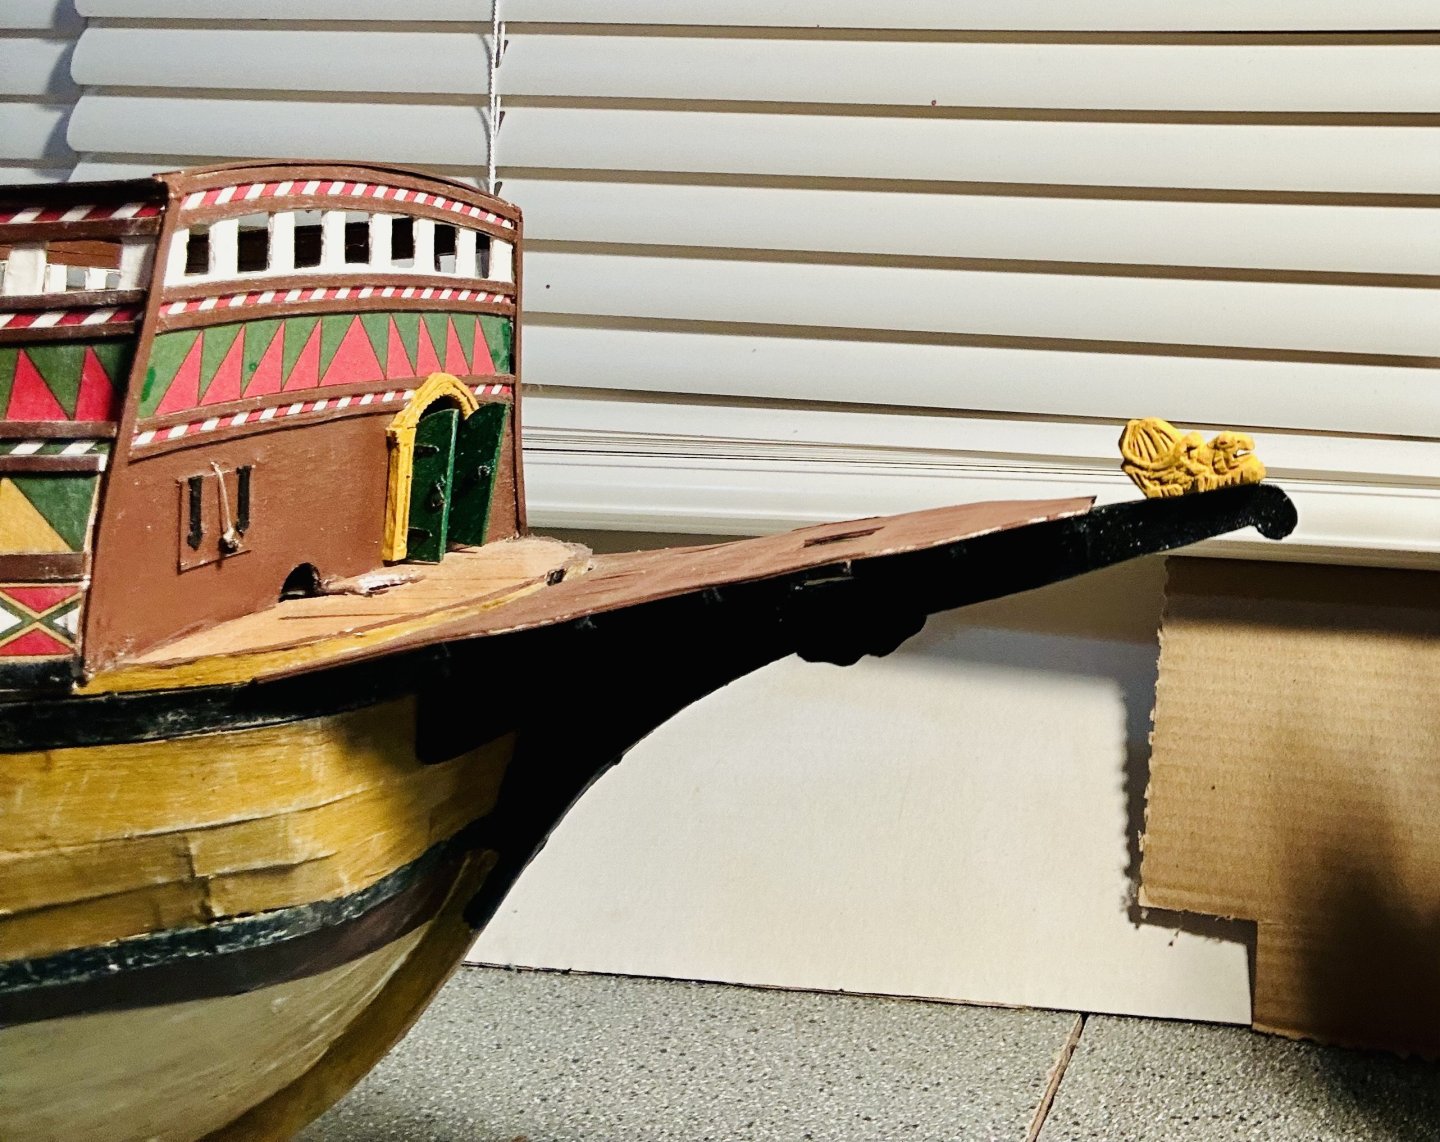
The head is done: It ain’t perfect, but it’ll work! This model was originally intended as a test run just to see what I could do. One of the benefits of building from card is a low entry cost, and therefore low risk if something doesn’t pan out exactly how you want it to. I have learned a lot and developed many skills and techniques to use for the next build.


-
@Coyote_6, Thank you very much! Merry Christmas!
-
@catopower, Thank you very much! Thank you to everyone for the likes and for stopping by! The head is installed! And the seats of ease are made and drying: I’m going to put them up against the head bulwarks, where they are located on the Batavia, after they get painted. Next up, I am making the gunport lids and installing the below decks cannons.
-
Congratulations! Very nicely done!
-
Very nicely done!
-
Merry Christmas!
-
Merry Christmas!
-
@ccoyle, @Glen McGuire, @Baker, @72Nova and @Canute, Thank you all very much! Ken, Lol, I did catch the card modeling gene! It is @Ab Hoving and Chris’s fault! Ab Hoving’s card modeling from scratch tutorial on this forum was very informative and useful, and showed me that it was doable. That got me started with the Prince de Neufchatel. Then Chris sent me a link for HMV kits on Amazon which led to me finding all of the Orel kits, of which I have built two of them. They set me down a path that has led to 7 completed models so far.
-
Merry Christmas! Billy is looking great! Your workboats are amazing!
-
Welcome!
-
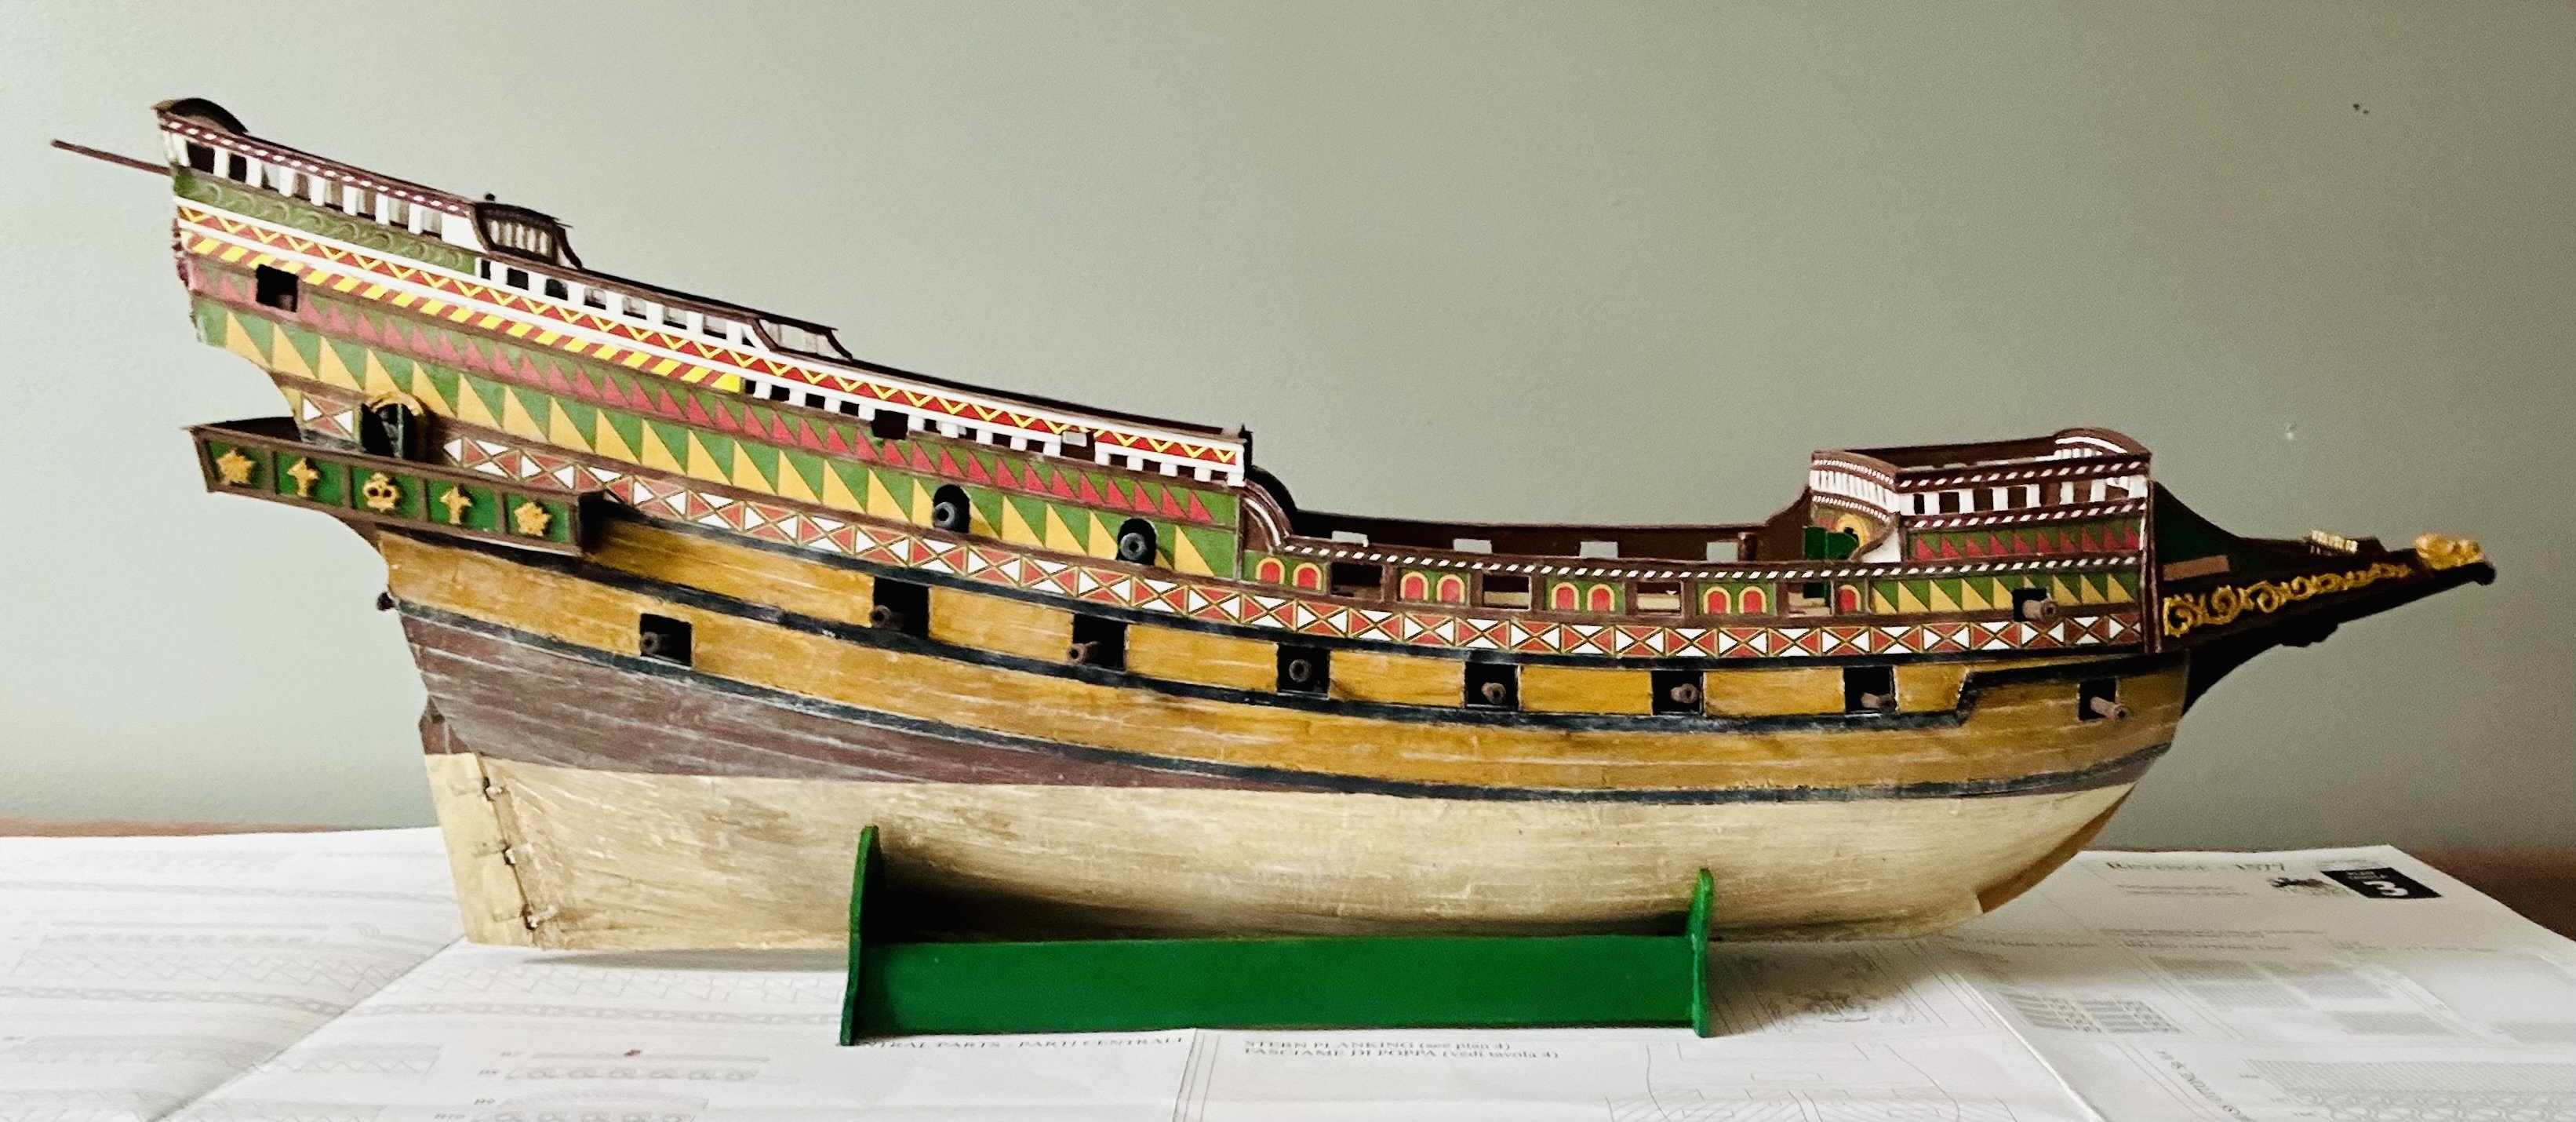
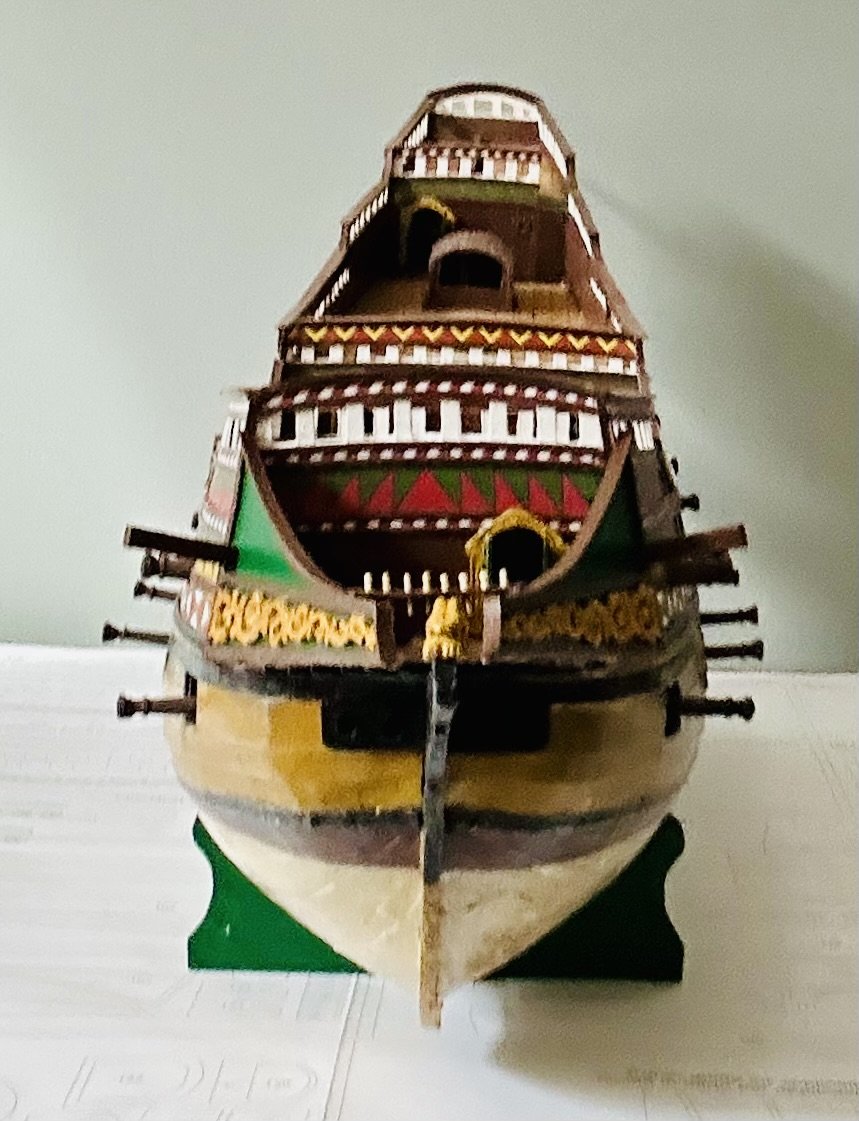
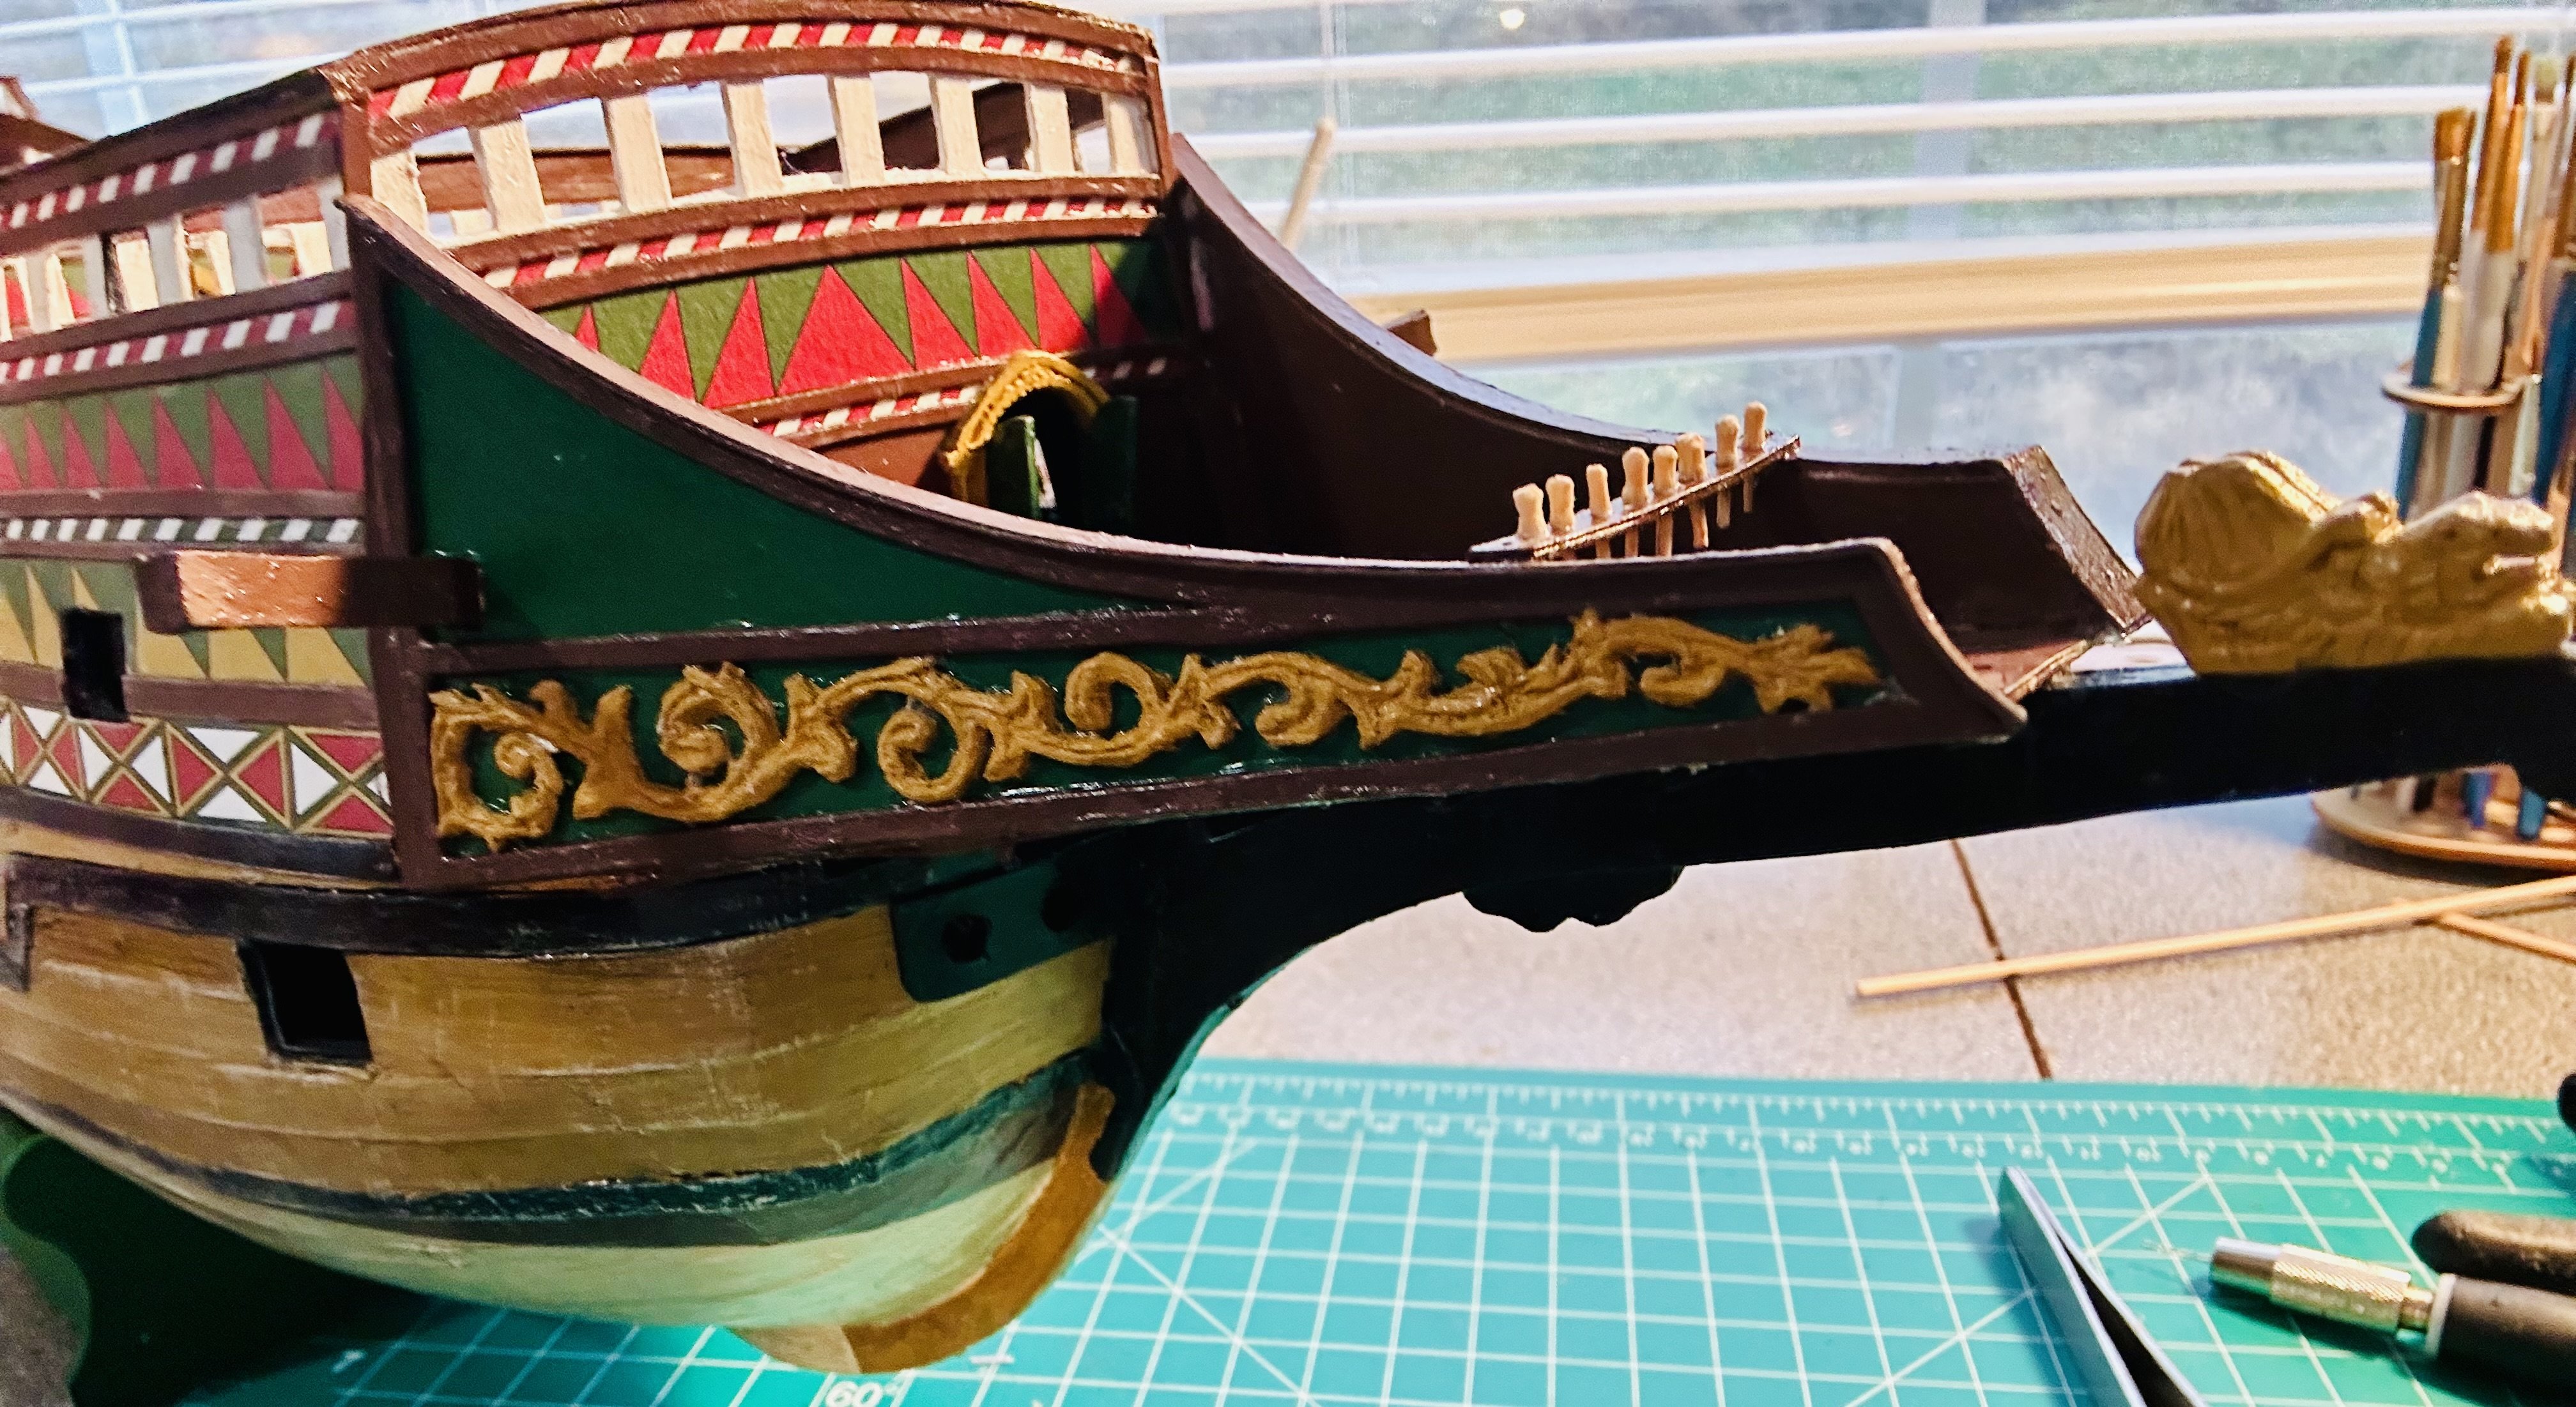
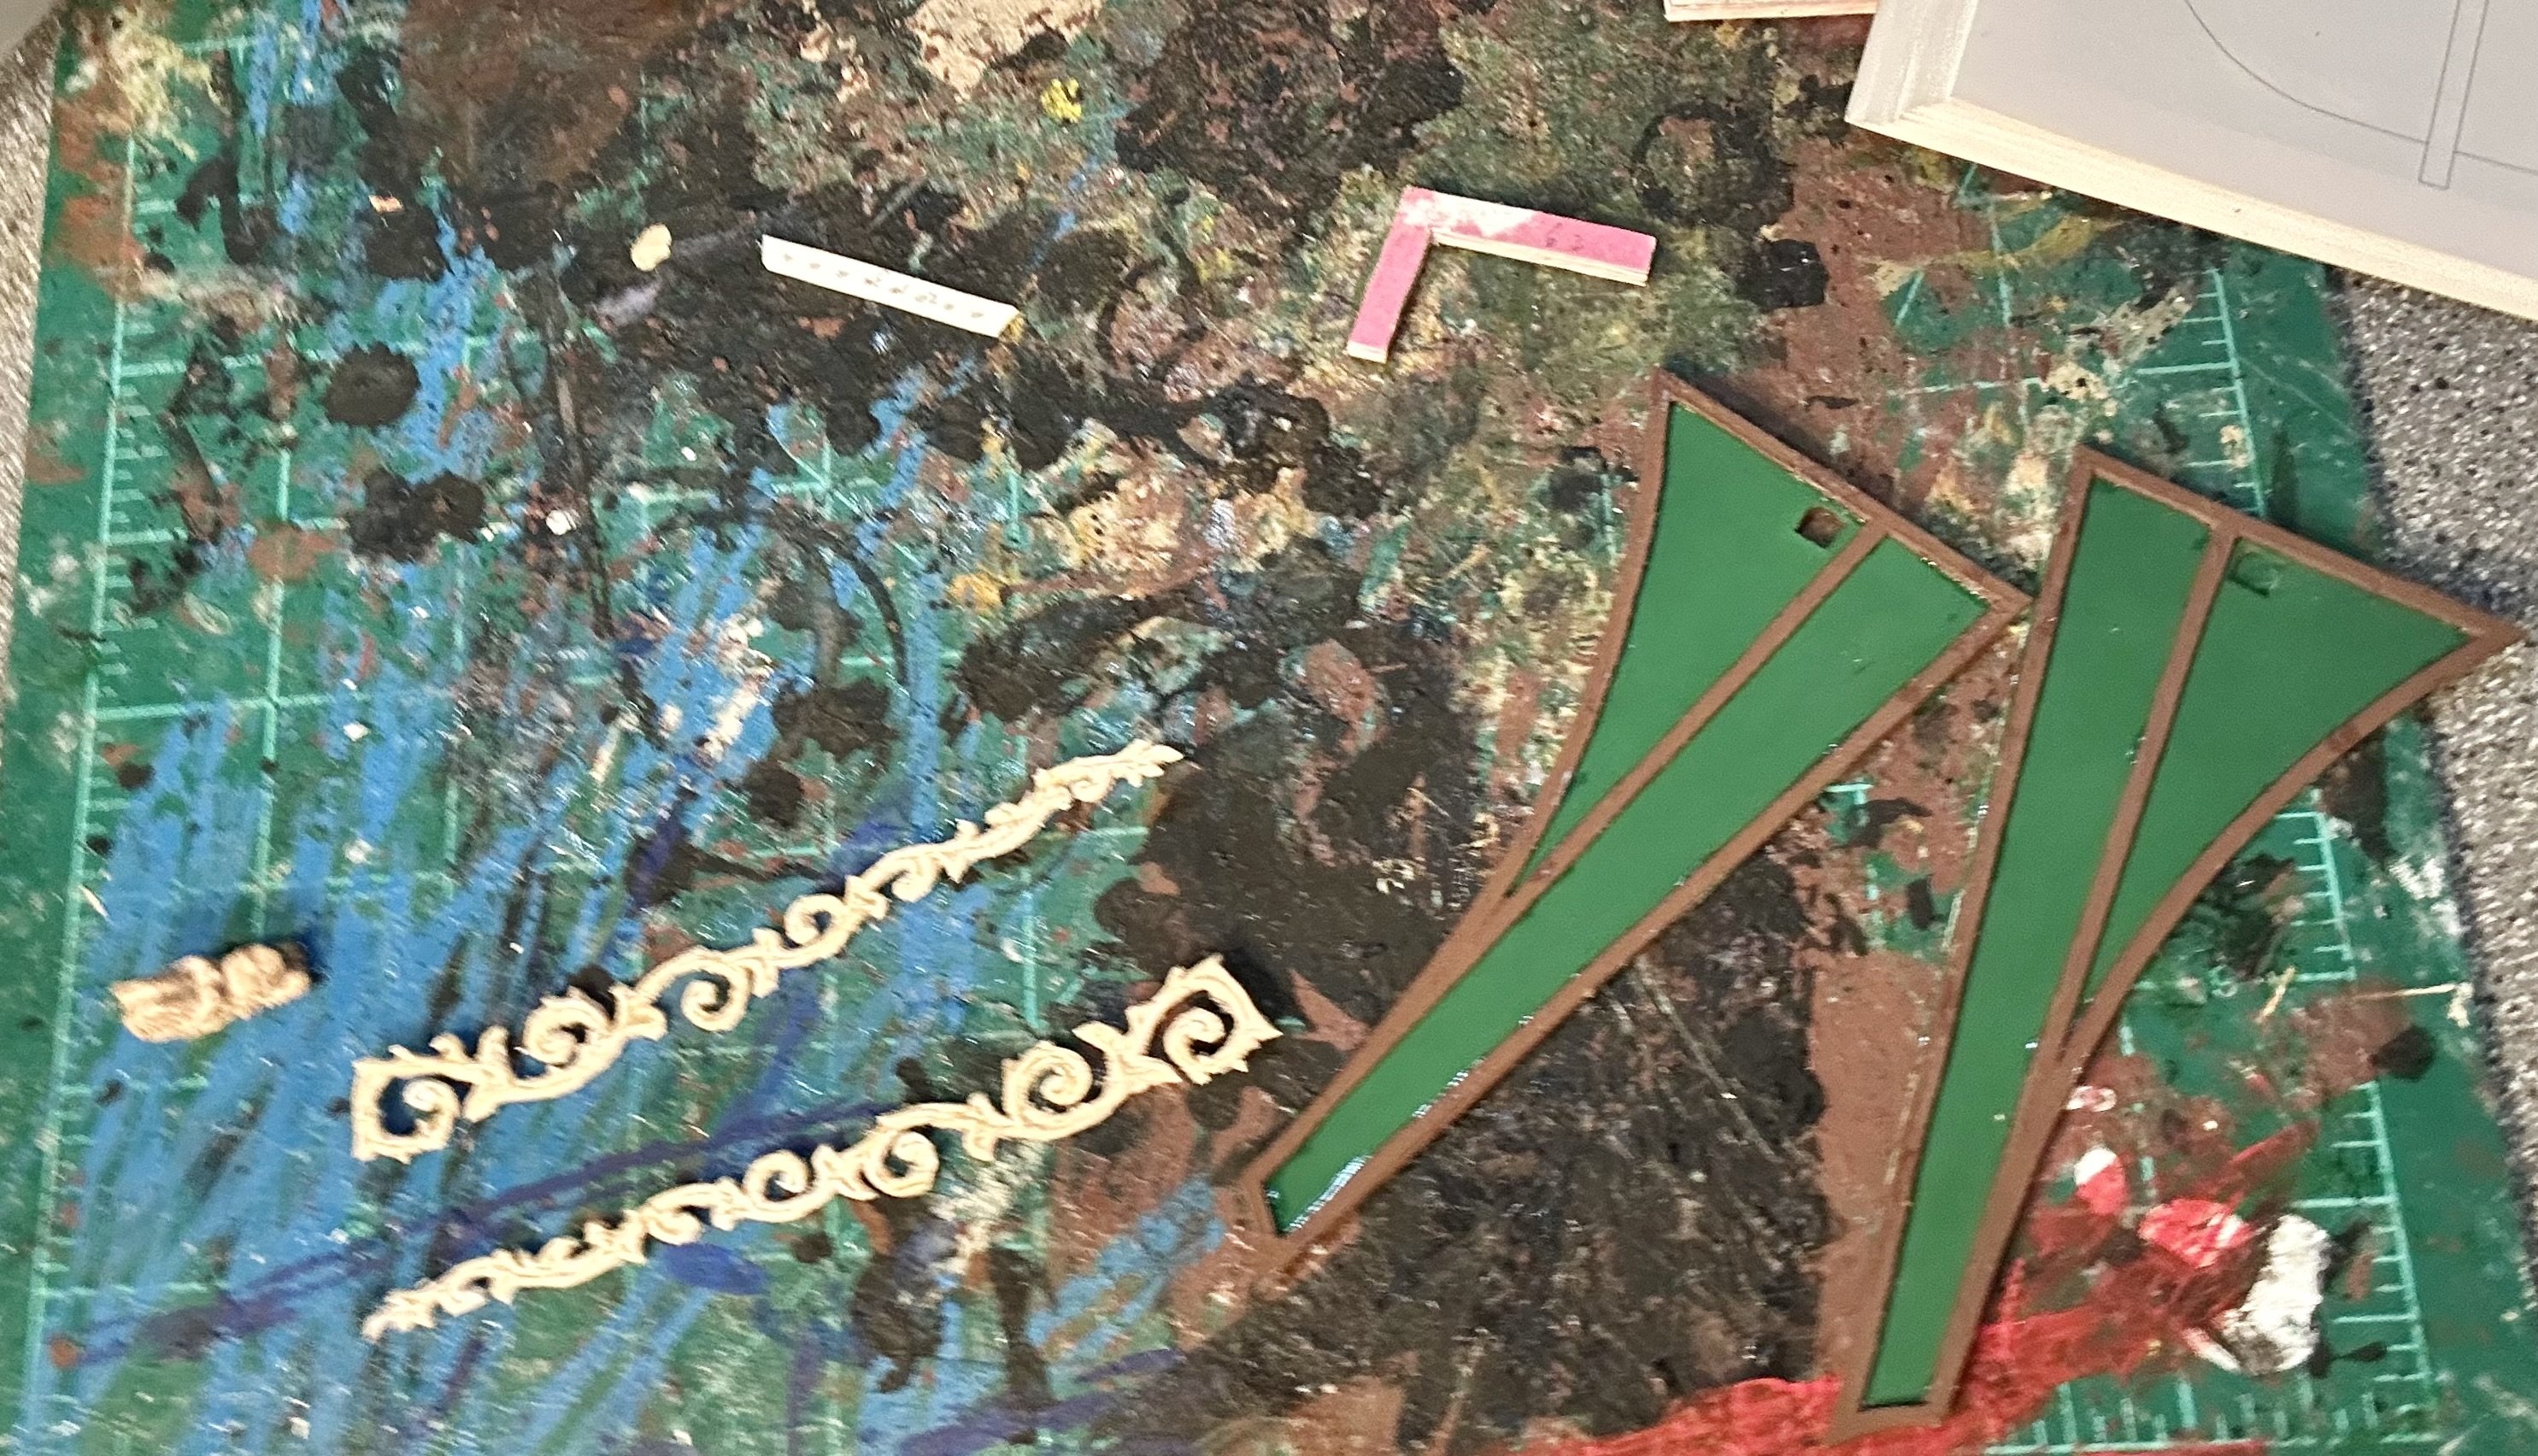
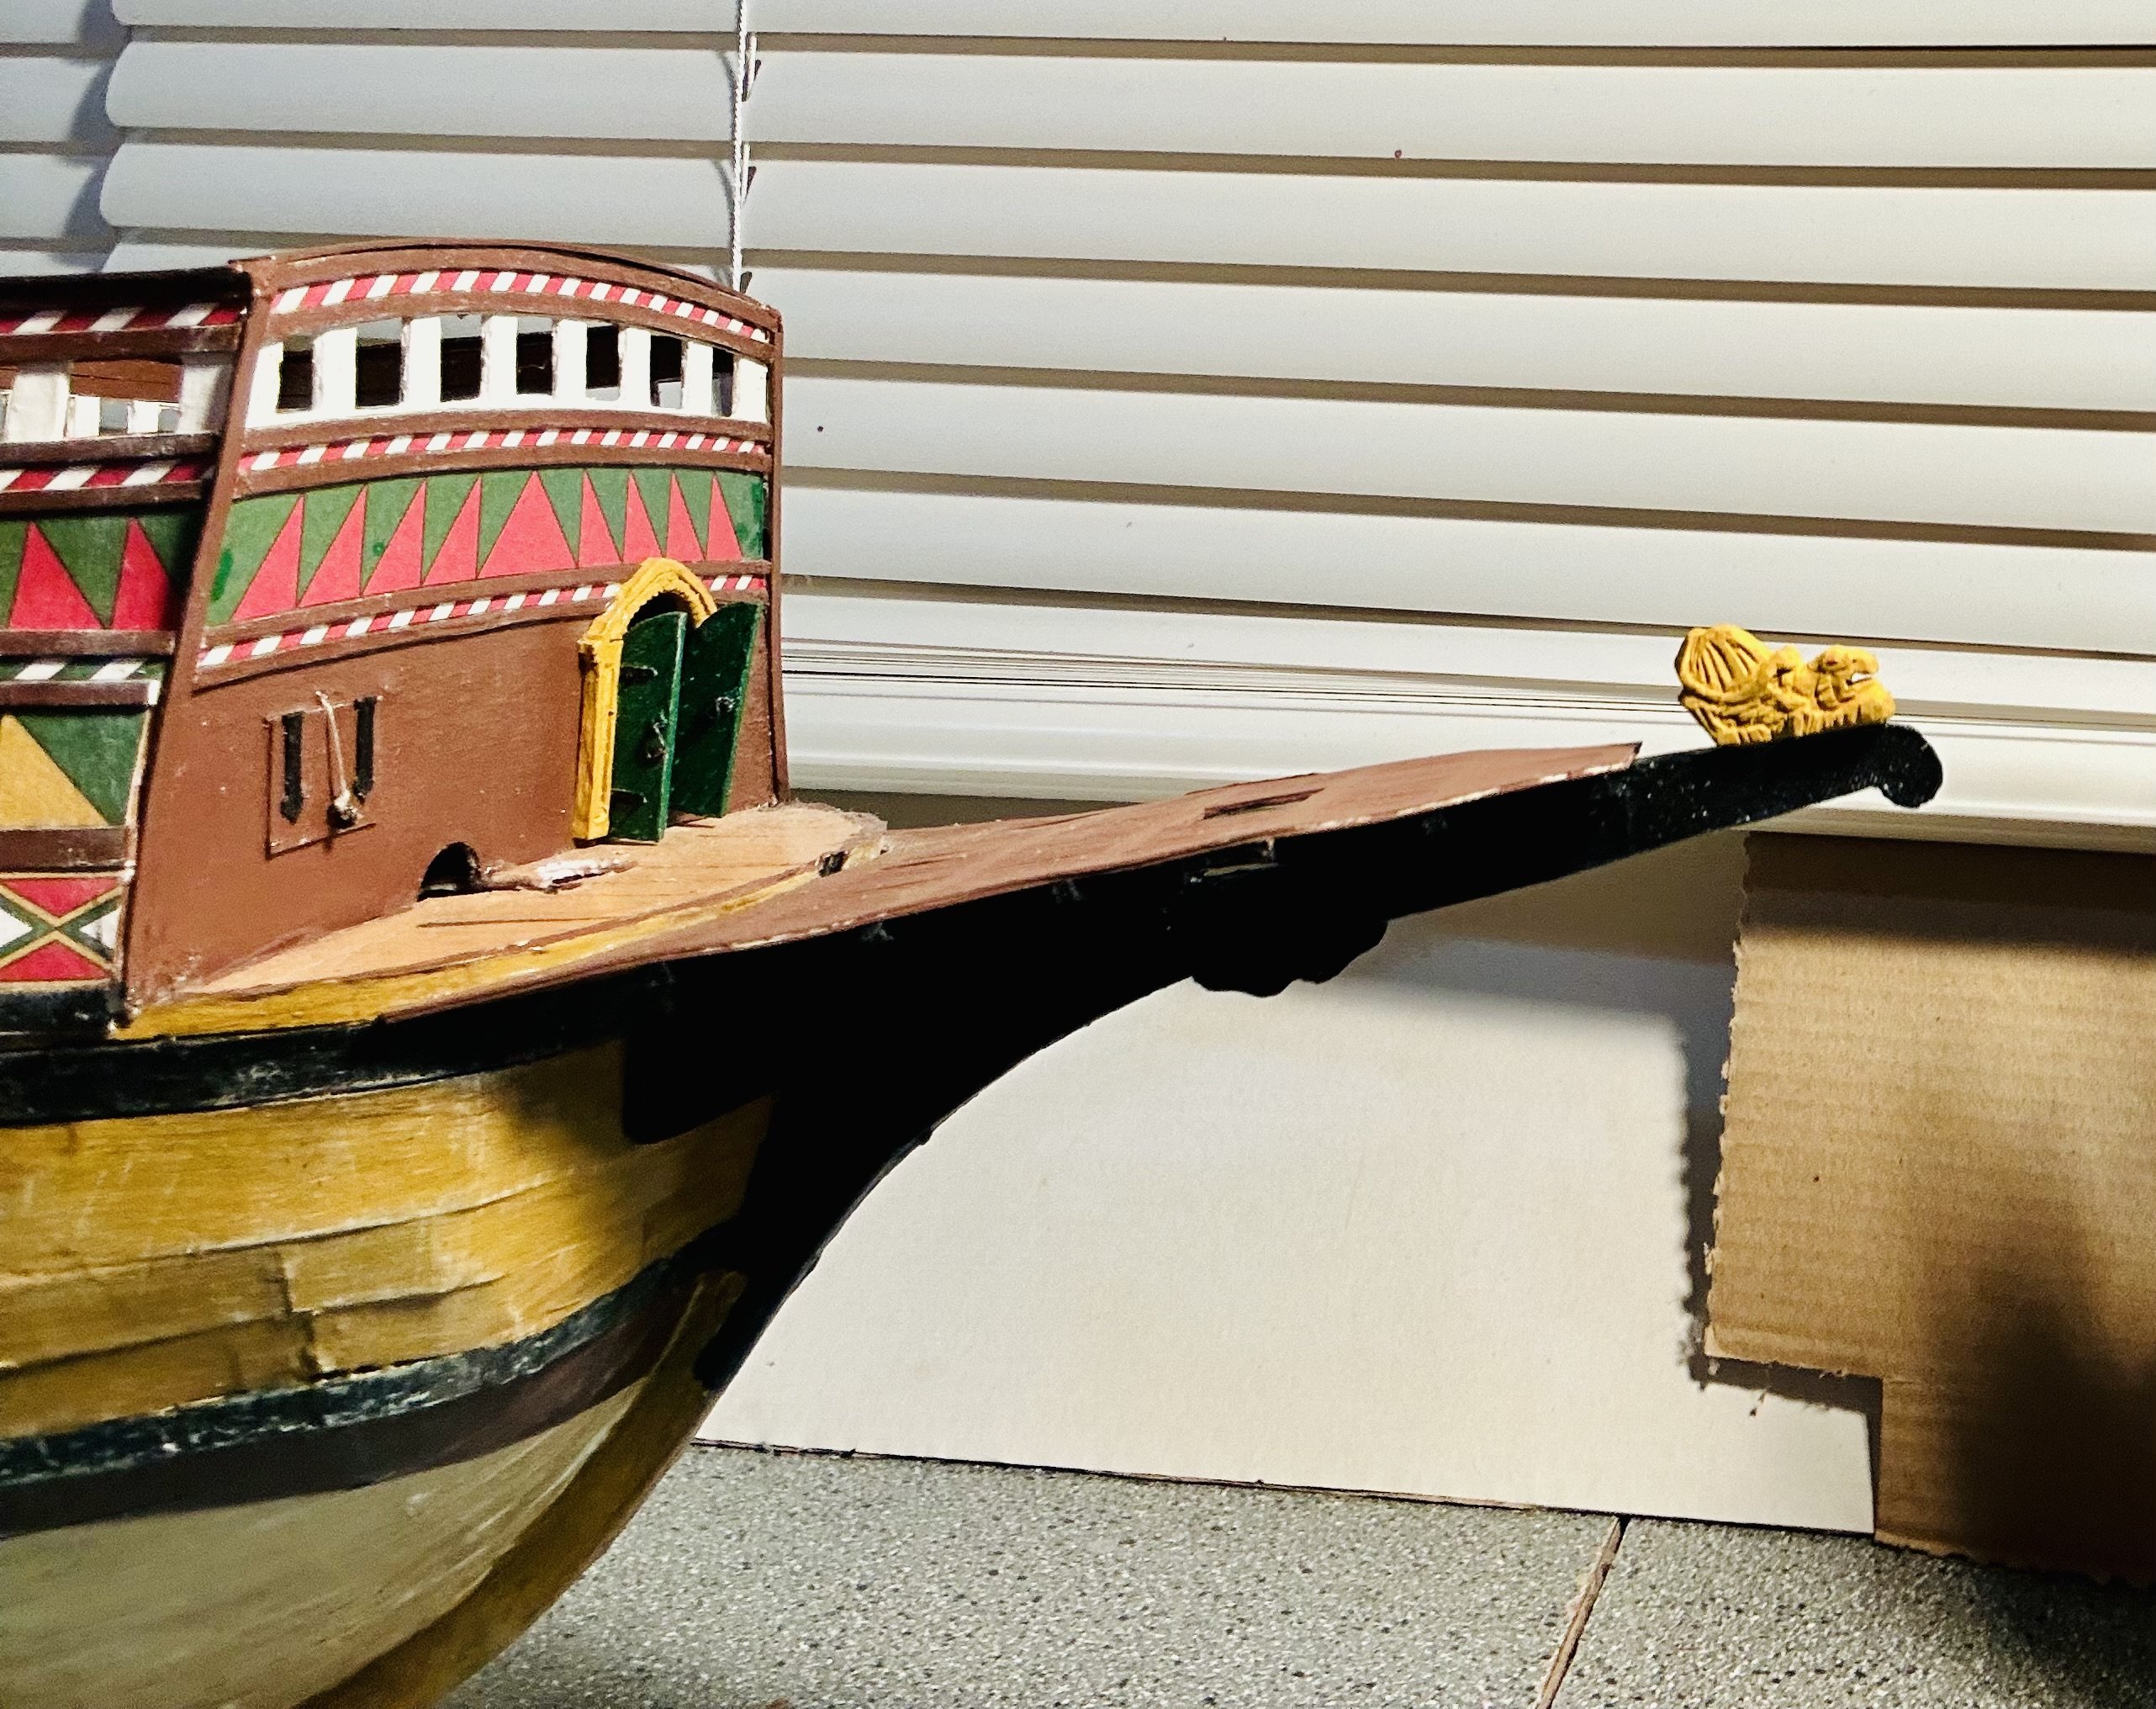
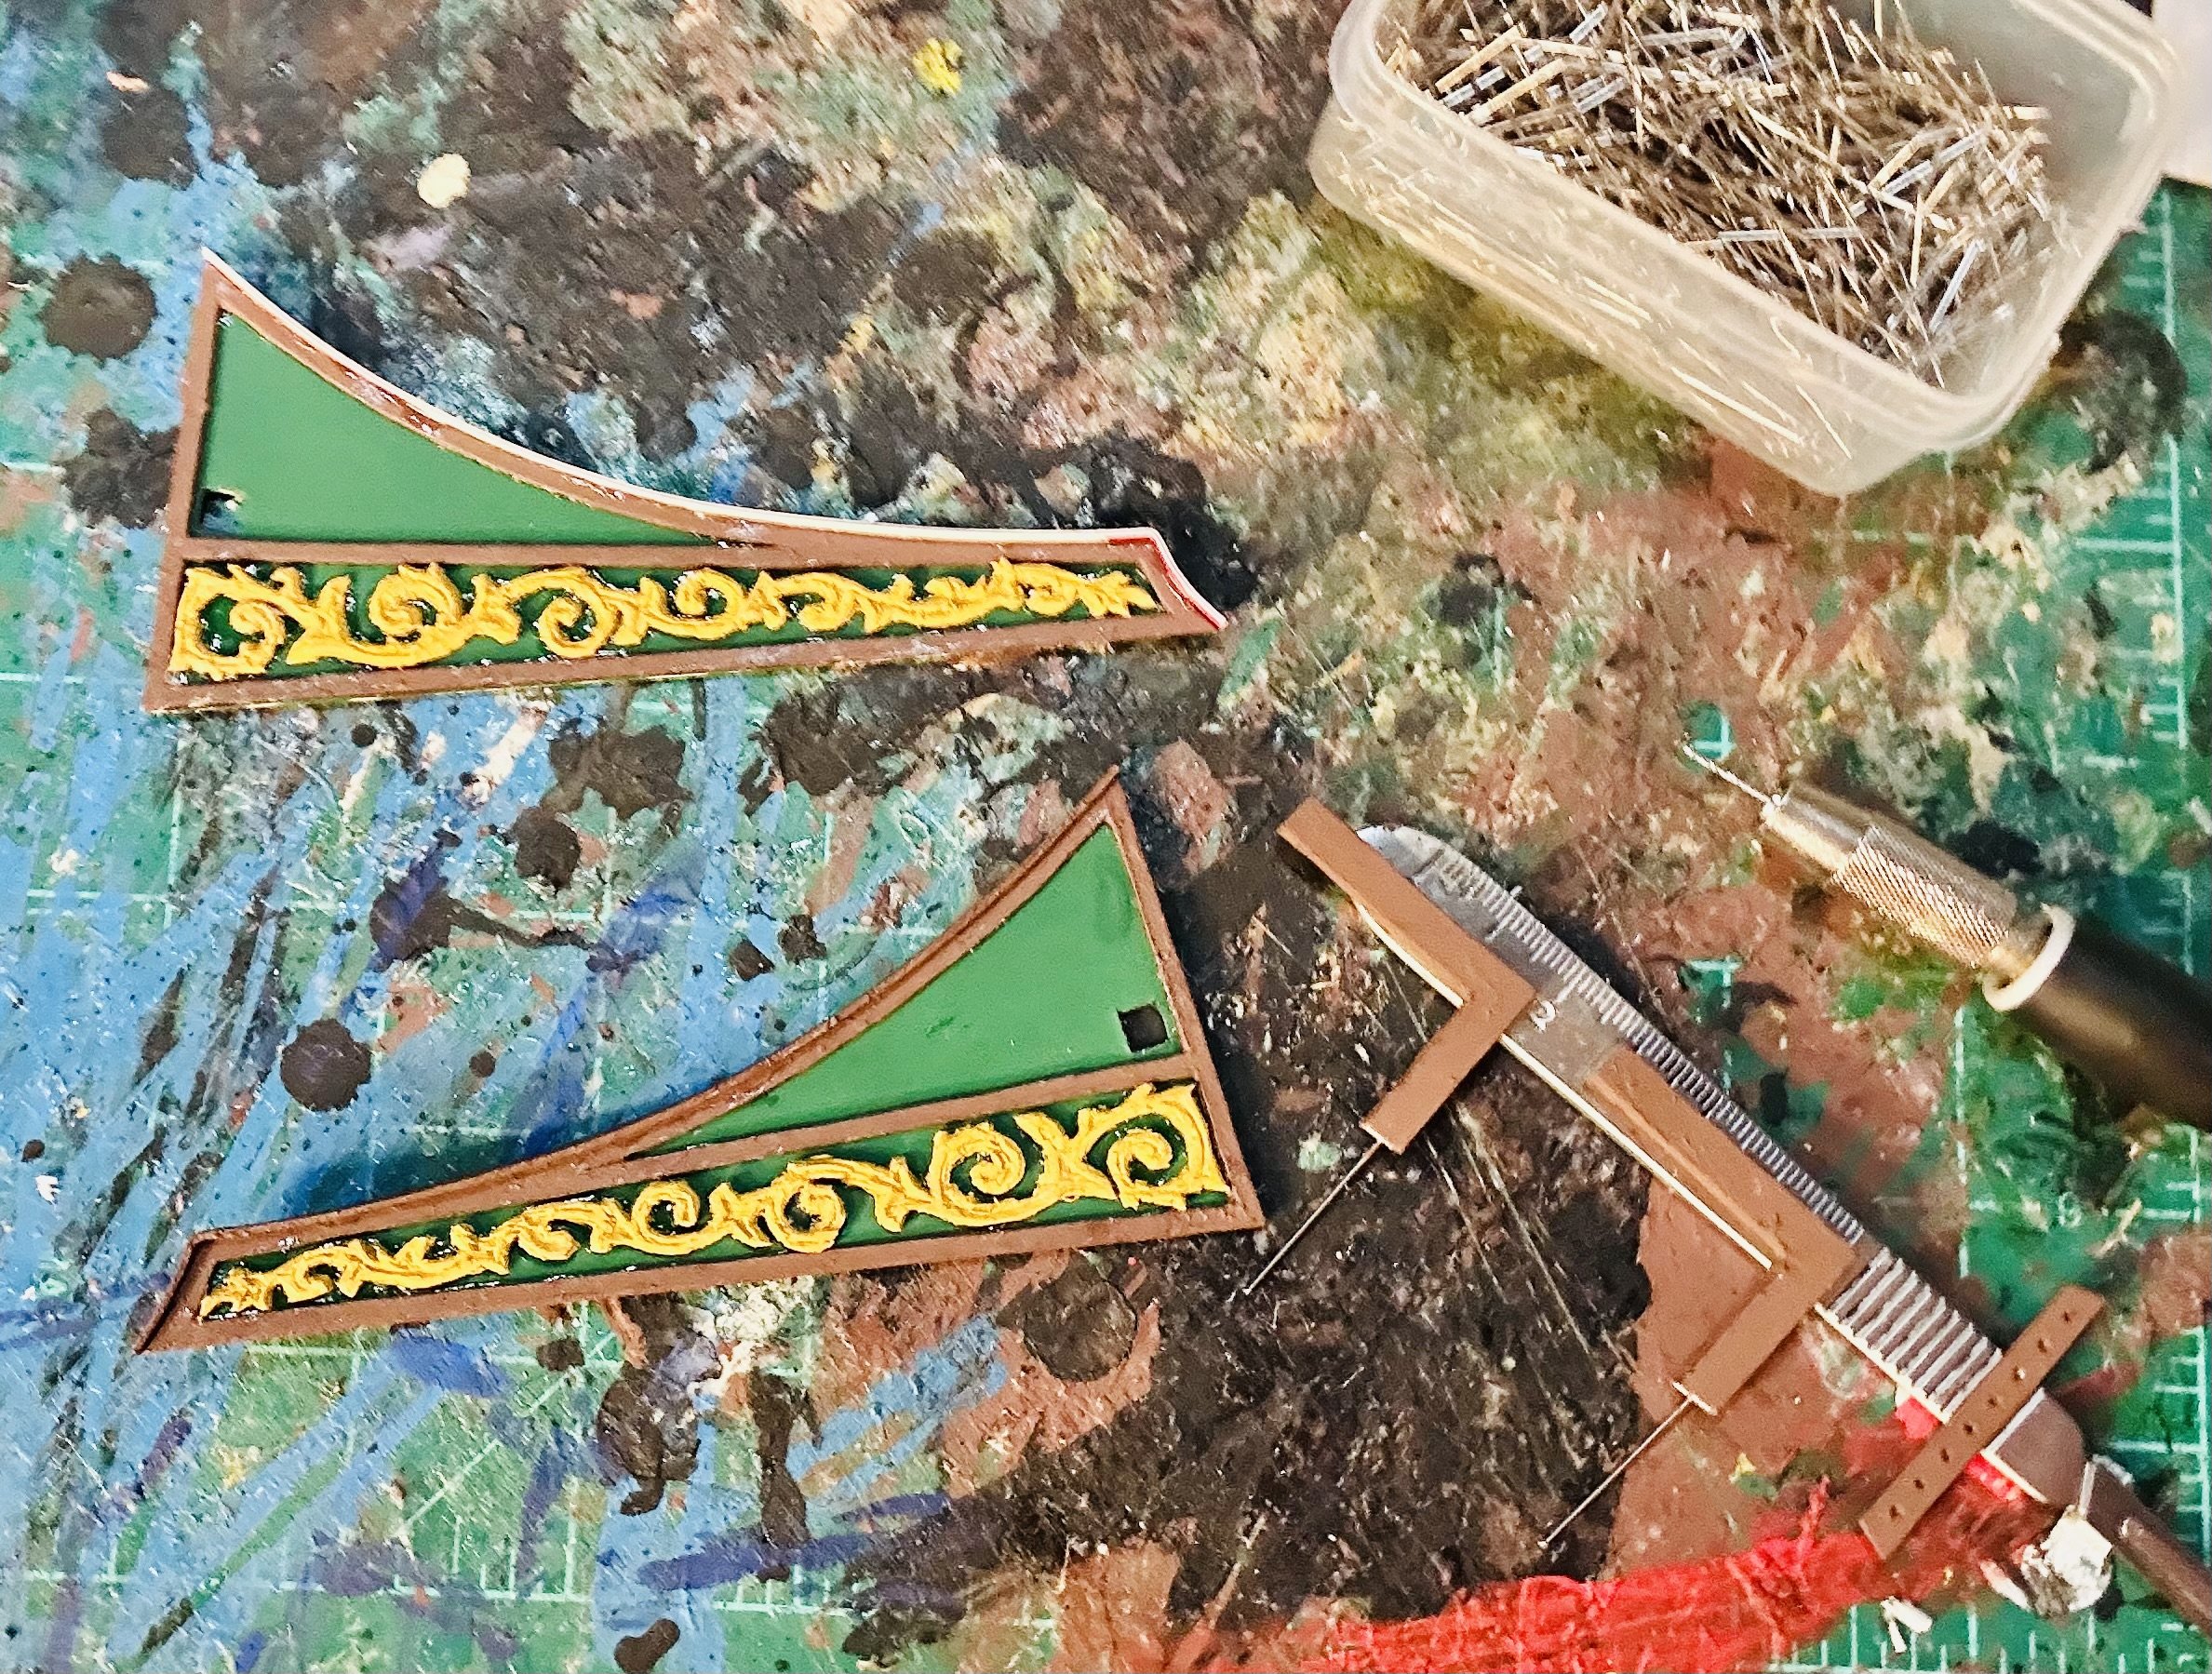
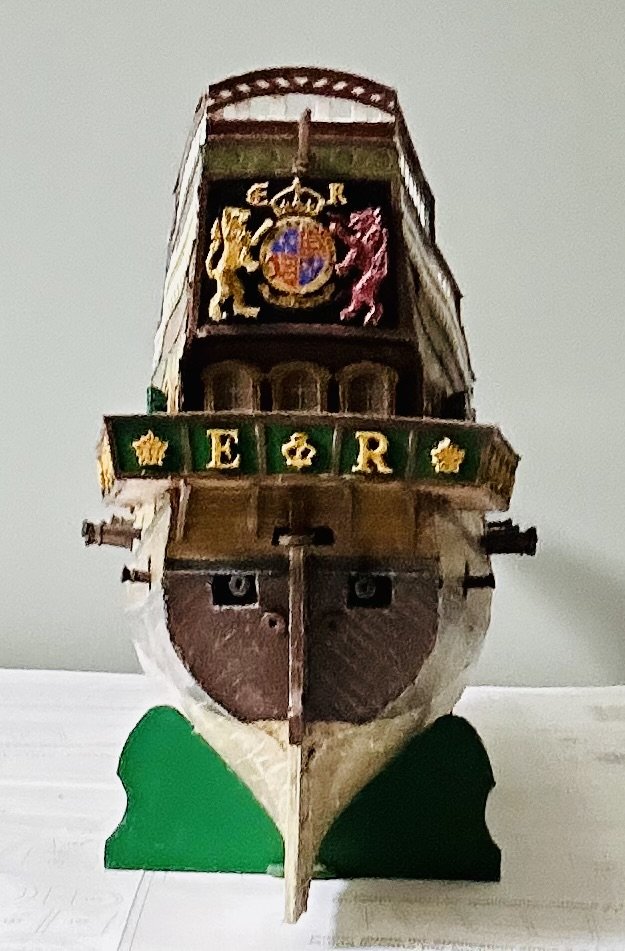
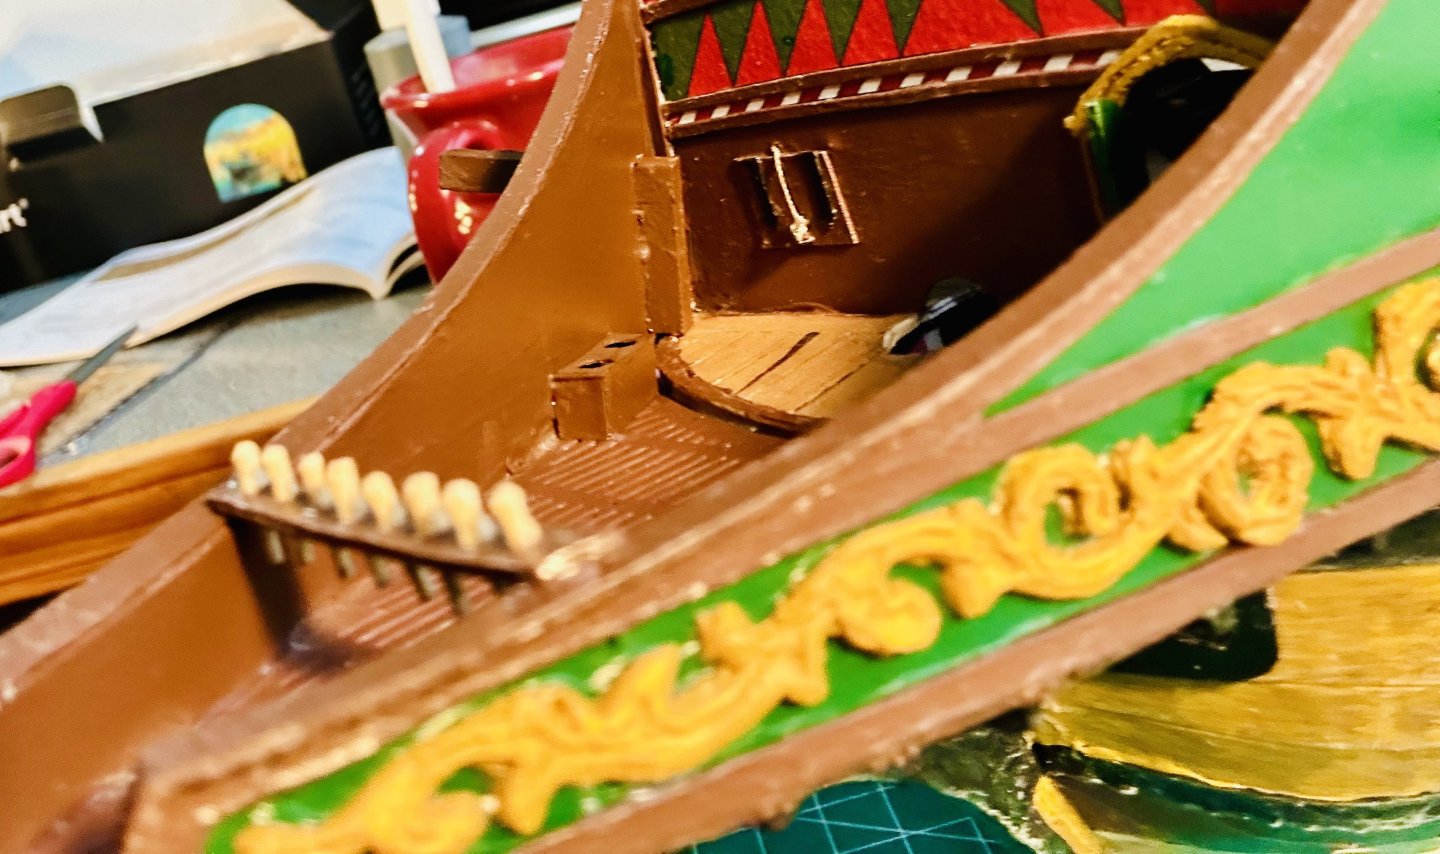
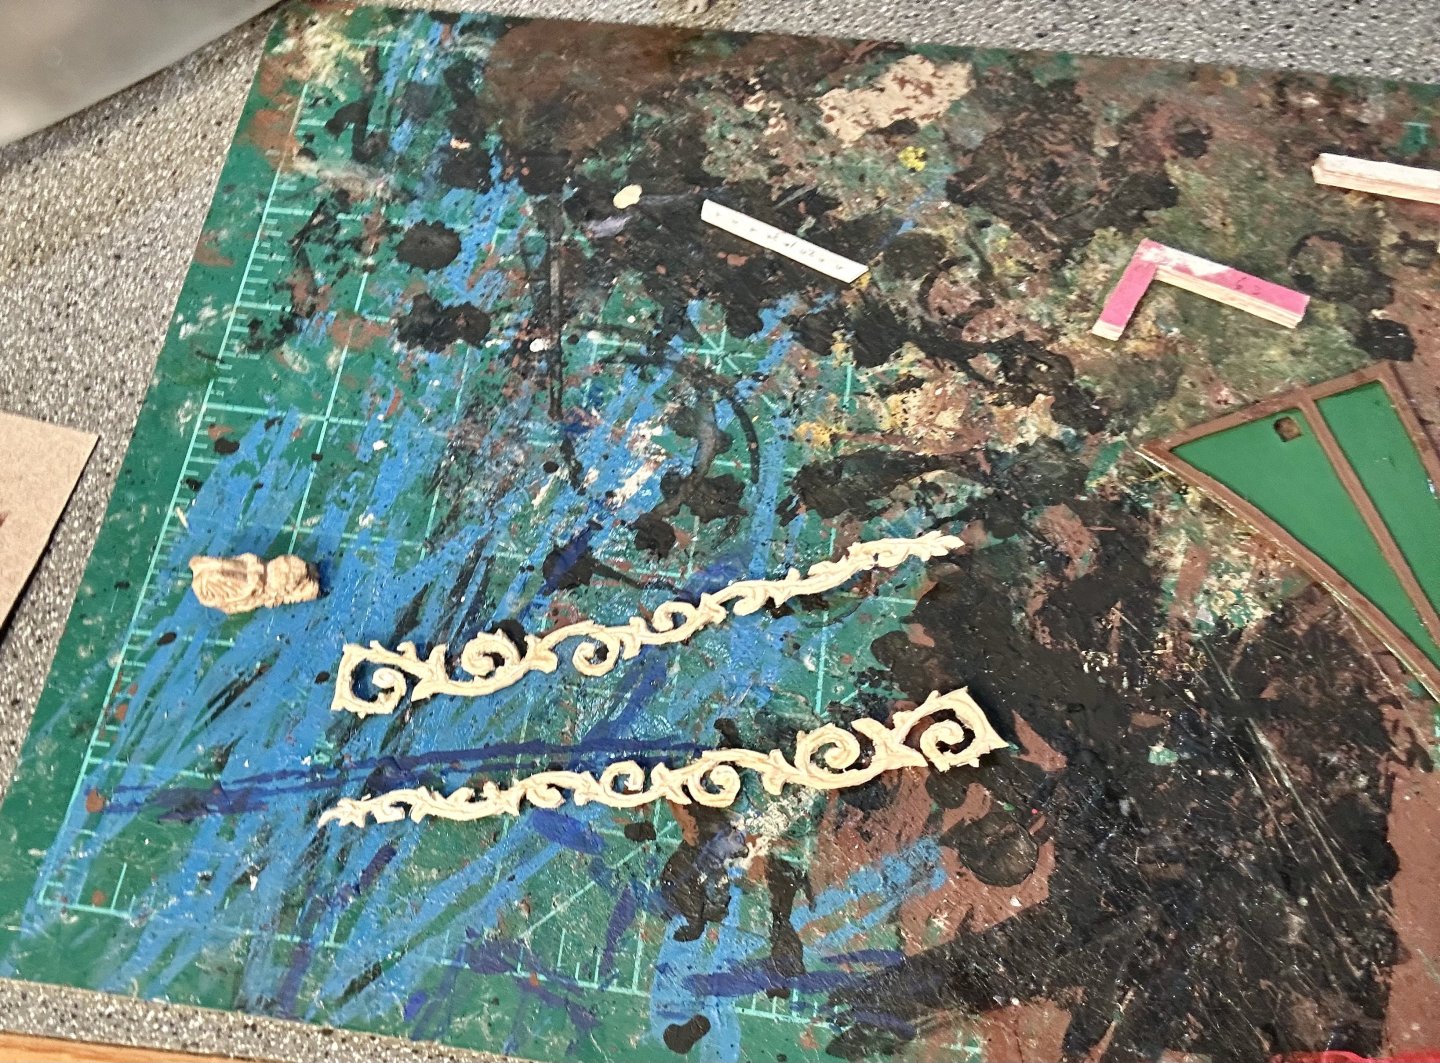
Here are the scrollwork carvings prior to painting: Along with the head side panels. Here are the head side panels nearing completion: And lastly, the figurehead is permanently mounted: Nothing on this model is perfect, but it is good enough. This is my first time building a fully decorated warship from scratch. I’m happy with how it is turning out. This will be wonderful preparation for my de Zeven Provincien.


-
Nicely done!
-
Congratulations! Very nicely done!
-
Revell 1:96 Cutty Sark after-market decals?
GrandpaPhil replied to Terry Lawson's topic in Plastic model kits
The upgrade wooden planked deck that came with my Encore Olympia was self adhesive. It’s still secure thirteen years later. -
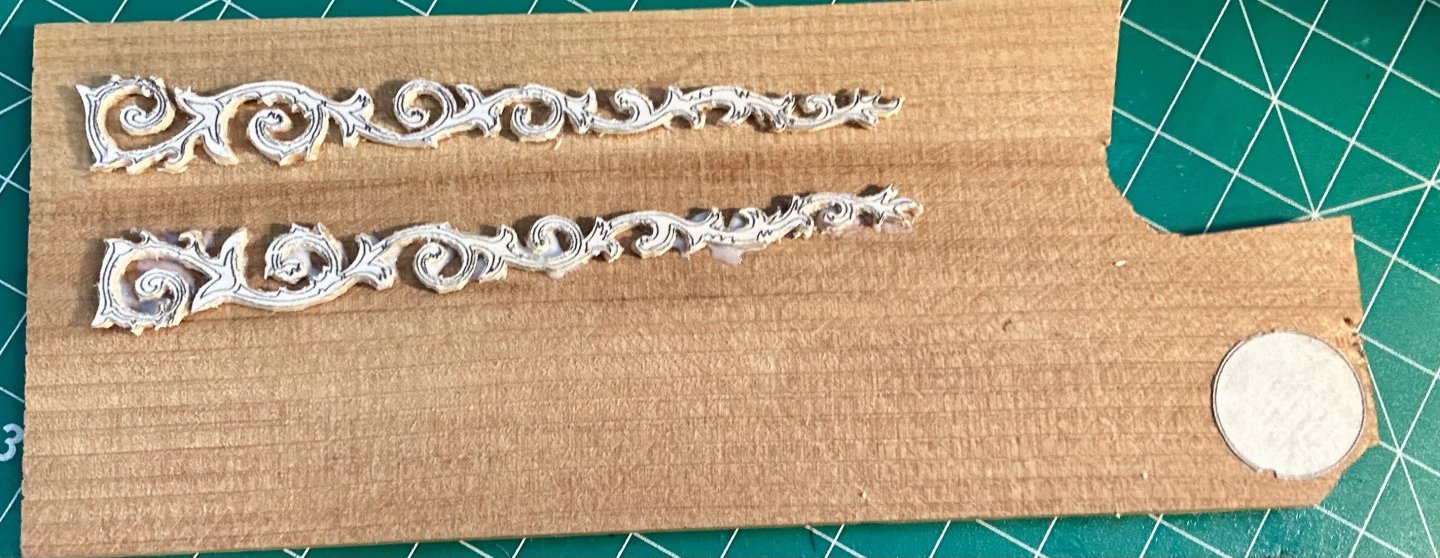
The scrollwork pieces are both cut out and will be ready to carve shortly:
-
Rick, The U-47 looks amazing! Be careful with card models! They are like potato chips, you can’t just have one! Here’s the link to Fenten’s Paper Models out of Germany: https://www.papermodel.com They are shipping to the USA again and have a very extensive selection!
-
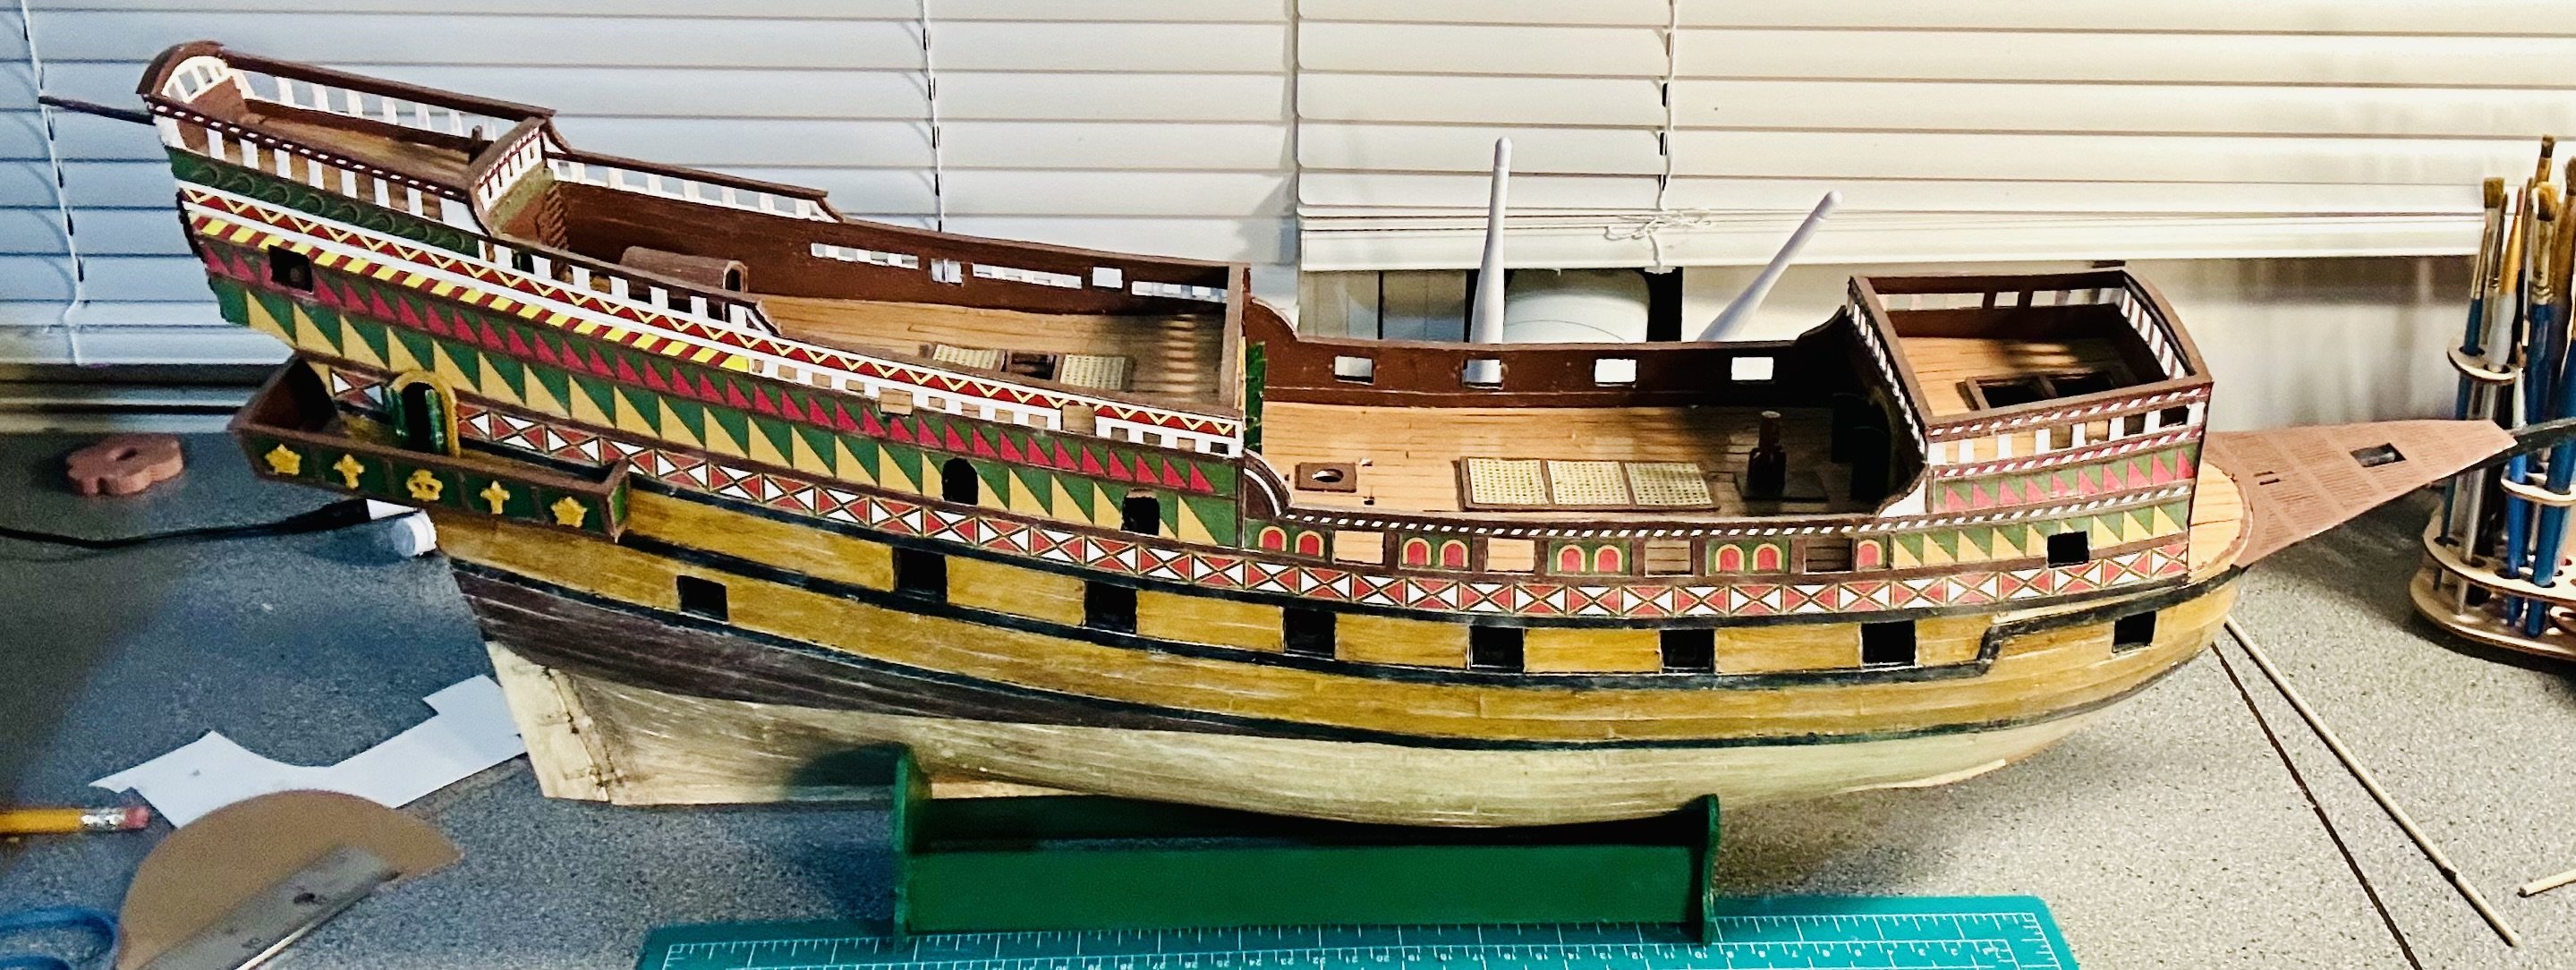
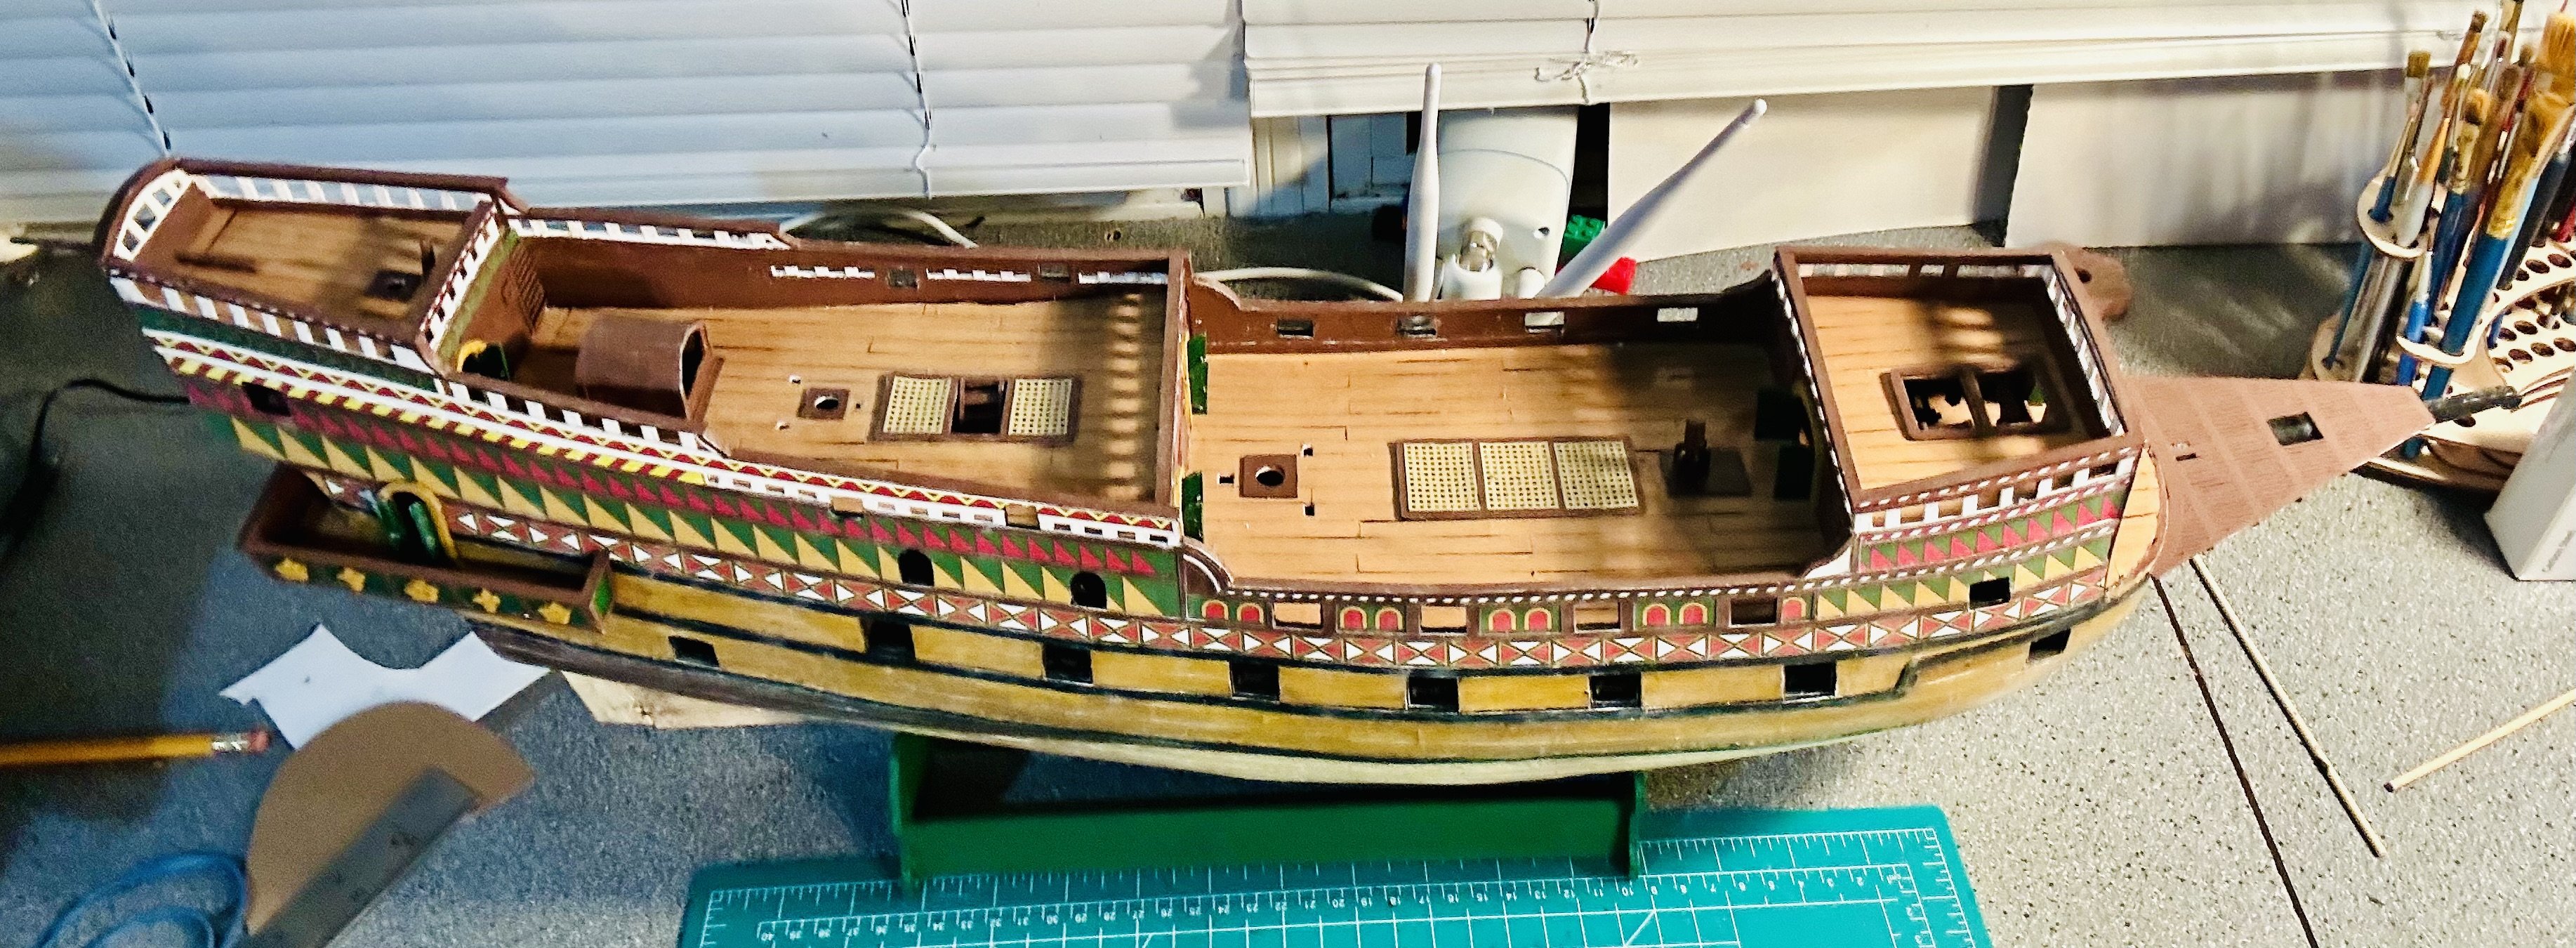
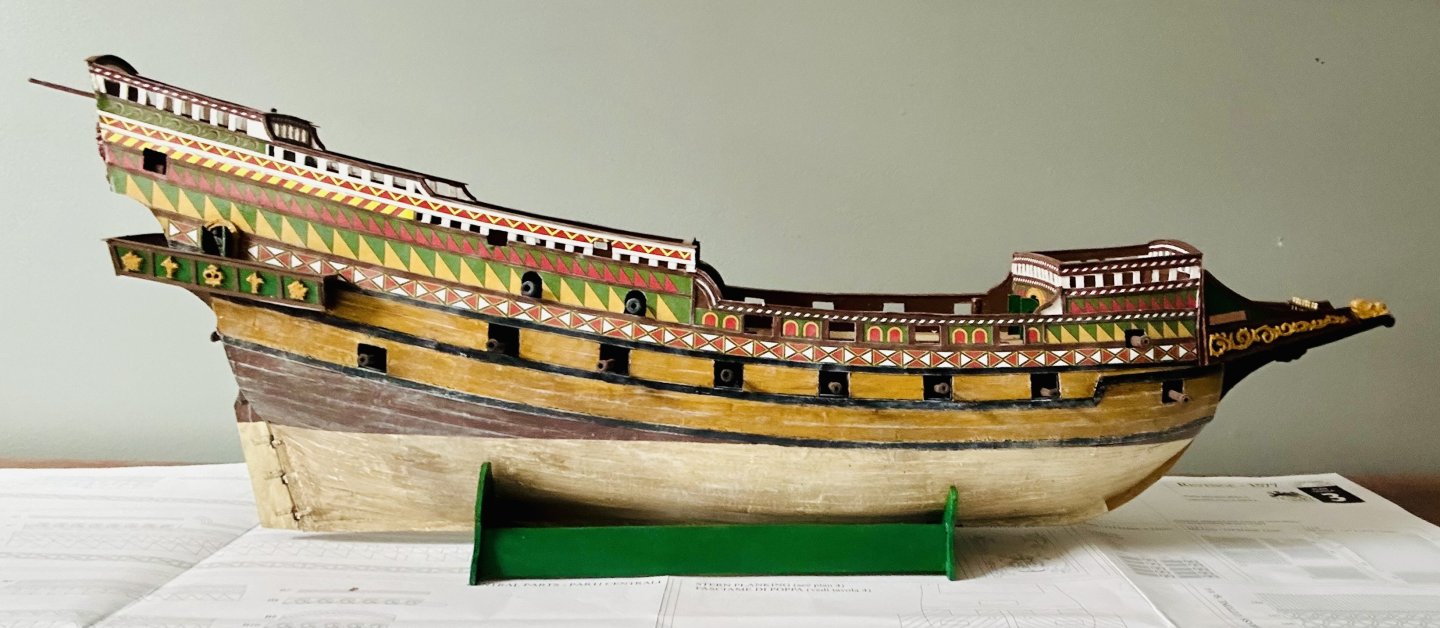
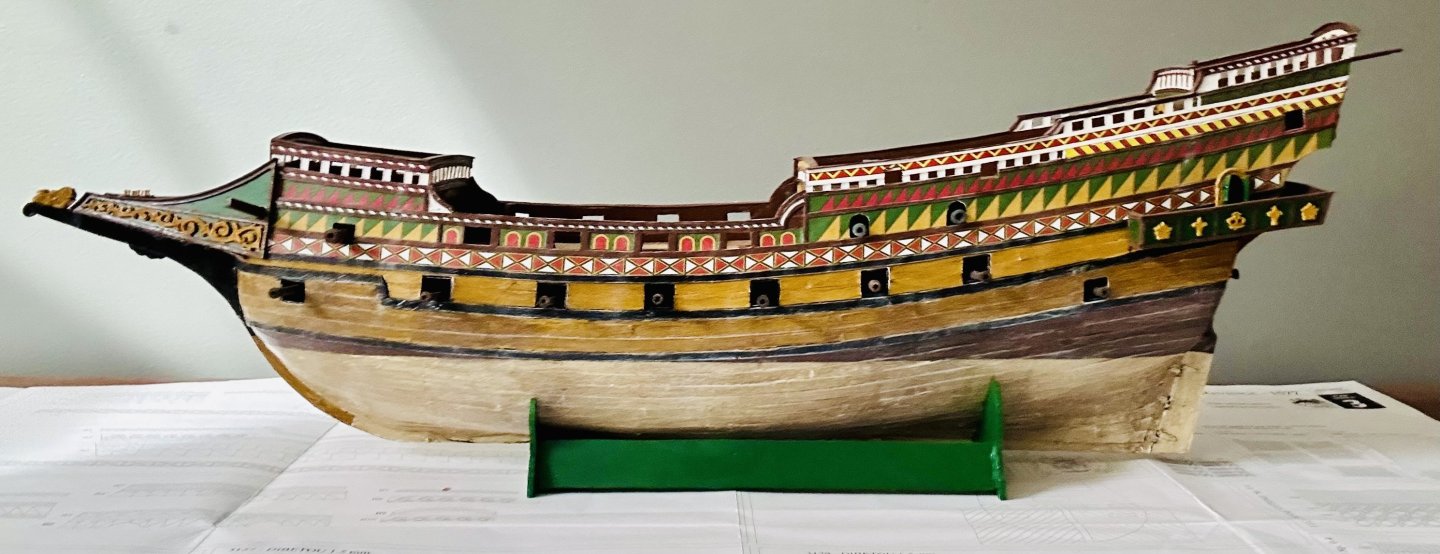
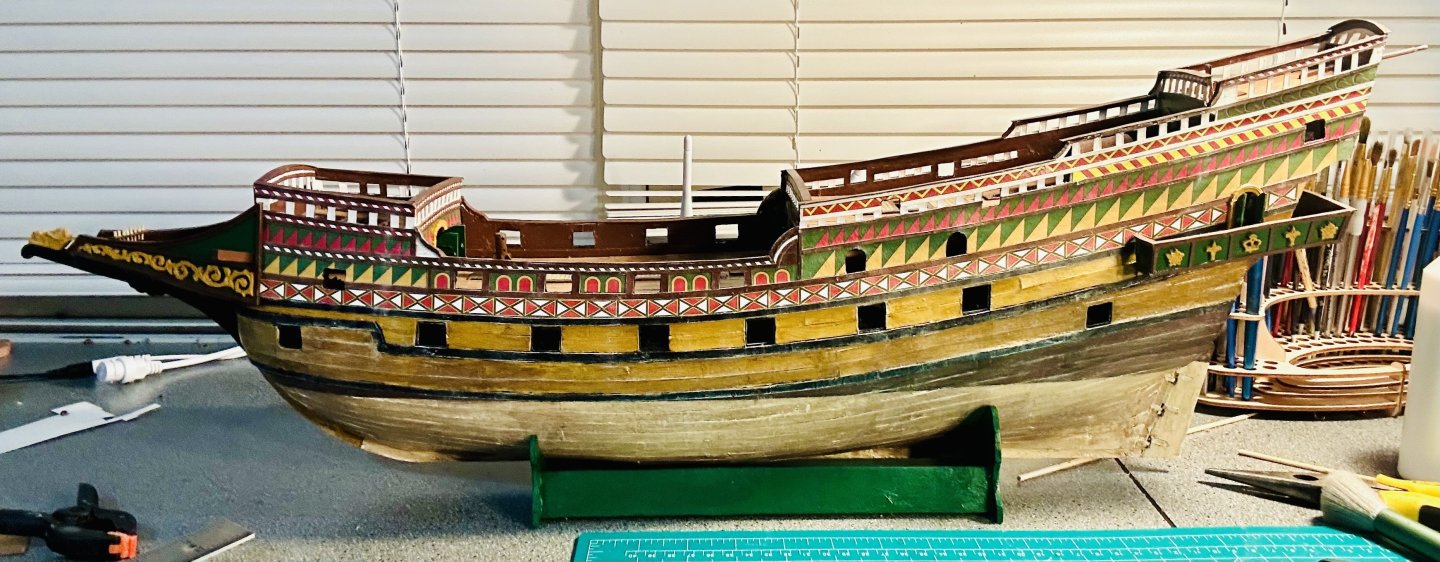
The Revenge is out of Ordinary and back on my workbench: Going through the plans I realized how close I was to finishing this one when I put it away. Time to complete a couple of carvings and finish making a bunch of the parts which would be laser-cut in the Victory Models kit, that I had already prepared for cutting.