GrandpaPhil
-
Posts
6,168 -
Joined
-
Last visited
Content Type
Profiles
Forums
Gallery
Events
Everything posted by GrandpaPhil
-
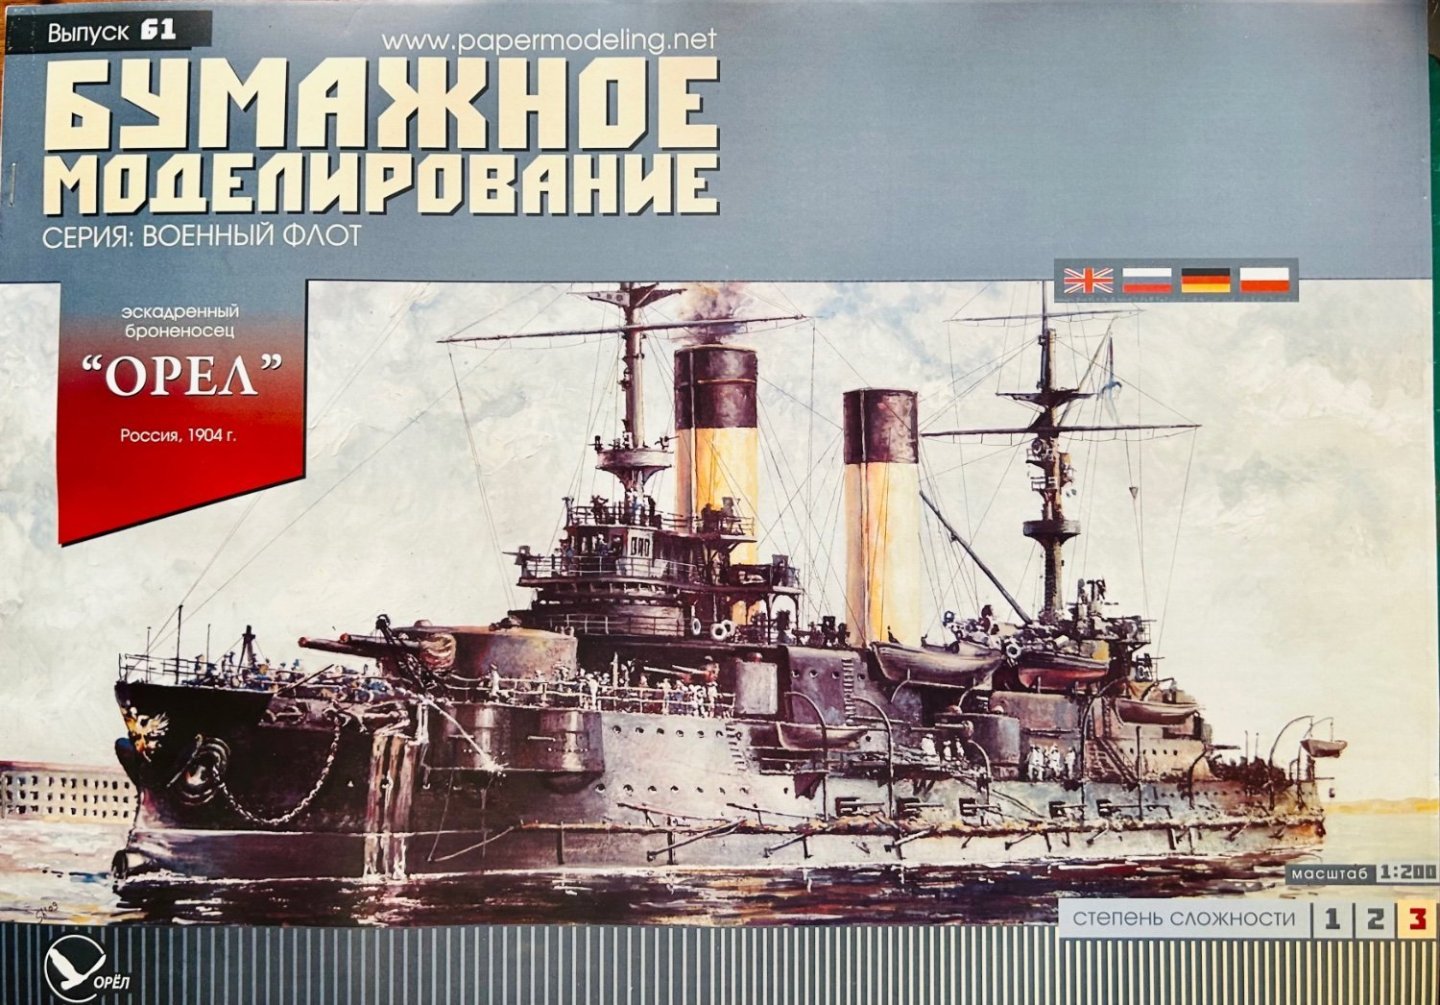
The Admiral and I have a curio cabinet that we display my smaller ships in. The Admiral asked me to build something that complements my Encore USS Olympia which sits by itself on the second shelf. That means another pre-dreadnought, of which I have several sitting in my stash. The Oryol will fit quite nicely on that shelf with the Olympia, even with a stand, and complement the Olympia perfectly. The Oryol was a Borodino-Class Imperial Russian first-rate battleship launched in 1902. She stood 397 feet long and is of French design. The Japanese captured the Oryol in 1905. This will be a neat build.
- 288 replies
-
- 10
-

-
- Card
- Pre-Dreadnought
- (and 3 more)
-
Very nicely done!
-
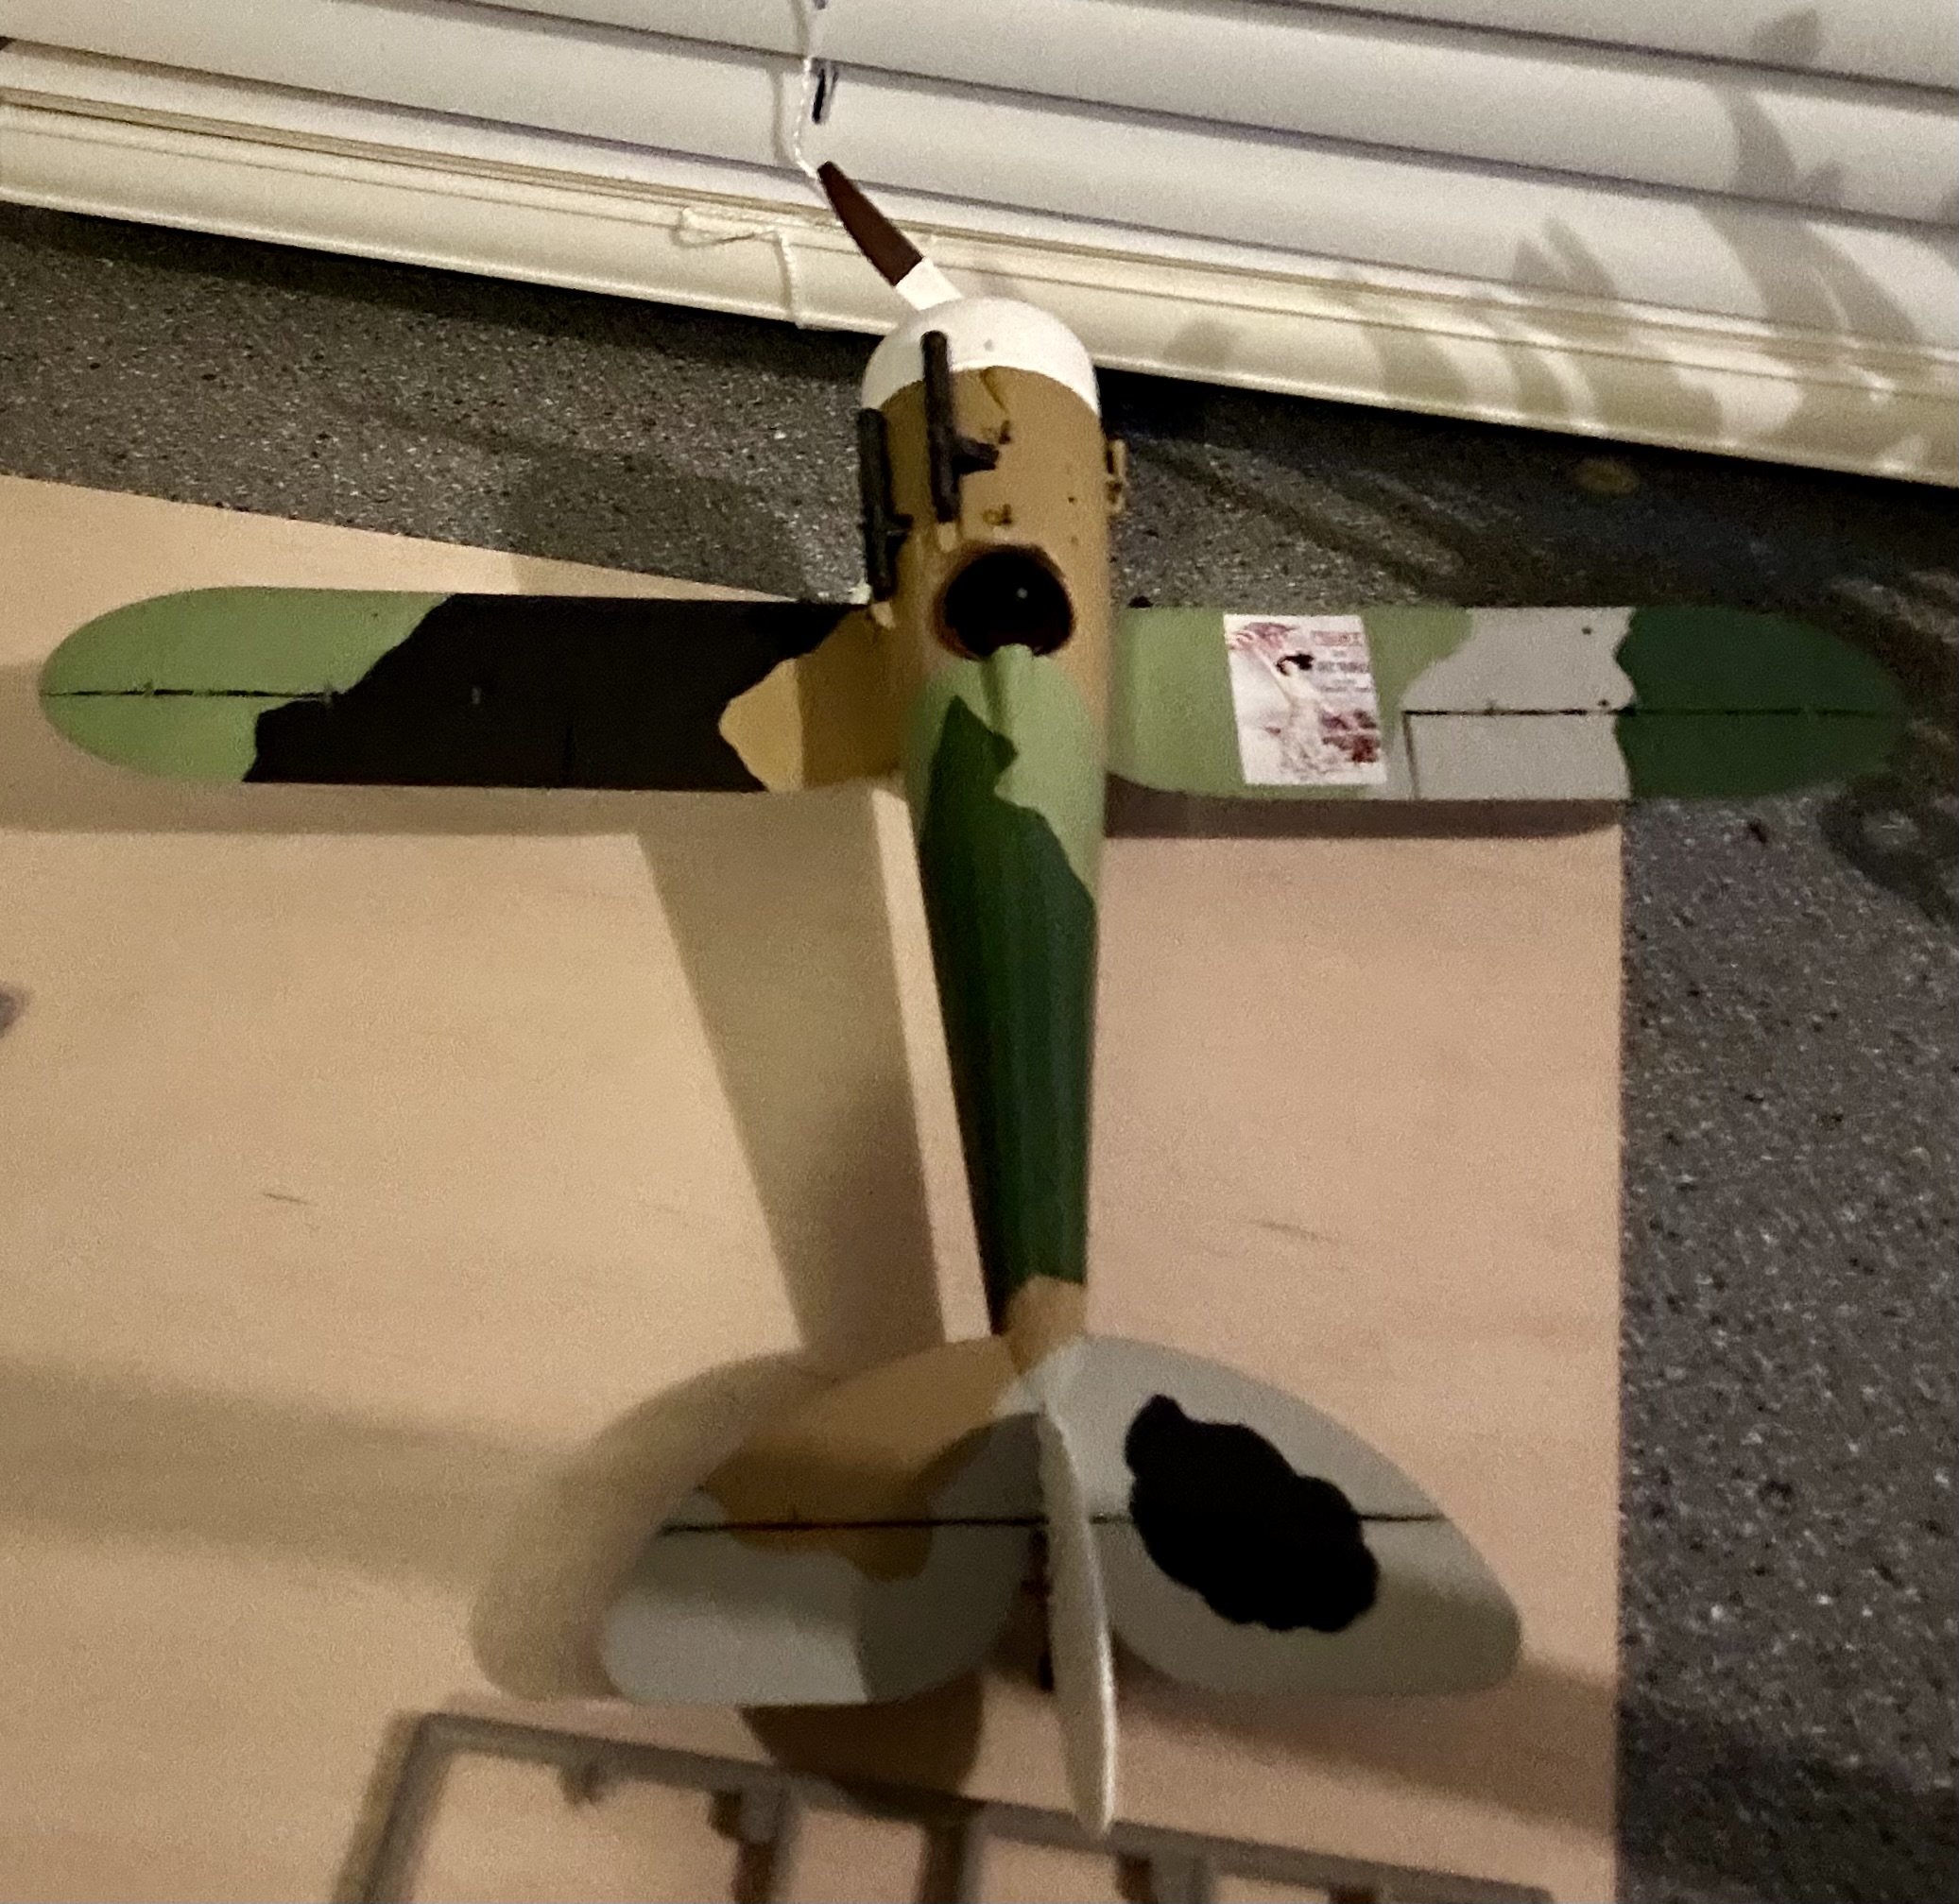
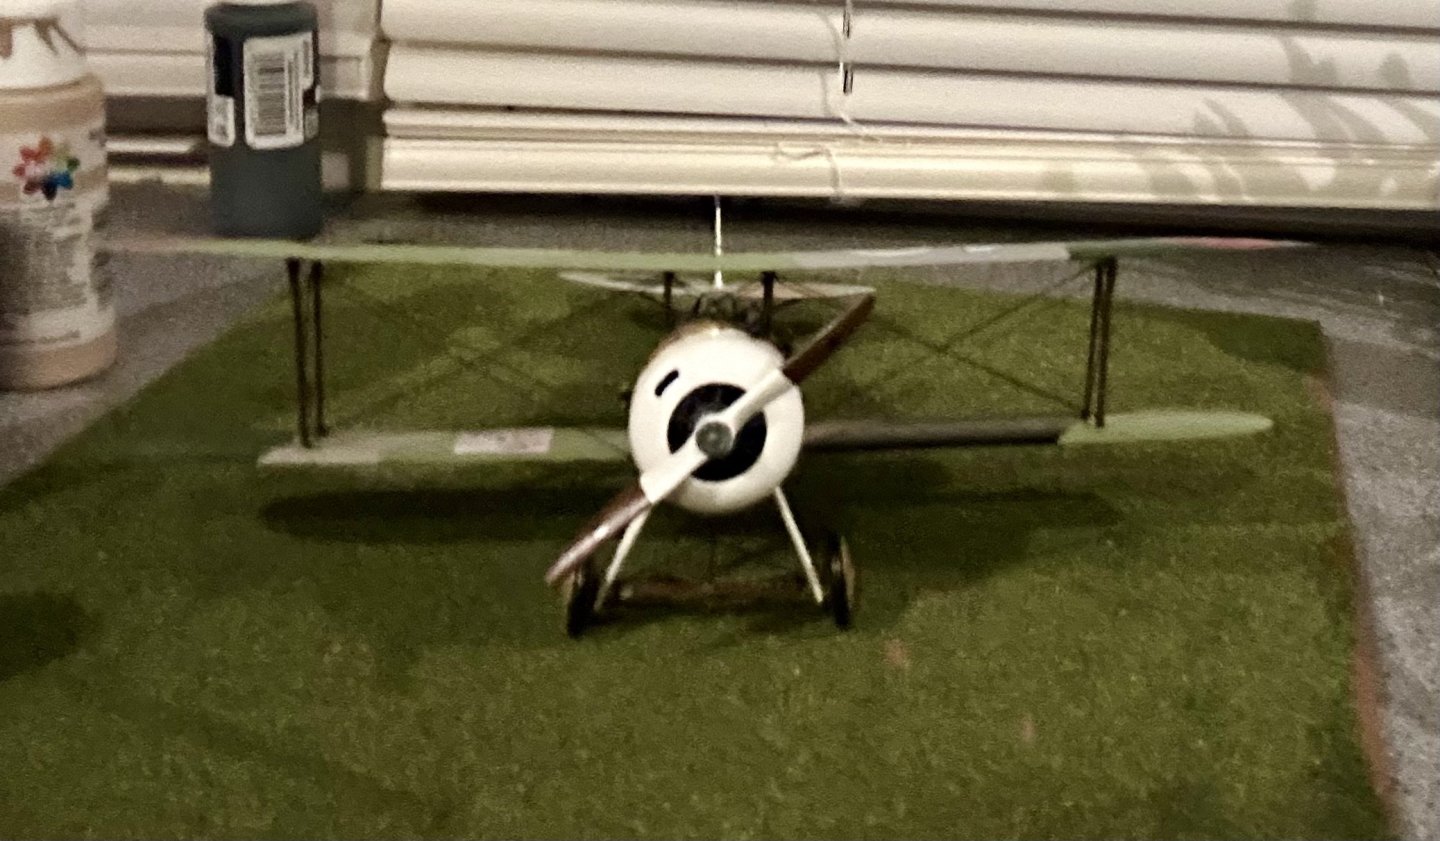
The plane itself and the base are done: I treated the rigging exactly like stays on a warship. I used cotton thread treated with beeswax. I might get EZ line later on to try out, especially with the number of early 20th century warships that I have sitting in my stash. Now, to wait on my Eddie Rickenbacker figure to finish the diorama.

- 37 replies
-
- 11
-
-
Carving failed, I just ordered that one. Thank you very much, OC!
-
Model Shipways USF Essex Plans - $5.99?
GrandpaPhil replied to Wawona59's topic in Wood ship model kits
I bought them too. I think the bulkhead tracings as drawn on the plans are suspect, so I would cross check them with the line drawings before trying to use them. Conversely, the plans have the original line plans in scale, so it may be worthwhile to design your own bulkheads.- 1 reply
-
- 1
-
-
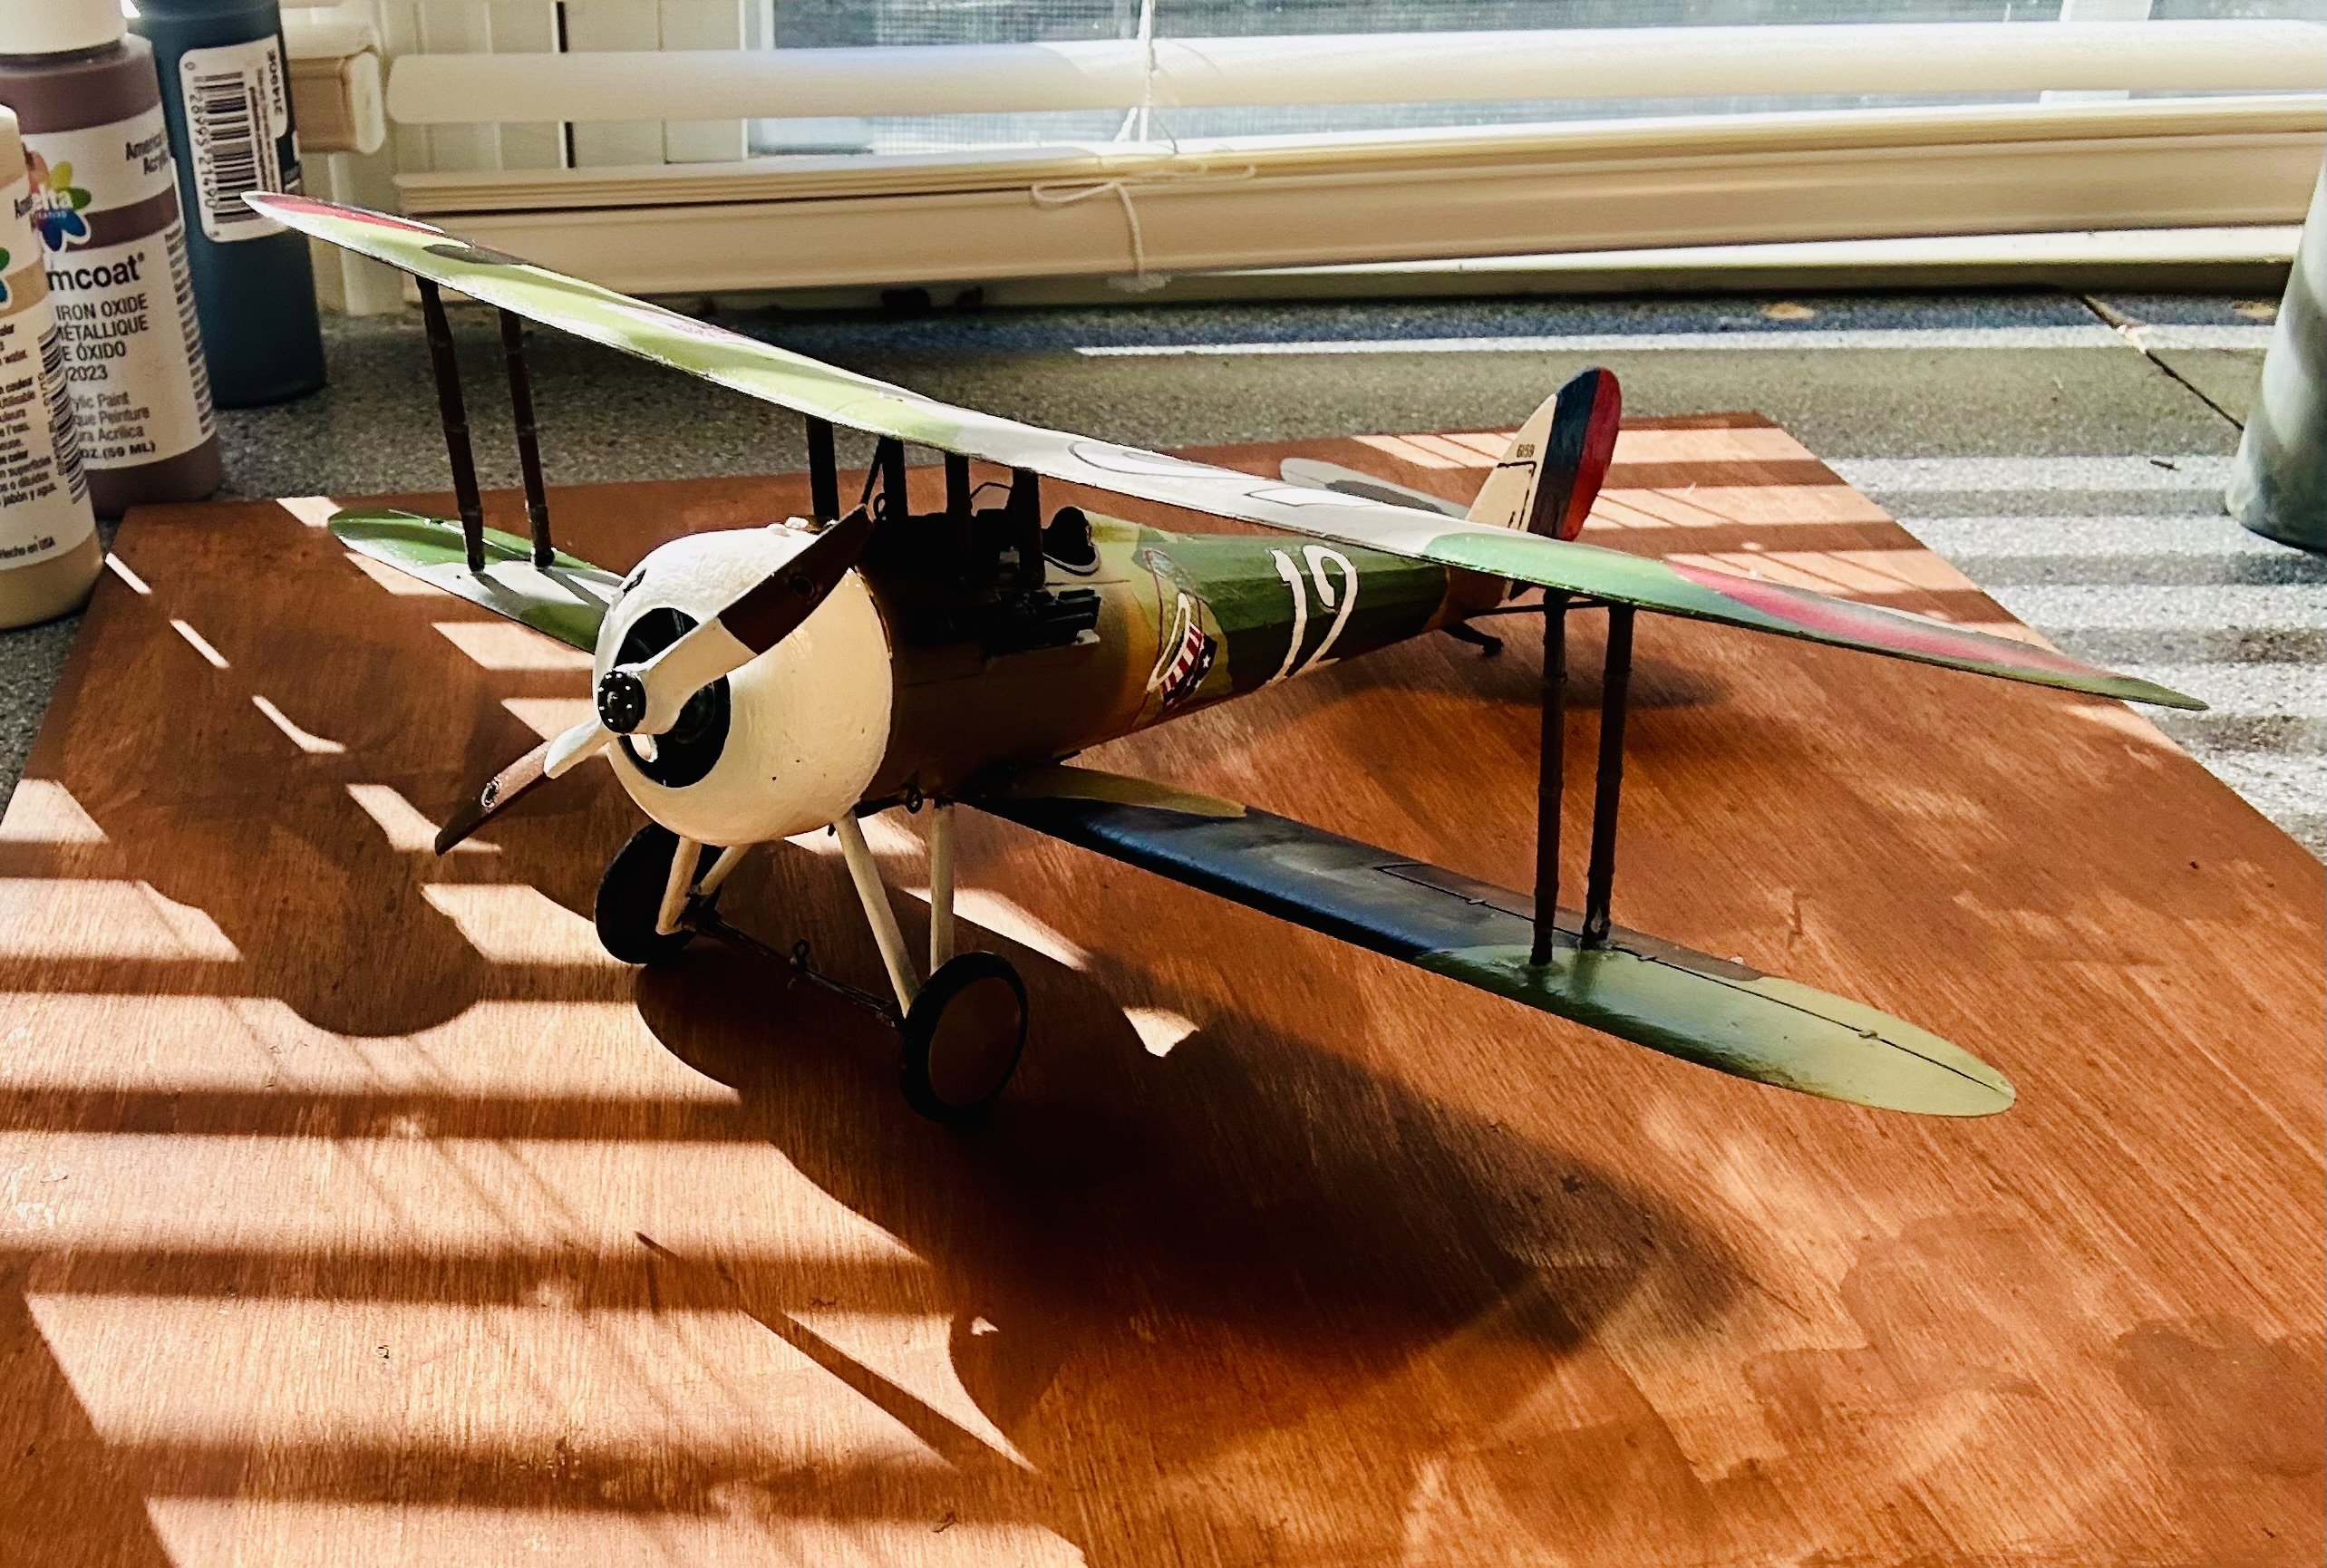
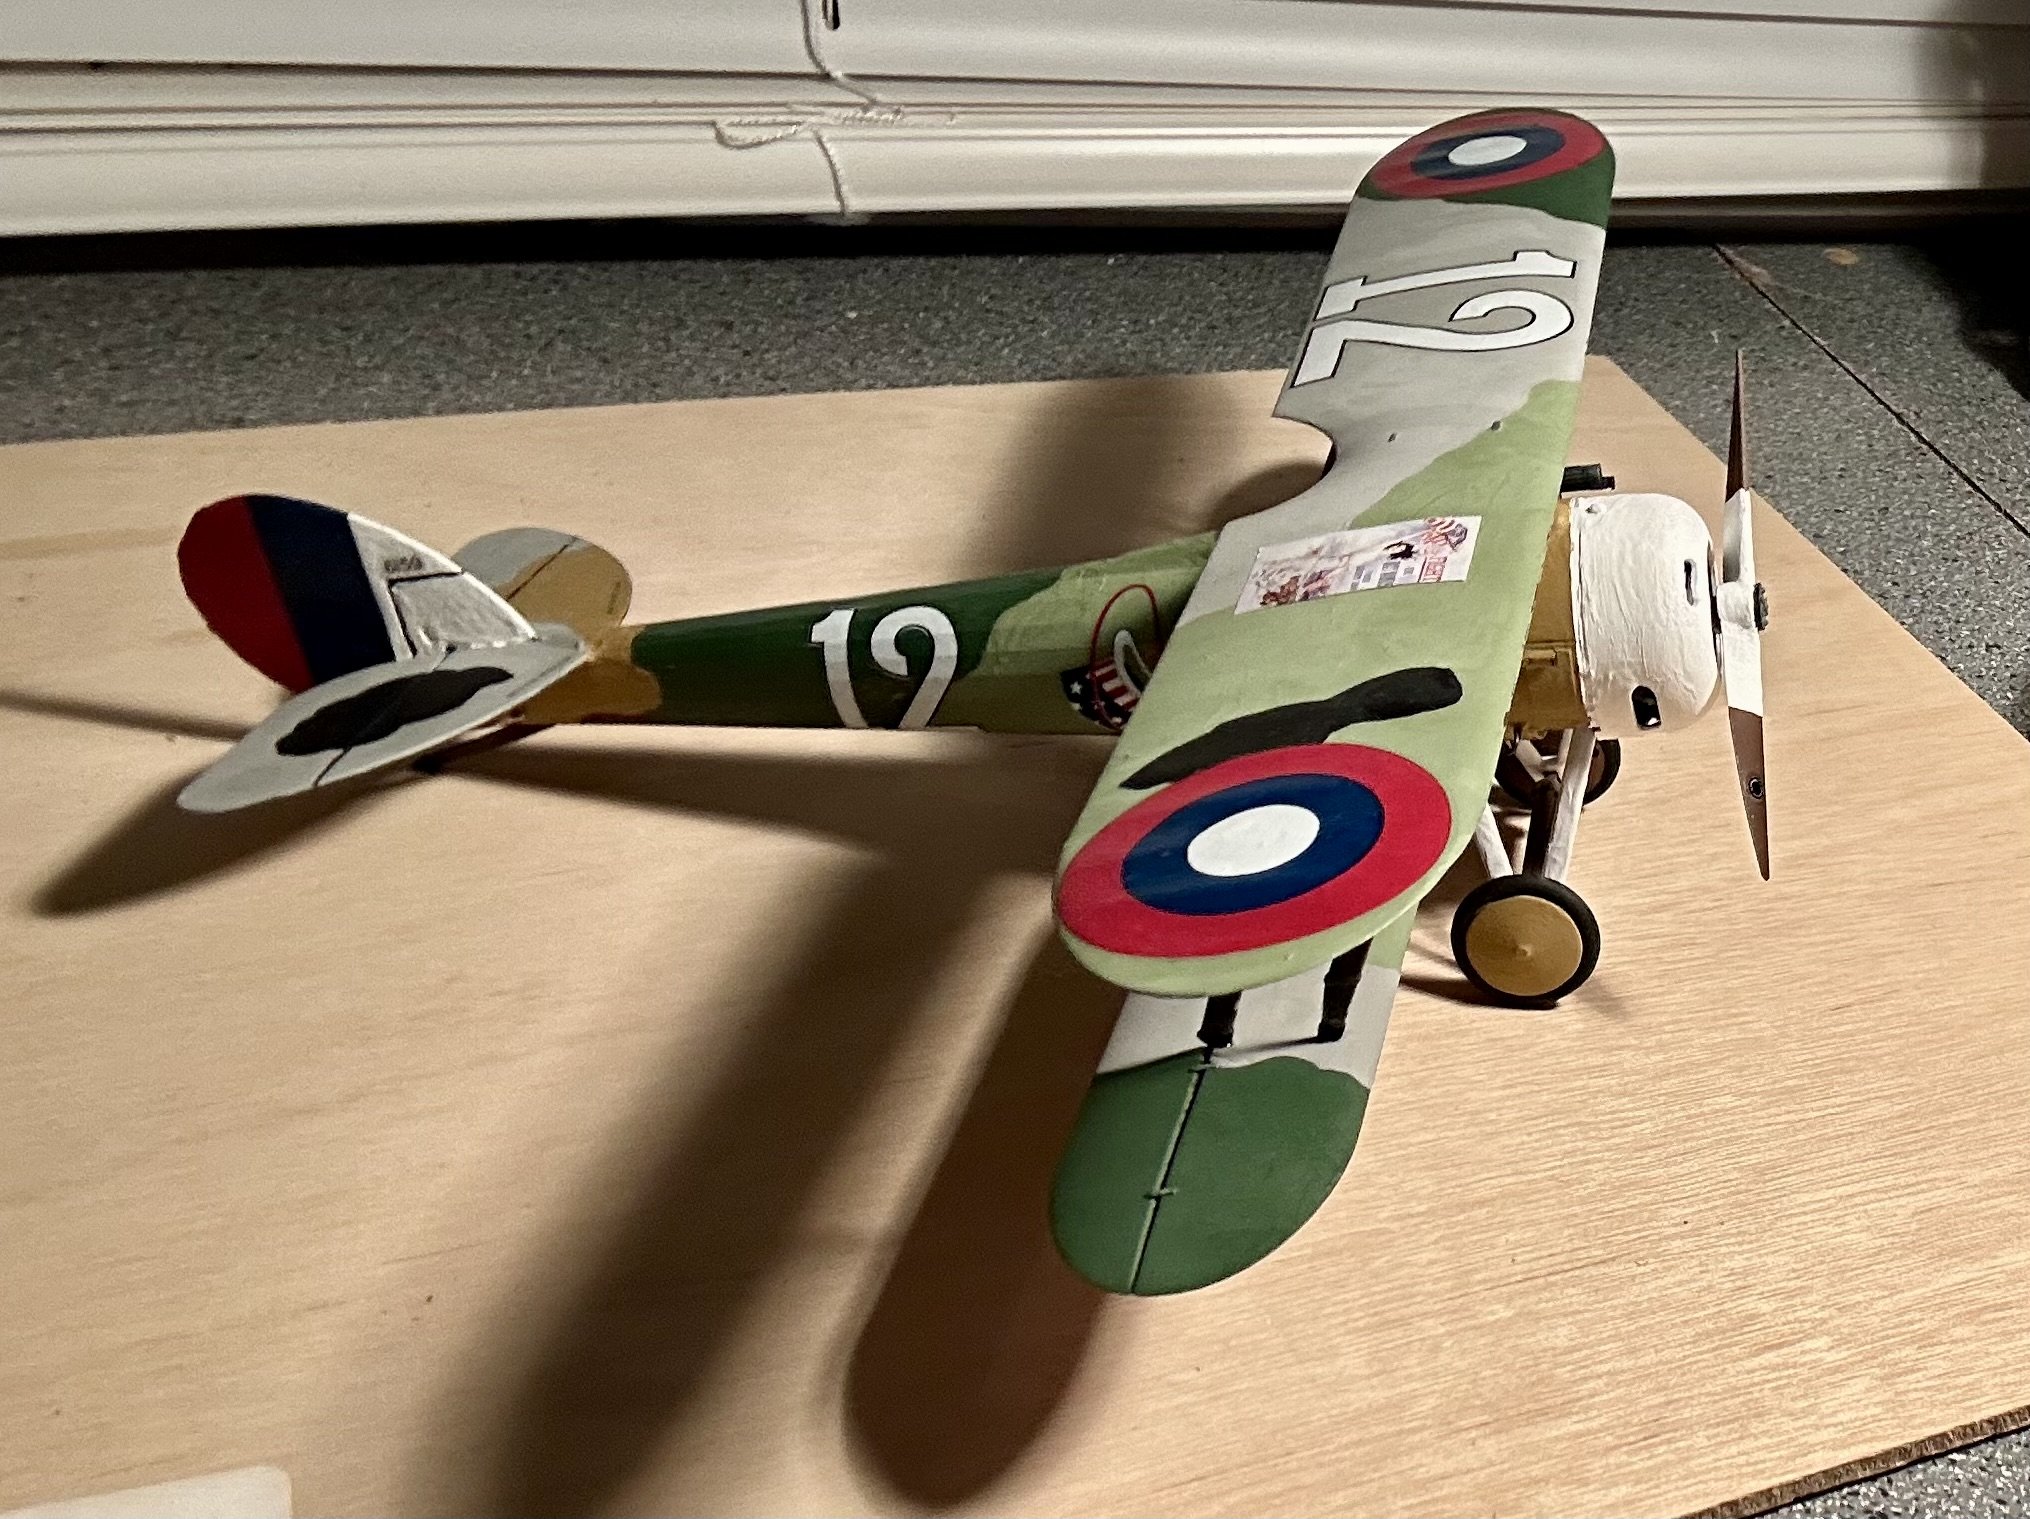
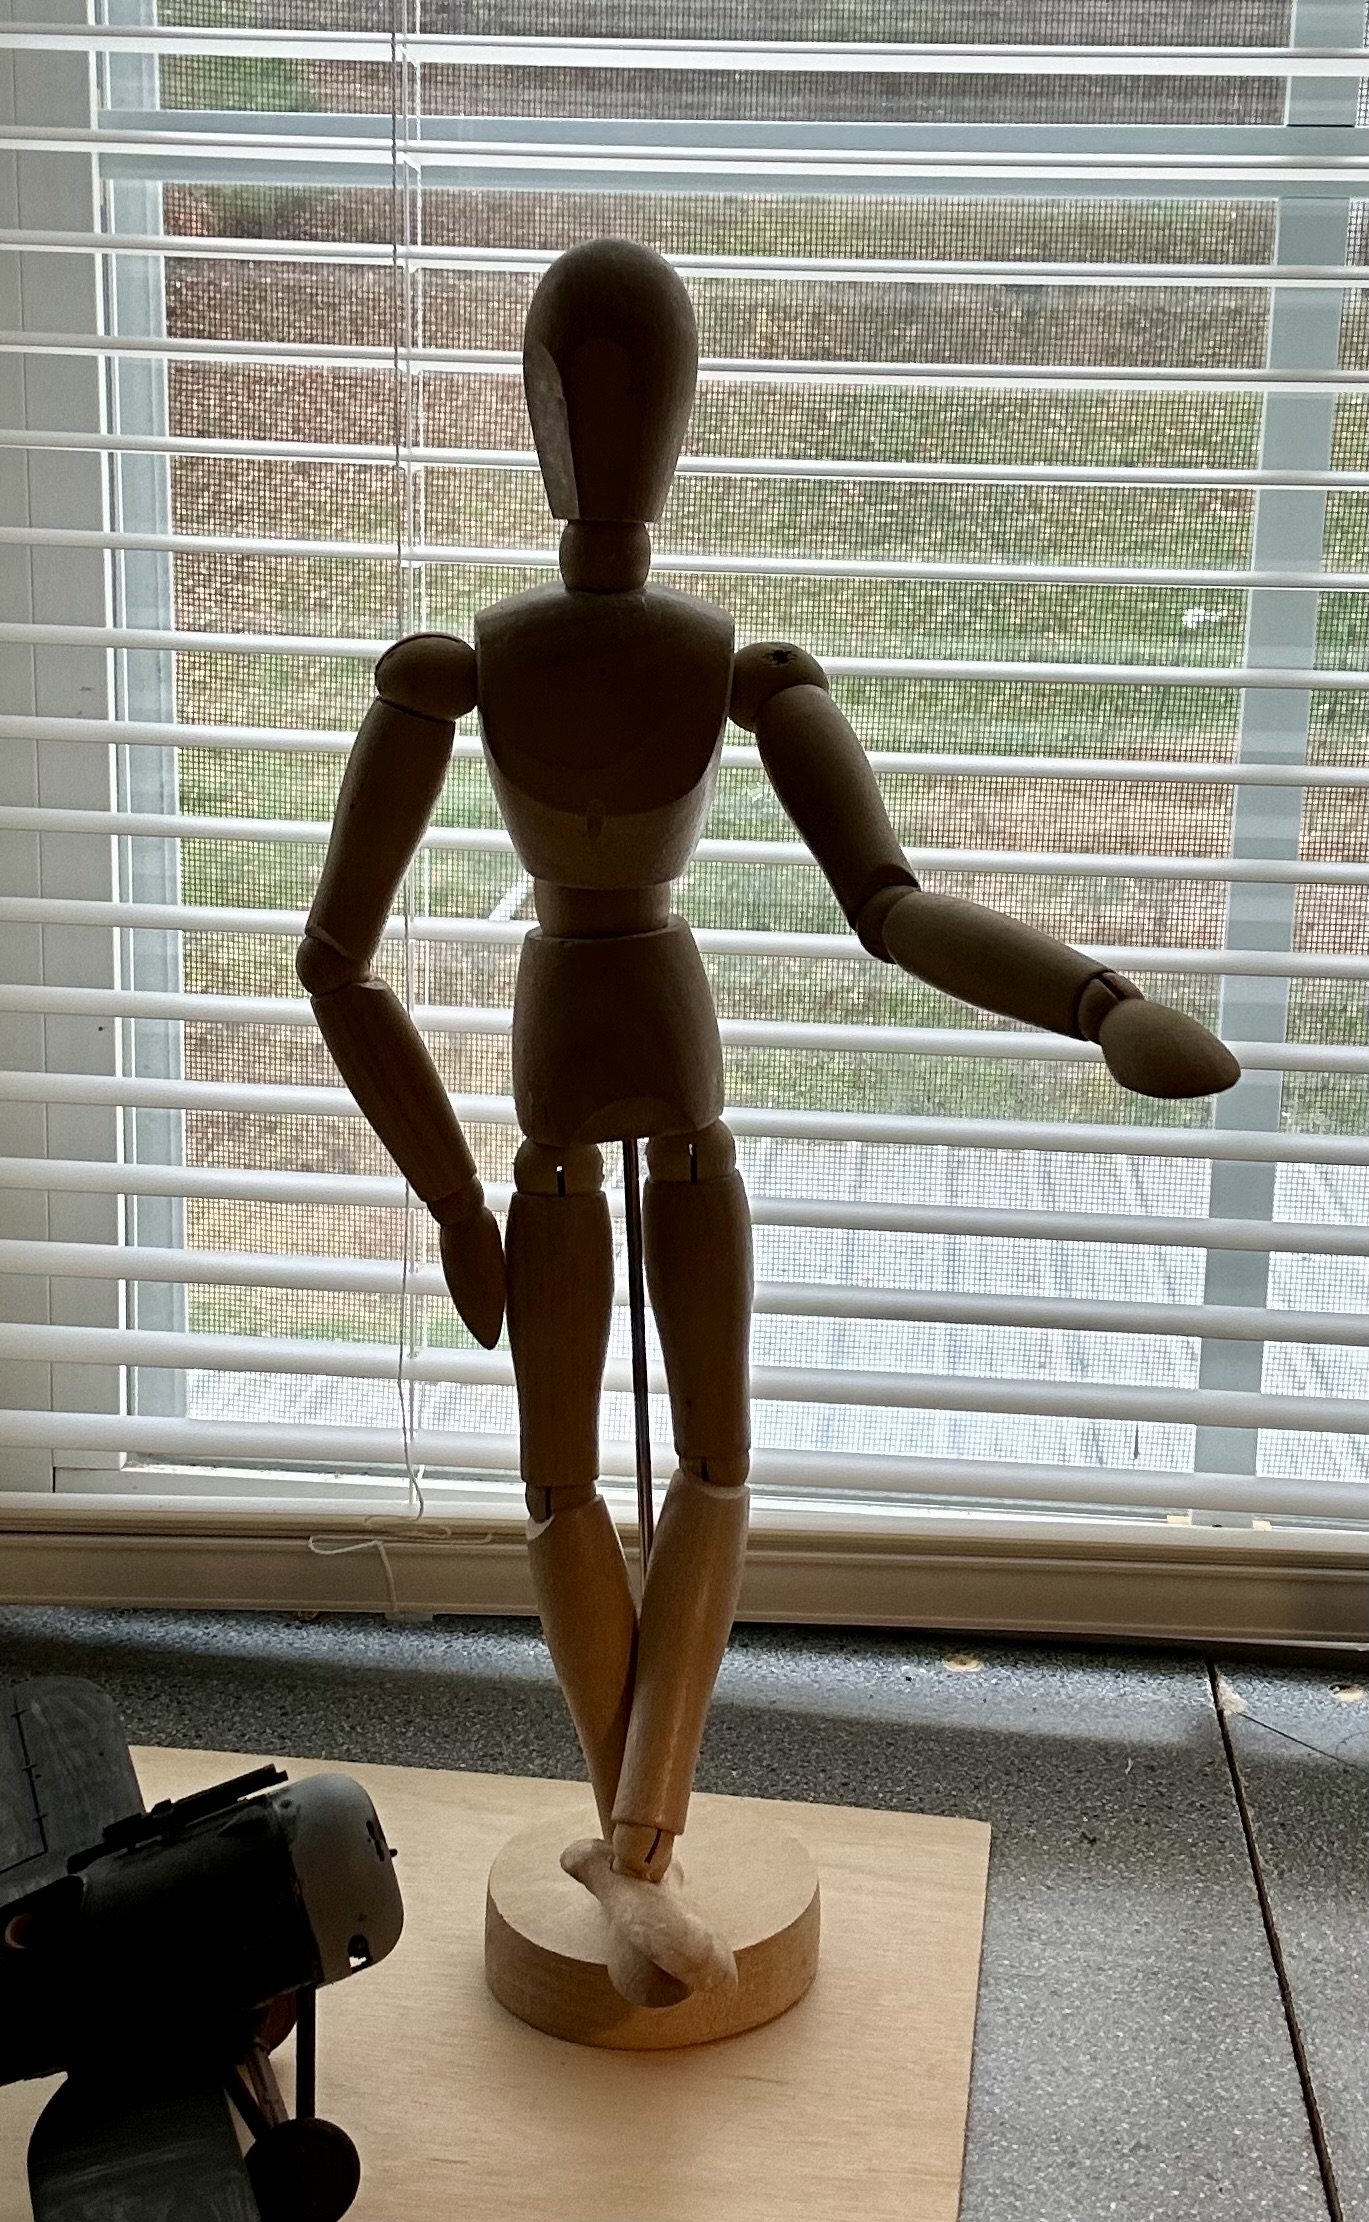
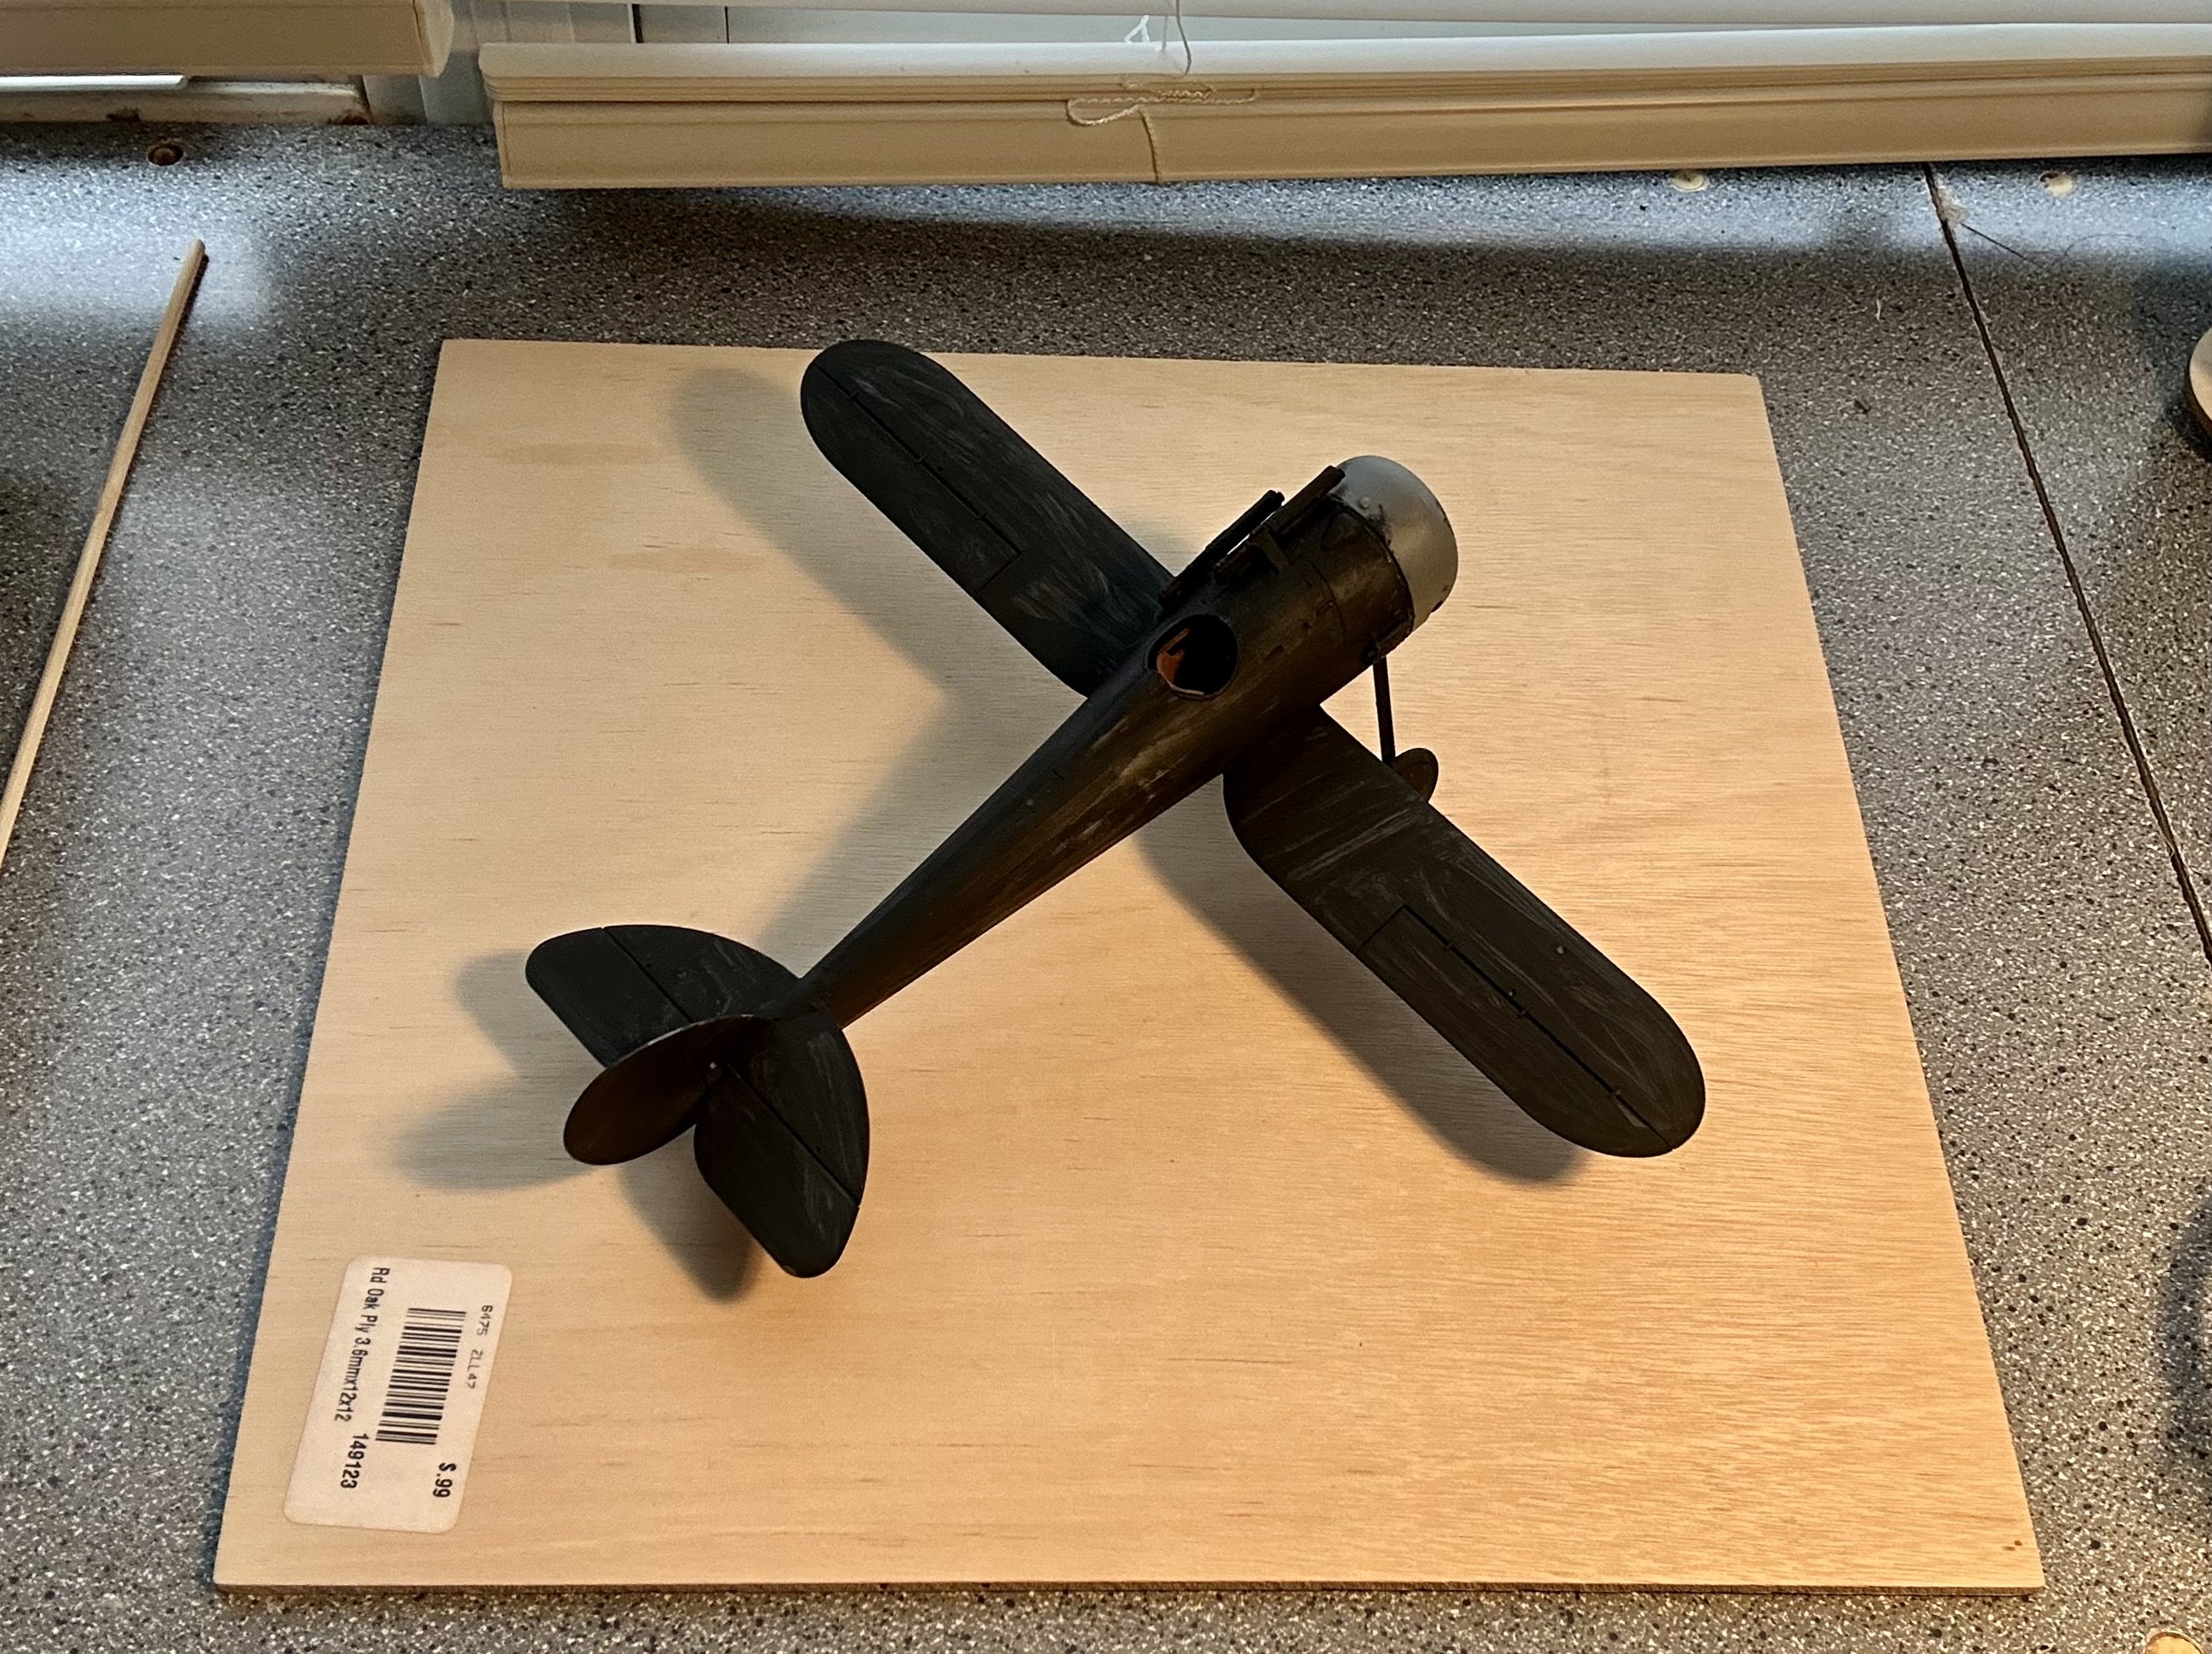
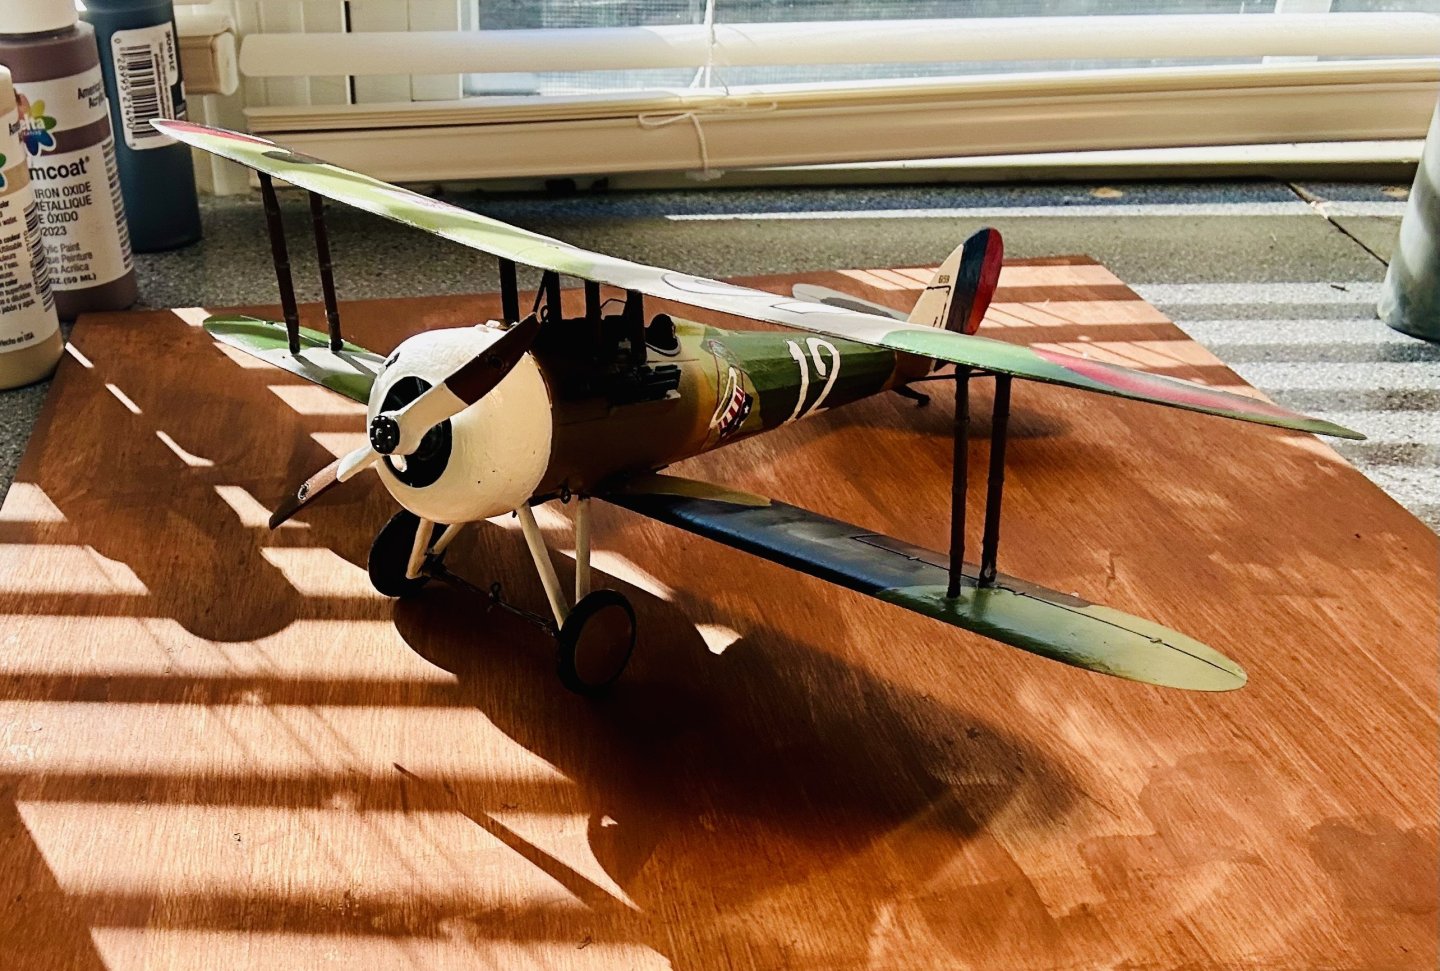
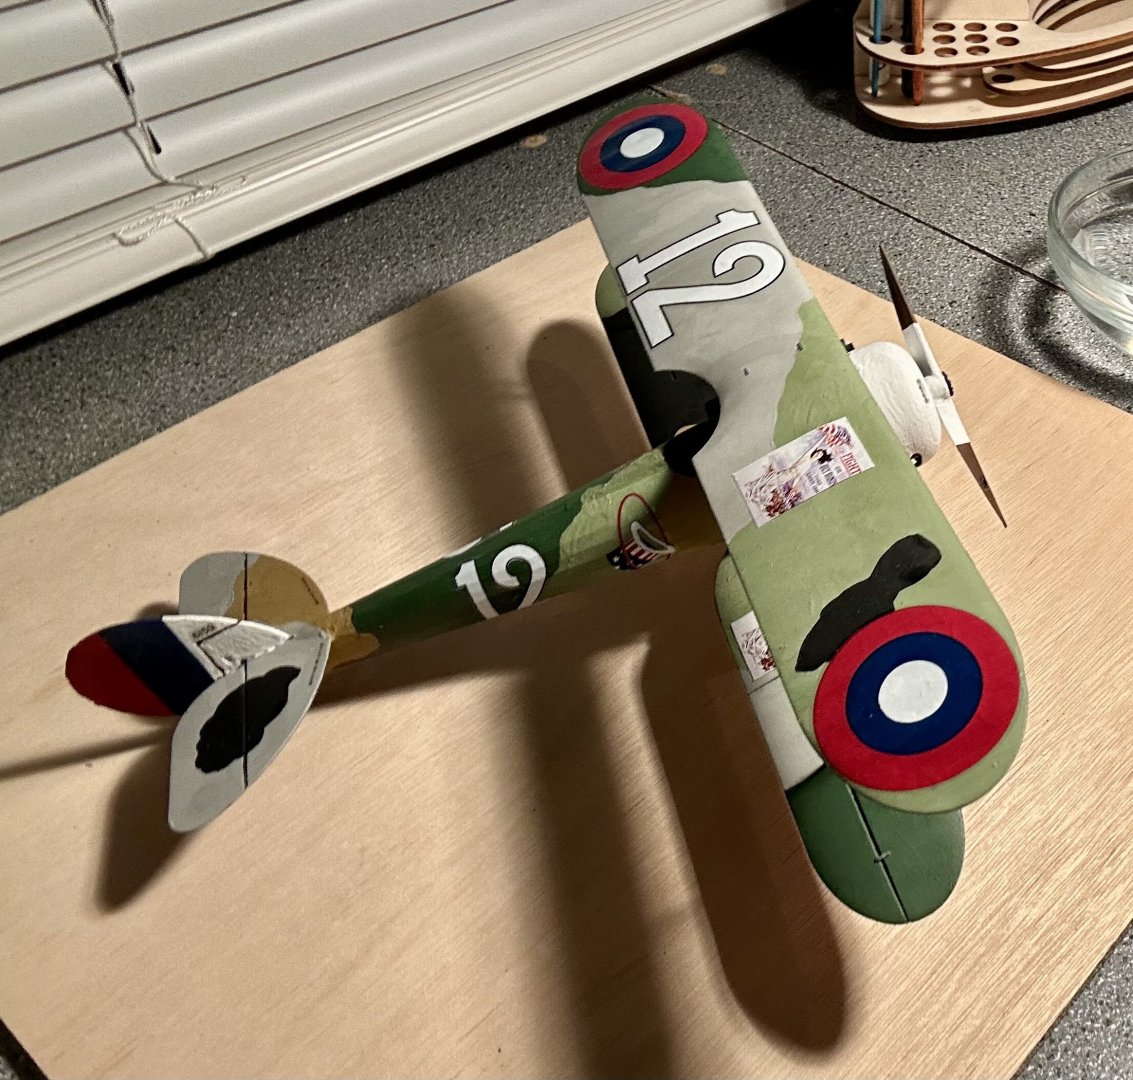
The upper wing is on and the base is made! Now, I need to do a final round of touch ups, sealing and then apply a highlight coat before gluing the model down once the base dries! Also, I now need an Eddie Rickenbacker. Captain Rickenbacker stood 6’ 2” tall. Allowing 2” for his hat and the soles of his shoes, that makes for a total height of 76”. At 1/32 scale that is 2.375” or 2 3/8” and approximately 3/8” thick by 3/4” wide, assuming normal proportions. Allowing for the leg crossed over, we’ll start with 1/2” thick. The arm will be carved separately.
-
Thank you all very much for the moral support! It is always disheartening when that happens, but it is an opportunity to improve at the same time. I fixed my paintwork yesterday: The Admiral found a couple spots that need touched up, so I am going to fix those, let the model dry for a bit and then seal it. In the meantime, I’ve been working on a papercraft 1/467 USS Sulaco, from the Aliens movies, that I found over on the Paper Modelers forum. I started it right after finishing the Solferino, about 22 months ago, prior to starting the Revenge. I found it while rearranging the house and decided to clear one of my started projects off my slate. I may make a build log for it at a later date depending on how it turns out. I have been working on it for a month or two now.
-
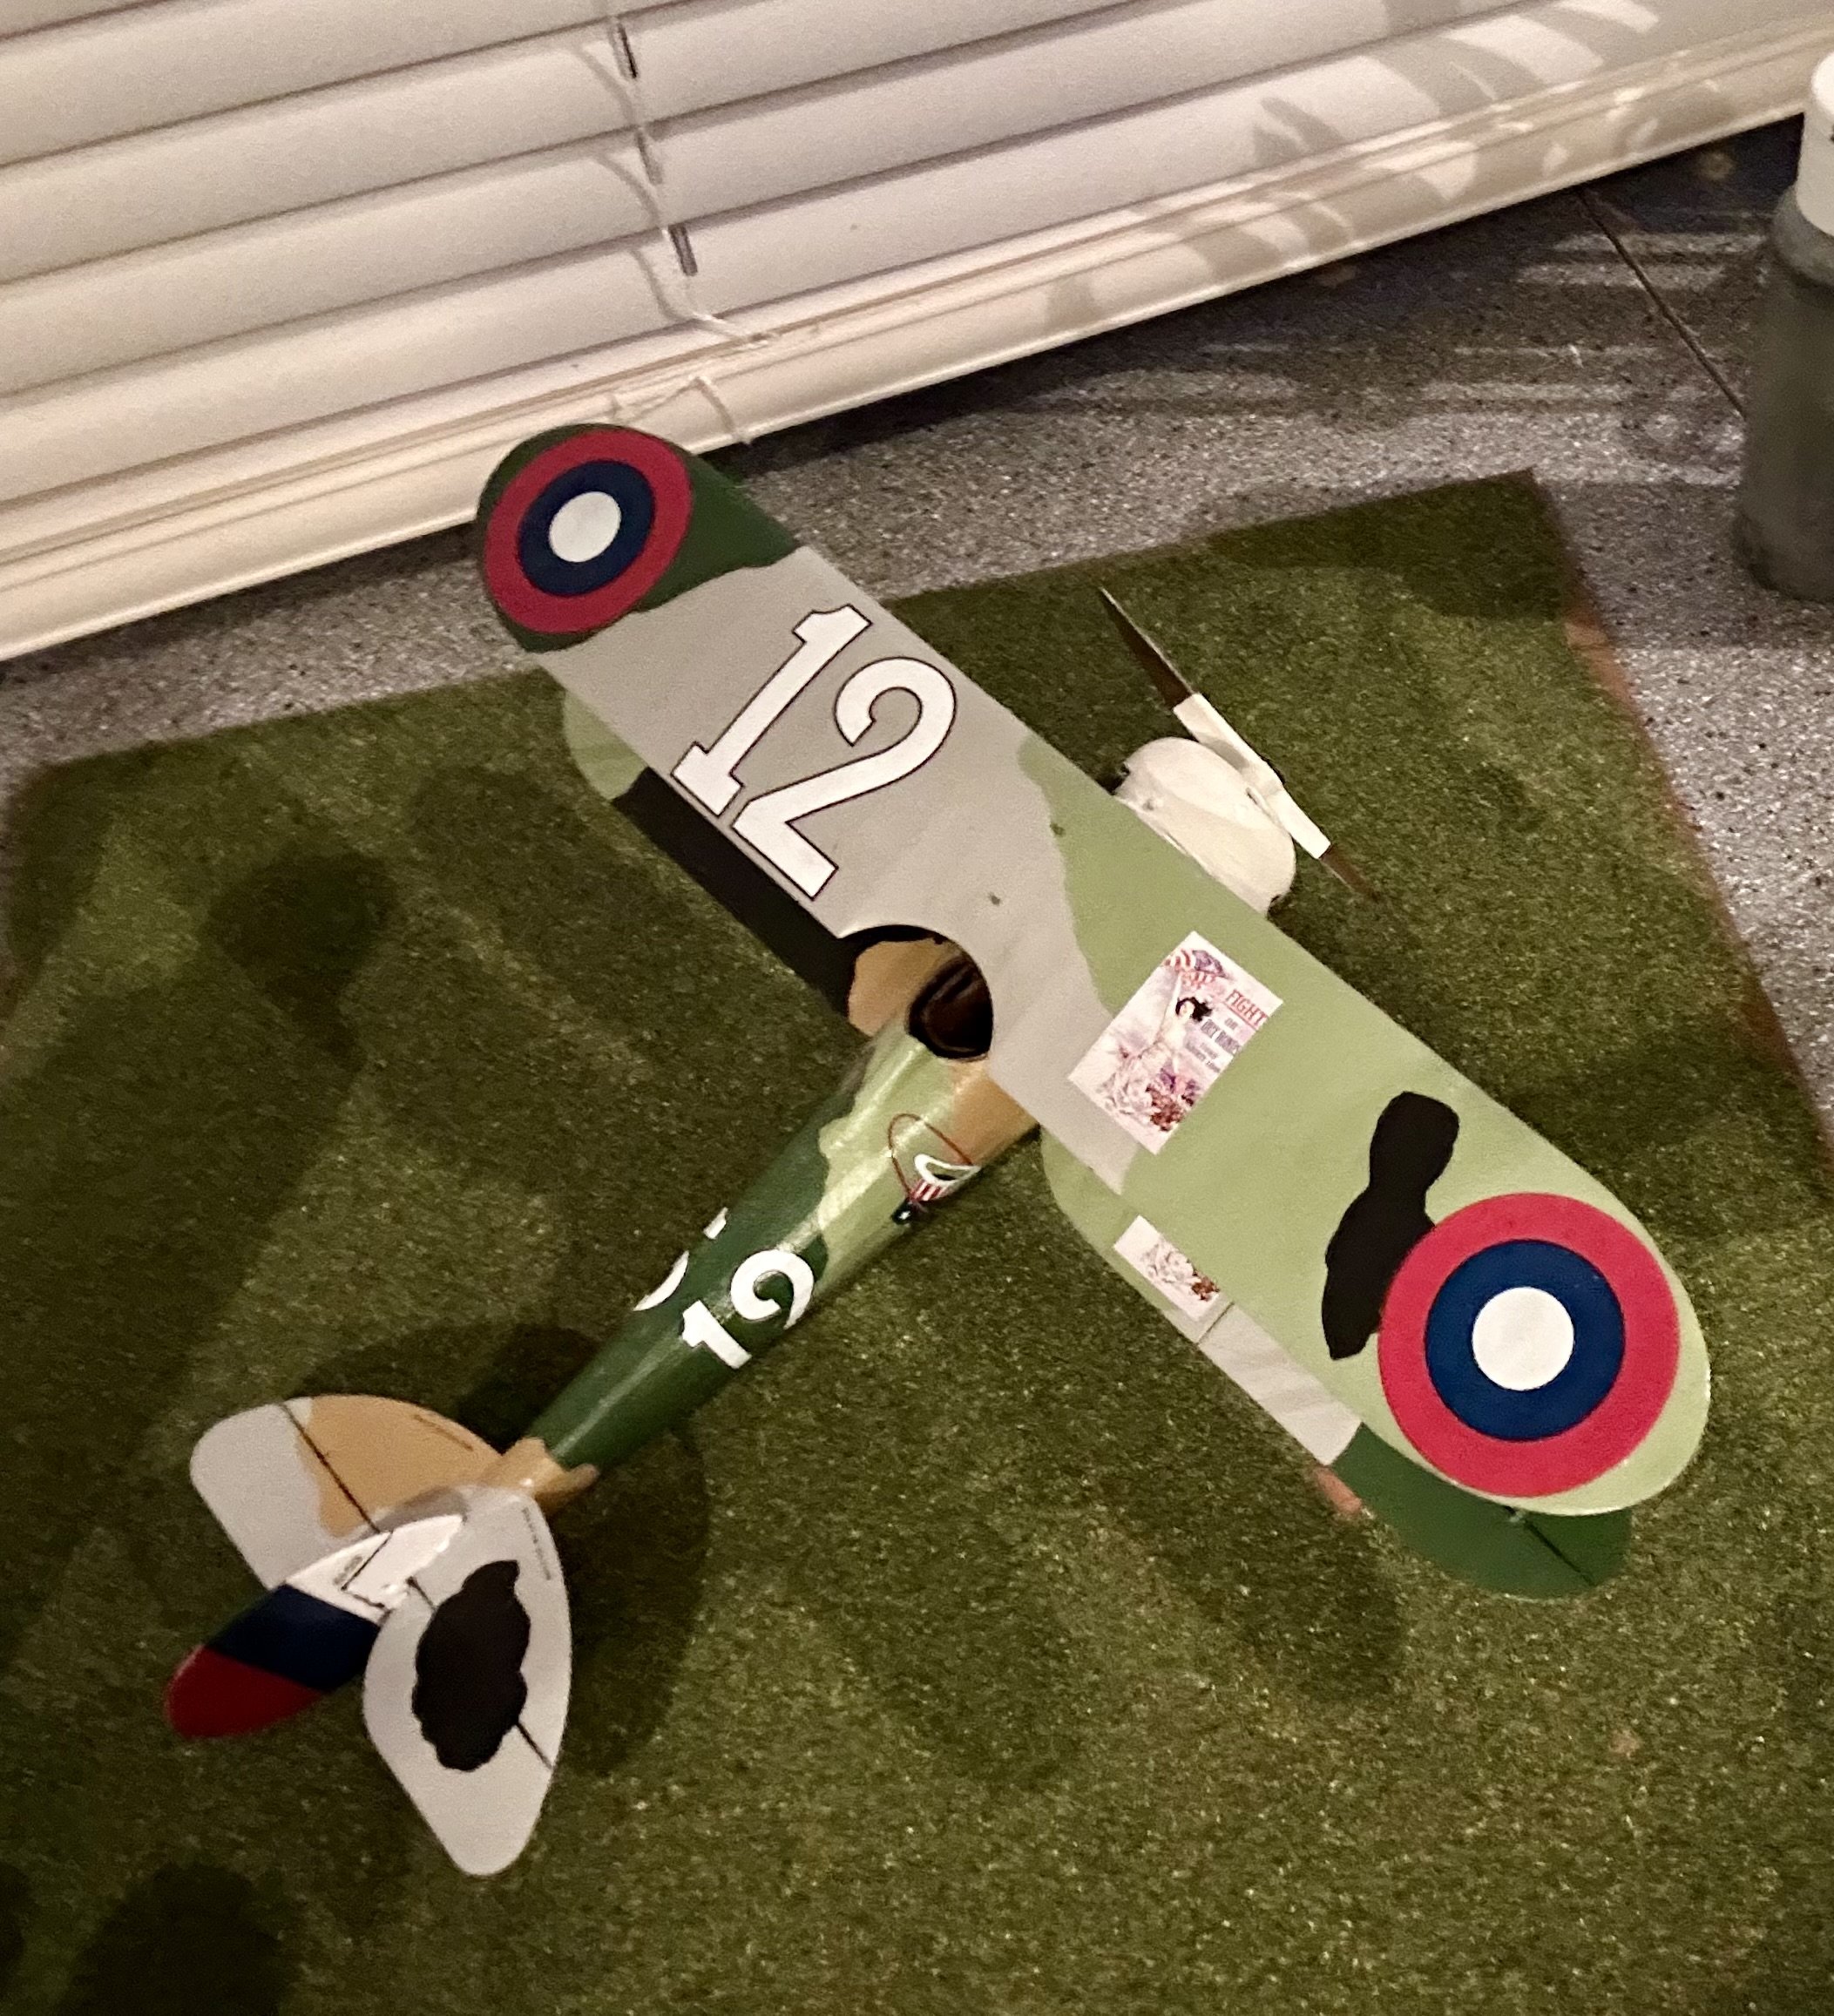
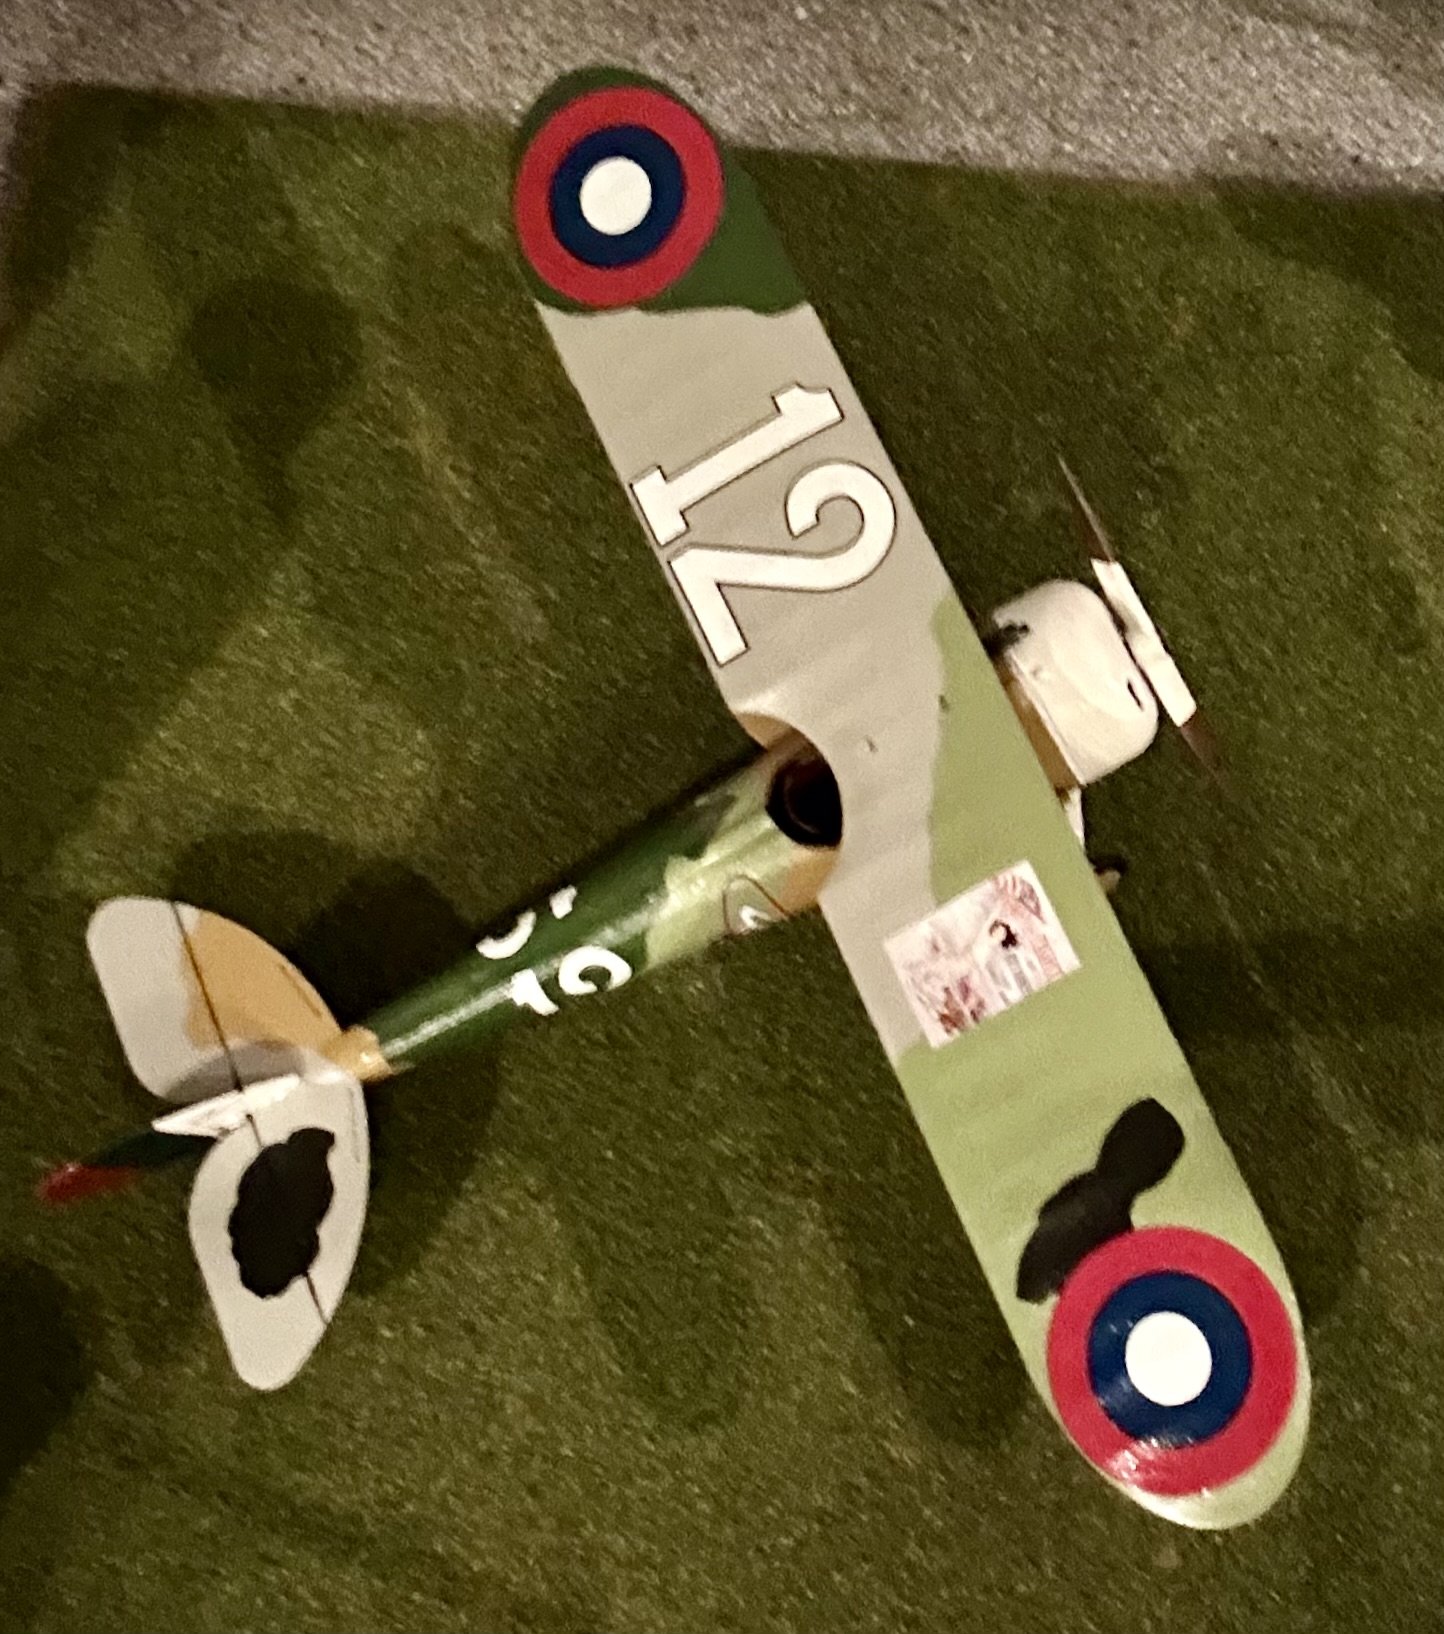
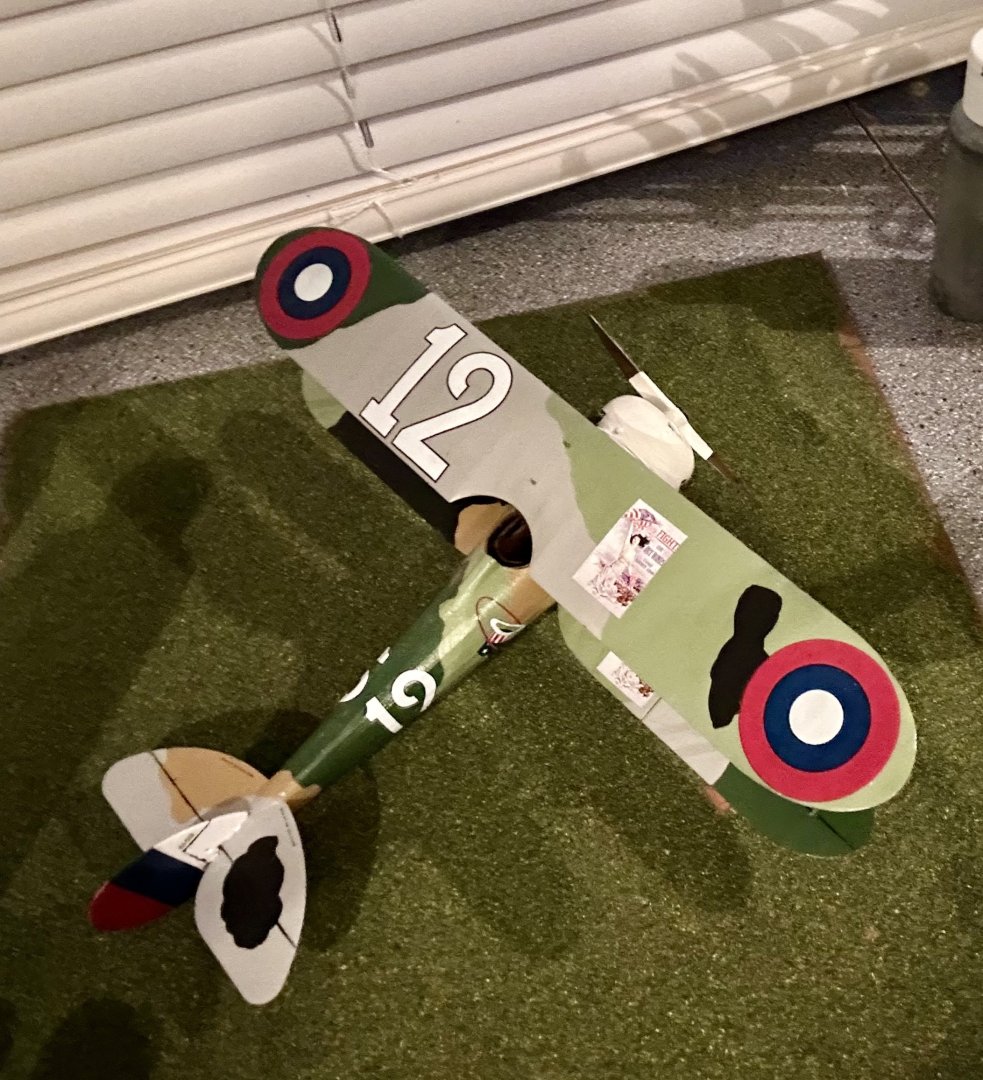
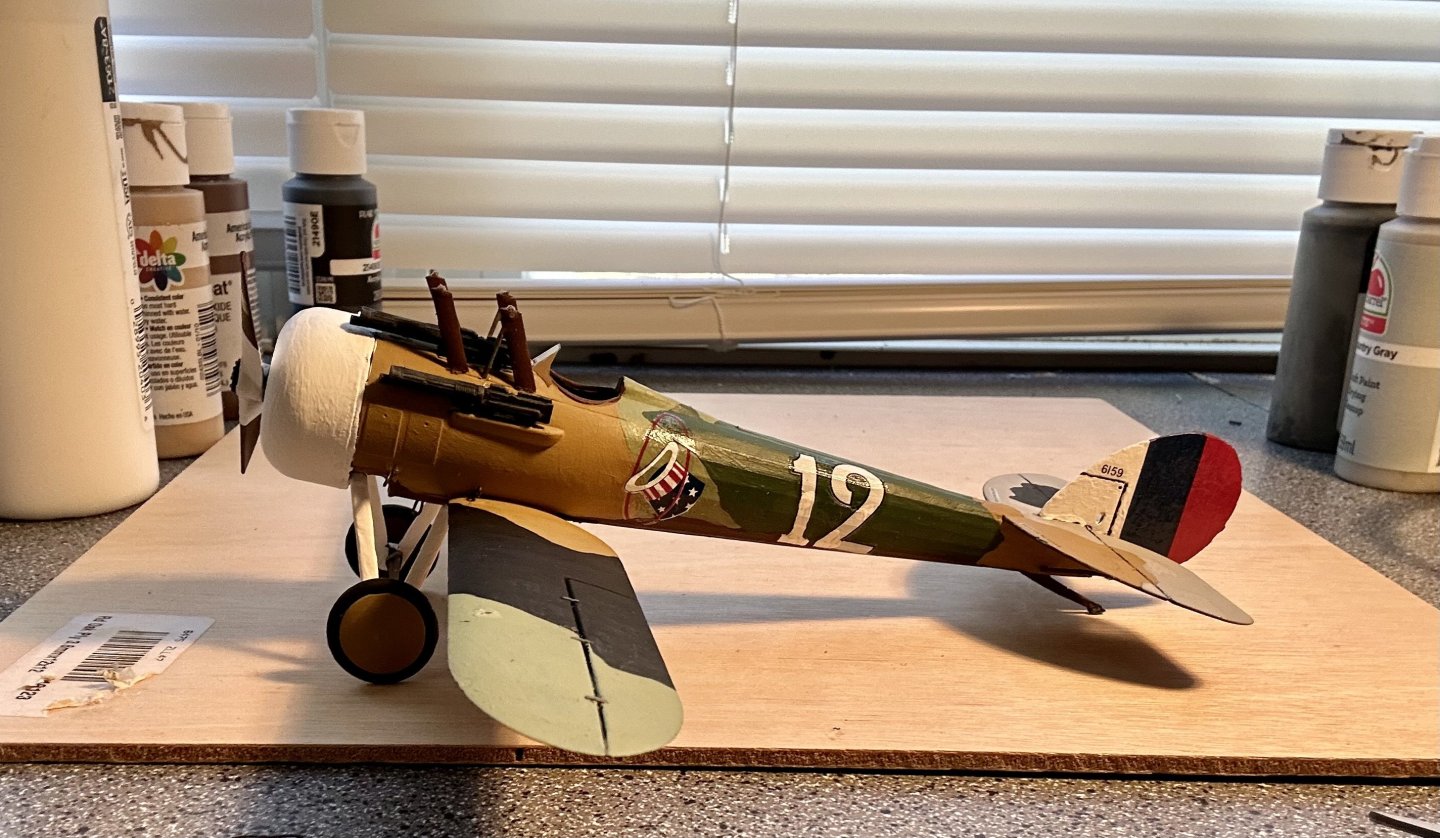
I had the model about 90% complete: And then I had a disaster. I noticed the port side aircraft number (within the squadron, not the tail number) was wrinkled and my attempt to repair it nearly destroyed the model. Root cause analysis: I have not built a plastic model in a long time and forgot the nature of water transfer decals. I should have let the model dry overnight prior to sealing and then tried to install the upper wing. I plowed ahead. Bad decision! My efforts to straighten out the decal resulted in the stripping of the paint from the area and destruction of about 1/3 of the decal. I also busted the upper wing loose. Fortunately, all is not lost! This is salvageable. Believe me when I say that I have worked with far worse (my Solferino was a near total loss a few times, among other models), and made models that I have been, or would be, willing to display publicly. Time to repair all paintwork/markings and then let it sit overnight before I seal the model. I will then attempt to use the original wing struts one more time and then replace them with wood utilizing steel pins as guide pins.


- 37 replies
-
- 13
-

-
-
Very cool! Very nicely done!
-
How will laser cutters compliment our hobby tomorrow?
GrandpaPhil replied to EspenT's topic in 3D-Printing and Laser-Cutting.
A lasercutter to me is essentially a fancy scroll saw for wood work. I personally enjoy cutting everything out by hand but that may change in the future if I get tired of my coping and fret saws. So, I see a lasercutter as an additional CNC machine tool to save time with, if one is so inclined. -
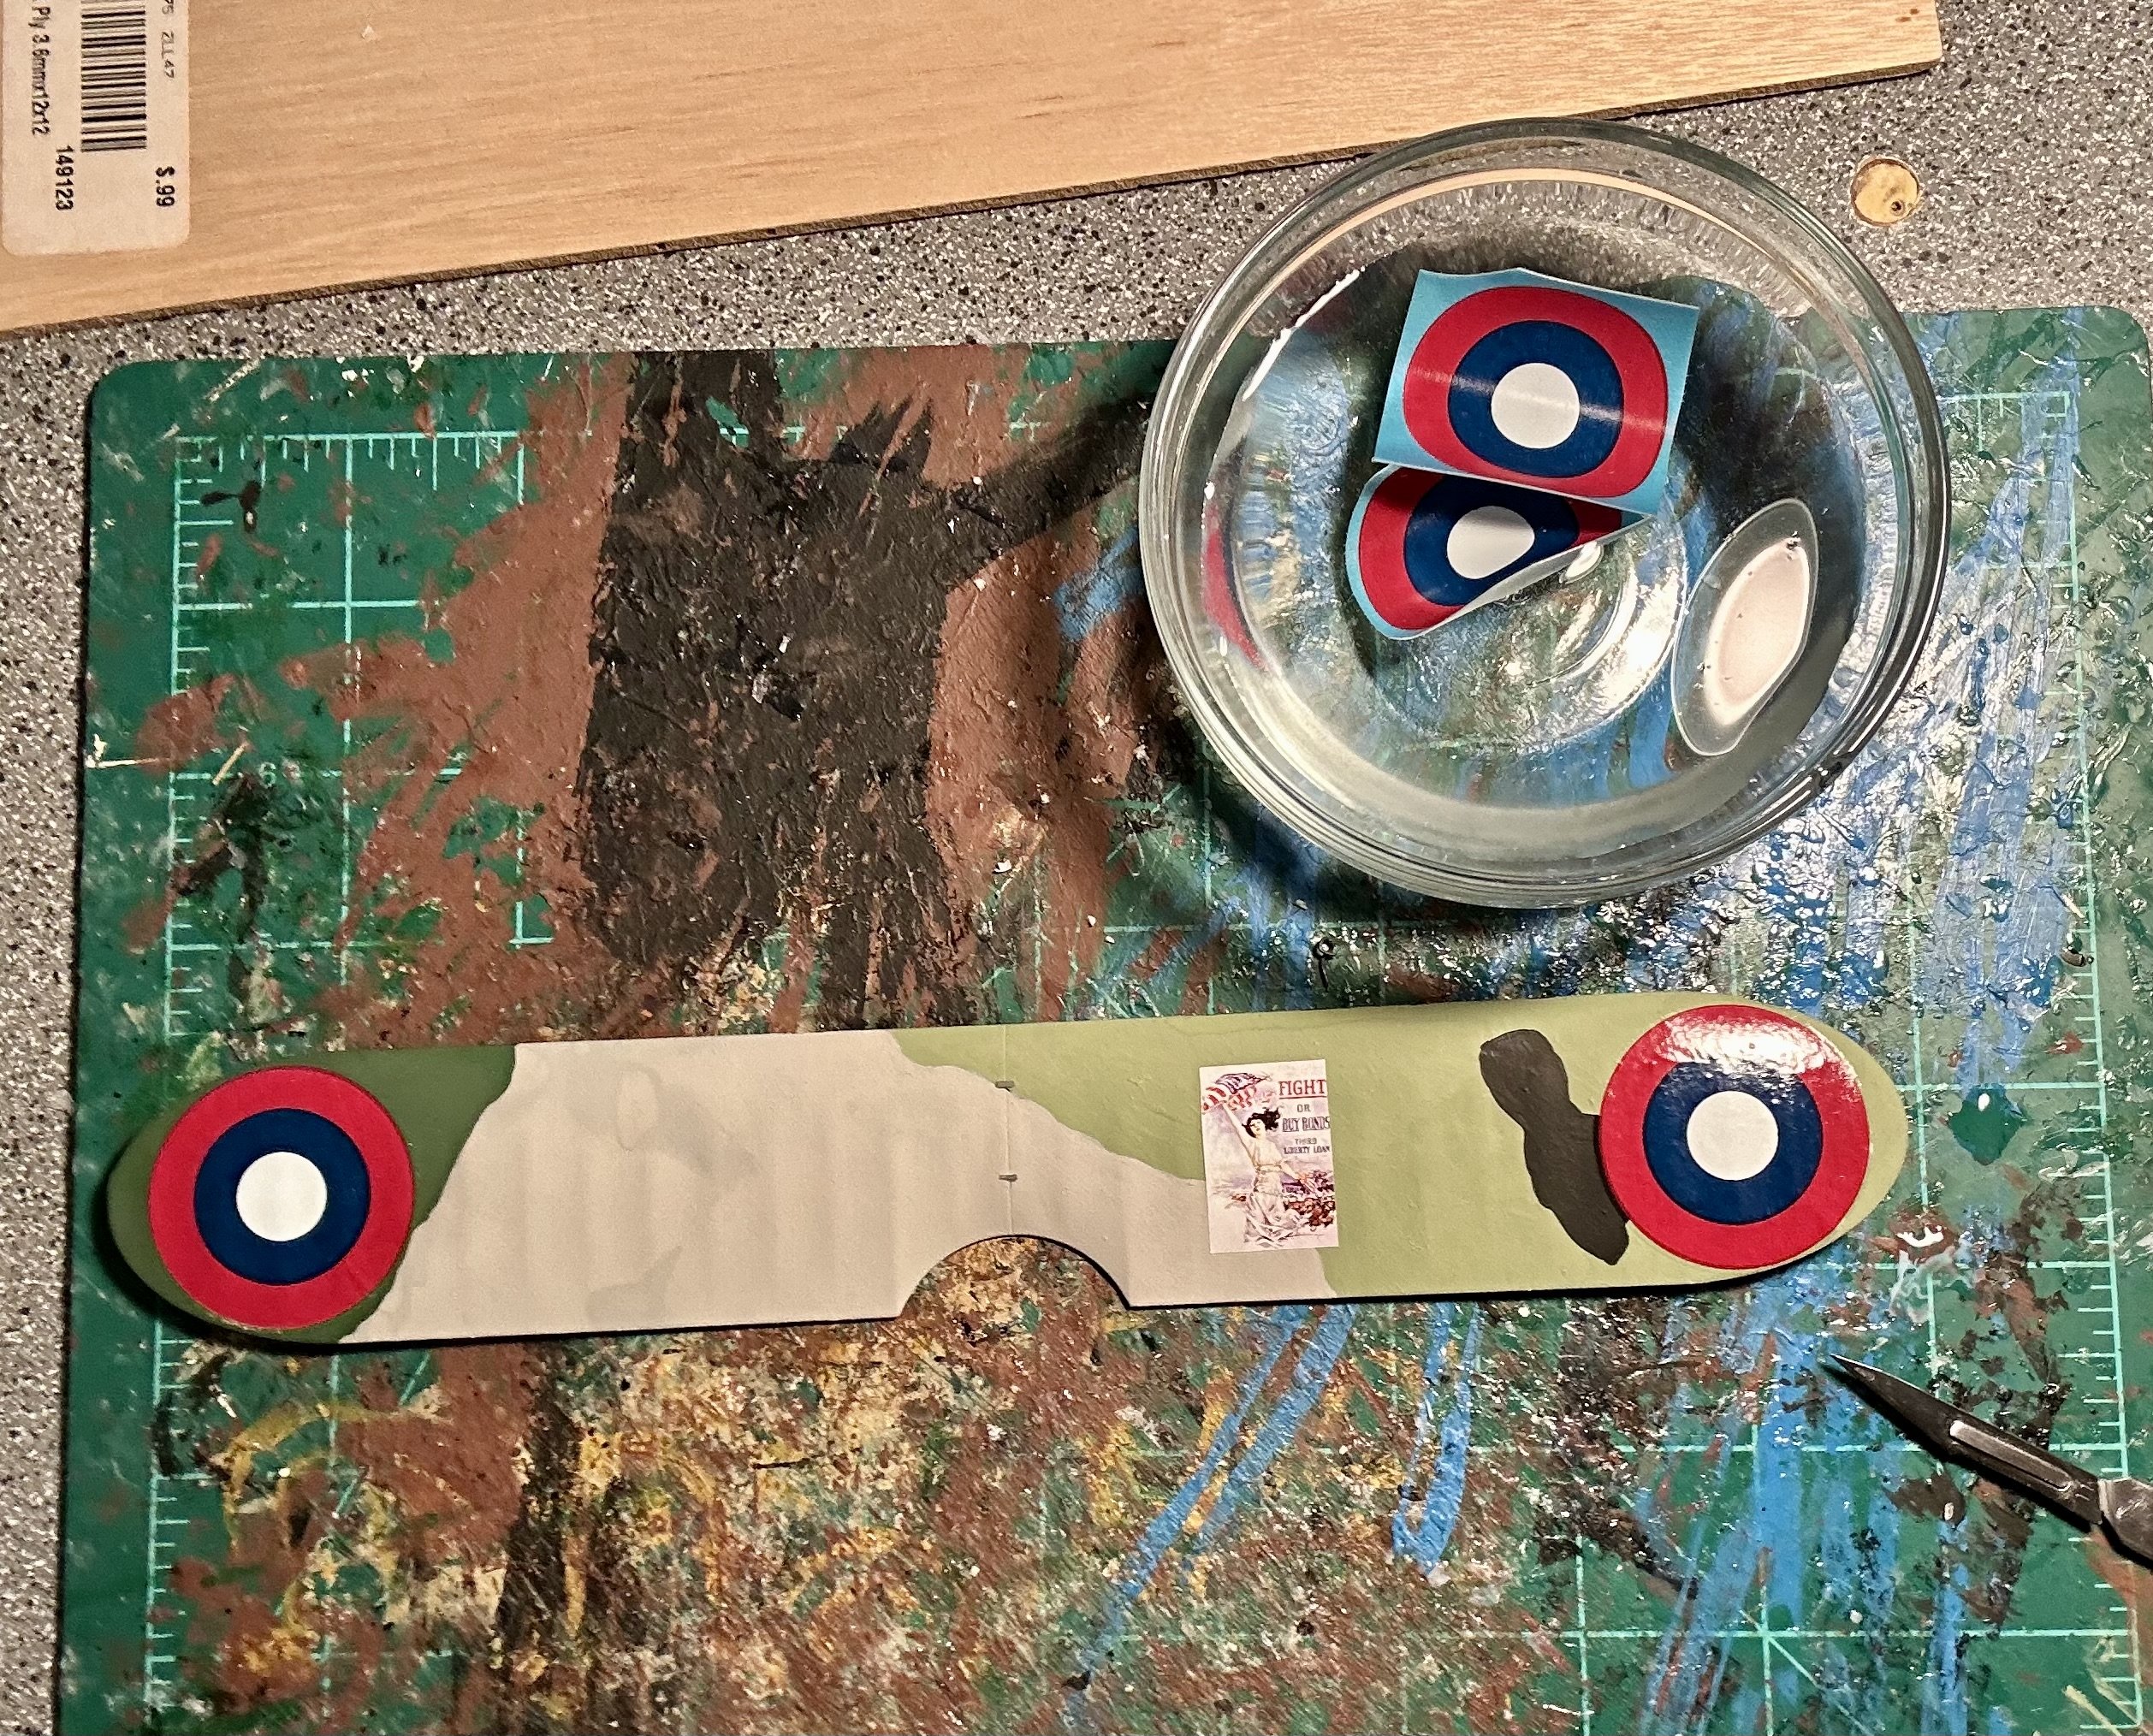
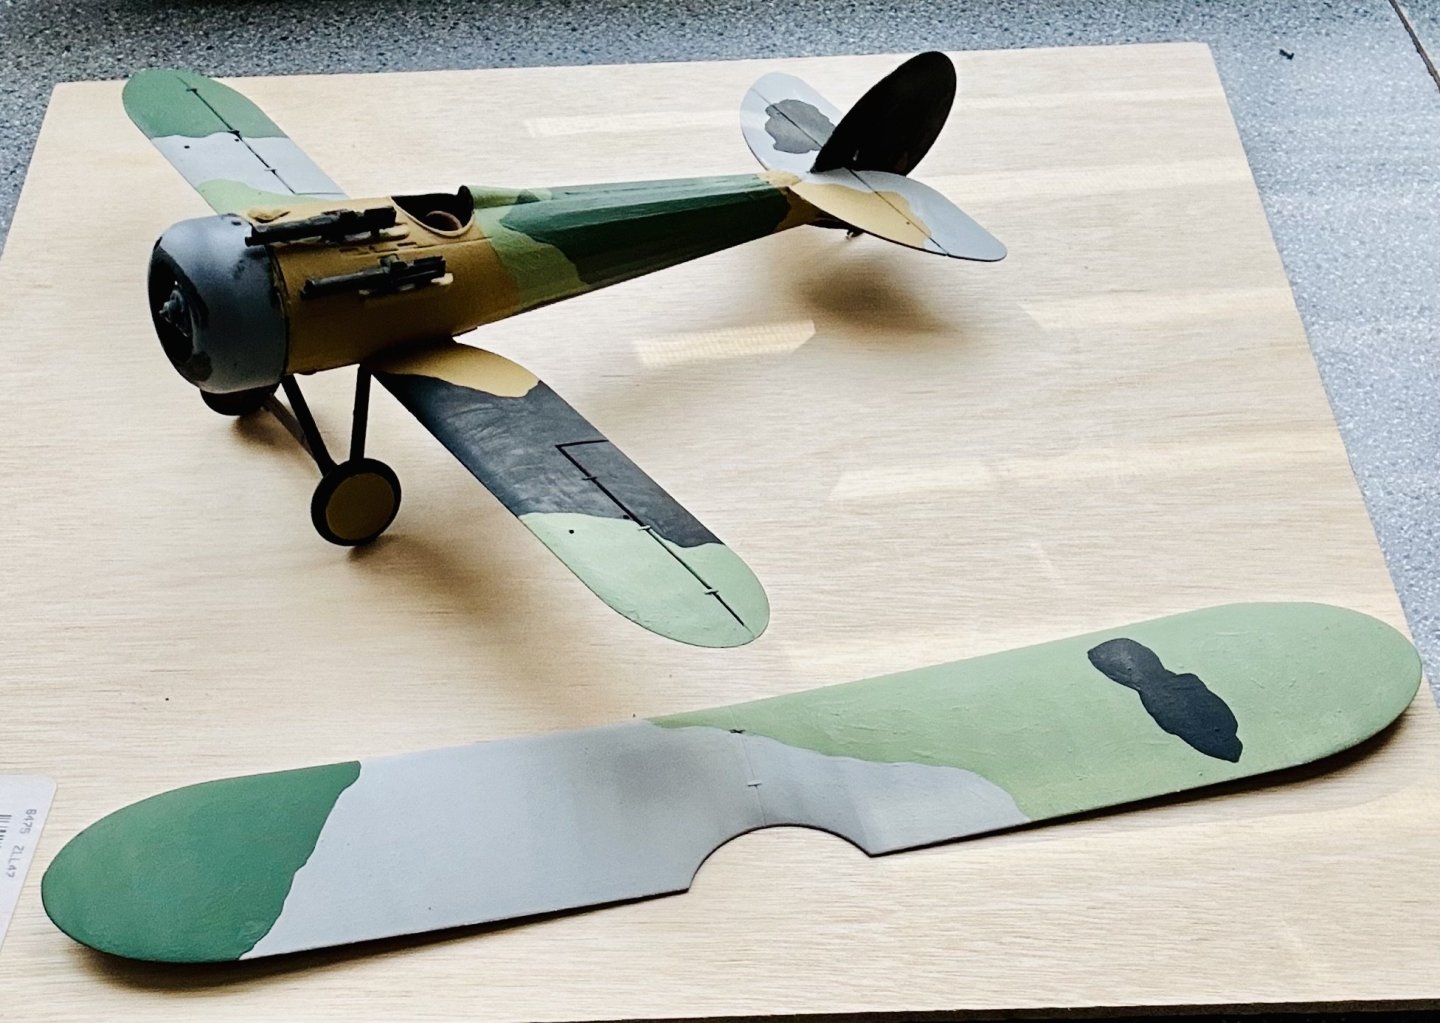
Paintwork is pretty much done: Time for decals!
-
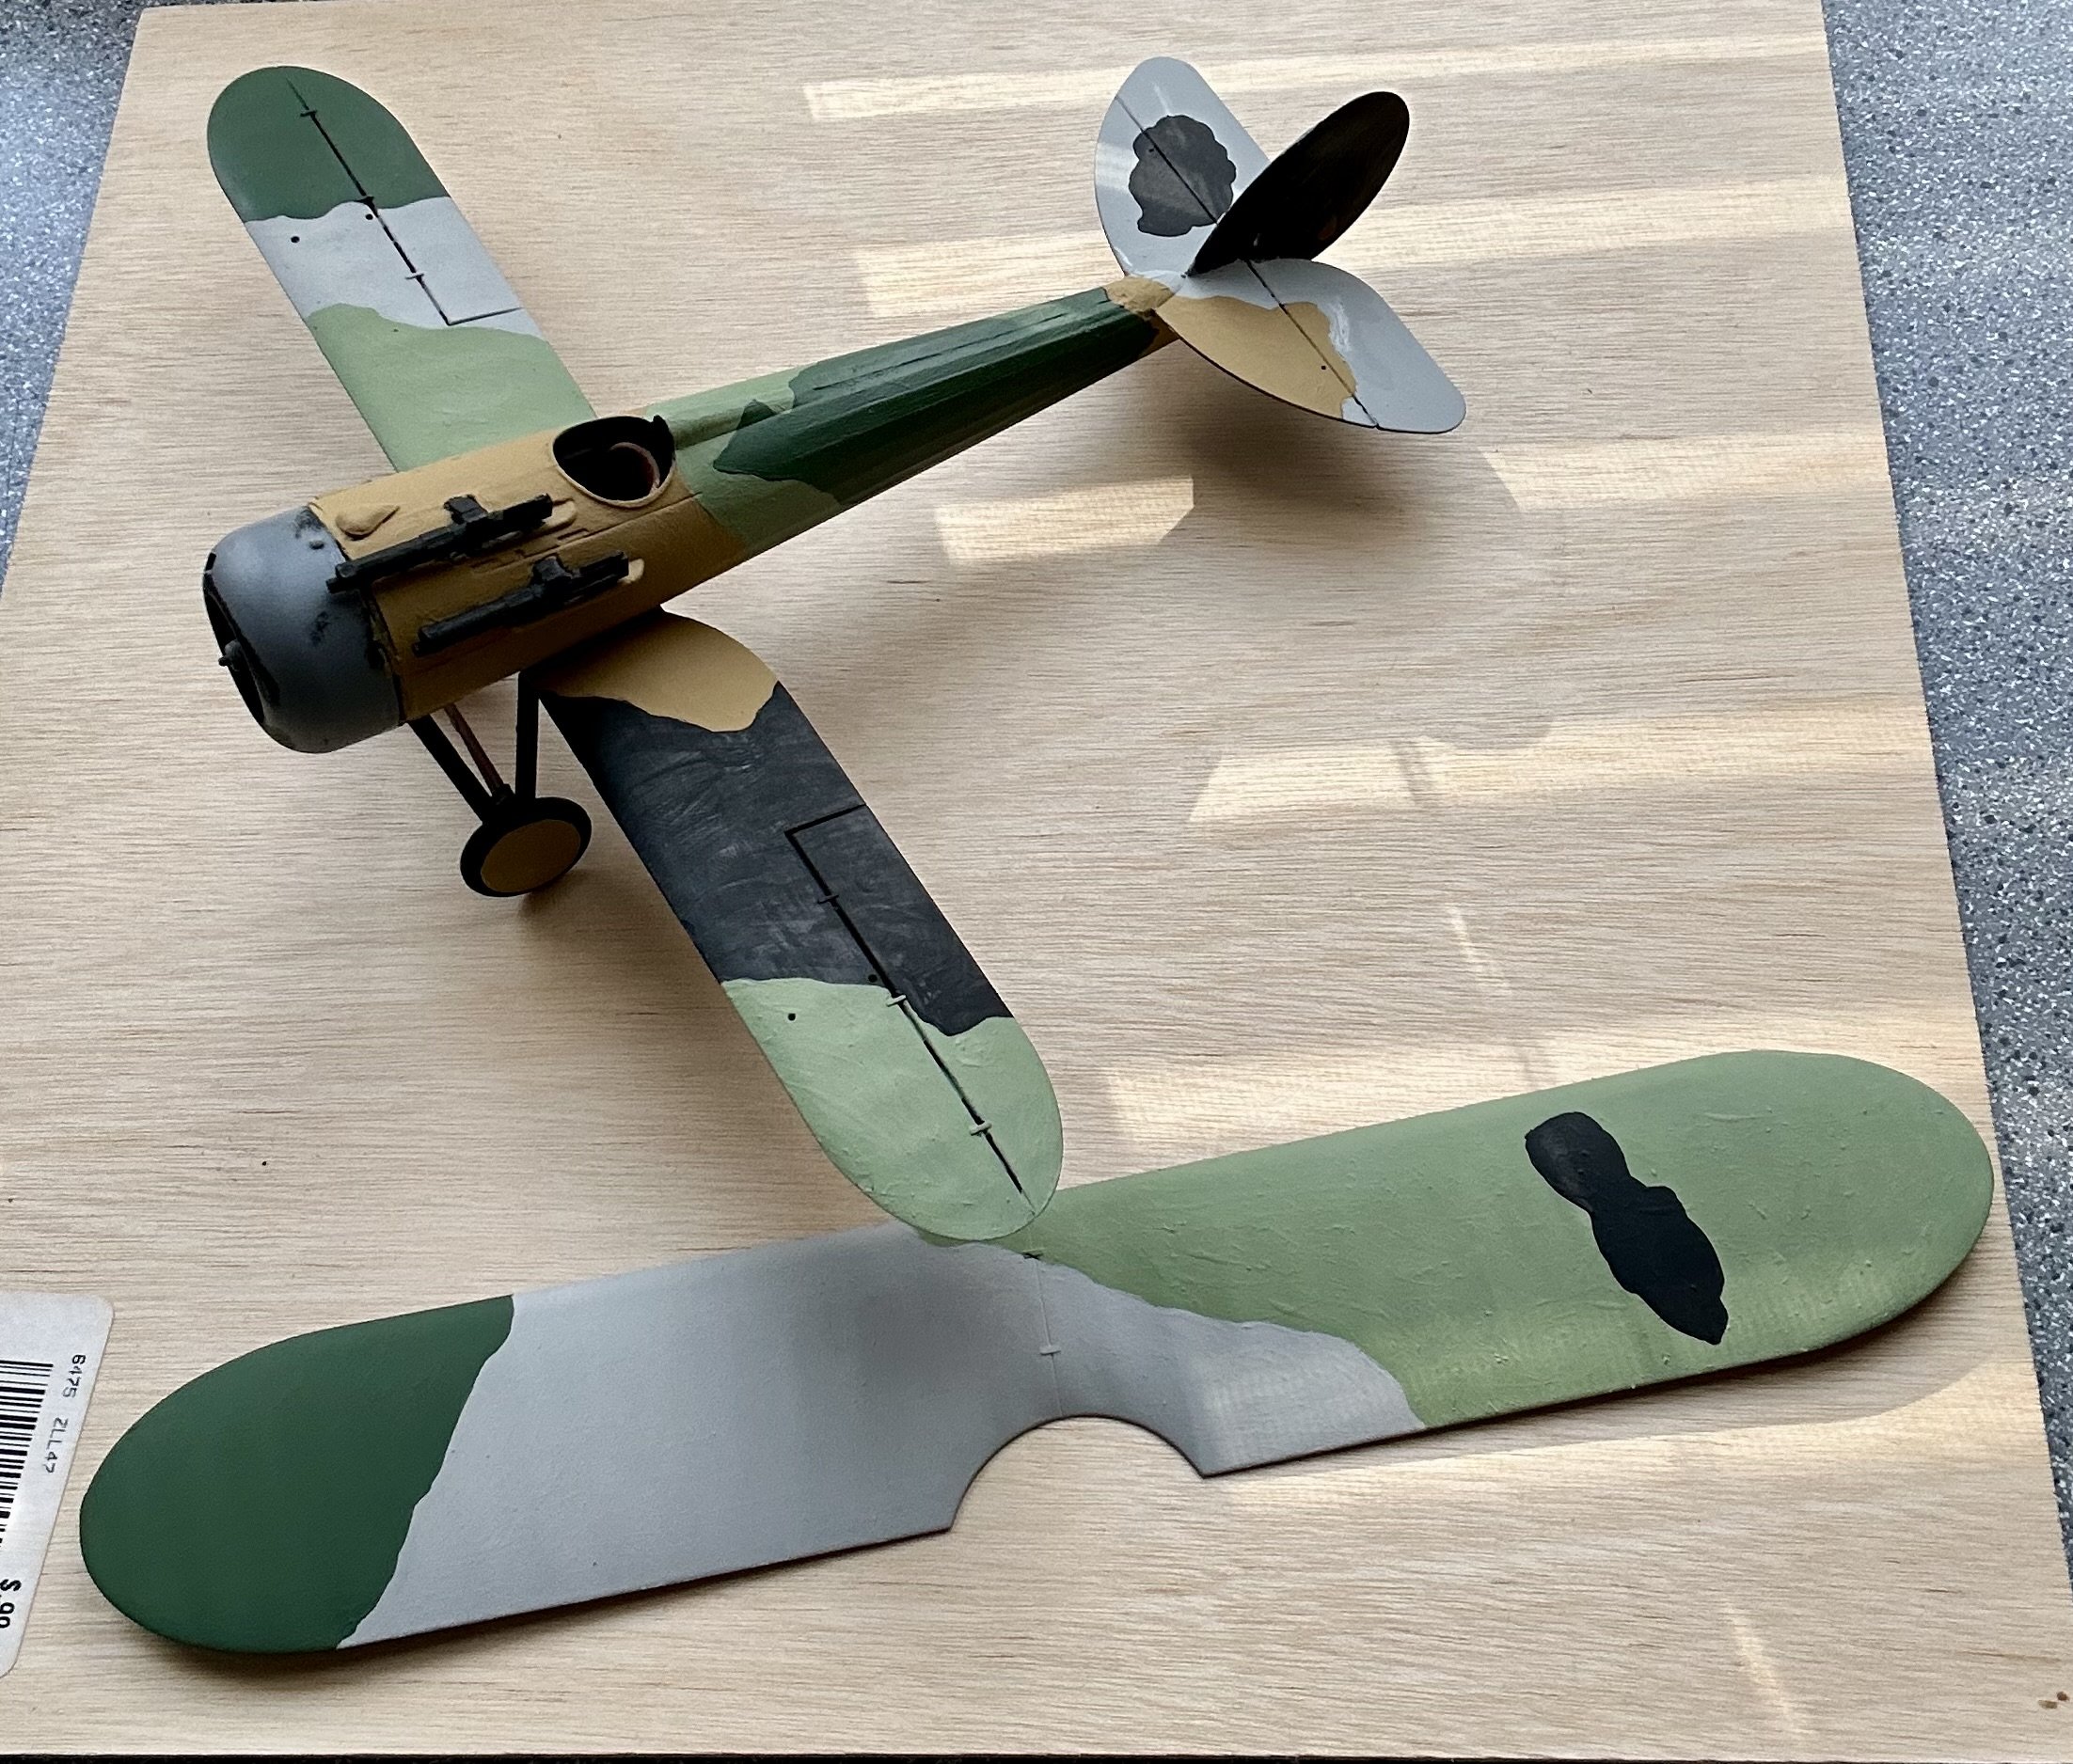
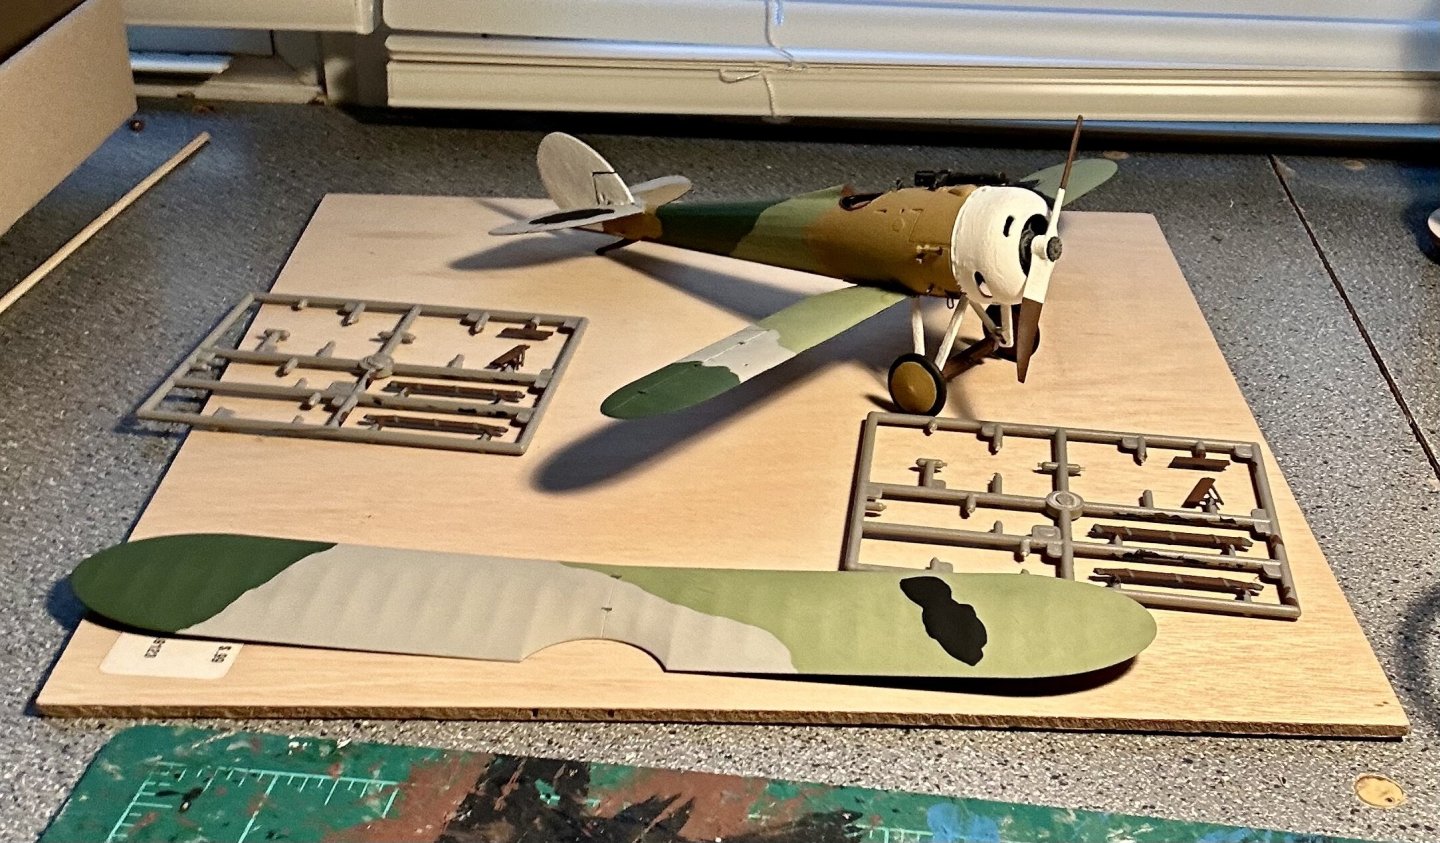
Thank you all very much for the comments and the likes! All base coating is now done: Time for touch ups and detail painting!

-
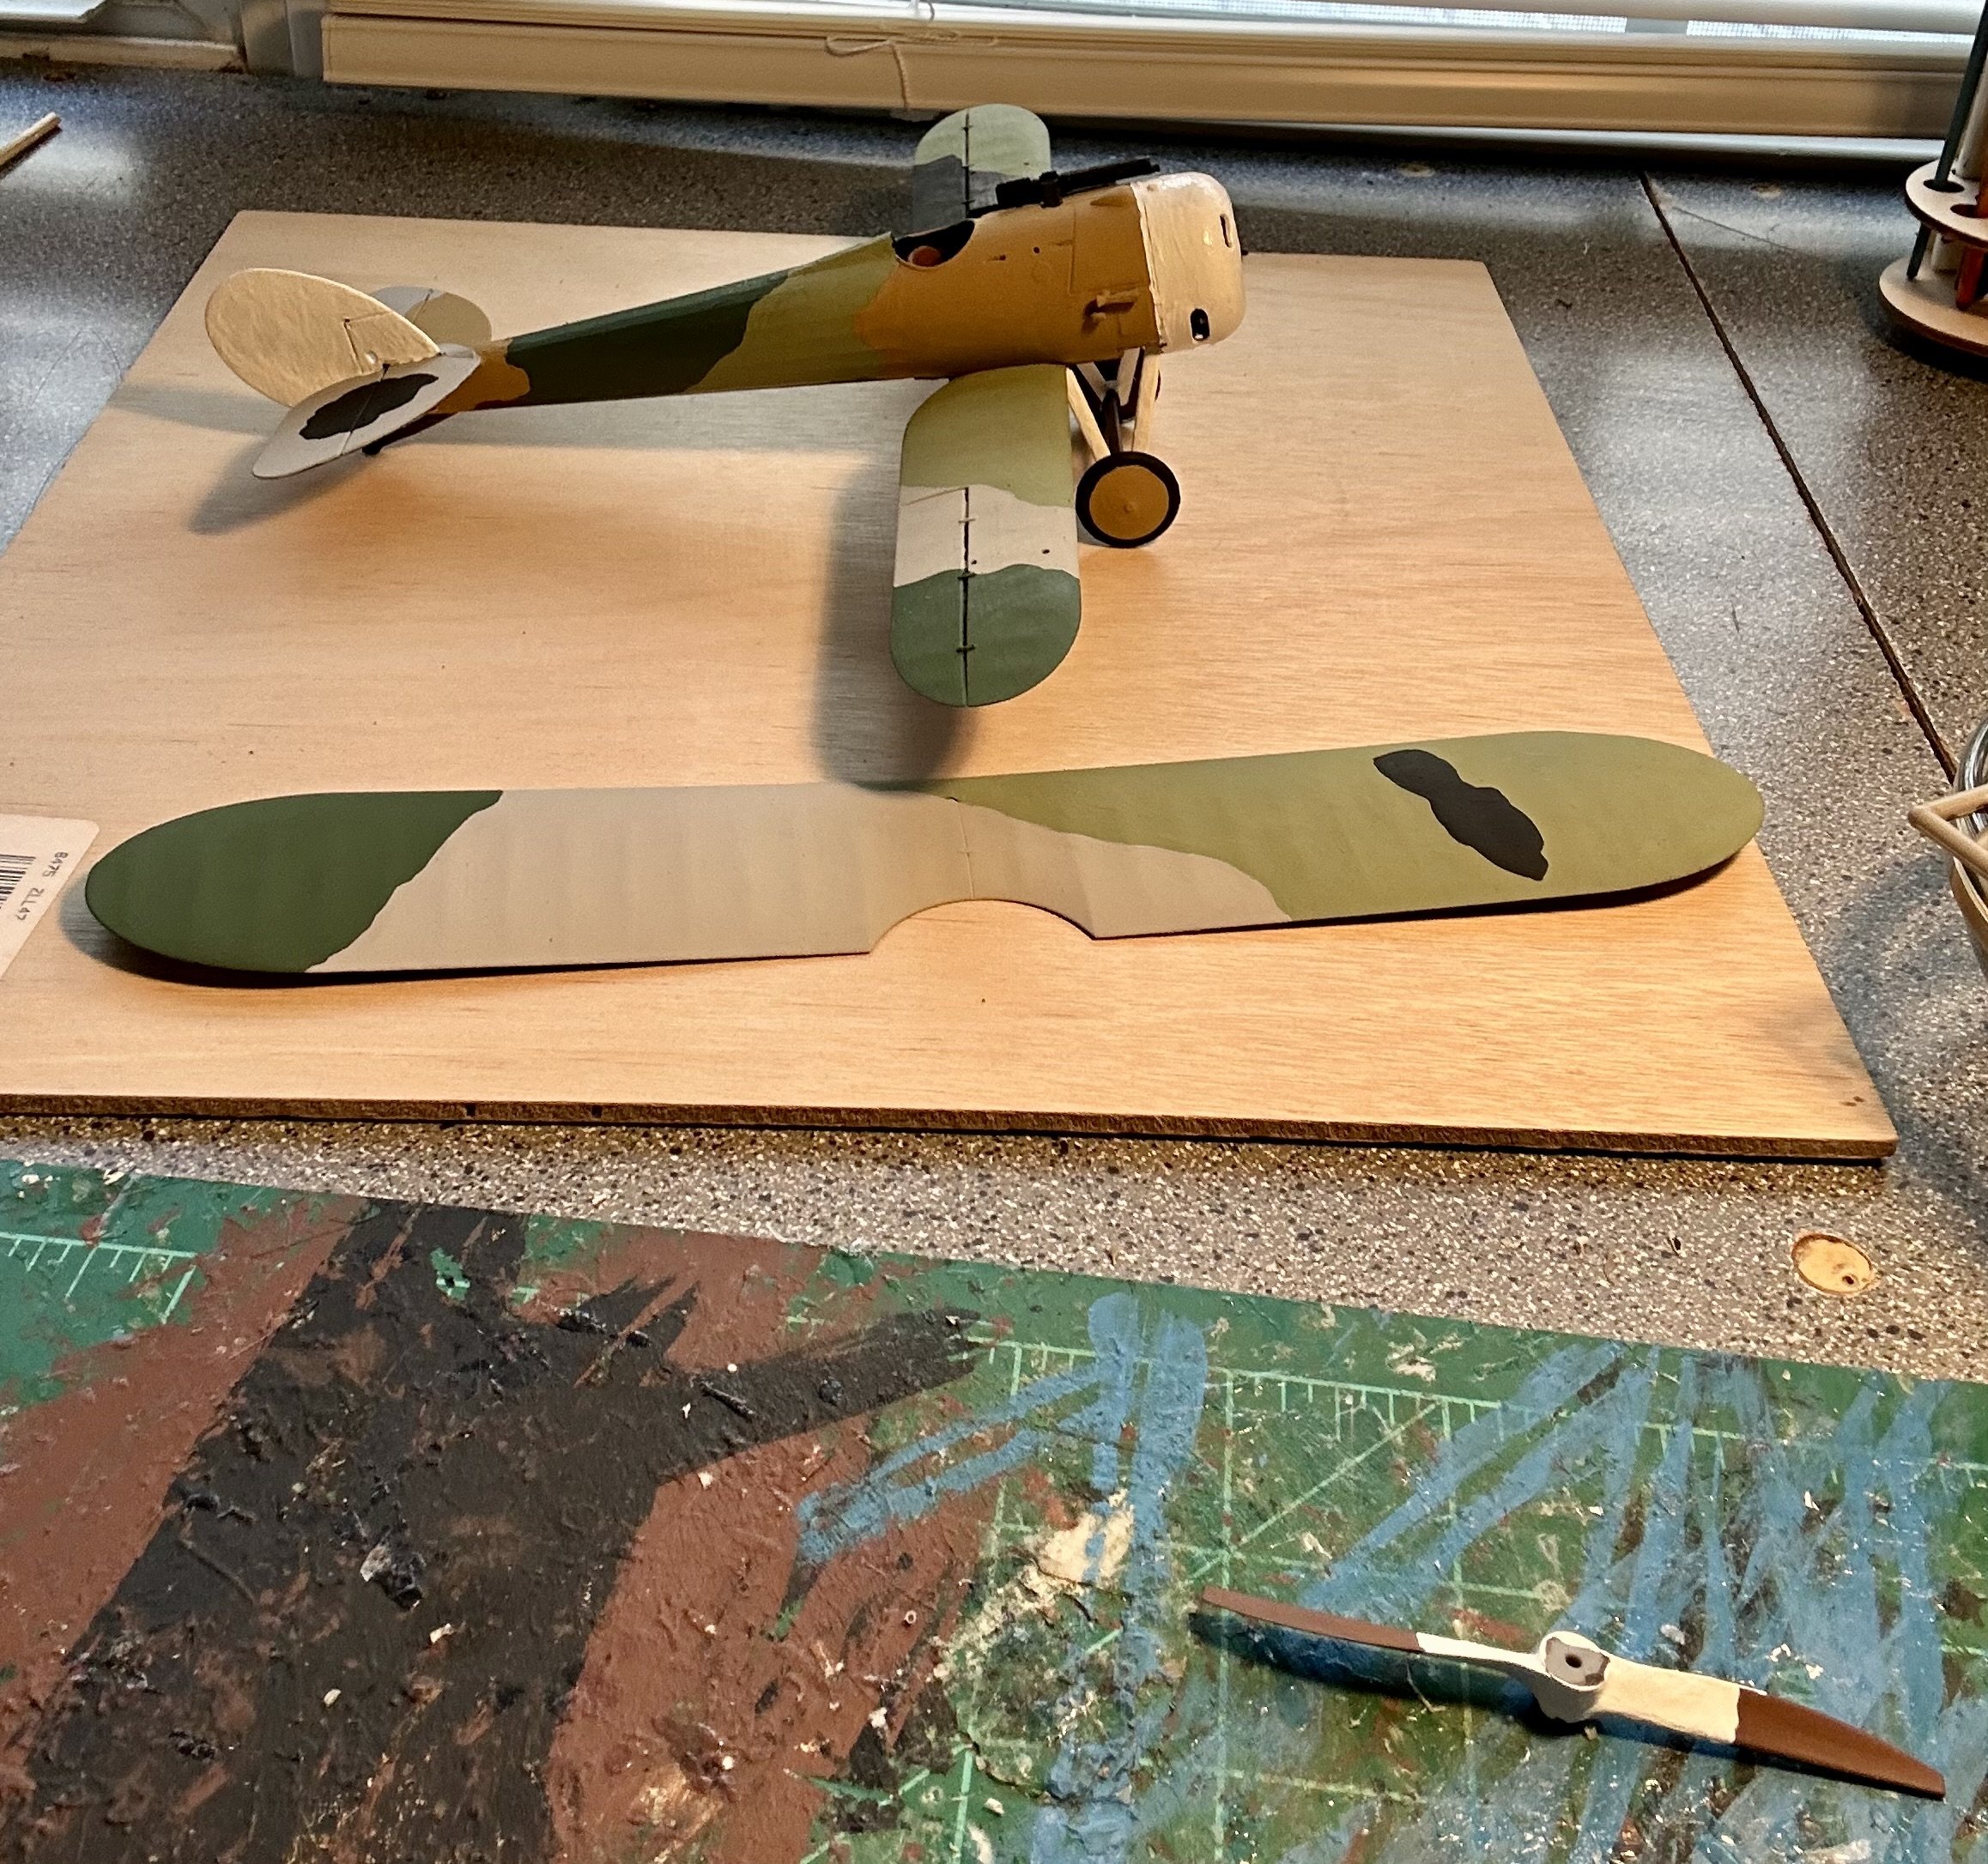
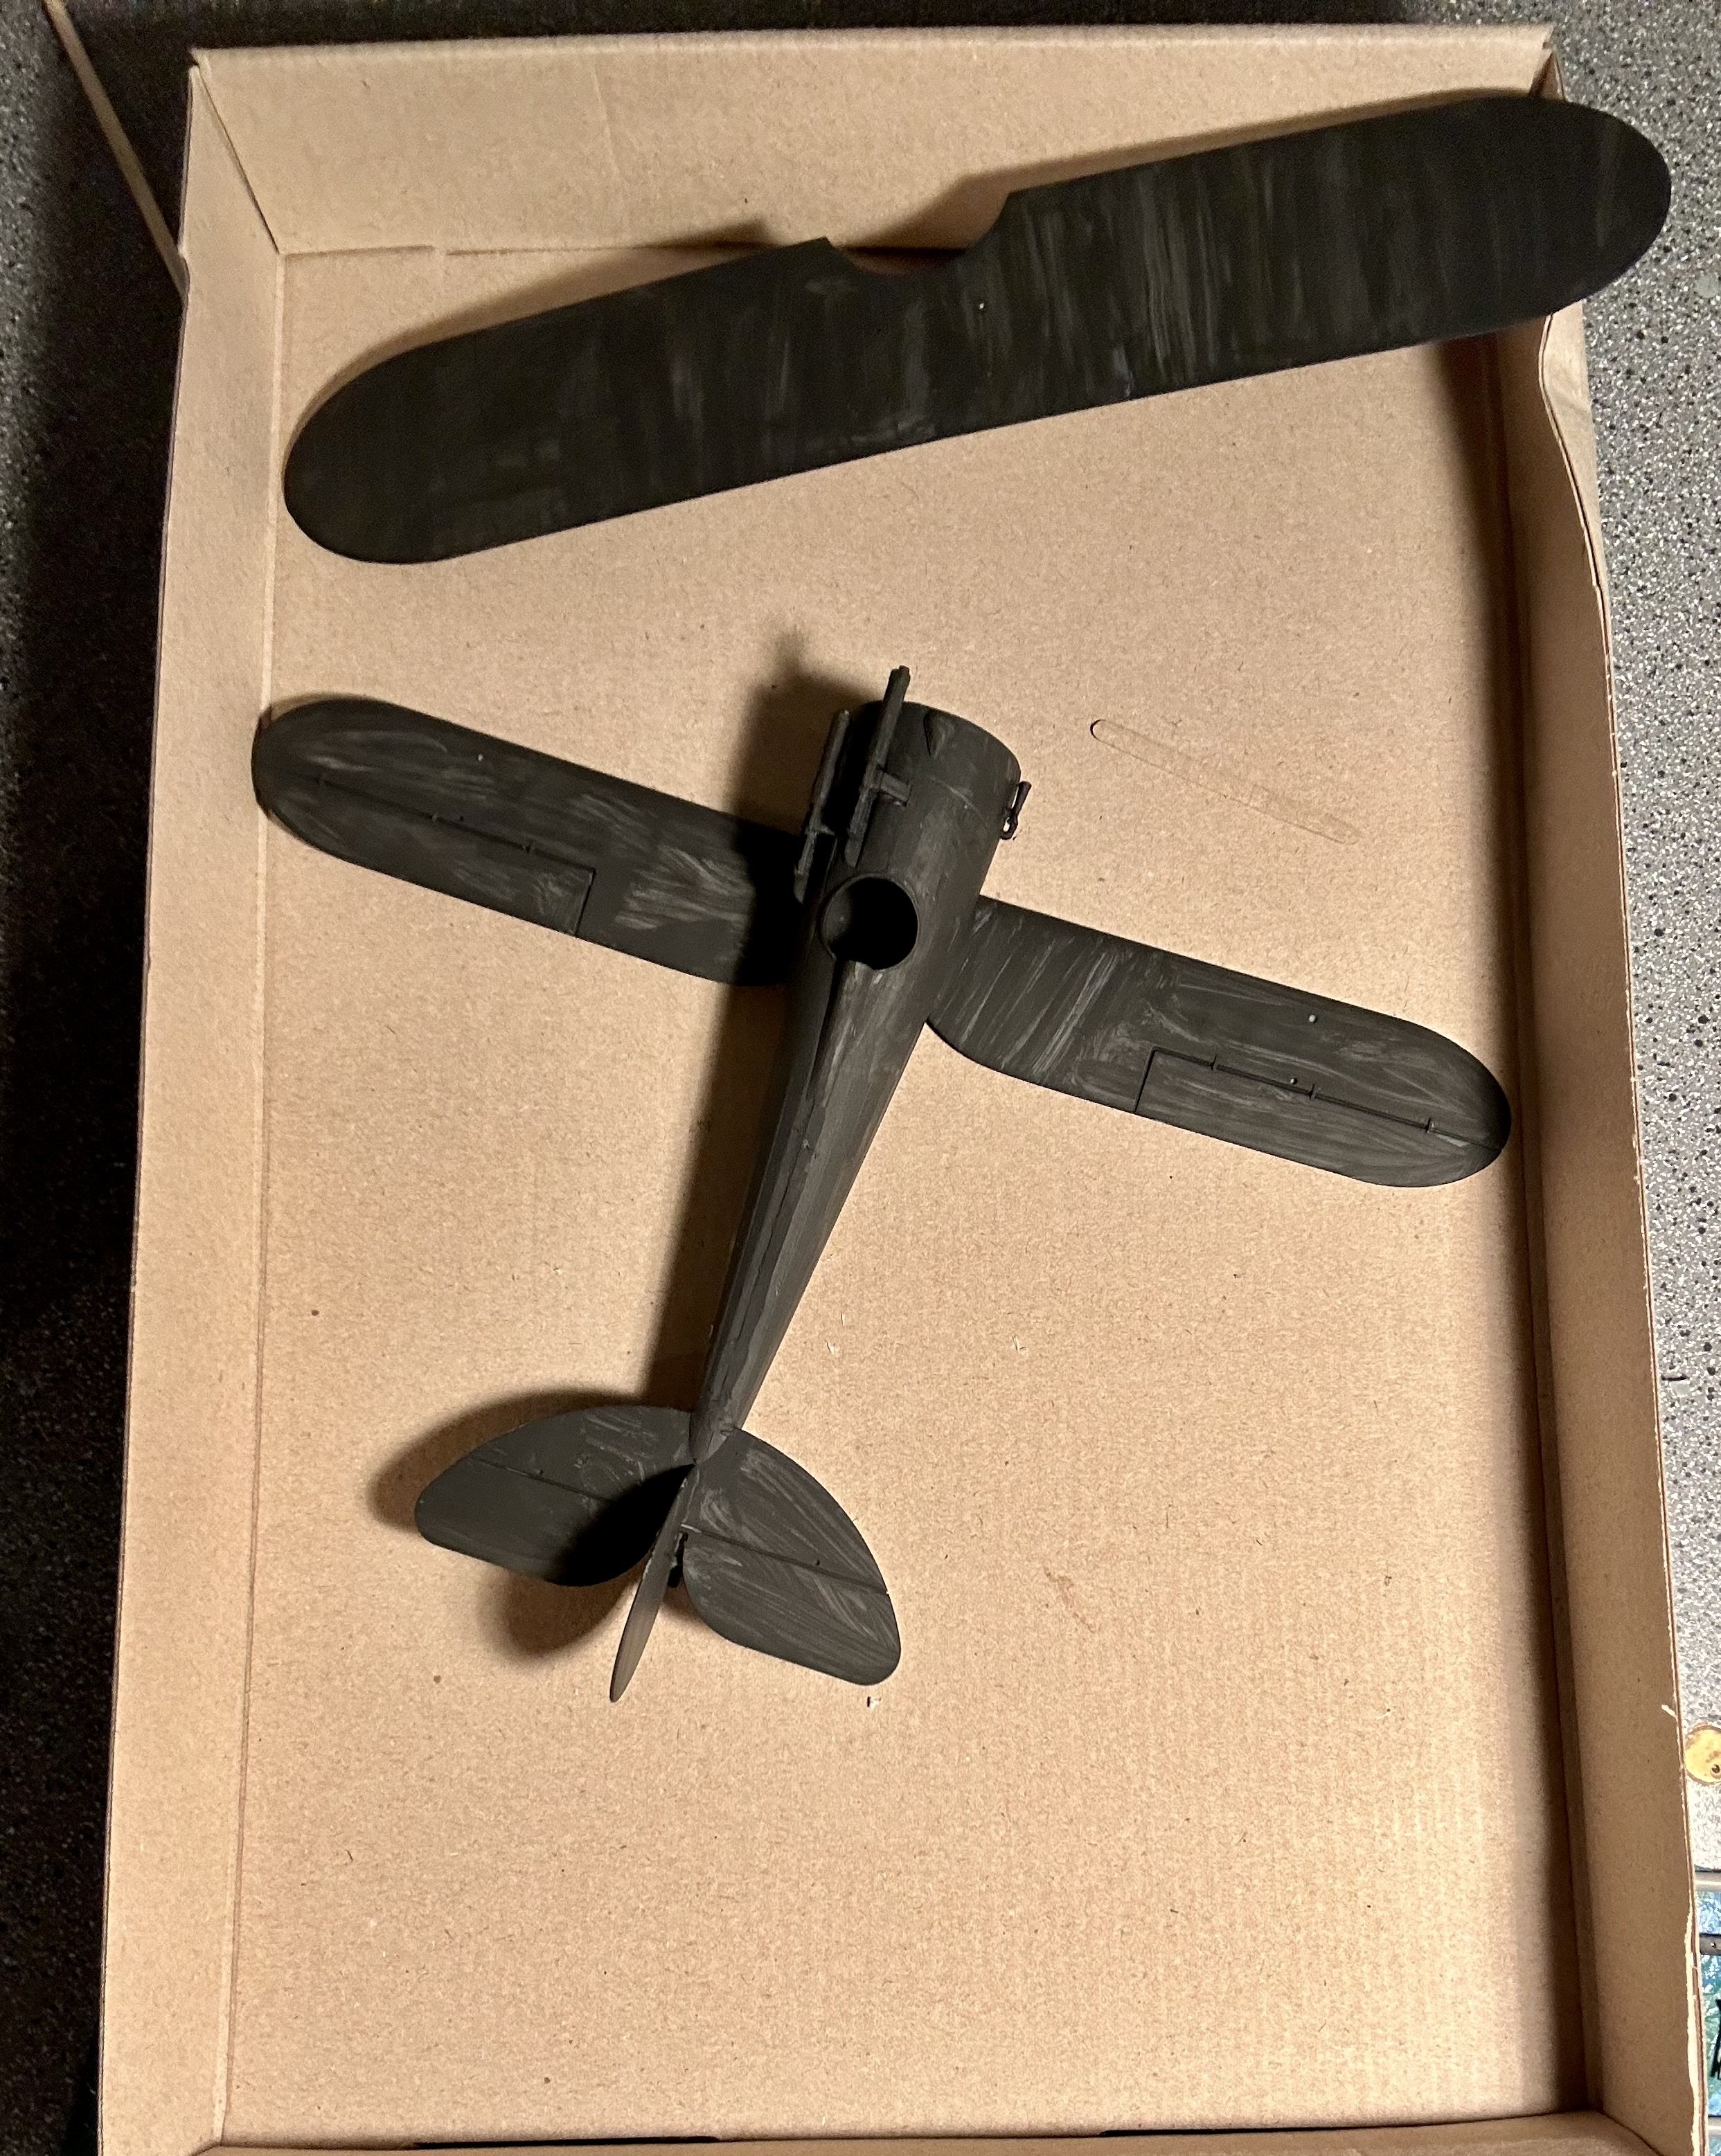
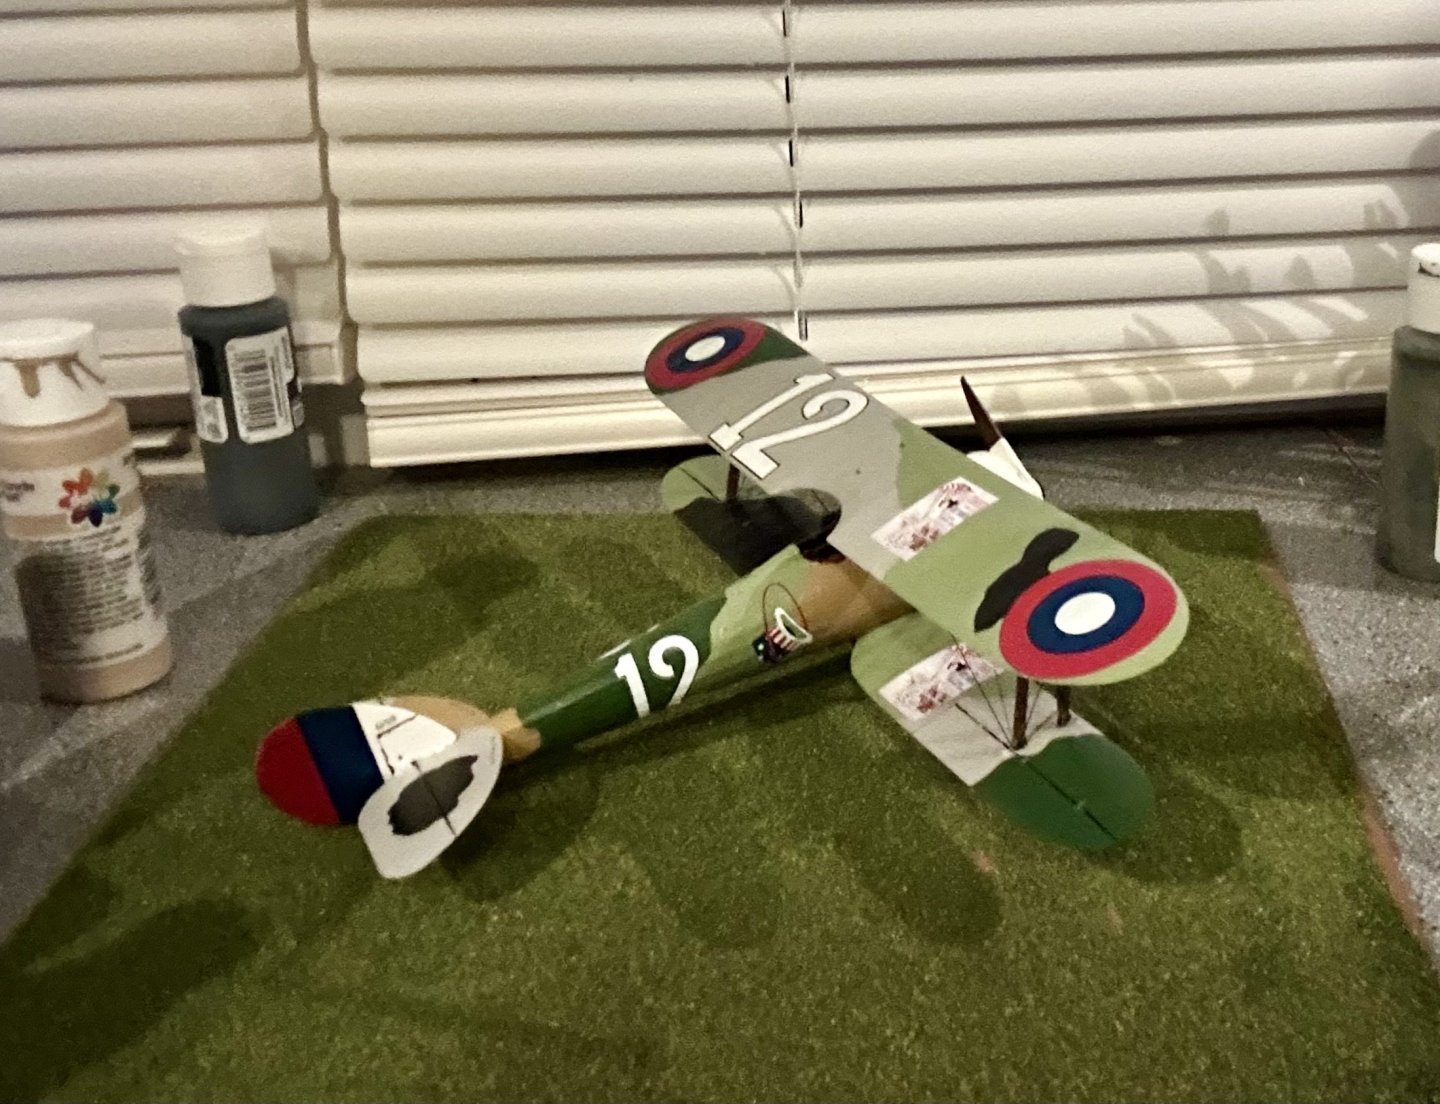
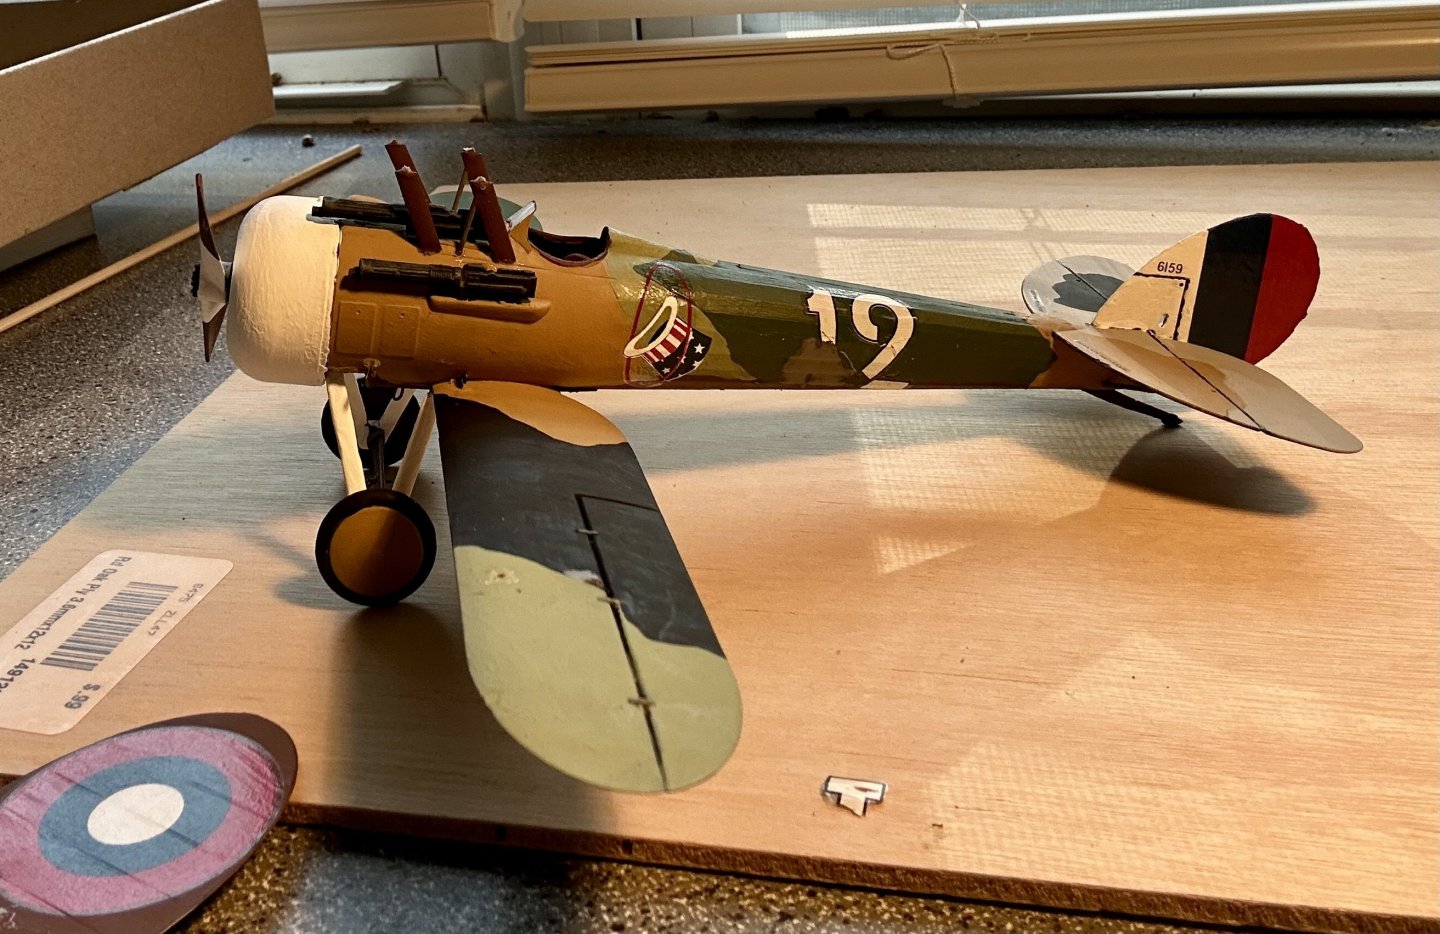
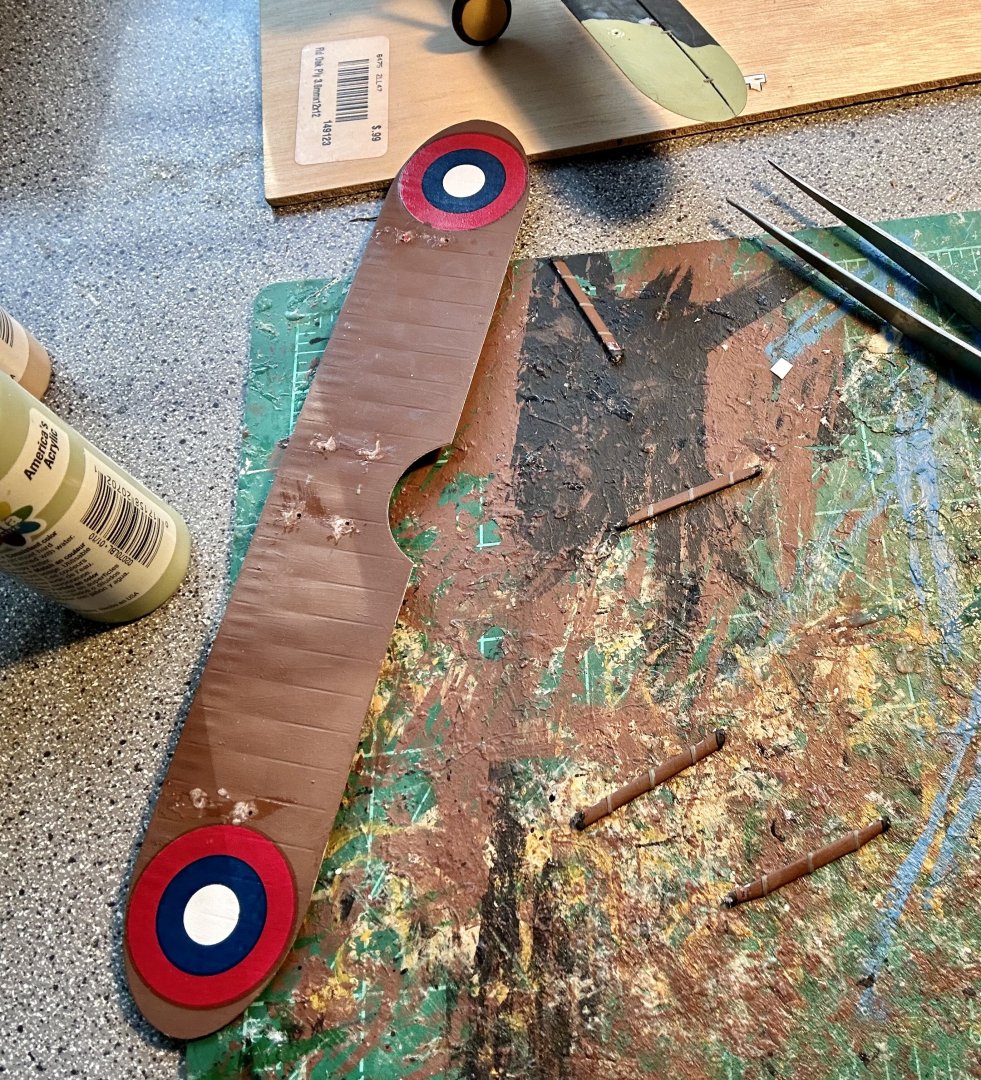
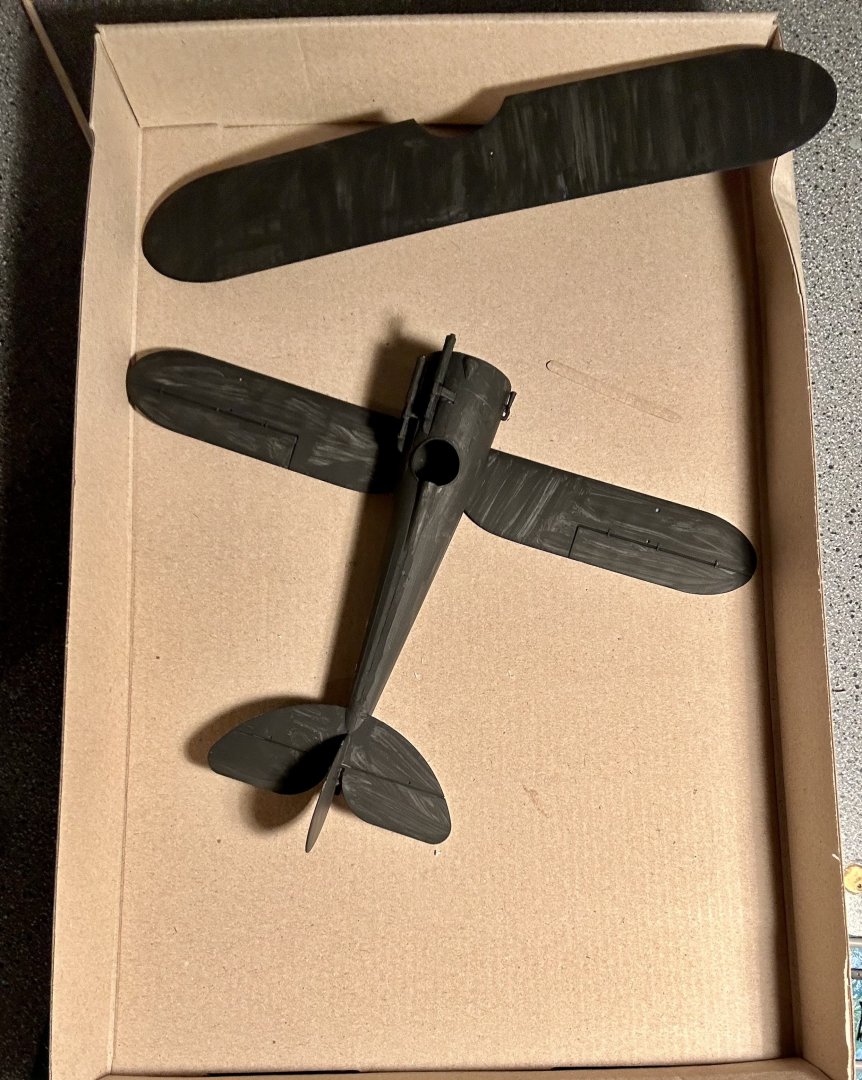
The initial base coating is done: It had a 5-color camouflage scheme which I duplicated to the best of my abilities. I don’t have an airbrush, so everything was freehand brush painted. I will finish touch ups and minor details, and paint the engine cowling, the struts, part of the propeller, and the vertical stabilizer, white the next time I work on the model. Then it’ll be time to add some eyebolts and decals, attach the upper wing and on to rigging! Then it’ll be carving time!

- 37 replies
-
- 11
-
-
Absolute beginner here - new to ship modeling
GrandpaPhil replied to AlanR's topic in New member Introductions
Welcome! -
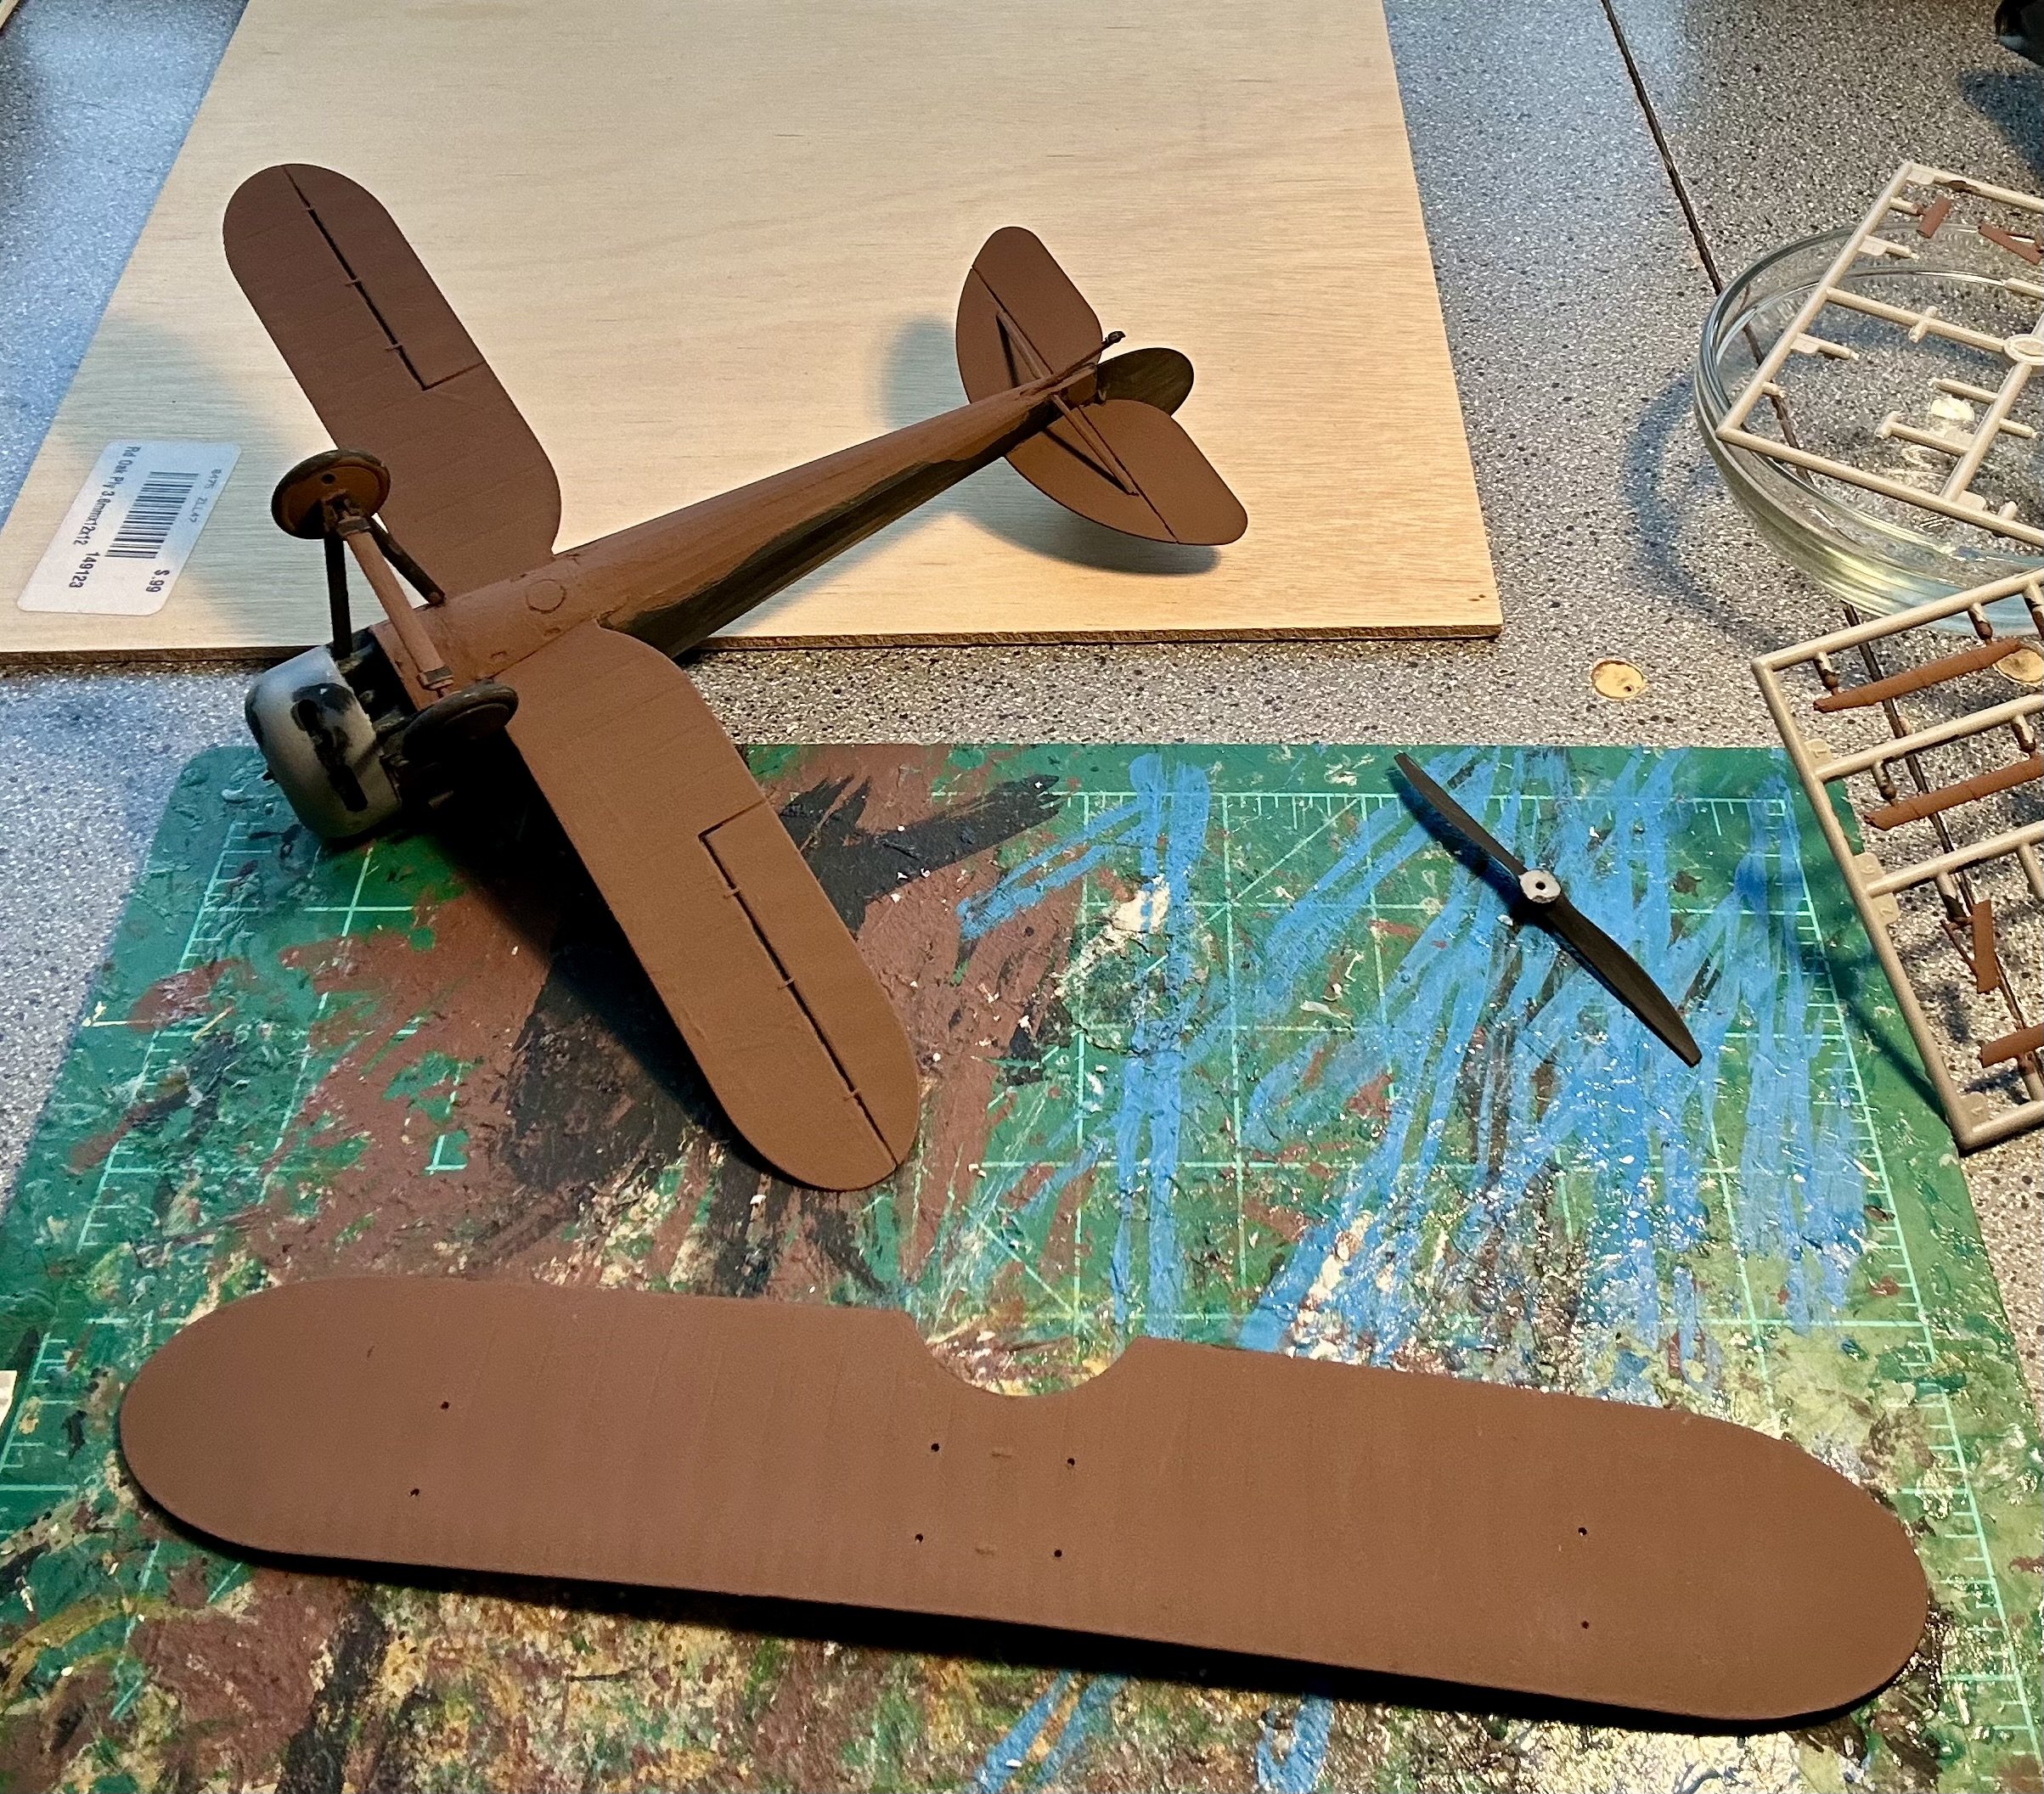
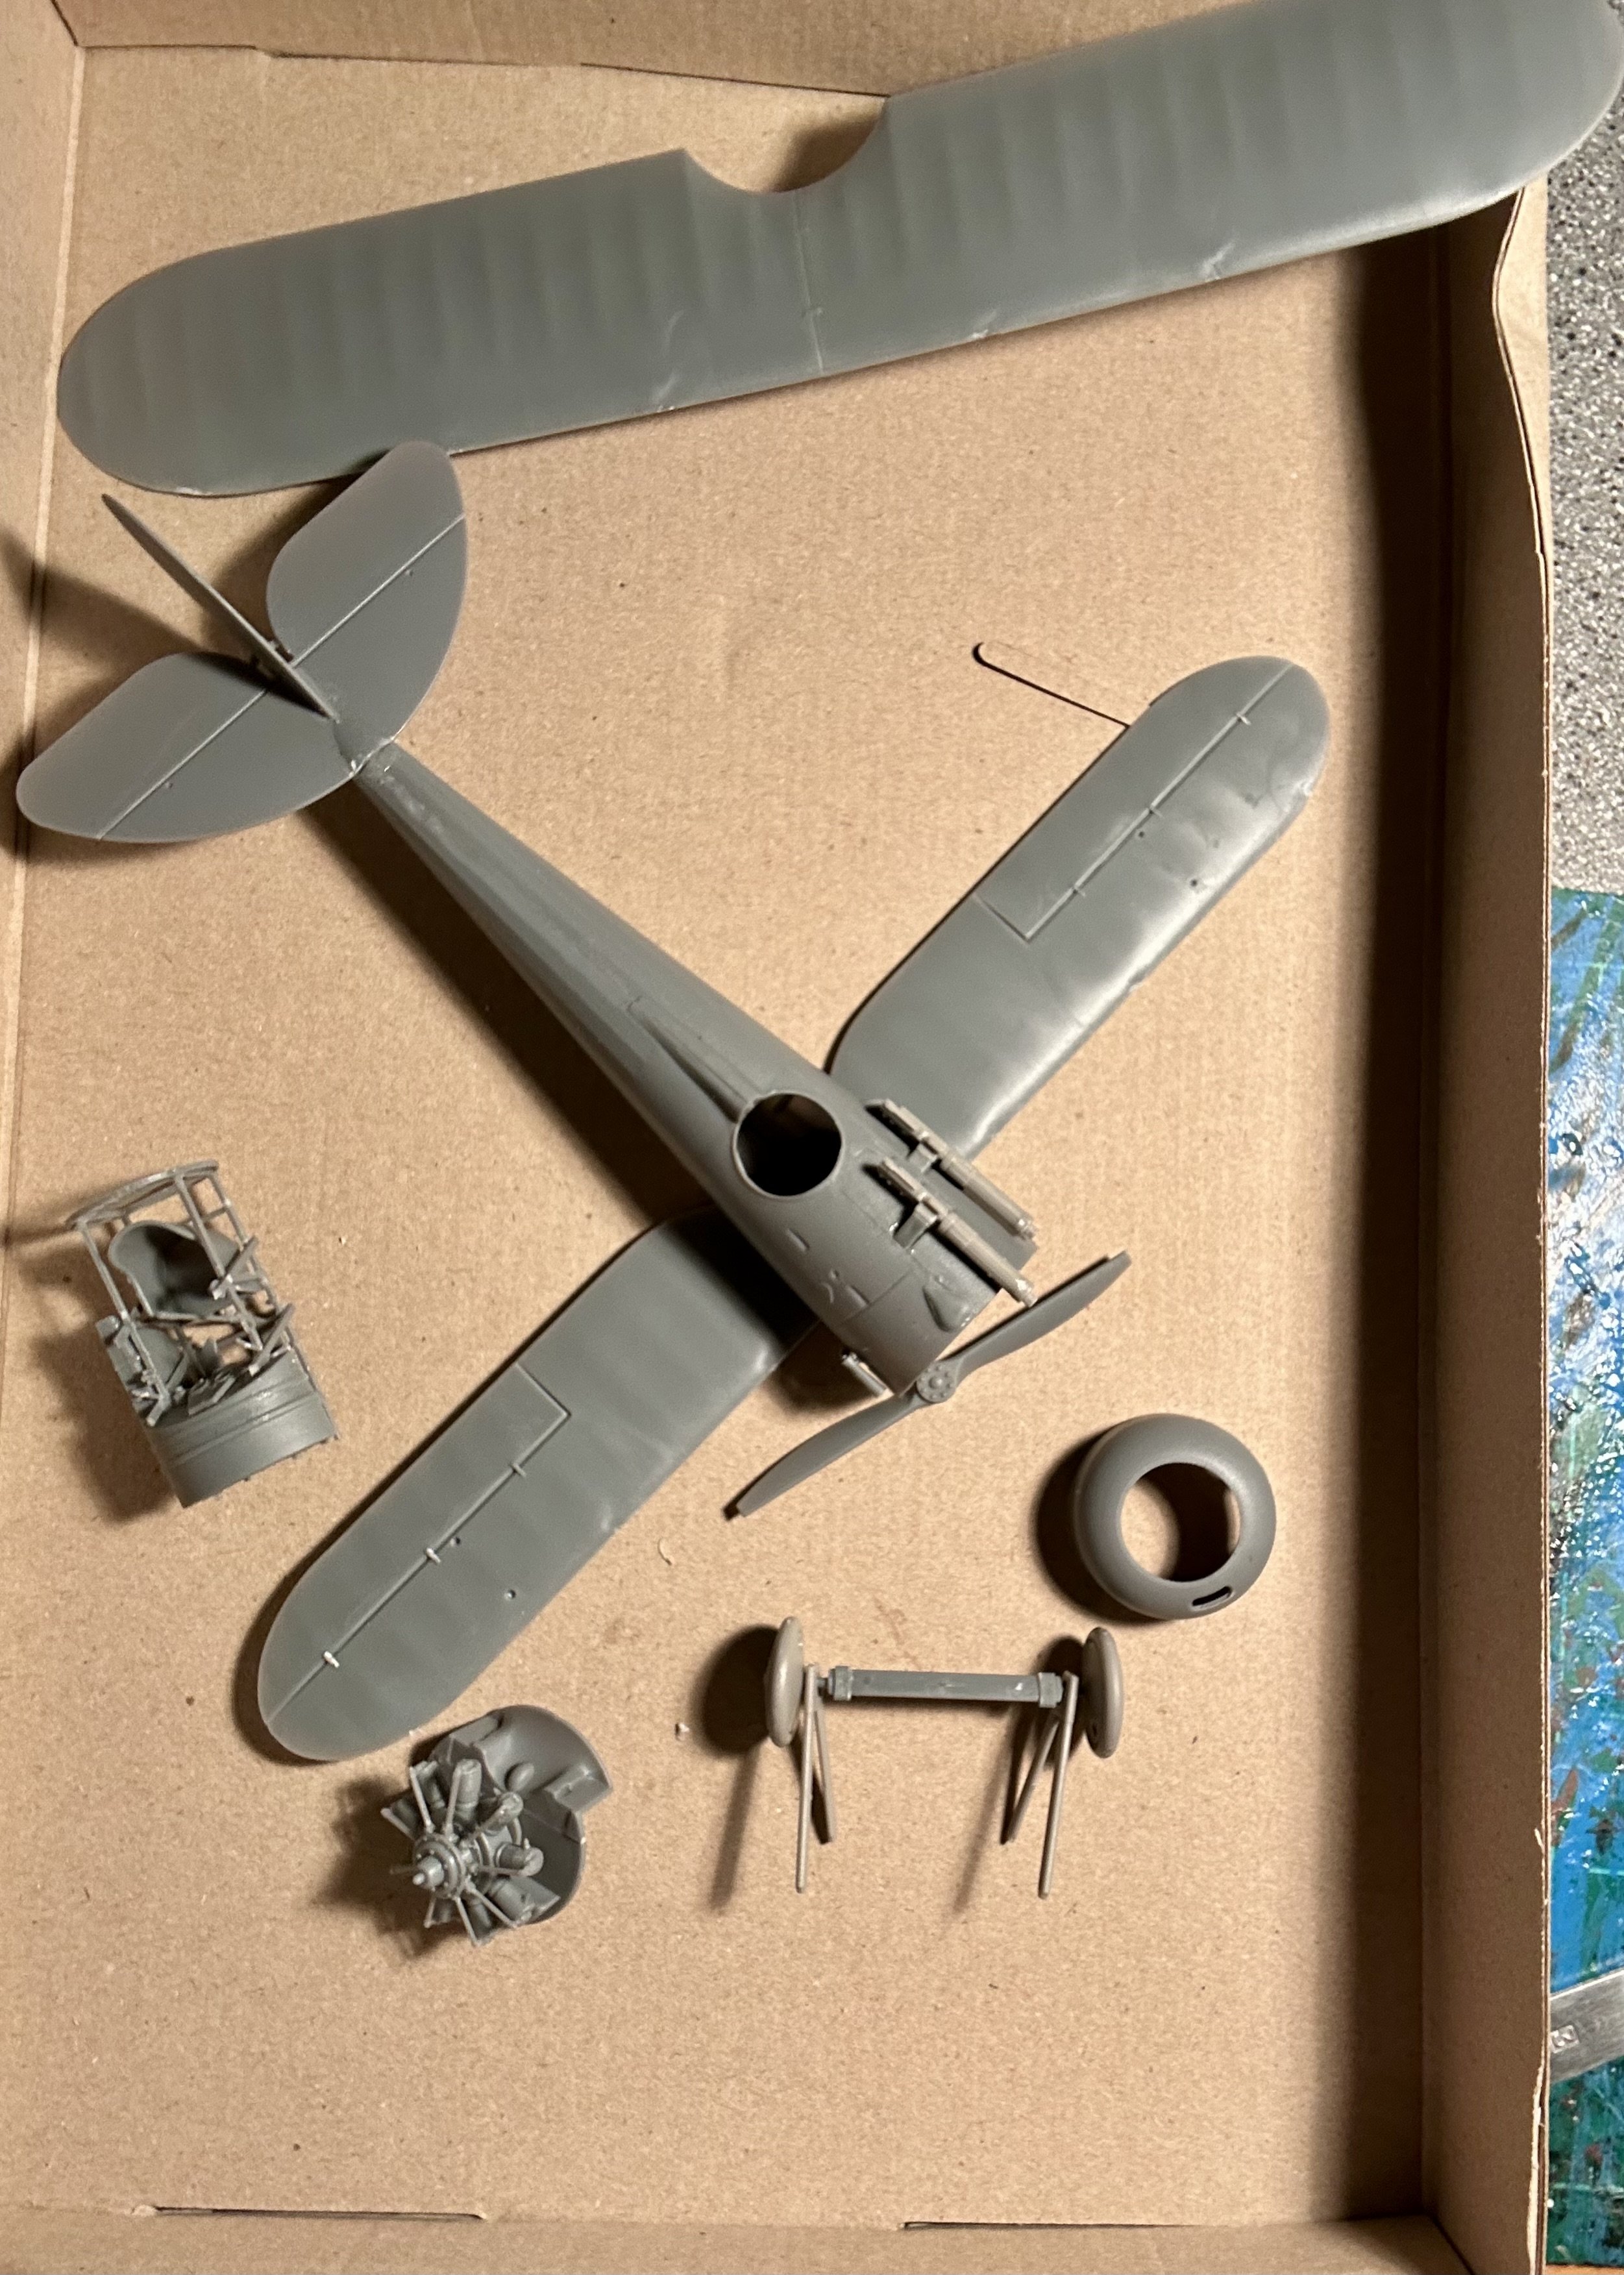
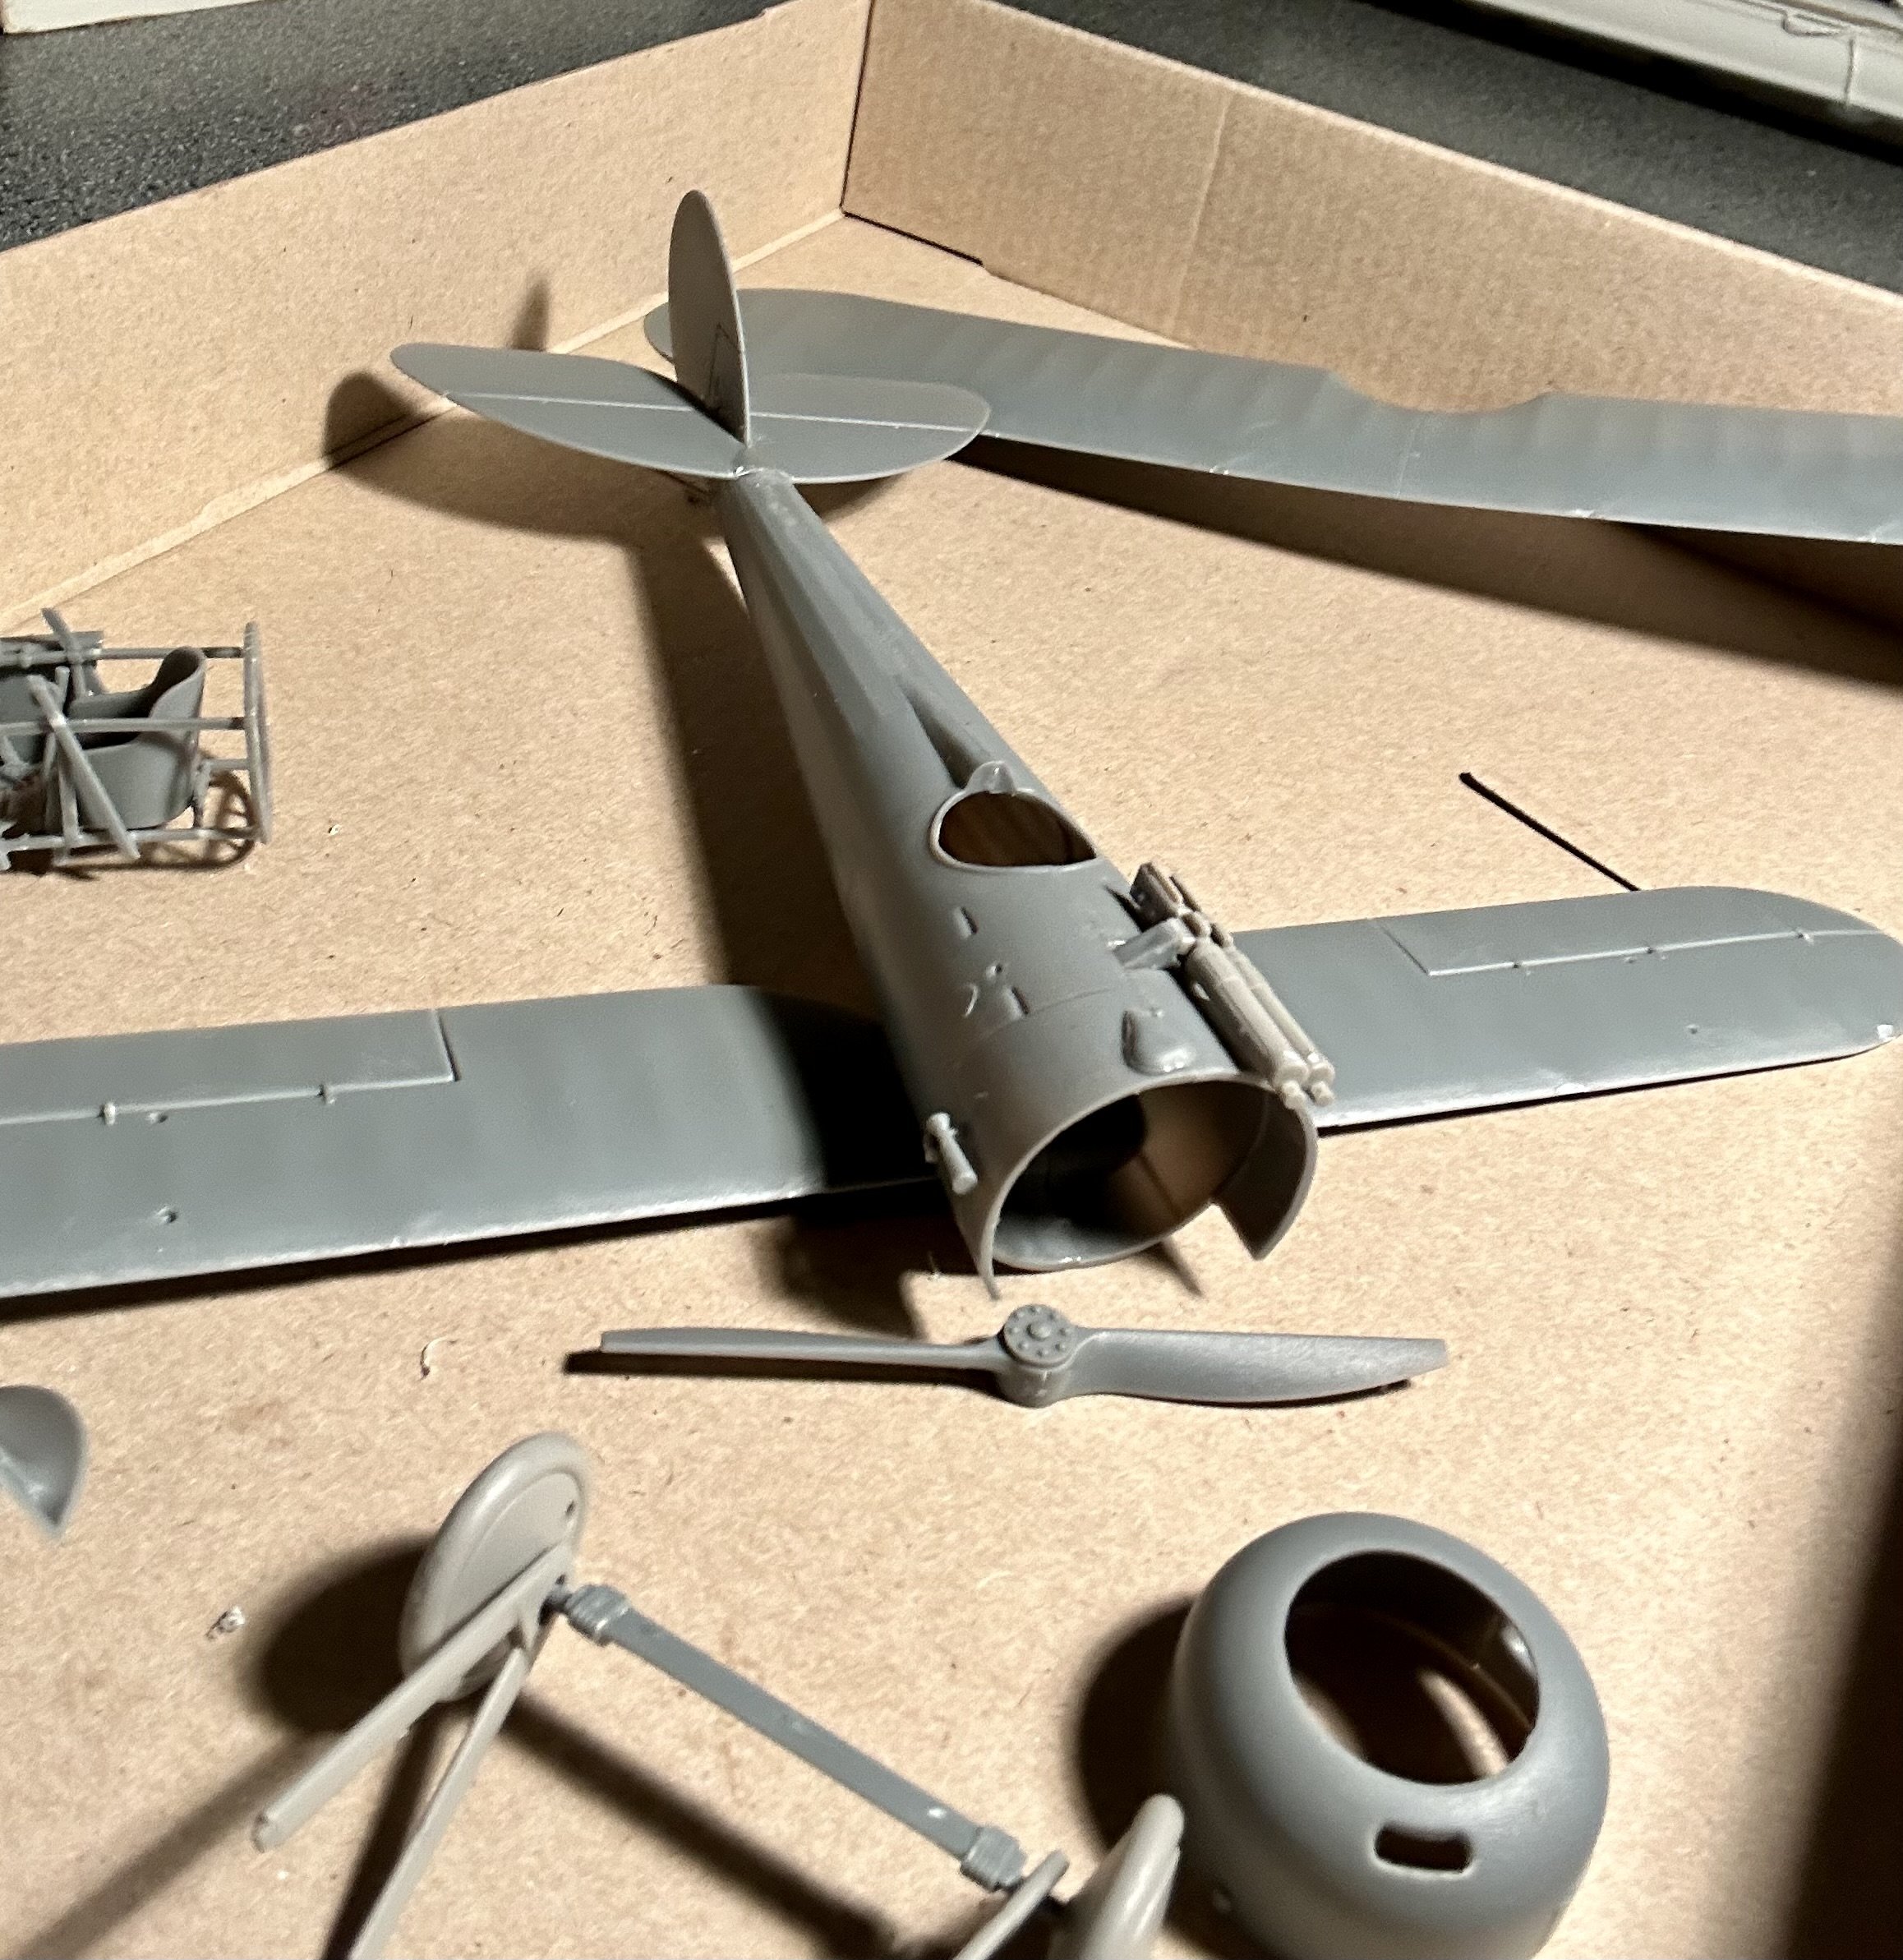
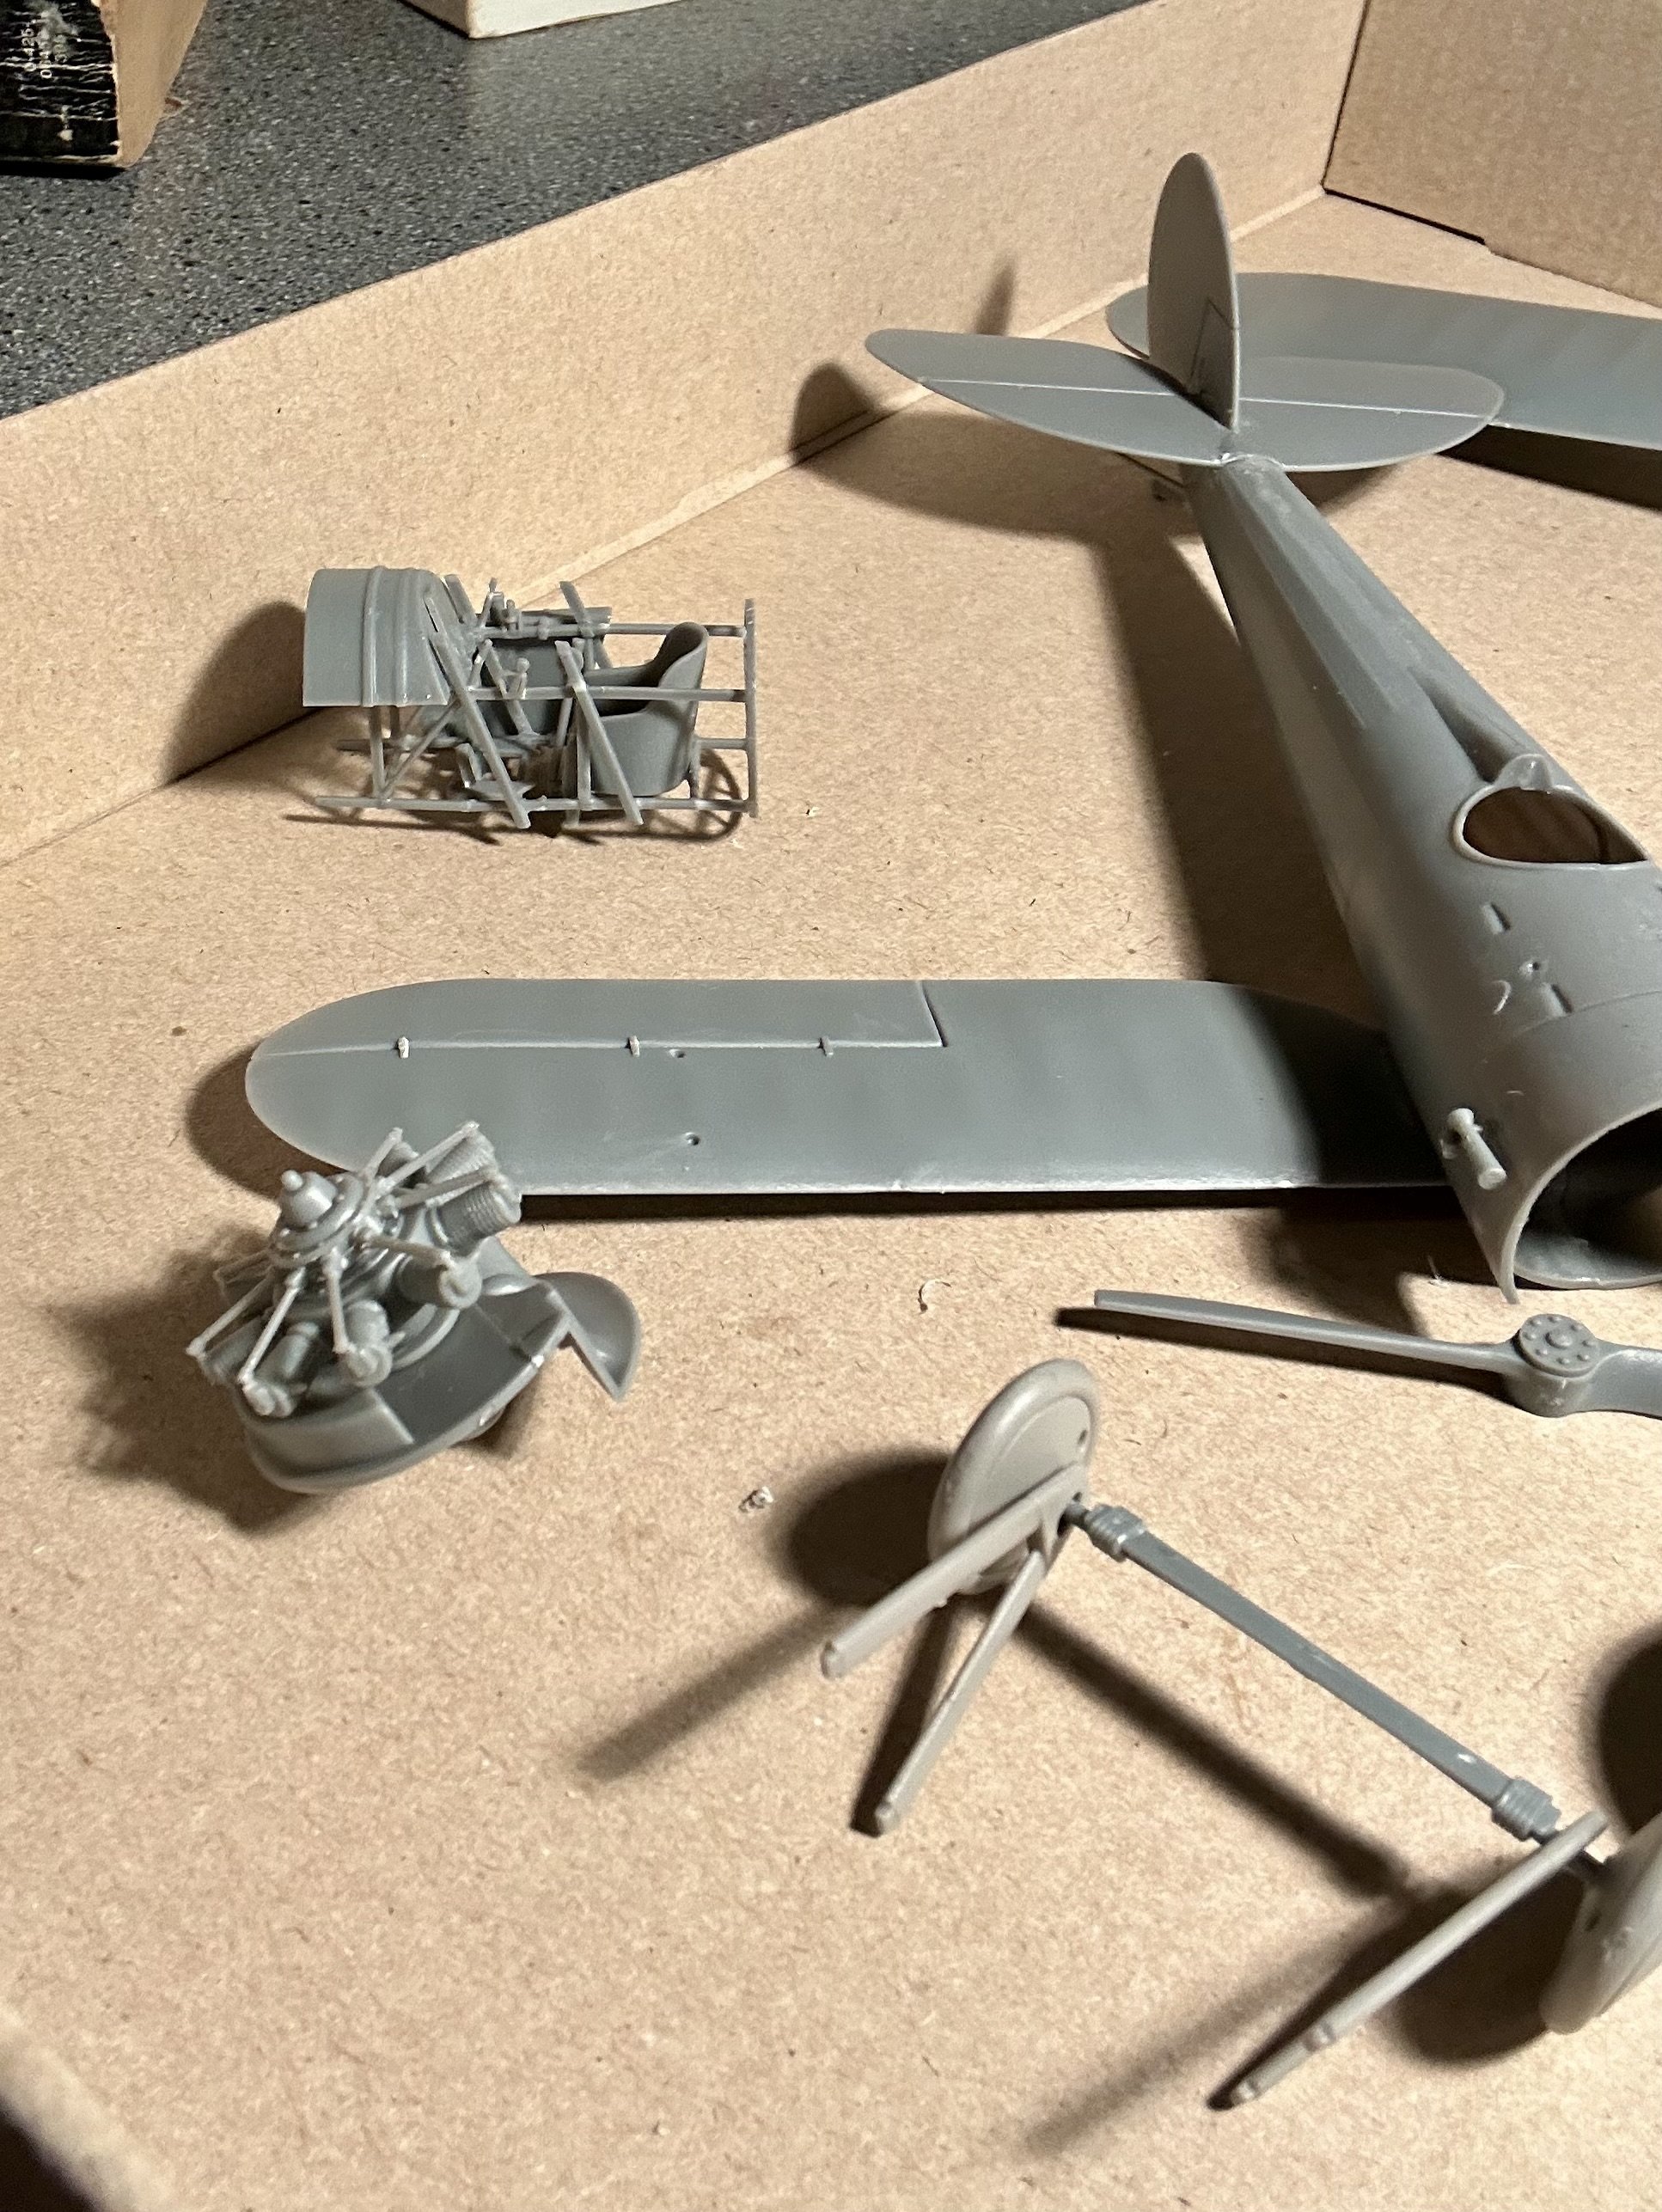
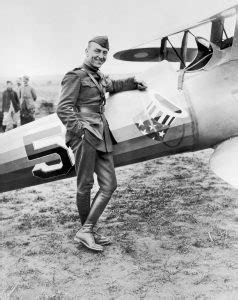
Thank you very much! I have the model initial assembled and know how I want to do the diorama: The initial base coating for the underside of the model is done: I wanted to put Eddie Rickenbacker in scale standing next to his aircraft, but that figure sold before I got a chance to but it. The remaining ones are rather expensive and also in an unsatisfactory pose. So, I’m just going to make my own! Eddie Rickenbacker stood 6’ 2” tall, which makes for a 2 5/16” figure in 1/32 scale. I like this picture so it is the one that I will use: I have a posable artist’s marionette which I will use to design the carving. The pose still needs some work and adjustment, but that will get done once I finish the plane. I have never carved a full human figure before, but I have never let that stop me before. One thing I learned here is that you don’t know what your full capabilities are until you push your limits. I have carved/made 3 figureheads, to include the HMS Victory, and 2 sets of stern carvings before. I carved the carvings for the Revenge and I made a set of stern carvings for the Winchelsea while on a business trip one time (which are unfortunately not in a usable scale). All came out reasonably well, so…we’ll make some wood shavings when the time comes, and see what happens.


- 37 replies
-
- 13
-
-
Kit review USS Missouri (BB 63) - OcCre -1:200
GrandpaPhil replied to Kevin's topic in REVIEWS: Model kits
Looking forward to a build log! -
Welcome! I agree wholeheartedly with @Dziadeczek about “Historic Ship Models” by Wolfram Zu Mondfeld! I have worn several copies out over the last 30 years and the newest copy always sits on my workbench.
-
You and me both!
-
Very cool! Looking good!
-
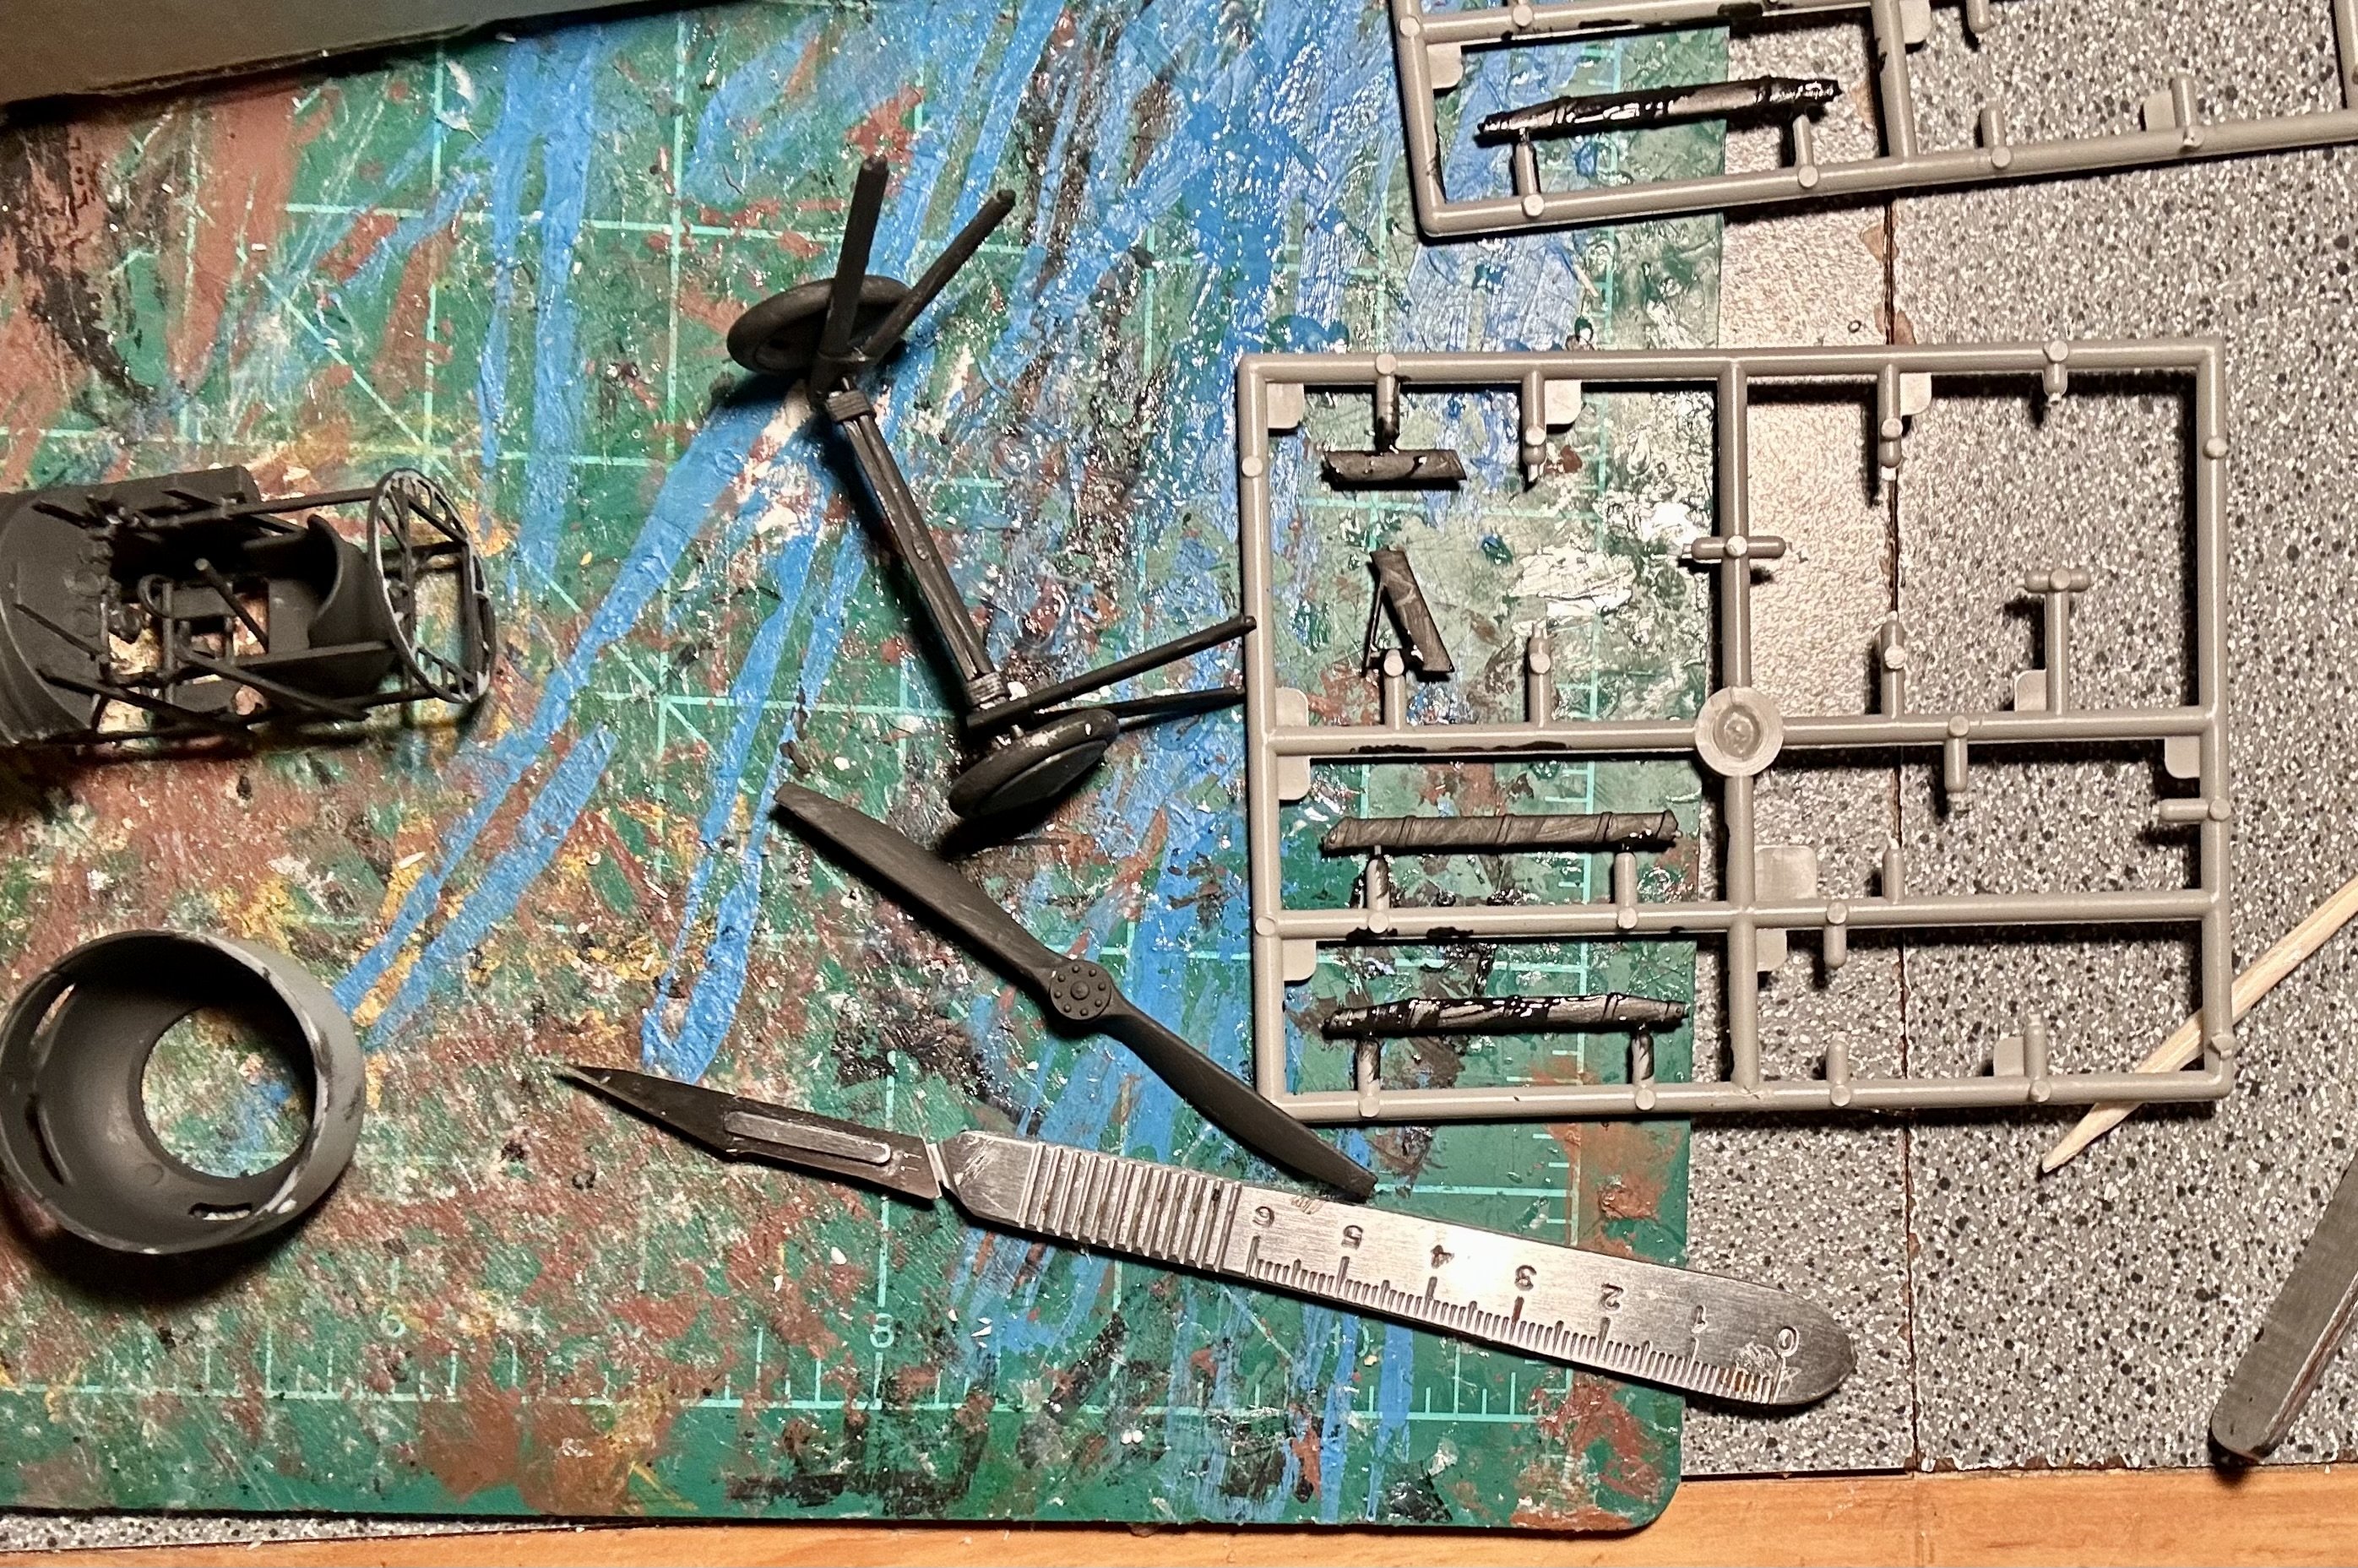
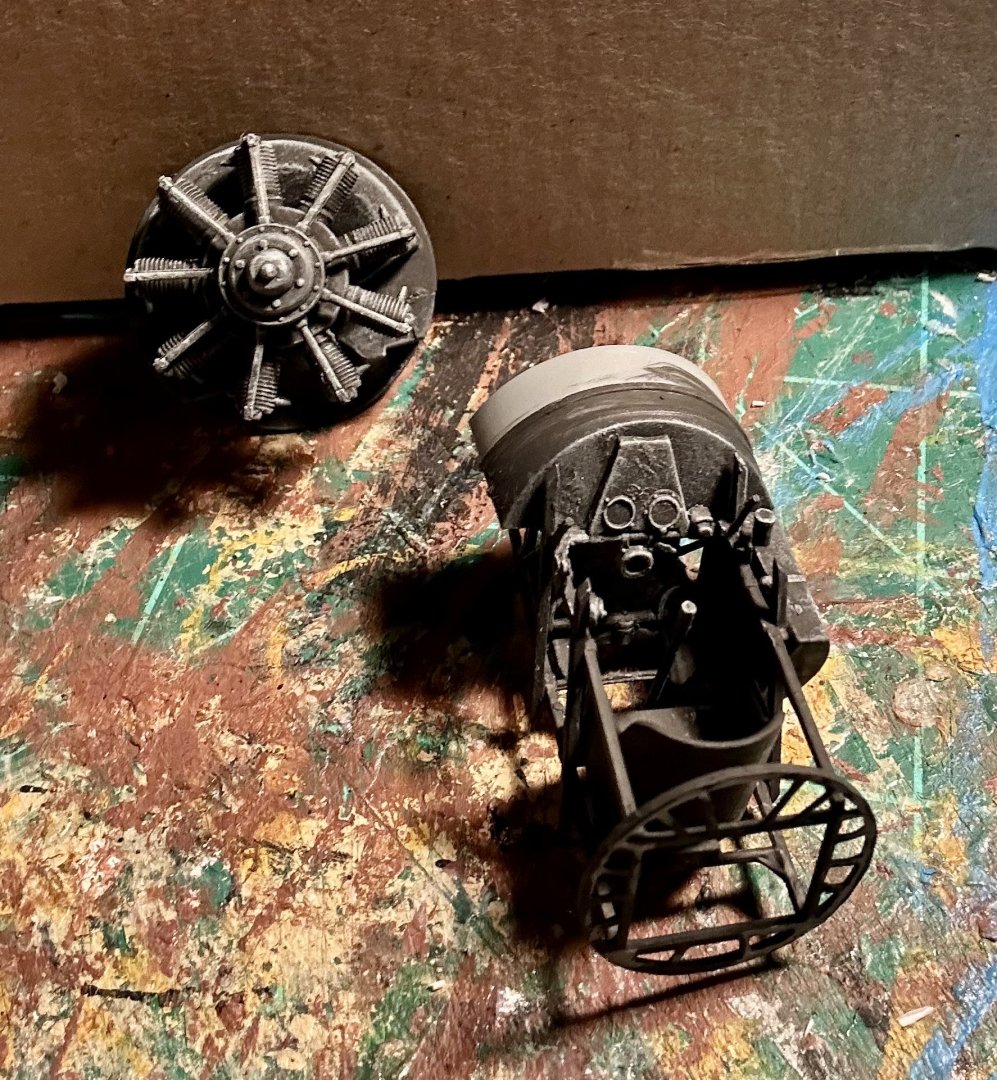
Thank you all very much! The model is primed black: And a faux-metallic engine and engine bay, with a dashboard that won’t be visible, lol. It looks a lot better in person.

- 37 replies
-
- 14
-
-
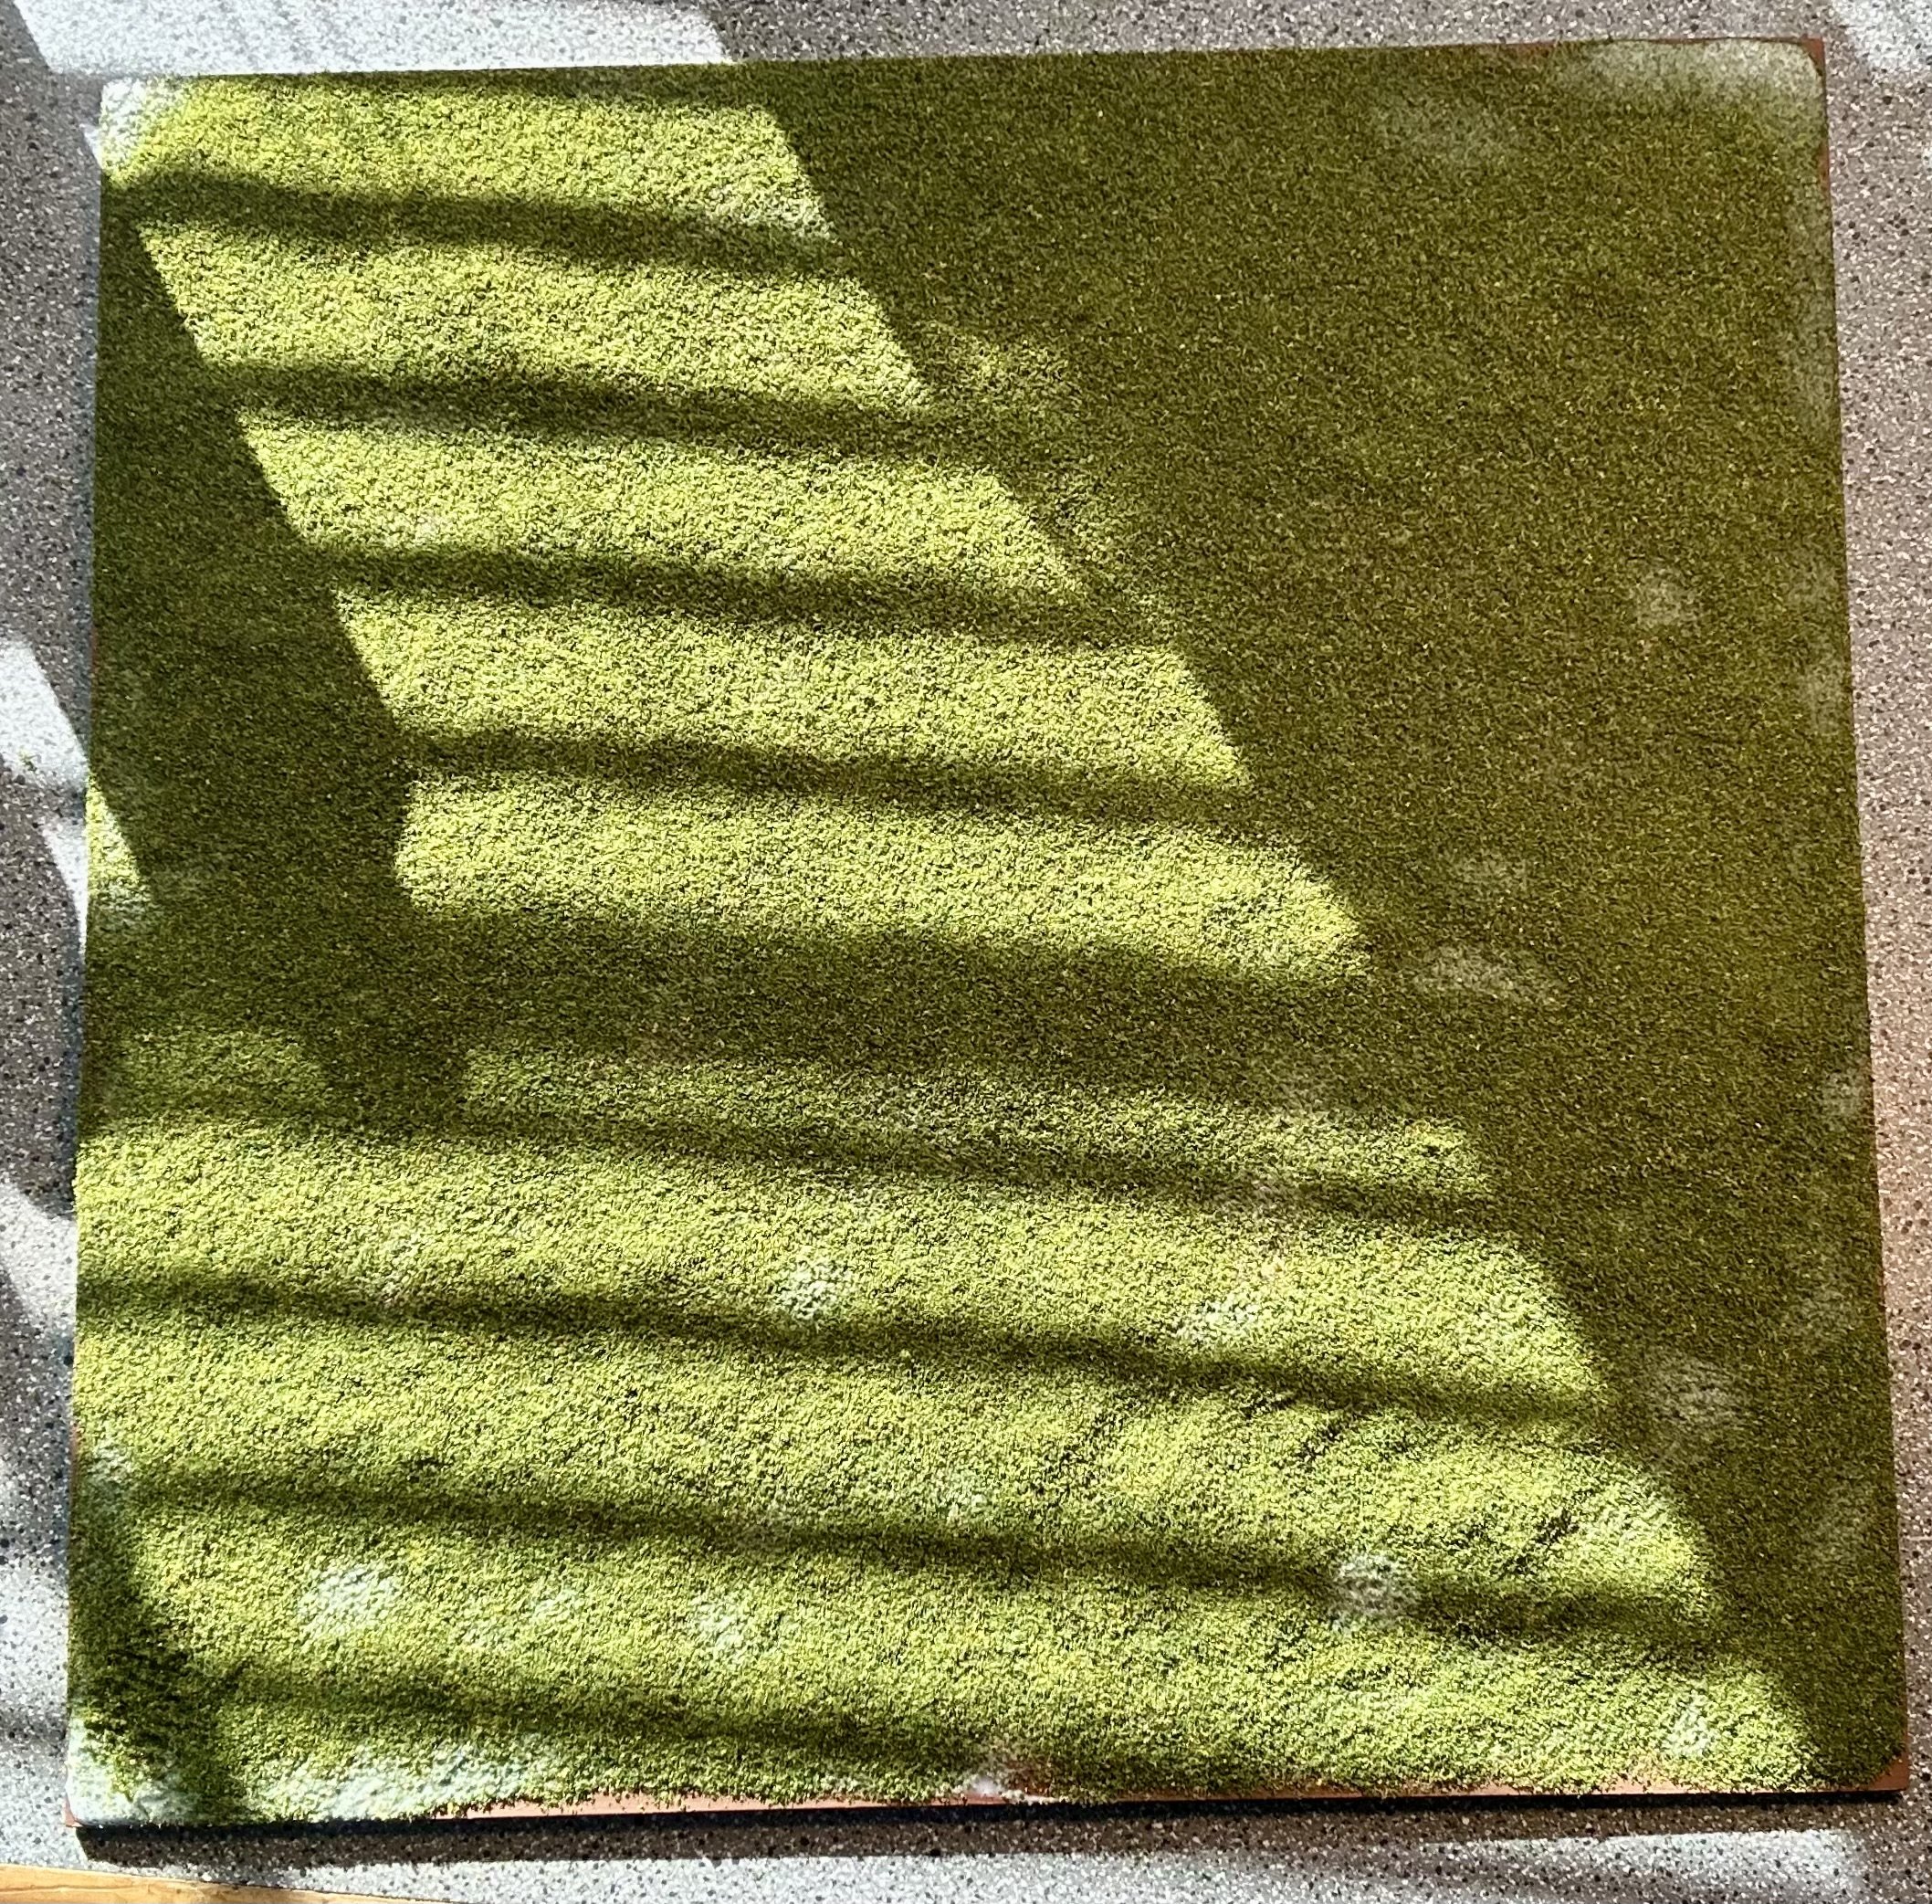
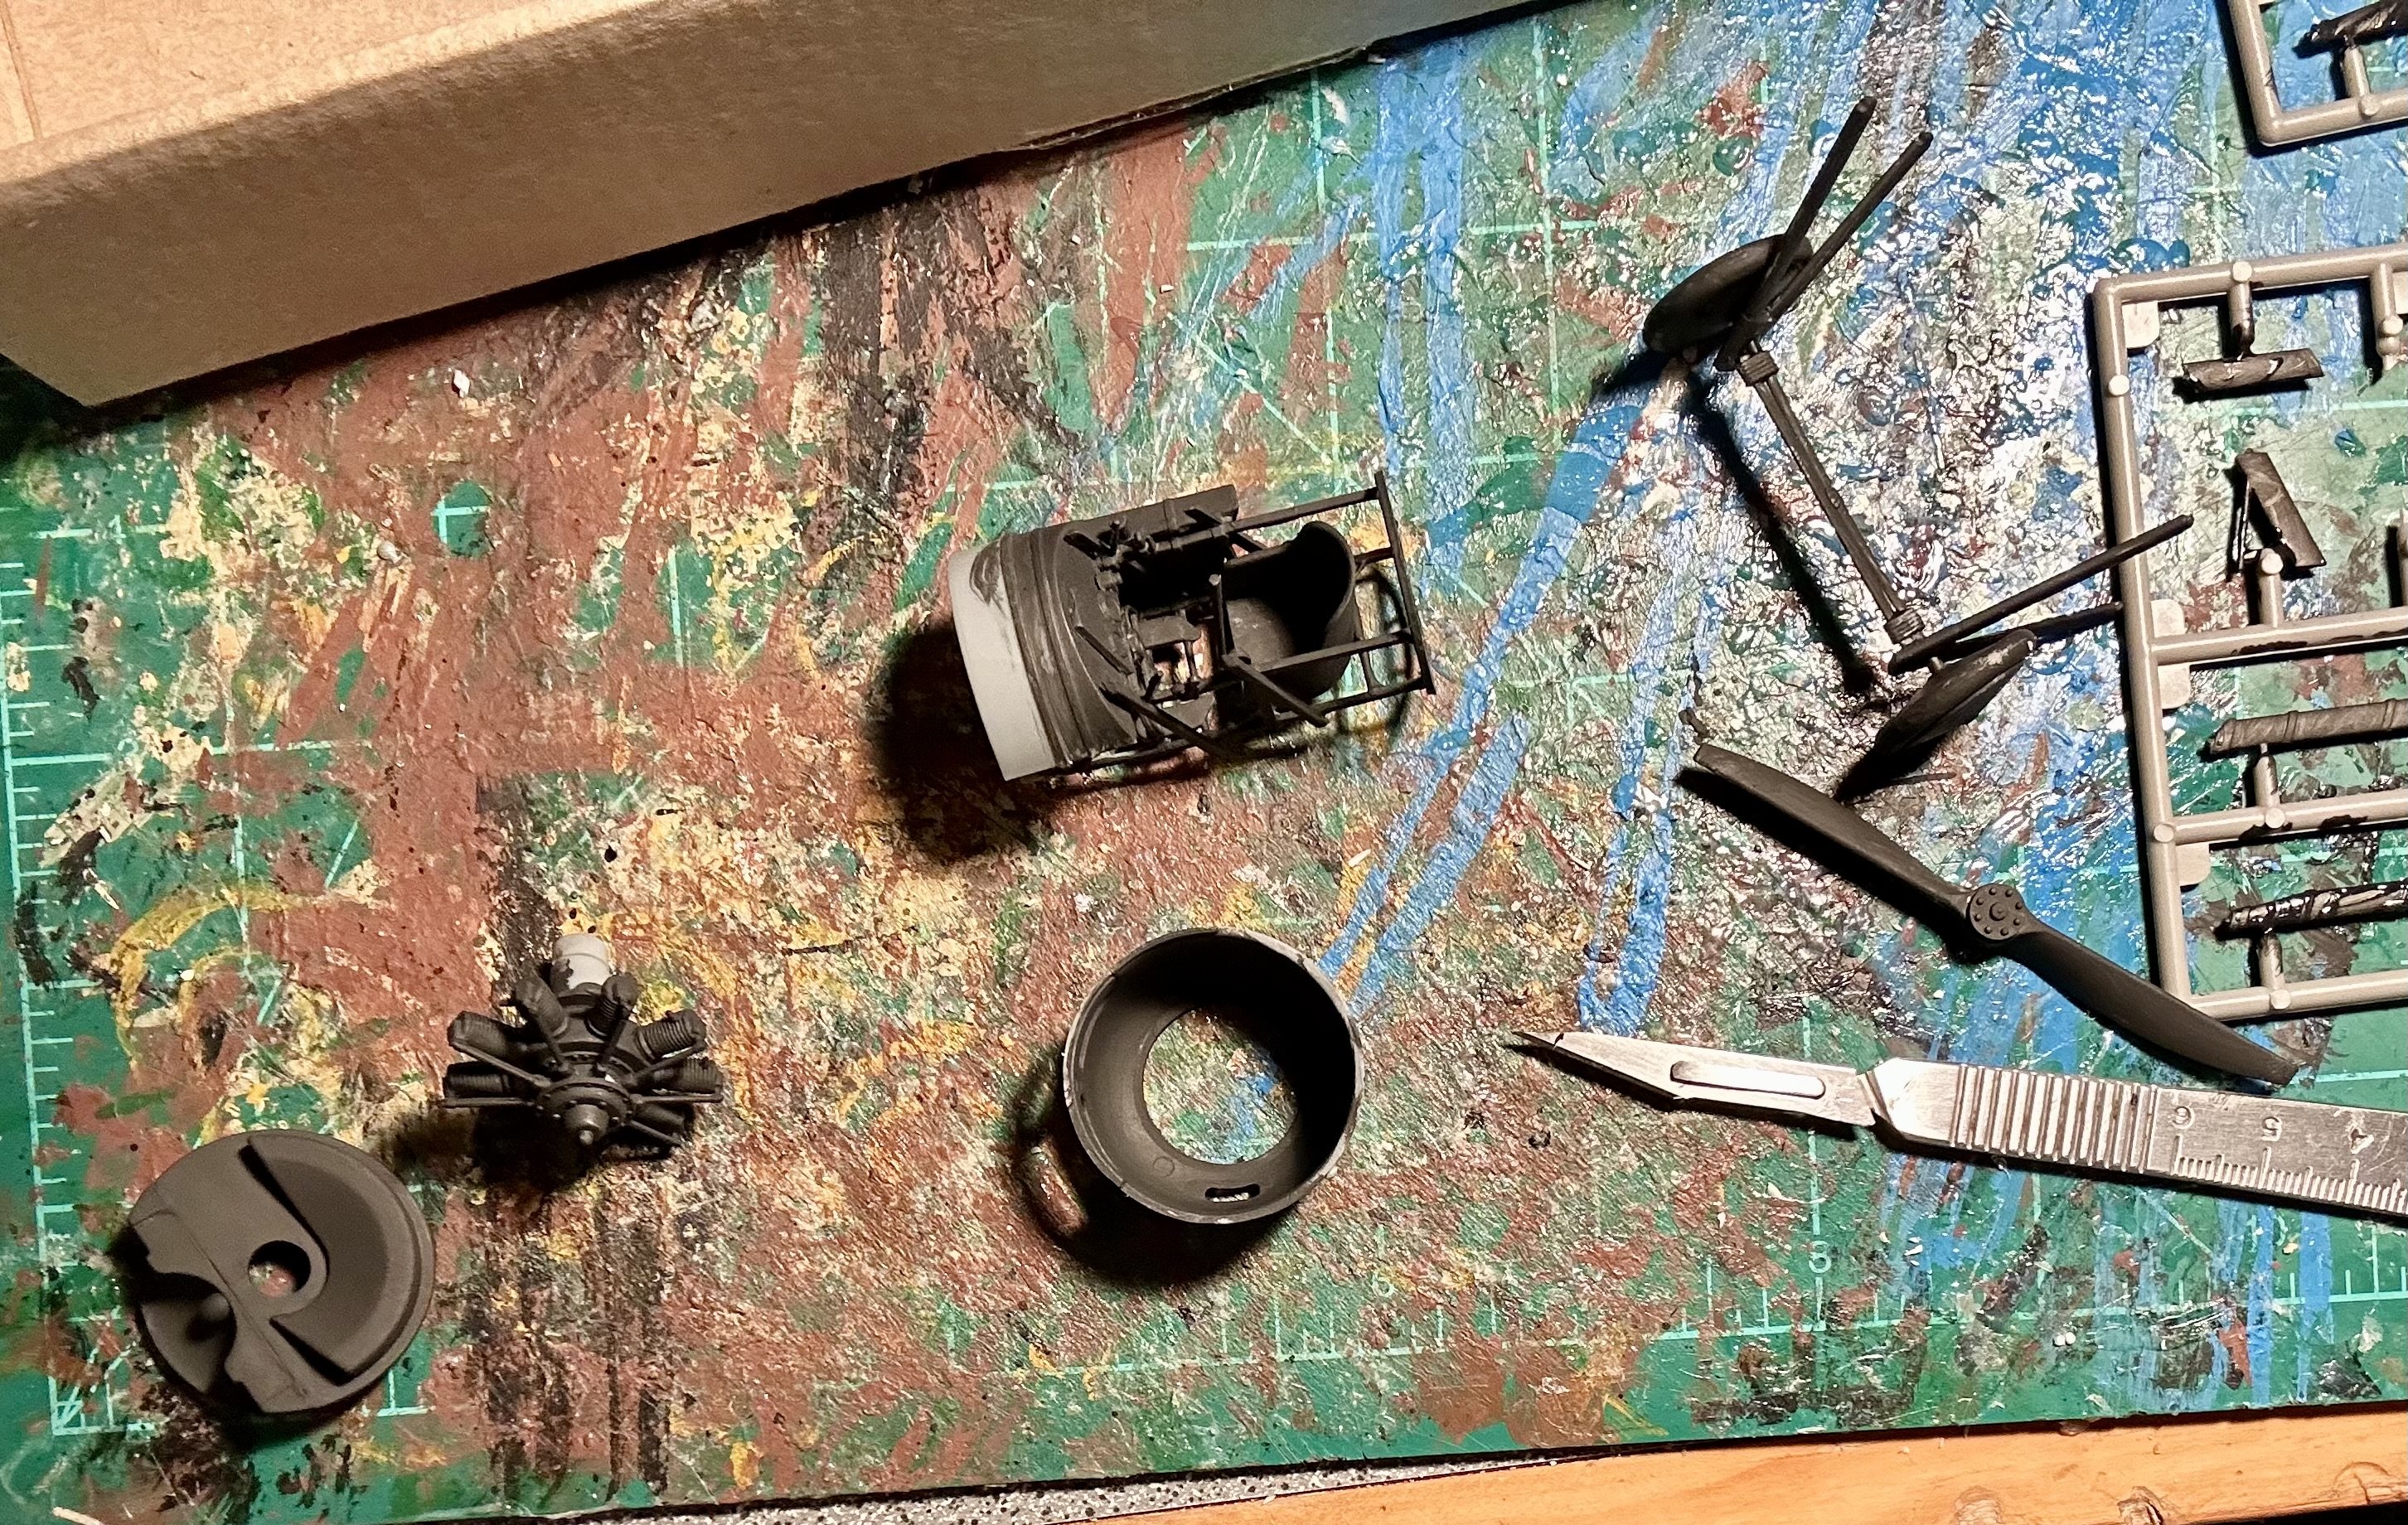
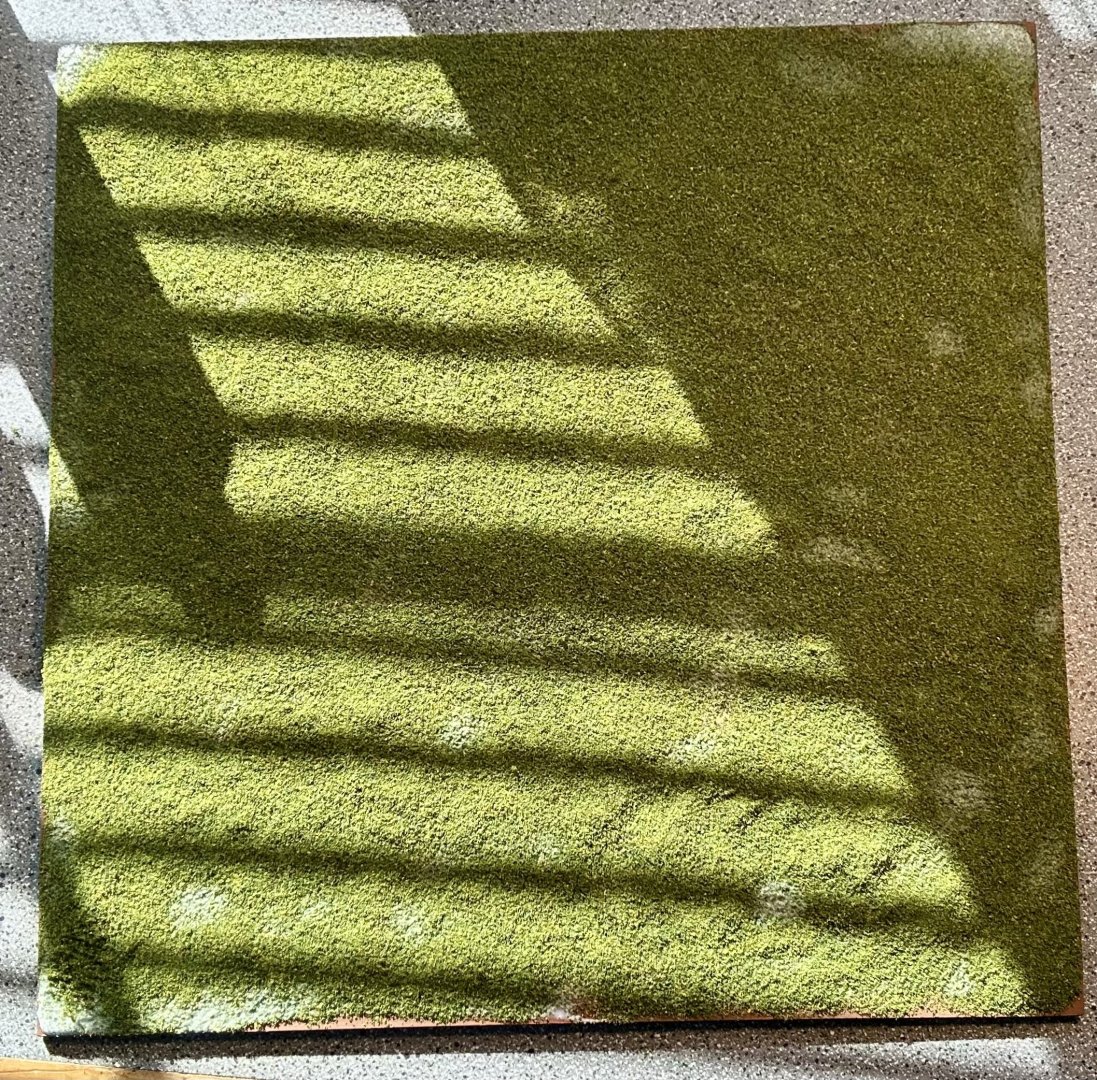
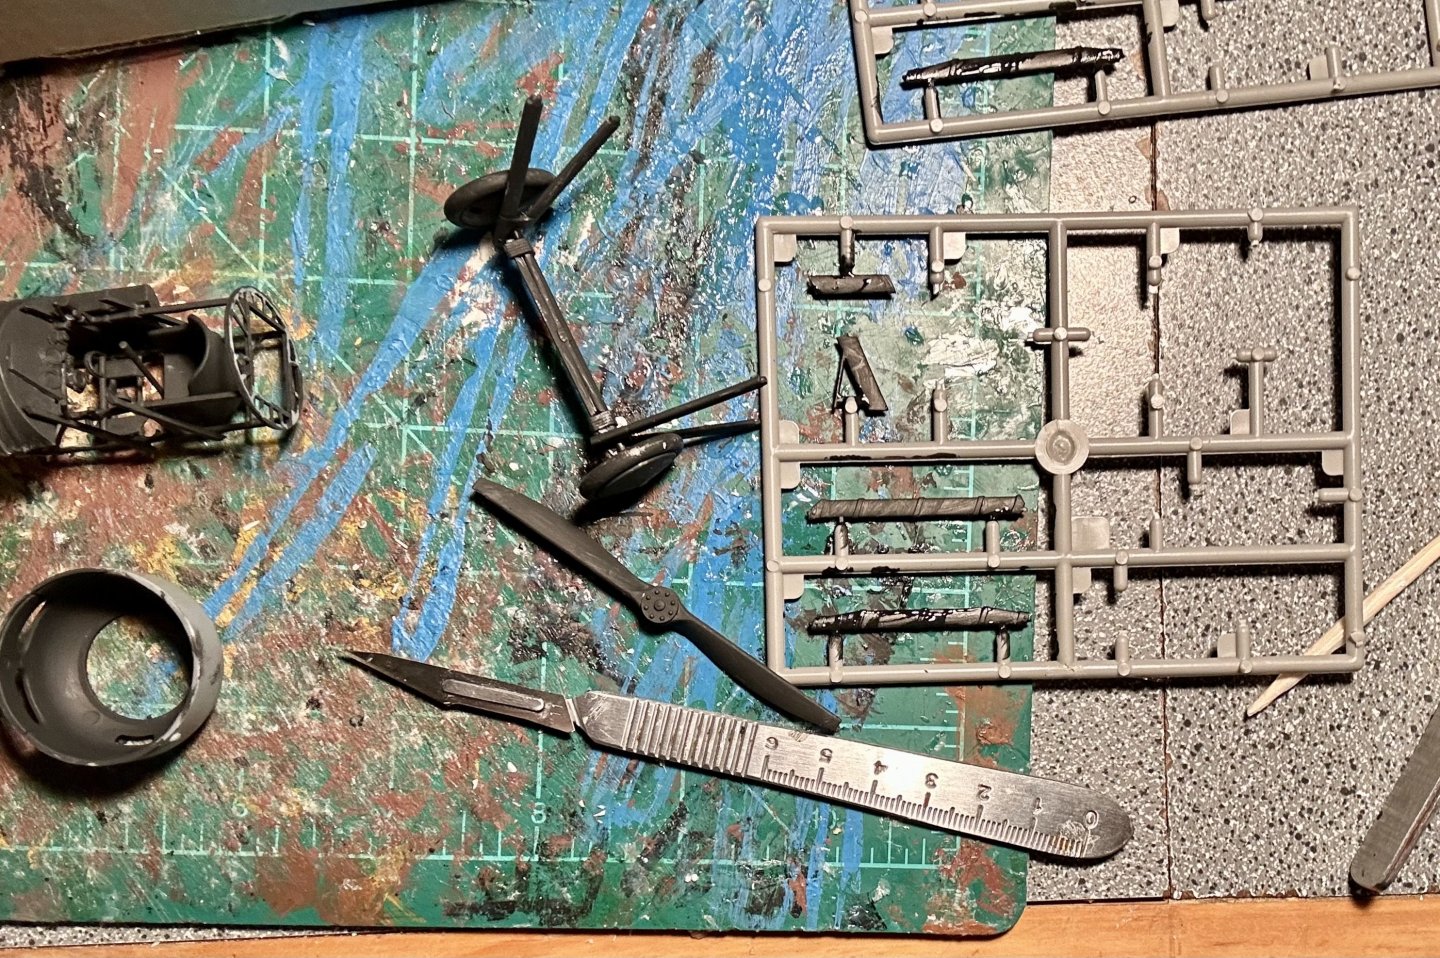
This one is going to a friend of mine’s office and in one of their display cabinets. We’re planning on putting a 54mm figure of Eddie Rickenbacker standing next to the plane, all mounted on a wood base with model railroad grass to simulate a grass field. All subassemblies are made now and awaiting priming and painting. I test fitted everything a little bit ago. Everything fit perfectly. The next step will priming everything black and then painting the interior stuff. I only have the paints for my anchors for the Esther at the moment, but that will cover most of the model except for the camouflaged exterior. I need to get into my stash of eyebolts for the rigging and install them before final assembly.


- 37 replies
-
- 14
-
-
Modeling relaxes me. I chose ship modeling in particular because I went to a maritime museum 30 years ago as a kid and decided that I wanted one of those models. 30 years later, I am still building them. I really enjoy the challenge. Like Chris, I also predominantly build in card because it works well for me, is lots of fun, and is relatively cheap. Plus, I had a LOT of fun building my first card ship (the Prince de Neufchatel) after reading a tutorial on this website by Ab Hoving on scratch building from card.
- 36 replies
-
- 11
-
-
Welcome!
-
What did you use for rigging the wings on this model? It looks really good!