-
Posts
82 -
Joined
-
Last visited
Content Type
Profiles
Forums
Gallery
Events
Posts posted by Tjalle58
-
-
Thanks Piotrek, I need all the help I can get. Even though I realized that I had to cut those elements
-
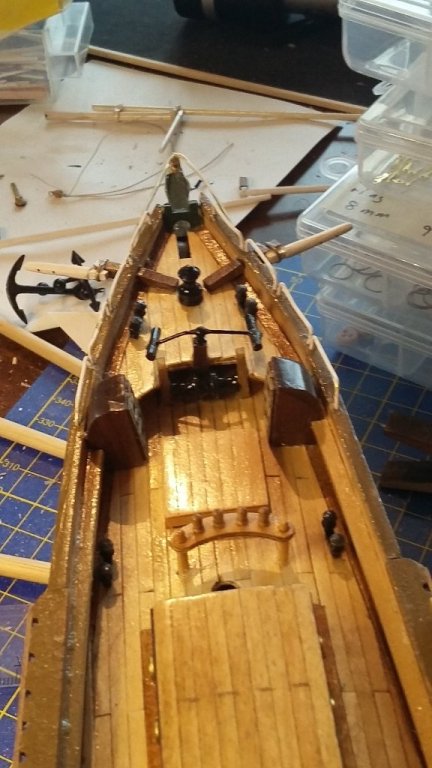
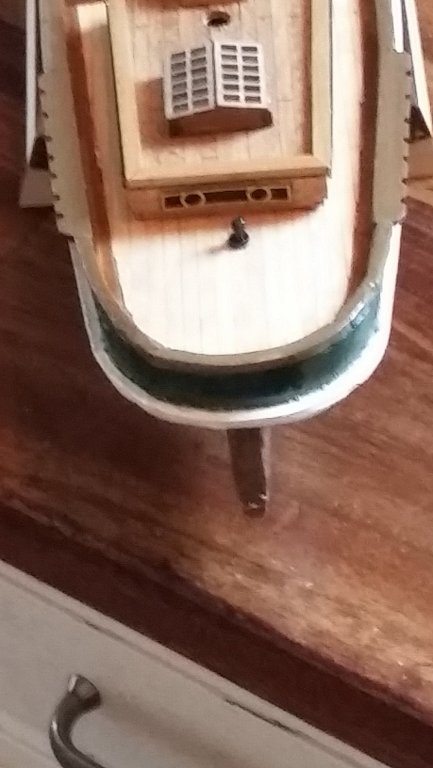
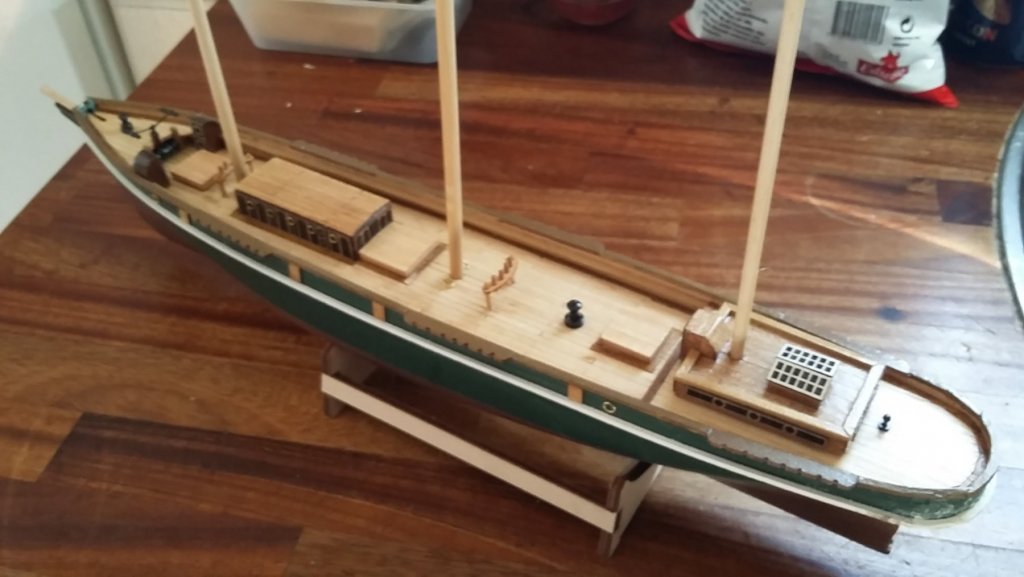
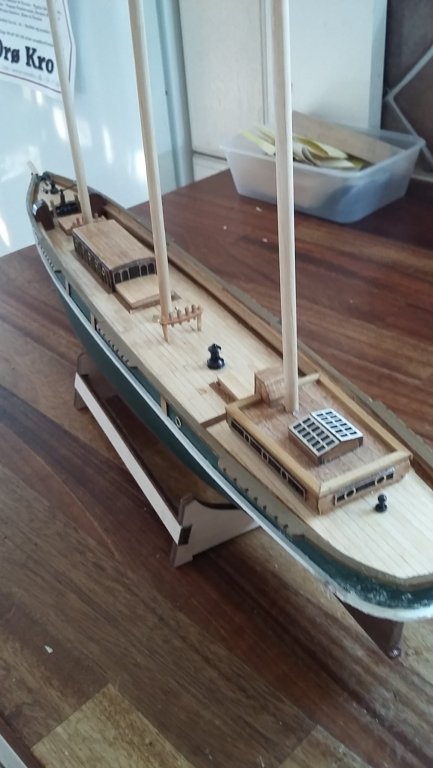
It has been a week since my last update but not very much has happened. It´s all this small things that takes forever to make. But I have finished the railing at the bow and the rudder is in place so it is moving forward. But slowly.
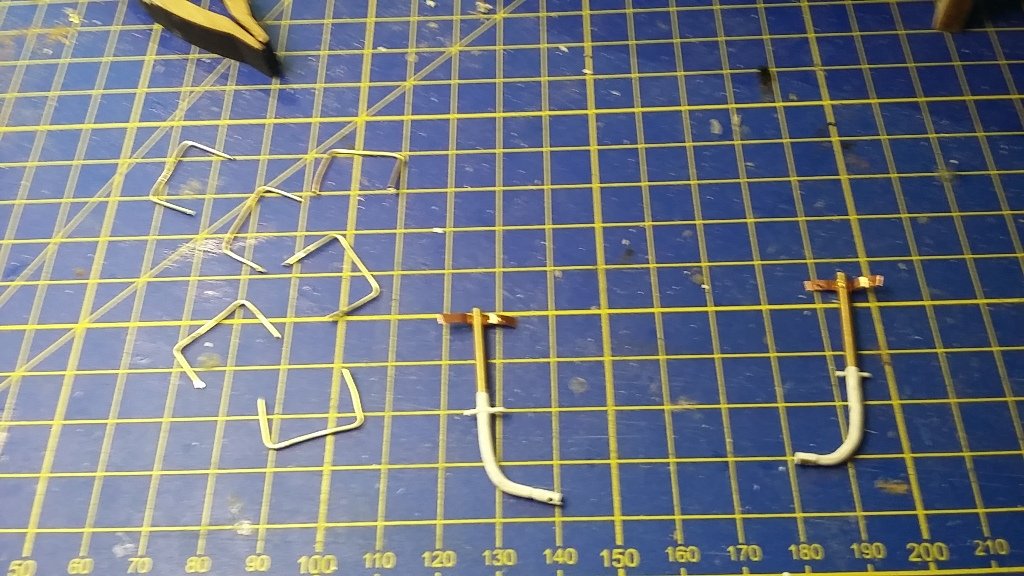
I started to prepare the lifeboat davits and filed them before I bent them so of course one of them went off. Ok,I got one spare since I'm not gonna use for the compnionway. So I drilled holes but did not file it before I bent it, I thought I had learned from my mistake. This went off easier than the first one because of the hole in the middle. I am not too smart sometimes
 I have ordered new brass rods and this time ..... 😂
-
- coxswain, lmagna, popeye the sailor and 3 others
-
 6
6
-
48 minutes ago, popeye the sailor said:
looks like you've been bitten by the bug!
 as you can see, there are different methods in dealing with the mast root....I would drill it out too. by notching the mast root, you limit how the mast is assembled.......if the steps are assembled, you run the risk of being off center. happy to follow along
Hi!
That is what I meant, it looked stupid to file the mast. But I should have thought of that I could drill. Well well, everyone is a beginner in the beginning 😂
-
They will without a doubt not flopp'in around. My avatar is a picture taken from my music "studio" but I am sort of tired with the music that is why started this new hobby. And now this has taken over. I hardly play anymore, I don't have time for that

-
Aha! Thanks so much Piotrek!
-
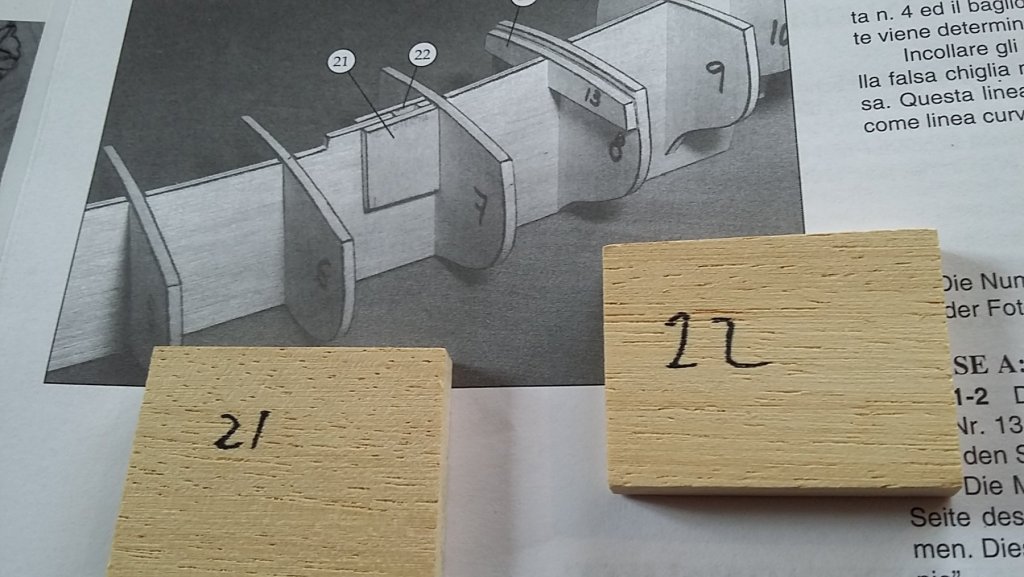
And the first question pops up immediately.
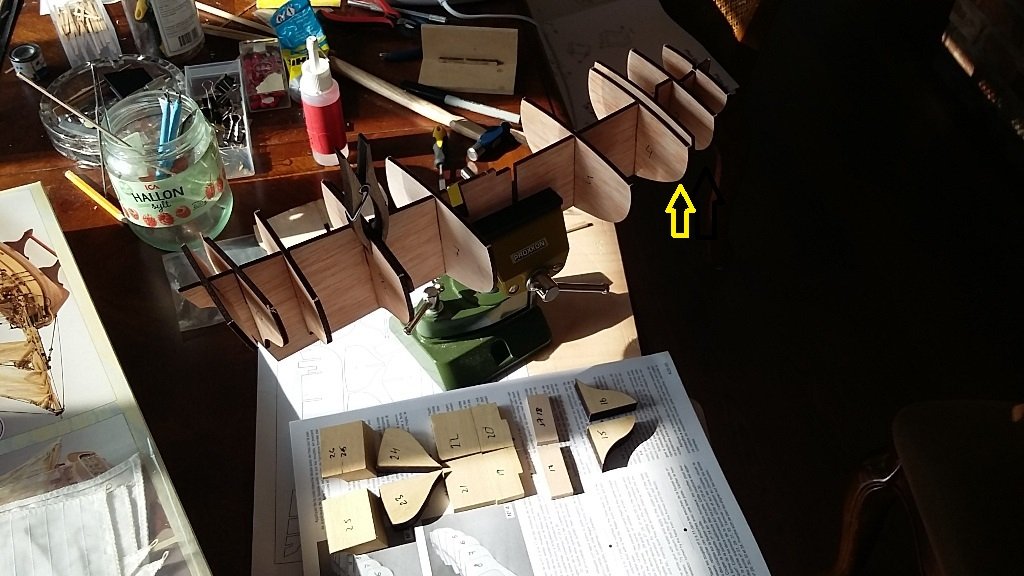
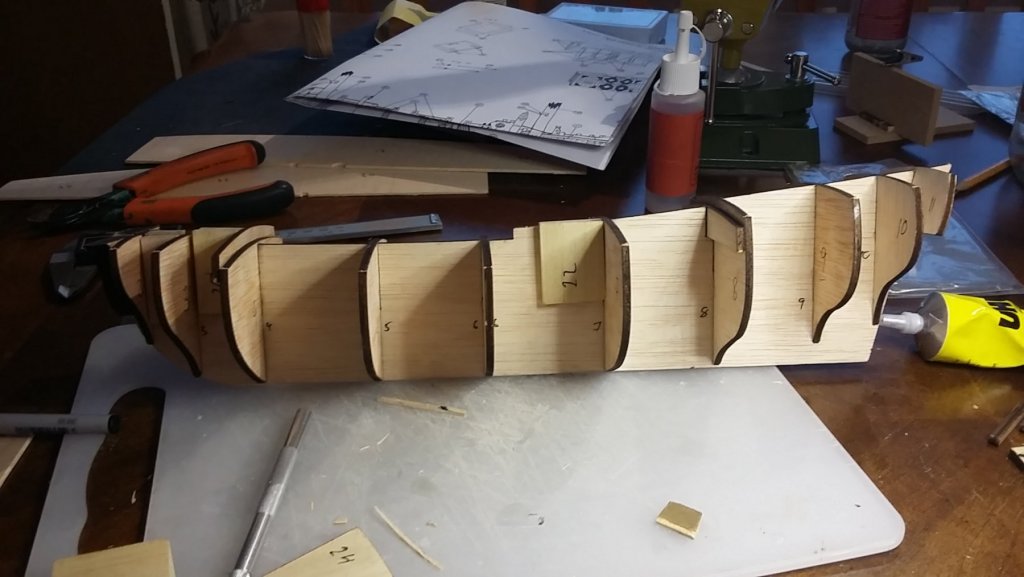
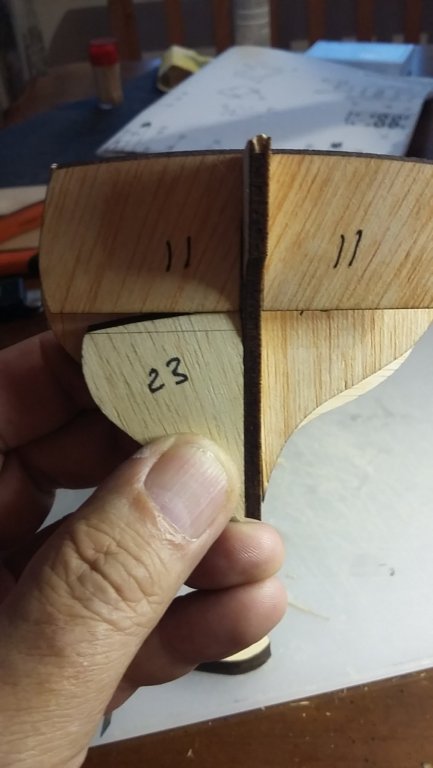
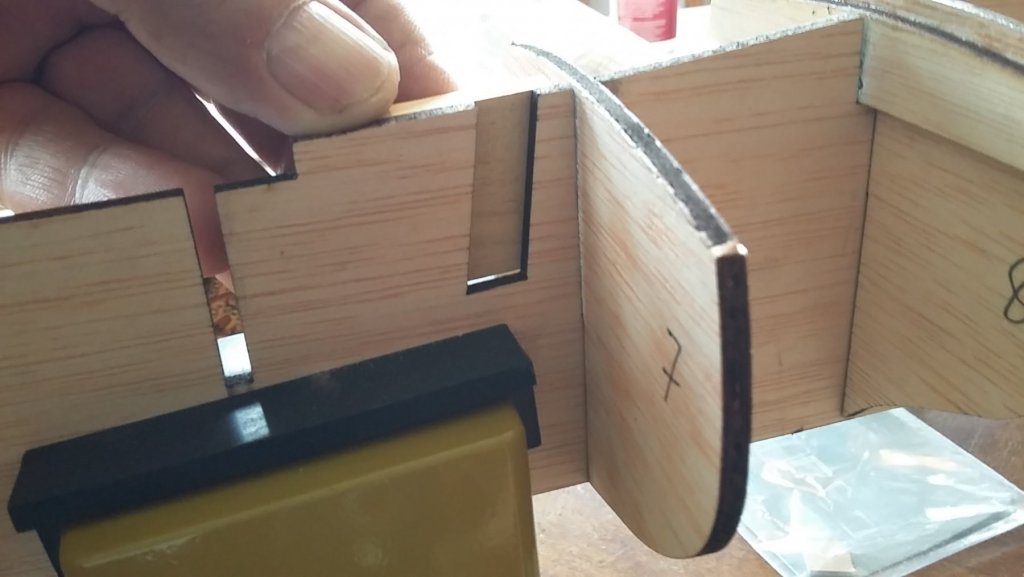
Why put this "filler block", nos 21 and 22, beside the masthole? They are called capelage in the instruction, Google translate don't have that word. This means I need to file the mast to a thin square in order to fit the in hole. Or to cut out the block but in that case, why put it there. It's the same with the other masthole.
- GrandpaPhil and zappto
-
 2
2
-
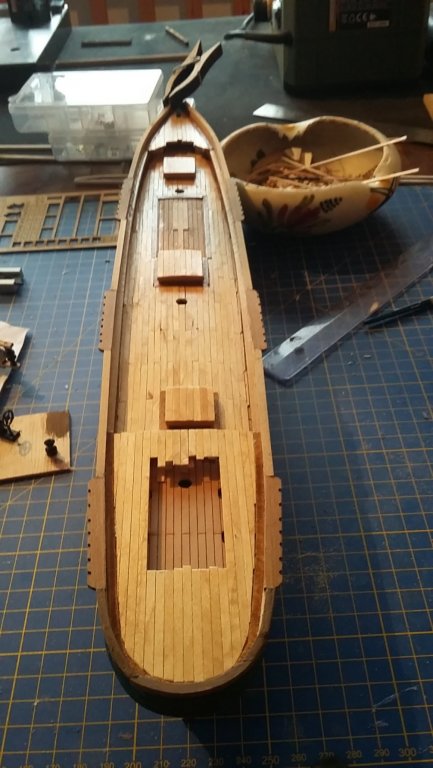
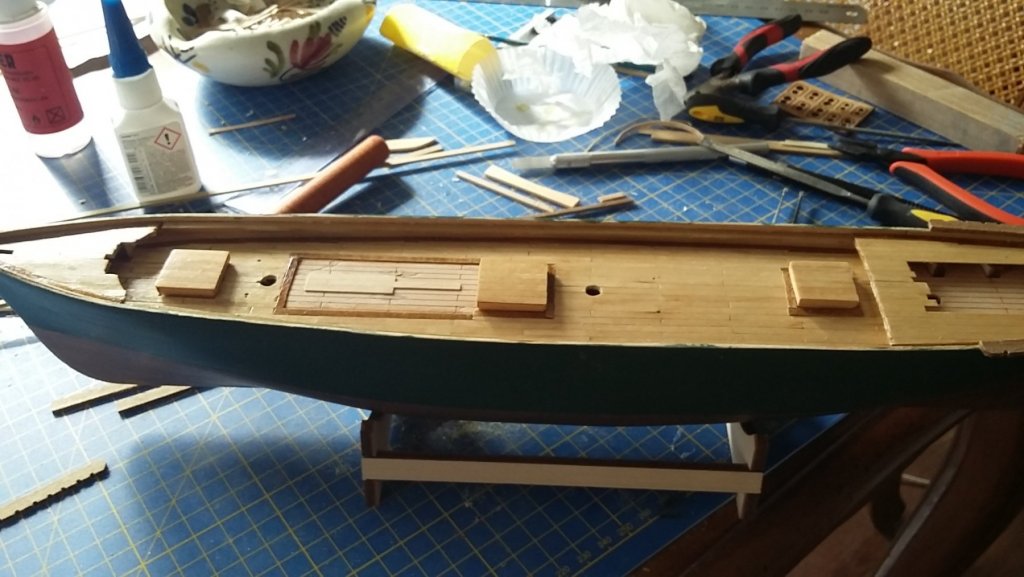
I just have to start. Dryfitting the frames the slots are a bit wide. I glued the beams at the arrow and the clamp and today I will glue the filler blocks. They are big! Gonna take a lot of sanding after they have dried.
- GrandpaPhil, zappto and coxswain
-
 3
3
-
12 hours ago, Fright said:
Tjalle58 - opening up a box is always fun and I wish you smooth sailing with this build. This is a great place to post and ask questions - the people in here are very kind in helping someone along or giving positive feedback. Enjoy!!!
This forum is actually better than the swedish I'm a member of. People here are more kind and helpful and I get faster response.
-
2 minutes ago, popeye the sailor said:
your not push'in nutt'in..........I just want to see you succeed
 I see you have some on already..........looks good!
Thanks. I was extremely lucky because I made the channels with 4 mm deadeys and changed to 5mm. Very tight but they fit.
-
27 minutes ago, popeye the sailor said:
she's look'in good.........per our discussion.....this model is not one I'd choose for a person starting out. there's too much stuff to scratch build. your doing a fine job.......keep going.
 I'm not even pleased with this kit.......and I've built a few already! there are things I think could have been done better on my models.......but they are what they are. keep that thought in mind........your next model will look better for it
those straps to me were brittle............I broke one trying to bend it. even the metal stropes were wrong. my offer still stands...I'll even throw in some 5 mm dead eyes.......I have plenty

Thank you so much for the offer but the new straps seems to be good. I am very thankful for all your help so it feels like I'm pushing it a bit too far if I ask you to send me stuff
 You must be a very nice person👍. Yes, I think this ship is difficult so it's going quite slowly. But I do think that it will a nice ship when I'm done. I managed to scratch the hull when I did the bowbox so I will repair that with a bit of new paint
-
Christmas came early this yaear
 I just got my new model Halifax. After I ordered this I looked around and found an Italian forum and they said that this was not a ship for everyone, pretty hard to build and I found some pictures of the keel with frames that was was very comlicated. Each frame were to build of 9 pieces and a special jig came with the kit. But the was not good so he had to make a new, And so on. So I was a bit worried but when I opened it today it looks good. No strange frames, the step-by-step instructions seems to be good and they even have pictures for every step. I'm really looking forward to start to build it and I will do that parallel with the Thermopylae. I will probably ask thousands of of questions and I hop someone is kind enough to help me on the way

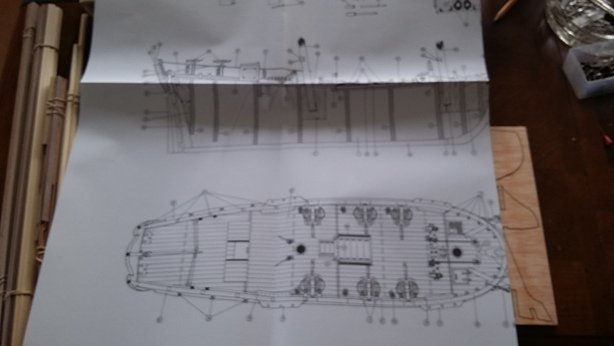
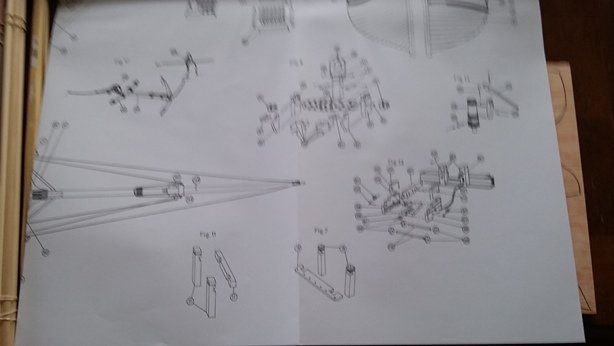
Booklet with step-by-step instruction and photos
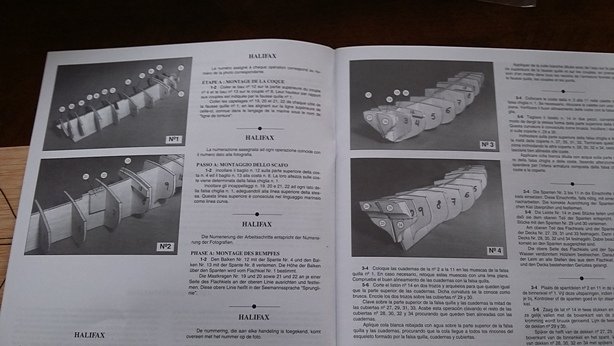
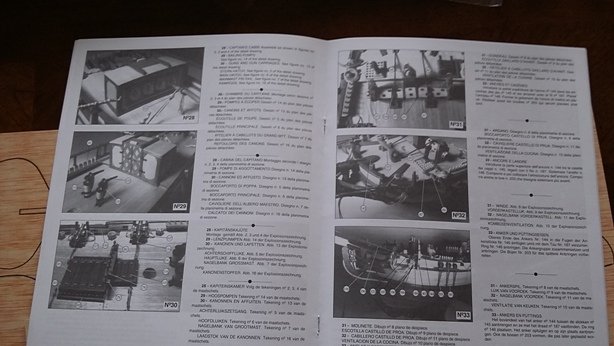
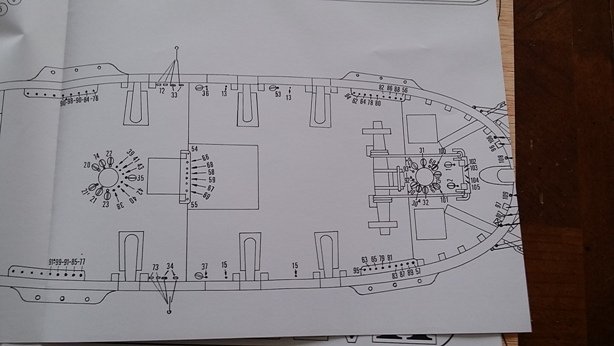
The bags with parts have the part numbers in it so it's easy to find everything
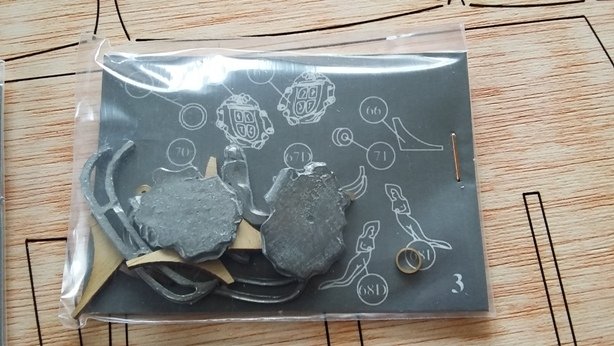
Wish me good luck

-
Life is hard sometimes. At least model ship building is

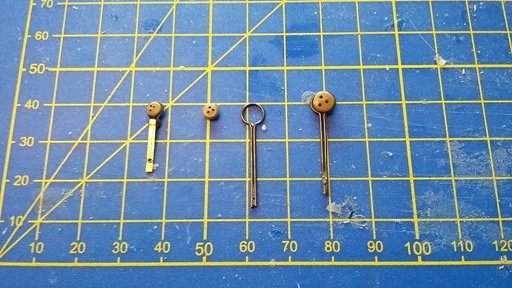
The chainplate included in the kit were too short (left)
So i bought new ones. 5 mm. But the deadeyes included is 4 mm.
 So now I have to buy 5 mm. deadeyes.
Just hope they don't look too big.
-
5 hours ago, puckotred said:
For a beginner it's GREAT. You should be satisfied with your build!
Thanks. I am quite happy actually but I know all the mistakes and that disturbes me

-
I'm sorry to say that I'm NOT happy with the transom. I'll see if I can put some more effort to it to make it look a bit better. Otherwise, I think I know what I have done wrong so I'll keep that in mind until next ship, wich will be Halifax by the way.
I have also varnished the hull with one layer semi-gloss varnish. I had planned to paint a white stripe betwwen the green and the copper and I totally forgot that yesterday when I vanished it. I guess I can paint anyway?. For a beginner I think the ship is ok. Not good but ok

- zappto, coxswain, popeye the sailor and 2 others
-
 5
5
-
Next step is to glue the channels and the handrail in place. The transom is tough fo me we'll see what it looks like when finished
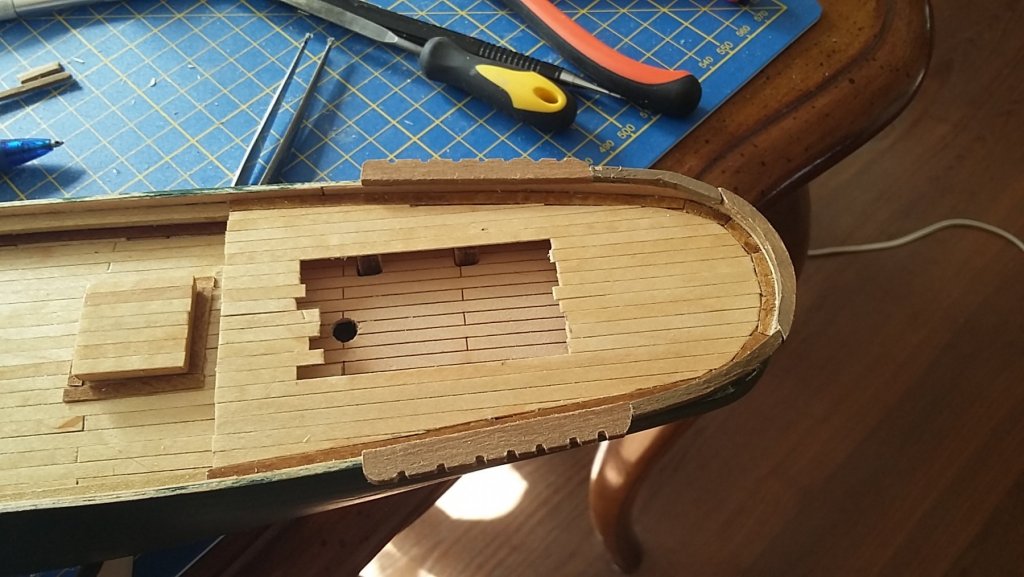
And all six channels and the handrail is in place. Now it's time to see what i can dp to correct the transom. Filler and paint and filler and paint and......
After this it's time for the deck fittings. Then hopfully it will start to look like a ship
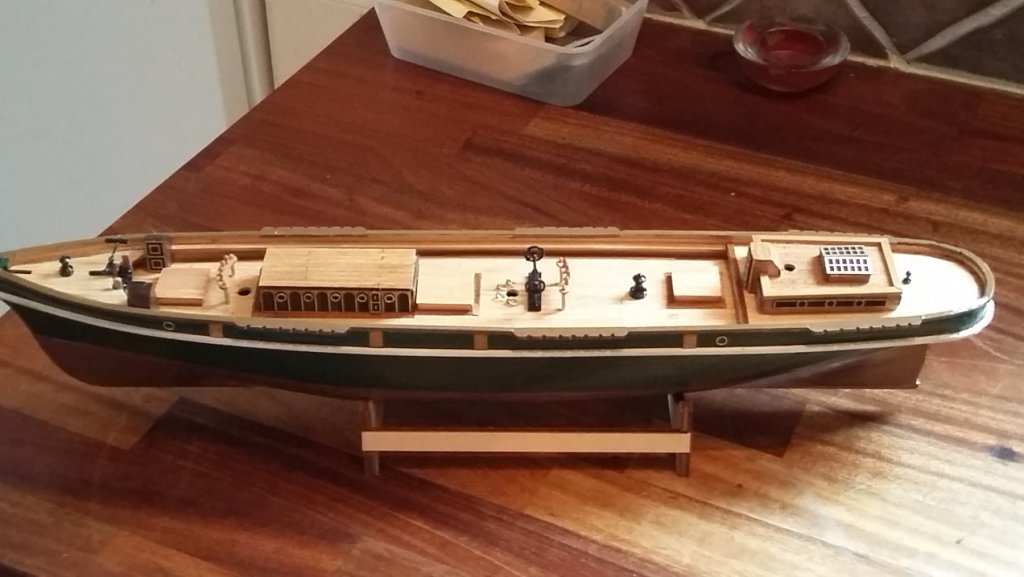
Fittings are prepared
The bollards were tricky The foot (?) was very small to cut out but that went out well
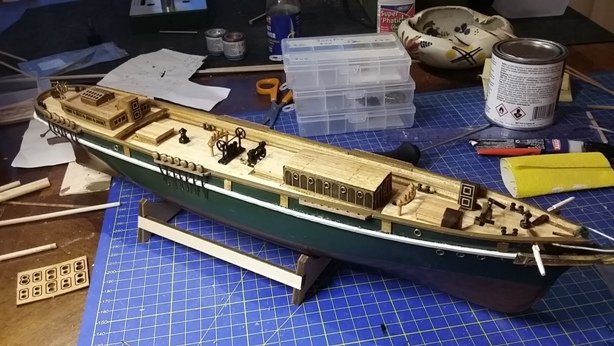
The fittings starts to come in place
-
1 hour ago, popeye the sailor said:
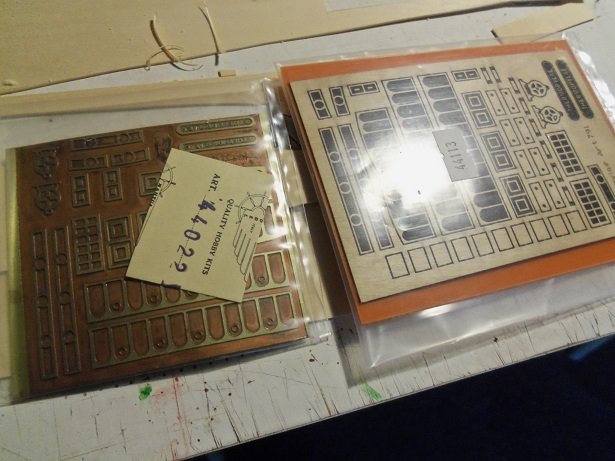
the little ones are for the bollards......the larger ones are for the boarding ladder, which I probably won't use on my model. your on the right track. I wish they had them on the metal etch.......be careful, they break easily. very hard to drill them out too......not much meat there.
Thanks Popeye. Yes, they are very small so I'll try to cut them out without brekaing them 😟. I drilled them while they were still on the sheet, that went fine. The bulding is going slowly forward. Soon time for more pictures. i have started to glue the deck riggings. The rub rail is on and became ....... you'll see soon

How do I edit my signature so it shows in every post, I can't find it in my profile

-
On 8/10/2018 at 10:27 AM, Tjalle58 said:
Hi Popeye!
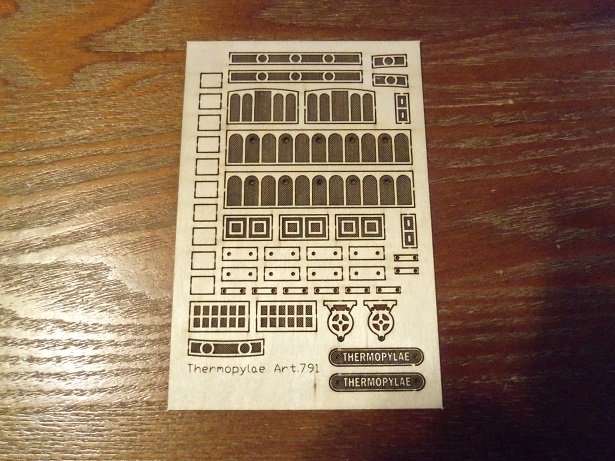
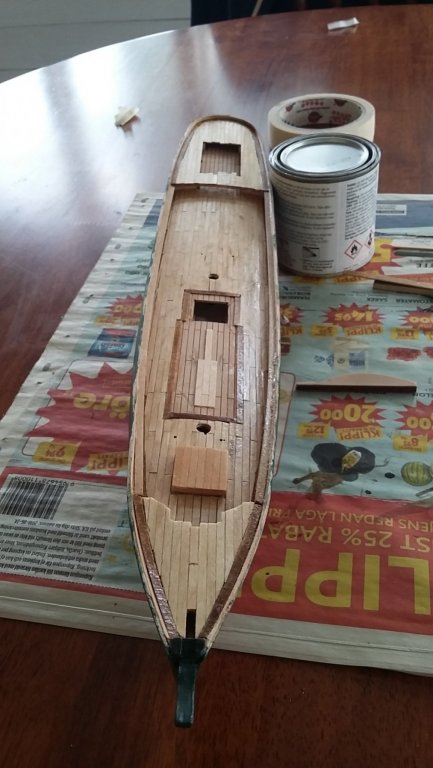
Thanks for the comments about hull and deck. The hull is better than the deck but I think I can hide most of the mistakes with the deck so it's ok. I got that same sheet as you with the model Art. 791 but I don'd whar everything is for yet but that will be clear as the journey continoues
 . Yes my deck was printed with the pattern how to lay the planks. I noticed the difference from your log so it must be different edidtions. I notice thar our outriggers on the davits differs. I made my outrigger from 3mm dowel and drilled two holes in hem for the rigging lines and then sanded them. I noticed that too from your log. I am going to upload some pictures now and now it's up to date where I am right now in project..
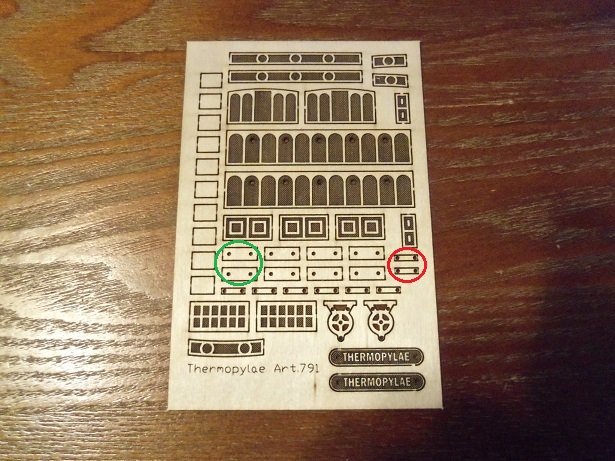
I am going to prepare the bollards and I think I am going to use the small plates (red circle) for bottom but what are are the big plates for? (green circle). Or is it optional?
-
16 hours ago, popeye the sailor said:
the printed decks threw me....not seeing them with my kit, I thought you had done them already
 older kits used to follow this practice.......instead of doing all that planking, folks could just stain the deck and be done with it. back when I was helping Tom out, I fielded a few questions and complaints about it. ignoring it, or if possible, flipping the part over and using the other side, was about the only option. folks didn't have to put up with it for long, because further down the road, it began to disappear. now, only a few manufacturers do it. the other kit that I have of the Nordkap has it.....I'll just paint and plank over it.......no biggie
the strip along the inner bulwarks {been a while since I looked at the plans} isn't the way the plans tell you to do the pin rails, but it a good alternative to enable you to get at them at rigging time. not sure what your going to do to replace those belaying pins....I think the ones supplied in the kit are too big. I got some brass 5 mm belaying pins from Ages of sail...........click on the sub file for fittings and go from there. the number for them is AM4100/05. considering the hole you will need to drill to accept them, will be much better than the ones you'll need to drill for the kit supplied ones. while your at it, you might want to order some 4088/03 3 mm double blocks......there aren't enough of them either. if shipping costs are too much, perhaps a closer shop.......Cornwall, Amati would be an option {at least you'll have the size of what you'll need}.
I'll bestow one small bit of wisdom I've come to know...........don't hesitate to go with a solution you've figured out for yourself. some of the coolest things I've seen here to remedy a situation, have been thought up by folks who are just starting out in the medium. keep up the good work!

The printed deck is very clean and nice but lifeless so that's way I decided to plank it anyway and it gives more "life" to the deck. I have already drilled the holes on the pinracks for the included belaying pins, 1,2 mm but if brass pins is narrower that might be a good idea to use for the the strip along the inner bulwarks. I have a couple of shops nearby who are very cheap on these stuff. I have only sibngle blocks included and the instruction says "Blocks are all the same dimension and one-hole". I thought that was a bit suprising but I'll have to deal with that when I come to the rigging. Today I will continue with the rub rail around the transom, I was not happy with the one I did yesterday. It cracked and I tried to glue it but....
-
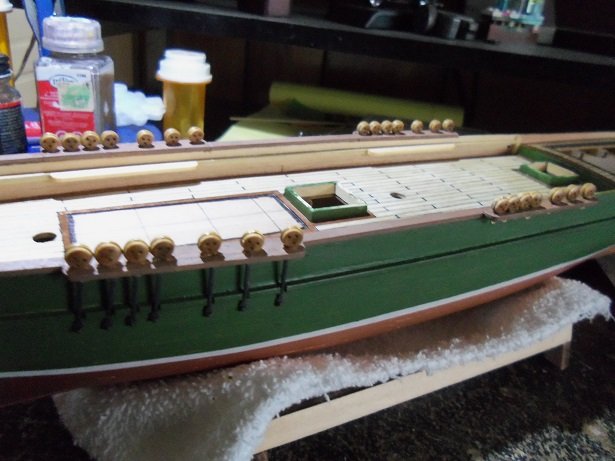
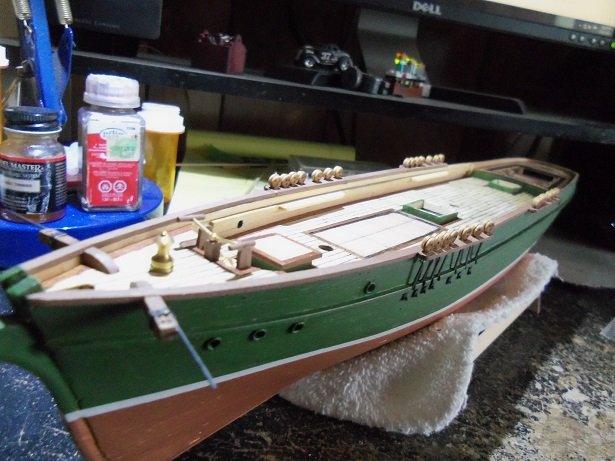
This is what I am doing right now. I have prepared the 6 channels and will fit them together with the transom handrail that I hope will be ok after spackling (Google translate), sanding and painting
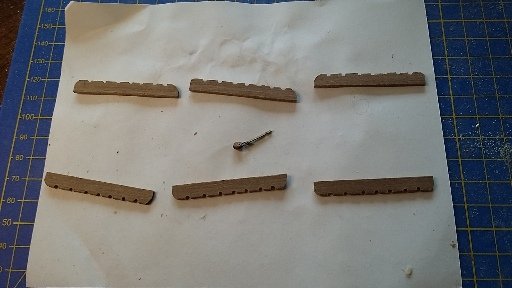
The surface on wich to glue the looks a bit thin so I will put a 1 x 2 mm support under them, that's the small plank on the deck.
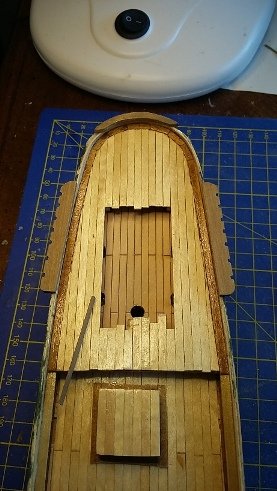
And finally a picture of the bulwark. I planked it with ,5 x 3 mm palnk and the pinrail (right word?) is 2 x 3 mm plank from deck to deck. The instruction says it's gonna go from the bow all the way to the stern and just lie on the fore deck and poop deck but I think this sollution was better, I stole it from Popeye.s log.

Next step will be the wale (rub rail) before I finish all the chainplates. I was a bit insecure how to bend it around the transom so what to do. Of course, study Popeyes log and there it was. Ok, it confirmed what I was thinking but know I'm sure. Thanks again Popeye

Thats it for today.
-
On 8/9/2018 at 10:09 PM, popeye the sailor said:
clipper ships are beautiful........definitely! I can agree that this particular kit is tough.......only because there is a lot more scratch building than meets the eye. your second planking came out nice...as with your deck. did you look up Cryil Humes' Thermopylae?
http://www.powerhousemuseum.com/collection/database/?irn=211834&img=132358
click on the smaller pictures.......you should also be able to zoom in for close up viewing. your early pictures were misleading.........does your kit have printed decks? mine didn't.........I'm sure you got the smaller detail sheet for the deck fittings
but, did you get one of these too?
I had ordered these extra sheets from Cornwall Model Boats.......the one on the left is stamped sheet brass. it was a bit of a pain to work with, but I made good use of it. I was going to create a second hull and build the Cutty Sark........coming up with the decorations for the hull would be hard to do, so I thought better of it {dunno......I still might do it}.
by all means........take your time. this hobby would be a bore, if one could churn one out in a week
 do you have a side picture of the inner bulwarks? ........interested to see what you did there. you asked about this......with all the bulwark posts removed {and after the deck planking}, I ran two rows of .5 x 2 mm along the bulwarks starting from the bottom. then I ran a strip of 1/16 x 1/16 from fore deck to aft deck. another strip of .5 x 2 mm finished the bulwark off. this will give you a firm anchor to locate the pin rails.......they will be high enough from the deck to add the belaying pins.
you can also see how the chain plates {channels} were arranged. having an idea of the mast rake, they were arranged just after the mast holes. the rake is between 4 to 6 degrees.....this is good for most ships.
I'm going to work towards getting mine back on the table. hope you don't mind if I posted these pictures......figured it would be the best way to show you. I can remove them if you wish.
Hi Popeye!
Thanks for the comments about hull and deck. The hull is better than the deck but I think I can hide most of the mistakes with the deck so it's ok. I got that same sheet as you with the model Art. 791 but I don't know what everything is for yet but that will be clear as the journey continoues
 . Yes my deck was printed with the pattern how to lay the planks. I noticed the difference from your log so it must be different edidtions. I notice thar our outriggers on the davits differs. I made my outrigger from 3mm dowel and drilled two holes in hem for the rigging lines and then sanded them. I noticed that too from your log. I am going to upload some pictures now and now it's up to date where I am right now in project..
-
On 8/4/2018 at 9:22 AM, hof00 said:
Good luck with this subject!!
I have been tempted many times to purchase this rut never had the courage.
(I've got stuff "On The Hop" anyway.)
Happy to follow along!!
Cheers....HOF.
For me, as a beginner I must say it's a difficult one so it's going to take quite some time. But it's a beatiful ship.
-
-


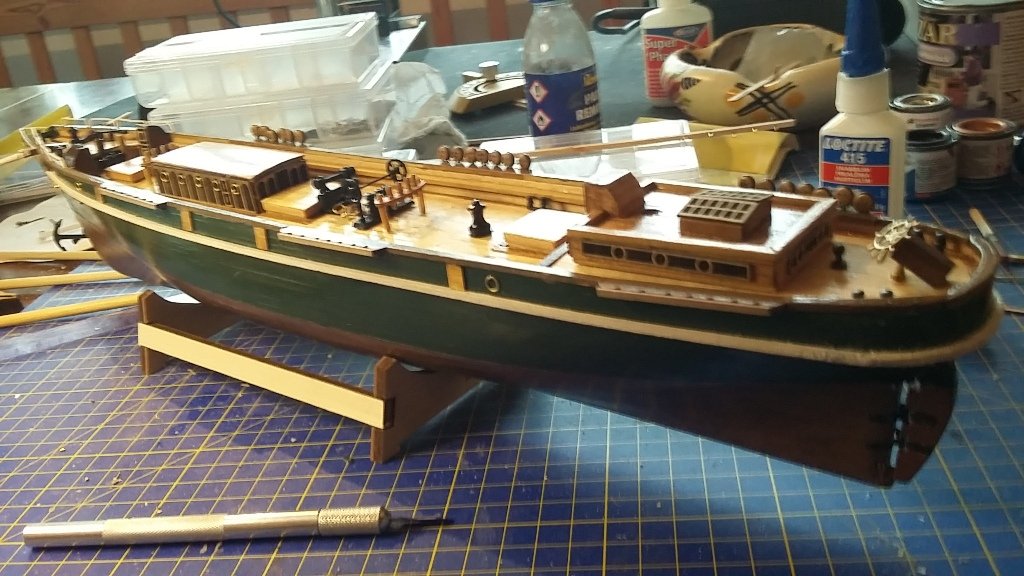
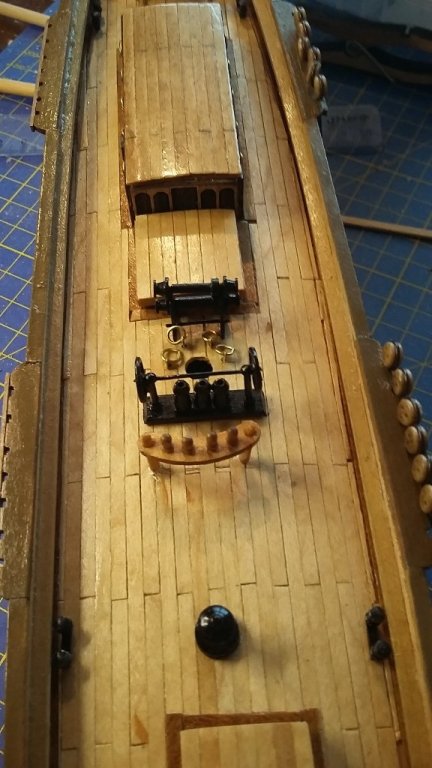
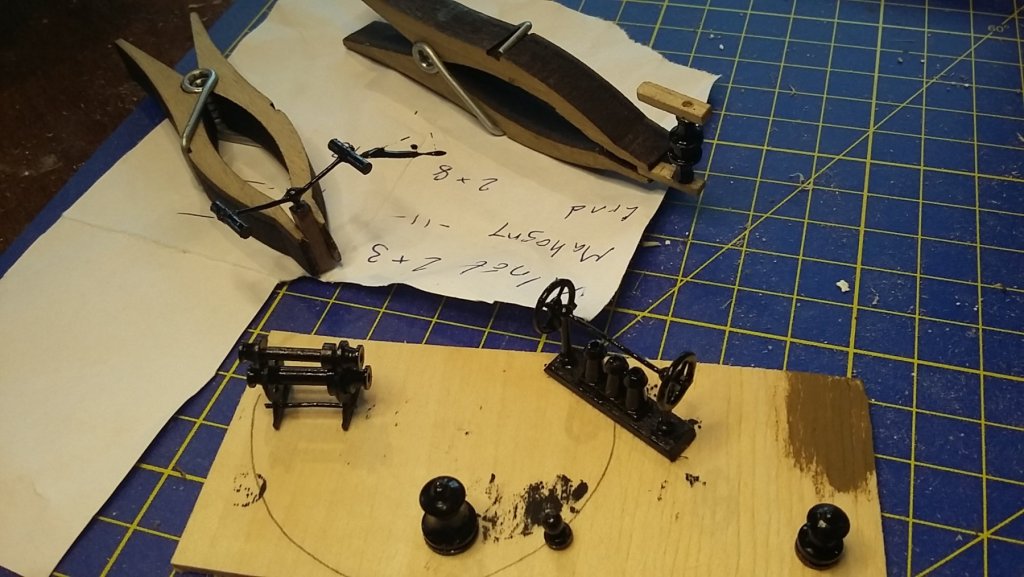
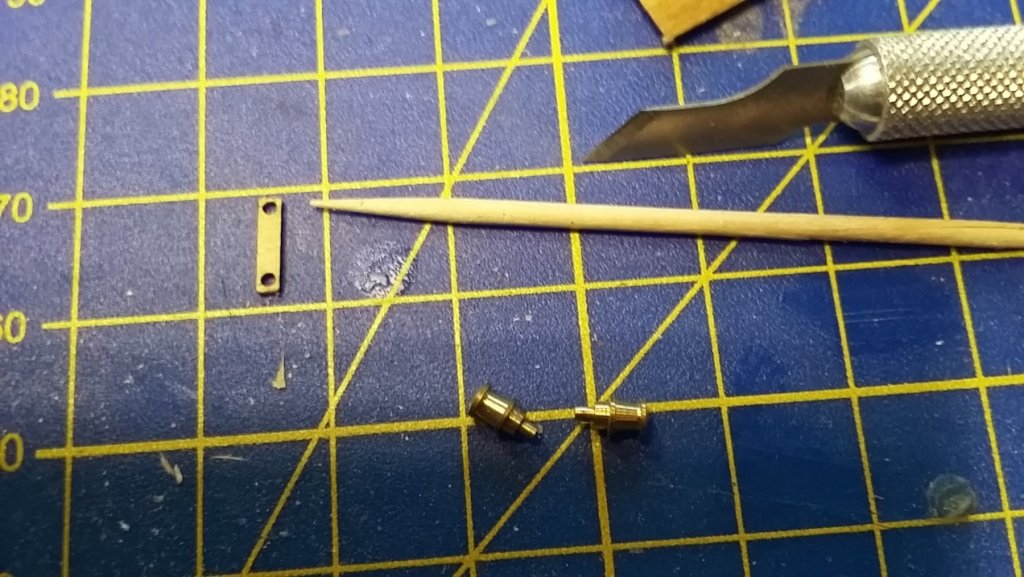
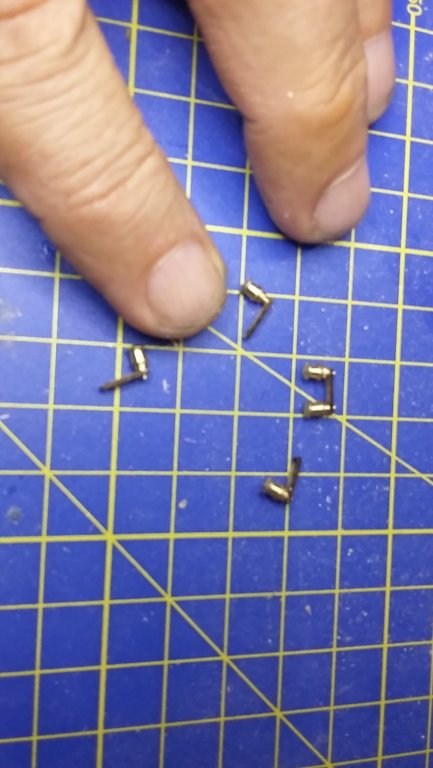
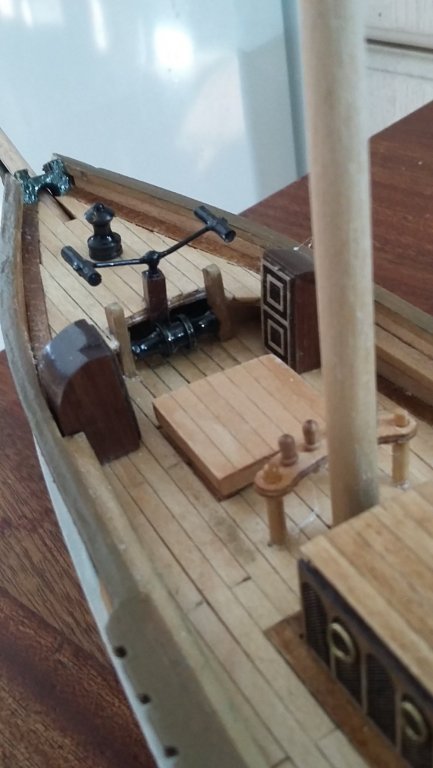
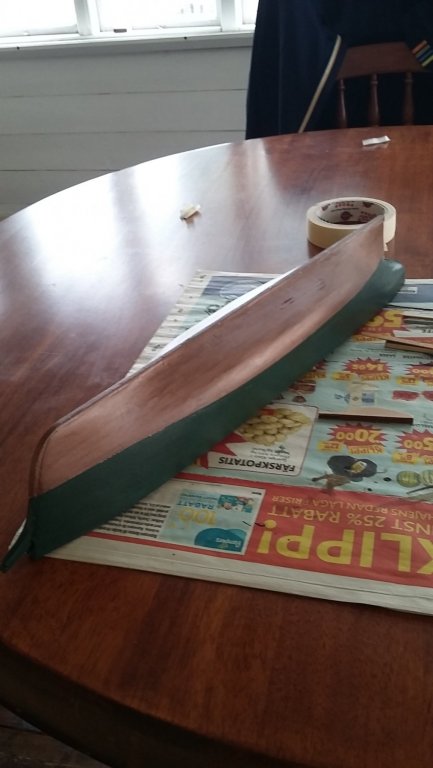
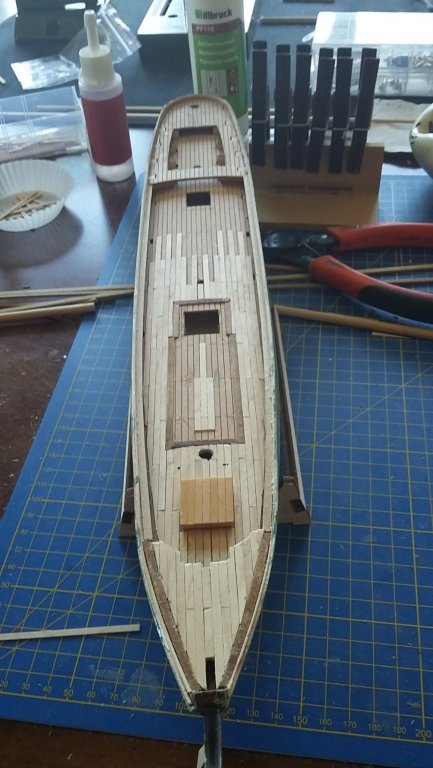
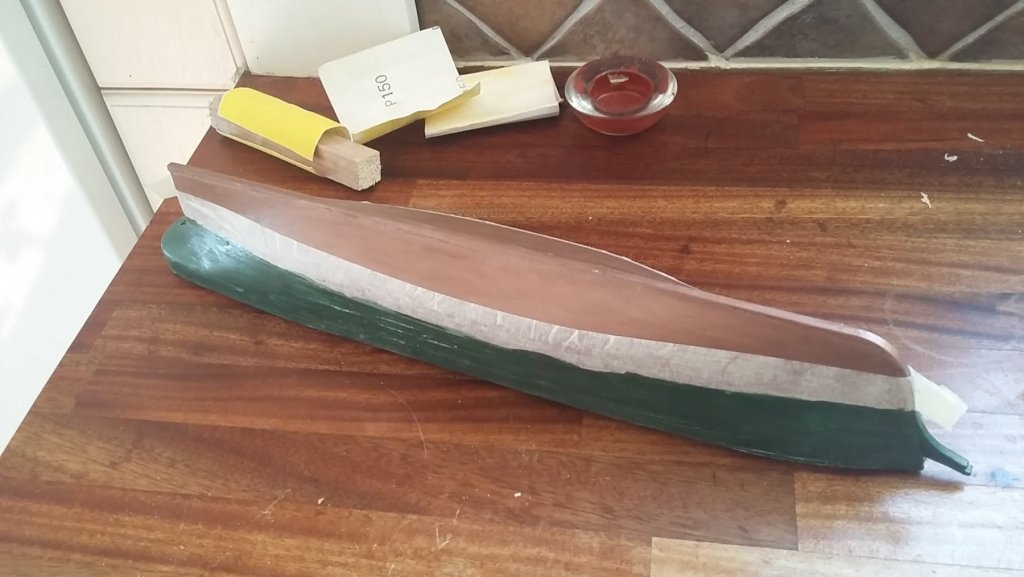
Halifax by Tjalle58 - Constructo - Scale 1:35
in - Kit build logs for subjects built from 1751 - 1800
Posted
The numbered bags is good but so far I'm not impressed but I have just started it so I'll guess I'll have to wait and see.