Winnie
Members-
Posts
33 -
Joined
-
Last visited
-
 Winnie reacted to a post in a topic:
IJN Mikasa by Herby63 - Merit International with Pontos set - 1/200 - PLASTIC
-
 Canute reacted to a post in a topic:
Bismarck by Jeff 59 - Trumpeter - 1/200 - PLASTIC
-
 Canute reacted to a post in a topic:
IJN Mikasa by Herby63 - Merit International with Pontos set - 1/200 - PLASTIC
-
Incredible workmanship! If I can recommend a glue, E6000 (available on Amazon) is really good for large surface PE, and allows movement to seat correctly (not that you need that), and remains flexible for temp changes, and prevents the PE from separating. Also, If I may ask, which double sided tape do you use for your paint sticks? Cheers Harald/Winnie
- 155 replies
-
- Mikasa
- Merit International
-
(and 1 more)
Tagged with:
-
No jokes, just WOW... I'd have thrown the kit in the garbage!! I won an HMS Hood in a raffle, with a Pontos set, and the previous owner had started with some shoddy work, but I can recover, I think... But not to the length you're going! Amazing work!
-
 MisterMeester reacted to a post in a topic:
RMS Titanic by MisterMeester - Trumpeter - 1/200 - PLASTIC
-
let me know if you're headed to Winnipeg! there's a fantastic hobby shop here, that's online as well. Hobbysense. It has a good online store as well. Cheers H.
-
 MisterMeester reacted to a post in a topic:
RMS Titanic by MisterMeester - Trumpeter - 1/200 - PLASTIC
-
I have heard that the E6000 glue/adhesive available from Amazon and others, is great to maintain flexibility, yet have a good bond. I purchased some for my Hood and Missouri builds, as there are some large plates on flat plastic surfaces. I'm unsure how that will work on metal to metal though. It's relatively inexpensive though. Will allow for shifting of parts while curing though! I got paint on my hull, but now have to fix it... I decided to not go wild on the PE hull parts and happy I didn't do the superstructure! Cheers Harald Southport (Edited to add:) Warman... I must have driven through many times on my trips from Saskatoon to Weyakwin or LaRonge... Never stopped though. Went to a hobby shop in Saskatoon, but can't remember the name, been since 2013...
-
Oh wow! Love the chart! Immediately downloaded! if you have s smartphone, the Hobby Color Converter app is amazing and has most paint lines available, in it. I use it as a source for which paints to get, and also which paints I have! As far as Vallejo thinning go, I made my own "mix" of thinnner which has 60% flow improver, 40% proprietary thinner, and 1 to 2 drops retarder, in a 250 ml bottle with markings on the side for appropriate mix. it is slow to dry, because the glycerin in the retarder, but it is worth it, as you don't suffer from as much tip dry. the Model air paints I believe are the same formulation, with just more thinner, but I may be incorrect. I use the same thinner for them all, Vallejo (brushing only for me), Vallejo Model Air, Mig, and AK Acrylic. Cheers! Harald
- 50 replies
-
- academy
- Admiral Graf Spee
-
(and 5 more)
Tagged with:
-
 Winnie reacted to a post in a topic:
RMS Titanic by MisterMeester - Trumpeter - 1/200 - PLASTIC
-
 Shotlocker reacted to a post in a topic:
Titanic 1912 by Winnie - Trumpeter - 1/200 - PLASTIC
-
 Canute reacted to a post in a topic:
DKM Admiral Graf Spee by LED – Academy – 1:350 - PLASTIC
-
 LED reacted to a post in a topic:
DKM Admiral Graf Spee by LED – Academy – 1:350 - PLASTIC
-
 king derelict reacted to a post in a topic:
DKM Admiral Graf Spee by LED – Academy – 1:350 - PLASTIC
-
 MisterMeester reacted to a post in a topic:
Titanic 1912 by Winnie - Trumpeter - 1/200 - PLASTIC
-
 Old Collingwood reacted to a post in a topic:
DKM Admiral Graf Spee by LED – Academy – 1:350 - PLASTIC
-
I believe part of the problem is the paint you're using. I see Vallejo bottles, but no "model air". The Vallejo paint is formulated to brush painted and is quite thick. As for the model air by Vallejo, the thinning of the paint requires a bit of finesse to get it right, and you have to use their branded thinner AND flow improver! and the paint has to be very thin, and a reasonably low pressure (12-15 psi). The Vallejo type paints also require a primer underneath, or it tends to bead up. Hope that helps! Harald
- 50 replies
-
- academy
- Admiral Graf Spee
-
(and 5 more)
Tagged with:
-
Yup, But I decided to forego the smallest PE pad-eyes. I rebuilt the rudder, added the zinc-plates and the biggest pad-eyes, but I doubt they'll show very well. I also laid the anti fouling. Had to make my workspace in the garage first... and build up nerve. Next up is white and yellow details, then hull black, then I can begin to fit the superstructure...
-
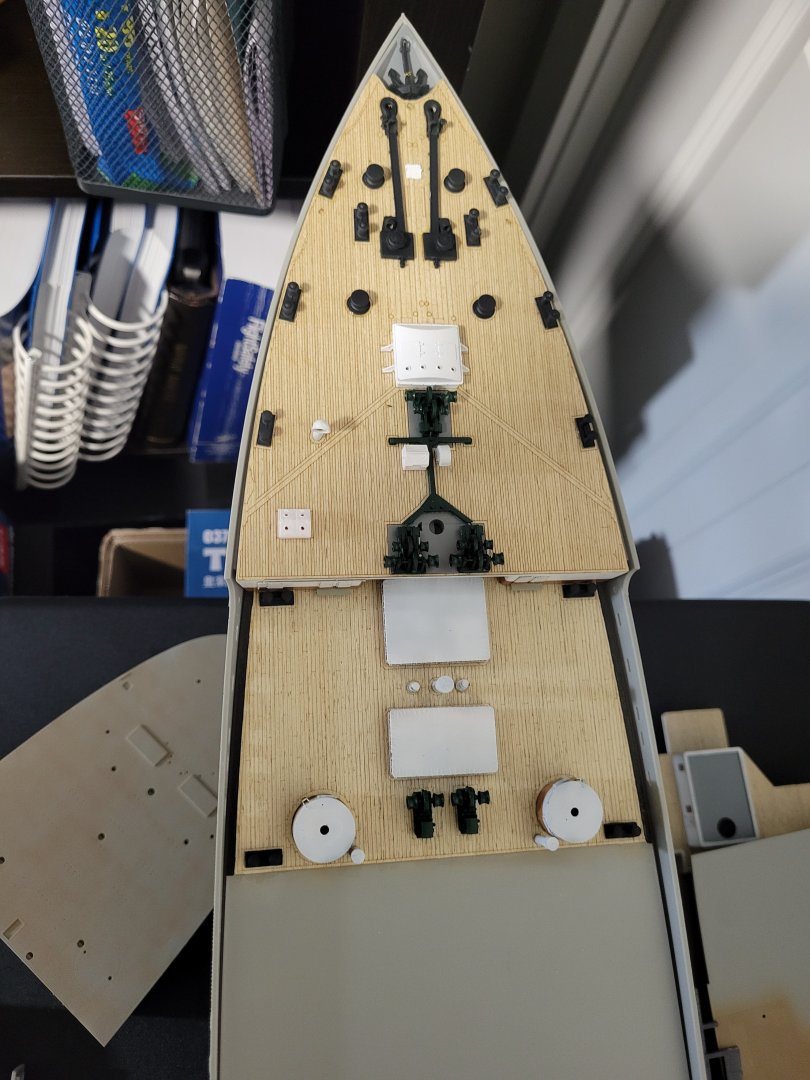
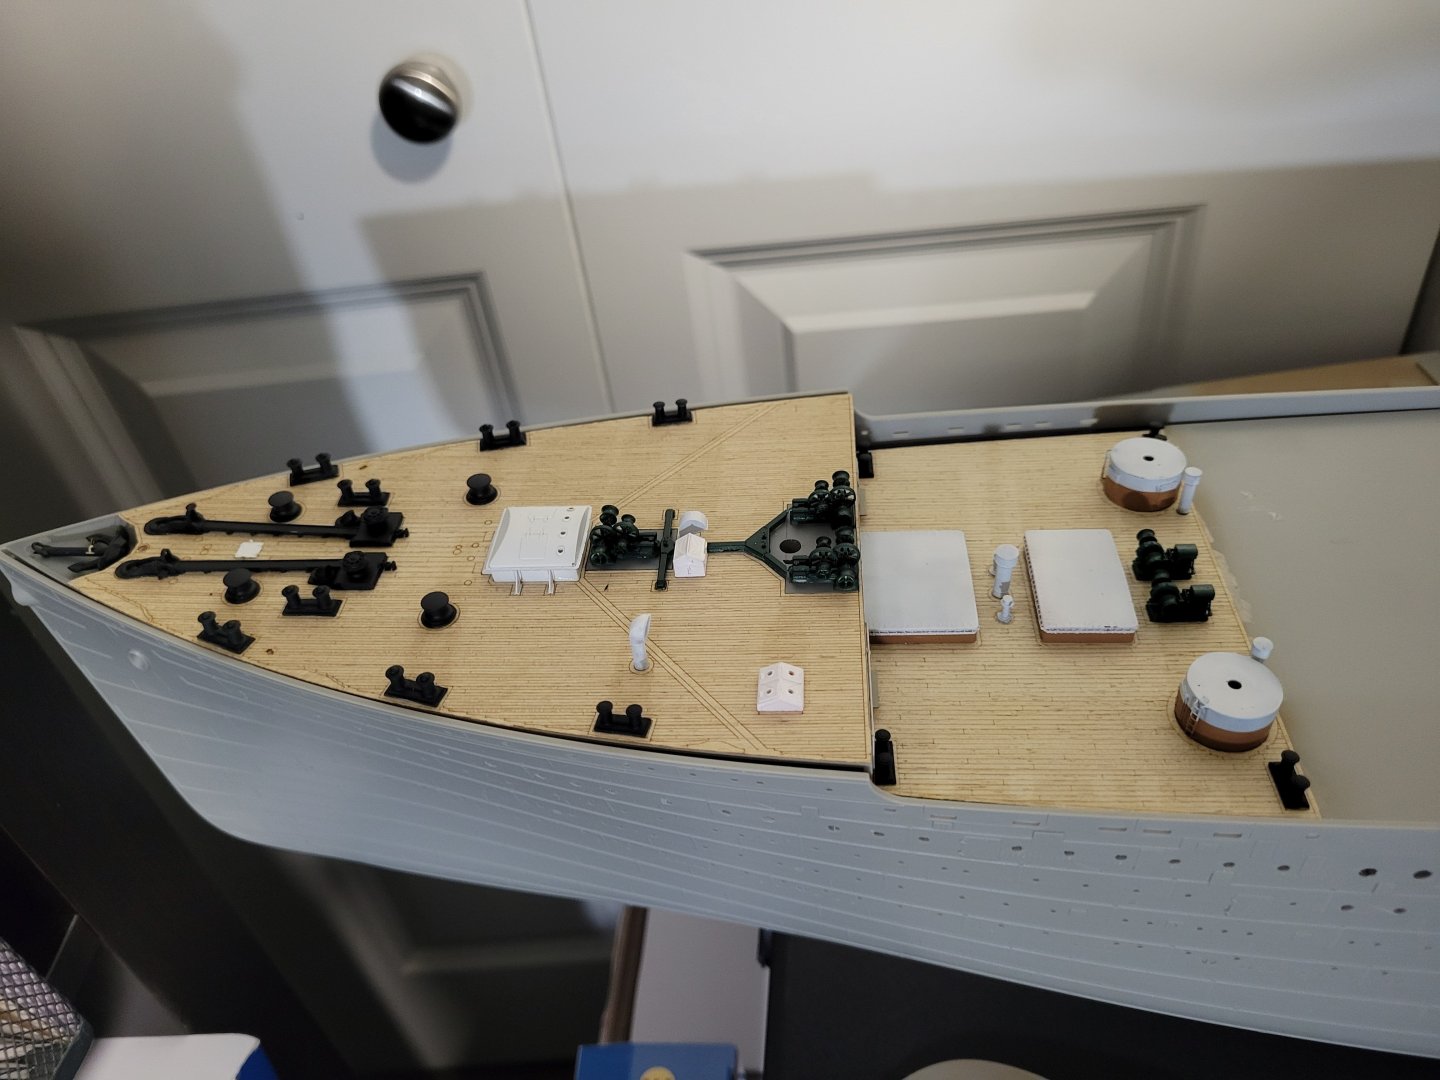
Minor progress... It's slow going, I did finally get the airbrush I need for the hull, now I just need to start on it, but it requires working in the garage... There's a ton of PE to attach, so I guess I may have to just bite the bullet and get at it... It's a little intimidating to say the least!! Here is the Fo'c'sle and forward well deck, not 100% complete, but the stuff I can do without knocking bits off as I maneuver etc. good fun though, and it looks good! a chunk at a time is how we do it!!
-
Incredible work! I have some of the same to do! Oh no... I have the same work to do.... lol! Inspiring!
-
 Winnie reacted to a post in a topic:
USS Missouri by Amphibious0311 - Very Fire - 1/350 - PLASTIC
-
 Winnie reacted to a post in a topic:
USS Missouri by Amphibious0311 - Very Fire - 1/350 - PLASTIC
-
I bet you a filter wash will help "hide" some of the over/under spray. Looks fantastic. Will you share what colors you used for the ship?
-
It's easier to clean up ultra glue than CA if you do it while it's setting. Dip a tamiya micro cotton bud in water and wipe away. but it may be easier to use medium CA glue. That is the part I find most annoying on model ships.... Gluing the parts without making it messy. Your work on the paint is just perfection, but be careful of taping the wooden decks!
-
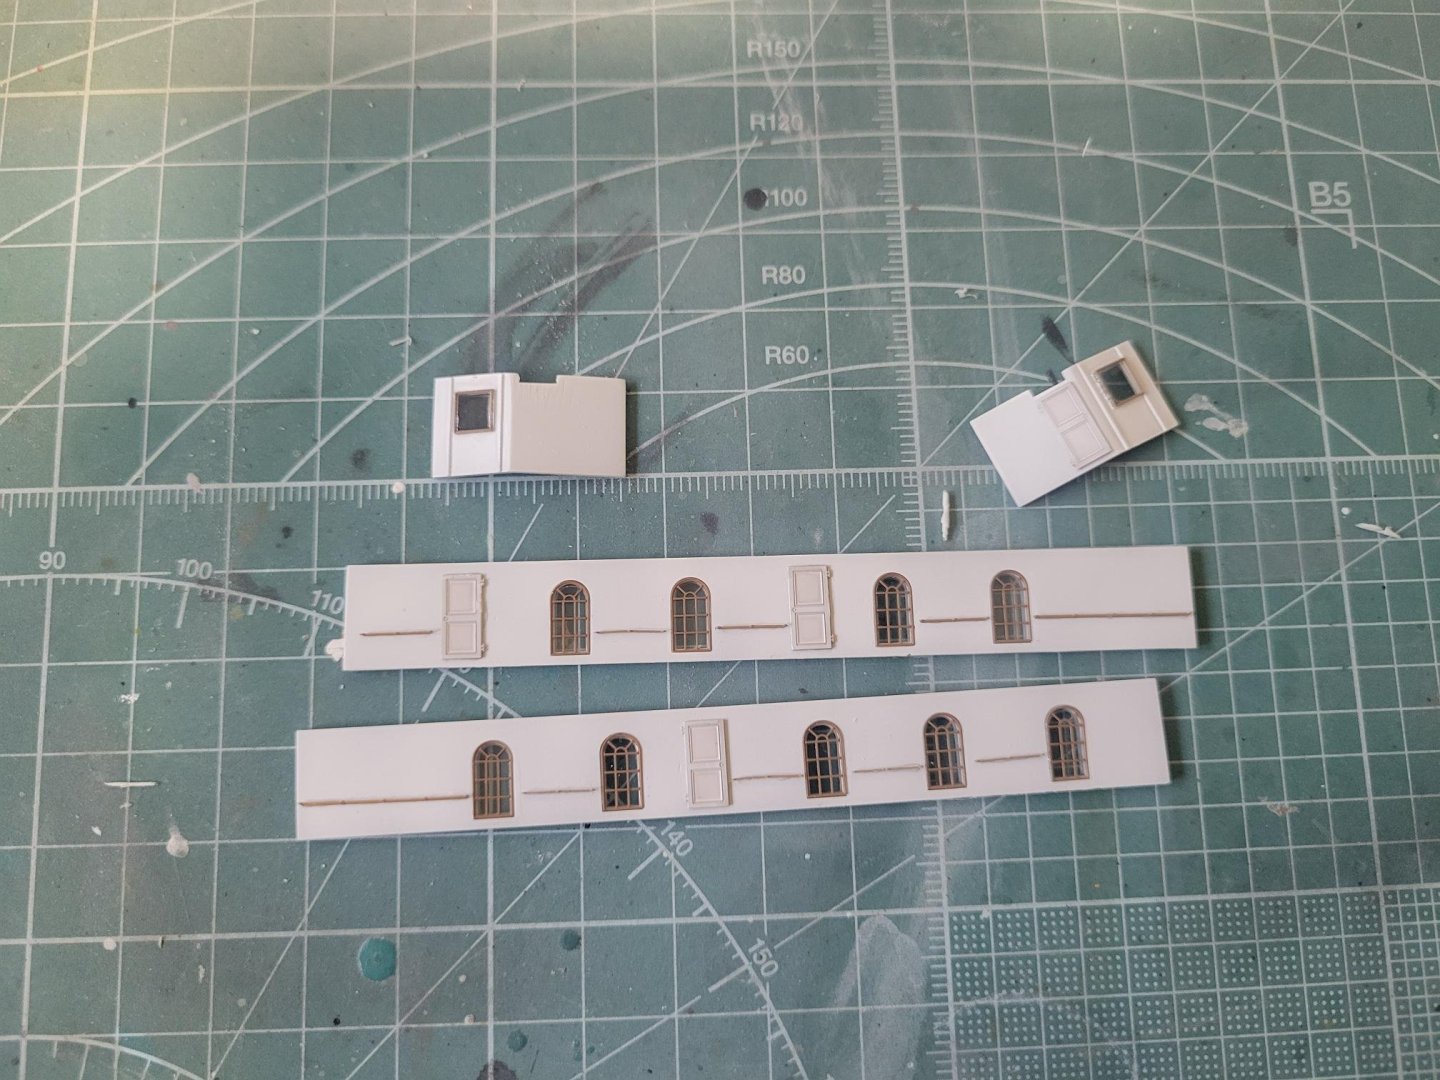
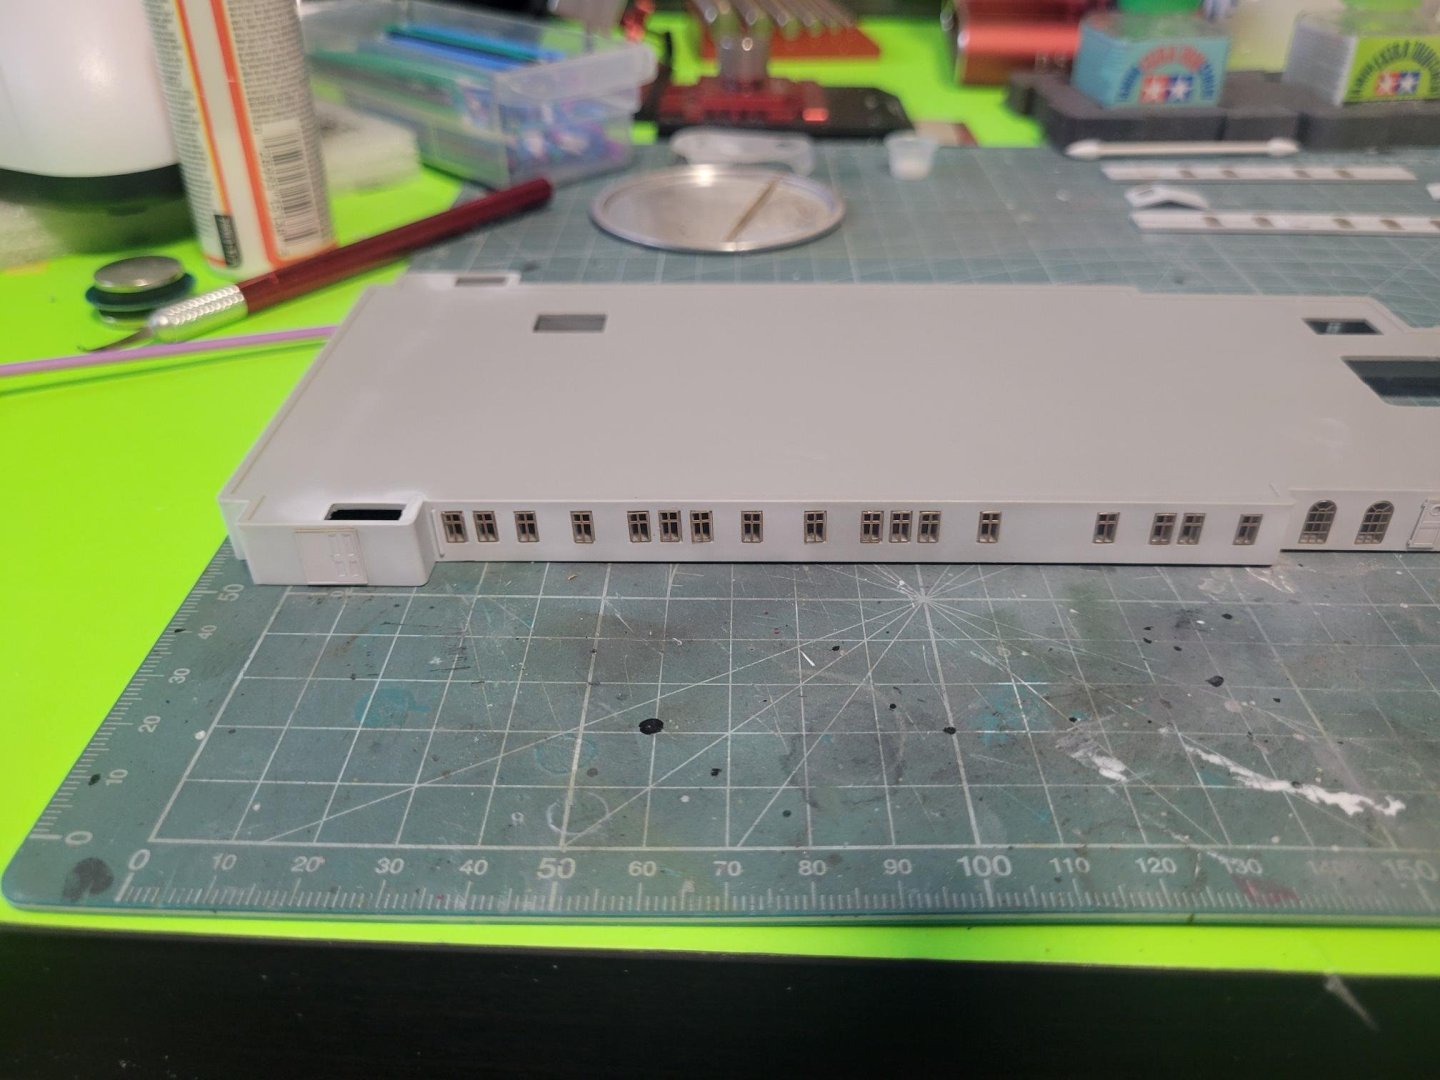
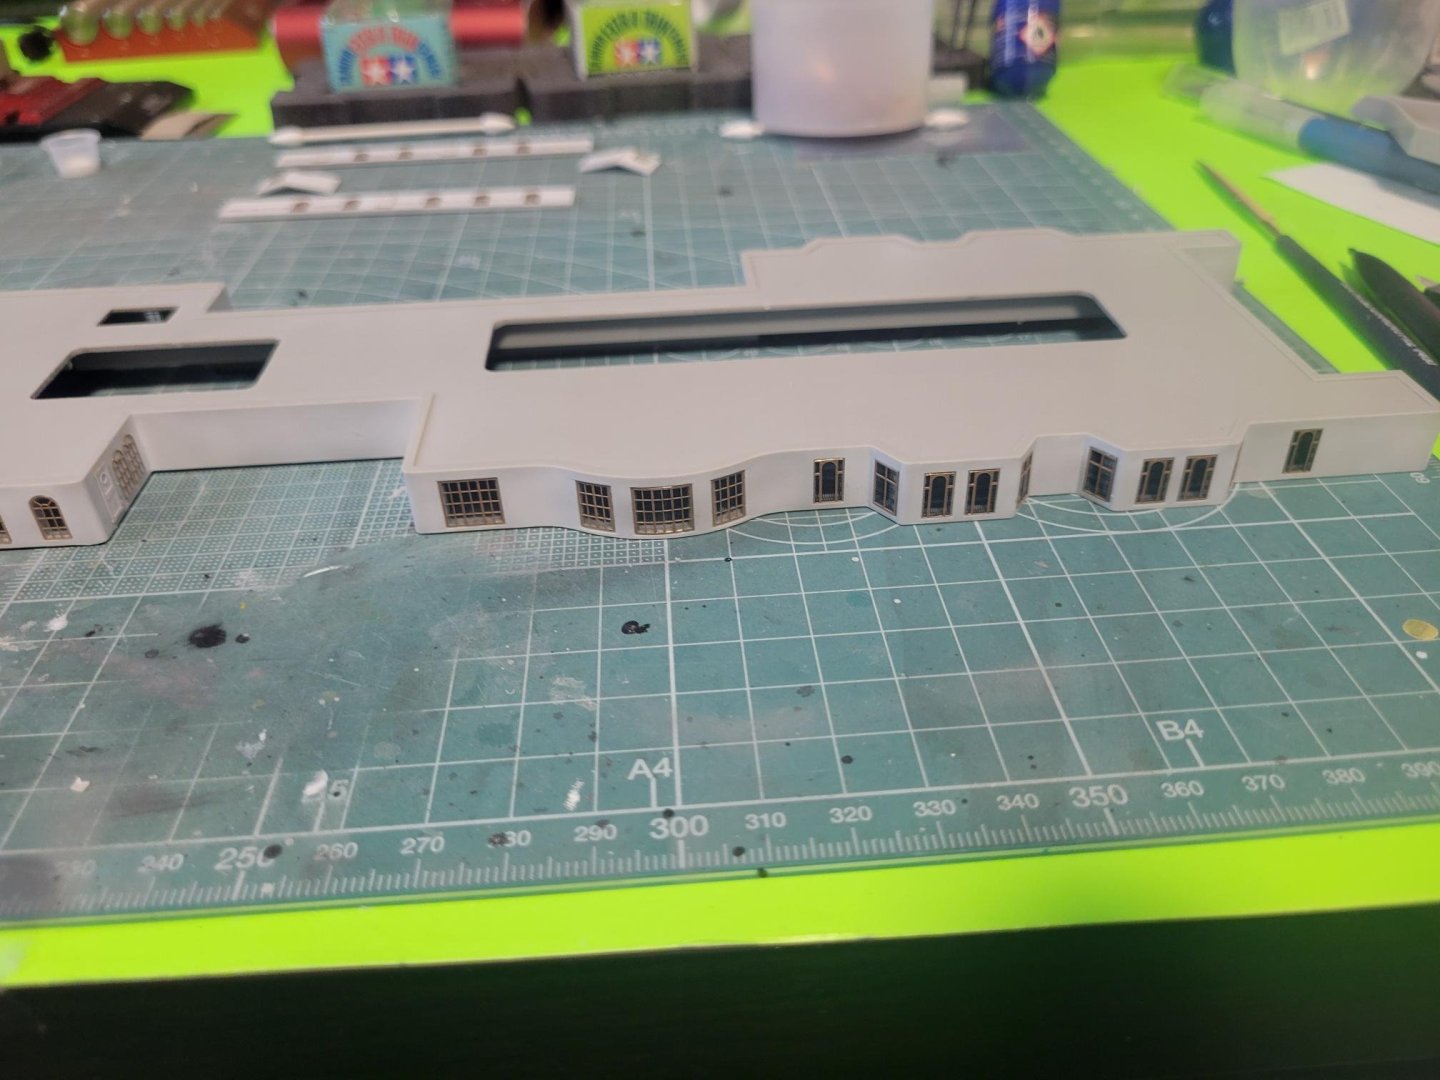
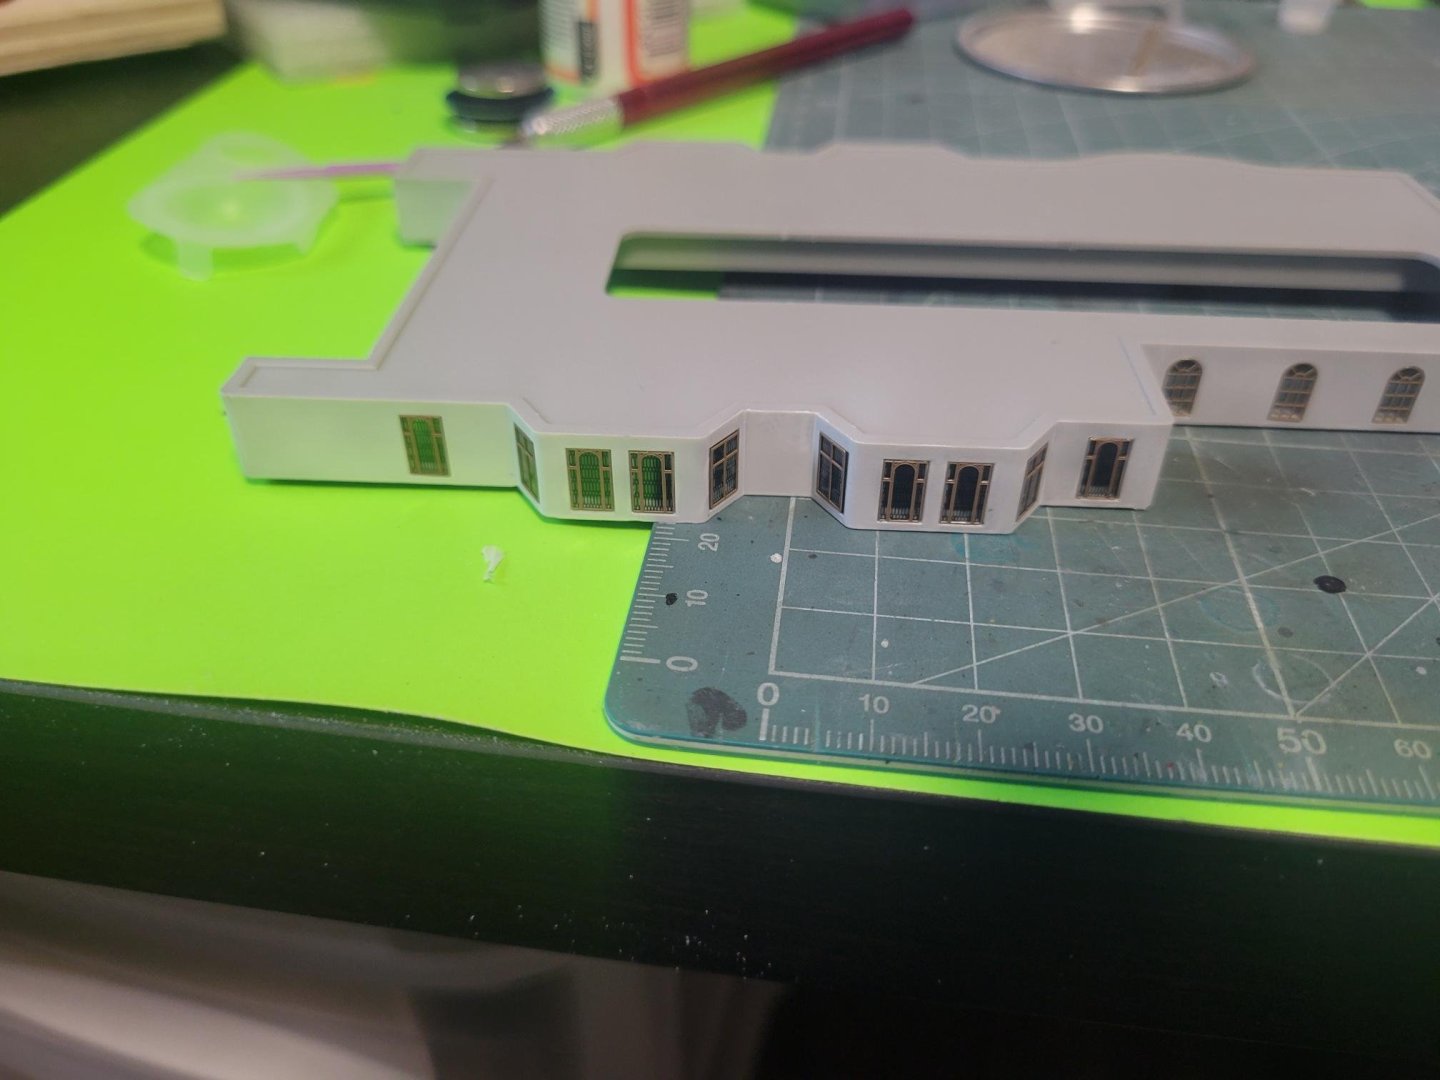
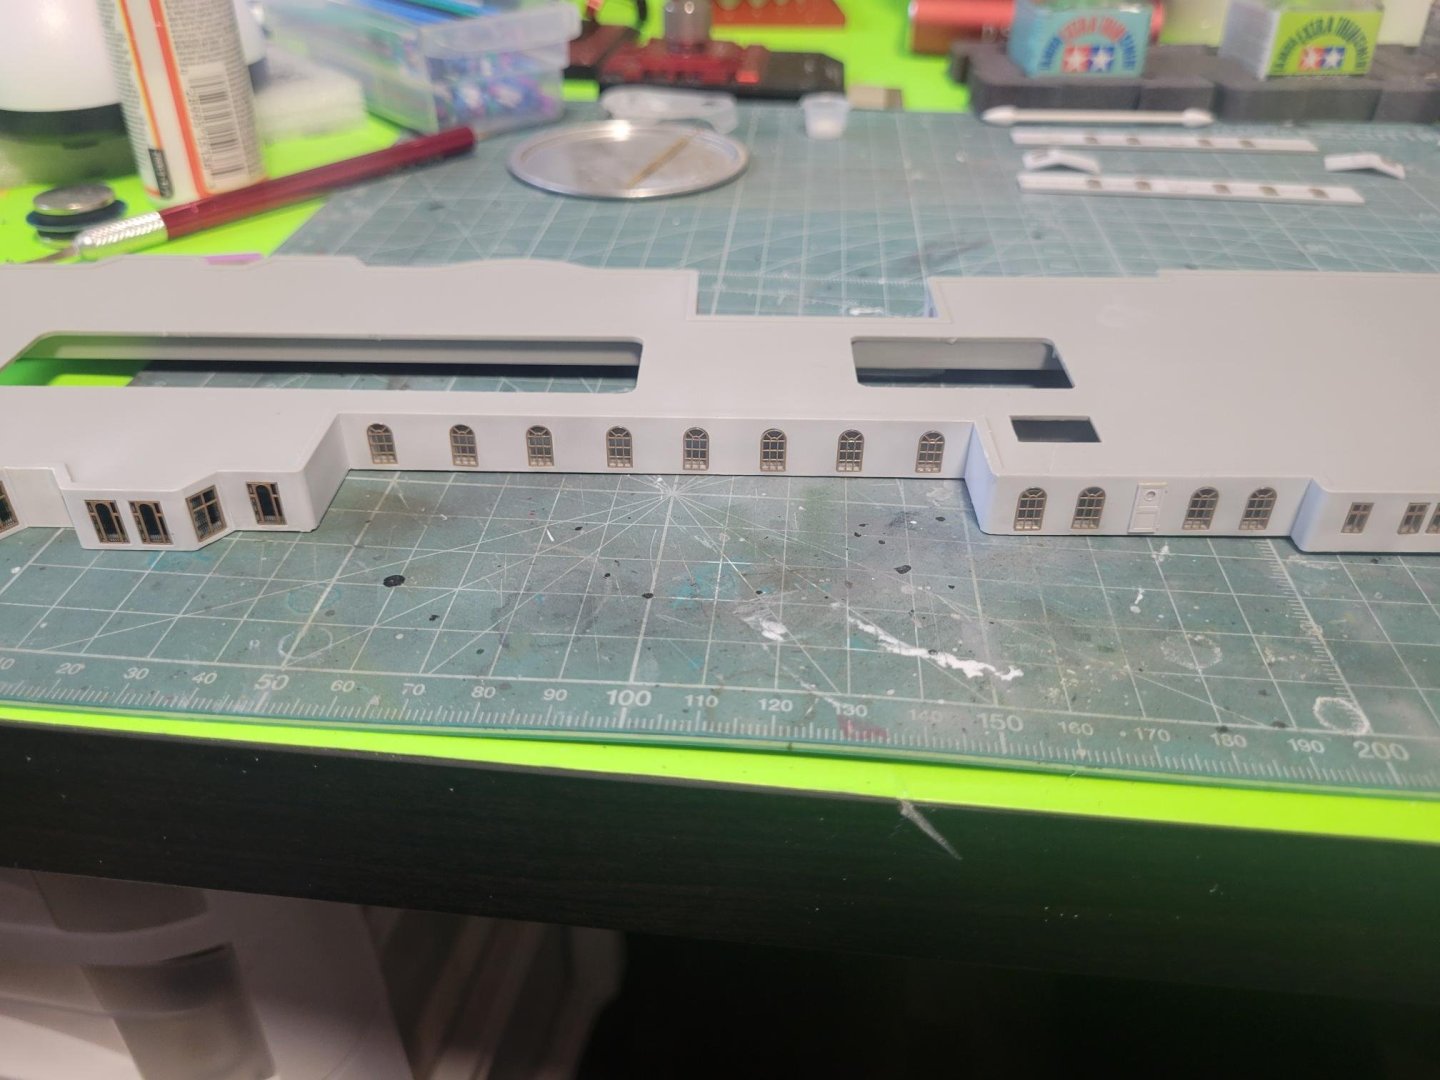
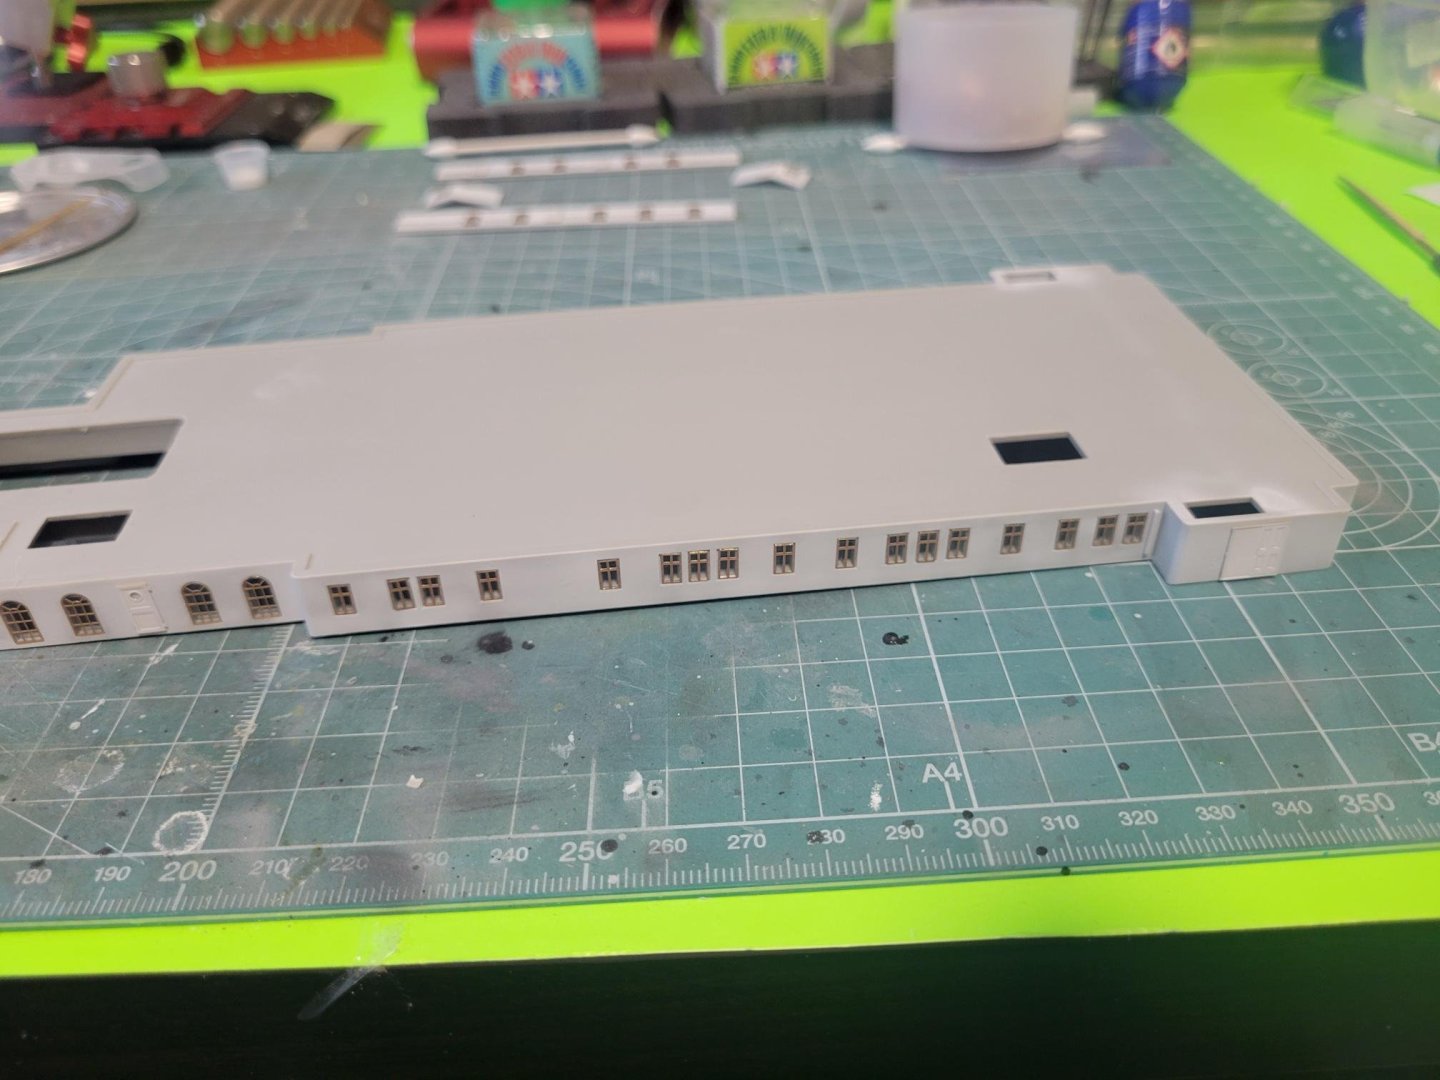
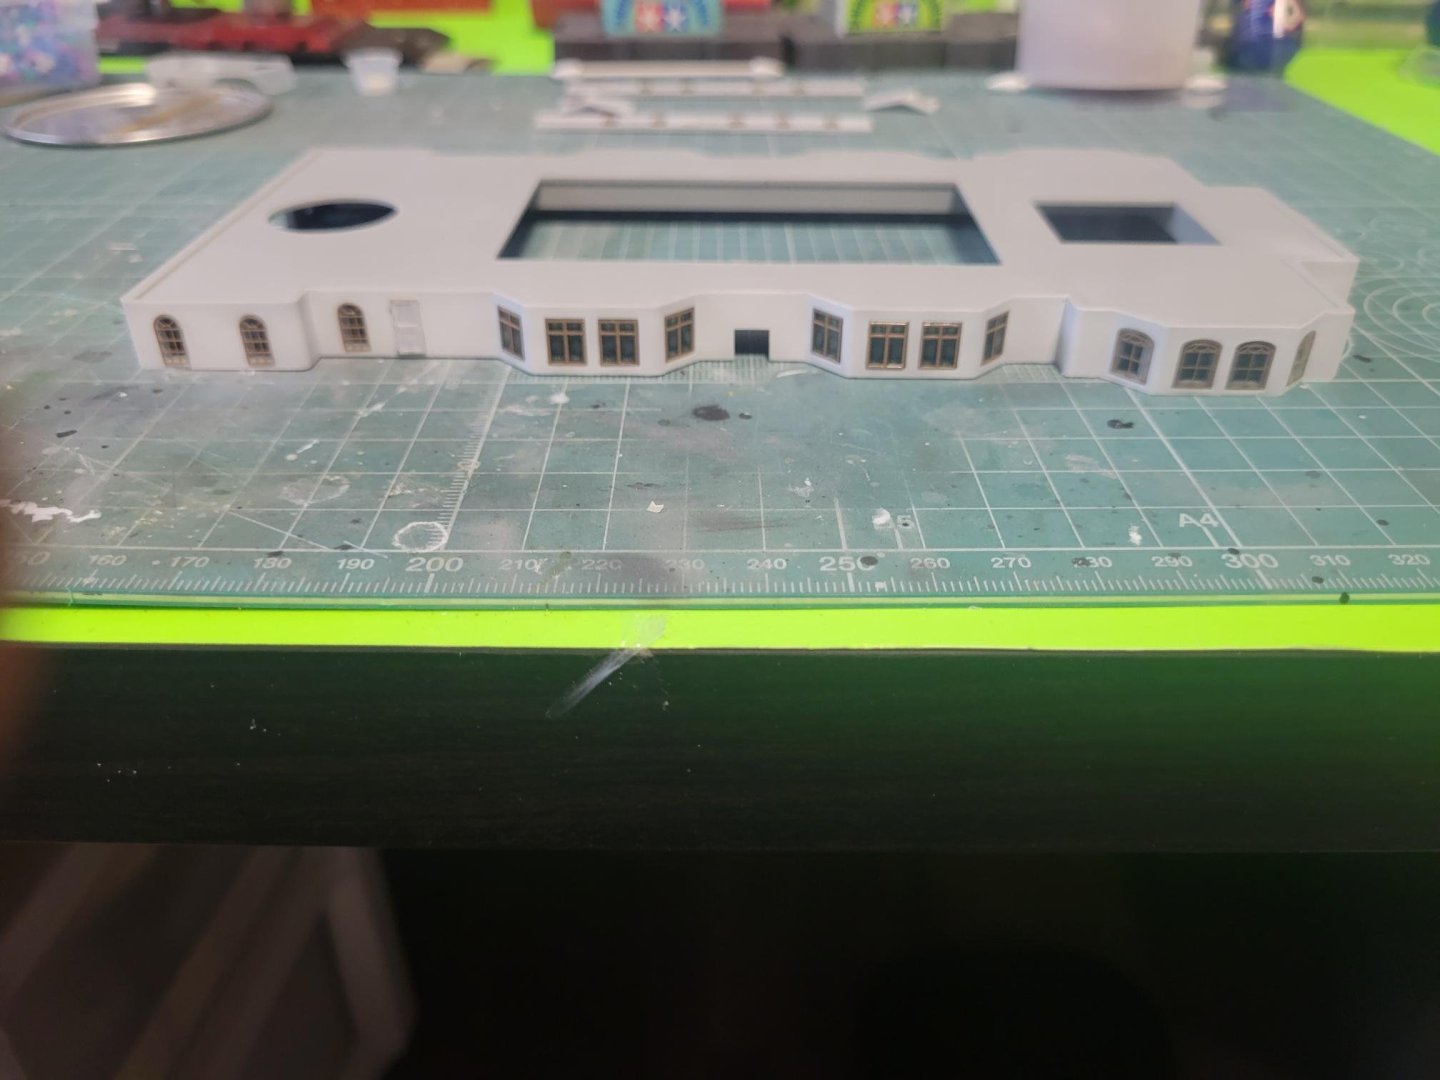
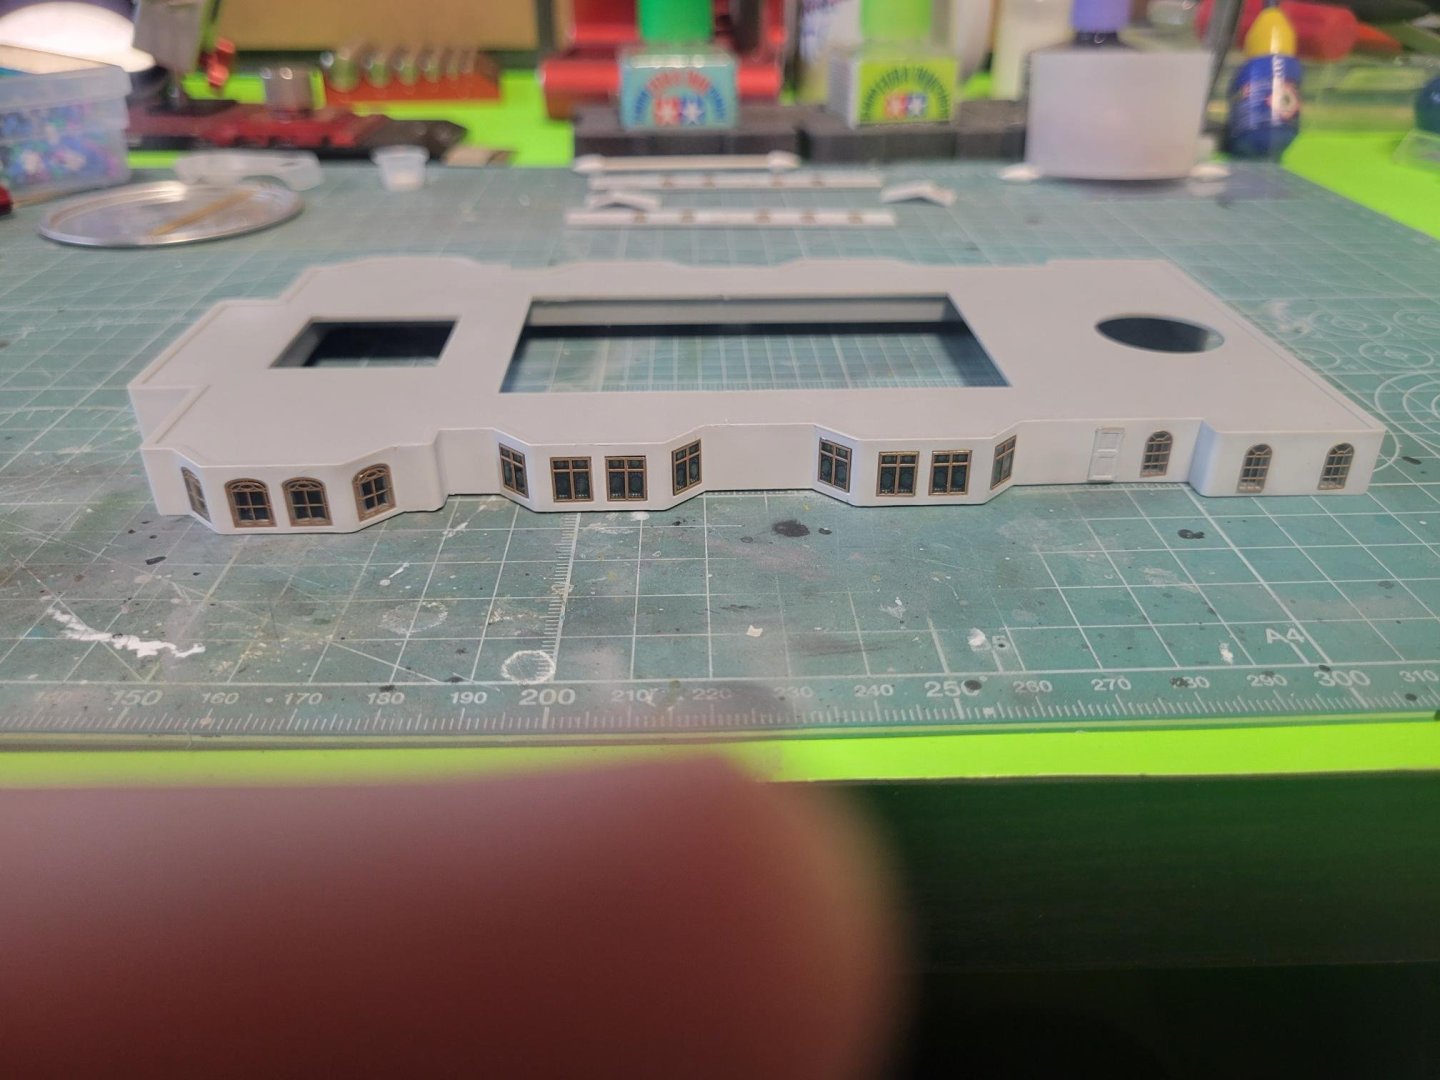
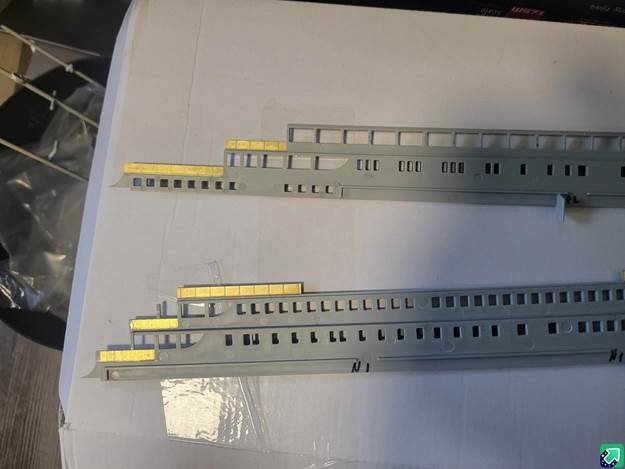
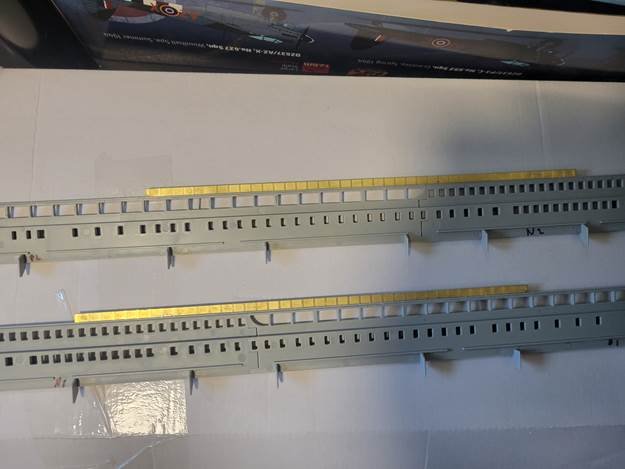
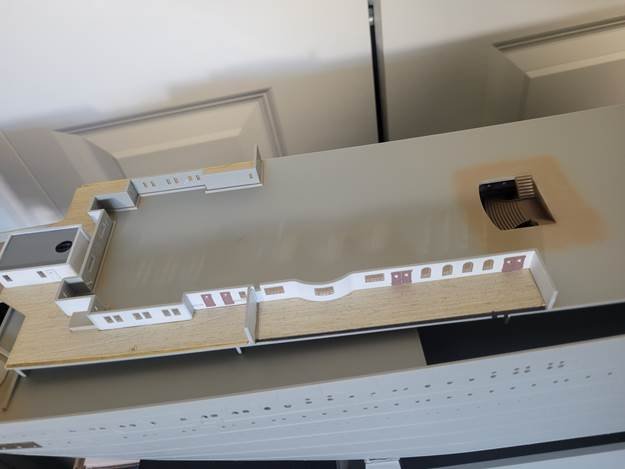
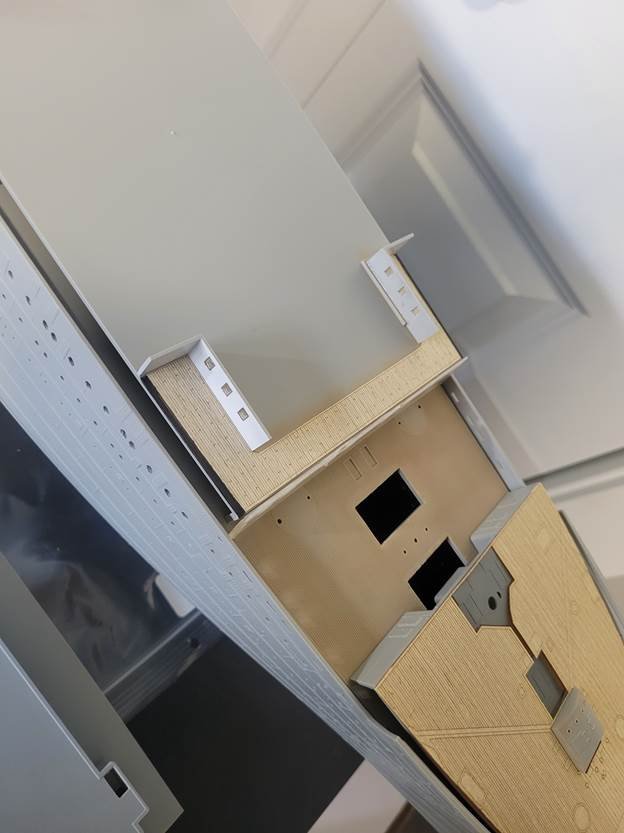
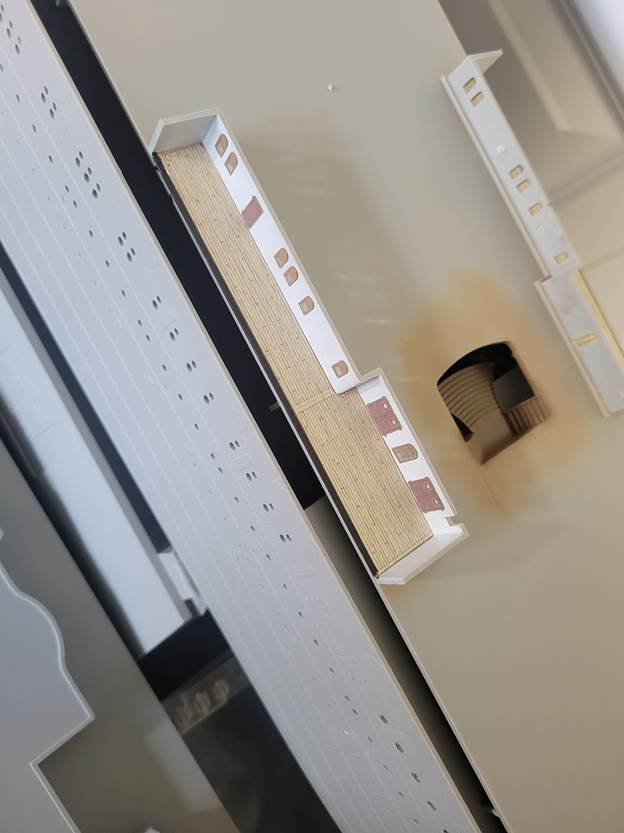
Need more medium CA... Anyway, the white glue (using Mod Podge gloss), works a charm so far. Easier clean up, and does wonders in sticking small pieces of PE to plastic. A deck structures: One door missing, the handrails are a bitch to get/keep straight... Thankfully this will be behind a bullwark on A deck, 1 deck below the boat deck. Some of these windows have the "stained glass" from the KA set... Micro cutting with very fine scissors on slippery plastic... NOT easy, but whatever! Looks really cool The most time consuming part of any, is cutting the PE from the fret, cutting the nubs, then filing the nubs... There are 44 of the smallest windows on the longest structure shown... So there are TONS of windows. But, I think this is an excellent primer to more advanced warships, because even though there is a dearth of PE parts, most are easy subassemblies requiring a single fold, if any. Or a gentle curve. So there are thousands of parts, but they're relatively easy to affix! I'll probably eat those words later. Cheers H.
-
I'll try to add a few pictures! A Deck, deck veneers laid down, waterways and expansion joints laid down. I've been using white glue for all of it. It's flexible enough to allow for temperature differences, and seem to hold the PE better than CA glue... https://i.imgur.com/R1P8tzd.jpeg She's a big lady! Still have to finish the hull plating at the stern, I will try with the metal plates again, but if that fails, I can add in the plastic plates from Midwest Model Shop. https://i.imgur.com/5v38cgr.jpeg Cheers H.
-
So got a tiny bit completed on B deck, not much to do, 2nd class restaurant and a couple promenades. and the deck below the bridge. had to work to get the deck to fit, minor surgery. Also fitted the PE sheets for the rails on the outside bulkhead, but only the back plate, the spars will have to happen AFTER the decs are inserted. Pictures are bad, because I was in a rush... Waterways still need a dash of black there! and the ladders came off the rear bulkhead, those will be reattached shortly, with the last deck equipment needed. Shapeways bridgefront there. The doors seem very red, they look more brown in real life. Cheers!
-
 Winnie reacted to a post in a topic:
HMS Hood by Paul Jarman - FINISHED - Trumpeter - 1/200 Scale - PLASTIC
-
Nice! I just won the kit and the Pontos upgrade in a raffle, and can't wait to receive it!!
About us
Modelshipworld - Advancing Ship Modeling through Research
SSL Secured
Your security is important for us so this Website is SSL-Secured
NRG Mailing Address
Nautical Research Guild
237 South Lincoln Street
Westmont IL, 60559-1917
Model Ship World ® and the MSW logo are Registered Trademarks, and belong to the Nautical Research Guild (United States Patent and Trademark Office: No. 6,929,264 & No. 6,929,274, registered Dec. 20, 2022)
Helpful Links
About the NRG
If you enjoy building ship models that are historically accurate as well as beautiful, then The Nautical Research Guild (NRG) is just right for you.
The Guild is a non-profit educational organization whose mission is to “Advance Ship Modeling Through Research”. We provide support to our members in their efforts to raise the quality of their model ships.
The Nautical Research Guild has published our world-renowned quarterly magazine, The Nautical Research Journal, since 1955. The pages of the Journal are full of articles by accomplished ship modelers who show you how they create those exquisite details on their models, and by maritime historians who show you the correct details to build. The Journal is available in both print and digital editions. Go to the NRG web site (www.thenrg.org) to download a complimentary digital copy of the Journal. The NRG also publishes plan sets, books and compilations of back issues of the Journal and the former Ships in Scale and Model Ship Builder magazines.

