HOLIDAY DONATION DRIVE - SUPPORT MSW - DO YOUR PART TO KEEP THIS GREAT FORUM GOING! (Only 75 donations so far out of 49,000 members - C'mon guys!)
×


Warnerade
-
Posts
184 -
Joined
-
Last visited
Content Type
Profiles
Forums
Gallery
Events
Everything posted by Warnerade
-
Wow, it’s hard to believe it has been over a year since I have opened this and I’m really not amy farther along than the last picture. I got tied up in a larger River boat project and once covid hit ive hardly had time to even work on that (I’m a medical resident, just been way too busy) yes, I will gladly send you whatever I can to help out
- 4 replies
-
- 1
-

-
- princess royal
- authentic models
- (and 1 more)
-
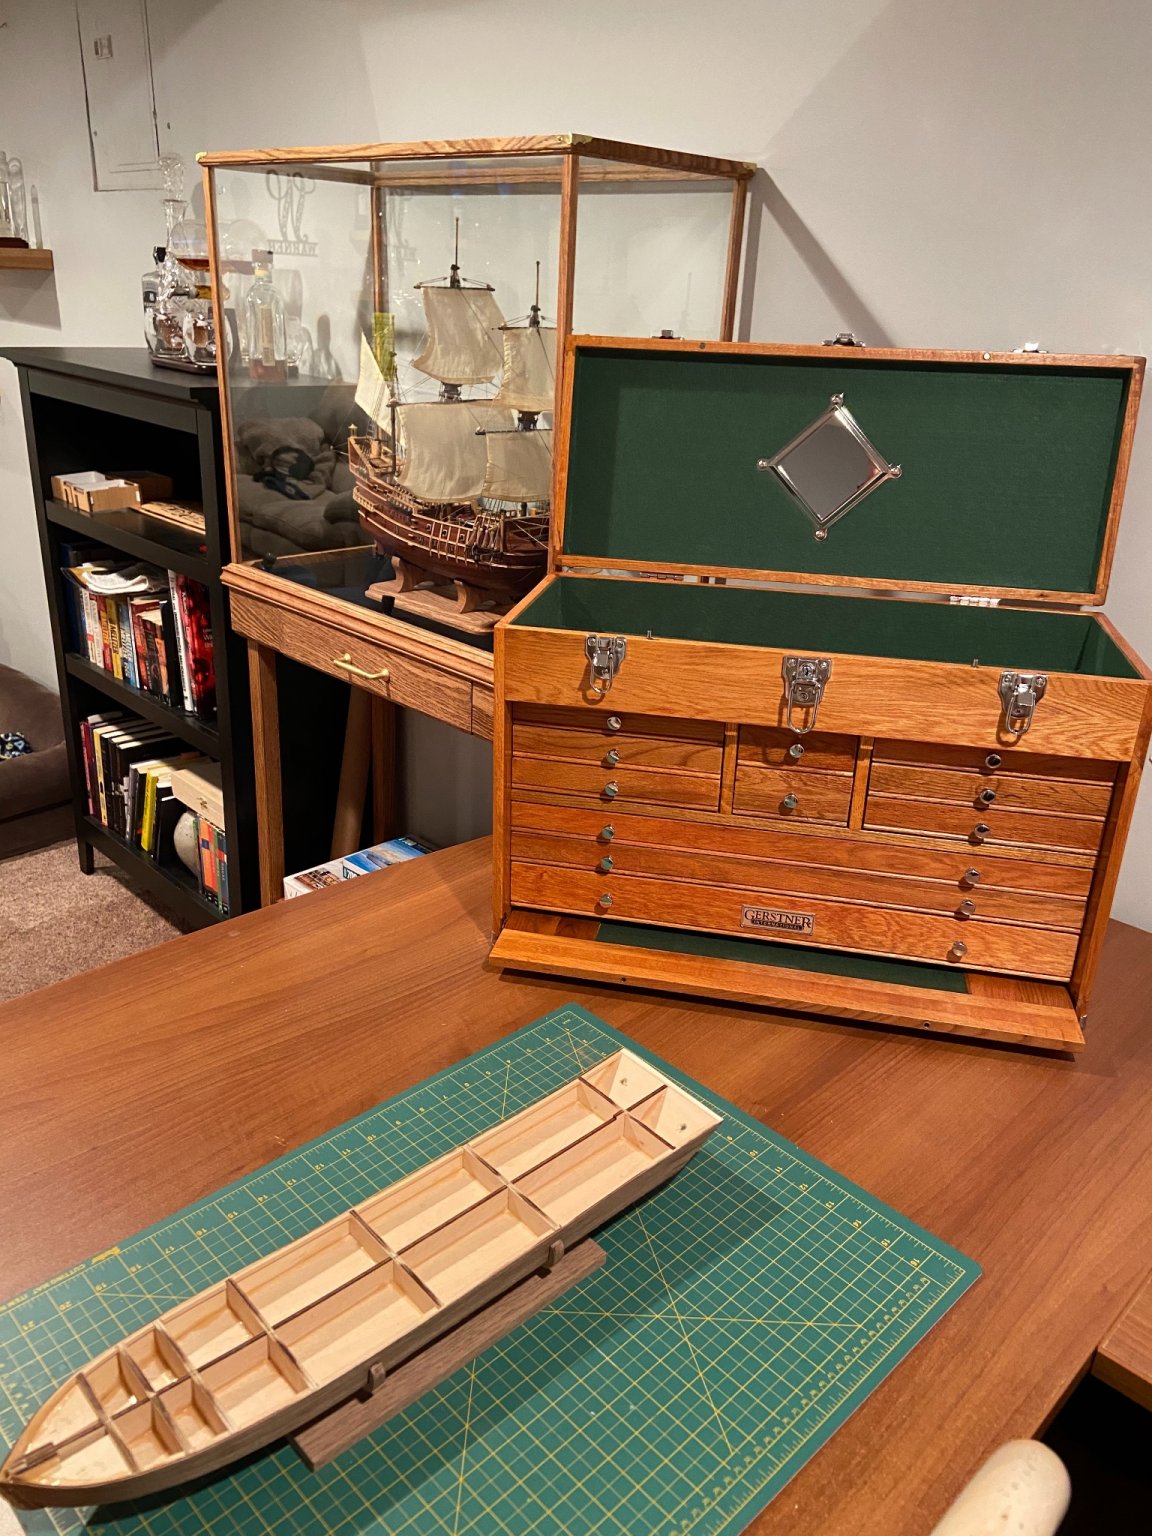
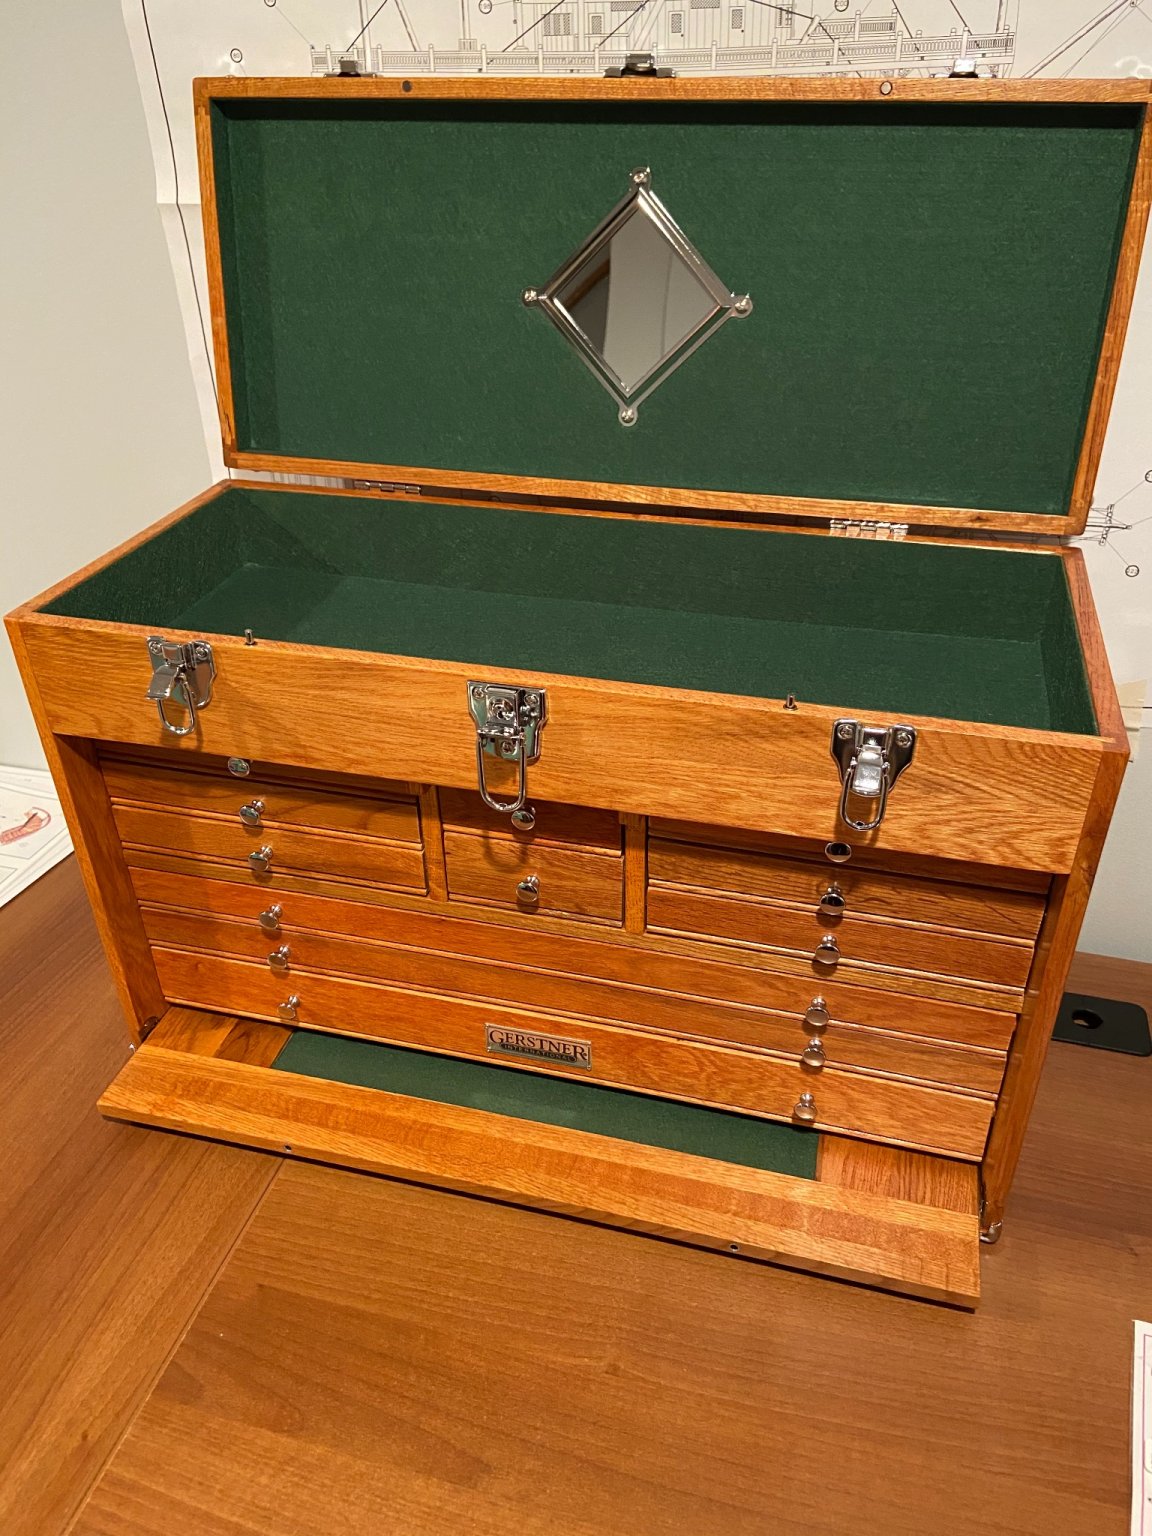
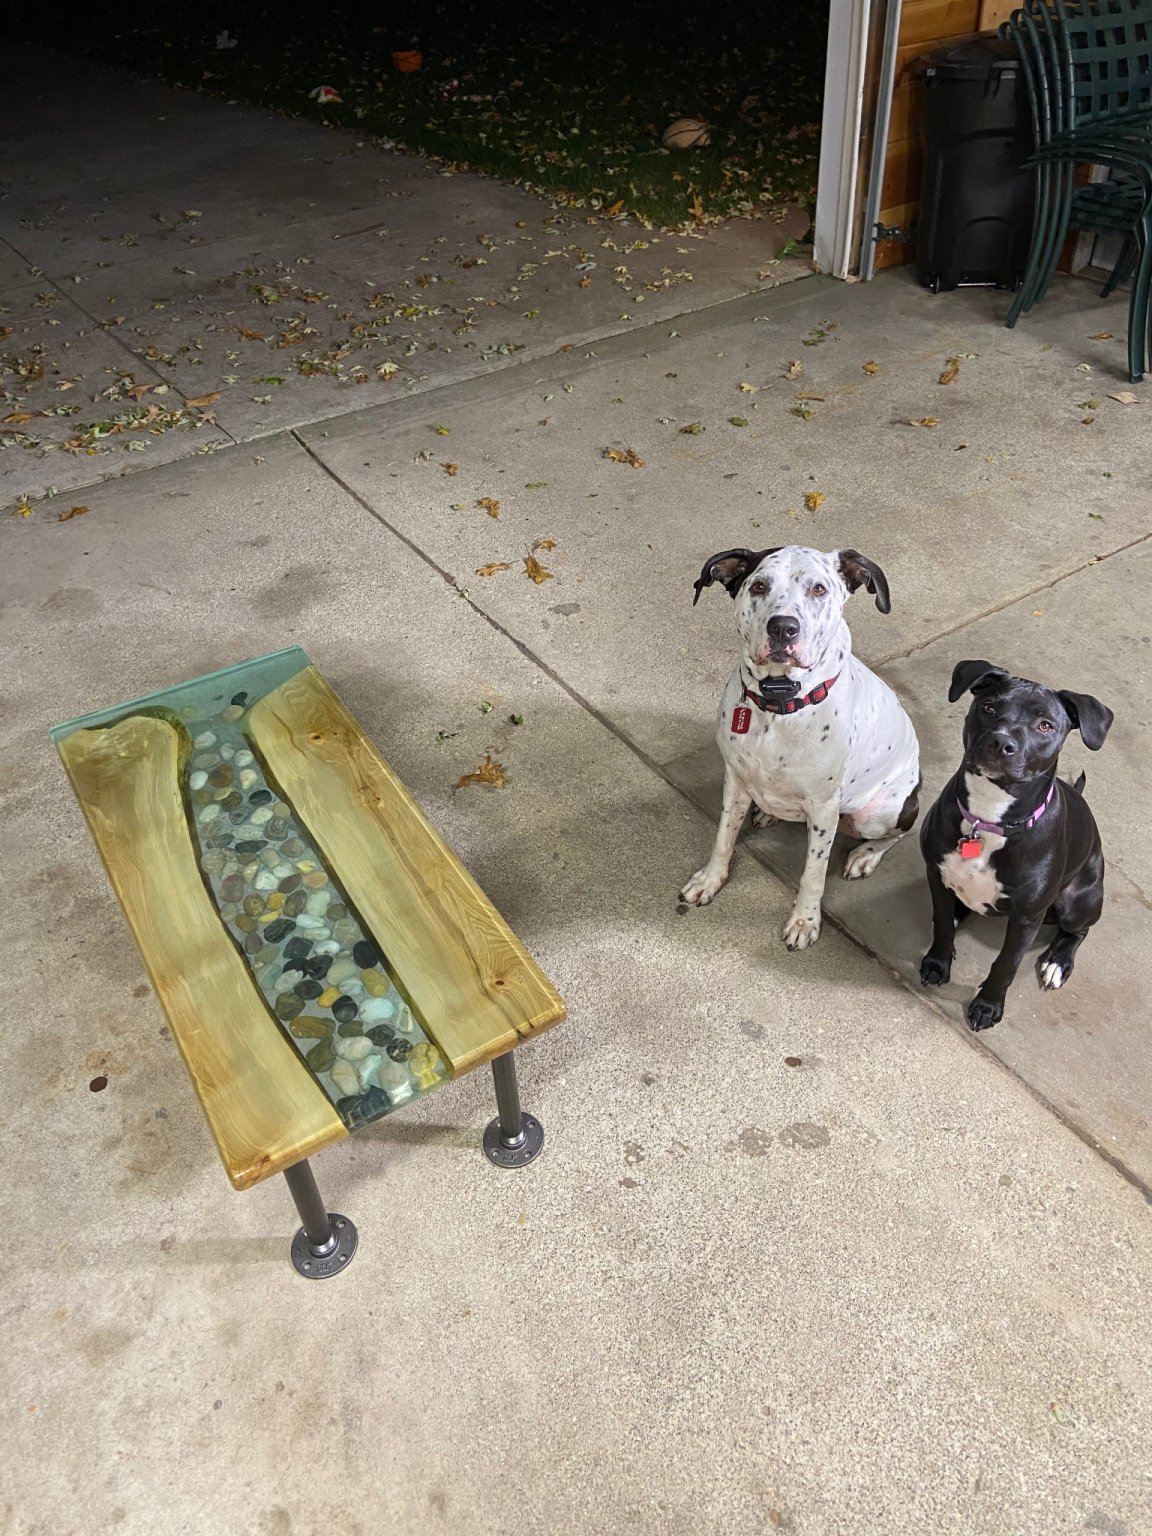
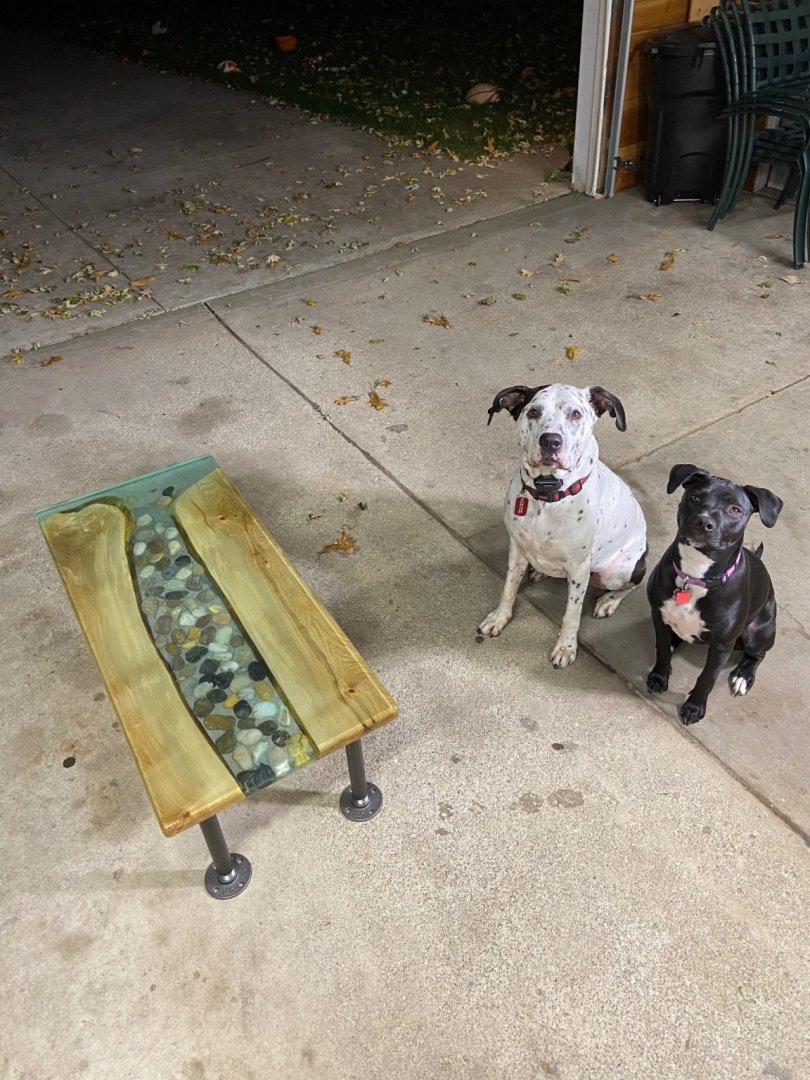
i Am not sure if I will be connecting the arms, just going to play it by ear. I have not had a chance to touch the boat since that post BUT Santa did bring me a tool box for the ship yard. I have wanted a gerstner for years, I was like a little kid opening a PlayStation haha. Andddd My pup on Xmas day just for fun.


-
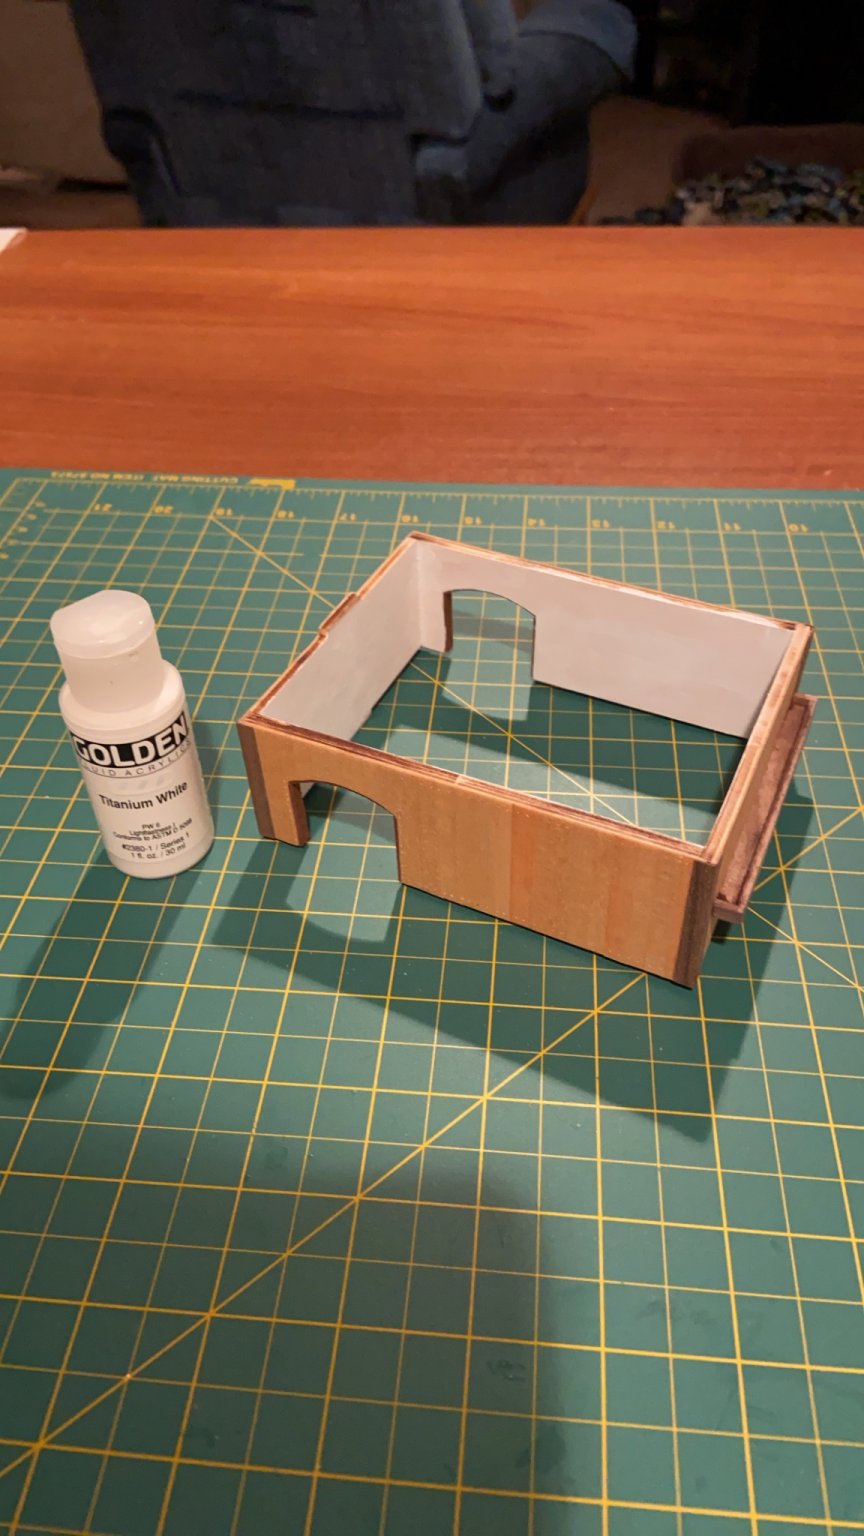
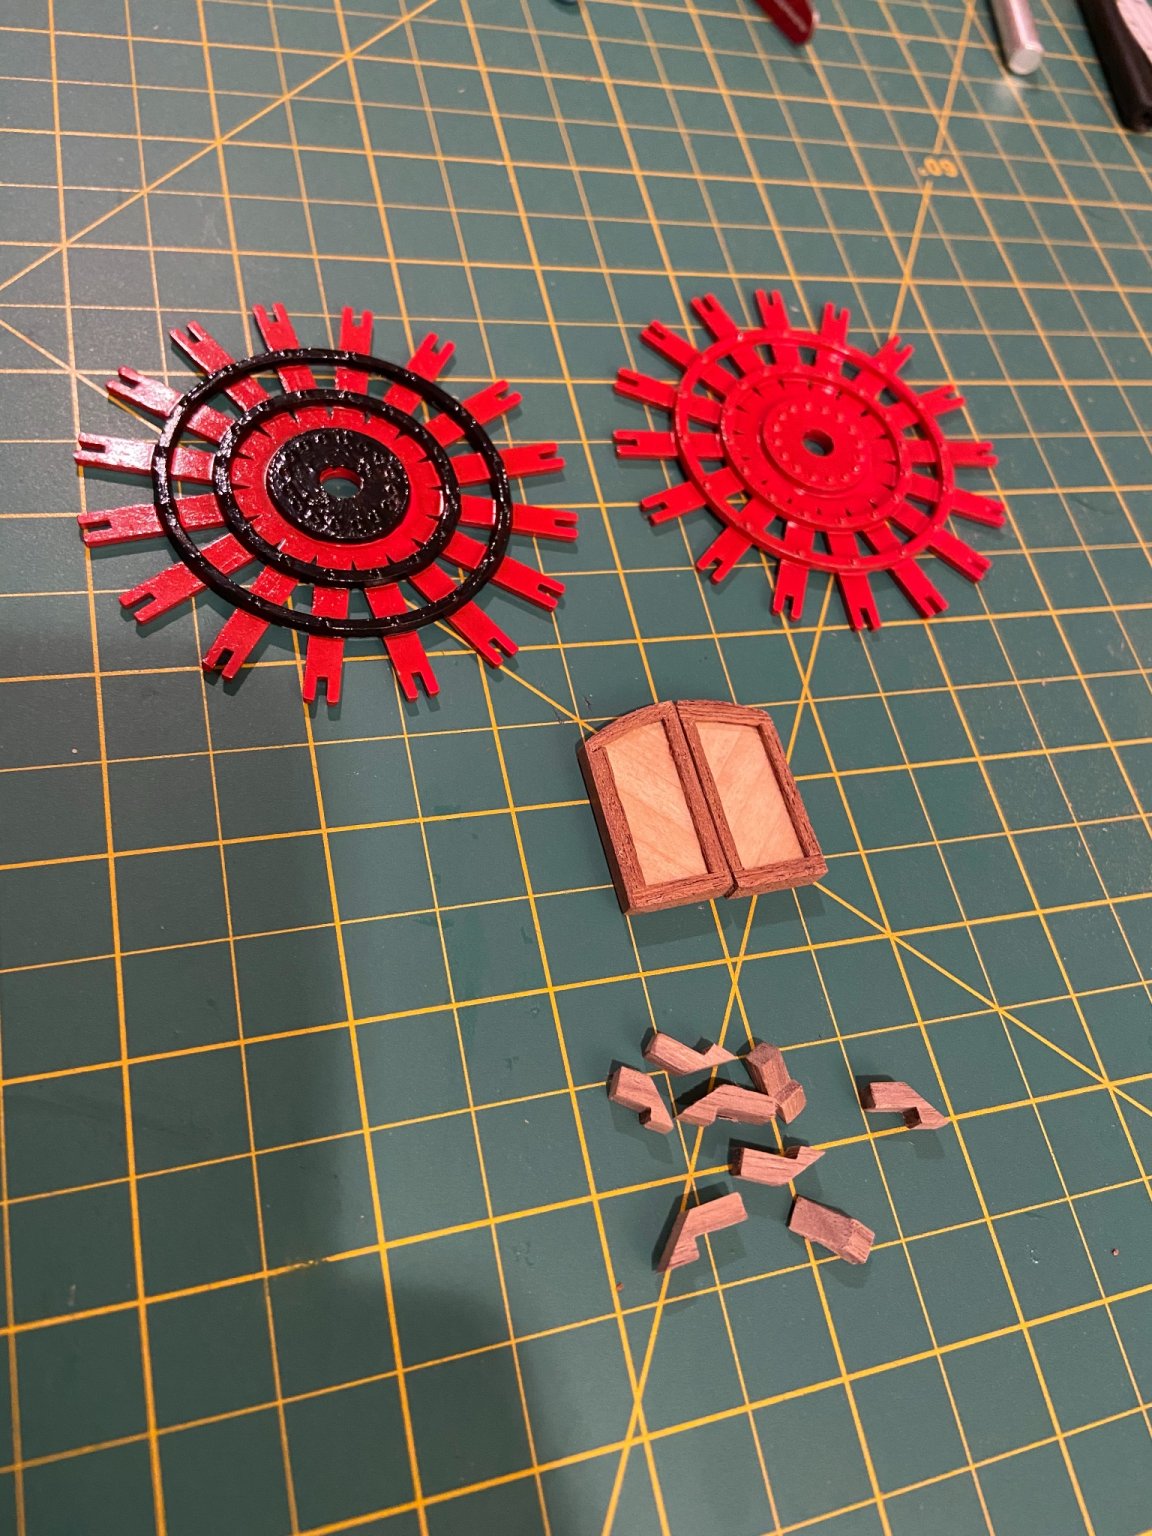
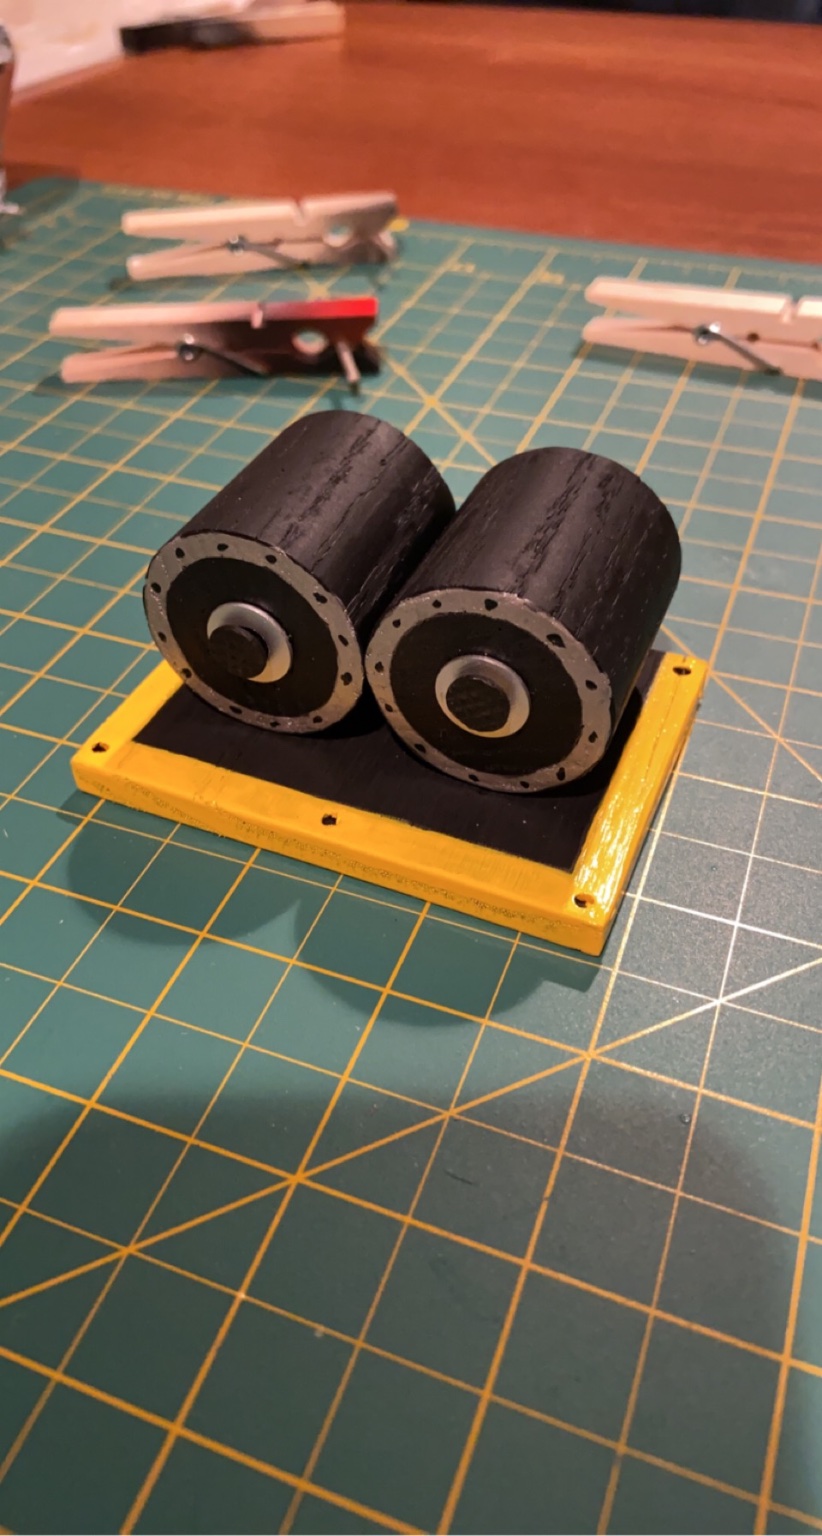
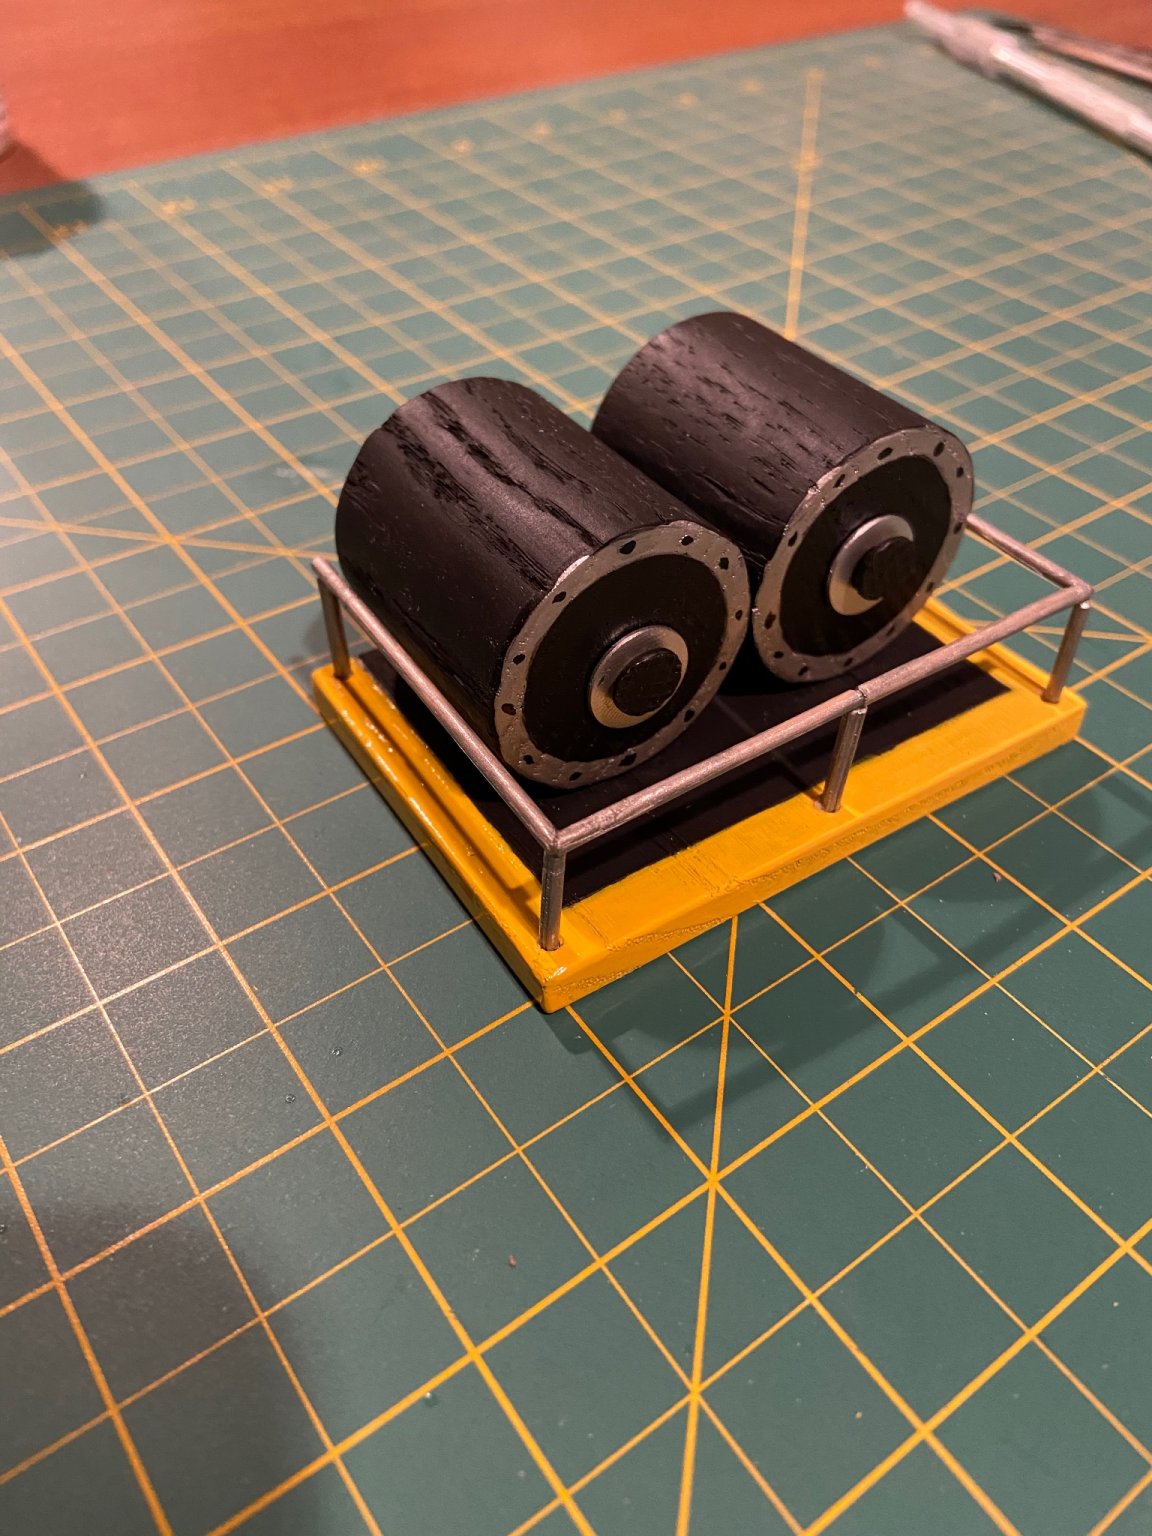
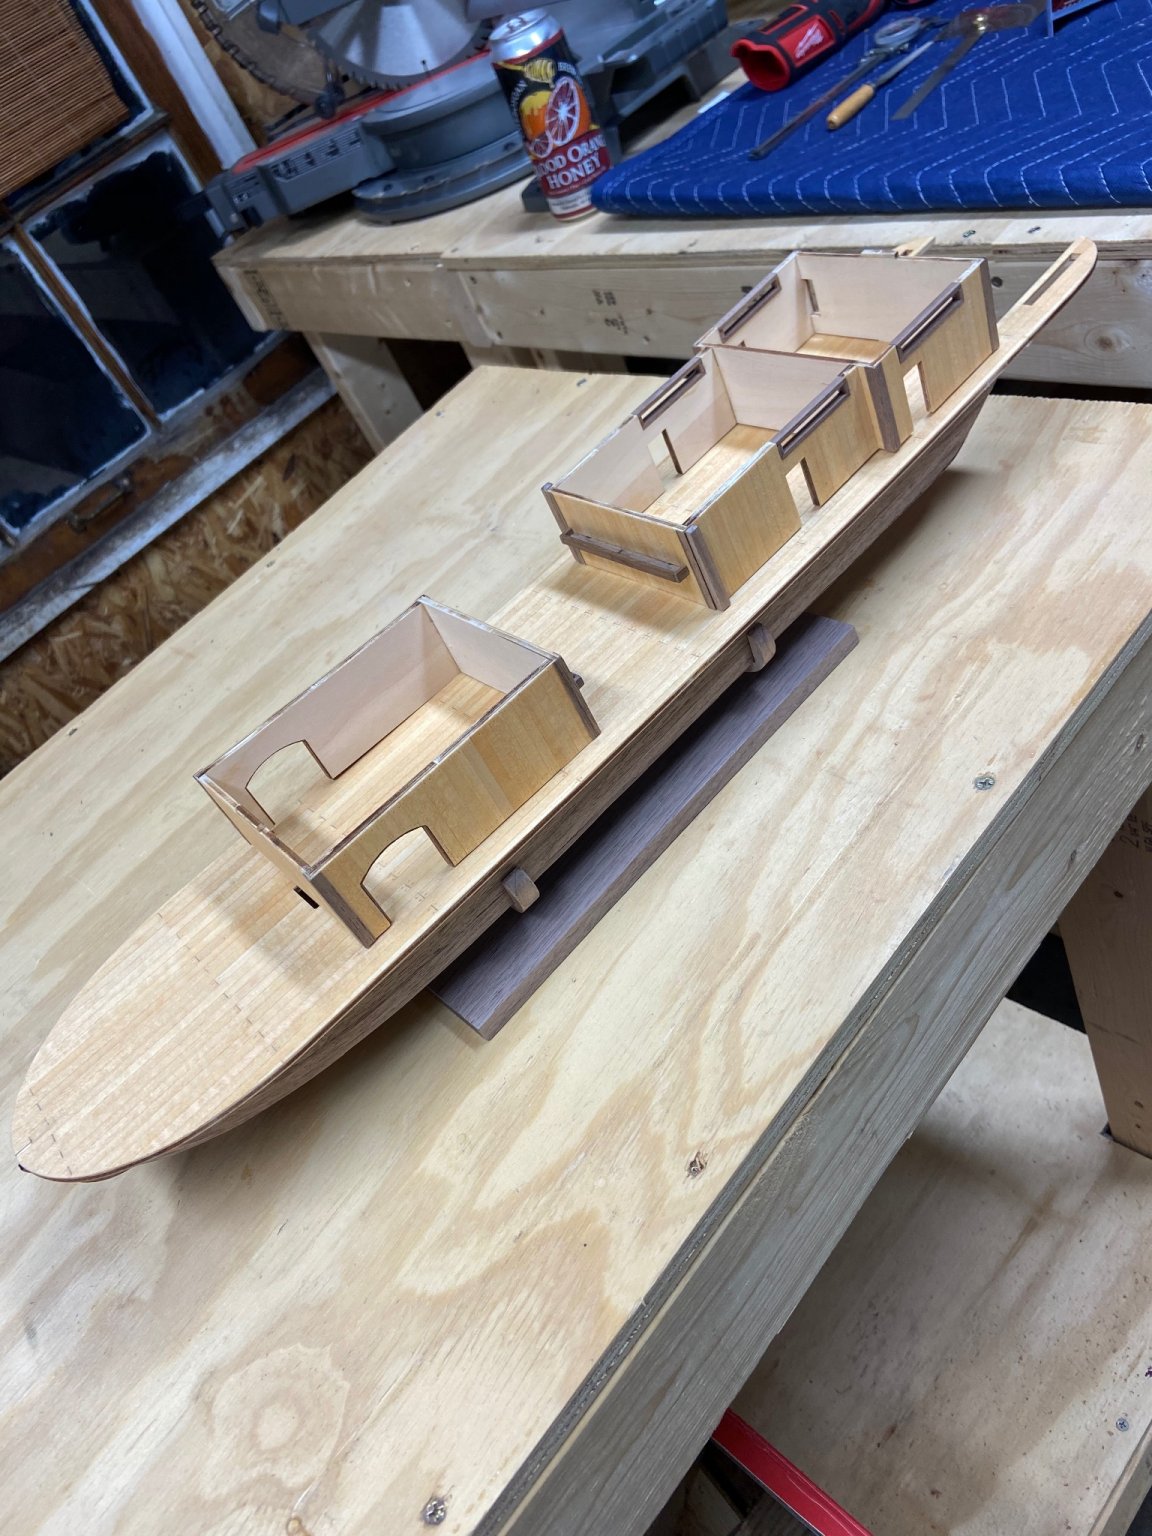
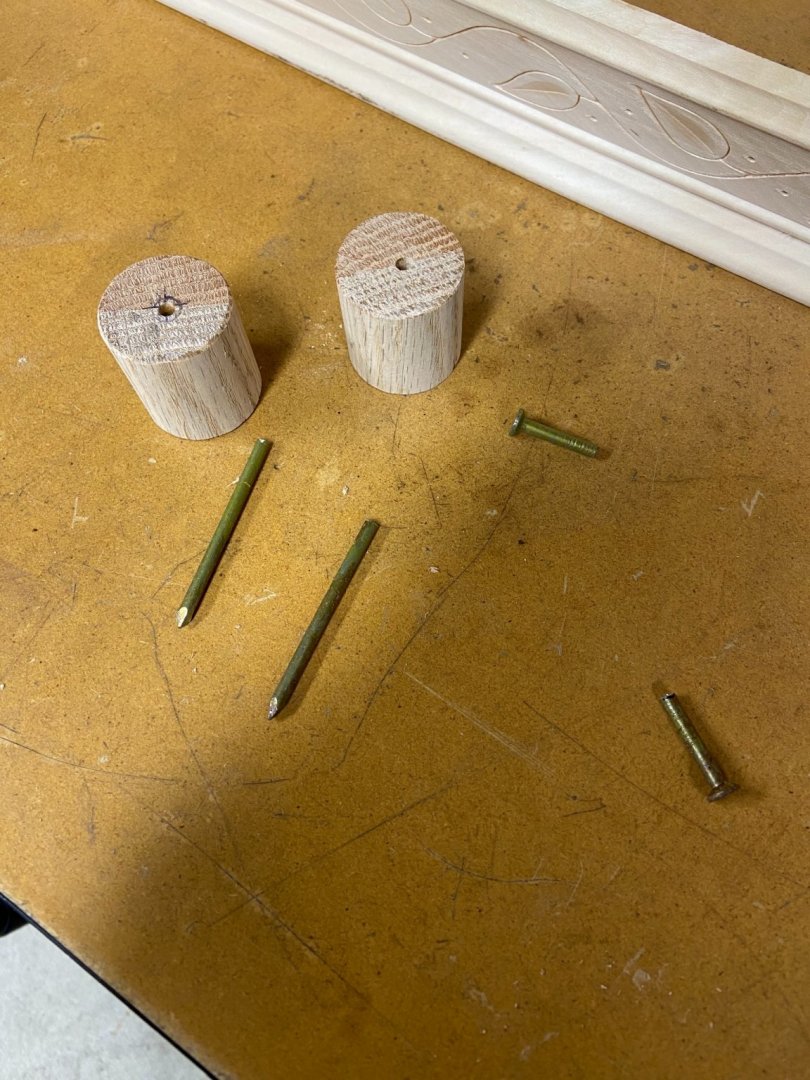
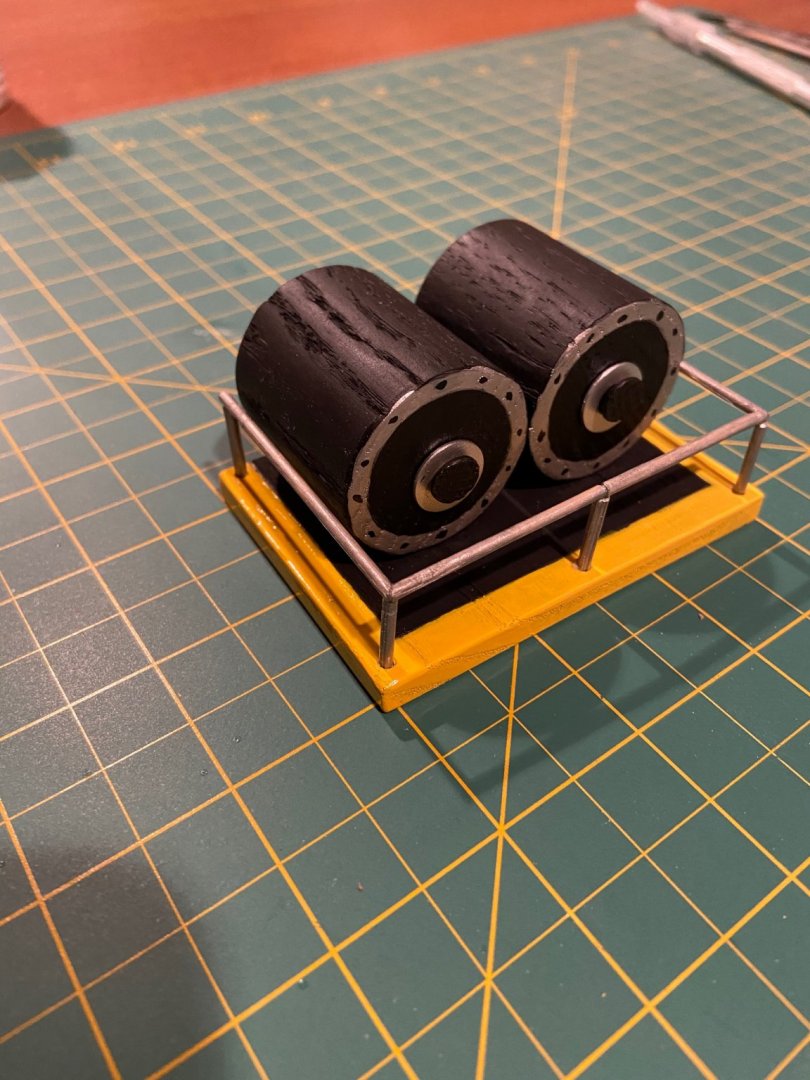
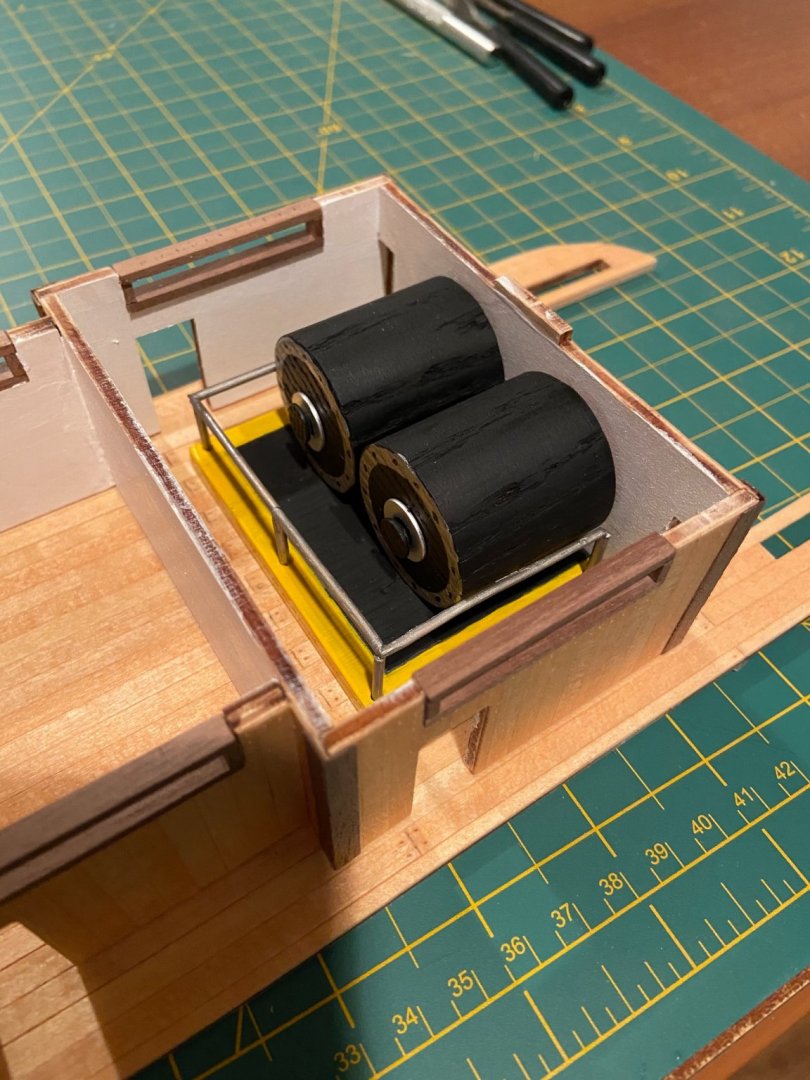
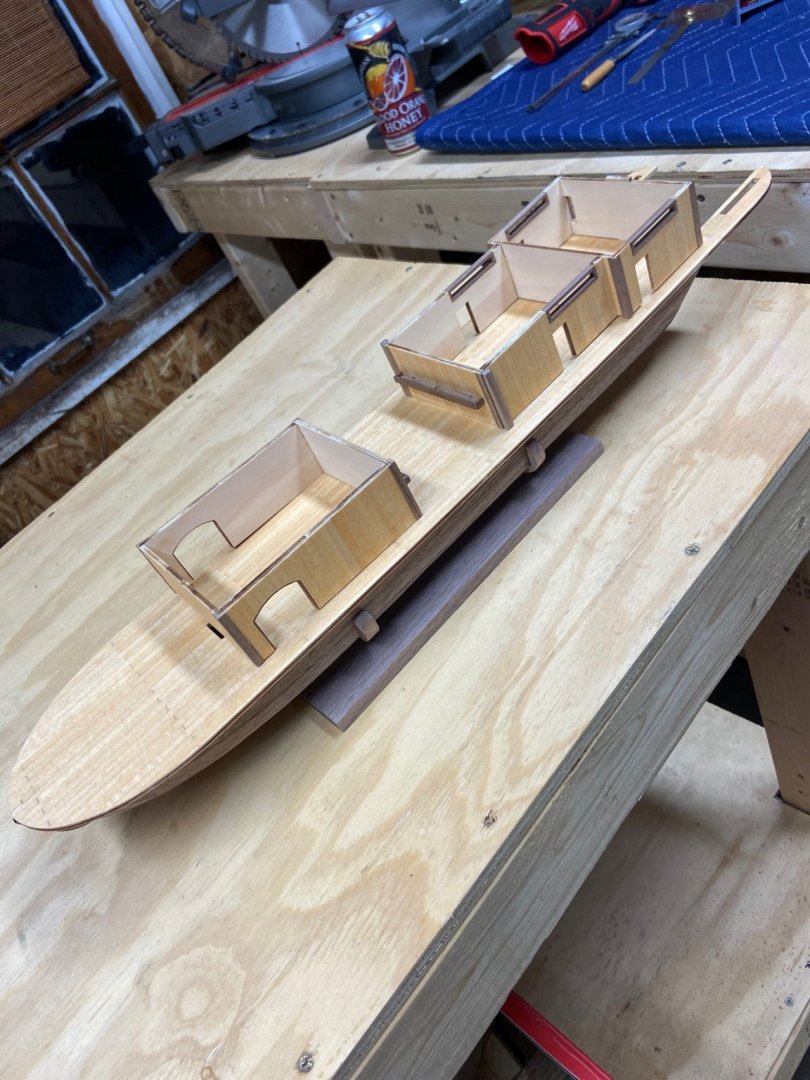
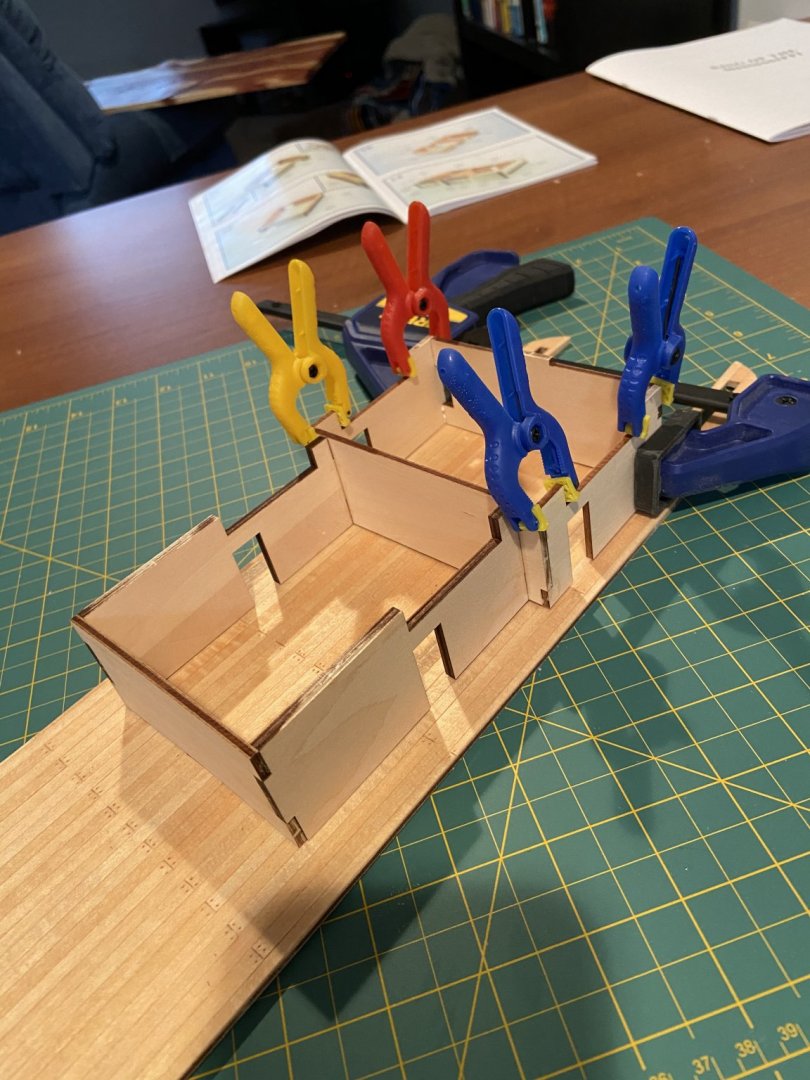
Still here and trucking away slowly. Since I am putting lights on it I decided to leave a few rooms open, granted the doors are small so looking inside is limited. I started painting the first level room walls white, and putting a rudimentary steam engine in the room closest to the stern. Hours at work have been long and I just purchased a nee truck so rather than shop and try to buy stuff to make the engine, I decided to use old stuff I had sitting around. I used a piece of 1 1/2 oak dowel for the engines itself and painted them black, painted a nail black and a washer silver and used that for the cap on the end. It’s not very accurate, but it was quick and took my mind off things. I haven’t decided what the room next to it will be, so if anyone has any suggestions I’m open to them haha


-
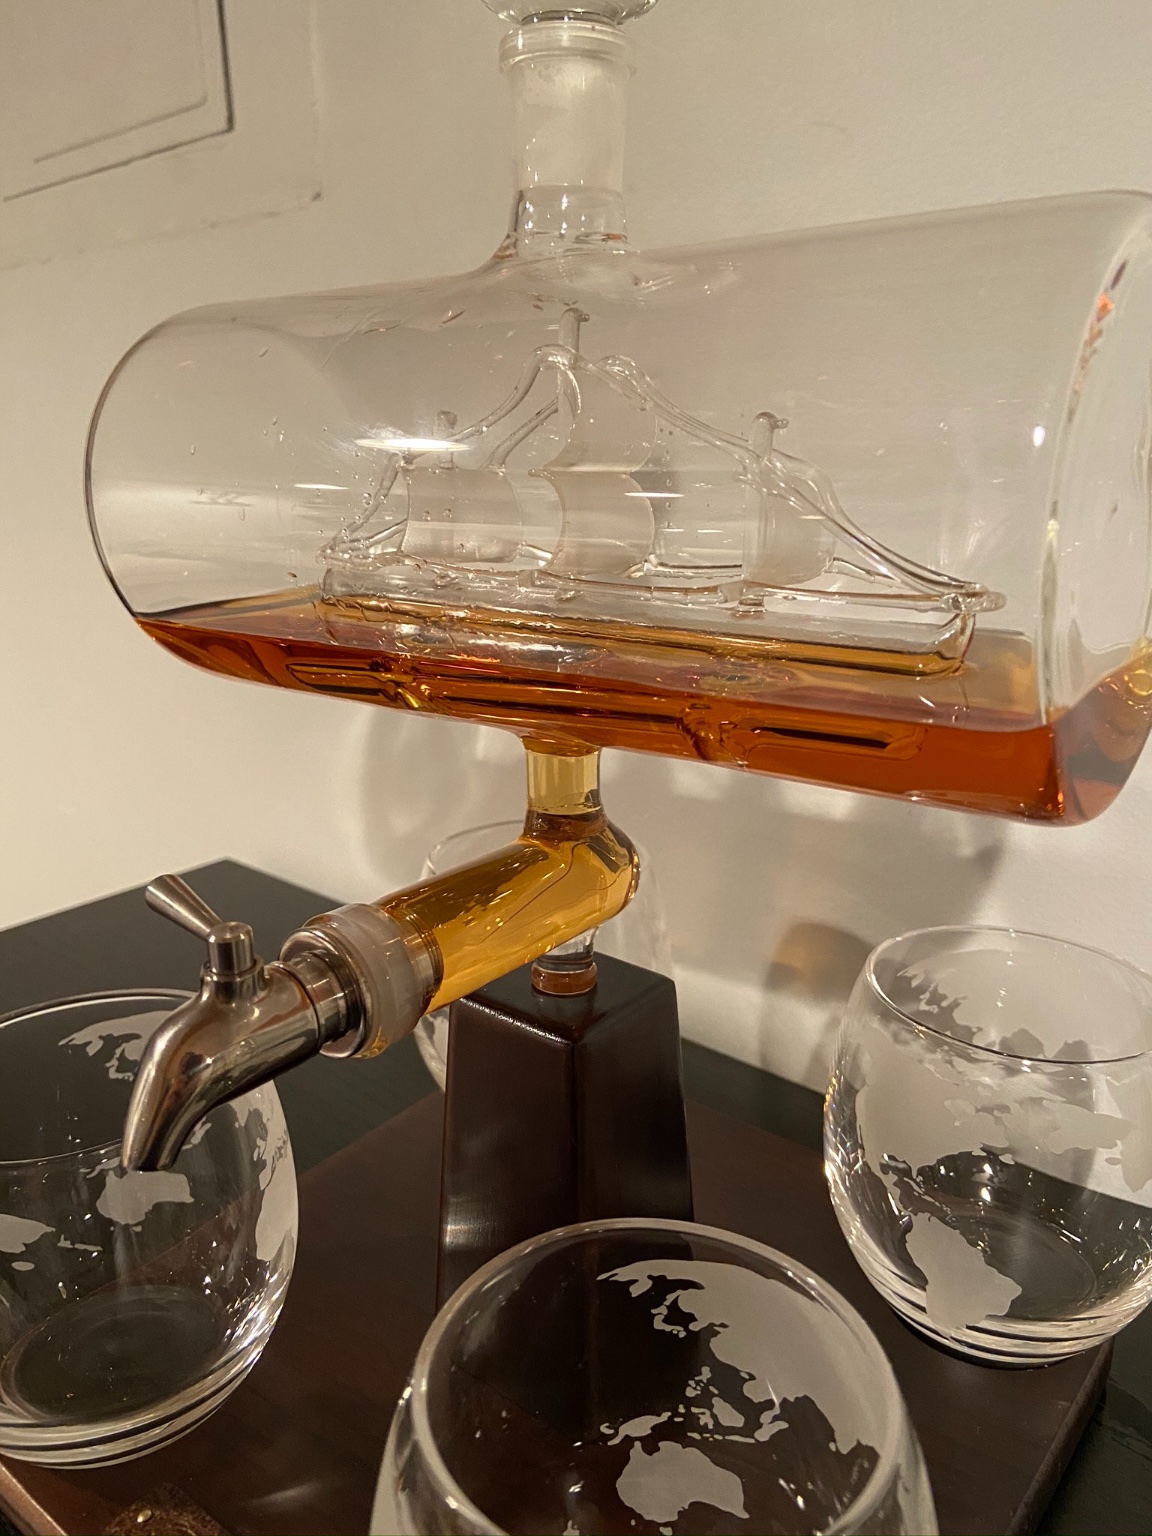
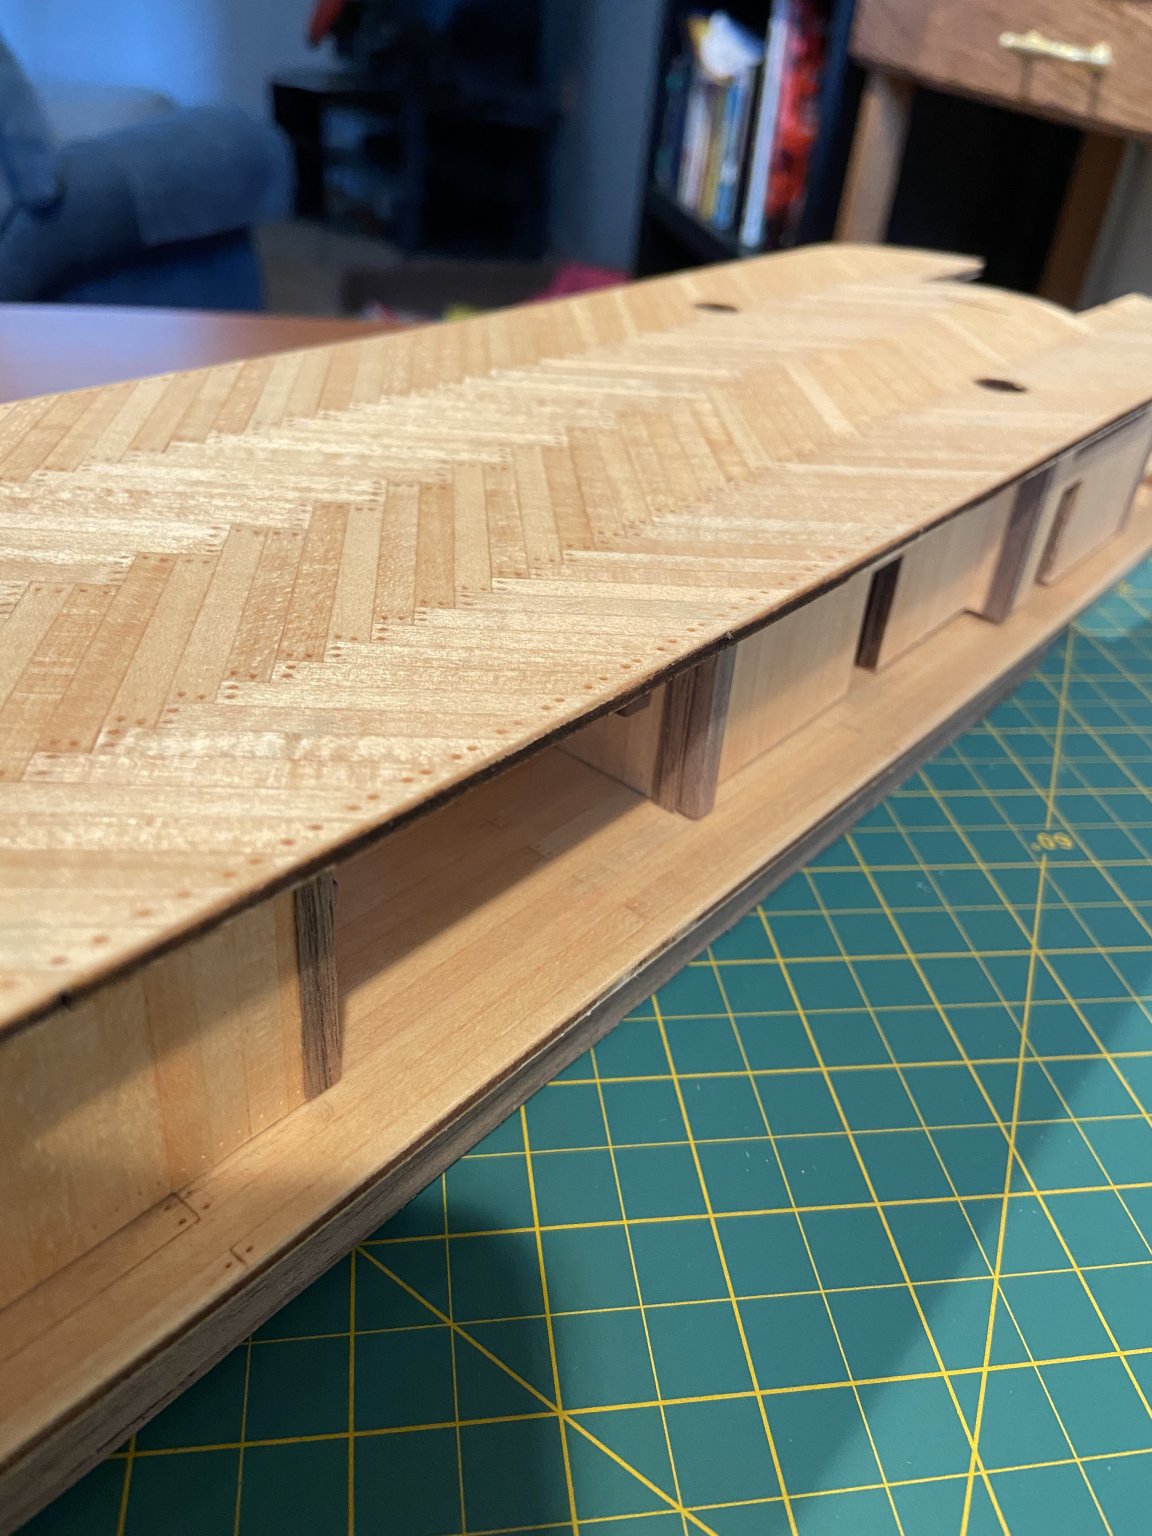
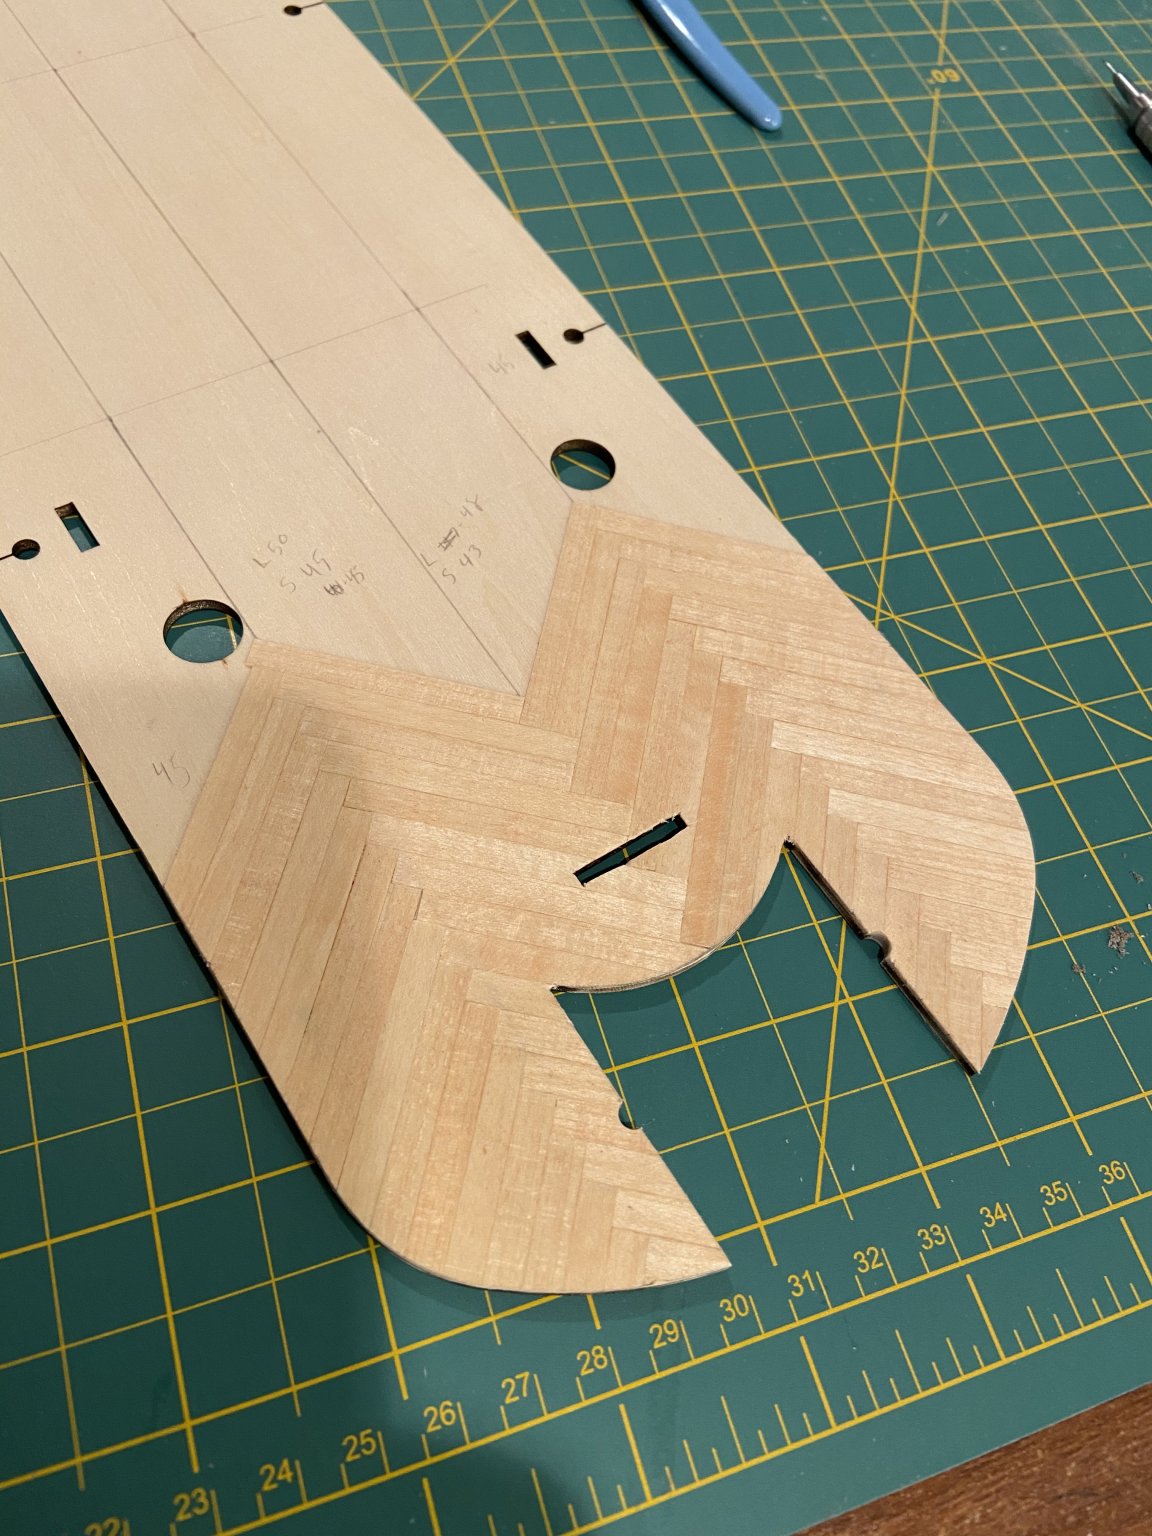
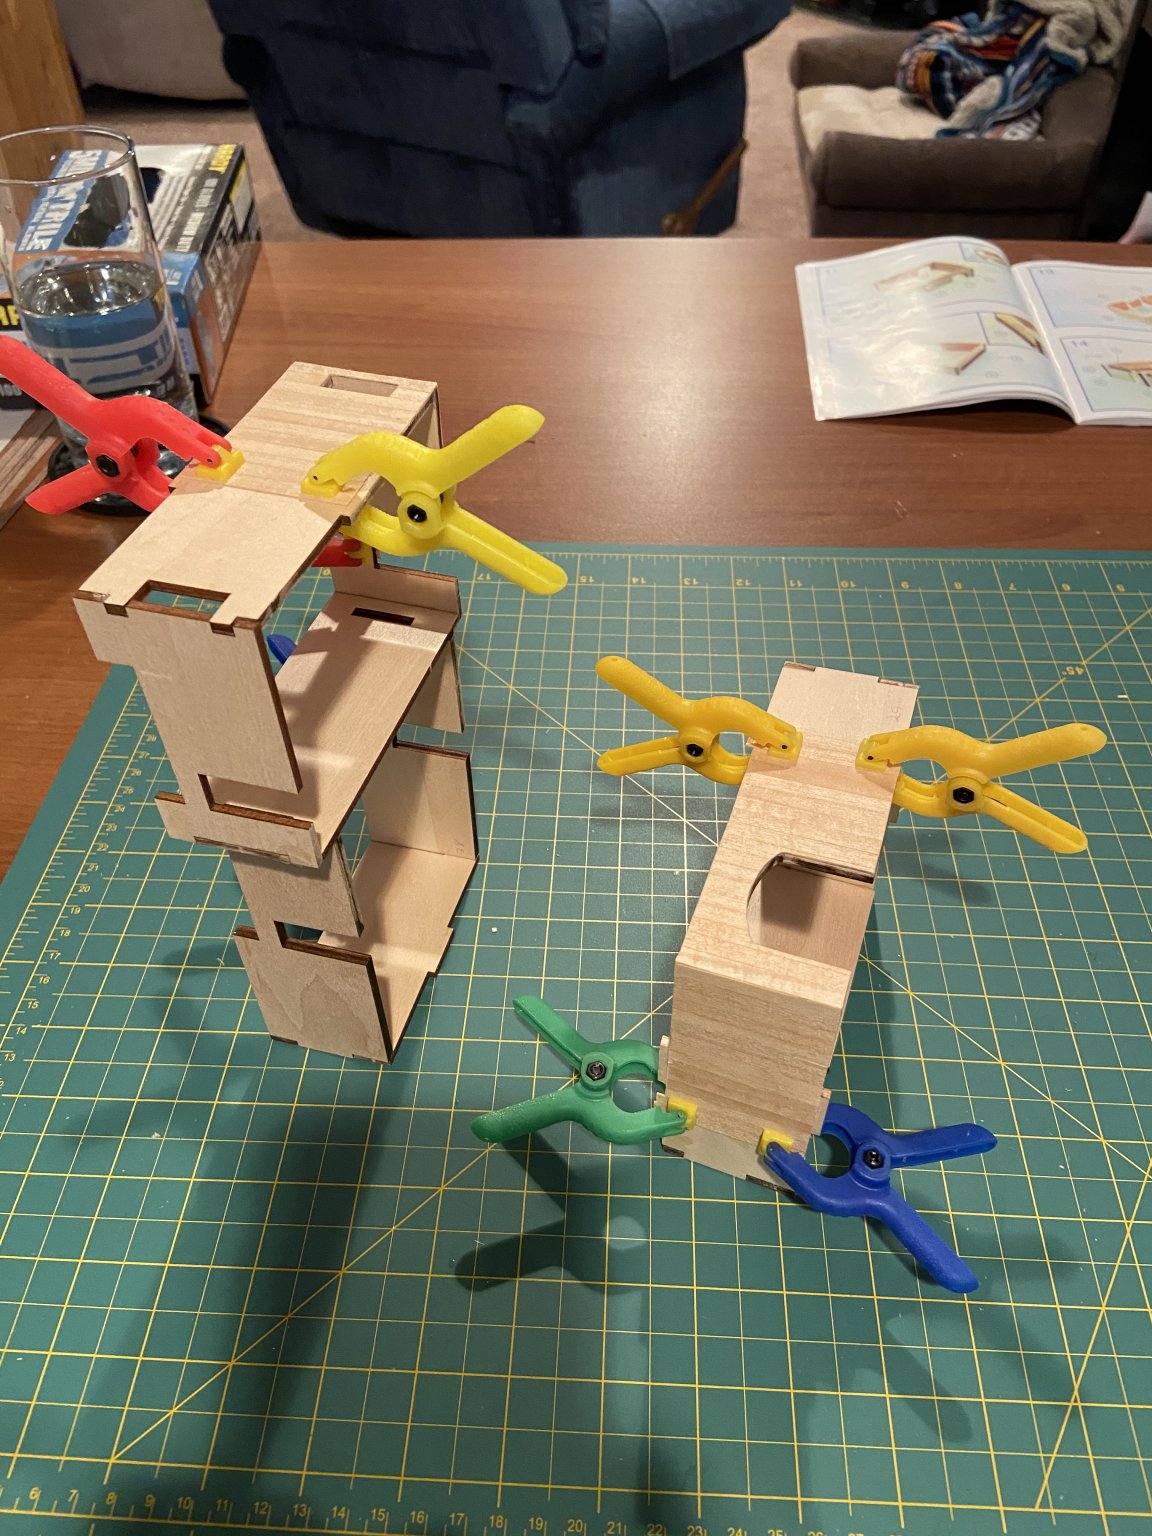
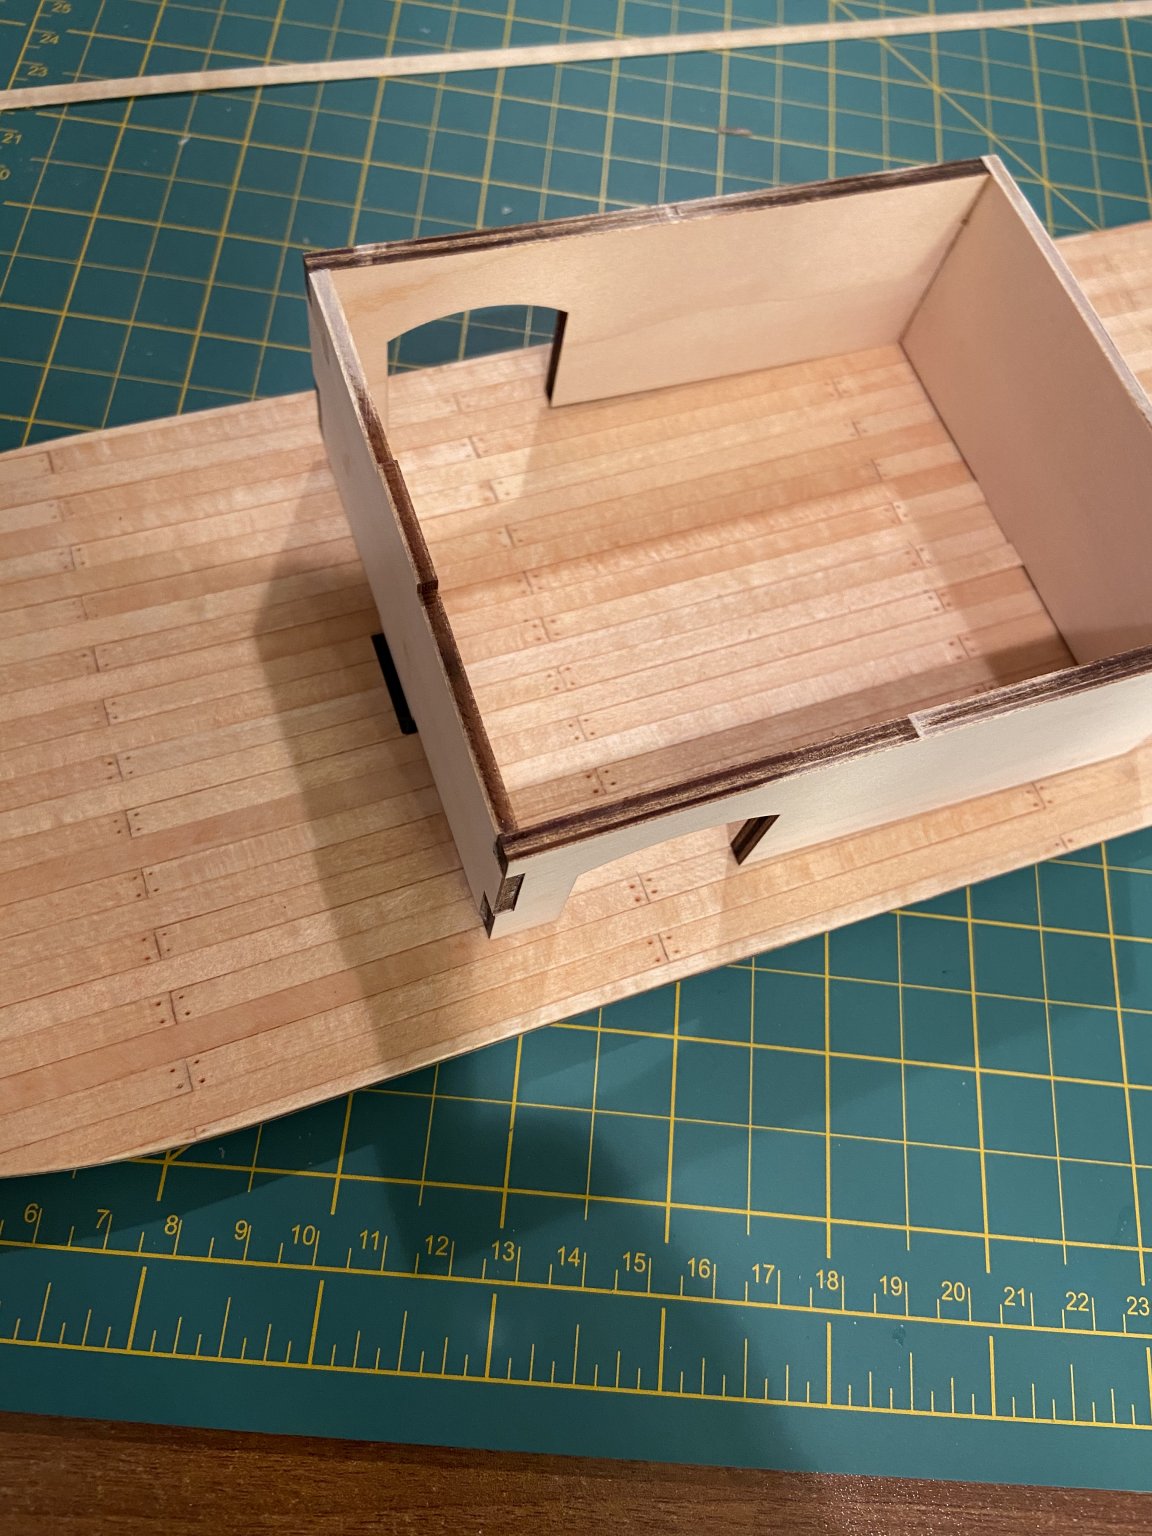
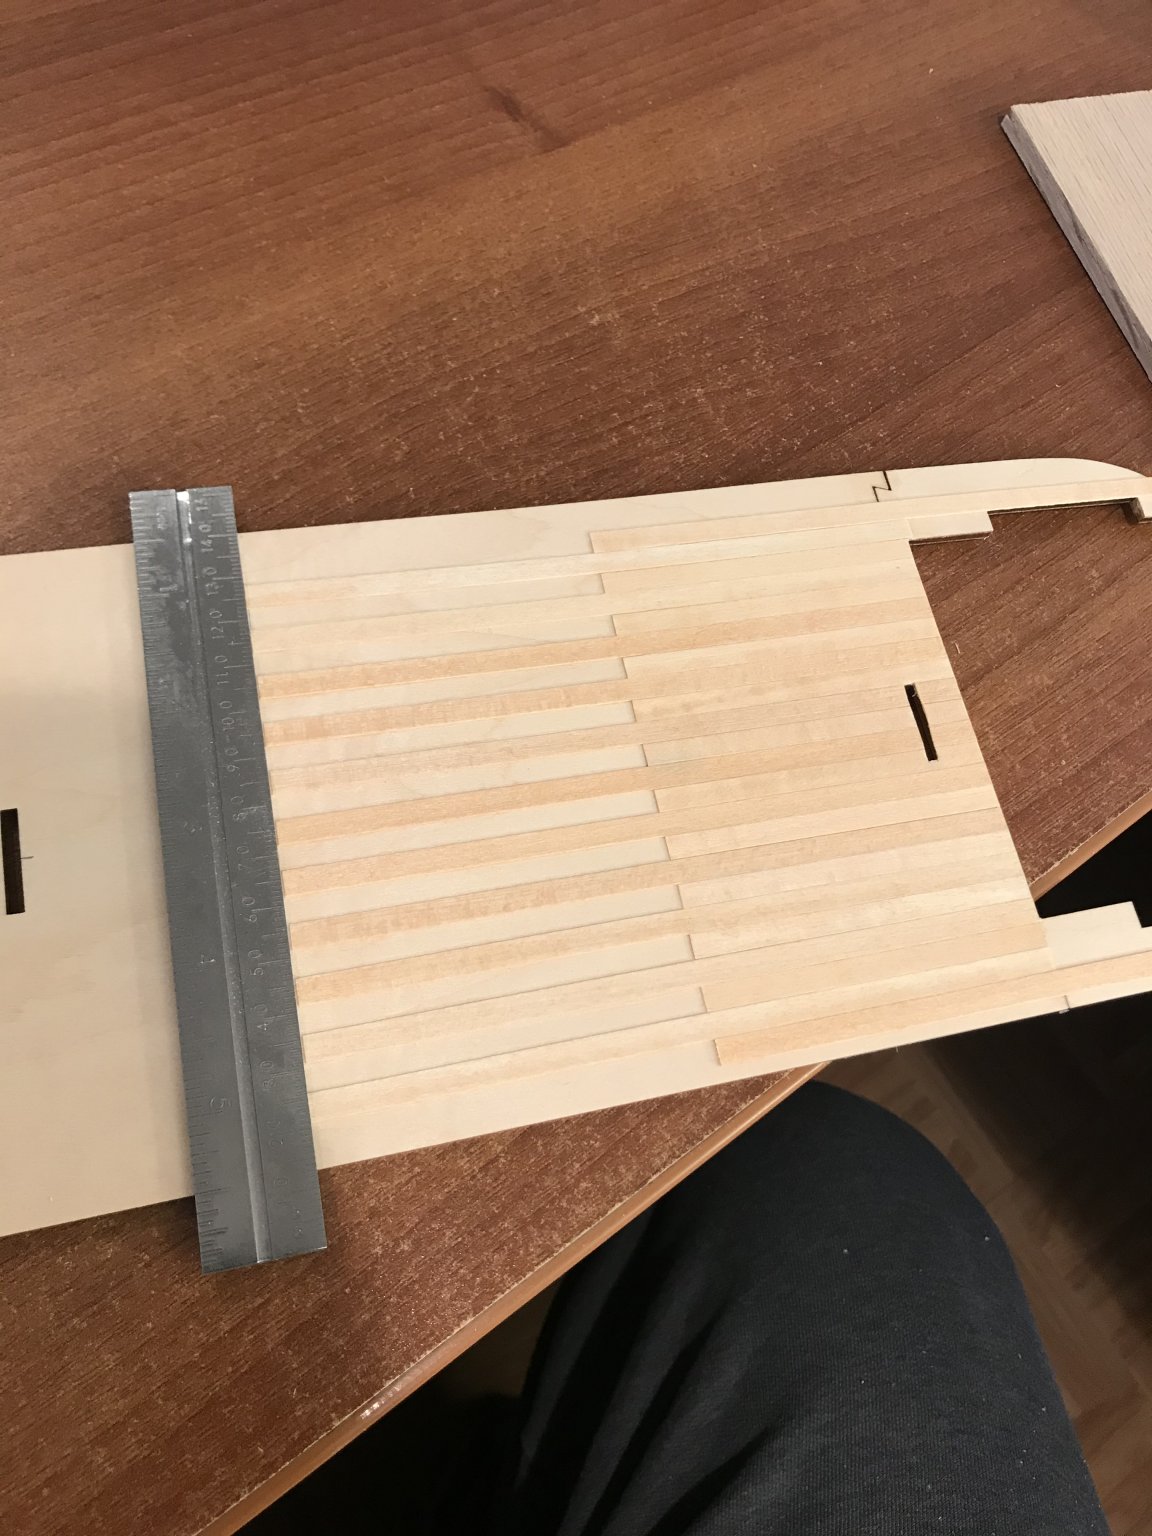
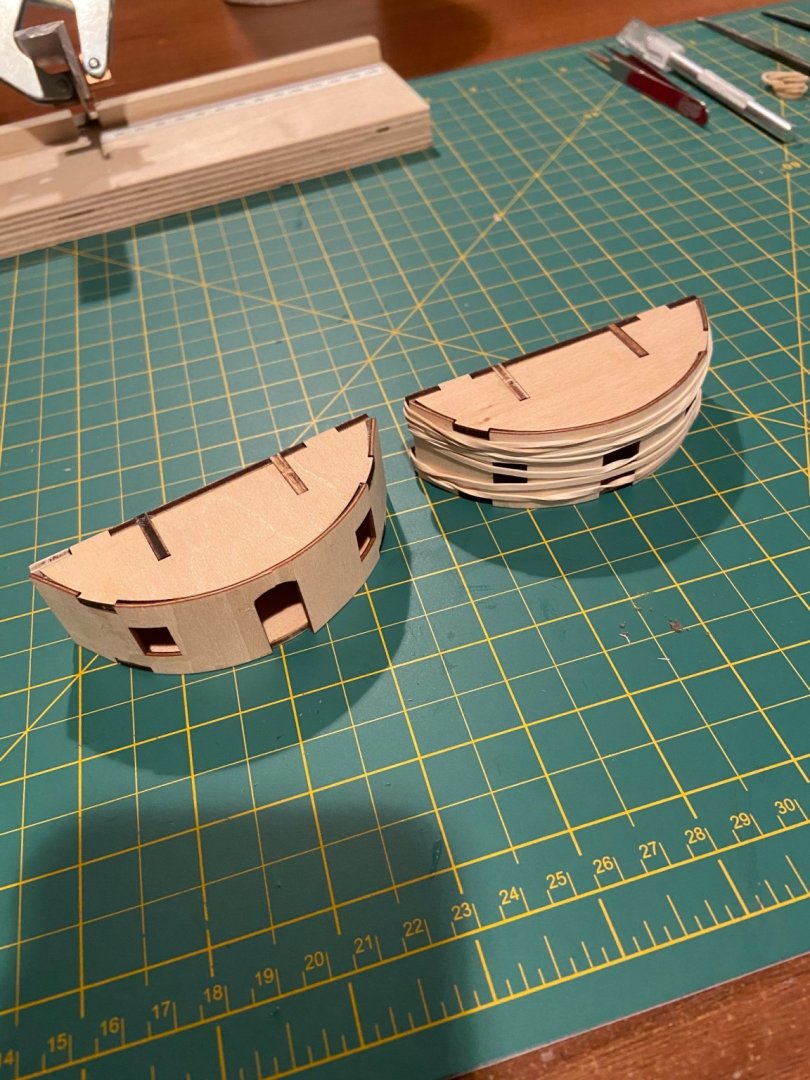
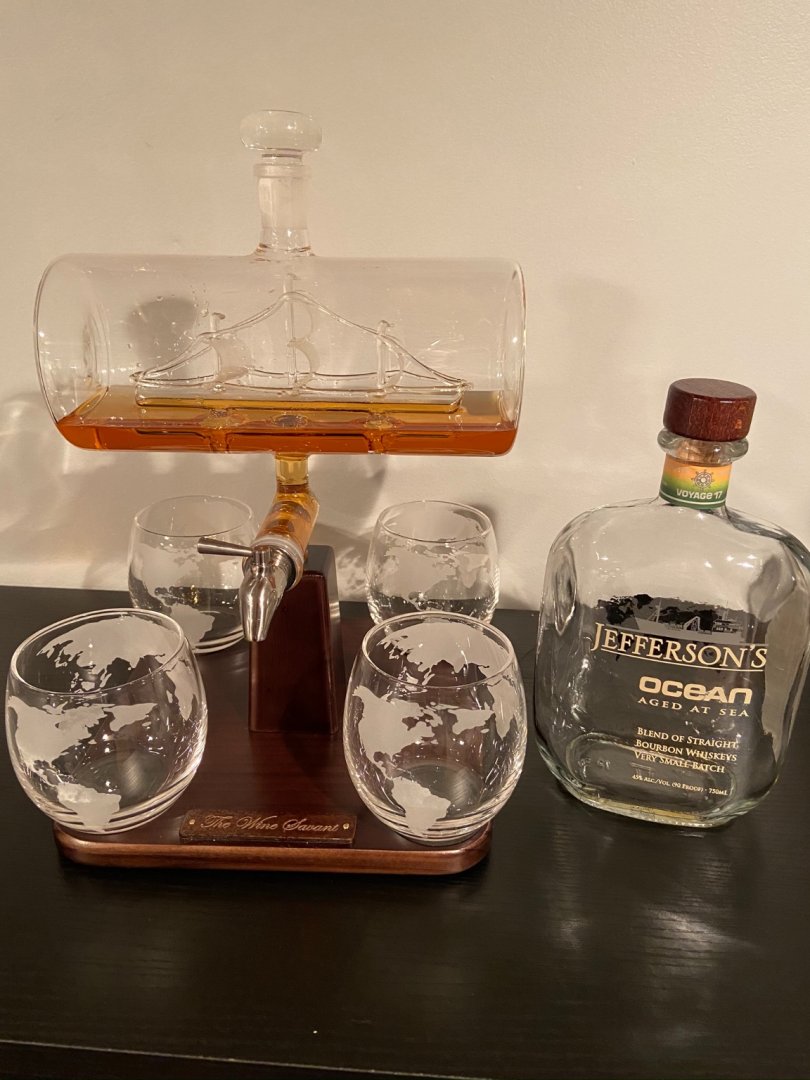
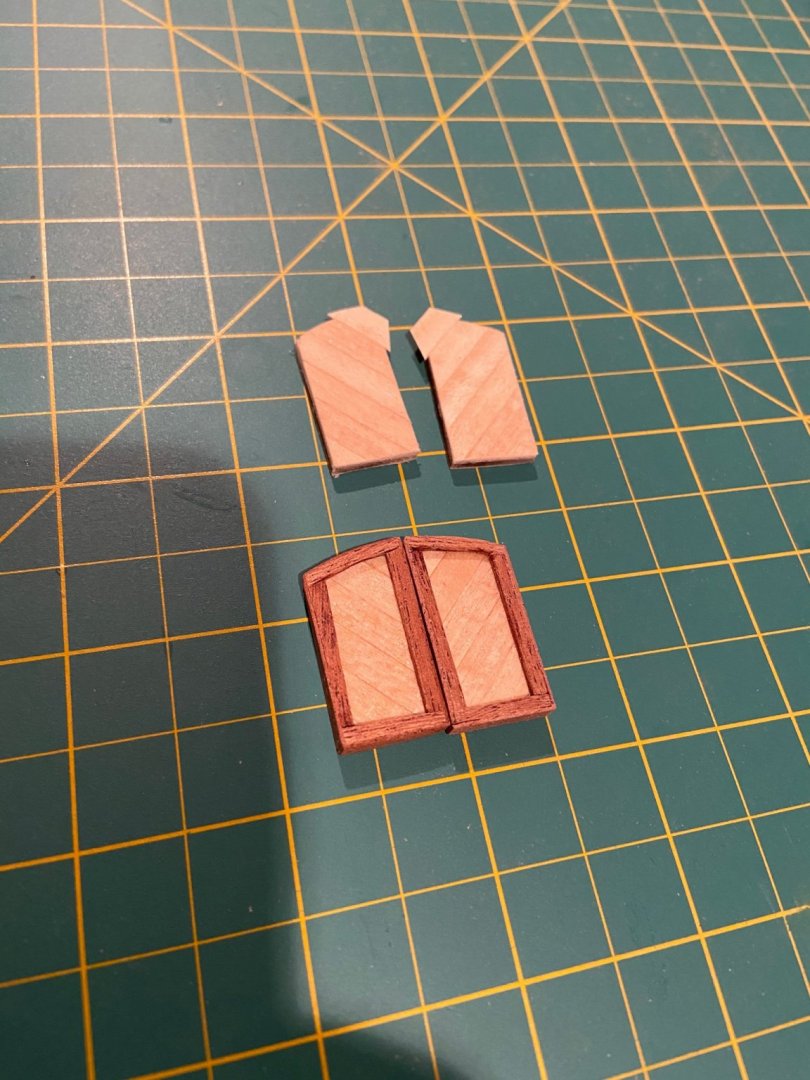
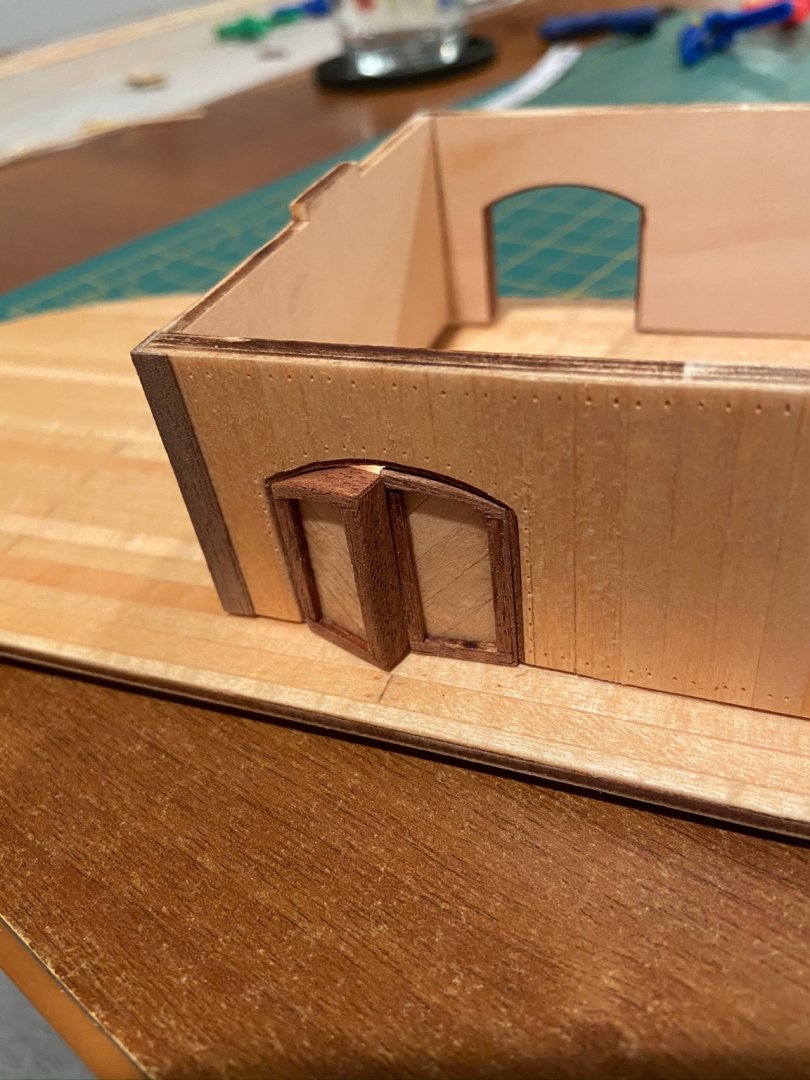
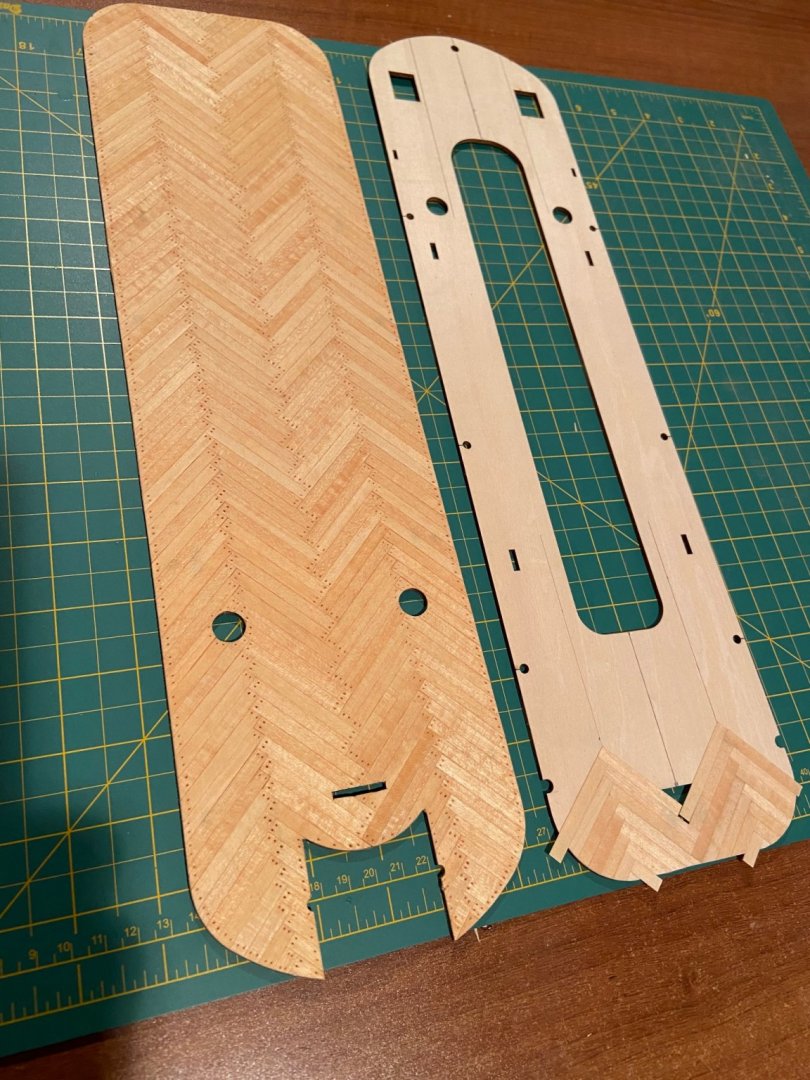
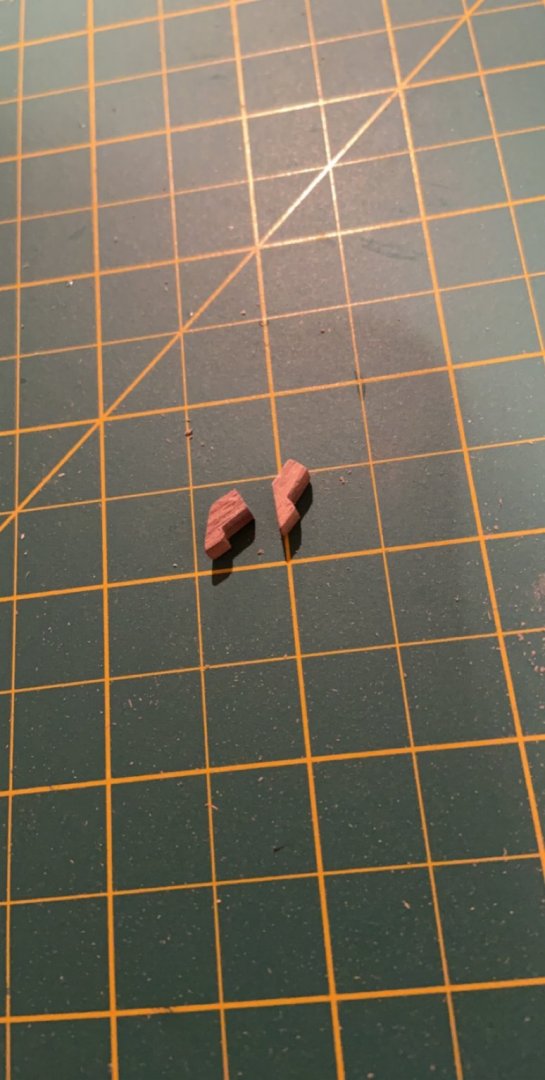
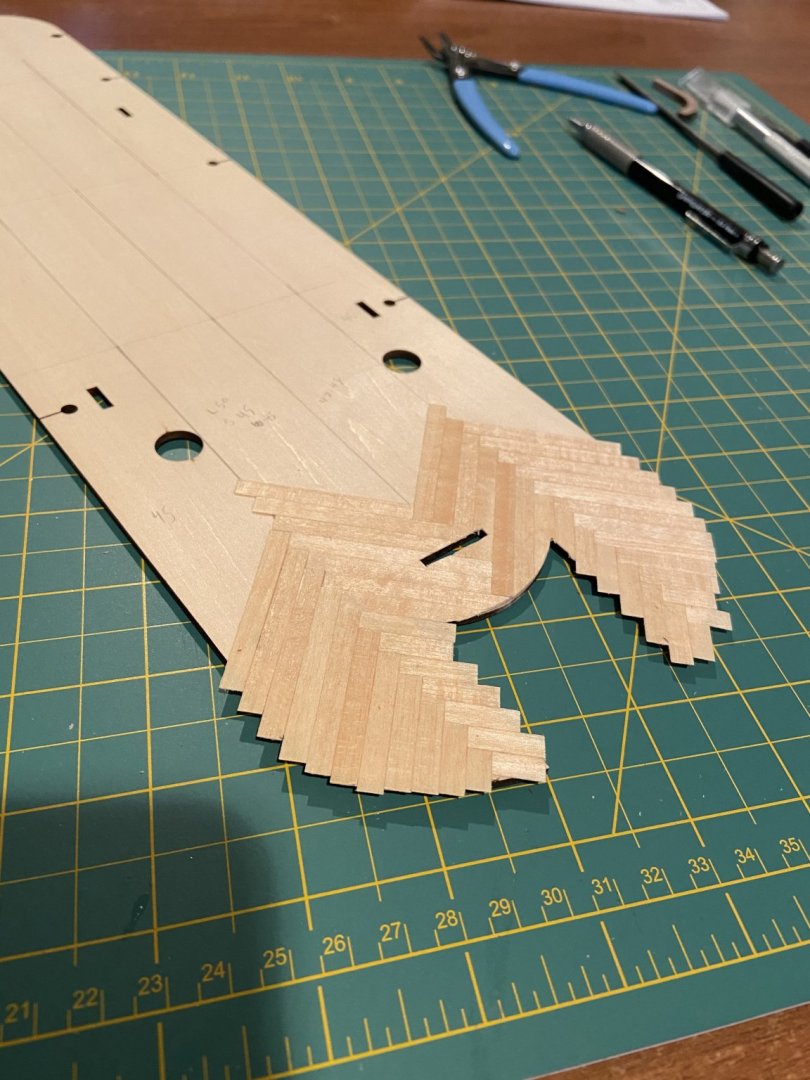
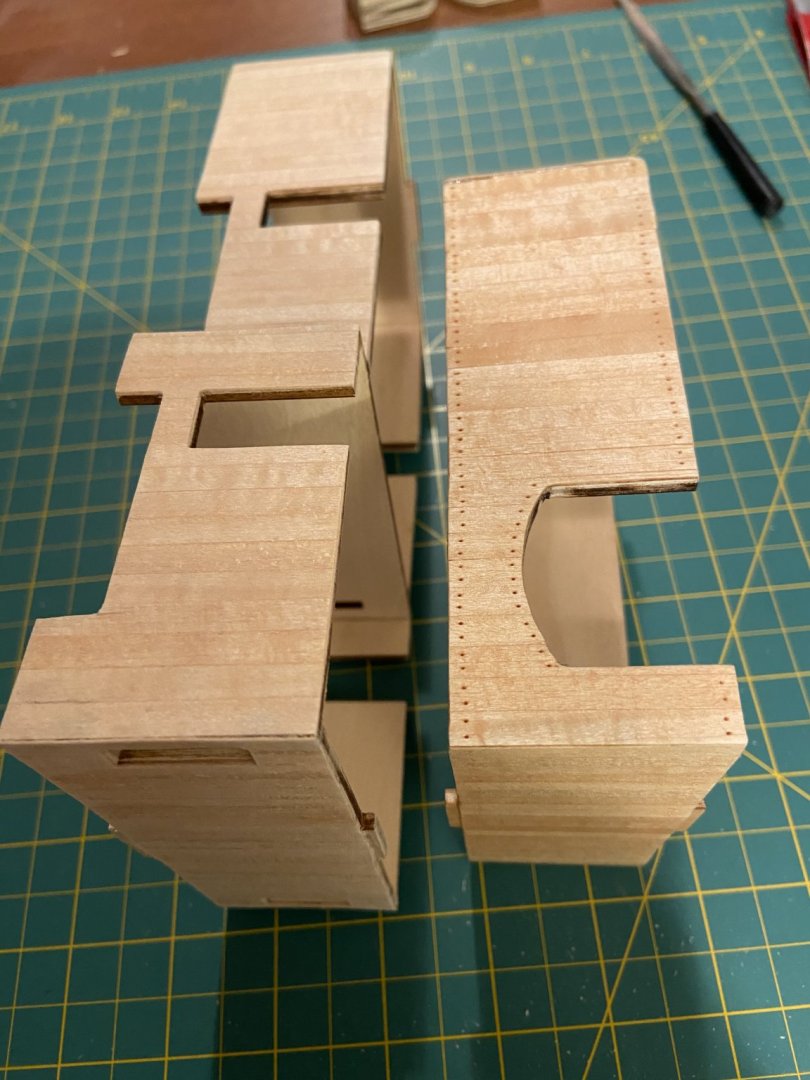
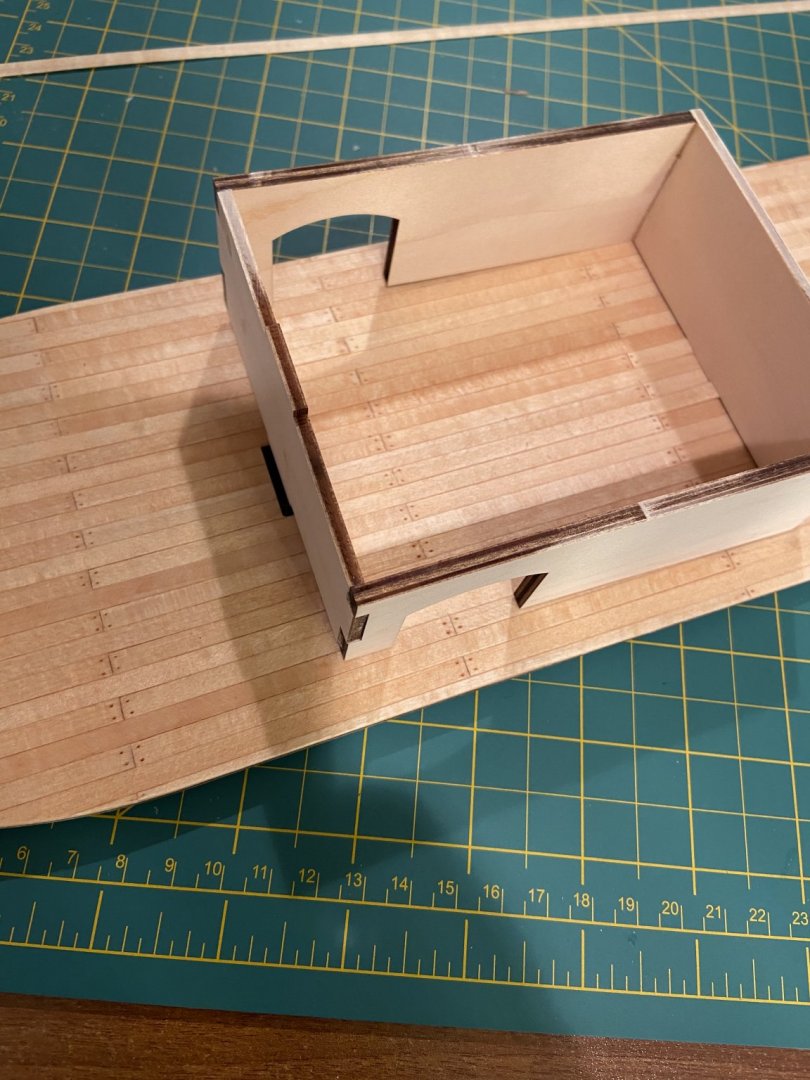
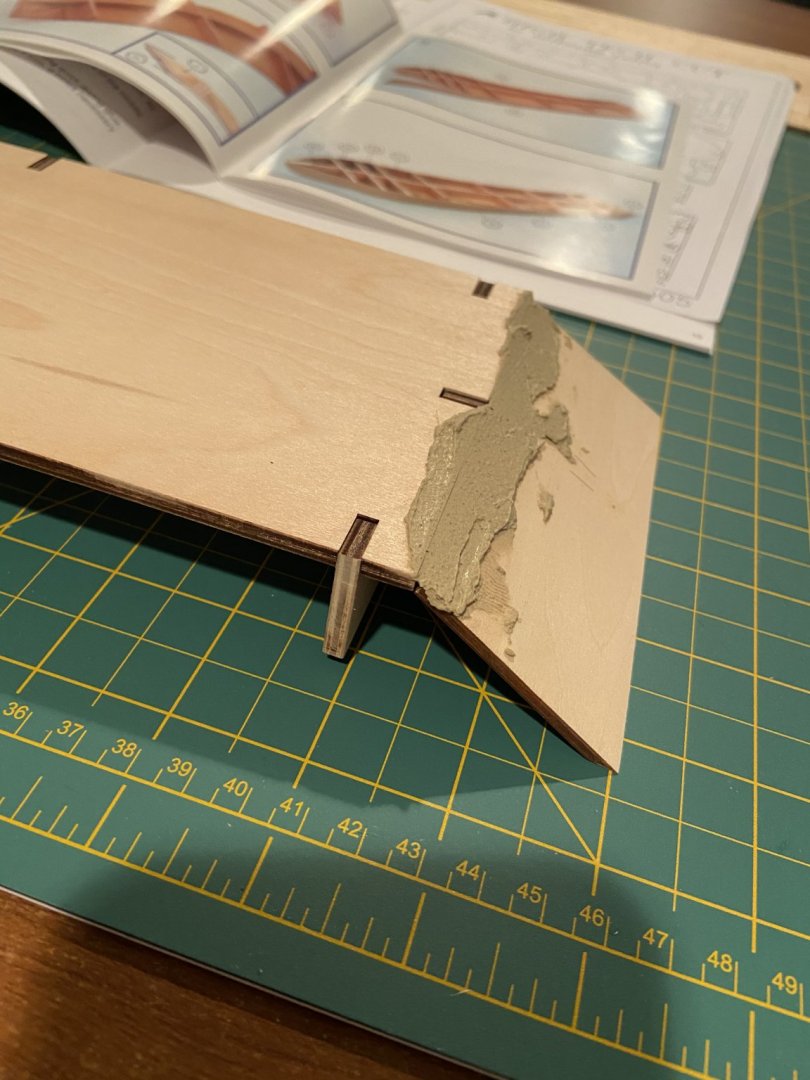
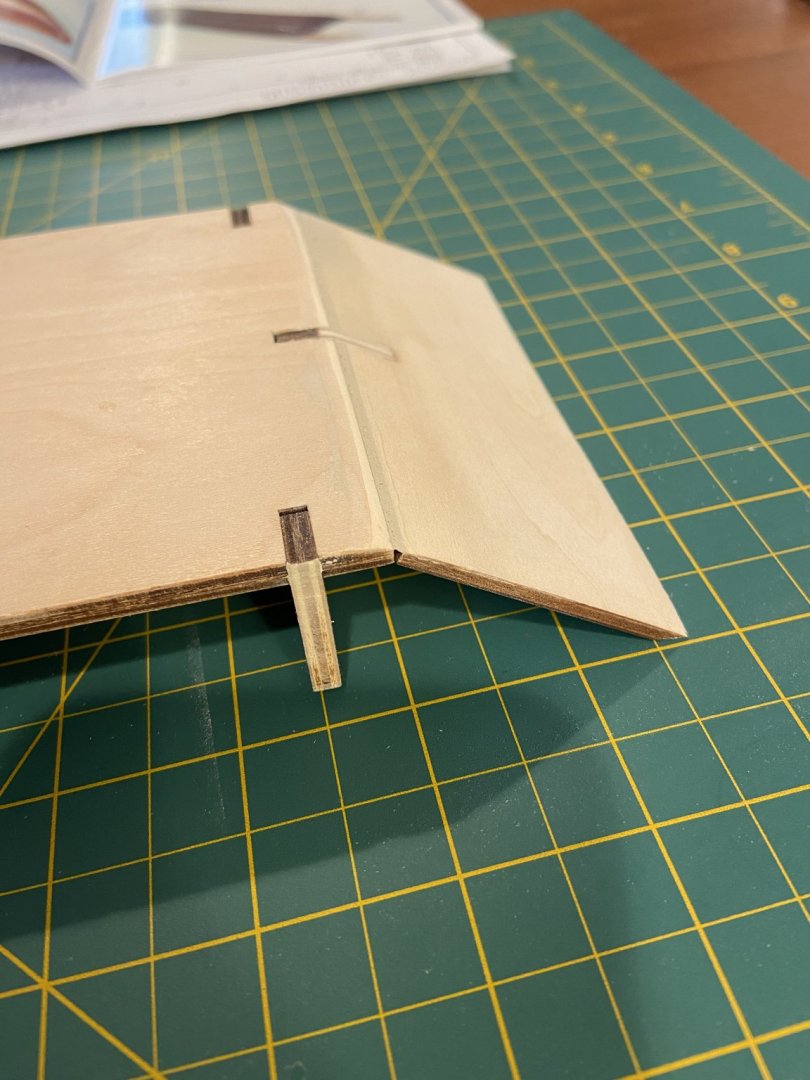
Still working on the deck planking, I forget what the name of this style is, it sure is painstaking to do, it sure does look great when it’s finished. for the second level, I have started the rooms for it and had quite a hard time bending the walls around the frame. On both pieces the walls broke at the top of the door frame. Easy fix, just needed some extra glue and a clamp, so overall no big deal. I also had to contact Artesania Latina for more walnut planks, after finishing the hull I tossed the rest out. Bad idea my good buddy also got me this awesome bourbon decanter, figured I’d share if witg you guys


-
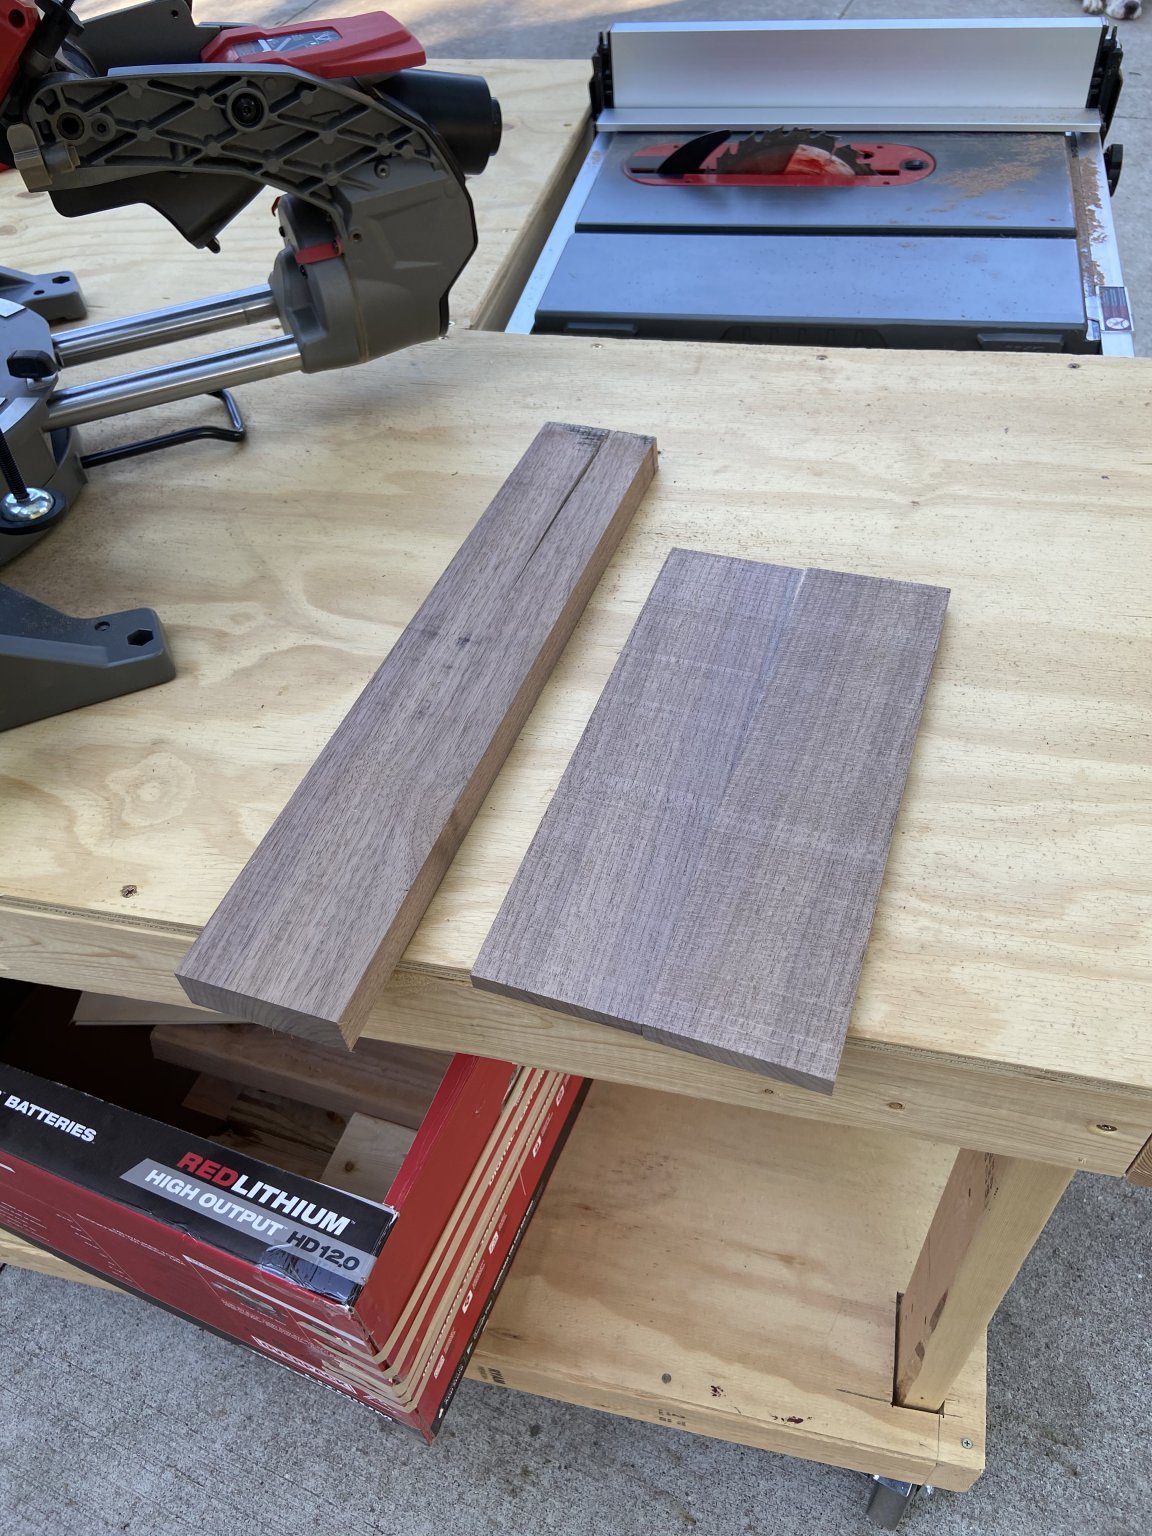
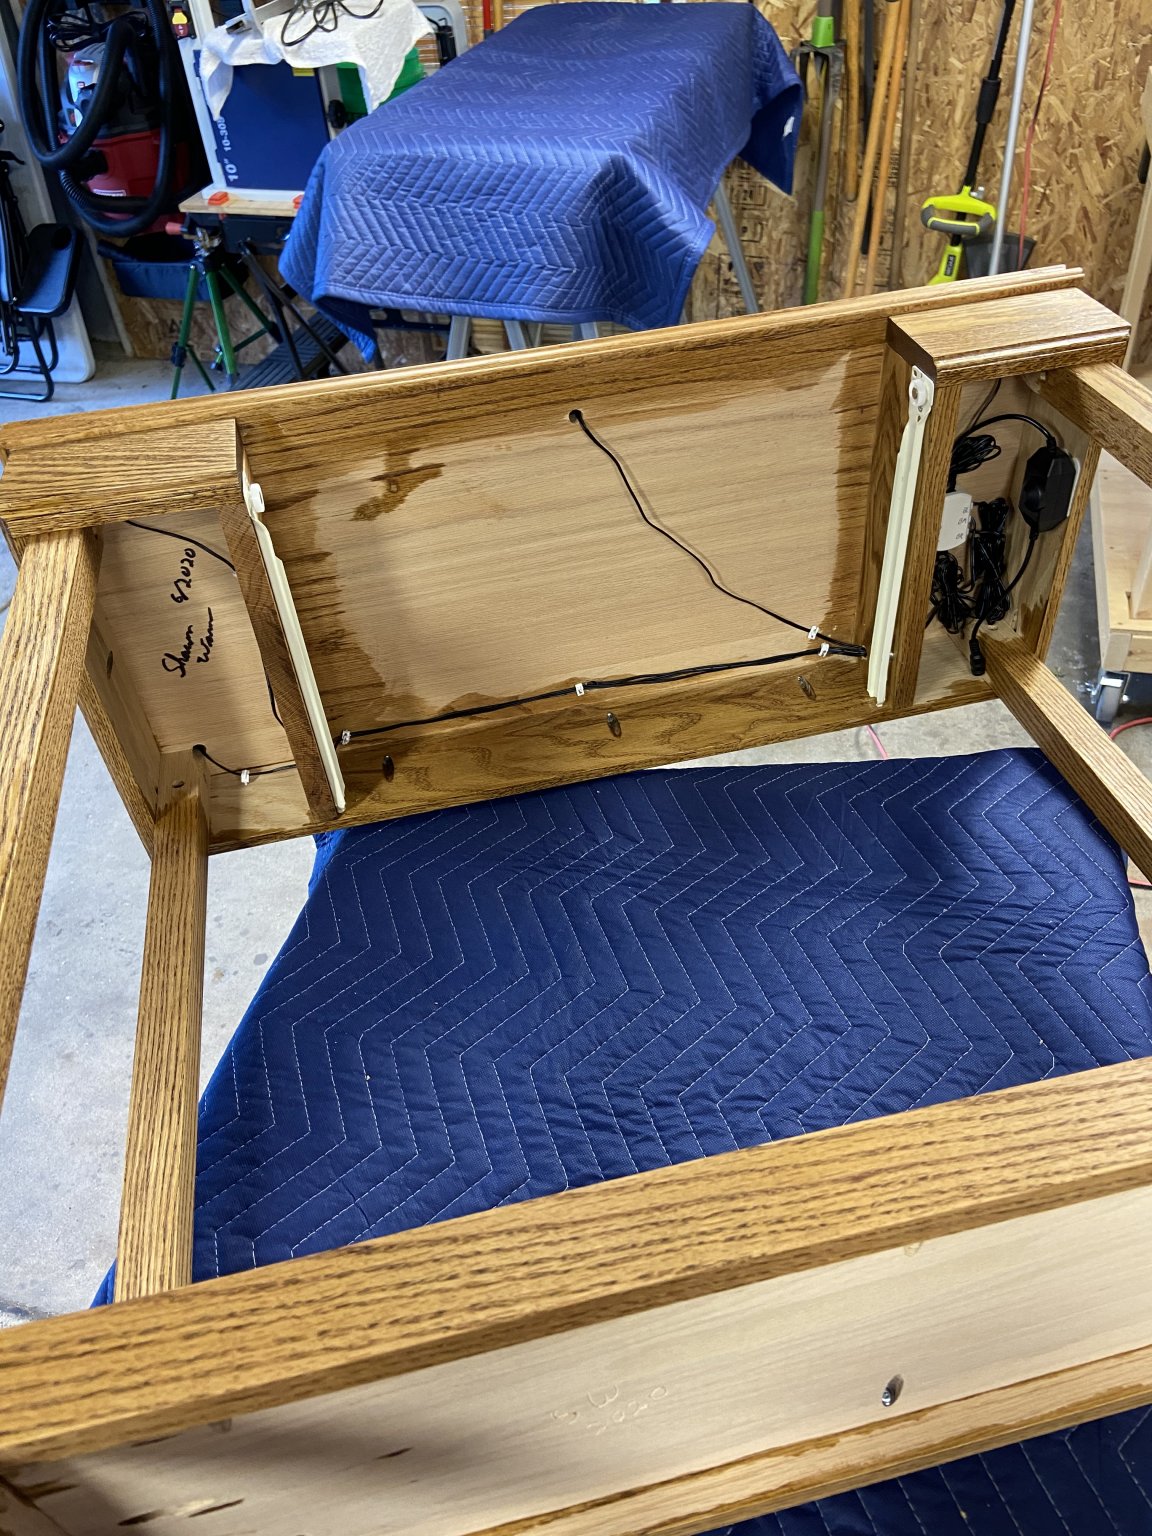
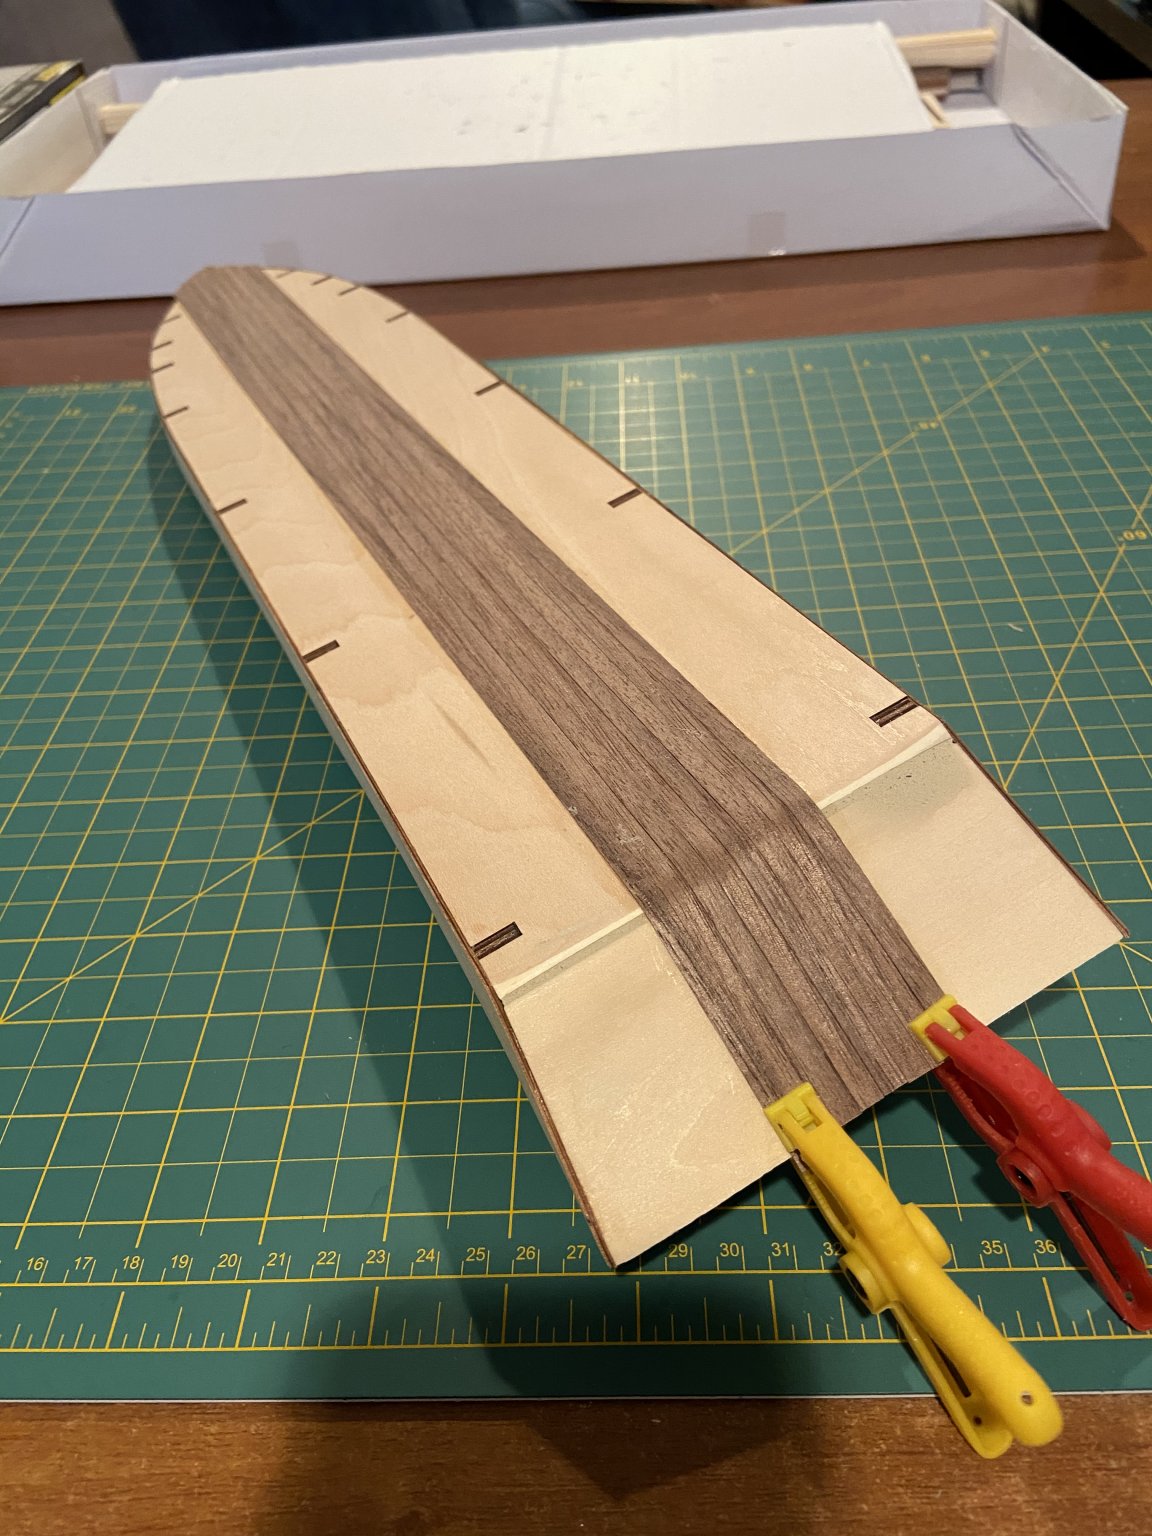
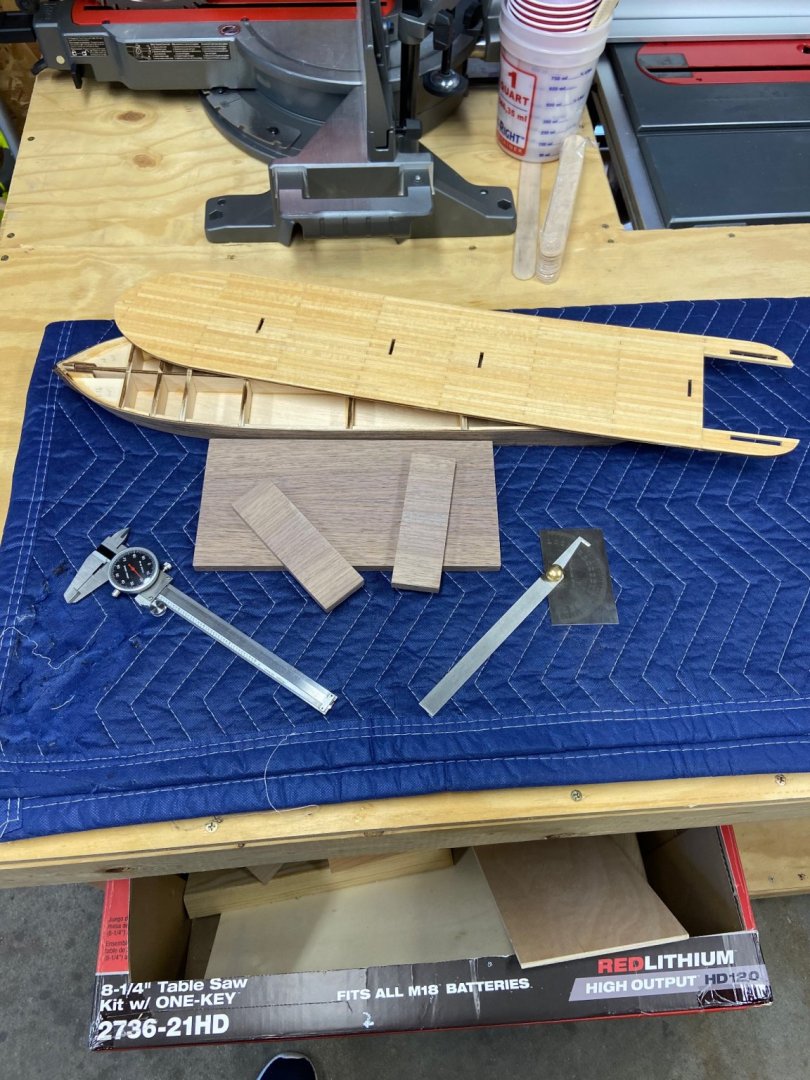
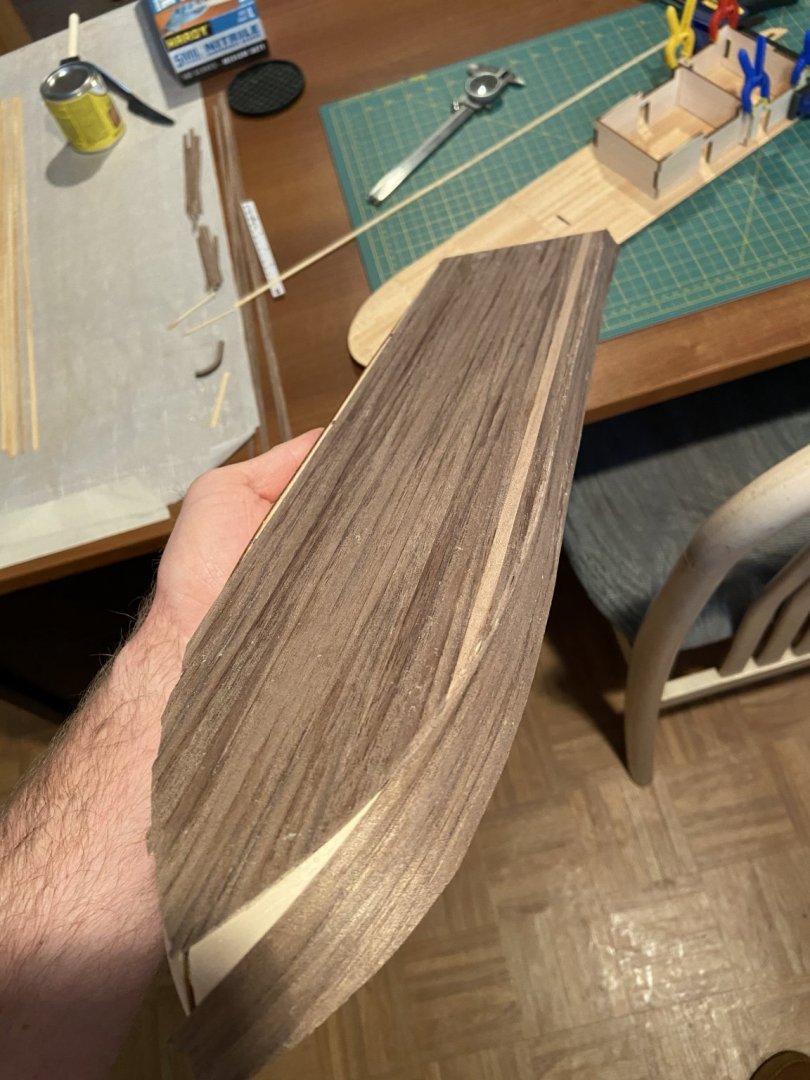
I am still here! Sorry for the delay, I have been fiddling with this occasionally but life has been crazy lately. My wedding was originally postponed until next year due to covid but last minute we decided to take a trip and get married by ourselves on an island, and I had to make an epoxy table for someone else for a wedding gift. This kit surprisingly did not come with a stand, so this last week I spent some time and planes down a piece of solid walnut, cut it in half and then glued it together so the stand will have a mirror image in the wood grain. I have also been taking my time on planking the upper decks, I am attempting to finish all of the structural components first along with the stand as I am planning on adding working deck lights and a few lights inside of the room so planning for the wires has added a level of difficulty, that’s for sure.


-
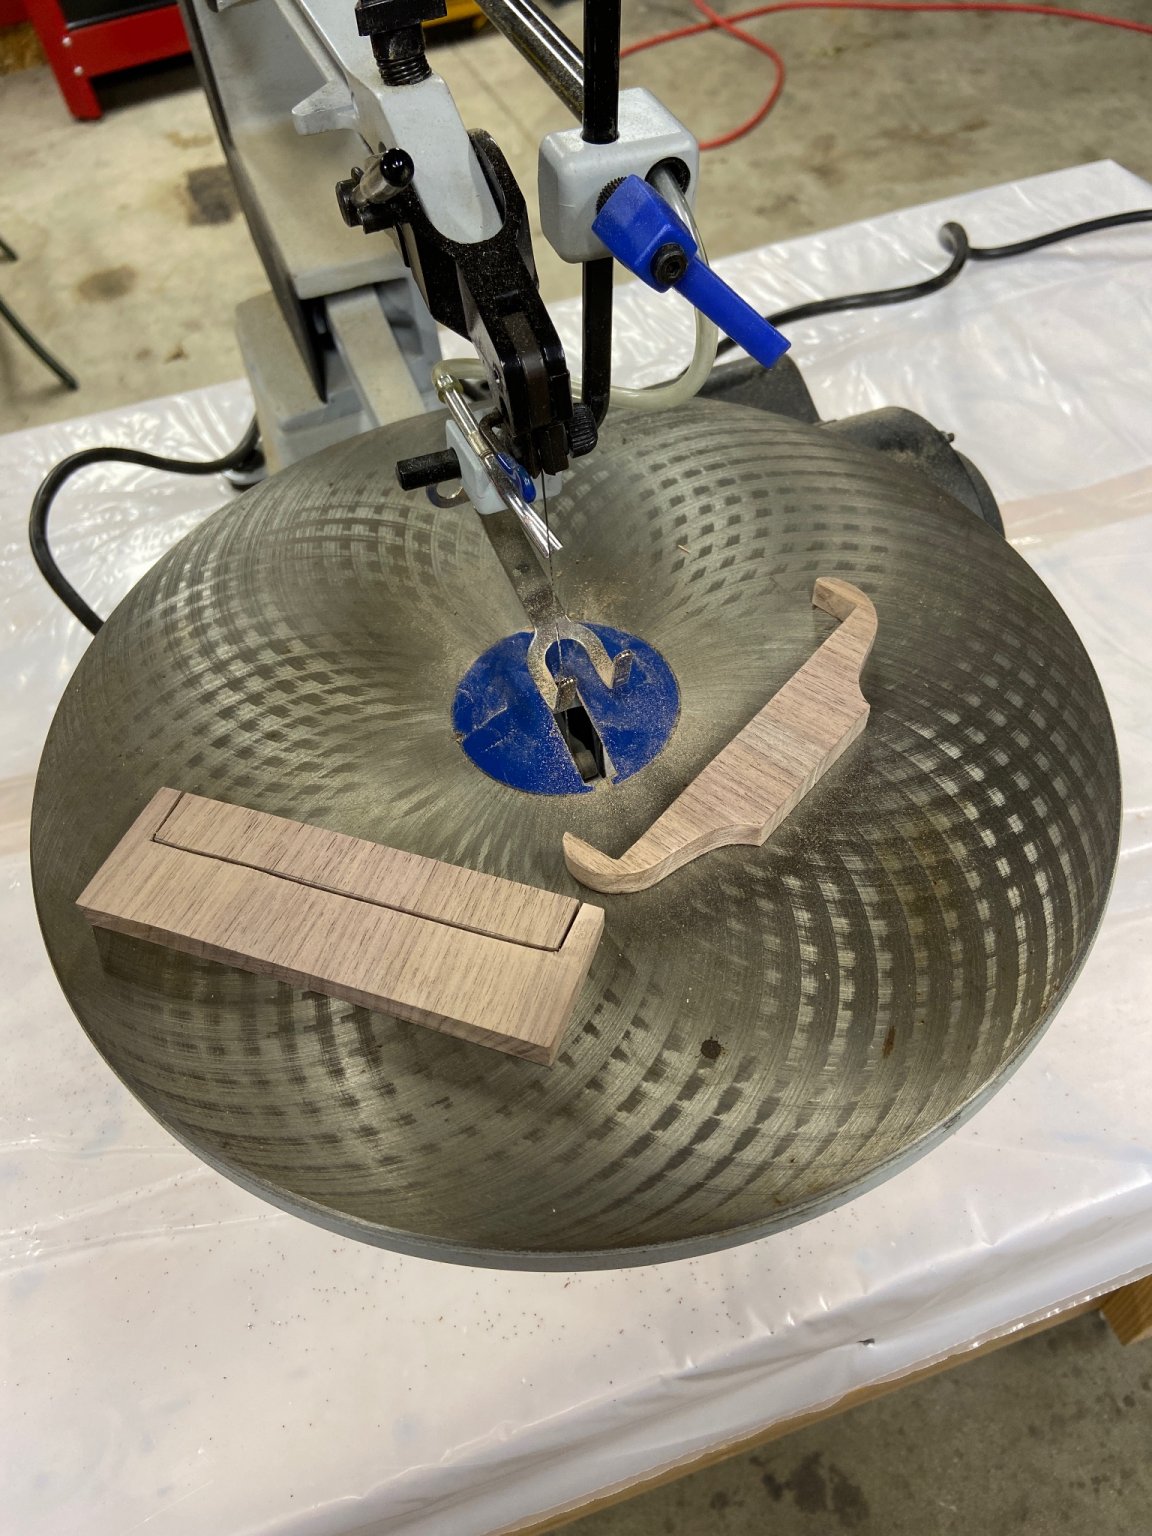
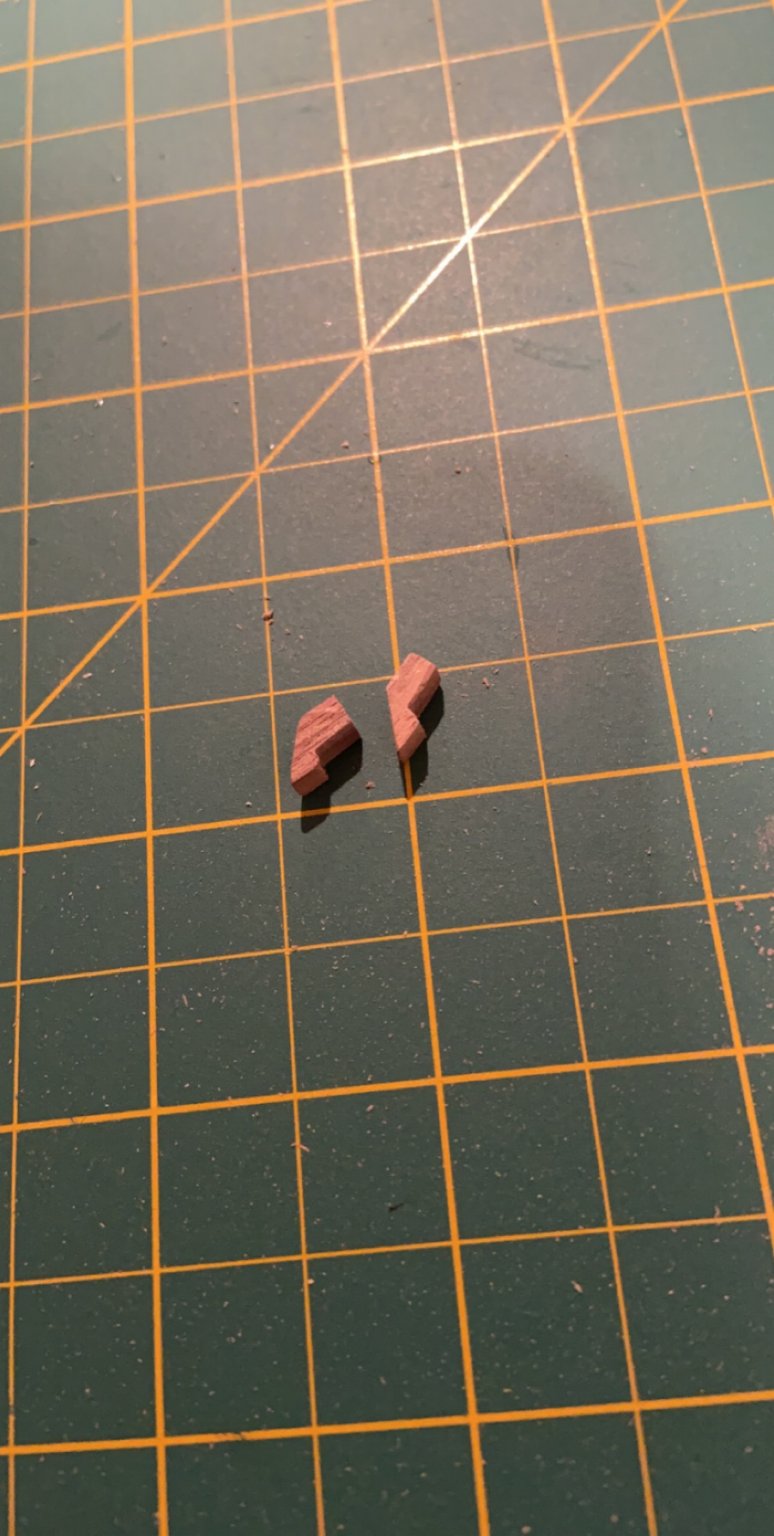
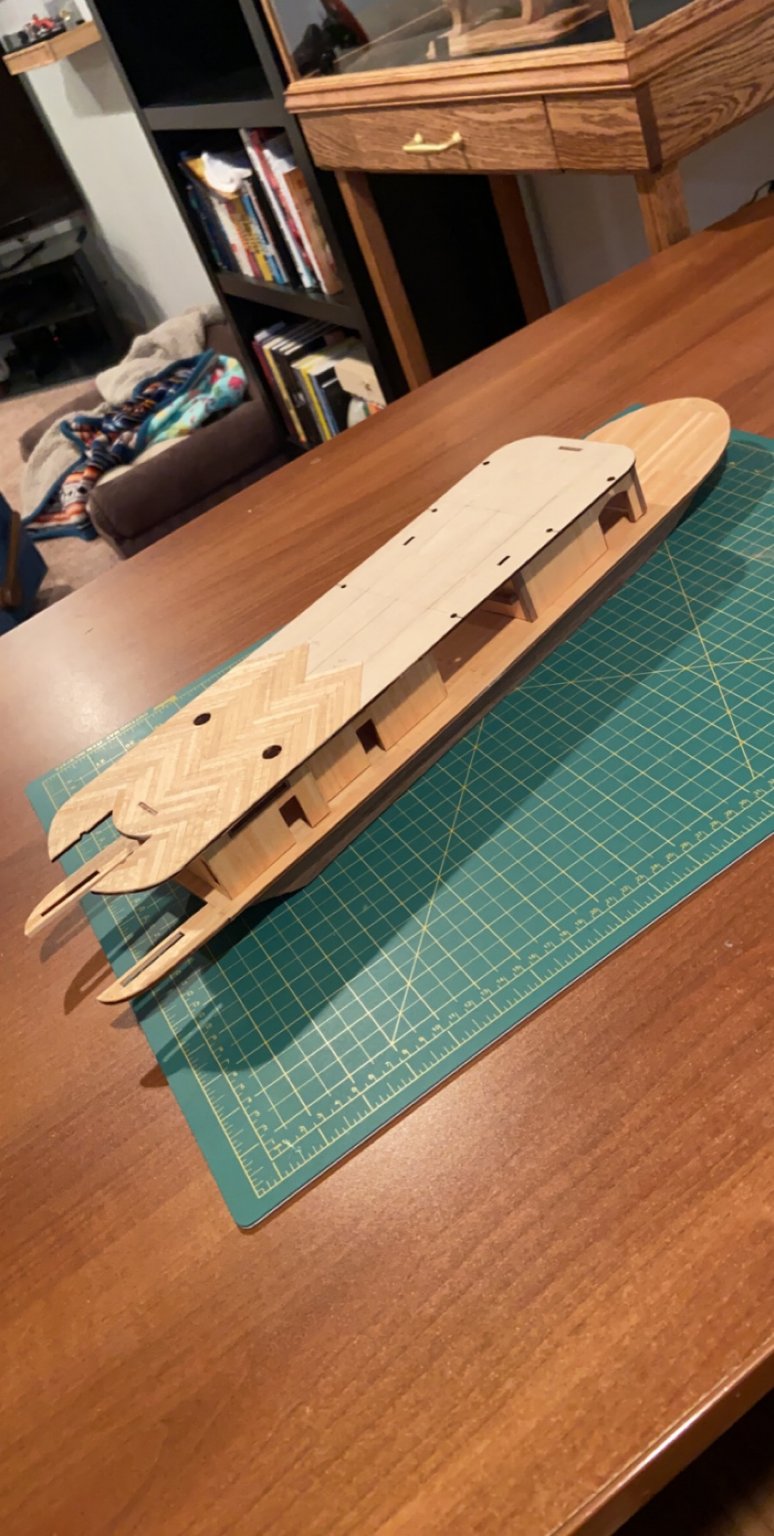
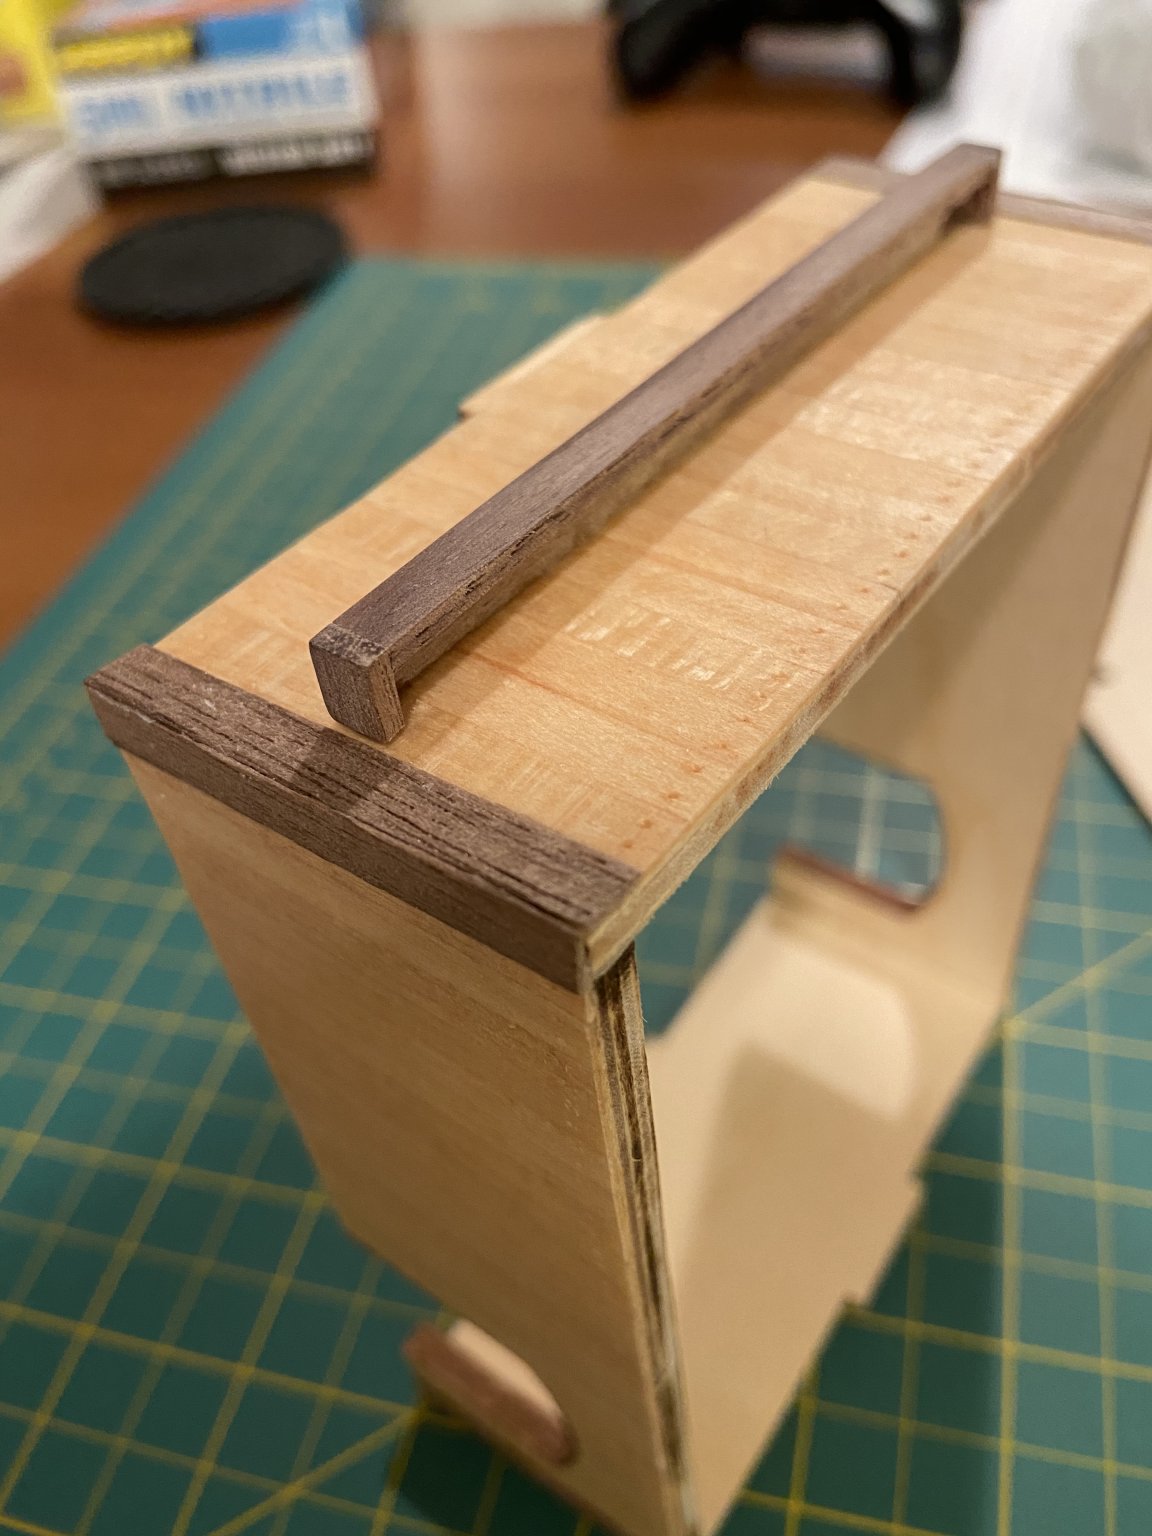
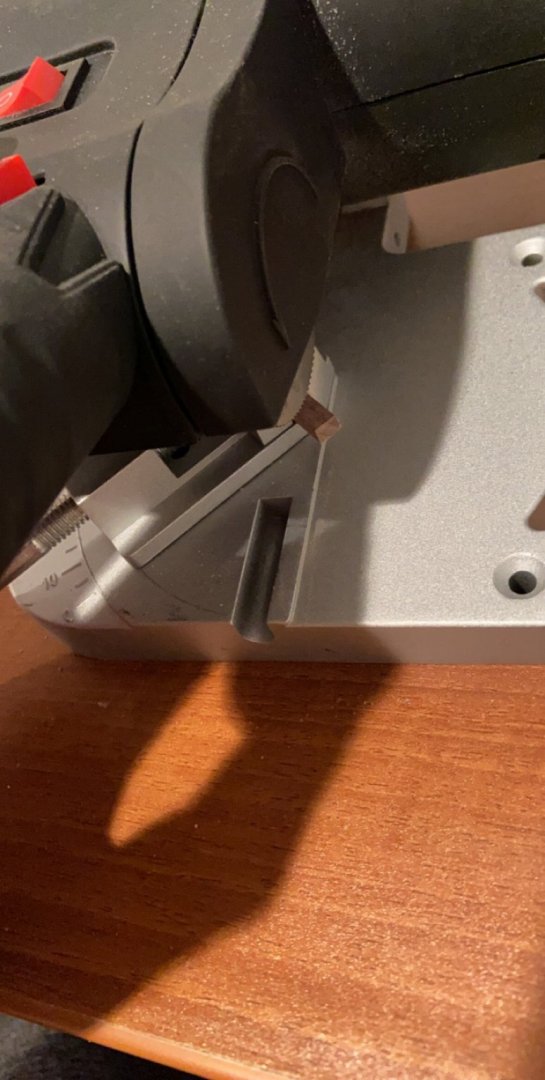
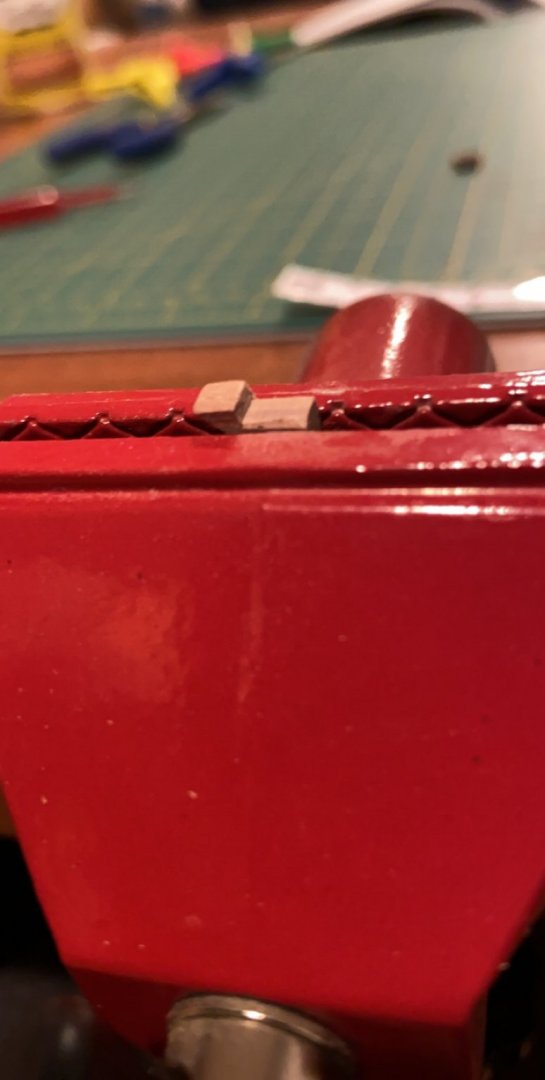
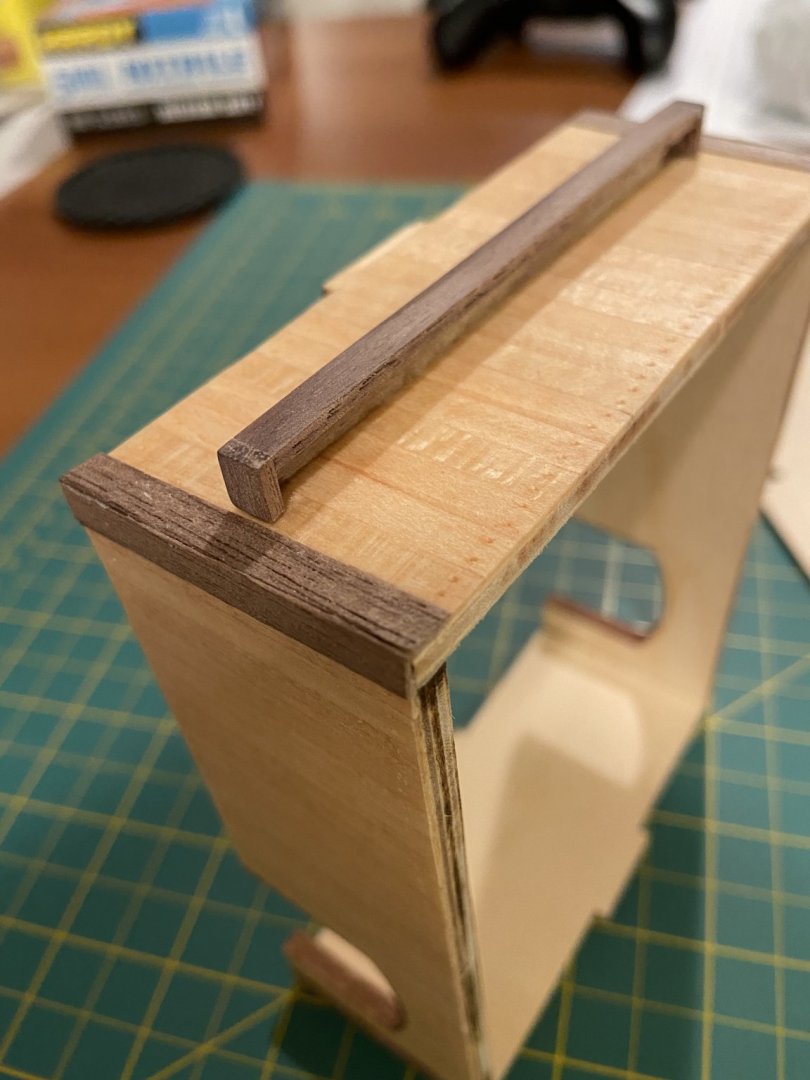
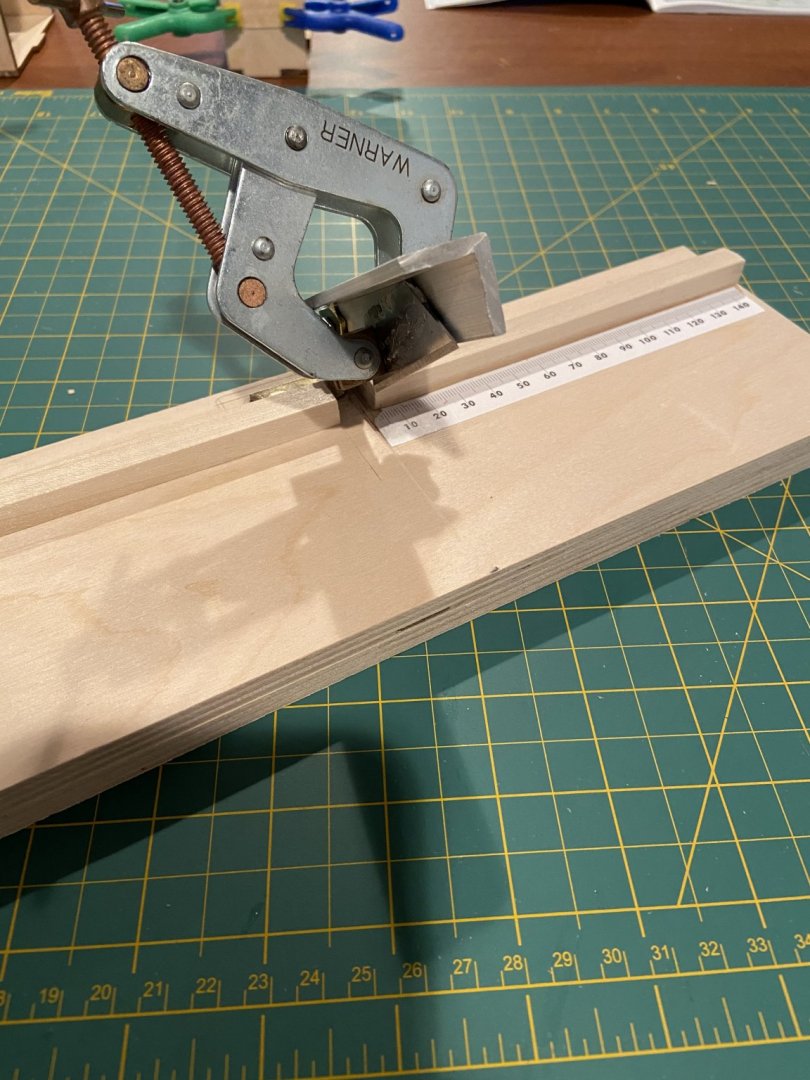
Got the second level deck finished and did a little dry fitting. I am skipping around in a few steps in an attempt to finish all of the decks since it’s such a slow painstaking process. I also started on the box closing bars, using my small cutoff wheel to cut the 45 degree angle and then clamping it in my vice to file down the recess for the plank to fit in.

-
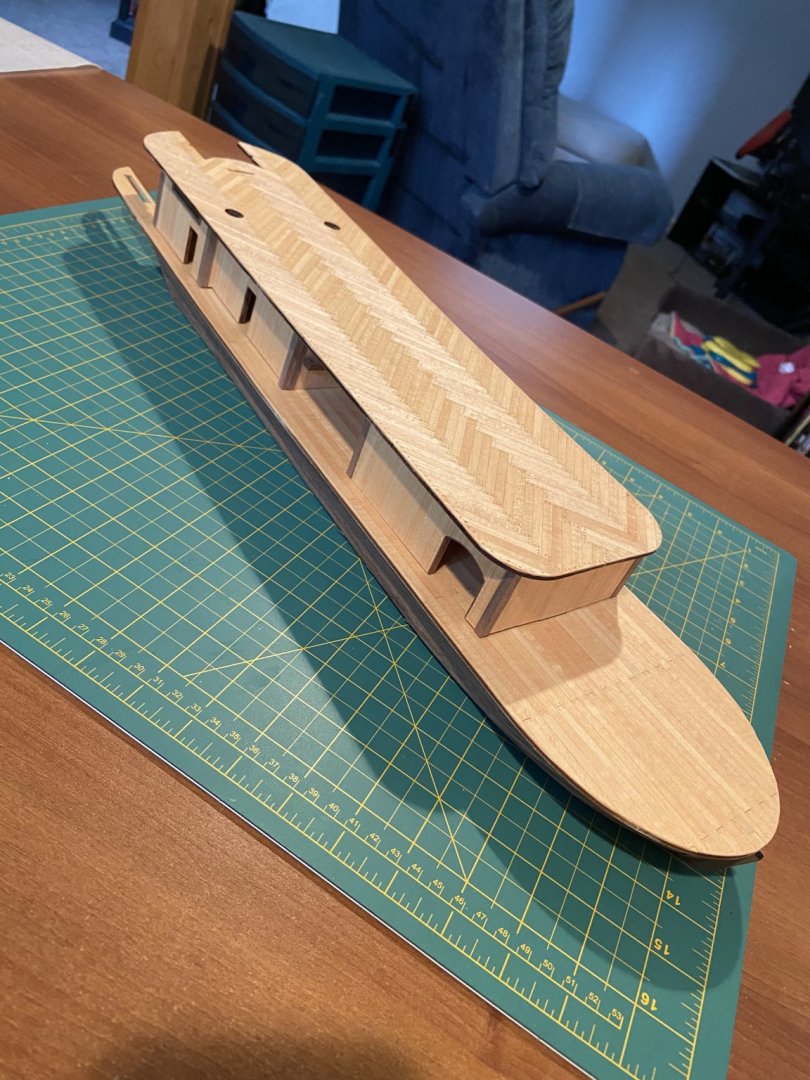
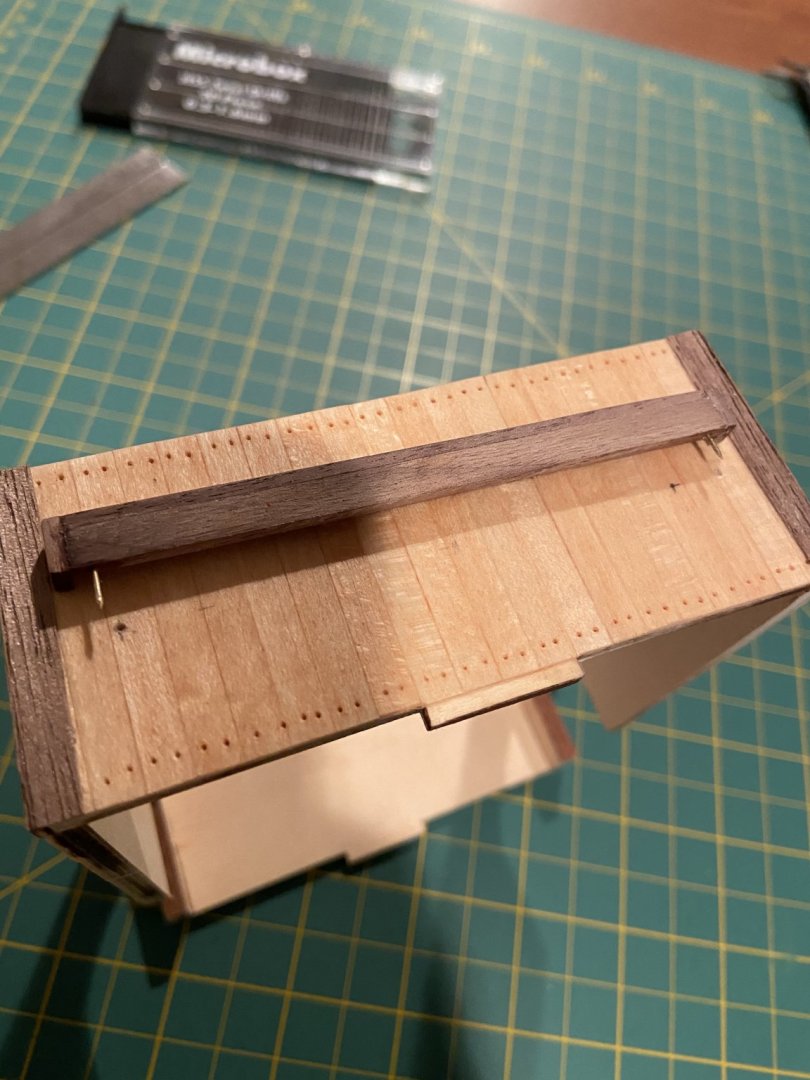
Progress at a snails pace, but I finally finished planking the second level deck. Putting the deck nails in and the second layer or varnish next using the same method as I did in the first level deck

-
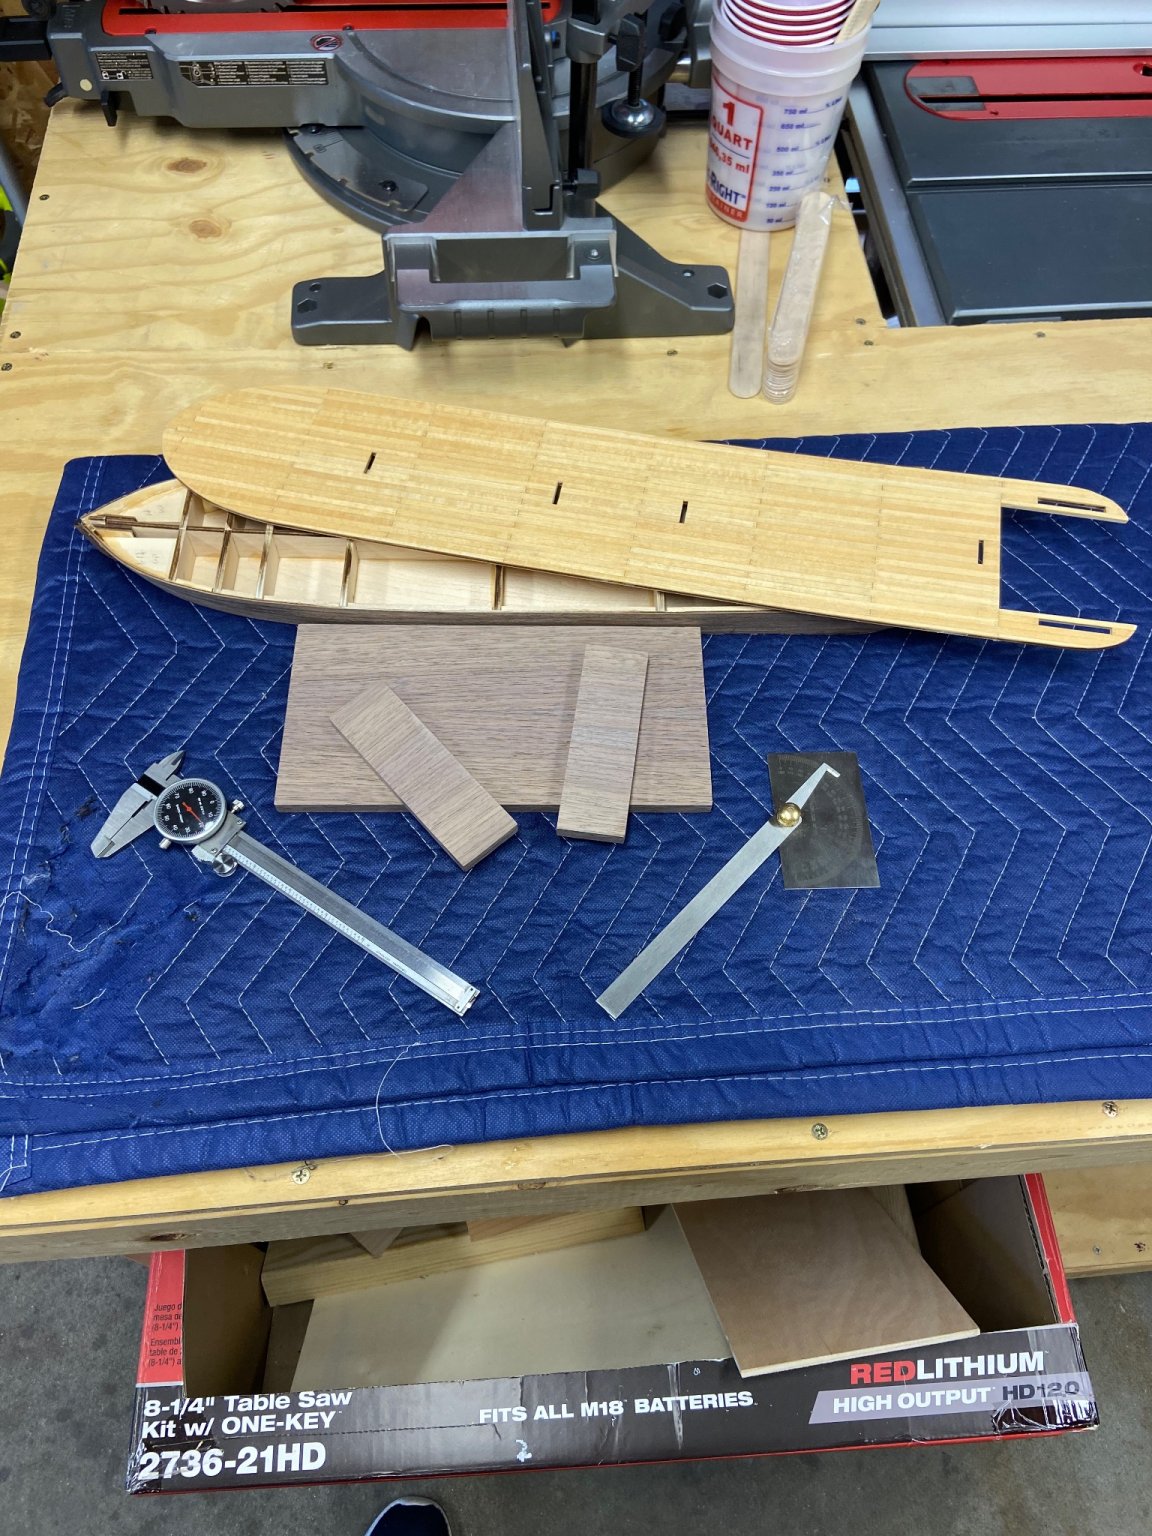
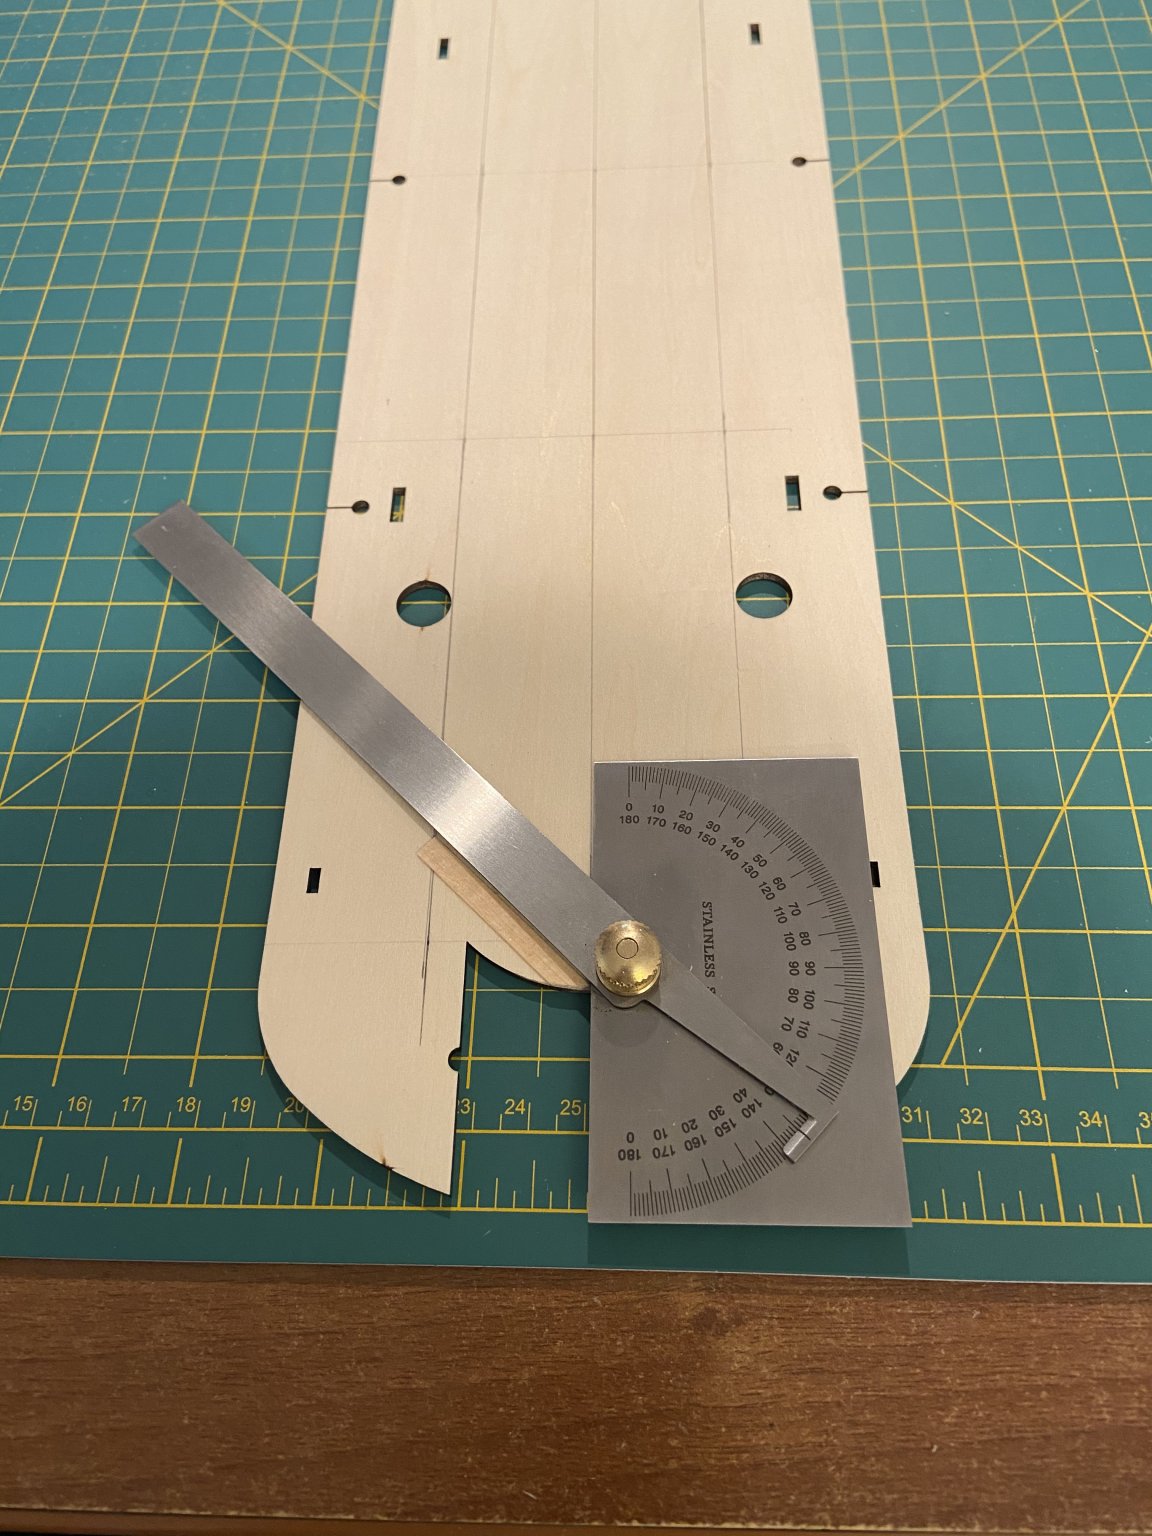
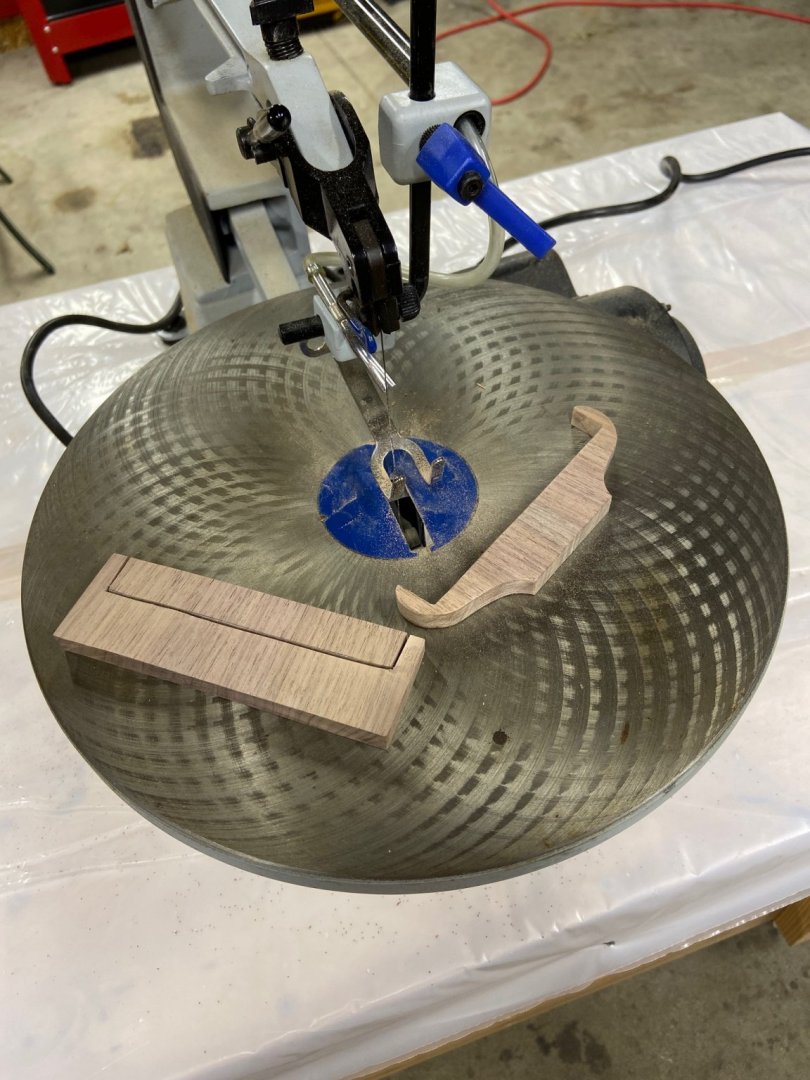
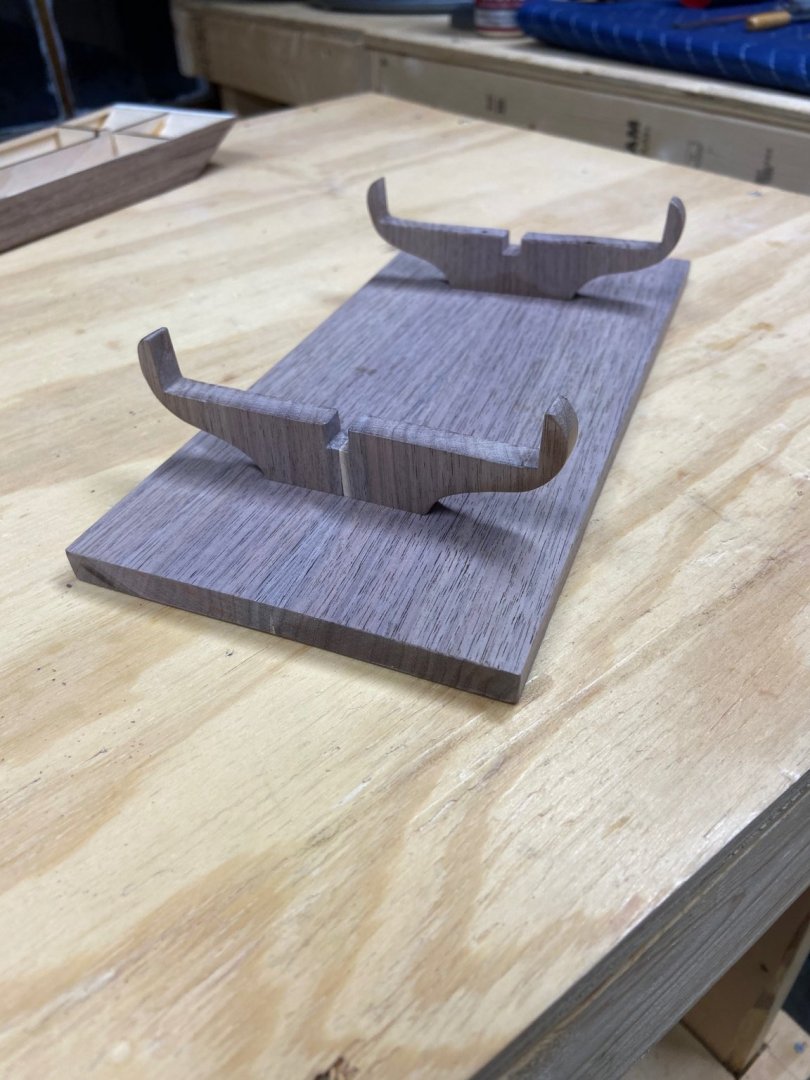
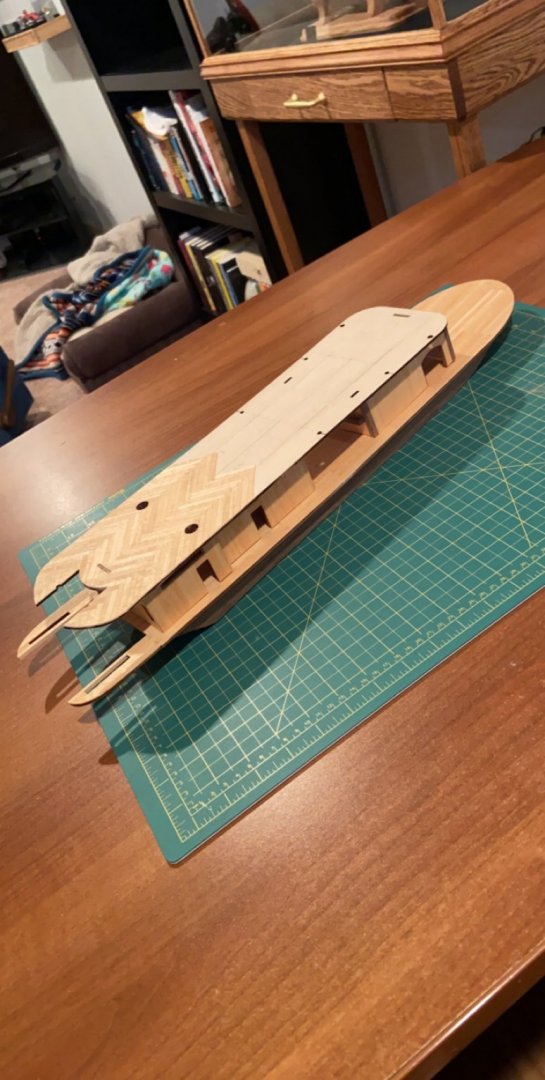
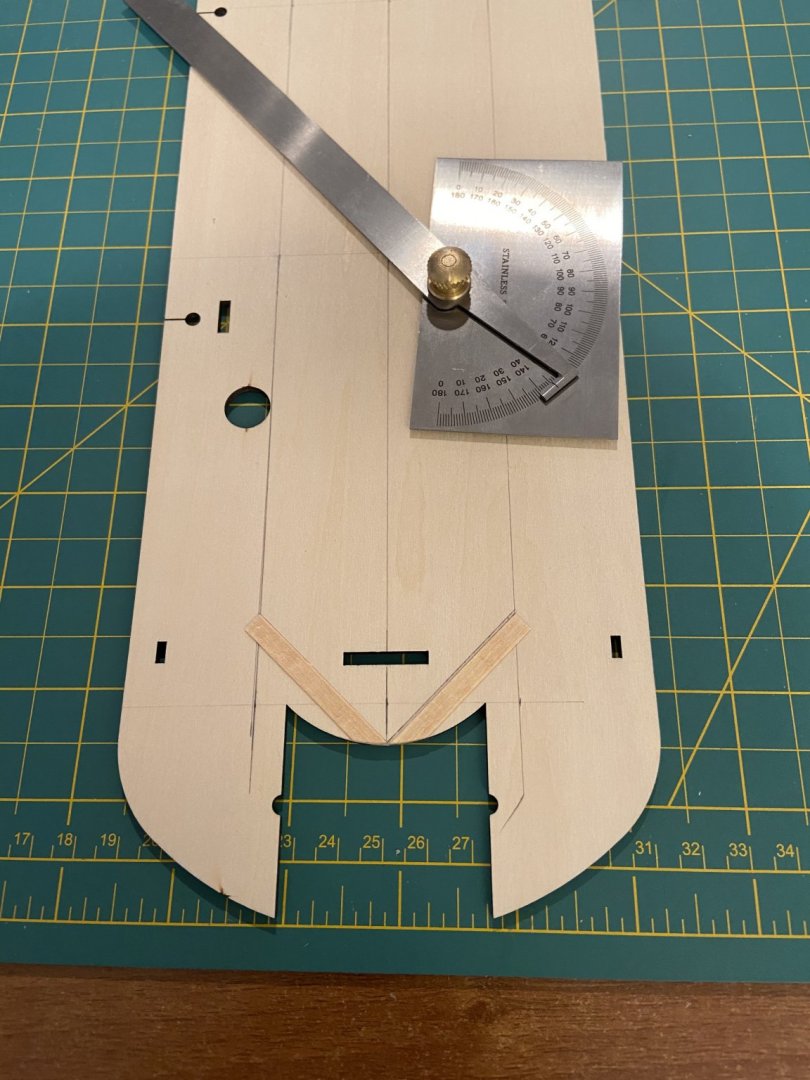
It’s been a slow month or two, the weather has just been so nice it’s hard to justify staying in my basement (although the temperature is spot on down there) but this past weekend I made a little more progress. the hull is completely planked (pictures will come), I am still working on the second level deck, that fancy angled planking really takes forever to do properly. on my previous build I made the mistake of waiting until the build was complete before I made the stand, this time I am making the stand early on. Since the hull is planked with walnut and it has various walnut pieces, I decided to make the stand out of walnut as well. I cut up a slab and essentially made a 2x4, cut it in half and then “unfolded” the two pieces so the grain will make a mirror image on the base. the overall length of the base will be ~13.5 inches, 2/3 of the overall length of the hull


-
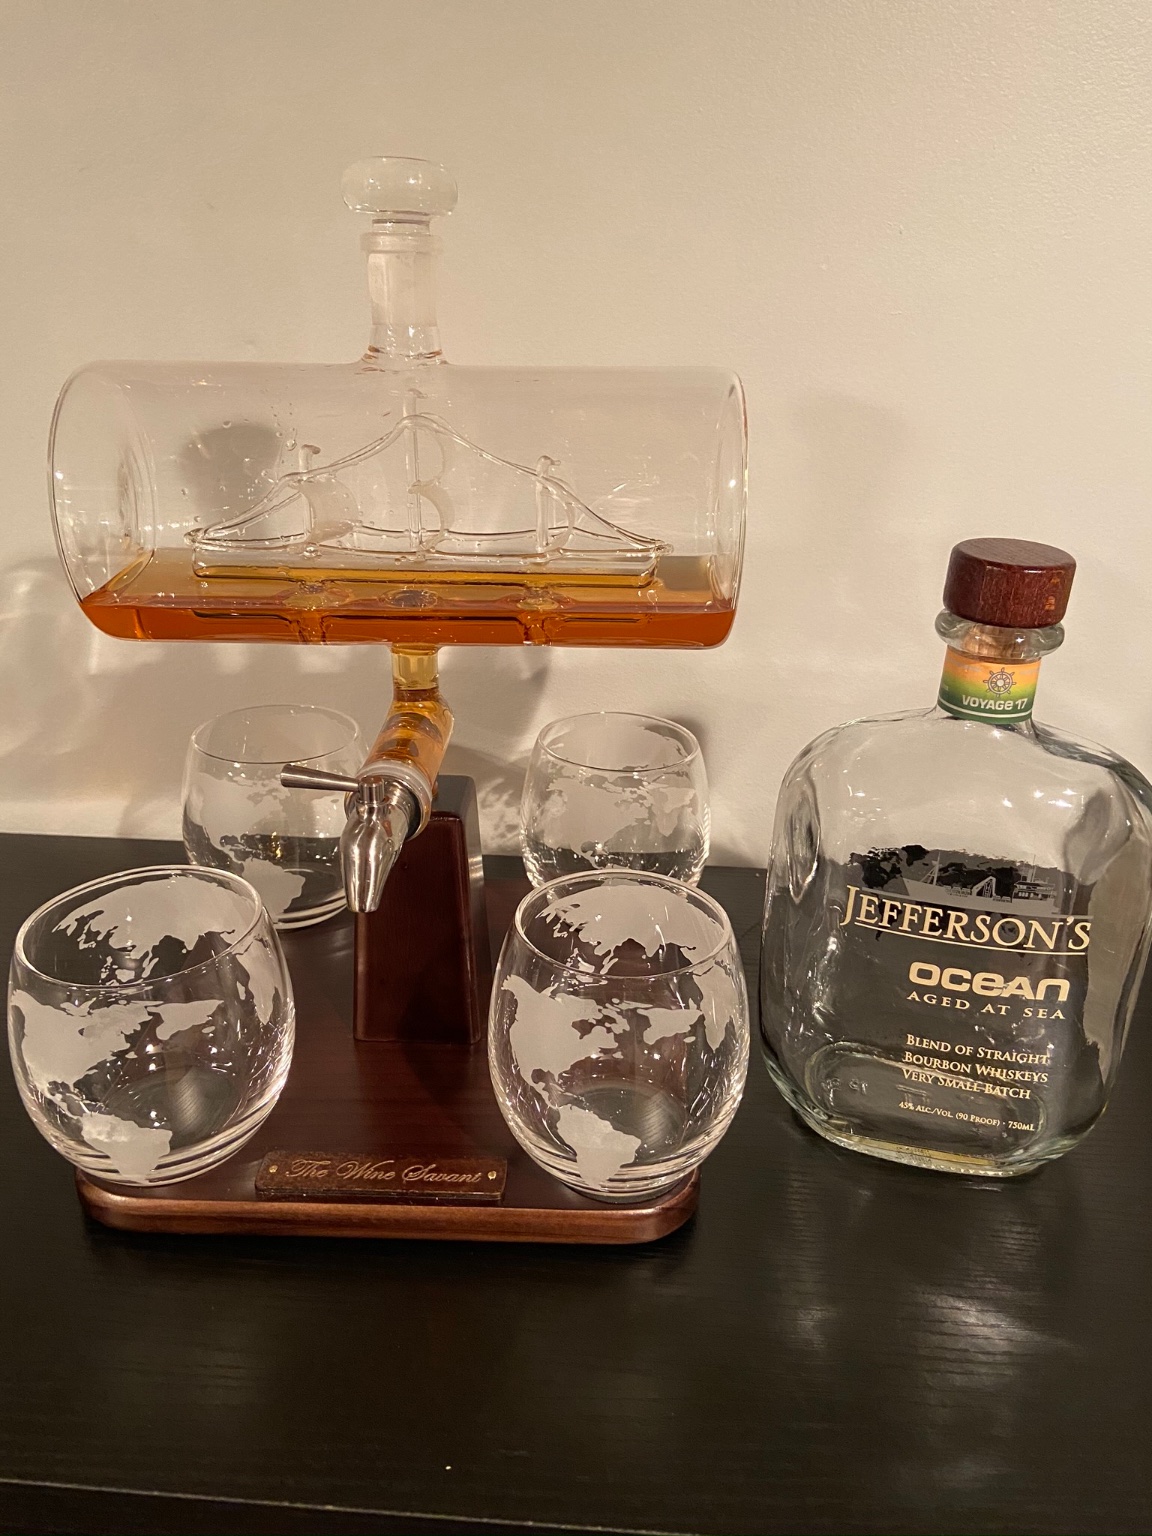
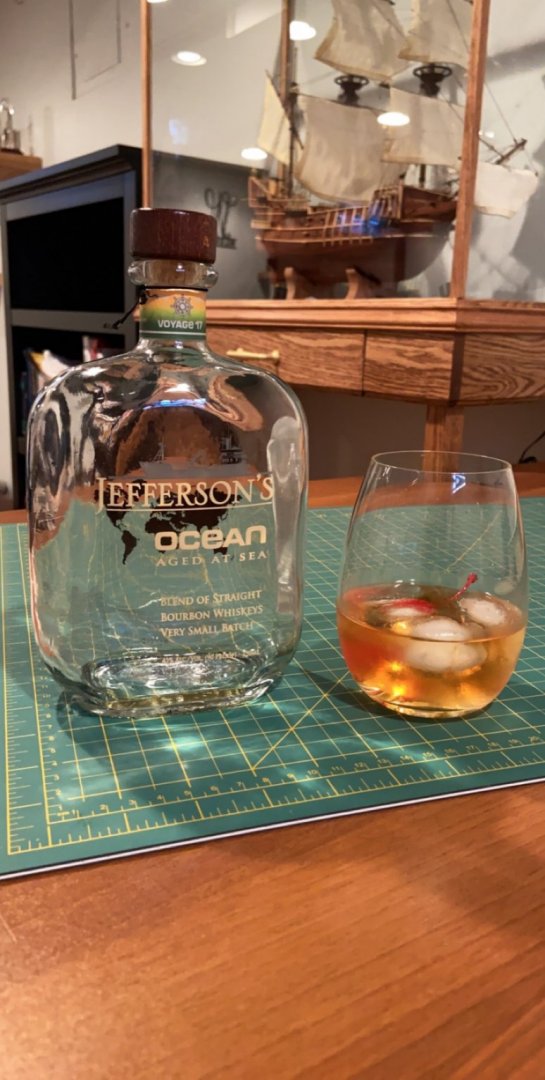
And to top it off, finishing my bottle of aged at sea Jefferson’s bourbon just seemed fitting.
- 88 replies
-
- 1
-
-
- finished
- artesania latina
- (and 1 more)
-
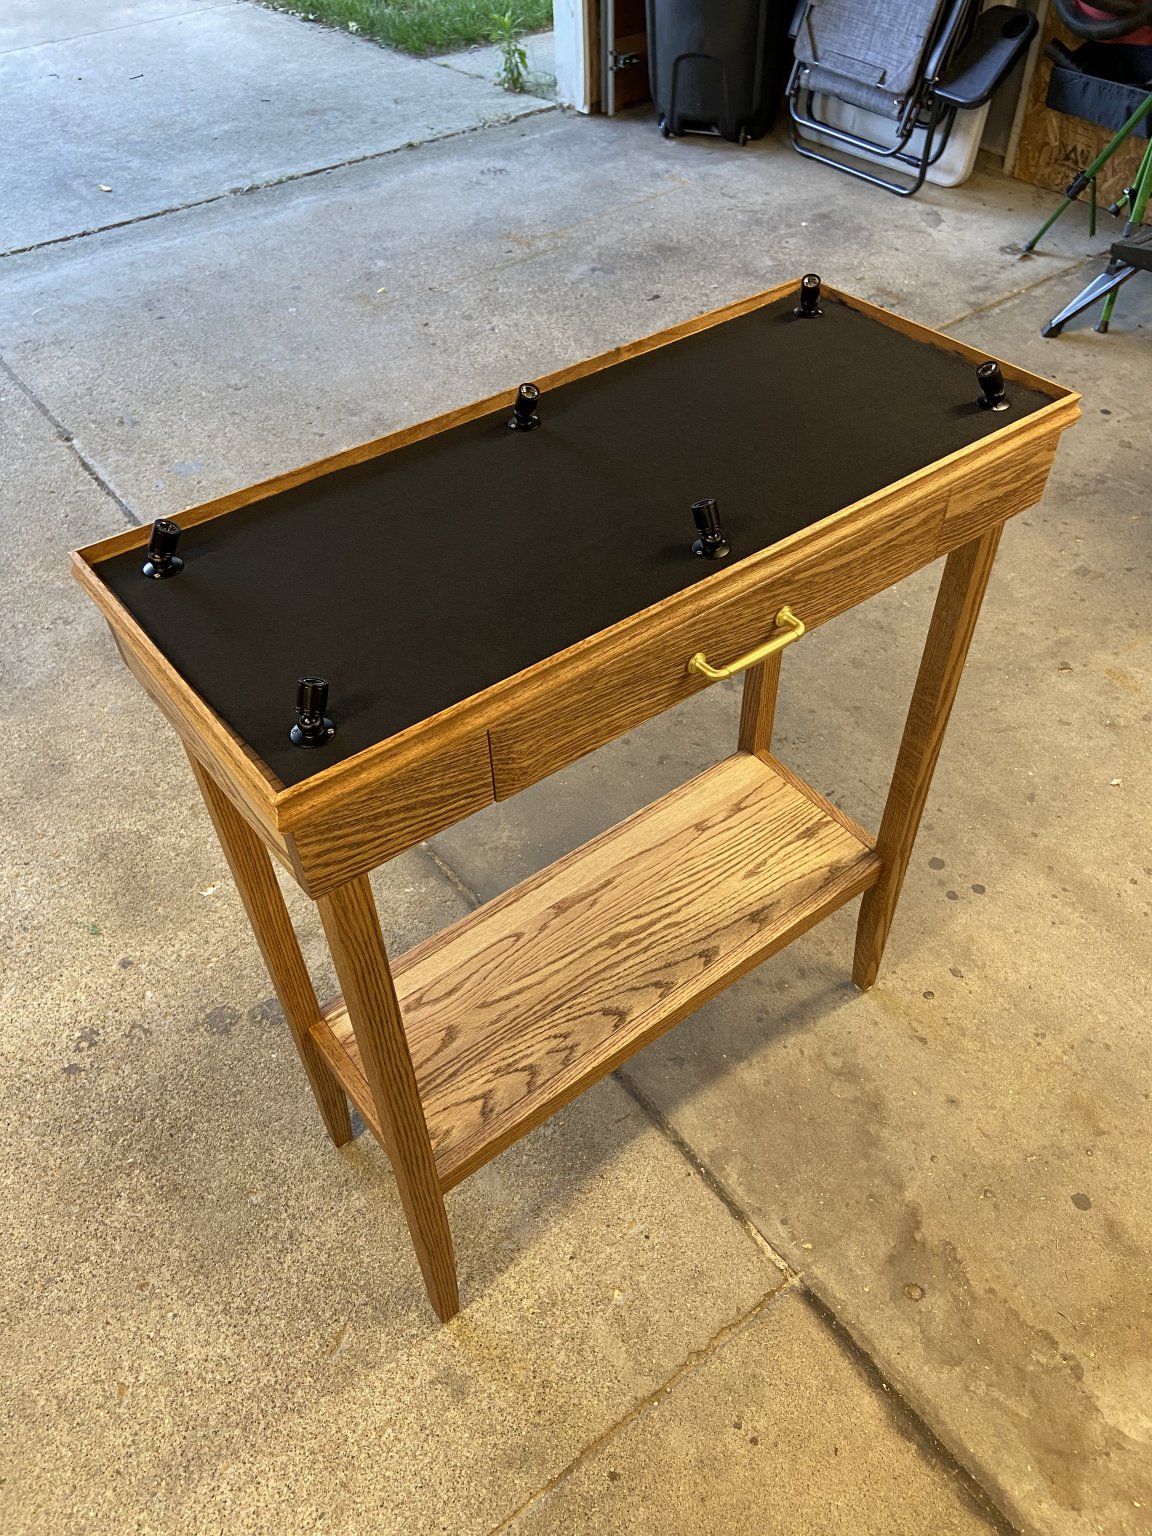
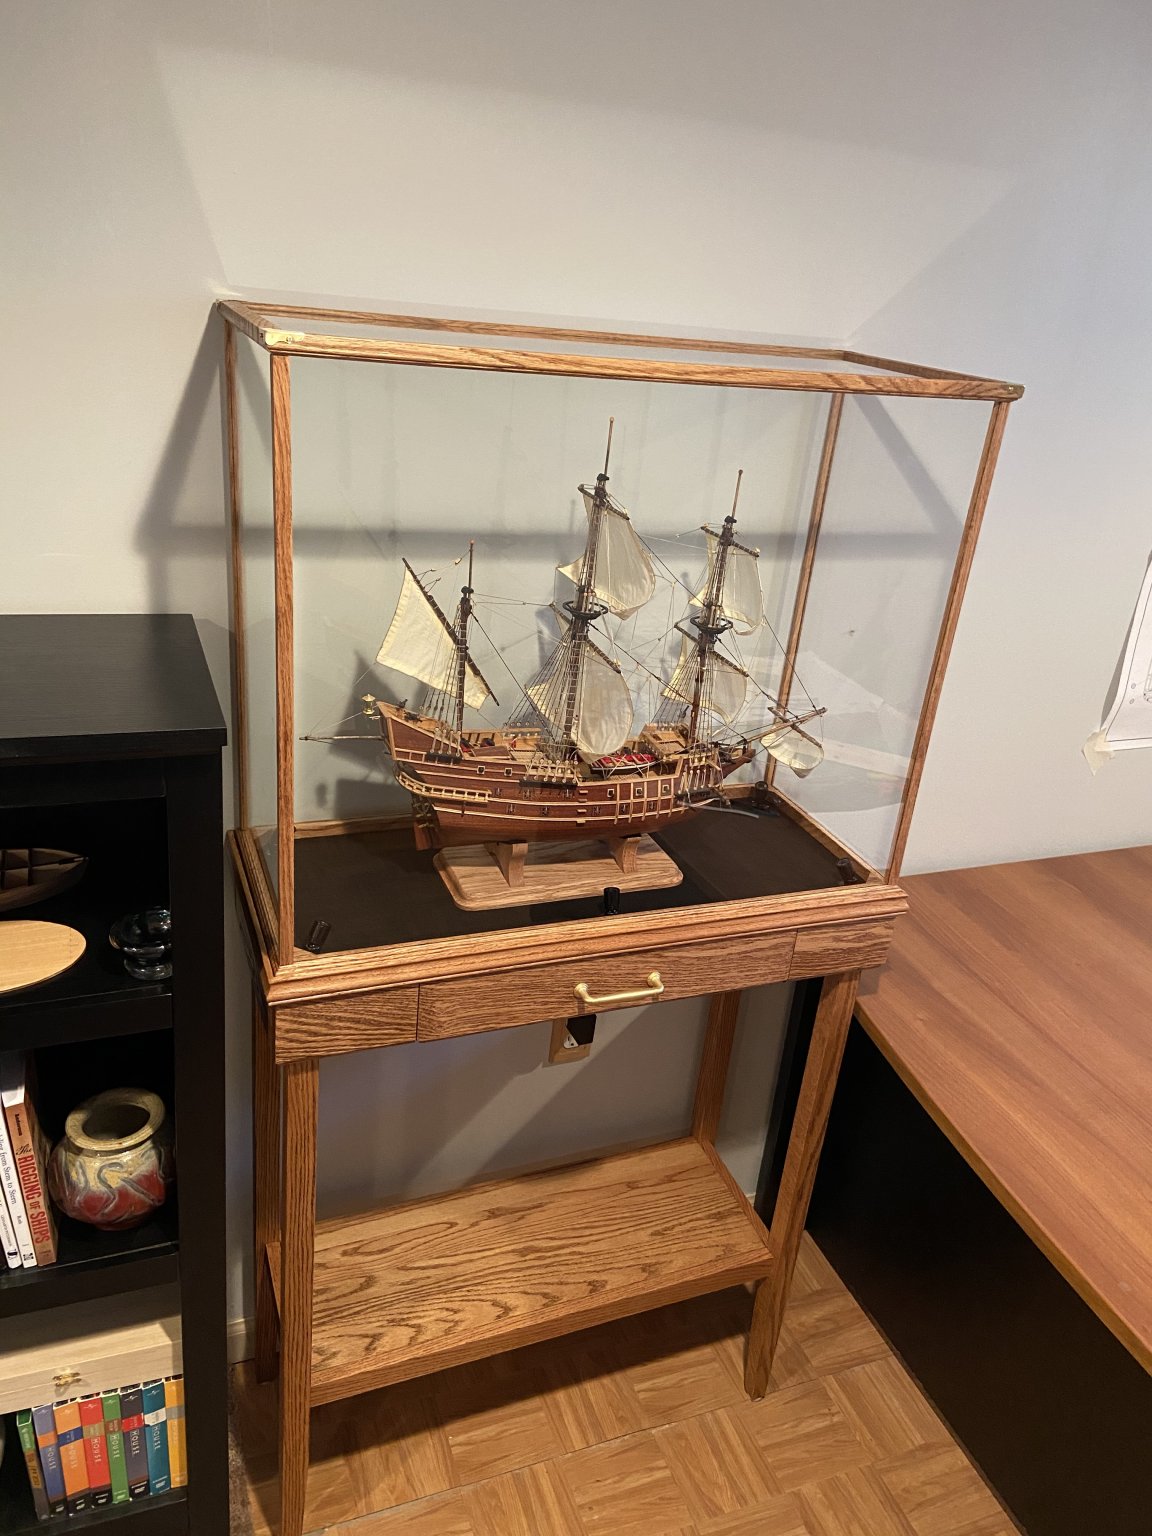
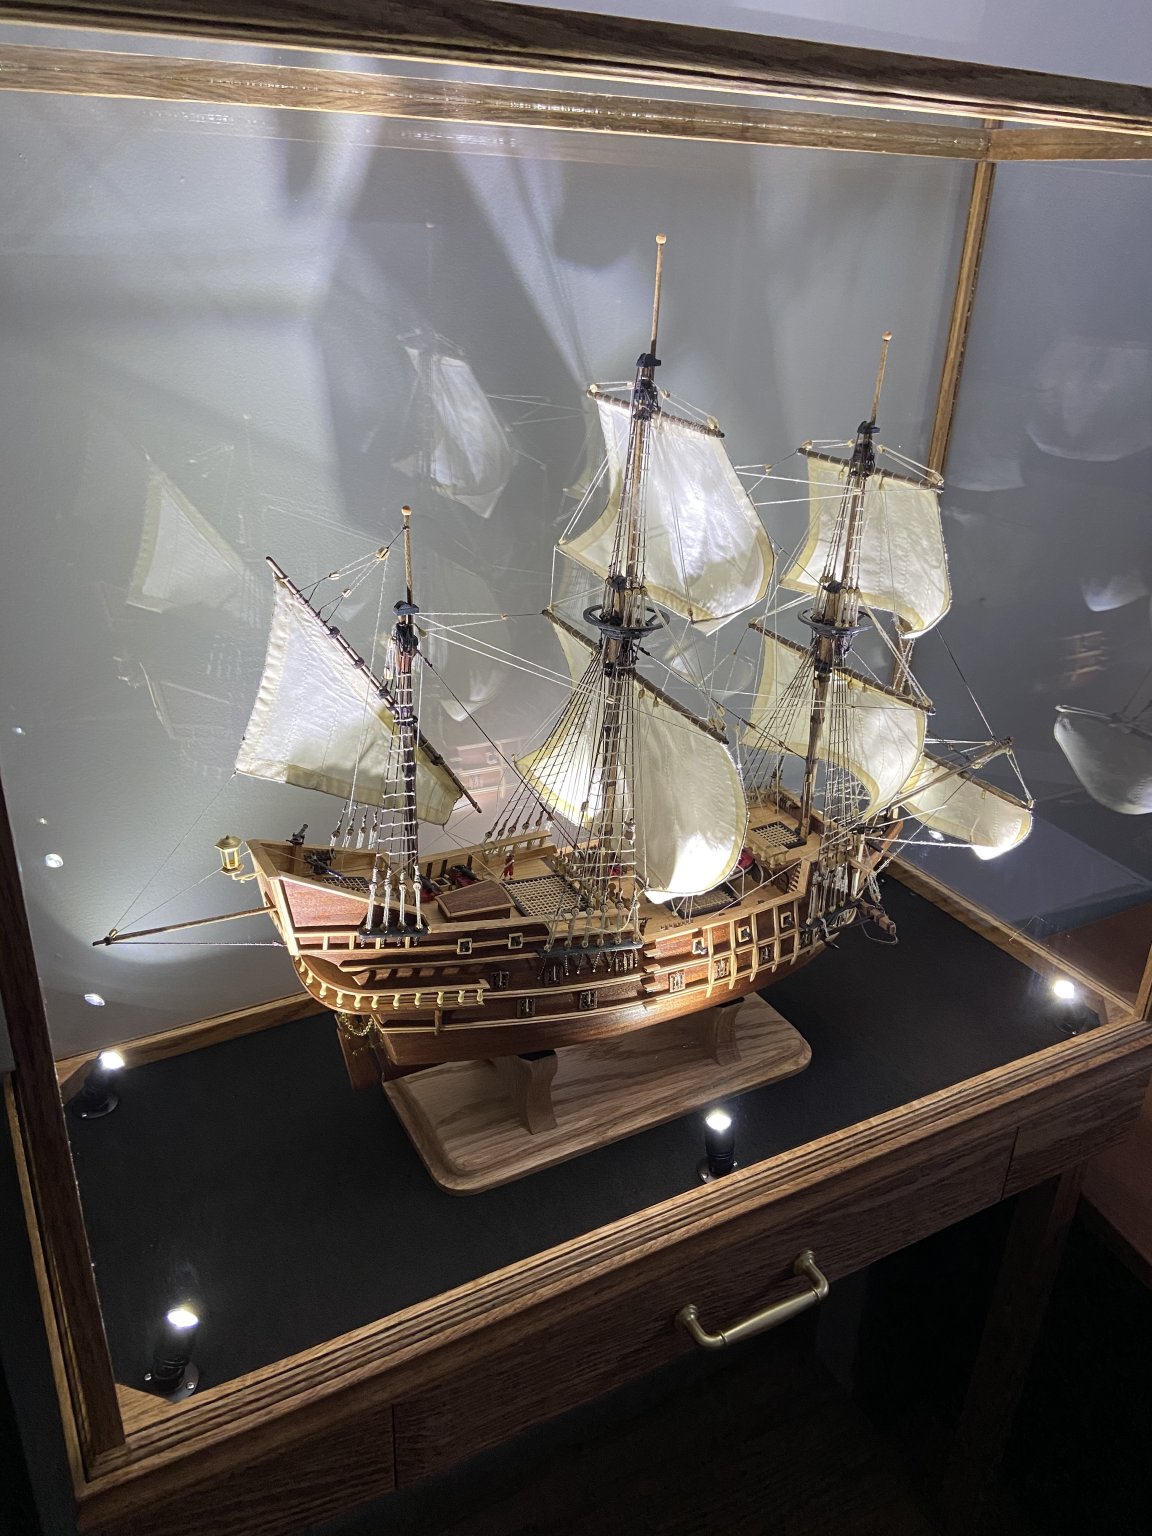
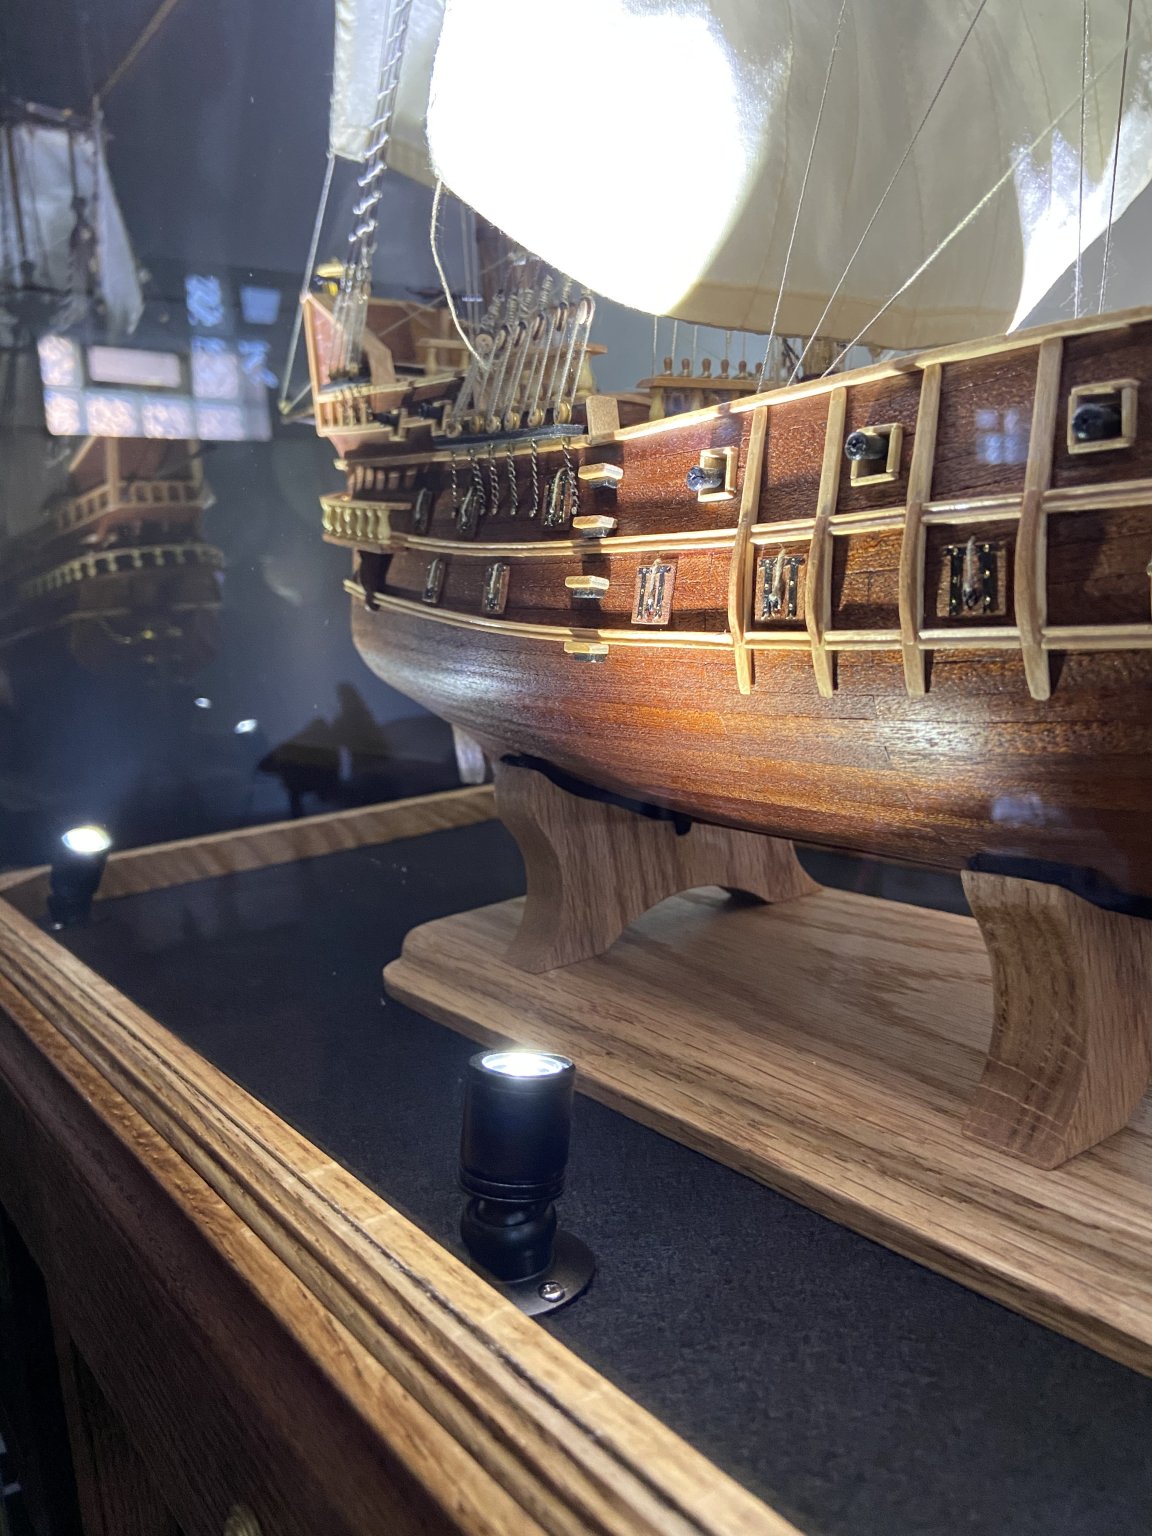
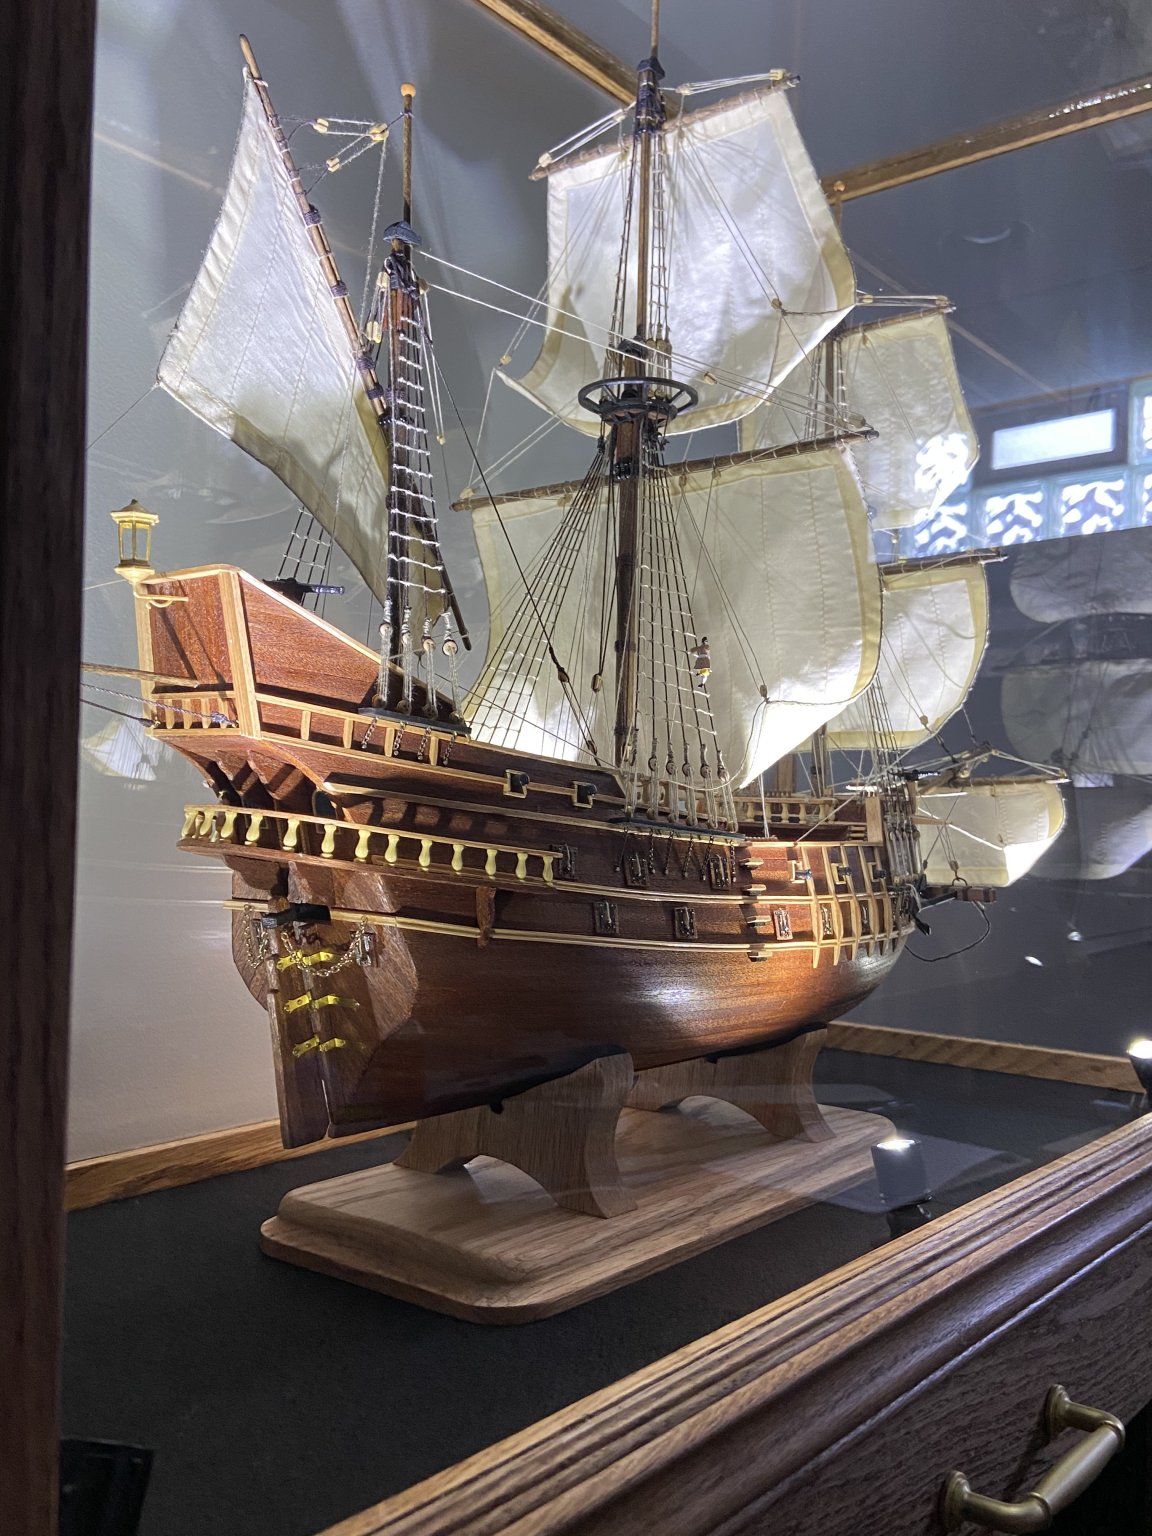
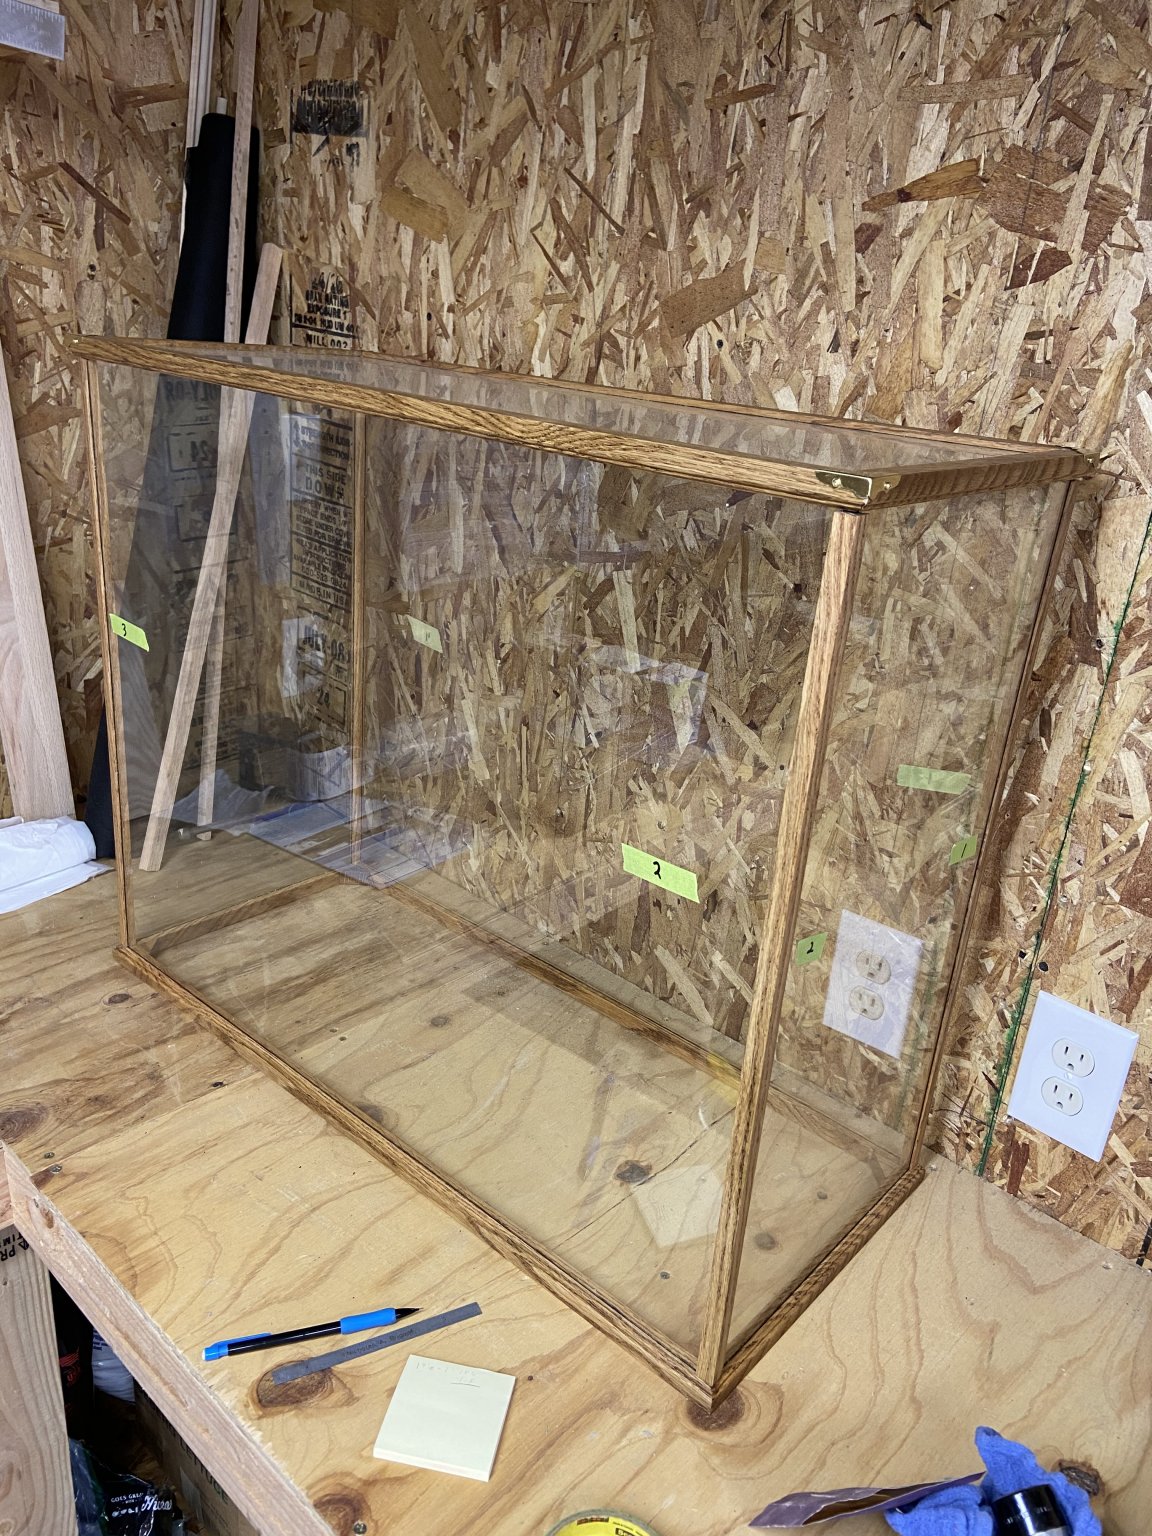
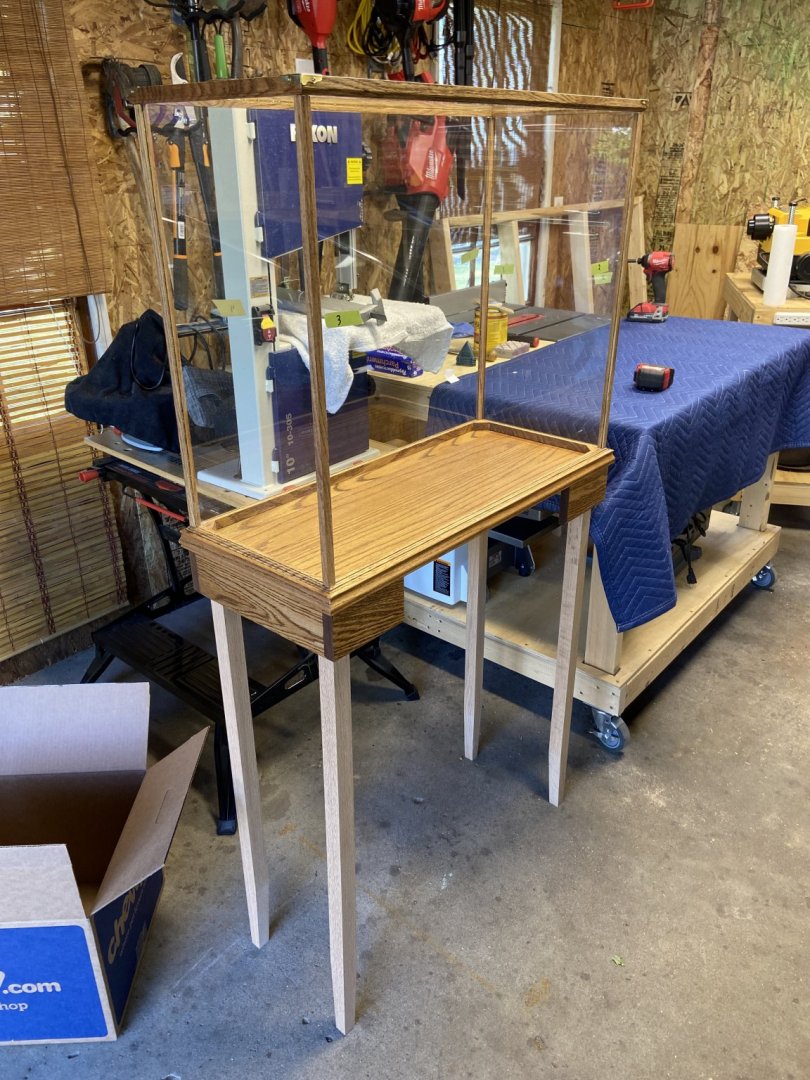
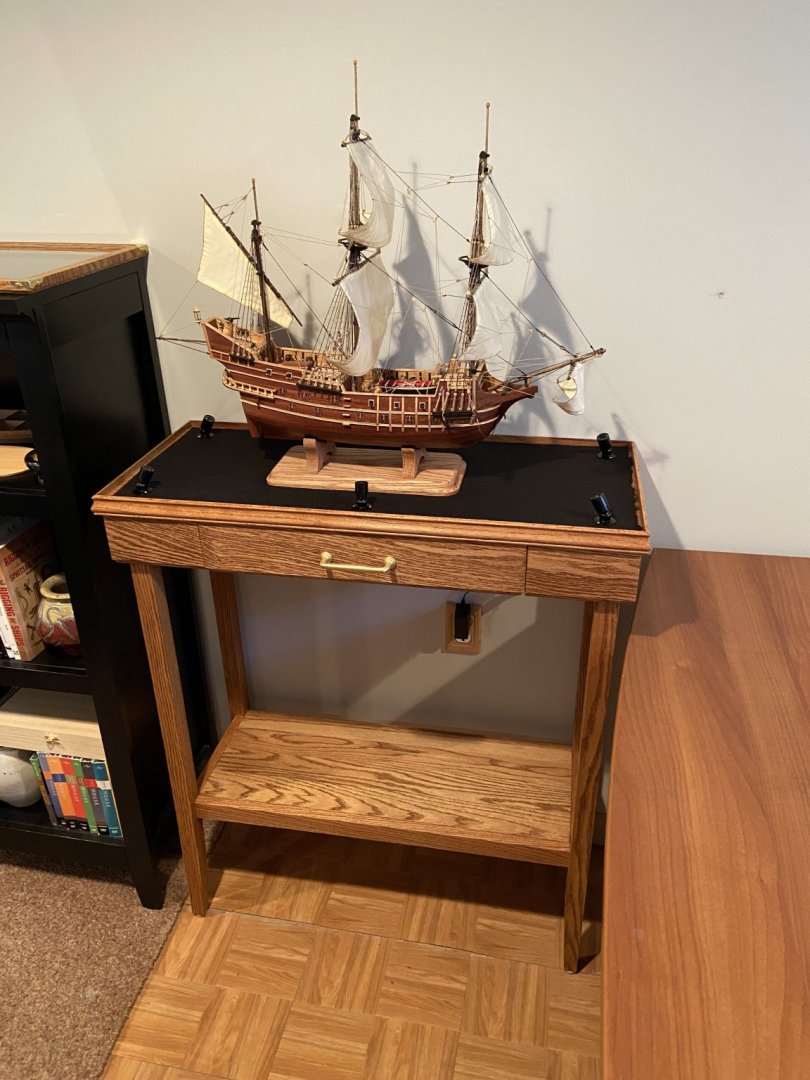
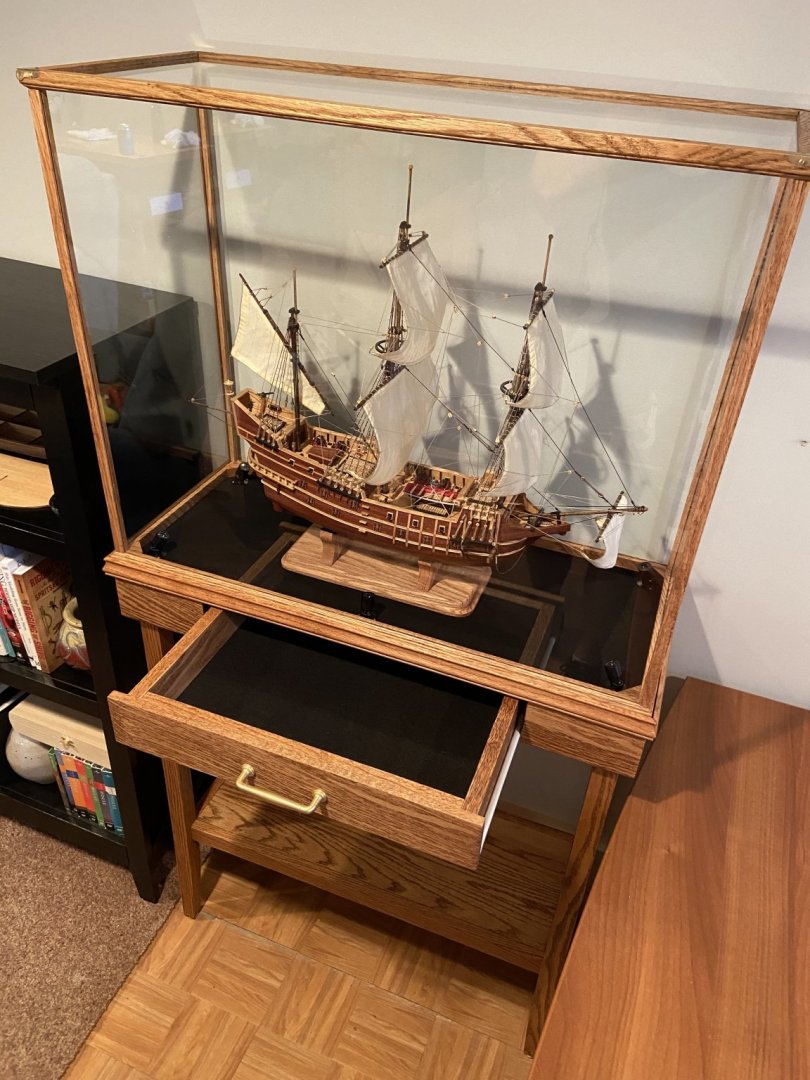
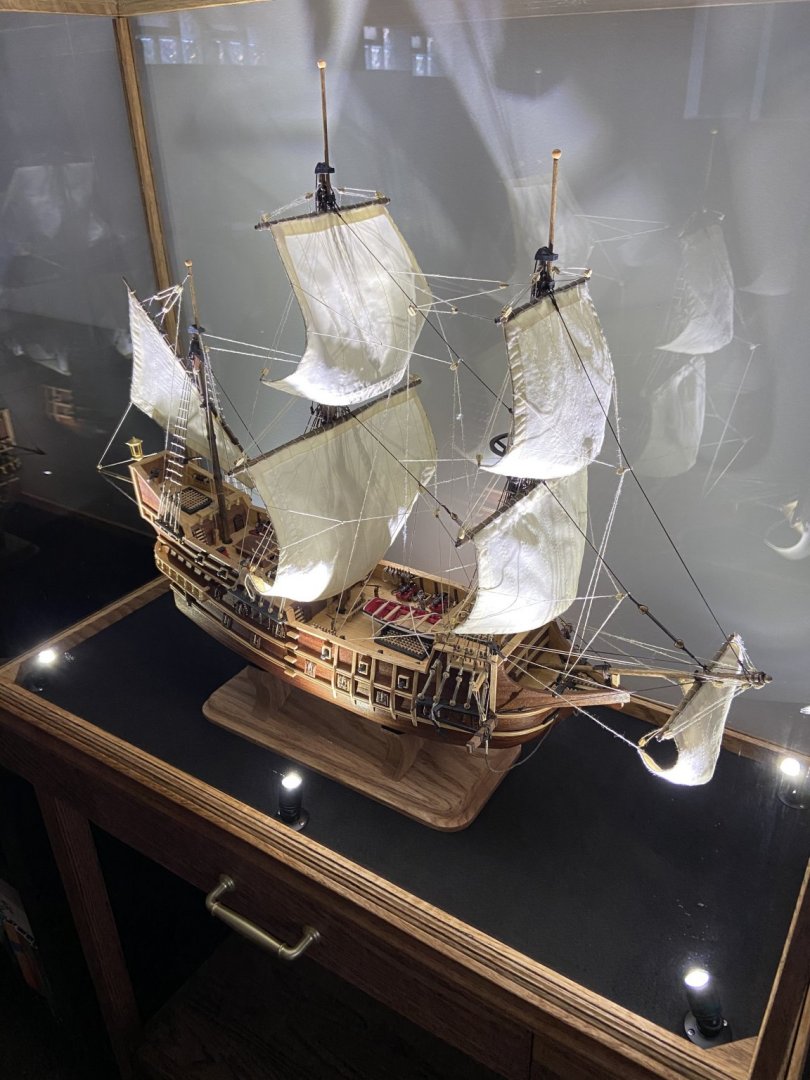
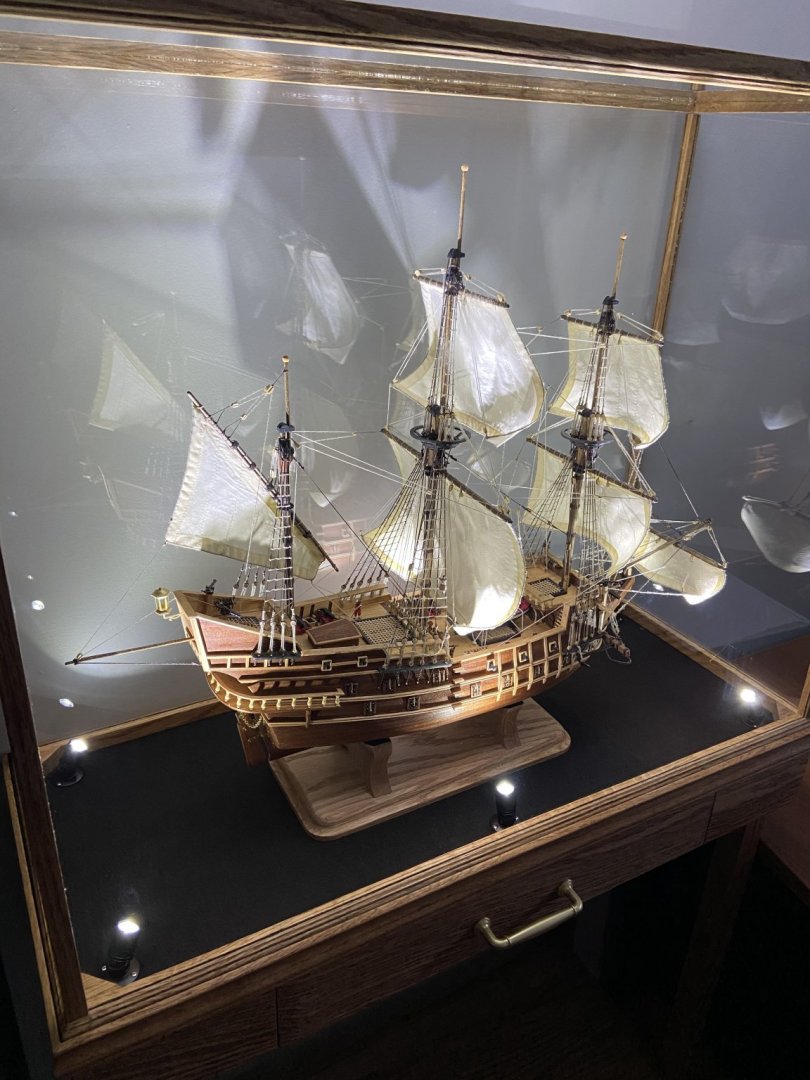
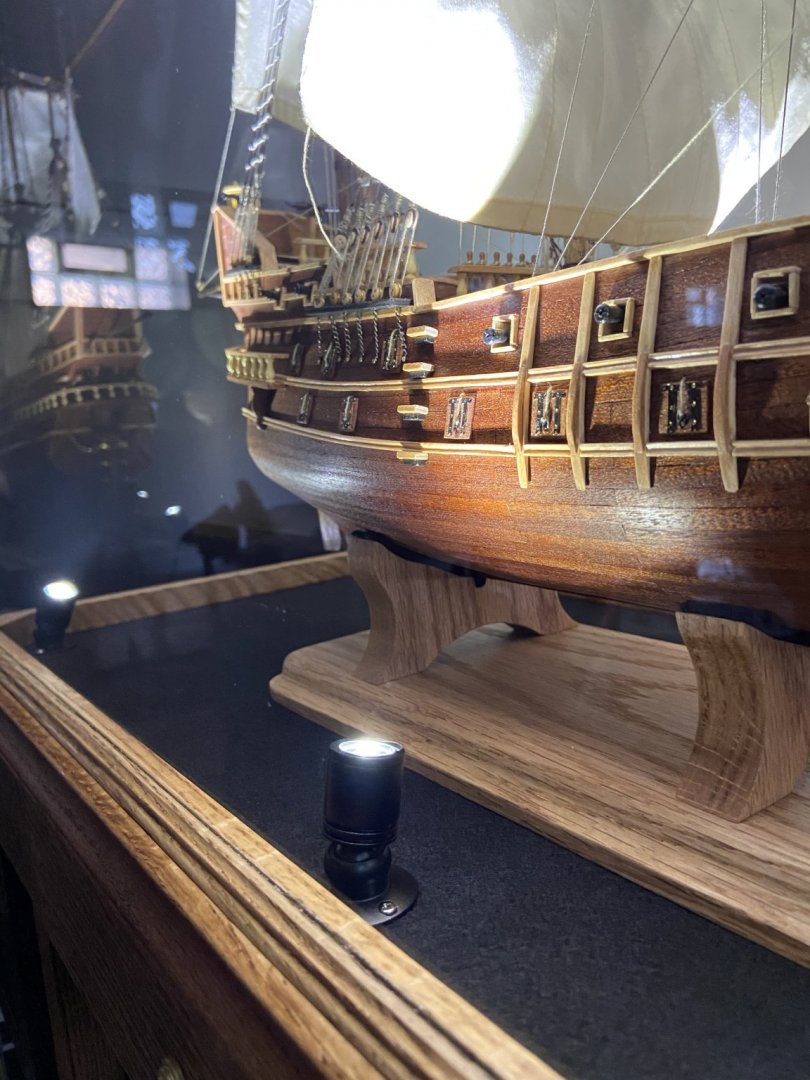
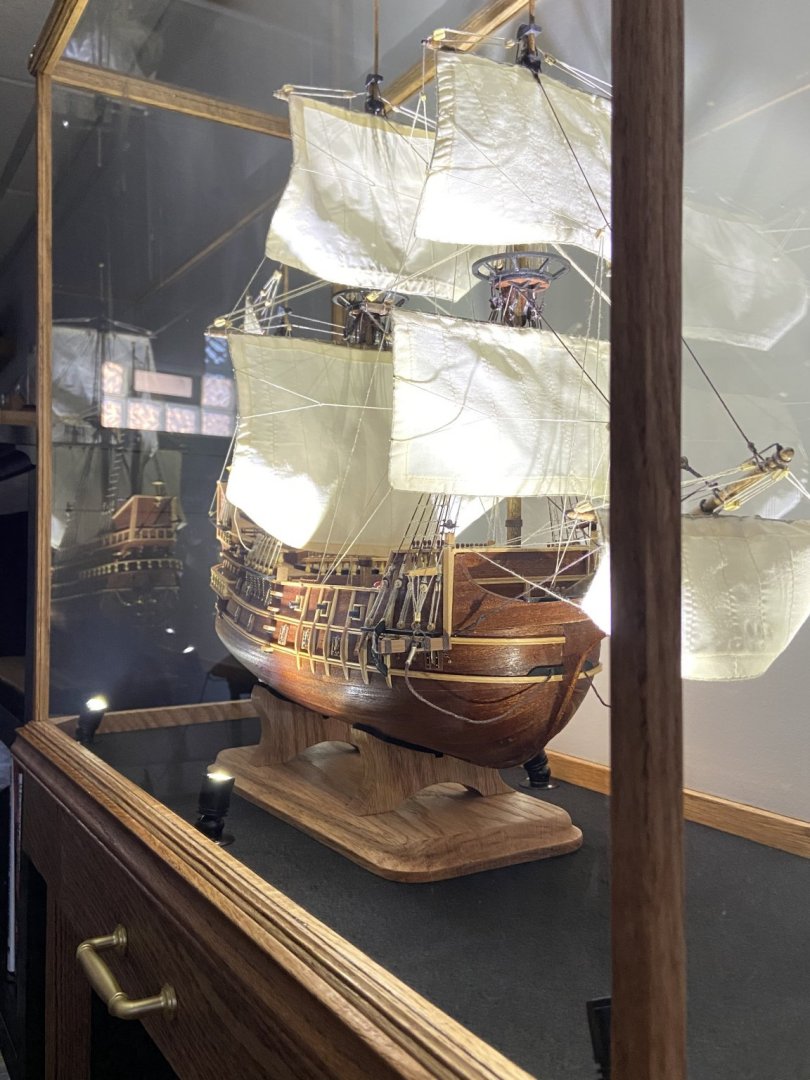
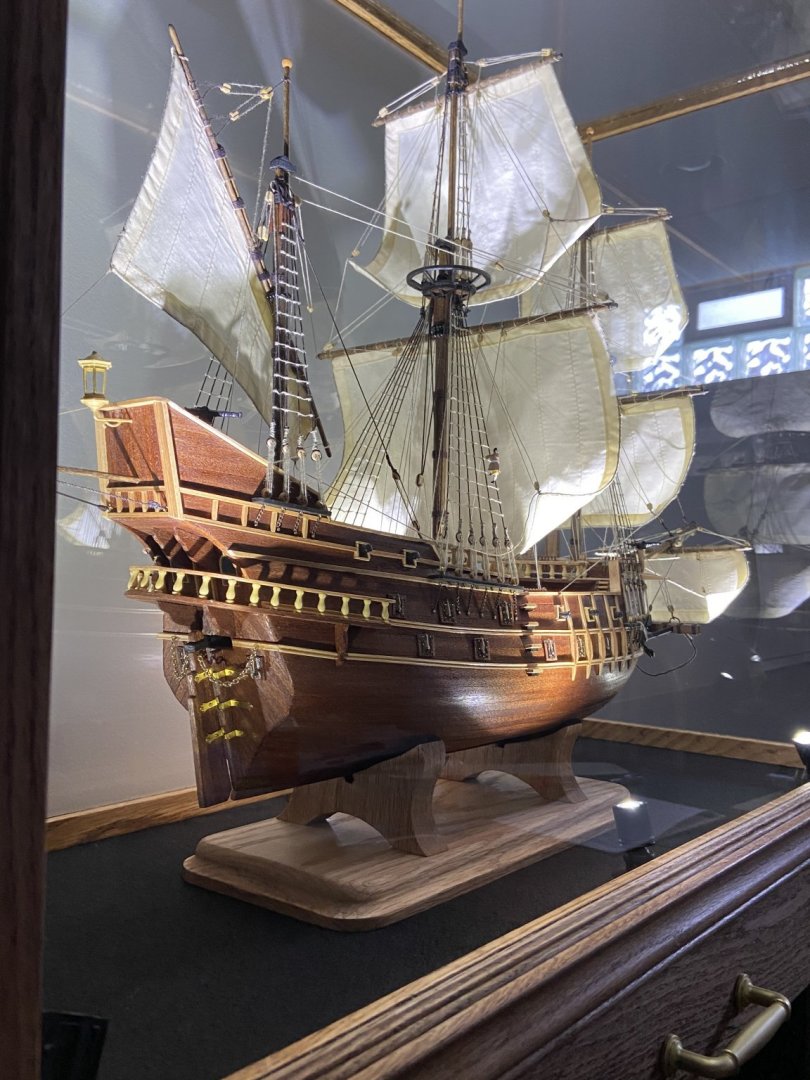
Well I finally finished the display case. It’s been ready for a while but I’ve been waiting for almost 2 months for Amazon to ship the display case lights to me. They arrived this morning and install them and here is the final product.Well I finally finished the display case. It’s been ready for a while but I’ve been waiting for almost 2 months for Amazon to ship the display case lights to me. They arrived this morning and install them and here is the final product.


- 88 replies
-
- 3
-
-
- finished
- artesania latina
- (and 1 more)
-
I’m actually not sure which version that is. To my knowledge there’s only two versions of the San Francisco and neither of them had open gun windows. The first version came with cast-iron window covers to glue on where as the second version came with instructions to build wooden window covers
-
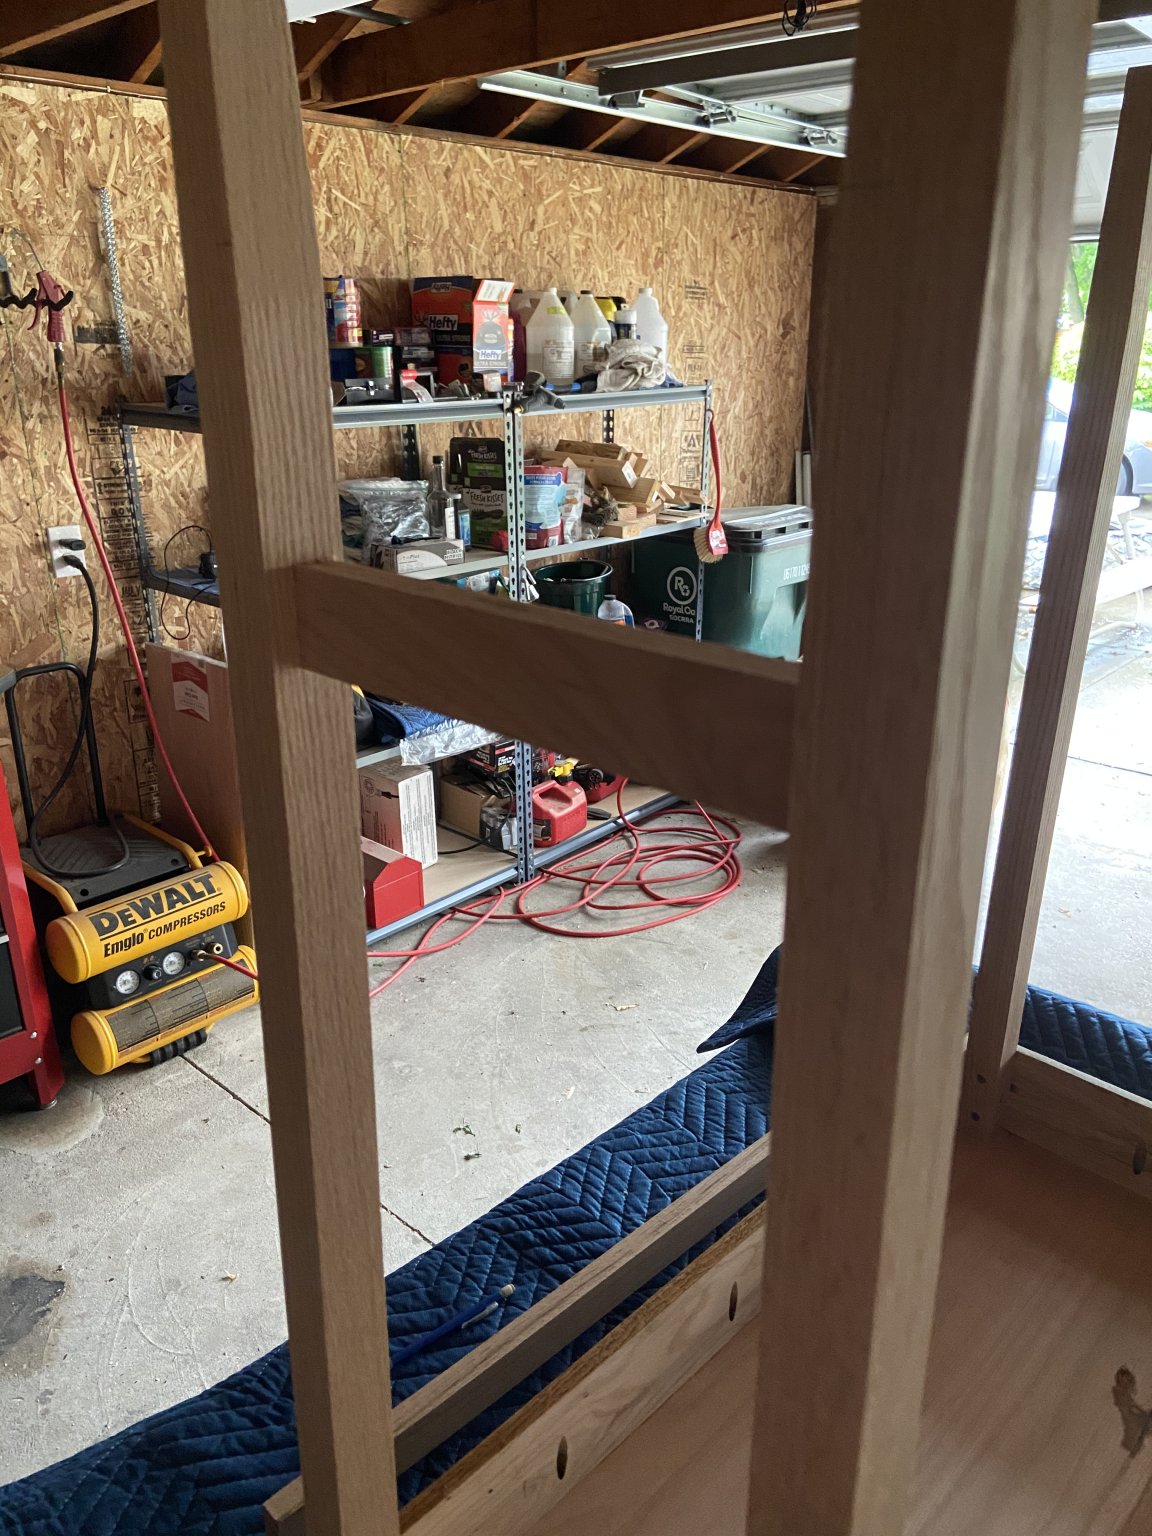
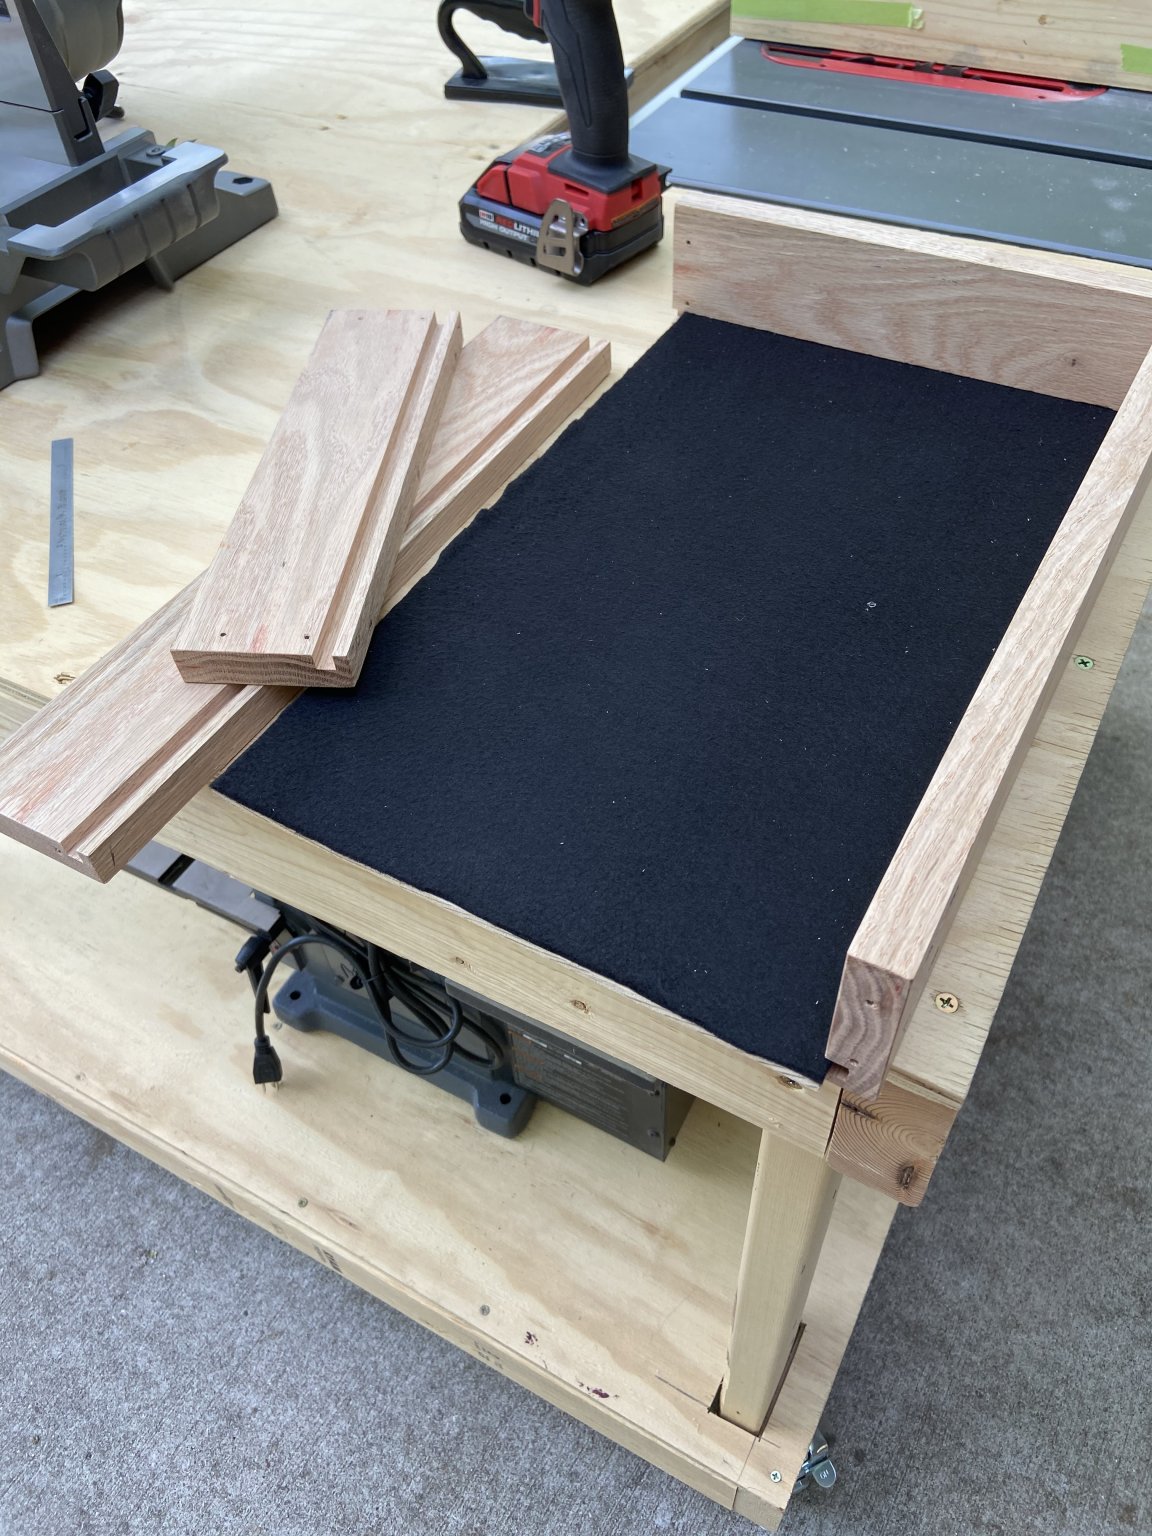
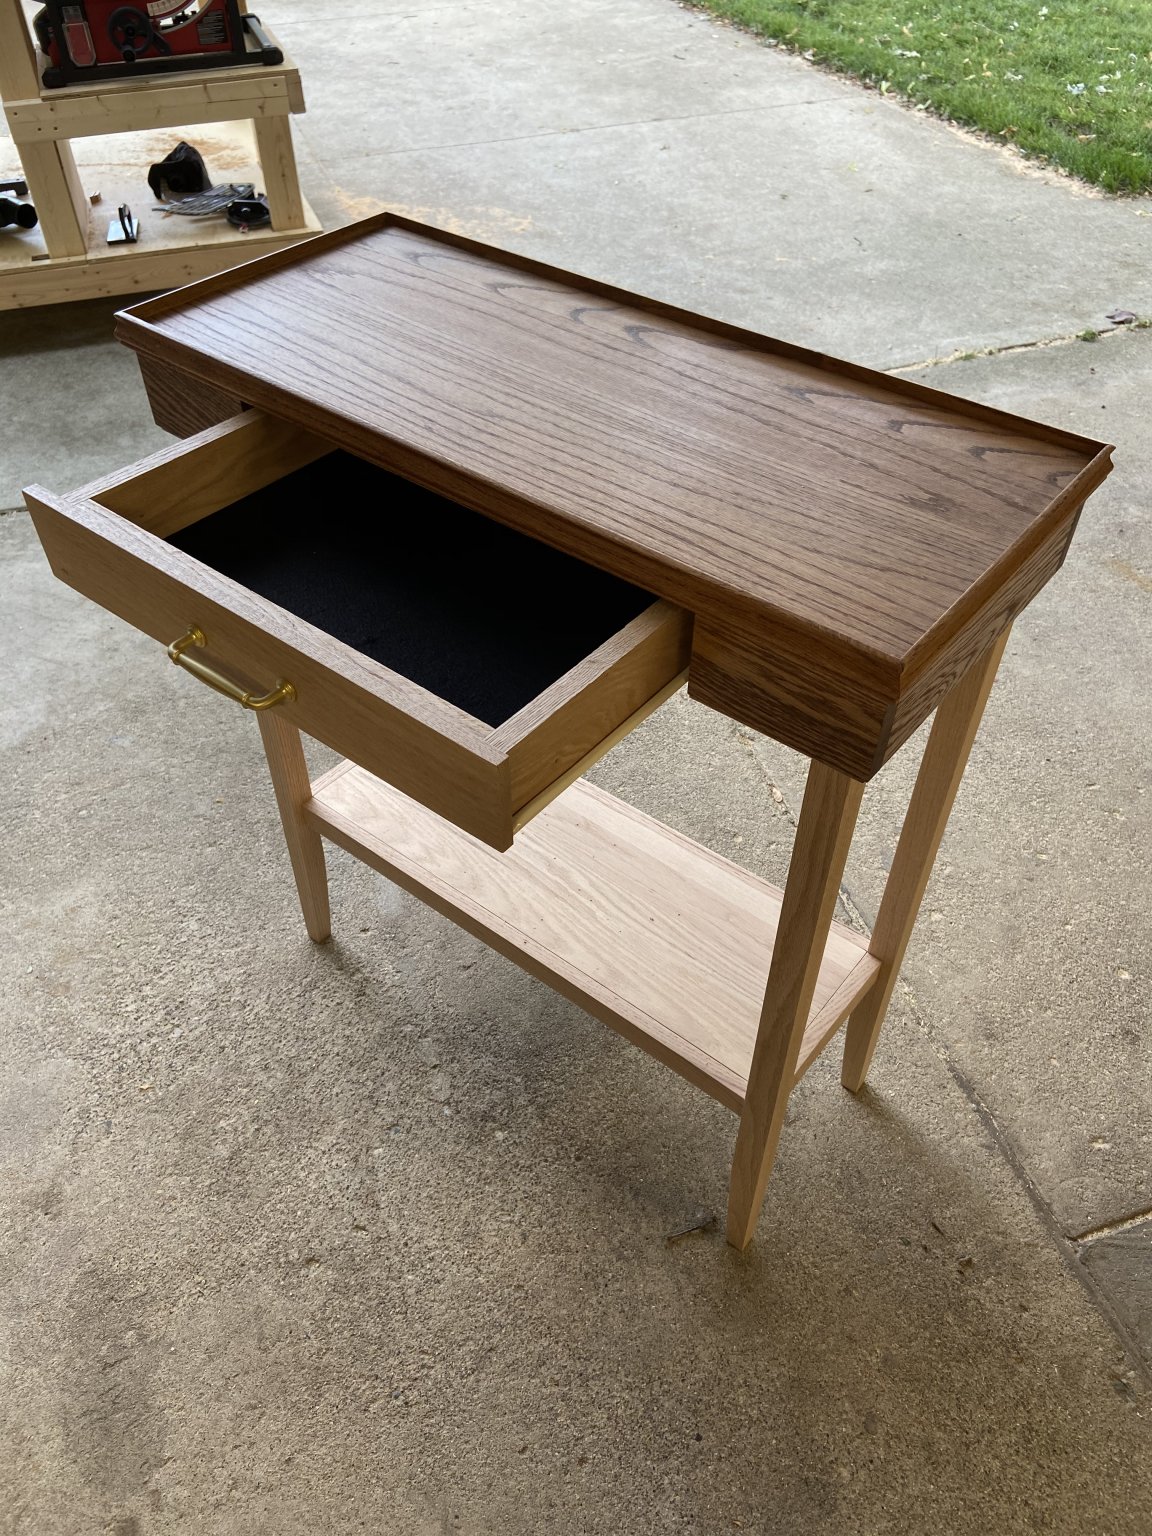
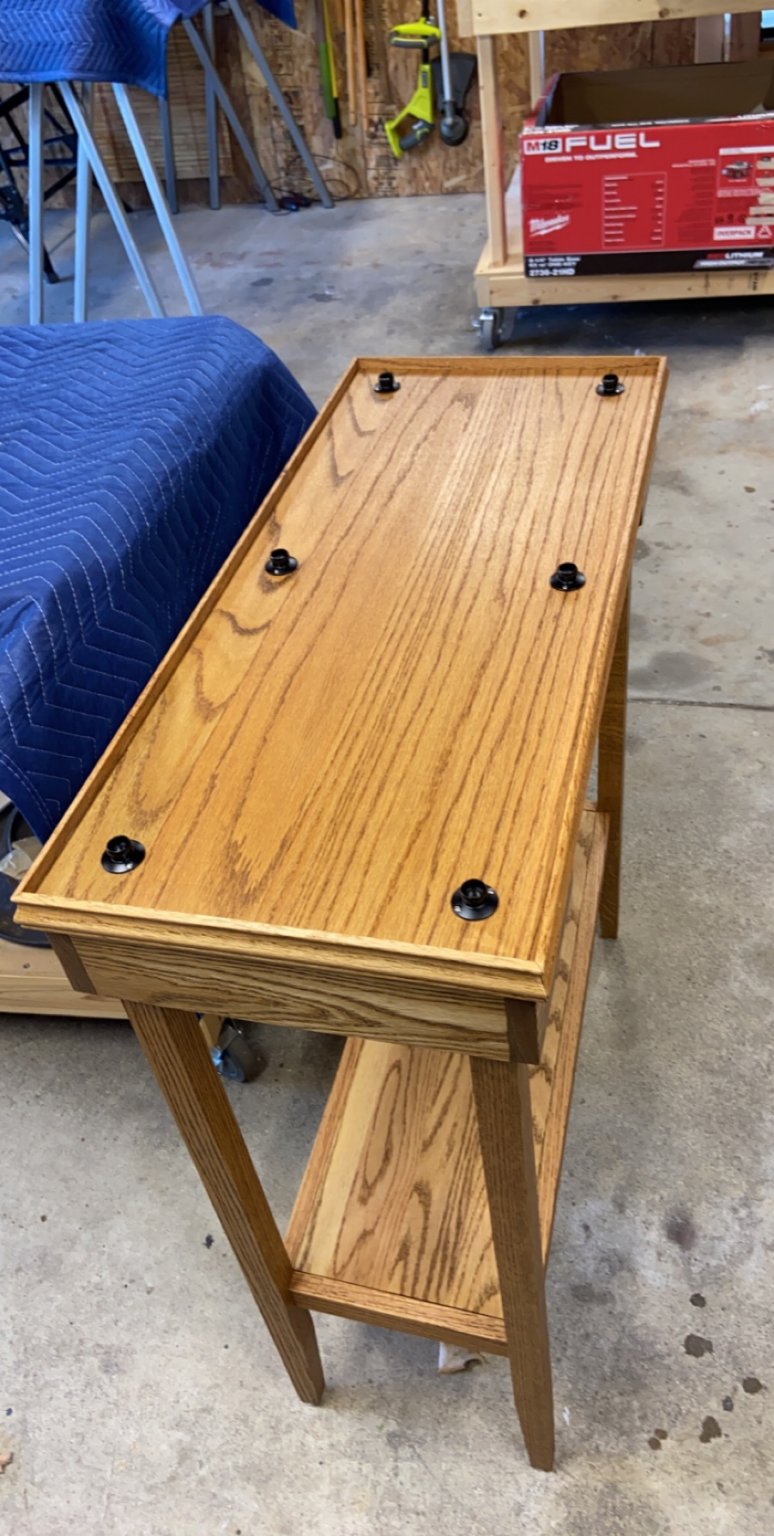
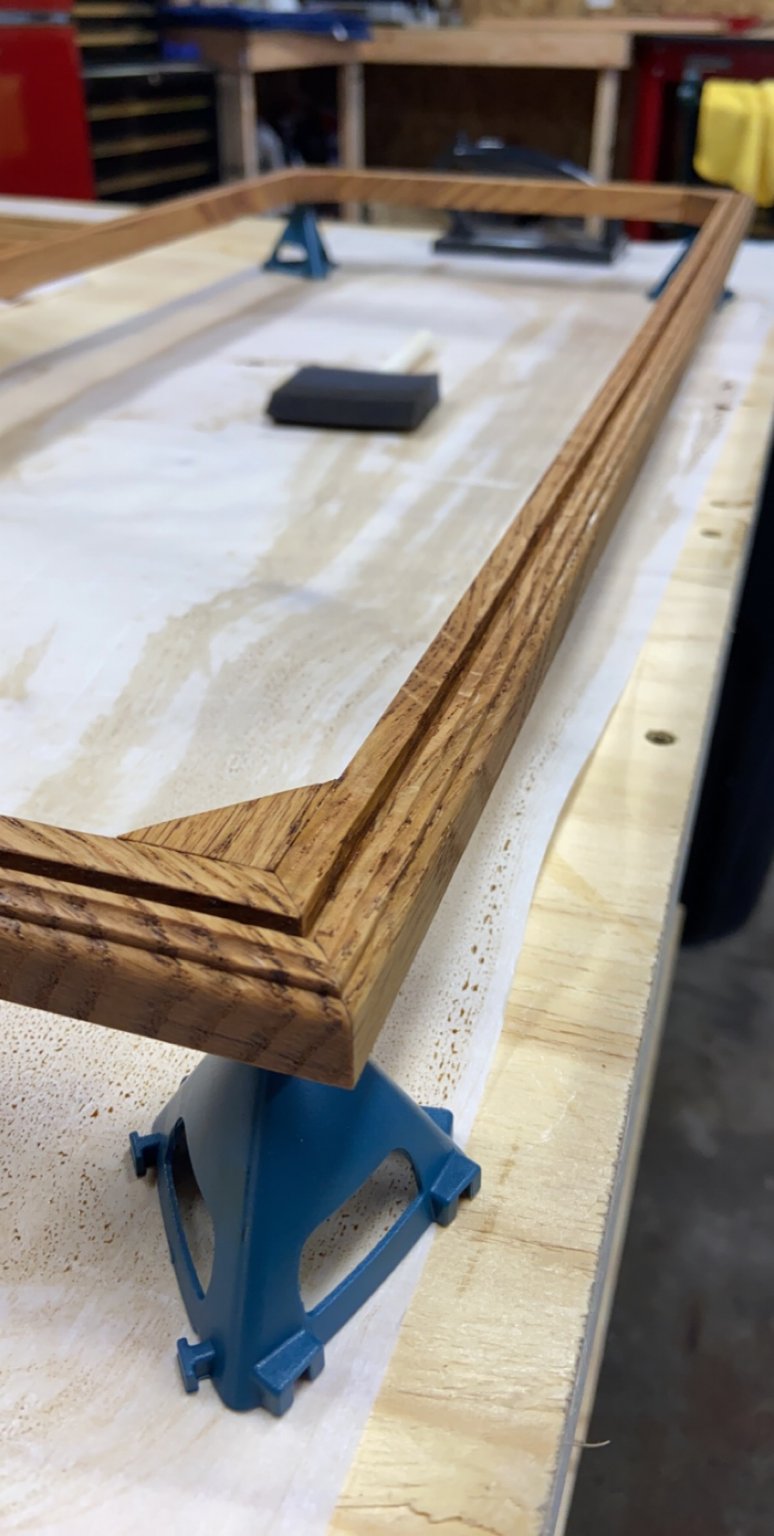
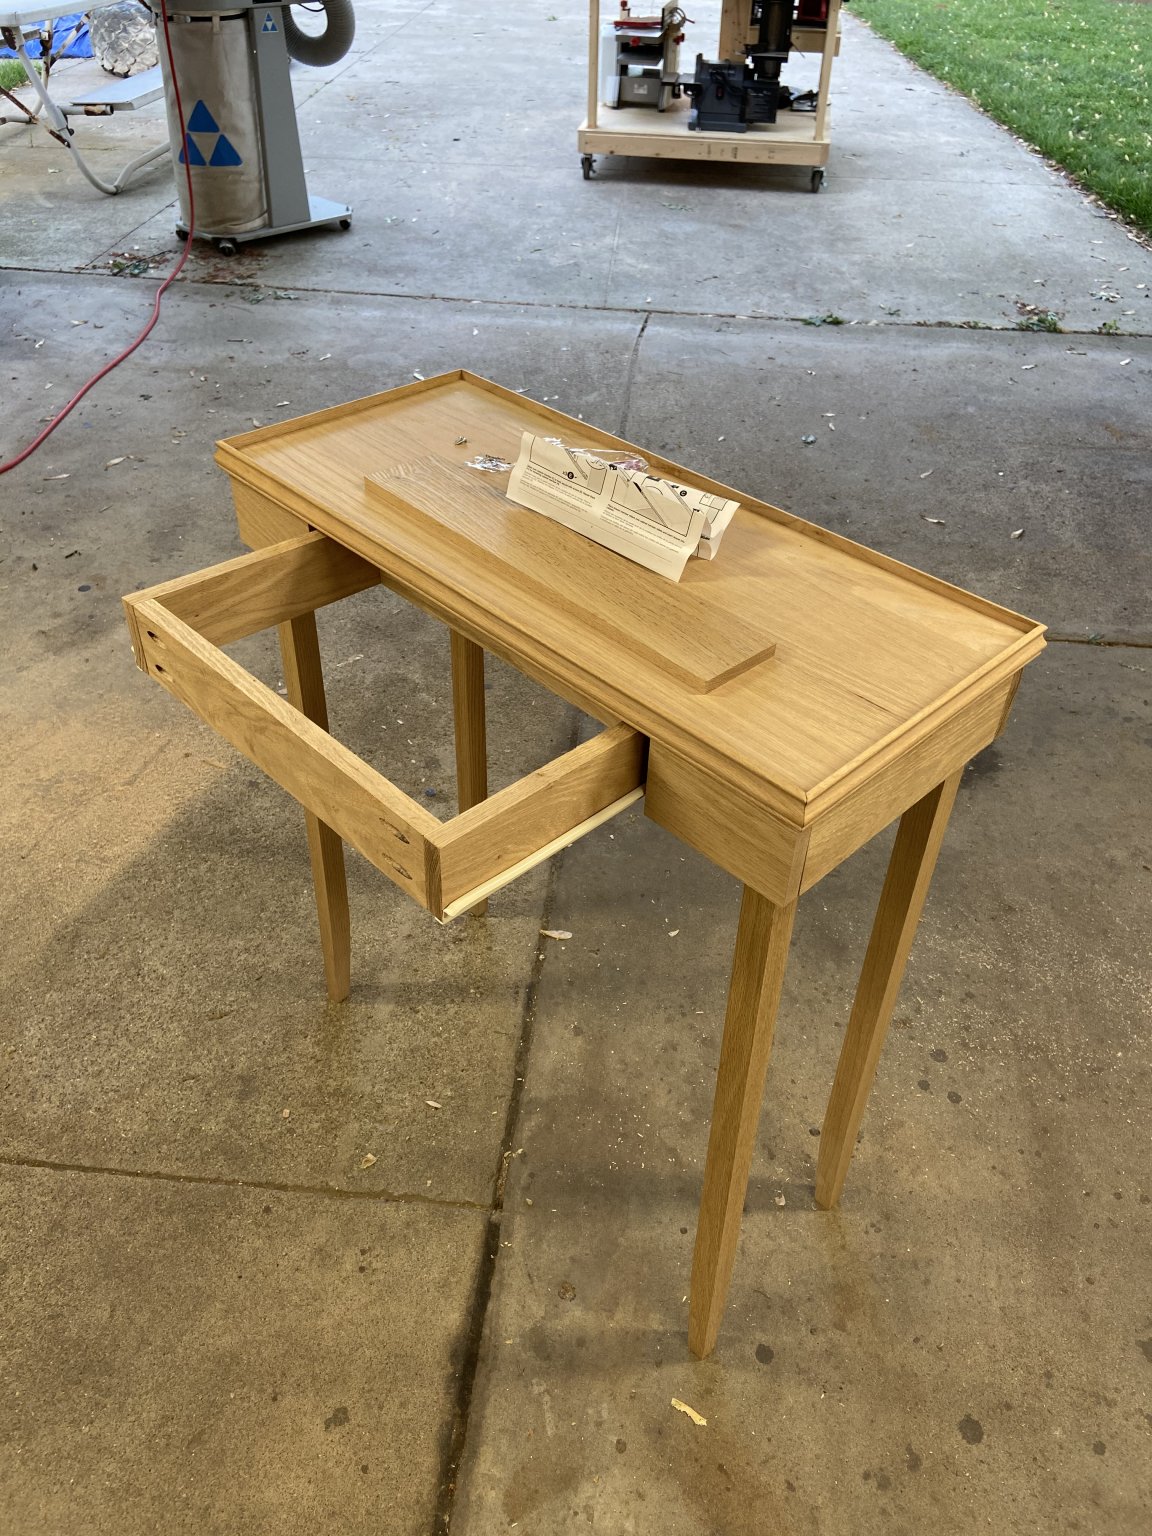
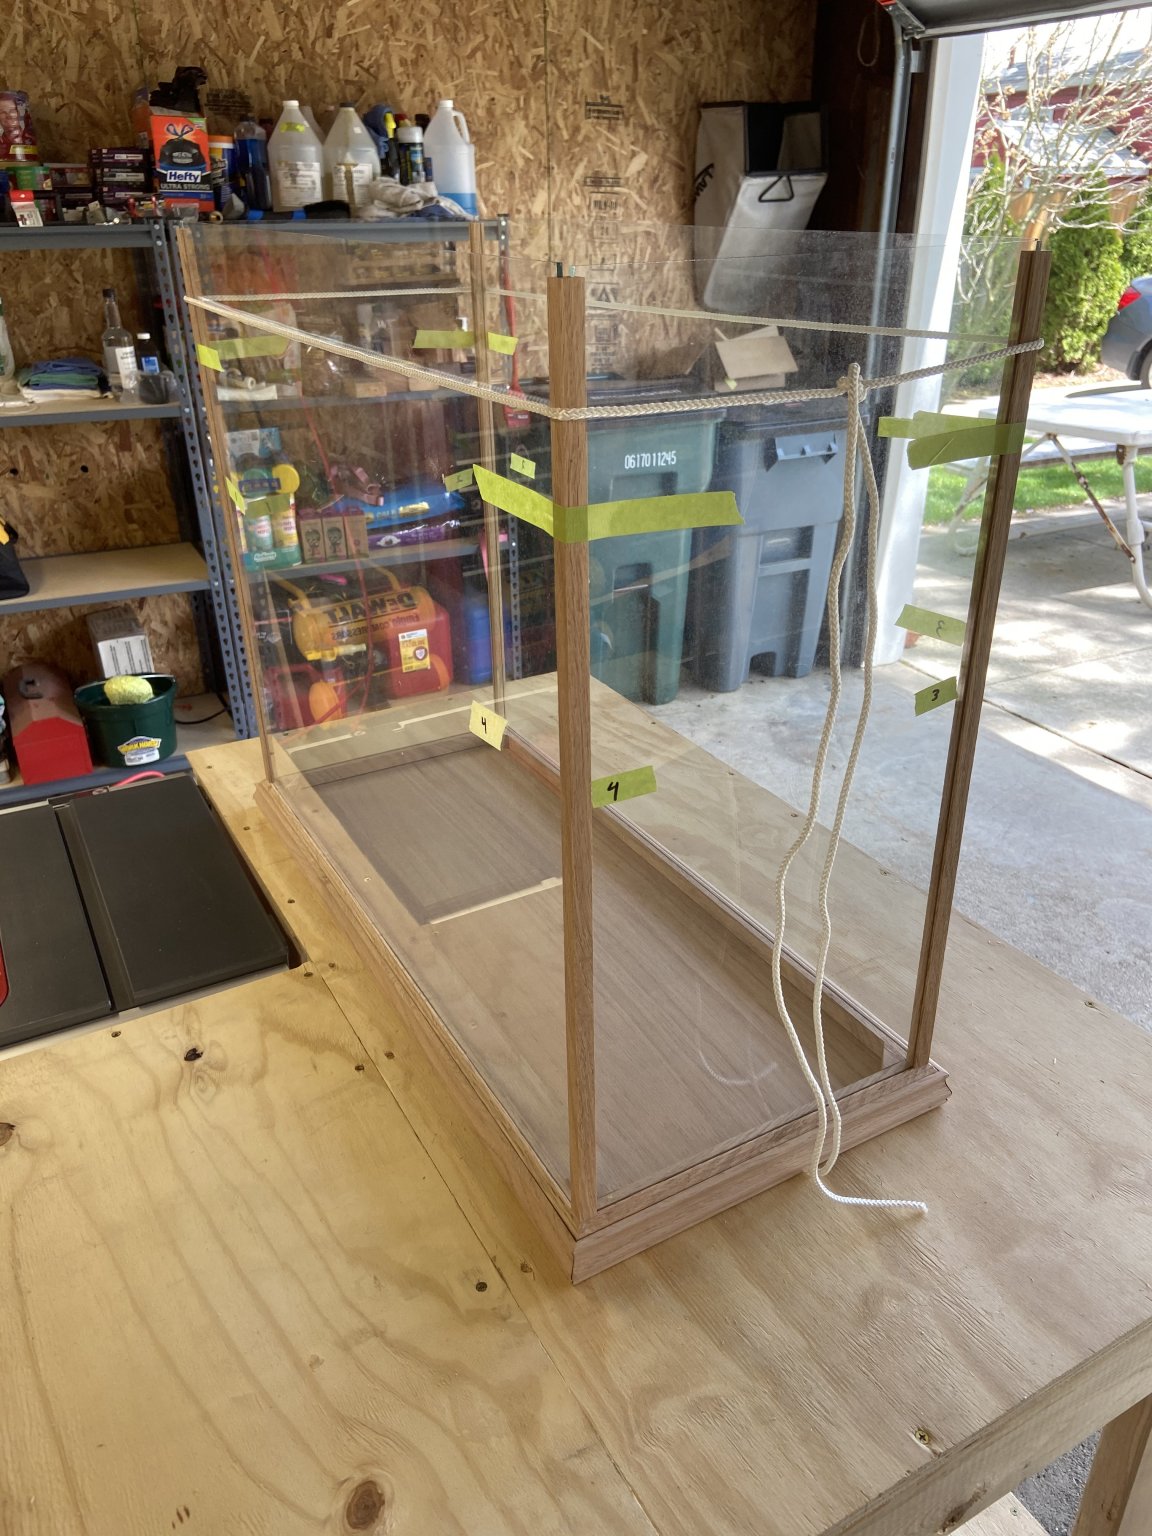
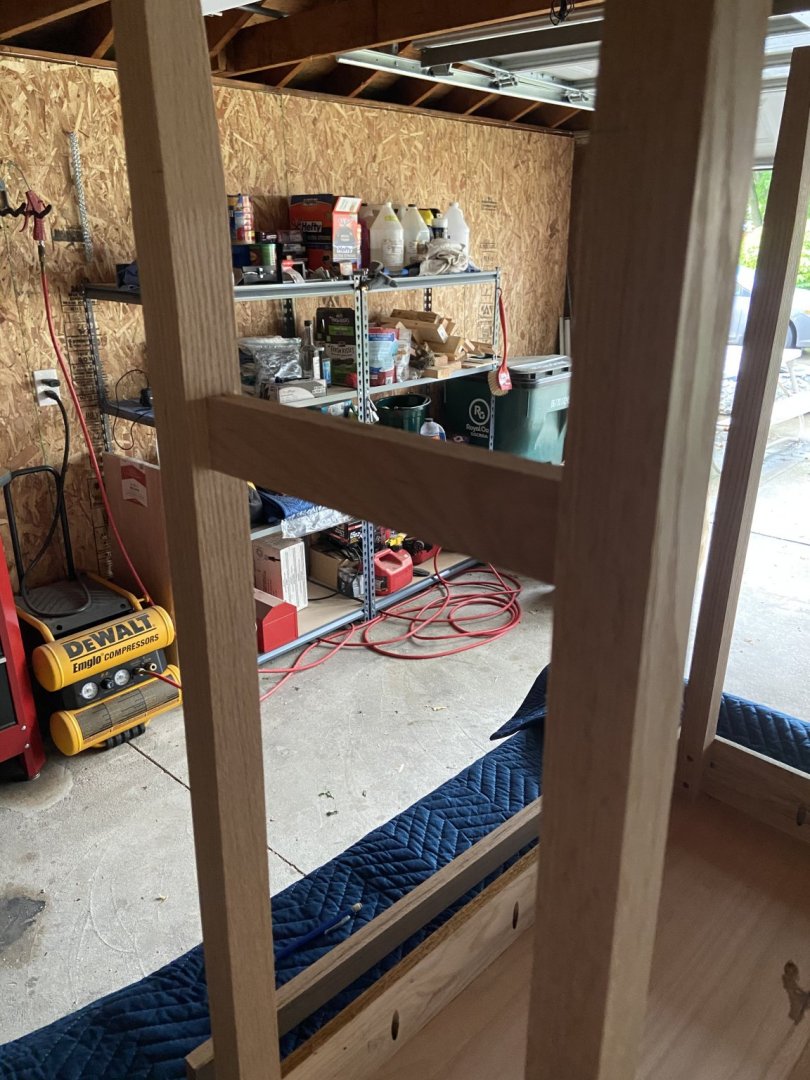
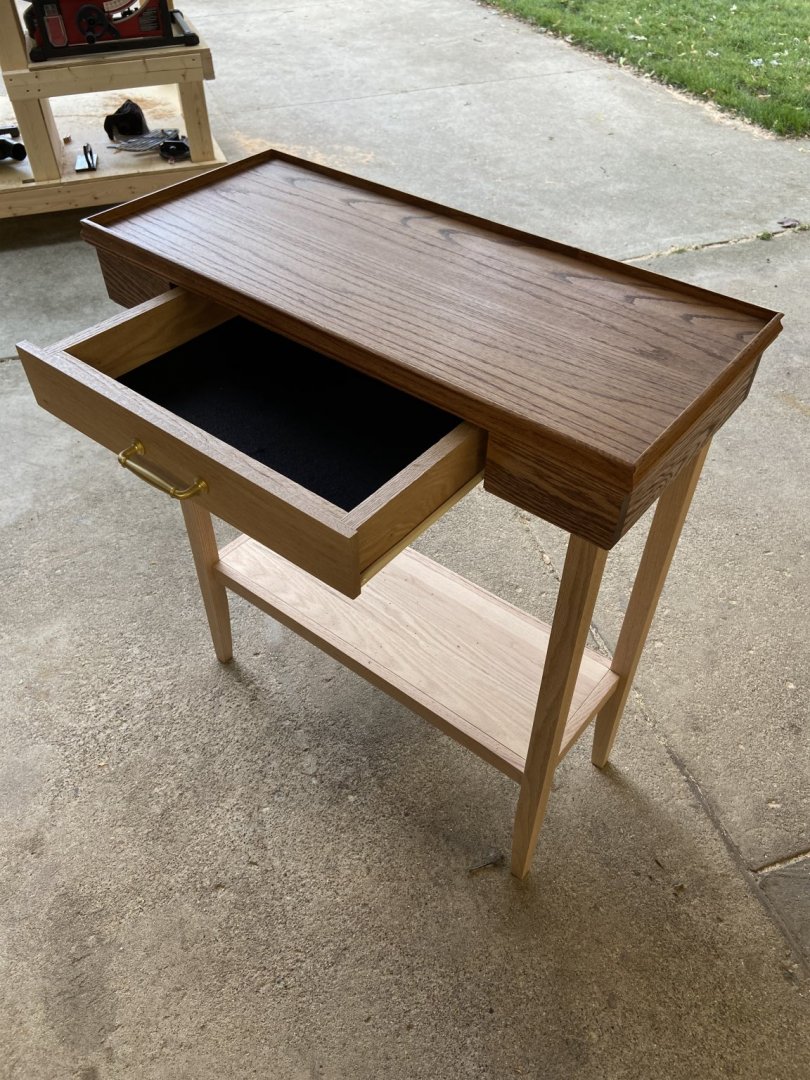
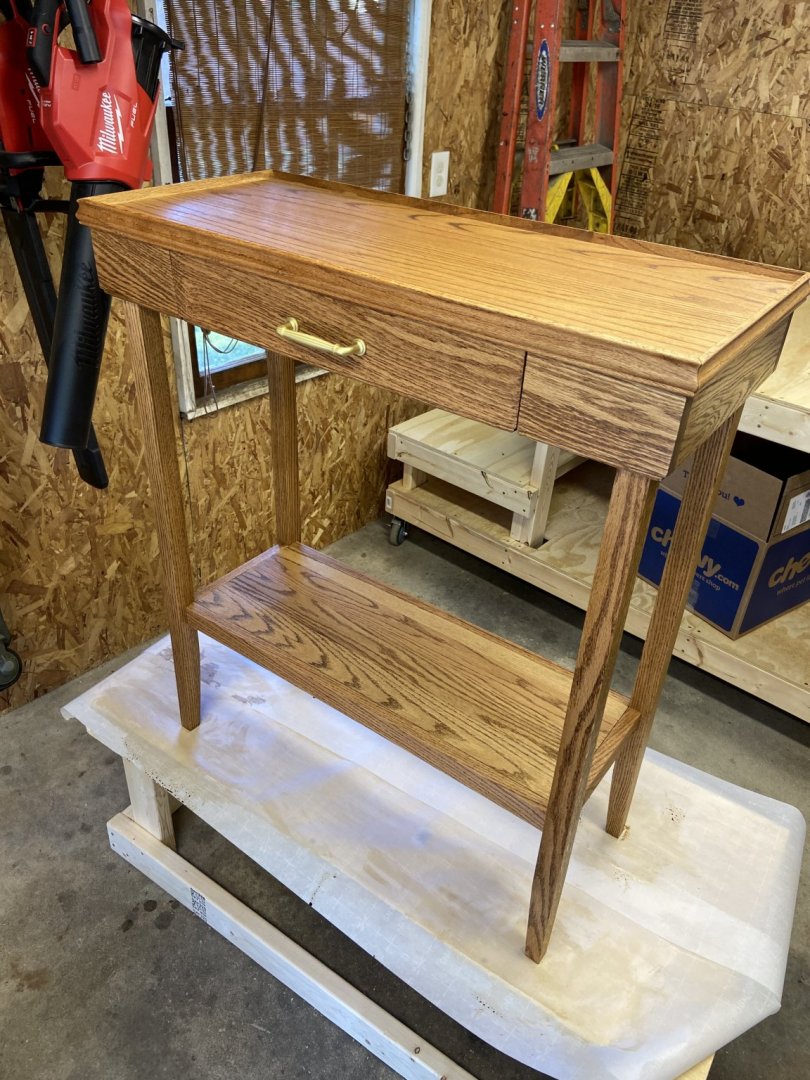
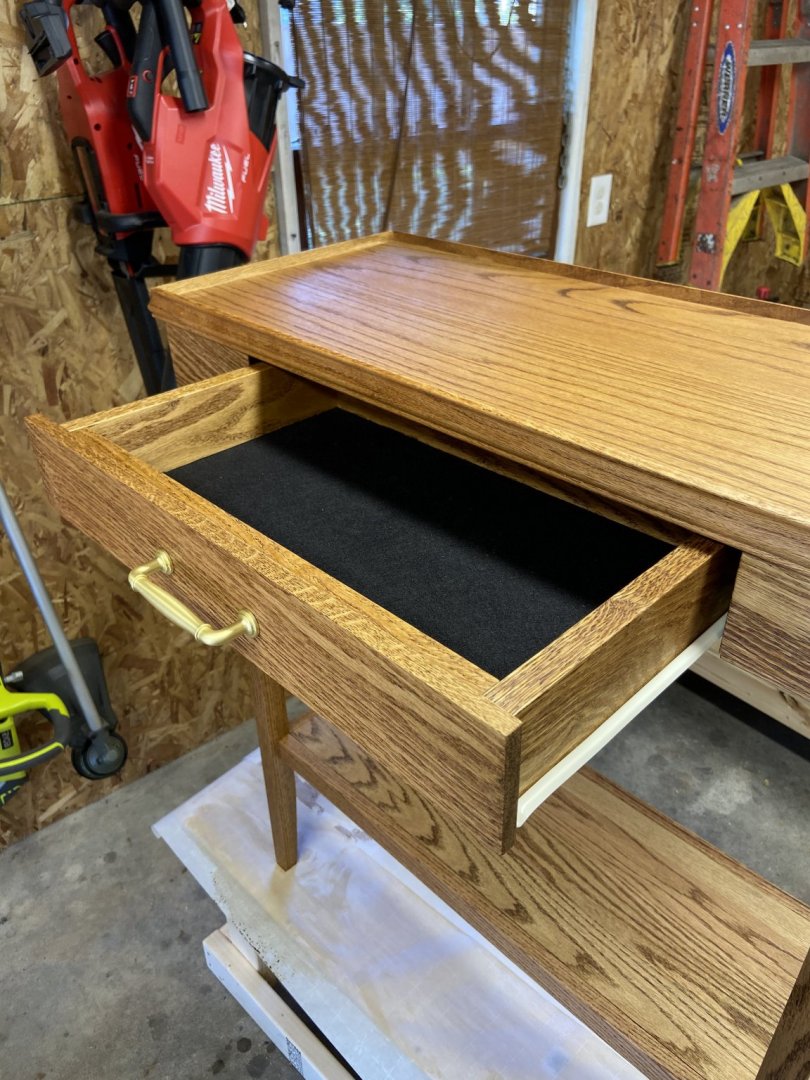
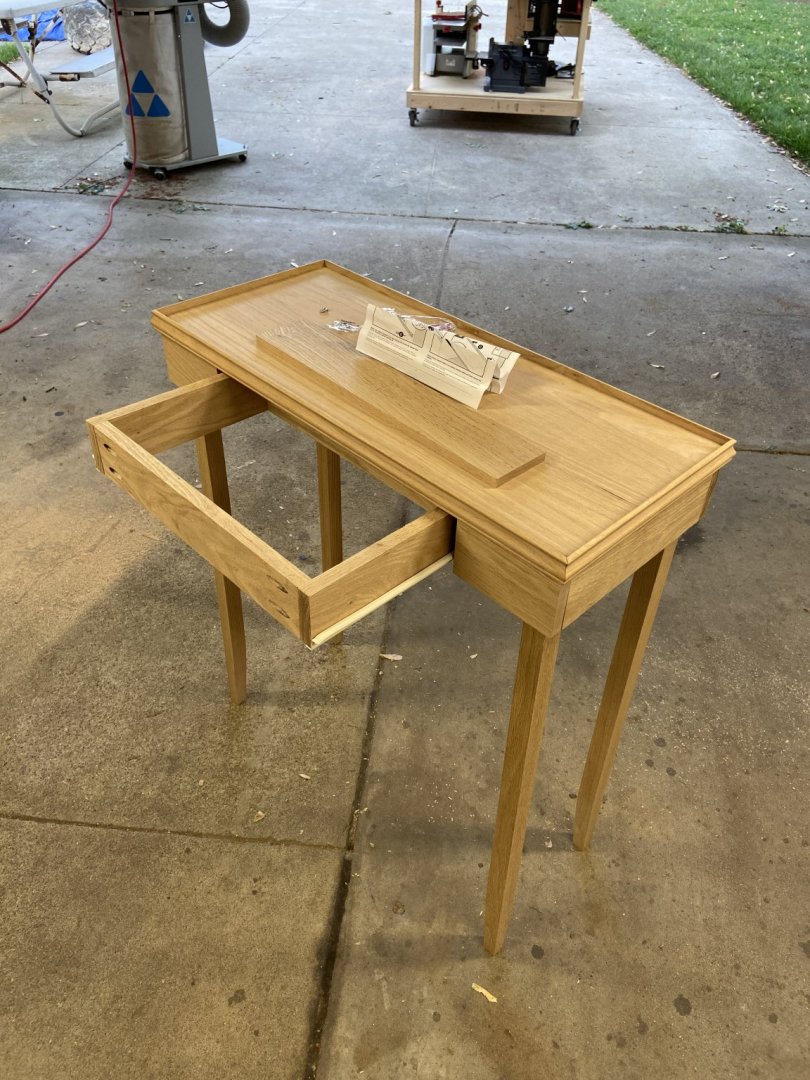
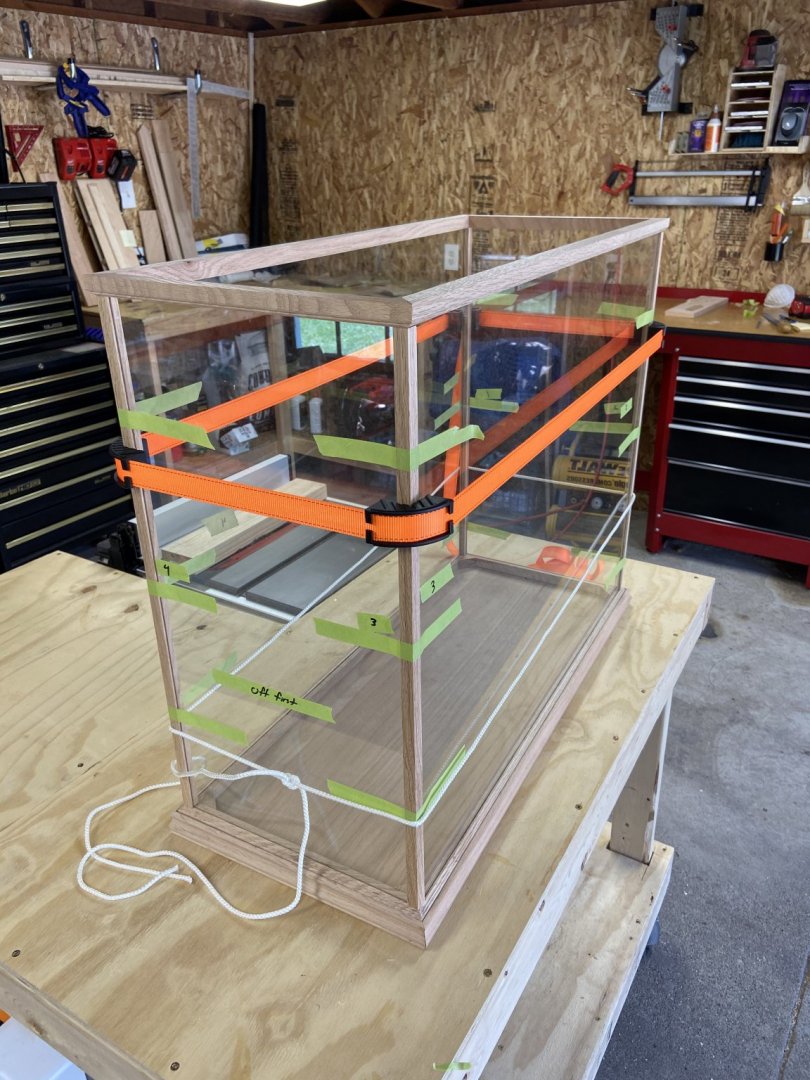
I chose to make the entire case outnof red oak and then stain it using 2 coats of golden oak with about 5 hours in between coats. Working on the base now, I’m a little torn on the overall design, mainly the height. As it sits now, it’s about bellybutton height where the boat will sit on the main base. At 14” wide, the overall center of gravity is going to be fairly high and I’m afraid it will be too unstable. I am currently debating on ways to essentially attach it to the wall it’s sitting against or make the entire case shorter, which would make the case less appealing as far as the “display” goes. that being said, before starting this post ~2 years ago I had never even used a table saw, so any errors or rookie moves, please let me know as I’m having a blast learning about wood working while in the process of ship building as well. It’s a great mental break from work.

- 88 replies
-
- 3
-
-
- finished
- artesania latina
- (and 1 more)
-
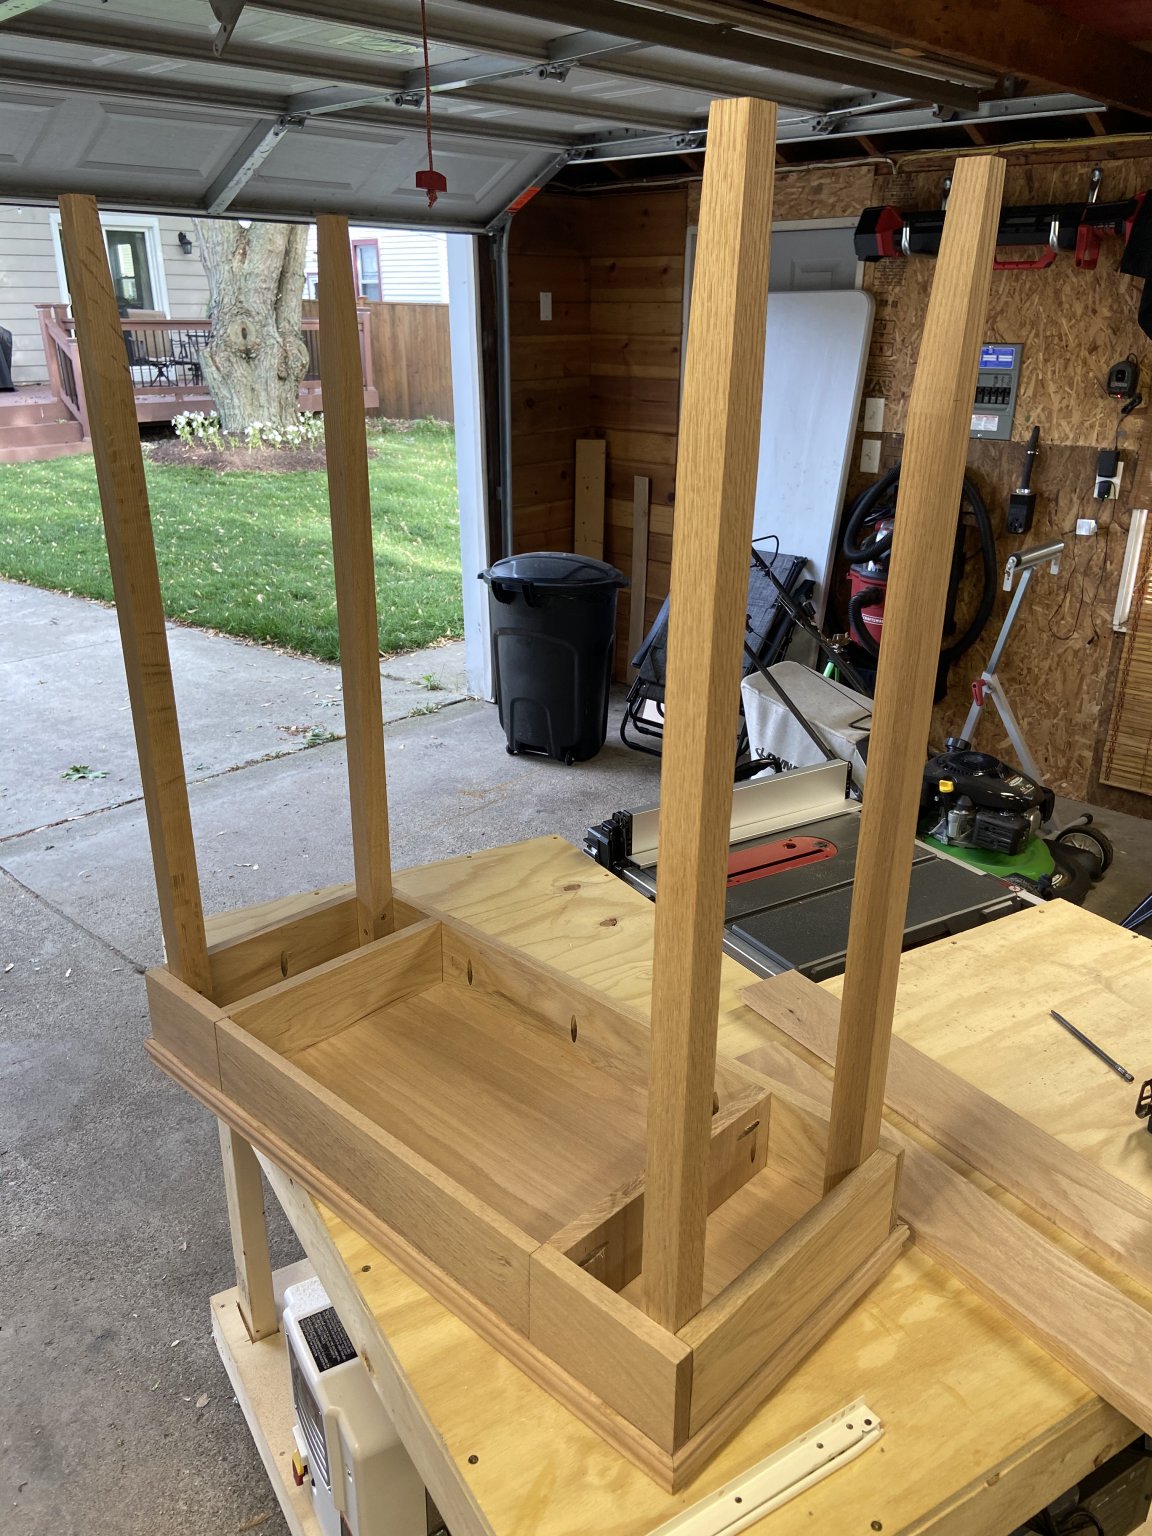
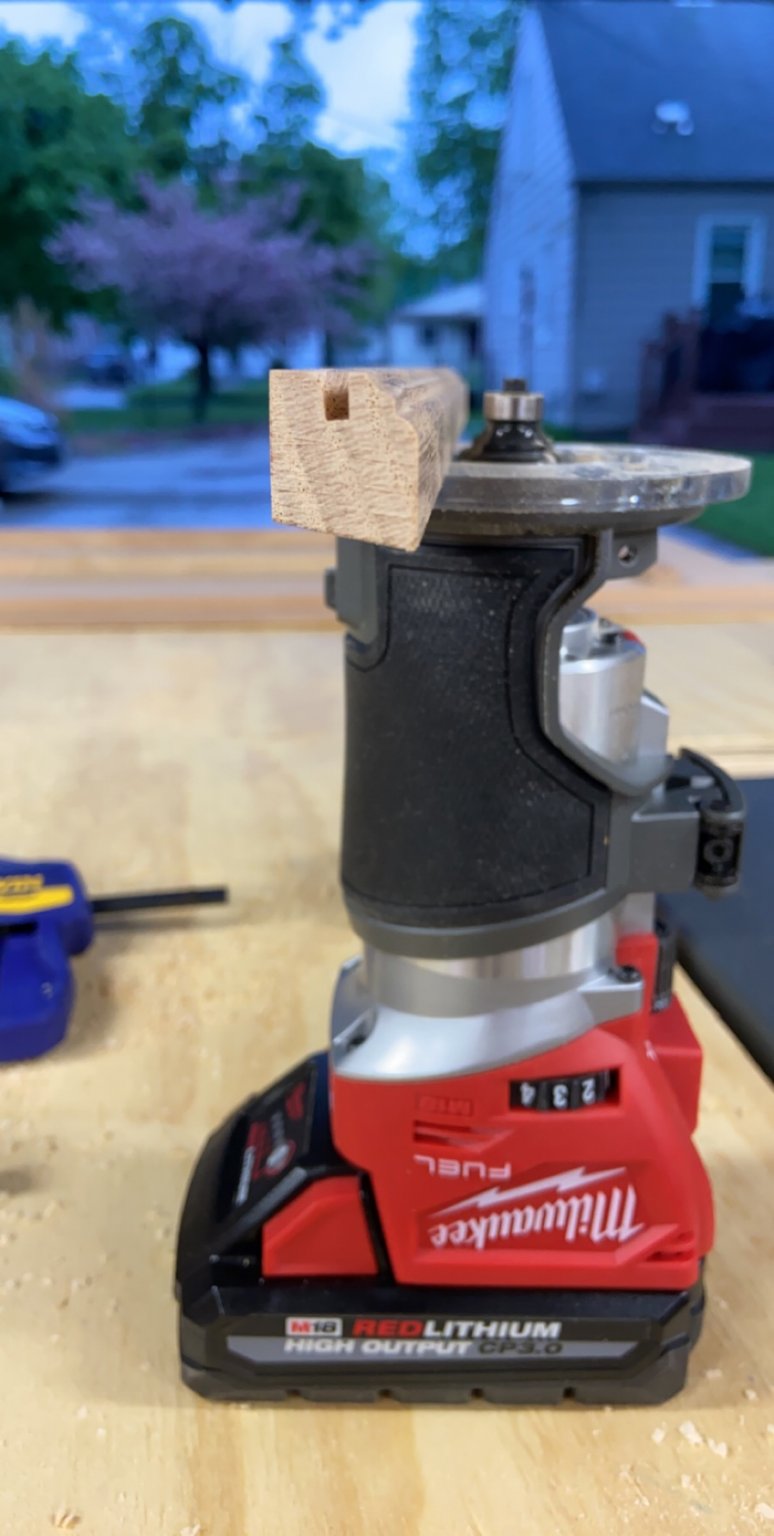
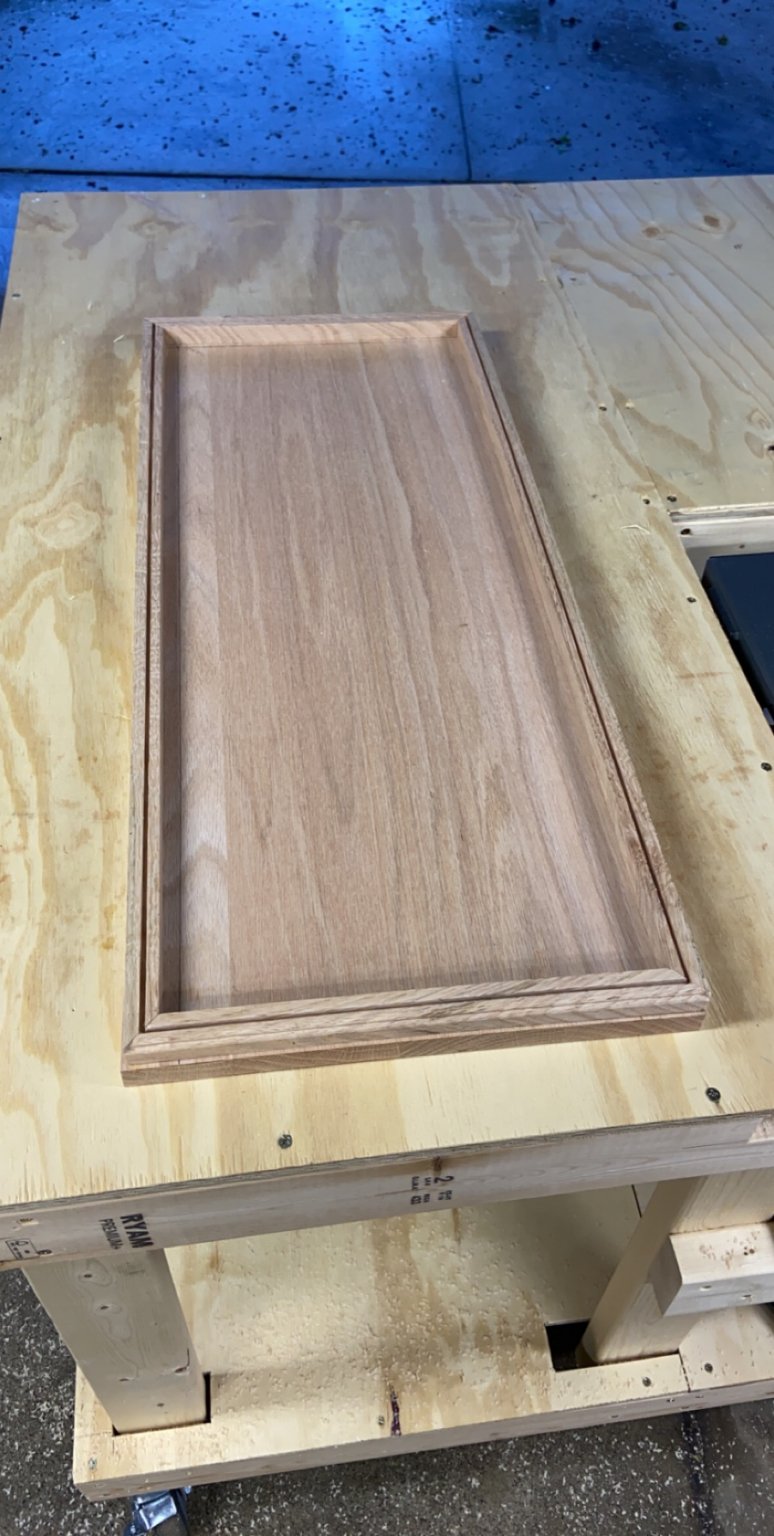
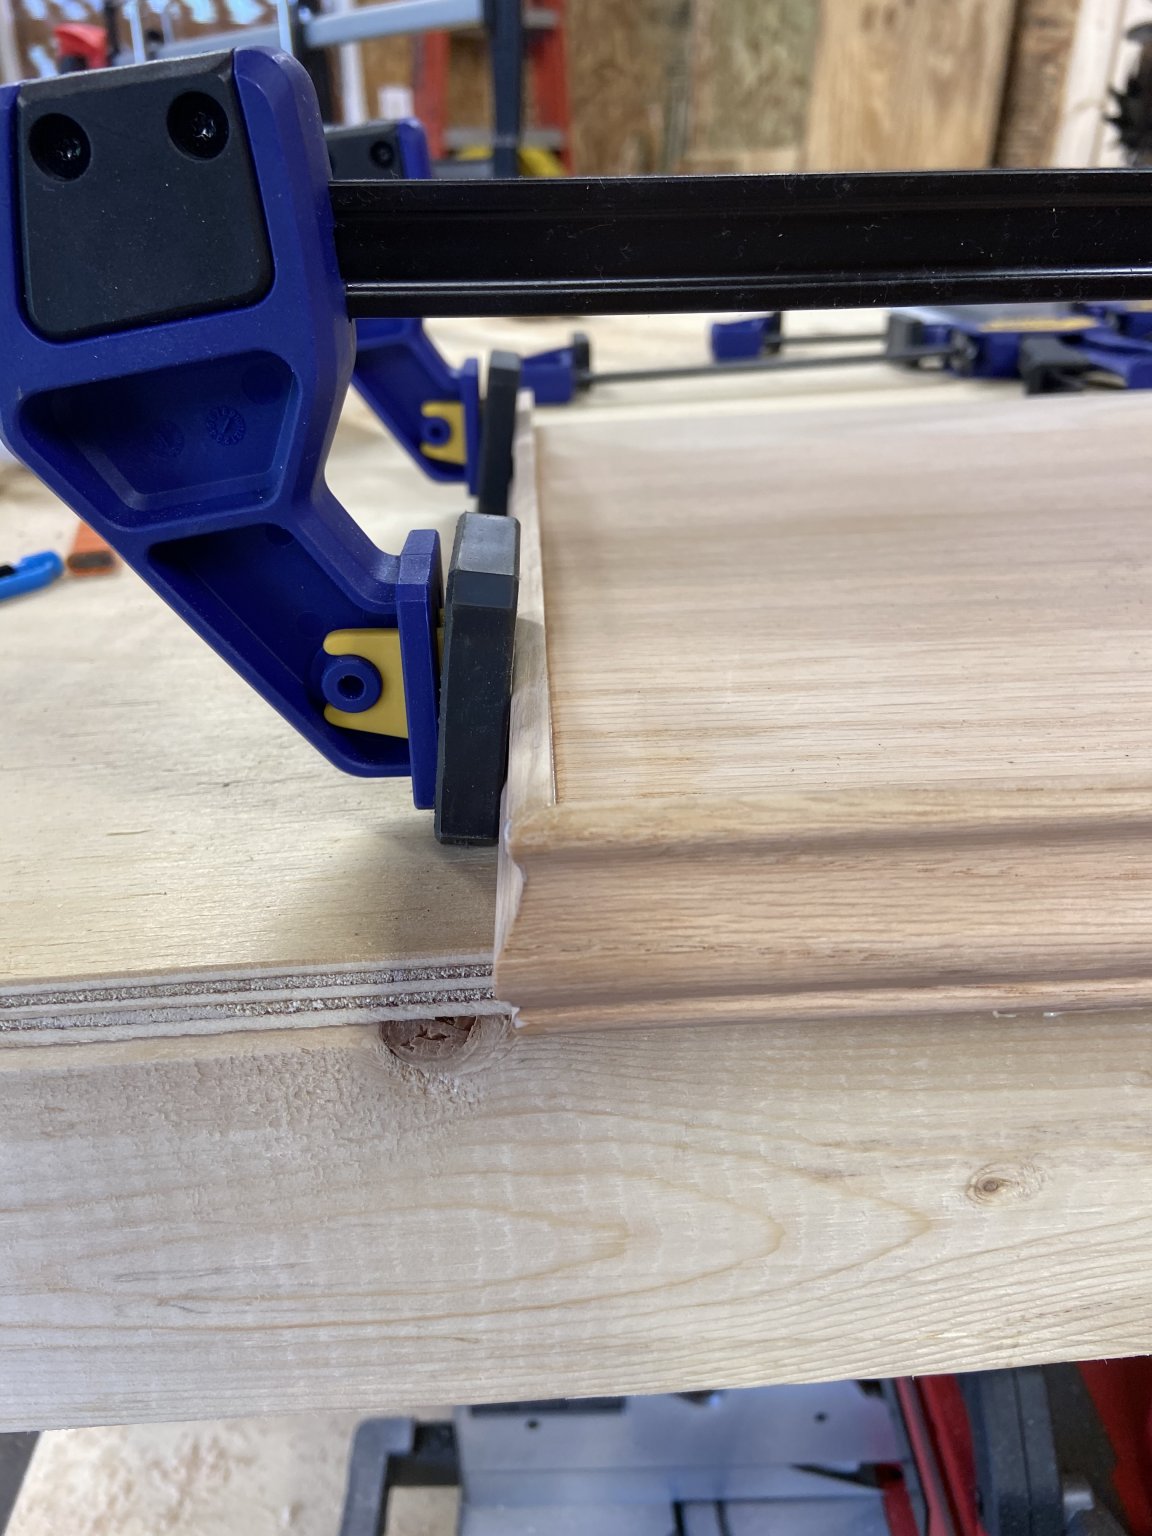
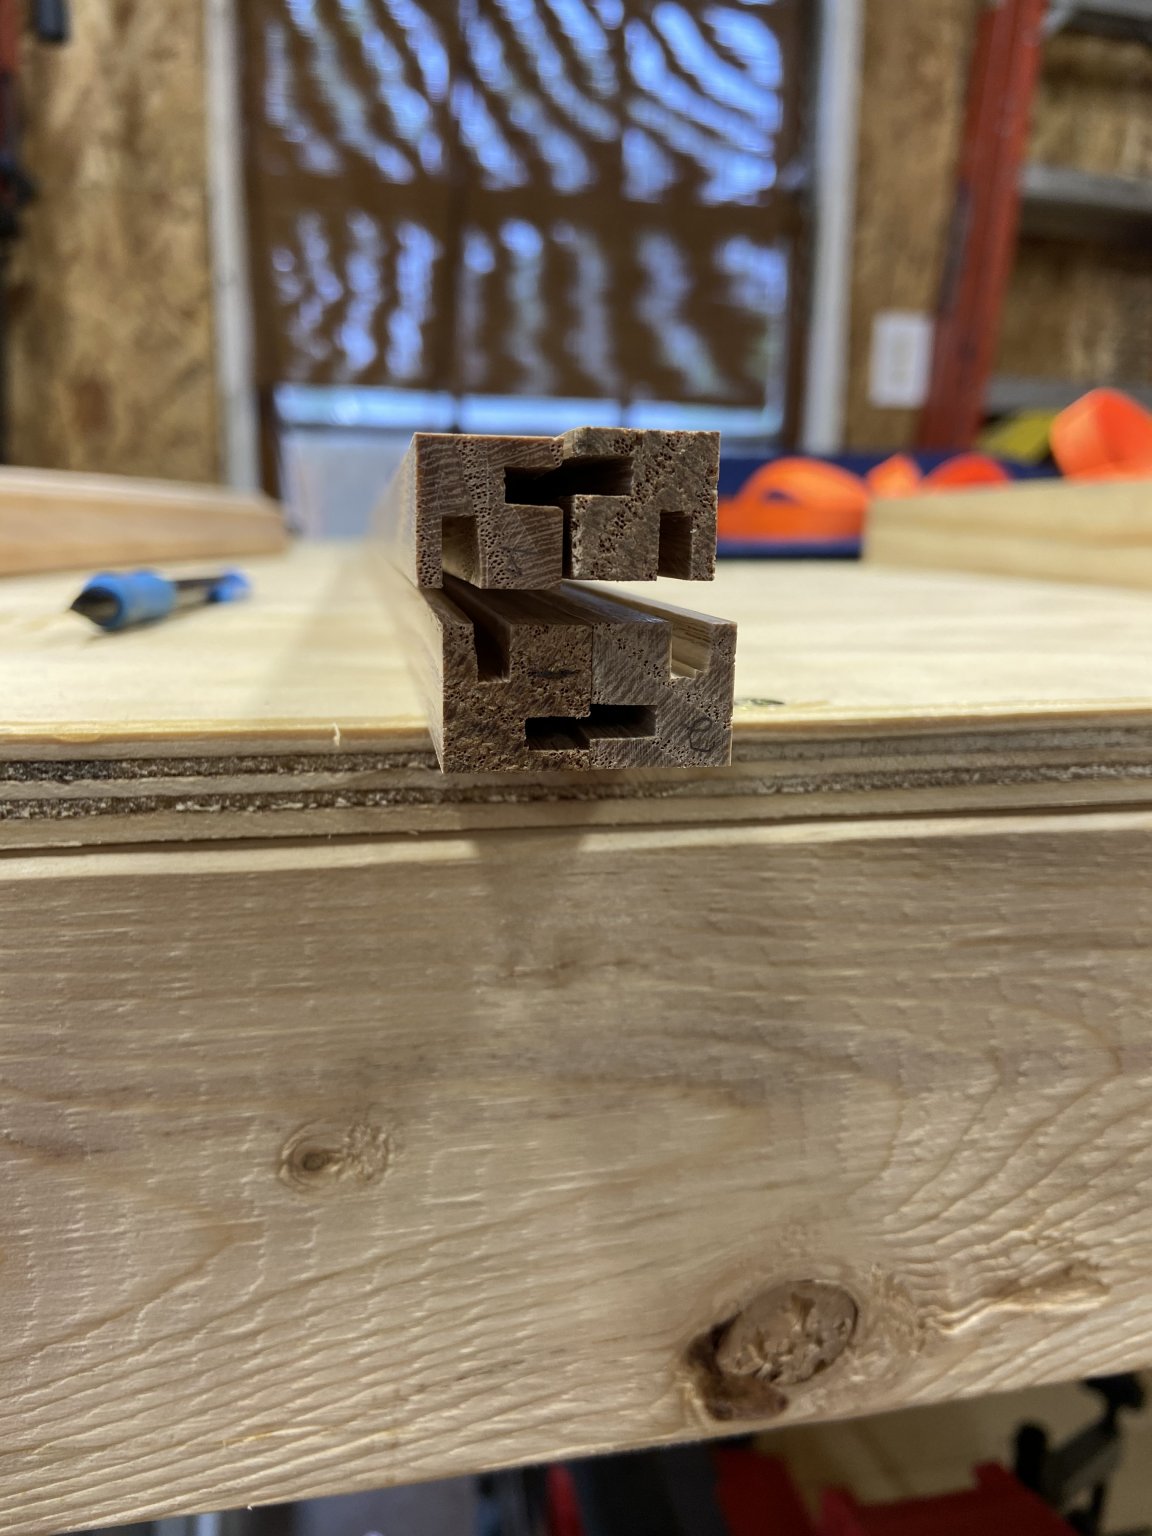
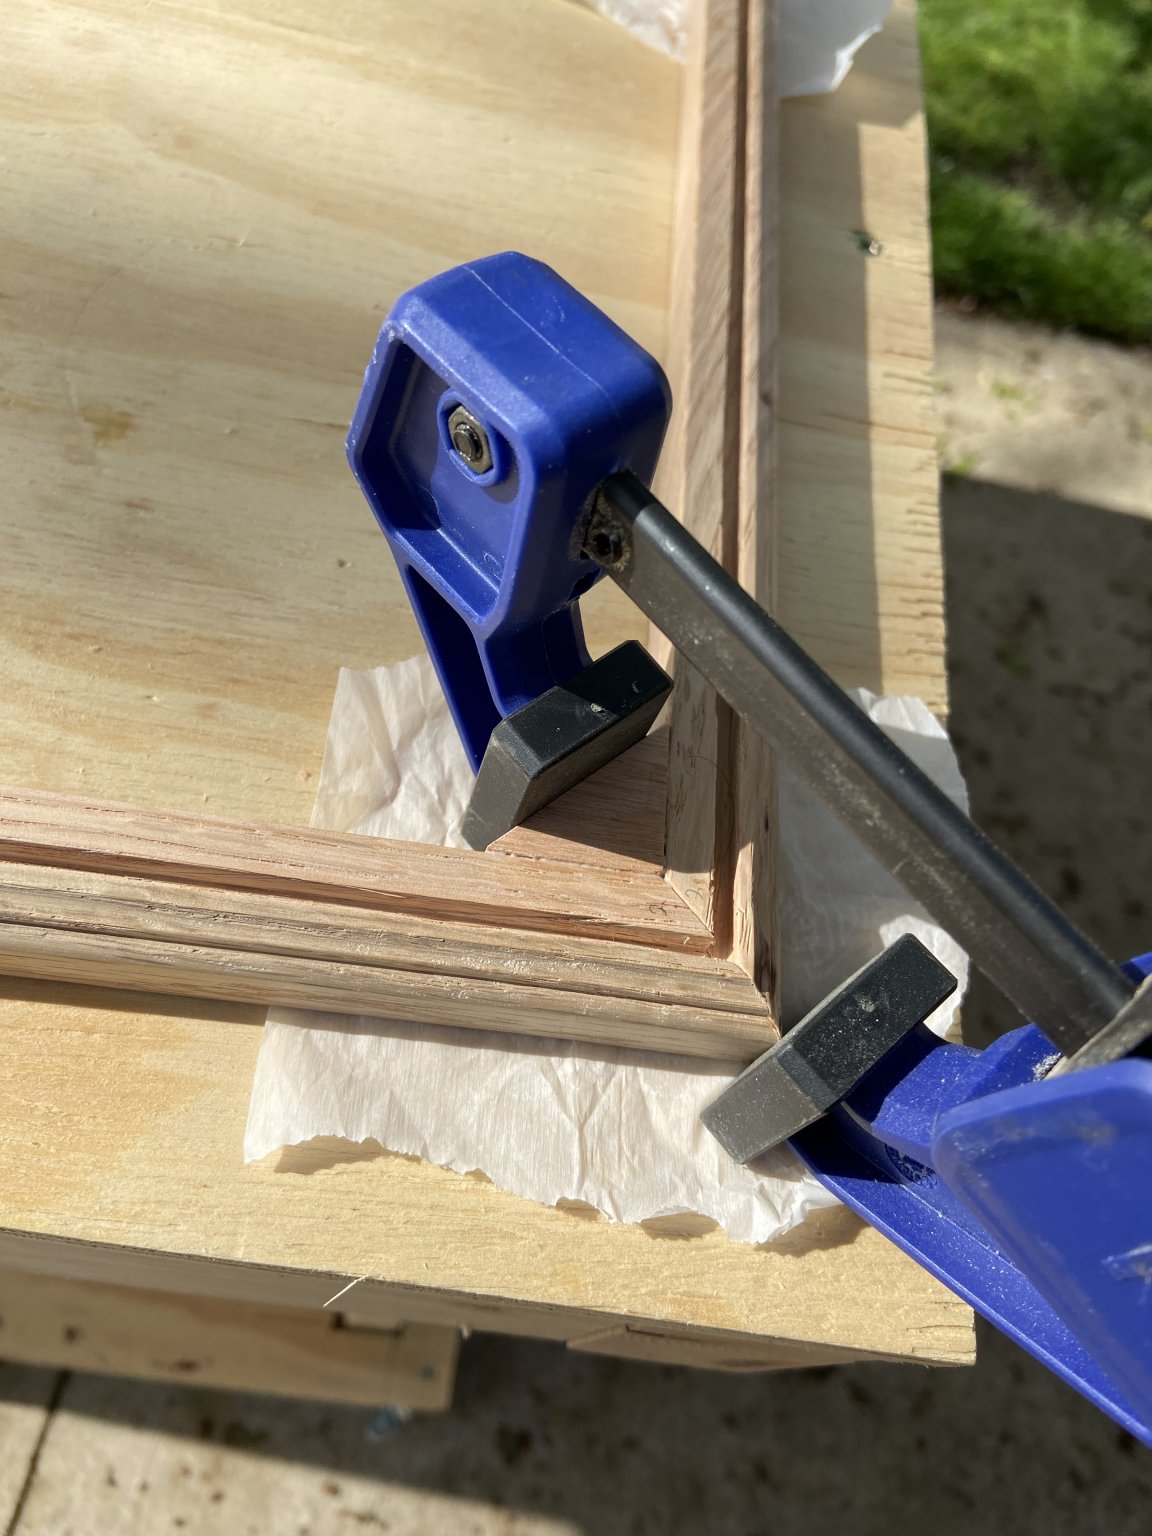
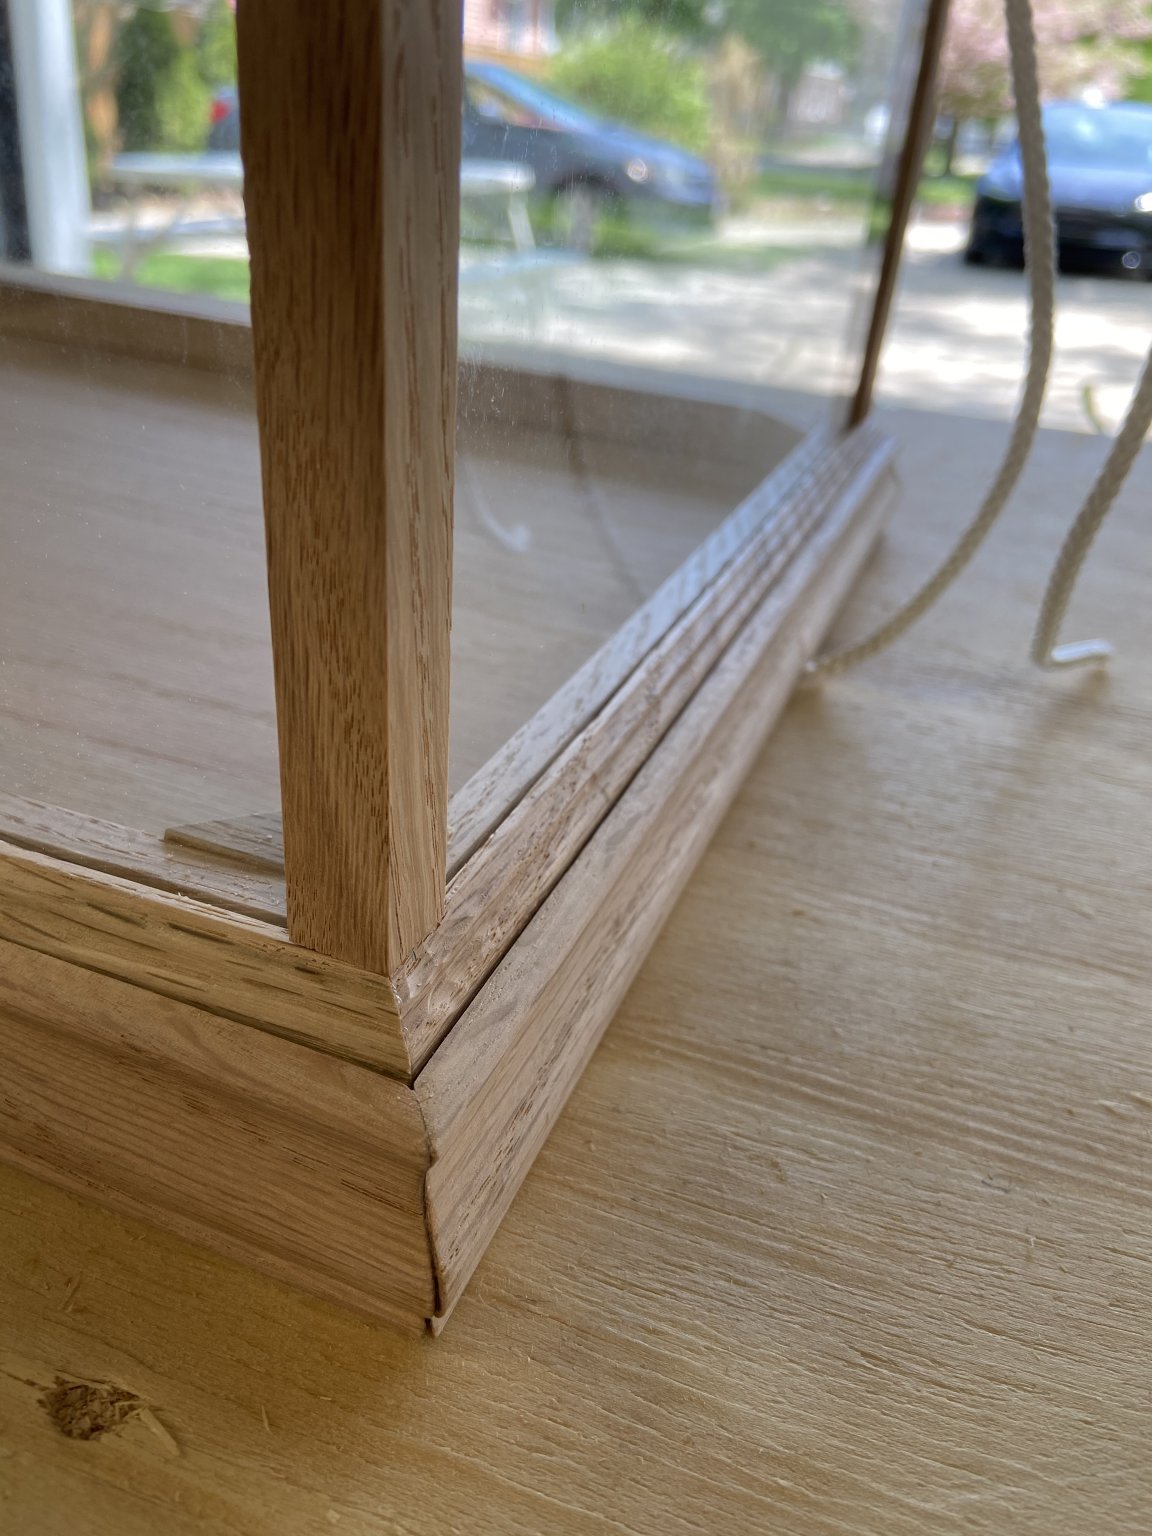
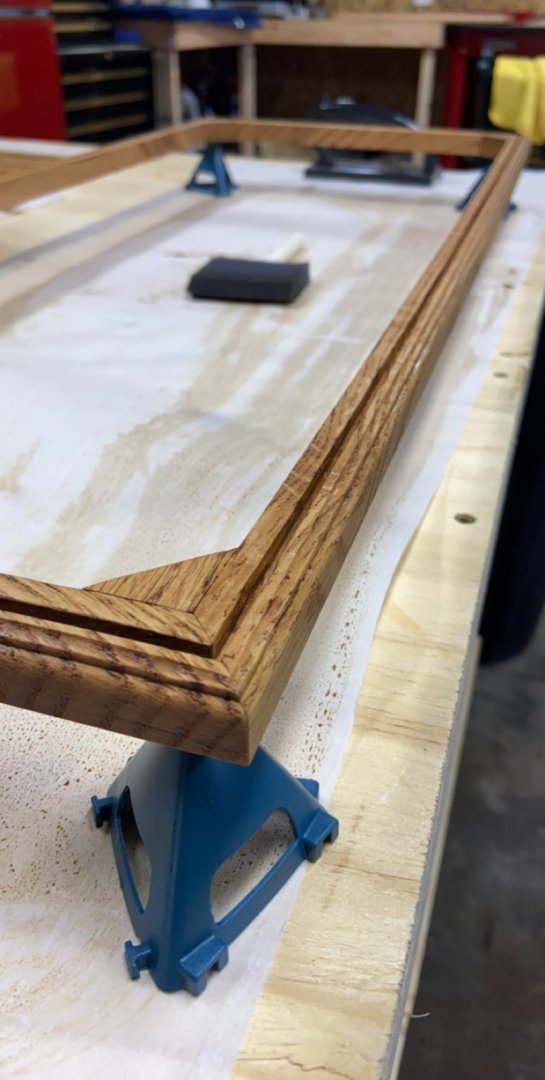
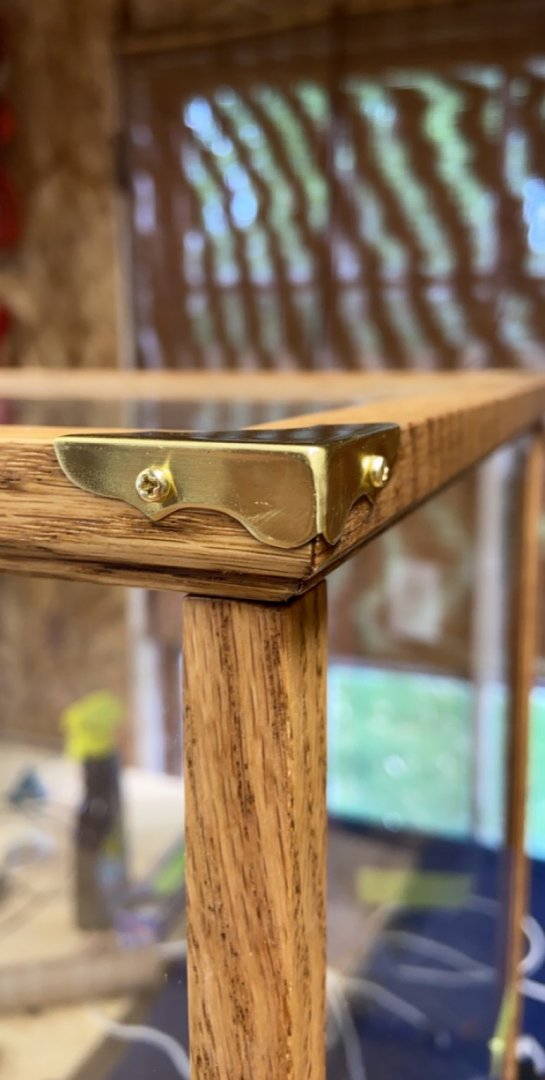
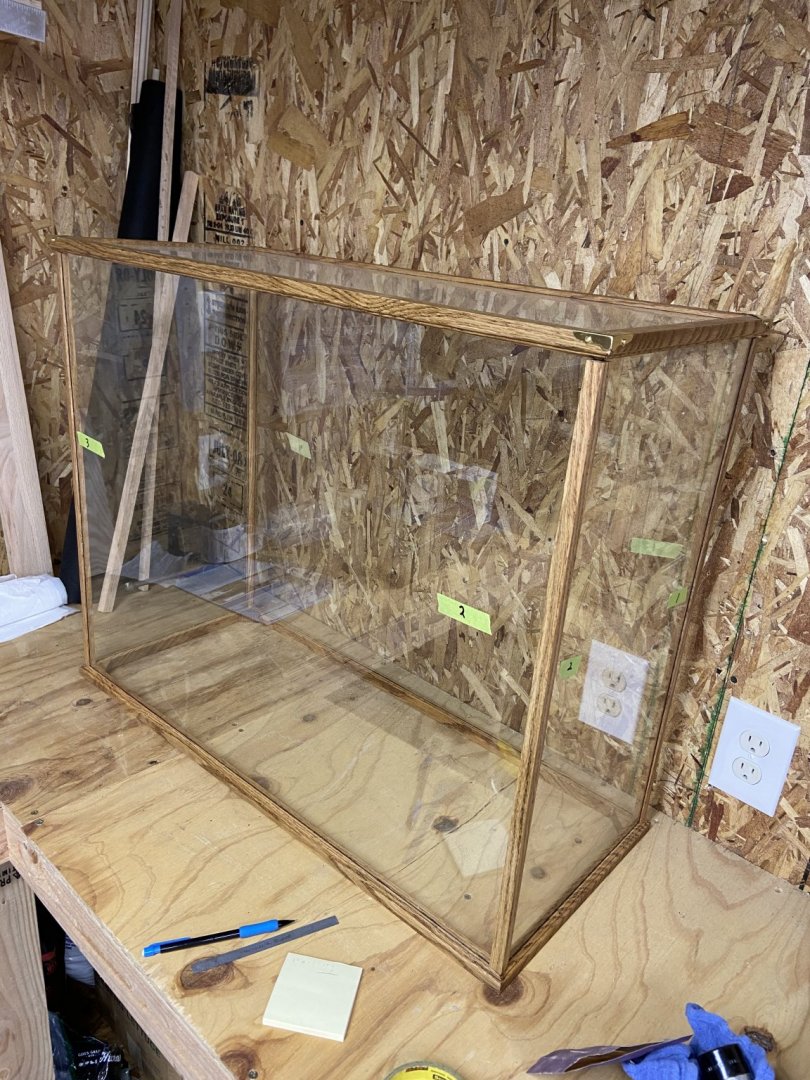
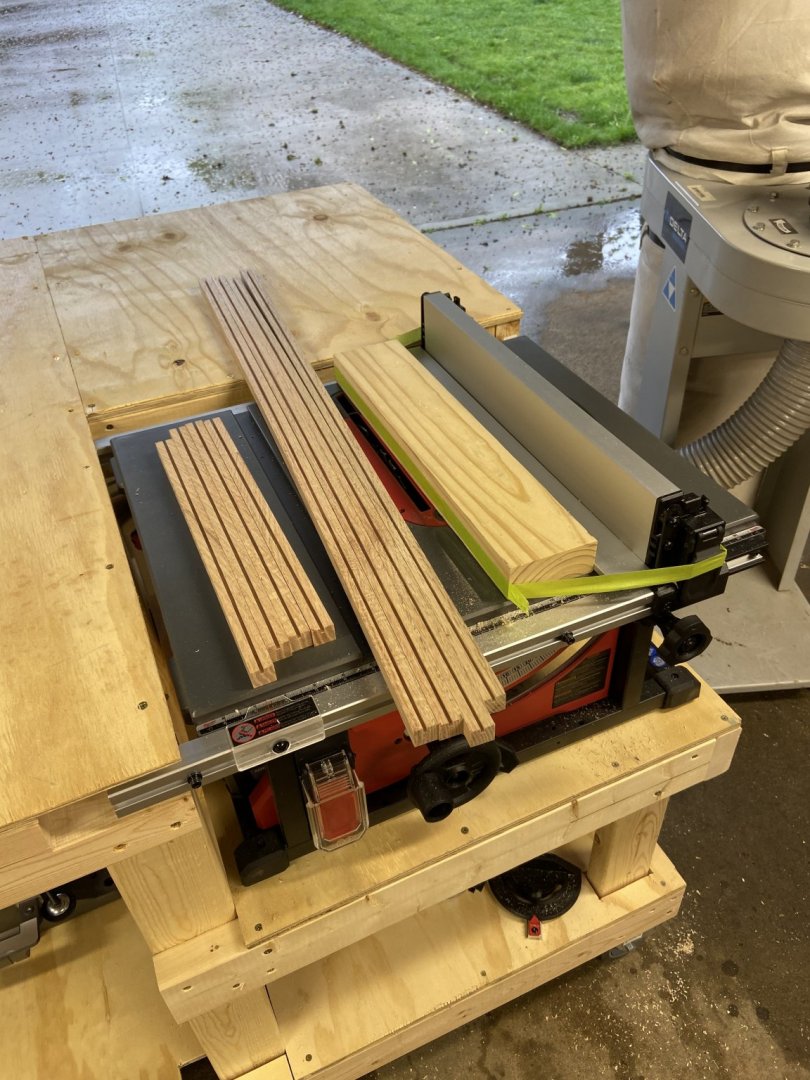
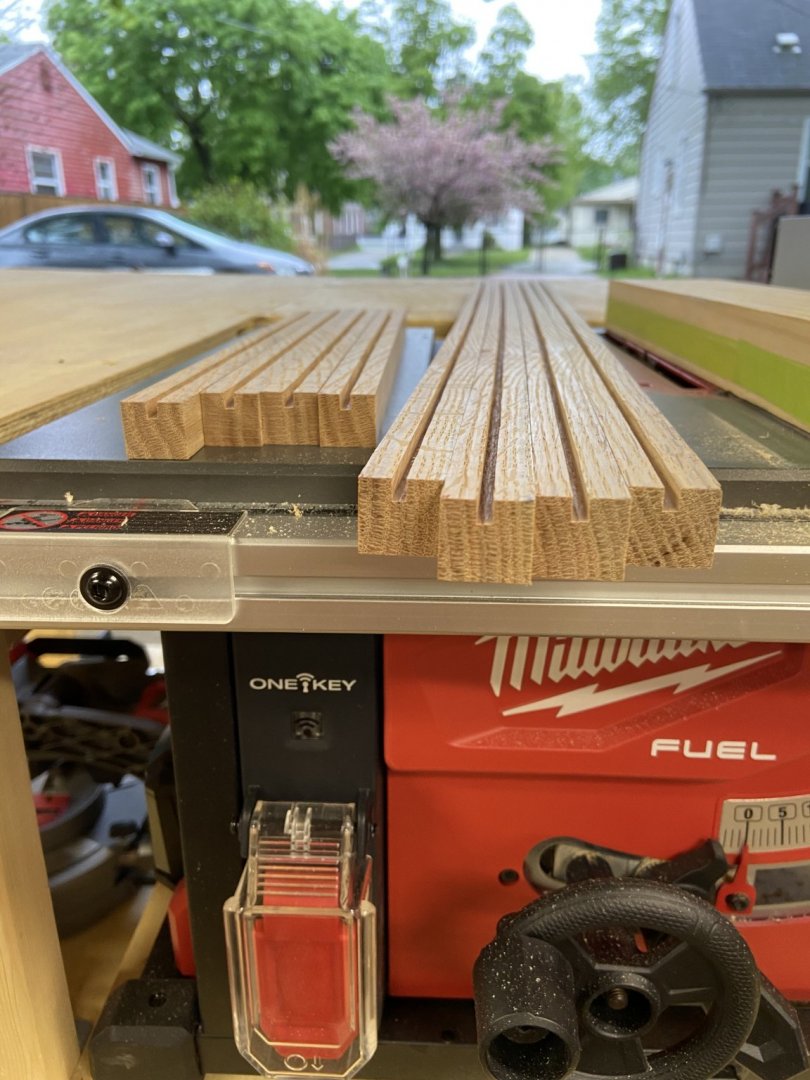
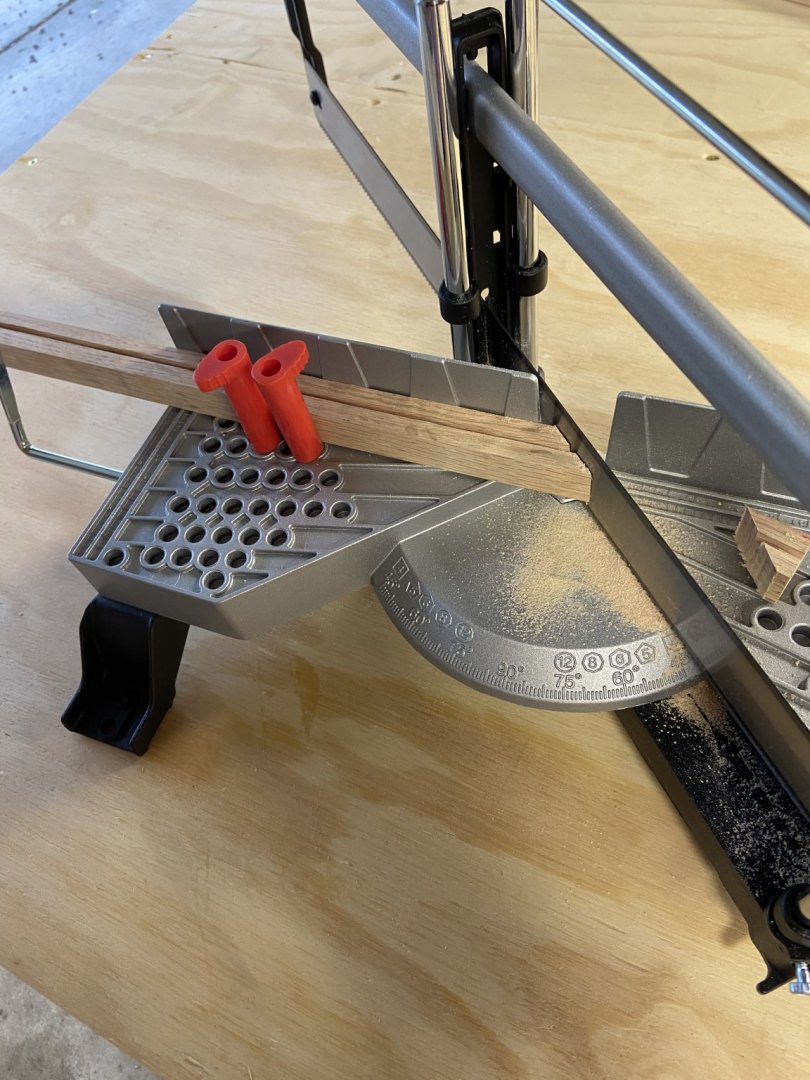
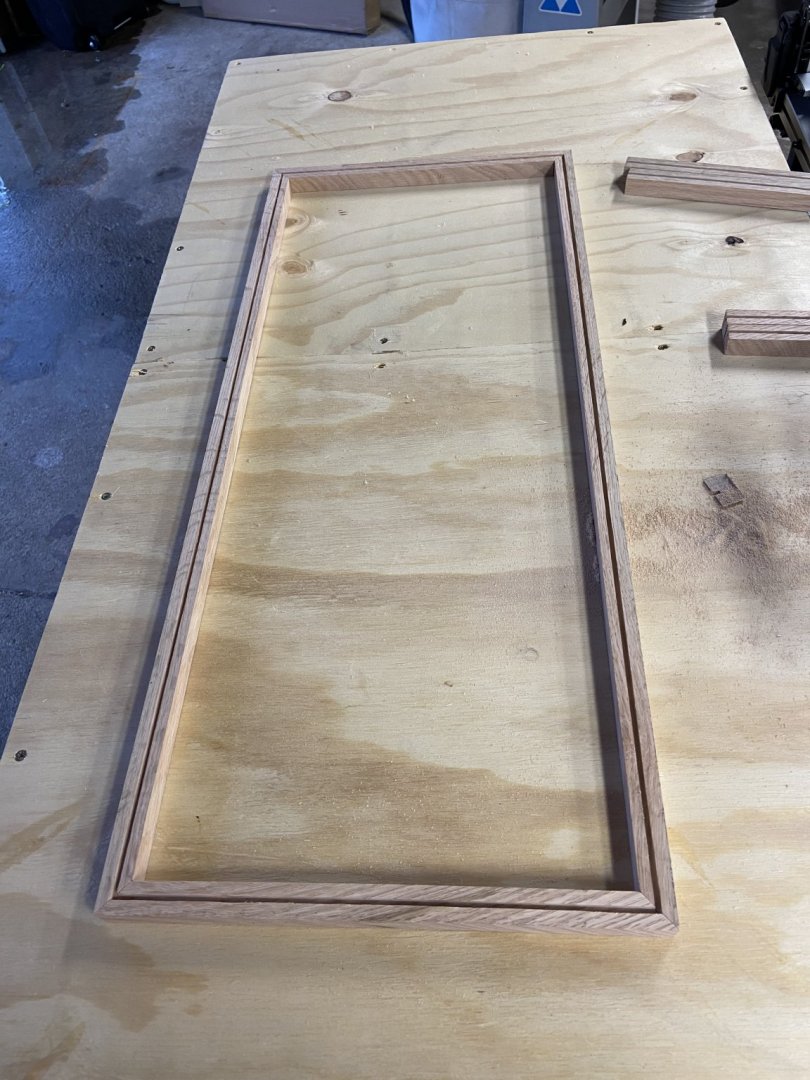
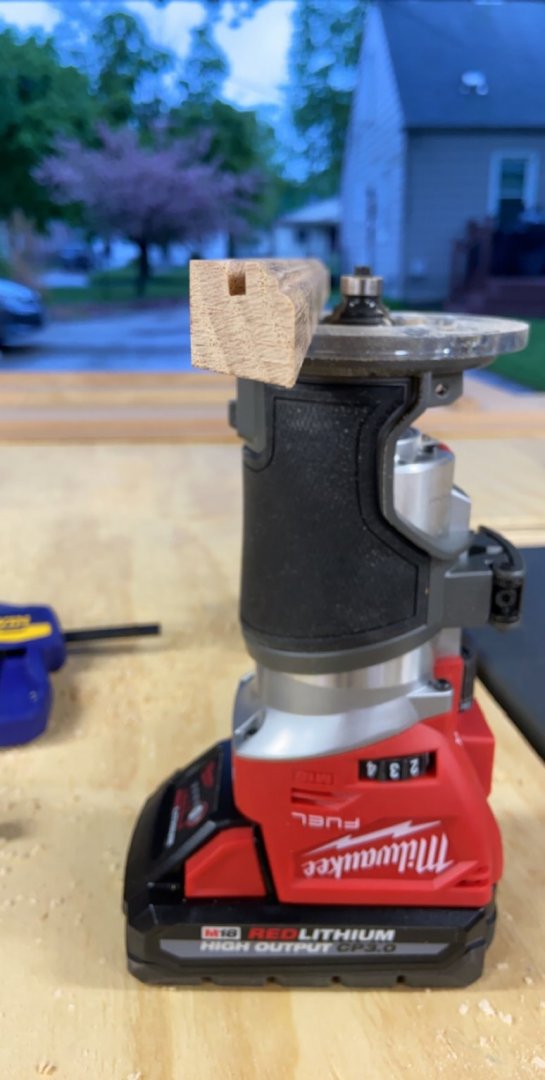
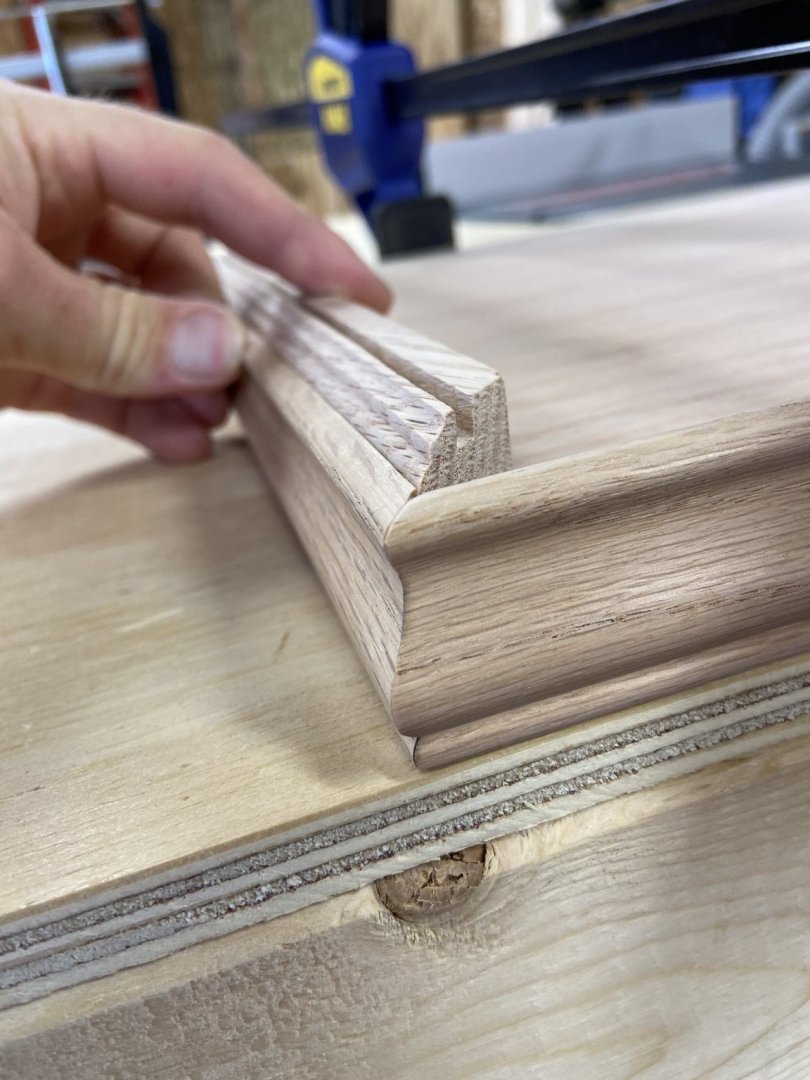
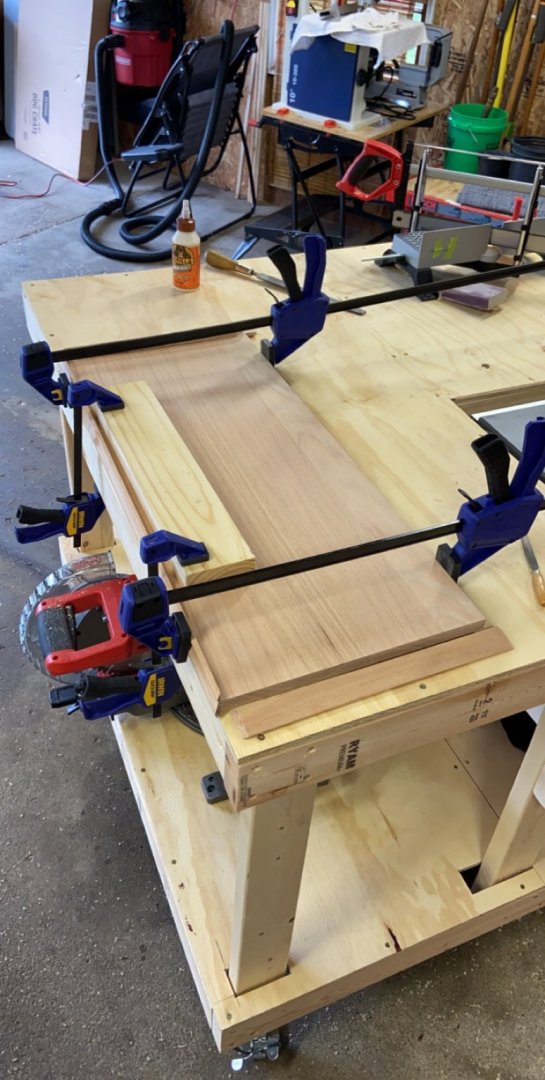
With the weather finally hold out and giving me some nice days I decided to take a few big steps on the display case. I did a little research and ended up purchasing an instruction .PDF to get me going. So far it’s coming along great. first I cut strips of red oak 3/4 x 3/4 for the borders, used my table saw to cut 3/16” slots 3/16” deep all the way down for the glass to sit in. Then I cut them to length using my craftsman adjustable mitre box. After that I used my router with a 1/8 cove and bead bit to cut a nice border. (repeat this step for the top sky glass as well) Once this was all glued together and squared up I cut a solid piece of red oak to match the dimensions of the glass frame with roughly 1/8” to play with on both dimensions. then I cut and glued oak trim to the outside of the solid oak base. once the glass box is complete it is going to sit nicely inside the base. starting with 3/4 x 3/4 again, I cut slots inside the stanchions (upright corner pieces) to hold the glass up, and then I actually planed down the outer surfaces so it will line up nicely with the routed base frame.


- 88 replies
-
- 4
-
-
- finished
- artesania latina
- (and 1 more)
-
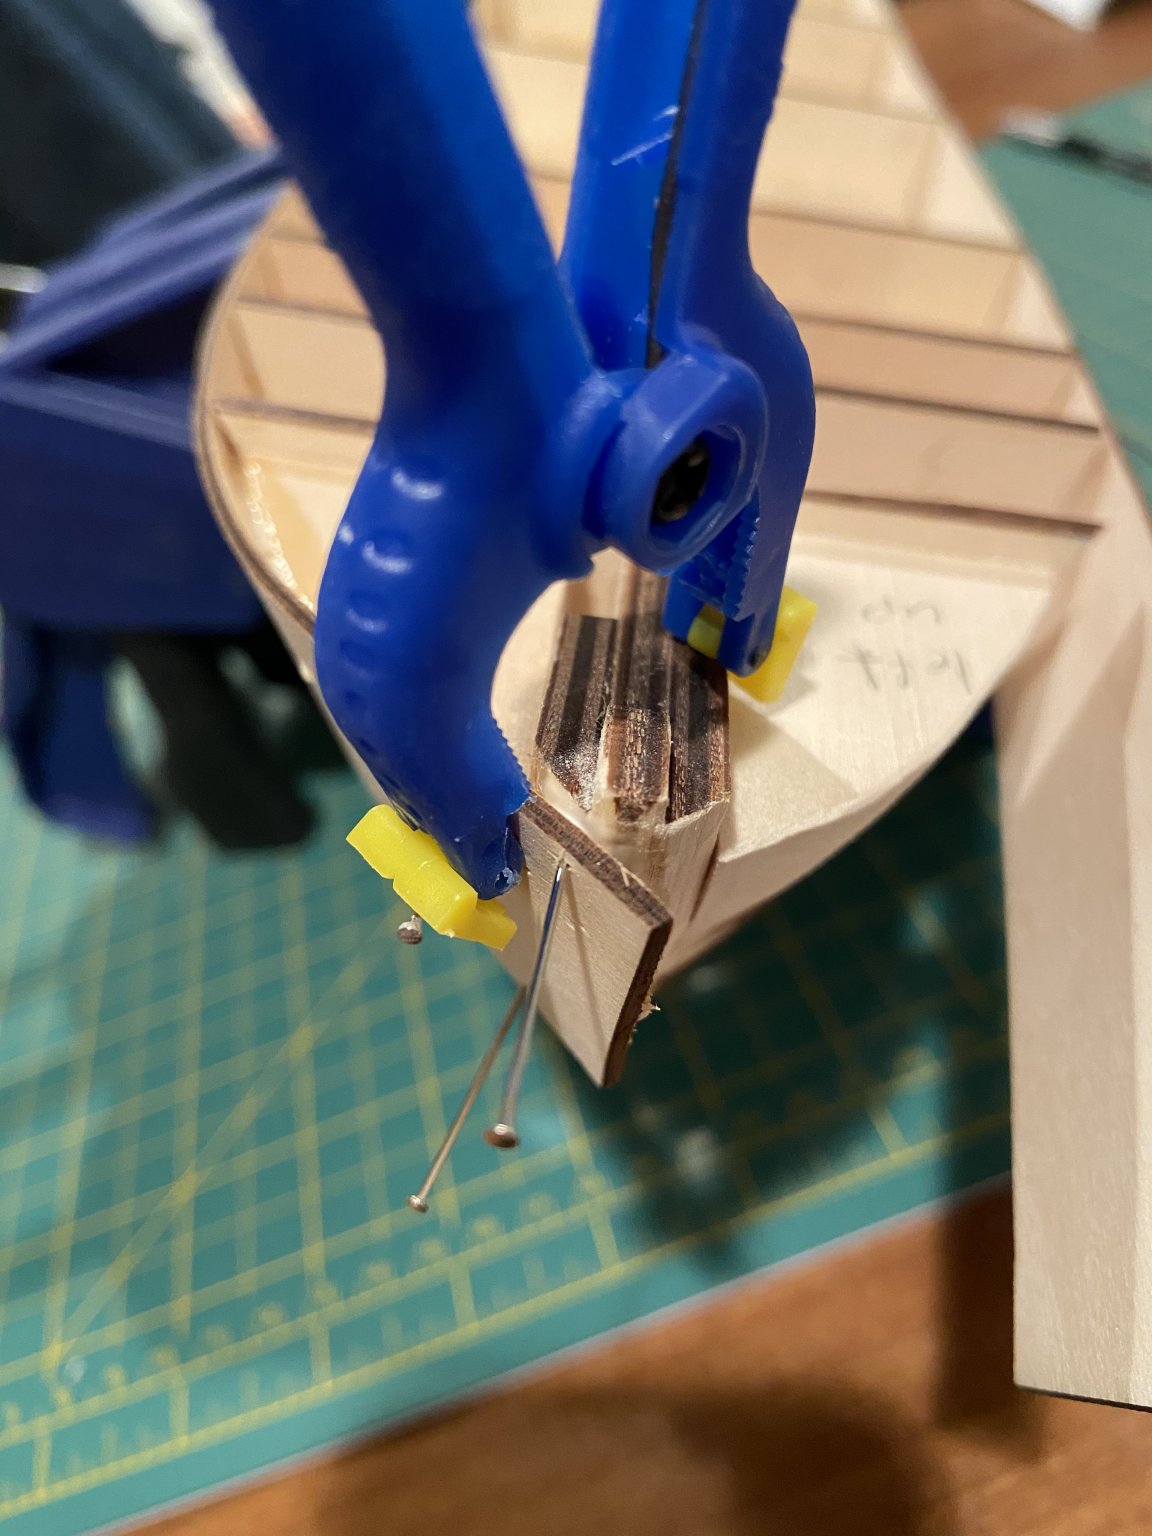
Little more progress on the first level rooms and the second level deck. I always get nervous about the integrity of gluing things that hang off/have potential to be bumped. So I added a little reinforcement. I drilled small holes and then put a brass pin with superglue inside of the “stabling box” and then lined up the holes on the wall, drilled, and used wood glue for the box against the wall with superglue on the brass pins. I used this technique on my previous build and everything held up great.
-
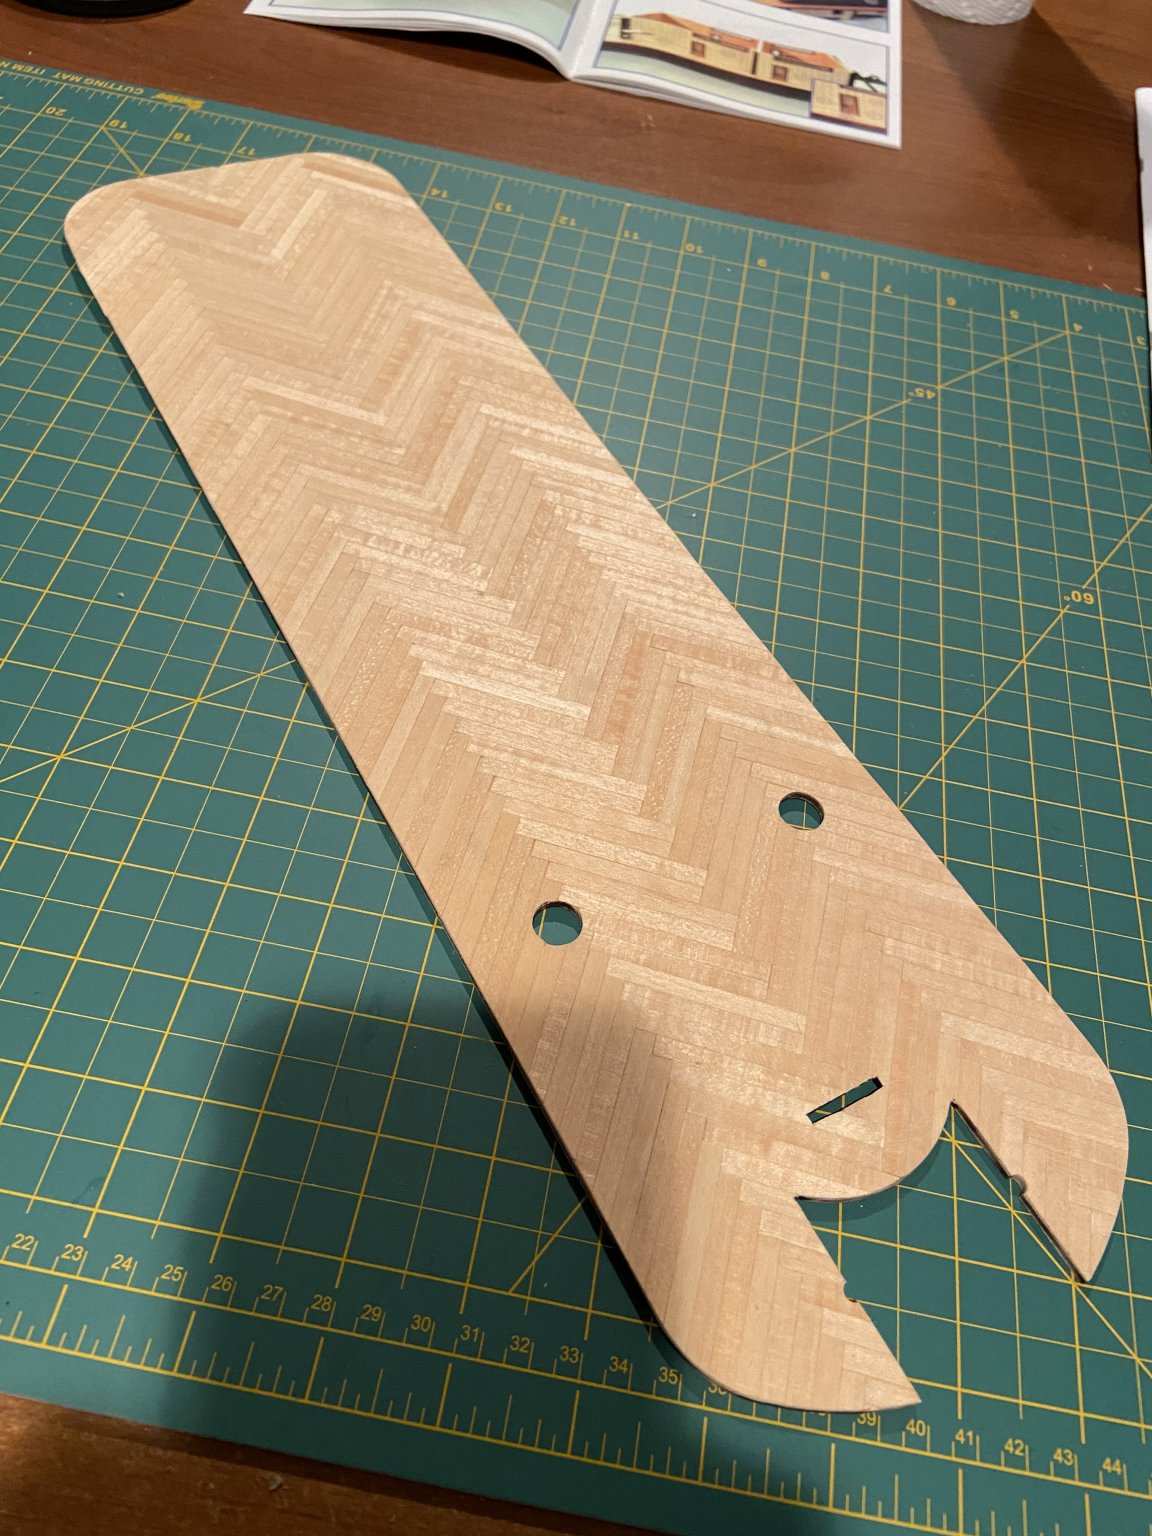
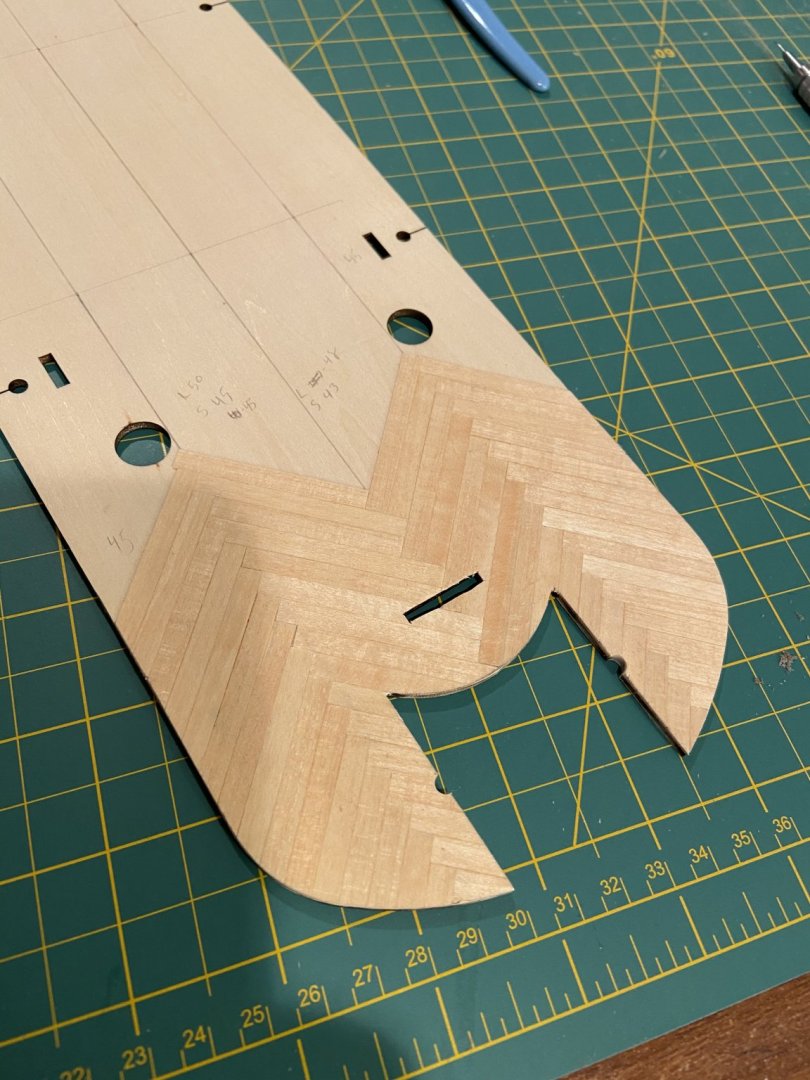
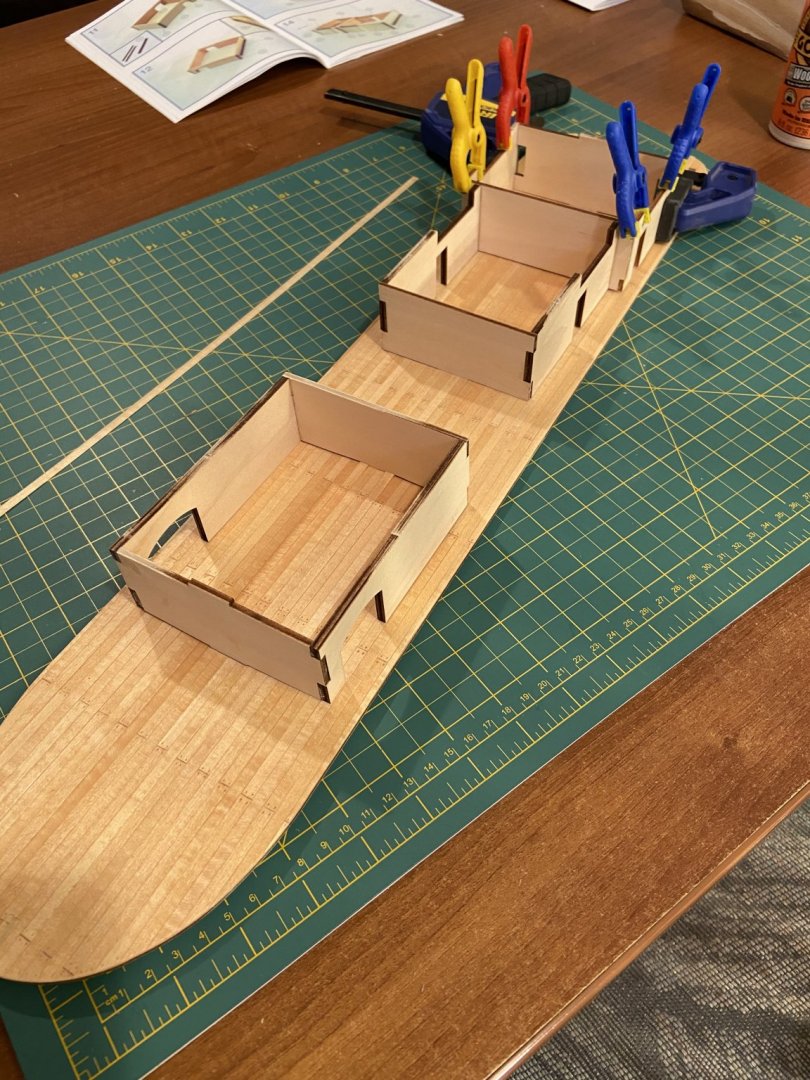
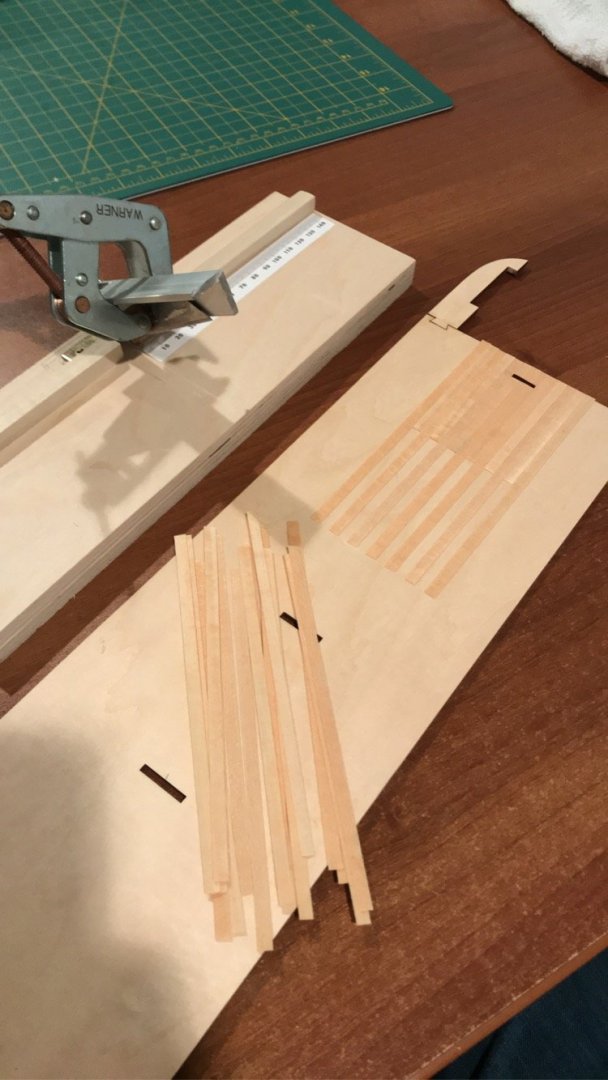
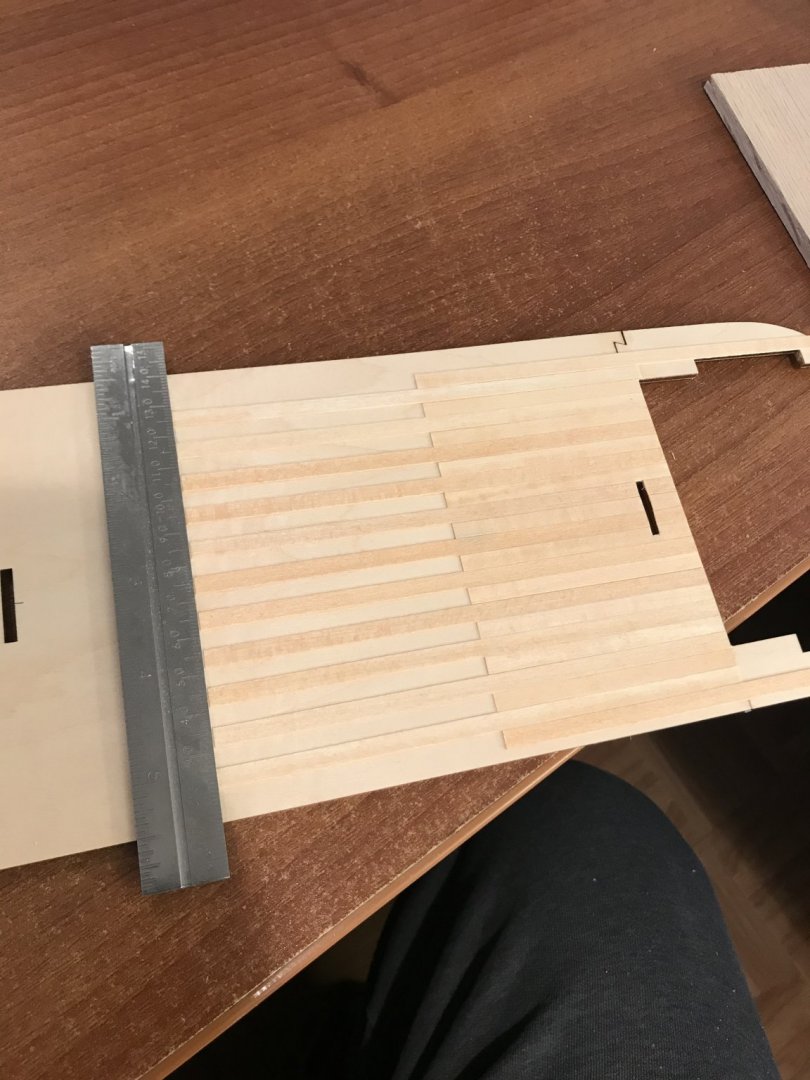
Finished planking the first floor rooms, just getting started on the trim and I’m also jumping ahead and planking the second deck. I have a feeling I’m going to move extremely slow on the second level deck due to the 45 degree angles, or as the directions call it a “herringbone” pattern. i am using the same push pin technique that I used on the first deck planking on the room wall planking and also the upper decks.


-
Thanks for the advice, I will look into the furniture place. Started planking the rooms this weekend, it will be stained the same color as the deck is. 2 coats of golden pecan. Using my trusty plank cutter has really made this process much smoother.

-
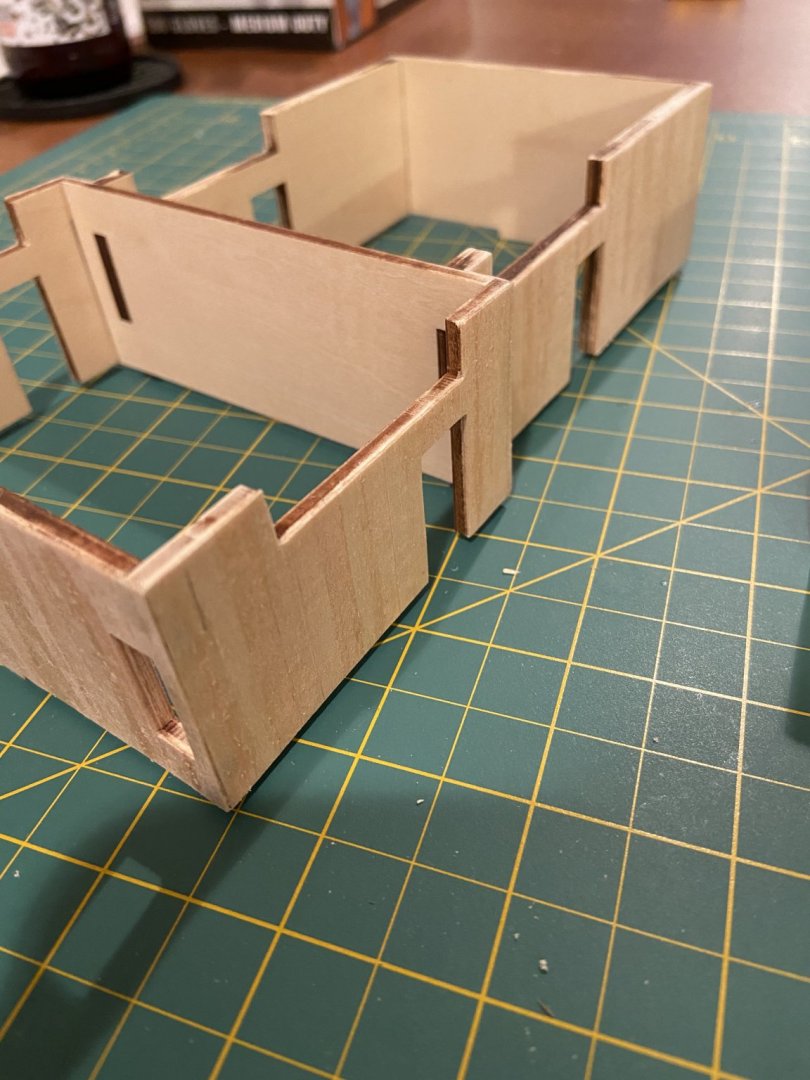
I actually did come across that, but given the scale of the model, my slight obsession for the “clean” look, and that most likely, and that likely no one who will see this model in person will know that I skipped a few holes haha. I do agree there is a place for authenticity, but, from my limits experience, it’s not on AL models as they are typically built more for a “good build” rather than authenticity. made a little more progress today, got the hull planking 3/4 finished, popped out the first floor room walls and fitted/glued together. my original plan of putting a small “casino” on the first floor may be hindered now as all of the dollhouse casino stuff I could find is about twice as tall as the rooms. So I may be making my own card table and we’ll see what I can come up with. Overall the fit of the rooms was good except once it was assembled it required some force to get it back into the deck slots.

-
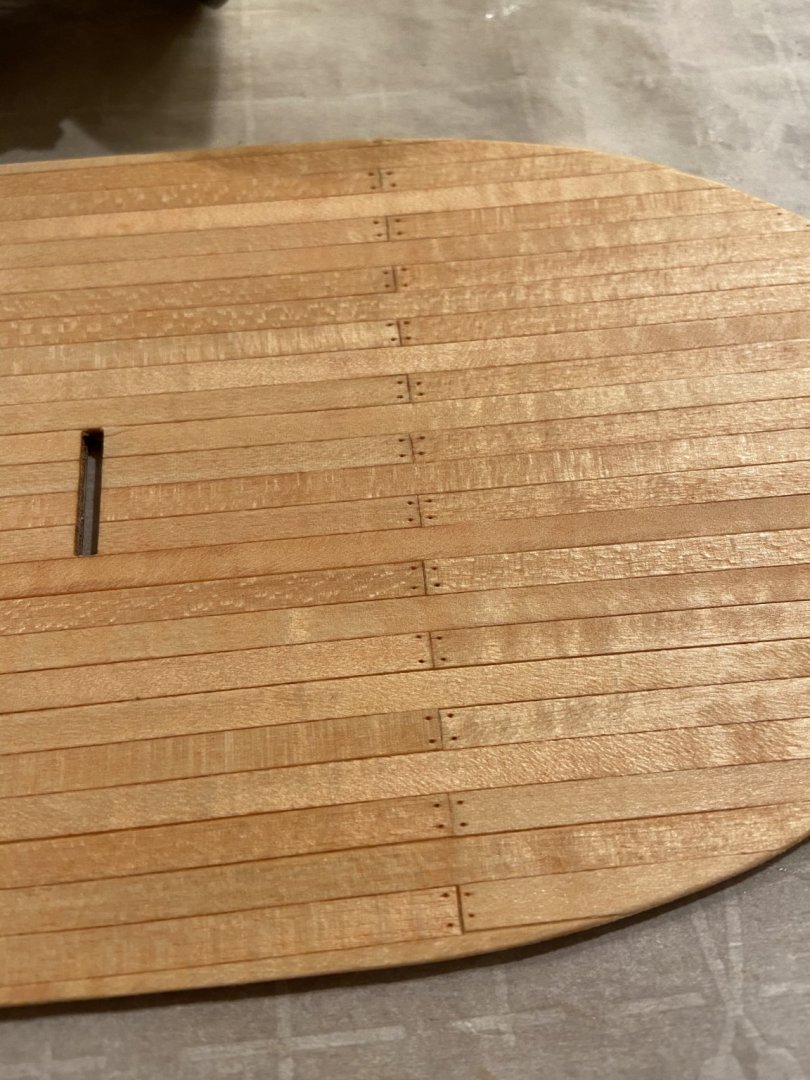
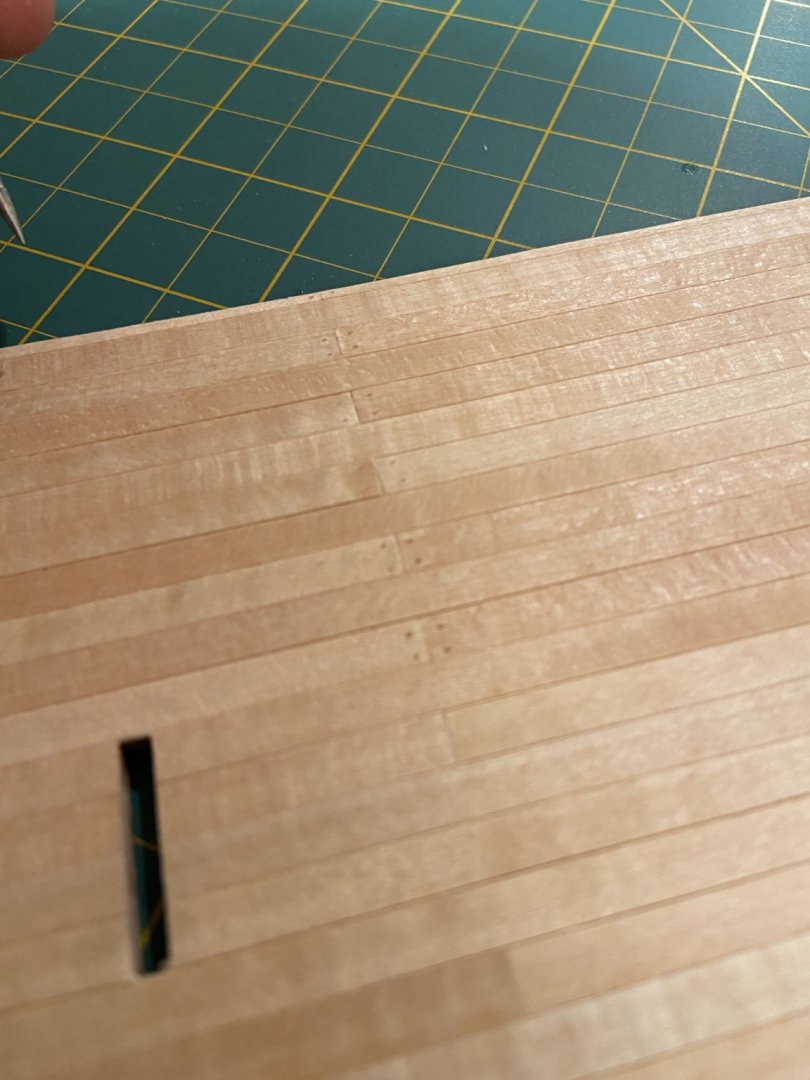
Got the holes poked, sanded with a 220 sanding block and put a coat of cherry stain on it. I think it turned out pretty good. This will be the second coat of stain so far. there is a good chance I’ll put a few layer of tung oil on it when it’s all said and done.

-
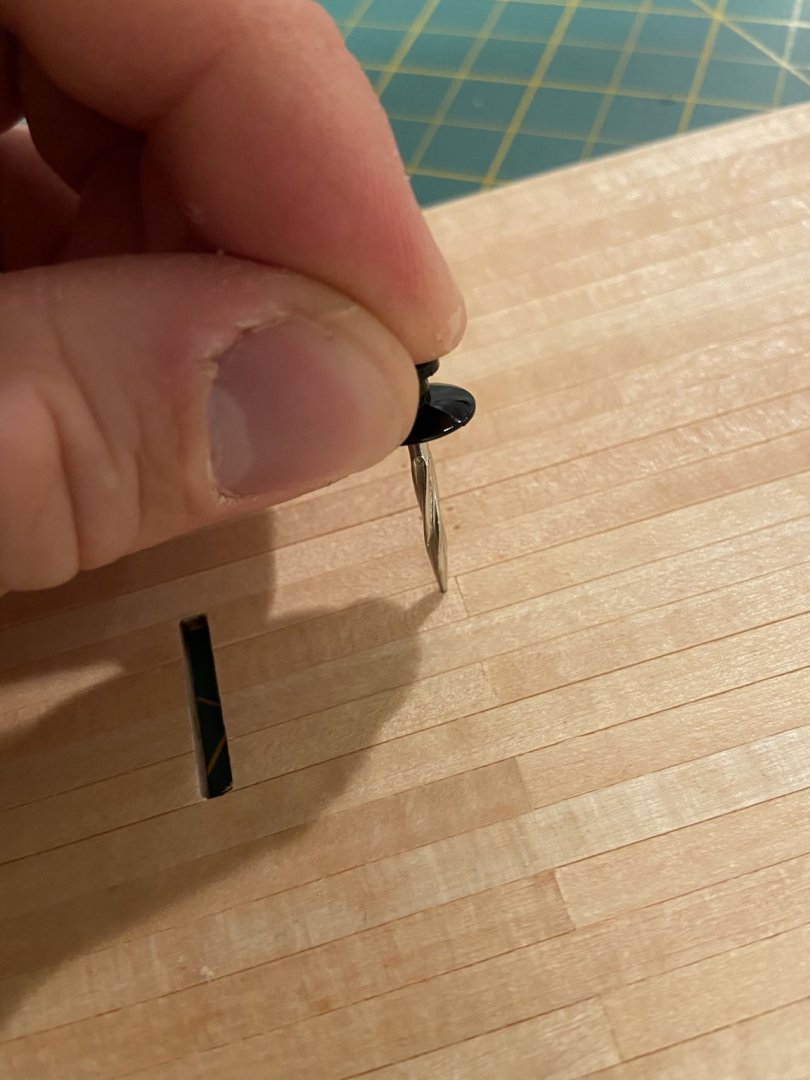
On my last build, I purchased and studied a few different techniques (well after the fact of needing it of course) and it mentioned a way to get realistic nails in the deck by taking a pin and poking holes, sanding lightly over the deck and allowing the dust to accumulate in the tiny holes. Then staining the deck and allowing the dust to take in the stain more so than the surrounding wood. We’ll see how it turns out!
-
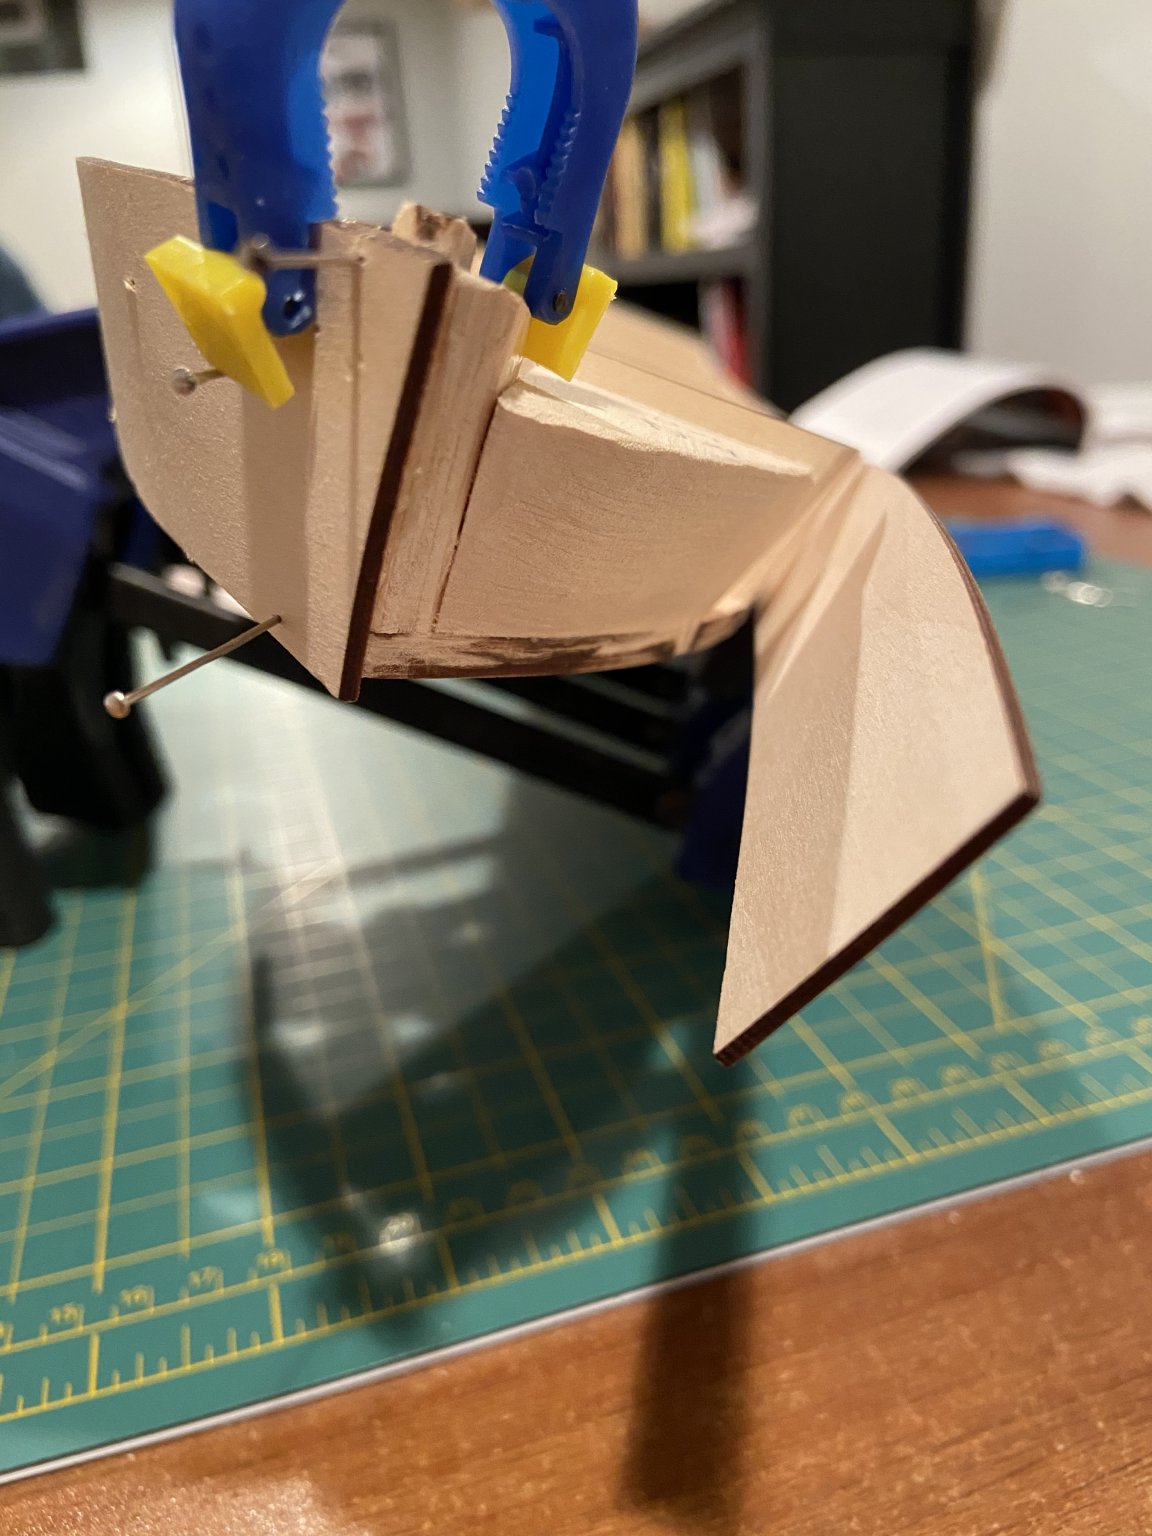
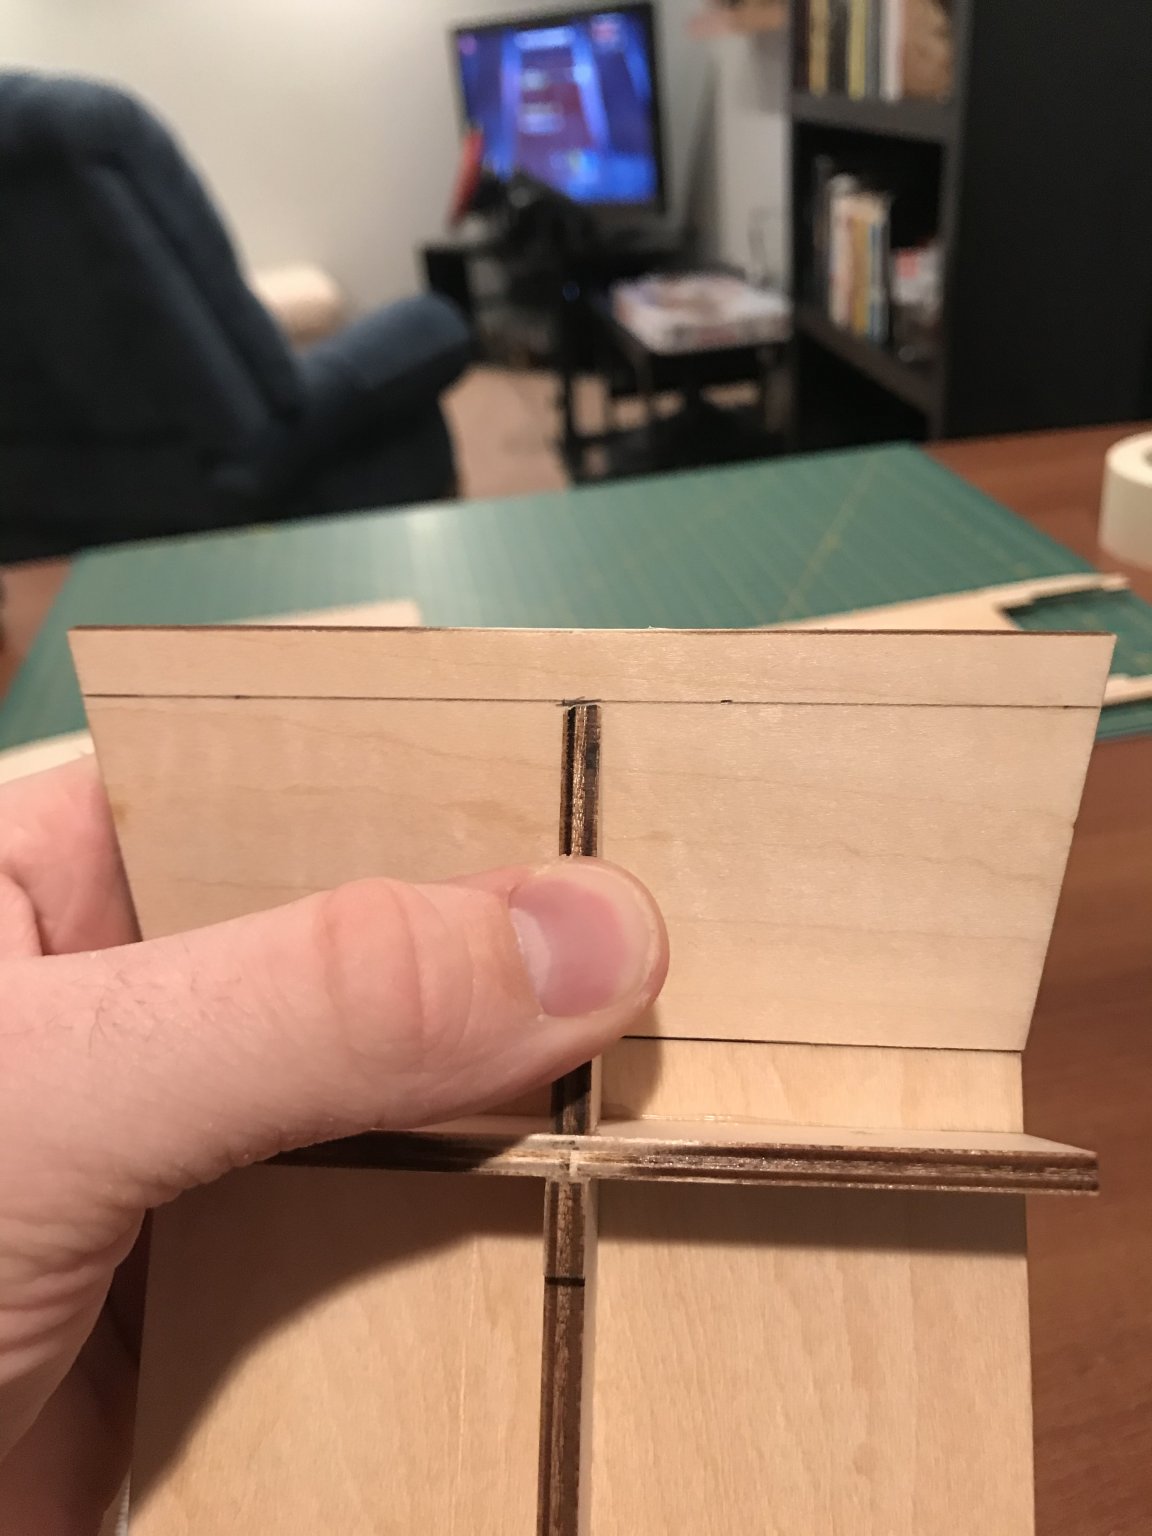
Yup, I am definitely learning that...I’m a little disappointed so far with this kit. I just finished the AL San Francisco II and everything seemed to fit together great. Ah well. Just needs a little work and it’ll look perfect in the end, it always does. getting the hull braces glued in tonight, tomorrow I I’m planning on finishing up the deck and putting it on the hull. I also already learned how easy this plywood separates. When I first put the the deck on the full there is a slight curve up and the plywood separated with that. It was pretty disheartening that’s for sure

-
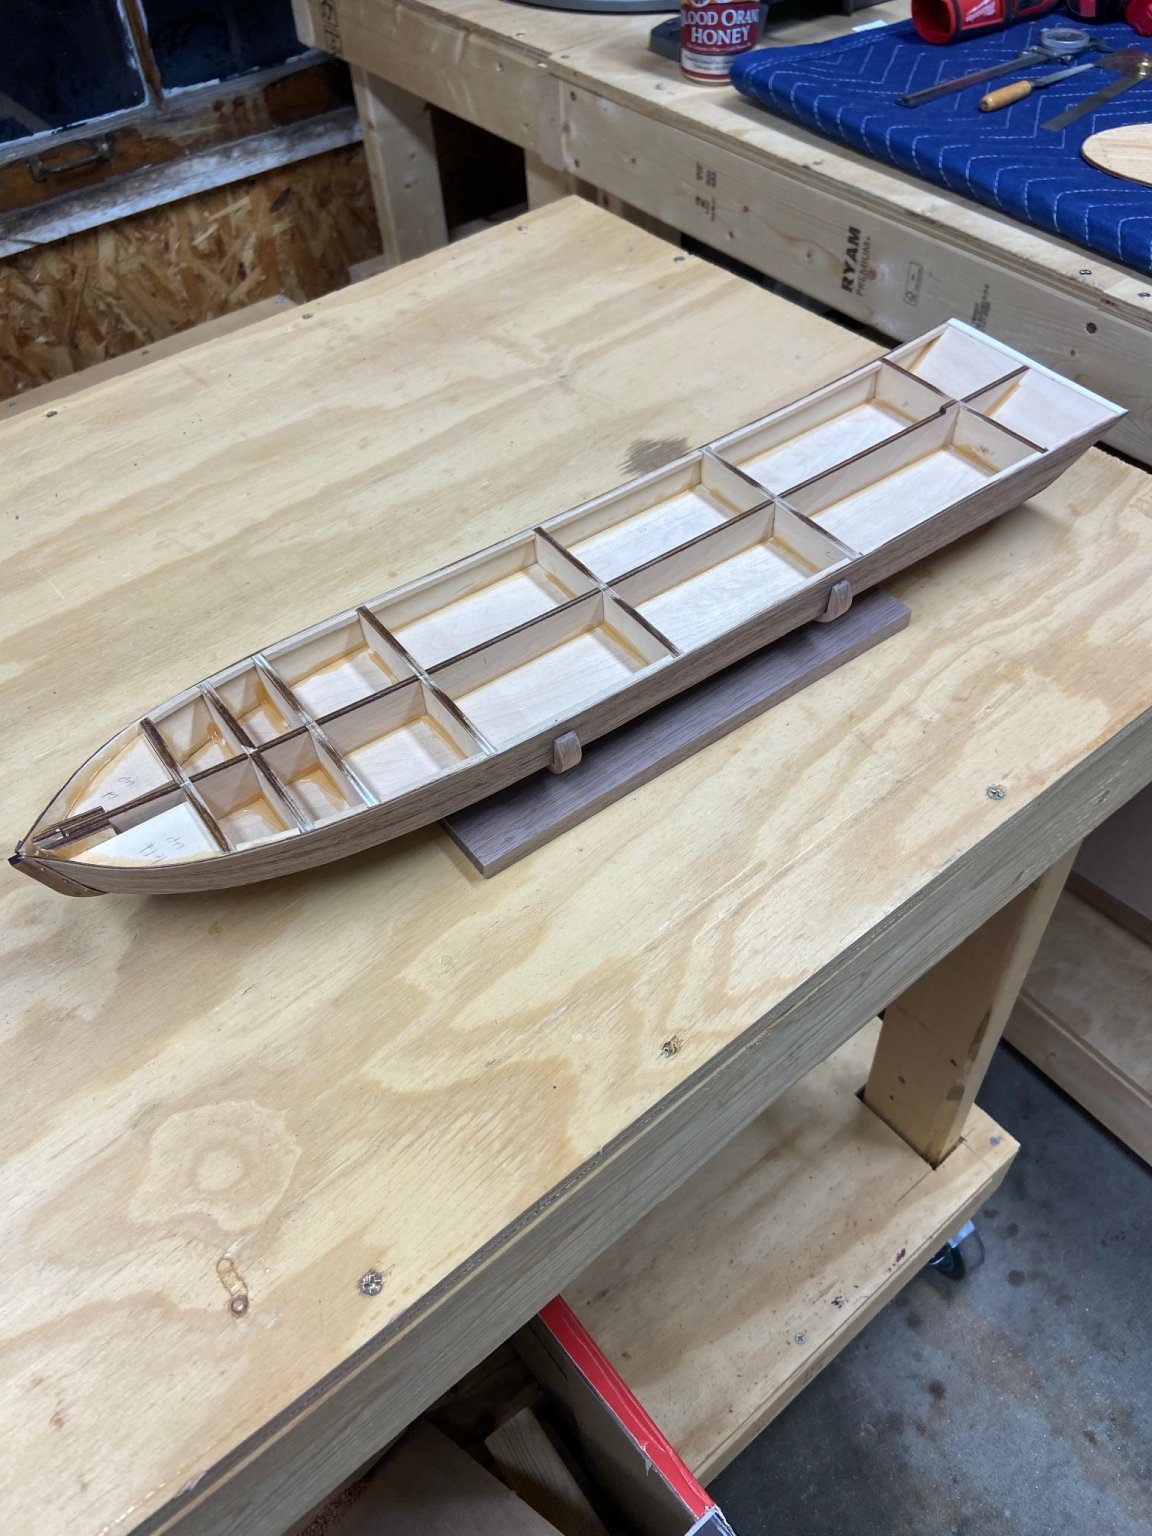
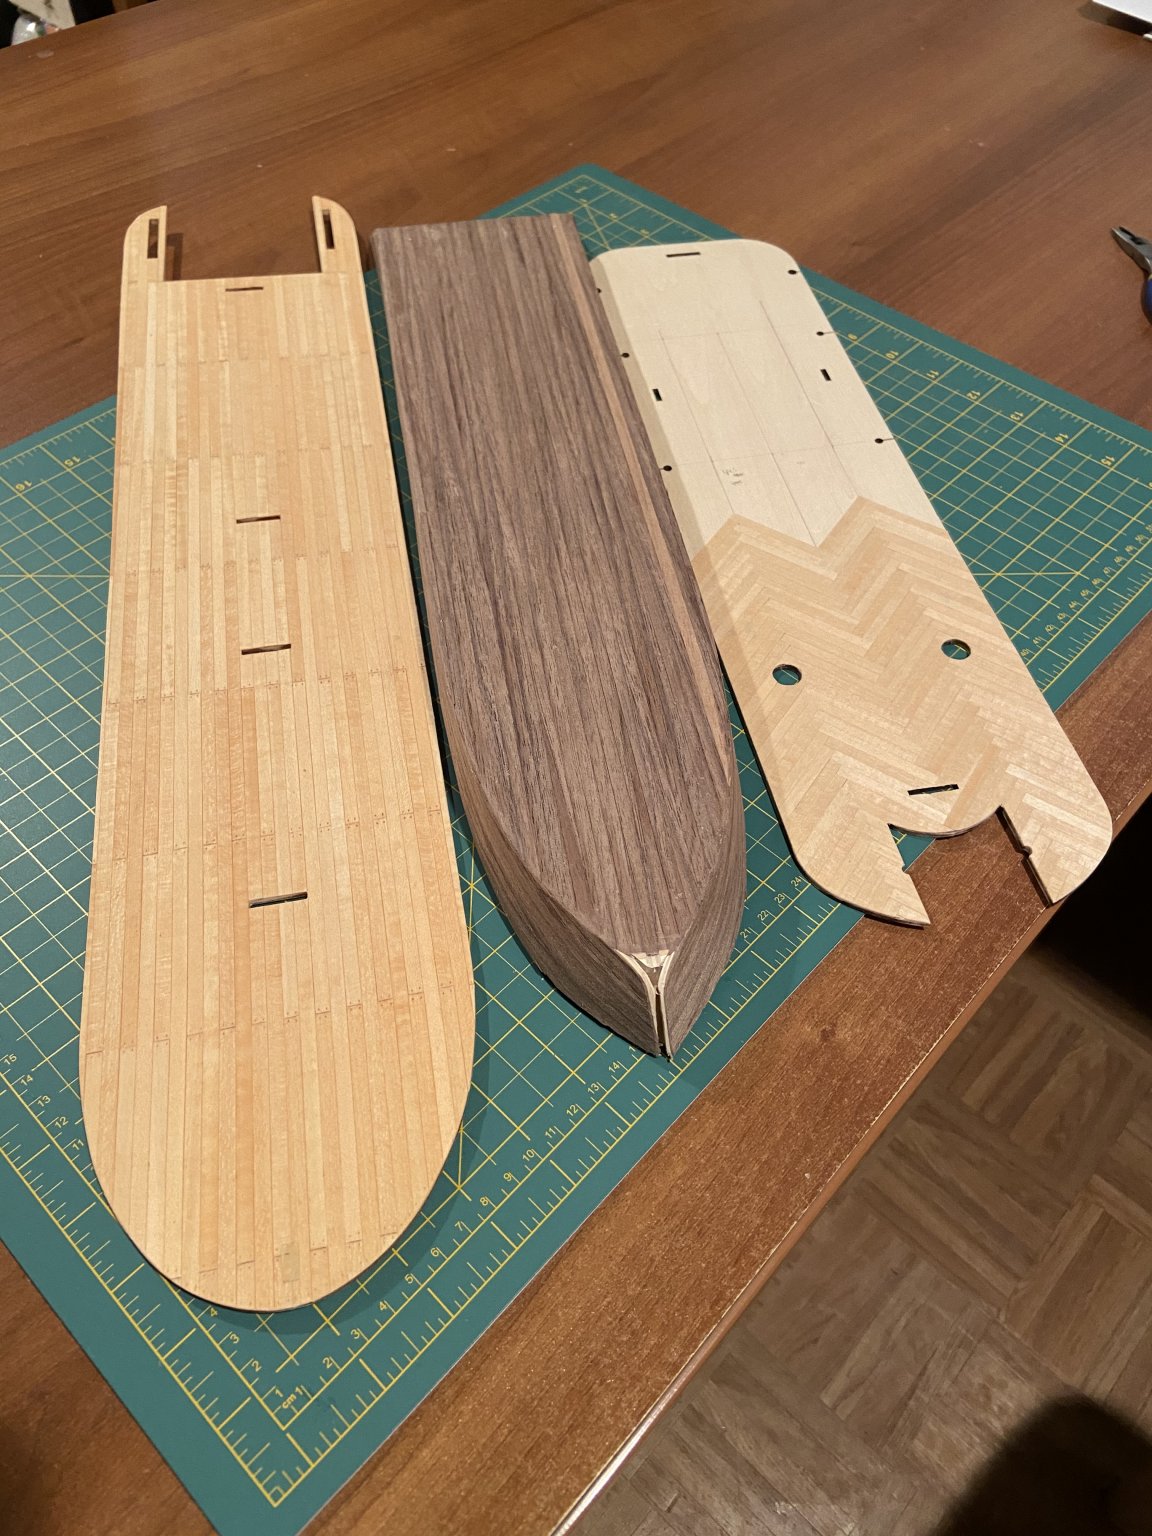
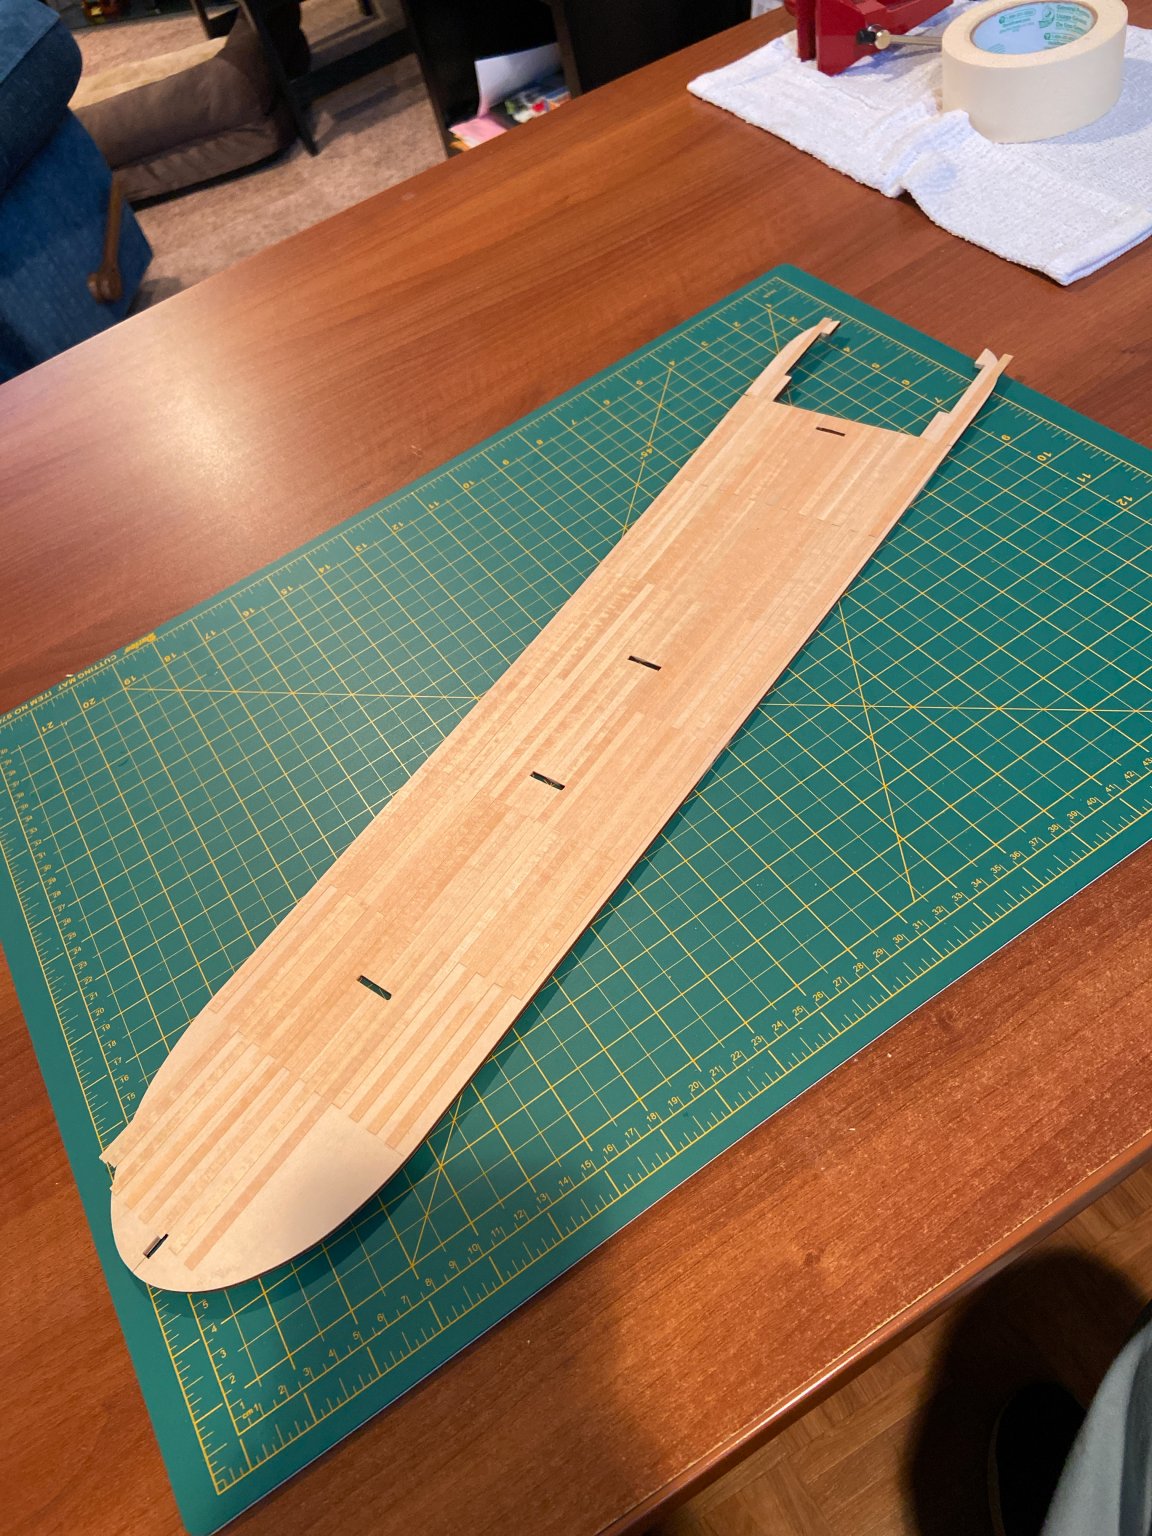
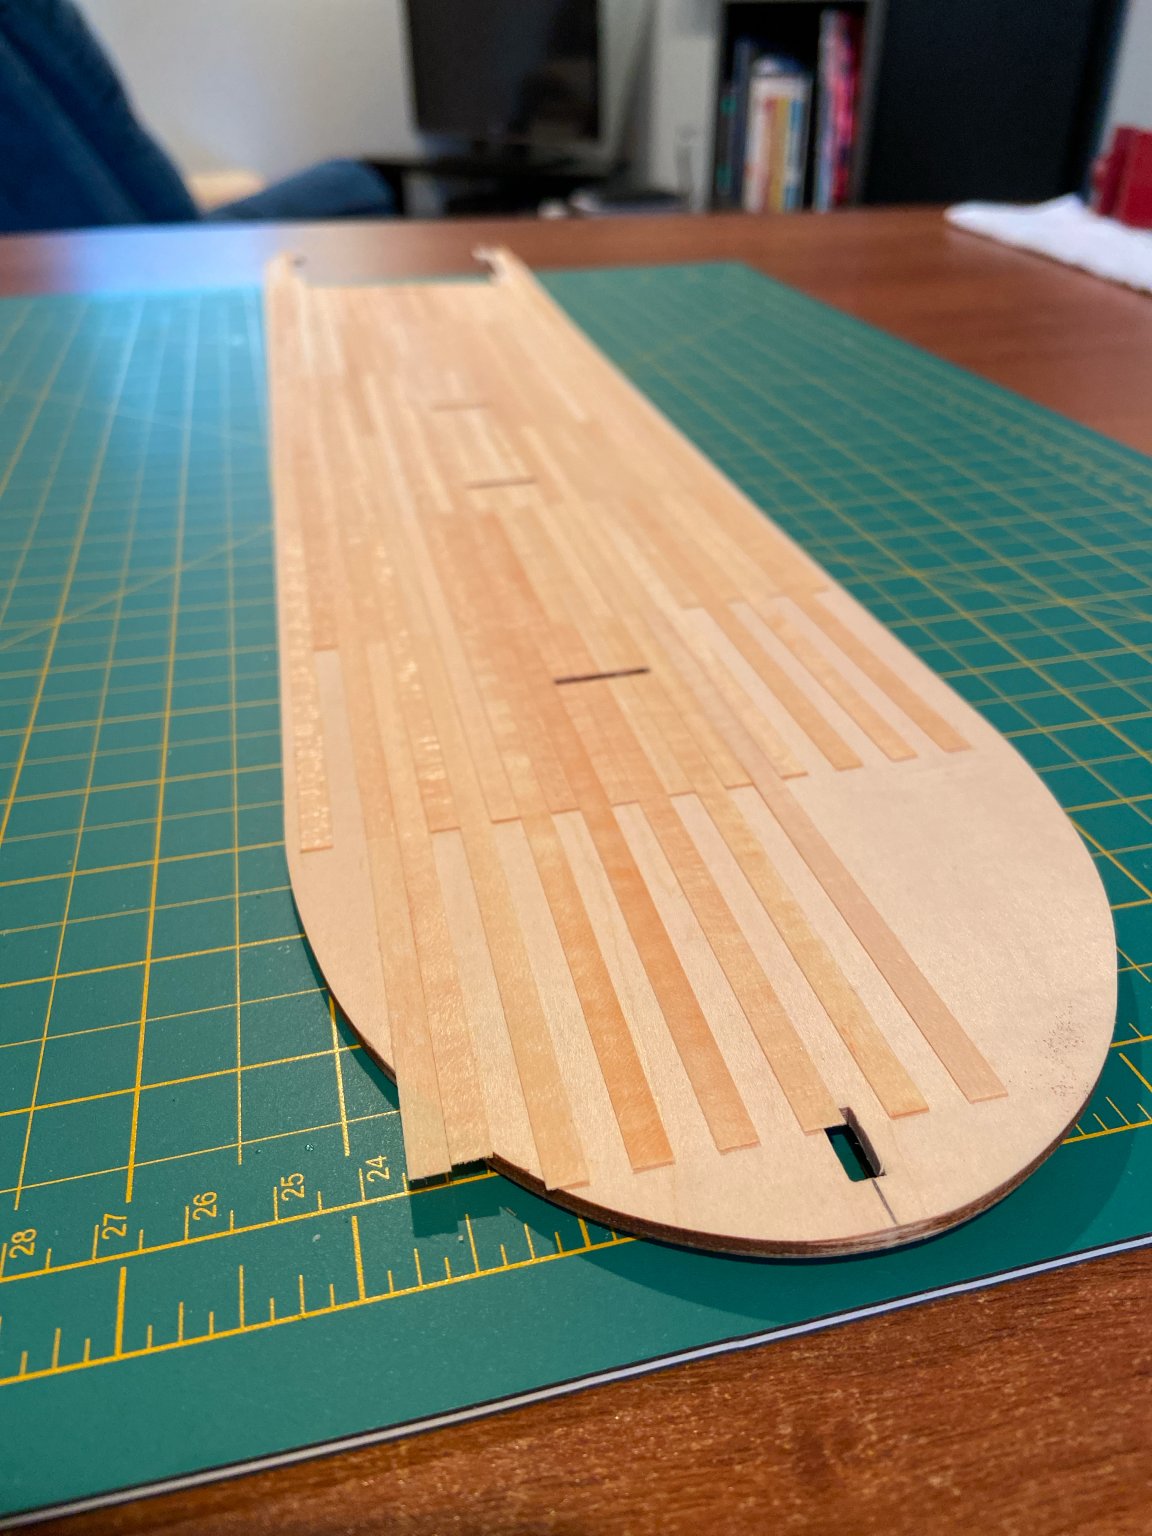
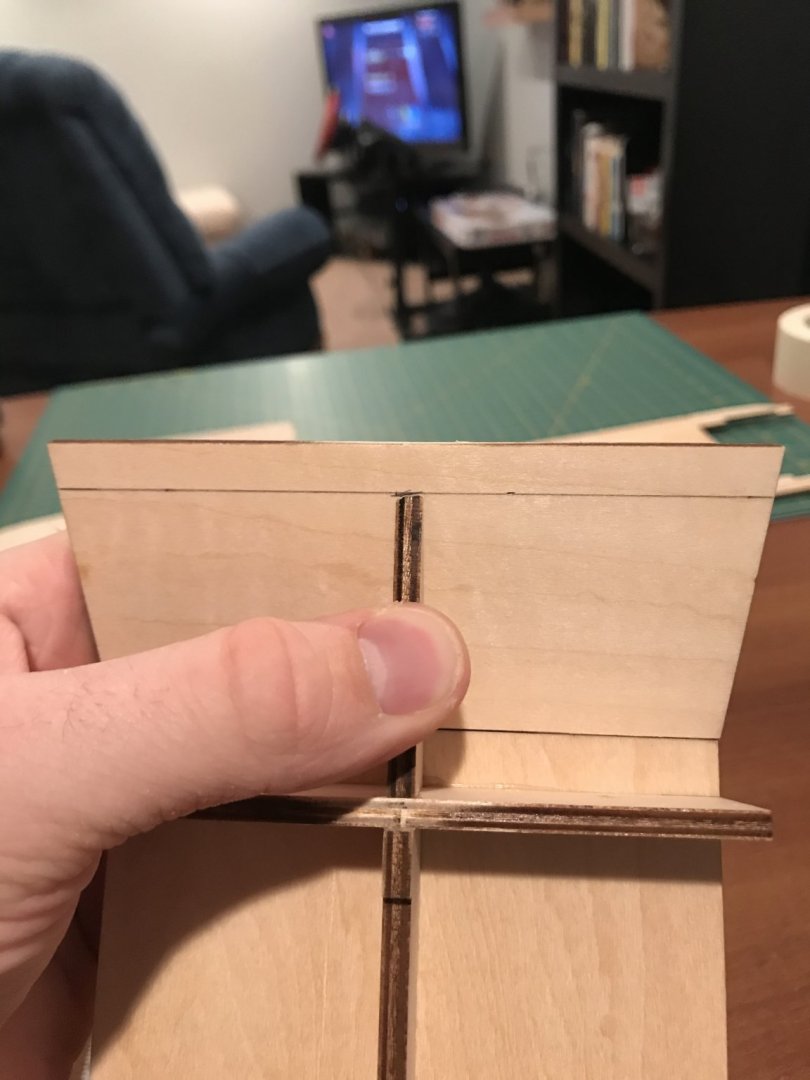
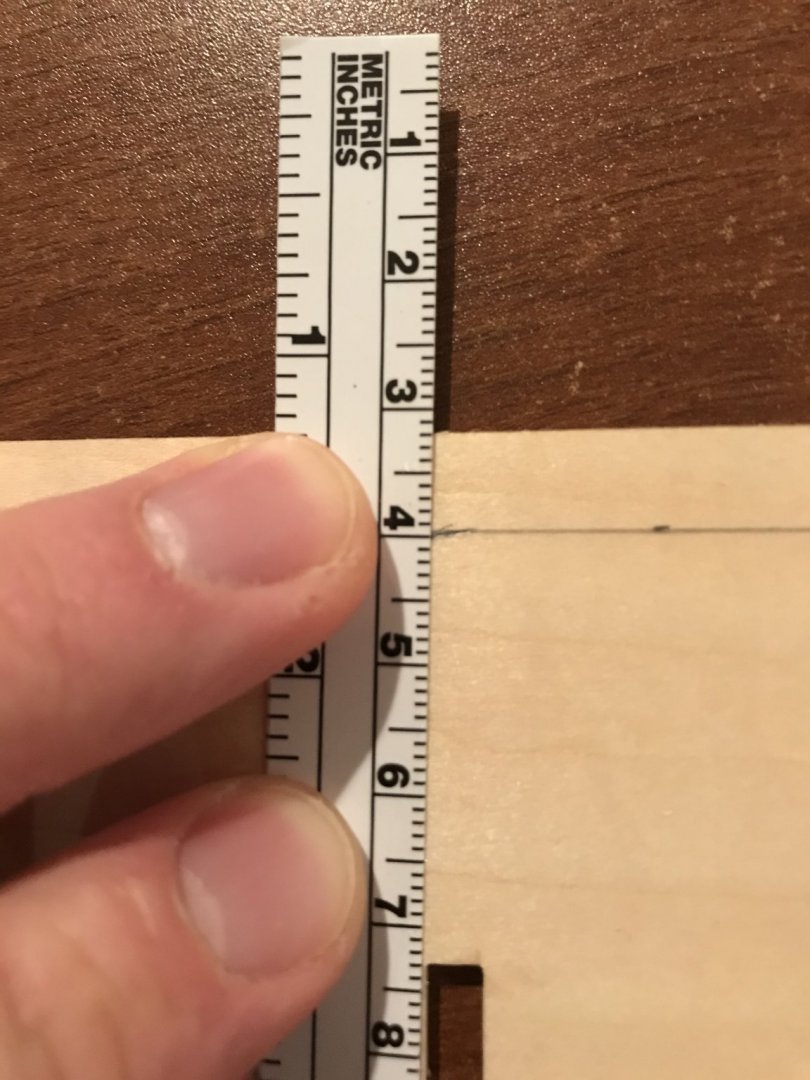
I am a resident just finishing up 6 weeks in the ICU, in the center of inner city detroit. It’s a disaster. I’m healthy as can be though, I got lucky. spent a little more time today putting the hull together. Instead of planking it comes with one solid piece per side and then gets .5mm planking over top of that. clamping and pinning the bow is always such a pain in the but. the pieces were also a little too long, I had to cut the end flush with the midline so they lined up properly


-
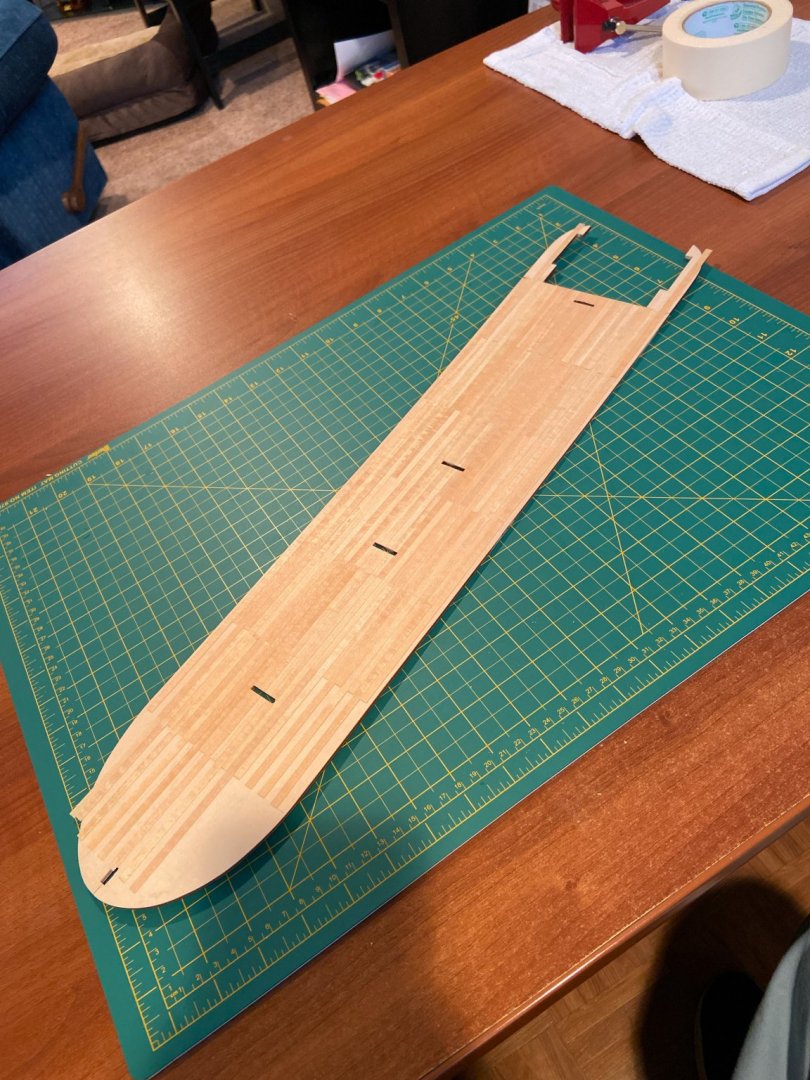
Well with the current state of this covid nonsense, I have essentially been living in the hospital and haven’t had much time to work until recently. the pictures of my progress are pretty self explanatory, I haven’t done anything special to it yet. Once the deck gets glued to the hull it’ll be more interesting, I am tossing around the idea of adding a casino to the inside of the first level room and lighting it. We’ll see. hope everyone is staying safe


-
amazon GAC 400, I used it on my sails on the San Francisco (link below) and the sails held their shape great
-
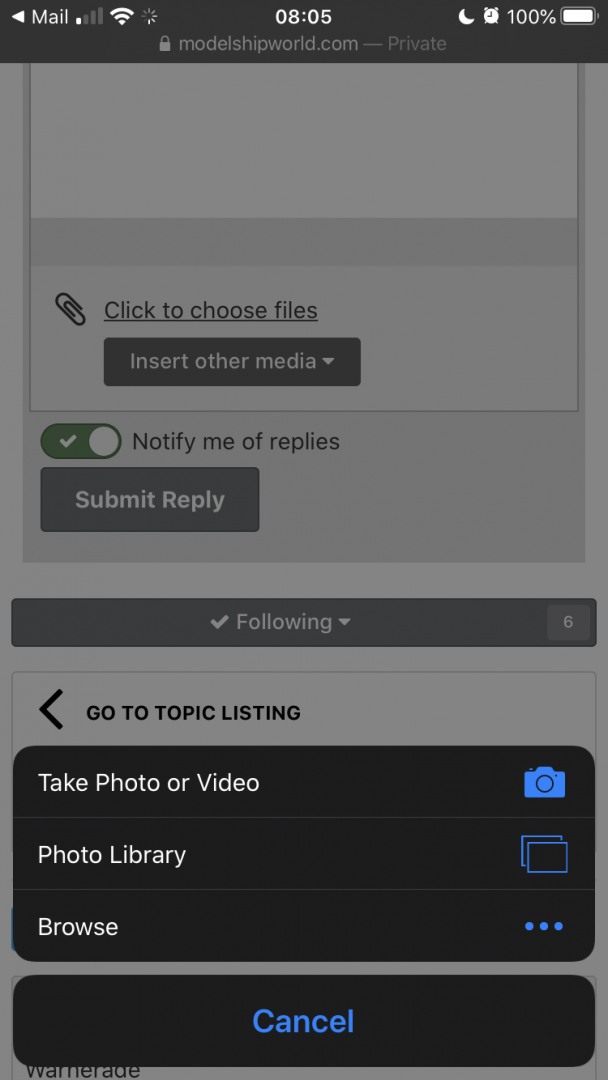
I’m not sure, it shouldn’t? Here are screenshots of what I see. I click choose file and then I click “photo library” and it takes me to my photo album

-
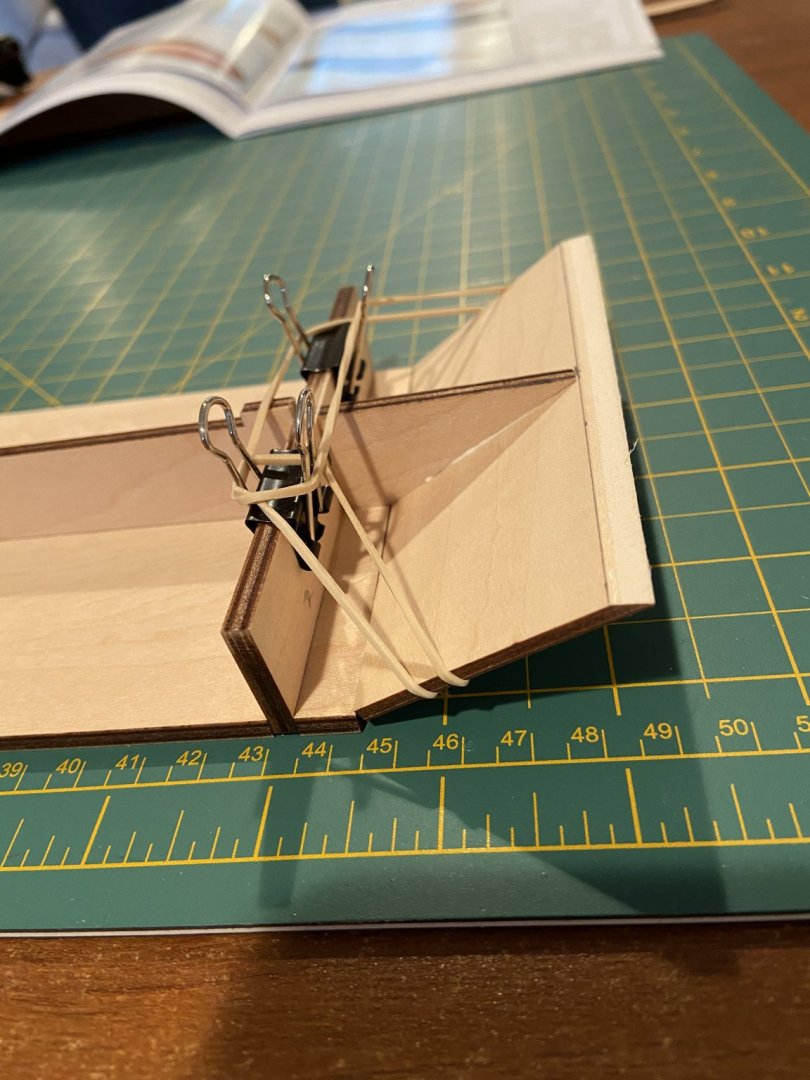
I love seeing you back at it. Do you find the black clips modified like that work? When I did it I felt that some of them didn’t really clamp down hard to stay secure because the silver wire part kept the black clip slightly open. If that makes sense. it’s looking really nice though