Kyak
-
Posts
34 -
Joined
-
Last visited
Content Type
Profiles
Forums
Gallery
Events
Everything posted by Kyak
-
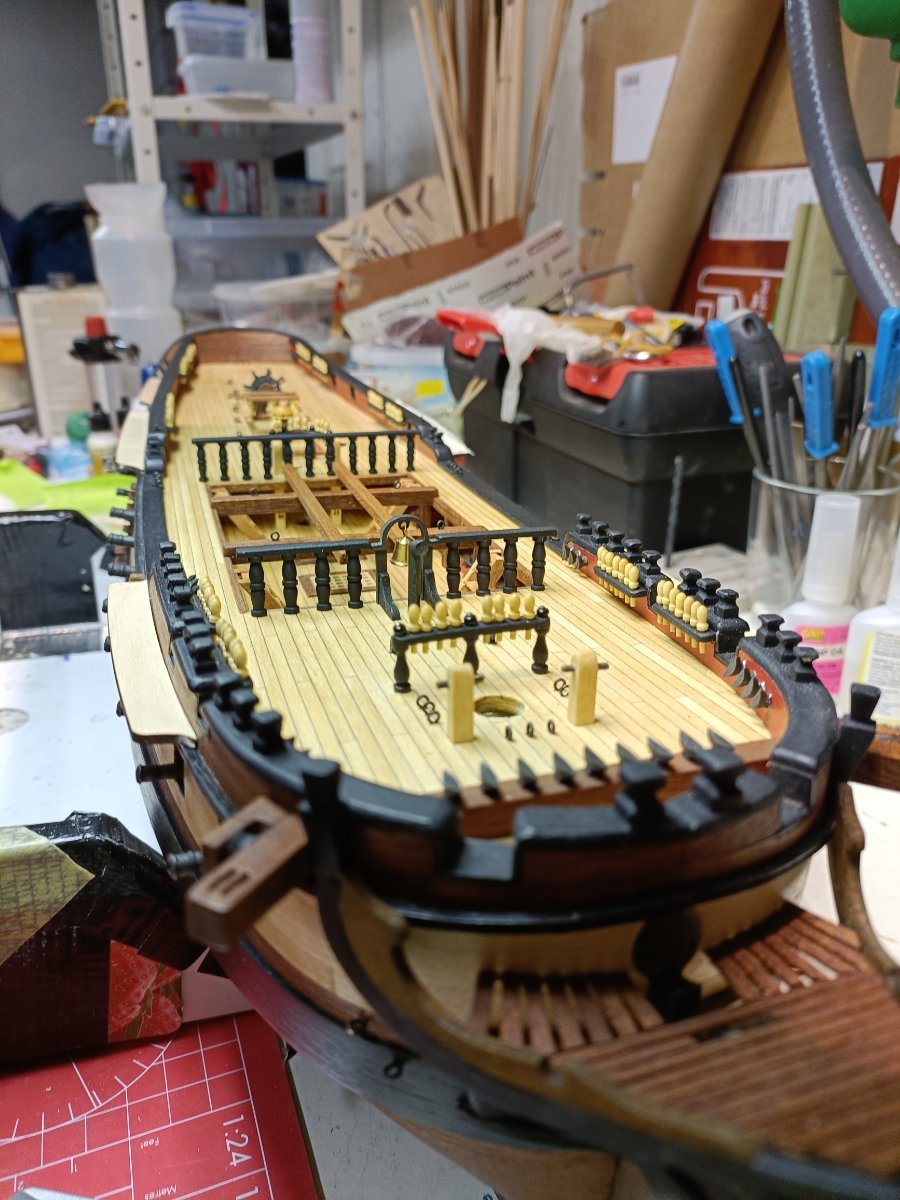
Diana by Kyak - OcCre - 1/85
Kyak replied to Kyak's topic in - Kit build logs for subjects built from 1751 - 1800
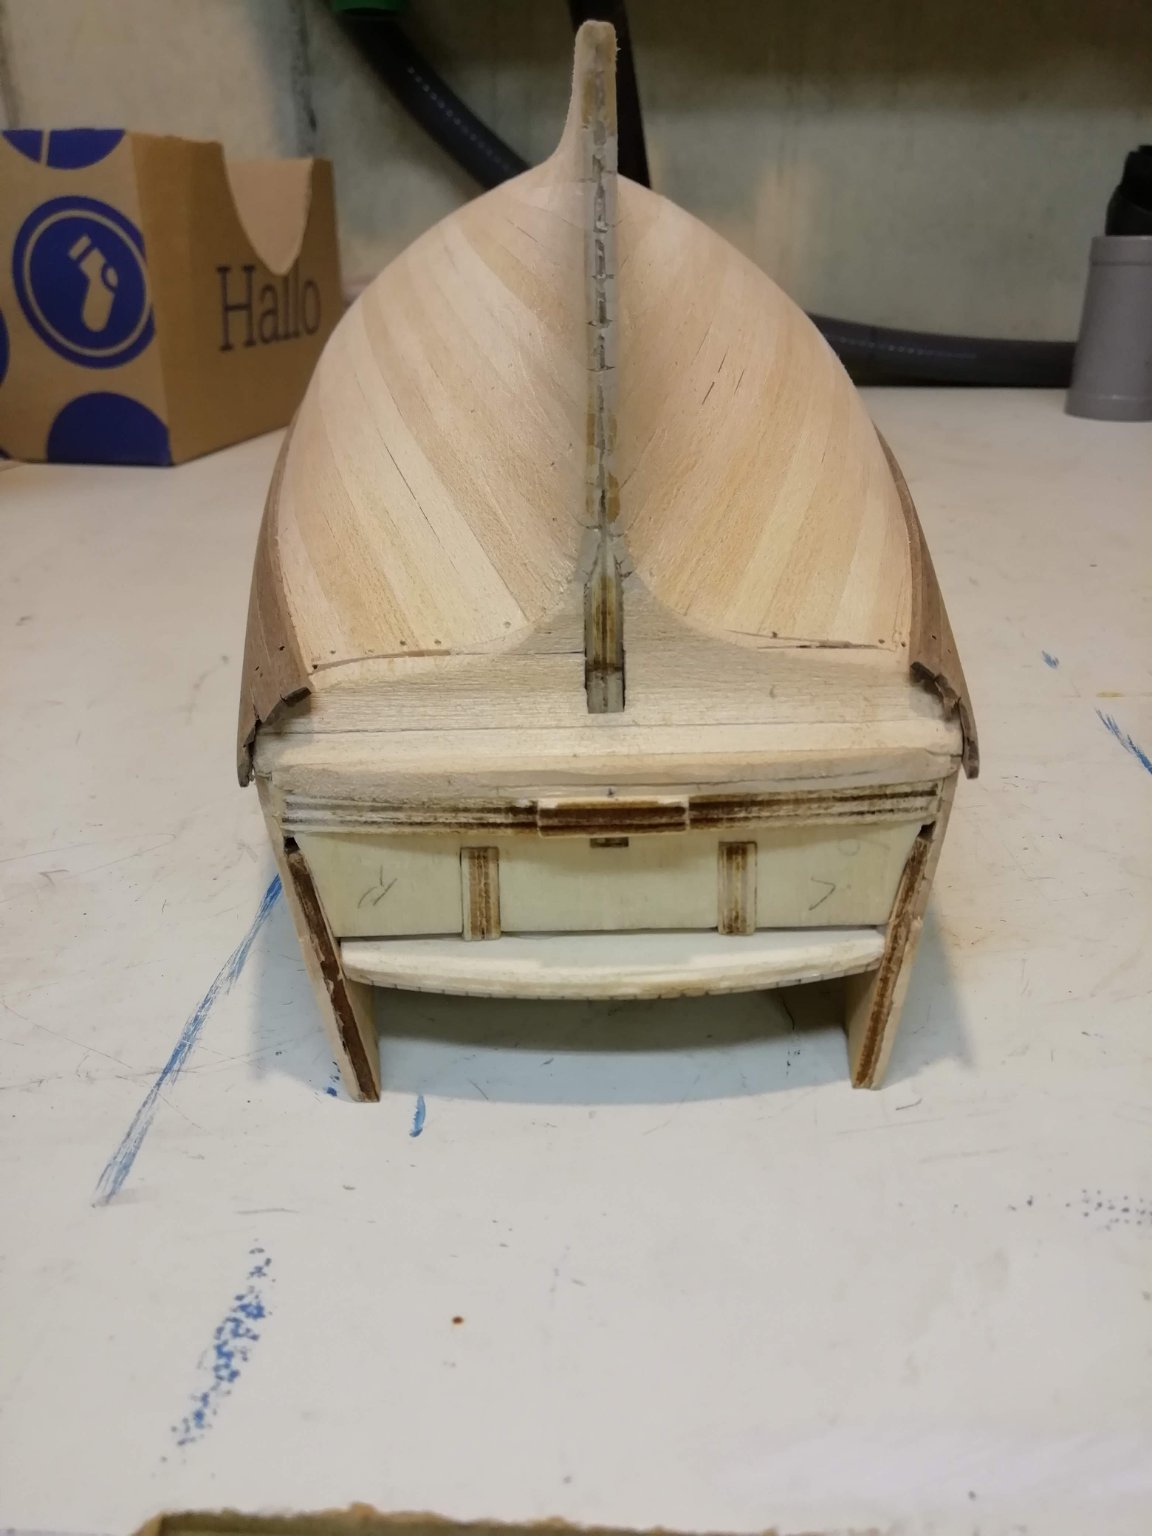
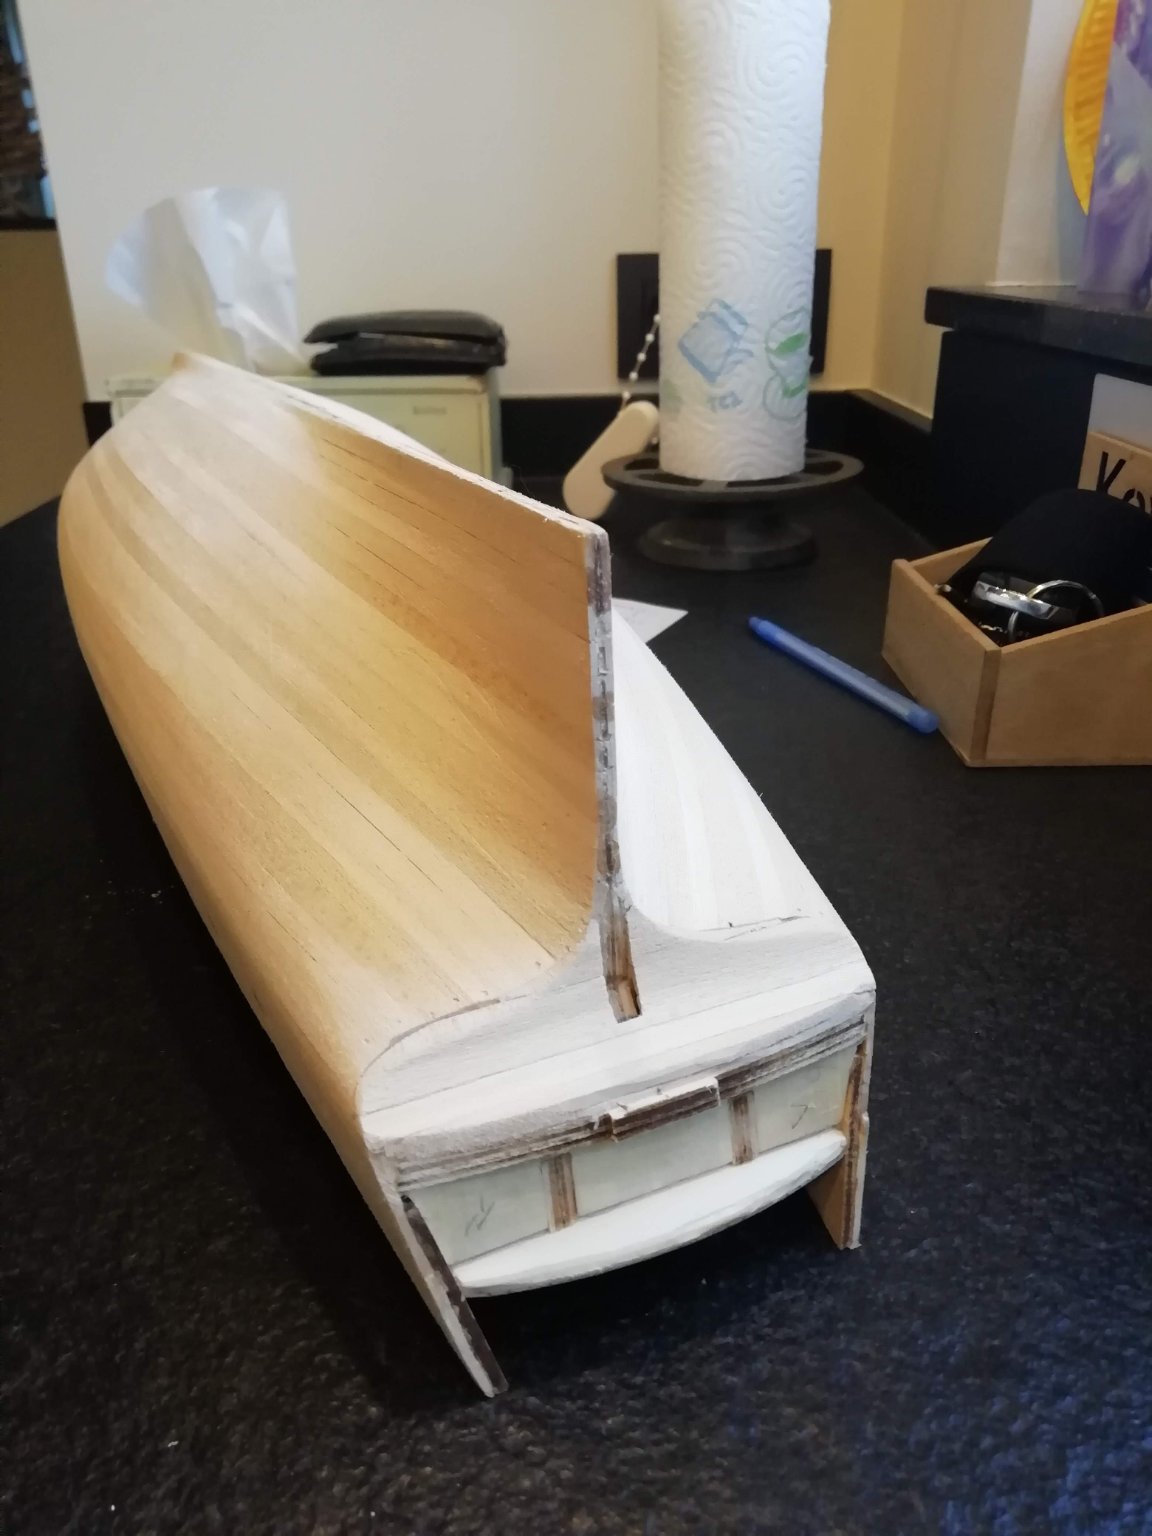
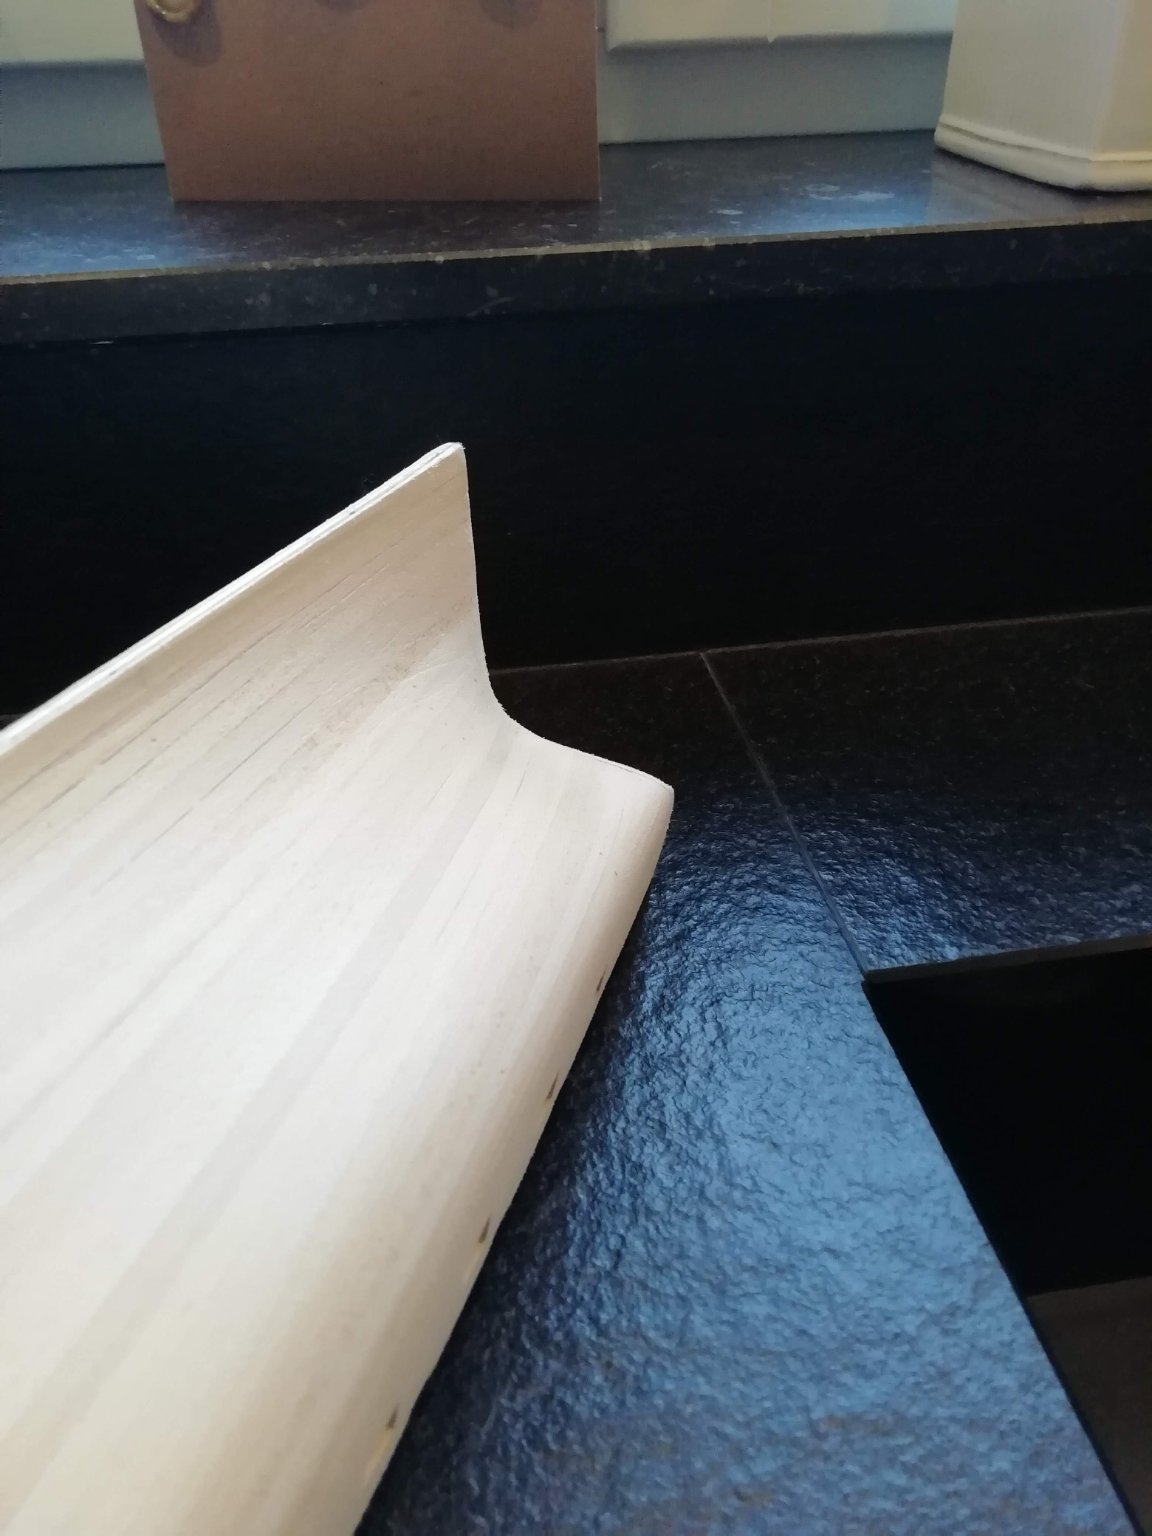
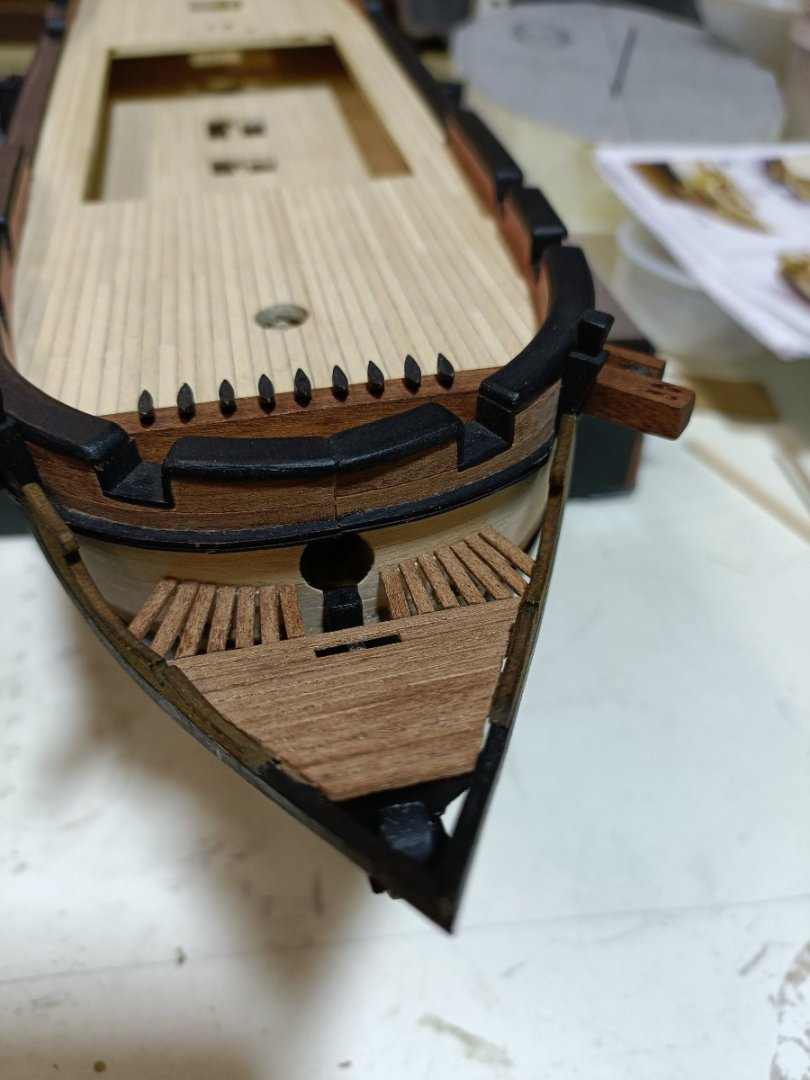
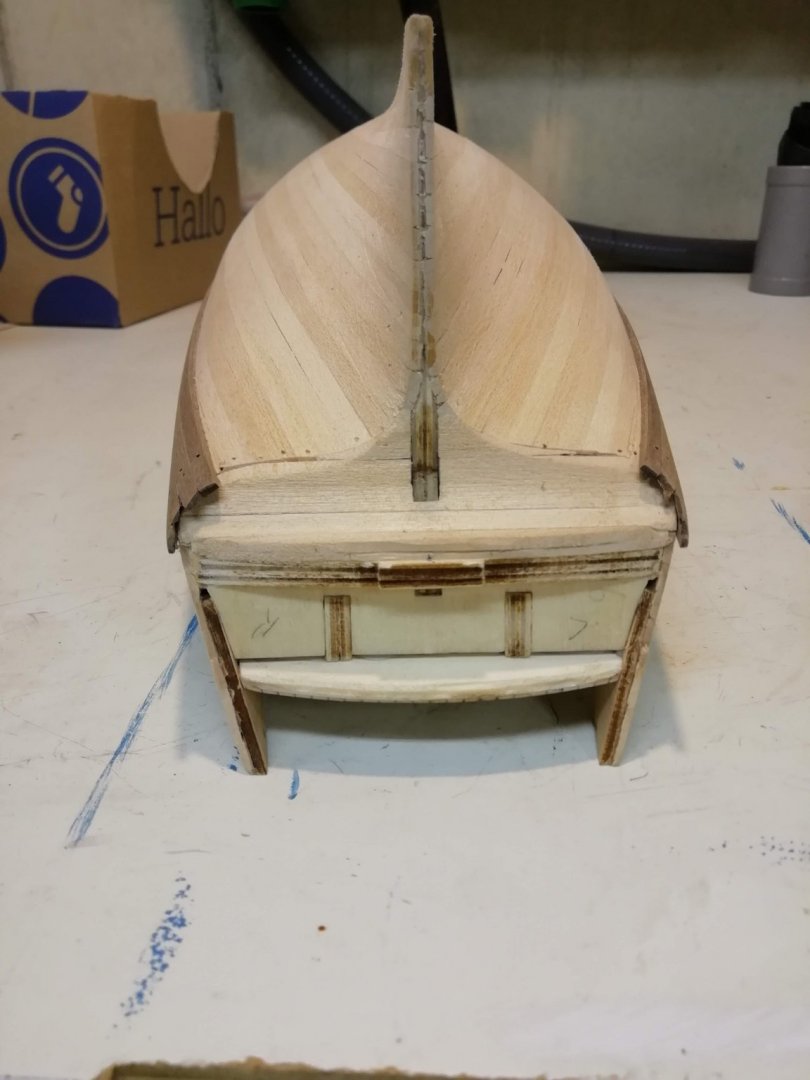
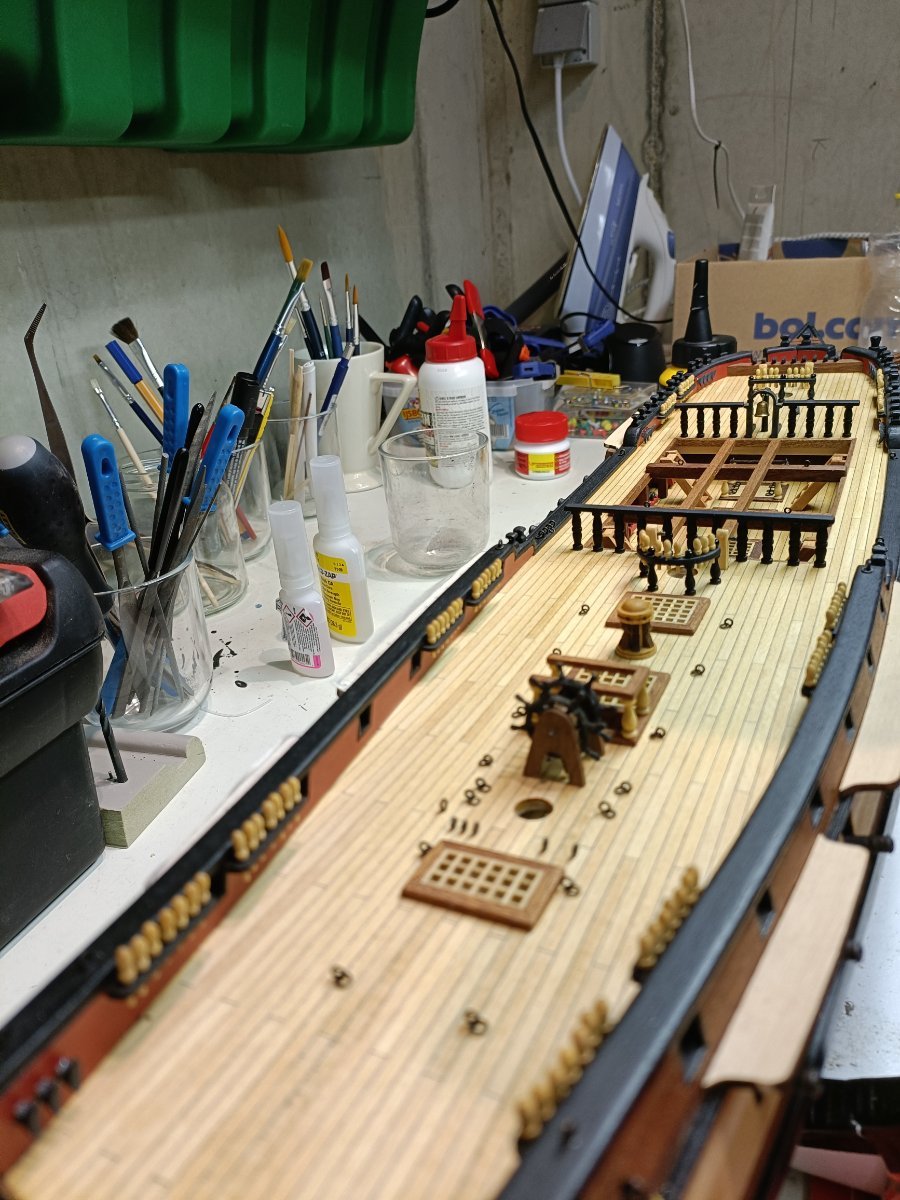
The lifeboats should be painted... I have planked them...


-
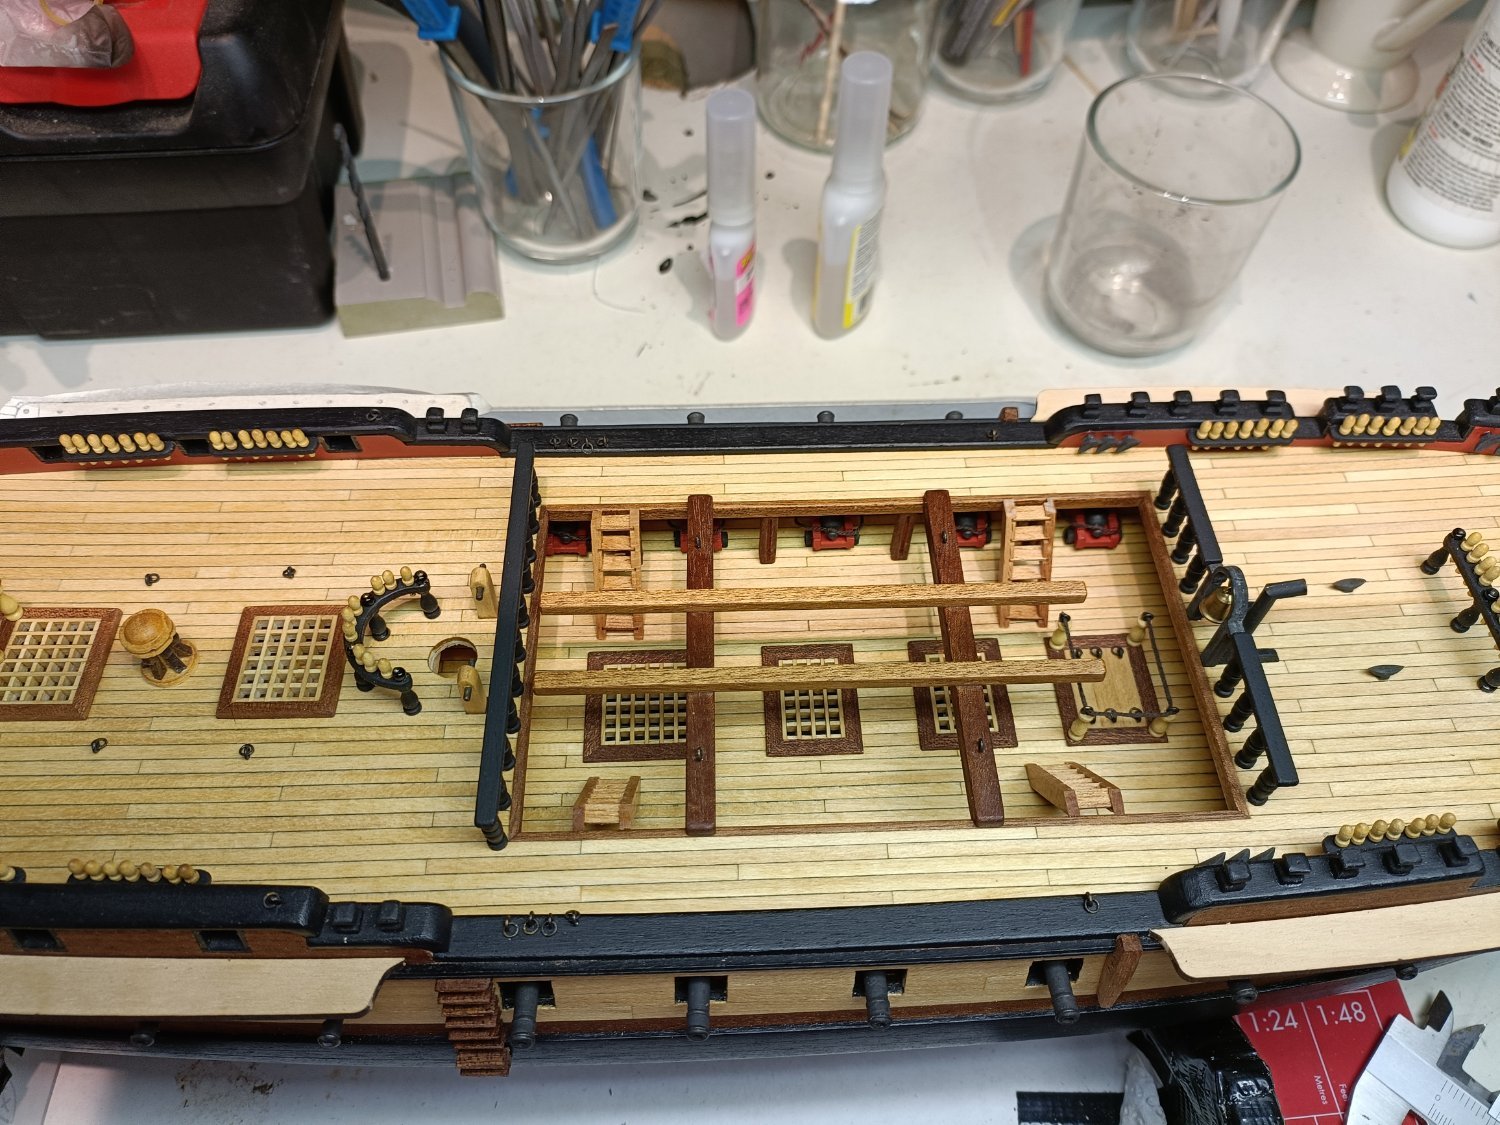
Diana by Kyak - OcCre - 1/85
Kyak replied to Kyak's topic in - Kit build logs for subjects built from 1751 - 1800
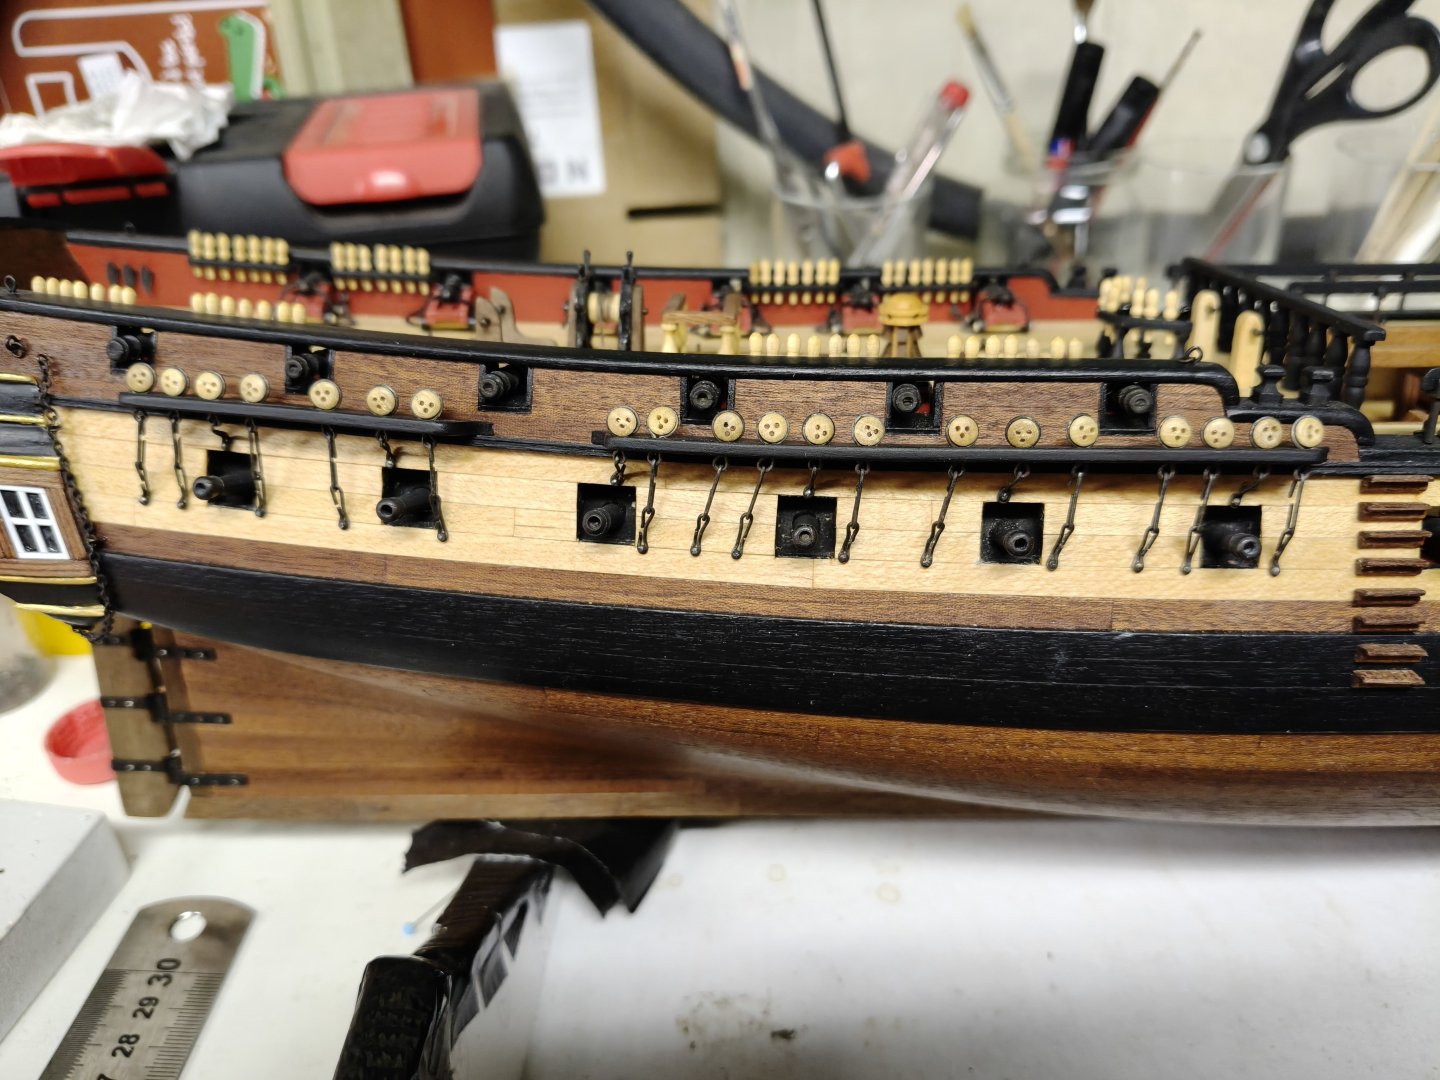
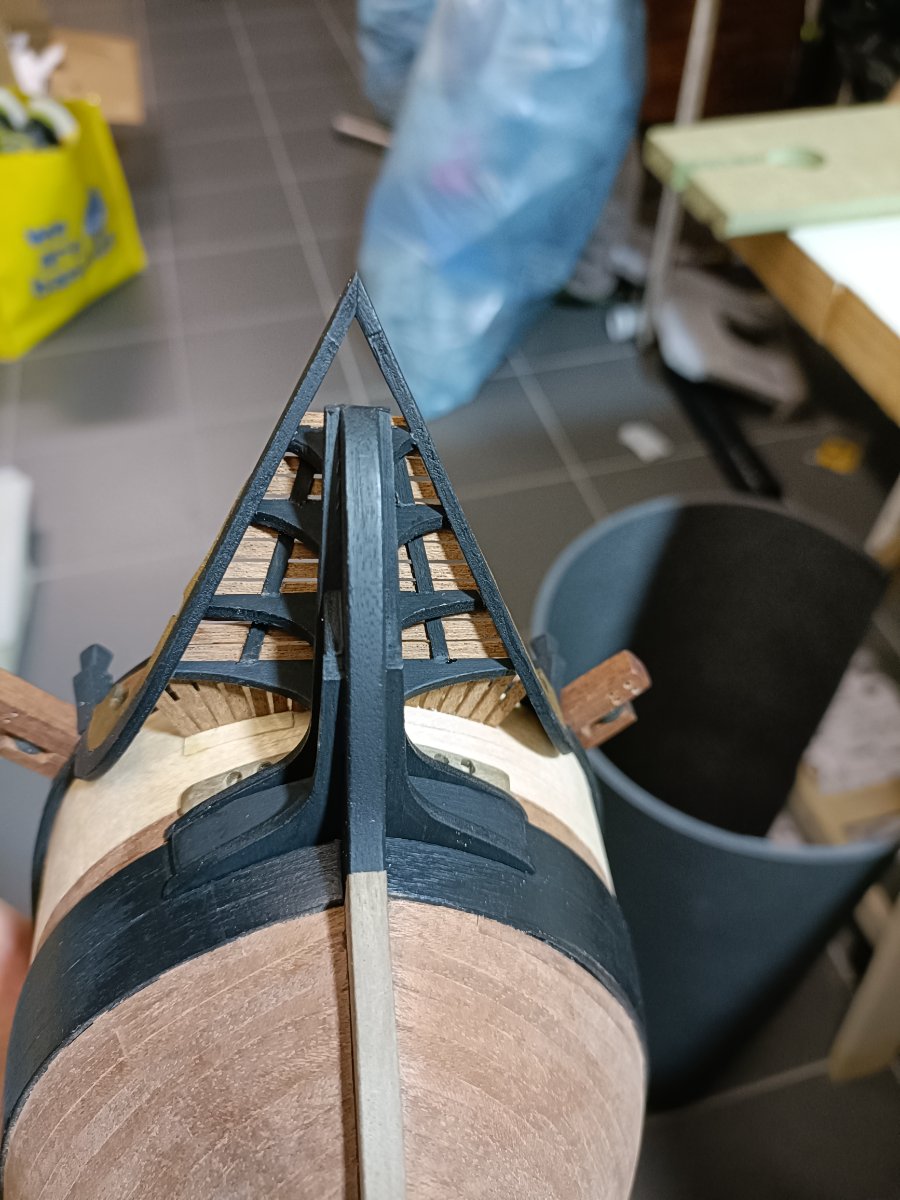
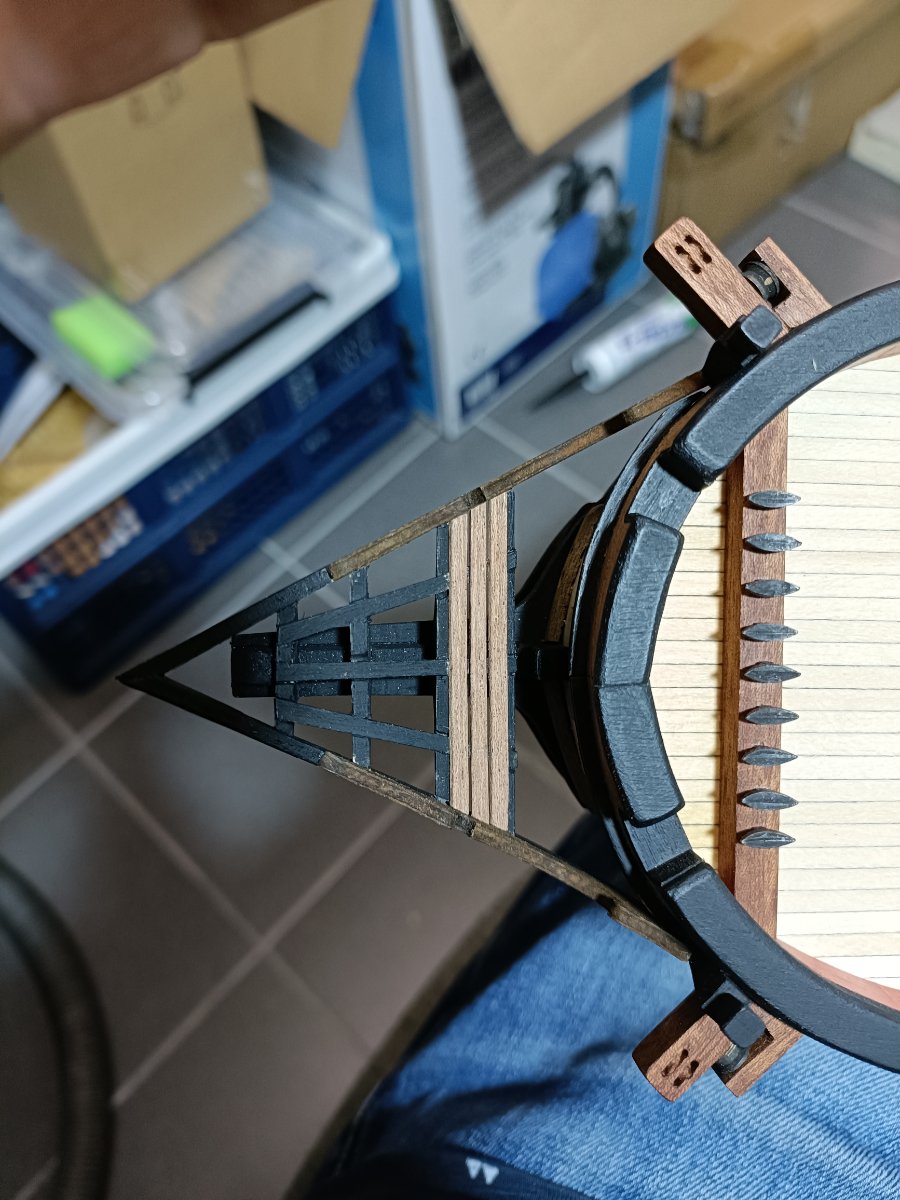
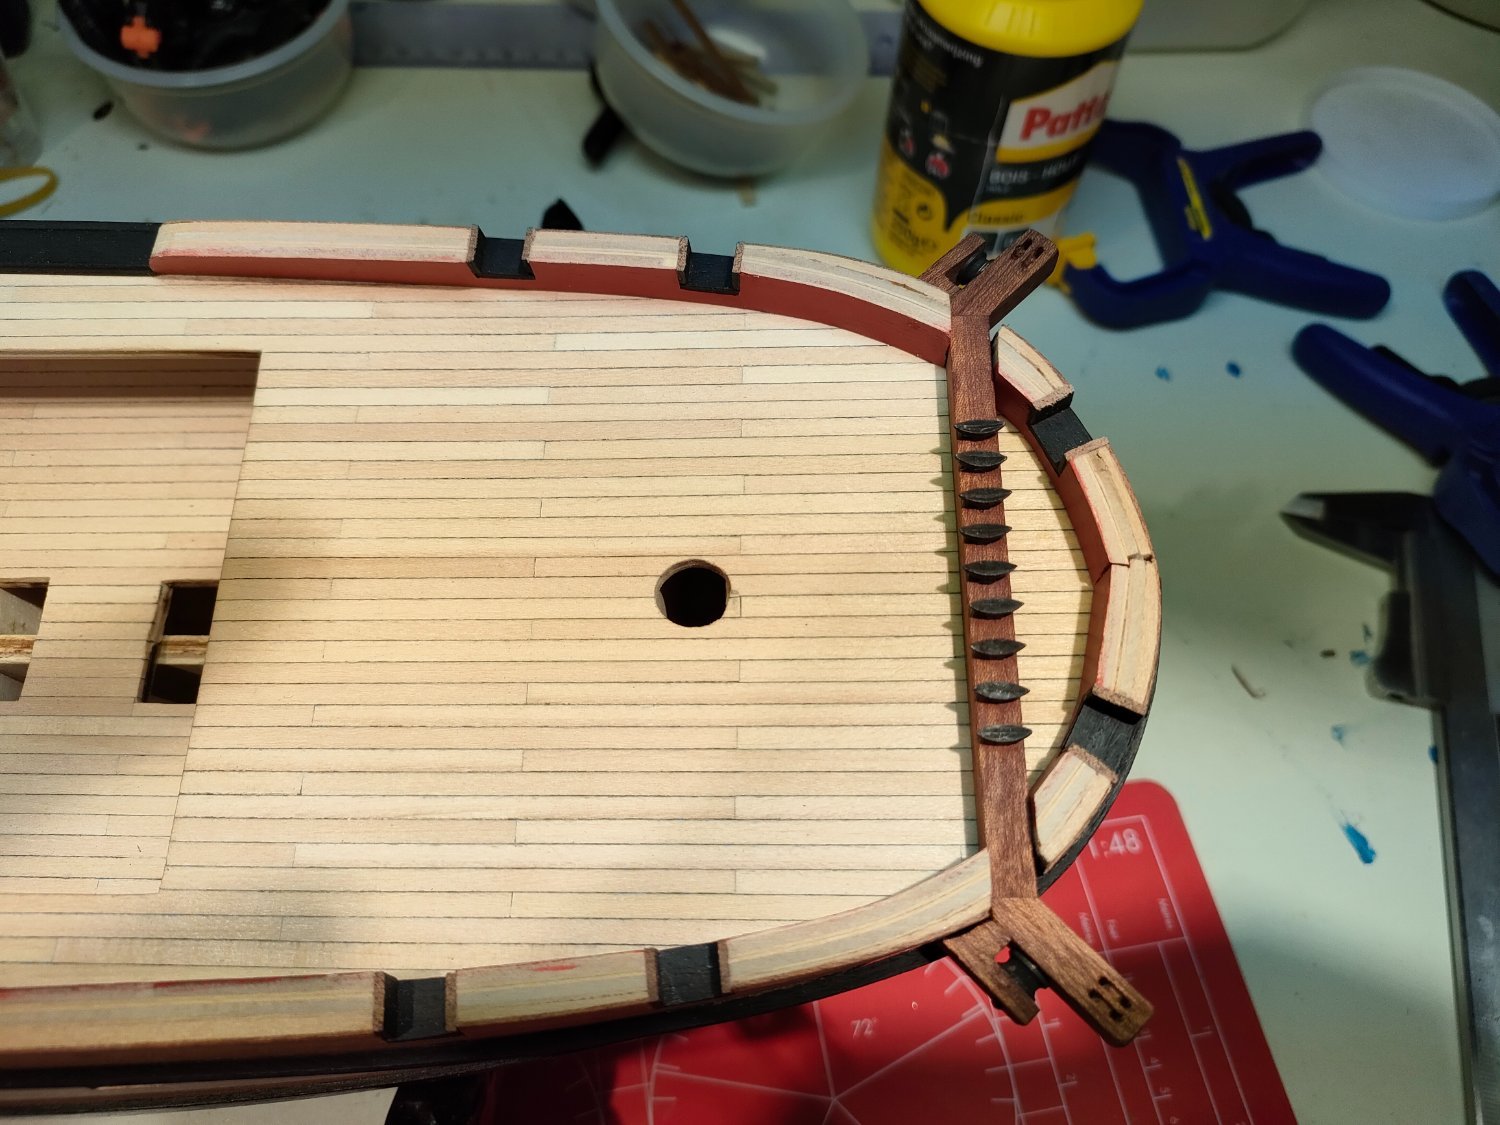
After a long break, some work is done... Chainplates are in place.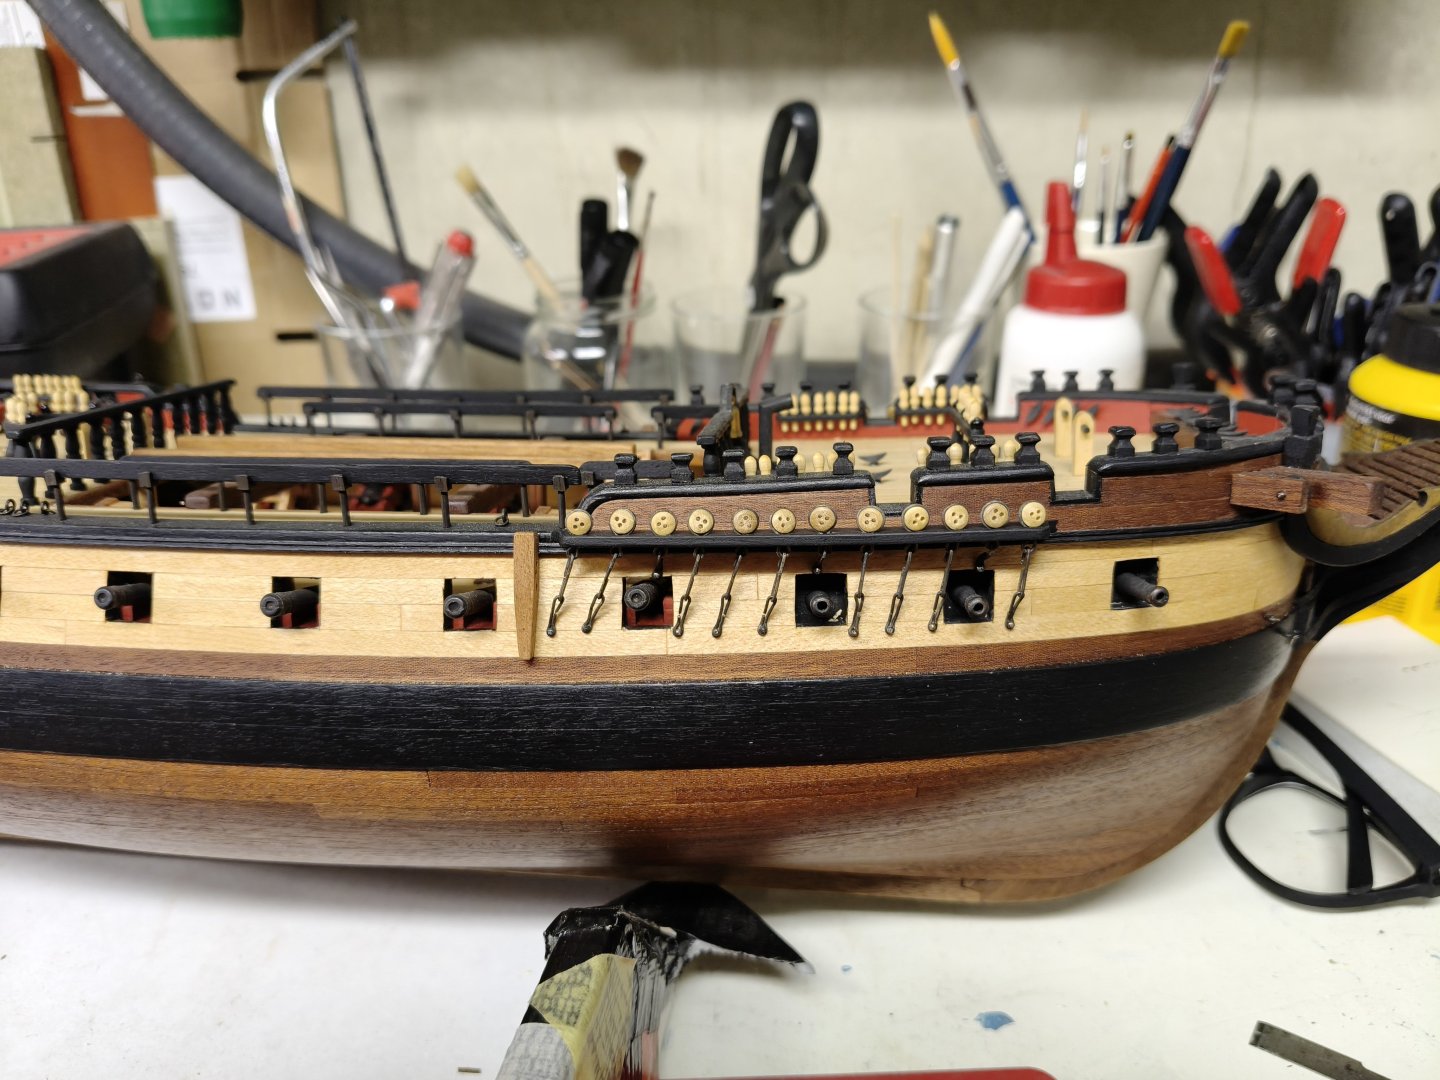
-
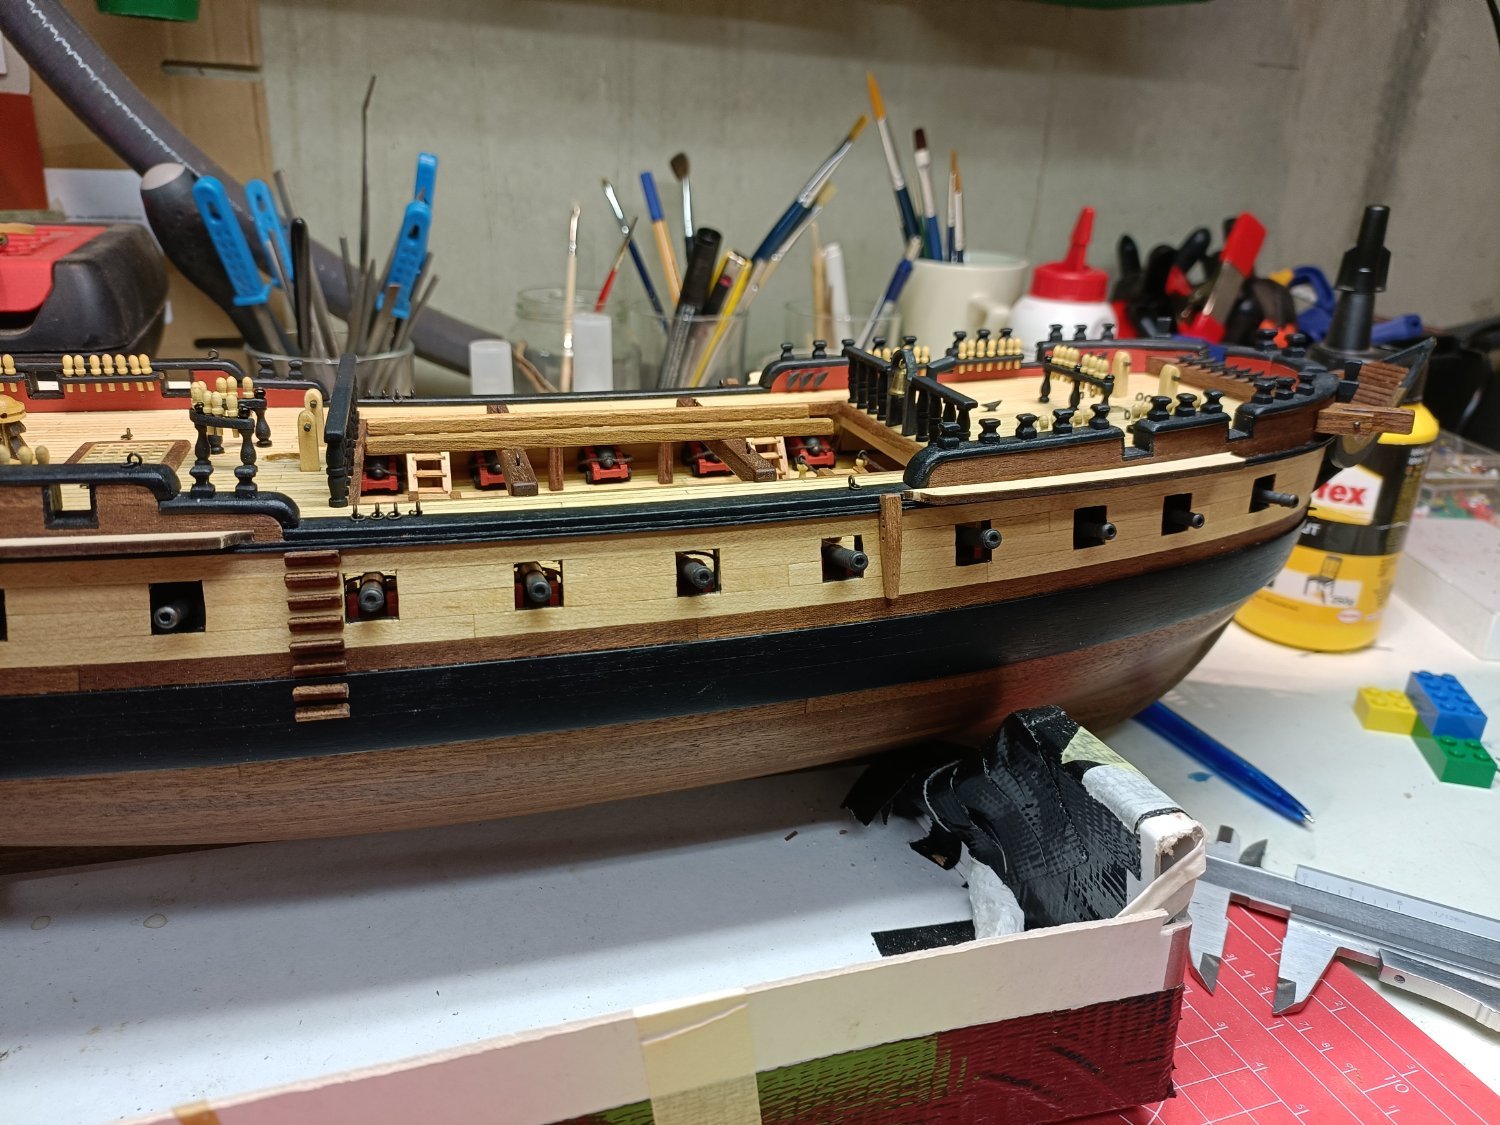
Diana by Kyak - OcCre - 1/85
Kyak replied to Kyak's topic in - Kit build logs for subjects built from 1751 - 1800
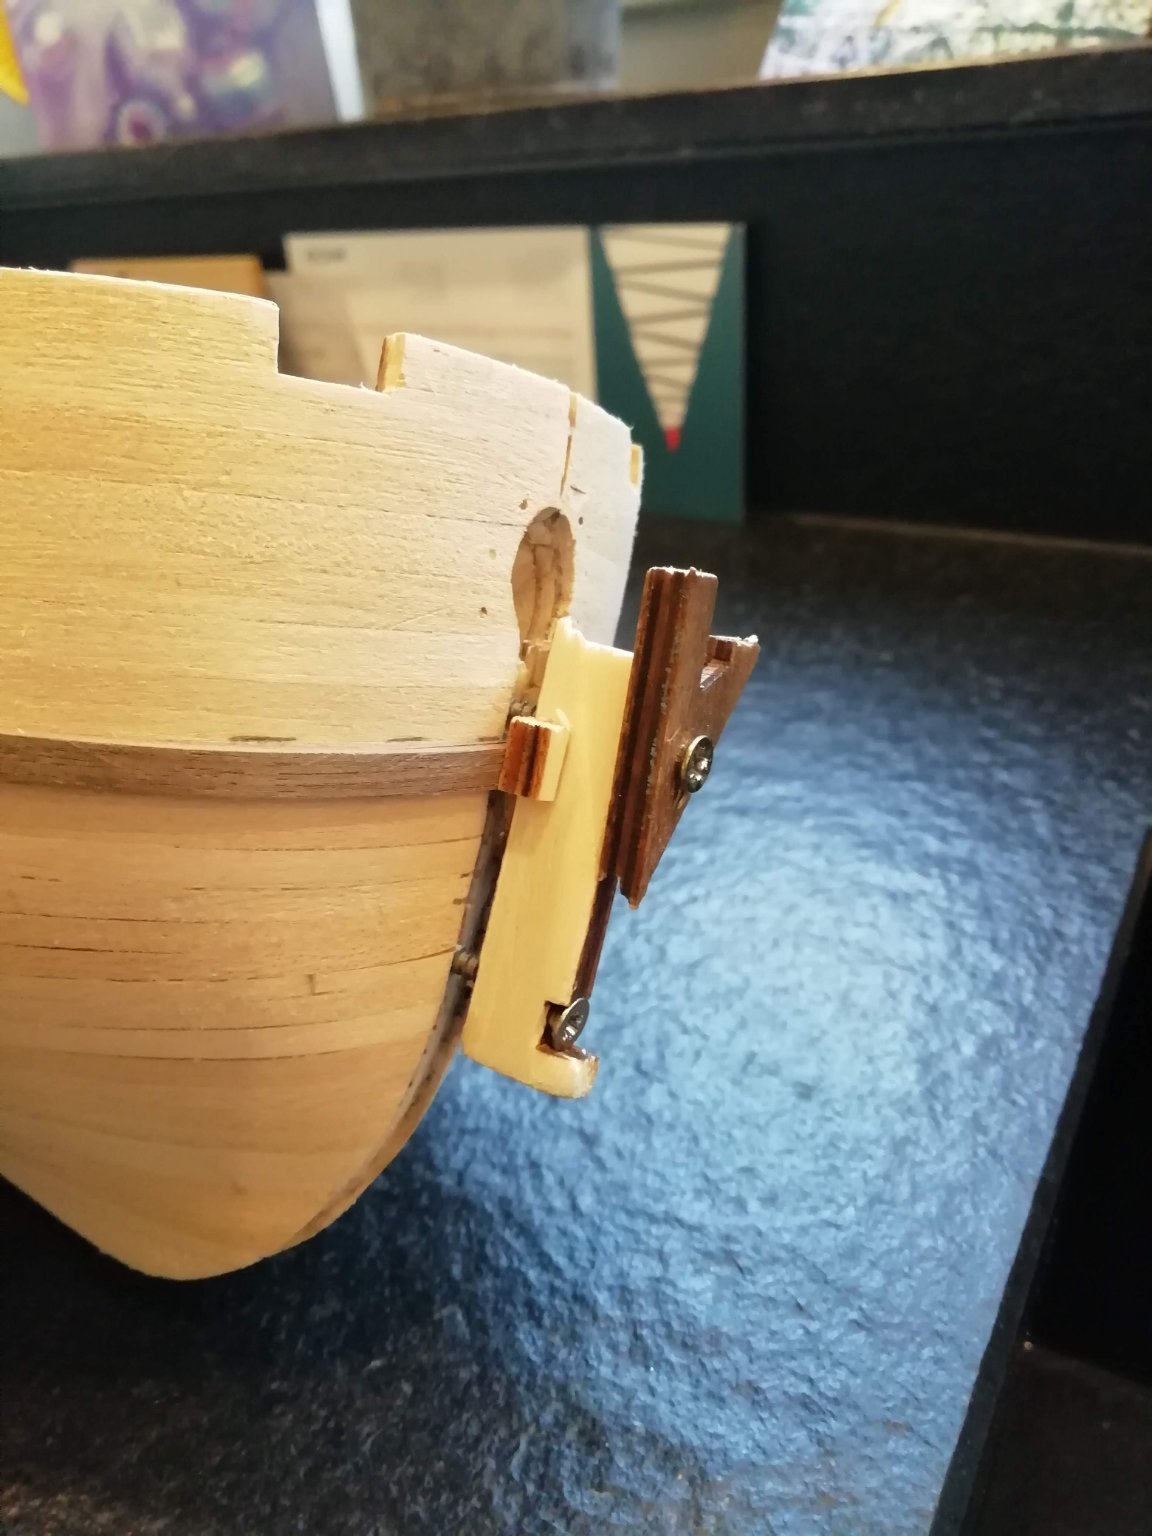
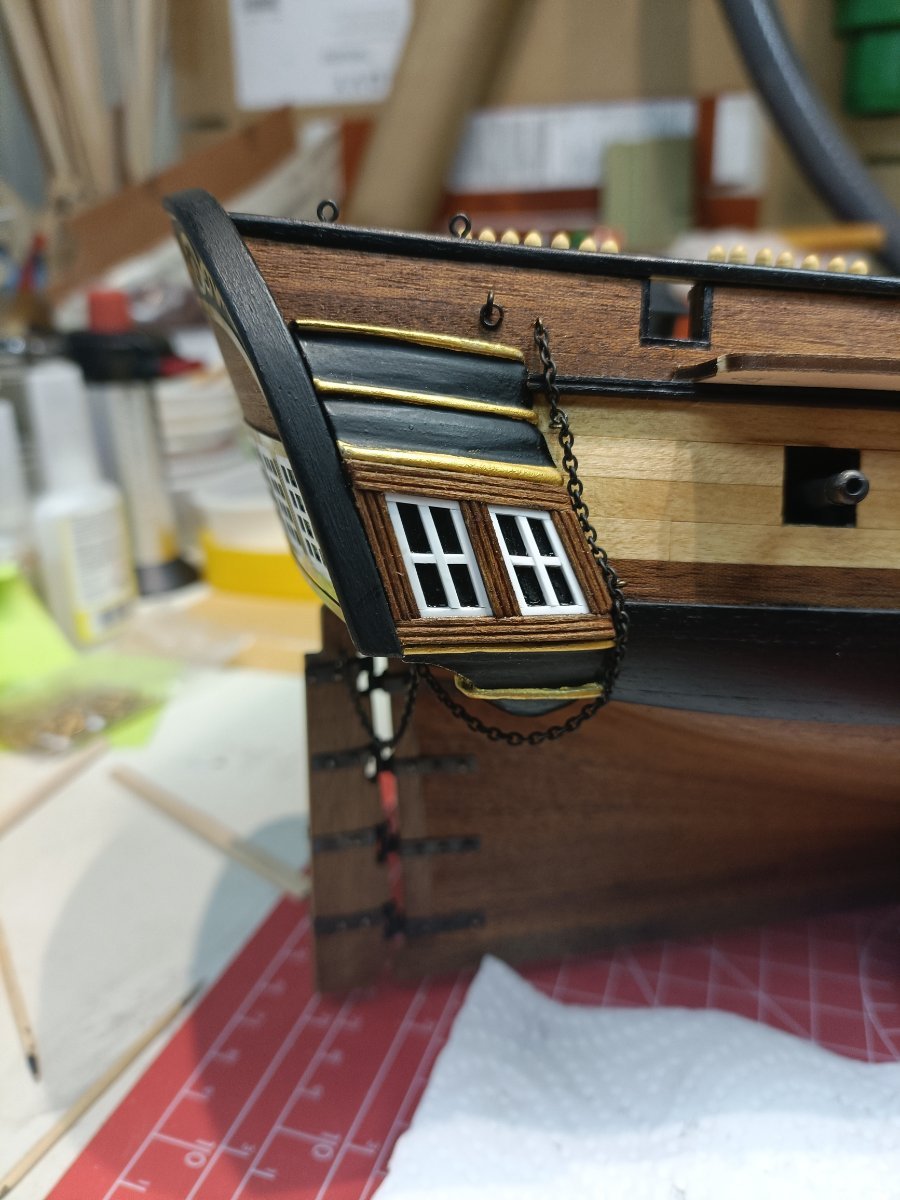
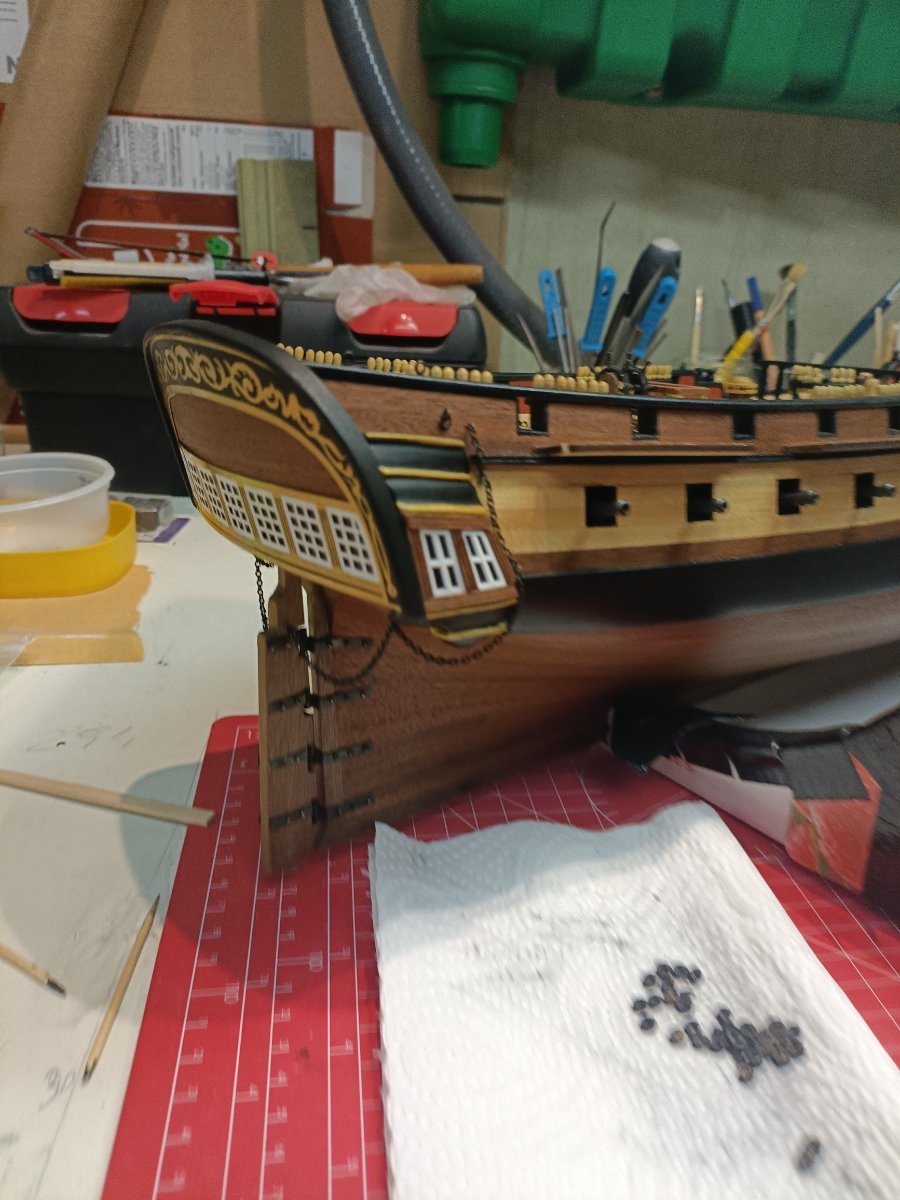
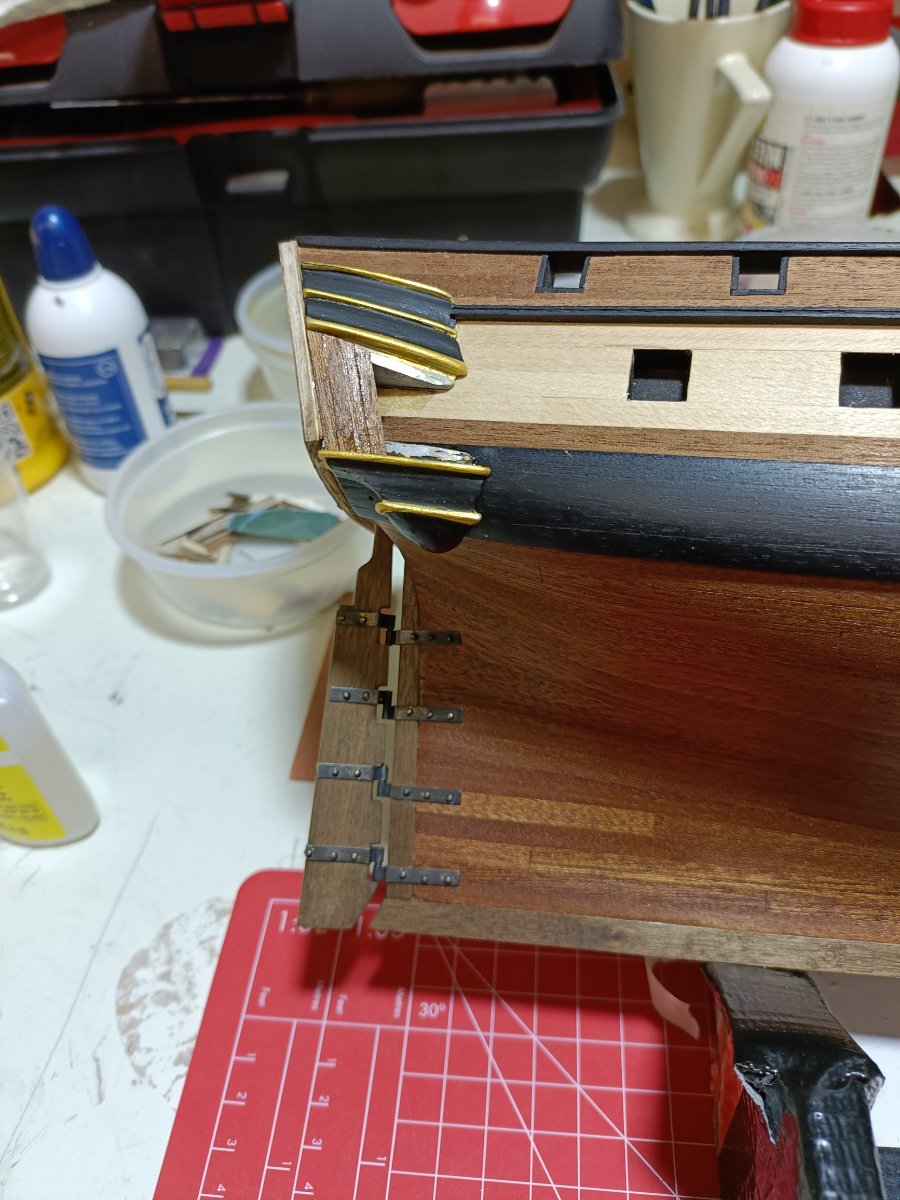
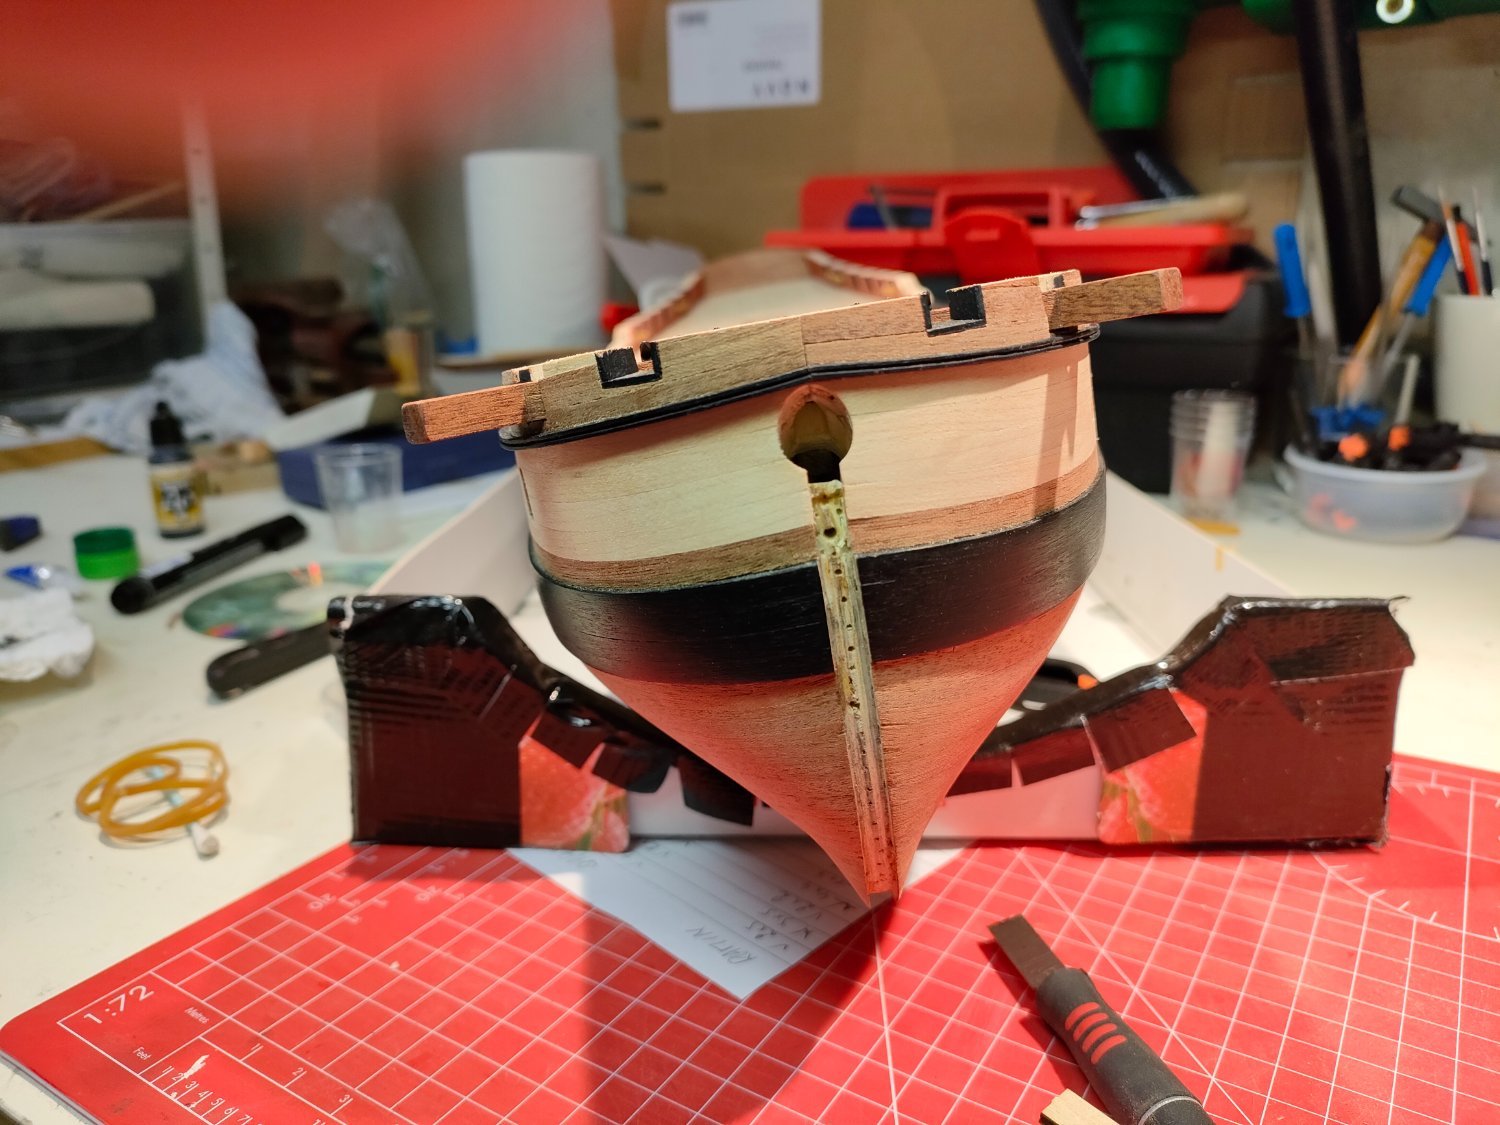
Added some chaines to the rudder and stern.


-
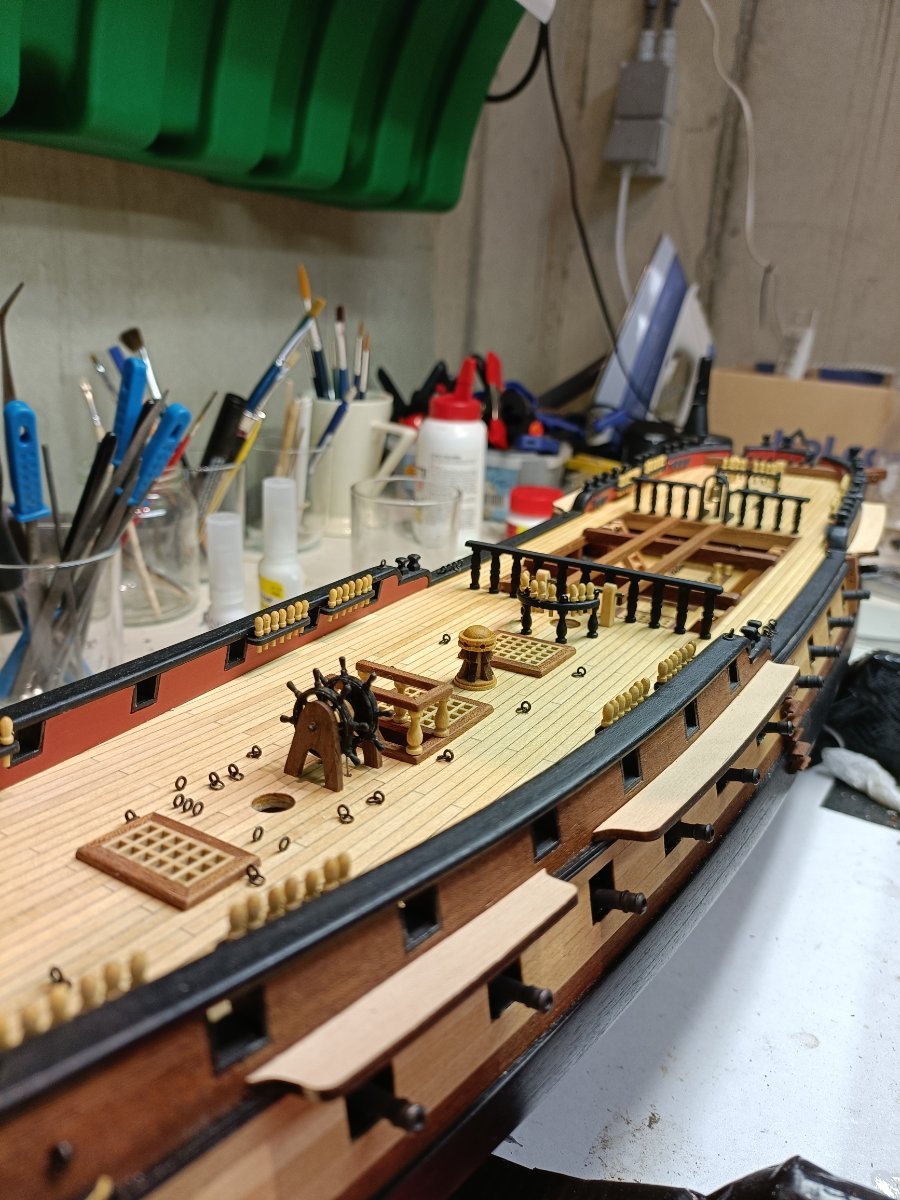
Diana by Kyak - OcCre - 1/85
Kyak replied to Kyak's topic in - Kit build logs for subjects built from 1751 - 1800
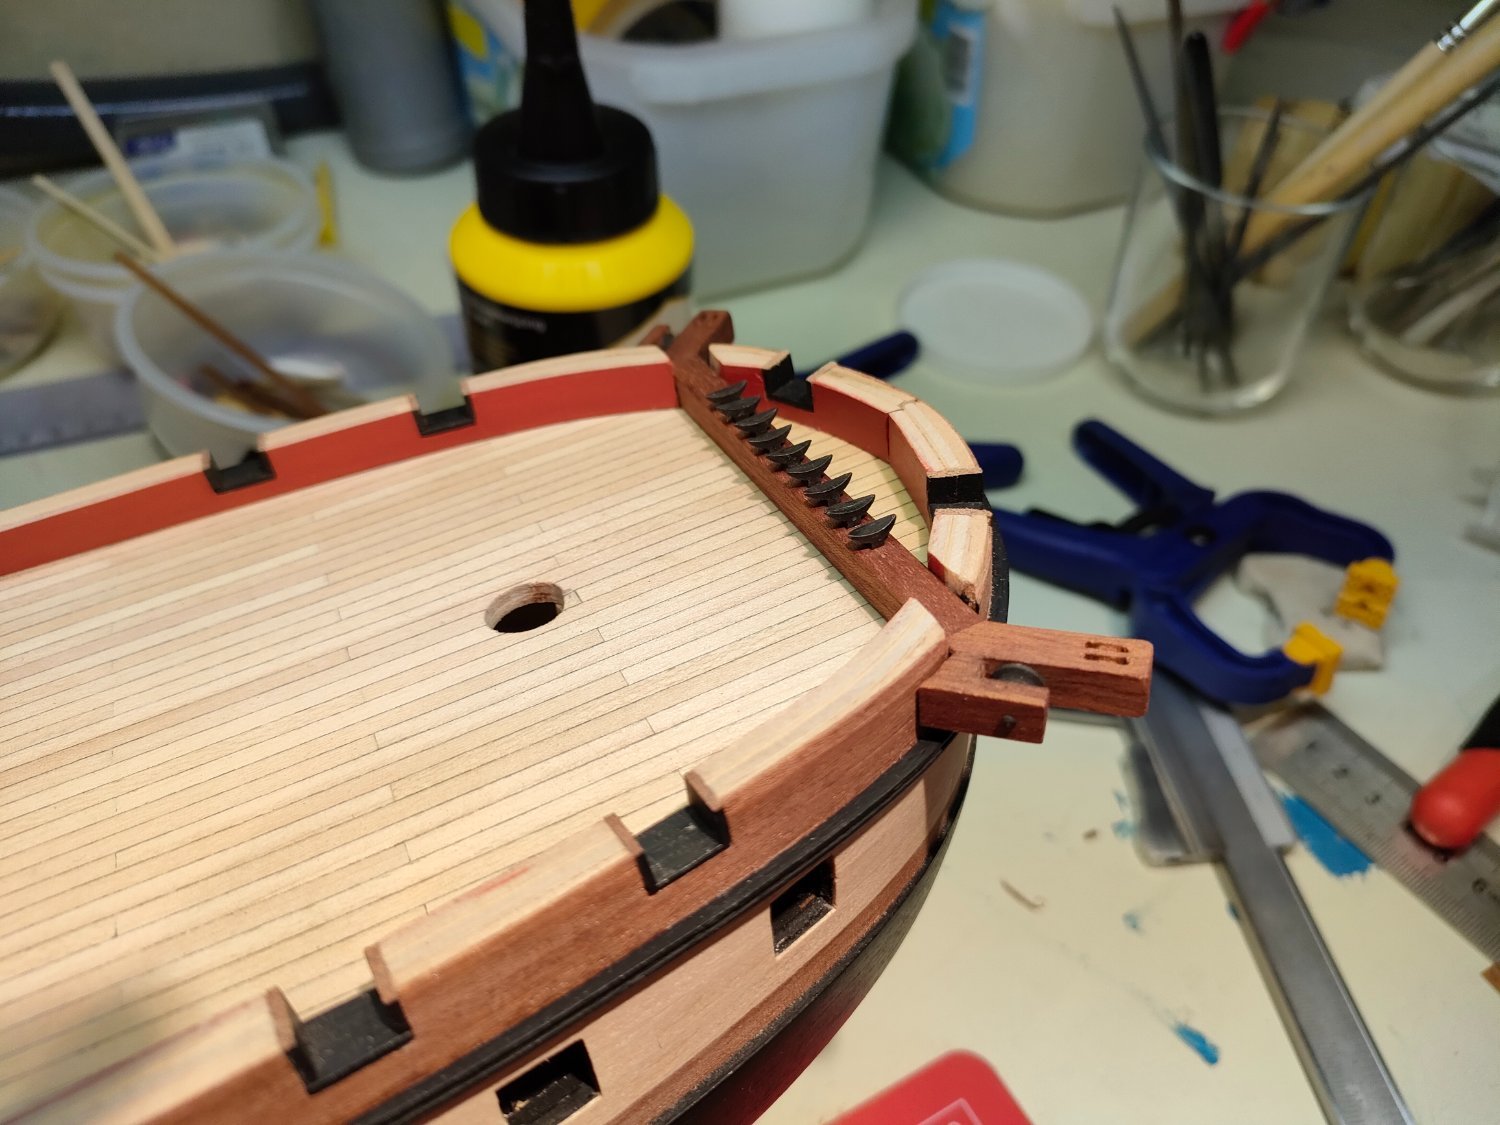
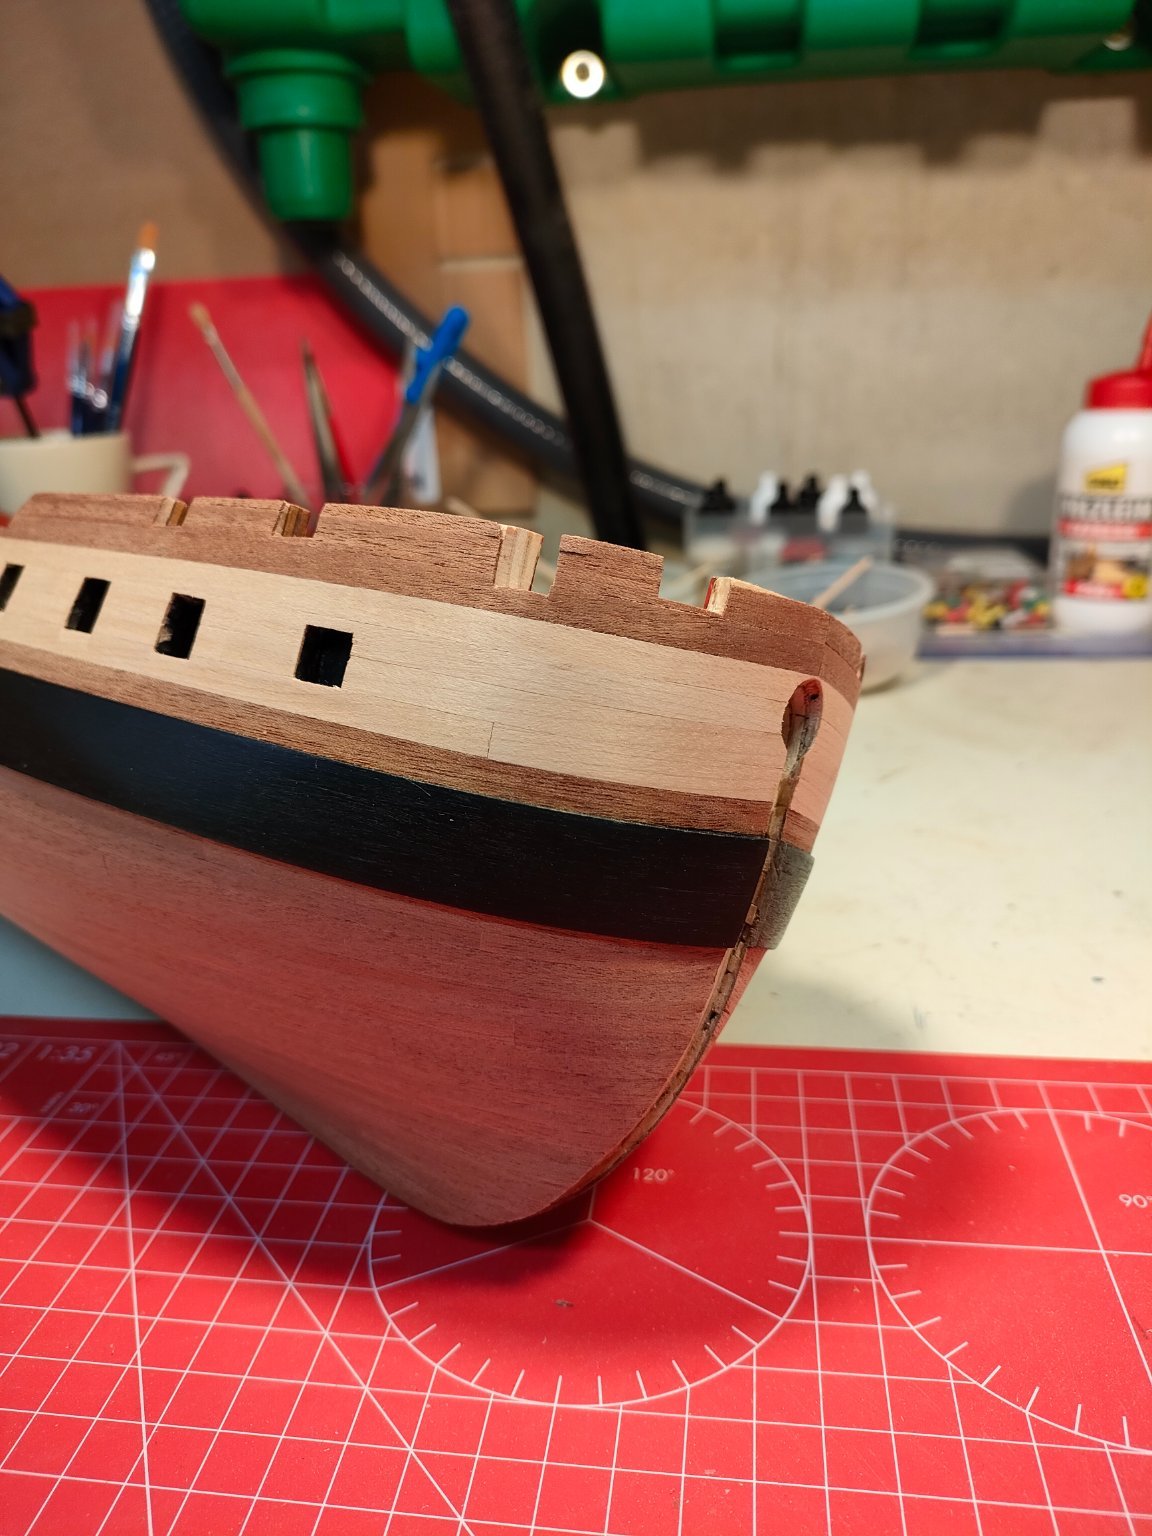
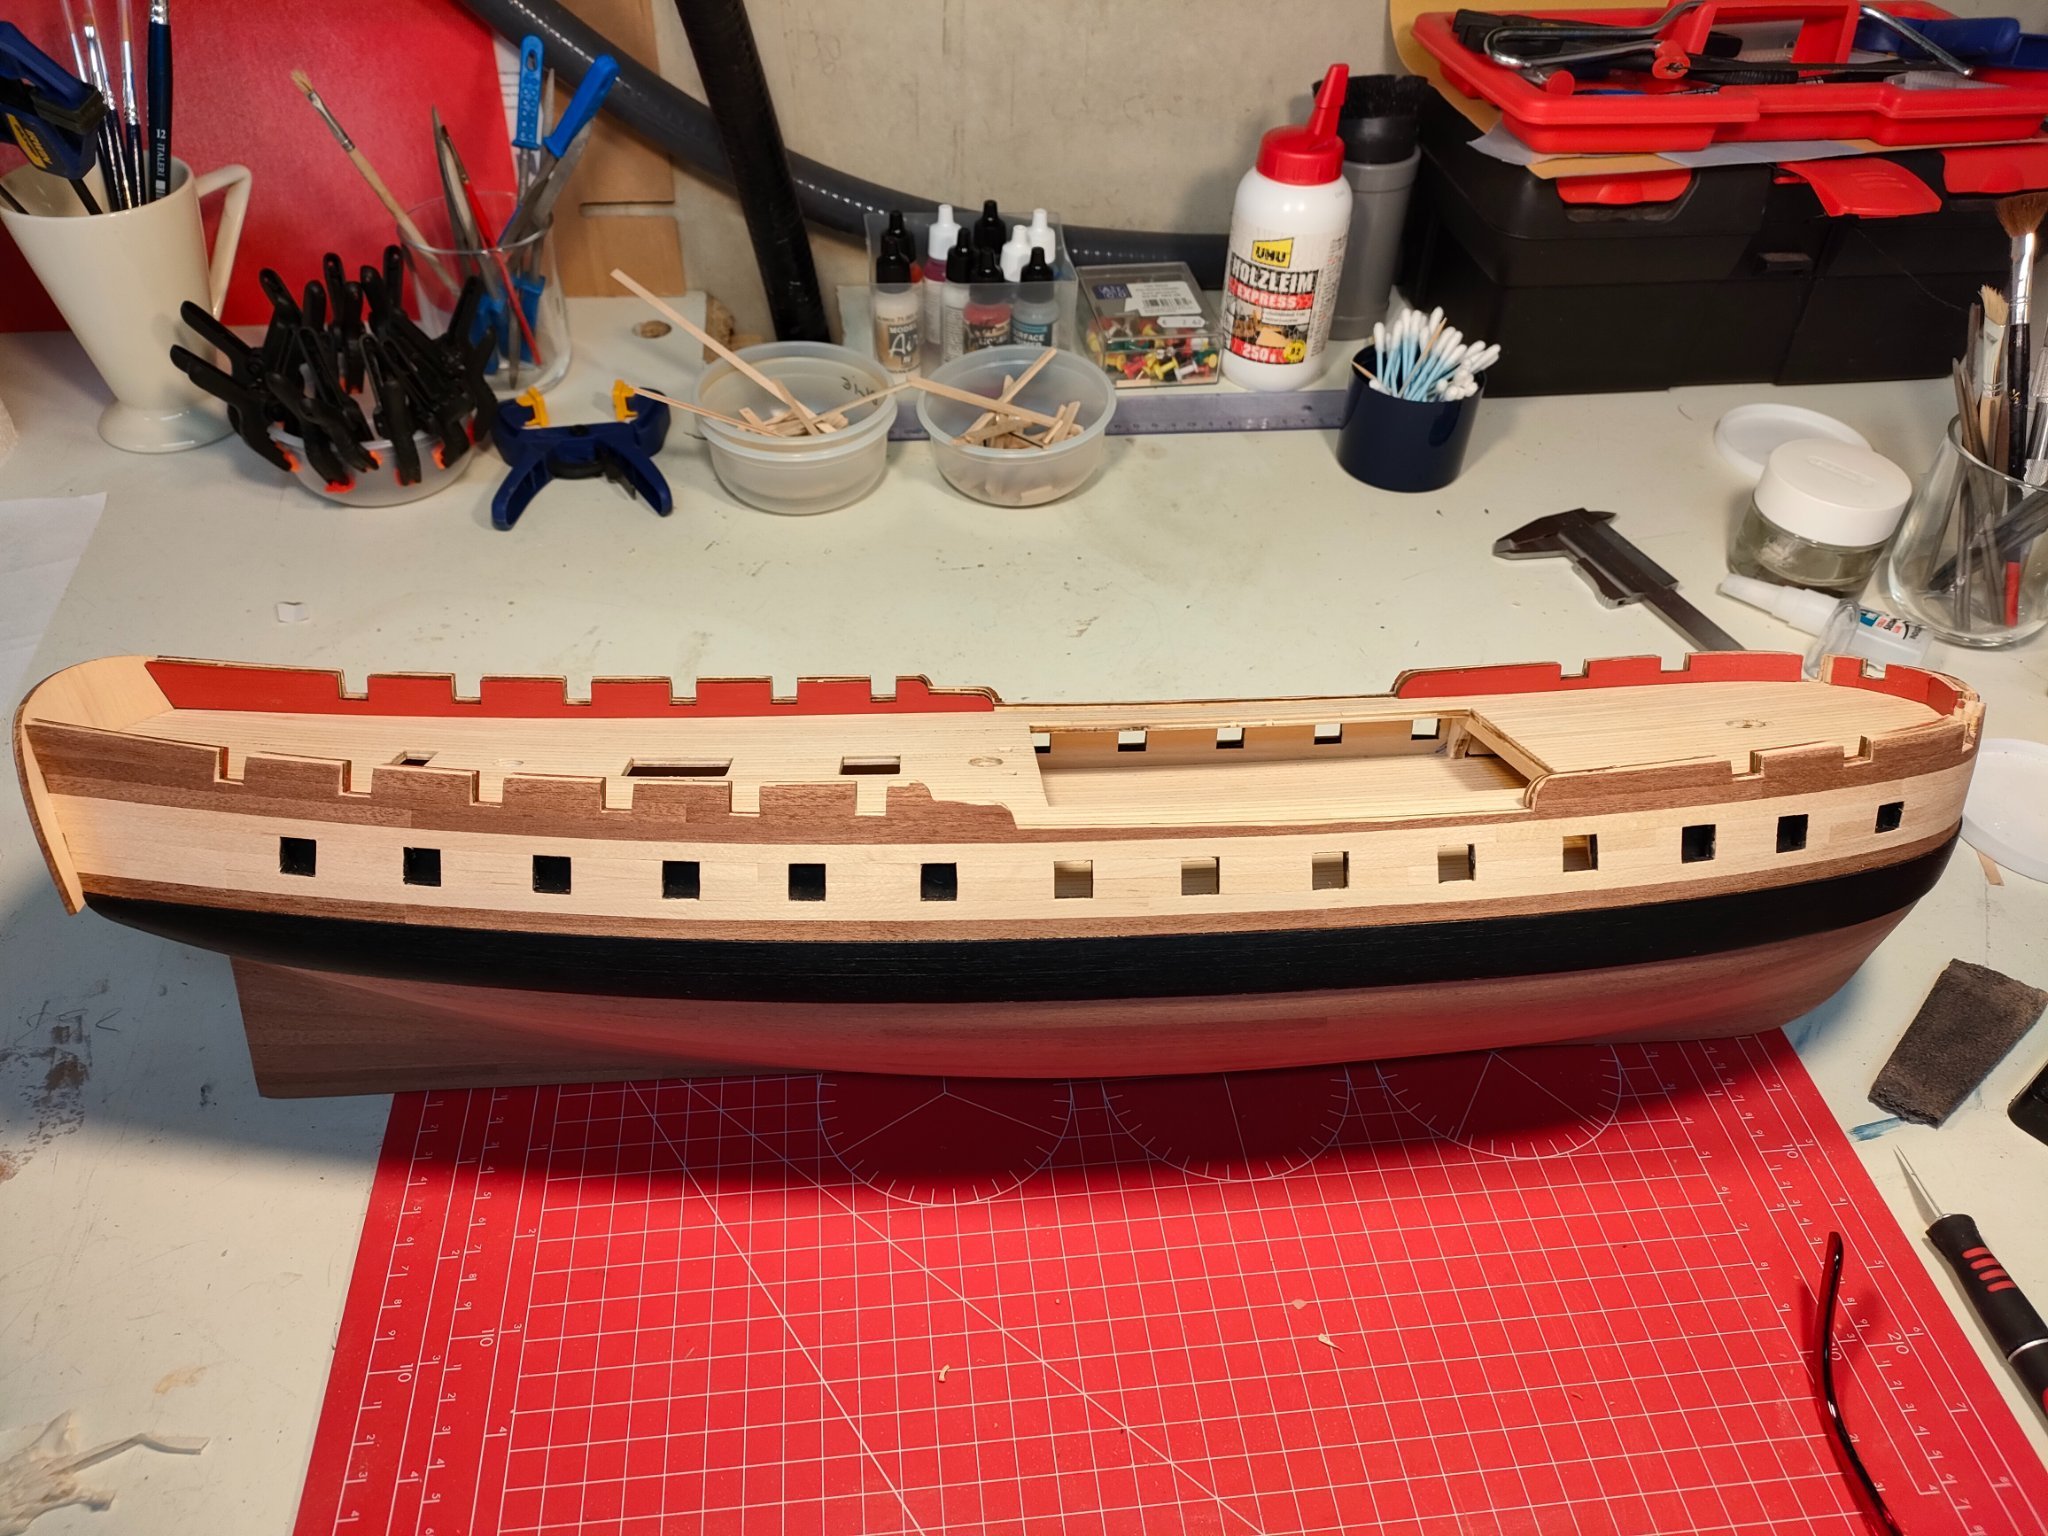
After almost one year, a little bit work done.


-
Hi RossR, Youre going fast! I 'm buiding the Diana too but at a much lower pace... I' far from an expert, but it turned out pretty good for my Diana's hull. I used Chuk's method too. For the first layer, i soaked the planks in hot water for 10 minutes. fix them on the hull and let it dry out. For me it worked fine. The second layer wasn't that easy. The planks are very thin and therefore the planks tend to buckle up during the bending proces. I used an old iron to make the curve. Some planks needed the proces up to ten times to make the curve. Check my buildlog. There are some pictures about how i planked the hull. Keep up the good work! Gr. Kyak
-
Diana by Kyak - OcCre - 1/85
Kyak replied to Kyak's topic in - Kit build logs for subjects built from 1751 - 1800
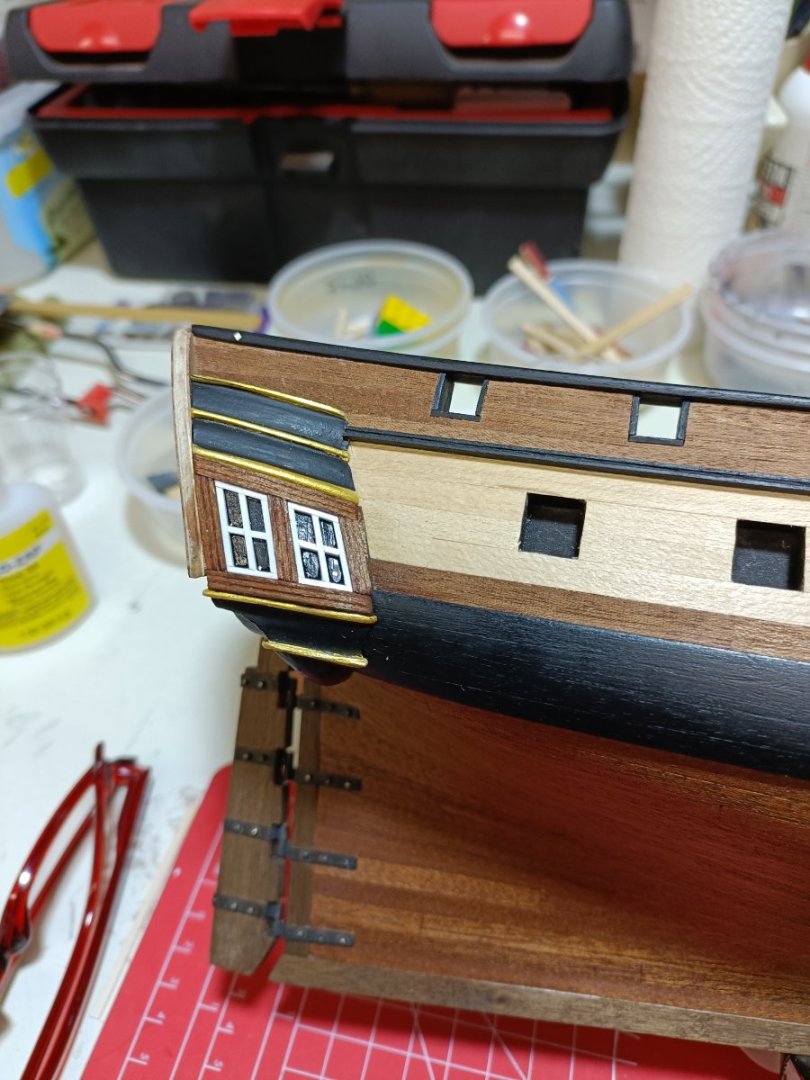
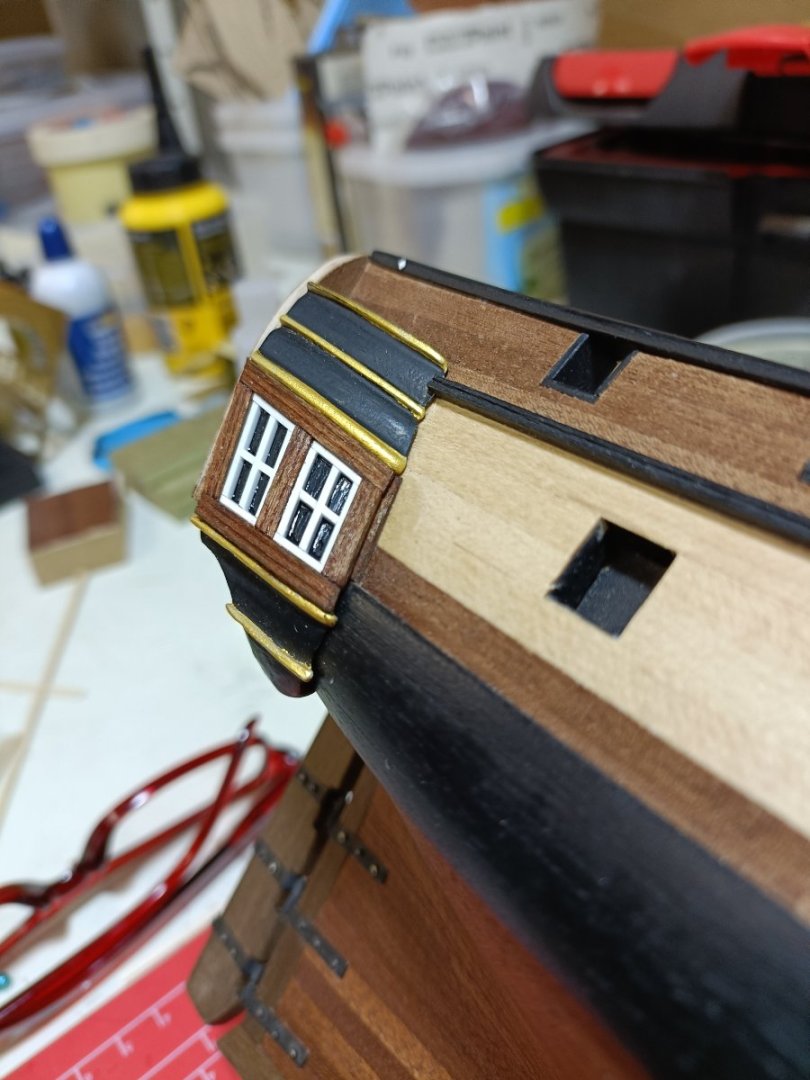
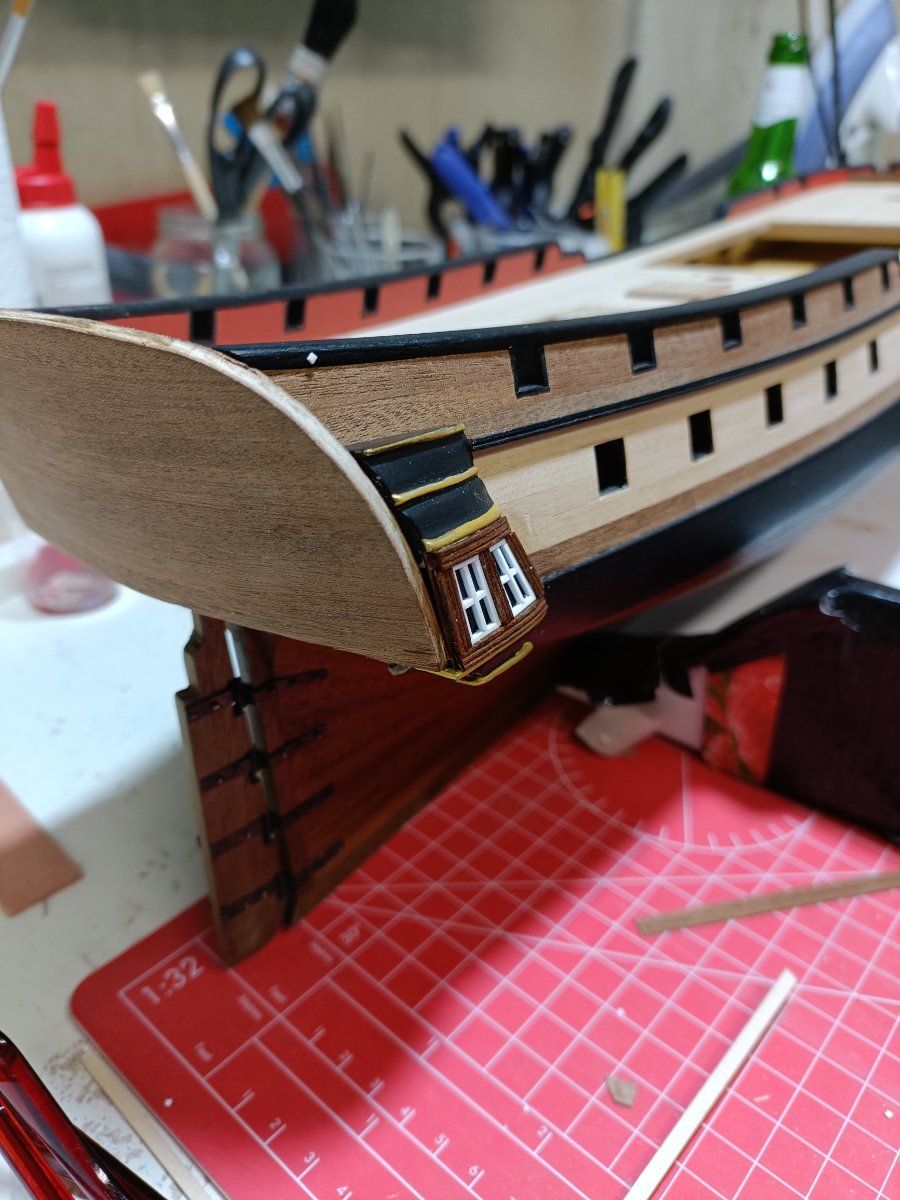
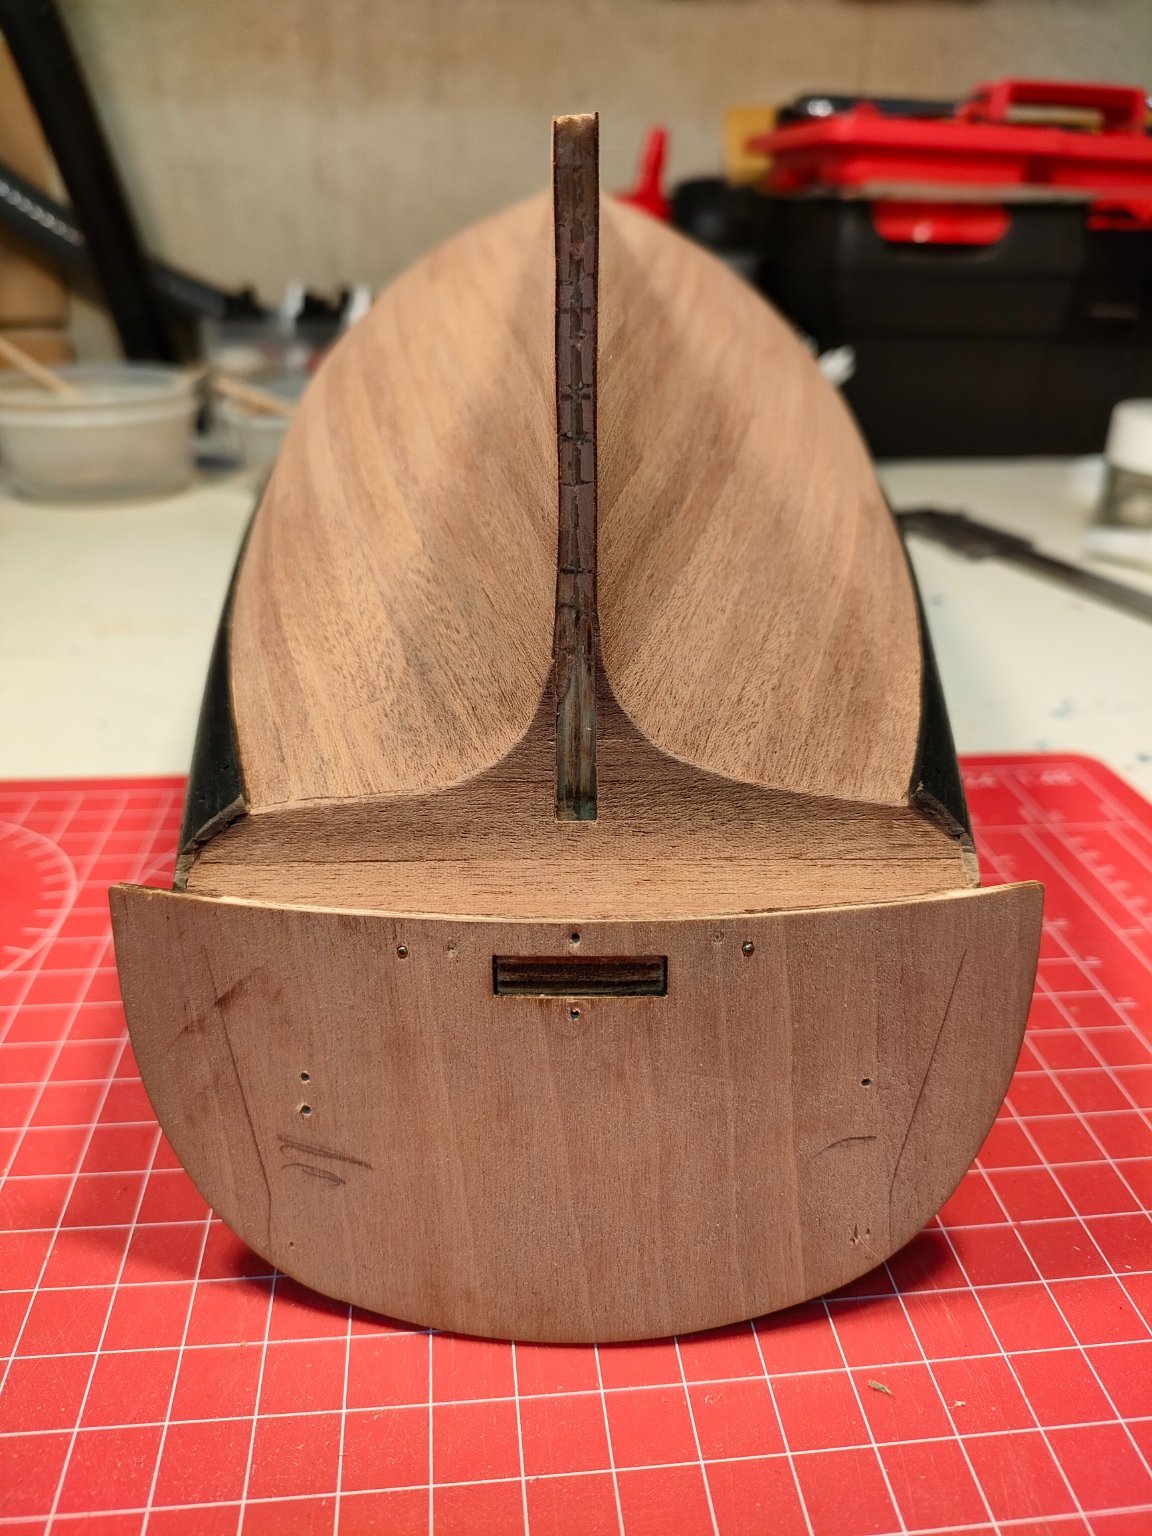
Litlle update, The lower part of the hull is oiled. The keel and rudder parts are replaced by walnut parts. The windows of the gallery are a pain in the a**. I couldn't get the curve right and decide to use the solution that DavidG used on his Diana. Replacing the PE brass part by styreen strips. It took a lot of hours to do this job... But happy with the re. µ


-
Diana by Kyak - OcCre - 1/85
Kyak replied to Kyak's topic in - Kit build logs for subjects built from 1751 - 1800
Little update after long break...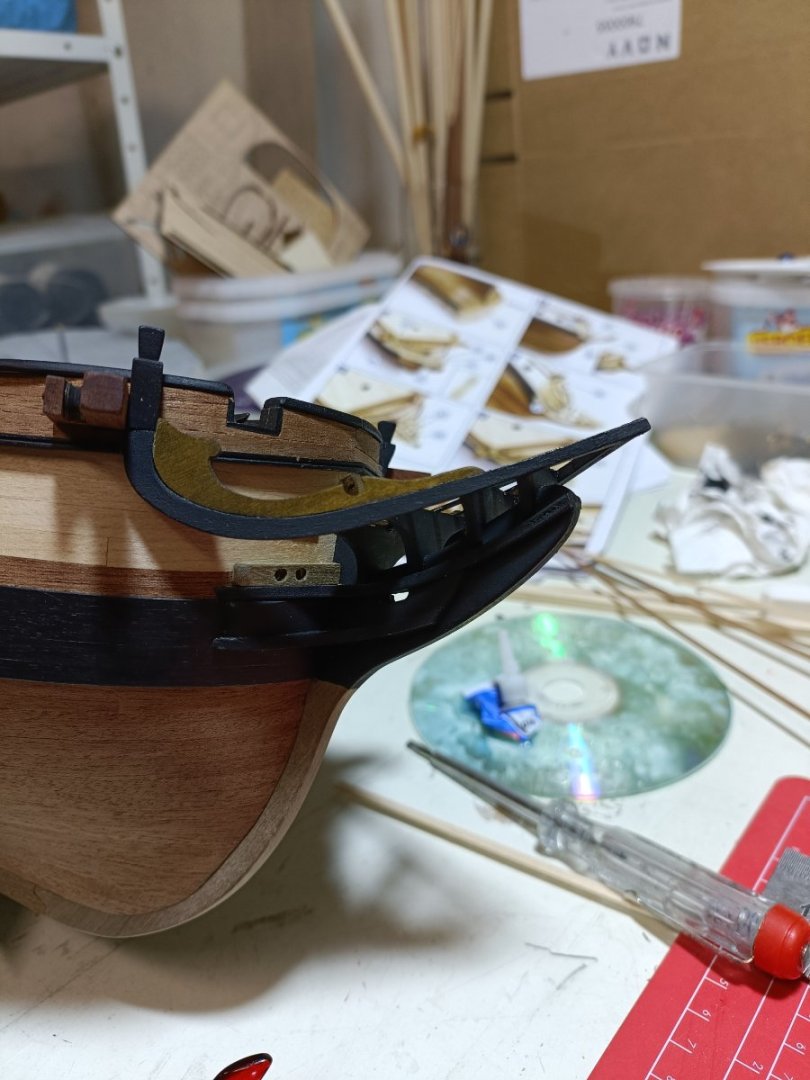

-
Diana by Kyak - OcCre - 1/85
Kyak replied to Kyak's topic in - Kit build logs for subjects built from 1751 - 1800
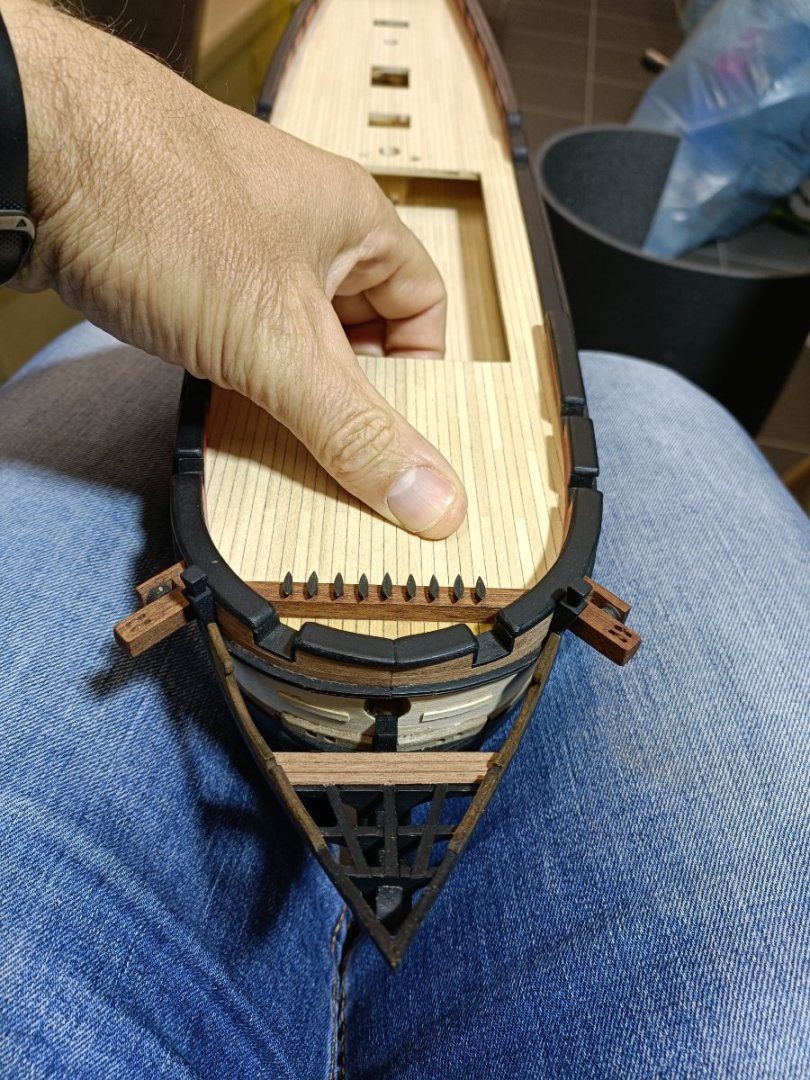
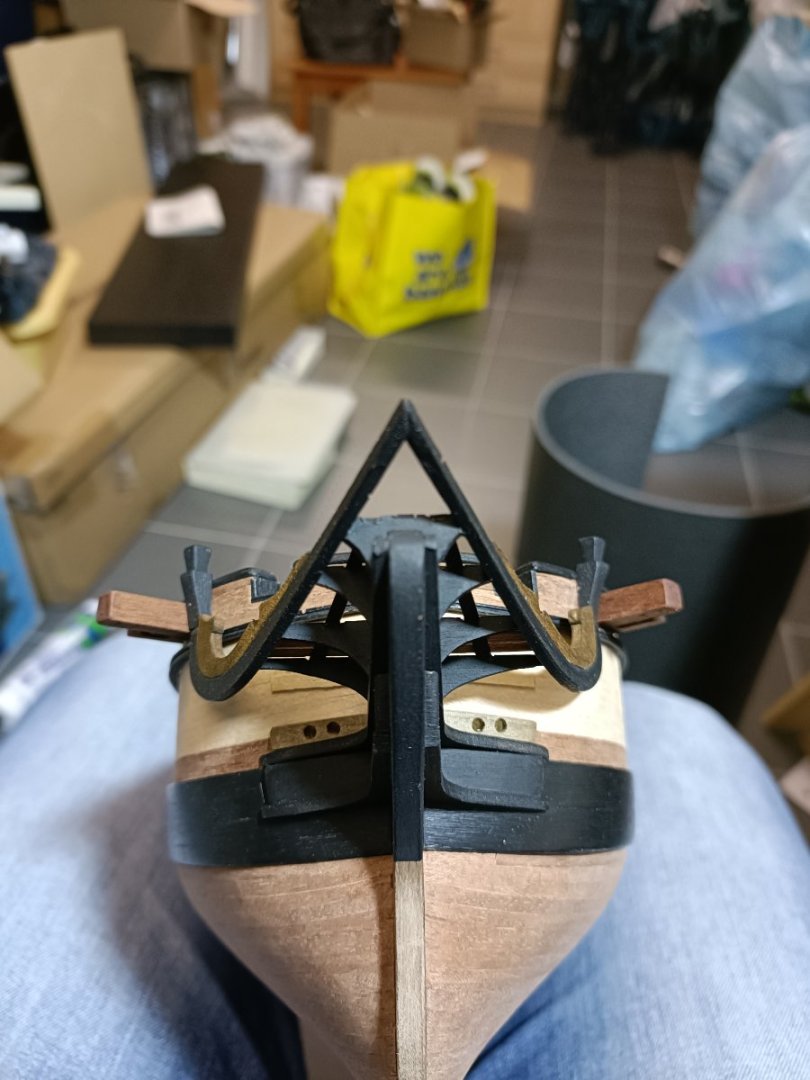
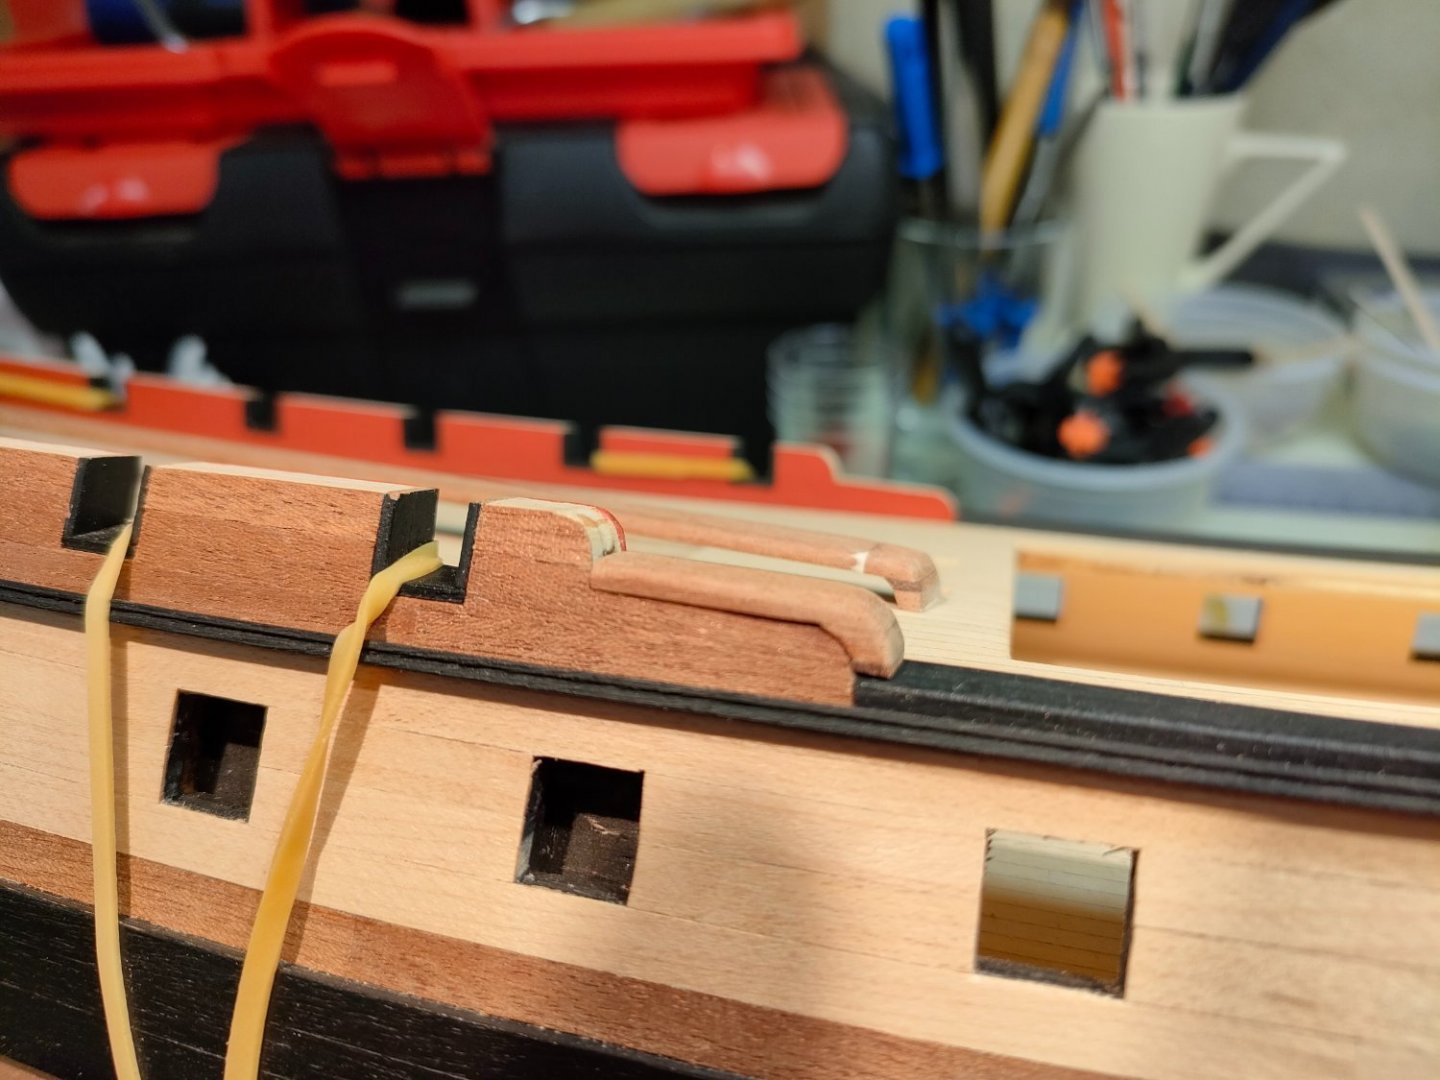
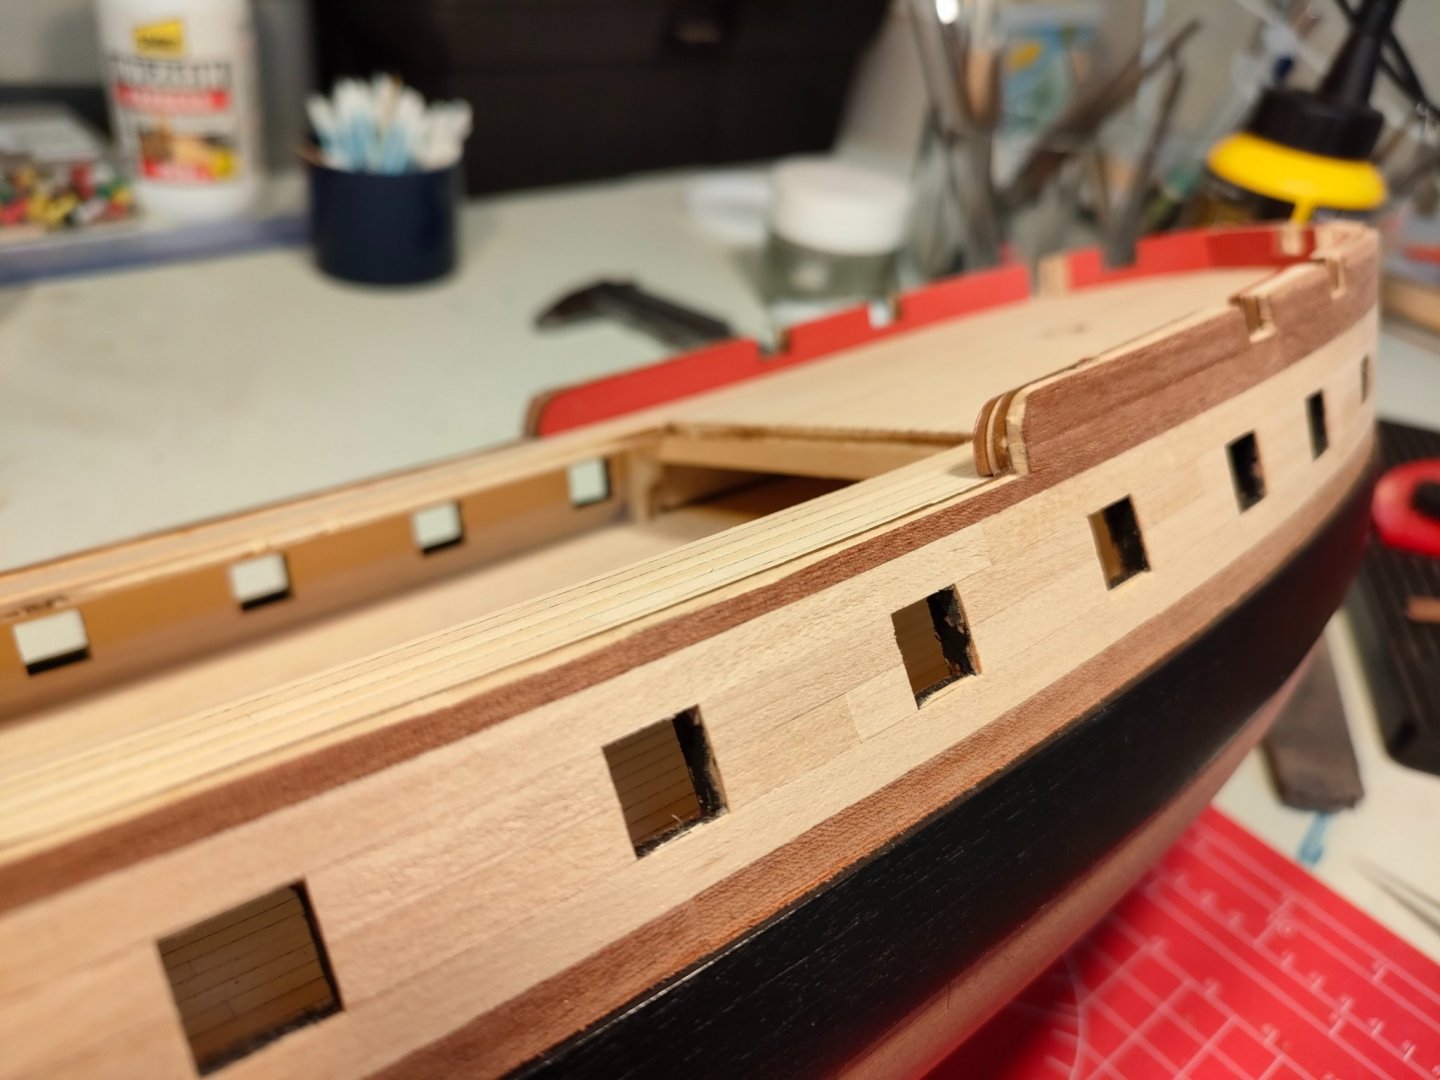
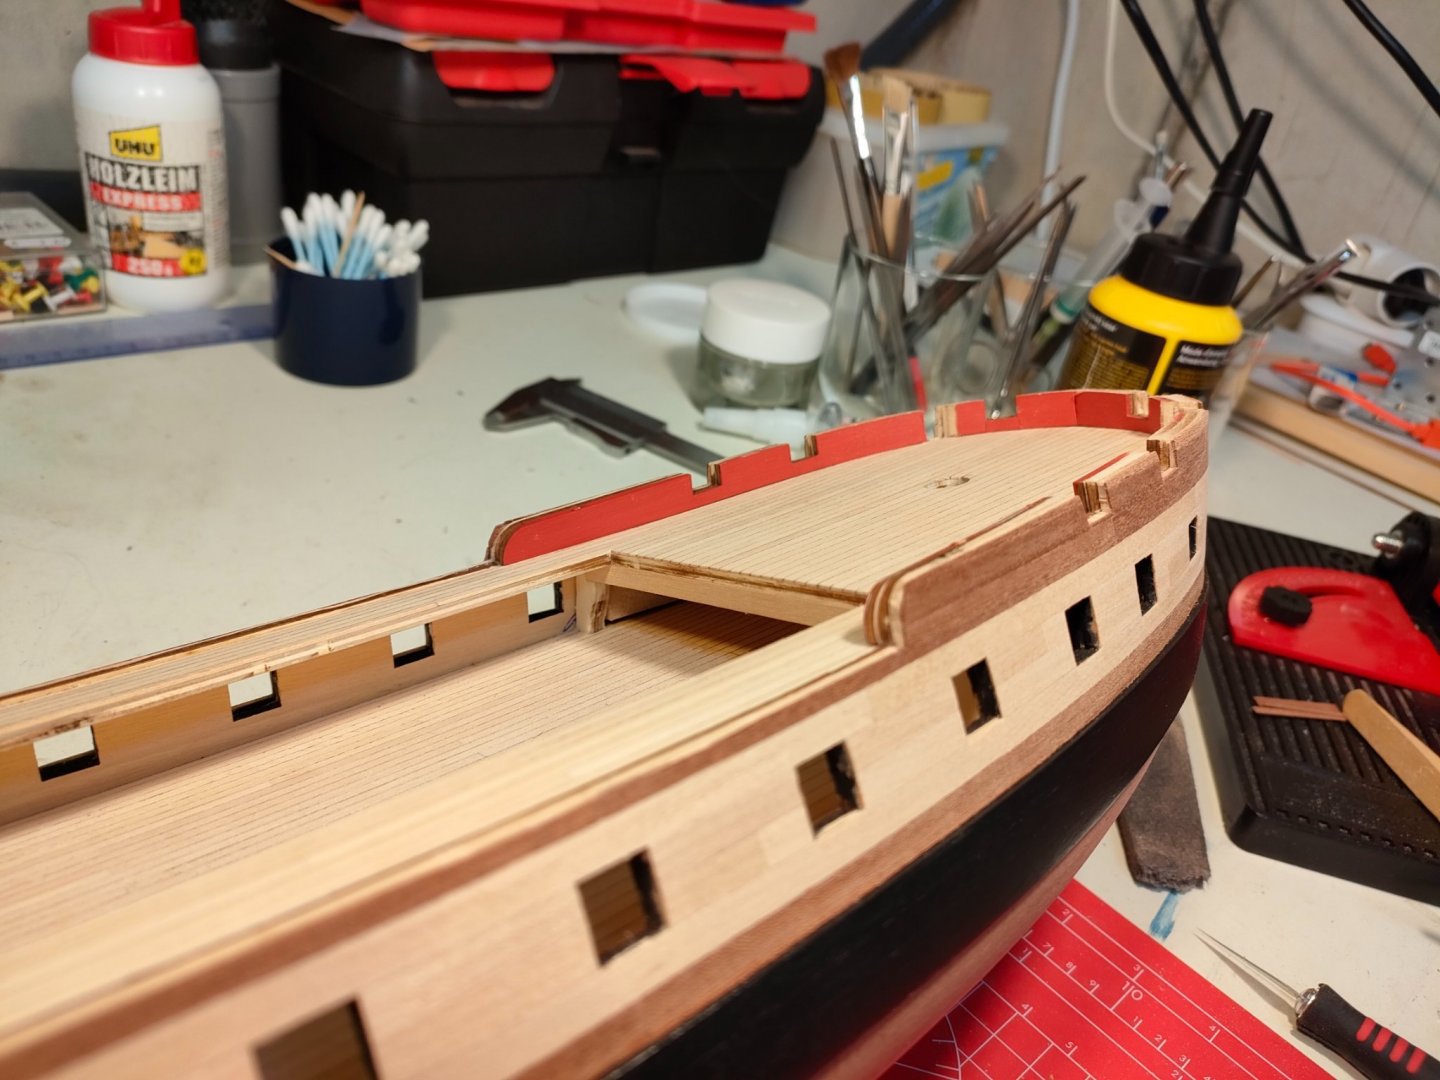
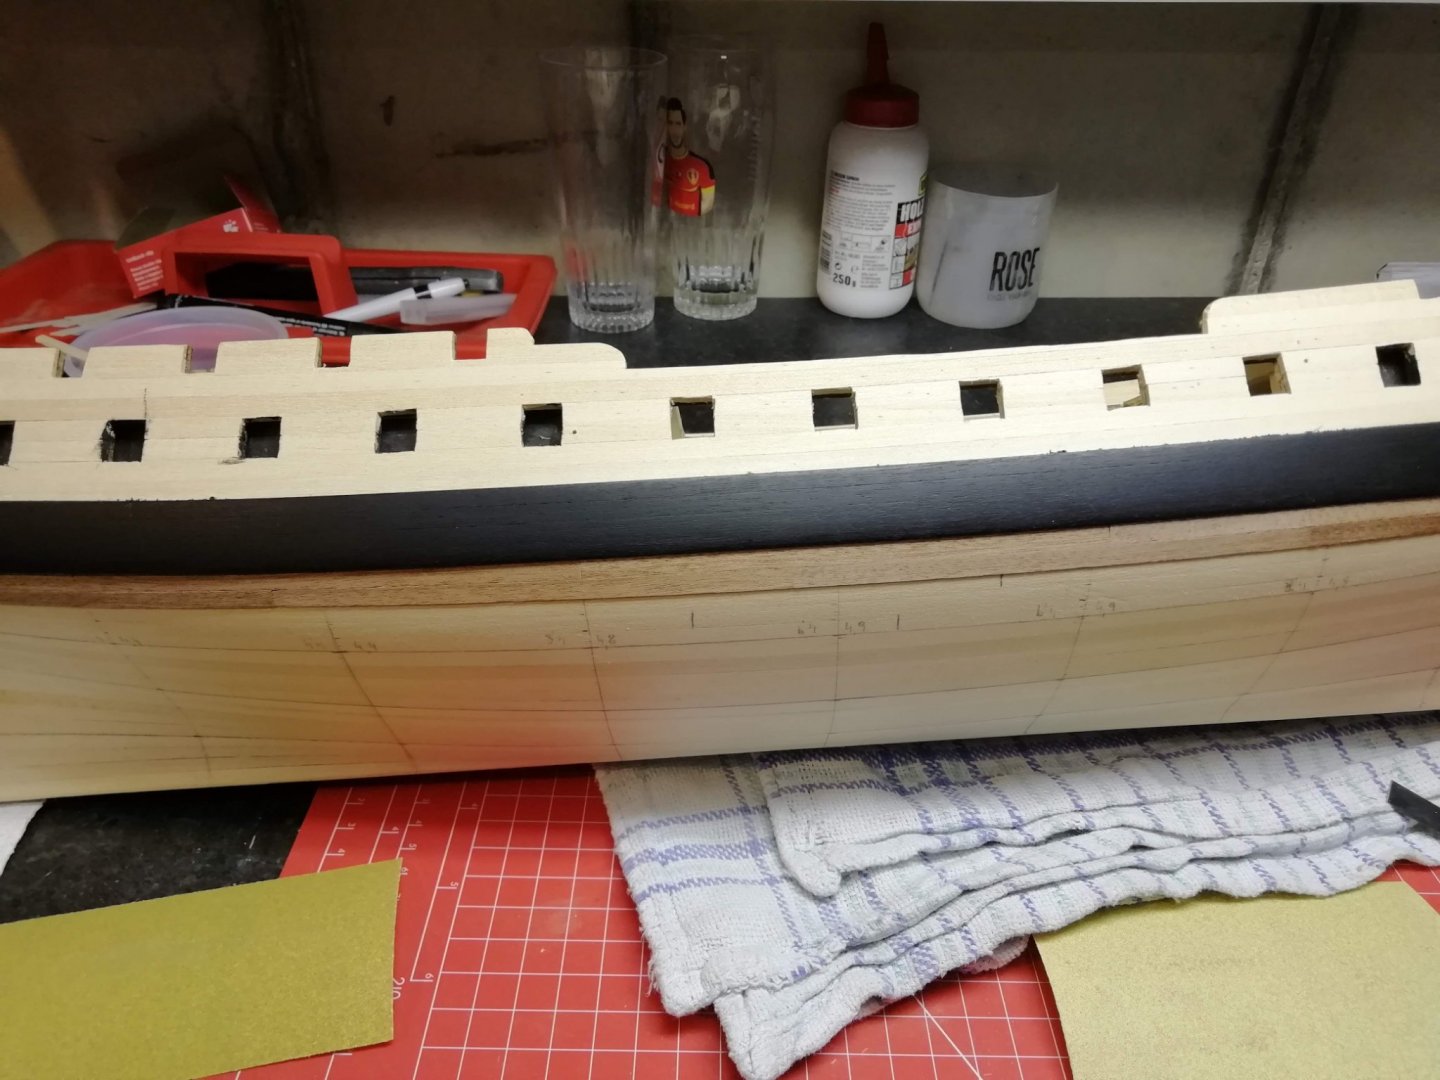
Little update, Added some rails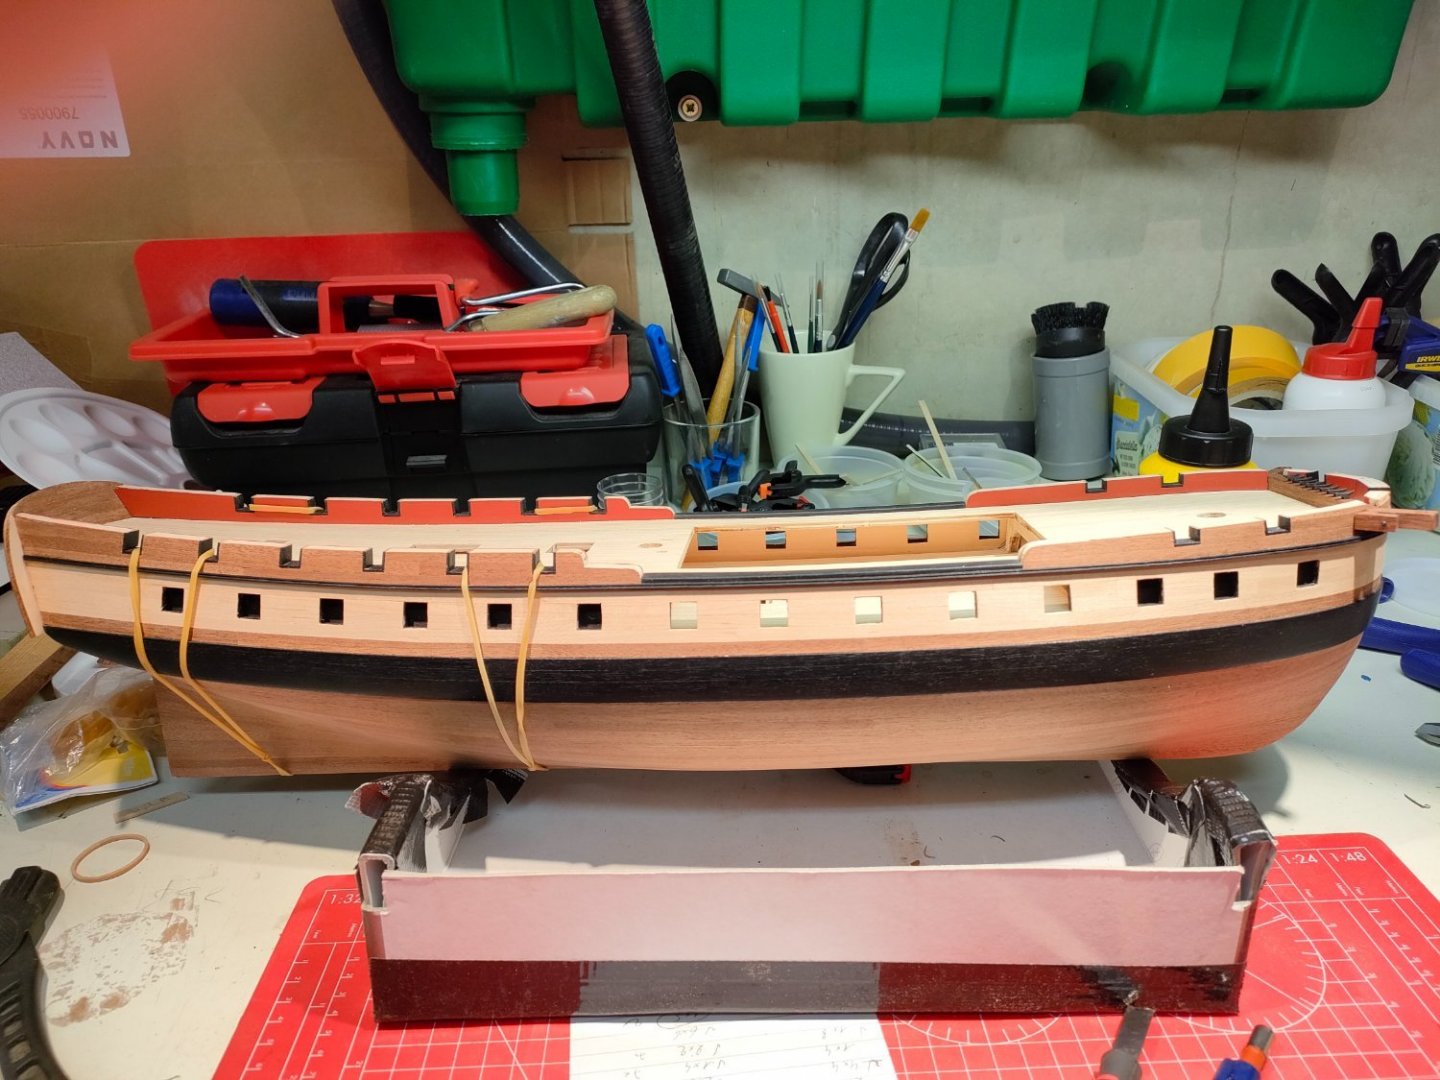


-
Diana by Kyak - OcCre - 1/85
Kyak replied to Kyak's topic in - Kit build logs for subjects built from 1751 - 1800
Thanks! I will replace the keel with walnutwood. -
Diana by Kyak - OcCre - 1/85
Kyak replied to Kyak's topic in - Kit build logs for subjects built from 1751 - 1800
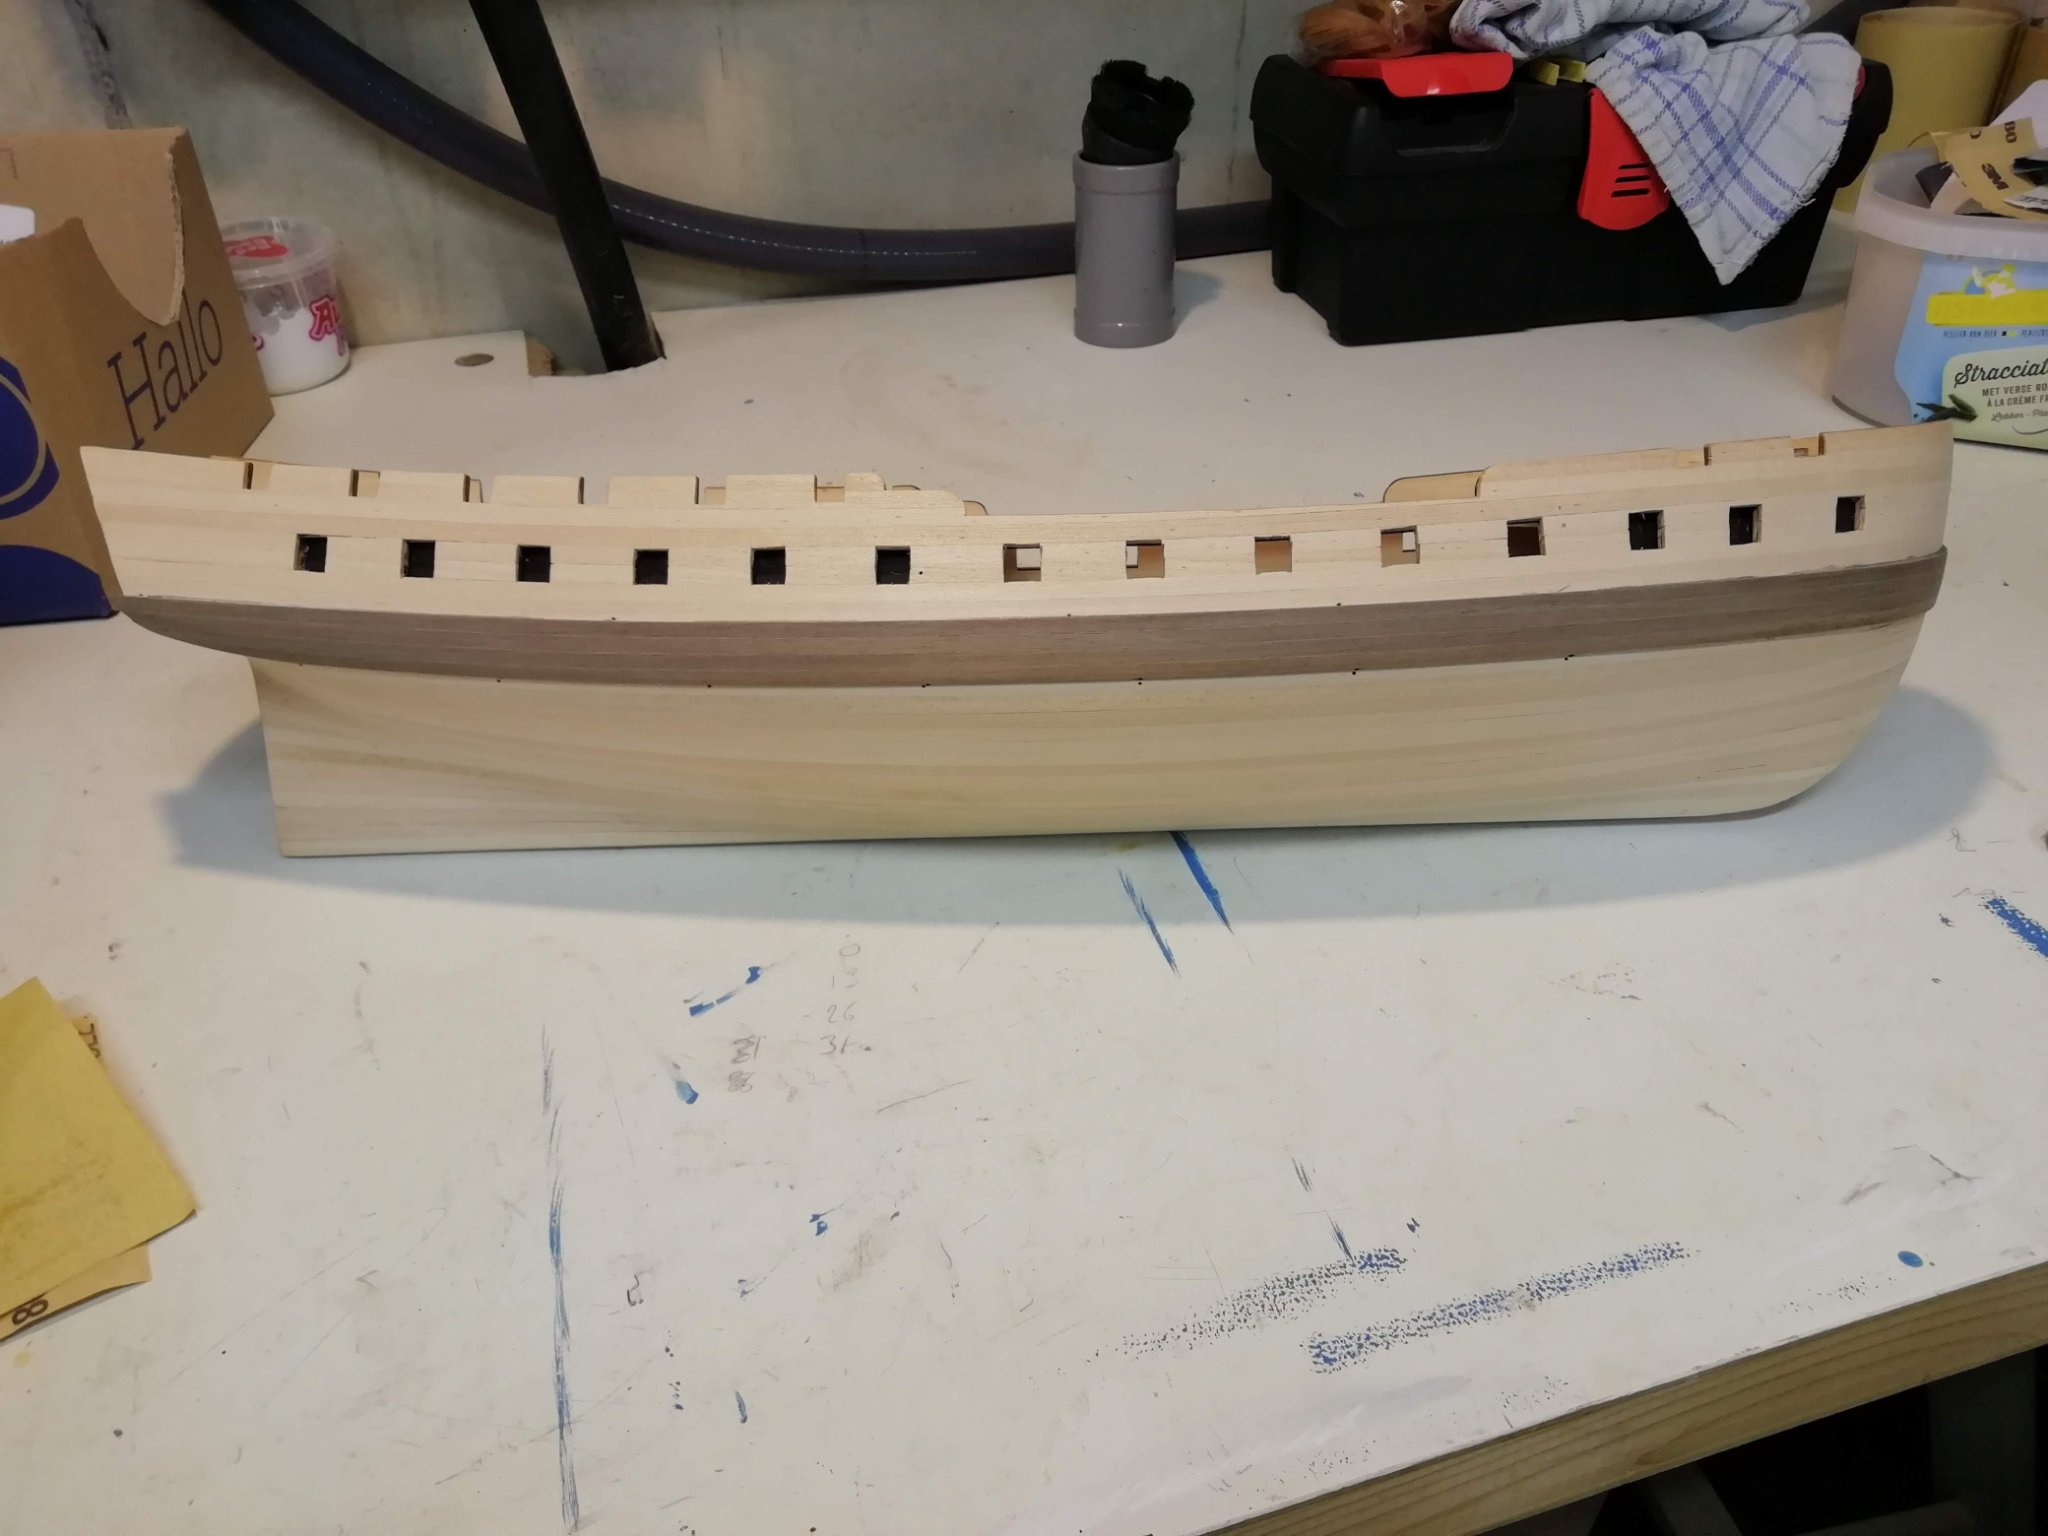
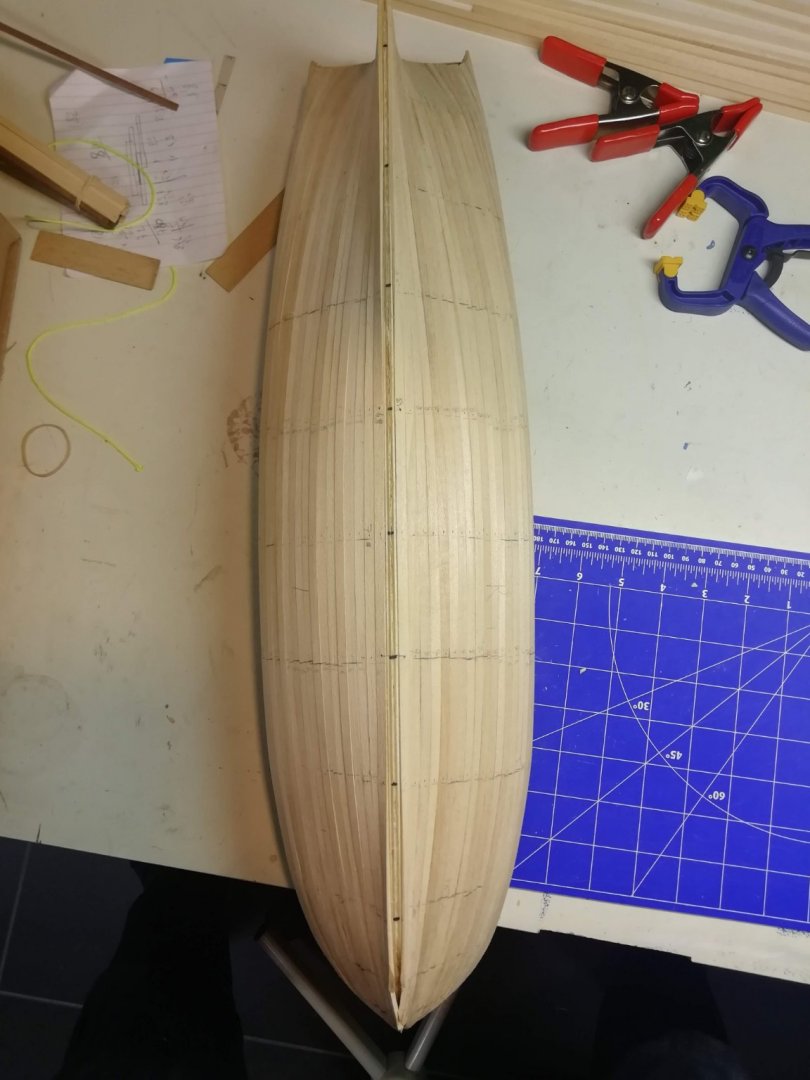
Planking is finished. Sanding is done.


-
Diana by Kyak - OcCre - 1/85
Kyak replied to Kyak's topic in - Kit build logs for subjects built from 1751 - 1800
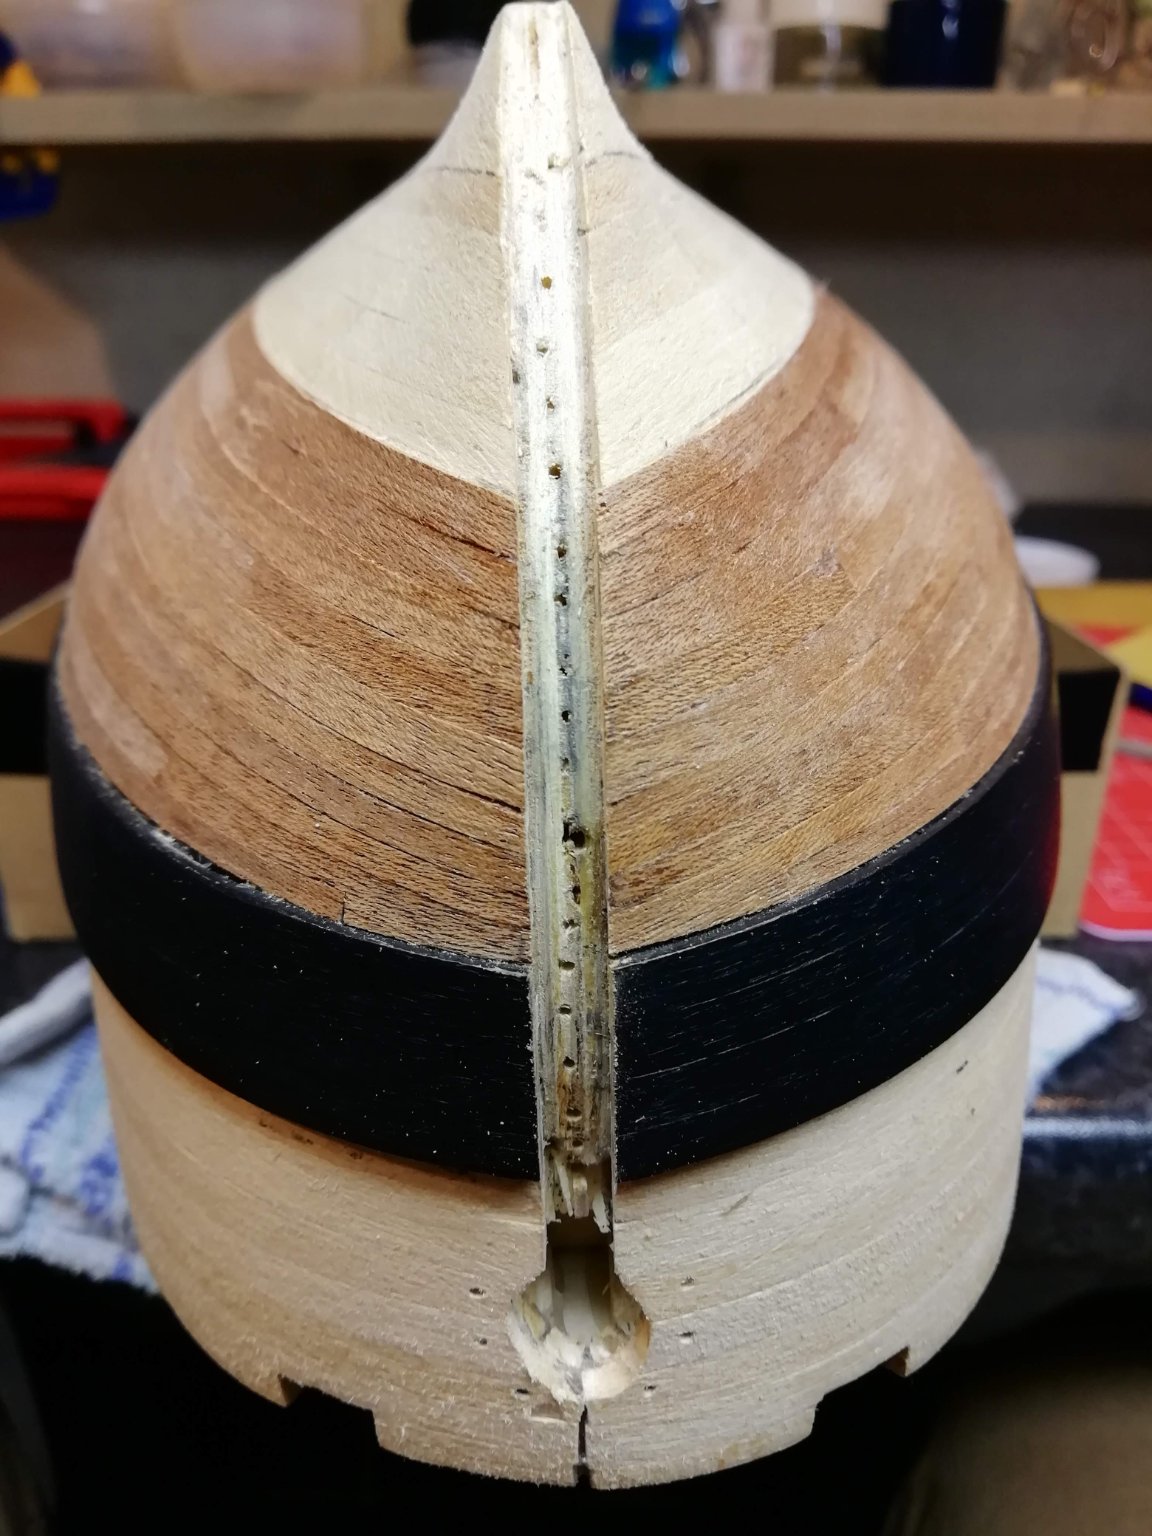
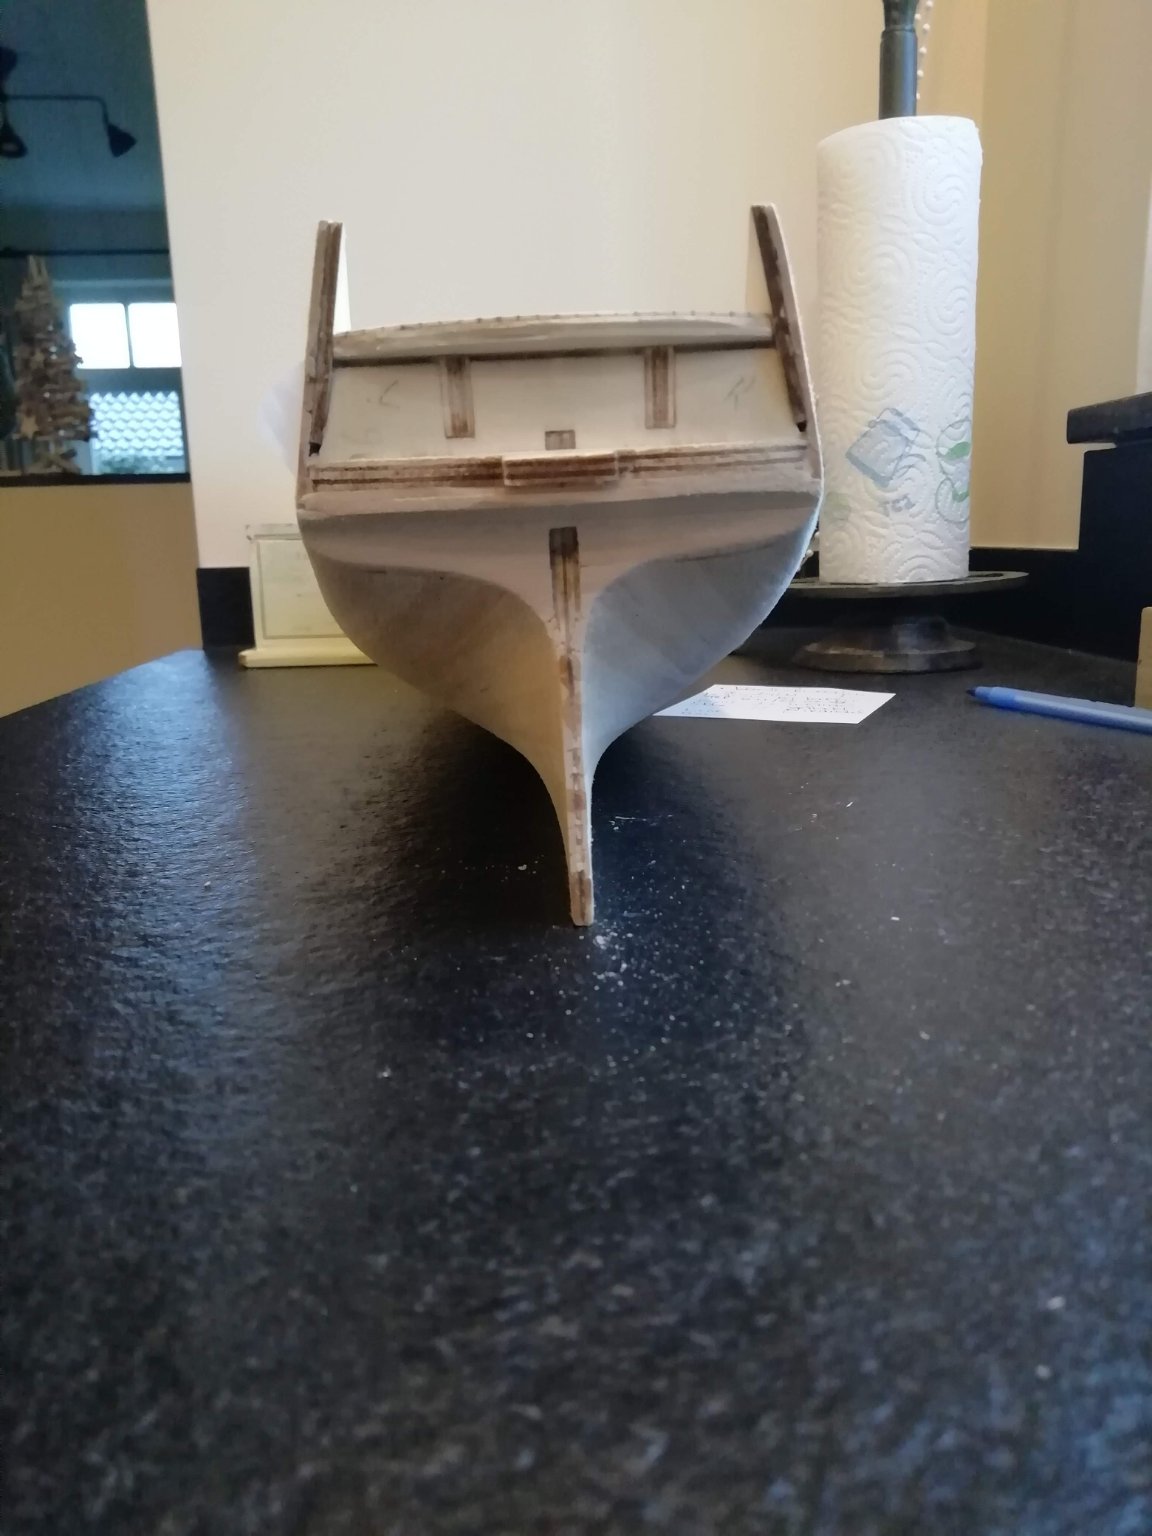
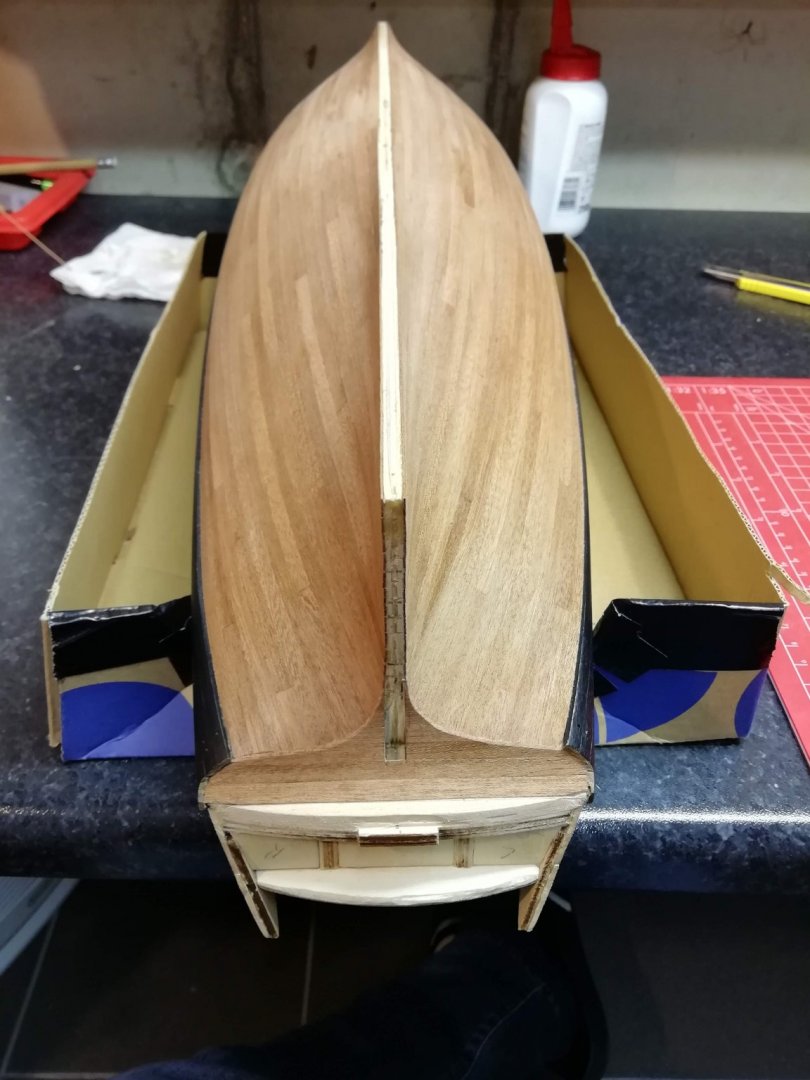
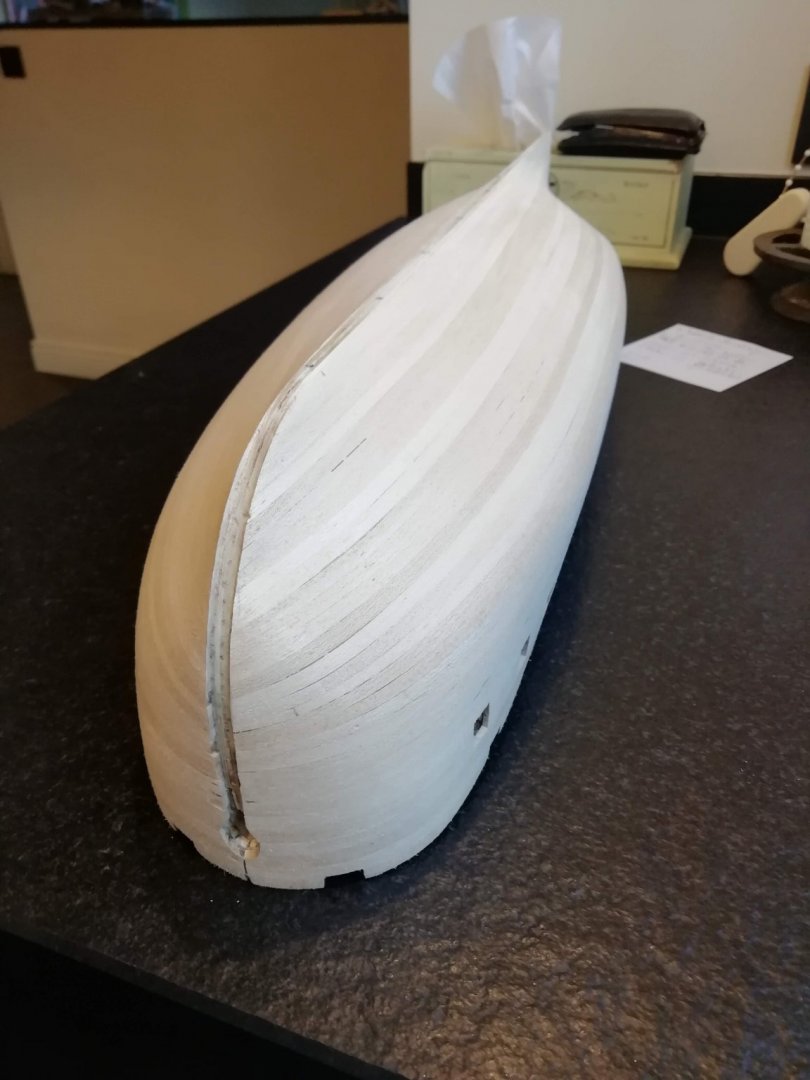
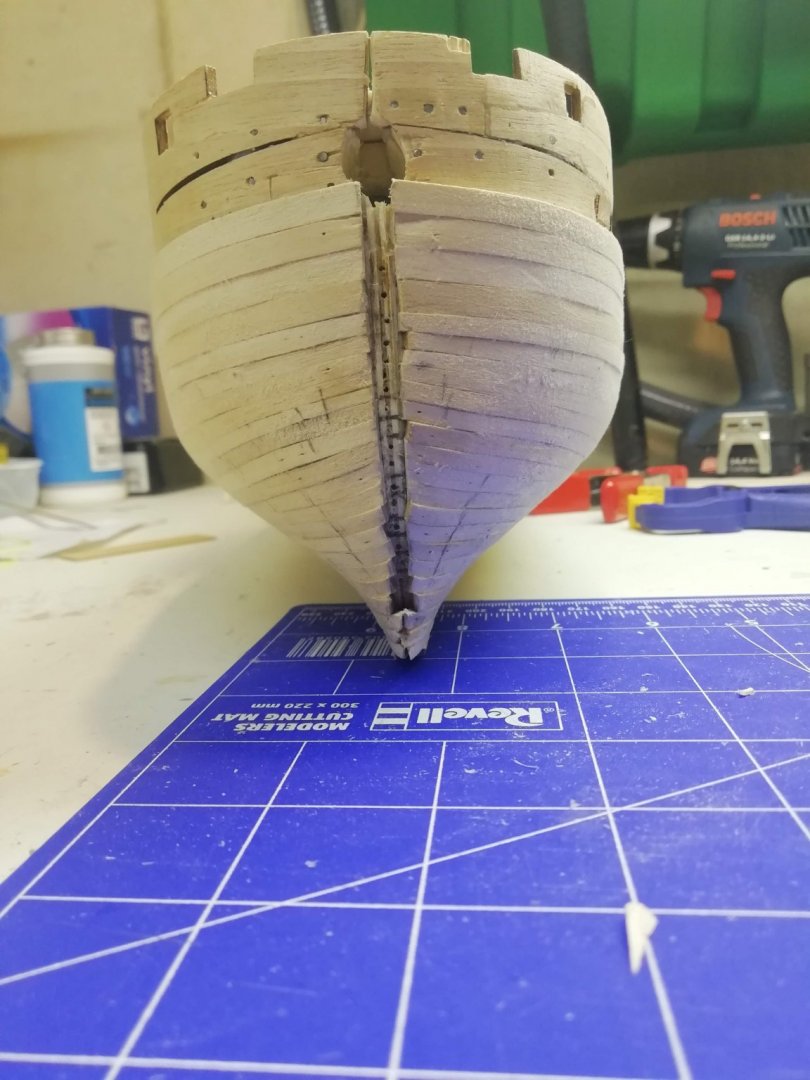
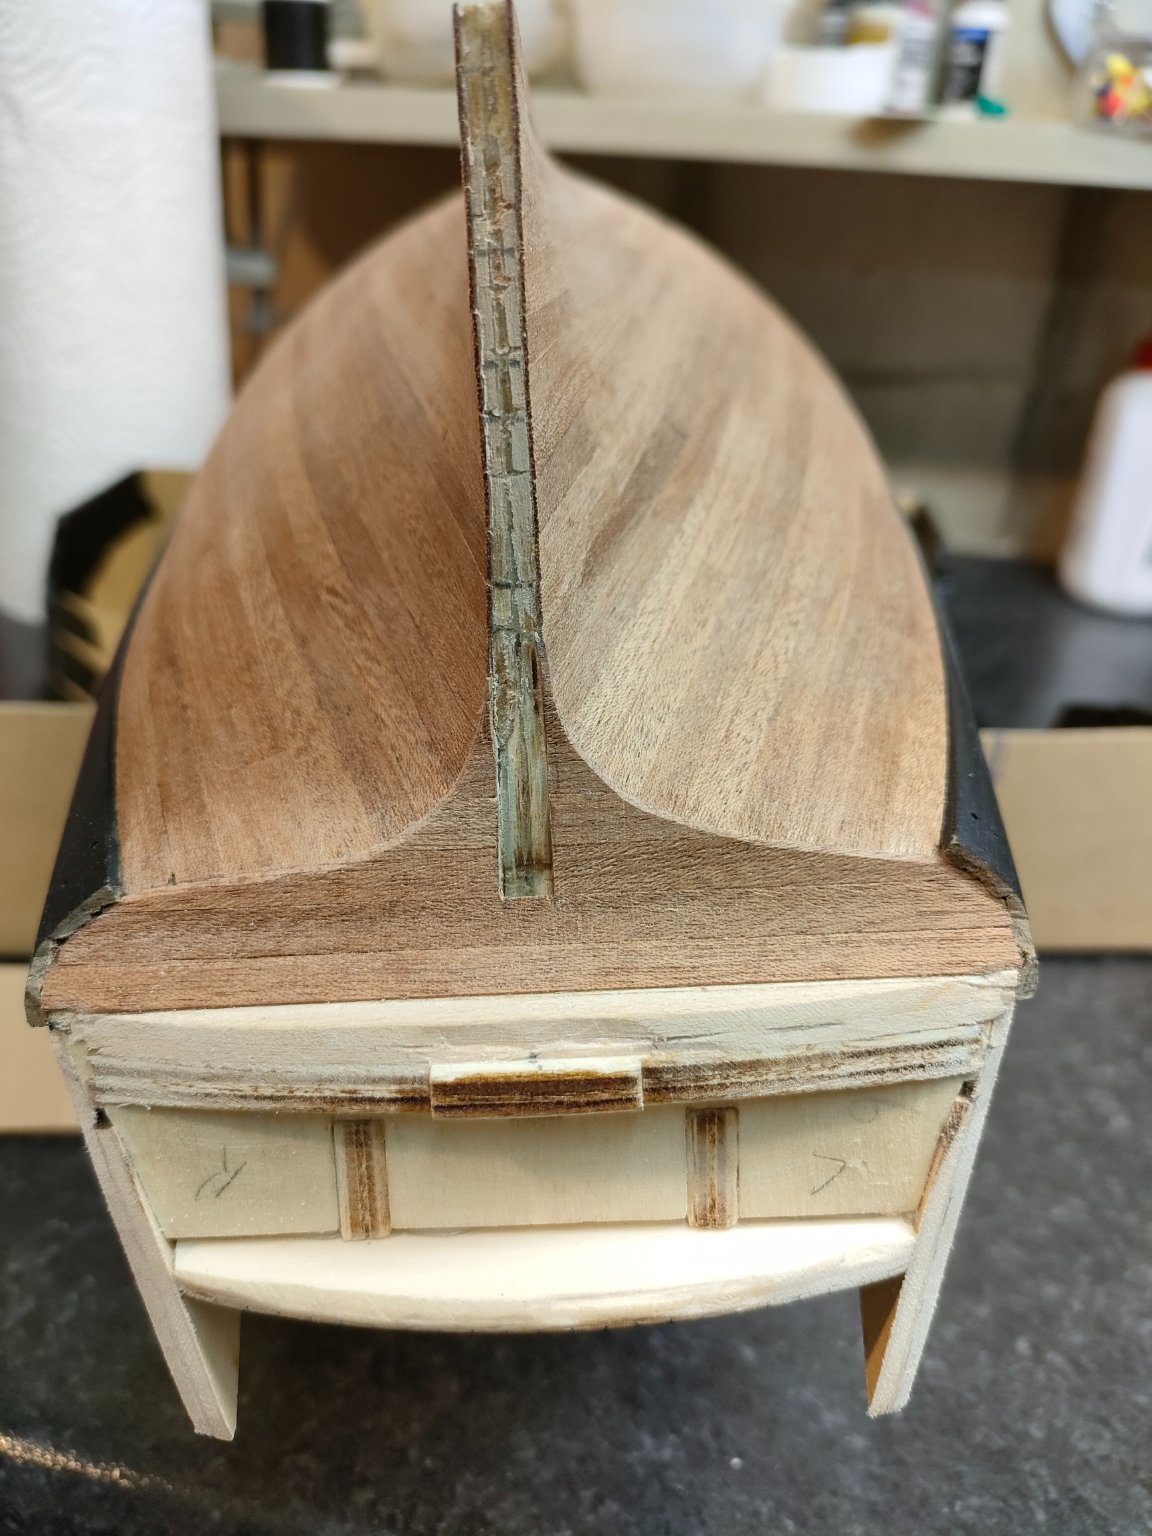
She can float. The lower part of hull is finished. Up next is the upper part and sanding....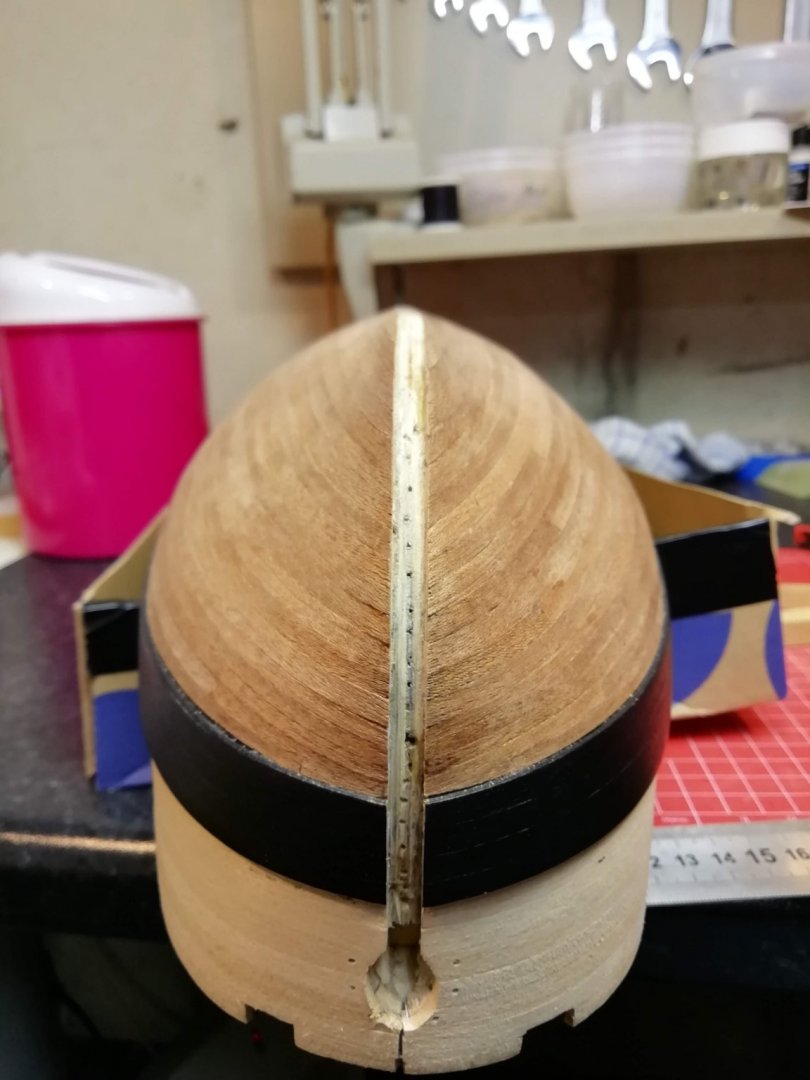
-
Hi Richard, Very nice job so far. What colour of blue are you using? I like it very much... Gr. Tom
-
Diana by Kyak - OcCre - 1/85
Kyak replied to Kyak's topic in - Kit build logs for subjects built from 1751 - 1800
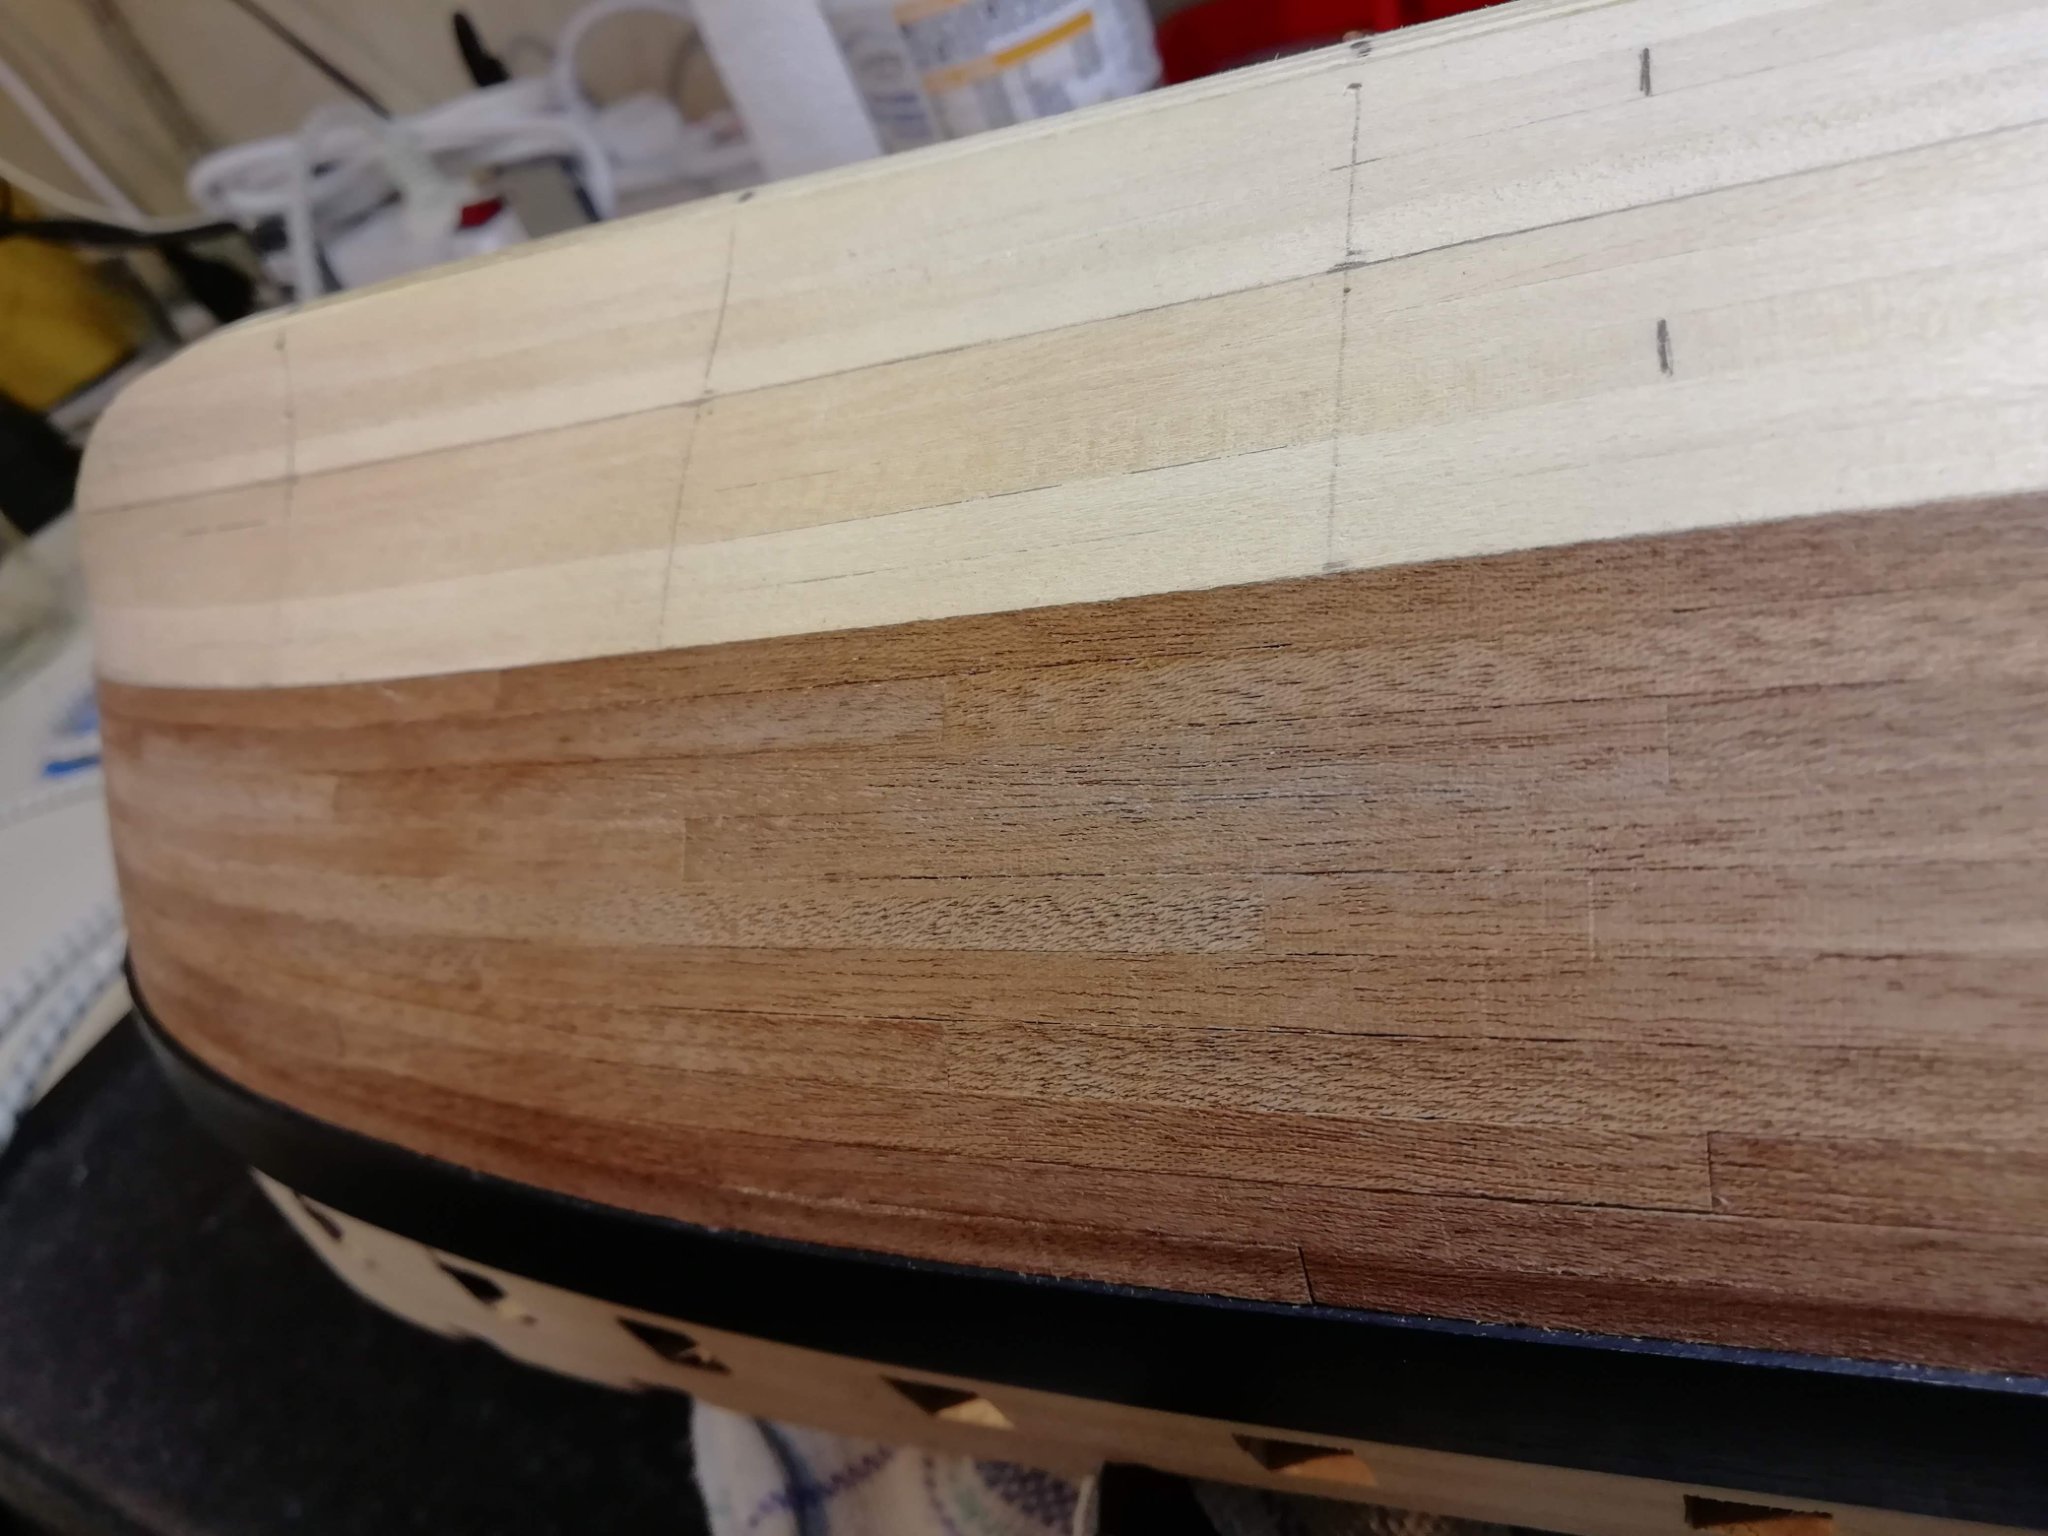
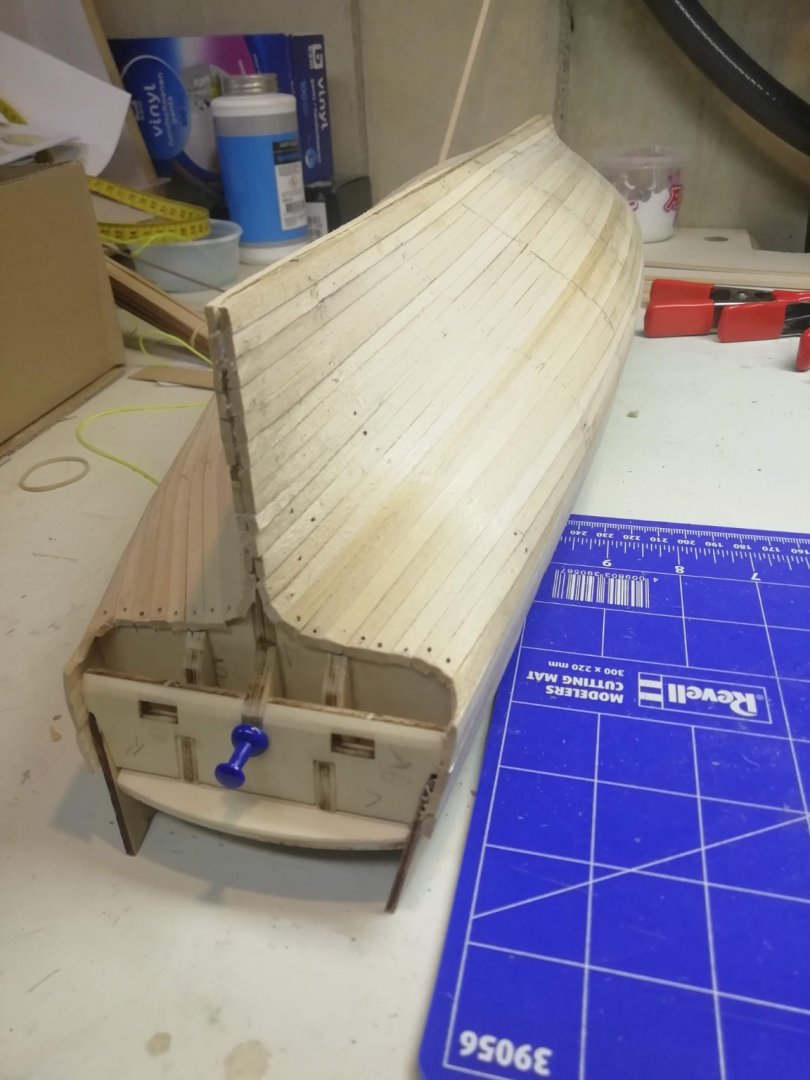
Planking below the wales is almost done. One side is finished.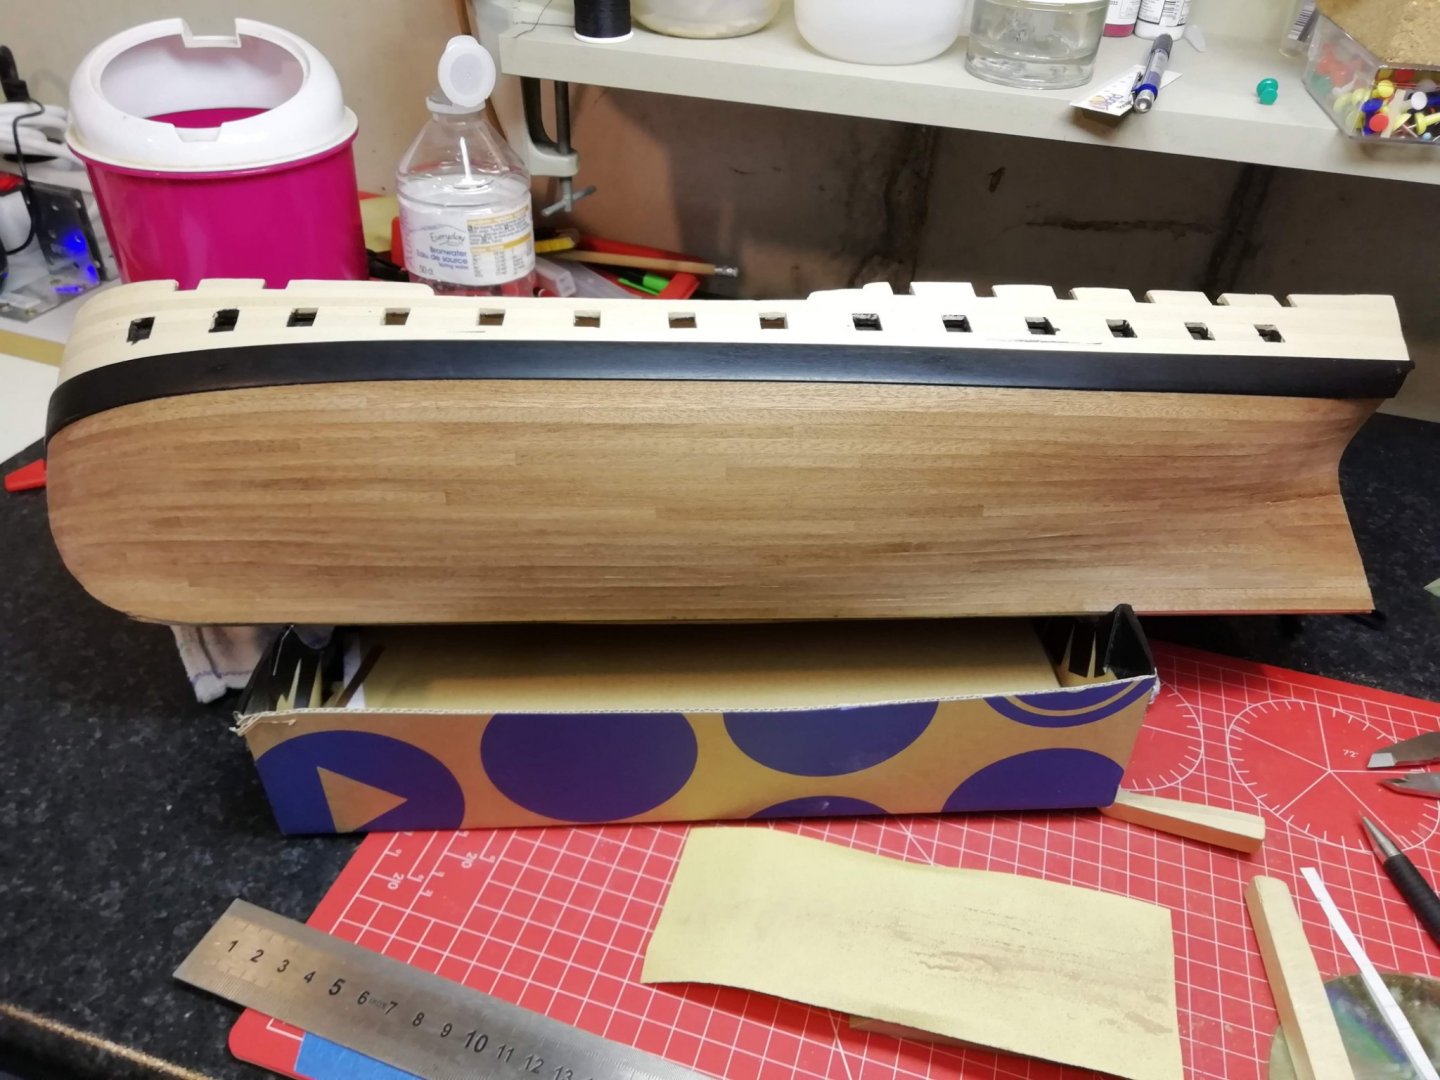
.thumb.jpg.a04b5904db1b04d61a39c5a40a711a10.jpg)
.thumb.jpg.86af8fa5c92b5a250442c816fcea78ec.jpg)


-
Hi, Really nice progress on your model. A question, what did you use to color the masts? I really like it. Gr.
-
Diana by Kyak - OcCre - 1/85
Kyak replied to Kyak's topic in - Kit build logs for subjects built from 1751 - 1800
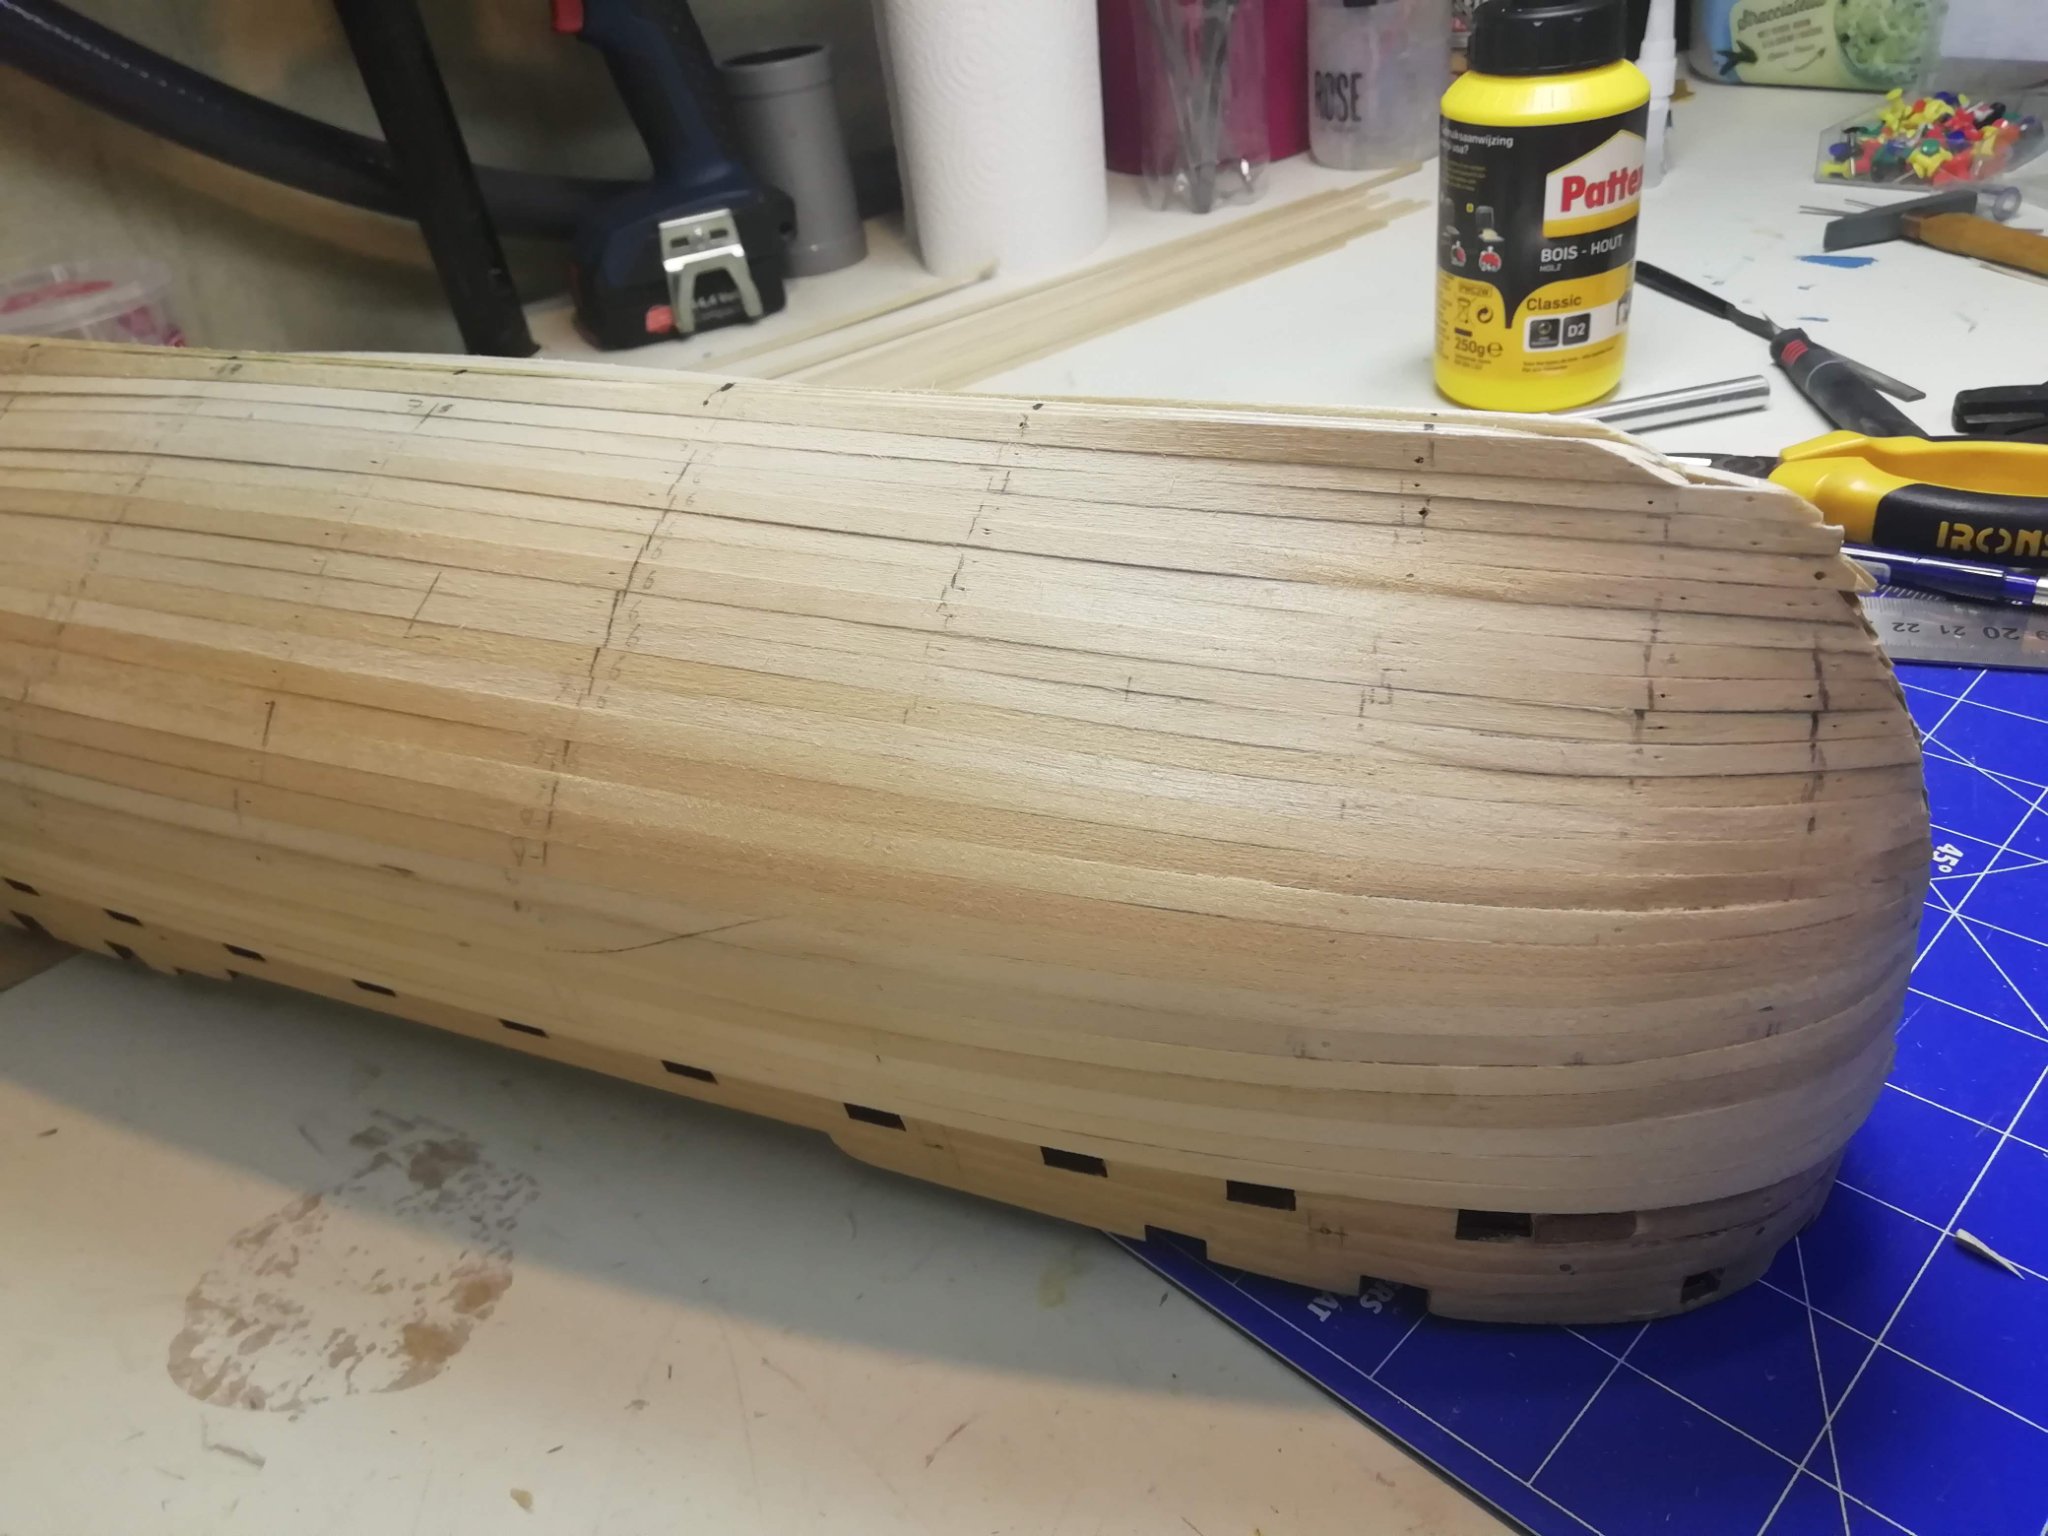
Second planking halfway, progress is slow...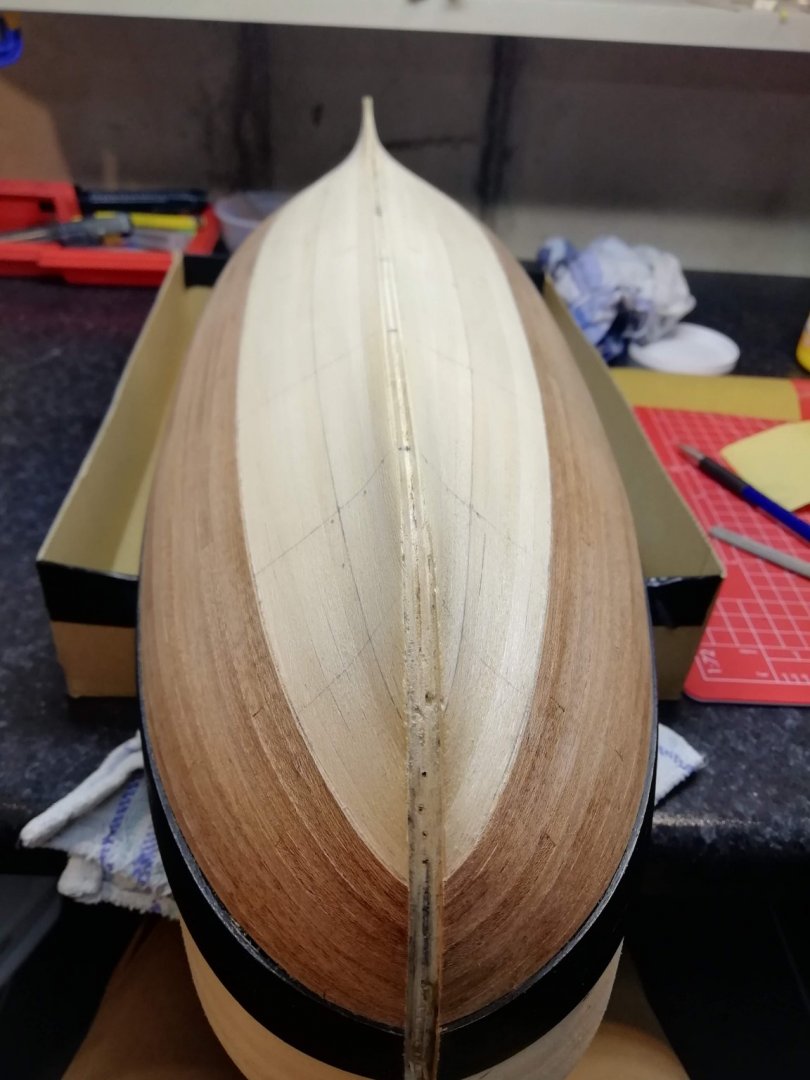


-
Diana by Kyak - OcCre - 1/85
Kyak replied to Kyak's topic in - Kit build logs for subjects built from 1751 - 1800
Hi Rob, Thanks for the kind words. Take your time and don't rush things and don't be afraid to do things over. Second plankings is much harder than the first layer because the wood strips are extremely thin (0.5mm). When you bend thin strips sideways, they start to pop up on certain places. You can bend them sideways, in multiple stages. In the extreme curves, you have to do this proces up to 10 times, to get the curve right. -
Diana by Kyak - OcCre - 1/85
Kyak replied to Kyak's topic in - Kit build logs for subjects built from 1751 - 1800
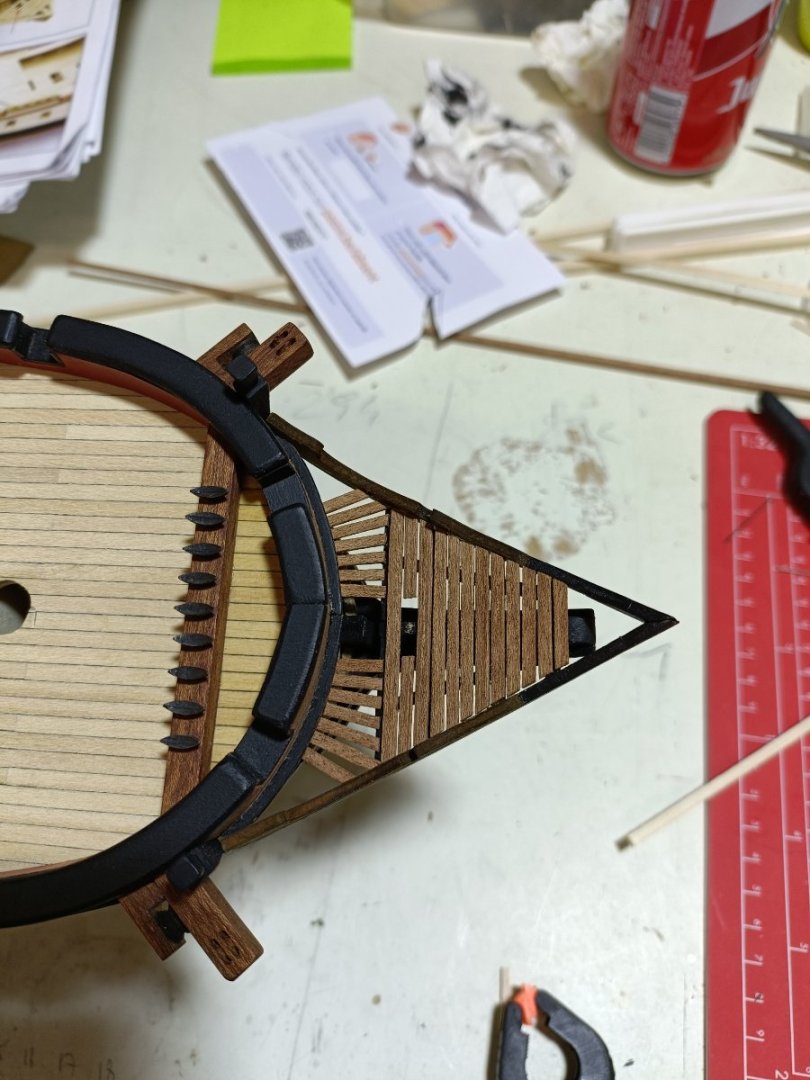
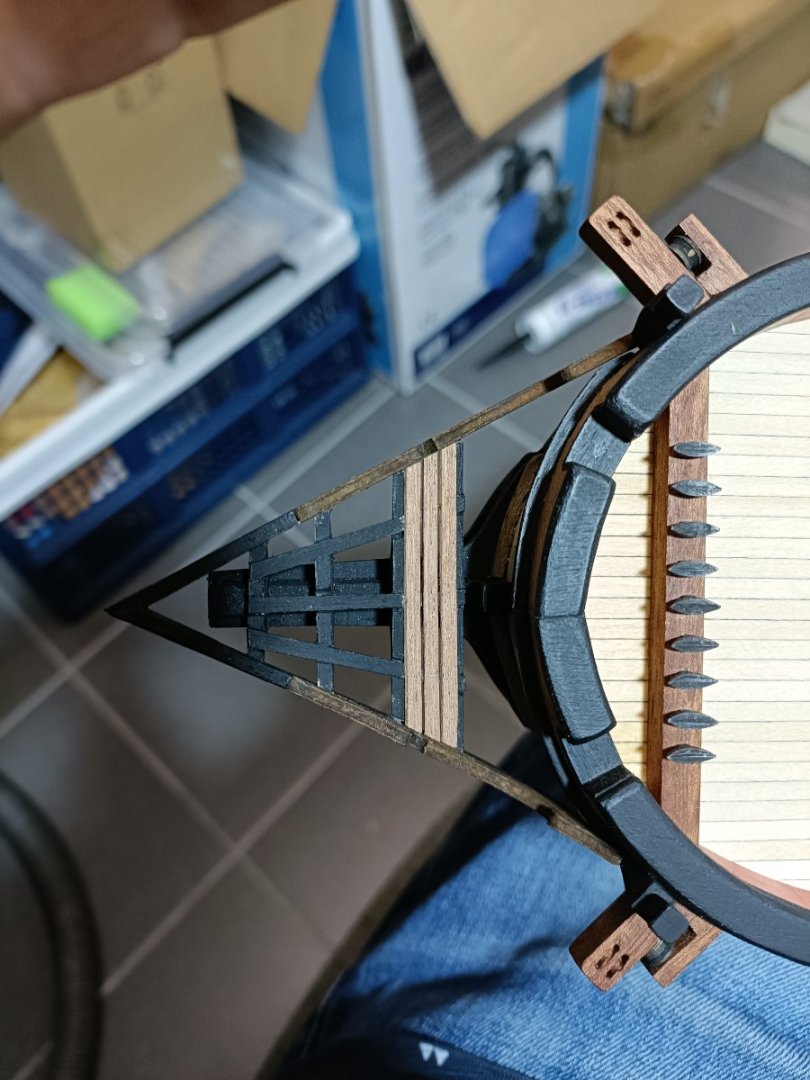
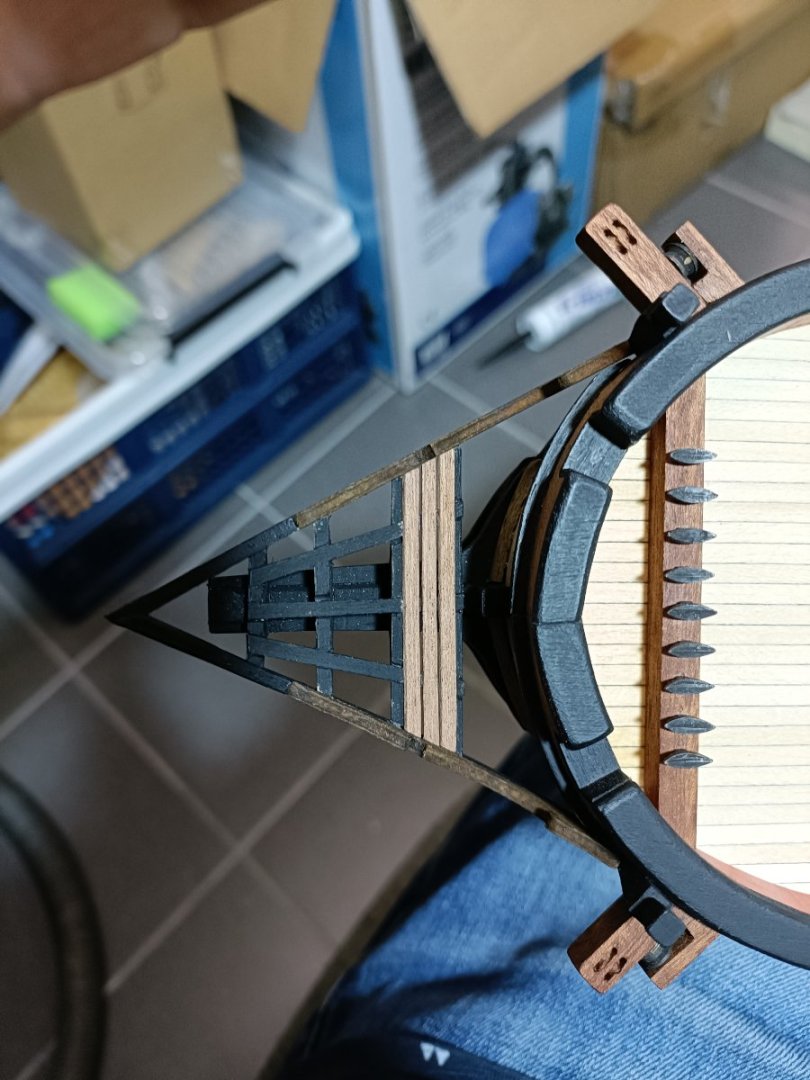
Here is a little update


- 28 replies
-
- 10
-

-
Diana by Kyak - OcCre - 1/85
Kyak replied to Kyak's topic in - Kit build logs for subjects built from 1751 - 1800
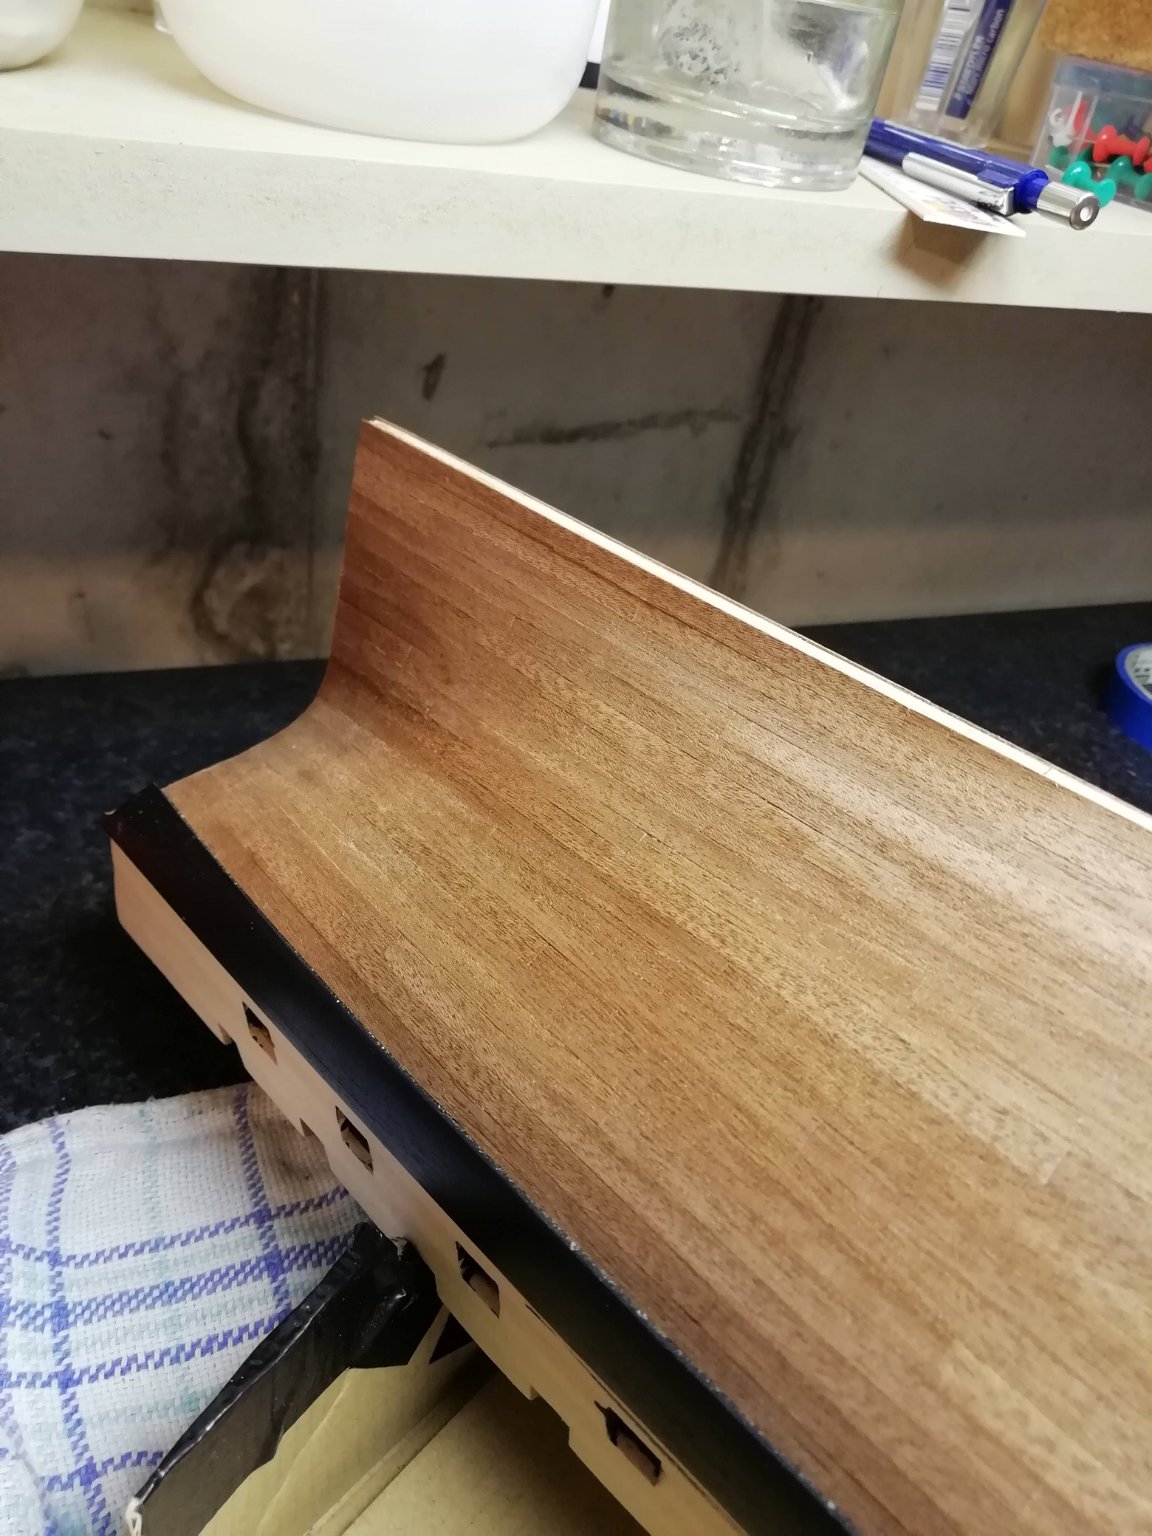
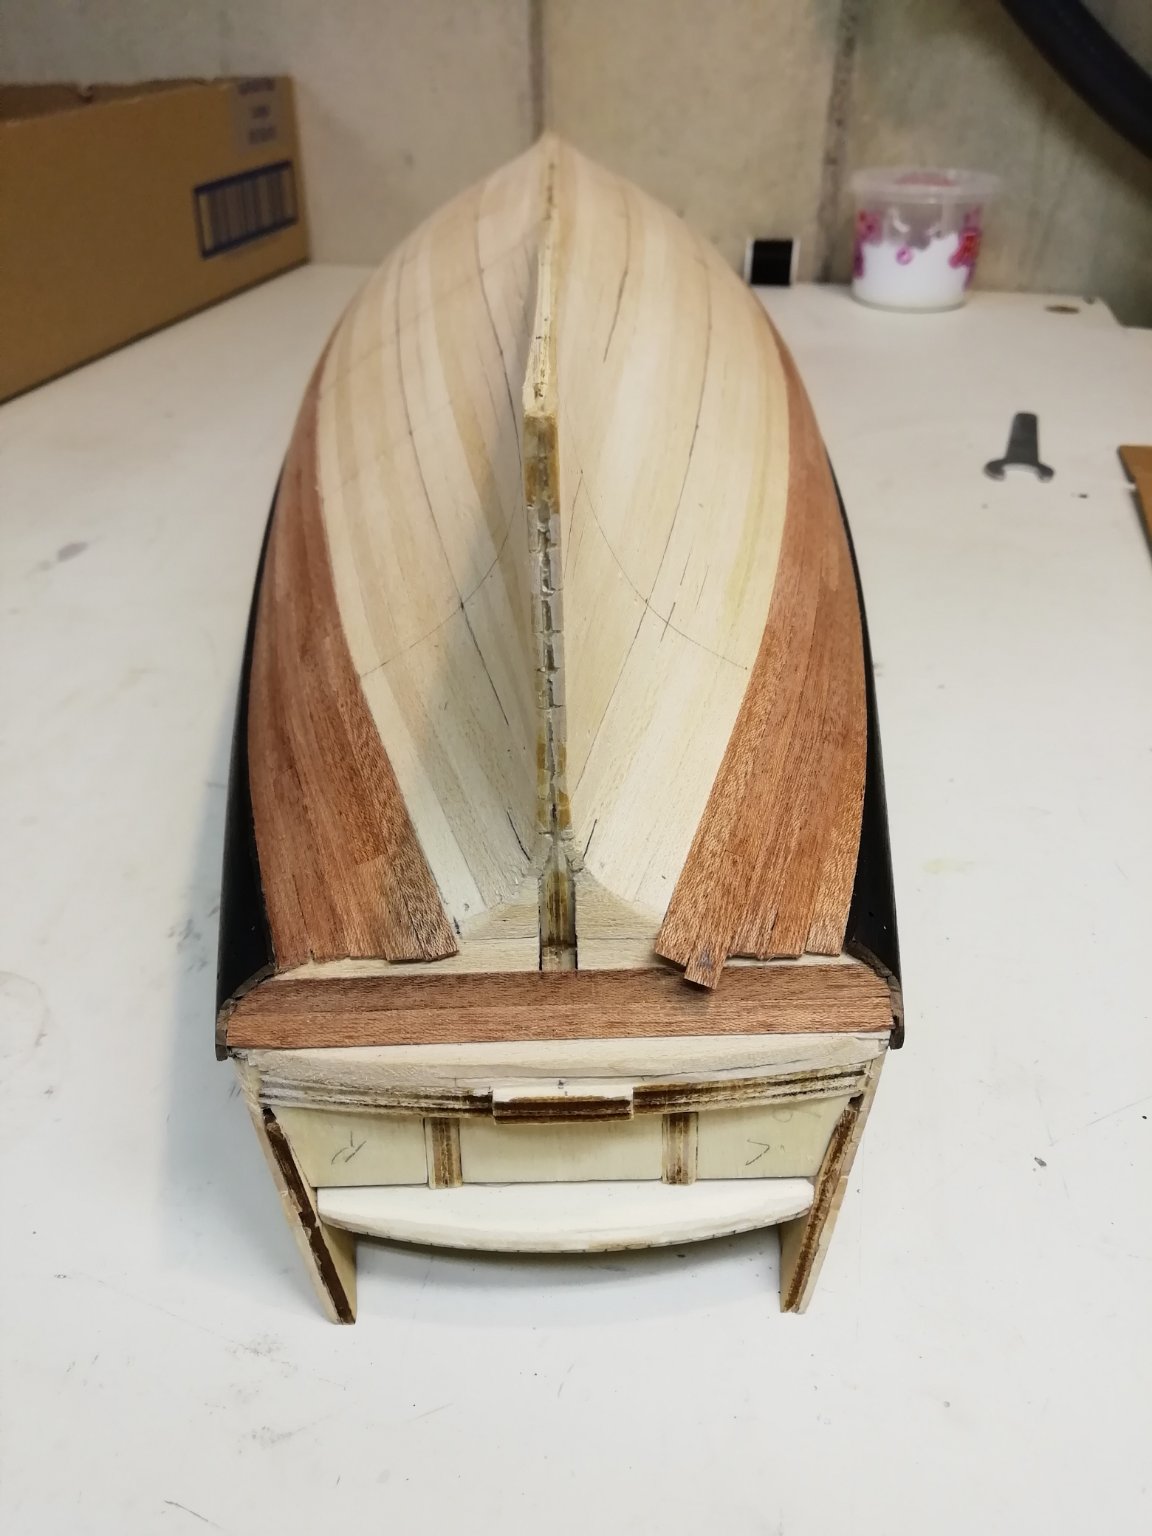
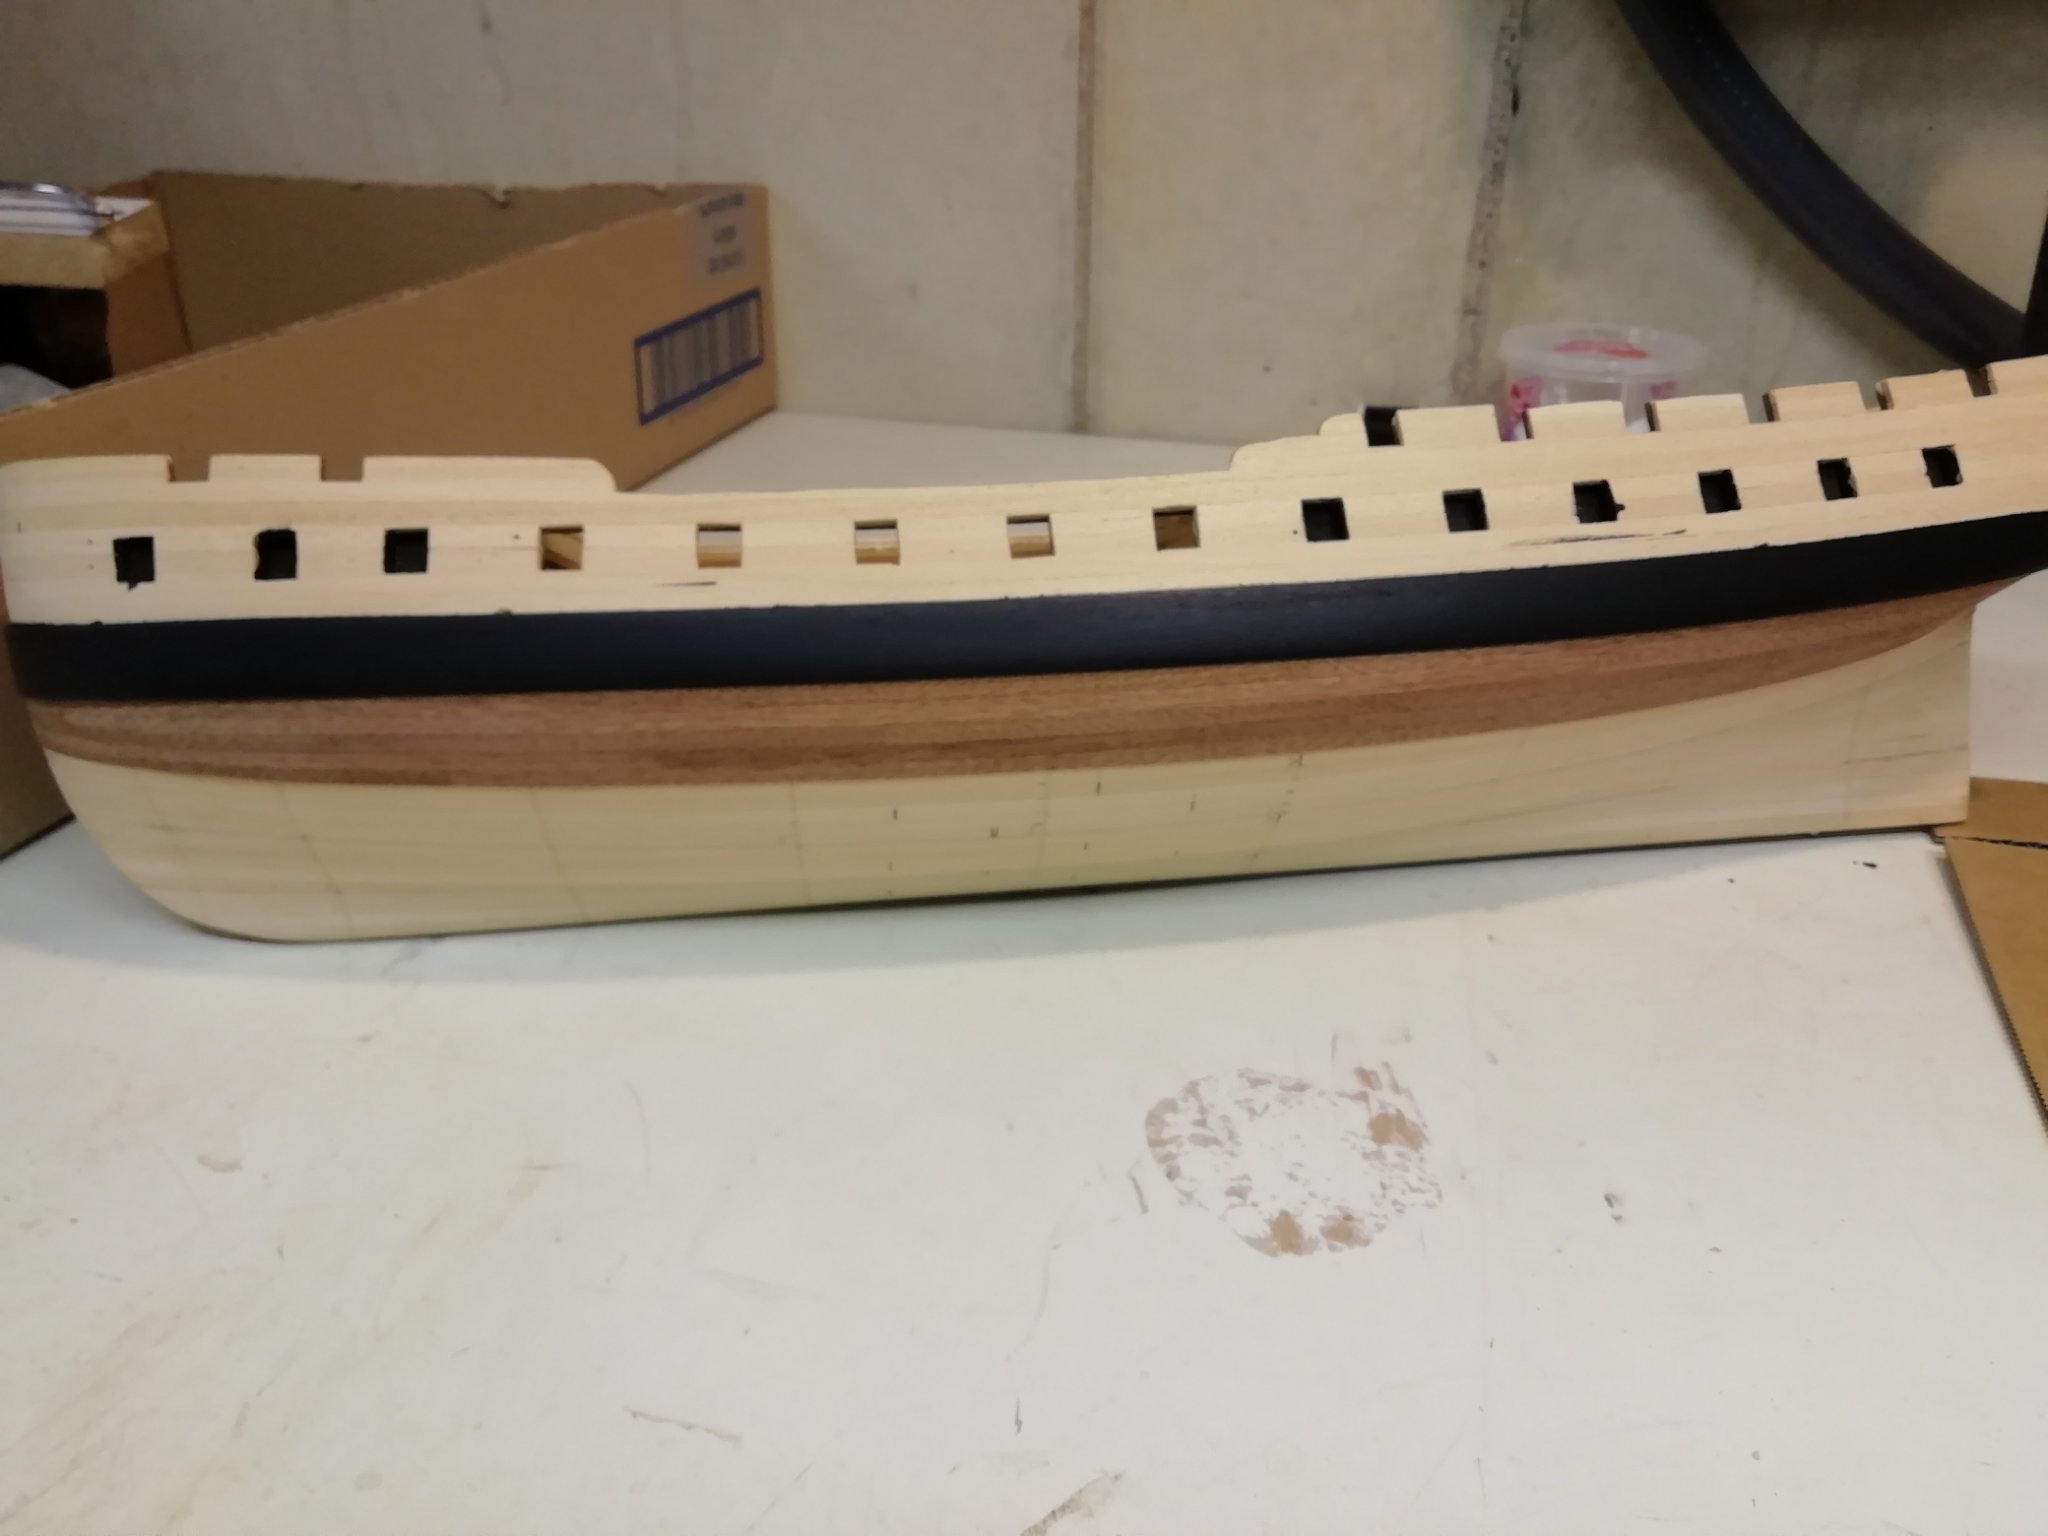
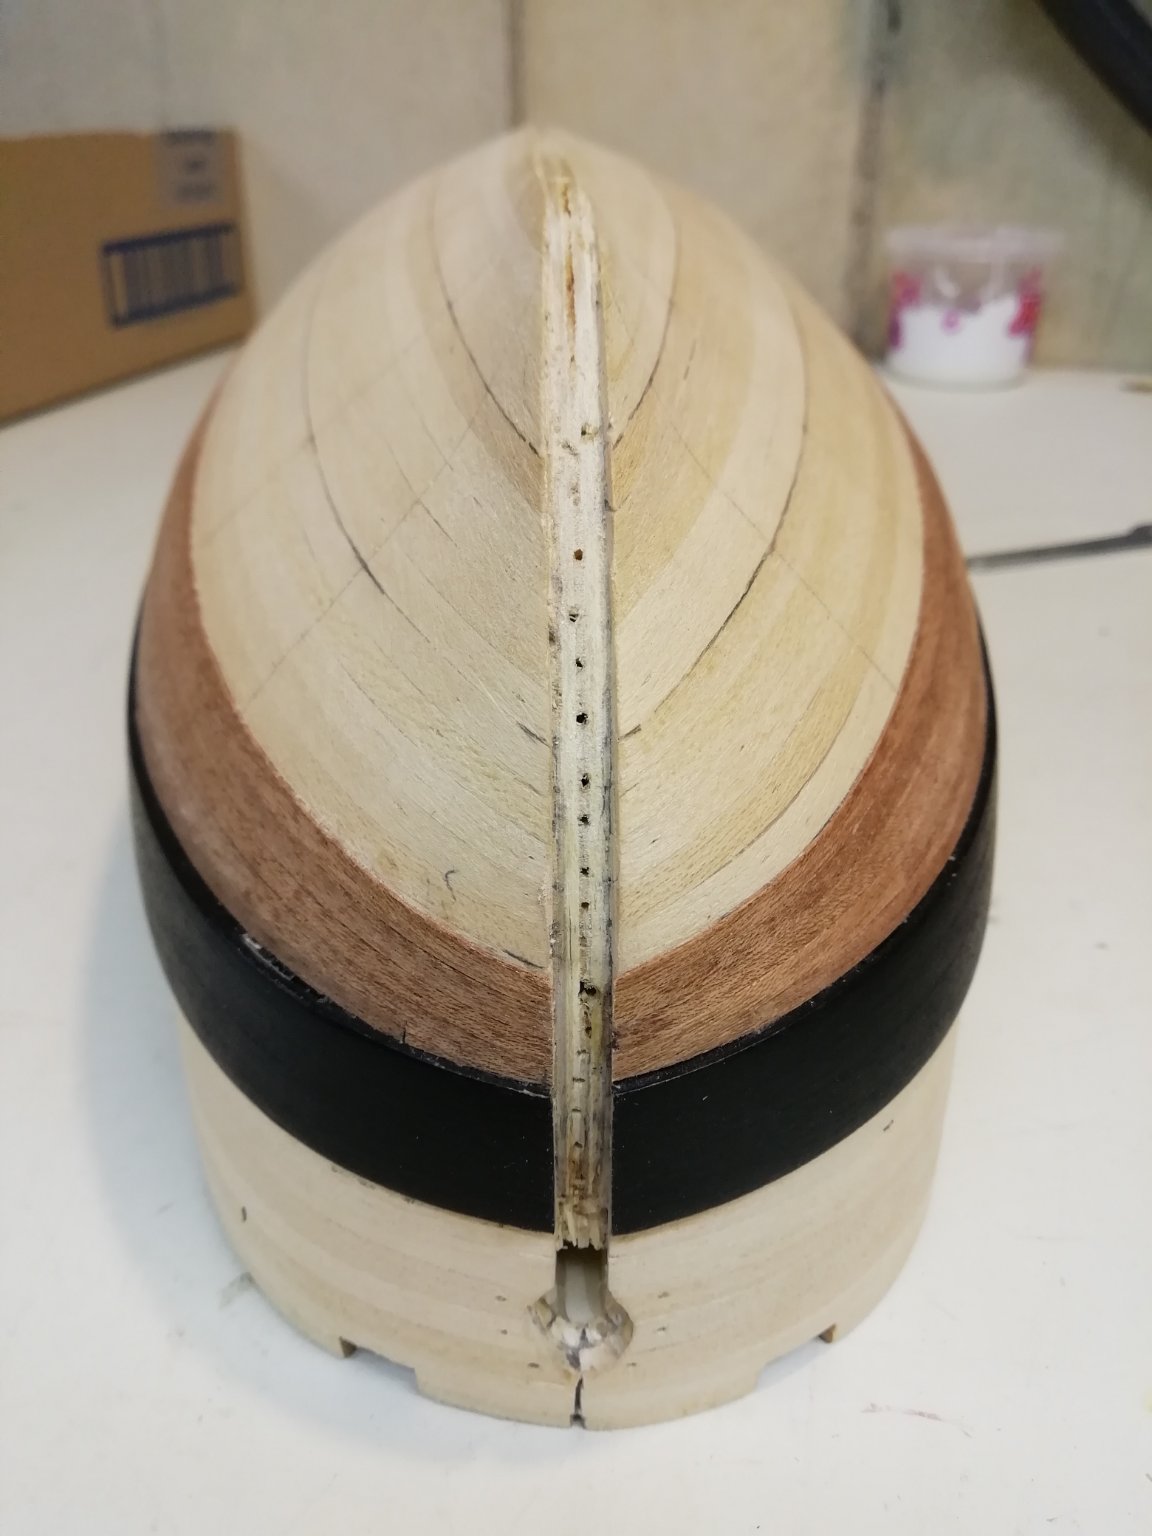
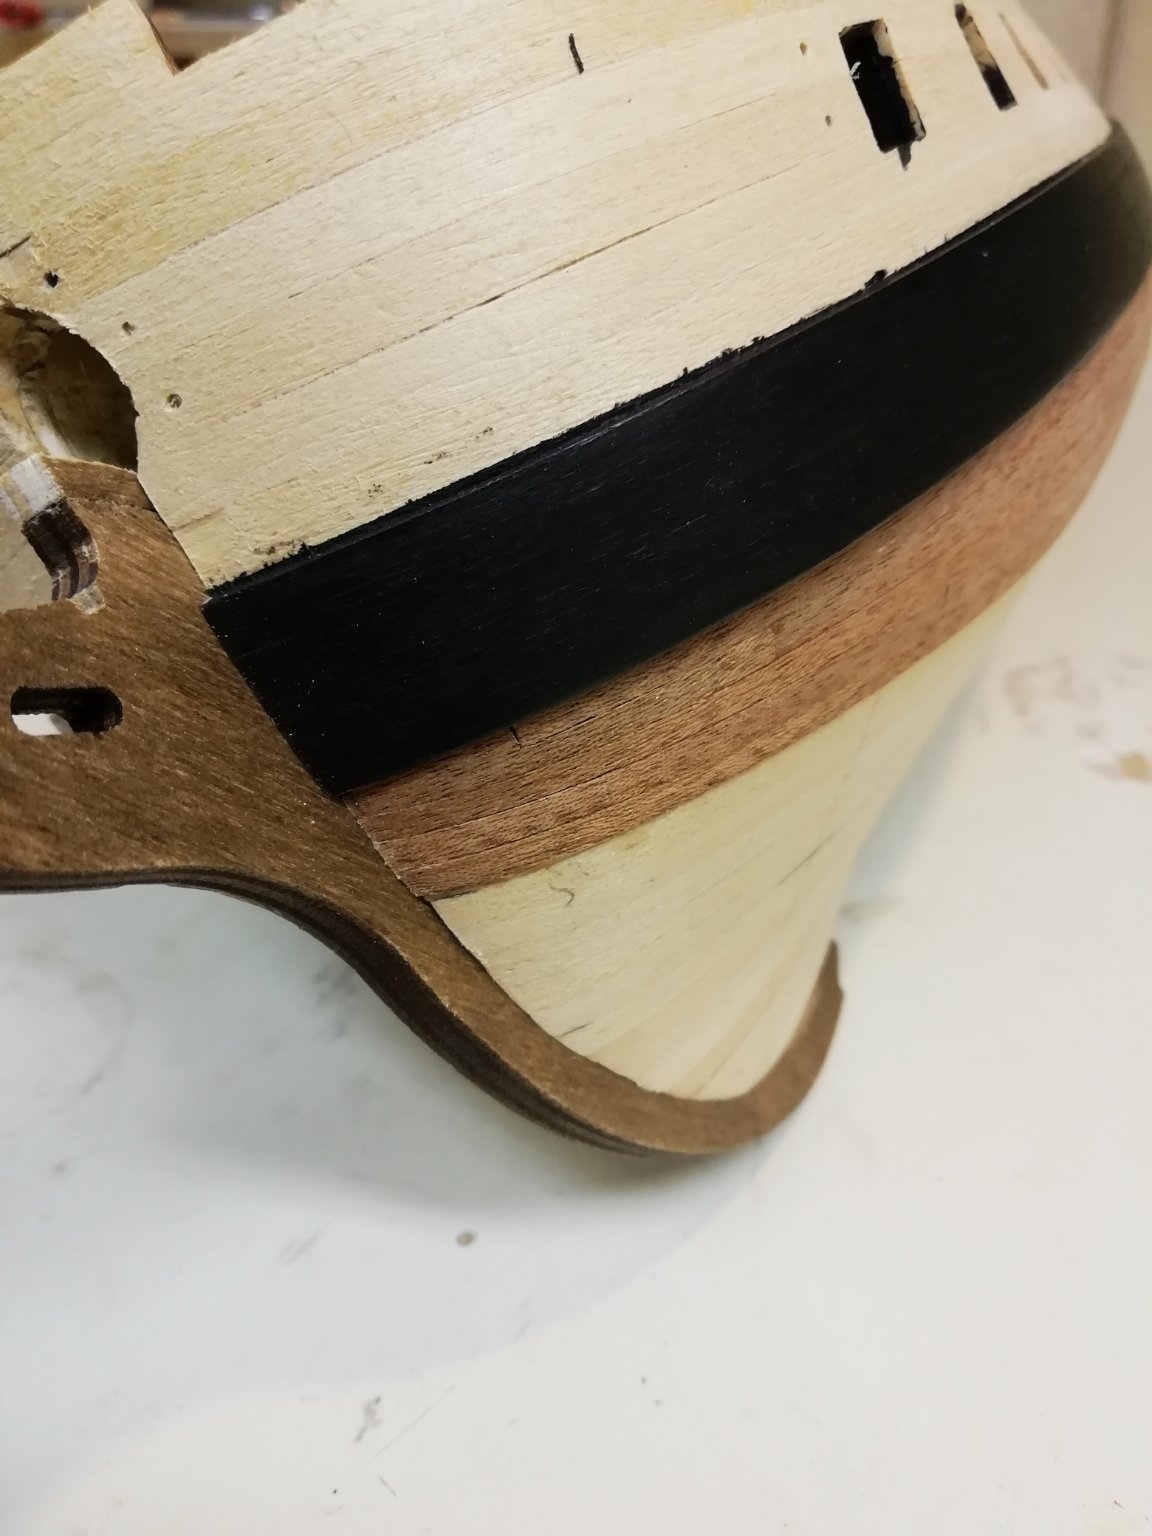
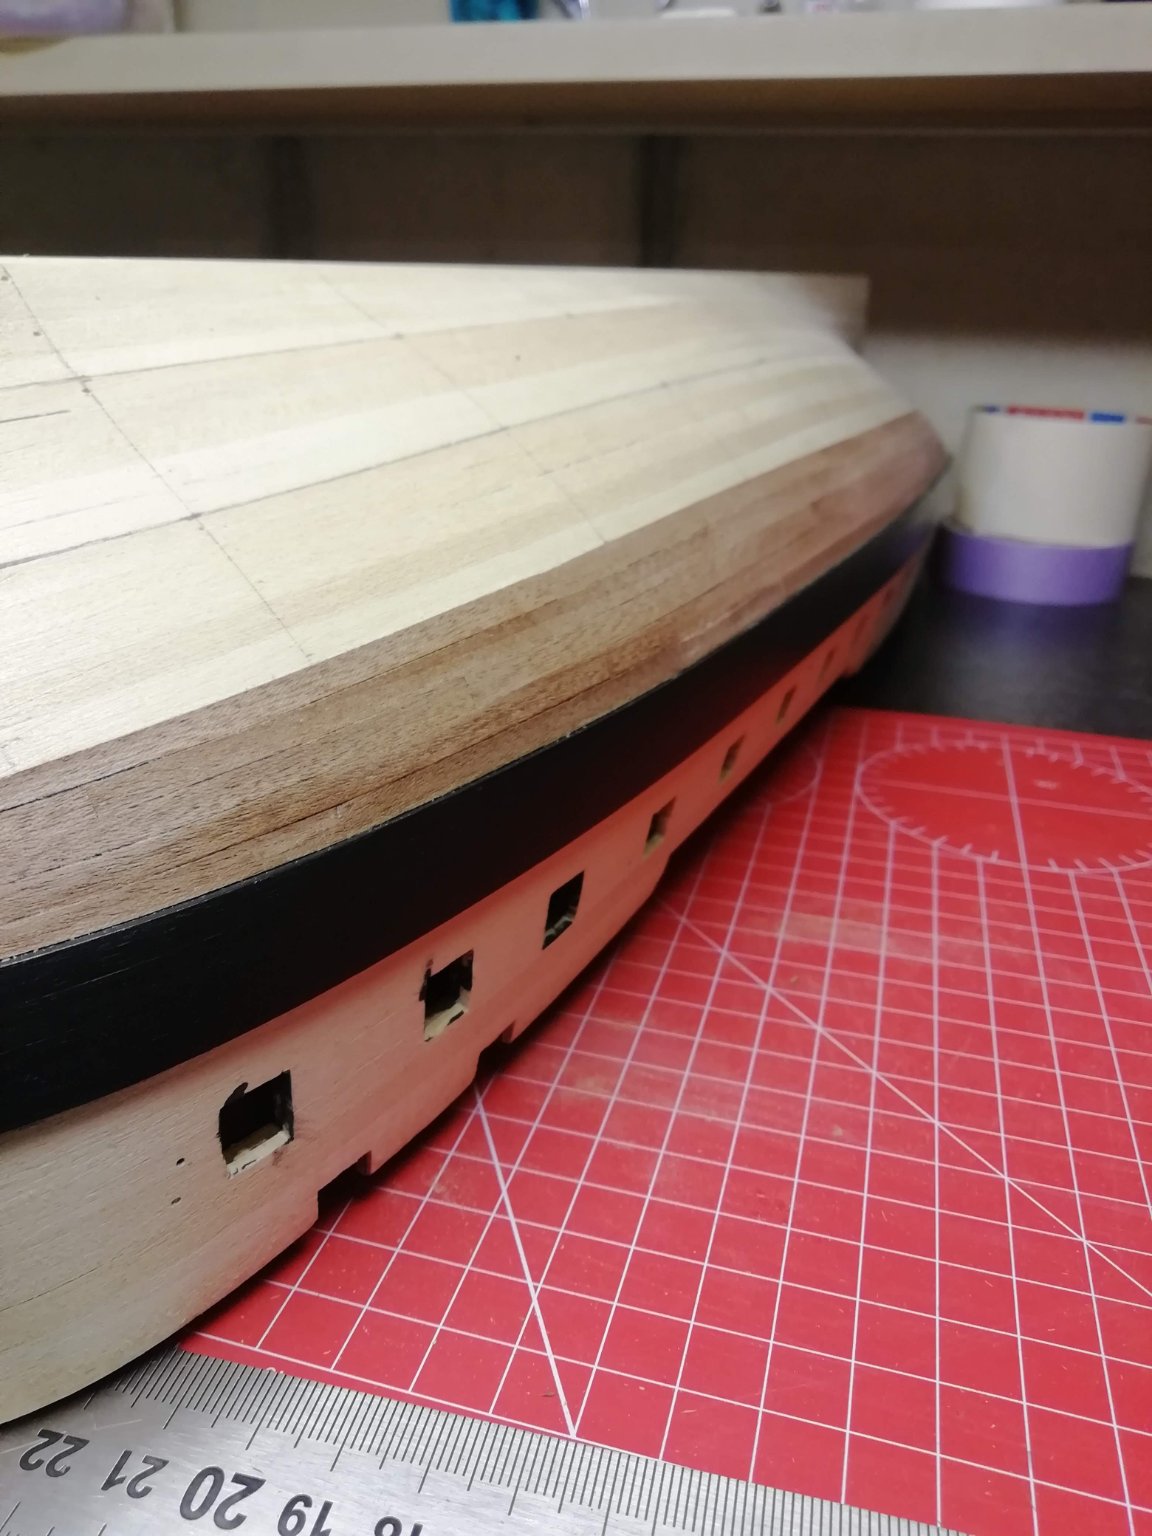
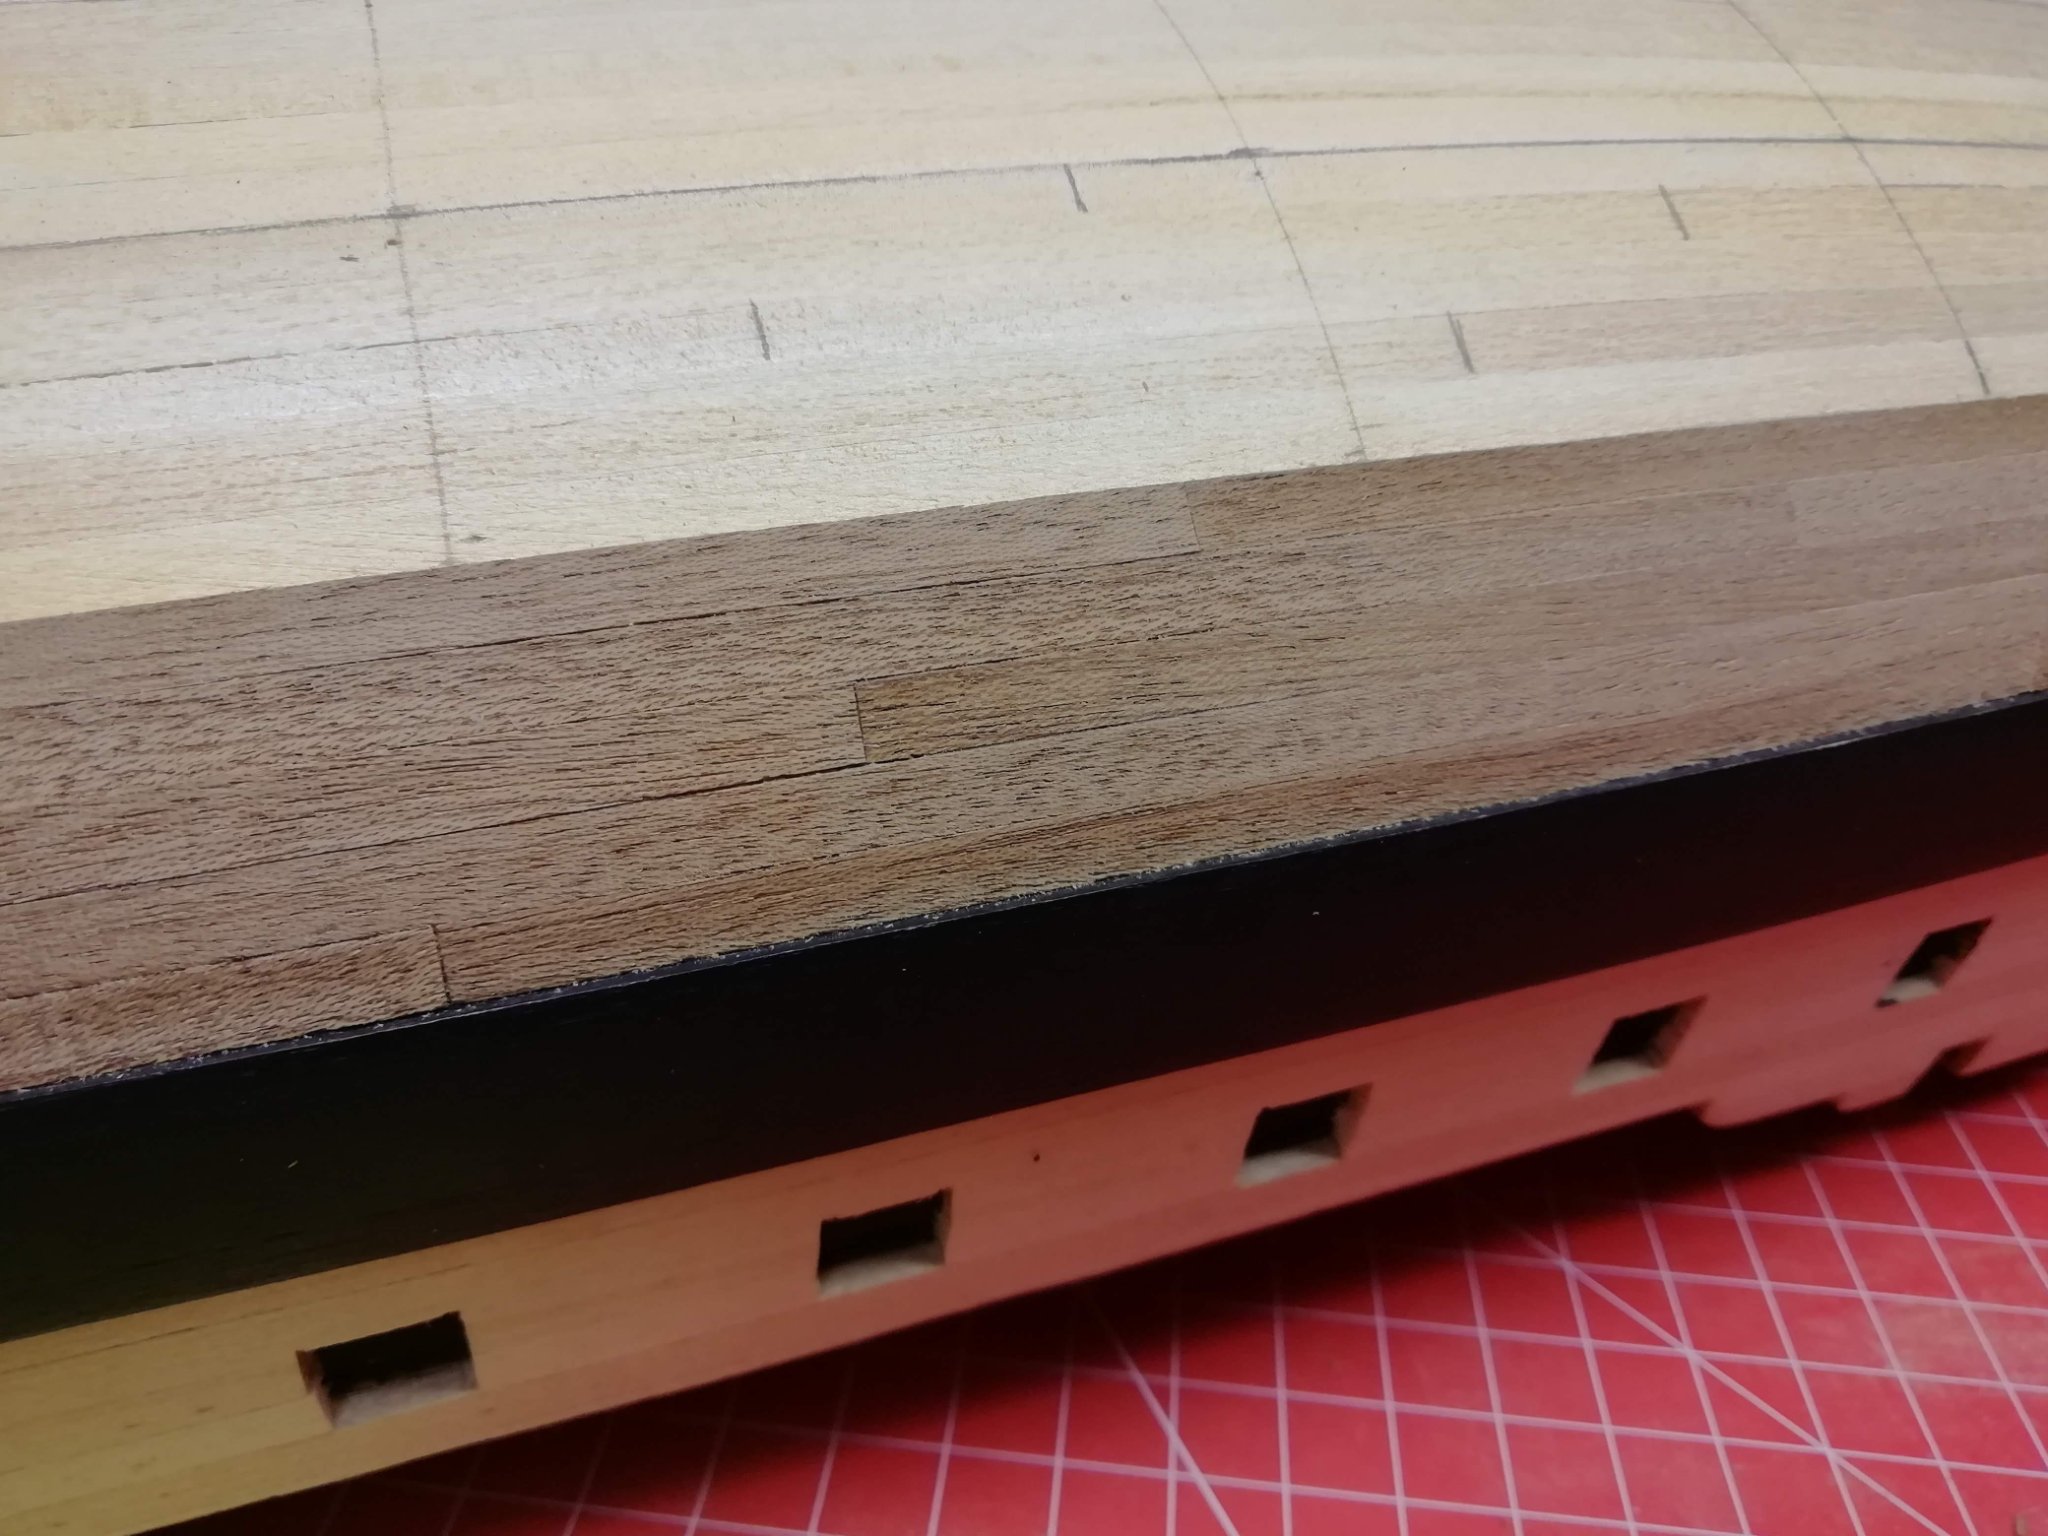
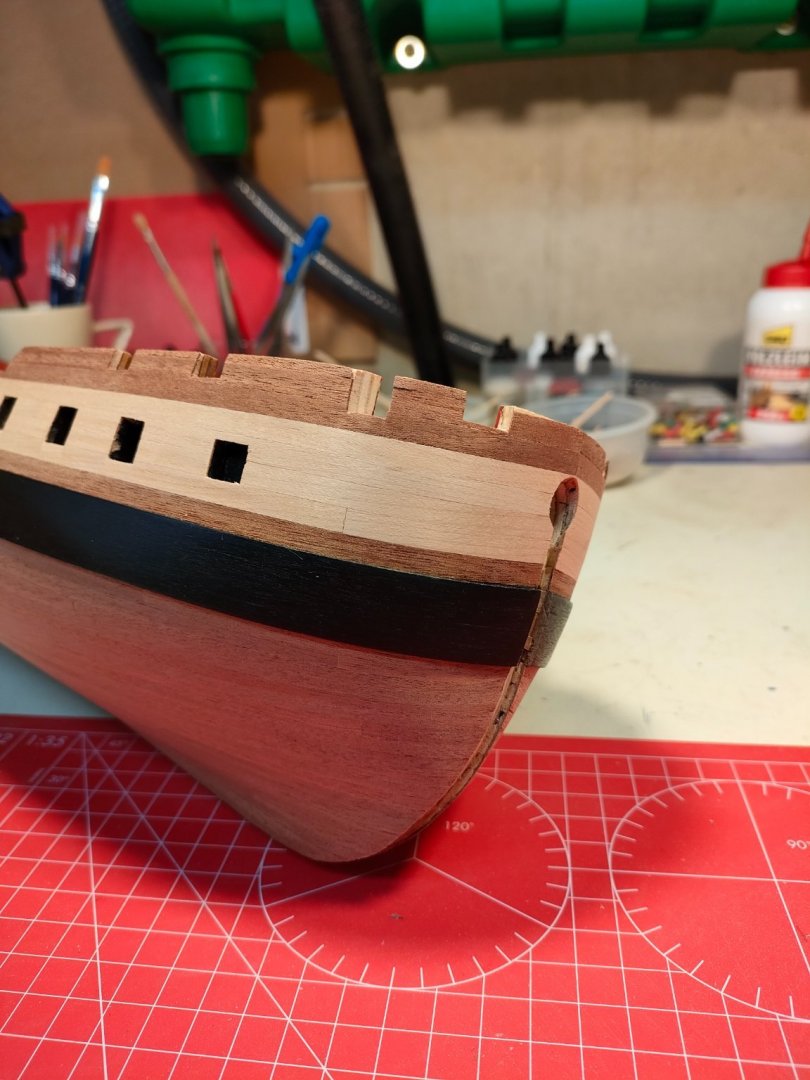
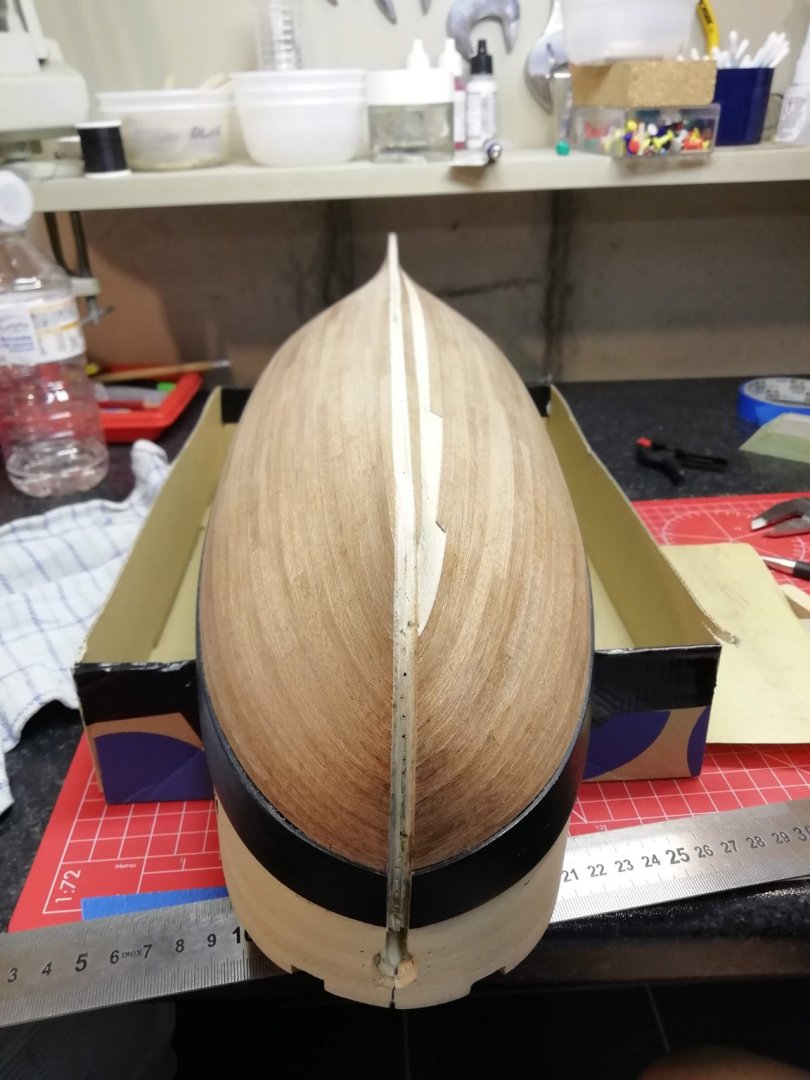
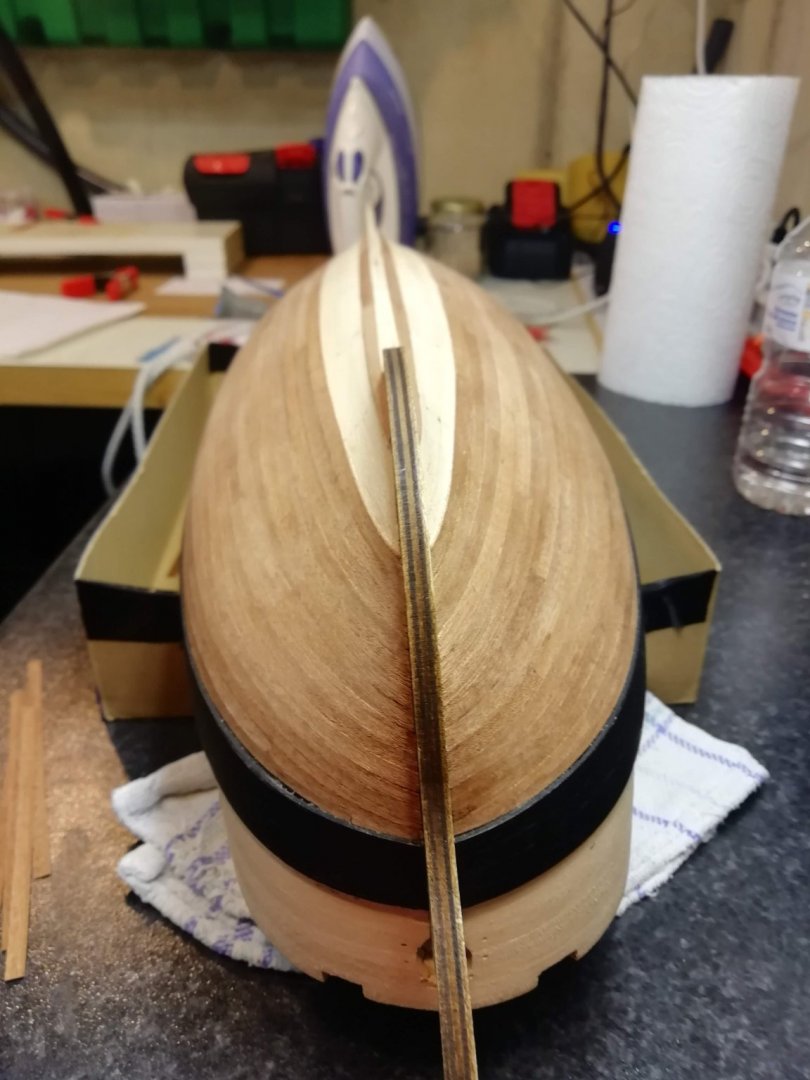
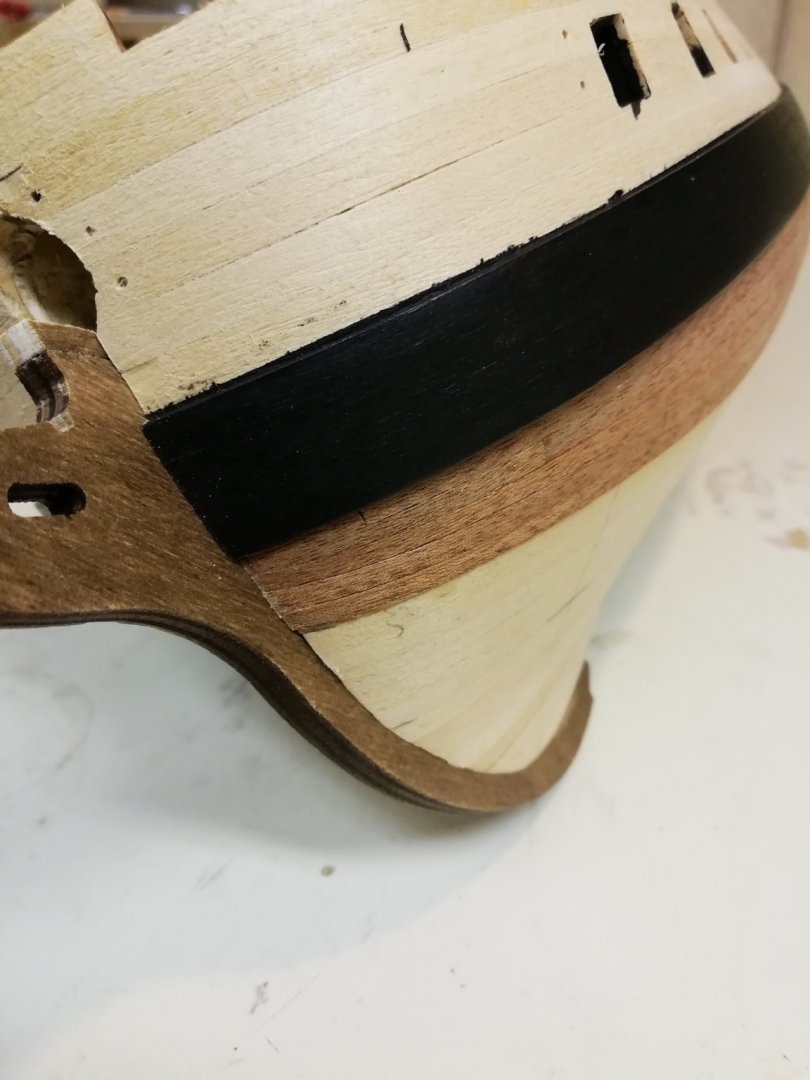
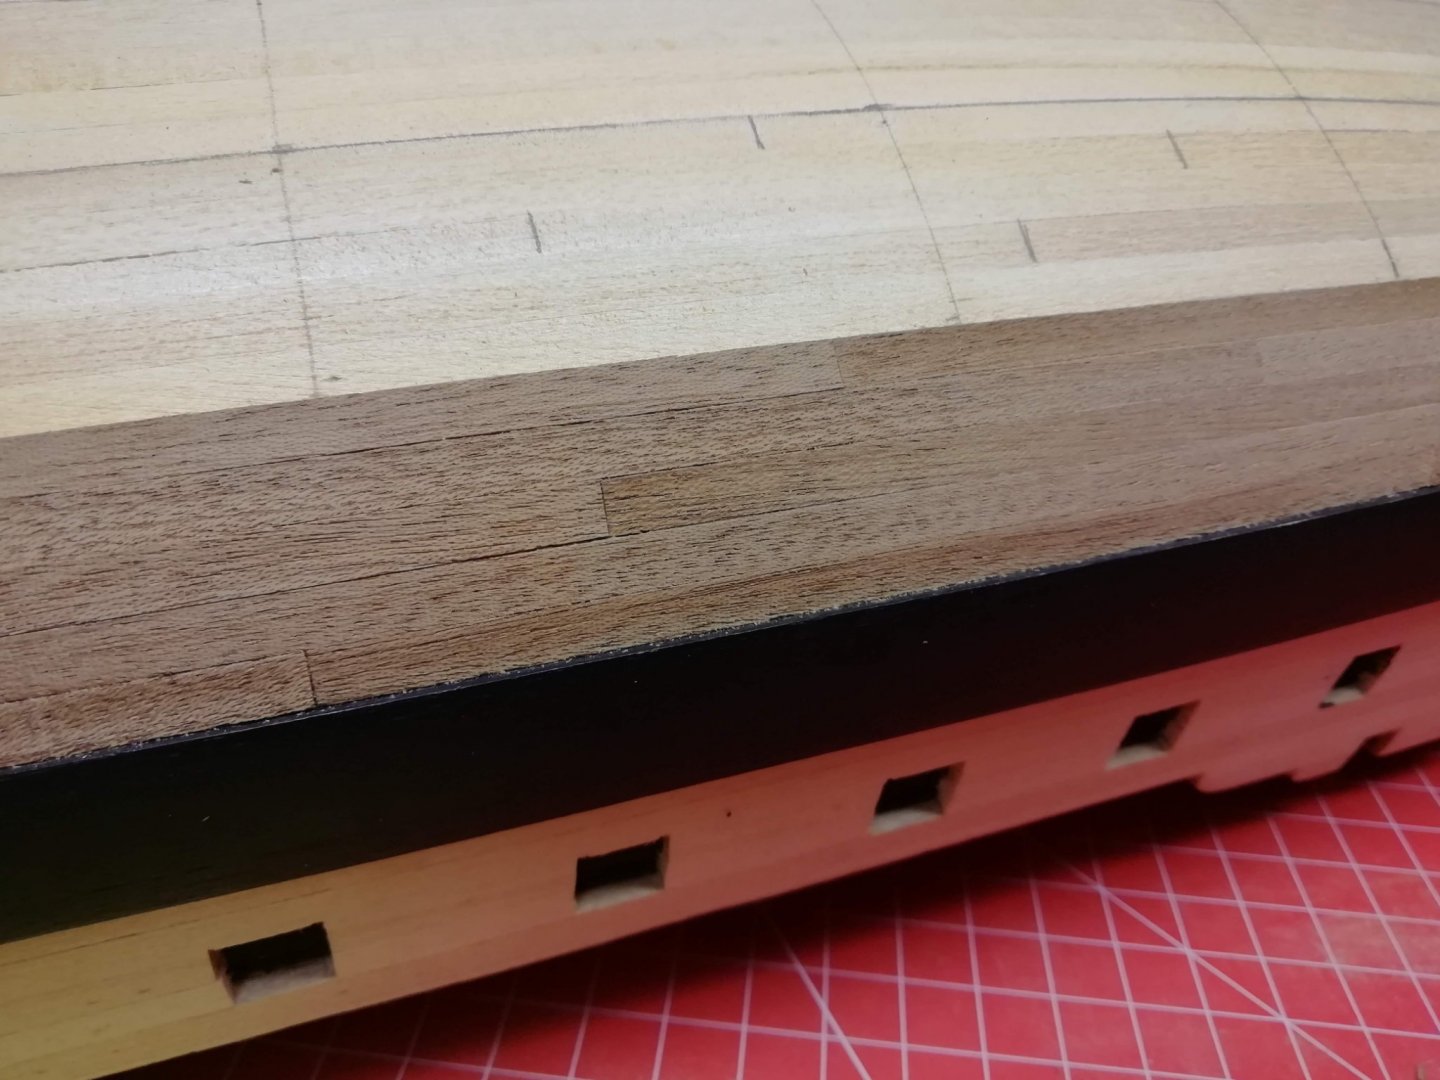
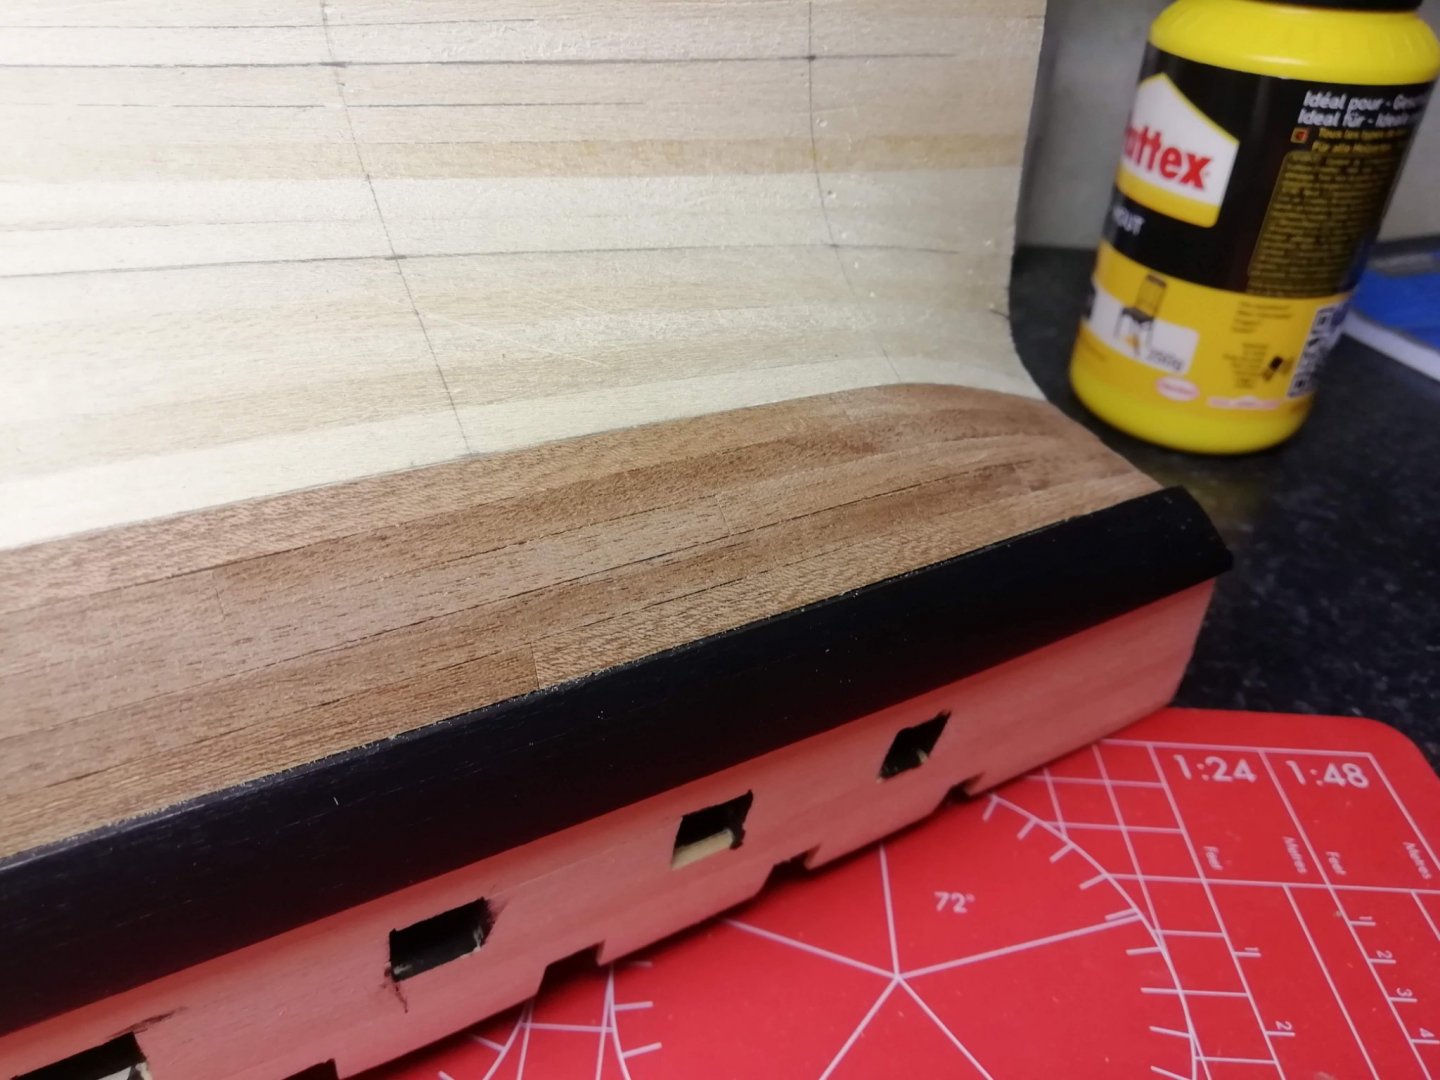
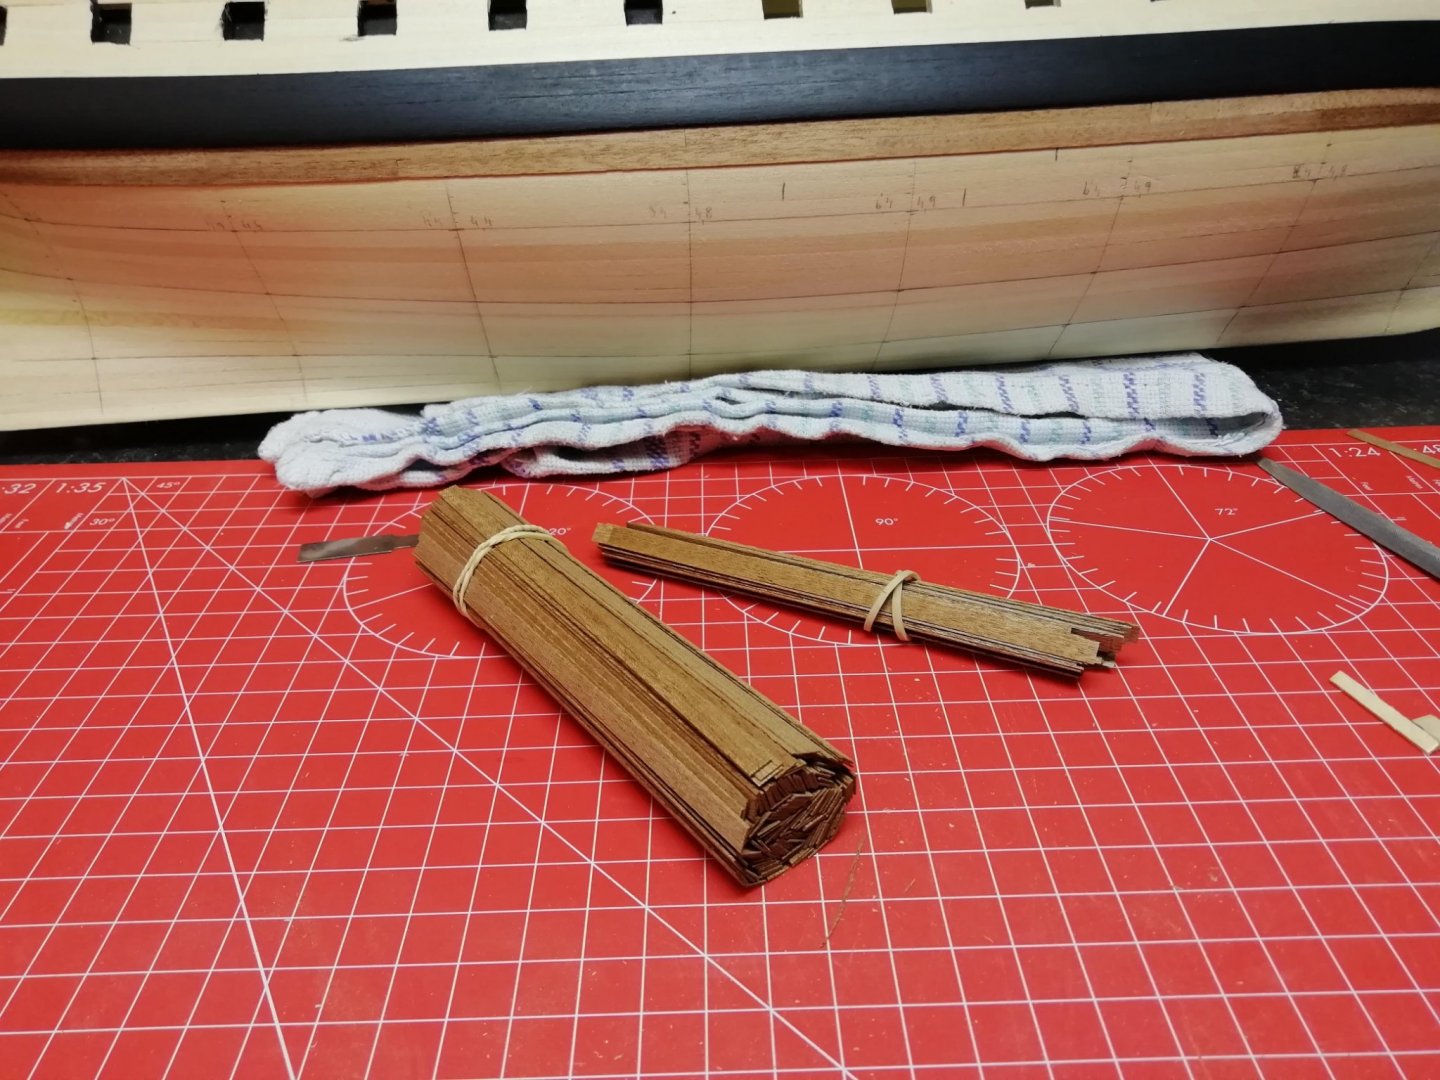
First Belt is finished. The thin sapelli (0,5mm) is very hard to bend sideways, with an iron and a lot of patience you can get the job done...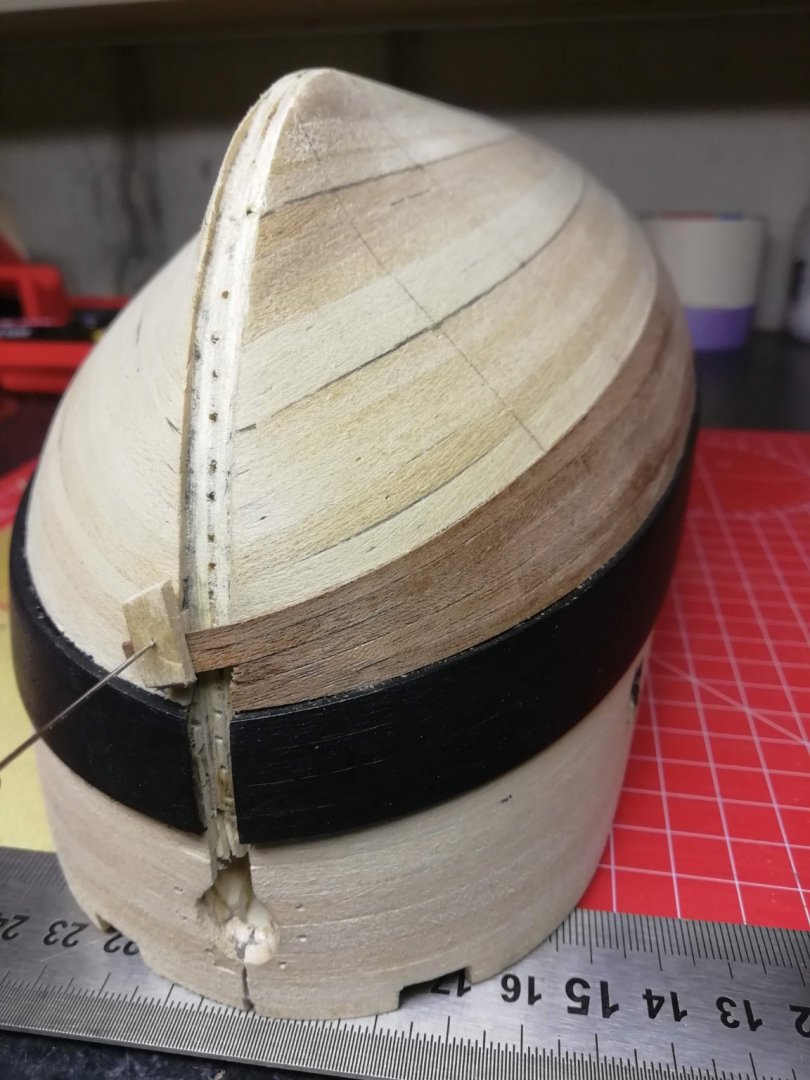

-
Diana by Kyak - OcCre - 1/85
Kyak replied to Kyak's topic in - Kit build logs for subjects built from 1751 - 1800
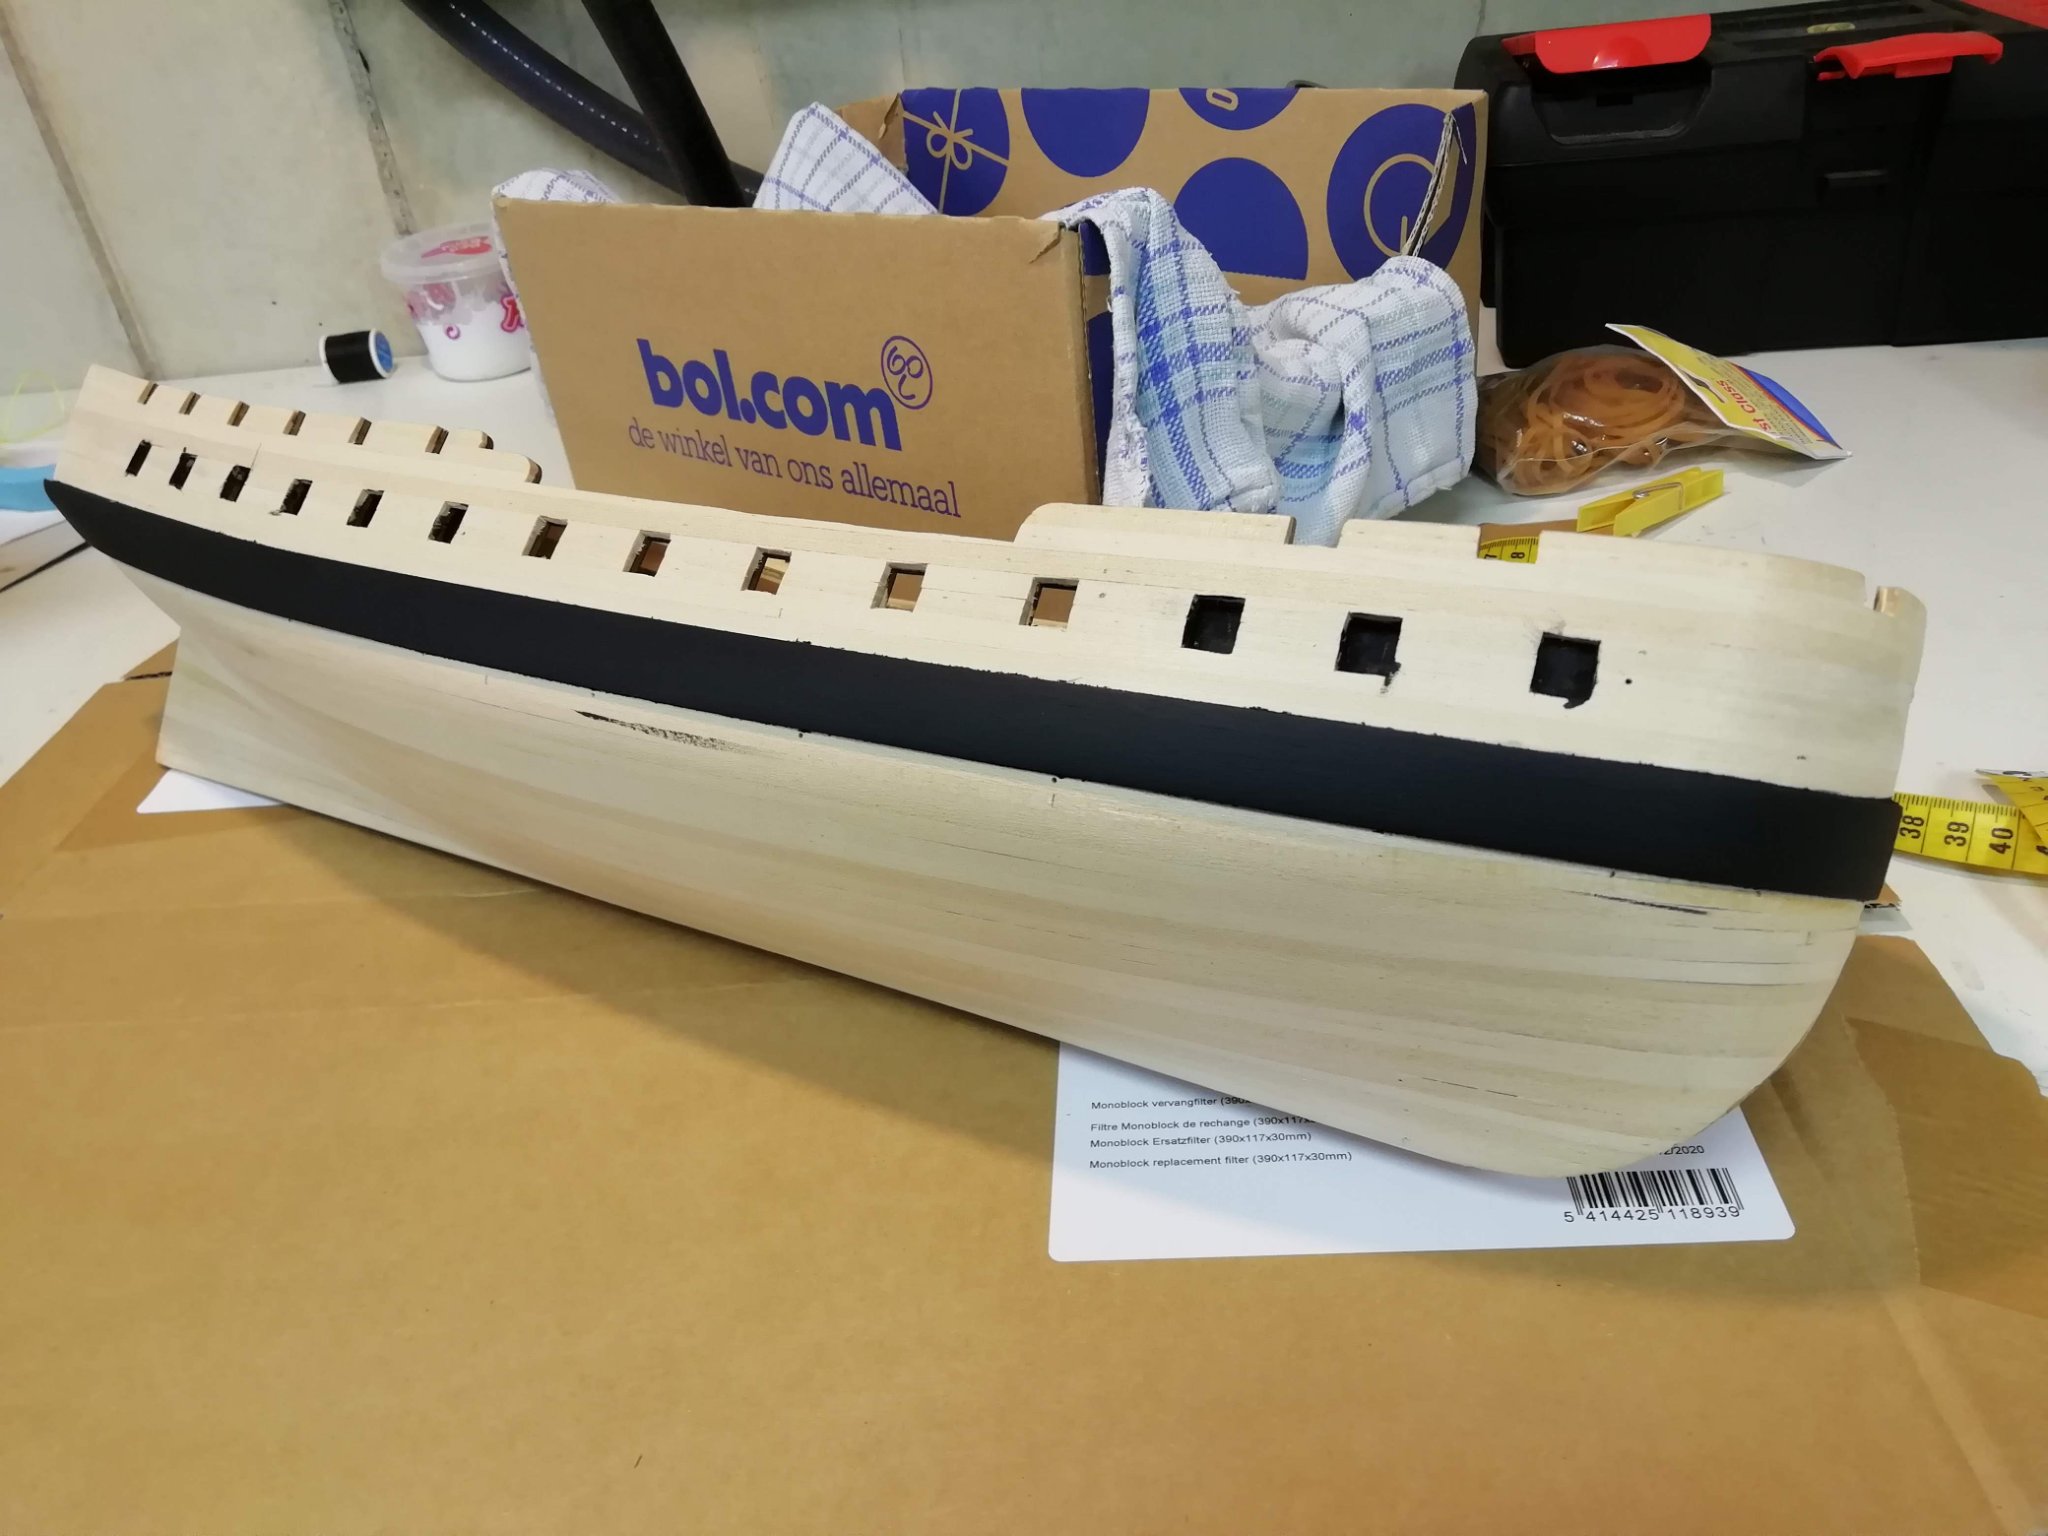
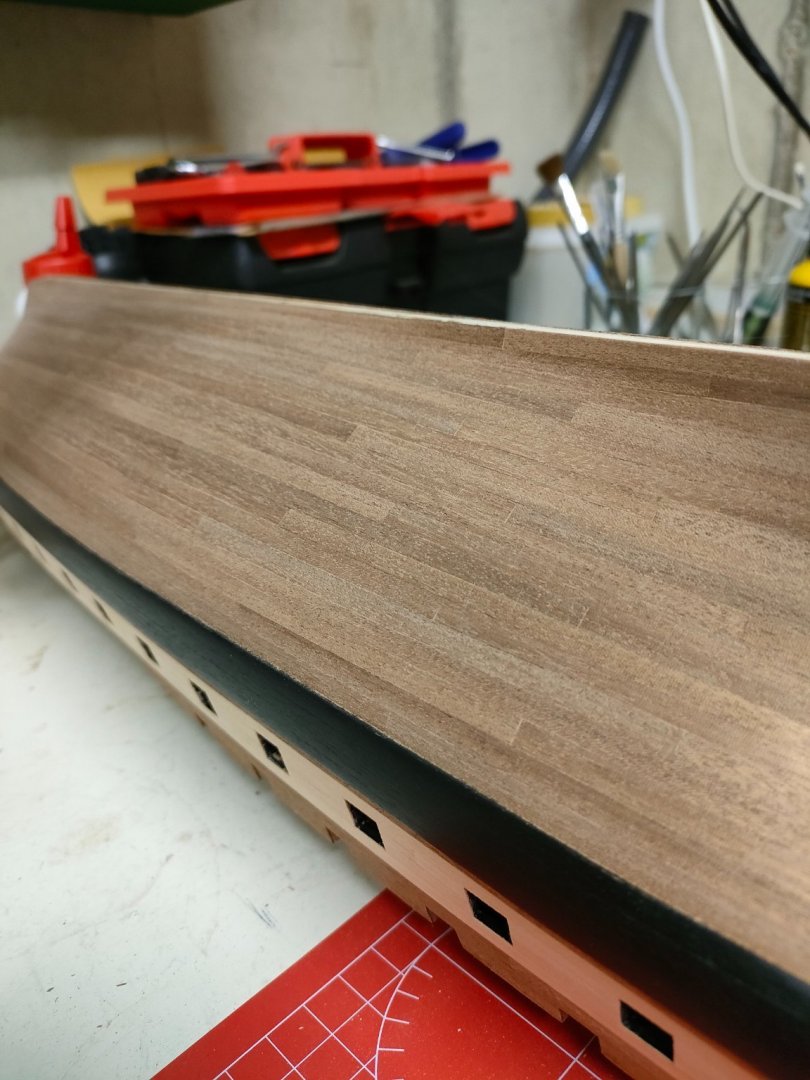
A little progress is made. The wales are installed and painted and i started second planking.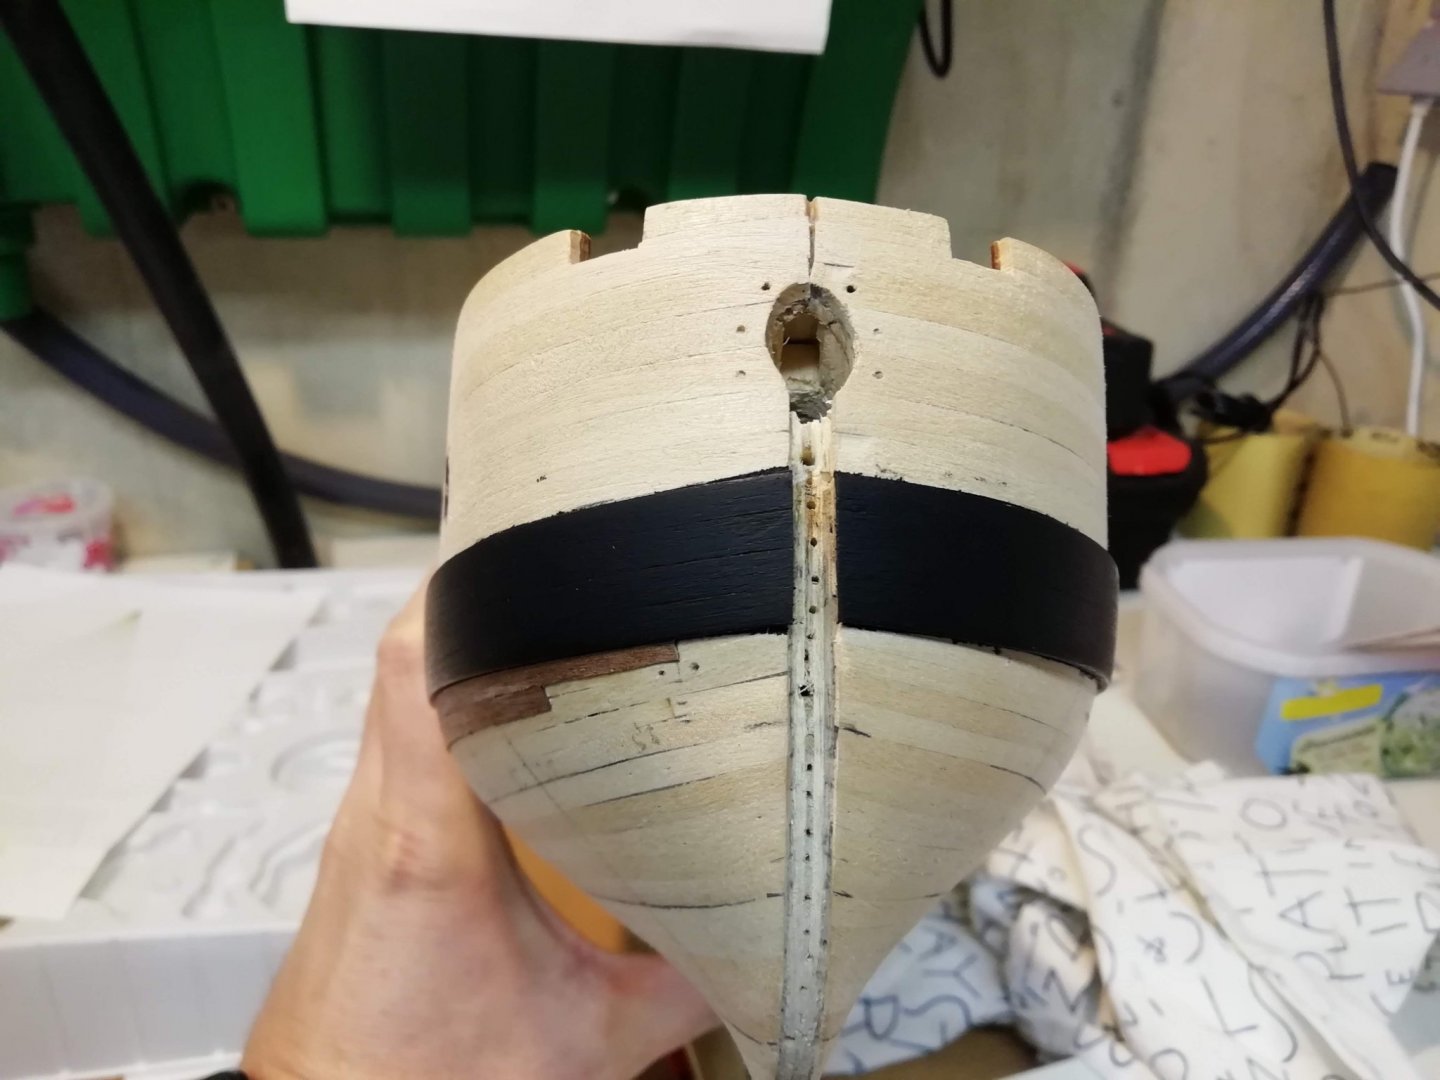


-
Diana by Kyak - OcCre - 1/85
Kyak replied to Kyak's topic in - Kit build logs for subjects built from 1751 - 1800
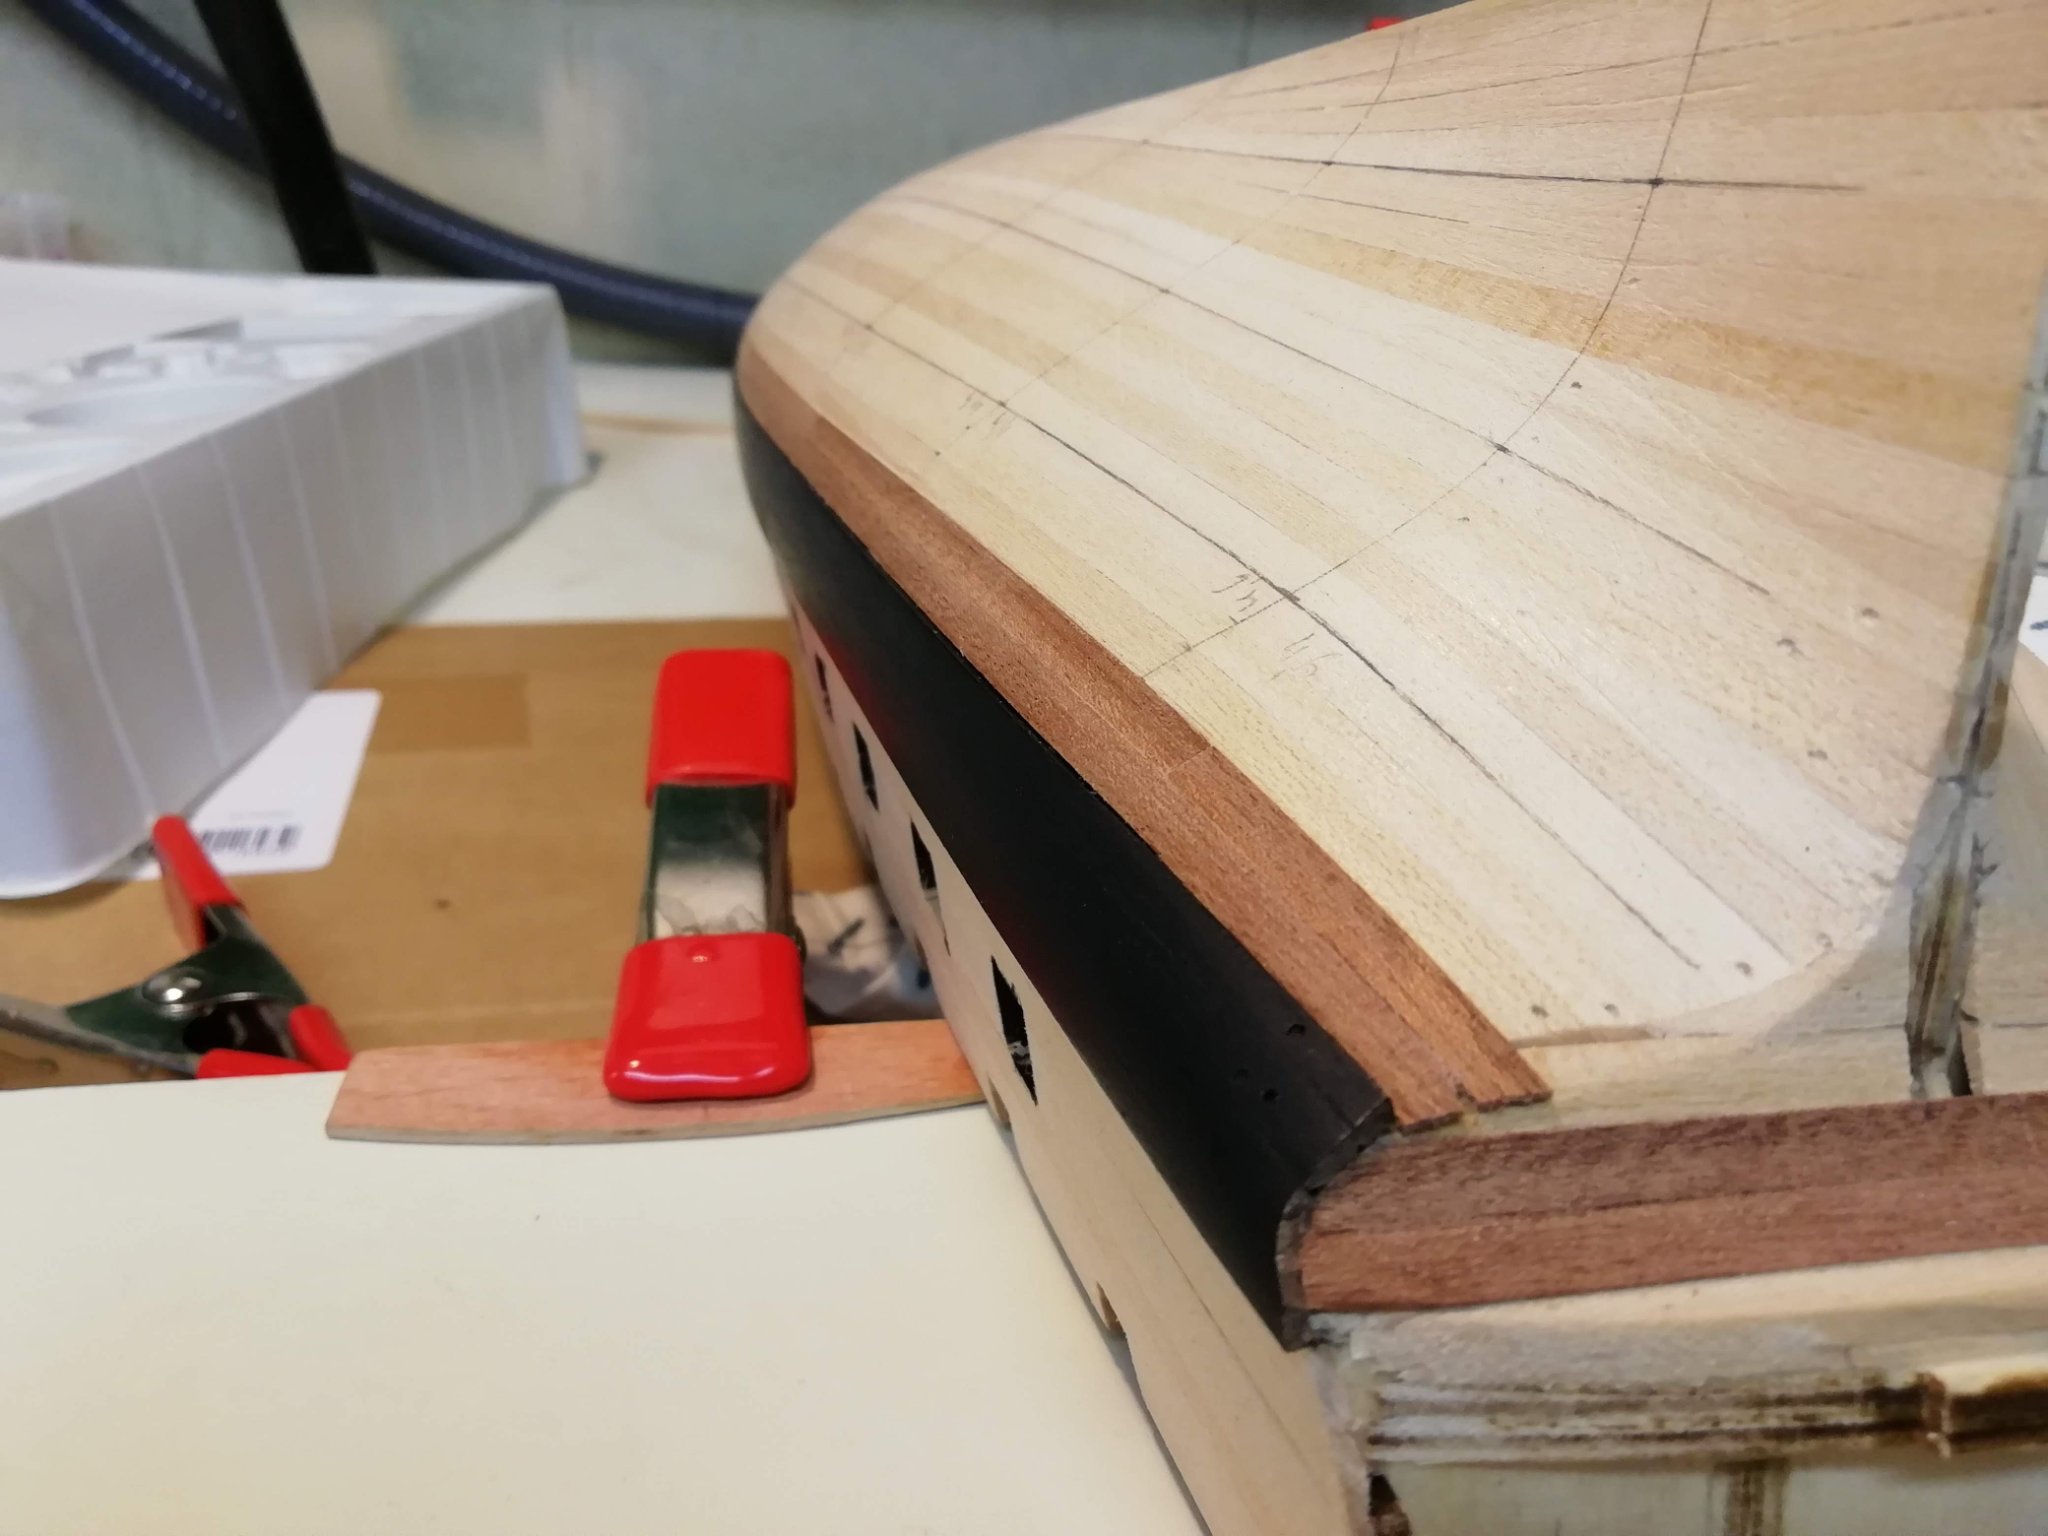
The first wale is in place. I screwed a clamp in the keel to clamp them at the bow where the hardest bend is. Works great!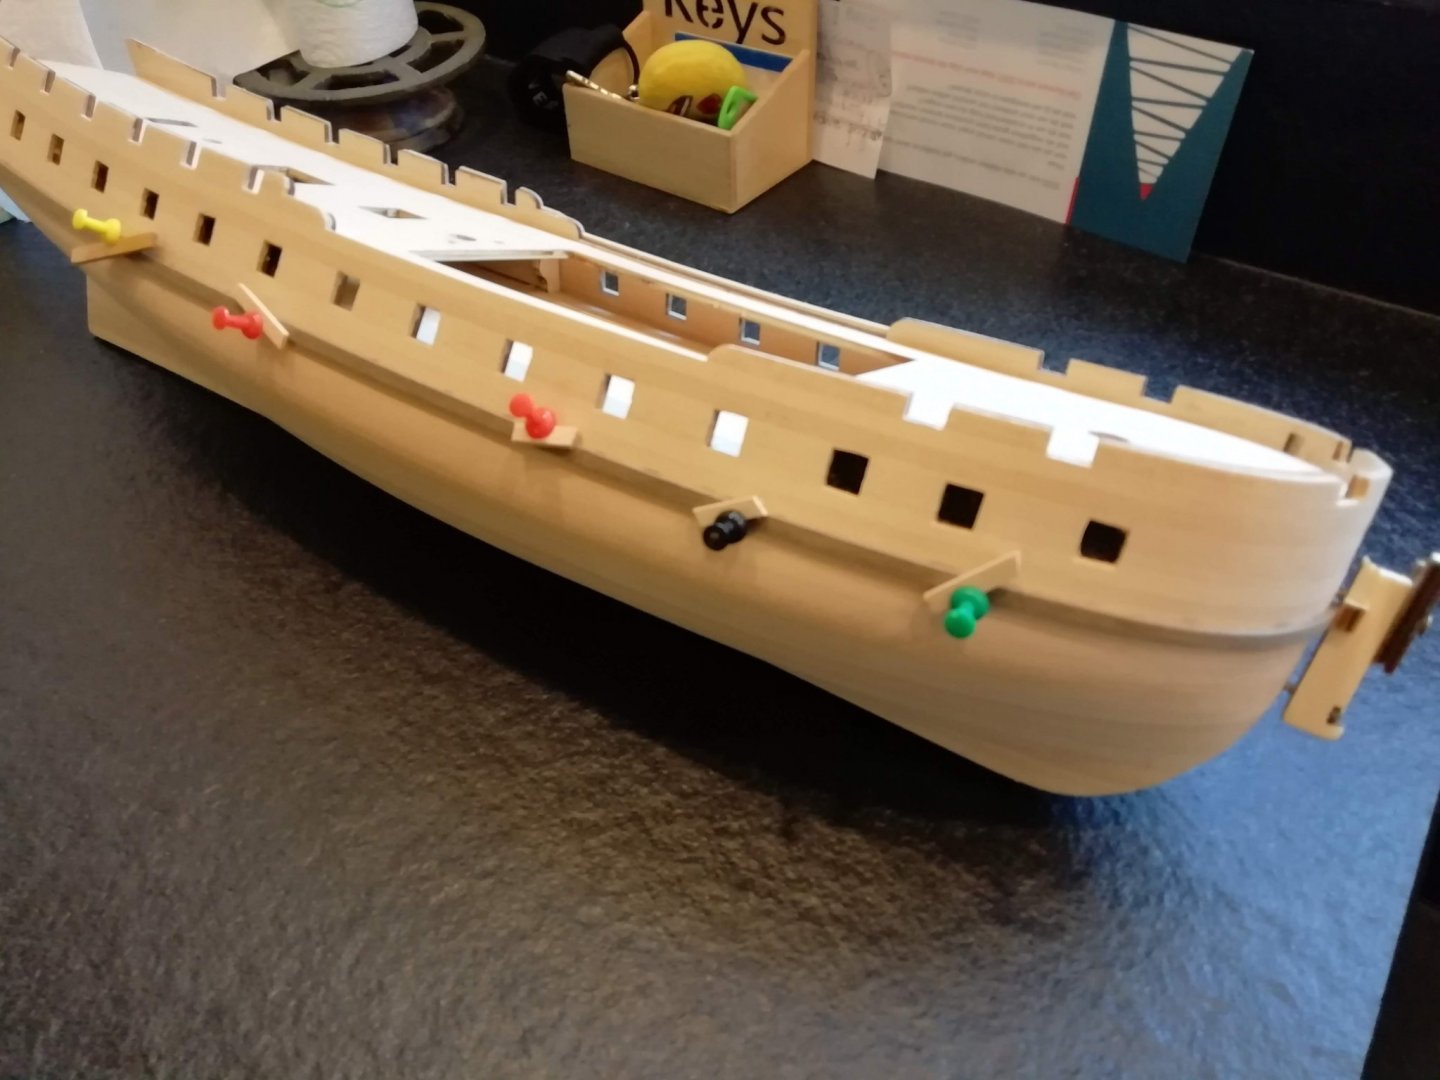

-
Diana by Kyak - OcCre - 1/85
Kyak replied to Kyak's topic in - Kit build logs for subjects built from 1751 - 1800
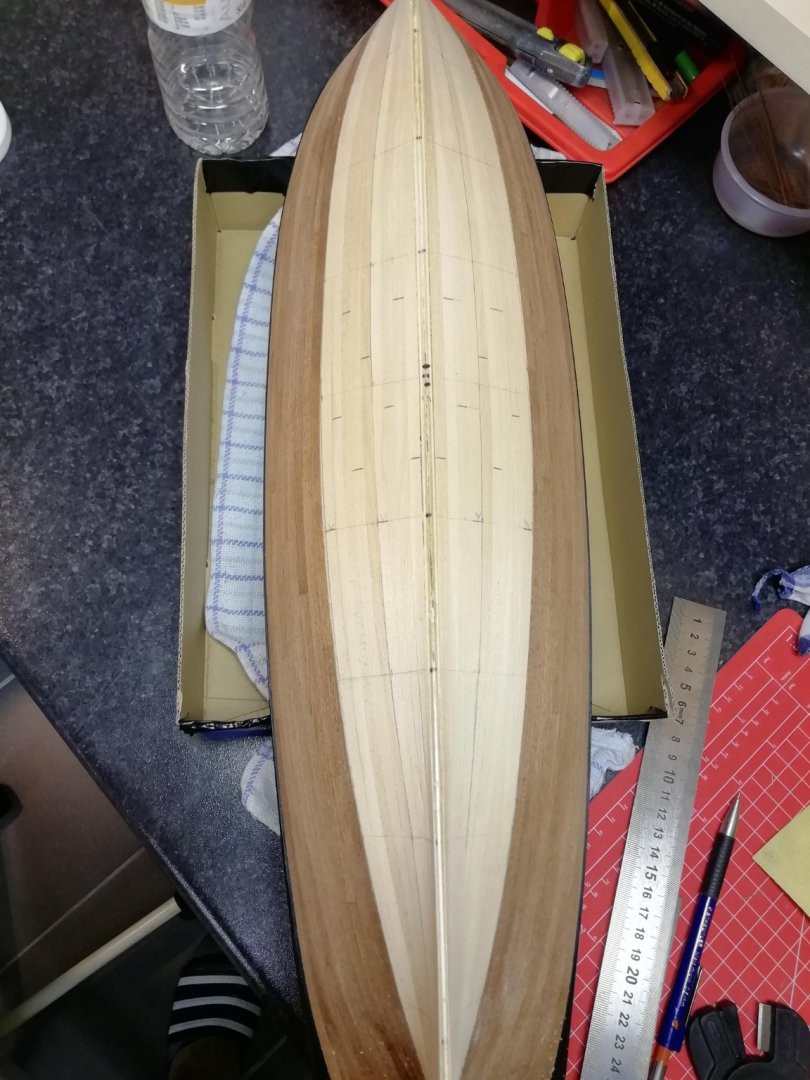
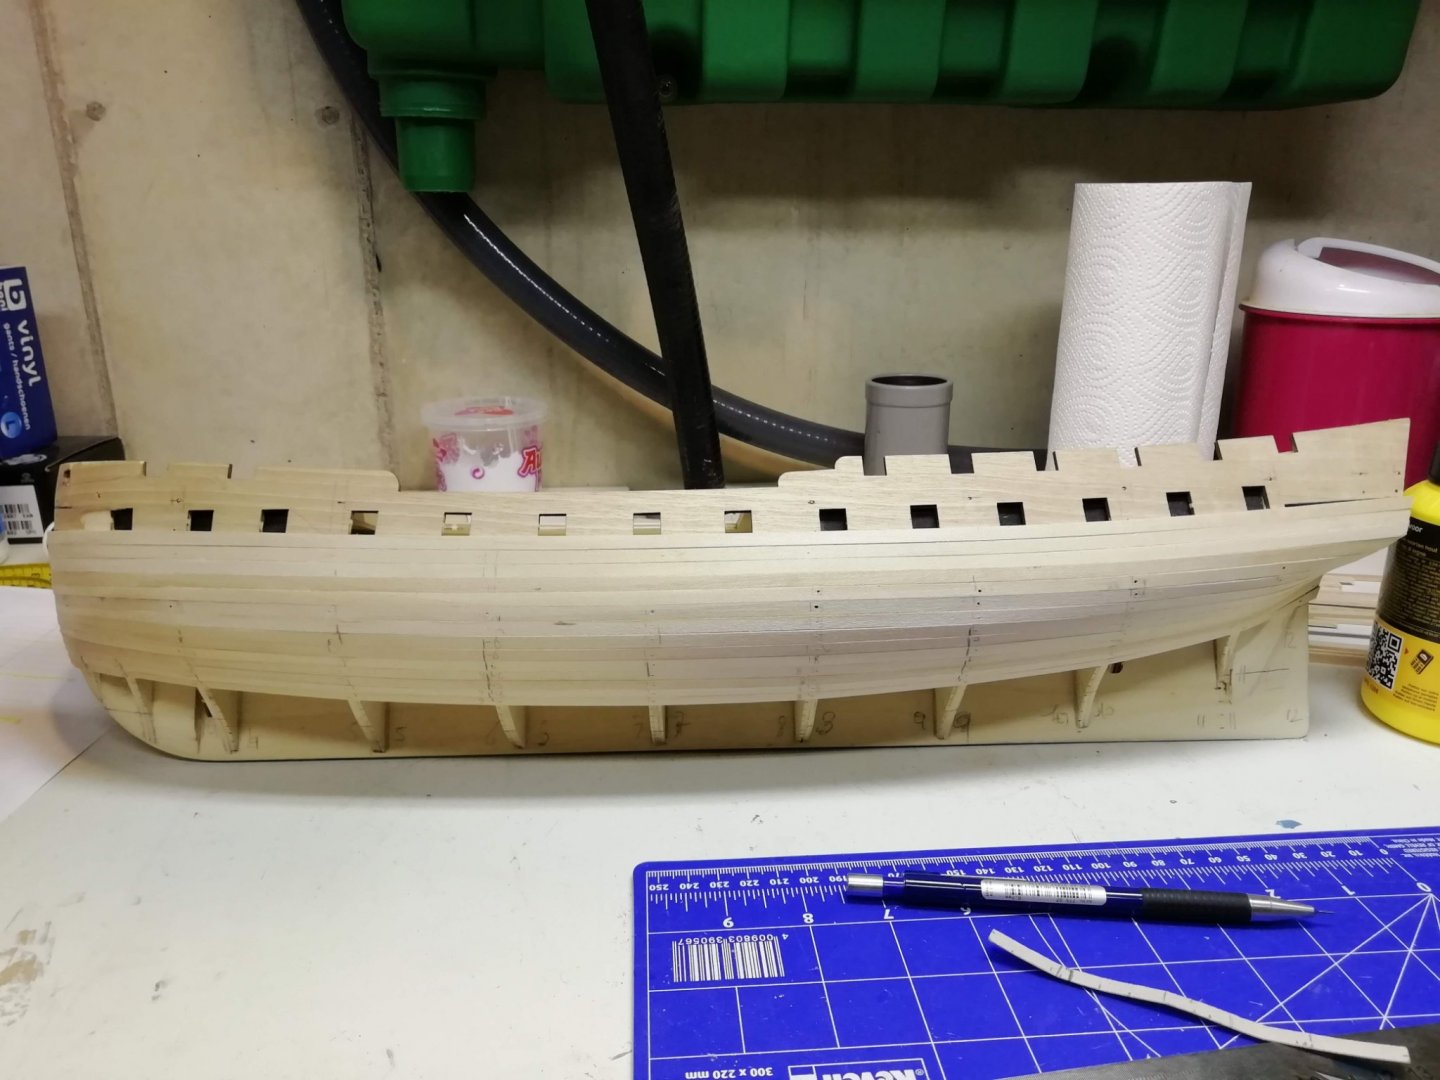
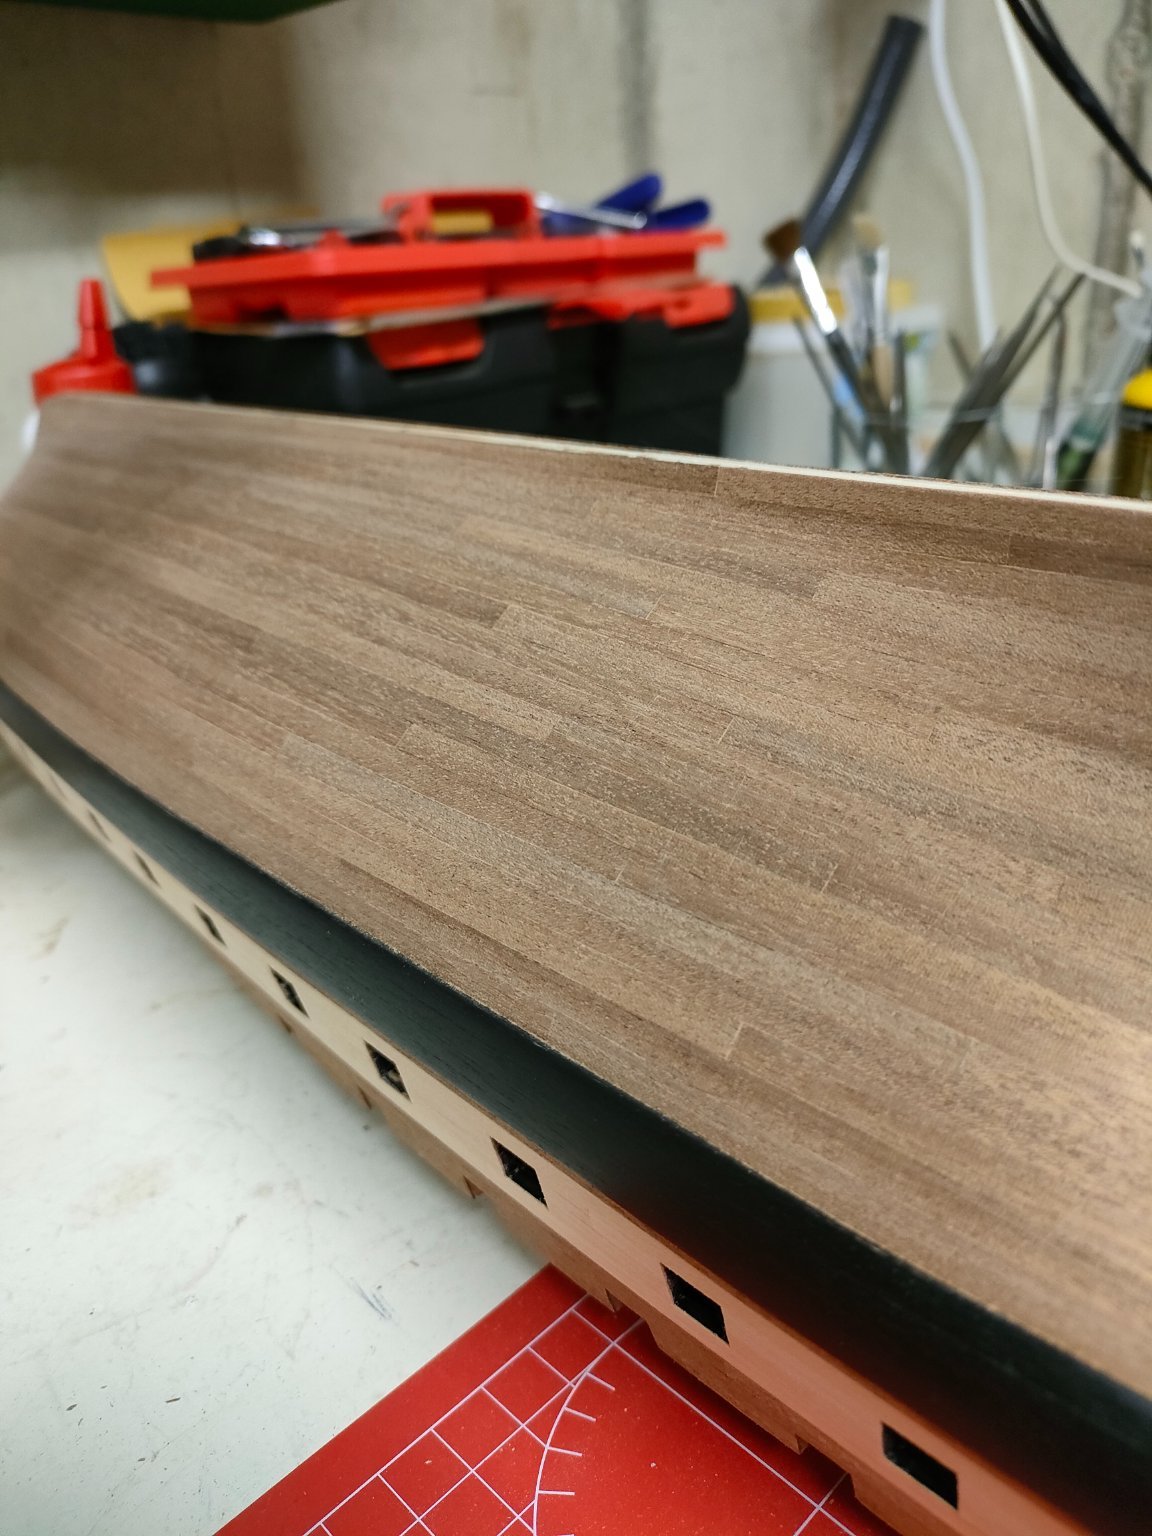
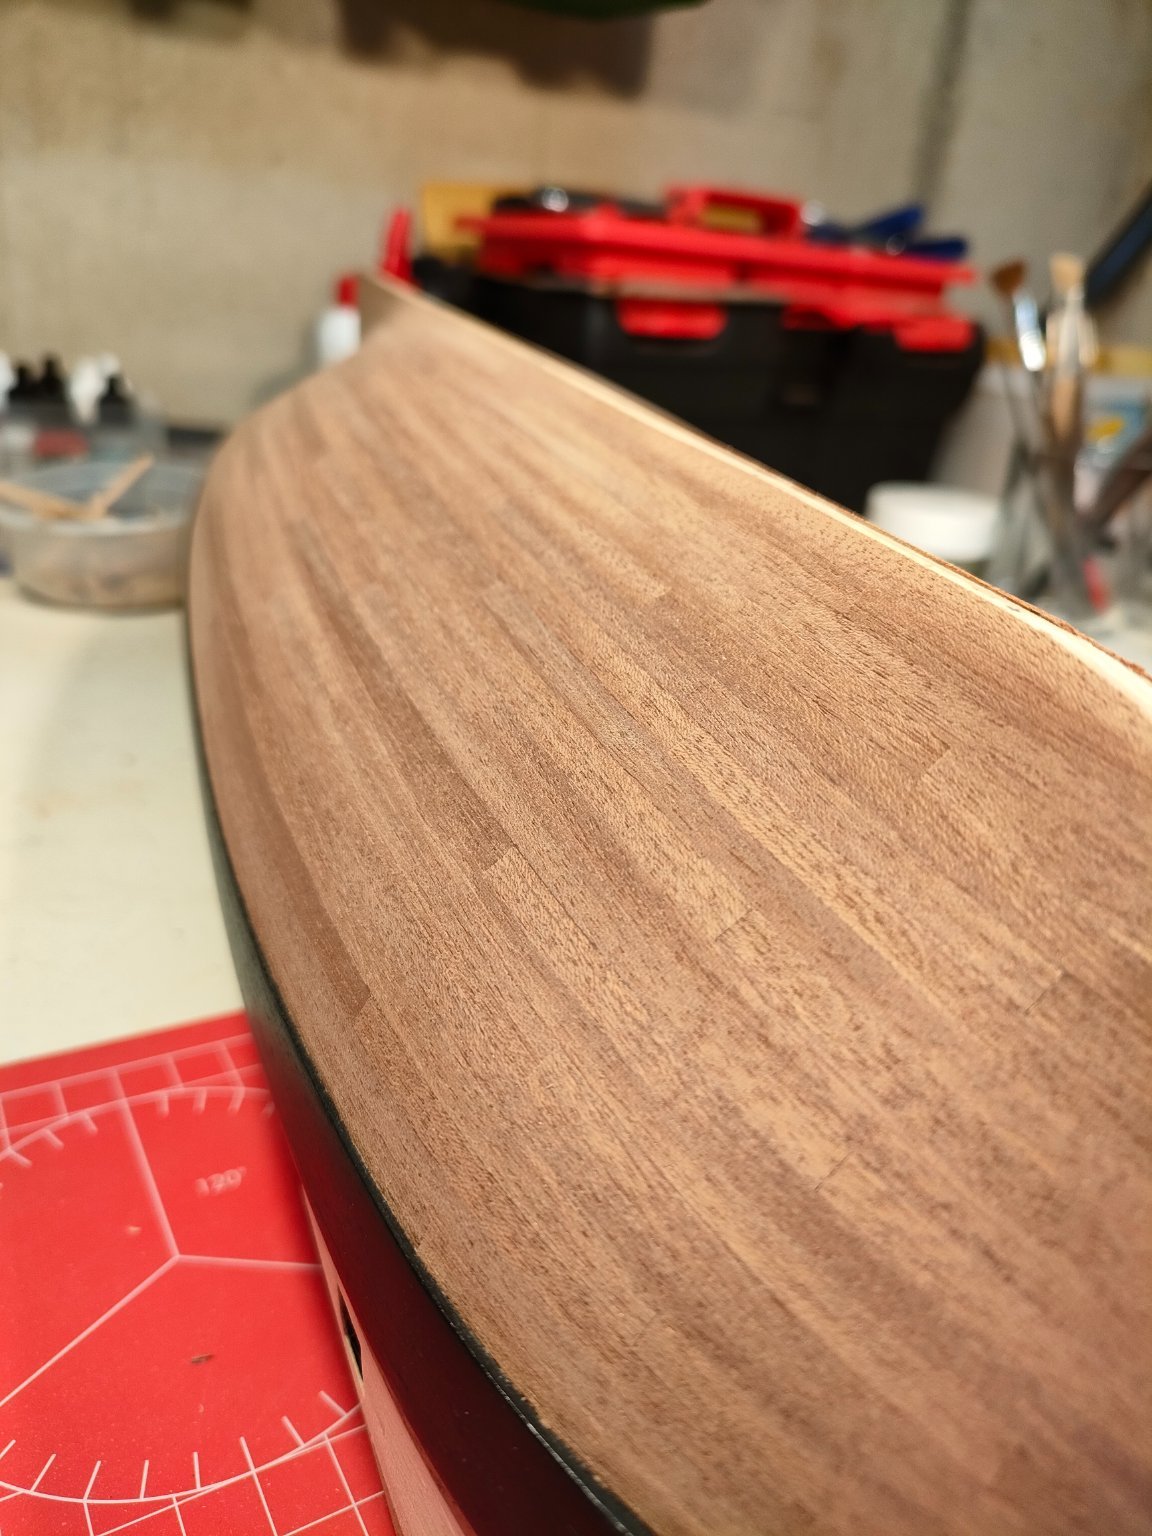
Hello, Did some sanding. Hull looks pretty fine to me...


-
Diana by Kyak - OcCre - 1/85
Kyak replied to Kyak's topic in - Kit build logs for subjects built from 1751 - 1800
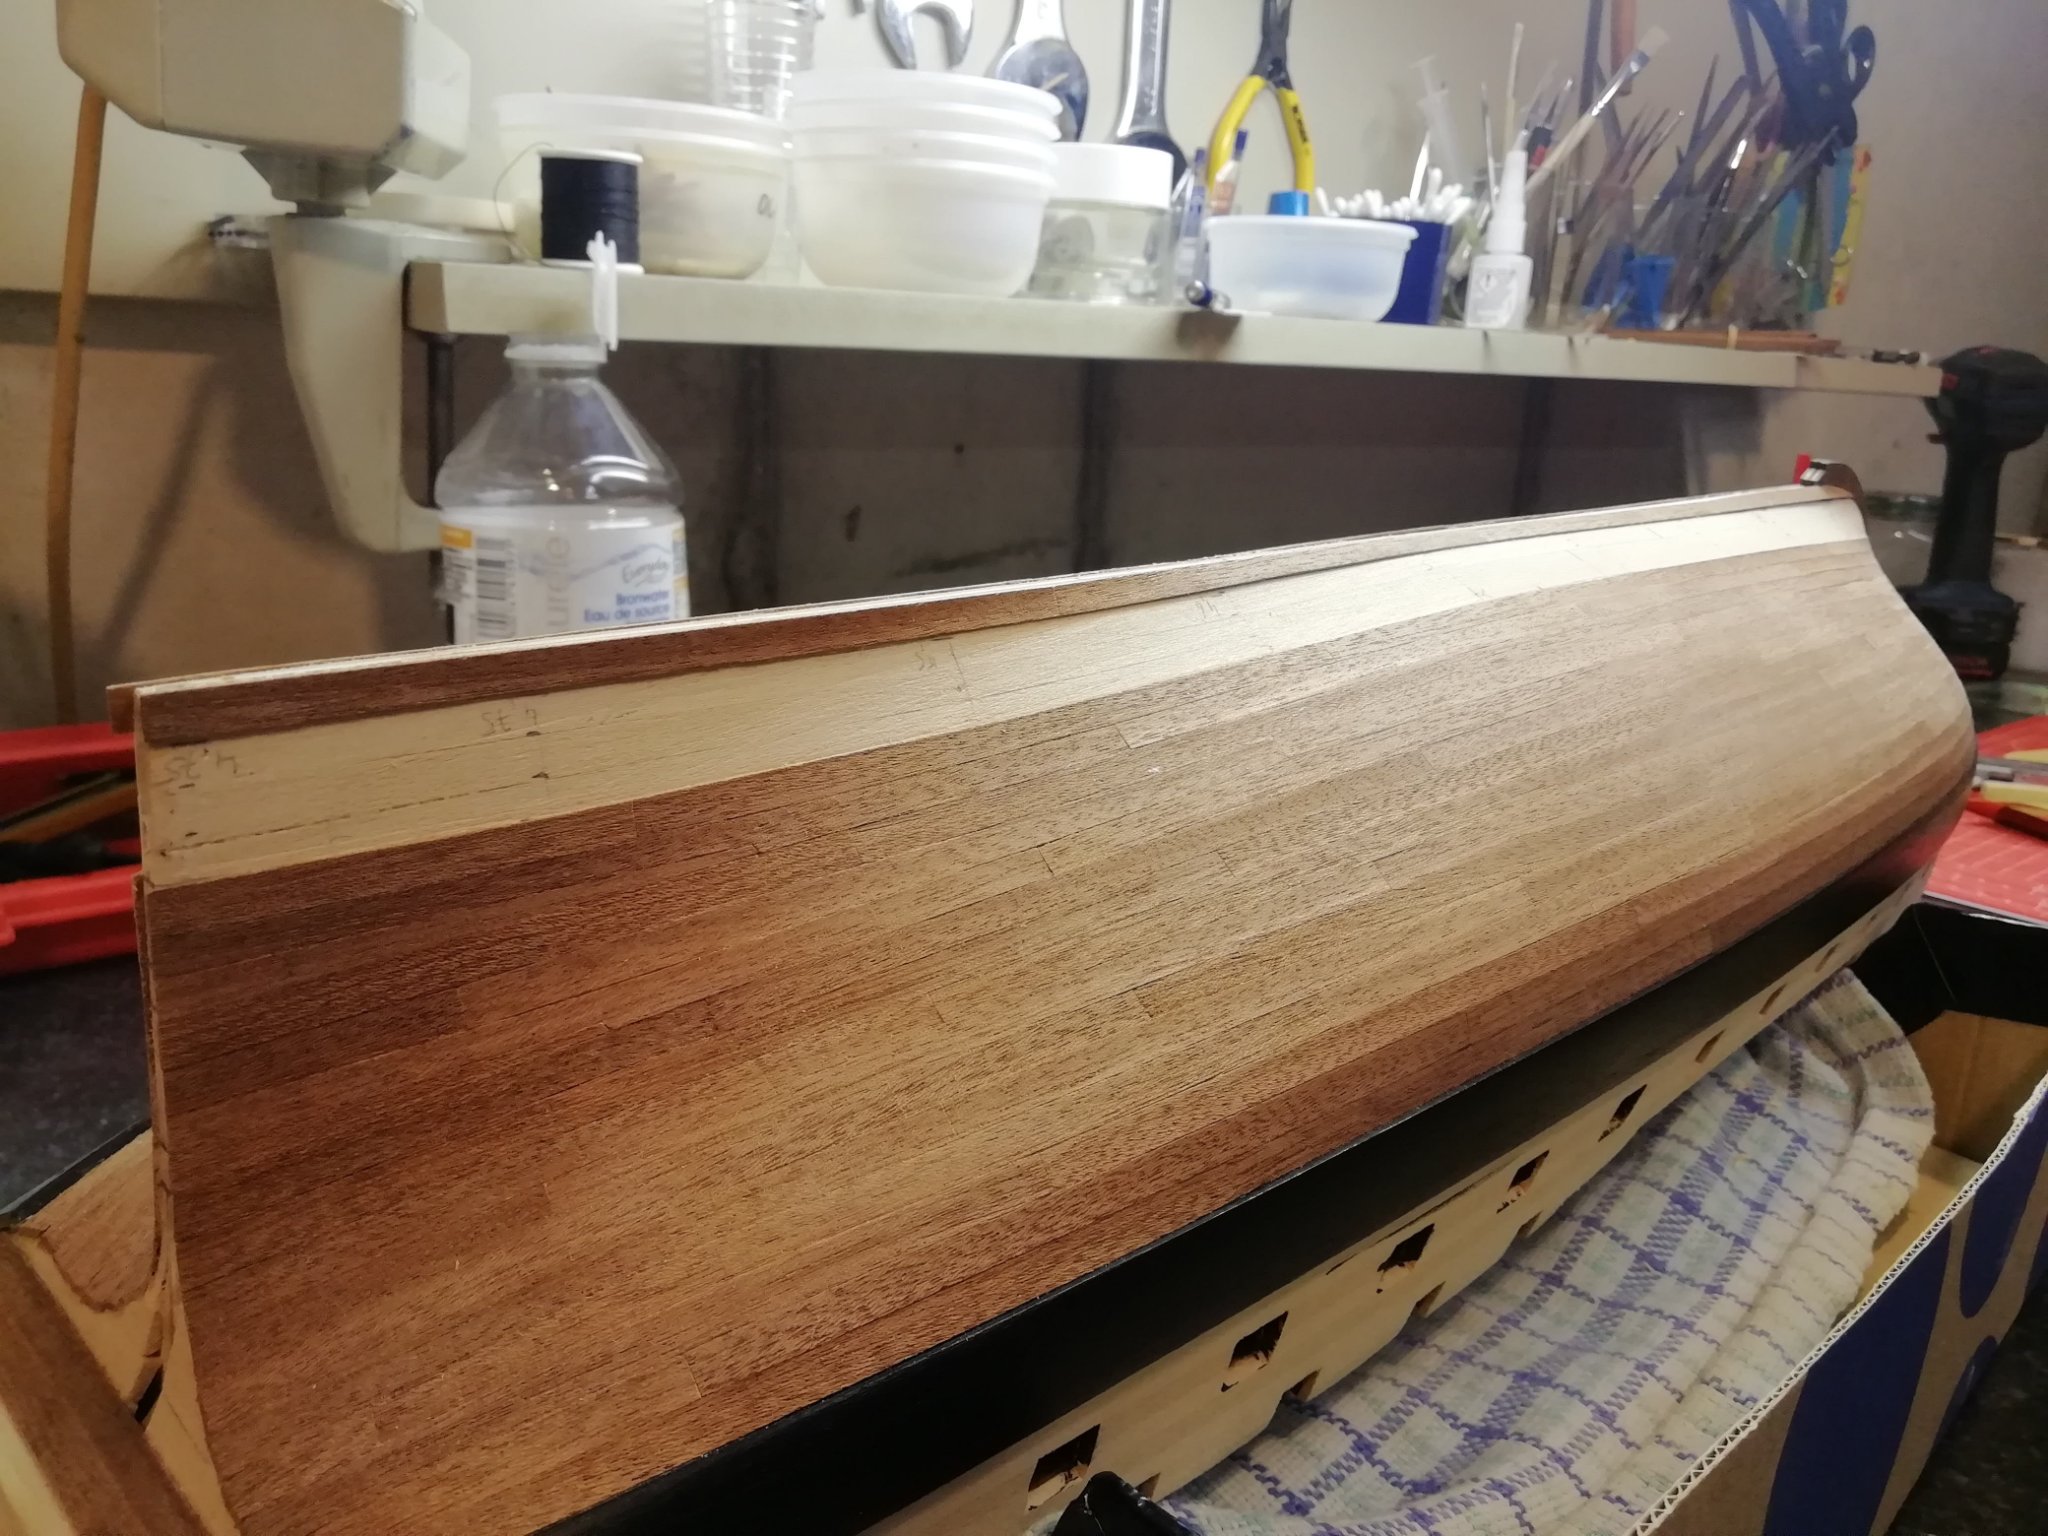
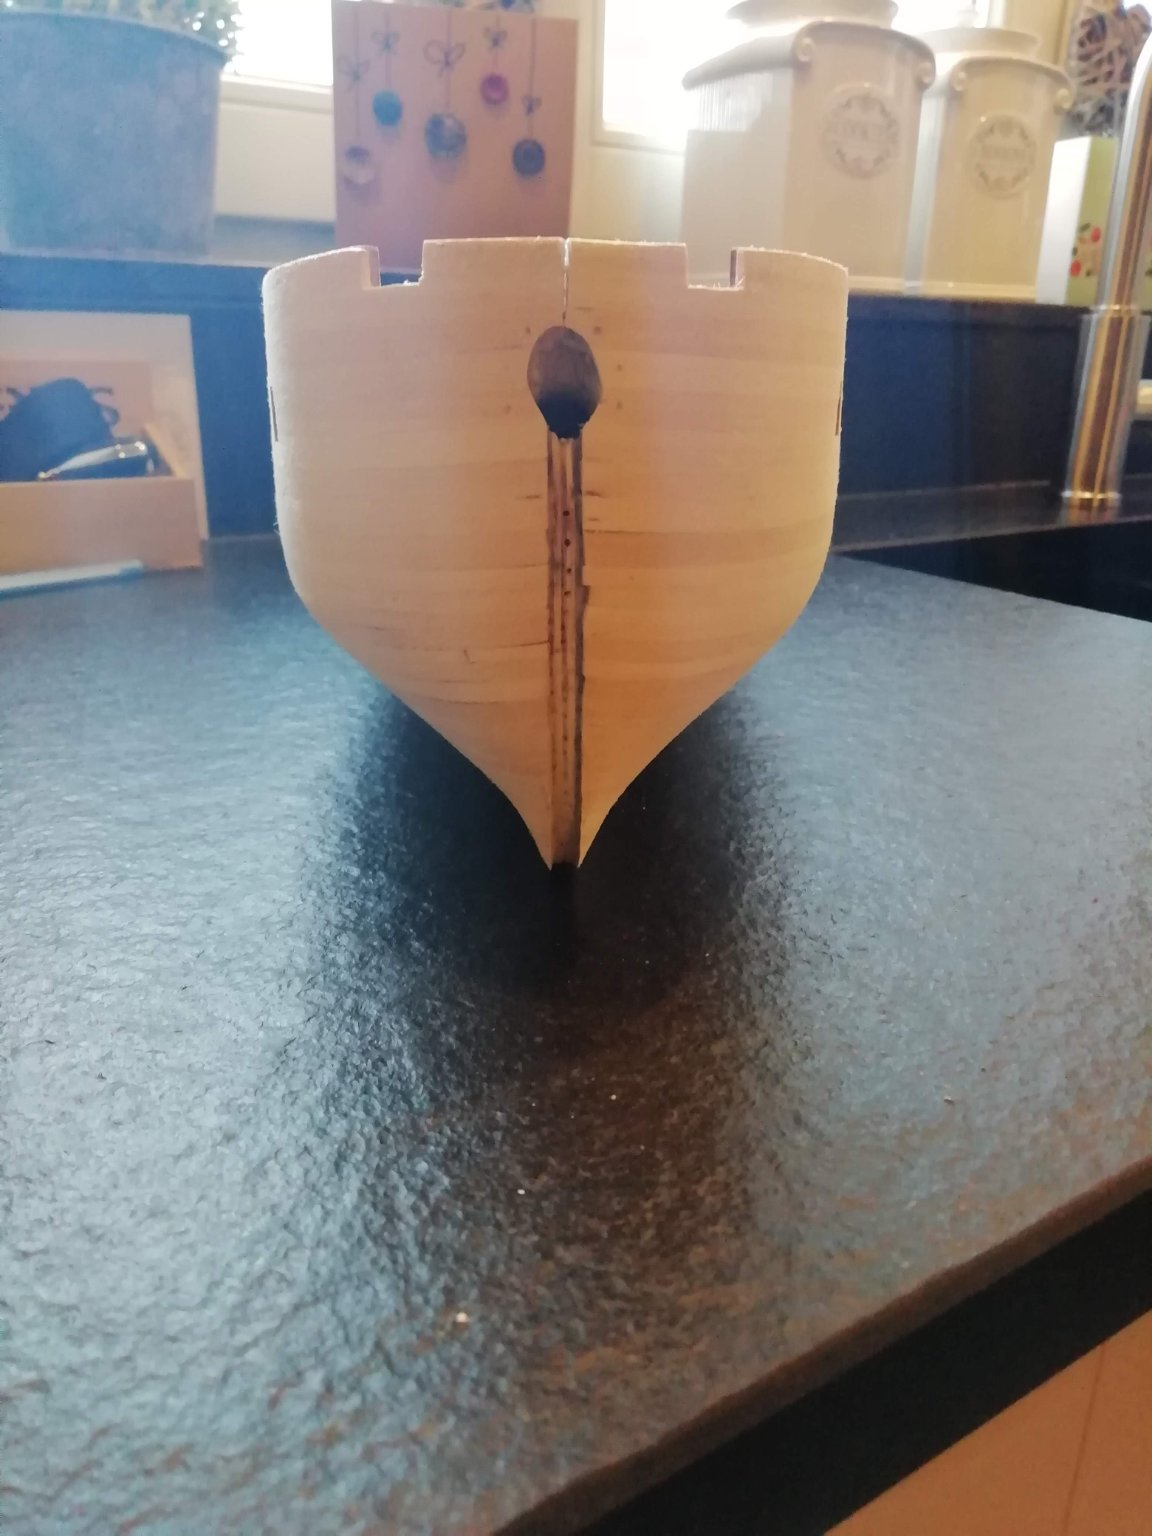
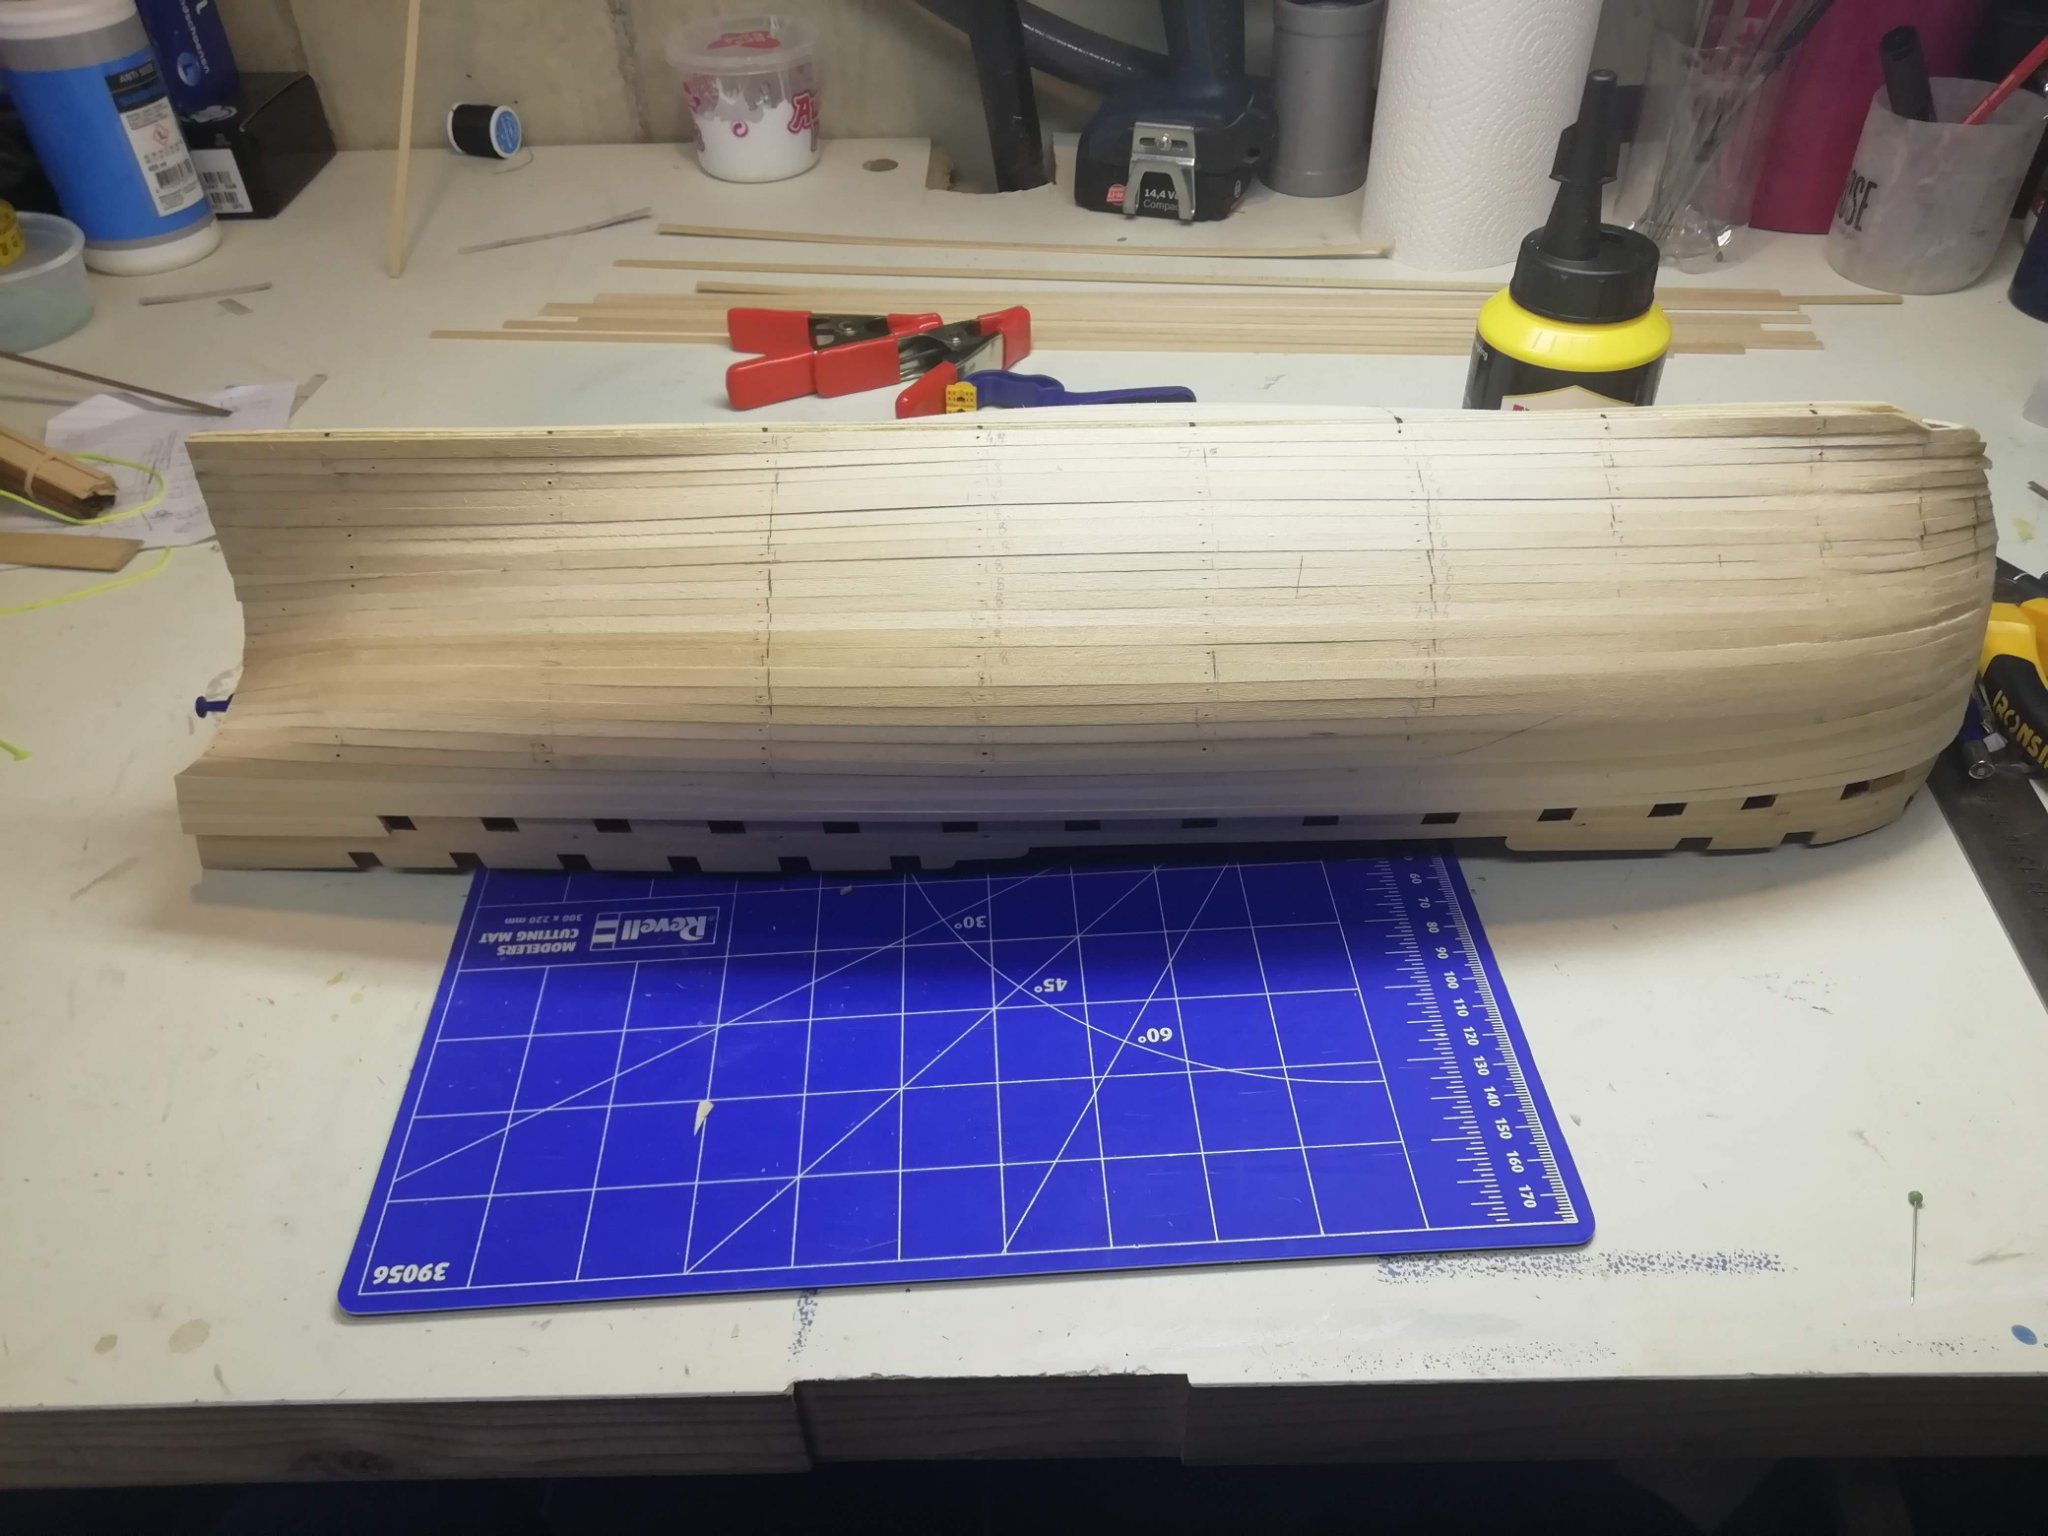
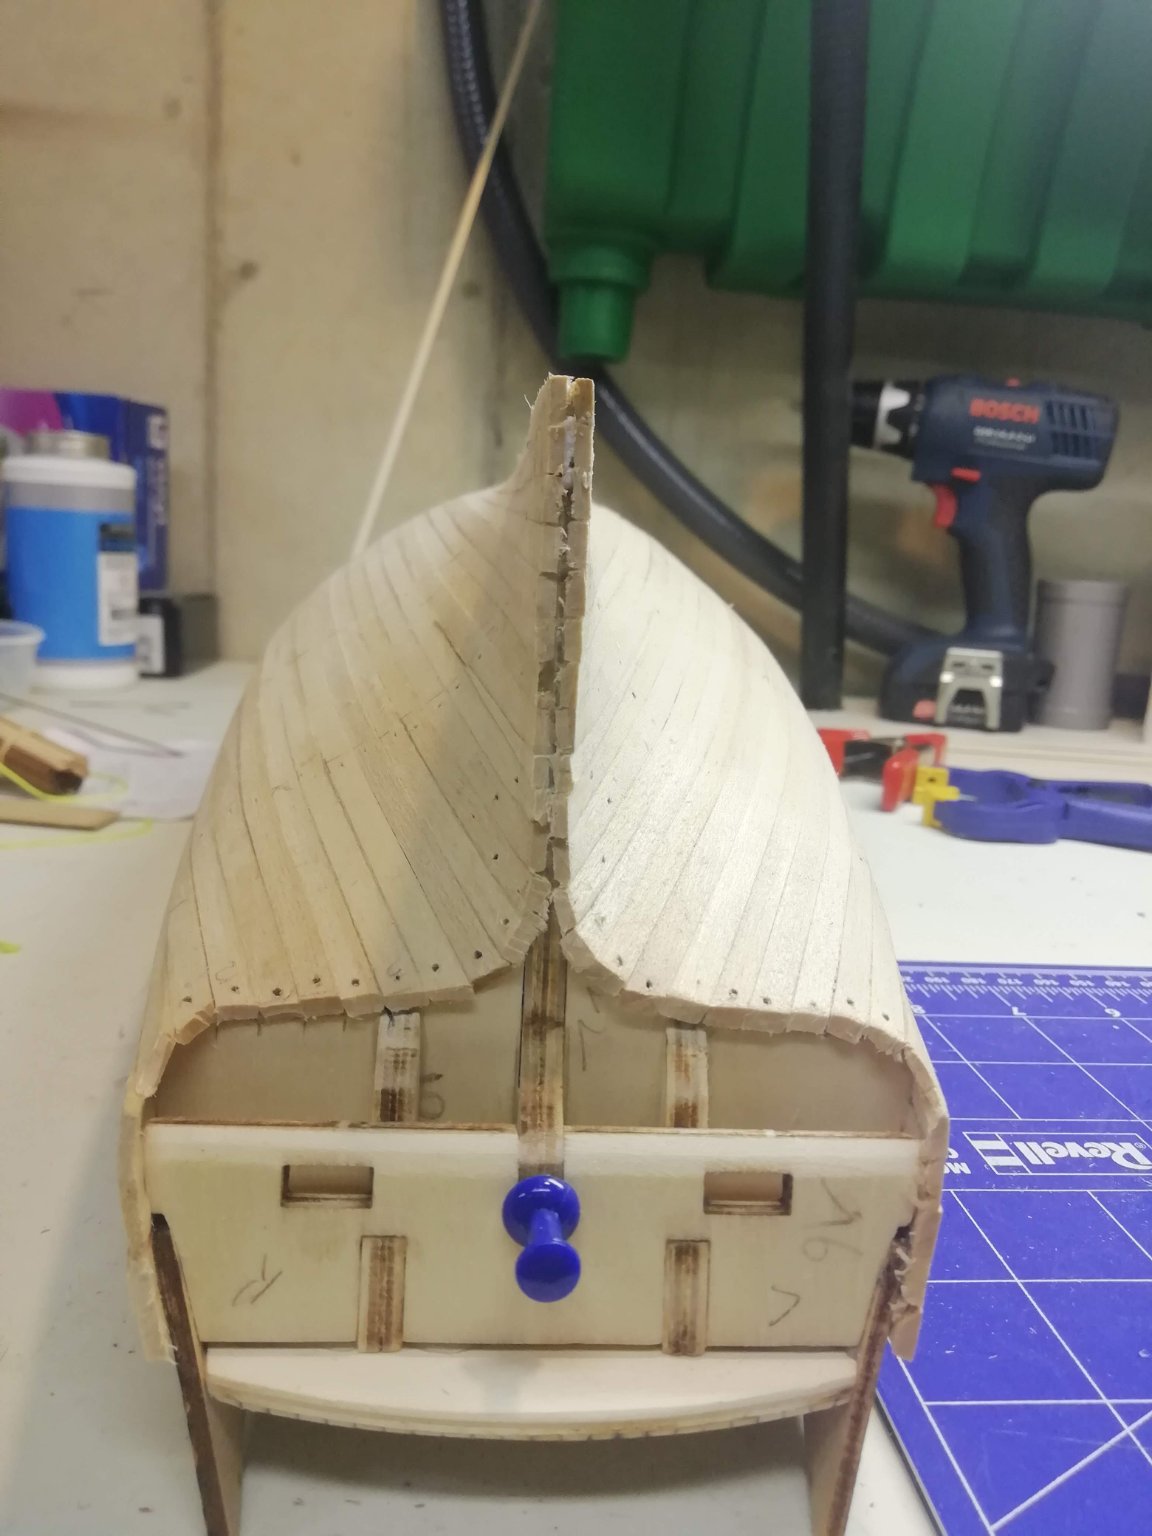
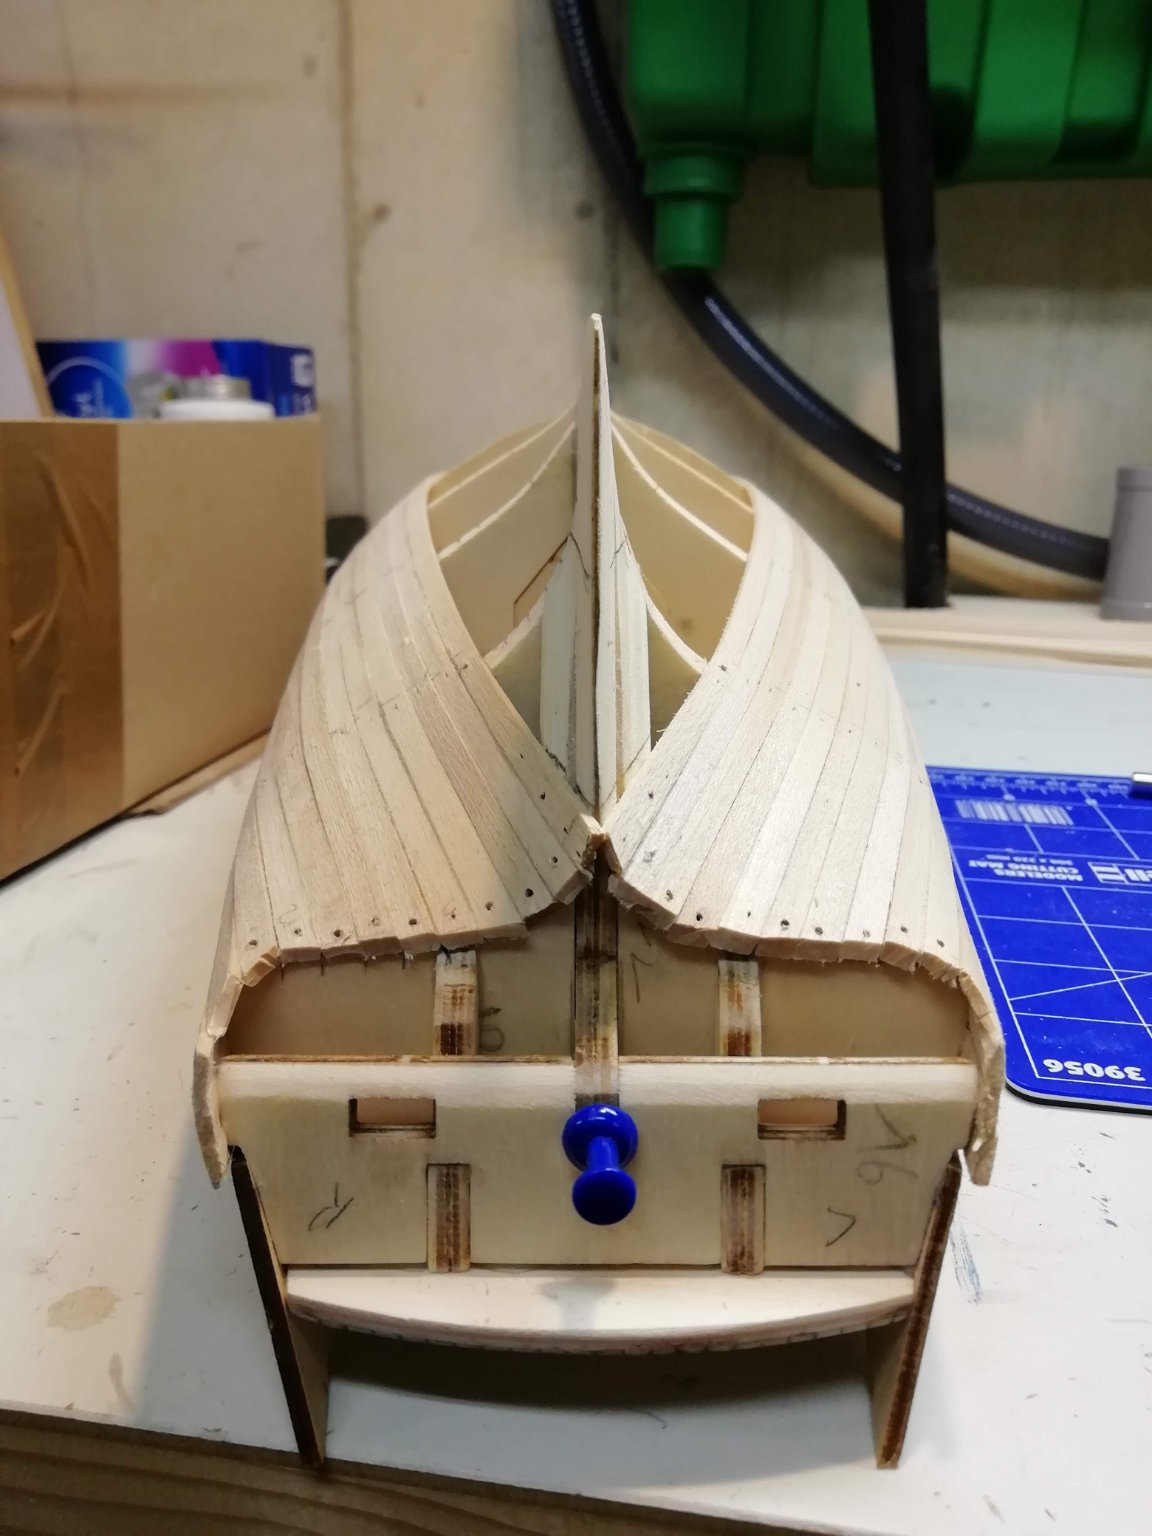
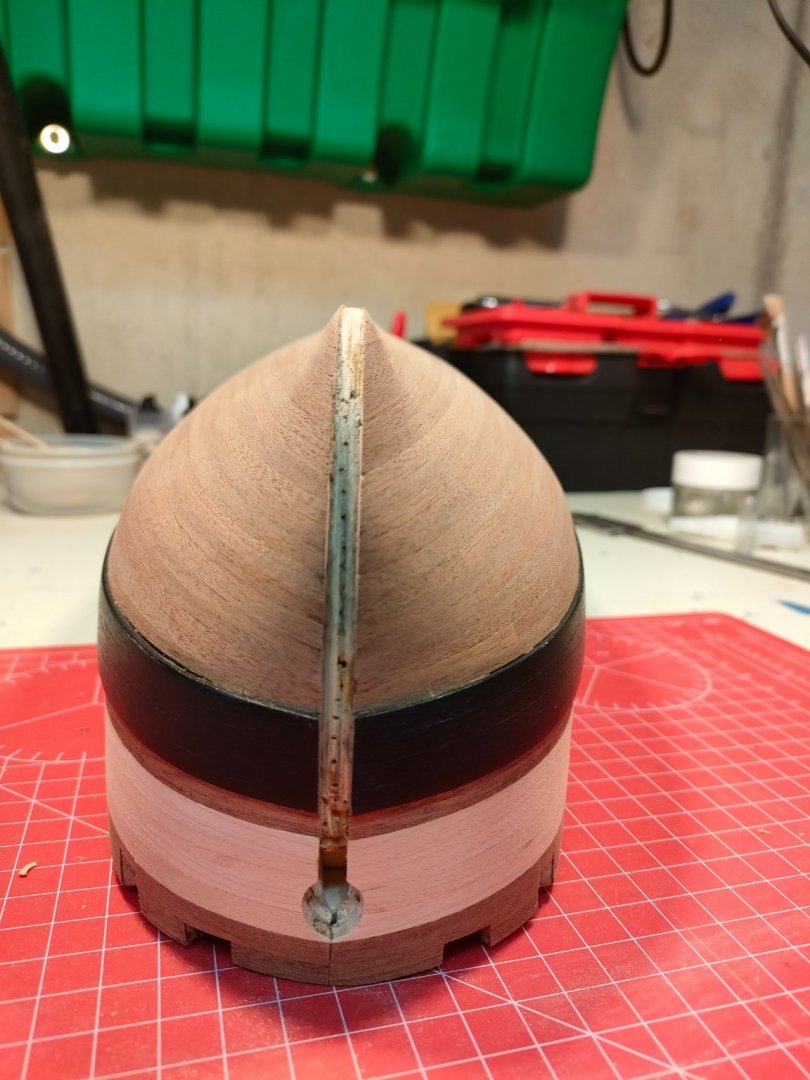
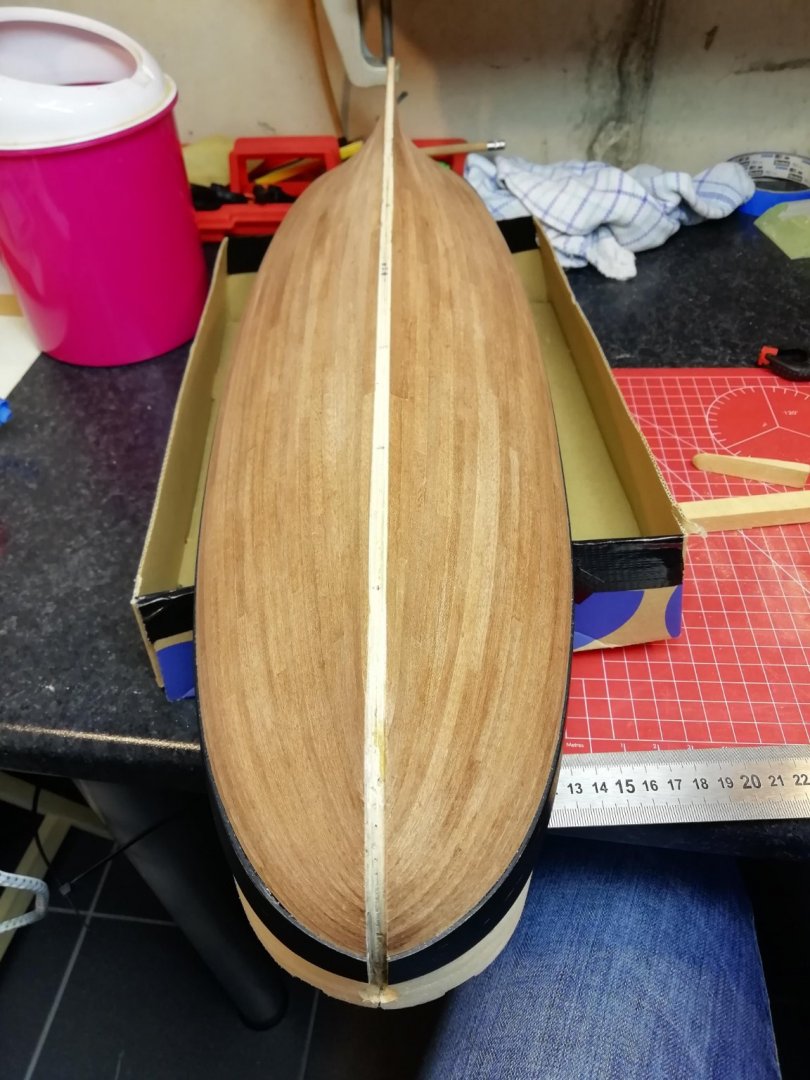
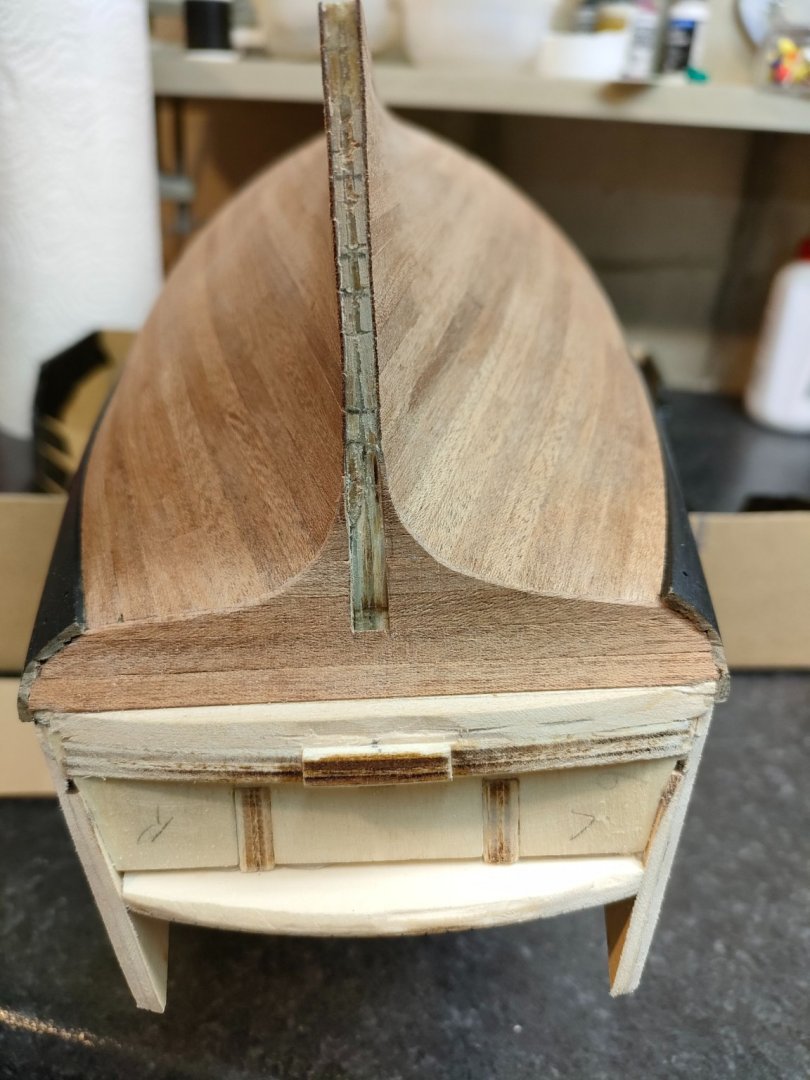
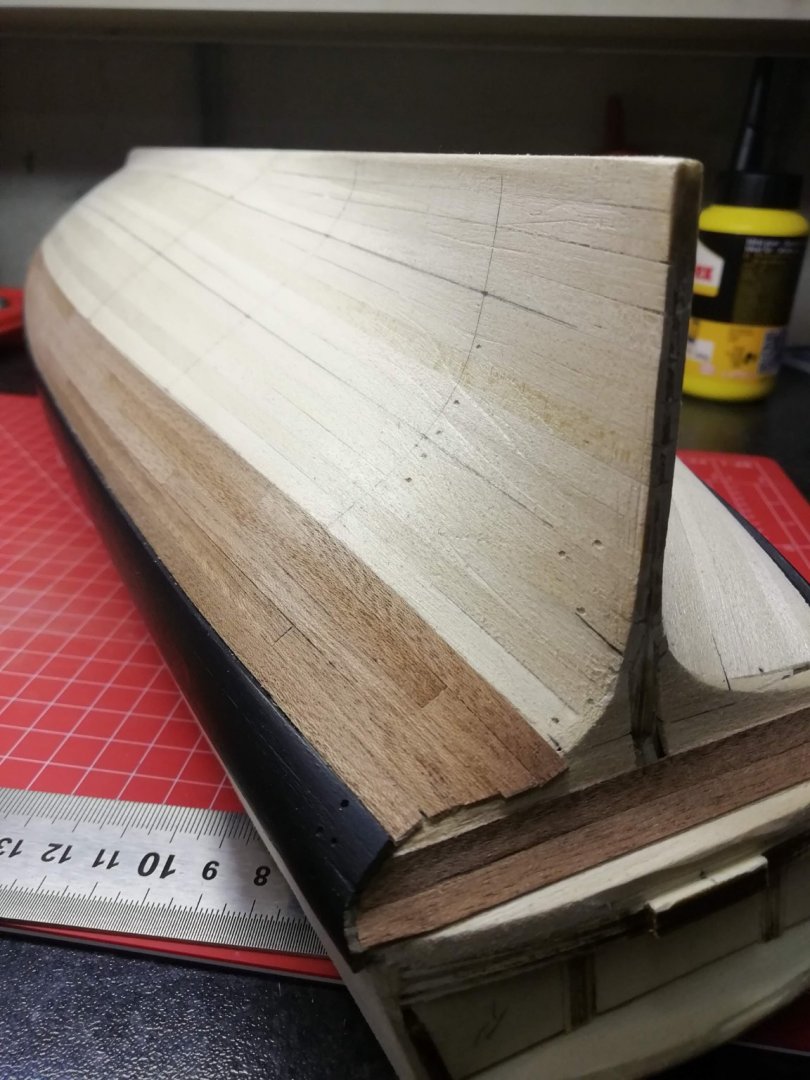
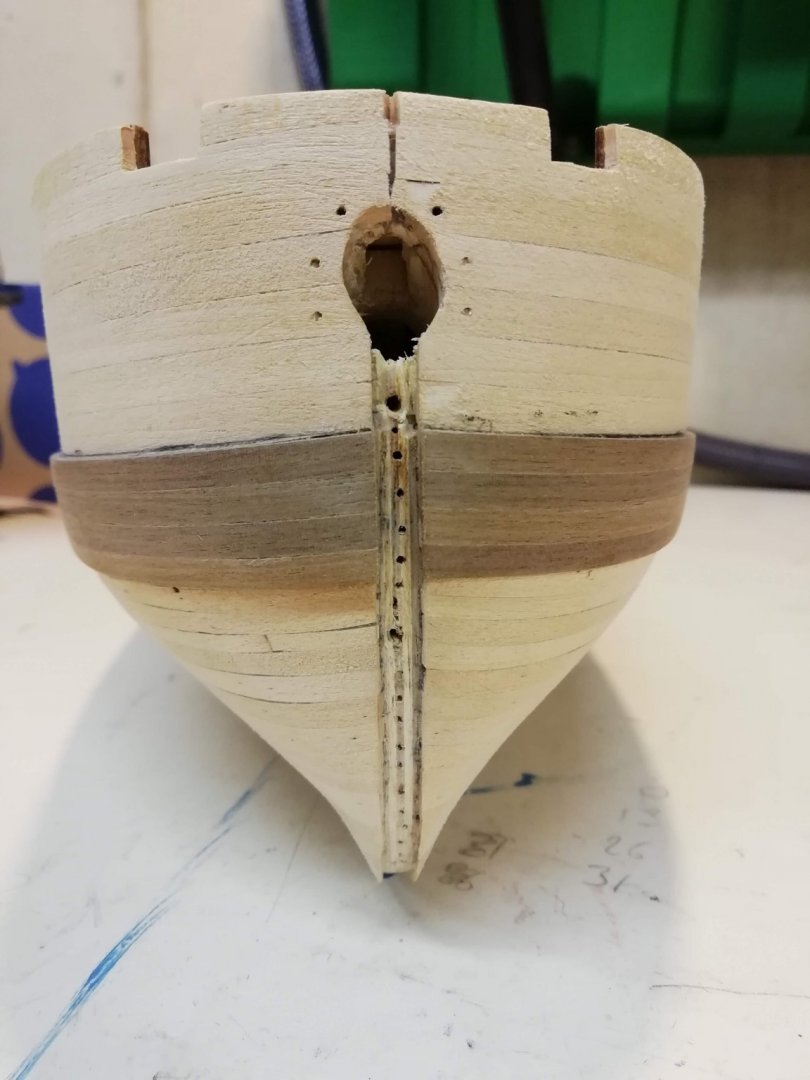
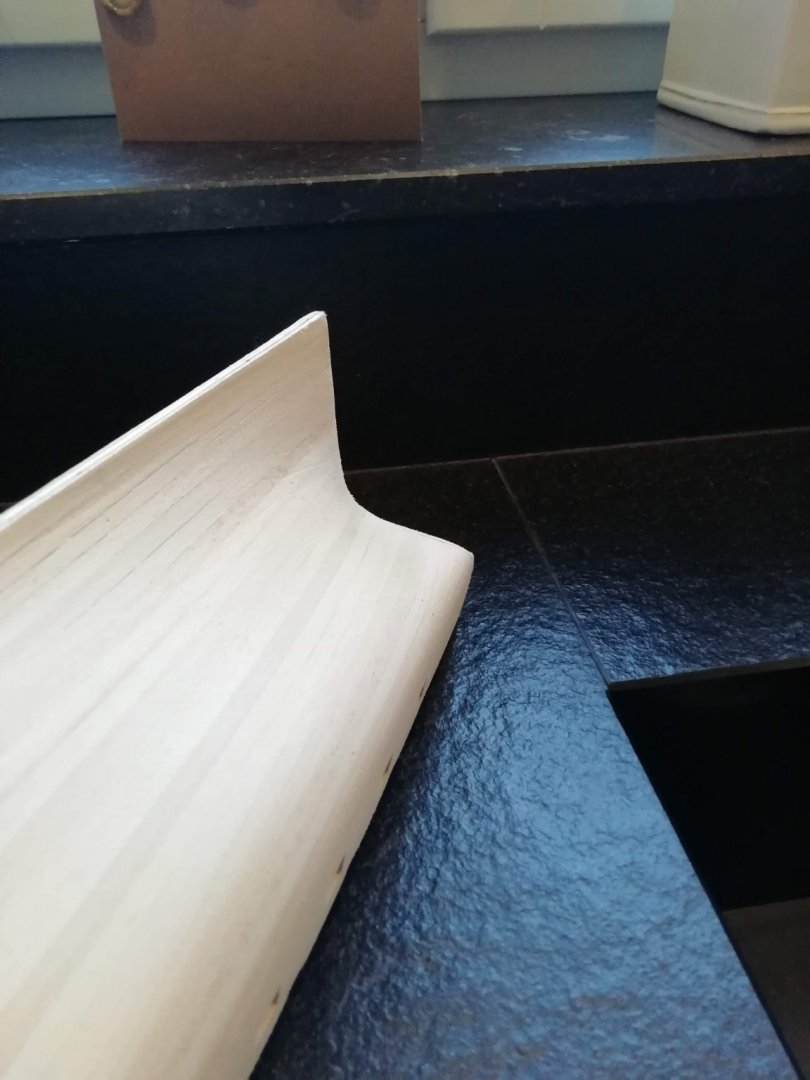
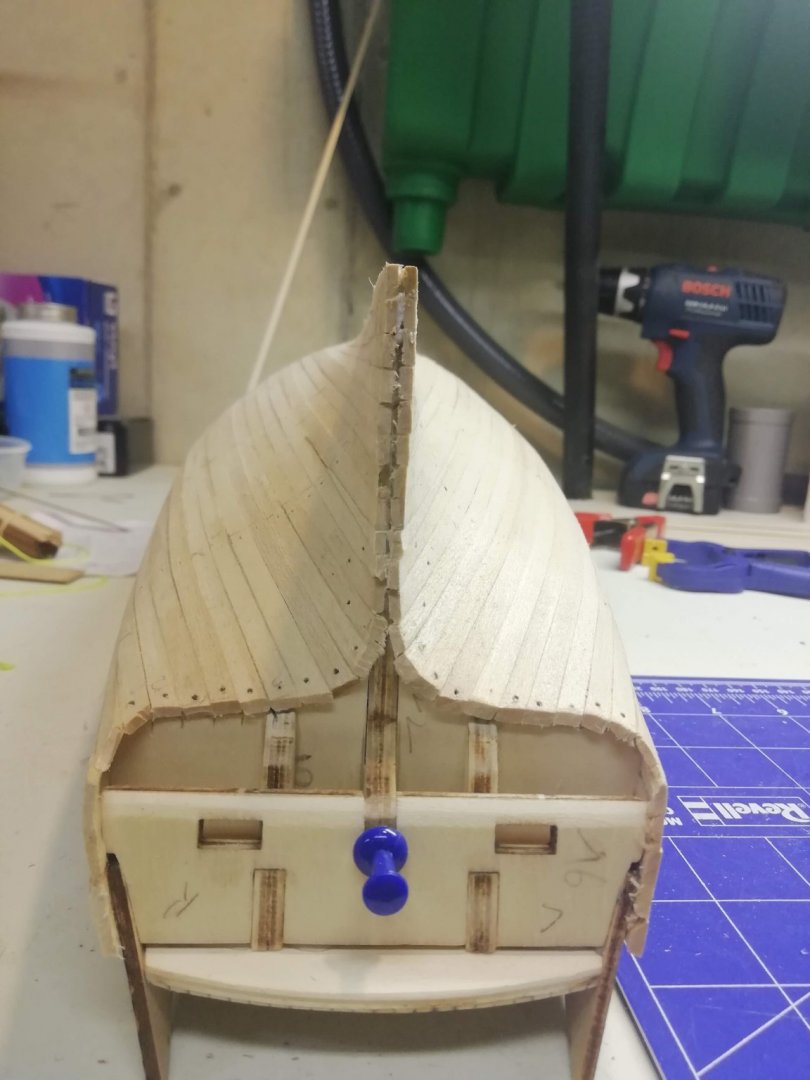
The hull is closed. Only 1 stealer used at the stern of the ship. It was a little bit of a struggle for the fist time planking like this way, but I'm pretty happy with the result. Now its time to plank the upper part of the hull and then sanding- (aka making dust-)time... A question: The planks for second planking are very thin: 0.5mm and ther are difficult to bend sideways. Any tips????

-
Diana by Kyak - OcCre - 1/85
Kyak replied to Kyak's topic in - Kit build logs for subjects built from 1751 - 1800
A question: The false keel is made of plywood. Should i consider to plank it with mahogany or leave it the way it is? I love to hear your suggestions...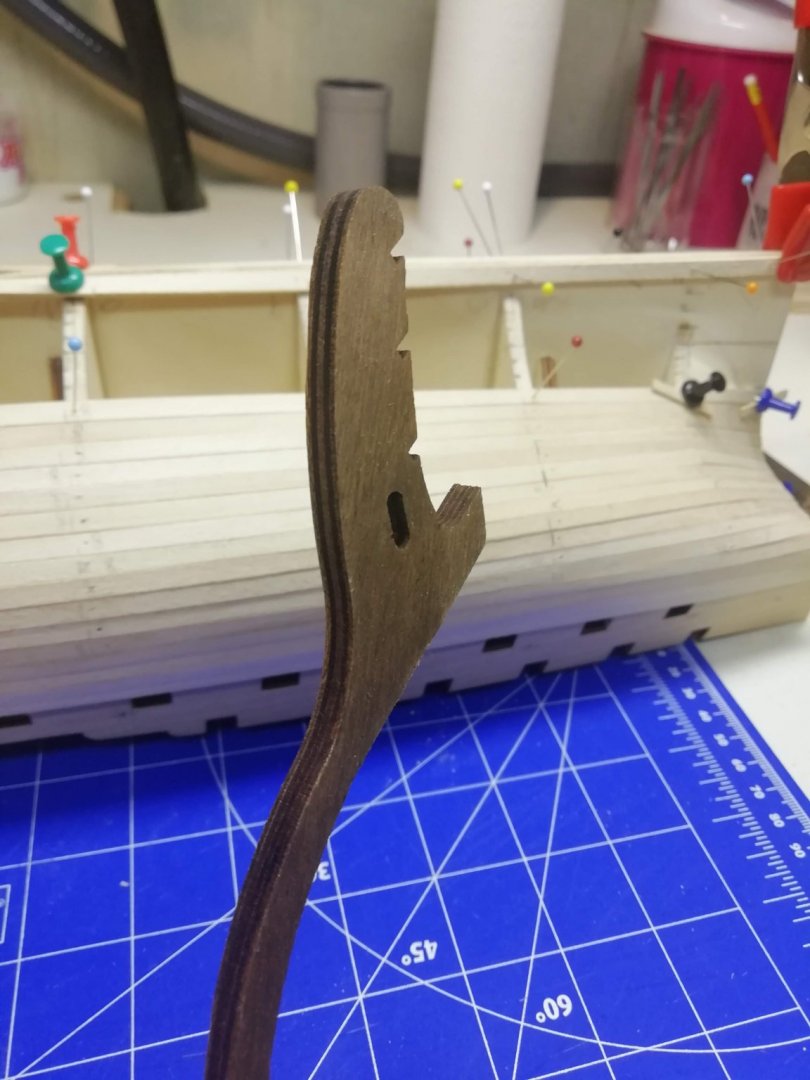
-
Diana by Kyak - OcCre - 1/85
Kyak replied to Kyak's topic in - Kit build logs for subjects built from 1751 - 1800
Second belt is finished and halfway with the first layer of planks. .


.jpg.514cab5716b0b1e1e7dc64498f4363d3.jpg)
.jpg.541c5c3f3aca724aba3ec973f138bdc2.jpg)