Dr PS - Paul Schulze
-
Posts
304 -
Joined
-
Last visited
Content Type
Profiles
Forums
Gallery
Events
Everything posted by Dr PS - Paul Schulze
-
 I just ordered the Model Shipways Civil War Limber to go with this model Civil War Coffee Wagon. When I get it I will continue this log as I complete it.
 -
Thought about weighting the stand with some imbedded lead weights.
-
Been away from this build for awhile but I finally finished the Civil War Coffee Wagon and now plan to work on the NBW again.
-
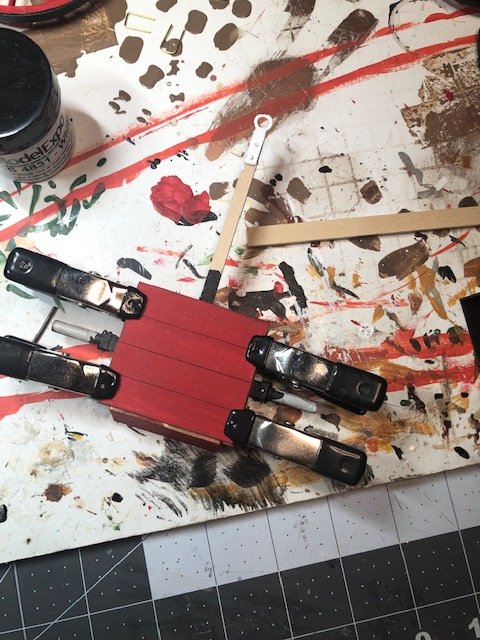
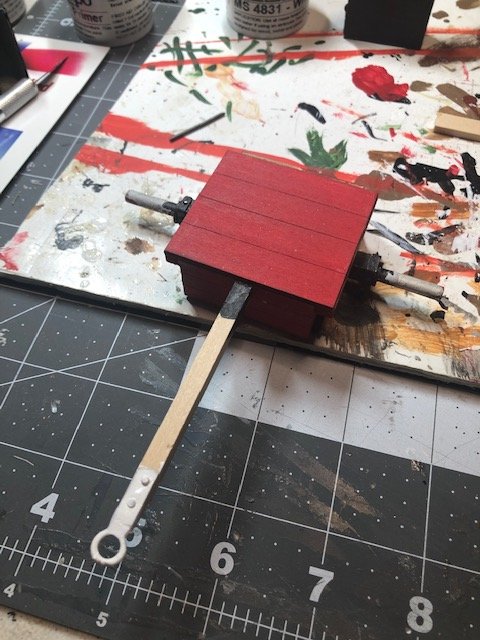
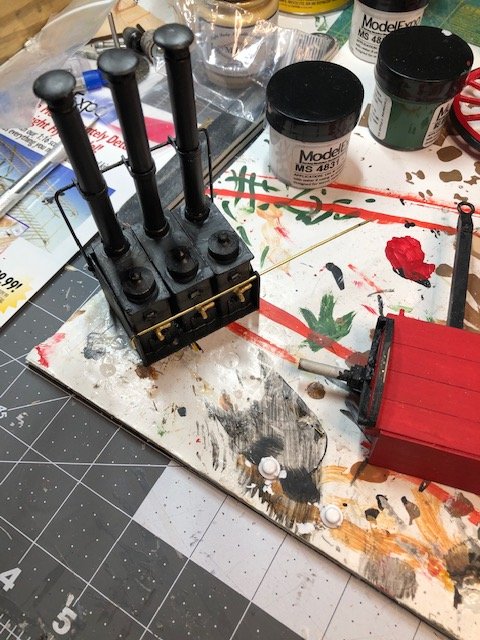
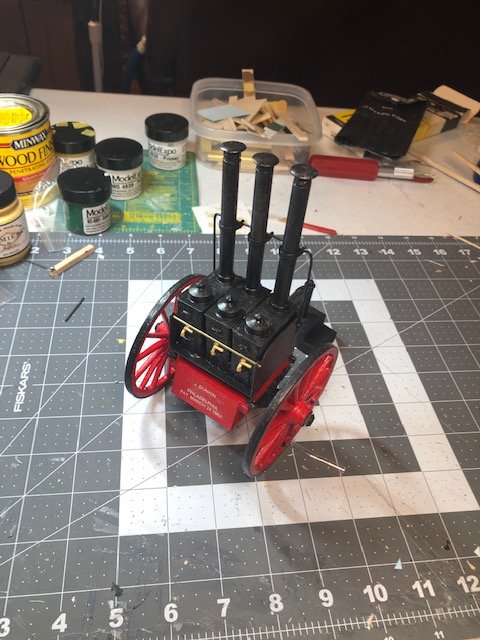
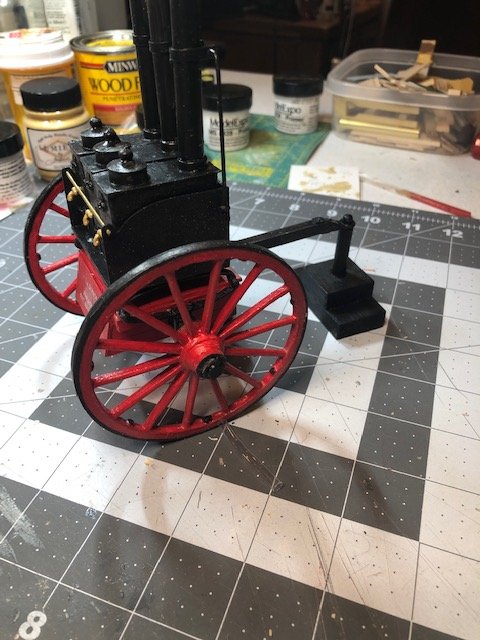
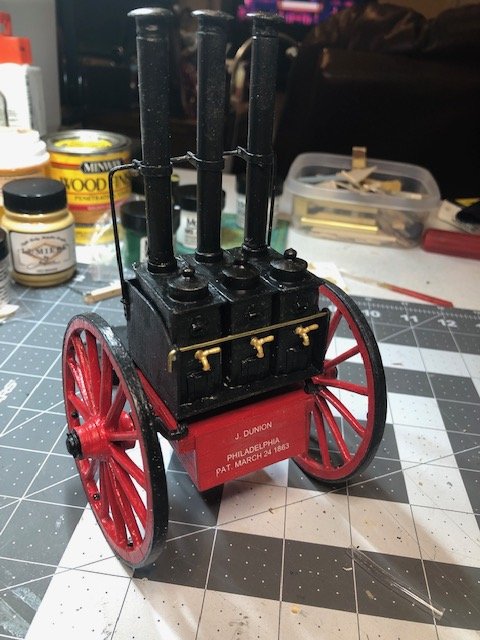
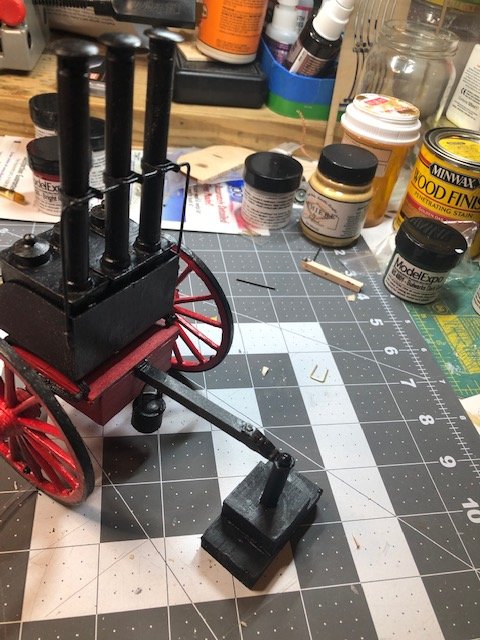
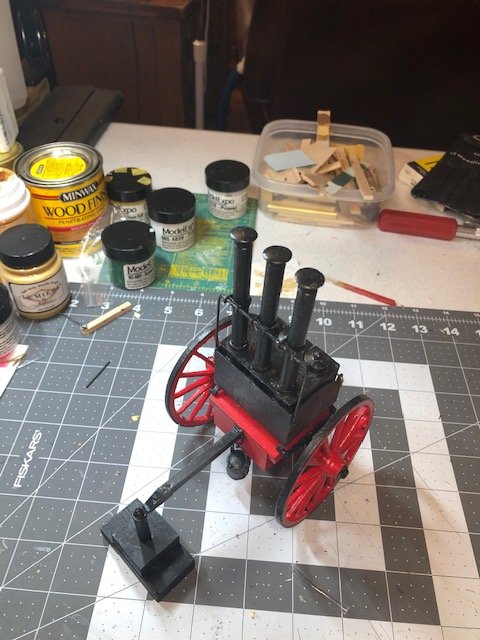
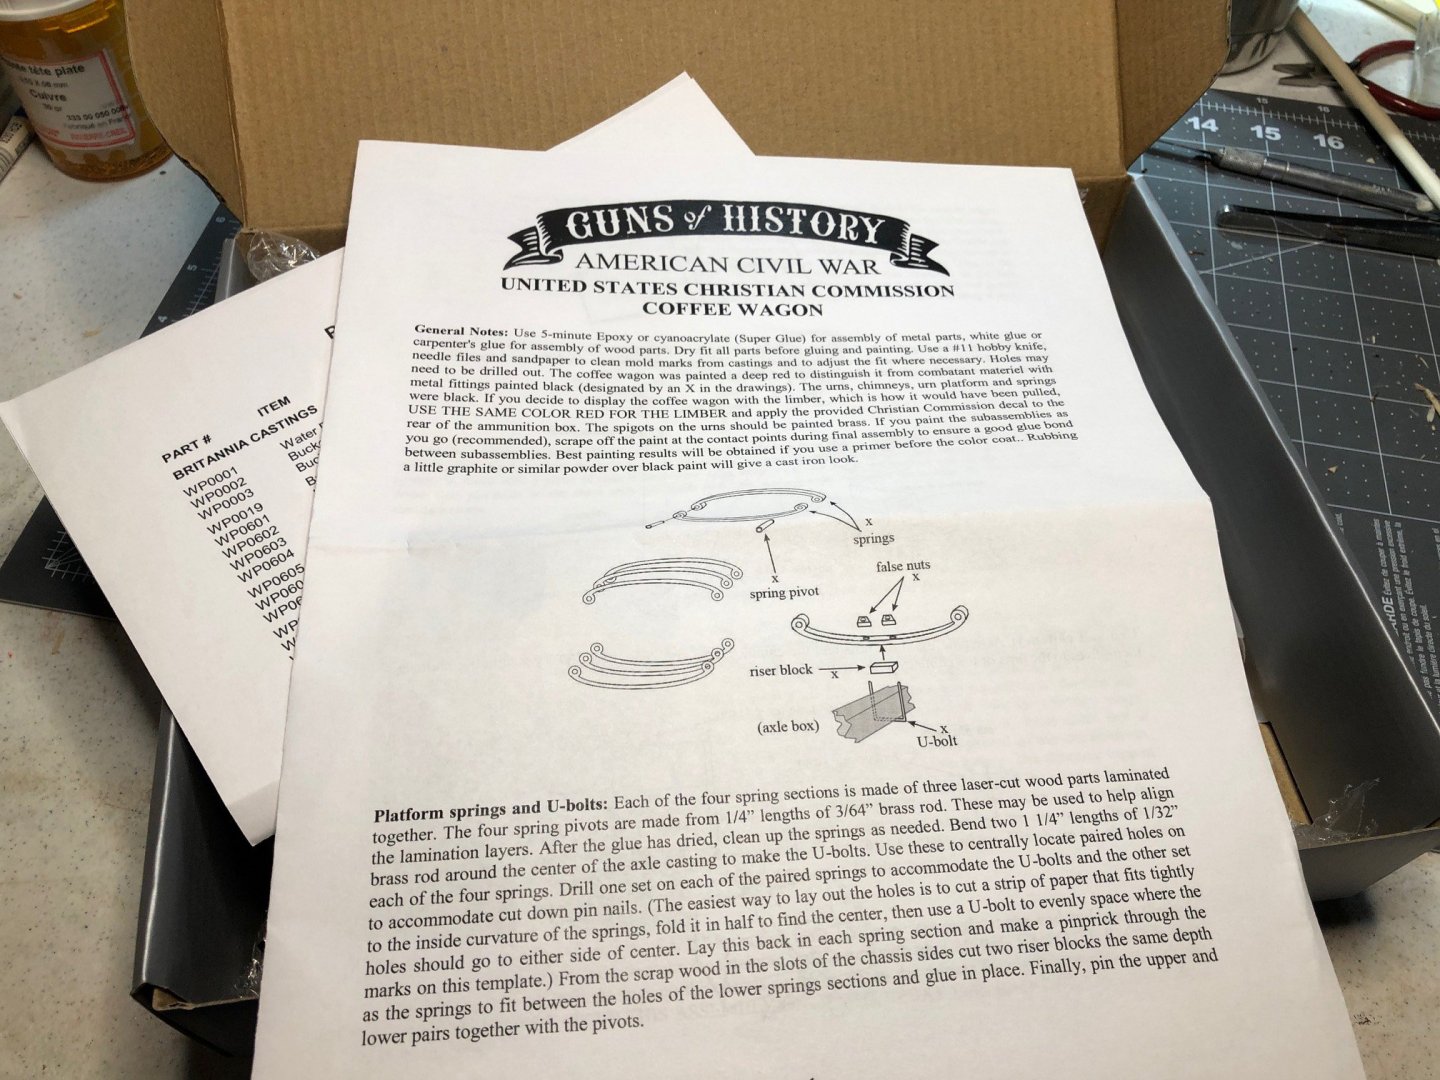
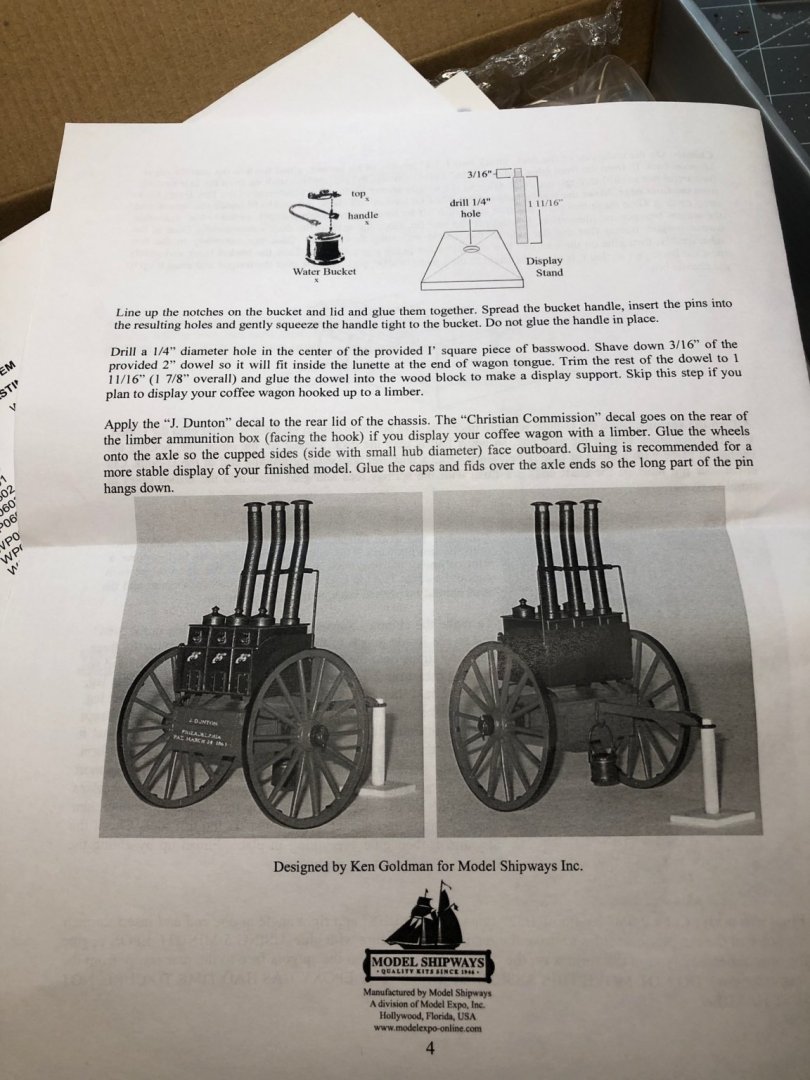
I finally got the missing parts from Model-Expo. I cannot say enough good about the folks at Model-Expo. Missing a part - they send it. Break a part - they send it. Finished the wheels - Assembled the carriage chassis - Finished the coffee urn platform and springs - Below notice the chimney brackets have also been installed. Next I glued the floor onto the carriage chassis and painted it red. The wagon tongue was installed as well - After the paint dried, the springs were attached (note the U-bolts) - The facets were painted brass color and glue to the urns. Also note how the smoke stacks are supported by the brackets previously installed. - A brass retaining rod was added to the front of the urns and then the urns were glued to the urn platform and the platform glued on top of the springs above the carriage chassis - Finally, the wagon tongue was painted black, a decal was applied, and a pedestal was constructed. The Civil War Coffee Wagon is finished - One recommendation for anyone building this model, I would put some weights in the tongue side of the chassis box to give better stability to the model when finished. This was a fun project that did not take long. Now back to the New Bedford Whaleboat and thanks to all for following.


- 25 replies
-
- 14
-

-
The tubes supplied were the same as those listed in the parts list - just needed next size up.
-
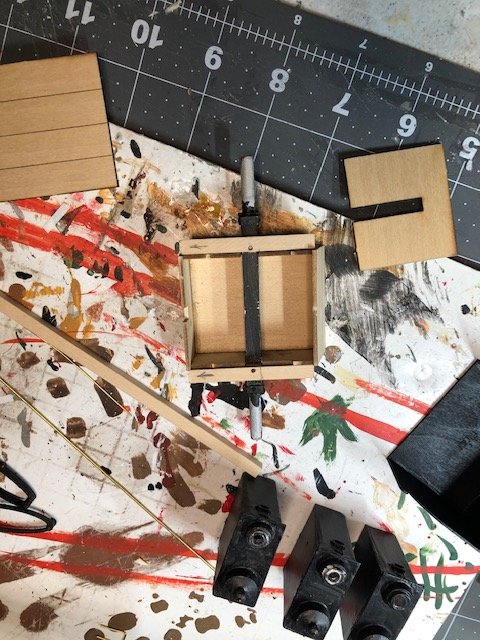
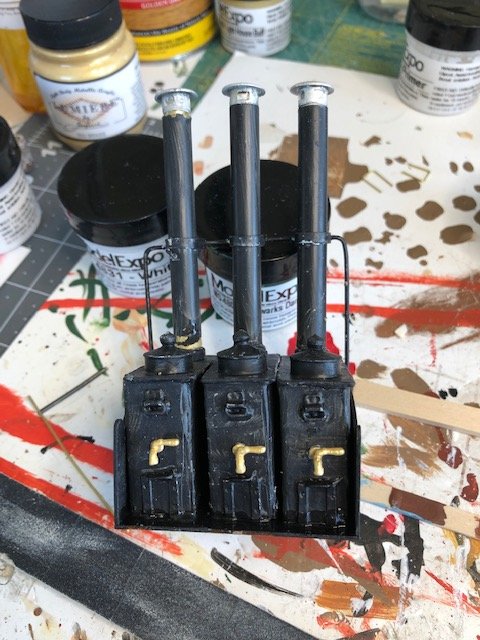
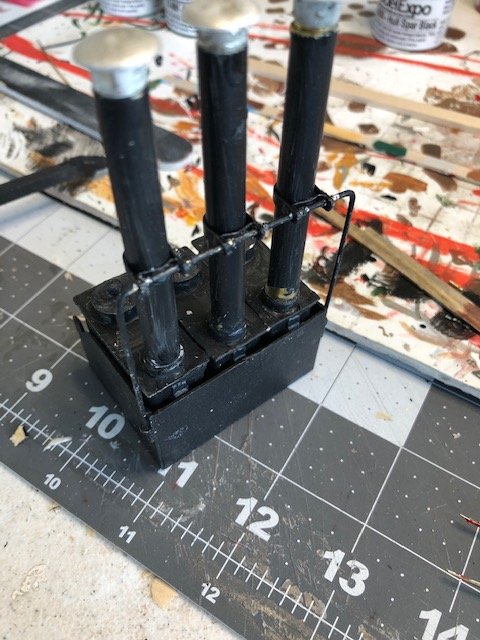
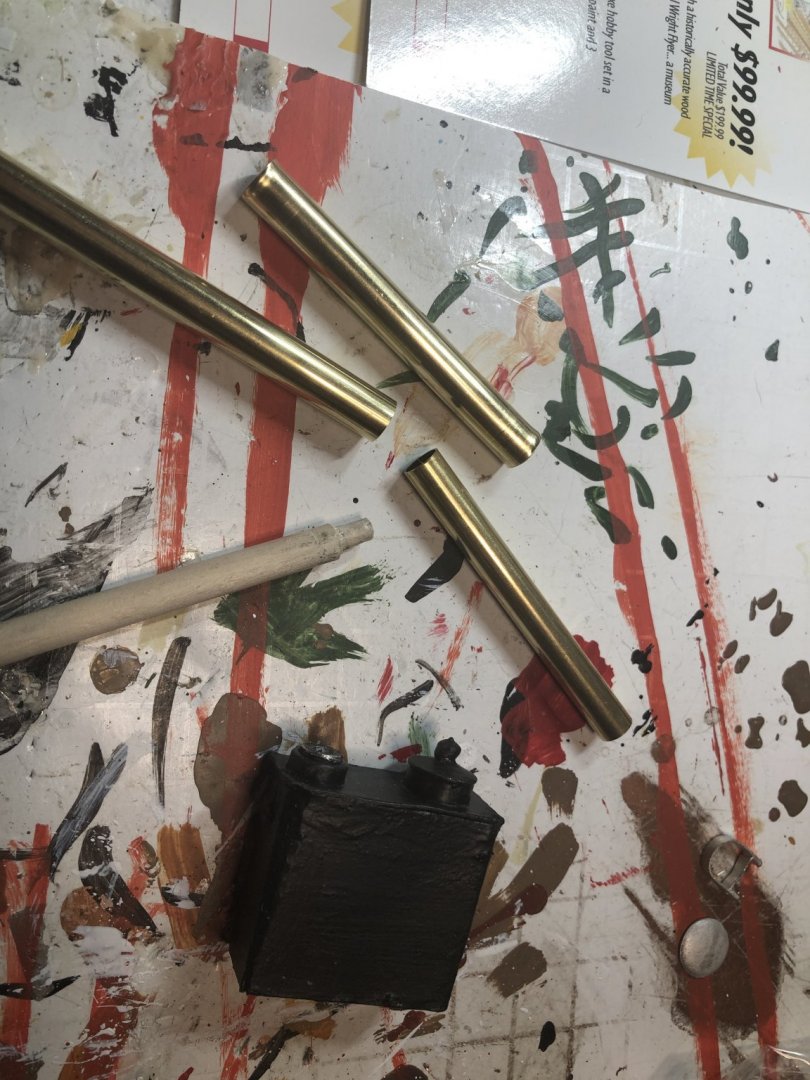
When working on chimneys, I found the kit supplied 9/32” (1/4”ID) brass tubing would not fit over the stove top chimney pipe attachment points. They needed a tube with a 9/32” ID so I ordered a 5/16” tube which has a 9/32” ID. I plan to carve three 1/4” dowels at one end to fit the hole in the attachment point on the stovetop, slip the 9/32” tubes over the dowels, and finally slip the 5/16” tubes over the 9/32” tubes. The dowels will stabilize the chimneys while fitting snugly into the 9/32” tubes. The outside 5/16” tubes will fit snugly over both the 9/32” tubes and the stovetop fitting. Whew 😅 BTW, I am unaware of 9/32” dowel. What I have done so far is shown in the photo below.
-
Interesting reenactment of the Civil War coffee wagon can be seen on YouTube -
-
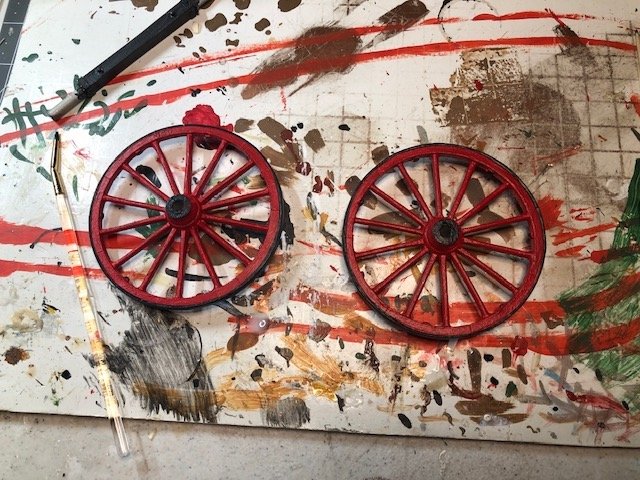
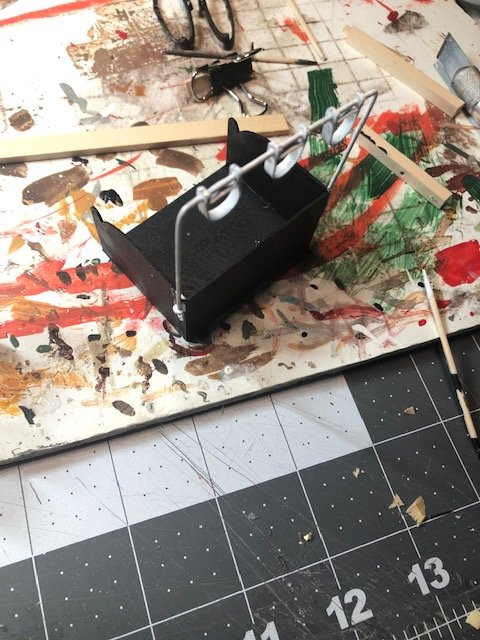
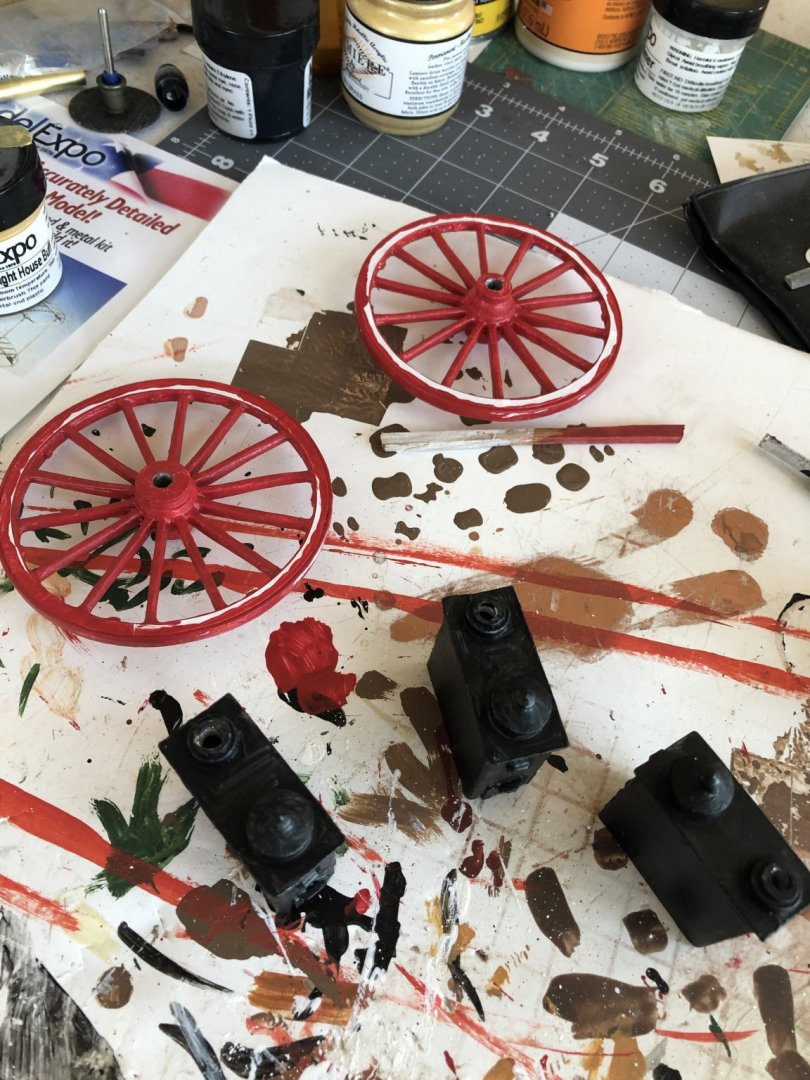
Missing some parts so I decided to start on the cast parts first as I wait for the parts to come in. I tackled the coffee urns first, gluing them together with CA glue, priming them, and then painting them black. The wheels were cleaned up and primed and then painted red. In the photograph you will see that I have used a 3 mm masking tape to mask off the rim of the wheels which will be painted black. Next I will work on the flues.
- 25 replies
-
- 10
-
-
Welcome Jud. Glad to have you aboard.
-
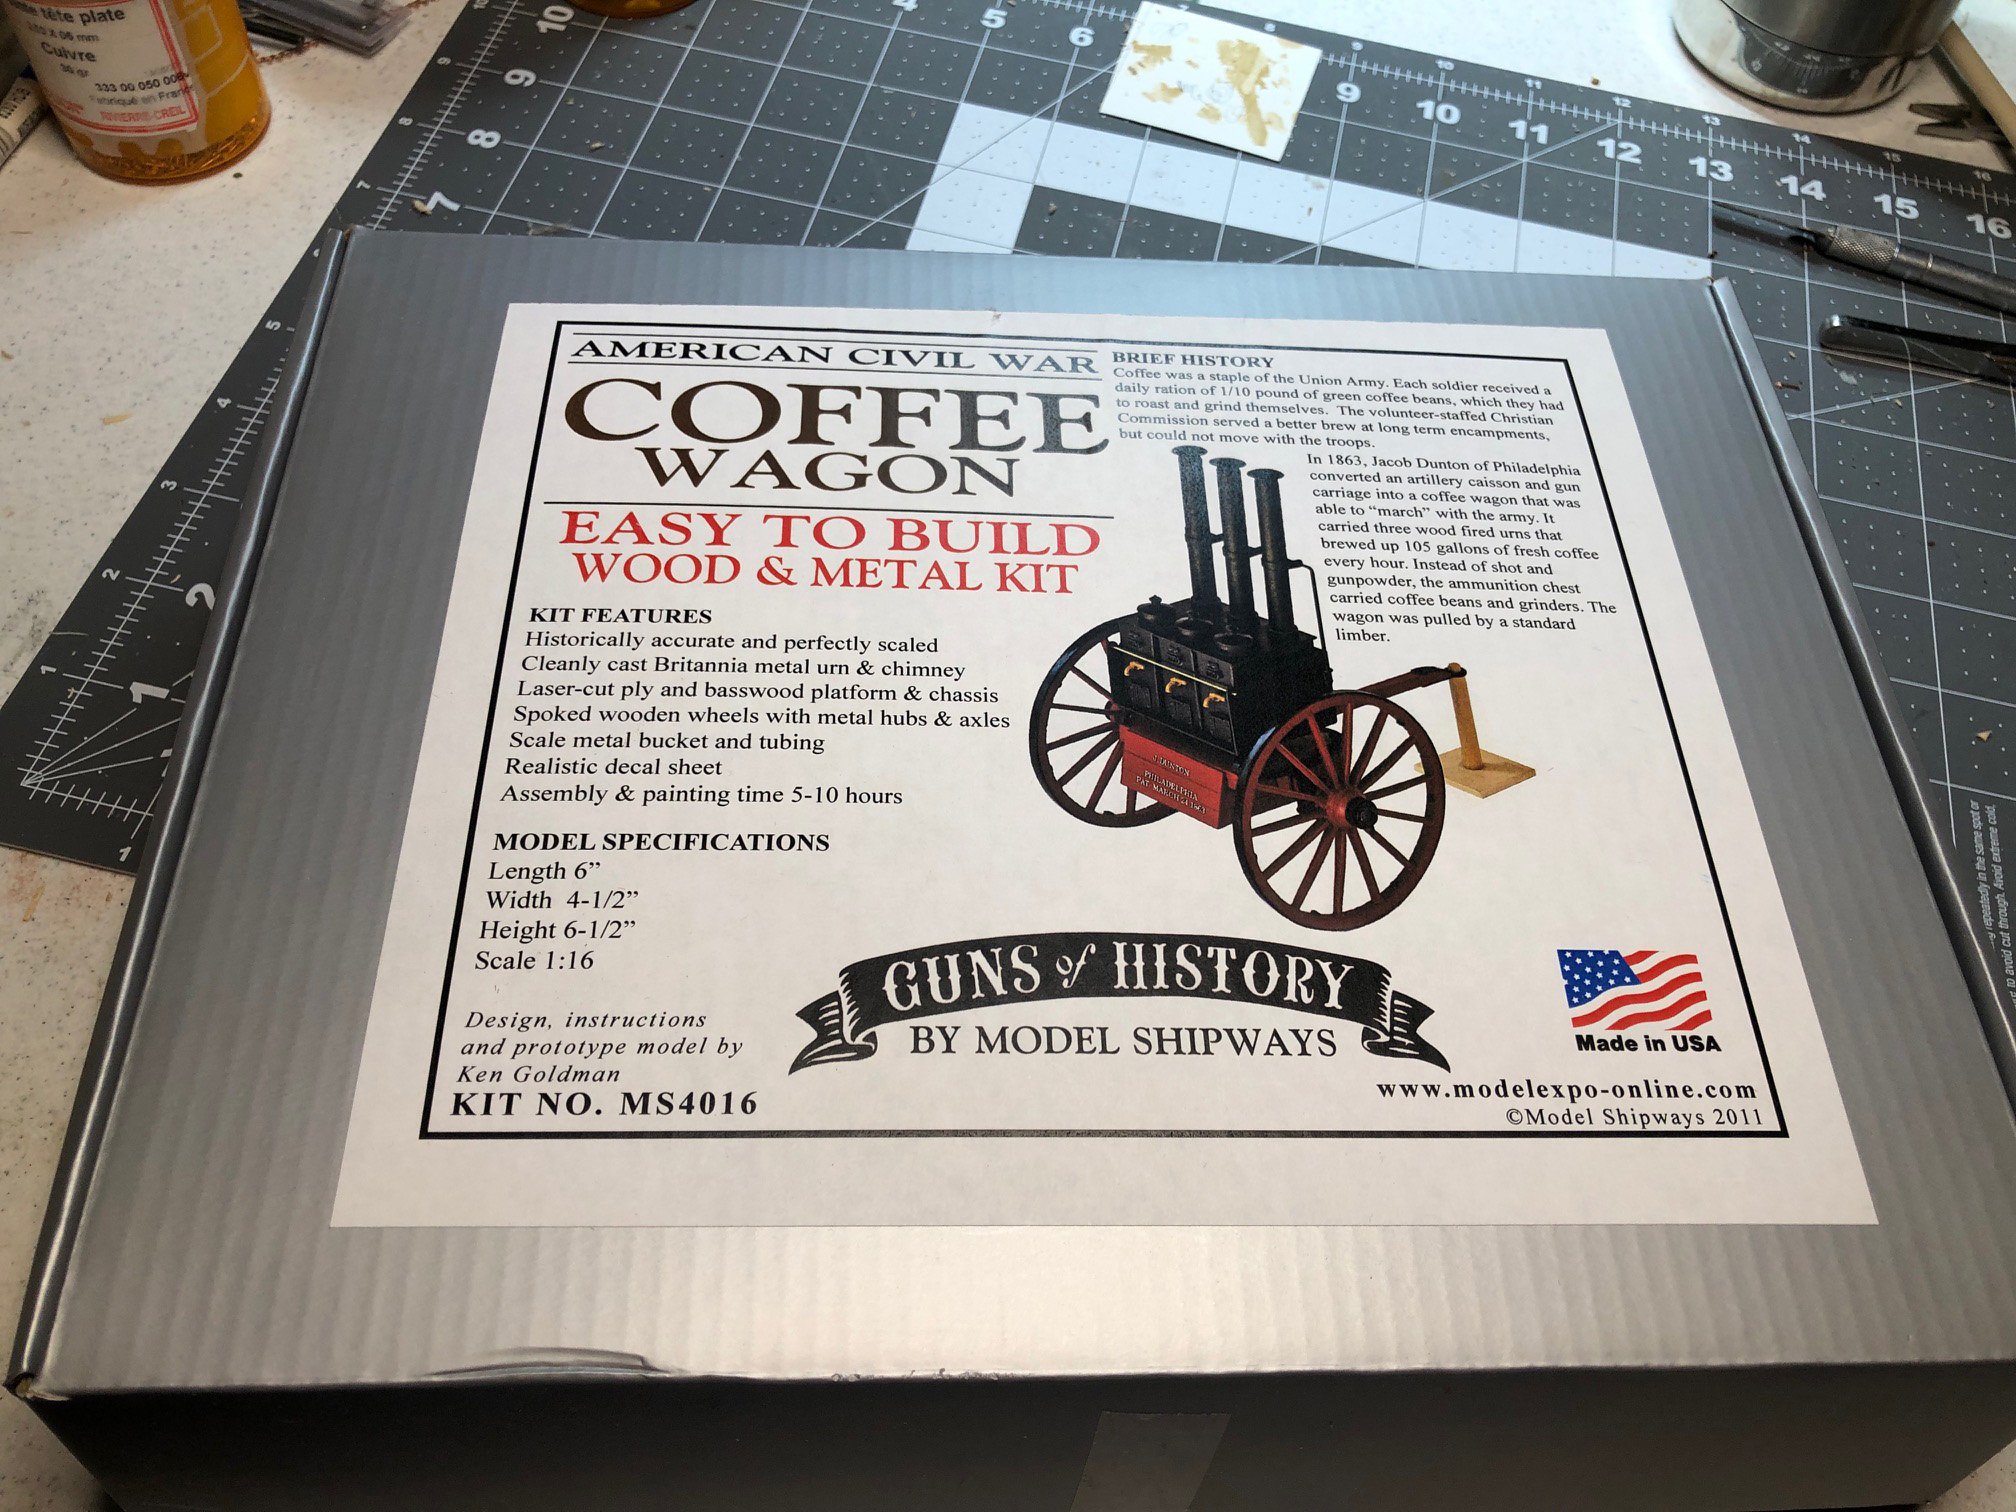
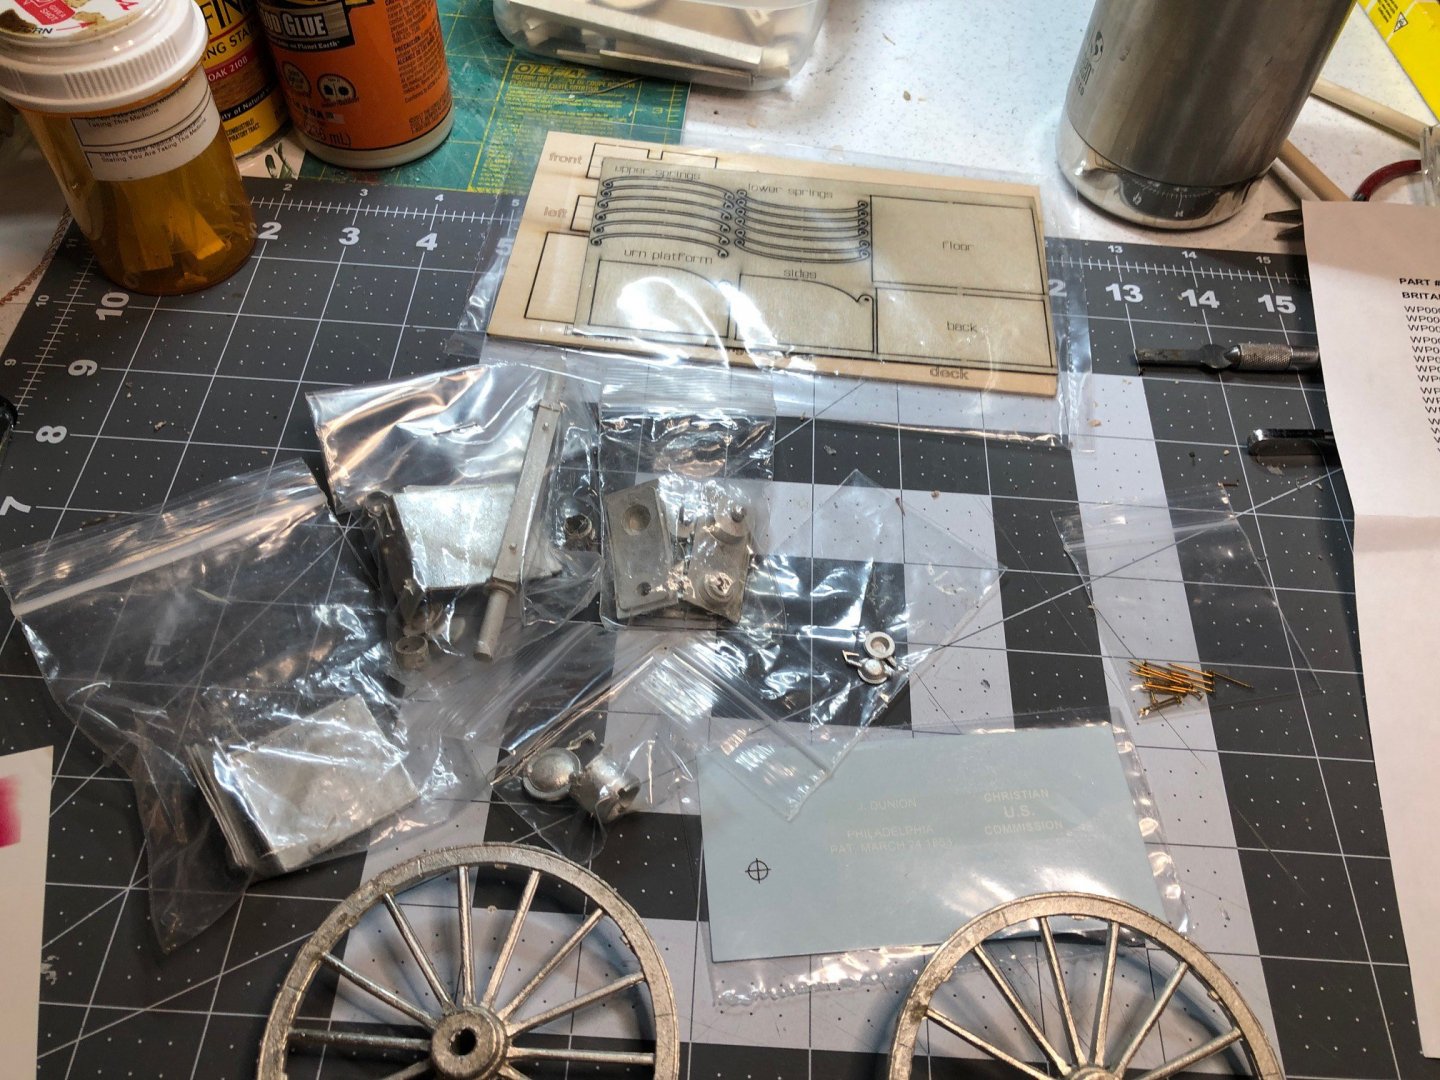
Hello All, I am taking time during the building of the New Bedford Whaleboat to build the Model Shipways Guns of HISTORY Civil War Coffee Wagon 1:16 Scale. I will be posting progress as a build log here. First I will post the Kit photos. I am looking forward to building this interesting piece of history. For those interested, there are some YouTube videos of Civil War enactments involving the Civil War Coffee Wagon which could produce over 100 gallons of coffee per hour. That is a lot of coffee 👀

- 25 replies
-
- 15
-
-
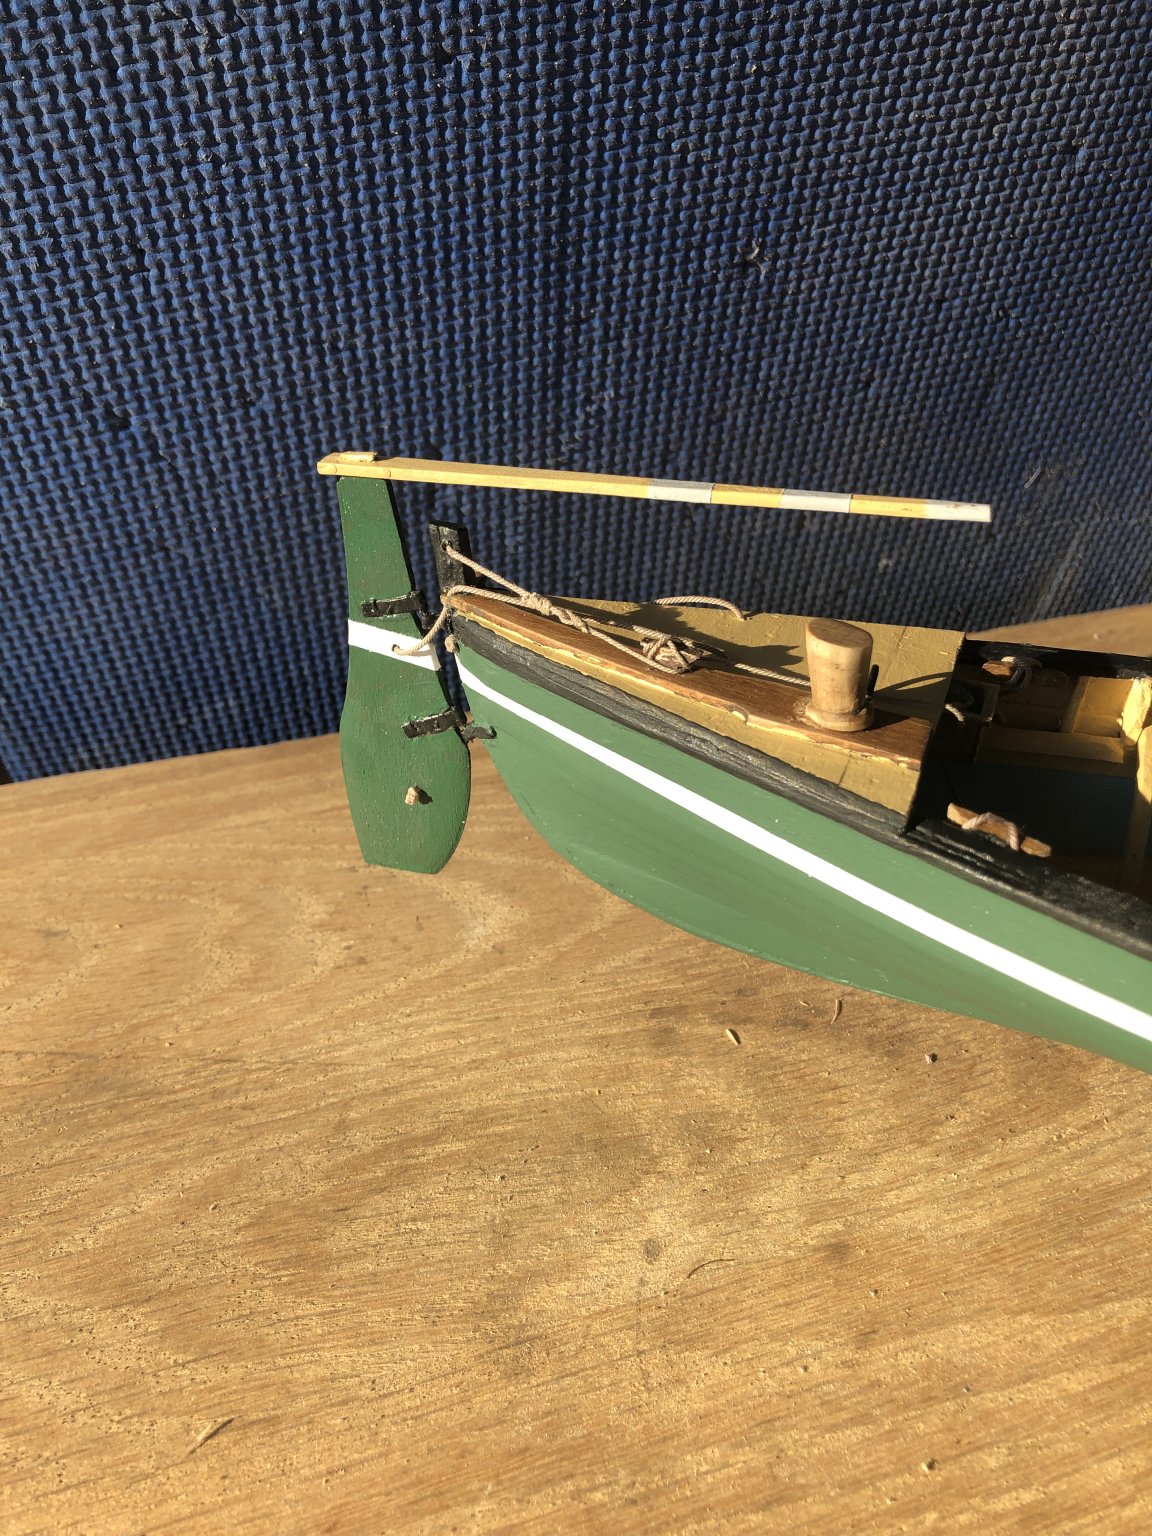
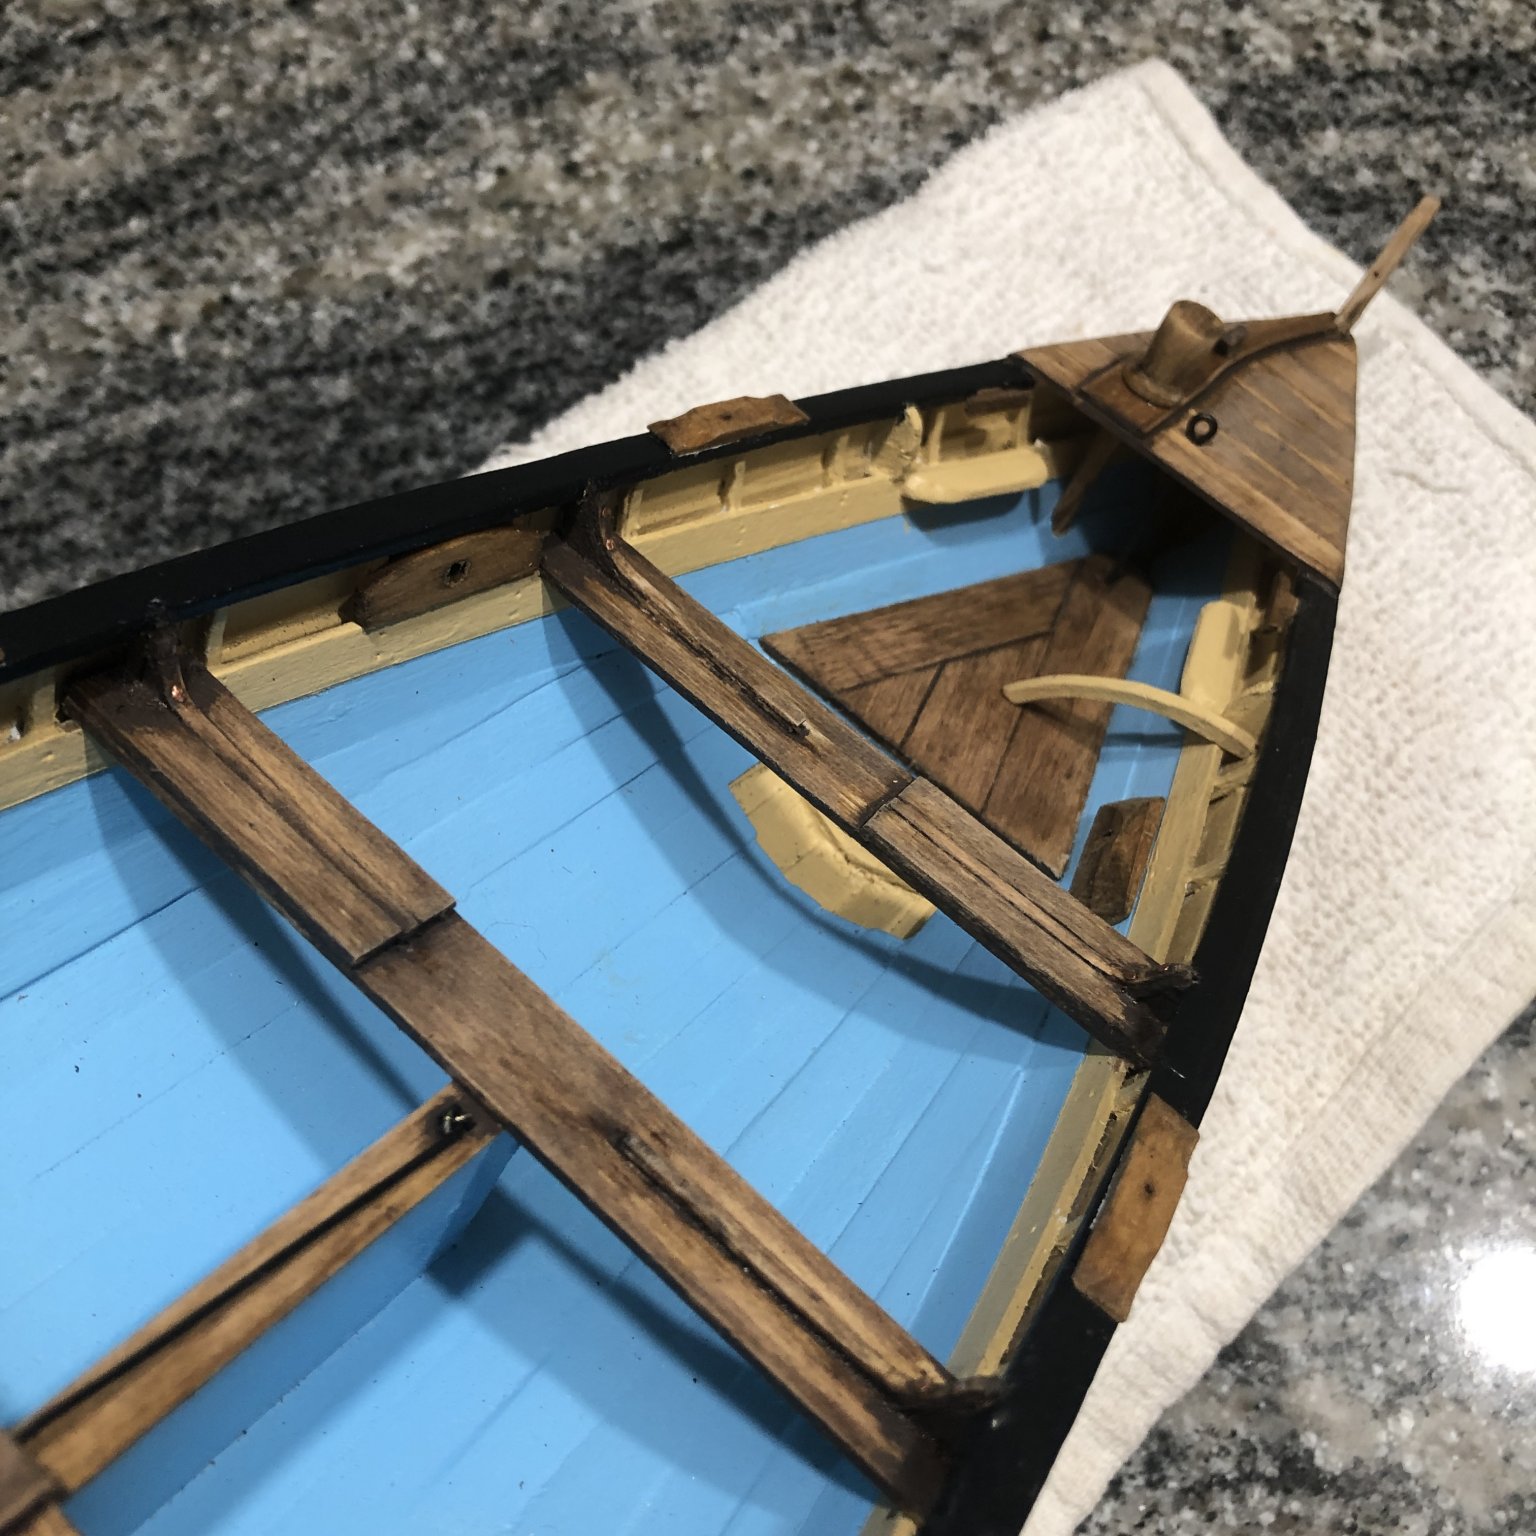
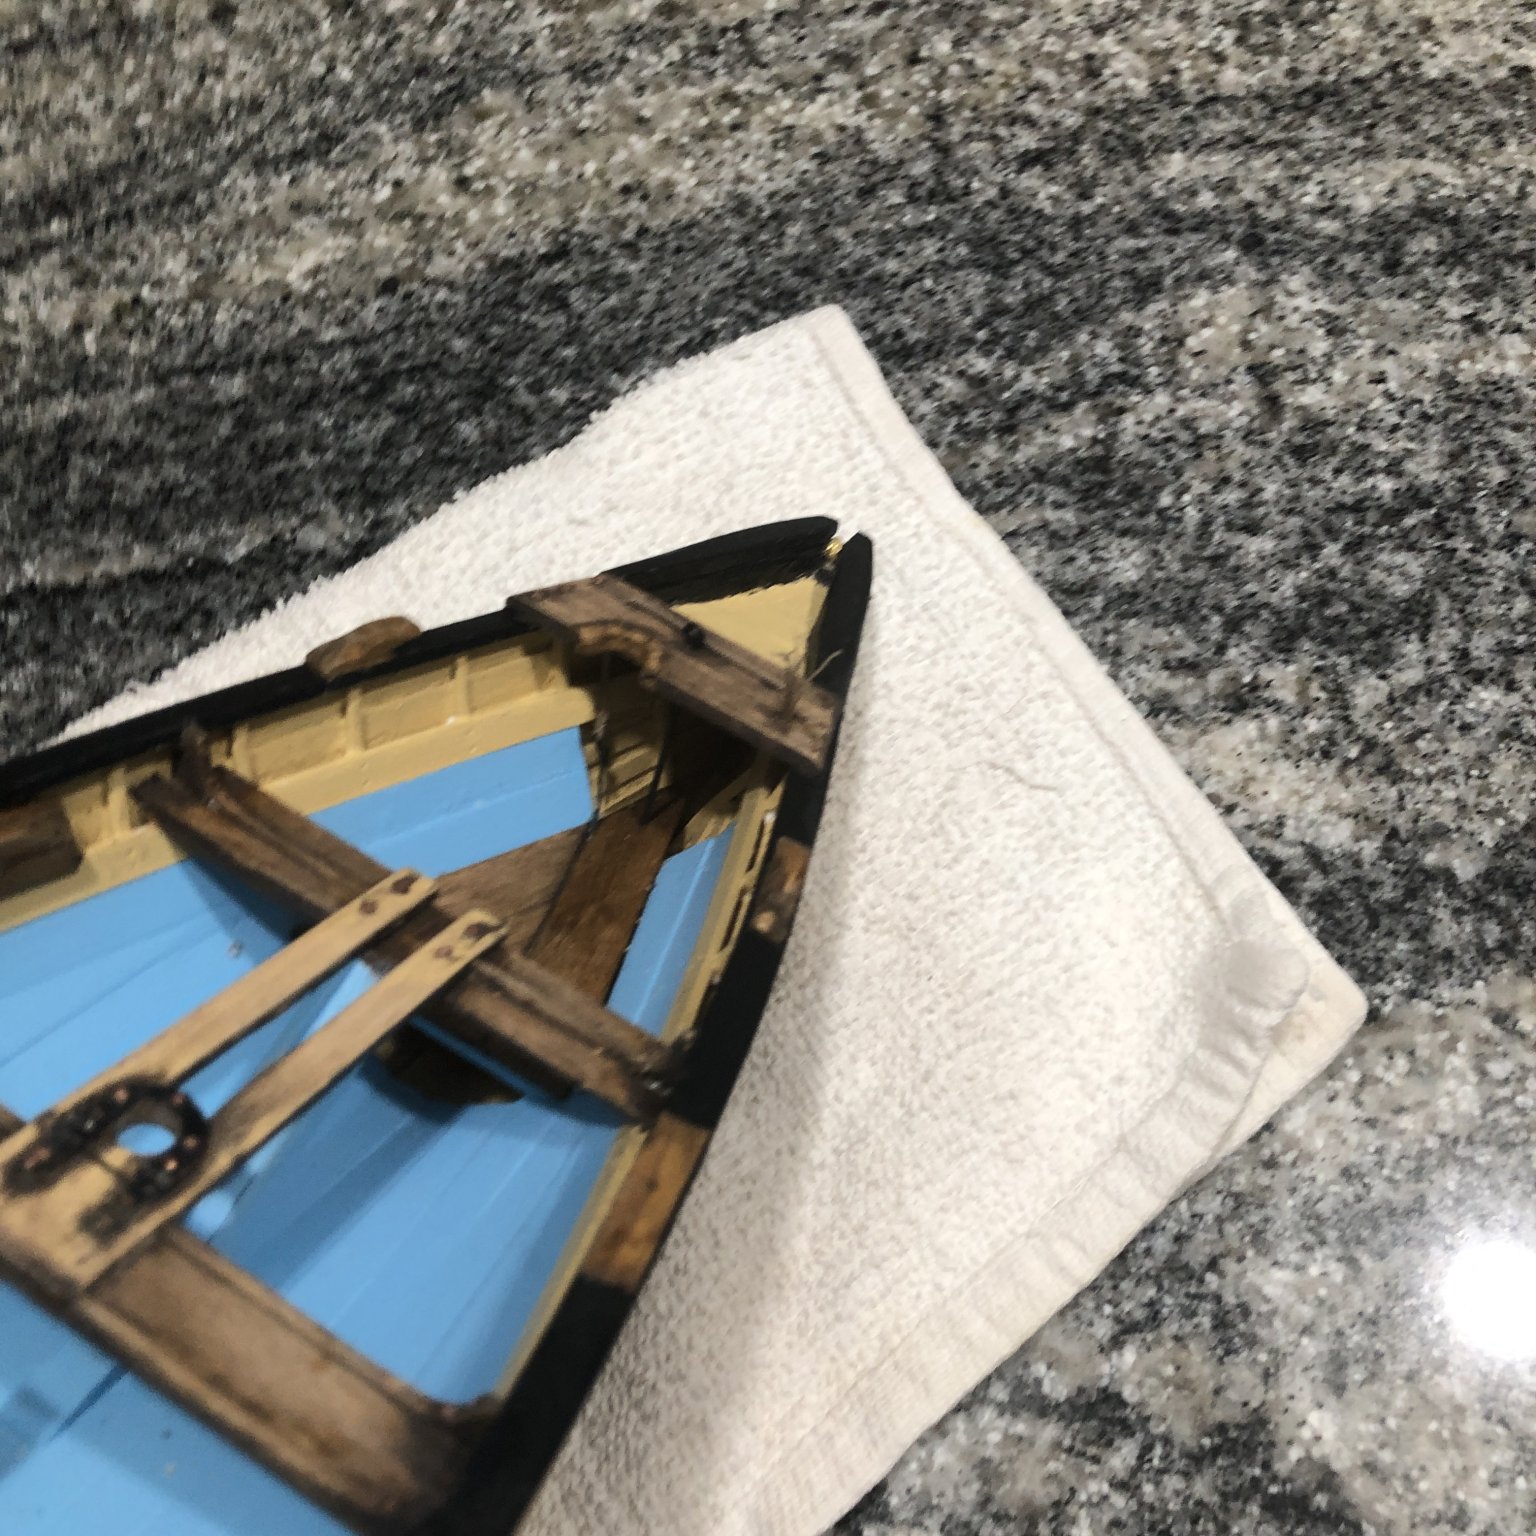
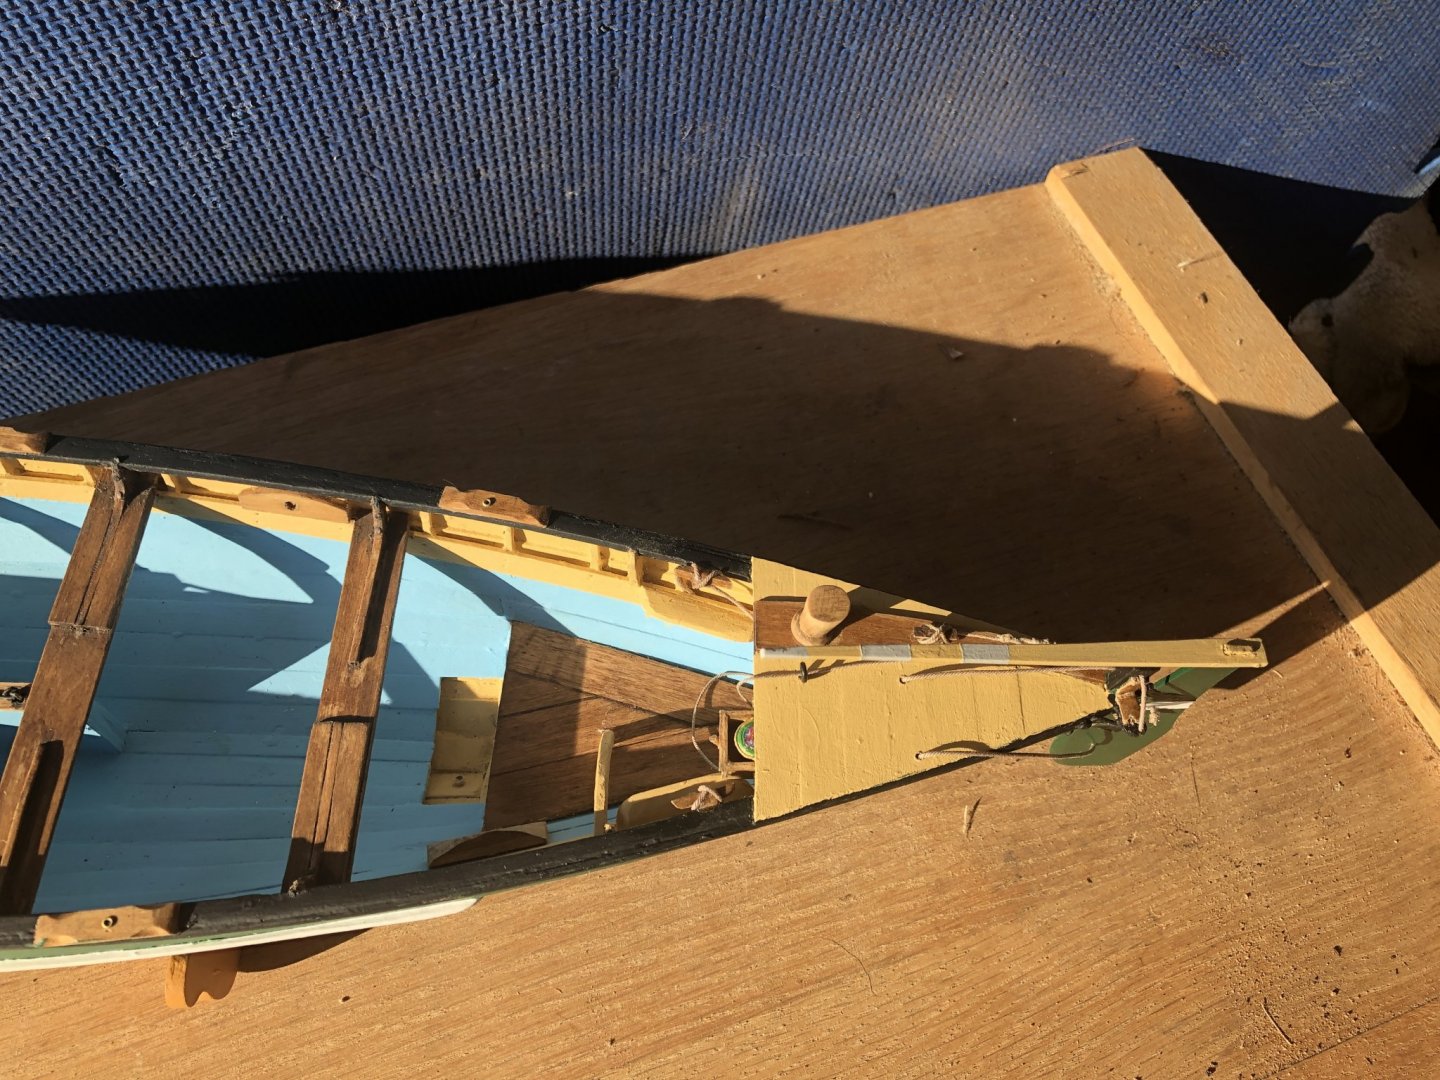
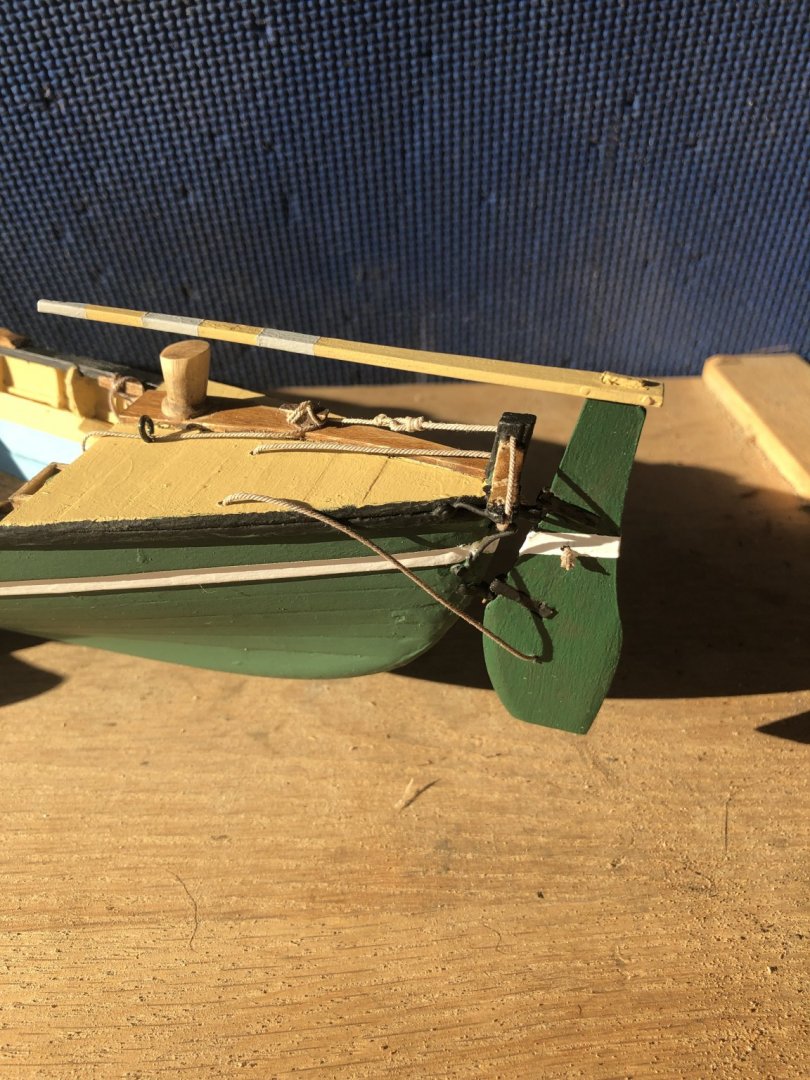
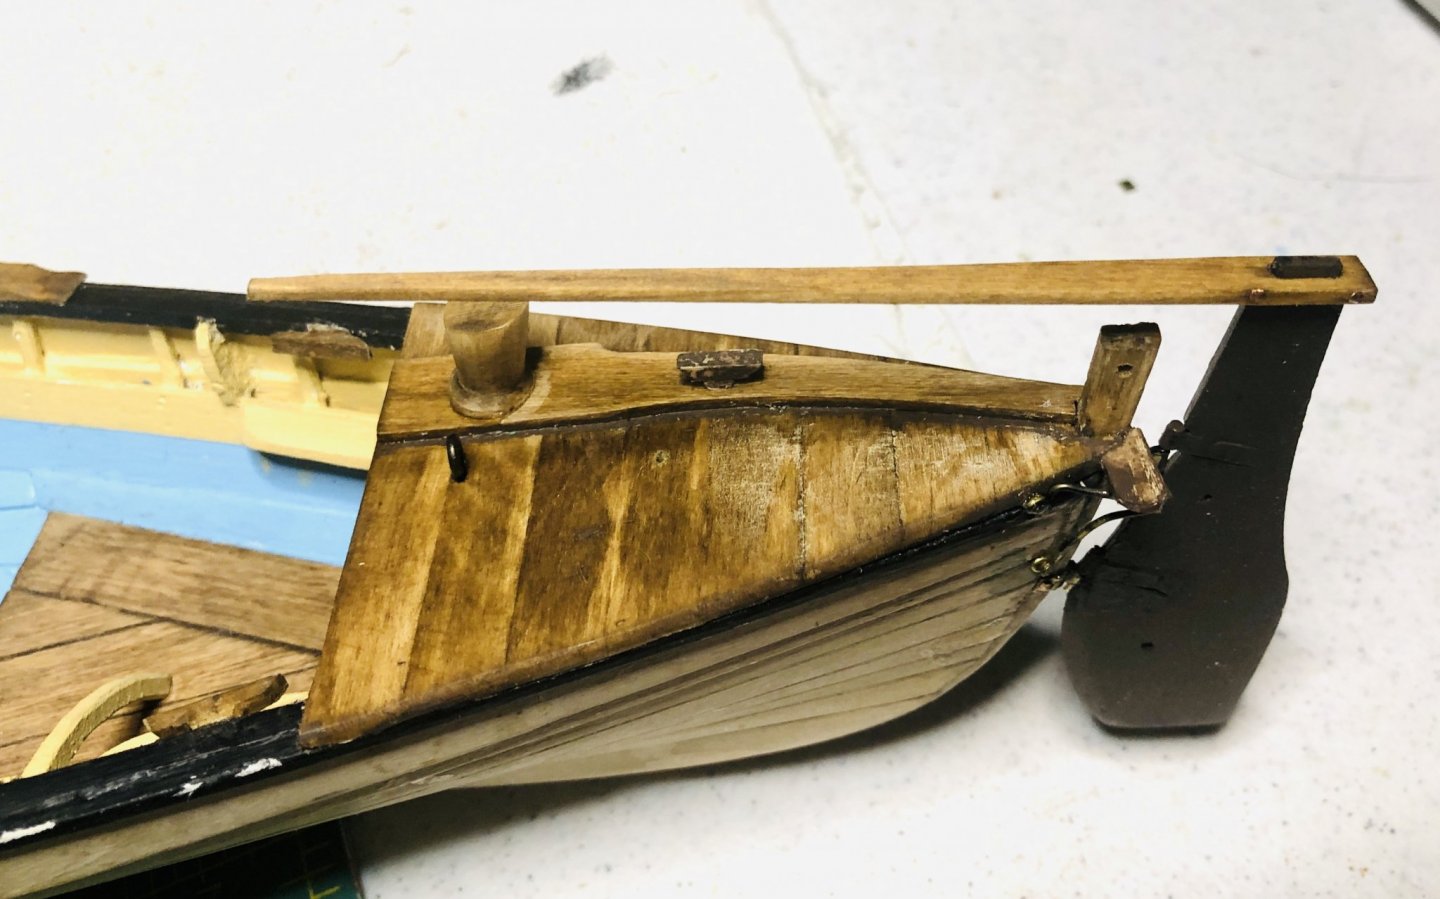
I have the stern fairly well in hand now except the knife. The rudder is painted and the Tiller is fastened. The Tricing line (lower stopper knot on rudder) runs up port side through a Fairlead in Cuddy to port cleat. The Trip line (upper stopper knot on rudder) runs up starboard side through a Fairlead in Cuddy to starboard cleat. The Tricing line hoists and holds the rudder when the Whaleboat is hoisted on the mothership. The Trip line is used to light the rudder off the Gudgeons. The final line completed was the Steering Oar Strop. It has a stopping knot in the stern post, then runs to the Steering Oar Brace on the port side, back through the stern post and attaches to the cleat on the Lions Tongue with a Lanyard.


- 103 replies
-
- 7
-
-
- new bedford whaleboat
- model shipways
- (and 1 more)
-
Welcome, moving slow but doing a little bit at a time.
-
Arthur, thanks. There are lots of details to work out before I put this one to rest. One could skip a lot of the details like a raised stitched sail and loads of Whaleboat craft but I plan to push through. However, I am going to take time off to build the MS Civil War Coffee Wagon as a Christmas present for someone.
-
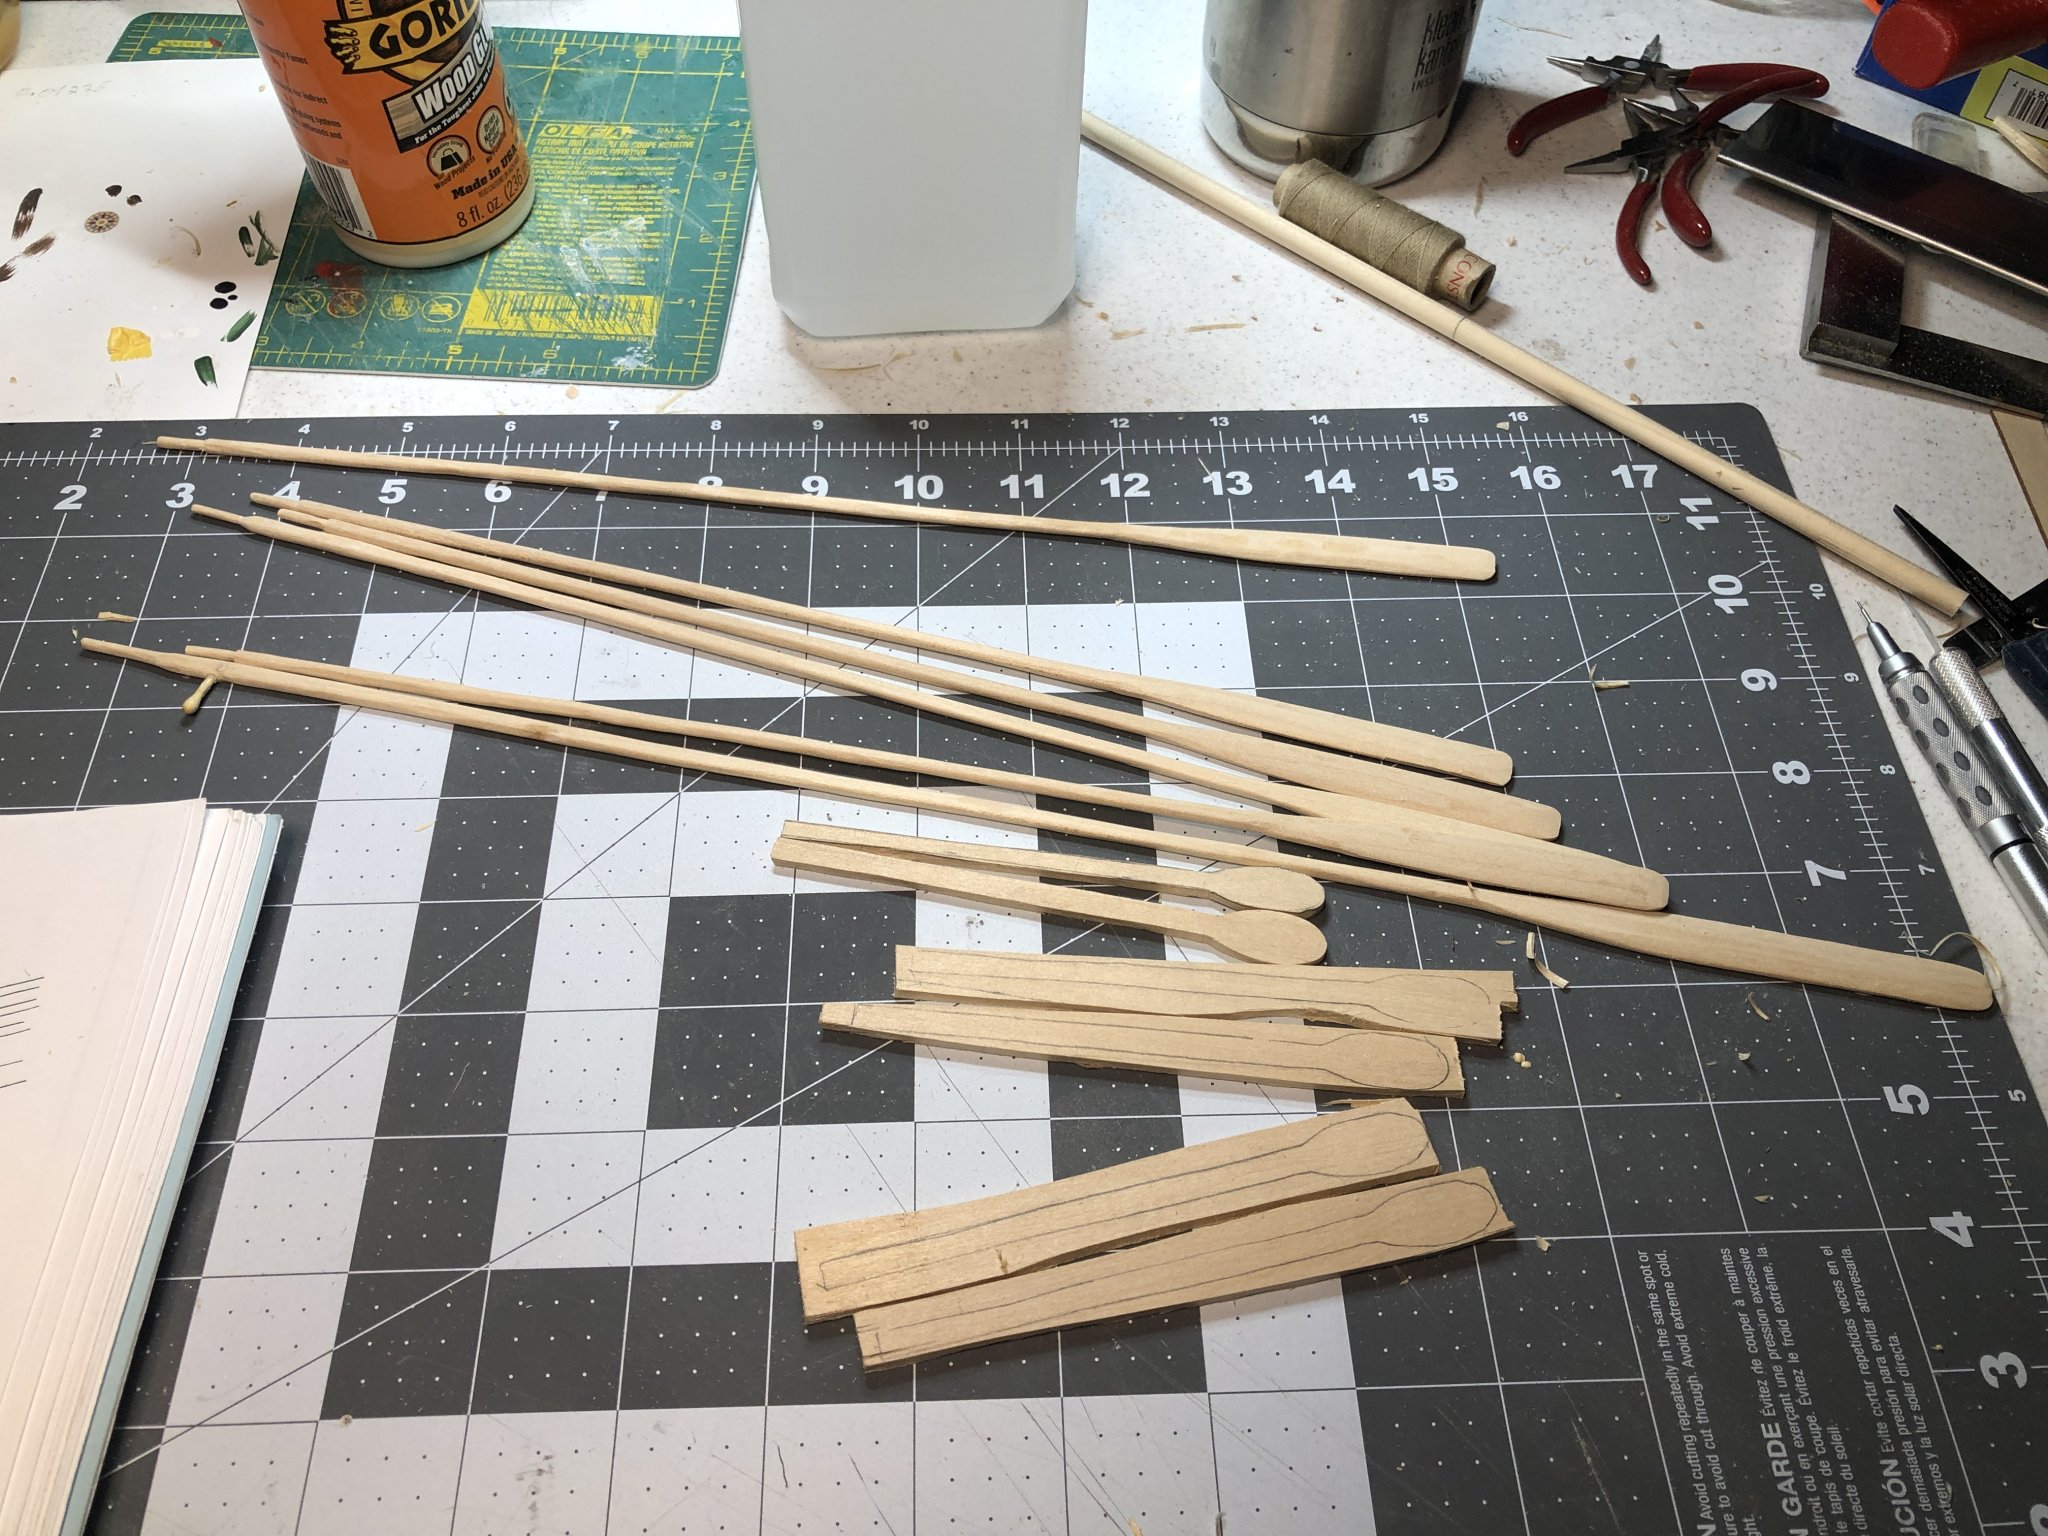
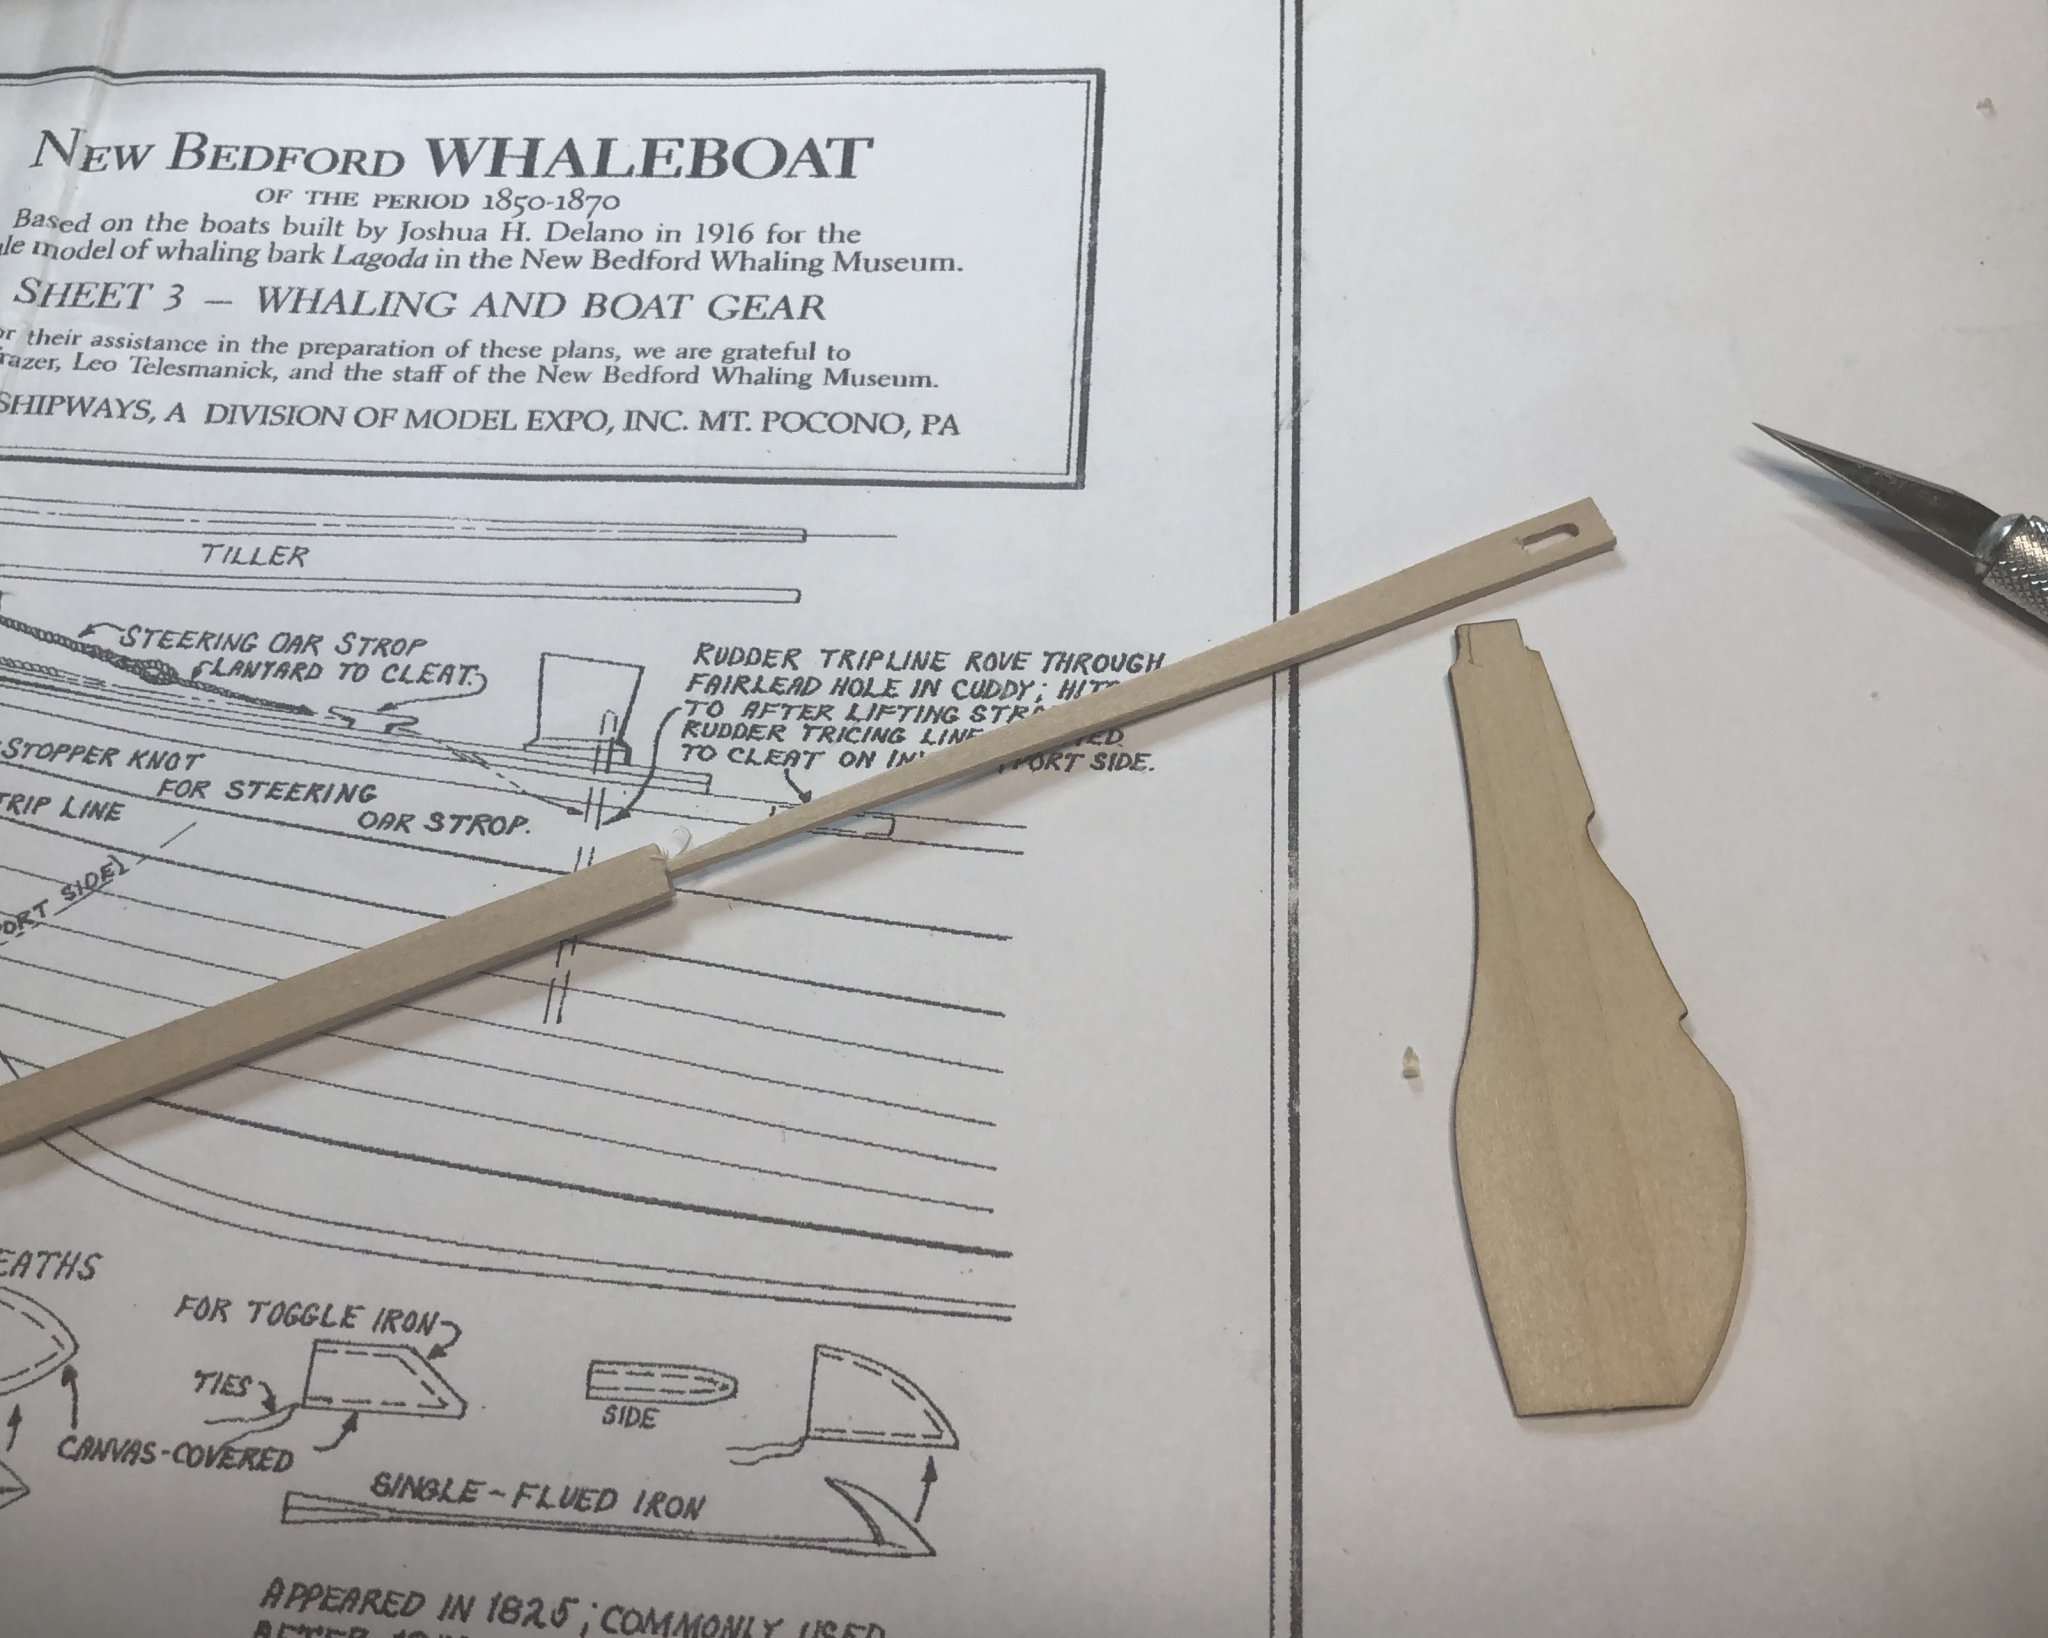
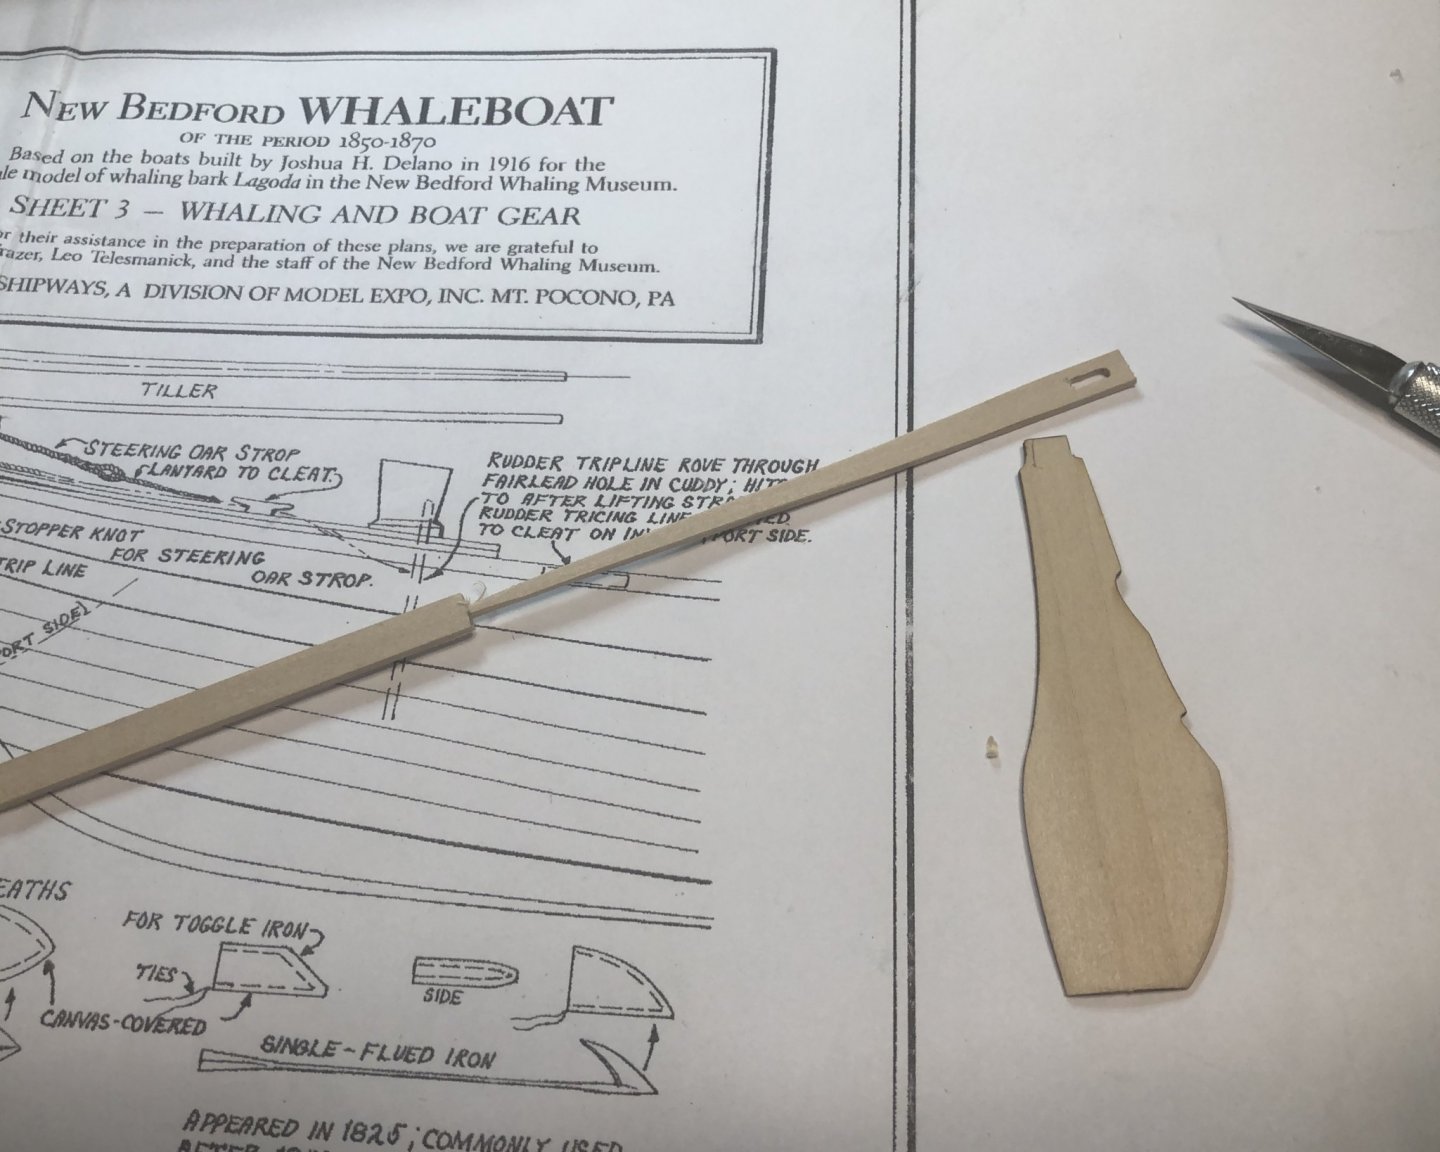
Only worked on the NBW for a few hours and have partially finished the oars and paddles. I decided to carve the complete pieces from 1/8” basswood sheet instead of using the provided precut parts. This should make for a better look after staining. In the photo, the oars are pretty much done. Four more paddles need to be cut out before the final shaping of all six.

- 103 replies
-
- 5
-
-
- new bedford whaleboat
- model shipways
- (and 1 more)
-
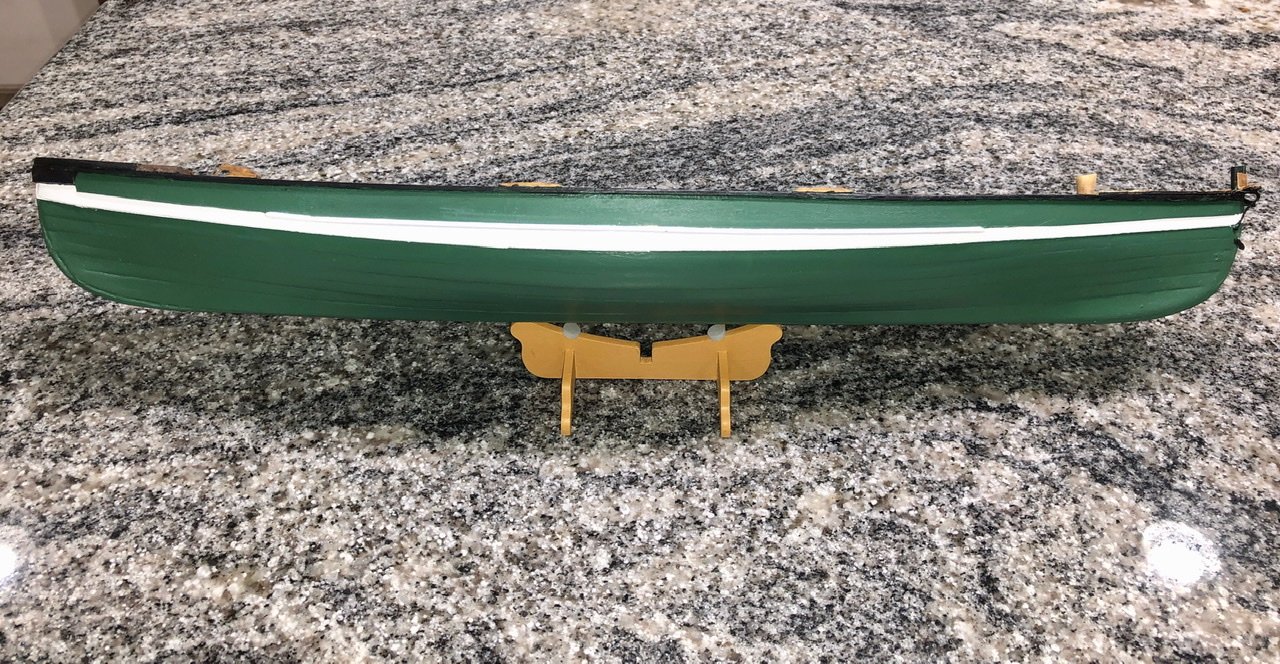
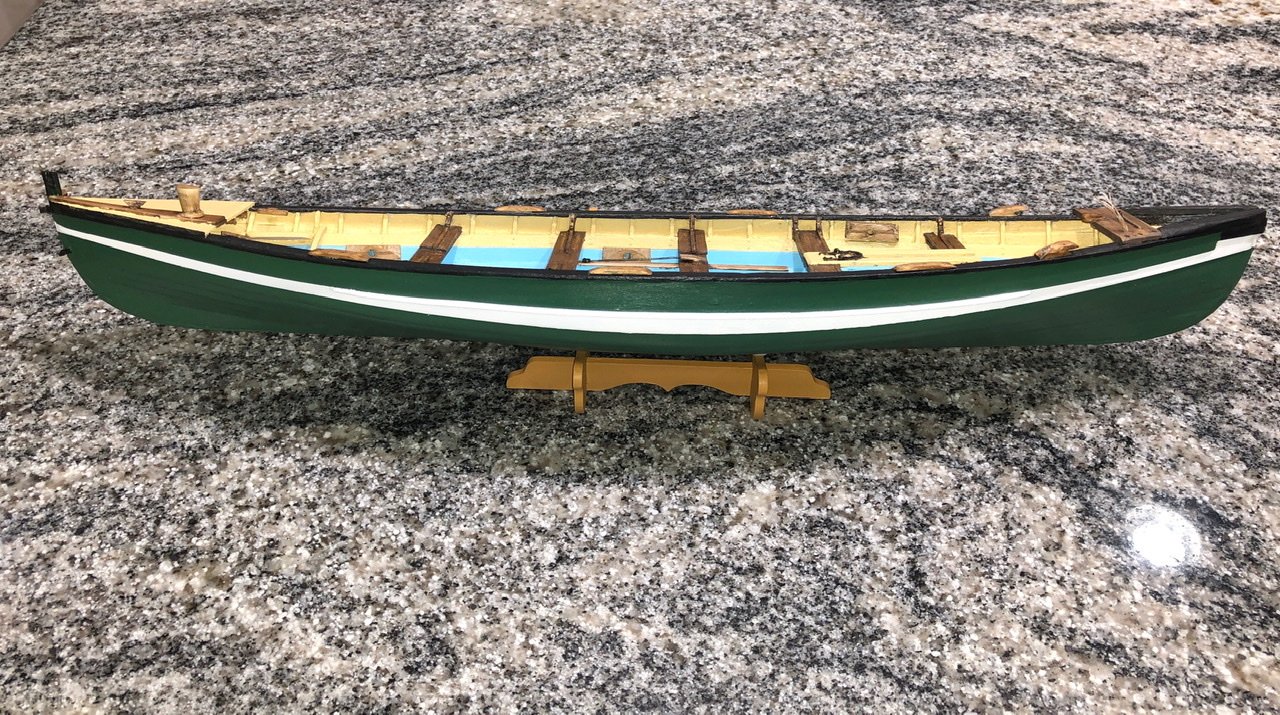
Been doing a lot of work around the house getting ready for winter so the NBW has been on the back burner for a while. With the holidays coming up posts will be few for a while but I will work on the boat as I get a chance. I did get the hull painted though. Next I will be trying to do various detailing of the inboard side.
- 103 replies
-
- 5
-
-
- new bedford whaleboat
- model shipways
- (and 1 more)
-
Scoot, your boat looks great. I have already started painting and my hull scheme is the same as yours - green with the second strake white.
-
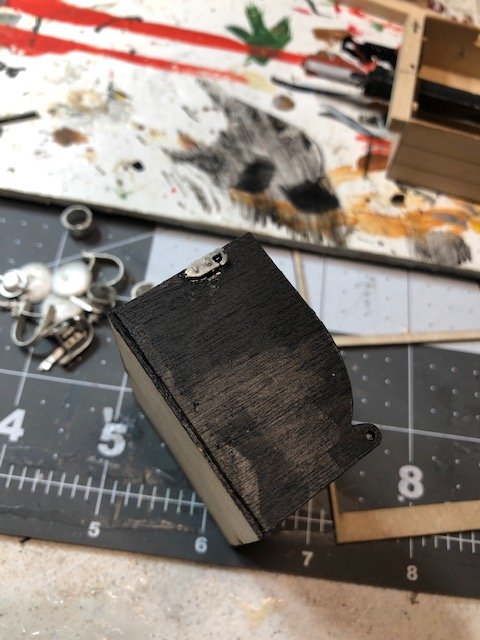
The Whaling Gun Box was constructed from 1/16” sheet boxwood. The ends fit the curve of the ceiling. The front side joins the two shaped ends while the backside is formed by the ceiling itself. The top was split as shown and the front piece was hinged to the back piece by leather strips. The box was stained to match the Bow Sheet.

- 103 replies
-
- 4
-
-
- new bedford whaleboat
- model shipways
- (and 1 more)
-
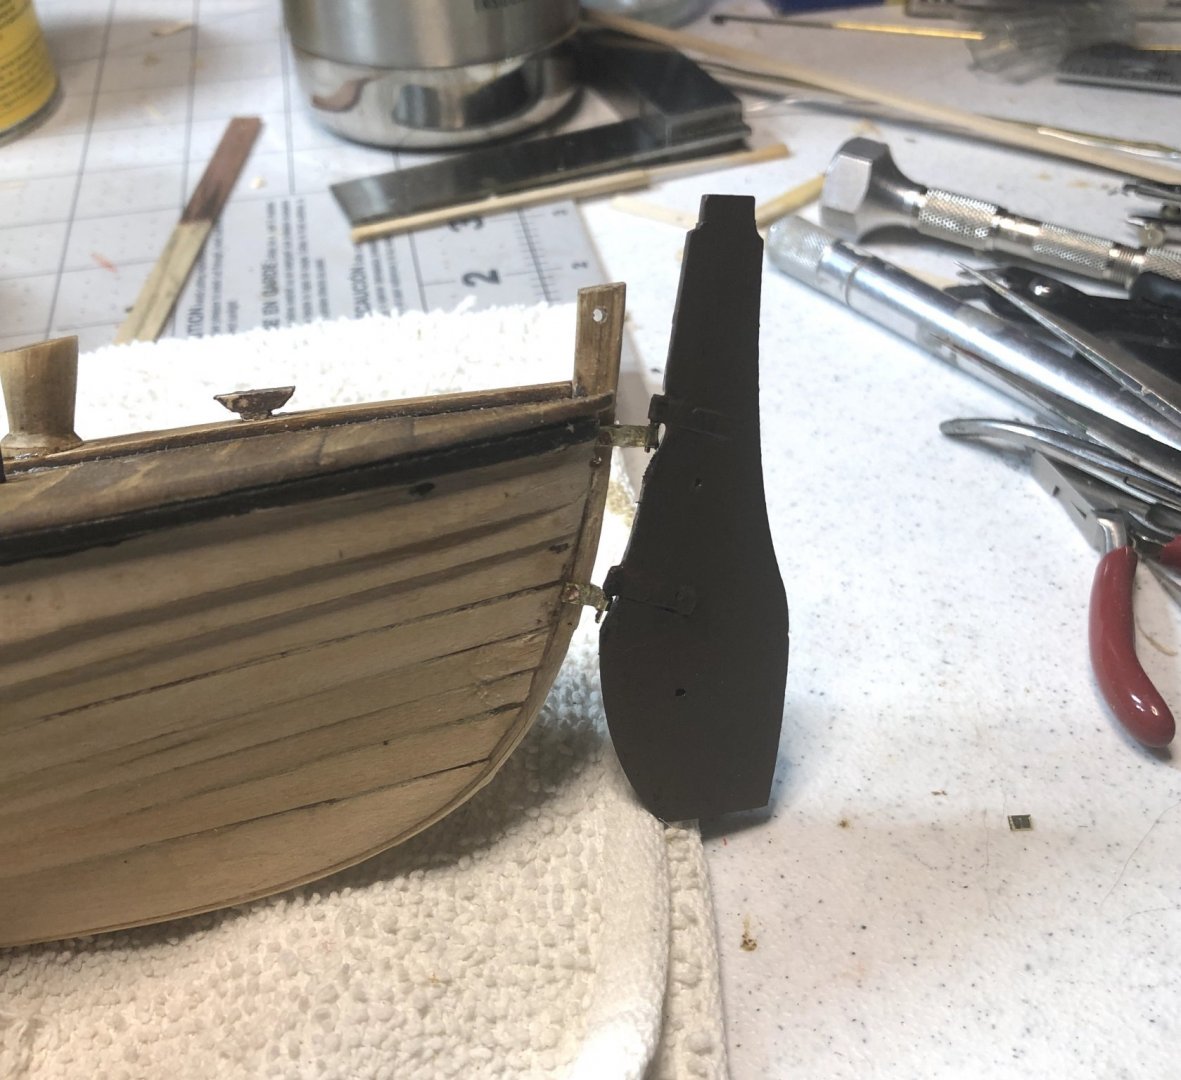
Tiller and Rudder completed. The Gudgeons and Pintles were made from the supplied thin 3/8” wide brass strip. The Pintles were formed and fitted to the rudder and small brass nails were soldered to them to serve as the hinge pins. The Gudgeons and Pintles were attached using small copper nails. The Tiller was “riveted” with copper nails The Steering Oar Brace is also shown in the last photo. The support brace was made from 1/32” brass wire.

- 103 replies
-
- 3
-
-
- new bedford whaleboat
- model shipways
- (and 1 more)
-
RB, Very nice build. I hope mine turns out half as good. This is a fun and instructive boat to model. Paul
- 45 replies
-
- 1
-
-
- new bedford whaleboat
- model shipways
- (and 1 more)
-
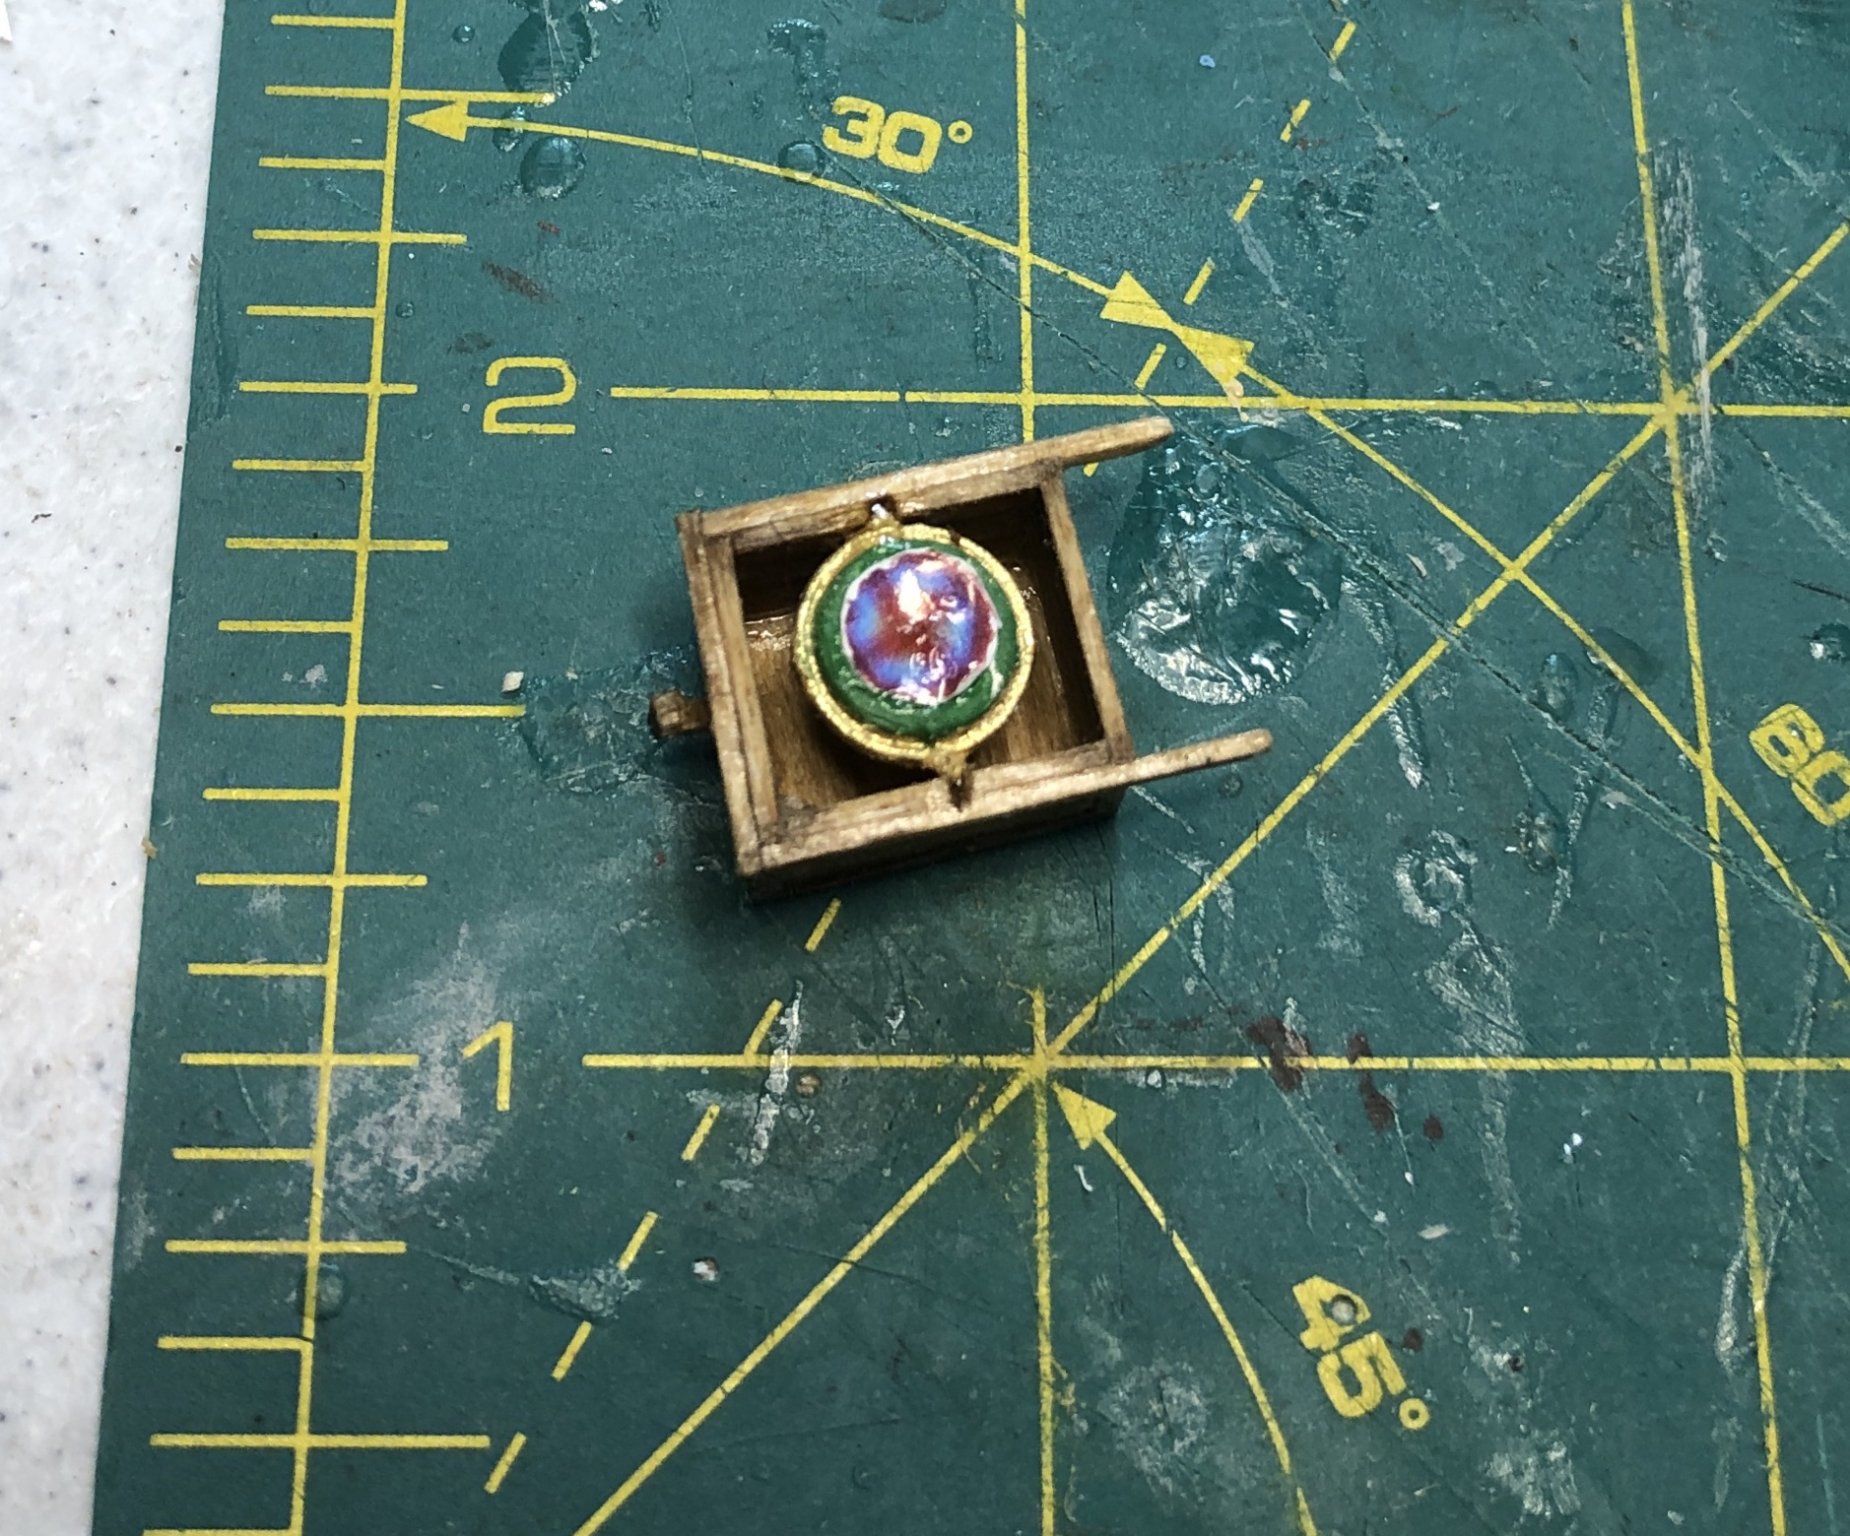
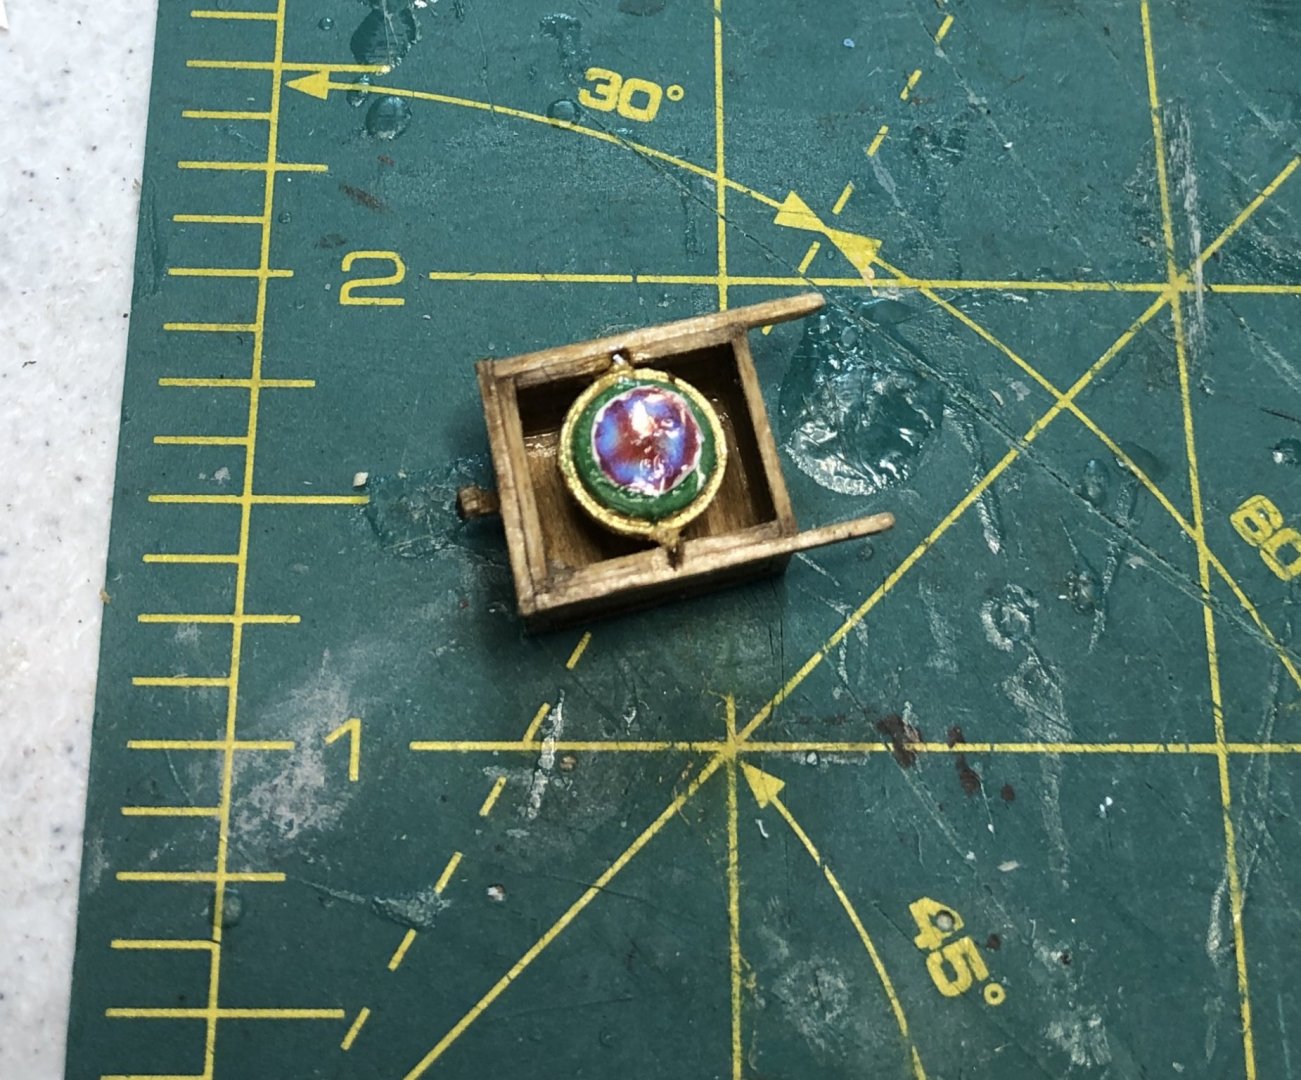
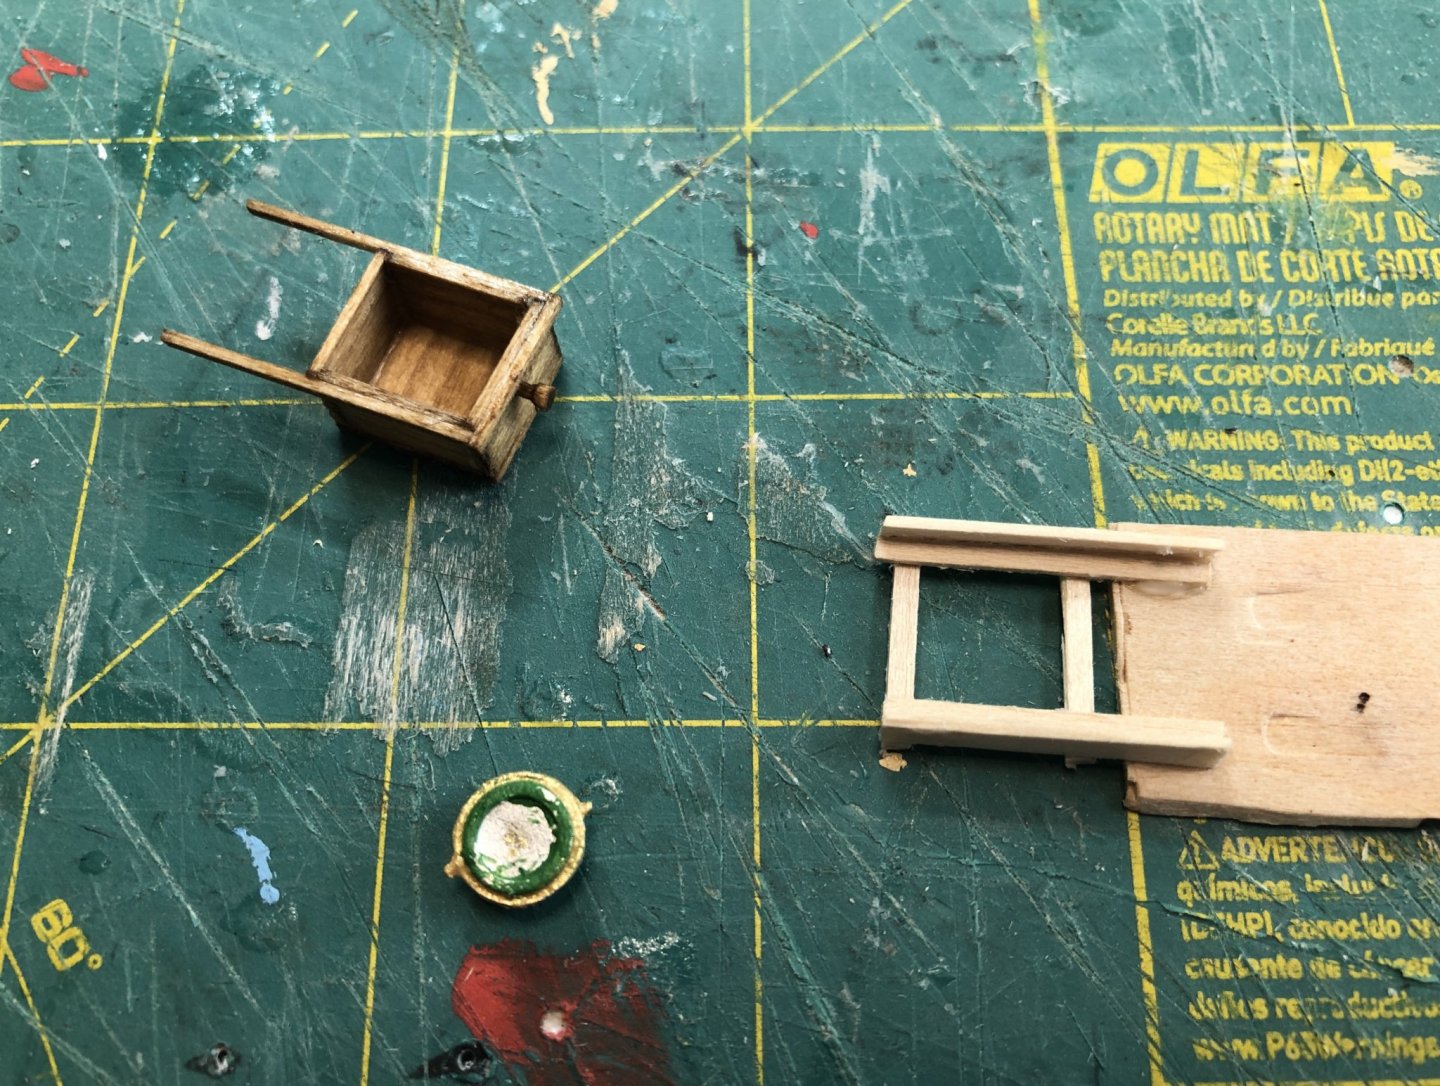
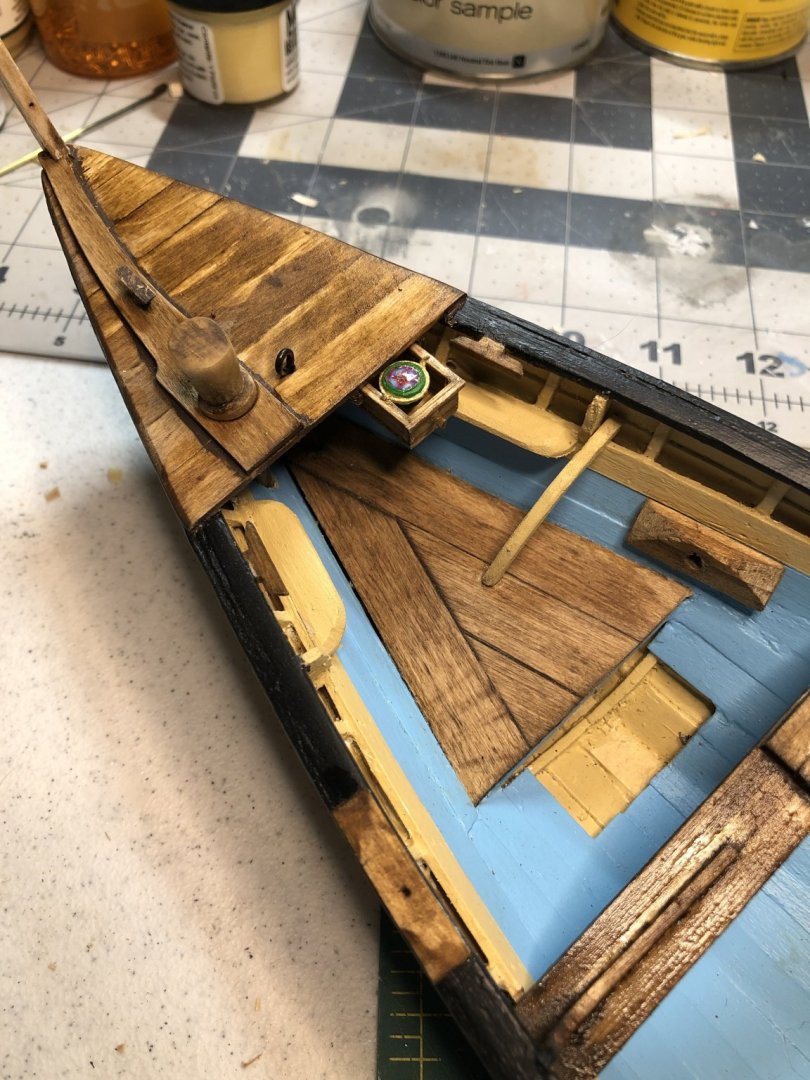
Completed the Compass and Compass Box. The Box was made from 1/32” basswood sheet according to plans. Compass Rose reduced in Photoshop. Lens effect was made using a drop of CA glue. In the first photo below, the box slides were glued to a scrap of wood as shown, then glued to bottom of Cuddy. When the glue was dry, the scrap was cut away leaving the slides attached.
- 103 replies
-
- 3
-
-
- new bedford whaleboat
- model shipways
- (and 1 more)
-
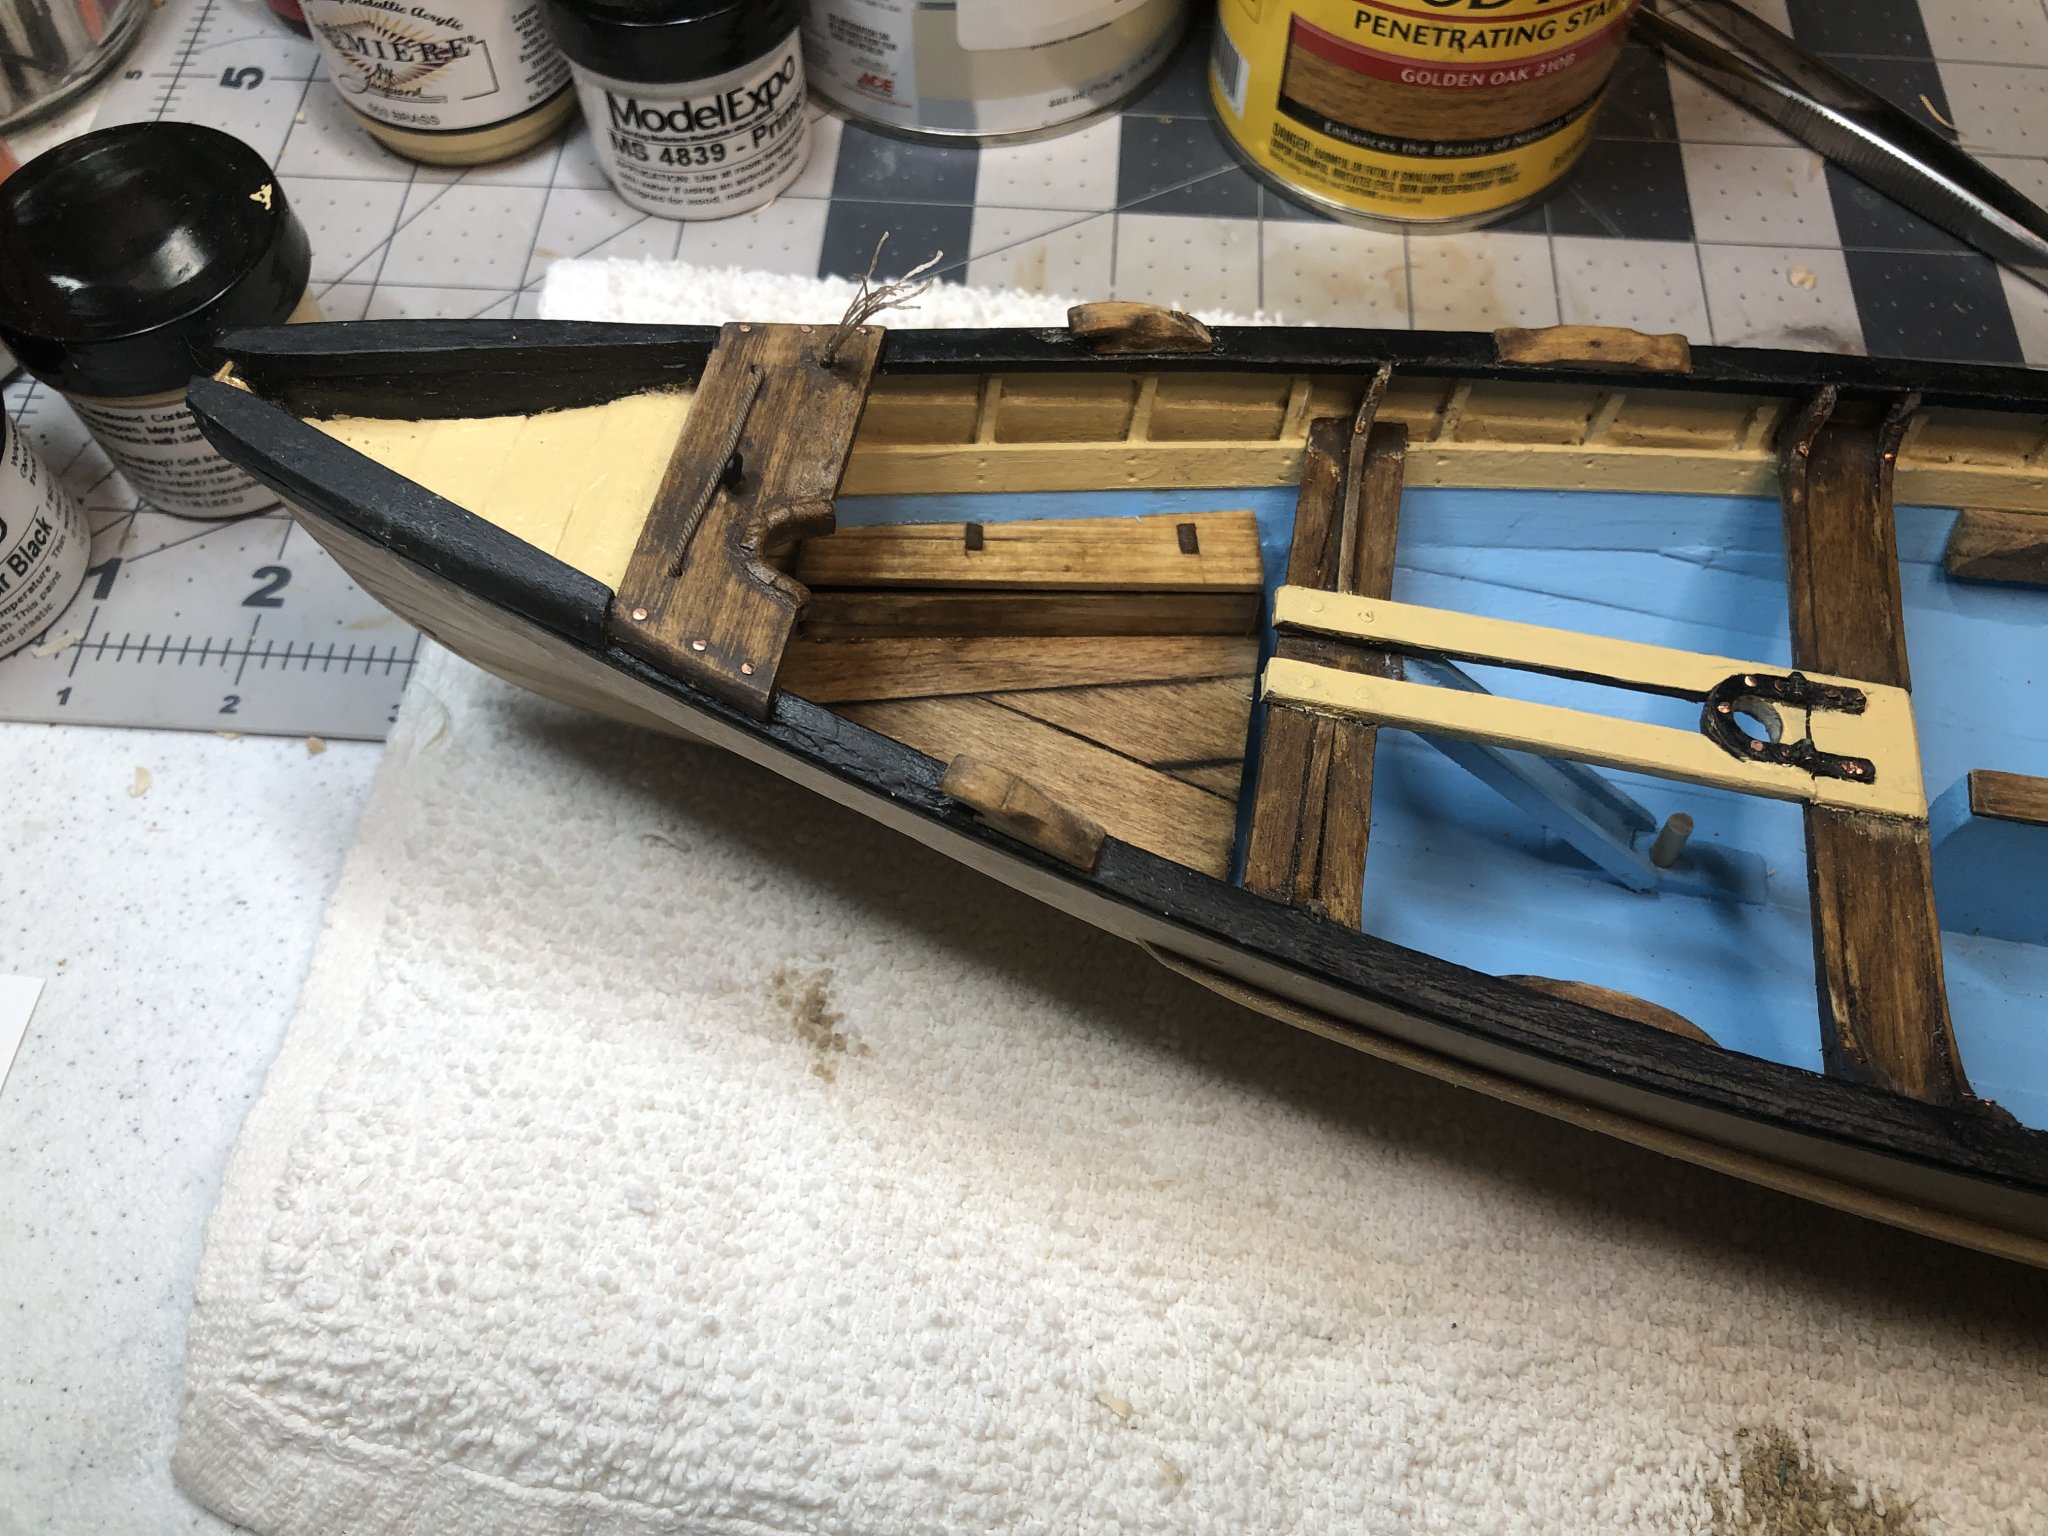
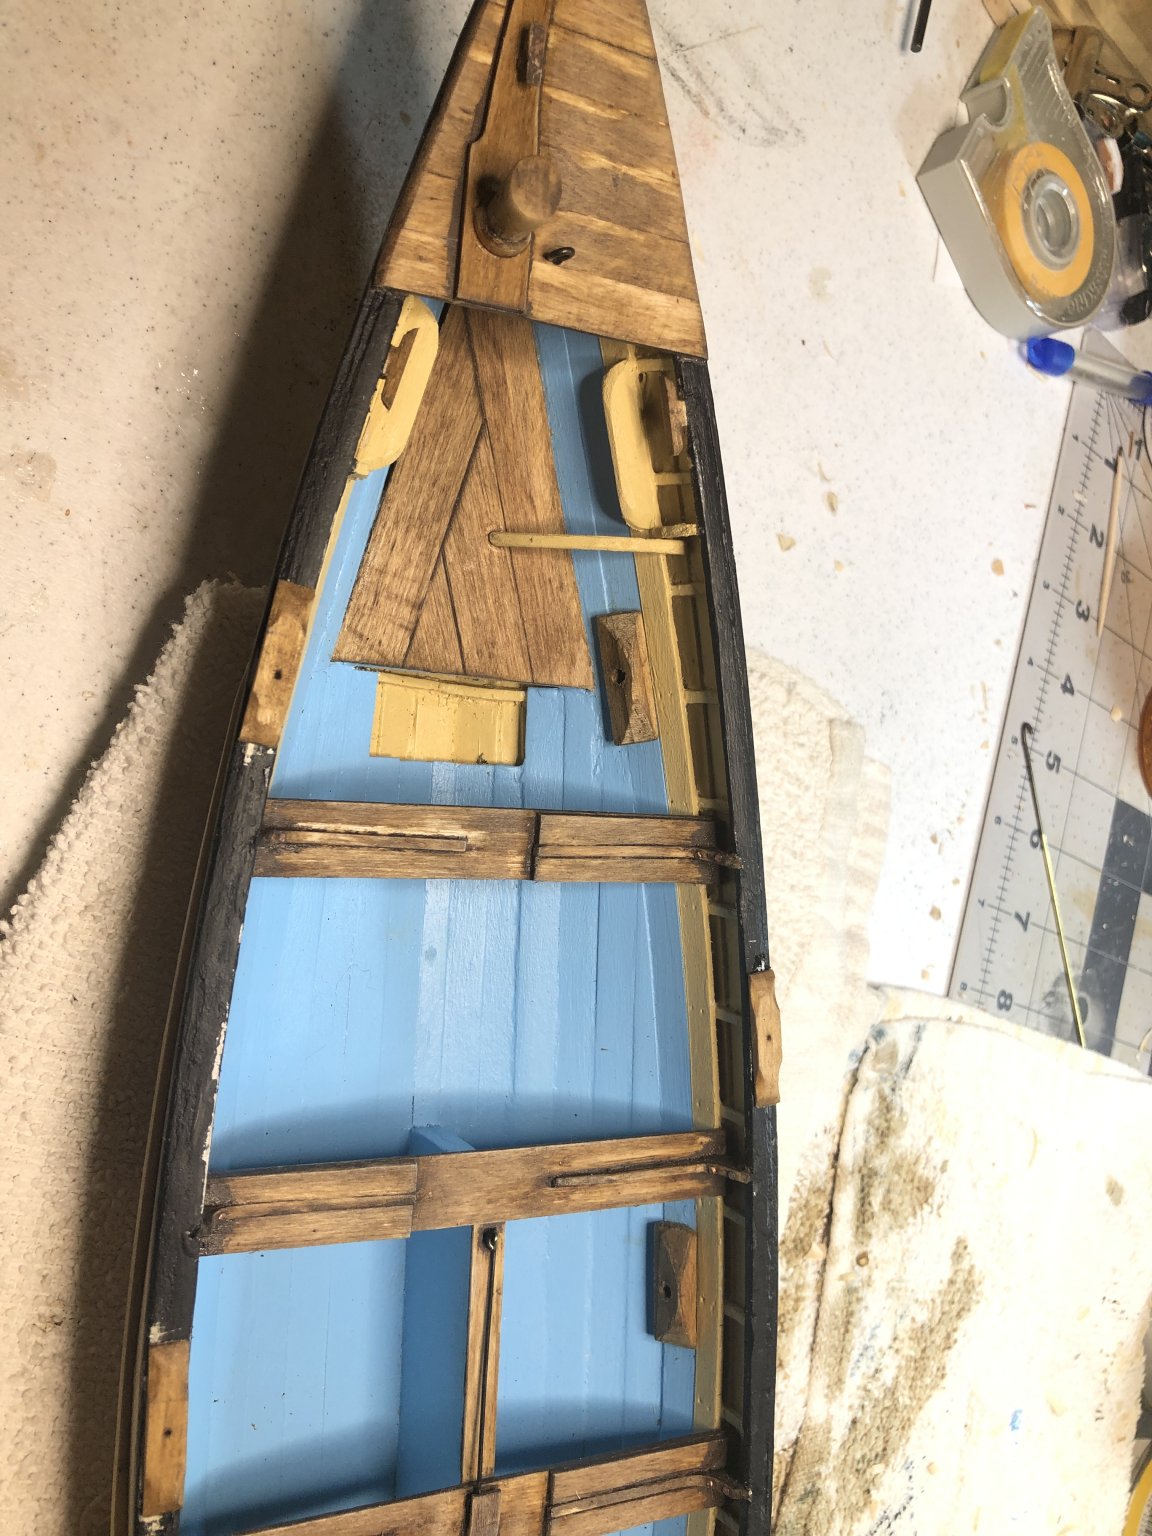
Finished carving and attaching the Peak Cleats, Oarlock Pads and Foot Brace. Also, I decided to remove some of the dark brown paint from the thwarts. I used lacquer thinner which gave the thwarts a “worn” look which I like. Photos don’t do the “look” justice.


- 103 replies
-
- 3
-
-
- new bedford whaleboat
- model shipways
- (and 1 more)