HOLIDAY DONATION DRIVE - SUPPORT MSW - DO YOUR PART TO KEEP THIS GREAT FORUM GOING! (Only 36 donations so far out of 49,000 members - C'mon guys!)
×


Dr PS - Paul Schulze
-
Posts
304 -
Joined
-
Last visited
Content Type
Profiles
Forums
Gallery
Events
Everything posted by Dr PS - Paul Schulze
-

Have a extra $100.00 to spend......
Dr PS - Paul Schulze replied to CPDDET's topic in Modeling tools and Workshop Equipment
This one is really neat and easy to use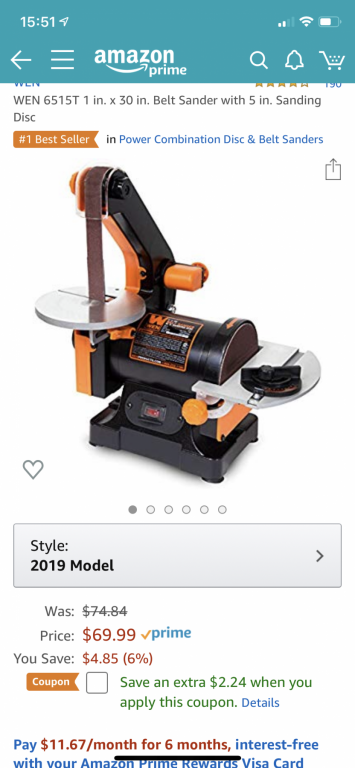
-
Have a extra $100.00 to spend......
Dr PS - Paul Schulze replied to CPDDET's topic in Modeling tools and Workshop Equipment
Best single tool for shaping is my small Wen belt sander. -
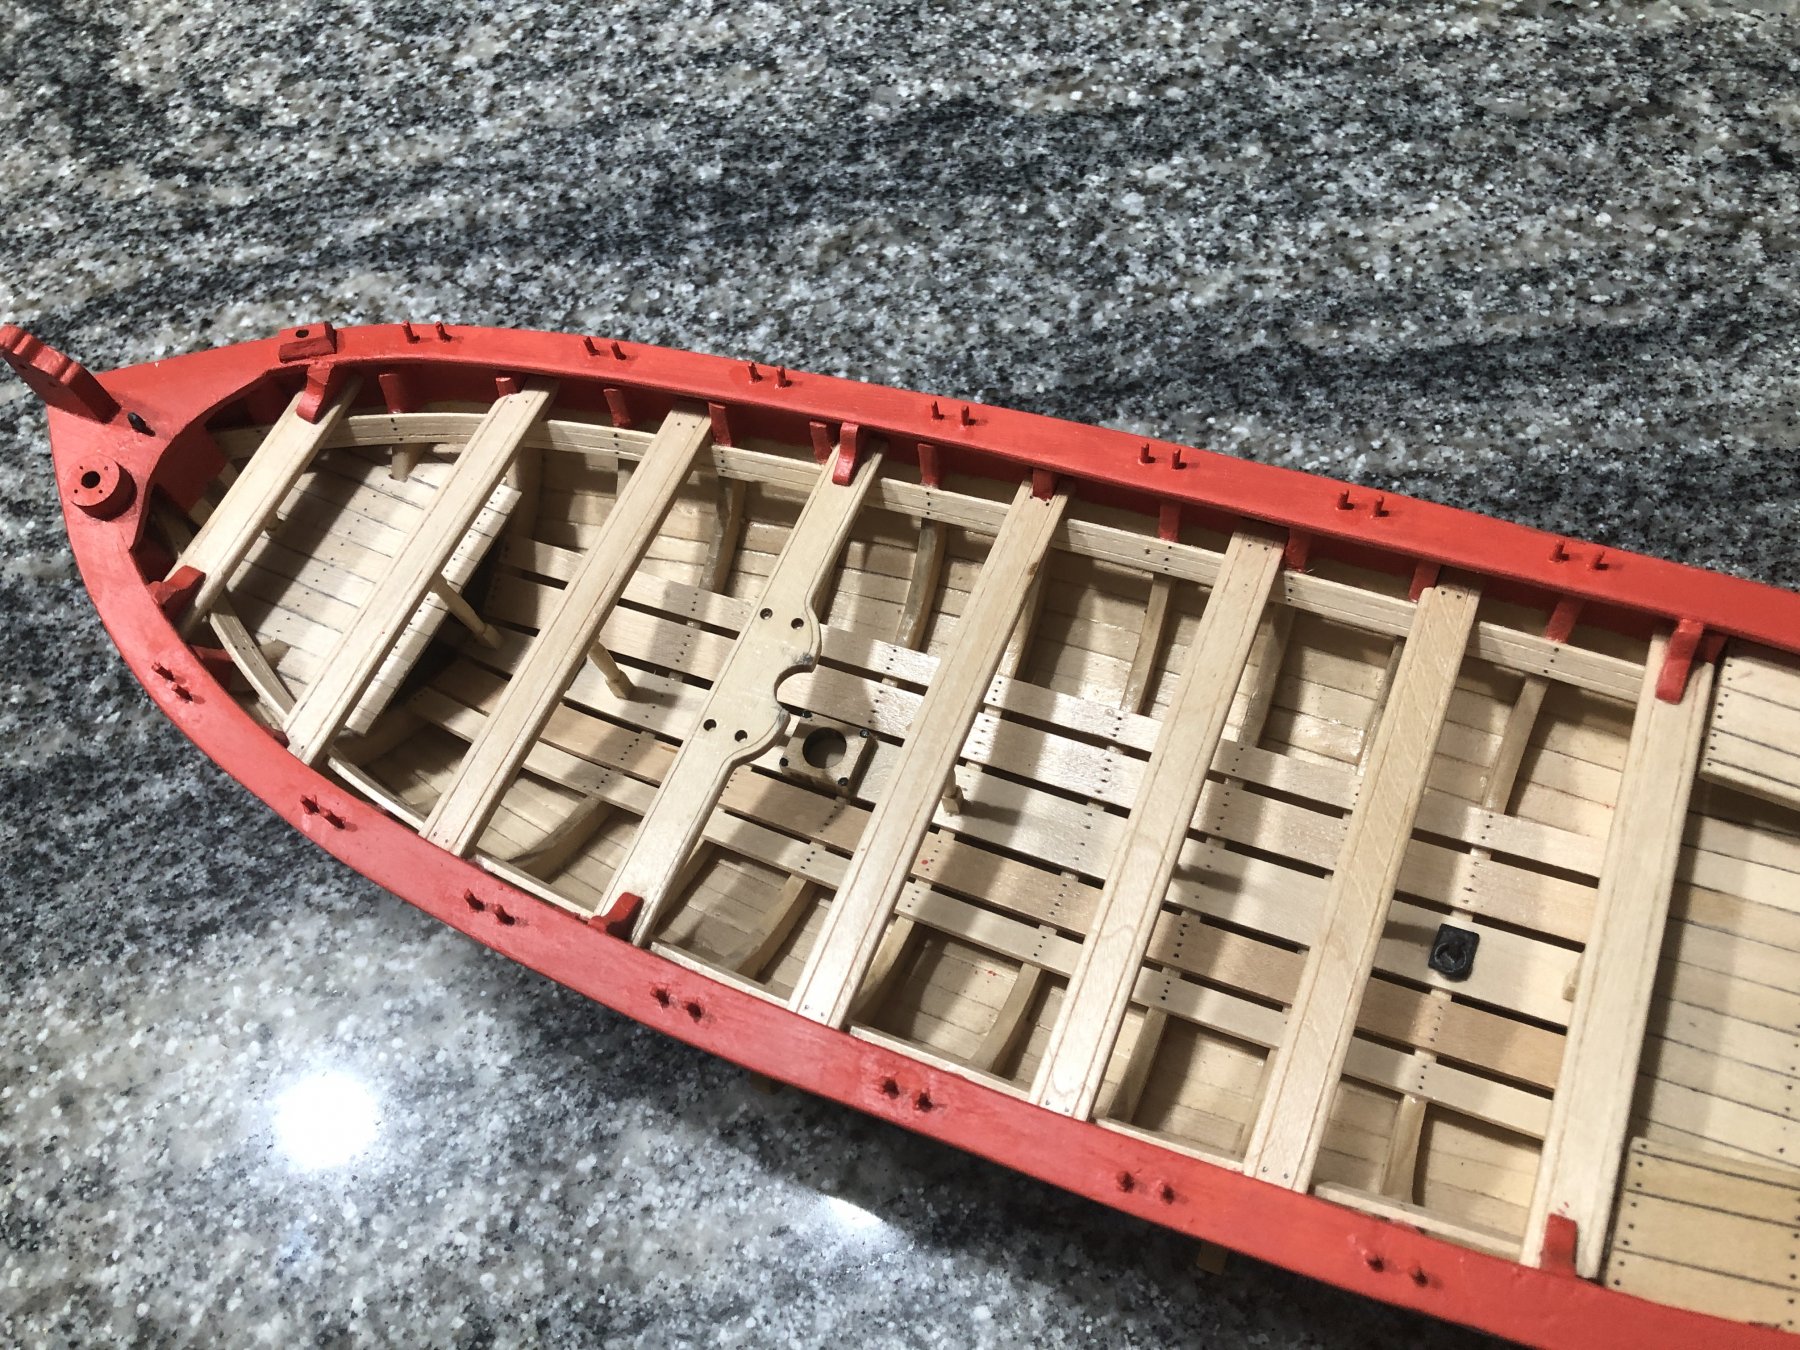
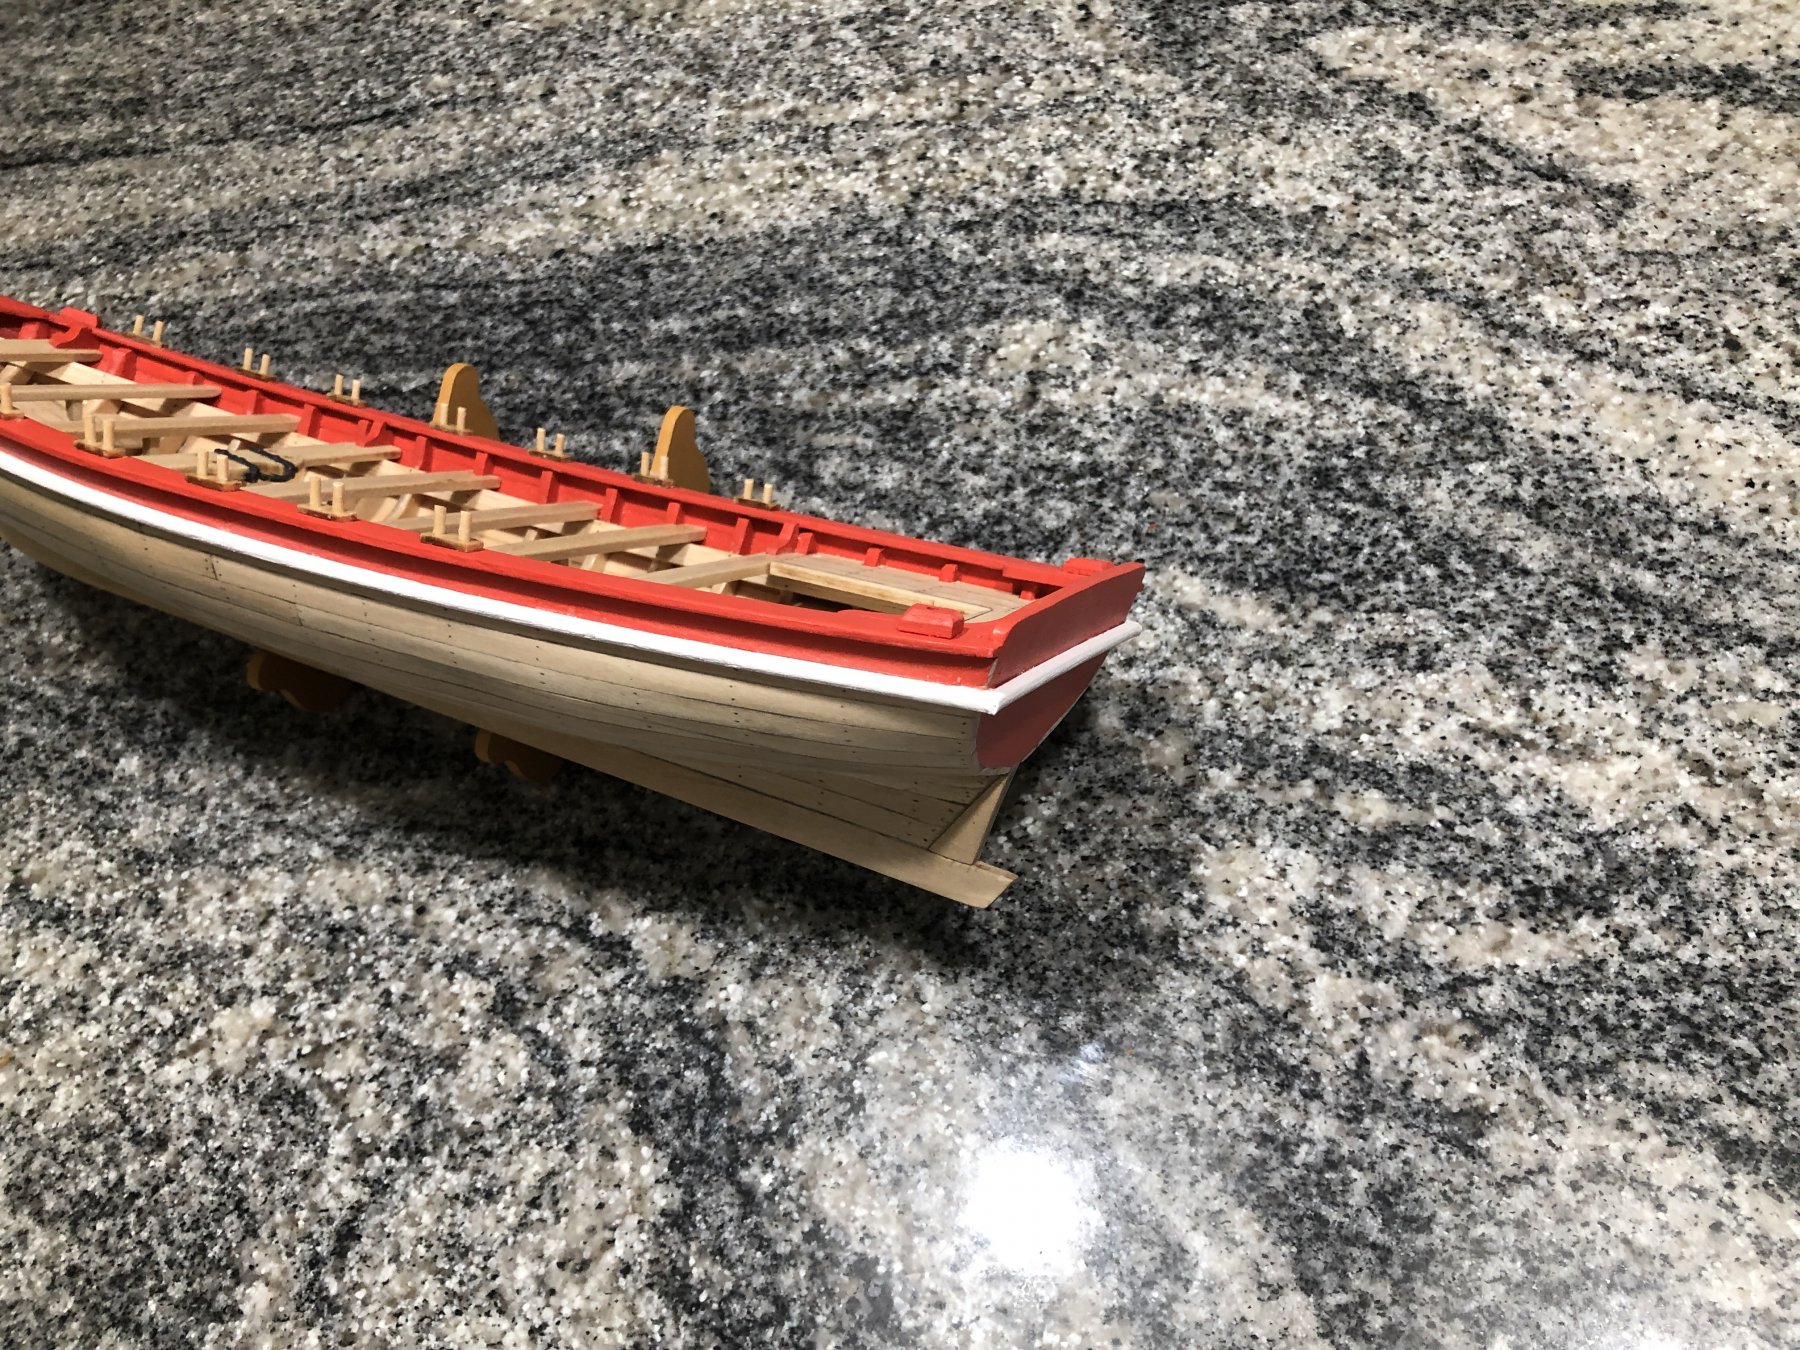
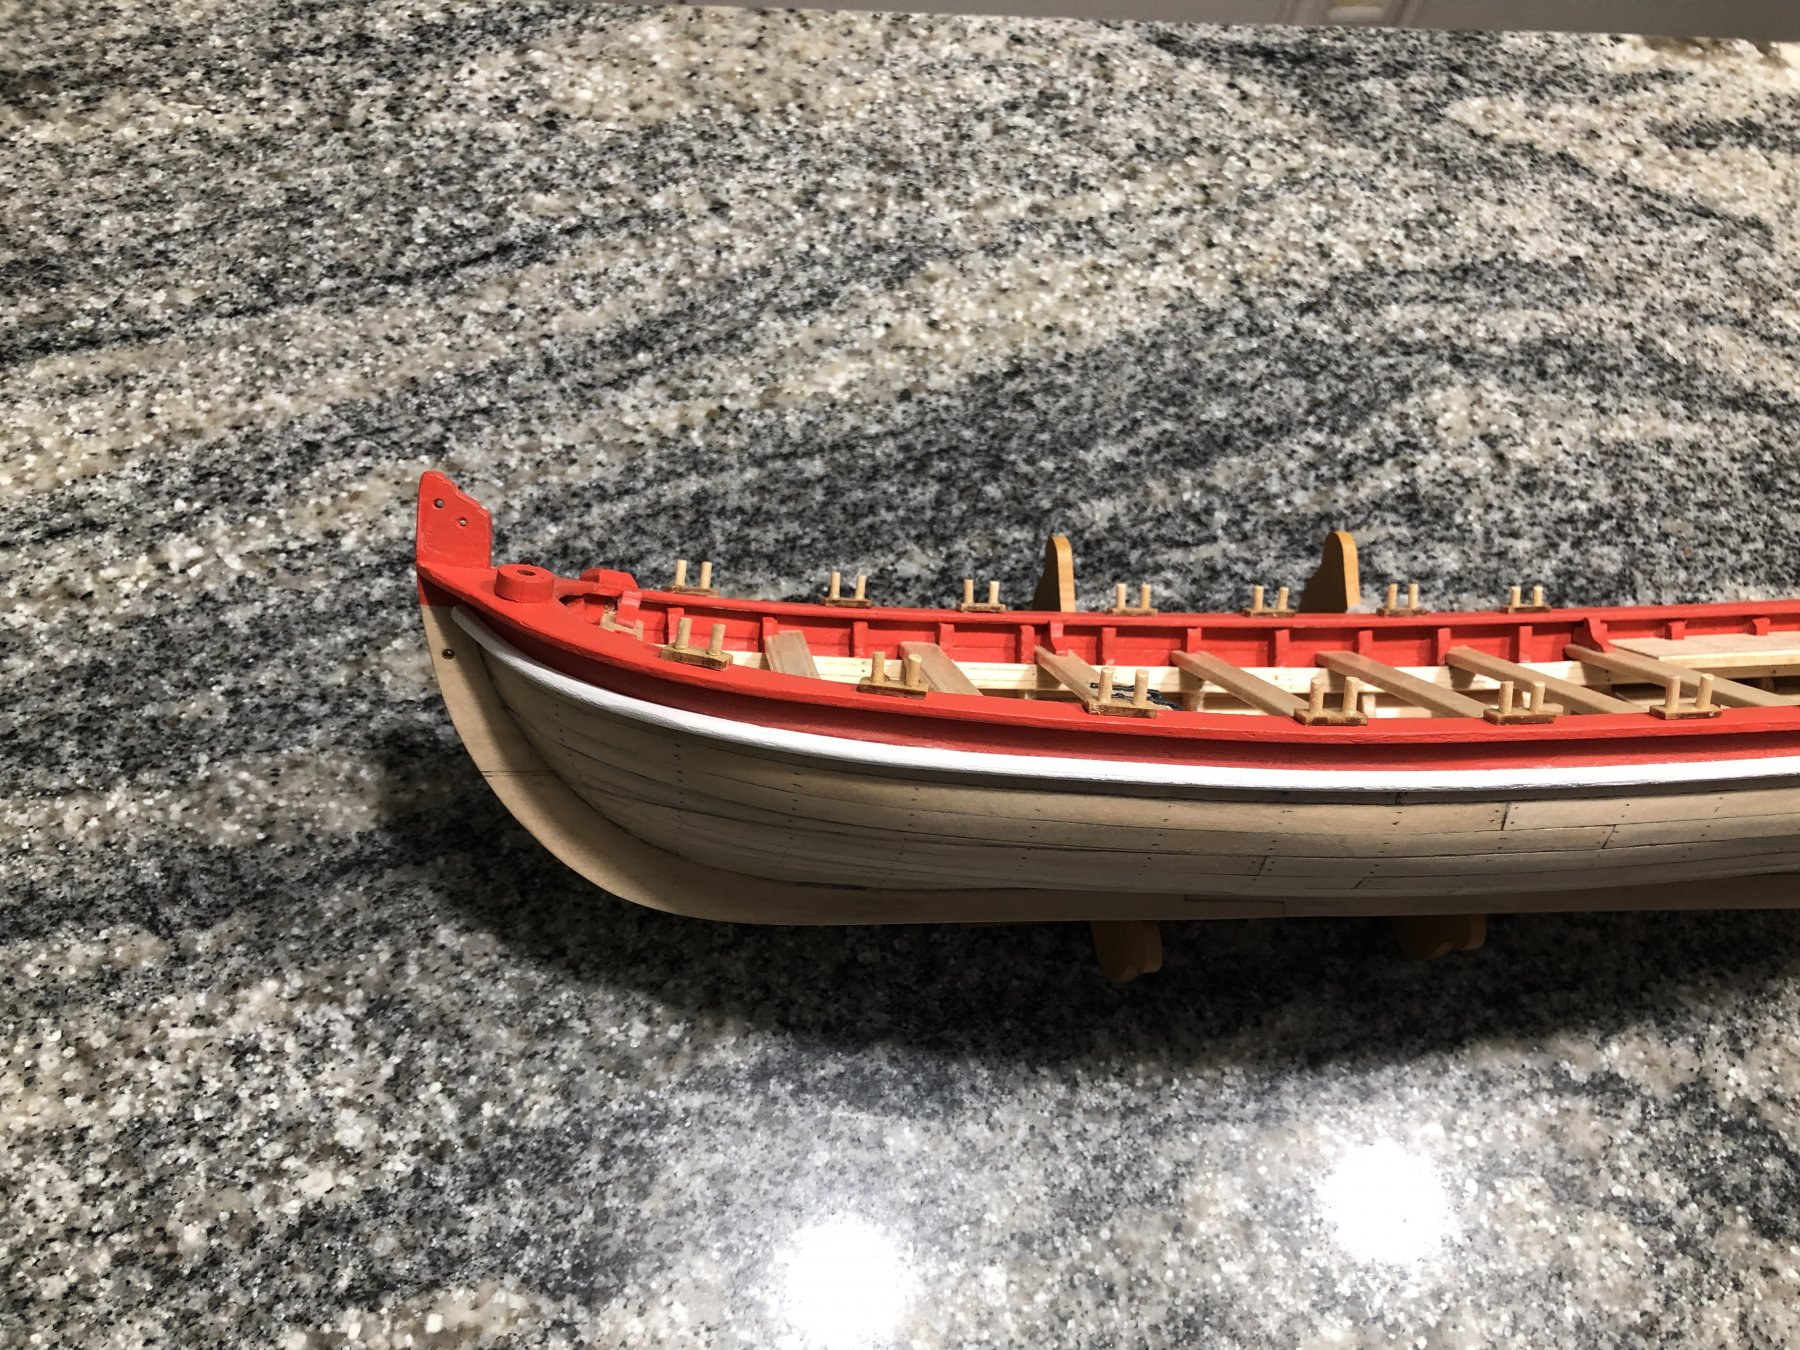
I think the kit oarlocks looked to be too large and, in my opinion, seemed to dominate the scene. I like the looks of the smaller oarlocks painted the same color as the cap rails. They don’t draw attention to themselves.
- 168 replies
-
- 1
-

-
- 18th Century Armed Longboat
- Model Shipways
- (and 1 more)
-
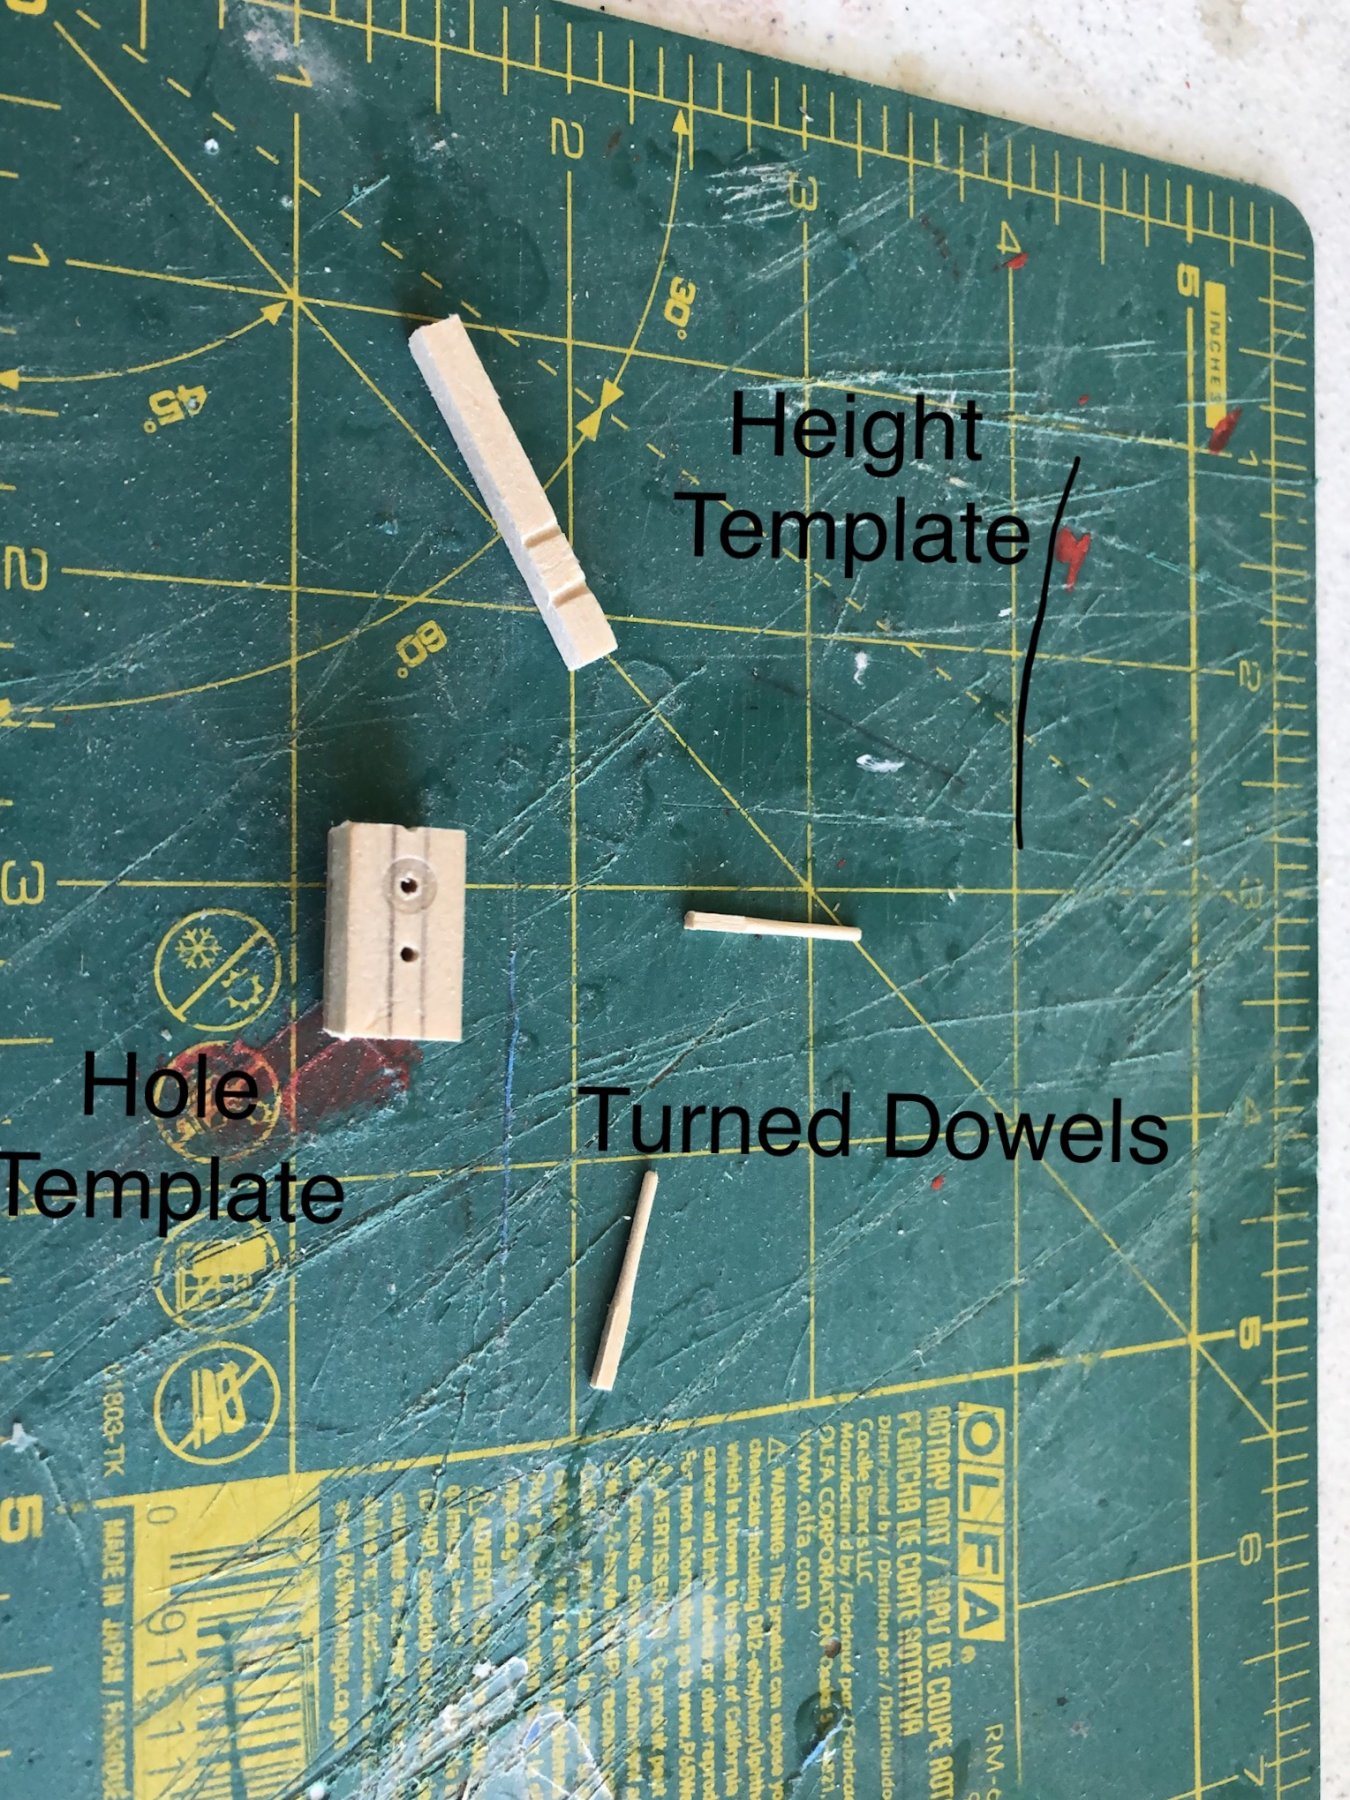
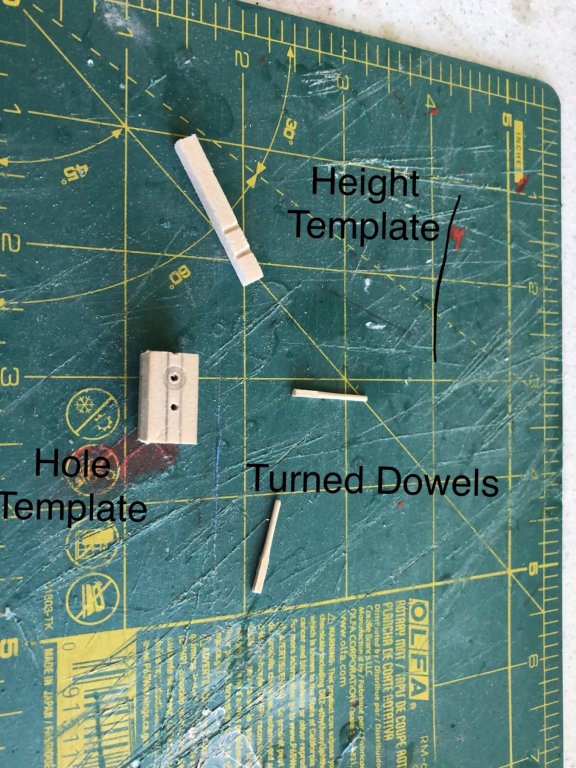
Arthur, I chucked the wood pieces tightly in the Dremel so they would not wobble and then used Squadron course sanding sticks. Usually when they first turned round, they would be 1/16”. Then I would go to medium grit sticks and finish them to 3/64” which seemed to be the next step in sanding. This size would be 1-1/8 inches in diameter prototype which seemed reasonable. They probably would have used a real hard wood. I think 1/16” would have been okay as well but 3/64” just came out well as a finished product. BTW, I used a Dremel drill press work station to hold the Dremel.
- 168 replies
-
- 2
-
-
- 18th Century Armed Longboat
- Model Shipways
- (and 1 more)
-
The Oarlocks were turned from 1/16”x1/16”x3/4”basswood with a Dremel to 3/64” round. They were cut at 5/32” height after gluing in place and then painted red to match the cap rails. I used a block of scrap basswood with two holes drilled in it as a template to position the Oarlocks.

- 168 replies
-
- 6
-
-
- 18th Century Armed Longboat
- Model Shipways
- (and 1 more)
-
Arther, I am waiting on getting some dowels. Also, this weekend is filled with activities so I may not get a whole lot done. However, I do plan to work on the Oarlocks next. I will make a template of metal to use as a drill guide so that I get all the spacings the same. I still don’t know exactly what size or color. Do you have any suggestions?
- 168 replies
-
- 1
-
-
- 18th Century Armed Longboat
- Model Shipways
- (and 1 more)
-
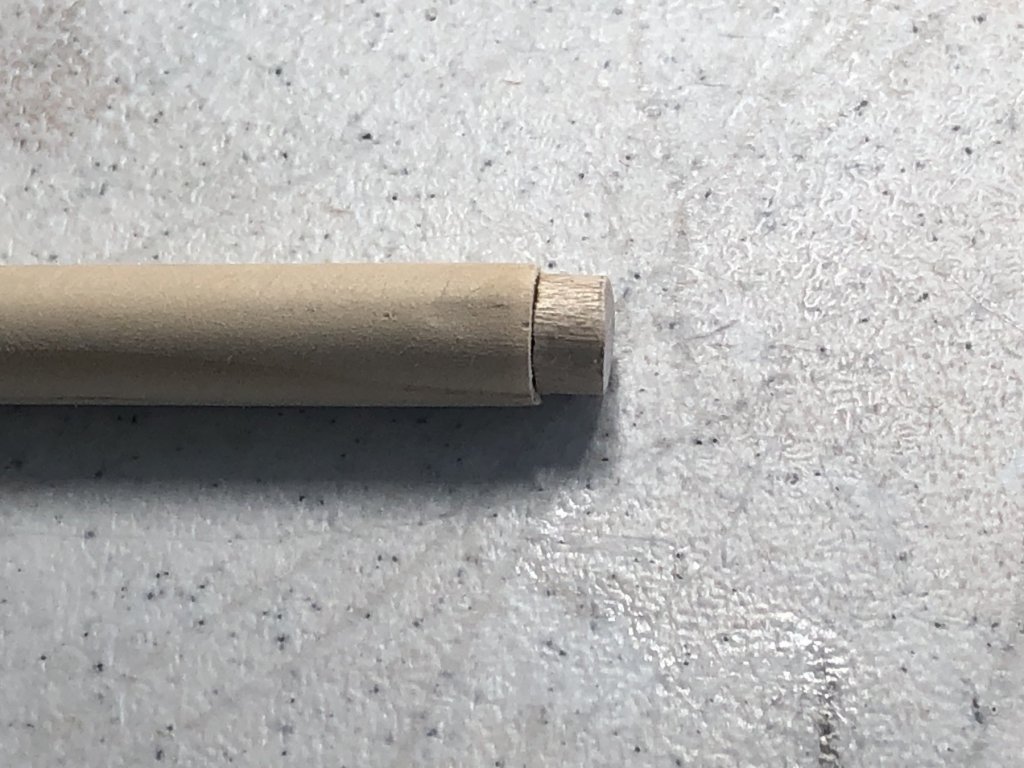
I have carved the mast from 3/8” x 3/8” basswood. In order to make the foot fit properly into the floor foot, I glued a small piece of round 5/16” round dowel on the mast foot As discussed in post #116 above, I chose to use the Medway graphics (see post #118) instead of photo etched brass provided in the kit. I have also removed the Oarlocks for now.

- 168 replies
-
- 5
-
-
- 18th Century Armed Longboat
- Model Shipways
- (and 1 more)
-
Arthur, I had already started on the photo etched approach and after talking with Chuck and seeing his work, I decided to go that route instead, especially when he graciously offered his patterns for use. I also decided to go with smaller Oarlocks as mine seemed too large and I didn’t do them as well as I liked. I have decided to make them out of small dowel (yet to be decided) without a base plate. I will probably paint them red. Chuck said it it was alright to share the friezes. I have made one for the transom of our build. Here they are for anyone interested: Side decorations - http://clearstarrynights.com/longboat/freizescaprailMS.pdf Transom decoration http://clearstarrynights.com/longboat/freizeTransomMS.pdf There are multiples at same size.
- 168 replies
-
- 3
-
-
- 18th Century Armed Longboat
- Model Shipways
- (and 1 more)
-
I have backed up a bit and will not be making any forward progress for a while. I have removed the Transom Rub Rail for good as well as the Oarlocks. I have decided to use the decorations that Chuck used on his Medway Longboat 1742 (with his permission). I used Photoshop to create an appropriately shaped Transom piece with his design. I also plan to use the decorations below the Cap Rails. I suppose I can make these available for this build. I will ask Chuck. As far as the Oarlocks, I plan to use small brass wires/rods or wire nails of appropriate diameter. Also, I have shaved a 3/8" x 3/8" basswood rod into a round mast and I am close to getting the taper done using the electric drill technique. In a day or two I hope to be able to post some progress pictures.
- 168 replies
-
- 3
-
-
- 18th Century Armed Longboat
- Model Shipways
- (and 1 more)
-
Arthur, if you want to use a 3/8” mast, it is quite easy to file the bottom of the mast to fit the mast foot. It will never show.
-
Arthur, I found Chuck Passaro's website where he discusses his 1/24 scale Medway Longboat (1742) and his mast is 3/8". I think I shall go with the 3/8" mast starting with square stock as then I will not have to change other parts as you did. I found that HD sells square basswood strips so my trip to get some was much shorter than I first thought. Anyone reading this should check how true they are before purchasing.
-
Arthur, you have confirmed what I have been trying to say. With that said, a 3/8" Main Mast would work just fine as the mast foot could be sanded just a bit to fit the floor plate and the Boom Ring, Mast Brace and Thwart Seat would all fit. Also, the inset at the mast top would work out well. I think using square basswood rod as a starting point would be ideal. The following was by GMorrison on Fine Scale Modeler in response to me about various wood types. "Try basswood strip longer than the finished part, plus whatever is needed to anchor the mast to the hull. To me, that means usually through the deck all the way down to the keel, or an inch or more in a solid hull. Take a square piece and mark on one side the taper you want. Sand the two sides flat to those marks. Flip the piece 90 degrees and mark it again on the other axis. Sand to those marks. Now you have a tapered piece, four sided. Sand the four corners so that it's an equal sided octagon in section, wider at the bottom than at the top. Now hold the end with excess length and start to draw sand it through paper held in your other hand. You'll quickly learn the feel of how to slightly rotate it and maintain a round section. I can't think of a better way to taper a spar."
-
Ken, the Traveler Ring on the Horse in the picture looks considerably smaller than the one I have which is marked/called the Horse Traveler (3/8” ID). I would think that the Boom Ring would be larger than the Horse Traveler but maybe I’m Incorrect.
-
Arthur, you say that the Mast Support Iron Bracket fits the 5/16" dowel. My bracket is way too small. Could you give me the dimension of the inside diameter of yours? Mine is 17/64”. Also, my mast foot hole is 21/64” which is only 3/64” smaller than 3/8”.
-
Thanks Ken for your reply and information. I really appreciate your response. Please read my comments to Arthur as well. Arthur, Thanks for the information. Concerning the Mast Thwart, I was planning to use card stock to make a collar for the mast to bring it up to 3/8”. Ken kindly replied and affirmed that the 5/16” mast stock and labeled parts were correct. My biggest concern is the size of the mast at the 3” mark above the foot to get the boom ring to fit. It will be quite a bit smaller than 5/16”.
-
Lowes has oak and poplar while HD has aspen. I wonder which of these woods is the best for carving and staining?
-
Thanks, I'll check there.
-
I have to scale the plan sheets to 93% in Photoshop to get things to work out. I think I am going to try a 3/8" dowel if I can find one, if not, a two hour round trip to Hobby Lobby is next. The item marked Horse Traveler has an ID of 5/16". A 3/8" dowel can be worked down to fit this piece as well as the Mast Brace.
-
Arthur, your boat really looks good. The trim pieces really make the boat stand out. I can't wait to get mine on although I will probably work in the order of the manual. I think your tiller came out very well. I glued my tiller into the rudder and, without thinking, cut the excess off the back side - not a serious error I hope. On another note, I am having problems with the main mast (see my last post) and I think your discovery that the mast brace was too large for the 5/16" mast is an issue that may mean the mast dowel provided is too small.
-
I have run into a potential problem with the main mast. The main mast is to be made from 5/16" dowel. The Boom Iron Strap is to be located 3" up from the bottom. The mast is to be tapered from the 3" mark at the bottom end to the top of the mast. Now the Boom Iron Strap (which I assume is the Boom Ring in the Cast Metal Parts list picture below as there is no other part big enough except for the Horse Traveler which is too large) has an inside diameter of 1/4" which is way smaller than the plans or material provided. The only possibility is that the Boom Ring and Horse Traveler are labeled incorrectly. My guess is that they are; however, the one labeled Horse Traveler is way too large for the 5/16 mast shaft. Arthur pointed out that the Mast Brace seems too large as well which leads me to wonder if the dowel rod for the mast should be 3/8" instead of 5/16". Maybe someone or xken could help me out with this one.
- 168 replies
-
- 3
-
-
- 18th Century Armed Longboat
- Model Shipways
- (and 1 more)
-
Hello Curtis, I hope you have had time to start your 18th Century Armed Longboat. This boat is a lot of fun and there are several of us doing build logs. Join us when you can.
-
Arthur, I used Jax Pewter Black. I poured some in a kitchen measuring glass shot glass and soaked the parts for about five minutes and then cleaned with Dawn and water. Prior to this I cleaned the parts in alcohol. I am also going to try Birchwood Brass Black on the horse. Hope this helps. Paul
-
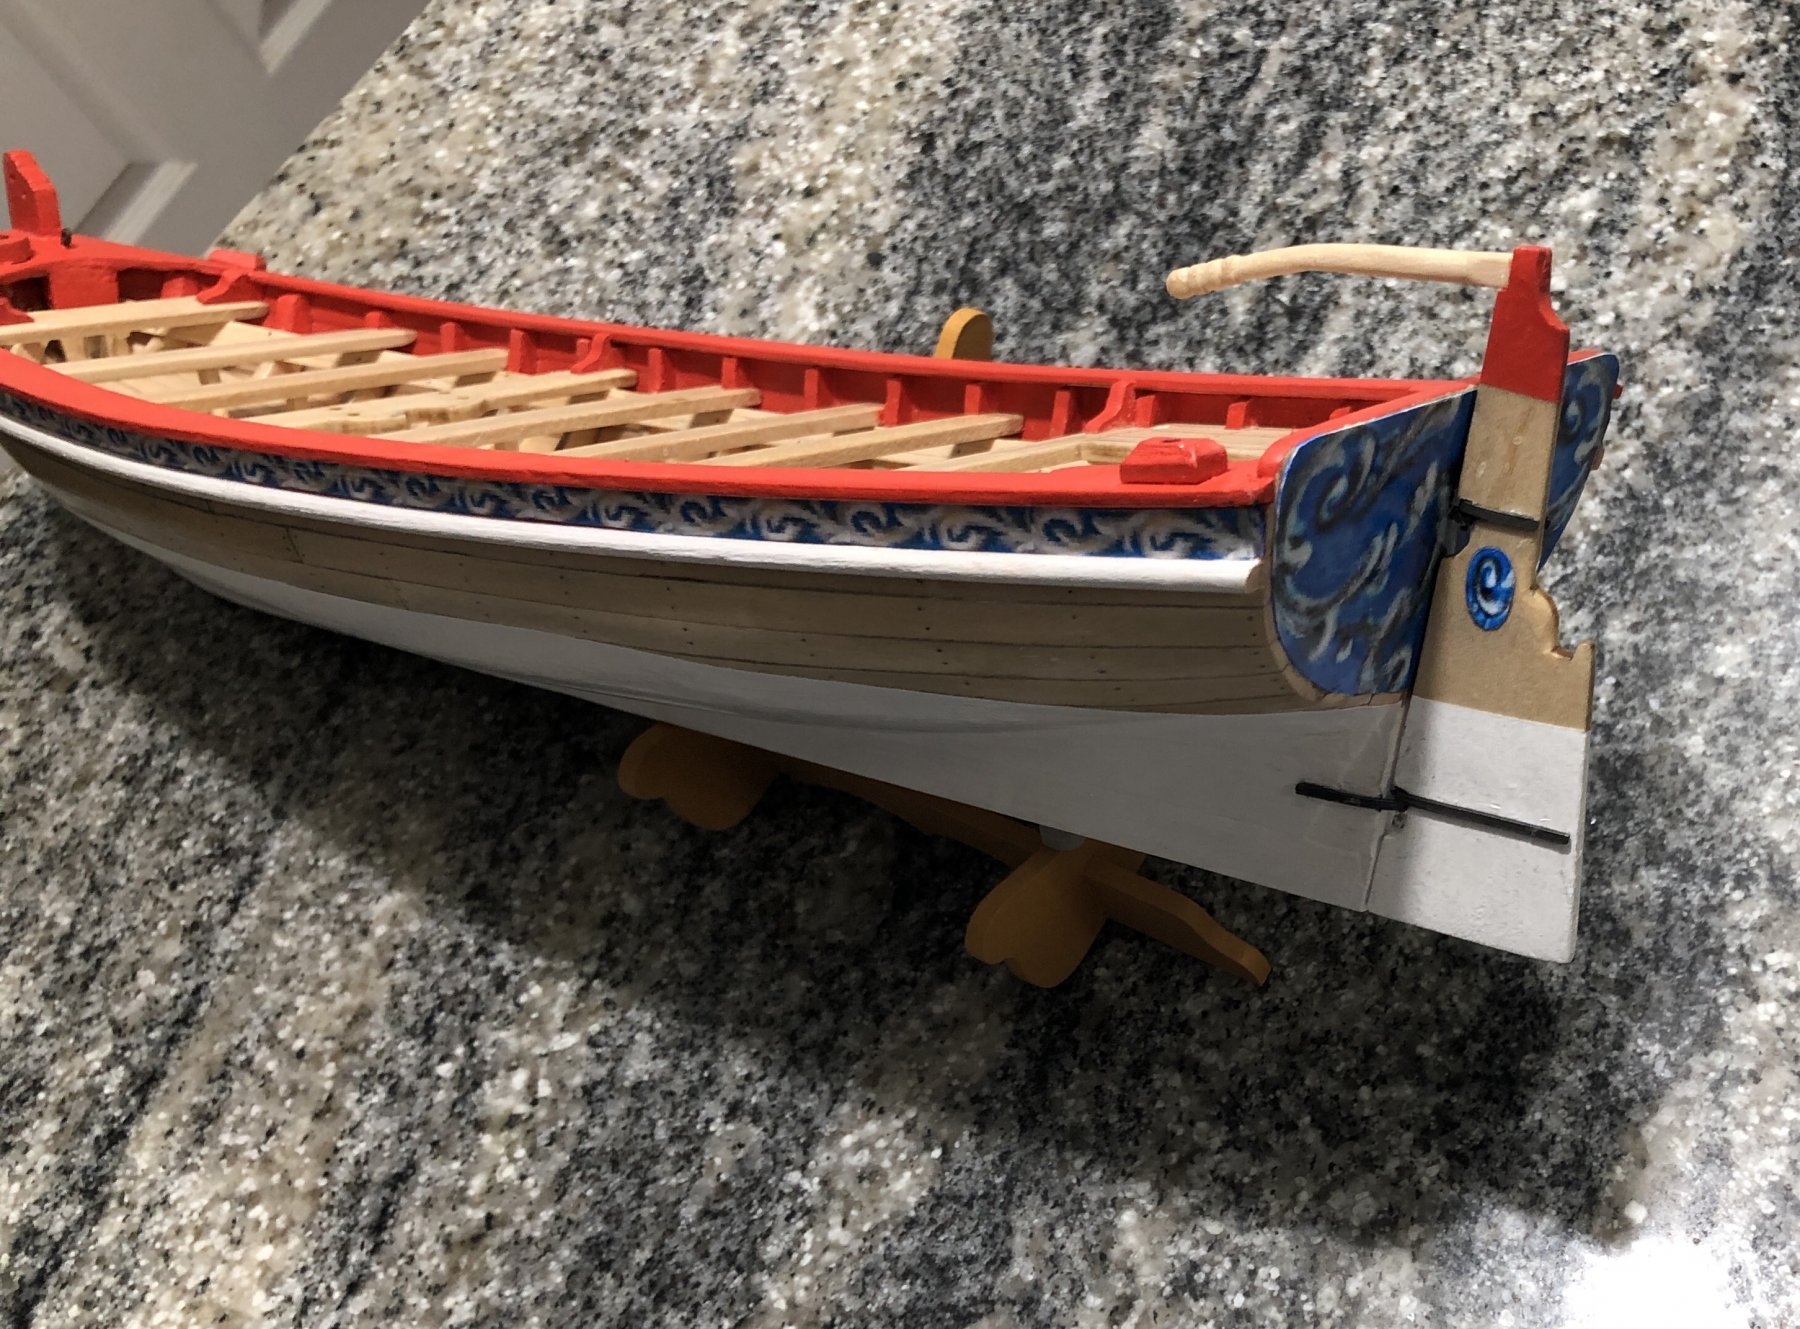
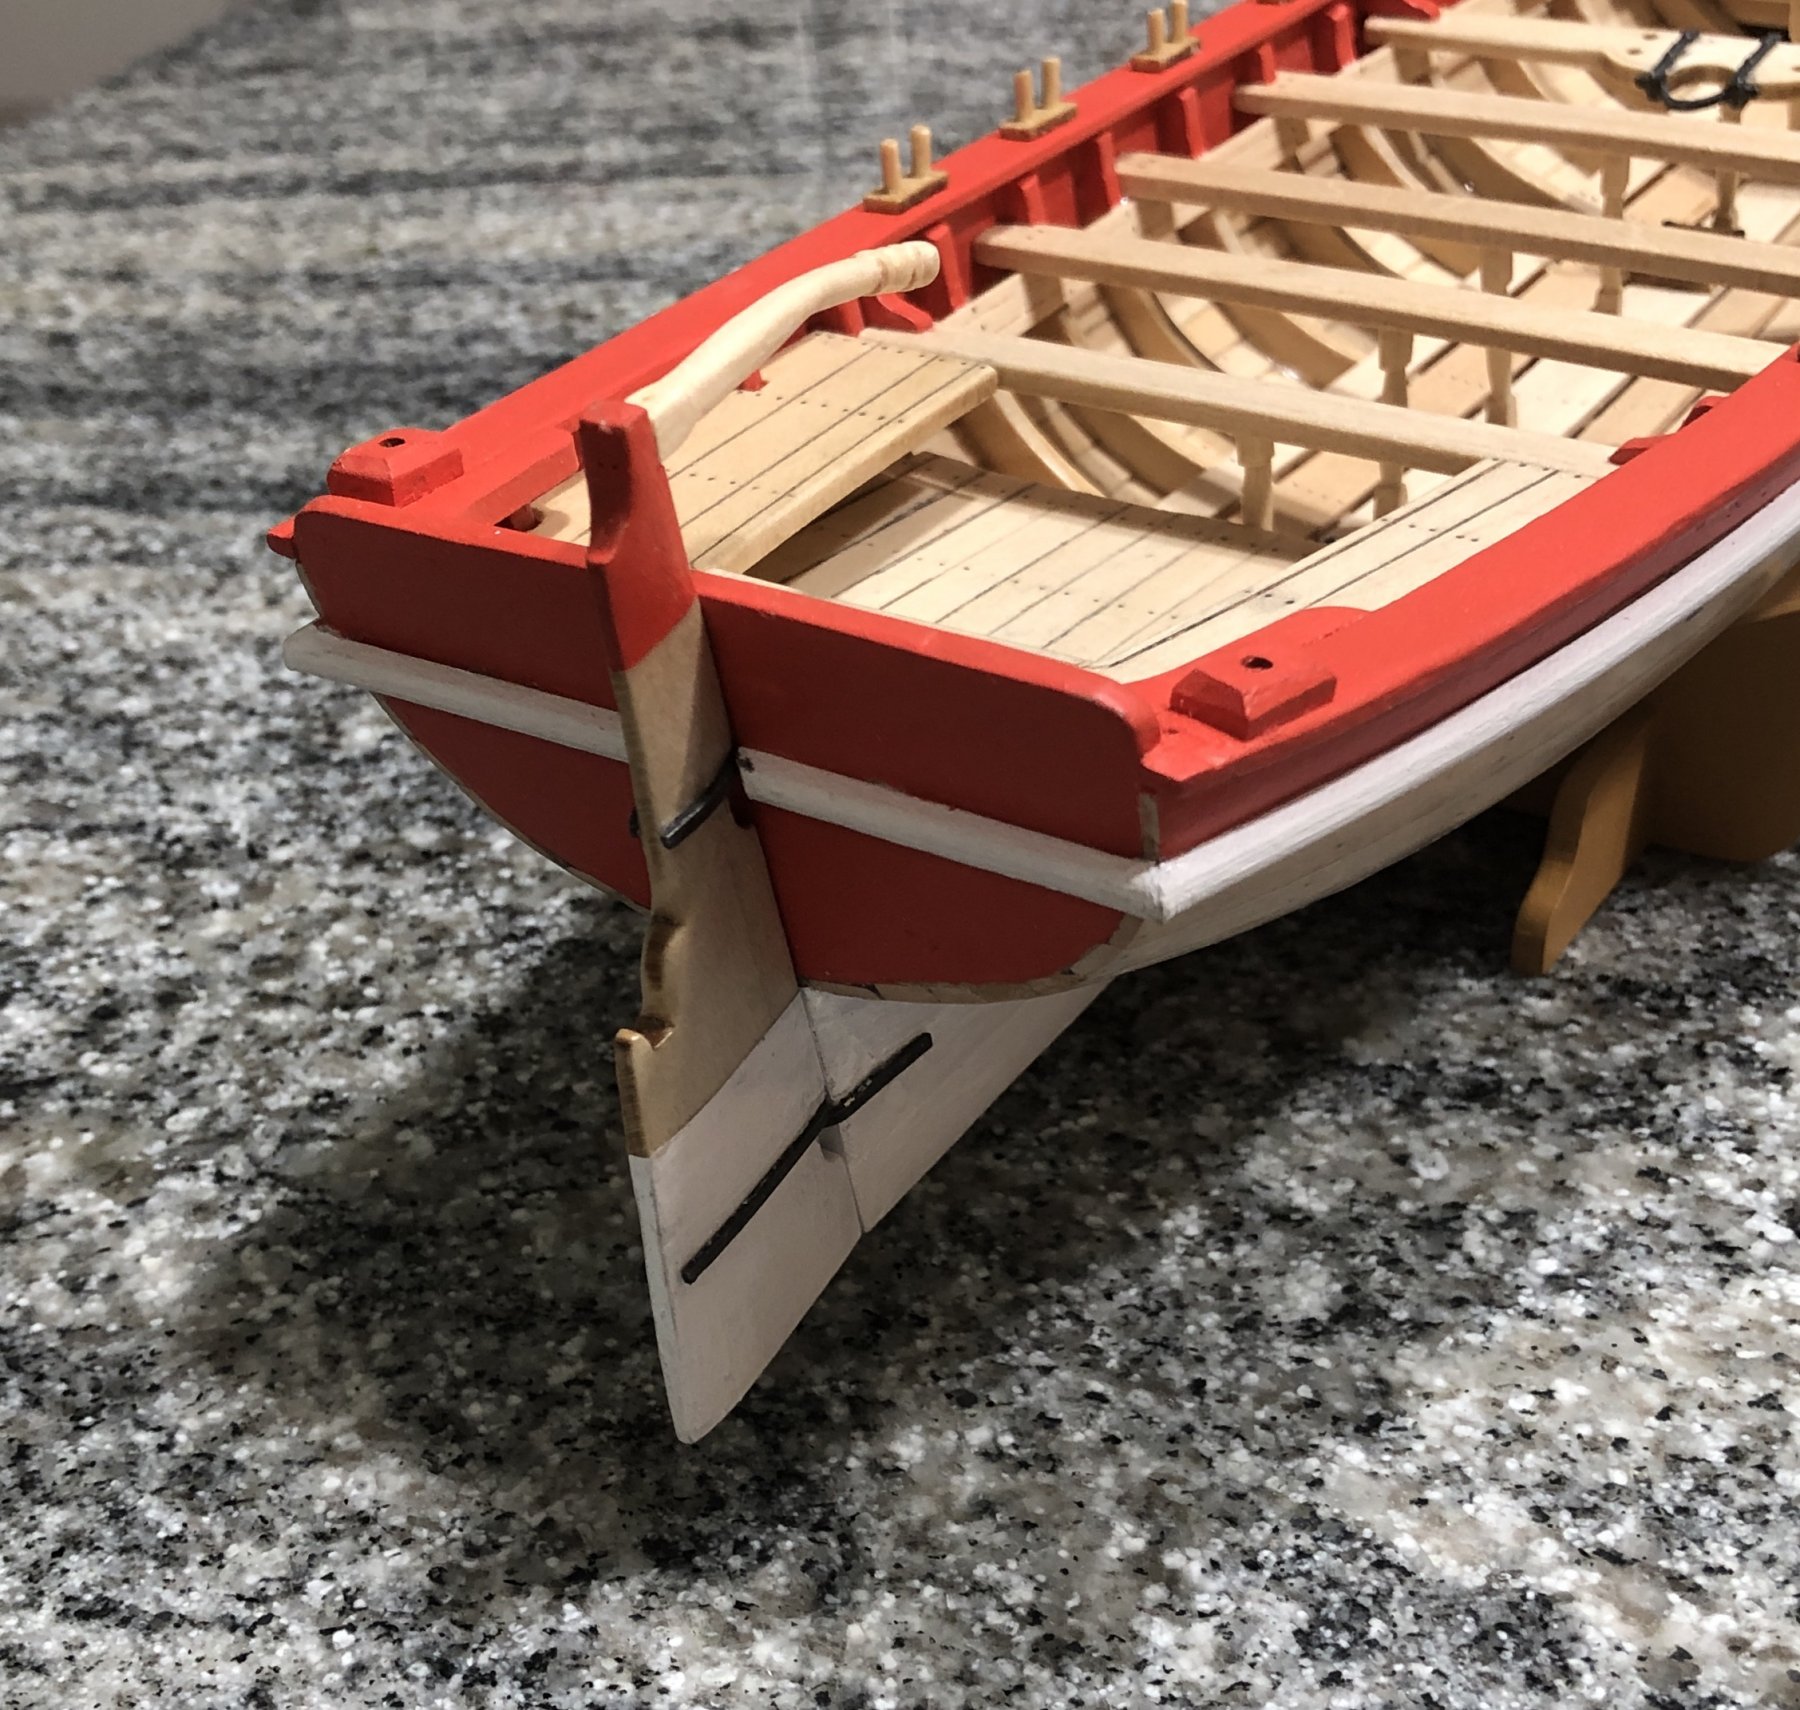
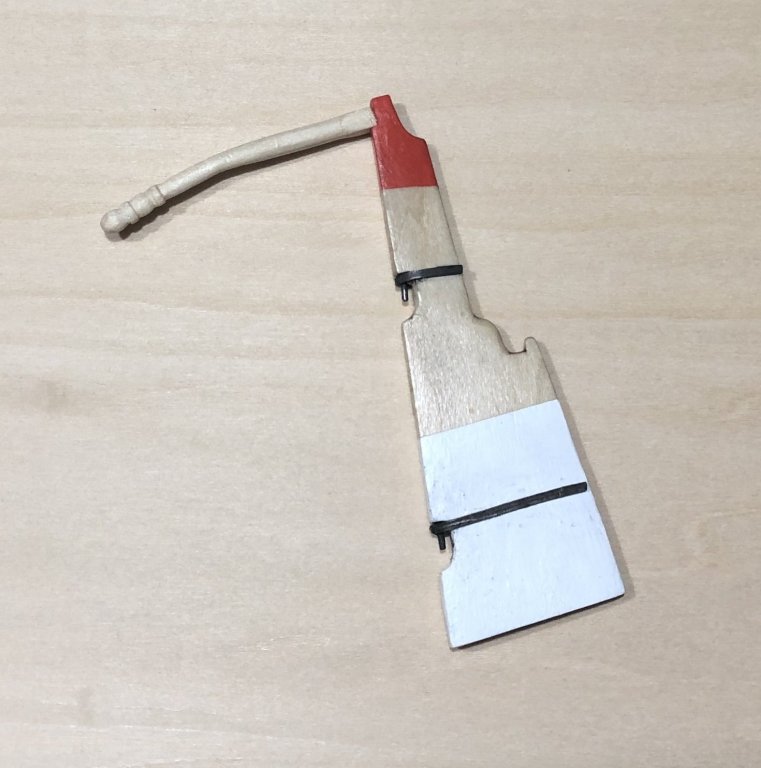
Finished painting the hull and making the rudder assembly. After masking off the hull, I gave one coat of primer, two coats of white and one coat of satin finish. Next up was the transom. Same treatment as for the hull except red paint instead of white. The tiller was made in a manner as partly described in post #92. The rudder was shaved down as per instructions, given two coats of clear satin, masked off for the painting of the red and white parts, painted, and then given a coat of clear satin to seal. The pintles, gudgeon and eyebolt were blackened using pewter black and then fastened to the rudder and hull respectively with CA. The one minor error was that I failed to paint the white part of the rudder perpendicular to the front edge instead of the rear edge. Hey, I’m good with it. 😎


- 168 replies
-
- 7
-
-
- 18th Century Armed Longboat
- Model Shipways
- (and 1 more)
-
Looks like it’s coming along quite well. I’m curious as to how your decking is going to turn out. It sounds interesting.
-
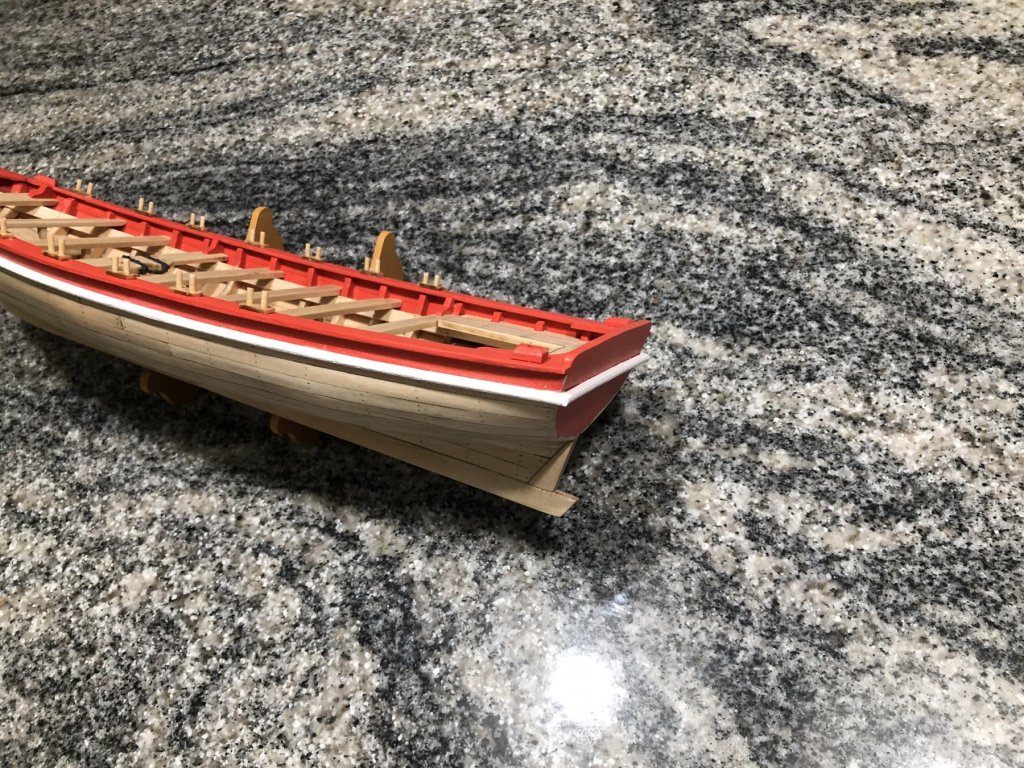
For the rub rails I decided to use some 1/8” x 1/8” x 24” basswood from my stock and make one piece rails shaping using the scraper described in post entry #85. After hot water forming and painting, I decided on essentially a non-clamp approach. One clamp was used at the stem around the keel to keep the rails pinned to the hull while using medium CA every three to four inches along the rails down to the transom in order to tack the rails in place. Then super thin CA was run down the rails as per instructions. The transom rub rail was tacked with medium CA only a couple of places and will be glued later with thin CA after the rudder notch is made. The only problem I had was probably my fault. I cannot remember if I used satin finish on the transom before I painted it red. Anyway, when gluing on the transom rub rail, the red paint would pull off and not adhere well when the CA was applied. I think this will be a problem anytime paint is applied over clear satin.

- 168 replies
-
- 7
-
-
- 18th Century Armed Longboat
- Model Shipways
- (and 1 more)