
HOLIDAY DONATION DRIVE - SUPPORT MSW - DO YOUR PART TO KEEP THIS GREAT FORUM GOING! (Only 72 donations so far out of 49,000 members - Can we at least get 100? C'mon guys!)
×


Dr PS - Paul Schulze
-
Posts
304 -
Joined
-
Last visited
Content Type
Profiles
Forums
Gallery
Events
Everything posted by Dr PS - Paul Schulze
-
 This is probably a somewhat silly inquiry. I am working on the Model Shipways 18th Century Armed Long Boat. When I first looked at the instructions, I got the stem and stern reversed as only the center or 0 bulkhead was marked for placement of the strake joints. Therefore my placements of the joints are now on the way to being 180 degrees out of phase from aft to bow. Since I am only two strakes beyond the garboard, I could continue, or I could start correcting or I could start over. I would prefer to not start over as the completed strakes were very difficult. Which of (1), continuing on, or (2), start correcting, would the forum suggest? I am thinking that it probably does not really matter but I would appreciate experienced feedback.
 -
Working very slowly on building this boat and wish to share a couple of things I have found which worked for me. When fairing the bulkheads, I also found some bulkheads are too low. Rather than replace them I carefully used something like Testors or other suitable Contour Putty to build up low areas. How this will look on the inside remains to be seen although I use it sparingly and keep it off the sides. Additionally, when bending strikes, I found that soaking the planks in near boiling water for a few minutes, clamping in place followed by judicious use of a heat gun on low, worked very well so far for me.
-
If the nails are for looks and not for holding, their is a log I saw on this site where a build showed black monofilament line inserted into predrilled holes.
-
Thanks Gregory. This is starting to make sense.
-
Gregory, referring to the above photo, is the next plank to the garboard a straight plank which is cut angled at the end and bent into place? I am asking this as it seems this will have something to do with how I cut my garboard which is very much like the one shown here.
-
The garboard on my model does not meet the bow but is supposed to terminate three bulkheads short. It then appears to curve outward from the keel towards the stern. Would using masking tape work here or is there a better way? It looks like the curvature (near the center of the curve) of the cut generally points towards the stern in all cases. However, in your case, the curvature points below the keel. In my case, the curvature points above the keel. So if you move from your case to my situation on different models , it looks like the curvature will move from somewhere below the keel to somewhere above the keel. Does this sound reasonable? Note: Curvature points along a radius away from the curve.
-
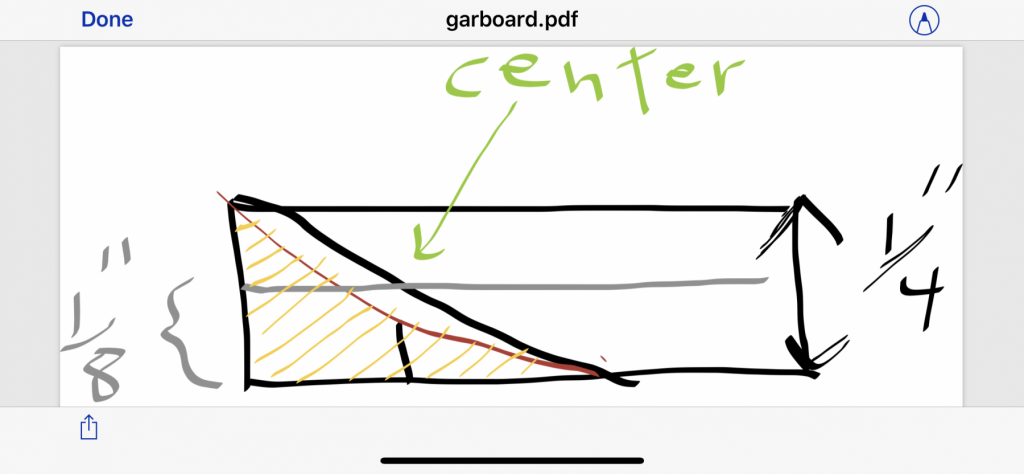
I think maybe I might have it. After looking at logs and studying the shapes of garboards, I think this quick sketch might show what the instructions are trying to say. The striped area would be cut away. Does this seem reasonable? The plank is 1/4 inch wide. Do most builders just make the shape of the garboard by looks so that it has a smooth flow into the keel or what?
-
I am going to start building the relatively new Model Shipways 18th Century Armed Long Boat 1/24th Scale. This will be the first planking I have ever done. I have read many logs of the earlier MS 18th Century Armed Long Boat builders in preparation for this adventure. I have also being studying the various articles on planking. I have a very specific question concerning the garboard shaping on the Armed Long Boat. It involves a specific step in the instruction manual. The particular step is as follows: "Now start planking at the Keel by cutting an angle from the dry end corner 1-3/4” down to the opposite side of the plank. Then at the center of the line add a 1/16” mark and then draw an arcing curve from the center point to the ends of the angled line. Now cut the curve." For sure, is the 1-3/4" along the diagonal or the base? It reads like it is along the diagonal but I want to make sure. Also, I am unclear as how to draw the arcing curve to be cut. Where is the focus of the curve? As it reads, how would you draw a smooth curve through thee points which lay in a straight line? Also, I assume the 1/16" mark is just that, a mark indicating the center of the line. if not then what? I hope those of you with building experience can explain this instruction. I might be making this more complicated than it is. Instead, is there a simple way to do this? In advance, I really appreciate this site and its bounty of resources and help. Its members are the best. Paul Schulze
-
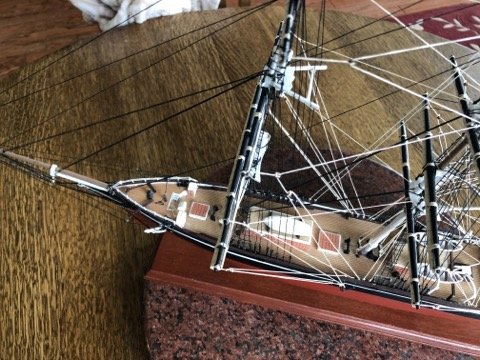
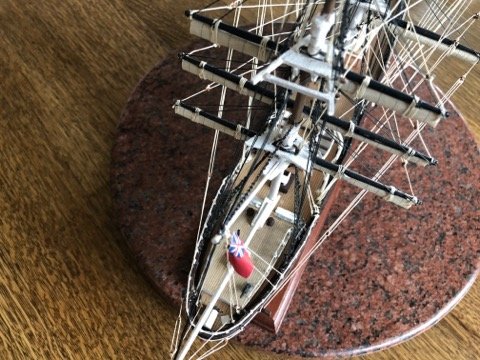
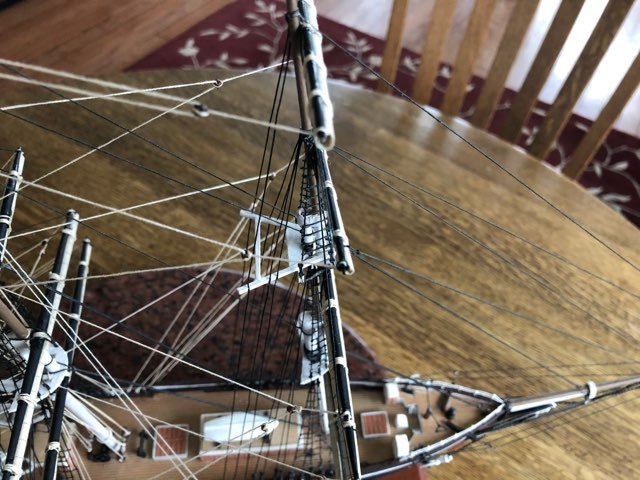
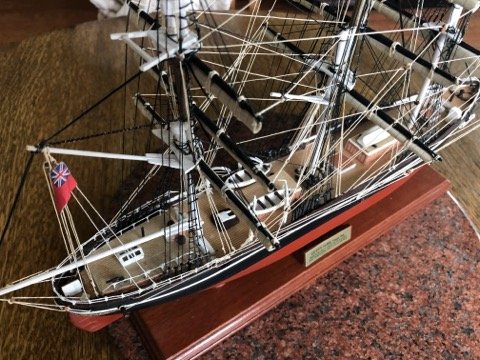
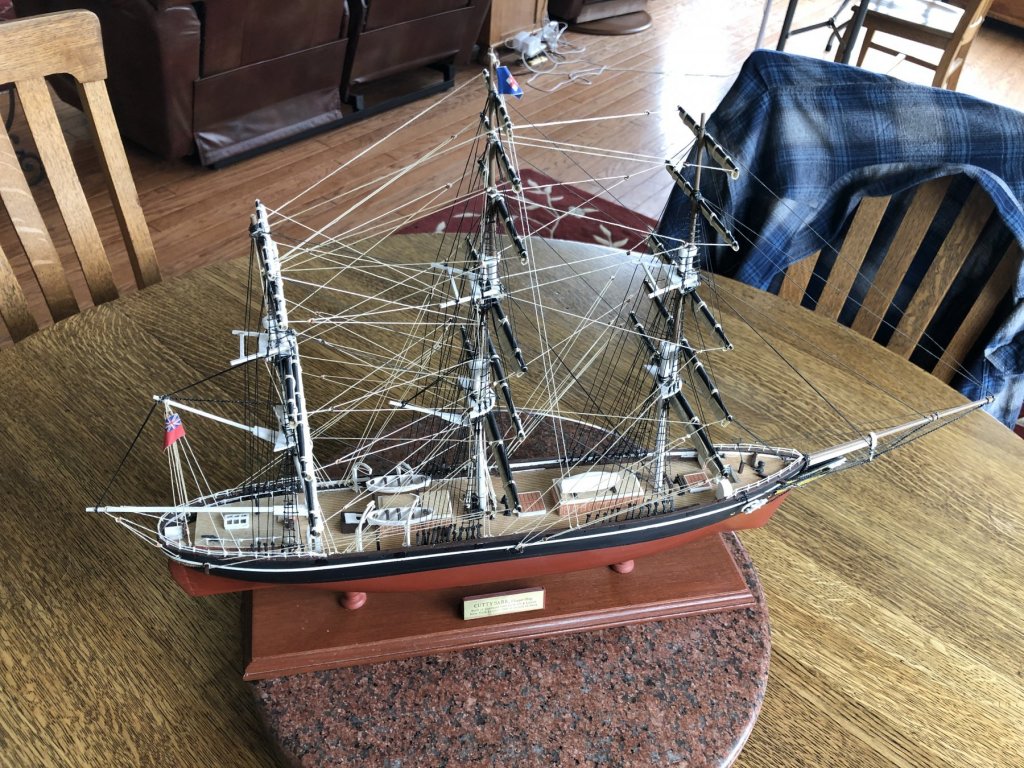
I just finished a Scientific Cutty Sark kit #163 which I had started many years ago. Last year around February, I decided to finish it, so I dug the box out of storage only to find half of the material was missing. Since I had the hull nicely shaped a sanded smoothly, I went to eBay and found another kit for sale. When I go it, I found it had a different set of plans than the one I had. My original kit did not have a several page booklet of instructions plus a different "lifelike" plan sheet. Also, some details and expected parts were not included. I decided to used the newer more detailed plans and made adaptations as needed. One real difference I found, was the space between the poop deck and the pin rail near the steering box was almost non-existent. Also, I decided to go with rolled up sails on the fore, main and mizzen masts. Well, I finished her last week although at times I wondered if I would get her done. I send my encouragement to you to hang in there and take your Cutty Sark to the finish line. Paul
.jpg.f8f7e8592c31e5c7f6f357a7b439615e.jpg)

-
Should I build Benjamin Latham?
Dr PS - Paul Schulze replied to Dr PS - Paul Schulze's topic in Wood ship model kits
I think that I have decided to go with the Armed Longboat 18th Century, 1750-1760 by Model Shipways. It looks like a good boat to learn plank-on-bulwark. I feel good about rigging so I think I can figure that out on a more complex build. Also, I like the looks of the longboat and think it will make a nice finished piece. I will study other build logs and attempt to do one myself. I really appreciate all the help I received as now I think I can go into this next project with more confidence. Thanks, Paul -
Should I build Benjamin Latham?
Dr PS - Paul Schulze replied to Dr PS - Paul Schulze's topic in Wood ship model kits
Mark, I plan to kit build, so I think I probably have all the tools I need to do the job. Thanks -
Should I build Benjamin Latham?
Dr PS - Paul Schulze replied to Dr PS - Paul Schulze's topic in Wood ship model kits
I forgot to mention that I have a good drill press. I can also use the table saw as a disc sander. -
Should I build Benjamin Latham?
Dr PS - Paul Schulze replied to Dr PS - Paul Schulze's topic in Wood ship model kits
I have the usual assortment of hand tools, a Dremel, a variable speed hand drill, and a small jig saw for model building. For big stuff, I have a table and a mitre saw. If you were to recommend one additional good small power tool, what would it be? -
Should I build Benjamin Latham?
Dr PS - Paul Schulze replied to Dr PS - Paul Schulze's topic in Wood ship model kits
I appreciate everyone's reply on this. I have another question based on a build log that I just found. Can this ship be built from the Model Shipways kit without power tools? Paul Schulze Stephenville, Texas -
Would a newbie to plank-on-bulkhead be able to have reasonable success with the Model Shipways Benjamin Latham? I have finished an old Scientific Models solid hull Cutty Sark and want to try a more advanced build. Is the Latham skill level too high? Any suggestions would be appreciated.
-
attaching yard to masts
Dr PS - Paul Schulze replied to Jparsley's topic in Masting, rigging and sails
On 1:100 and smaller scale, has anyone tried notching the yards a bit with a Dremel to fit the masts ?


