

.jpg.01e54eff8de6be562e7bc1146f40d40a.jpg)
Matt D
-
Posts
606 -
Joined
-
Last visited
Content Type
Profiles
Forums
Gallery
Events
Posts posted by Matt D
-
-
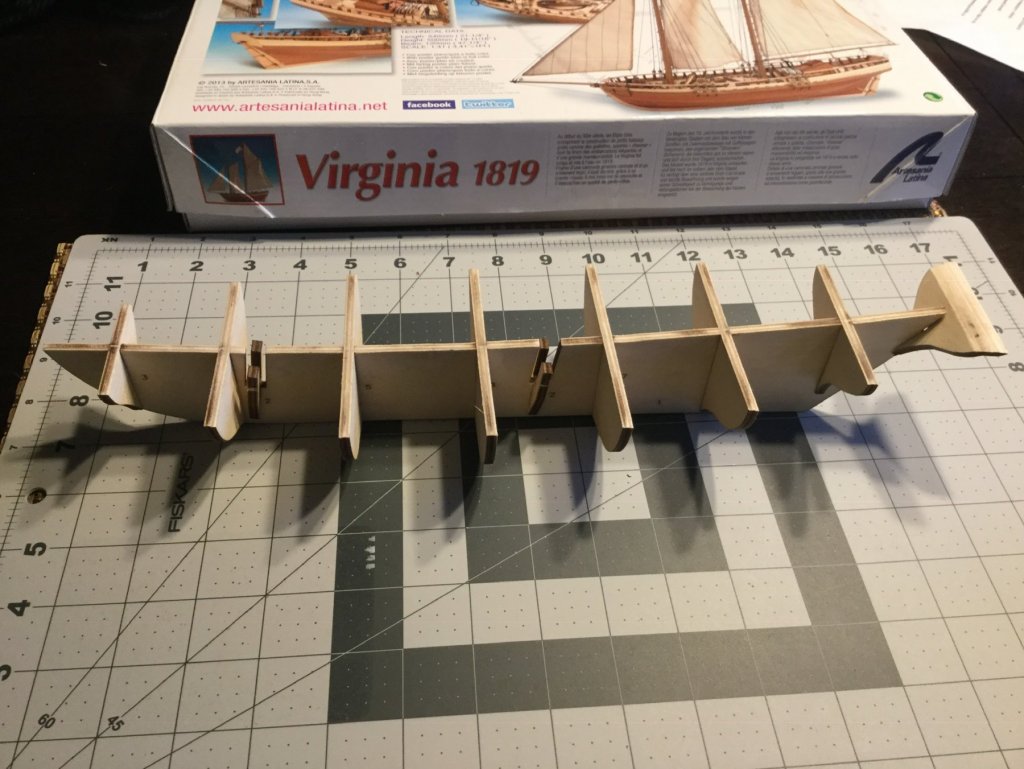
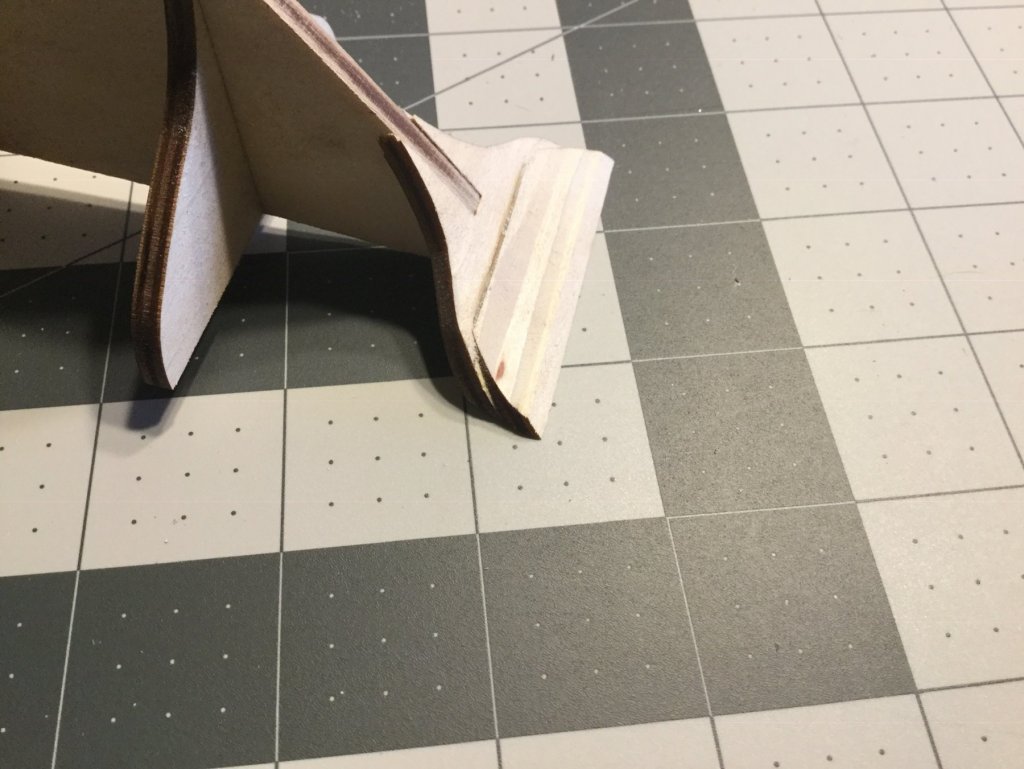
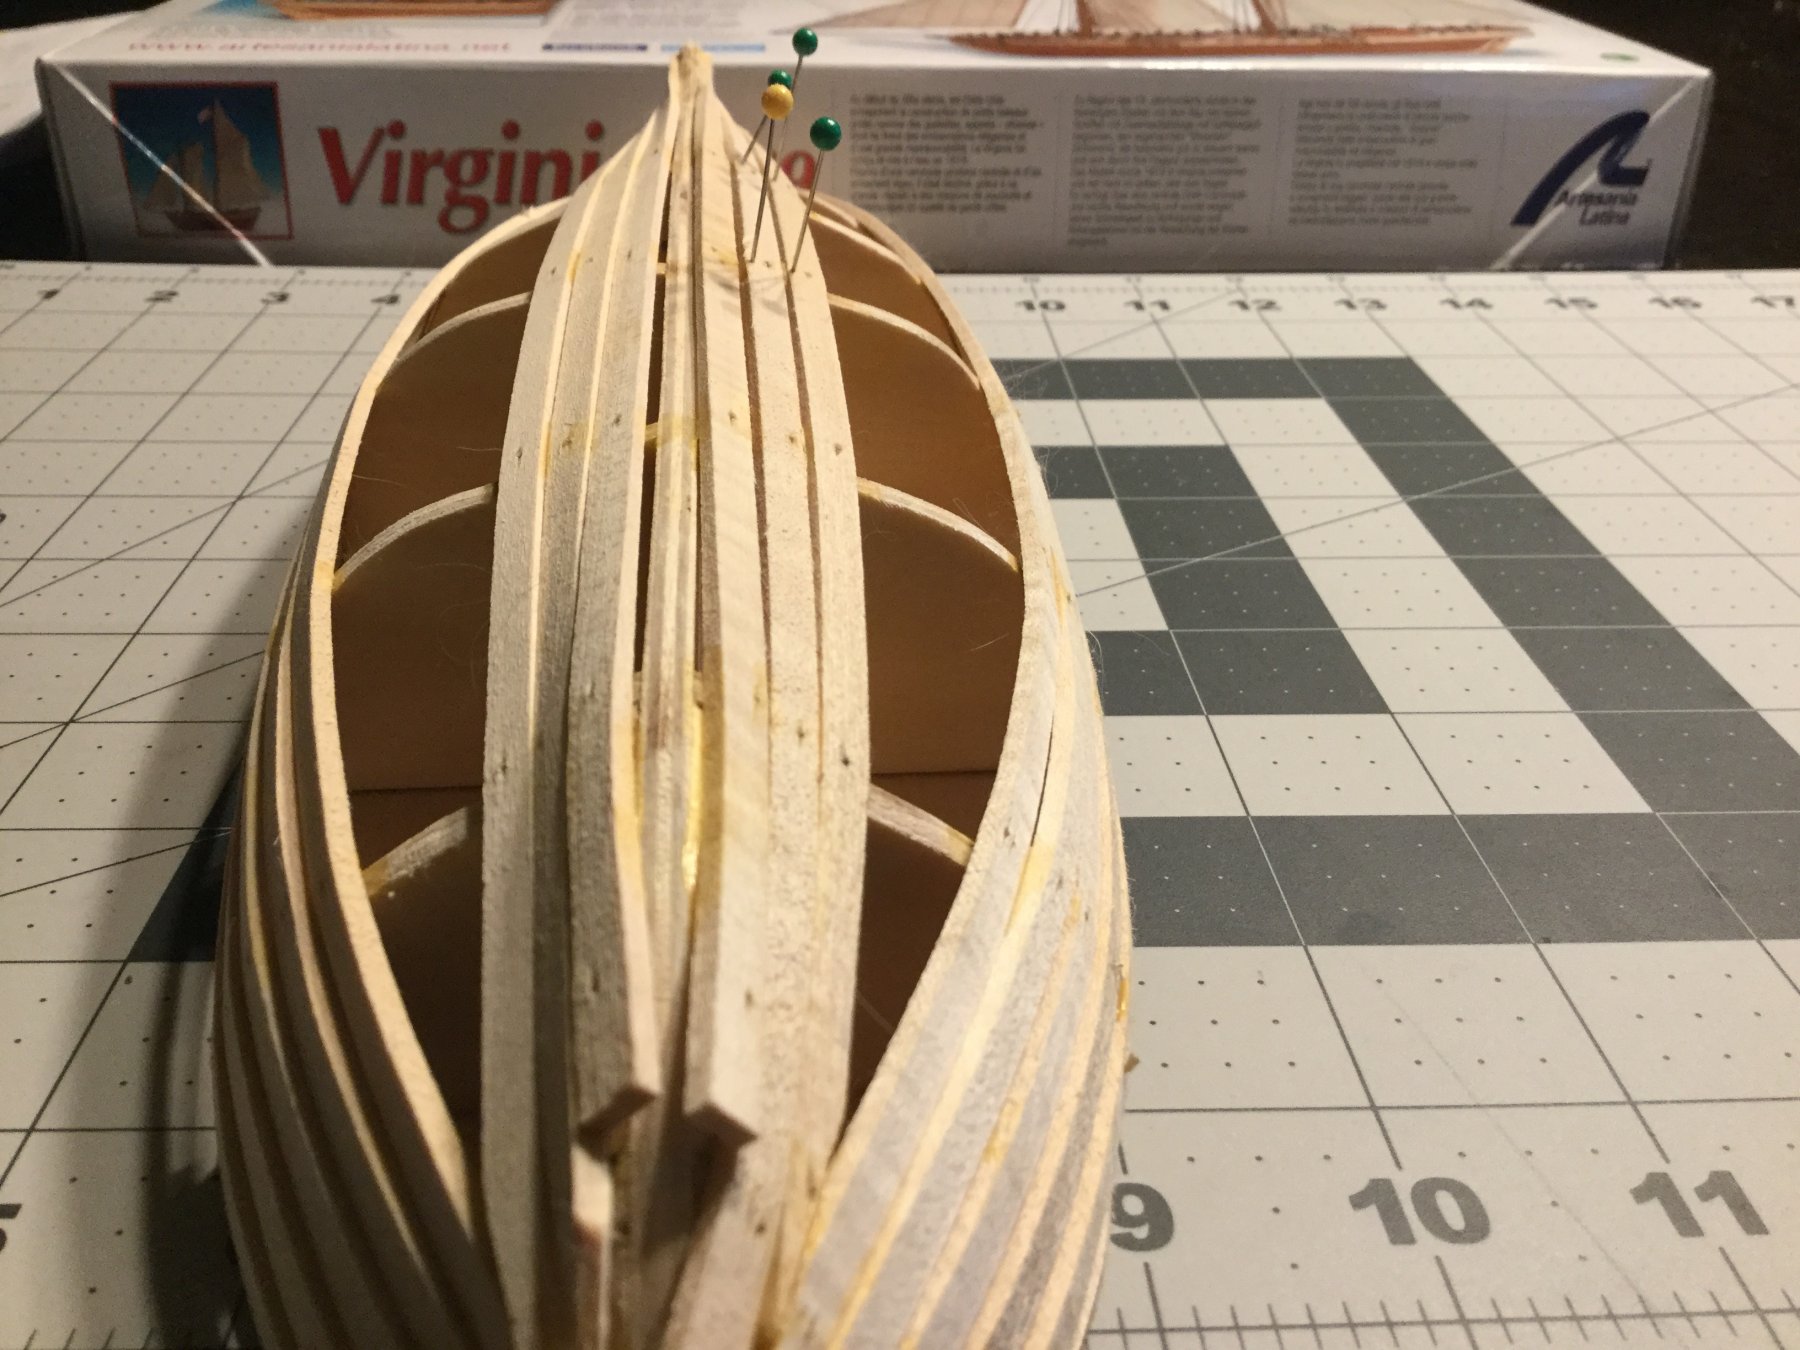
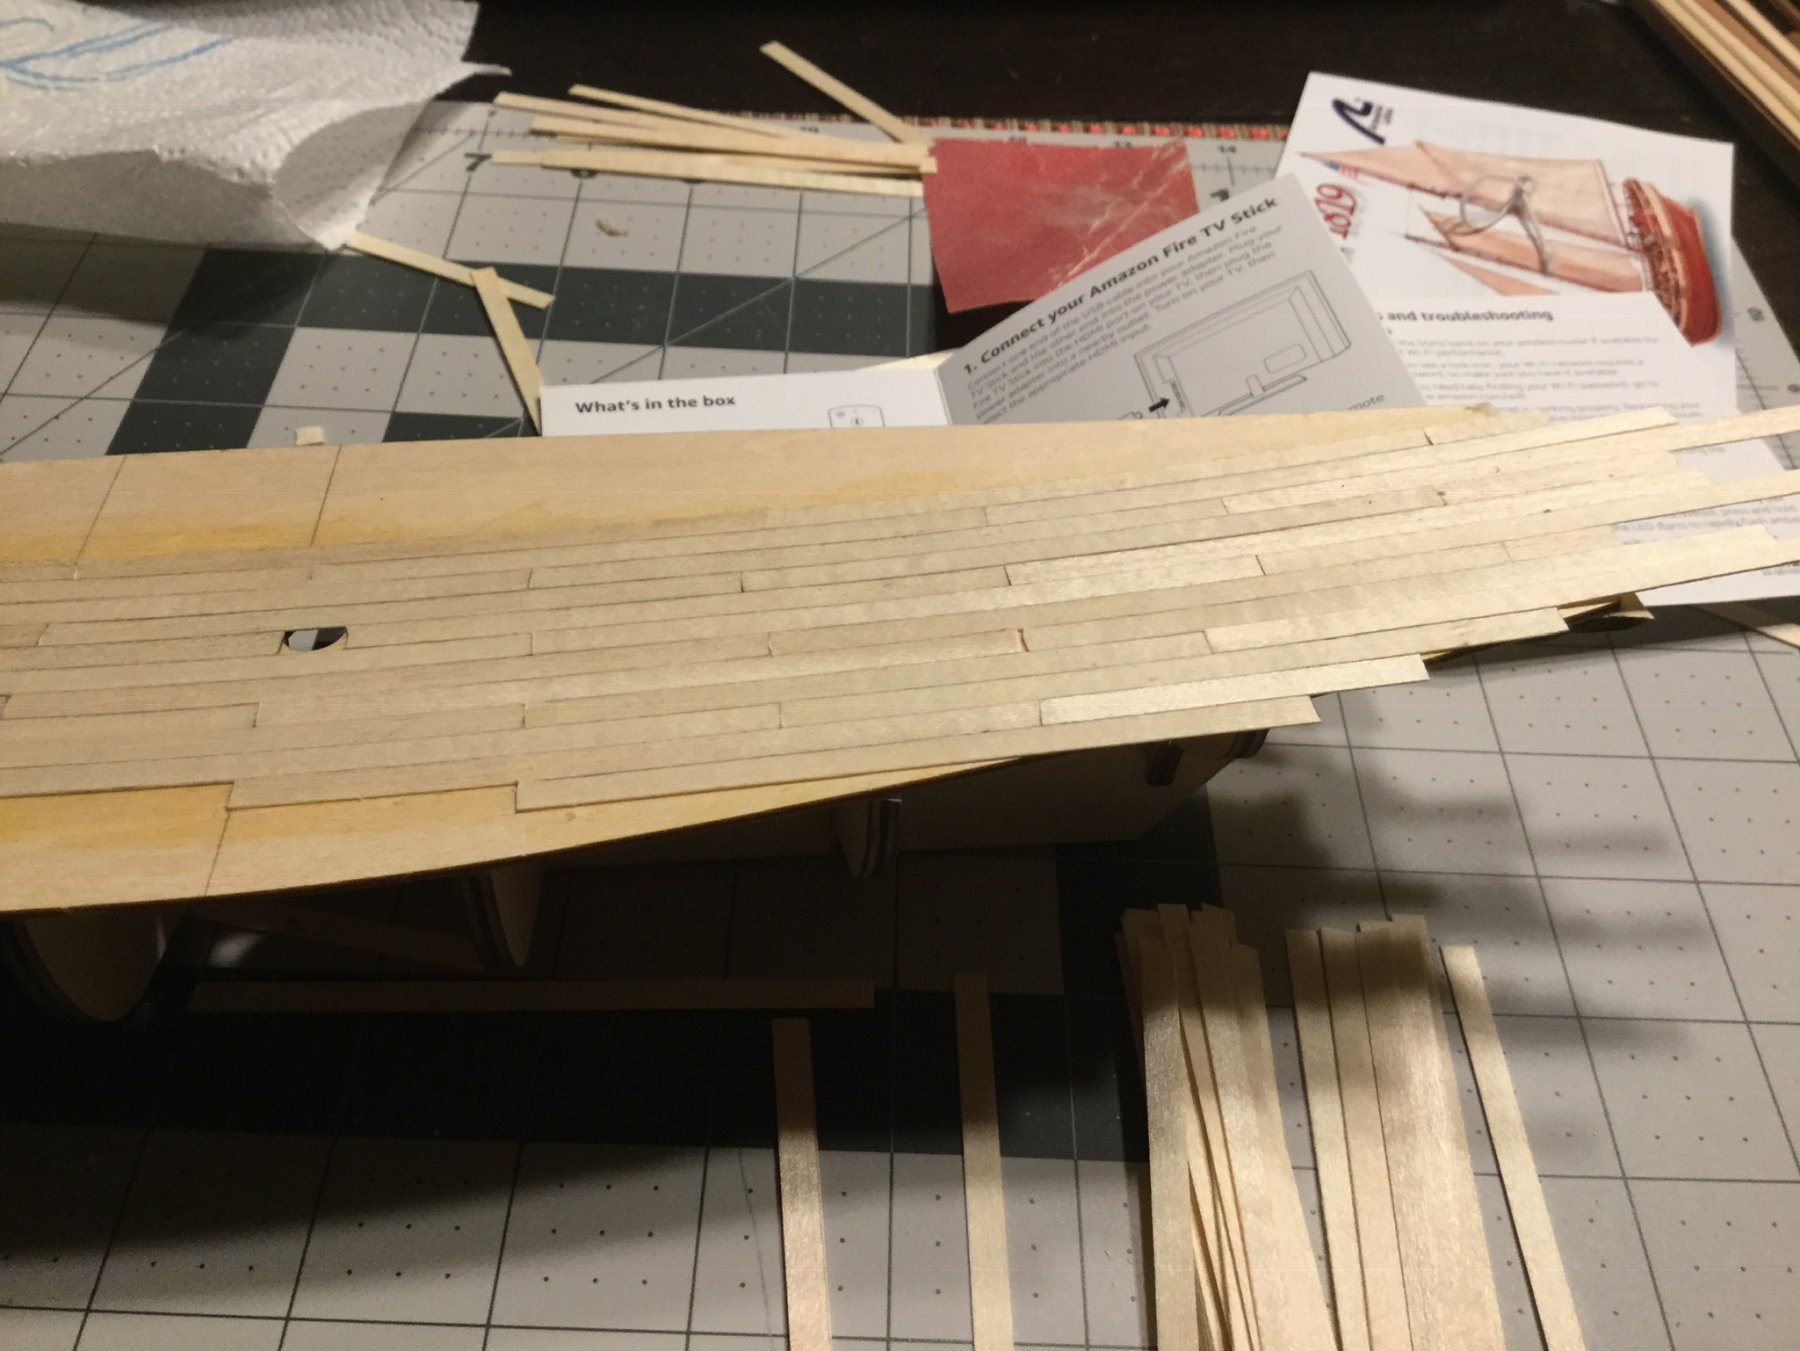
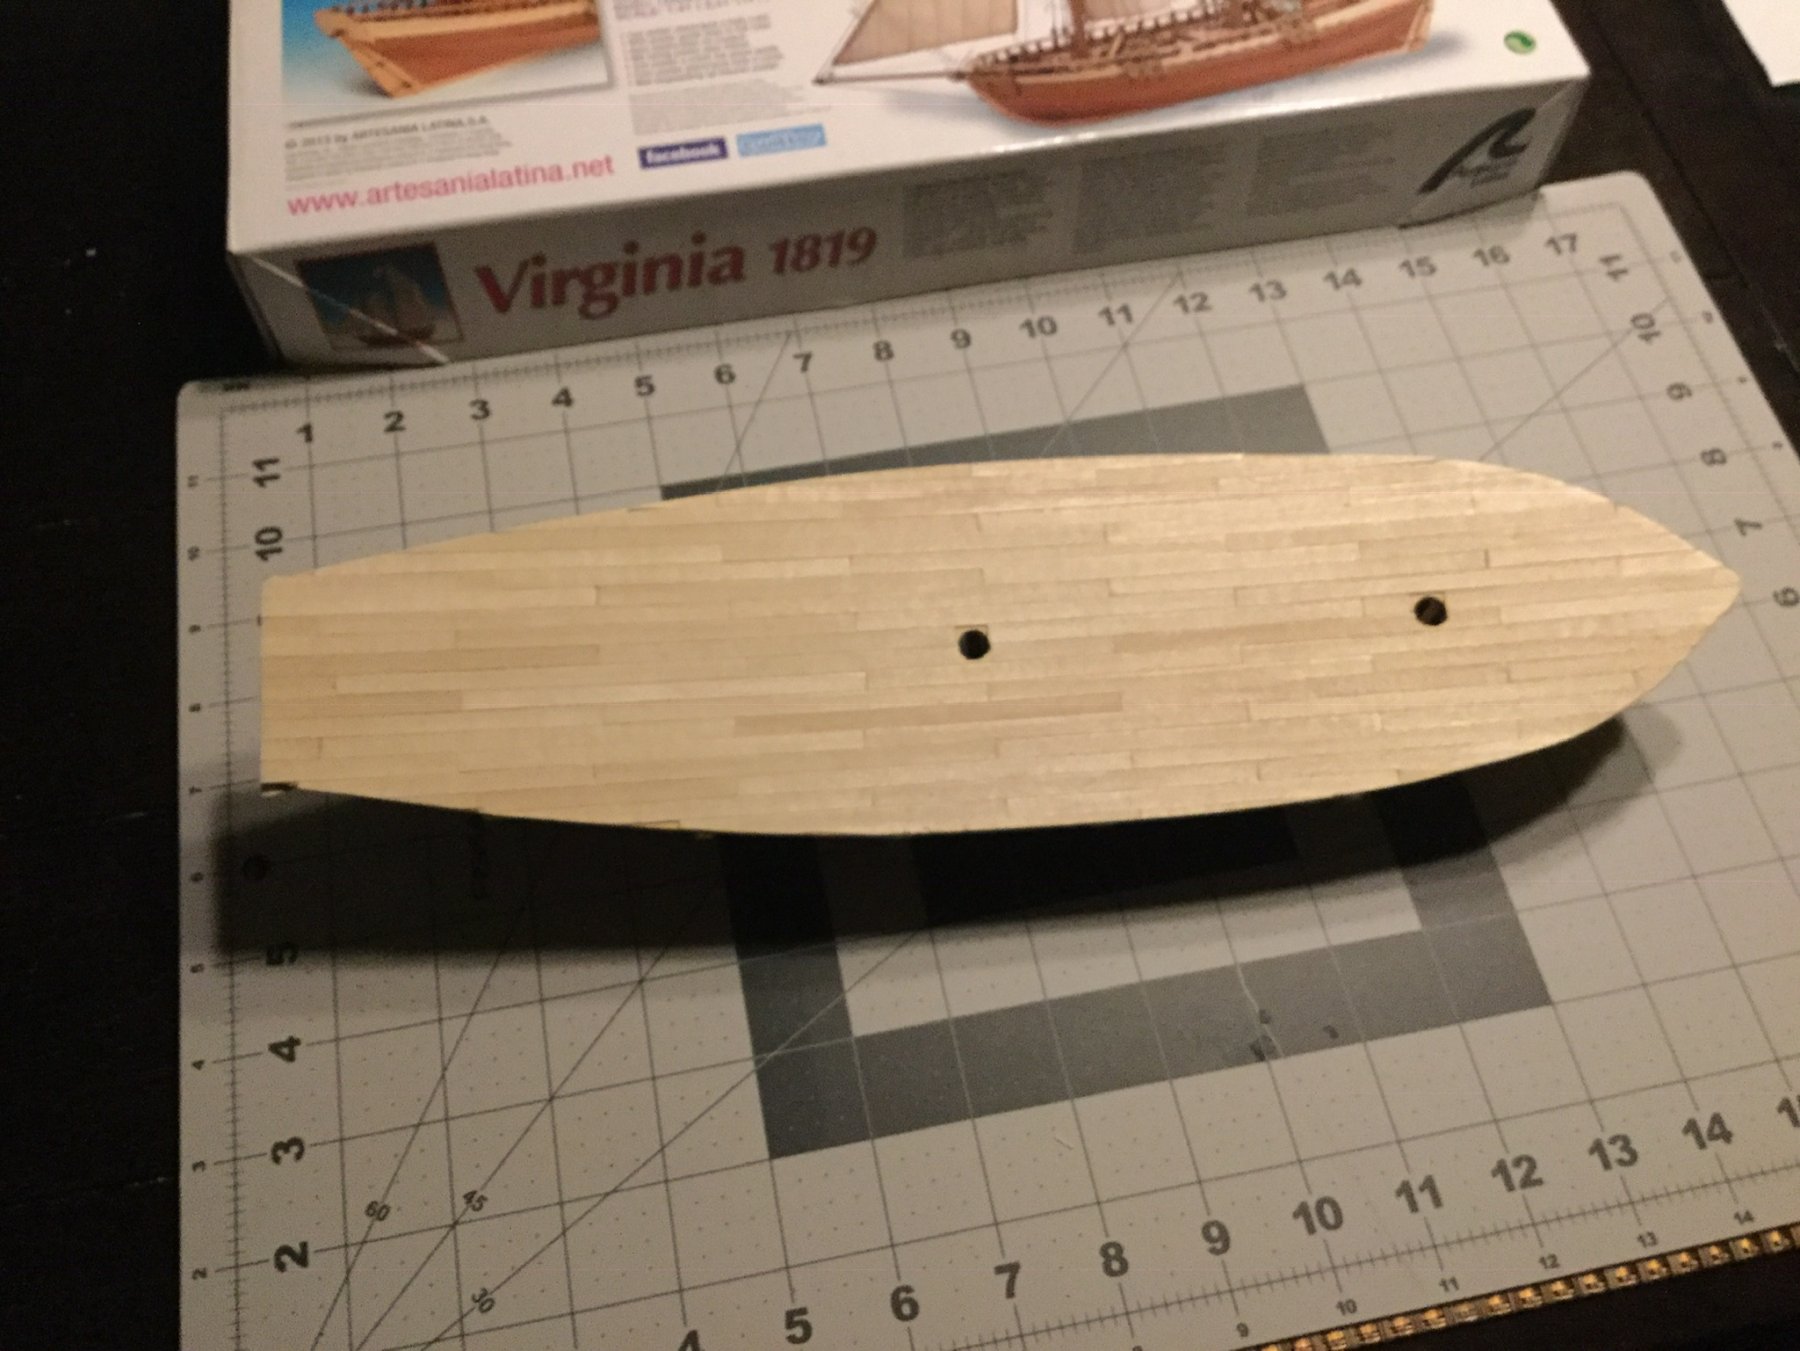
I spent a little more time reviewing other Virginia builds for planking and decided I needed to back up a little bit and taper mine at the bow. You can see in the photo from my last post that there wasn't any tapering at all. I thought that would be OK because it was looking a lot like the pictures in the instructions. But I changed my mind when I started looking at the quality of other people's builds. The thought I kept having is that you can't build a good house on a bad foundation. It was painful pulling off the glue joints where I needed to cut the tapers. The first cracking sounds made me question my judgement, but I think this is the right thing to do if I want my model to come out good enough to display. From here, I'm going to spend a lot more time shaping the planks the rest of the way.
- FrankWouts, nikbud, BLACK VIKING and 1 other
-
 4
4
-
1 hour ago, Wallace said:
I did notice that you are getting some "clinkering" on the starboard side hull planking.
Thank you for pointing that out to me. I was able to pop them free where the clinkering was and glue them down better.

-
19 hours ago, Stevinne said:
Welcome aboard. It looks like you are making a good start!
Thanks, Stevinne. I’m glad to have found this forum to share with.
-
5 hours ago, nikbud said:
Nice work on the companionway - did you bend the kit piece for the roof? good job ifn you did - I found it practically impossible!
Thanks. Like everyone else, I'm critical of my own work and see all the mistakes. But on the whole, I think it will look pretty good once it's finished and installed on the deck.
I did bend the kit piece. I did exactly what Wallace did - soaked it in hot water for half an hour and then rubber-banded it to my glue bottle overnight. I worked like a champ, but I was prepared for a hard time based on your log. If I recall correctly, yours had the grain running across the bend - or at least the majority of layers in the plywood. Mine (and presumably Wallace's) were in the correct direction to bend pretty easily. That might be pure conjecture, but it's the best I can figure.
-
5 hours ago, Wallace said:
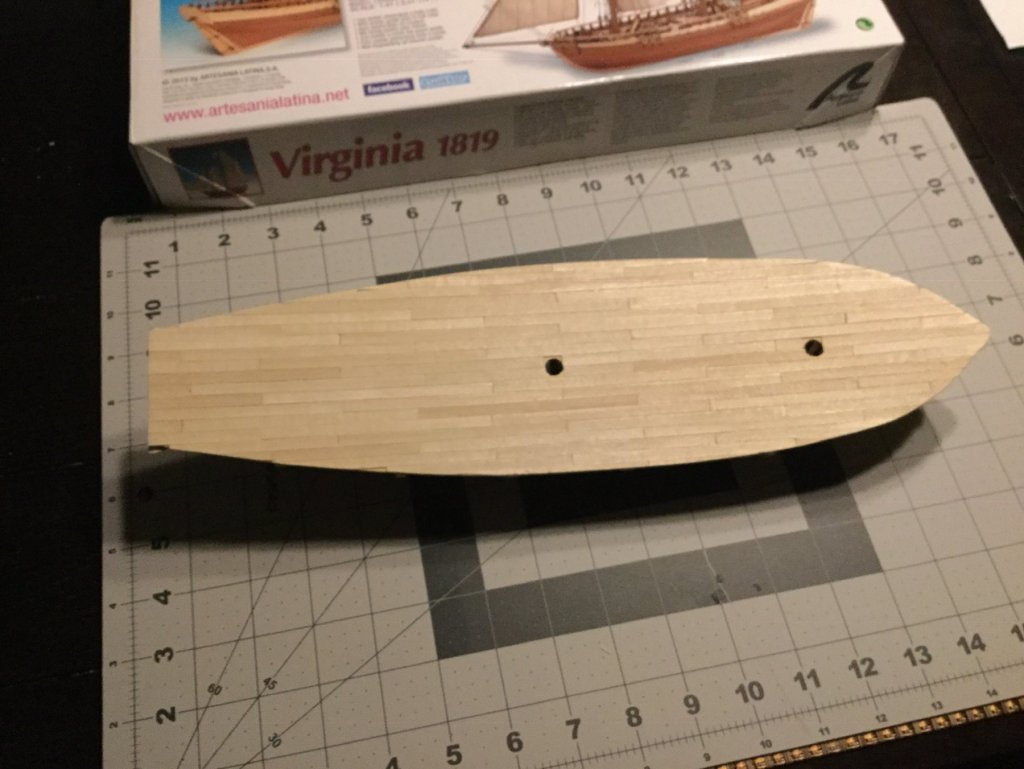
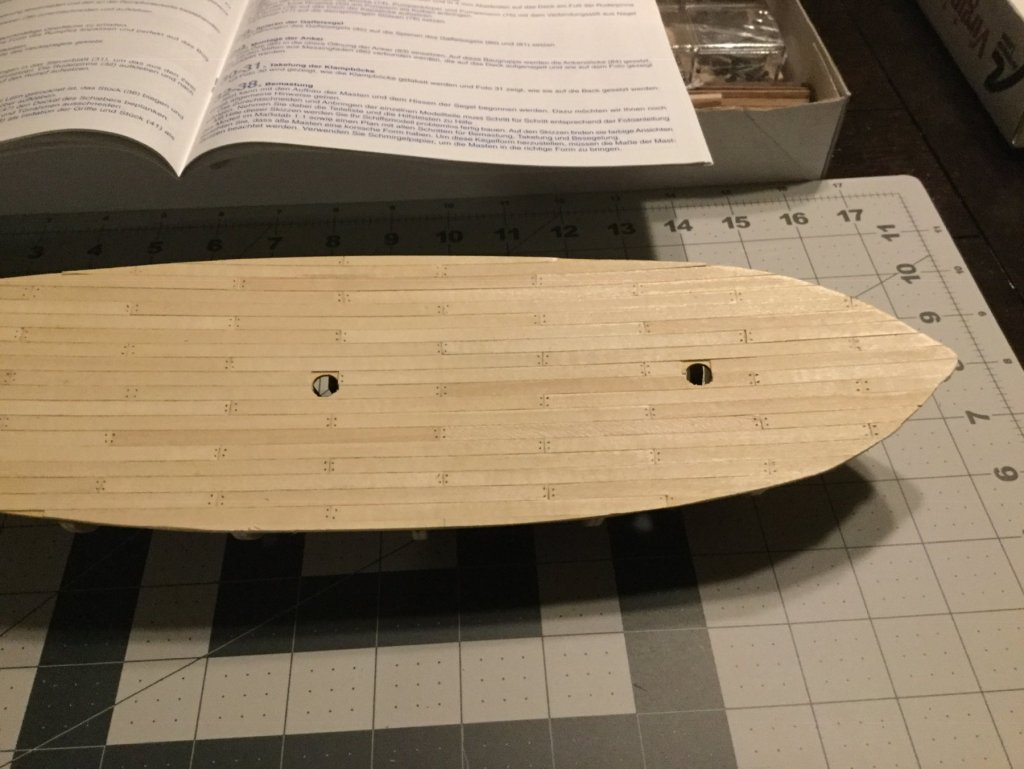
Ooooh, I will have to follow along on this one. Looking good so far mate, and I like the deck planking. I knew zip about the butt shift system when I was building my Virginia. It does make the deck look a lot better. Will you be scraping or sanding it?
Thanks, Wallace! Everything I know about deck planking, I learned in the build logs. Otherwise I would surely have followed the directions and planked in full length strips. I sanded mine because I’m not really sure how scraping is better. I used a mechanical pencil to simulate the caulking. I’m pretty happy with how it looks right now.
-
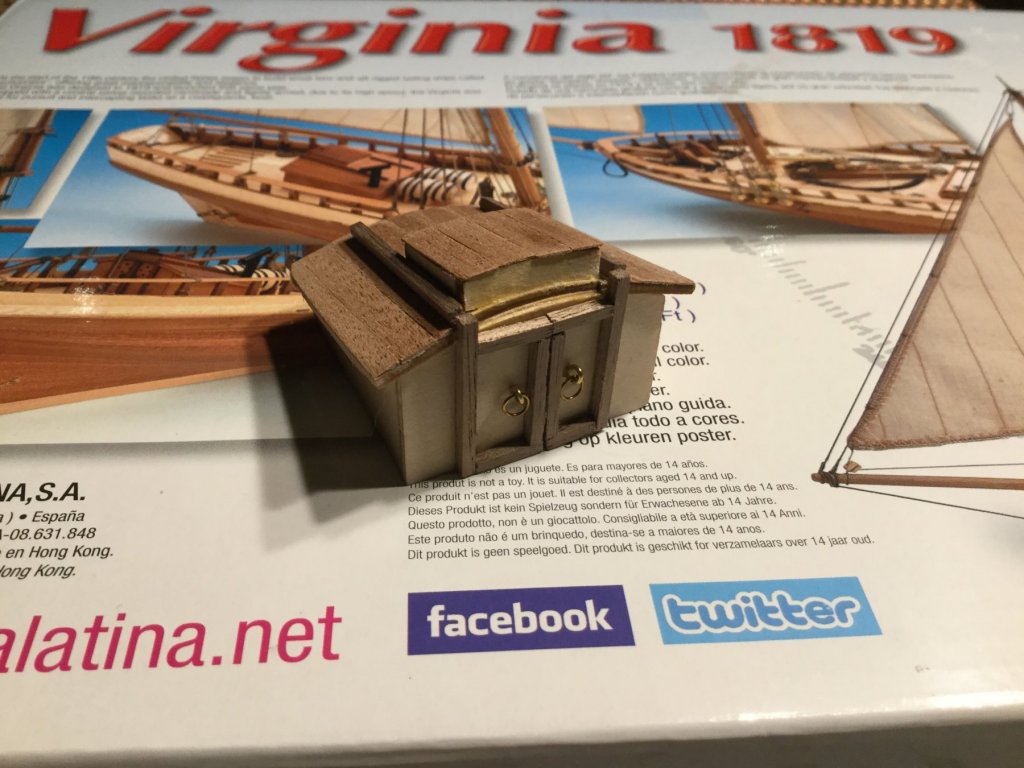
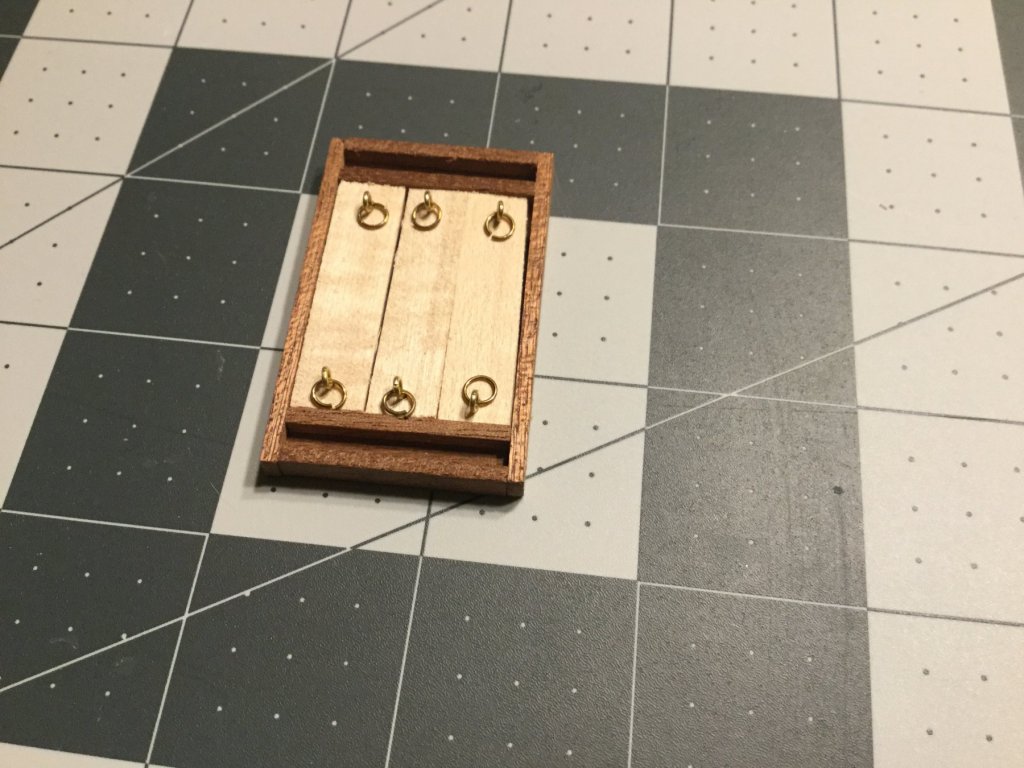
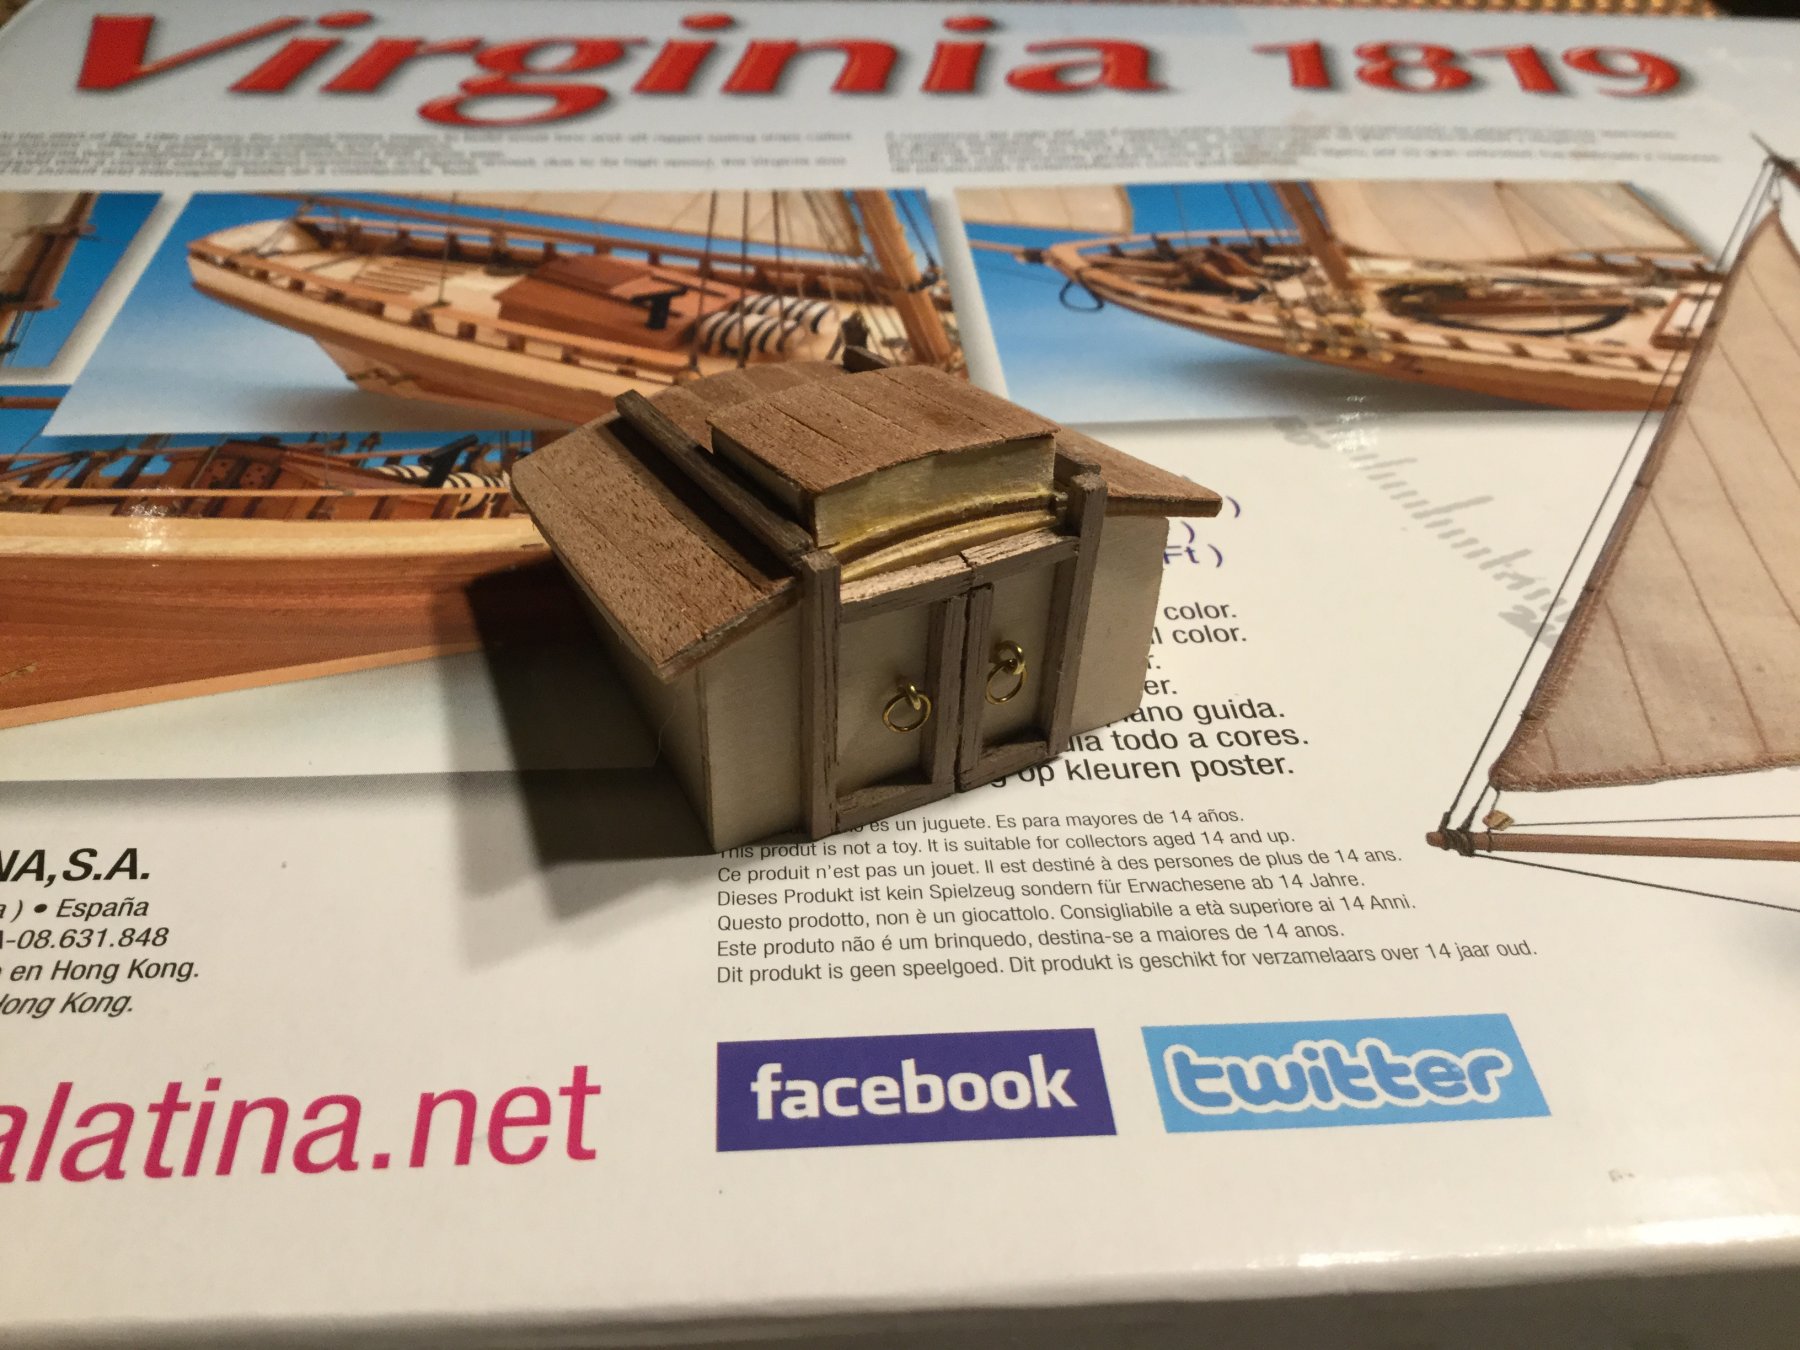
While I was waiting for planks to dry, I worked on some of the deck furniture. I wasn’t very happy with the instructions on the cargo hatch. They seem to indicate that the inside needs a ledge on all four sides. That makes the cut precision very demanding on an item that is forever enclosed. So instead, I only made ledges on the ends where they are needed to hold the covers up.
For those building this kit who haven’t built the hatch yet, the width on the hatch is dictated by the side strips, which are called out to be 27mm. The covers are each 9mm stock. That makes for a tight fit - especially if your cut is a little shy of 27mm. If I had to do it over, I’d aim for a solid 27.5 or 28mm. I had to sand the covers to take a tiny bit off.
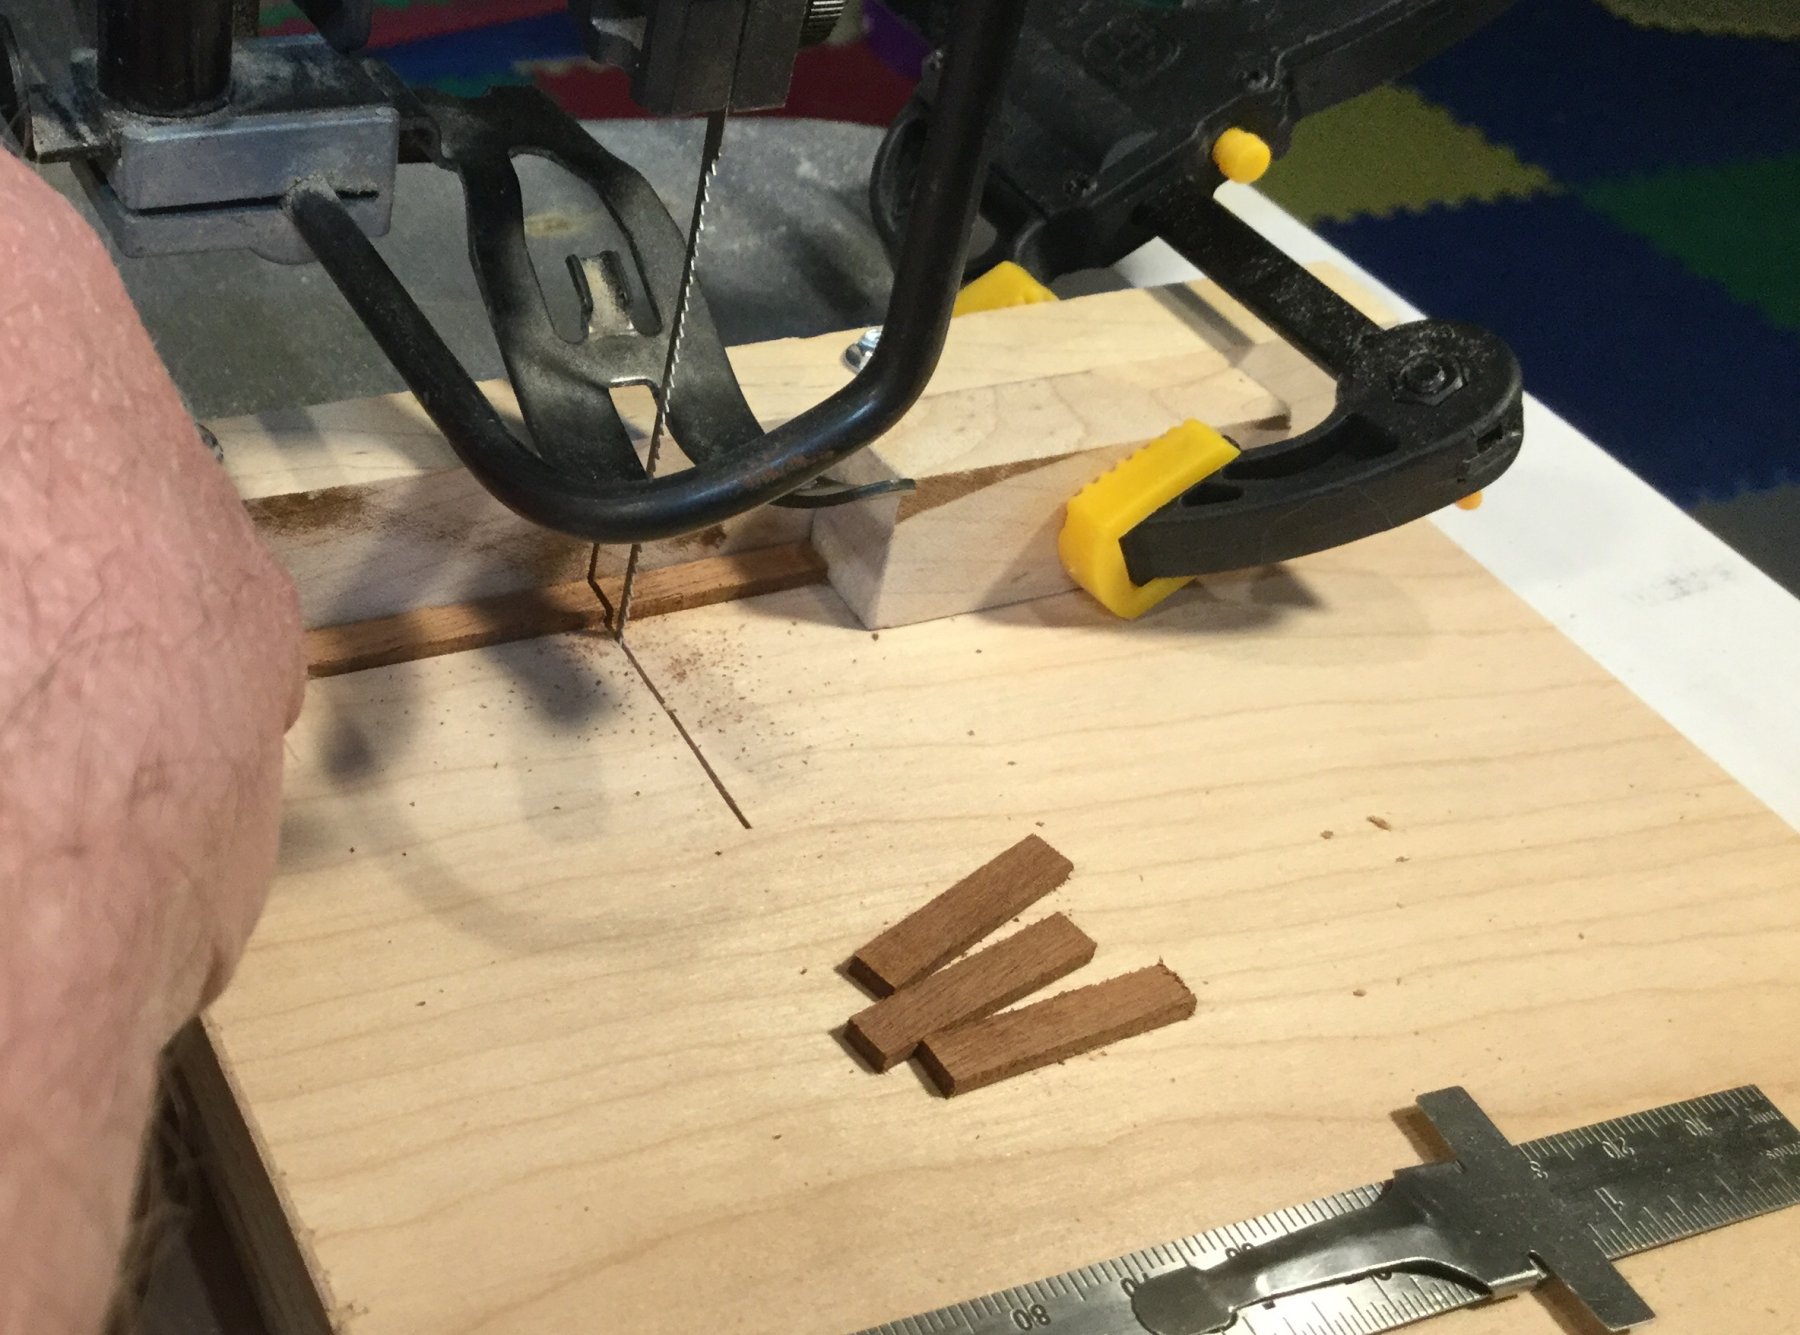
There are a lot of cross-cuts to make in this model. Since this is my first, I’m still coming up with methods. I think this one is worth sharing: I built a cross-cut sled for my scroll saw. It works great.


-
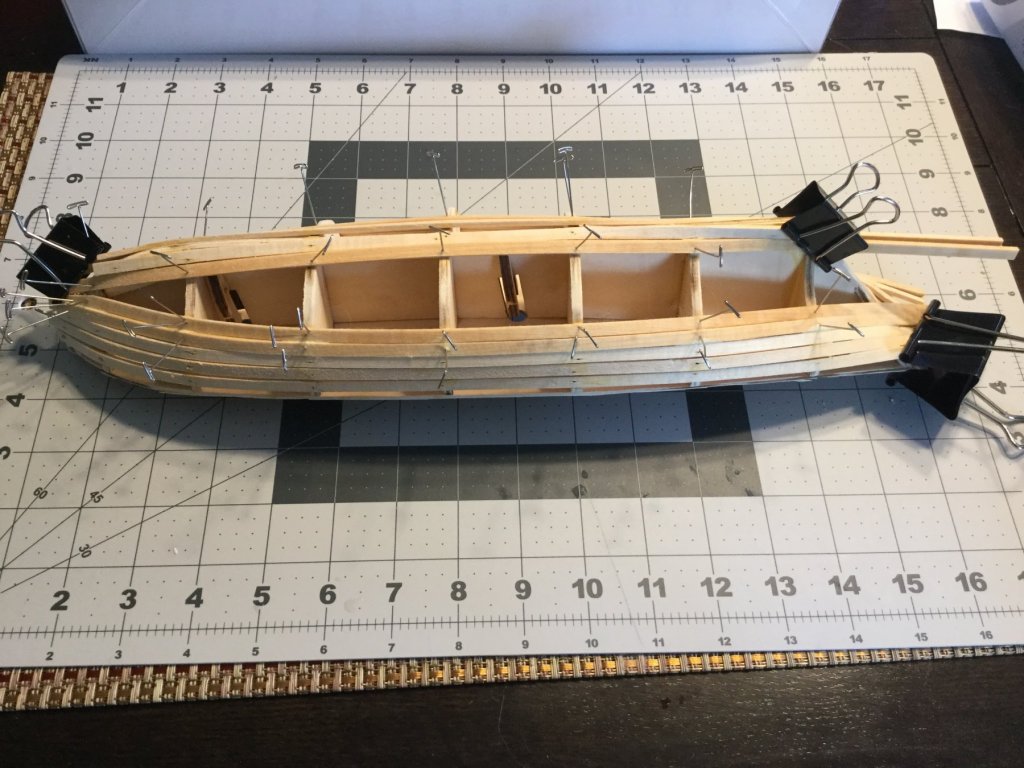
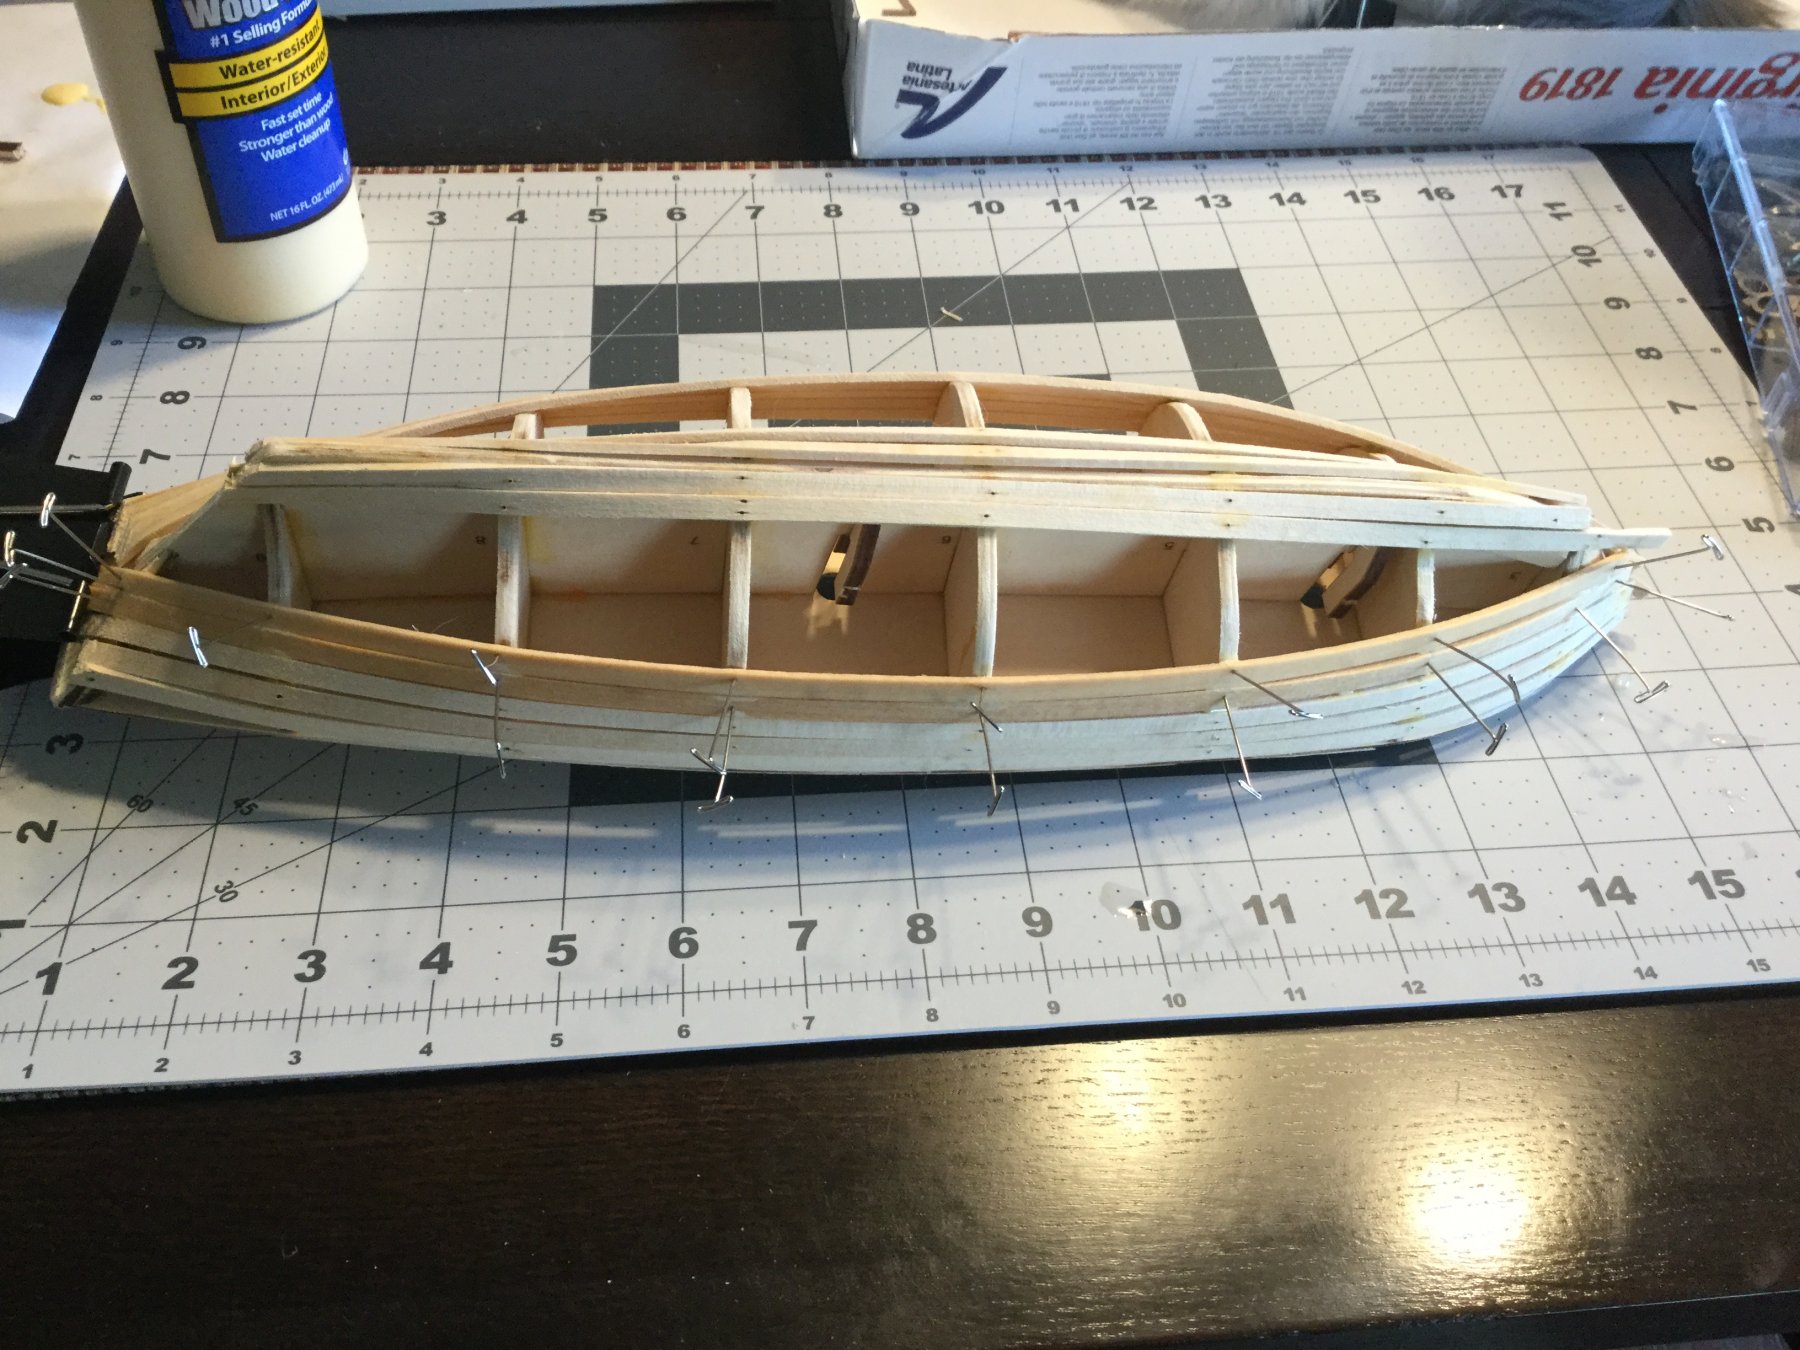
Over the weekend, I made some progress on the hull planking. I started out using the nails in the kit, but I couldn’t get the depth right consistently. I’d either not get them in far enough and they’d pop back out, or I’d drive them all the way in, where I can’t cut the heads off easily. So I decided to try some tee pins pushed in by hand. Those along with some binder clips are working well.

-
Wallace, Peter, and Nikbud, I’ve read all of your Virginia build logs. They were instrumental in my choice of this model for my first ship. I know I will do a better job because of what I’ve learned from you and a few others on this site. It made my day that you guys checked in on my log.
-
Hi, fellow model makers. My name is Matt and this is my first wooden ship build. I picked this model based mainly on research done on this site. It has all of the elements I wanted to get to build - such as:
Double plank on bulkhead
Finished mahogany hull
Two masts
Nice looking rigging
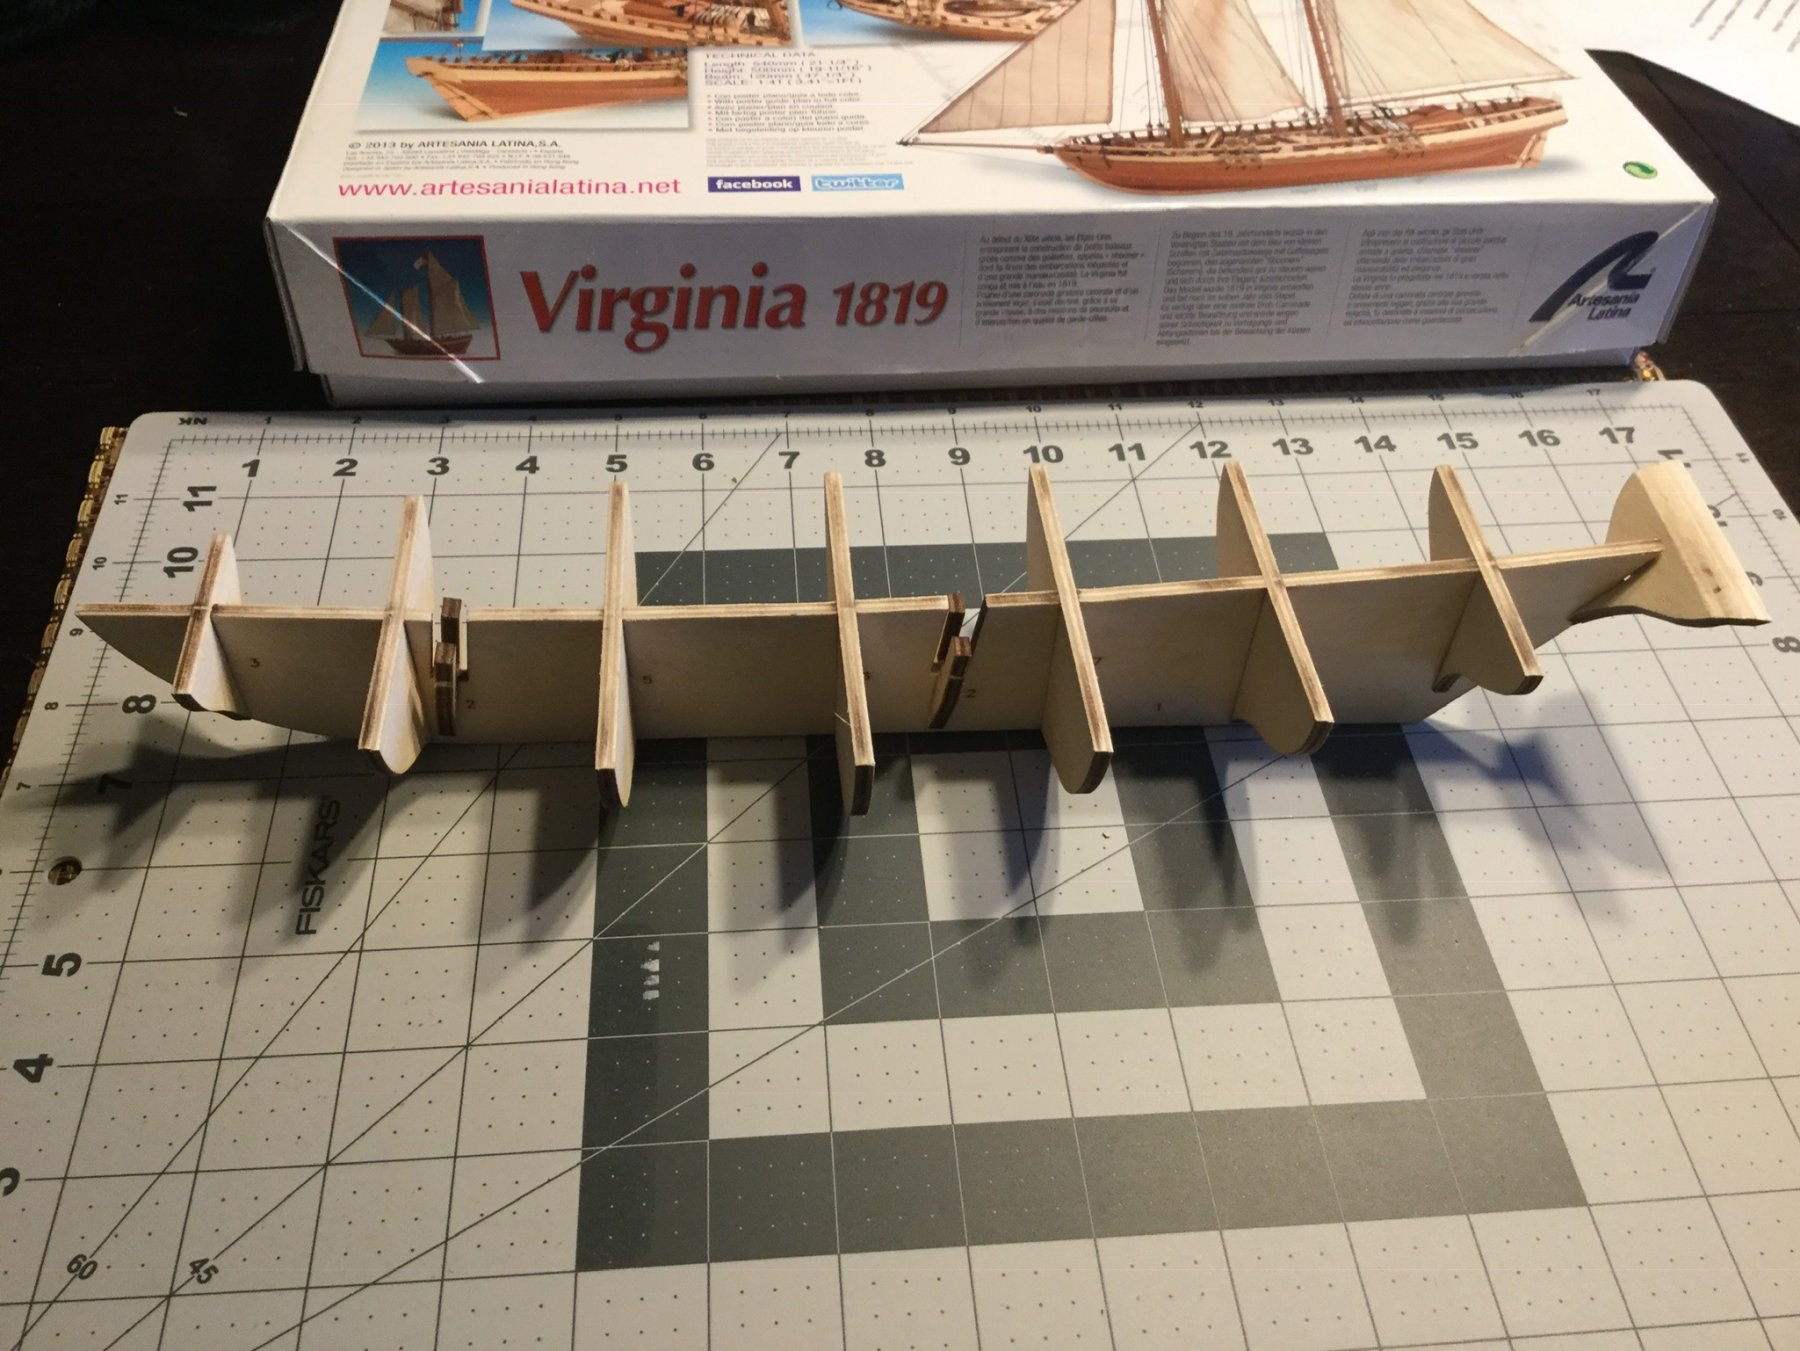
I started about a week ago. Here are photos of my progress before the weekend.


- FrankWouts, coxswain, BLACK VIKING and 5 others
-
8
-
I’m new to this forum, and I really appreciate all the effort you have all put into spreading your knowledge of this fascinating hobby. Thanks, Matt
- EJ_L, ccoyle, Scottish Guy and 1 other
-
4


Virginia 1819 by Matt D - FINISHED - Artesania Latina - 1:41
in - Kit build logs for subjects built from 1801 - 1850
Posted
I’m taking it one strake per day with neatly cut tapers and getting them a lot tighter. So I started working on the blocks for the cannon and I don’t like the thin wire in the instructions. Instead, I’m using the 0.25mm brown line to tie the blocks to the eyes. My method is to tie a two half hitches knot and back it up with a drop of CA. But I was wondering if I’m likely to run out of that line. Is the amount of line provided with the kit generous or do I need to use it sparingly?