Rob S
-
Posts
339 -
Joined
-
Last visited
Content Type
Profiles
Forums
Gallery
Events
Everything posted by Rob S
-
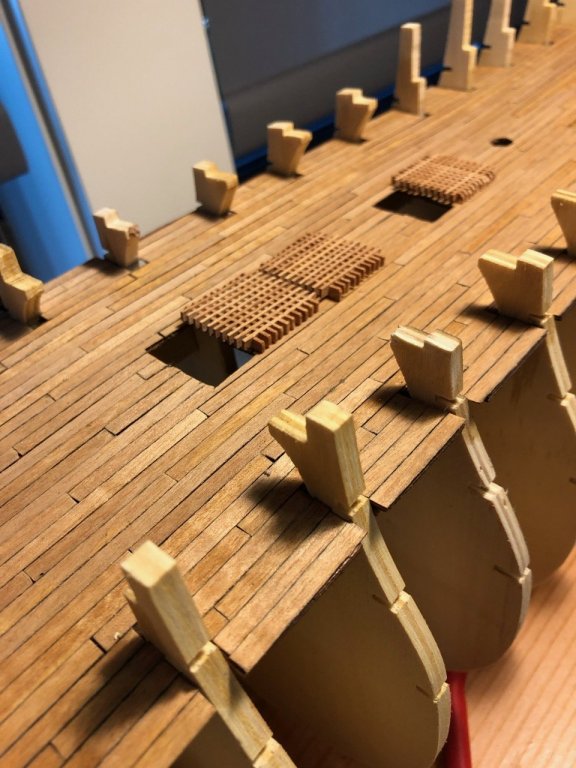
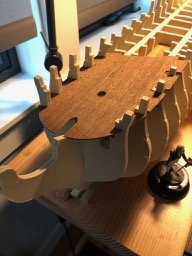
 Recently stained the deck with a 50-50 medium danish oil and spirits - same as the small false deck. I think it turned out OK; now starting the laborious grate/ladder assembly process. I just ordered the vinavil glue (from the UK) to mix in water for the grate submersion. This is per the Mamoli instructions. Also going through the wood pieces to identify the associated material for the grate borders.

-
Thanks Diablo0007! Appreciate the feedback. Middle deck fully planked; going to lightly sand in the morning and stain it with the Danish Oil/Spirits '50/50' mix as I did with the false deck.
-
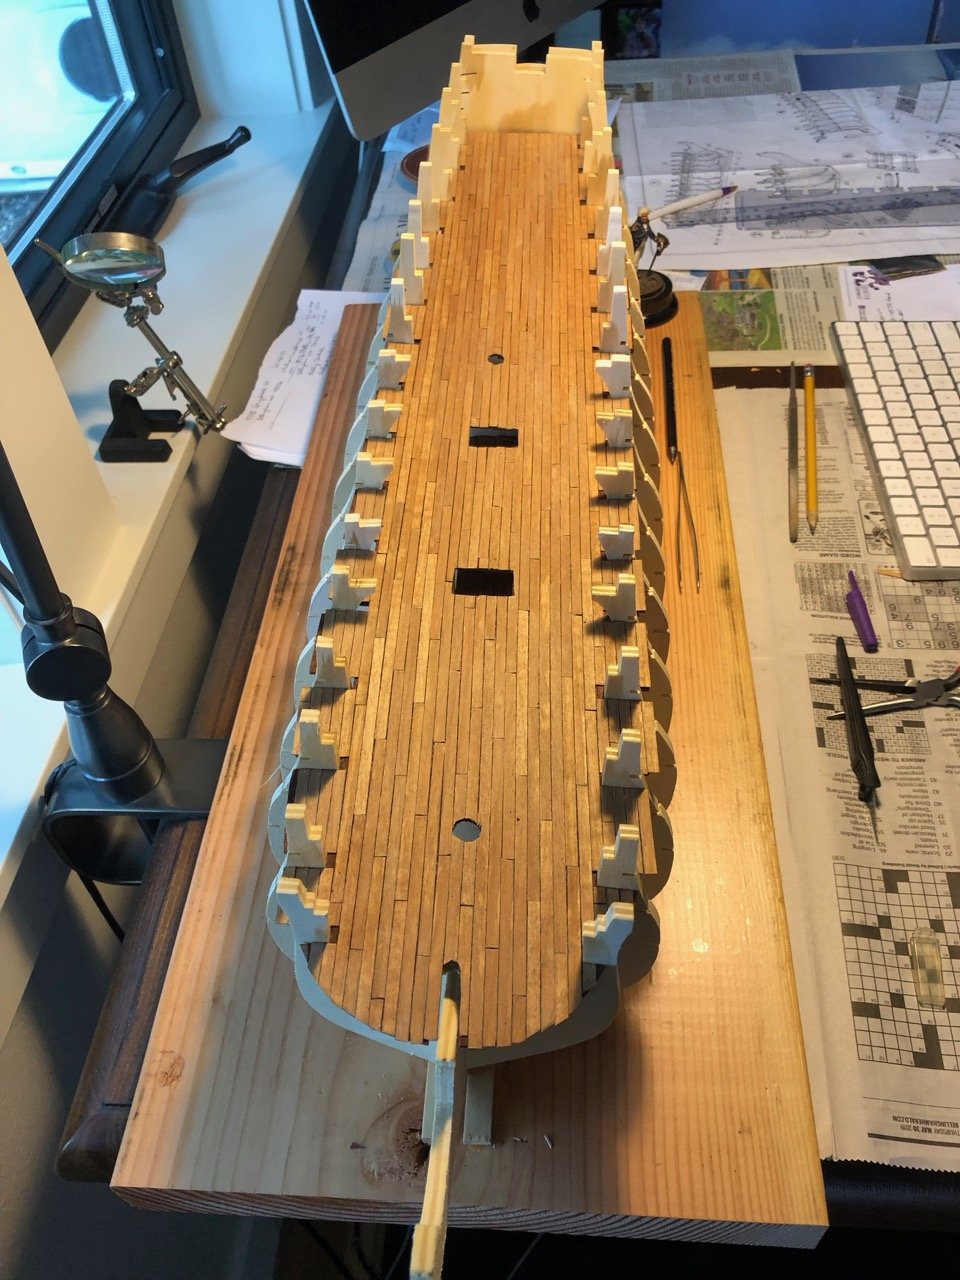
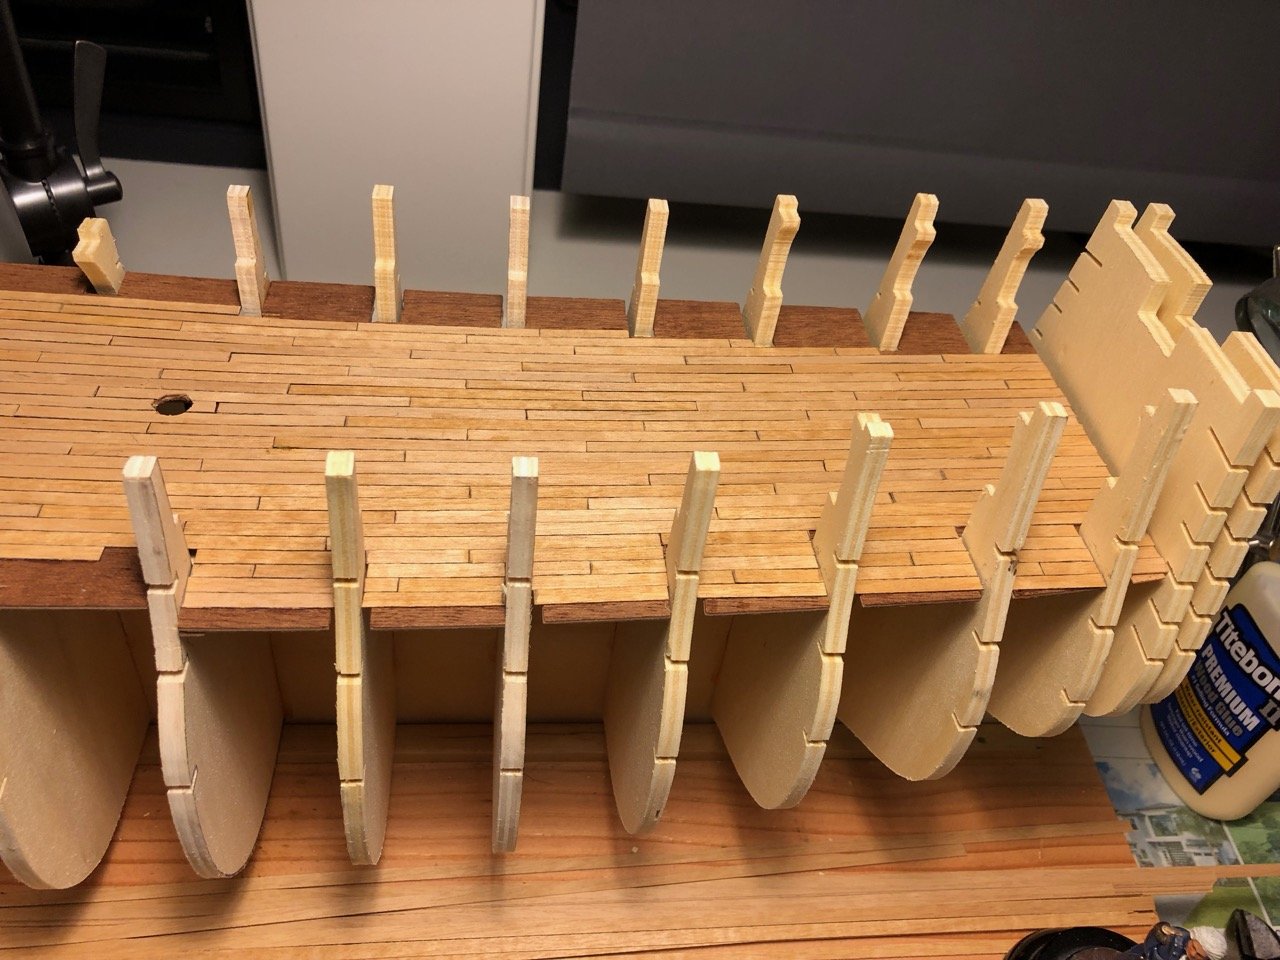
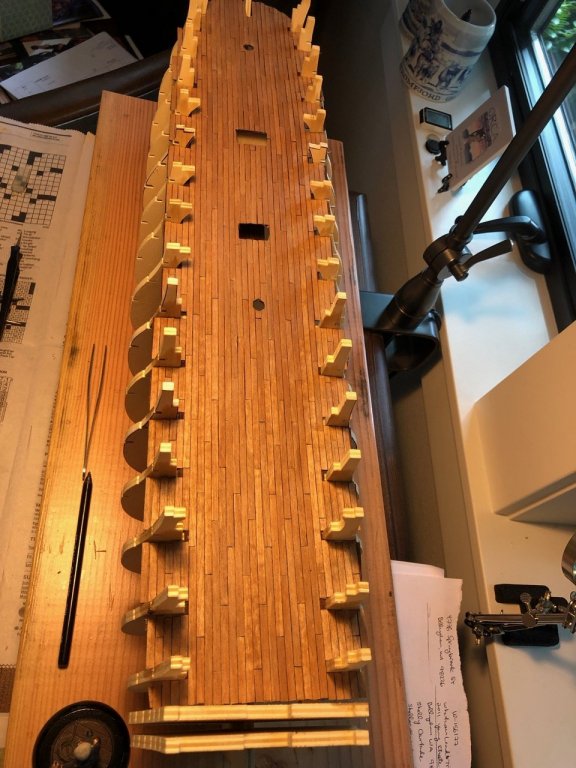
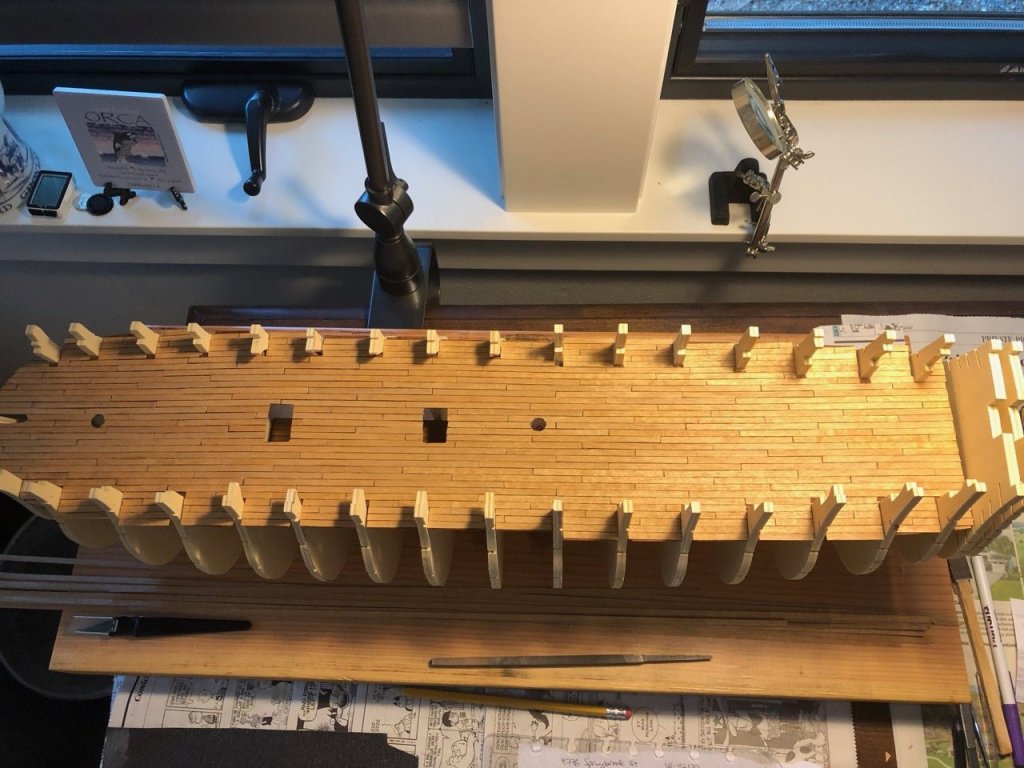
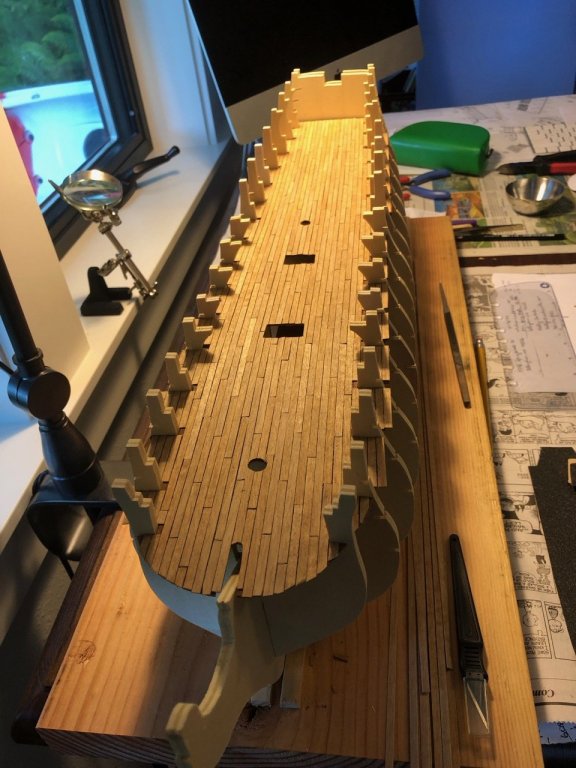
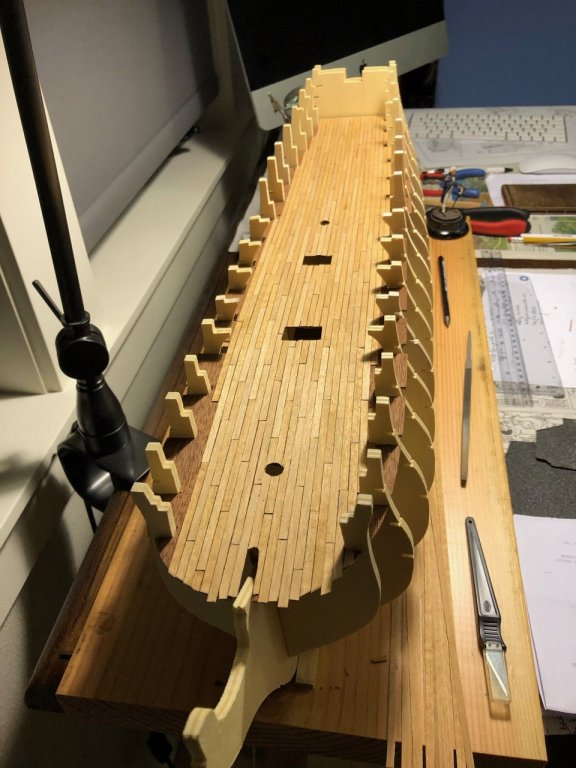
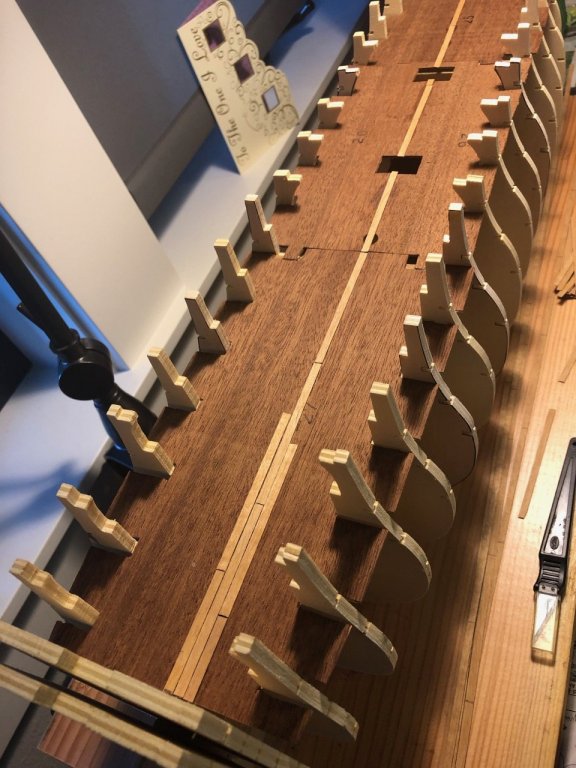
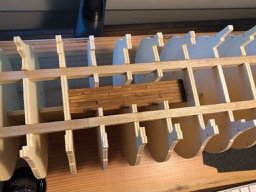
Updated planking status. This is tedious work!! I'm nearly done planking with only the starboard side remaining between the 16 frames to go. Then off to stain the deck before beginning the grate/ladder assy process.

-
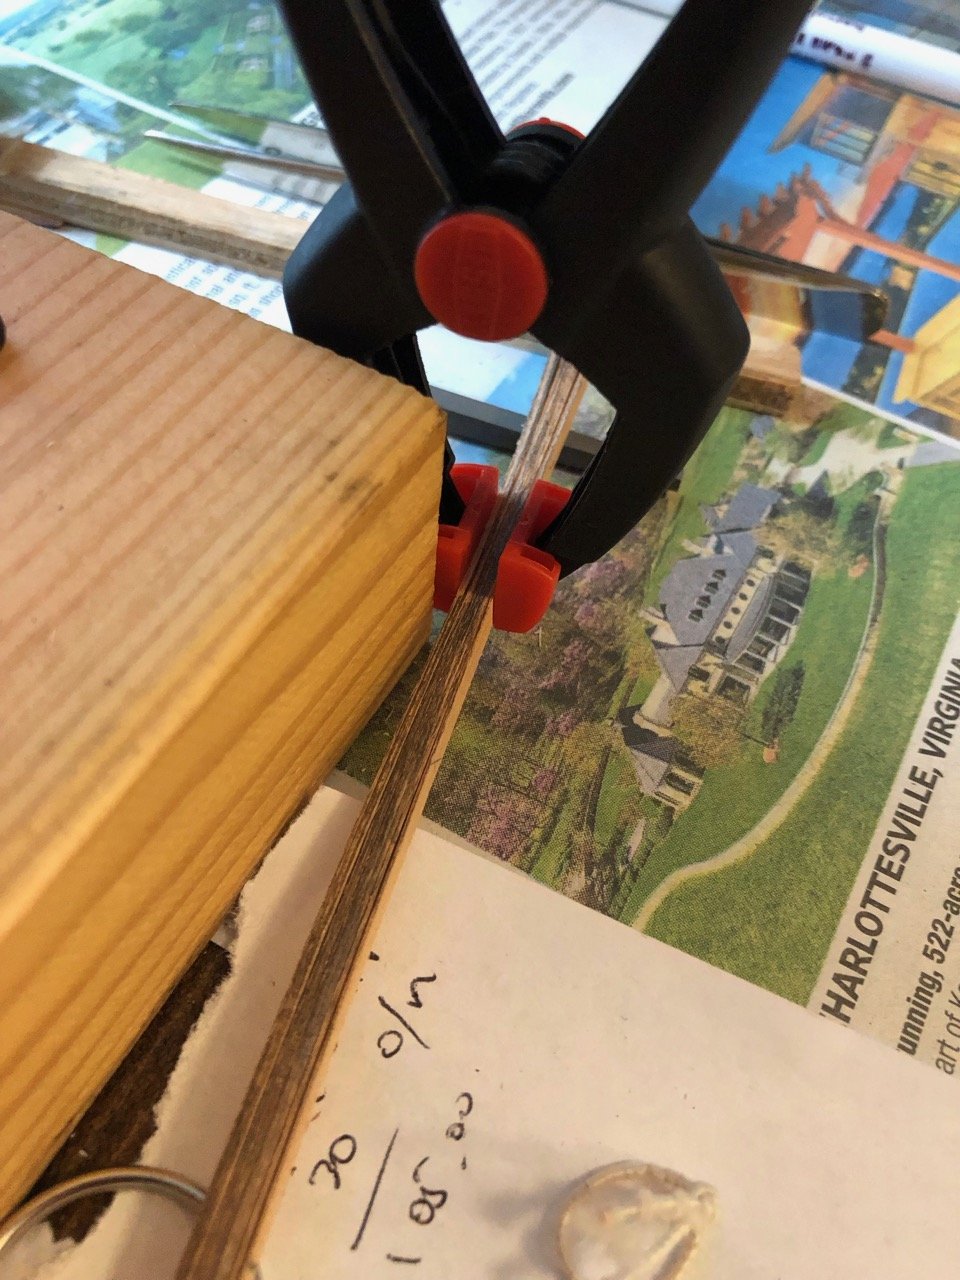
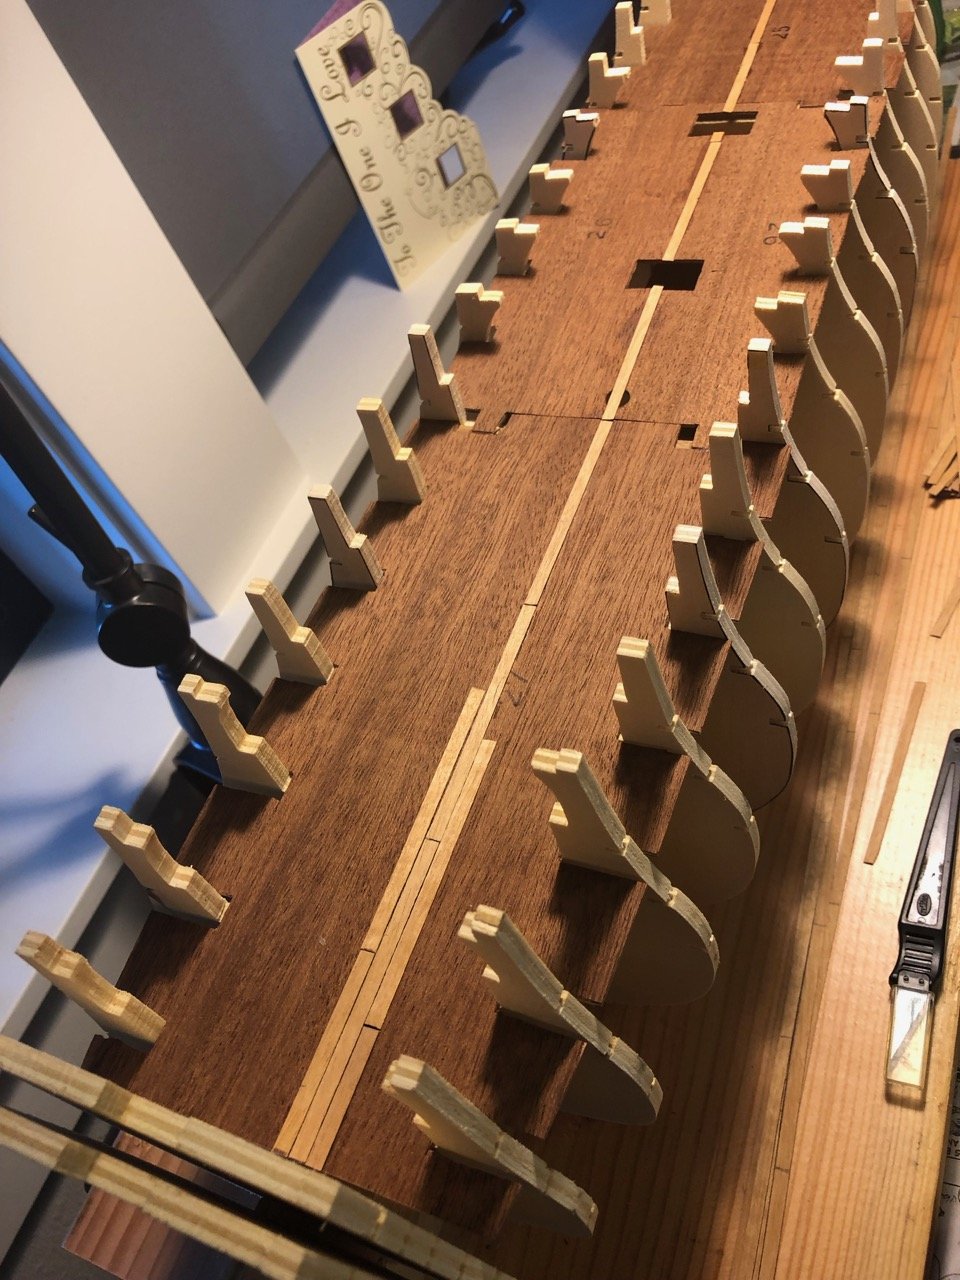
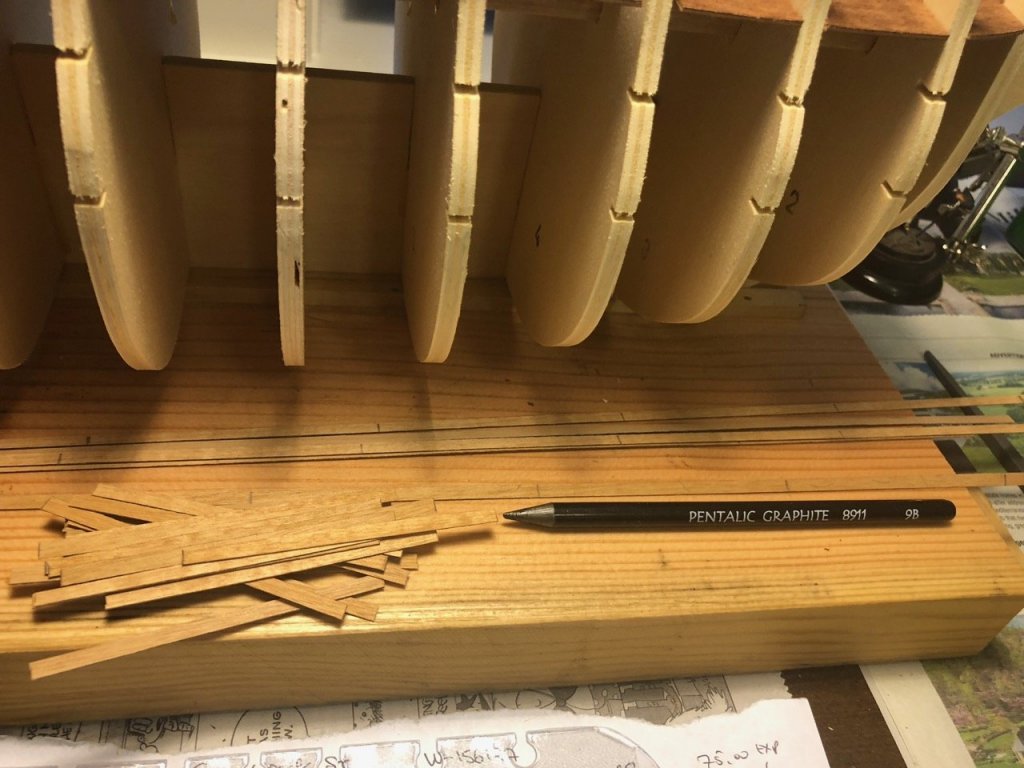
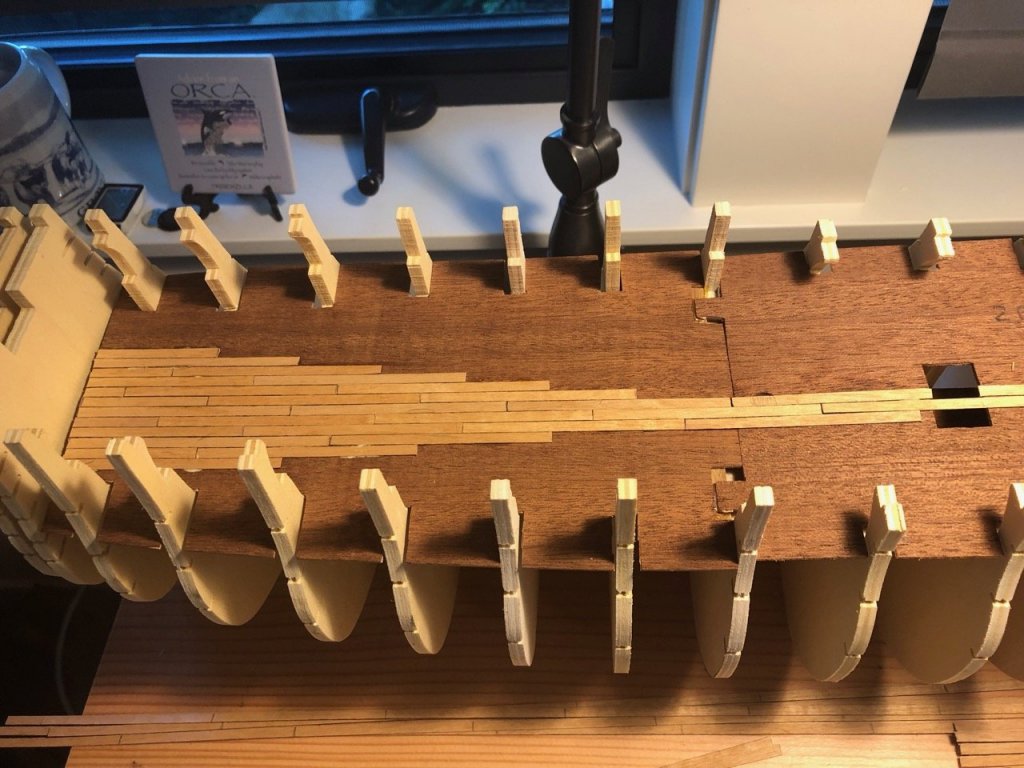
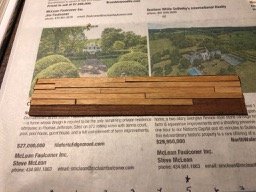
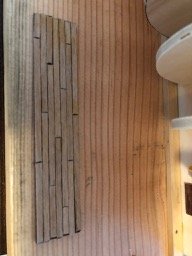
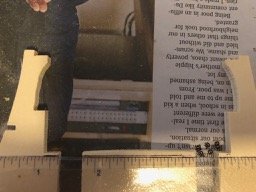
Planking the middle deck is now well underway. Note the Mamoli instructions call for building and installing the two deck stairways to the false deck section below as well as the grates with supporting structures. However, in reading the aforementioned Mr. Taylor's build log, he found it best to plank the deck first before installing the grates/steps. This seemed to be the best approach, and seconded by others in this esteemed hobby - despite the Mamoli instructions. The first set of pictures show the method used to color the plank sides 'en mass' rather than plank by plank. I found this approach laid out in a planking installation YouTube video. I clamped about ten long plank sections together in two (2) places and then colored each side of the mass. I also purchased a graphite pencil (picture 2) that was used to add the coloring. This appears to be easier to apply and shows well on the planks. It was a soft graphite pencil I picked up at a local art supply store. I aligned the center through the mid point of the mast/grate sections (26) and extended the line both fore and aft. The result as of this morning after a few hours of planking. The sides will certainly be interesting.

-
Thank you Gregory! Good to know:) The first deck is now on; starting to cut the deck planking. I'm following Einstein Taylor's approach (found in the build logs) and will be reporting on that soon!

-
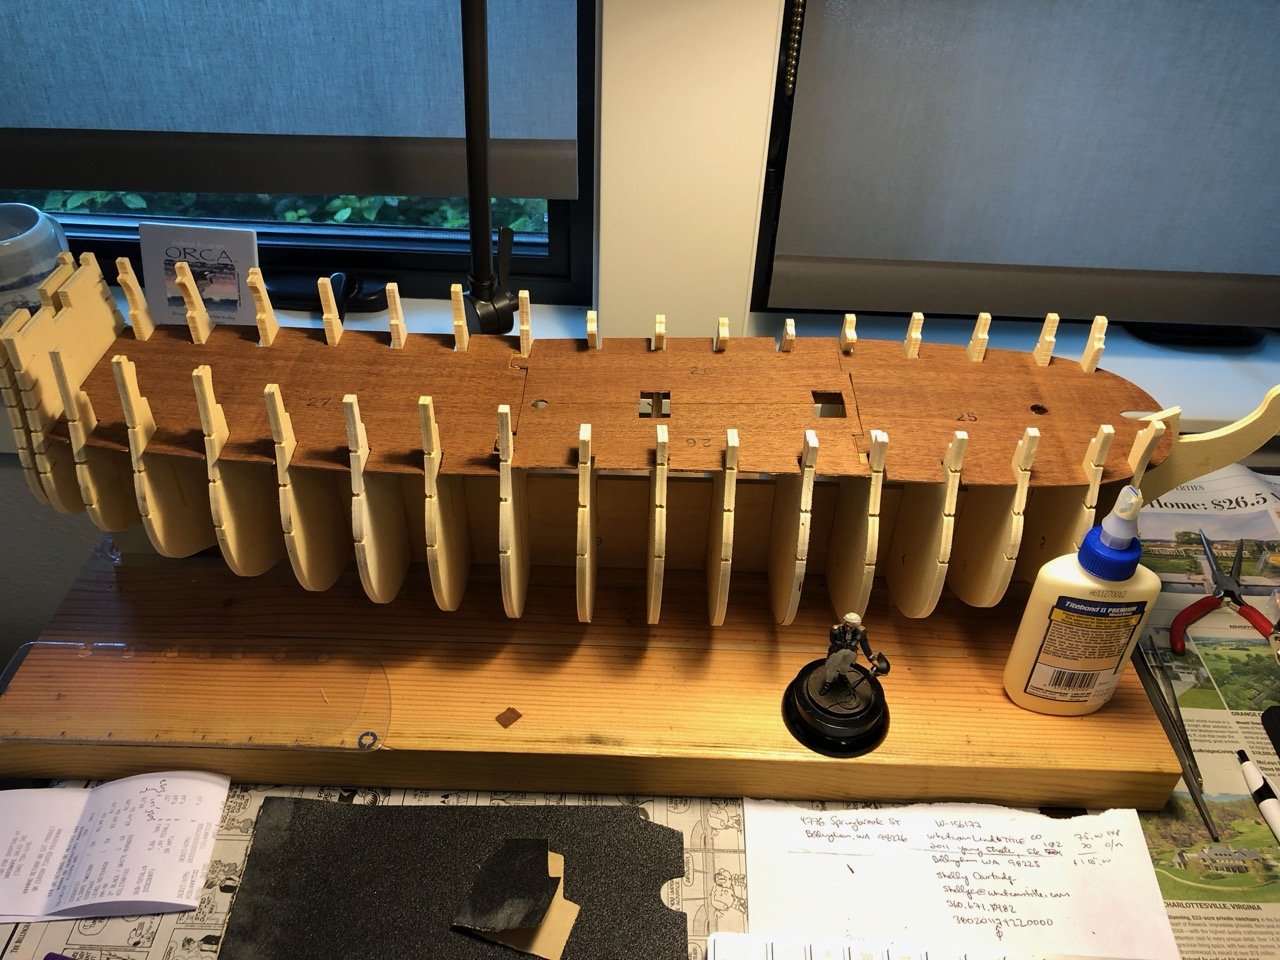
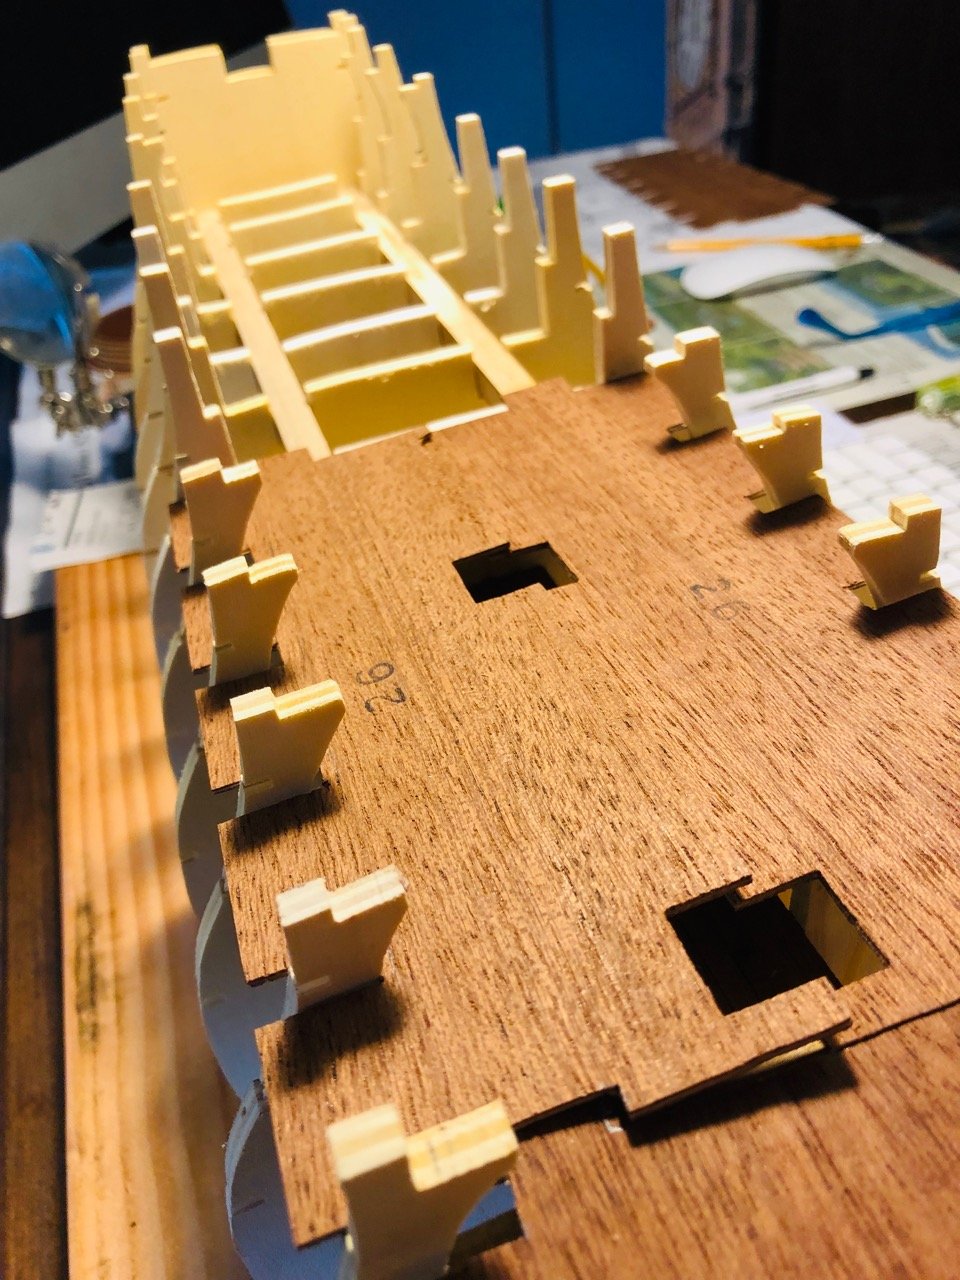
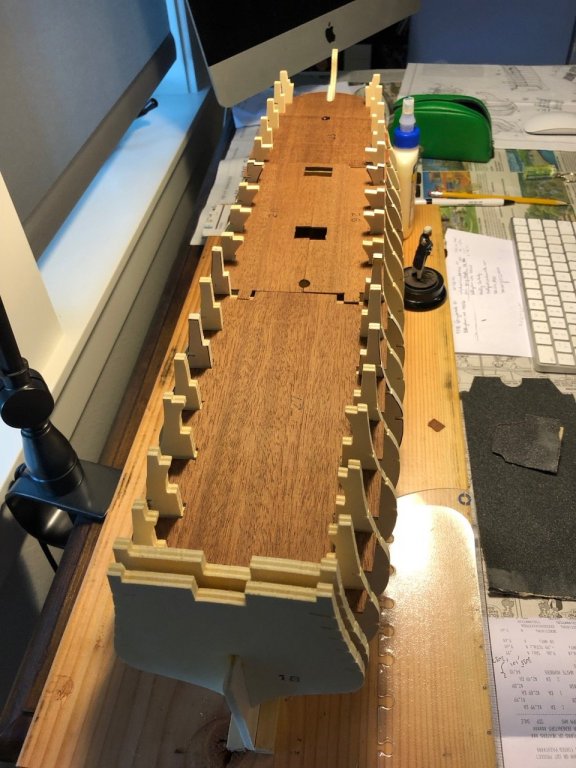
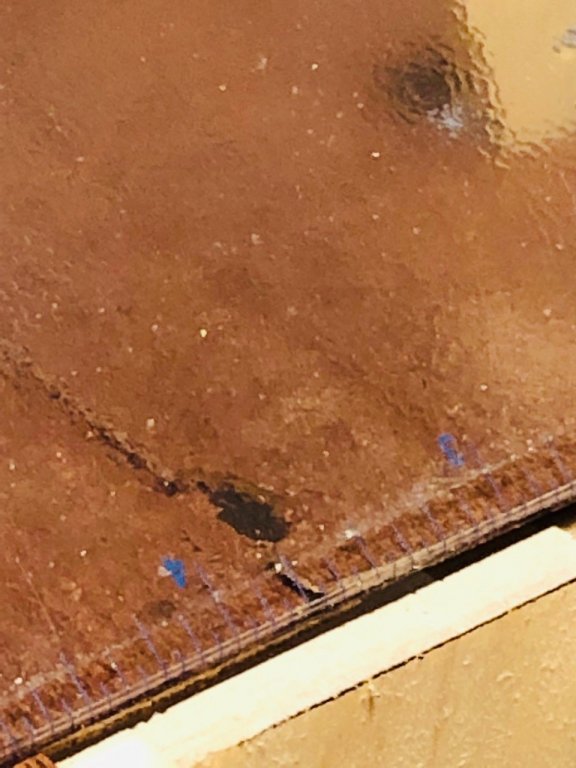
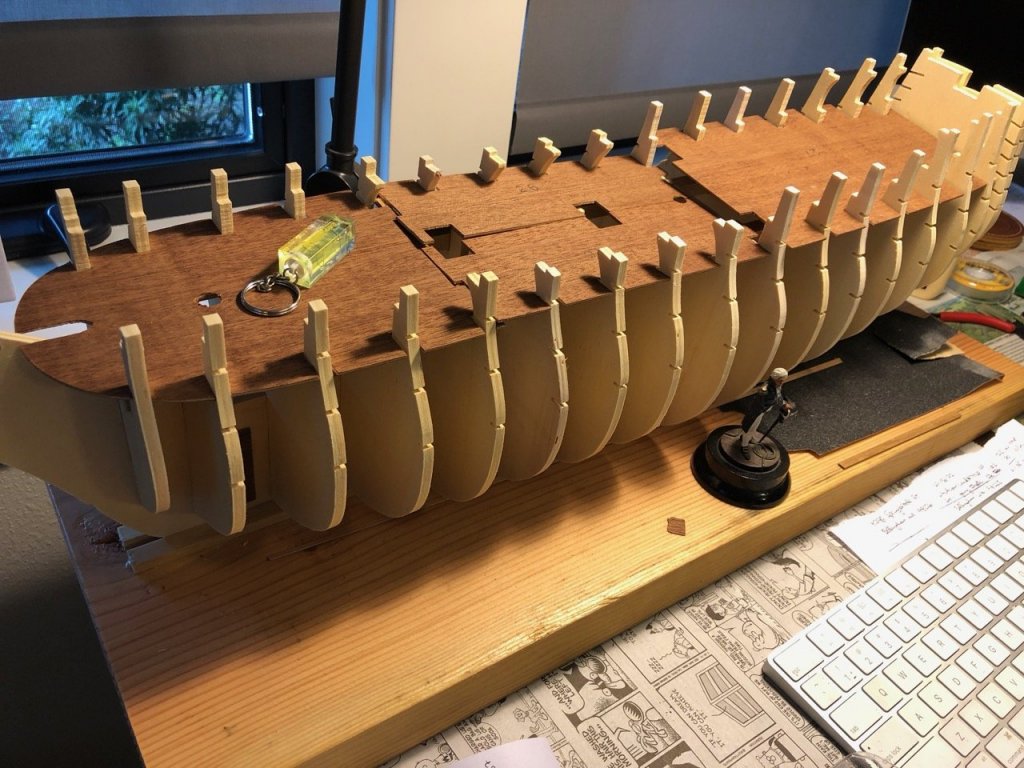
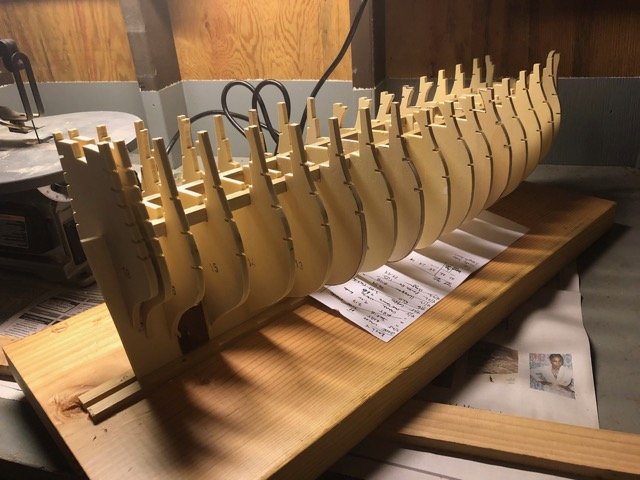
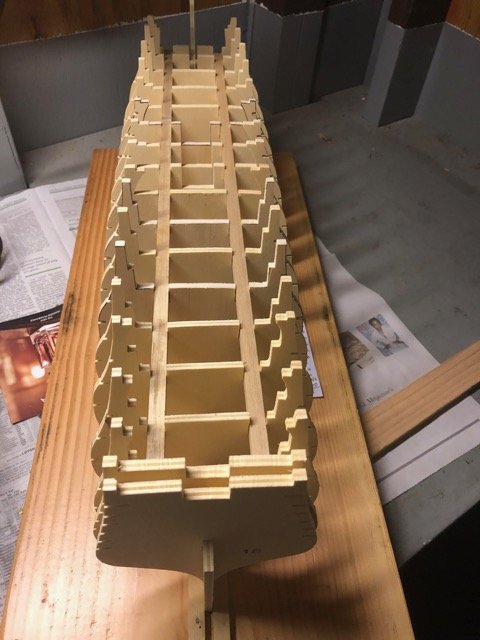
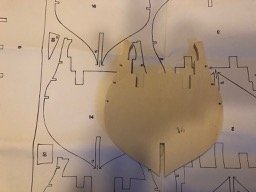
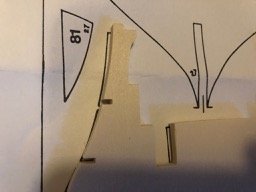
Working to install the battery deck sections (25-27) and having a heck of a time. I know I'm a novice at this, but each/every deck section has not fit. I've had to make major modifications to the deck slots to align/fit within the frame sections. I've included several photos on the challenges. I ended up making the deck slots wider and deeper. I also had to shave off 5-10mm of the mid dec sides (section 26, right side) so that the deck did not extend beyond the vertical frames. Still working this and hope to have complete in the next several days. Is it normal to have to modify parts to this extend for these kits? If not, perhaps it was the long amount of time I had the kit before starting (i.e., humidity expanding the wood)? It seems aligning the frames with the support beams would align the sections properly... so I'm not aware of any major prior errors to cause this issue.


-
Ok, the false deck is planked, stained (half danish oil 'Medium' and half spirits for a 50/50 mix) and installed. Now working on the battery deck sections (25 - 27) but noting that they do not fit well. I've included pictures of where they don't fit. The result was expanding the open deck sections to better fit around the various frames. Will modify and install the deck sections and then begin planking.

-
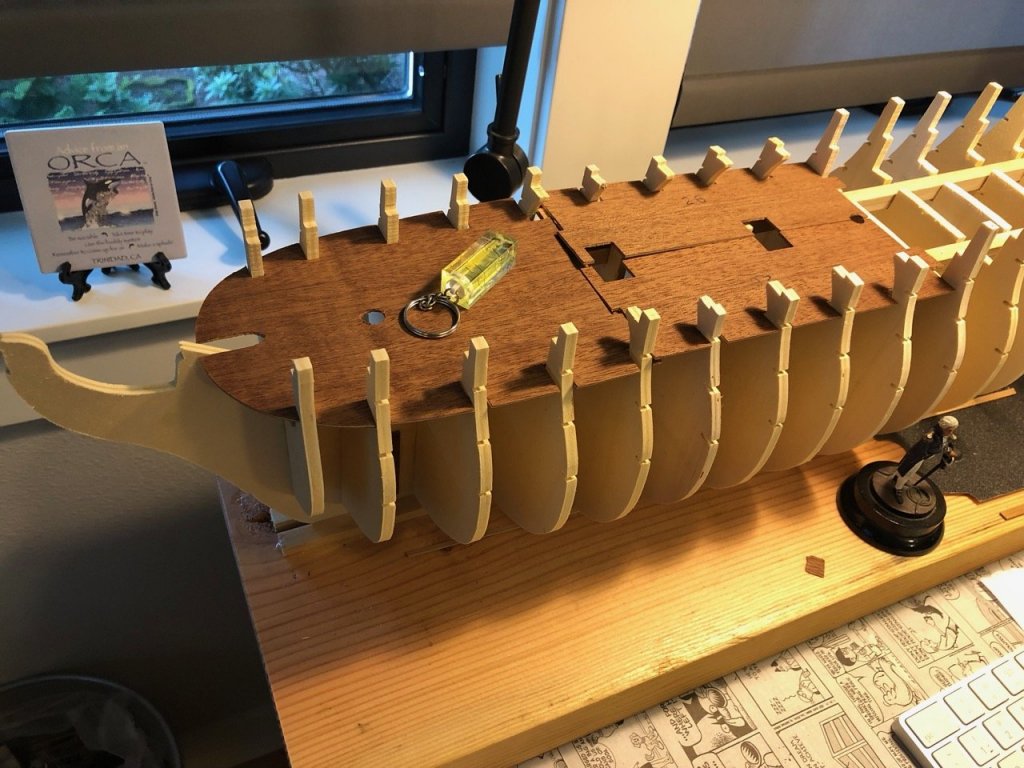
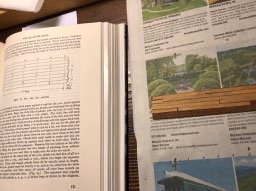
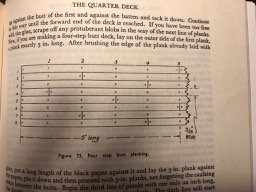
Hi Richard - Thanks and yes, I made some minor reductions to frames (i.e., bulkheads) 11-16. It appears they were larger than the sizes depicted in the drawings. However, in reading the instructions, it appears that strips 28 (2) are used to help level the deck. Status as of now - I've planked the false deck (24) and sanded it. I purchased some Danish Oil (Medium shade) and will work with it to see how it turns out. If well, I'll glue the false deck (24) and begin placing the middle deck. Planking: I found the book 'The Anatomy of Nelson's Ships' by C Nepean Longridge to be of extreme help when planking the decks. His entire book appears to be based upon the Victory. I've included pictures of progress along the way. I used the 'Four Step Butt Planking' approach outlined in Mr. Longridge's book.
-
Okay - I've now glued the frames and supporting beams to the keel! Letting the assembly dry. Next up is the false deck planking, installation and staining before starting the middle deck work. One question I'll need answers to is identifying which elements in the kit are the deck planking? More to follow on that.


-
Thank you Henrik! Appreciate the information and references. You caught me just in time. However, I've uploaded some pictures that show the frames do not completely align with the provided drawings. I'm wondering if this is due to nearly 30 years of accumulated moisture to the wood or as you've said, normal. However, I will do some additional research before moving forward as I don't want to add the wood back!! I'll also take a look at the references you provided above which I'm sure will be very helpful! Thanks again for your help!
-
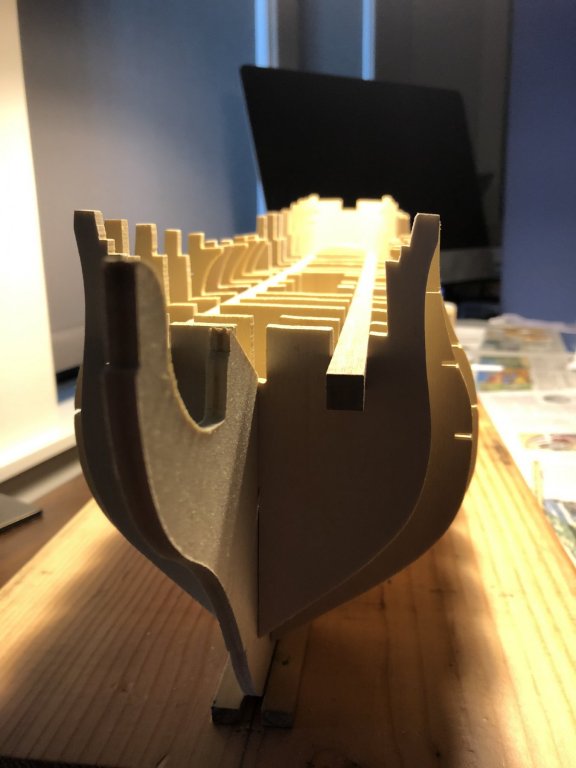
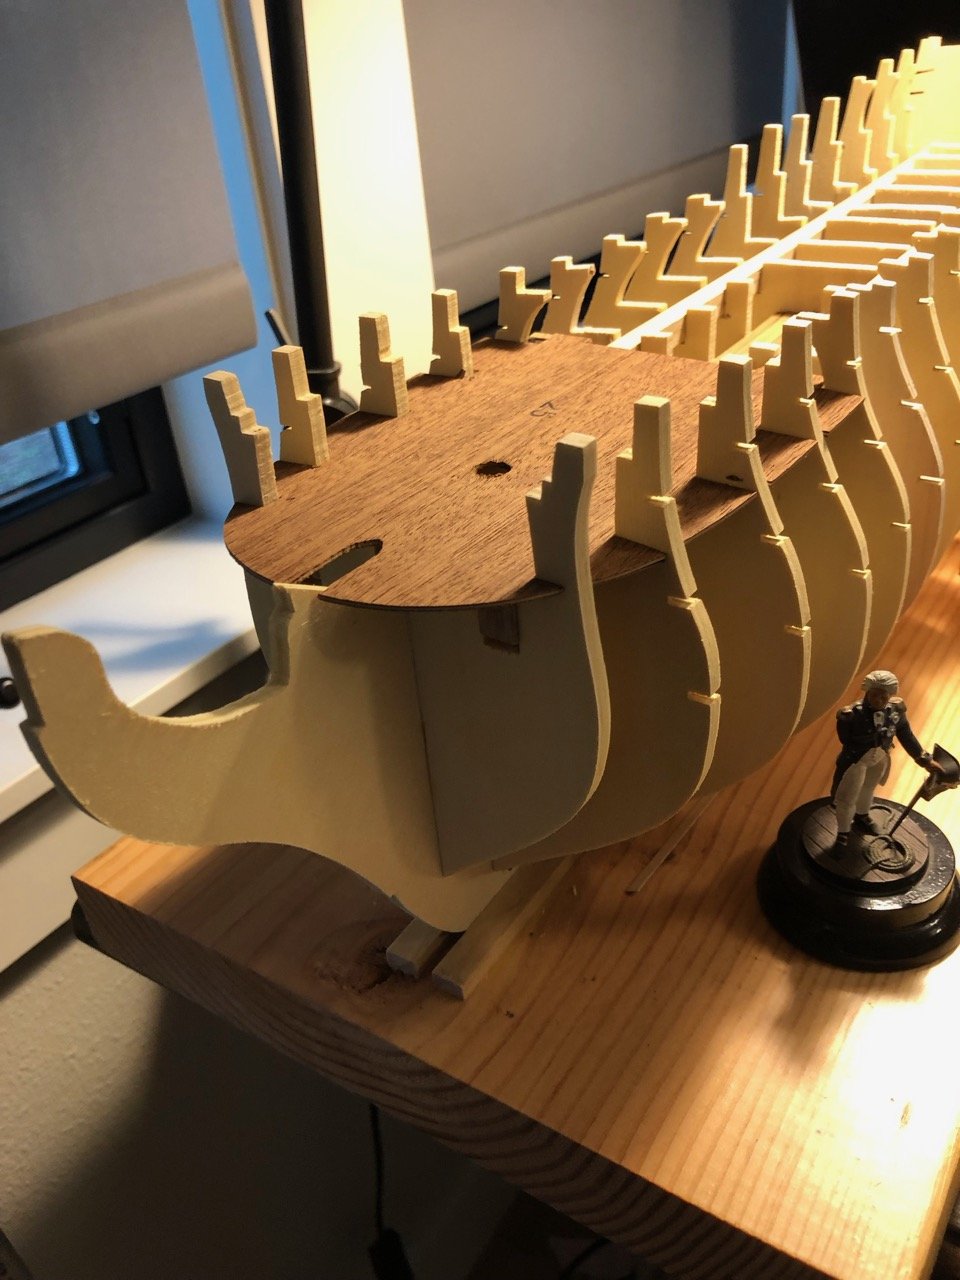
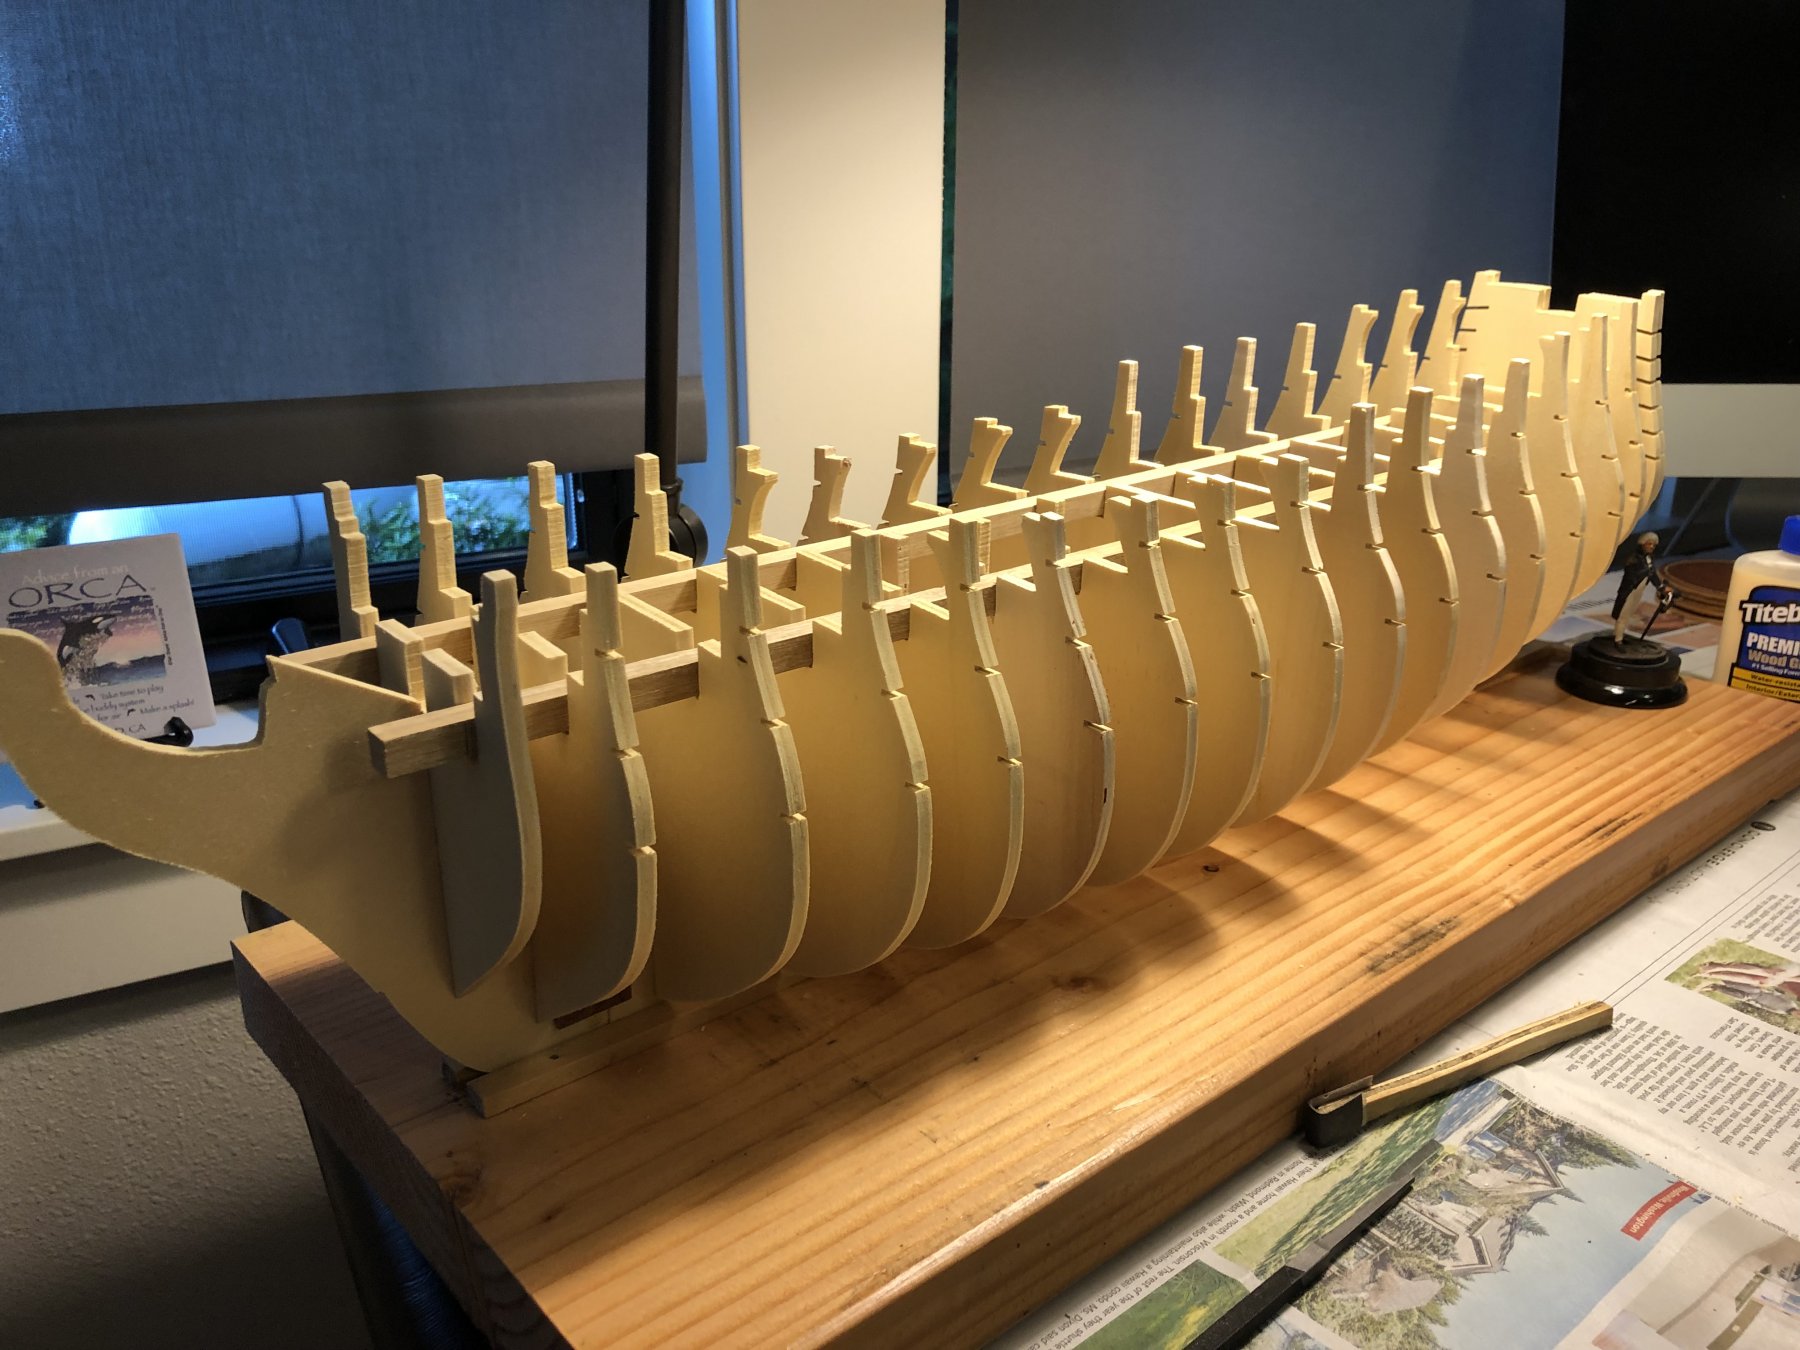
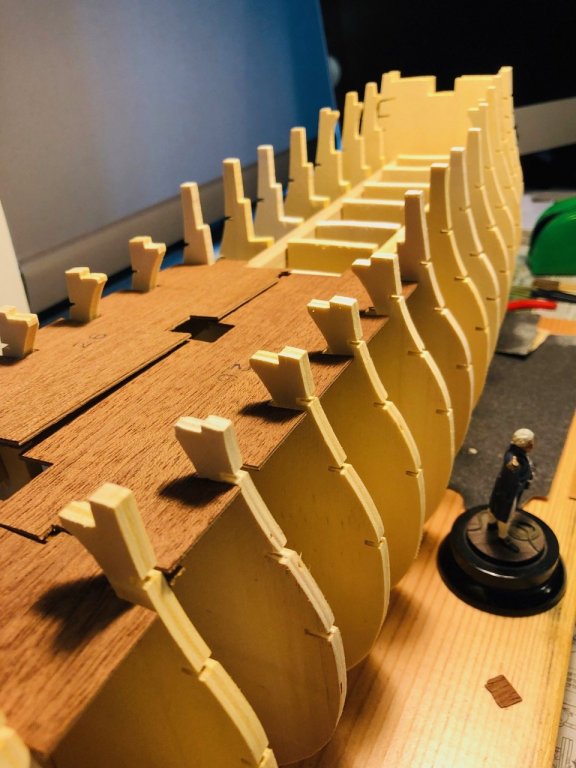
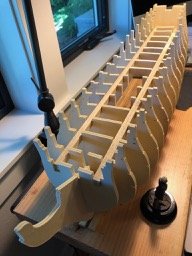
Where do I start? First, it’s great to find this forum and be able to obtain nearly instantaneous expertise and advice! Of course the first piece of sage advice was in essence, ‘... first time builders don’t start with HMS Victory!!’... and I fully understand that sound advice. But with your help and good Lord willing, I will succeed. I do plan to spend some time rooting around on this grand site to find pertinent information of which I’ve already found and am reading some. But thank you in advance for all the assistance/advice I’m sure to receive (and want!). That’s always better than ‘I knew that would happen!’ After the fact. Background: I’ve been an avid fan of the sailing/warships/Nelson’s navy of the late 18th and early 19th century for more than 40 years, having spent some time in Greenwich (UK) visiting the Maritime Museum (during a Nelson celebration actually) and having been able to visit the Victory in Portsmouth in the 1980’s. I’ve also toured the USS Constitution in Boston - as I’m sure many of you have as well. I purchased this kit (if memory serves) in the early 90’s and have been carrying it around with me for some time now. Having just retired from the workforce, I thought ‘Finally, now is the time!’. Well here goes. As I read in an earlier post, the model directions are a train wreck. I’ve read through the directions and have laid out the various reference items for easy reference. I don’t speak or read Italian so some of the information is difficult to interpret. The below picture is where we stand today having fitted the parts, but not glued anything but the keel (3) sections. I first found that the supporting horizontal beams did not readily fit into the slots. I then went through sanding/scraping the slots to ensure the beam would fit. Couple of observations: (1) The horizontal beams stick out beyond the first frame at the bow. I plan to cut off the ends to align with frame #1 (2) Looking from bow to stern, the various frame tops are not in a horizontal line. That is, starting with frame #10 (through 16) is the frame tops are progressively higher. The result will be the deck will not be horizontal. I’ve verified the frames are all seated correctly but wondering if those frame tops should all be at the same height. If so, I’ll need to remove and sand/adjust the tops accordingly. (3) An initial fit check of the deck closest to the stern (#27) seems to indicate an extremely tight fit... I take it I will need to adjust accordingly. (4) Anything I should know before I glue everything below after (1-3) above are covered? Finally, I’m wondering if the kit has simply ‘expanded’ over the years so that it will be ill fitting across the board.... or perhaps the kits are ill fitting to begin with? All for now; Thanks again for your help/assistance and I hope everyone has a great weekend!