MORE HANDBOOKS ARE ON THEIR WAY! We will let you know when they get here.
×

.jpeg.7d7eba14c97a2e1d9f79cd2c97f6424a.jpeg)
EricWilliamMarshall
-
Posts
986 -
Joined
-
Last visited
Content Type
Profiles
Forums
Gallery
Events
Everything posted by EricWilliamMarshall
-
.thumb.jpeg.fc5d633a7b34428fcf19419a73d56d55.jpeg) I was hesitating working on the sails; unsure how to proceed. I didn't want to waste or wreck the small piece of cloth that came with the kit. It occured to me to buy some more fabric, experiment and fail a few times until I am more comfy. I now have access to a sewing machine, although I may not use it. While hemming and hawing regarding the sails, I finished fixing up a old tool chest. I had fixed the broken drawers and cleaned and shellacked the drawer fronts. And relined the drawers. I had a little plastic tool box that was overflowing and this is much nicer.
I was hesitating working on the sails; unsure how to proceed. I didn't want to waste or wreck the small piece of cloth that came with the kit. It occured to me to buy some more fabric, experiment and fail a few times until I am more comfy. I now have access to a sewing machine, although I may not use it. While hemming and hawing regarding the sails, I finished fixing up a old tool chest. I had fixed the broken drawers and cleaned and shellacked the drawer fronts. And relined the drawers. I had a little plastic tool box that was overflowing and this is much nicer.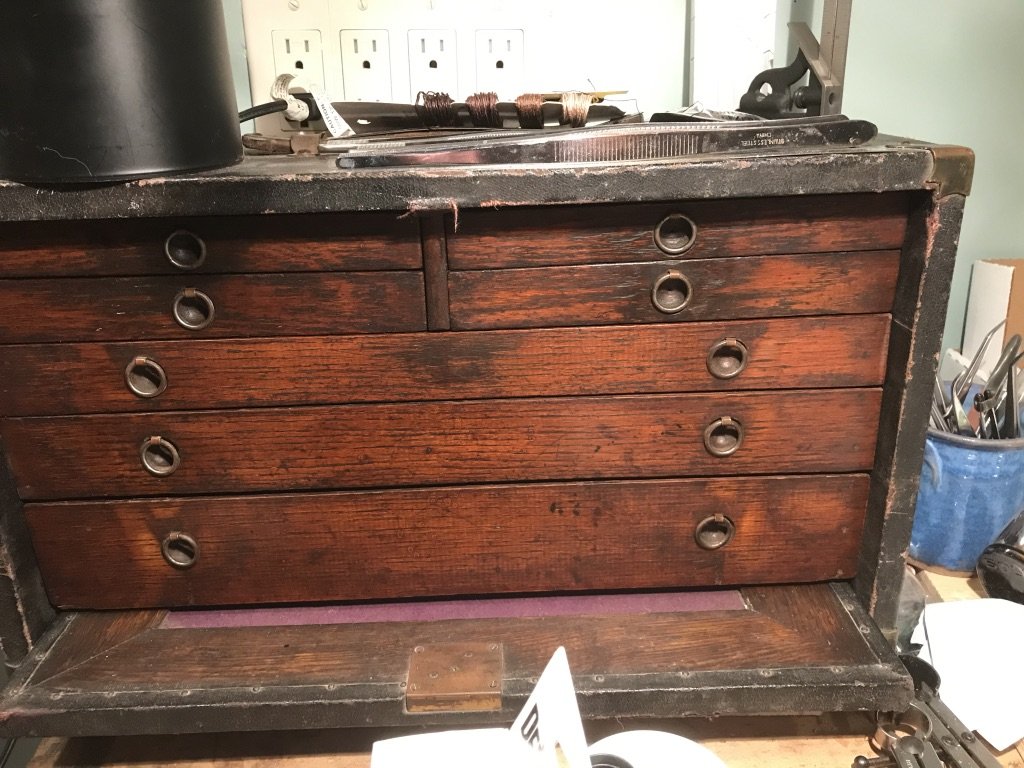

- 72 replies
-
- 5
-

-
- Chesapeake Bay Flattie
- Midwest Products
- (and 1 more)
-
Congrats!! An inspiring build for those of us new to the fold! A great start to the New Year!
- 90 replies
-
- 2
-
-
- finished
- Midwest Products
- (and 1 more)
-
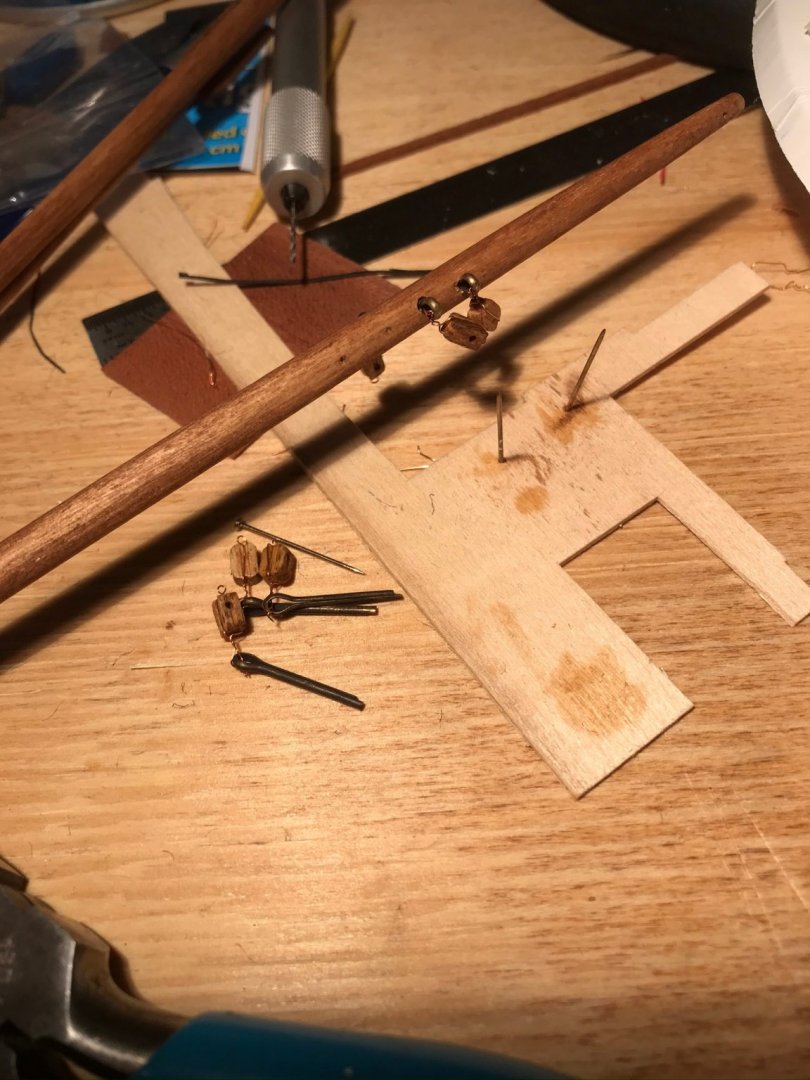
I started on the metal bits and blocks. Note to self: find a pair of needle noosed pliers with smooth jaws.
- 72 replies
-
- 4
-
-
- Chesapeake Bay Flattie
- Midwest Products
- (and 1 more)
-
The yellow box is the older. The build is looking great! How did you decide to make the oar handles?
- 29 replies
-
- 1
-
-
- Dinghy
- Midwest Products
- (and 1 more)
-
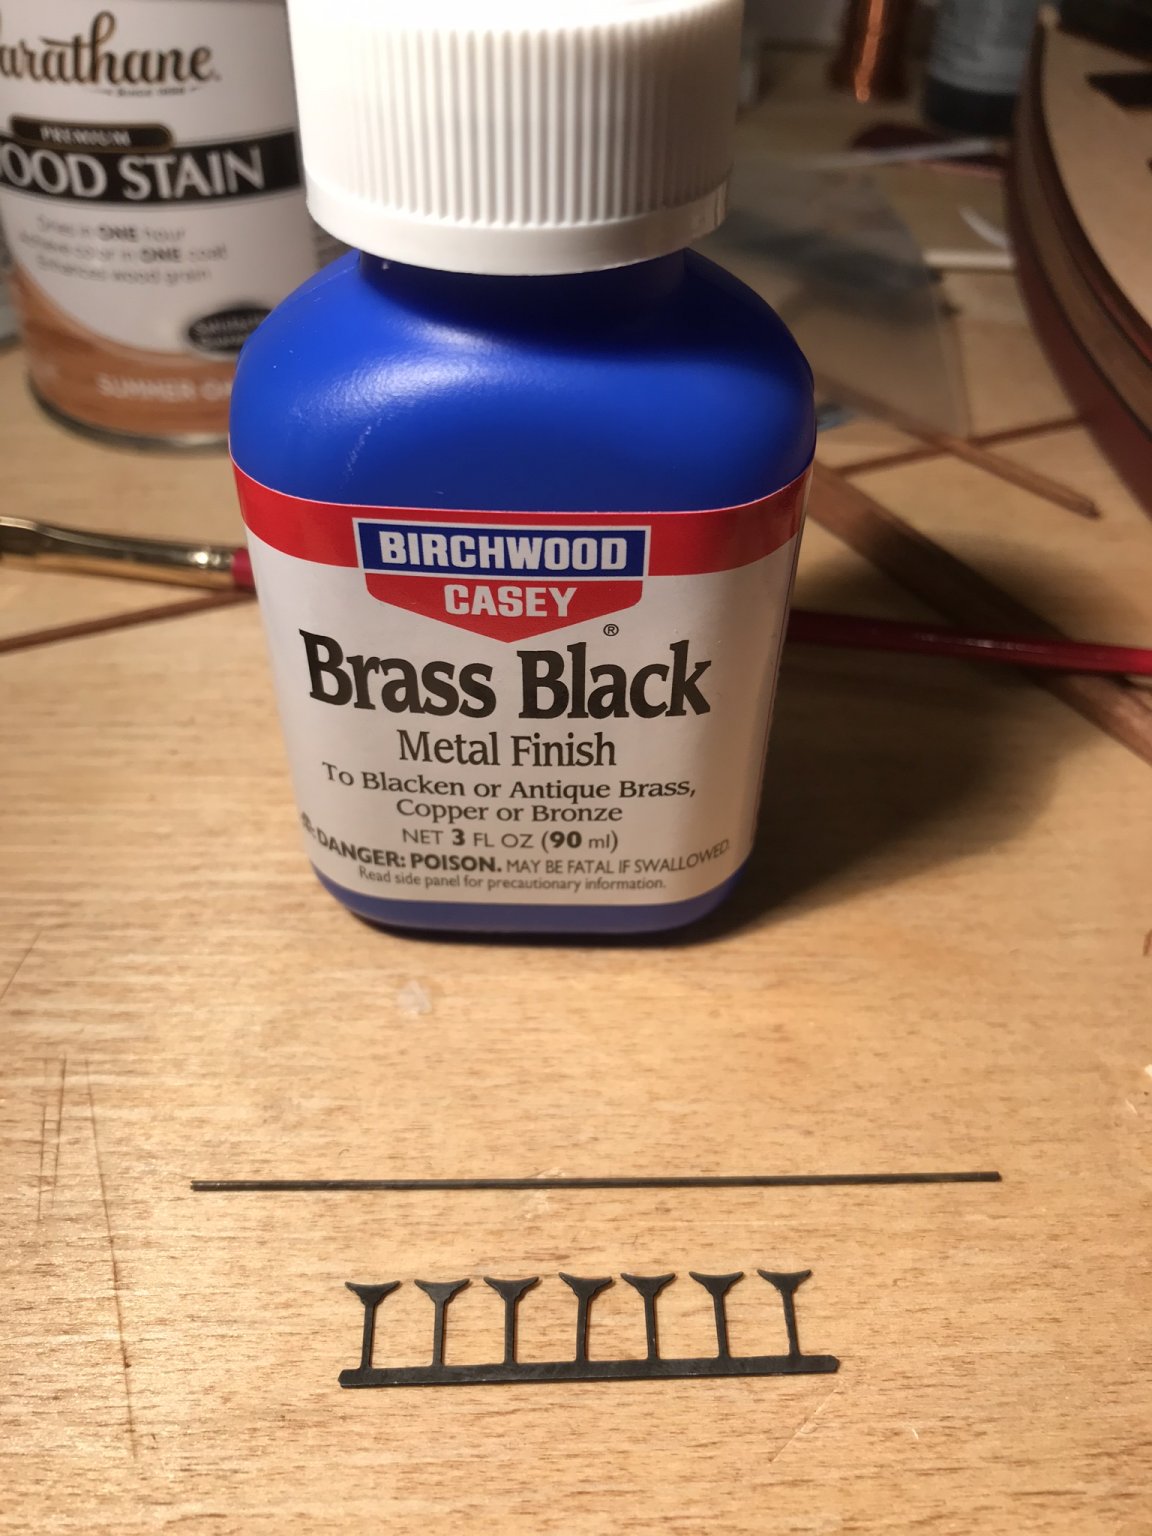
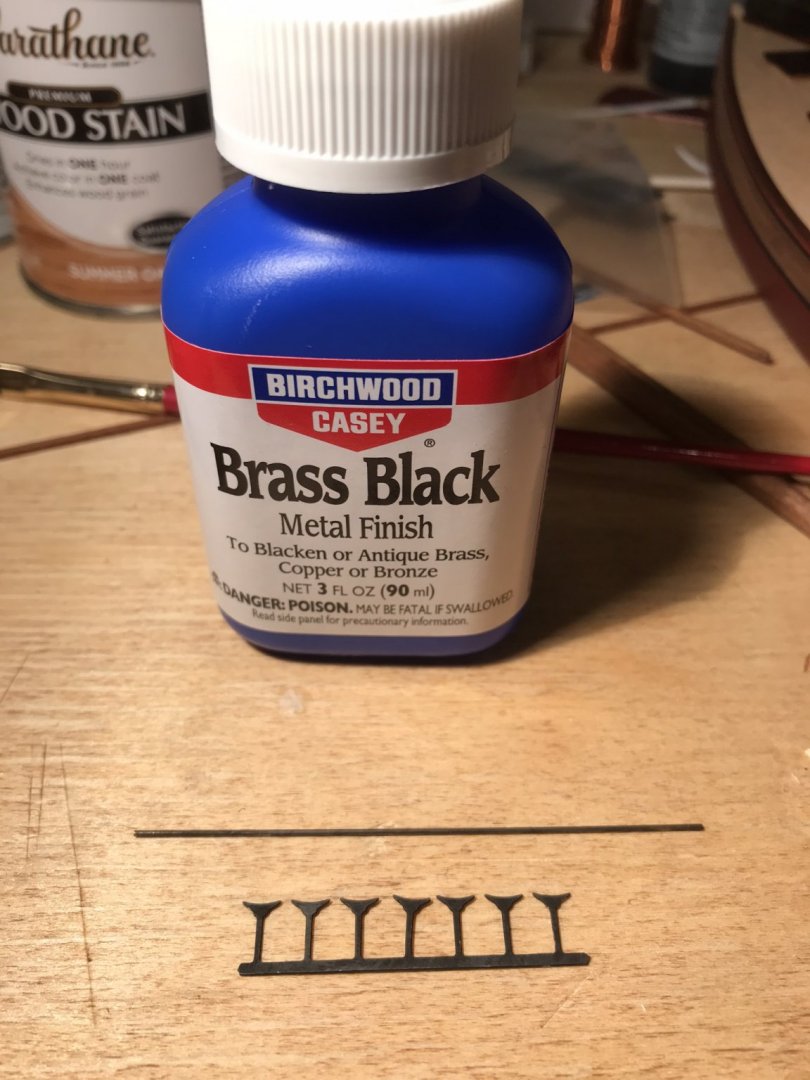
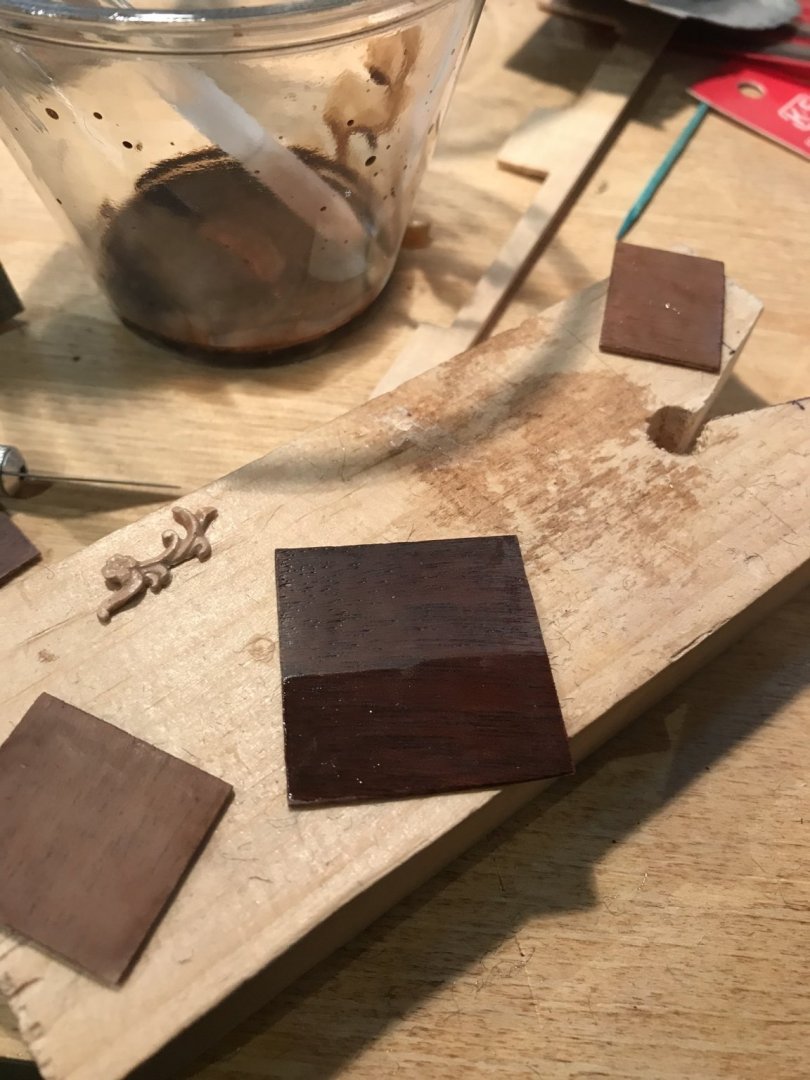
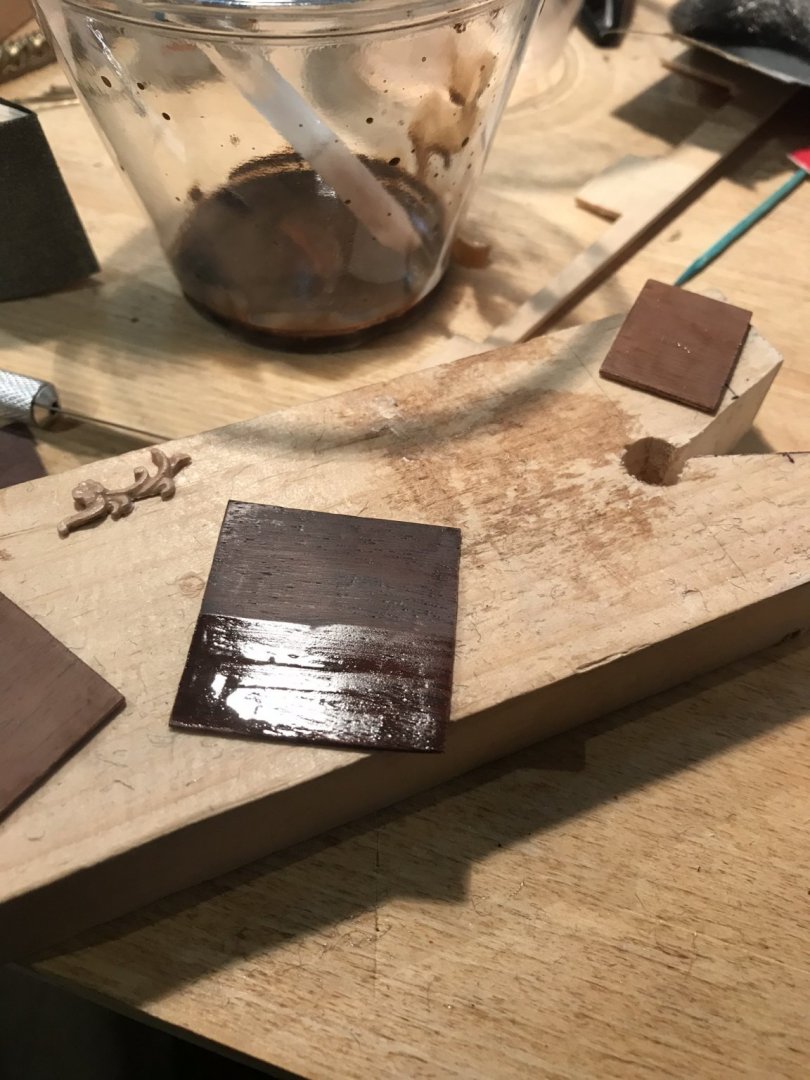
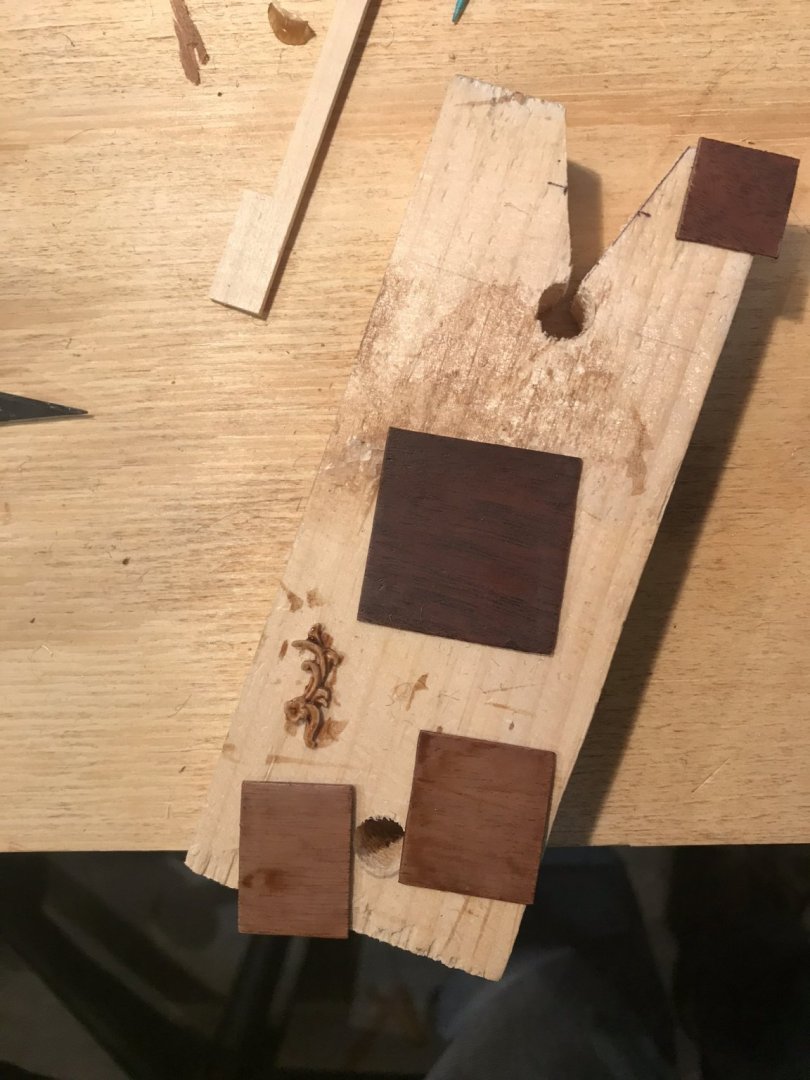
In light of VTHokiEE‘s experience with the cleats on his flattie, I ordered some brass black to see if I could learn to use that on the cleats. I cleaned the with steel wool and vinegar. I found that the brass black didn’t work well brushed on but if the brass was immersed in the liquid, all was well.
- 72 replies
-
- 6
-
-
- Chesapeake Bay Flattie
- Midwest Products
- (and 1 more)
-
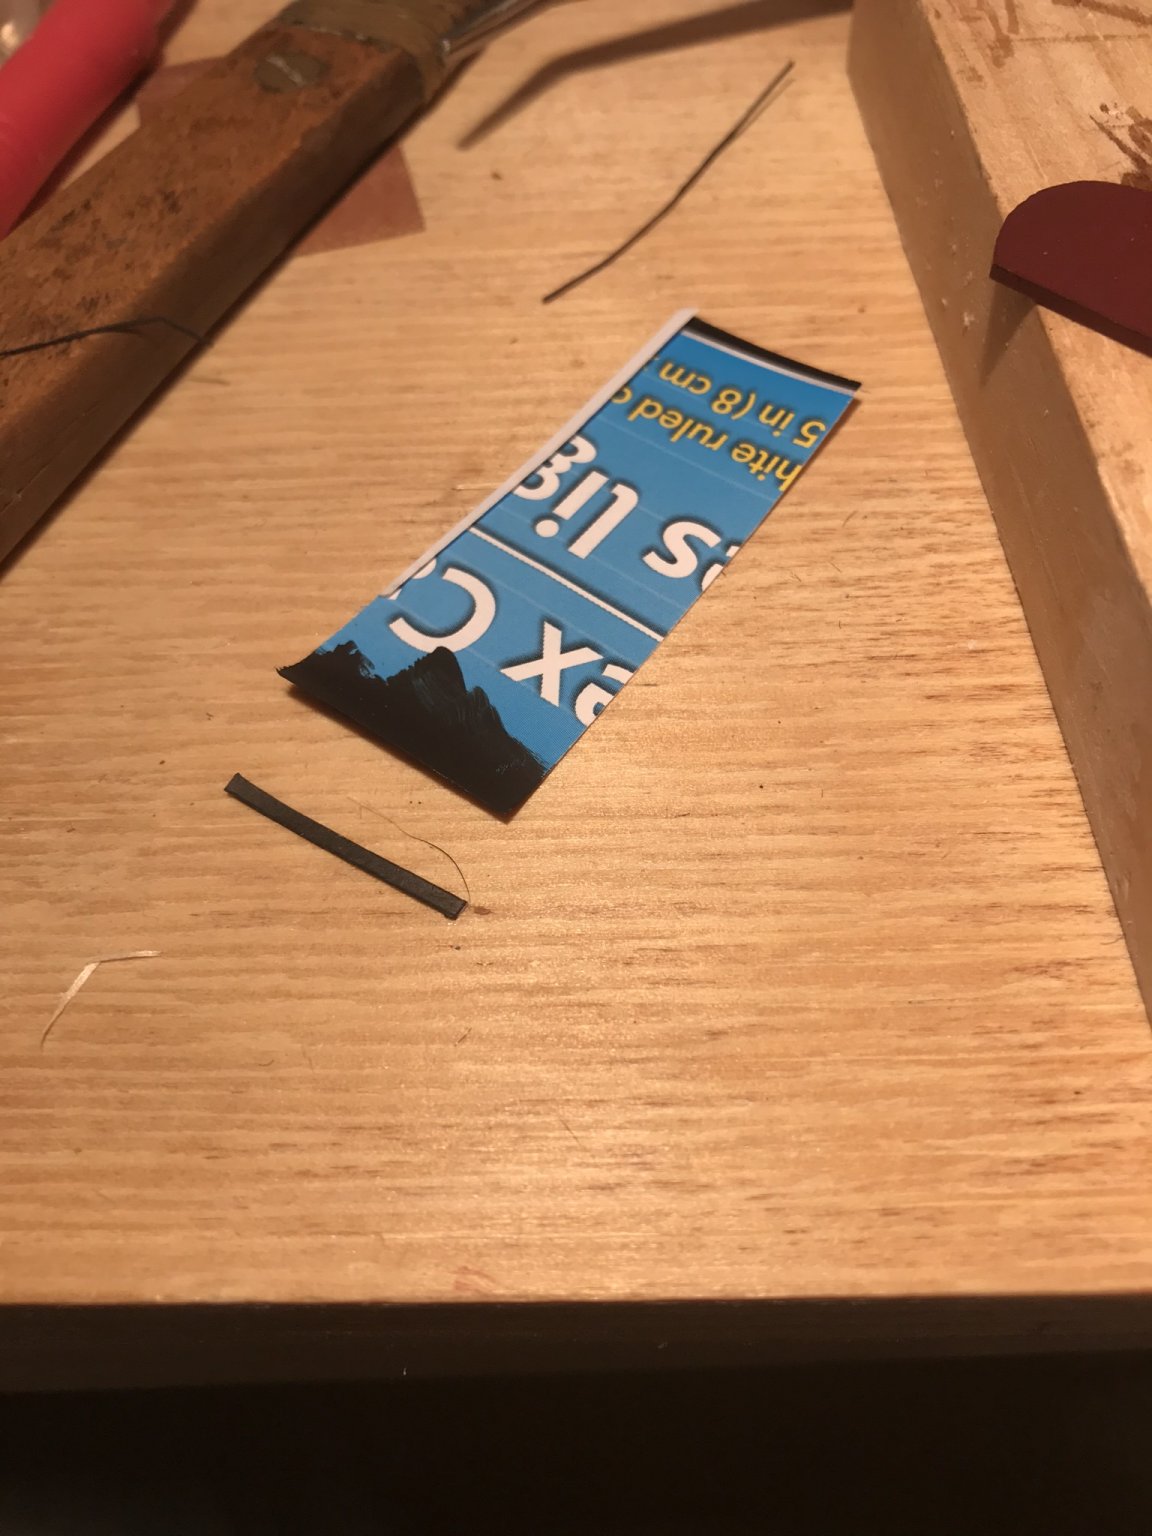
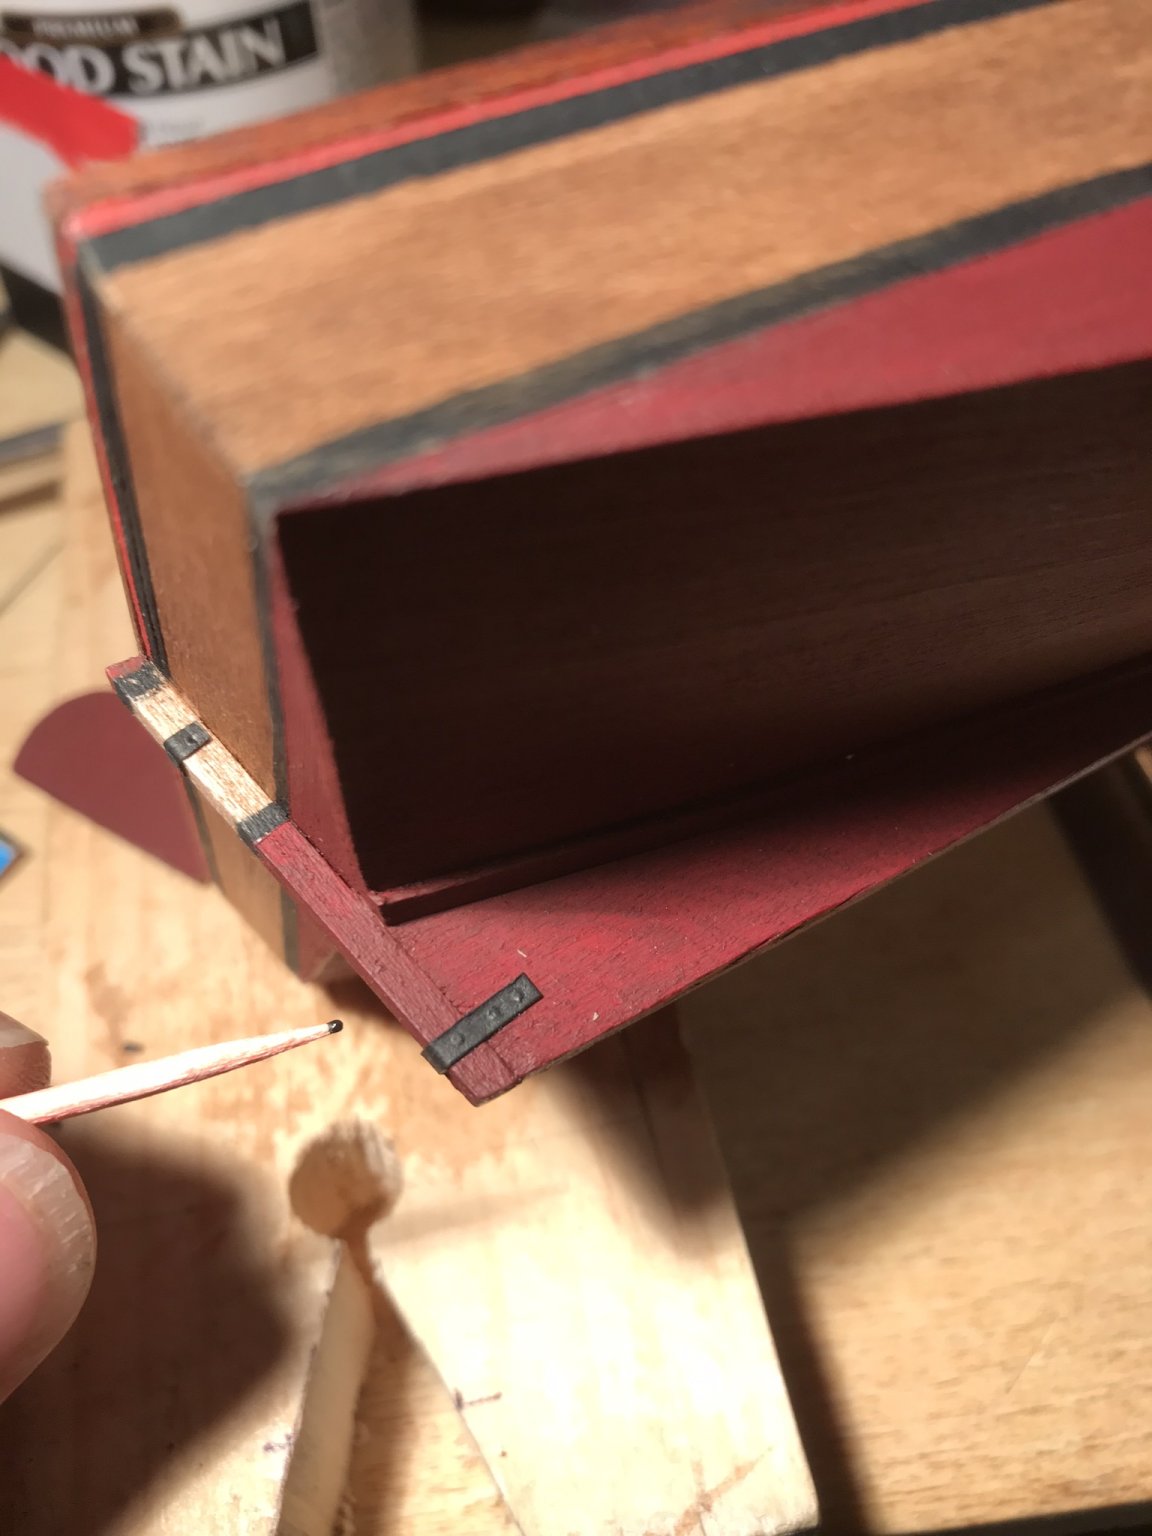
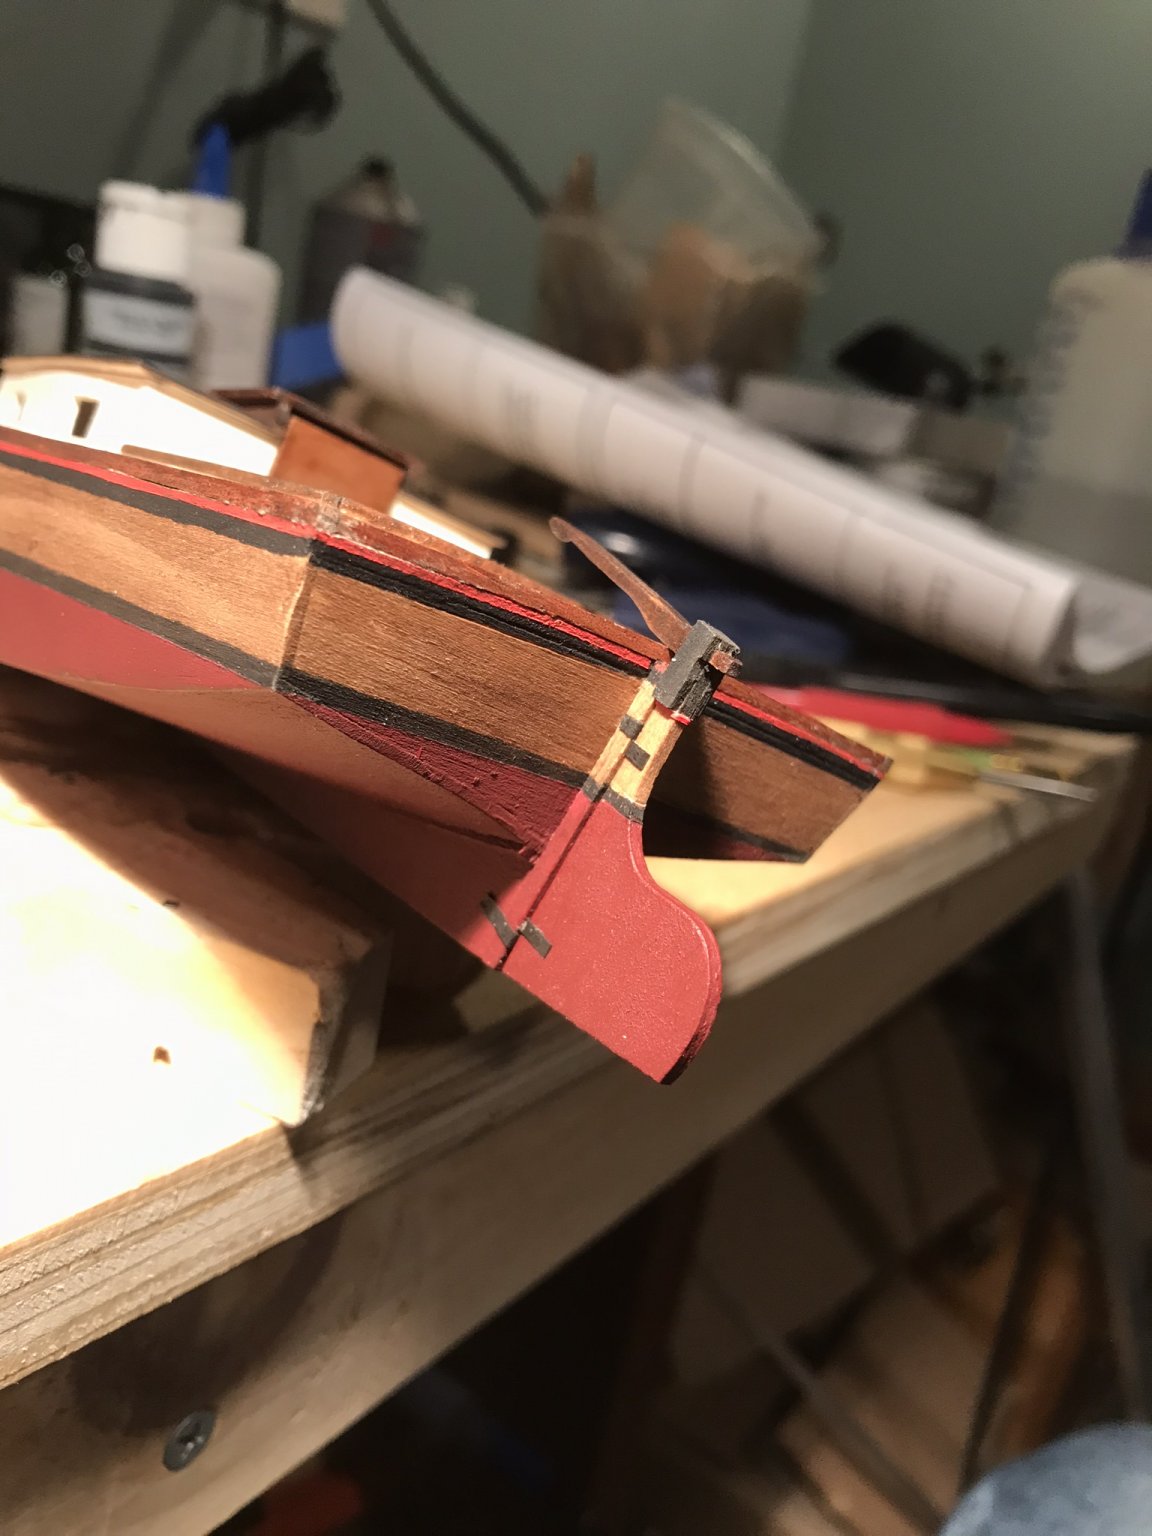
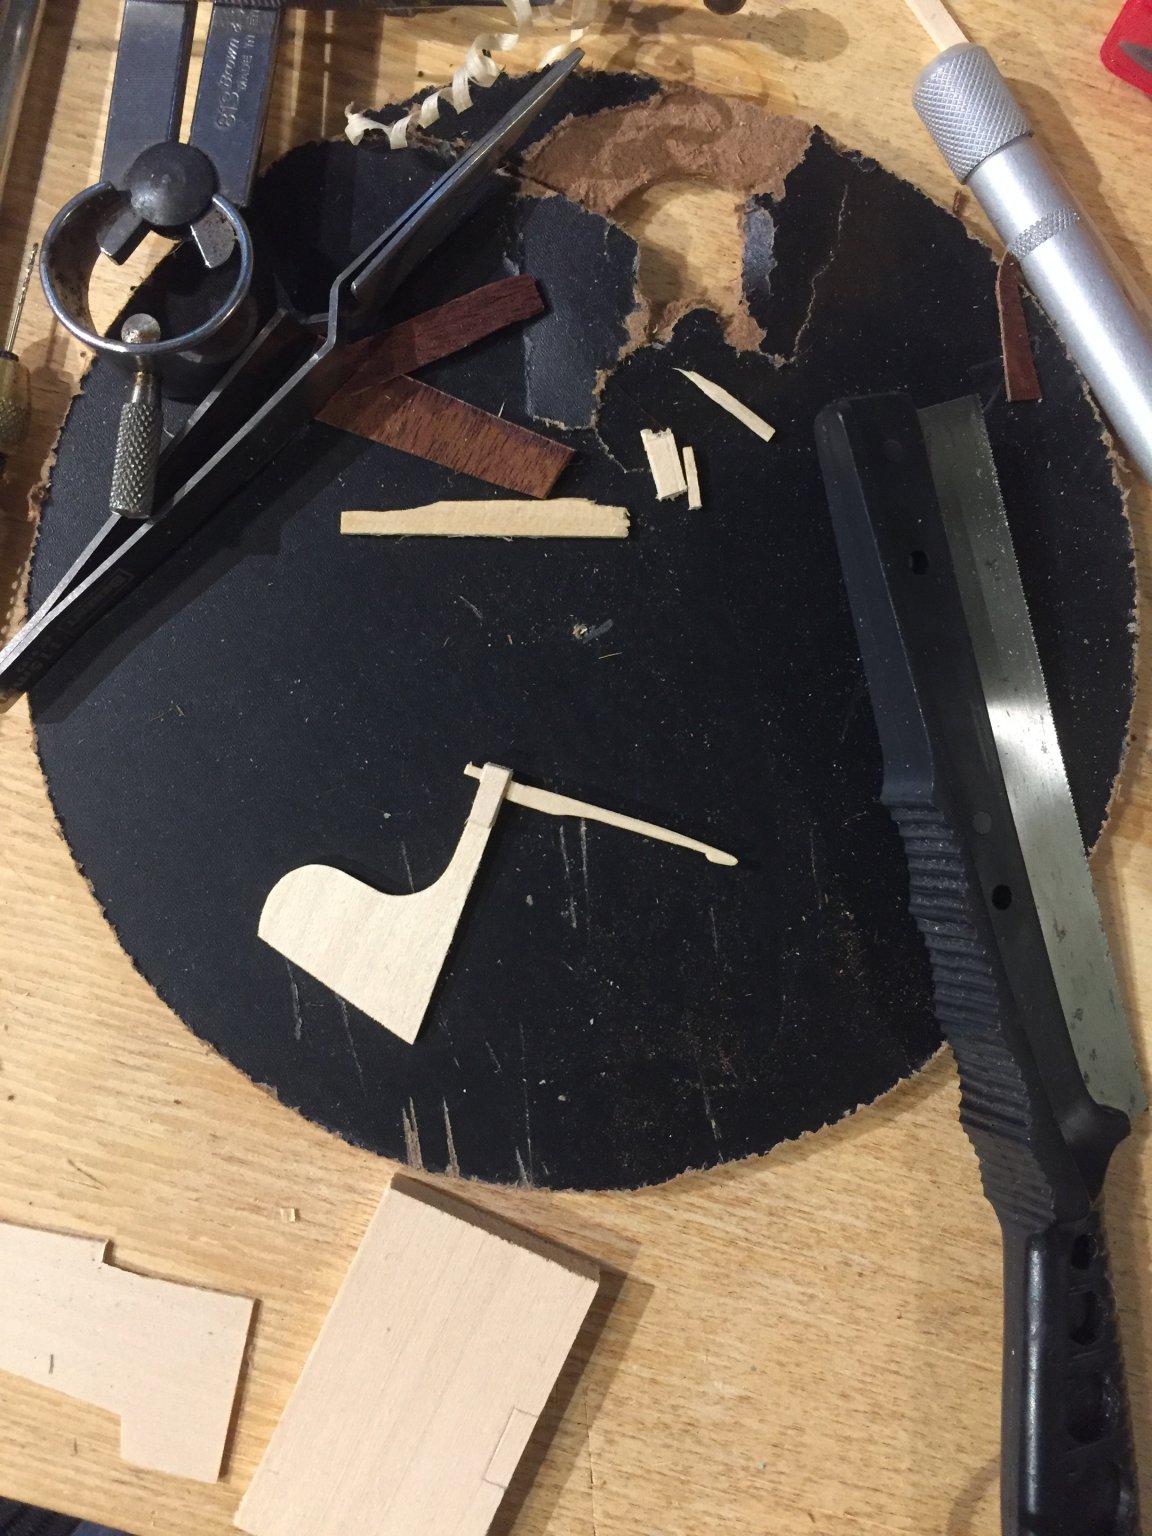
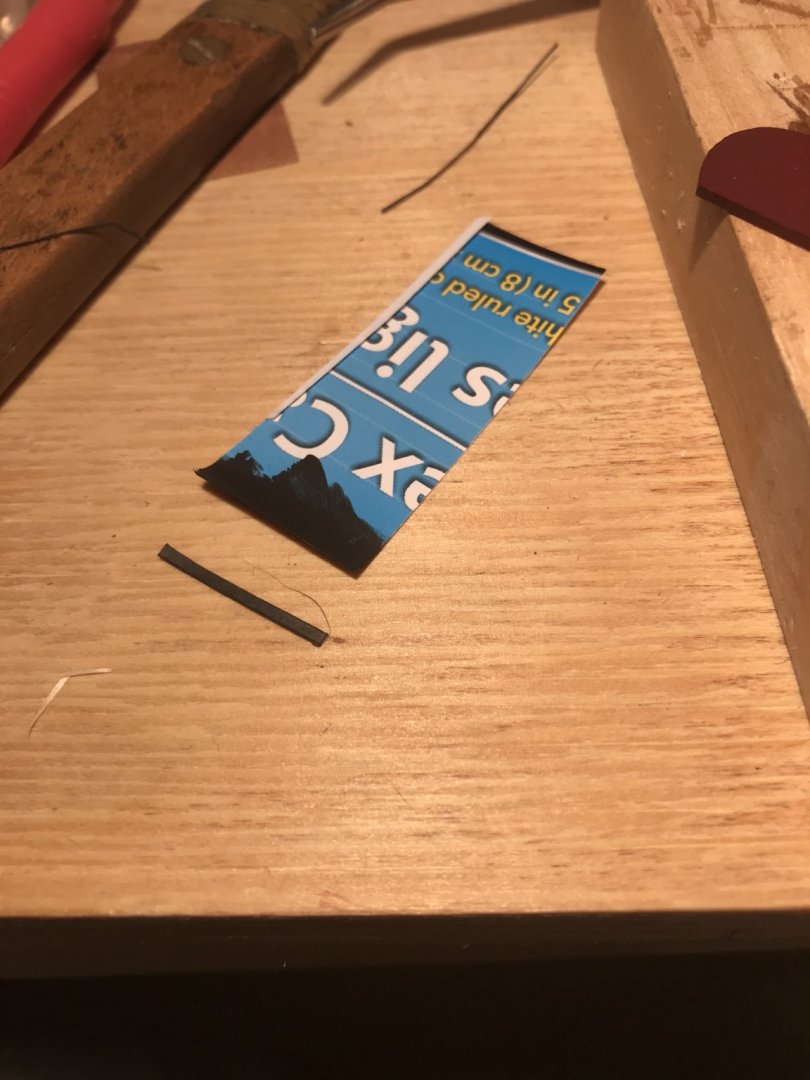
As per ccoyle’s and GrandpaPhil’s suggestions, I created a bit of non-metal frippery to act as the metal work for the tiller. I used an index card painted black (with a little brown mixed in), cut into thin ribbons. These were cut length and glued on. I then used an awl to indent slight marks where I wished to show bolts and added a drop of paint to create the suggestion of a bolt.


- 72 replies
-
- 8
-
-
- Chesapeake Bay Flattie
- Midwest Products
- (and 1 more)
-
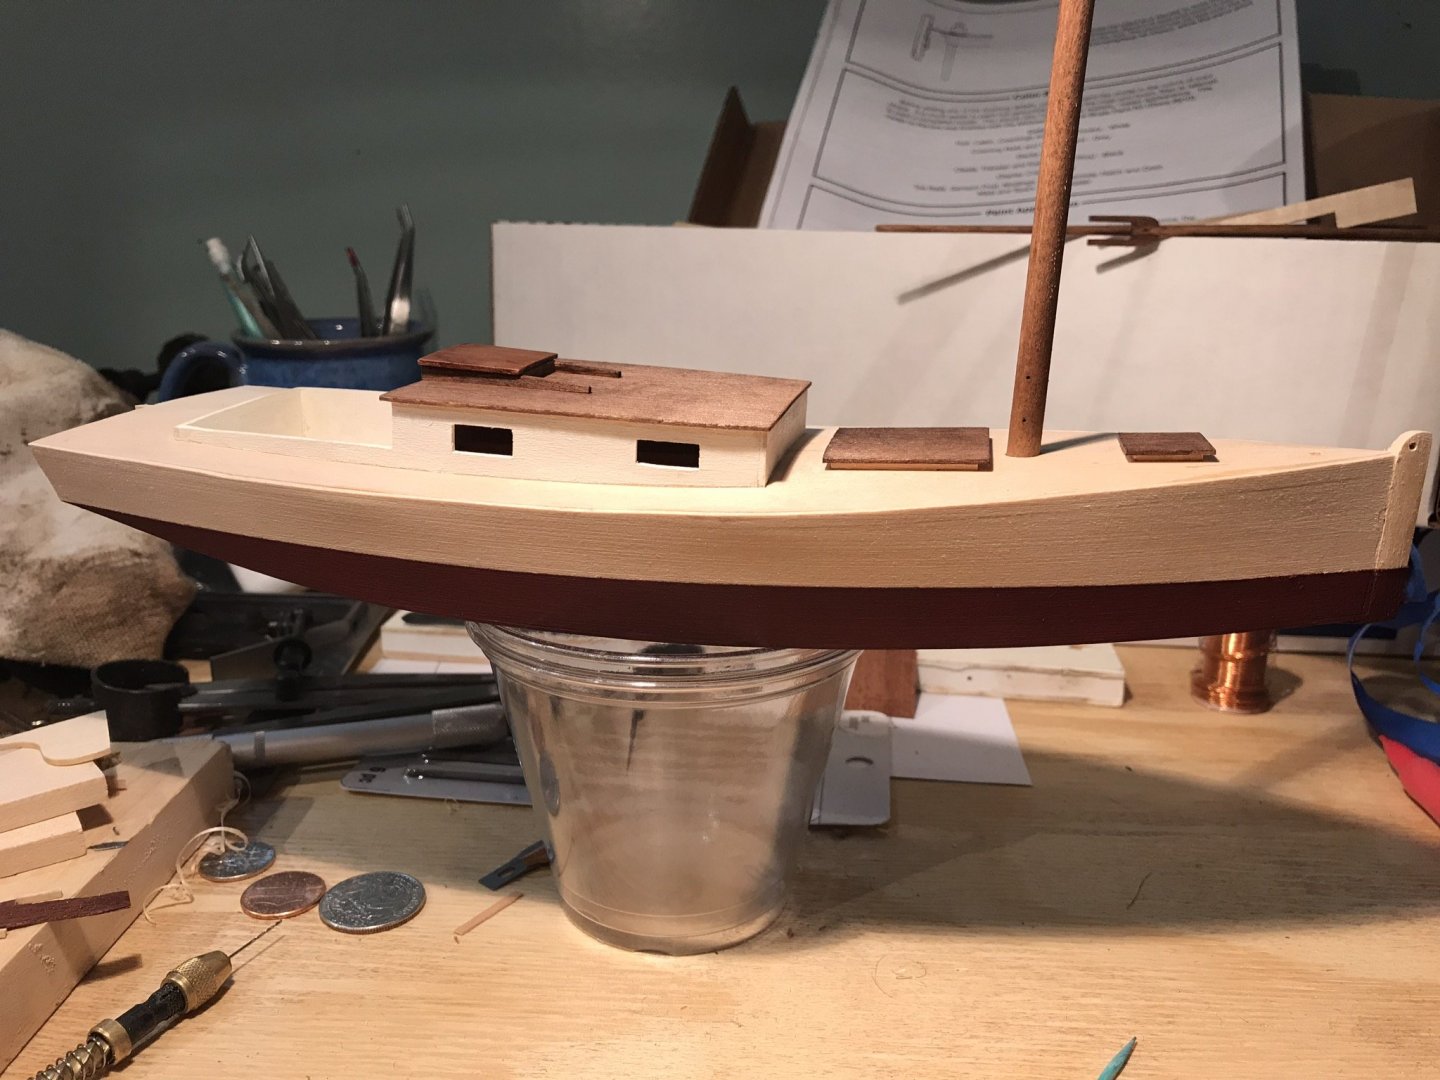
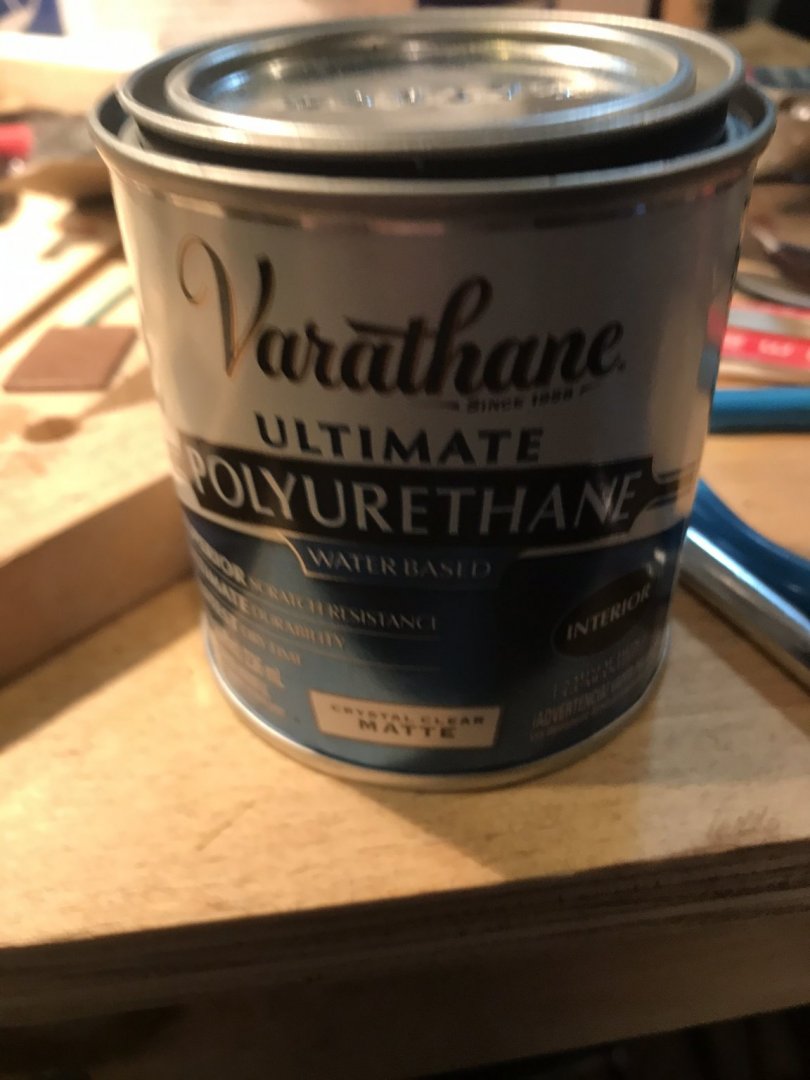
I also found the polyurethane I’m using comes in a “crystal clear” version, which should solve the cloudy finish I mentioned earlier.
- 72 replies
-
- 1
-
-
- Chesapeake Bay Flattie
- Midwest Products
- (and 1 more)
-
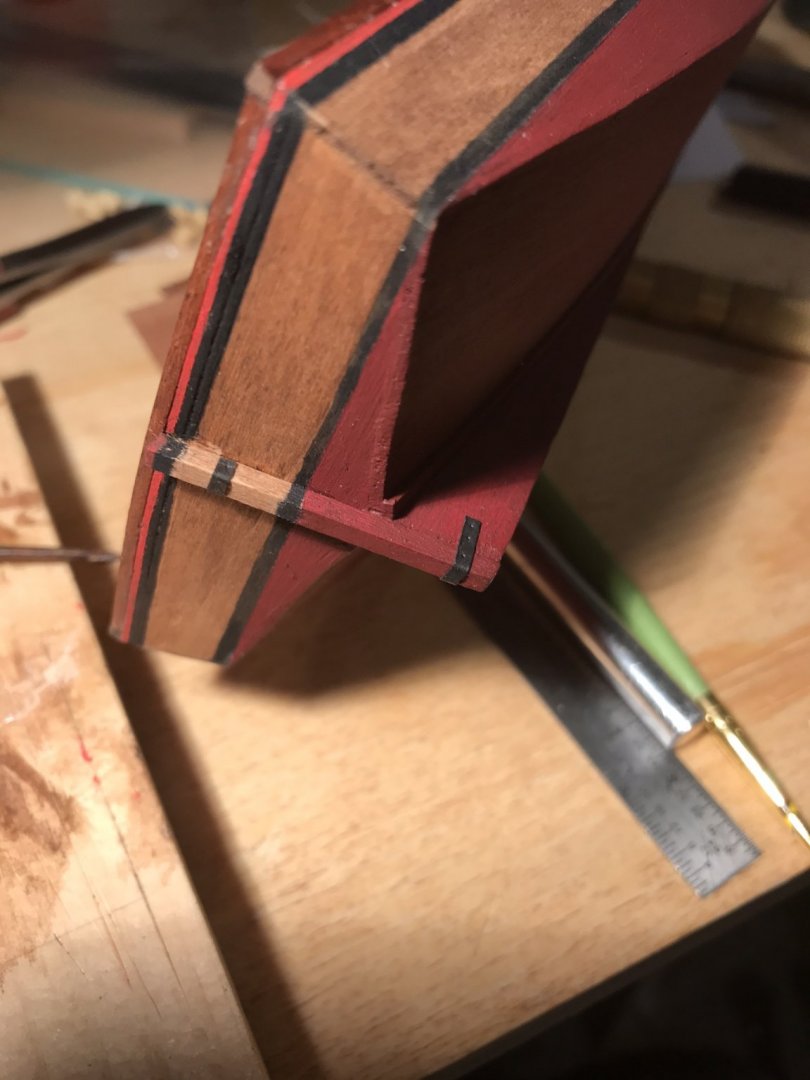
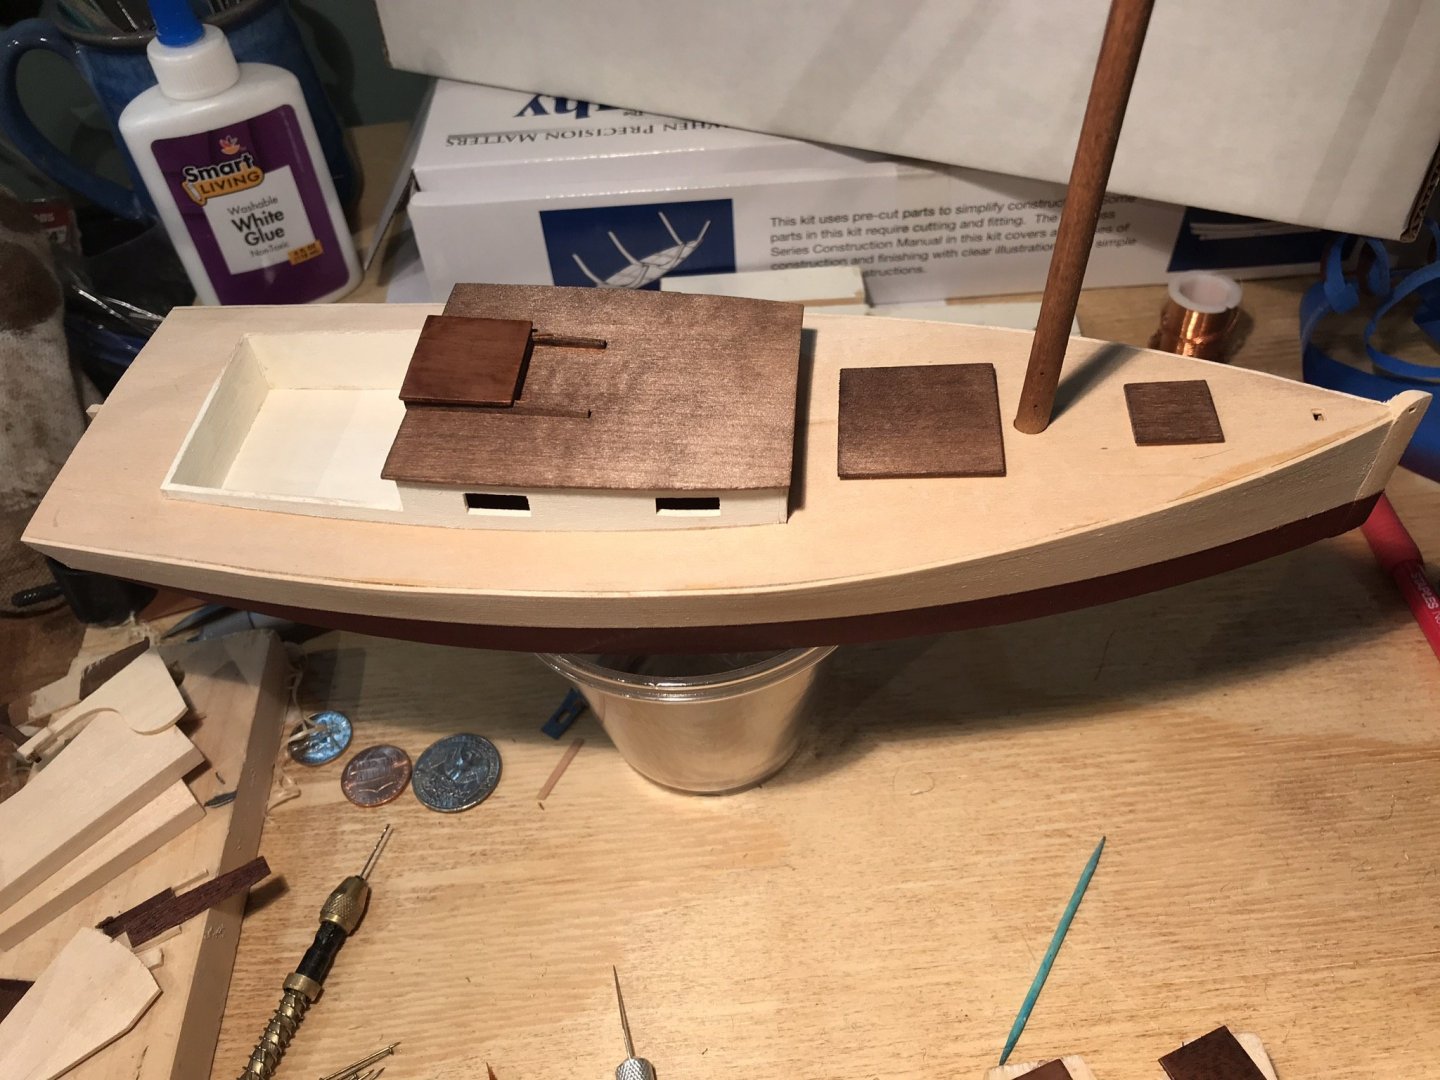
I added a mitered rail as well. The angles are not 45 degree angles and curving the edges added to the fun, but it was quick and ‘eyeballing’ was sufficient and quick.

- 72 replies
-
- 4
-
-
- Chesapeake Bay Flattie
- Midwest Products
- (and 1 more)
-
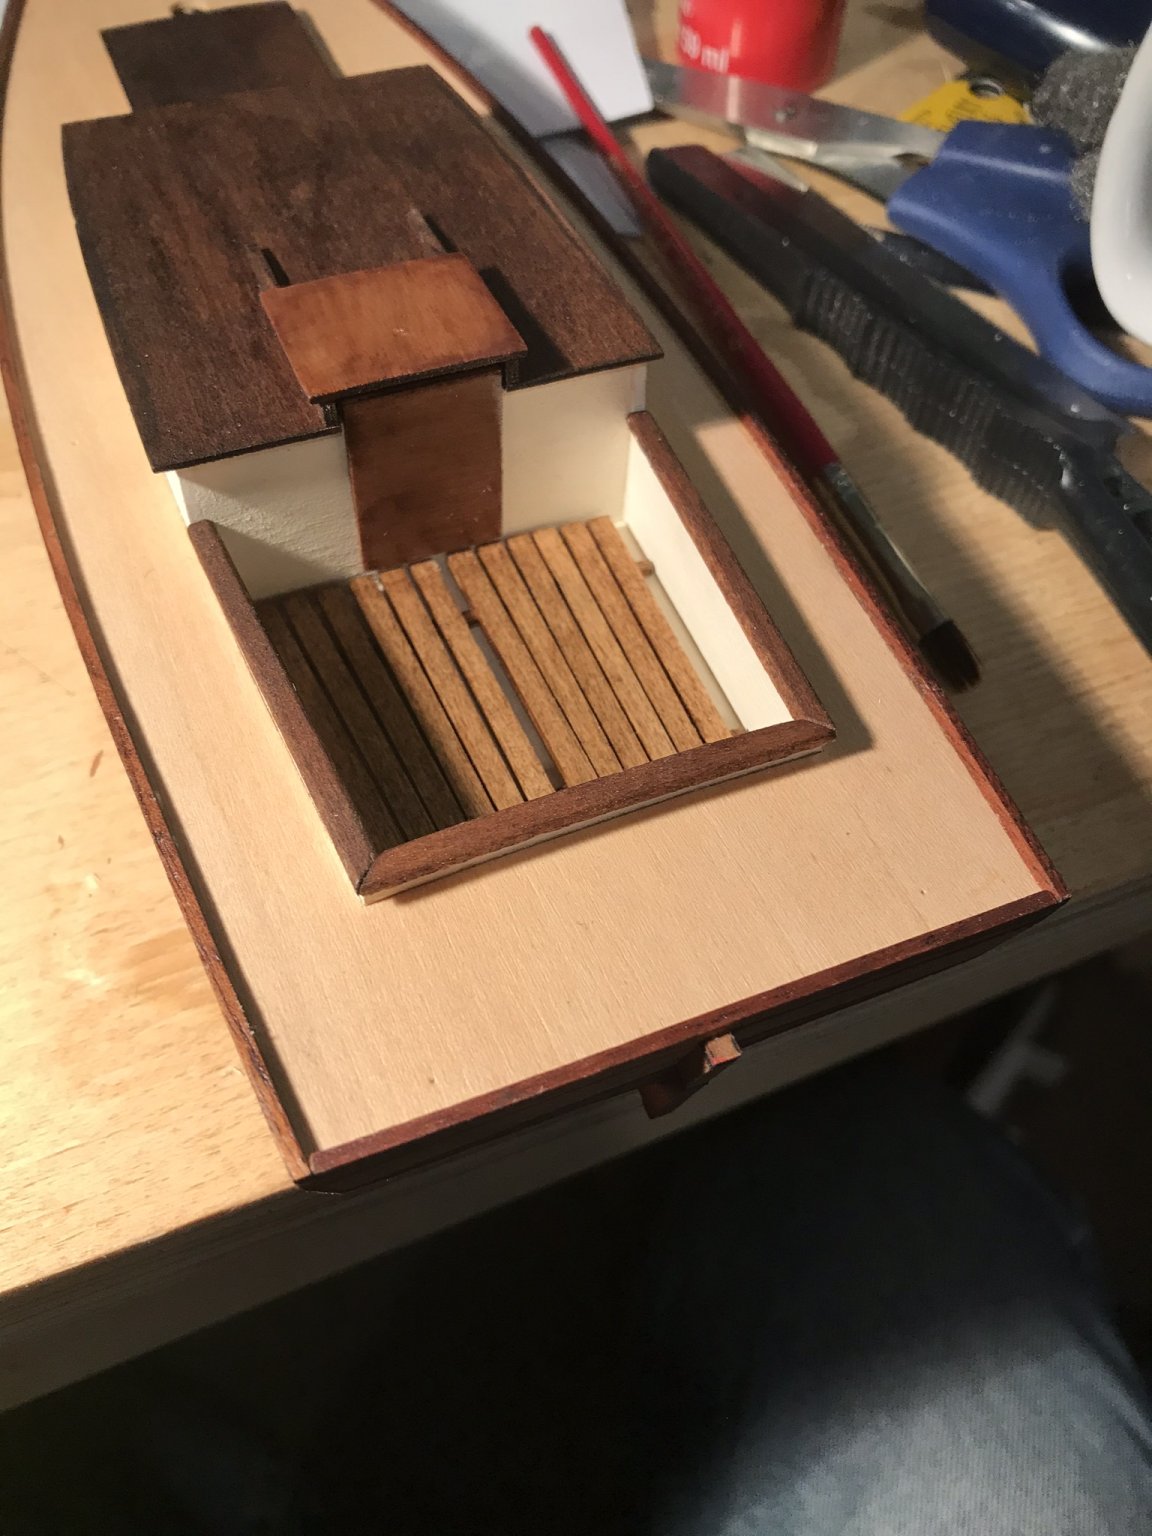
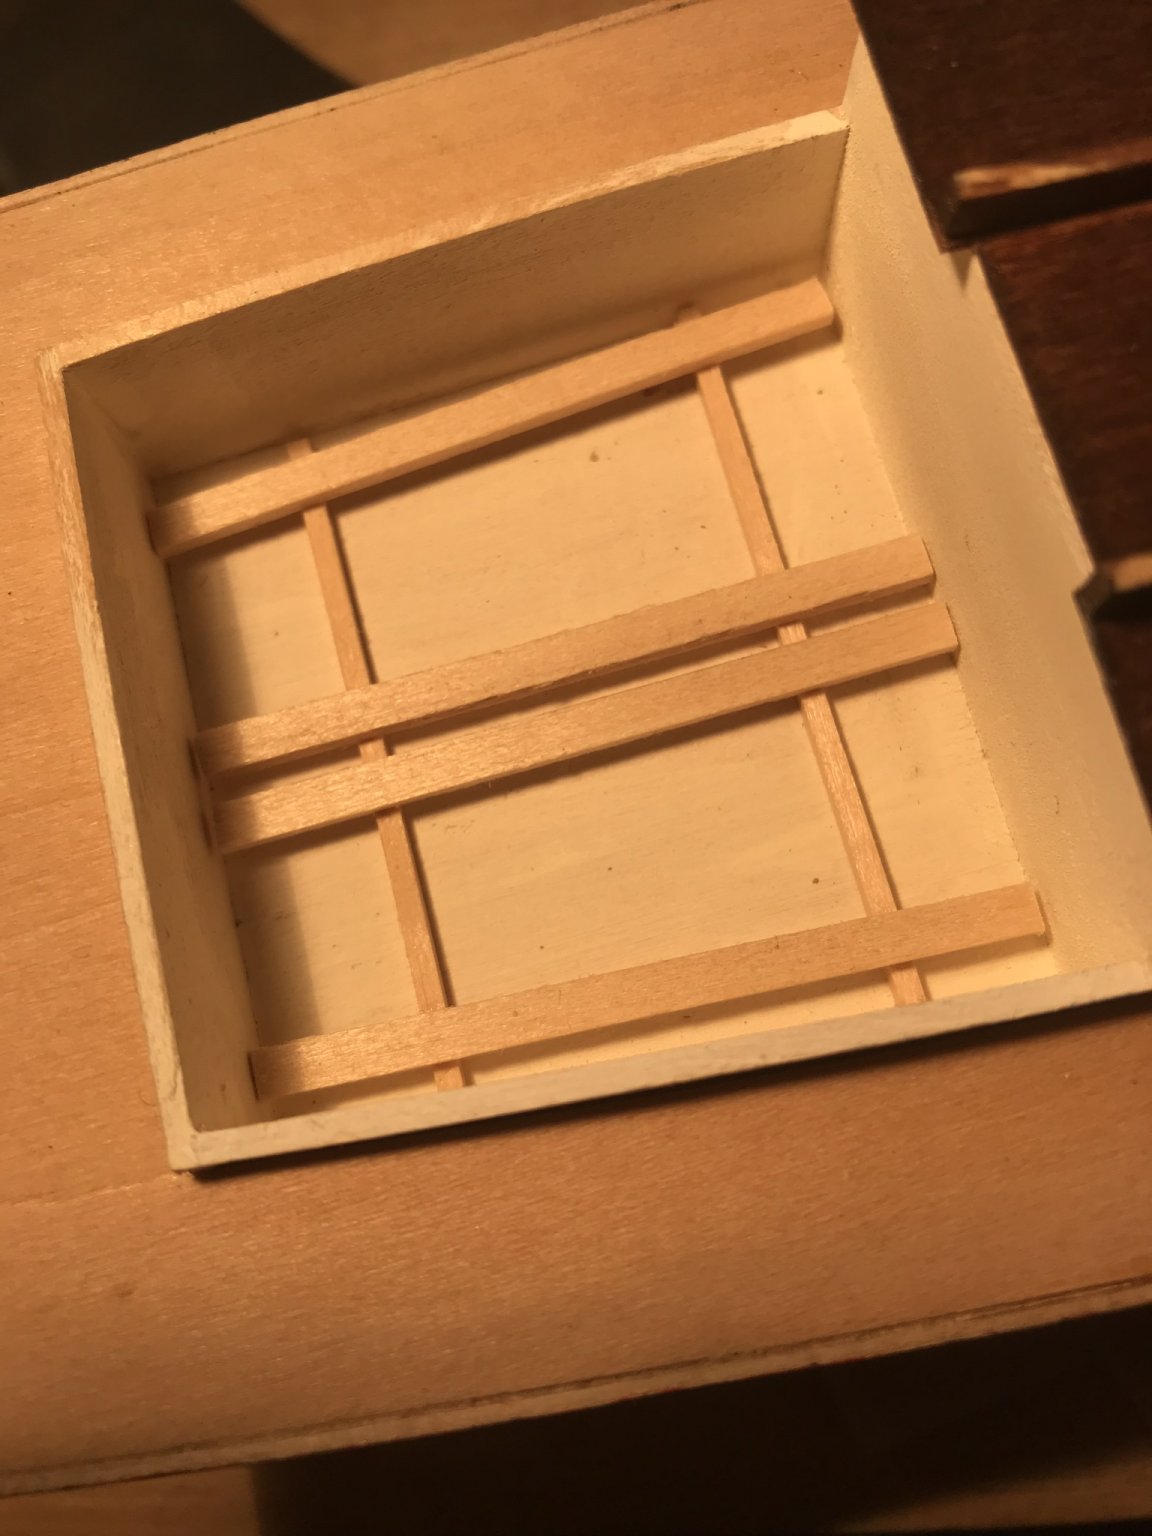
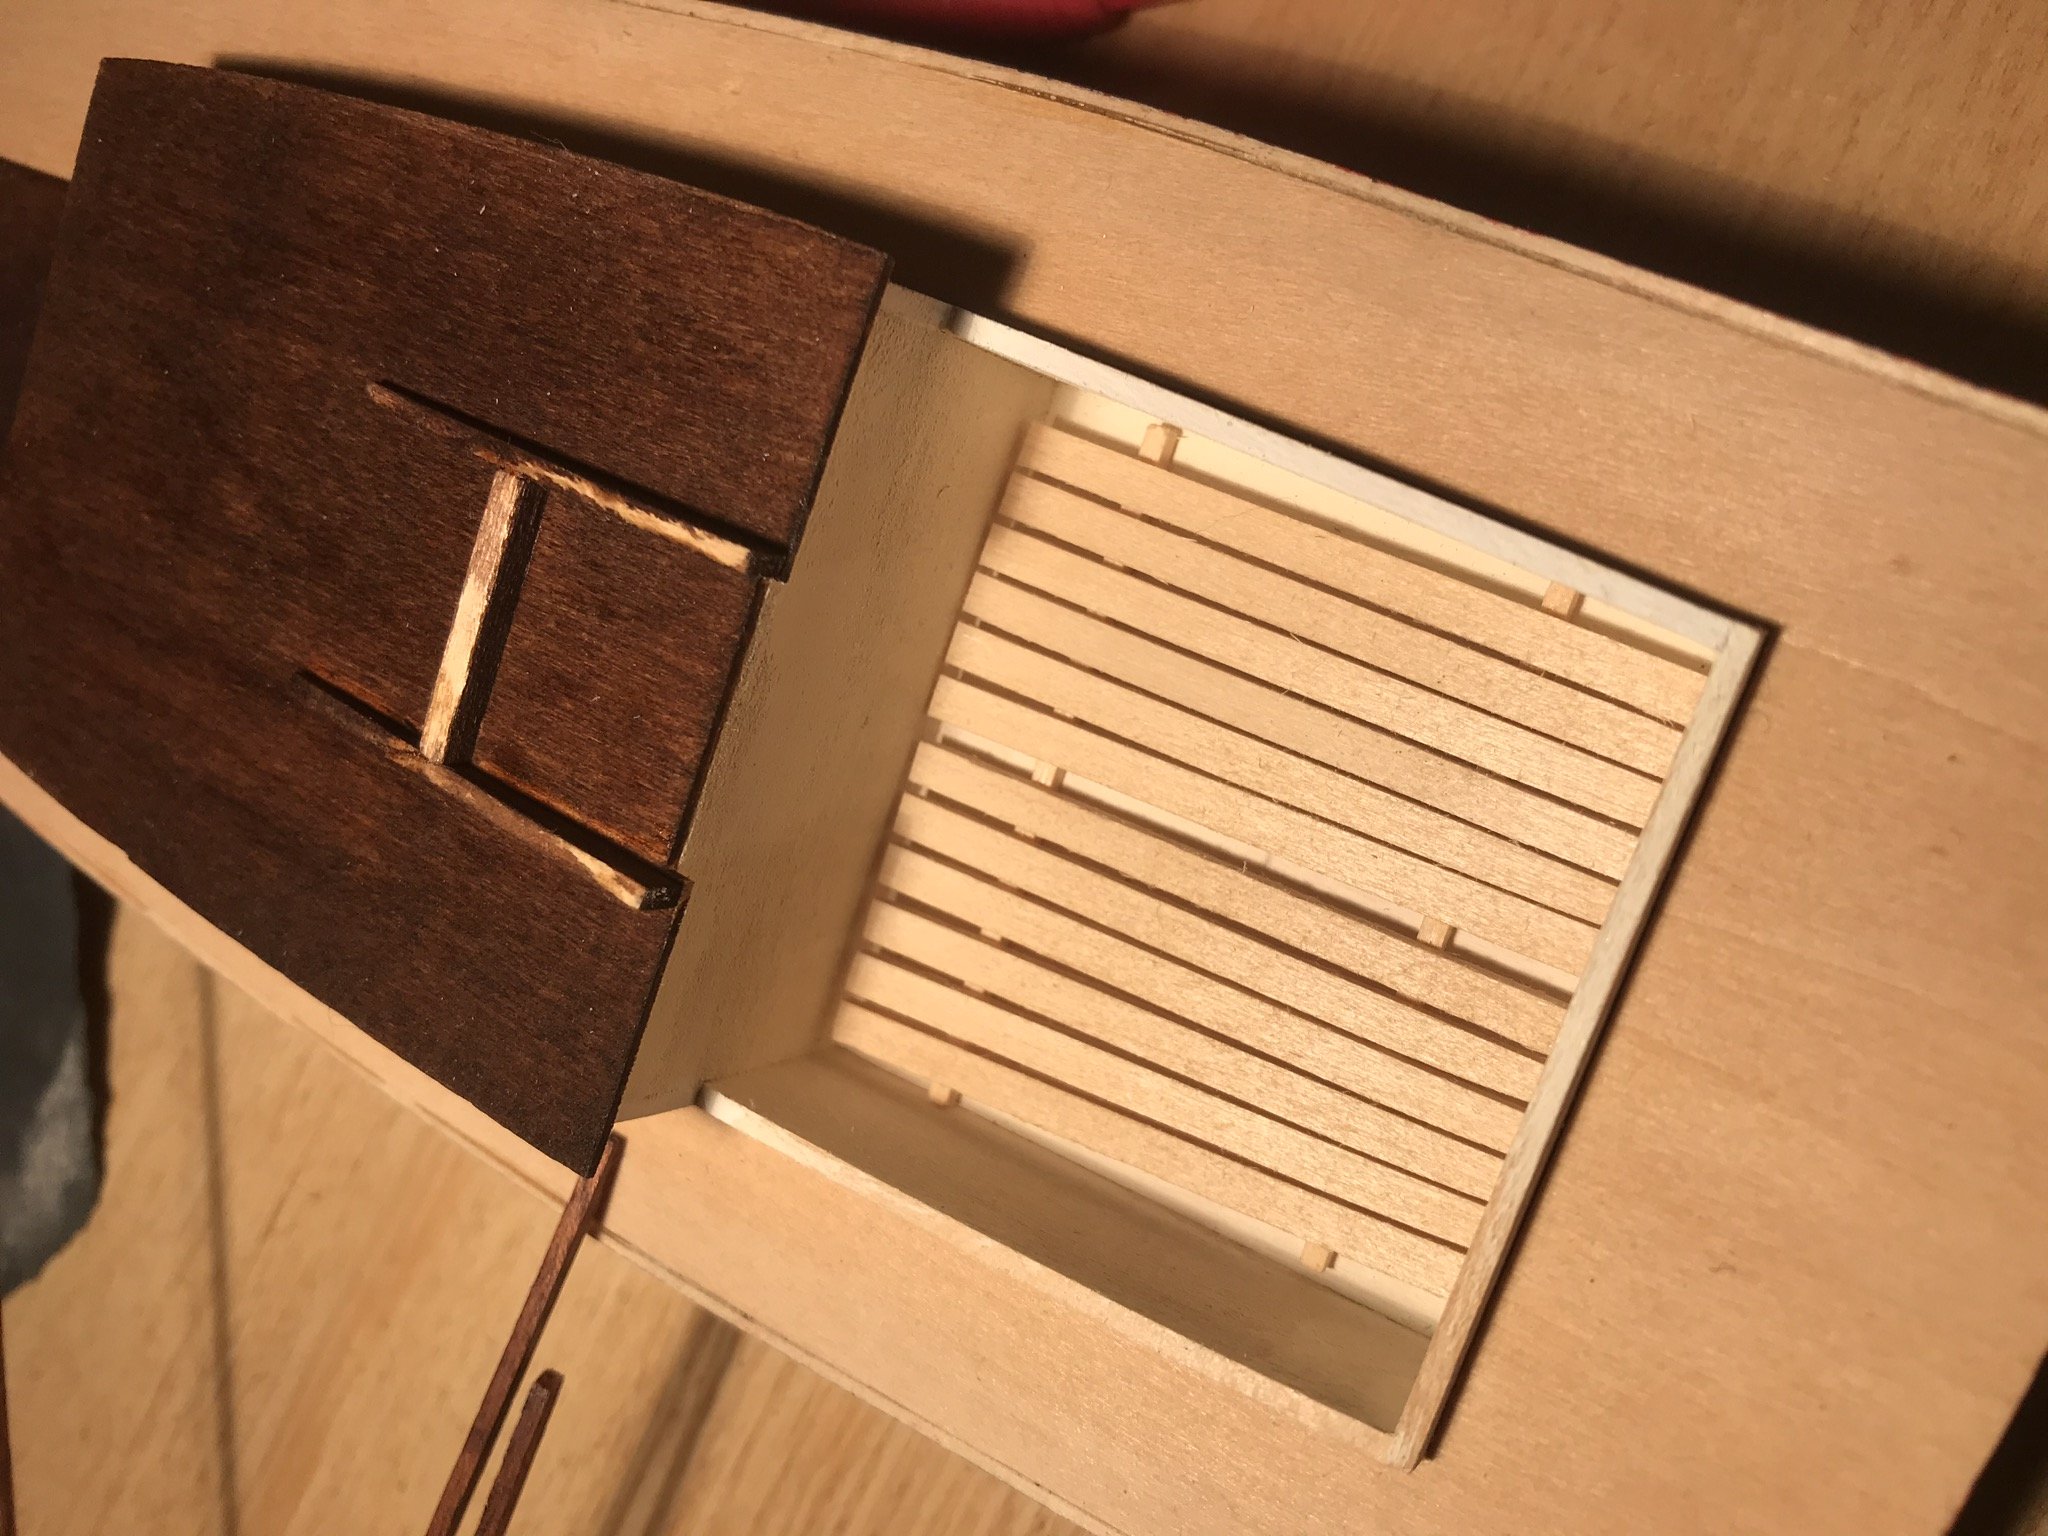
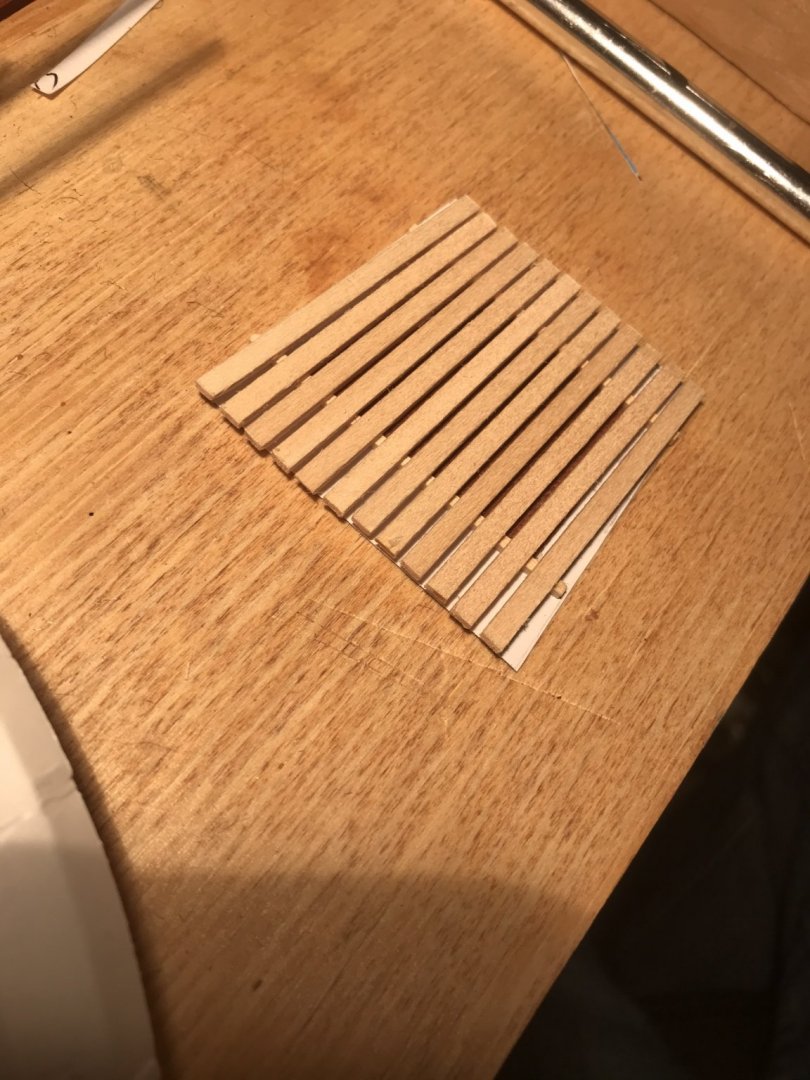
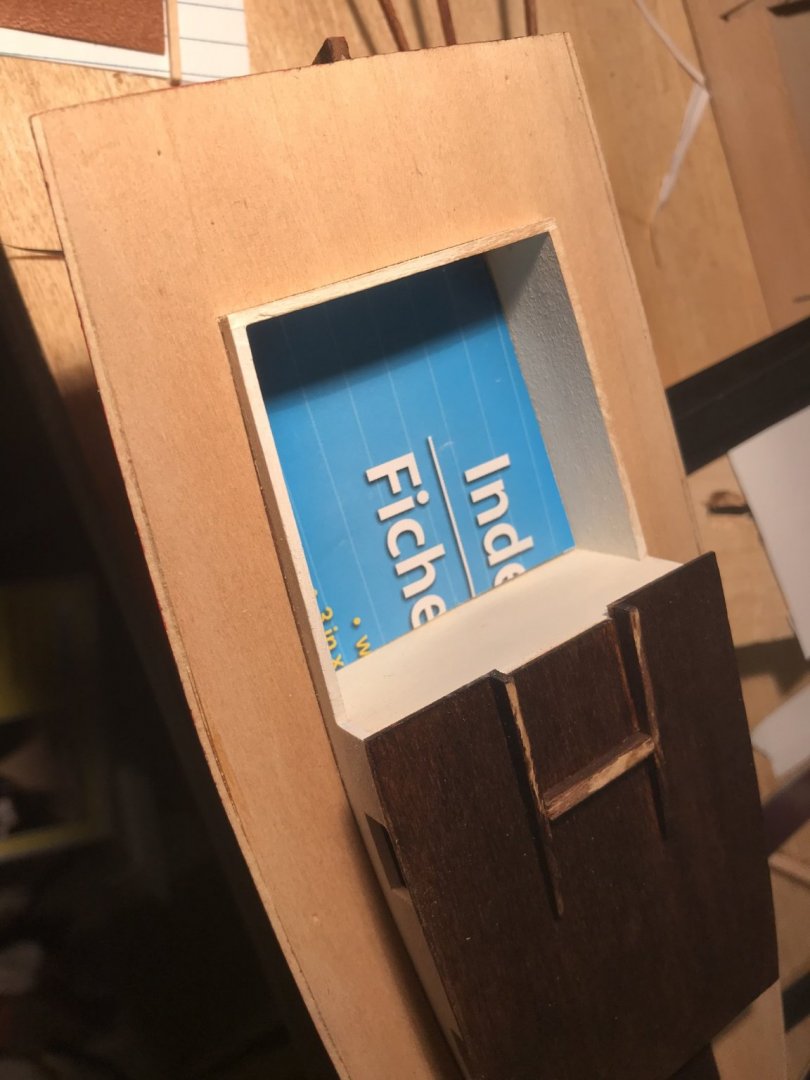
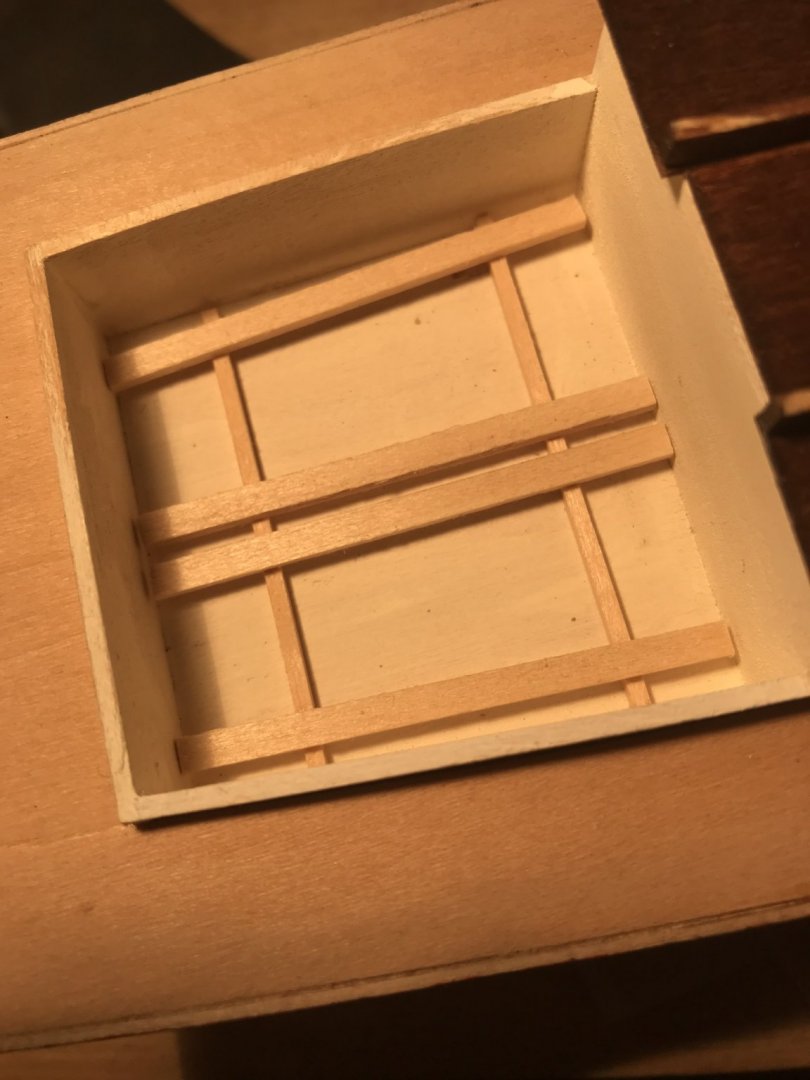
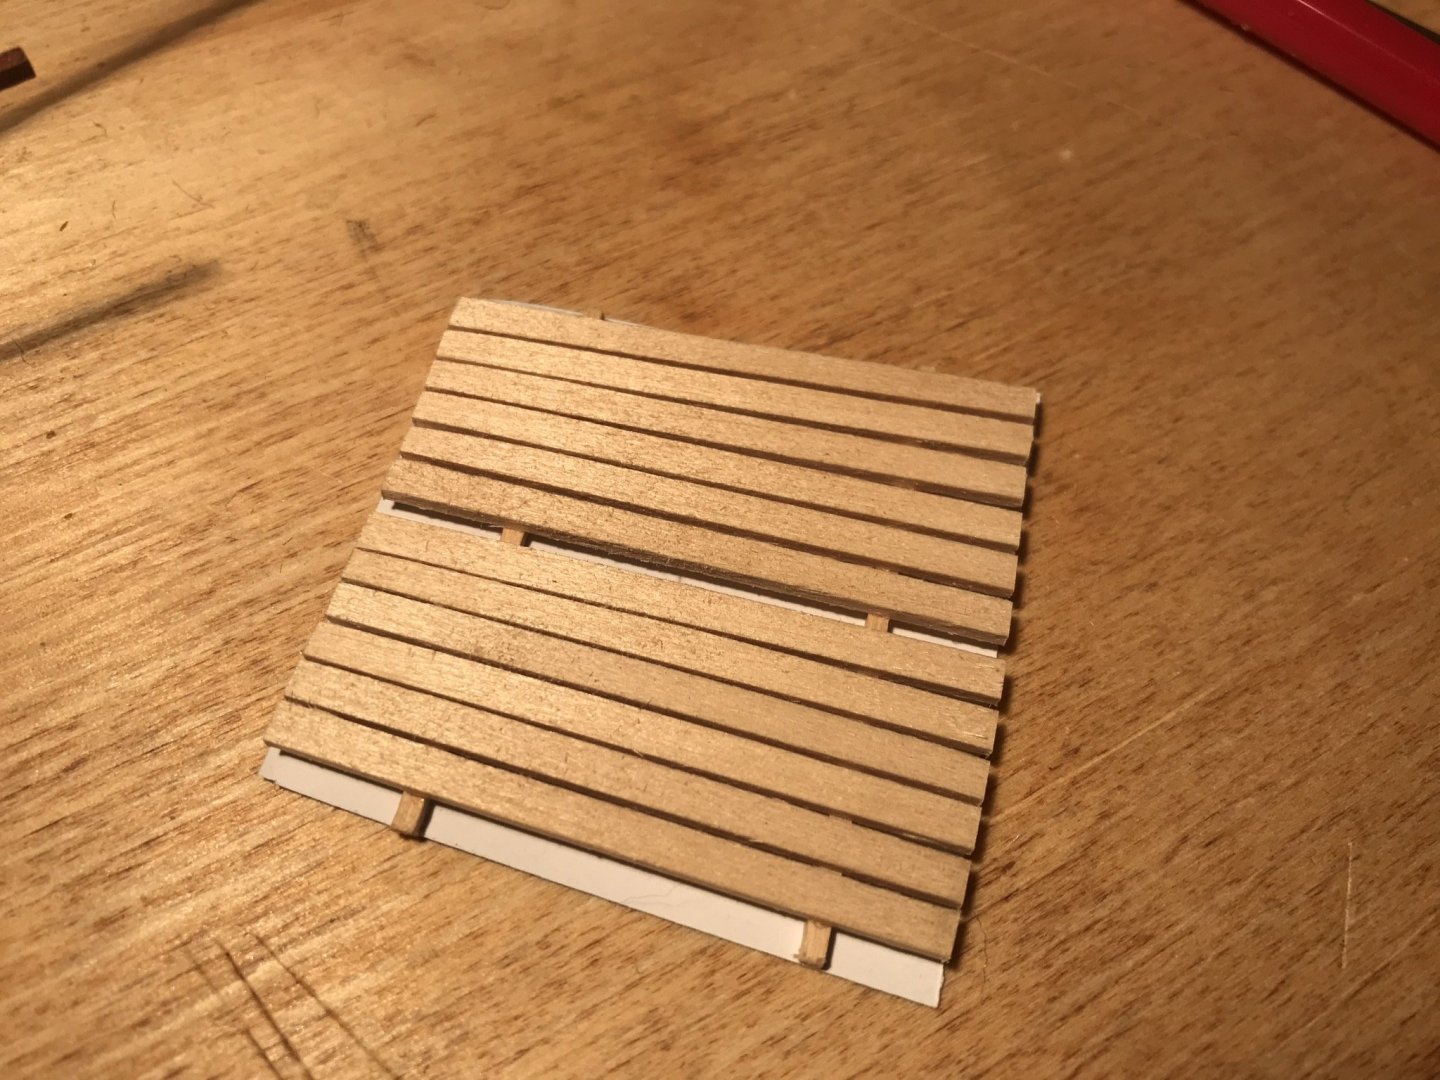
A few of images of similar flattie models show a grating in the rear, so I thought I’d give it a try. The others are parallel rails and thought I would try to splay the rails slightly to match the surrounding trapezoidal space. That was a bit trickier than first glance would suggest. I cut a piece of paper as pattern and folding the pattern gave me the center line to work with. I set the rails on a bit of tape. I could adjust the position to my liking that way and then glue the cross rails. Later oak oil based polyurethane was brushed on.

- 72 replies
-
- 7
-
-
- Chesapeake Bay Flattie
- Midwest Products
- (and 1 more)
-
Druxey, I have ordered a handful of Dockyard mini chisels to play with (or more accurately, to see if I can sharpen and then play with them!) Thanks Chuck, druxey, reklein, and everyone else again for taking the time to take a peek and comments!
-
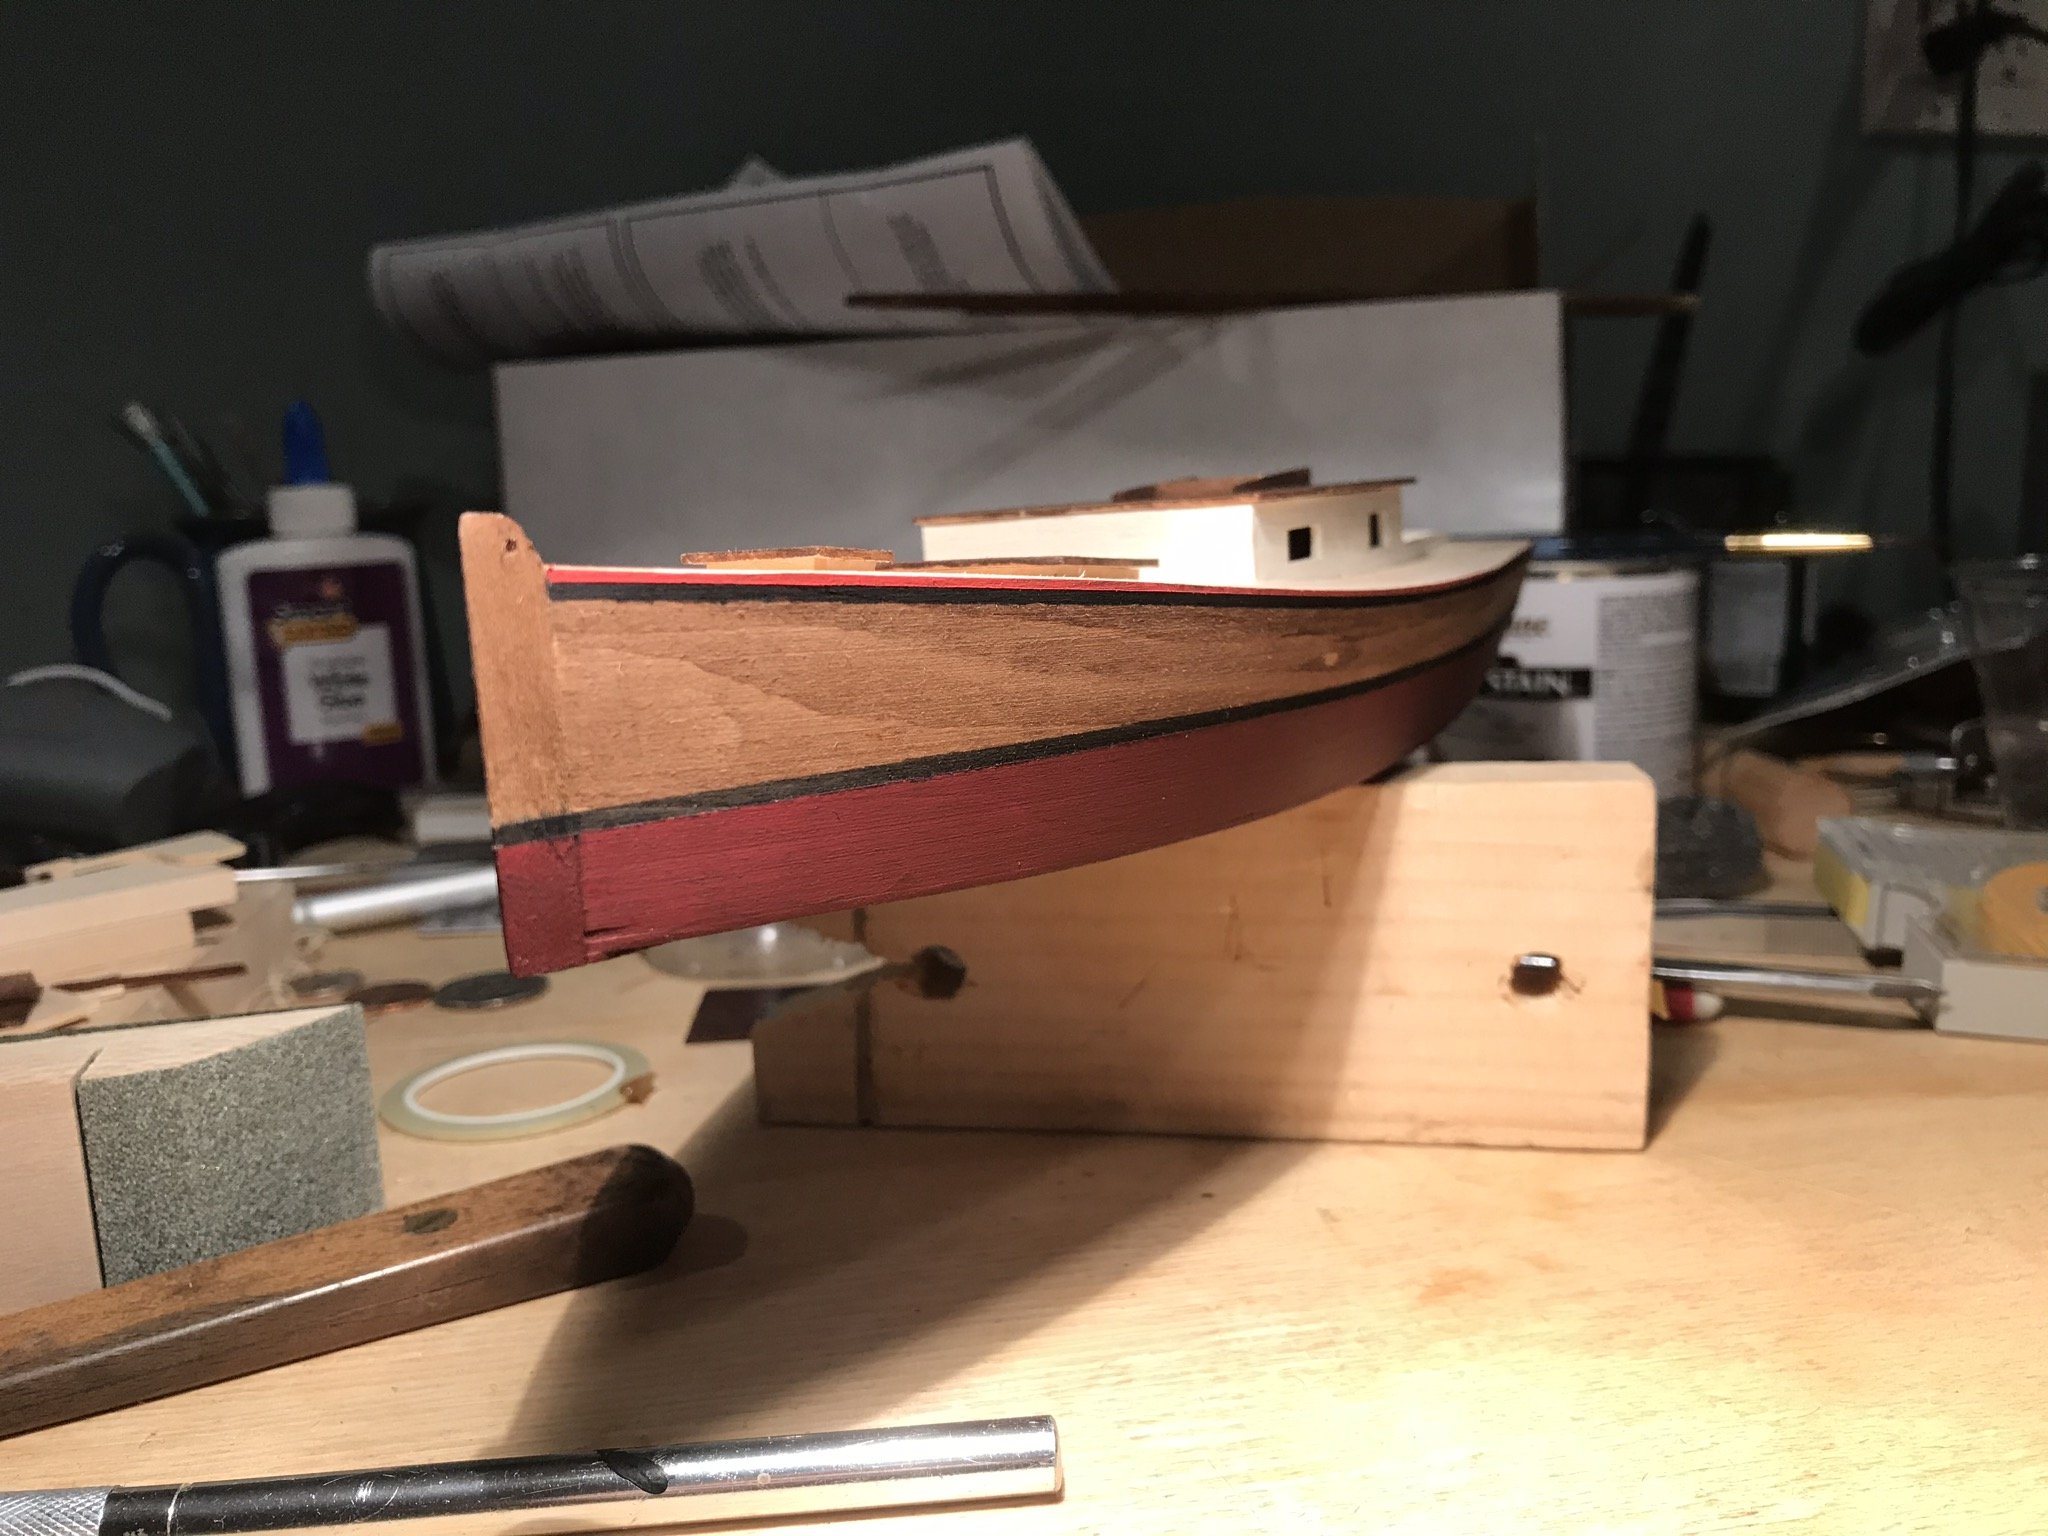
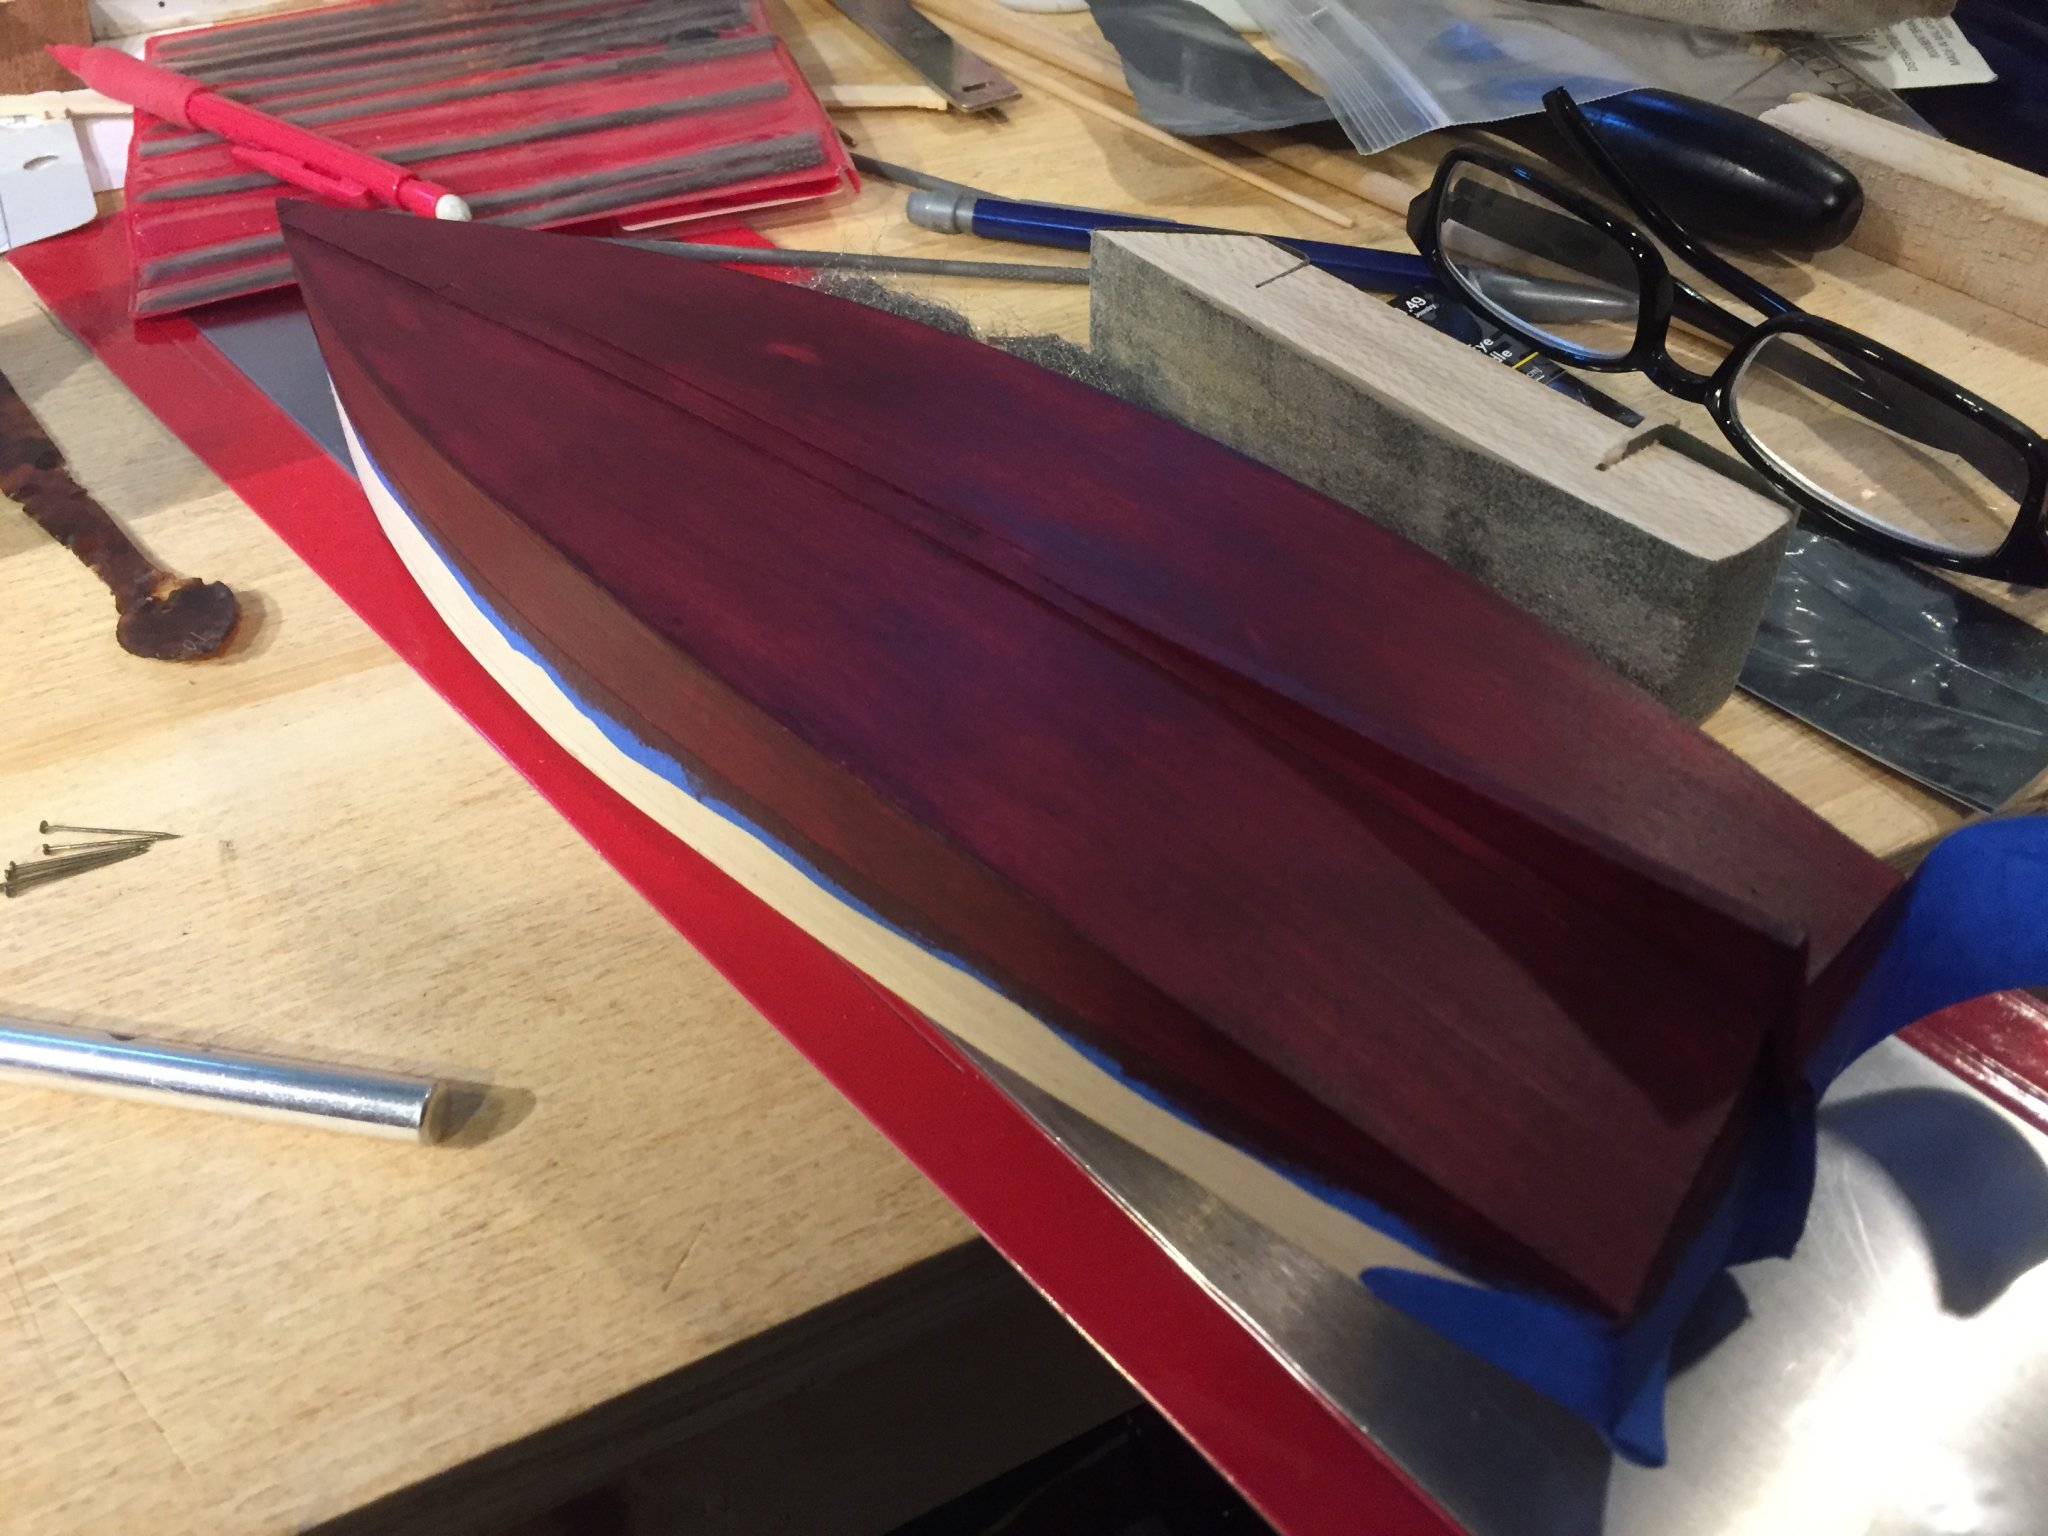
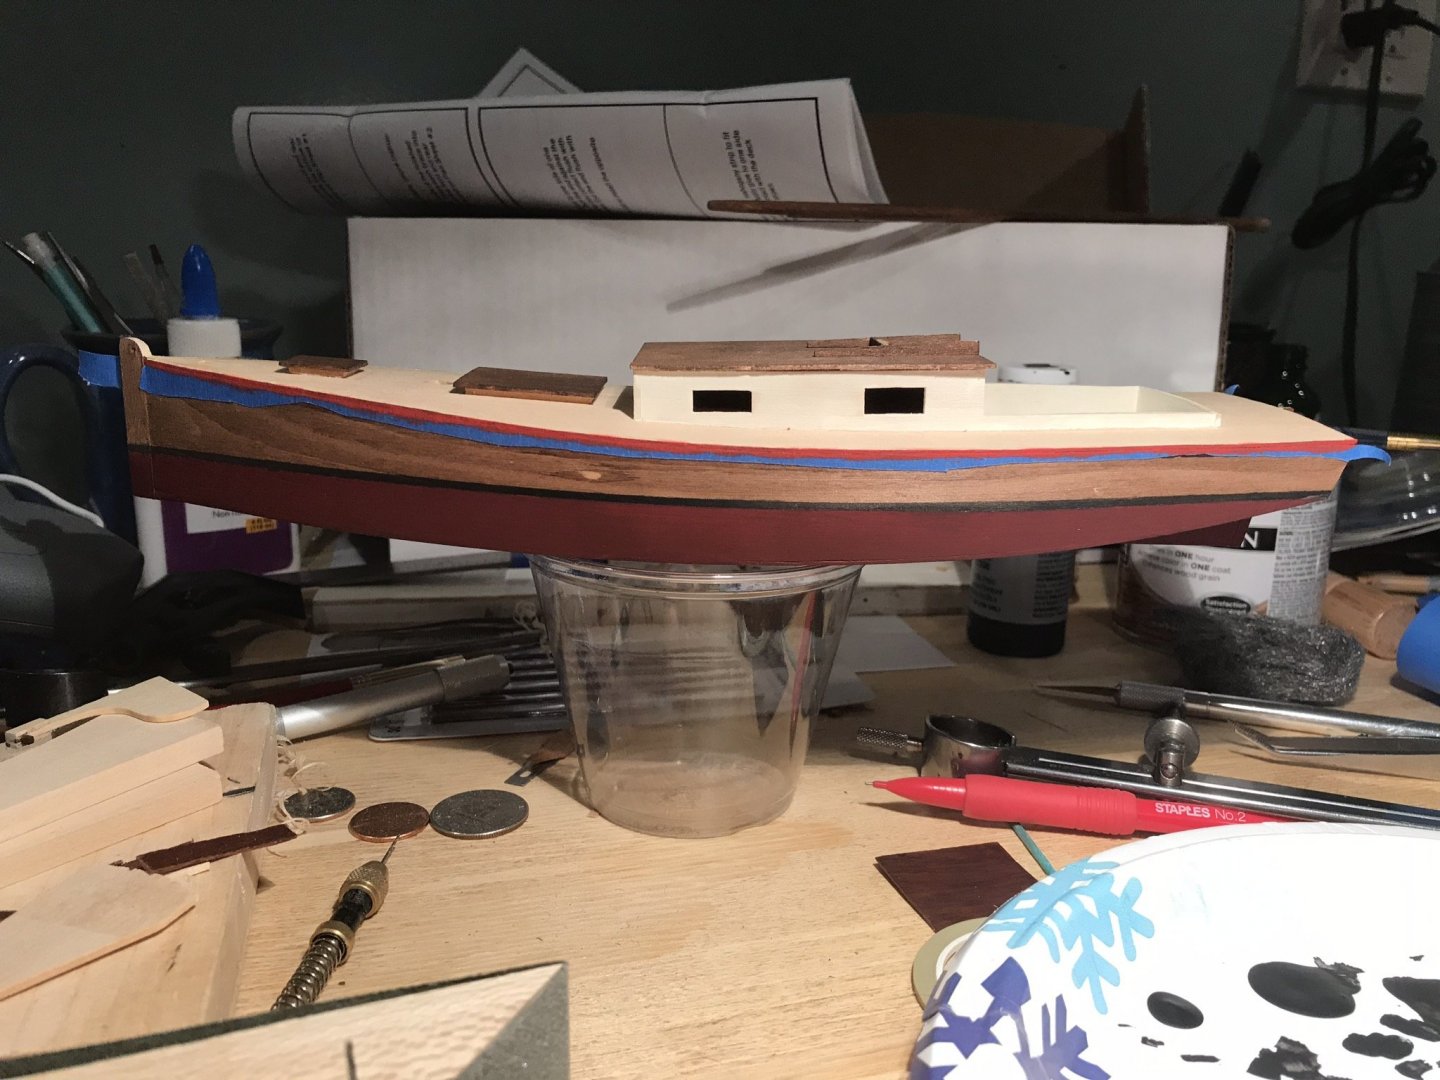
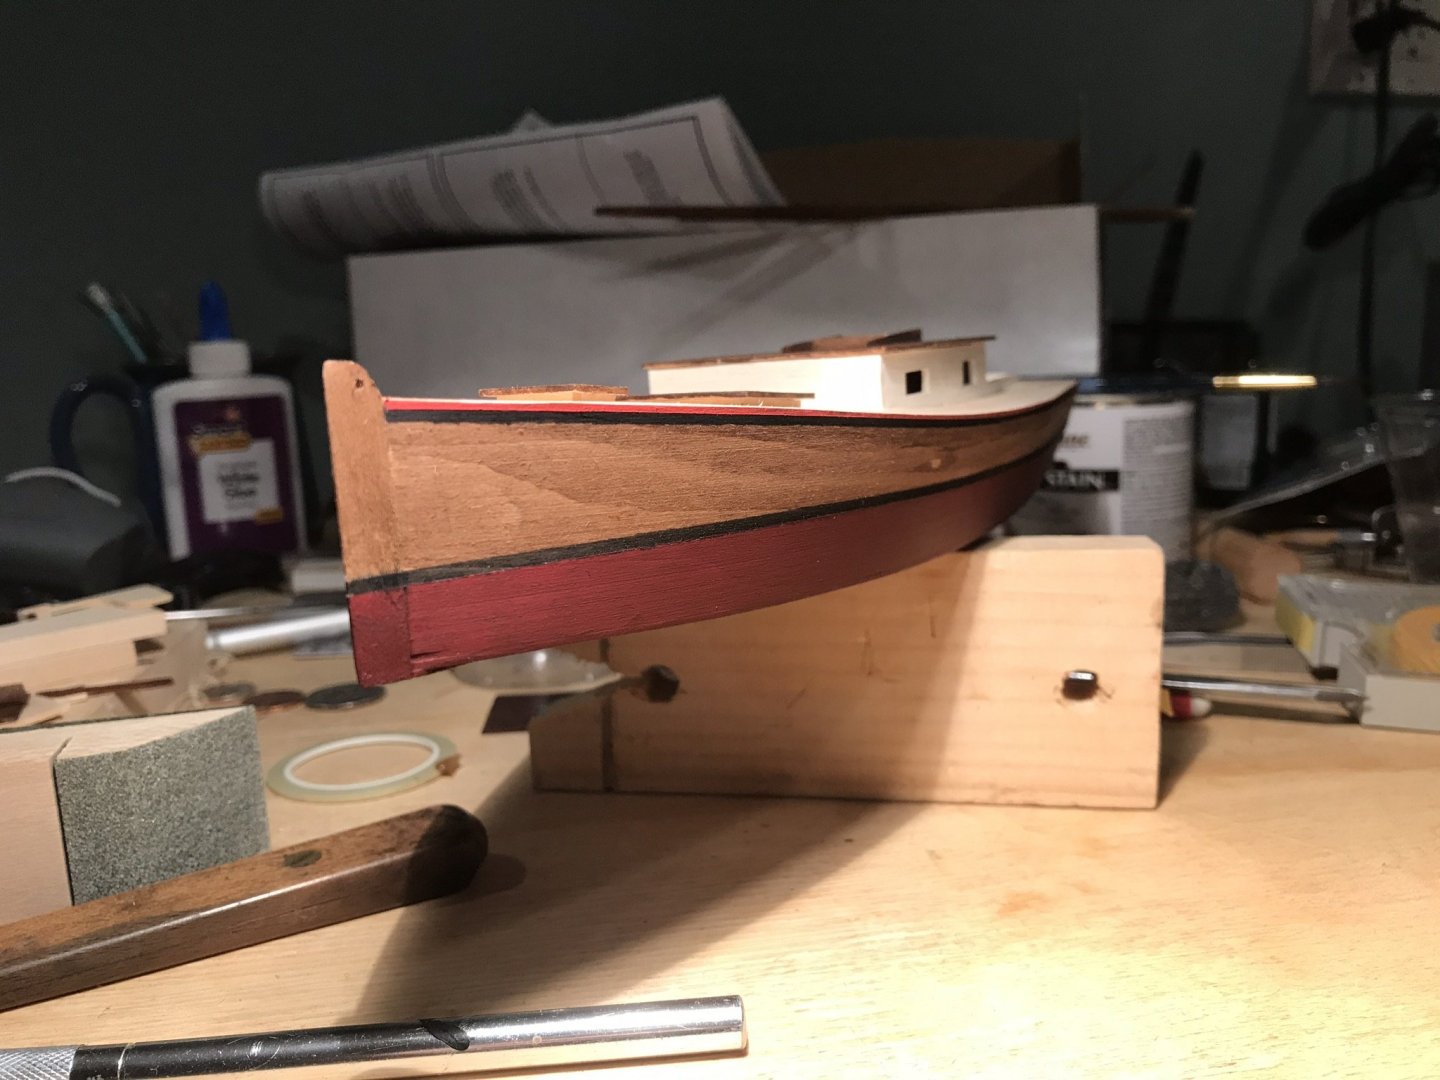
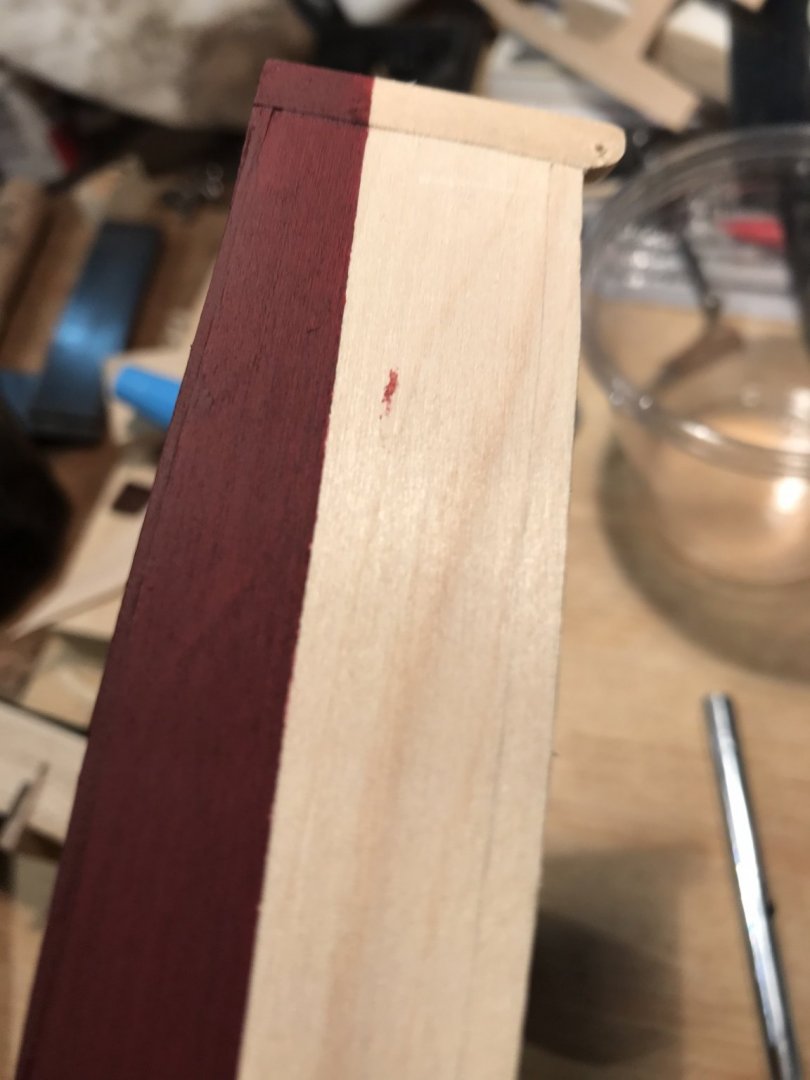
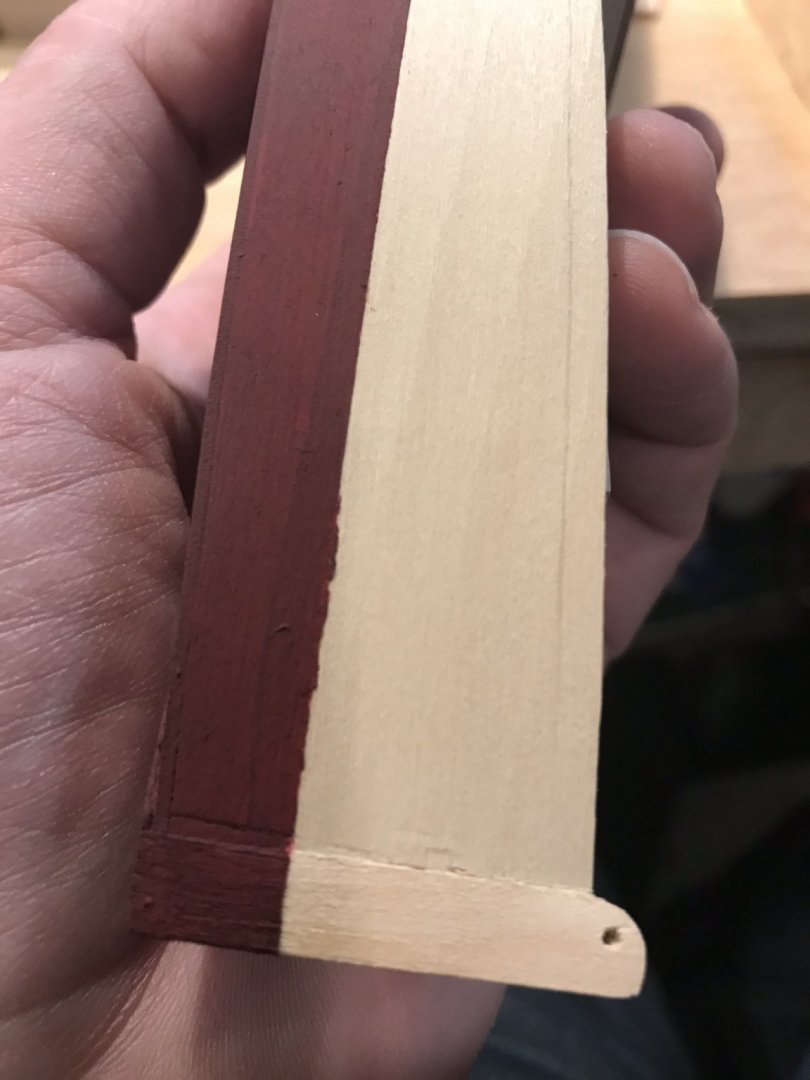
I scraped away the red from the above tape line. More paint and stain! The middle black stripe bled terribly, so I scraped it with exacto blade back until it looked reasonable. Then I applied water based stain to the hull. And added two more stripes - masked with tape and applied by brush. The bright red took several coats. I had made hatch covers in mahogany and applied polyurethane. But the bass wood hatches looked just as good, so no change there.


- 72 replies
-
- 7
-
-
- Chesapeake Bay Flattie
- Midwest Products
- (and 1 more)
-
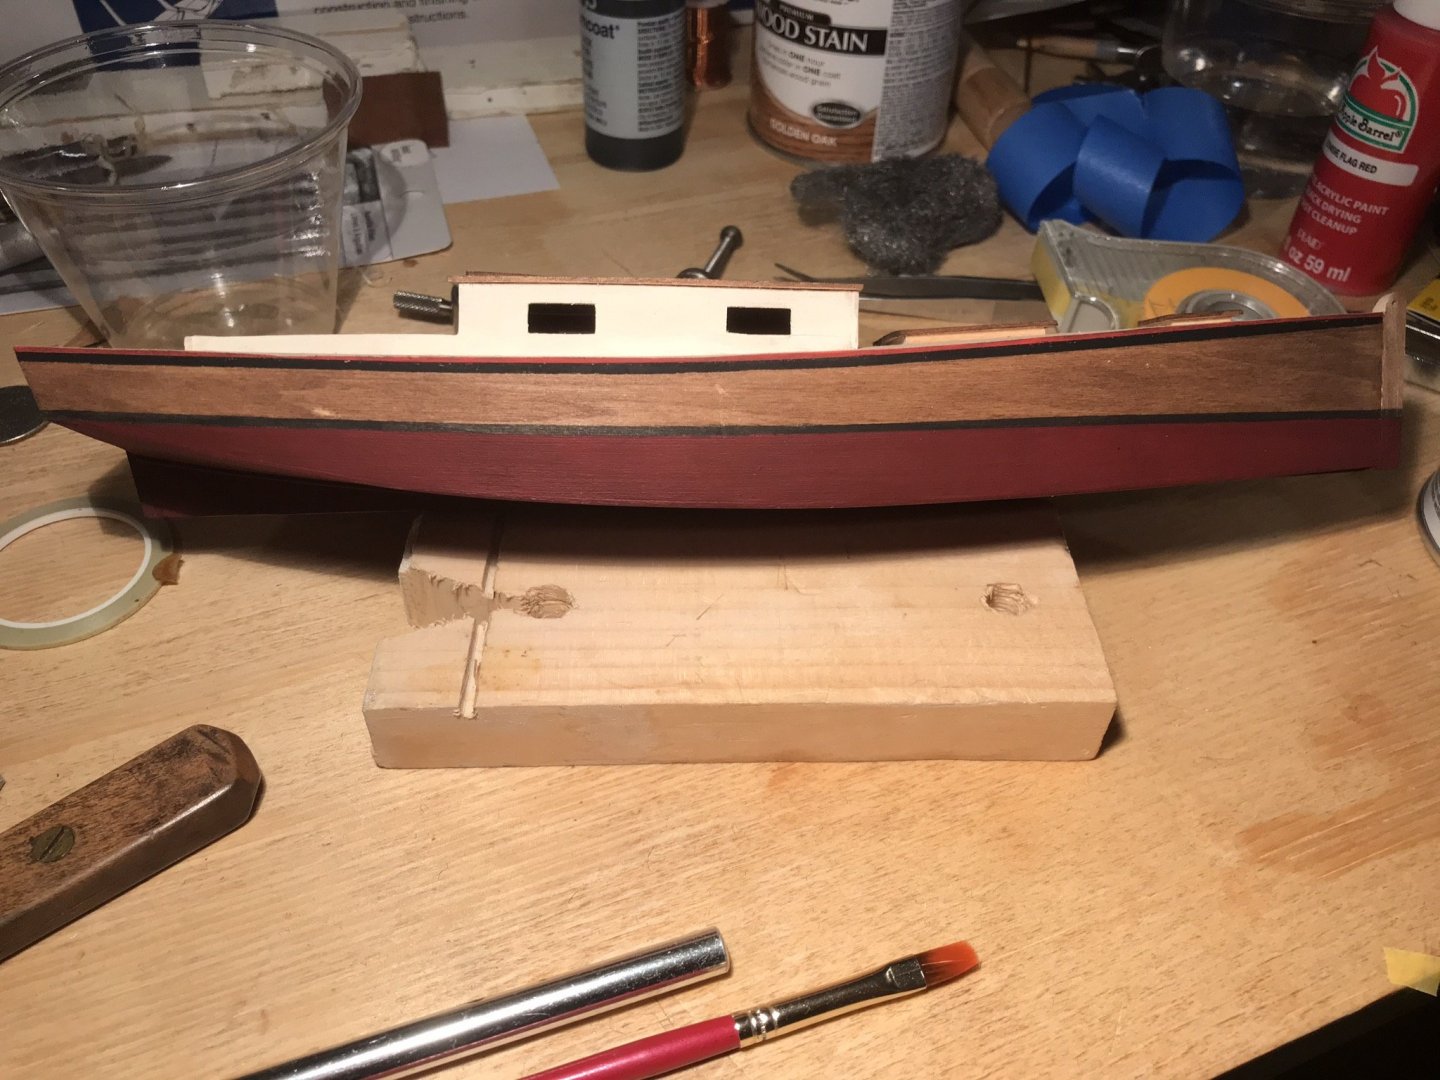
The tape has come off, without too many issues! I stained the hatch covers and top as well, on the assumption that if I didn’t like it, they would be painted over.


- 72 replies
-
- 6
-
-
- Chesapeake Bay Flattie
- Midwest Products
- (and 1 more)
-
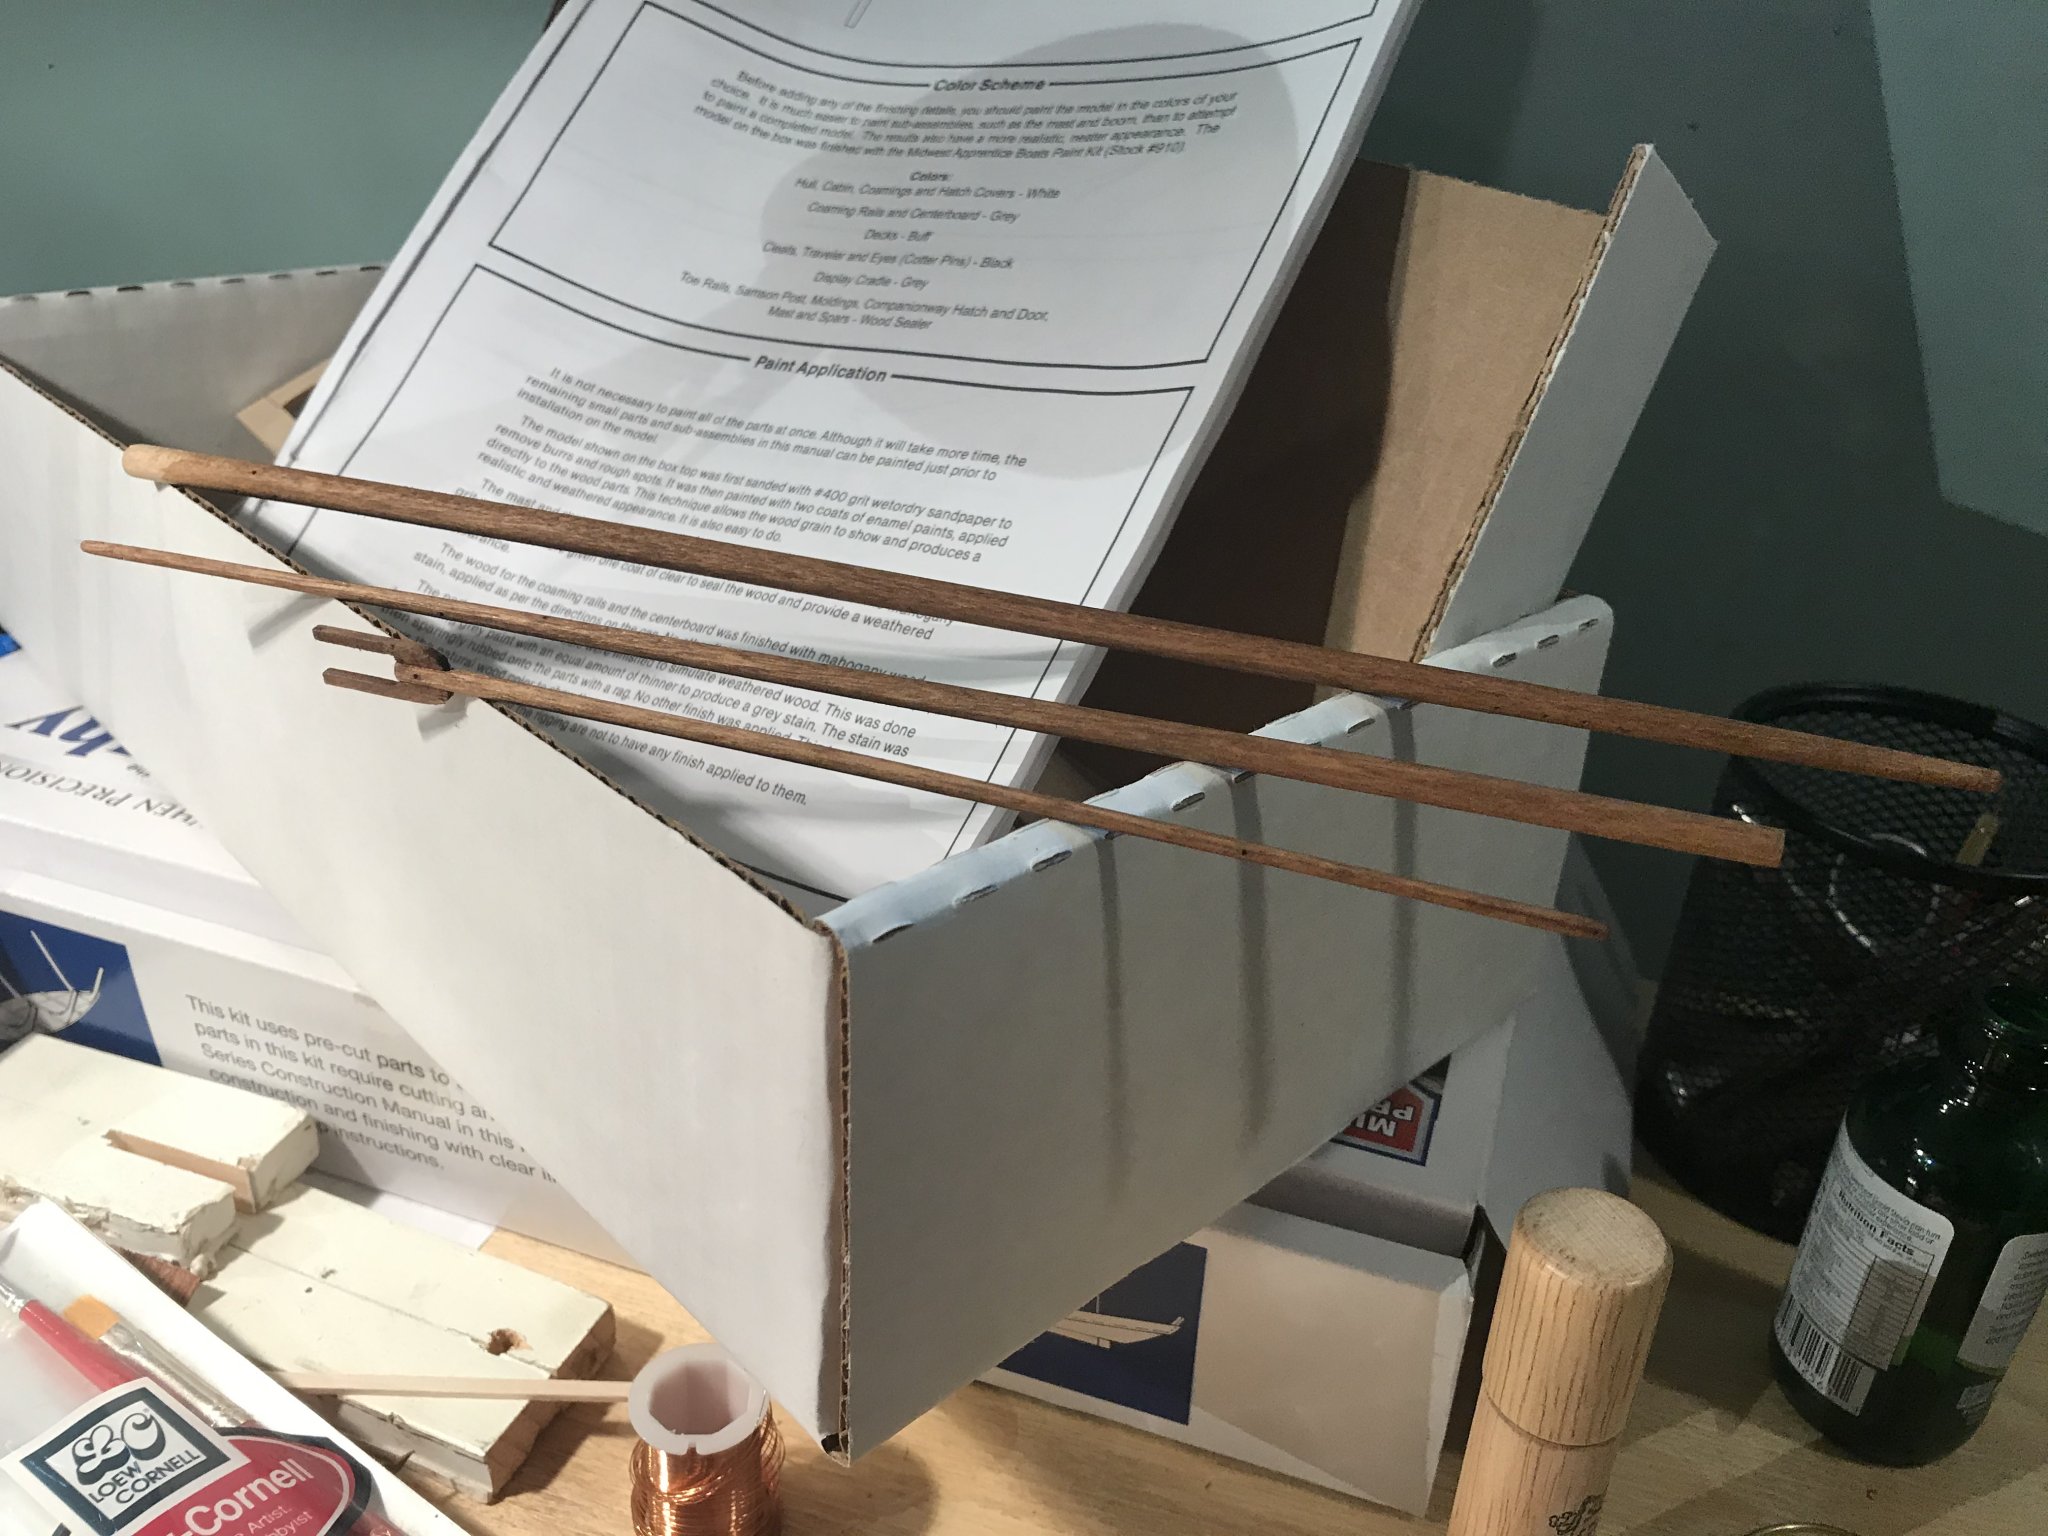
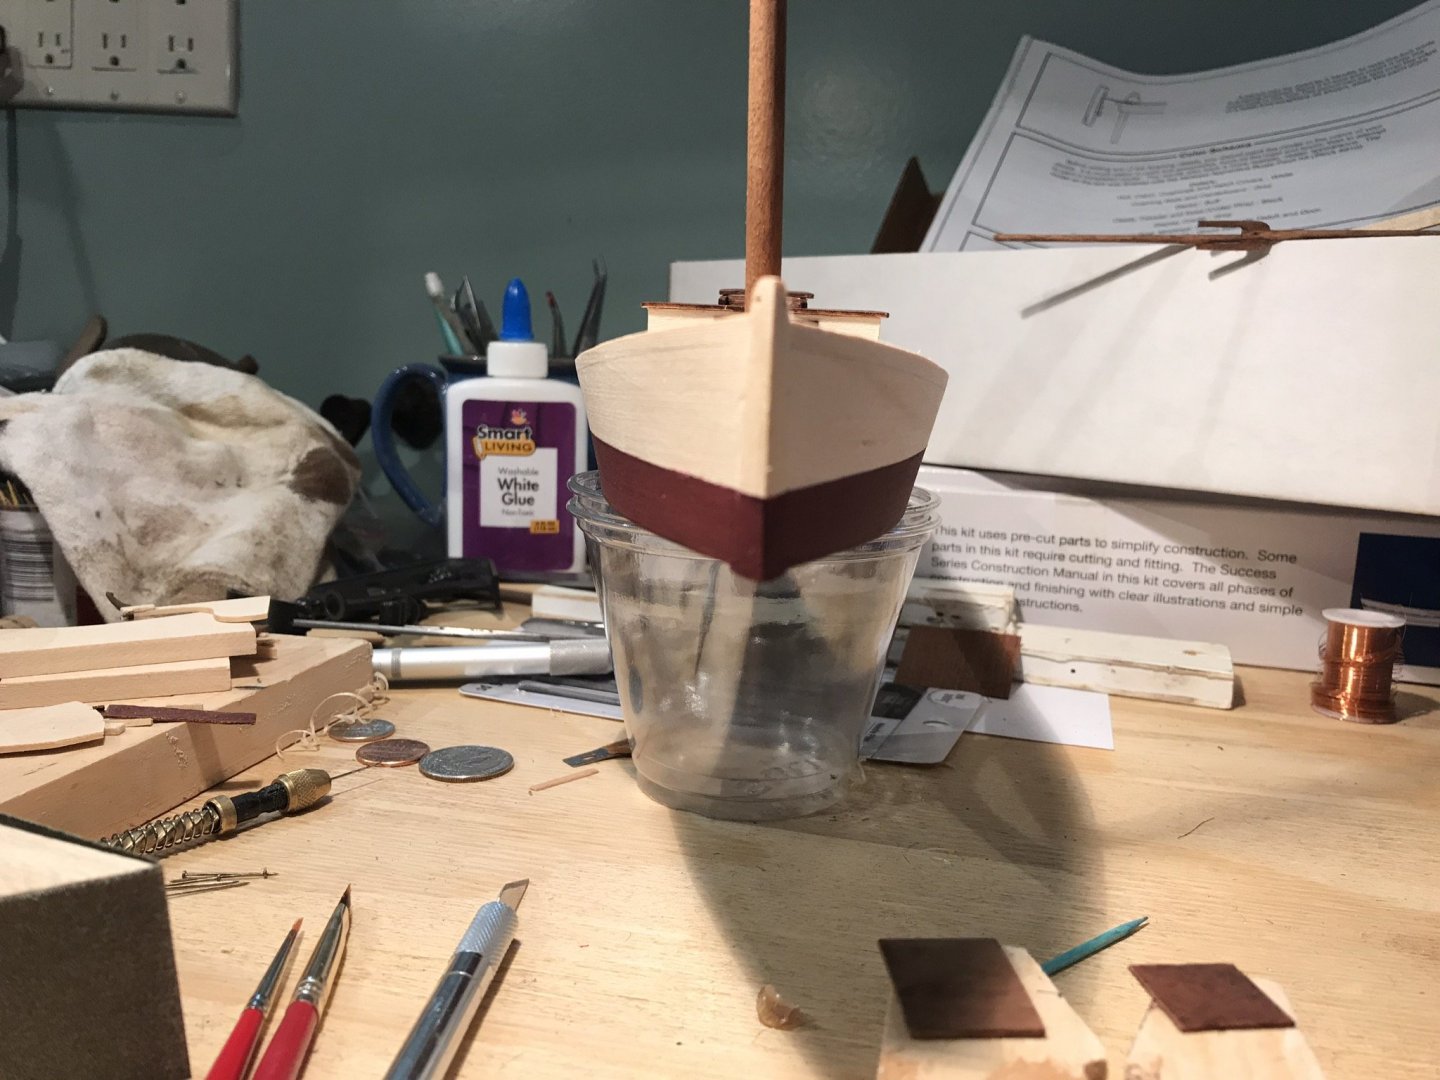
Stained with water soluble stain and coated the masts with the aforementioned polyurethane. The cloudiness of the polyurethane isn’t an issue if you aren’t trying to fill the pores of the wood grain. So out of efficiency, and desire for a common look (and laziness), I’m sticking with the polyurethane on this build.

- 72 replies
-
- 2
-
-
- Chesapeake Bay Flattie
- Midwest Products
- (and 1 more)
-
I covered the carving with several coats of water based polyurethane, which ‘smoothed out” the texture of the cut wood, making it look much better, than it actually is!

- 16 replies
-
- 10
-
-
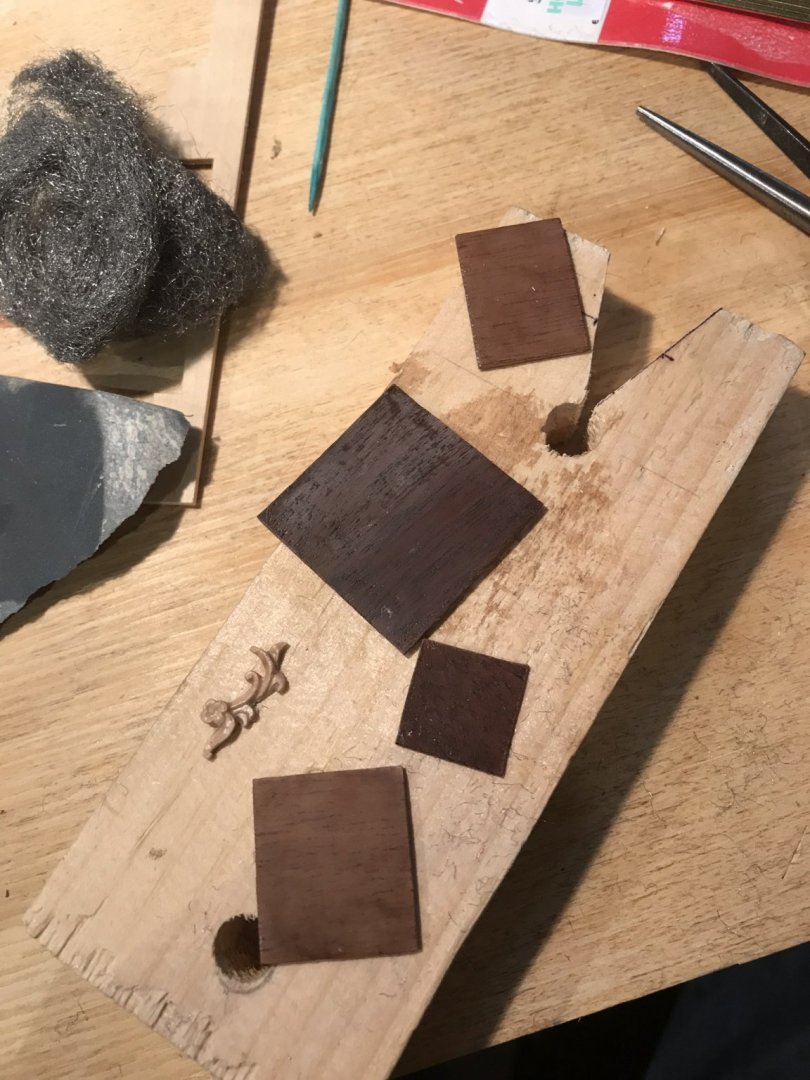
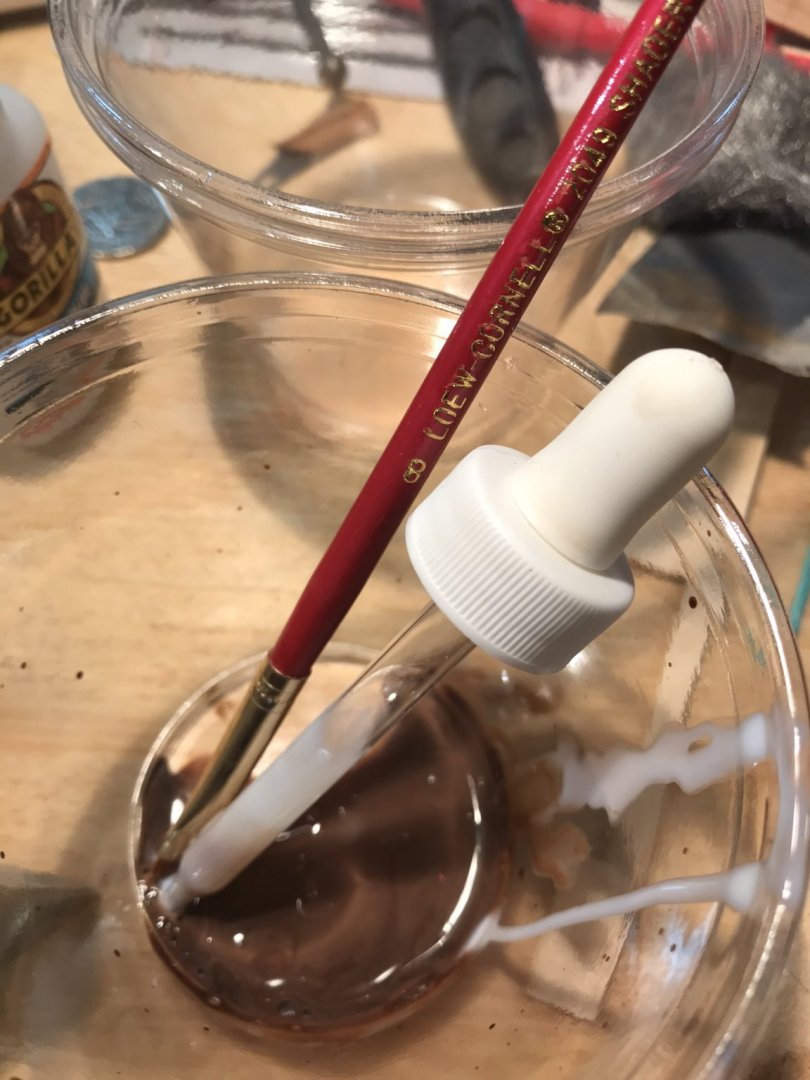
I experimented with the finish I was using. It is a water based polyurethane but it is slightly cloudy creating a slightly opaque gray effect. I mixed in some water based brown stain and tried again.
- 72 replies
-
- 4
-
-
- Chesapeake Bay Flattie
- Midwest Products
- (and 1 more)
-
Are there great books on Chesapeake Bay workboats? I’m curious what are the canonical readings for modelers of boats and ships from this part of the world. Thanks again for everyone’s support and help!
- 72 replies
-
- 1
-
-
- Chesapeake Bay Flattie
- Midwest Products
- (and 1 more)
-
I couldn’t get the gap between the rudder and transom as close as I like, so I’m passing on the brass hinge (this time). I may try ccoyle’s suggestion or just follow the instructions- this model is an ‘idealized’ renderingalready.; i.e. light on details.
- 72 replies
-
- 2
-
-
- Chesapeake Bay Flattie
- Midwest Products
- (and 1 more)
-
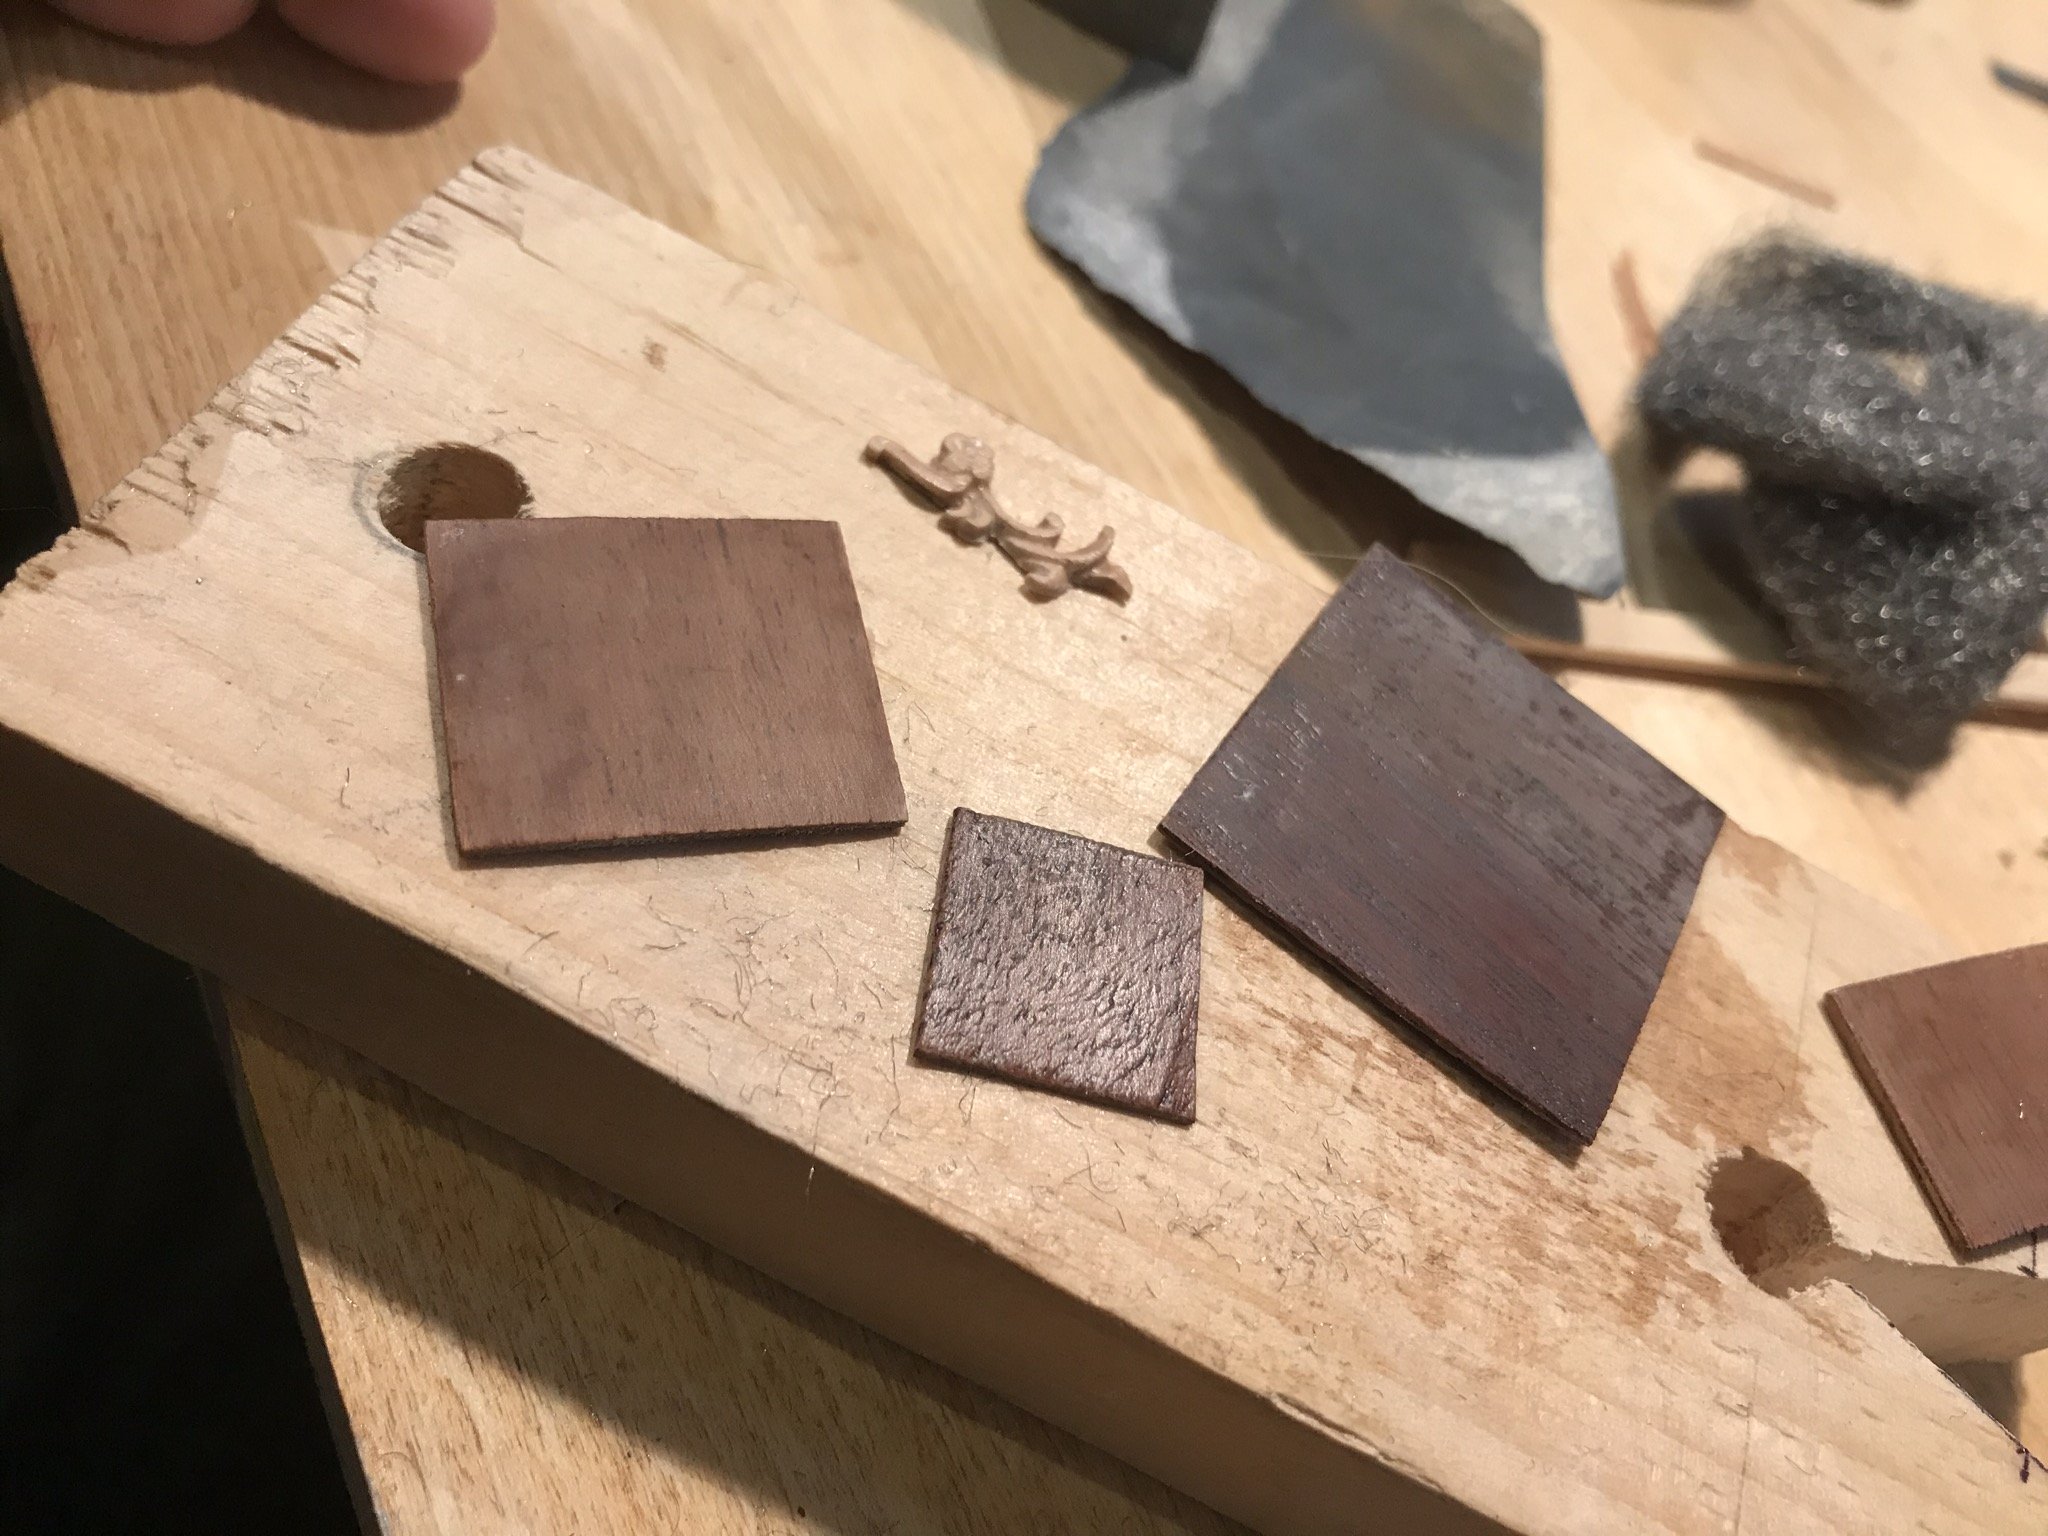
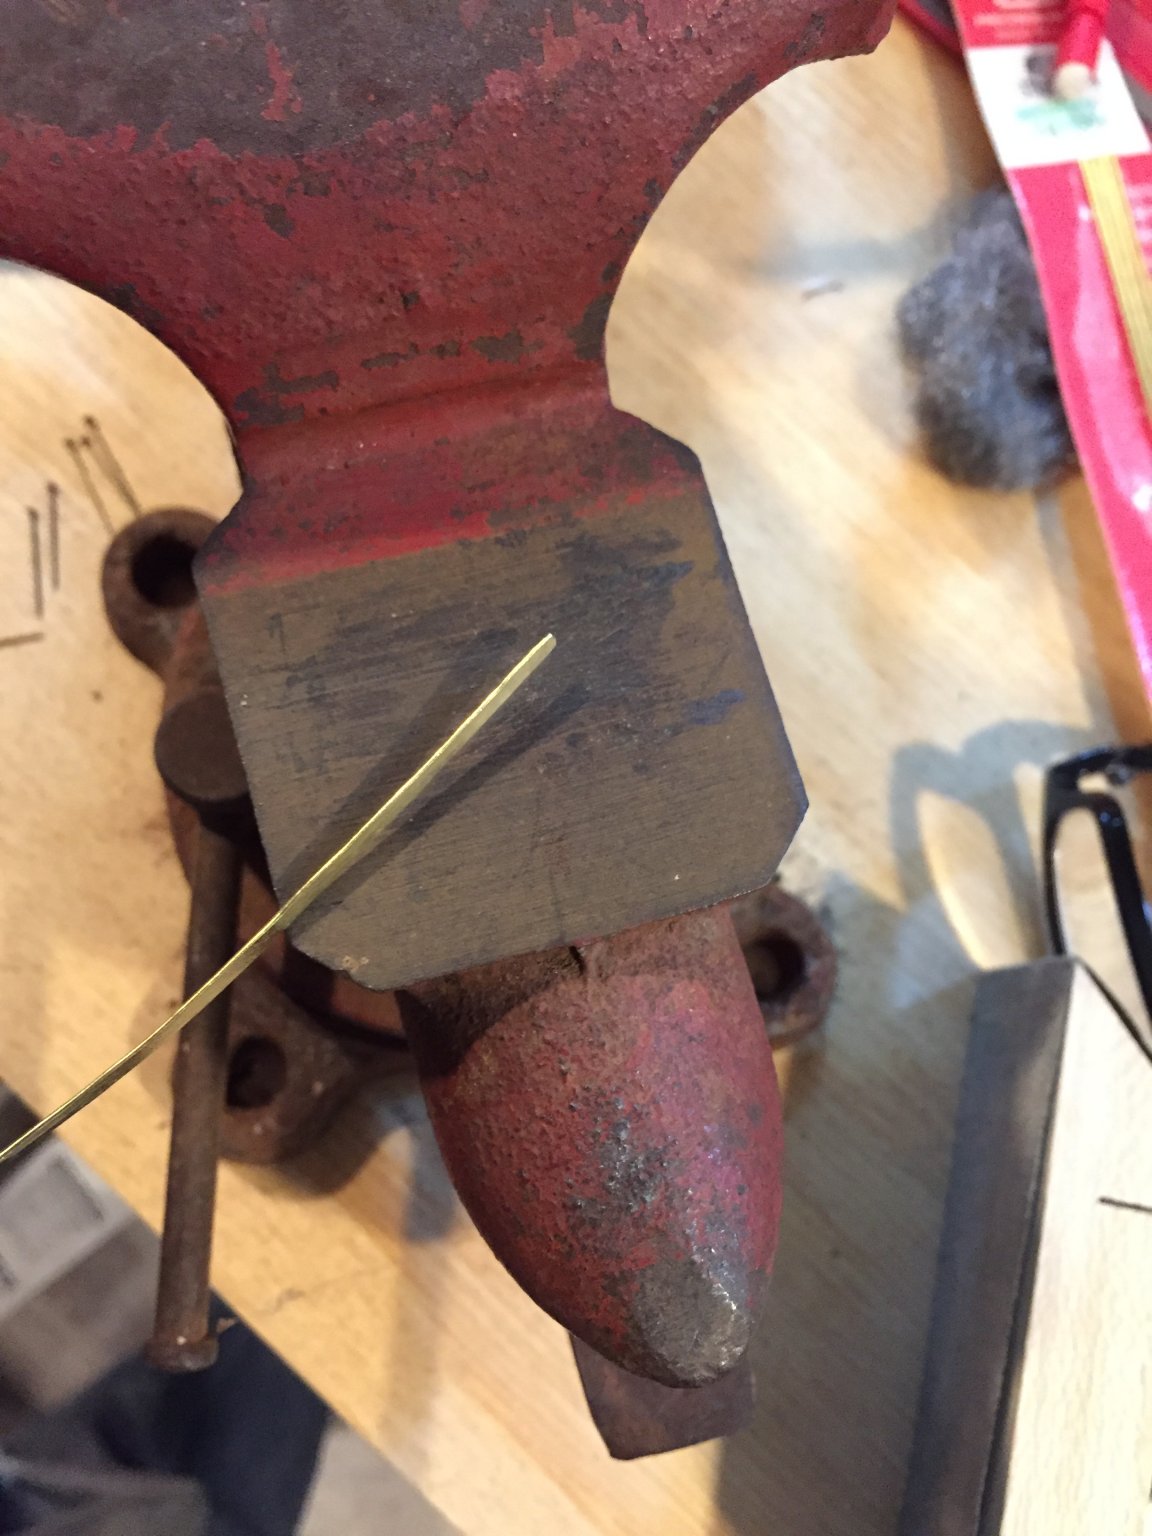
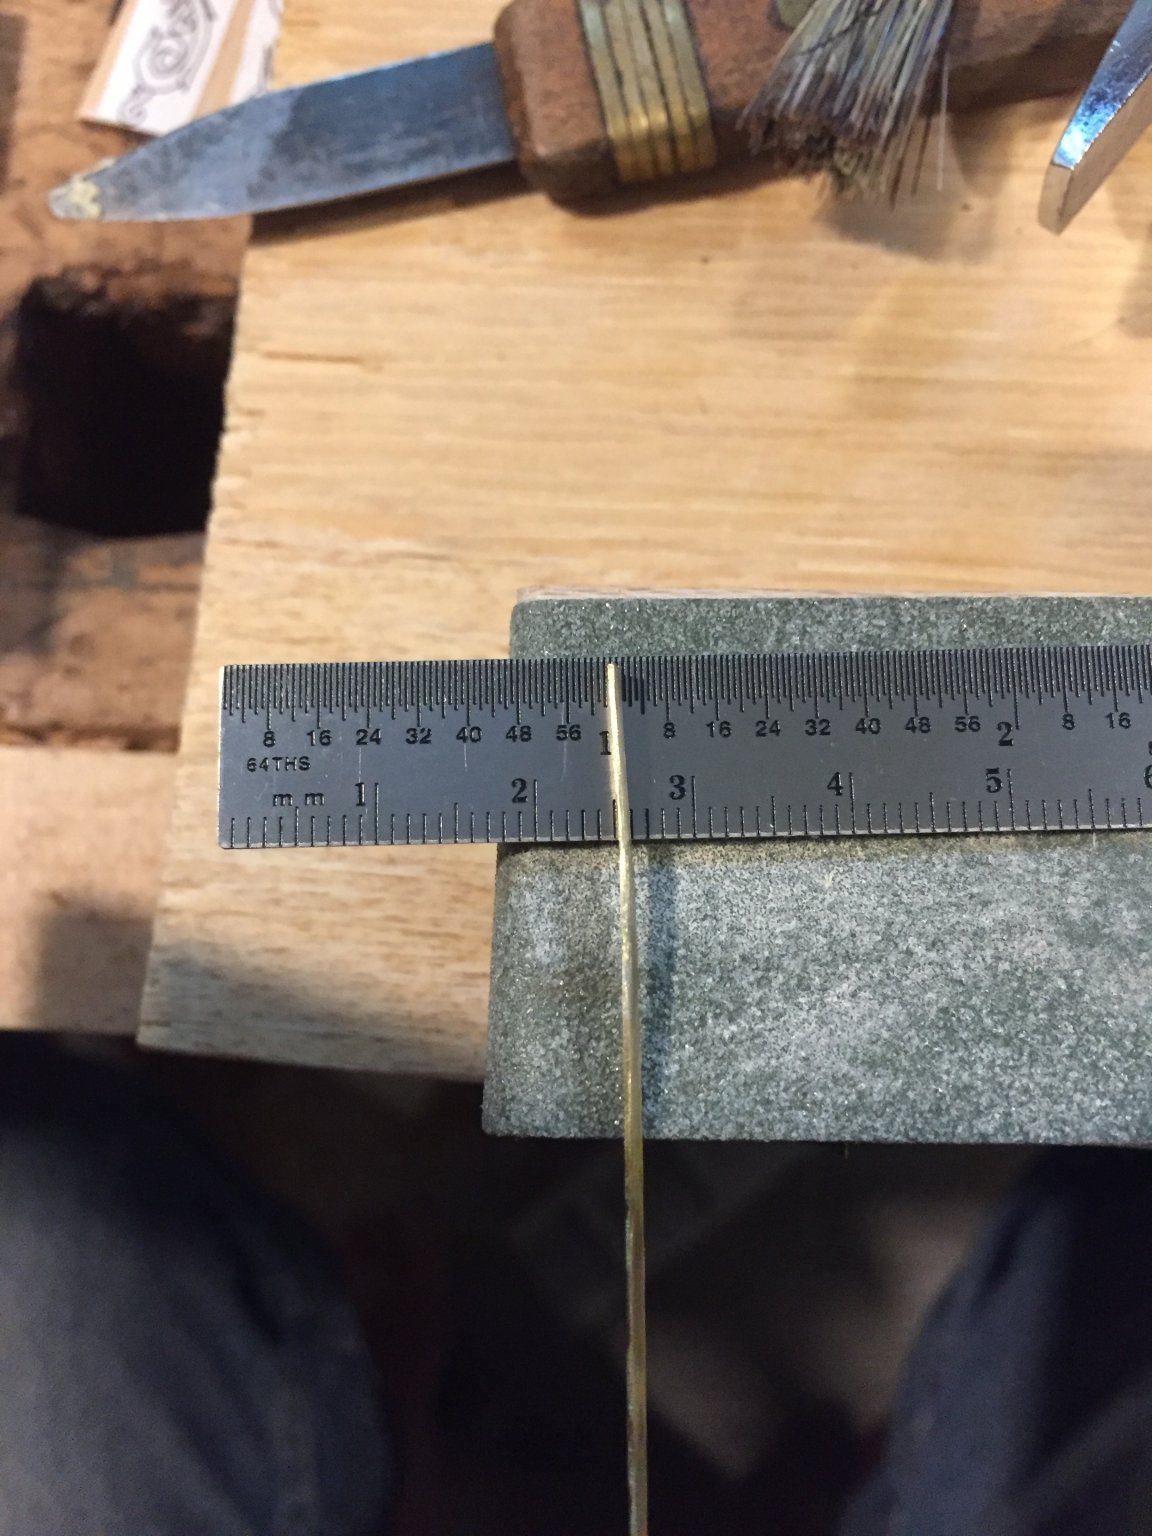
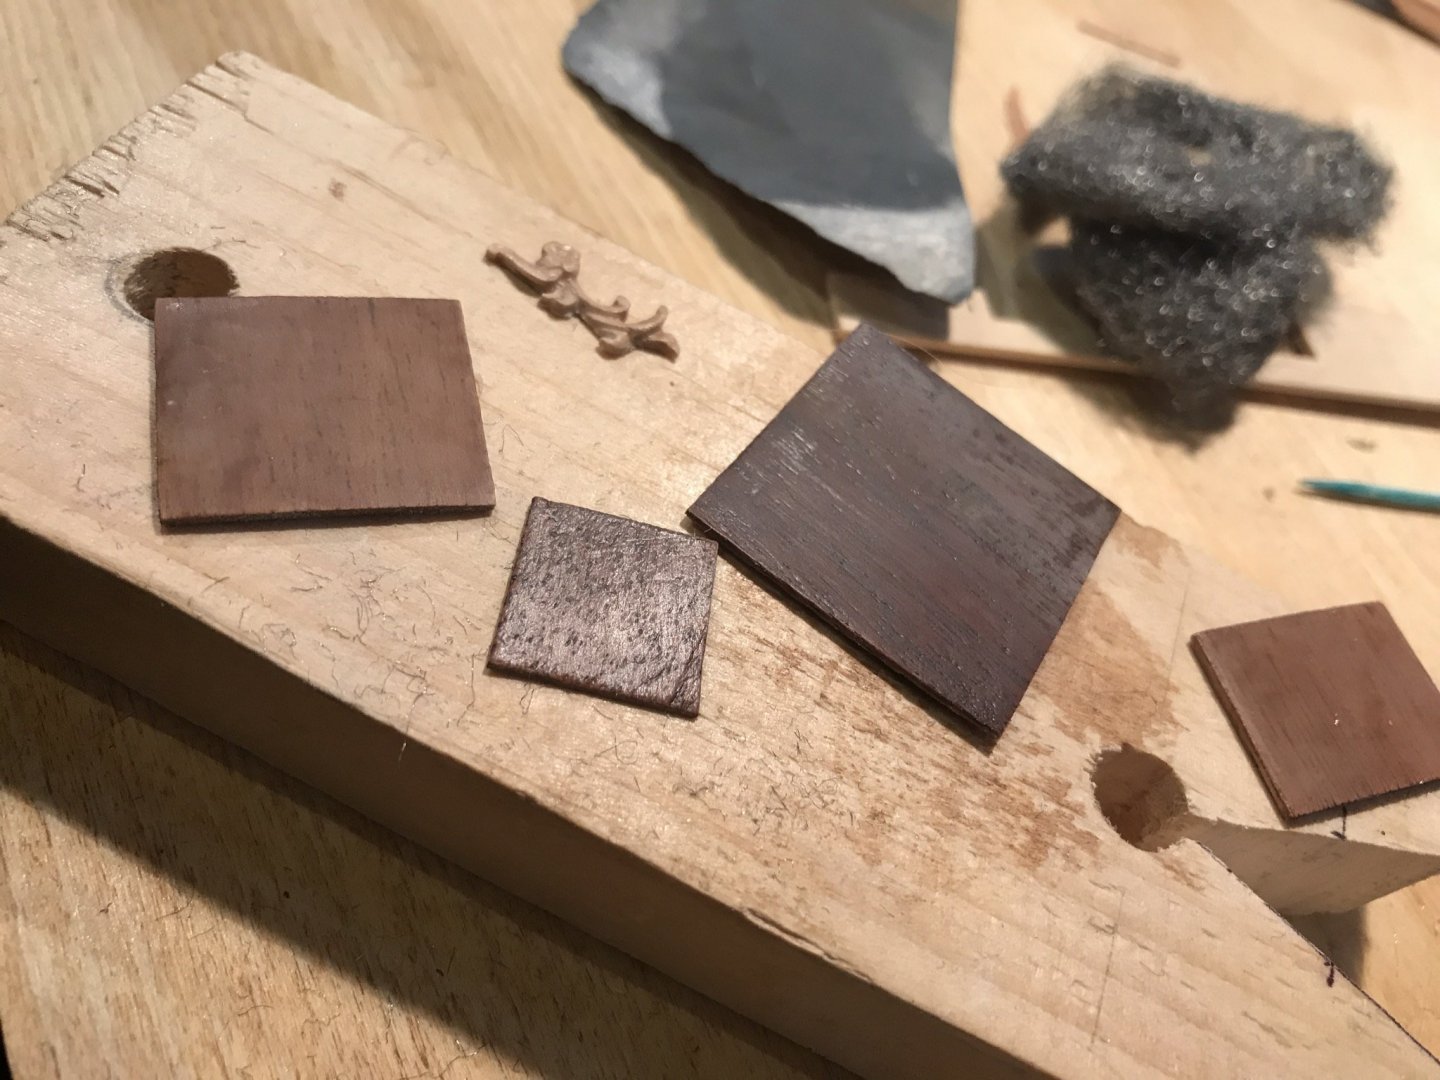
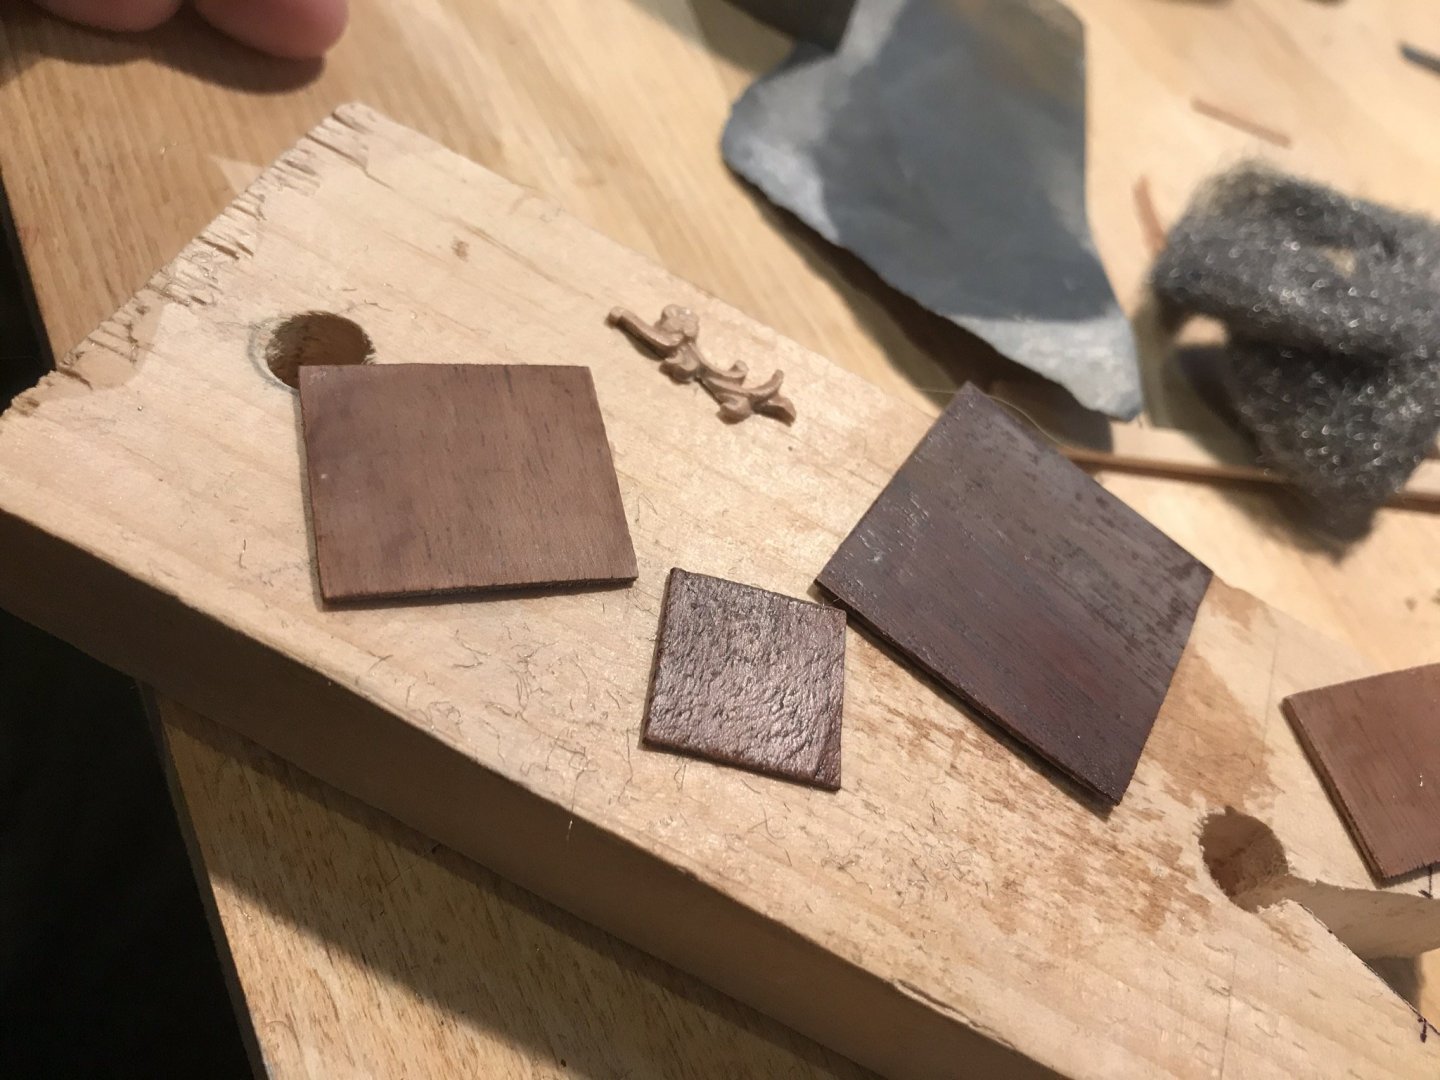
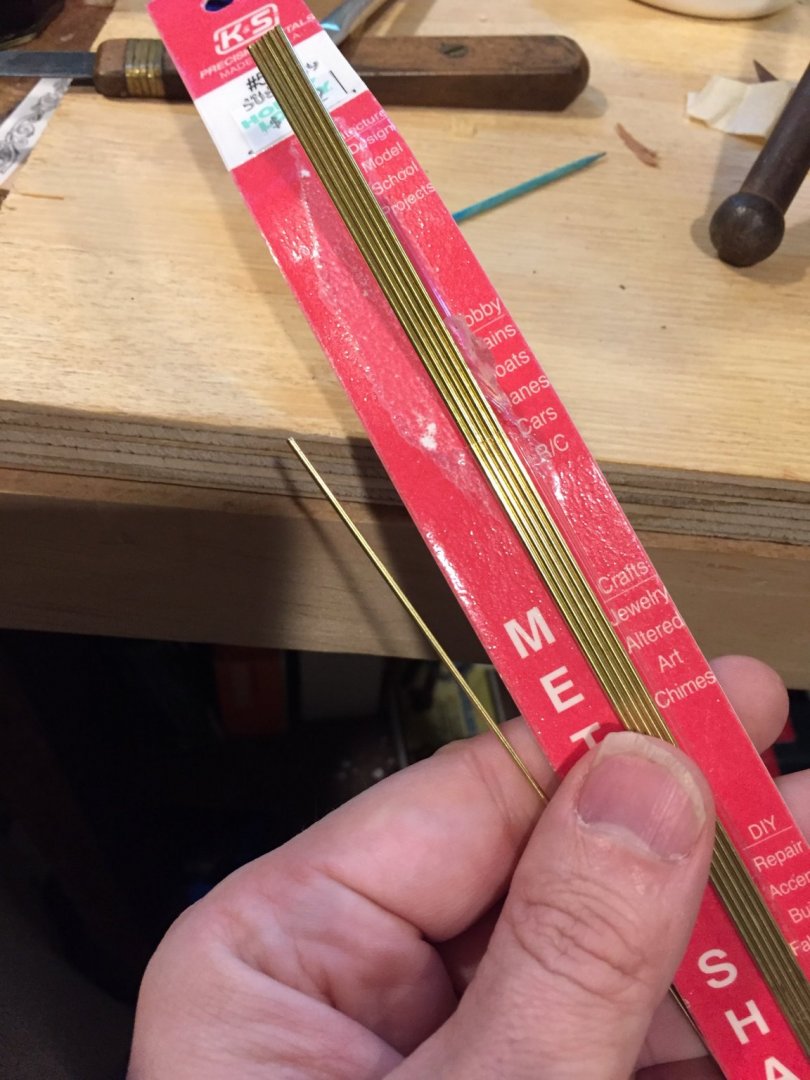
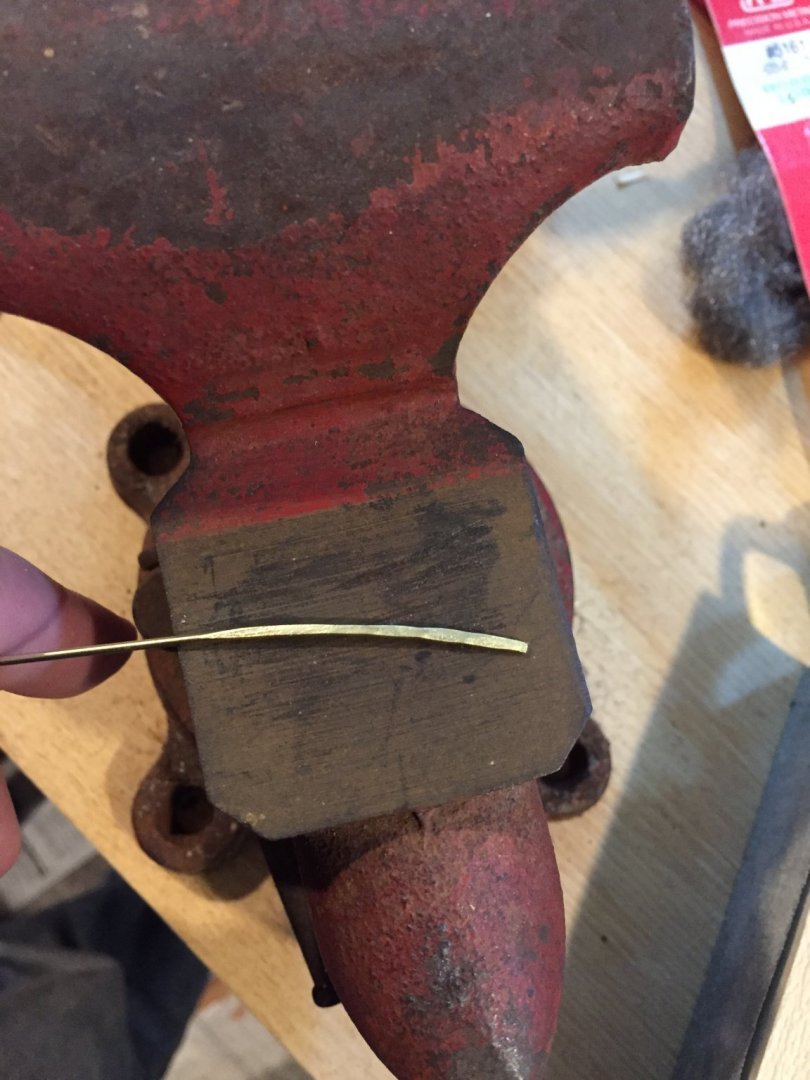
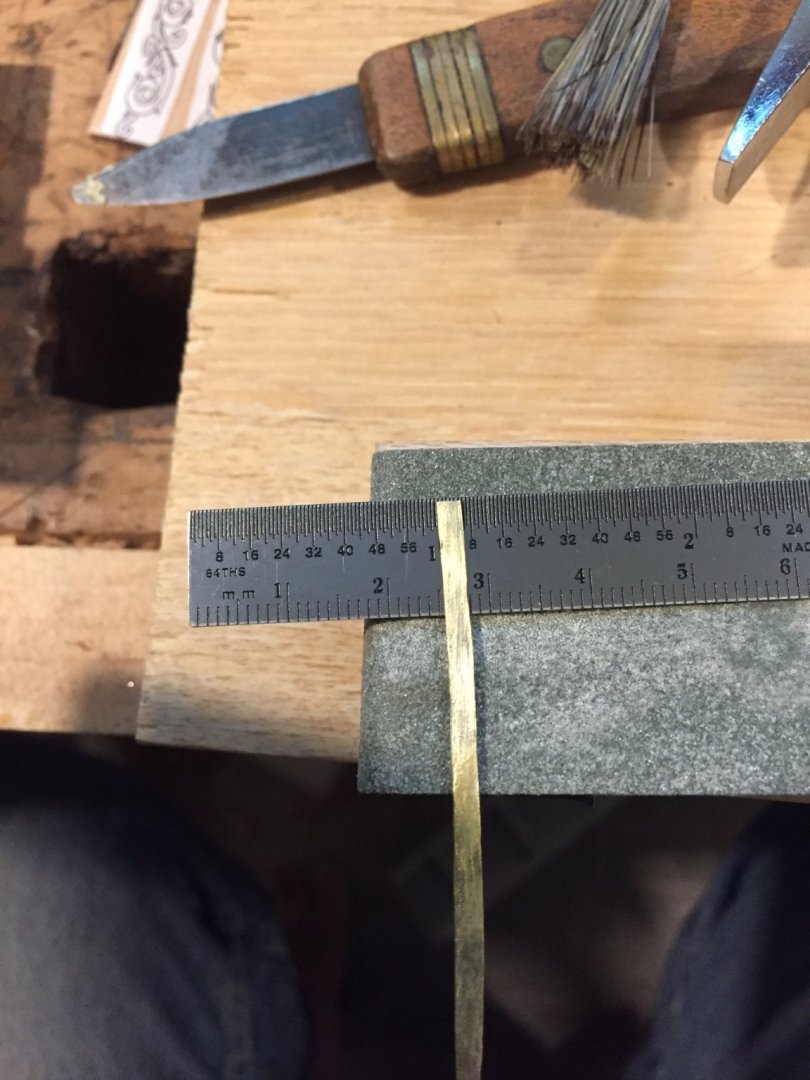
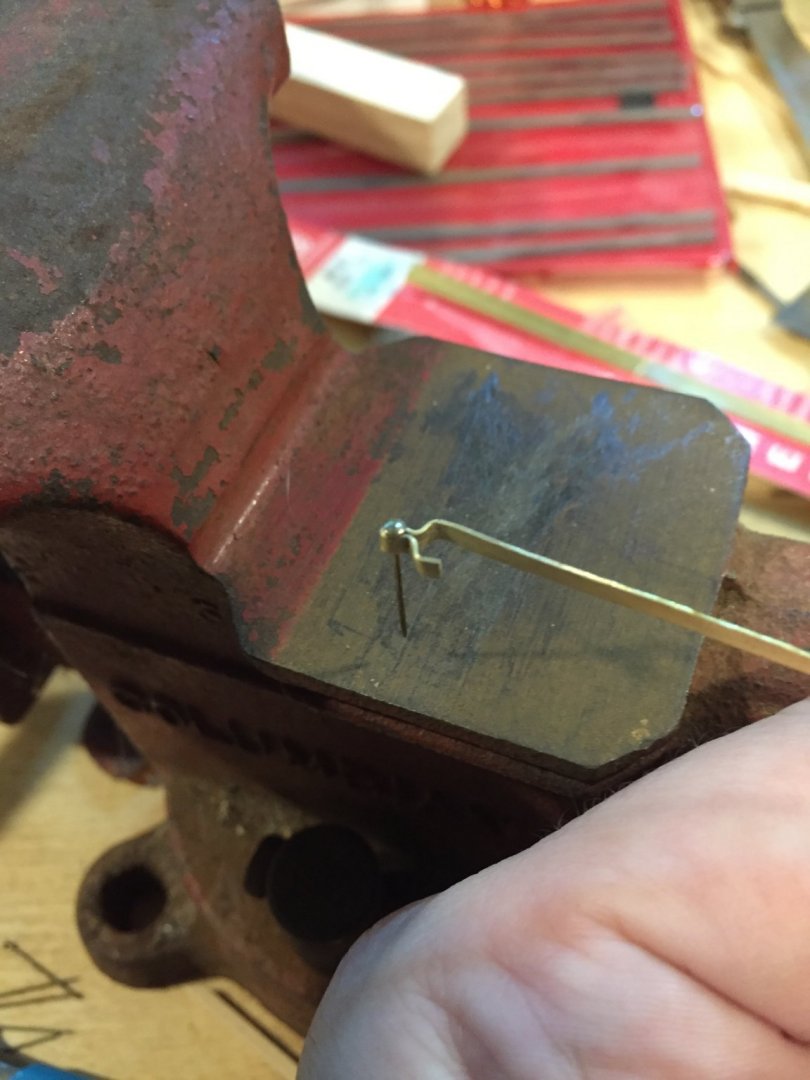
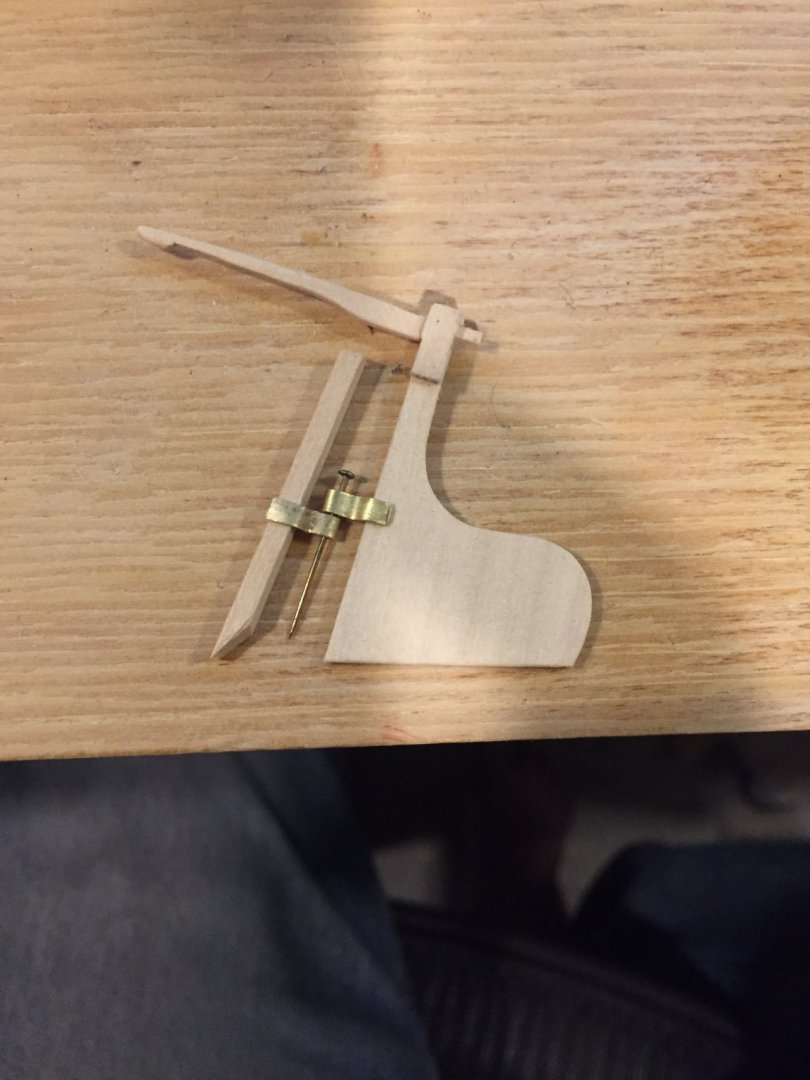
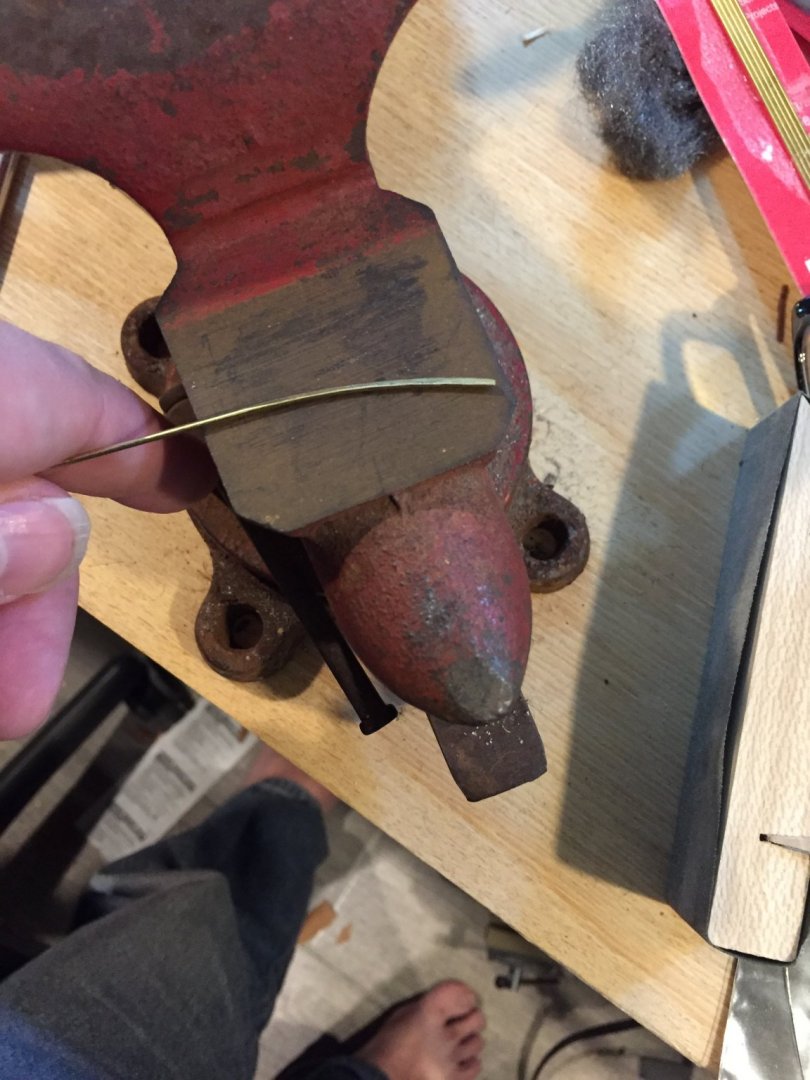
Having chewed on the info dump from VTHokiEE, I figured I just try. I couldn’t find any brass strips but I did I find thin rod. I hammered it flat and and used small needle nose pliers to bend it. I found the order of bends is important- you can find yourself “painted into a corner” and not be able to continue (at least with my large tools). I also discover that after hammering the brass, the metal needs to be annealed or the bends will break the metal. For annealing, I used the flames of our gas stove and then a cup of water - that worked well.


- 72 replies
-
- 5
-
-
- Chesapeake Bay Flattie
- Midwest Products
- (and 1 more)
-
For others who my find this thread (and for David): the book, by Lankford, mentioned by Kevin is available for free as a pdf at the Model Expo site, as part of the information about the kit. Kit information: https://modelexpo-online.com/Model-Shipways-WILLIE-BENNETT-SKIPJACK-132-SCALE_p_1015.html Book pdf link: https://modelexpo-online.com/assets/images/documents/MS2032-Willie_L_Bennett-Instructions-web.pdf
-
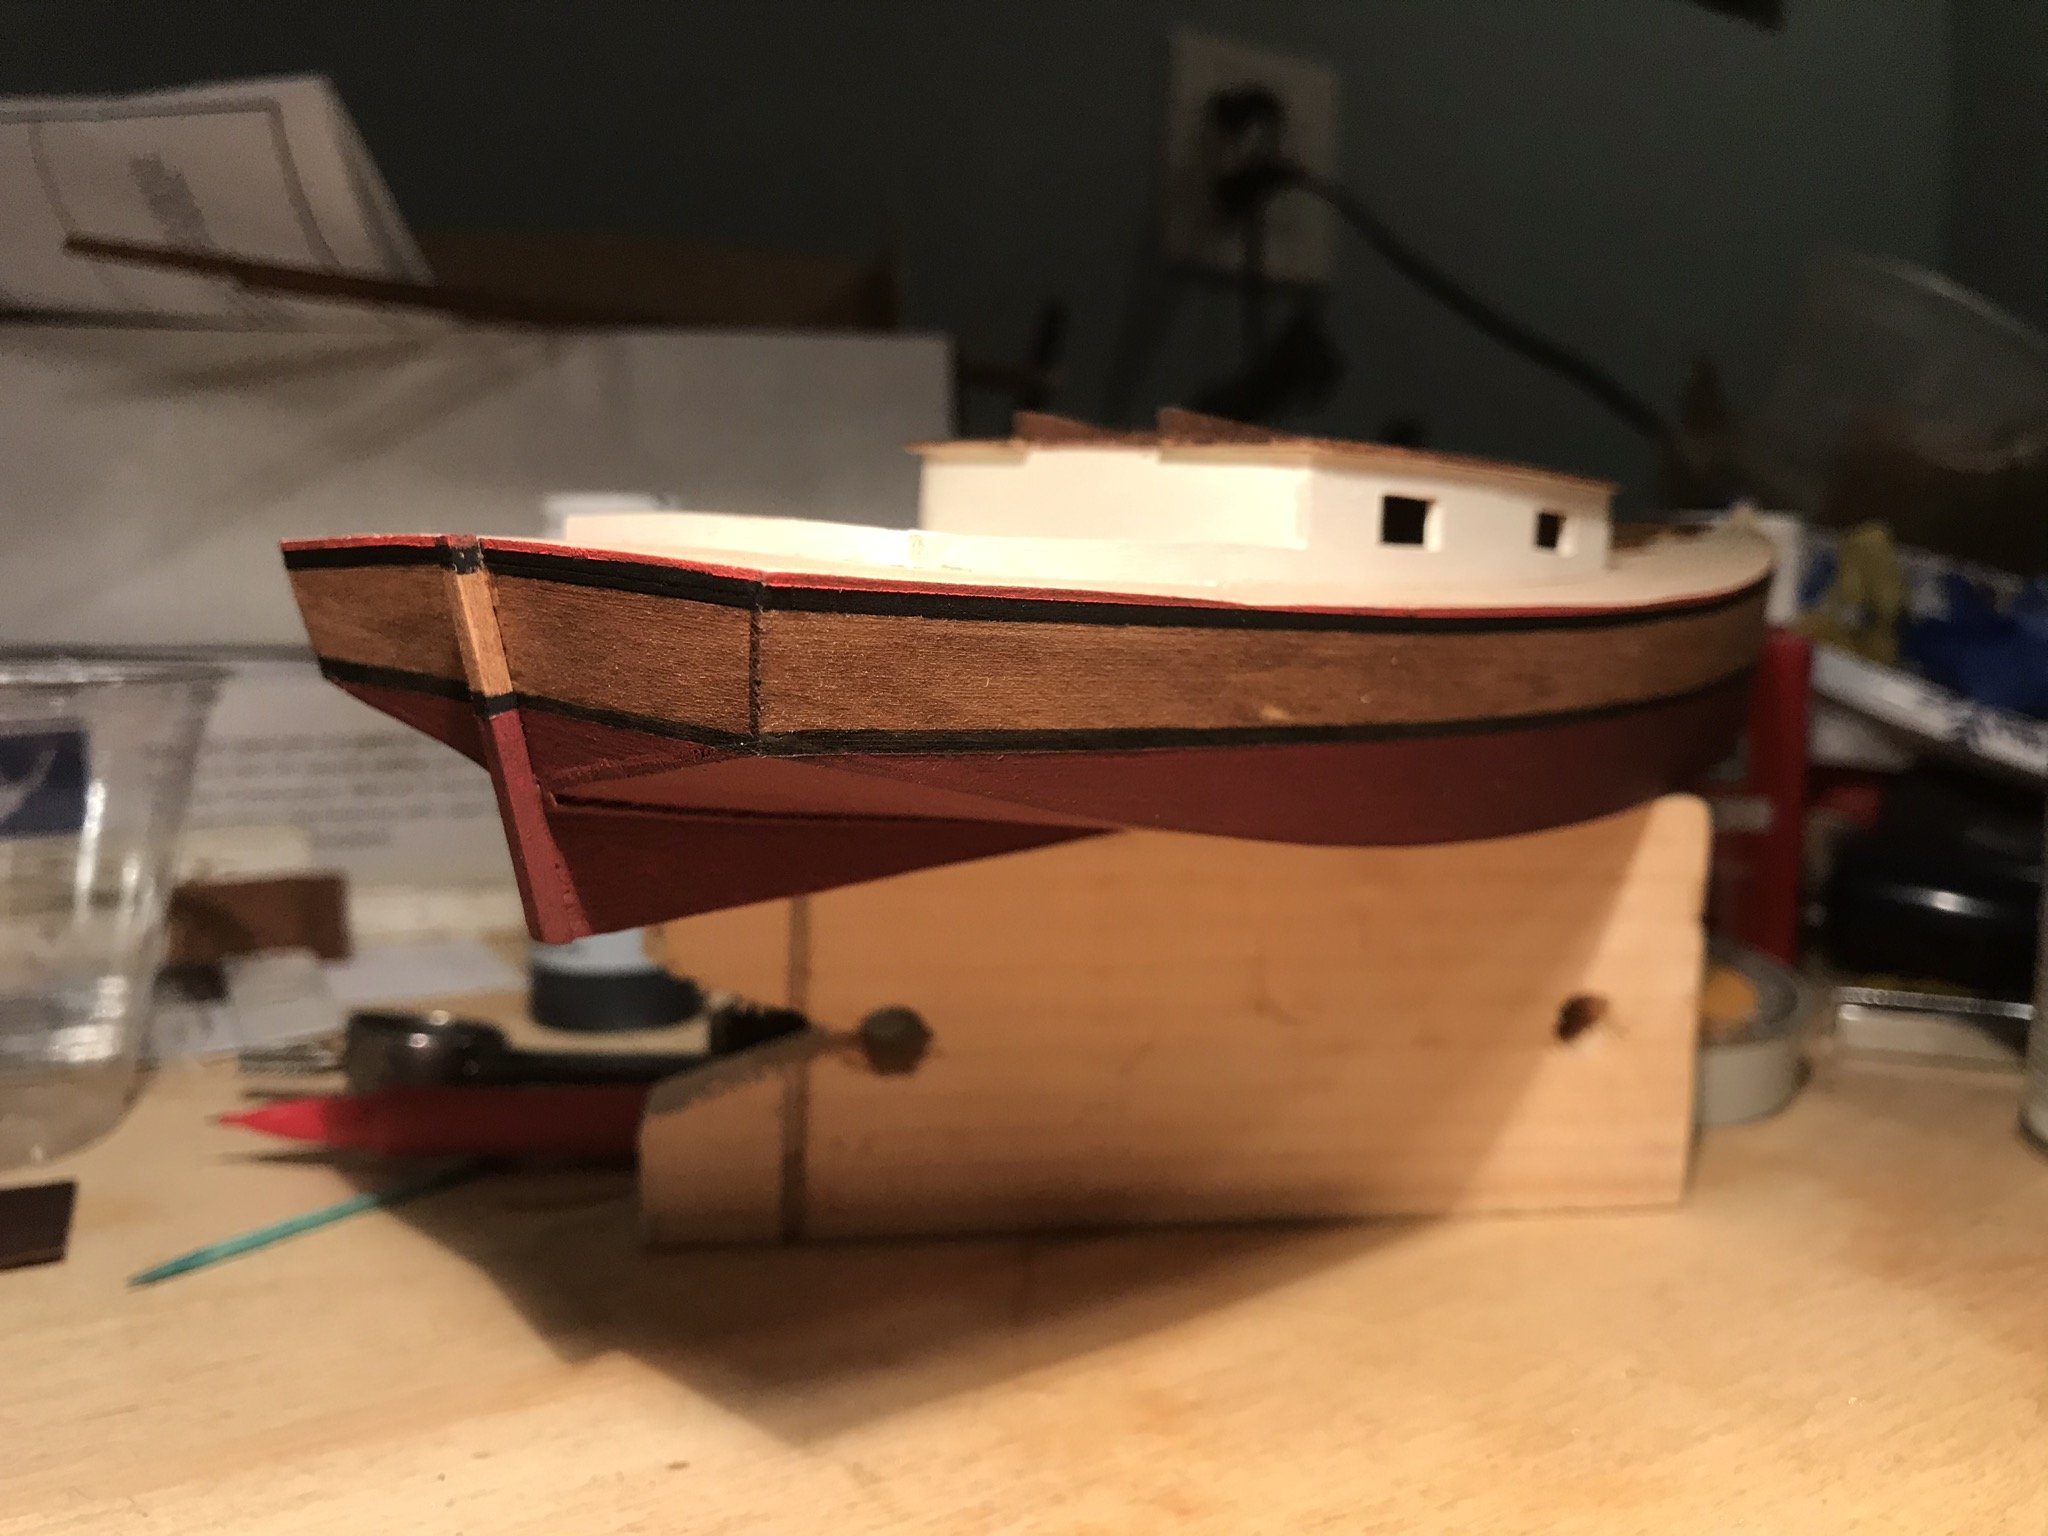
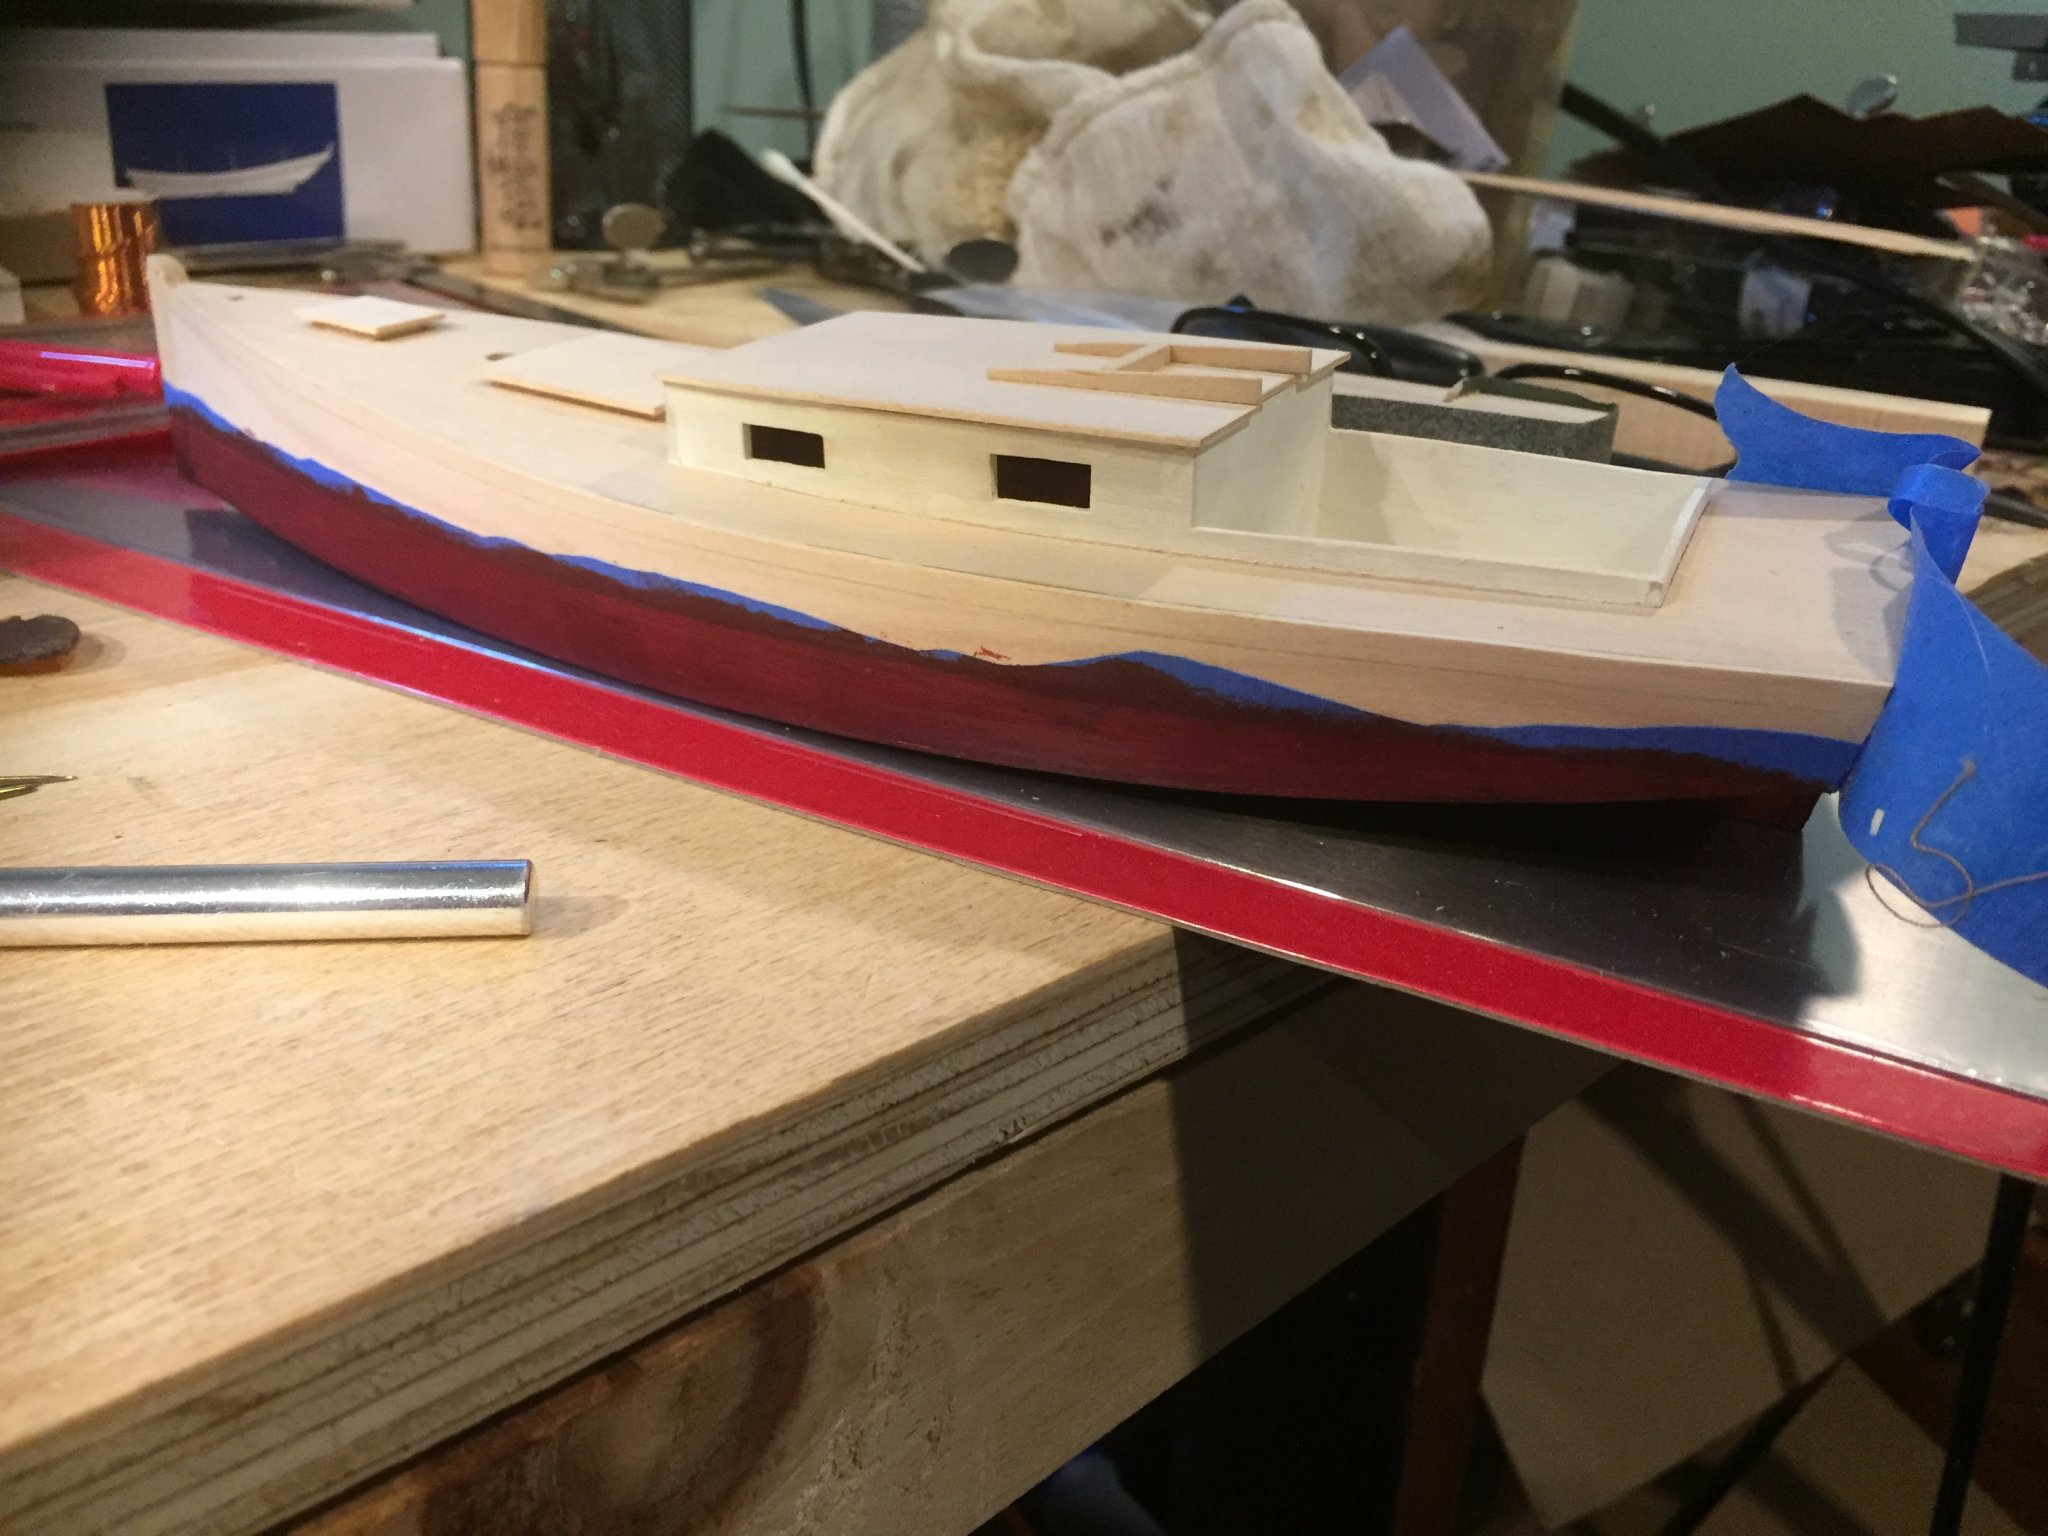
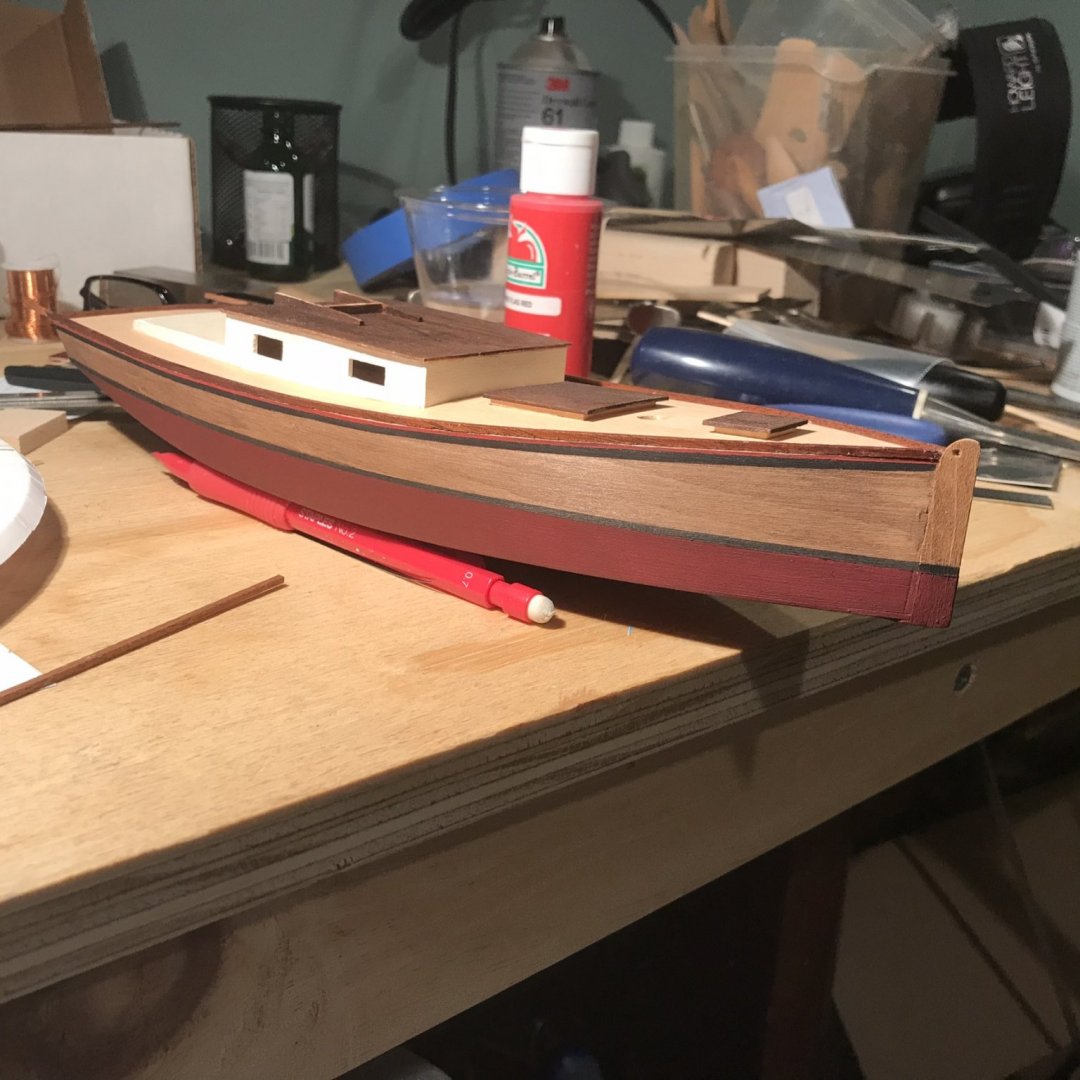
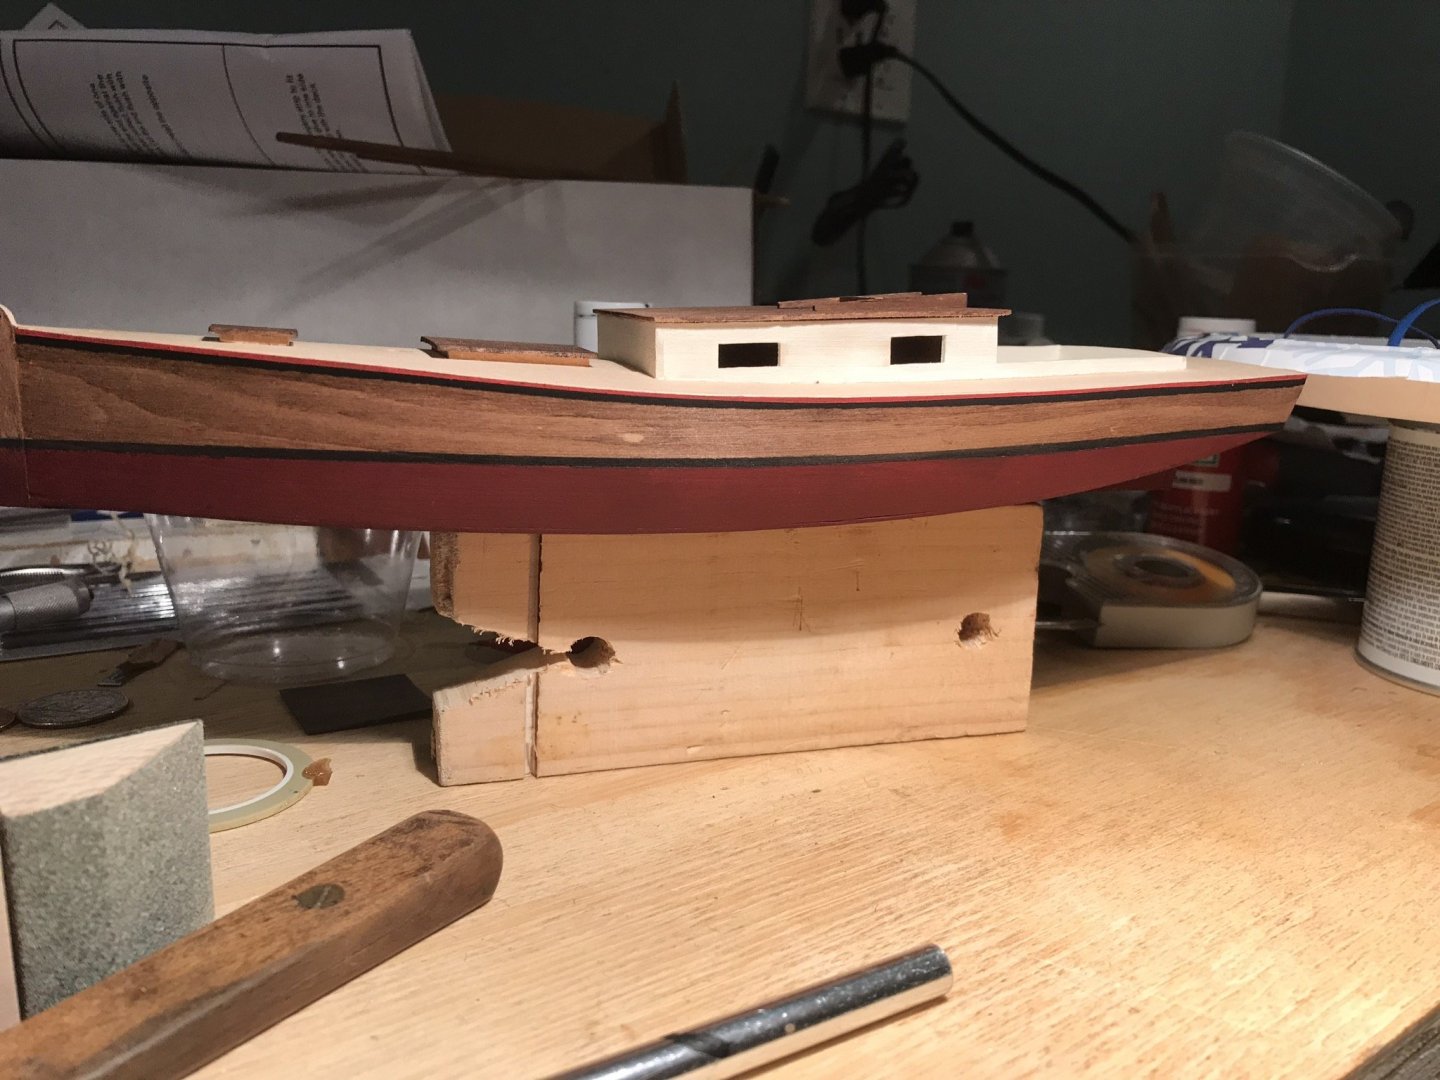
Thanks ever so much!! That is a lot of info - so for the paint scheme, I’m going with white and red on the bottom. The instructions for the Katy Cory had a number of interesting paint suggestions. First pass at the red hull:


- 72 replies
-
- 5
-
-
- Chesapeake Bay Flattie
- Midwest Products
- (and 1 more)
-
Any suggestions for the metal work to attach the rudder? What thickness of brass and what favorite tools or methods?
- 72 replies
-
- 1
-
-
- Chesapeake Bay Flattie
- Midwest Products
- (and 1 more)
-
Thank you thiaultron for the info! As an aside, I was looking at your build log; wow, you dig deep! That is quite the mountain of research!
- 72 replies
-
- 1
-
-
- Chesapeake Bay Flattie
- Midwest Products
- (and 1 more)
-
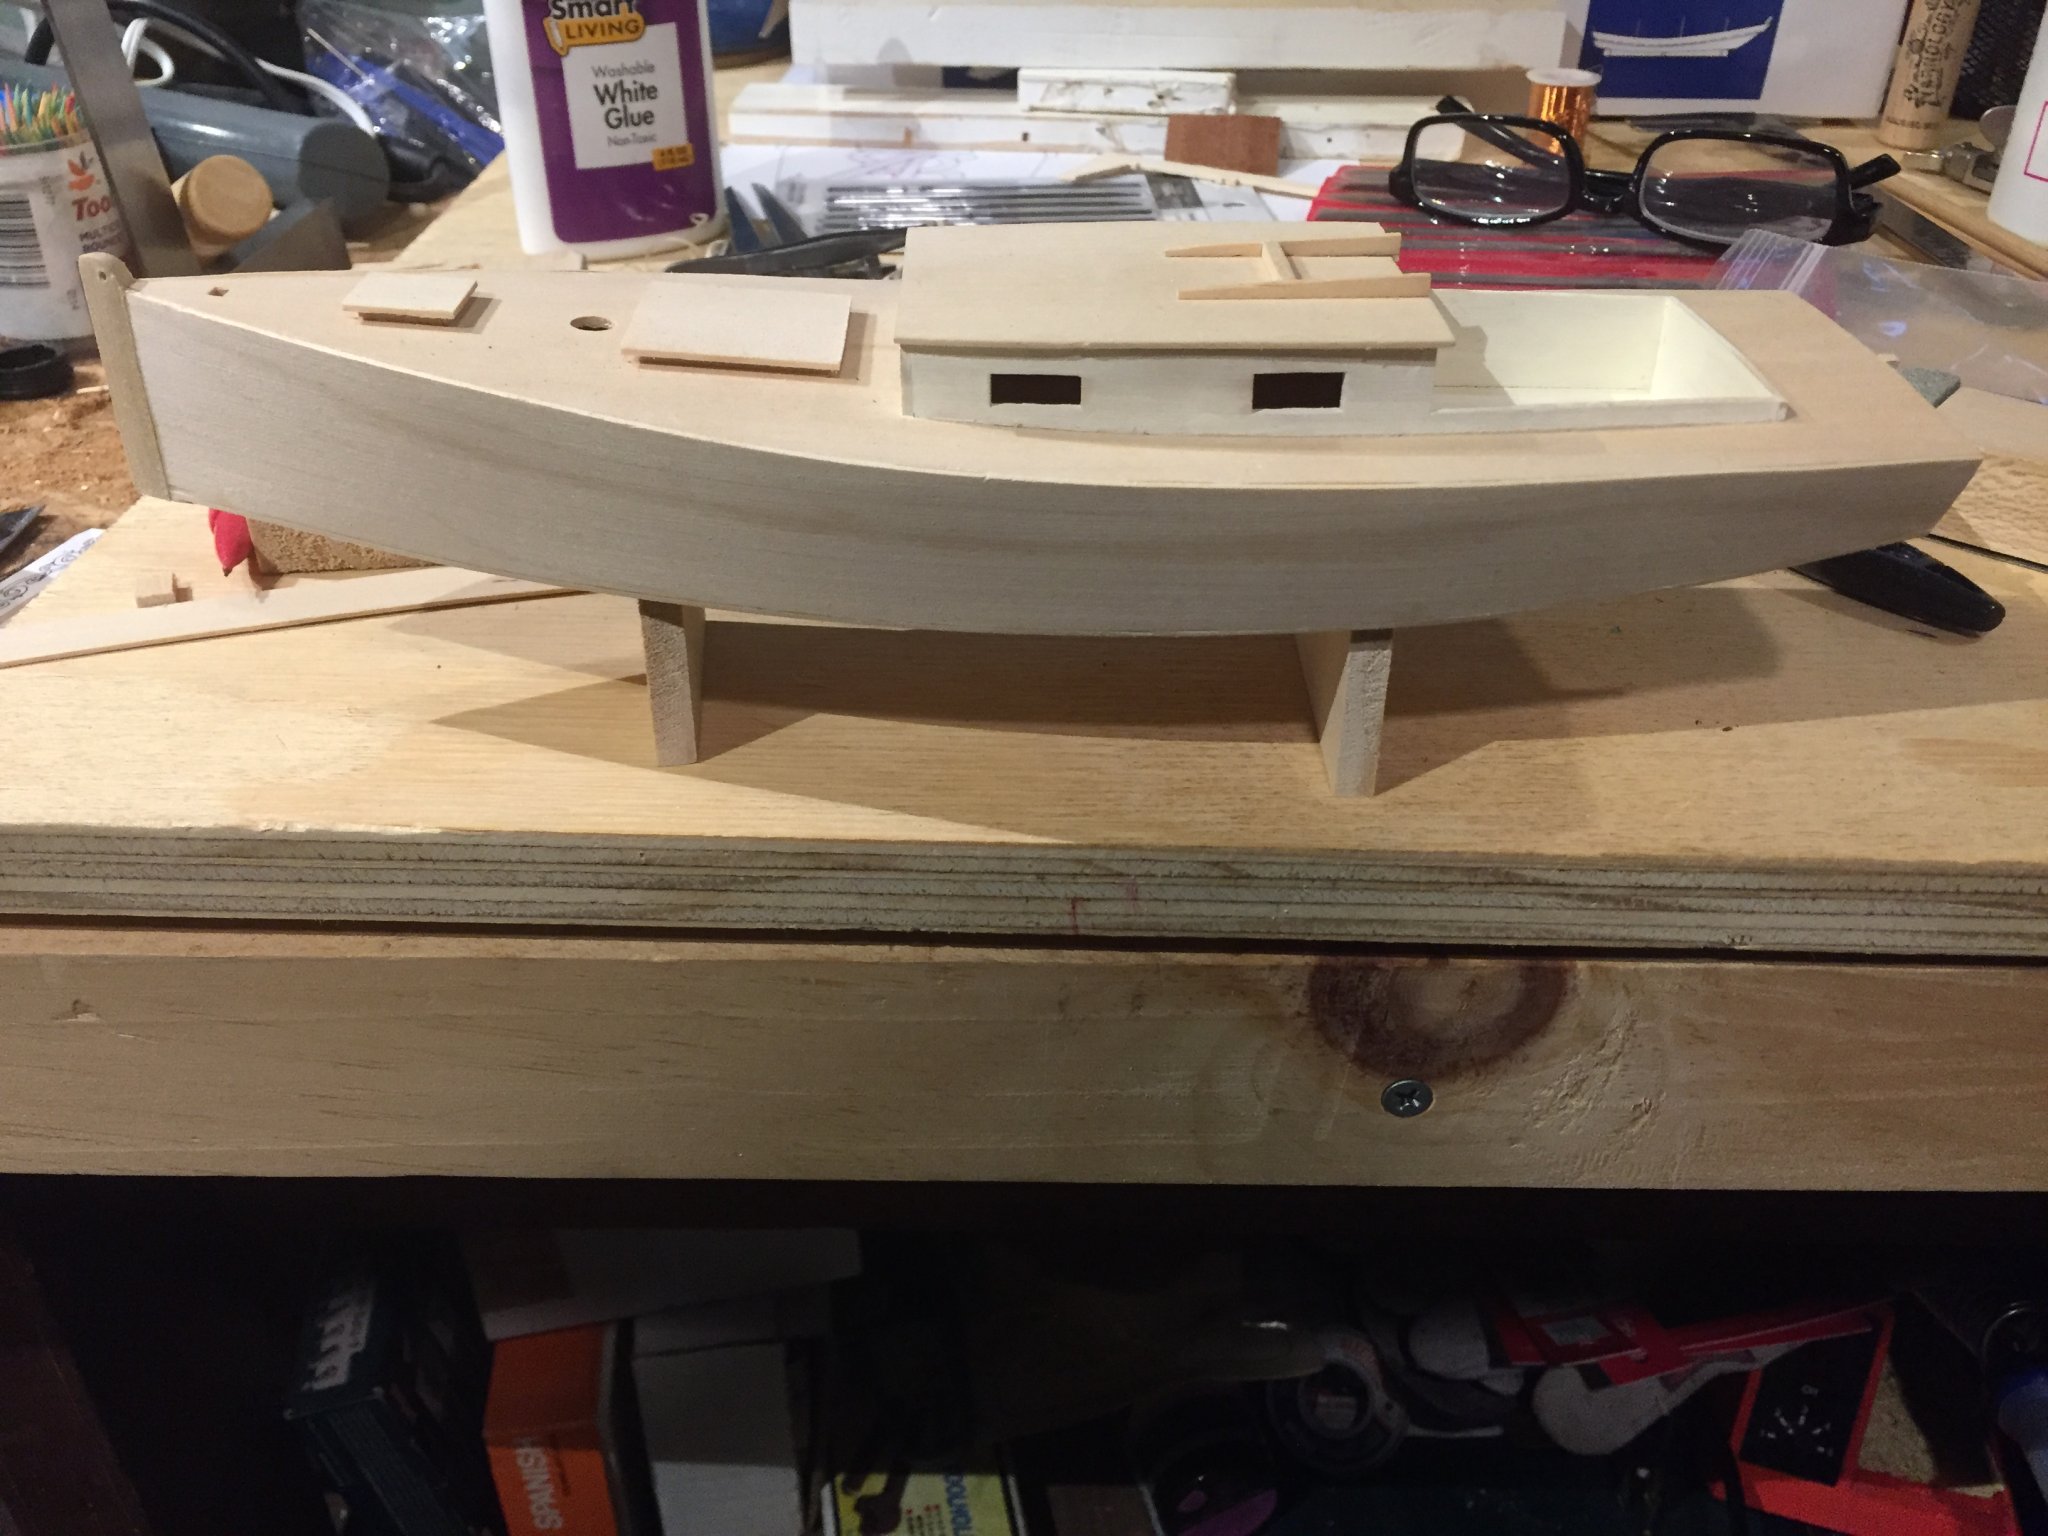
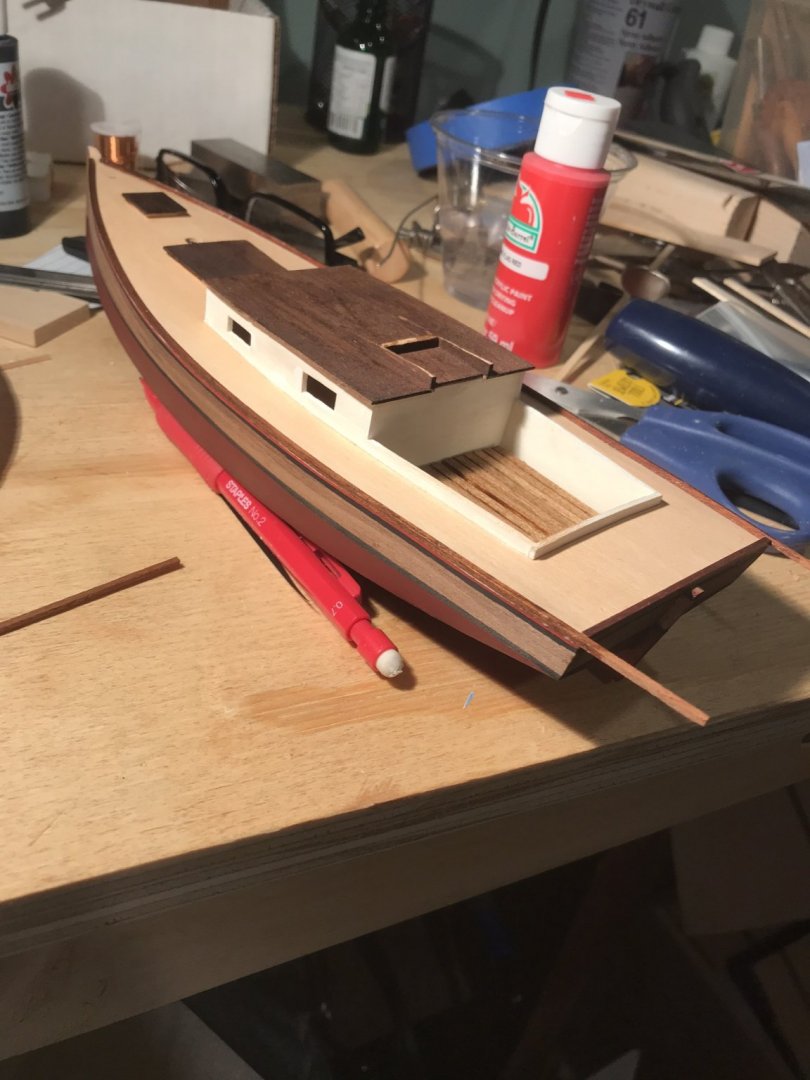
Balsa filler was ordered and will arrive shortly! As for paint, I’m not sure yet. It’s strange; there aren’t many actual boats to peek at. I also realized I could have planked the deck earlier. Oh well.
- 72 replies
-
- 2
-
-
- Chesapeake Bay Flattie
- Midwest Products
- (and 1 more)