MORE HANDBOOKS ARE ON THEIR WAY! We will let you know when they get here.
×

.jpeg.7d7eba14c97a2e1d9f79cd2c97f6424a.jpeg)
EricWilliamMarshall
-
Posts
986 -
Joined
-
Last visited
Content Type
Profiles
Forums
Gallery
Events
Everything posted by EricWilliamMarshall
-
.thumb.jpeg.fc5d633a7b34428fcf19419a73d56d55.jpeg) Woo-woo!! (I have yet to cross this magic line myself...)
Woo-woo!! (I have yet to cross this magic line myself...)- 170 replies
-
- 1
-

-
- medway longboat
- Syren Ship Model Company
- (and 1 more)
-
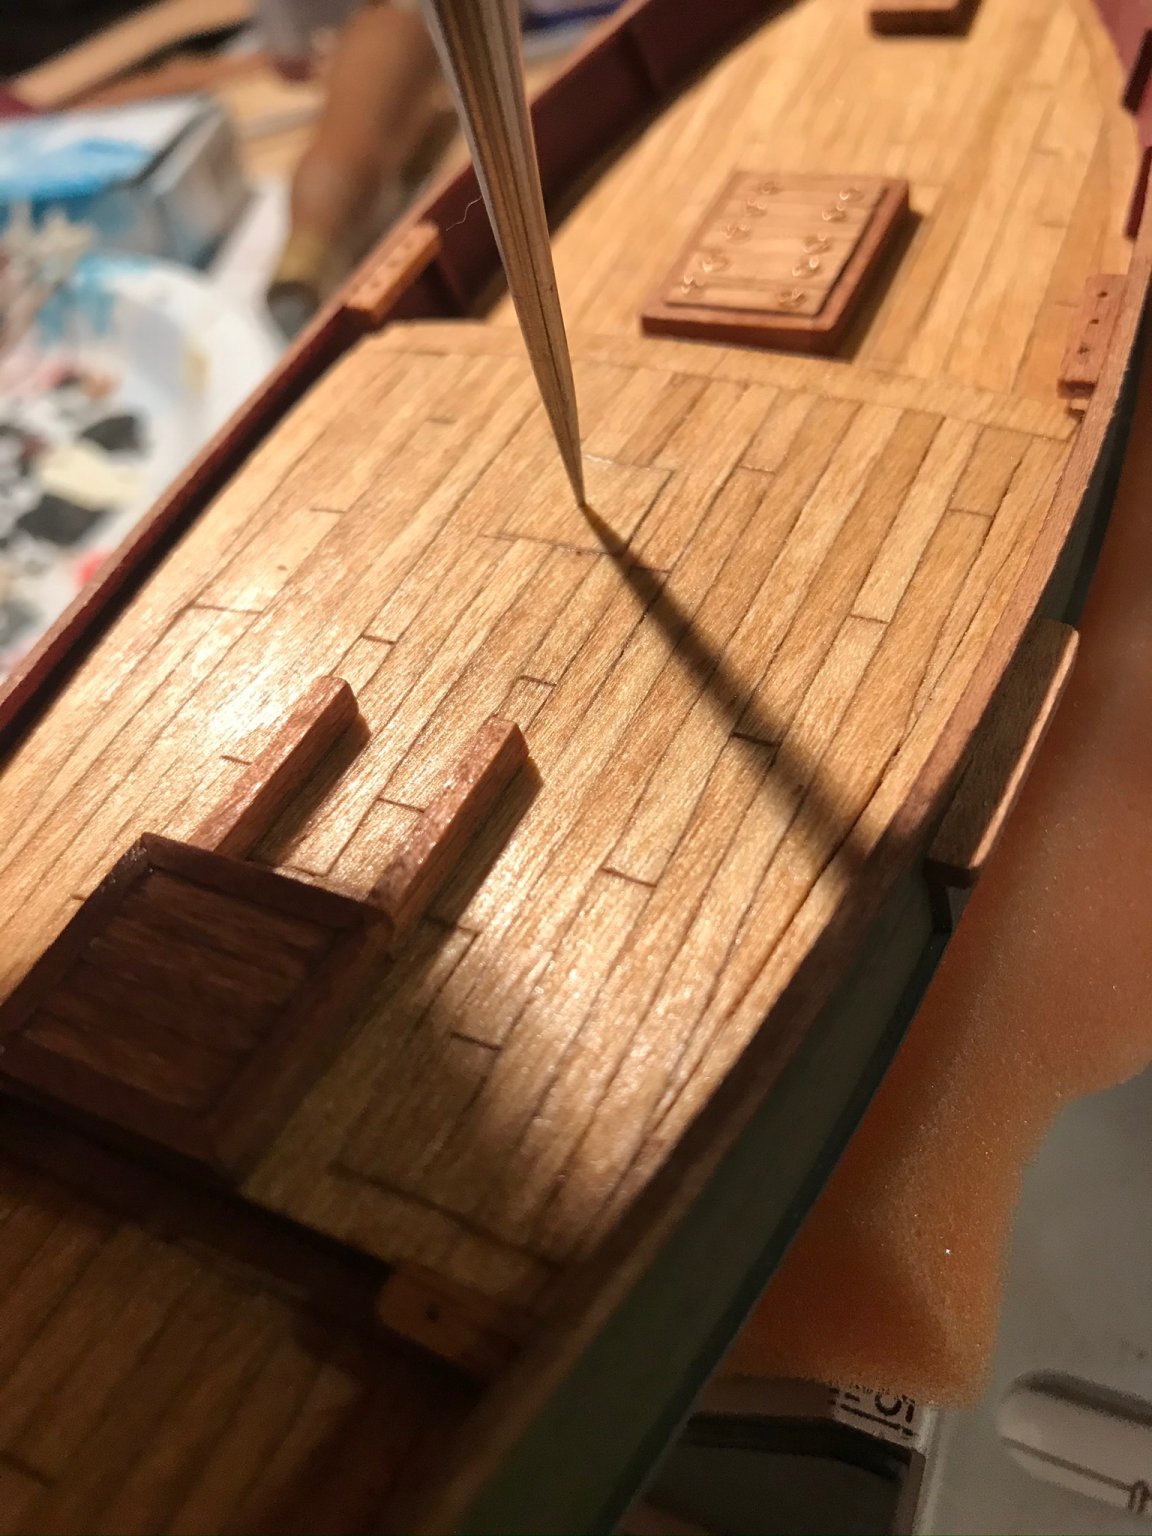
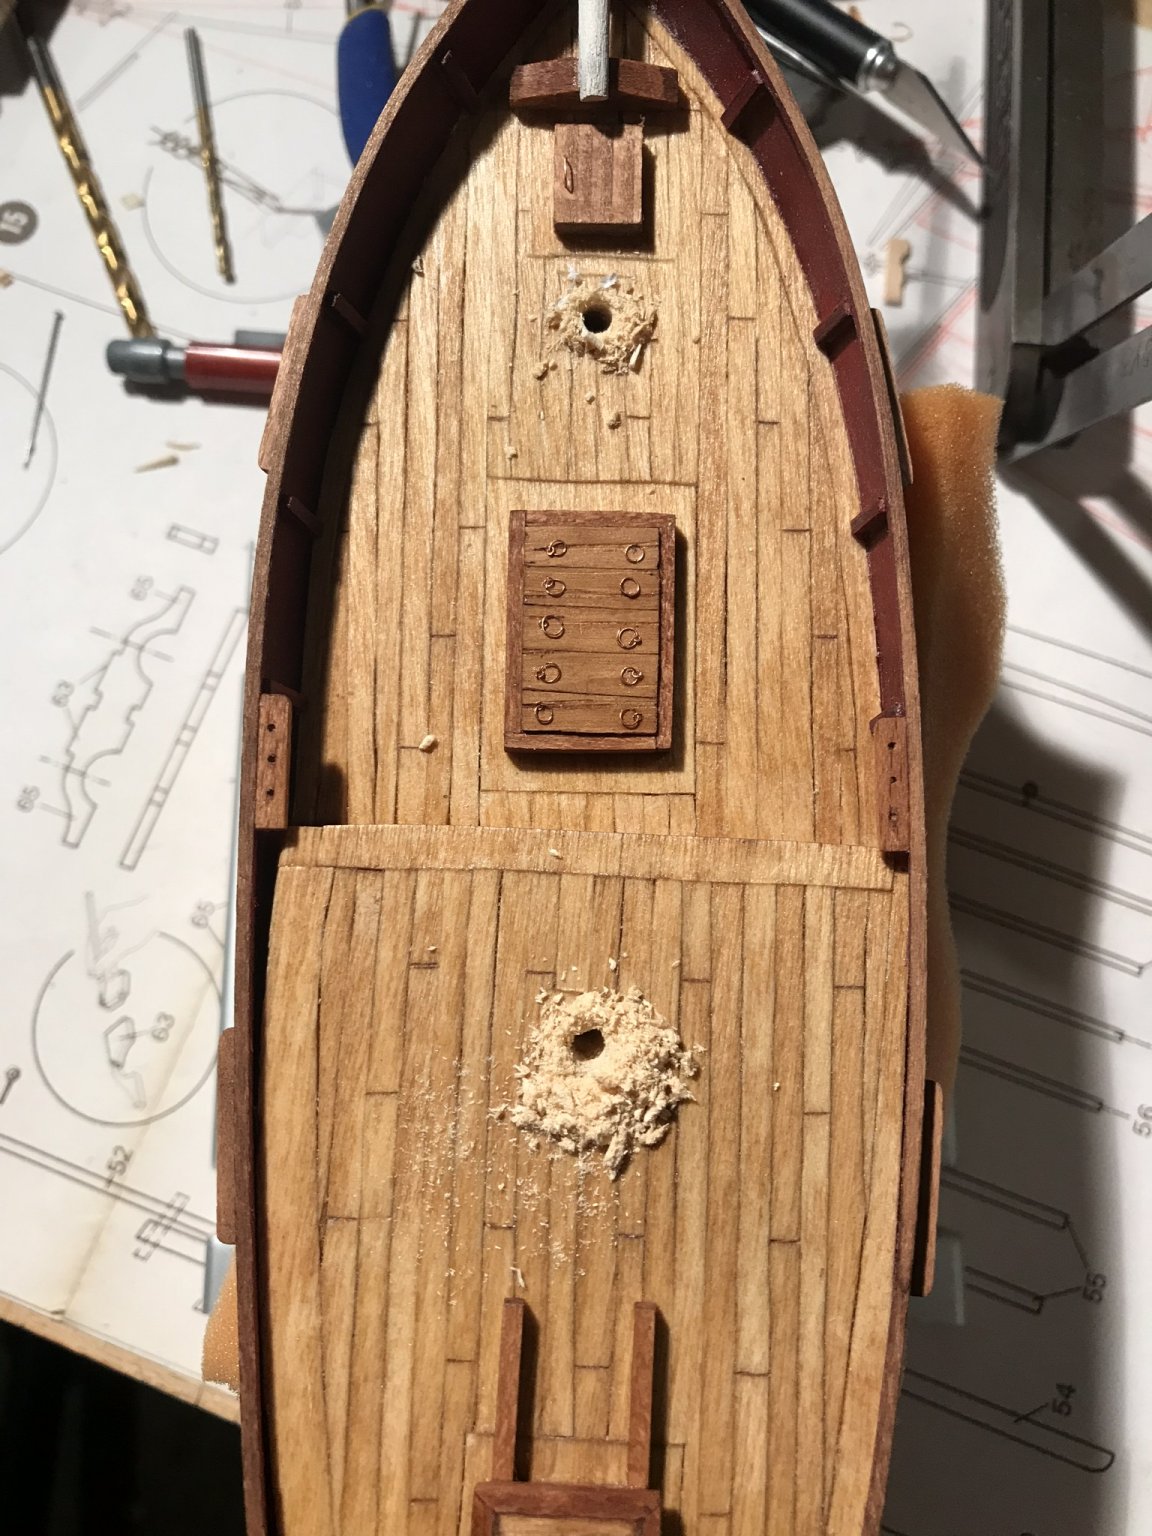
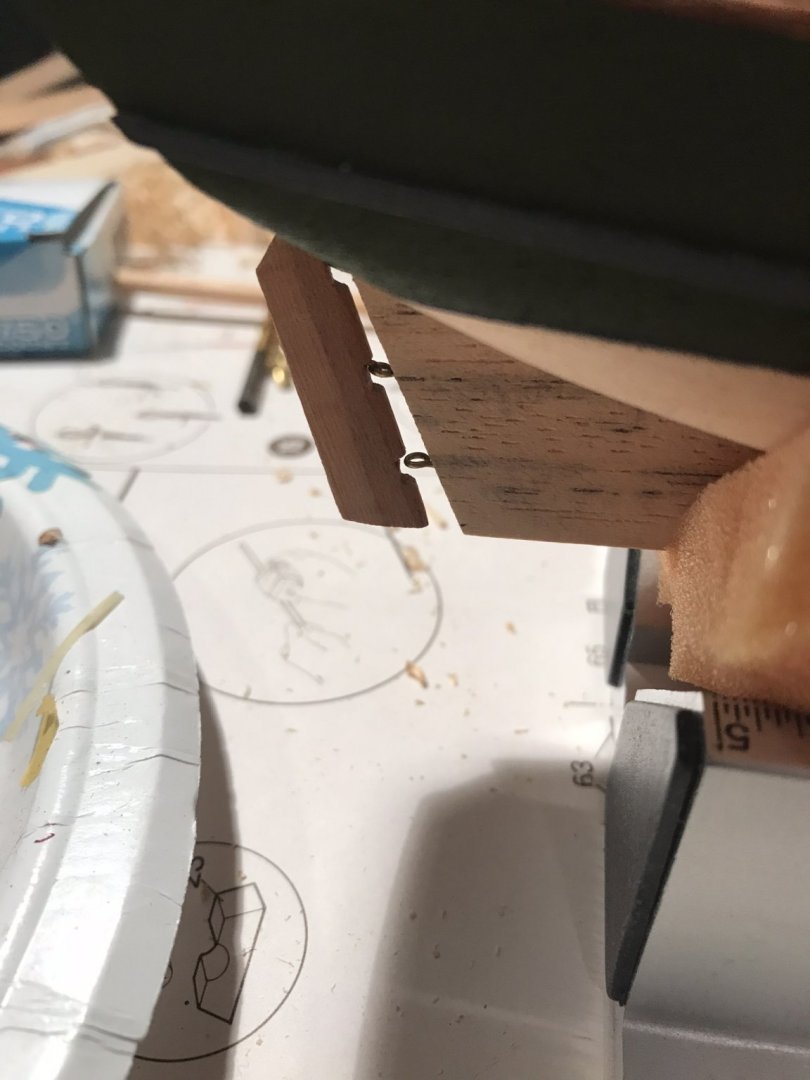
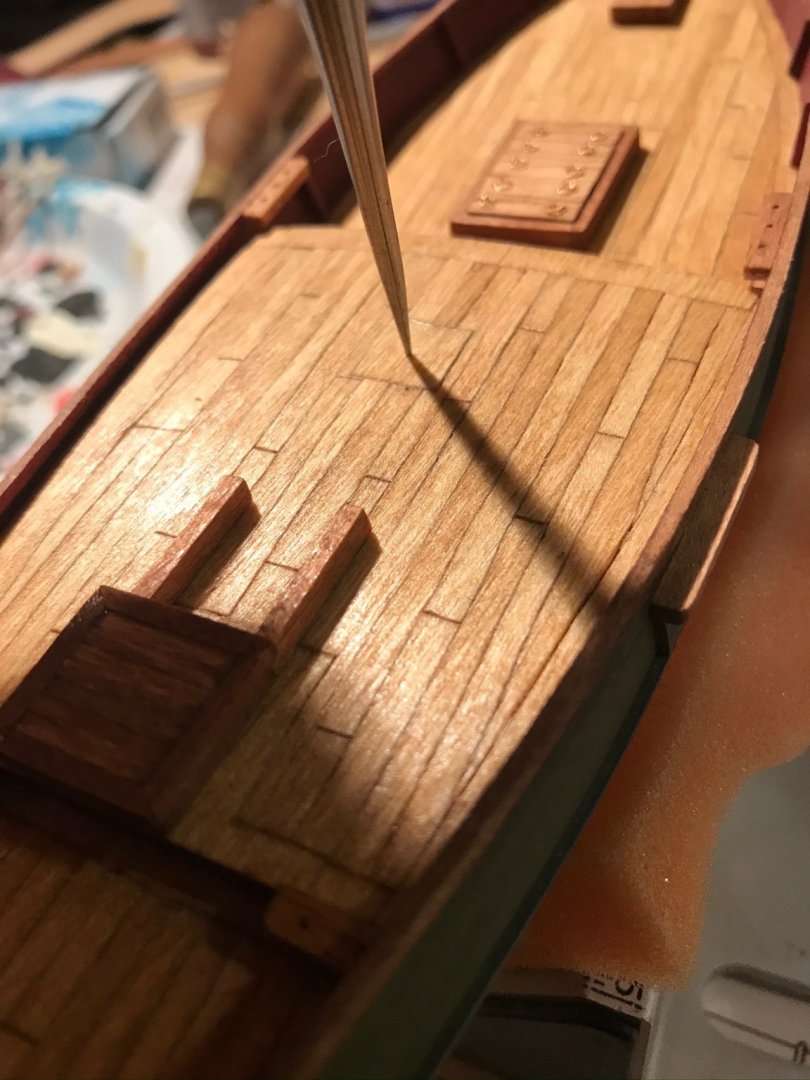
That almost worked worked. I also lost a pin from the rudder in the process and chewed up the deck a bit. How do others approach this task?


- 155 replies
-
- 6
-
-
- opium smuggler
- Authentic Models
- (and 1 more)
-
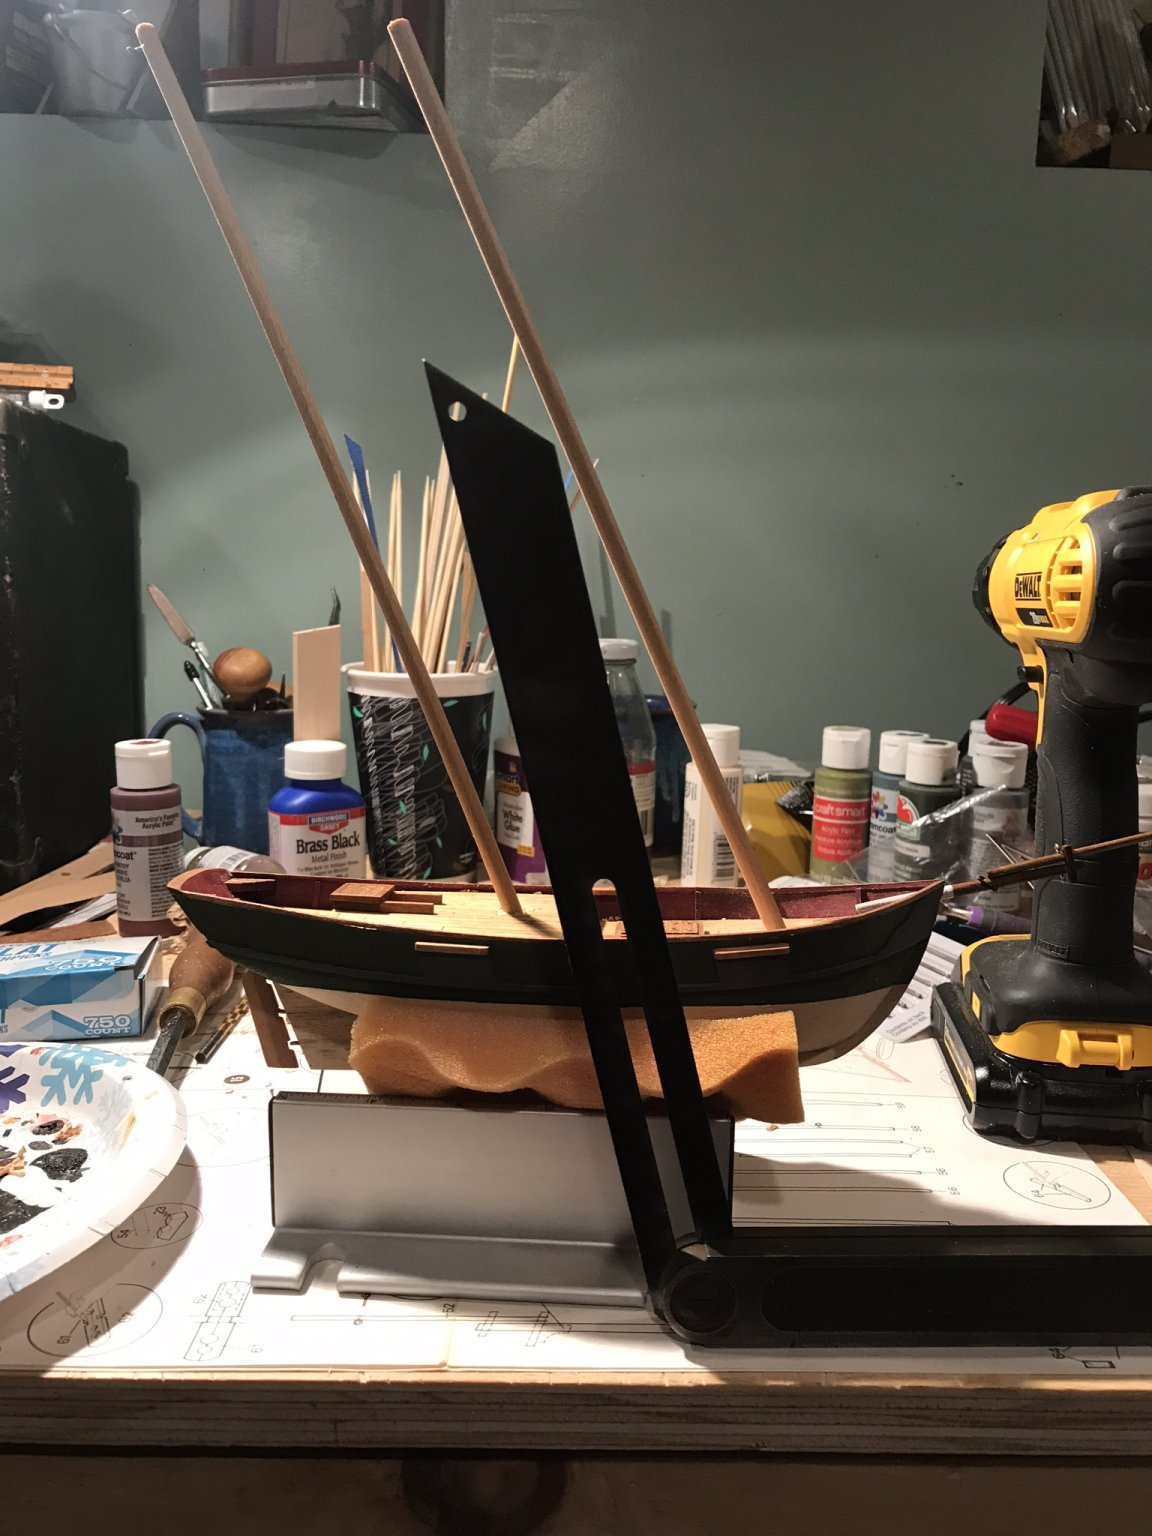
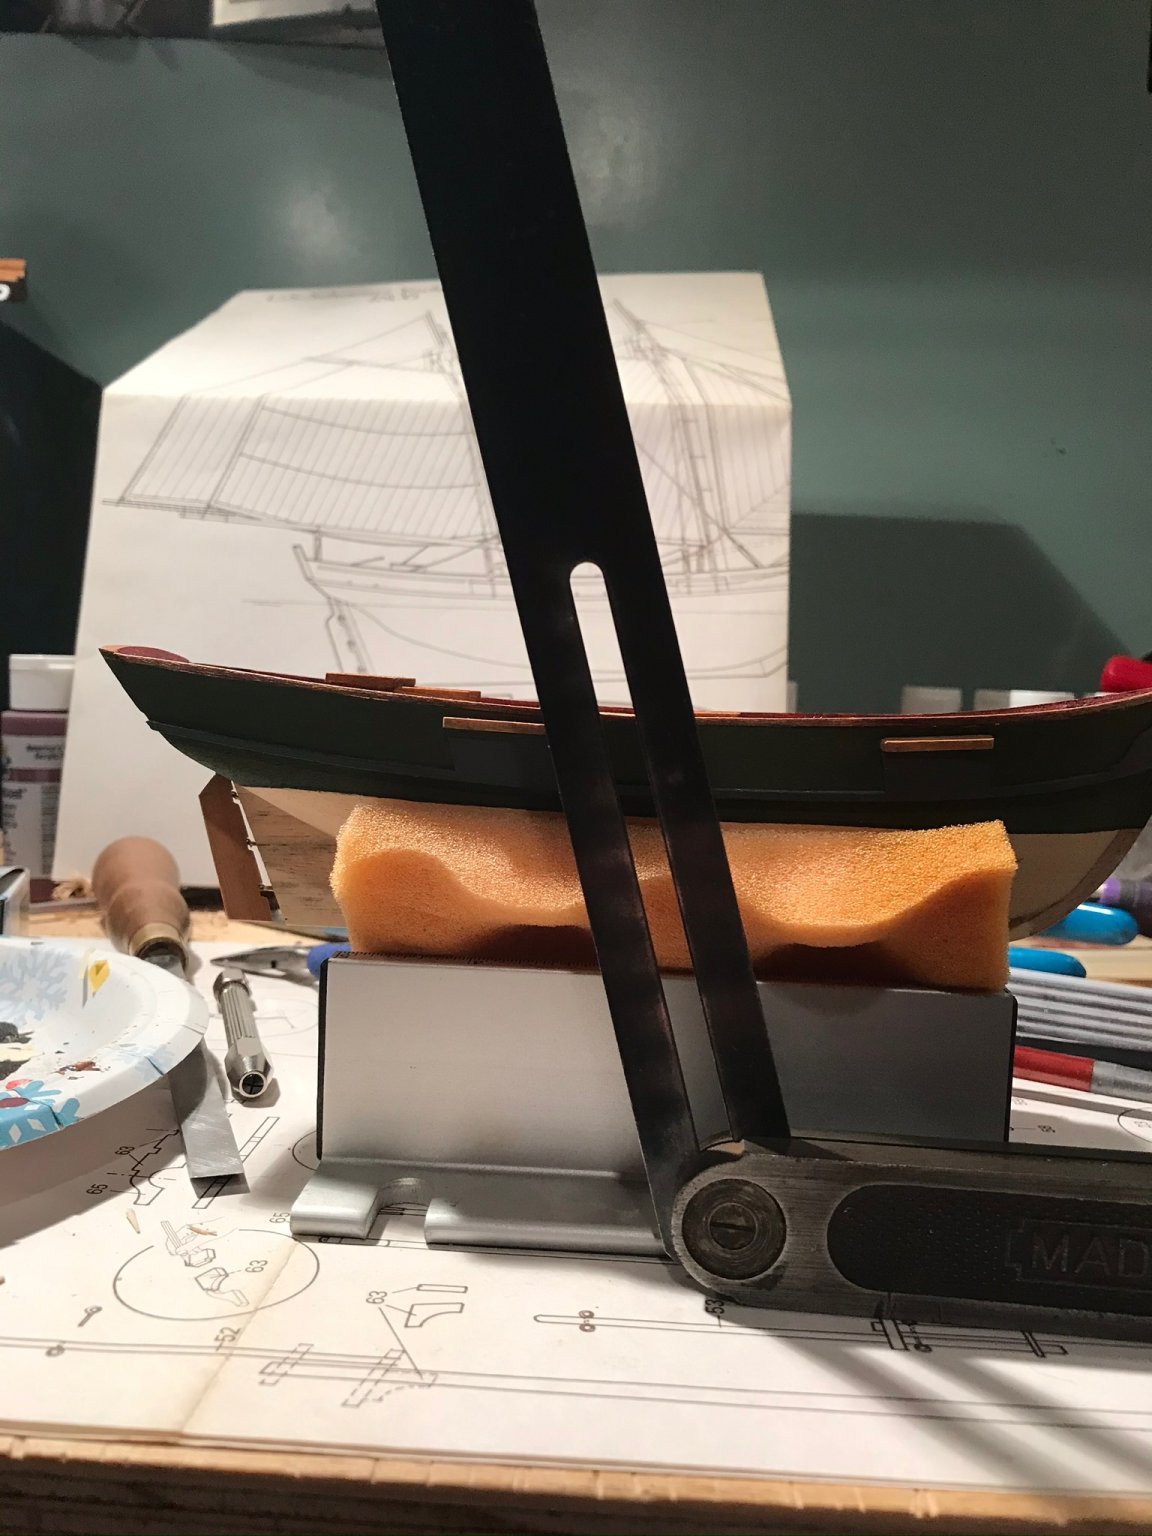
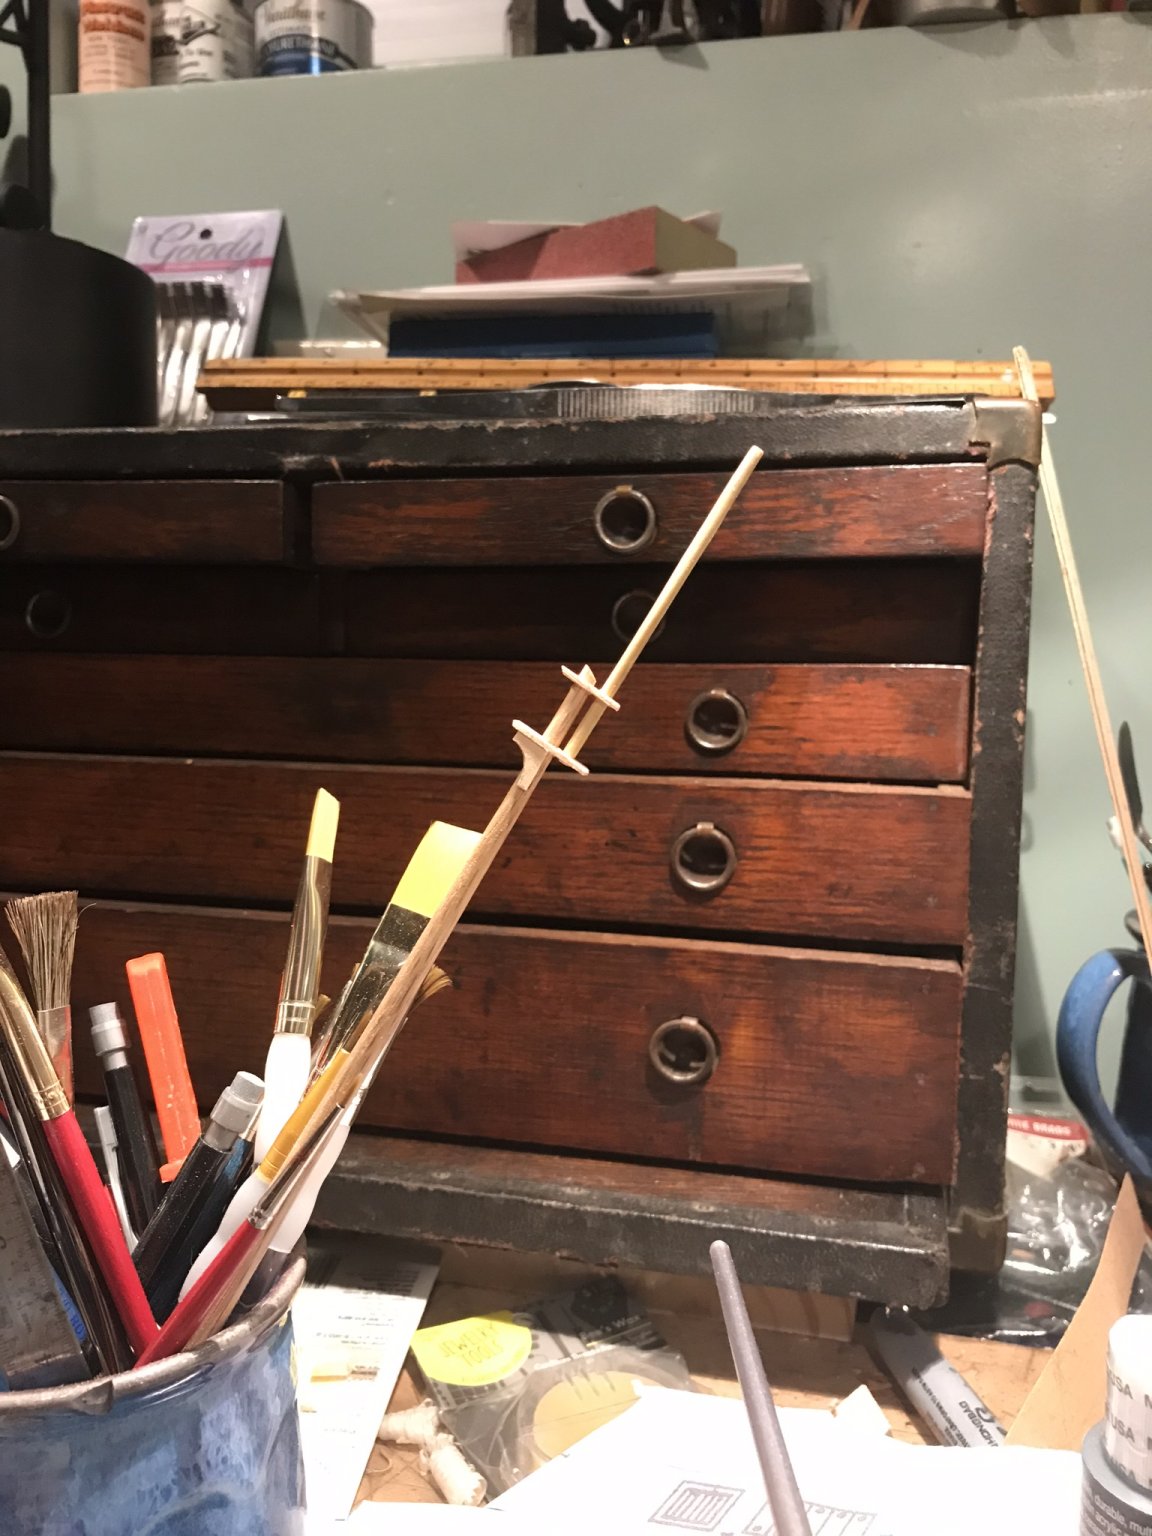
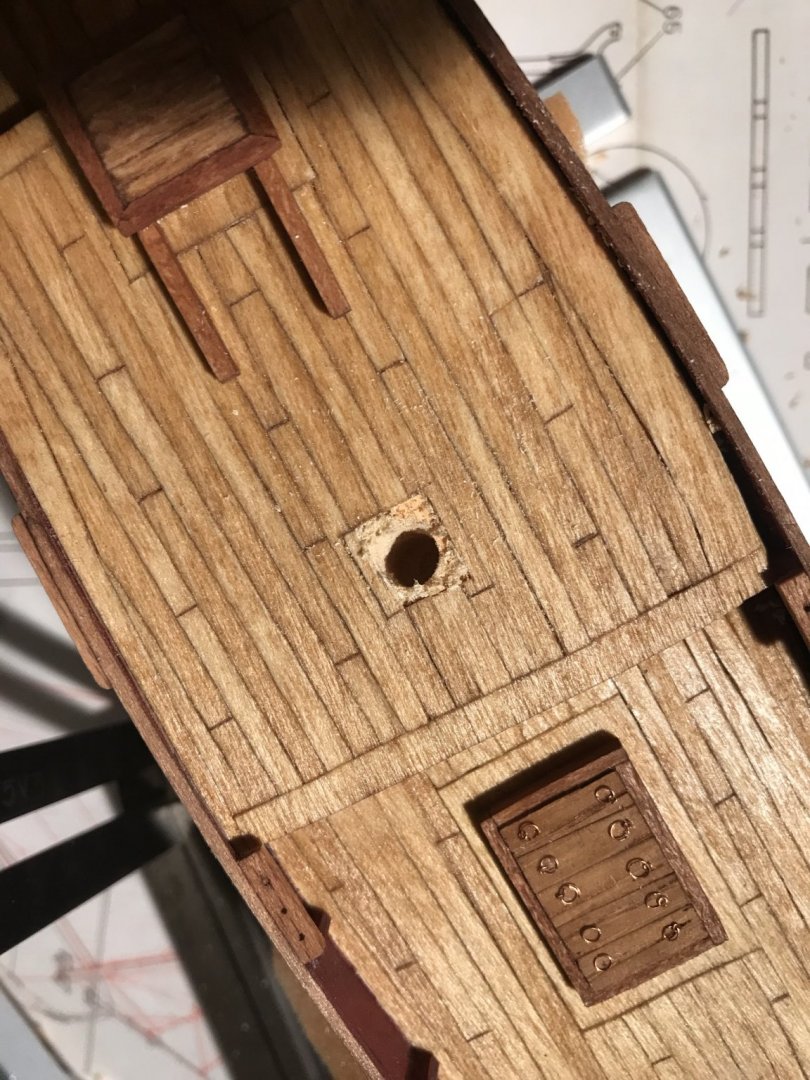
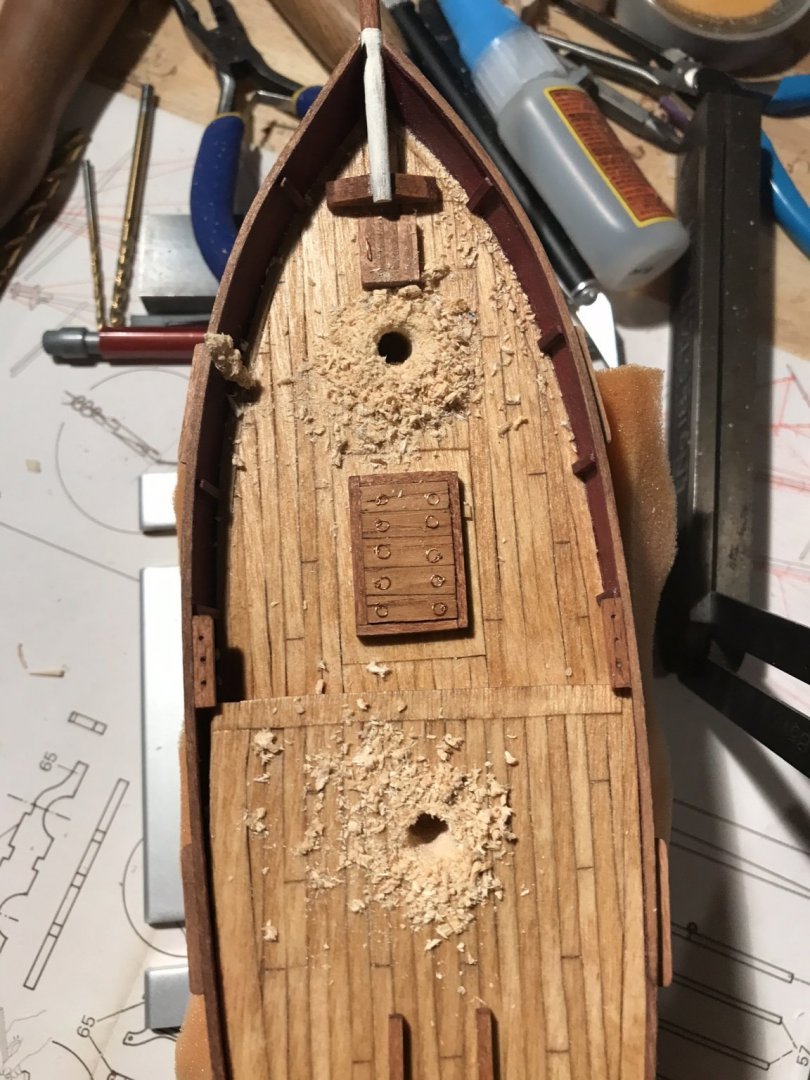
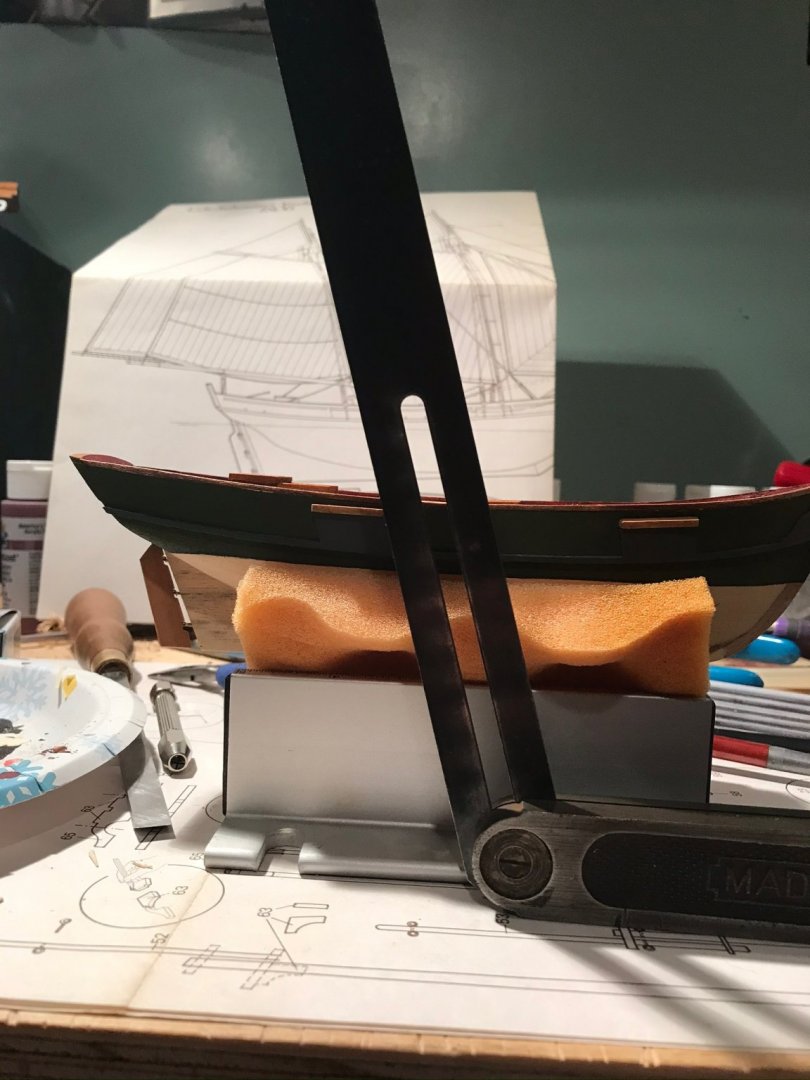
I did a little work on the masts and attempted to drill the hole in ship that will hold the masts. To drill the holes, I started with a small diameter working up to larger diameters, checking my angles each time.


- 155 replies
-
- 6
-
-
- opium smuggler
- Authentic Models
- (and 1 more)
-
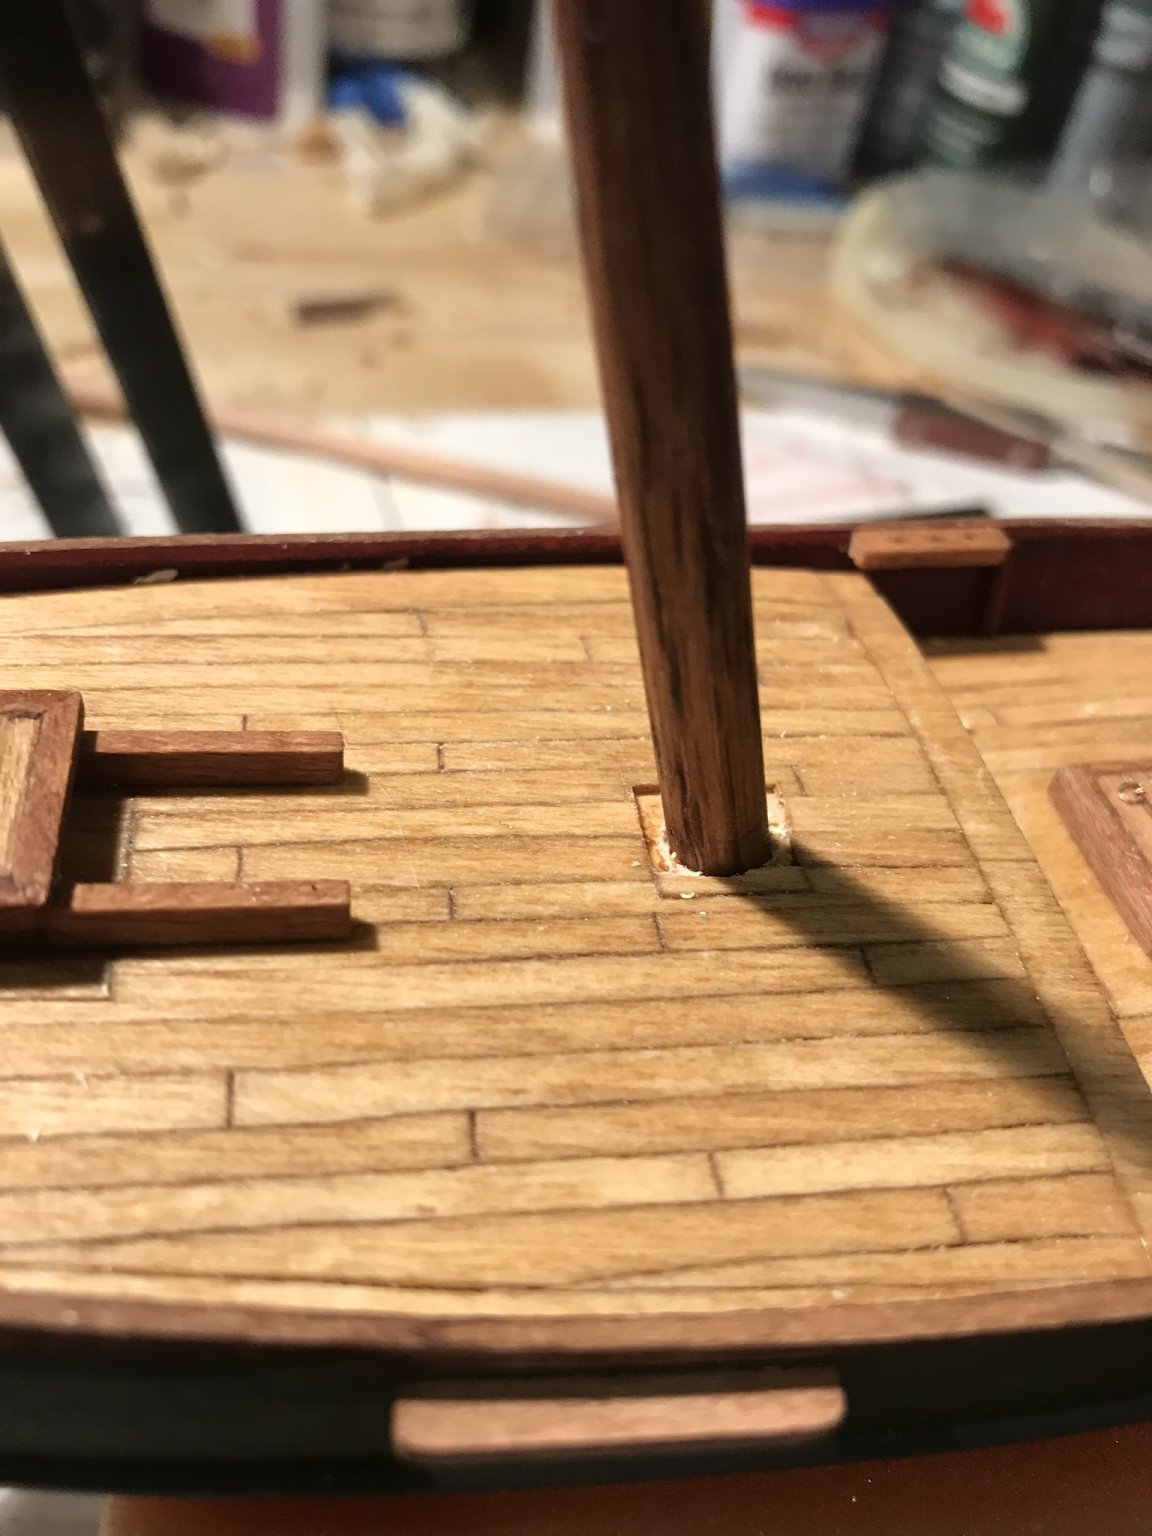
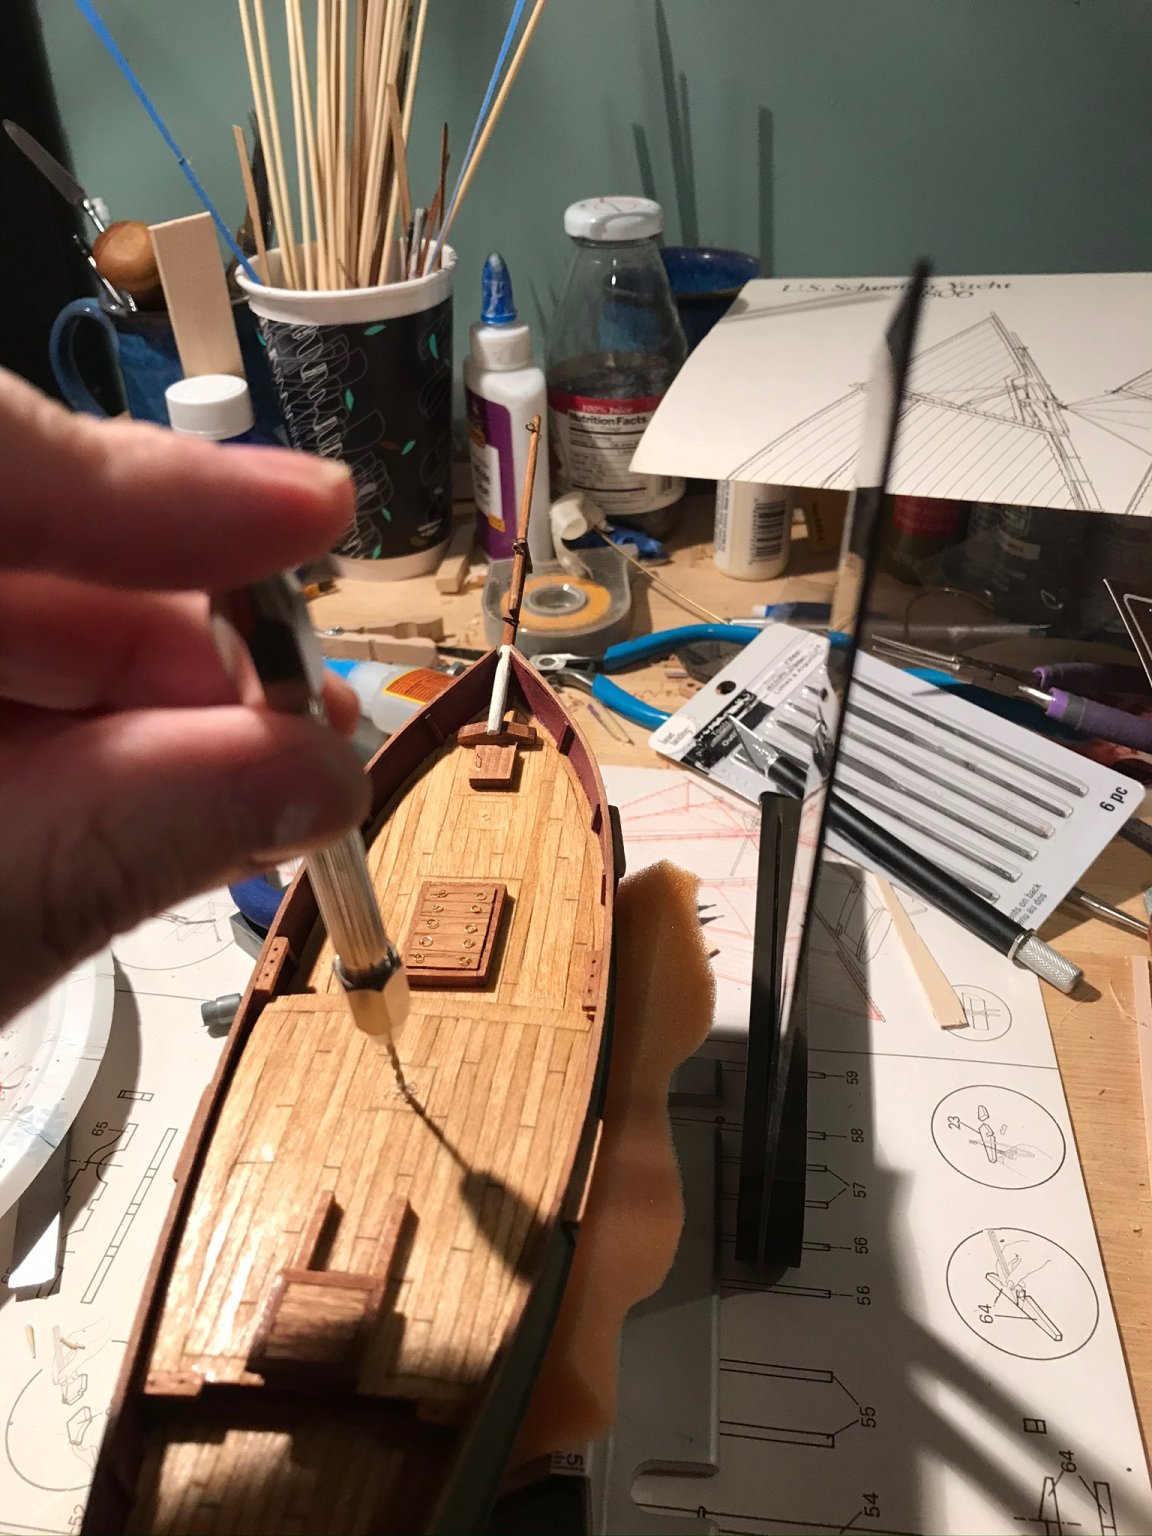
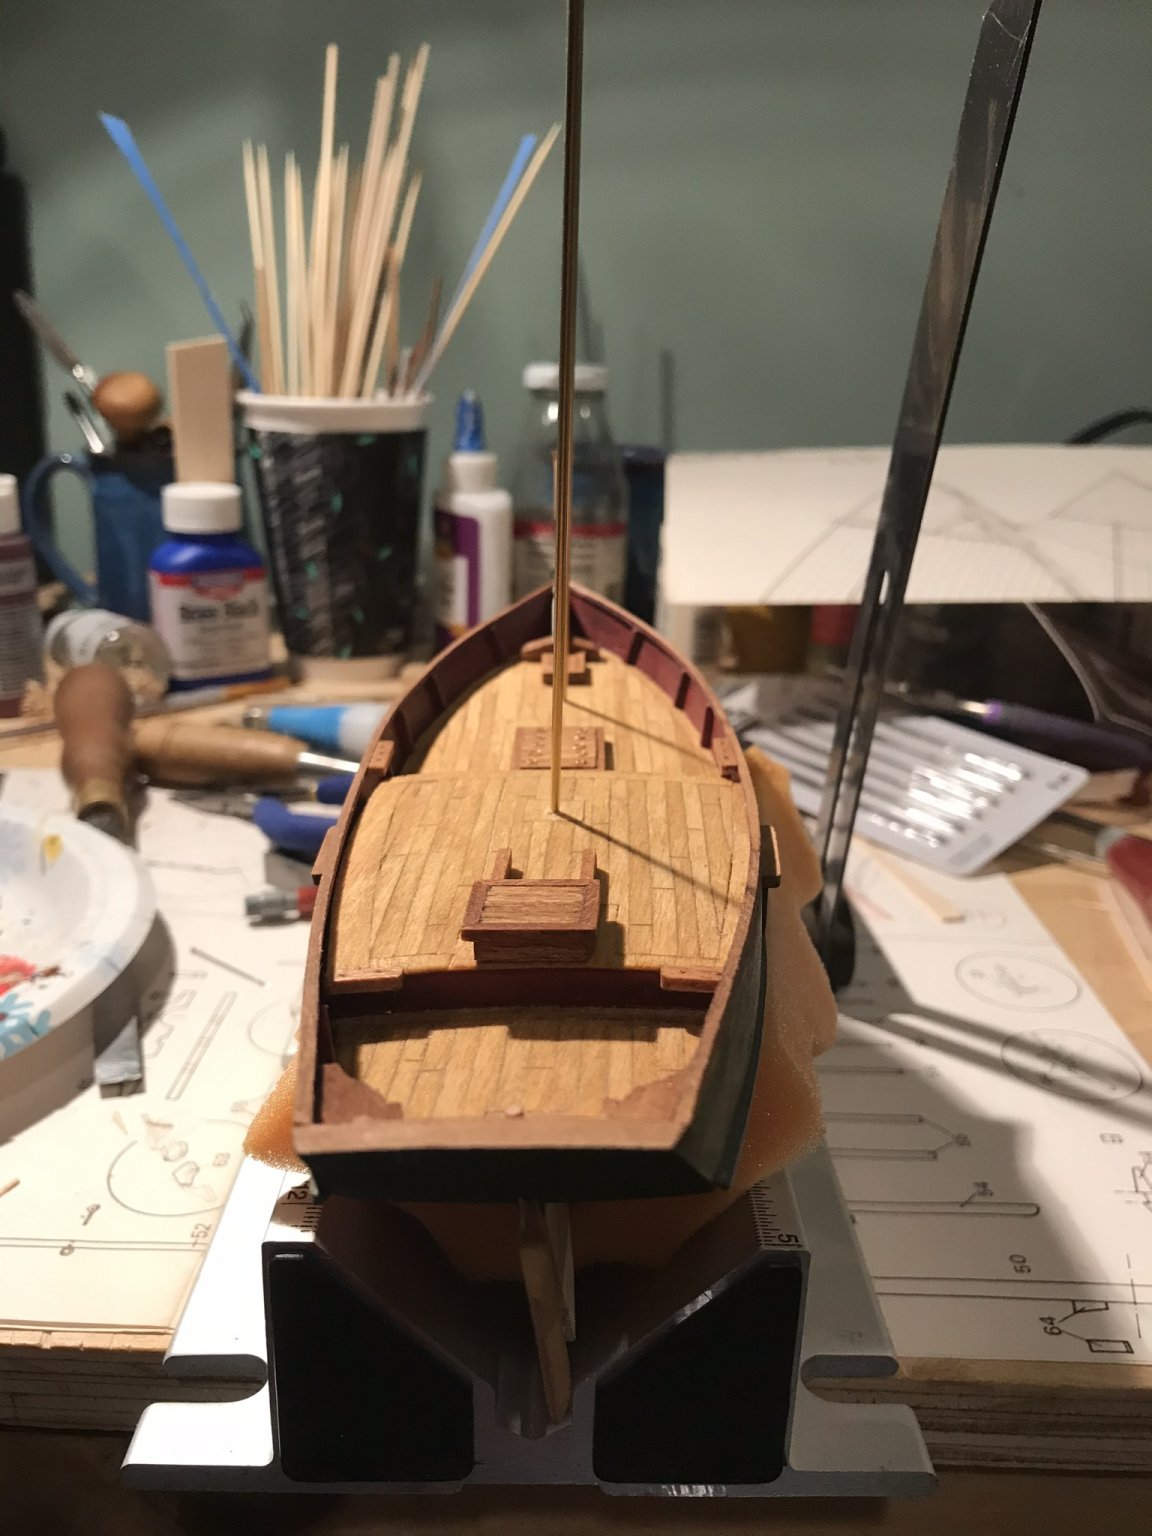
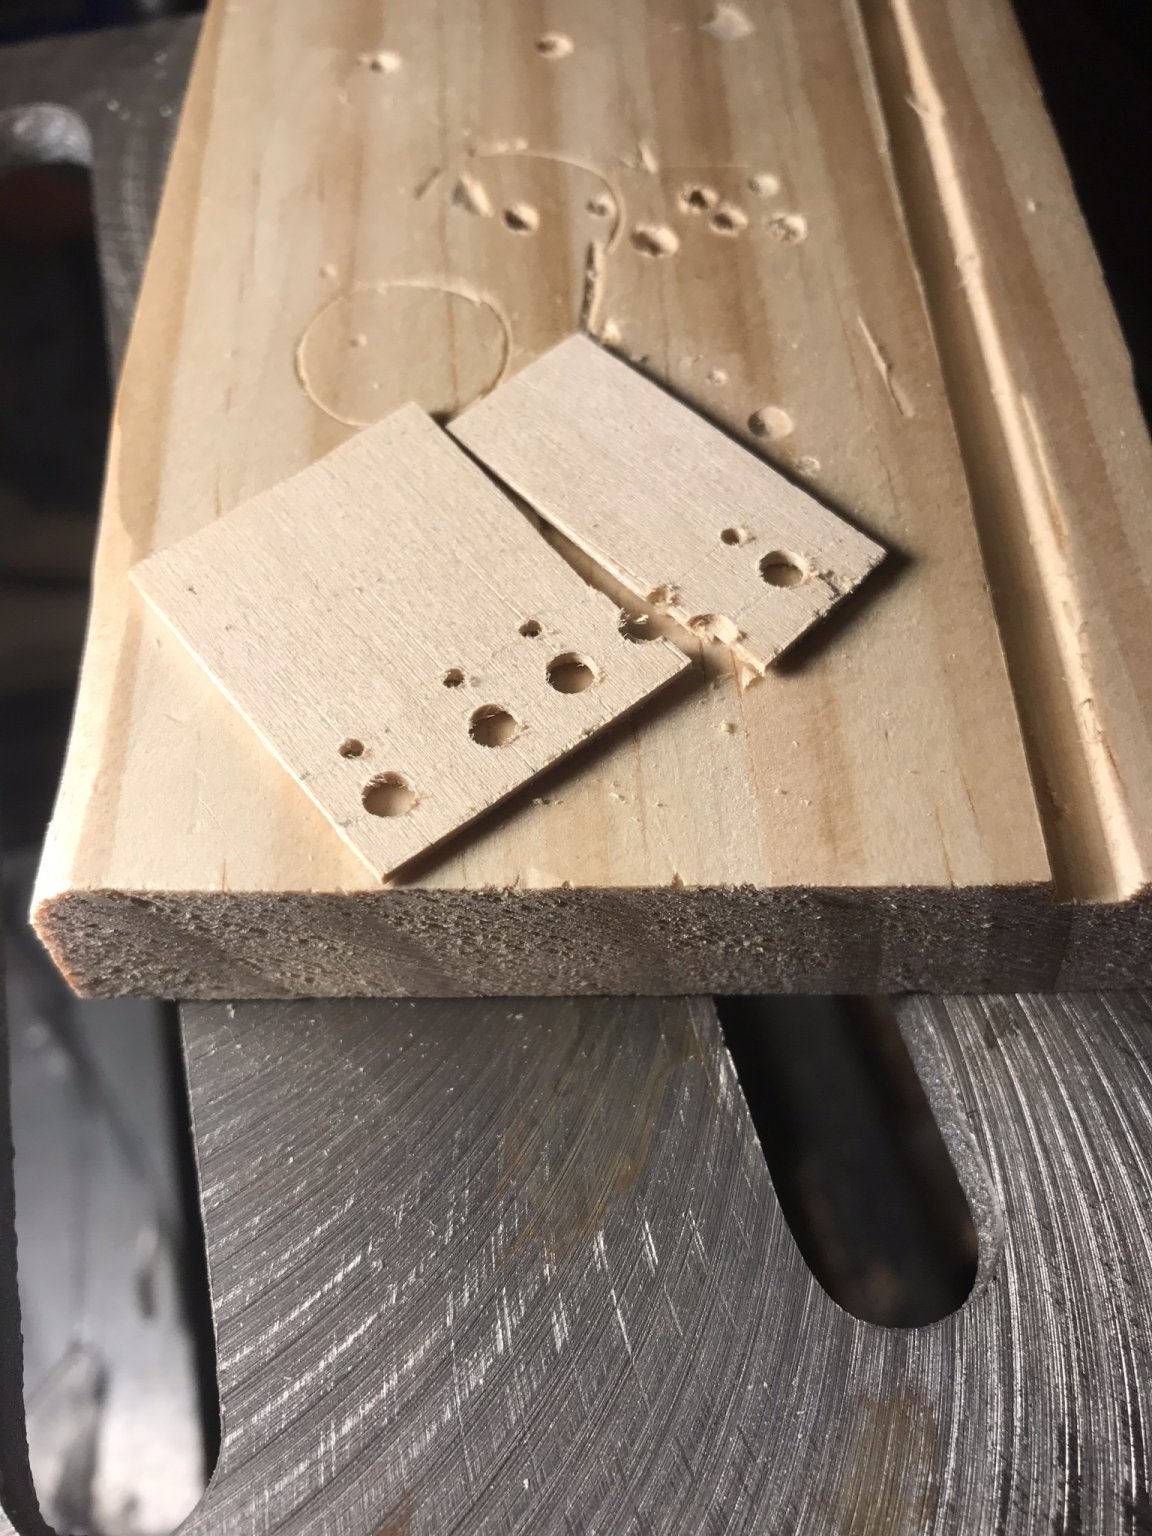
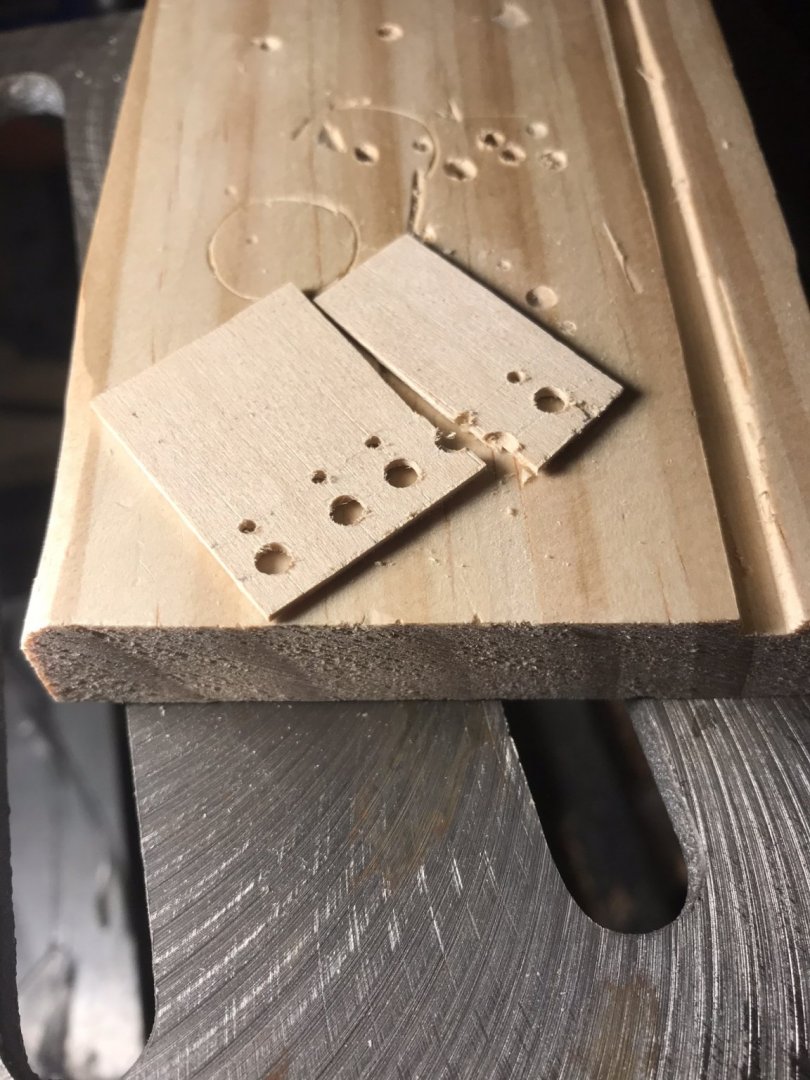
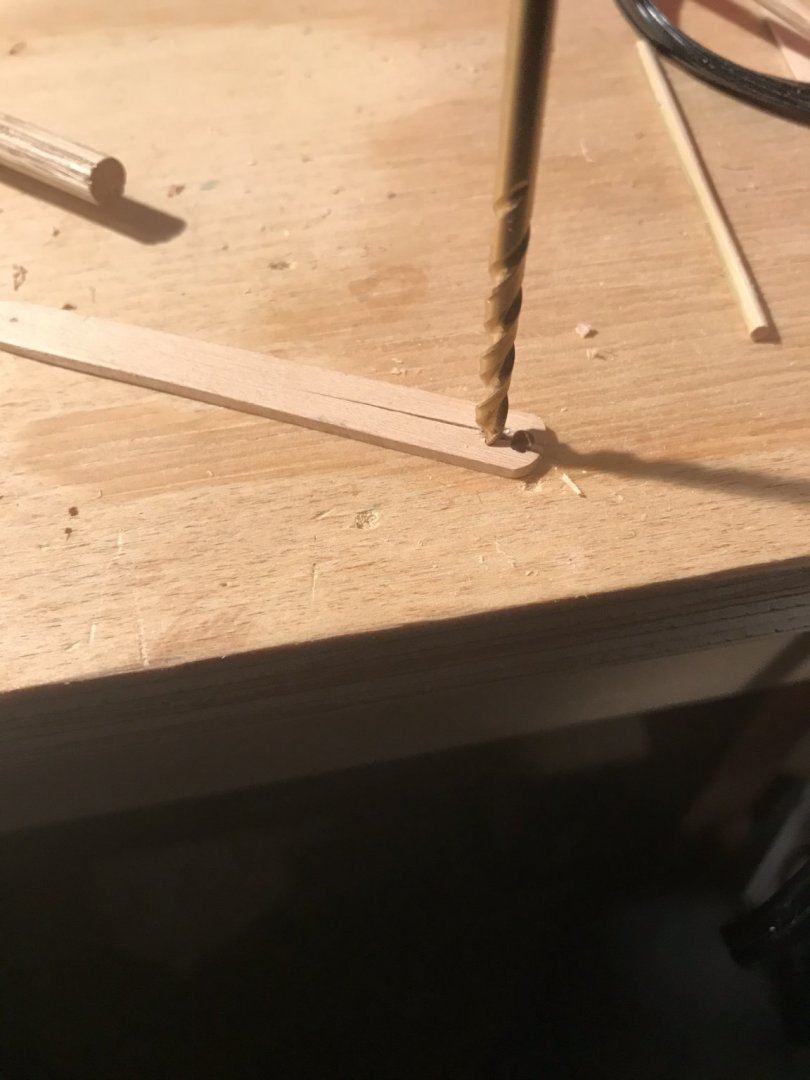
,The great COVID event has left me with very little time (so far), but I got a little time in at the bench. The supplied mast tops had holes too large to use. And I hadn’t checked them when I made the parts for the masts and prepped the supplied parts. Only when brought them all together did I notice. A recurring theme. So so then went to make my own. I took a several stabs until I figured out how to drill the wood without splitting it.

- 155 replies
-
- 5
-
-
- opium smuggler
- Authentic Models
- (and 1 more)
-
Bazzg, what did you decide to do?
-
Great job (and I hope you fail that test!)
-
Thanks again for the sage advice and wisdom!
- 155 replies
-
- 1
-
-
- opium smuggler
- Authentic Models
- (and 1 more)
-
My beloved spouse has noticed the influx of reading material...
- 155 replies
-
- 1
-
-
- opium smuggler
- Authentic Models
- (and 1 more)
-
My 'secrets' are few: 1) I use 'fresh' blue painters' tape - fresh meaning the adhesive is newish and not extra-tacky/sticky. 2) I press the edge down with the end of my paint brush (non-brush side) or the flat of my fingernail. With some tape, you will see a slight change in color or transparency as the tape makes greater contact with the ship. 3) Sometimes I cut thinner strips, so greater curves can be made. Otherwise the tape will buckle/bend/etc. in weird ways and lose contact with the surface. 4) I use slightly thicker paint than usual when painting the area next to the tape. 5) I brush from tape to wood. - these last two help minimize bleeding and leaking under the tape. 6) If spraying, I spray from the same side as the tape - also to minimize bleeding 7) I don't like the Testor's tape and the Tamiya is close to painters' tape so not worth the price difference for me. (To be honest, I have the Tamiya tape and keep 'saving it for something important' ) 8) I use cheap crappy 'craft' paint - I don't think it matters but it might, so I'm mentioning it. 9) While don't usually do it, I love the suggestion of using some clear finish to 'seal' the tape and surface of the ship to reduce bleeding. 10) Nothing says you can't paint over a small mess, or try again or scrap and try again!
- 155 replies
-
- 2
-
-
- opium smuggler
- Authentic Models
- (and 1 more)
-
Thanks Art! Yes, despite some grousing, I'm enjoying the kit! I honestly thought I would never build it. I bought in the mid-Nineties, and was afraid I would screw it up, so I did the obvious thing: I never started. While I didn't screw anything up, there was, um, no progress either. In my old age, I care less about screwing up stuff - and this website is such a boon to even the mildly curious!! Even with my limited skills, I was able to push a bit and I'm learning a ton.
- 155 replies
-
- 1
-
-
- opium smuggler
- Authentic Models
- (and 1 more)
-
Chuck, you are too kind! I hoping to work my way up to a Winchelsea in a few years...
- 155 replies
-
- 2
-
-
- opium smuggler
- Authentic Models
- (and 1 more)
-
To ask the impossible question: where would I find such information? I realize the kit I'm working with is a simplified version which makes my work lighter, but I realize that a number of details are missing. For example, this is ship without anchors. If I was to add anchor (or two), I'm not sure where to turn to figure that out. It isn't a do or die question at this point; I see that other kits have more detail and I fine with what is given in this kit. I assume I'll make horrible cringe-worthy mistakes as I learn the craft of model shipbuilding and I rather do that with simpler kits than "waste" a big expensive kit (although I'm sure I'll get to that as well ). Thanks again for the info! Every little bit helps!
- 155 replies
-
- 1
-
-
- opium smuggler
- Authentic Models
- (and 1 more)
-
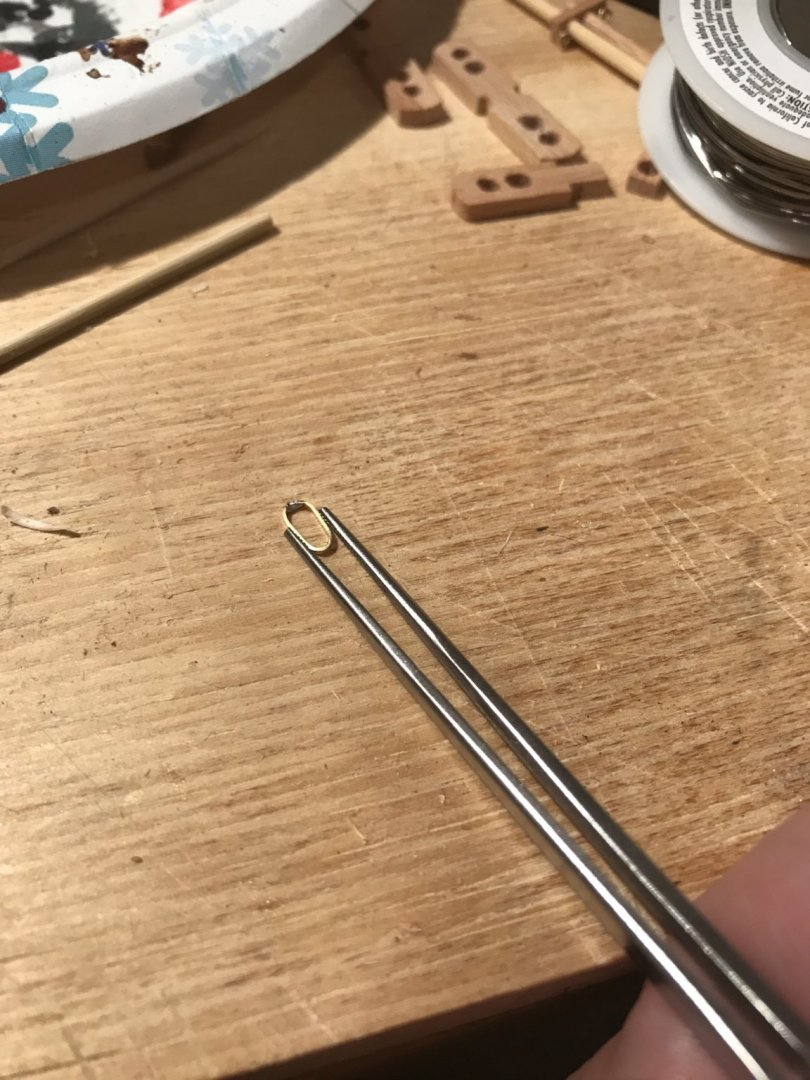
a tin/lead mix - some RadioShack electronics solder; not optimal, but sufficient, or so I thought. Yup, a tiny bit of twisting popped it.
- 155 replies
-
- 1
-
-
- opium smuggler
- Authentic Models
- (and 1 more)
-
Hello from Lake Michigan coast...
EricWilliamMarshall replied to SallyNye's topic in New member Introductions
Welcome aboard! I suggest jumping in with a simple build and sharing it here. Folks are very supportive and answer all questions! I wish you many pleasant hours of work! -
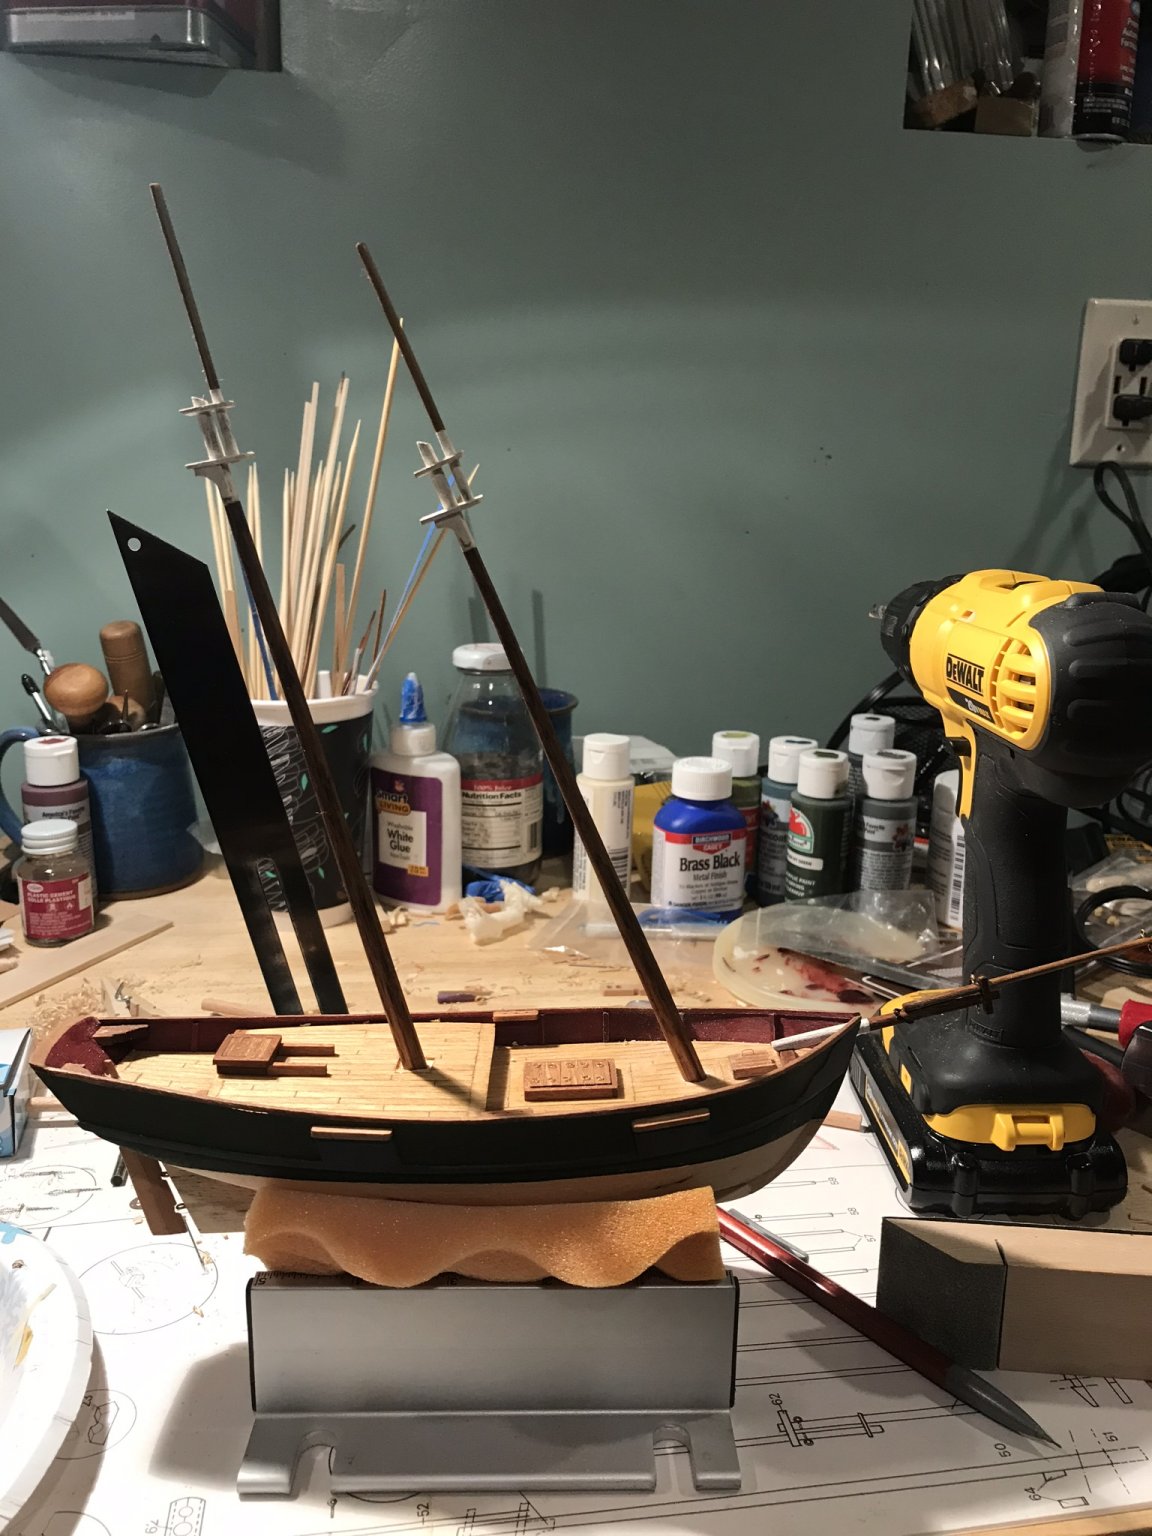
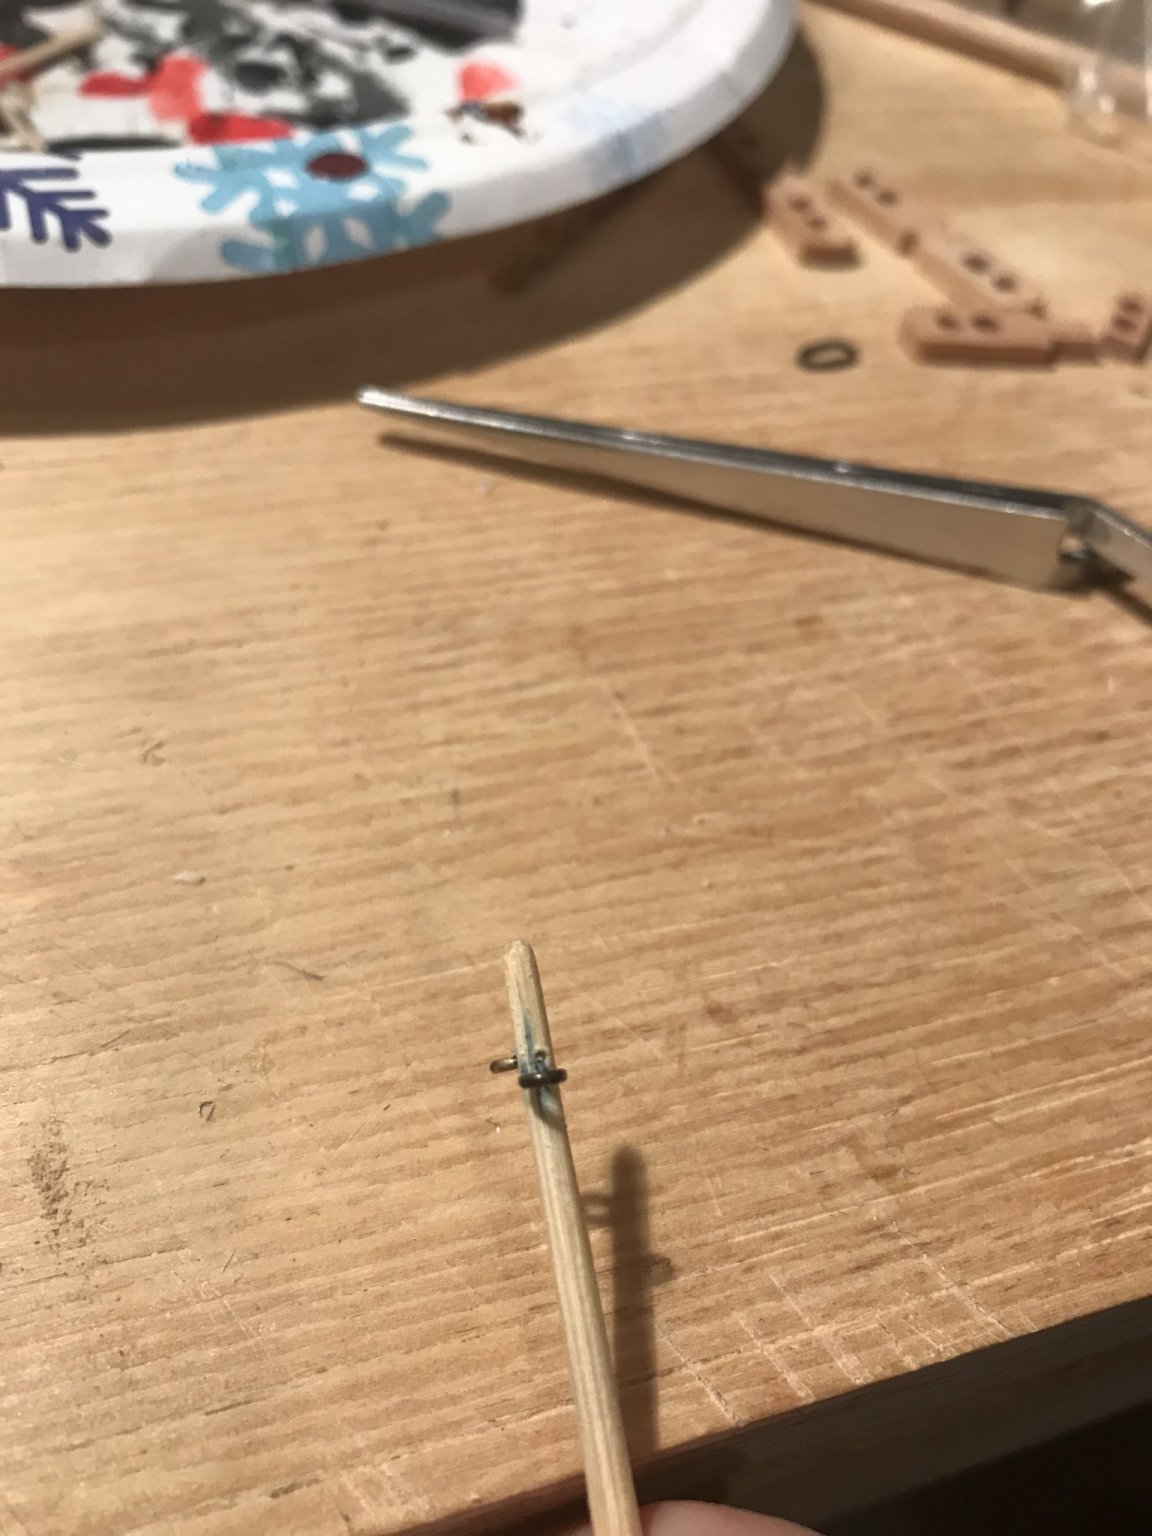
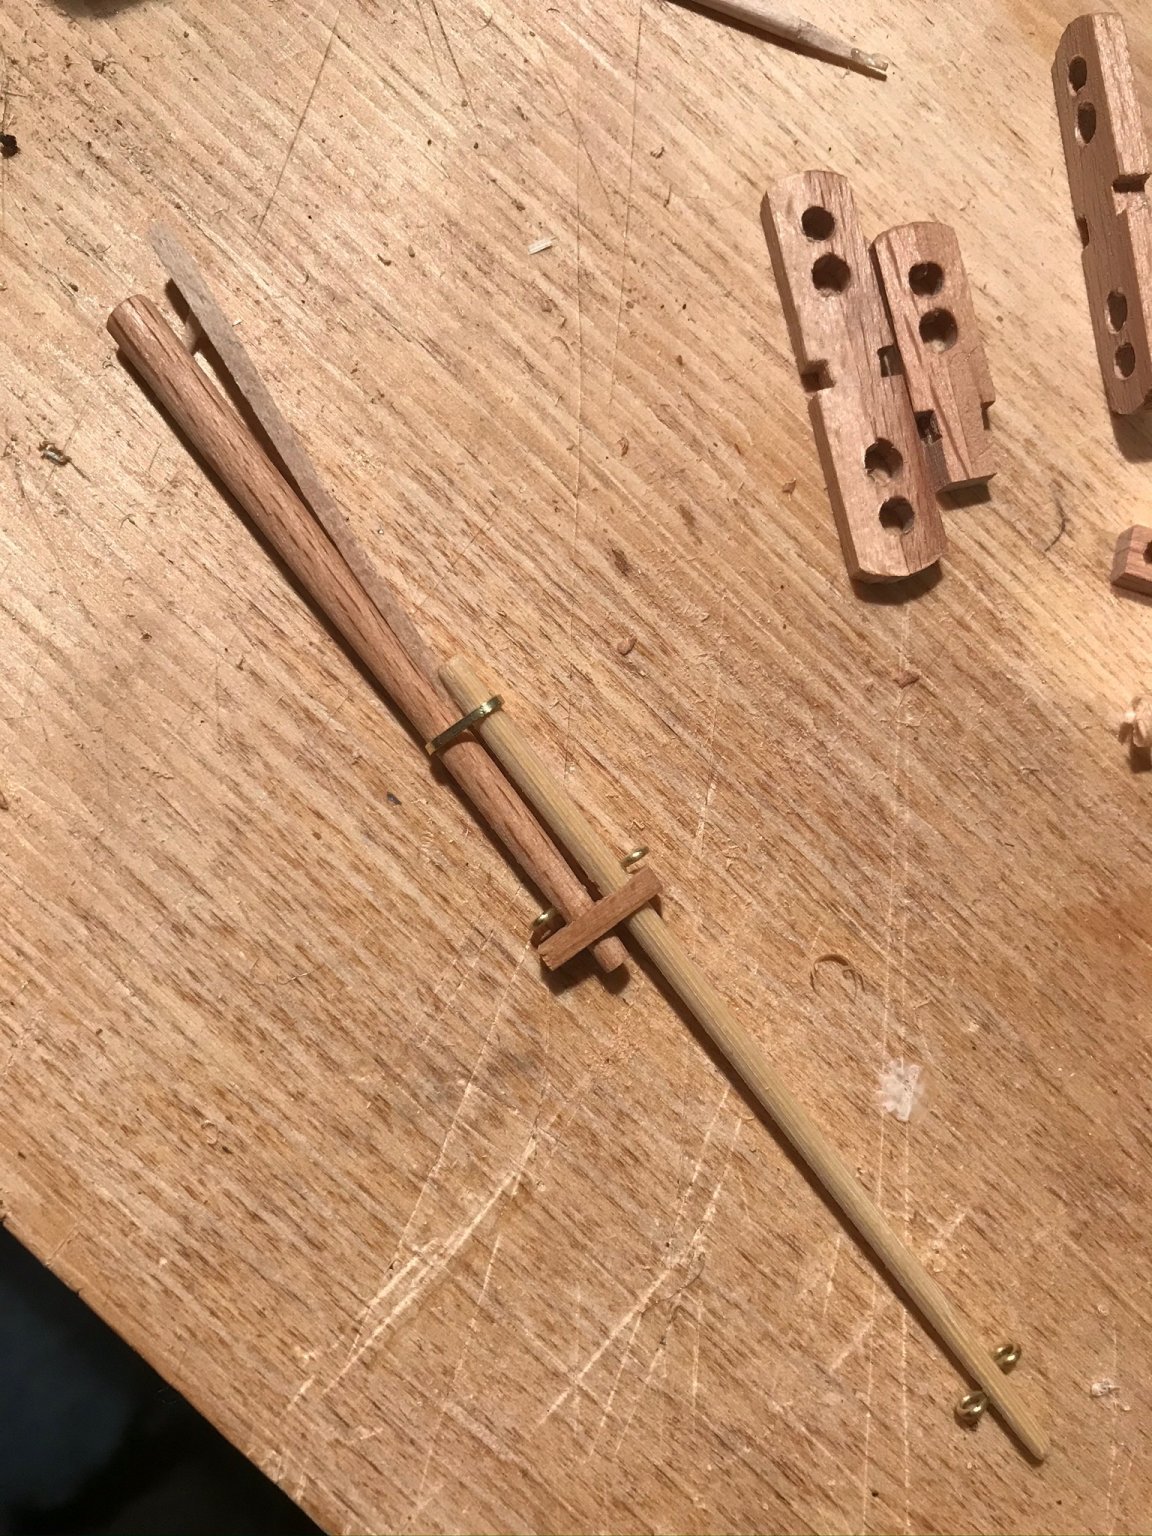
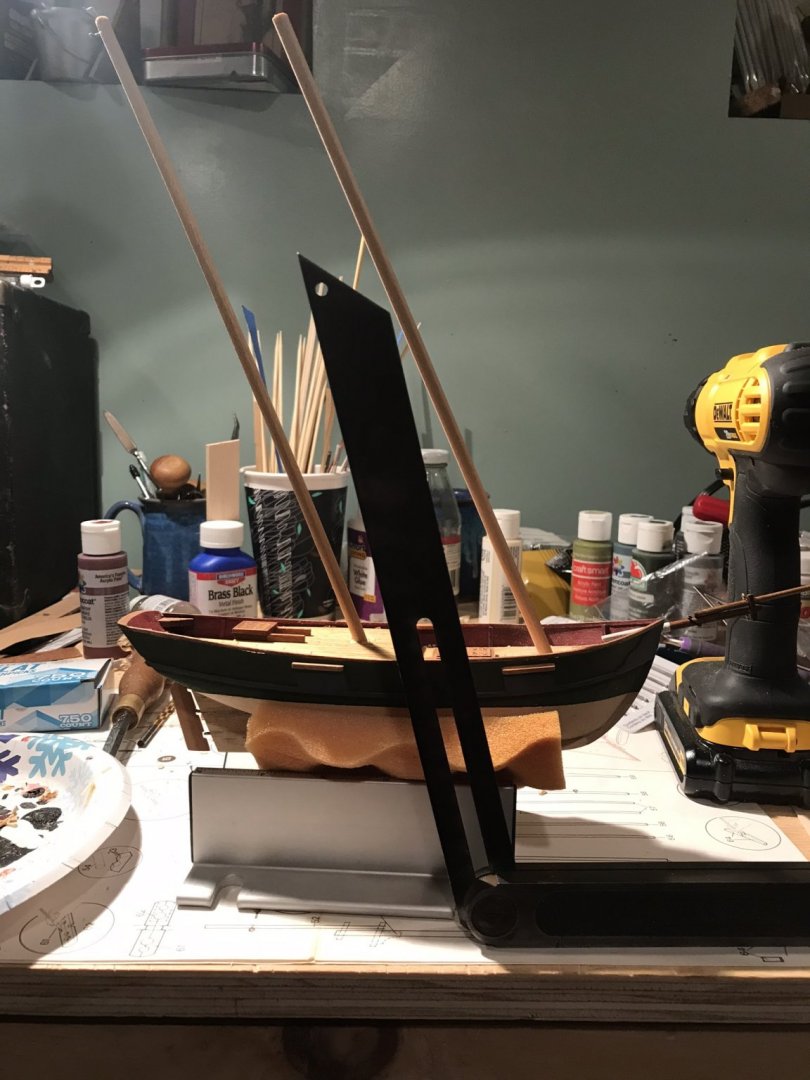
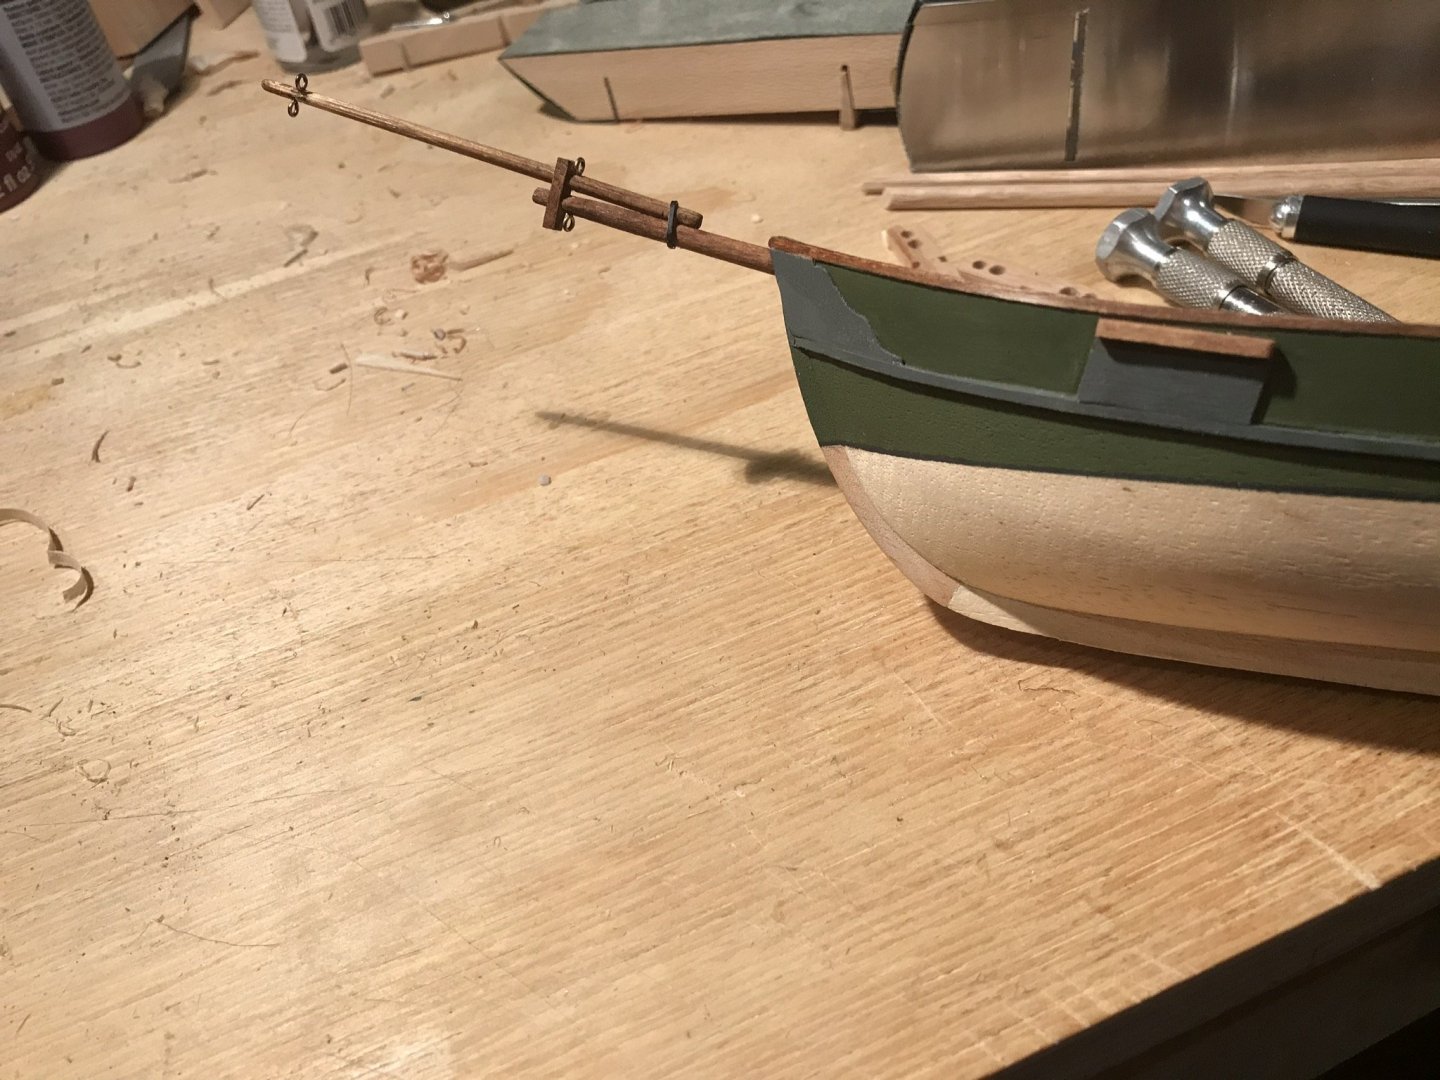
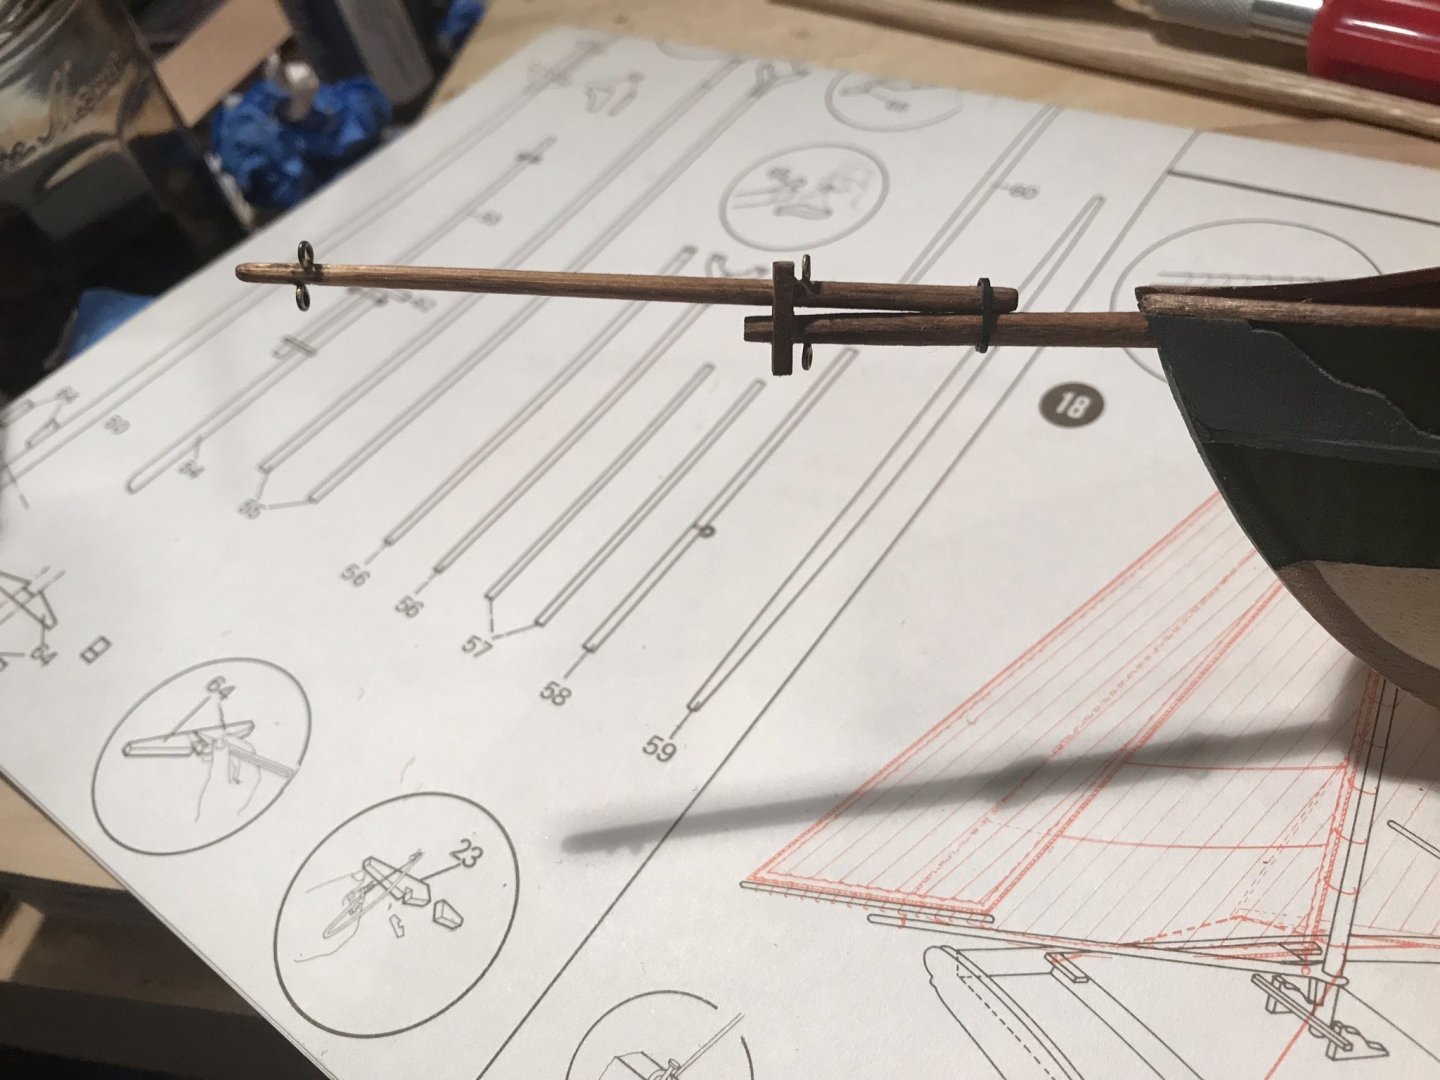
I attached the jib to the ship, breaking the weld in the process. So it goes. I also wrestled with the mast heads; the supplied ‘pre-cut’ one don’t match the profile view in the plans and I wasn’t clever enough to see ahead enough to catch that difference. Such is the price of wisdom...

- 155 replies
-
- 7
-
-
- opium smuggler
- Authentic Models
- (and 1 more)
-
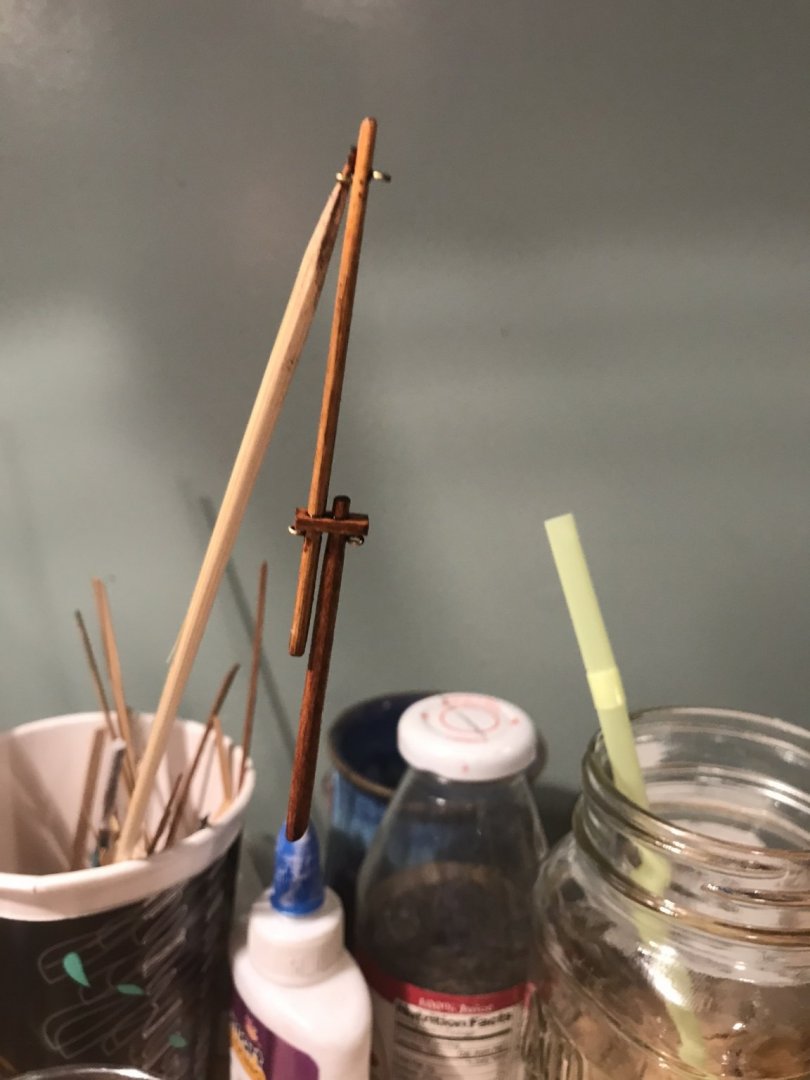
To recover, I scraped with an xacto blade and then I stained the wood slightly my trusty water-soluble walnut brown.
- 155 replies
-
- 3
-
-
- opium smuggler
- Authentic Models
- (and 1 more)
-
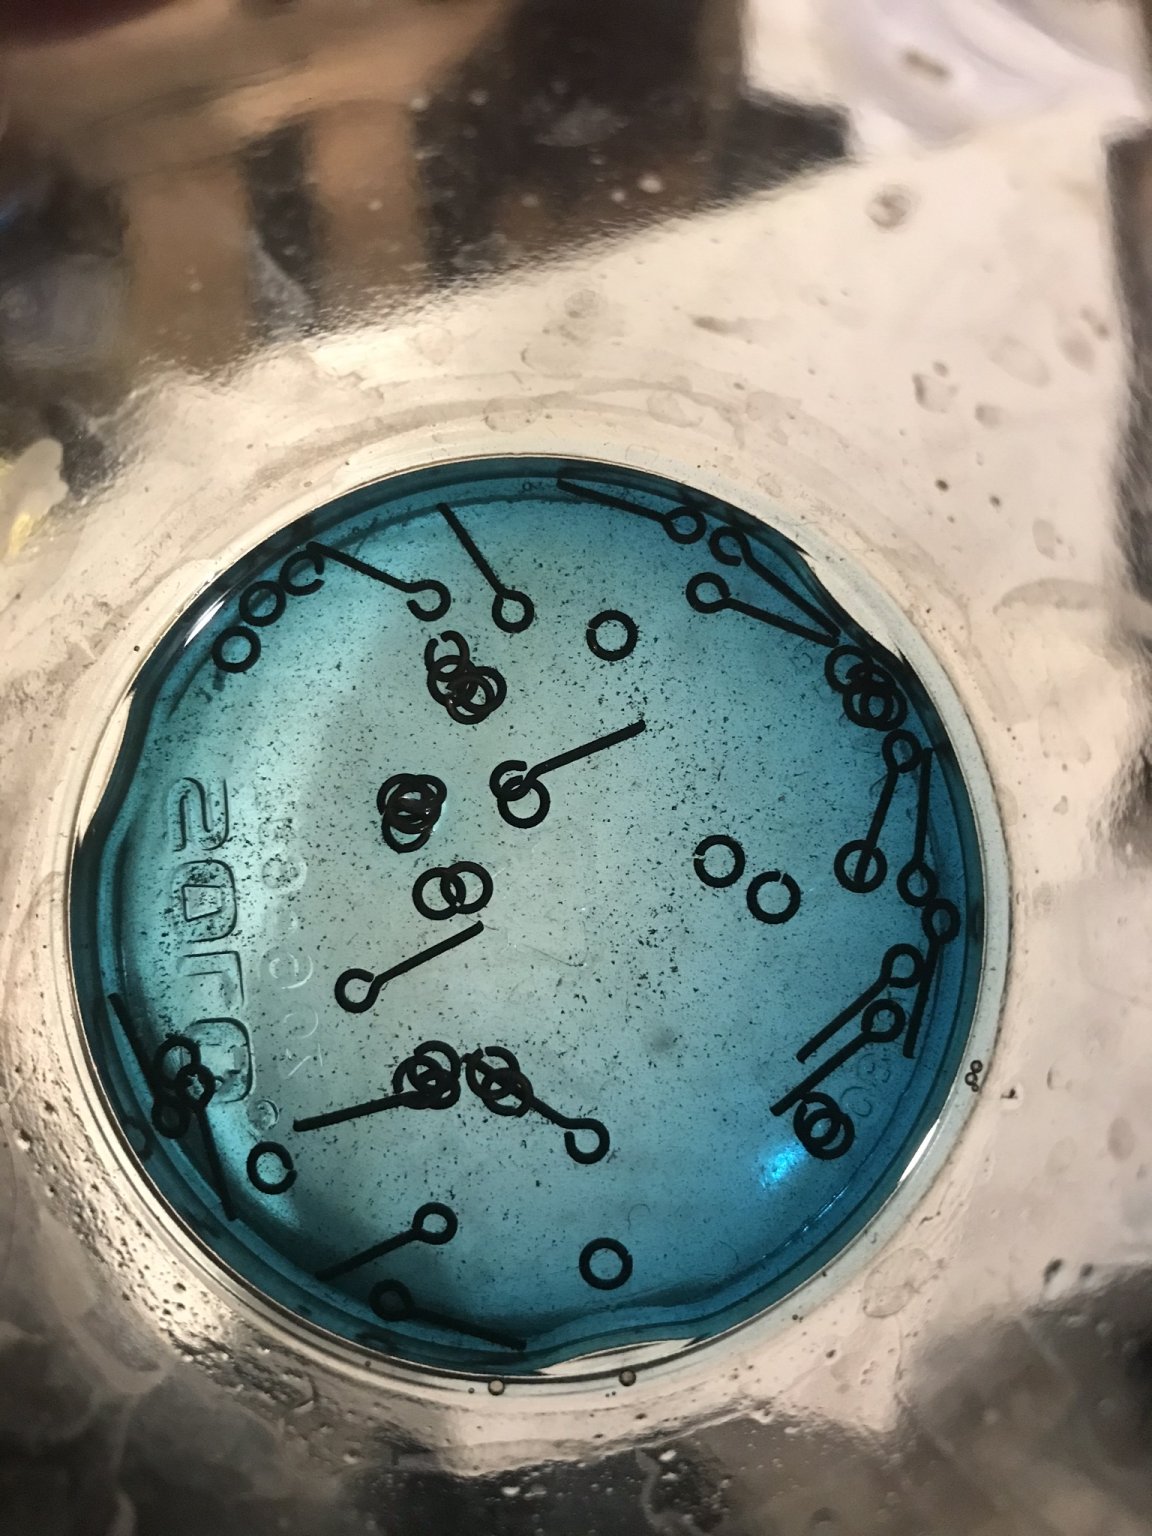
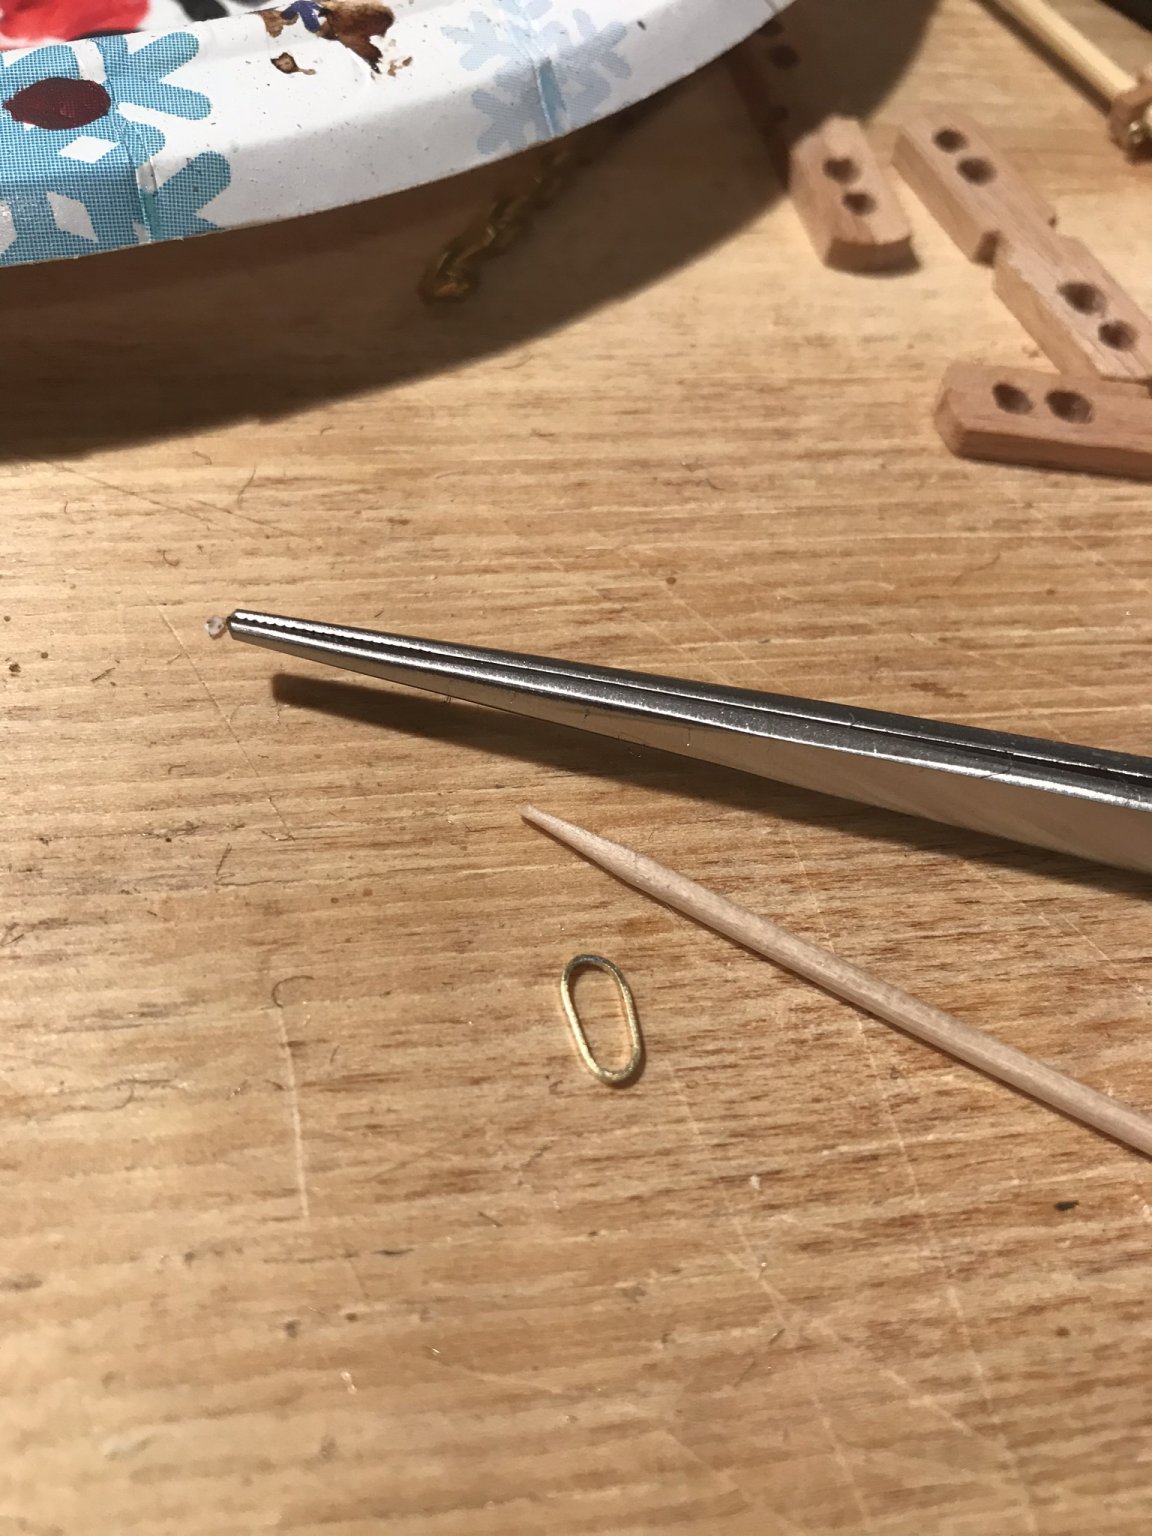
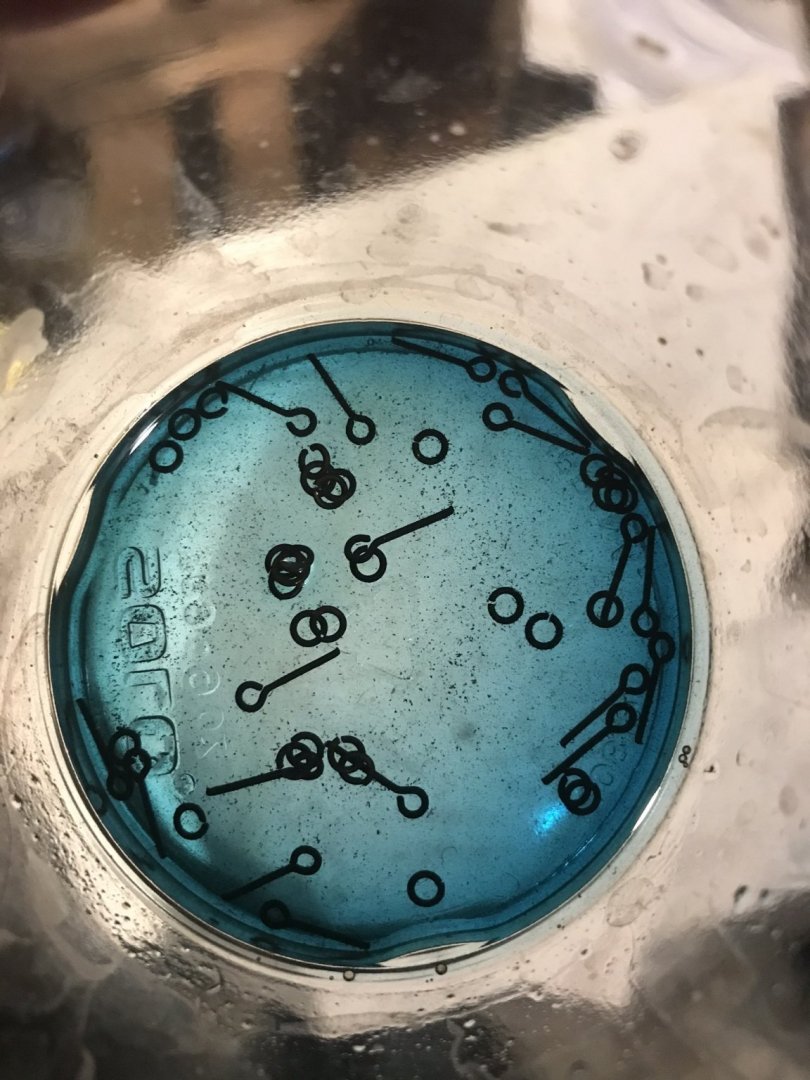
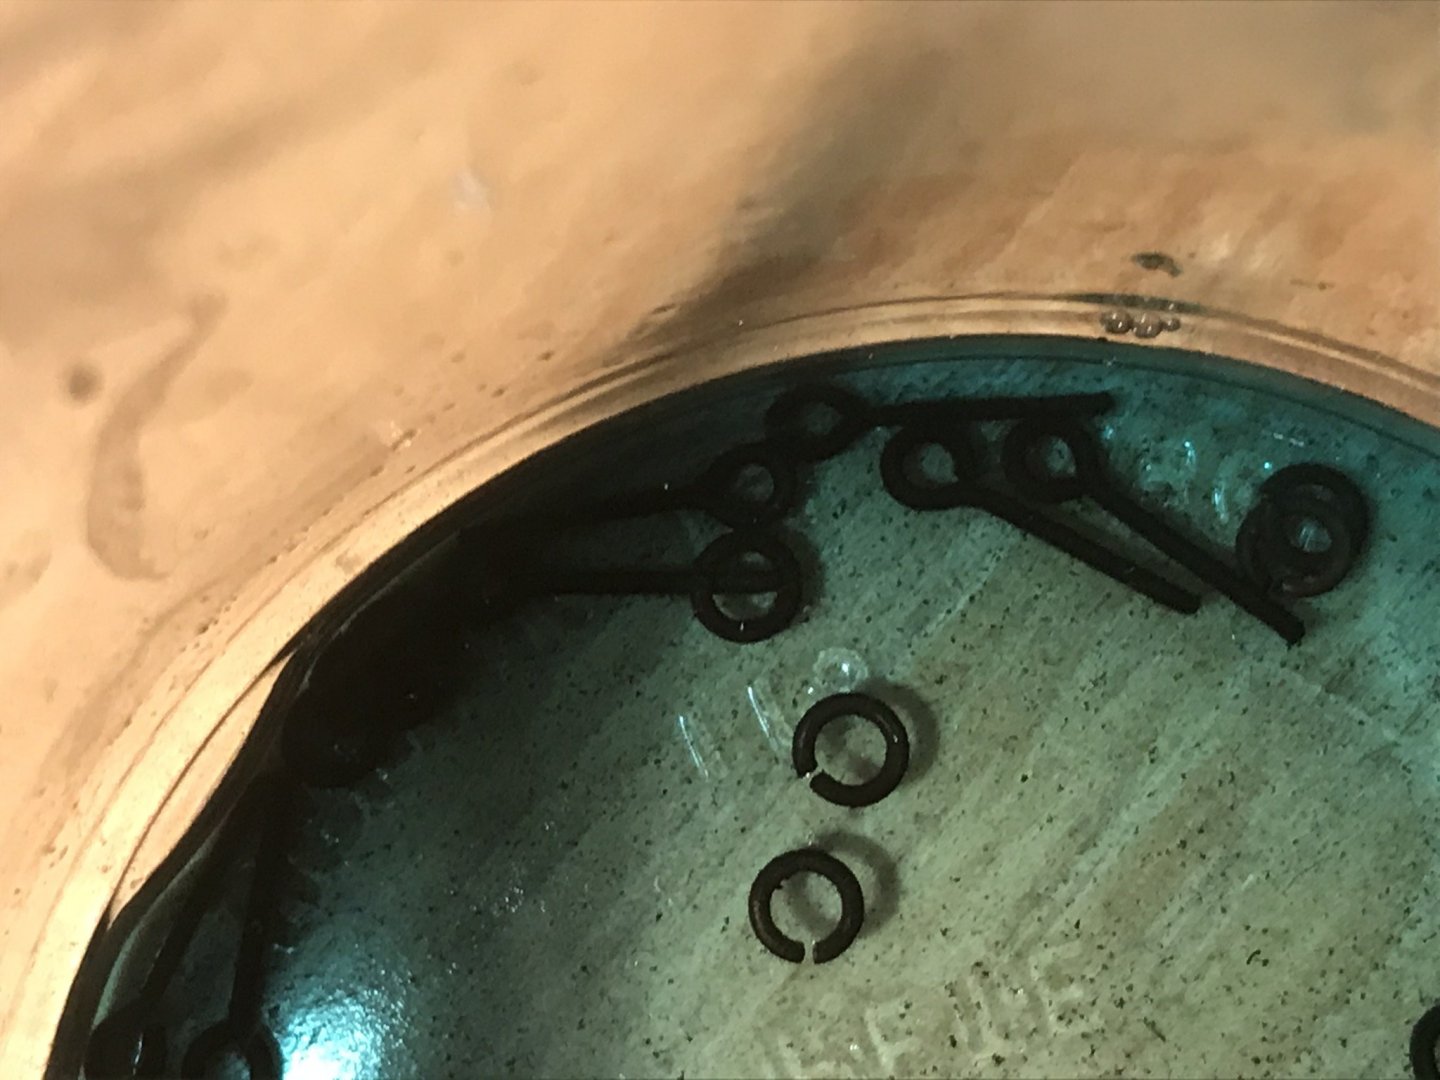
I blackened the loop and took a moment to blacken the other brass bits and pieces. I should have done this earlier, the brass black dyed the wood!


- 155 replies
-
- 5
-
-
- opium smuggler
- Authentic Models
- (and 1 more)
-
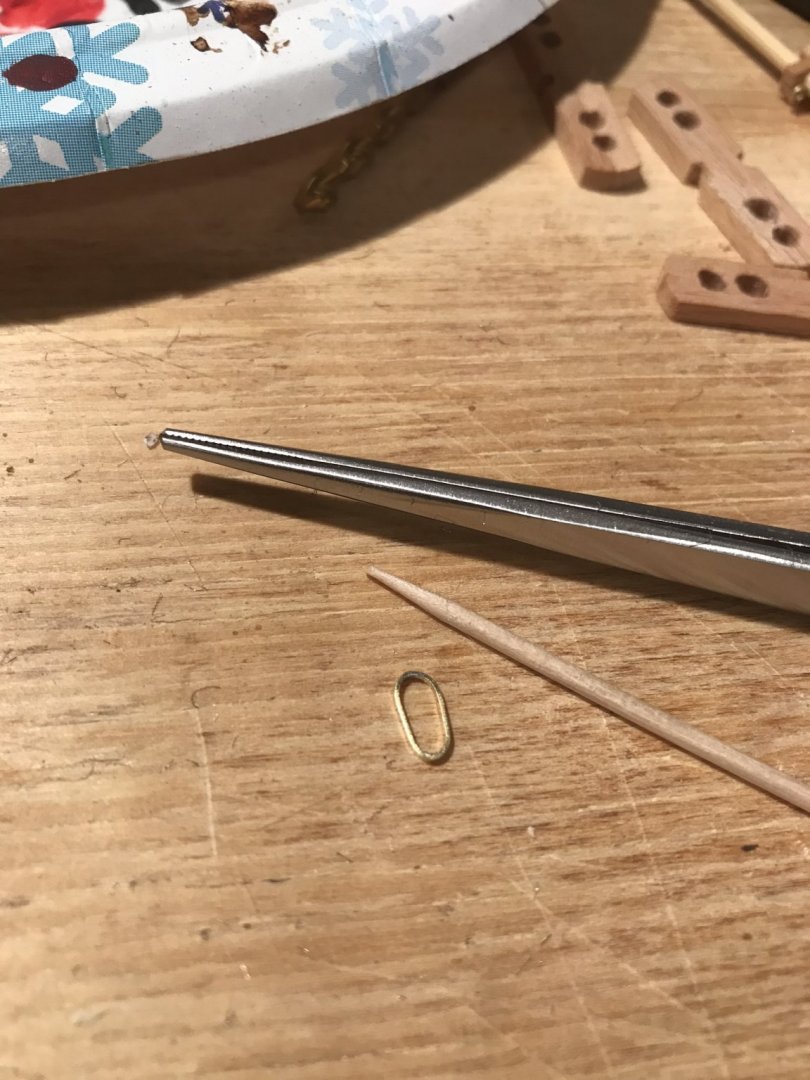
I soldered the brass loop. My iron was probably too lightweight since it took forever to melt the solder. Then some quick filing and steel wool.
- 155 replies
-
- 2
-
-
- opium smuggler
- Authentic Models
- (and 1 more)
-
Wow! Beautiful work! Welcome to MSW.
-
I’m comfortable saying the ‘yellow’ paint wasn’t yellow originally. It was probably white with a layer of varnish over the white. The varnish, over time, changed to a yellowish color. You may notice the lighter color peeking through the cracks of the varnish in the last photo you shared.
-
Hindsight is always sharper than foresight! I chose to think of the stripe as a band and attempted to make that from brass sheet, forming curves and nibbling away length until correct.

- 155 replies
-
- 7
-
-
- opium smuggler
- Authentic Models
- (and 1 more)
-
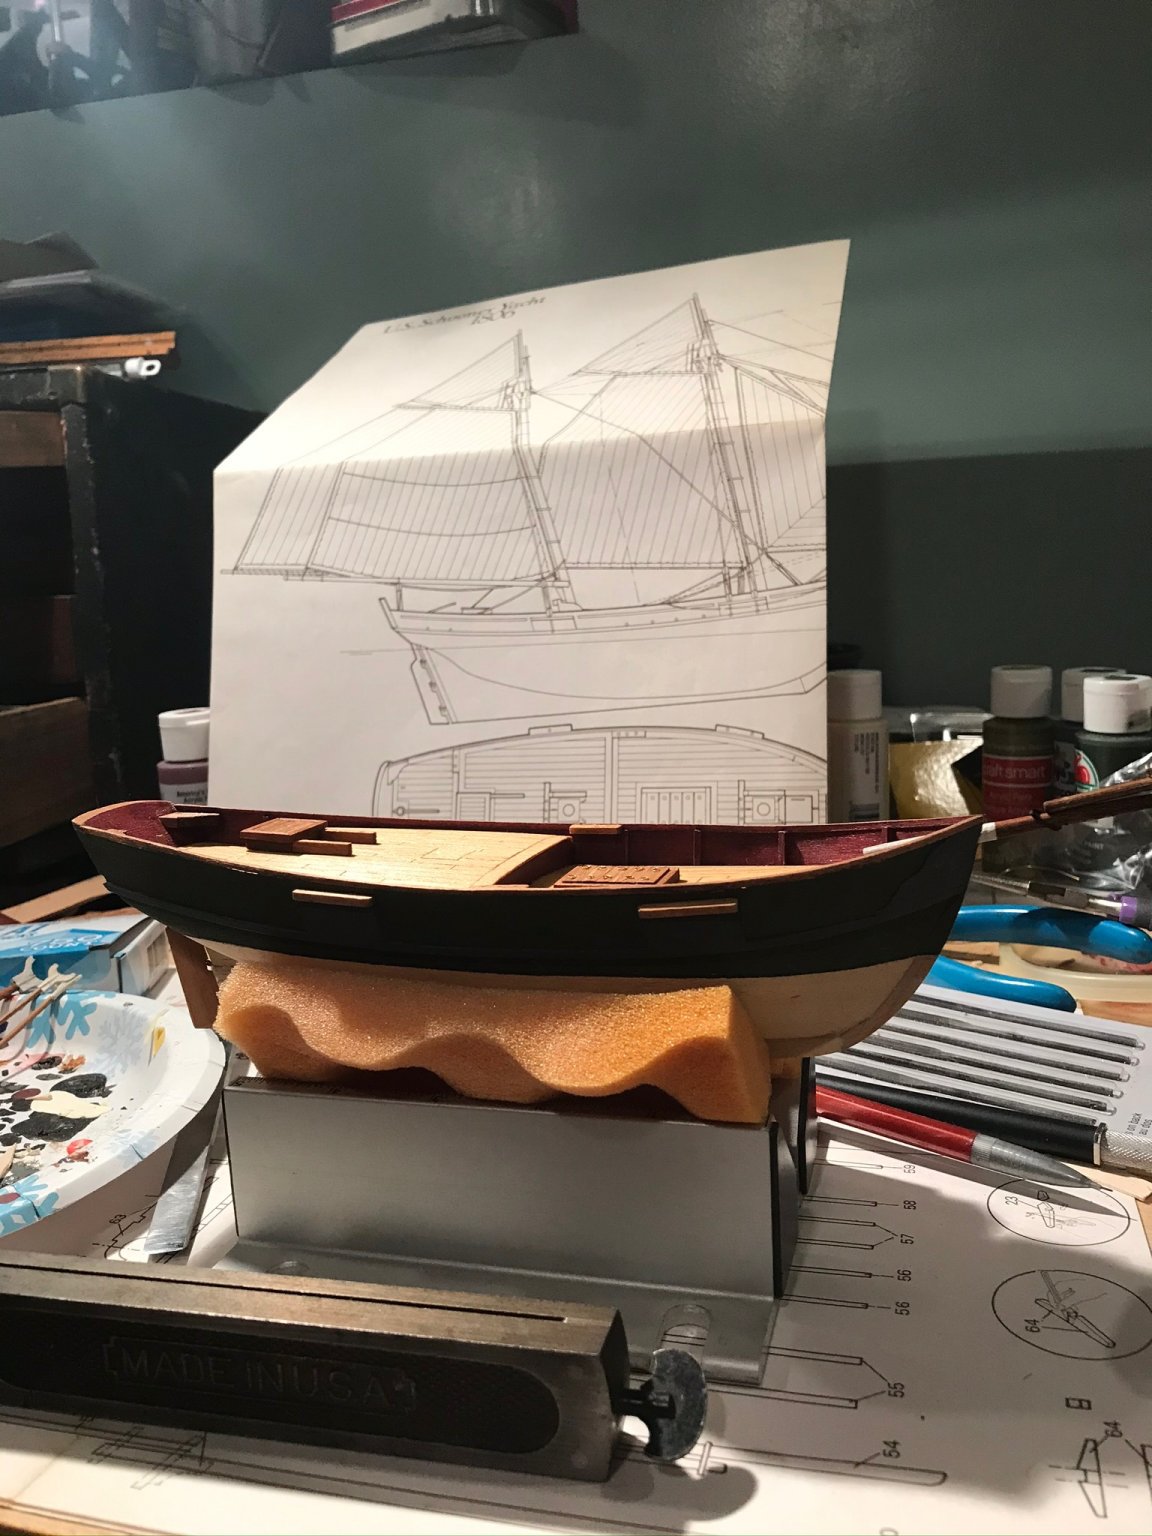
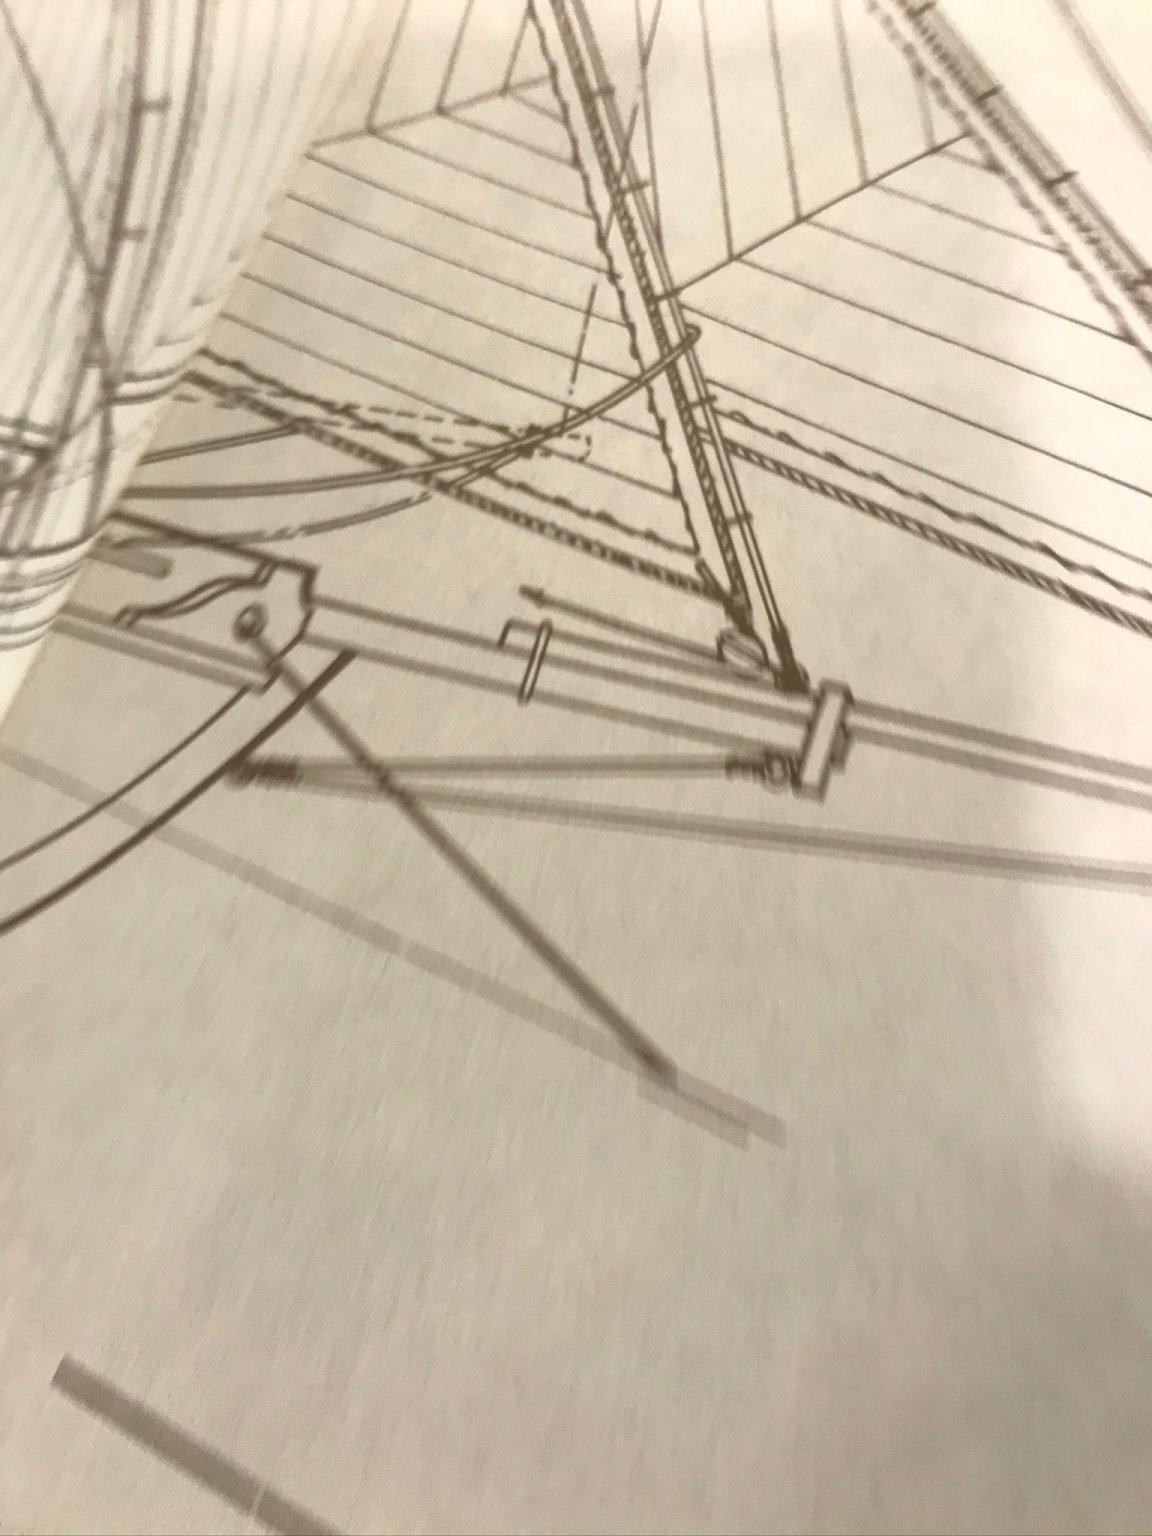
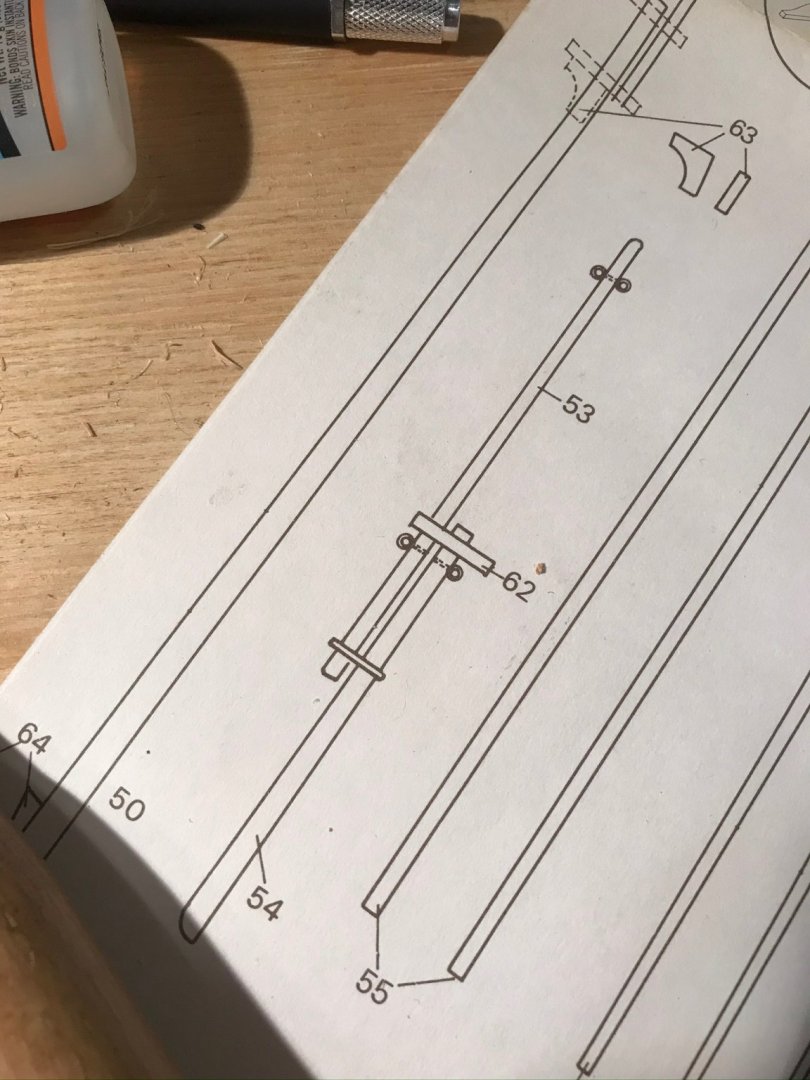
I started on the rest of the masking. I’m not sure what the stripe is here on the plans! The sharp eyed may note a gap in one image and not the other.
- 155 replies
-
- 3
-
-
- opium smuggler
- Authentic Models
- (and 1 more)
-
Making sails for HMS Victory
EricWilliamMarshall replied to rafterrat_2005's topic in Masting, rigging and sails
The link is bad. -
I have received my copy! Delightful! What other books of a similar usefulness would folks recommend?