HOLIDAY DONATION DRIVE - SUPPORT MSW - DO YOUR PART TO KEEP THIS GREAT FORUM GOING! (Only 13 donations so far - C'mon guys!)
×

.jpeg.7d7eba14c97a2e1d9f79cd2c97f6424a.jpeg)
EricWilliamMarshall
-
Posts
986 -
Joined
-
Last visited
Content Type
Profiles
Forums
Gallery
Events
Everything posted by EricWilliamMarshall
-
.thumb.jpeg.fc5d633a7b34428fcf19419a73d56d55.jpeg) Home Depot has oak dowels so I got a couple. I cut and tapered them using a hand plane and some sand paper.
Home Depot has oak dowels so I got a couple. I cut and tapered them using a hand plane and some sand paper.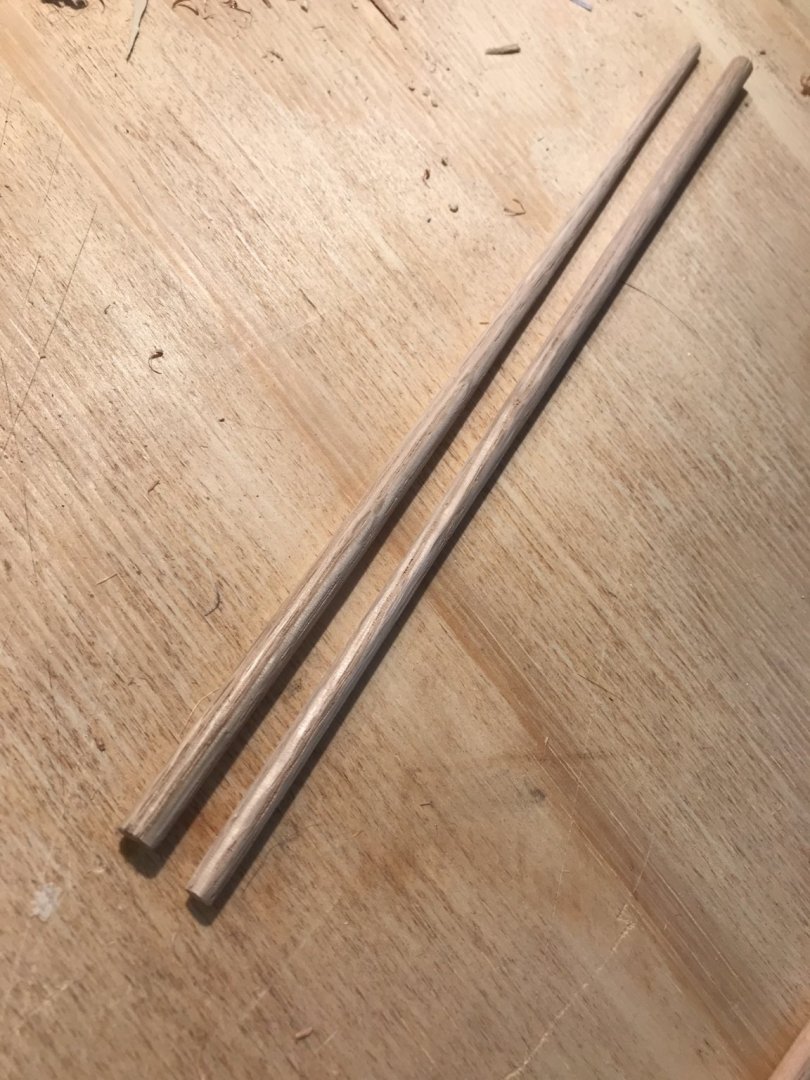
- 155 replies
-
- 7
-

-
- opium smuggler
- Authentic Models
- (and 1 more)
-
Bill, Sure, the ship looks better in small pictures but I’m game to share the gory detail; I’ll bring it to the next get-together.
- 155 replies
-
- 1
-
-
- opium smuggler
- Authentic Models
- (and 1 more)
-
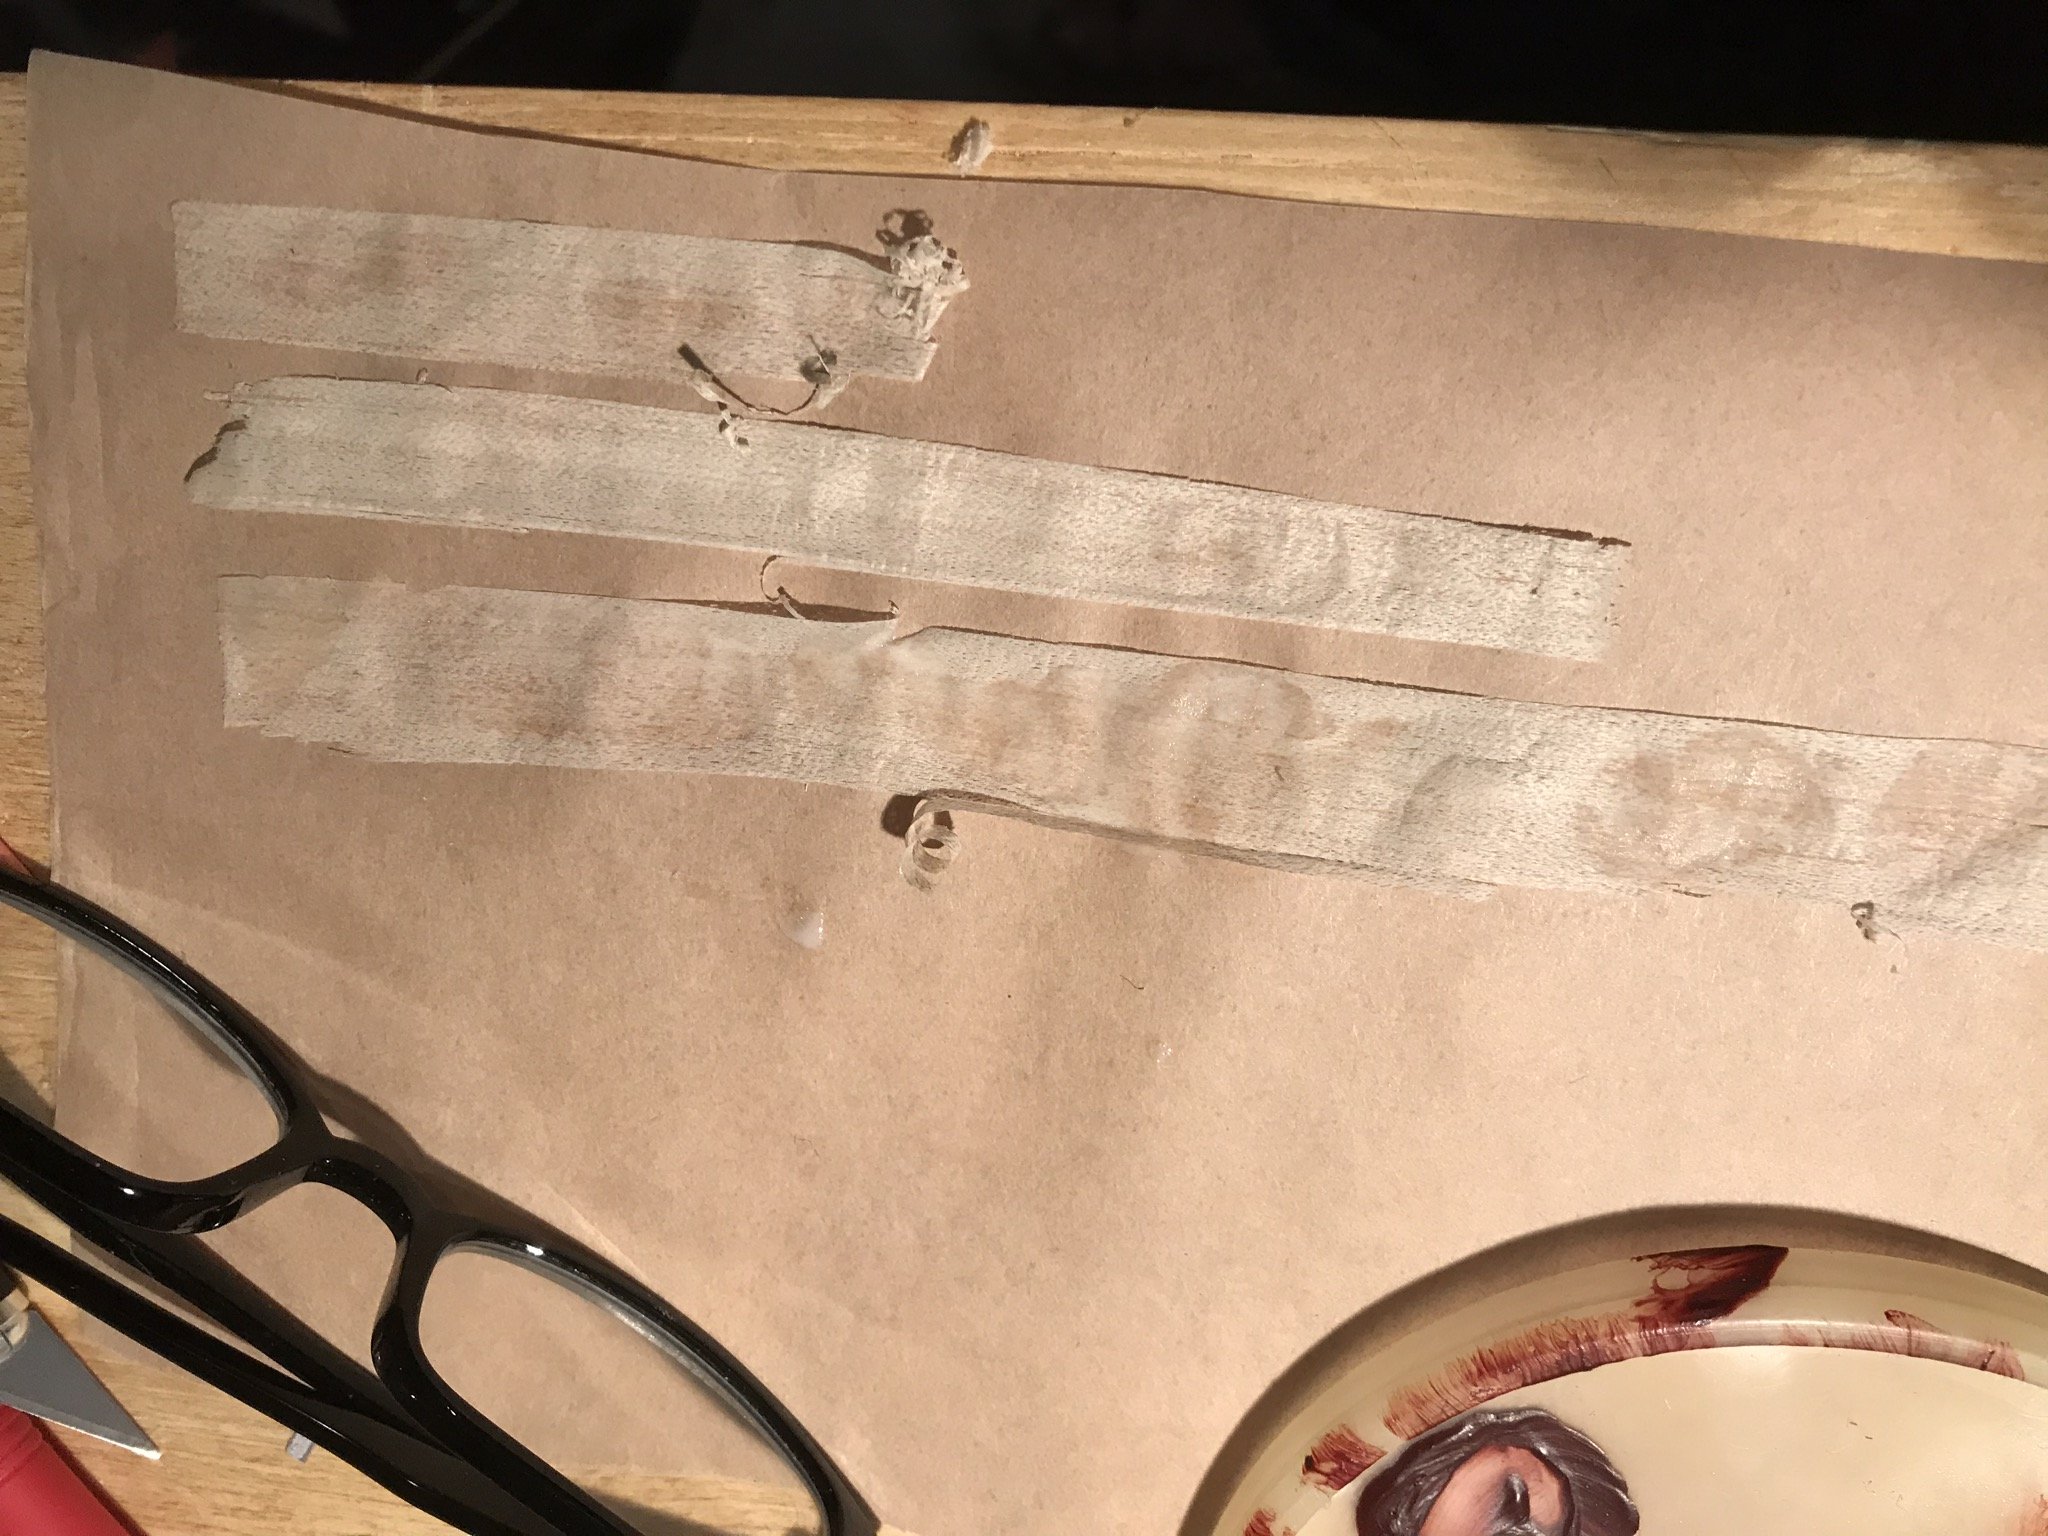
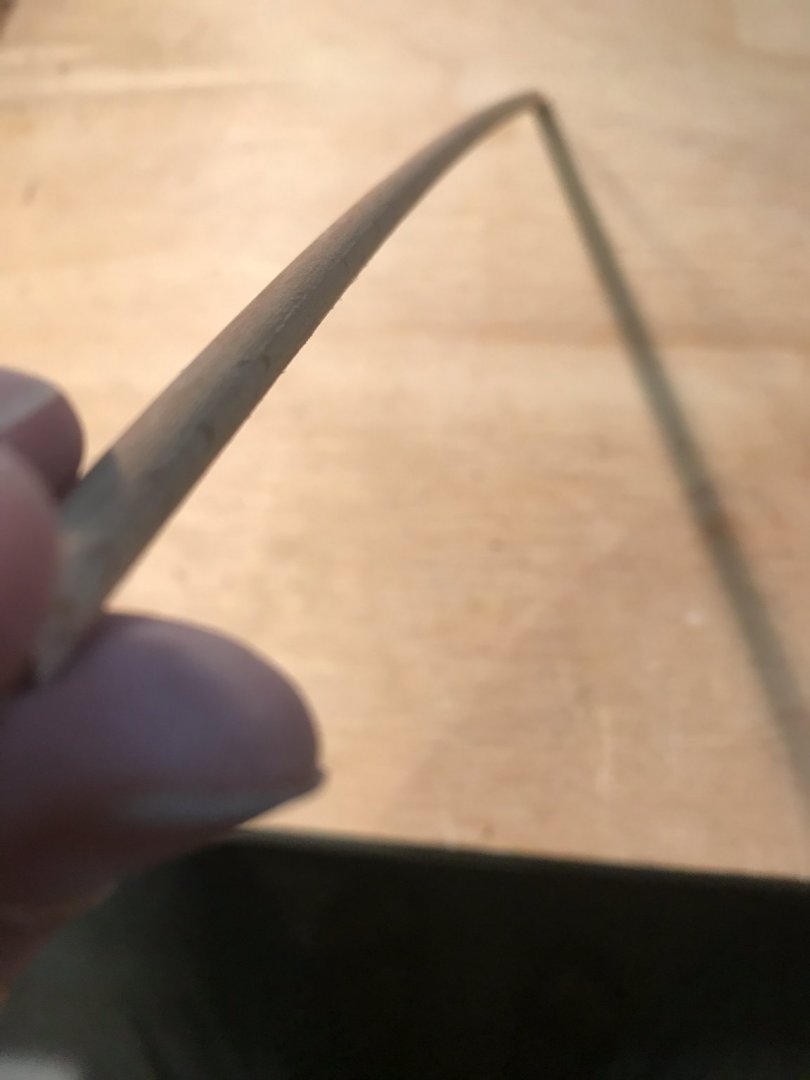
The supplied dowels have found new shapes and curves since the kit was created.
- 155 replies
-
- 3
-
-
- opium smuggler
- Authentic Models
- (and 1 more)
-
Many thanks for the encouragement!! Every little bit helps!
- 155 replies
-
- 1
-
-
- opium smuggler
- Authentic Models
- (and 1 more)
-
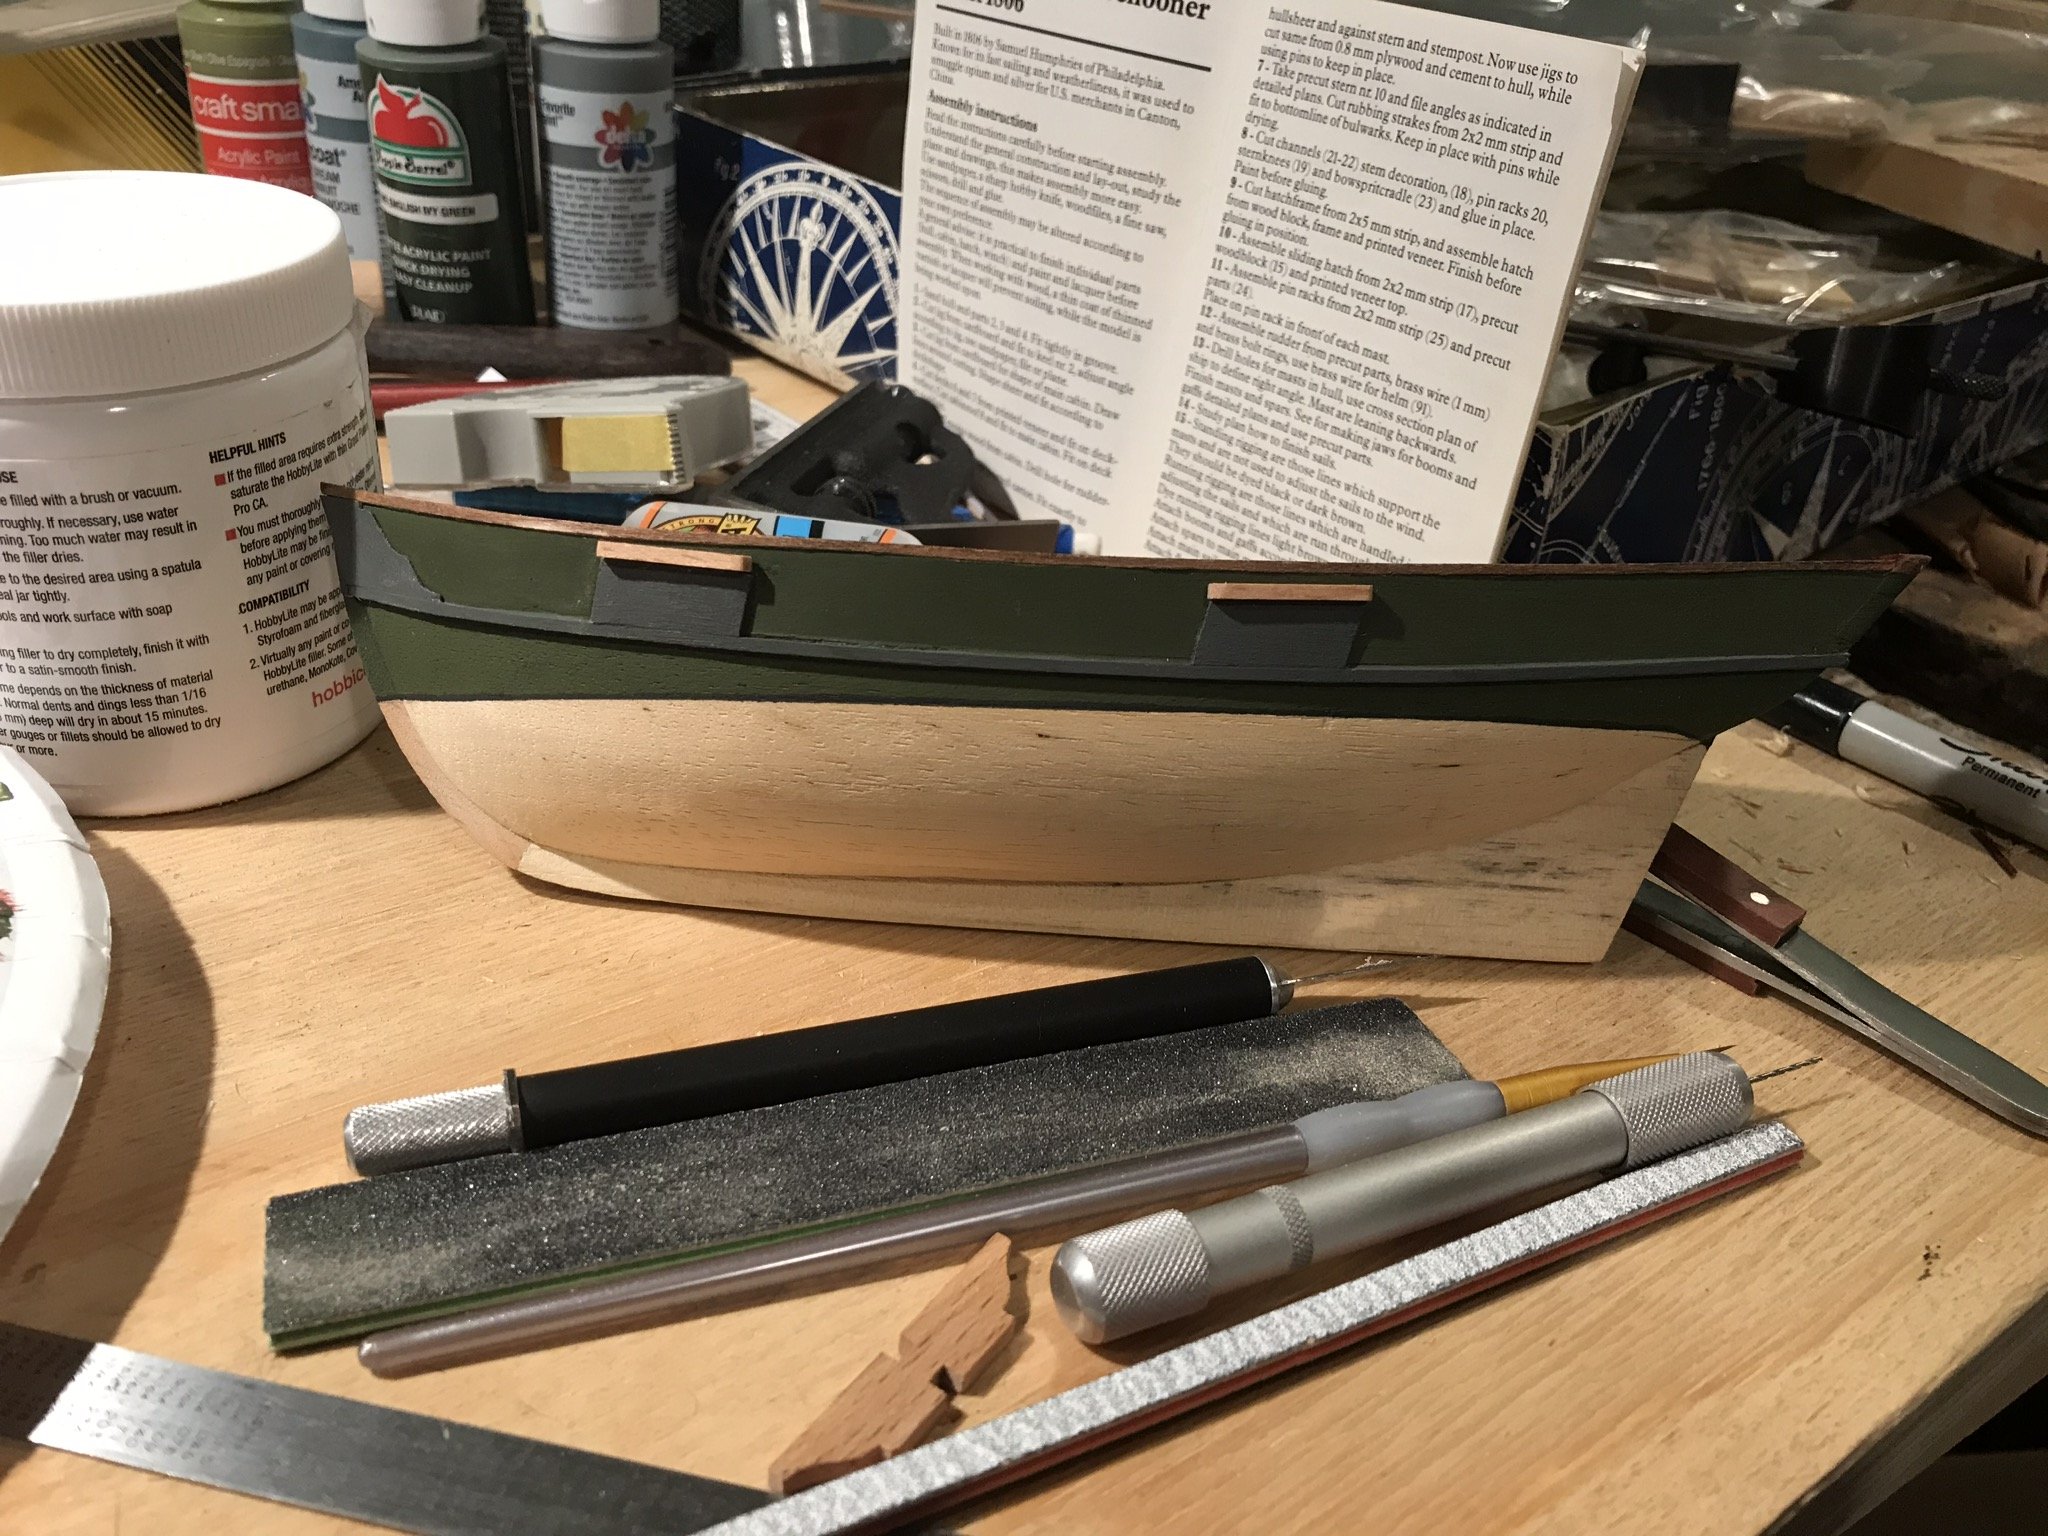
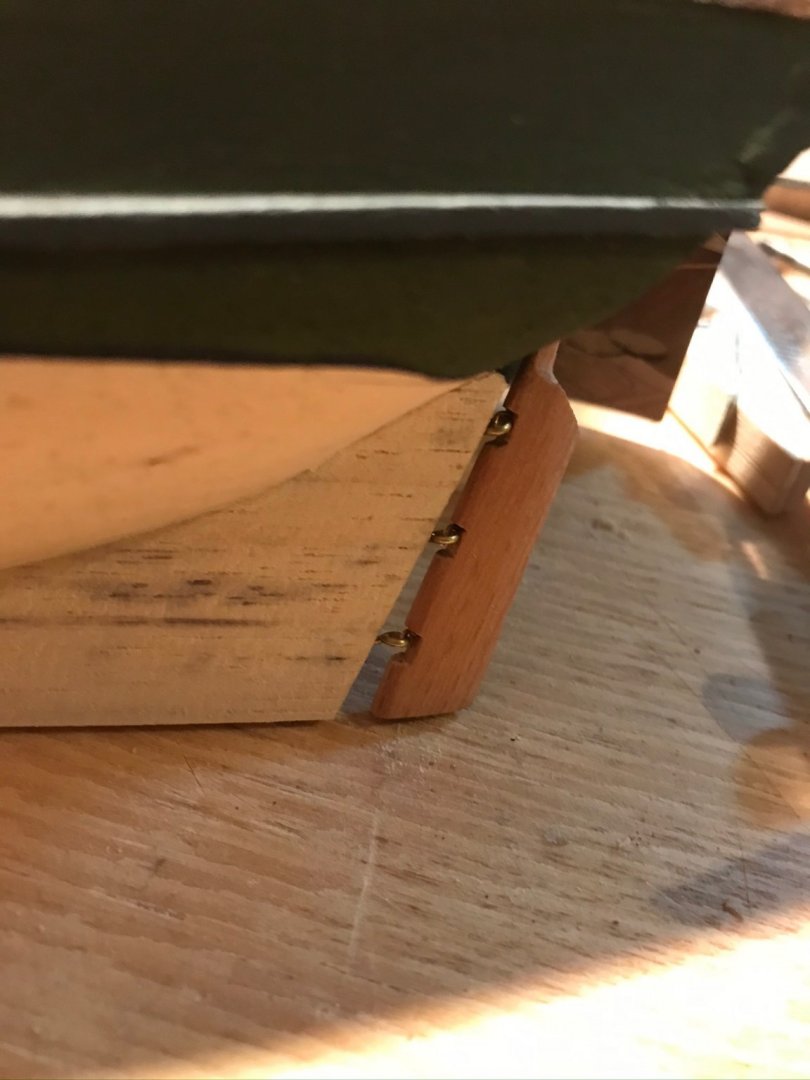
My first shot at a rudder and the pin racks.

- 155 replies
-
- 8
-
-
- opium smuggler
- Authentic Models
- (and 1 more)
-
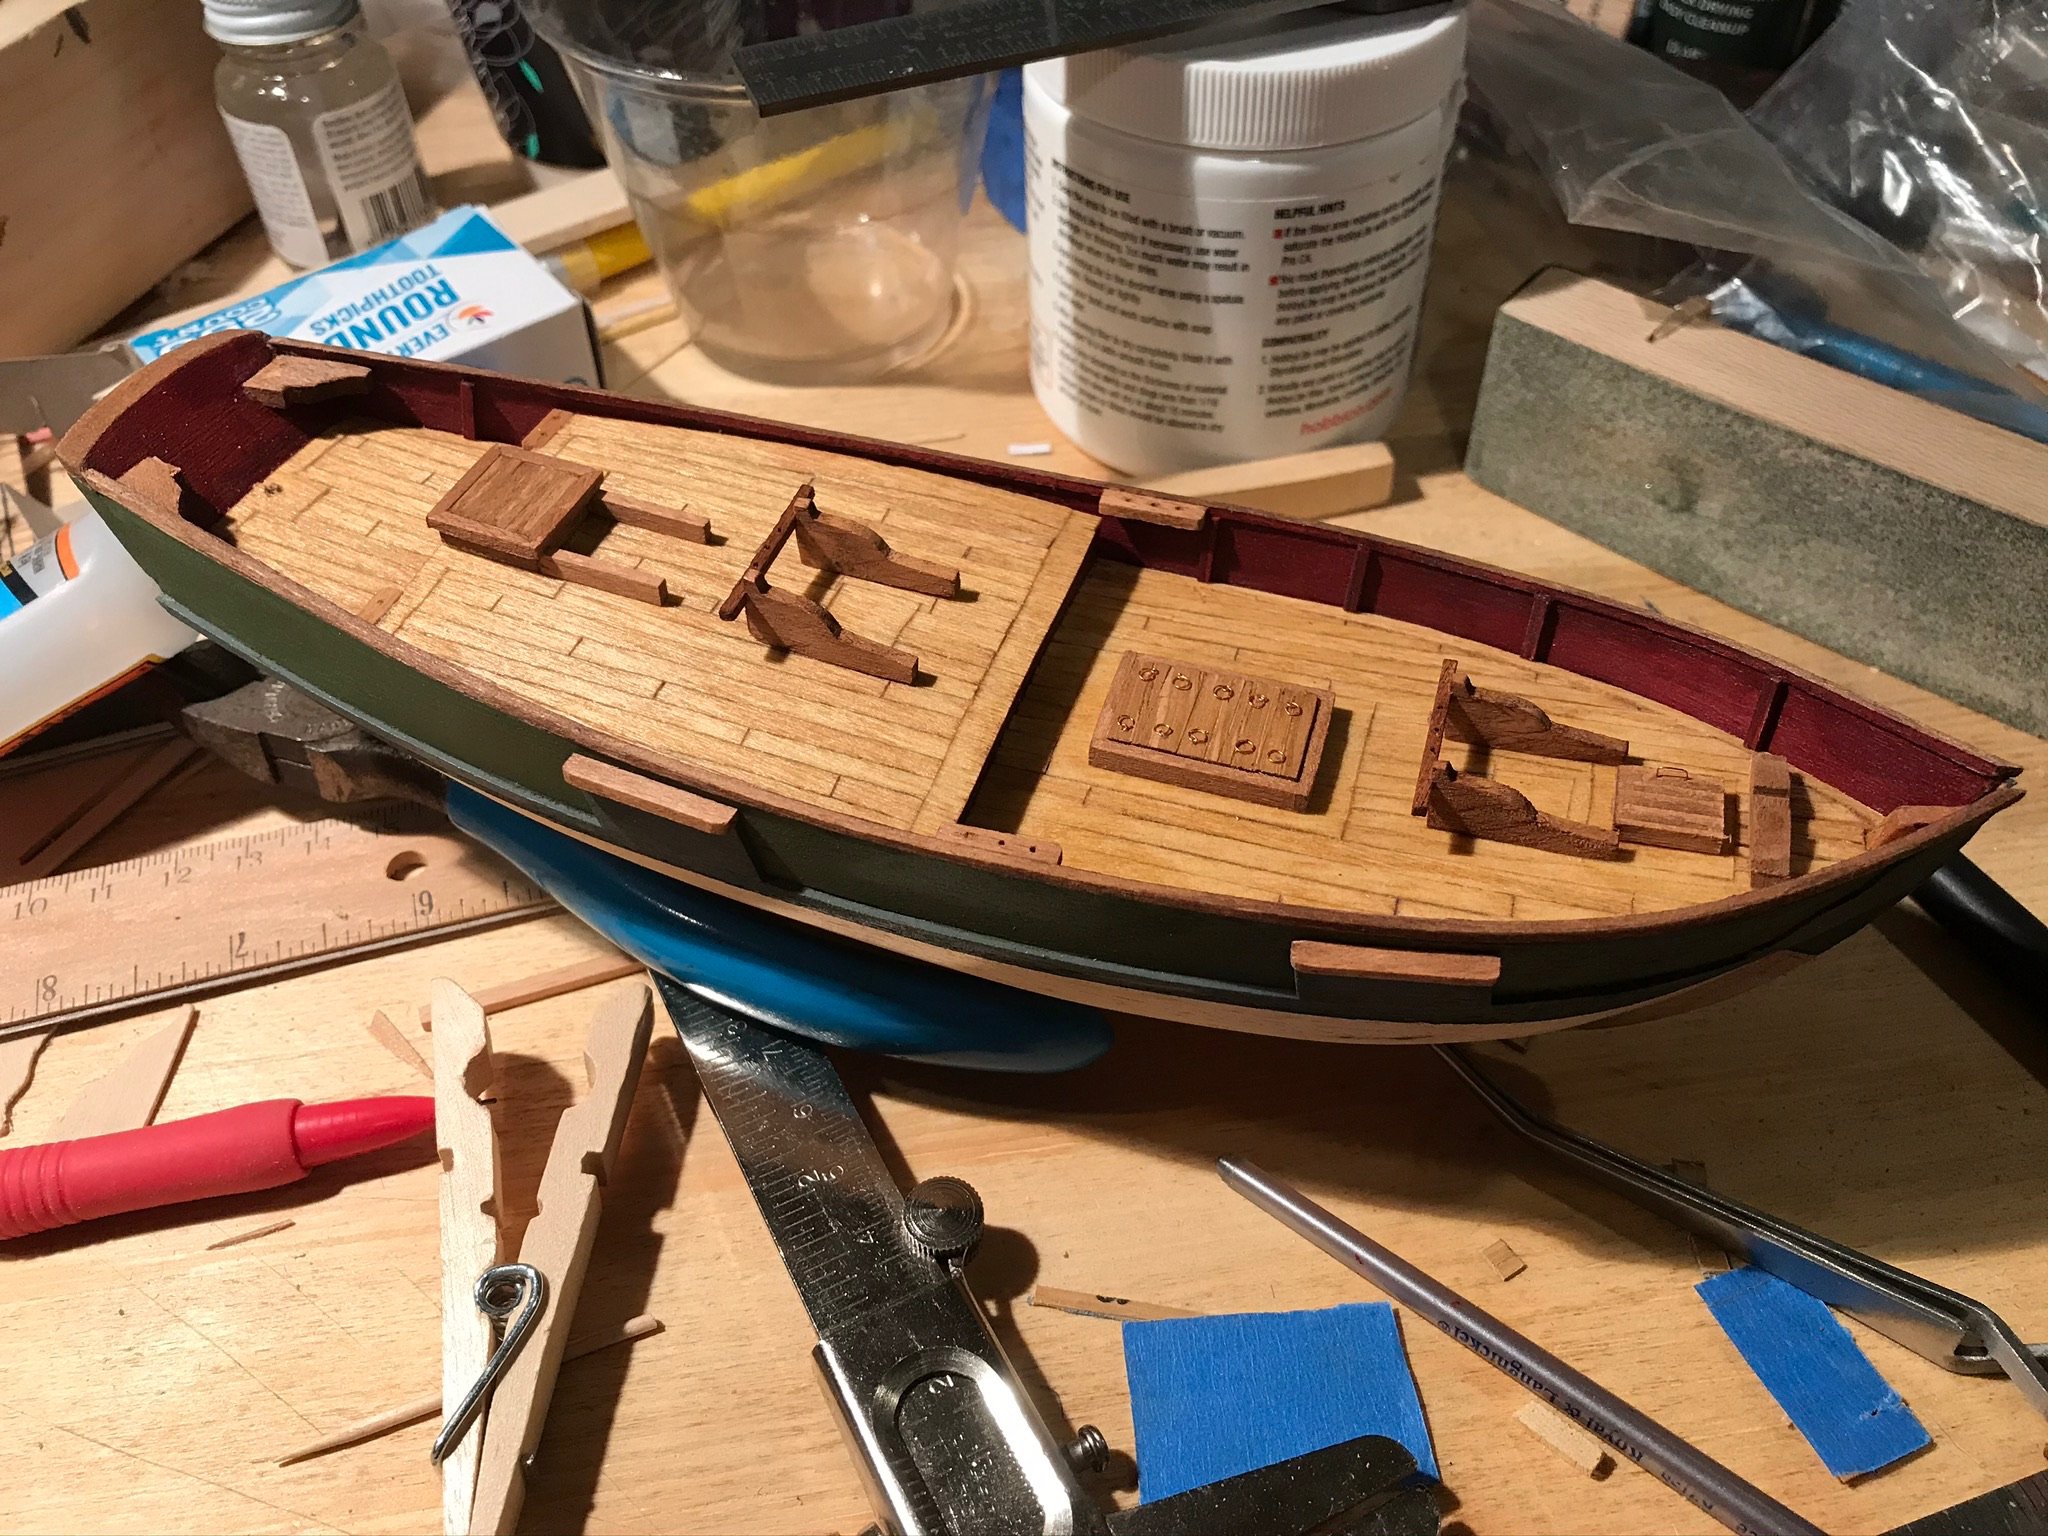
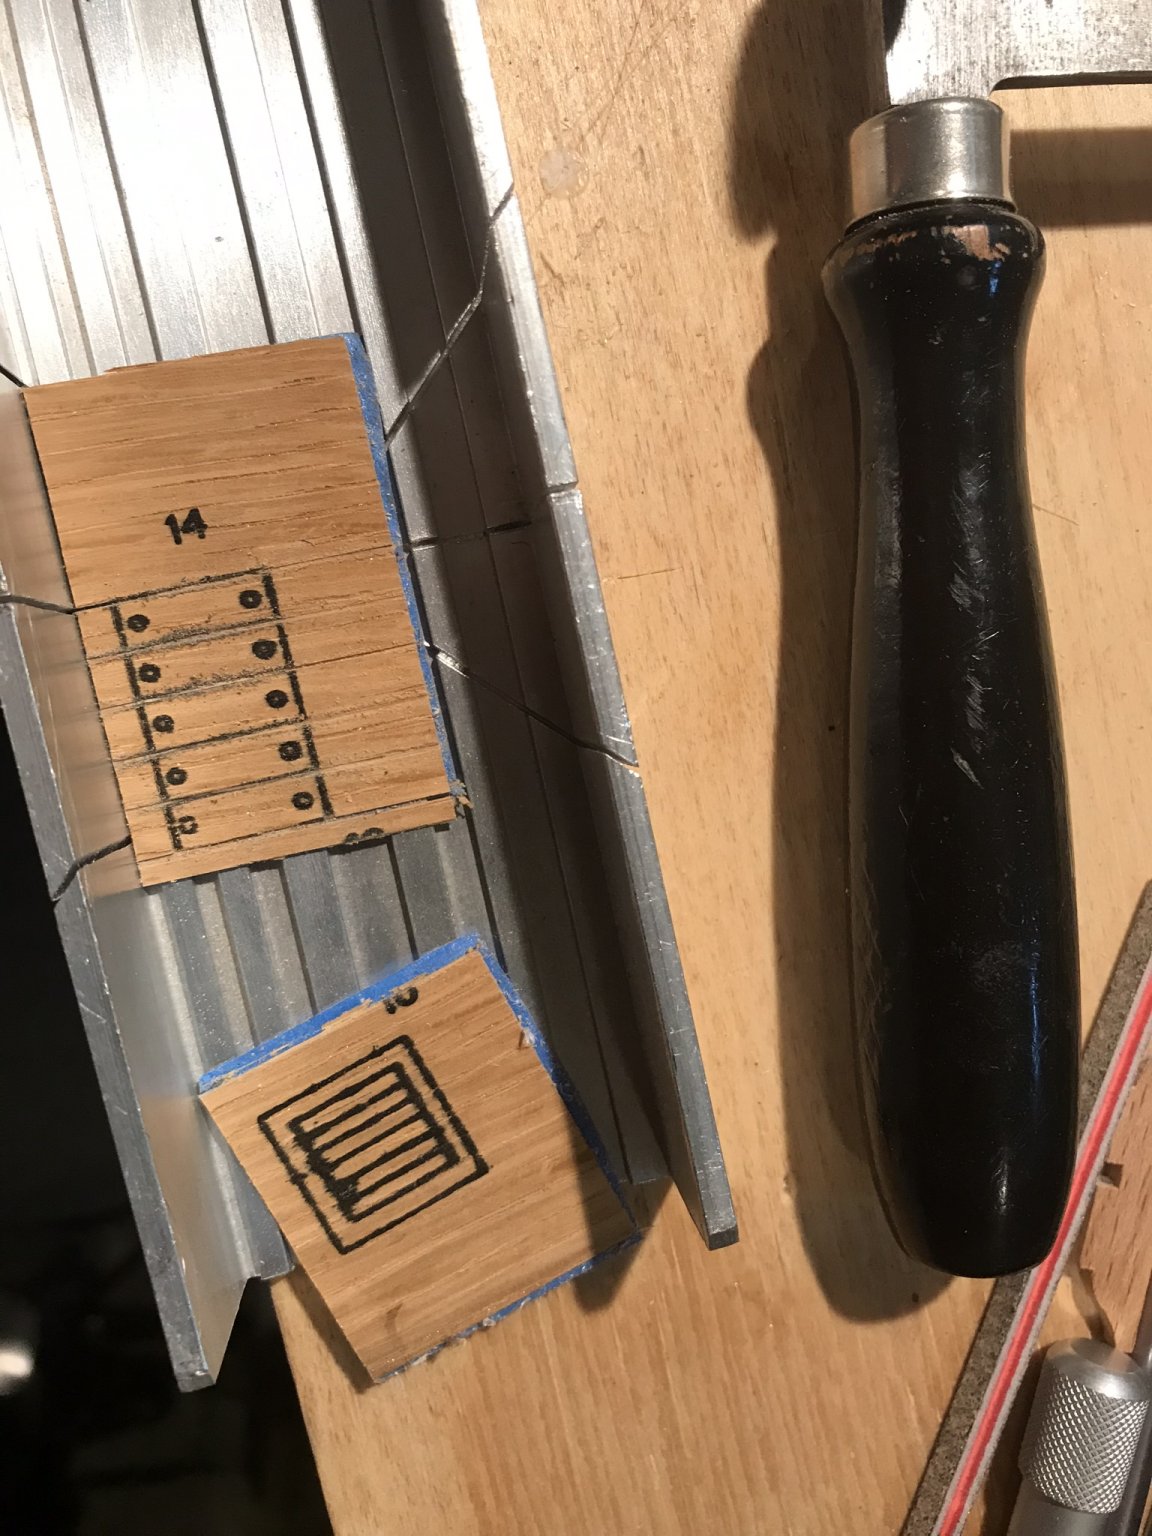
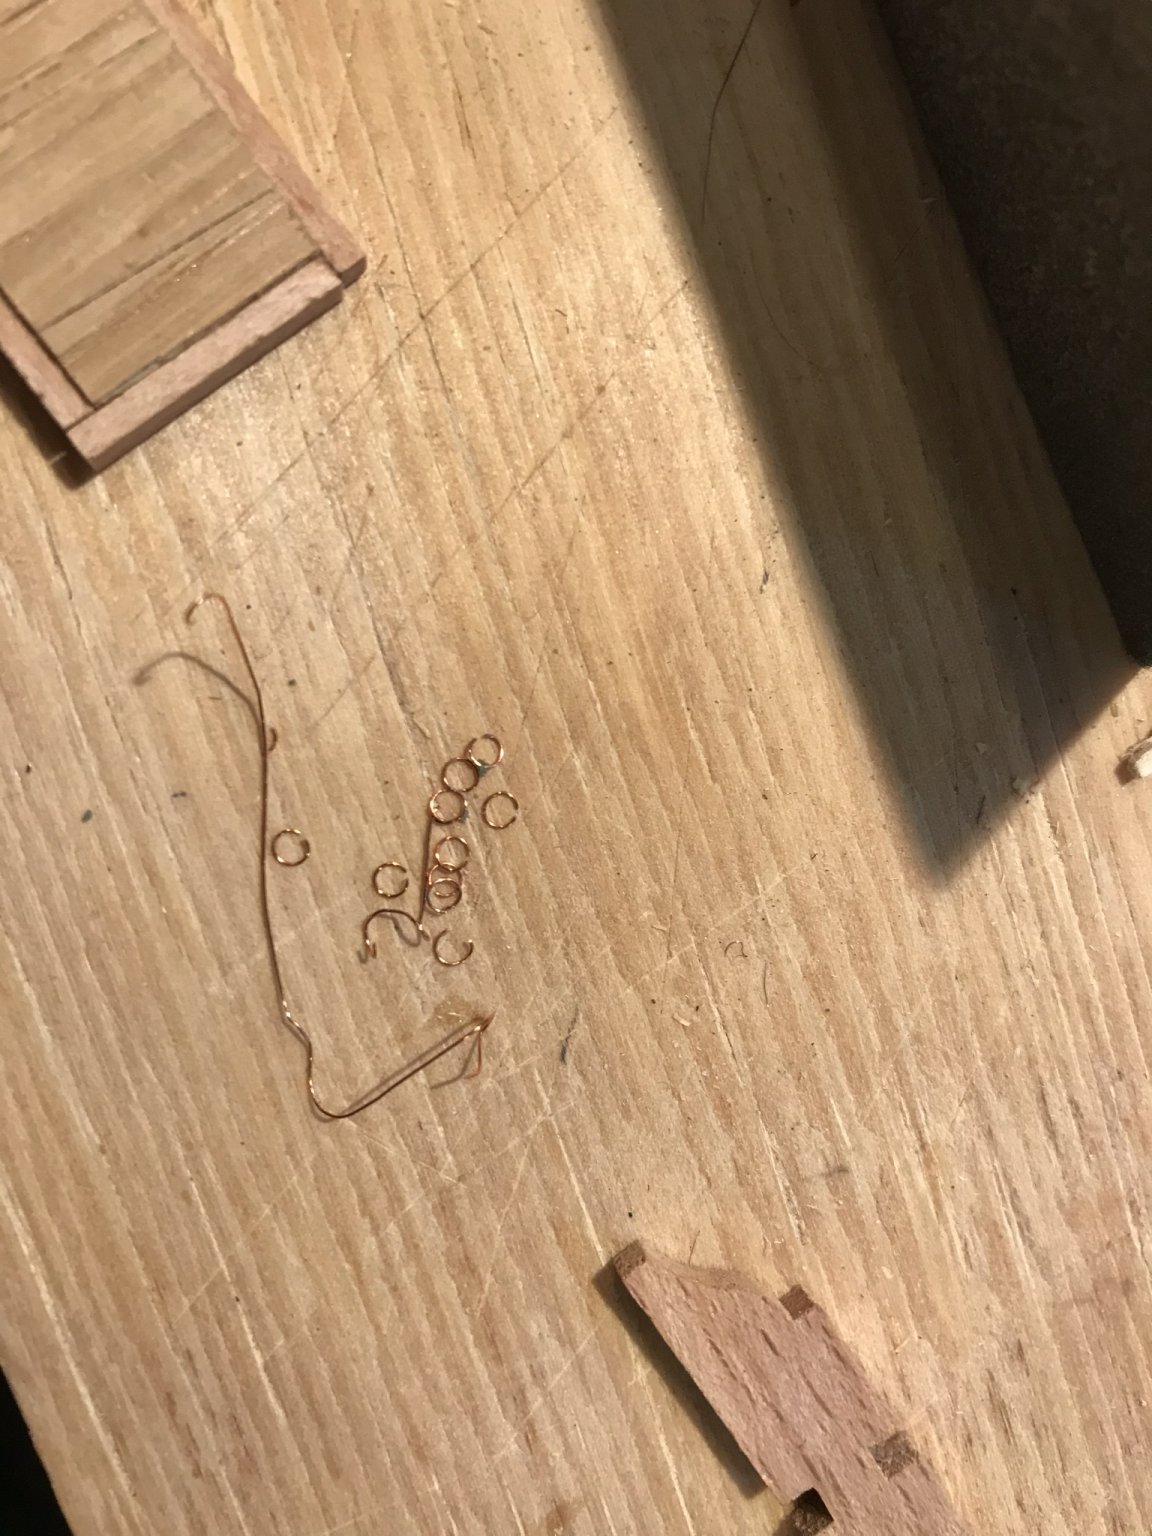
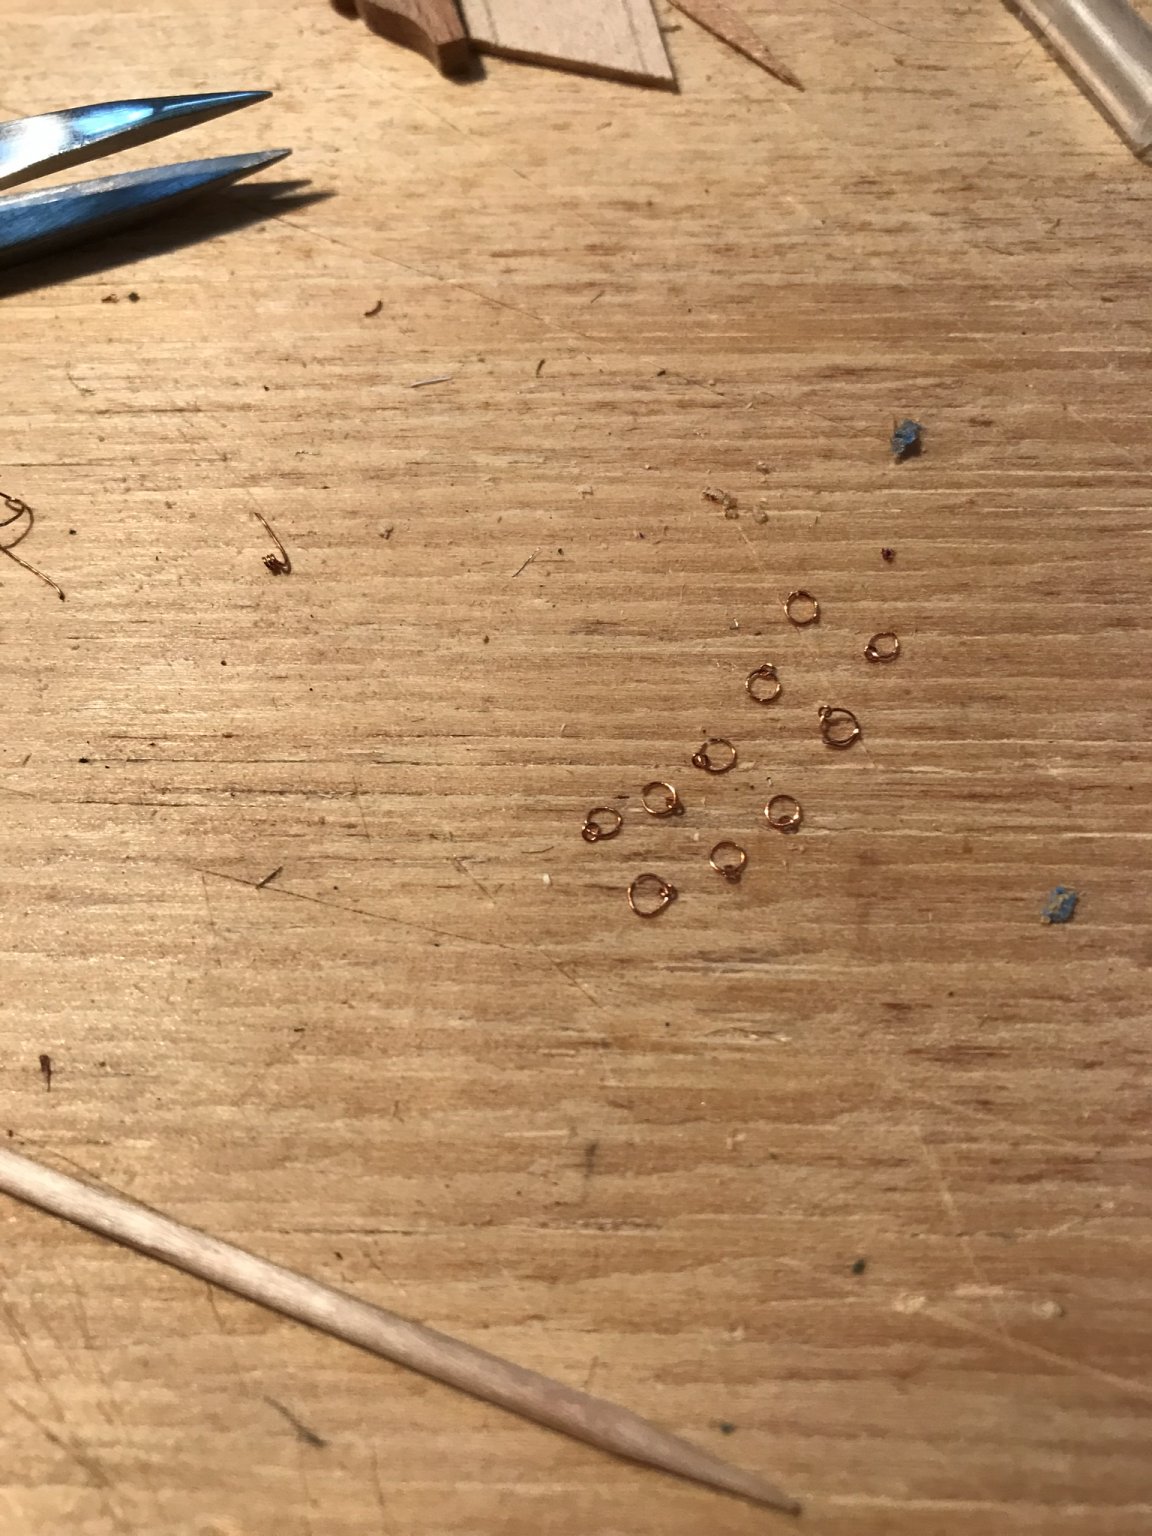
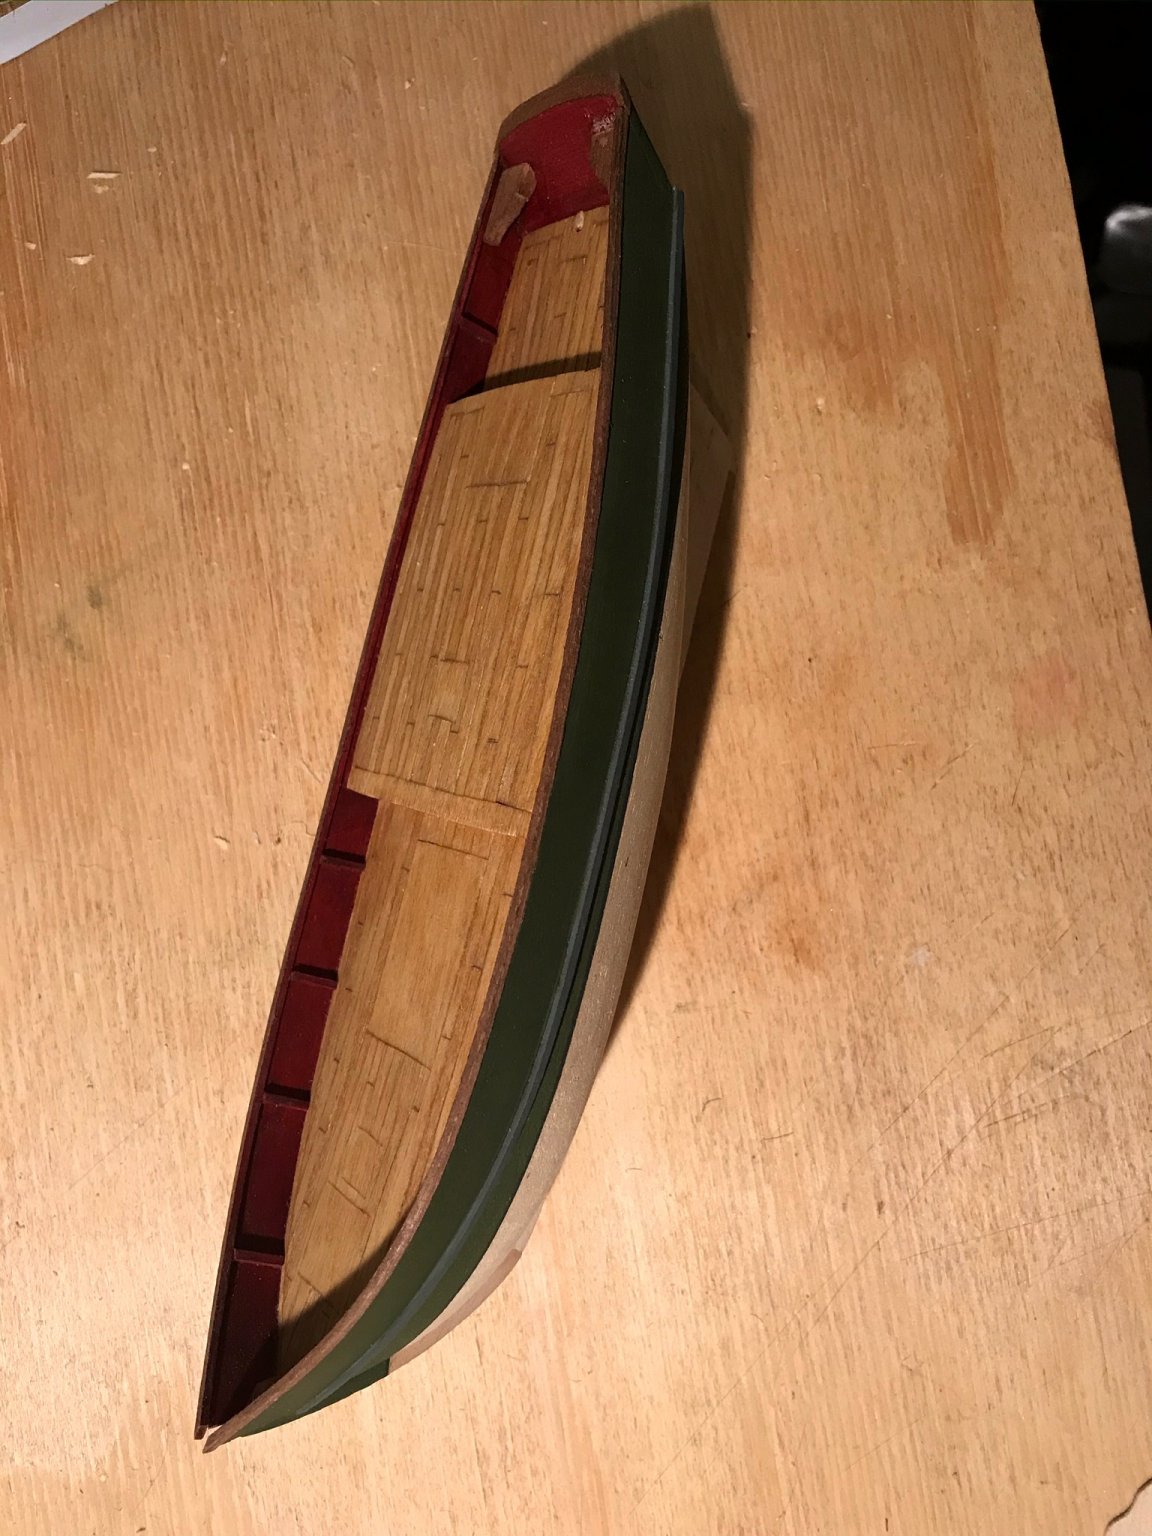
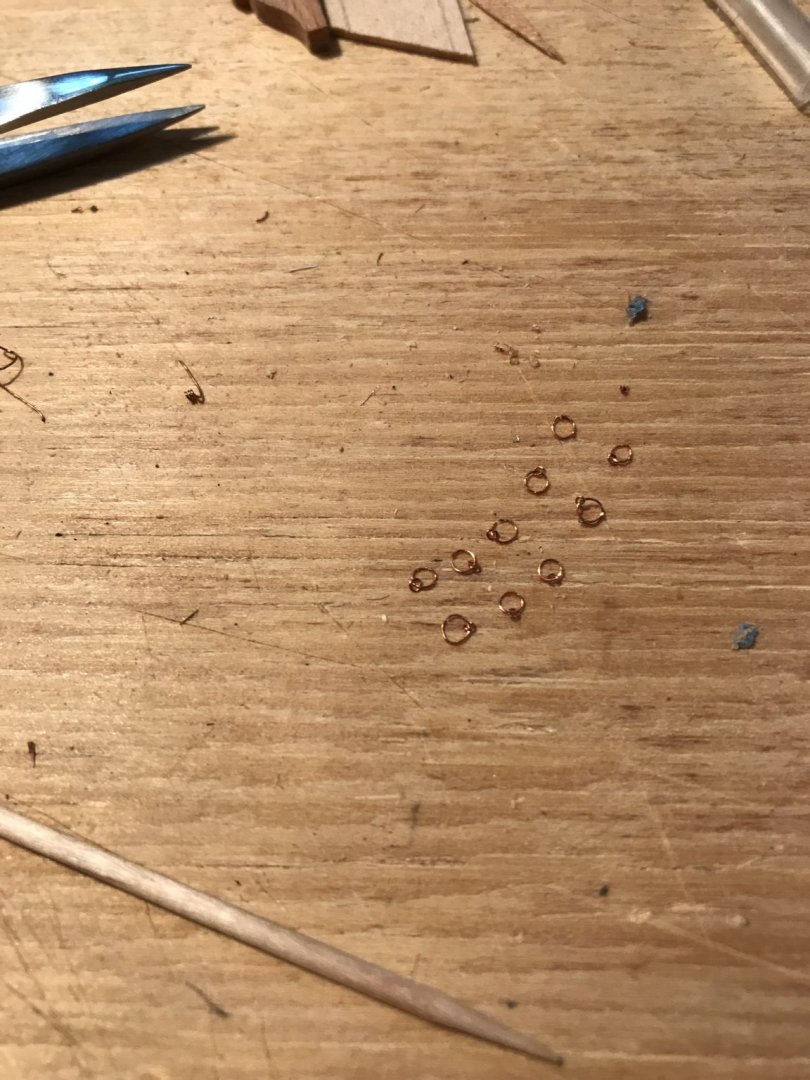
I started work on the deck structures. While I’m sticking to the kit as is, I took a shot at improving on the printed veneer, since I have not used the printed veneer else where. The rings were made by wrapping 32 gauge wire around a thicker brass wire and then cutting with an xacto blade (diagonally across). I made two sizes, linked them (very fiddlely work) and glued all to the deck.


- 155 replies
-
- 10
-
-
- opium smuggler
- Authentic Models
- (and 1 more)
-
The instructions are brief but mention painting at this point. So I’m waving off on the use of the shavings here and simply following the instructions as best I can. I keep running a foul with the kit. The bits of wood for the bow ‘plates’ or ‘cheeks’ were too small. Drilling the hole through the deck and hull for the rudder was tricky.


- 155 replies
-
- 8
-
-
- opium smuggler
- Authentic Models
- (and 1 more)
-
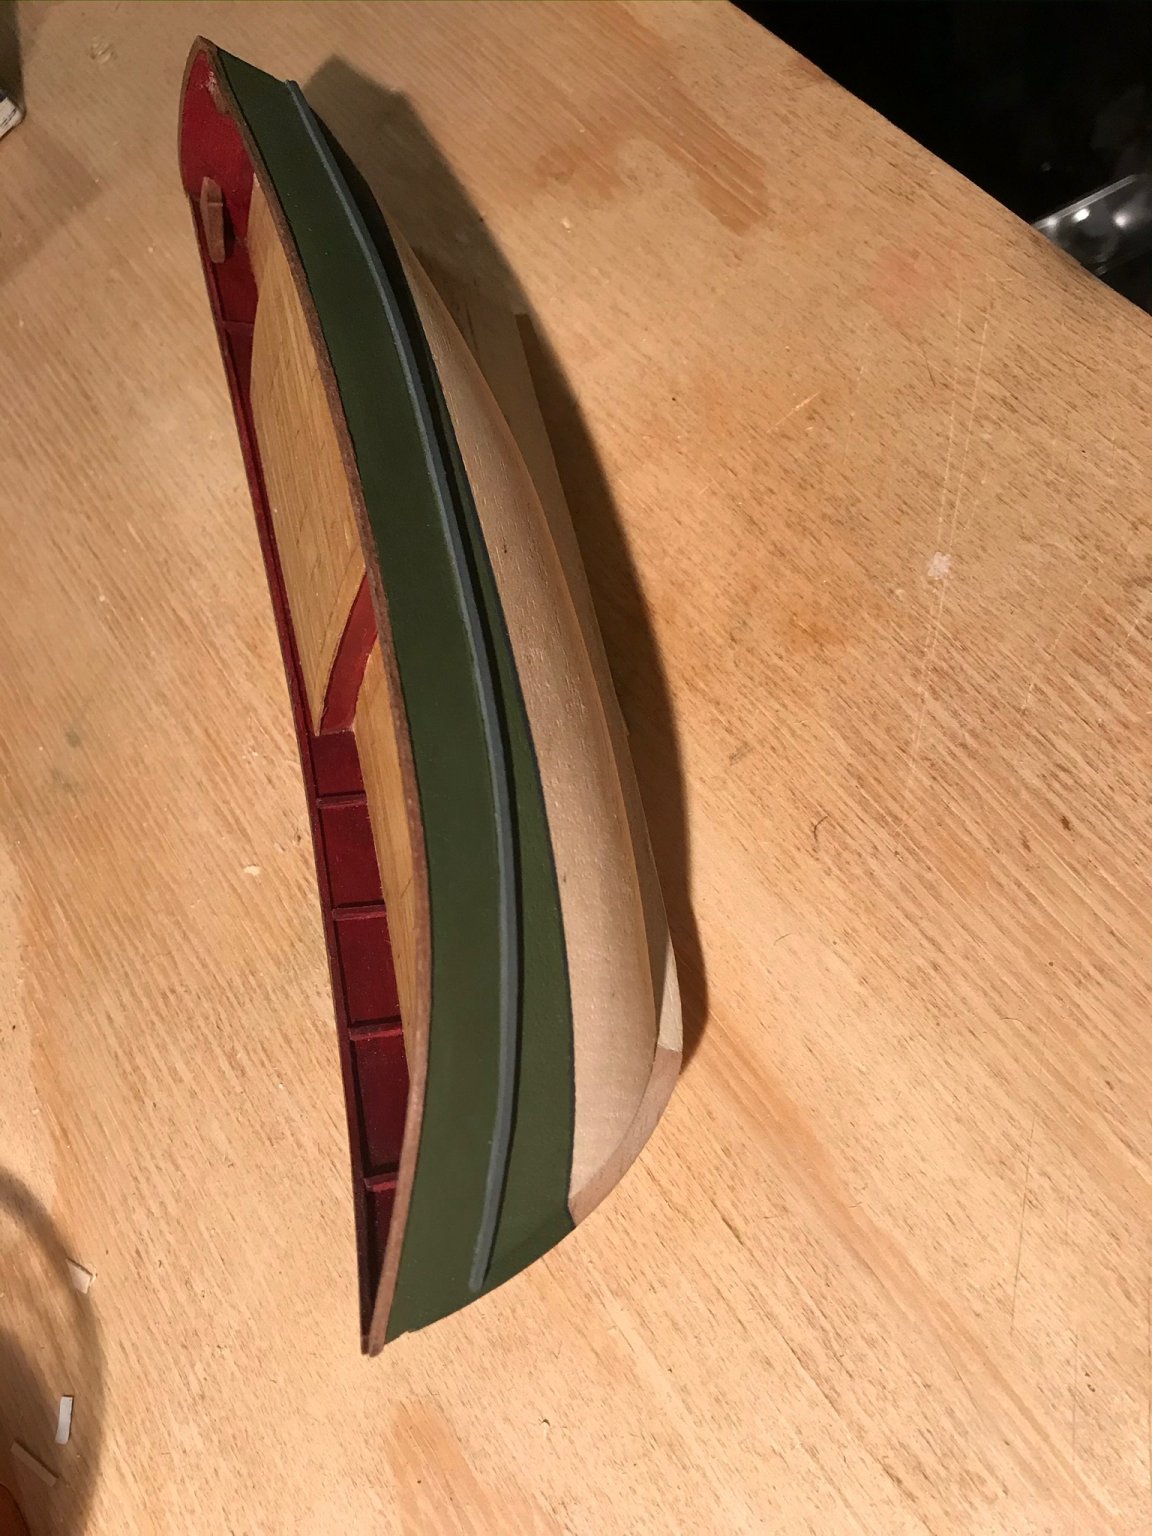
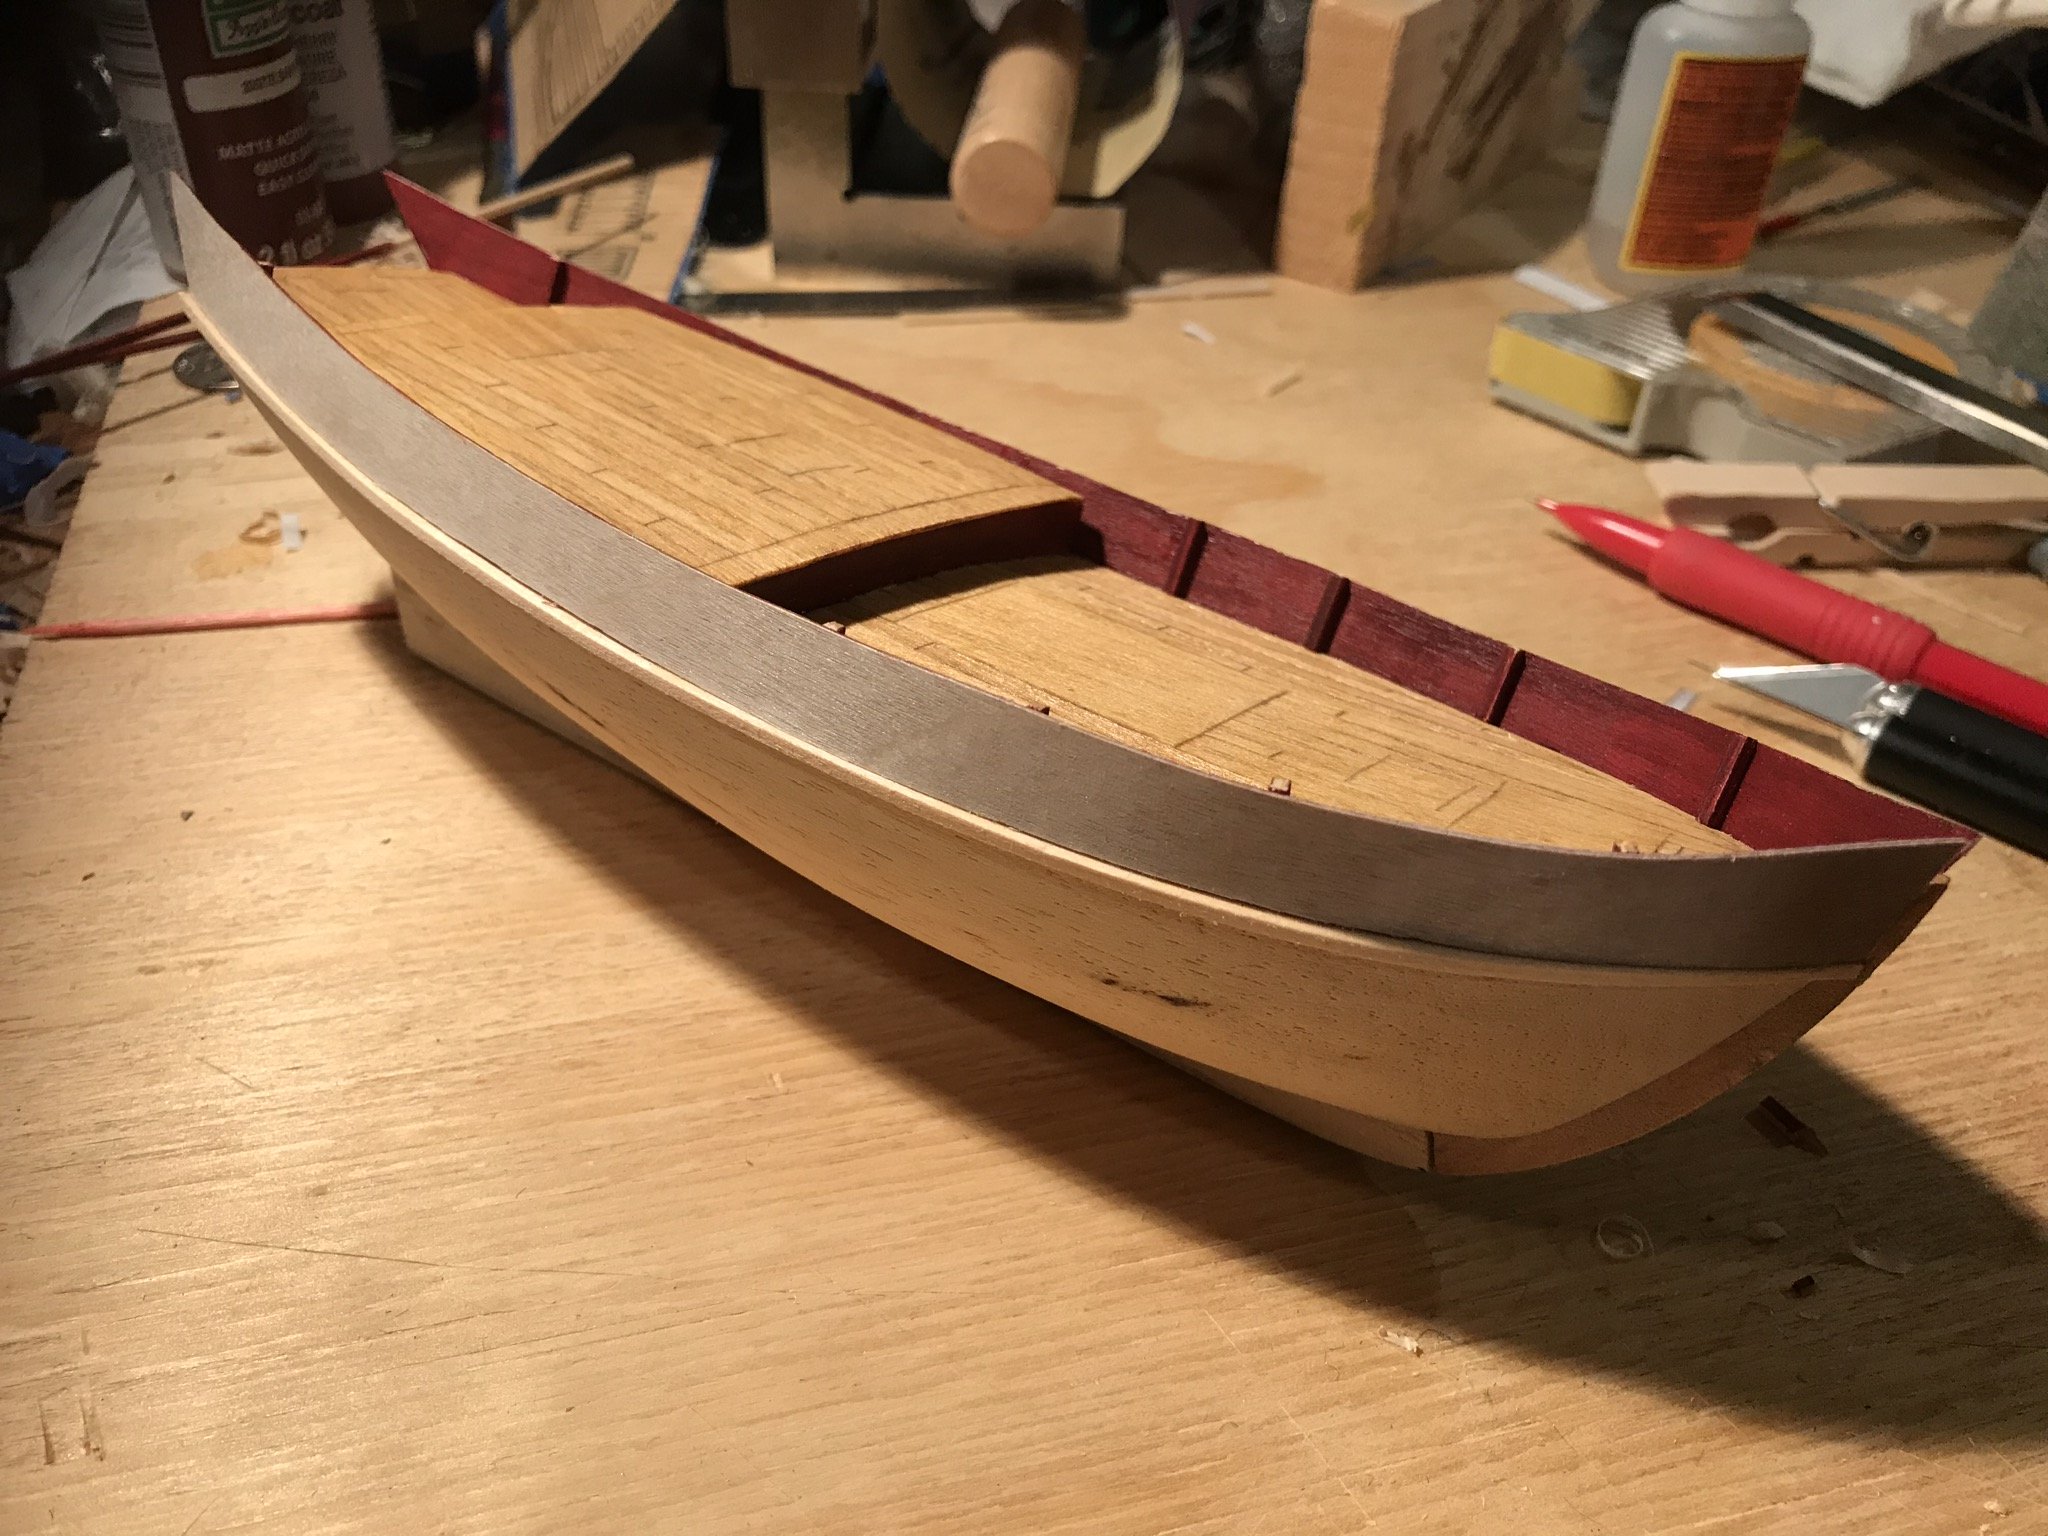
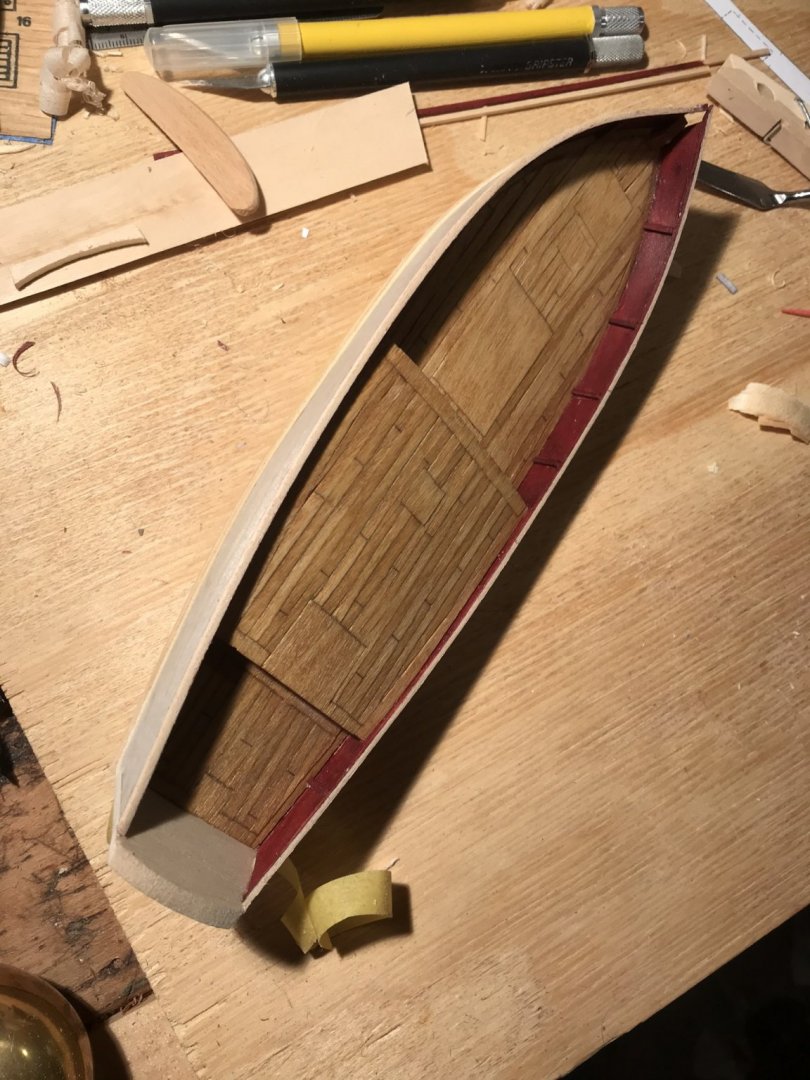
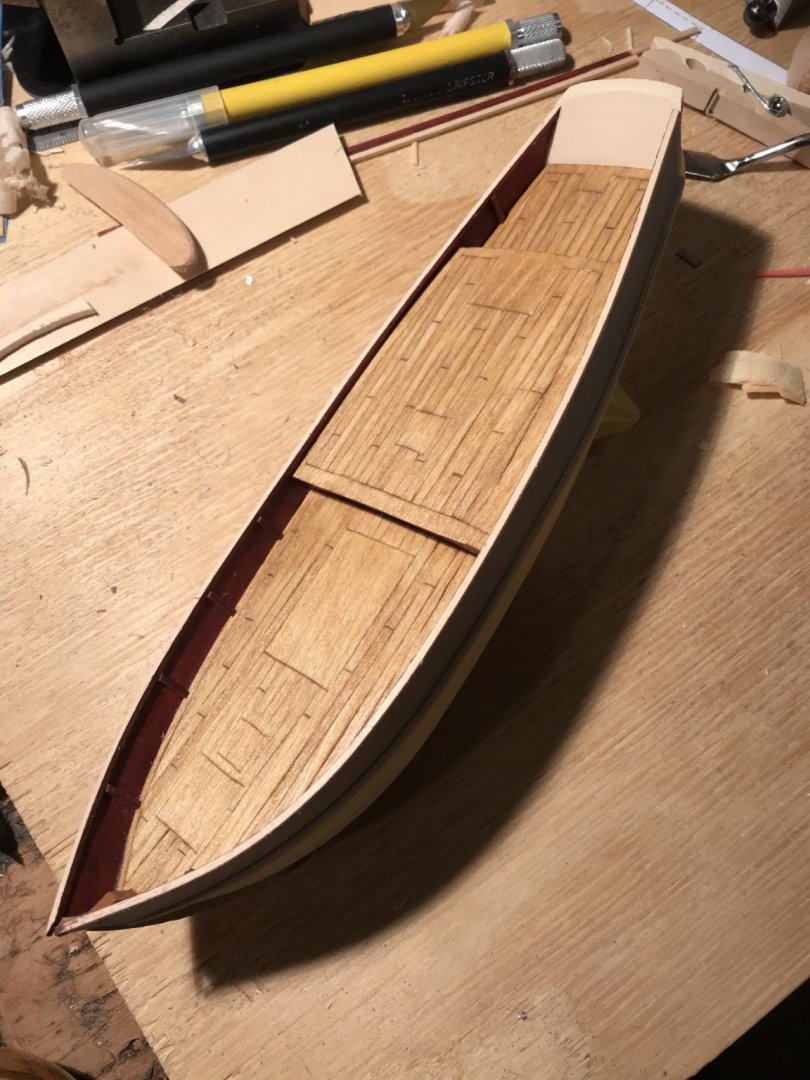
I added rails and made a new transom since the old one didn’t fit.
- 155 replies
-
- 9
-
-
- opium smuggler
- Authentic Models
- (and 1 more)
-
I’m still wrestling with the wood shavings. I can make the shavings evenly now, but I can’t mount them properly yet.

- 155 replies
-
- 4
-
-
- opium smuggler
- Authentic Models
- (and 1 more)
-
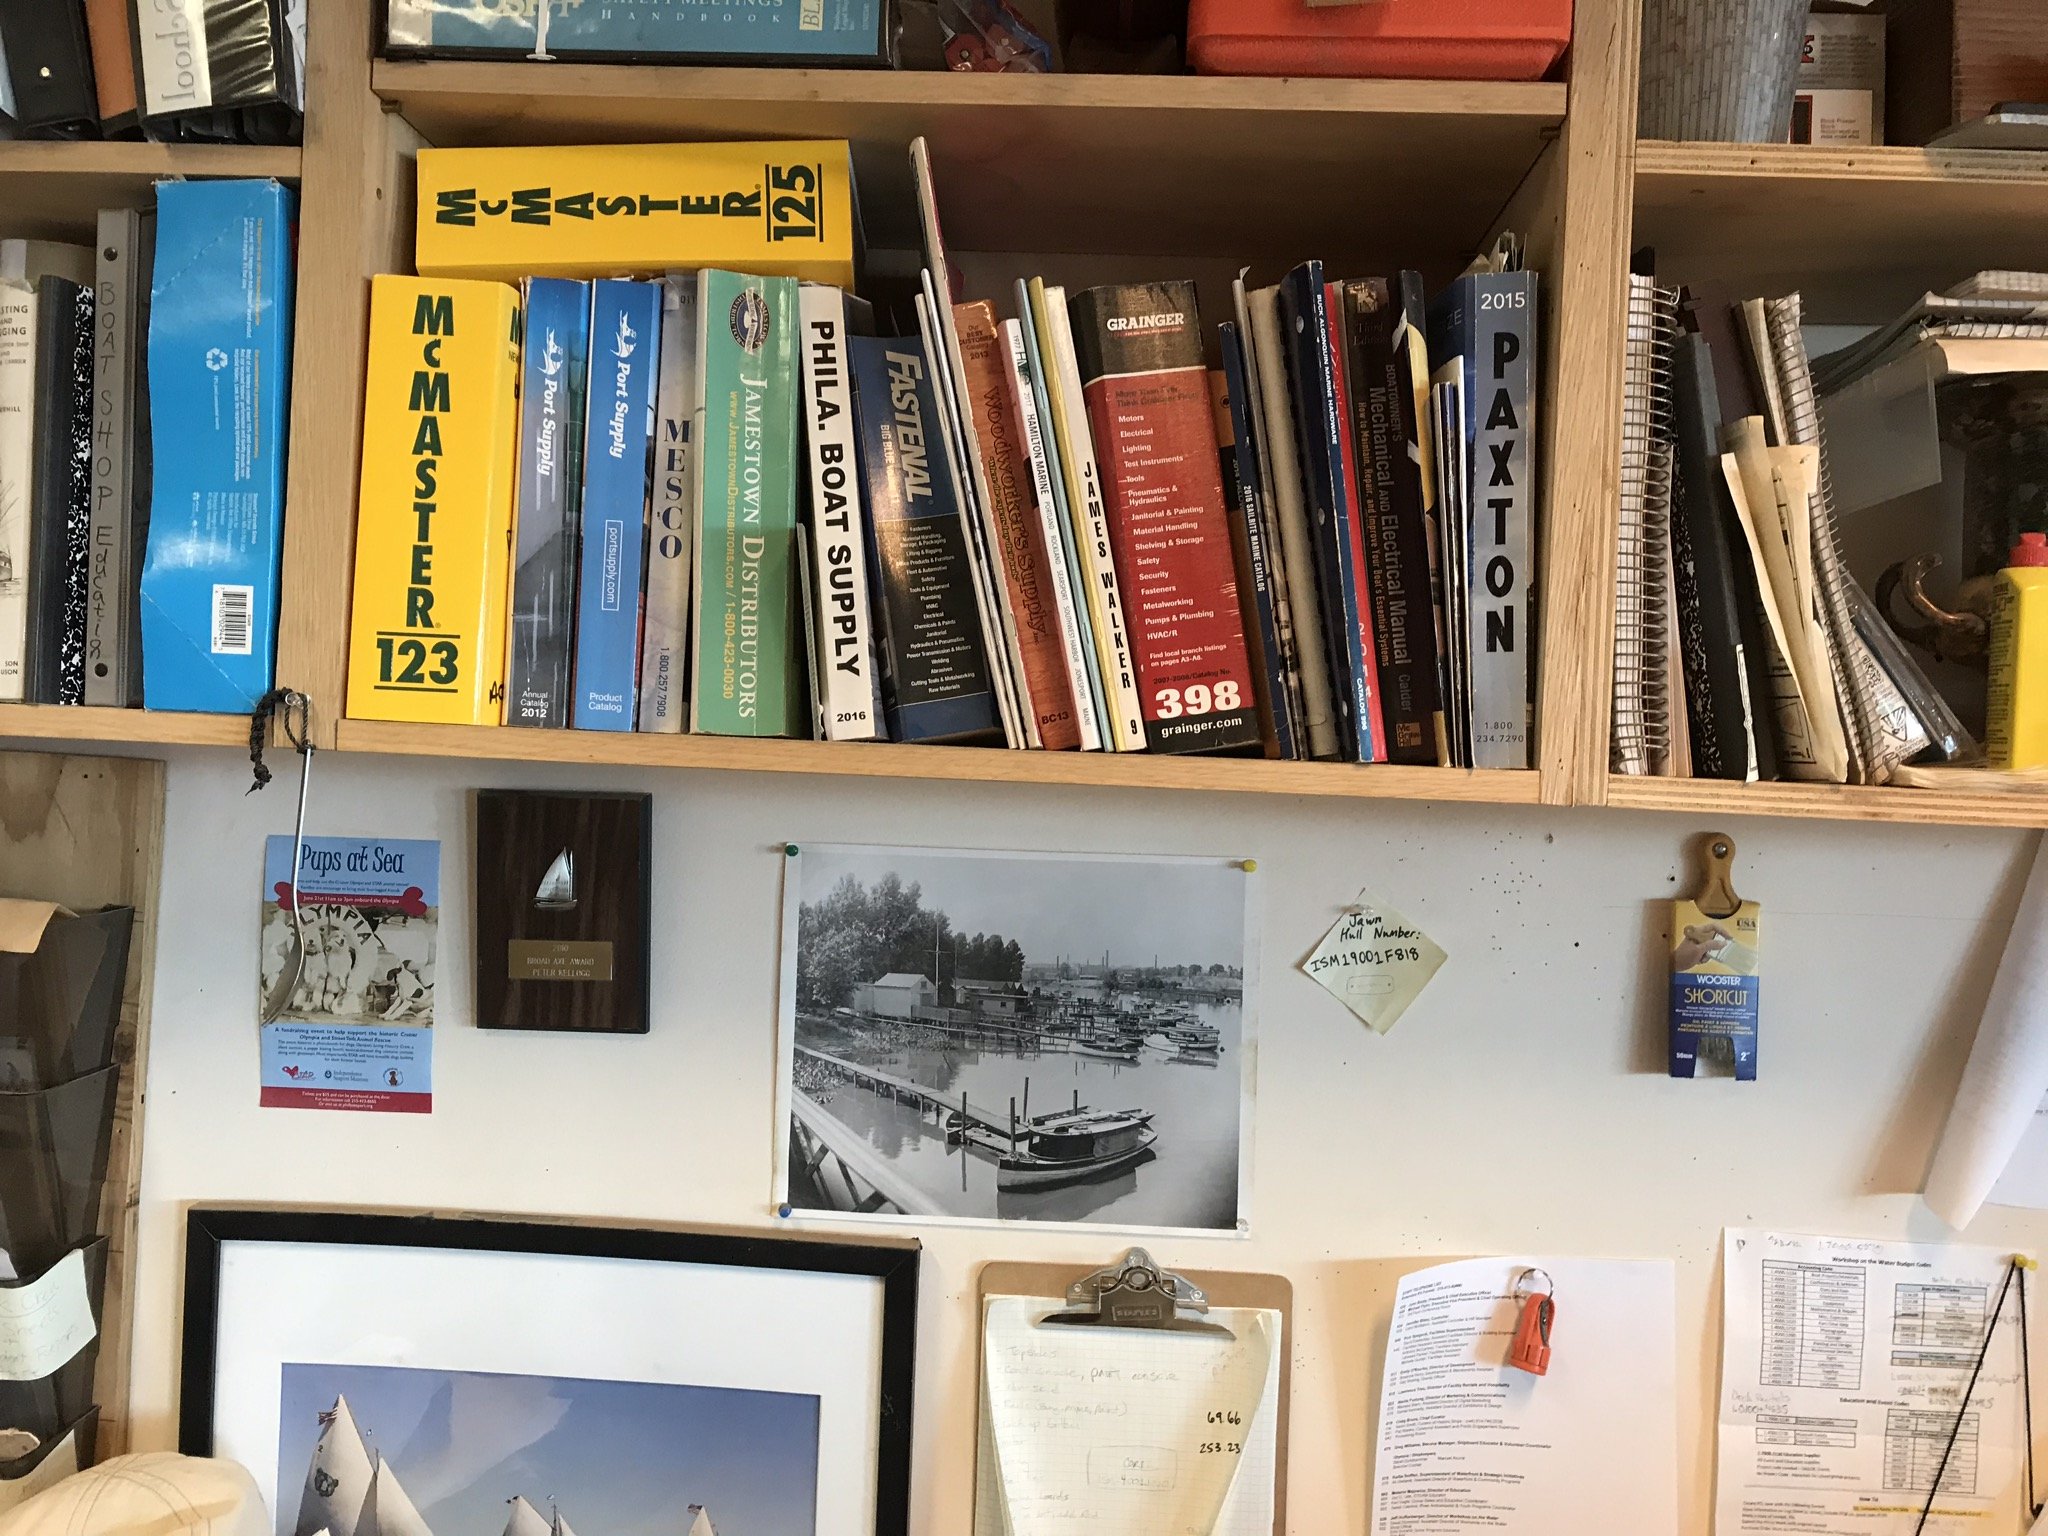
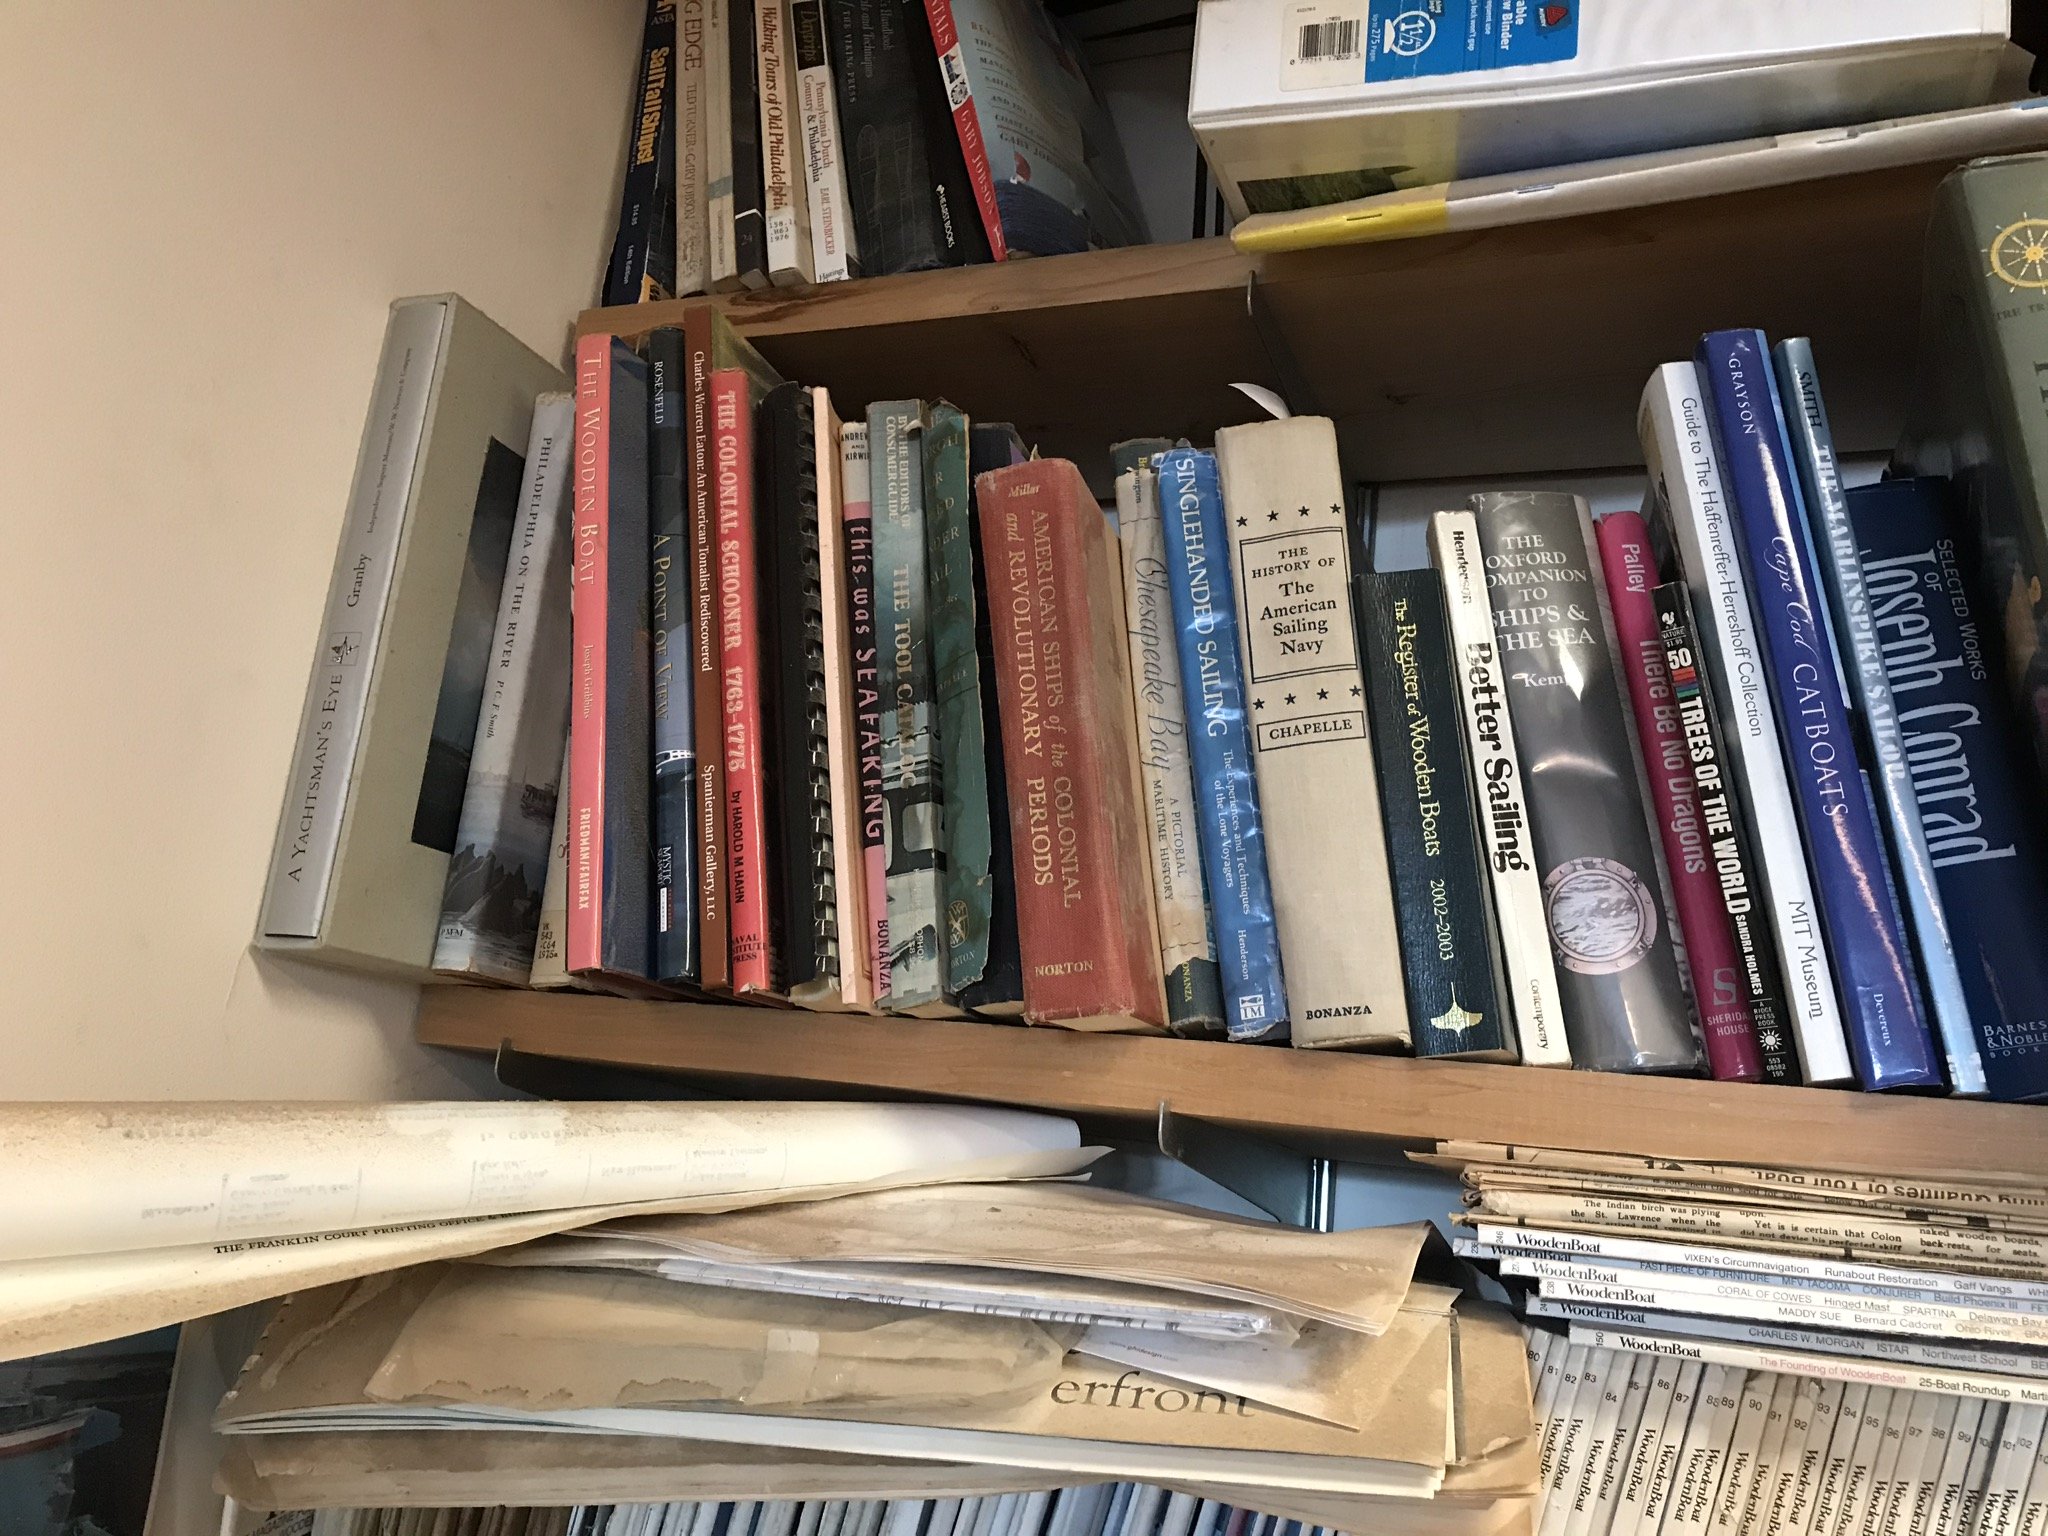
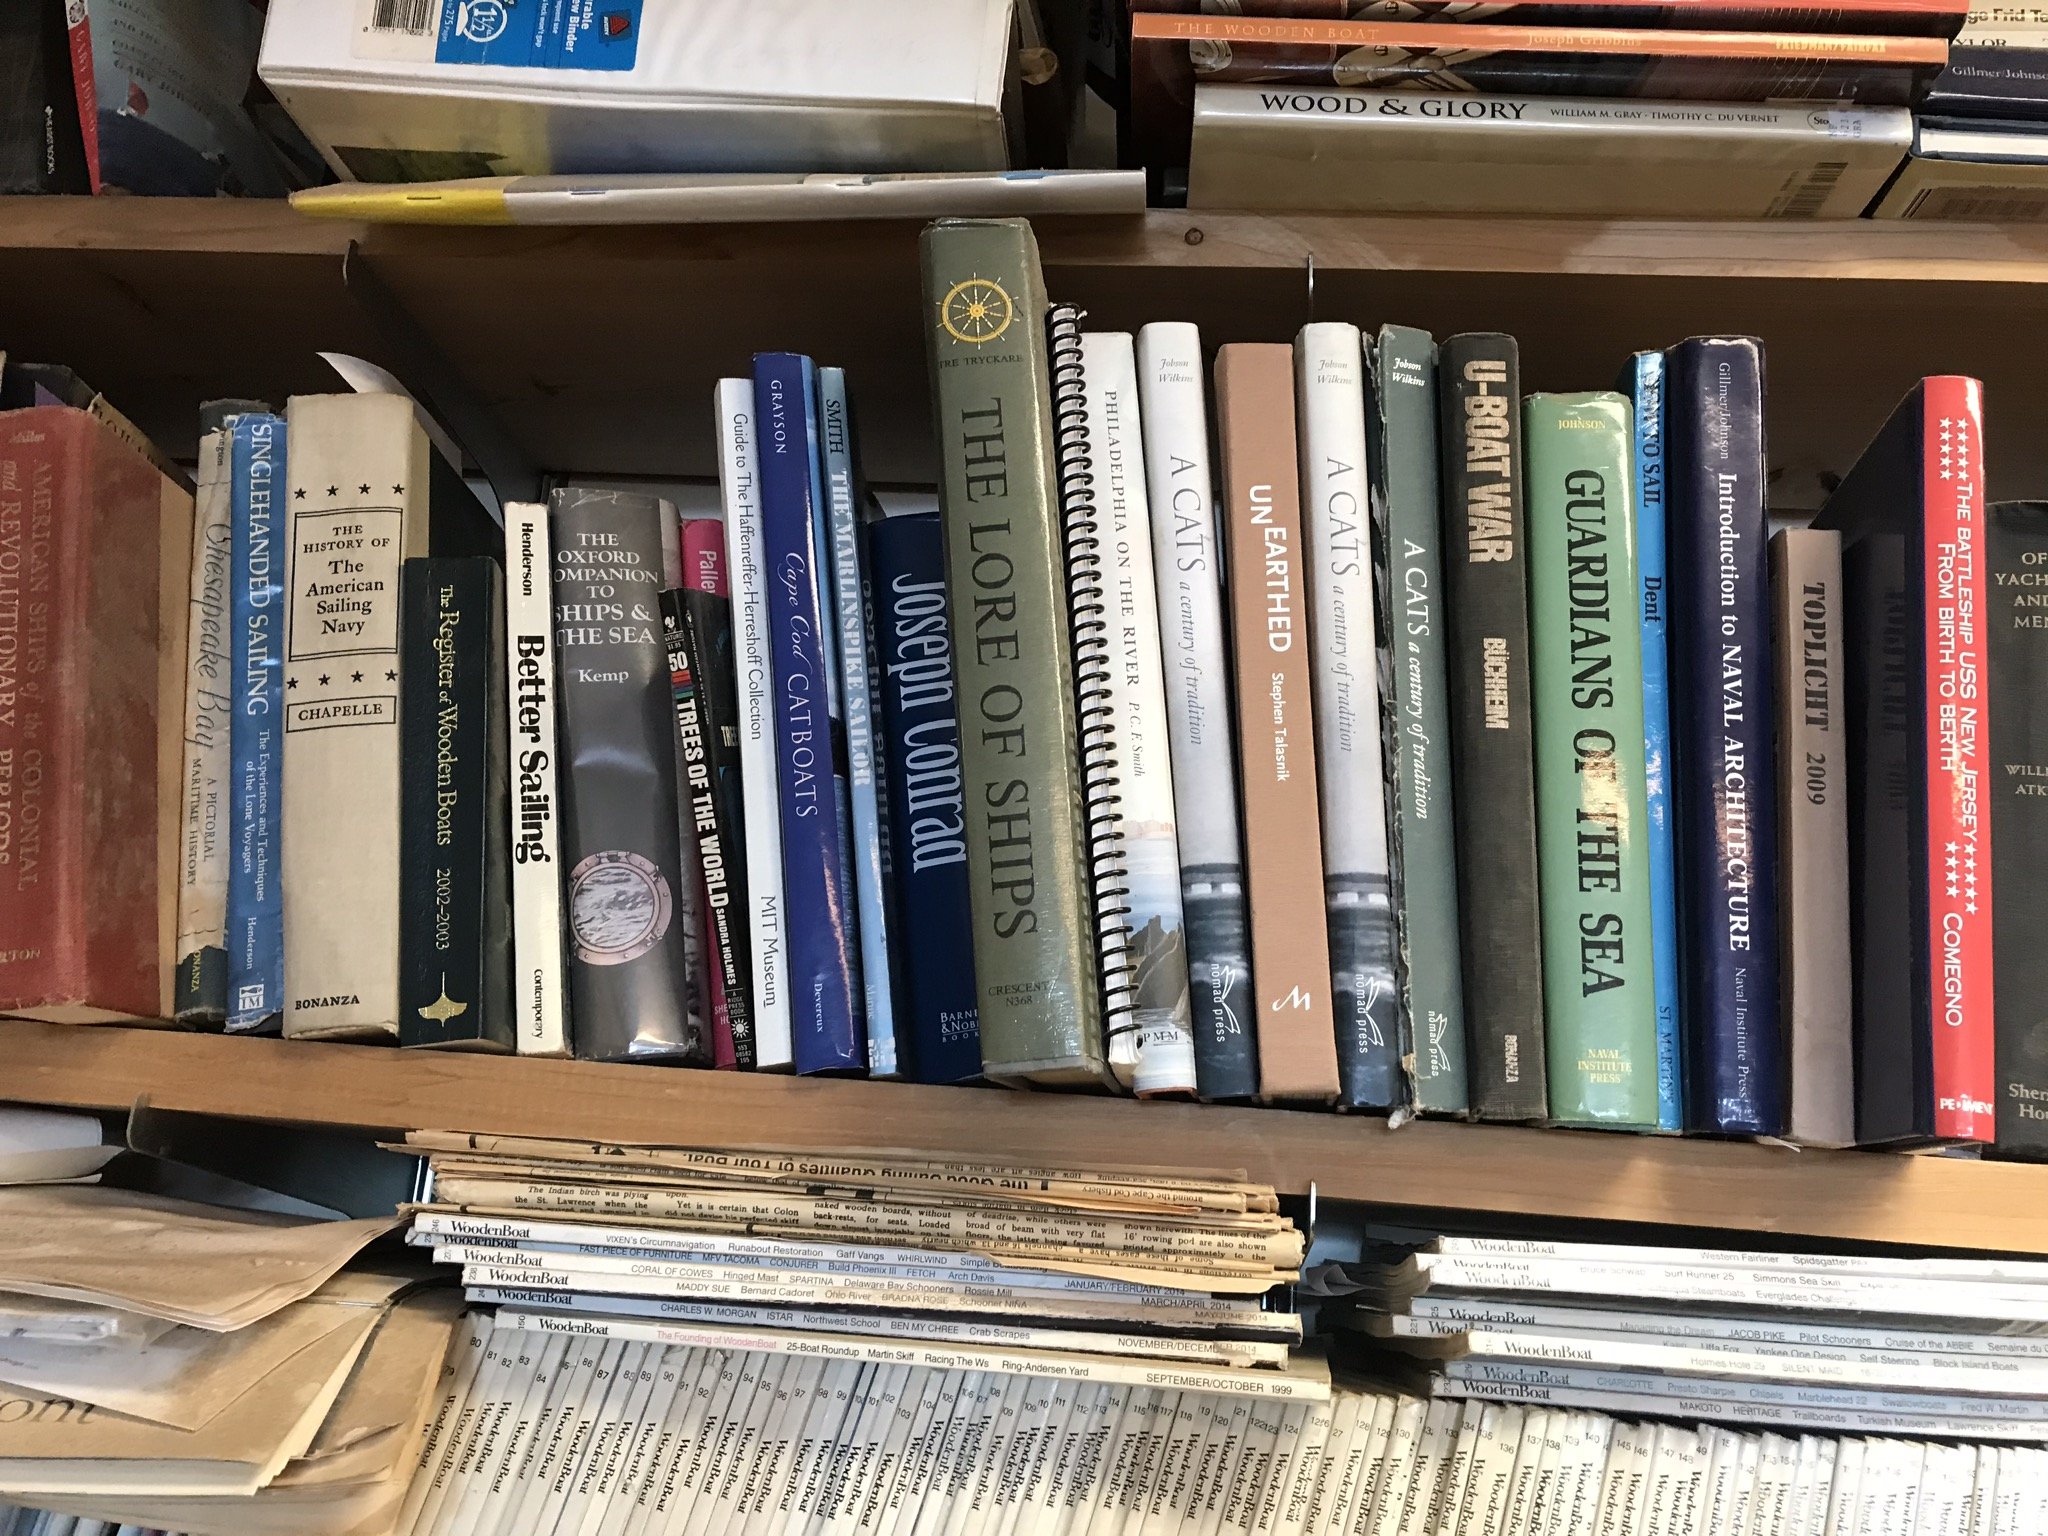
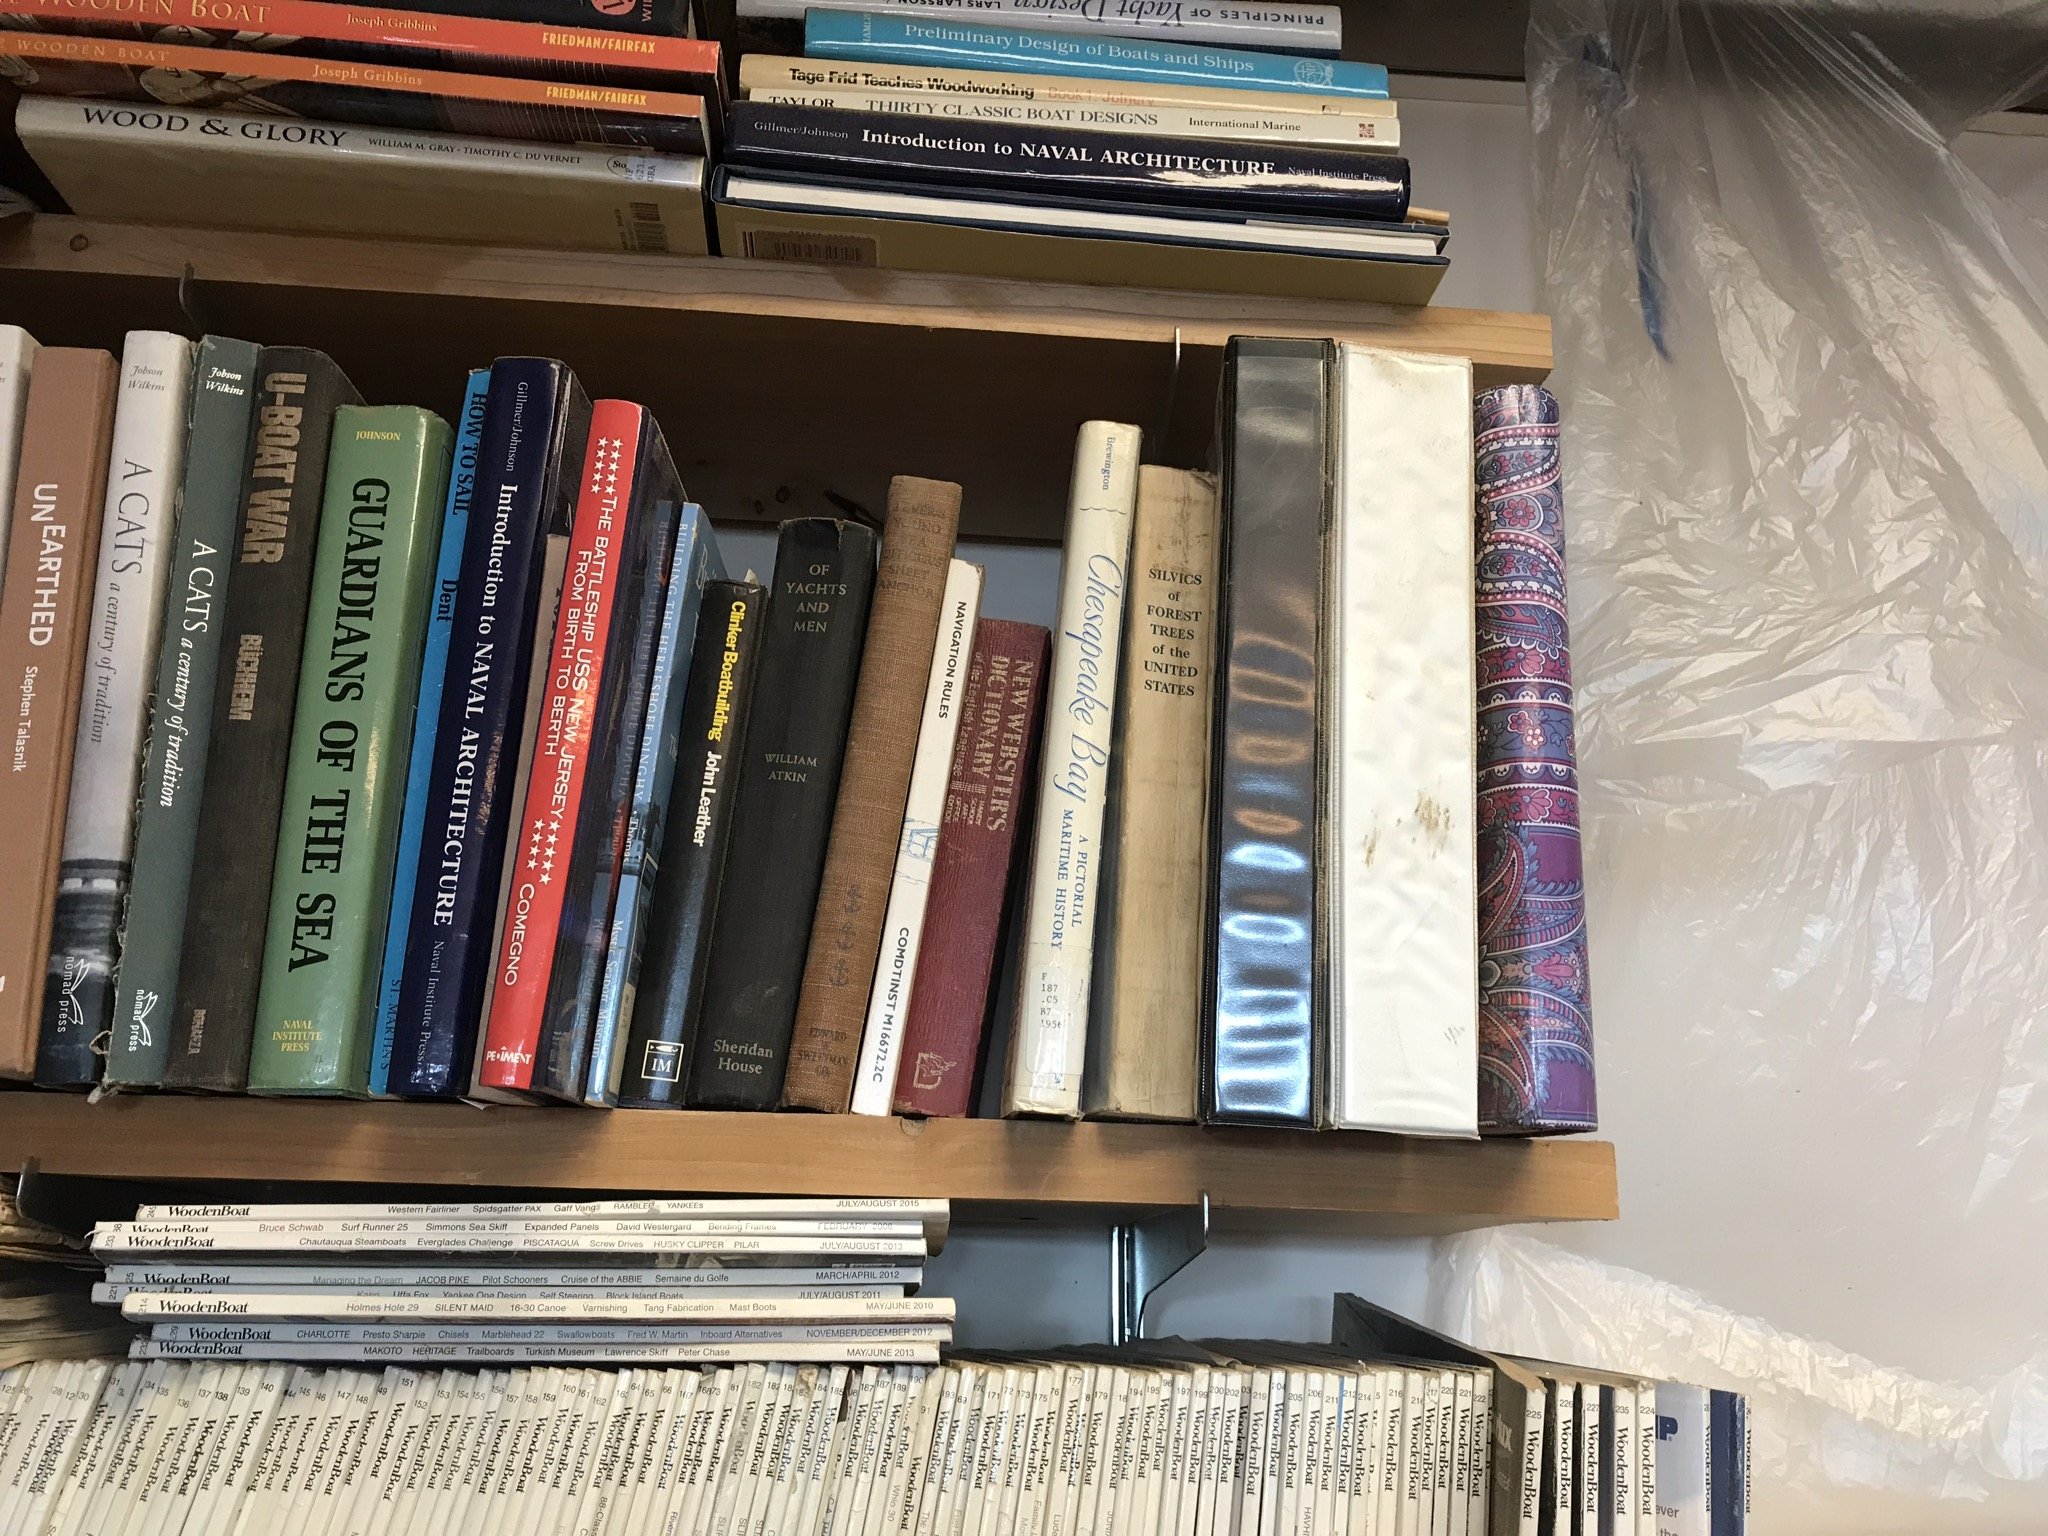
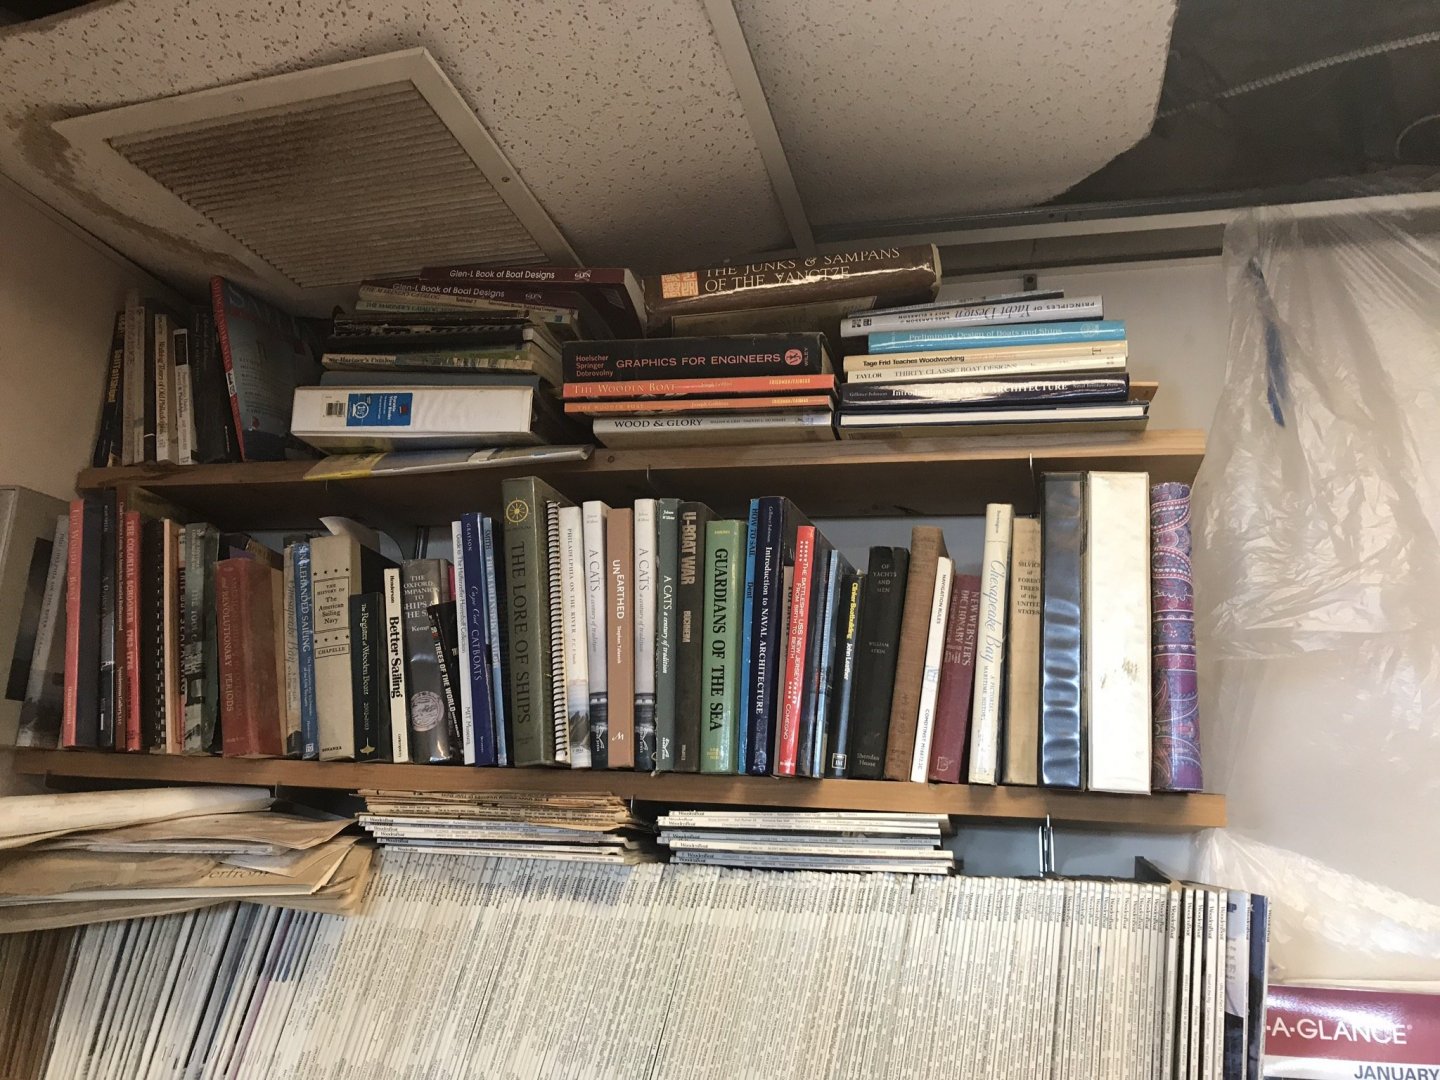
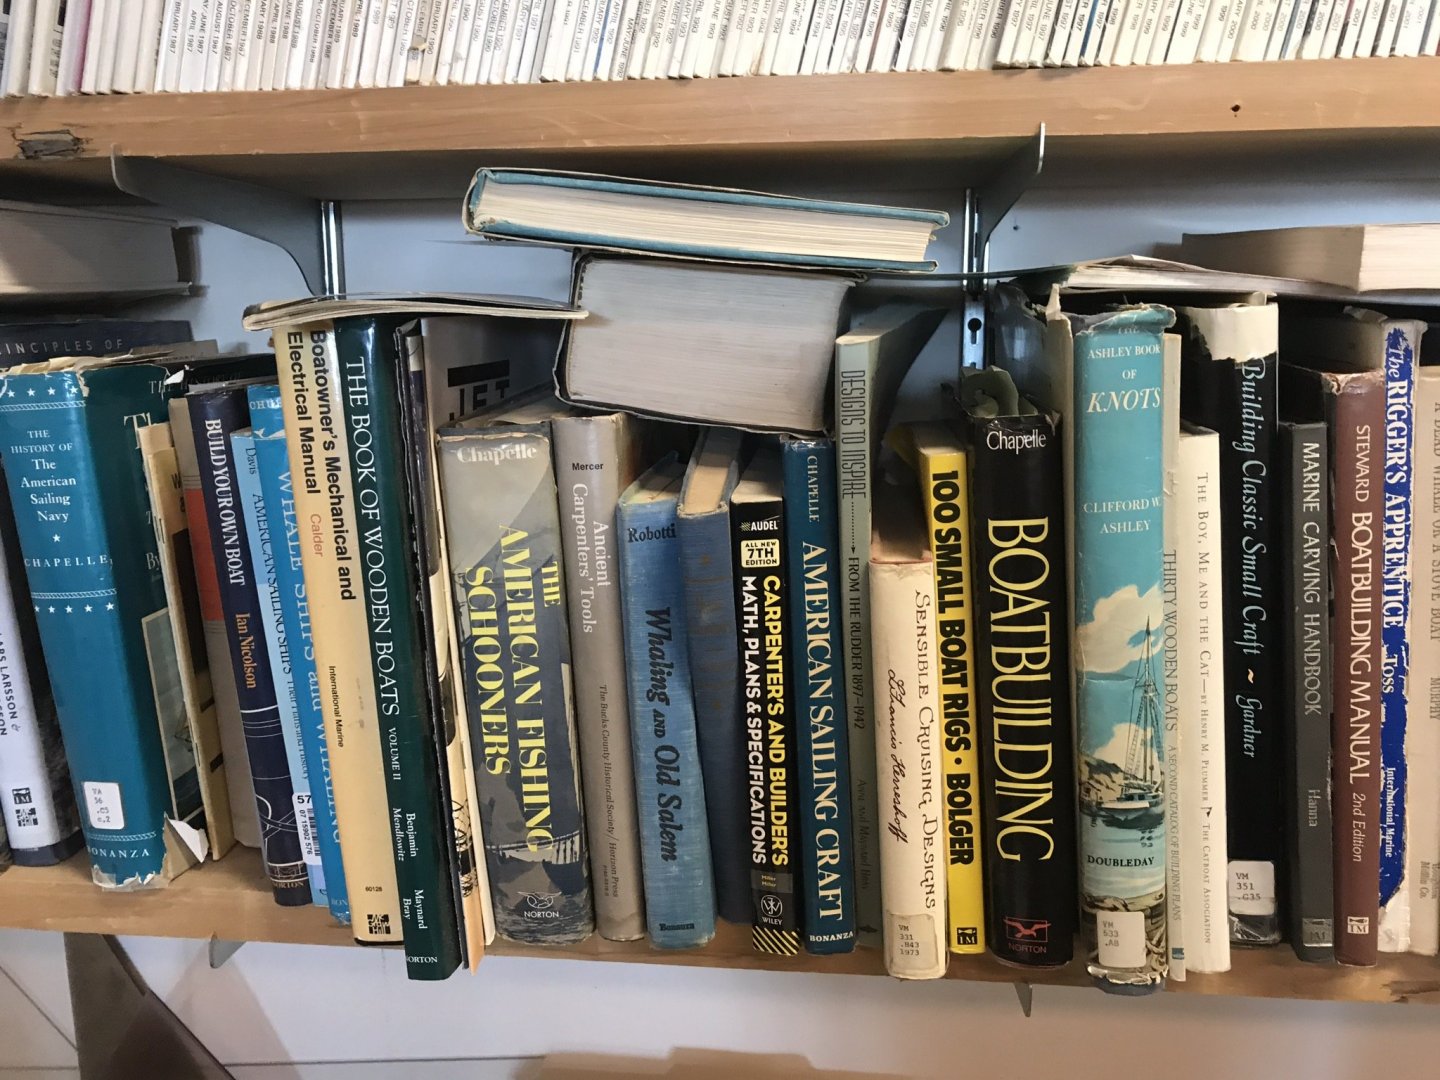
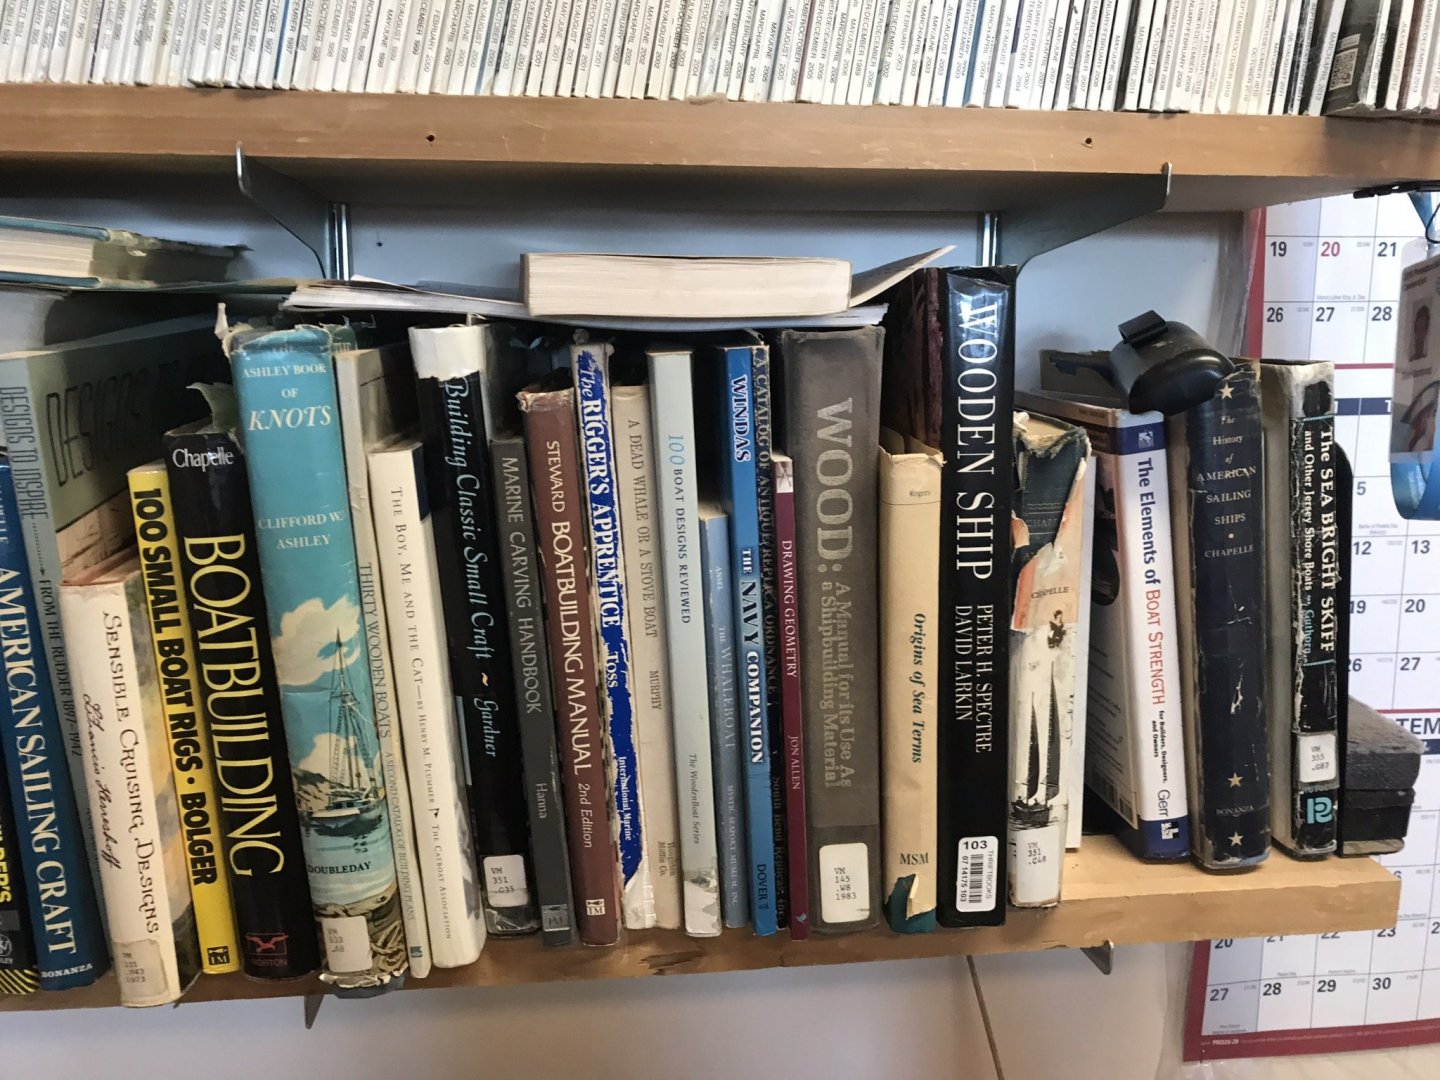
Curious what’s in a boatbuilder’s library?


- 155 replies
-
- 7
-
-
- opium smuggler
- Authentic Models
- (and 1 more)
-
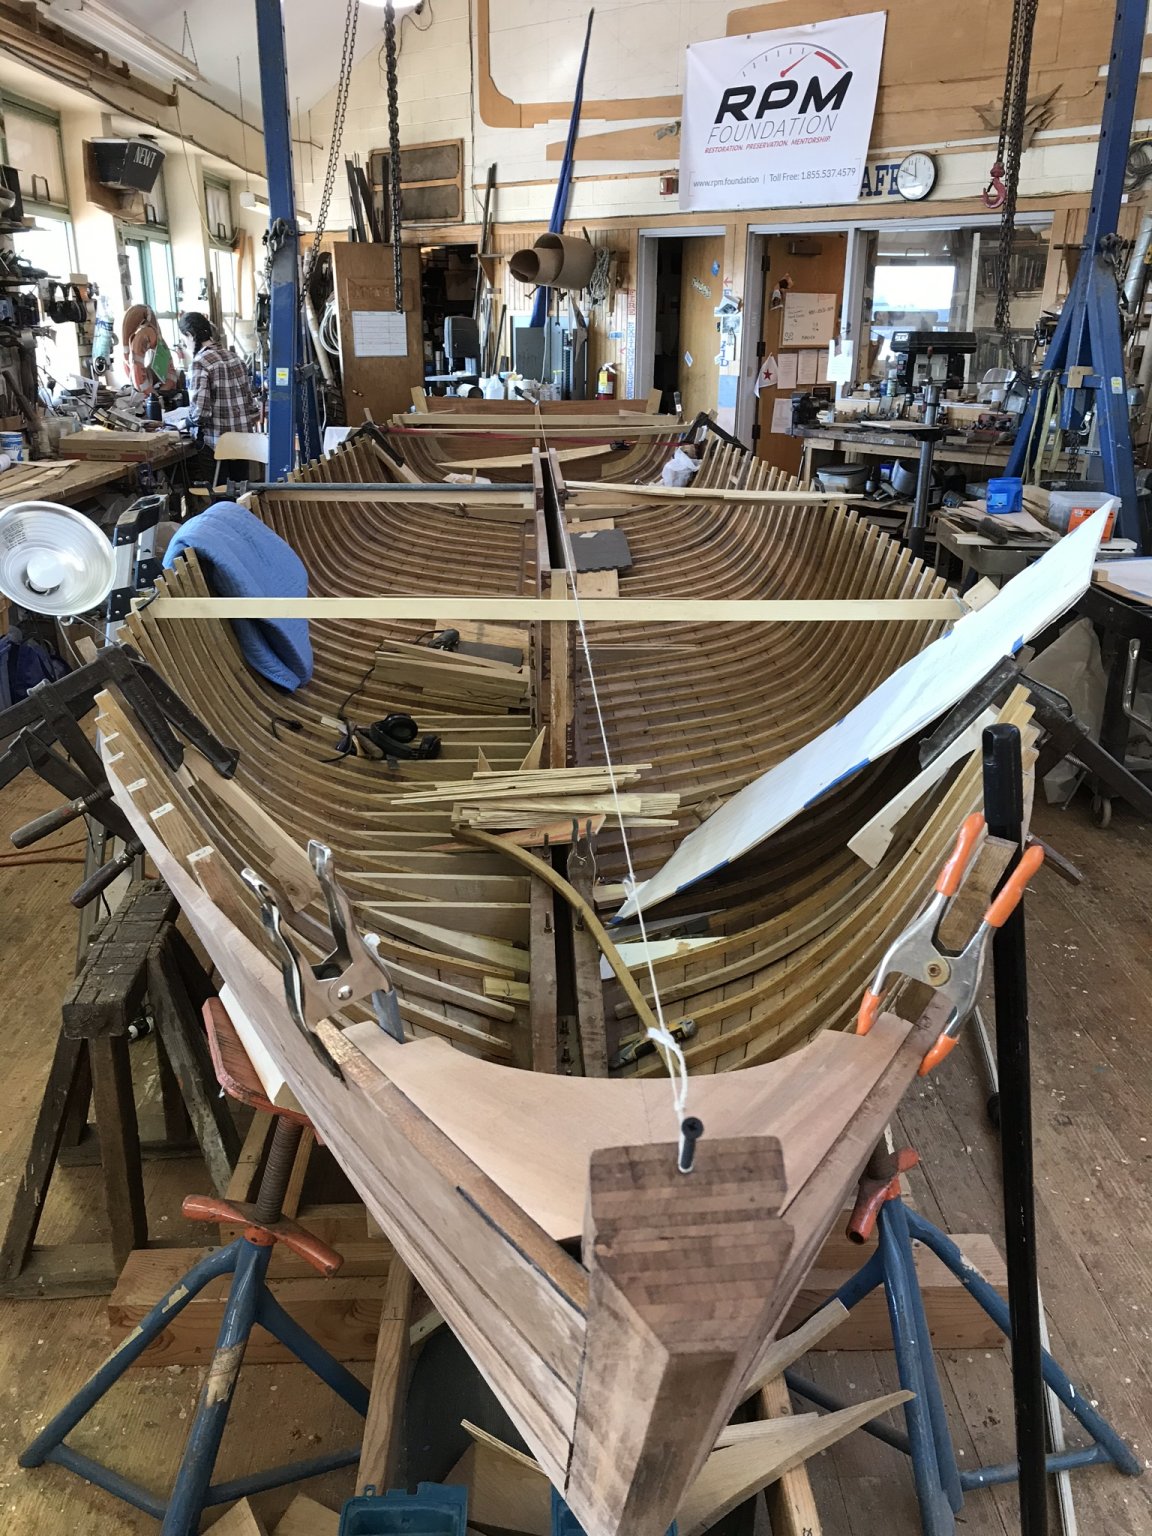
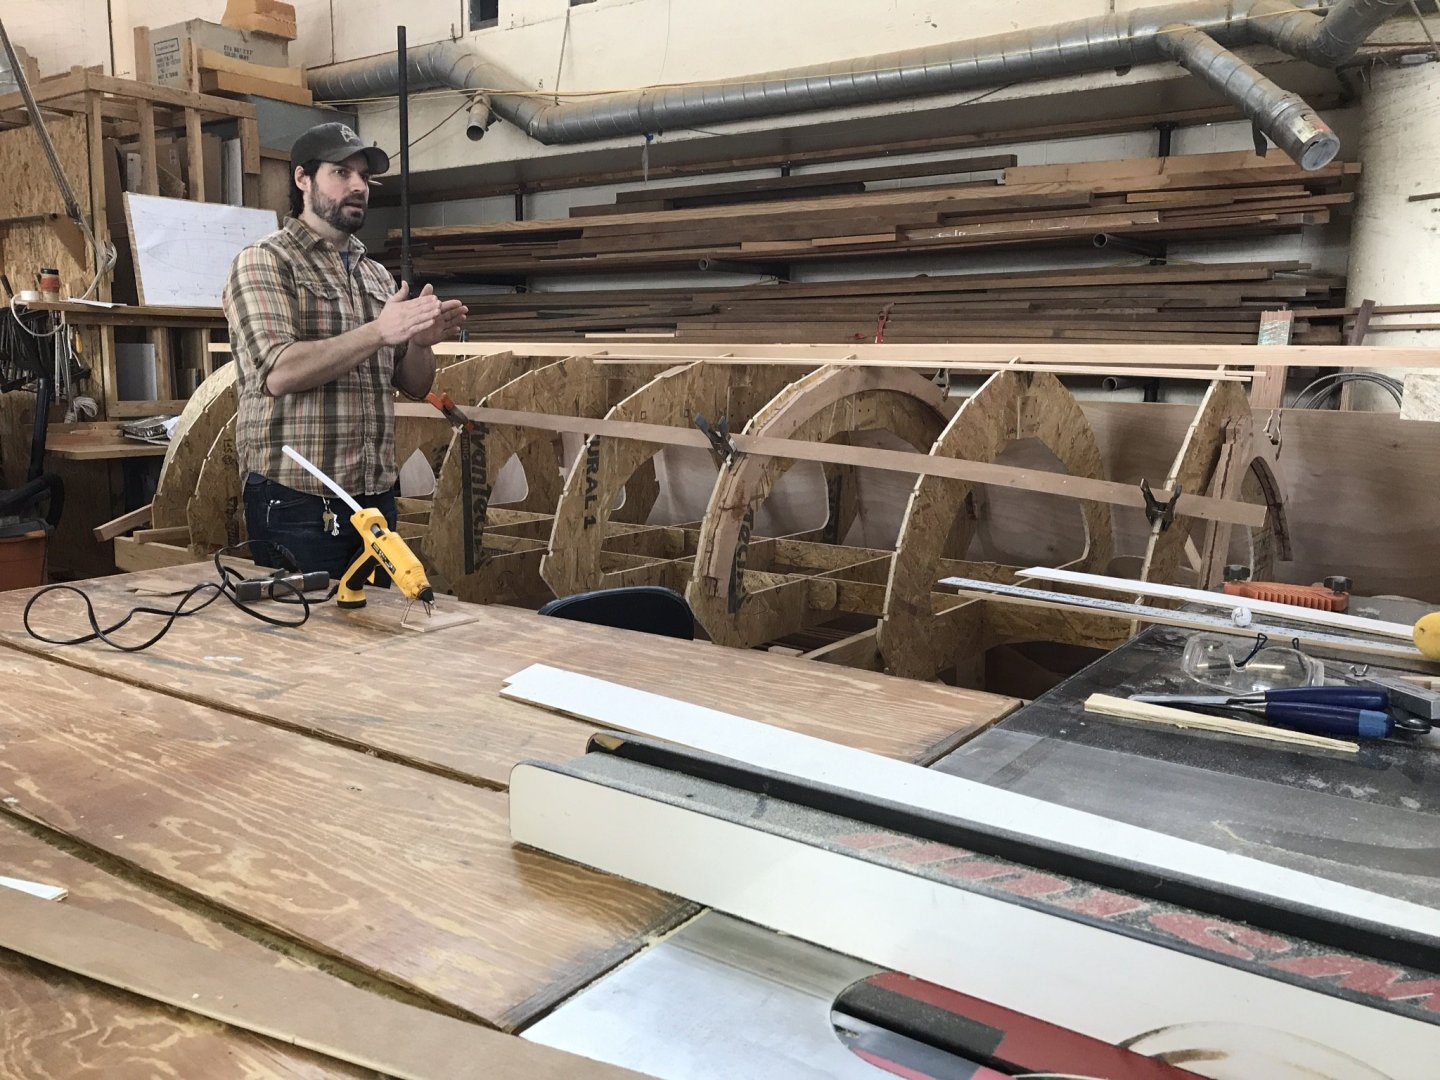
I also attended at two weekend workshop on boatbuilding at the same institution (as a gift from my beloved admiral)! It made lofting so much easier to understand. It was taught by Dave Dormond, who is boatbuilder on staff at the museum. An easy easy recommendation for the interested.


- 155 replies
-
- 5
-
-
- opium smuggler
- Authentic Models
- (and 1 more)
-
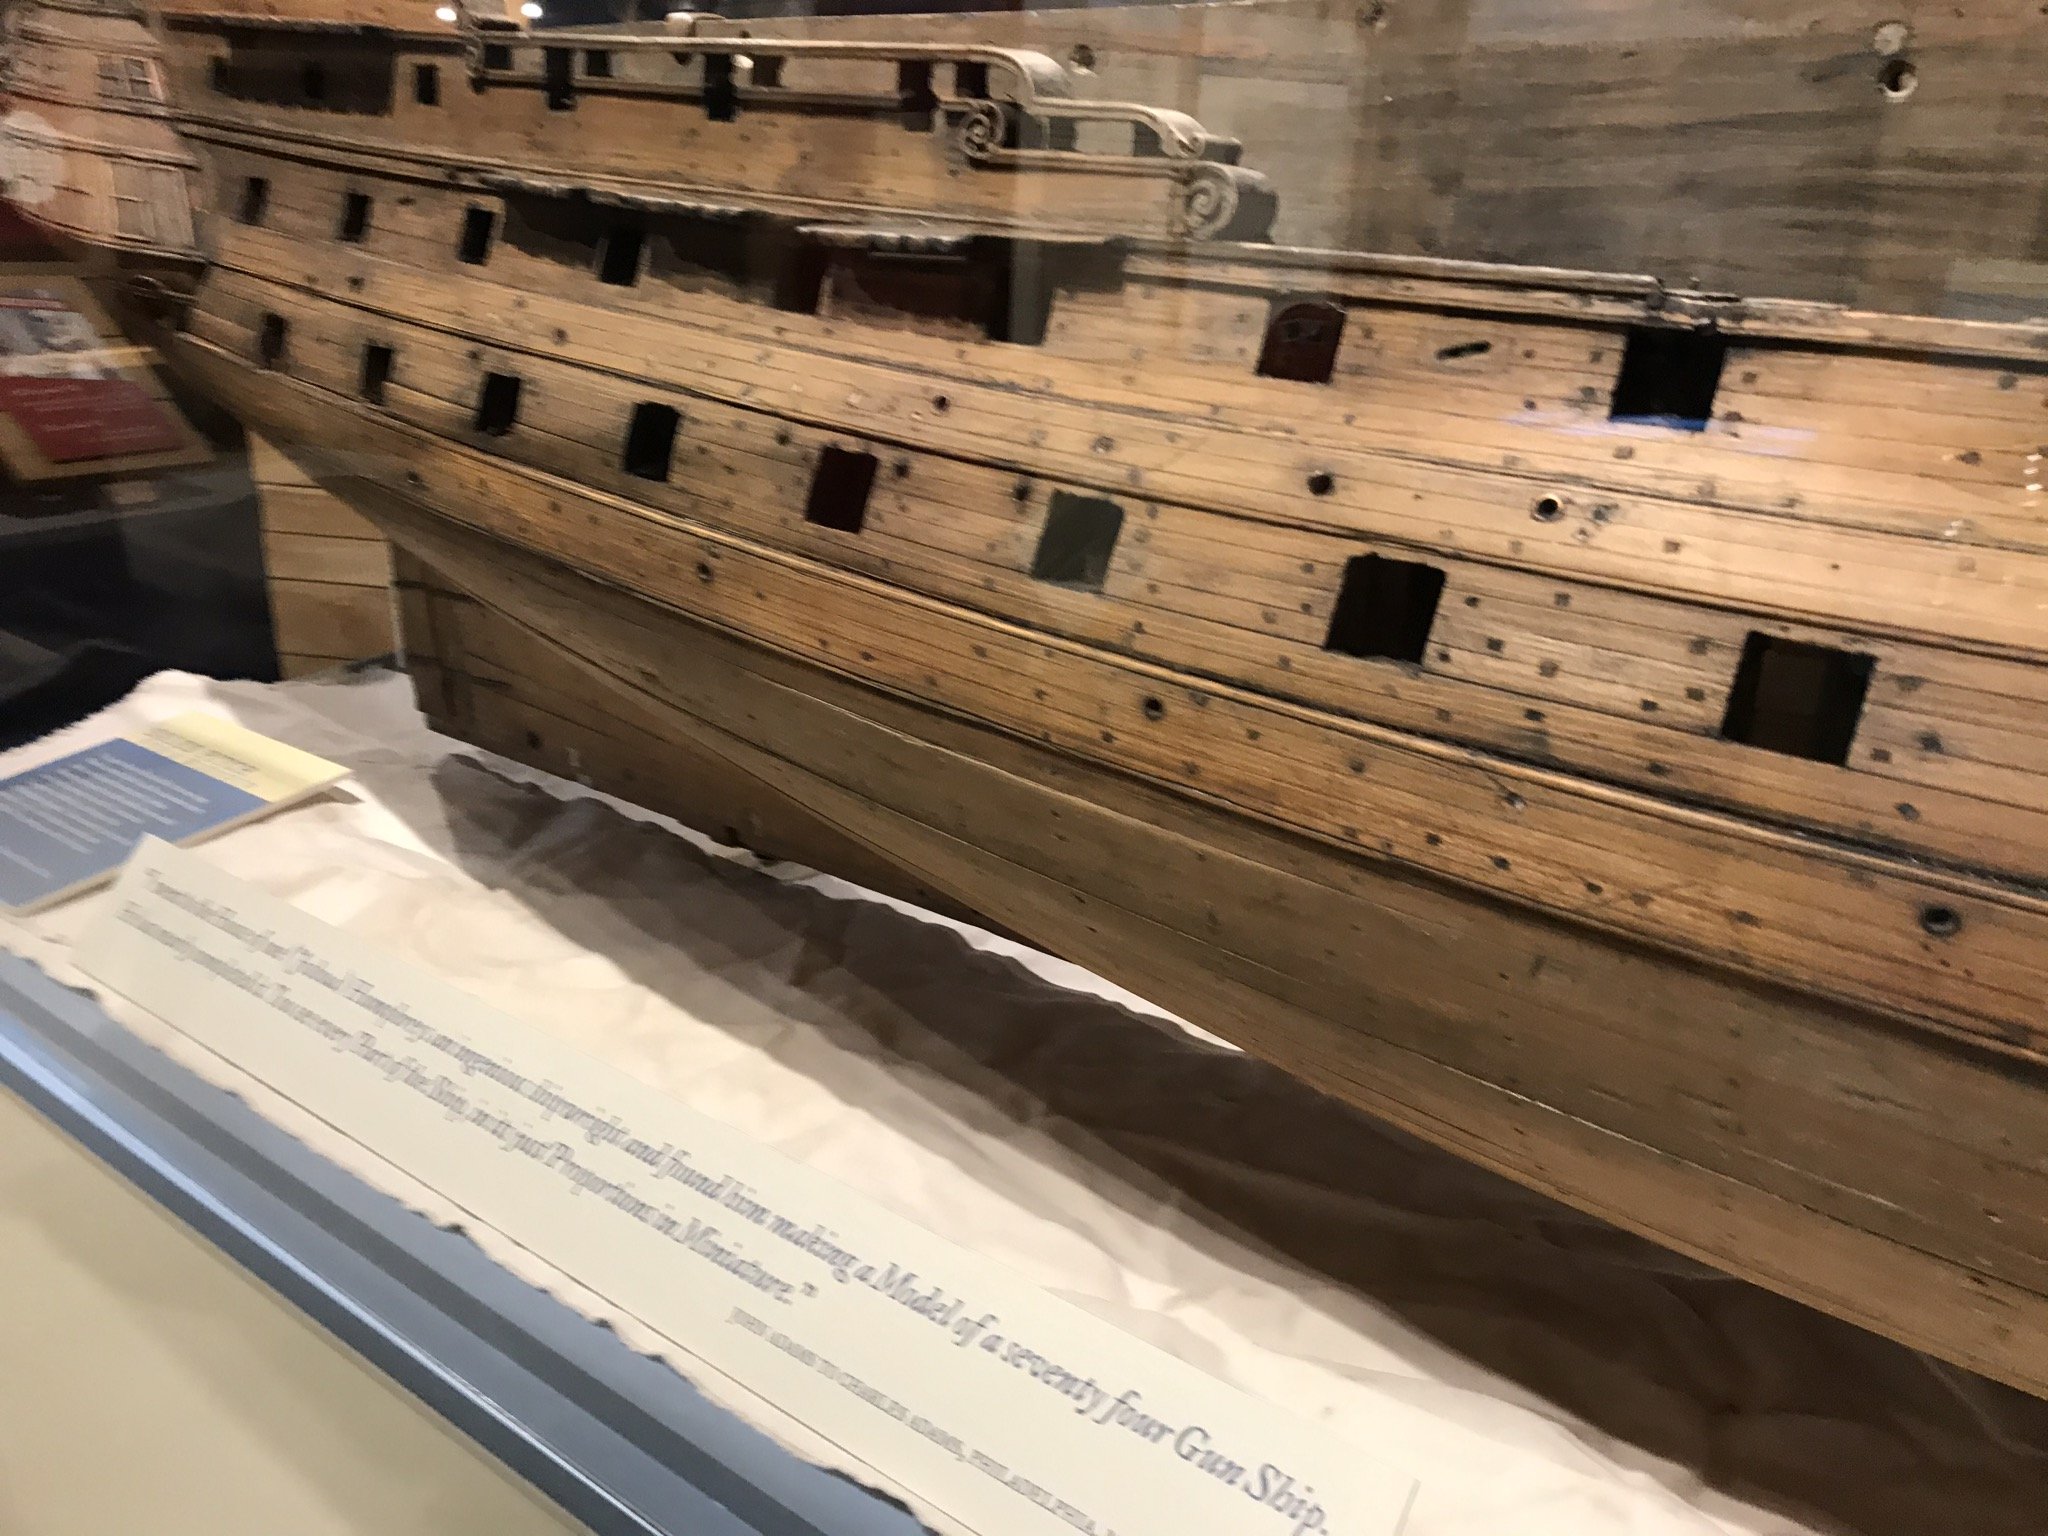
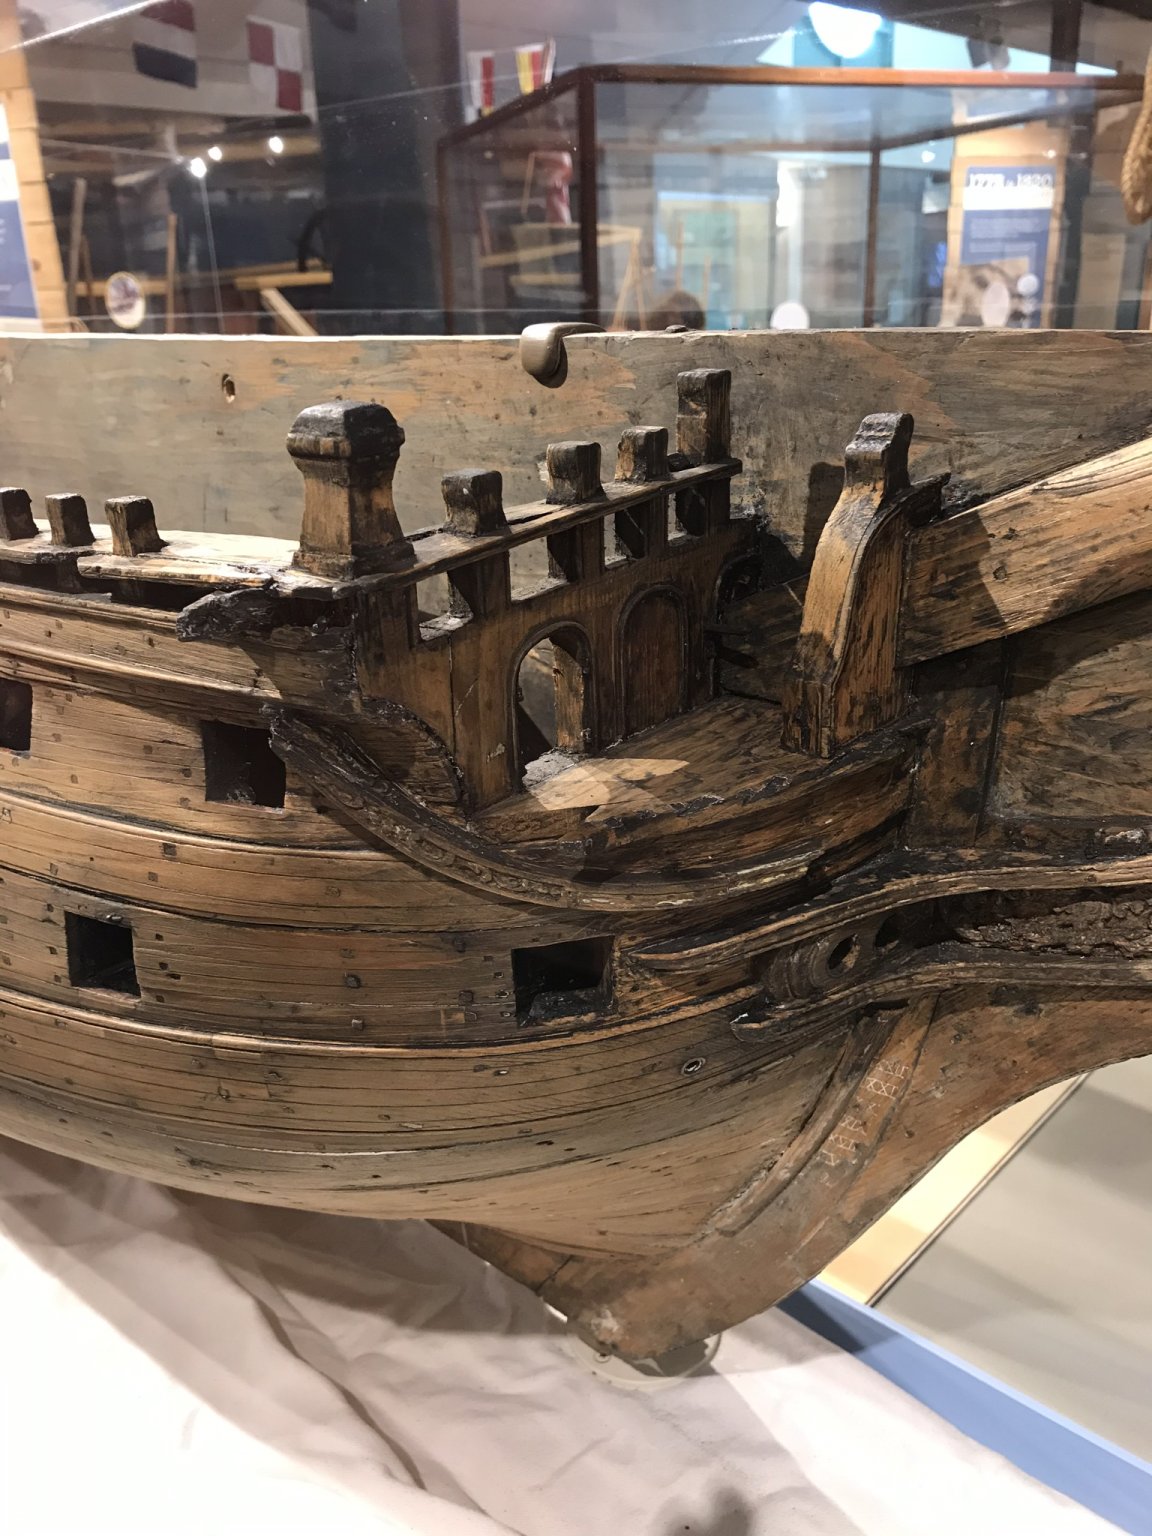
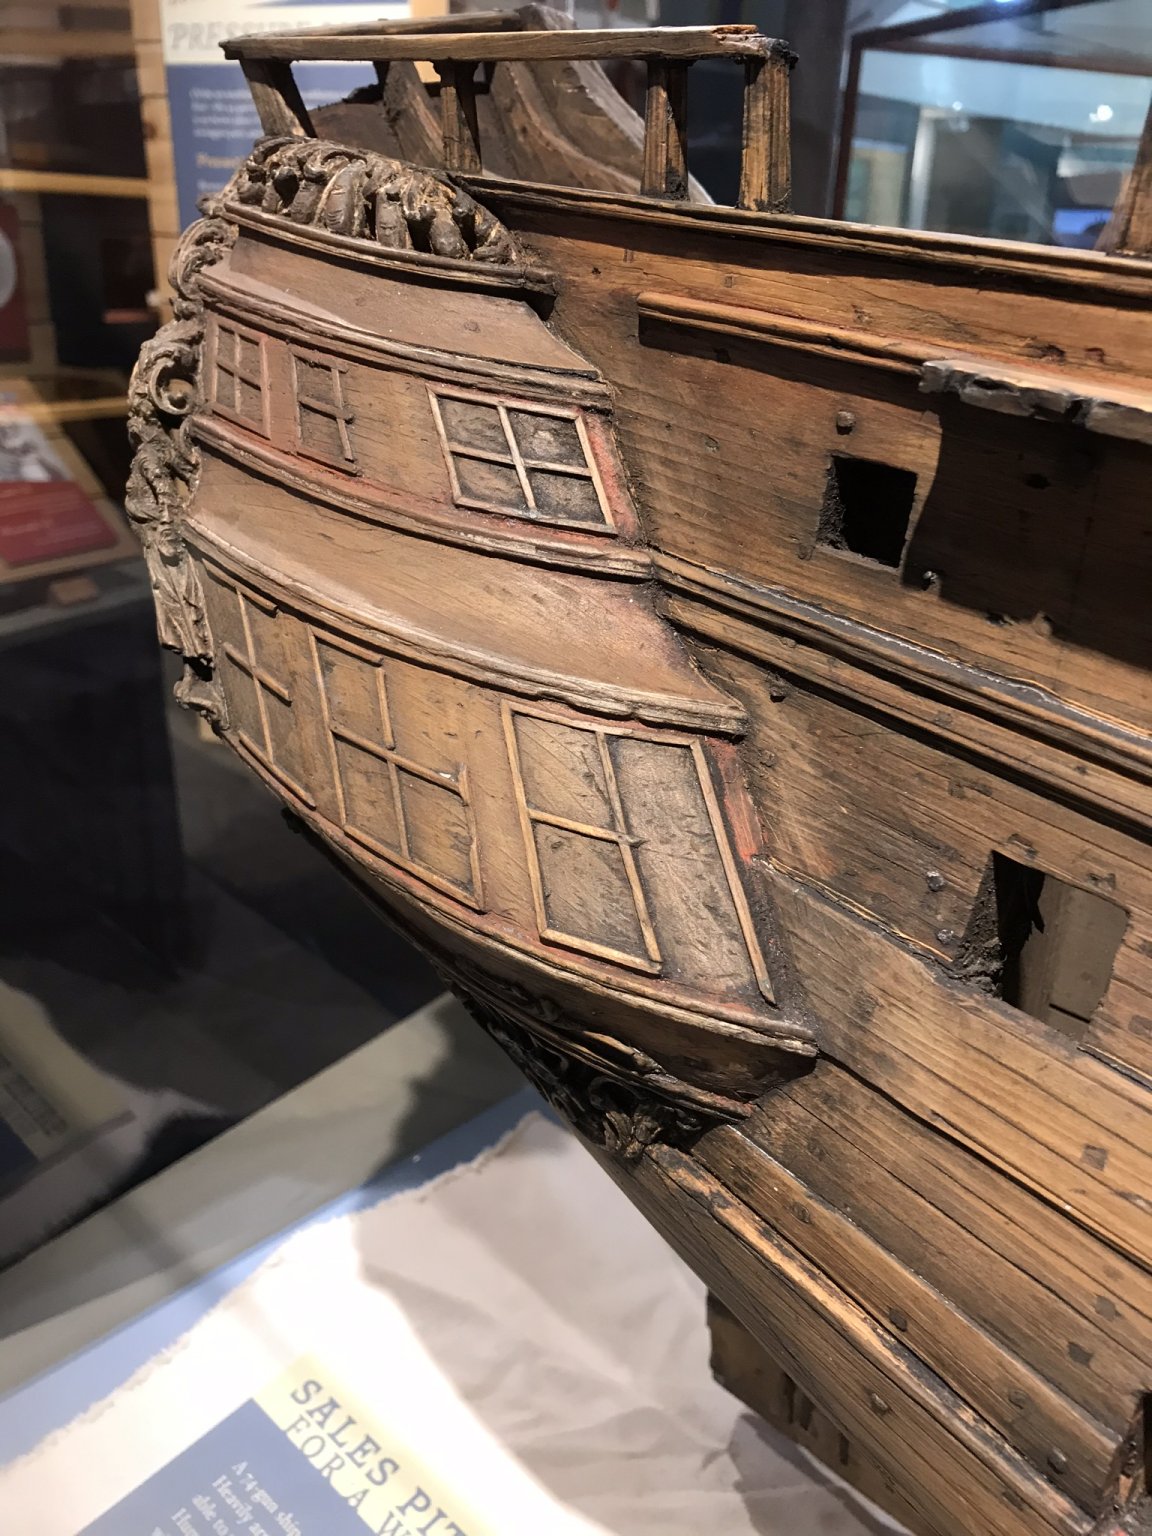
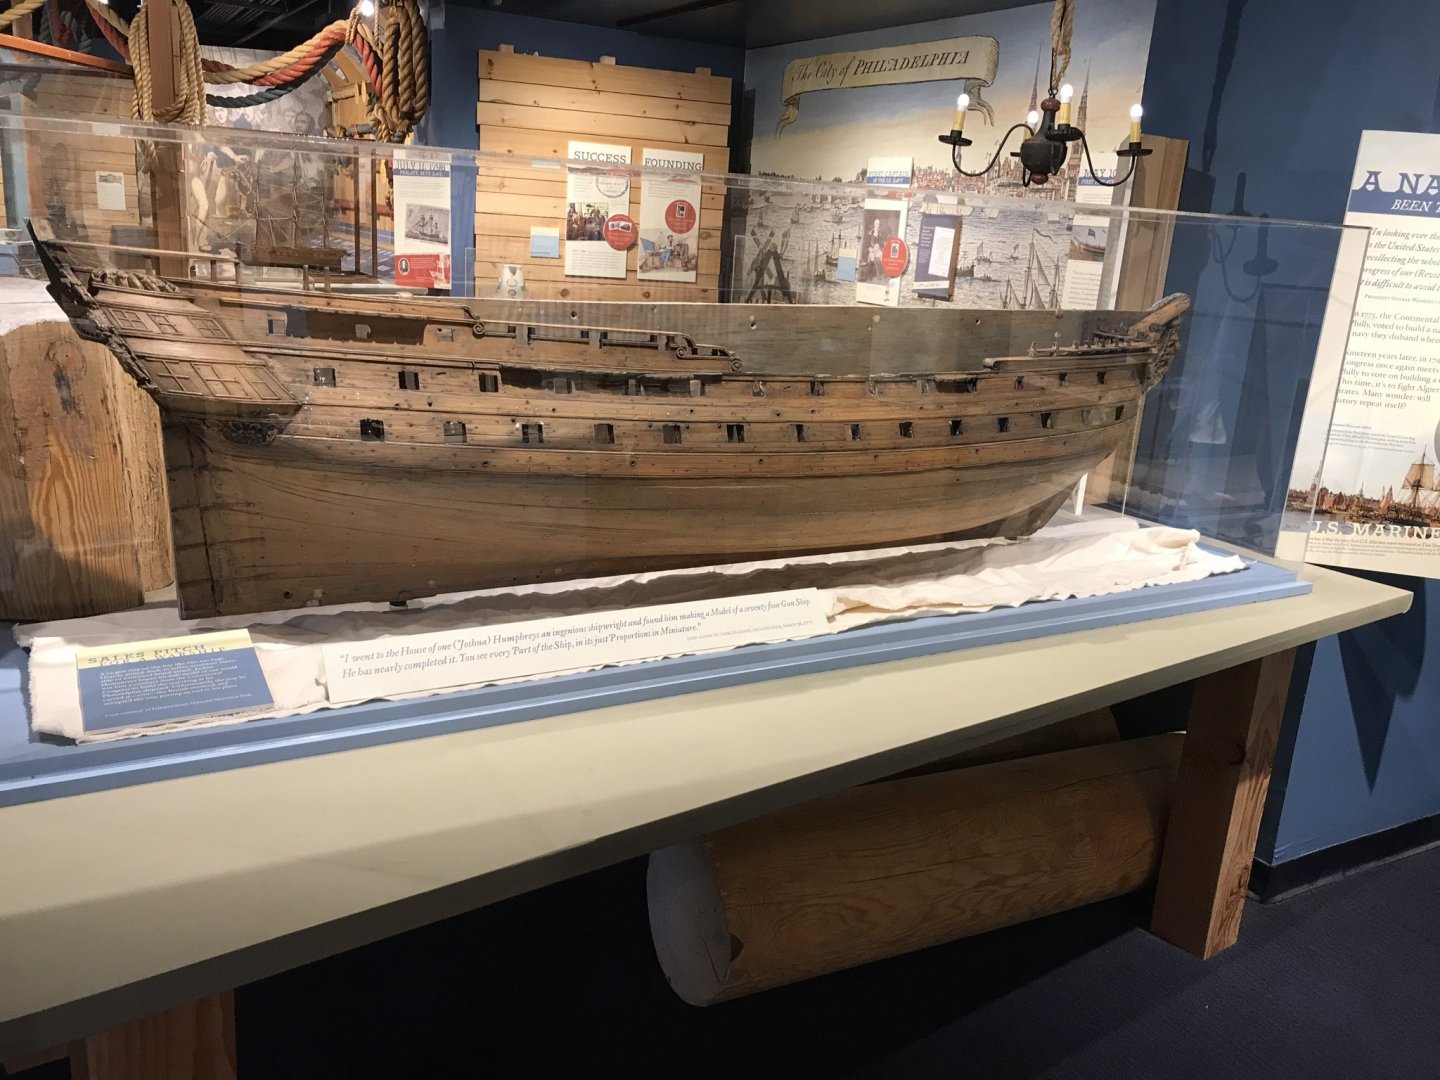
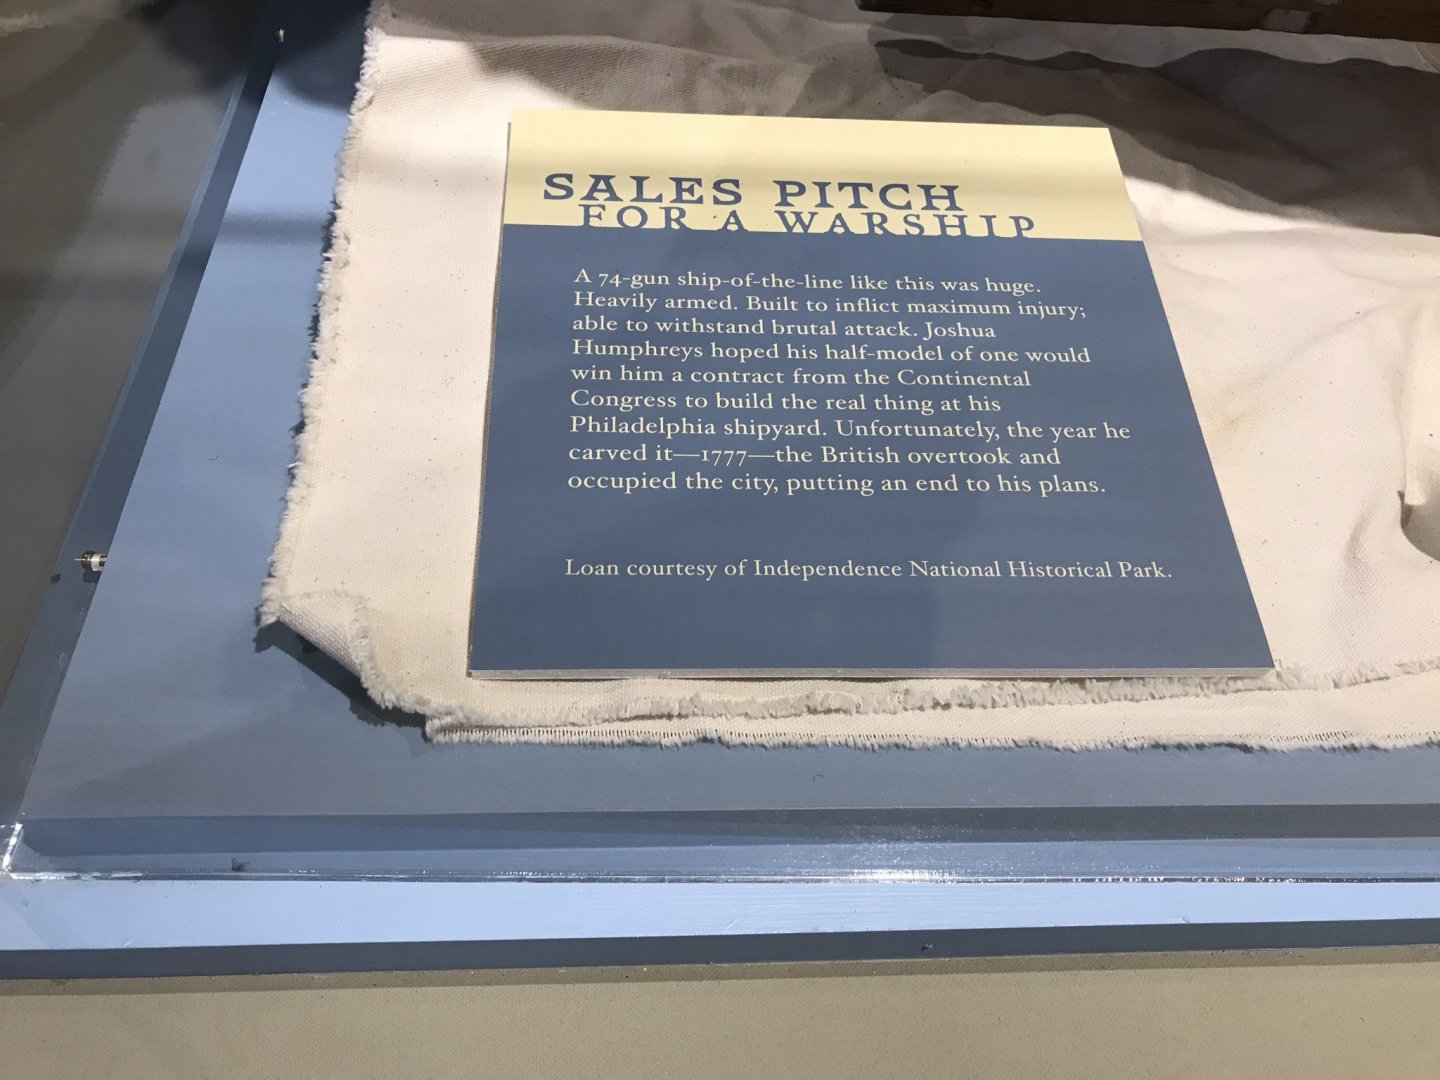
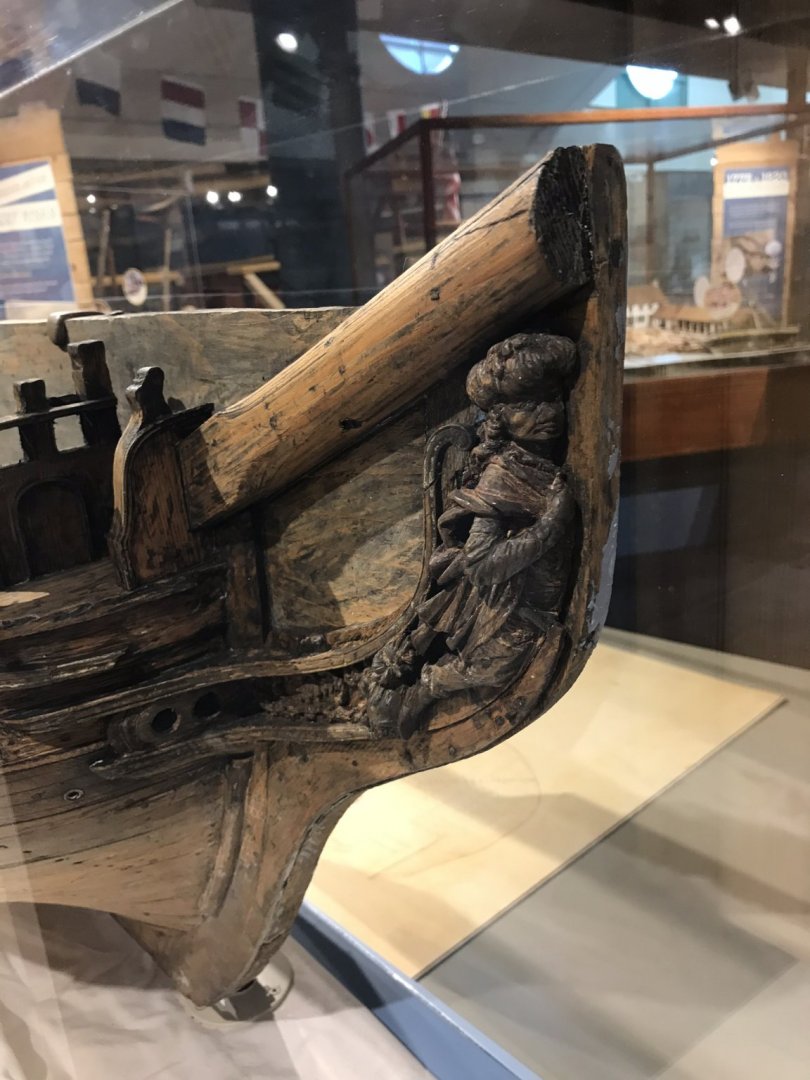
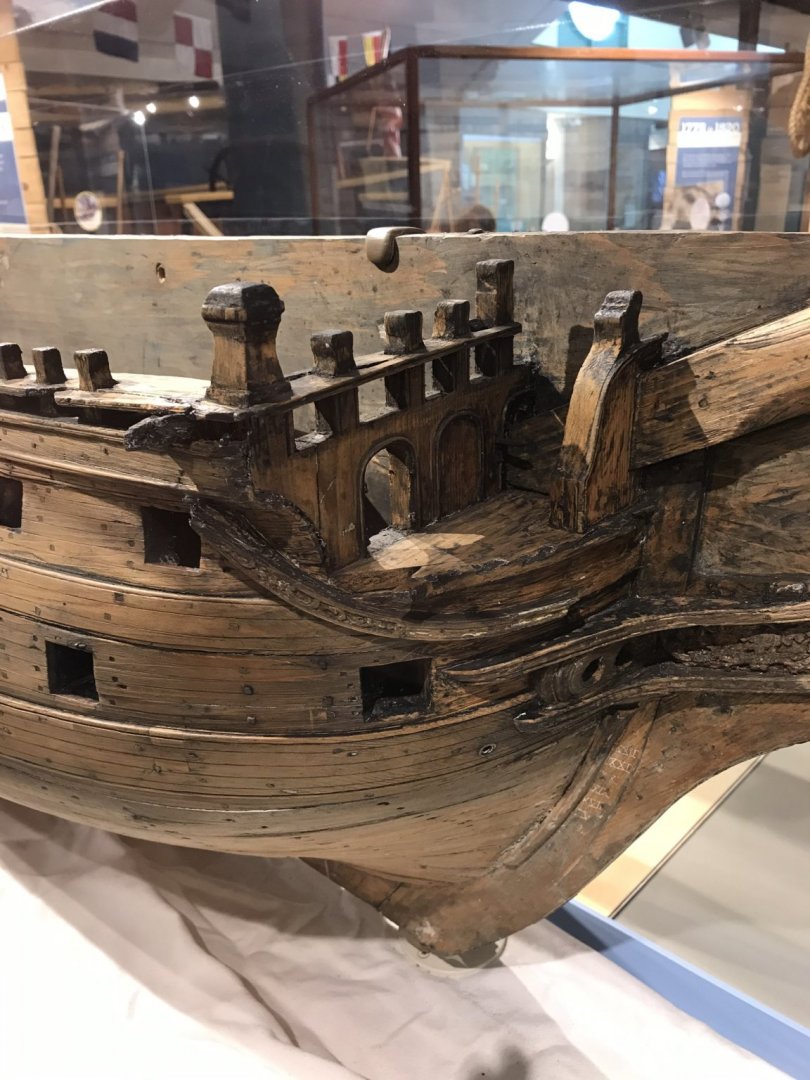
As mentioned before, this kit is based on a 1806 design by Samuel Humphreys called “Yacht for Canton.” His father was also a well-known designer. I stumbled across a model built by the father at the Independence Seaport Museum (in Philadelphia, PA, east coast USA):

- 155 replies
-
- 6
-
-
- opium smuggler
- Authentic Models
- (and 1 more)
-
Gaetan, Thanks for your thoughtful reply. I’m ready to dip my toe in machining so seeing such a library is exciting; seeing your library, in light of you delightful work, more so!!
-
If you had to pick two or three of your machinist’s books, which would you recommend?
-
Edward, thanks for the kind words!! I’m still in my early days of modeling and it is delightful hear such encouragement!
- 72 replies
-
- 1
-
-
- Chesapeake Bay Flattie
- Midwest Products
- (and 1 more)
-
Many thanks yet again for the views and likes!
- 155 replies
-
- 1
-
-
- opium smuggler
- Authentic Models
- (and 1 more)
-
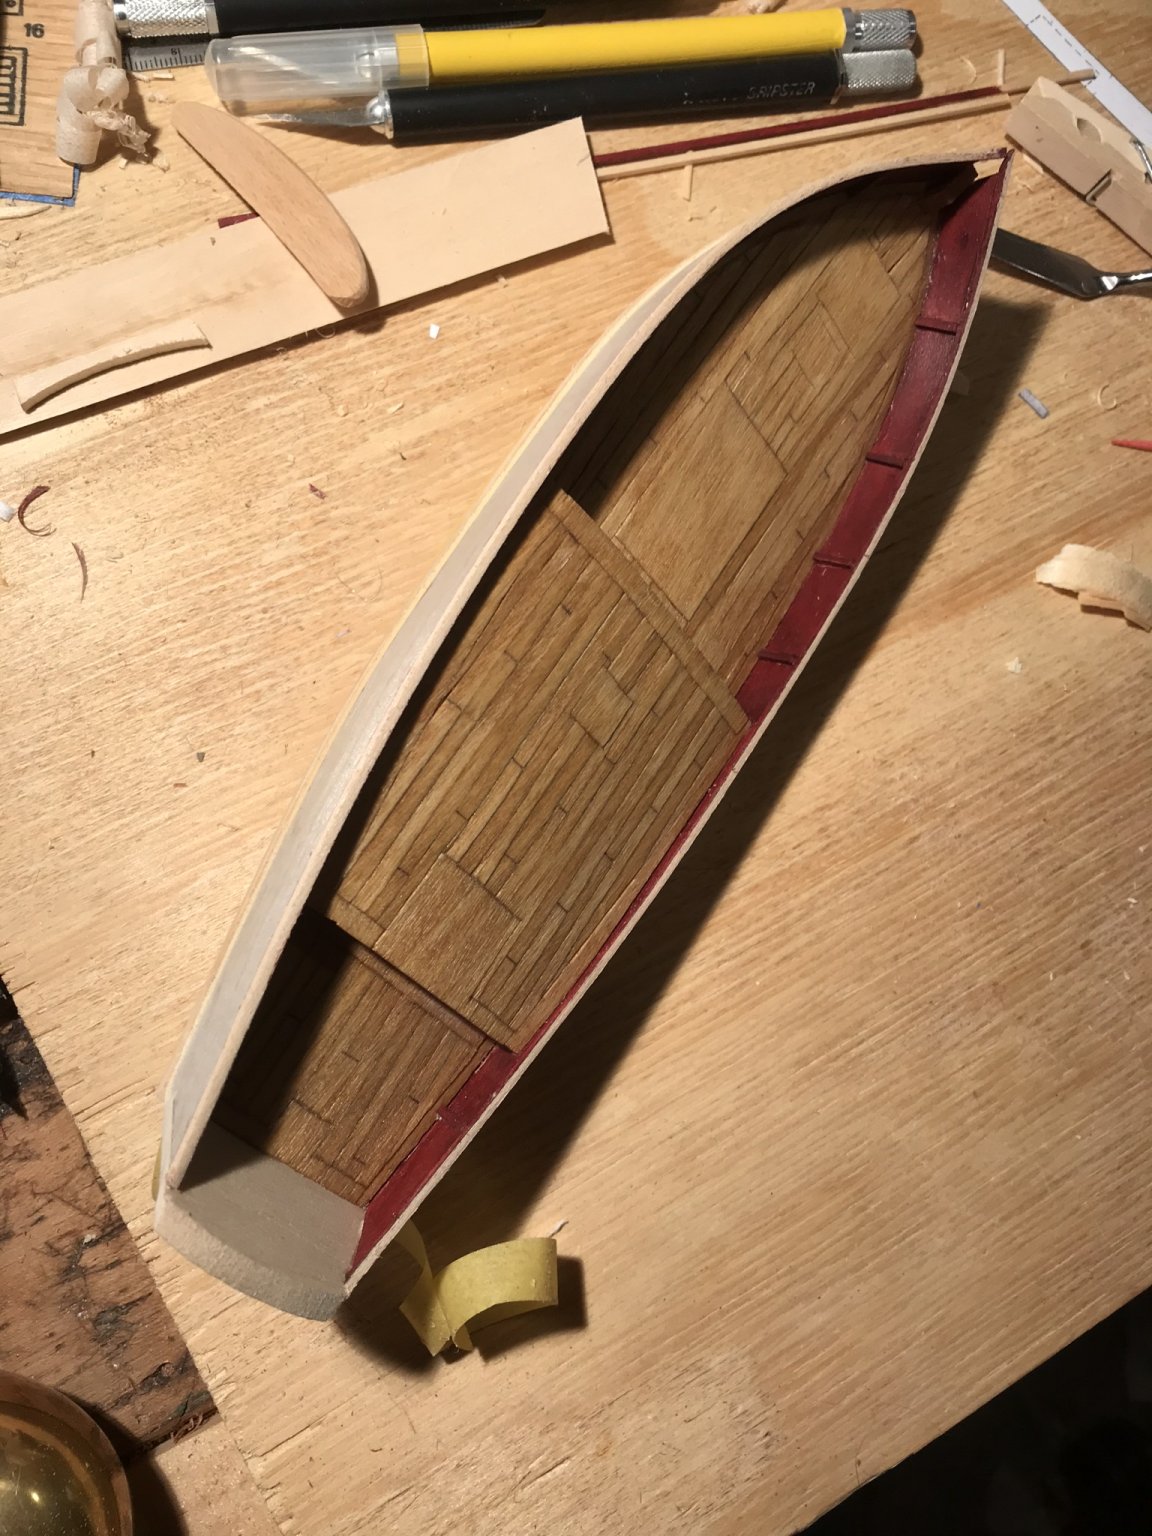
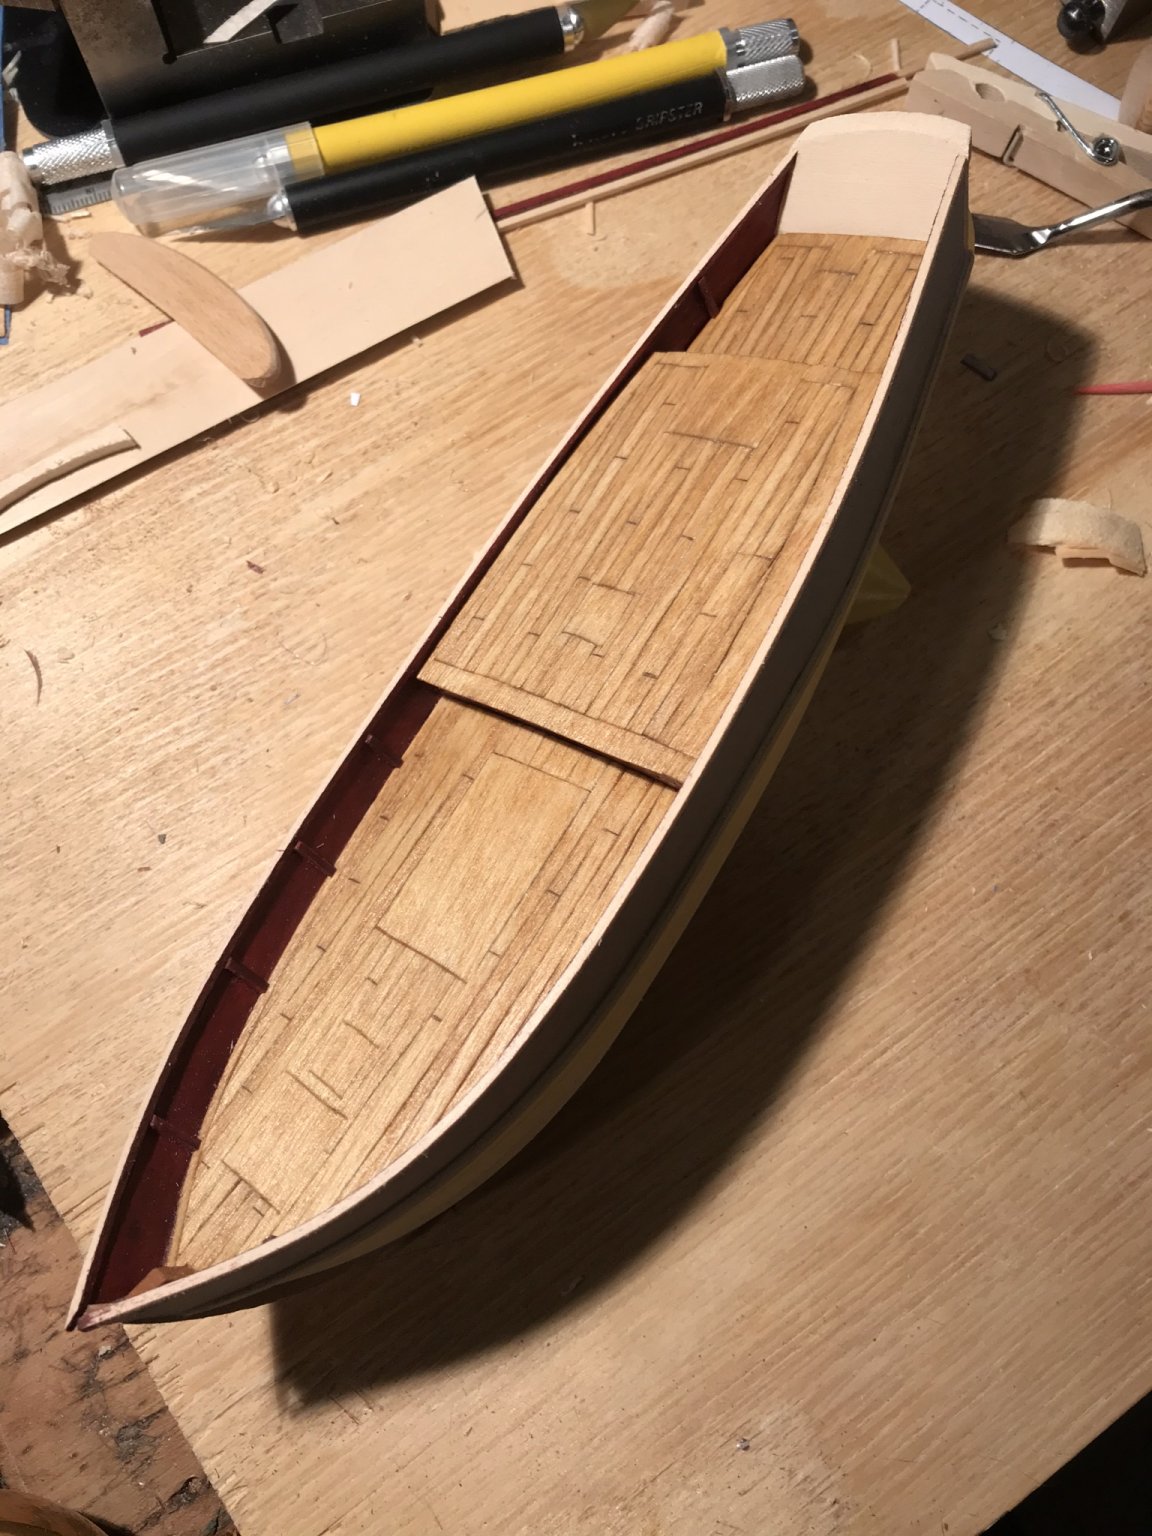
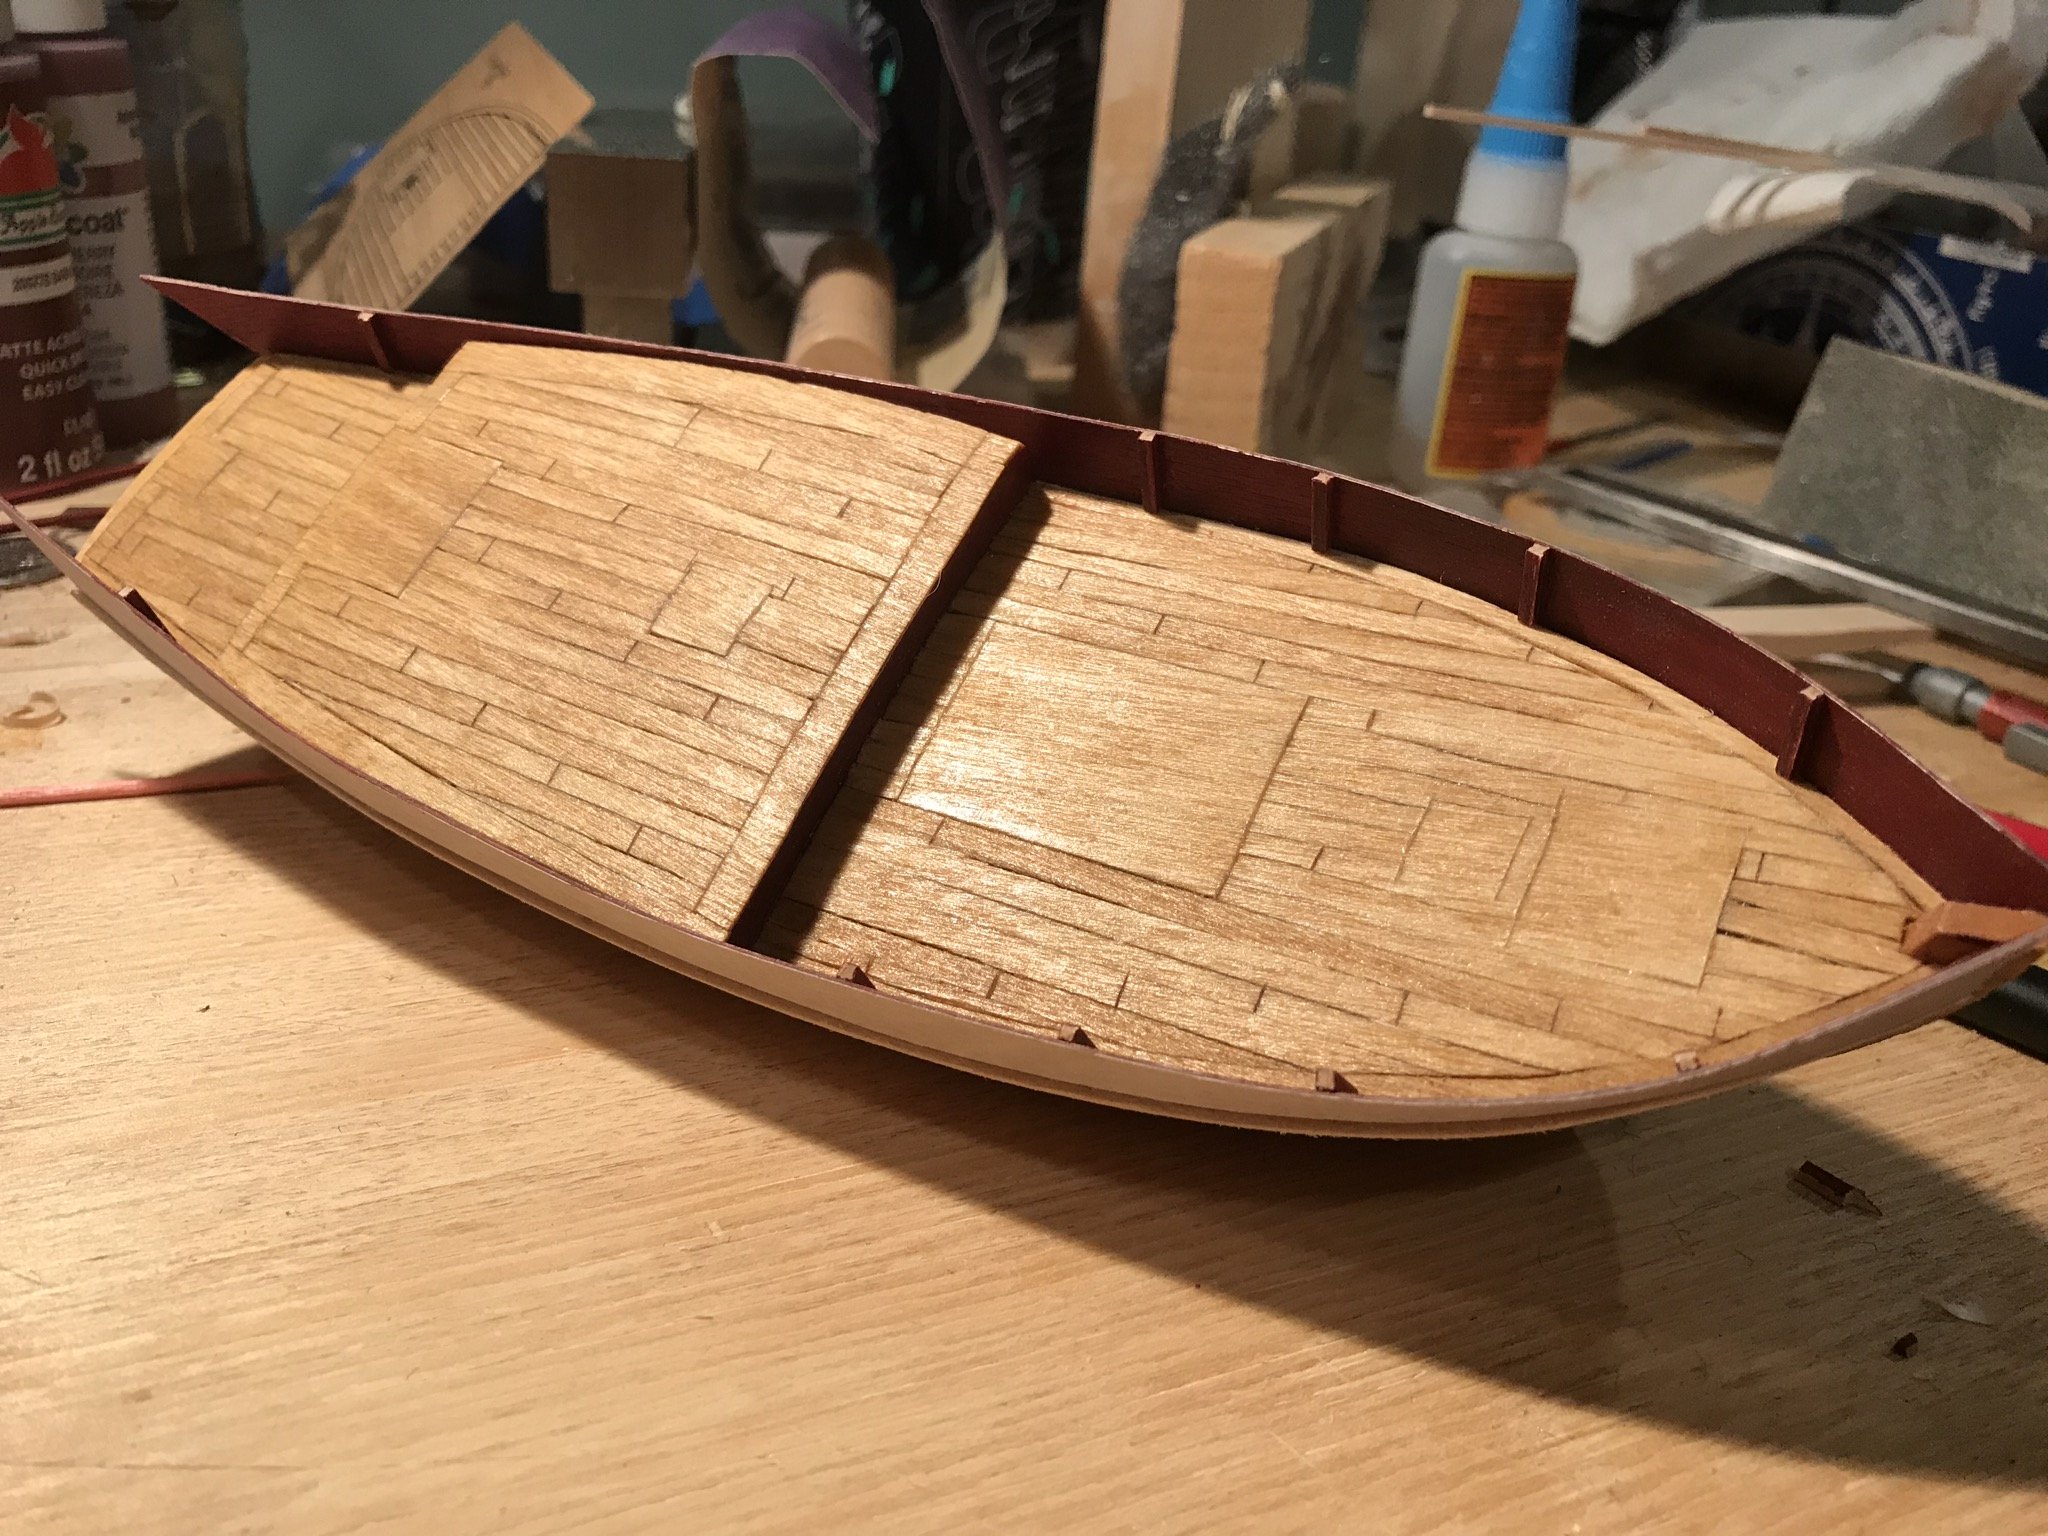
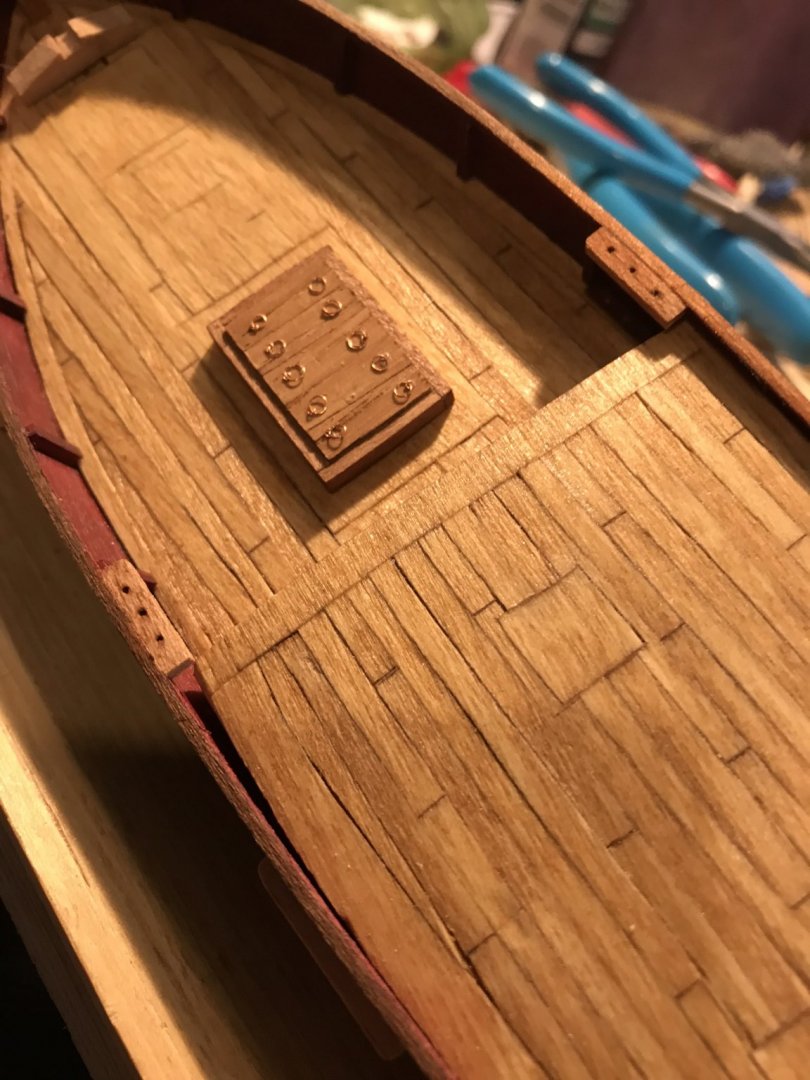
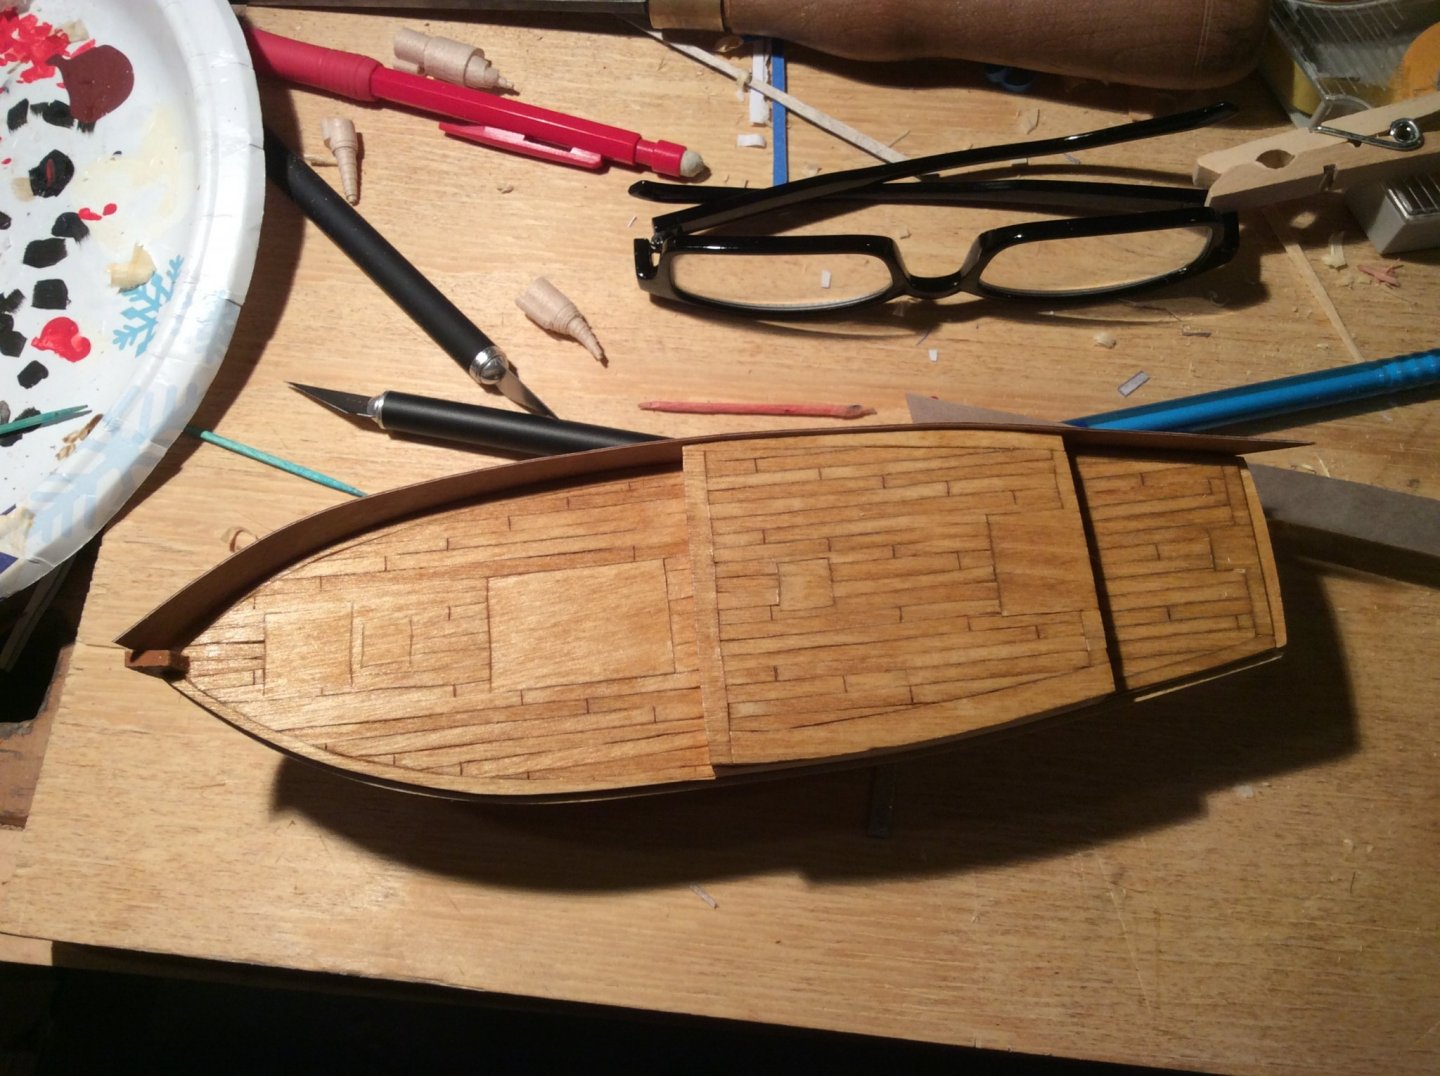
More work on the deck, a bit of hull shaping and one bulwark attached! The runs of decking were sliced with an xacto blade then I used a small brush to add a bit of brown stain to hide the fresh cut of the wood. The photo shows the deck after a coat of varnish.
- 155 replies
-
- 10
-
-
- opium smuggler
- Authentic Models
- (and 1 more)
-
Discretion is the better part of valor!!
-
@Jond I finished your suggested book, Barons of the Seas. It was an interesting history - I was surprised by how many the wealth families with connections to the opium trade described are names familiar to anyone who has lived in NYC! I didn’t realize how much overlap existed between the clippers and steamships nor to the mechanics and economics of the opium trade. What are some of your favorite books that you would recommend? Unrelated, I haven’t found any good references for deck fittings or rigging and I’m open to suggestions! In the absence of an good intel, I’ll just build the kit as per the limited details given in the kit.
- 155 replies
-
- 1
-
-
- opium smuggler
- Authentic Models
- (and 1 more)
-
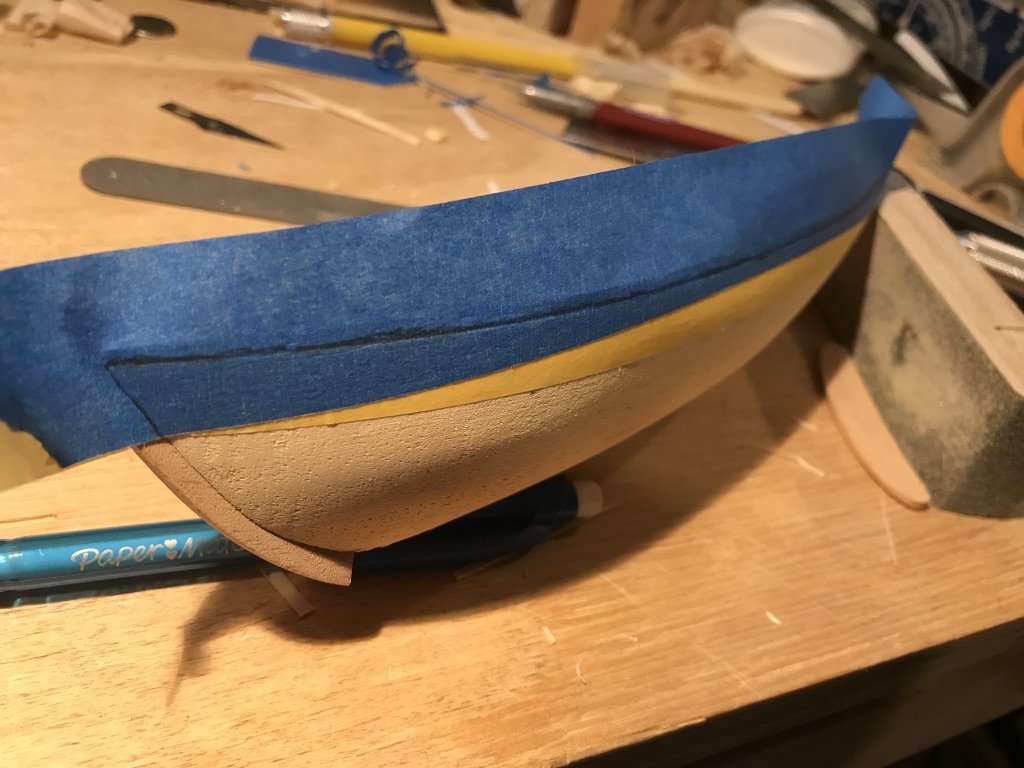
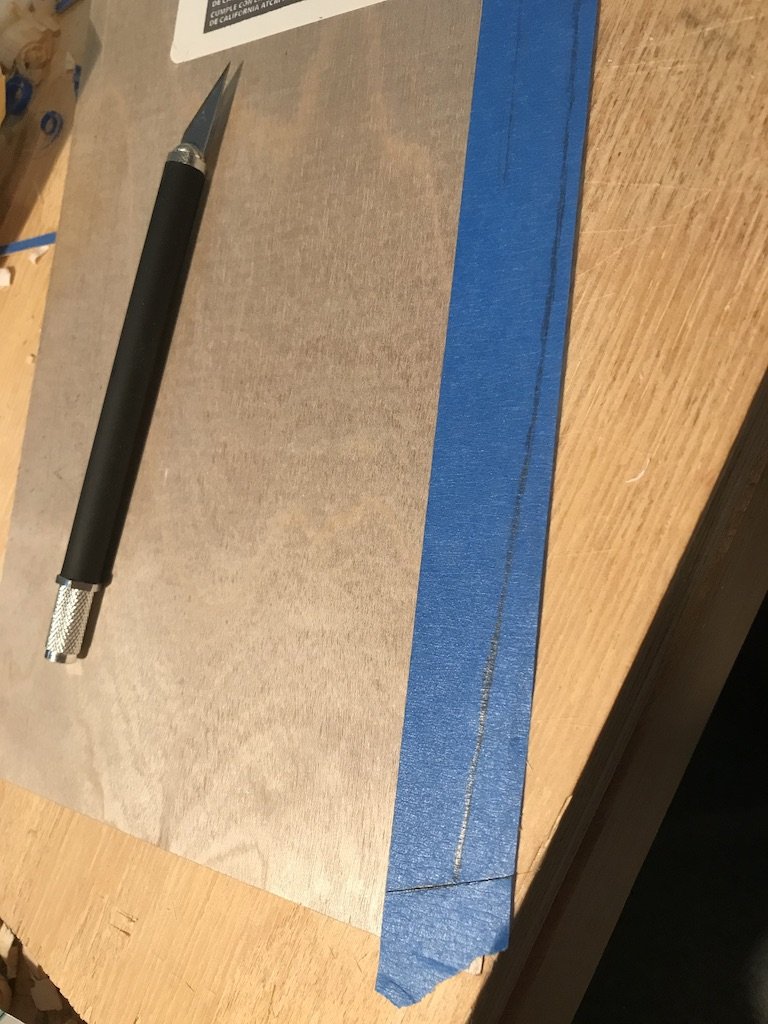
Photos of the process described above. I used yellow to mark the suggested line in the plans and then overlaid the blue tape and 'felt' for the bump of the overlap and marked it in pencil. Then I removed the blue tape and laid it on the wood to cut, added an offset then cut.
- 155 replies
-
- 7
-
-
- opium smuggler
- Authentic Models
- (and 1 more)
-
The kit’s supplied templates for the sides didn’t match the supplied hull. I was at loss as to how to proceed. I made in templates by putting (yellow) tape below the deck on the sides of the hull as per the plans then put a second layer of (blue) tape, which I marked with pencil to capture the curve. I removed the blue tape and stuck it to the sheet to be cut, thus transferring the 3D curve to a 2D surface for cutting. I then added a parallel line to match the transferred line and then did my cutting. If the there is a standard way to do this, I’m all ears!
- 155 replies
-
- 1
-
-
- opium smuggler
- Authentic Models
- (and 1 more)