-
Posts
986 -
Joined
-
Last visited
Content Type
Profiles
Forums
Gallery
Events
Everything posted by EricWilliamMarshall
-
.thumb.jpeg.fc5d633a7b34428fcf19419a73d56d55.jpeg)
Chisel hone guide question
EricWilliamMarshall replied to CPDDET's topic in Modeling tools and Workshop Equipment
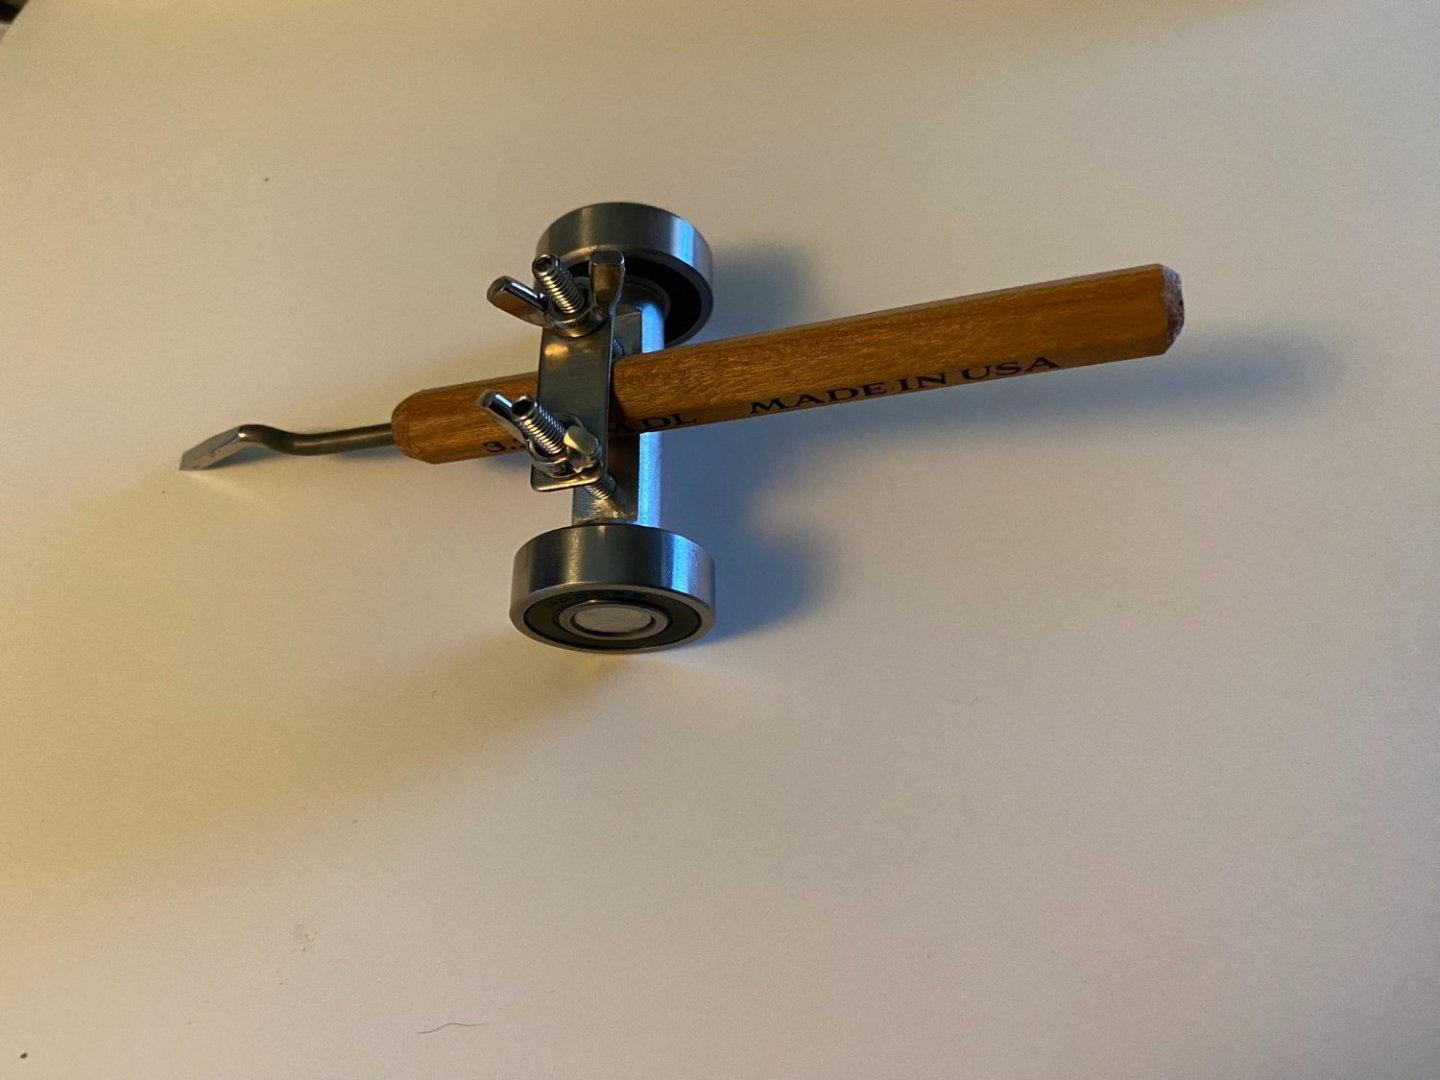
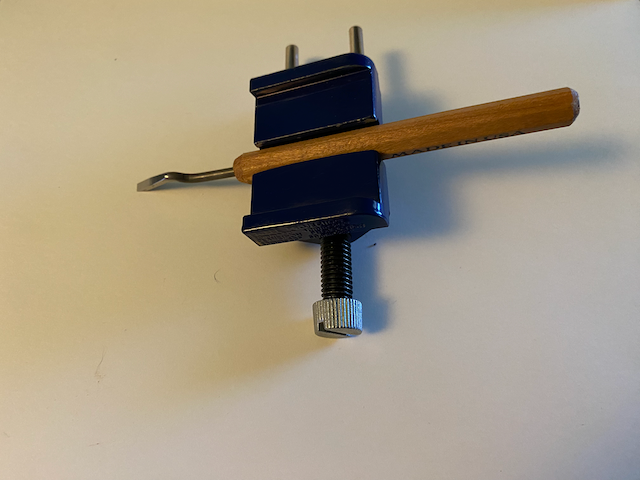
The dog-leg Dockside chisels I have are built so the handle facets are parallel to the blade. So any top to bottom adjustable guide (for full-size chisels) will work. Most of the side-clamping guides will also work (assuming the bottom of the handle can rest on parallel pins that hold guide together. Here is one of each for cheap: https://www.amazon.com/gp/product/B08B8DJ282/ref=ppx_yo_dt_b_search_asin_title?ie=UTF8&psc=1 https://www.amazon.com/gp/product/B08DRM941P/ref=ppx_yo_dt_b_search_asin_title?ie=UTF8&psc=1 Here is how you can use the handle for clamping in the guides: Note: for the top clamping guide, the chisel can be 'off' of 90 degrees and your sharpening will also be off! I also second the use of scrap wood and honing compound that @druxey suggests! Also note, none of these guides will help with sharpening the gouges, so it is worth experimenting to learn the 'by hands alone' method. -
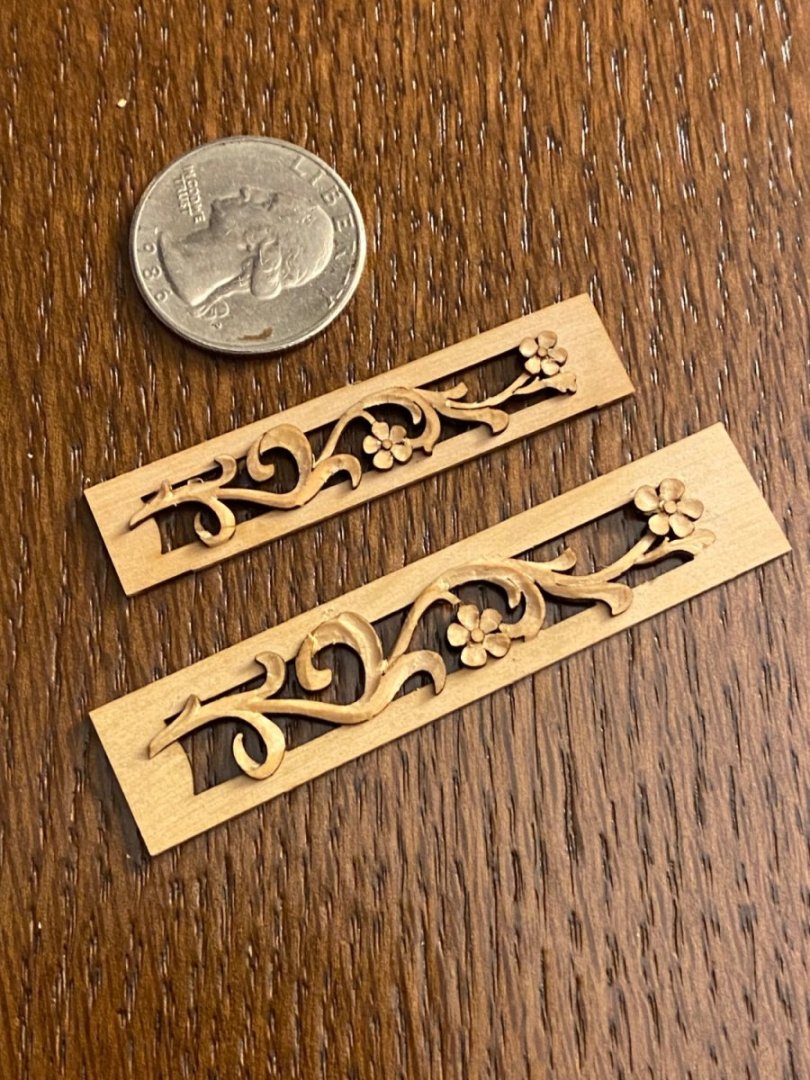
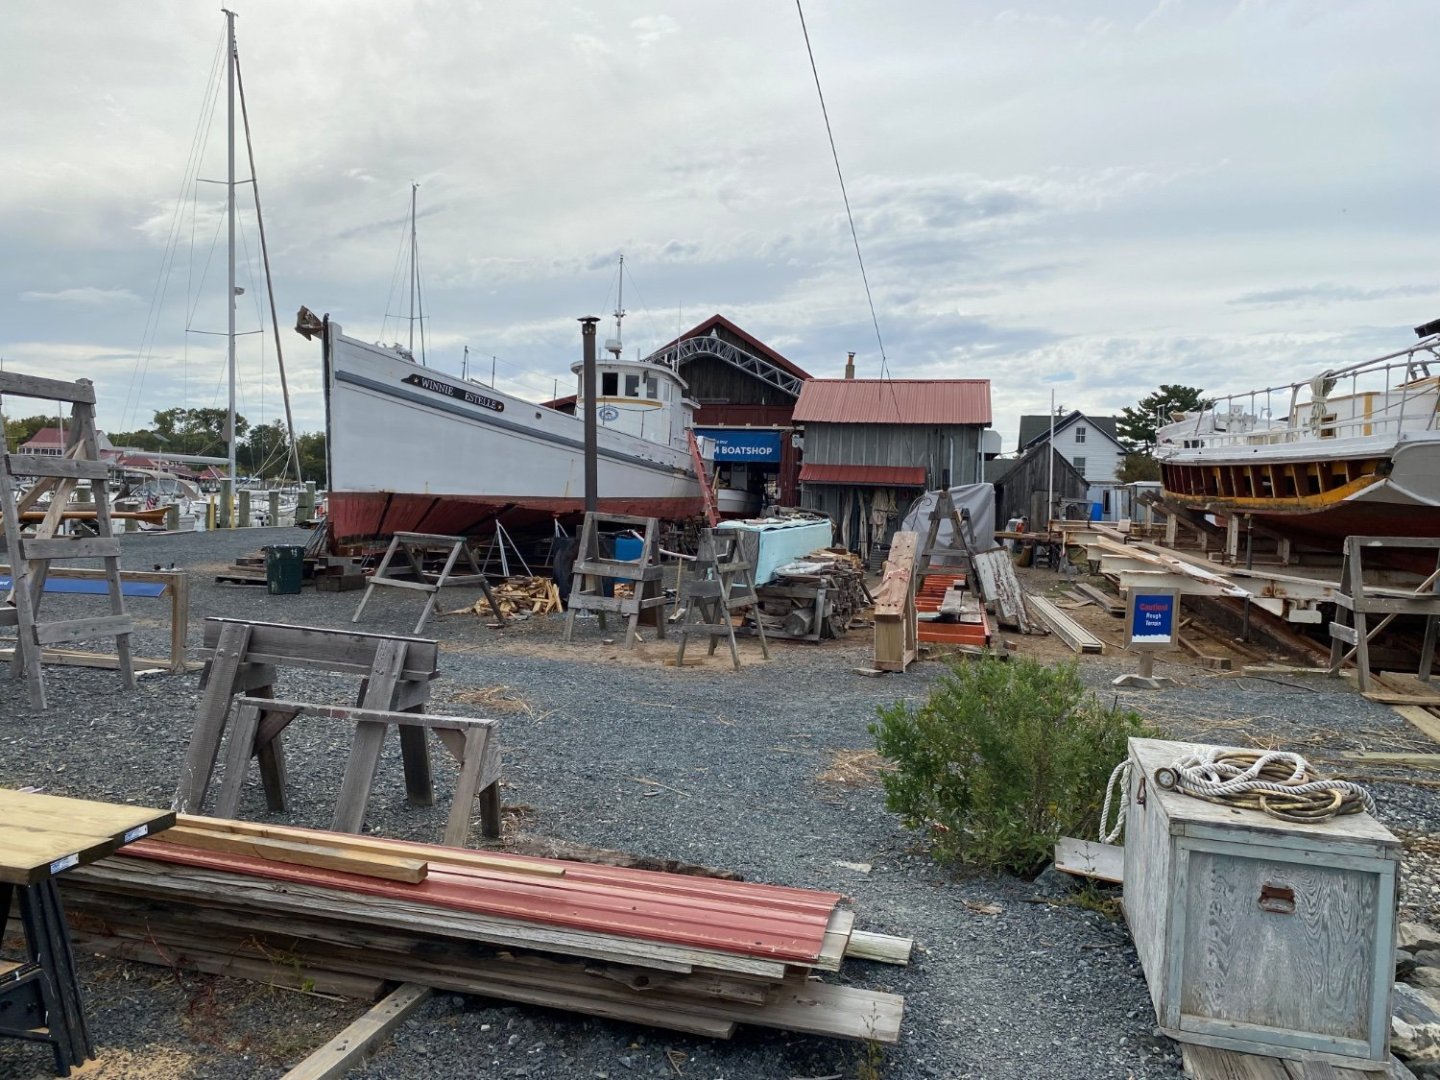
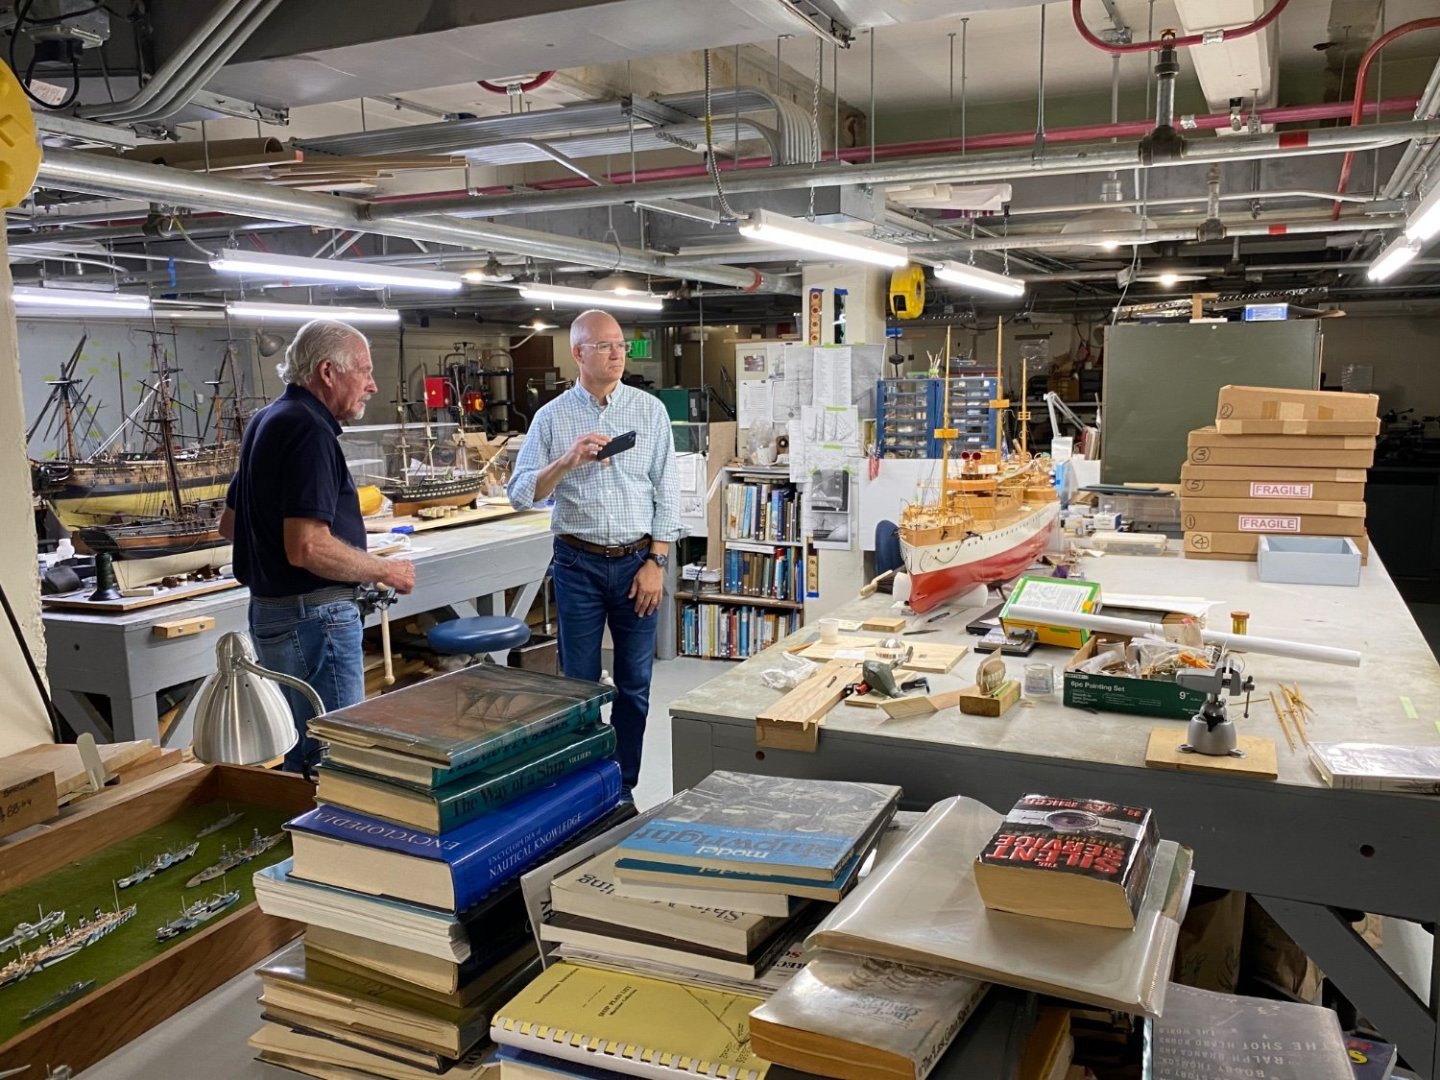
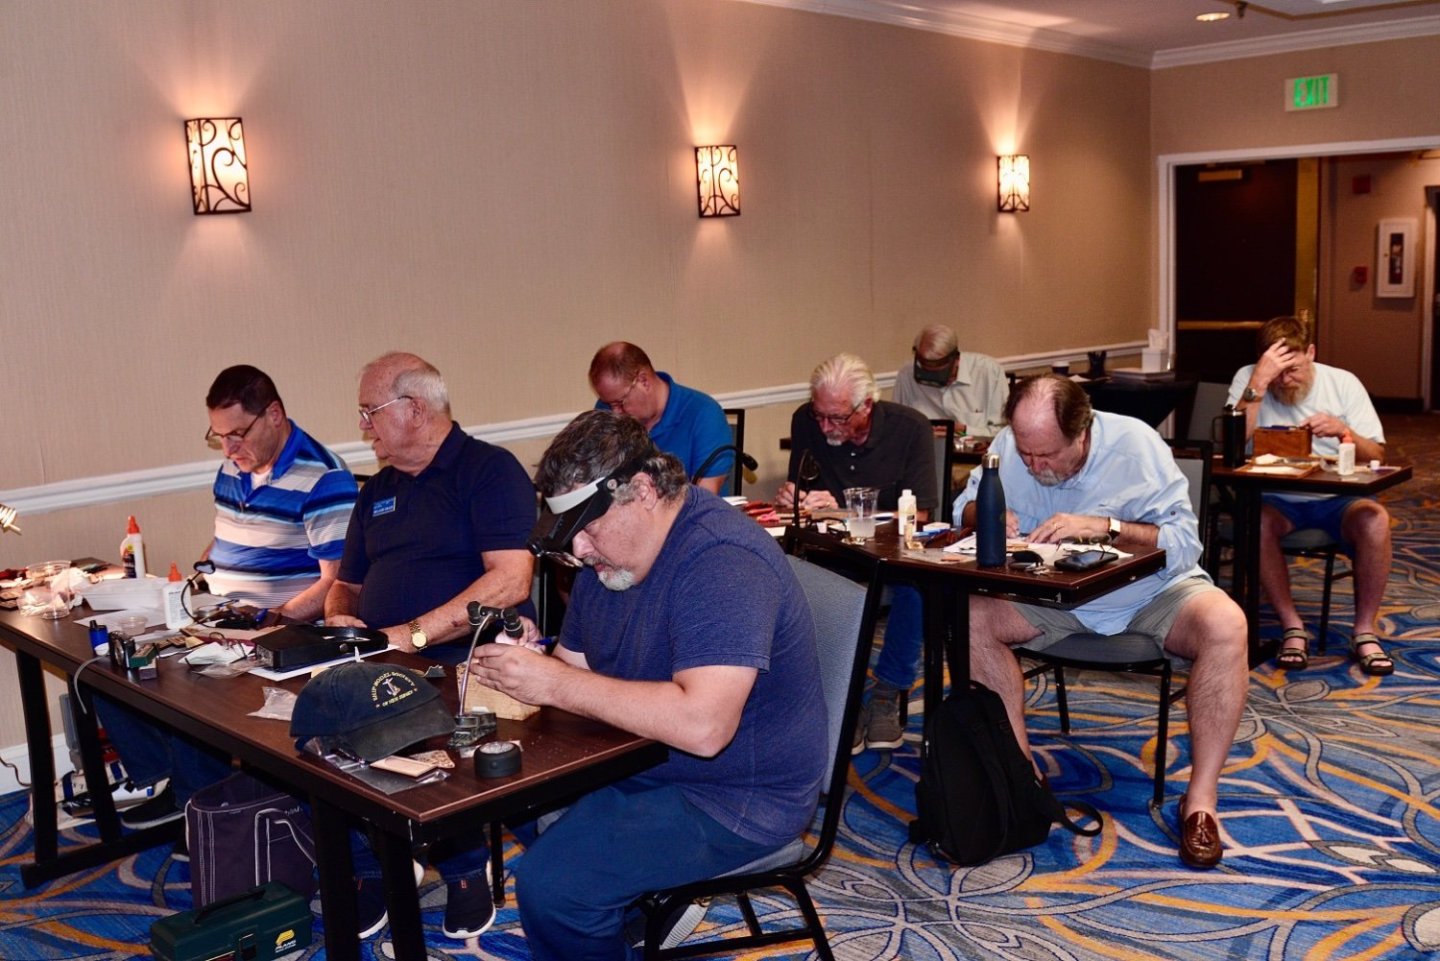
Also off topic: I attended David Antscherl’s and Greg Herbert’s workshop on carving. Also Had tour of the ship models at the Naval Academy (finest collection in the New World) as well as a behind the scene tour! I also stopped by the Chesapeake Bay Maritime Museum and bumped into the author and ship builder Douglas Brooks who was kind enough to chat with me for a bit.
-
Enjoy your time away! Your ship and your blog are an absolute delight! Reading this makes me feel like I’m being truly wasteful with my time!
- 2,699 replies
-
- heller
- soleil royal
-
(and 9 more)
Tagged with:
-
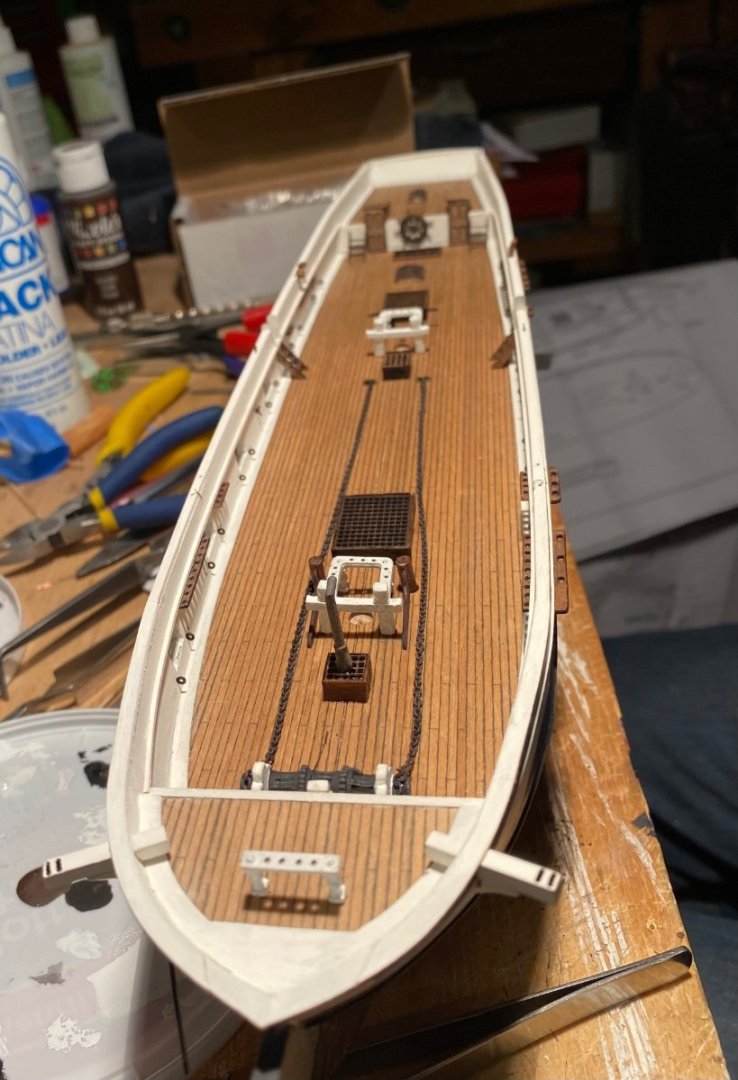
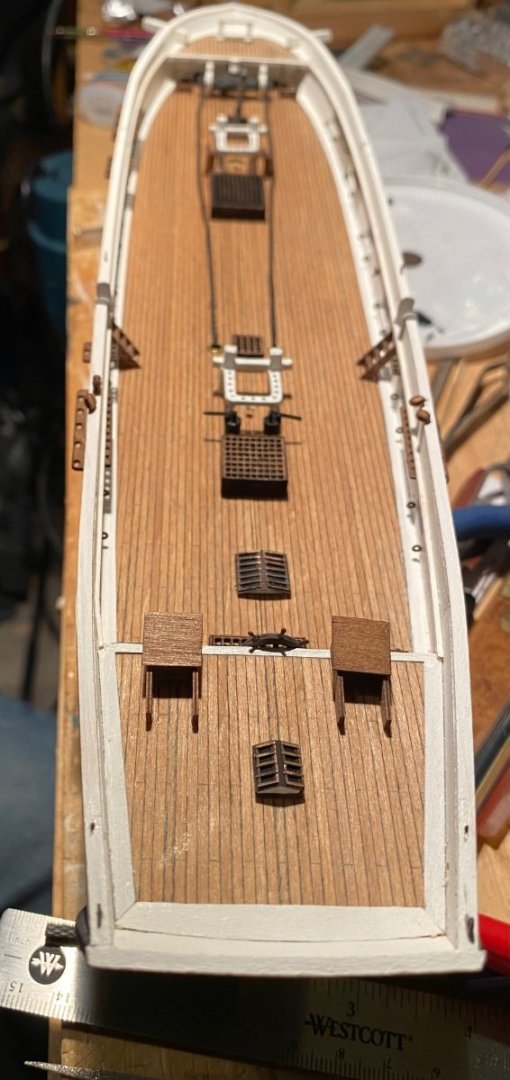
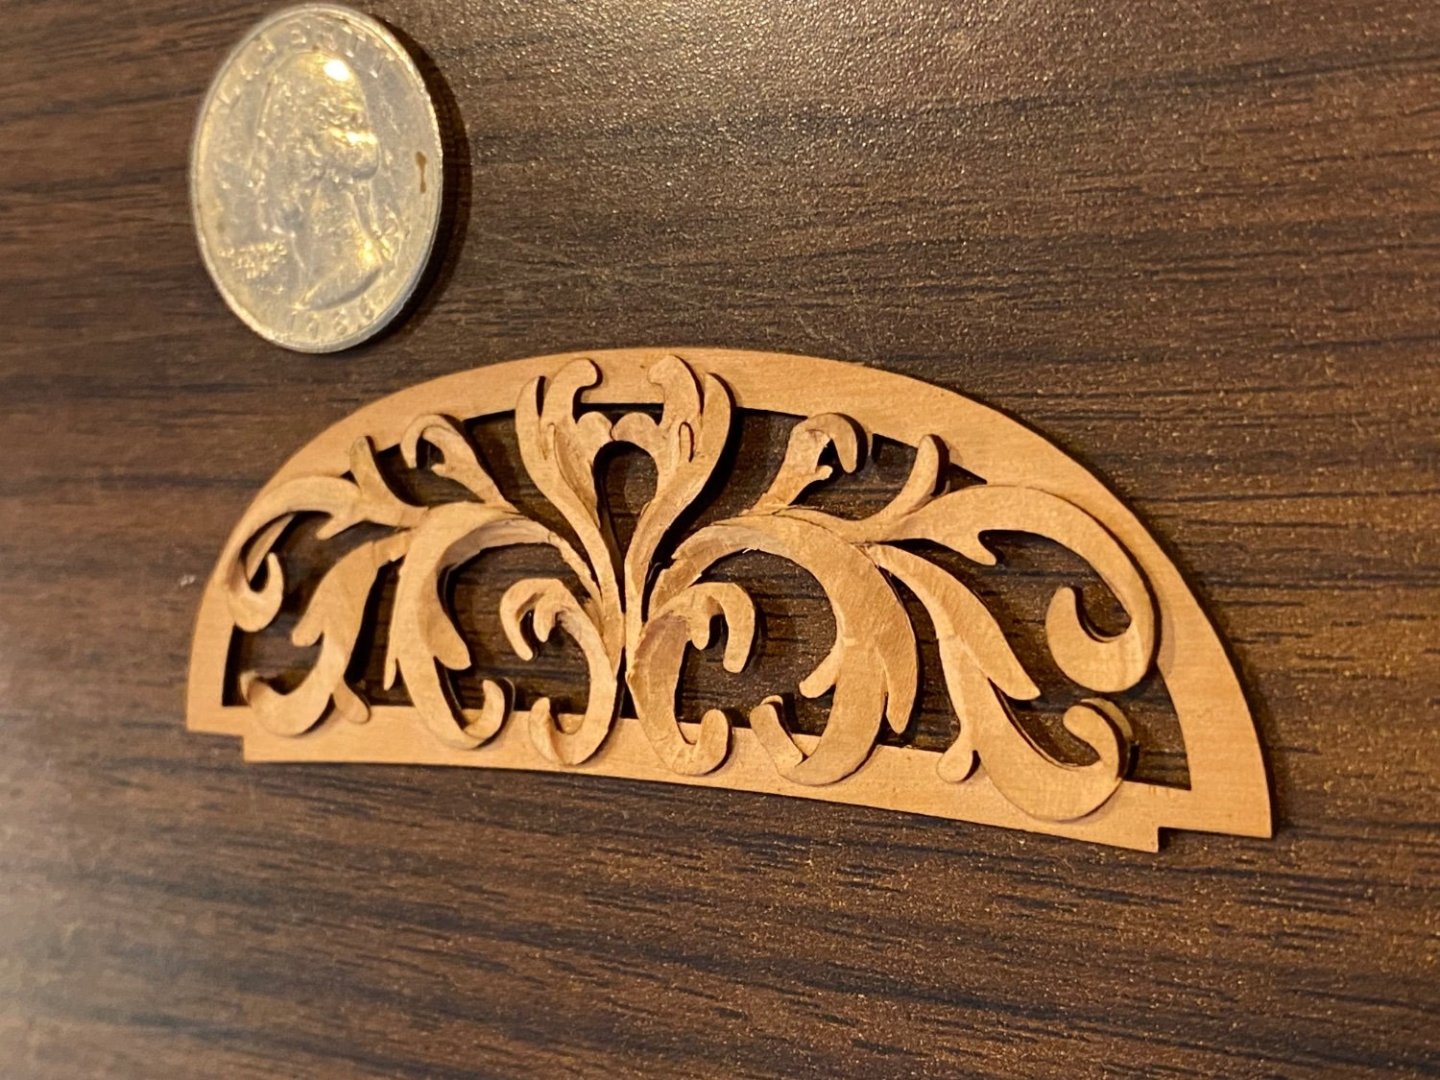
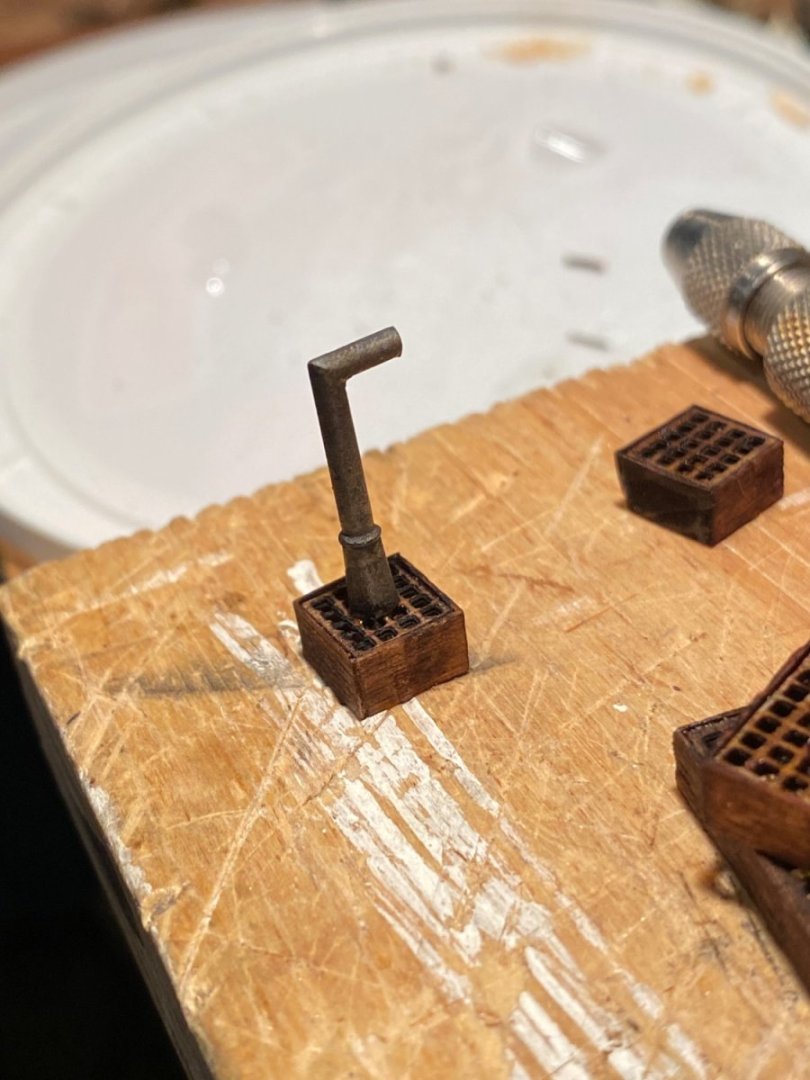
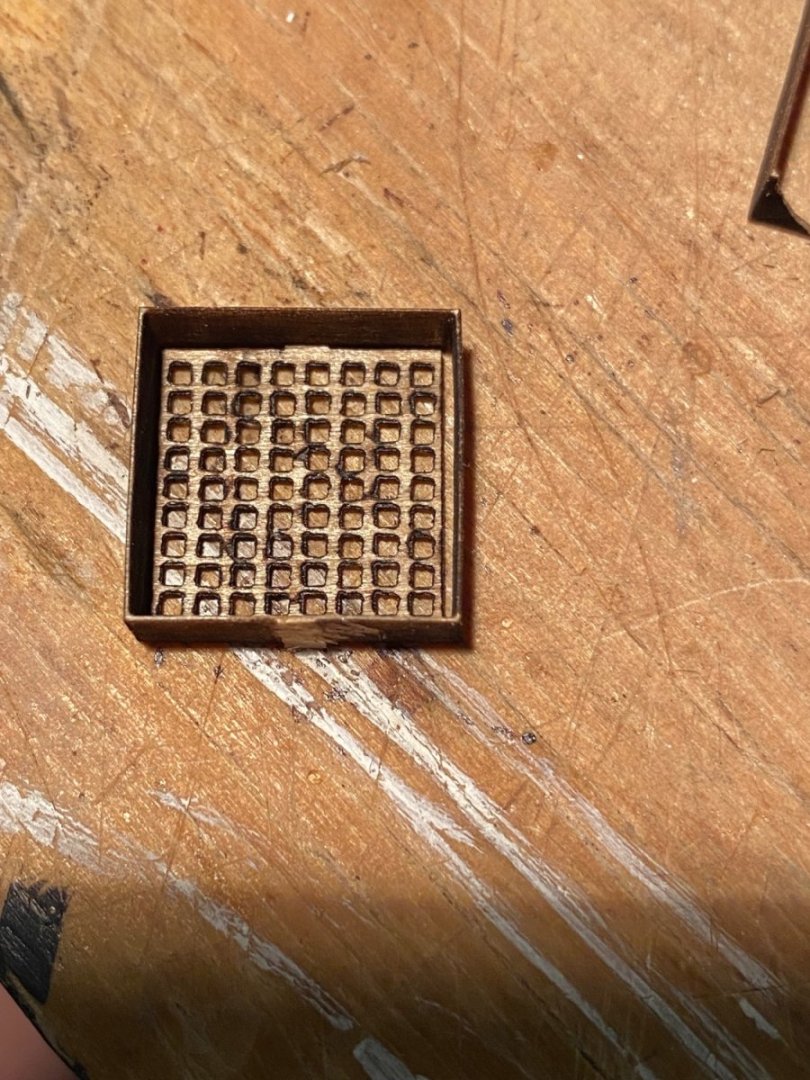
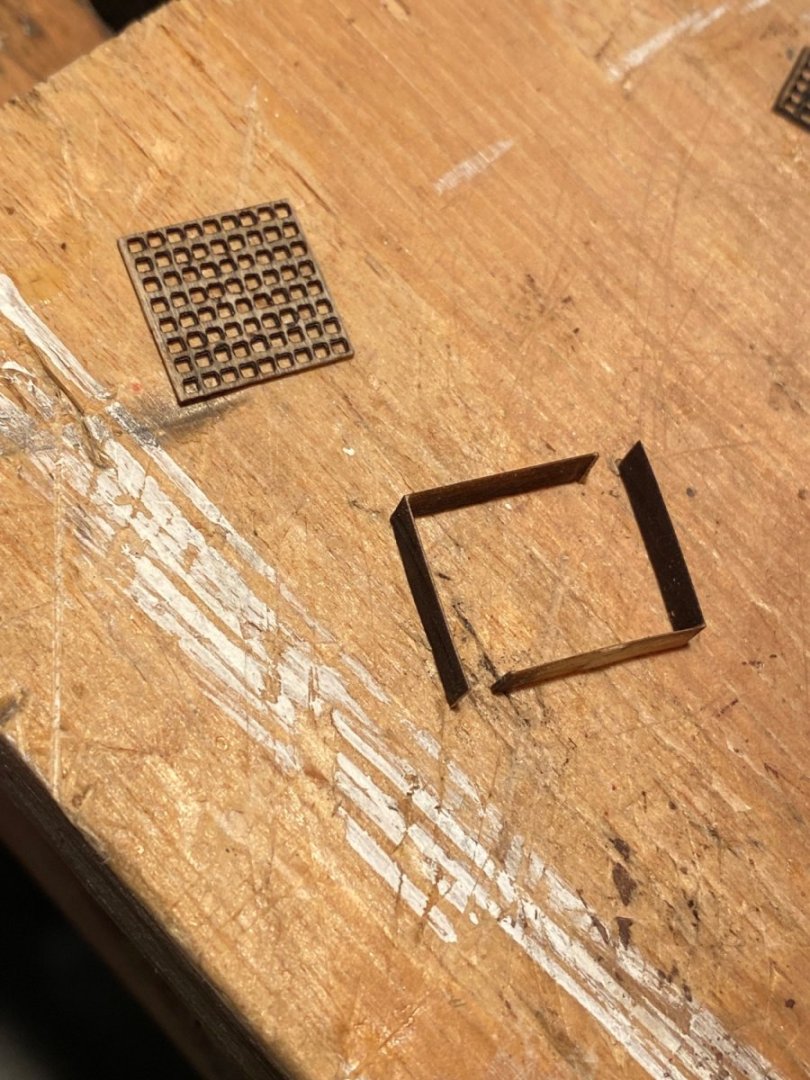
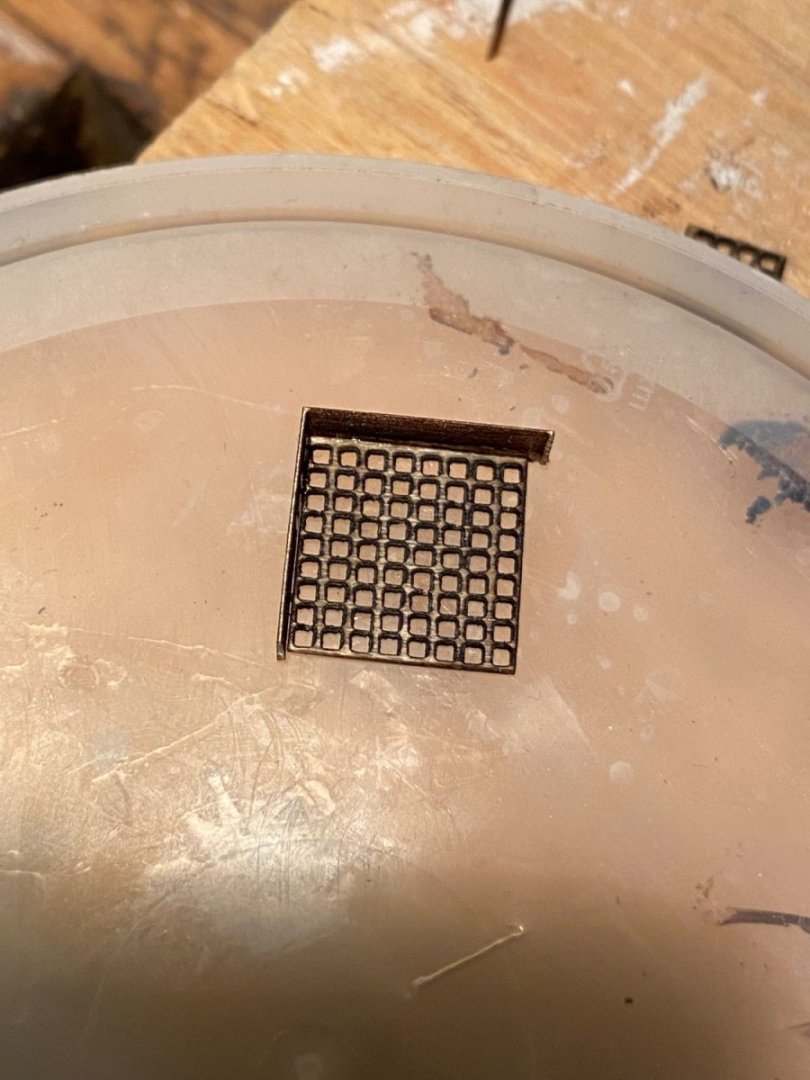
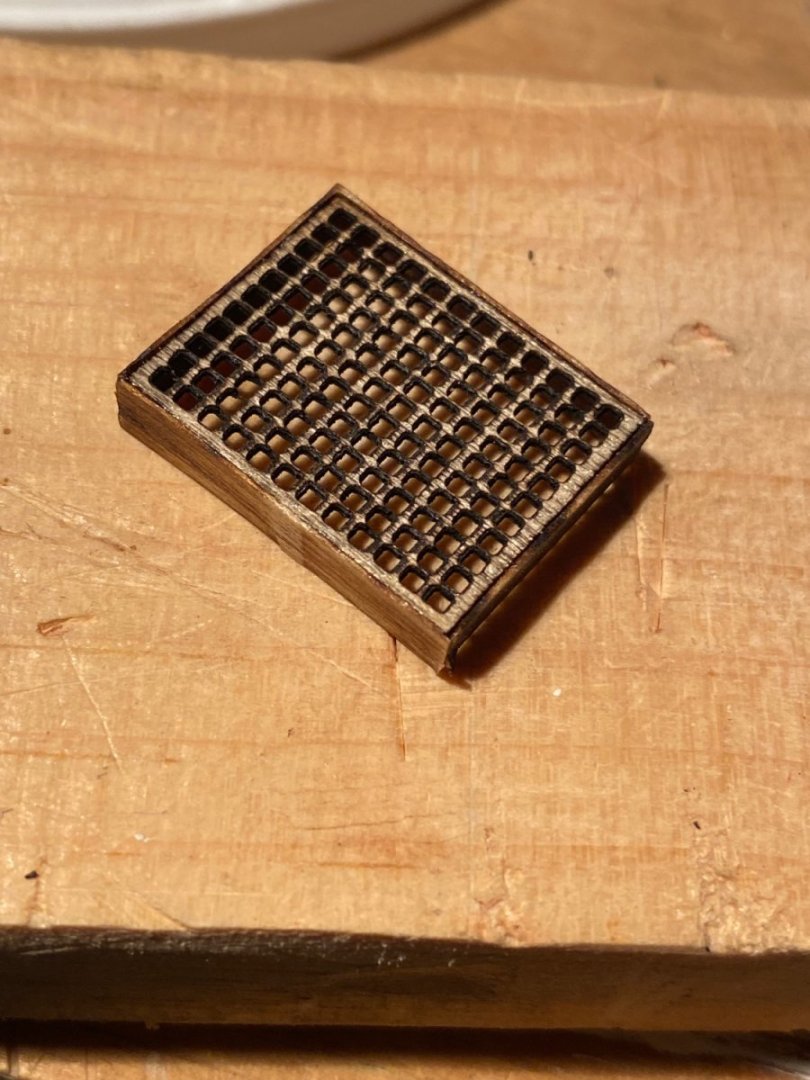
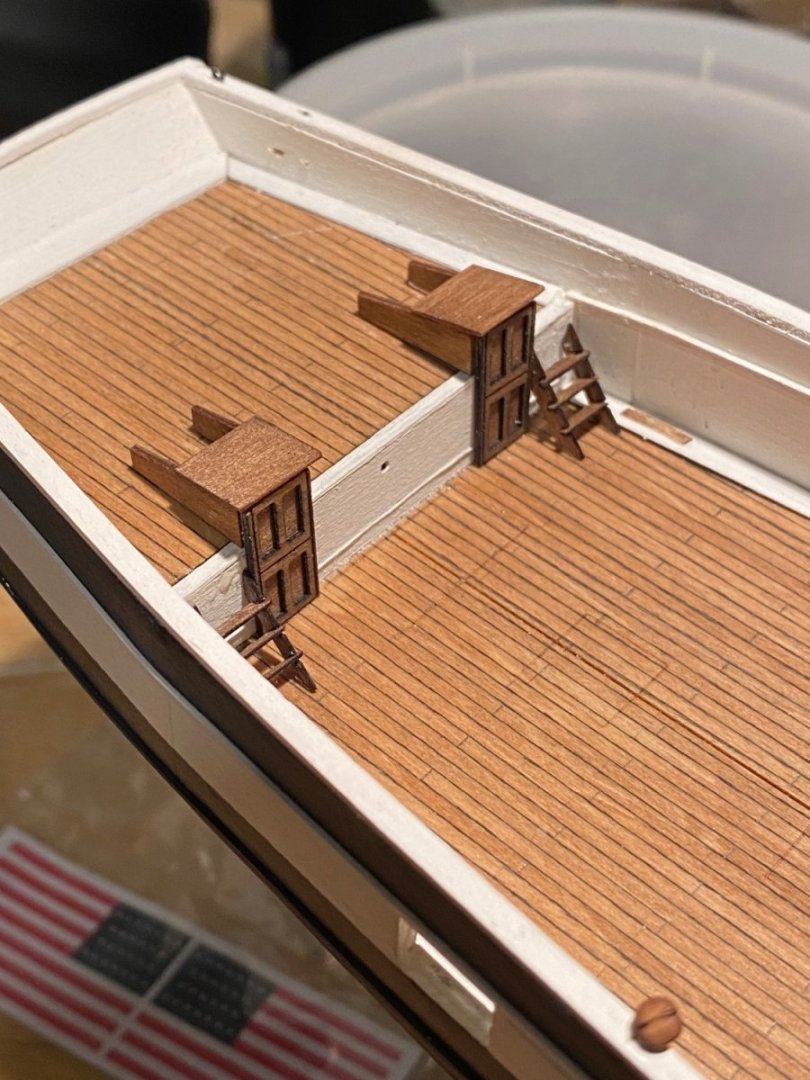
The kit comes with the most delicate boxes to support the delicate laser-cut gratings. Unfortunately, the laser cut gratings are a different size than the supporting boxes. My solution (eventually) was to cut the boxes at the corners (on the short-grain side, due to ease) leaving me with two “L” shaped pieces. I then could glue each piece separately and then trim allowing for a tight fit around each grating. In retrospect, I could have also built an interior “lining” for each box for the grating to rest on, but it didn’t occur to me until writing this.
-
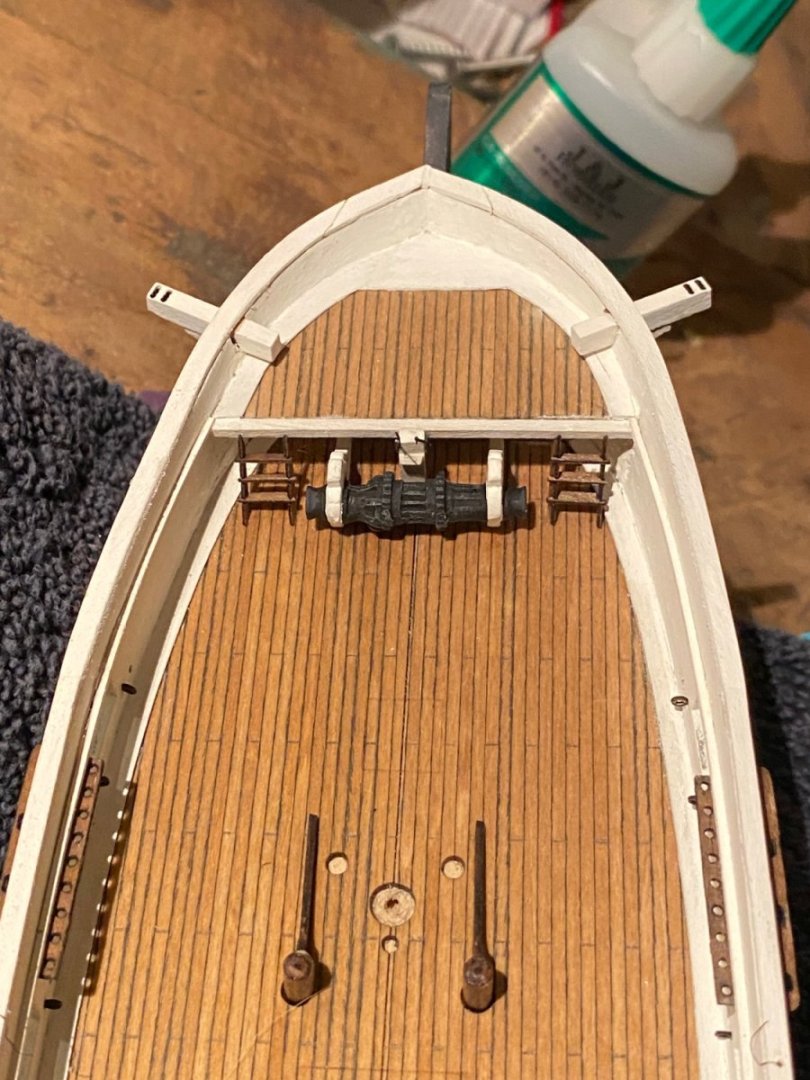
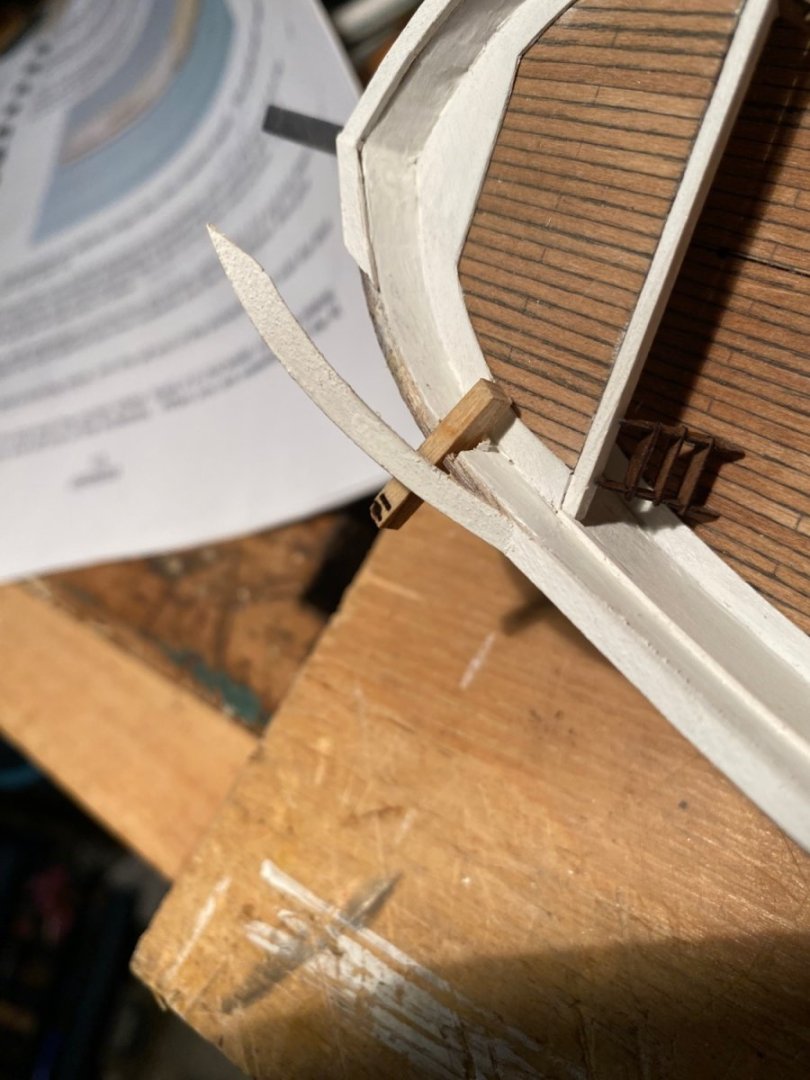
For those working on this kit, the catheads should be fitted in earlier then the instructions state. I suggest doing that work after attaching the bulwarks but before adding the rails. Otherwise, if you’re like me you will find it difficult to cleanly cut the correct angles without damaging the delicate curved bulwarks and breaking the rails. Note: the instructions state to paint the catheads black but everyone (including the writer of the instructions) has painted them white.
-
I was lucky enough to finally travel to Europe with the family in tow this year. I was able to stop by the wonderful National Maritime Museum in Amsterdam. It Is well worth a visit! I will also add that Amsterdam is a very very English language friendly place, so don't let language stop you from a visit. I dumped a bunch of snapshots here:
-
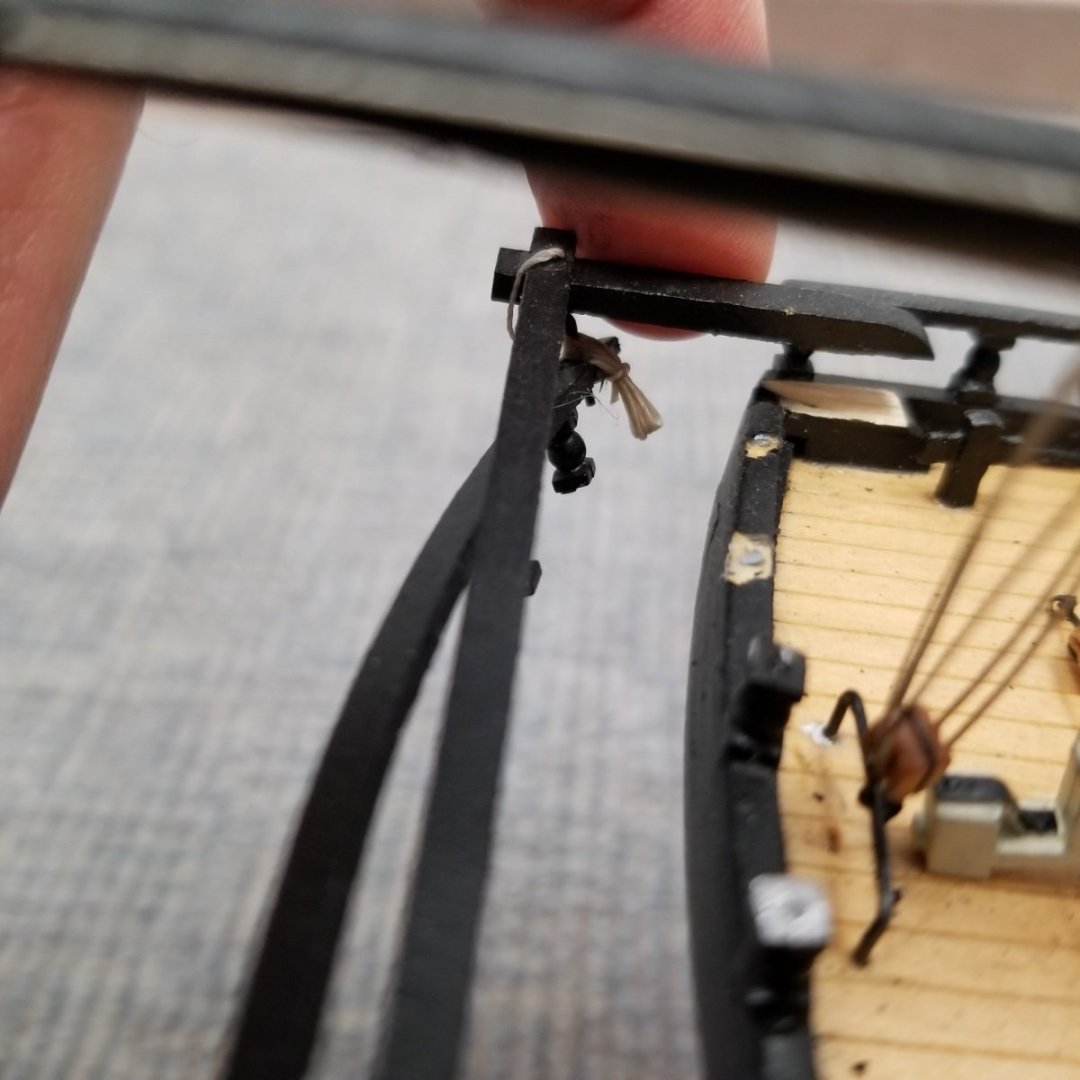
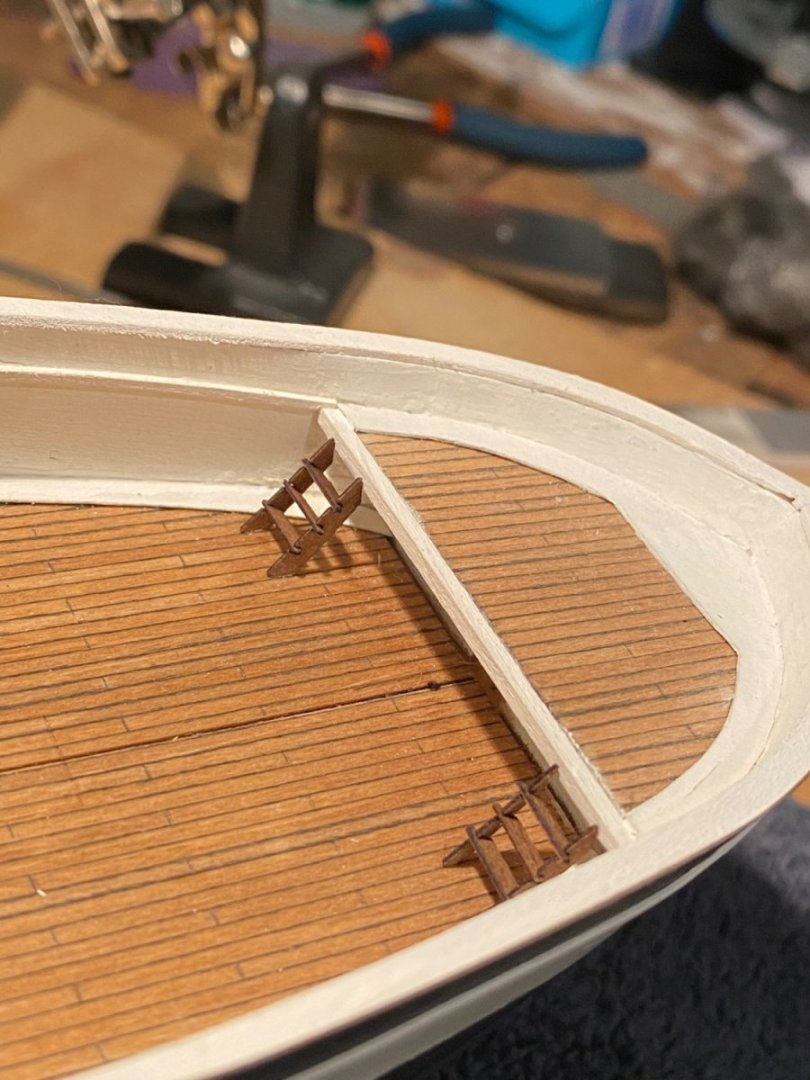
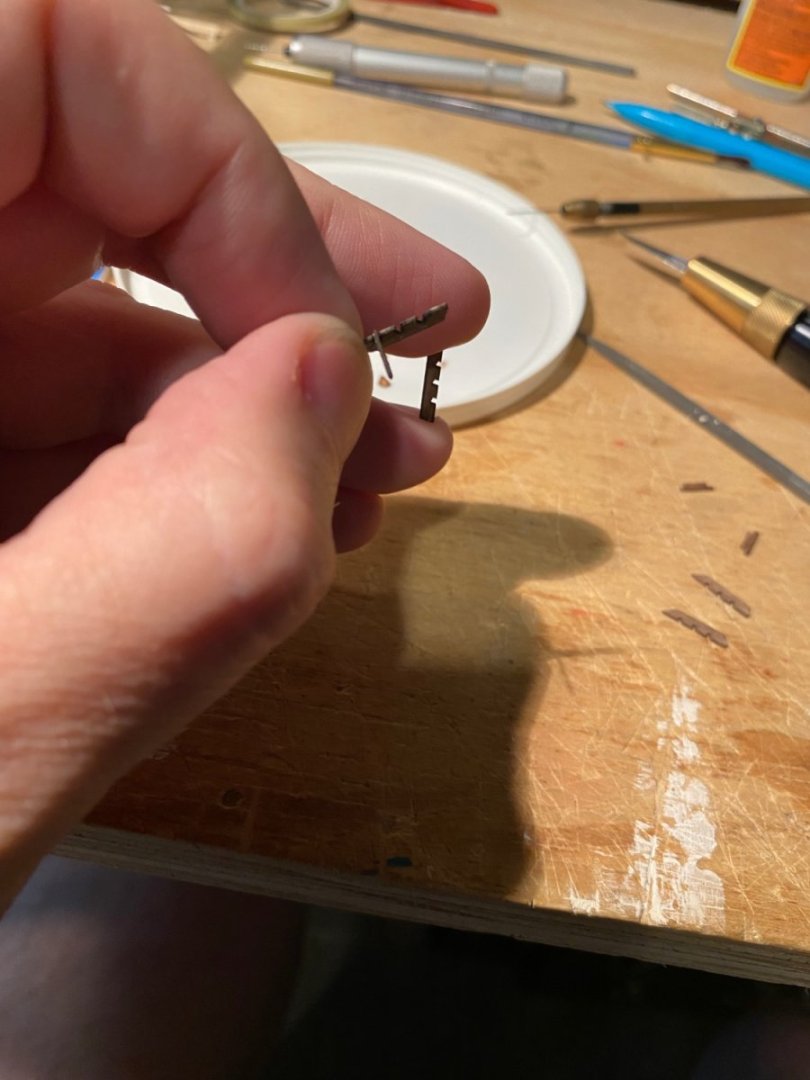
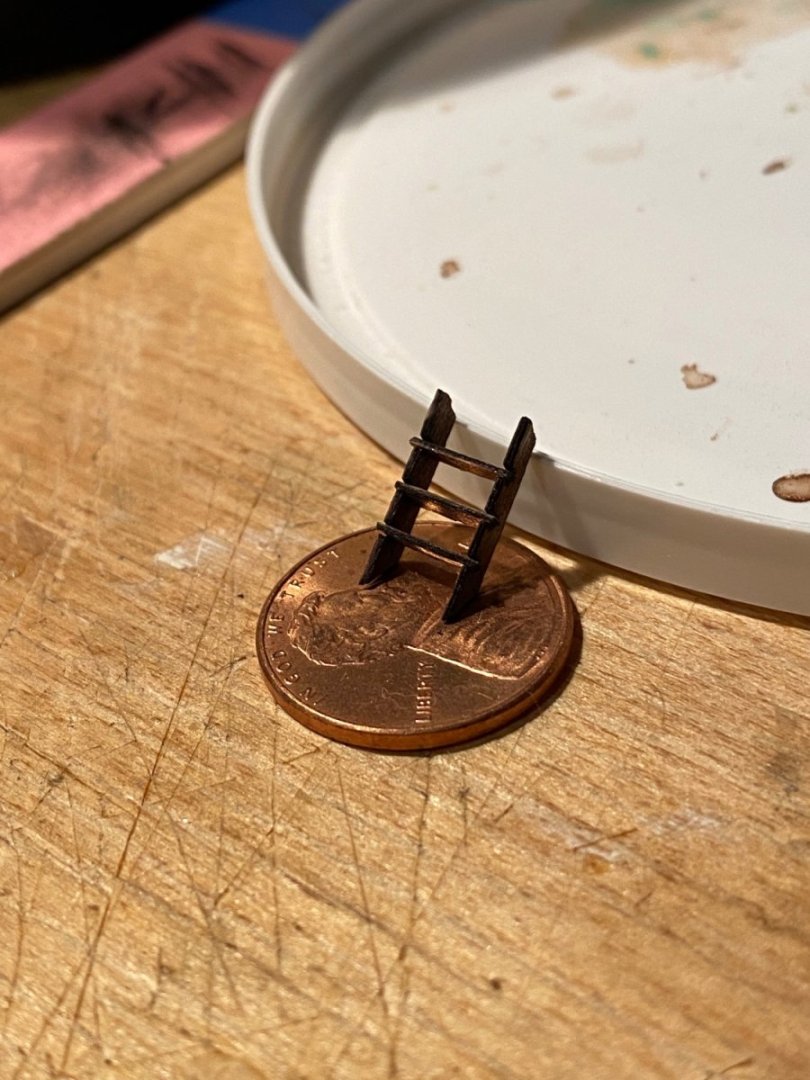
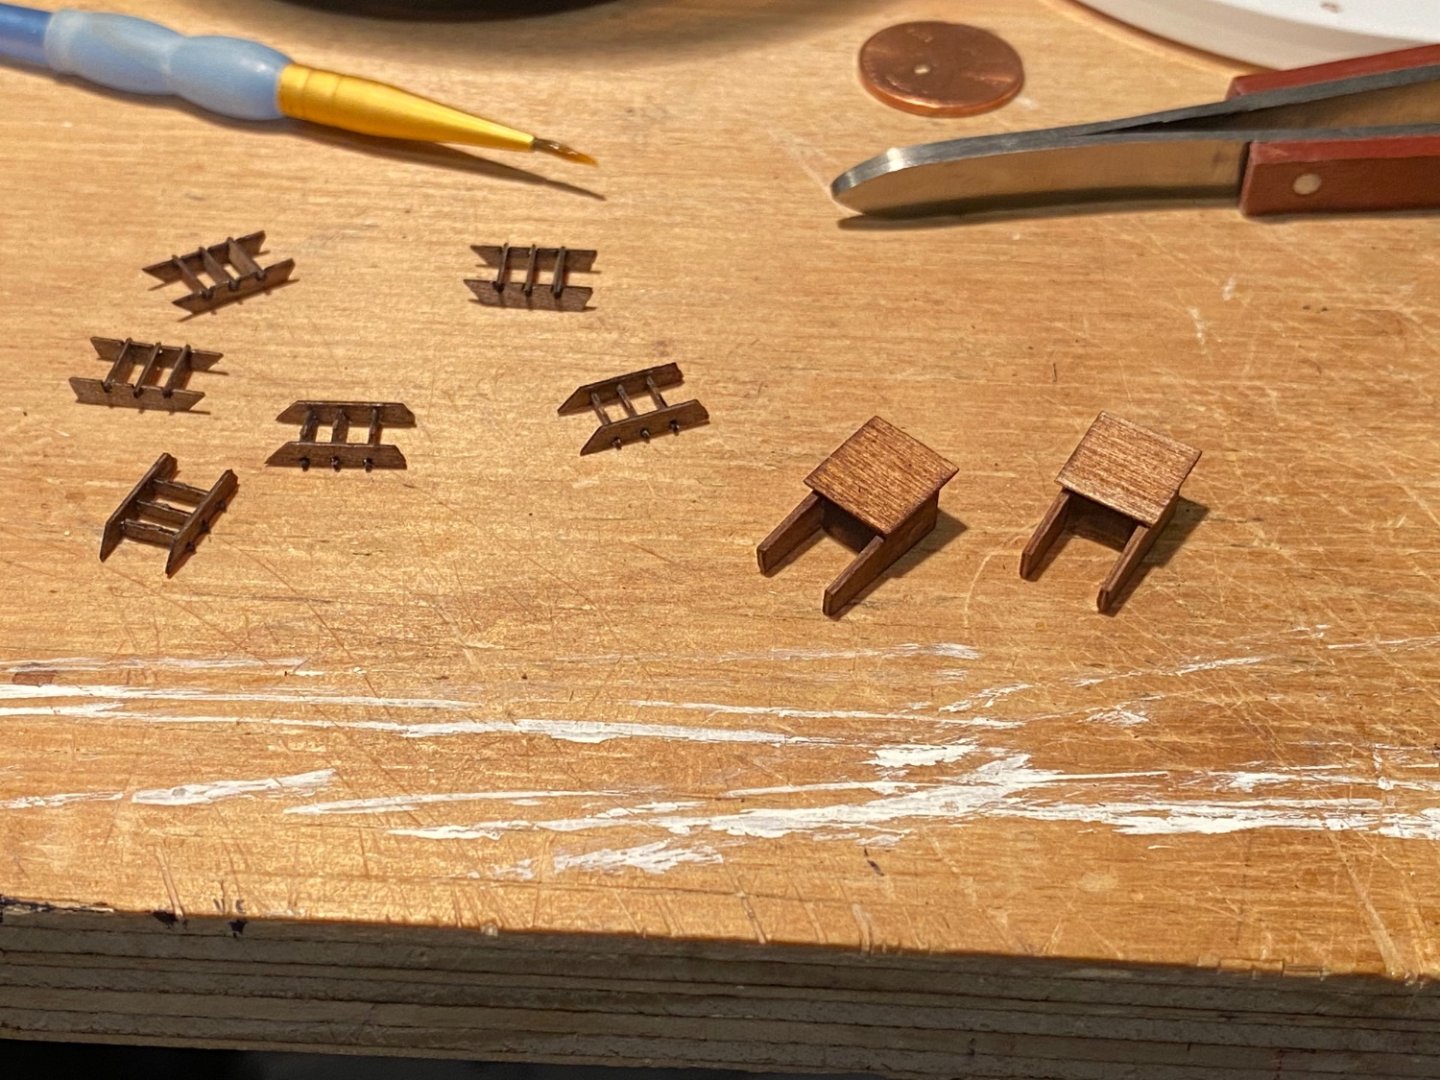
Agreed! It was easy to ensure the first joint was correct (90 degrees, etc.) Then it got ‘fiddlely”. In the end, I would glue two rungs to a side, eyeballing the angles and glue the other side on and then the last rung, holding the assembly in my hand the whole time. It would only take a minute or two, once I got rolling. Thanks again to everyone for the kind words and likes!
-
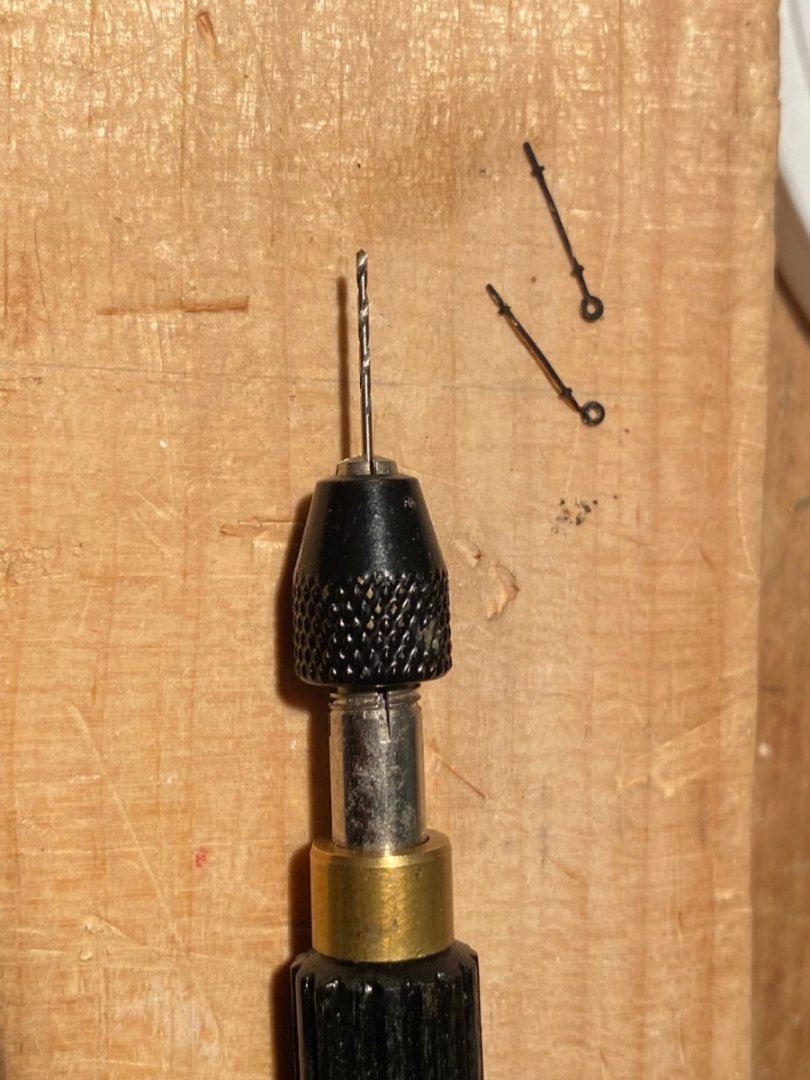
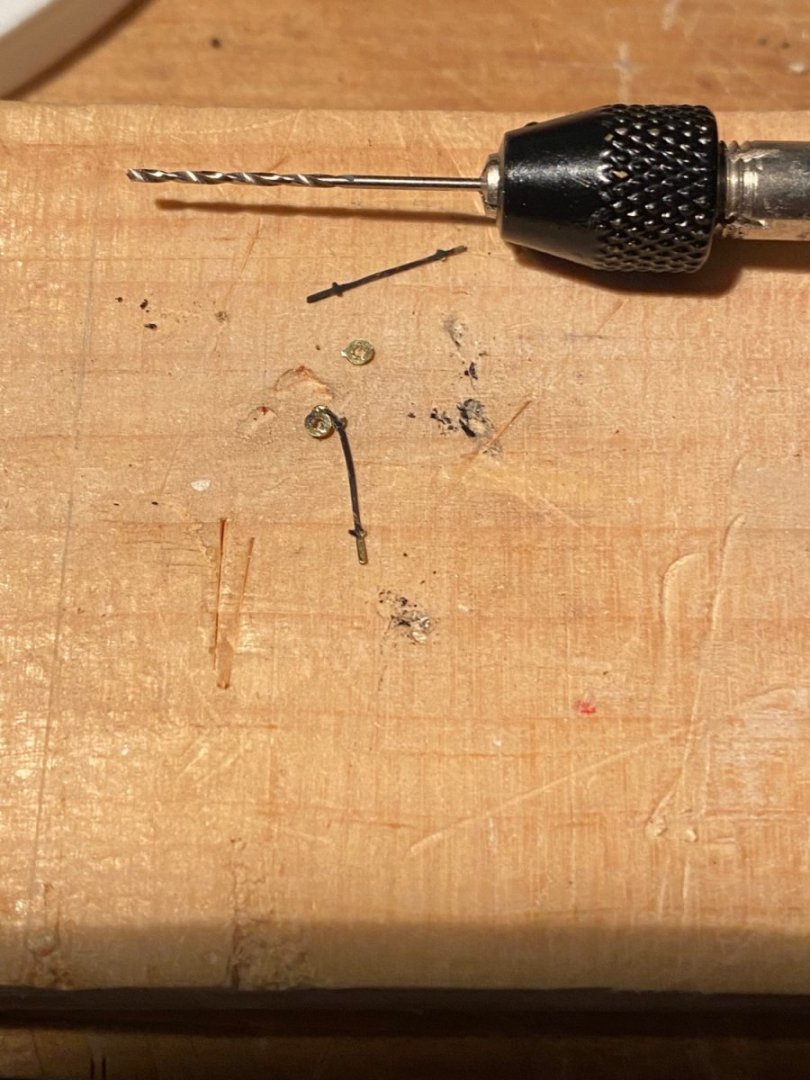
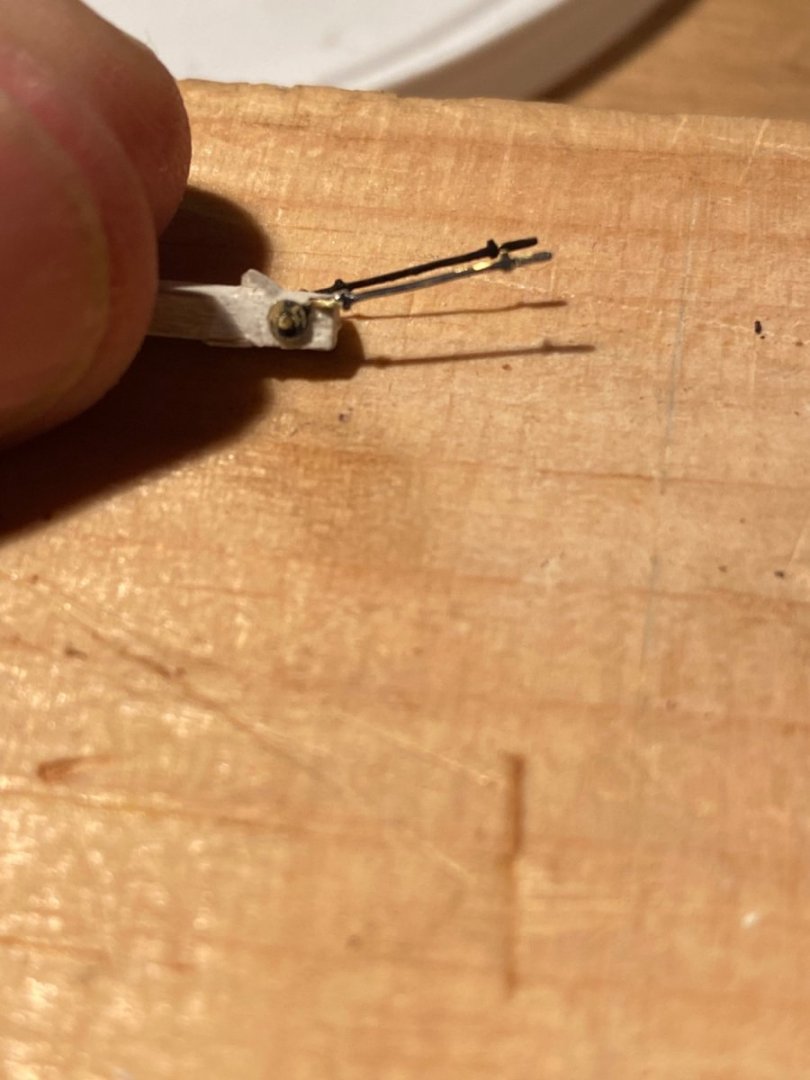
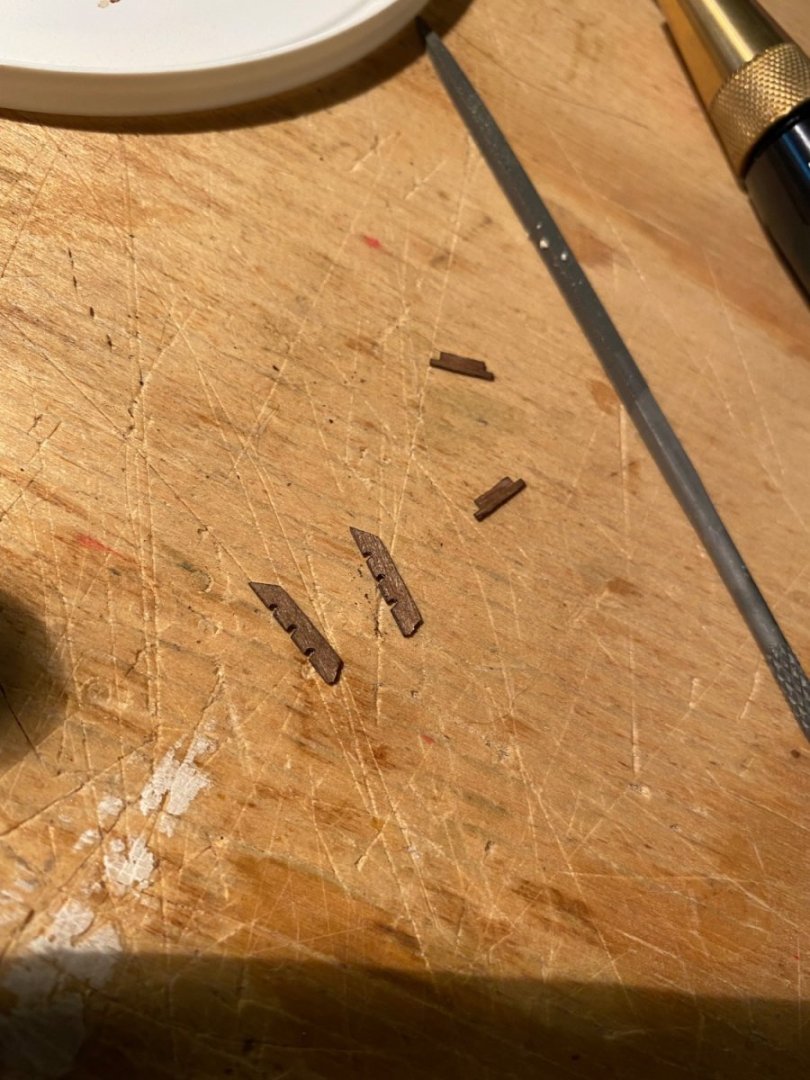
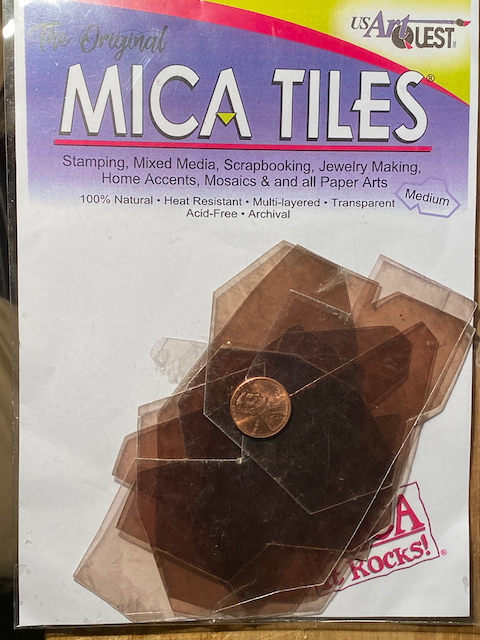
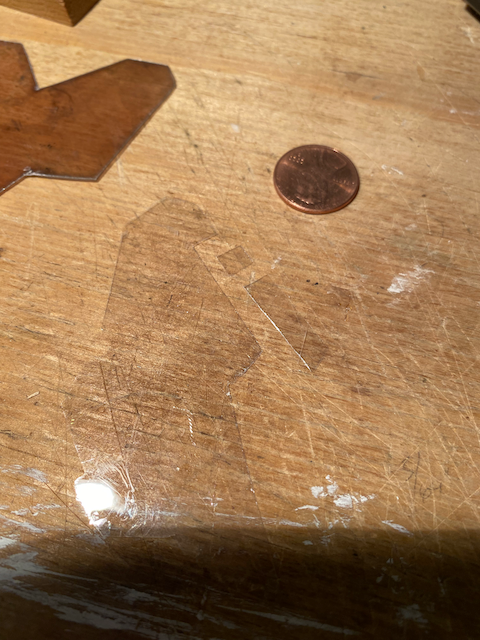
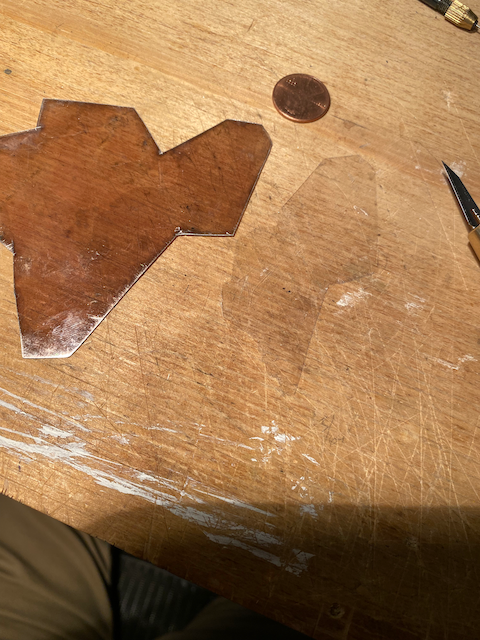
Regarding experiments with mica, as suggested by @TomShipModel, (thanks again for help!) that is the way to go!! Easy to flake/peel easy to cut with an x-acto blade and it can flex to some degree without cracking! Much less fuss and mess! In the photos, you can see the product I bought via Amazon, my first attempt to peel off a single 'sheet' (using my fingers and an x-acto blade) and my first attempt to cut the same. I can't express the easy in comparison to using glass. There is a very slight tint to the mica but that is tiny price for ease of use.
About us
Modelshipworld - Advancing Ship Modeling through Research
SSL Secured
Your security is important for us so this Website is SSL-Secured
NRG Mailing Address
Nautical Research Guild
237 South Lincoln Street
Westmont IL, 60559-1917
Model Ship World ® and the MSW logo are Registered Trademarks, and belong to the Nautical Research Guild (United States Patent and Trademark Office: No. 6,929,264 & No. 6,929,274, registered Dec. 20, 2022)
Helpful Links
About the NRG
If you enjoy building ship models that are historically accurate as well as beautiful, then The Nautical Research Guild (NRG) is just right for you.
The Guild is a non-profit educational organization whose mission is to “Advance Ship Modeling Through Research”. We provide support to our members in their efforts to raise the quality of their model ships.
The Nautical Research Guild has published our world-renowned quarterly magazine, The Nautical Research Journal, since 1955. The pages of the Journal are full of articles by accomplished ship modelers who show you how they create those exquisite details on their models, and by maritime historians who show you the correct details to build. The Journal is available in both print and digital editions. Go to the NRG web site (www.thenrg.org) to download a complimentary digital copy of the Journal. The NRG also publishes plan sets, books and compilations of back issues of the Journal and the former Ships in Scale and Model Ship Builder magazines.


