HOLIDAY DONATION DRIVE - SUPPORT MSW - DO YOUR PART TO KEEP THIS GREAT FORUM GOING! (Only 13 donations so far - C'mon guys!)
×

.jpeg.7d7eba14c97a2e1d9f79cd2c97f6424a.jpeg)
EricWilliamMarshall
-
Posts
986 -
Joined
-
Last visited
Content Type
Profiles
Forums
Gallery
Events
Everything posted by EricWilliamMarshall
-
I have to say I love your website! I went through every build with delight! Thanks for sharing your journey and your craft!
-
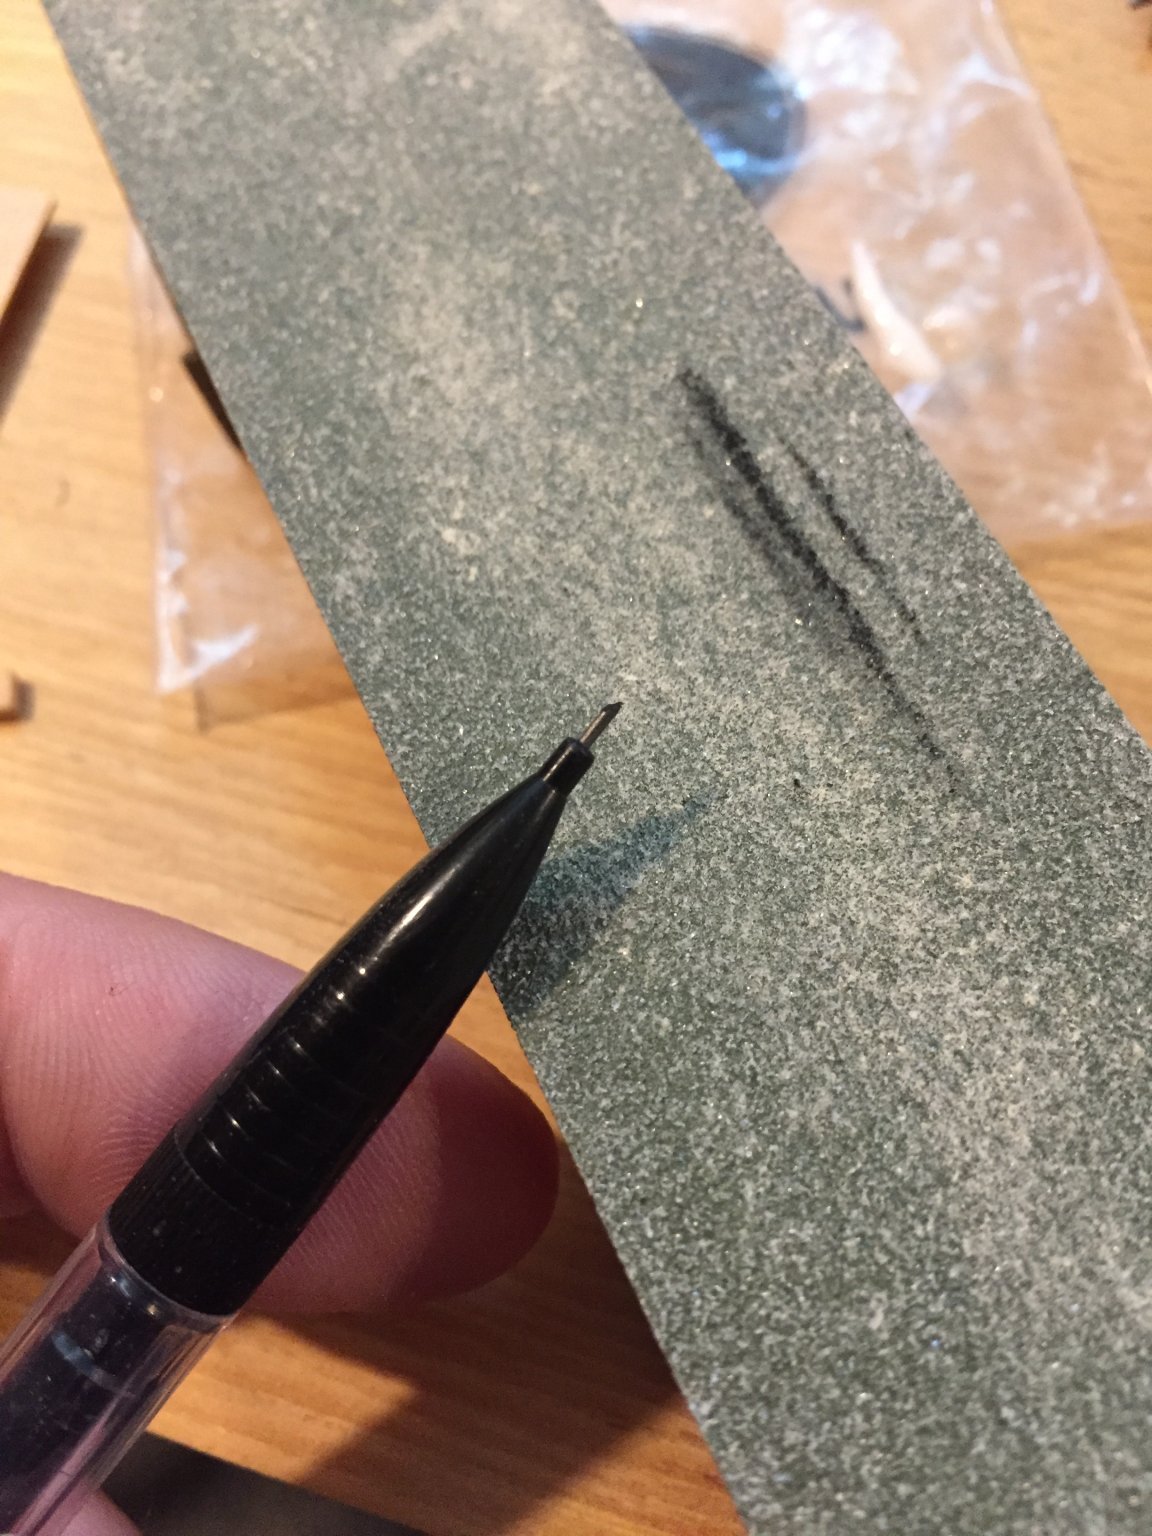
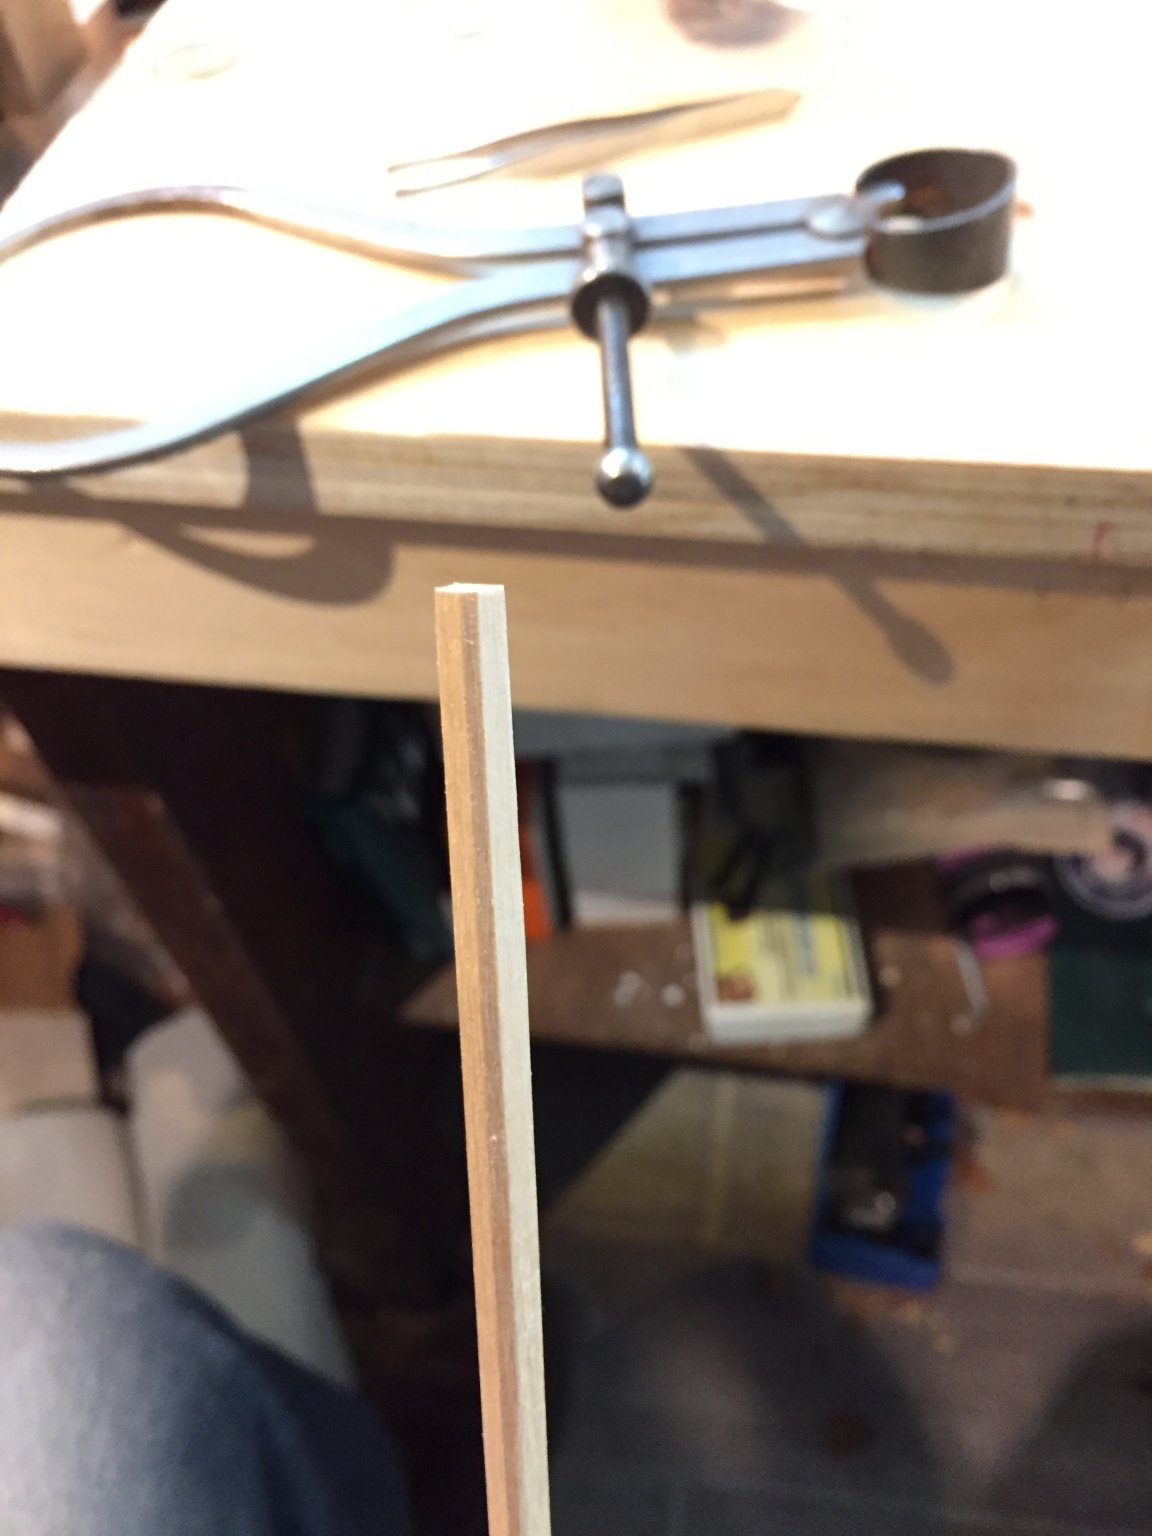
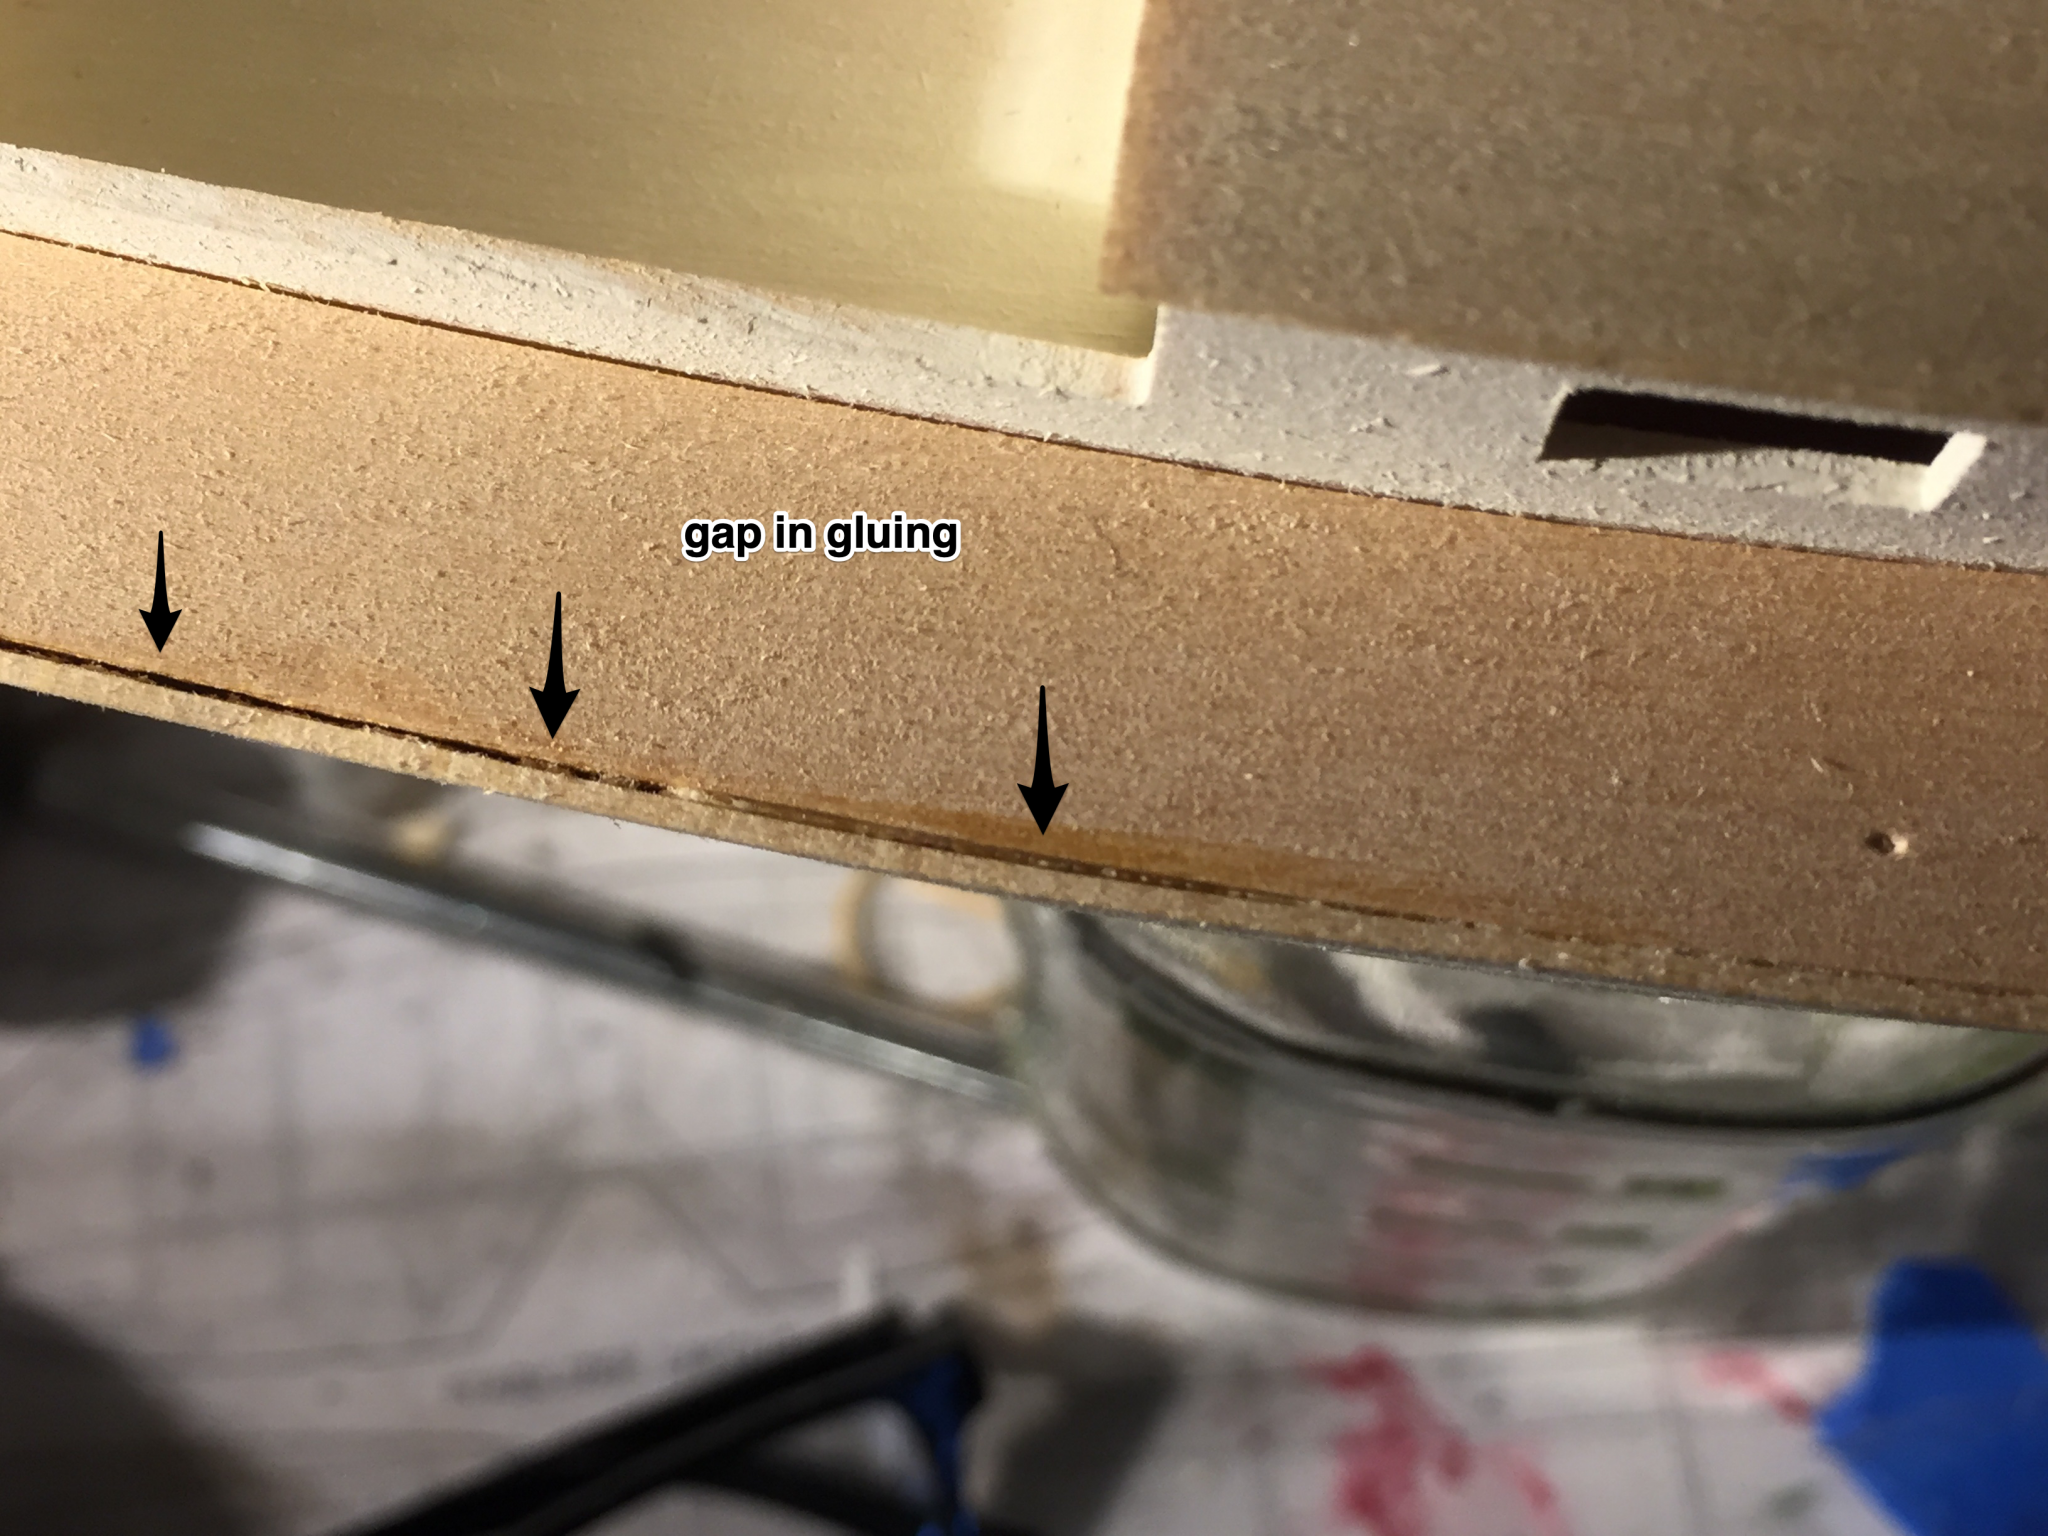
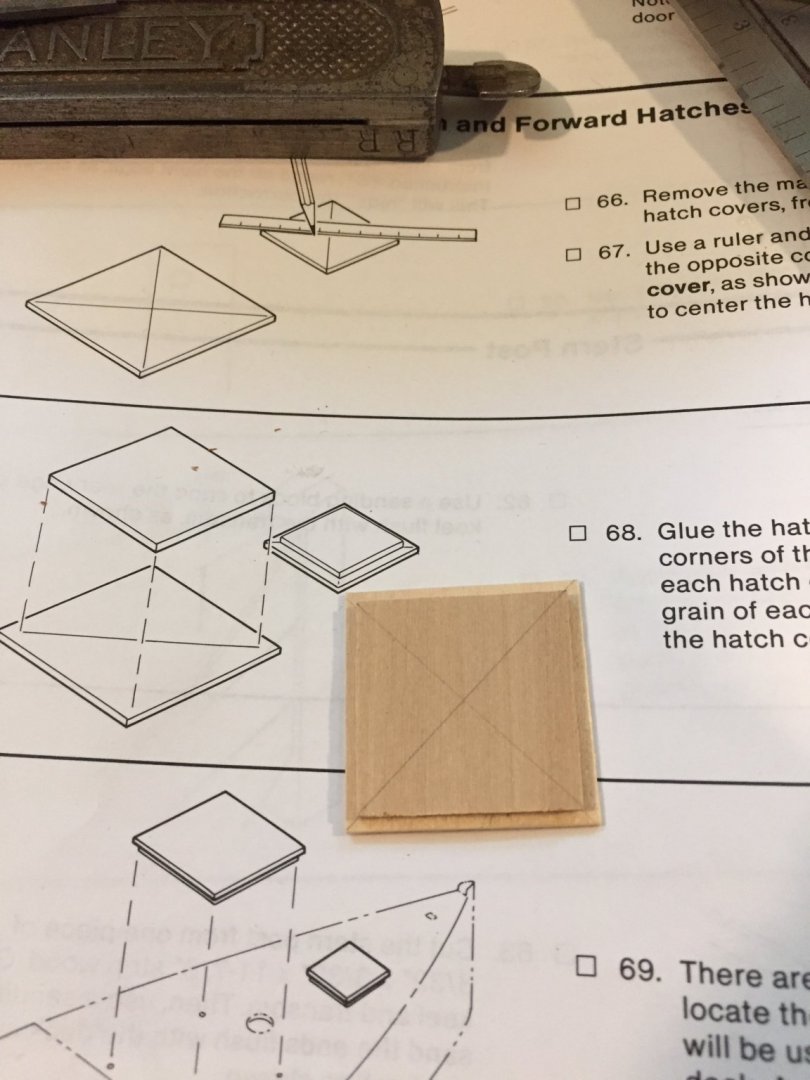
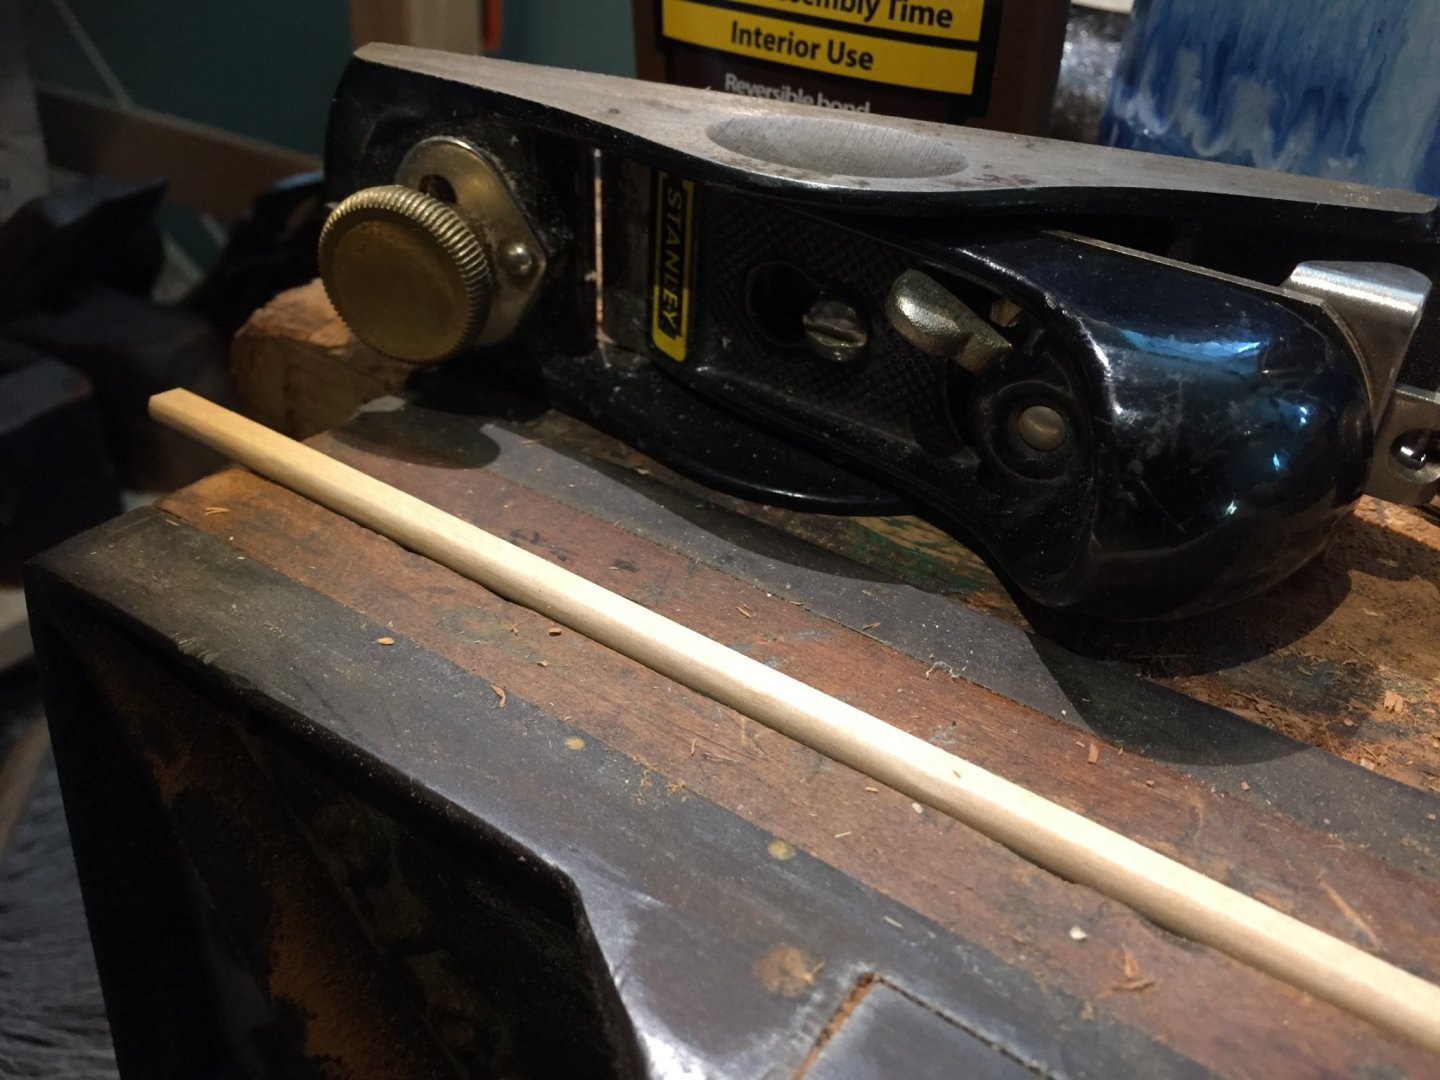
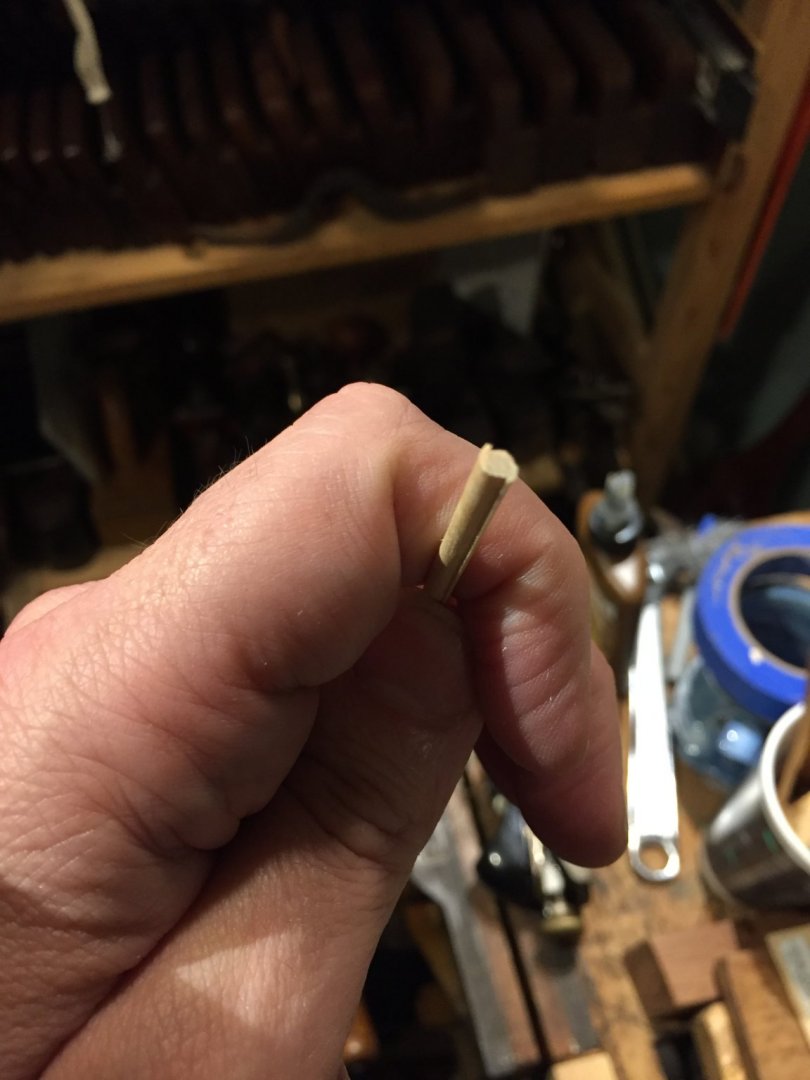
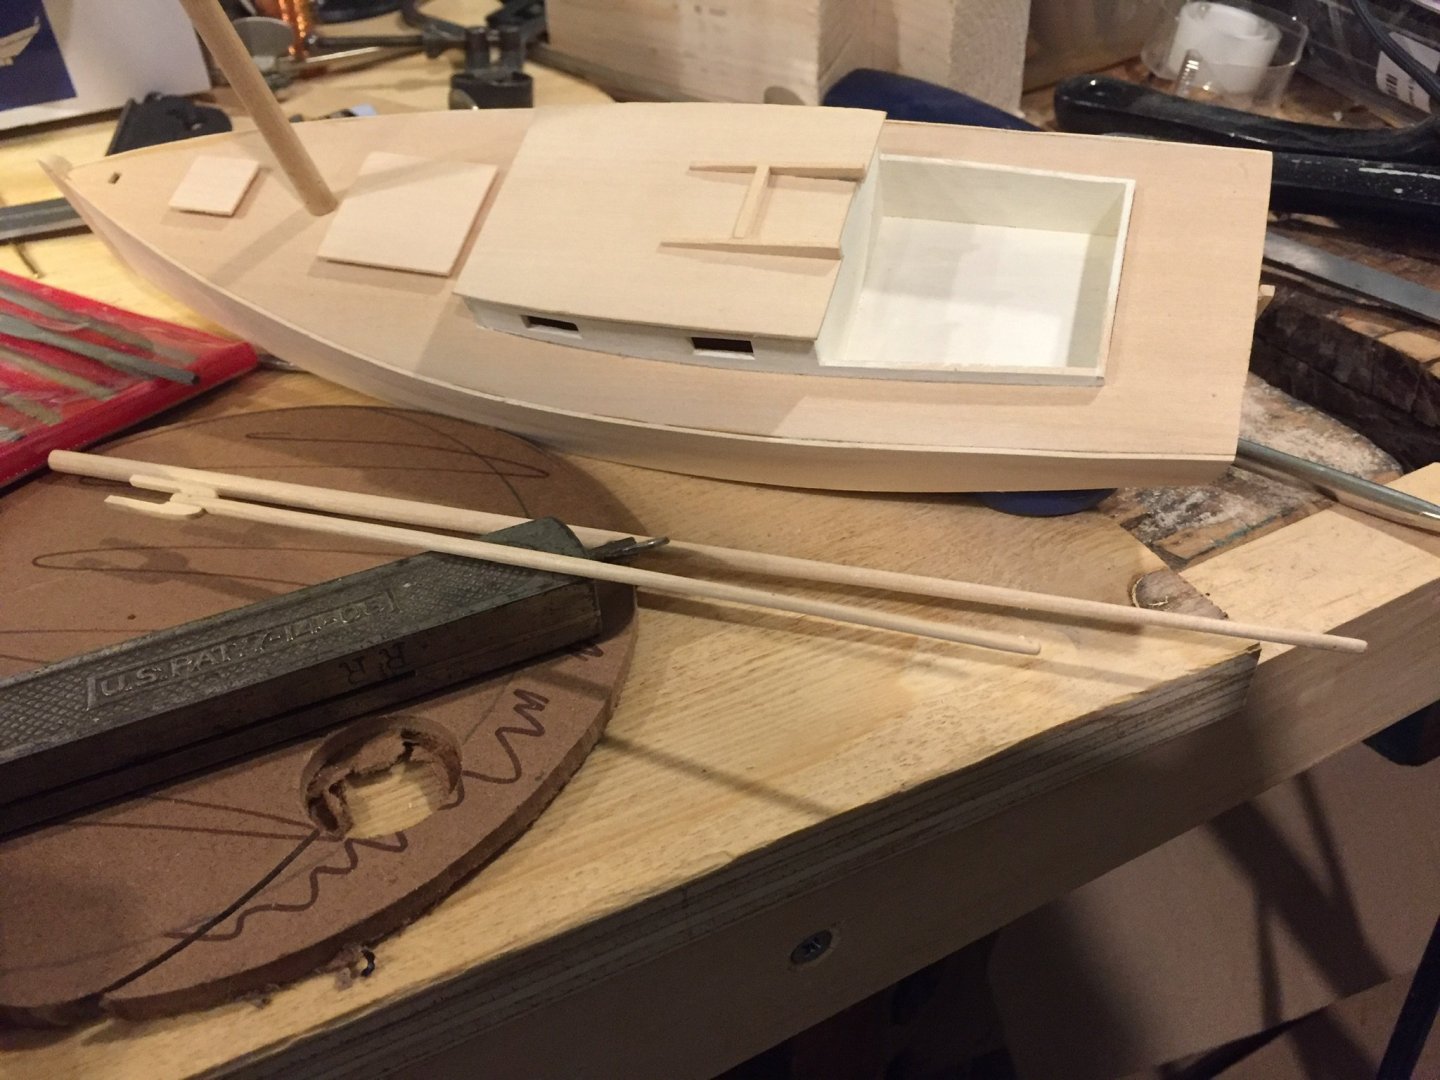
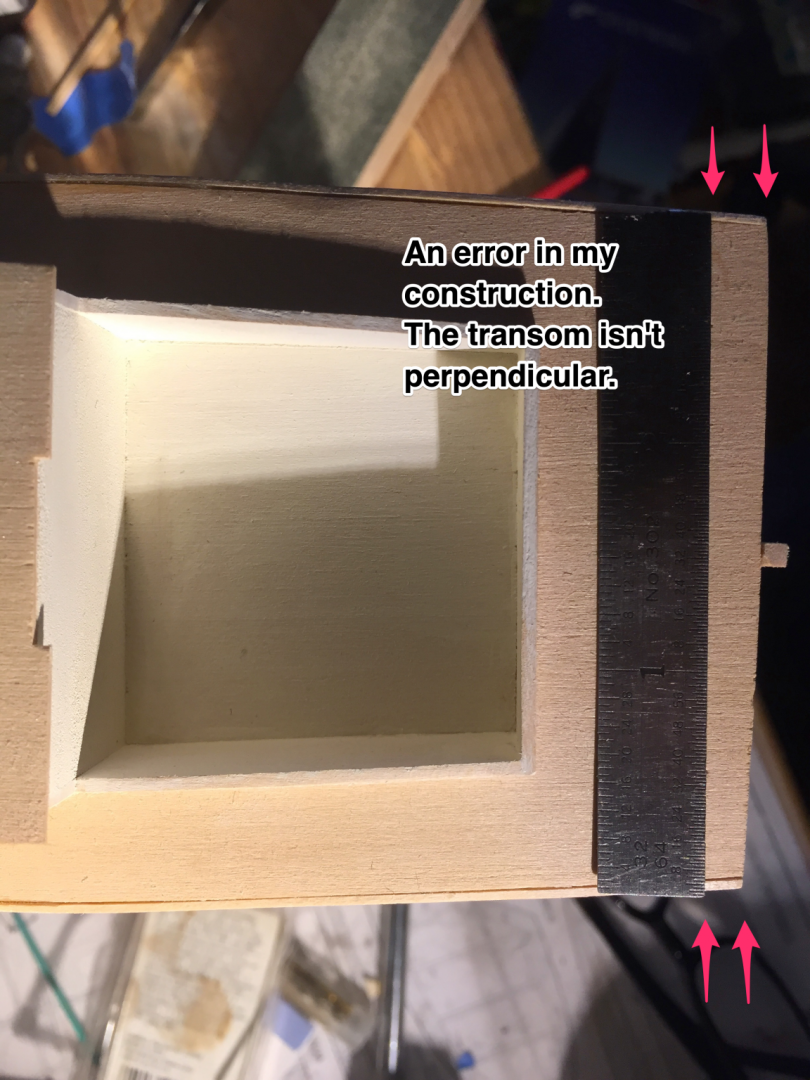
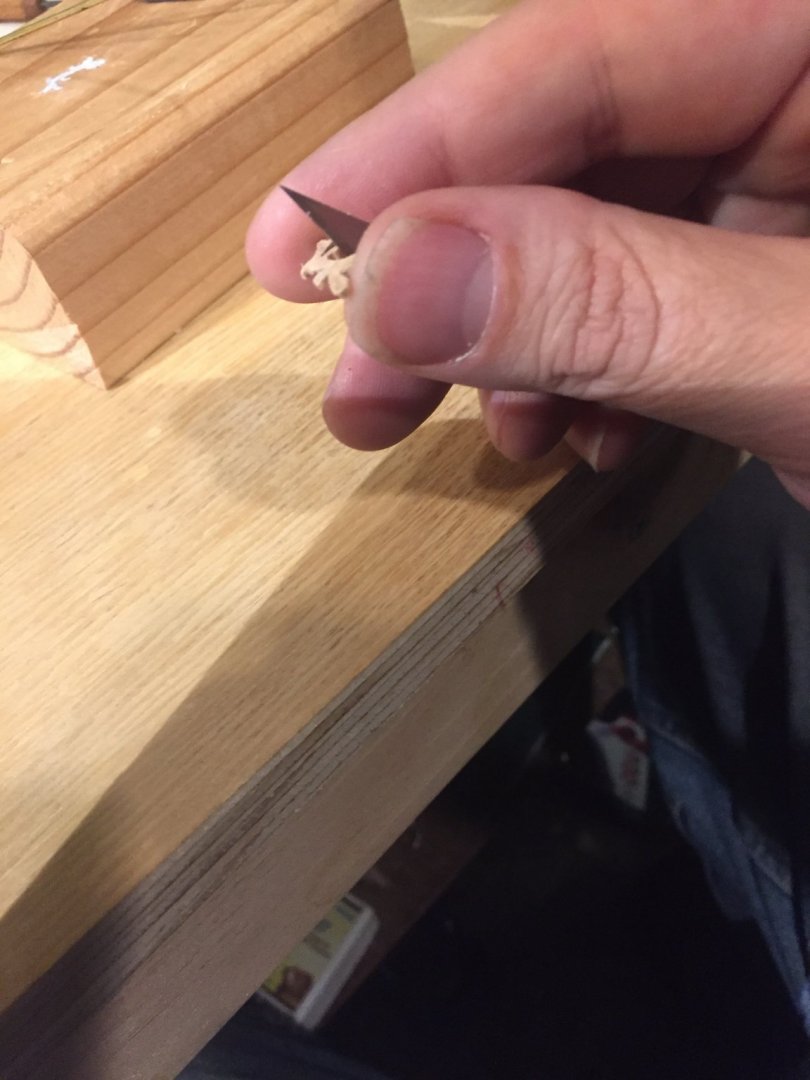
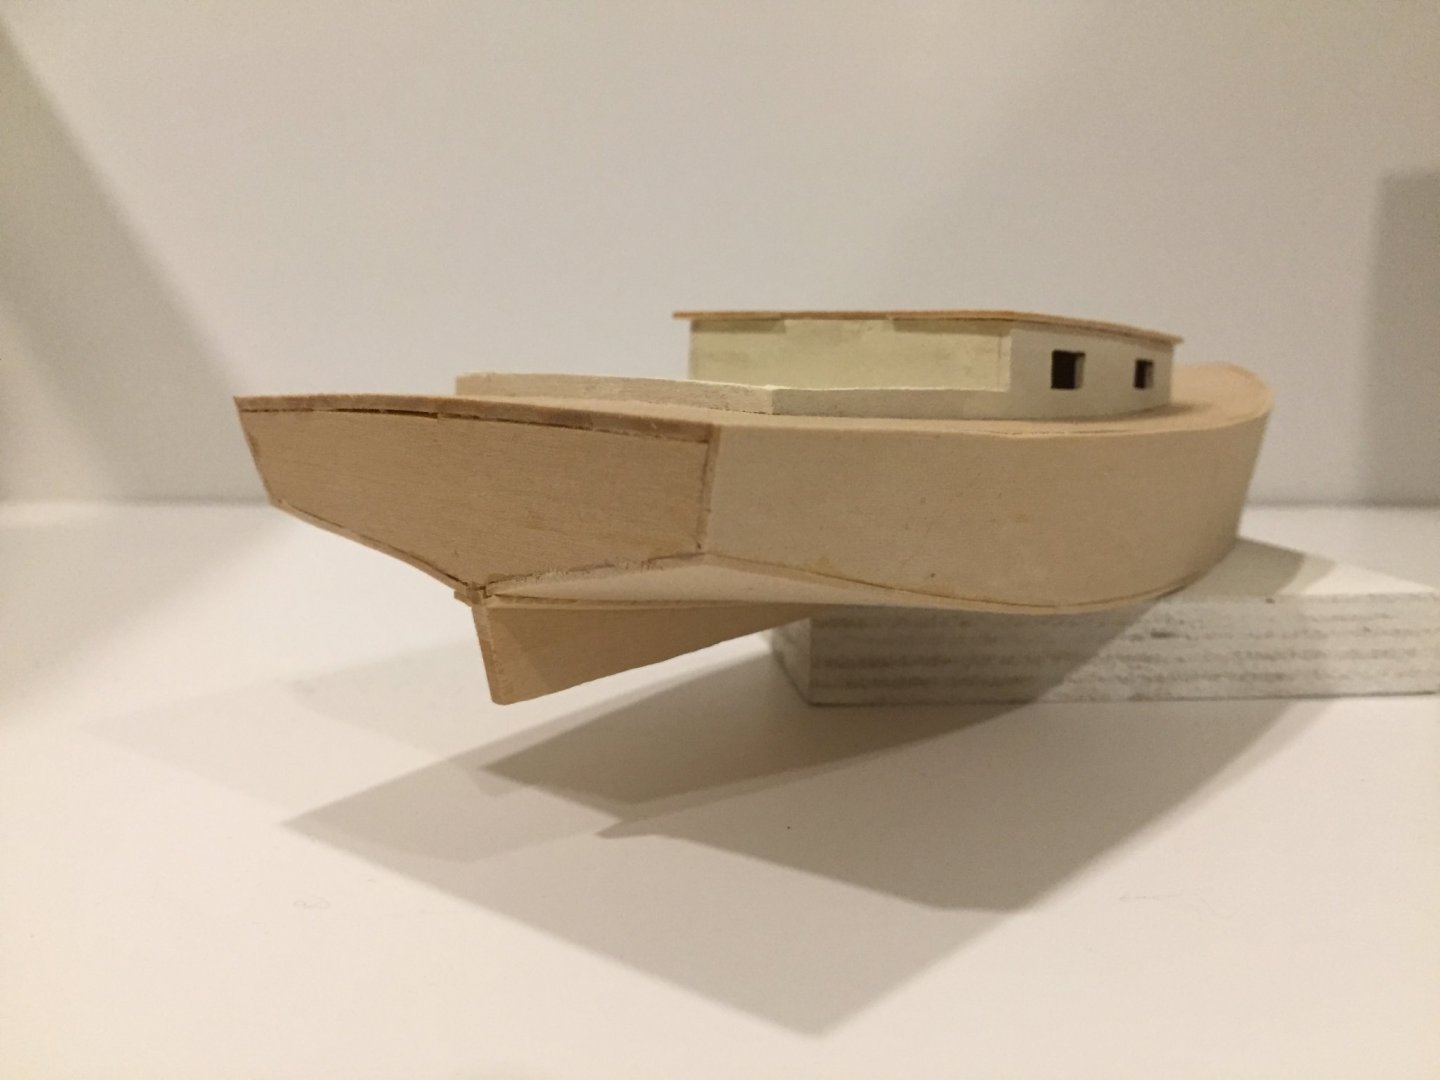
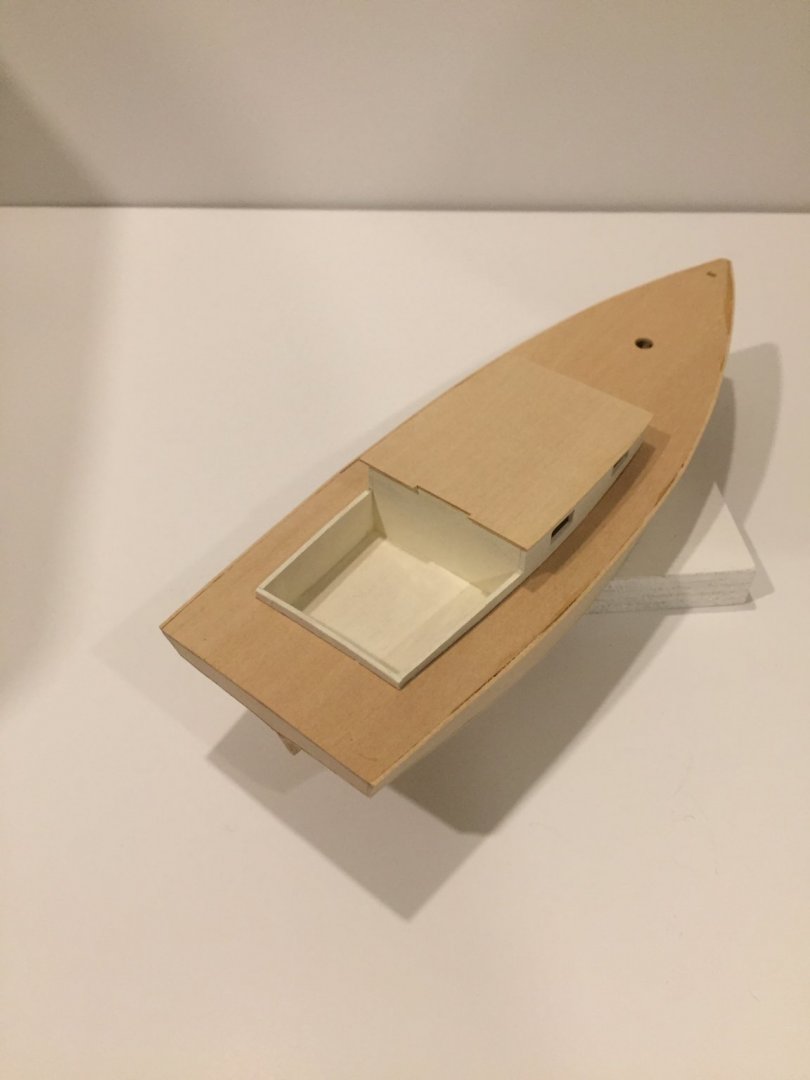
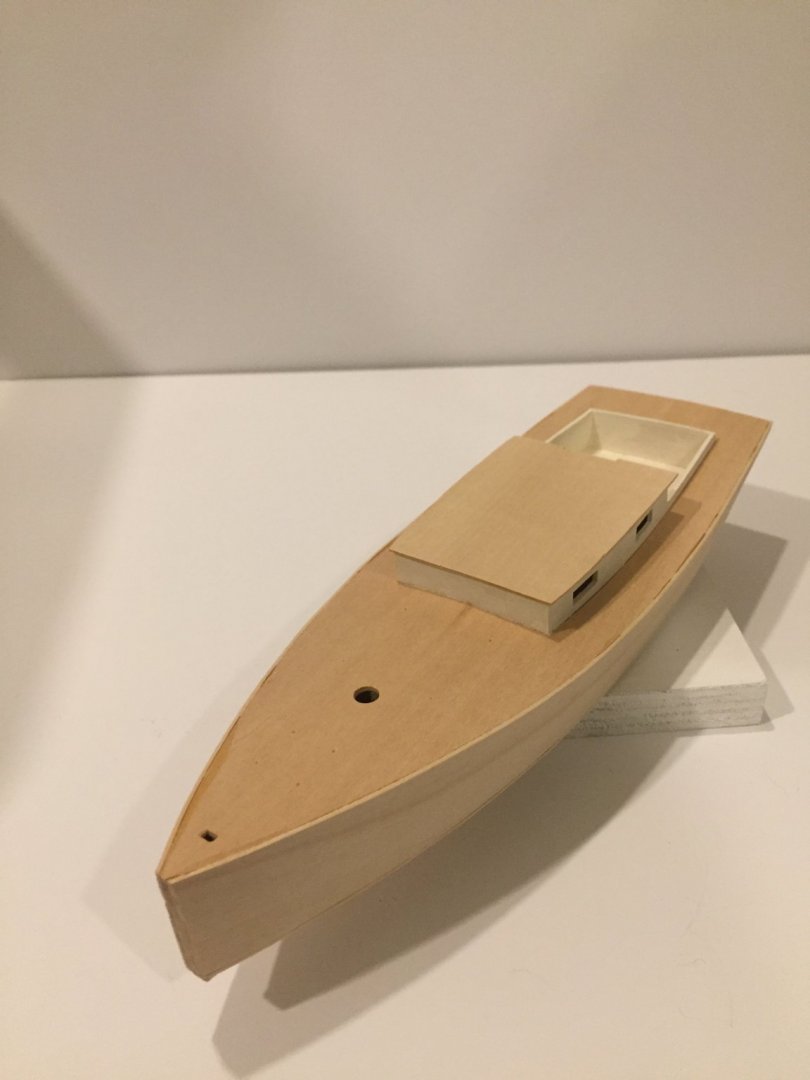
.thumb.jpeg.fc5d633a7b34428fcf19419a73d56d55.jpeg) I had a bit of time in ‘ye olde shipyard’ (actually a new location for me). Hatches and the start of the mast, gaff and boom. I had to retry the hatch placement, as they shifted, after my initial placement (as shown in the photo below).For the mast, I puzzled over plans which show slightly different shapes for the mast and other bits (the side view not matching the top-down view). Also my mast didn’t as deep as seems the instructions believed it ought to. I used a block plane to trim the dowels and then 120 grit sandpaper. The dowels had seams! I haven’t seen that before. I trimmed down four faces first, and then eight and then the sandpaper In hindsight, I should have drilled the required holes at this stage before continuing. That would have guaranteed the proper exit of my holes. Next time! I was very close but it could be better. I mixed a bit of saw dust with white glue together to fill the gaps in my tramson with some success. Little by little!
I had a bit of time in ‘ye olde shipyard’ (actually a new location for me). Hatches and the start of the mast, gaff and boom. I had to retry the hatch placement, as they shifted, after my initial placement (as shown in the photo below).For the mast, I puzzled over plans which show slightly different shapes for the mast and other bits (the side view not matching the top-down view). Also my mast didn’t as deep as seems the instructions believed it ought to. I used a block plane to trim the dowels and then 120 grit sandpaper. The dowels had seams! I haven’t seen that before. I trimmed down four faces first, and then eight and then the sandpaper In hindsight, I should have drilled the required holes at this stage before continuing. That would have guaranteed the proper exit of my holes. Next time! I was very close but it could be better. I mixed a bit of saw dust with white glue together to fill the gaps in my tramson with some success. Little by little!


- 72 replies
-
- 7
-

-
- Chesapeake Bay Flattie
- Midwest Products
- (and 1 more)
-
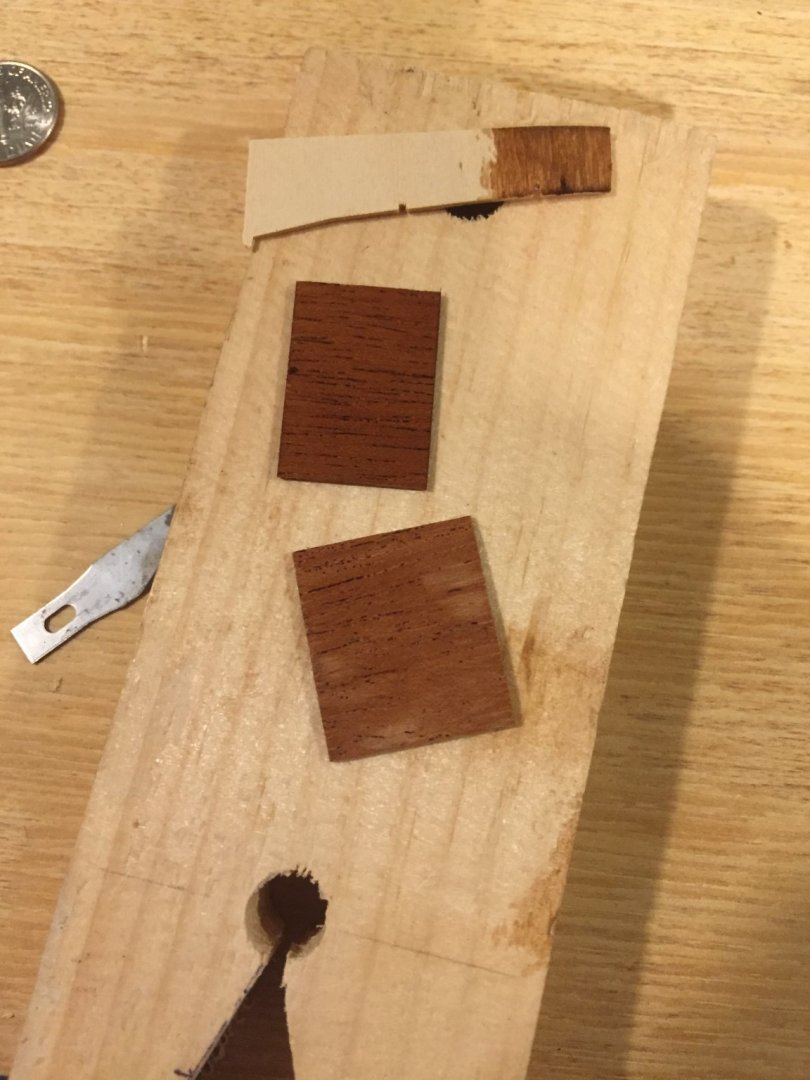
I’ve used some water-based stain on the mahogany hatch covers for a slightly warmer richer cooler. In the photo you can see one with and one without.
- 72 replies
-
- 6
-
-
- Chesapeake Bay Flattie
- Midwest Products
- (and 1 more)
-
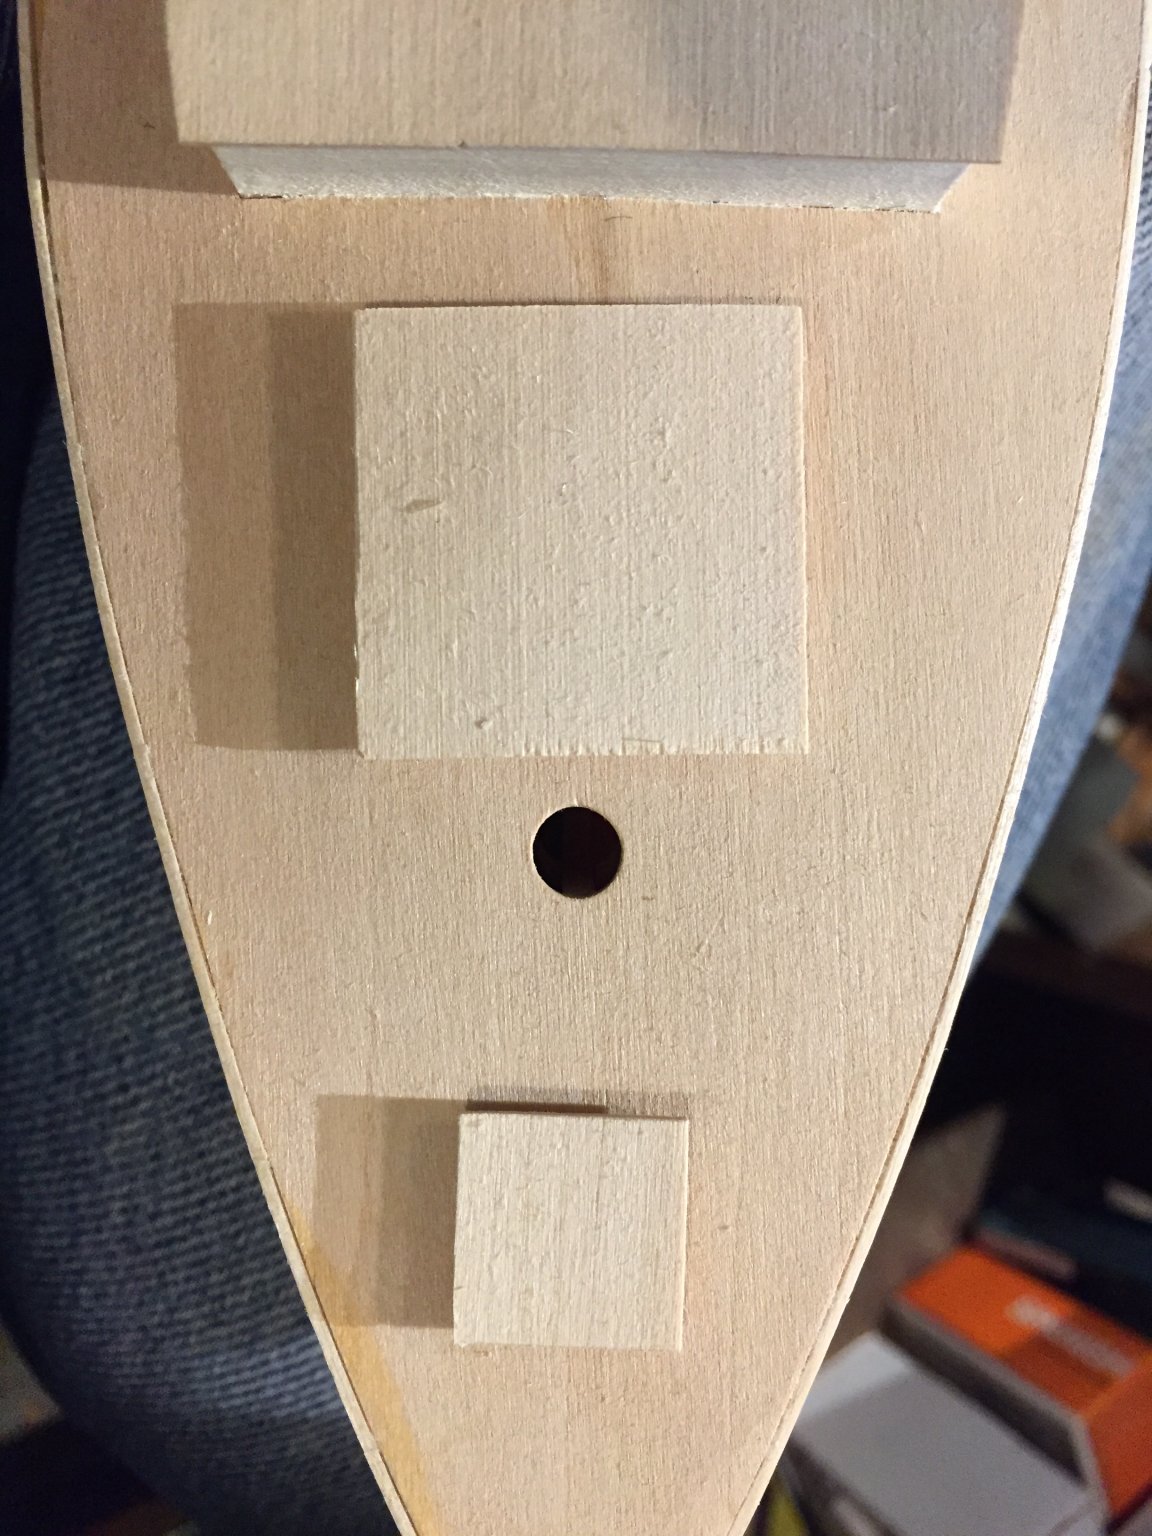
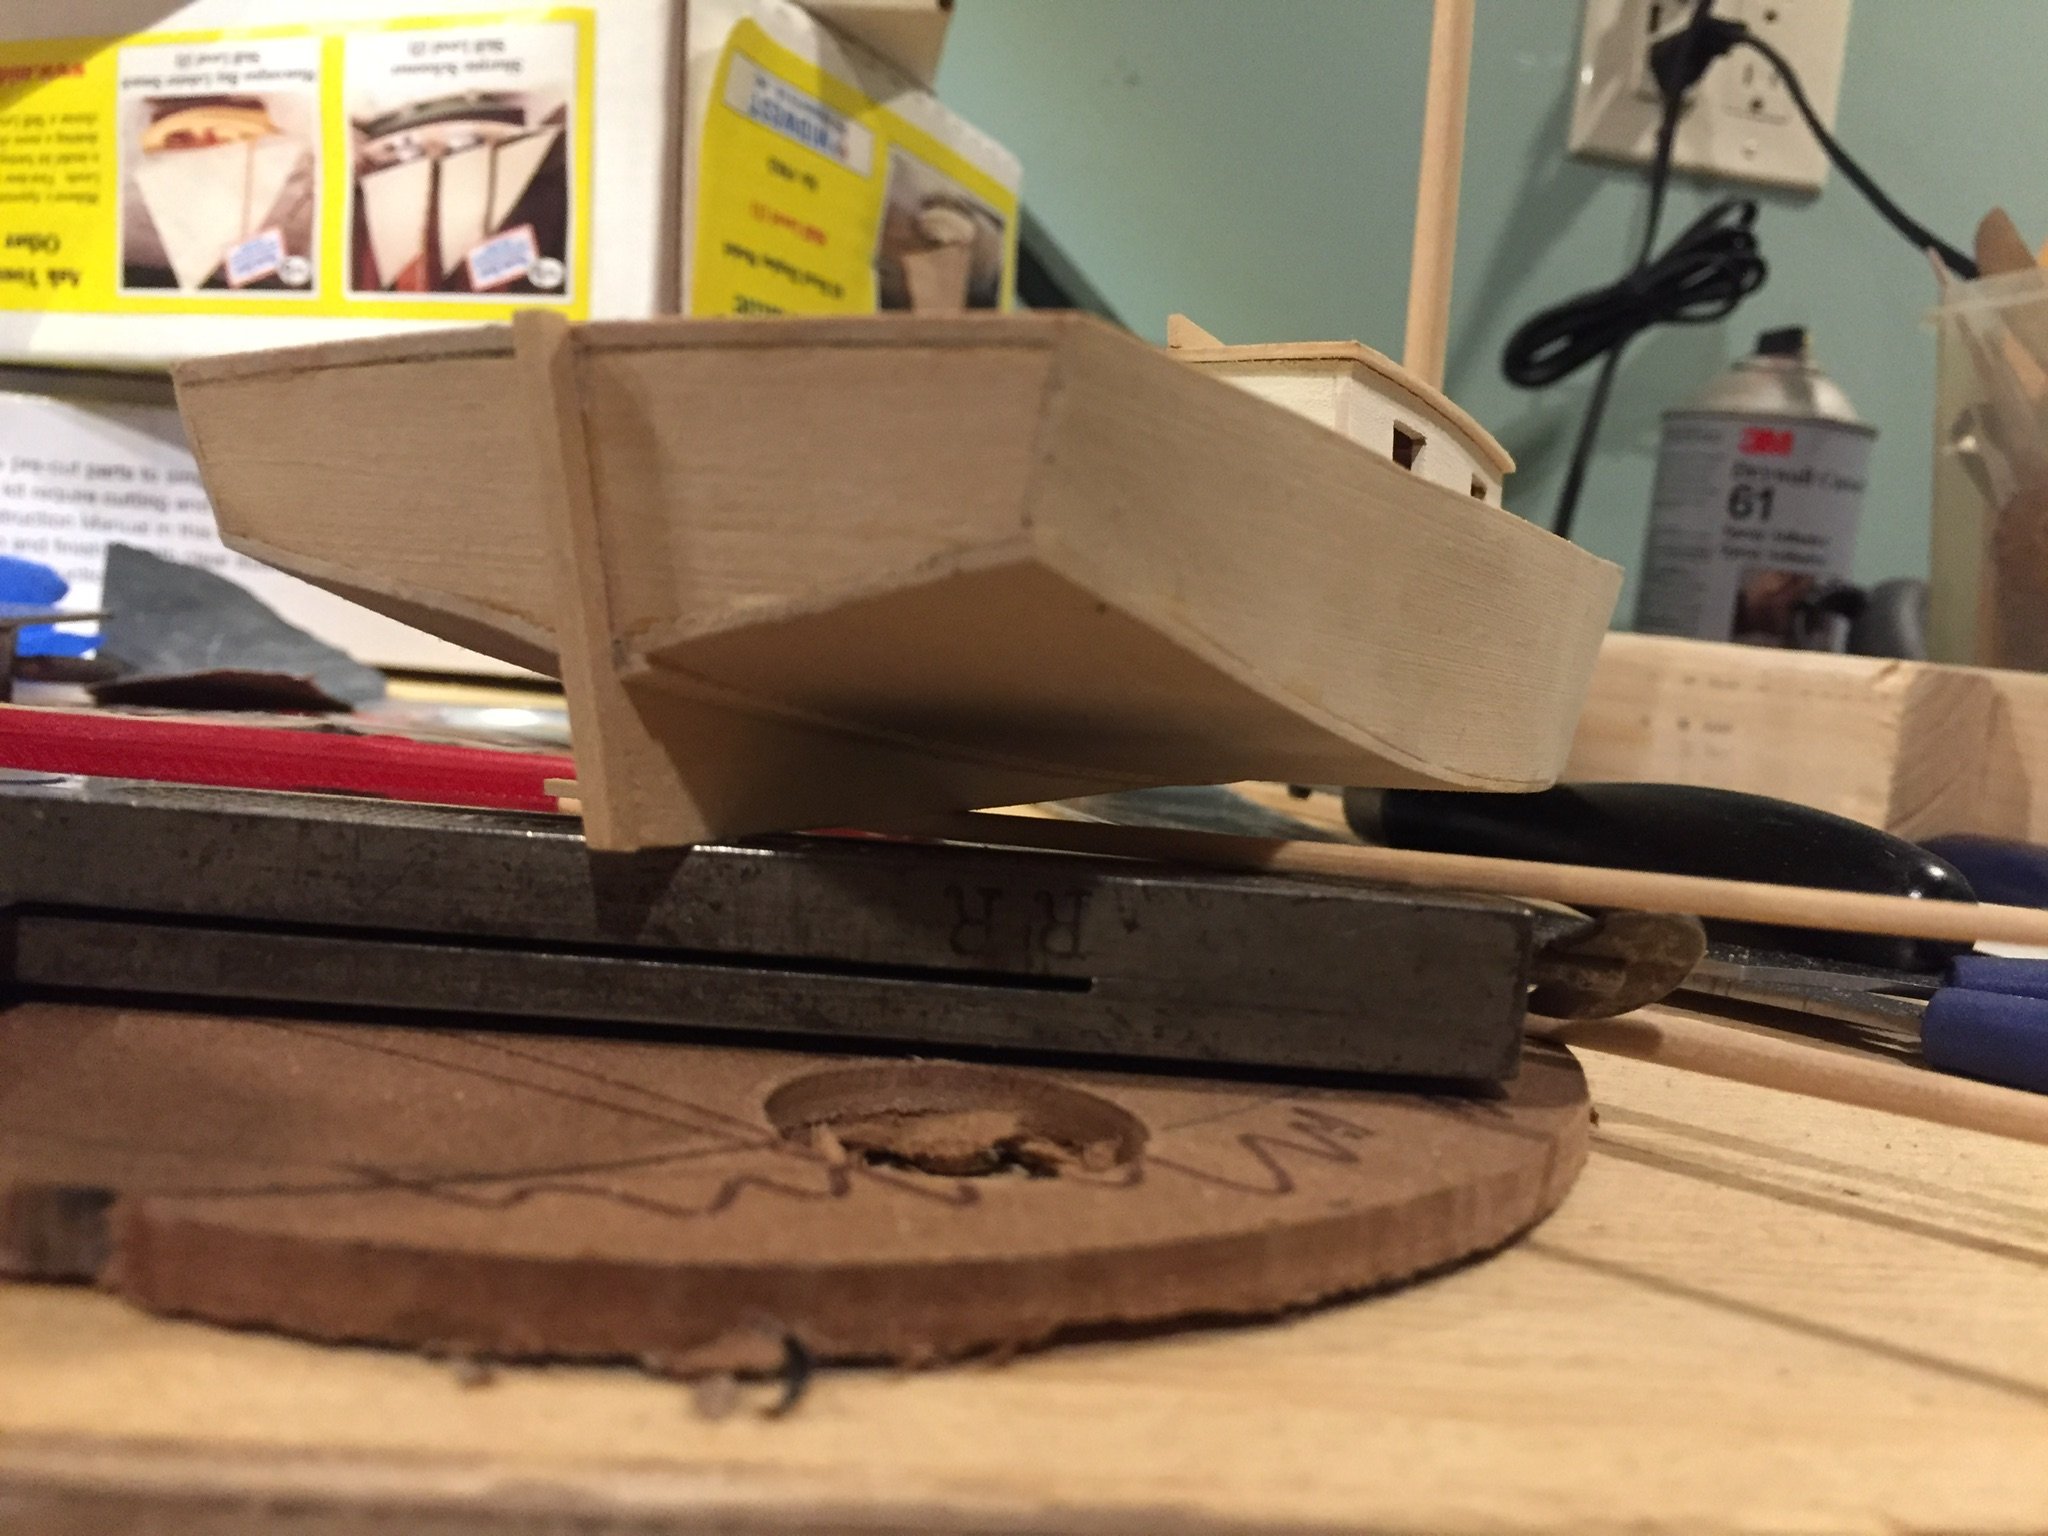
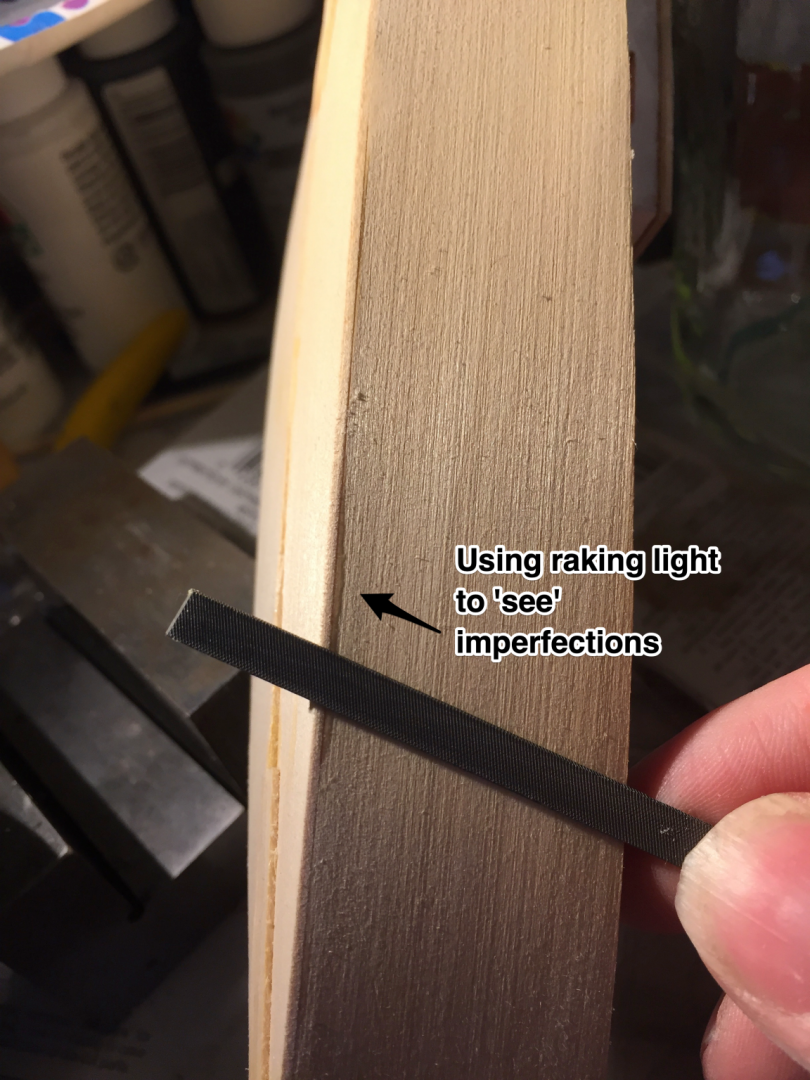
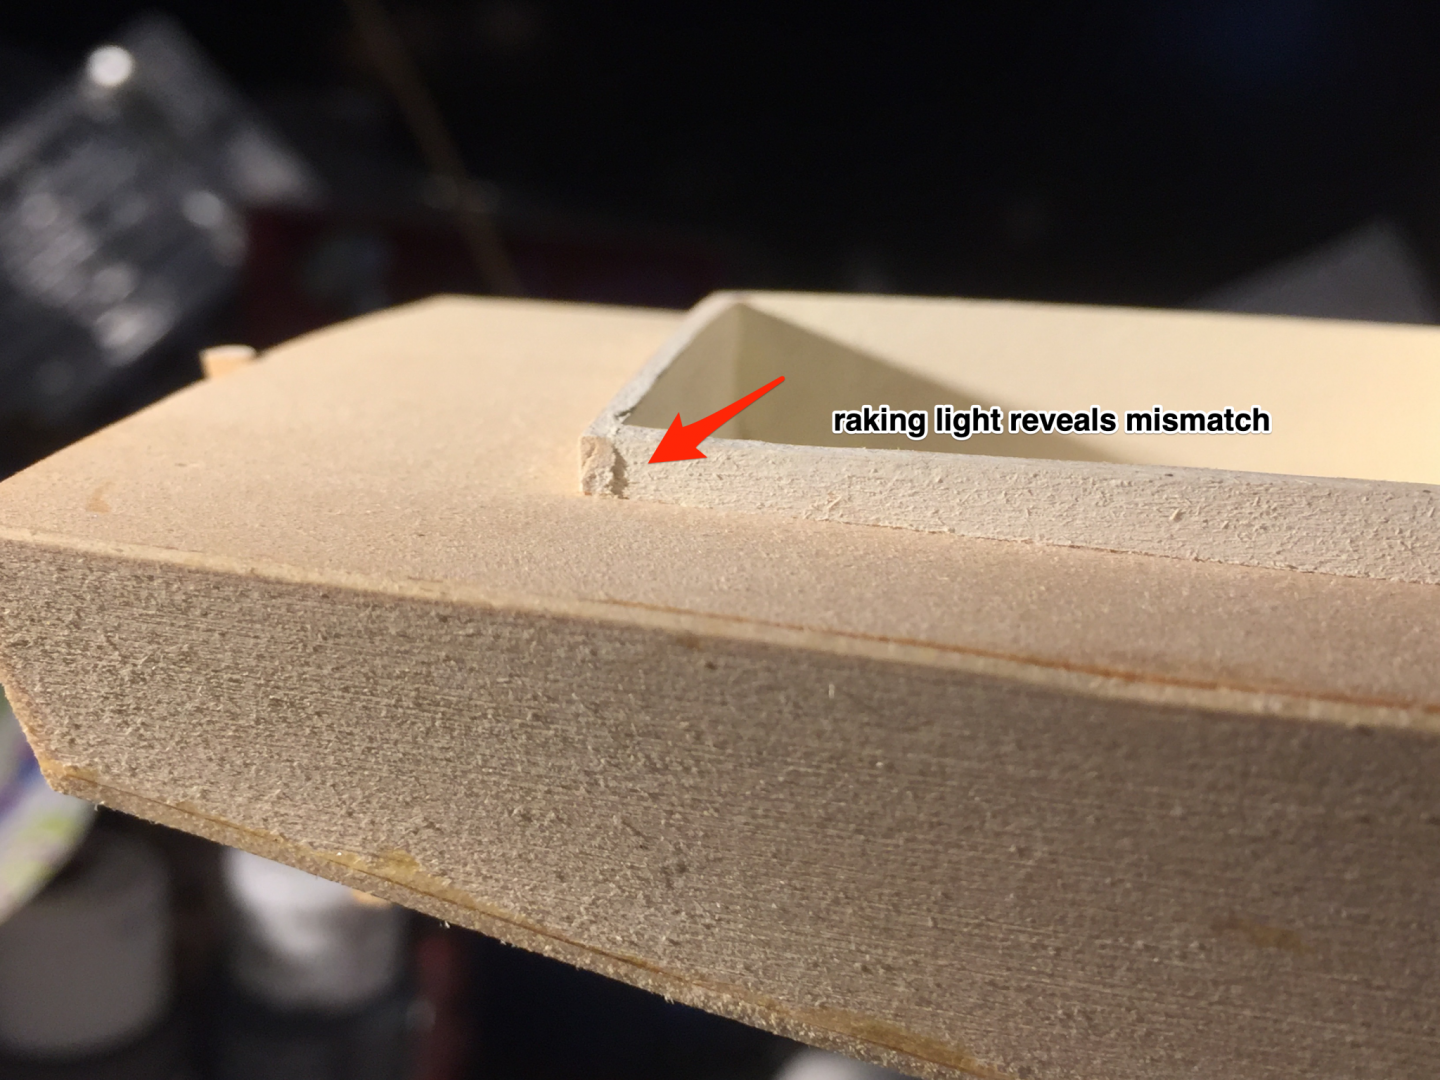
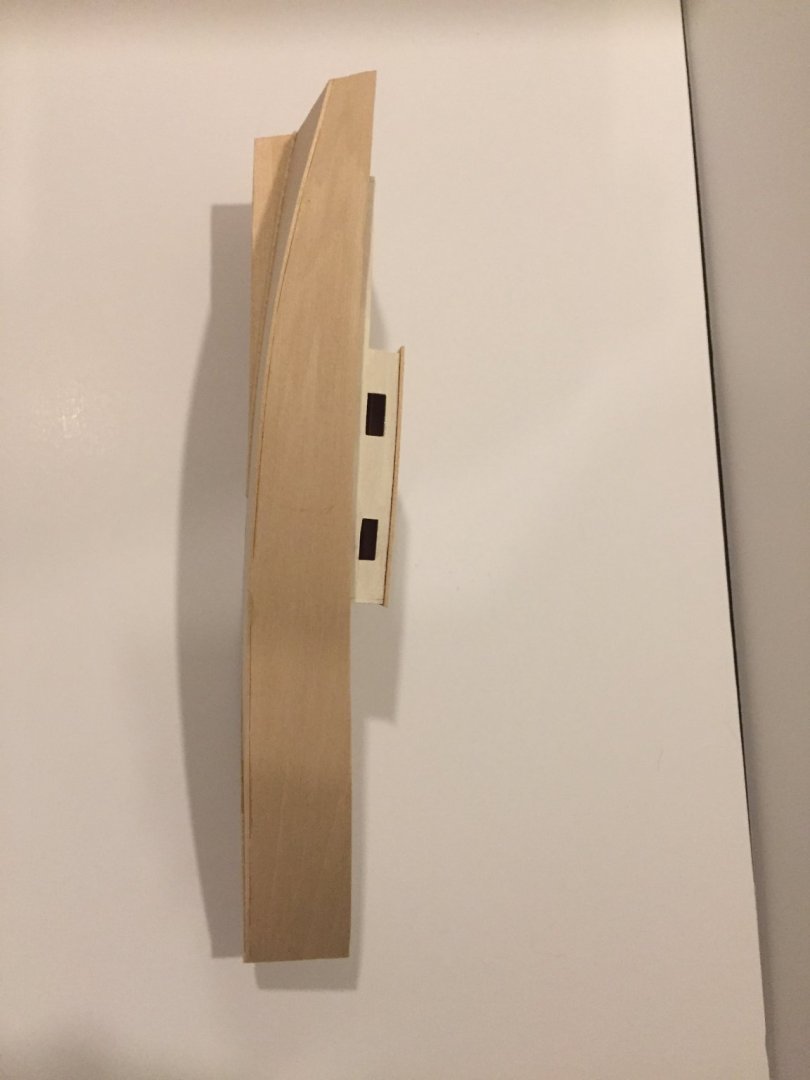
Mostly clean up and shaping areas I missed first pass. I started shaping the vertical bow piece as well and will attach it shortly. I couldn't untangle the slightly off transom, but it is very slight (and will wear it as the 'newbie badge of hindsight'). I got a bit of glue on the deck also. I did some scraping but to no avail; the glue remains. The rest are easy to deal with. I find raking (or oblique) lighting is very useful for checking for missed or flawed areas. How do folks minimize CA glue stains/leak over? As usual, I'm open to comments, suggestions, criticism and great wisdom! Next step is prepping the mahogany hatch covers.


- 72 replies
-
- 6
-
-
- Chesapeake Bay Flattie
- Midwest Products
- (and 1 more)
-
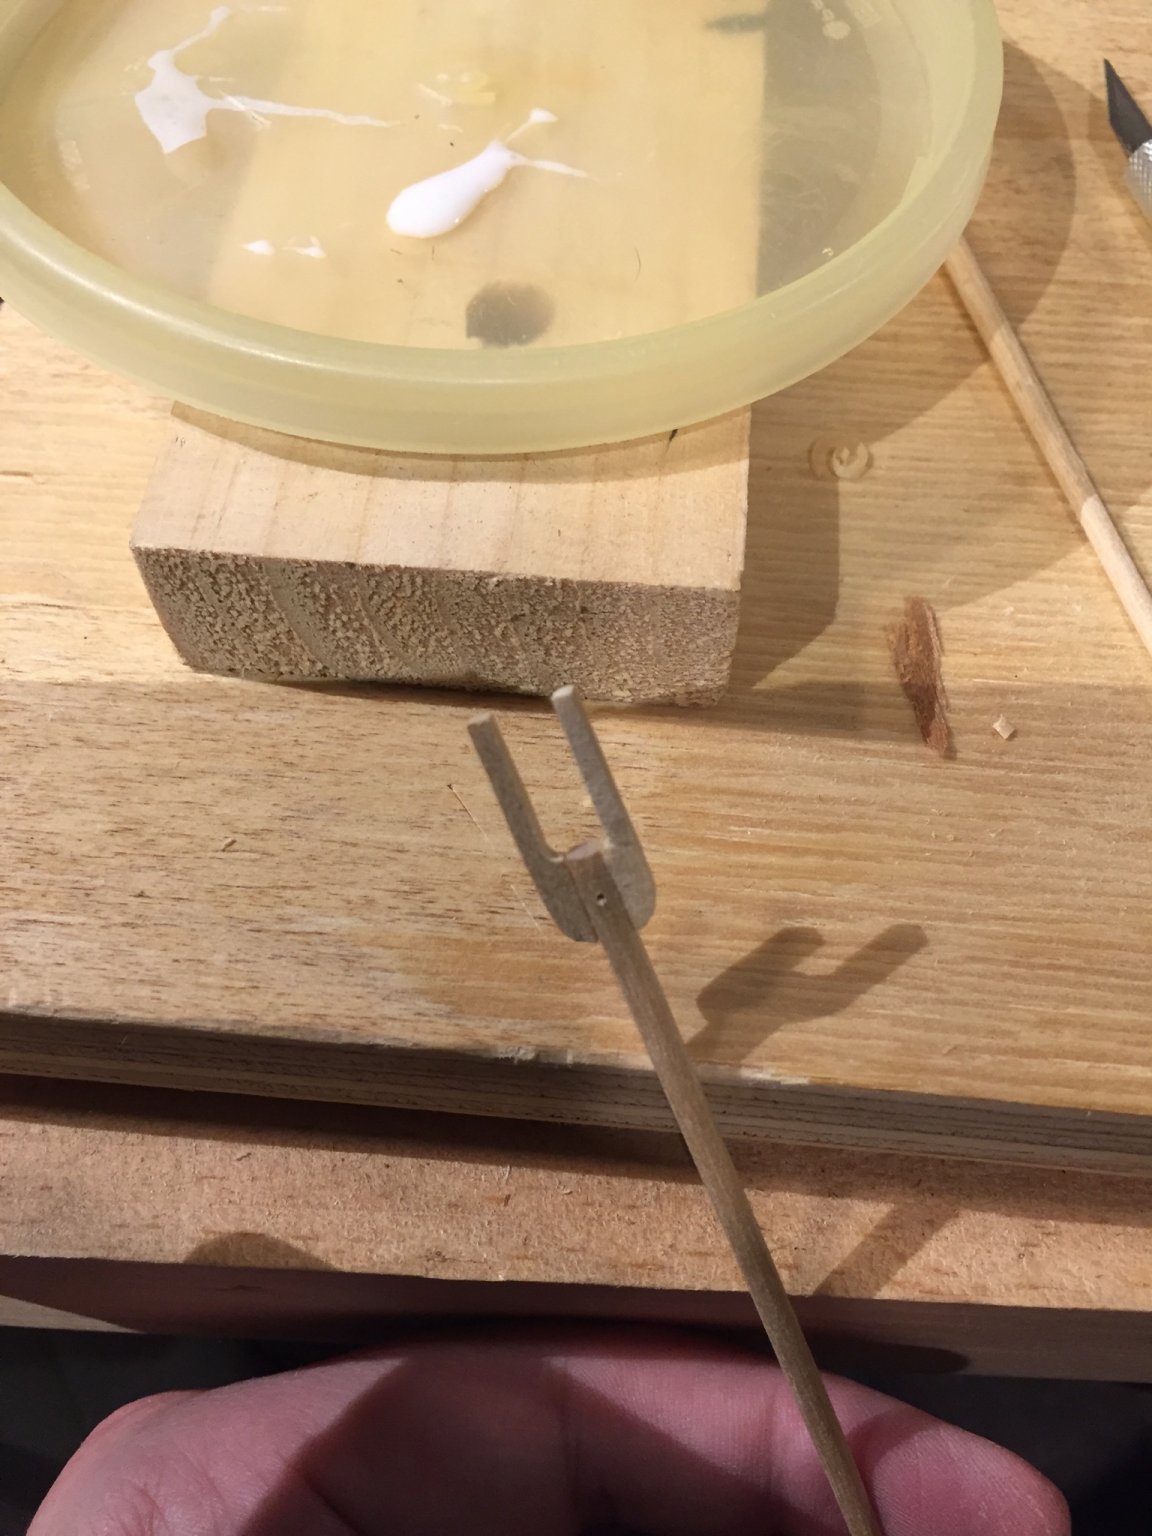
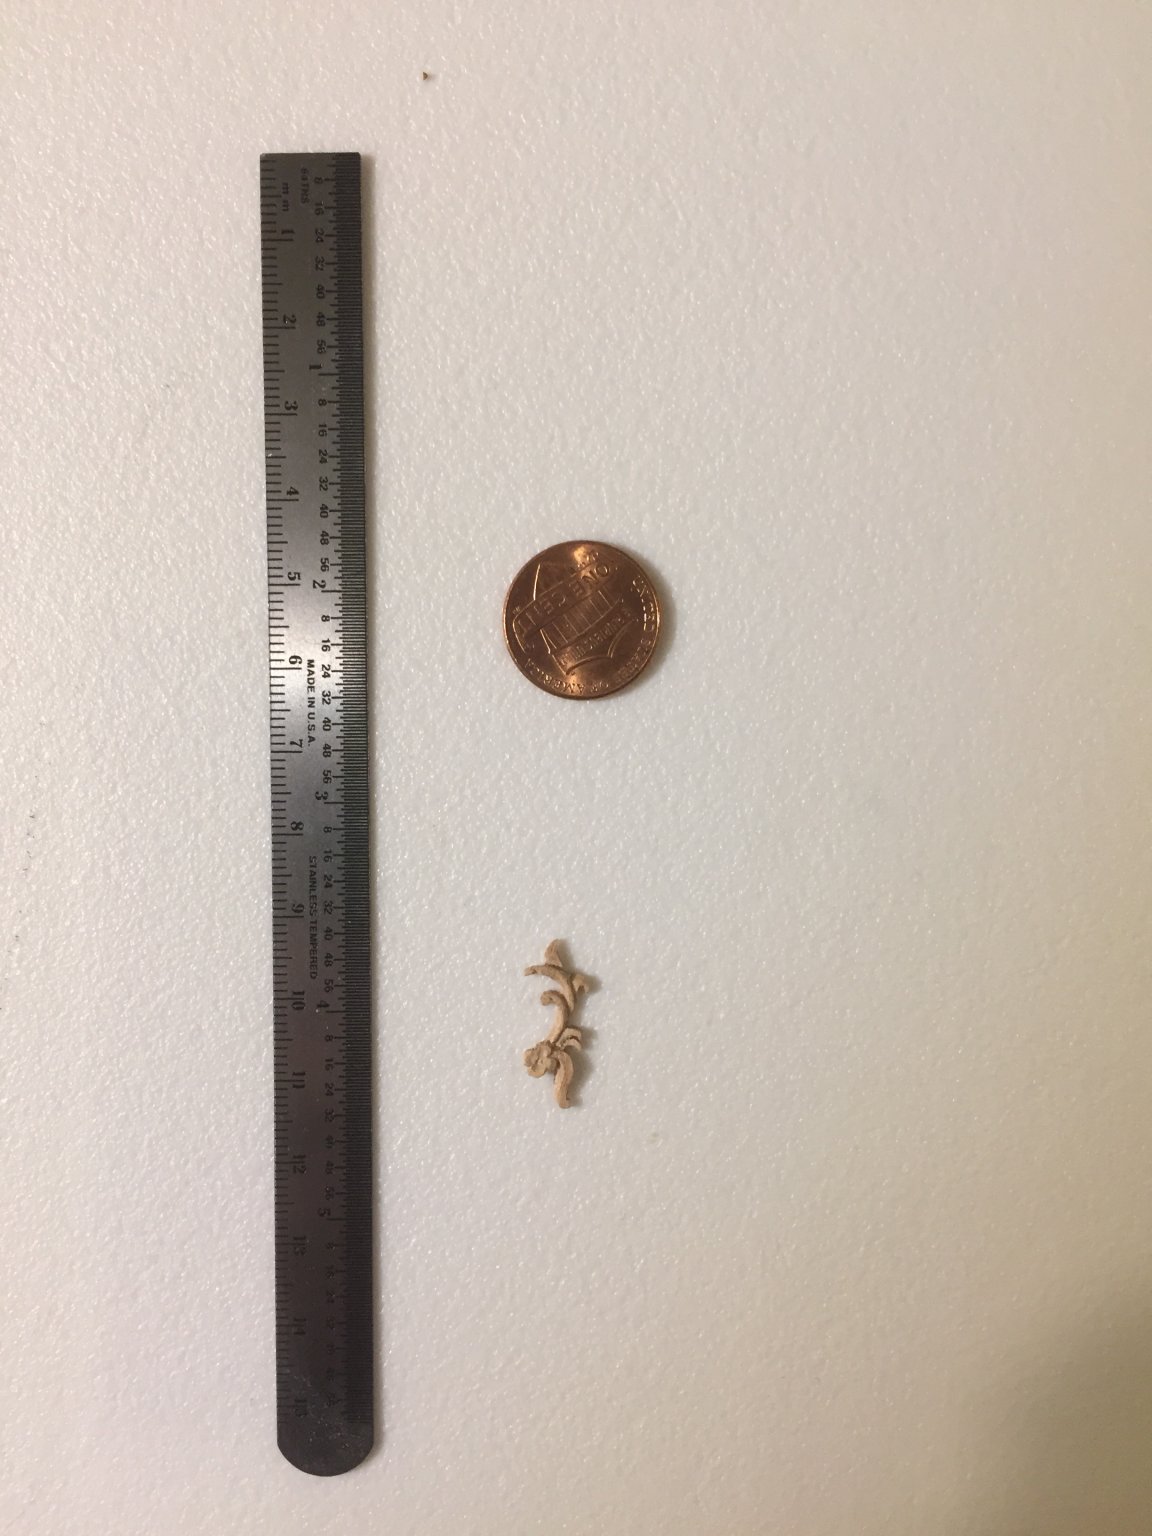
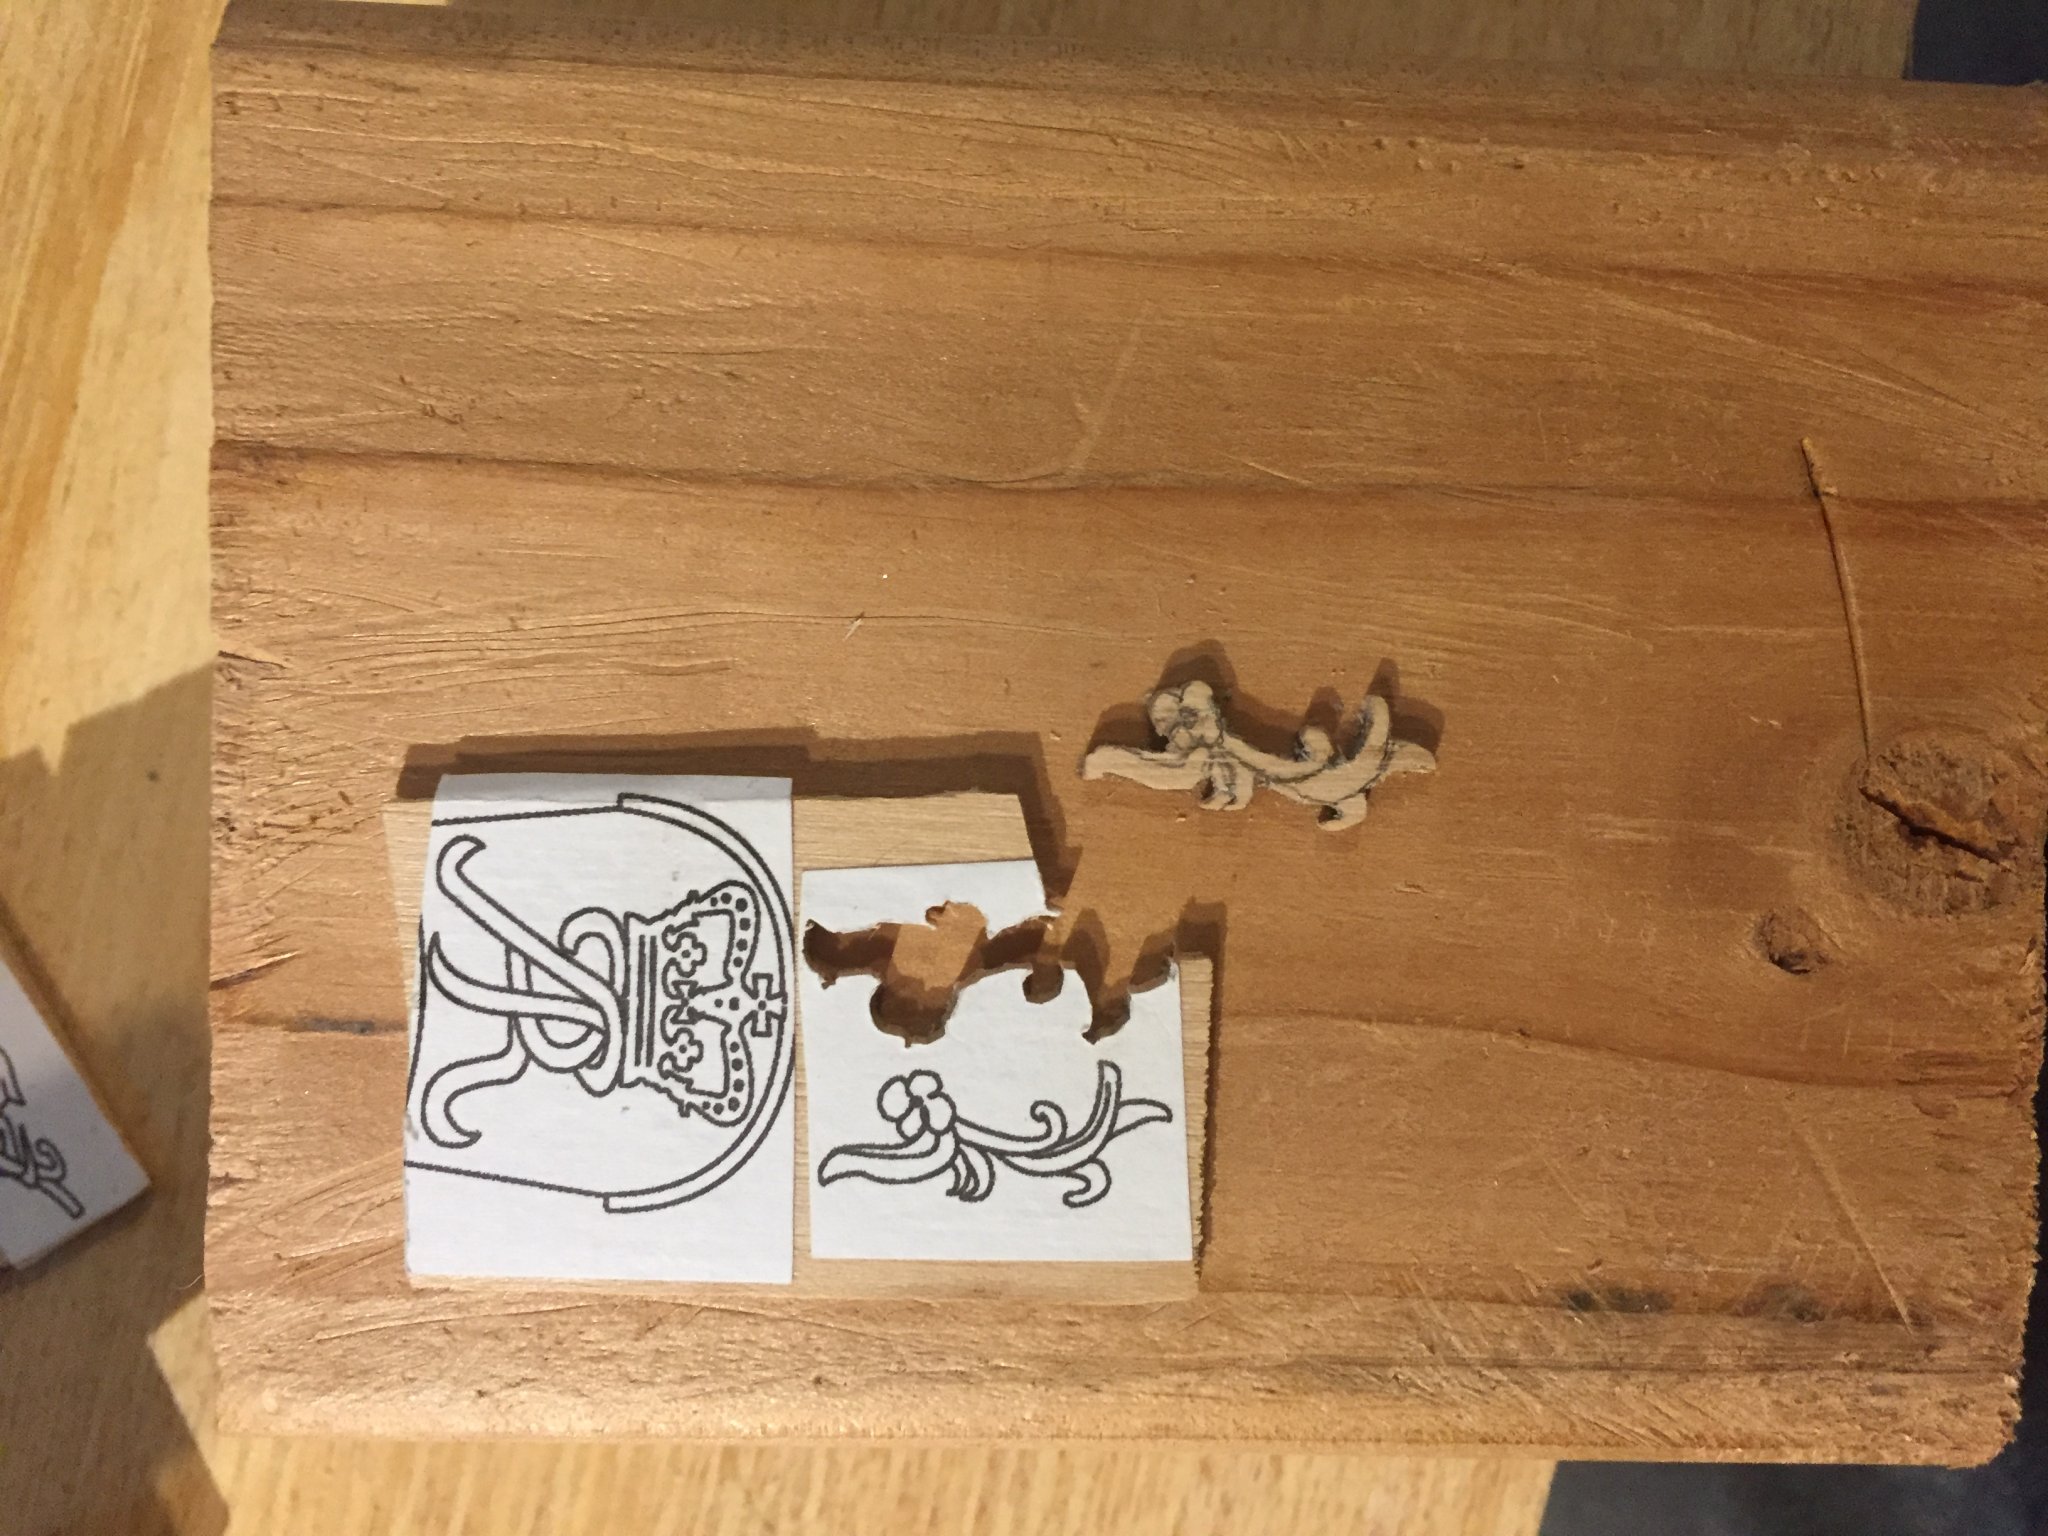
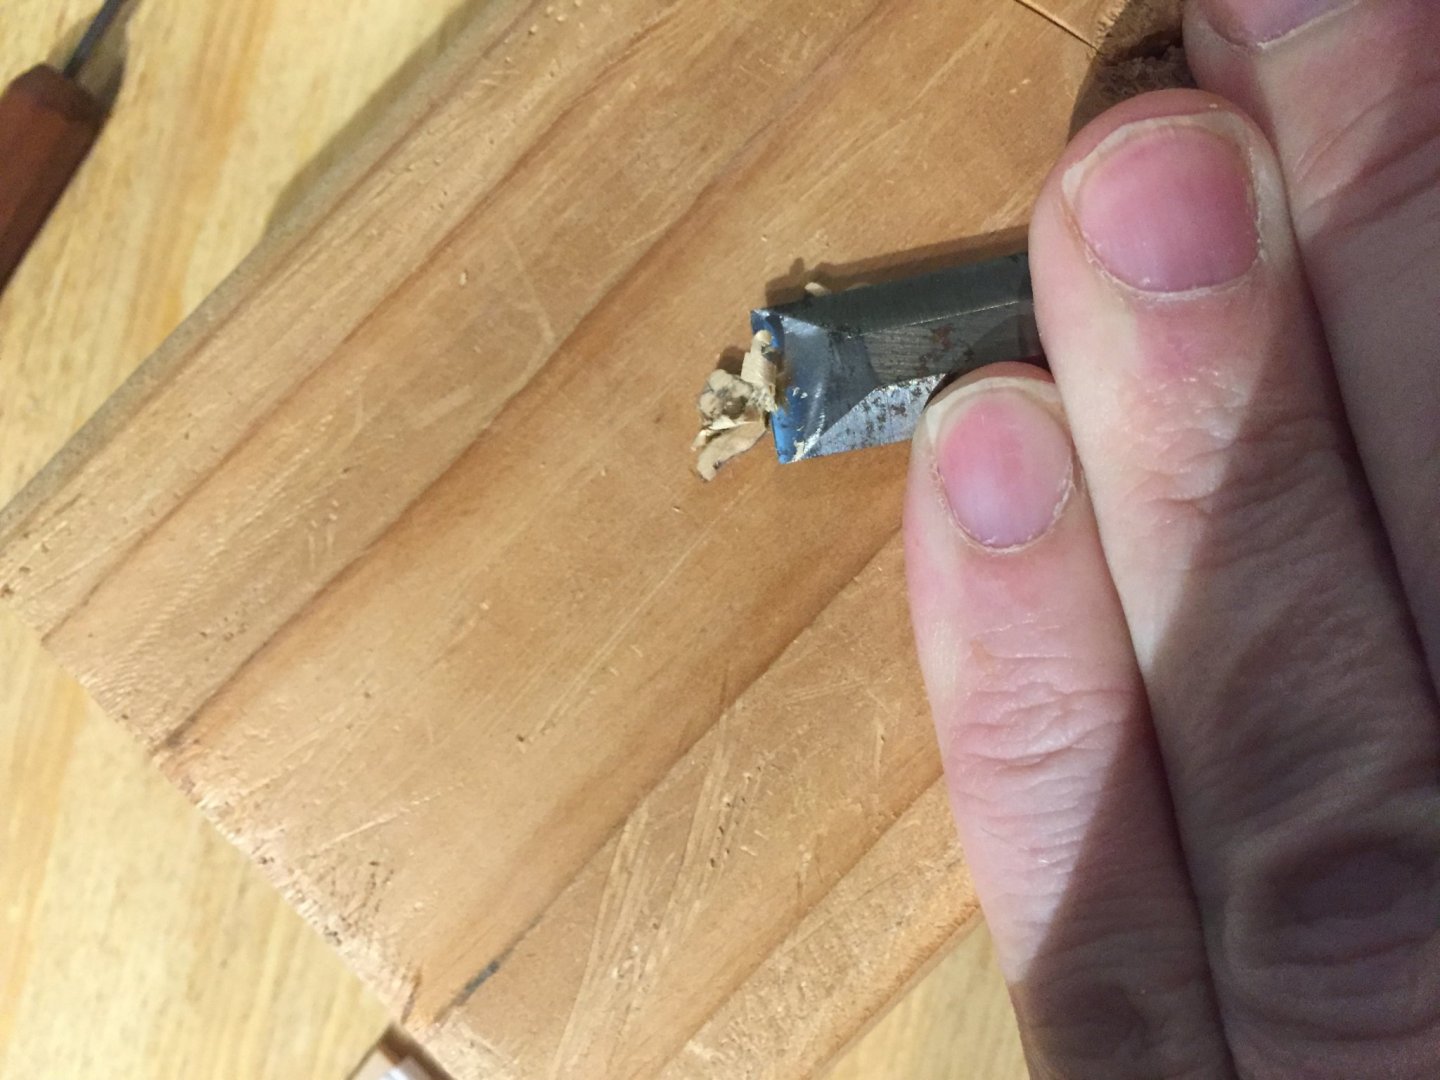
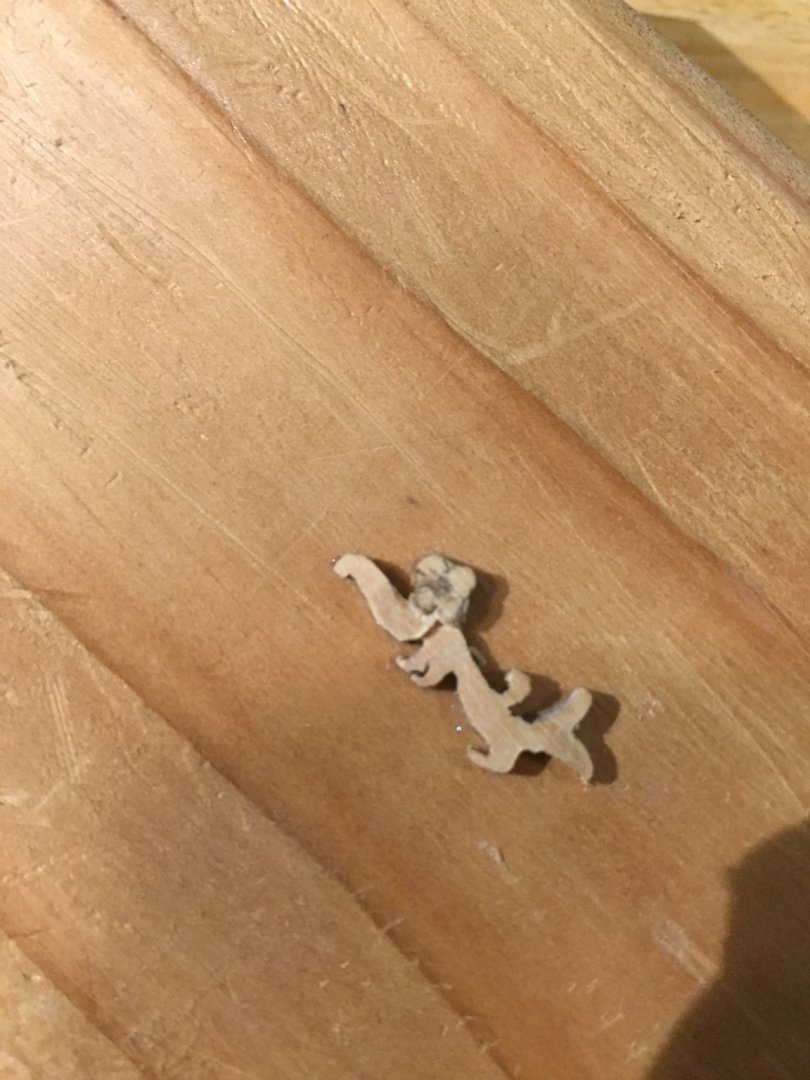
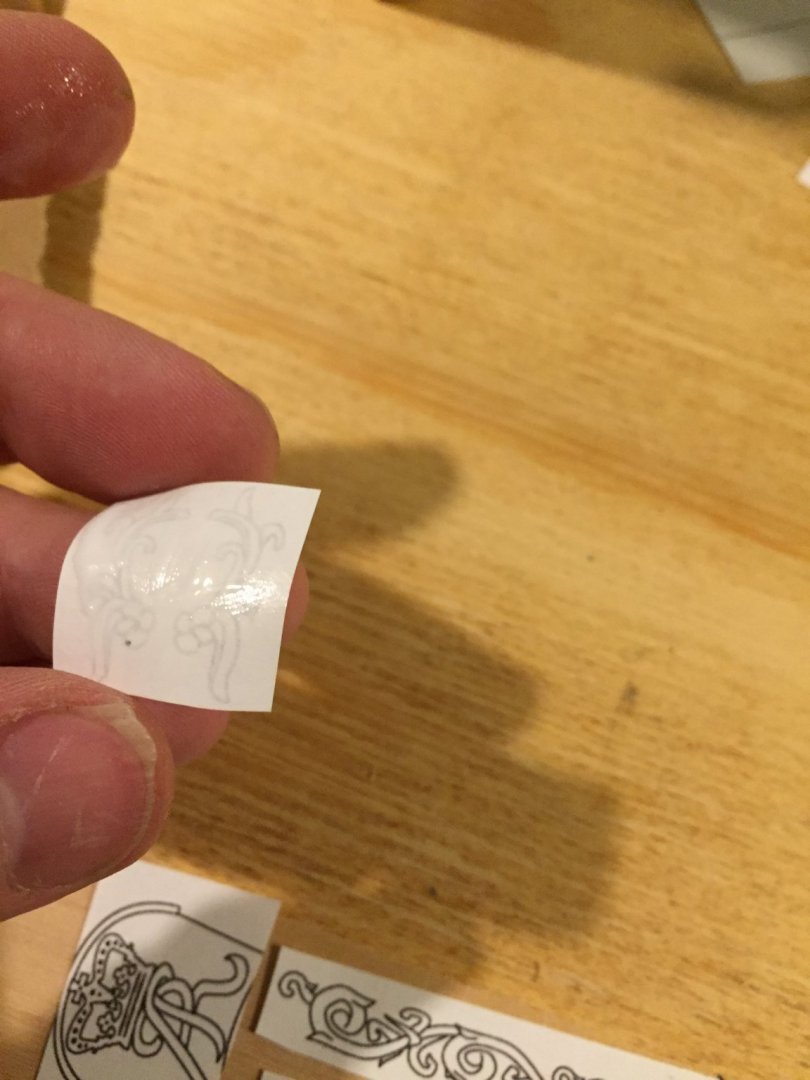
I undercut the flowers slightly and the carving looked ok enough for the time spent so far. I popped the carving off and wet the paper and rubbed most of it off quickly. The rest yielded to the X-acto blade with a couple quick scapes. I noticed a couple of my cuts didn’t cut all to the base so I scraped that as well. I thought I would need to scrape or sand at this point, but I’m happy enough with the exercise as is. Beyond the the sawing, the cutting (and grinding) took two 15 minutes sessions (plus a bit more for photos). I assume this would quicker with practice. I think I would invest in buying or making a small gouge to supplant my ‘scraper’.


-
I ground down a bit of brass tube to make a circle-shaped ‘punch’ for the center of the flower and I ground down a X-acto blade for scraping the previously described inside curves. It was quick to do and they worked ok.
-
I’ll have think about cutting inside curves. If you will pardon the pun, the x-acto doesn’t cut it.
-
Thanks for the suggestion, reklein. I thought gluing it to the block of wood would work in a similar fashion. I’ll keep you posted. Thanks to everyone for the likes!
-
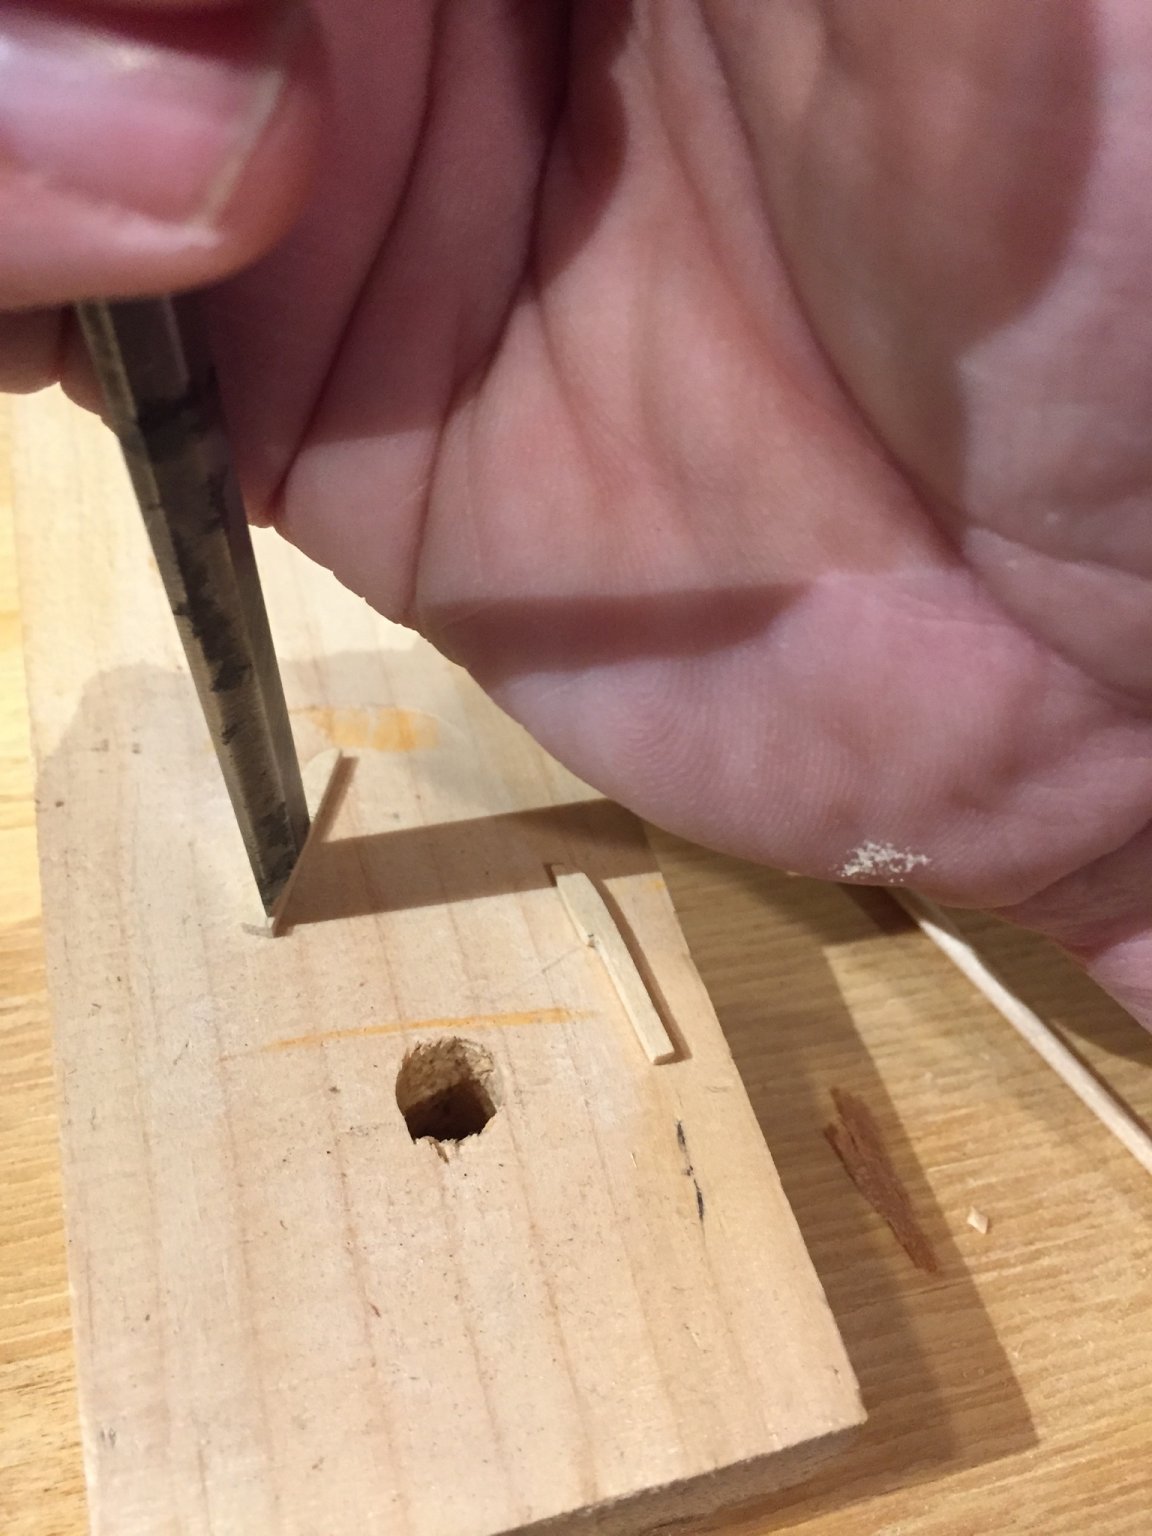
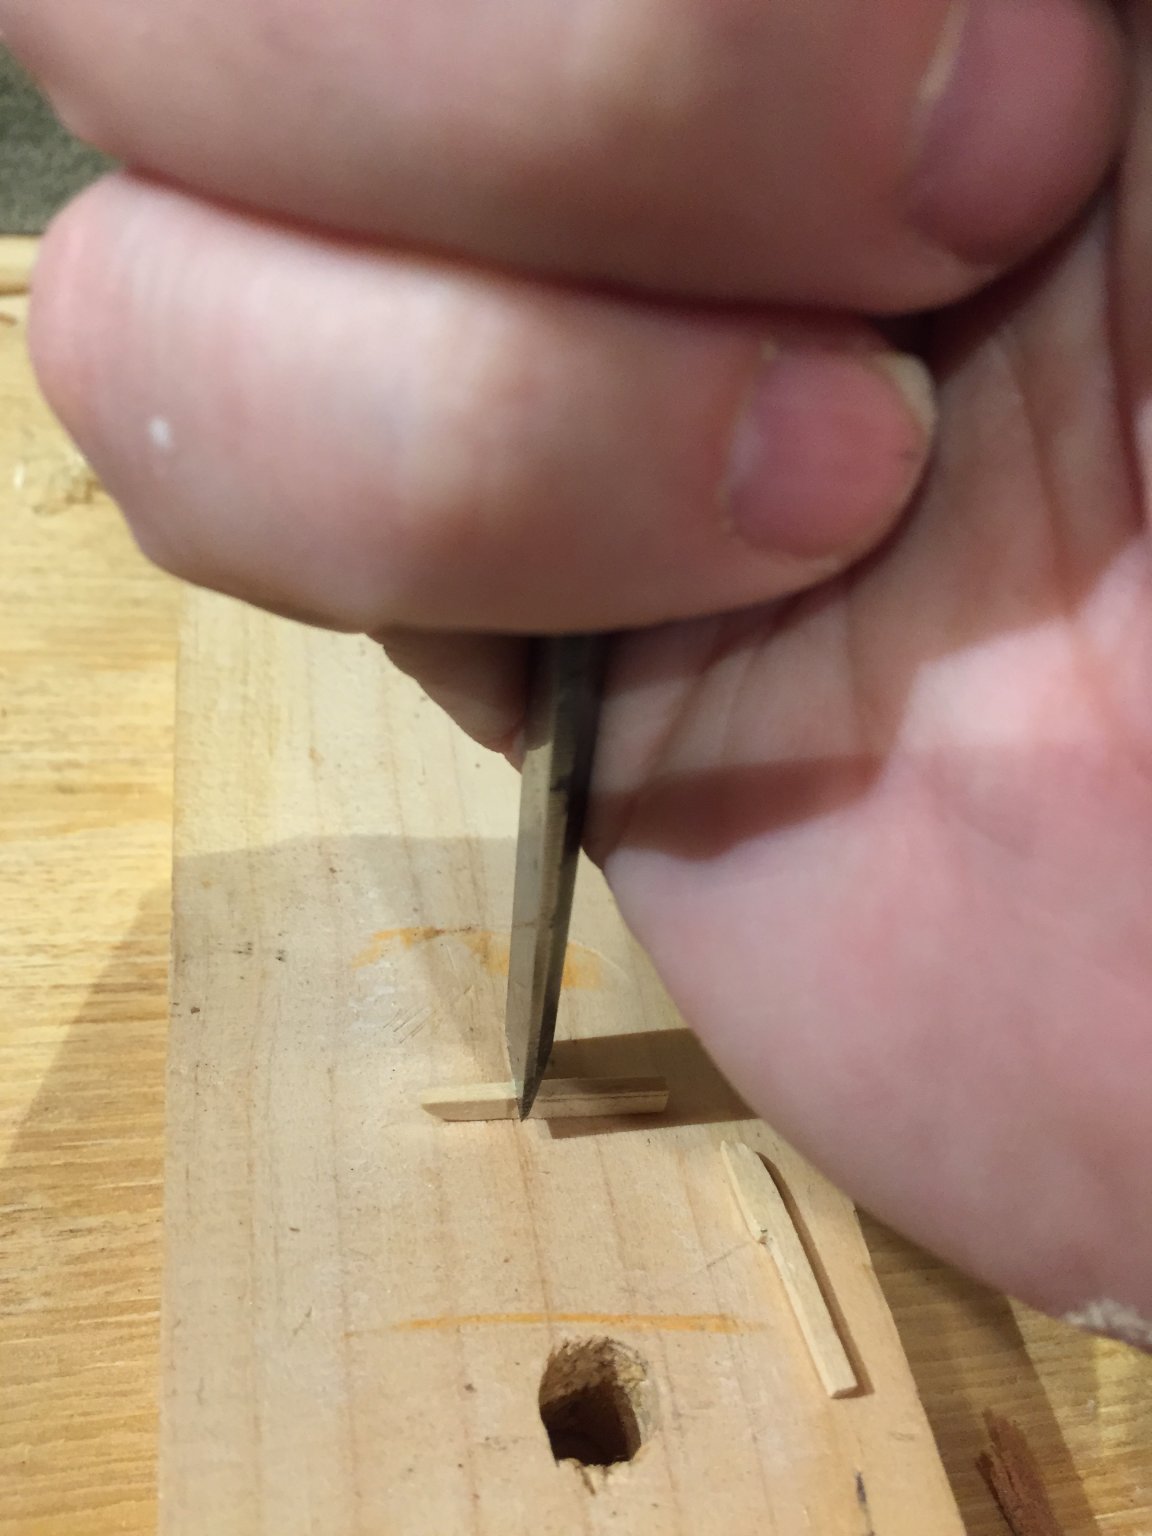
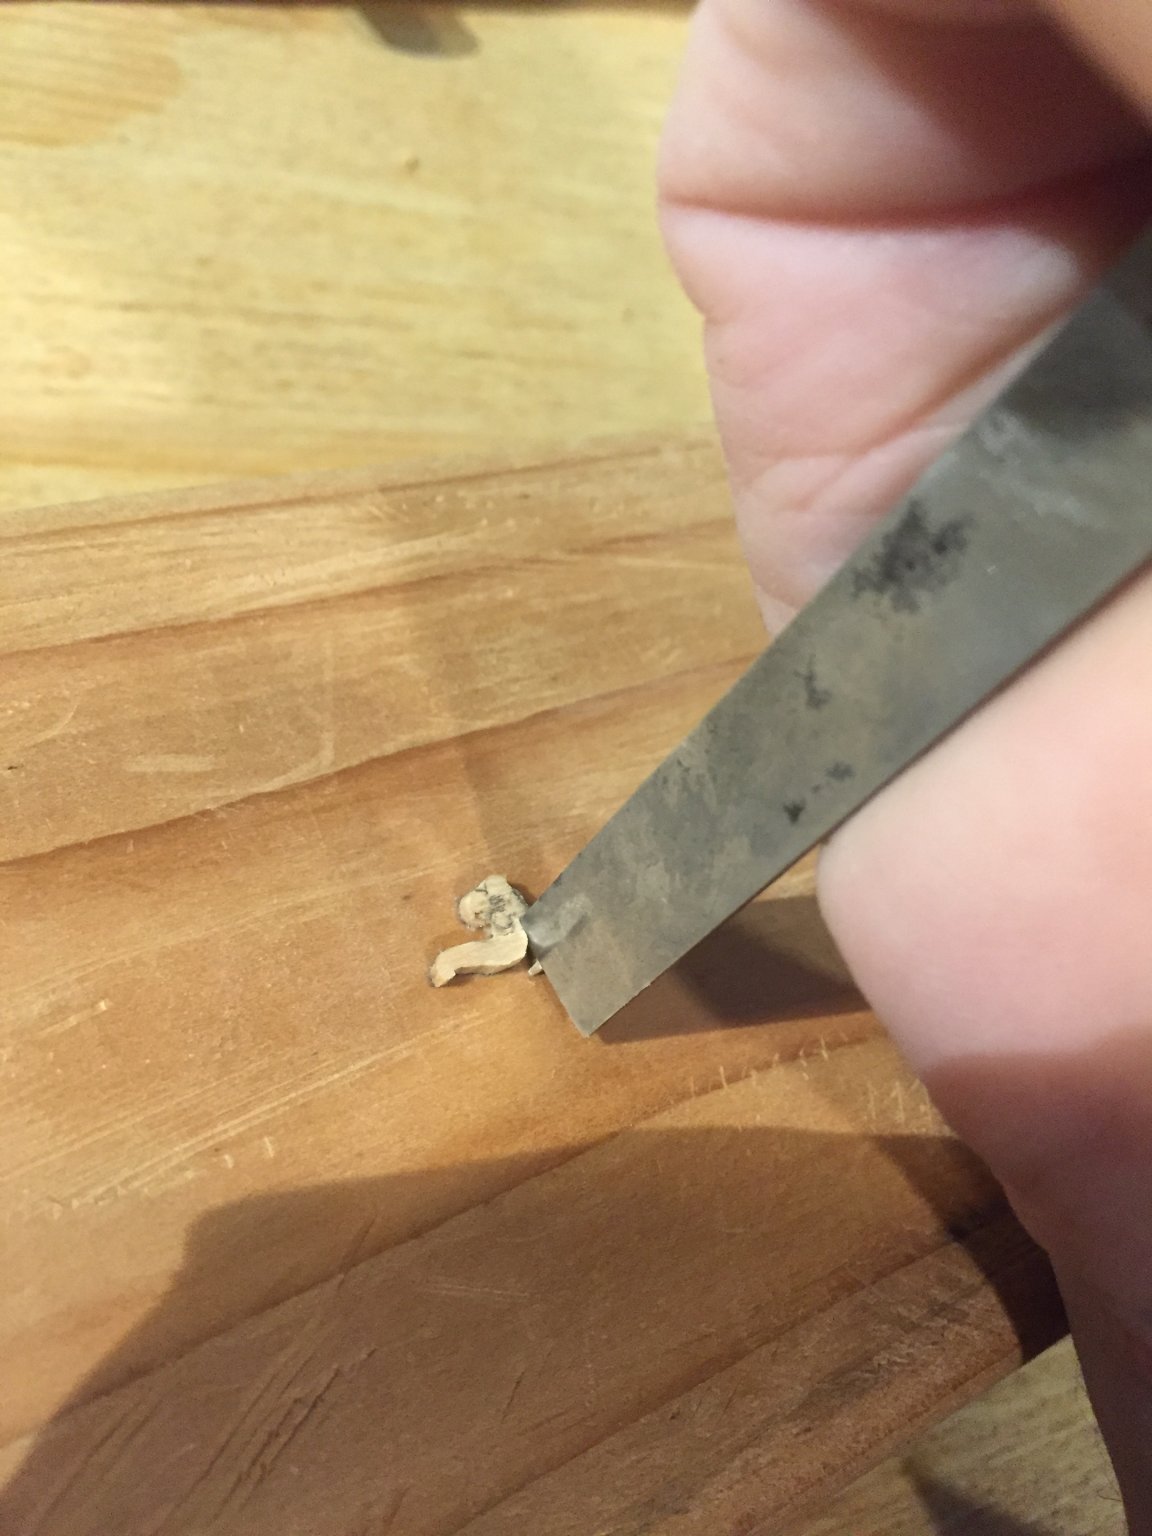
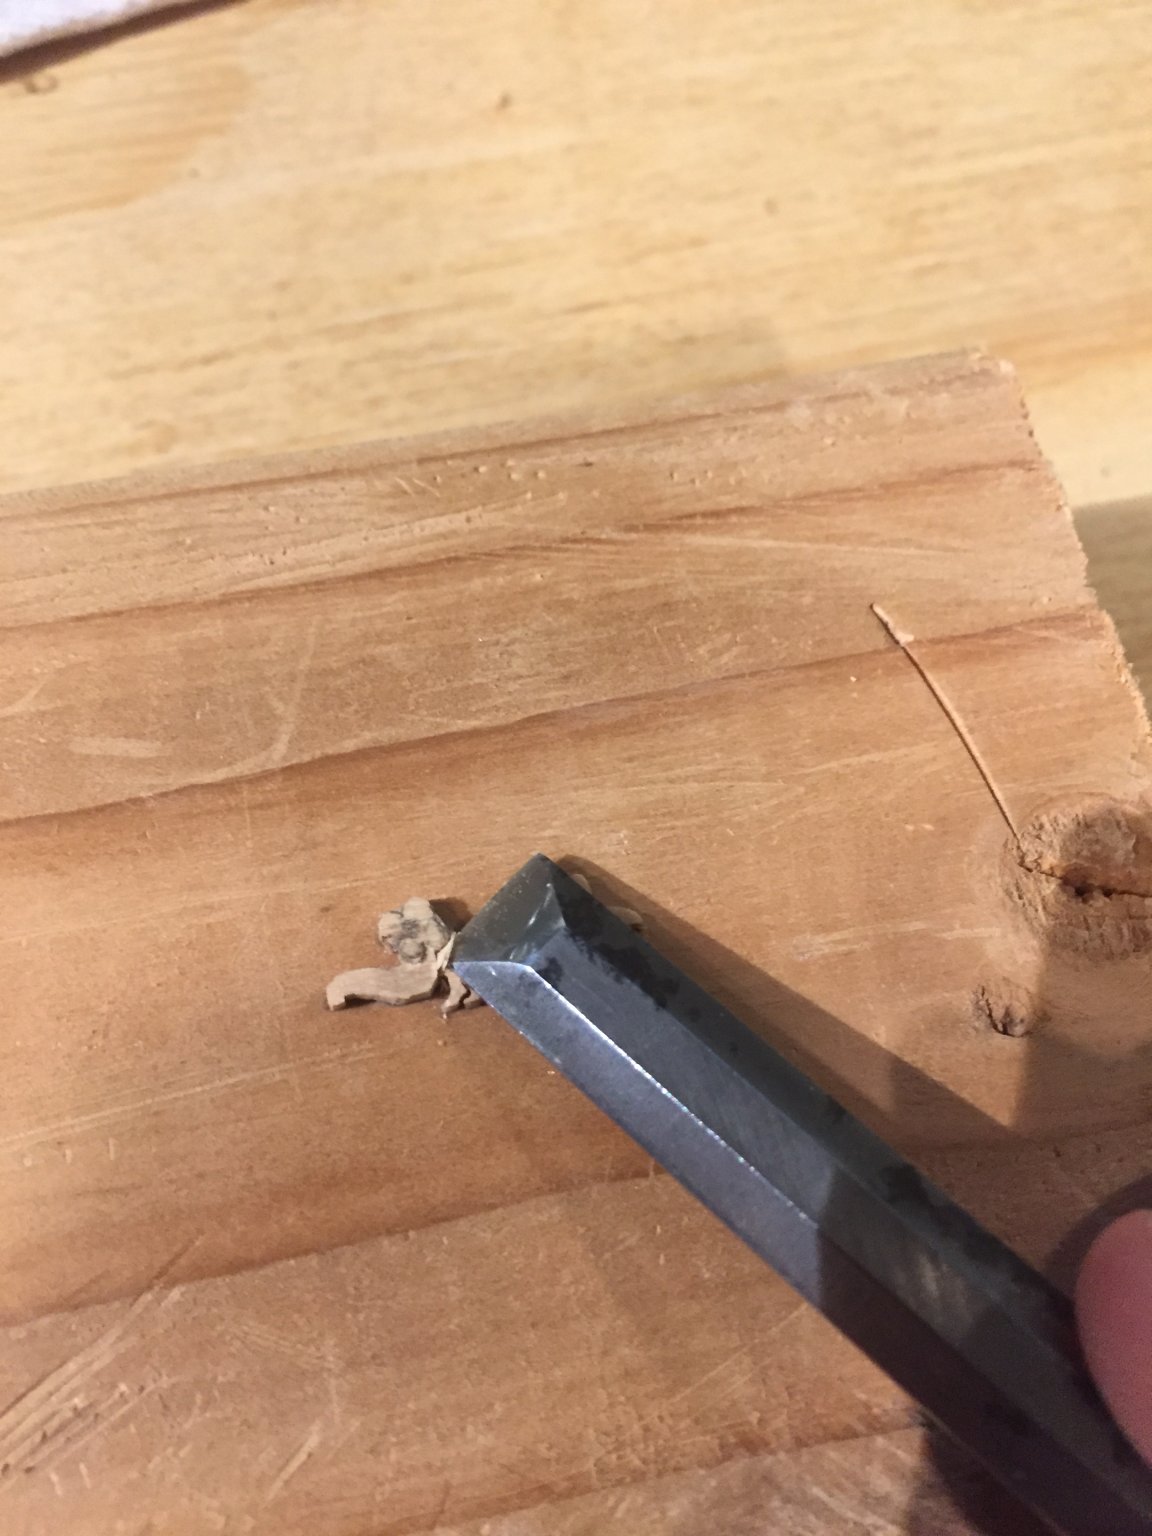
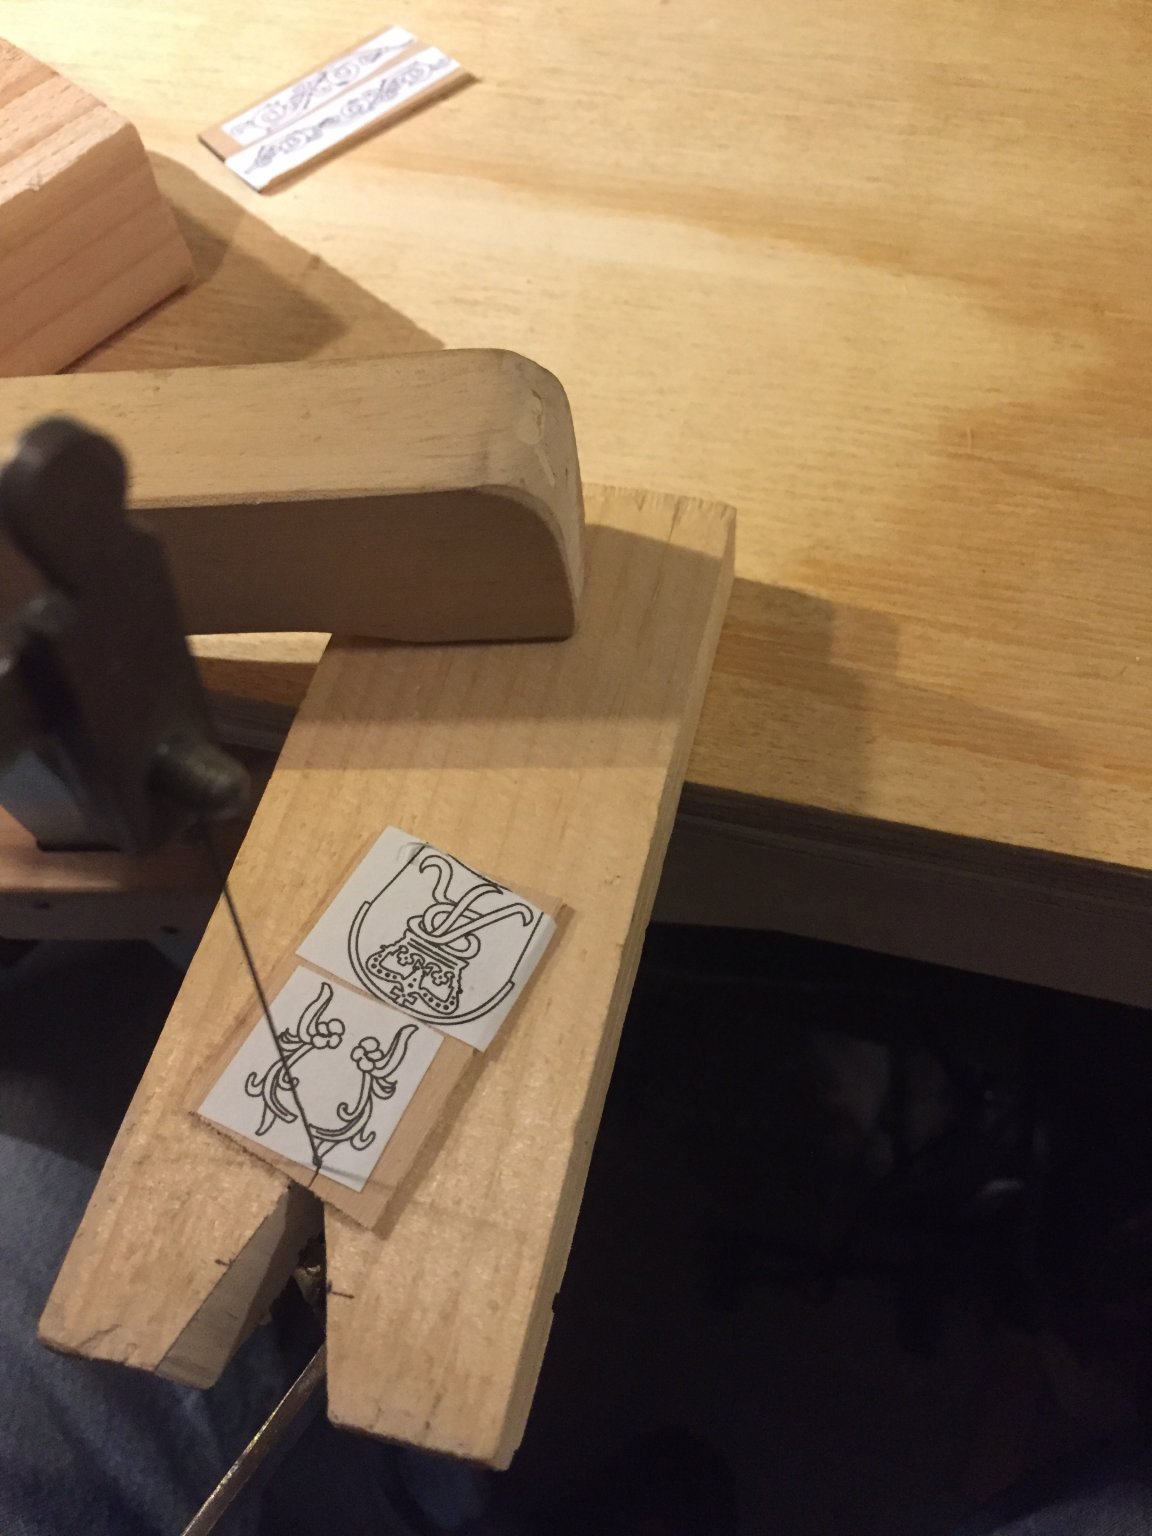
Using a ‘regular’ flat wood chisel and a x-acto blade, I cut in “low” areas. The contrast between high and low helps define the definition of the different areas. I’ve used a combination of vertical and then horizontal cuts to knock chunks of wood, with slicing cuts for vertical cuts for the curves.


-
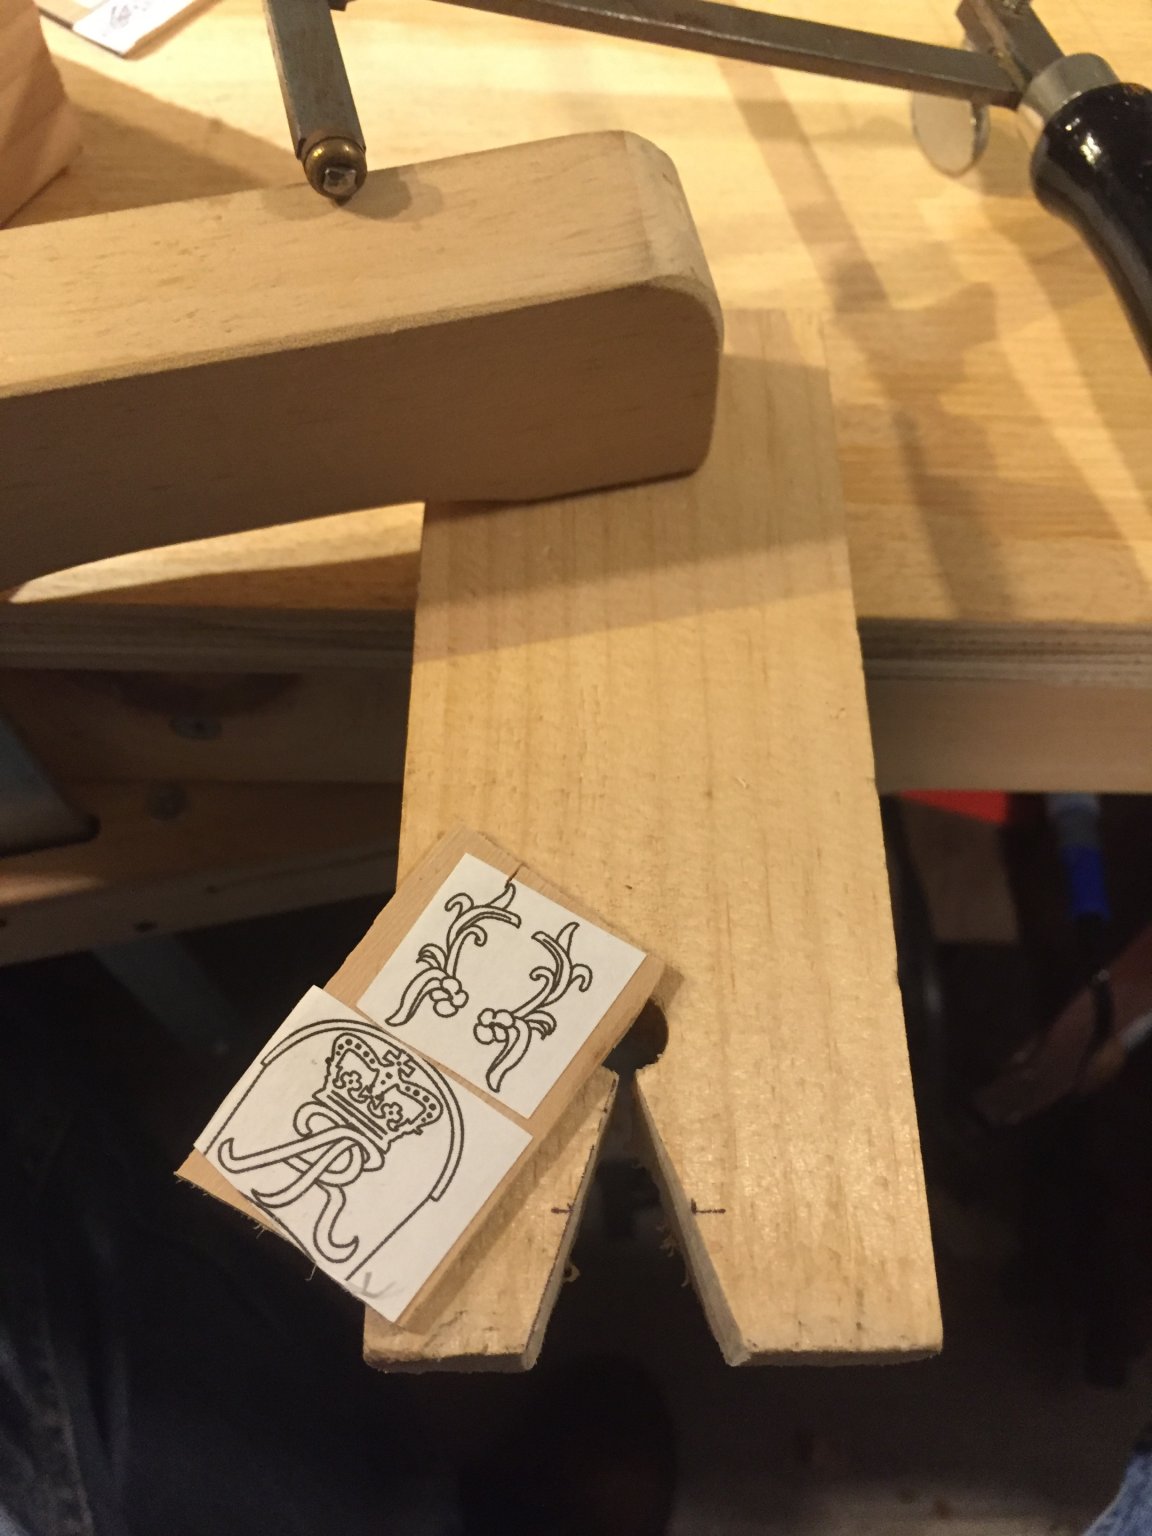
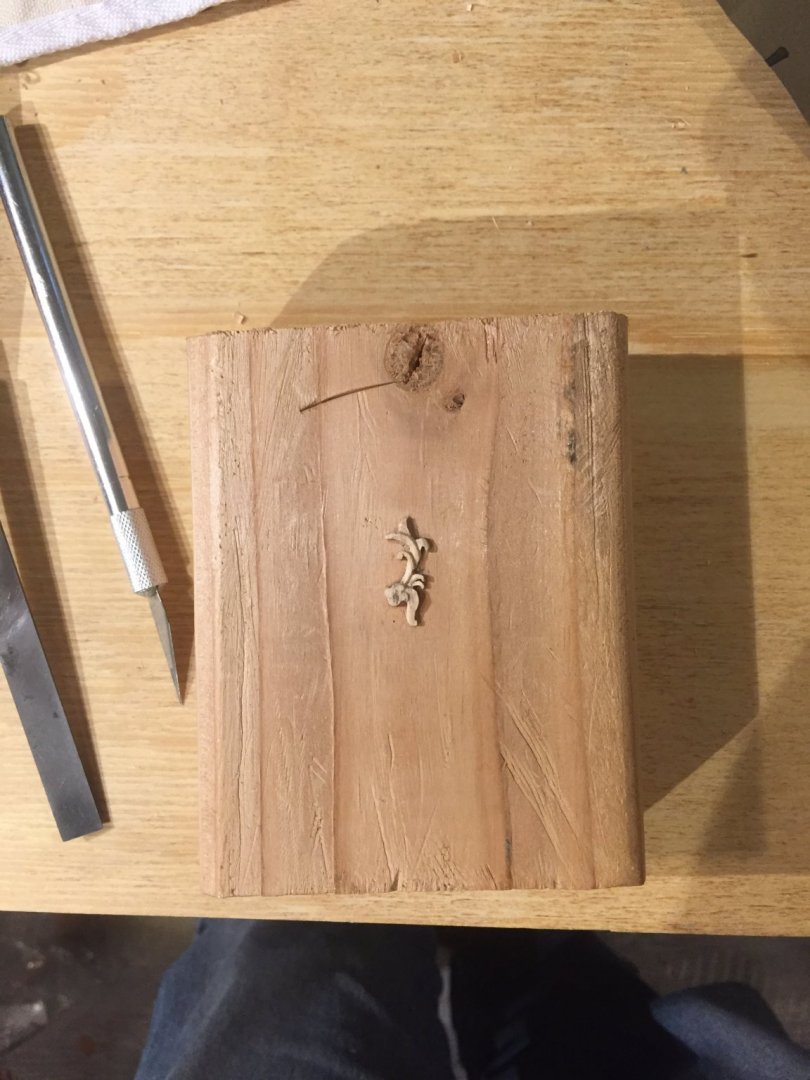
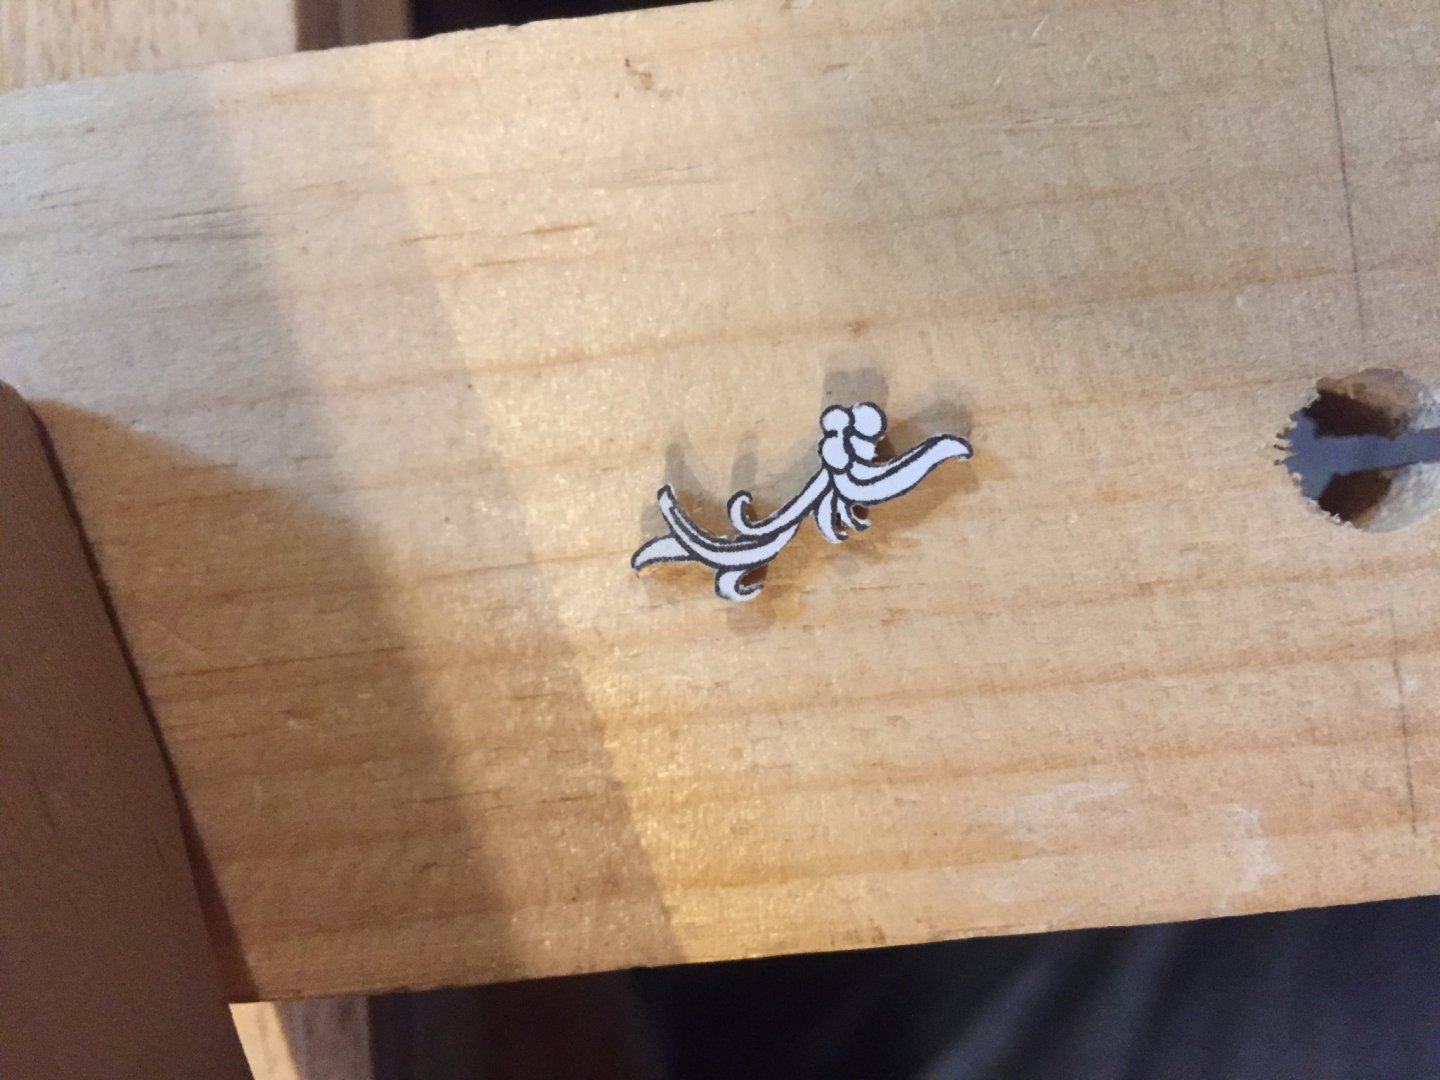
Flipped over the piece and glued it to a chunk of 2x4 for support and ease of handling. The paper in between will later when remove the carved piece from the support. After it dried, I drew the image in the piece to be craved.


-
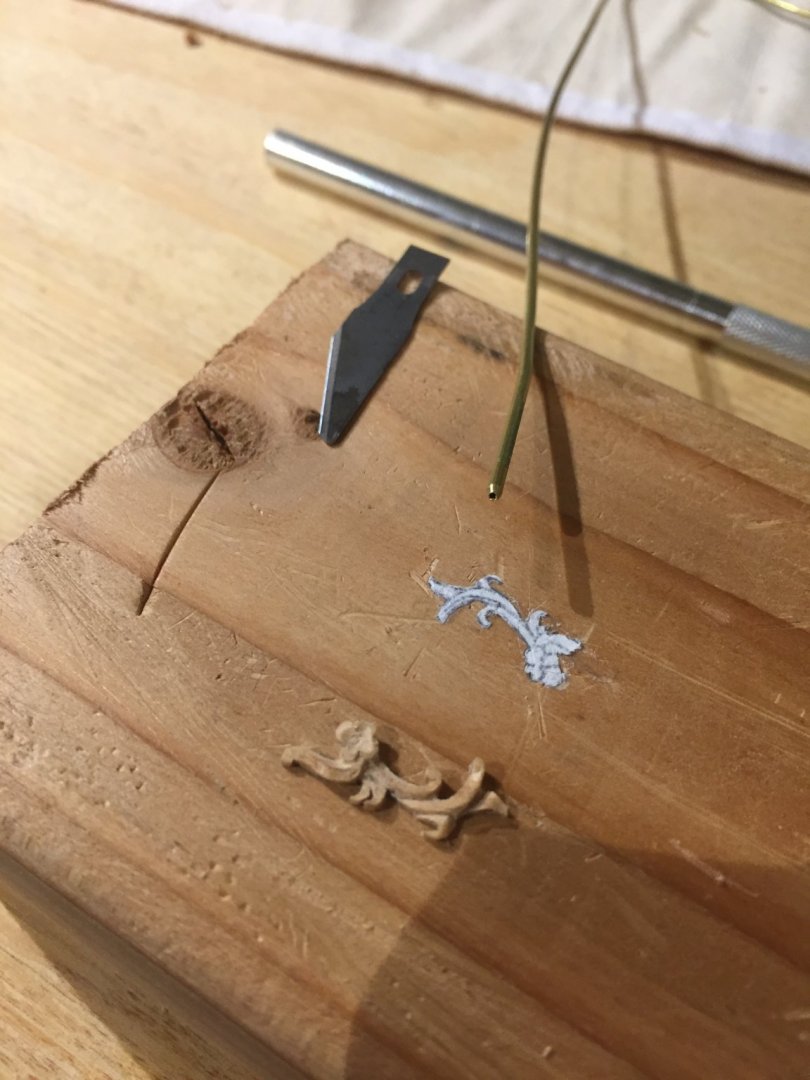
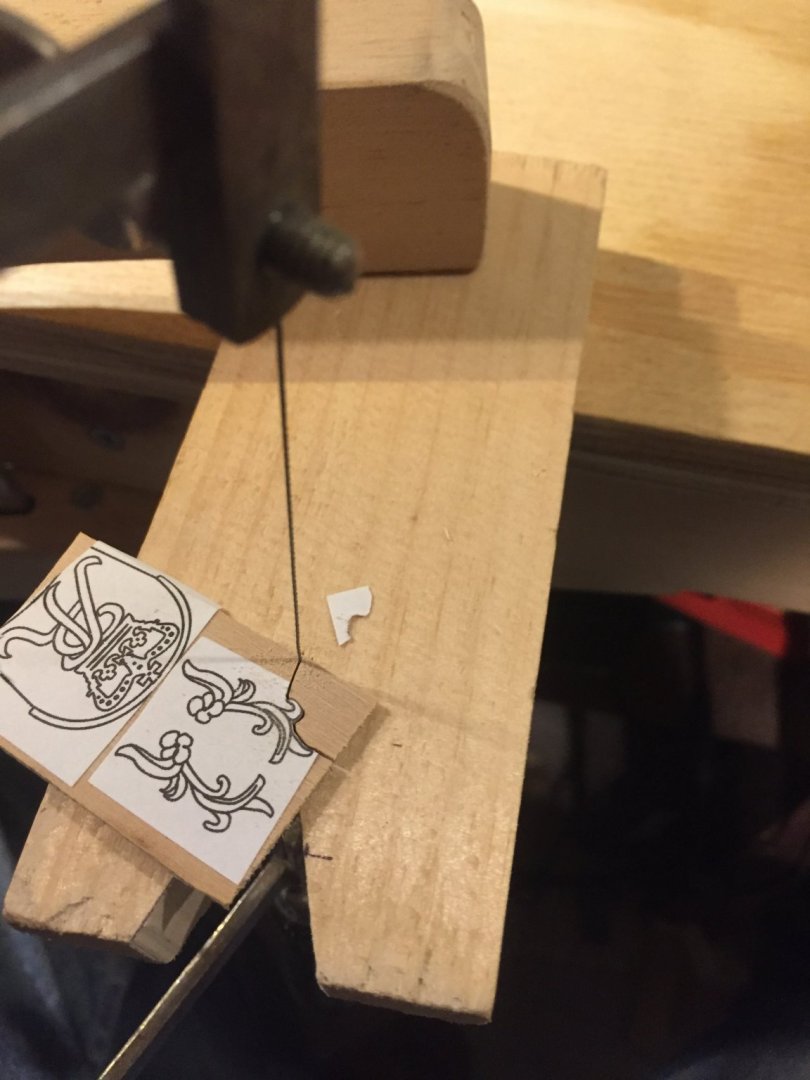
I first started to saw the wood without support and that made me nervous. I found piece of pine scrap with a pre-existing hole a cut a v-shape and then clamped the pine to my work area. That worked better but sometimes I found myself sawing into the pine as well as my target. A few pencil marks helped that issue. For the sawing, staying vertical can be a challenge and tight turns require cutting a extra bit out with the saw so the back of the saw blade doesn’t bind when turning. The whole cutout took 15 minutes; which was quicker than I expected. That’s nice because anything printed and glued can be cut! I used a jeweer’s saw since I don’t have ‘proper’ cooping saw and the smallest blade I could find - again for jewelry making.


-
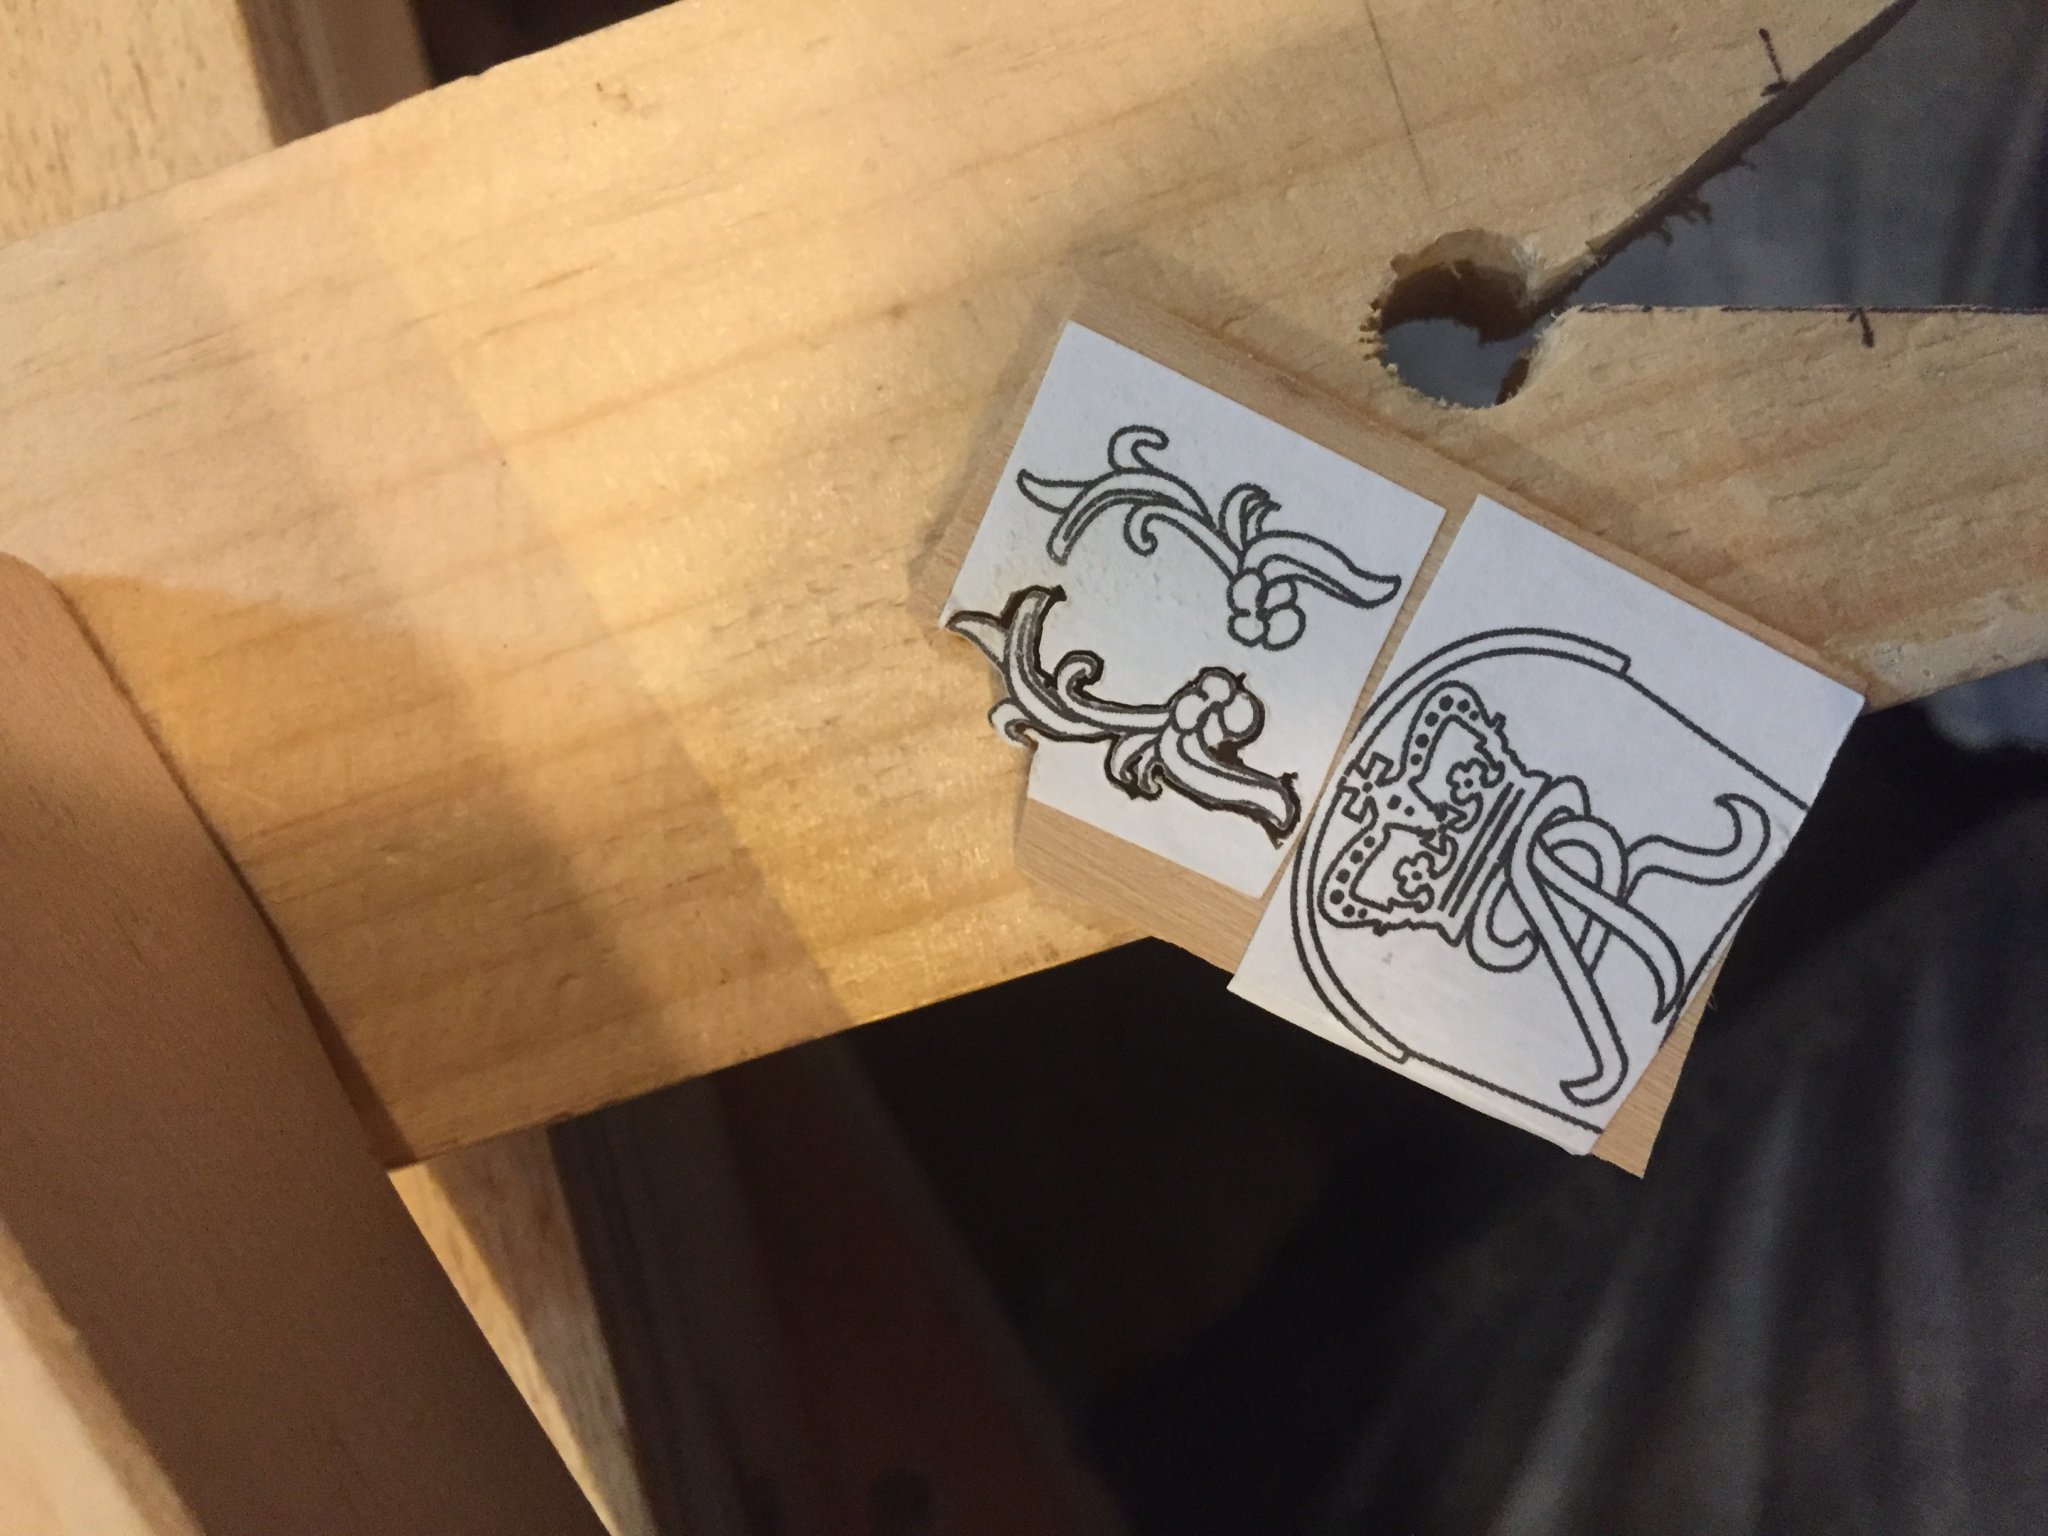
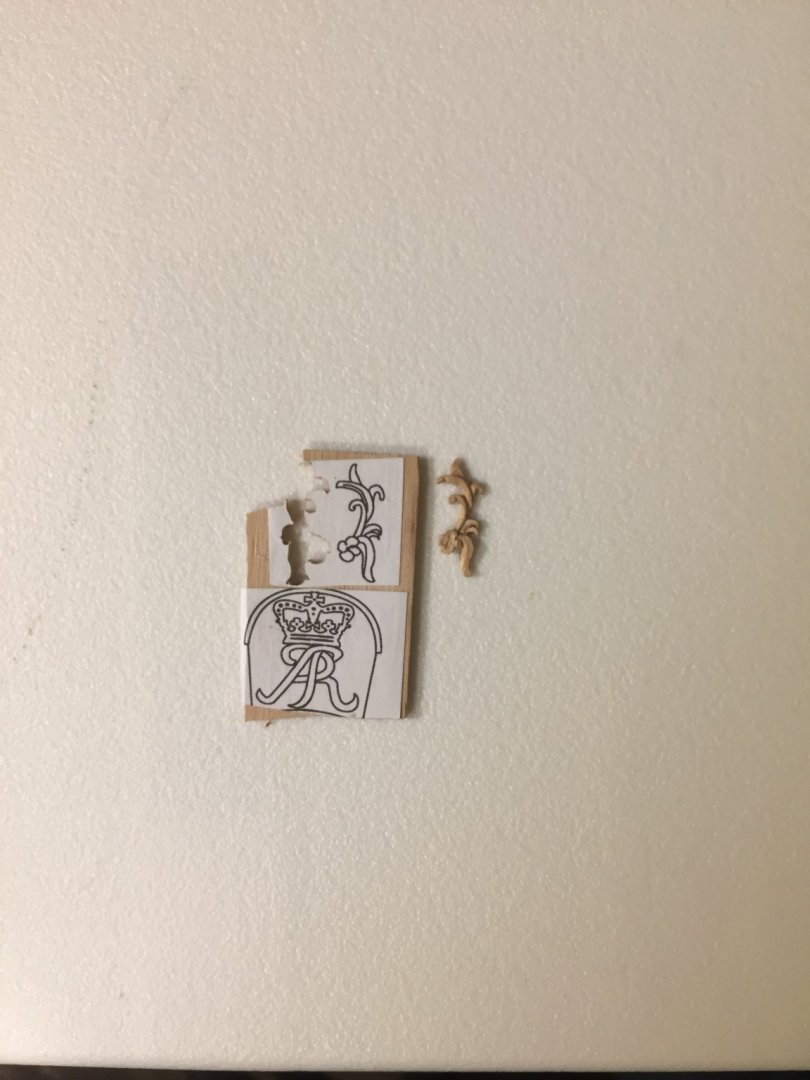
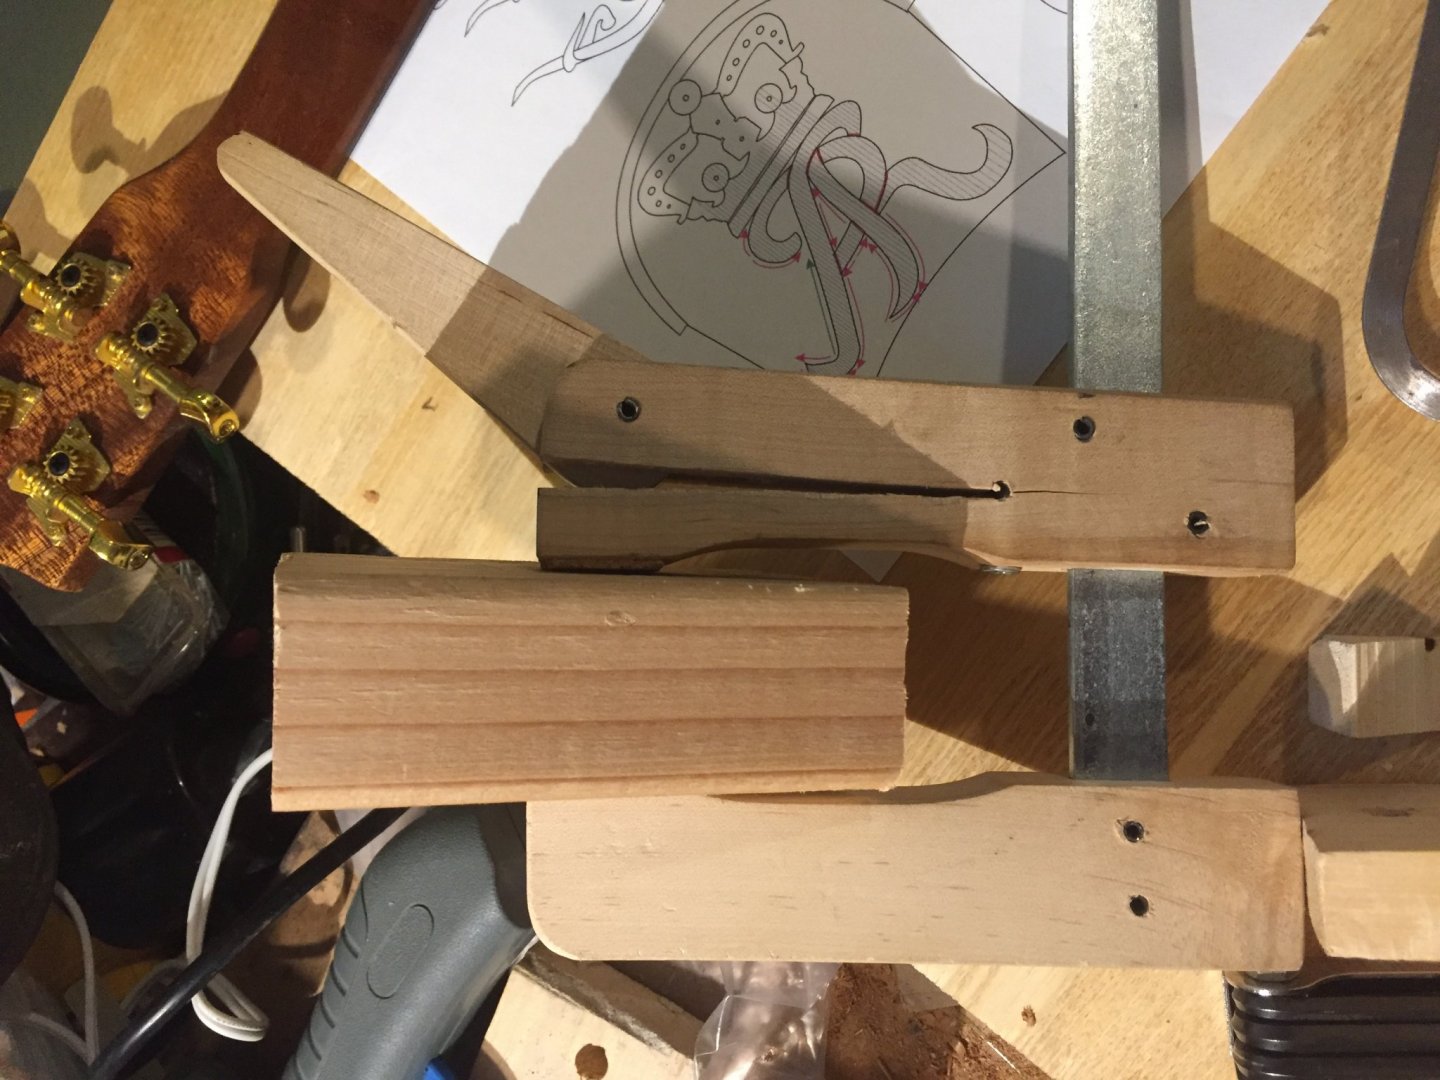
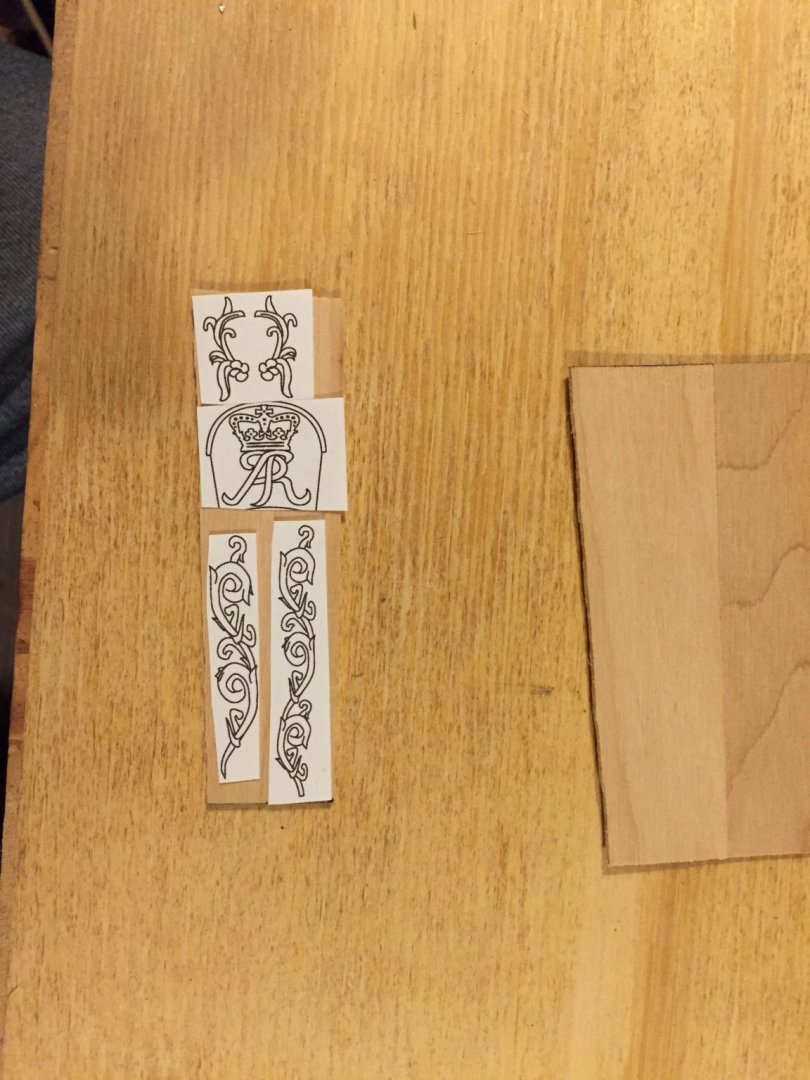
Since Chuck kindly posted the scale pdf of the decorations, I felt laziness and a bit of fear were the only bars to an attempt. After printing, I glued the paper to my sacrificial bits of wood. I aligned the longest direction of the pattern with the direction of the grain in a hope to reduce the wood splitting apart.

-
I rushed along with CA glue and trusty X-acto knife without too many problems. The instructions are very clear and straightforward. I didn’t find any interesting detail online, so at this point, I think I’ll be building the kit ‘as is’. Which I’m sure will be interesting and challenging enough. Apologies for the ‘missing’ photos; I was phone-less for a bit.

- 72 replies
-
- 8
-
-
- Chesapeake Bay Flattie
- Midwest Products
- (and 1 more)
-
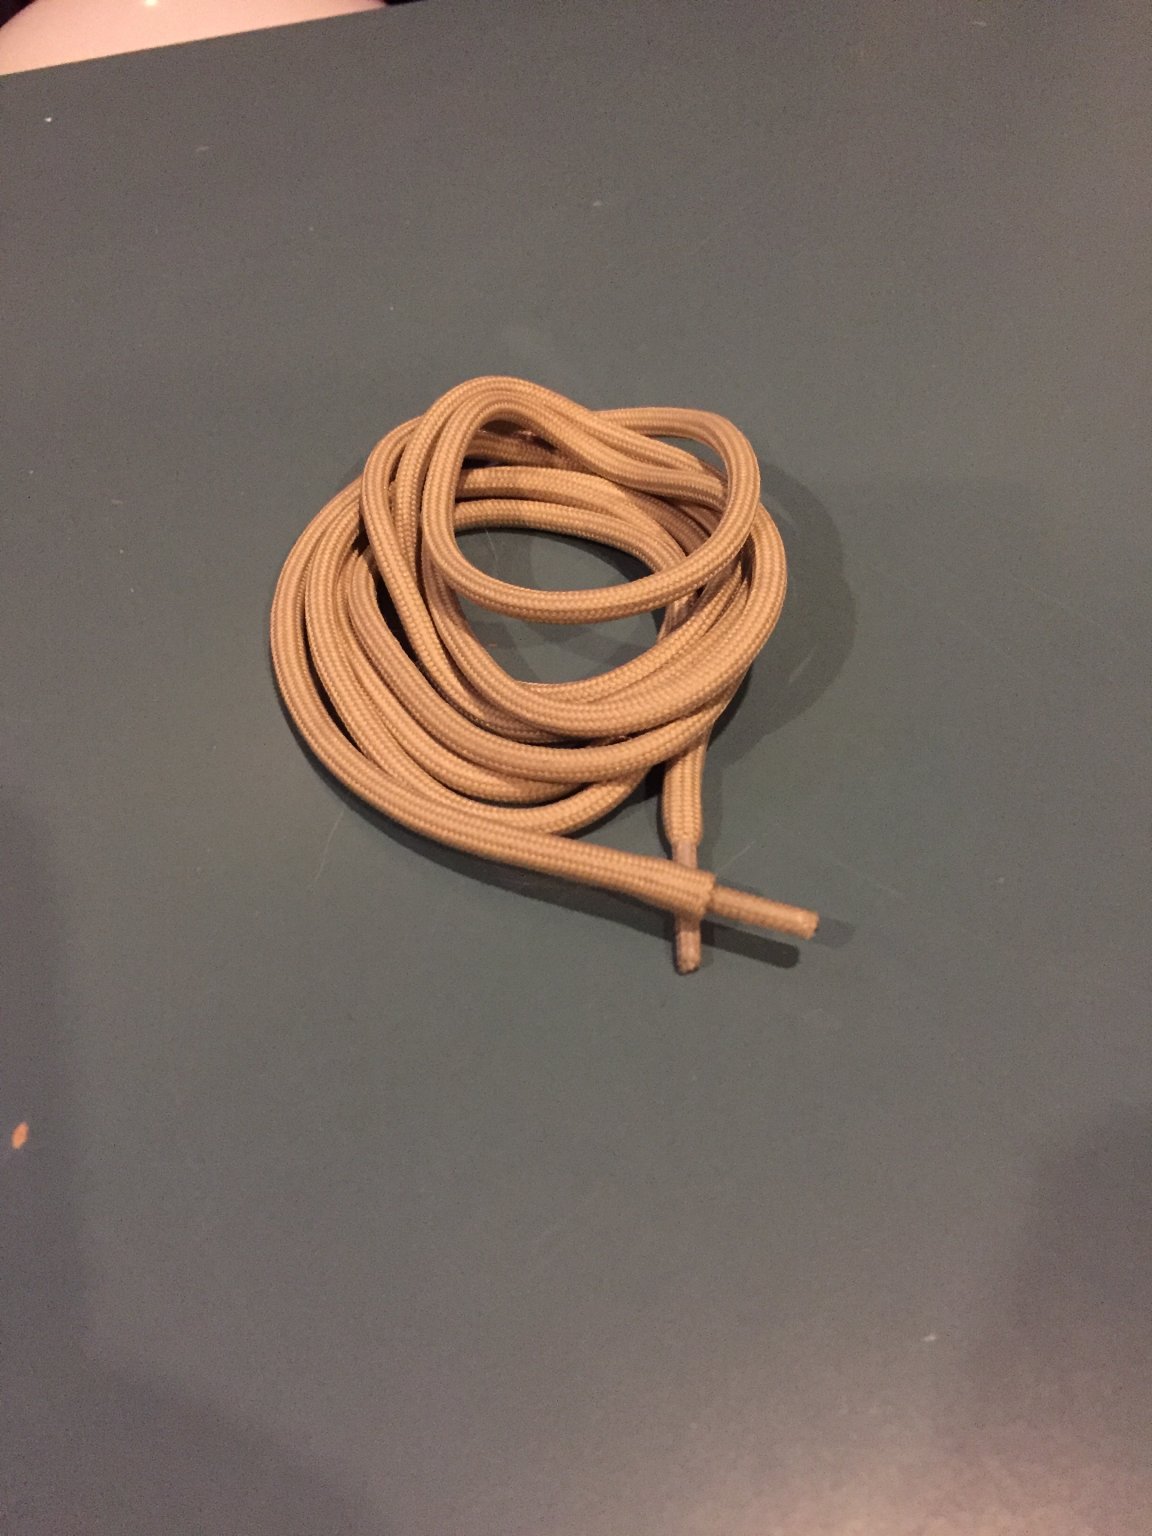
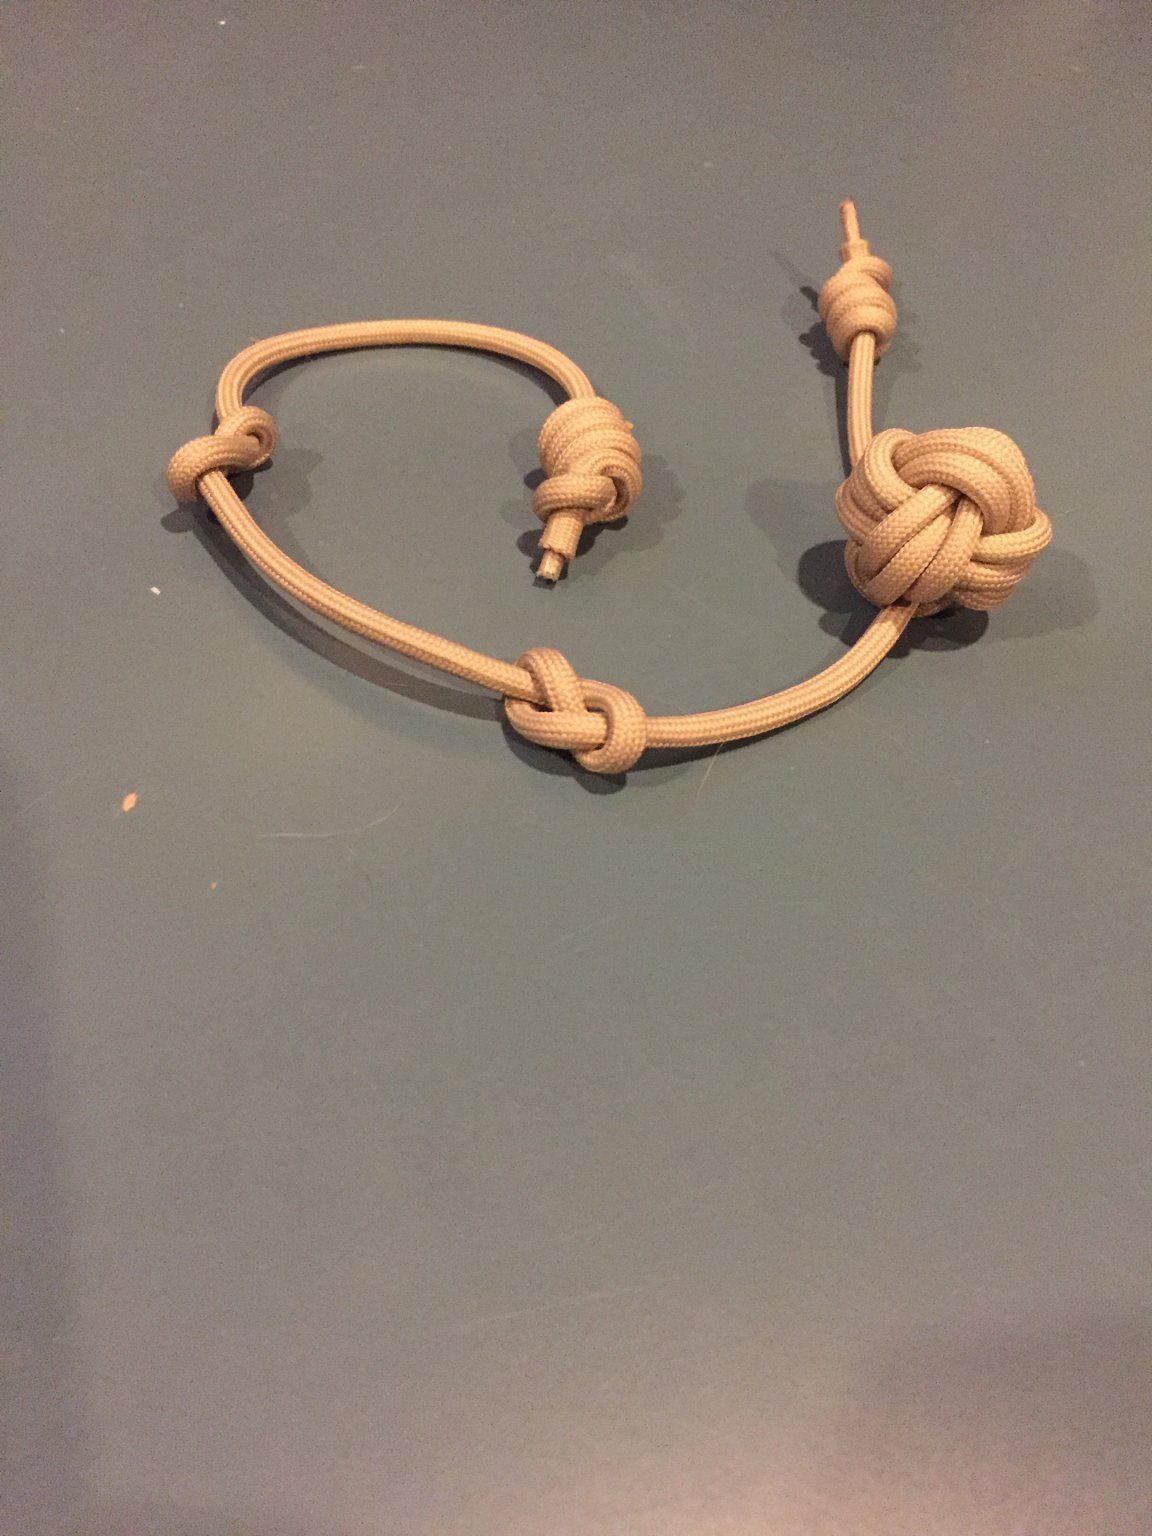
The first of the knot books arrived...


-
Don't prove me wrong here! Hahaha! I’ll see what I can do - but no promises! Searching for sharpies does, indeed, present less of the Midwest products and more actual boats. Thanks VTHokiEE for the rope suggestions! I hadn’t thought how ‘fancy’ the sails may be at this point it depends on what I can pull off.
- 72 replies
-
- 3
-
-
- Chesapeake Bay Flattie
- Midwest Products
- (and 1 more)
-
Thanks VTHokiEE for the advice! (I hope my build will look as nice as yours does!) Silly question: what size rope(s) would you suggest ordering for this kit?
- 72 replies
-
- 2
-
-
- Chesapeake Bay Flattie
- Midwest Products
- (and 1 more)
-
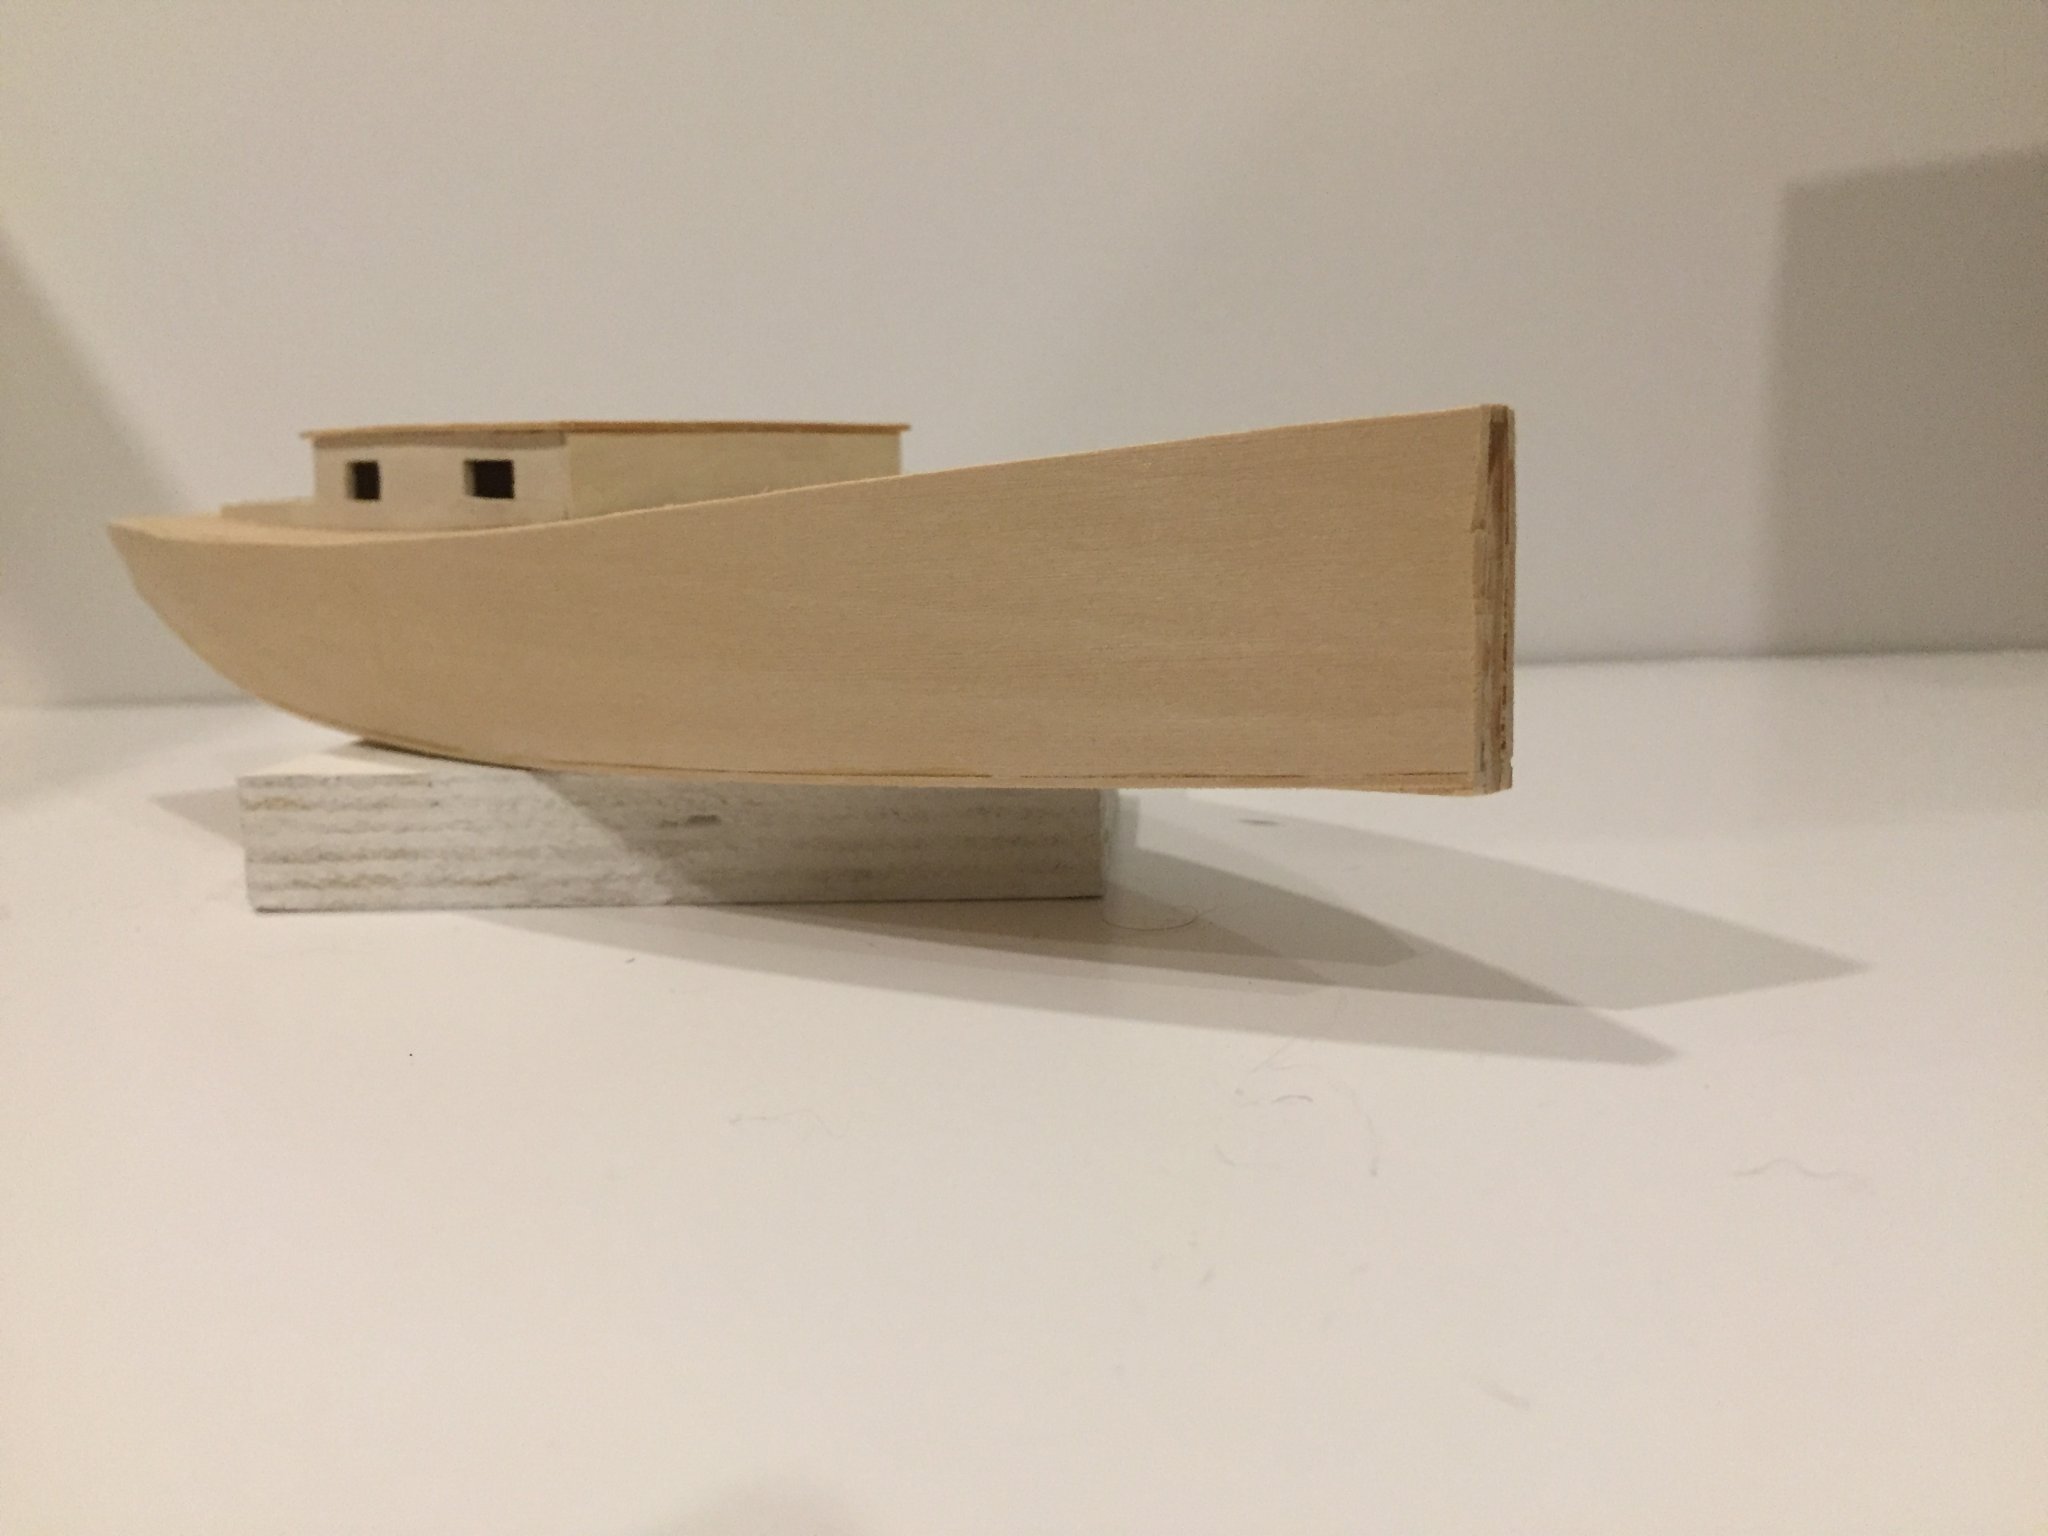
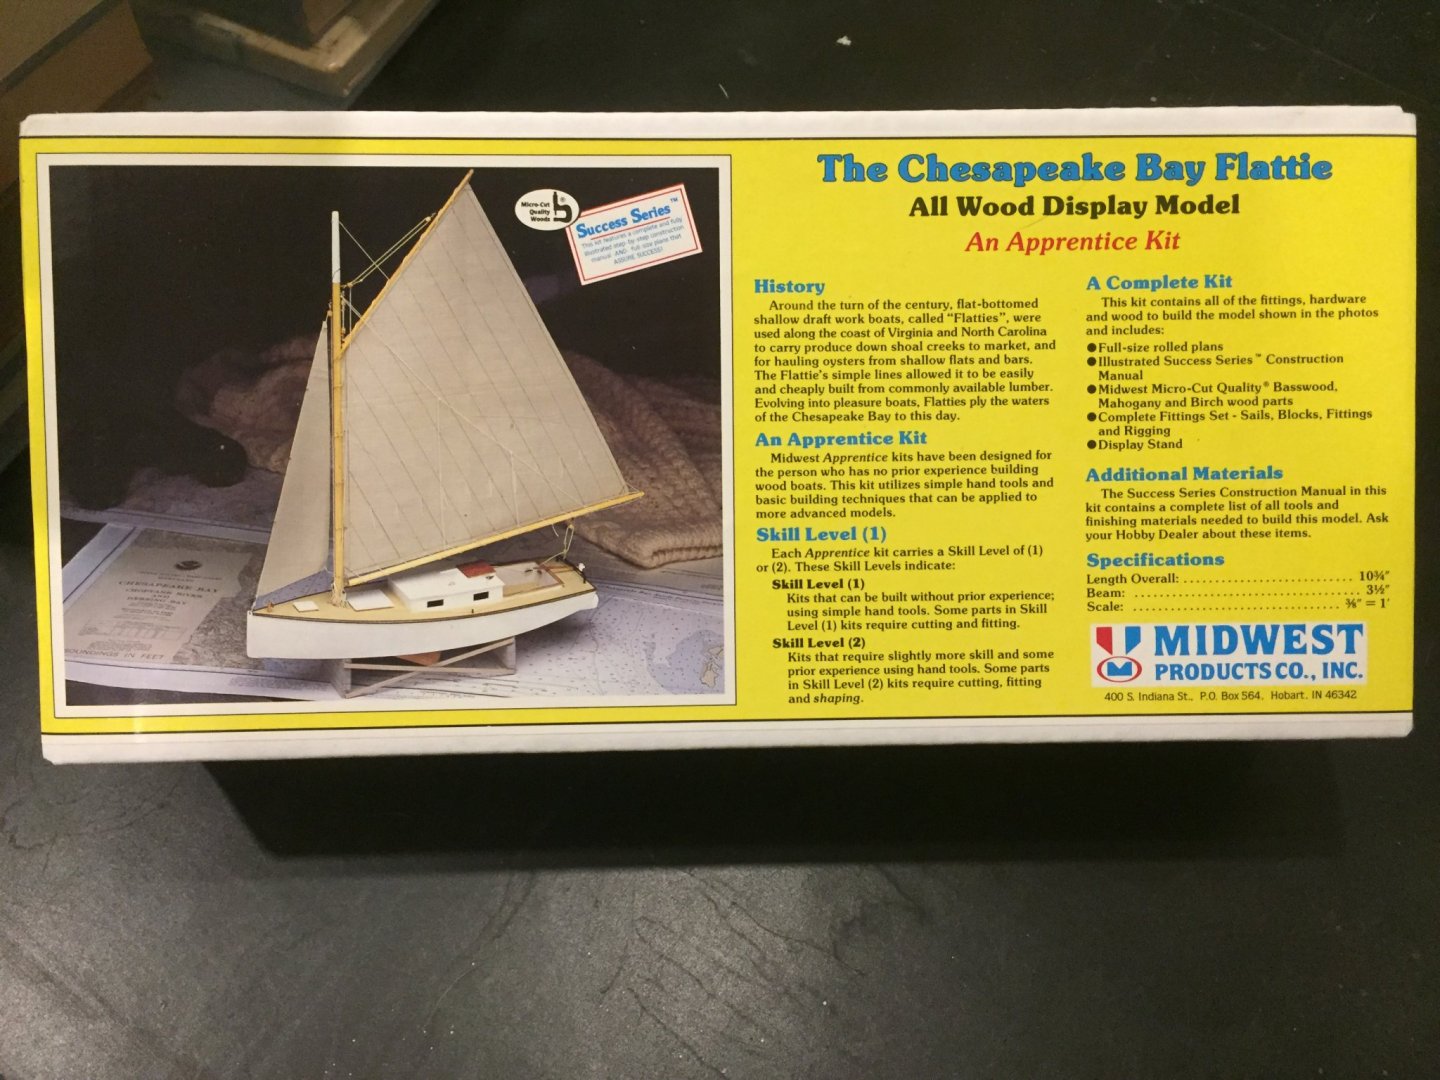
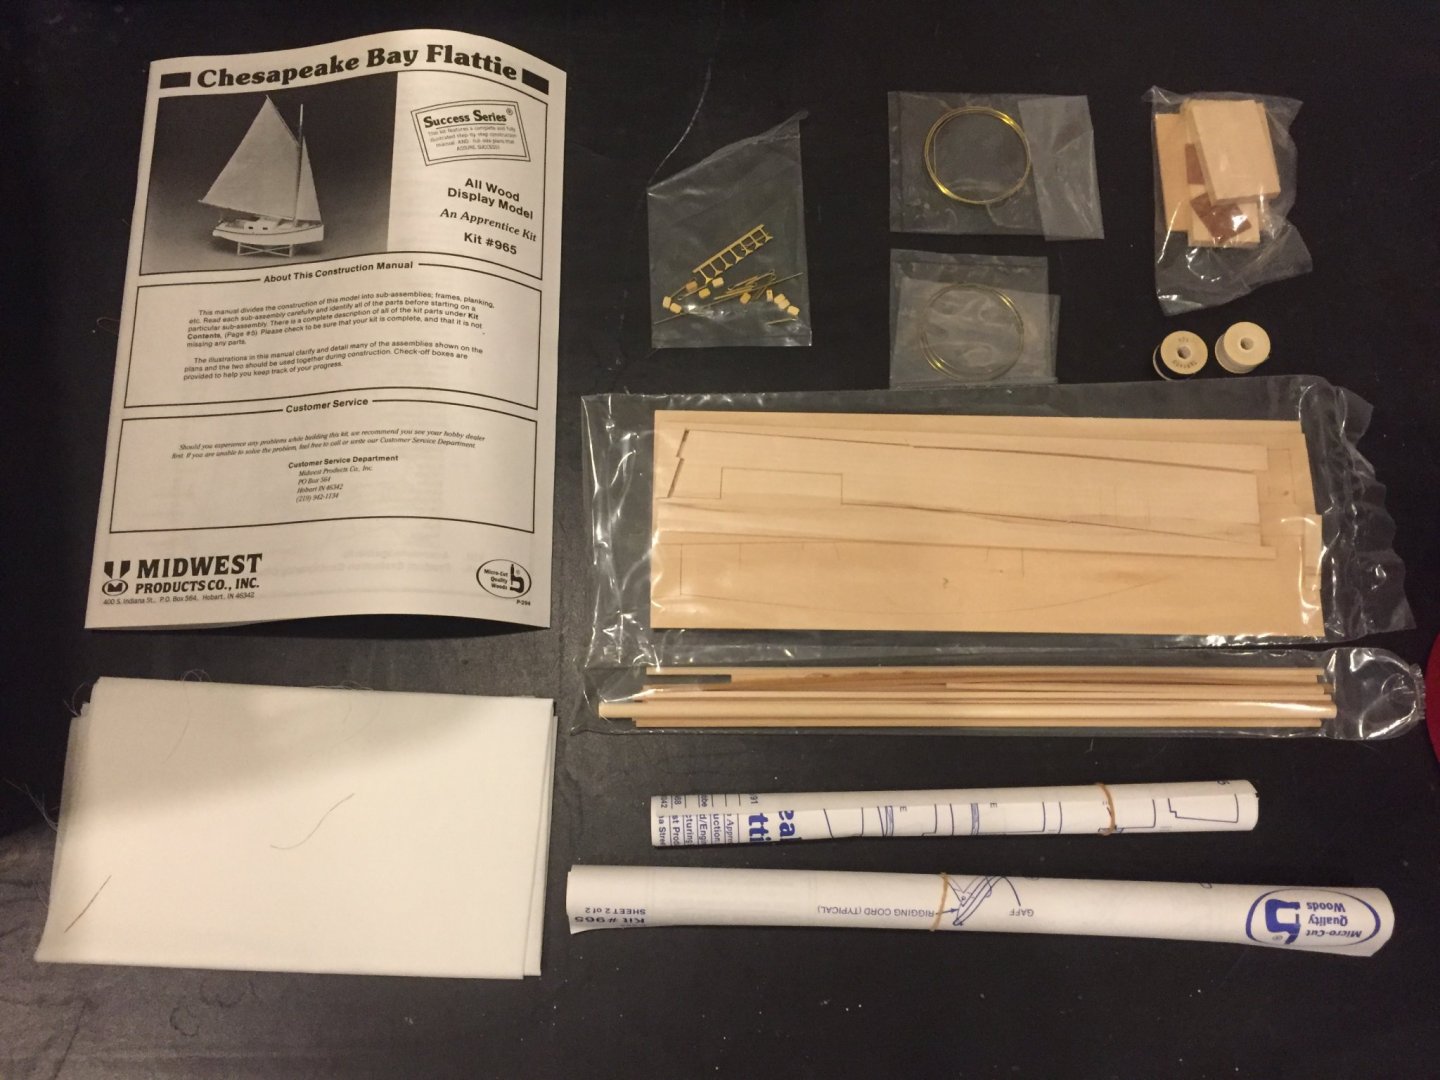
The last build was plastic, so this build will tempt the fates by being wood. Following ccoyle’s advice, this isn’t a 1/2 scale model of HMS Victory towing the Vasa, but a small kit described as ‘near fool proof’. I won’t discuss how close to fool I may be, but, as they say, the proof is in the doing. There is a brief section in Chappelle’s American Small Sailing Craft (yes, gentle readers, I’ve bought some books recently!) but I haven’t found much else. A casual perusal of internet searches finds mostly images of Midwest’s kit! If others have information about flatties, please jump in. Same for sage advice, sarcastic insights and flashing of the ‘please flasten your seltbelt’ sign. All are welcome. Here are some photo’s of Midwest’s Chesapeake Bay Flattie Kit’s bits and pieces.

- 72 replies
-
- 6
-
-
- Chesapeake Bay Flattie
- Midwest Products
- (and 1 more)
-
Thanks for sharing!! Beautiful work and your approach to the forming the hull and painting paper and, then, applying to the ship are most useful to see (for me and, I assume, to others).
-
Greetings from the Seattle area
EricWilliamMarshall replied to Gerarddm's topic in New member Introductions
There is also book that has plans and covers the building of the Lexington, Five Historic Ship Models from Plan to Model by Parker. The price on Amazon ranges from under ten to fifty or so. https://www.amazon.com/Five-Historic-Ships-Plan-Model/dp/0870332589/ref=sr_1_1?keywords=Five+Historic+Ship+Models+from+Plan+to+Model&qid=1575640294&sr=8-1 While you can't buy the plans at this last link, you can peek at them: https://www.worthpoint.com/worthopedia/vintage-model-ship-plans-brig-406188495 Good luck (and welcome!) -
Take two: Regarding accessories: https://www.scalewarship.com/store/index.php?route=product/search&search=Victory with a few photos found here: https://www.britmodeller.com/forums/index.php?/topic/234938128-airfix-180th-scale-hms-victory-sets-from-scalewarship/ What does the Hackney book cover?
-
rkwz, I have to say folks here have been every so kind and sharing (I asked couple of questions about knots and stripe painting, as well). I am shocked and astonished by the quick and thoughtful responses. I’m glad to know there such people out there, who love this craft enough to share with folks like us. It bodes well well for the hobby and for the hard won skills found at this site. I think there is a nice side-effect; this sharing of techniques and approaches raises the skills of the entire community; part by the awareness and sharing of the various approaches and part by the reflection and communication needed to actively engage. Good stuff (plus all the eye candy!)
- 56 replies
-
- 1
-
-
- constitution
- revell
- (and 2 more)
-
My thanks to the moderator(s) - I literally just finished tracking down how to rename a finished build log, and it was already done for me!!
-
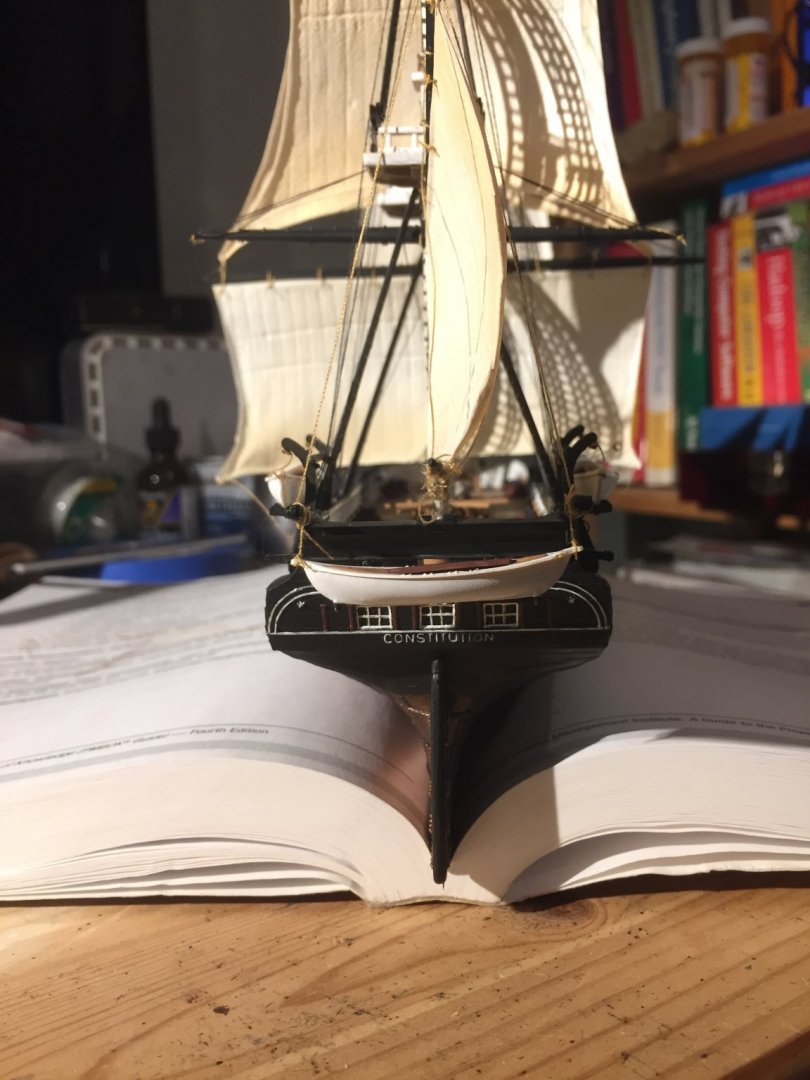
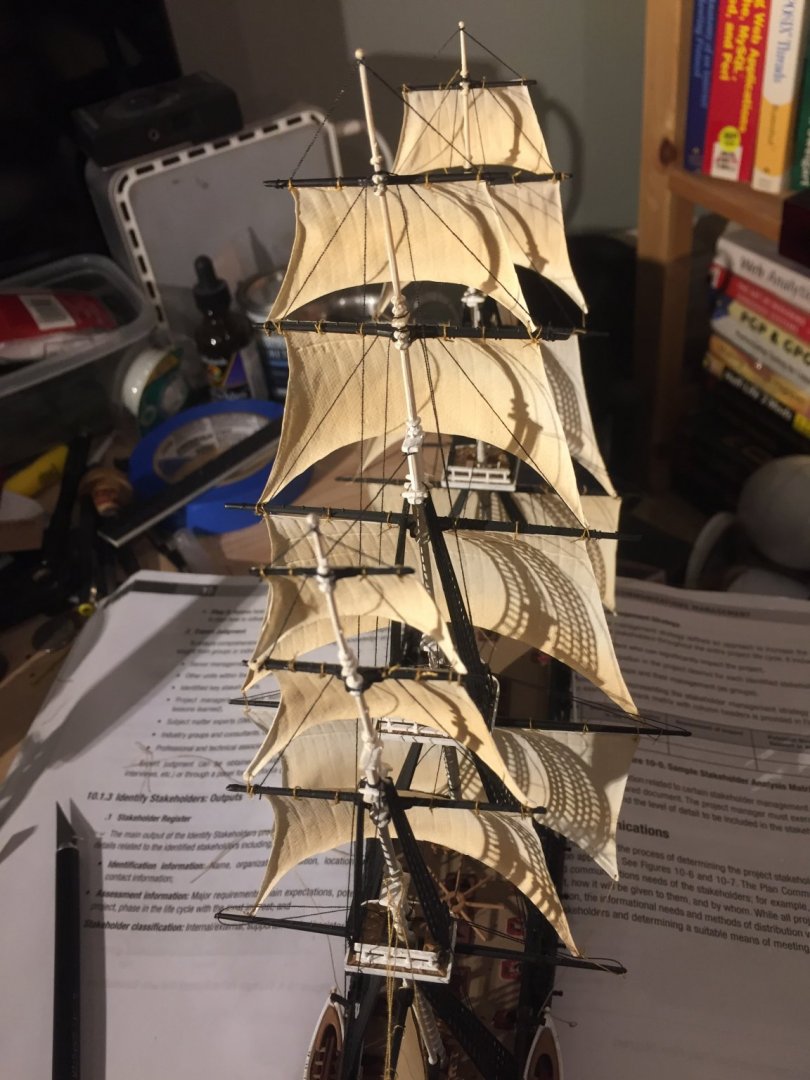
For completeness, a few images with the broken bits fixed. Thanks shotlocker and ccoyle for the kind suggestions! I’m all for fool proof!

- 56 replies
-
- 3
-
-
- constitution
- revell
- (and 2 more)
-
Doh, my apologies! To your question of the masts: I just finished the Revell’s USS Constitution in 1/196 scale, somewhat similar size in the real world but, I assume, a simpler kit (heavy frigate vs. ship of the line). I used the plastic masts without issue. I will note that the masts and spars can flex, which means taut lines can become slack, which is a pain.