mikegr
Members-
Posts
829 -
Joined
-
Last visited
Content Type
Profiles
Forums
Gallery
Events
Everything posted by mikegr
-
Anshan by mikegr - 1/700
mikegr replied to mikegr's topic in - Kit build logs for subjects built from 1901 - Present Day
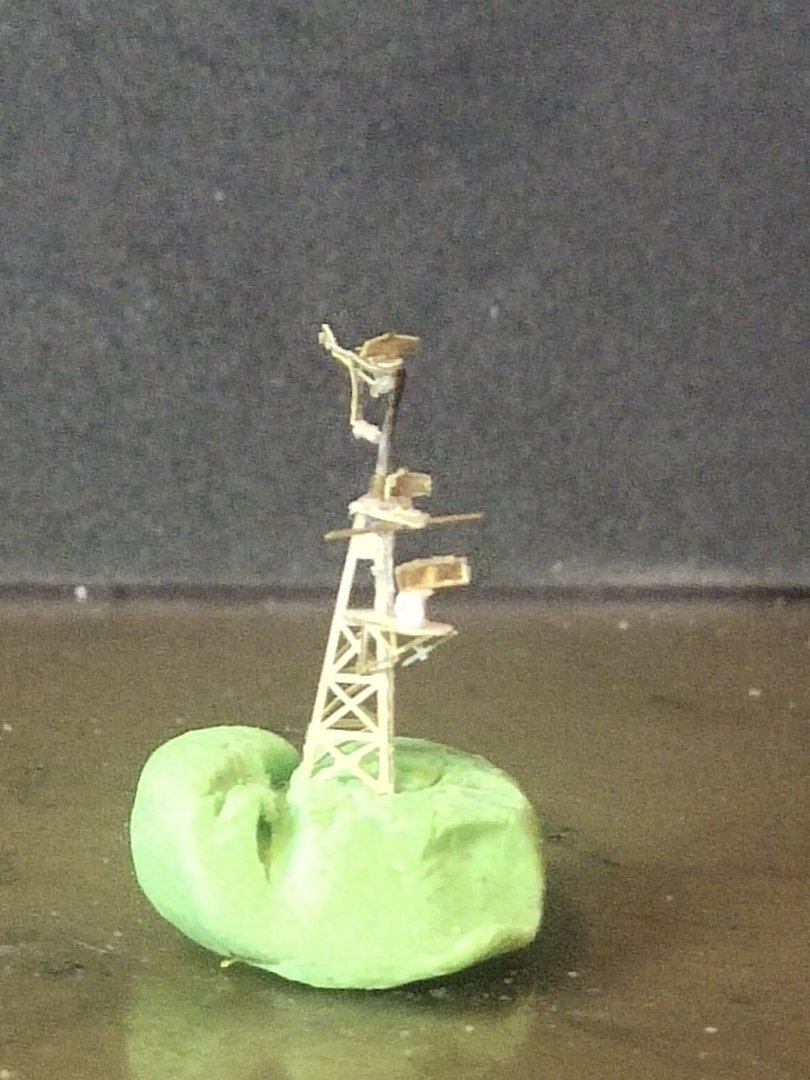
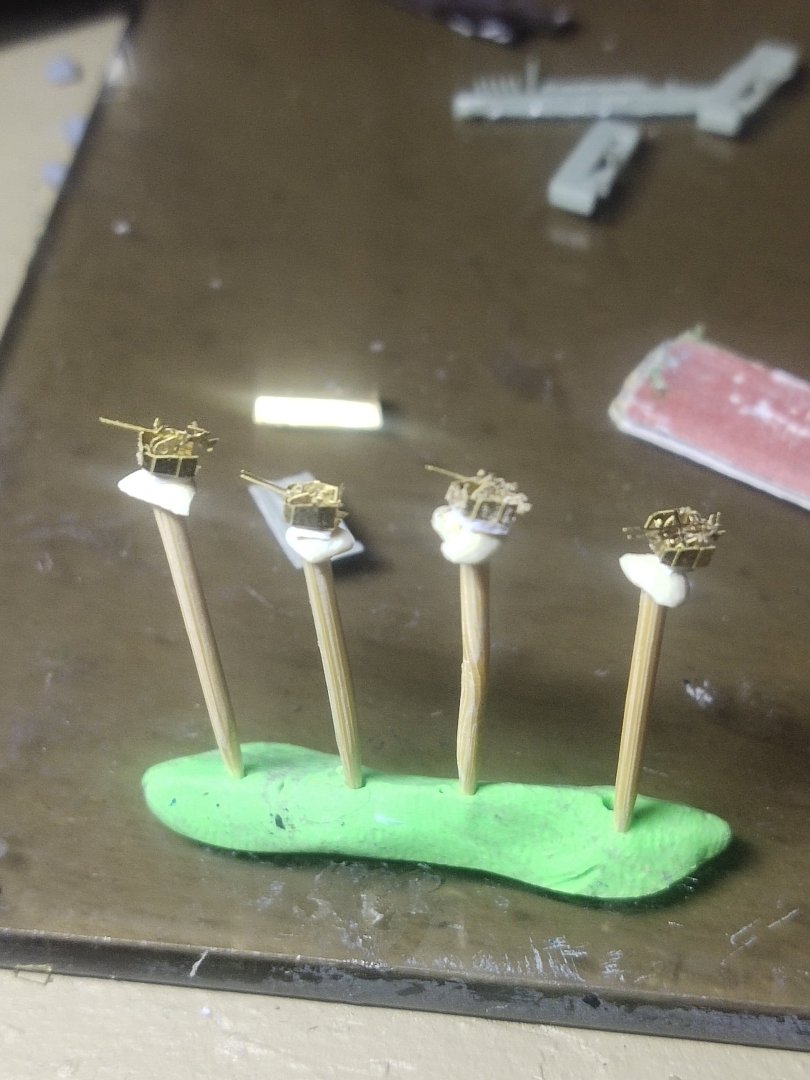
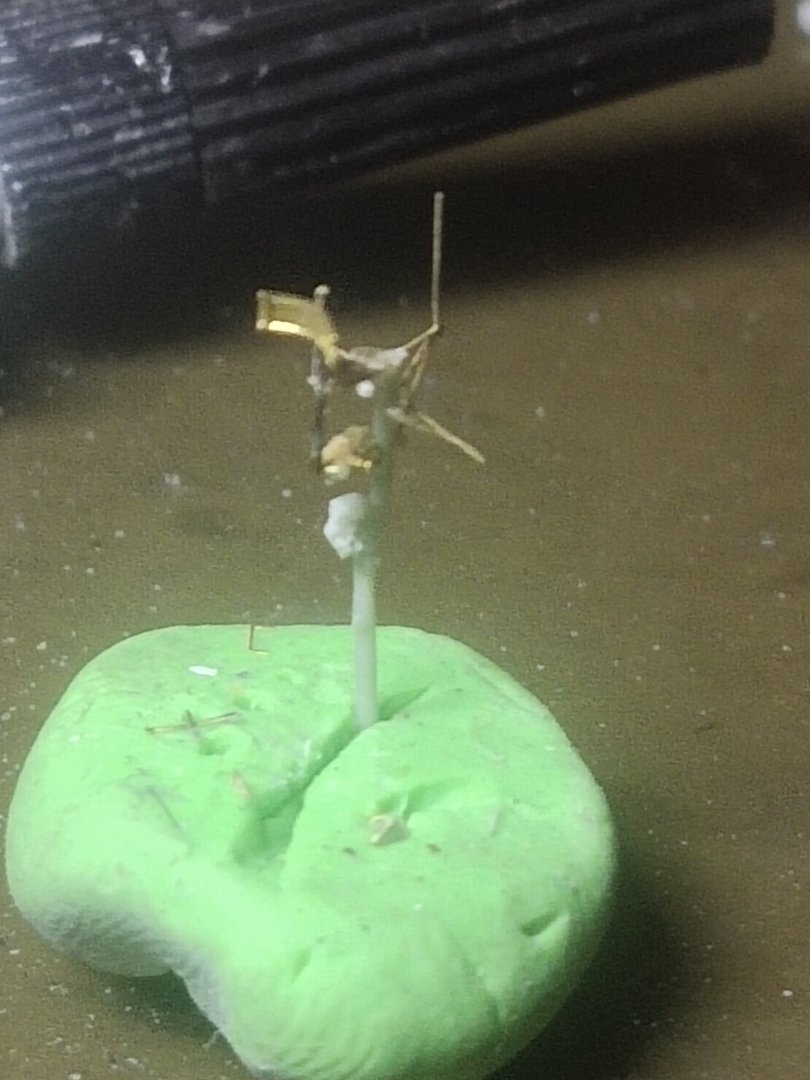
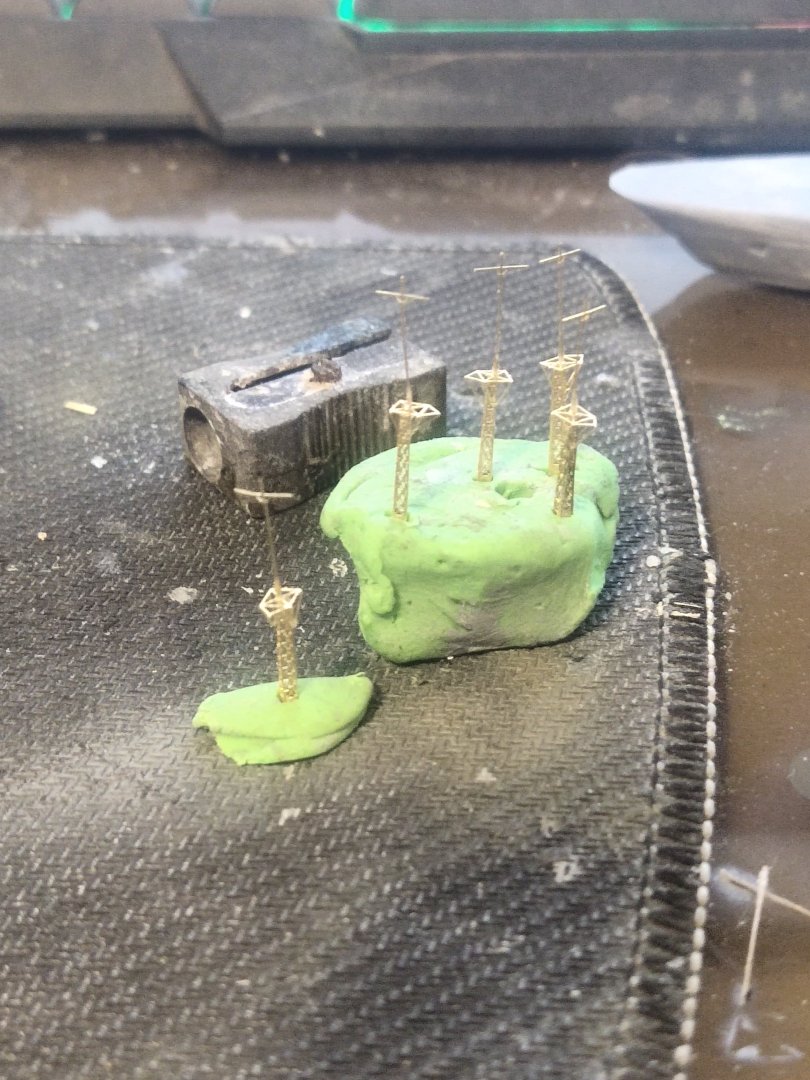
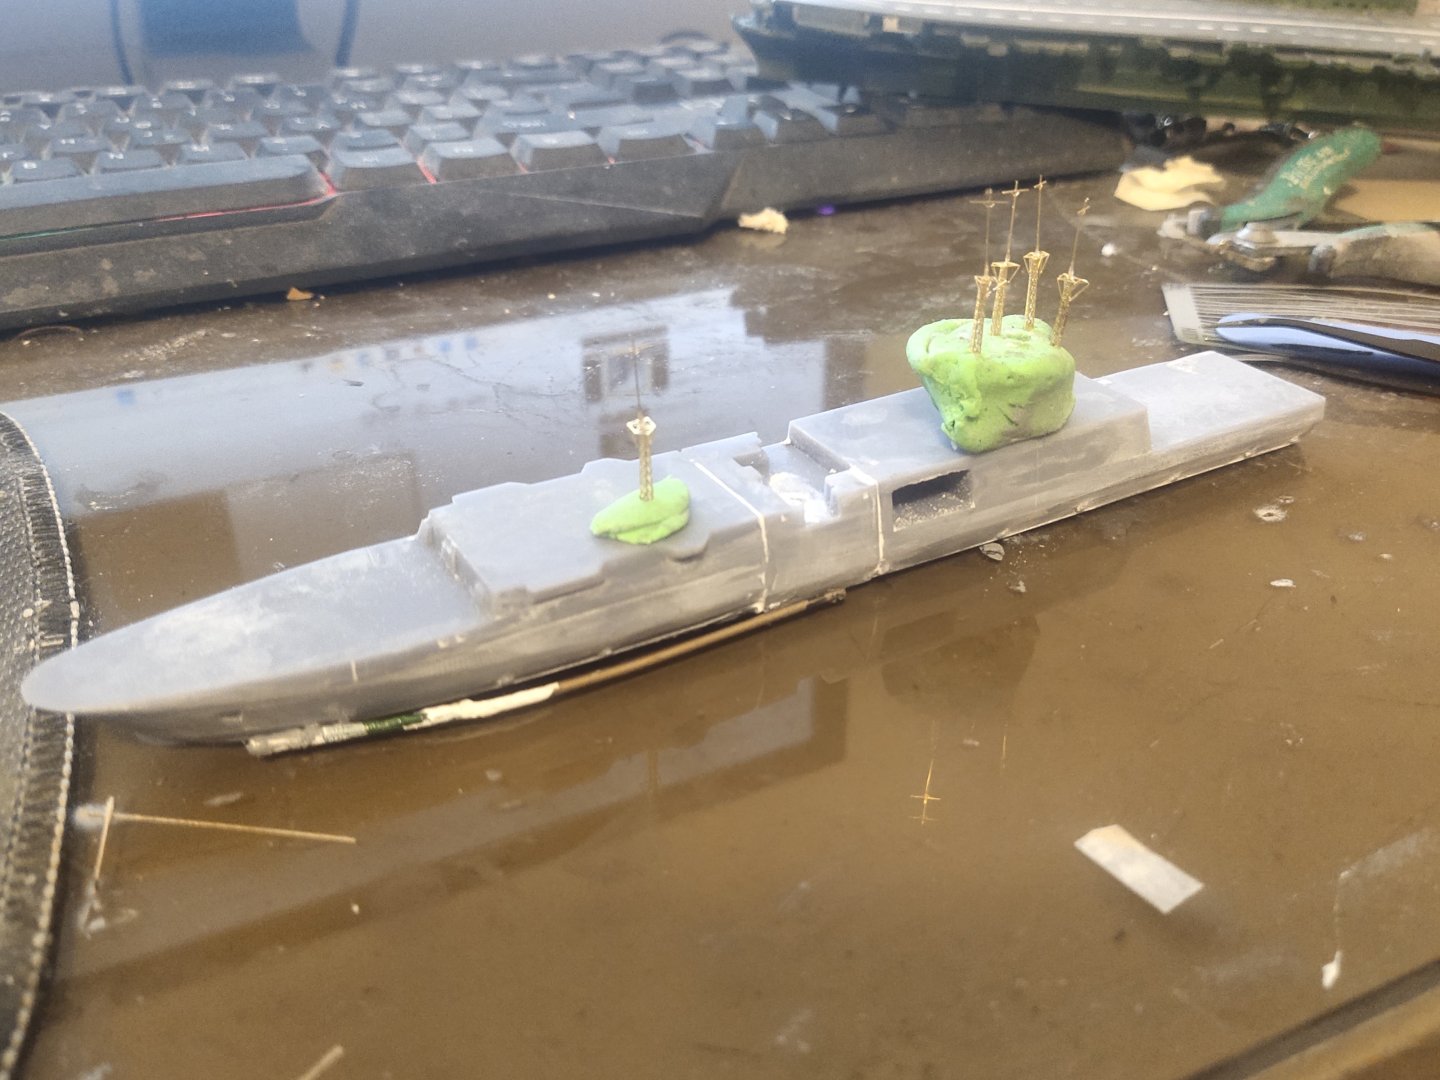
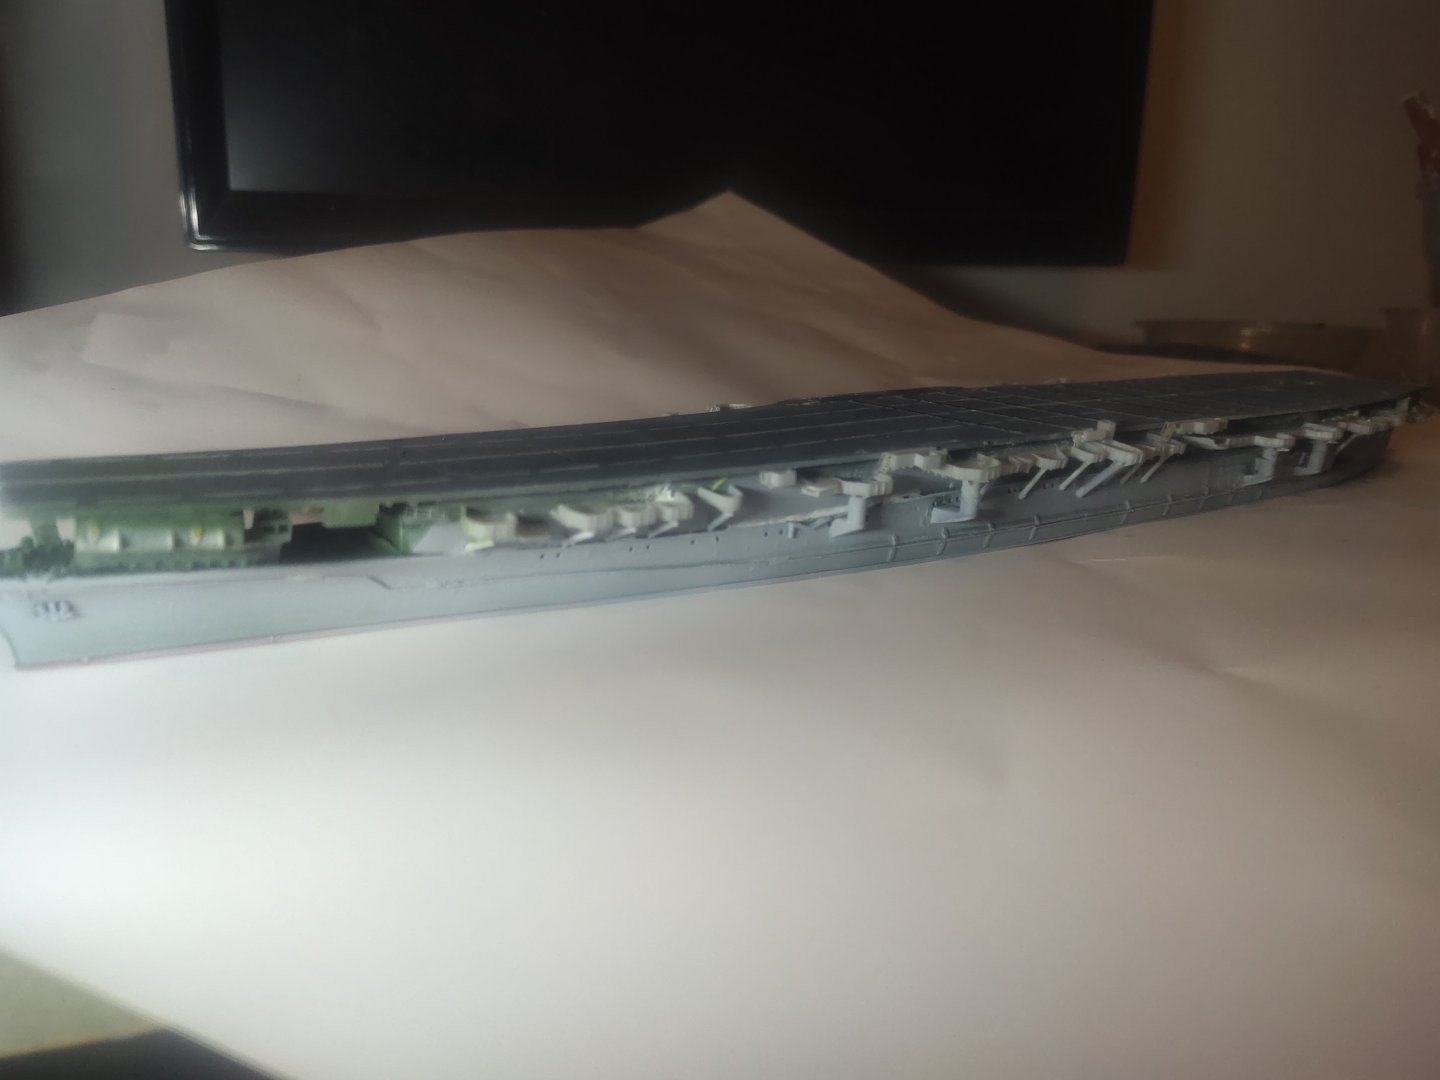
More details added, masts, boats, AA guns and few others. Masts where high detailed gave a nice look at the model. The main one was made of 13 brass pieces and 2 resin ones. -
Anshan by mikegr - 1/700
mikegr replied to mikegr's topic in - Kit build logs for subjects built from 1901 - Present Day
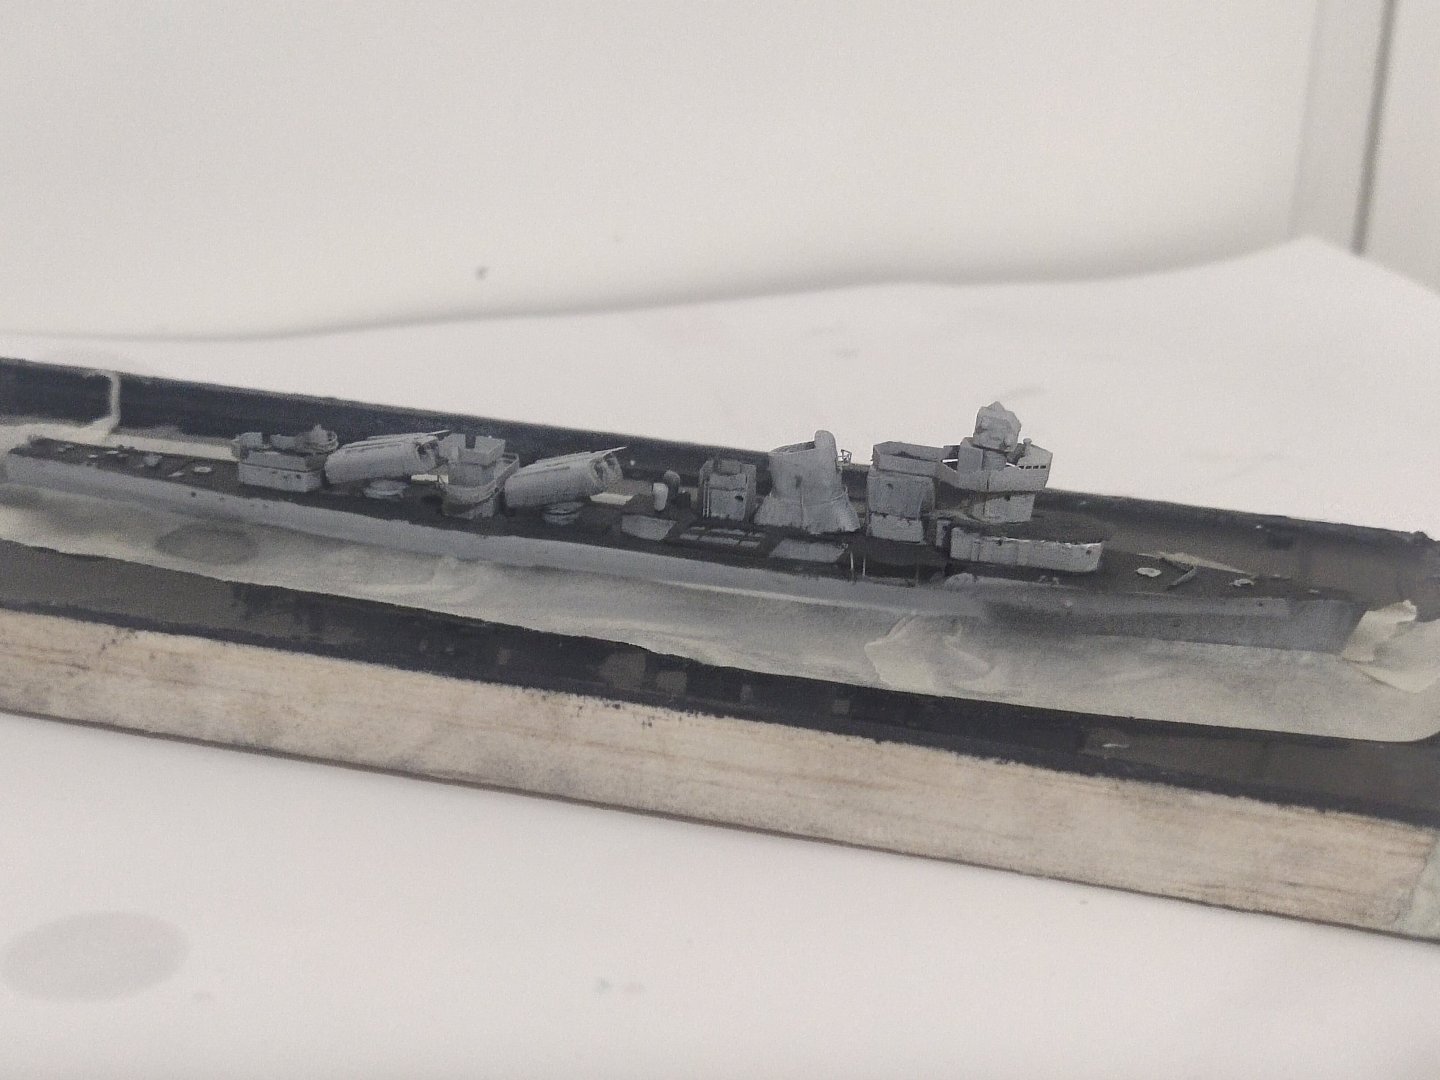
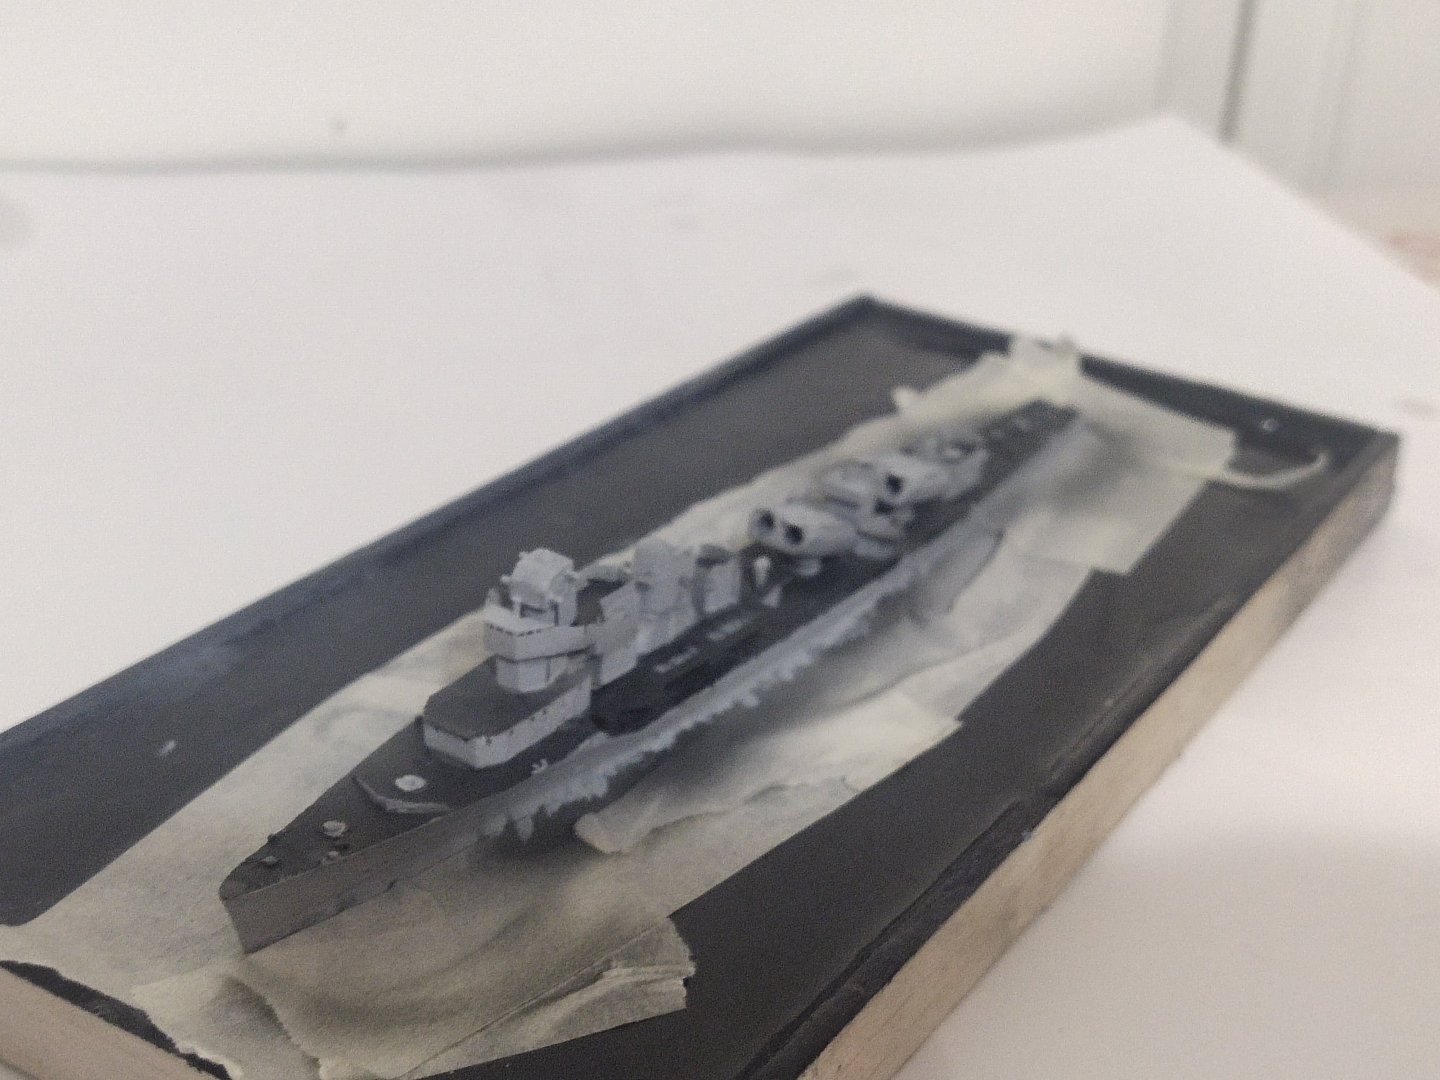
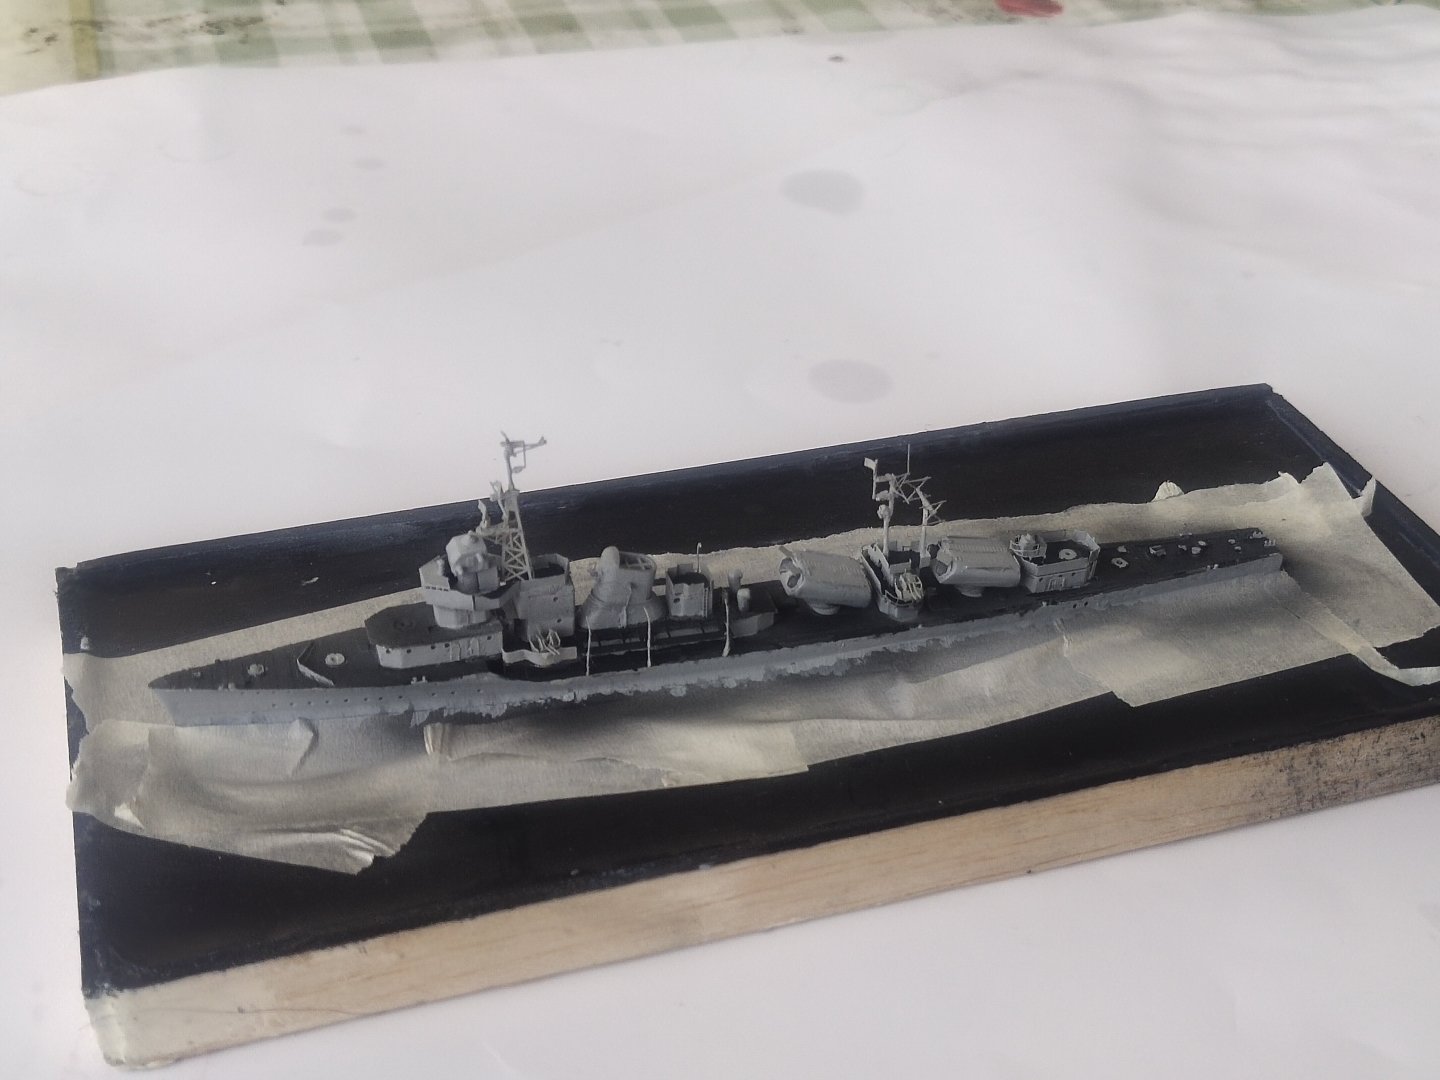
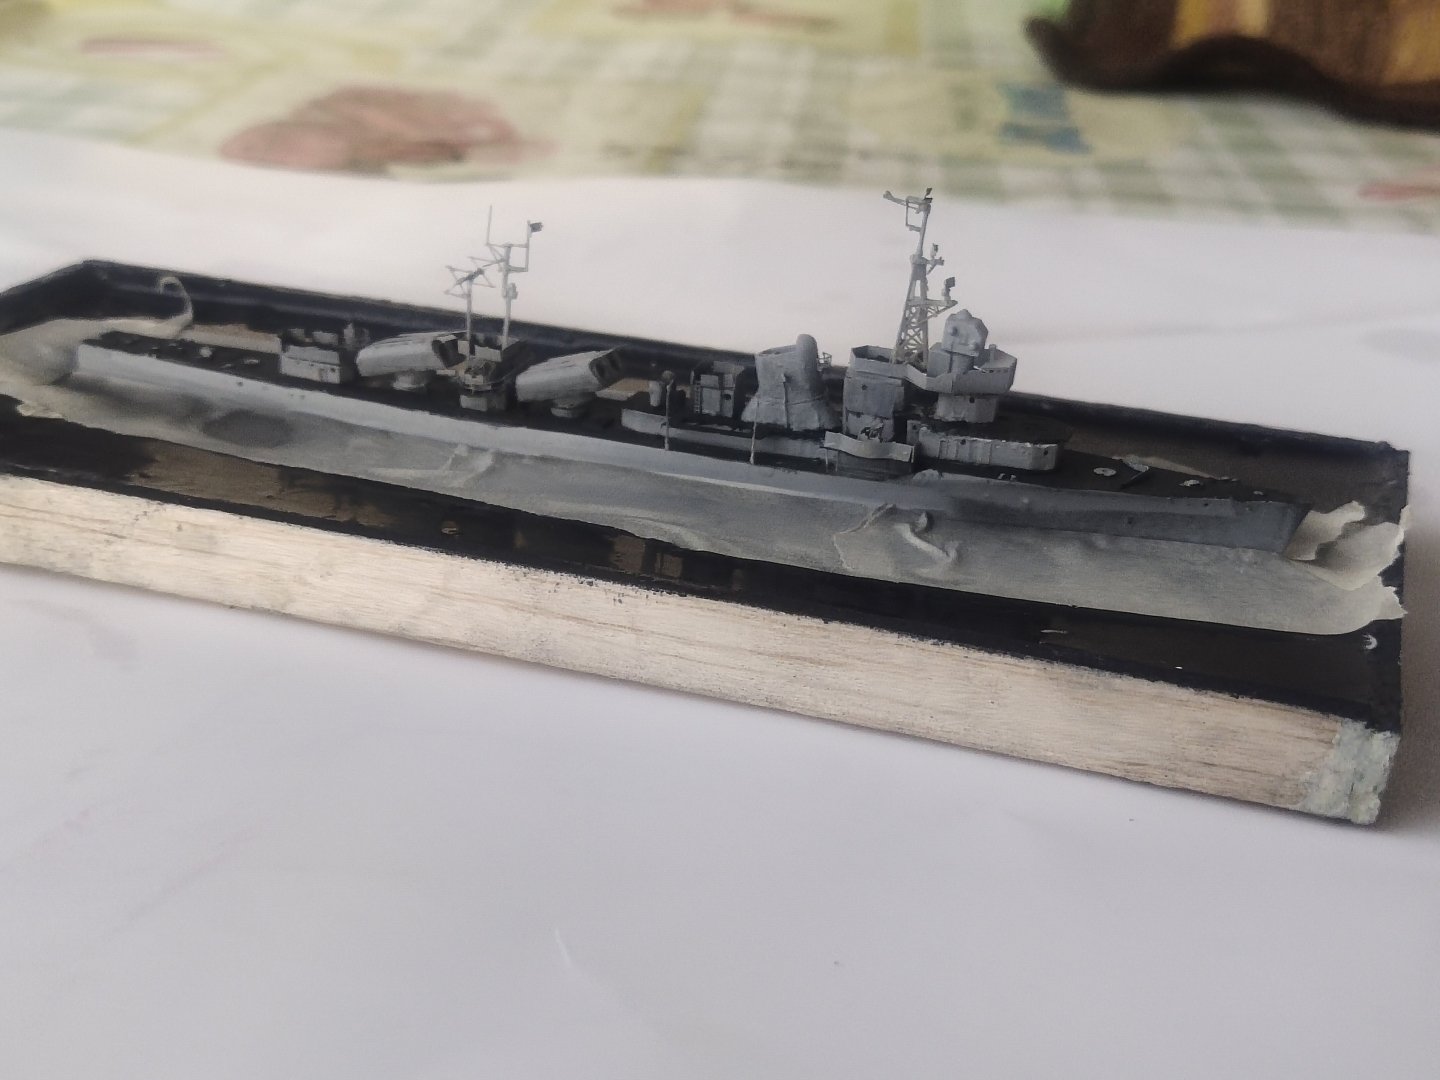
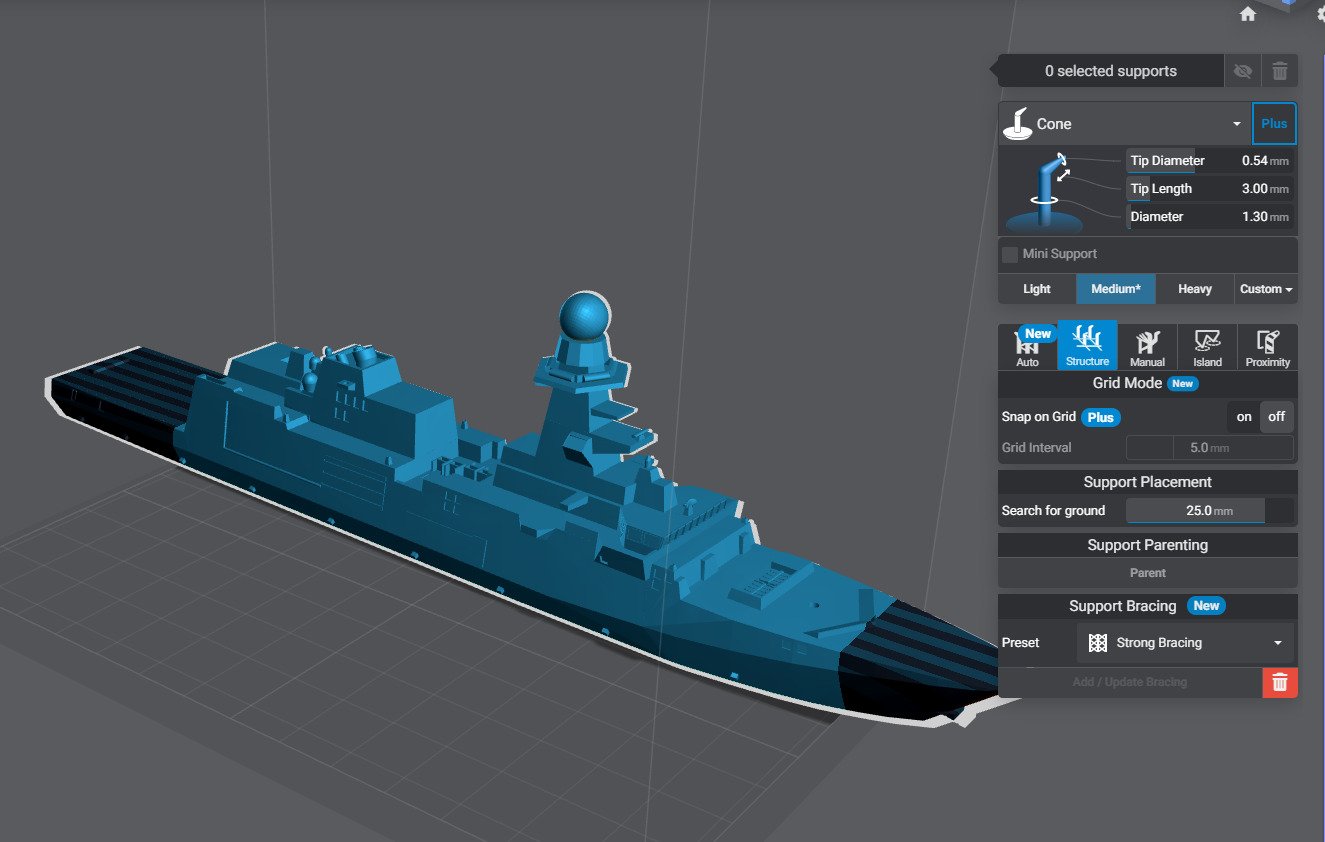
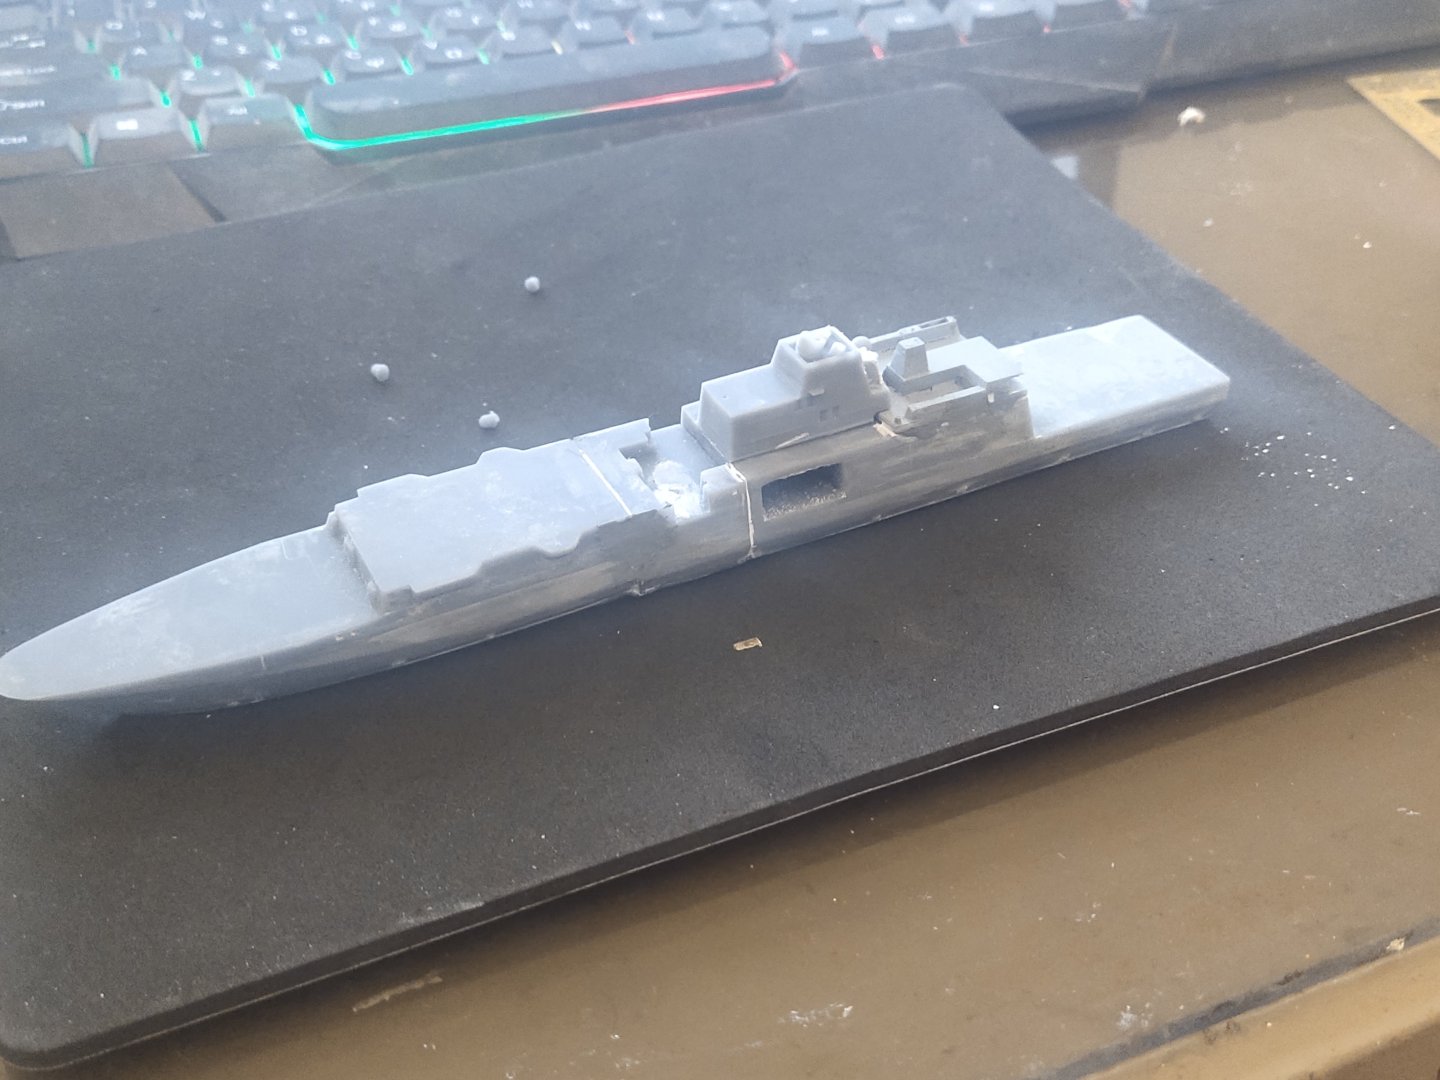
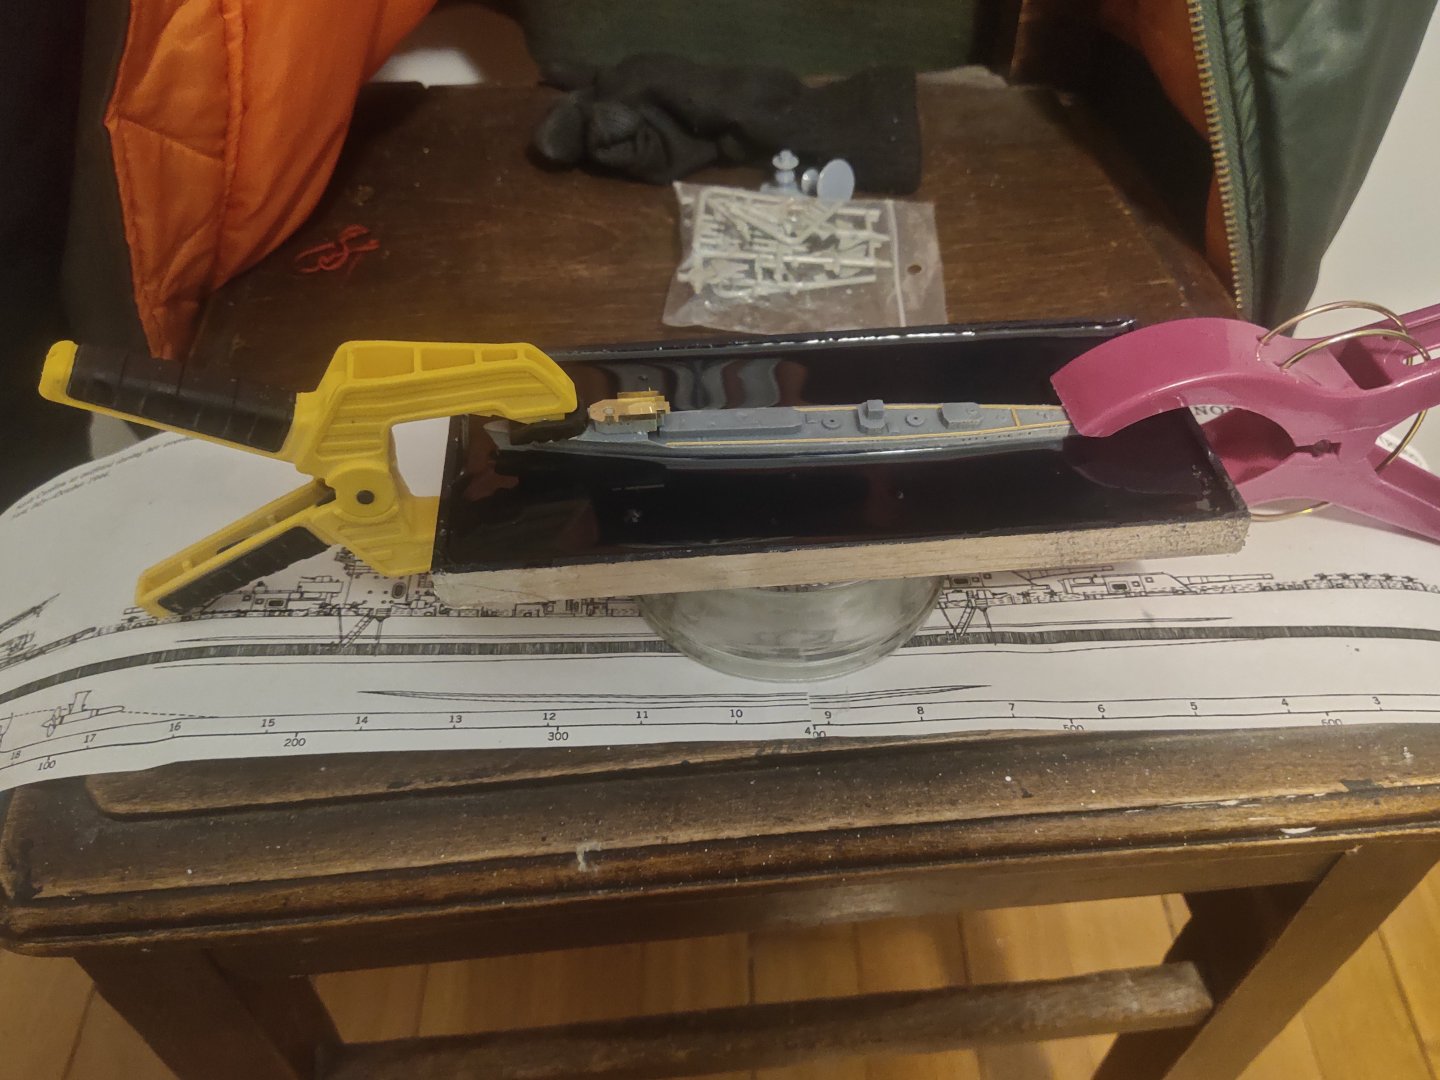
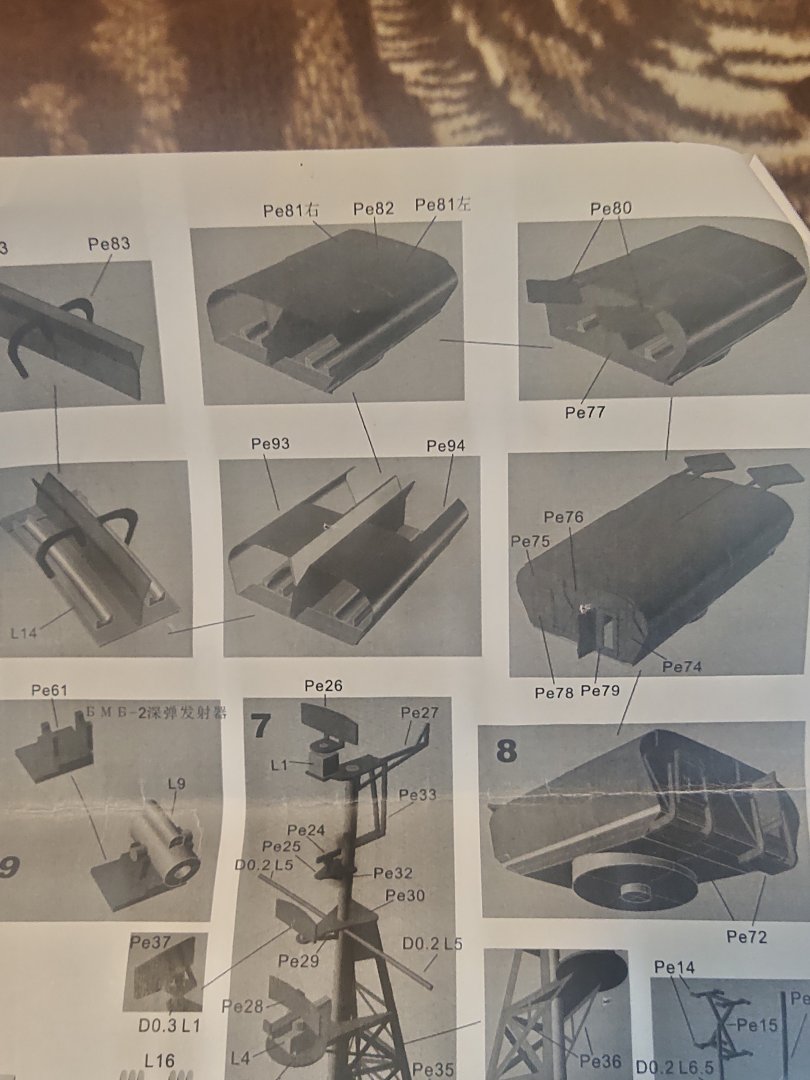
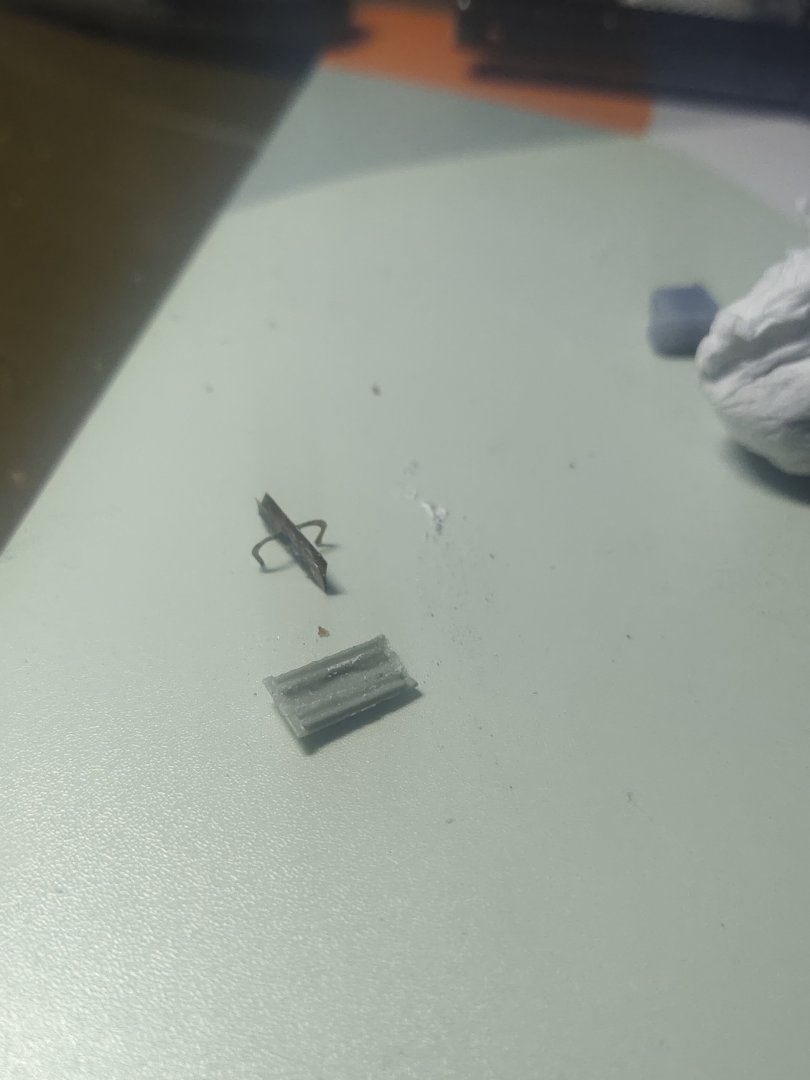
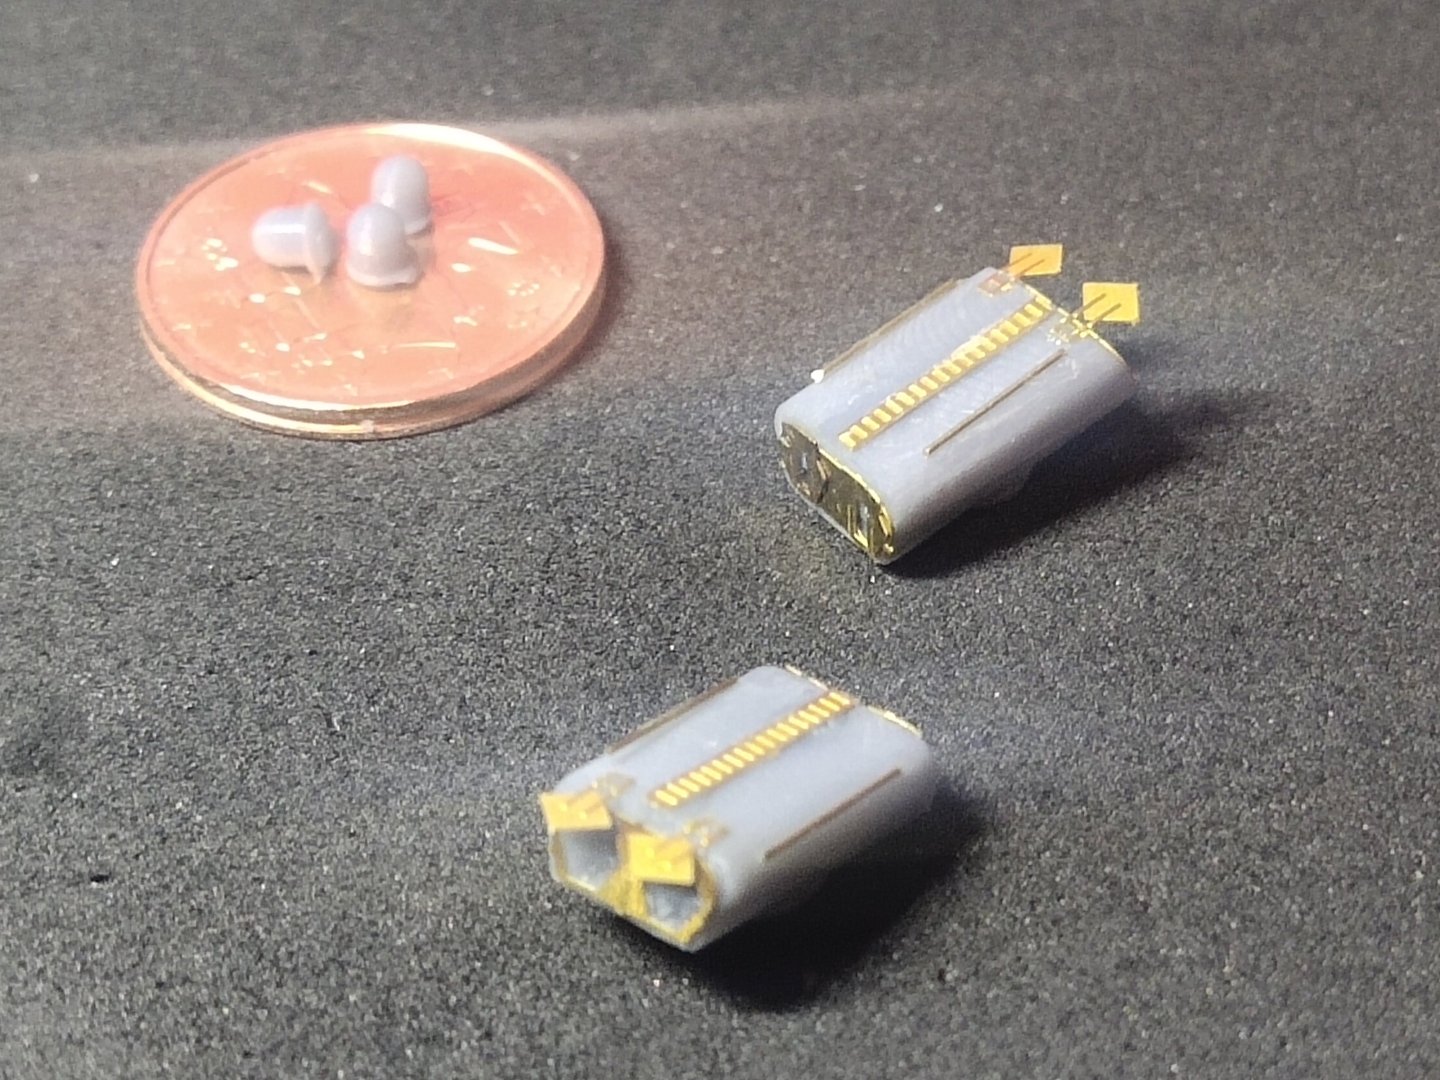
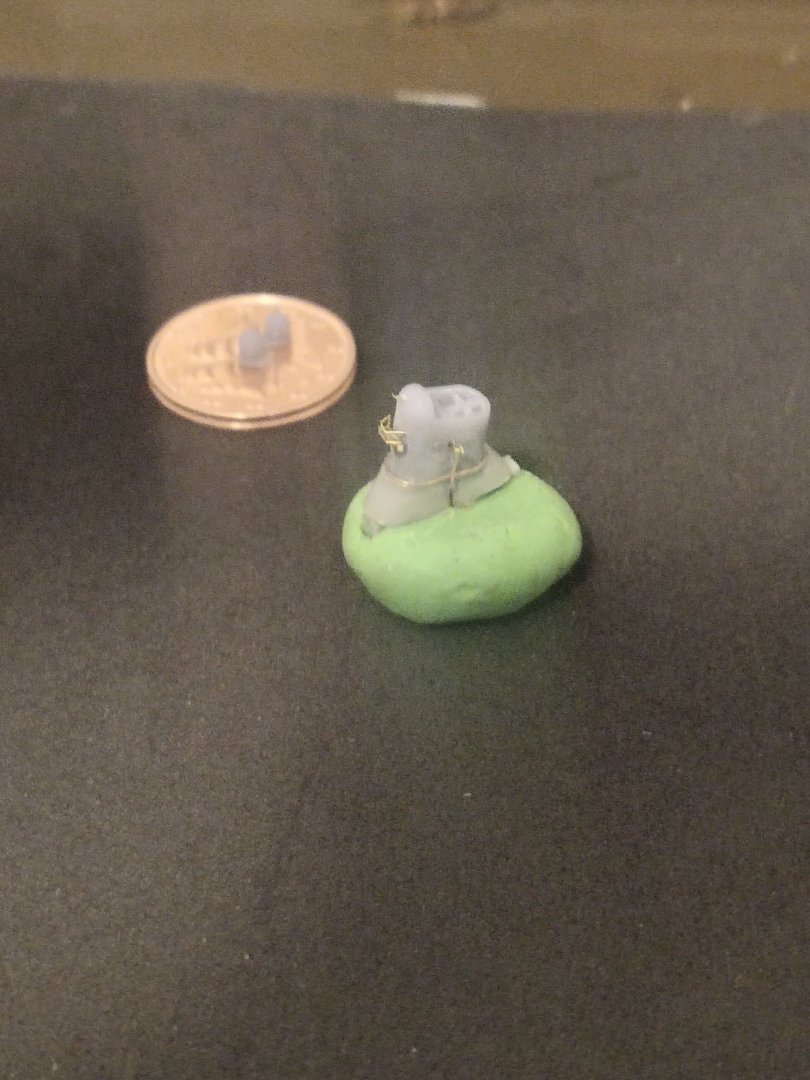
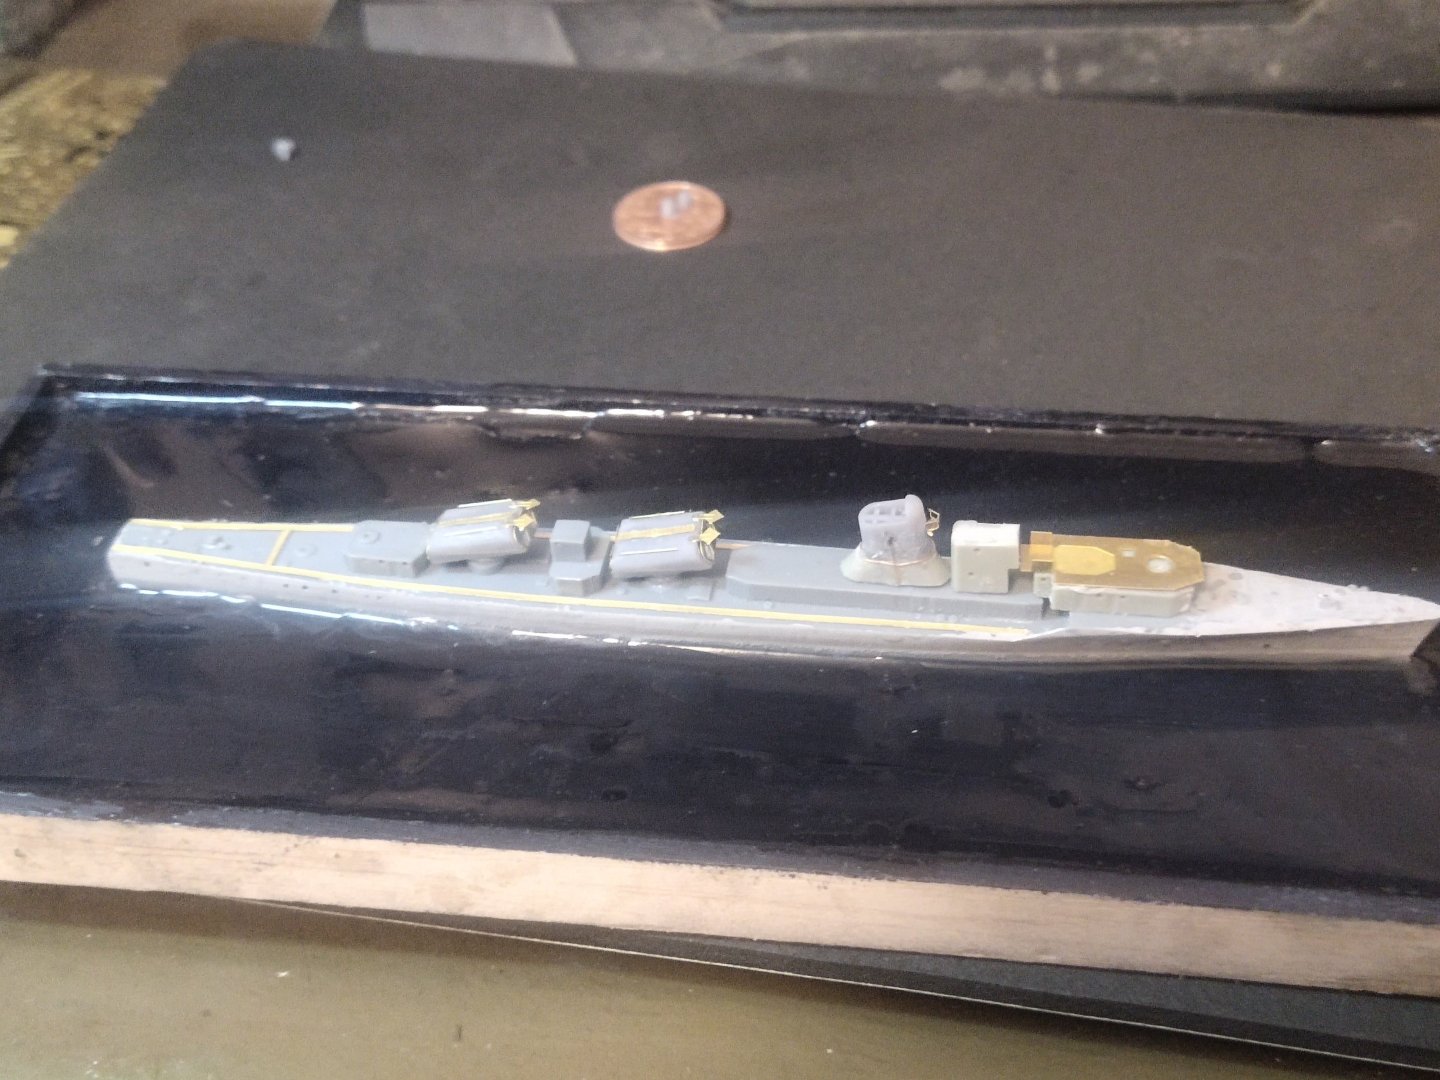
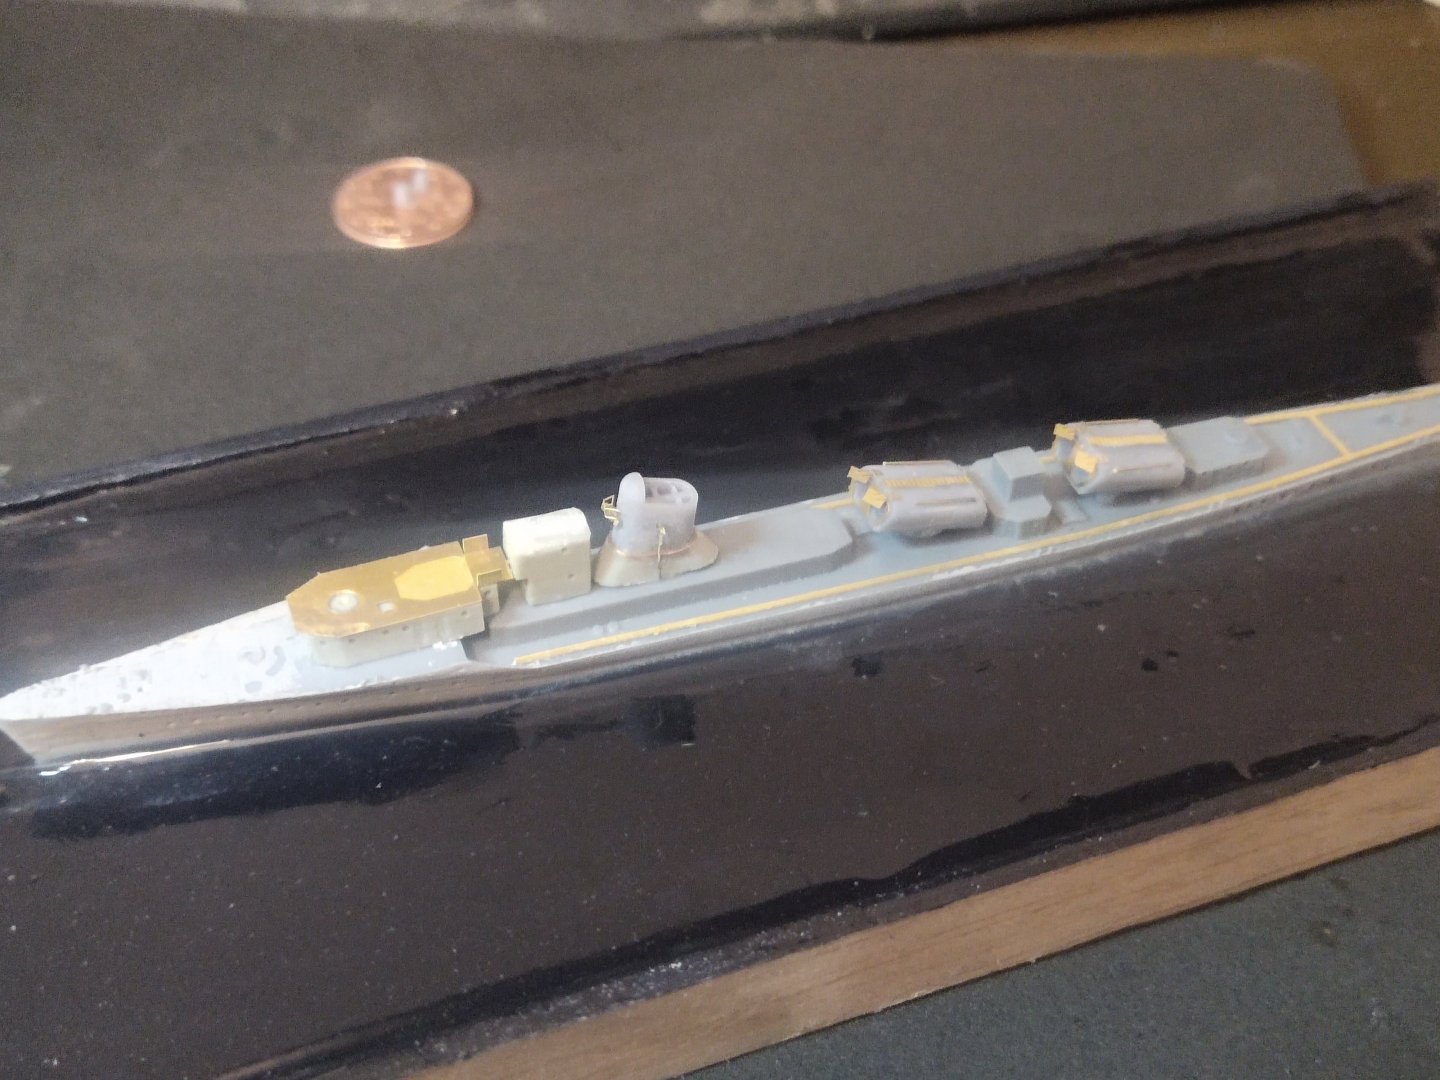
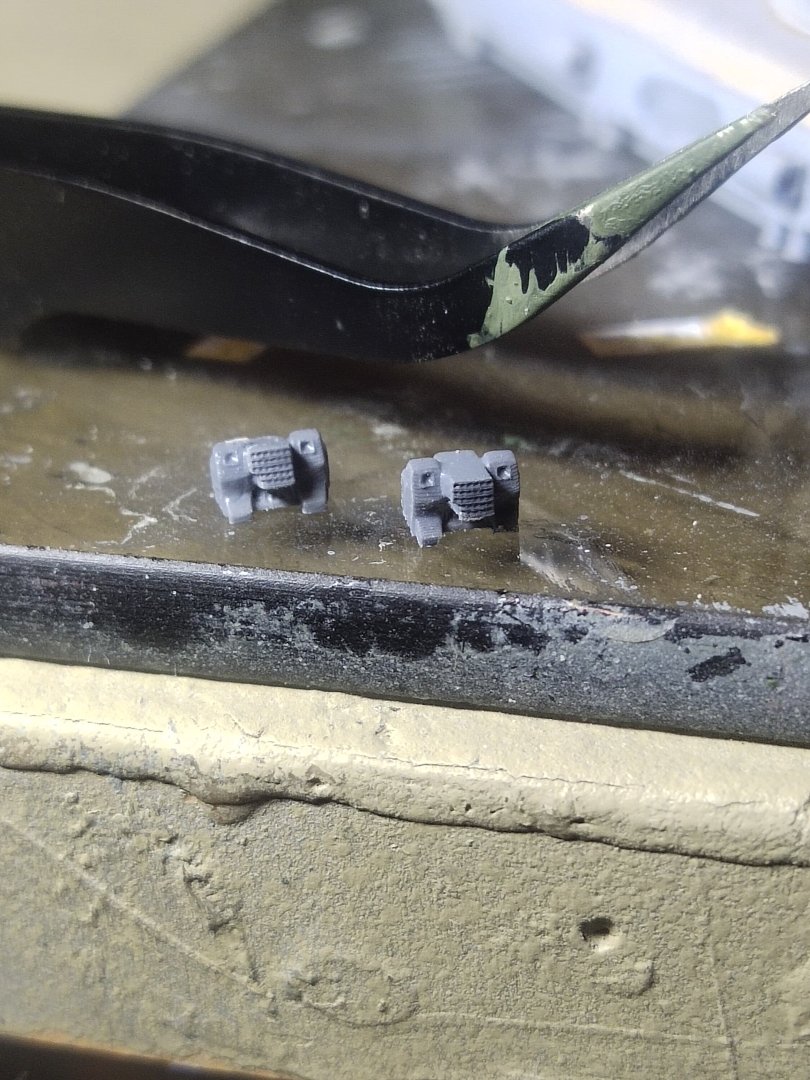
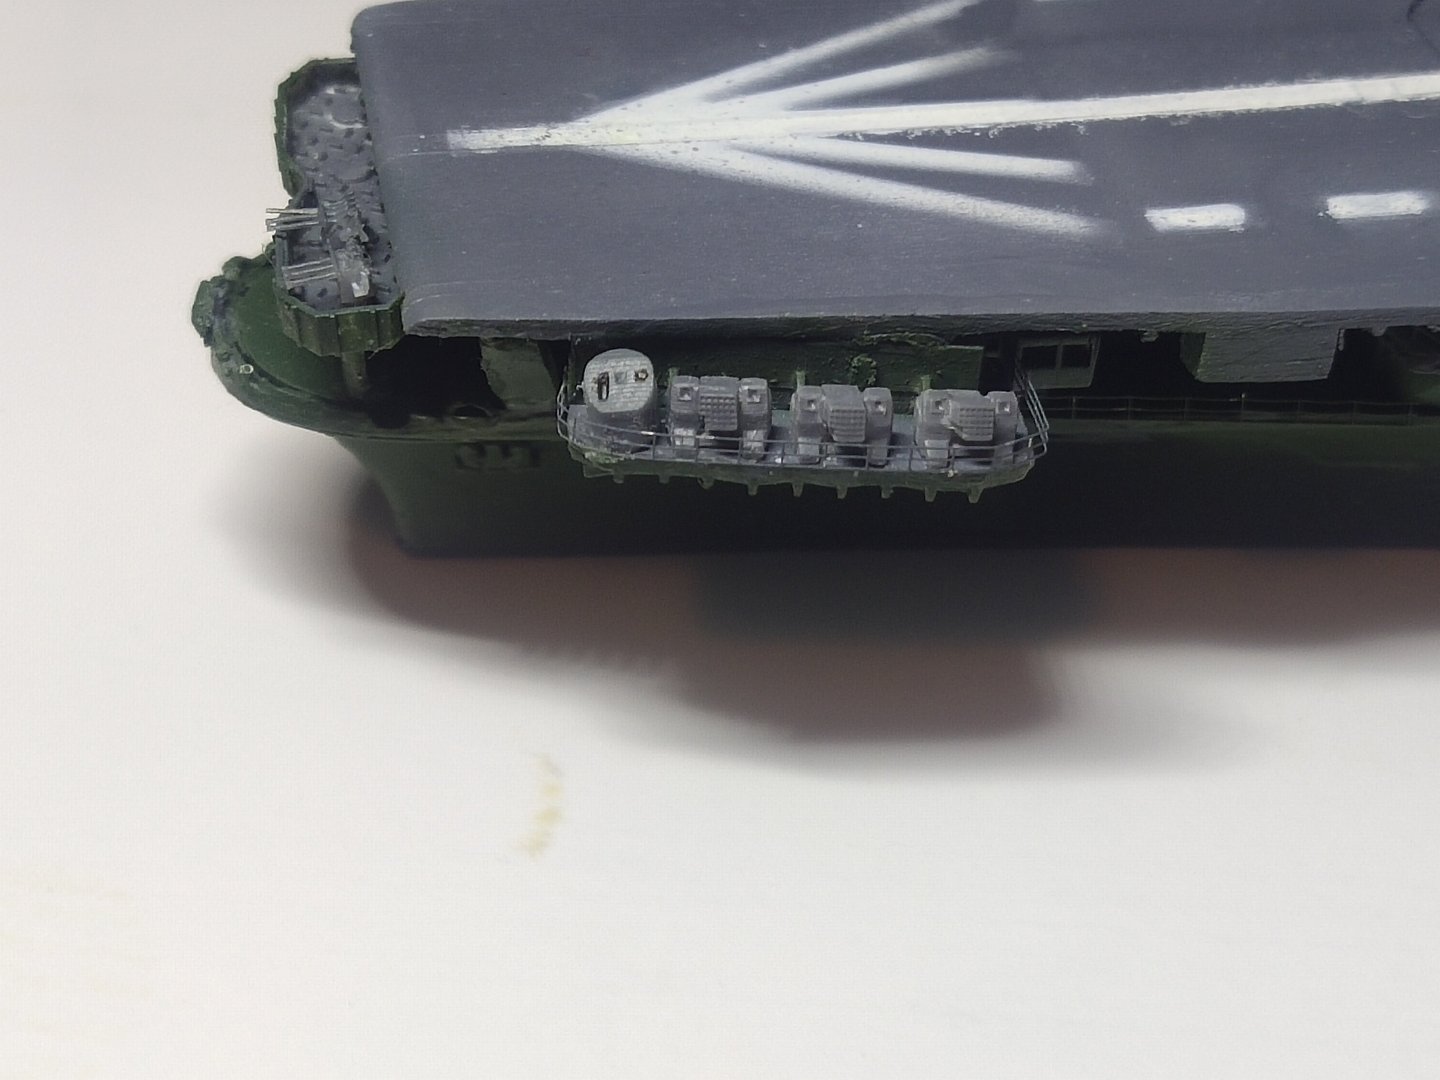
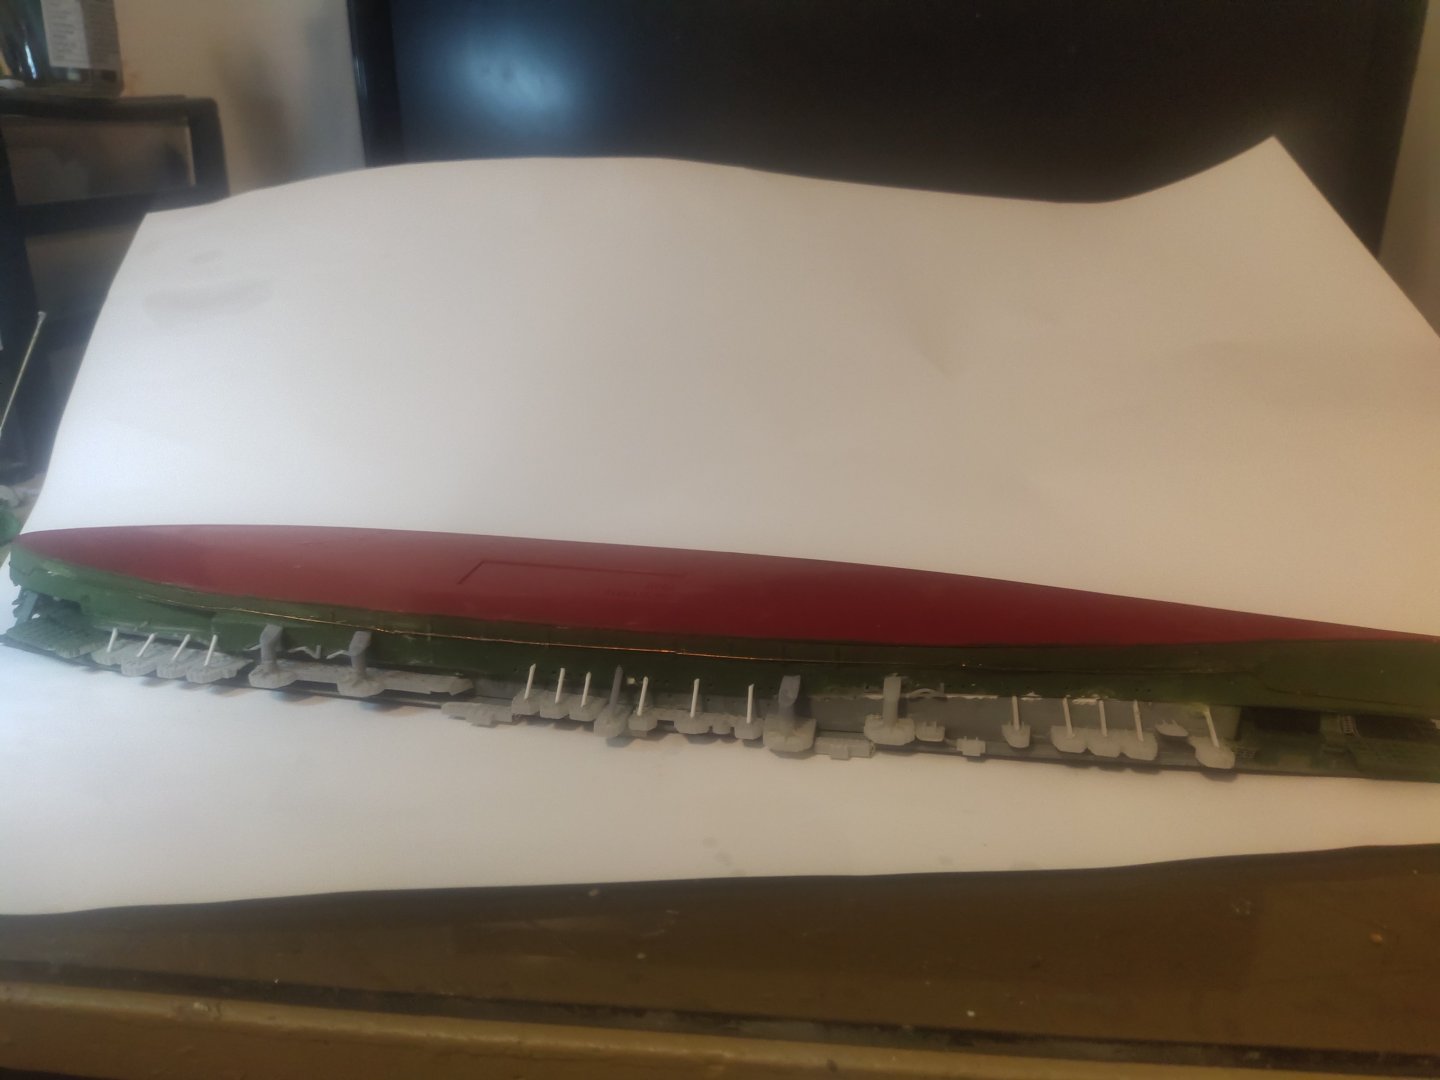
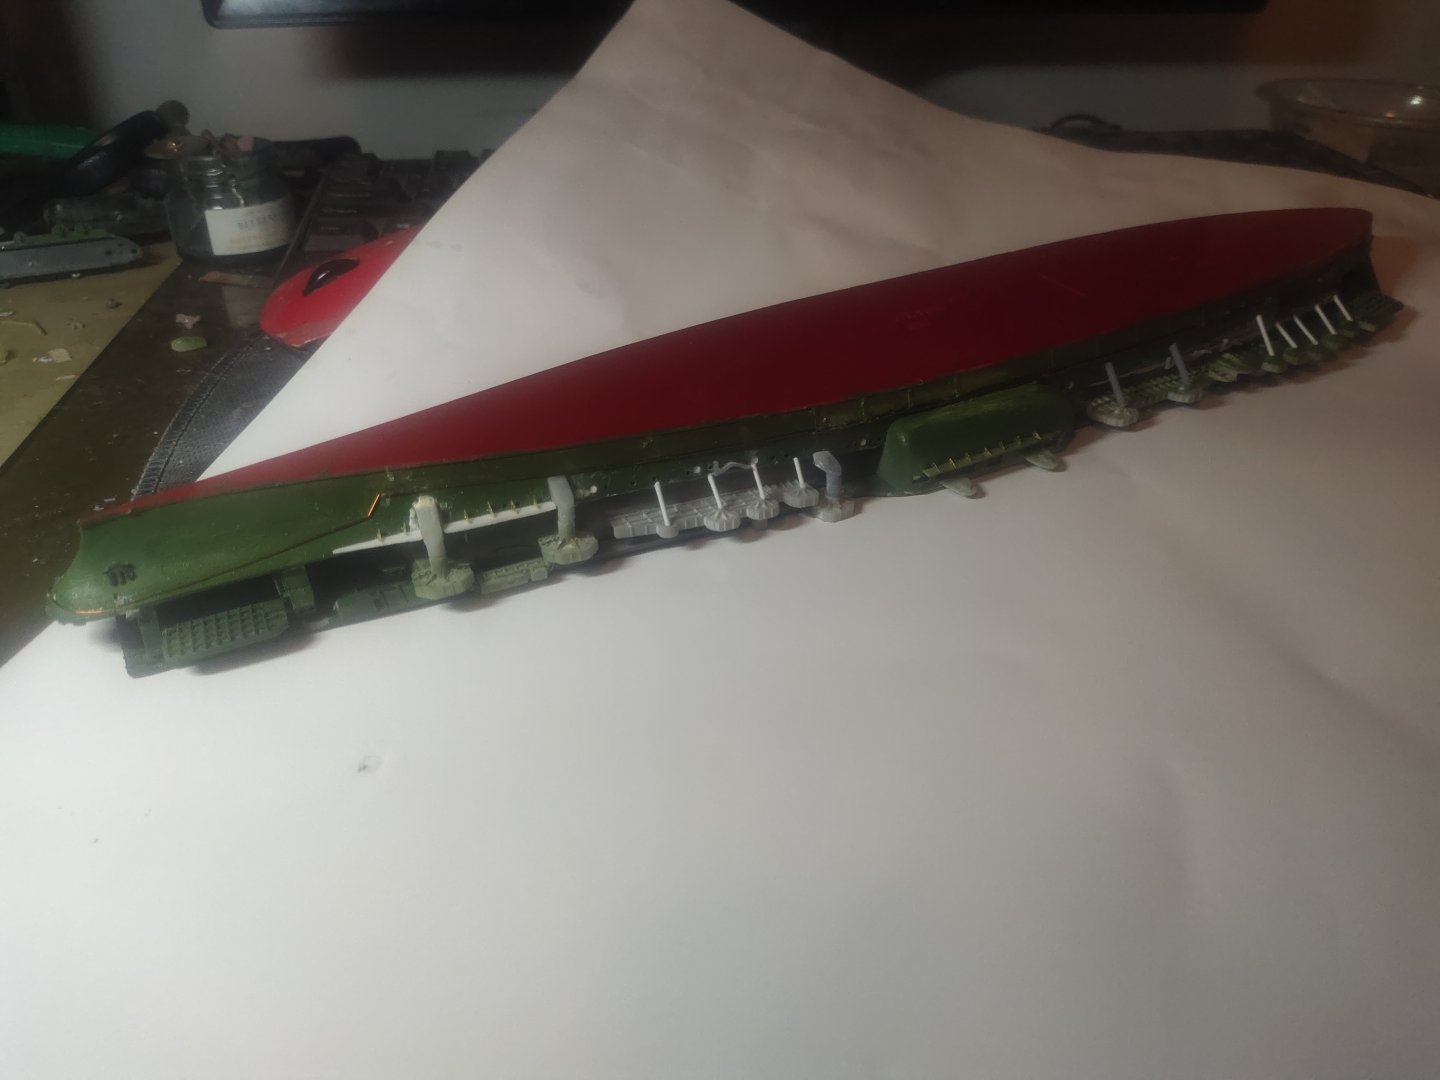
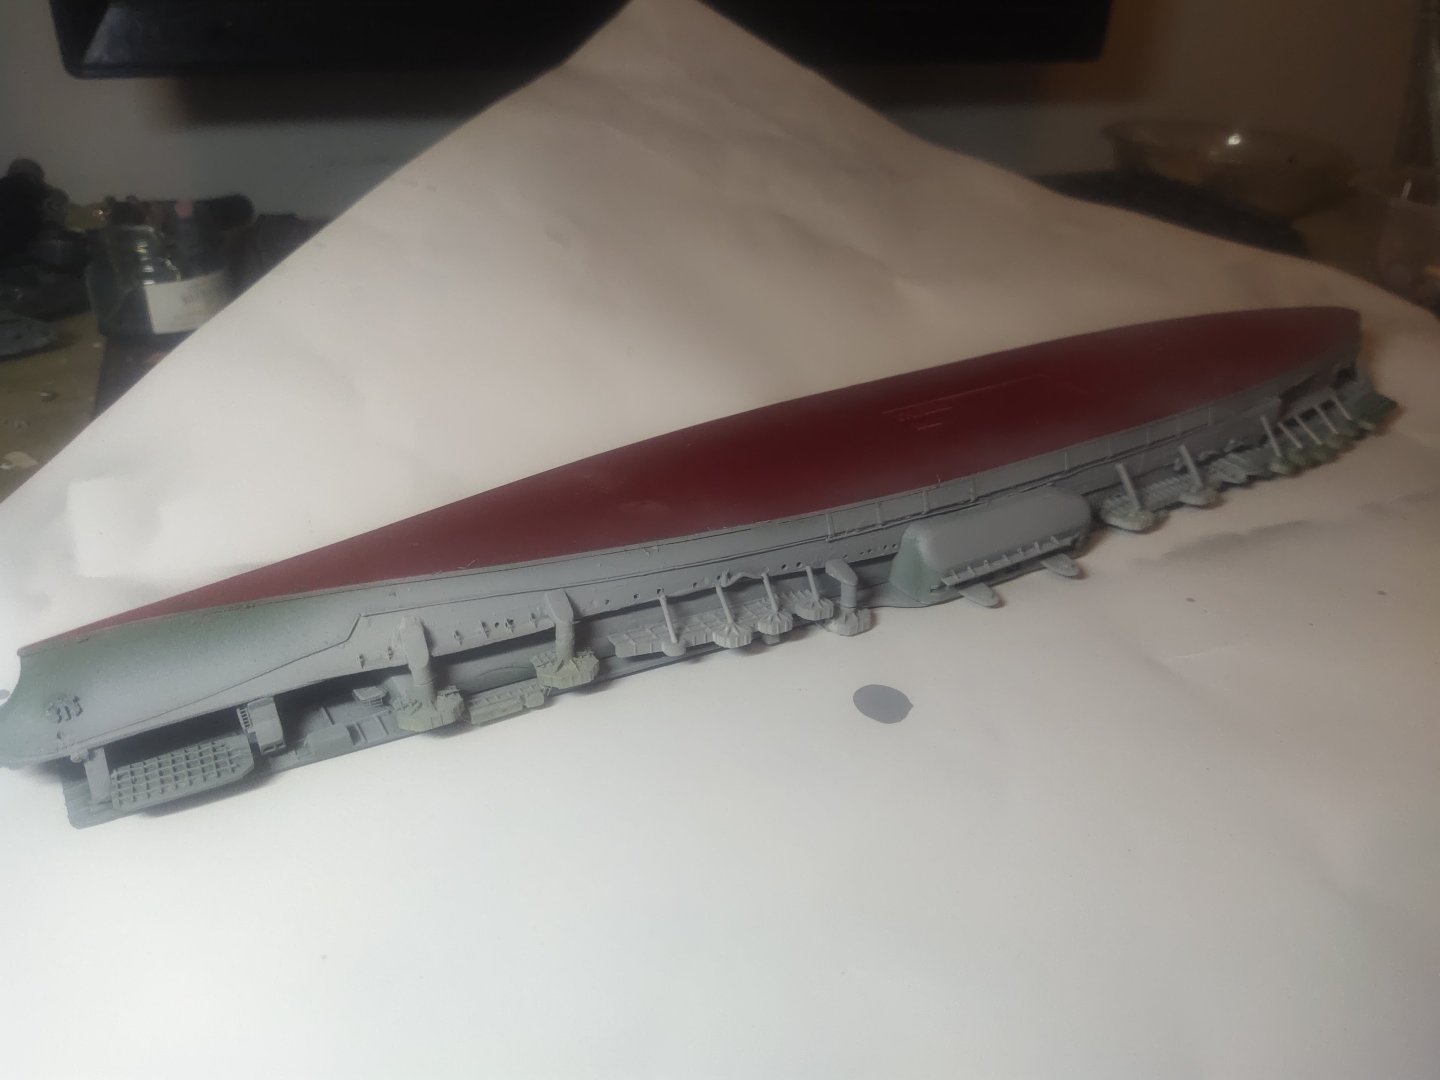
had issues how to permanently straighten the hull. A wooden base was made, model was placed on the center and a small amount of resin was poured. It was left dry overnight. Hull sides were painted gray already. Looks like I have to cover the base before future painting. The instructions are practically unreadable. So I followed some basic guidelines. Biggest parts were attached first. The missile launchers: Apart from their base, the other parts are metal ones, a frame and the "skin", mini parts than must be folder in oval shaped and attached over the frame After trying for a couple of hours I realized that this will never going to happen. So once again using the current pieces as a reference I designed and printed my own missile boxes which were decorated with PEs and attached on the model -
I had issues how to permanently straighten the hull. A wooden base was made, model was placed on the center and a small amount of resin was poured. It was left dry overnight. Hull sides were painted gray already. Looks like I have to cover the base before future painting. t Upon my first look at the model it was noticable how many PE pieces exists, comparing to the few resin ones. First trouble came when I start to make the missile launchers. Apart from the base the others are metal ones, a frame and the "skin", mini parts than must be folder in oval shaped and attached over the frame After struggling for 2 hours it was pretty obvious that there's not a chance I accomplish this task and even if I do result will be mediocre. So once again standars parts were used as a reference for size and I made my own launchers pack after 3 attempts. Then I only add the enchancing PEs. Since there was an option for the hatches to be left open, I made also a few missile heads. Finally the funnel was added with bit extra detailing according to pics I studied
-
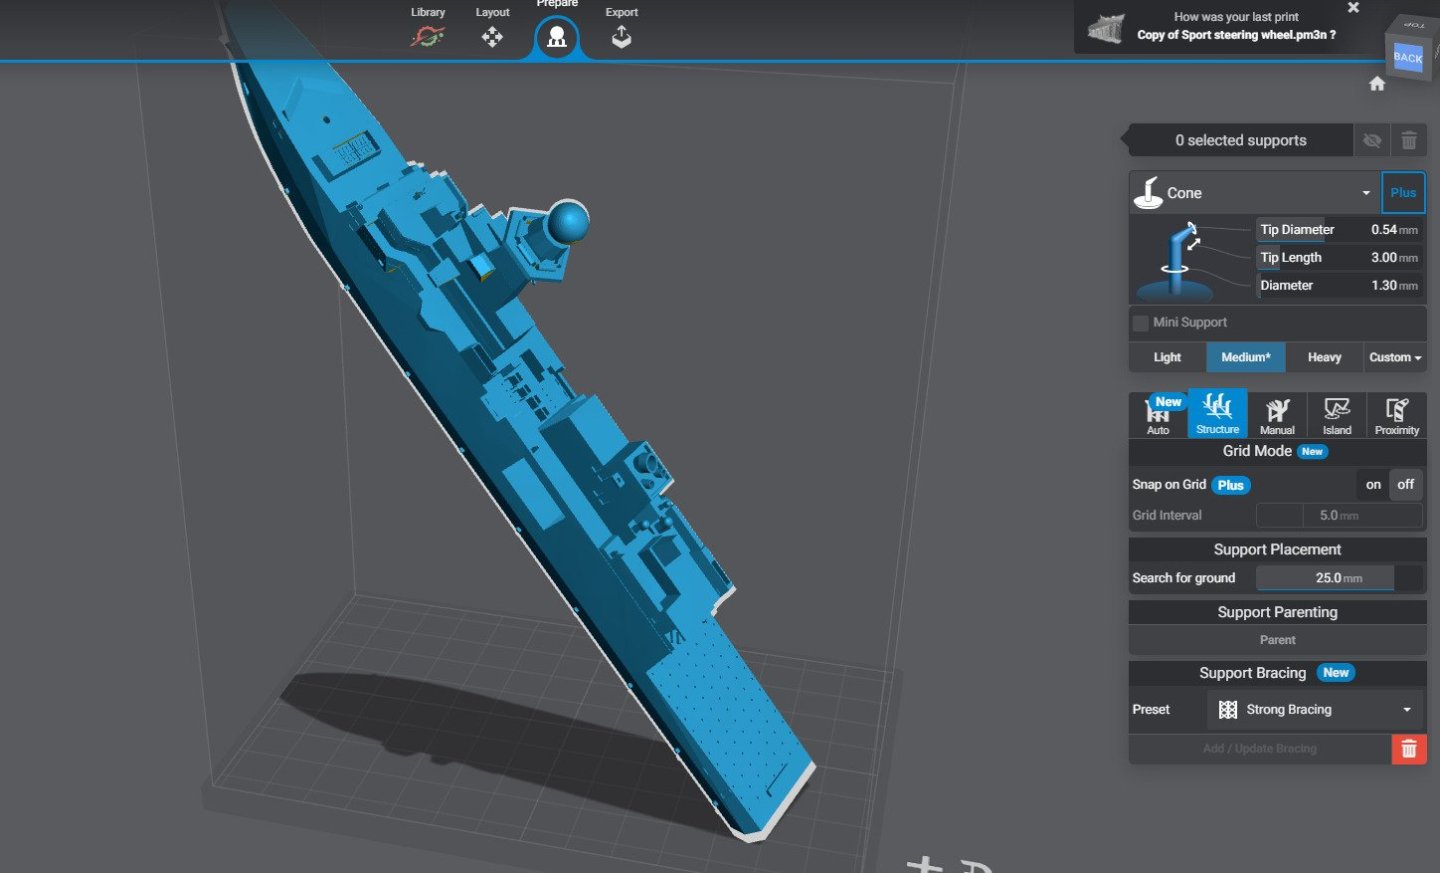
Another model of a less popular ship on my bench, Anshan the first destroyer of the PLA Navy. Ex Russian ships, converted with Chinese missiles replacing some torpedo tubes. This ship today is a museum The model I bought it from EBay. The manufacturer is Chinese but I can't see the name. There are two PE sets with lots of big and small parts and few resin pieces. In fact most are PEs even some big parts of the superstructure. Finally the instructions are a 3 page photo copy, showing each part assembly, them fitting them all together to the hull. Not sure how helpful will that be. The first I did is to straighten the banana shaped resin hull
-
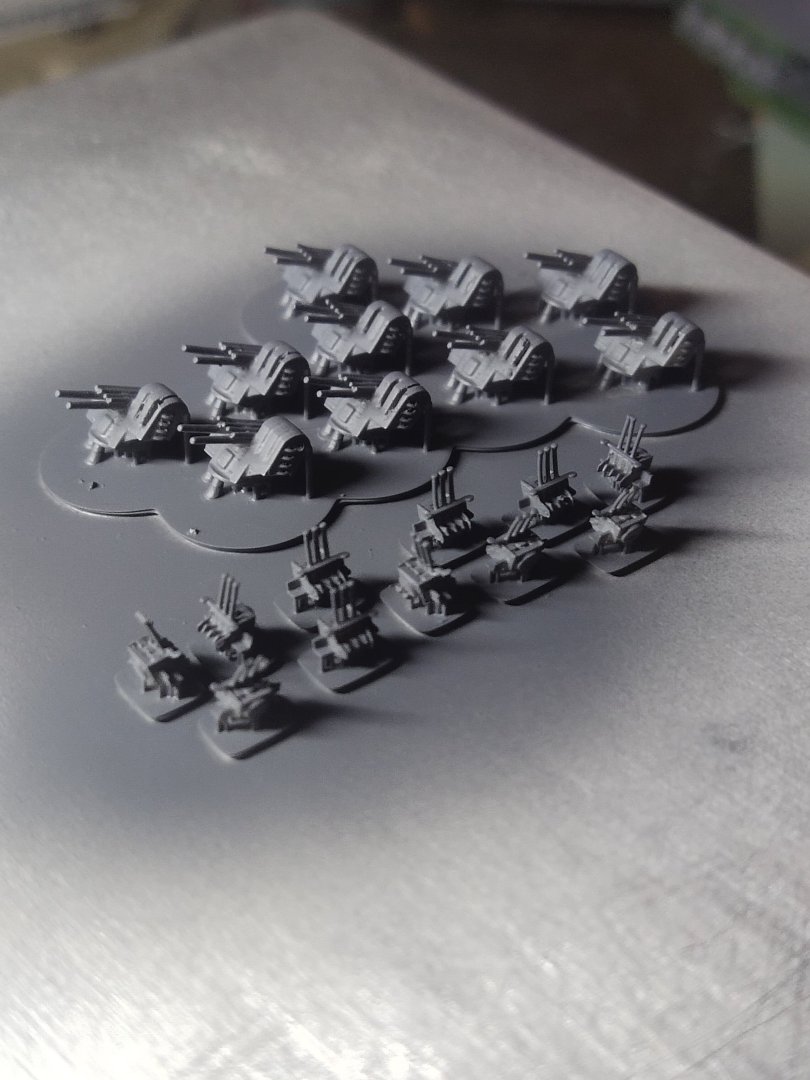
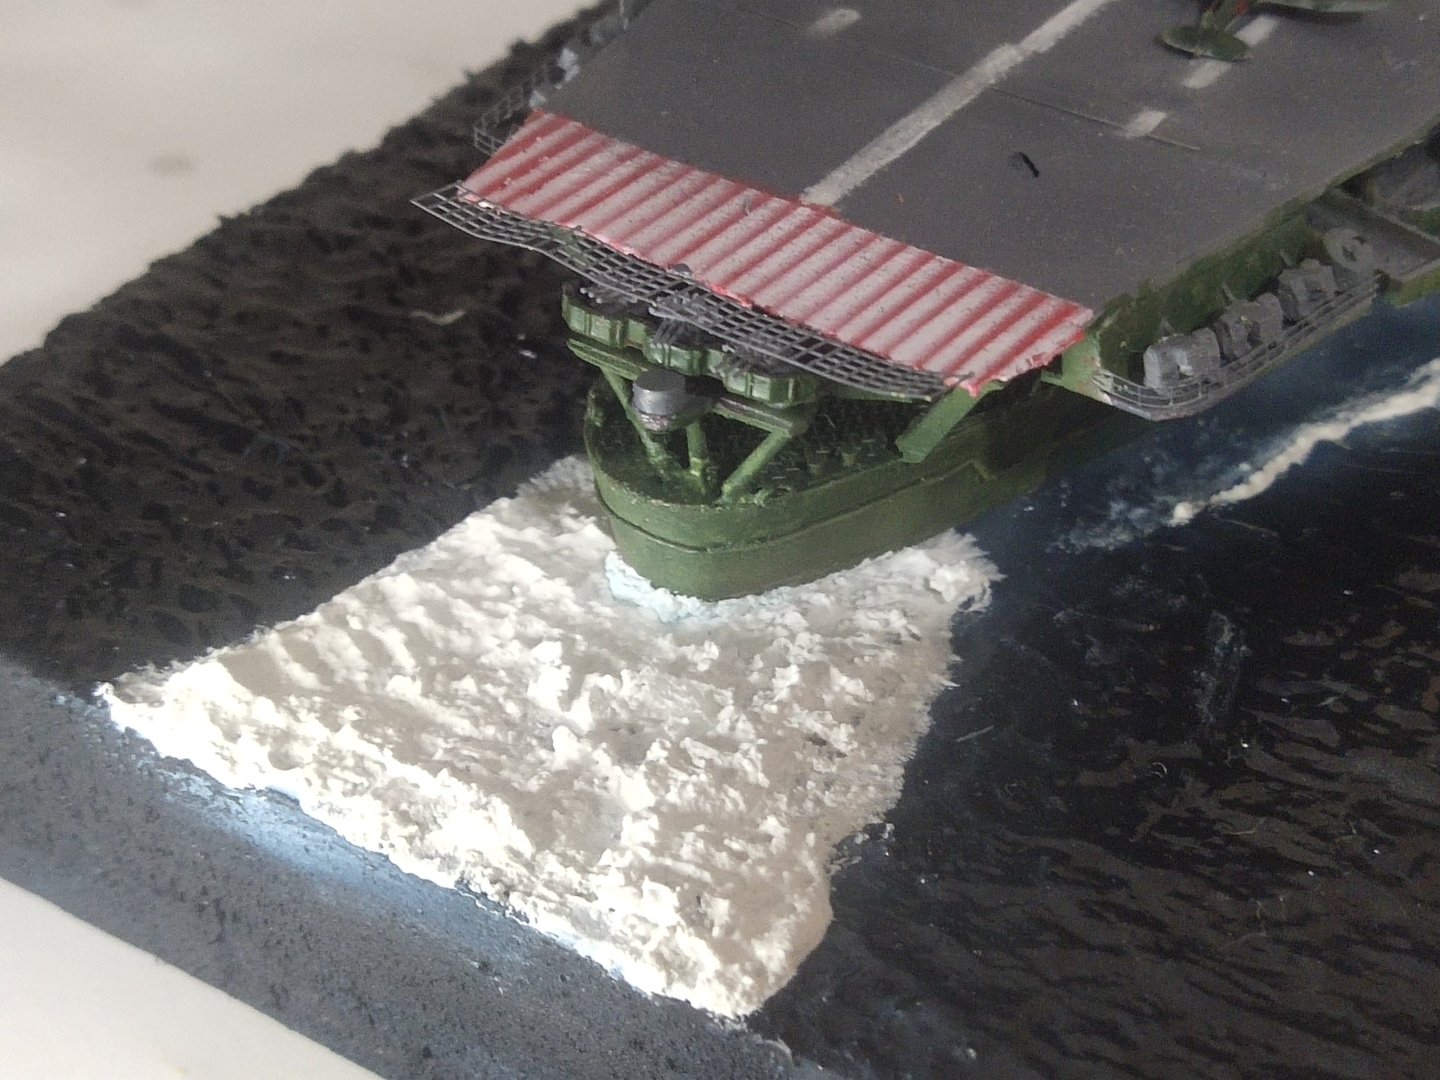
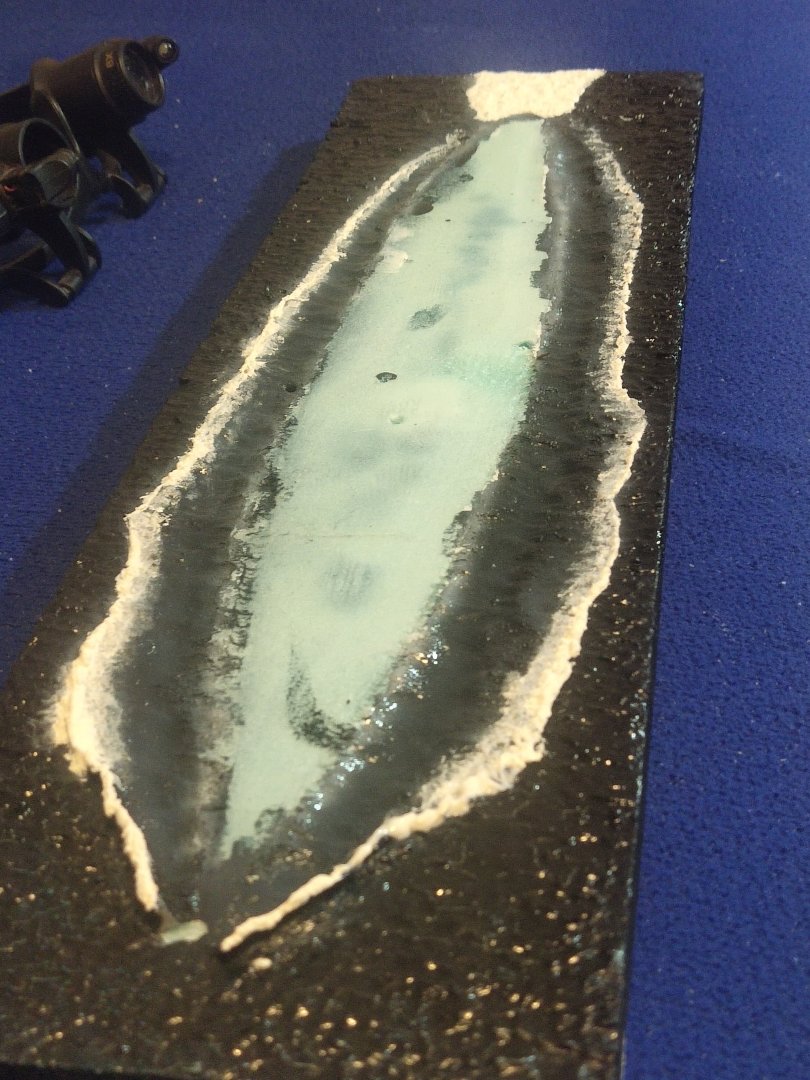
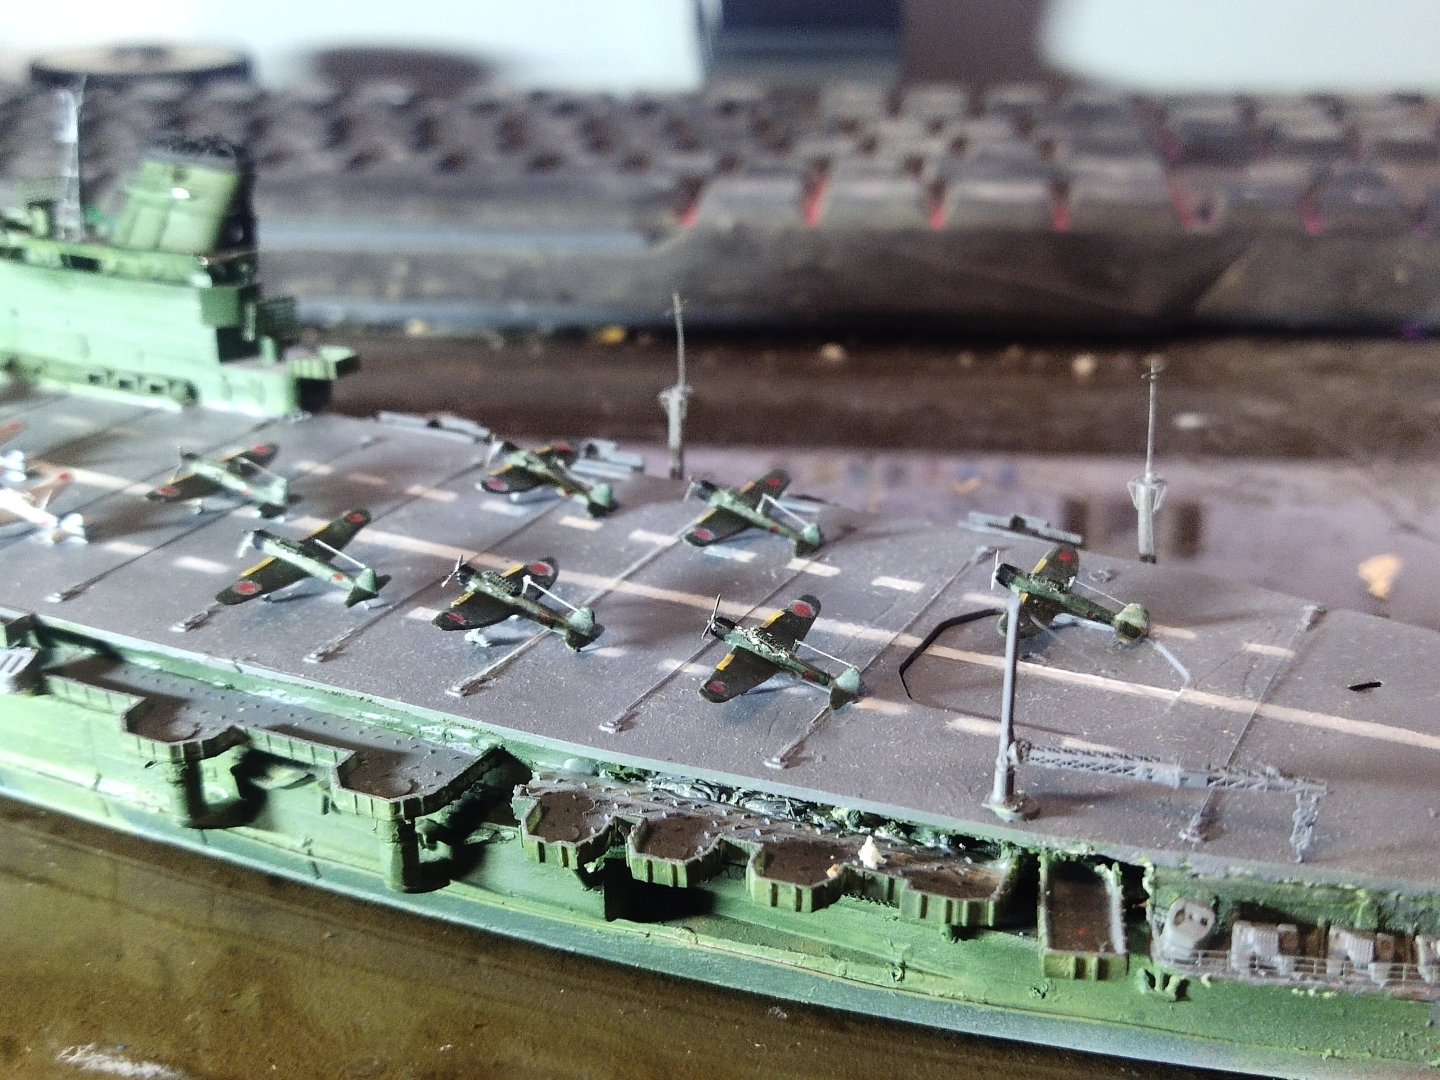
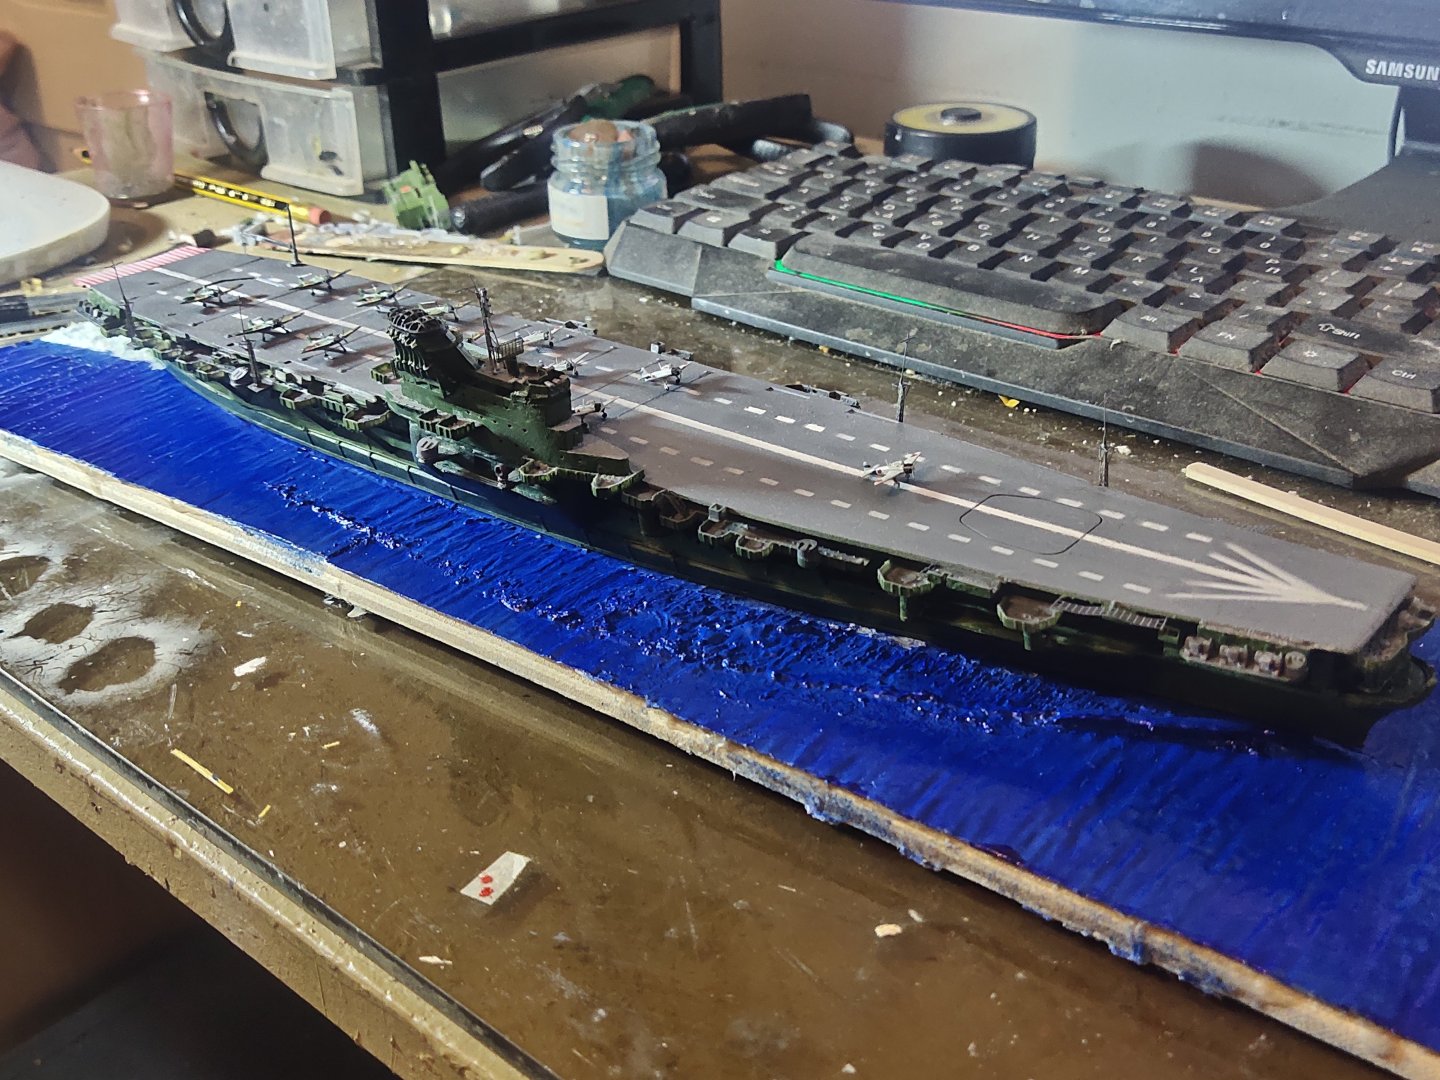
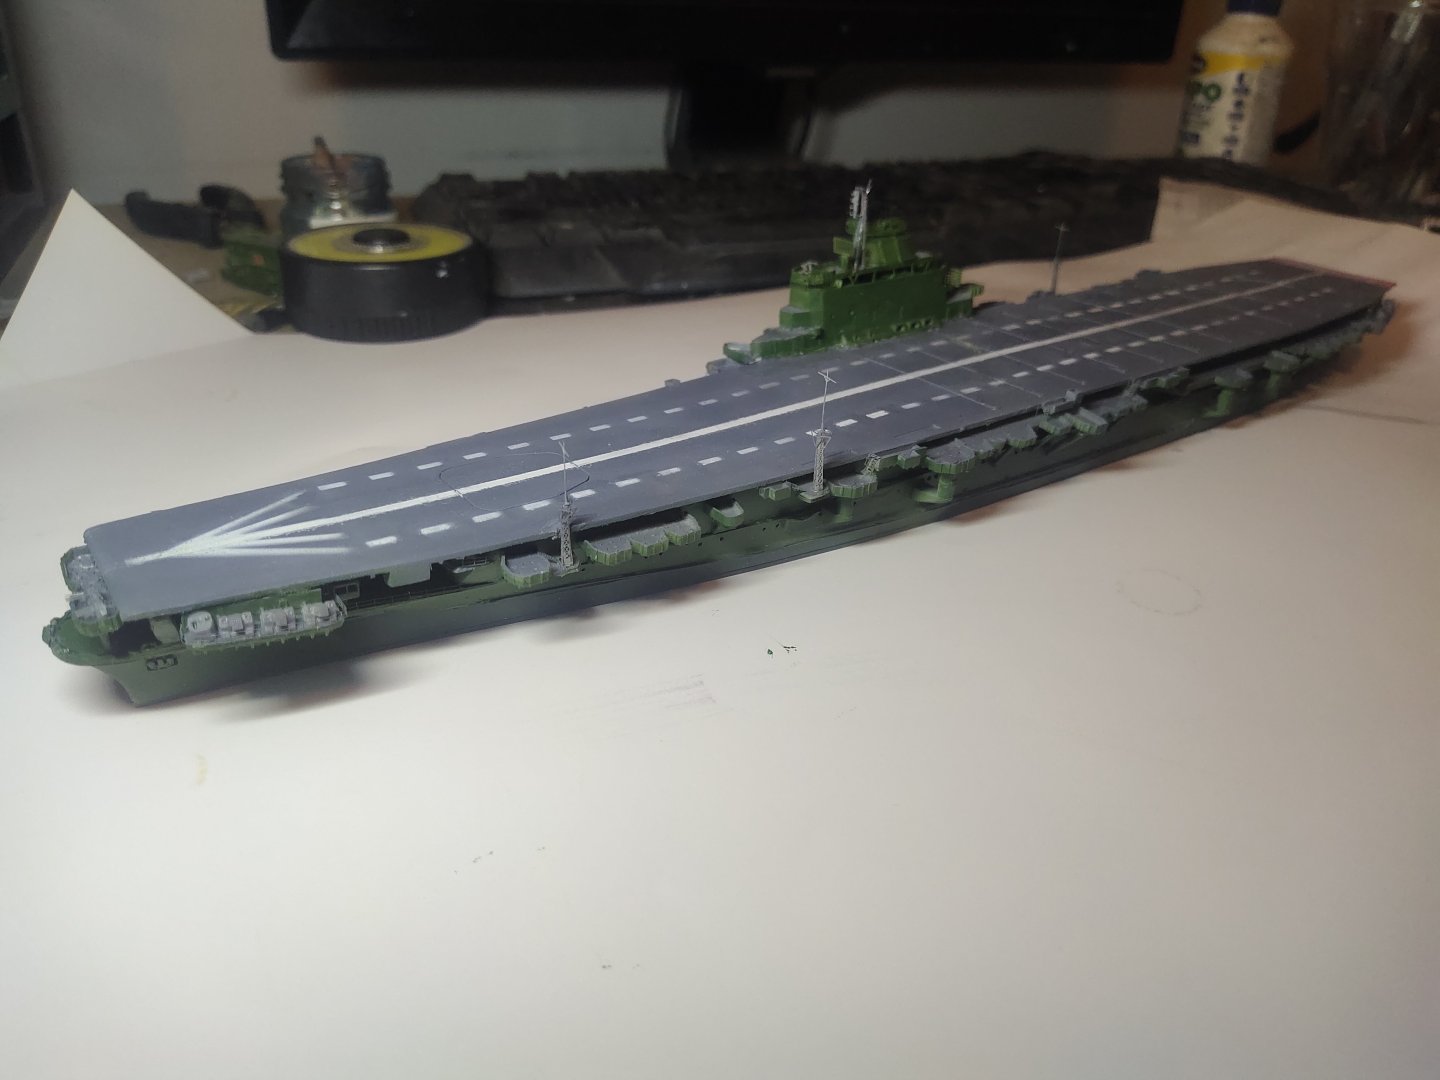
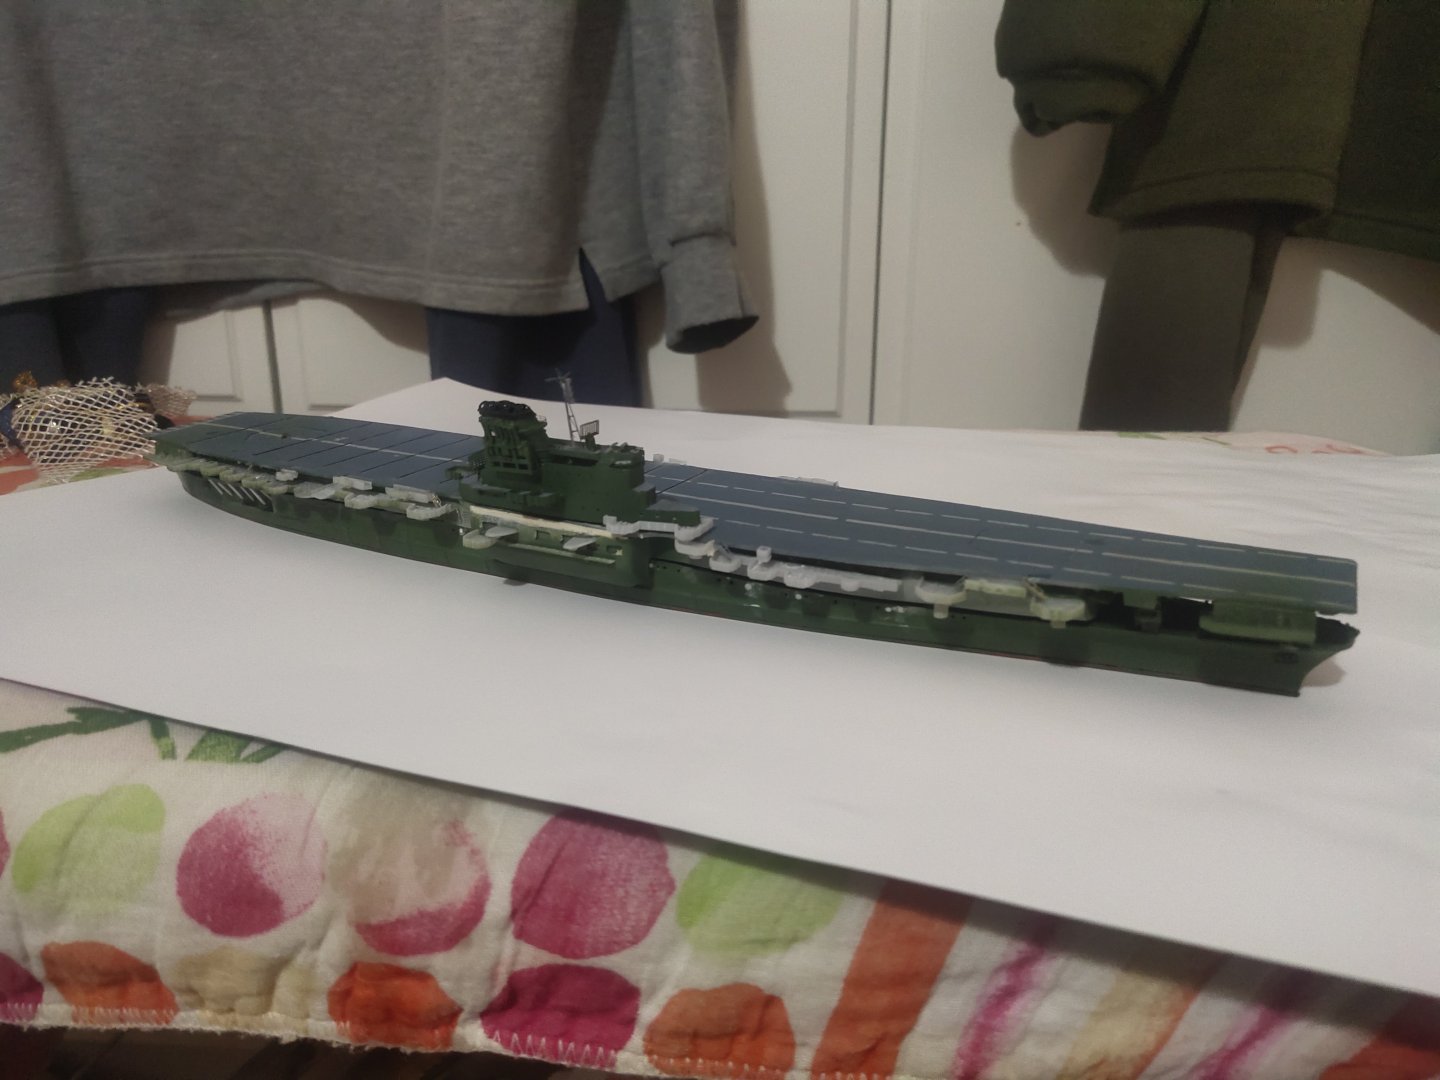
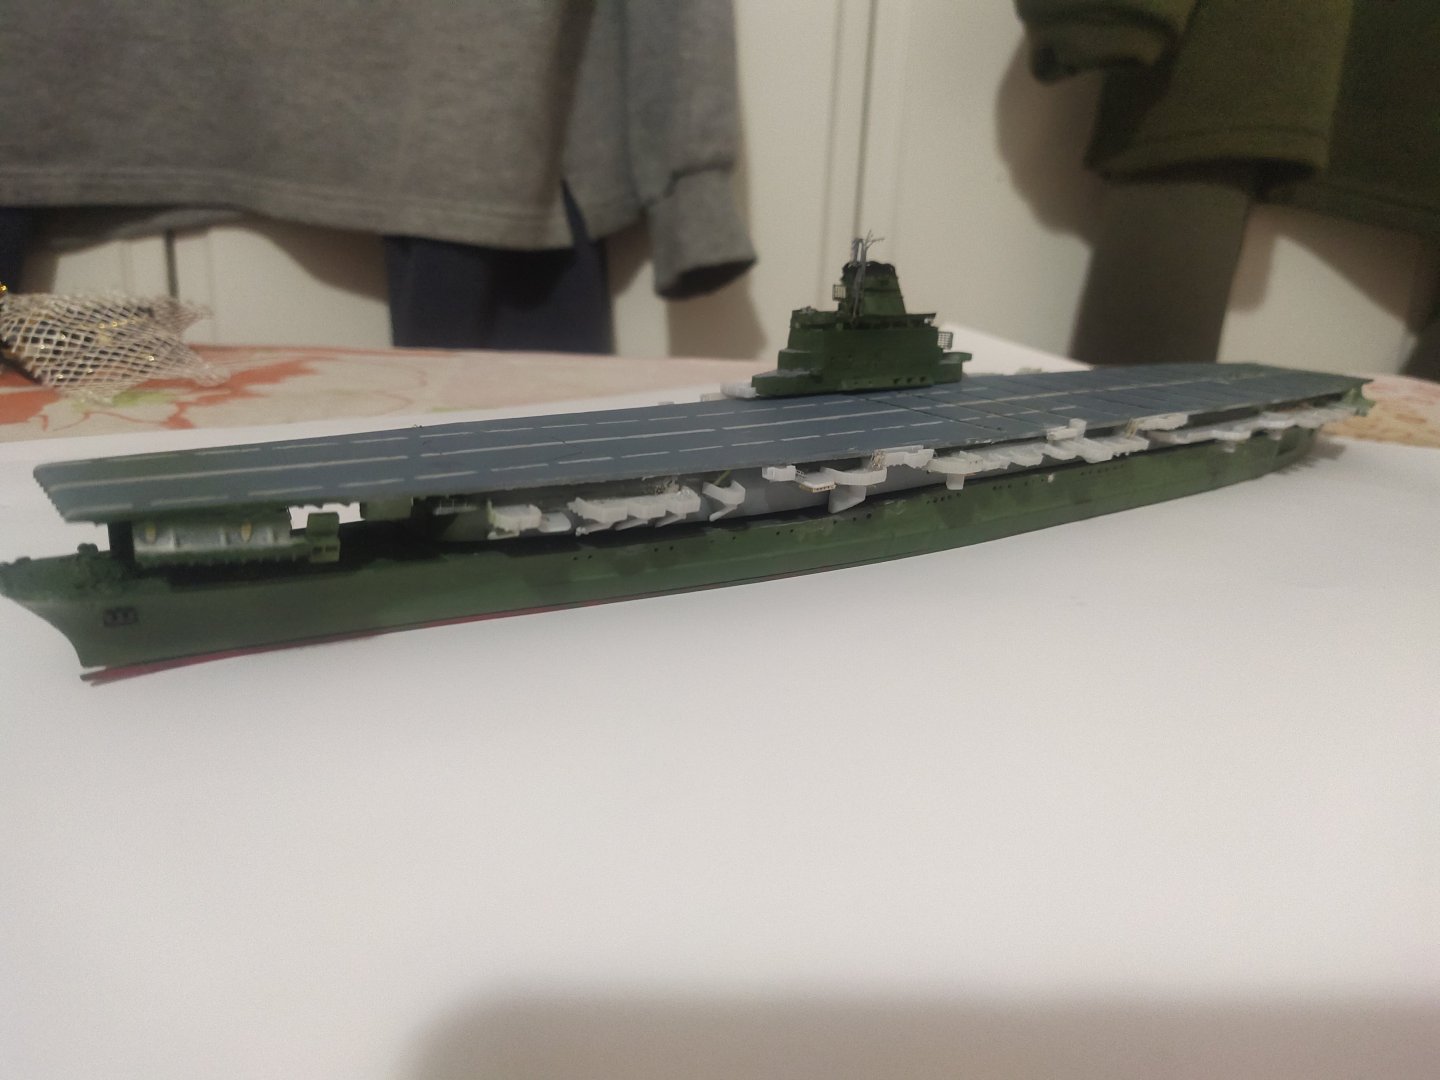
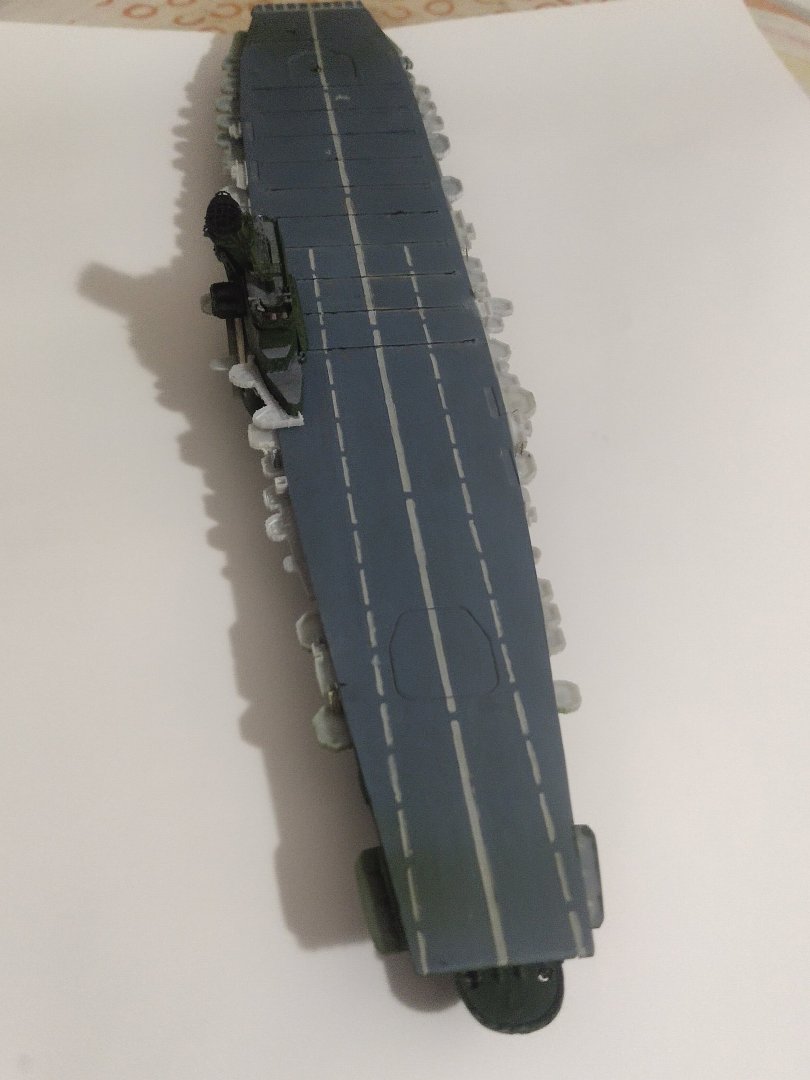
I added the remaining AA guns. They gave noticeable details. Some single 25mm added as well. Some darkening with black oil and a basic rigging. As the ship had a very short life no weathering is required. Seabed is also done. It looks well apart from the wakes close to the stern. They shouldn't follow the hull shape. The decision of using a narrow base led me to this mistake. But need to move on, can't spend time to make a 3rd base.
-
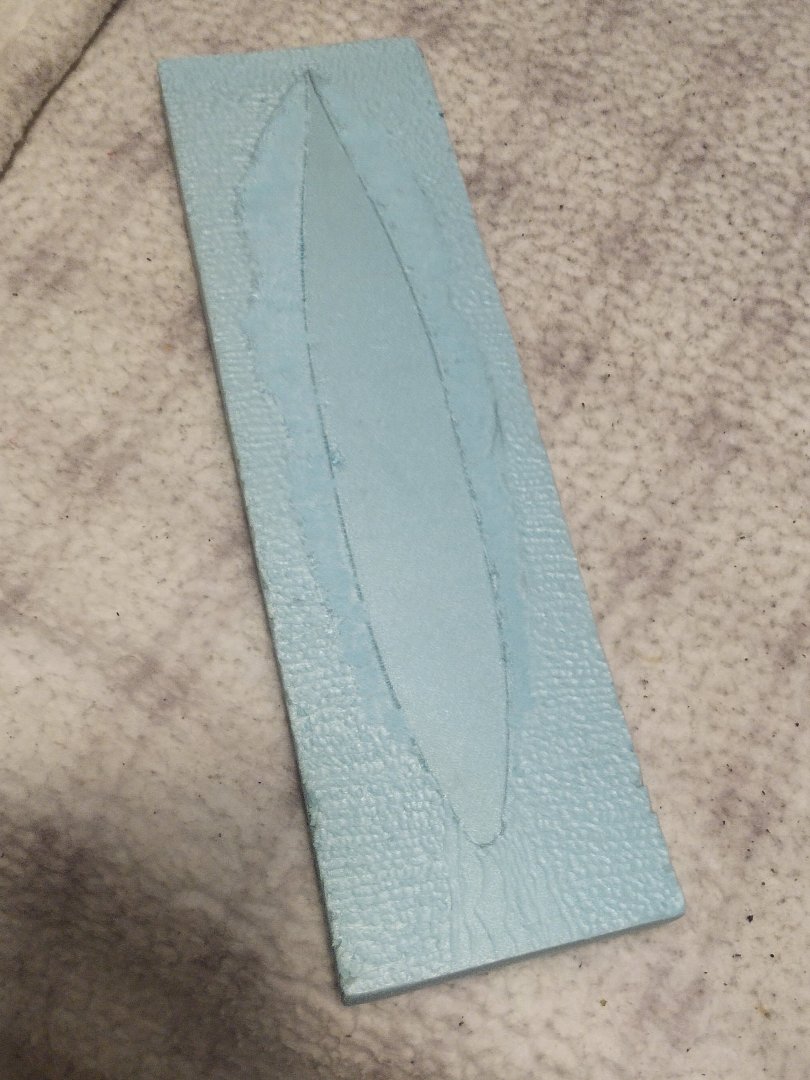
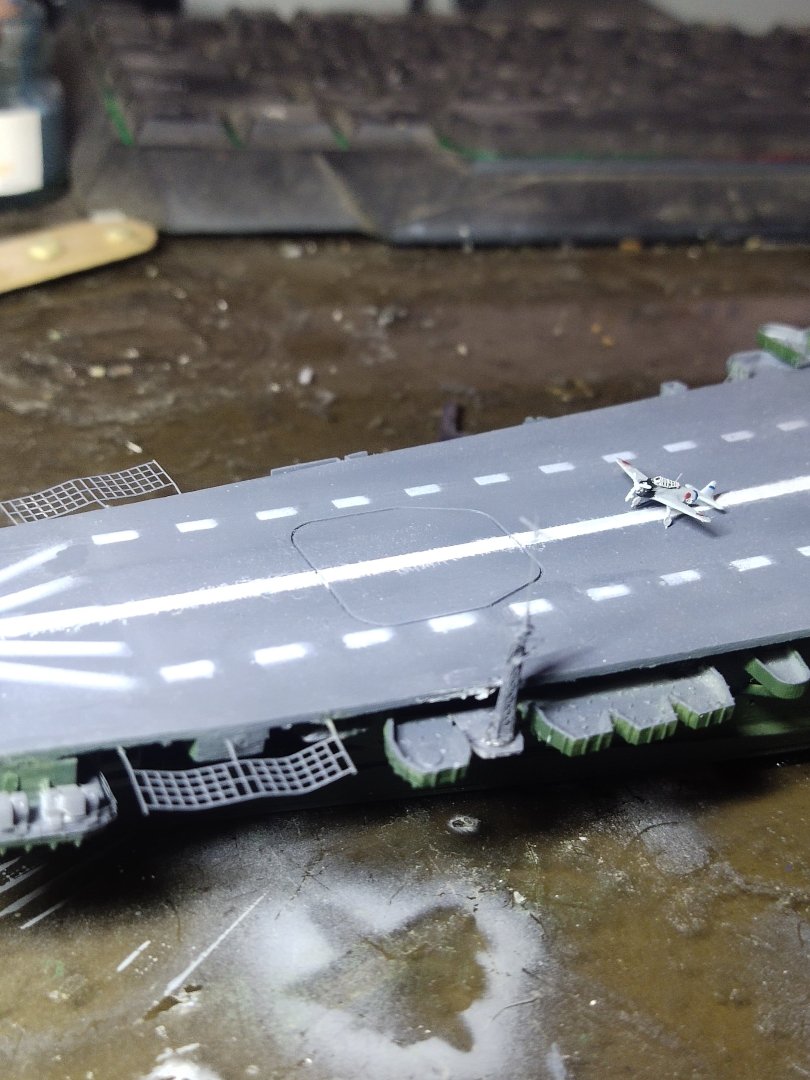
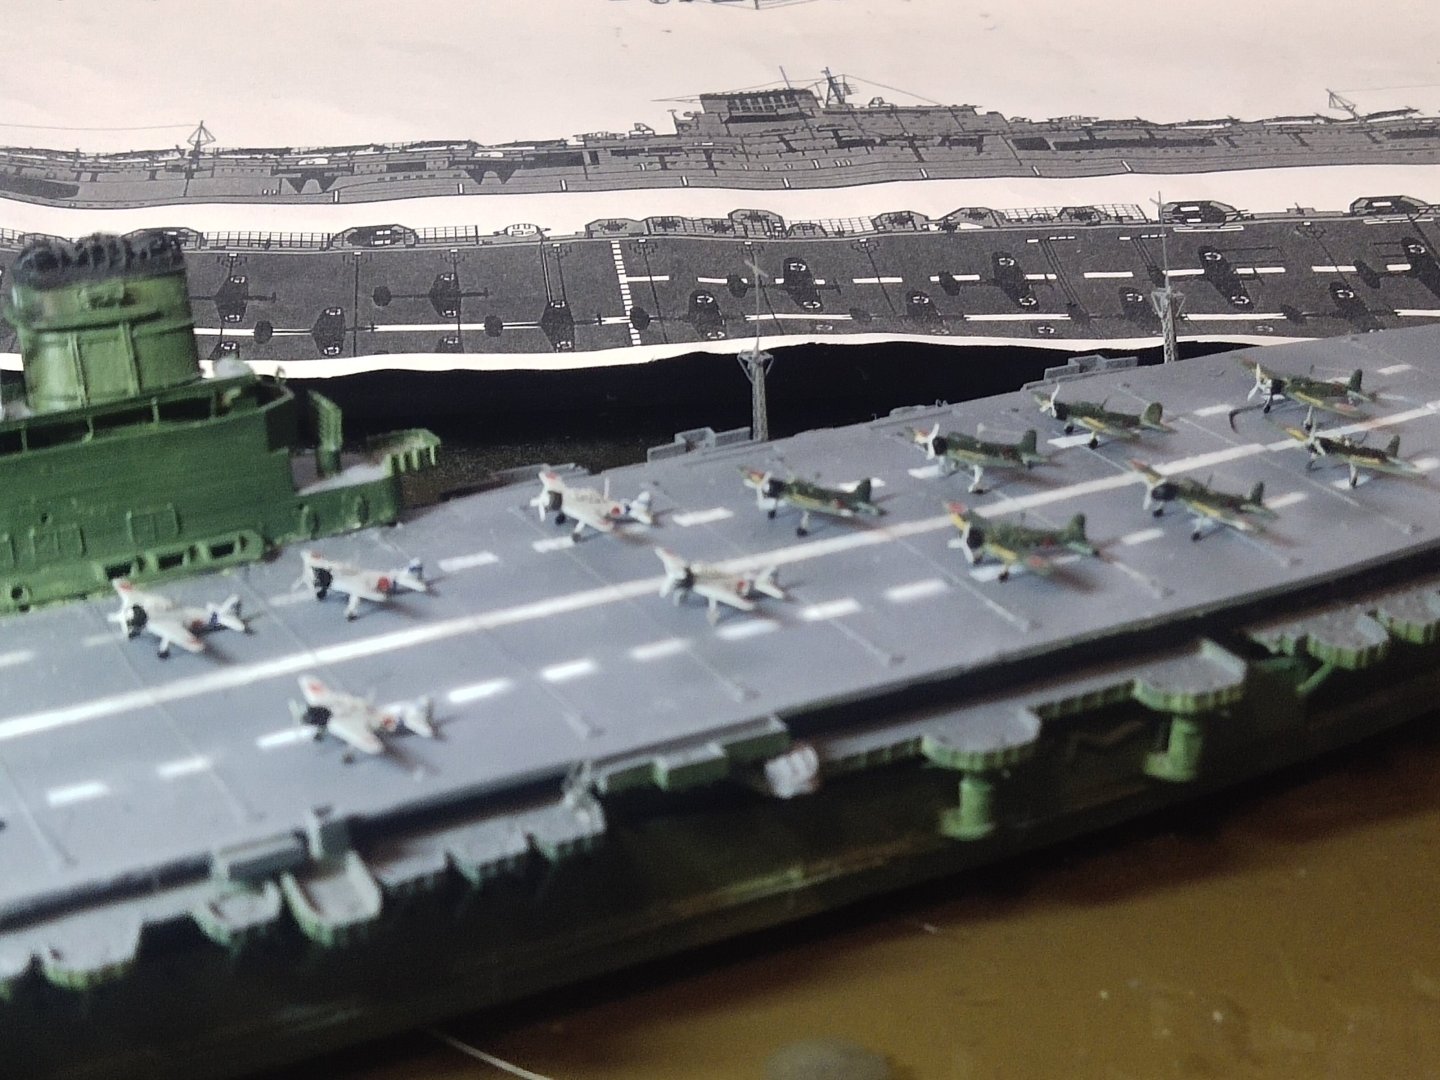
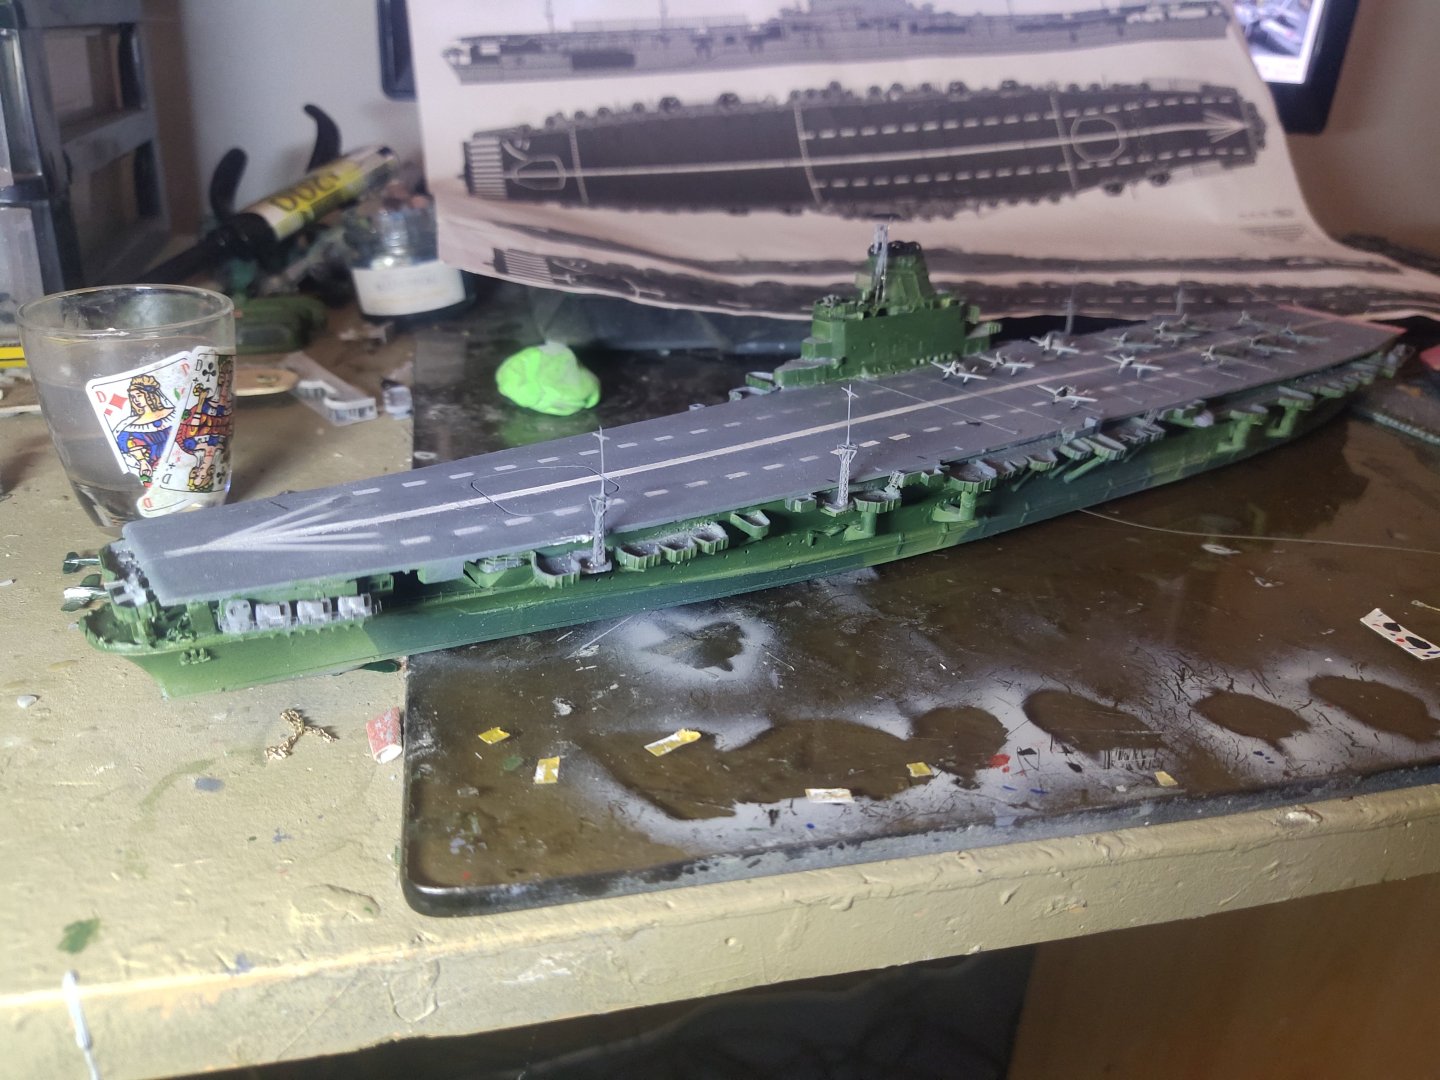
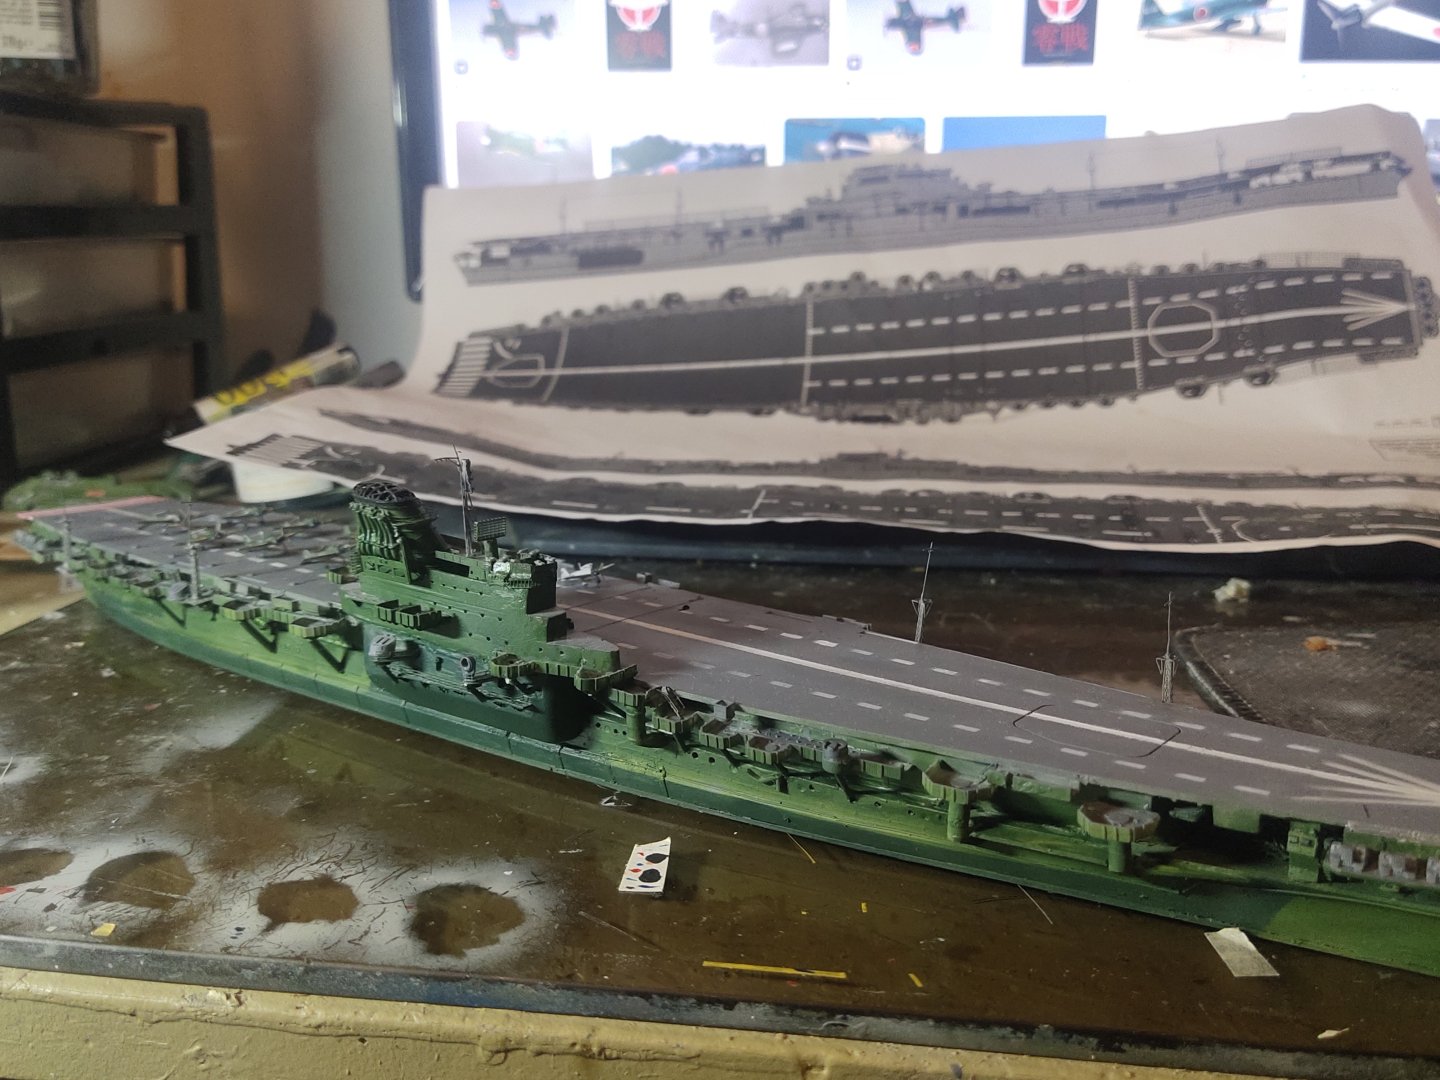
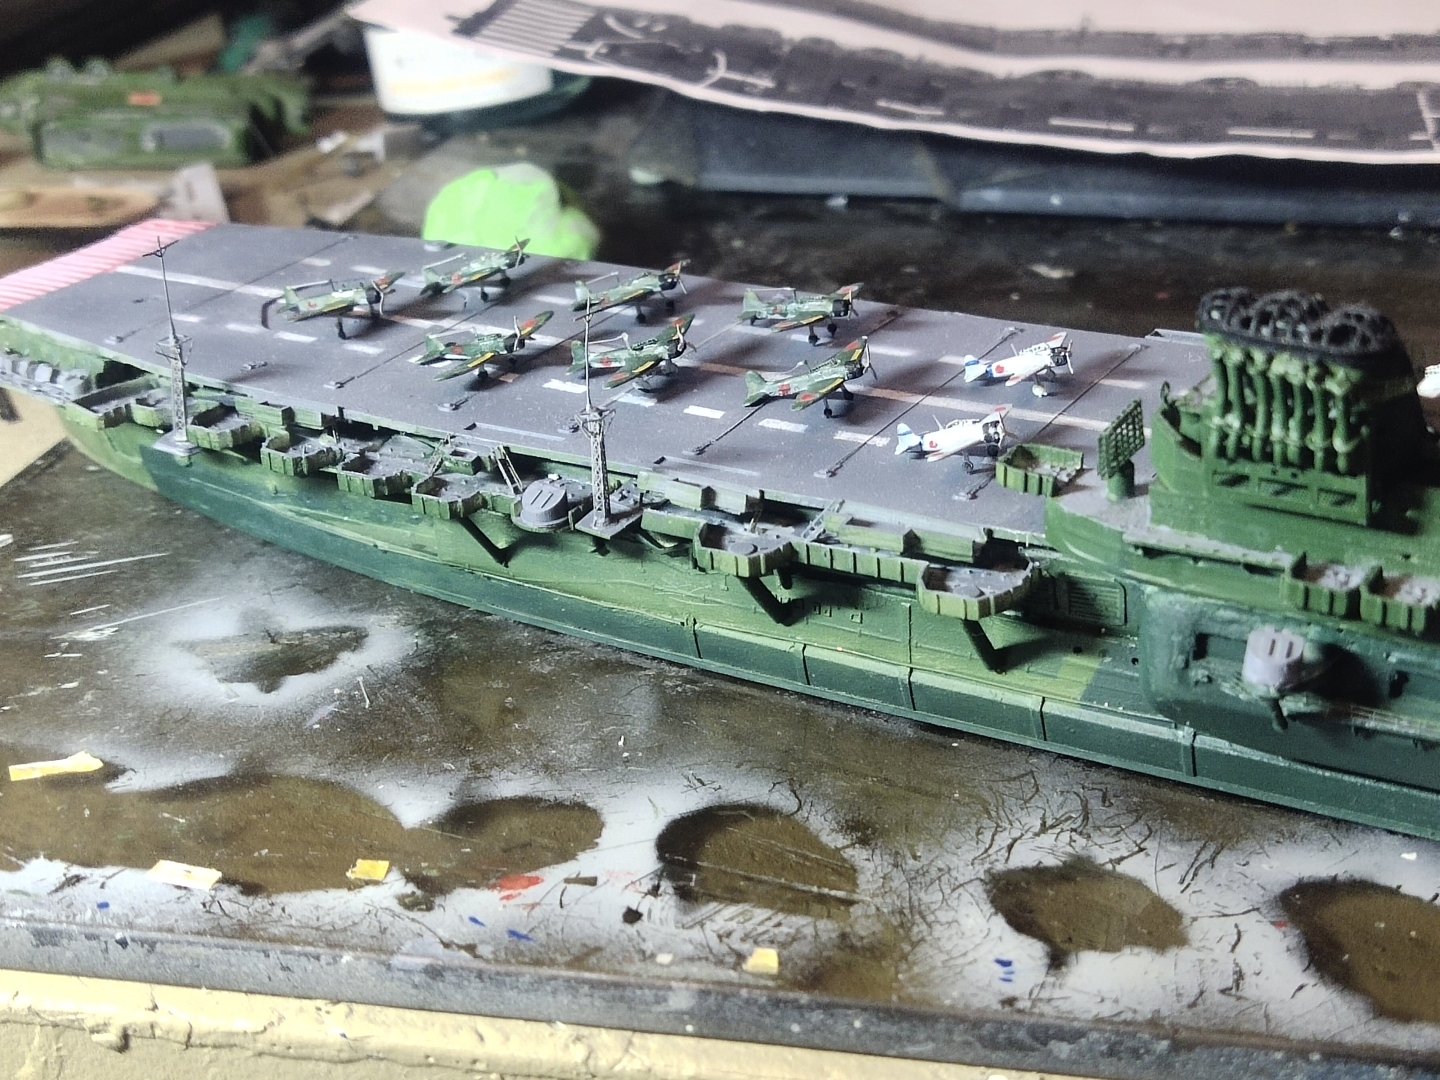
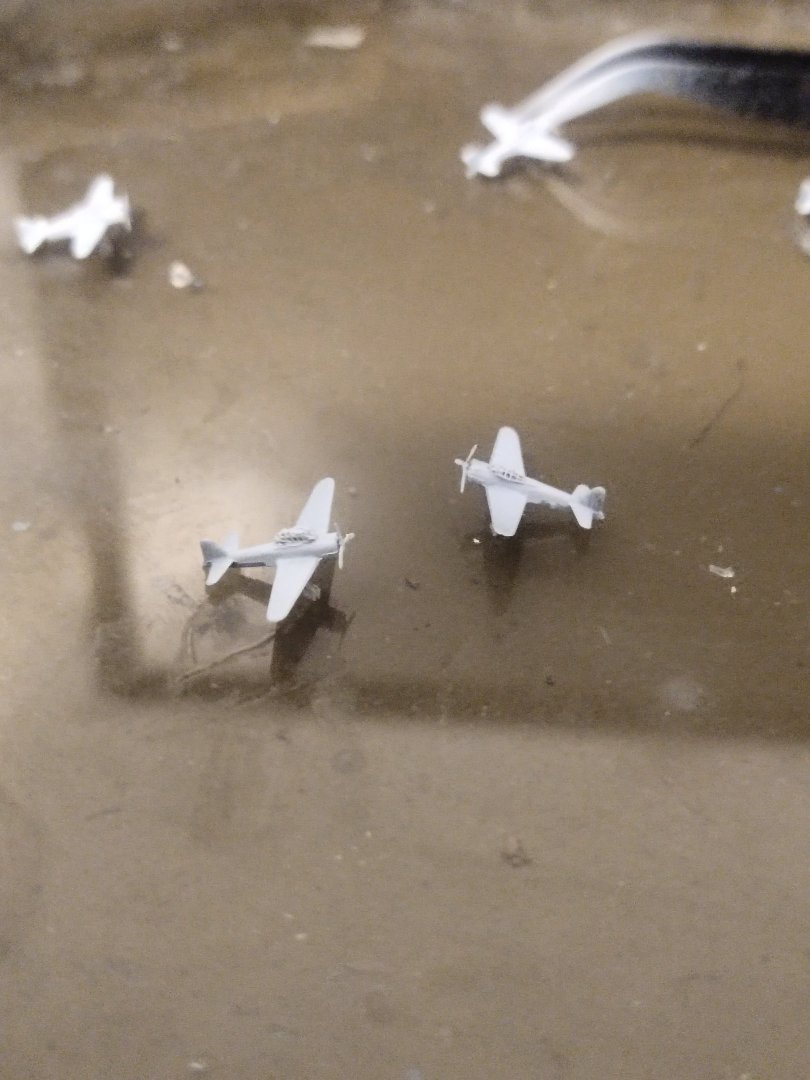
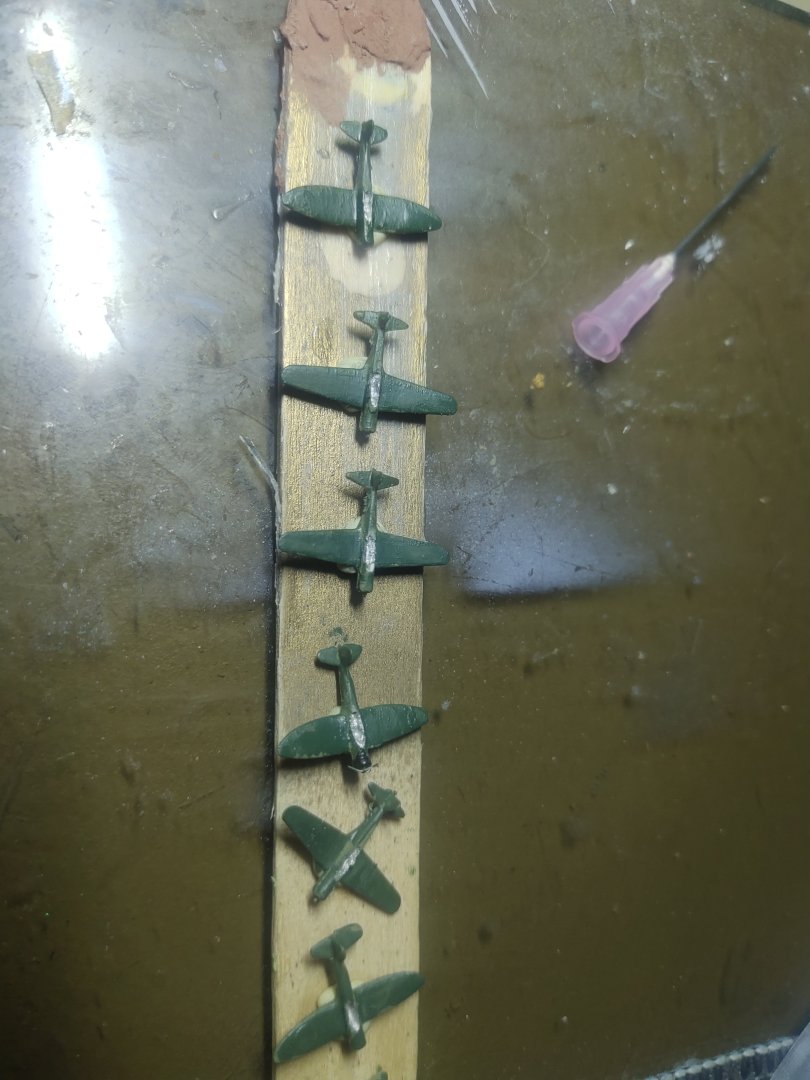
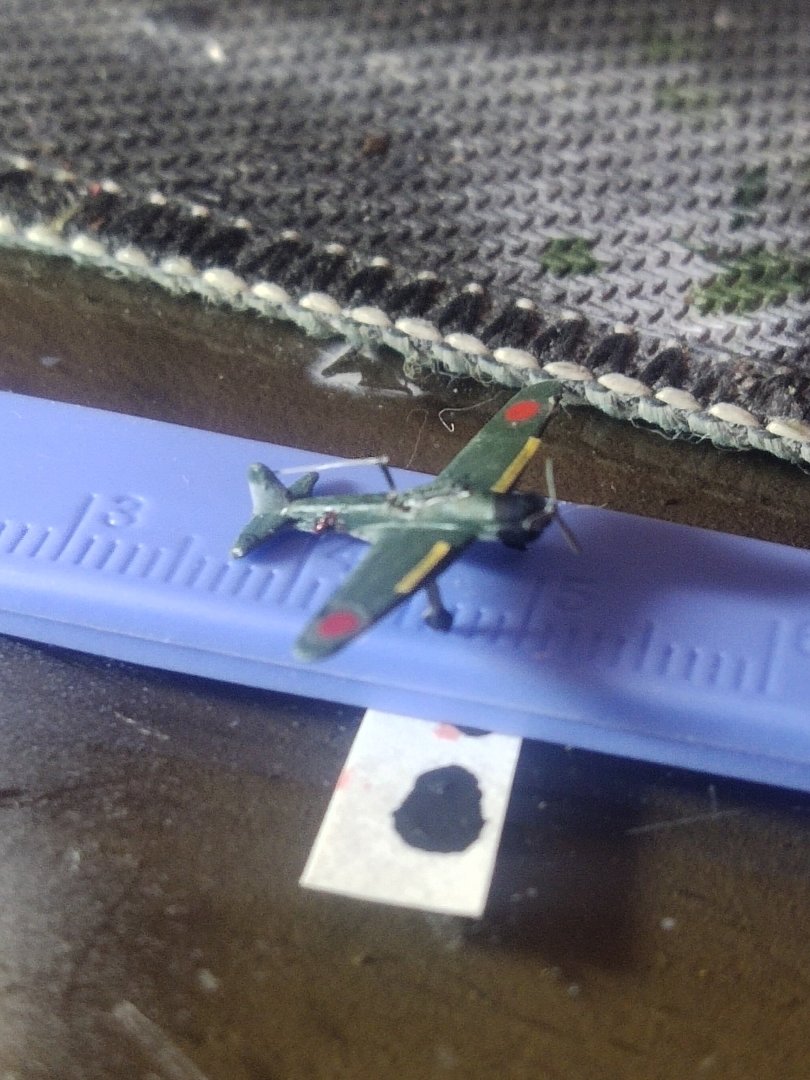
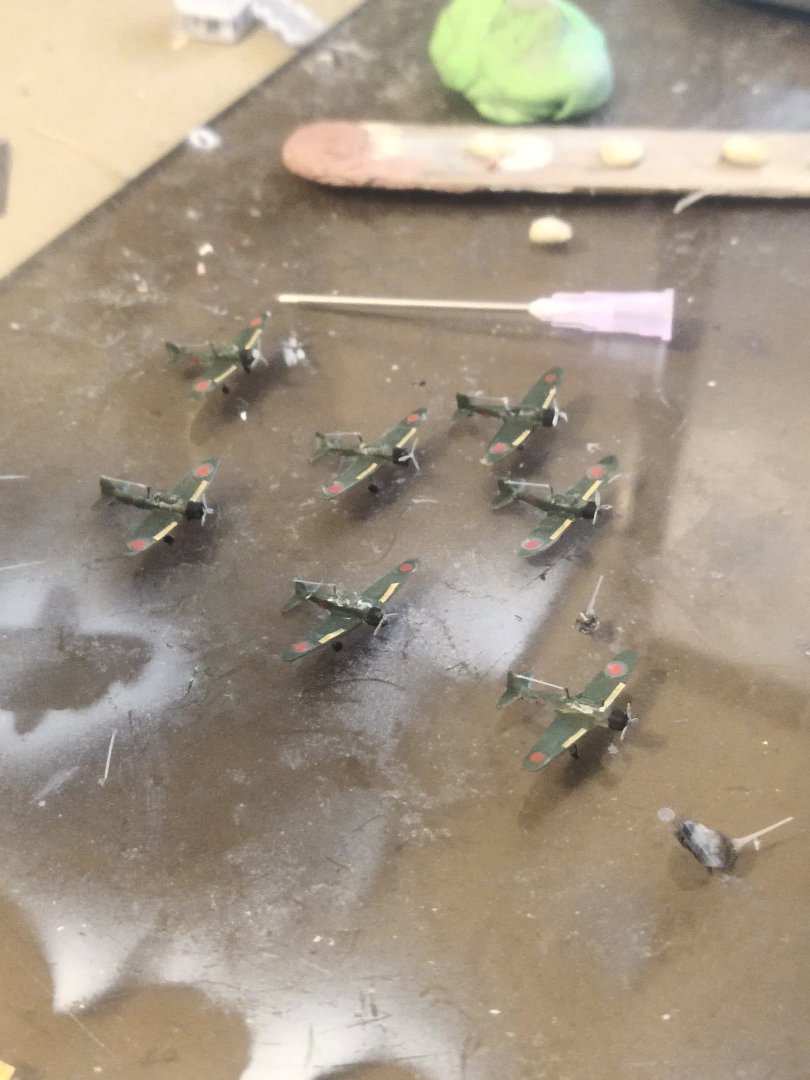
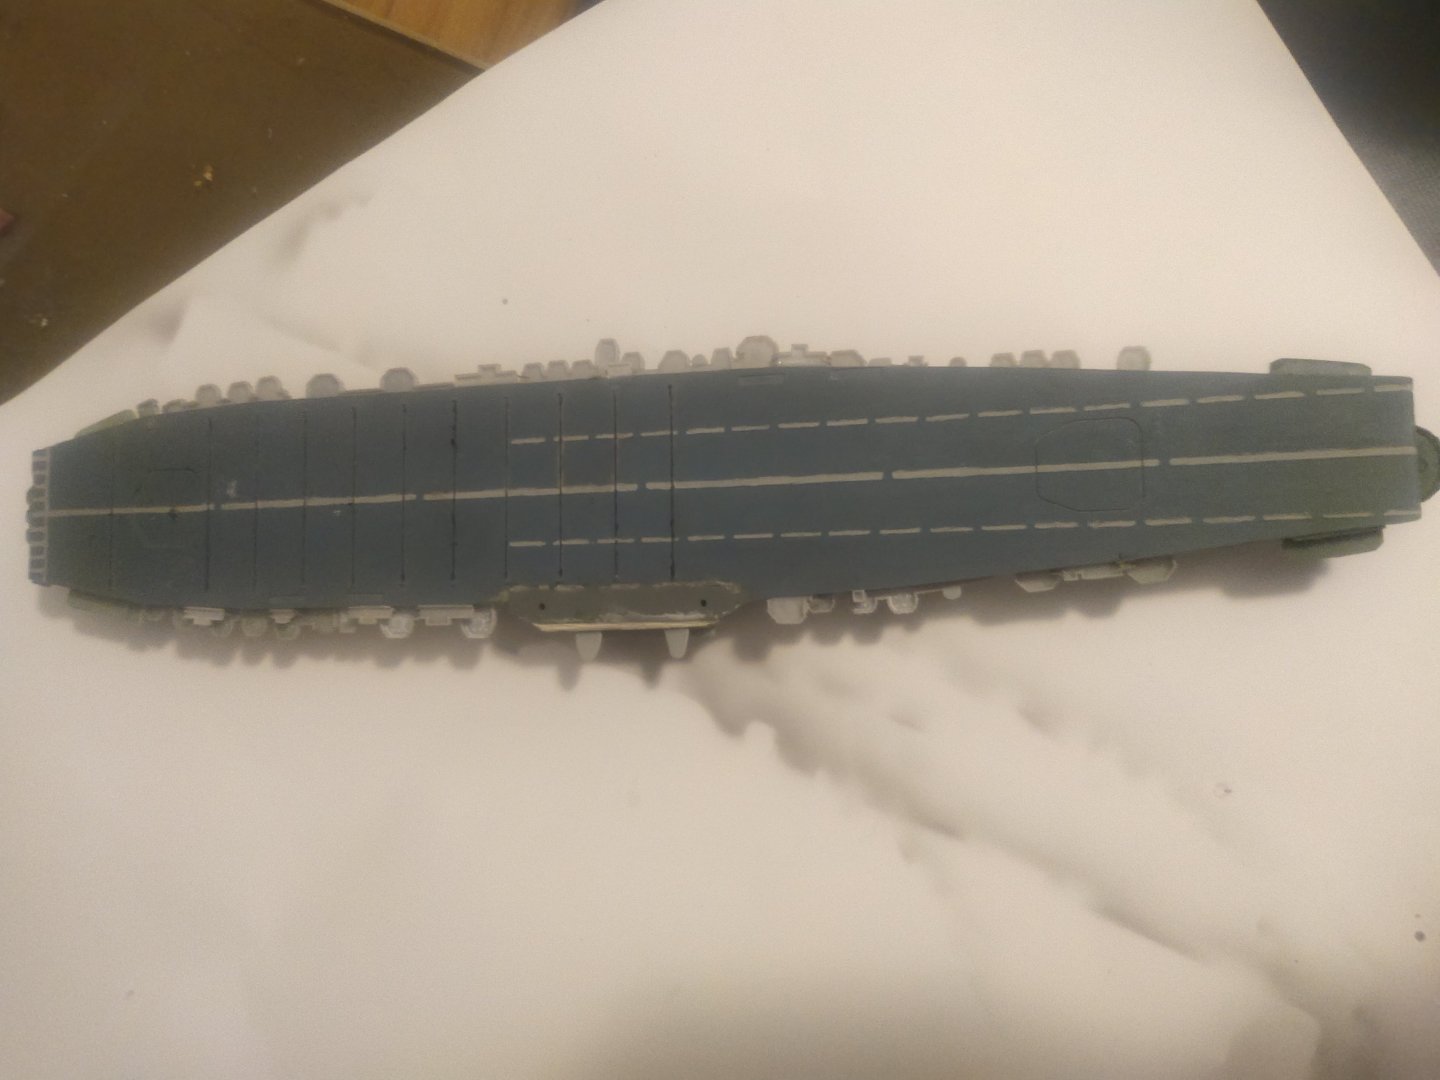
I decided to glue the planes to avoid any accidents along with the anti falling nets. I didn't have a PE part for crane so it was made by two masts glued together, like those at the sides of the ship but bit shorter. AA guns and life boats need to be added but my printer needs to be fixed so while the parts are on their way I spent time making the sea base
-
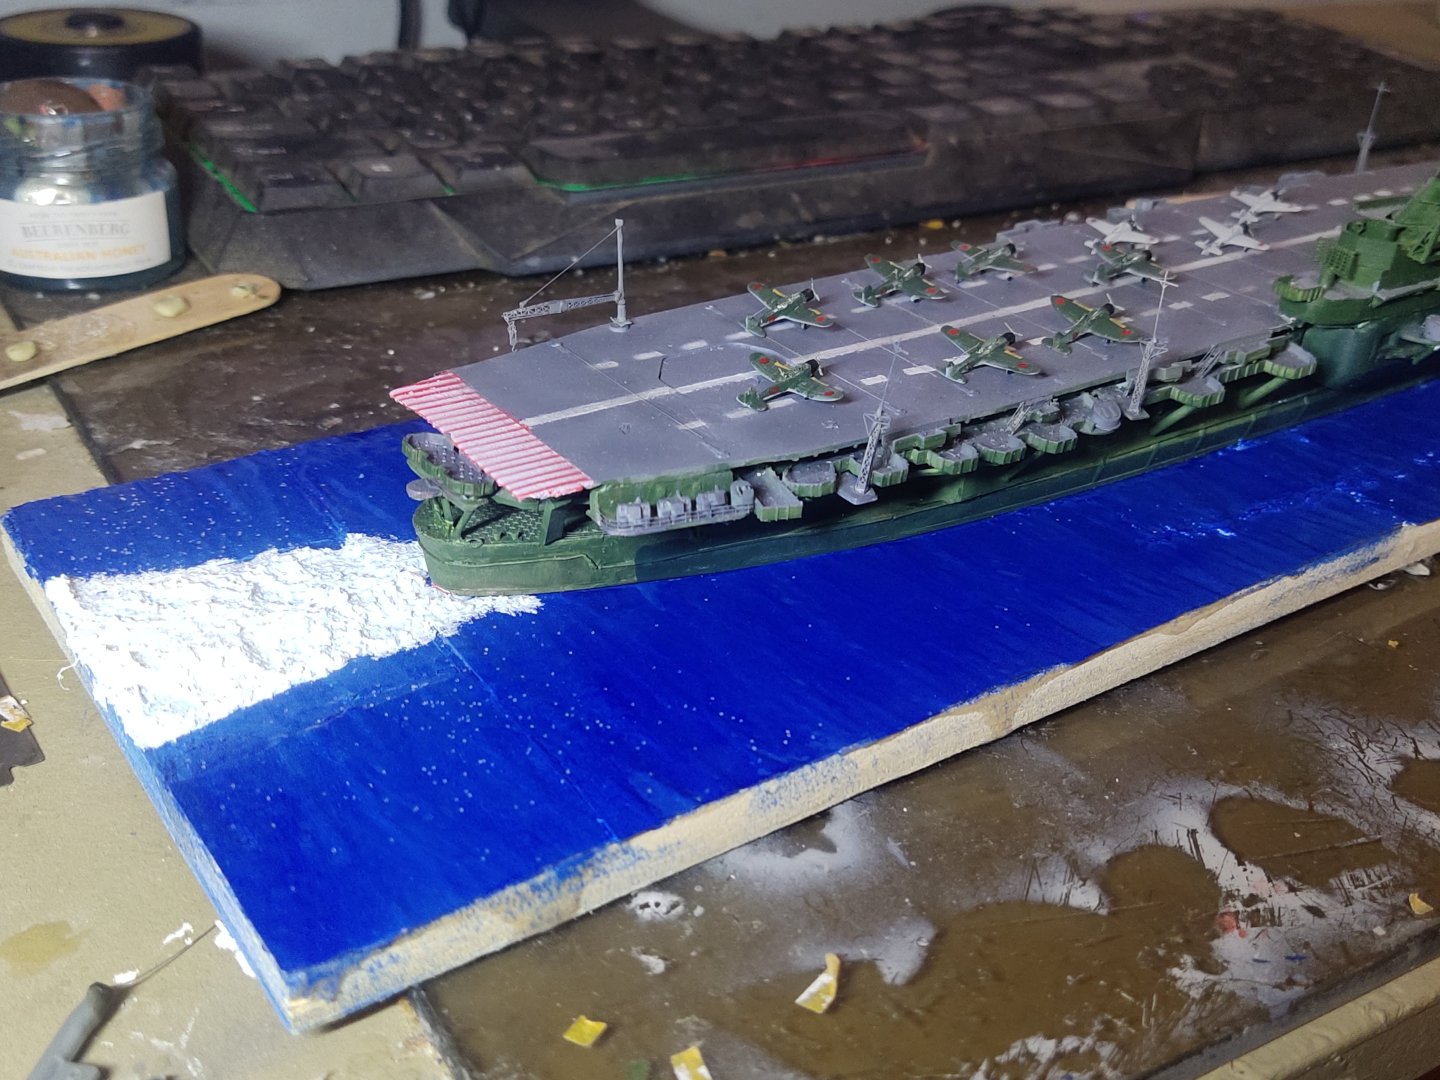
I like the paper glue method over the foil. You can work better the wave form and direction of the waves with a brush. It takes more effort but worth it. There's no easy way out on this.
-
Try to shape the waves in a way they look they come from the same direction. Make a corridor at the stern for the wakes that should be almost flat
-
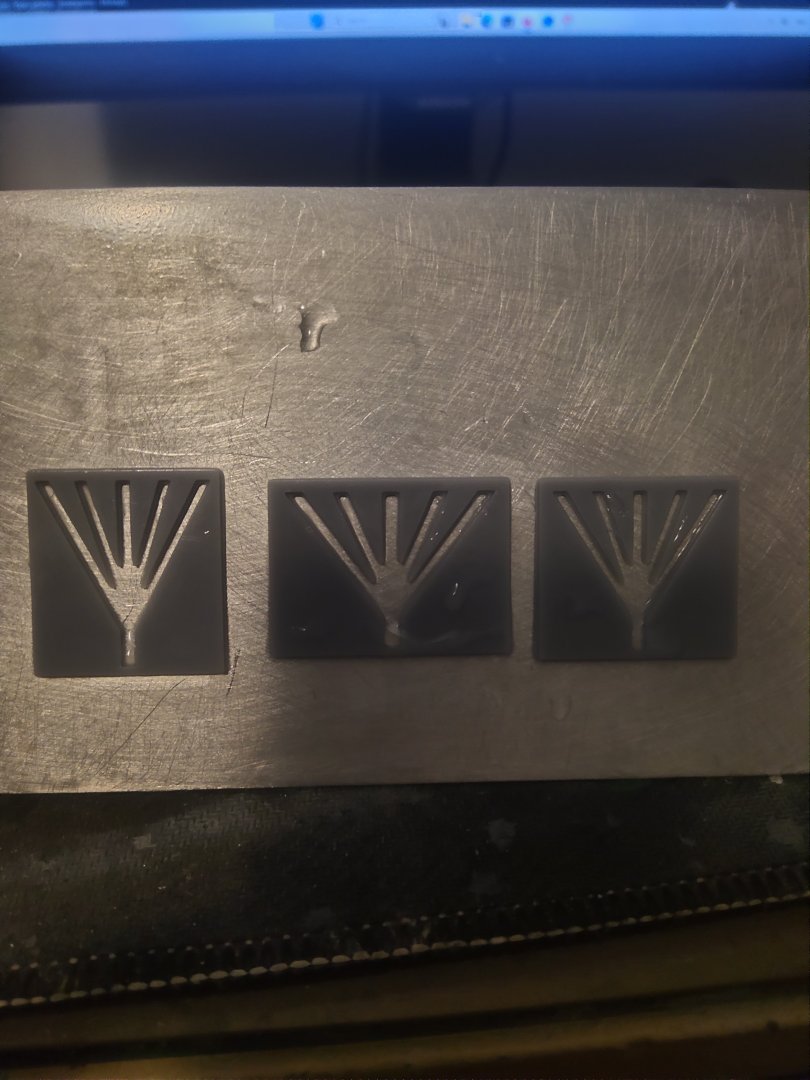
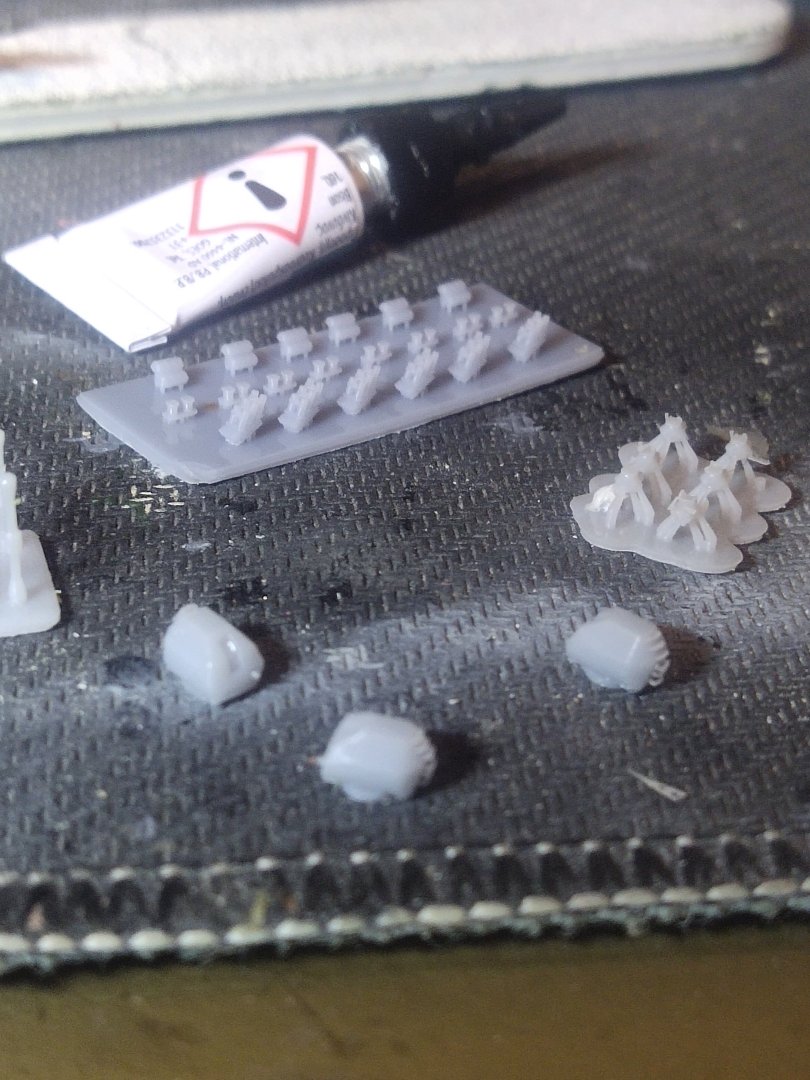
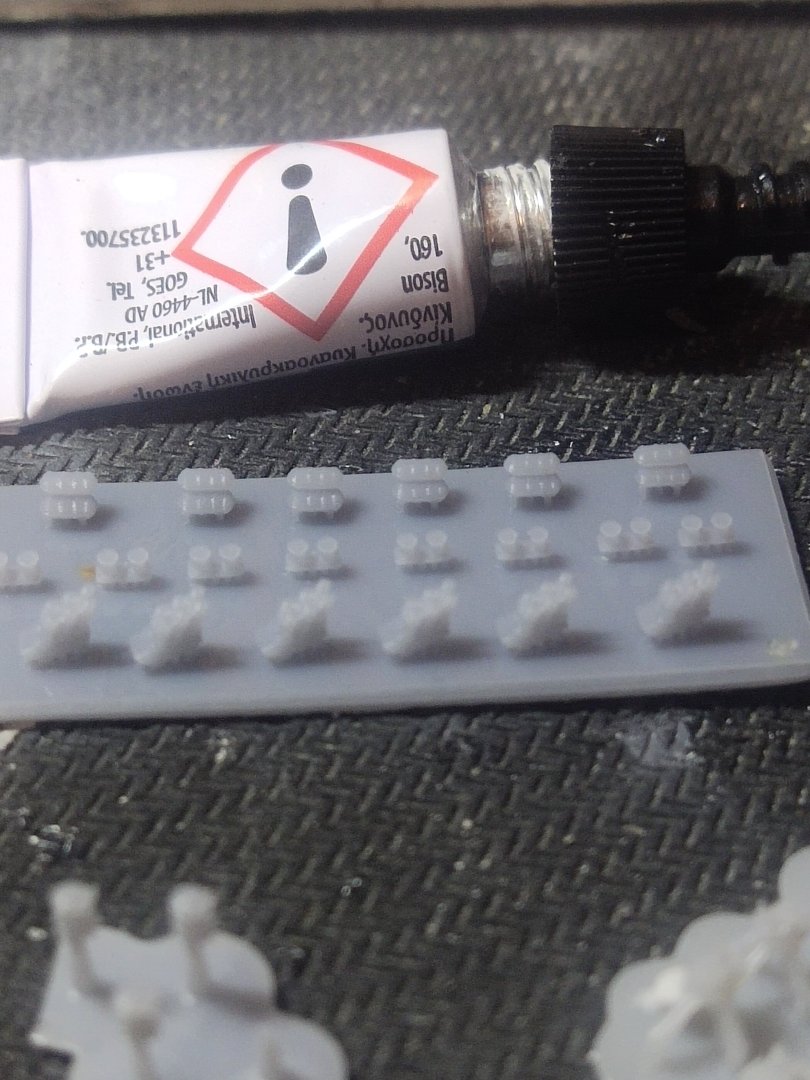
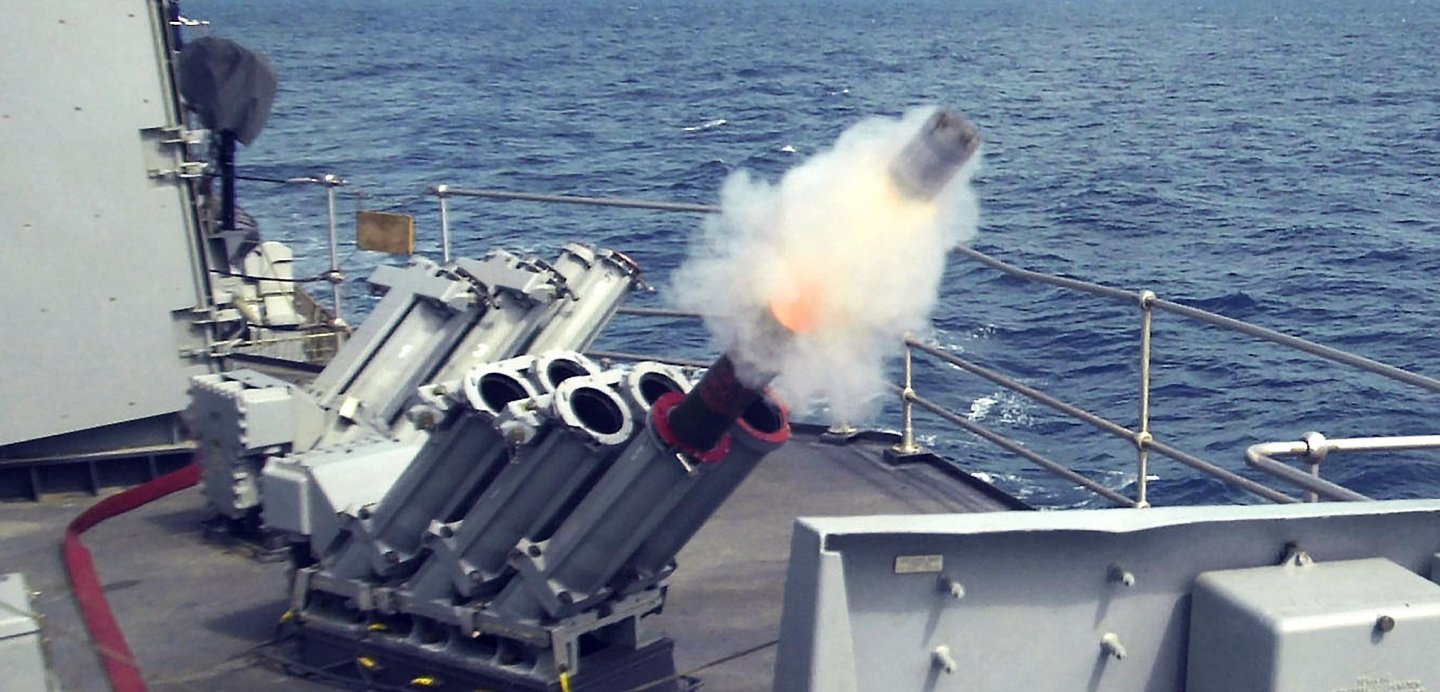
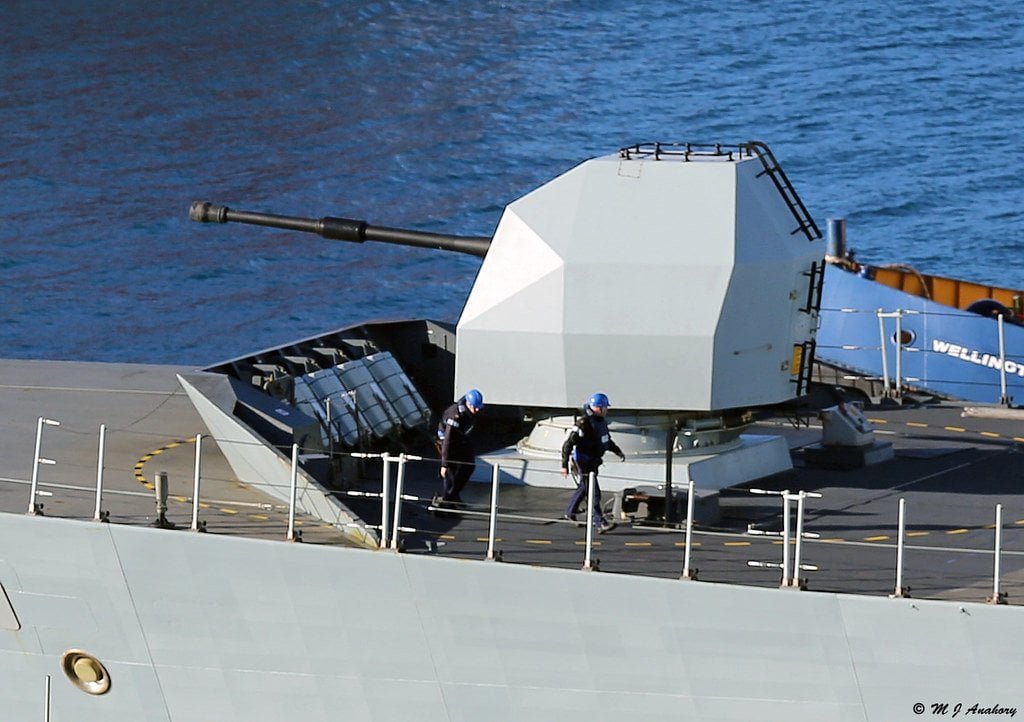
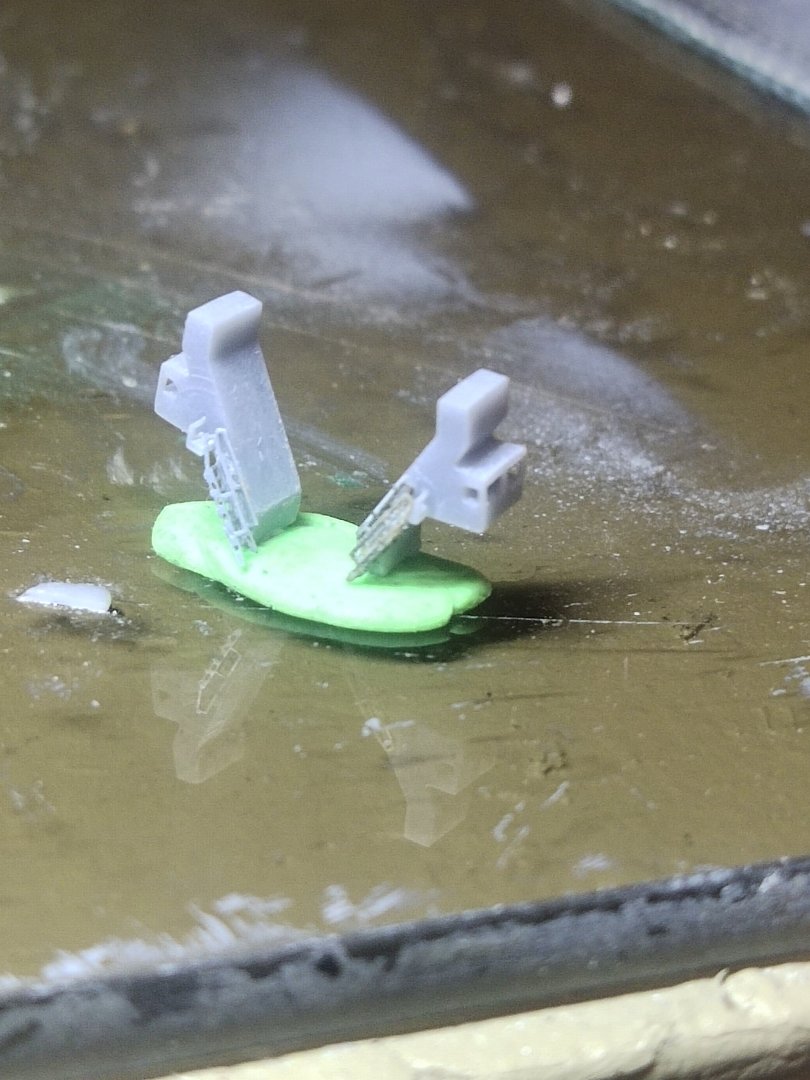
Too late 😂 Cannons, barrels, extra barrel rafts and both types of decoys launches By the way the angled gun is the later stealth type. Should be combined with the Sea Send or (my guess)
-
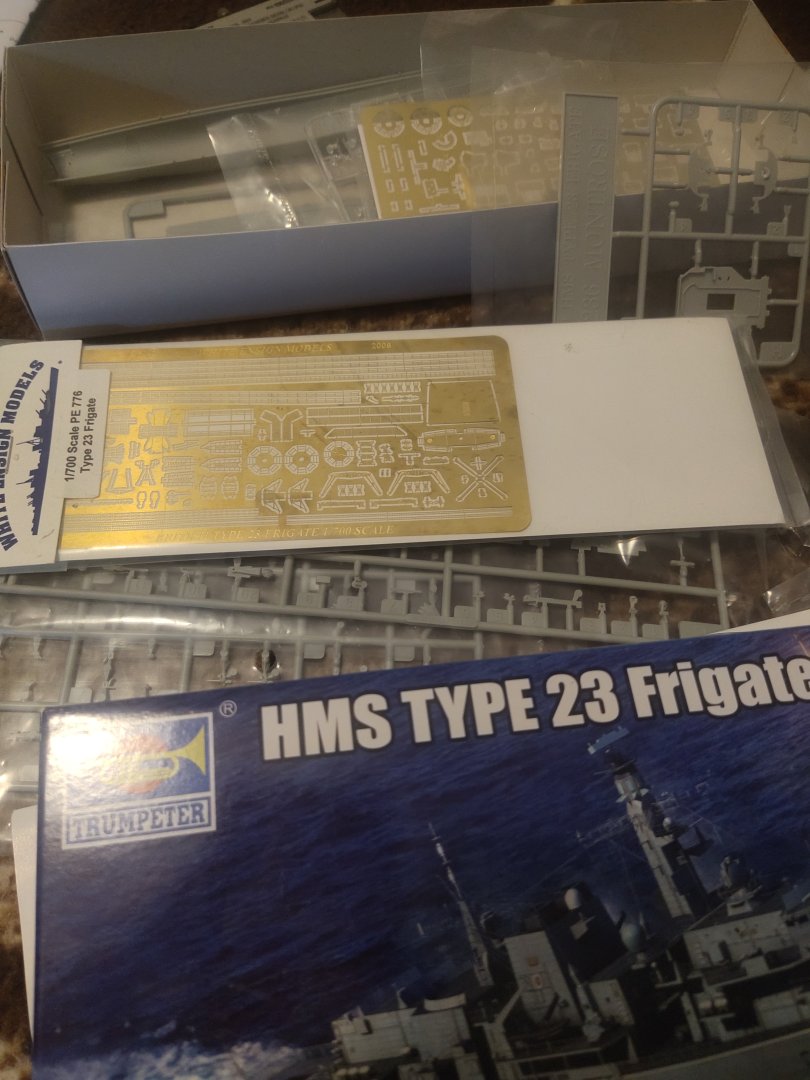
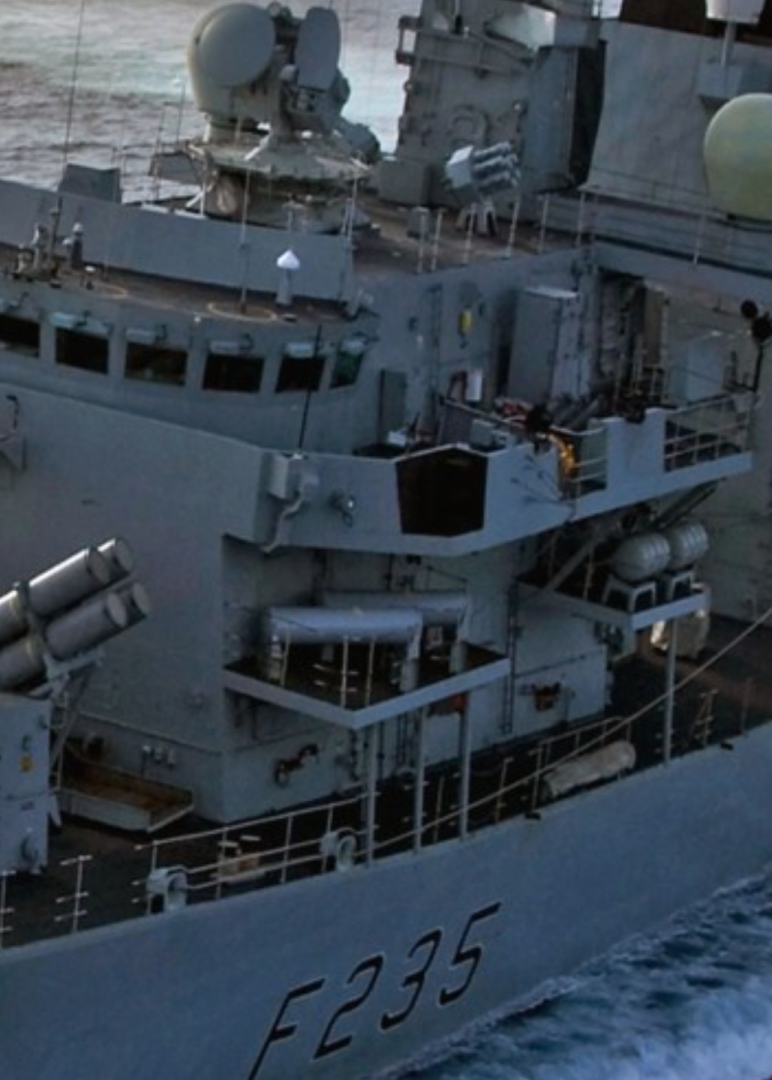
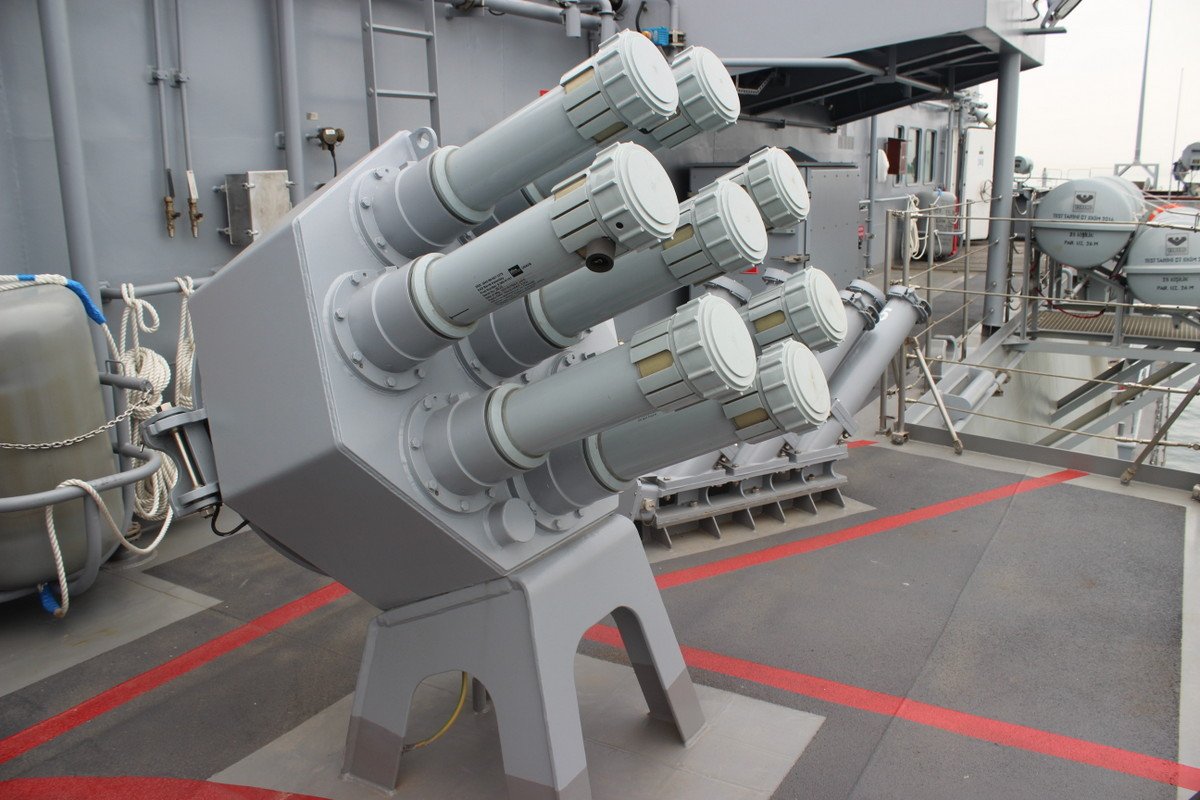
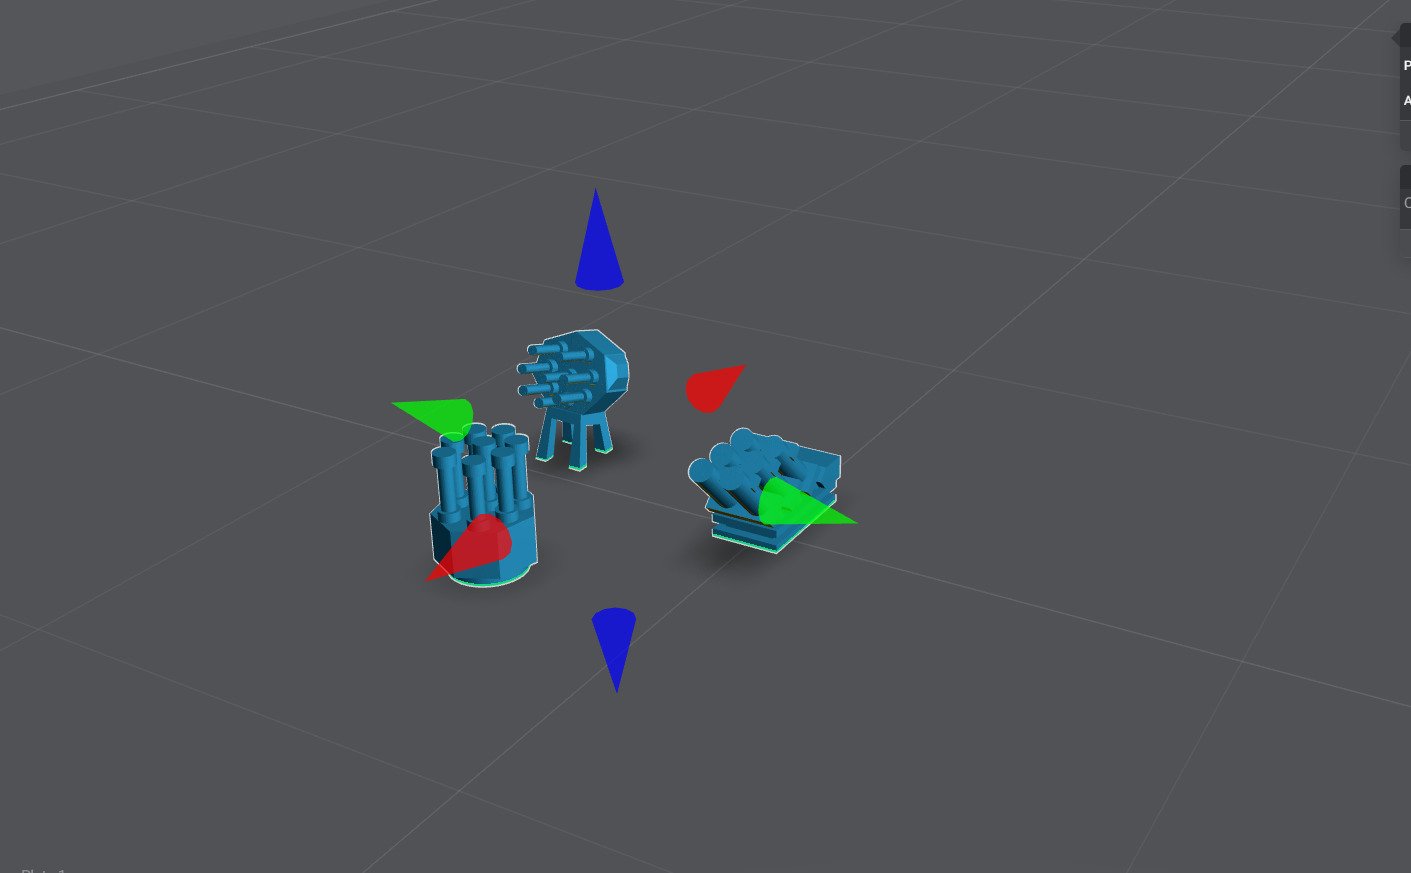
My HMS Montrose kit The 4 parts missing are the halfs of the 2 Sea Gnat decoy launchers. However seems that type 23 ships have been updated this heptagon device is called Sea Sendor, soon be replaced by trained launcher system I already prepared a test file, not sure about the dimension of the Sea Send or but looks almost same high as a sailor, means approx 2.6mm in height I noticed also that these ships seems are carrying the Mk1 Version of the 4.5" guns the one with the angles not the rounded one provided in the kit. I have a file for this and it was used in my type 45 scratch built project. It should come along nice with the Sea Sendor update. Will also check if more pieces can be improved so I can use them on my own built.
About us
Modelshipworld - Advancing Ship Modeling through Research
SSL Secured
Your security is important for us so this Website is SSL-Secured
NRG Mailing Address
Nautical Research Guild
237 South Lincoln Street
Westmont IL, 60559-1917
Model Ship World ® and the MSW logo are Registered Trademarks, and belong to the Nautical Research Guild (United States Patent and Trademark Office: No. 6,929,264 & No. 6,929,274, registered Dec. 20, 2022)
Helpful Links
About the NRG
If you enjoy building ship models that are historically accurate as well as beautiful, then The Nautical Research Guild (NRG) is just right for you.
The Guild is a non-profit educational organization whose mission is to “Advance Ship Modeling Through Research”. We provide support to our members in their efforts to raise the quality of their model ships.
The Nautical Research Guild has published our world-renowned quarterly magazine, The Nautical Research Journal, since 1955. The pages of the Journal are full of articles by accomplished ship modelers who show you how they create those exquisite details on their models, and by maritime historians who show you the correct details to build. The Journal is available in both print and digital editions. Go to the NRG web site (www.thenrg.org) to download a complimentary digital copy of the Journal. The NRG also publishes plan sets, books and compilations of back issues of the Journal and the former Ships in Scale and Model Ship Builder magazines.

