mikegr
-
Posts
828 -
Joined
-
Last visited
Content Type
Profiles
Forums
Gallery
Events
Everything posted by mikegr
-
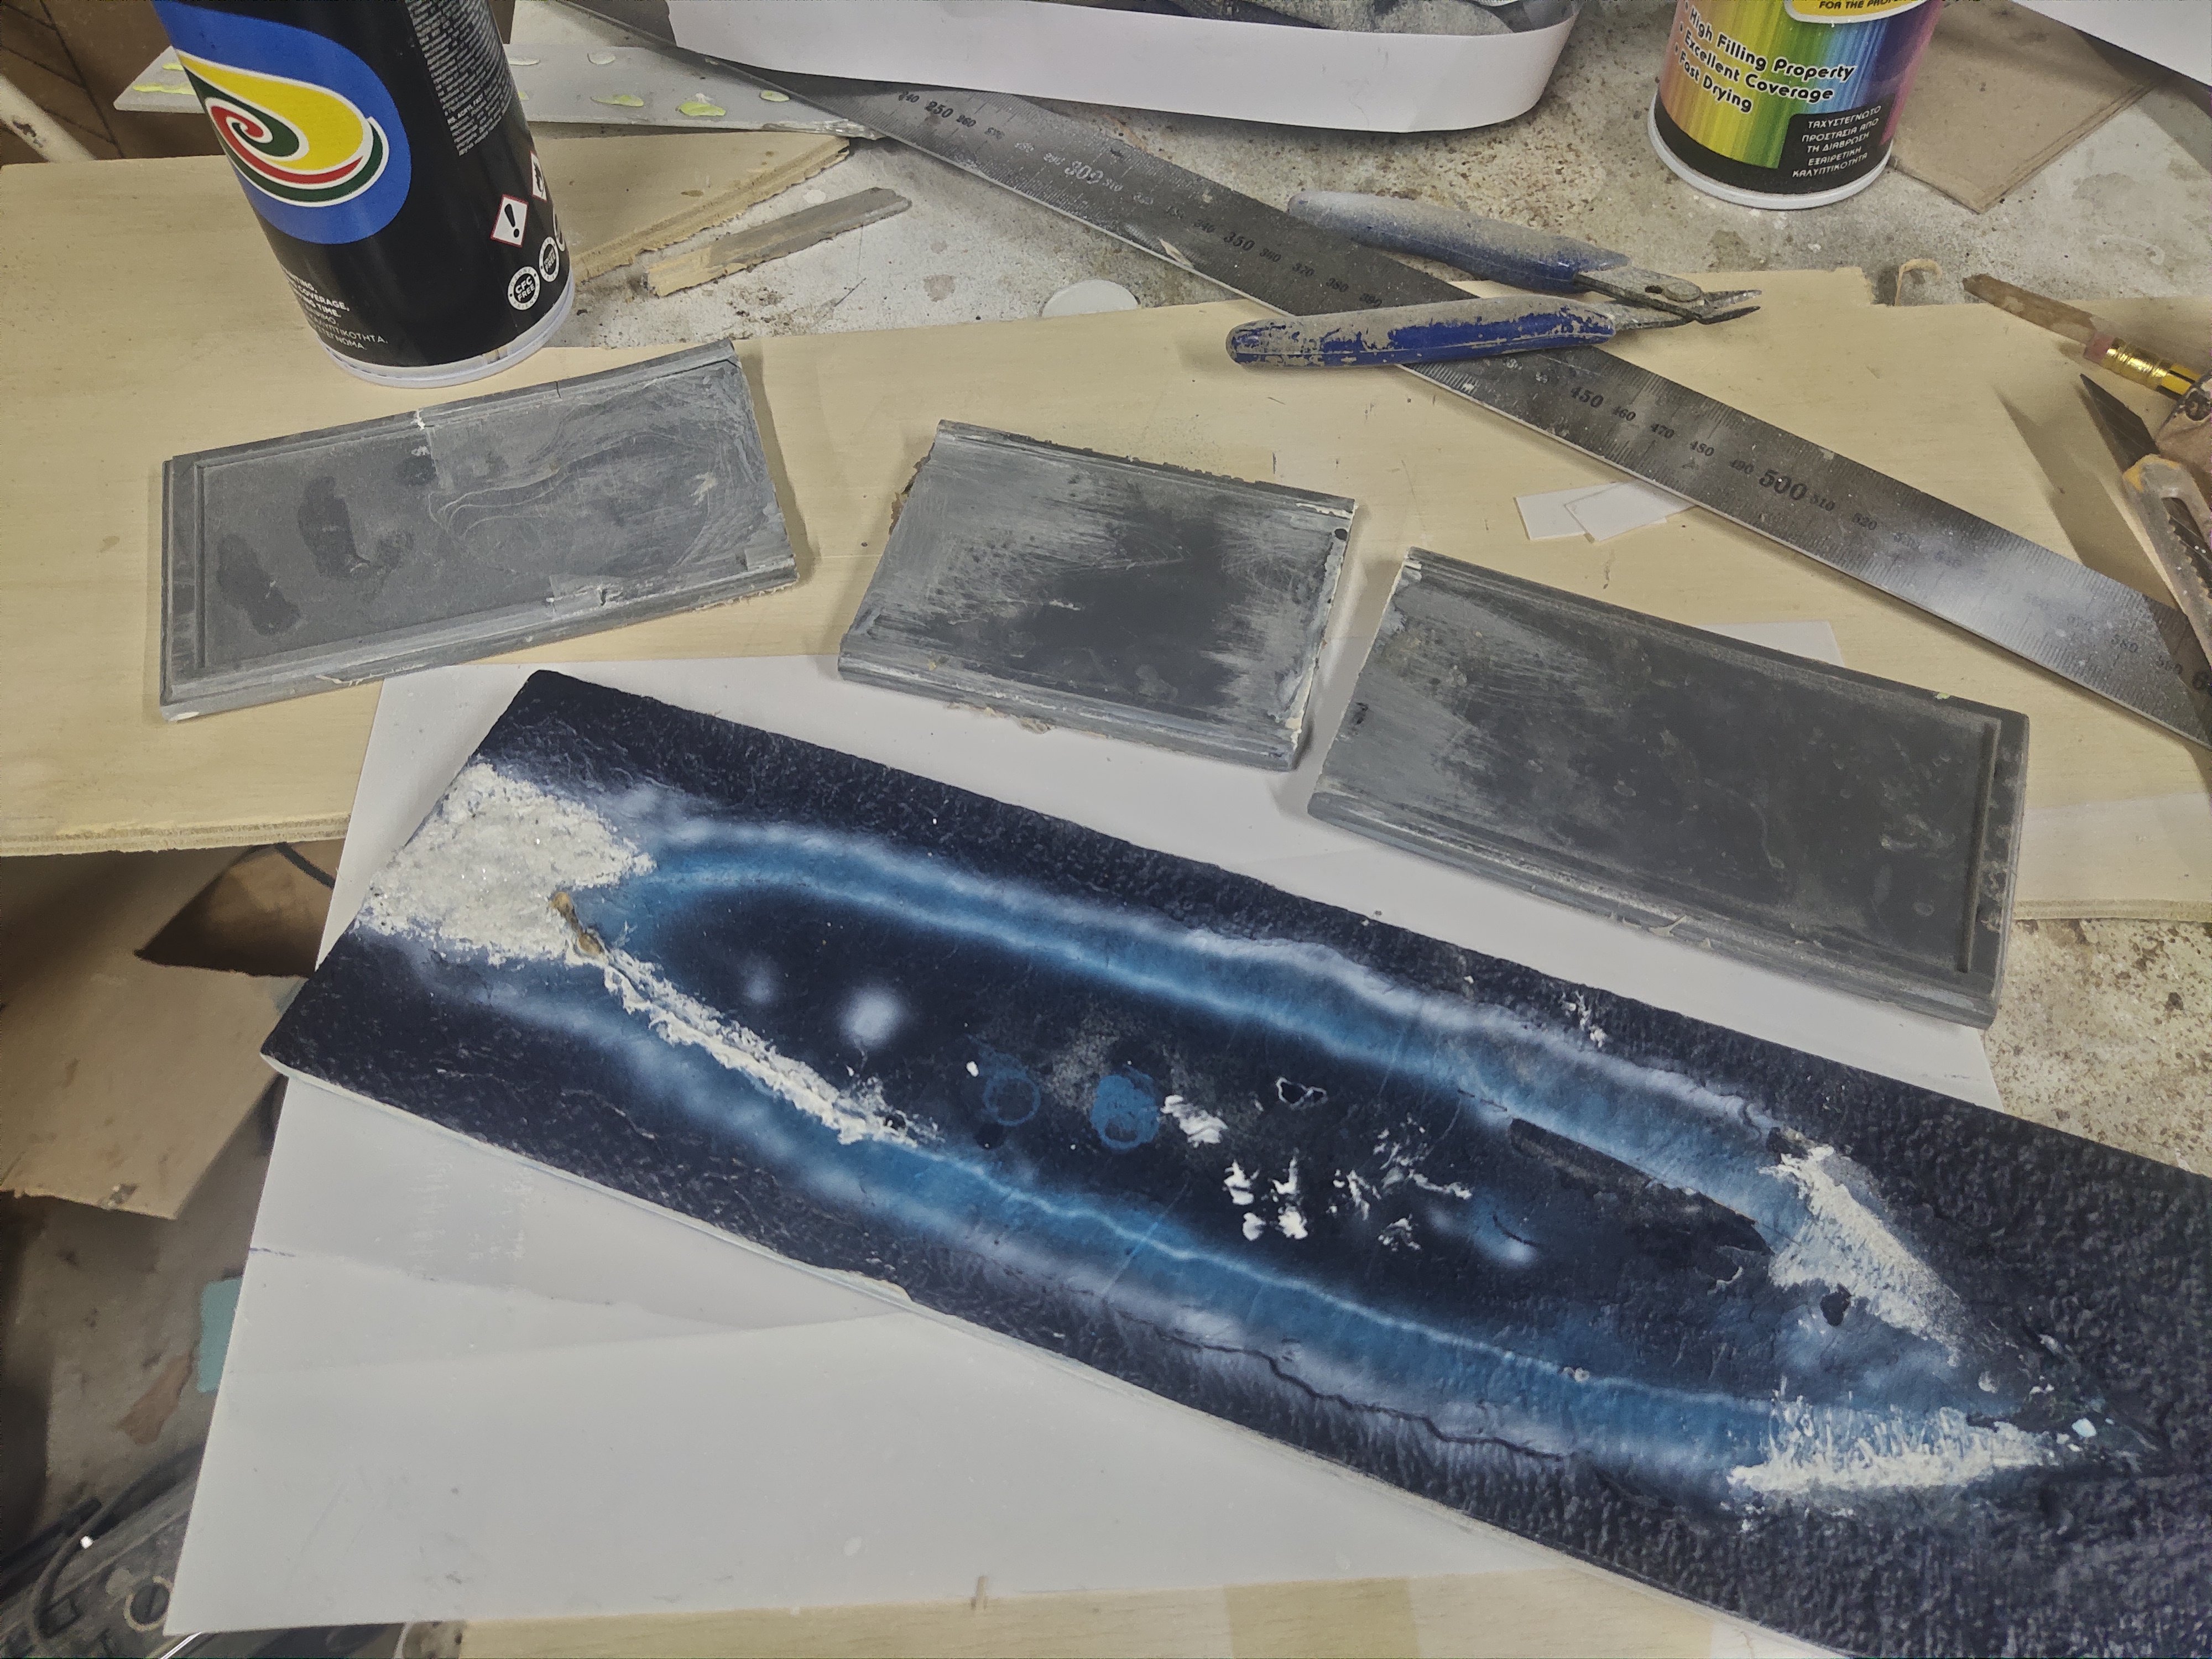
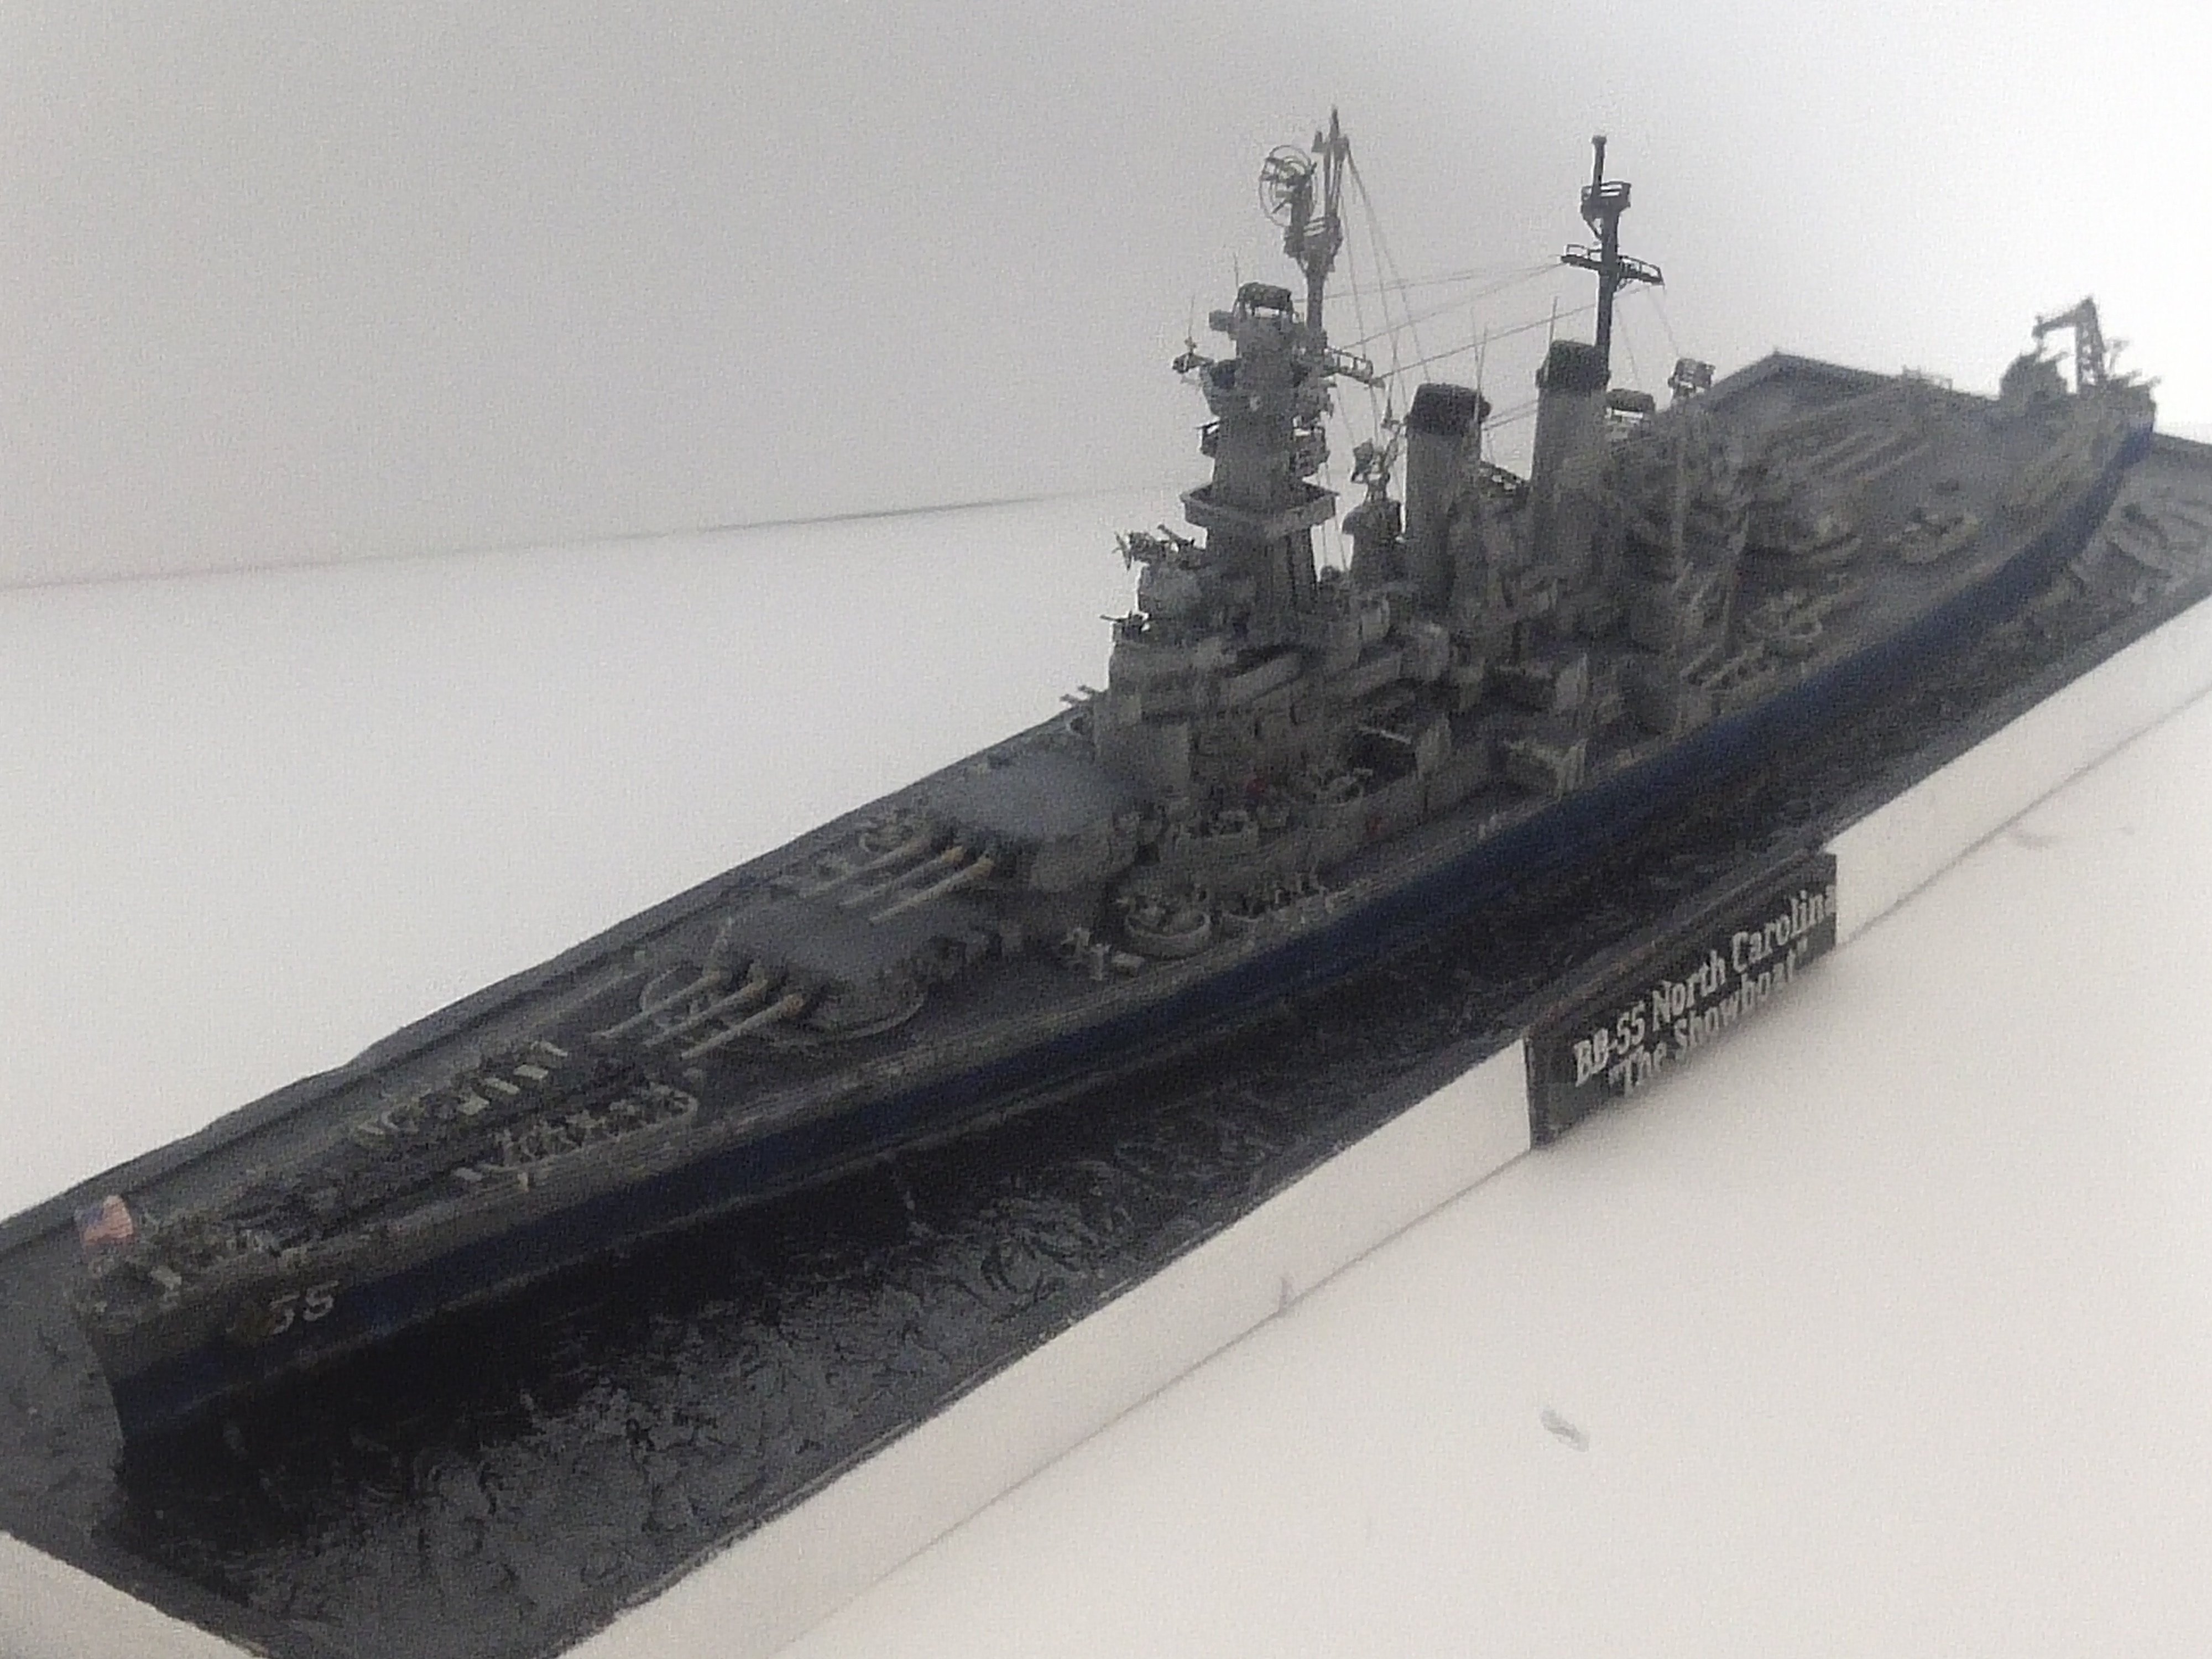
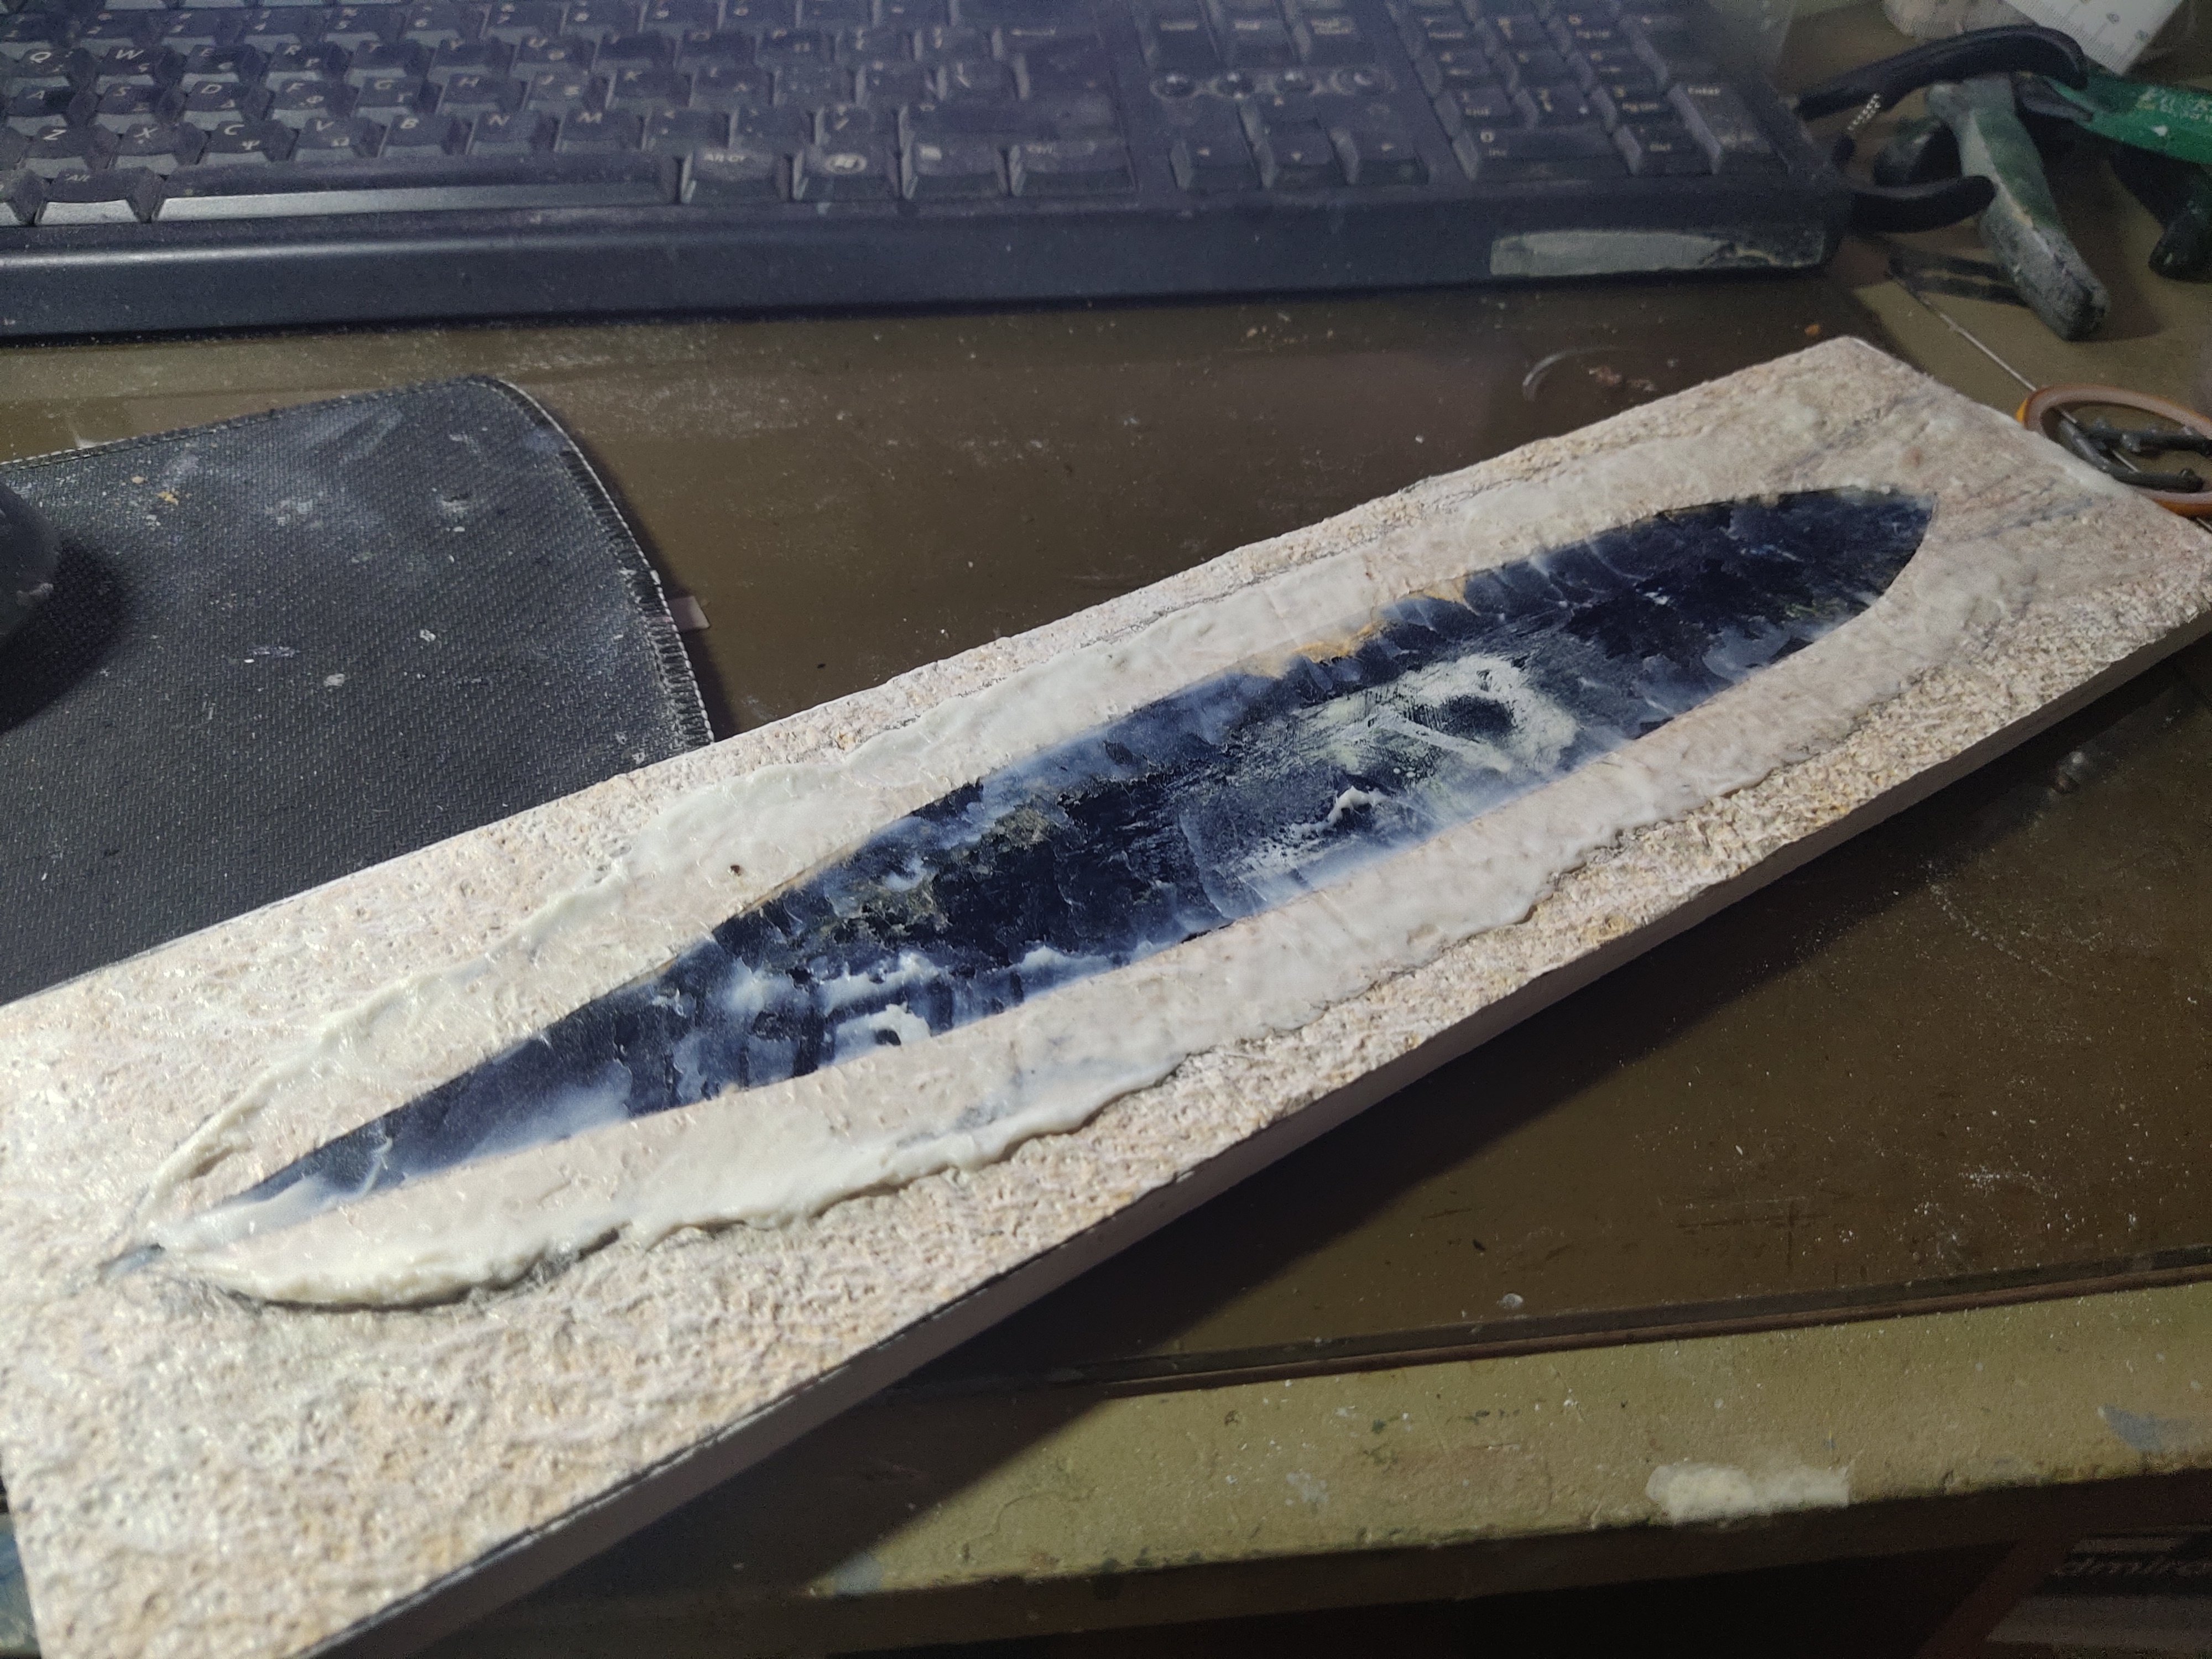
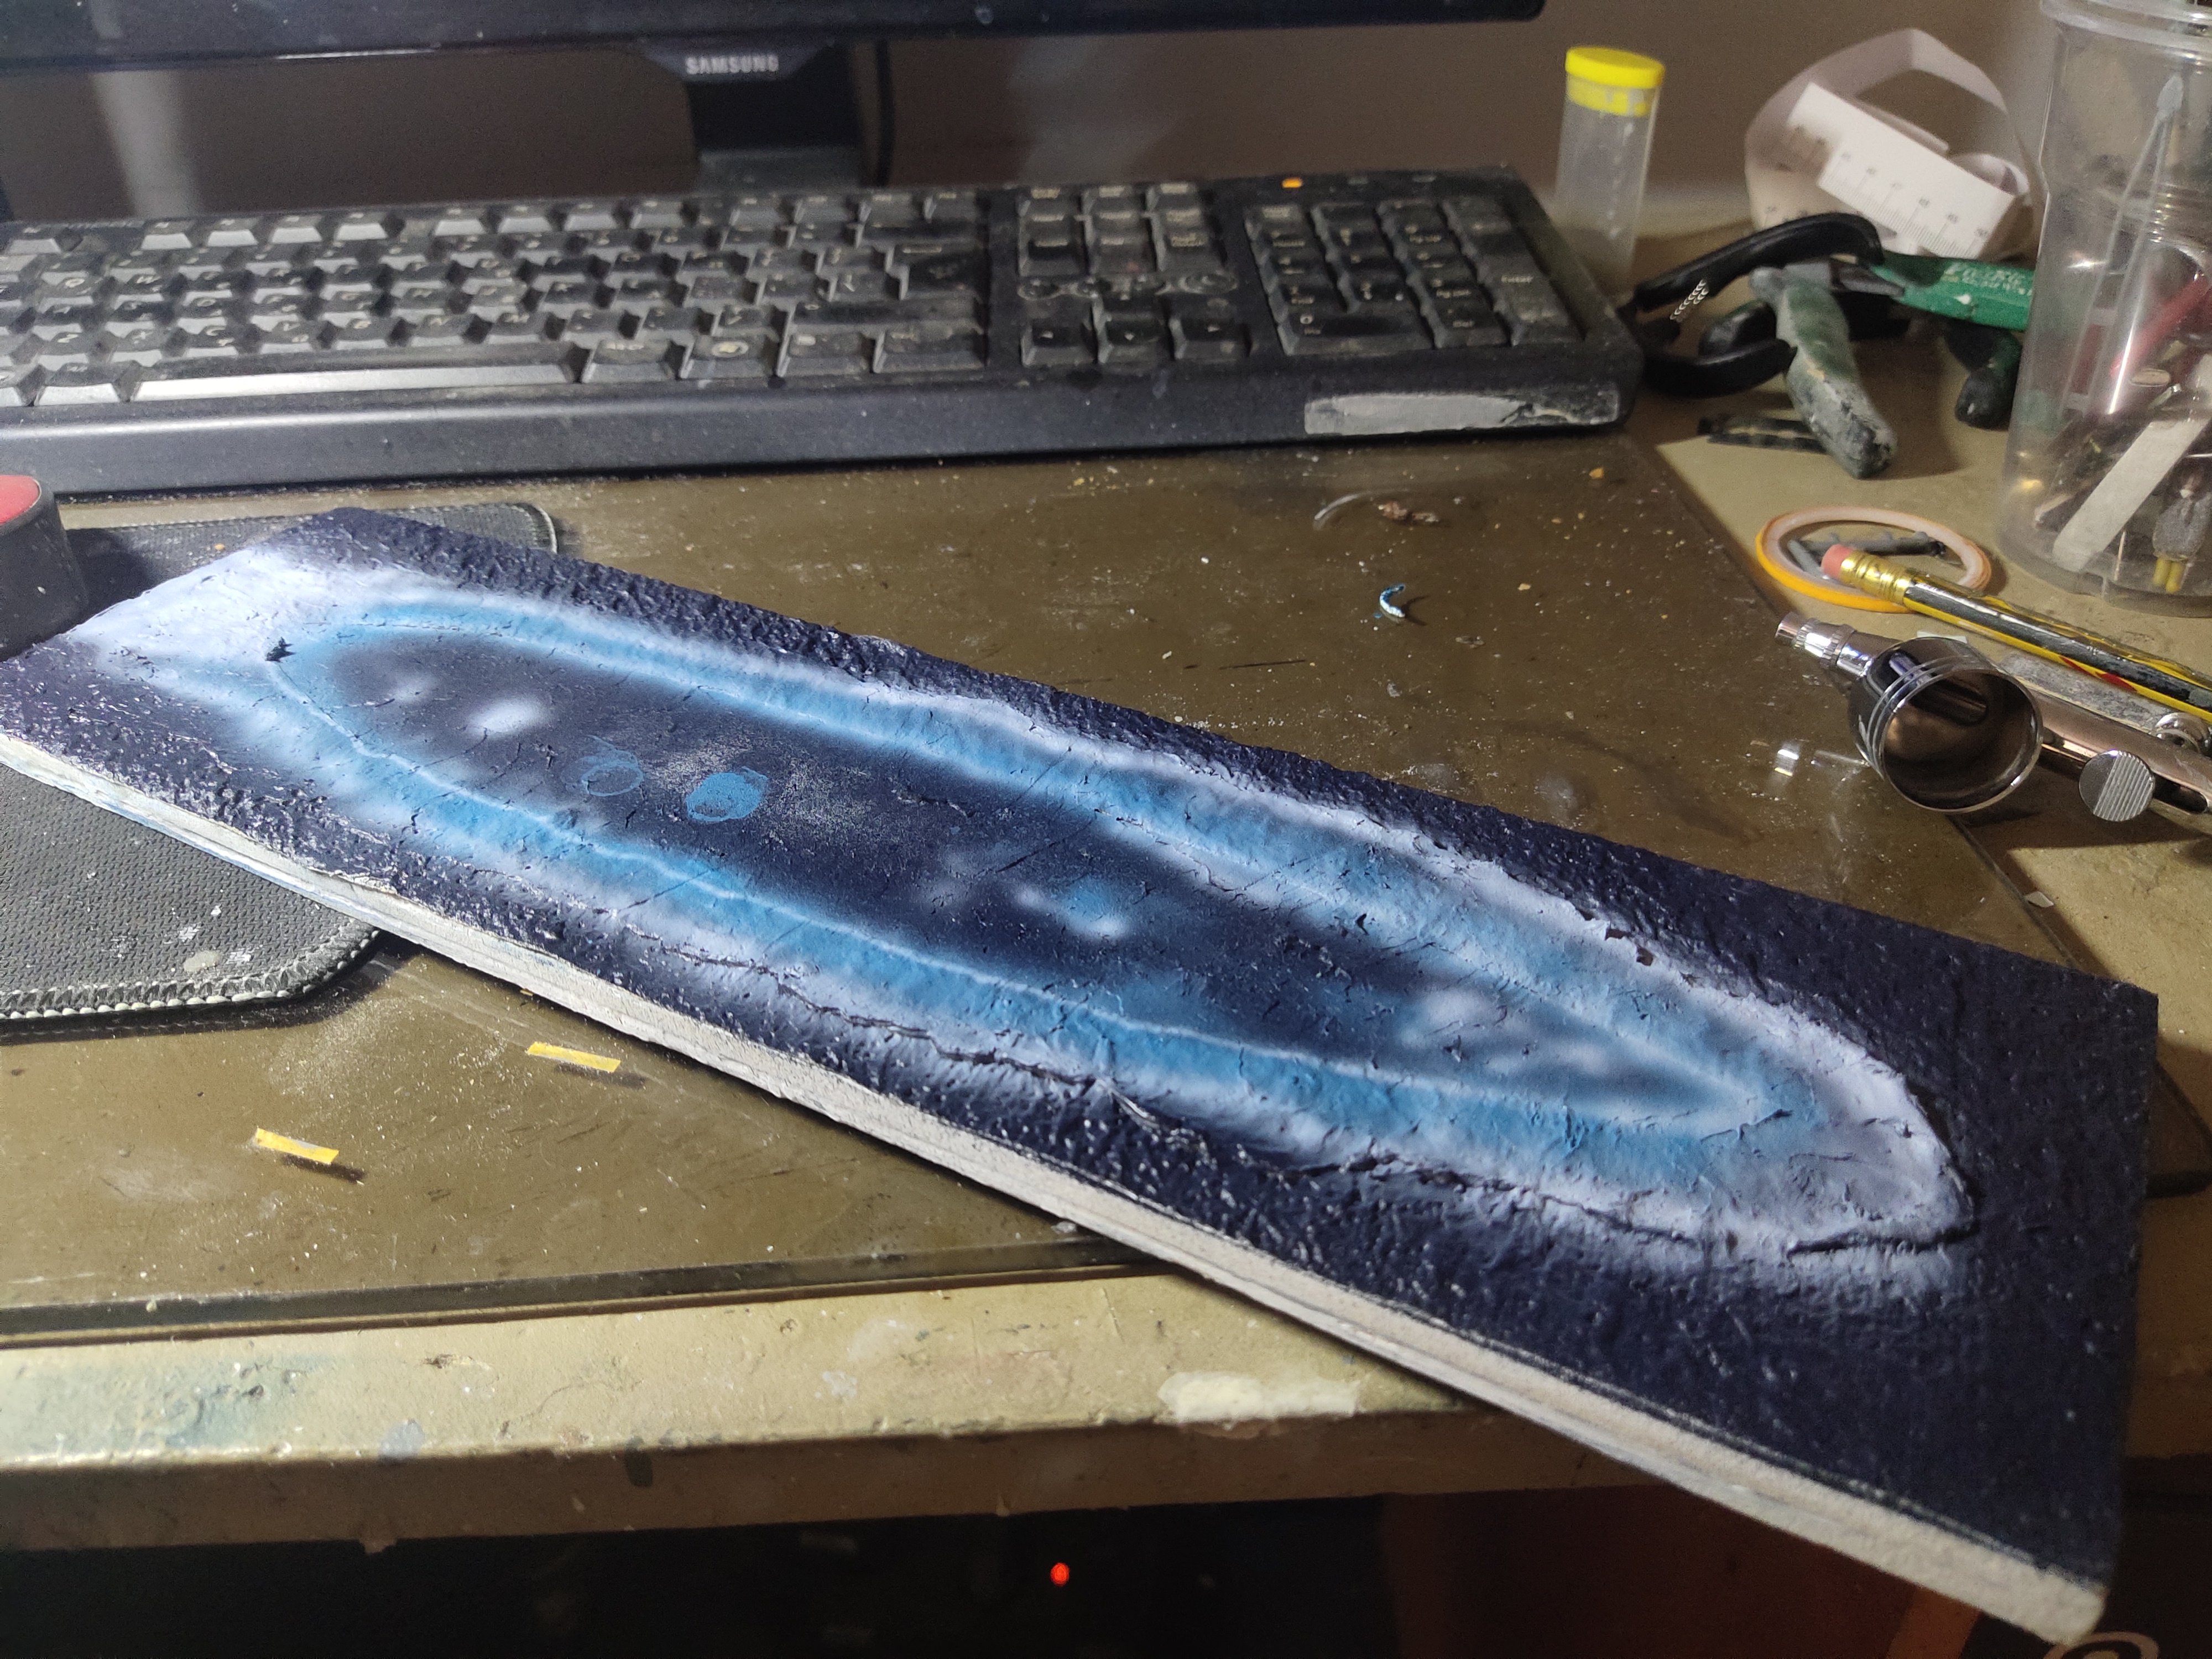
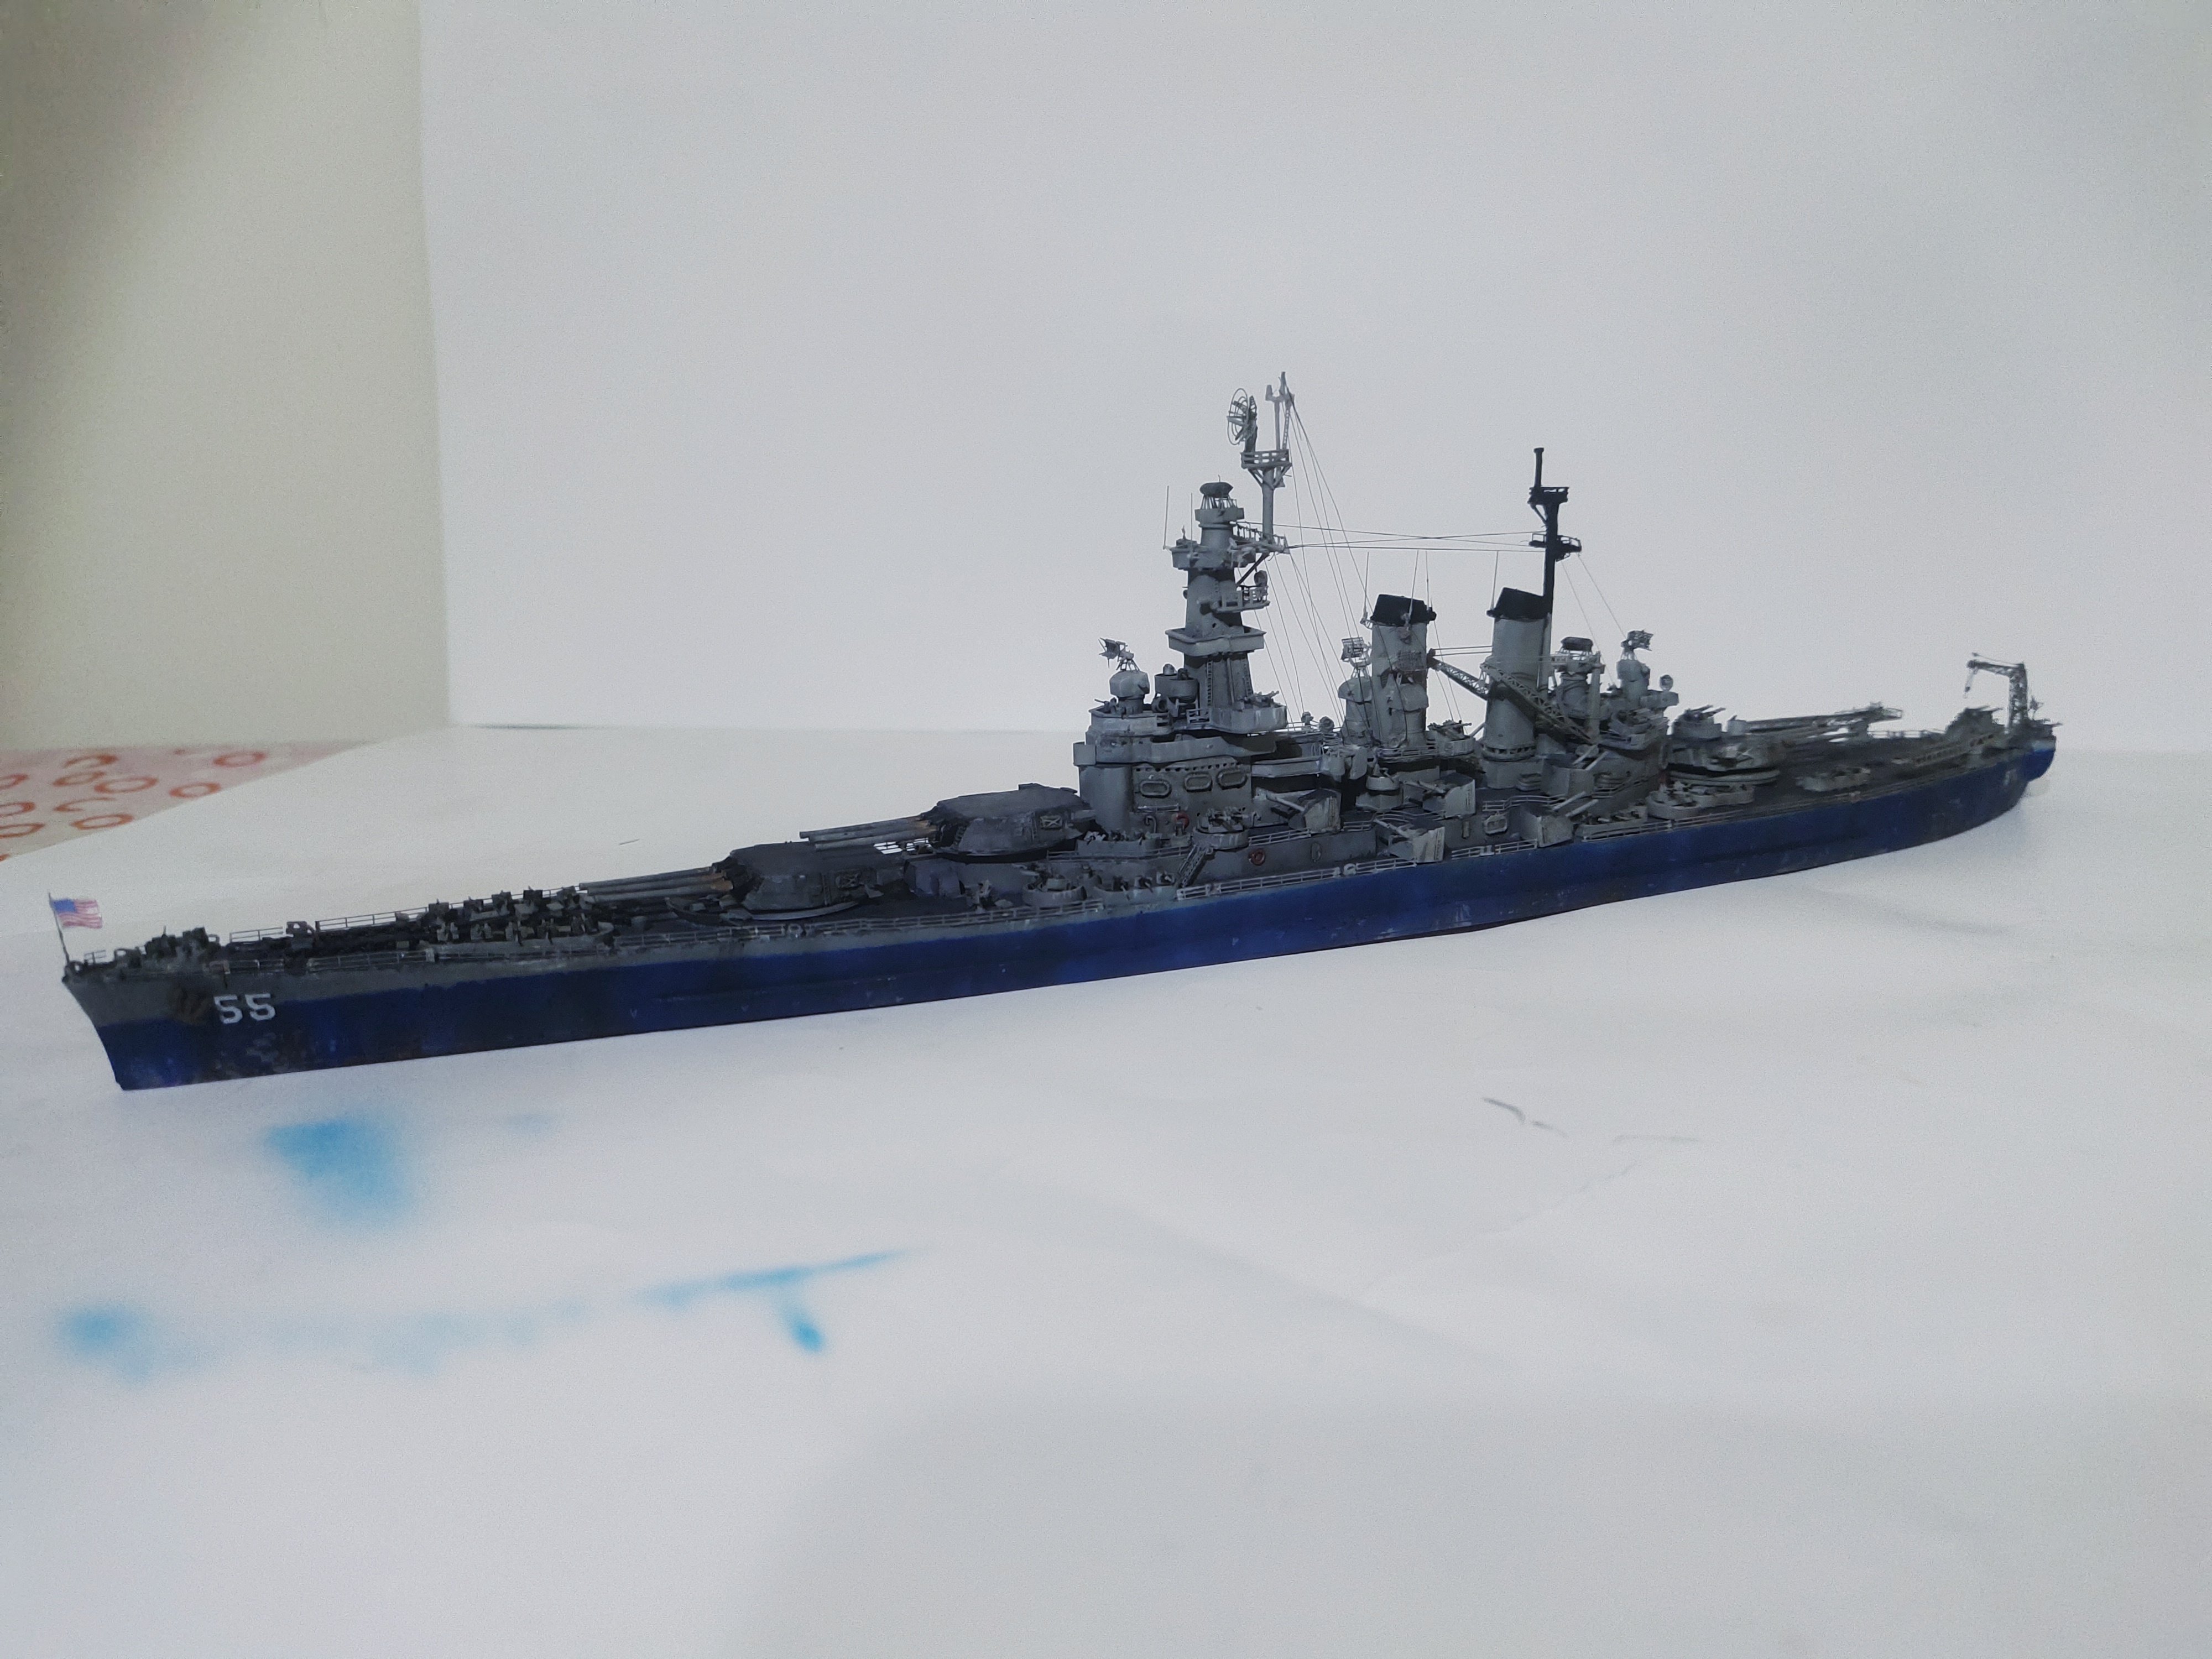
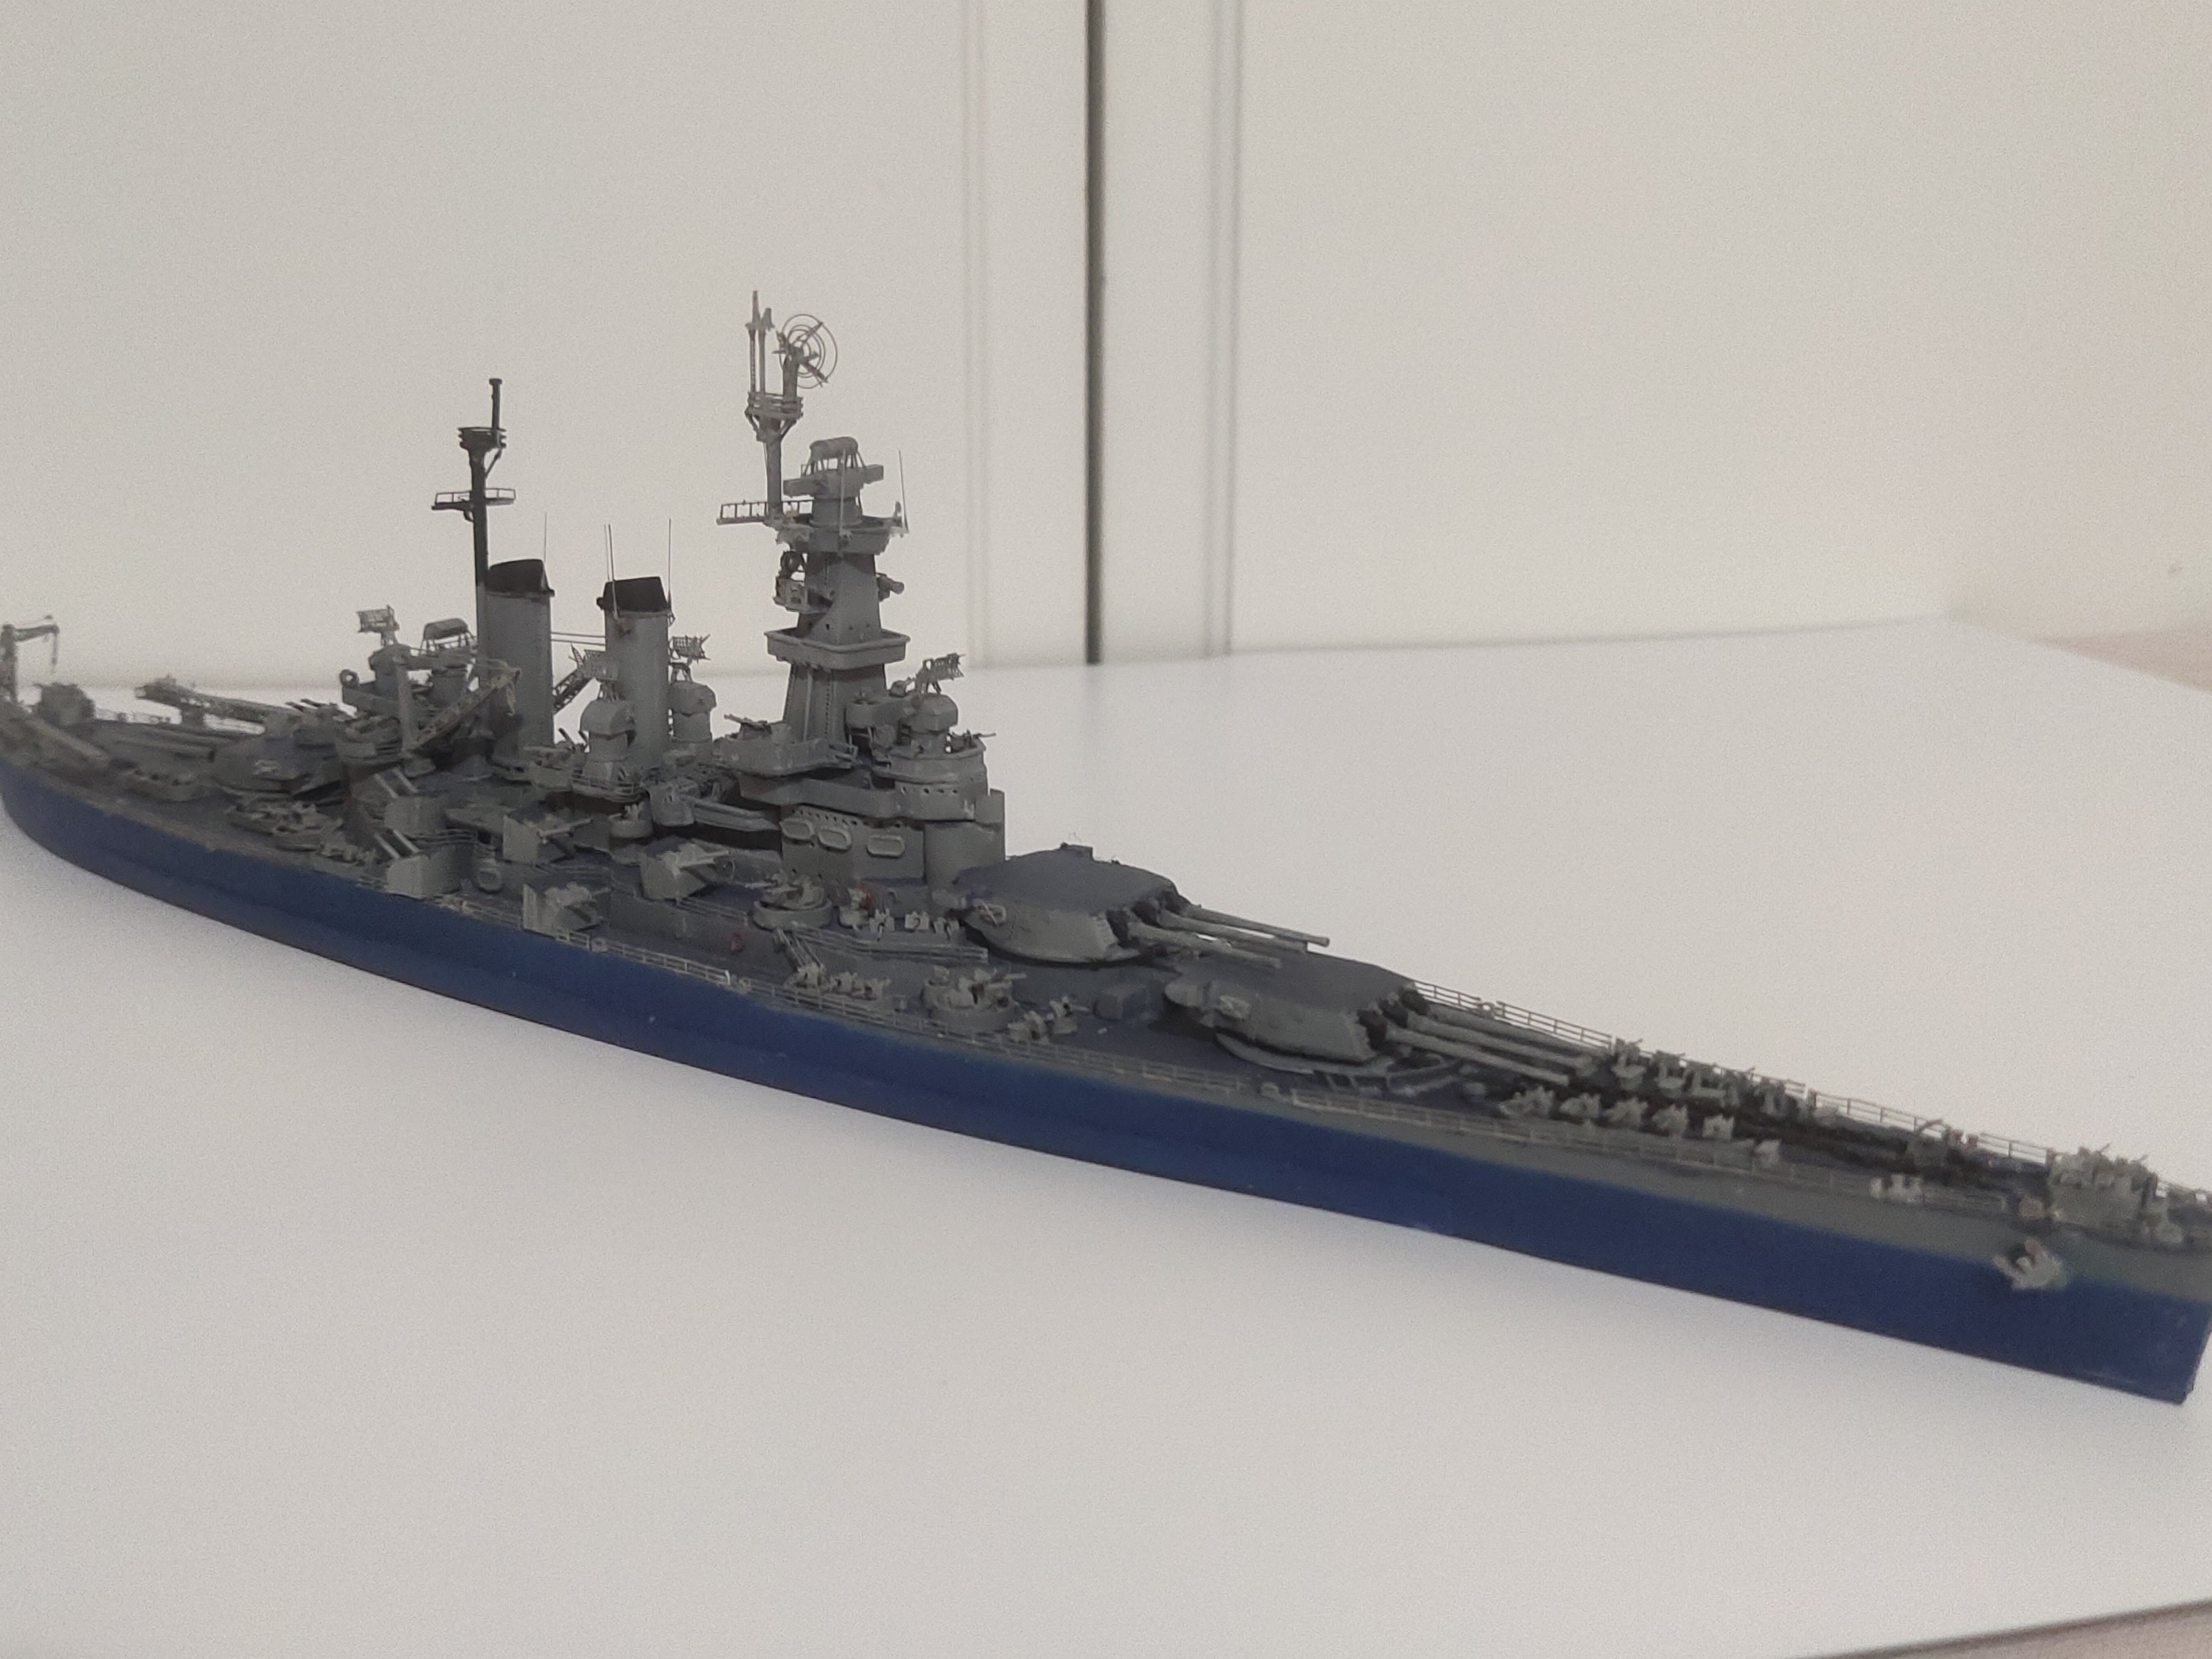
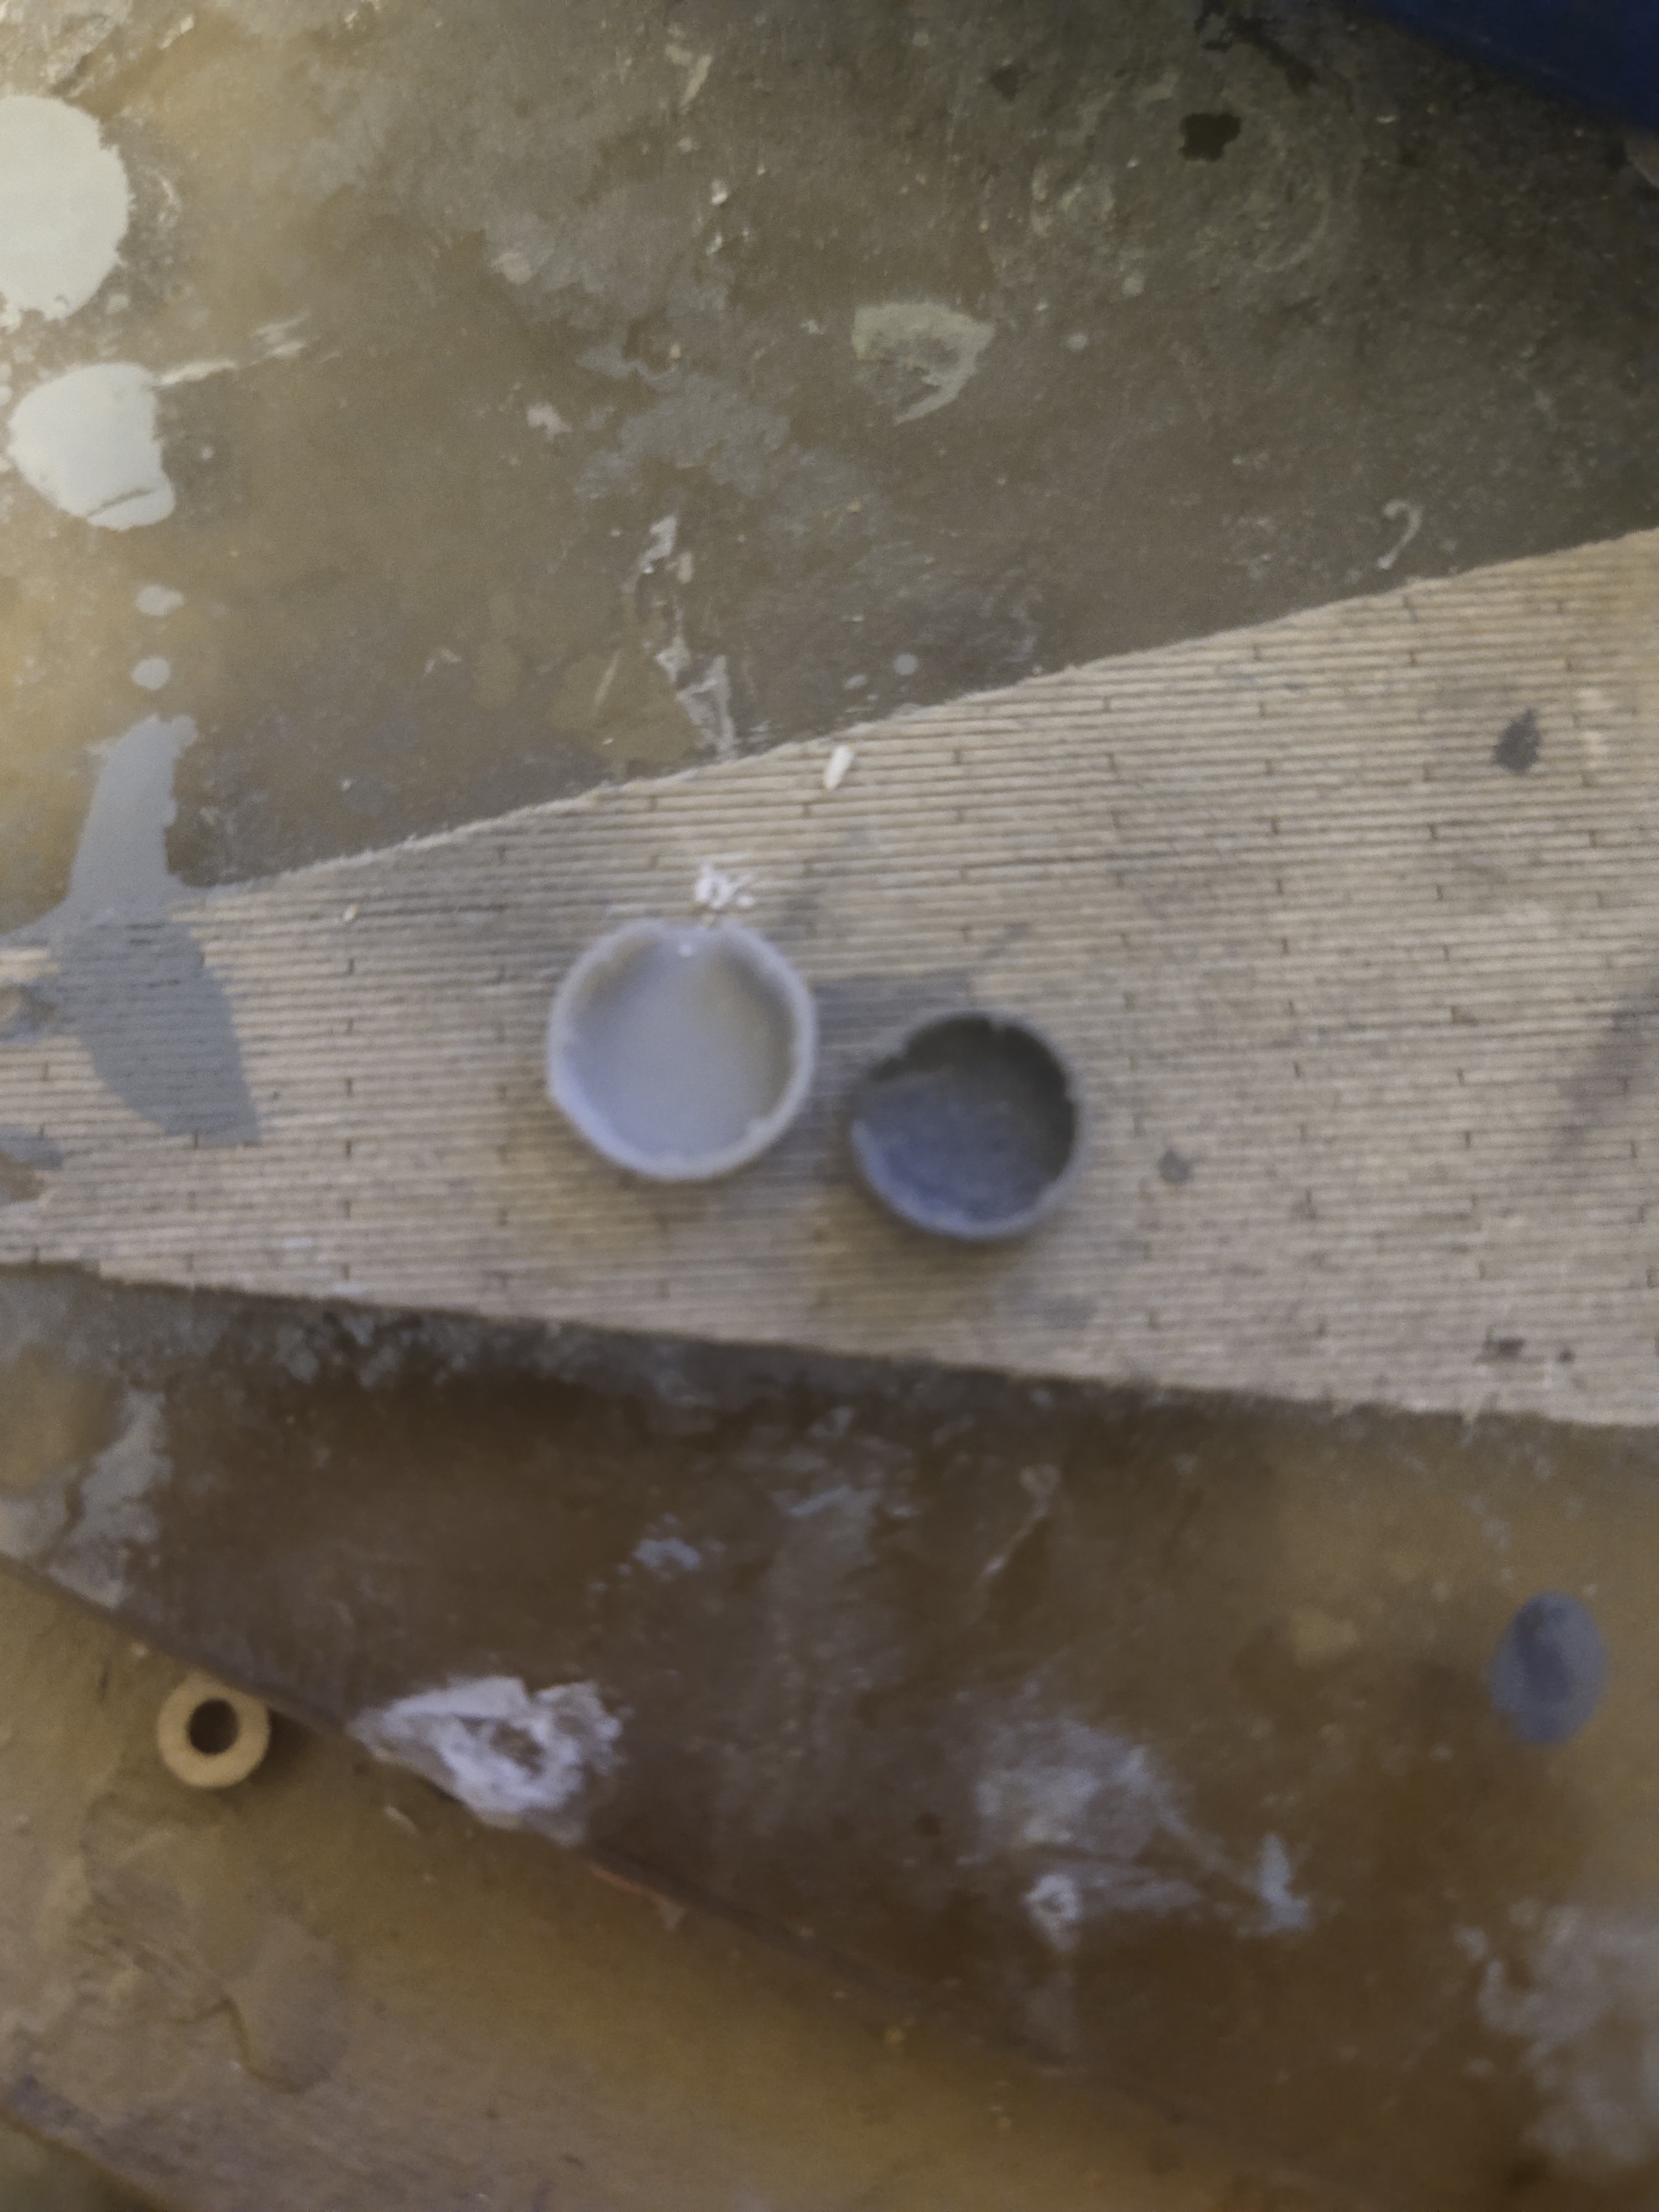
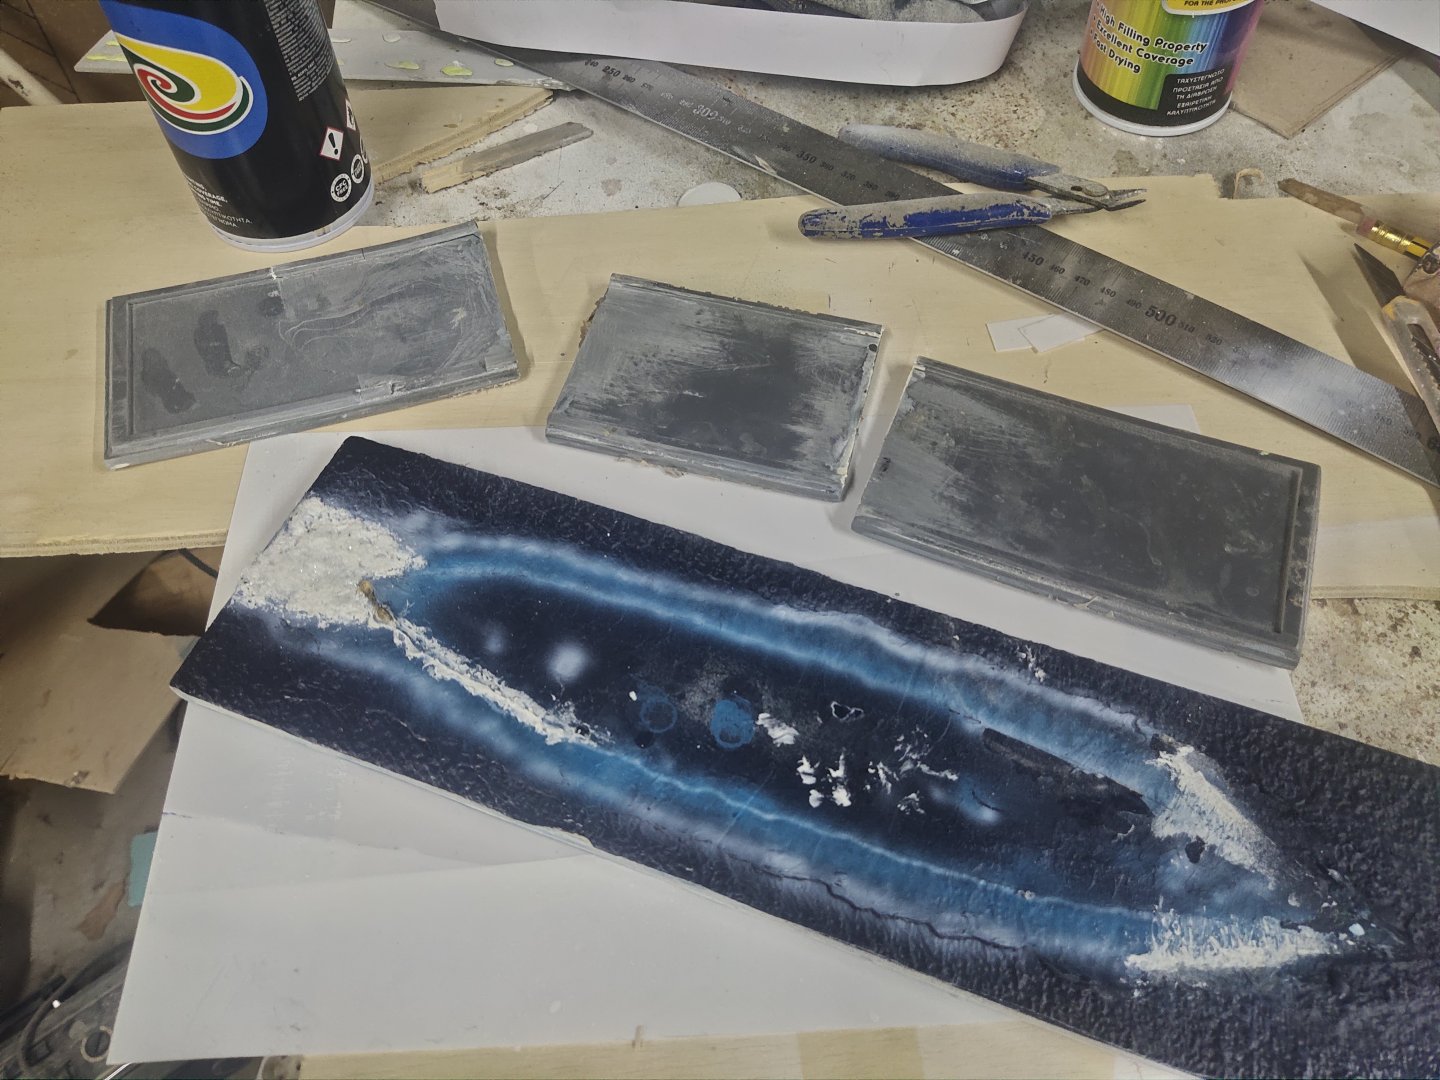
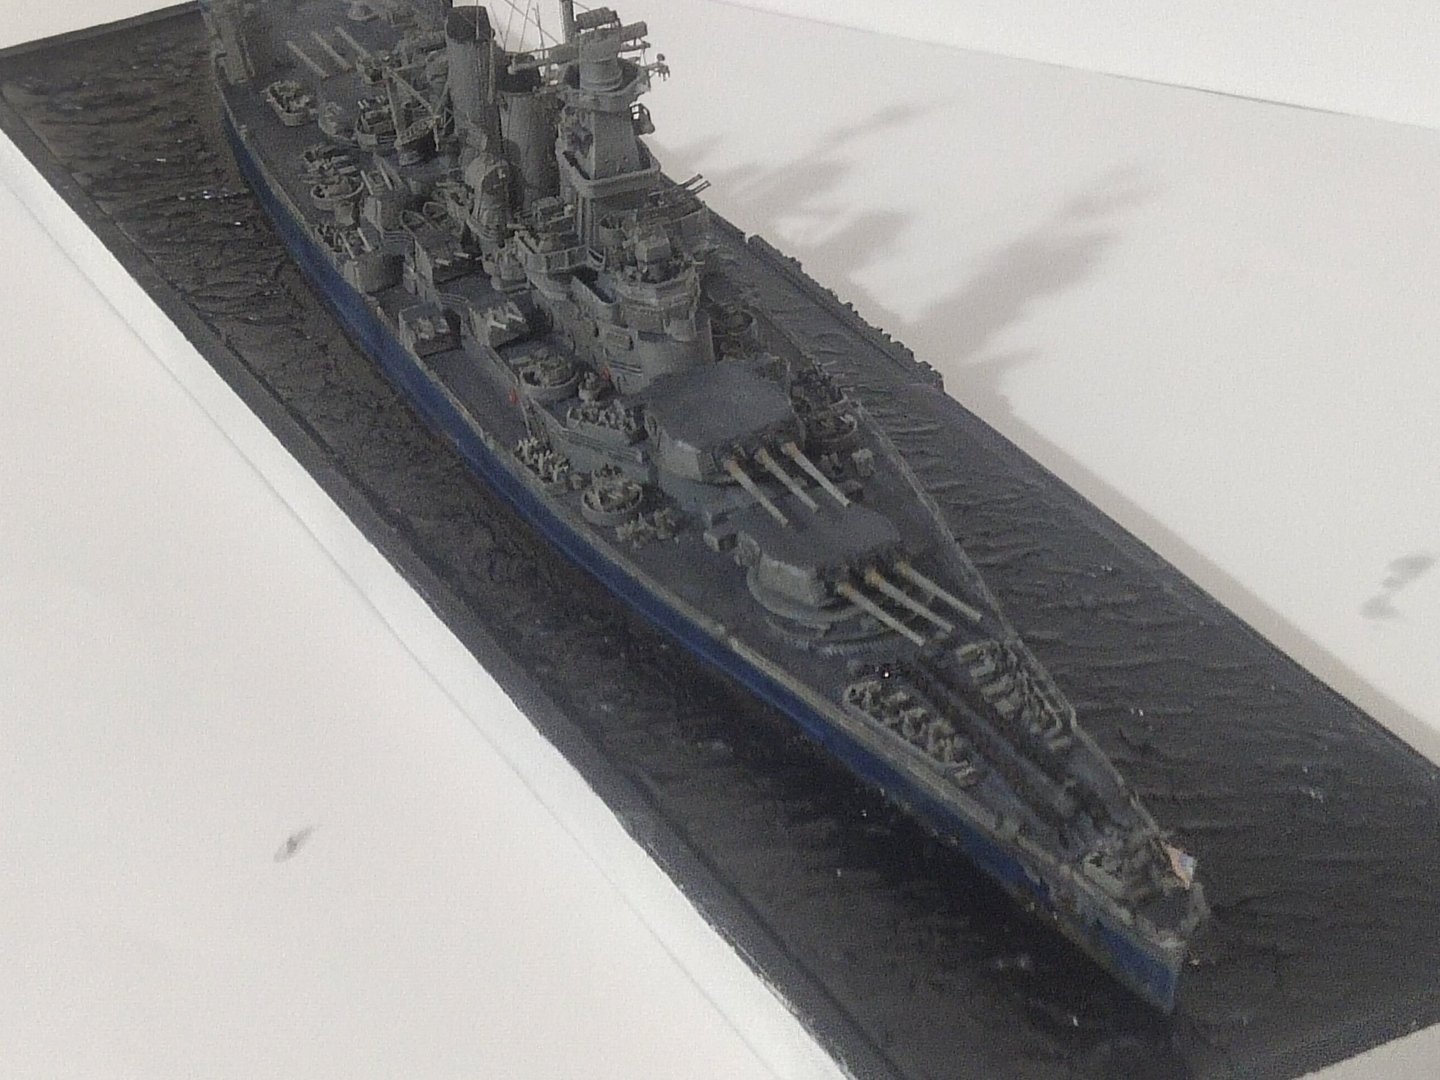
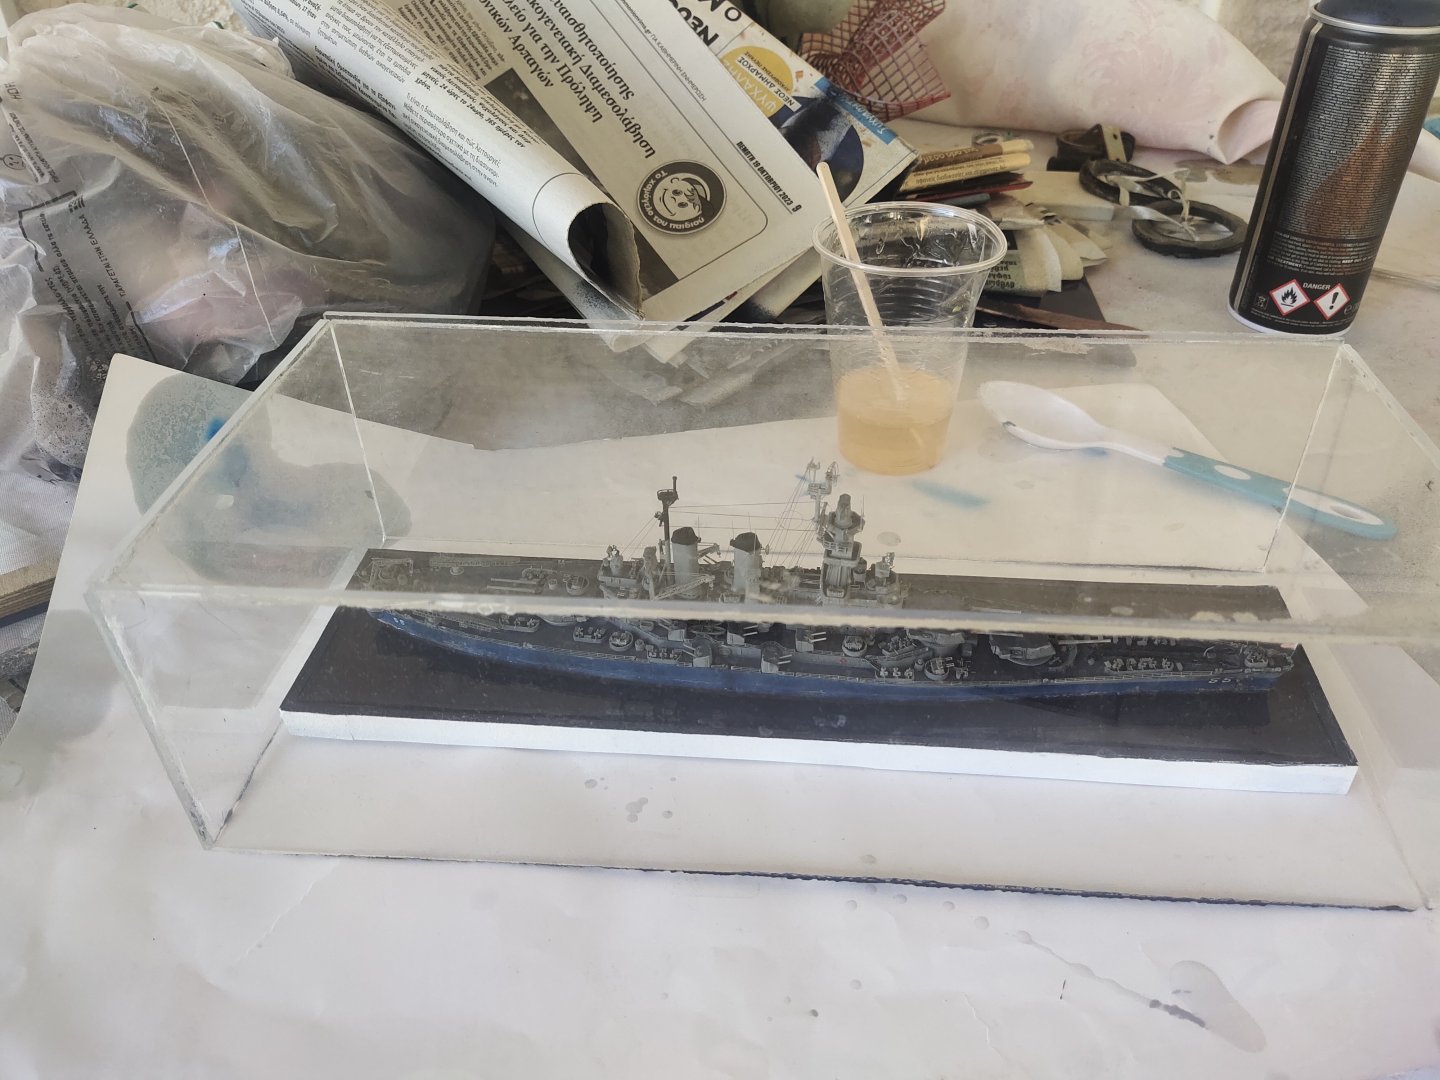
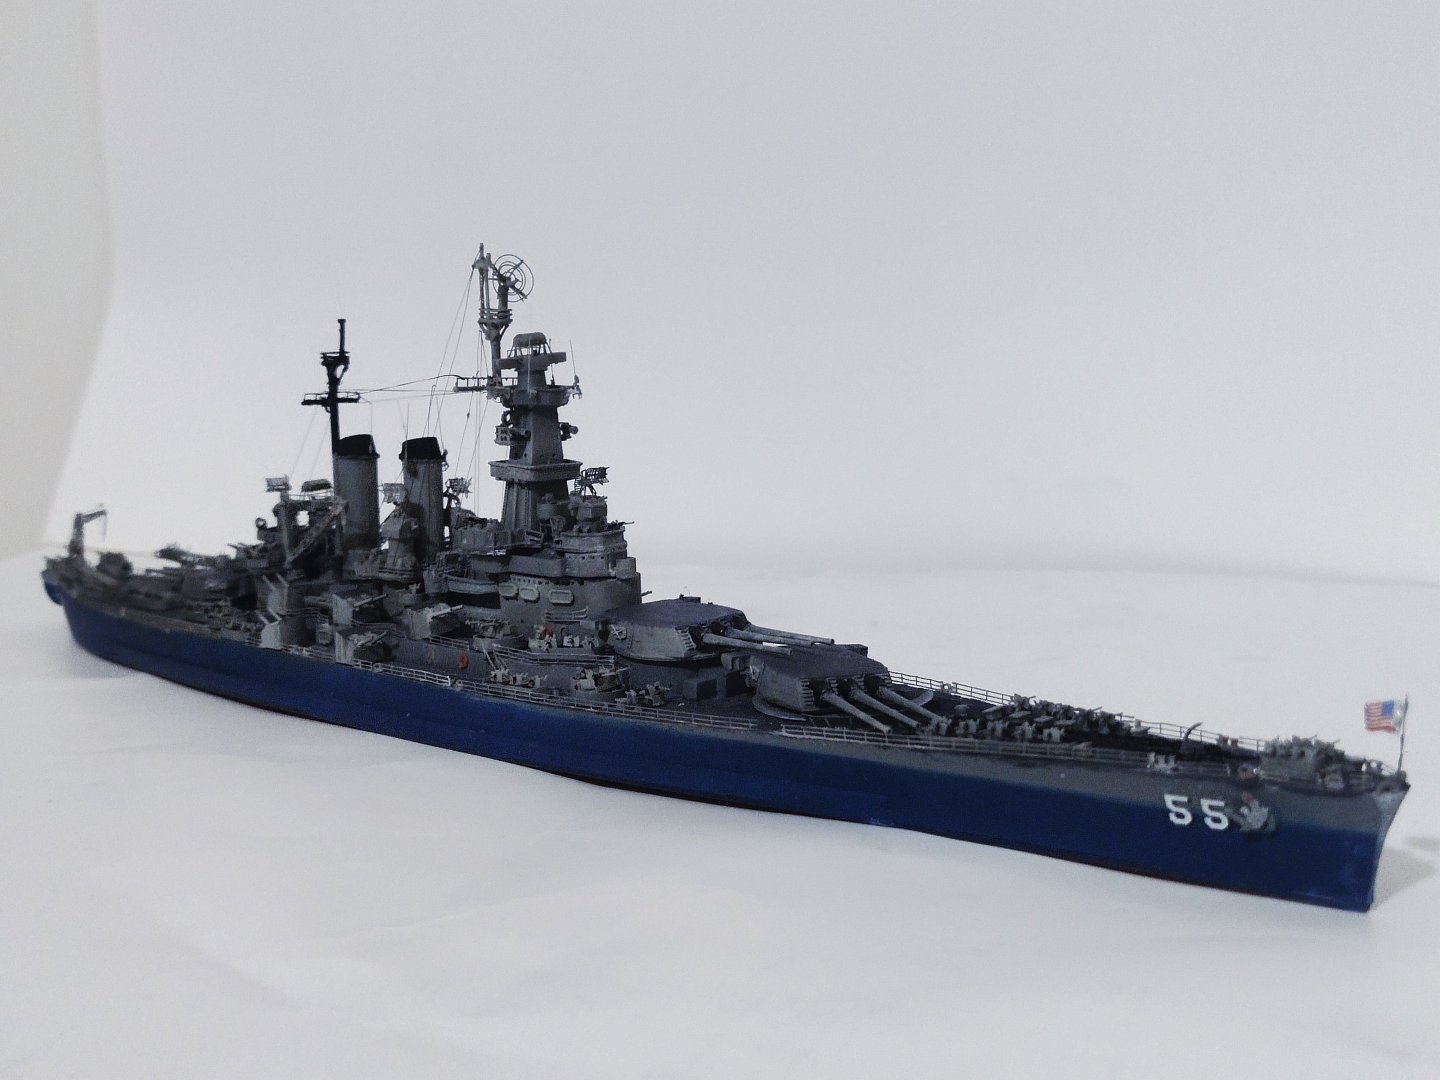
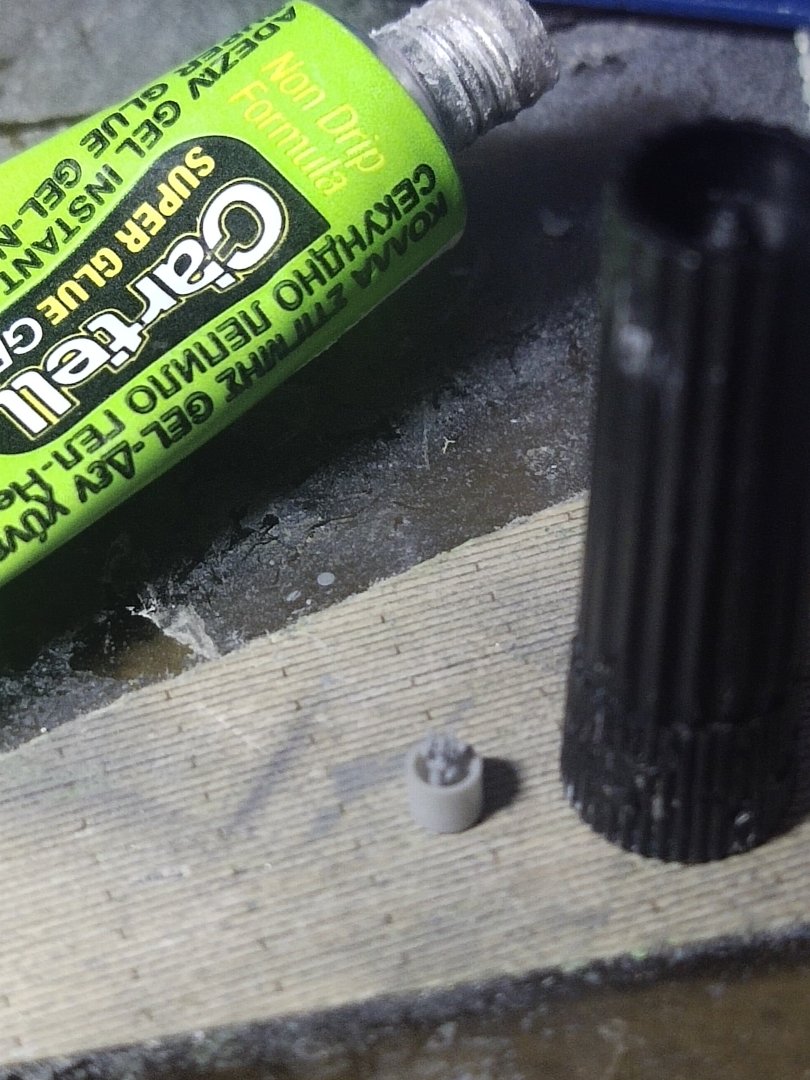
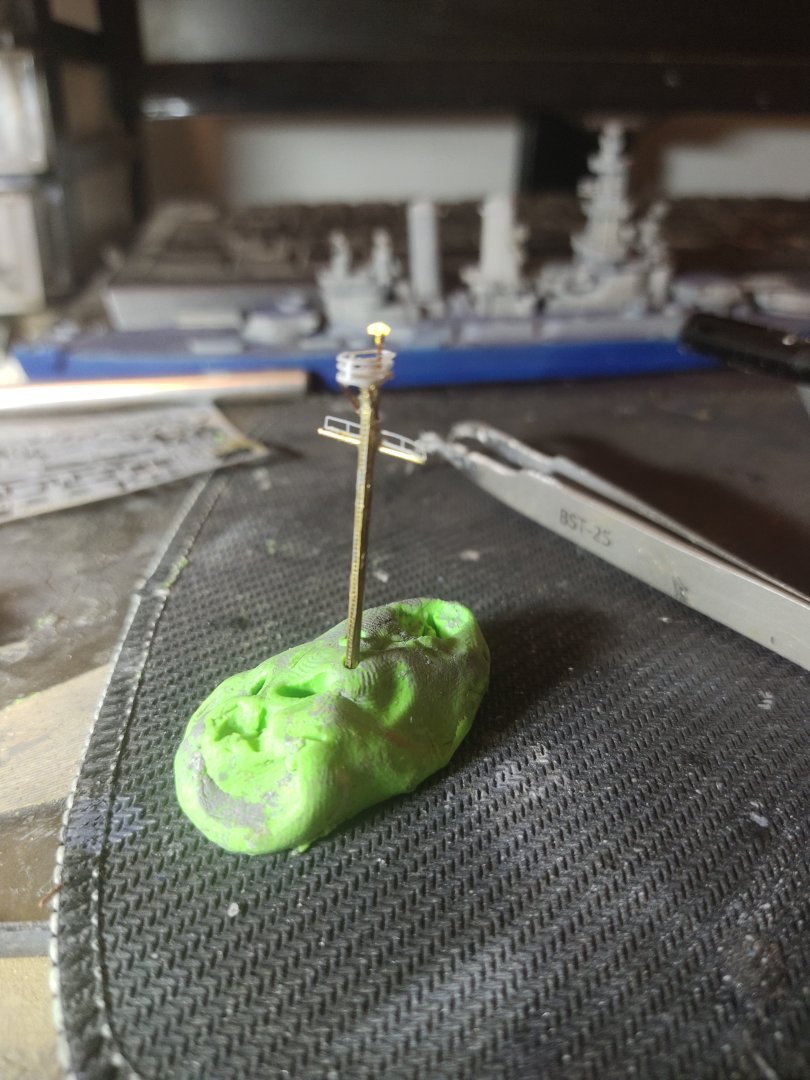
The hand couldn't follow the mind, although I had success in the past. This is the difference between machine and human. So I set aside the base, time to made a new one, the 3rd. My target now is to make a simple presentation than a layout. This time a case was made. The reisn poured over and left overnight under a cover. Note the yellowish mixture. Its an old resin left on storage for long time. I didnt take the risk to use it, although it did hardened quite ok in 40 minutes(fast dry product) Next morning I brushed thick gel over resin, by the time pics were taken it was dried and transparent. Another one project came to end


-
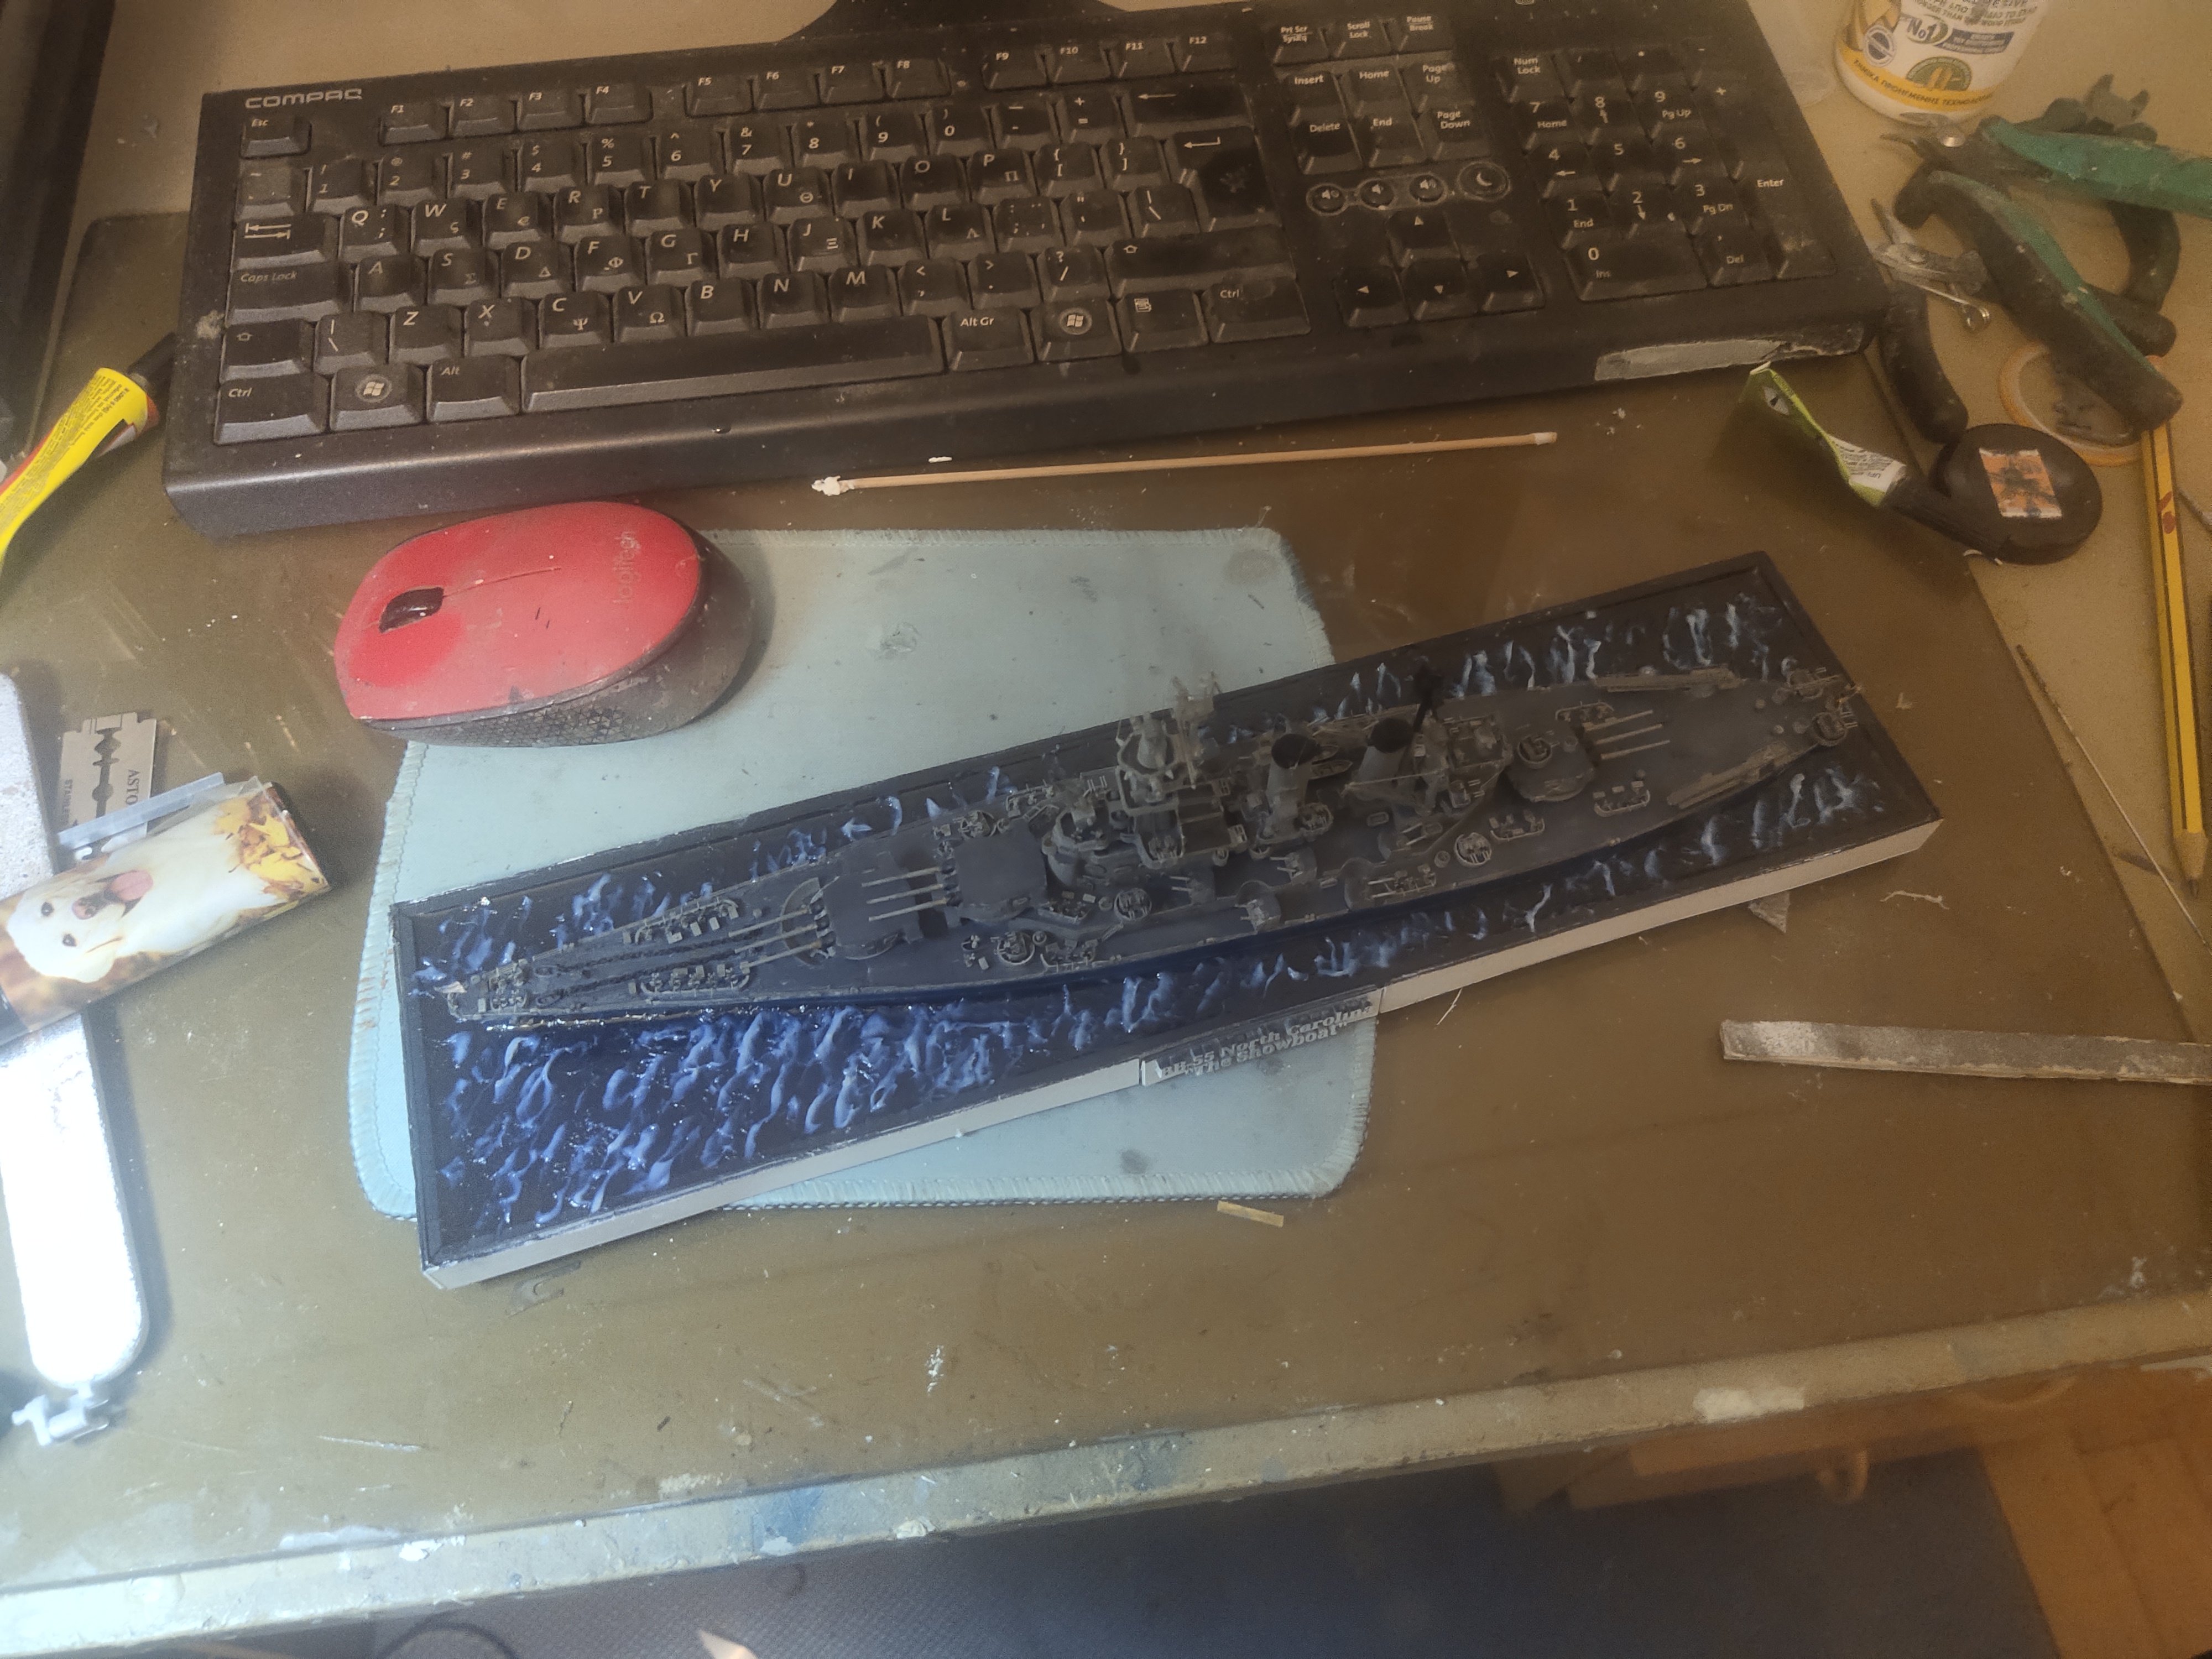
I am making the sea base


-
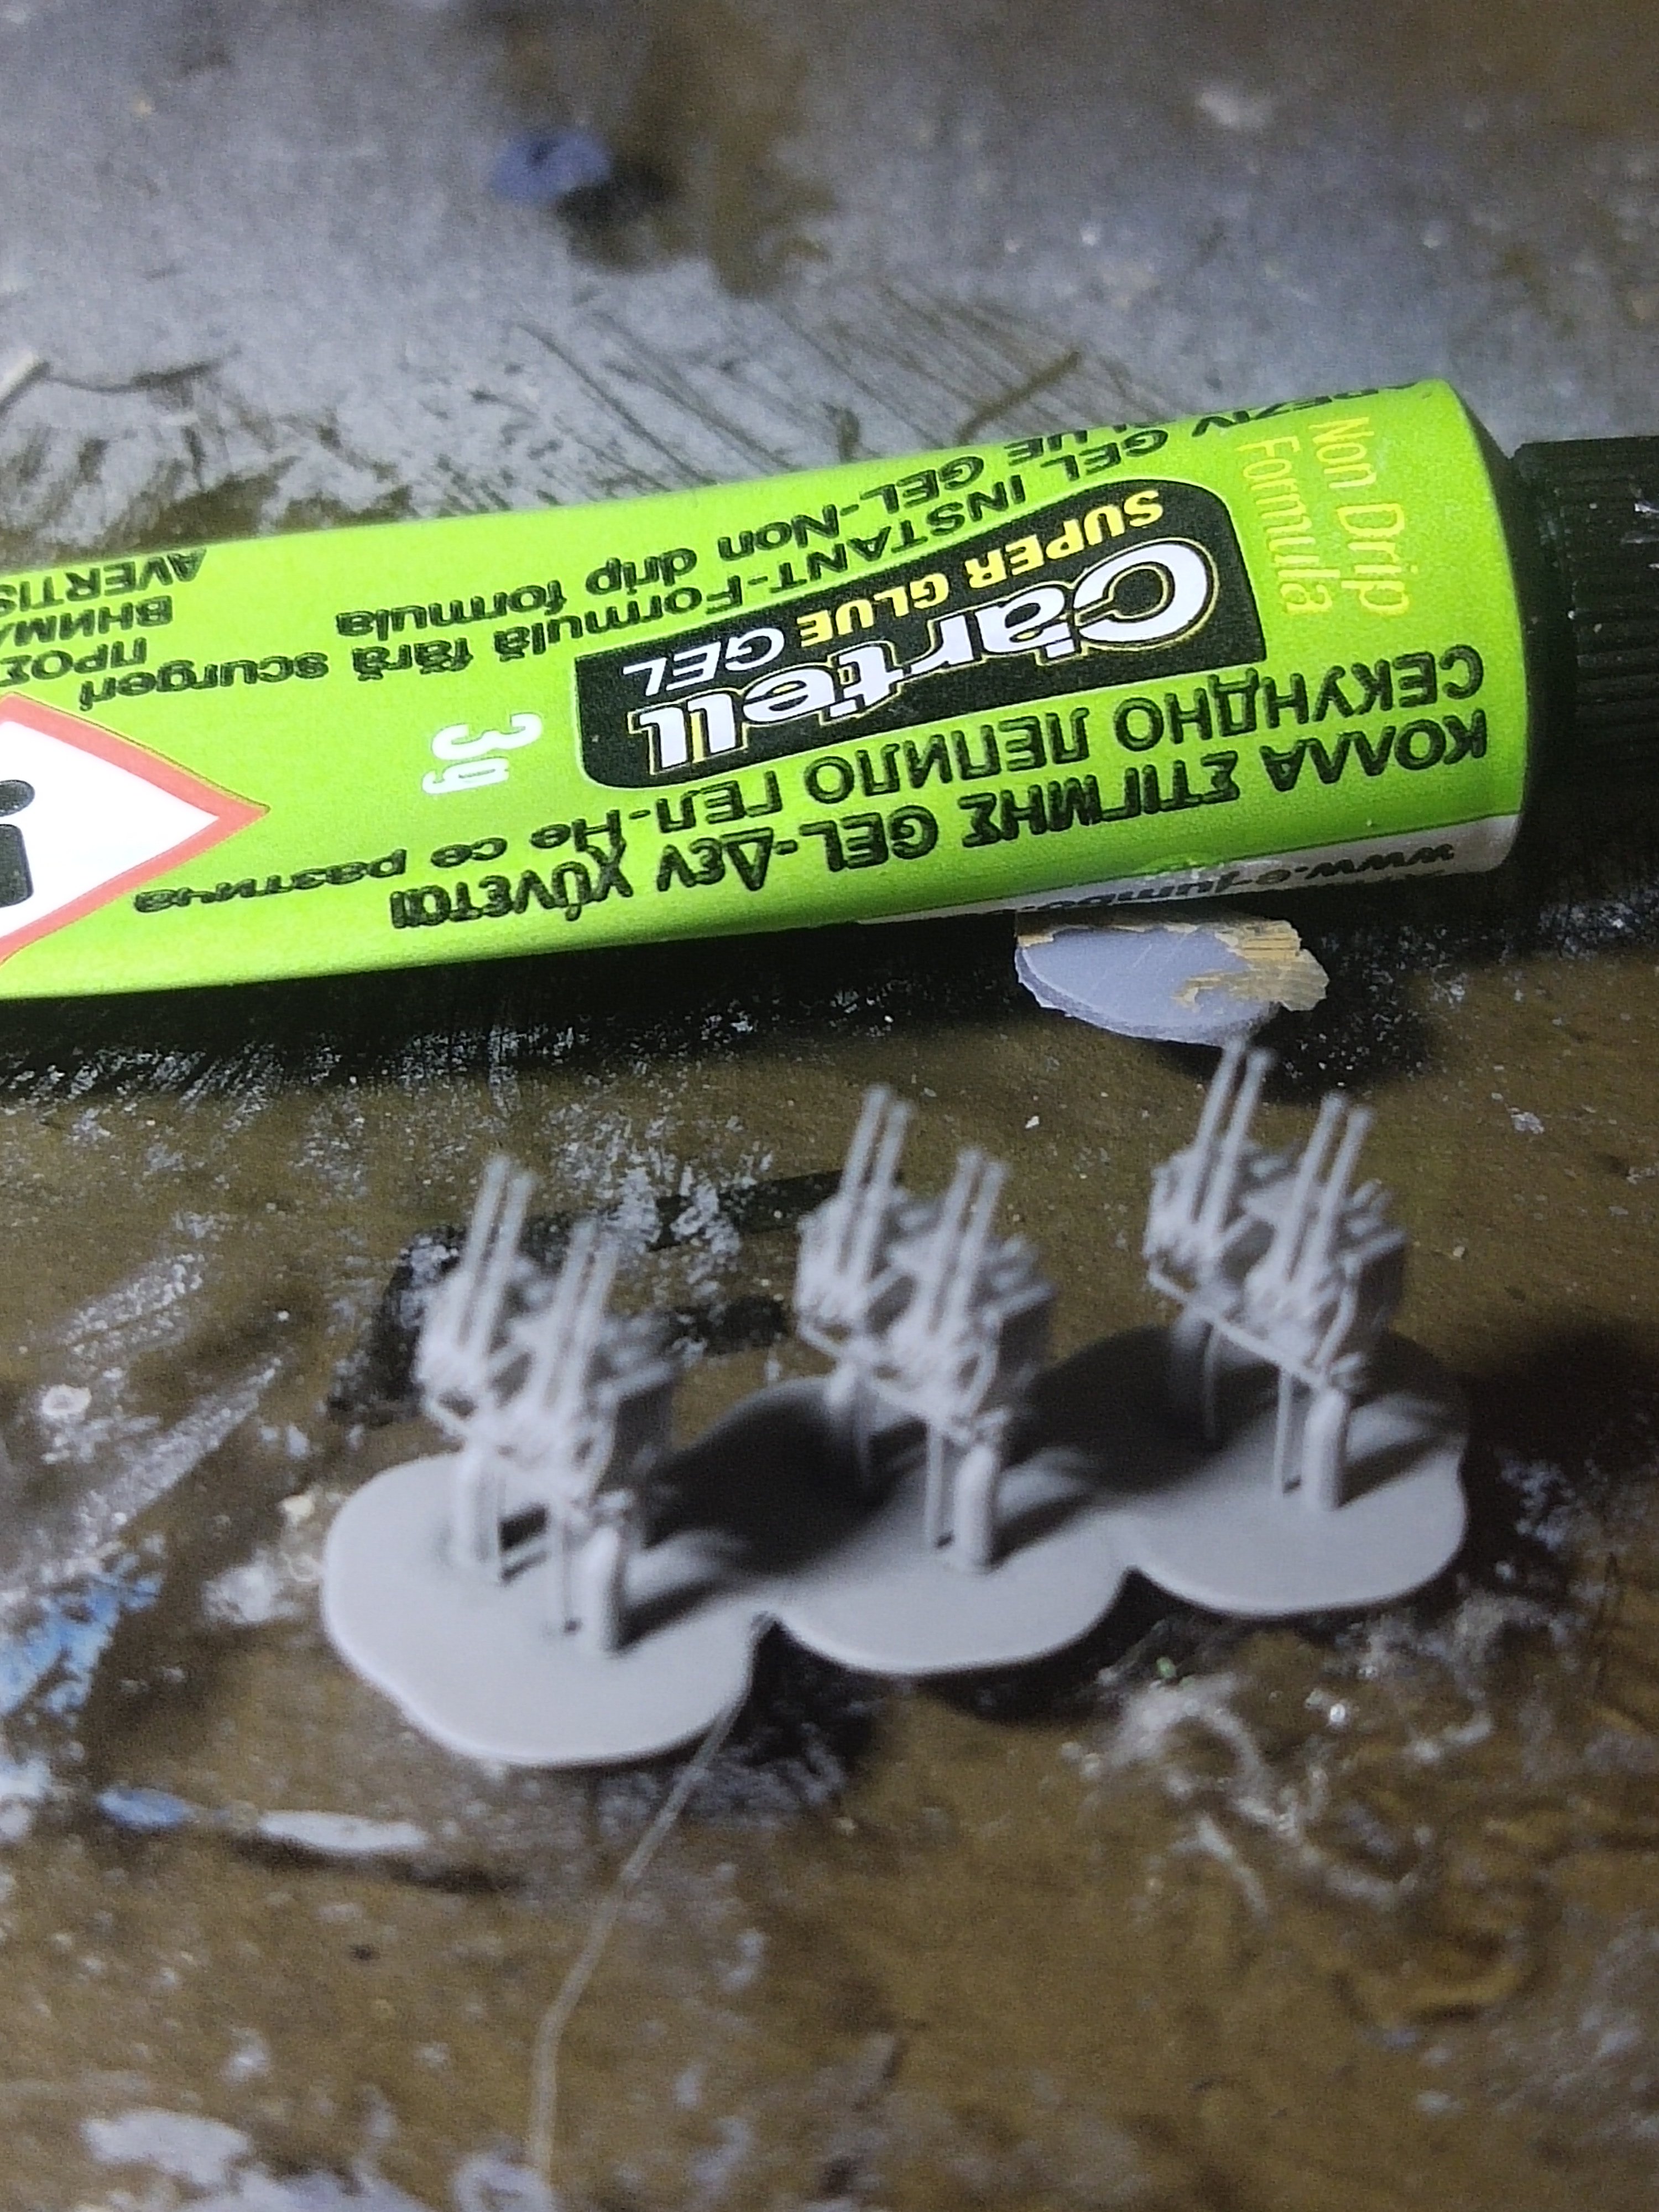
You can different materials for apply glue, like a pin or a single fiber from a paintbrush. If its gel type it can be applied easily Sometimes if excess glue is allied i lightly burn the part with a lighter. The CA vanishes and re joining the parts is required
-
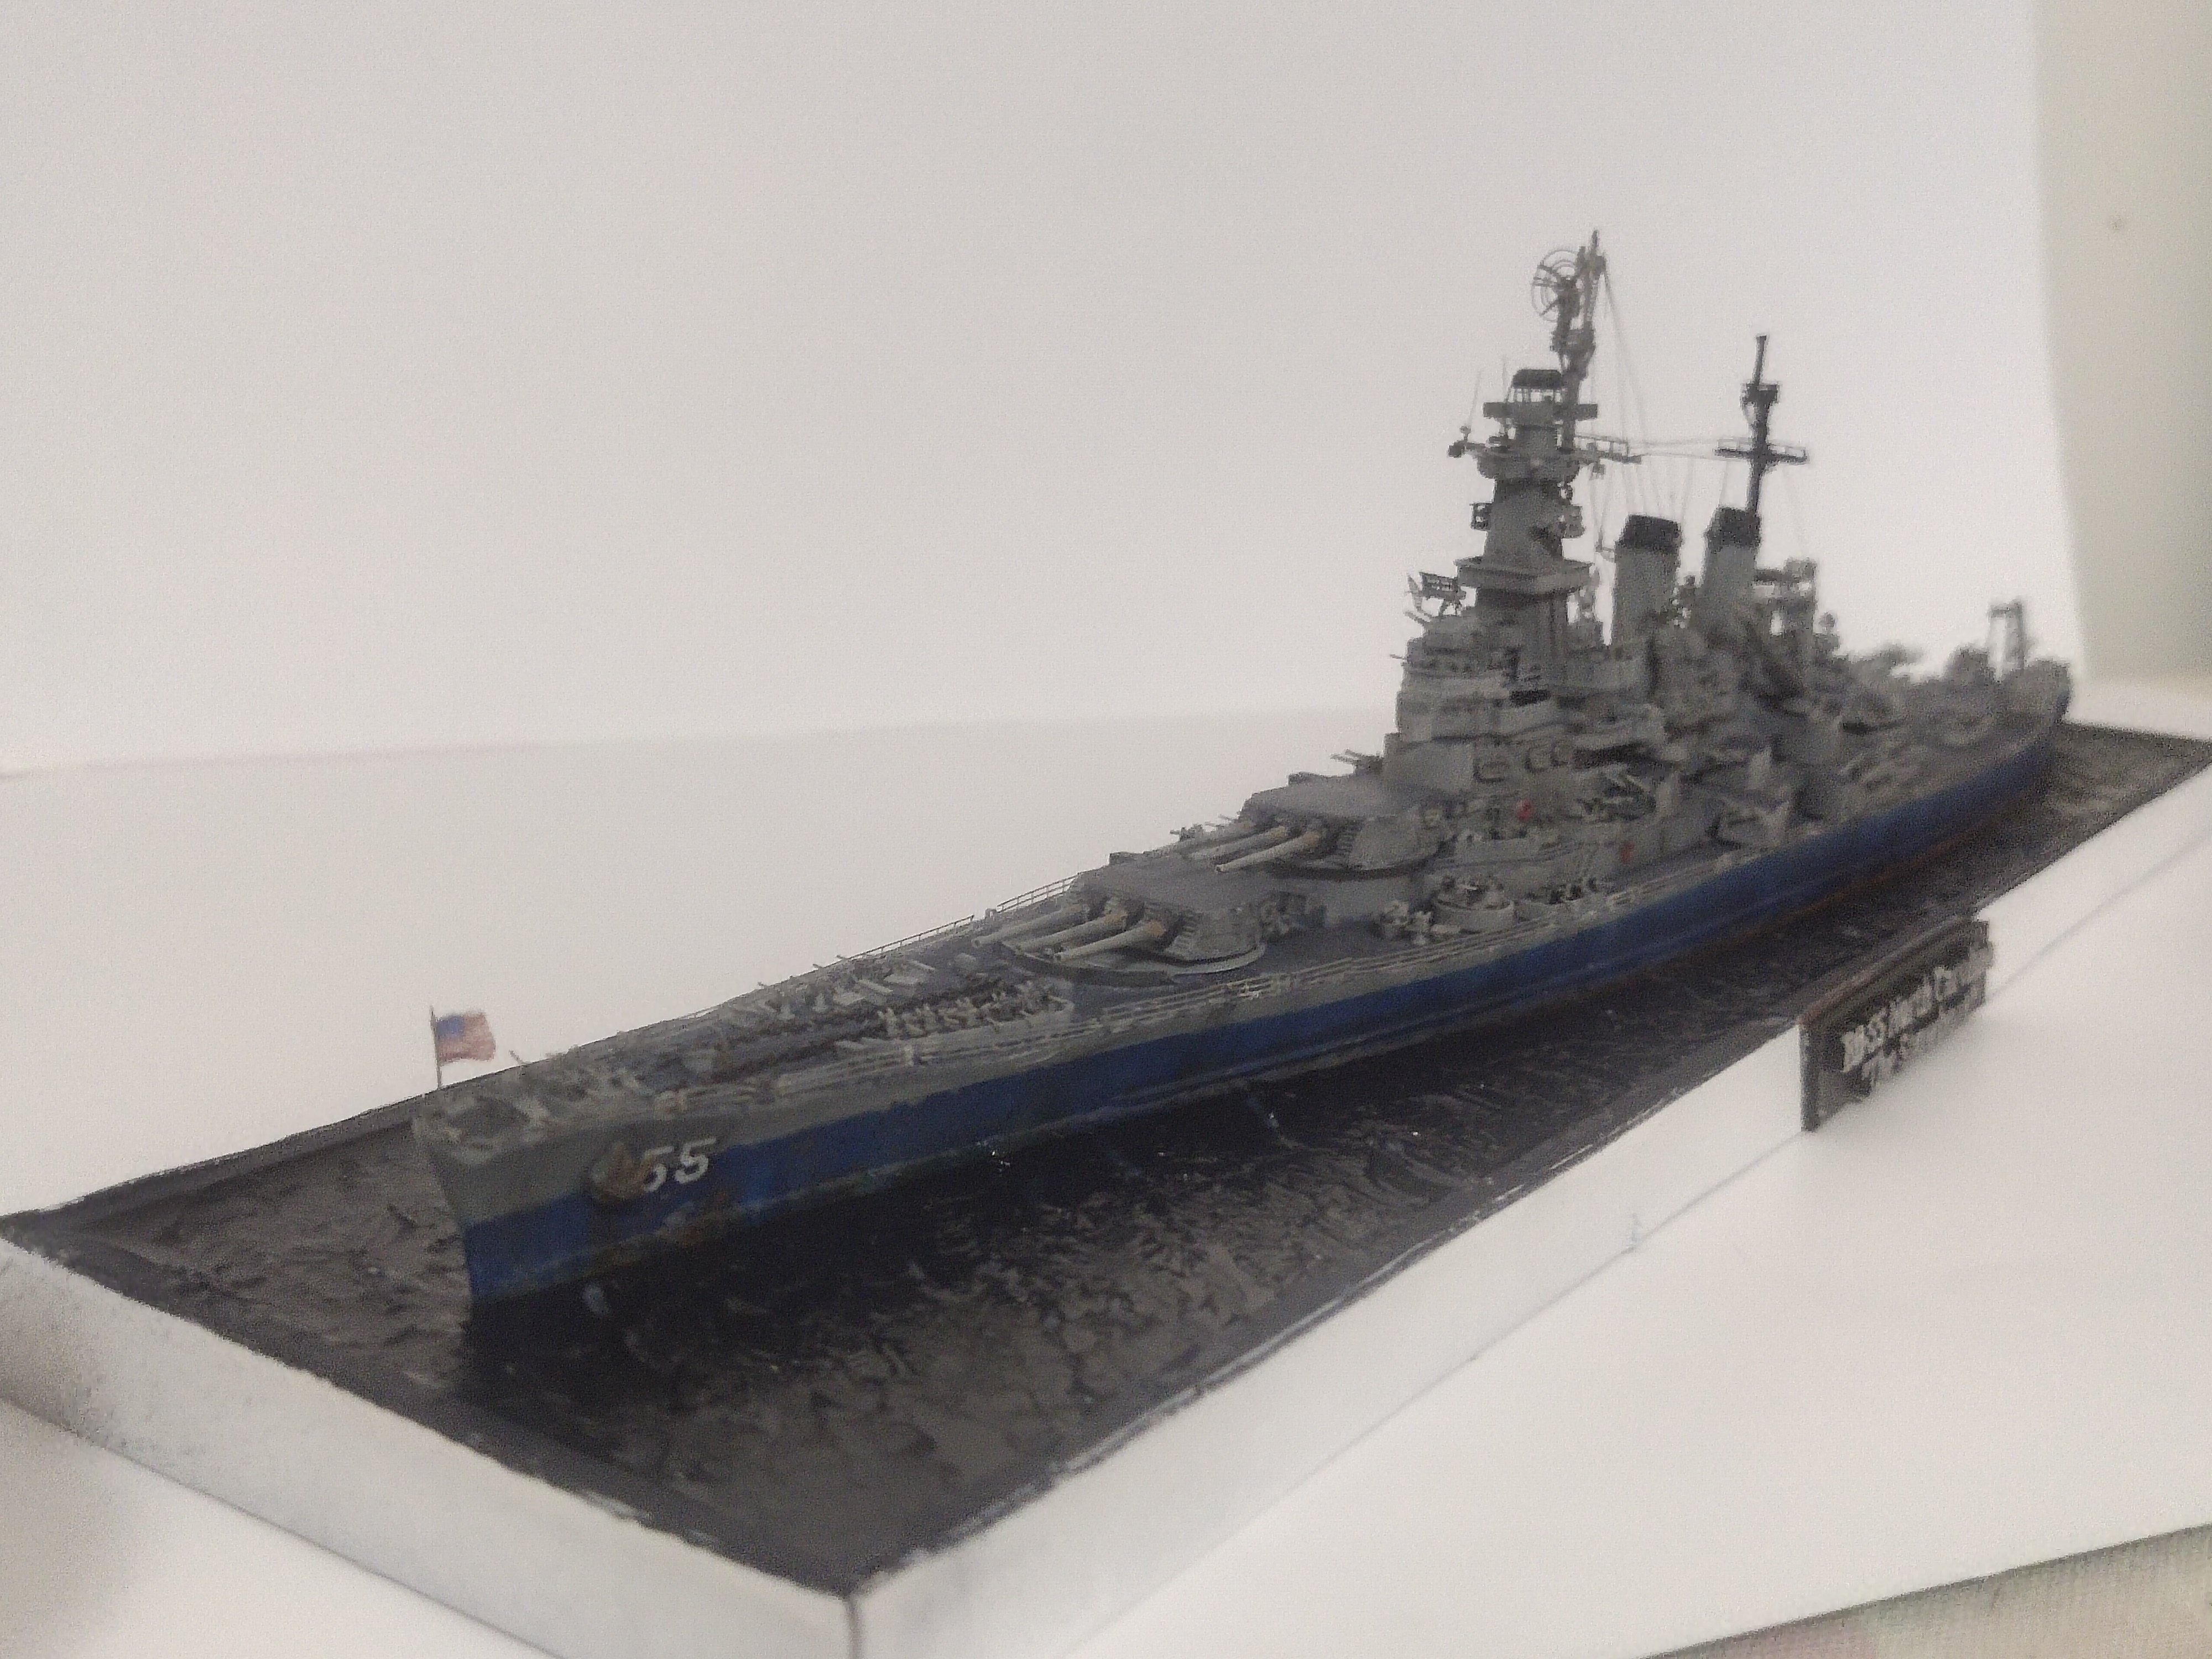
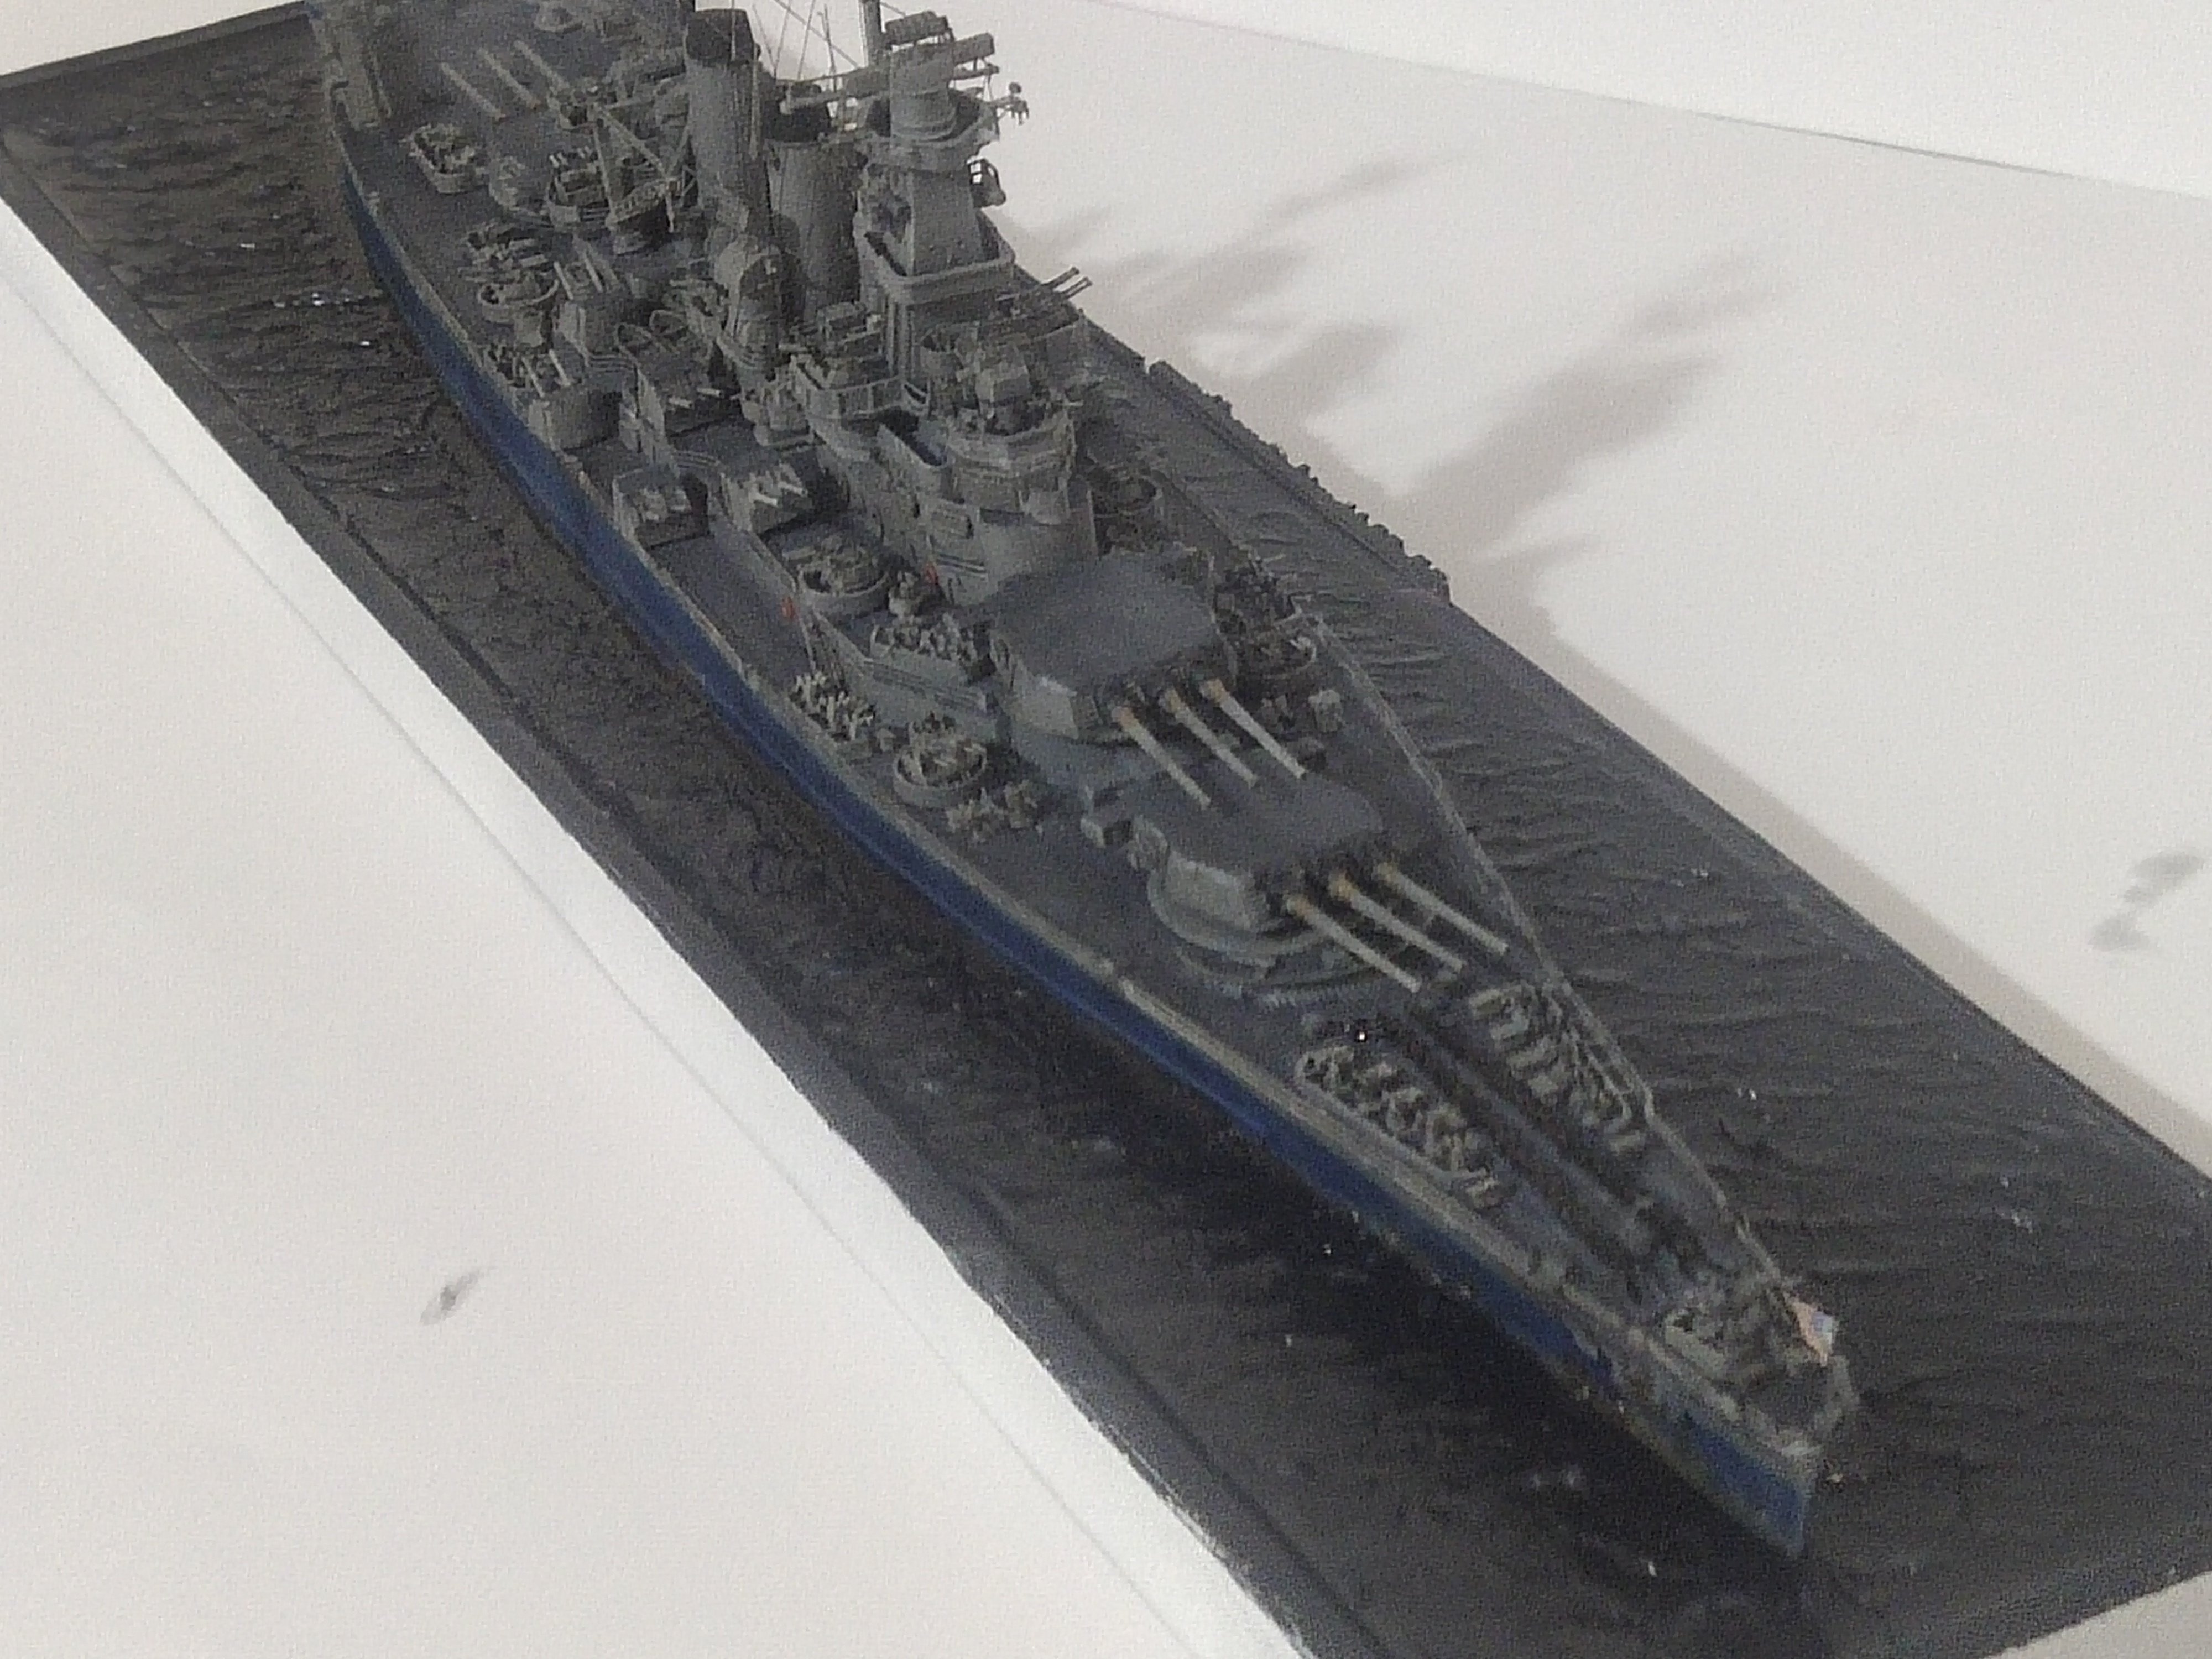
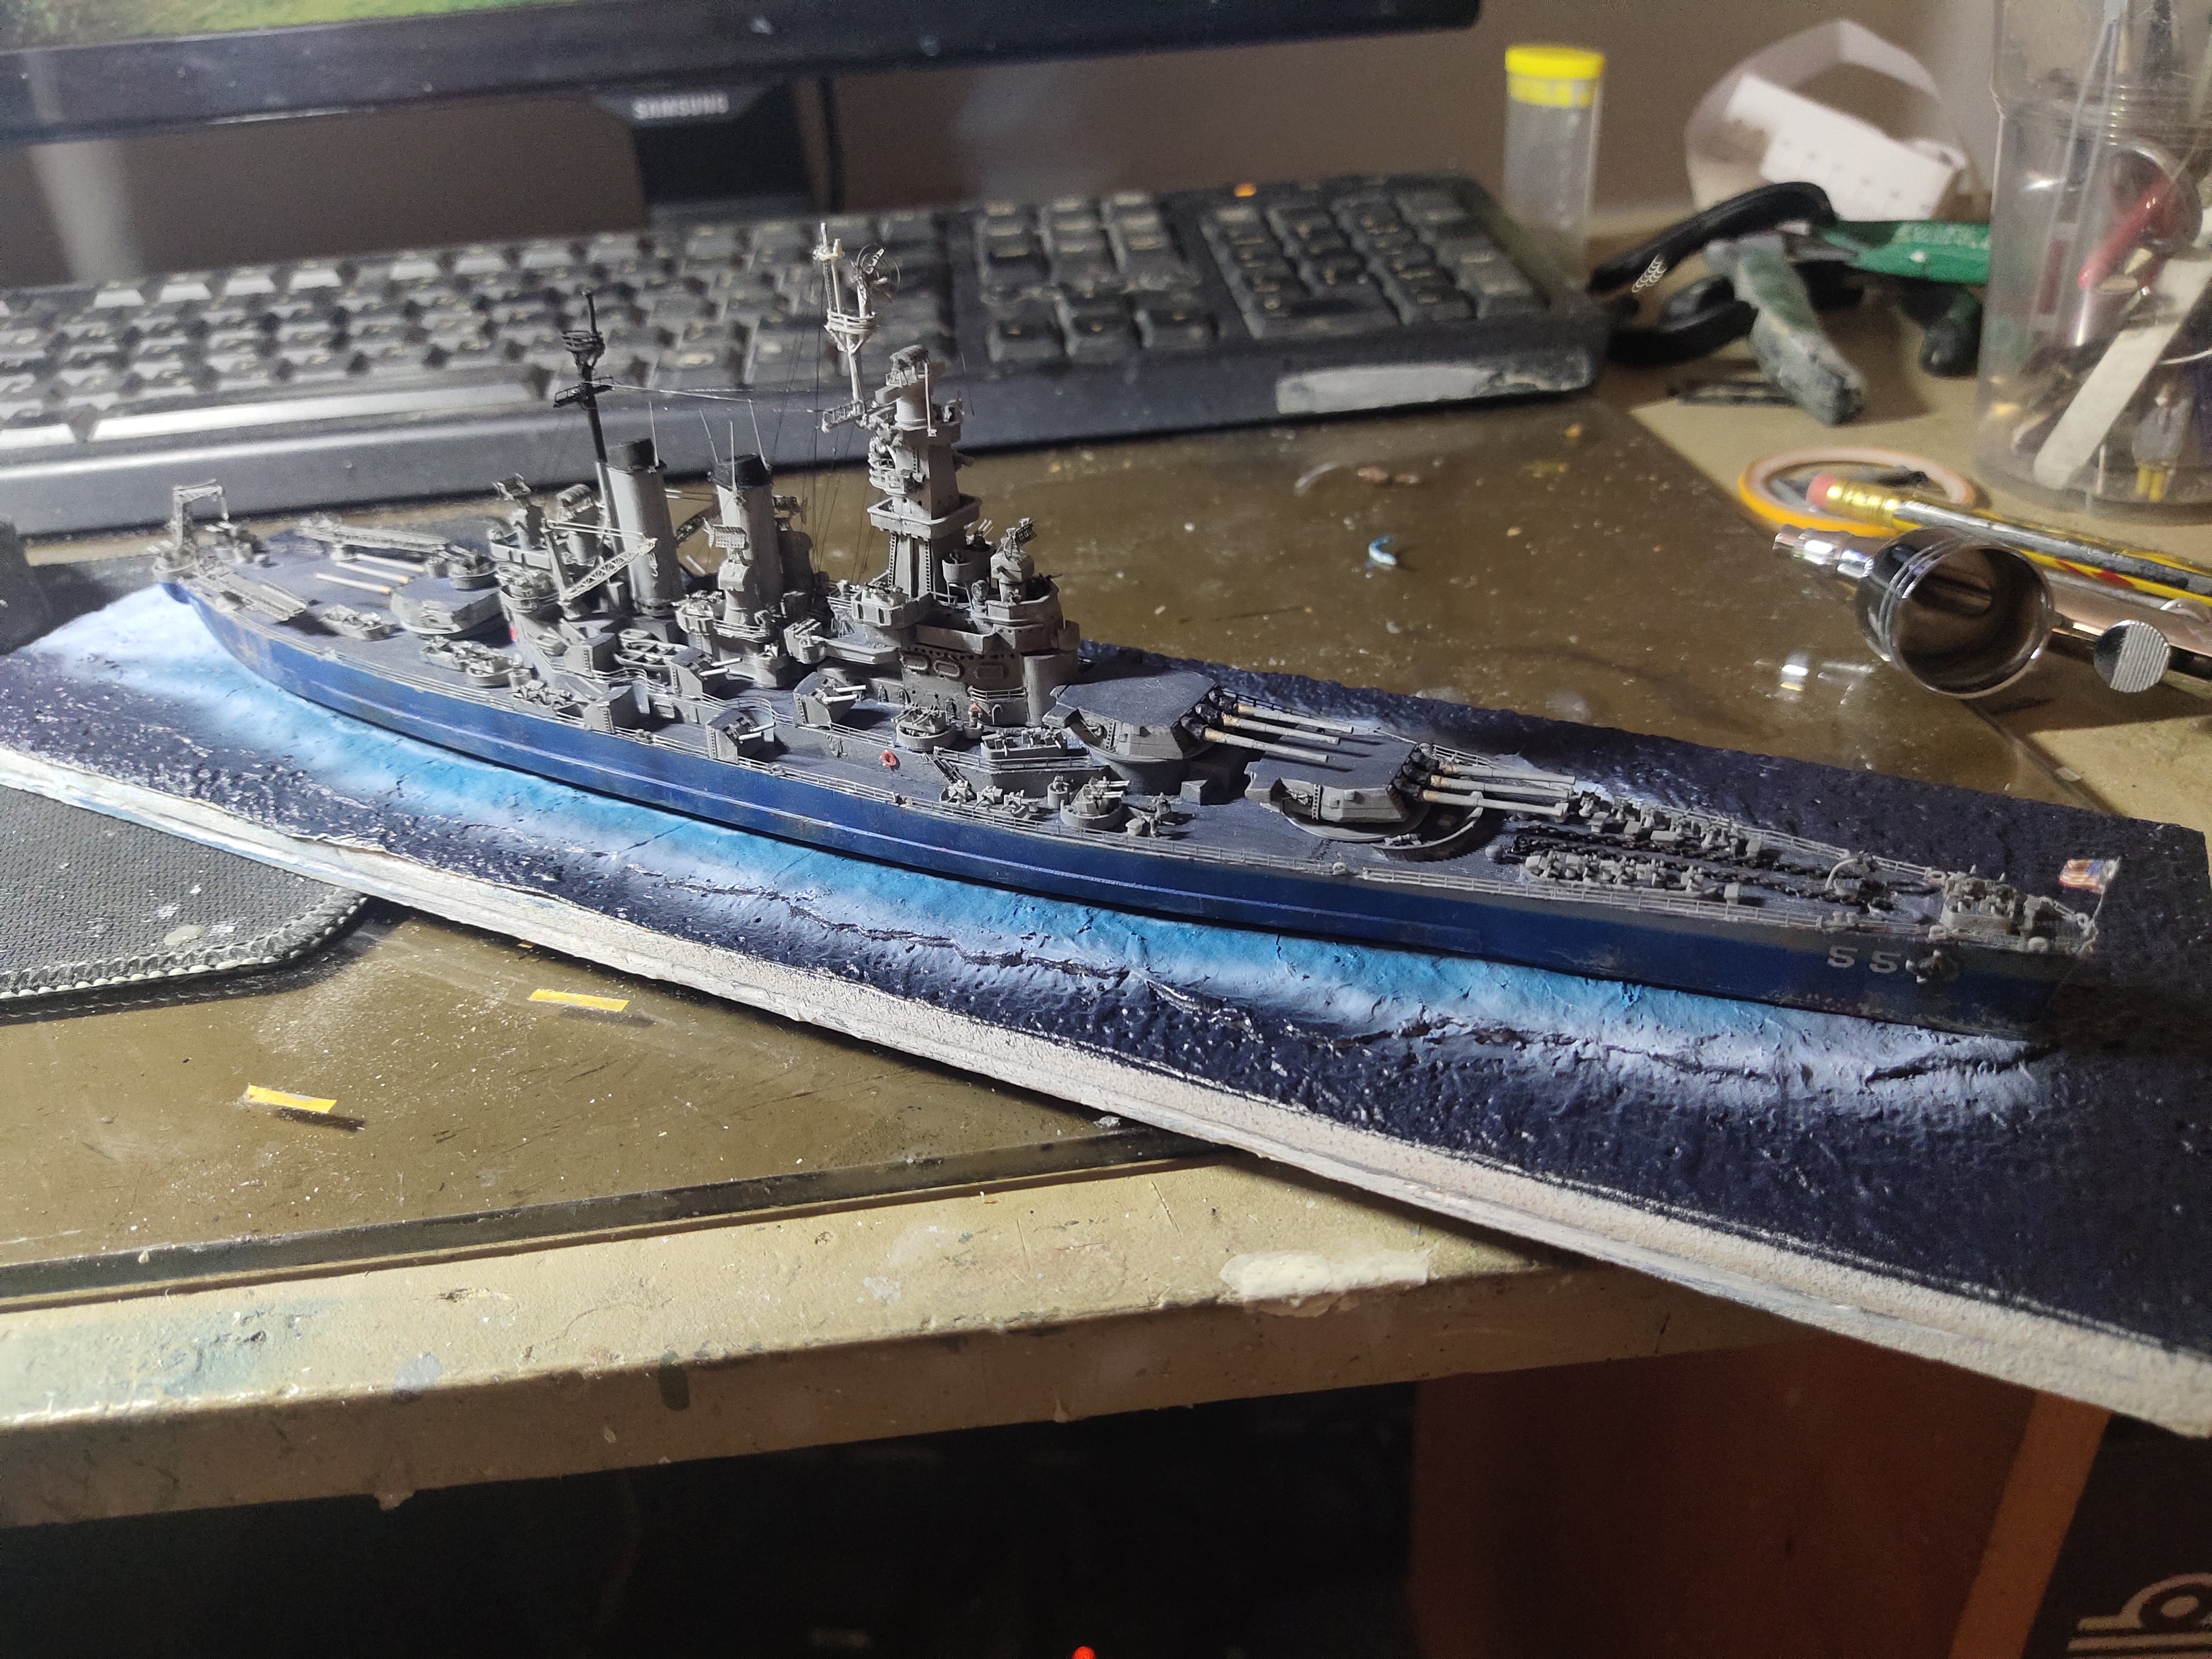
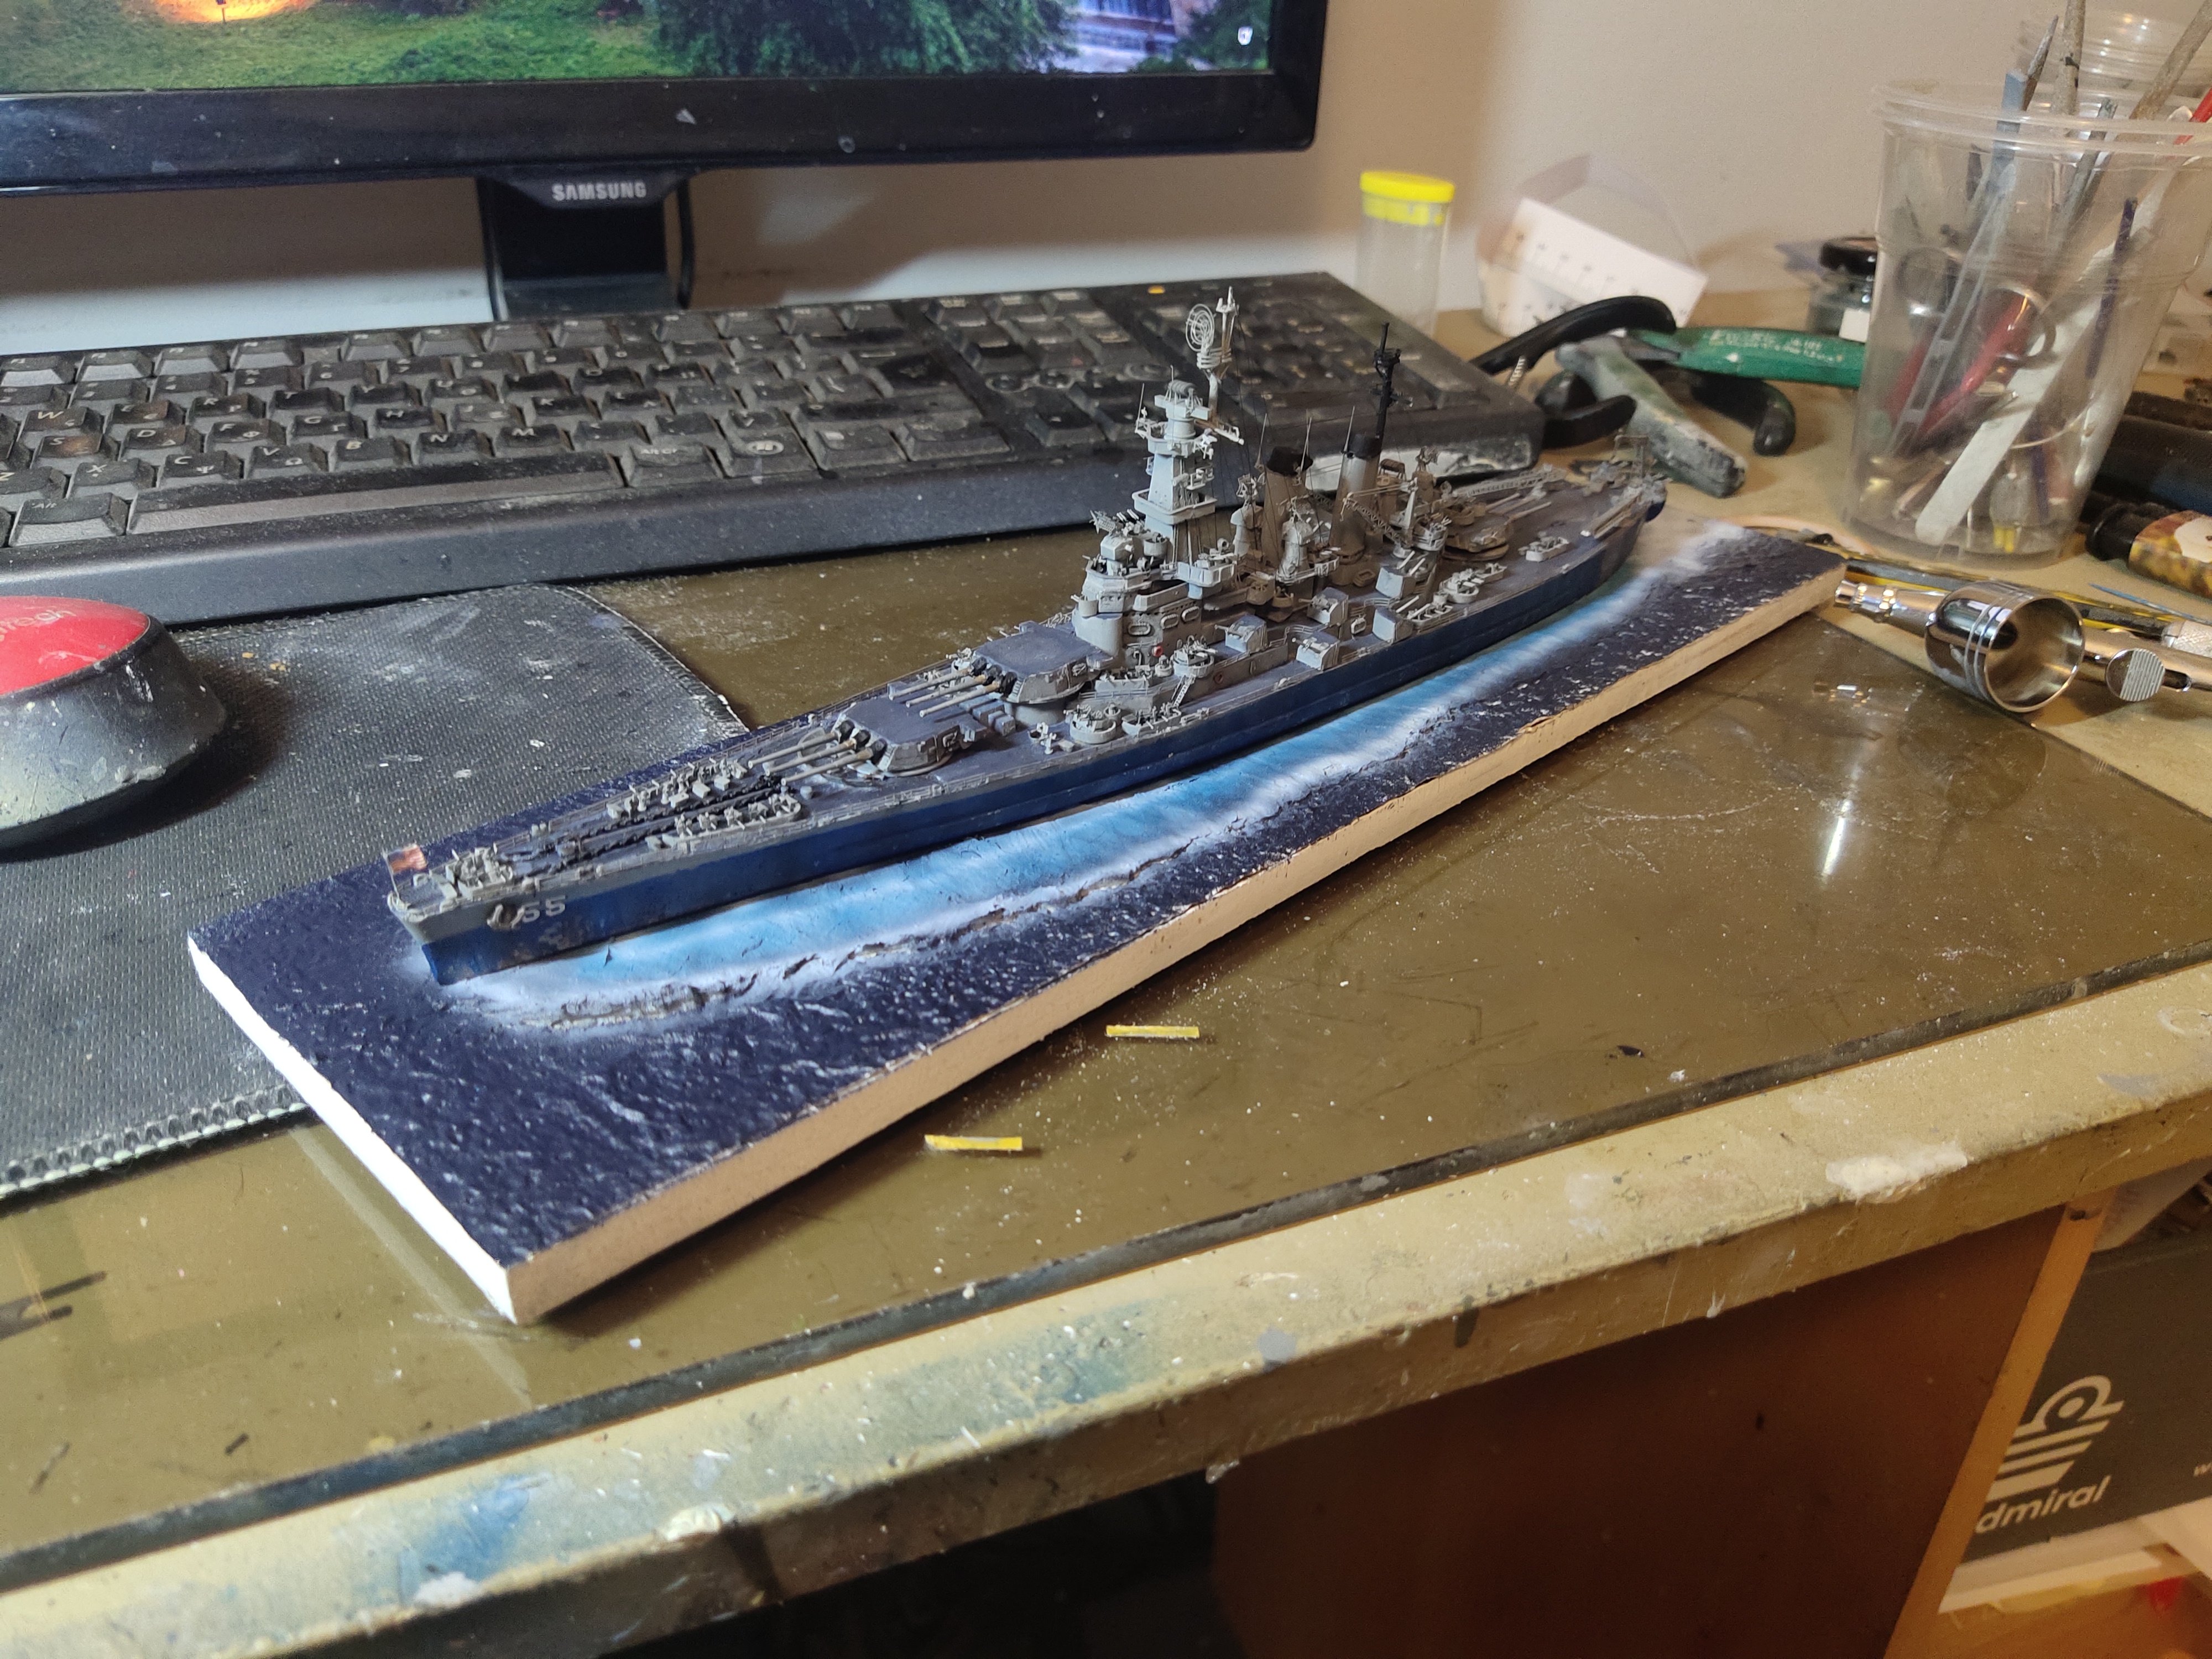
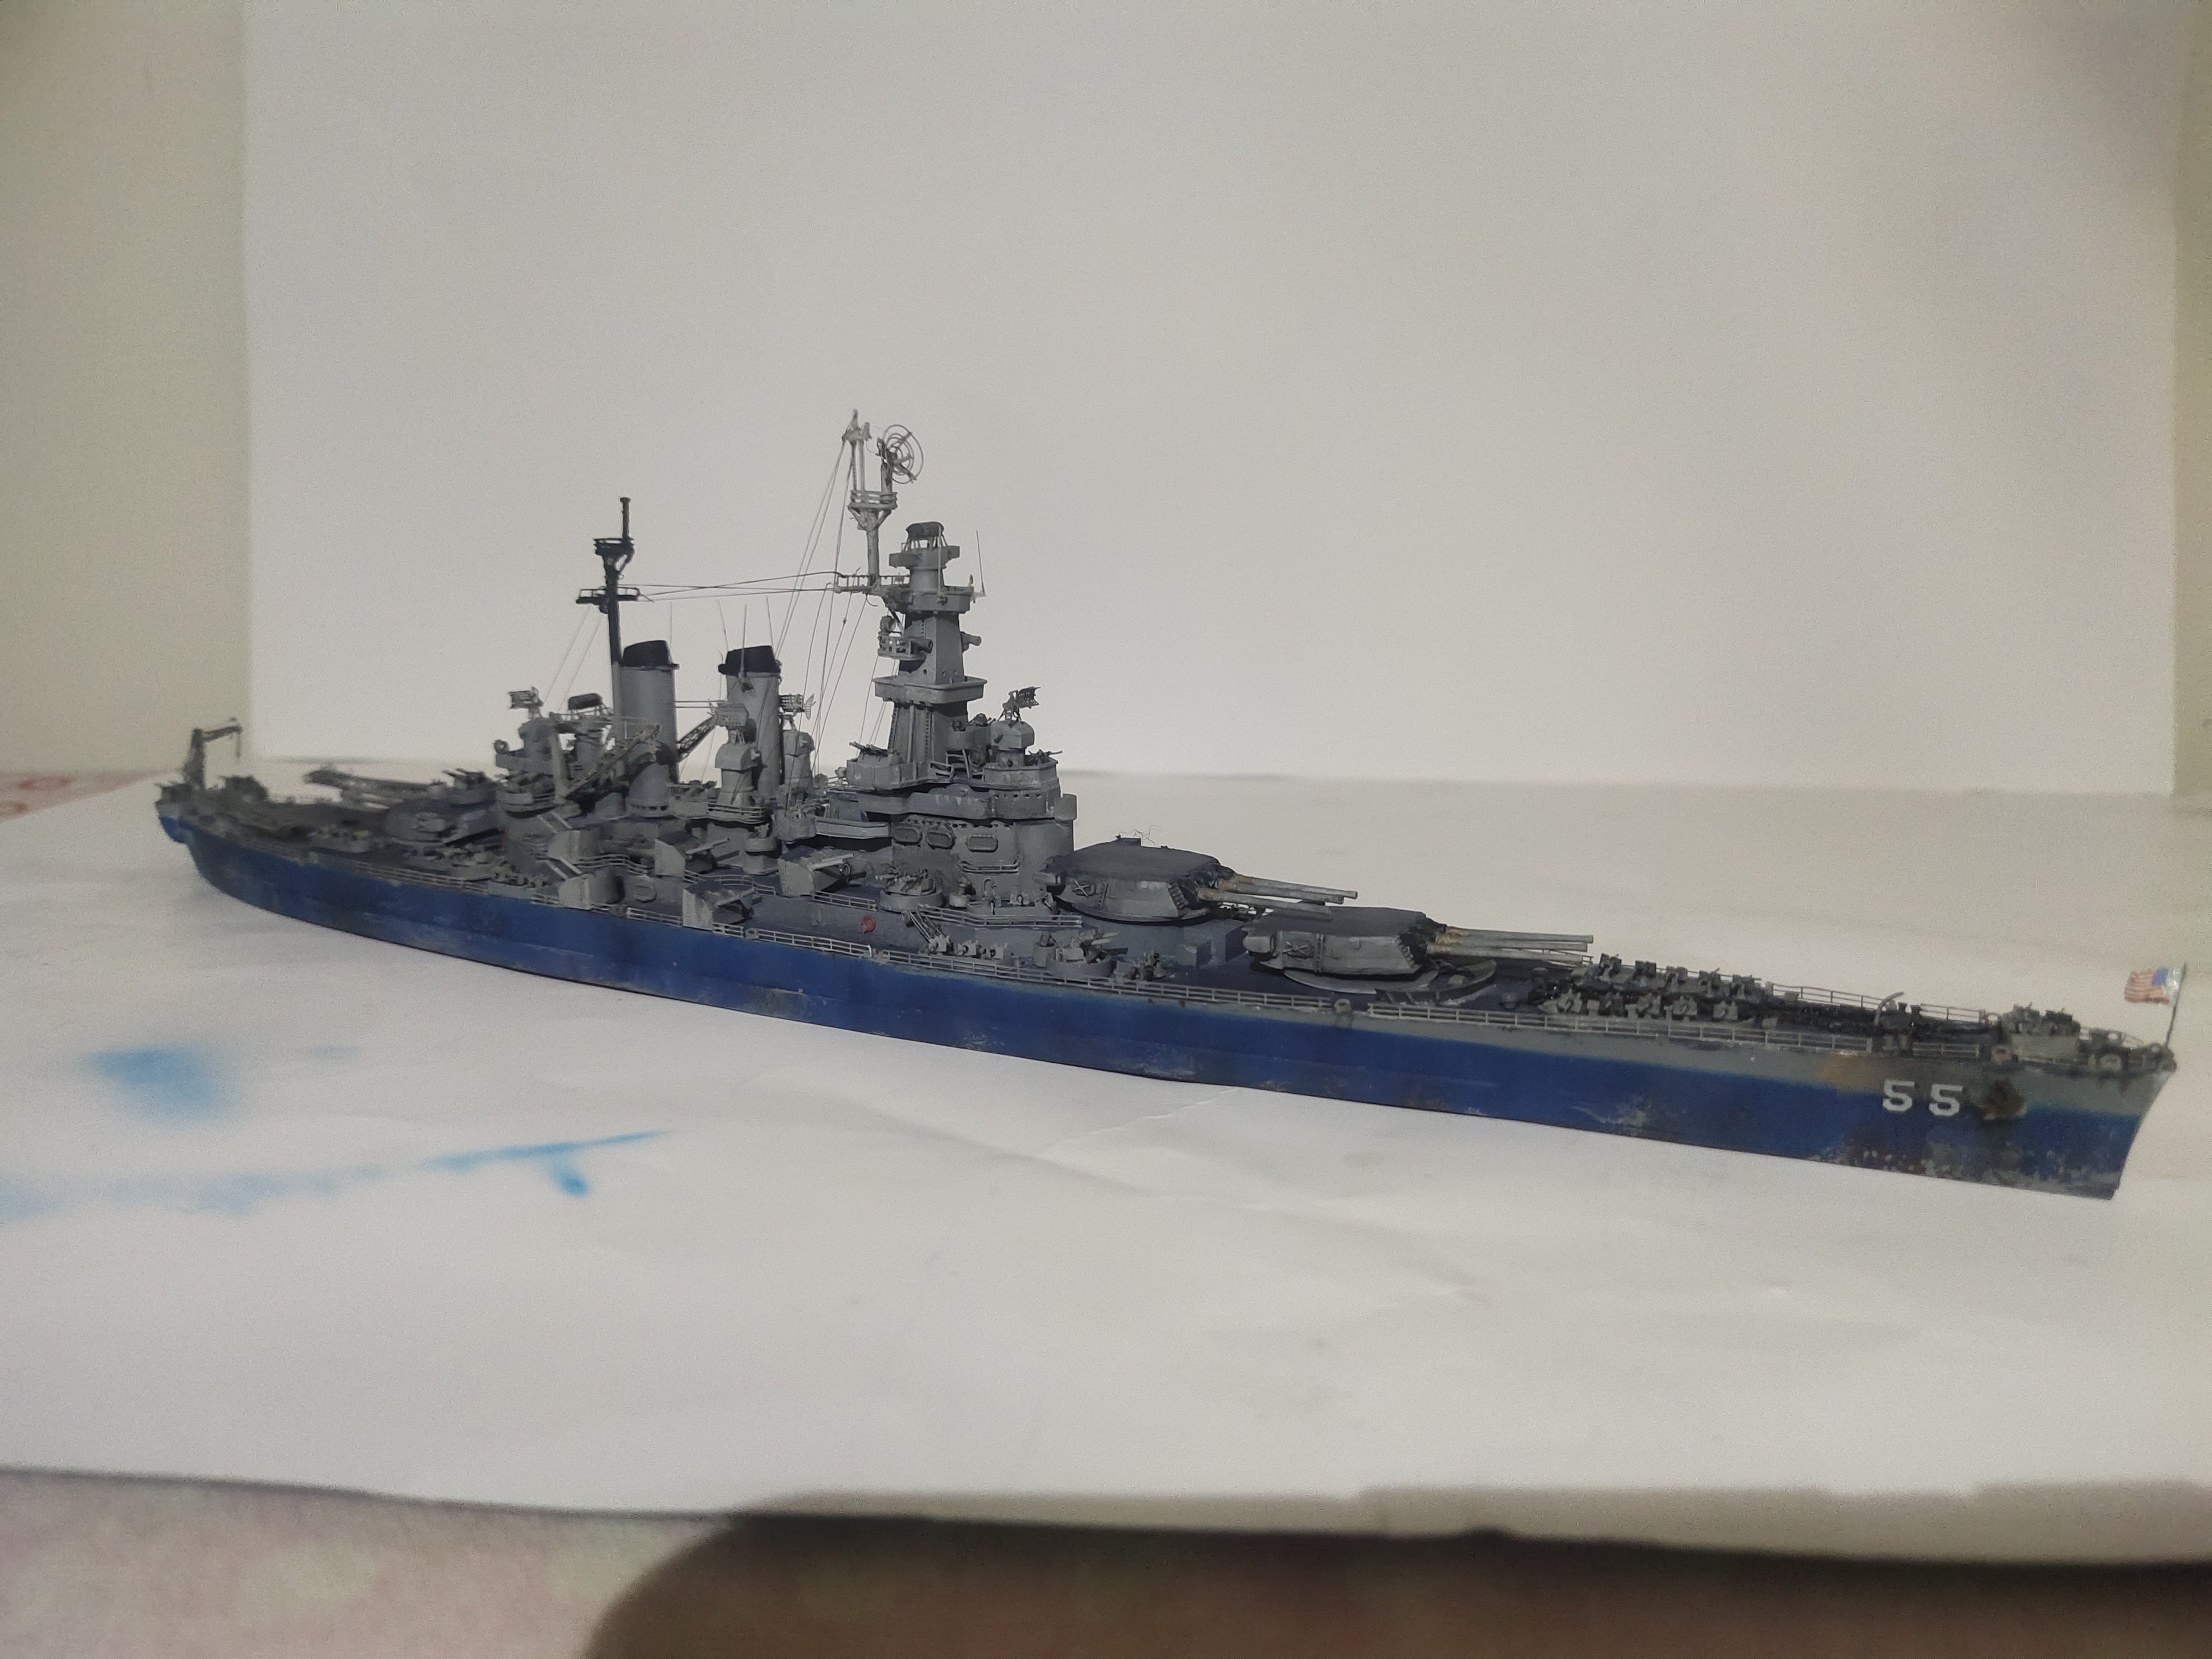
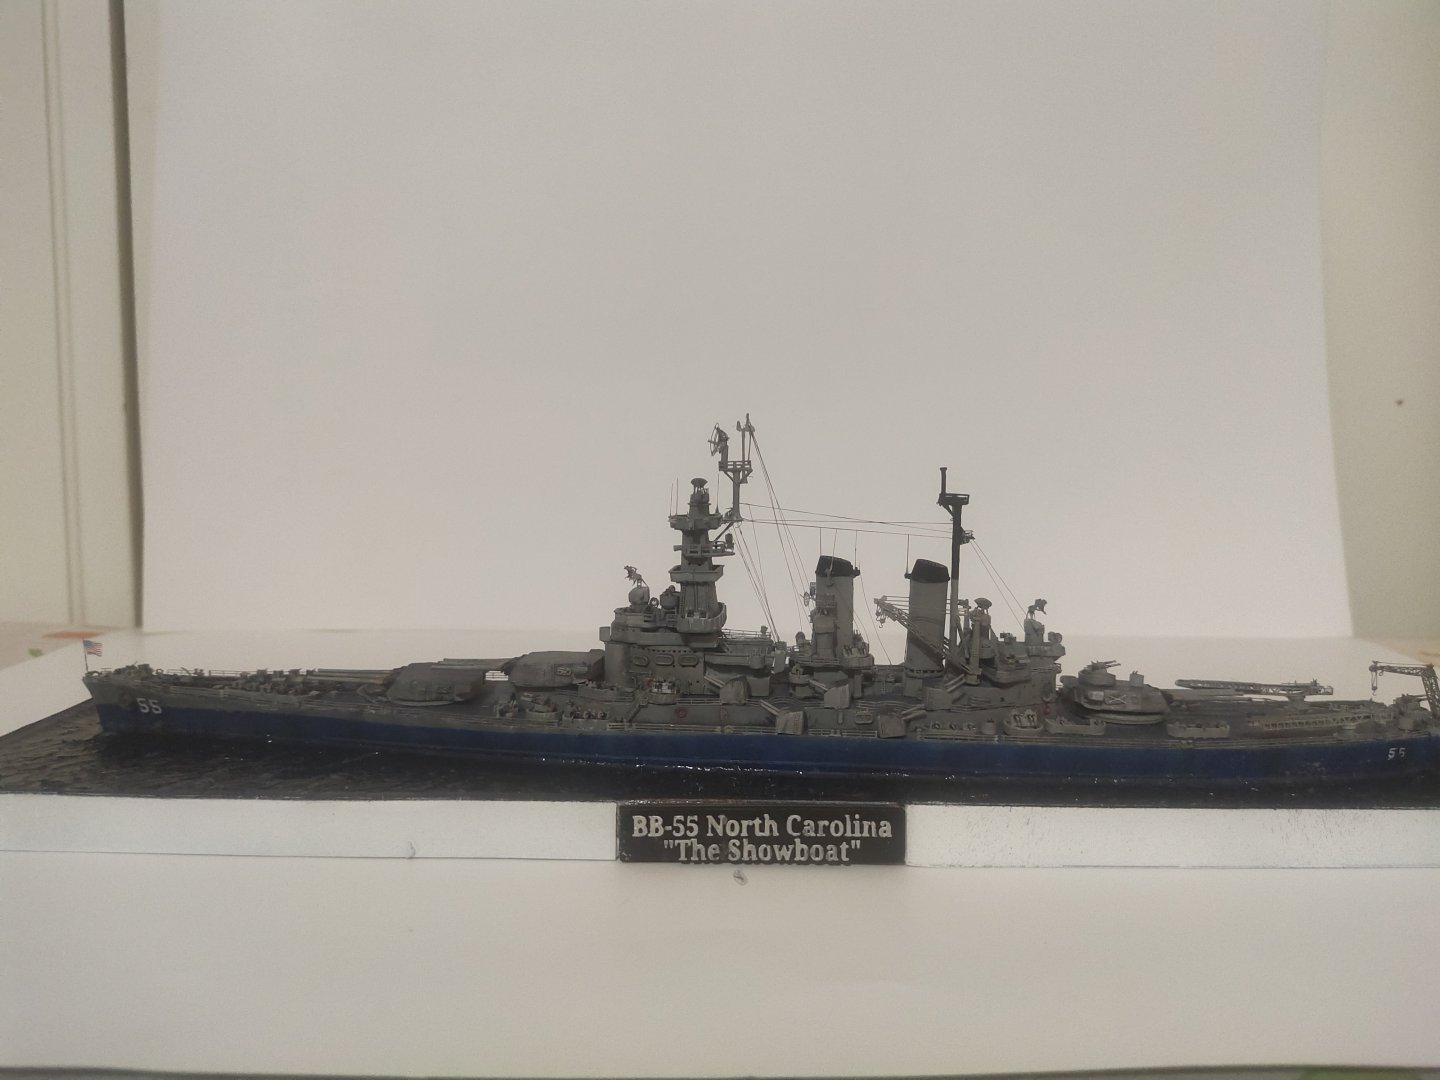
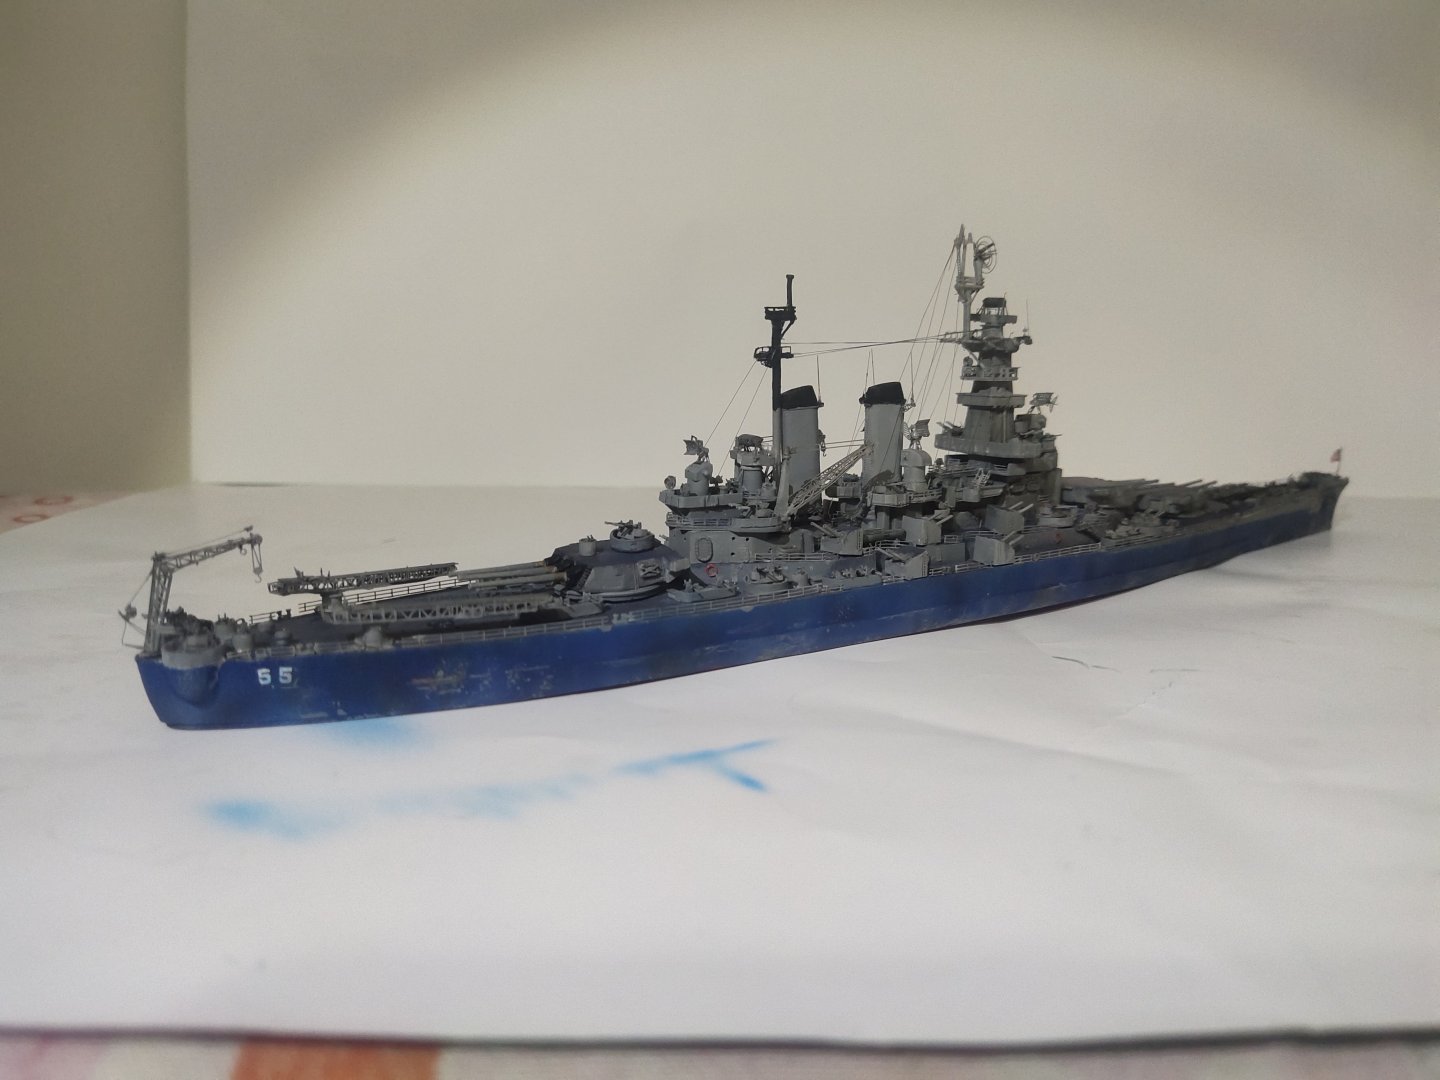
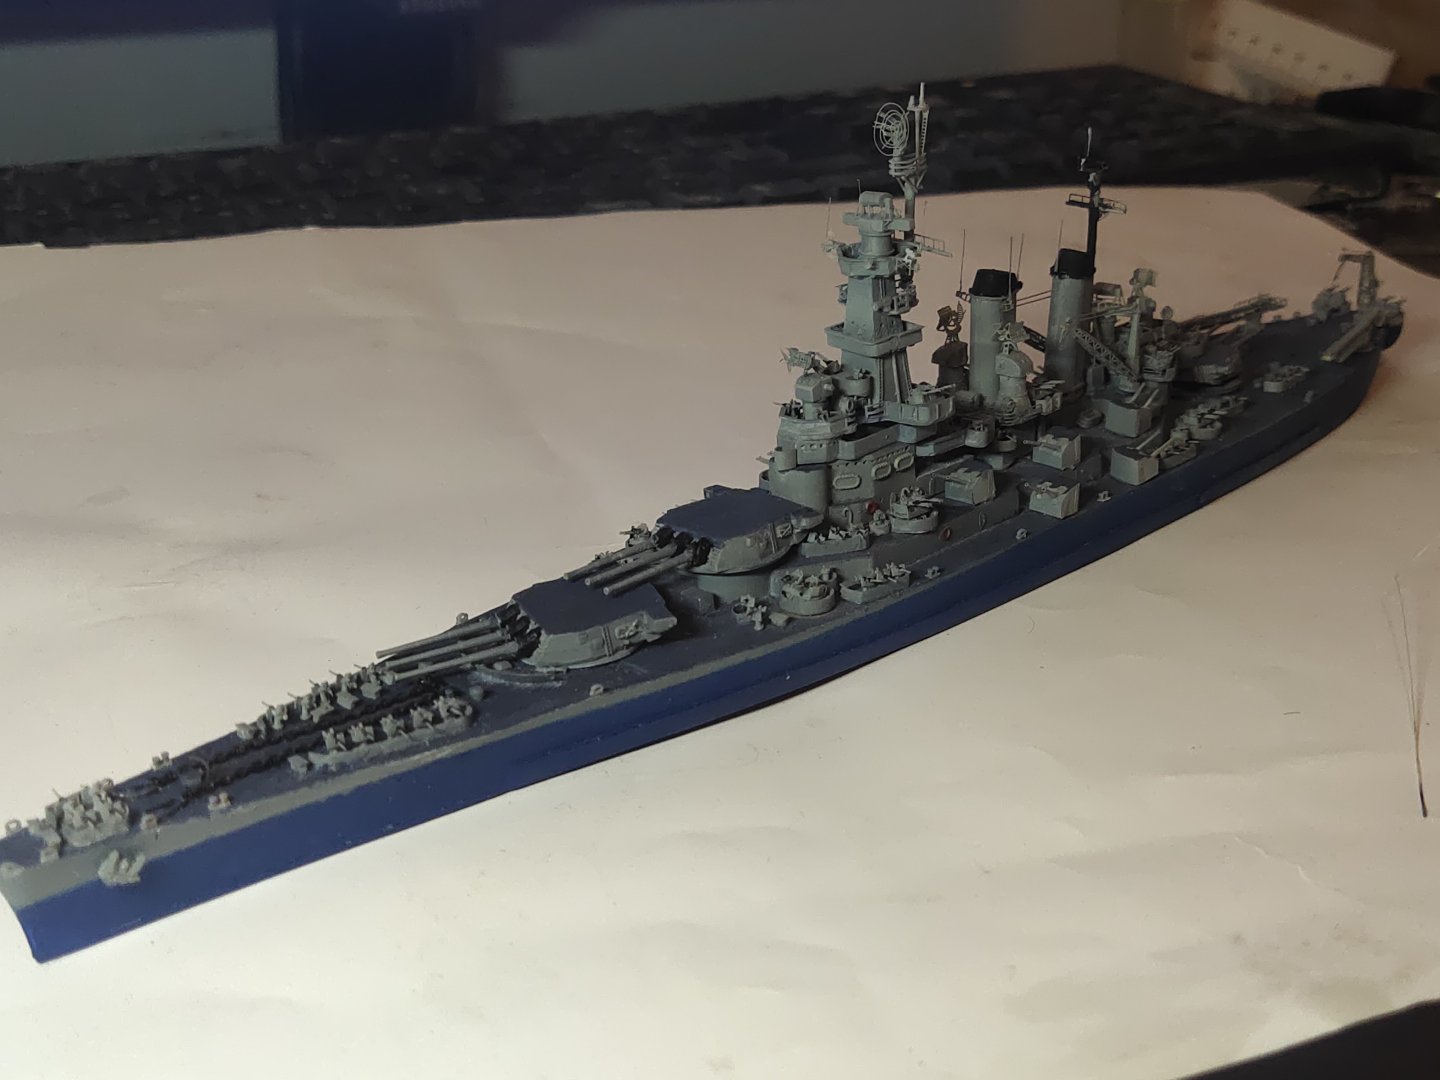
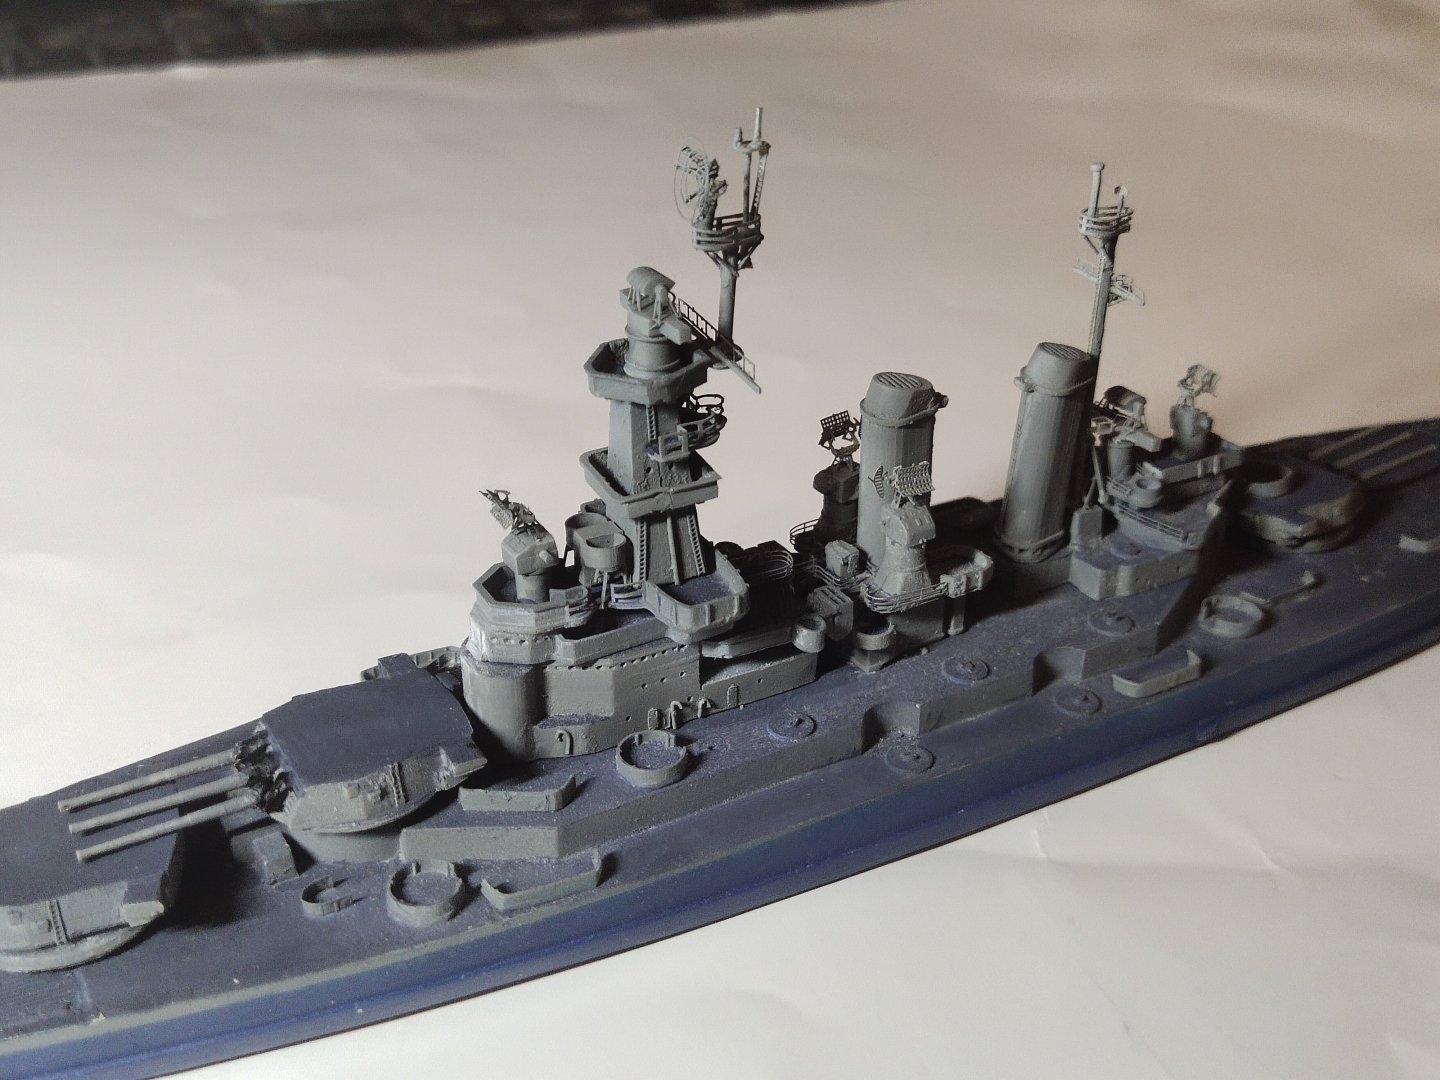
For the weatheriing I used basic principles and few materials Some white airbrushed vertically on the hull. Then bit of black to create contrast. Next was chipping effect with grey rust color. For deck some white and black washing. Very light. Then some black weathering aon grey areas. I made a very diluted mix. So thin that there is no need to remove the excess black. I don't want to make a mess especially in a such small scale is easy to happen


-
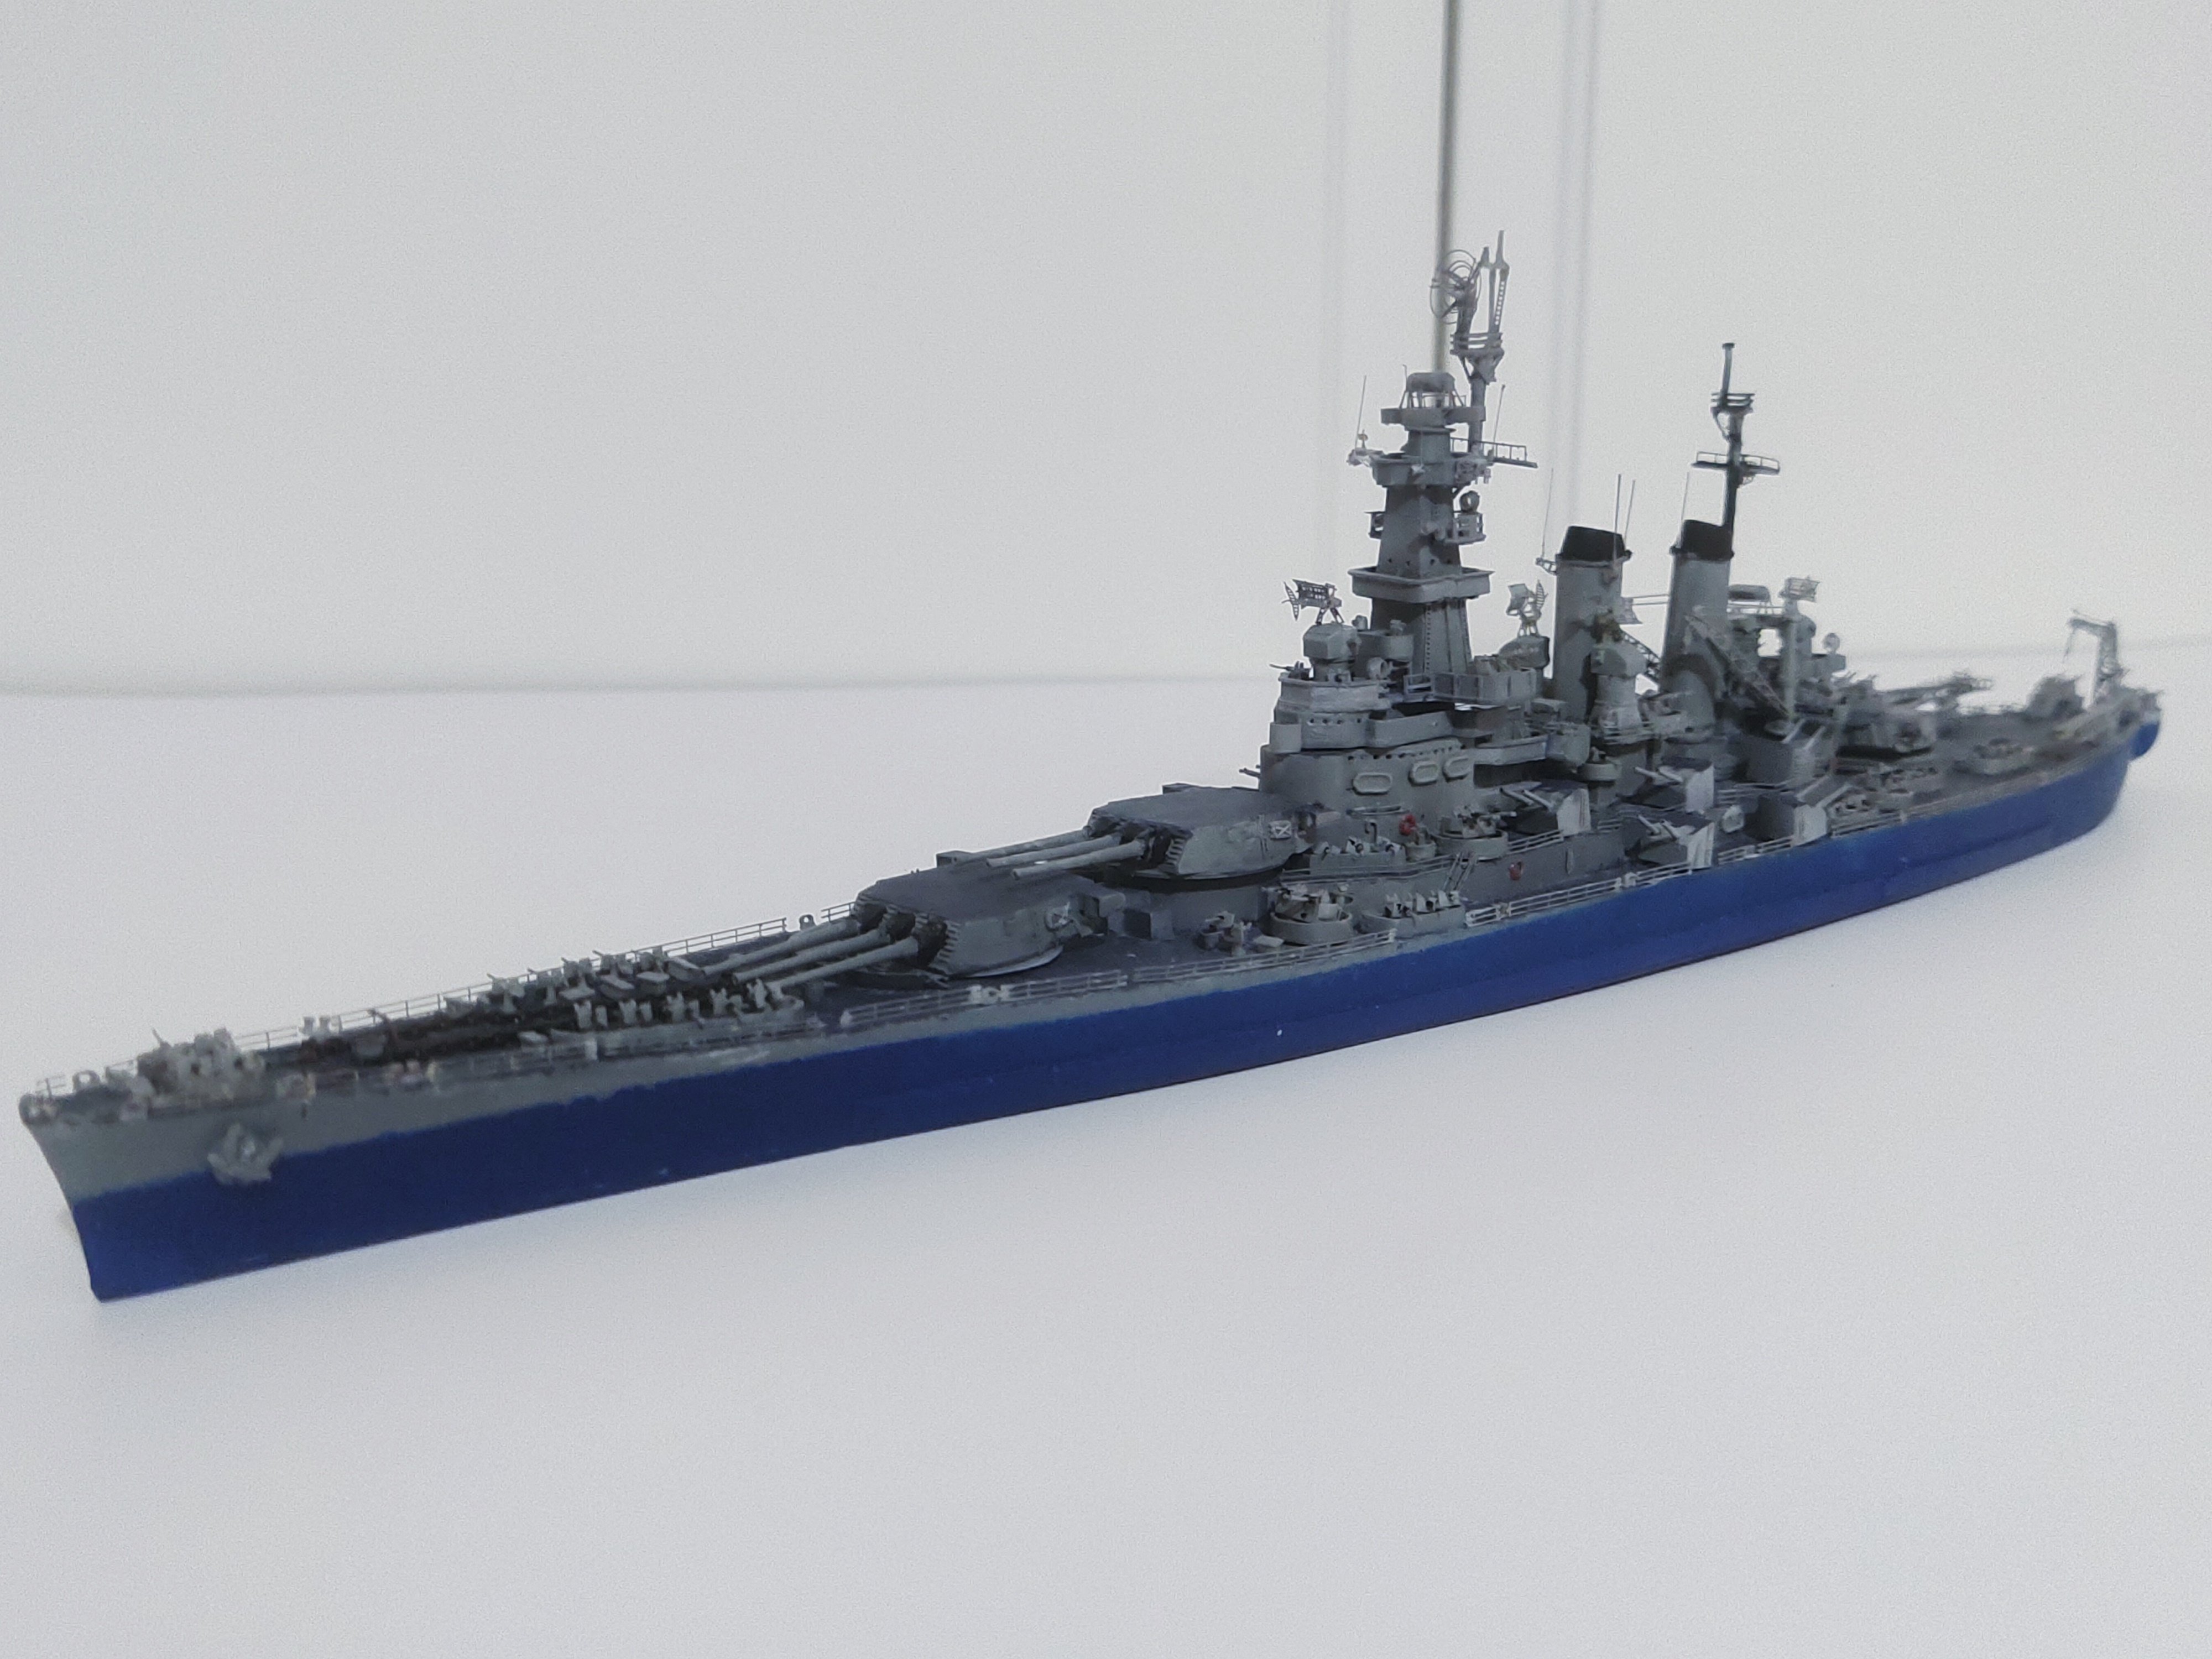
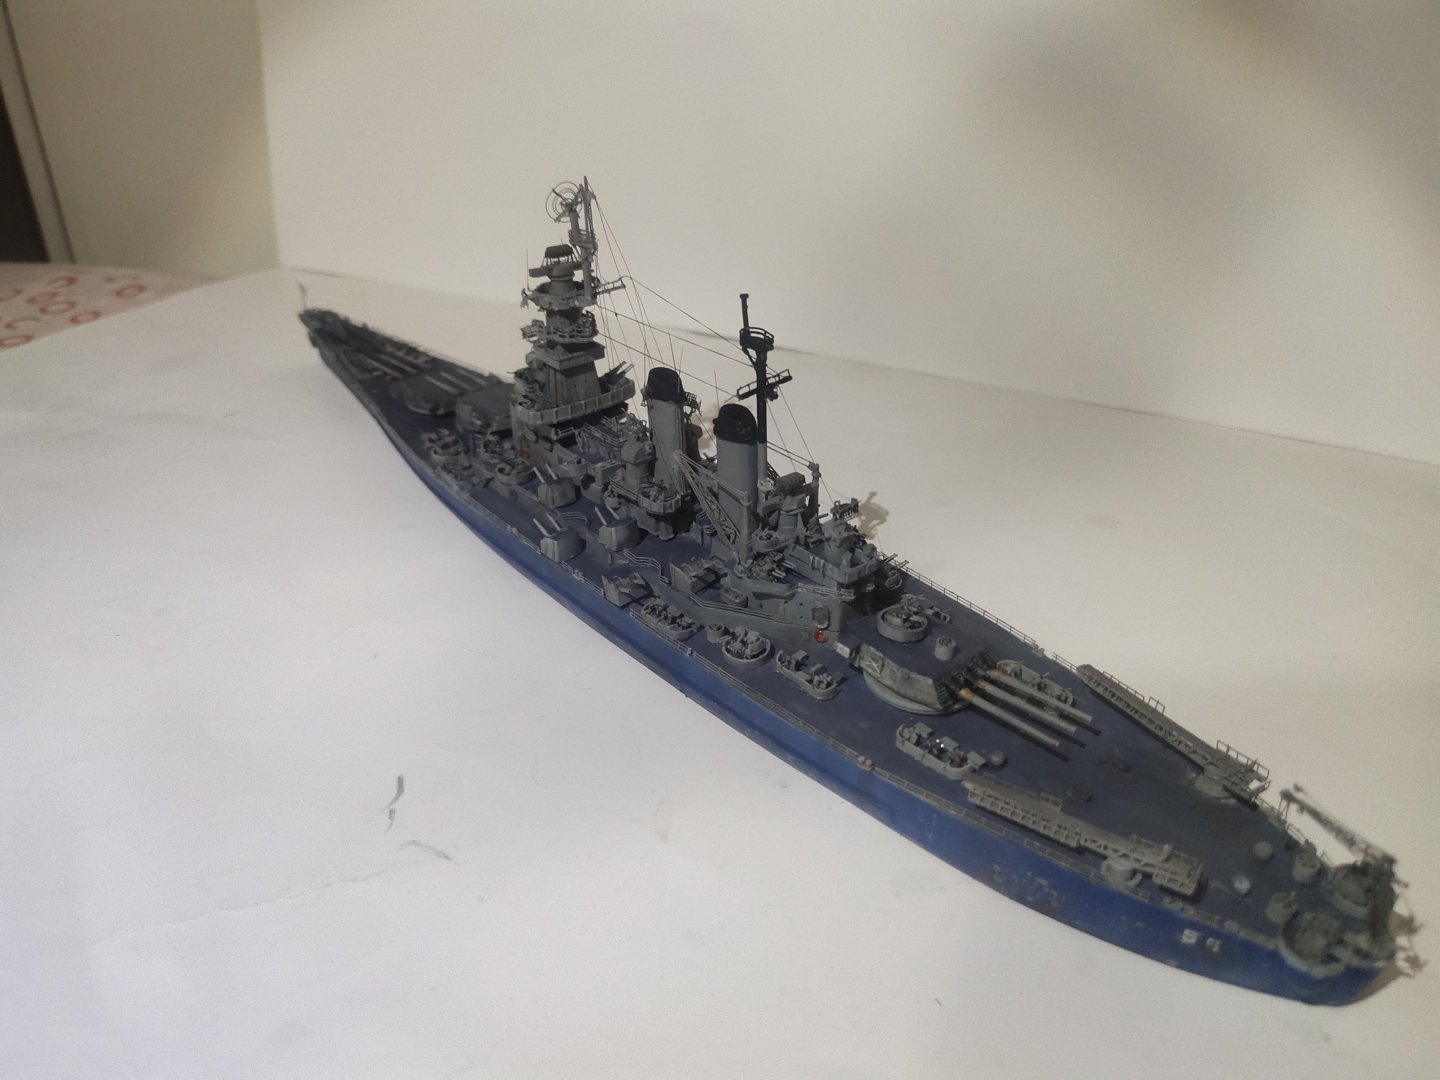
So I done rigging, it focused mostly on the middle section. I used fake hair. 2.99 for quantity to make 2500 models. But the best feature is that it is very thin barely visible that's why I had to put white paper behind to make it more visible. I did use some elastic rigging too thought, in a few cases.


-
Thank you for following and commenting my post
-
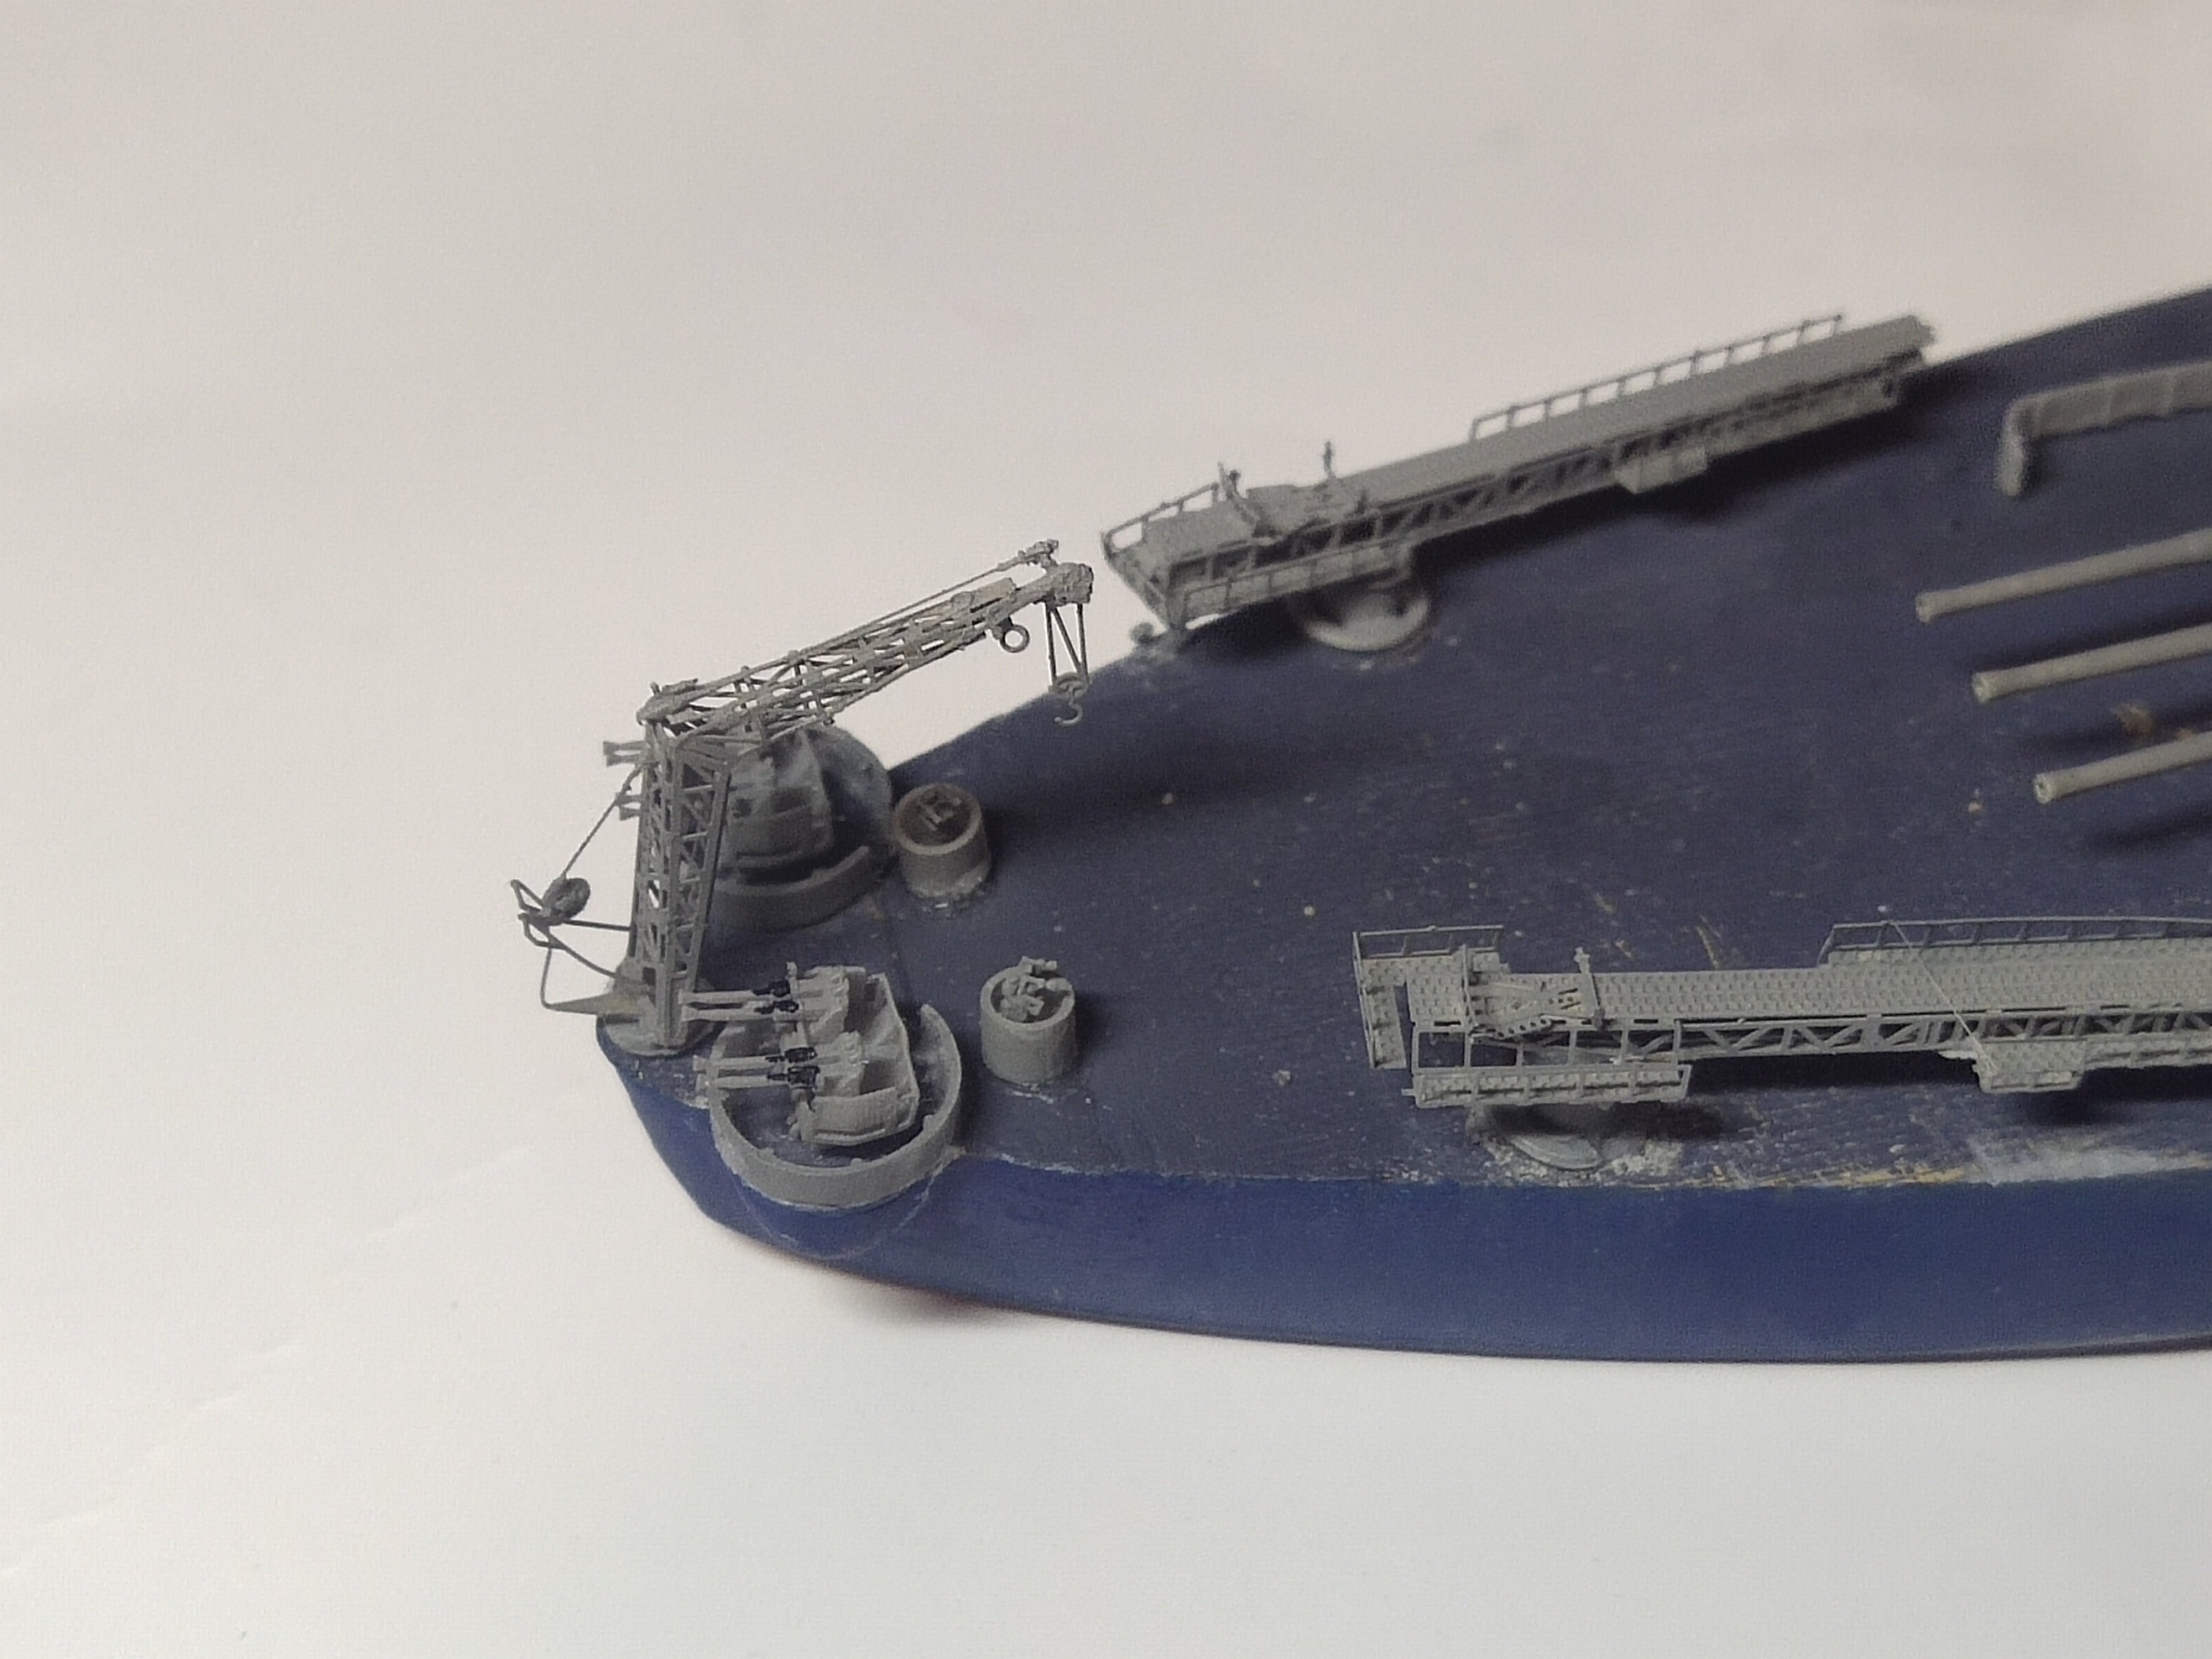
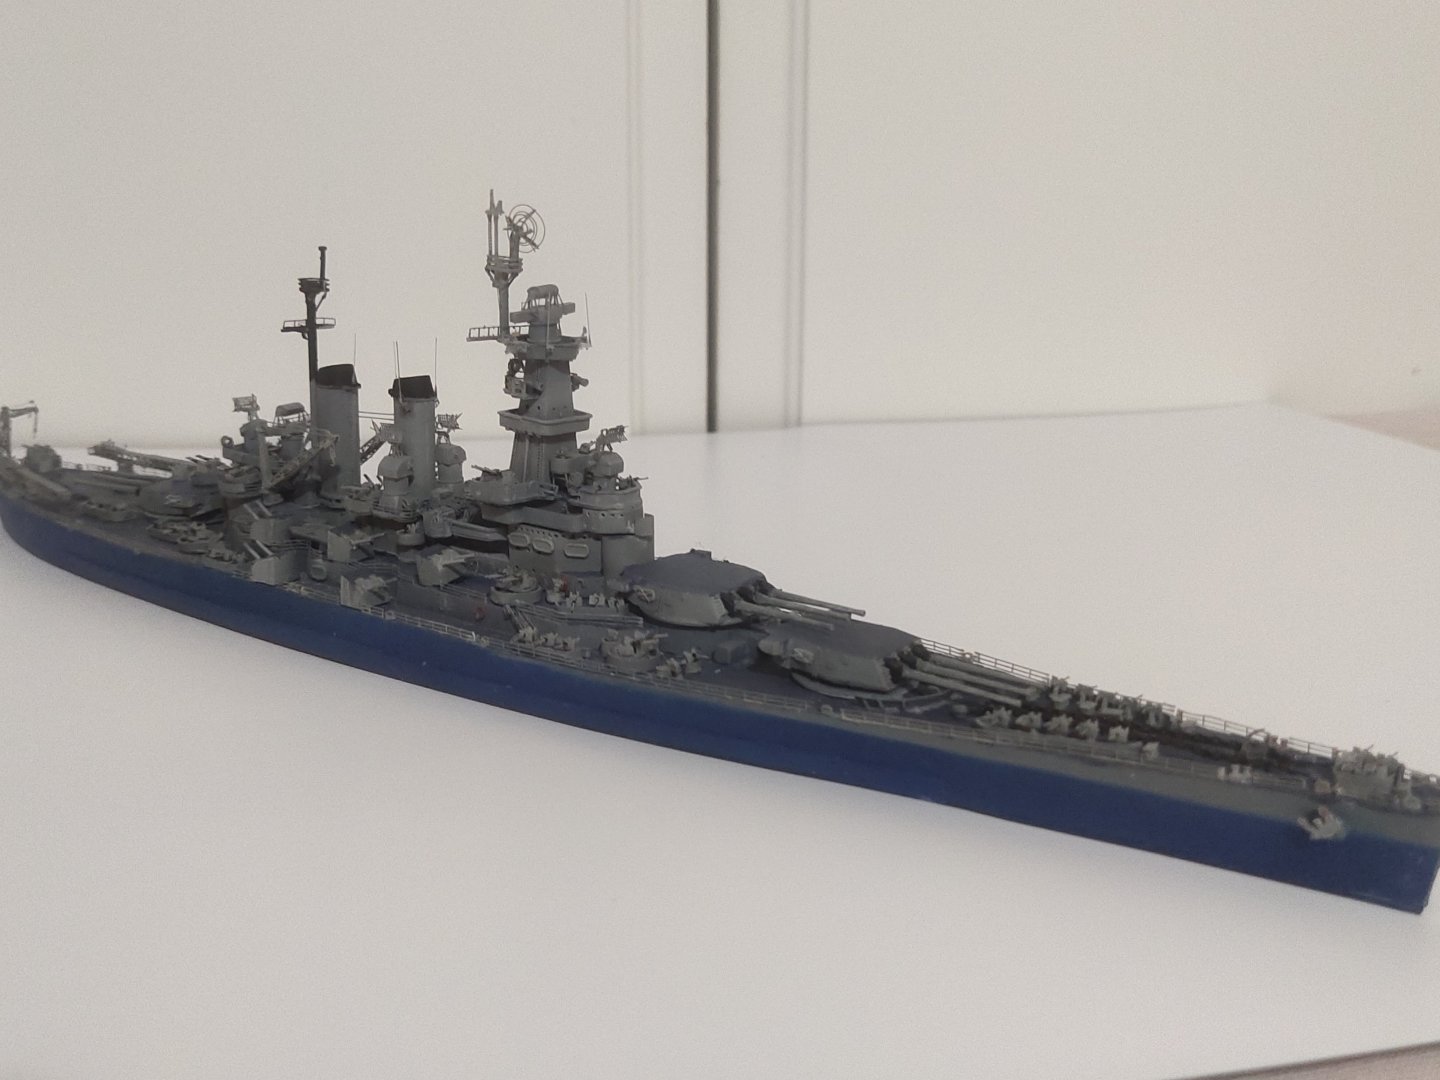
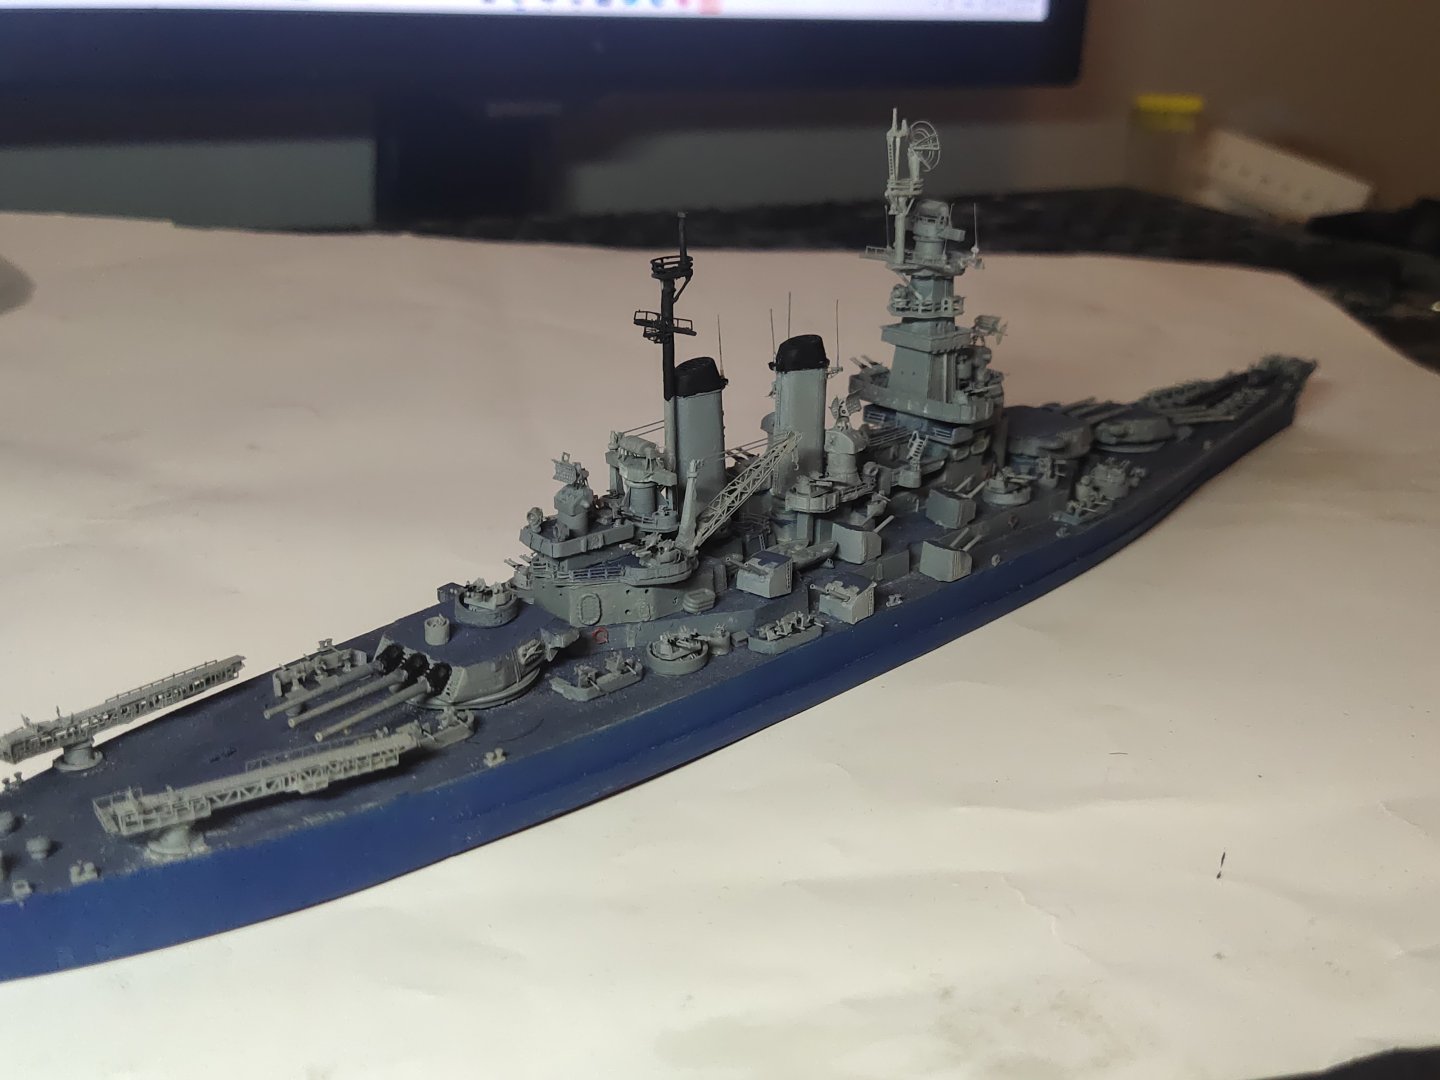
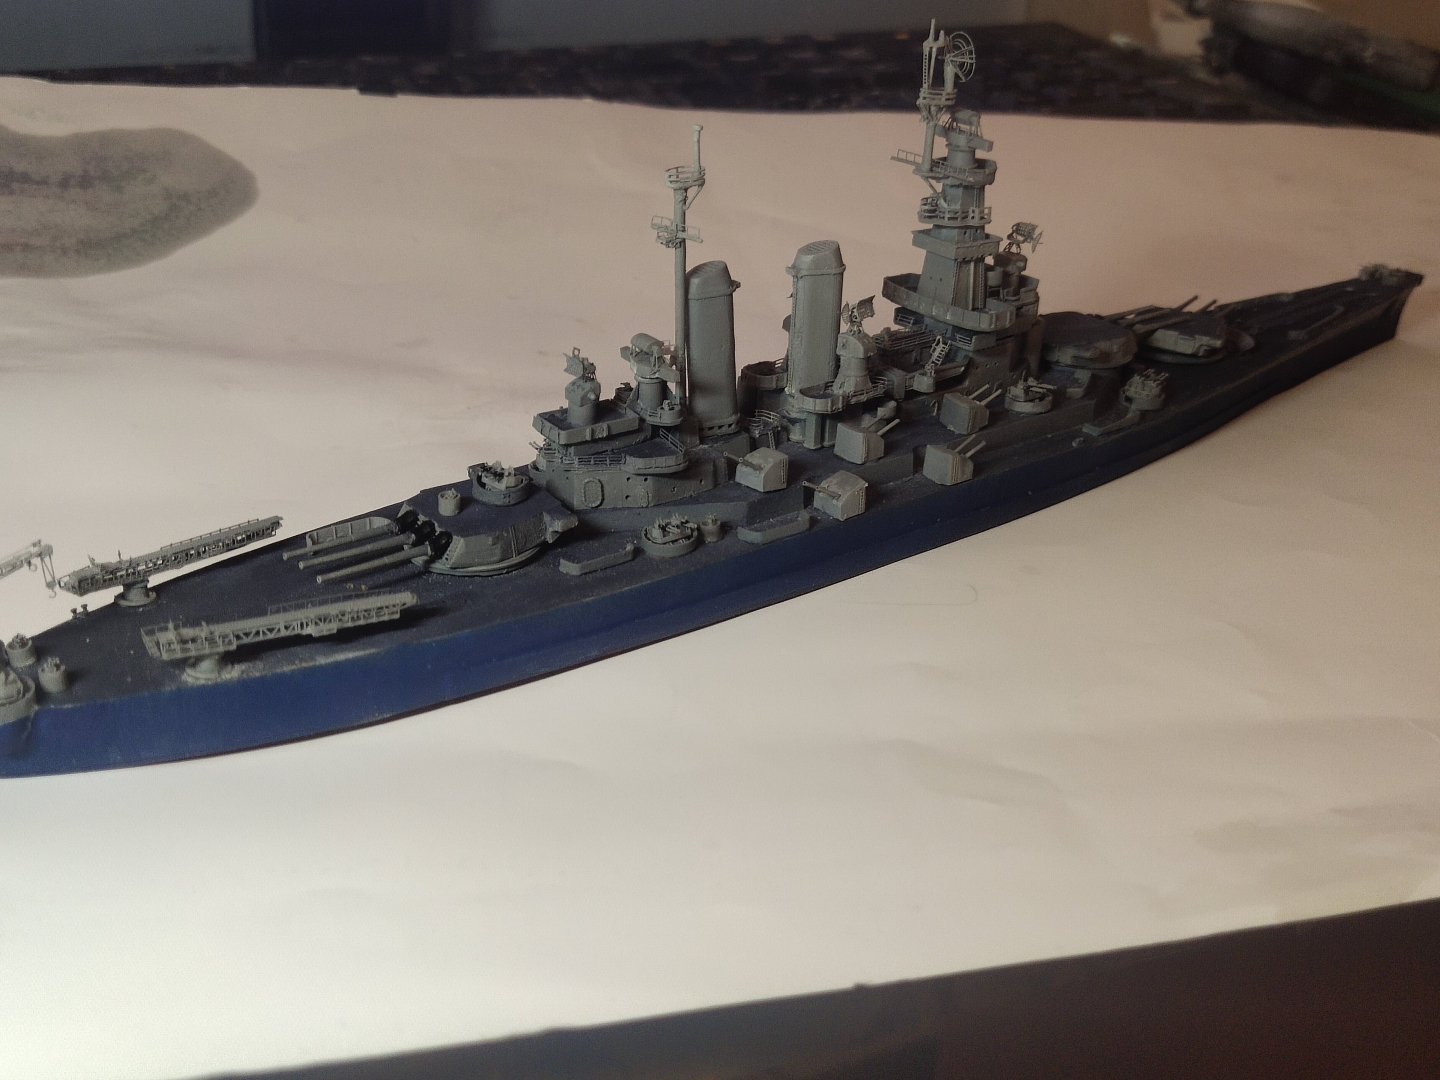
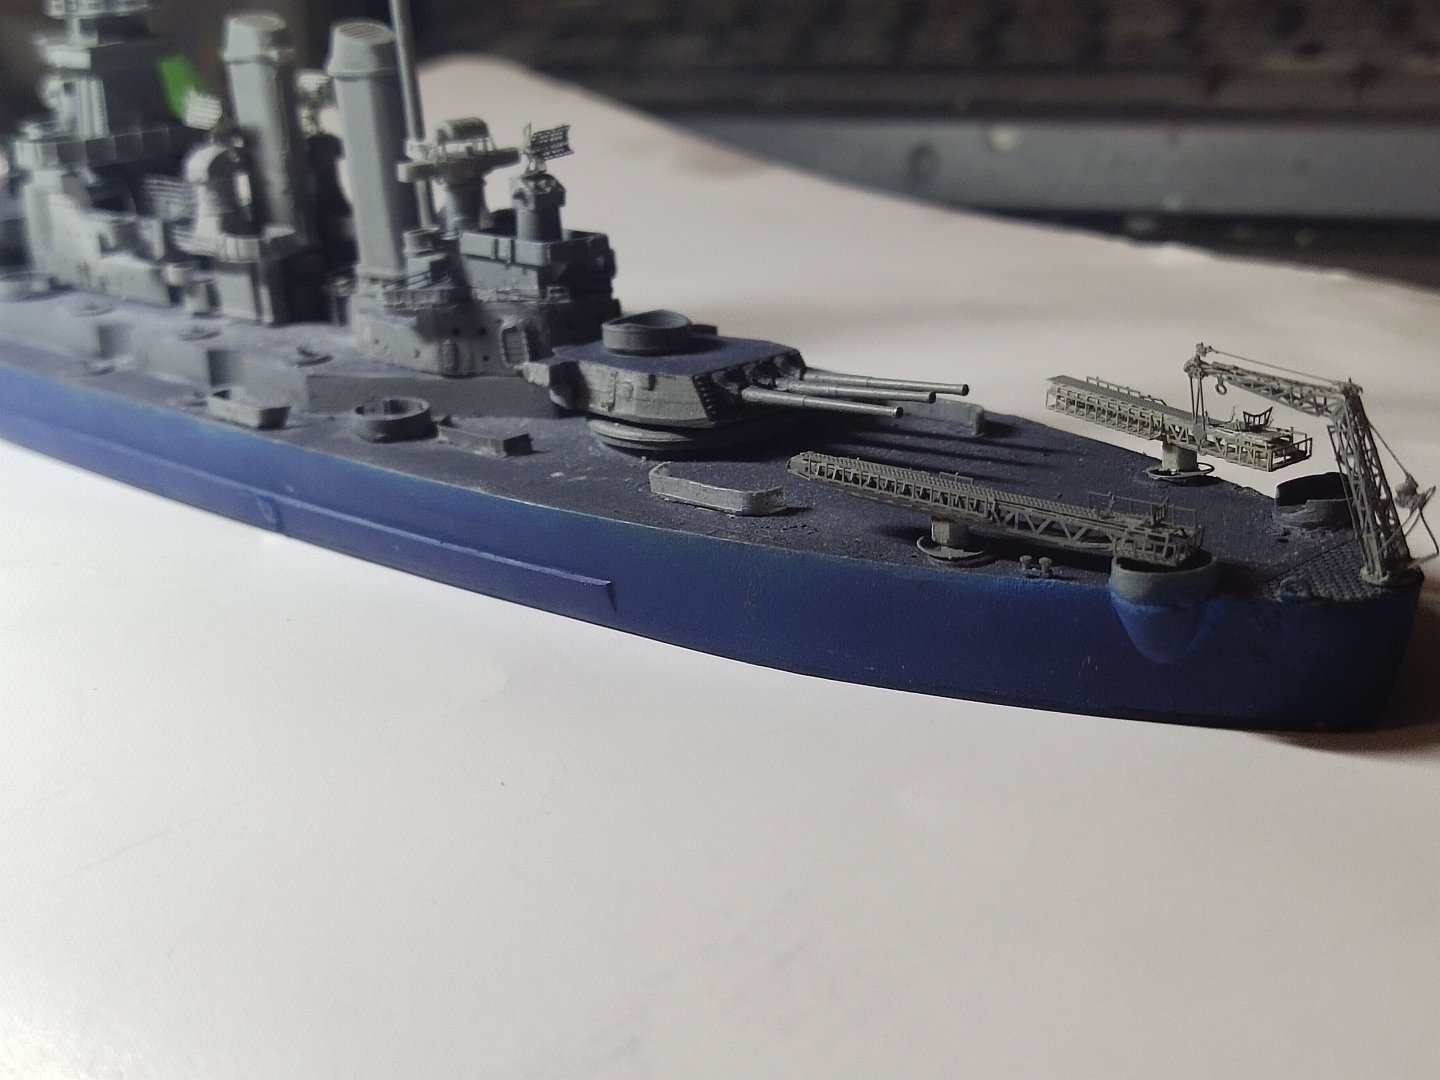
The rails are installed. I will not put aircrafts, they are on duty. Rigging, the next step
-
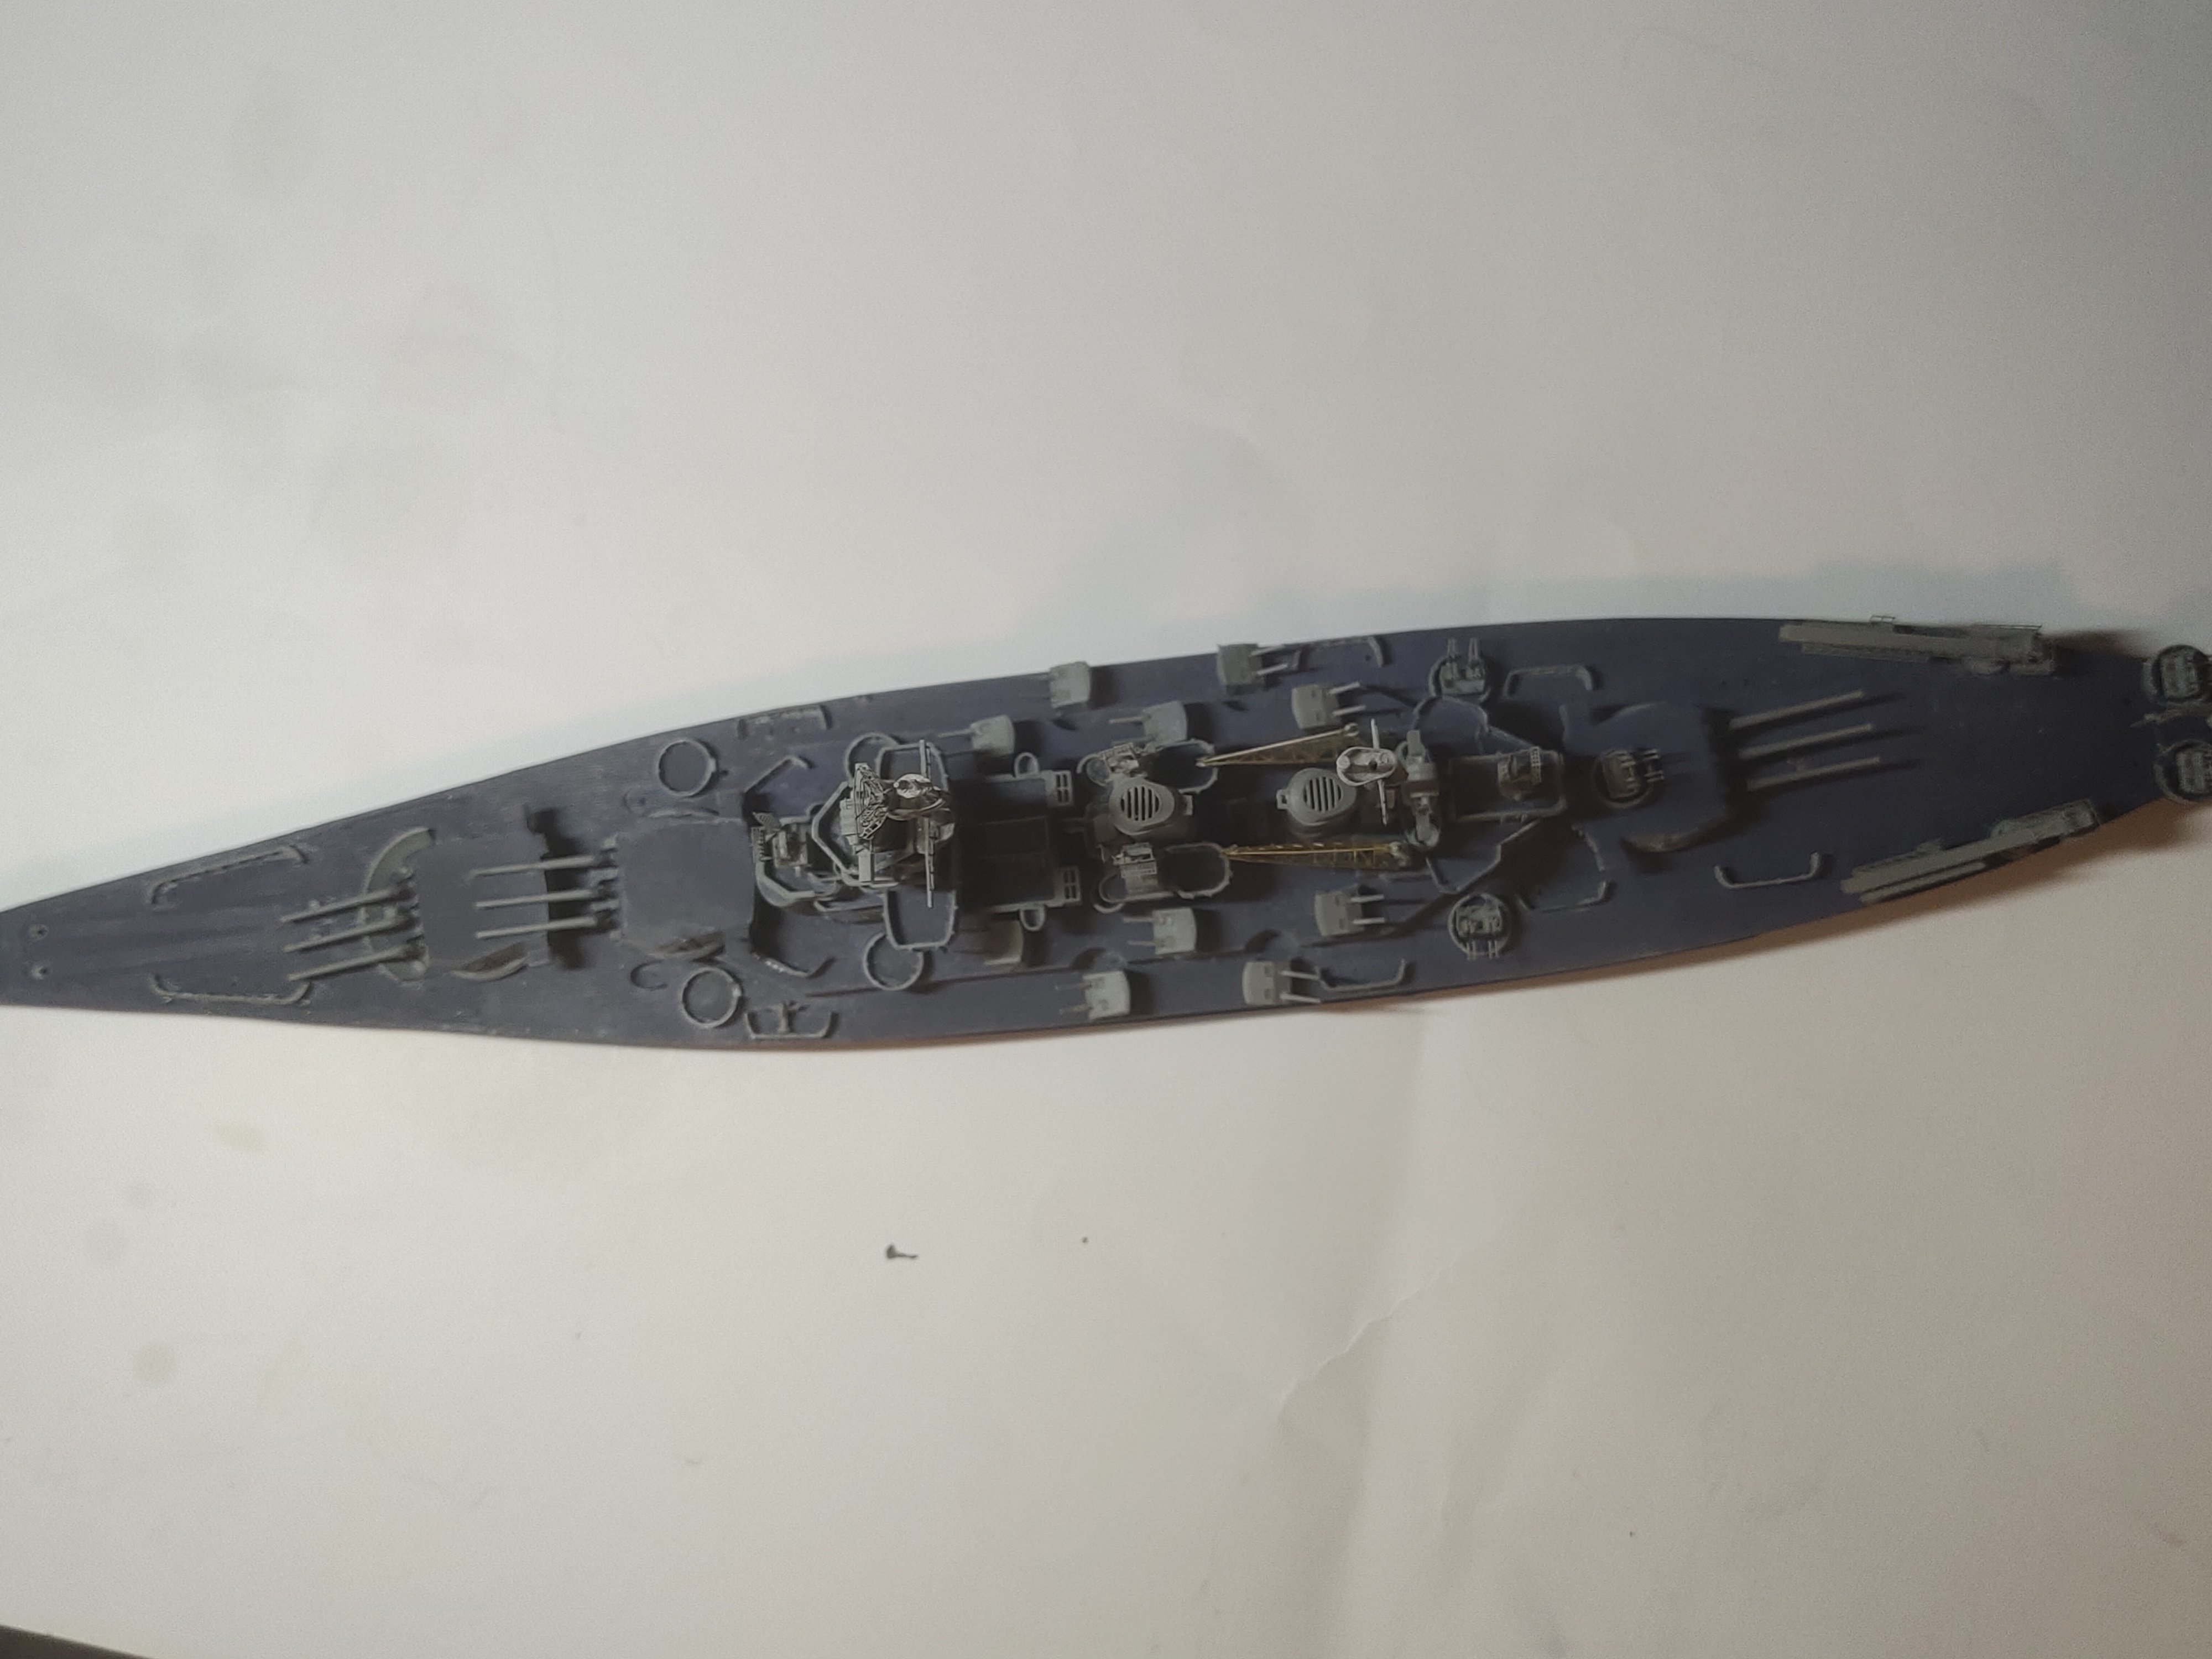
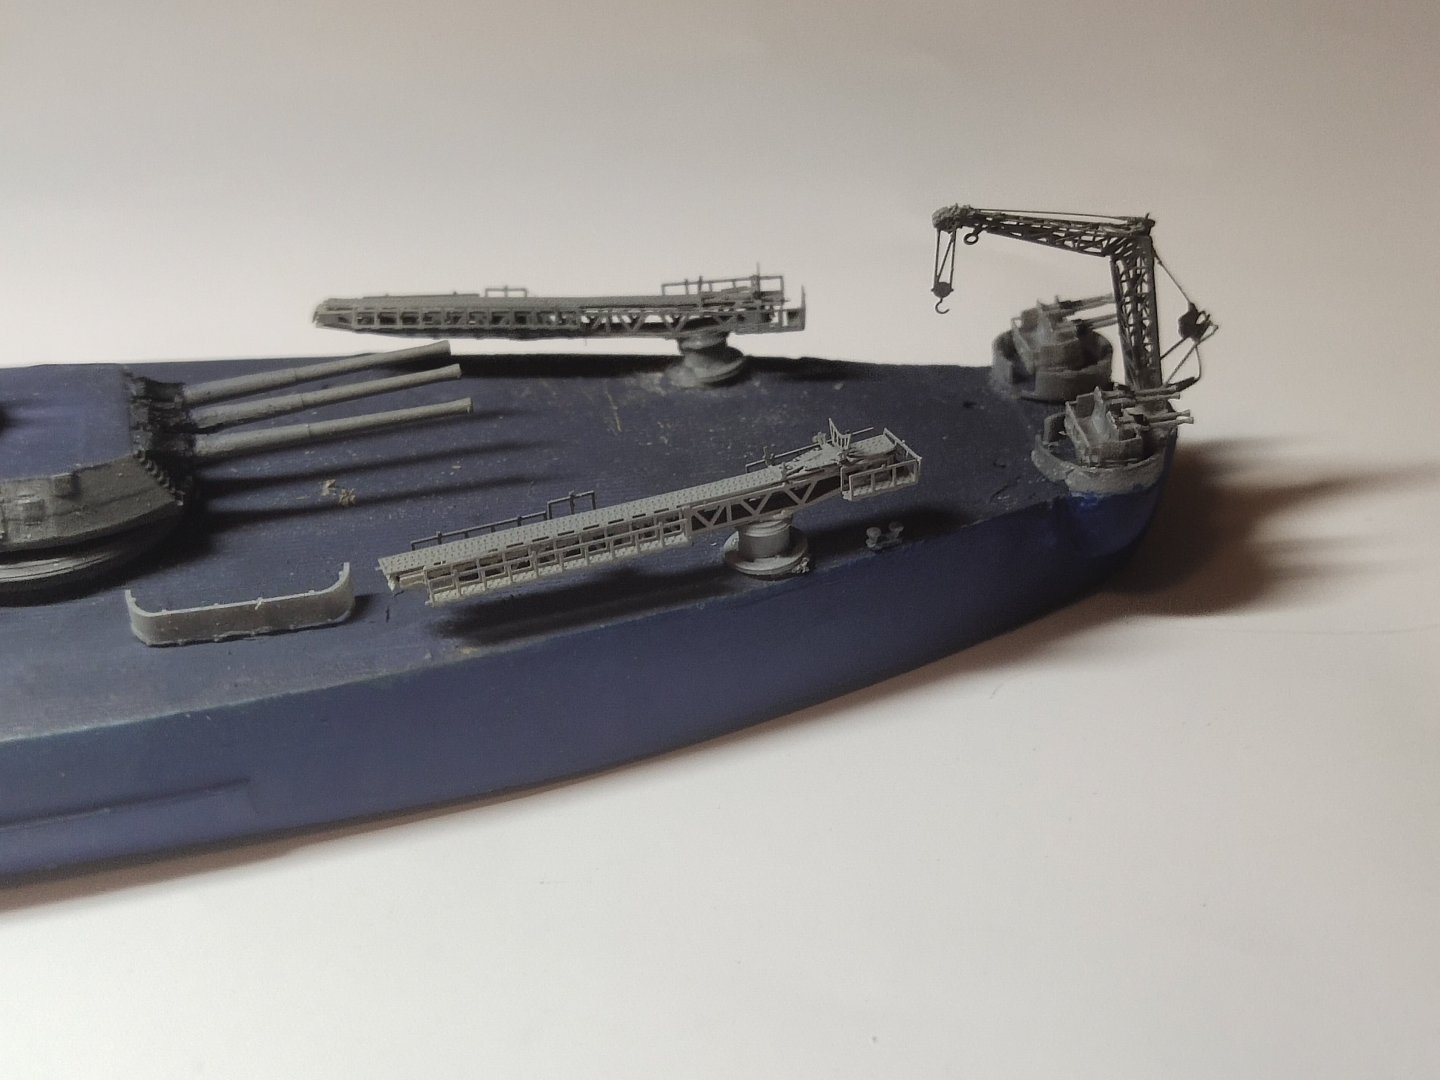
Thank you Indeed the 3 cranes and the aircraft catapults were a big upgrade.
-
The 800$ duty free limit sounds like a bargain comparing to EU where everything from 1 cent and above is subjected to VAT 19-25%. from 150 and above extra duties occur. In Greece they charge 24% VAT even on shipping cost not only on package value.
-
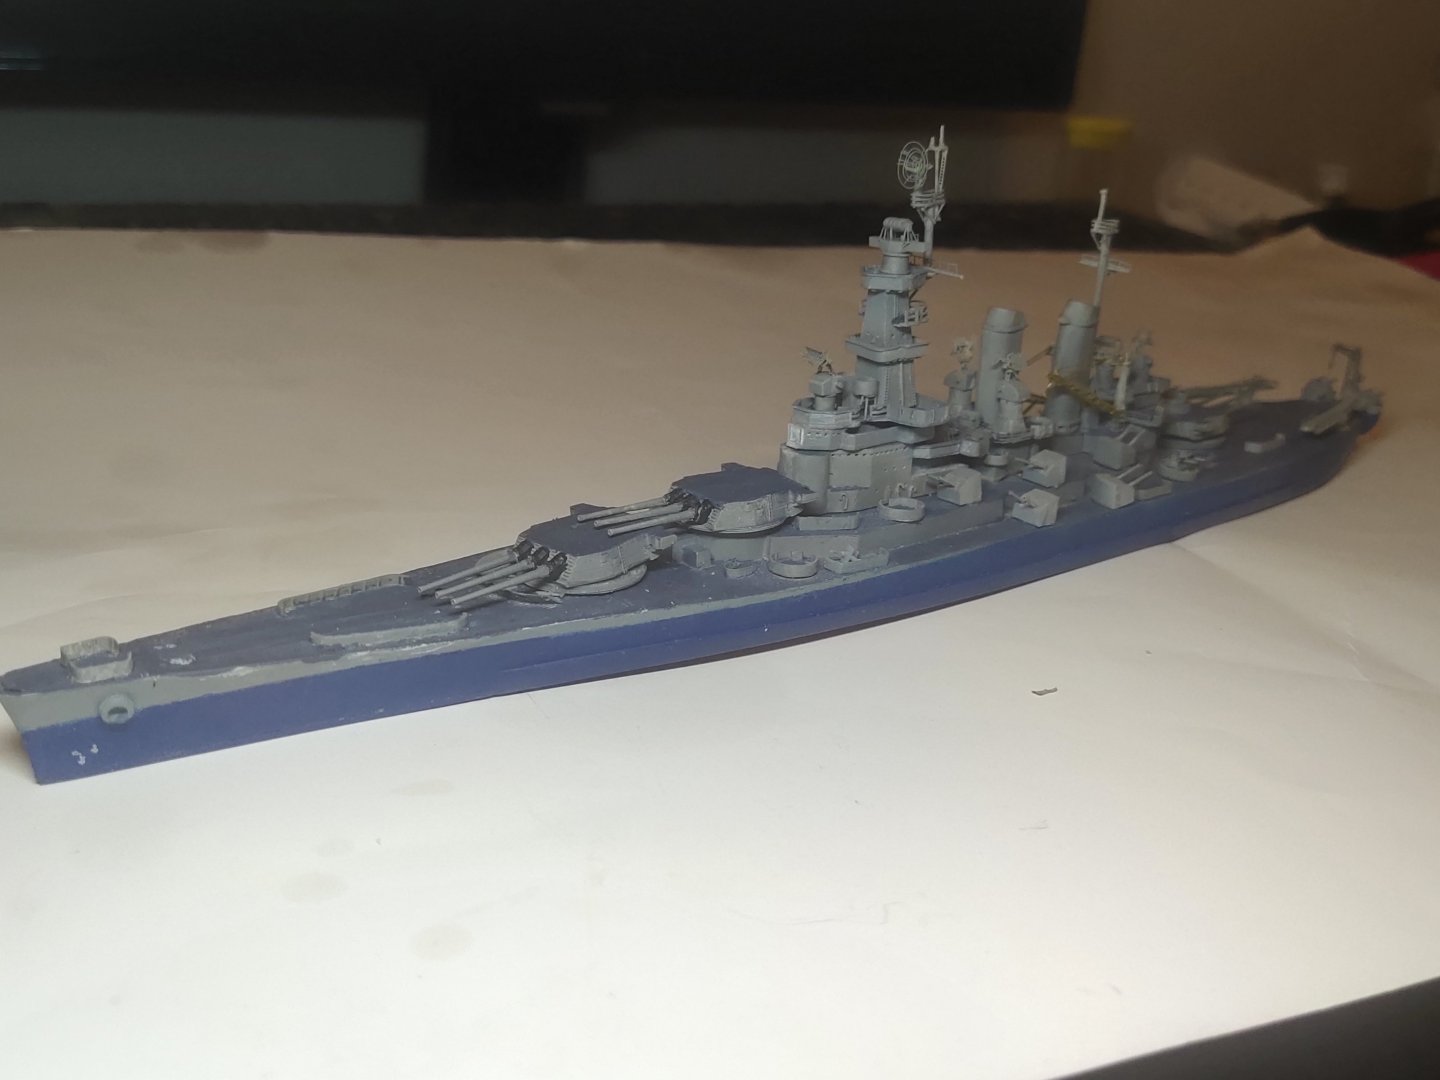
I am getting close. It is the time that small details can make the difference. I still have to add decals, railings, rigging and weathering. Then the final display. Another week of work

-
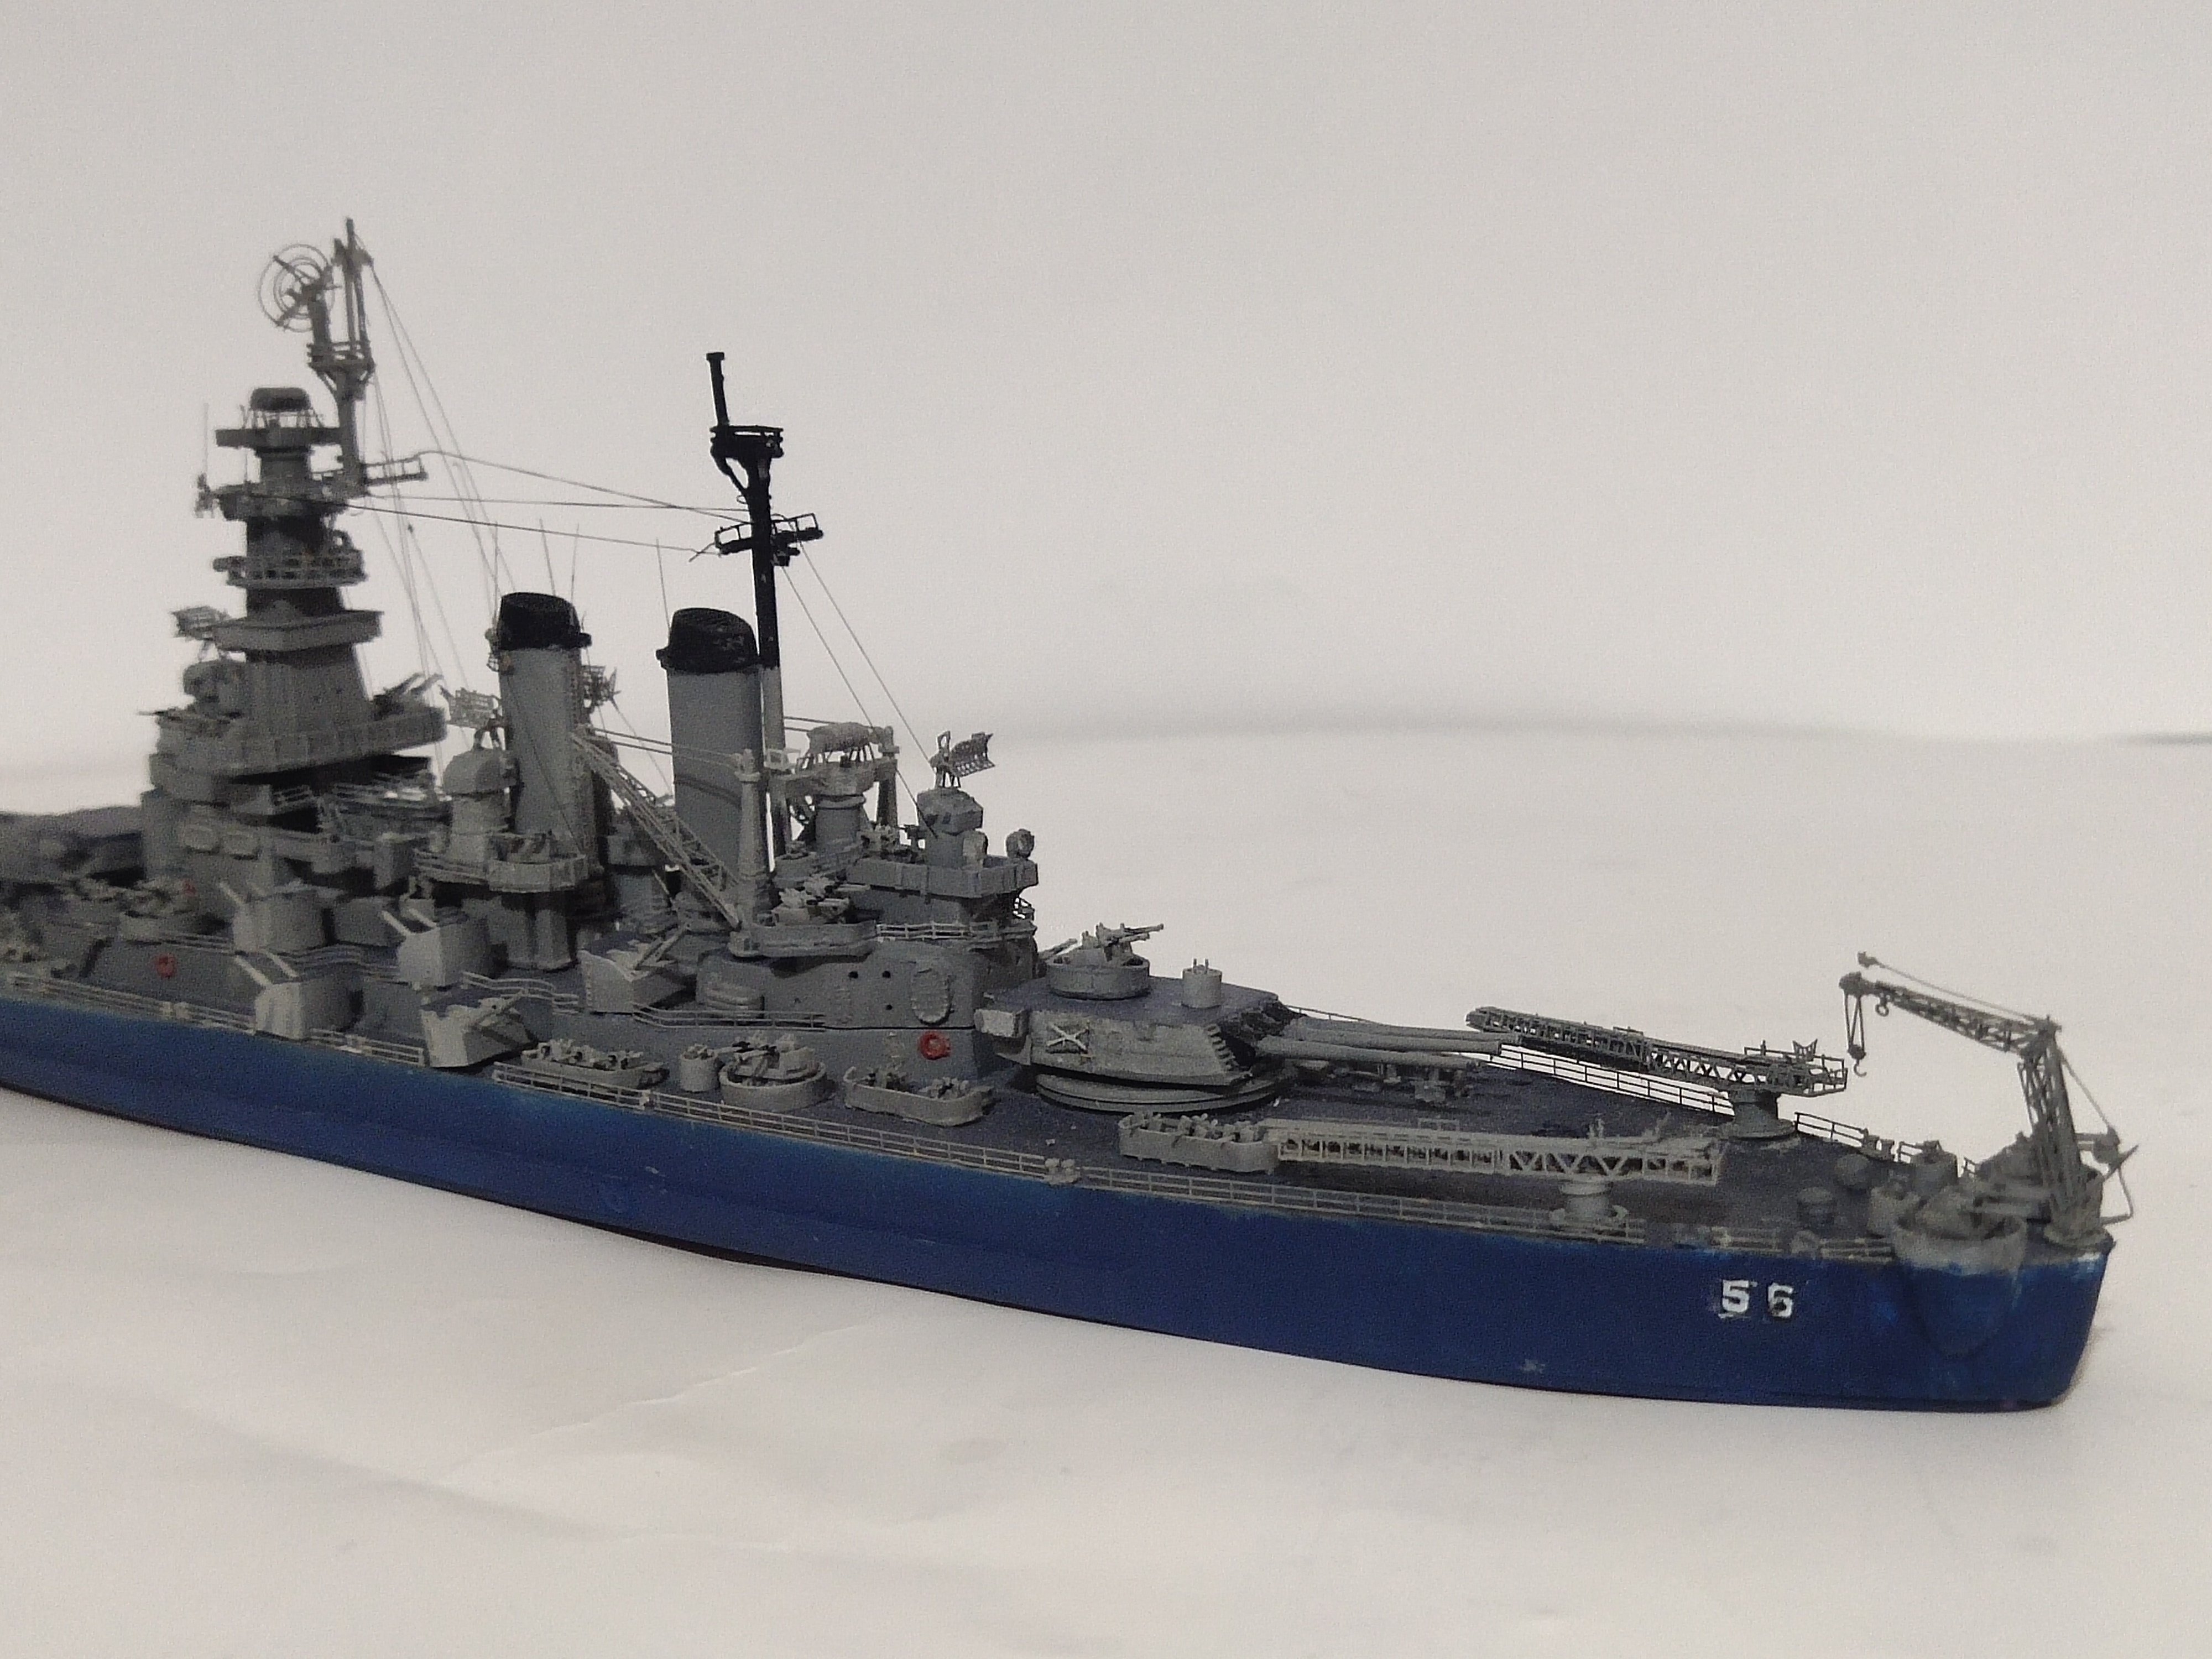
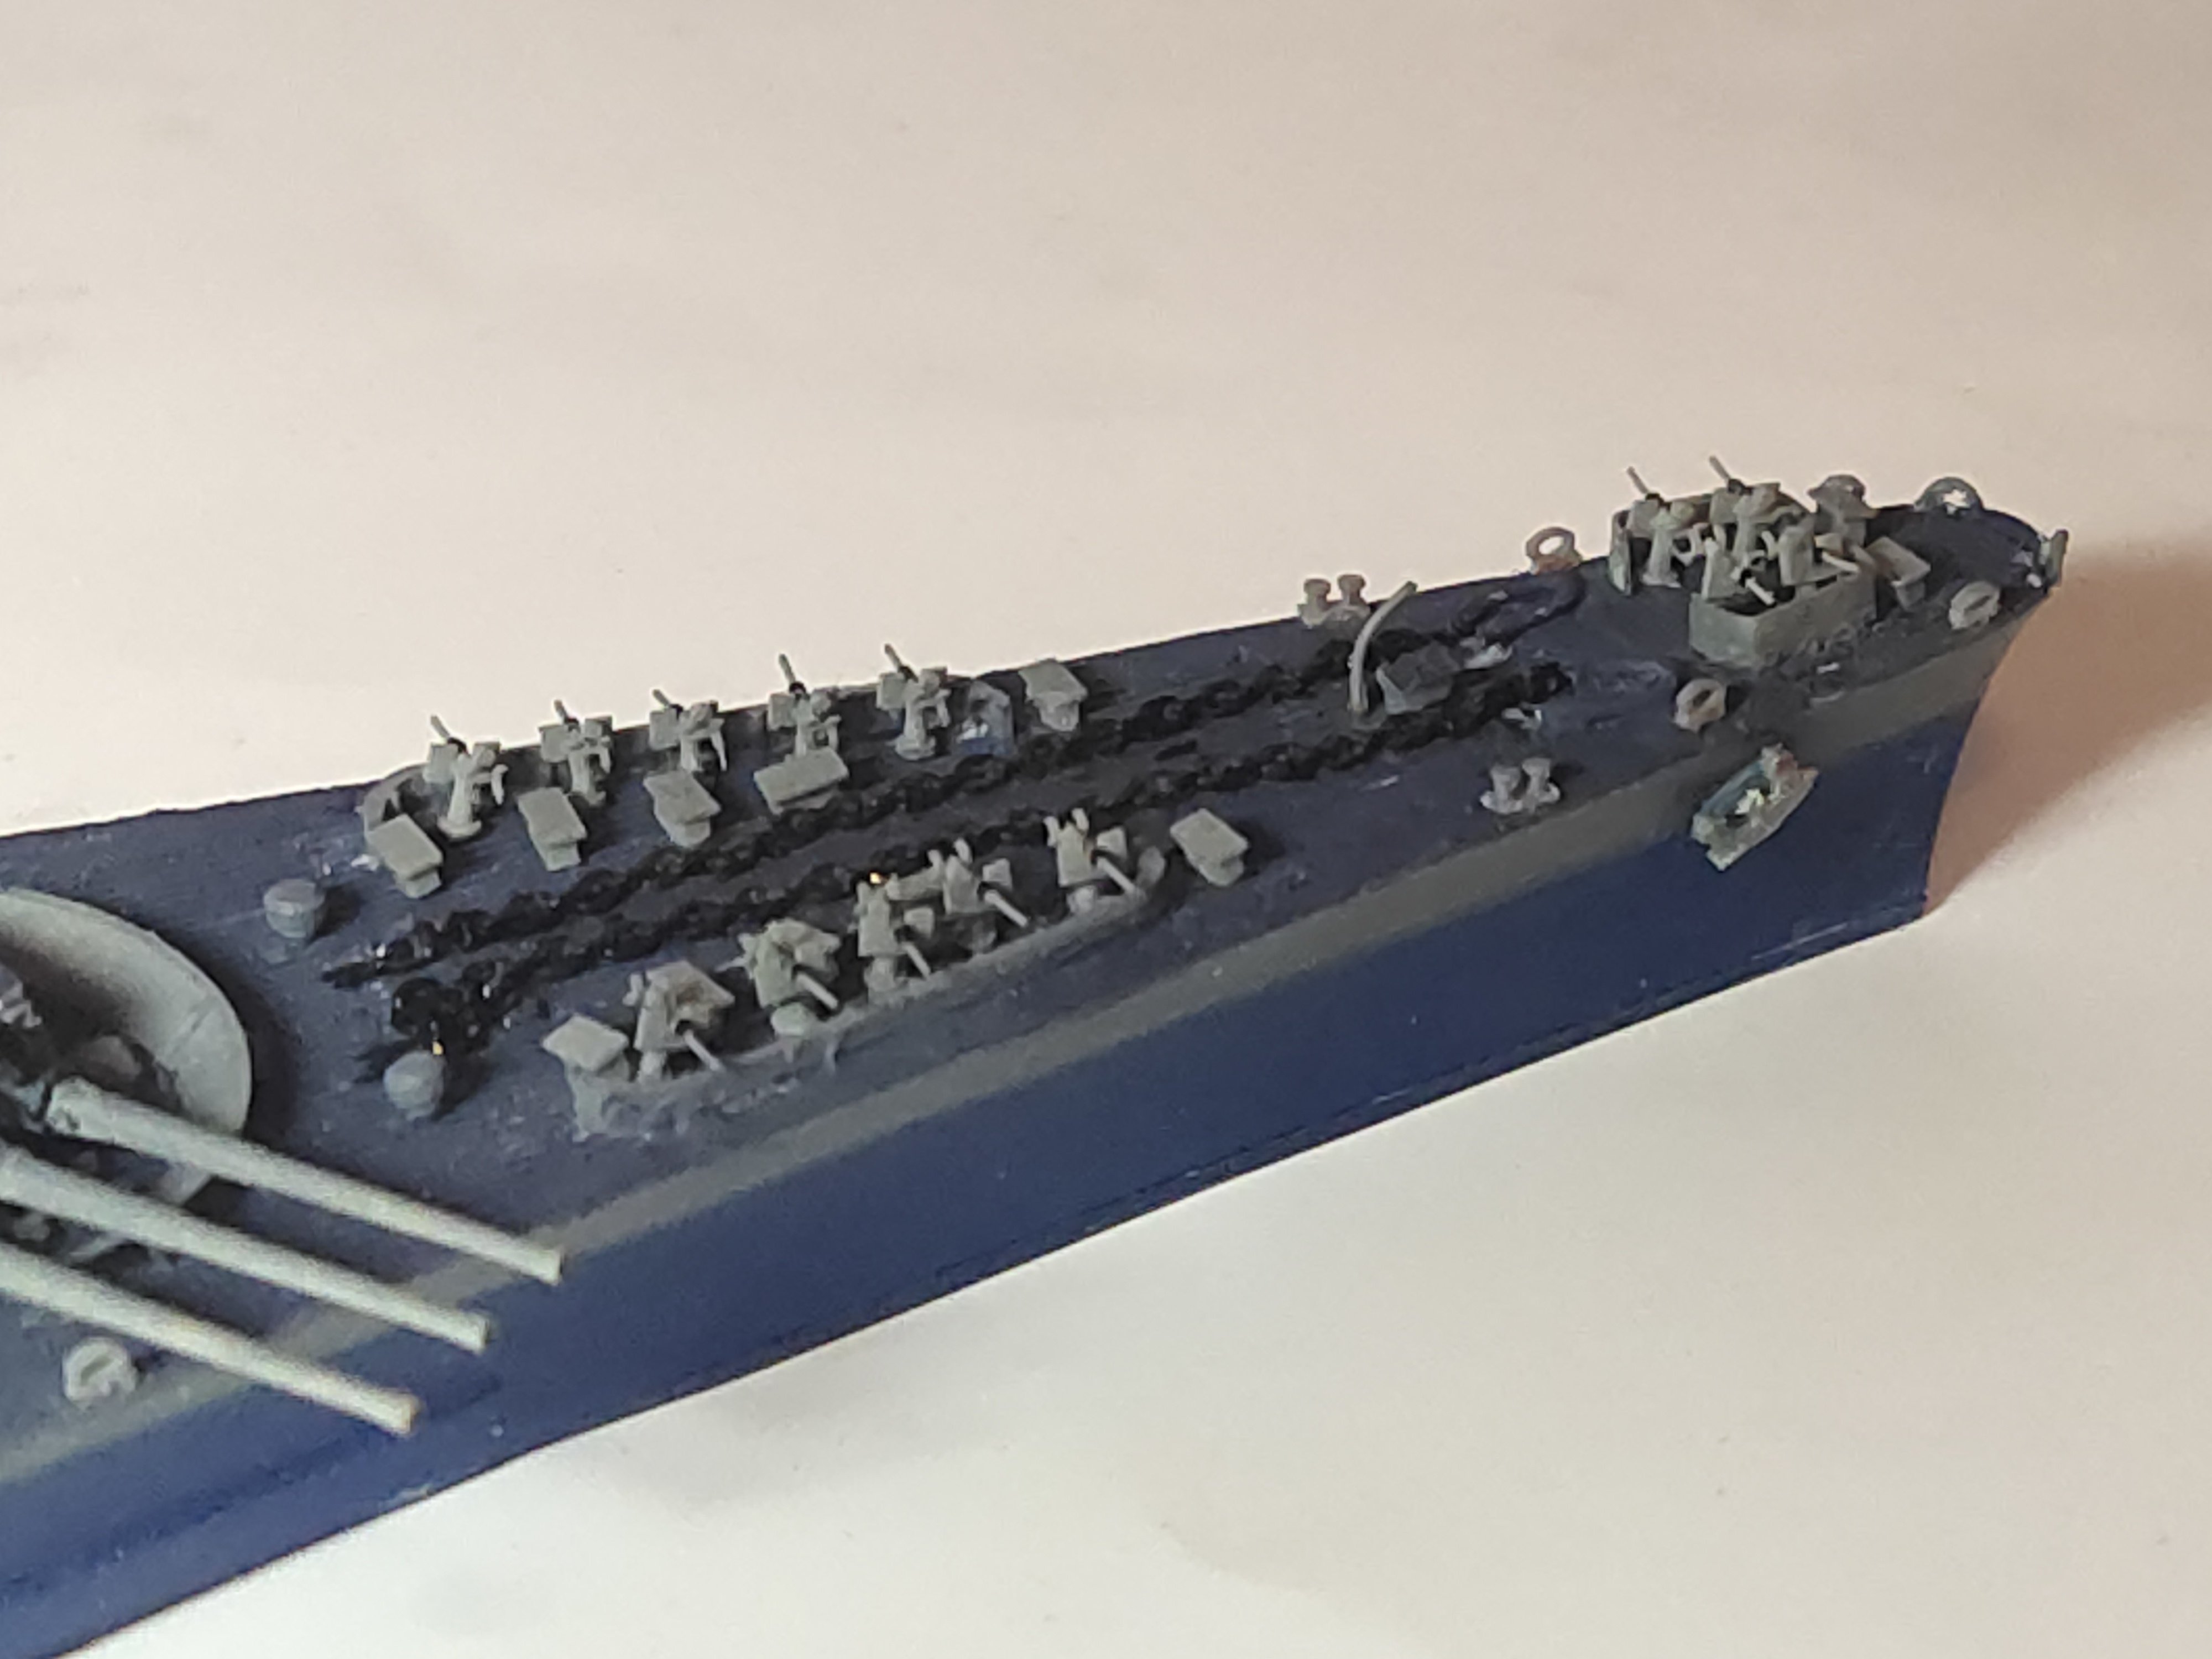
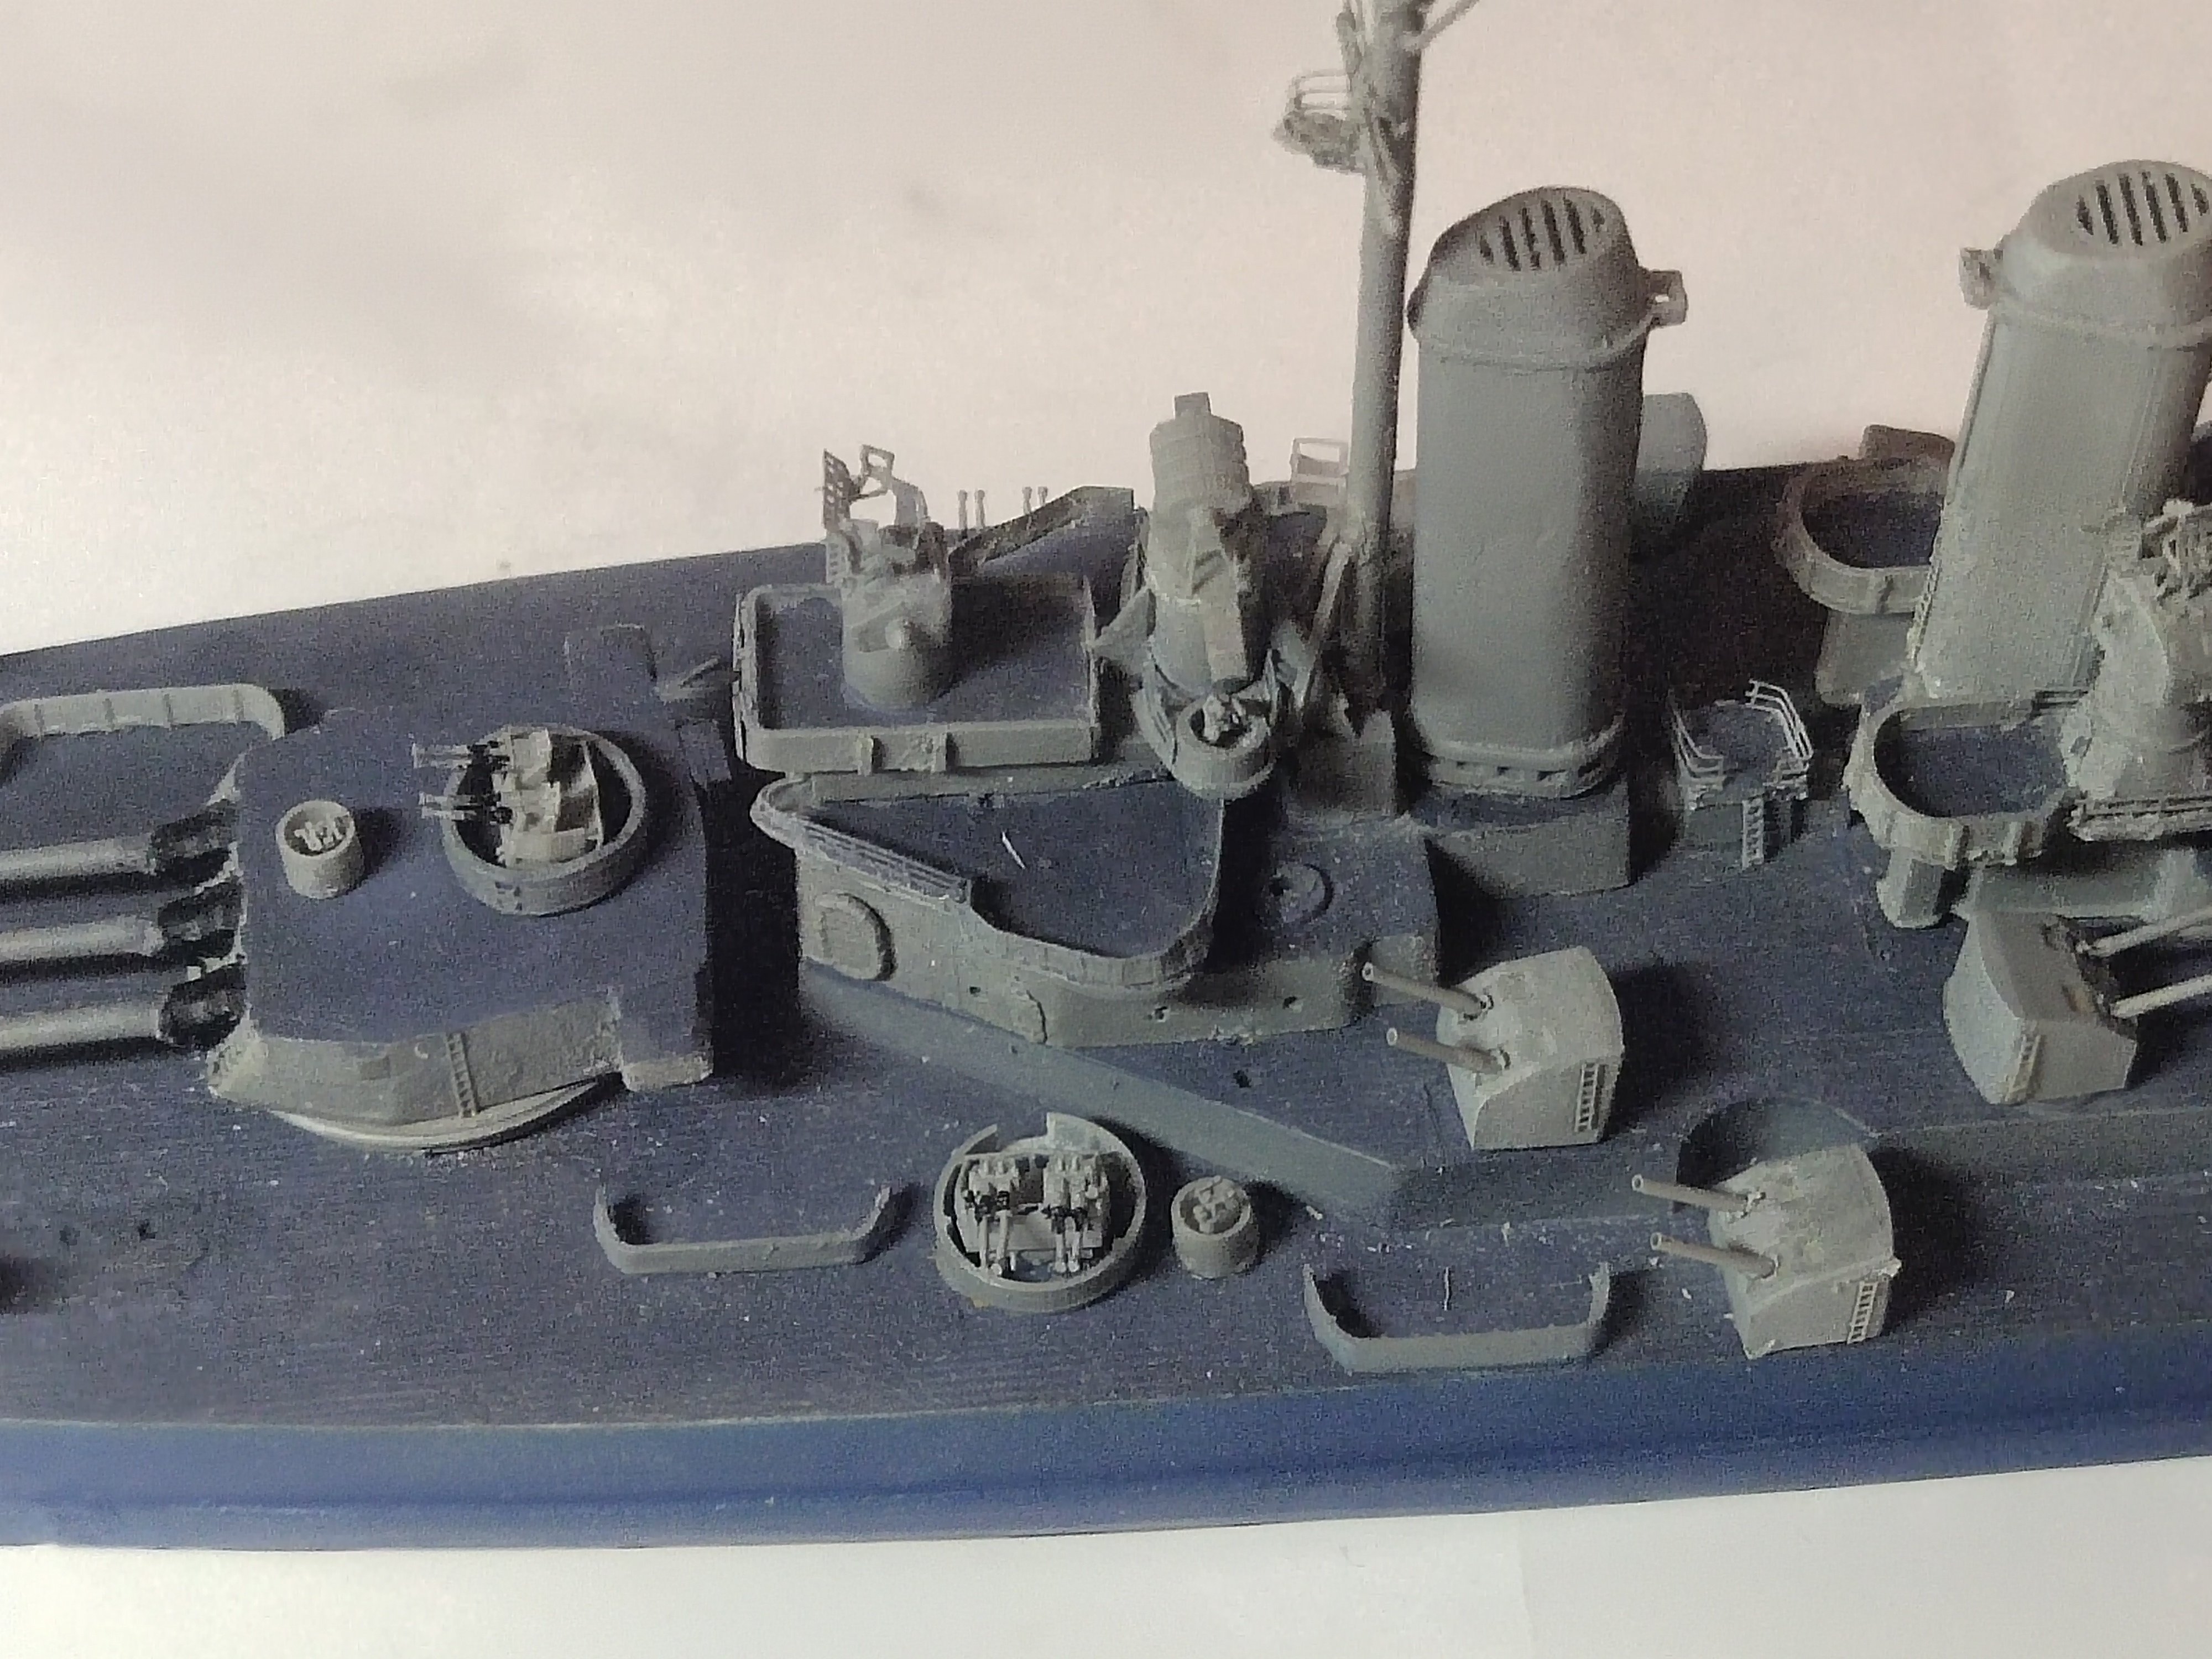
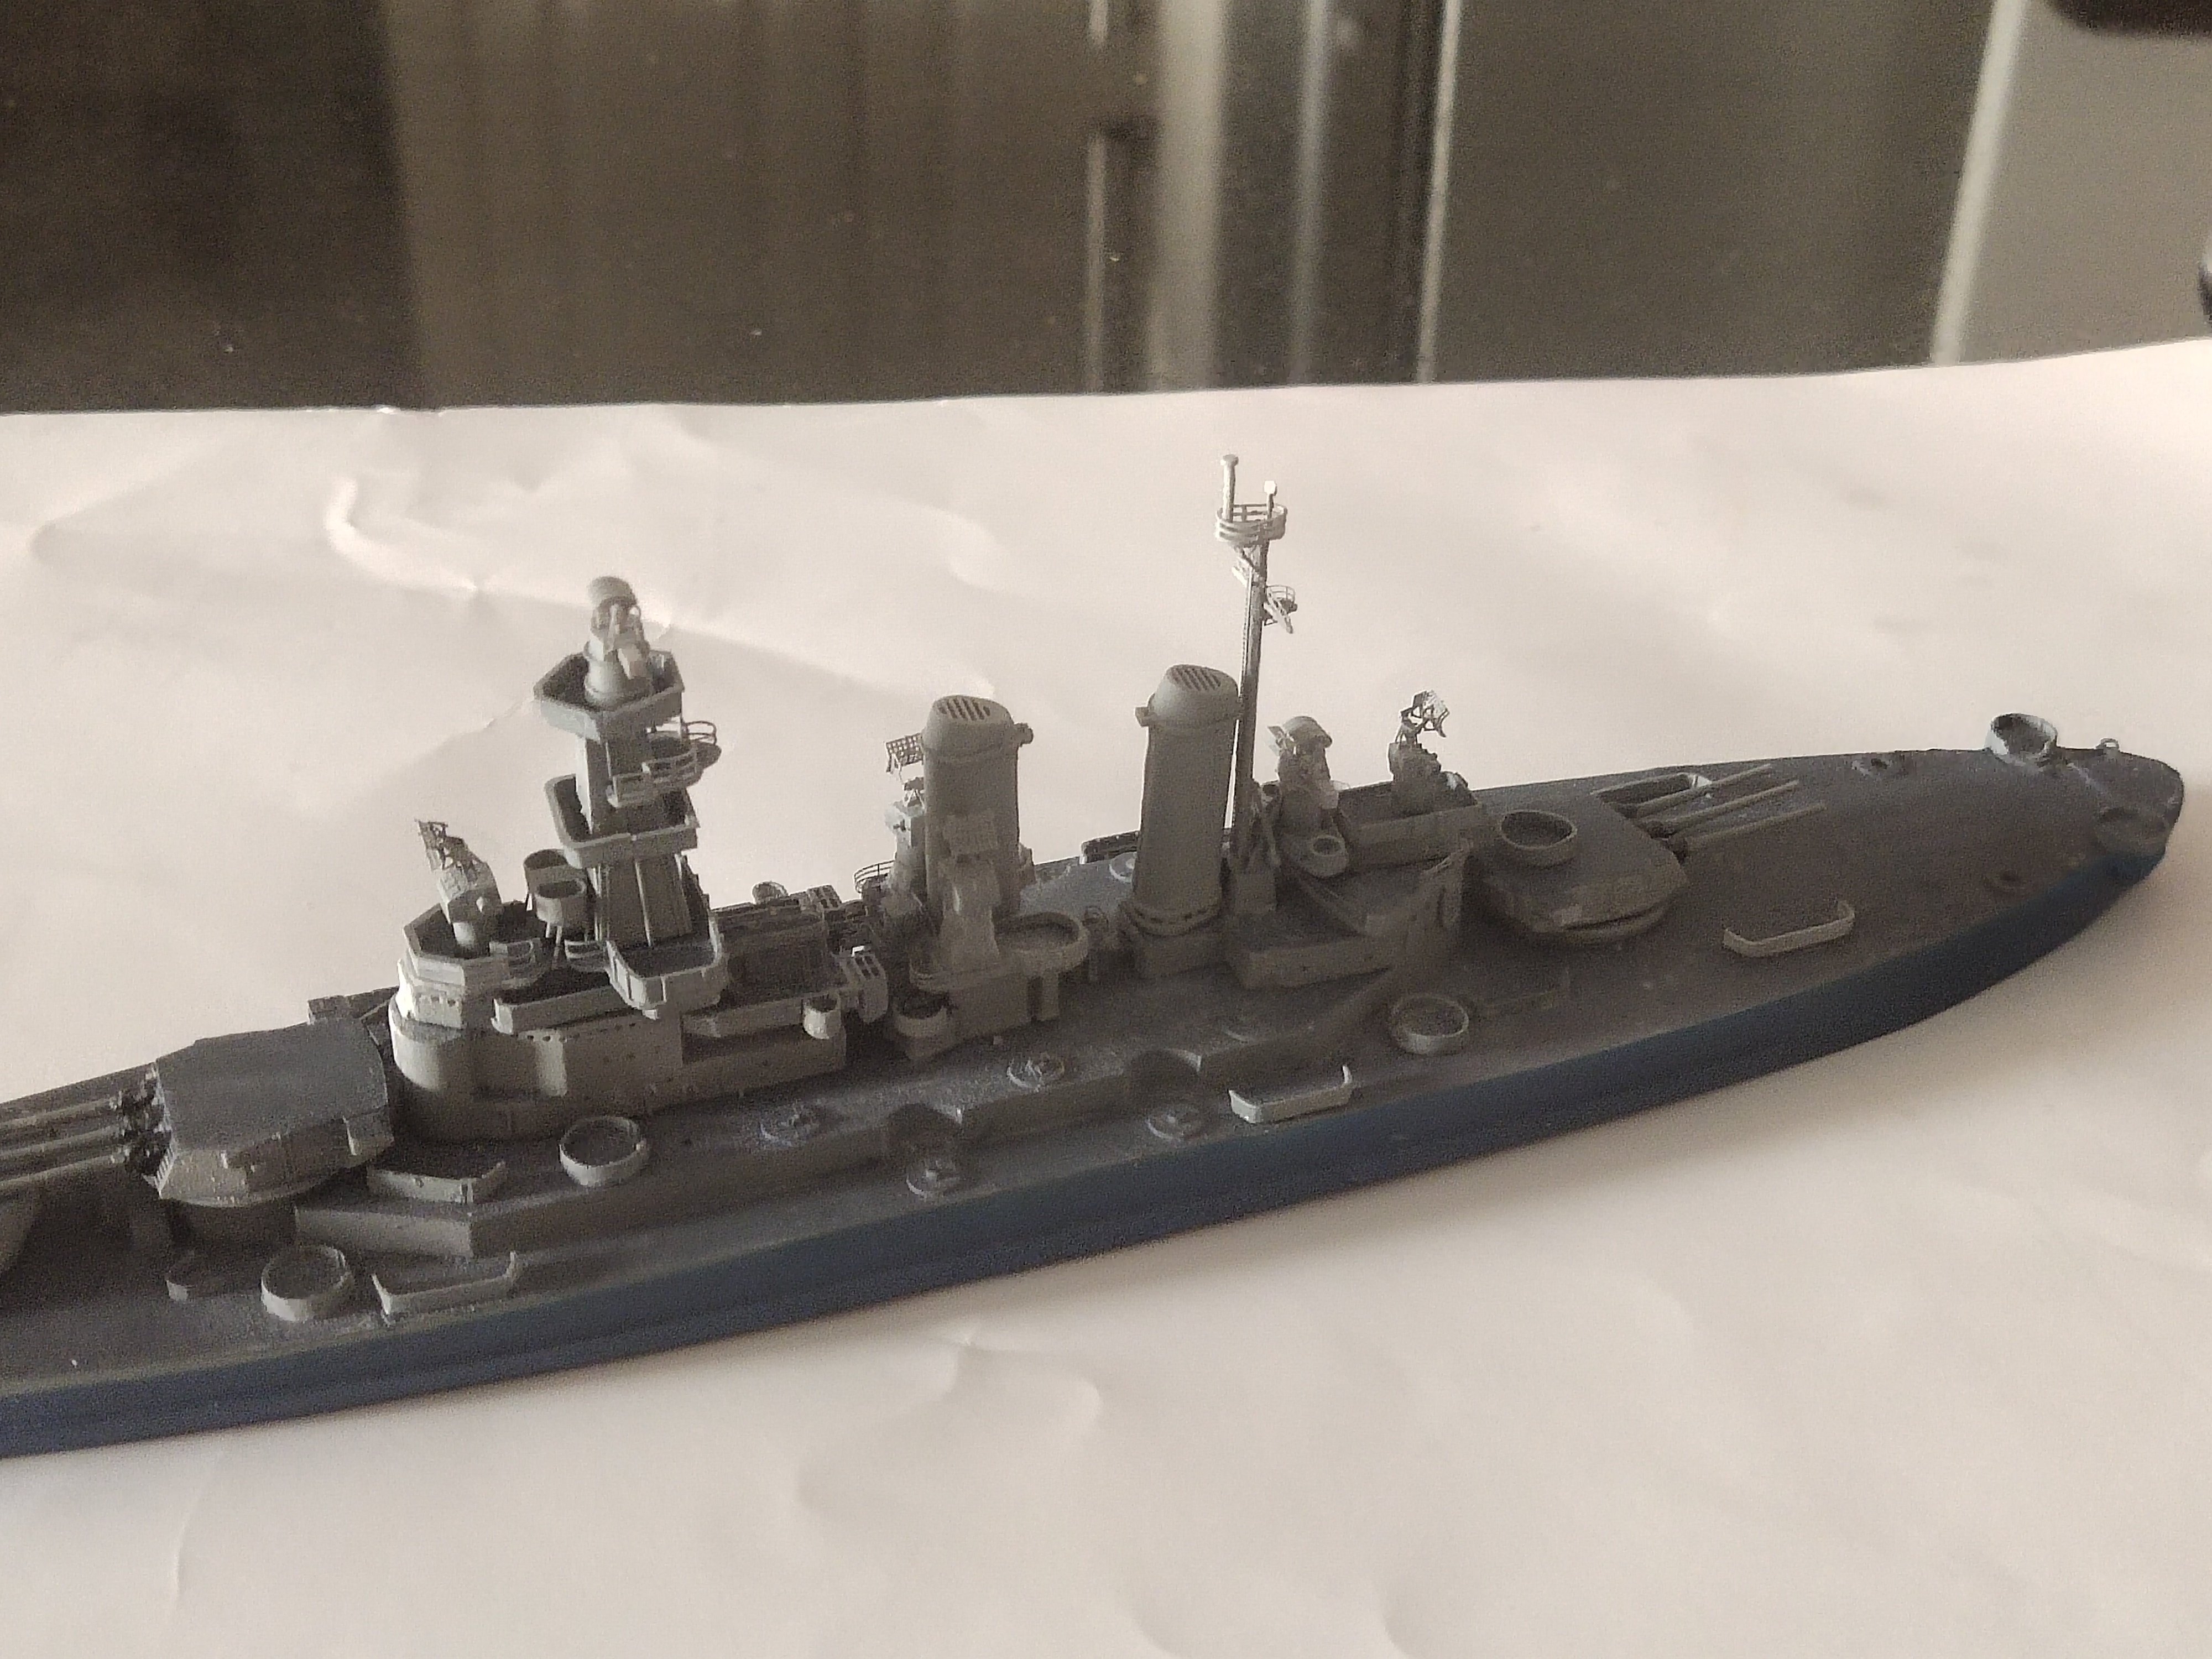
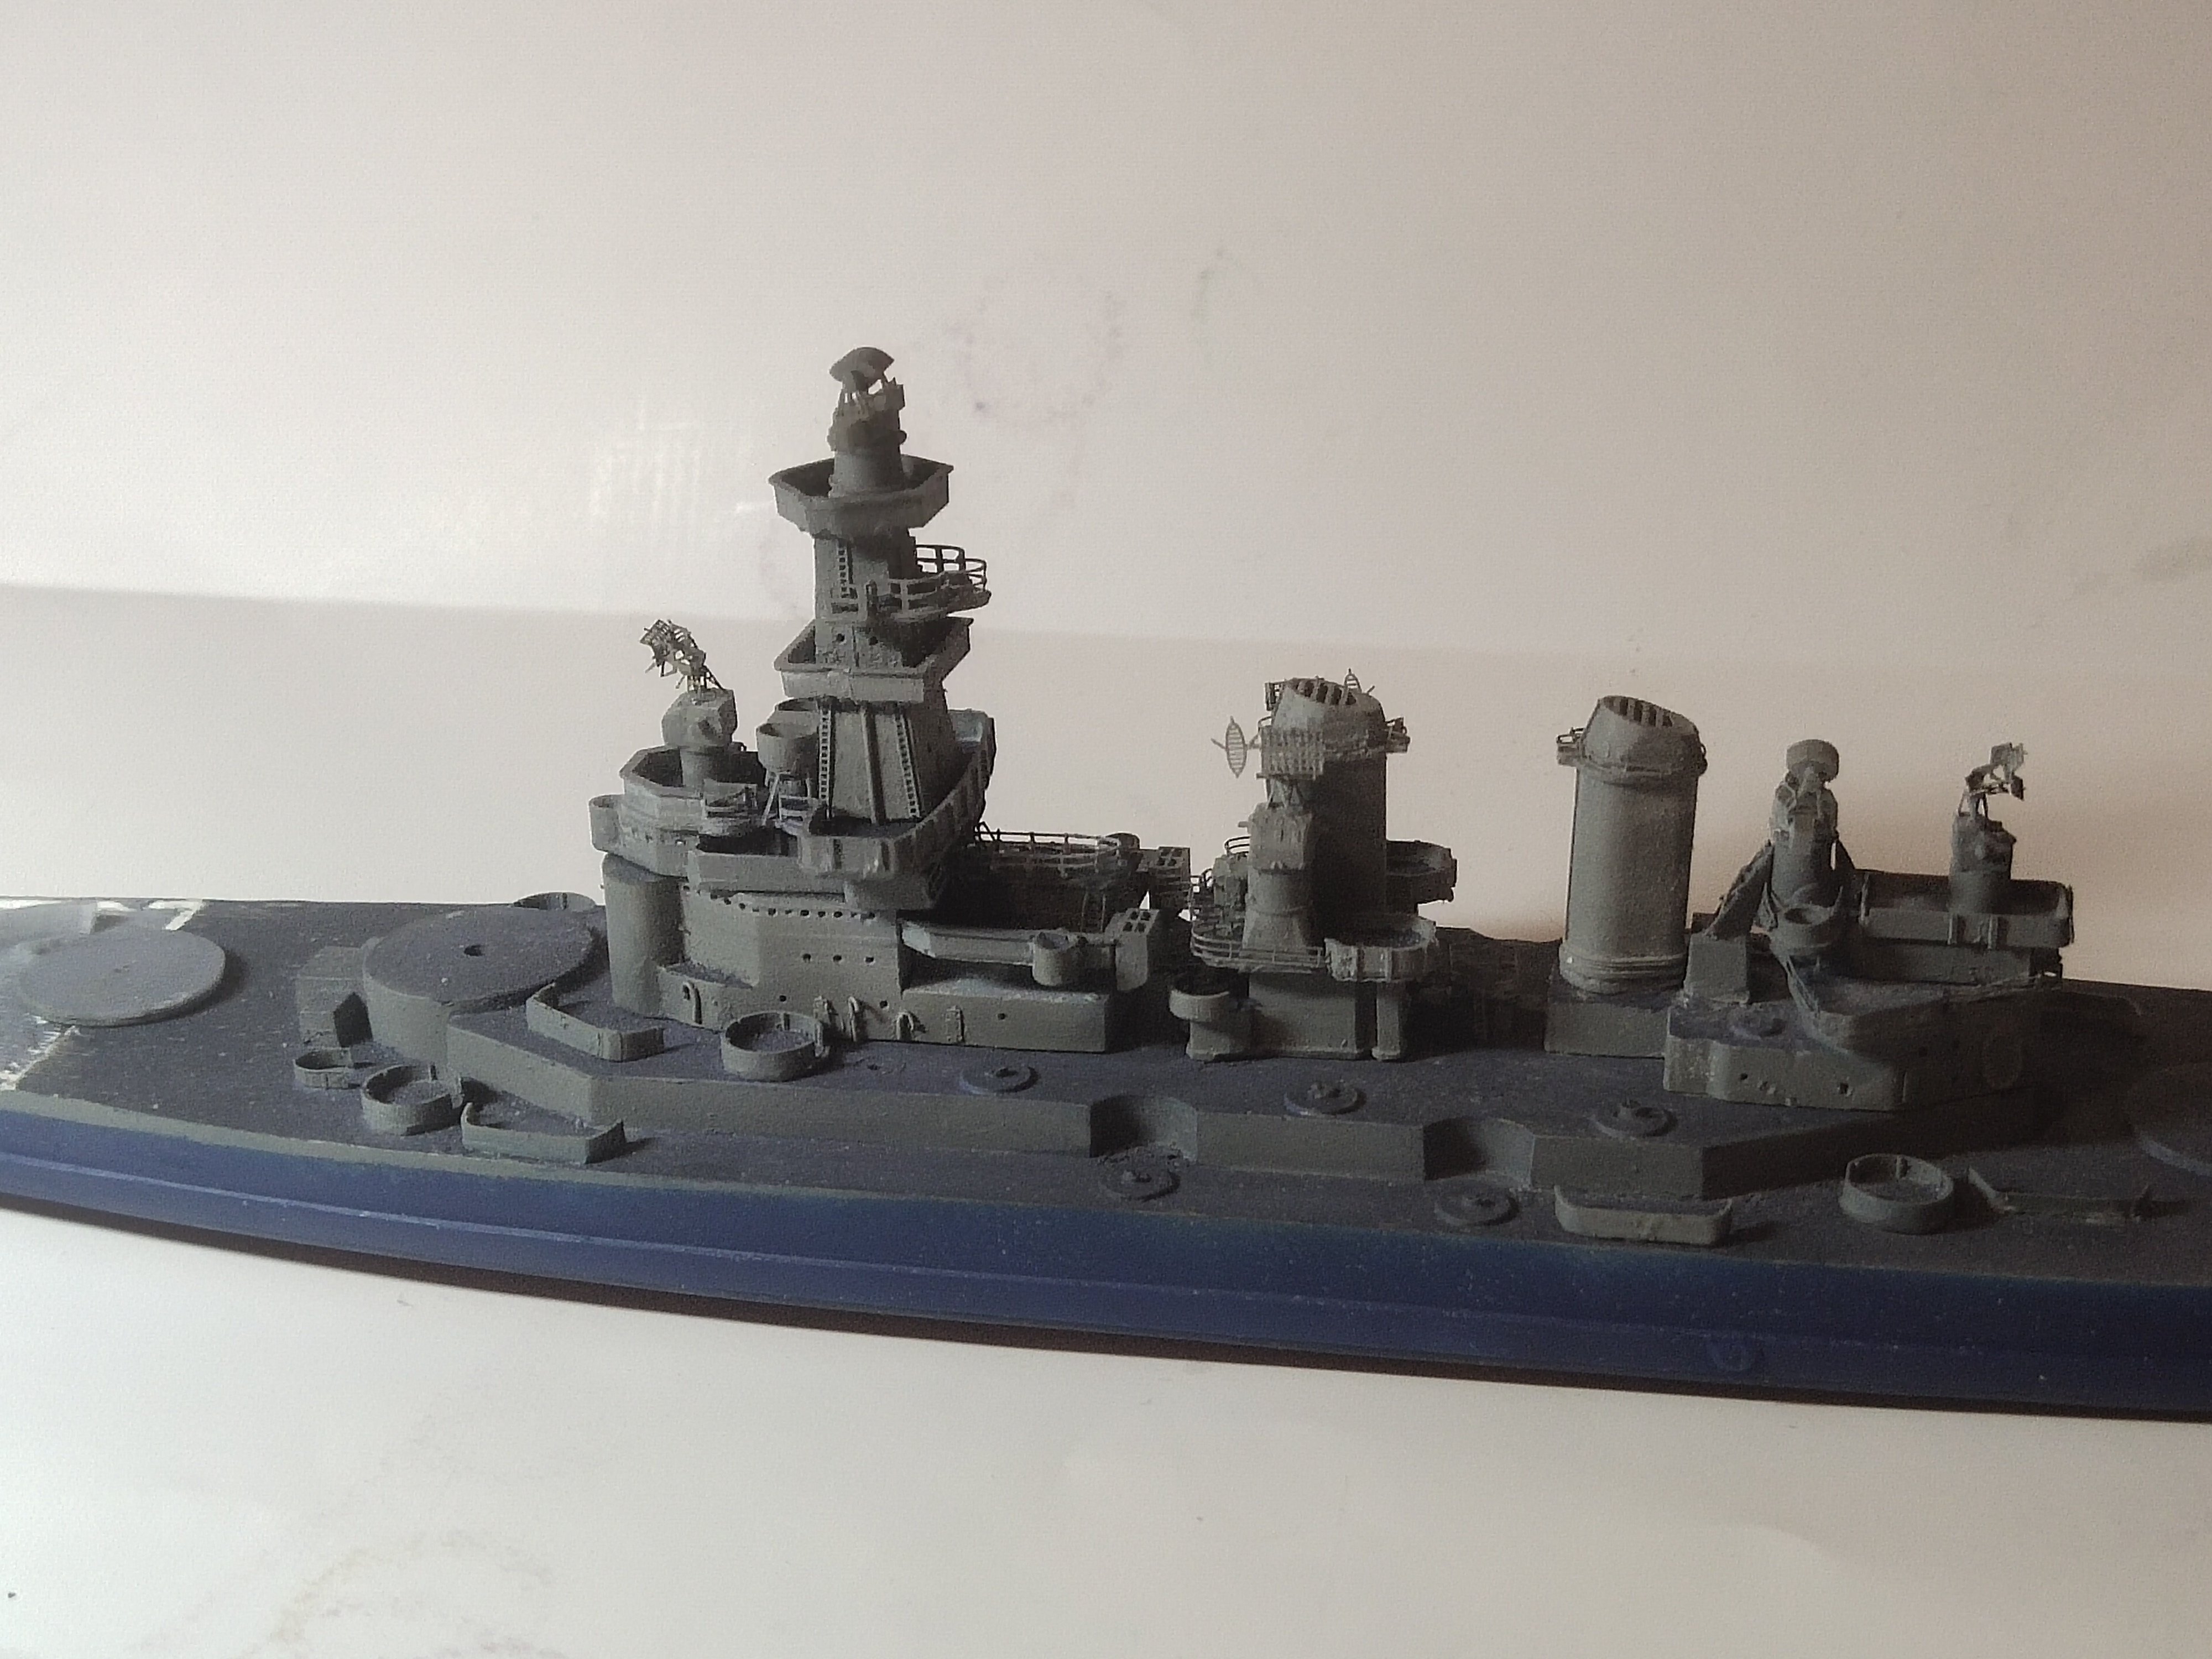
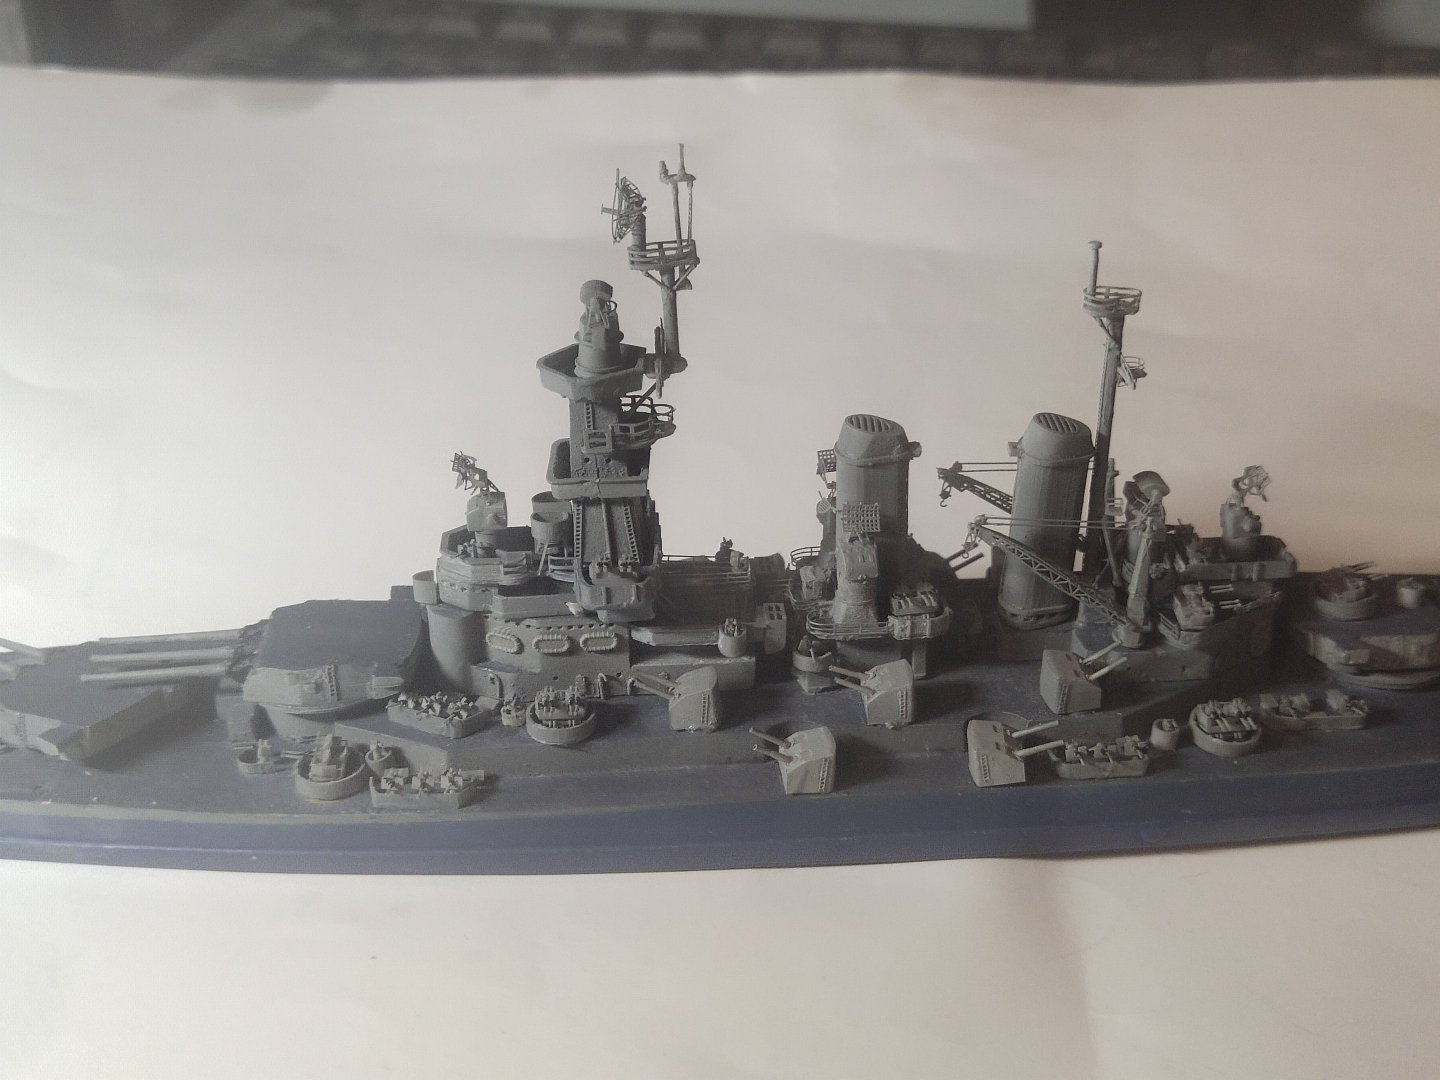
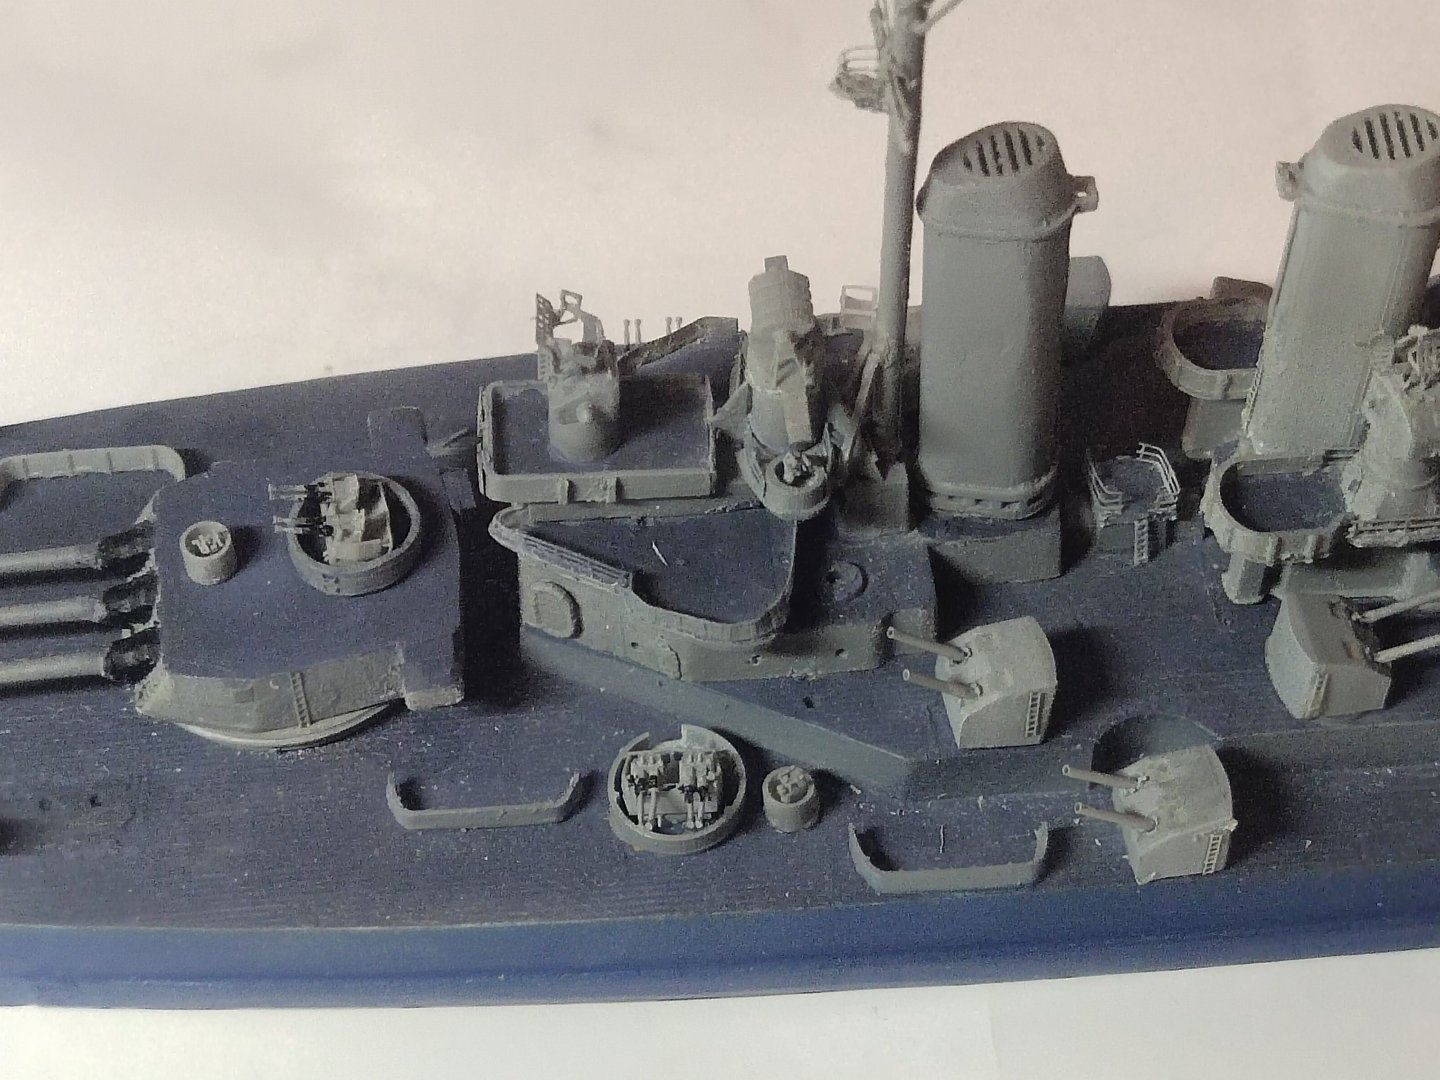
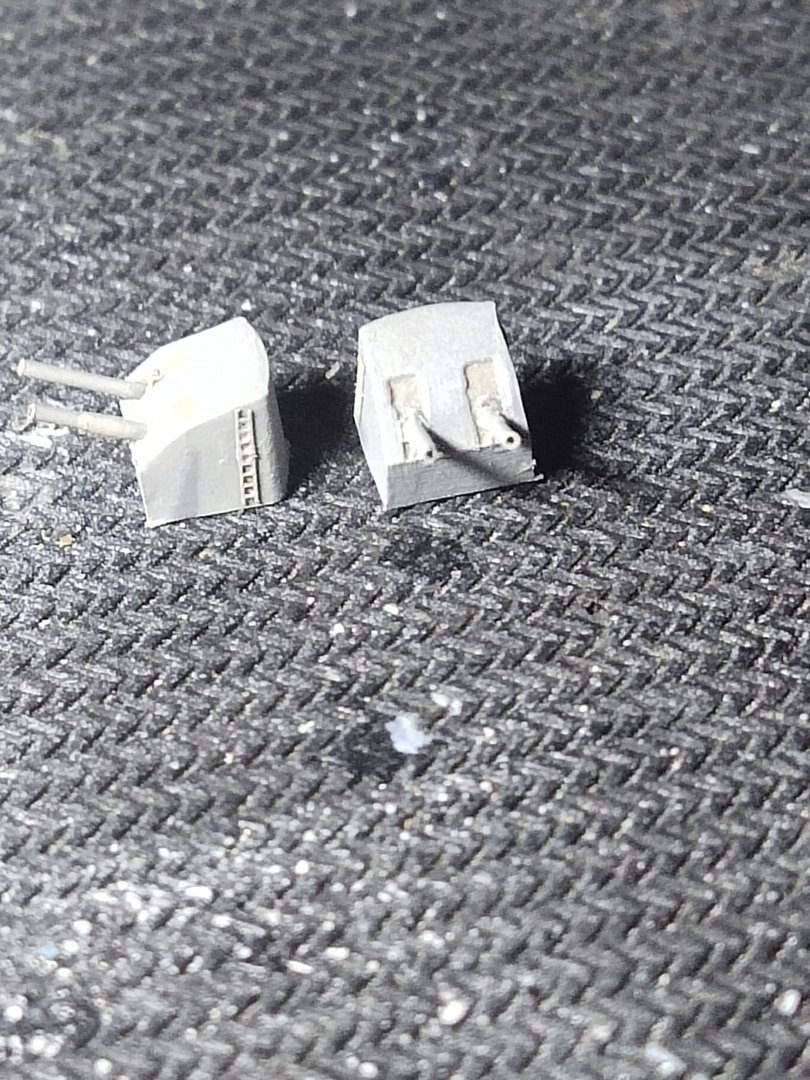
fire directors, Bofors, Oerlikons and ammunition boxes were put in place. Time to install searchlights, liferafts and other details


-
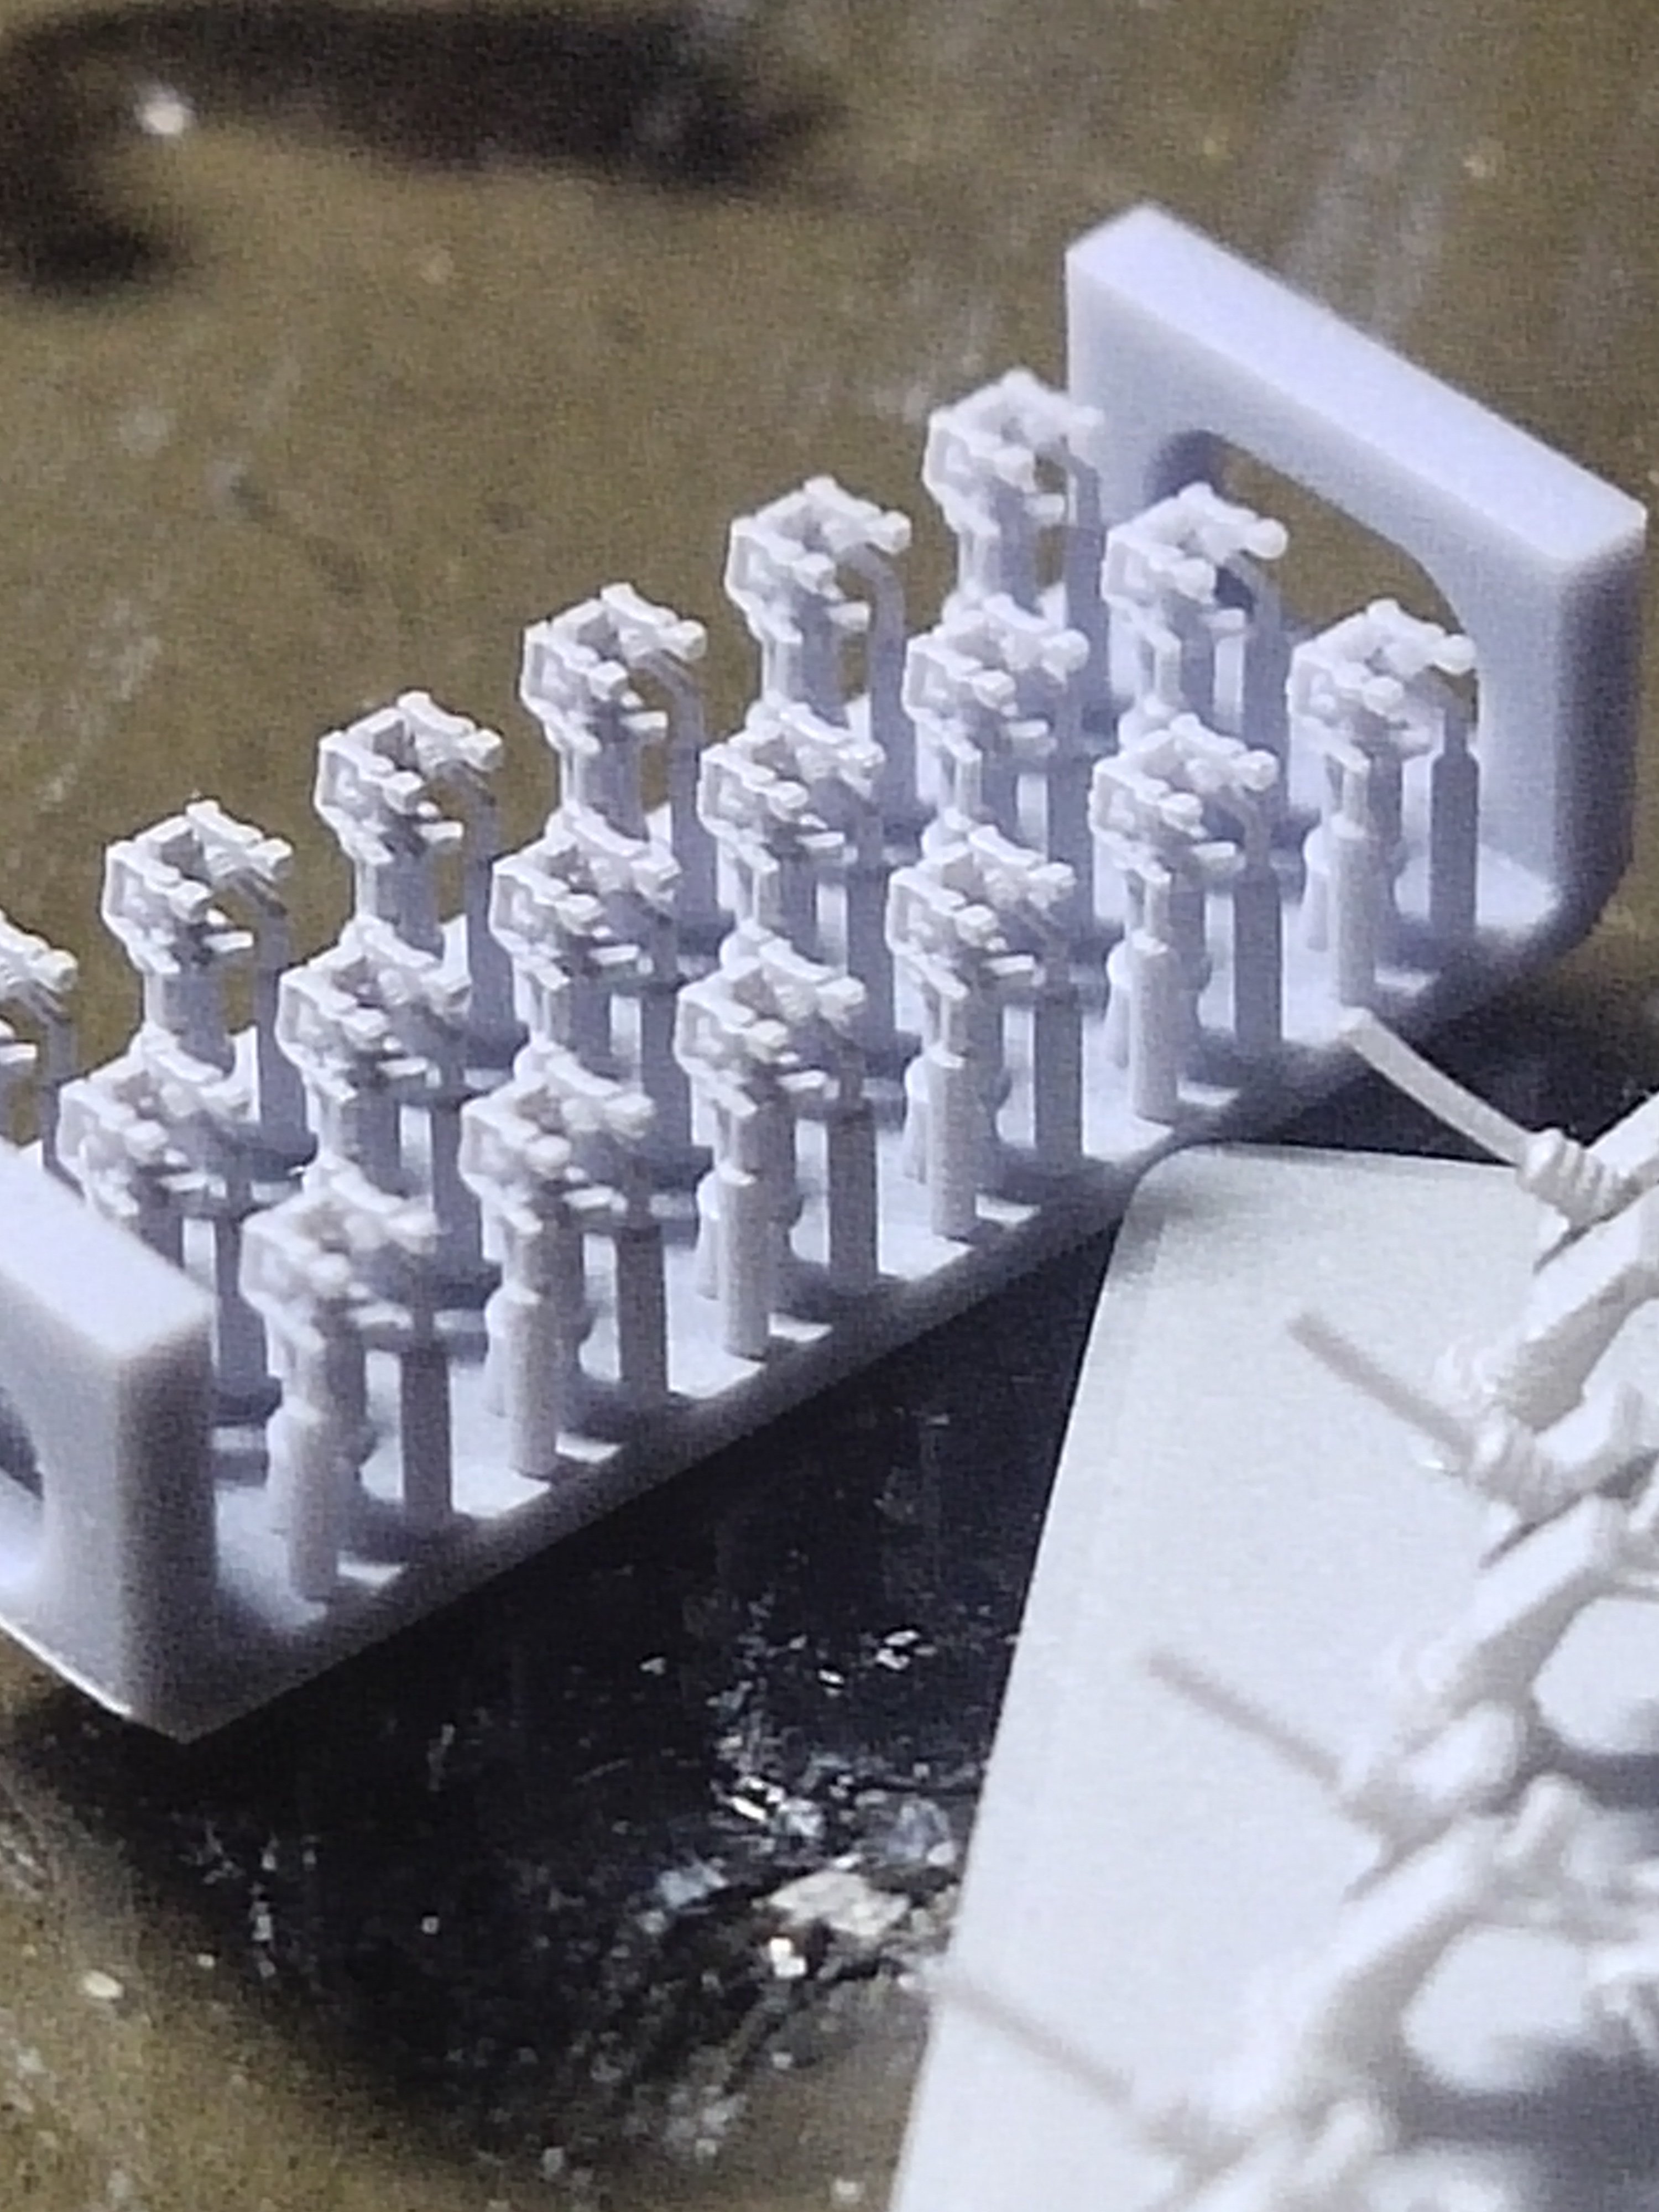
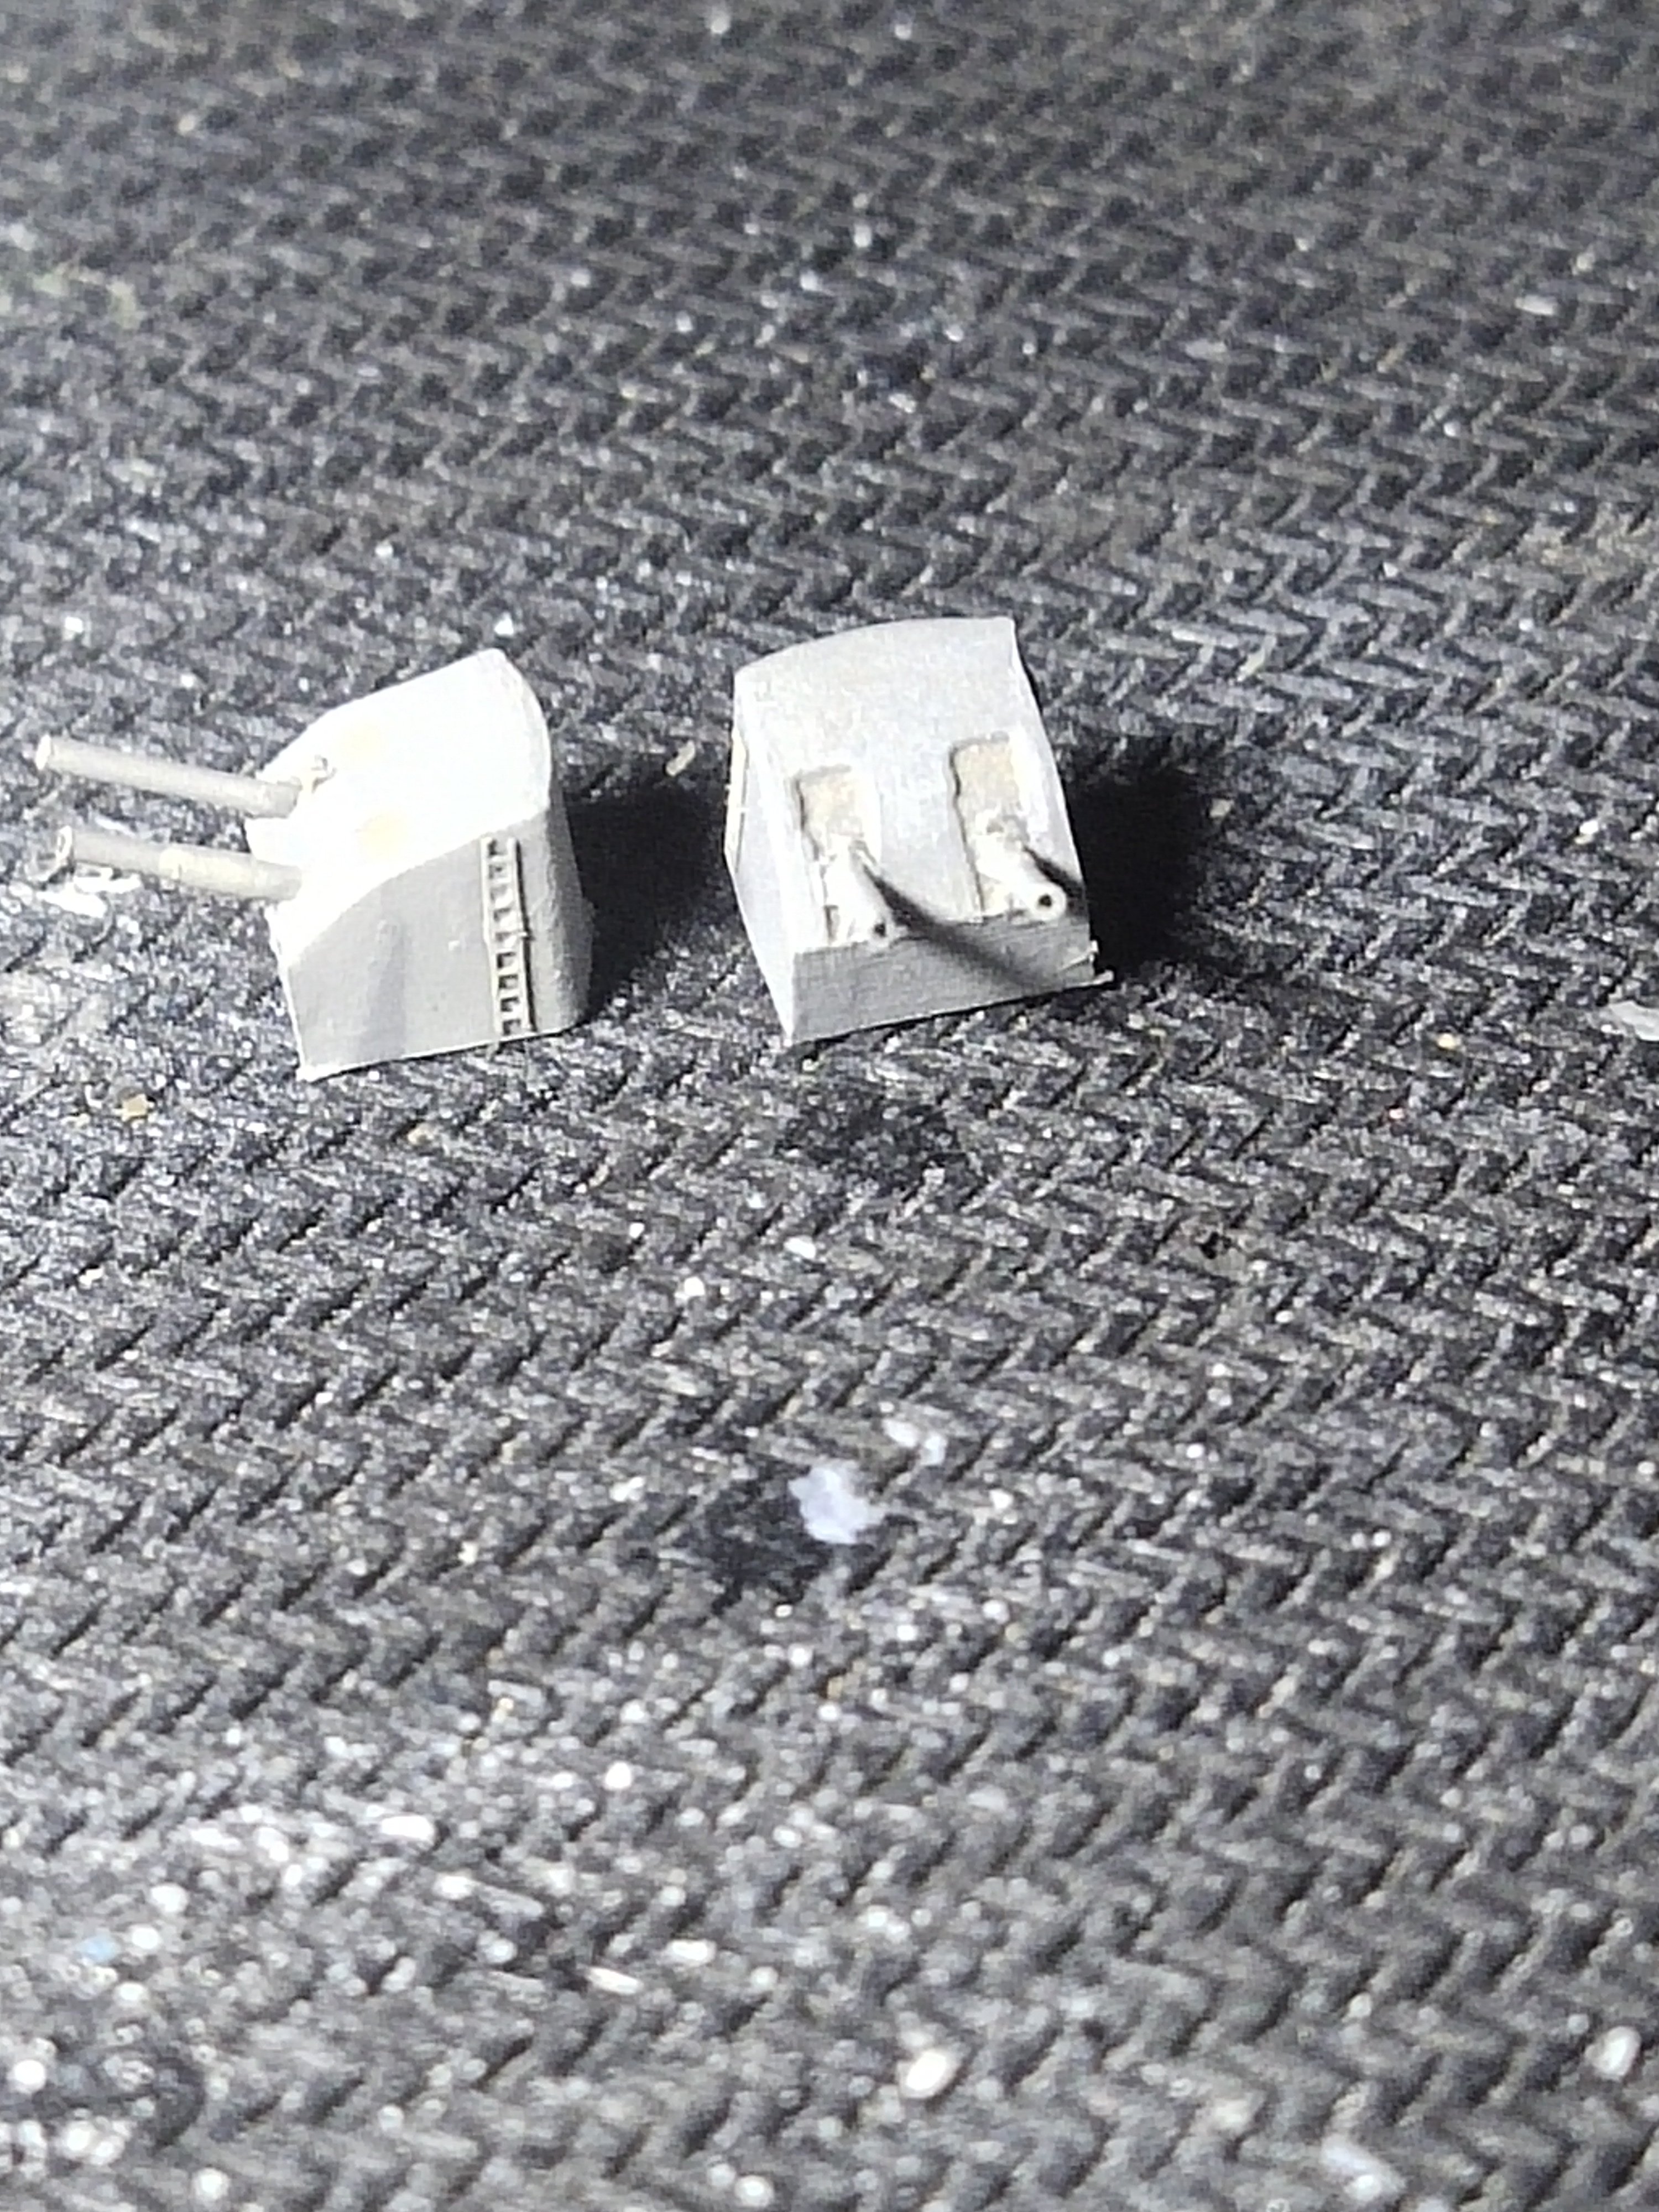
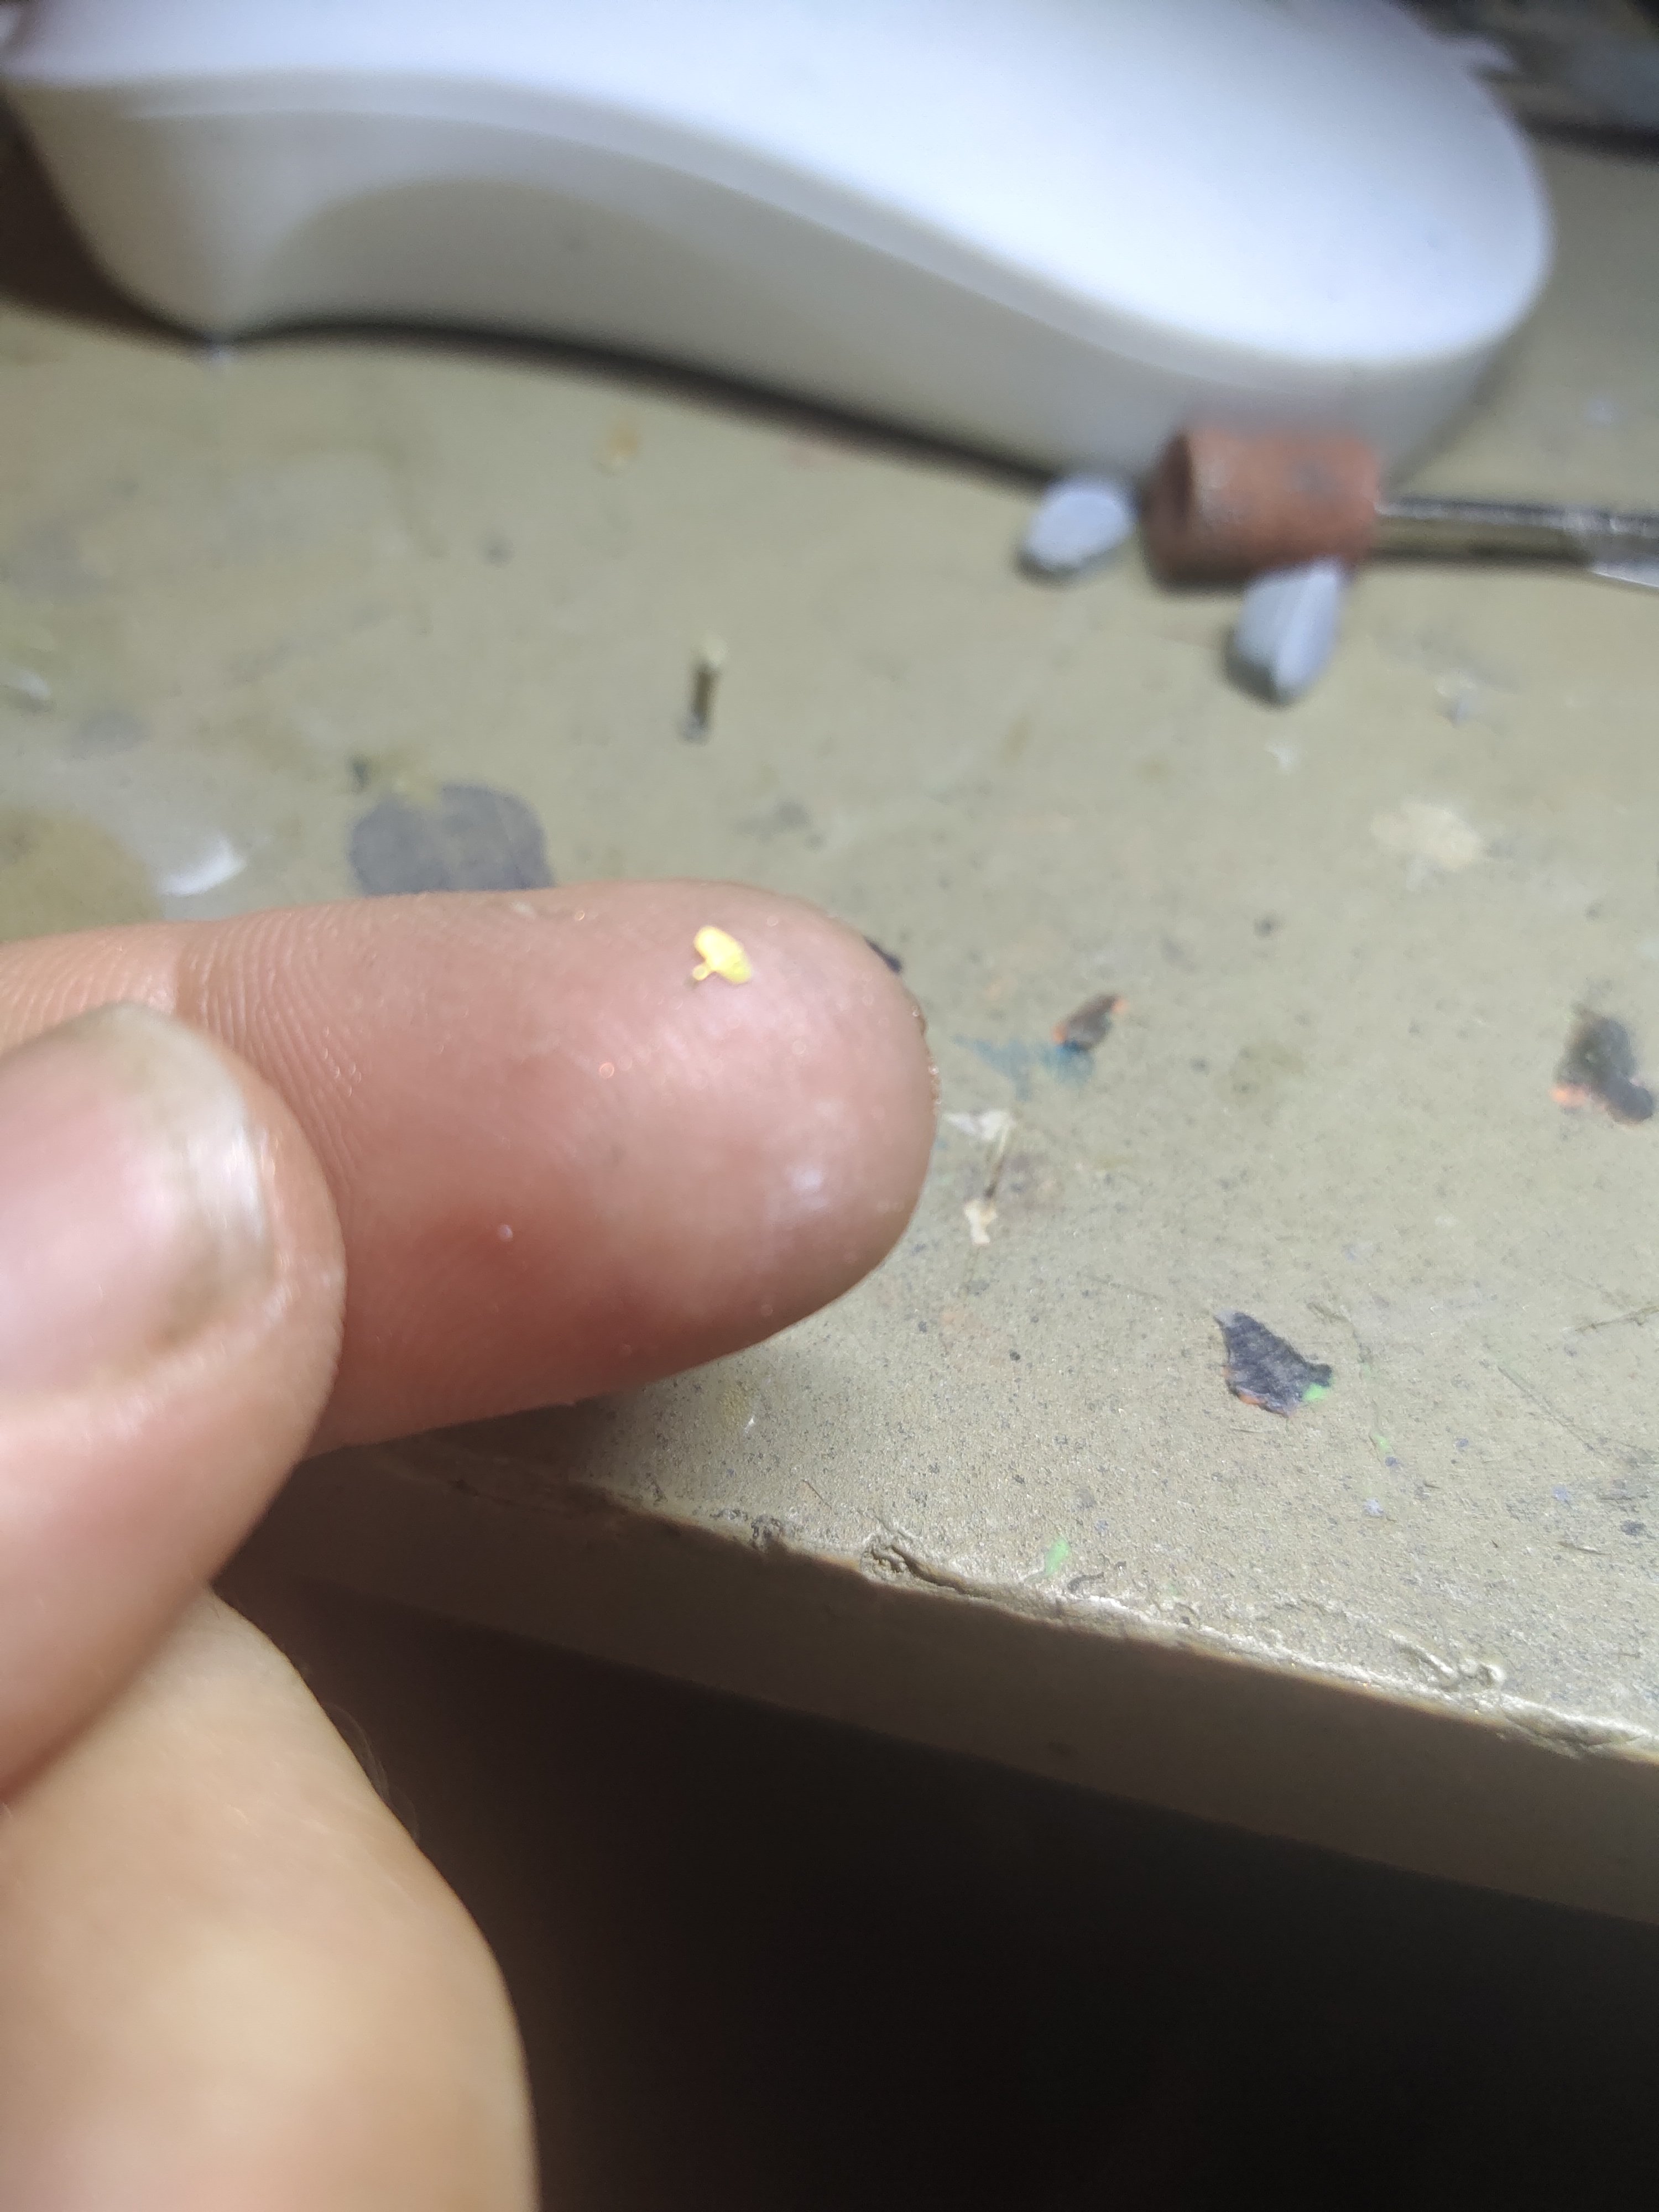
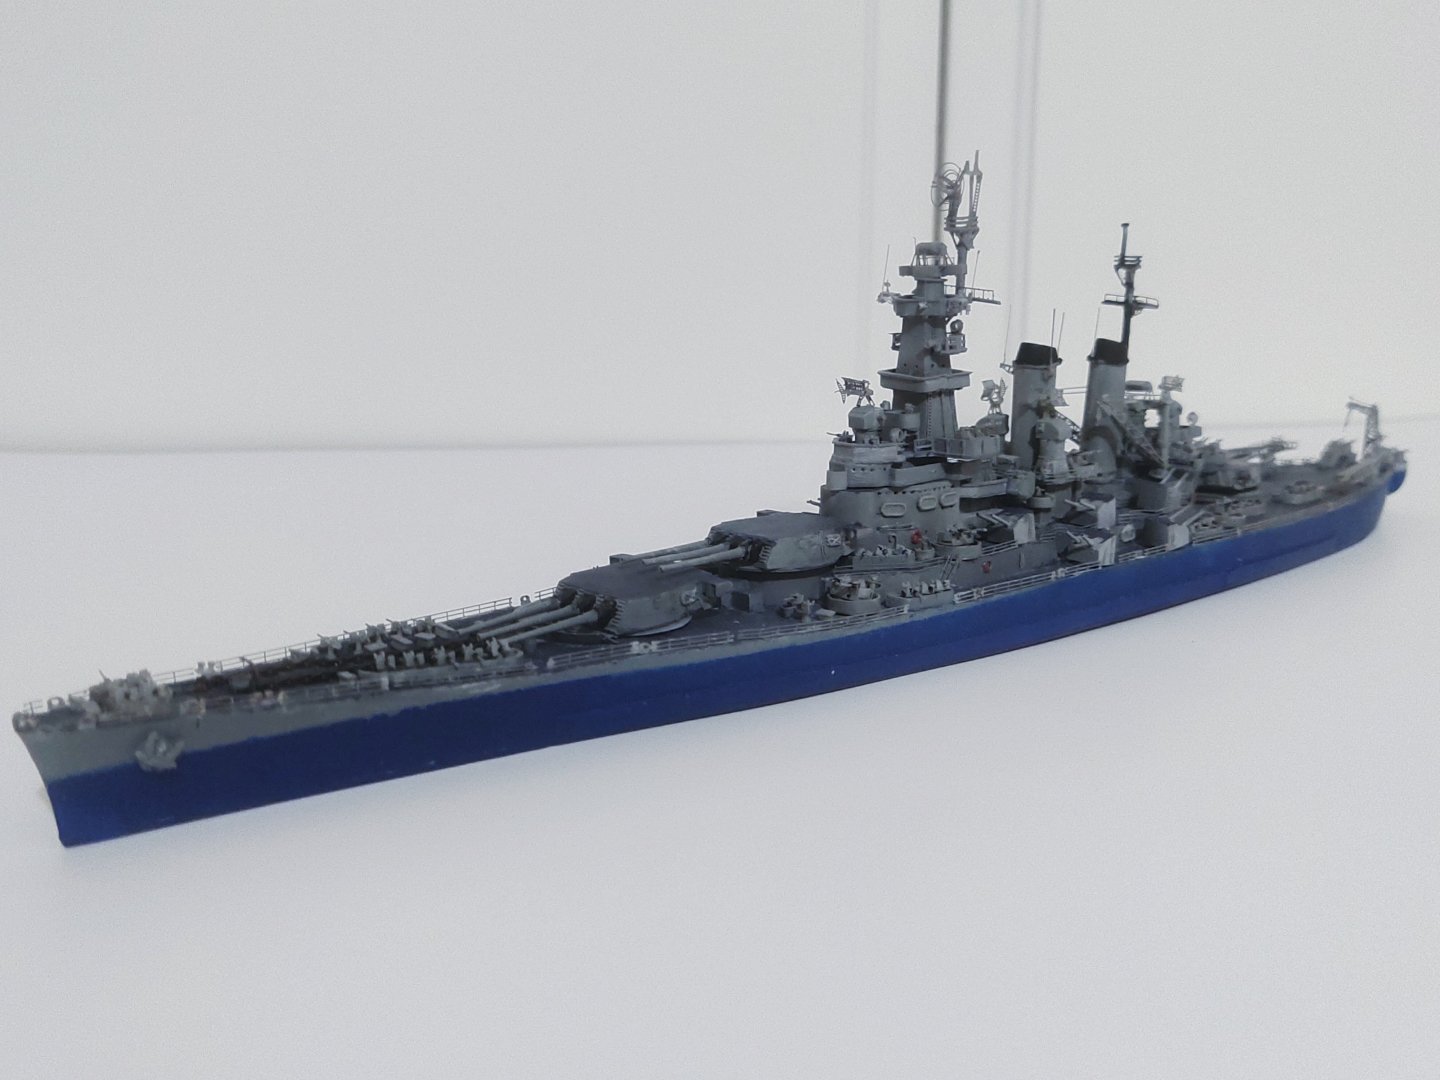
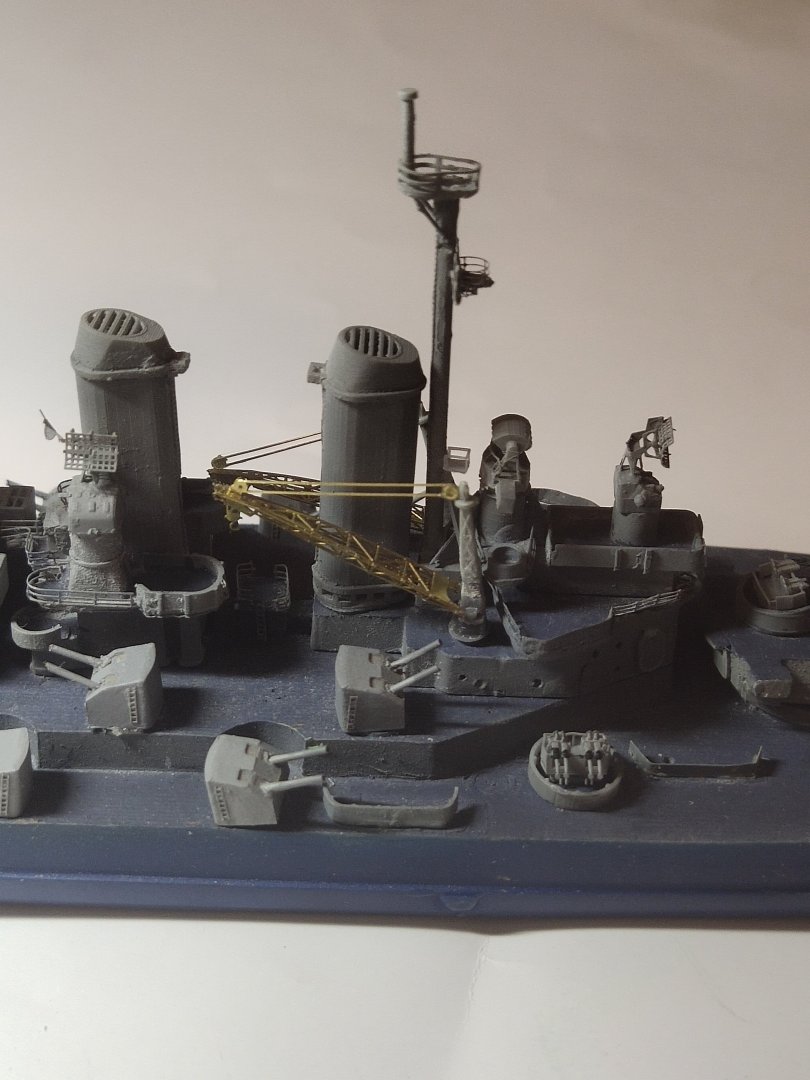
Back to work. I bought some Mk51 fire directors from Black Cat models. They are of exceptional detail although most of it can be revealed using lens. More quad Bofors installed. Also single Oerlikons, were made, hey looked quite ok, some were put in place but there are many more waiting. I painted the barrels using one single thread of paintbrush and microlens. Finally I made my own version of SK2 . But removing the PE proved hard so better leave it as is no need further damage to be done had enough so far.


-
I believe German and British destroyers are easier to built. IJN destroyers are more demanding as well as bigger vessels because of their continuous modifications
- 42 replies
-
- 3
-

-
- Zulu
- Tribal class
- (and 2 more)
-
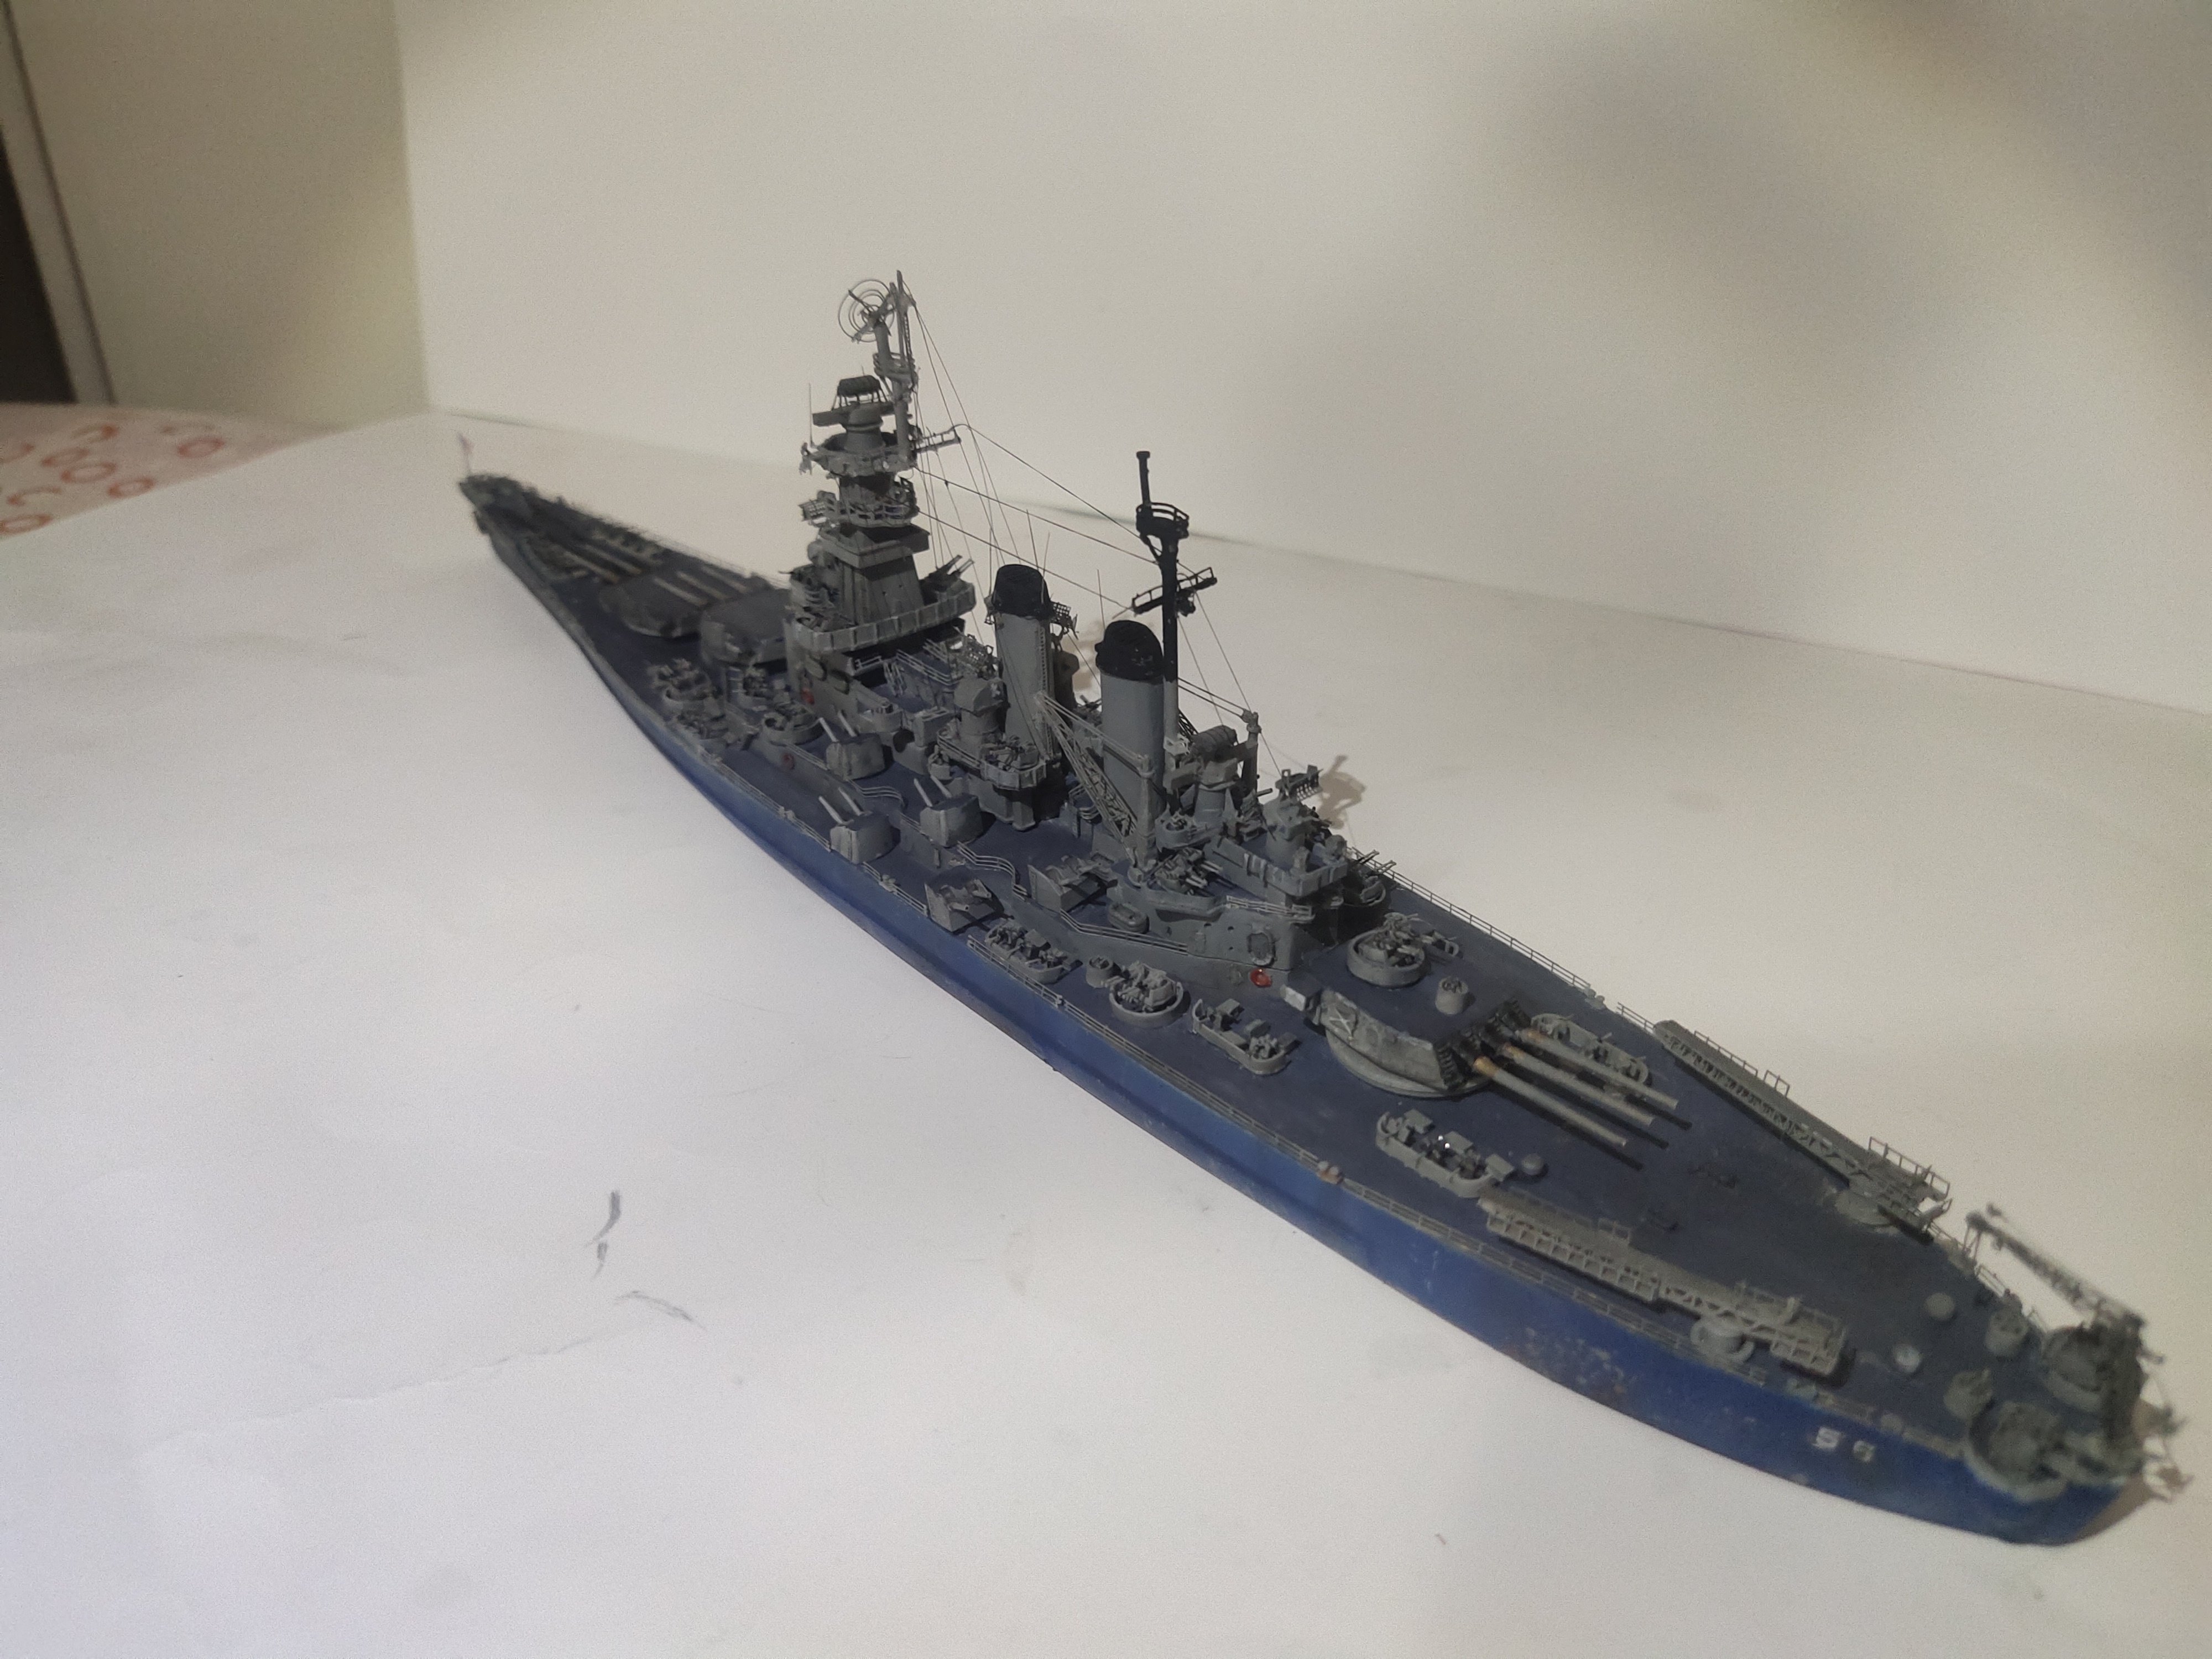
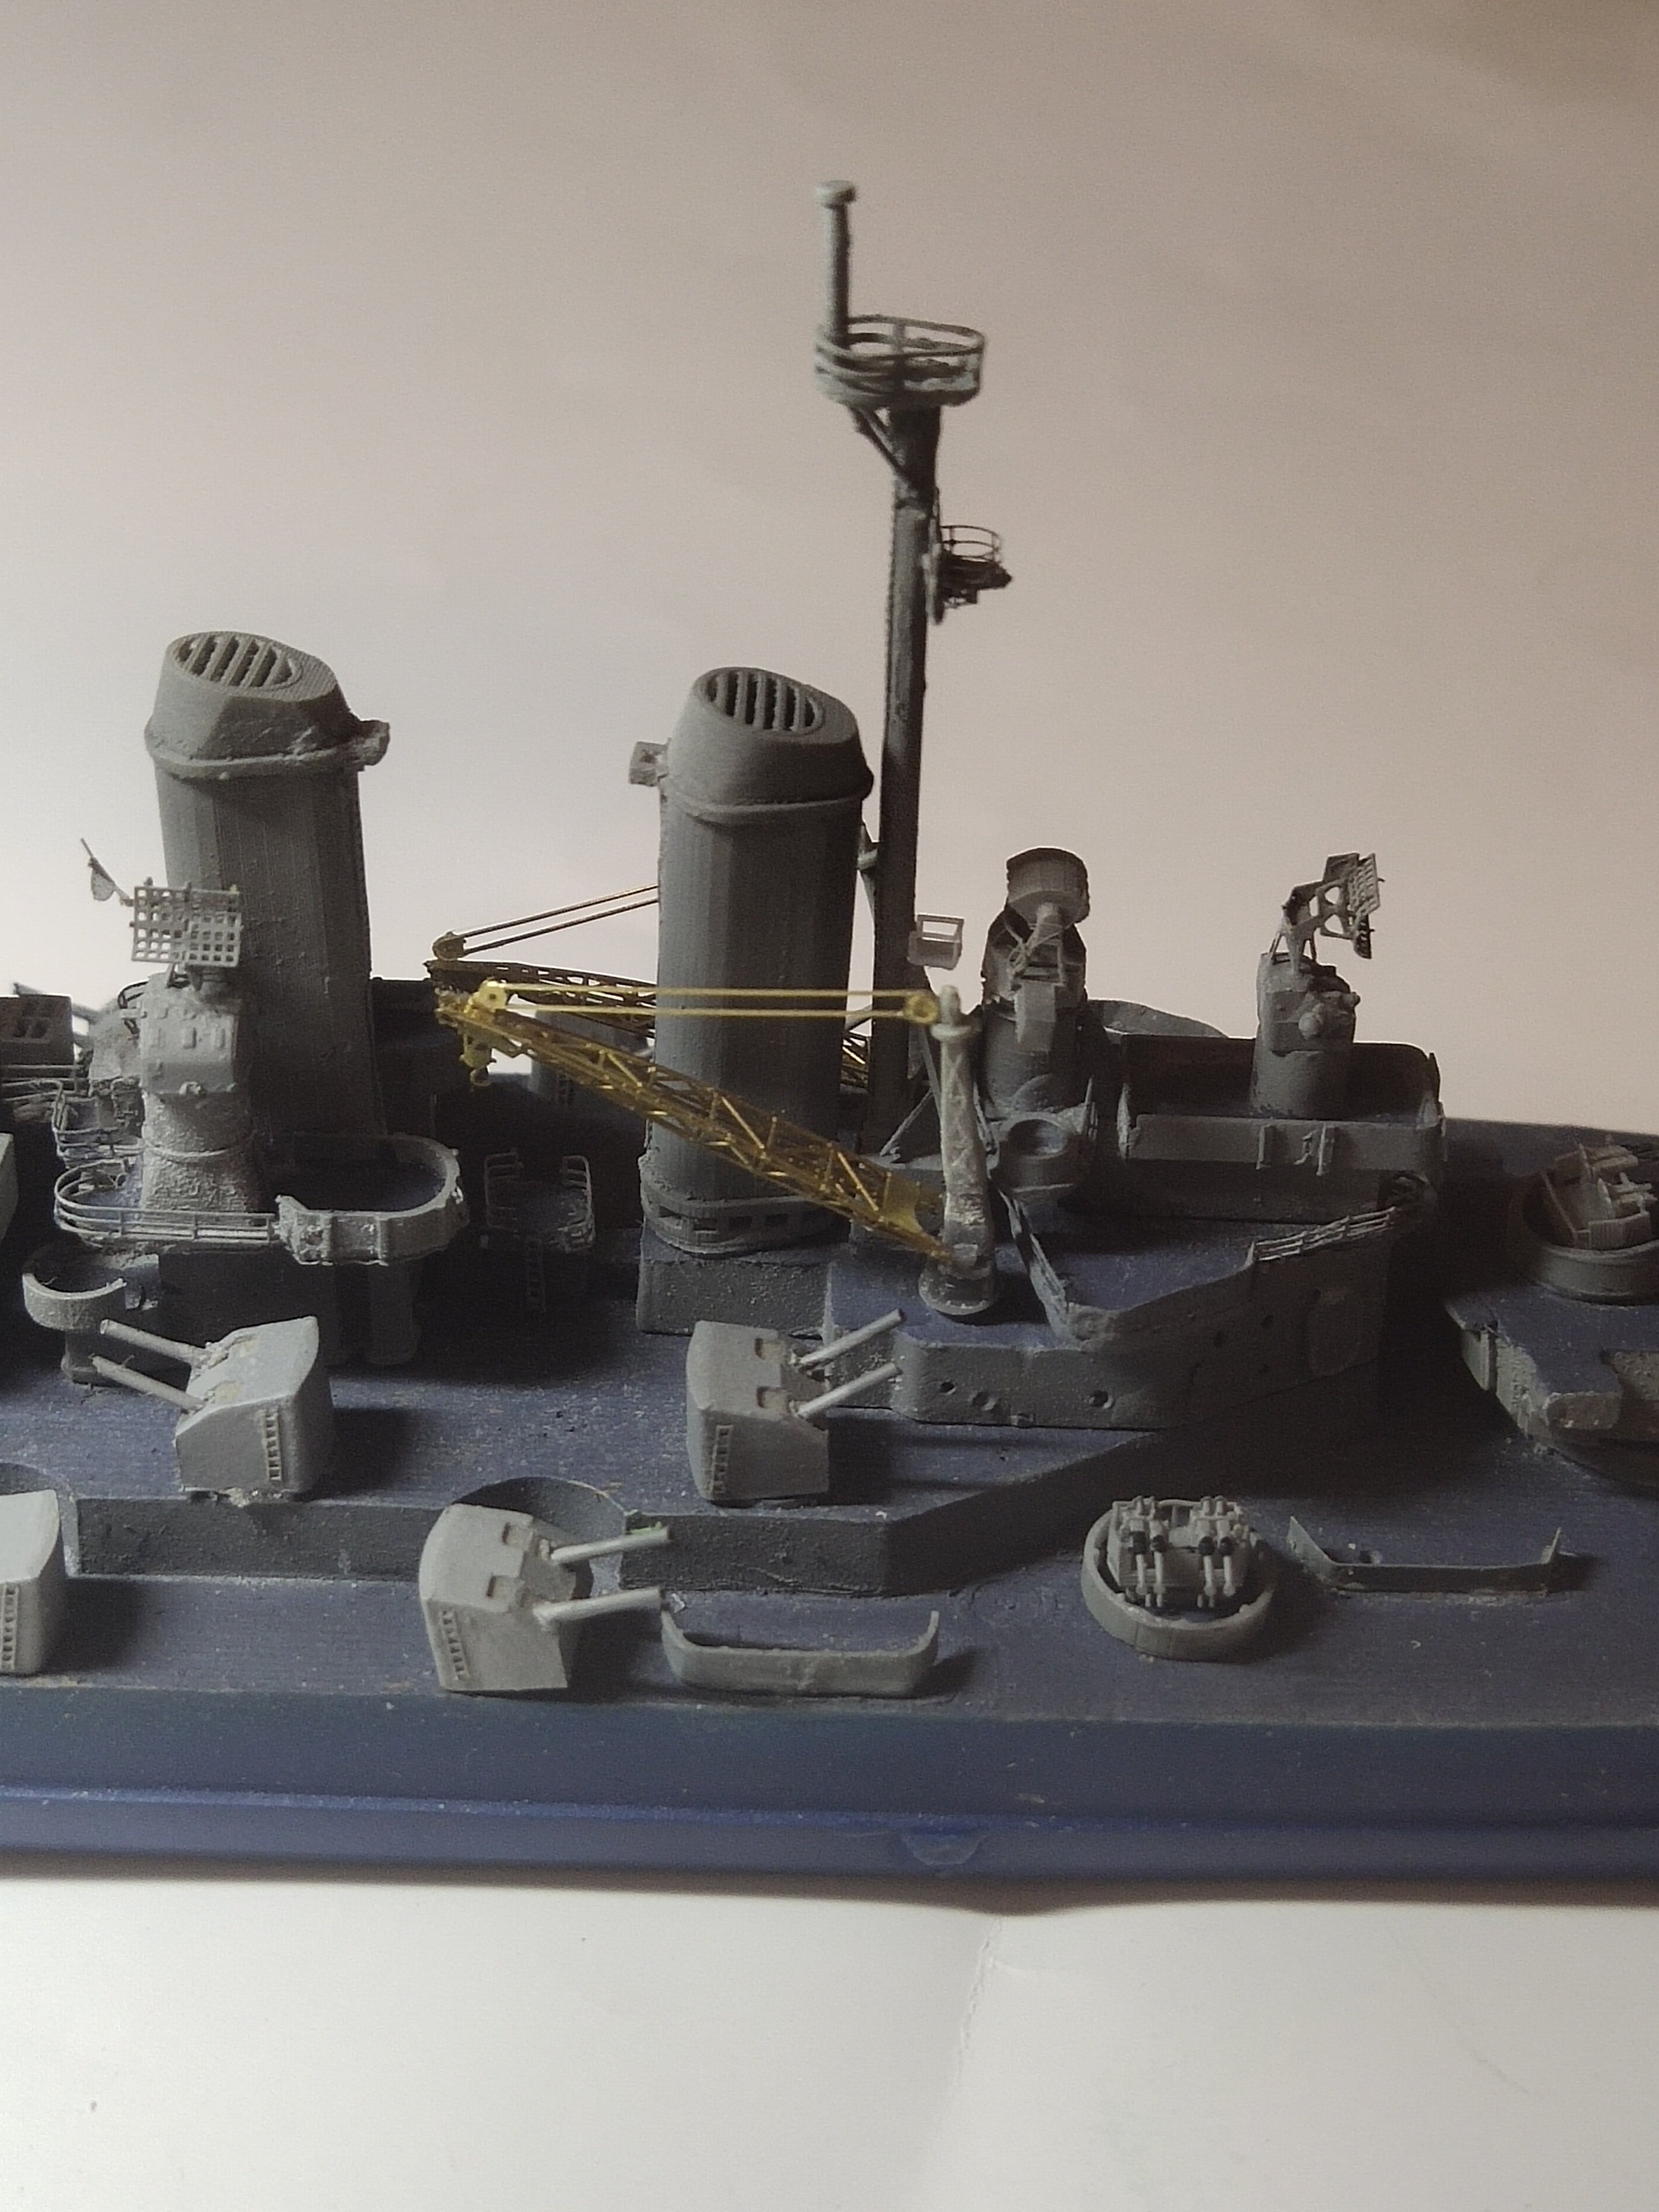
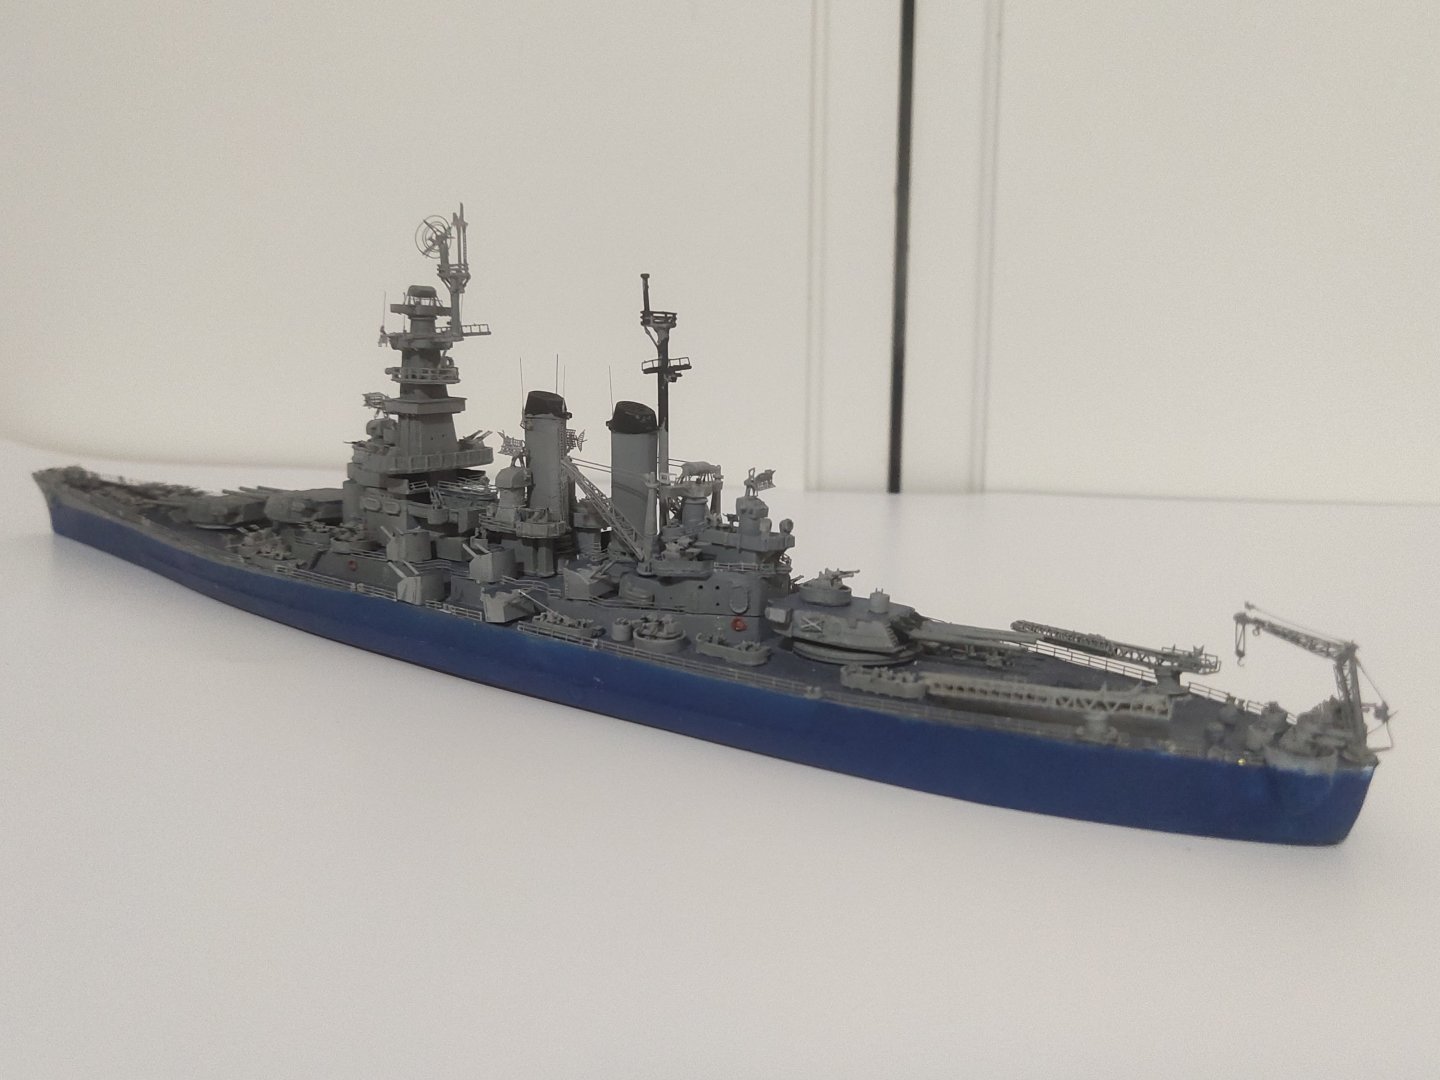
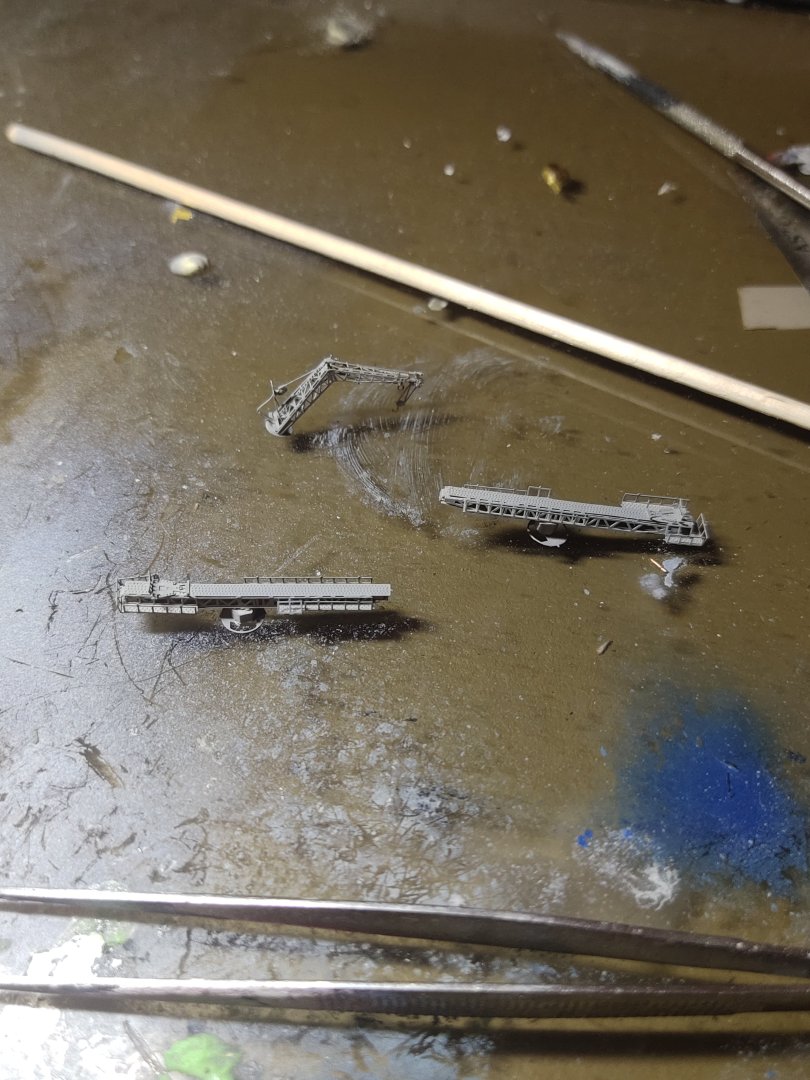
The bases for the Bofors proved somewhat narrow. So I decided to remove them. So that gave me the chance to remove they supports closer to the crane as indicated above. Another save - step back. I worked on the Bofors and improved a design used in the past. The outcome was pretty satisfying, the detail was excellent. Some were put in place along with the new bases. Later addition was the set of crane almost amidships, the PE was pretty detailed also. For the 5" guns sterile needles were used for barrels. Unfortunately I wasn't able ro finish the project on the desired time, it will take at least two weeks of evening work to put in more details like Oerlikons, liferafts etc, as well as rigging, weathering and a base


-
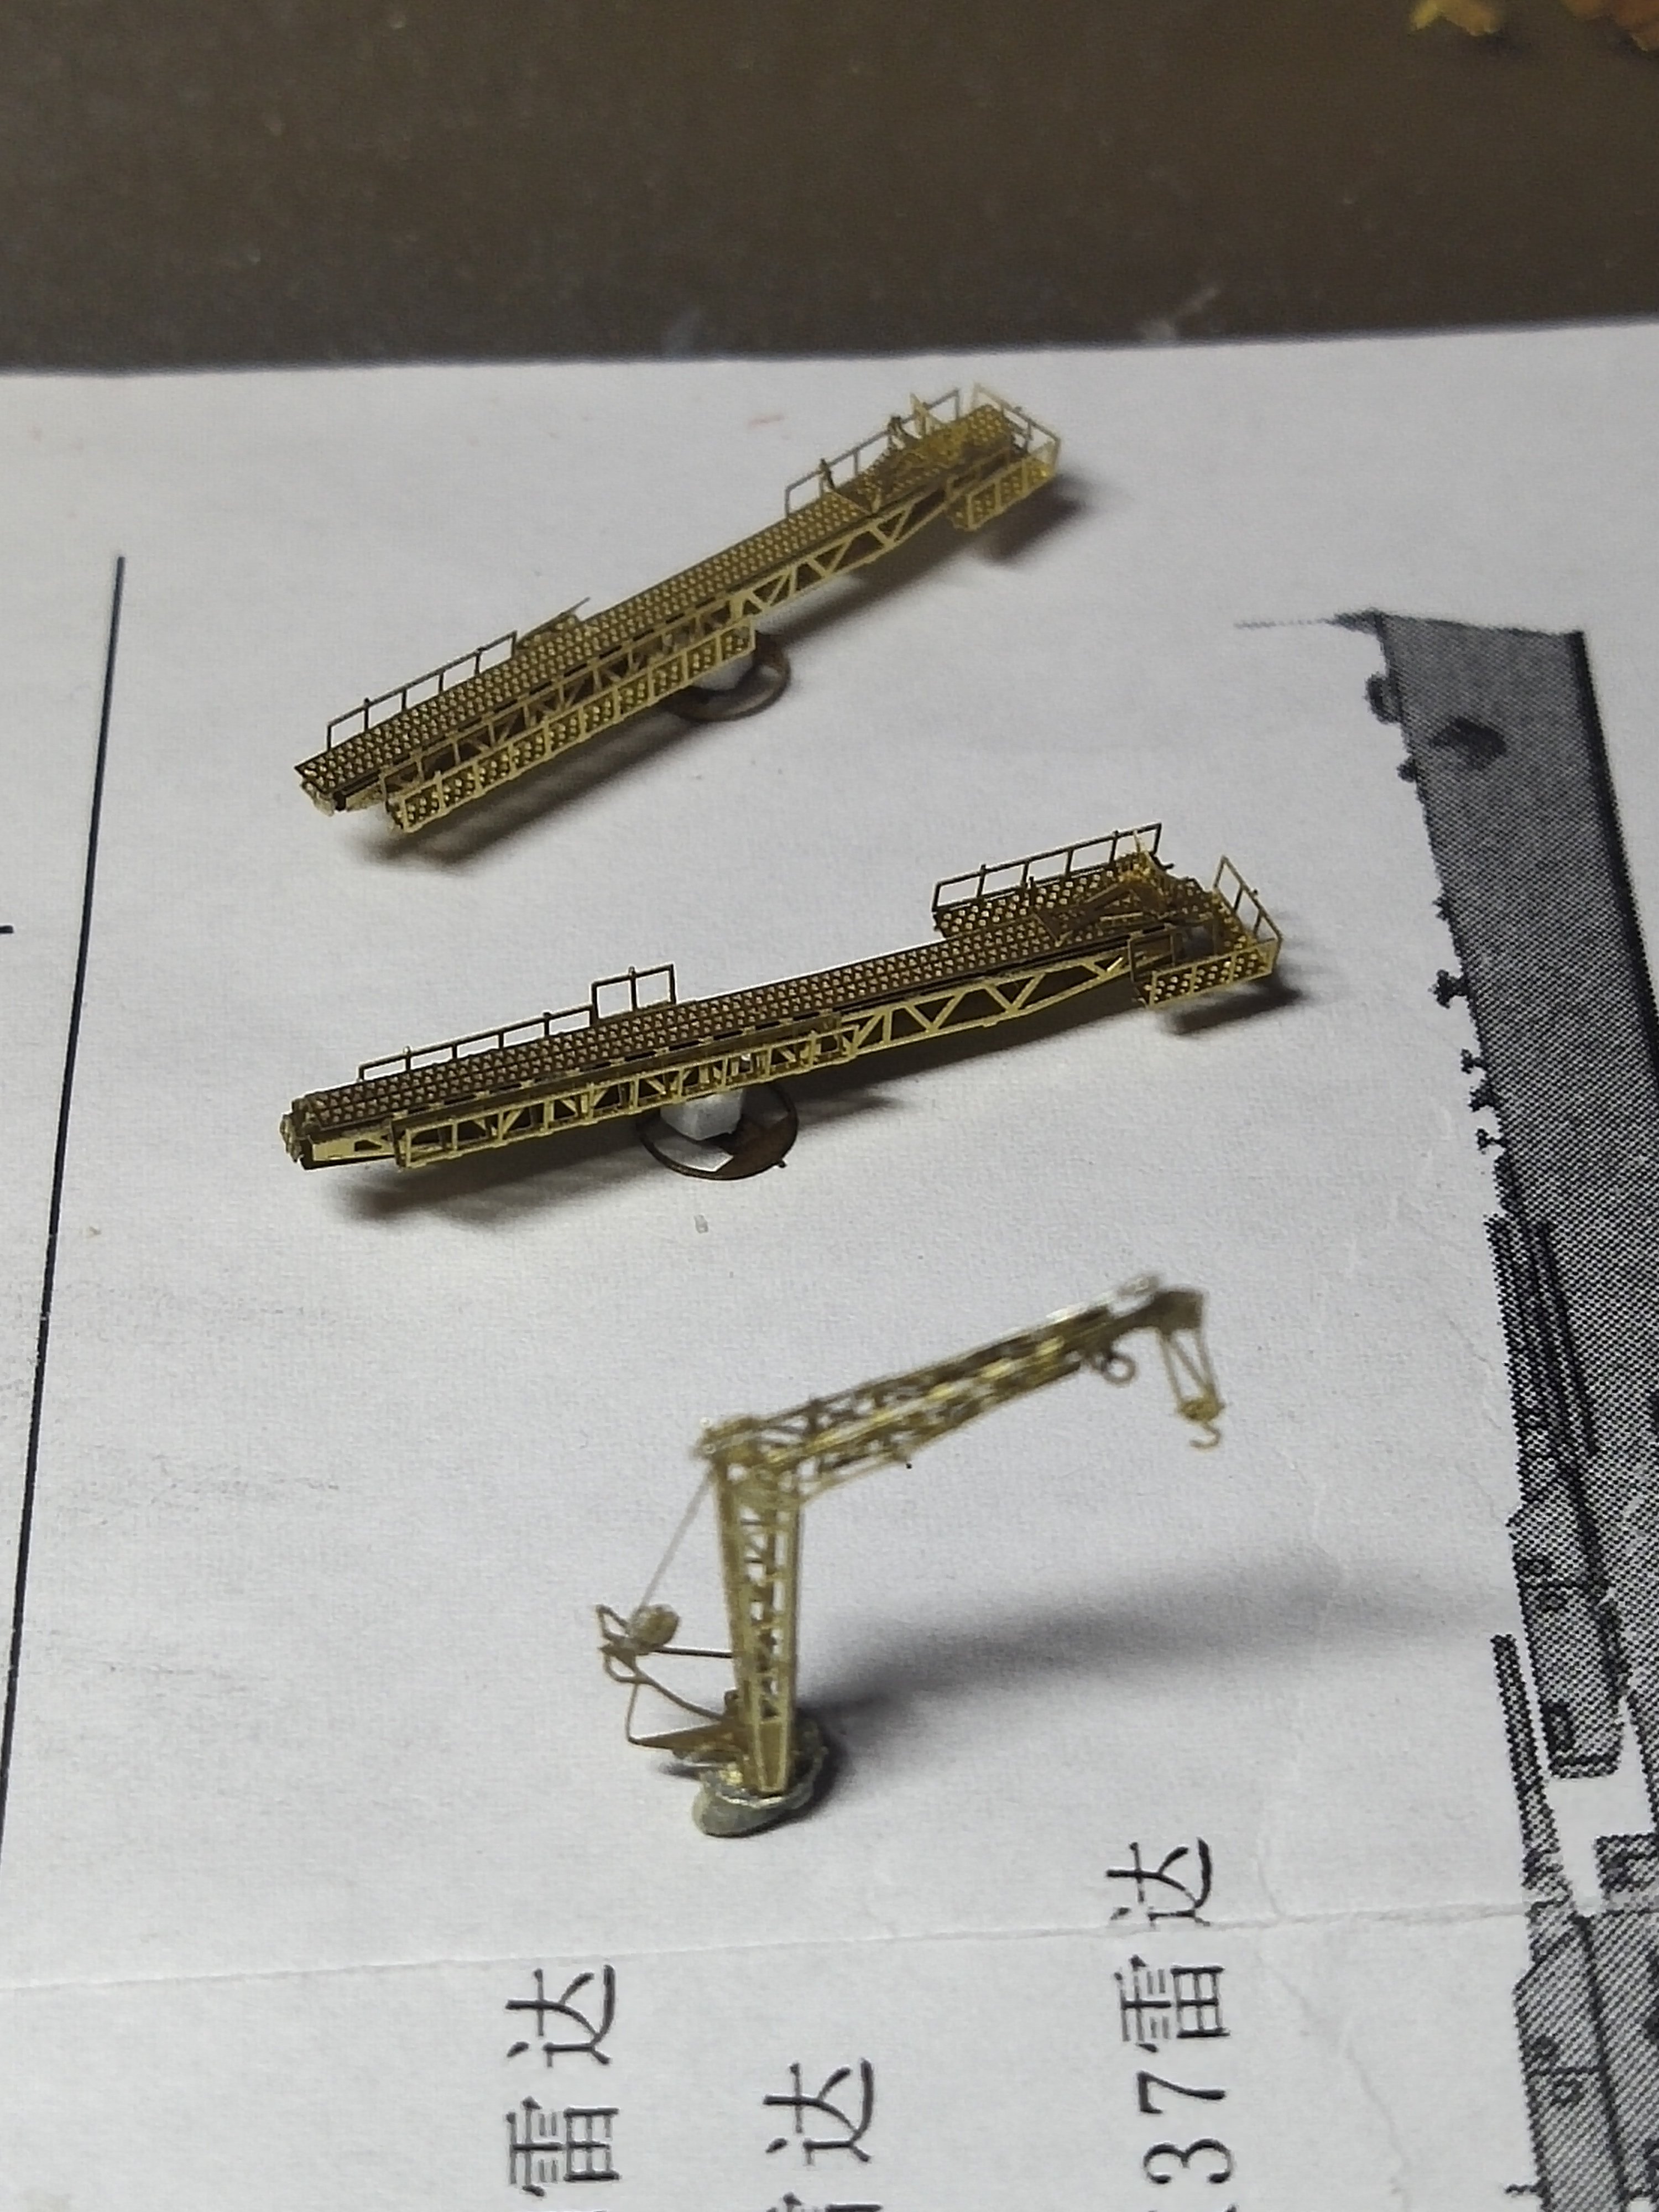
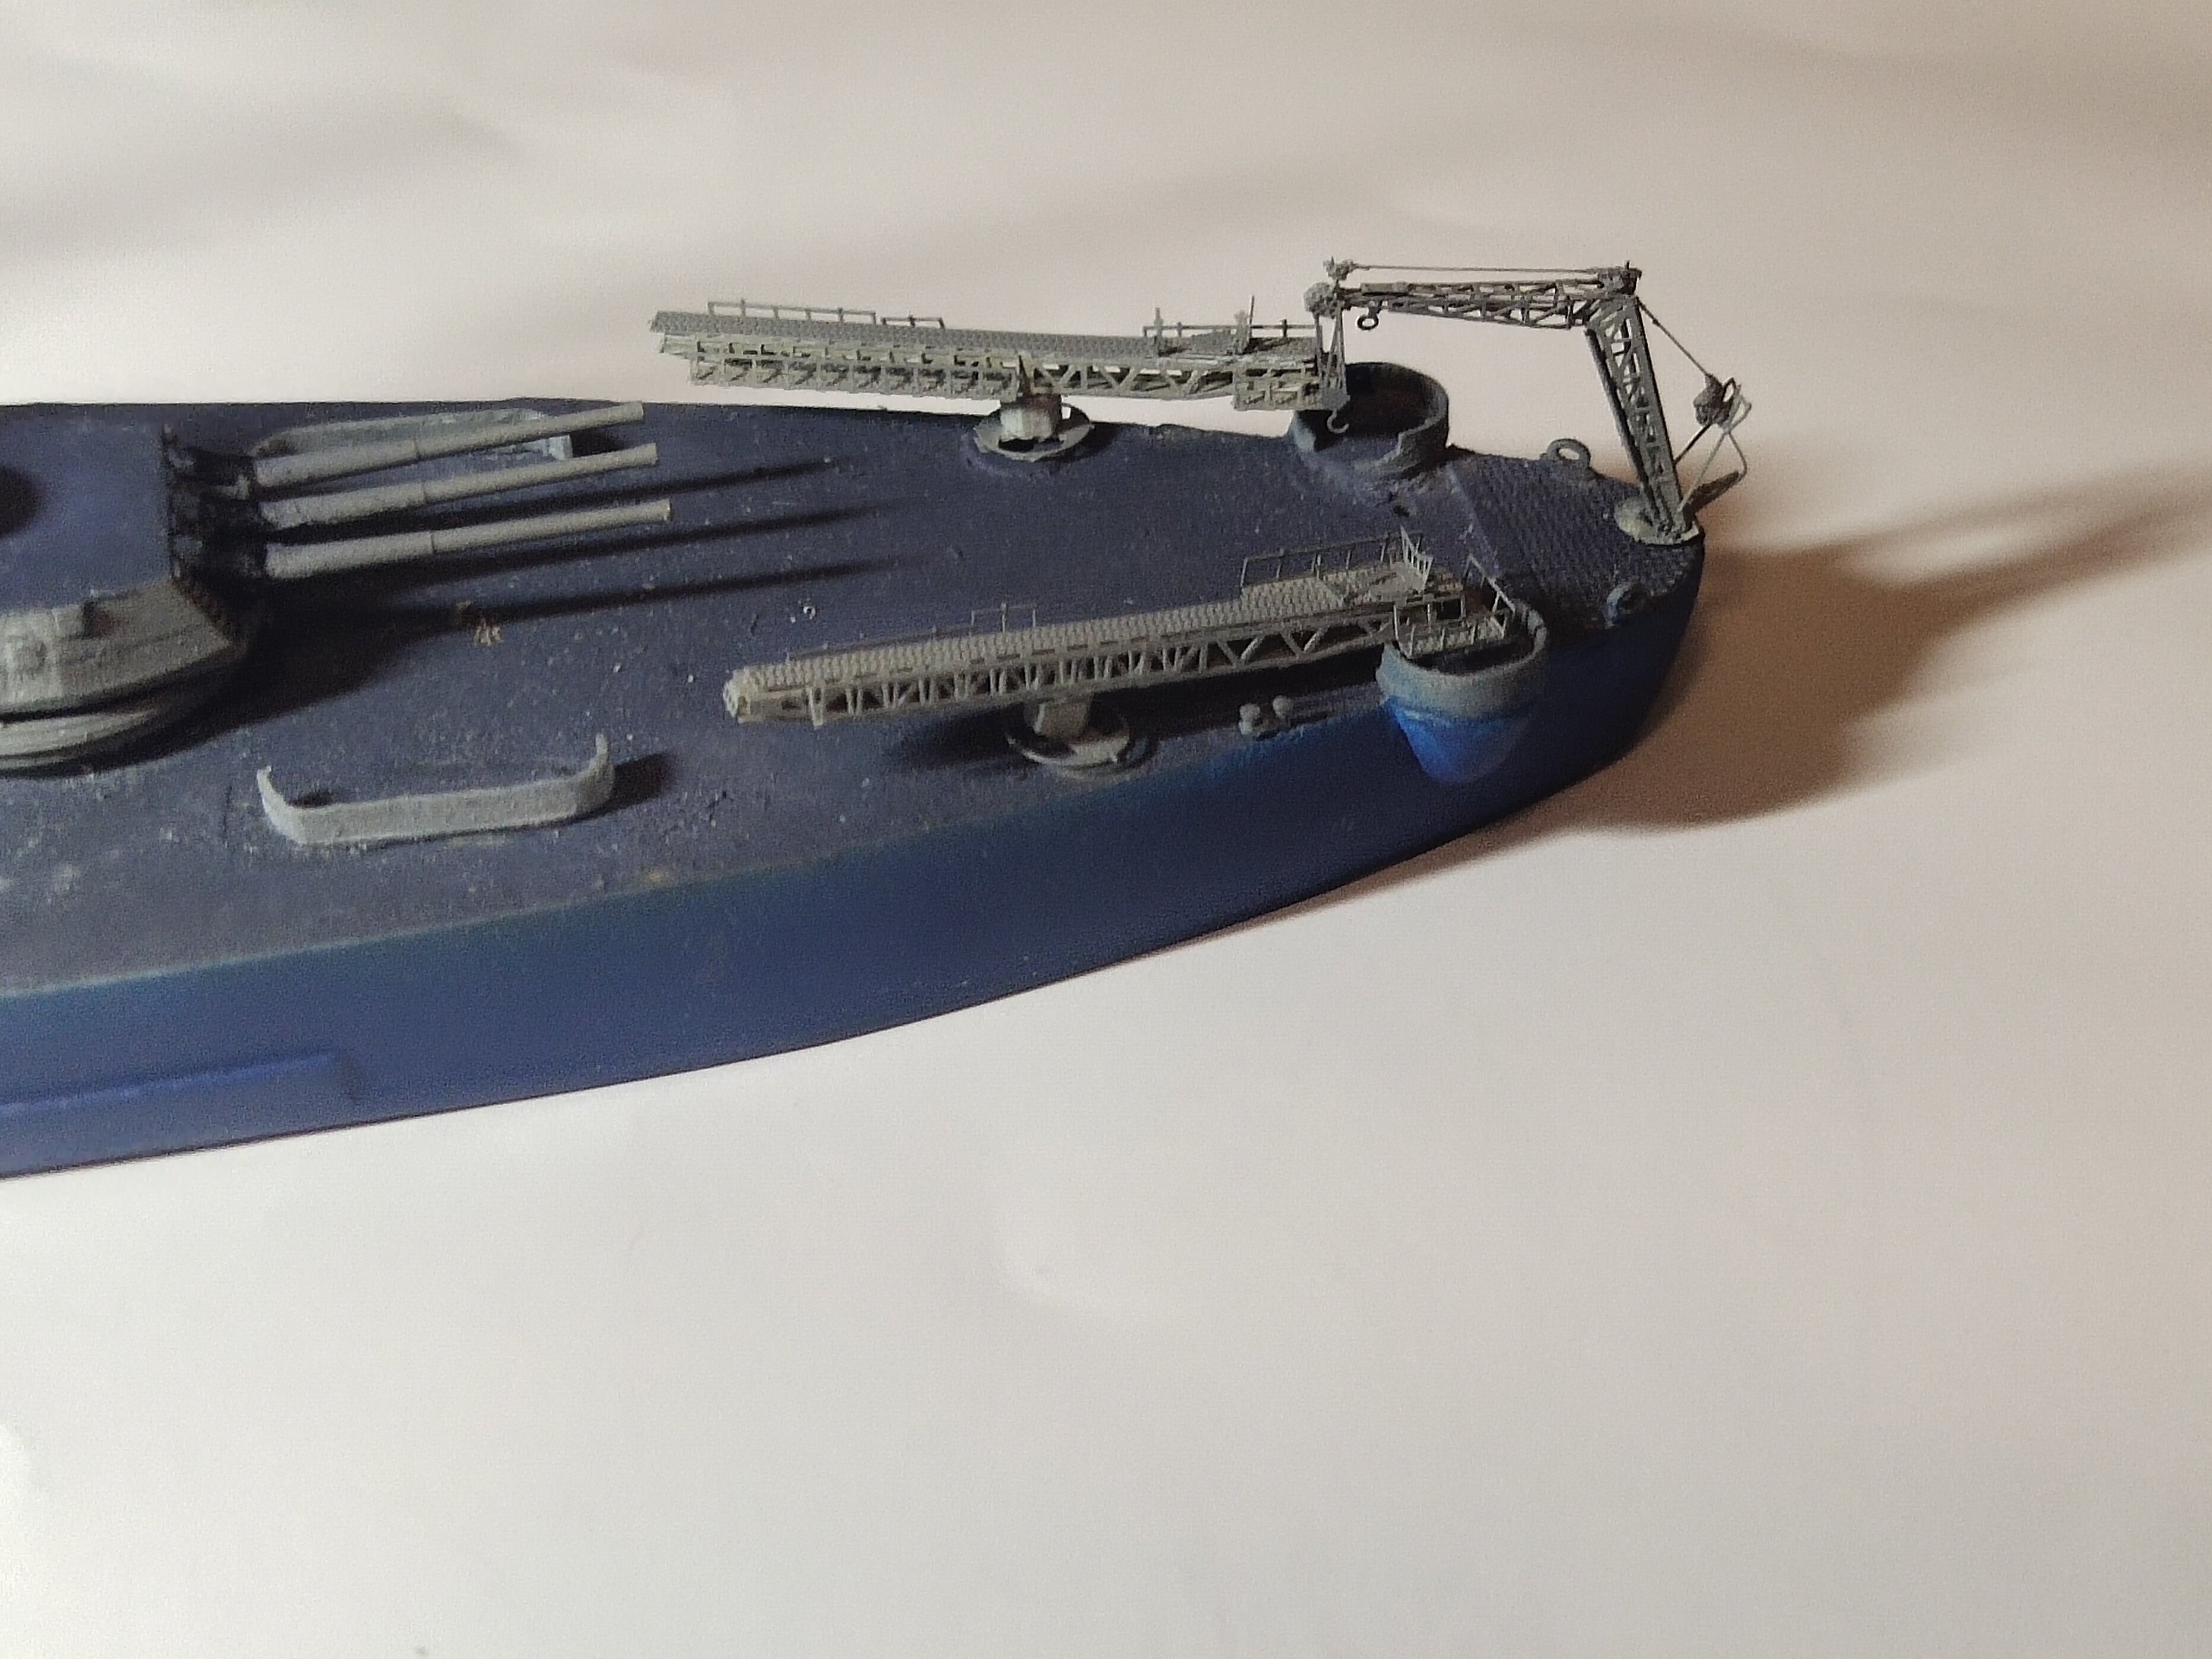
I made the catapults and the crane. Instructions are horrible so I research onine to see real pics. Its called Mk6 catapult. Test fitting is essential. The catapults are colliding with the rear gun platforms. Thats because PE instructions calling for the base to be glued at the middle of the catapults which is wrong. They should be put at the 2/3 of the length of it. So I need to make another mini operation, detach and relocate the base without causing damage to the fragile PE part


-
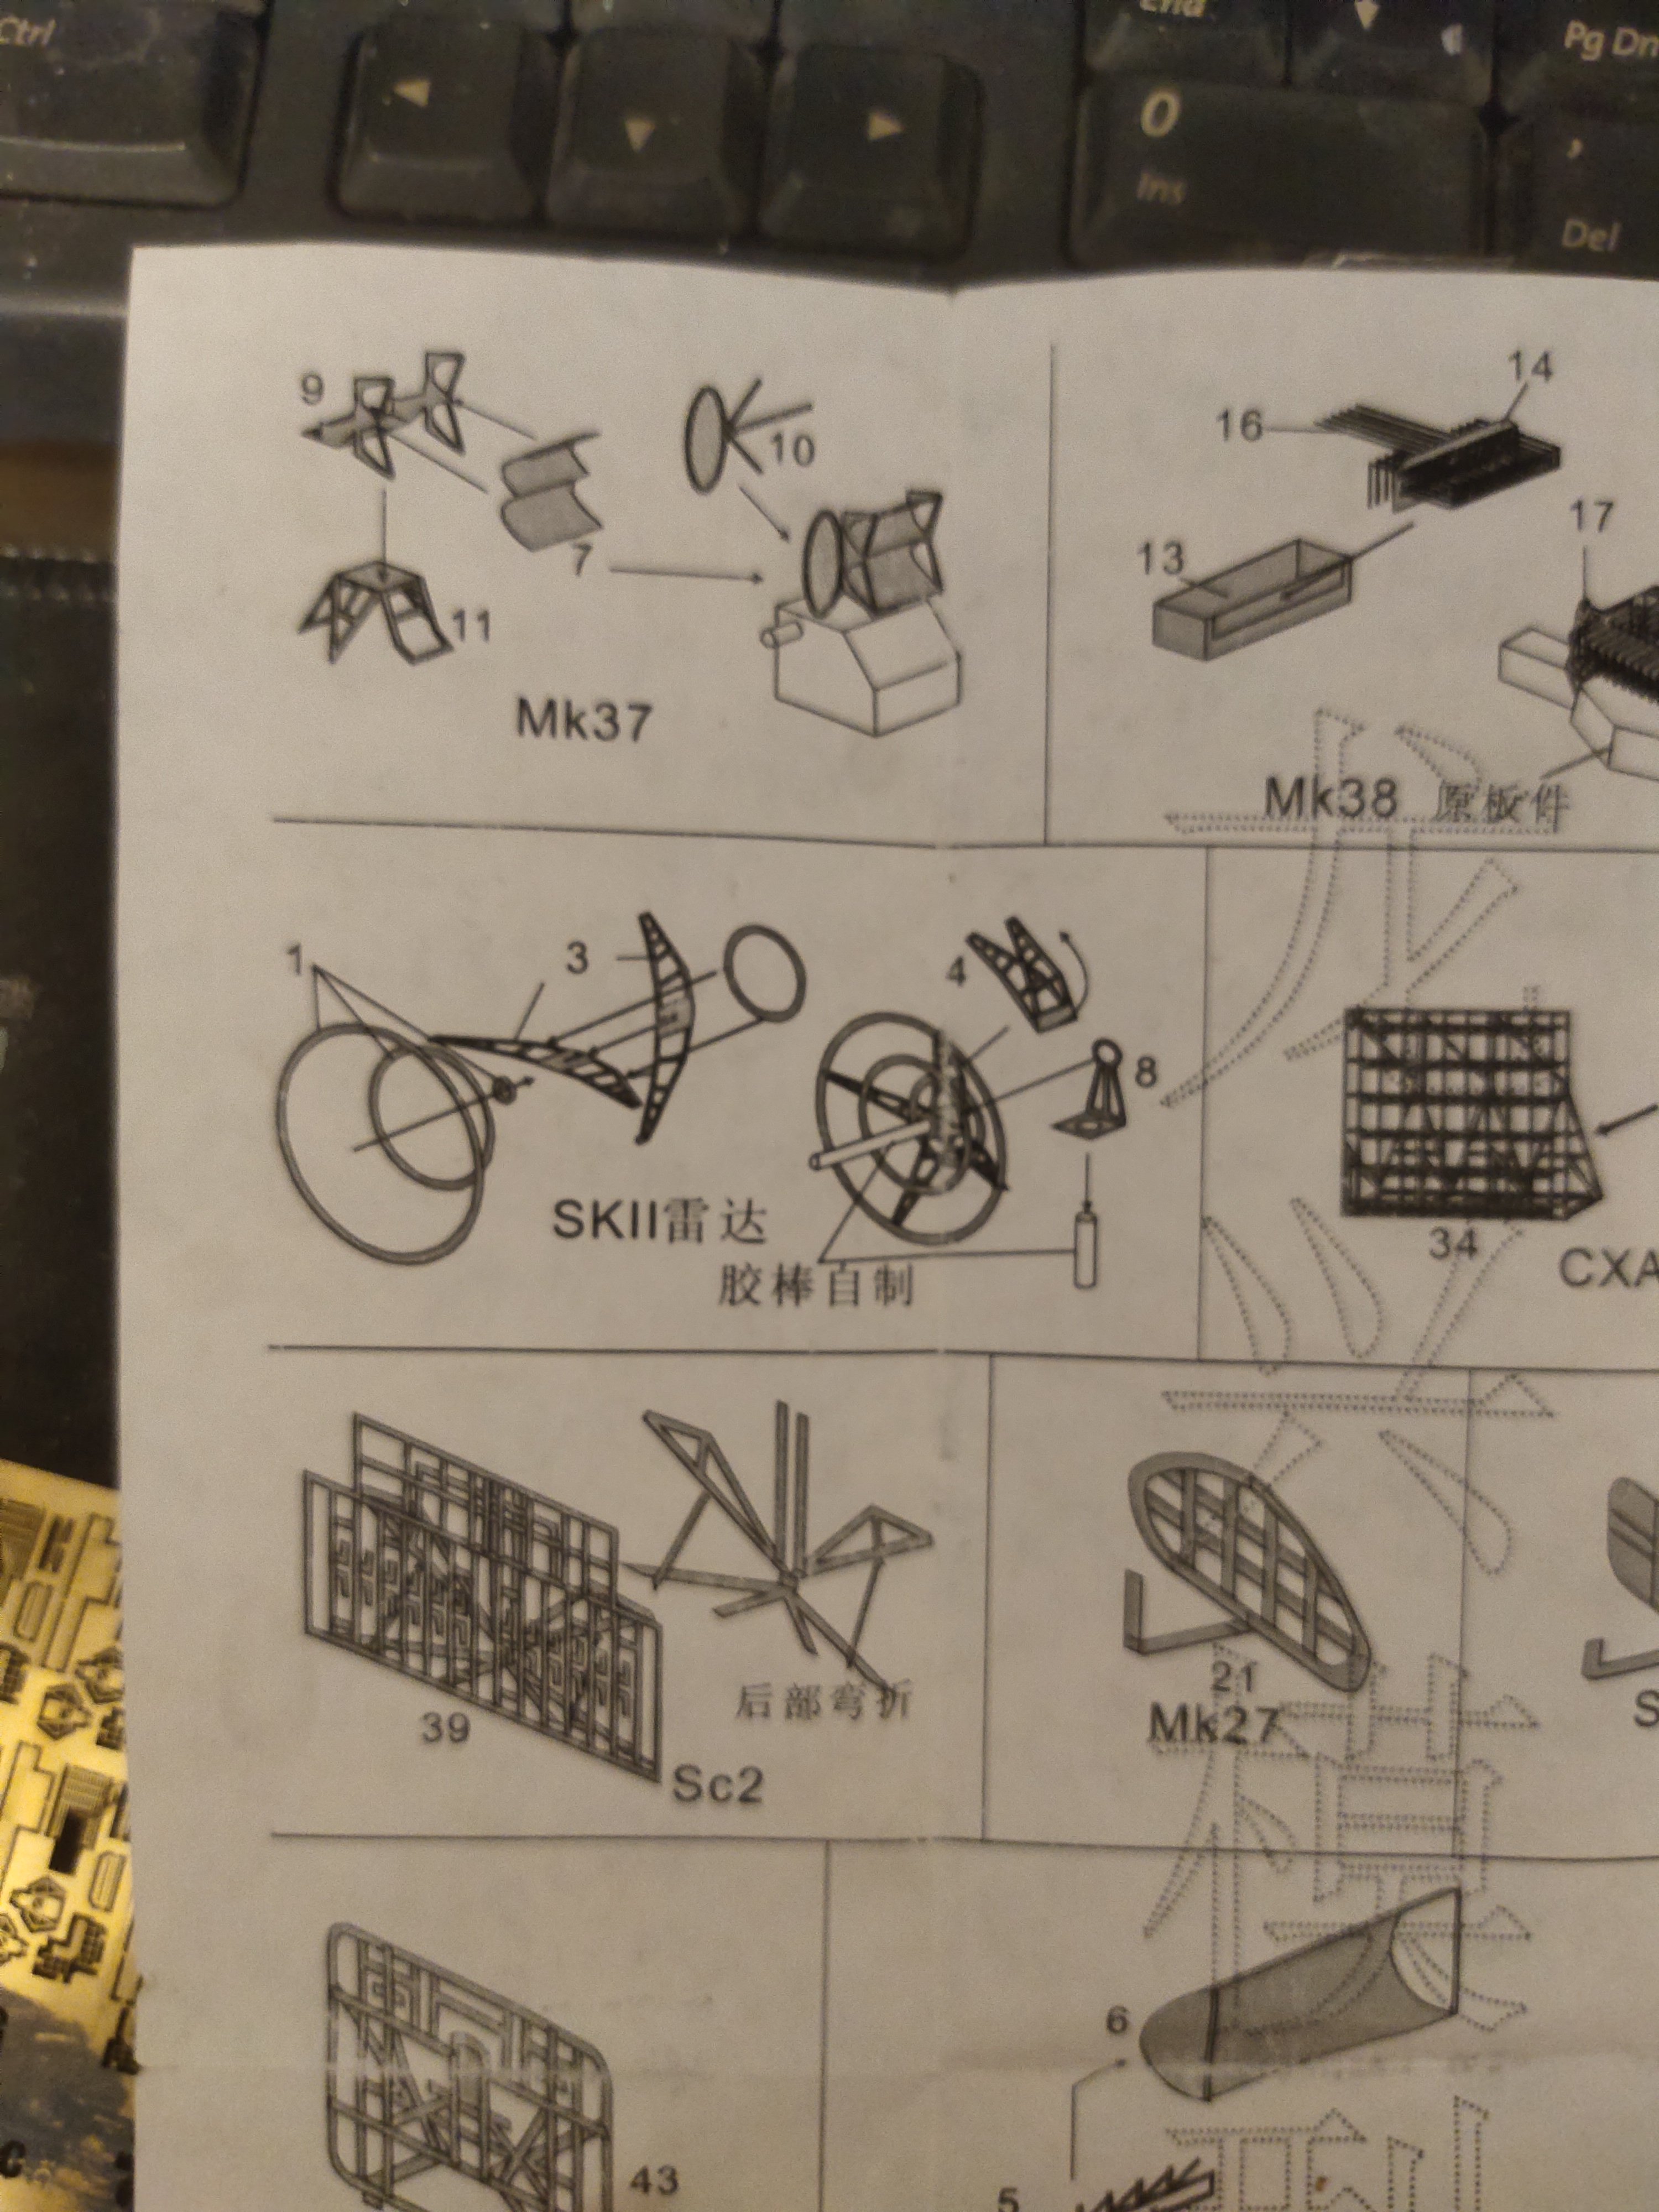
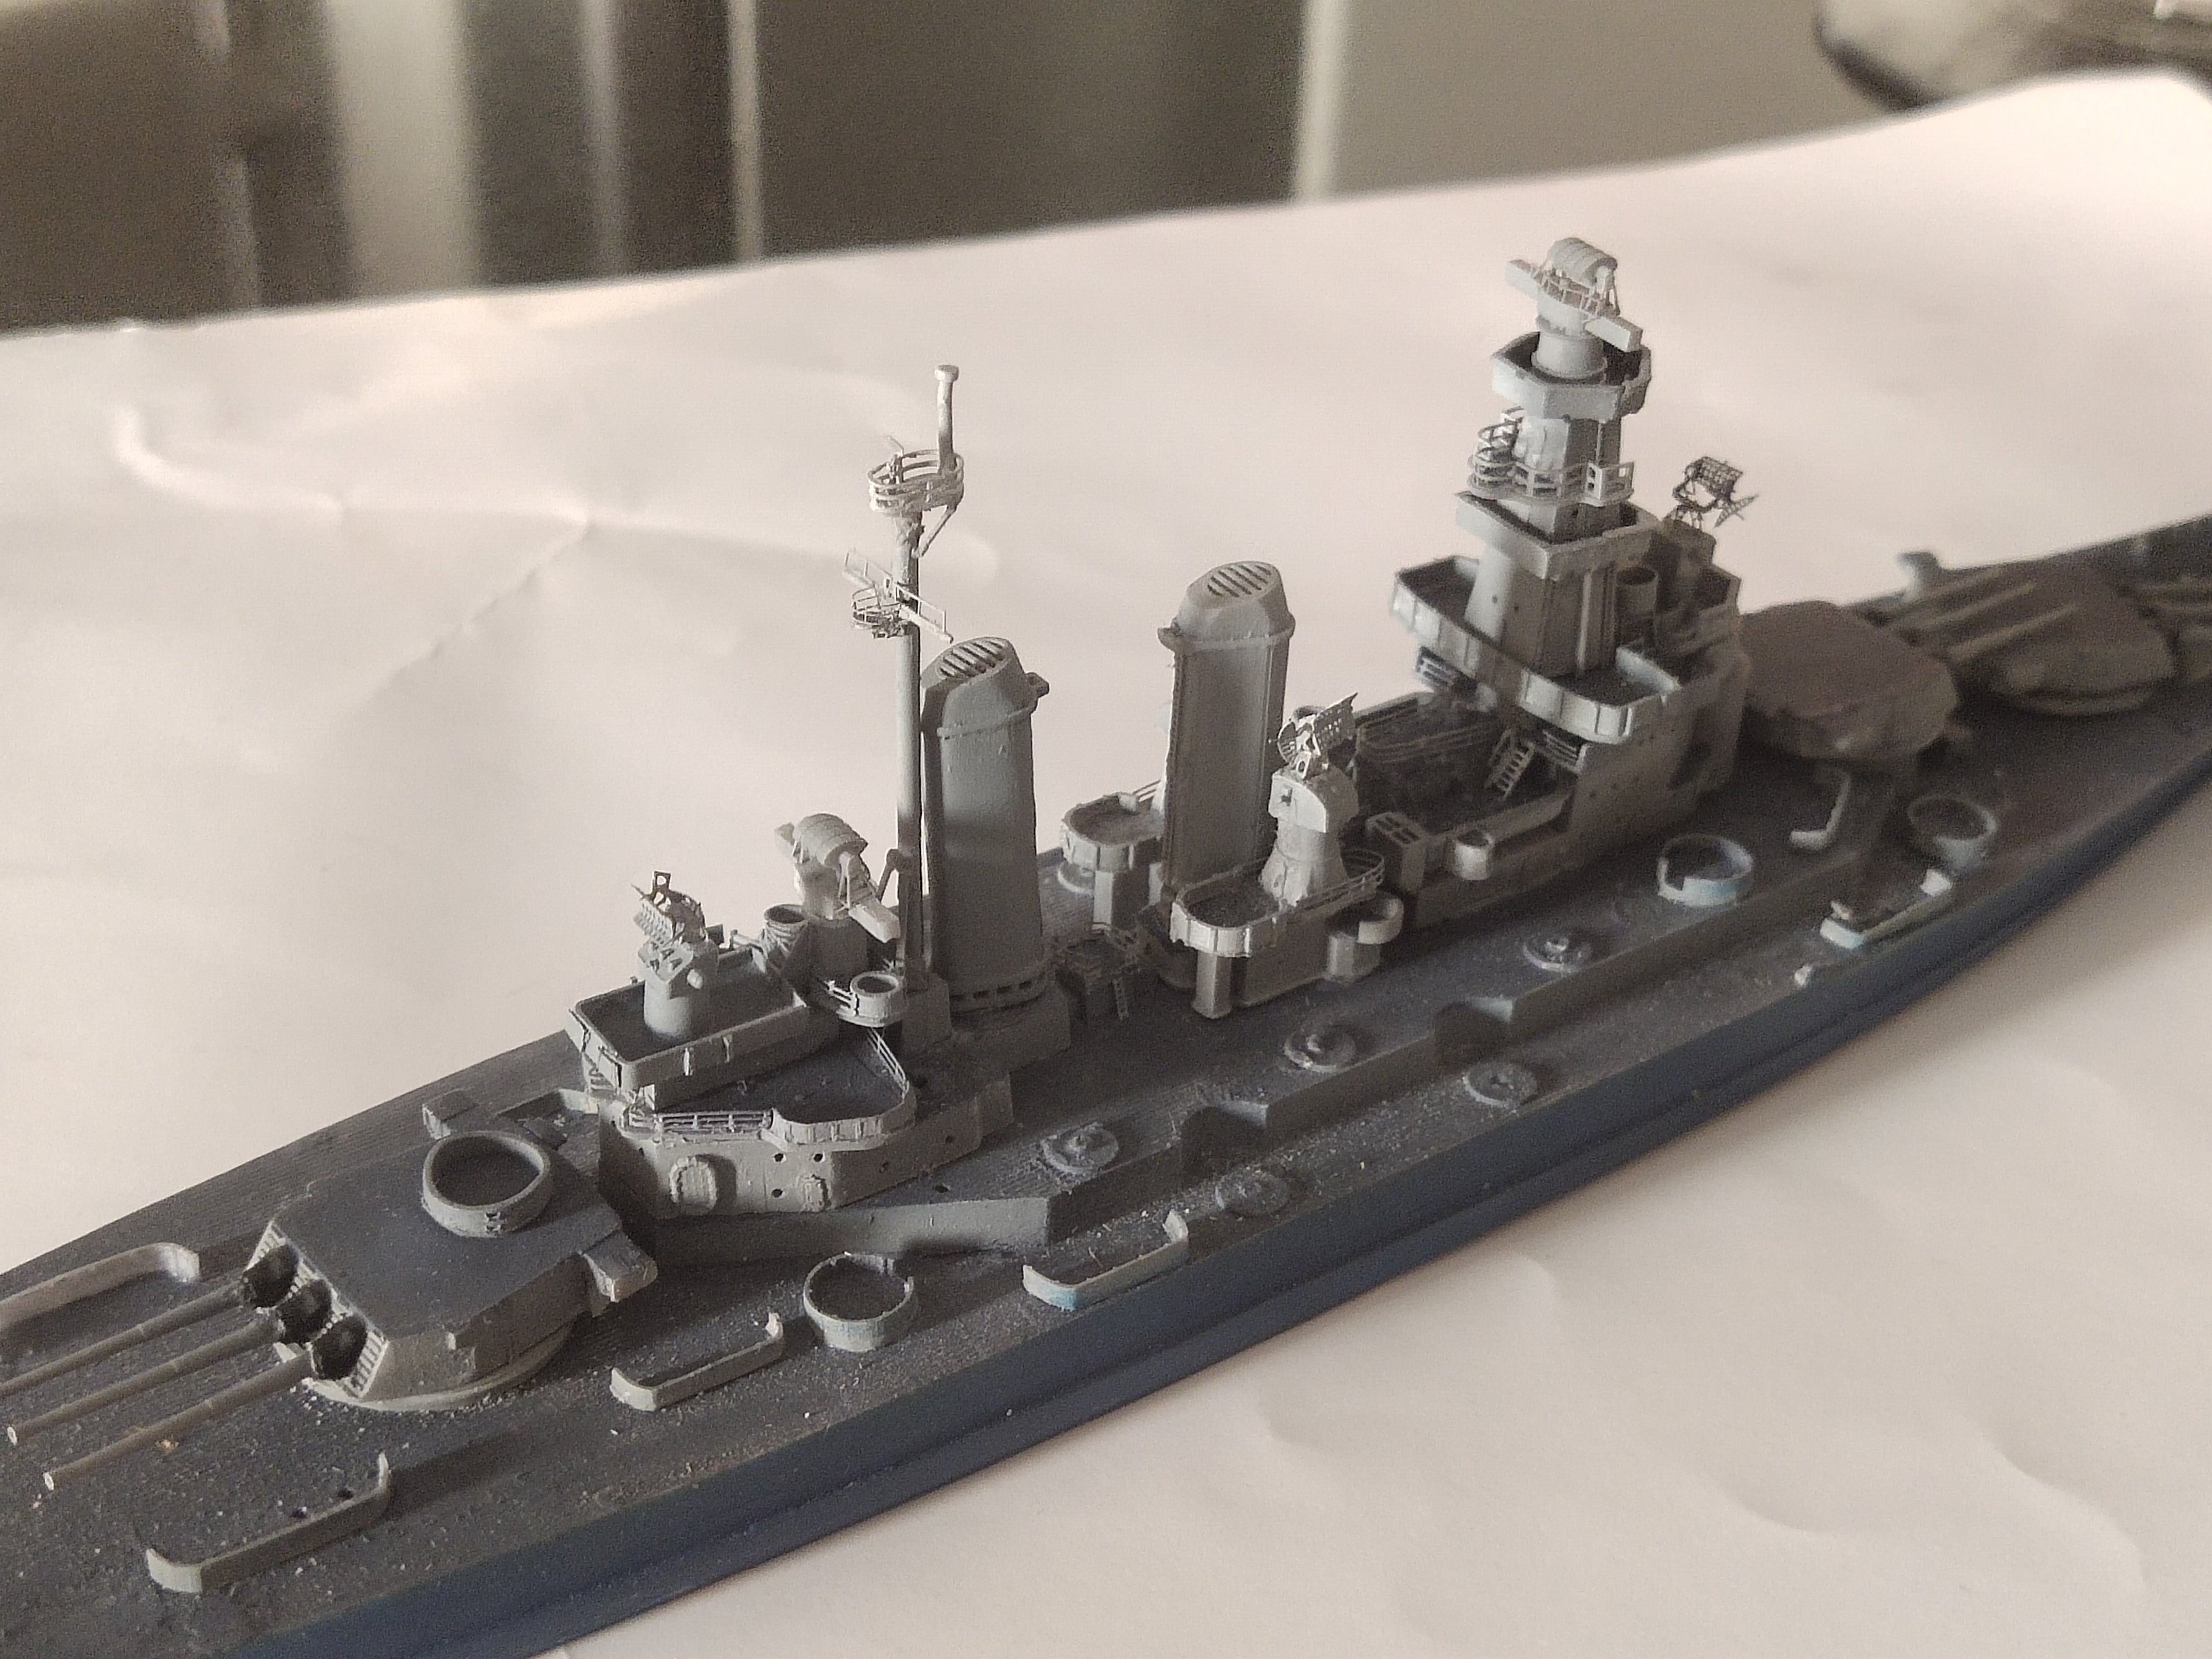
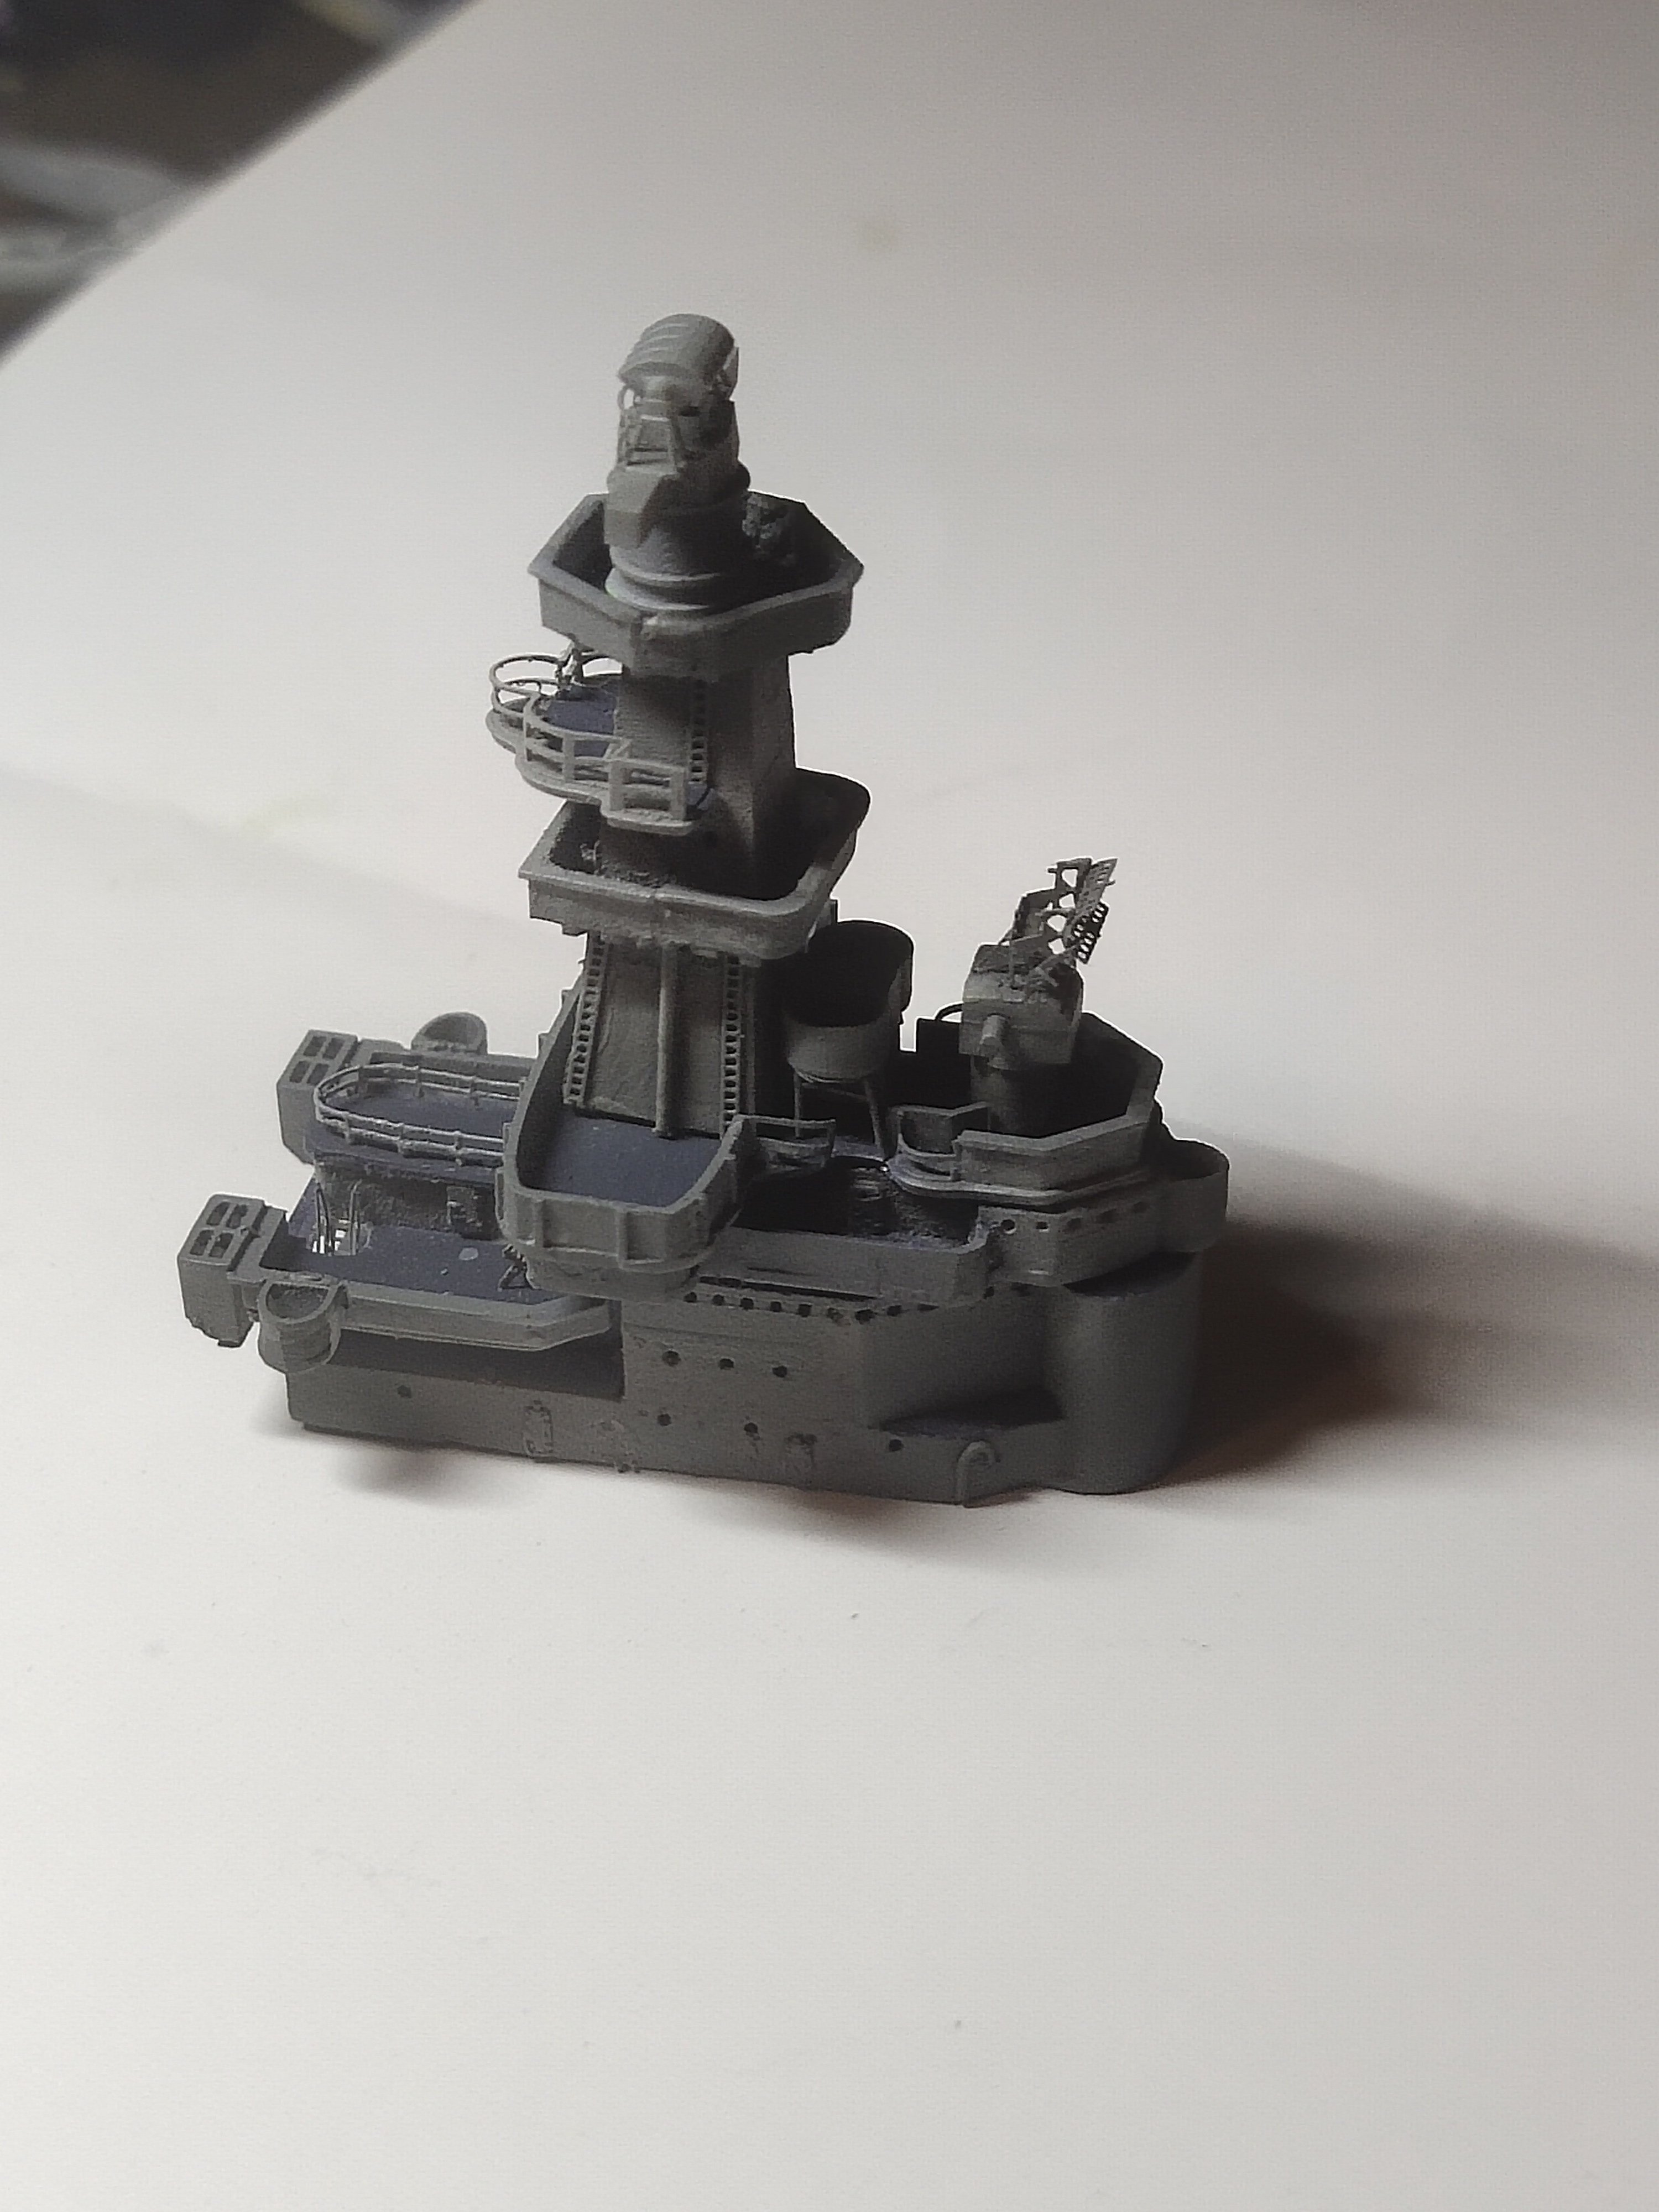
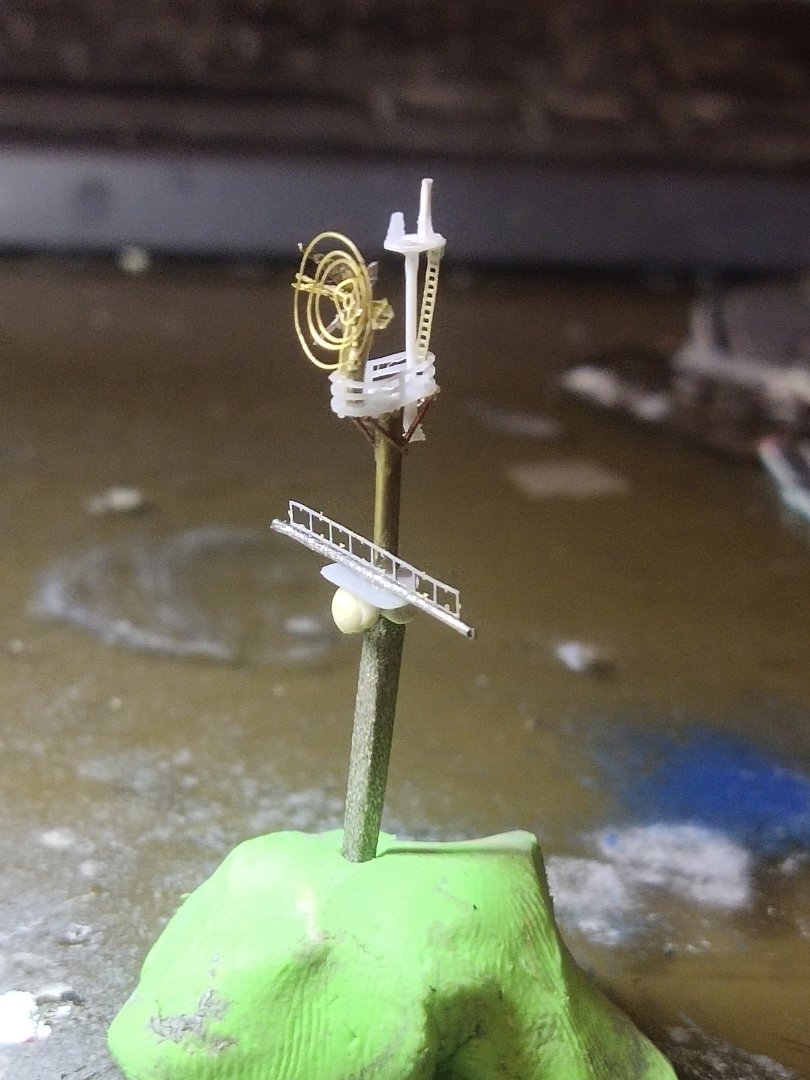
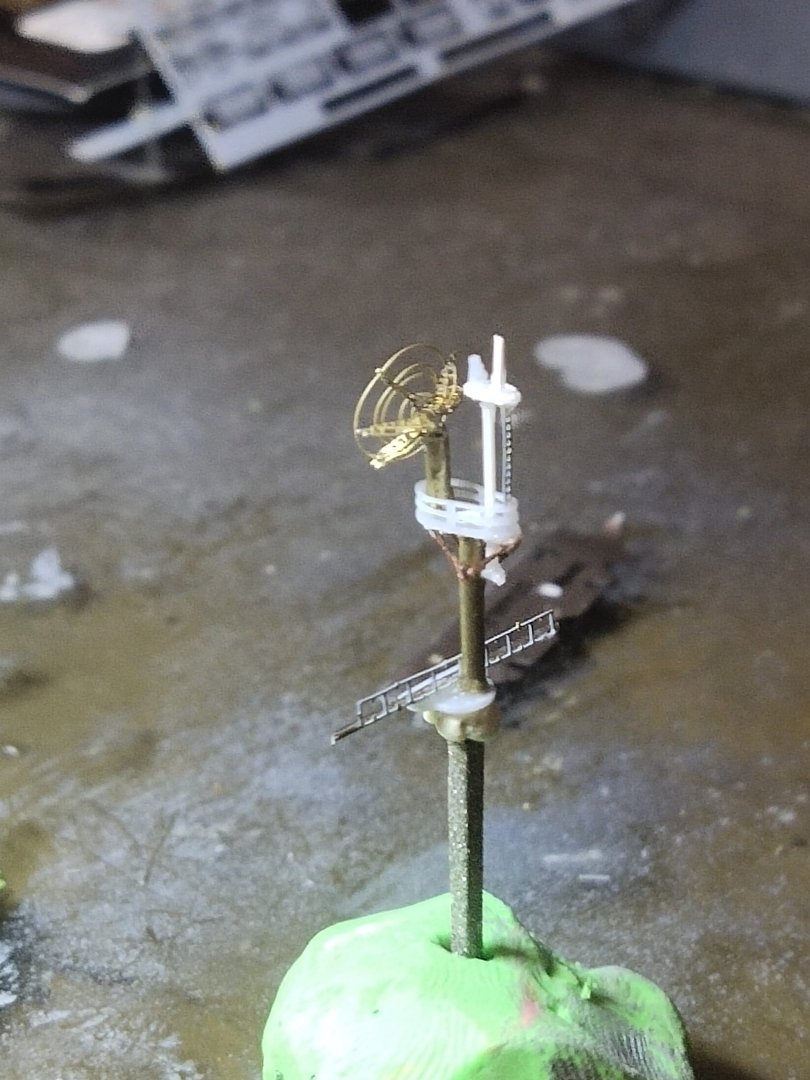
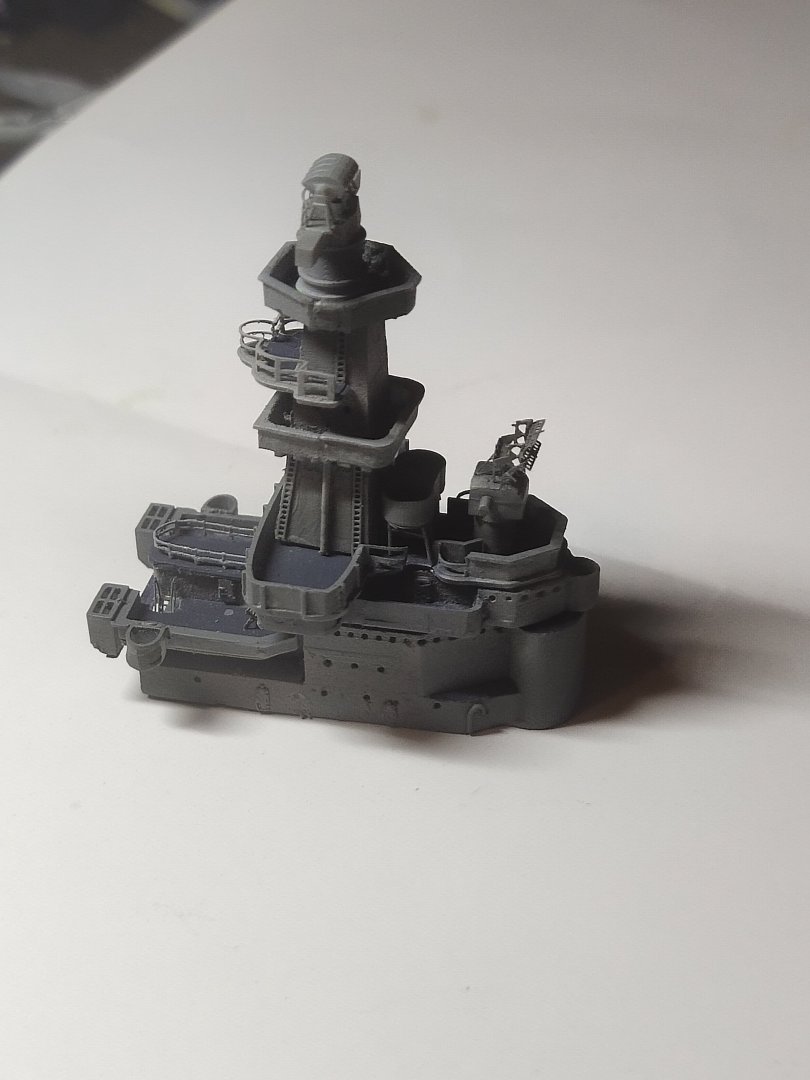
Move on forward The PE instructions looked terrible, many tiny pieces. I managed to make a simplified version of the SK 2 radar, far from perfect but acceptable in appearance. Fortunately the rest construction of the mast went smooth so overall the built was good


-
Consider using a mini file as well to flatten the surfaces.
-
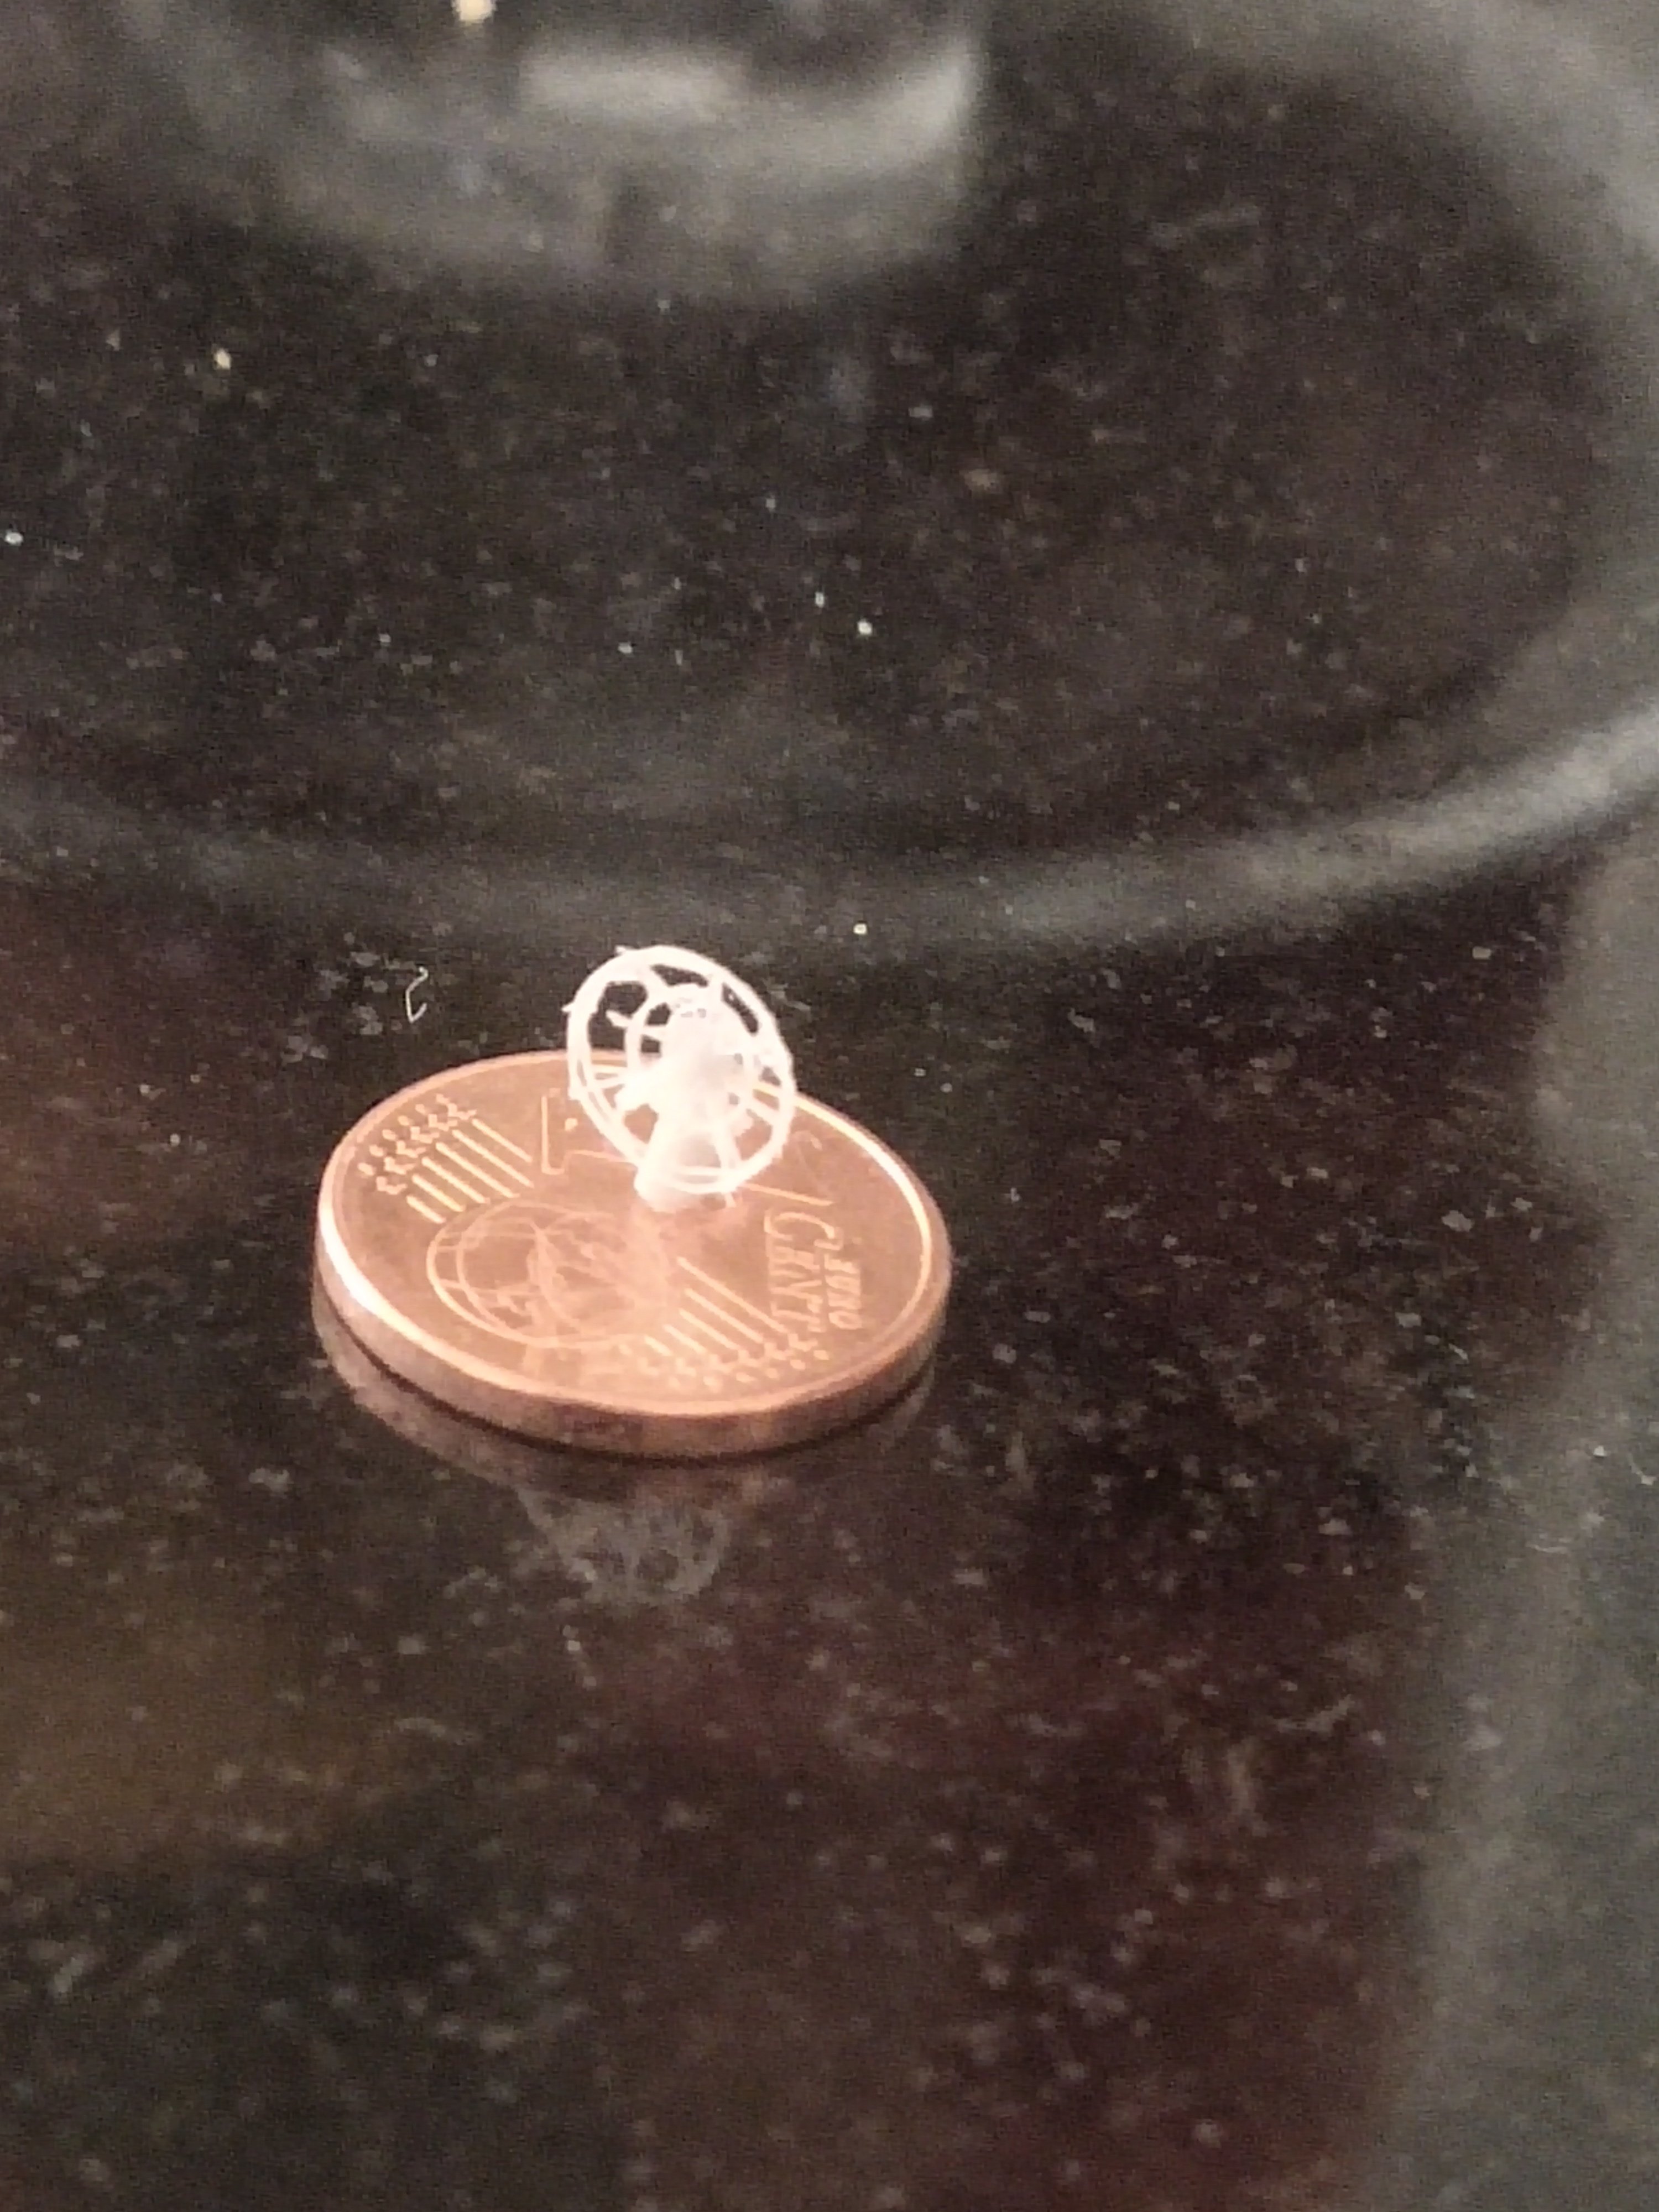
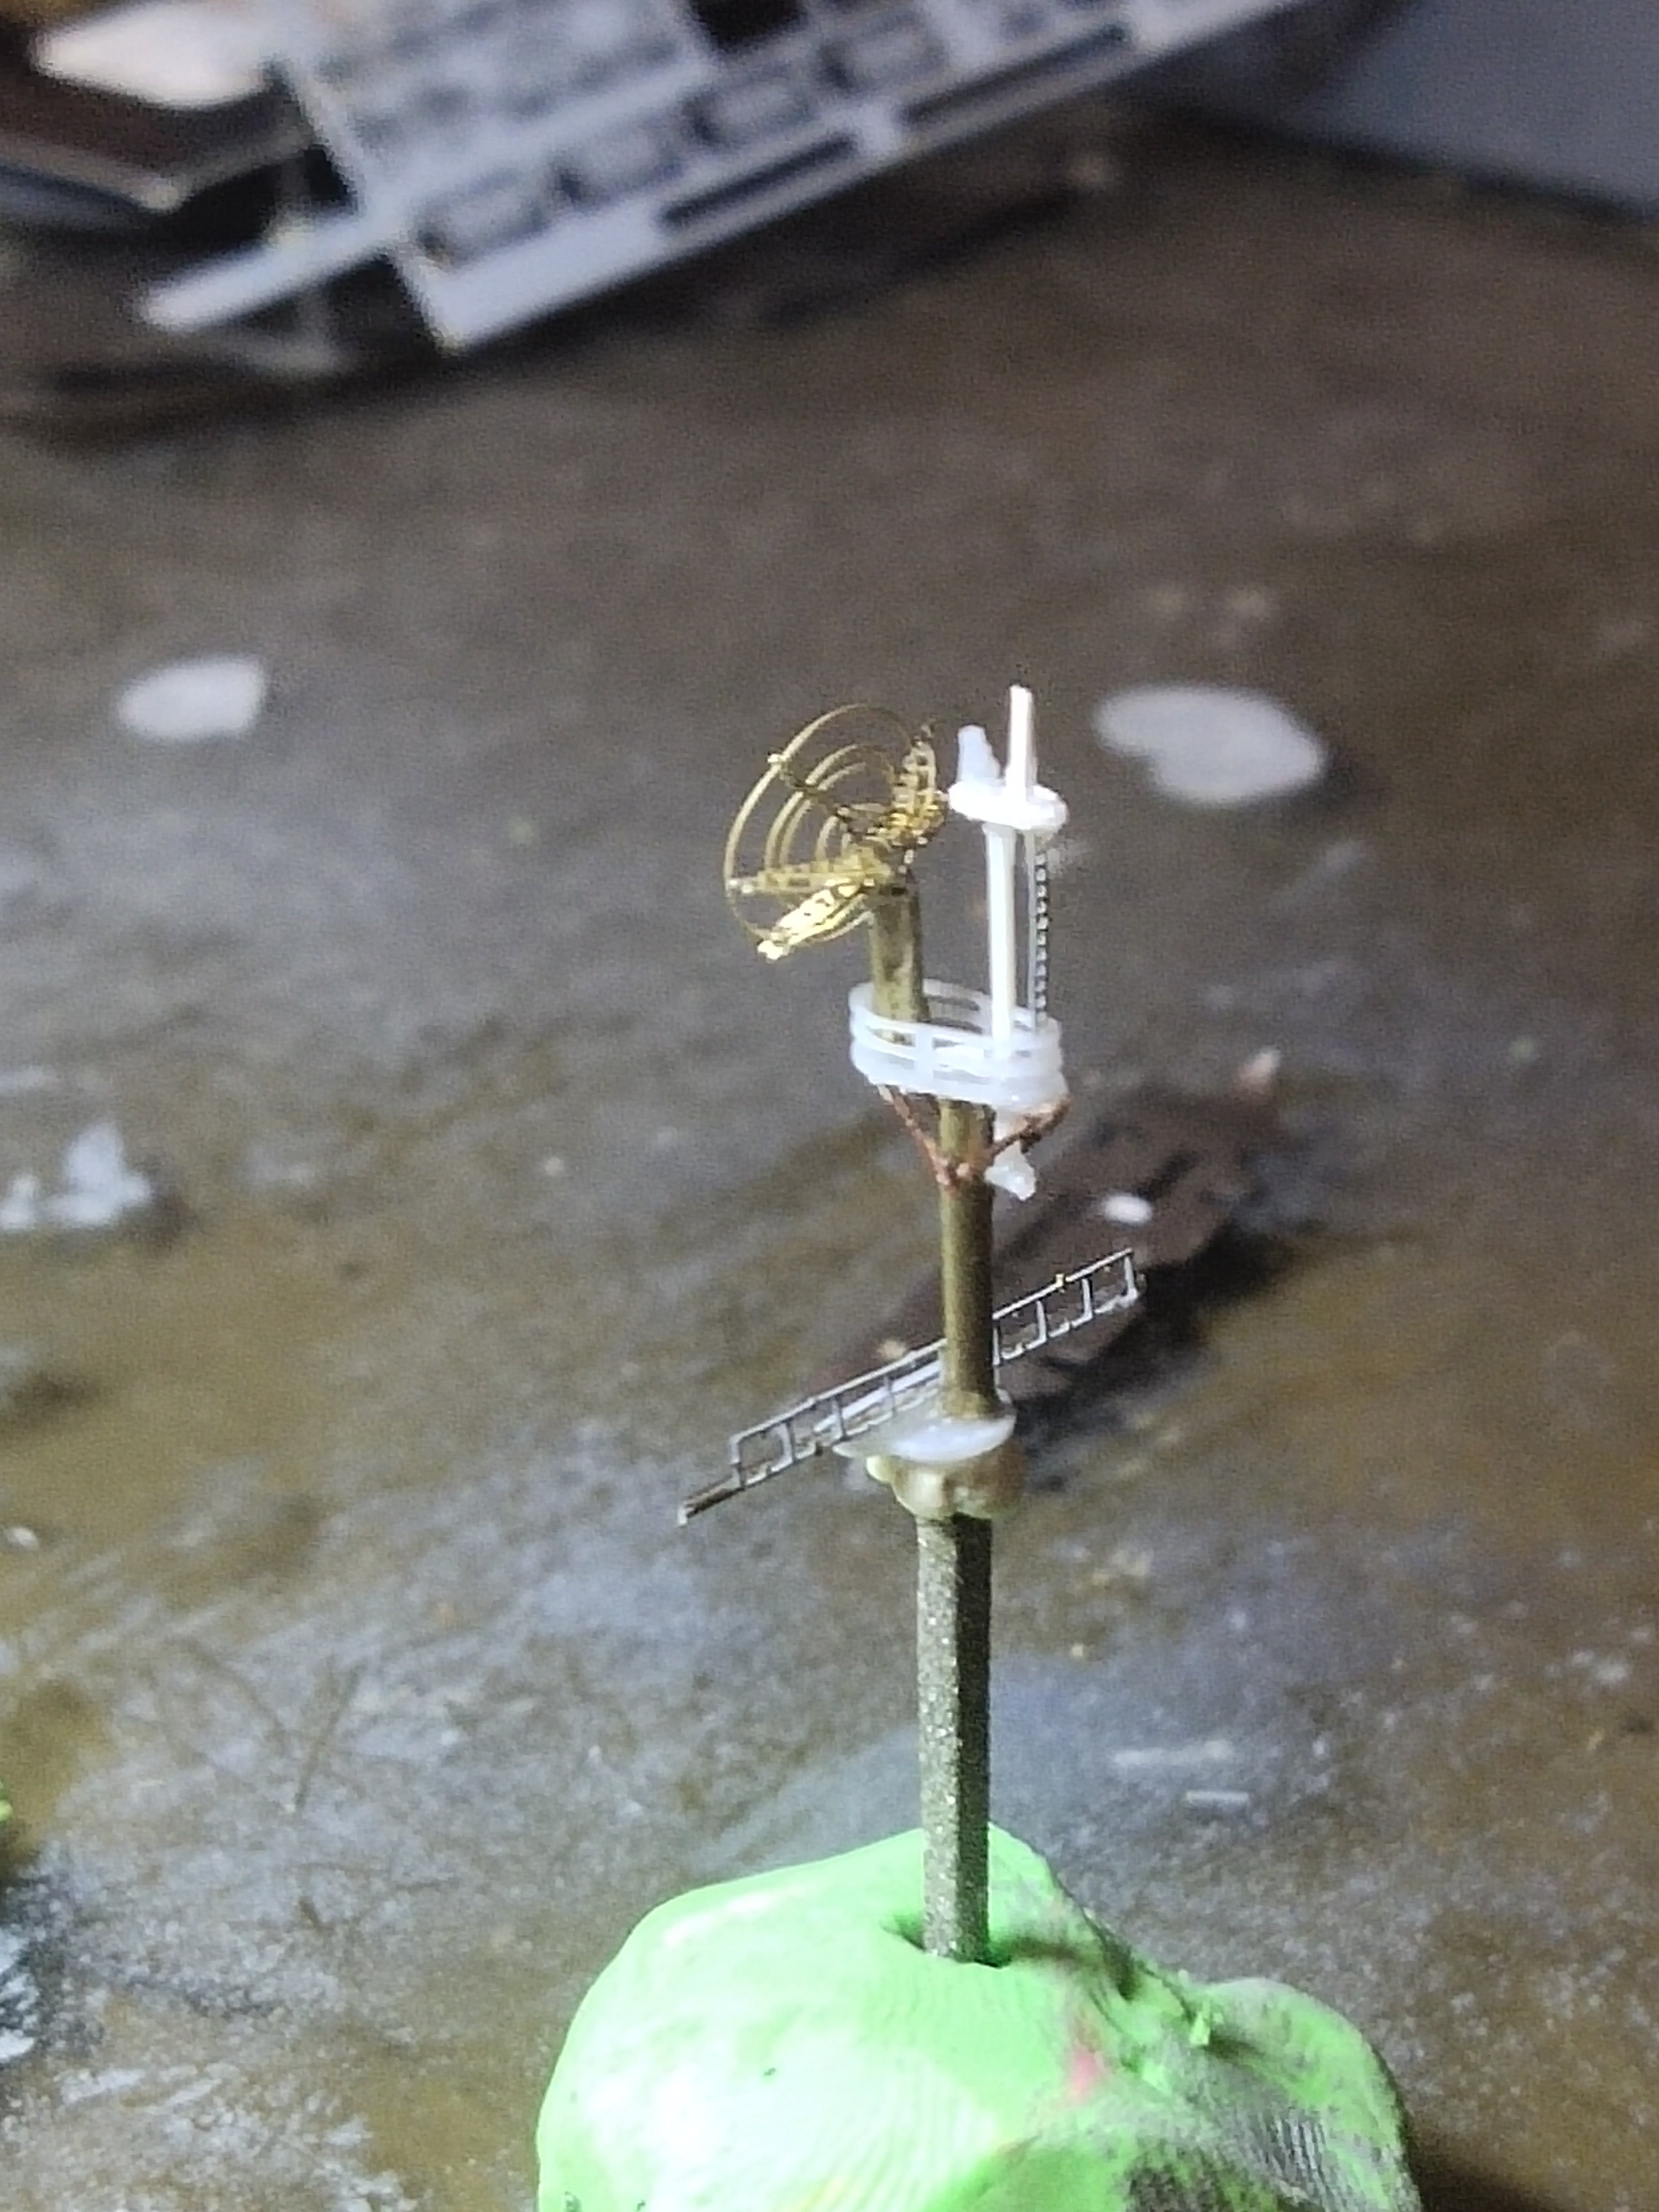
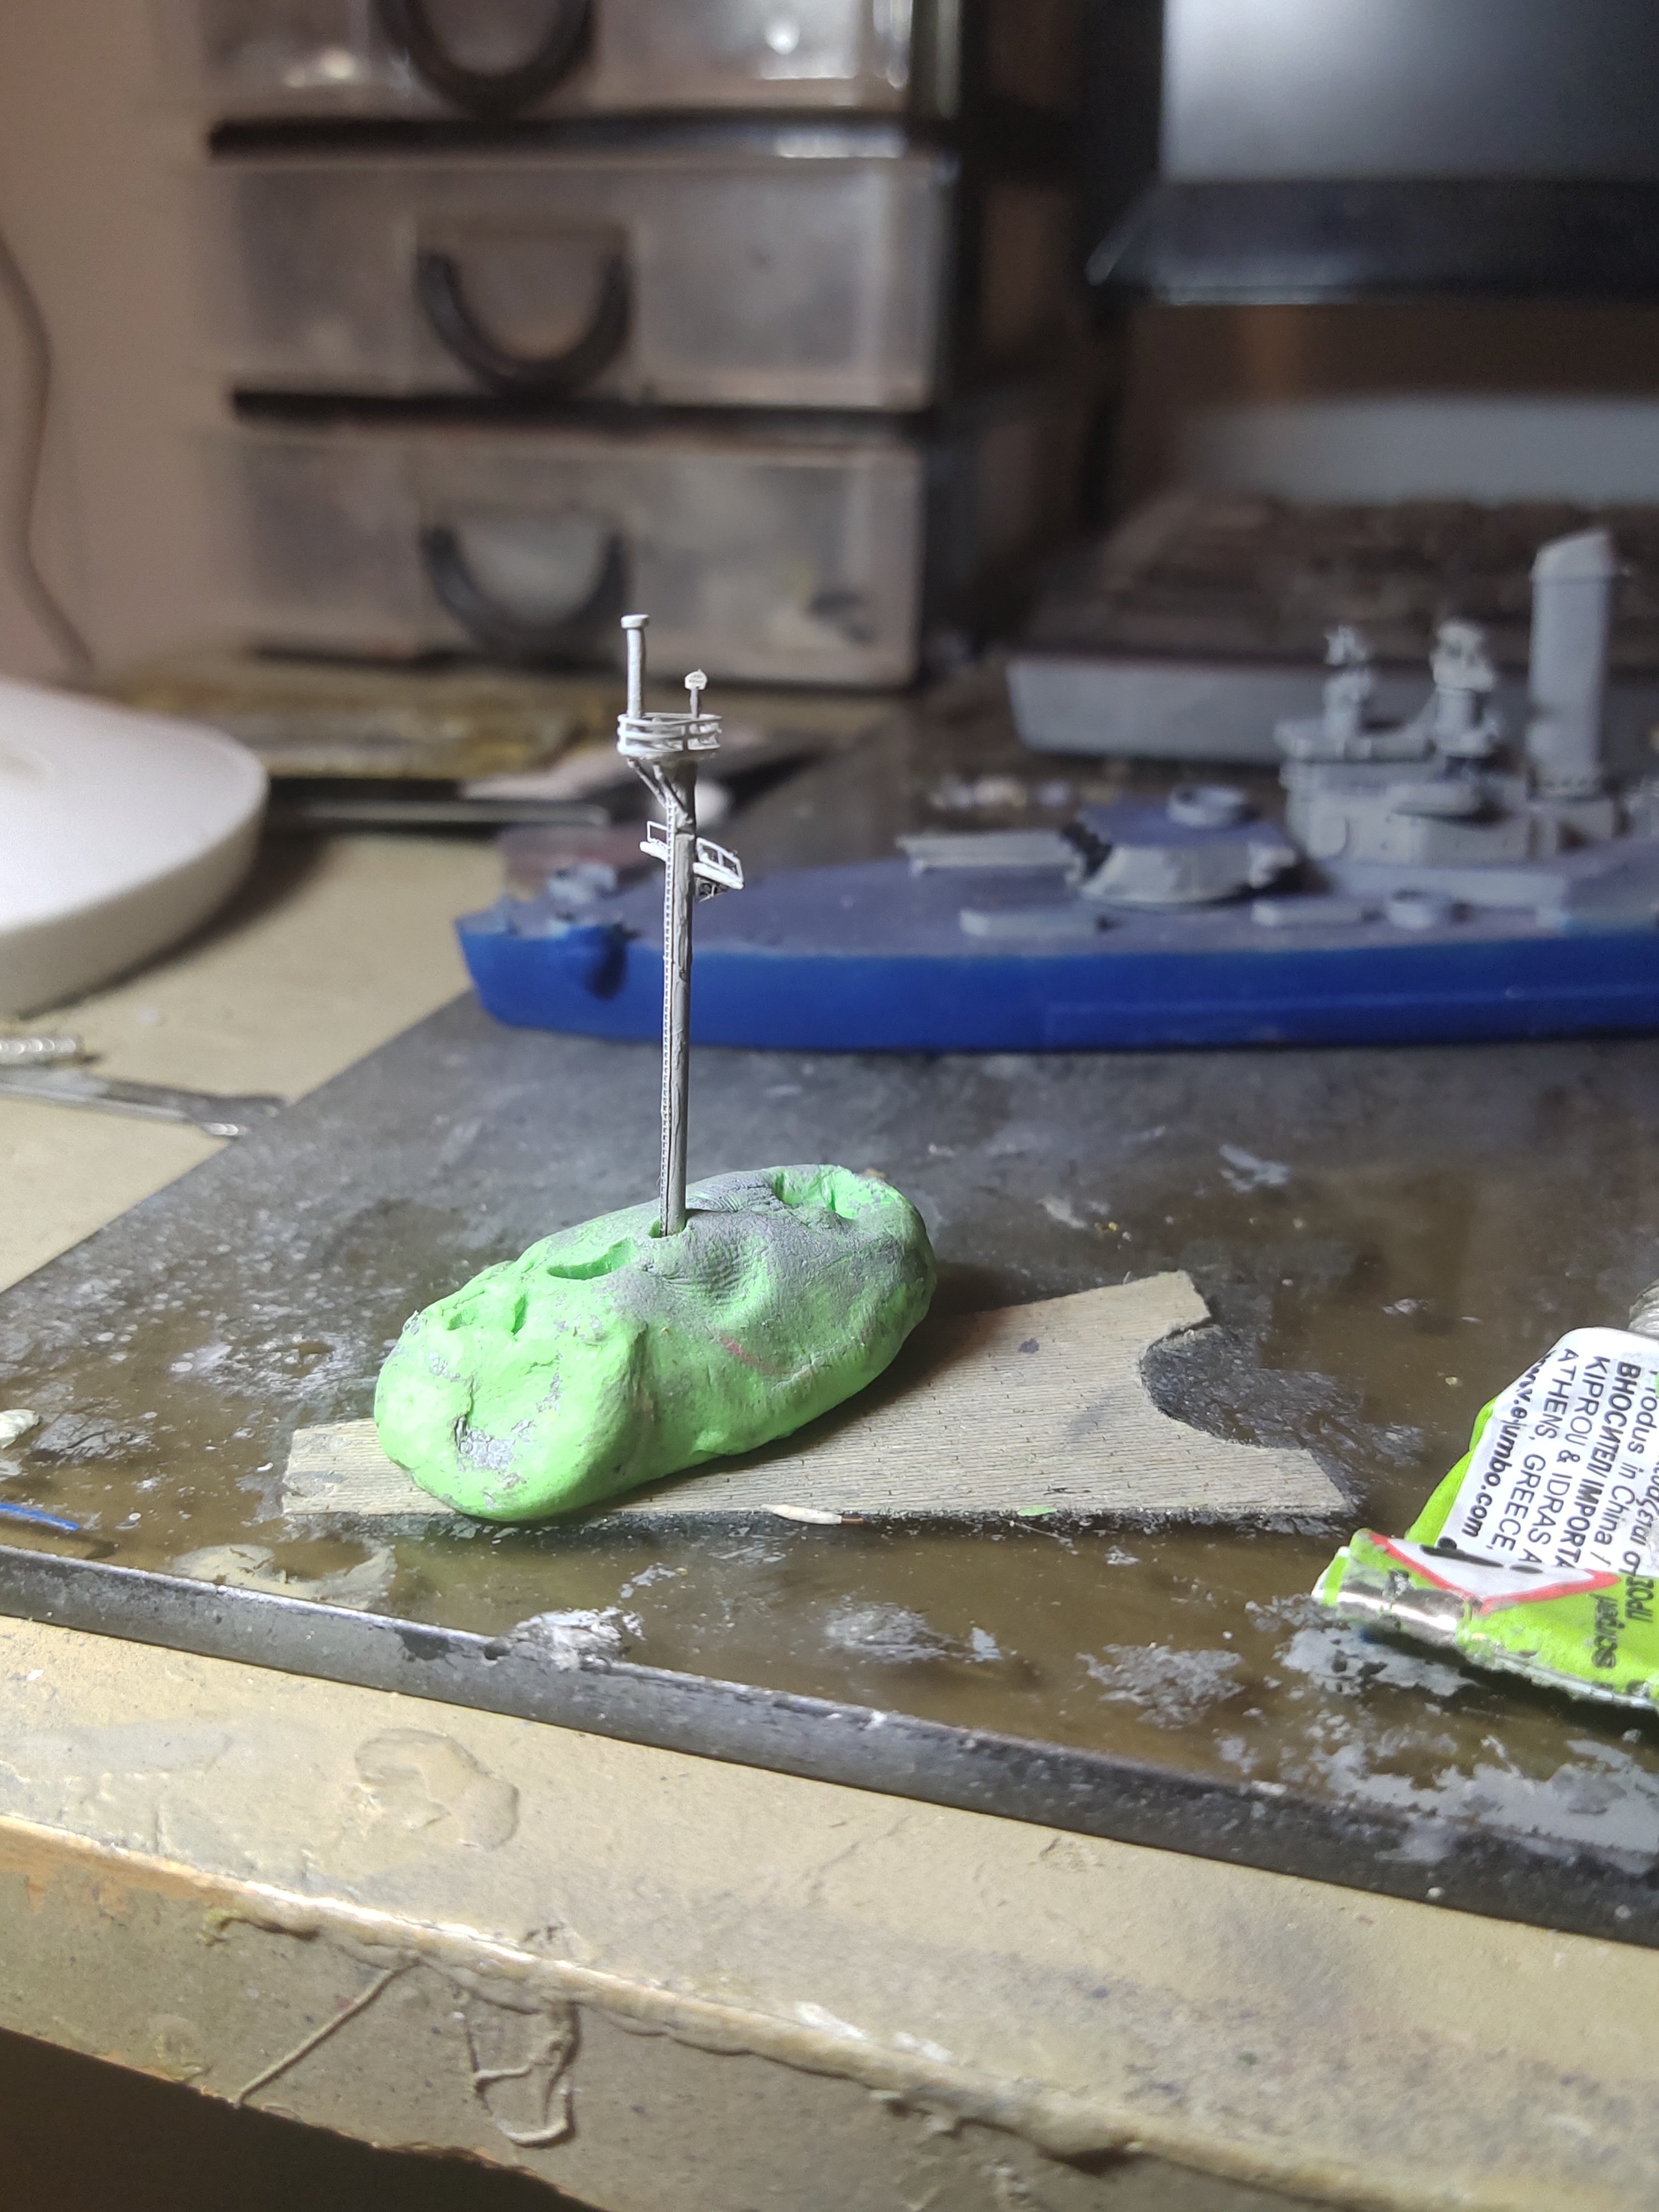
Next project is the rear mast. Some PE parts were incredibly small. I didn't loose anything but managed to loose two spare airbrush noses while trying to replace a clogged one. Fortunately I have spare airbrush as well Brass was used extensively to make a rigid and durable piece. One thing that made me happy is that I found a way to make strong masts without use of messy soldering. With my low rpm rotary tool and a disc cutter I made a slot, filled it with ca glue and attach thehe yarddam vertically. How come I haven't thing of it early would have saved big mess and effort


-
Thank you I will be very relieved if I finish this by August 4 where I be out for some weeks Looks like I had to rebuilt all except the hull

-
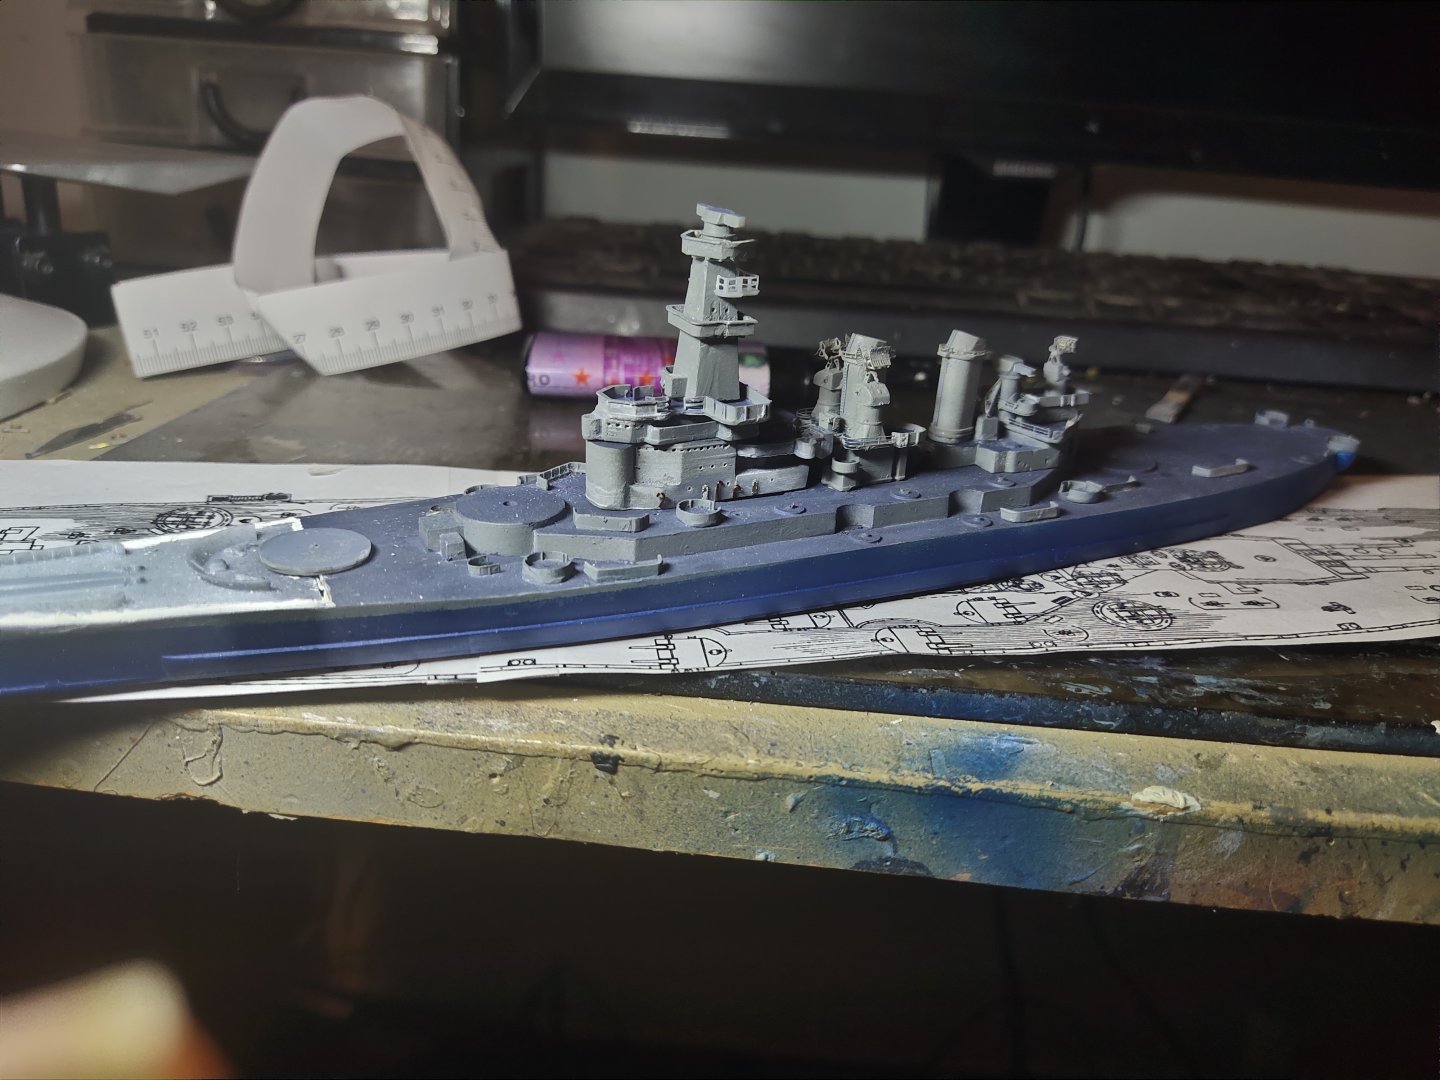
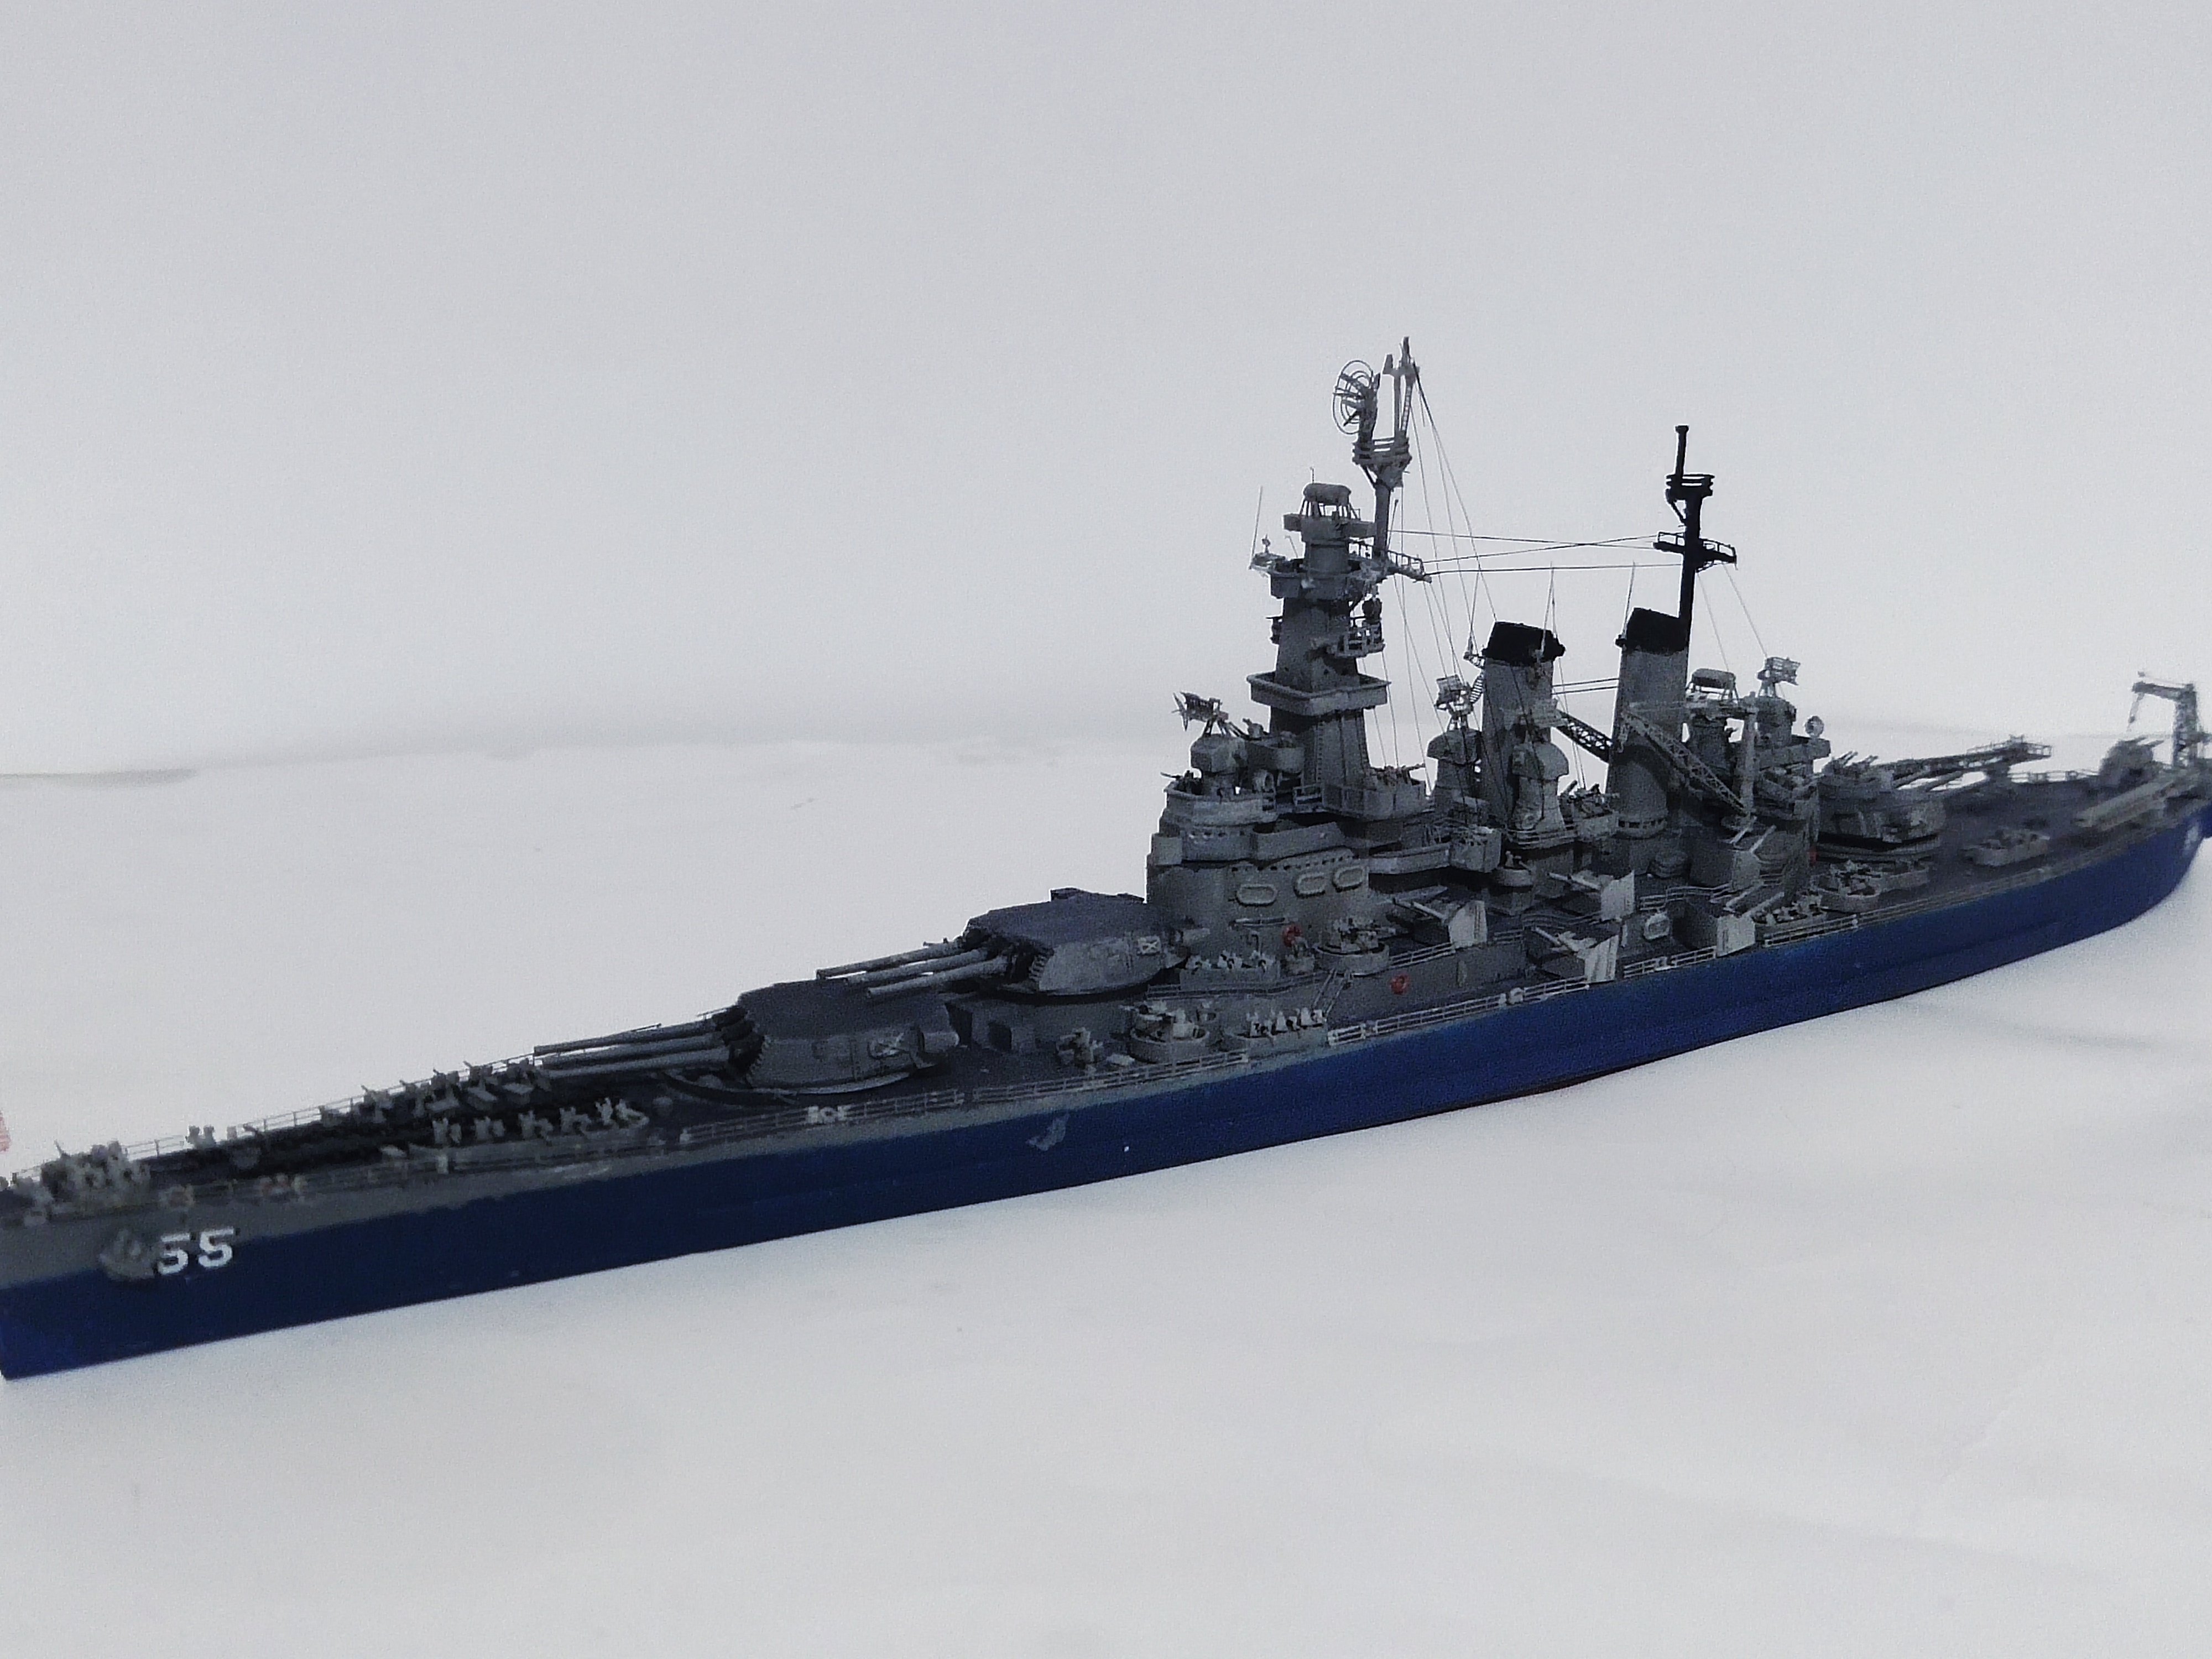
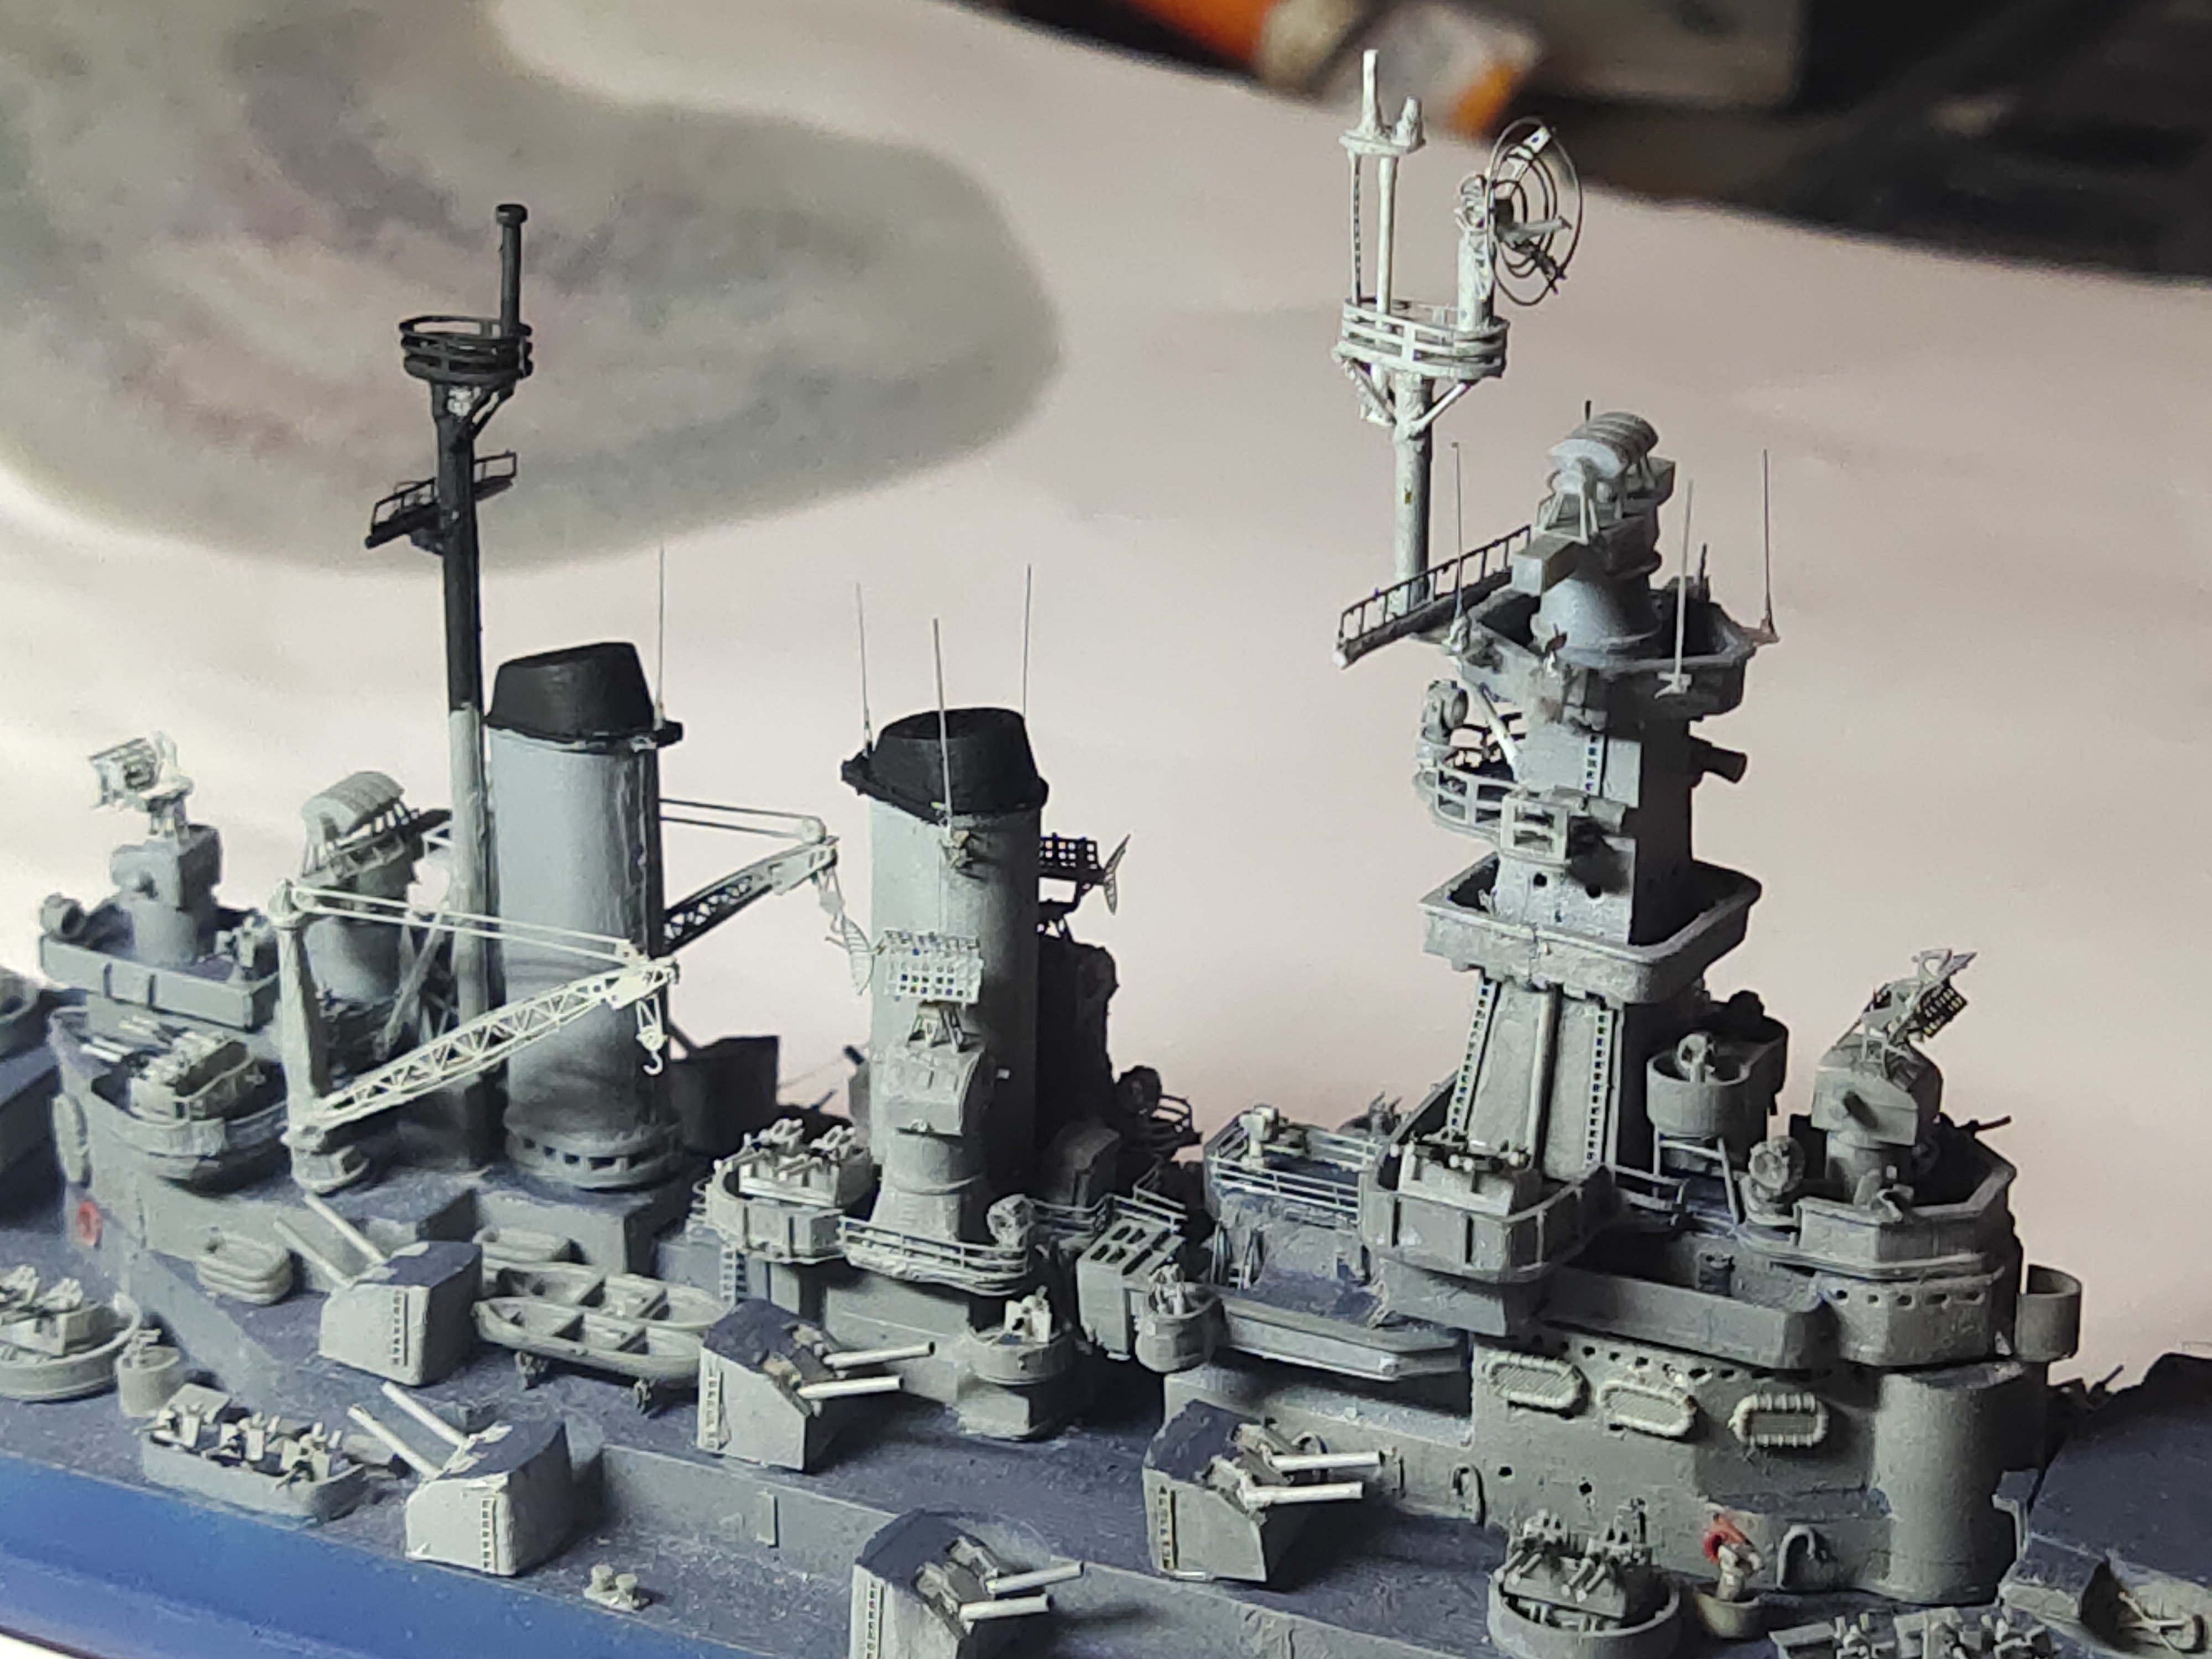
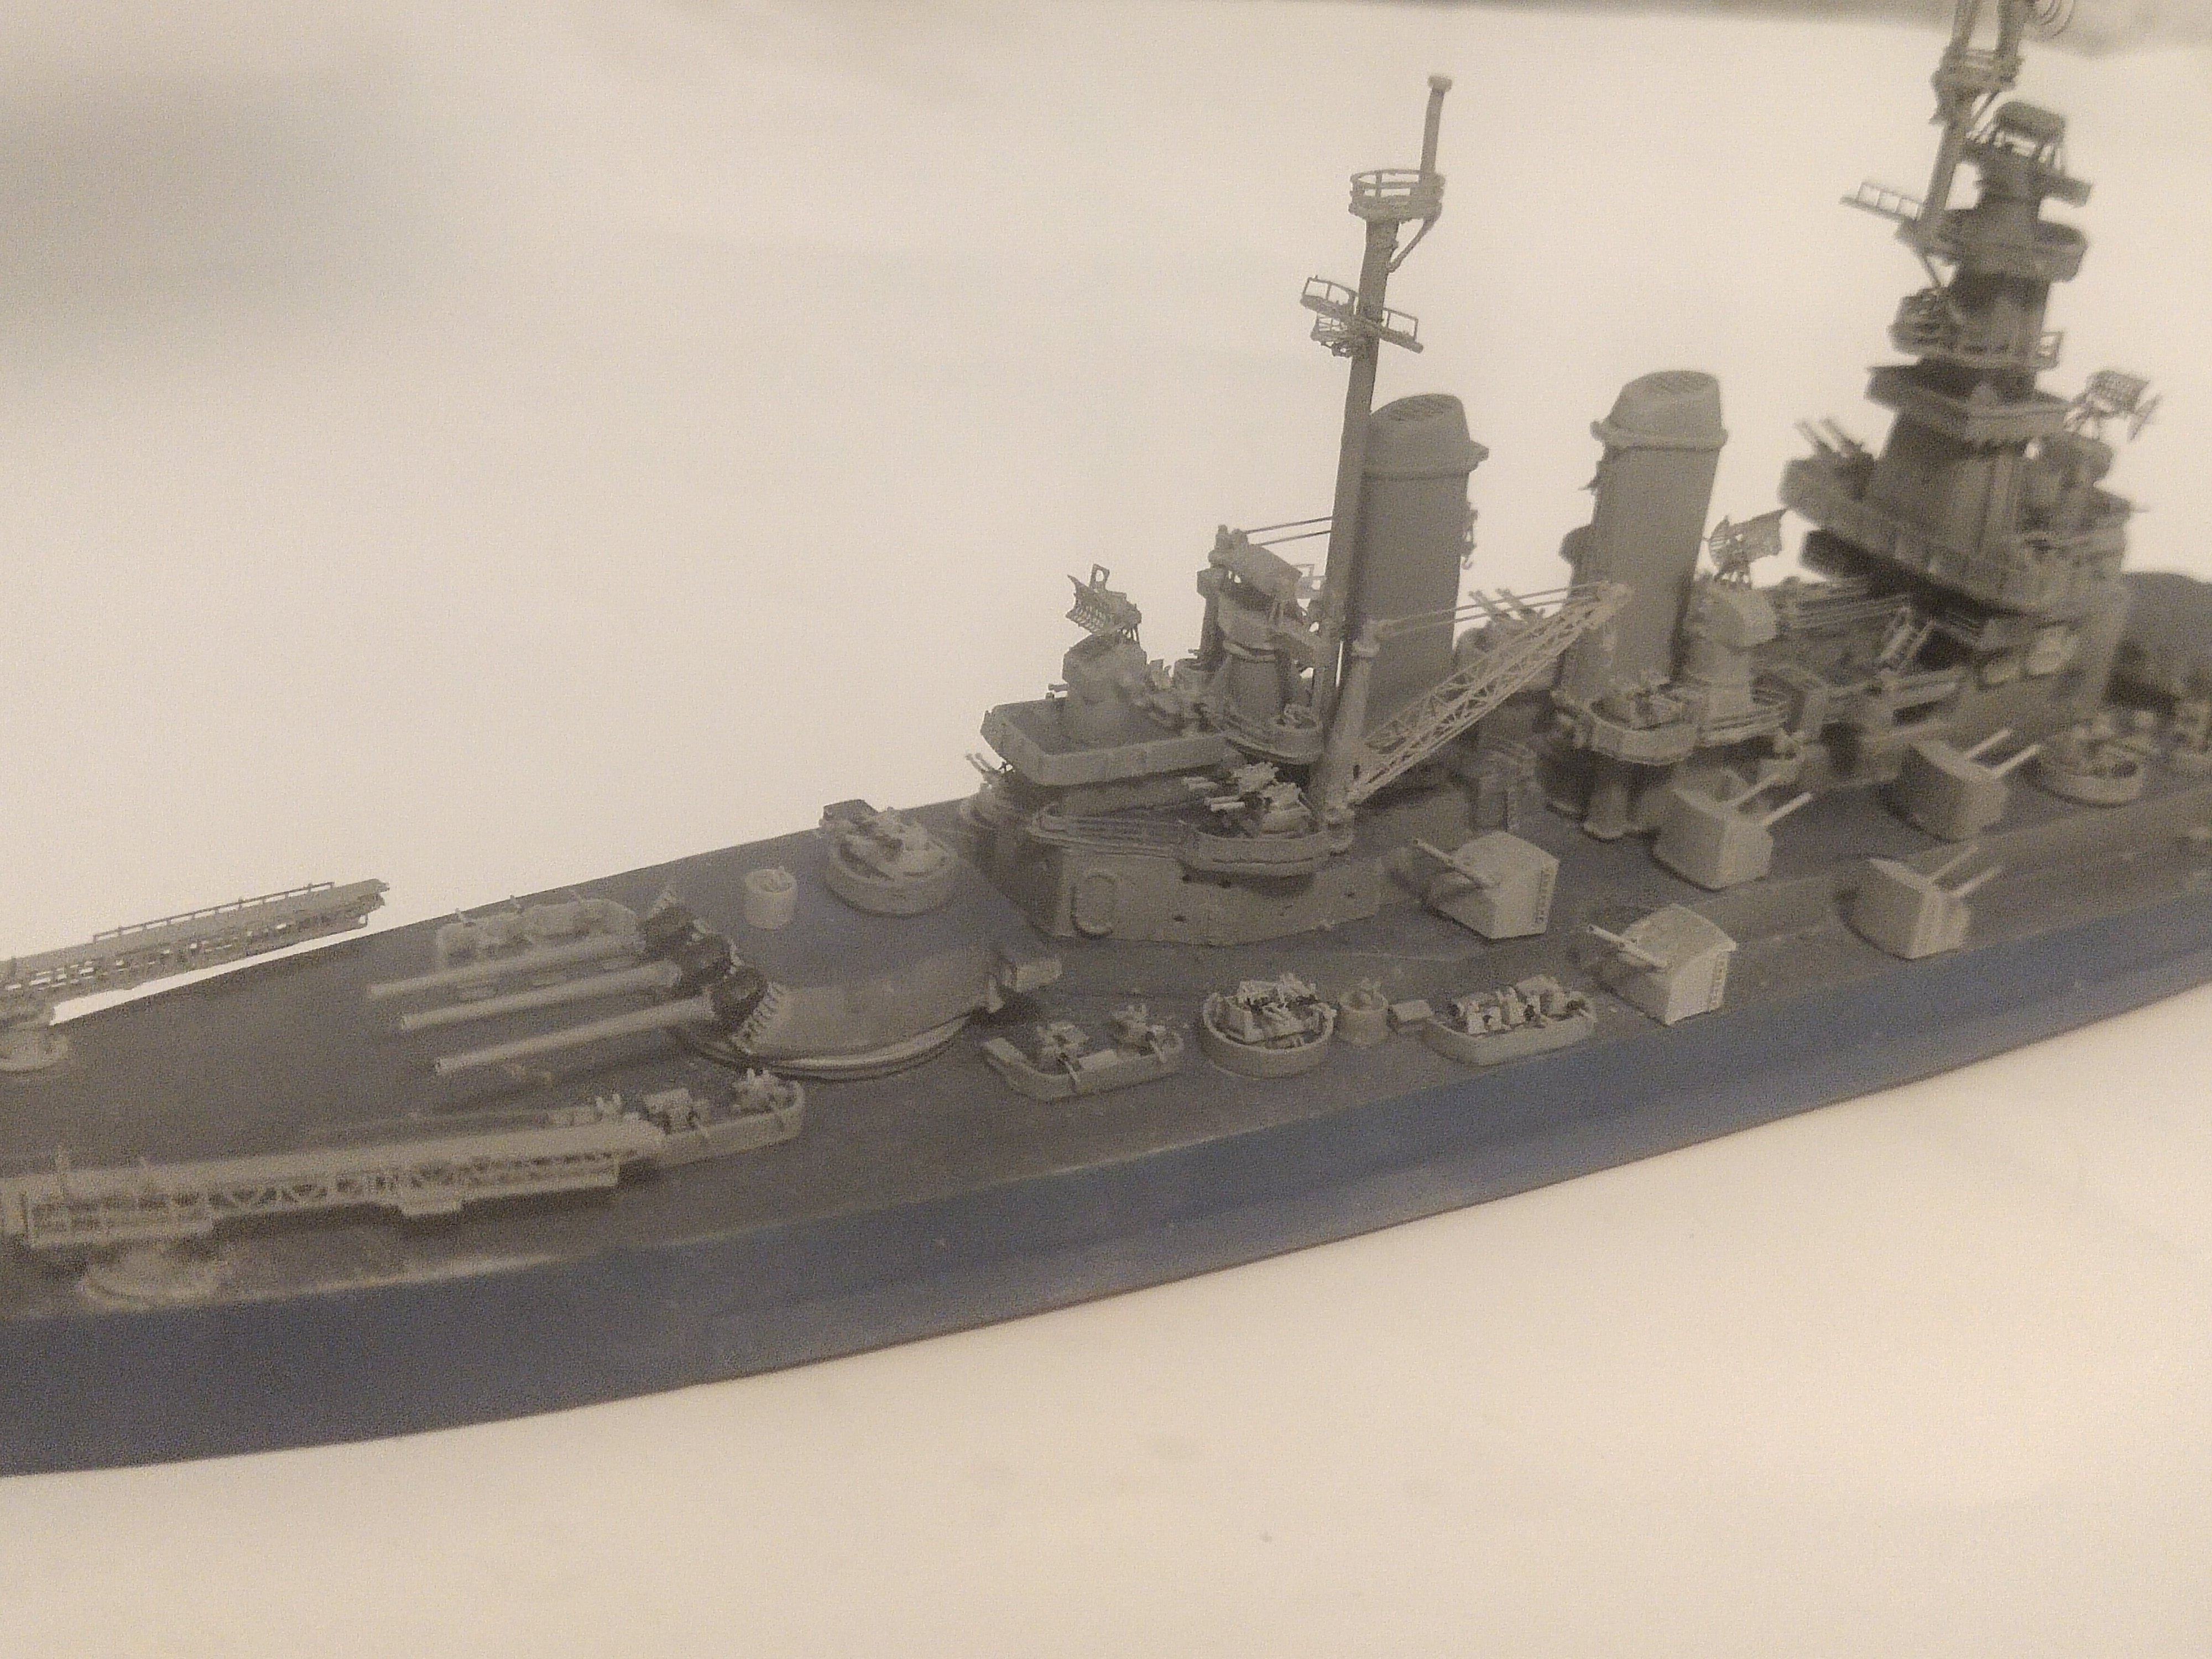
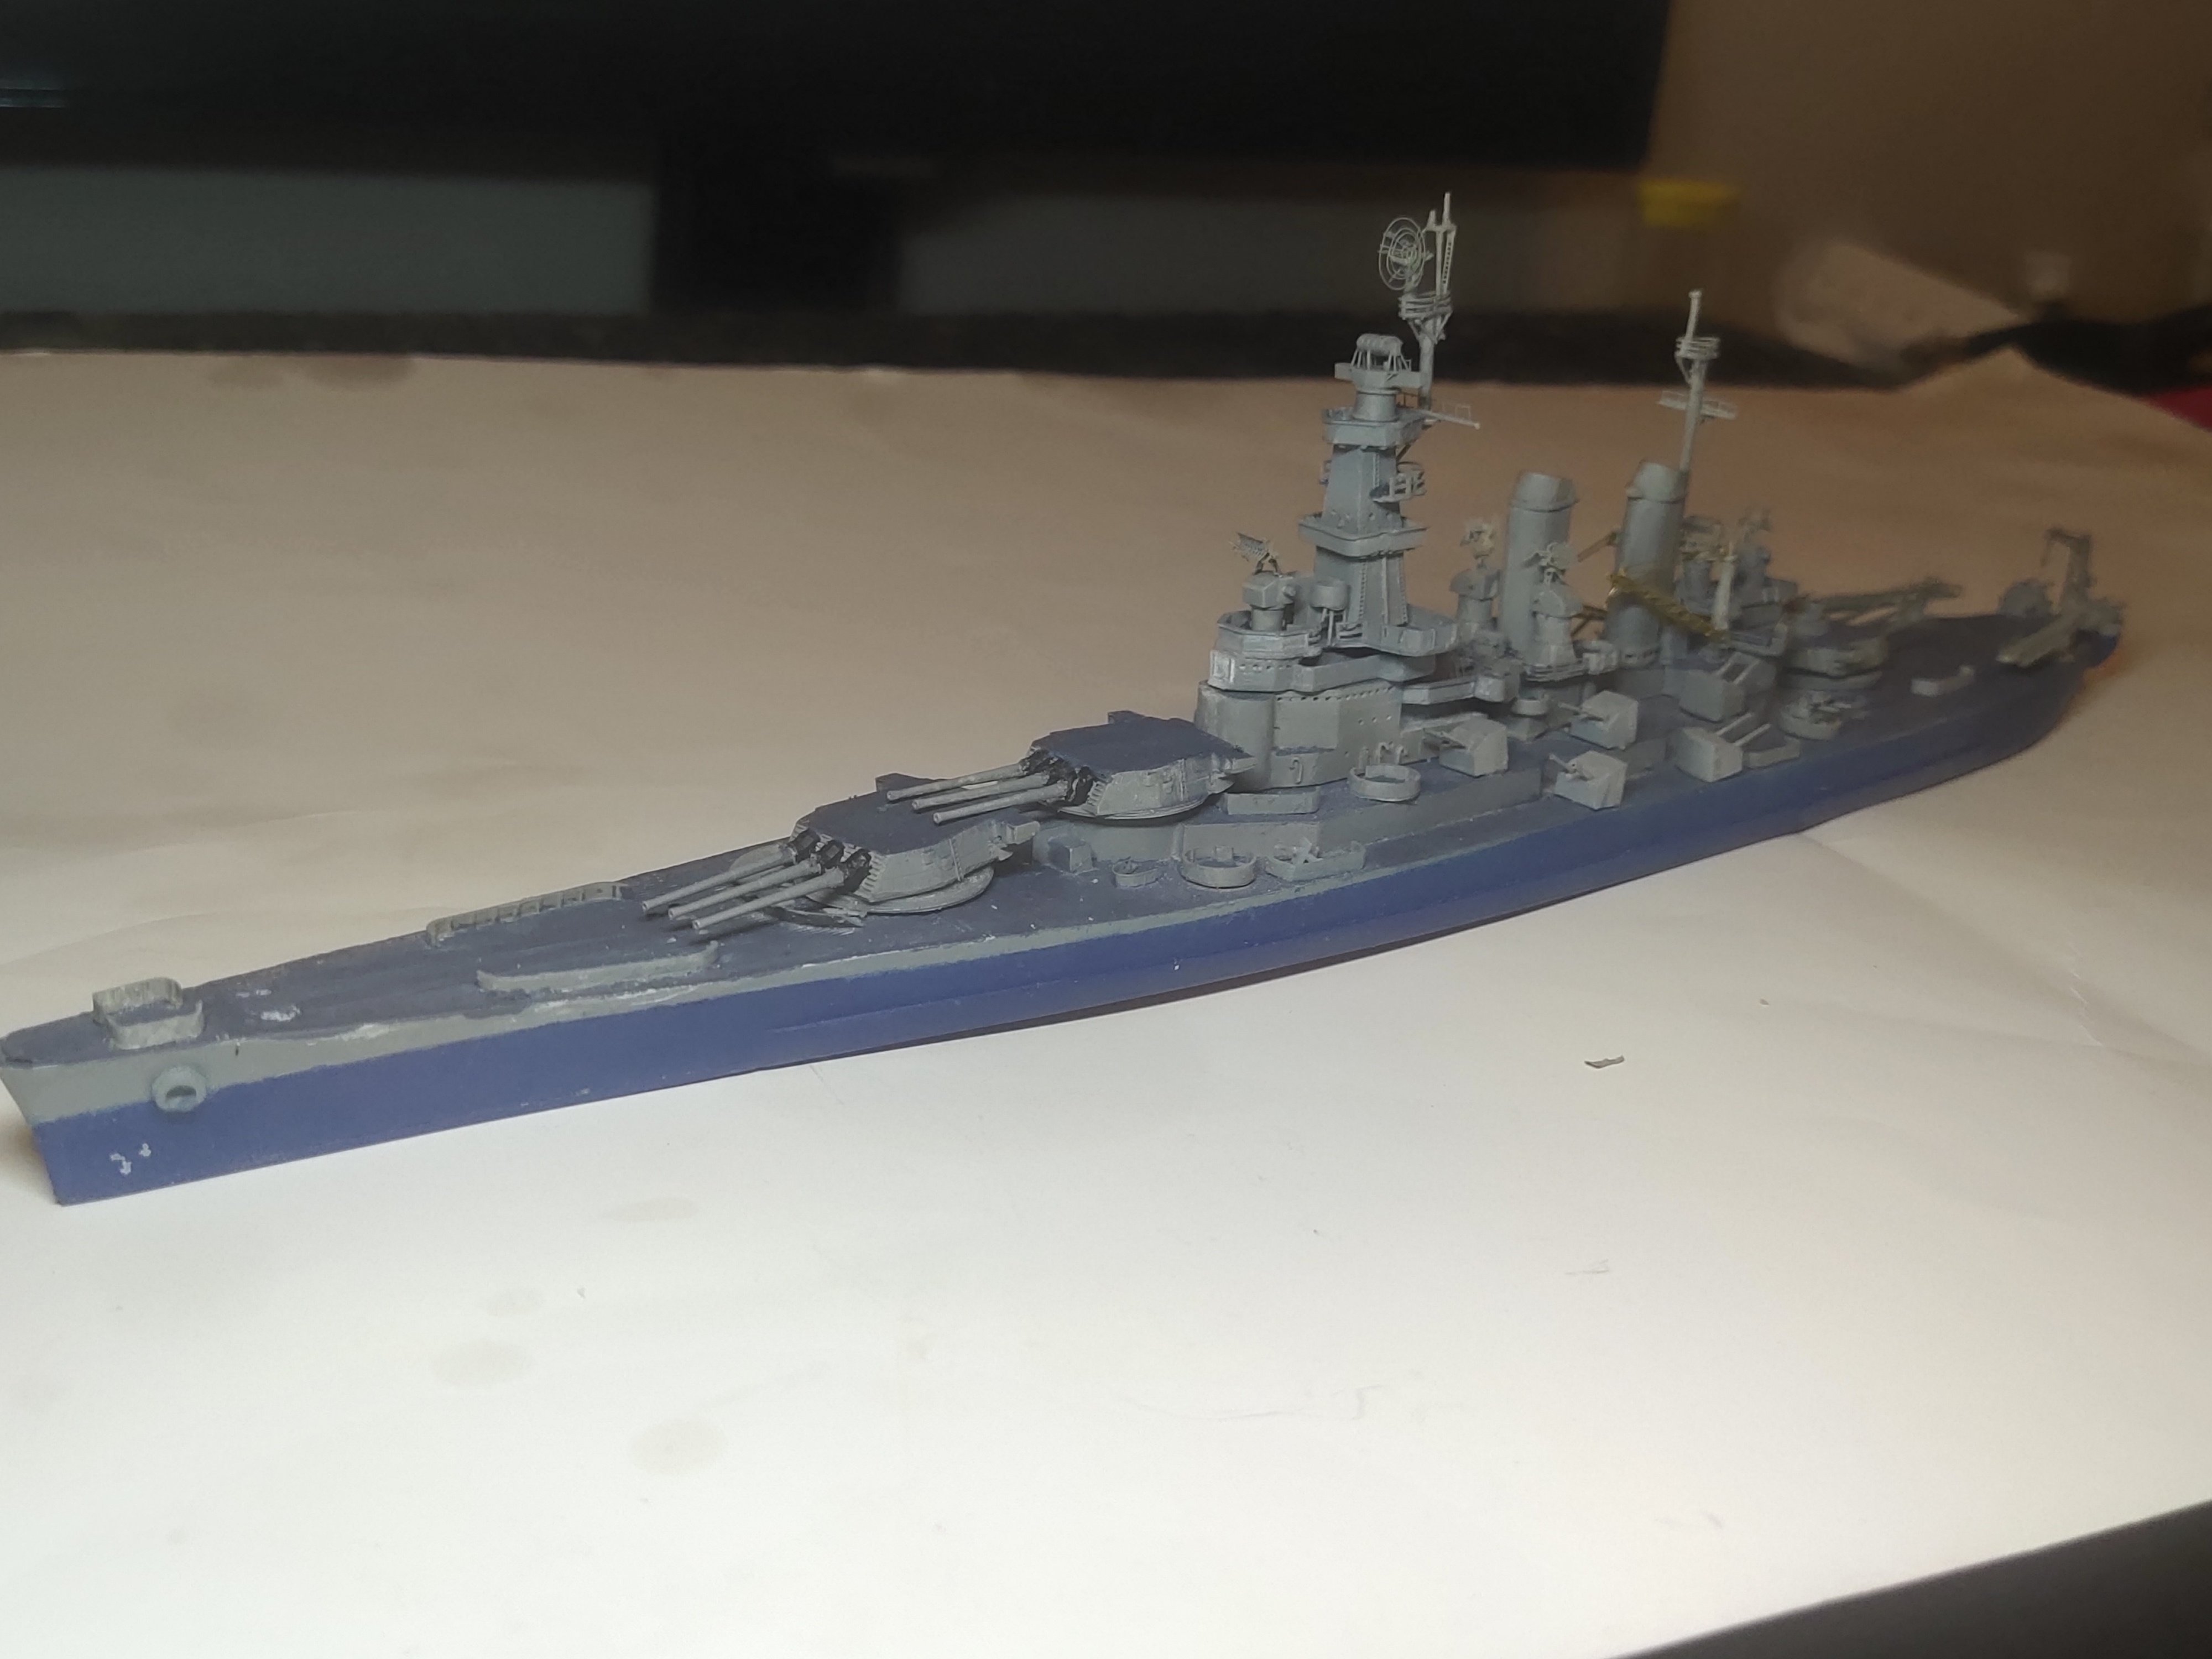
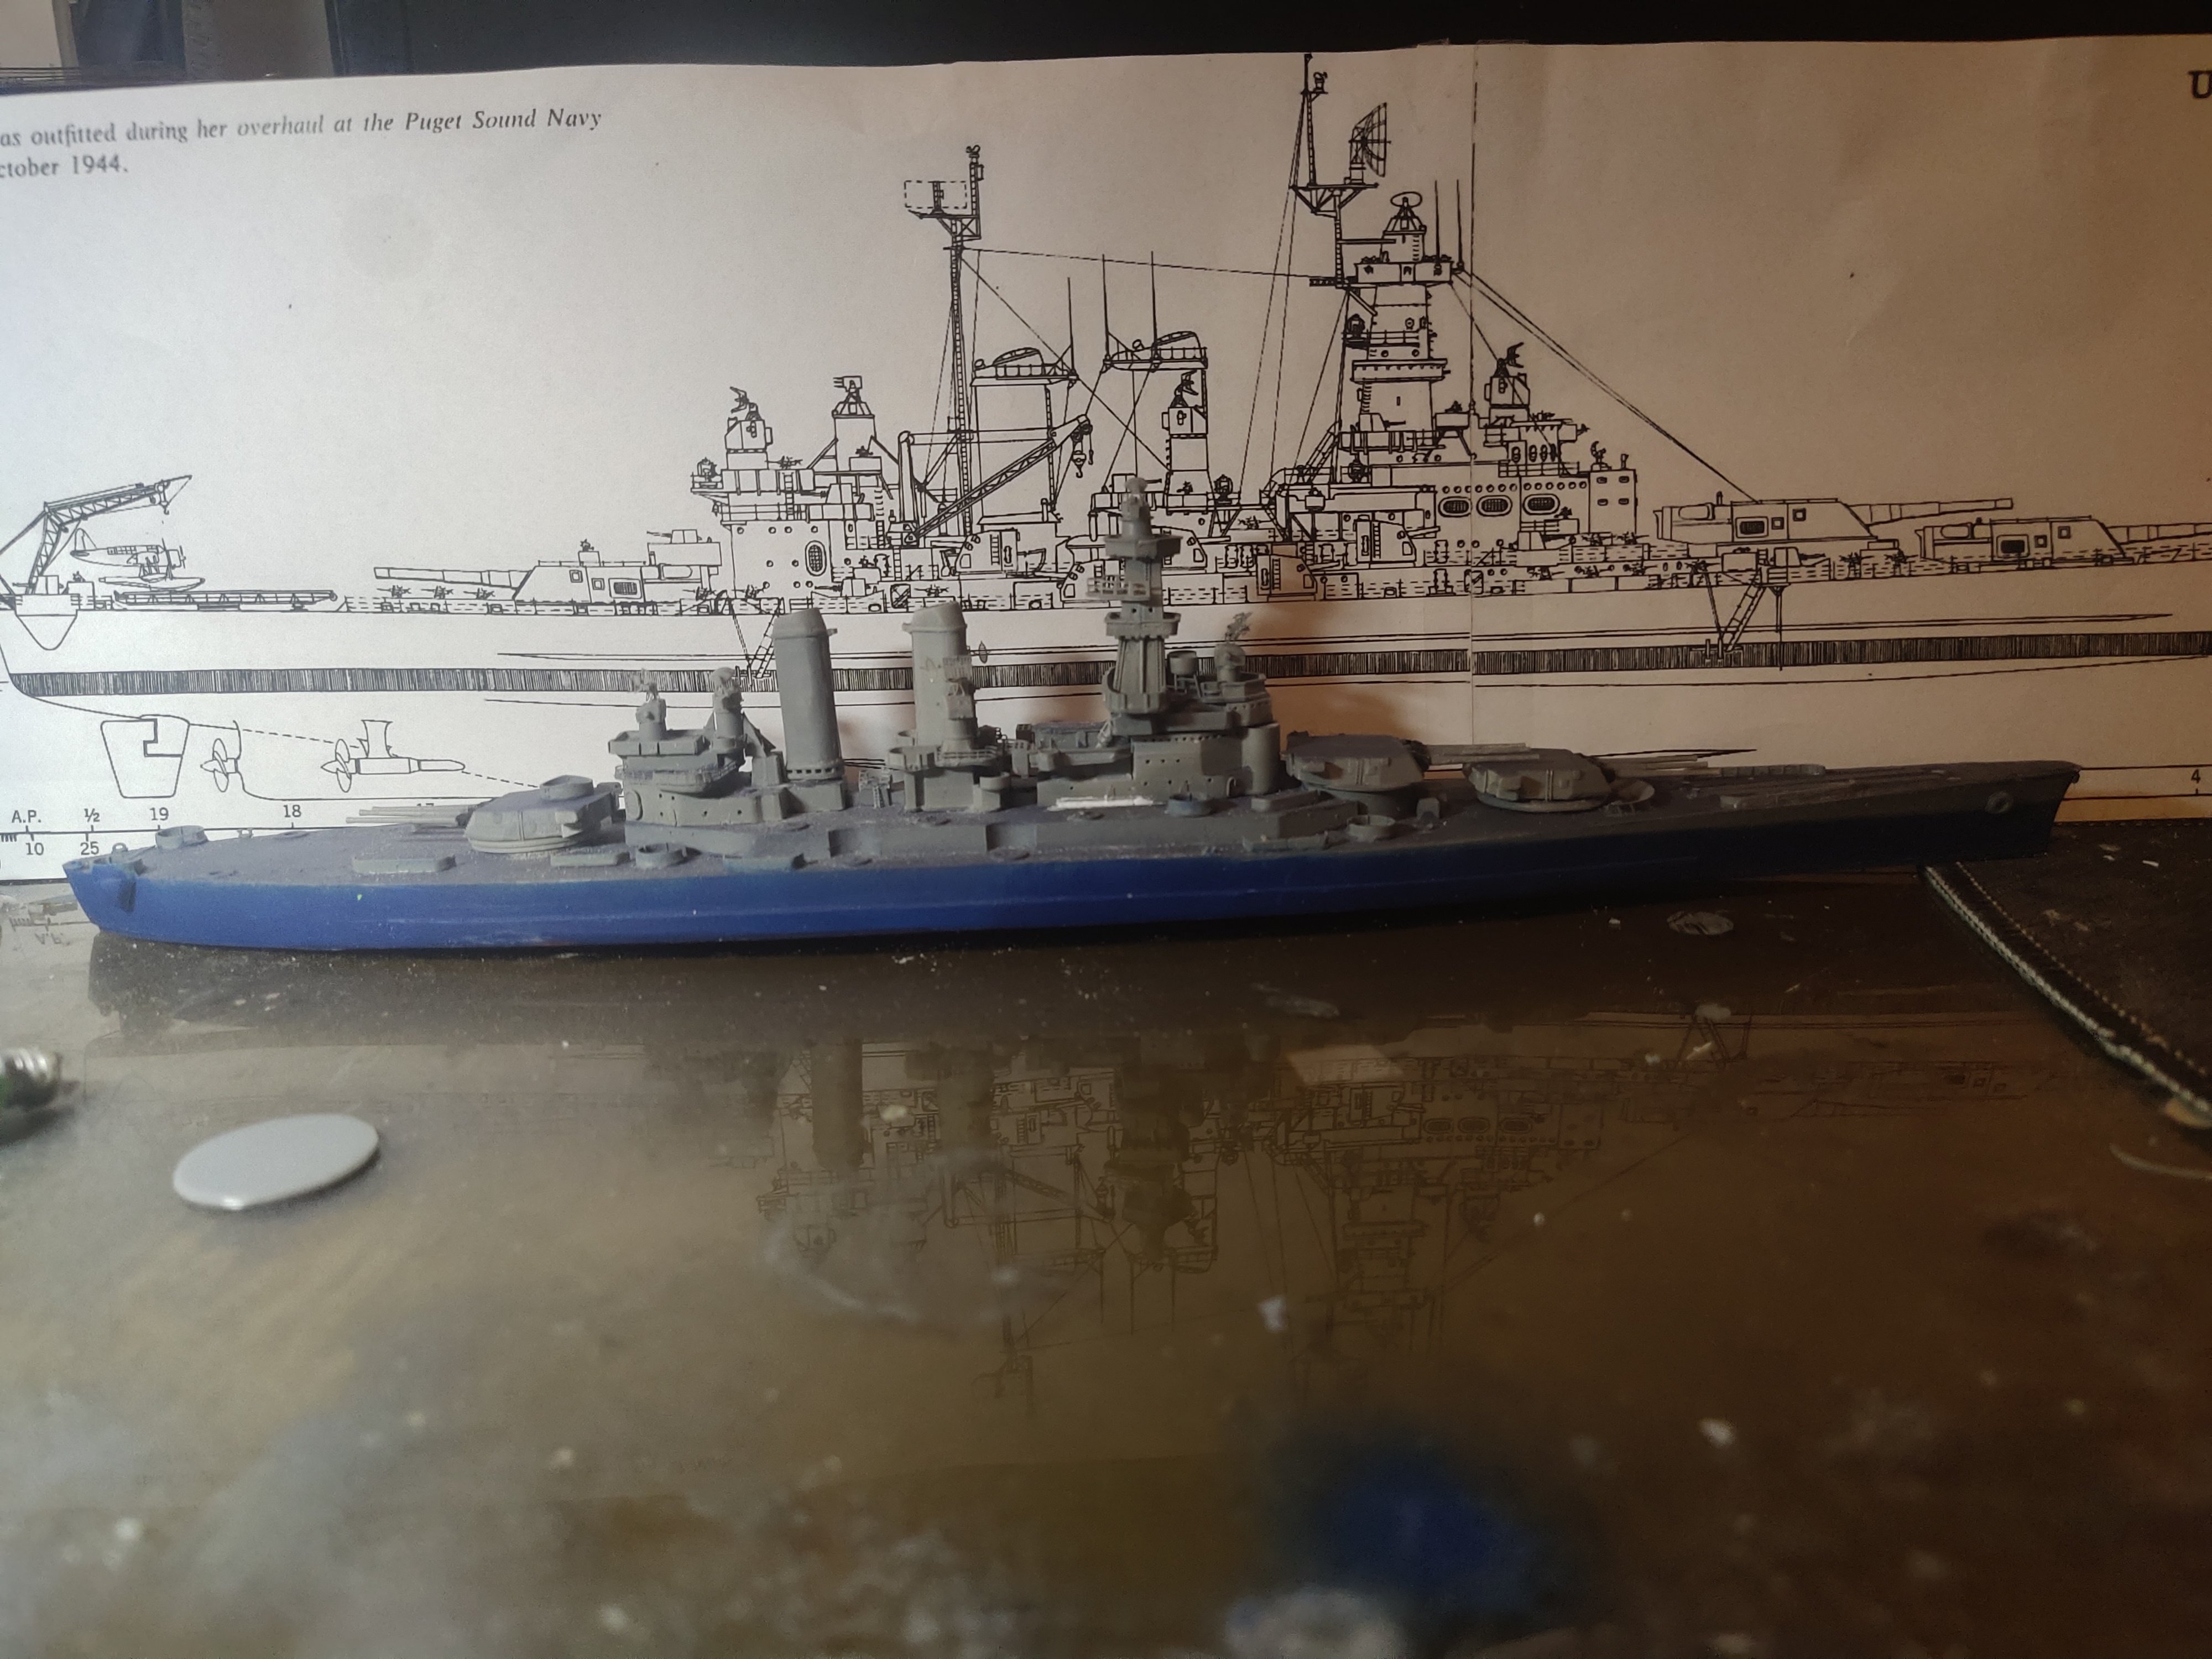
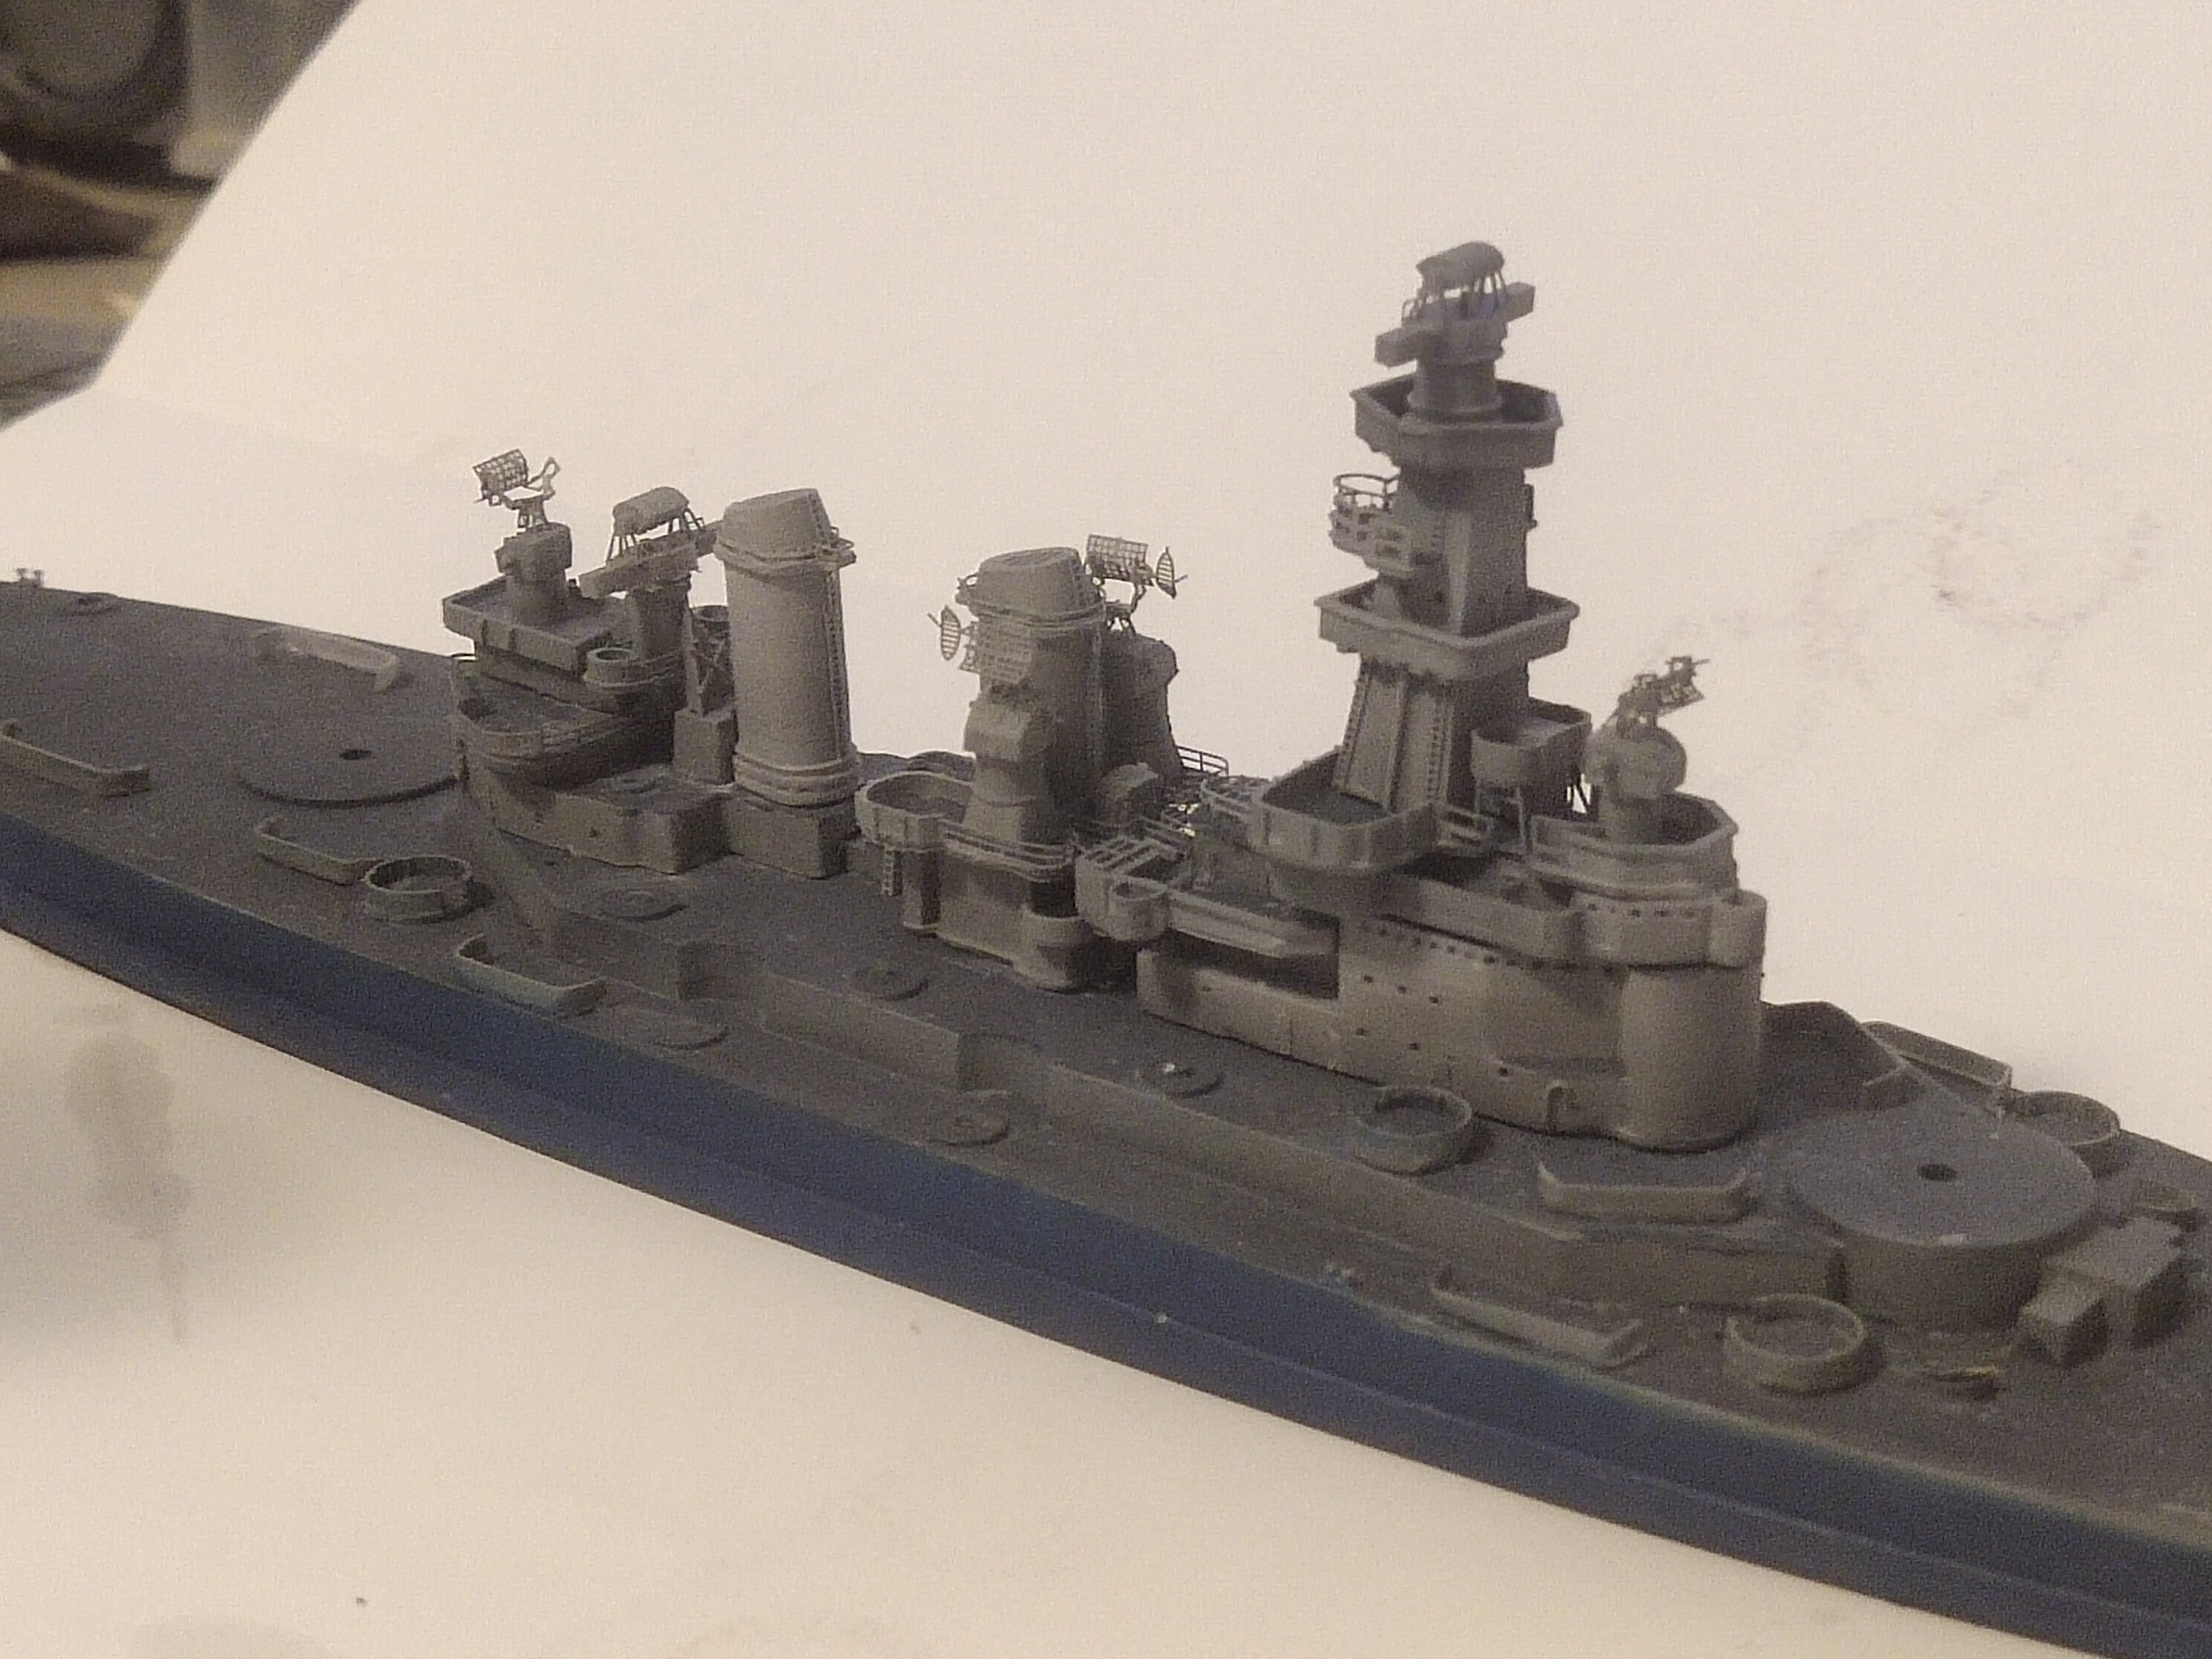
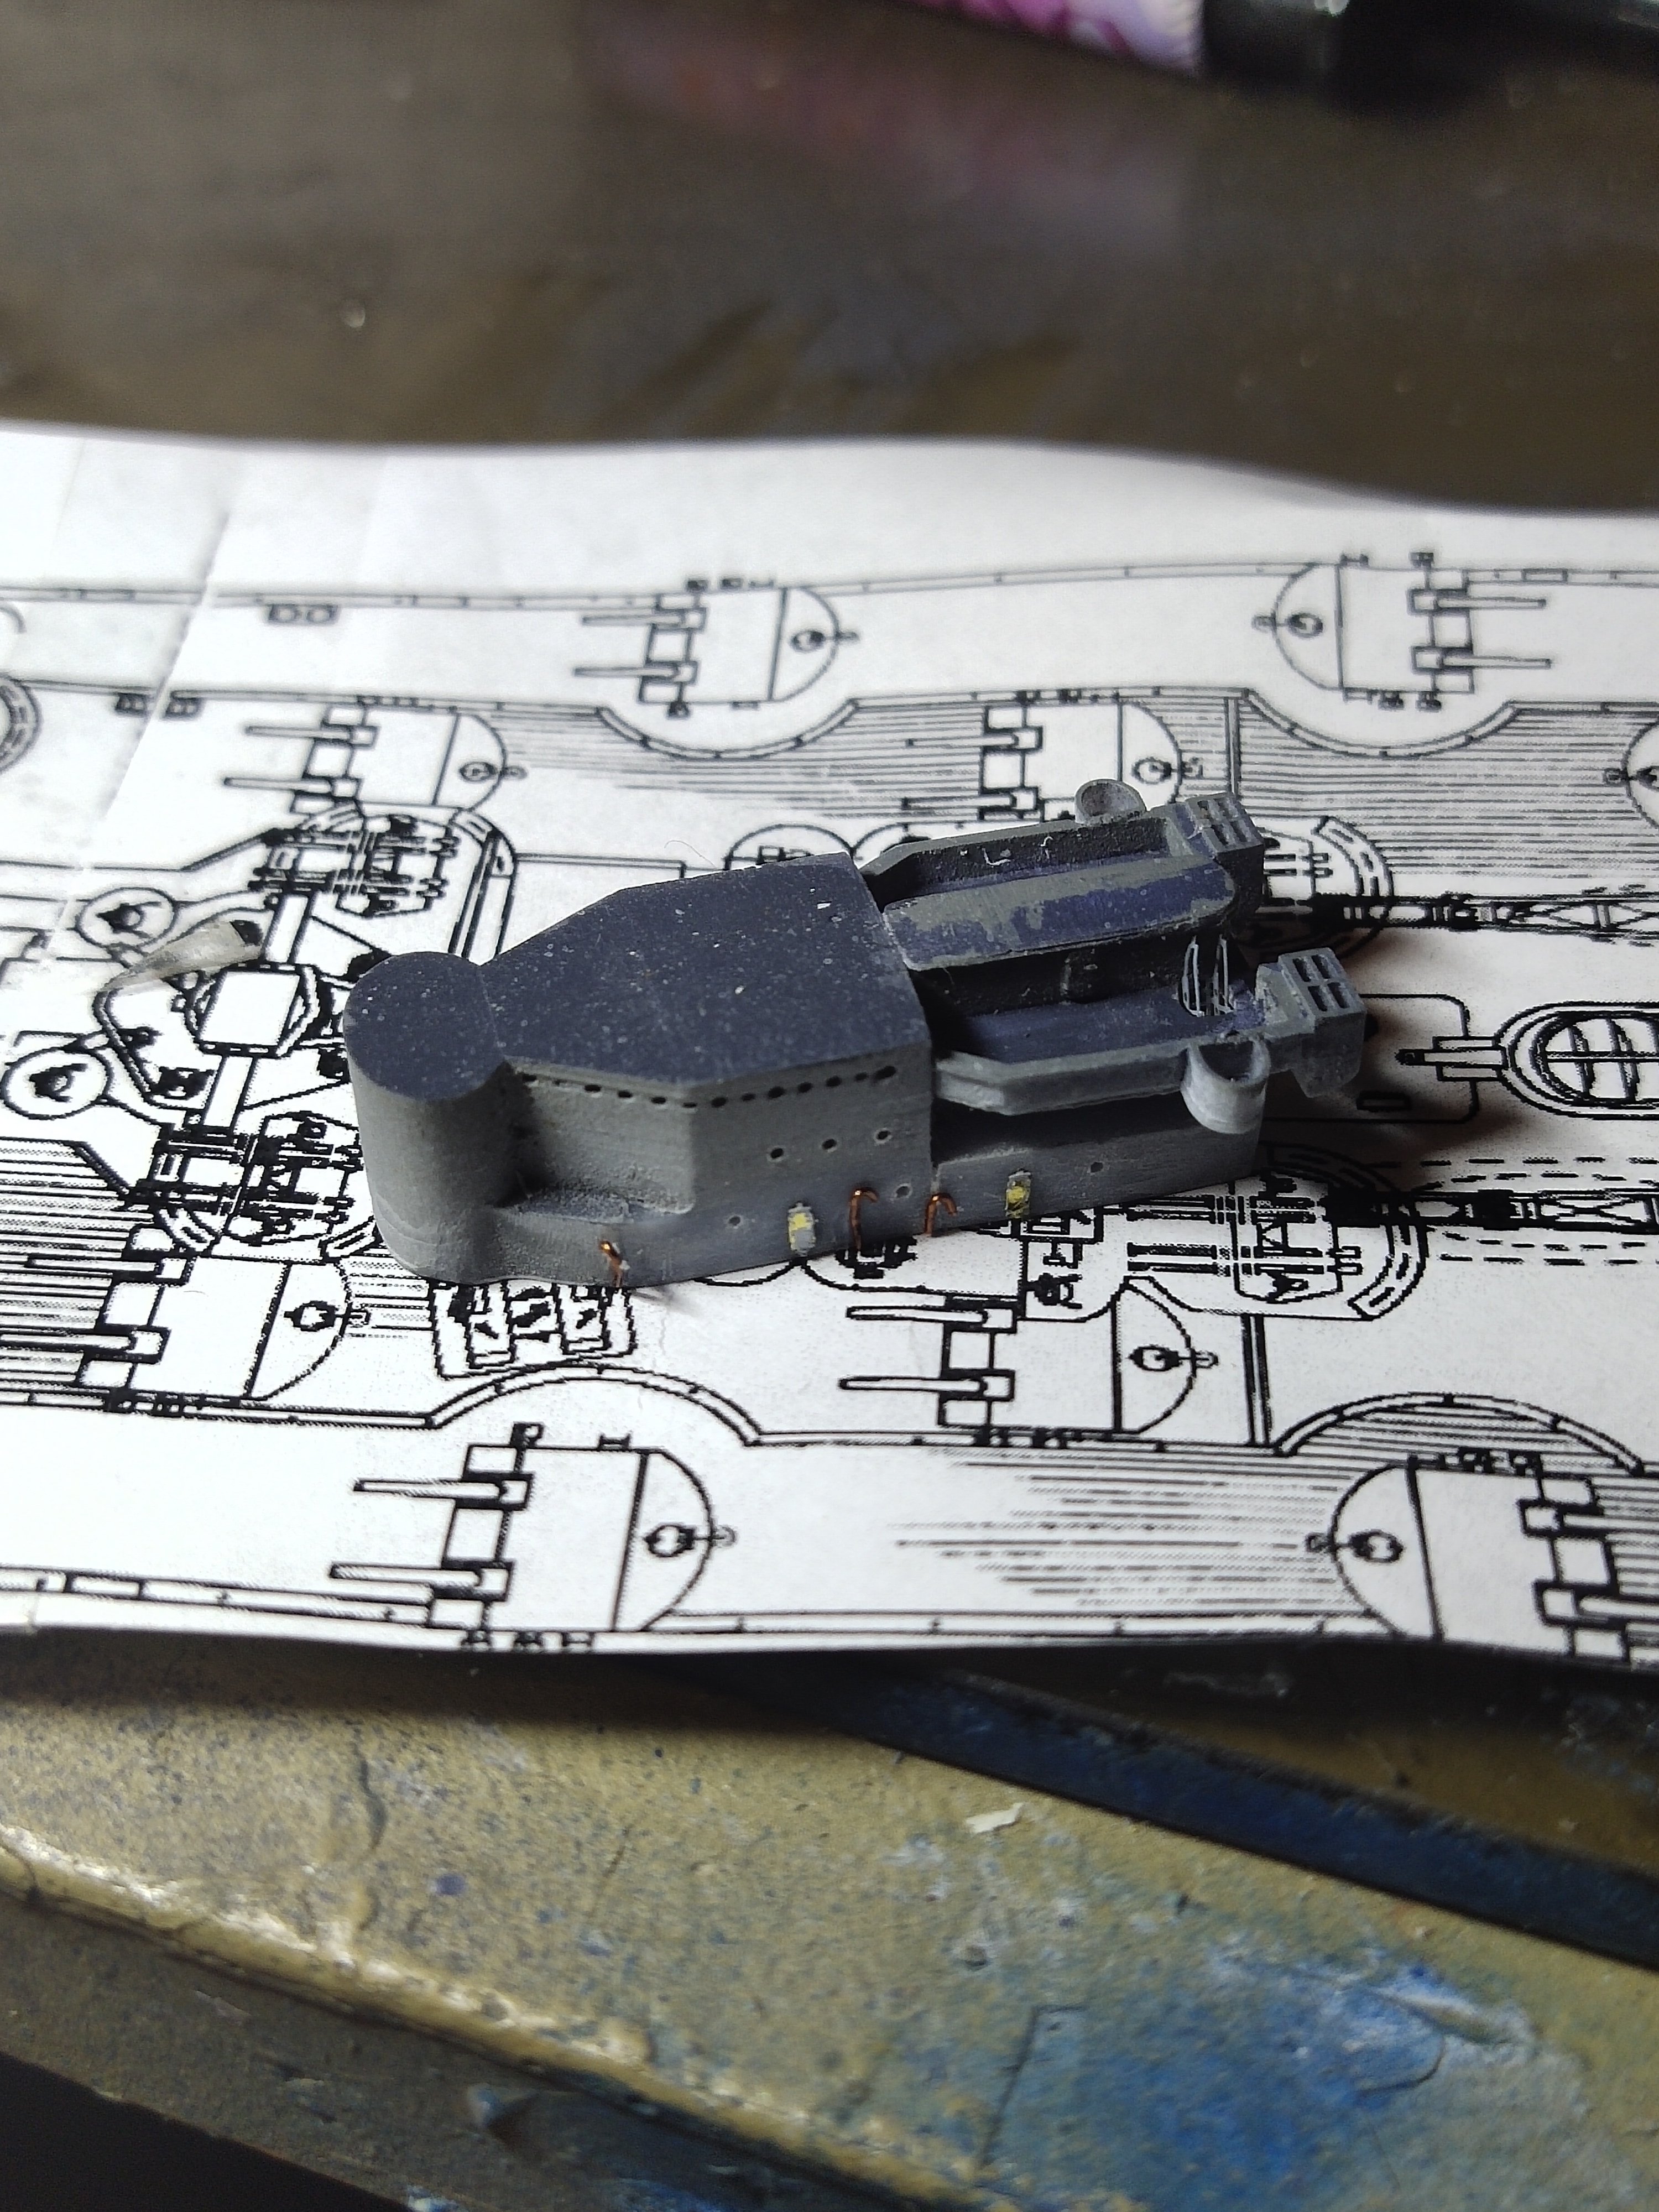
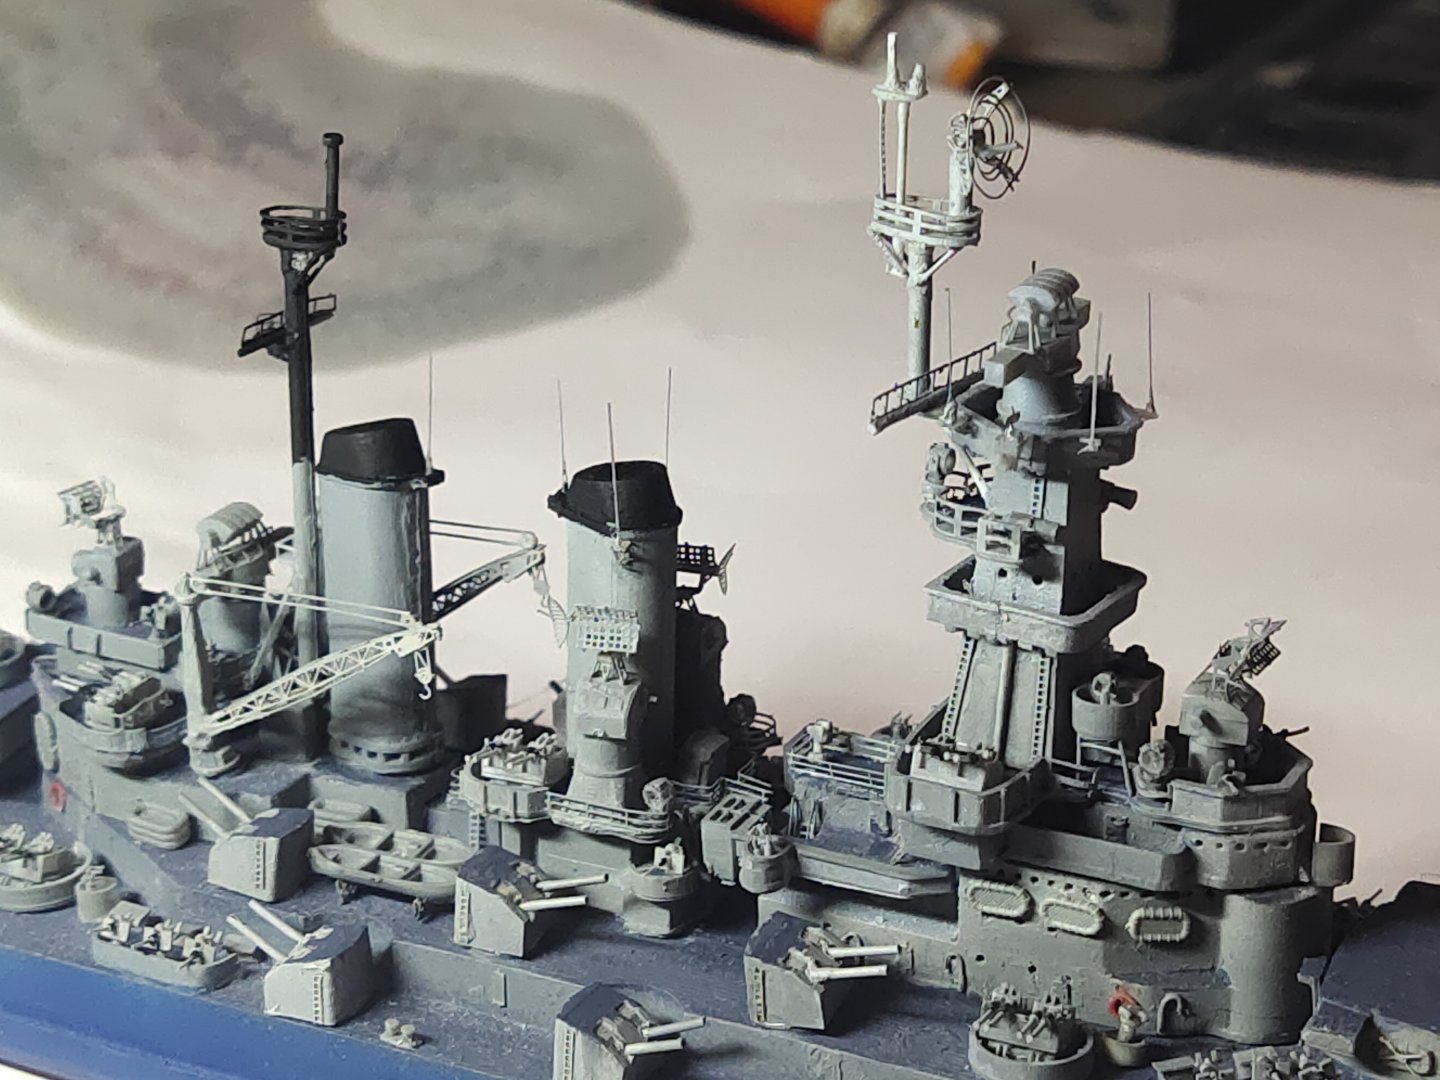
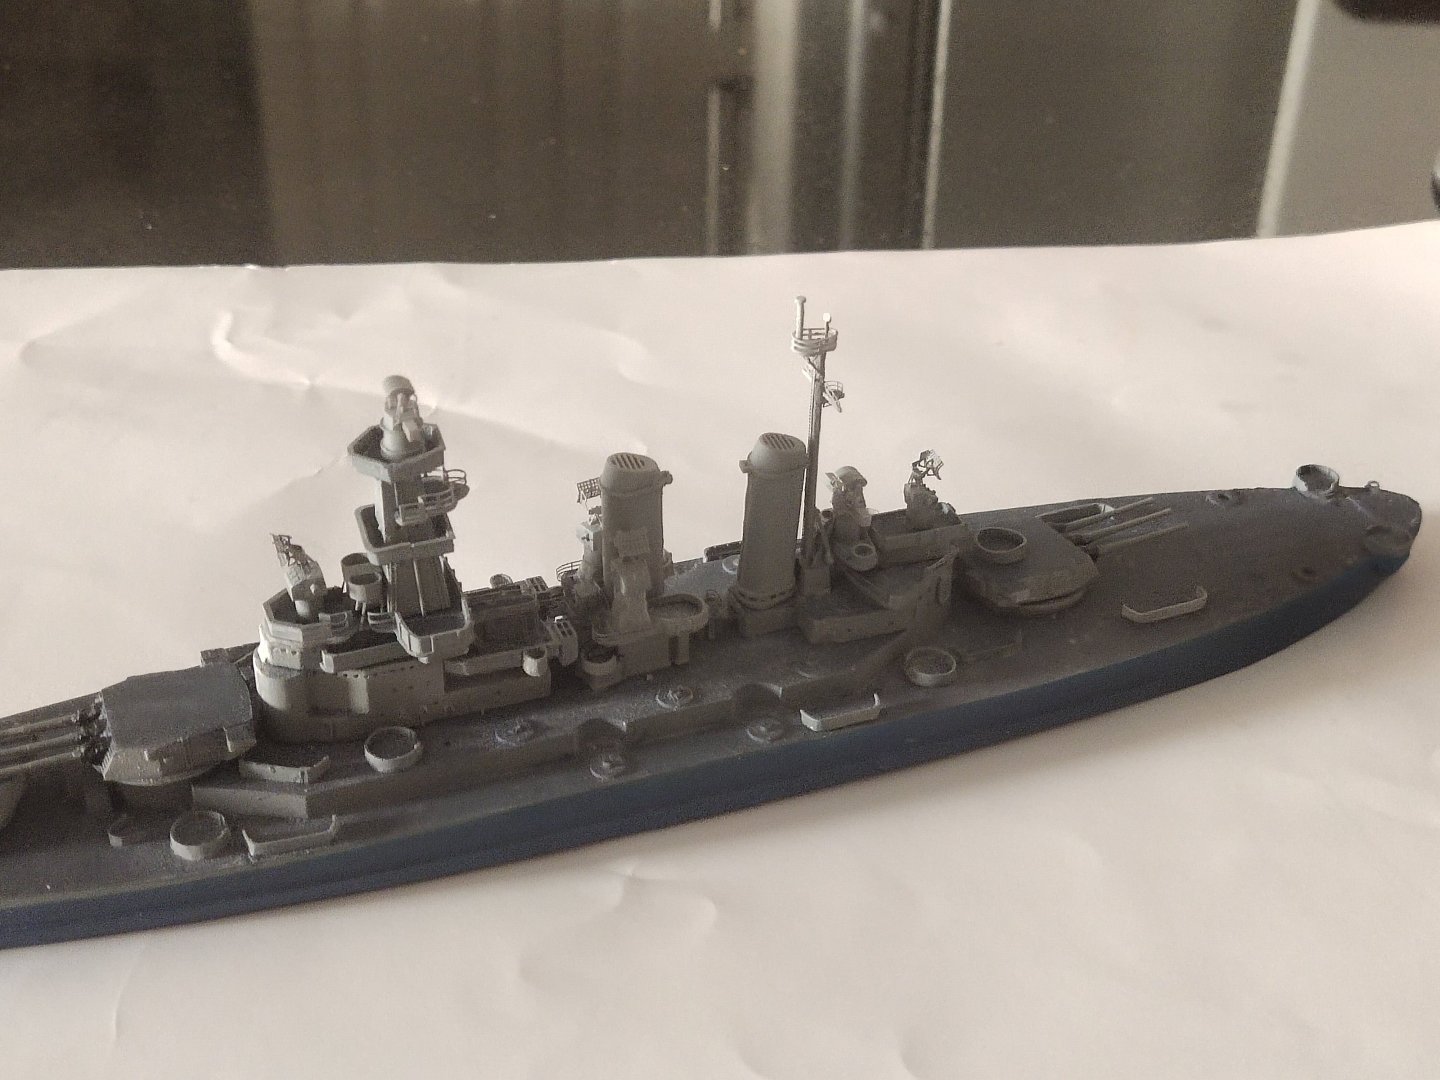
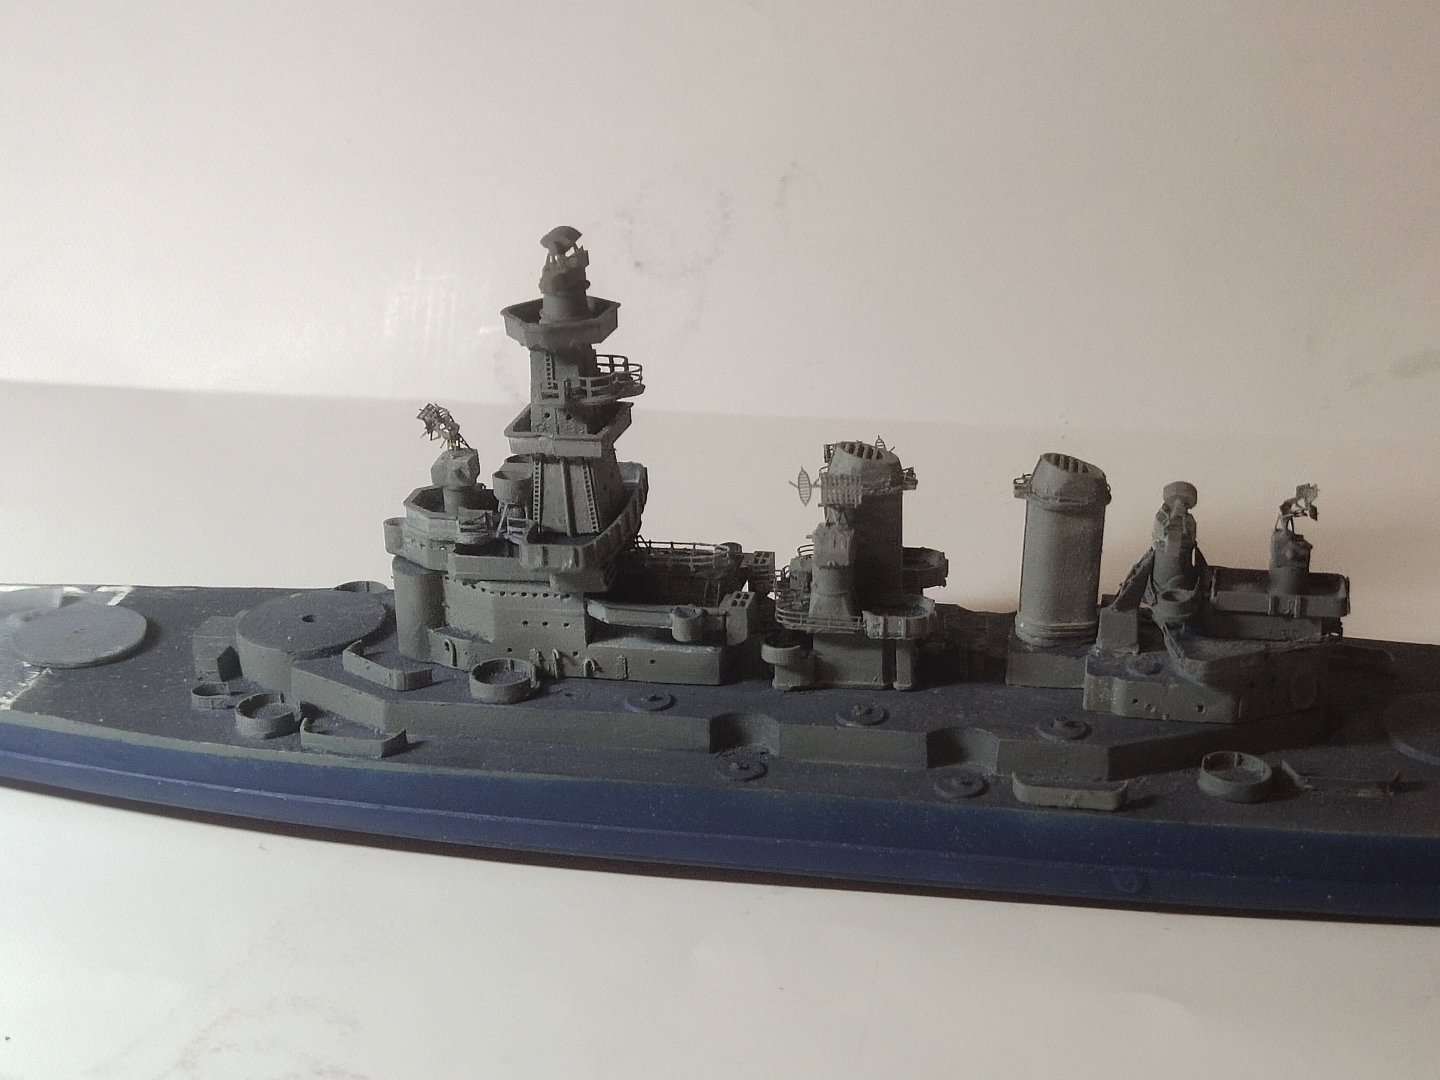
This i noticed after uploading the picture few days ago Upon inspection I found out that there was an error on the diagram which lead me to faulty measurement The base of the funnel is actually at the same level of the 5" gun. This is the correct one Under the new circumstances and as I didn't want my model to look like a Japanese battleshiip with a unusual high superstructure, I had to replace the funnel. However these were glued with CA as it was considered a "finished" job and no corrections needed. Especially the front funnel was very hard to remove without damaging the AA gun platform. Therefore I used a rotary tool to "detele" the upper part of the funnel and add a 5mm section, a quite risky business. Somehow the vibrations caused the part to be detached. Then I removed the rear one, relatively easy and made the correct replacement parts So I got rid of the "ISE" effect of my model, without casualties. Final step for today, 16" gun turrets, painted ready to be fitted


-
Nice liitle model I agree the CA glue is less messy than PVA. I use liquid and get type. However their rapid drying time is a problem as they are not forgiving, therefore some are using retarder. For resin parts is a different story. There is a also a PVA called tacky which supposed to be as strong and fast as a regular glue but I haven't tried it yet
-
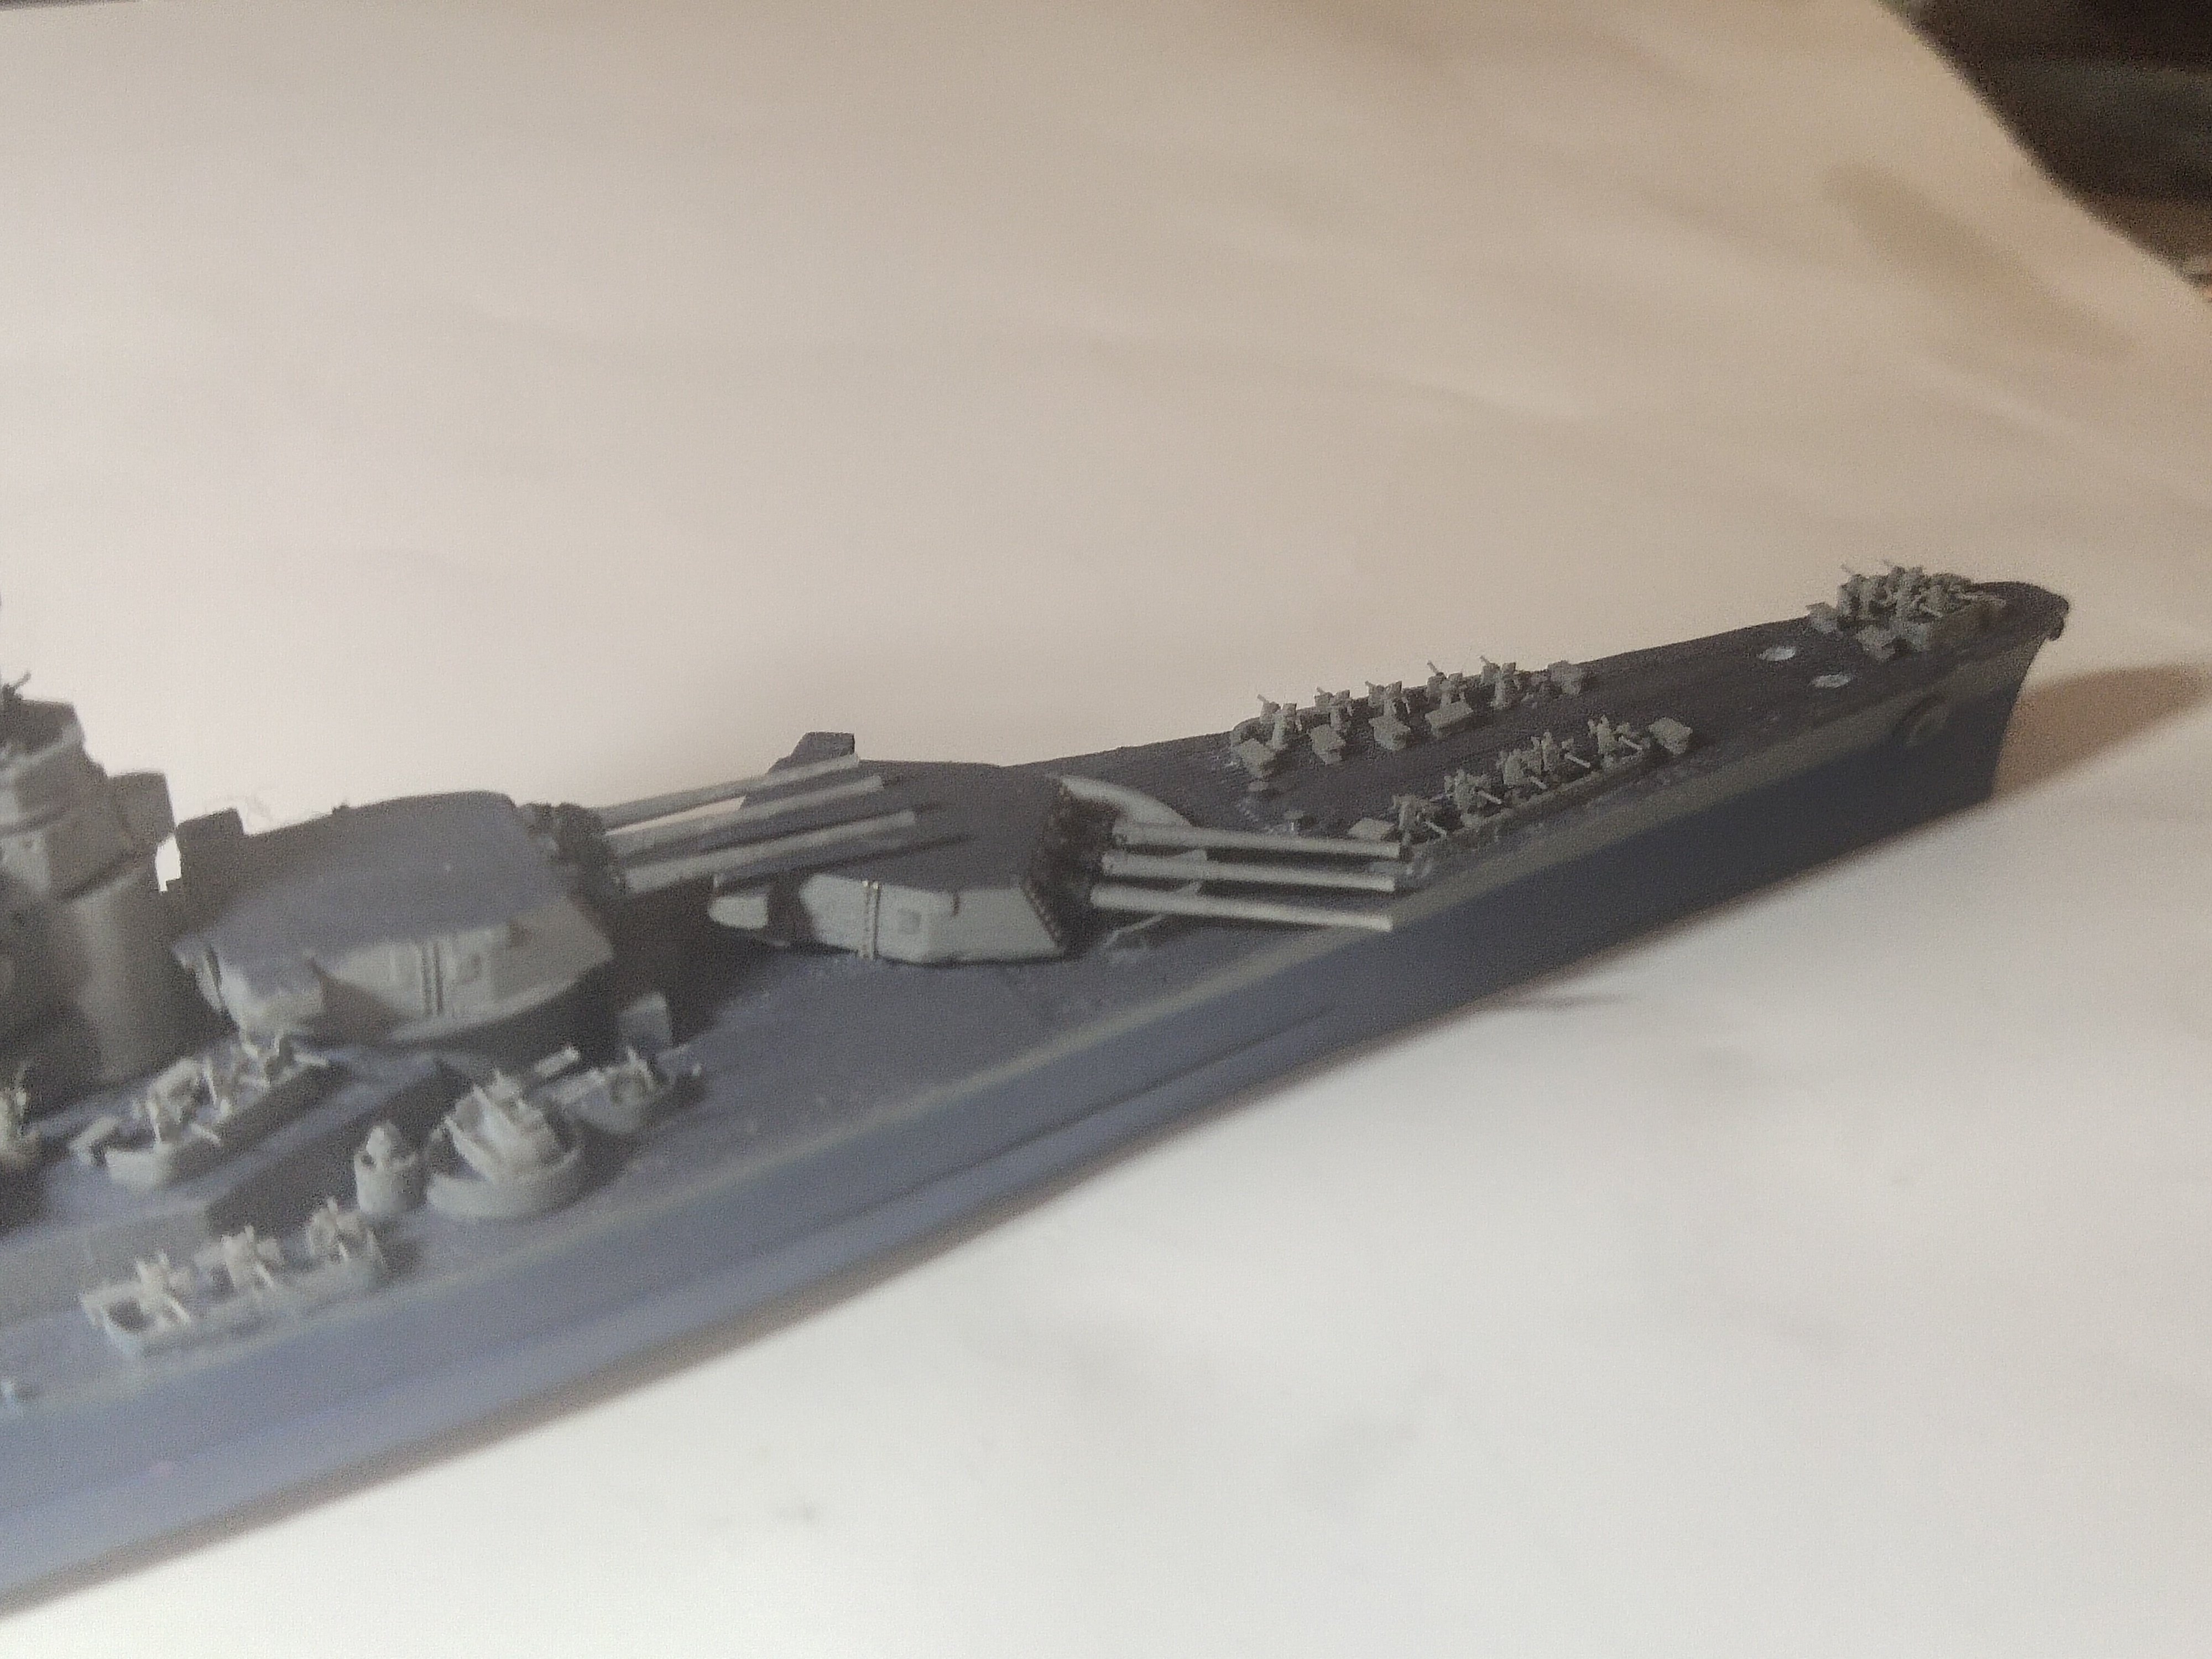
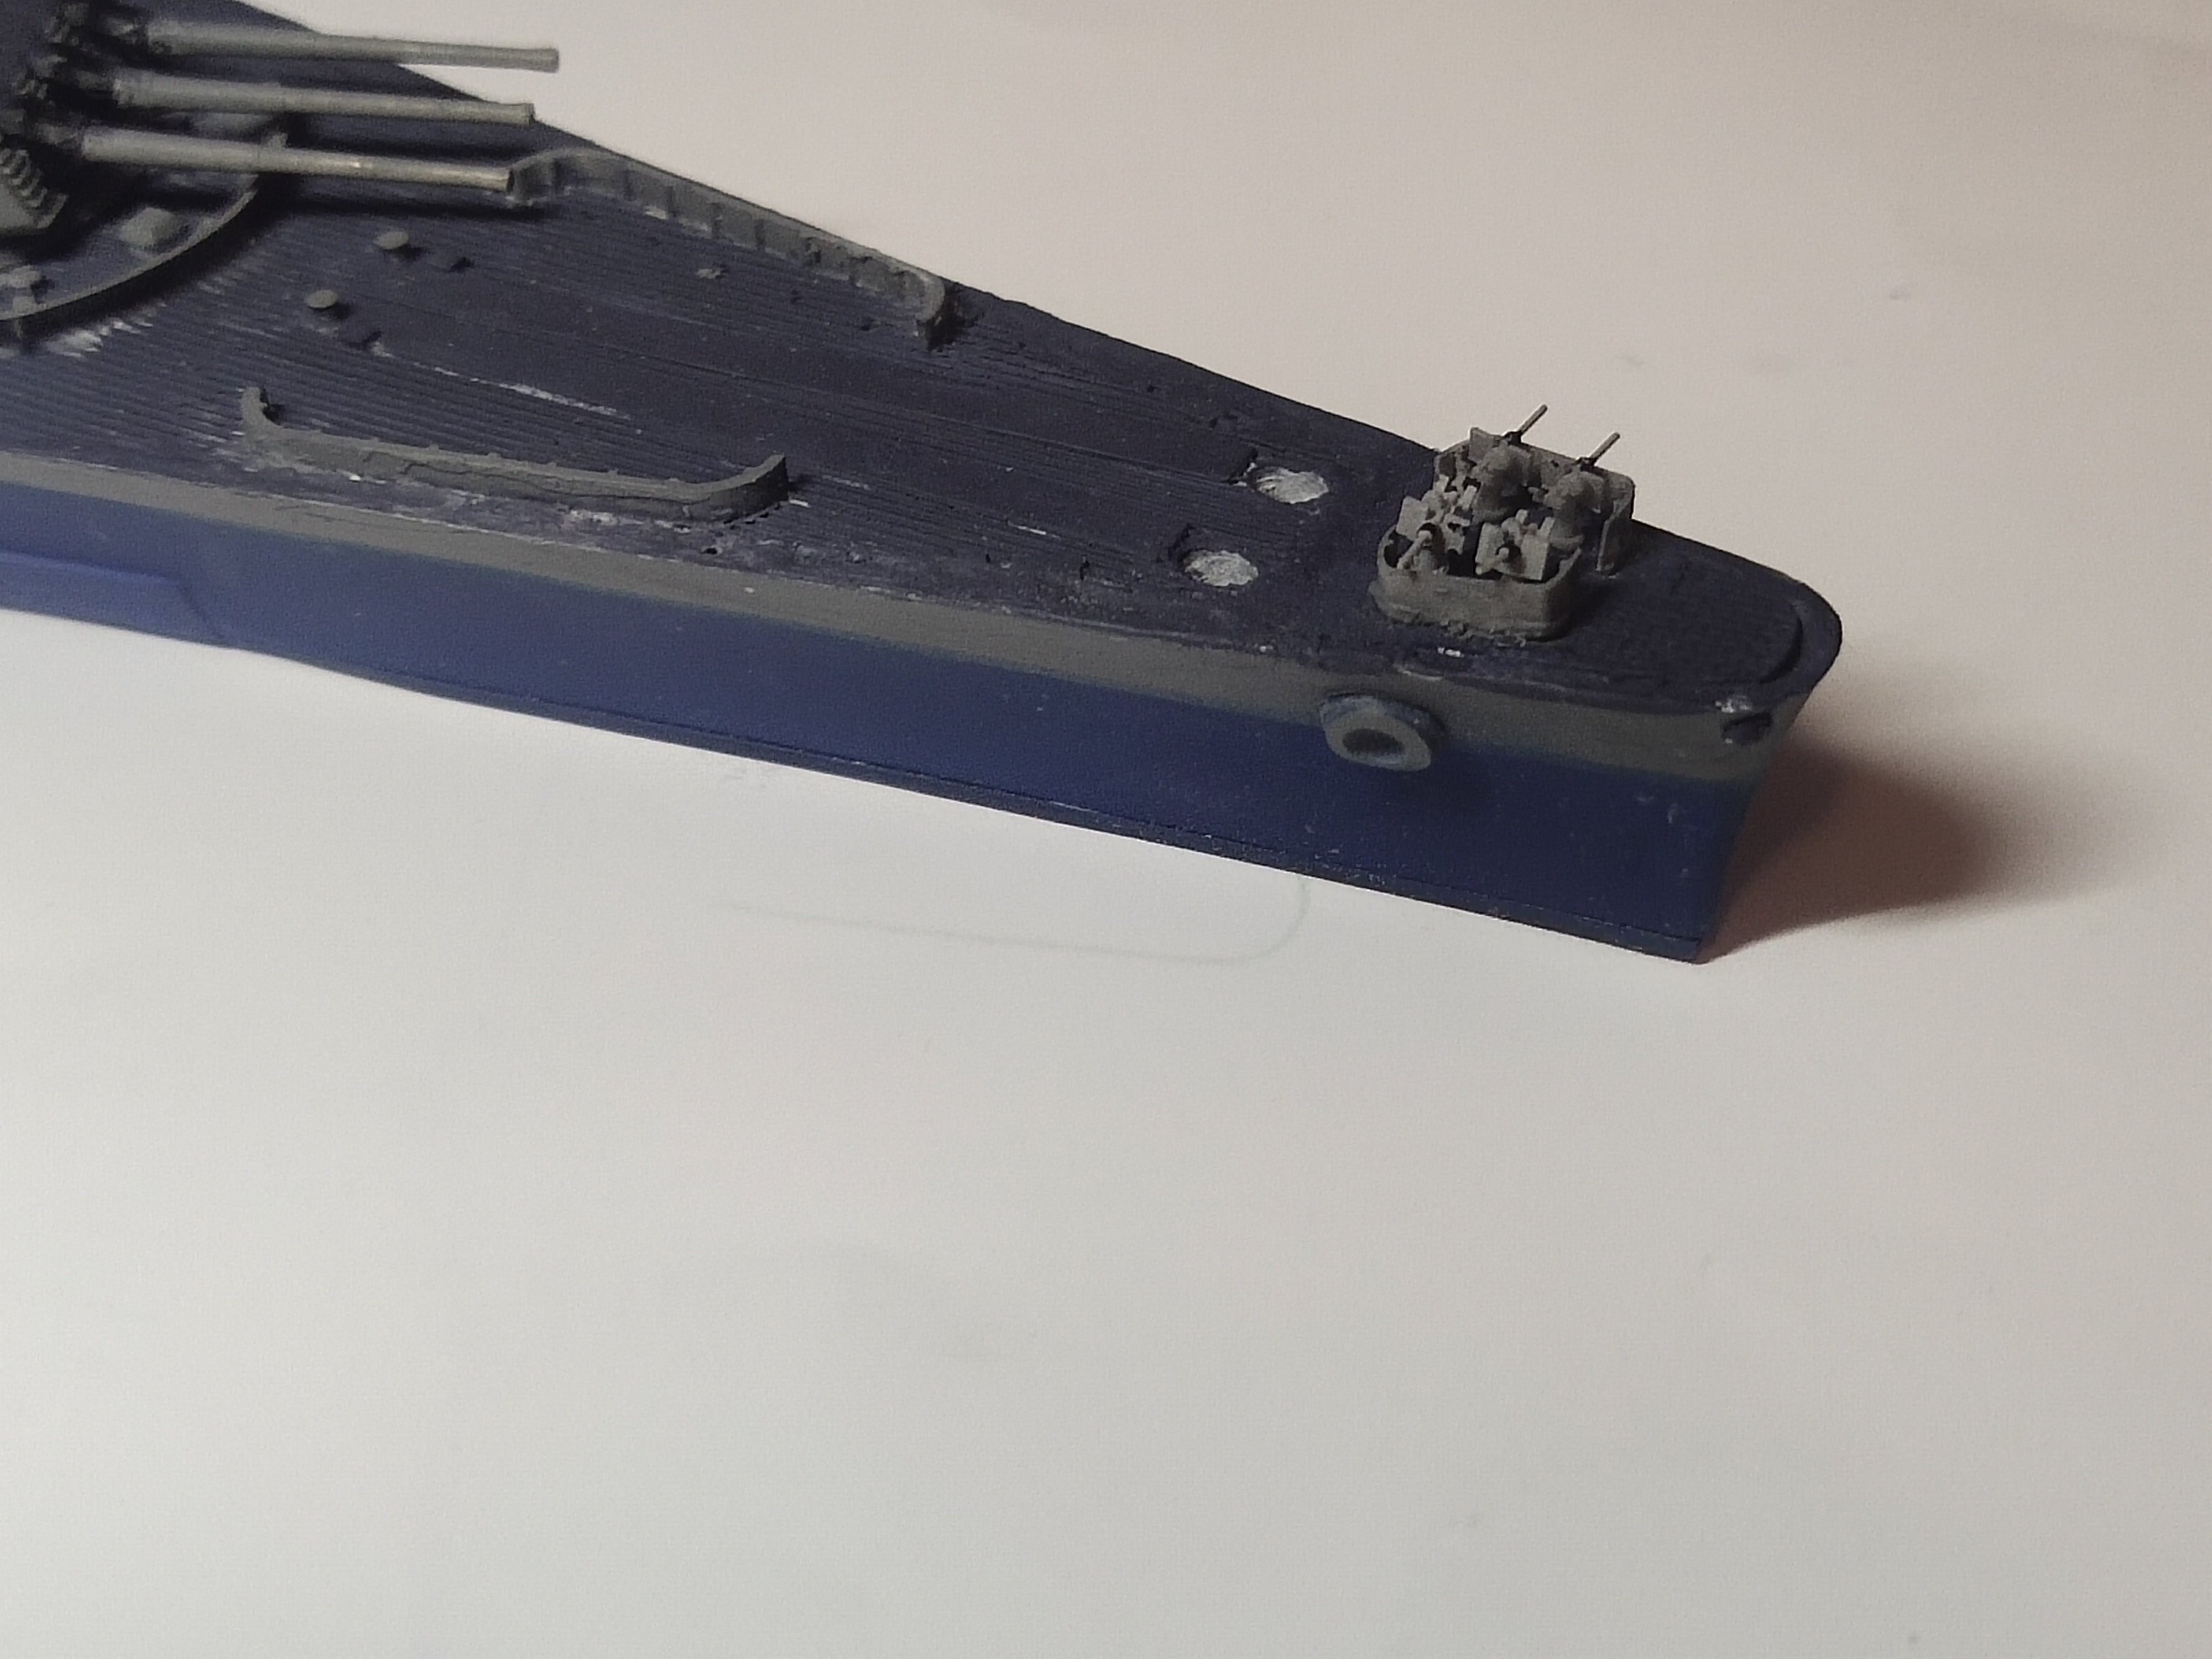
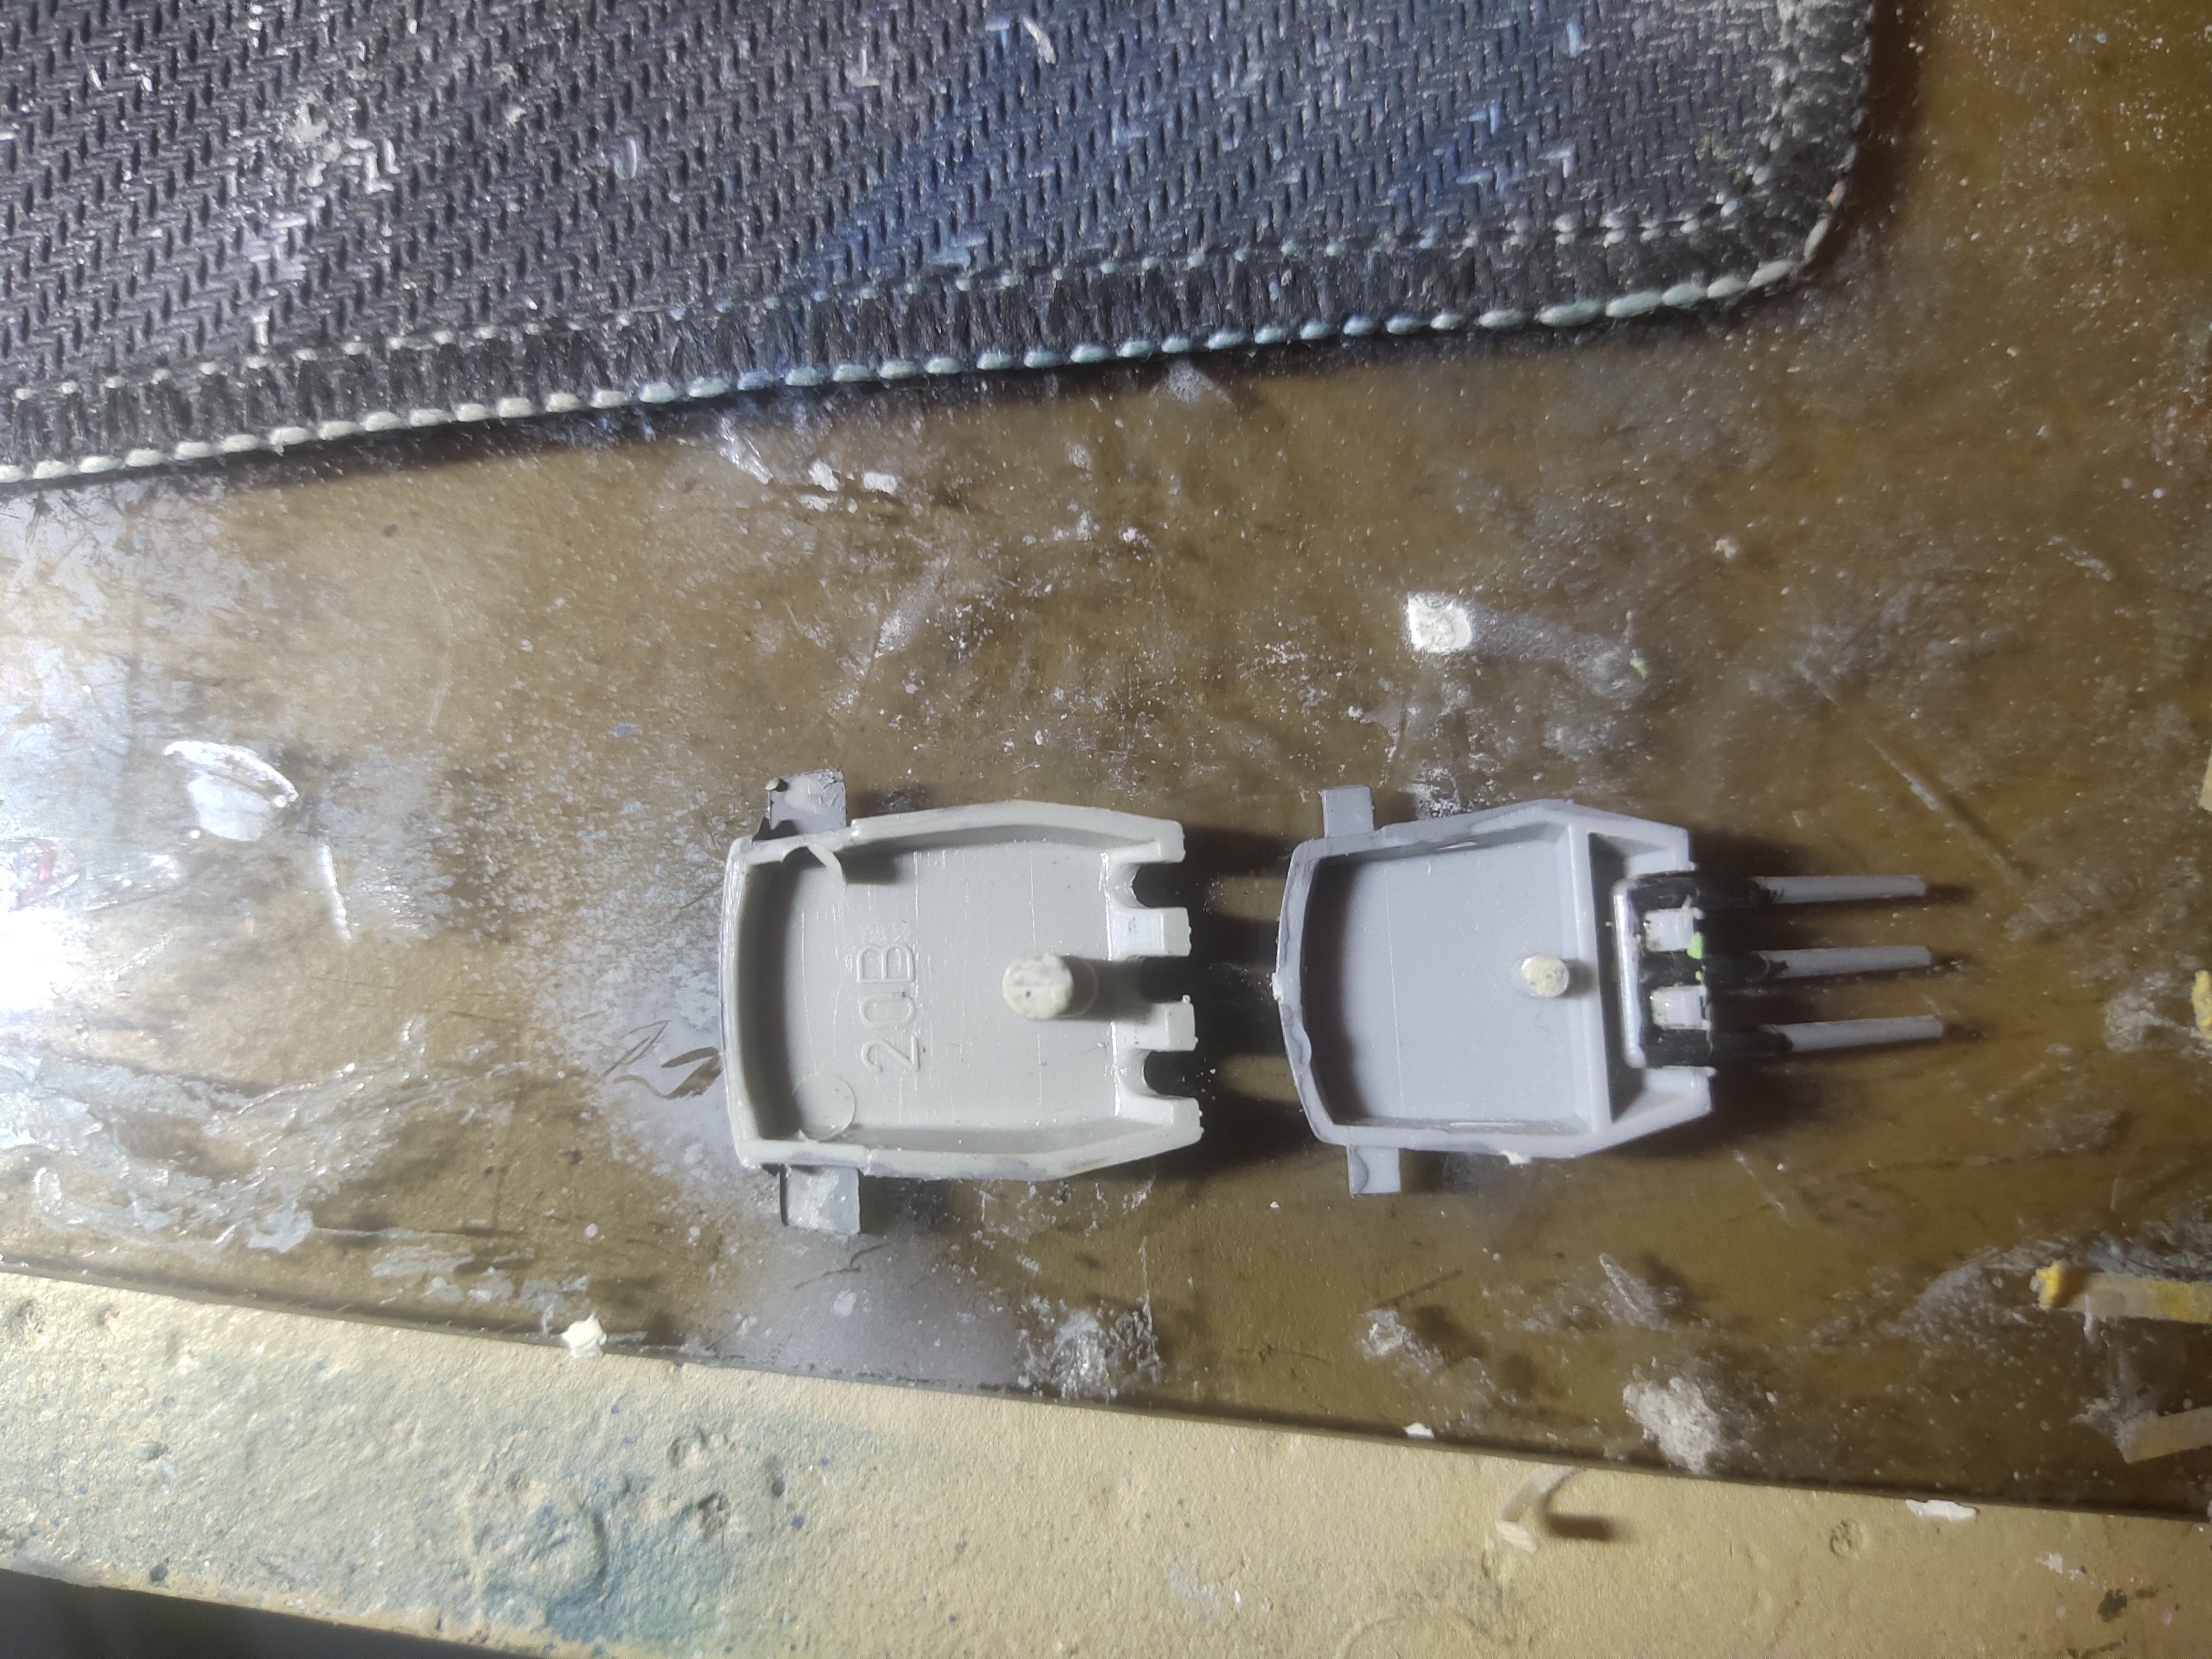
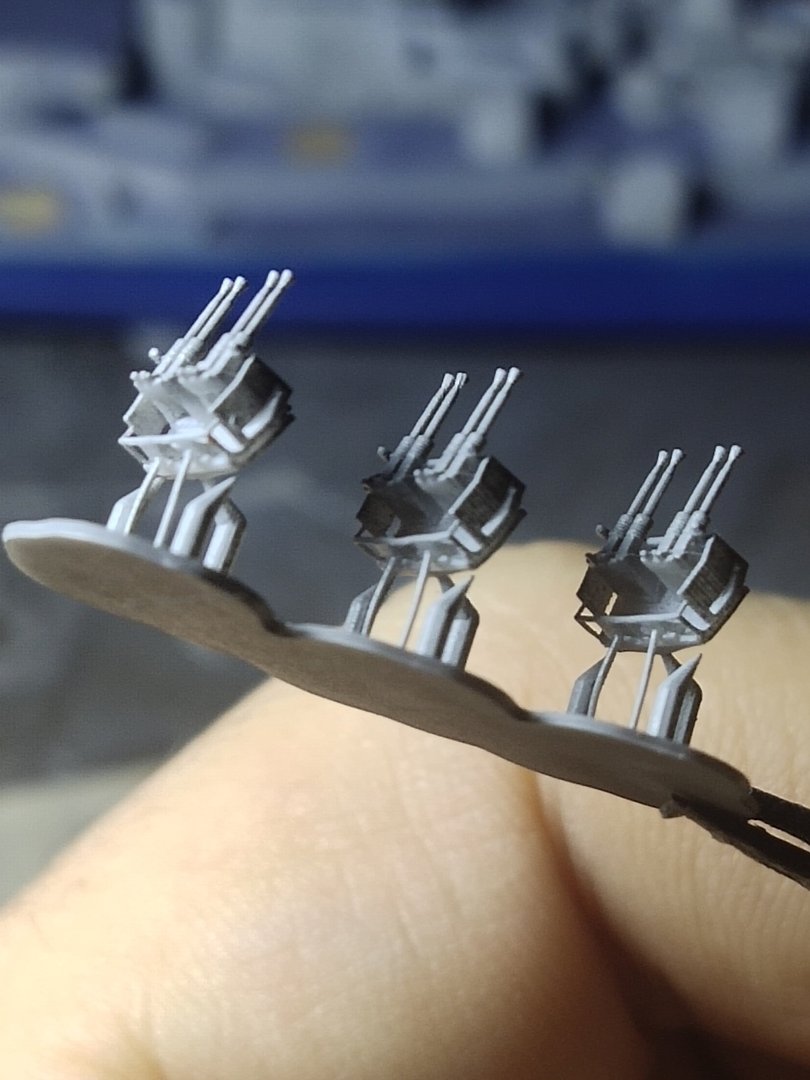
I finally decided to make new turrets at the desired dimensions about 2 mm shorter than the previous one They look better, barrels also look bit longer maybe because they are thinner compared to the plastic ones


-
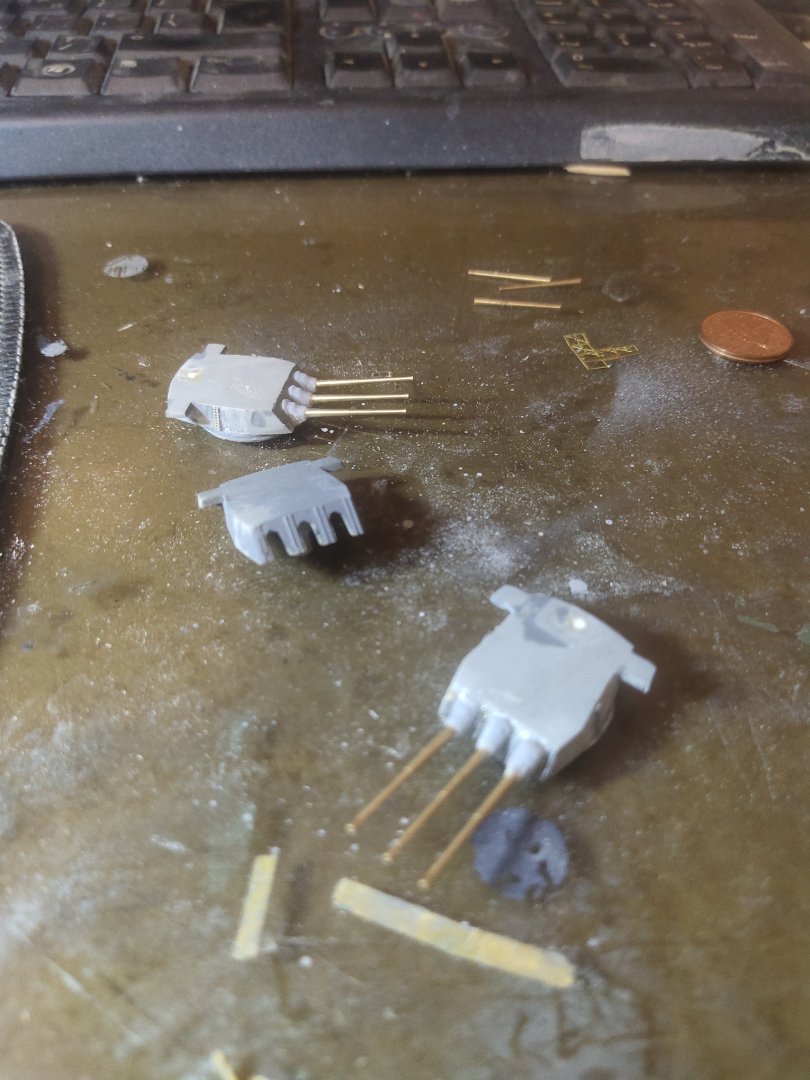
Today's work is at the 16" guns. Not much to do just add blast bags, brass barrels and hand ladders. As usual problem occurred. The blast bags were too big to fit along with ladders. At my stash I found replacement gun houses a bit wider. They looked great. However there were also bit longer. Like they are in 1/600 scale but I haven't built anything like this in 1/600 scale. Maybe these are from an Iowa class model, their 50 caliber guns needed bigger turrets. At test fitting they look slightly cramped. Maybe keep maybe replace, will decide tomorrow


-
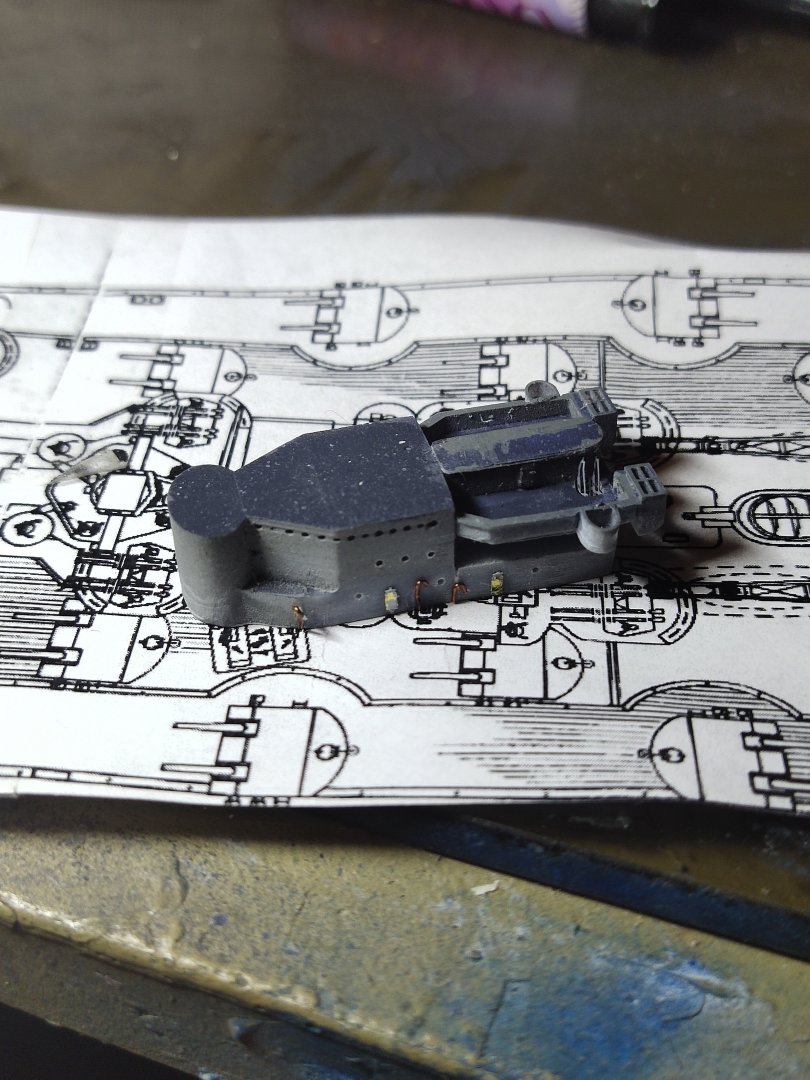
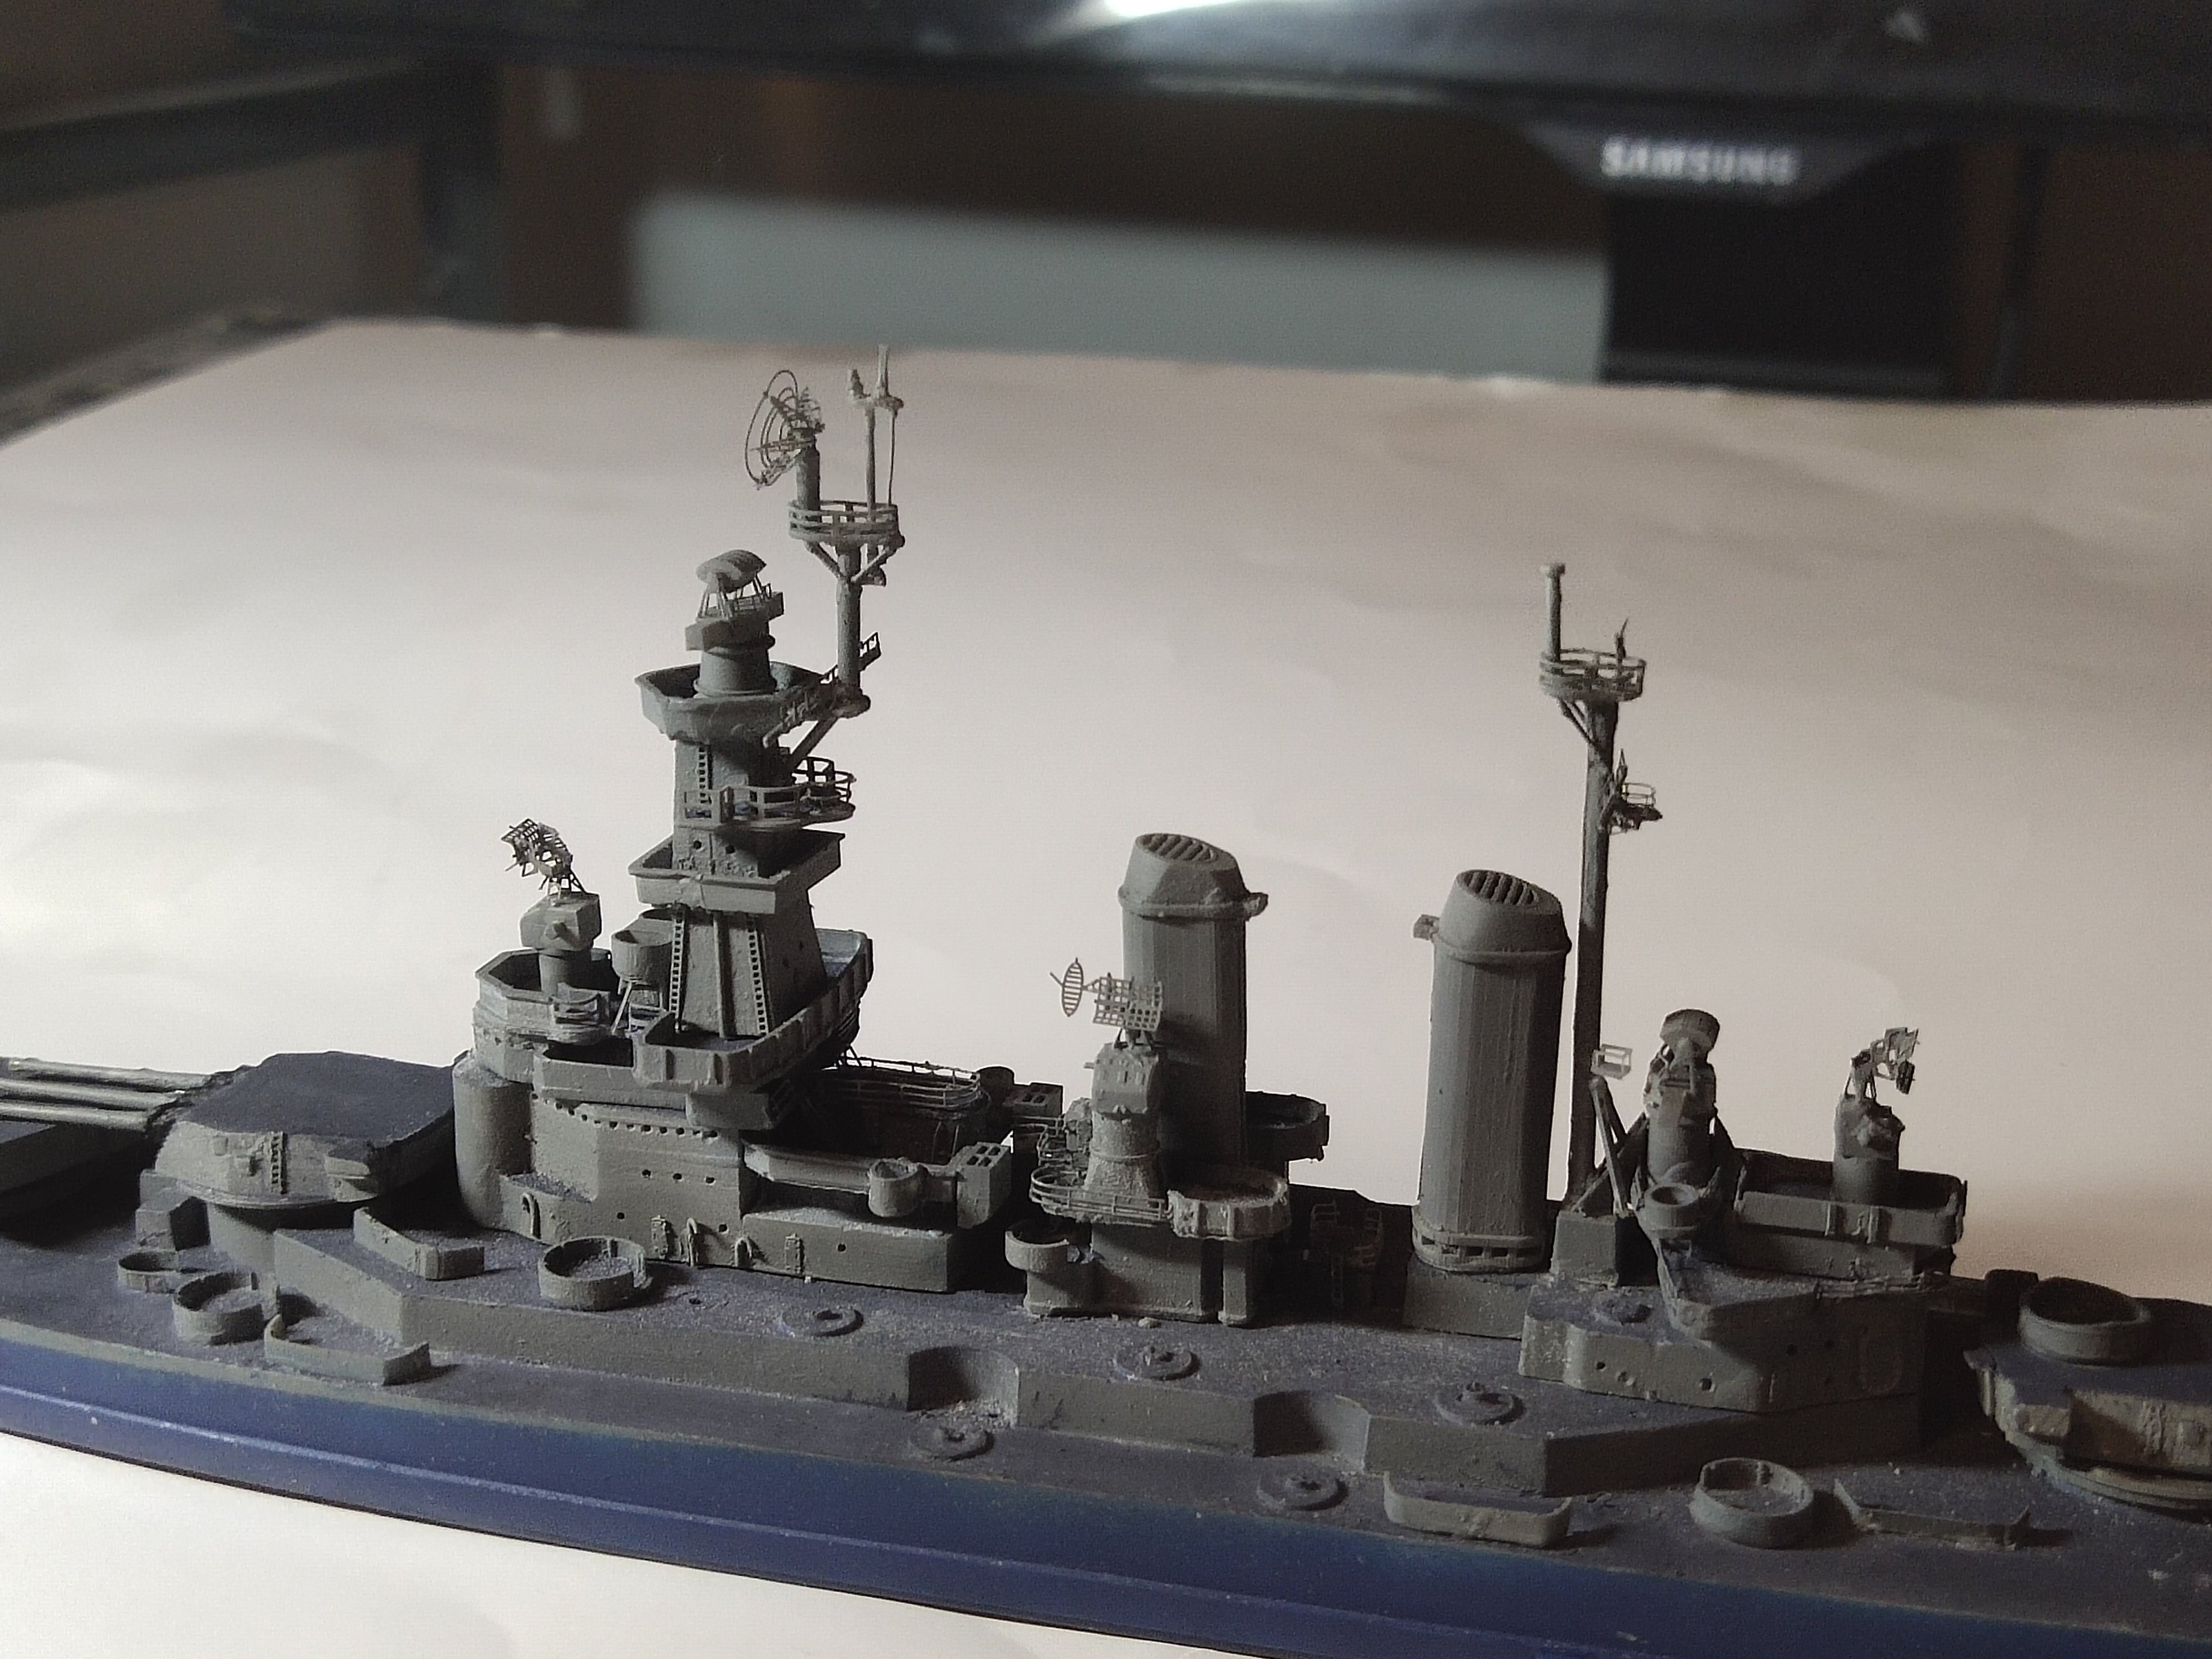
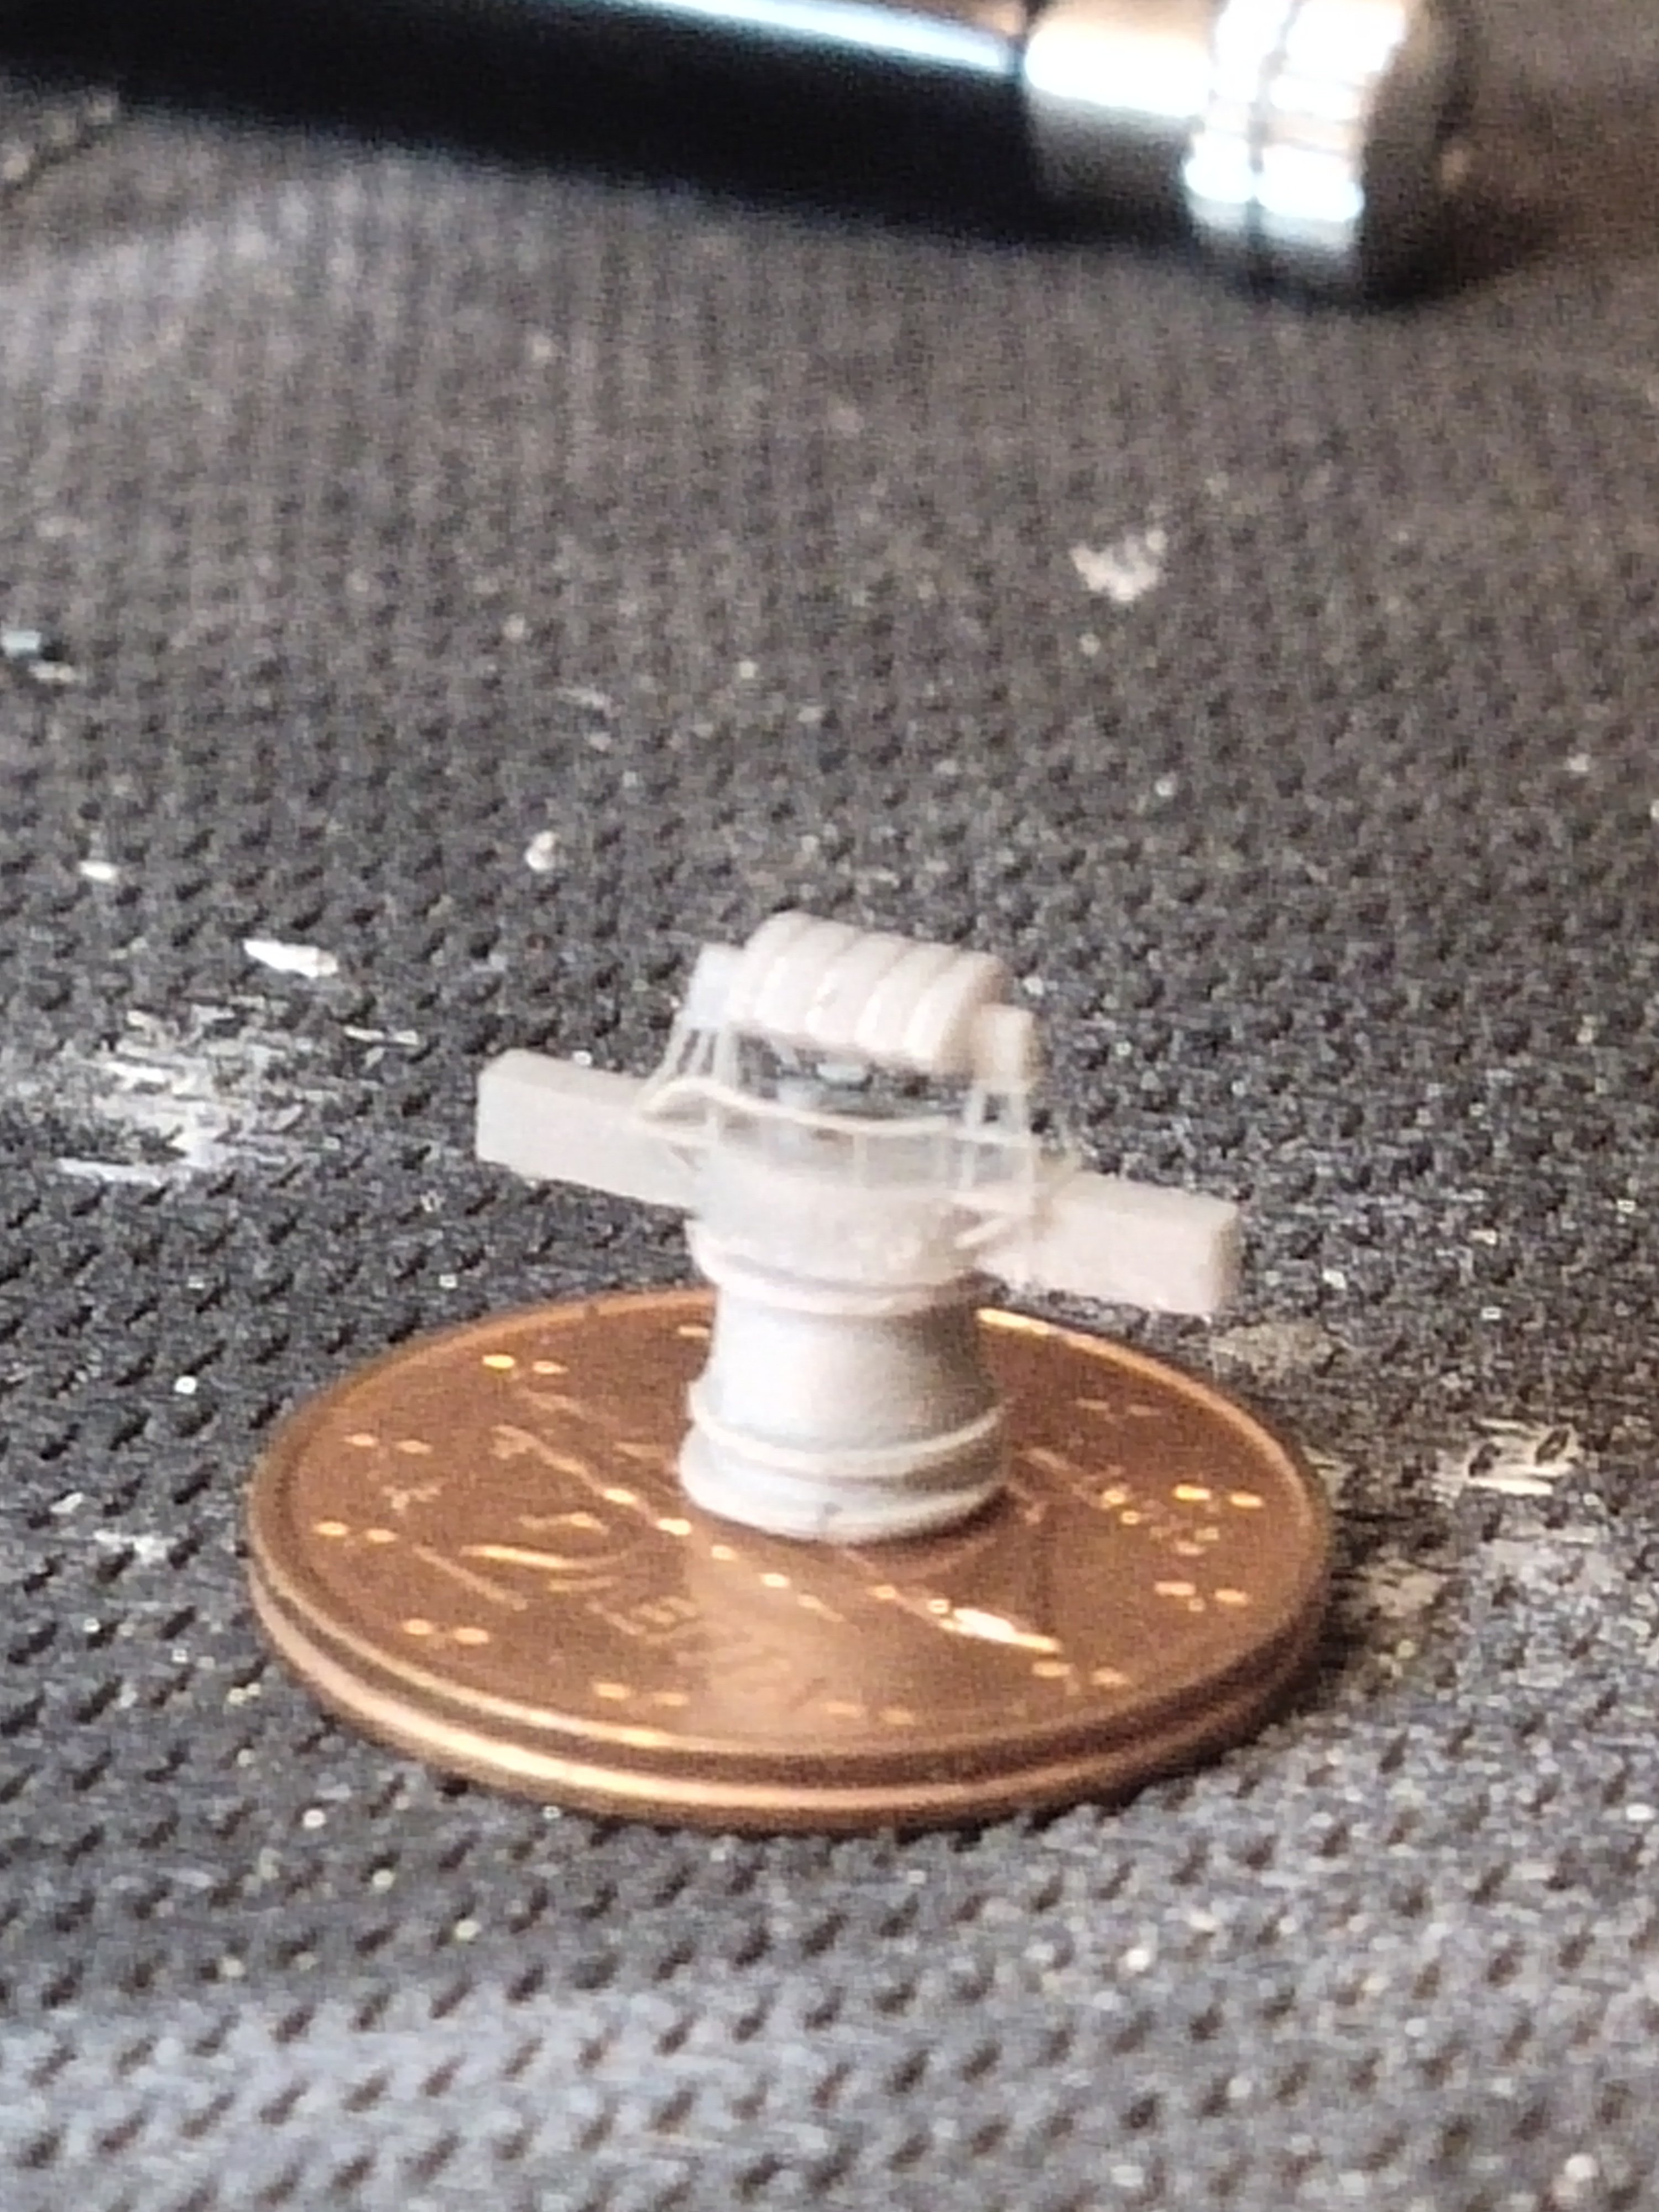
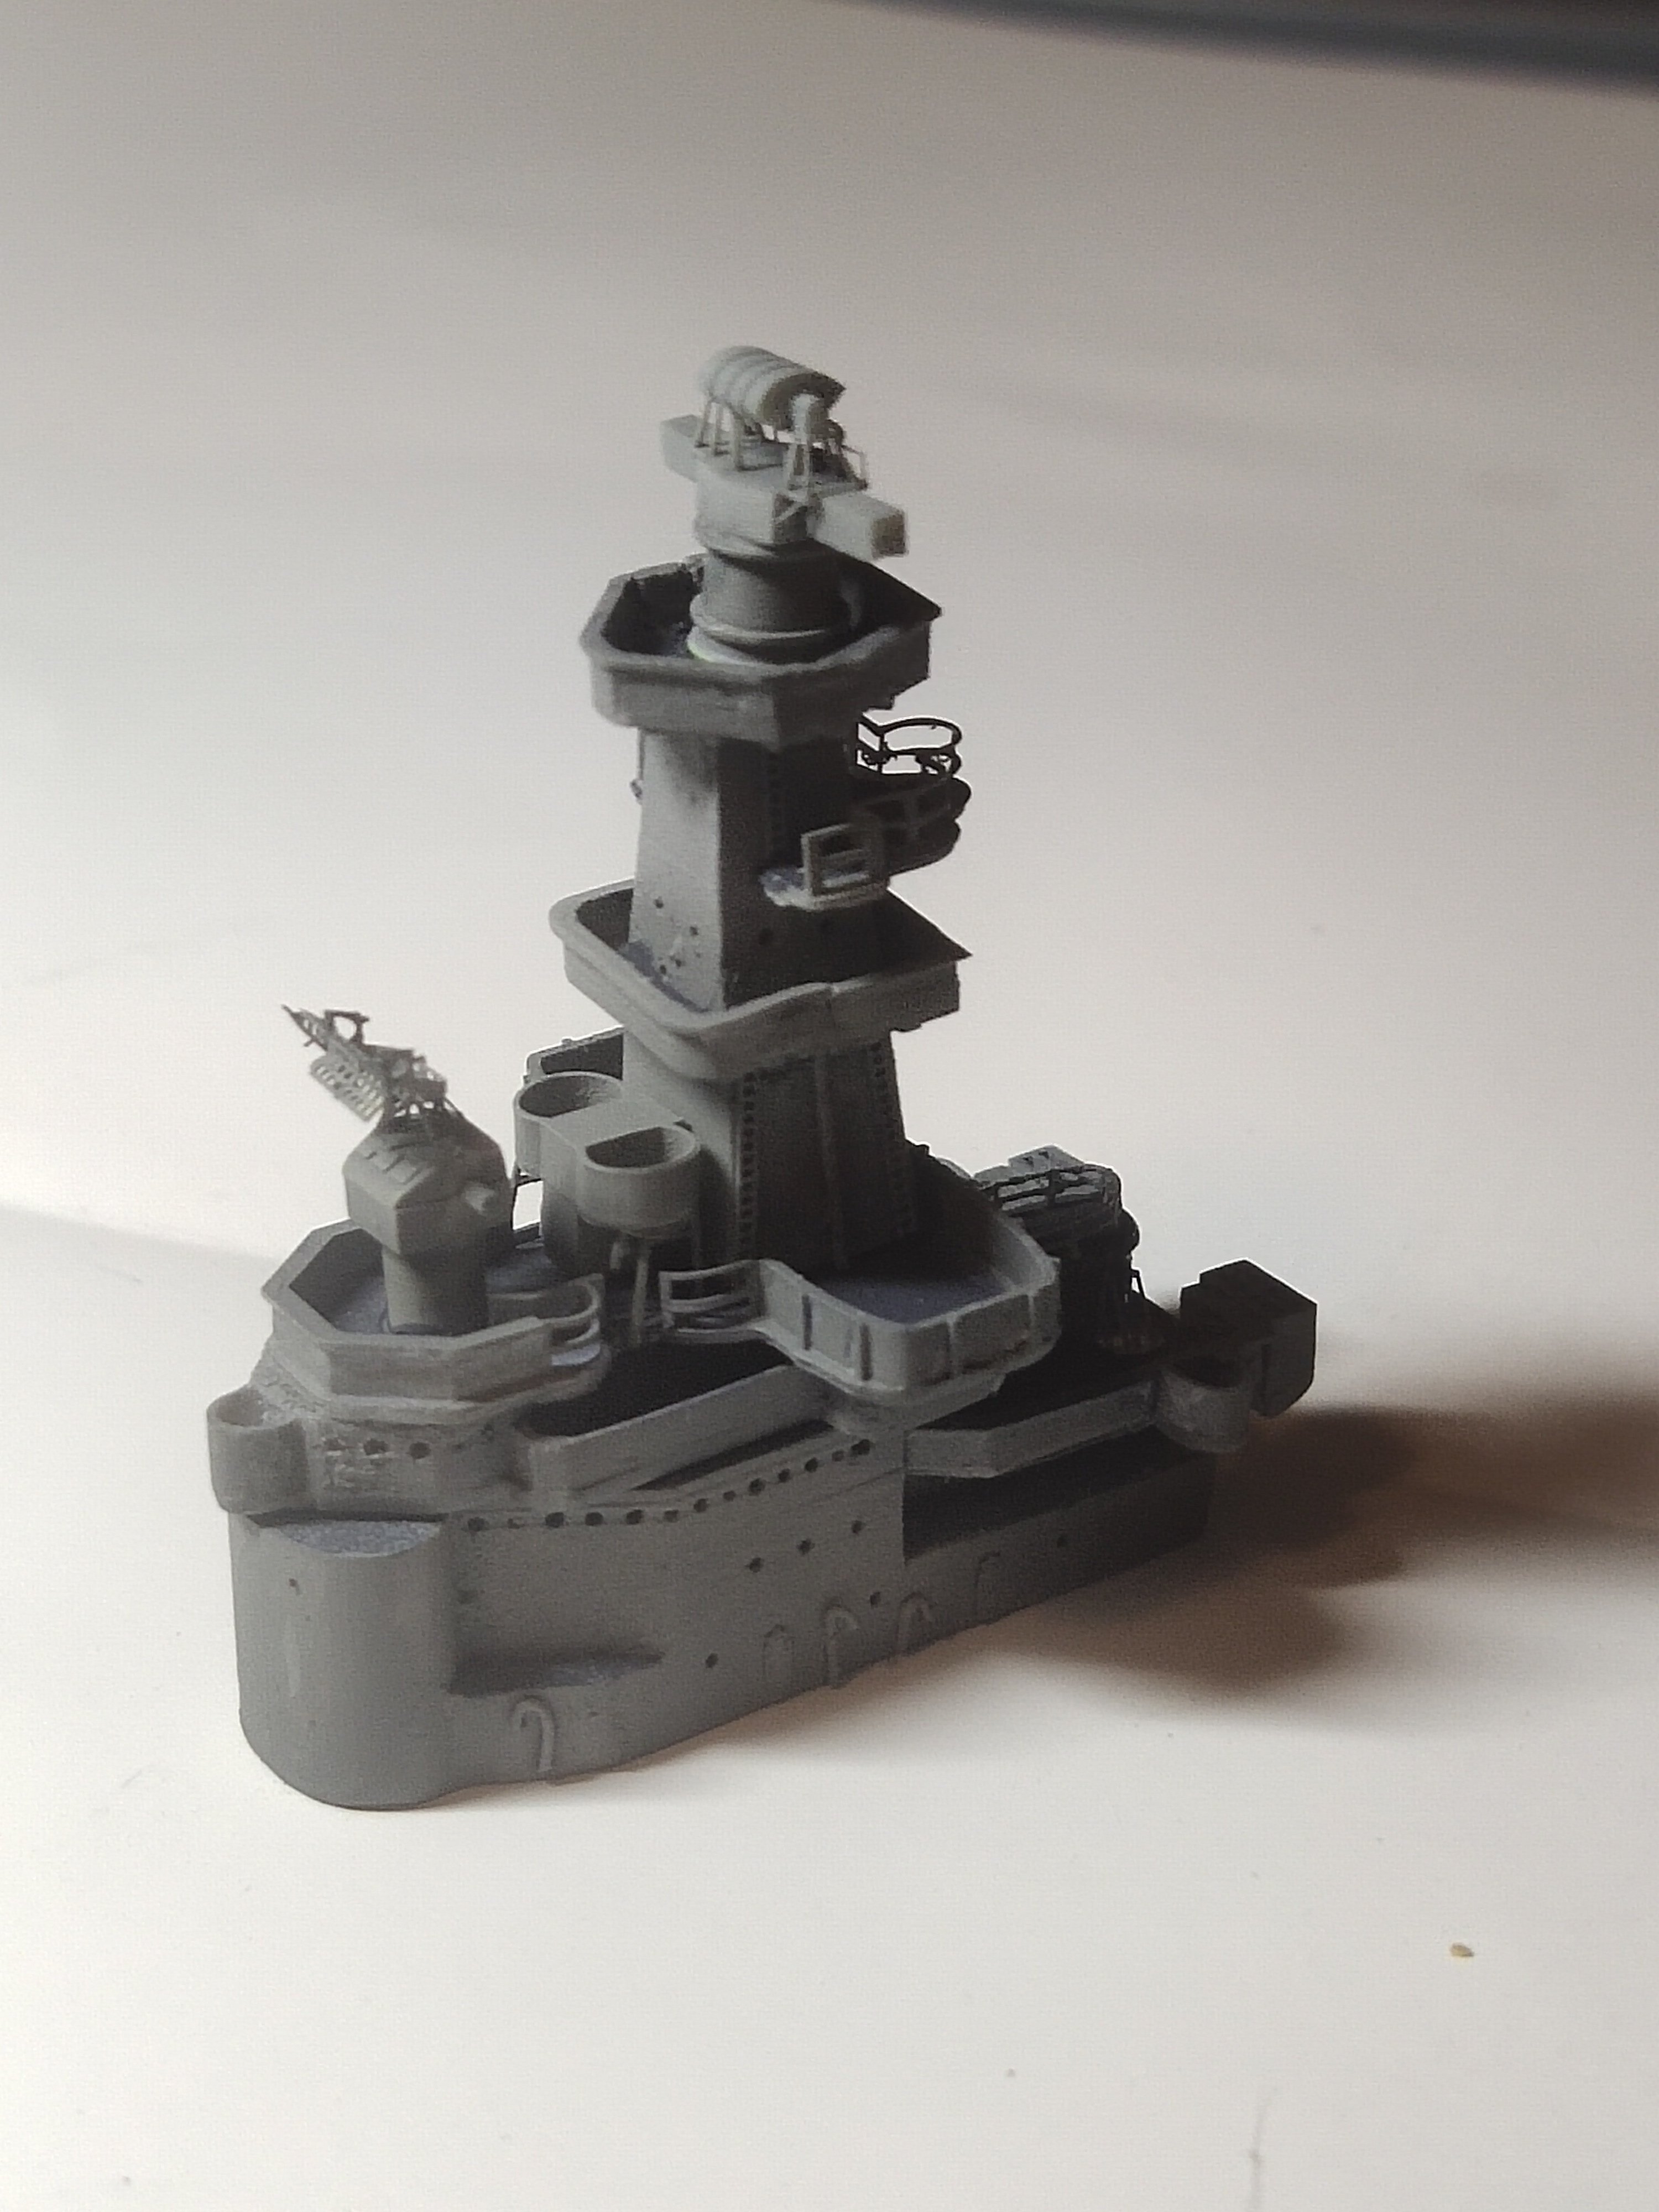
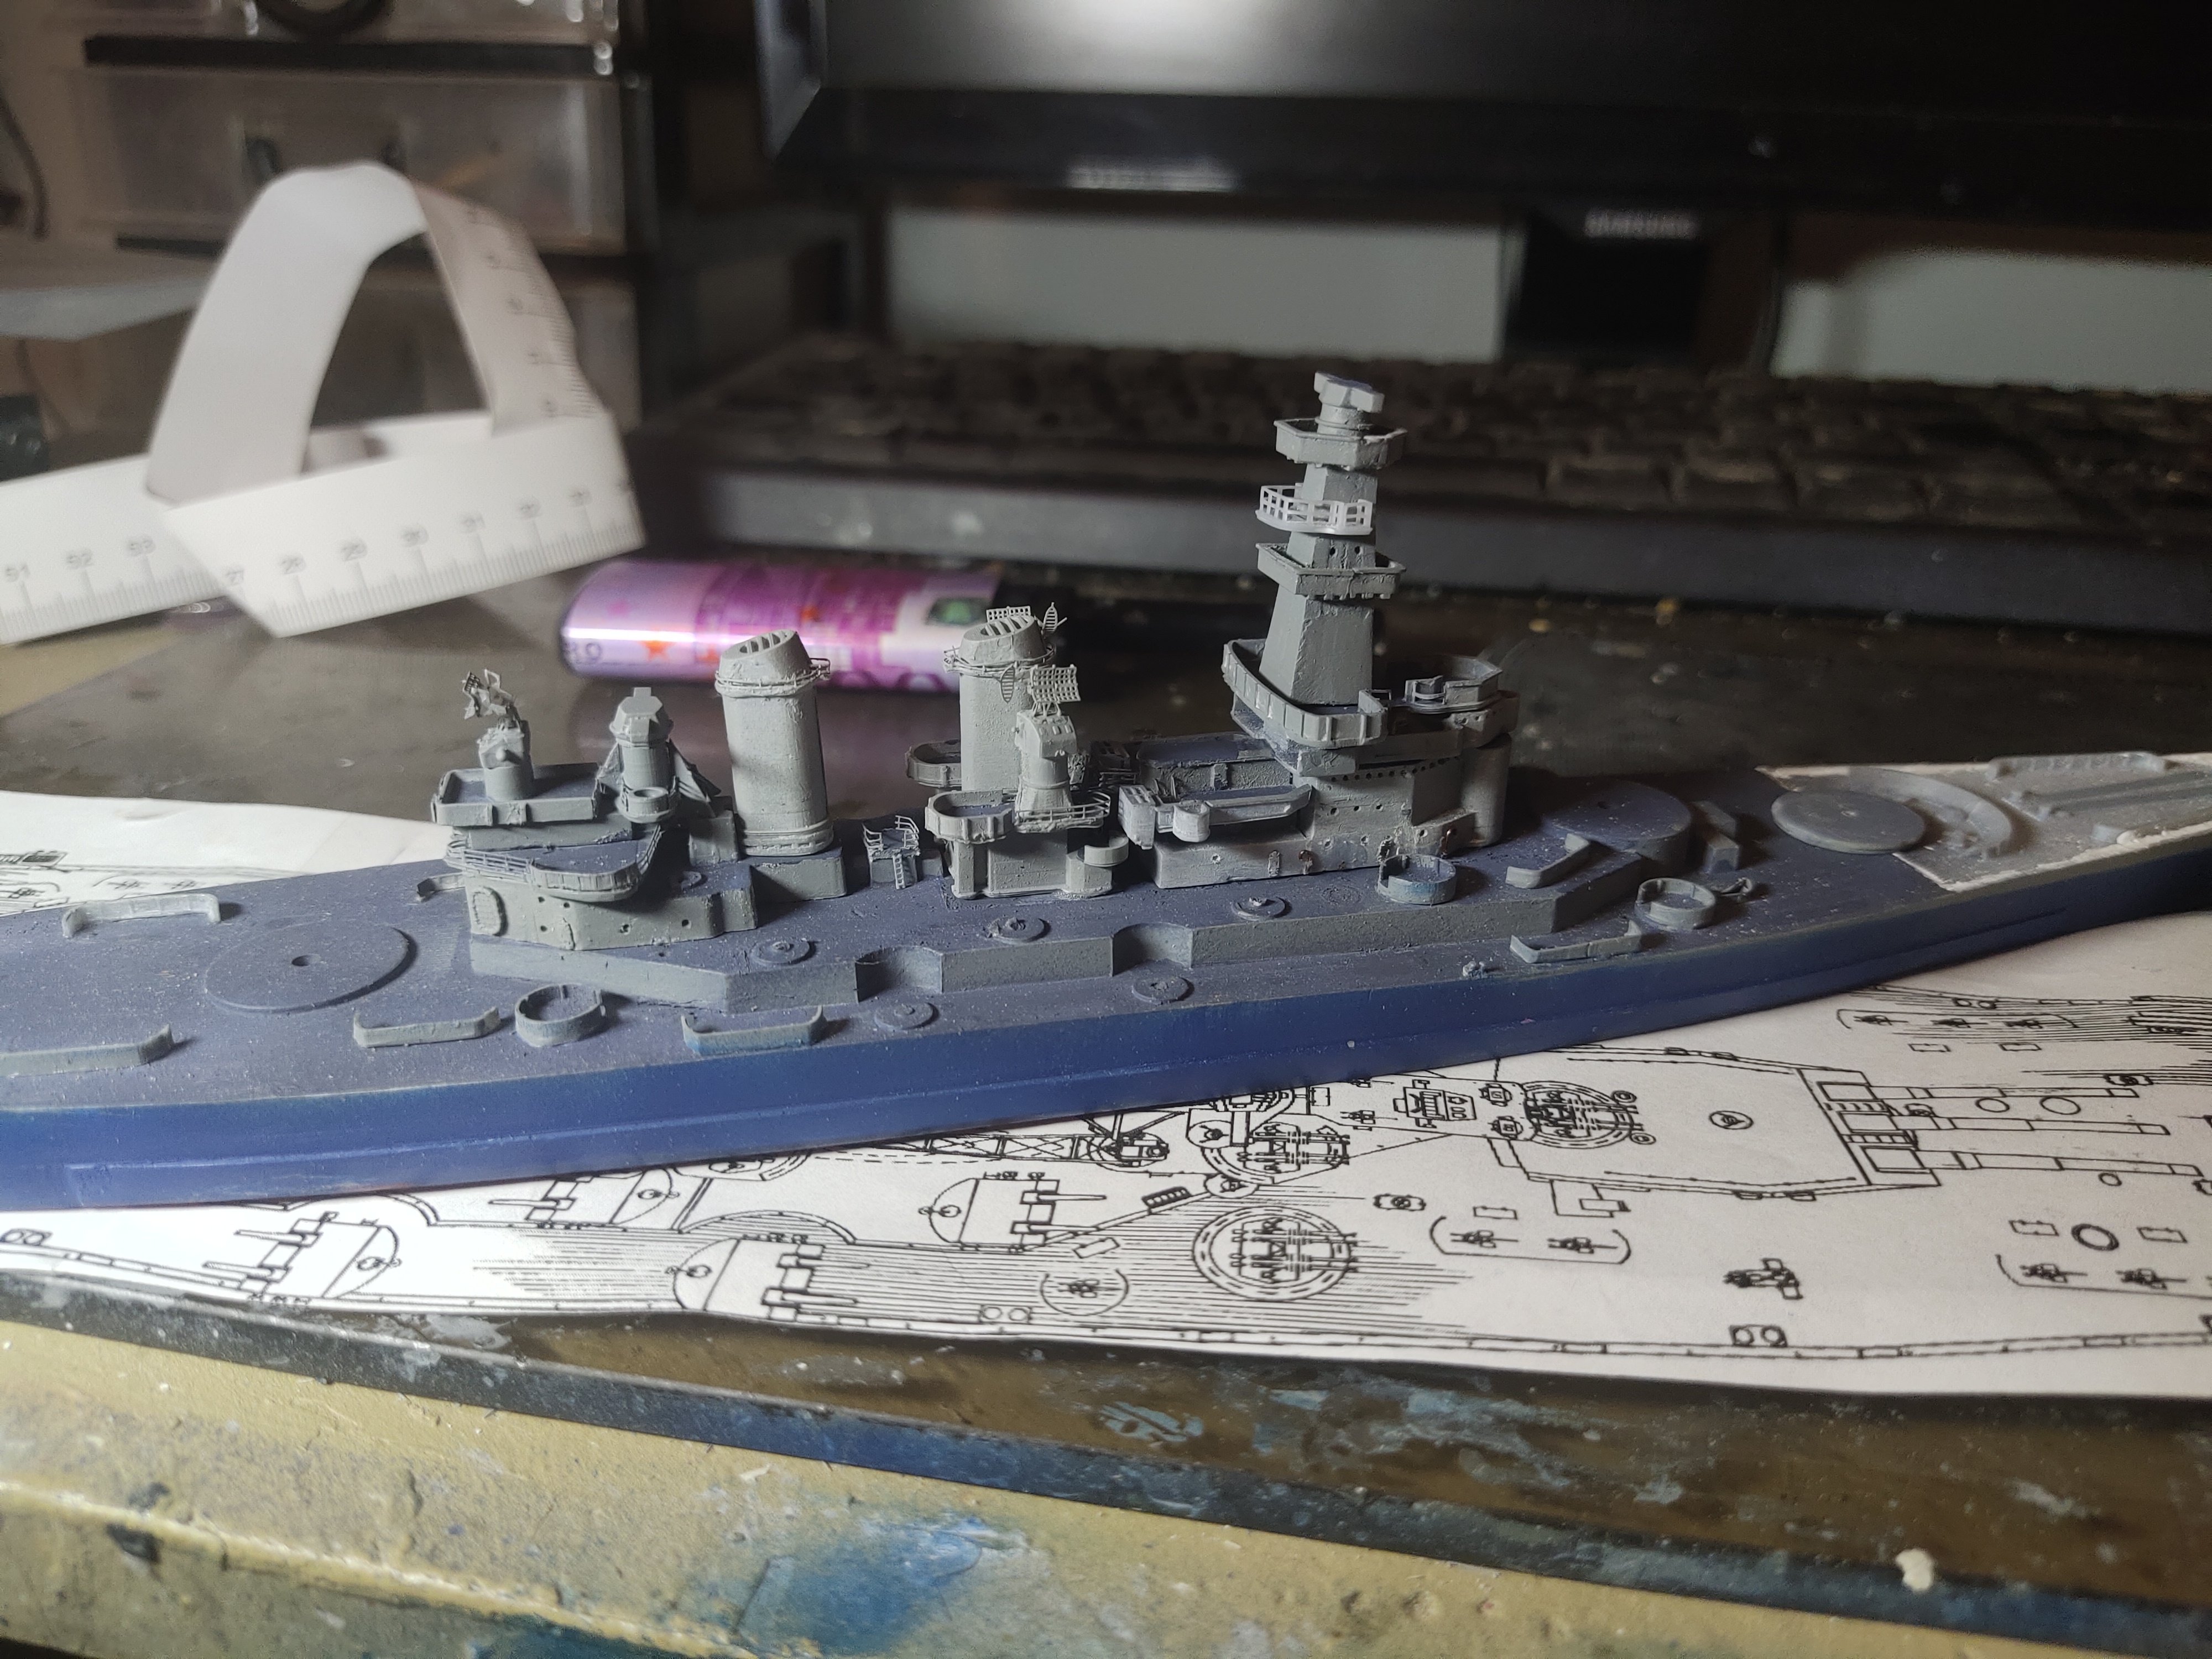
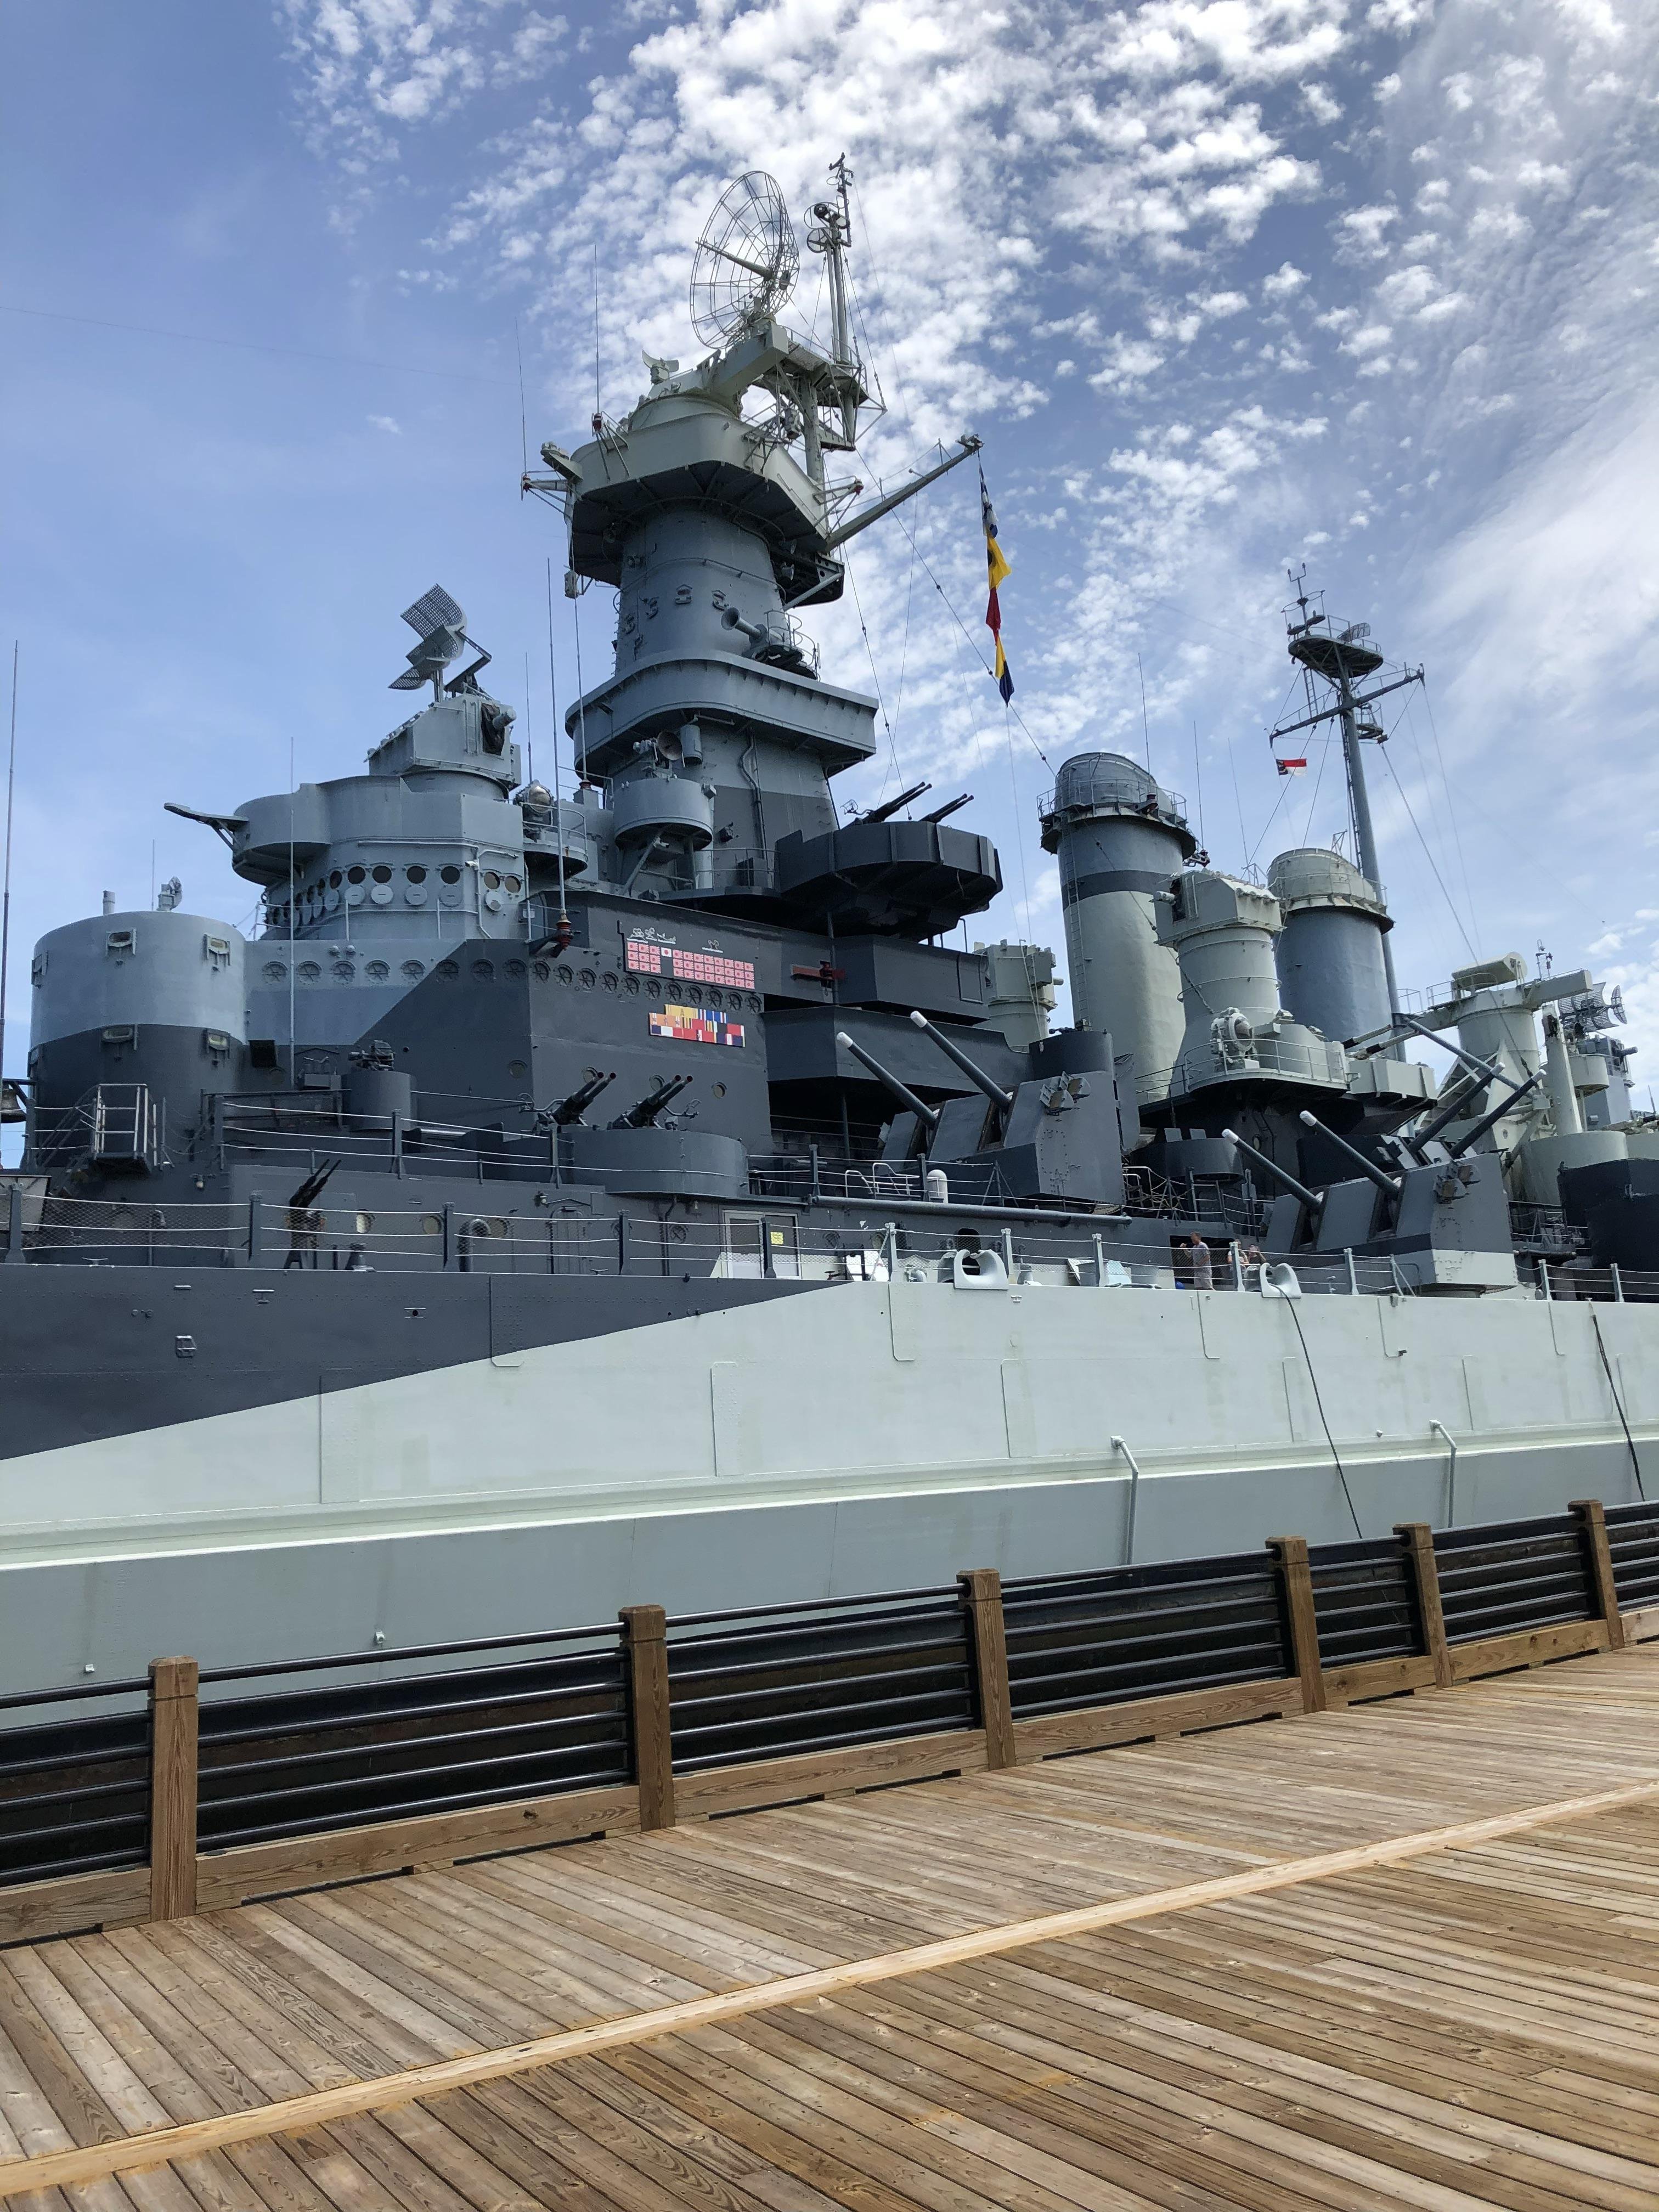
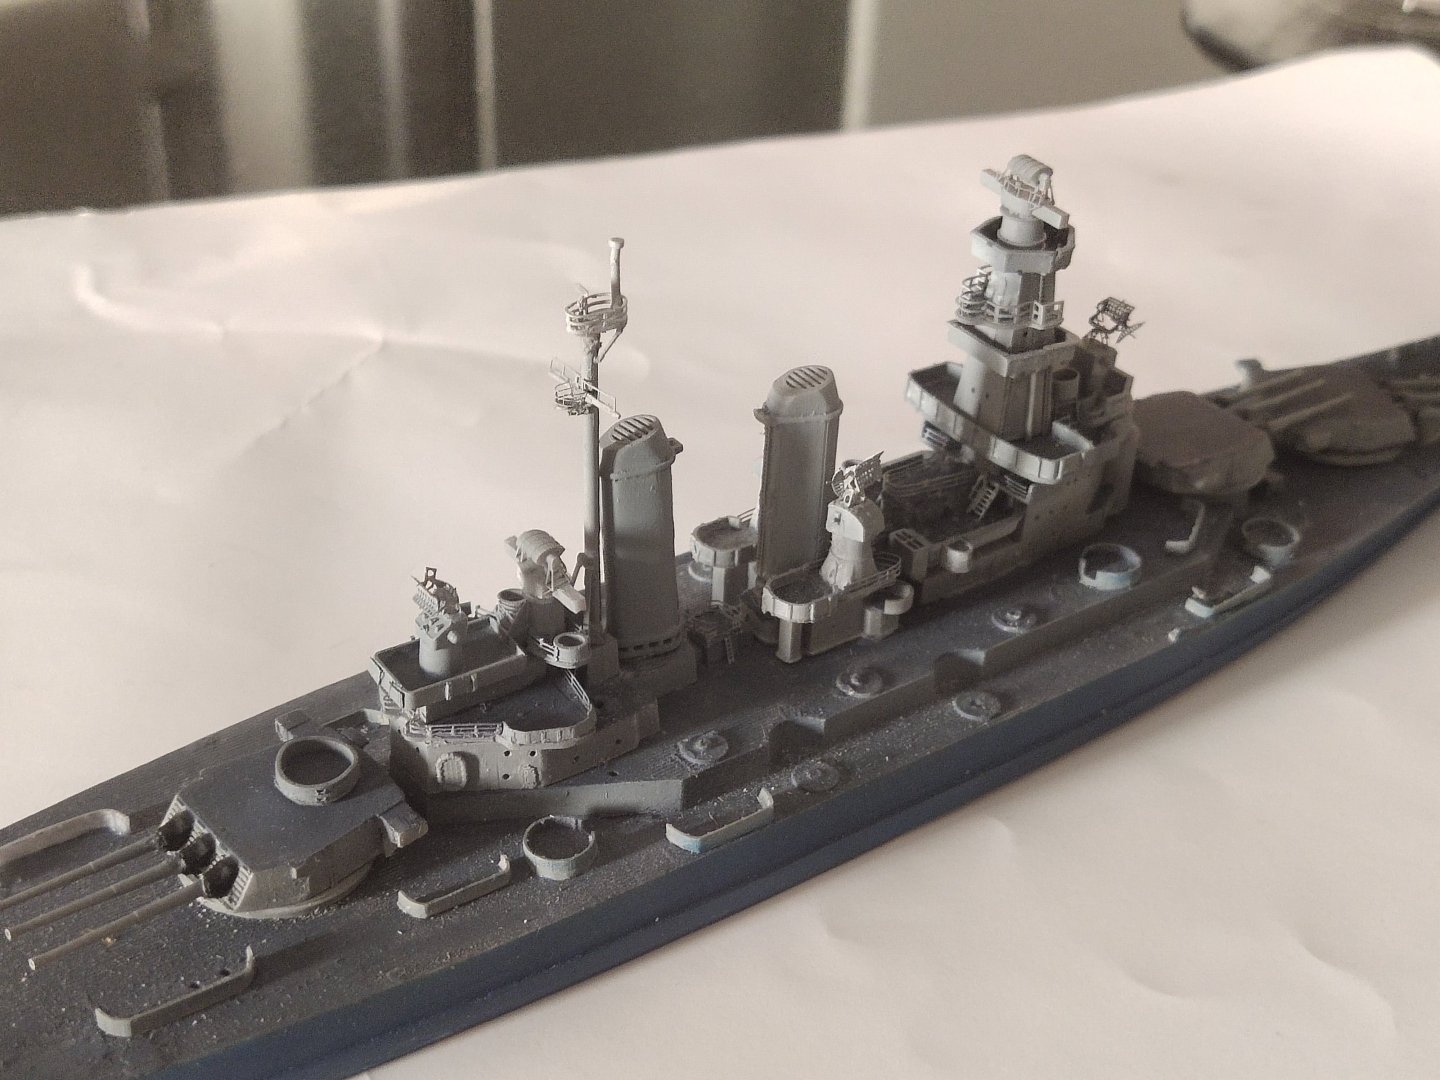
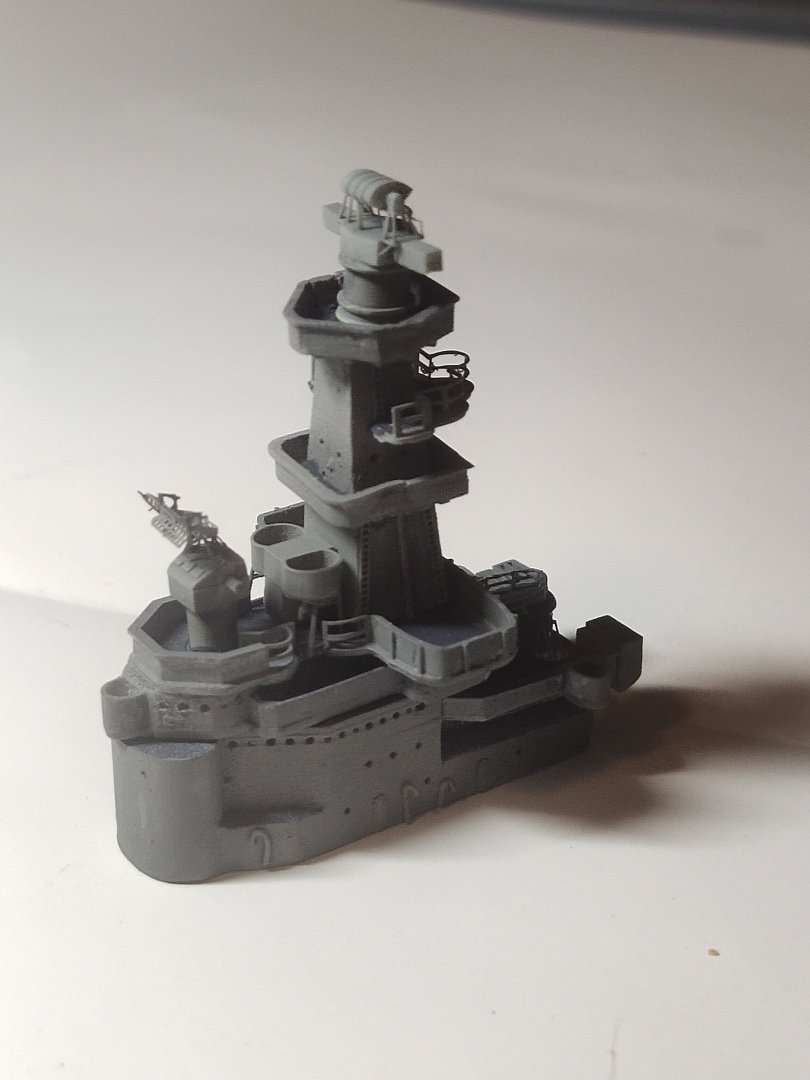
The tower was a bit higher and had to be aligned with the funnels so I sand it carefully reducing it by 2 mm. There is a radar called Mk 8 at the top of the Mk 38 director. The instructions for this PE are horrible, can't understand anything. Instead, I designed and printed my own Mk13 radar for them like those installed on Iowa class. Not sure if NC had them in 1944 but its better than a wrongly made PE part. Anyway after a couple of test printings it turned very satisfactory in detail regarding the scale. Some details added on tower, platforms, cases for Mk51 directors, doors etc. The whole superstructure piece is ready. It fitted perfectly on deck, some check tomorrow before I glue it. A hard two evenings works with two steps forward and one and half step back. But I got the desired result.


-
Lot of work, lot of study, little progress. Good thing I found a picture of deck layout on X and along with some drone footage of the real ship I managed to make the superstructure quite close to the real one or at least far better than the original part For the lower piece I cut the rear half, reprinted it modified and attached it to the front. I'm good on such operations. The other pieces designed separately and prepared to be fitted all together. Some details like ladders, hoses and door hatches were added at lower part. Will add on more on the way.