mikegr
-
Posts
828 -
Joined
-
Last visited
Content Type
Profiles
Forums
Gallery
Events
Everything posted by mikegr
-
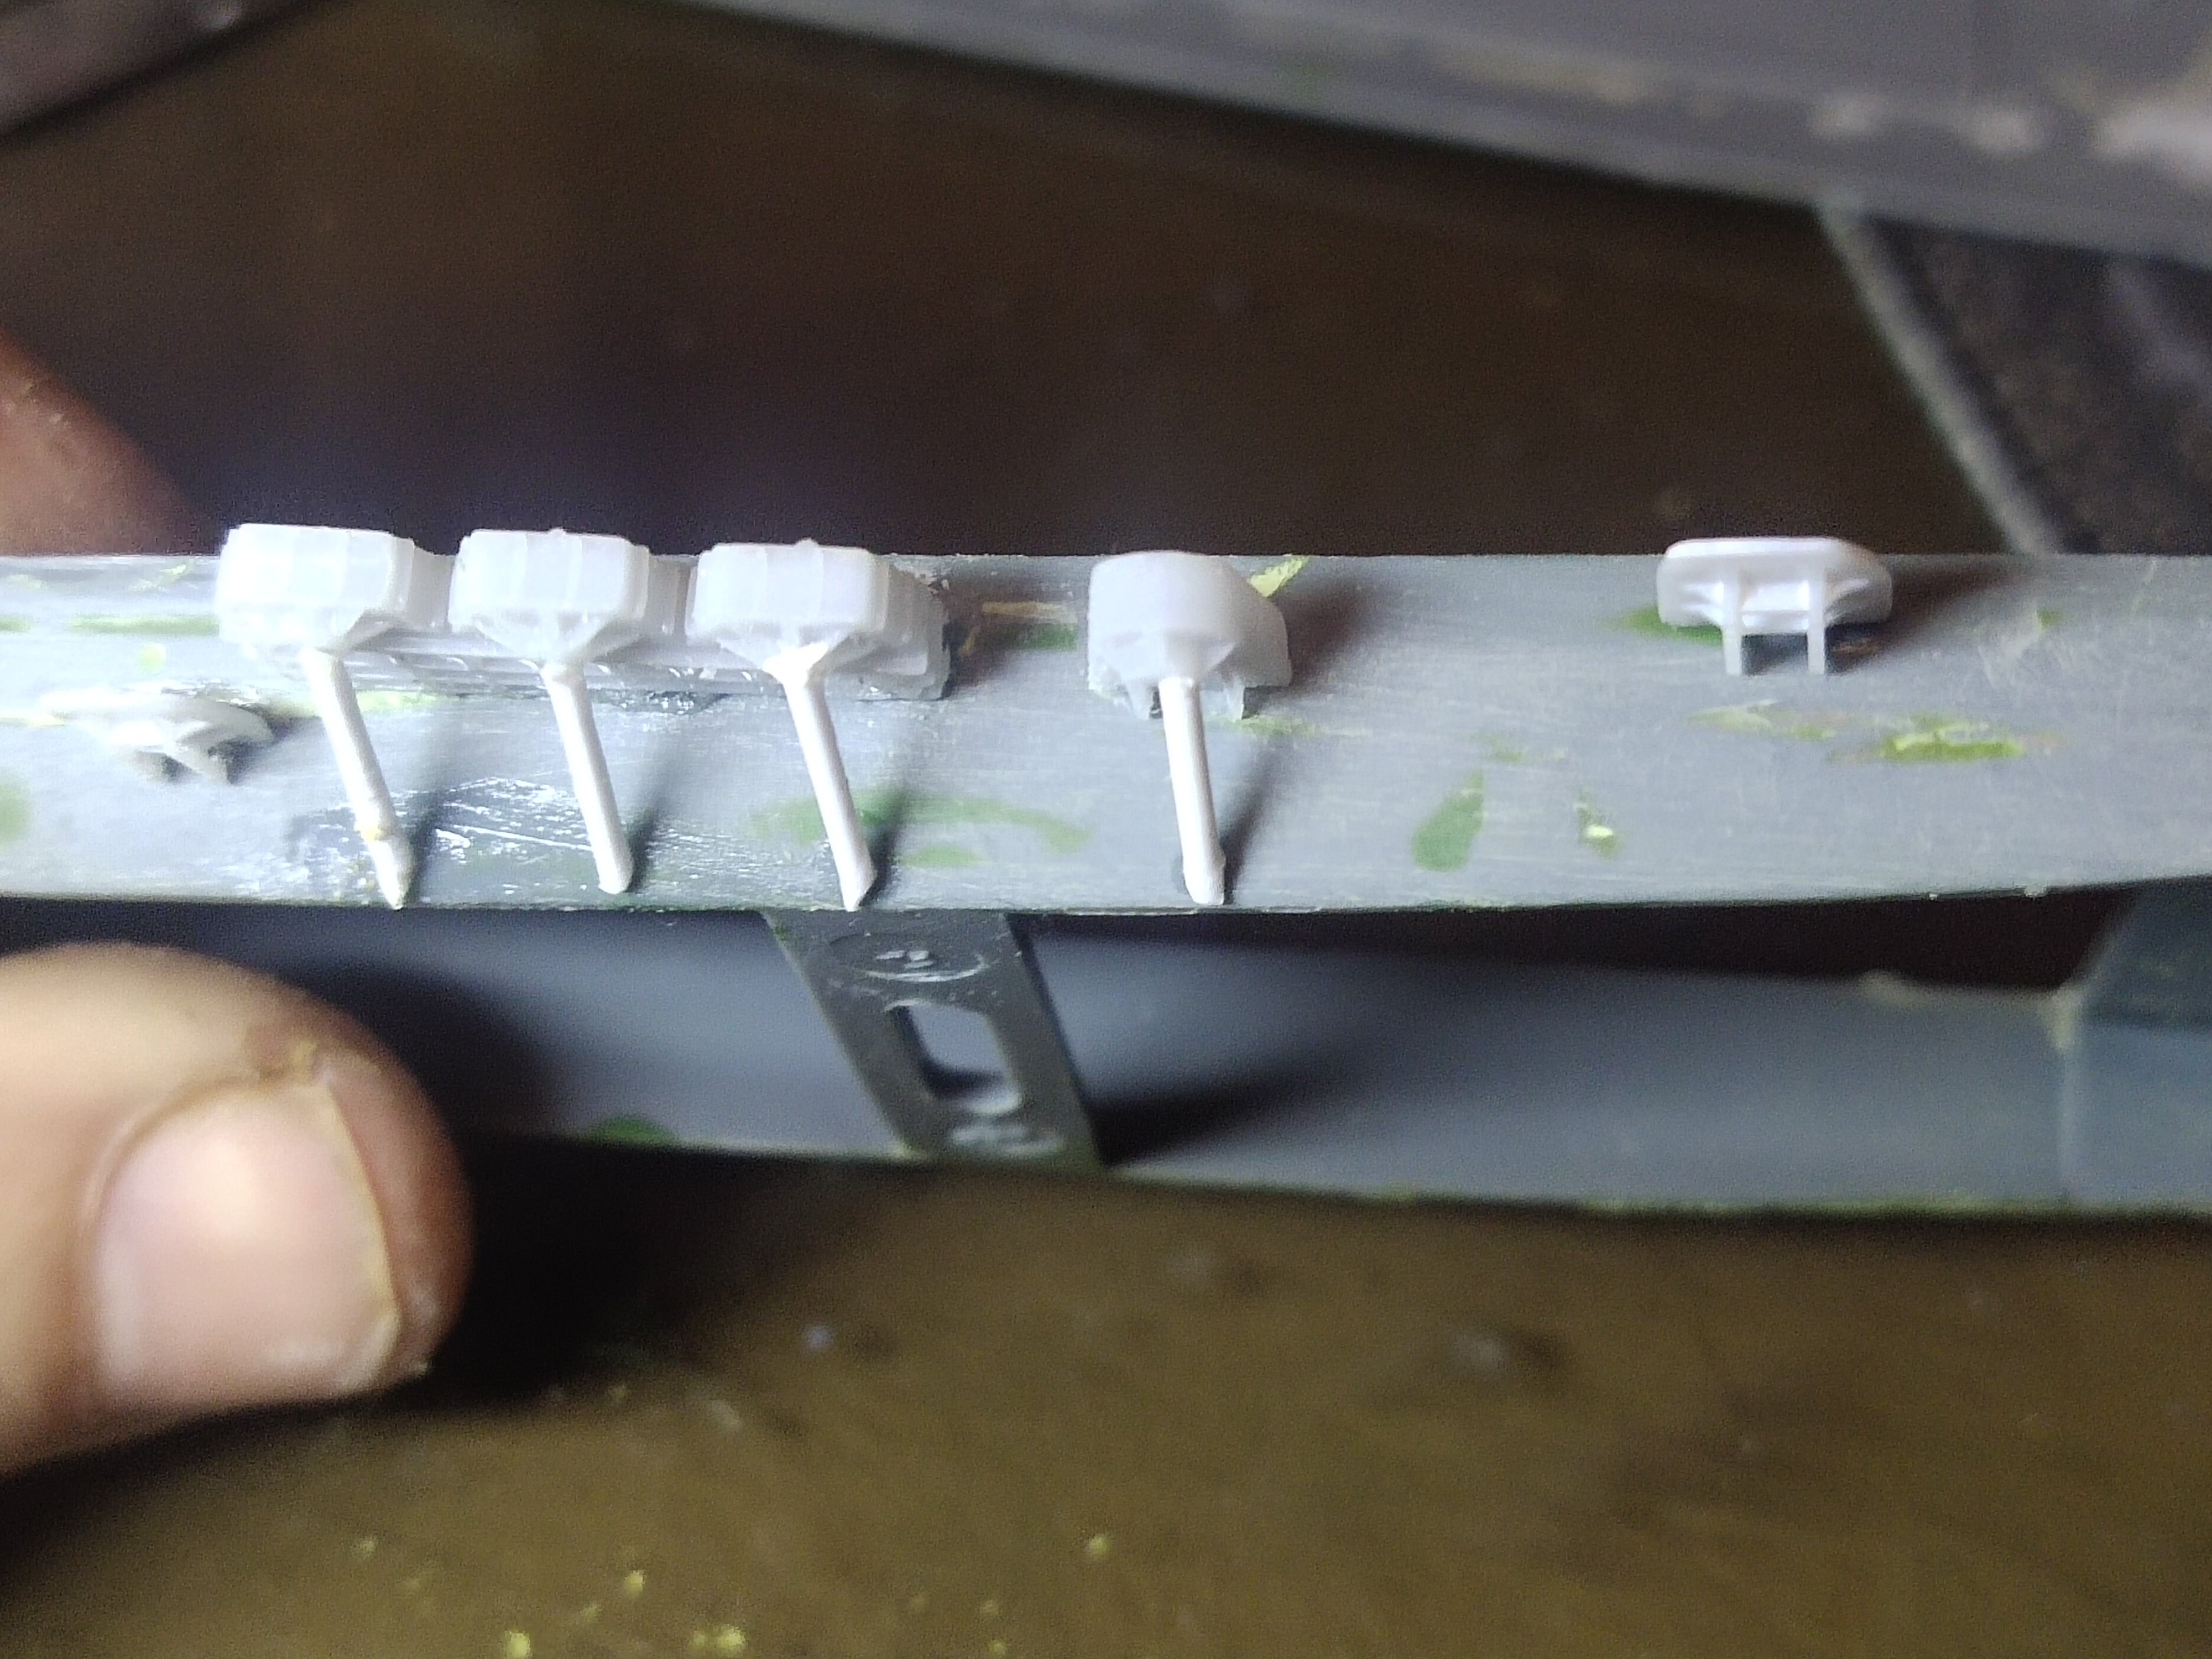
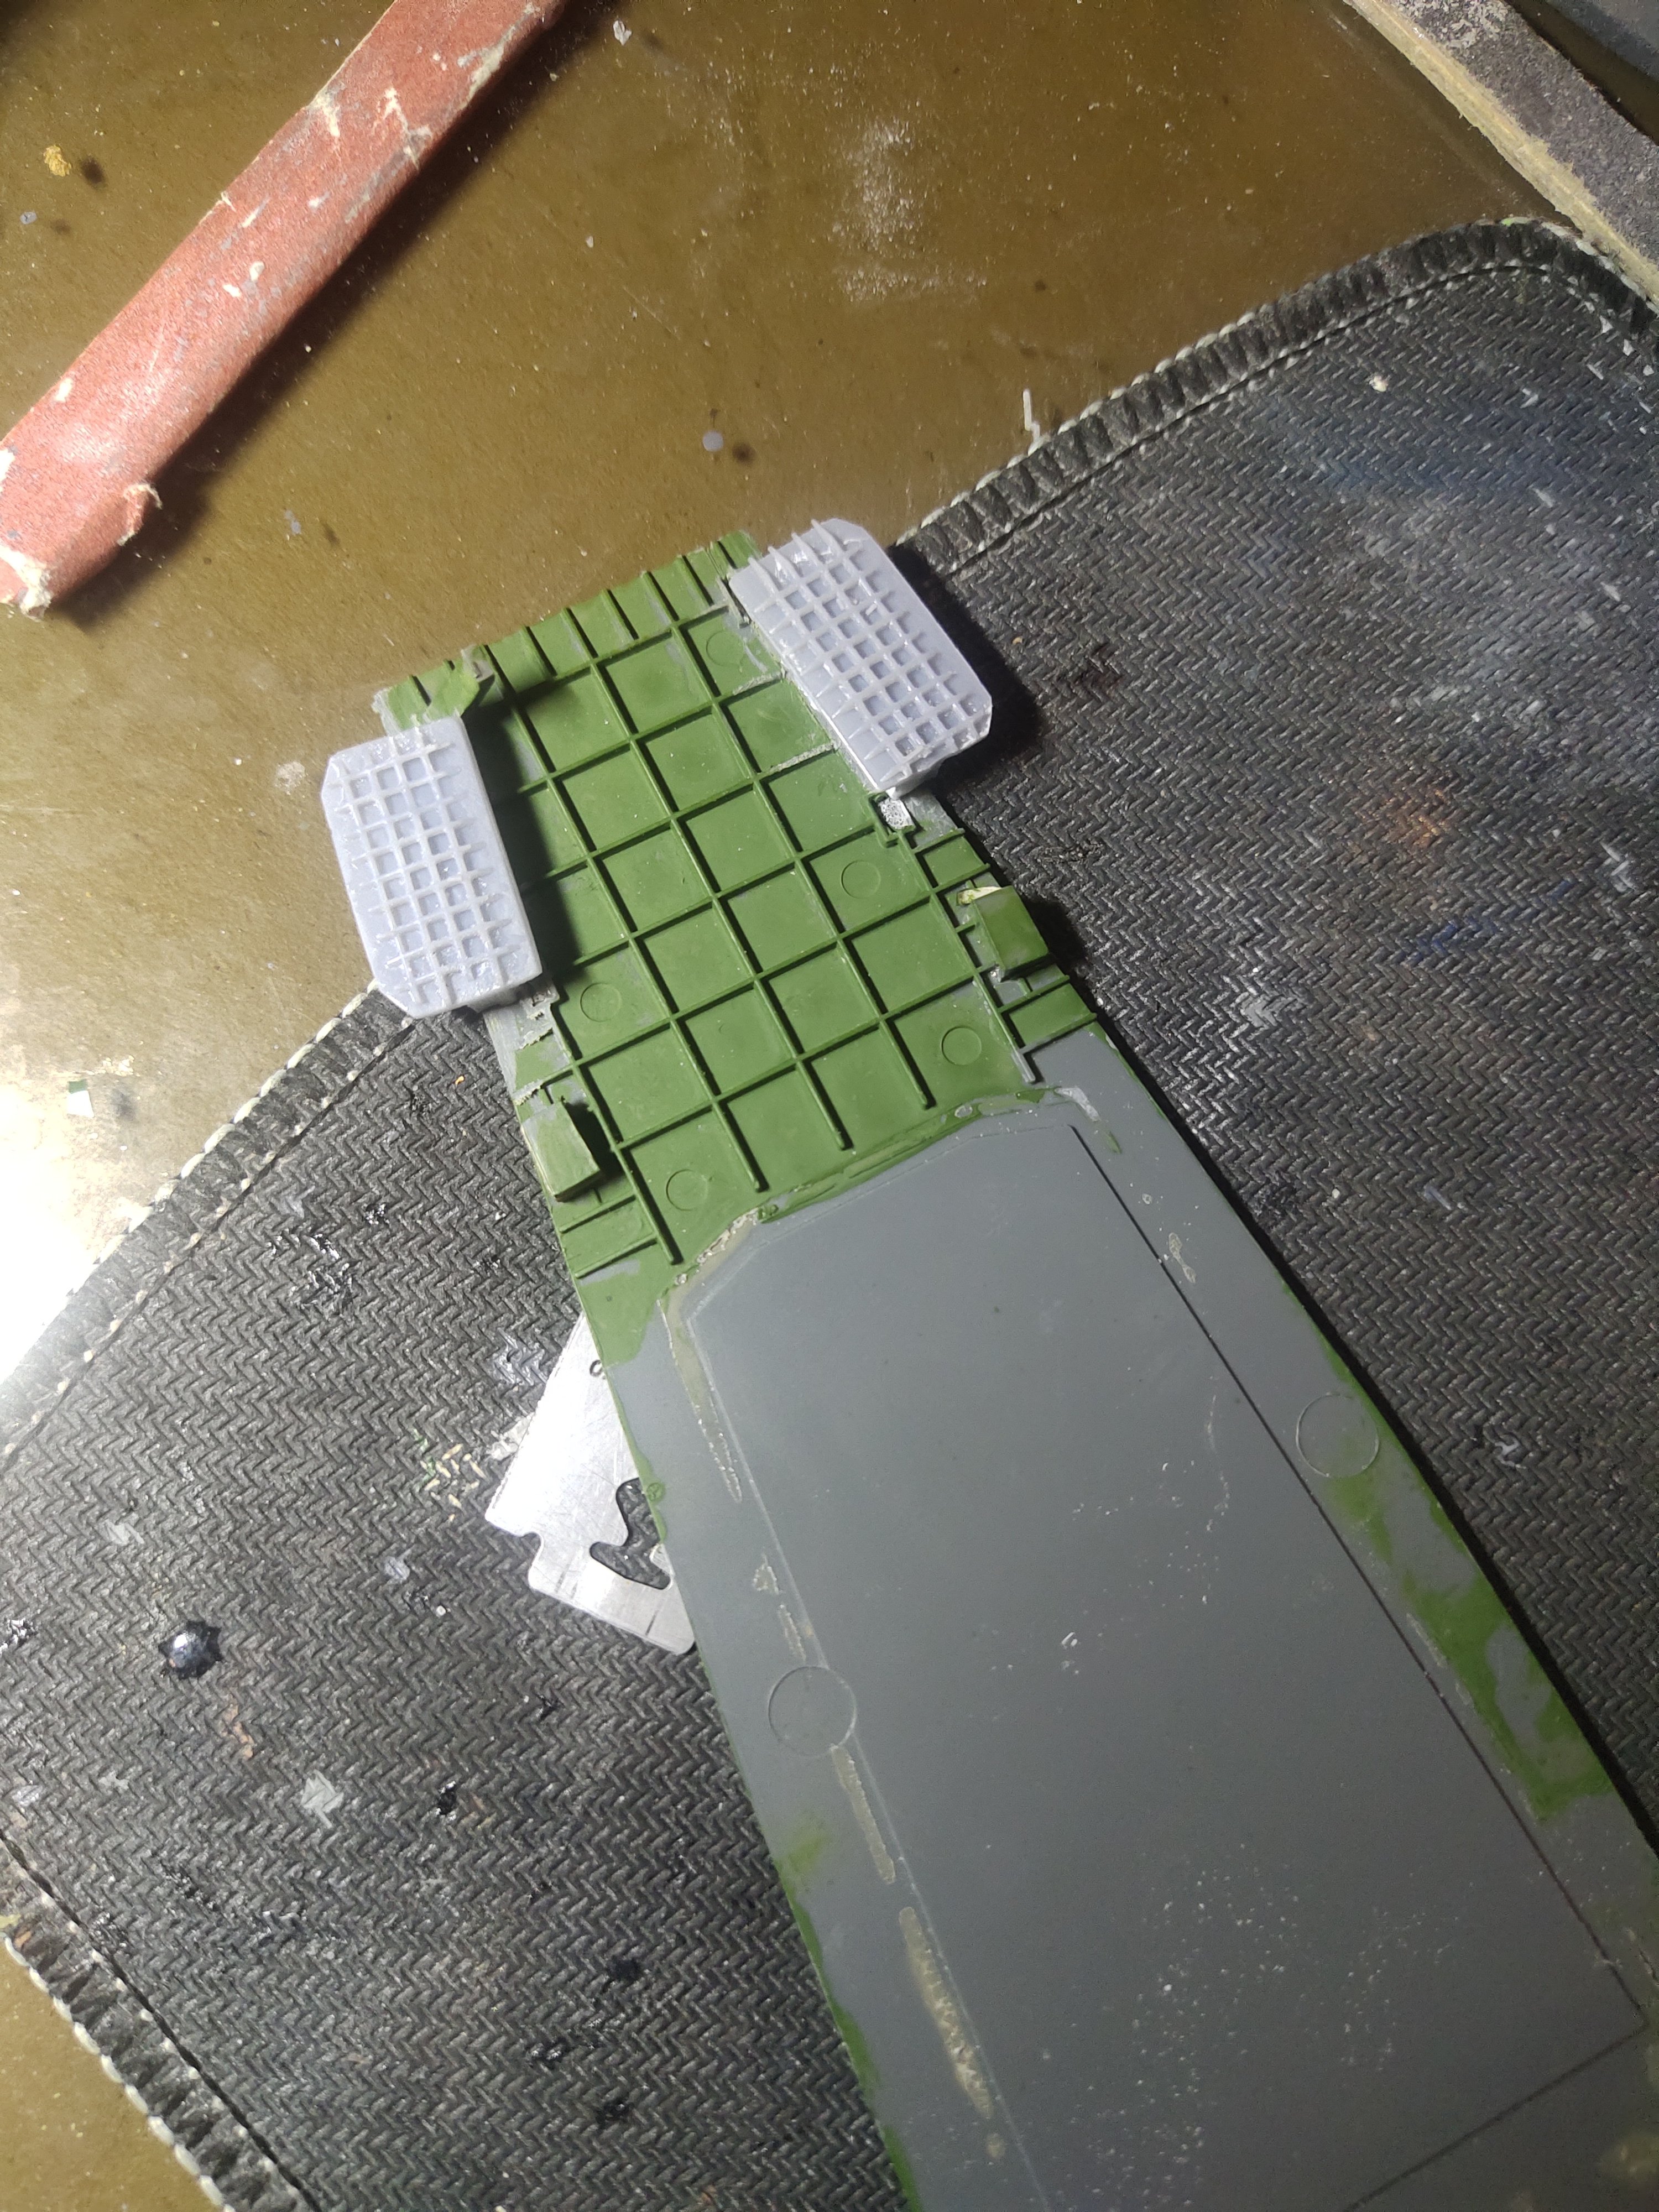
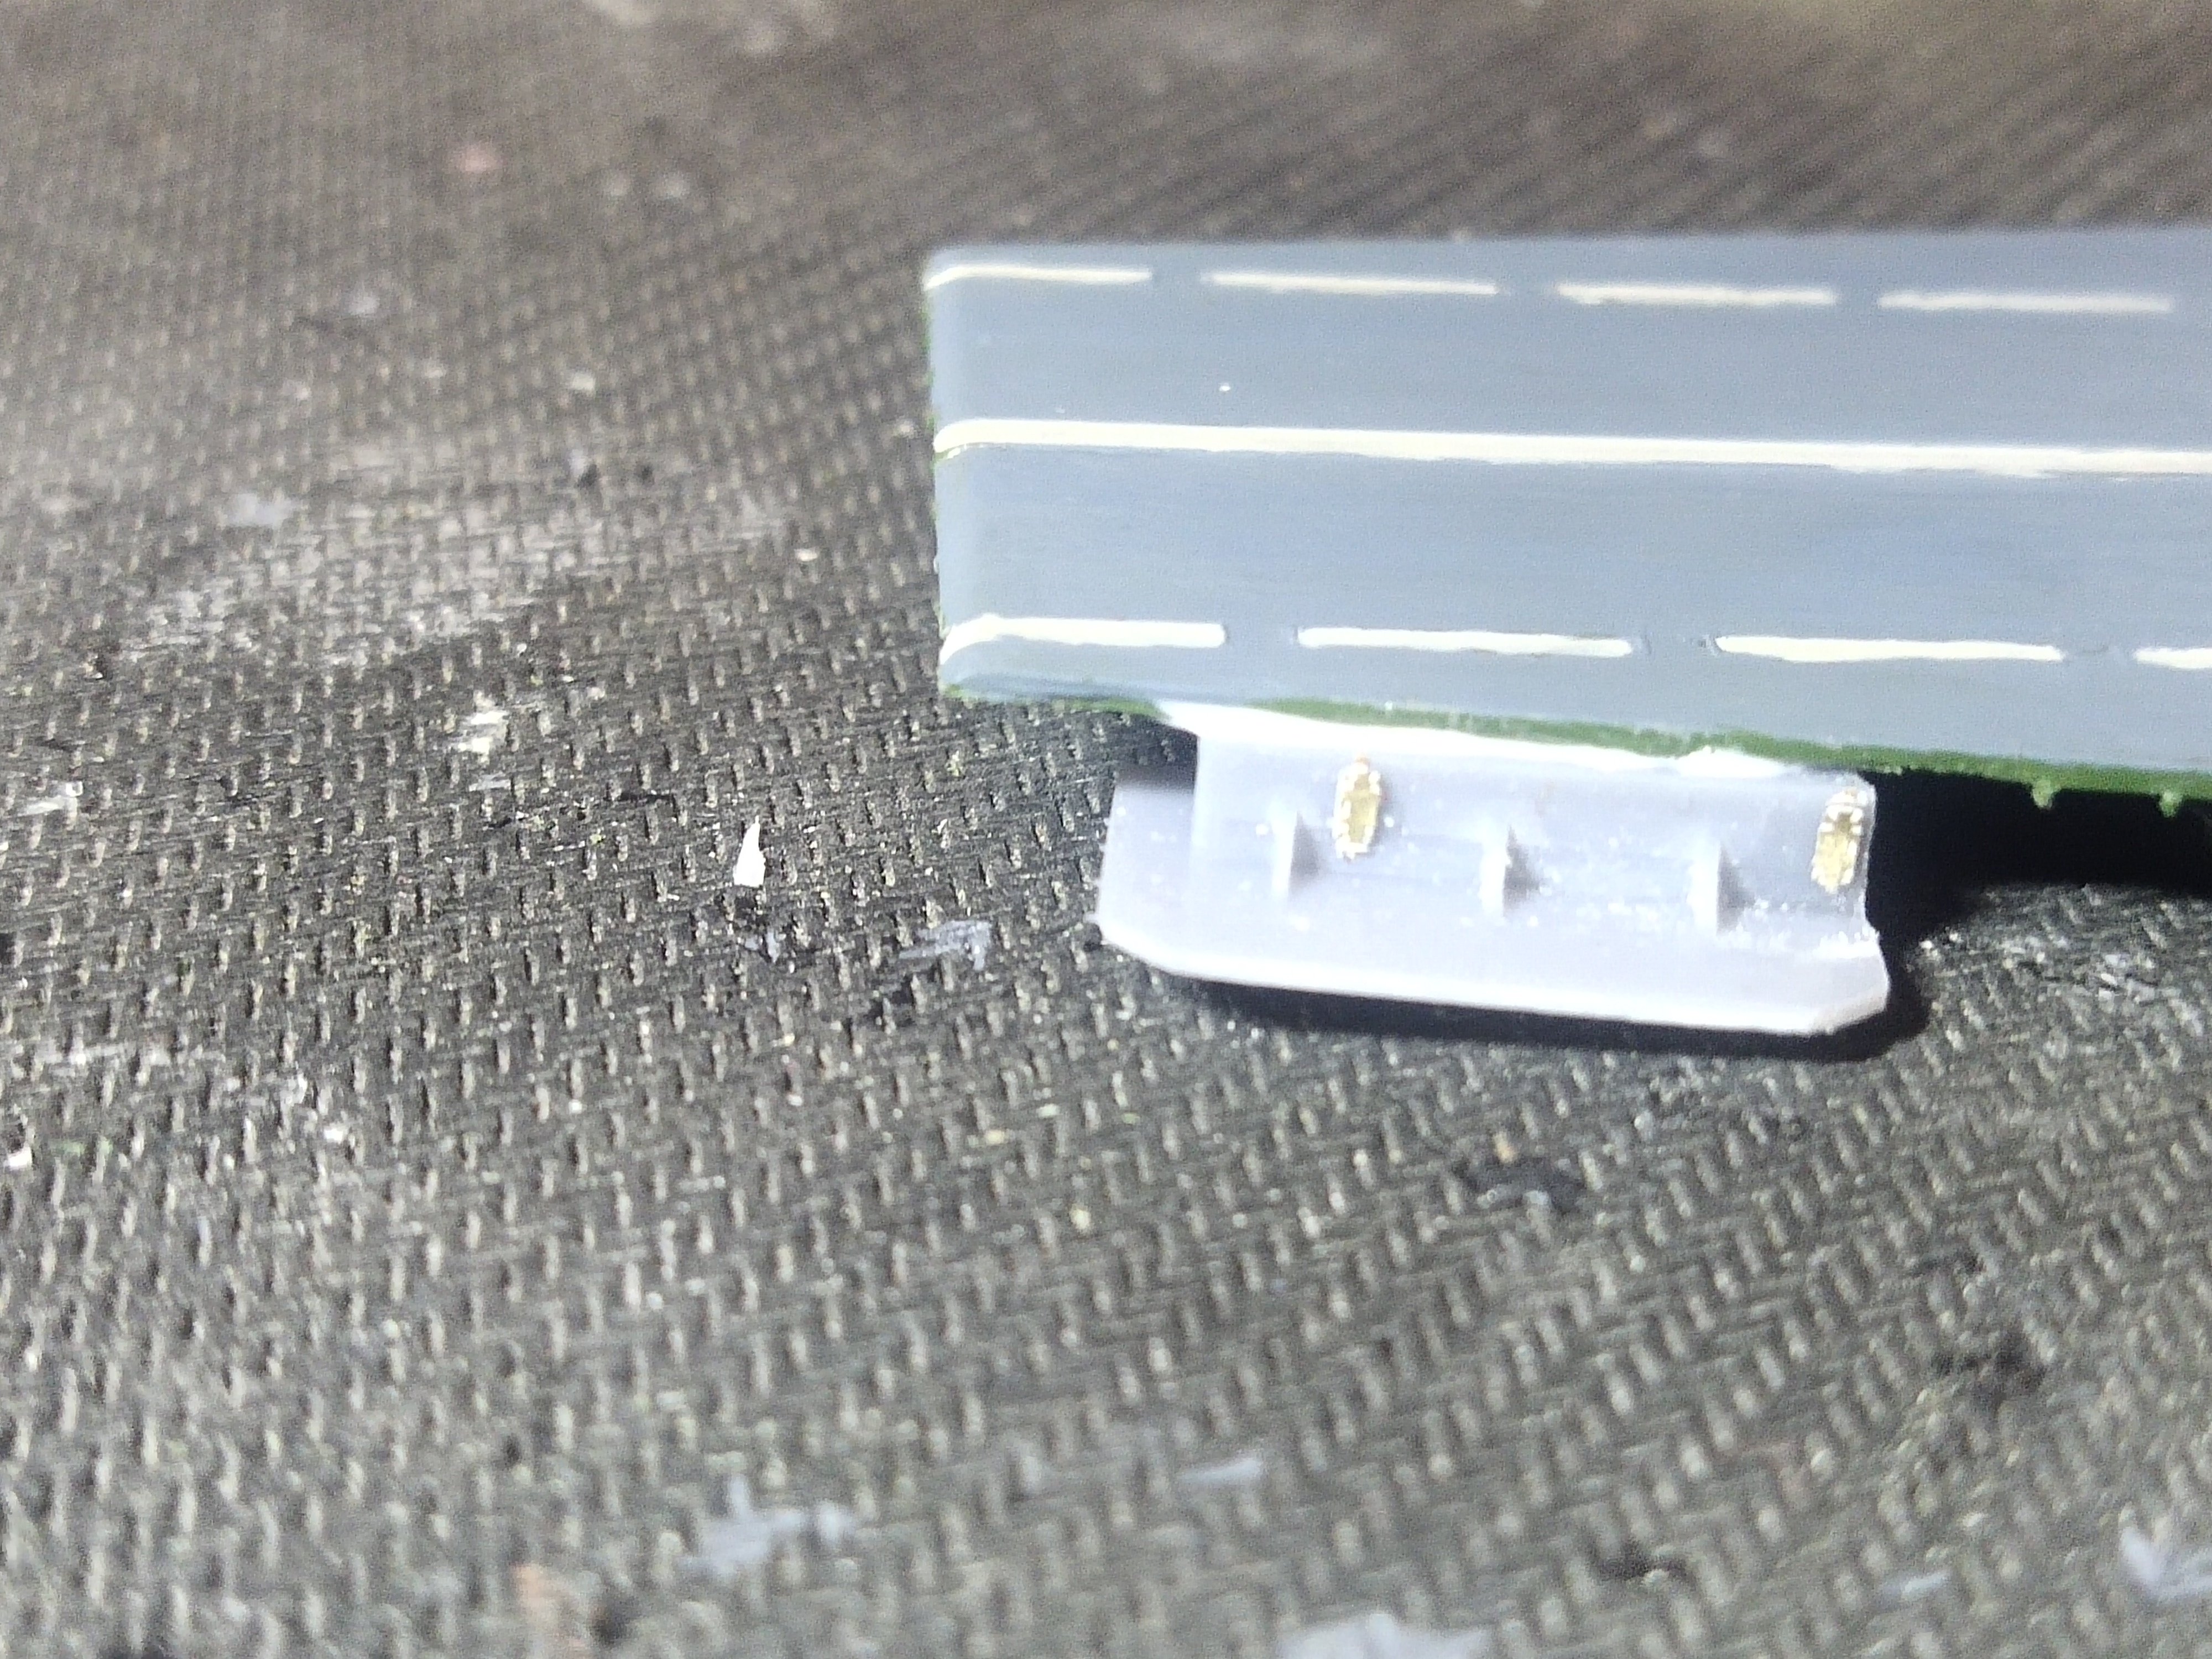
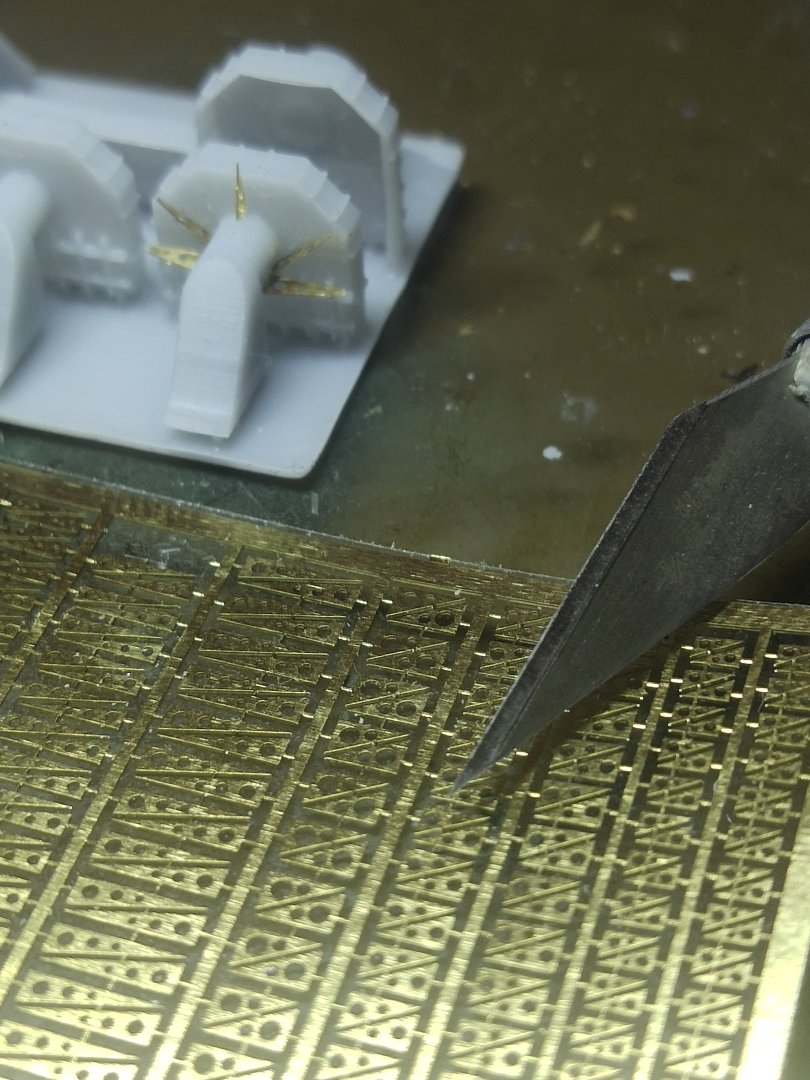
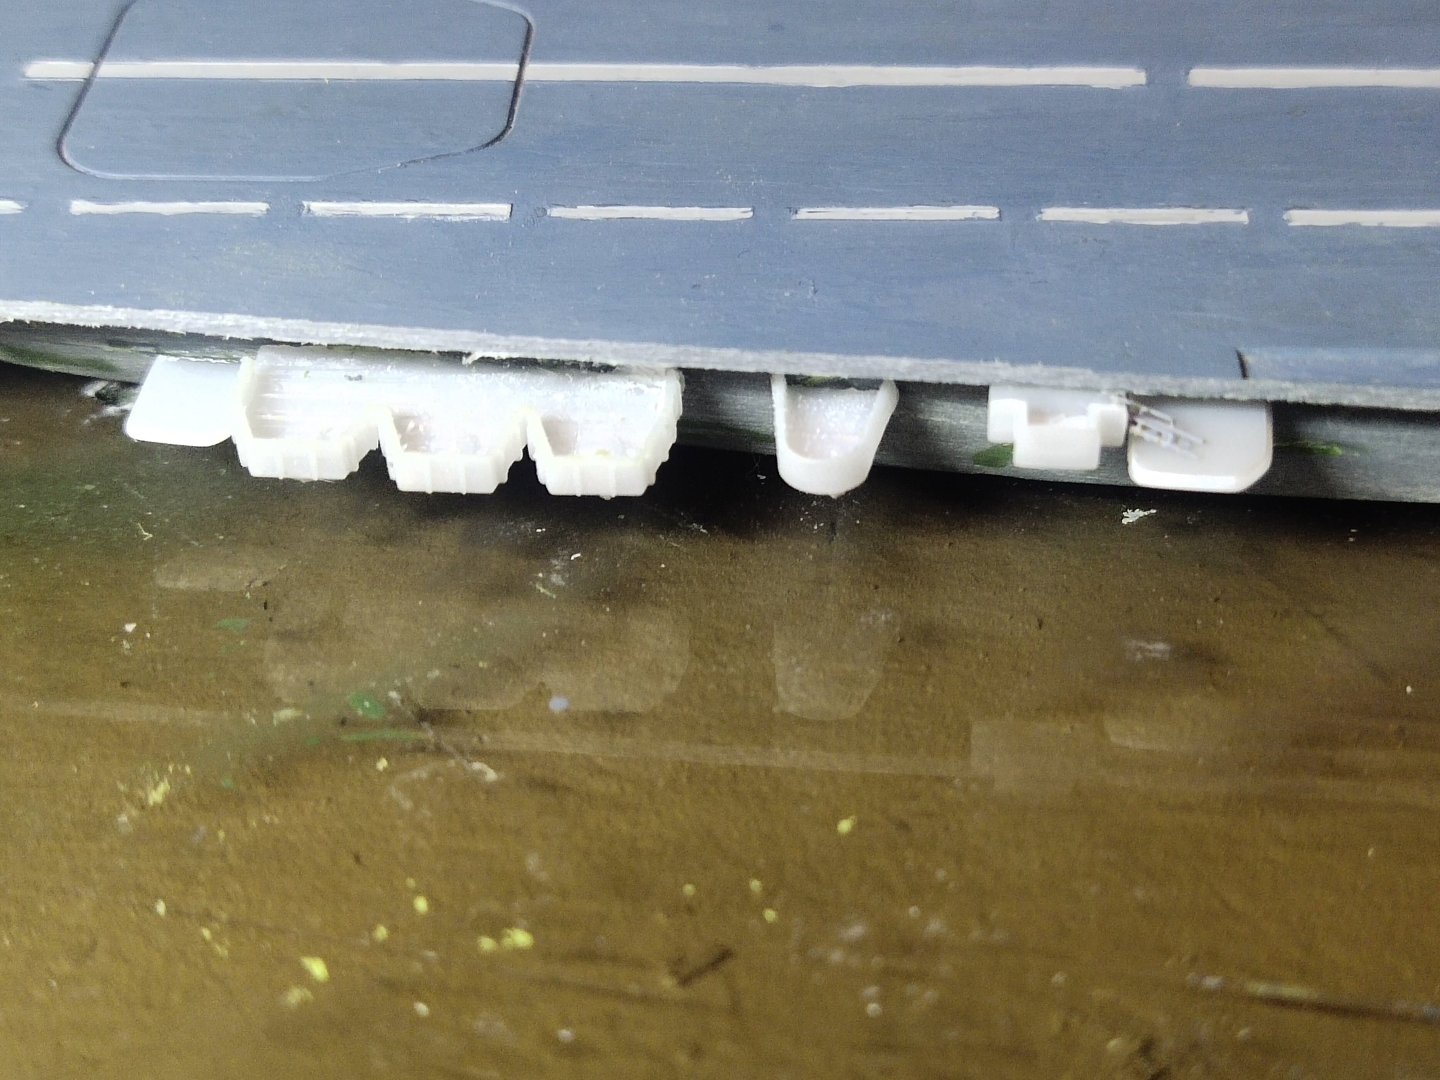
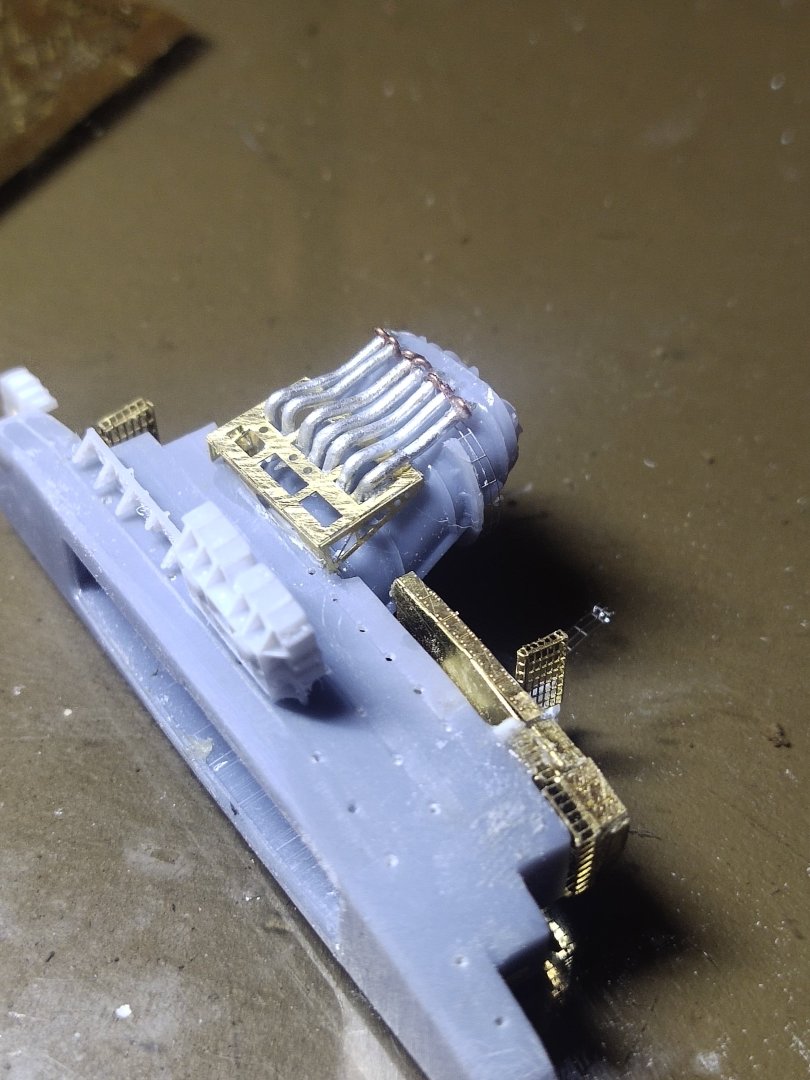
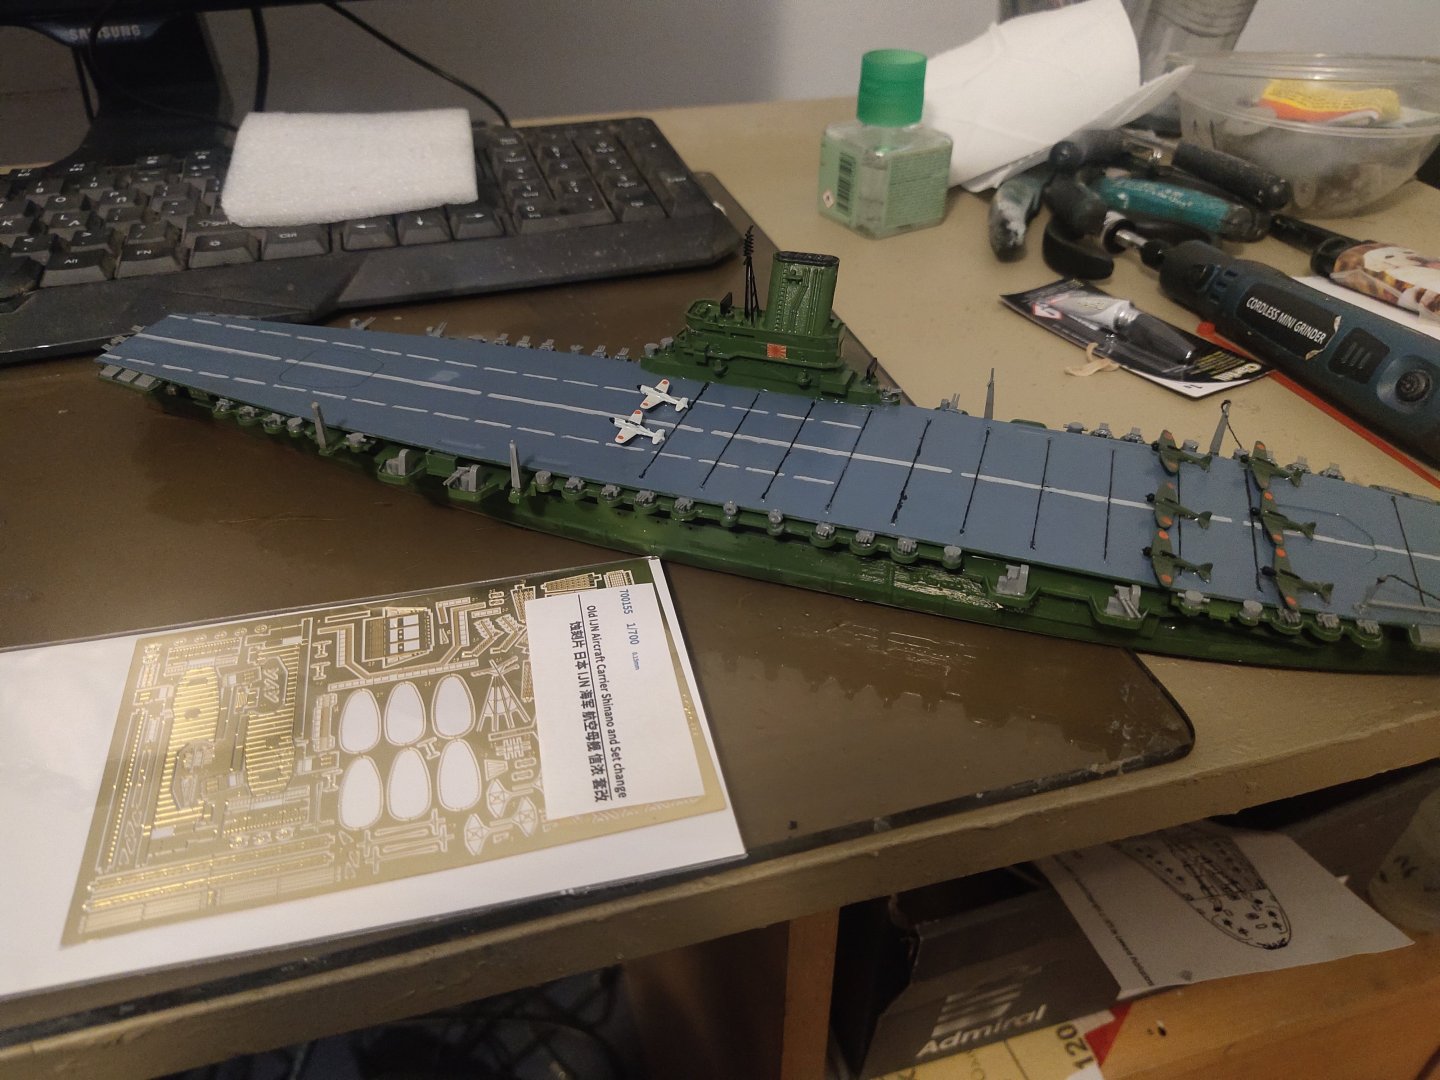
I made the portside platforms. Some fitted easily. In the biggest parts I was able to improve them by adding some PE parts. It will be a considerable improvement over the old model

-
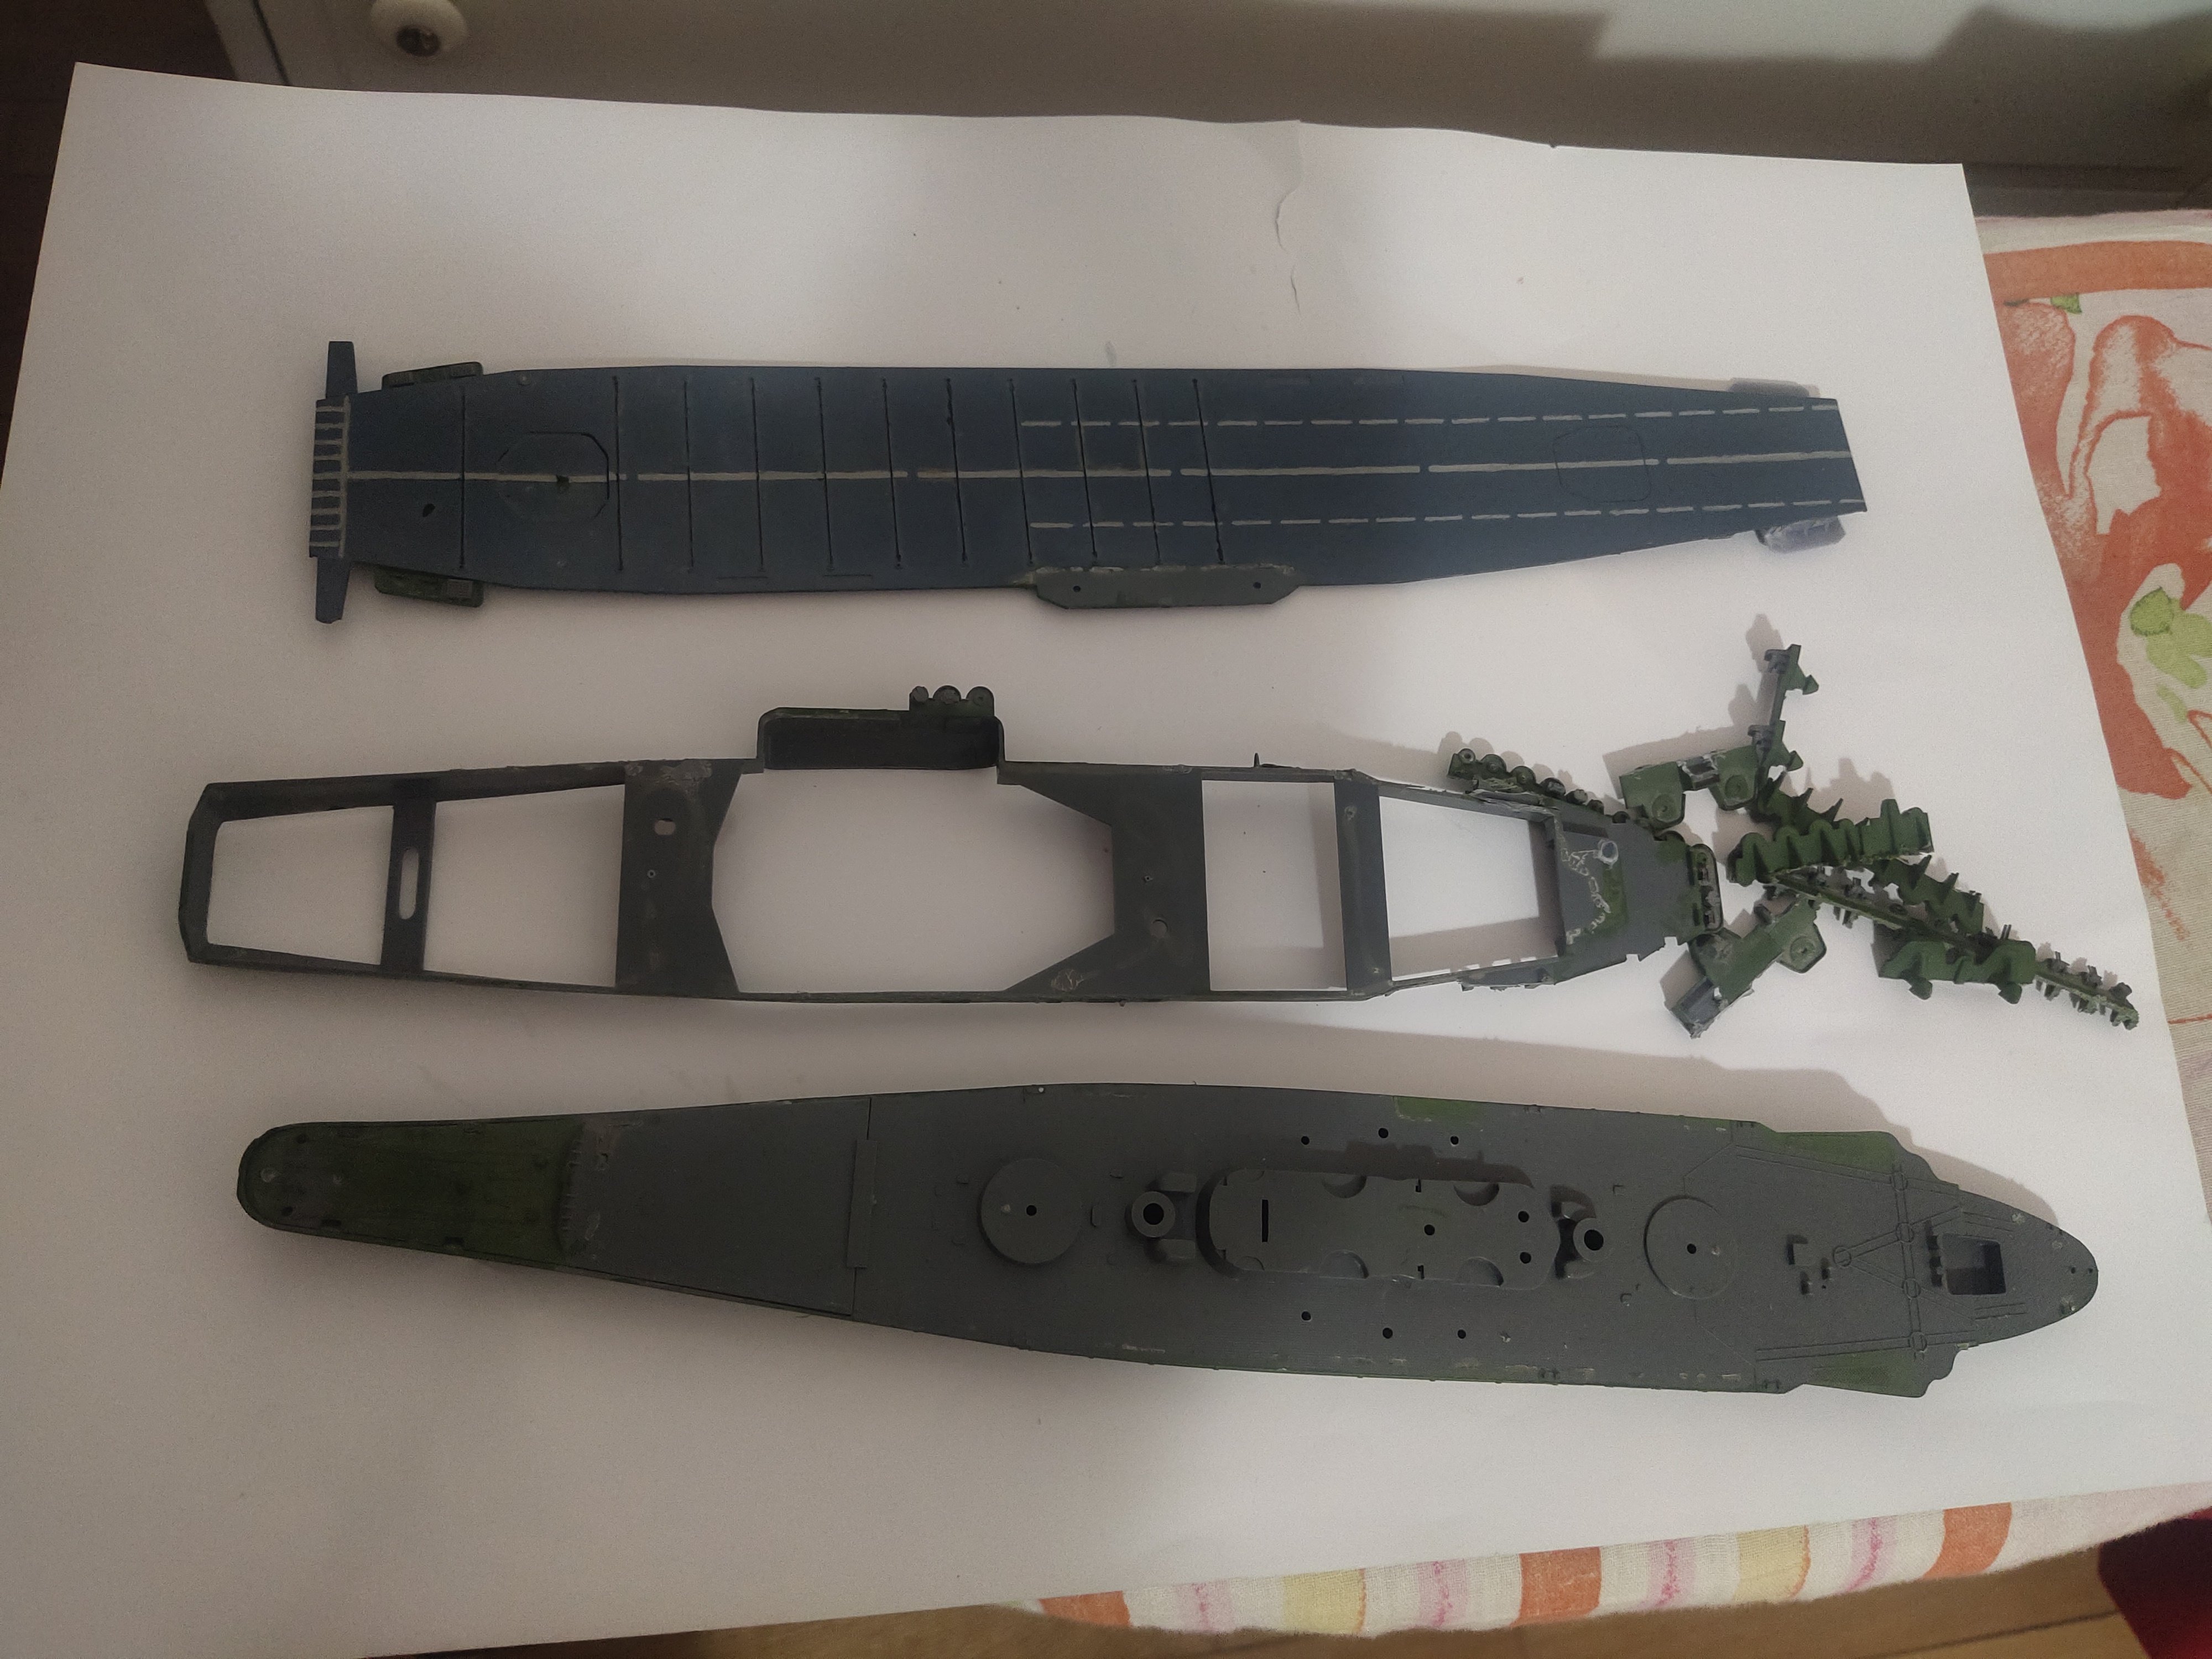
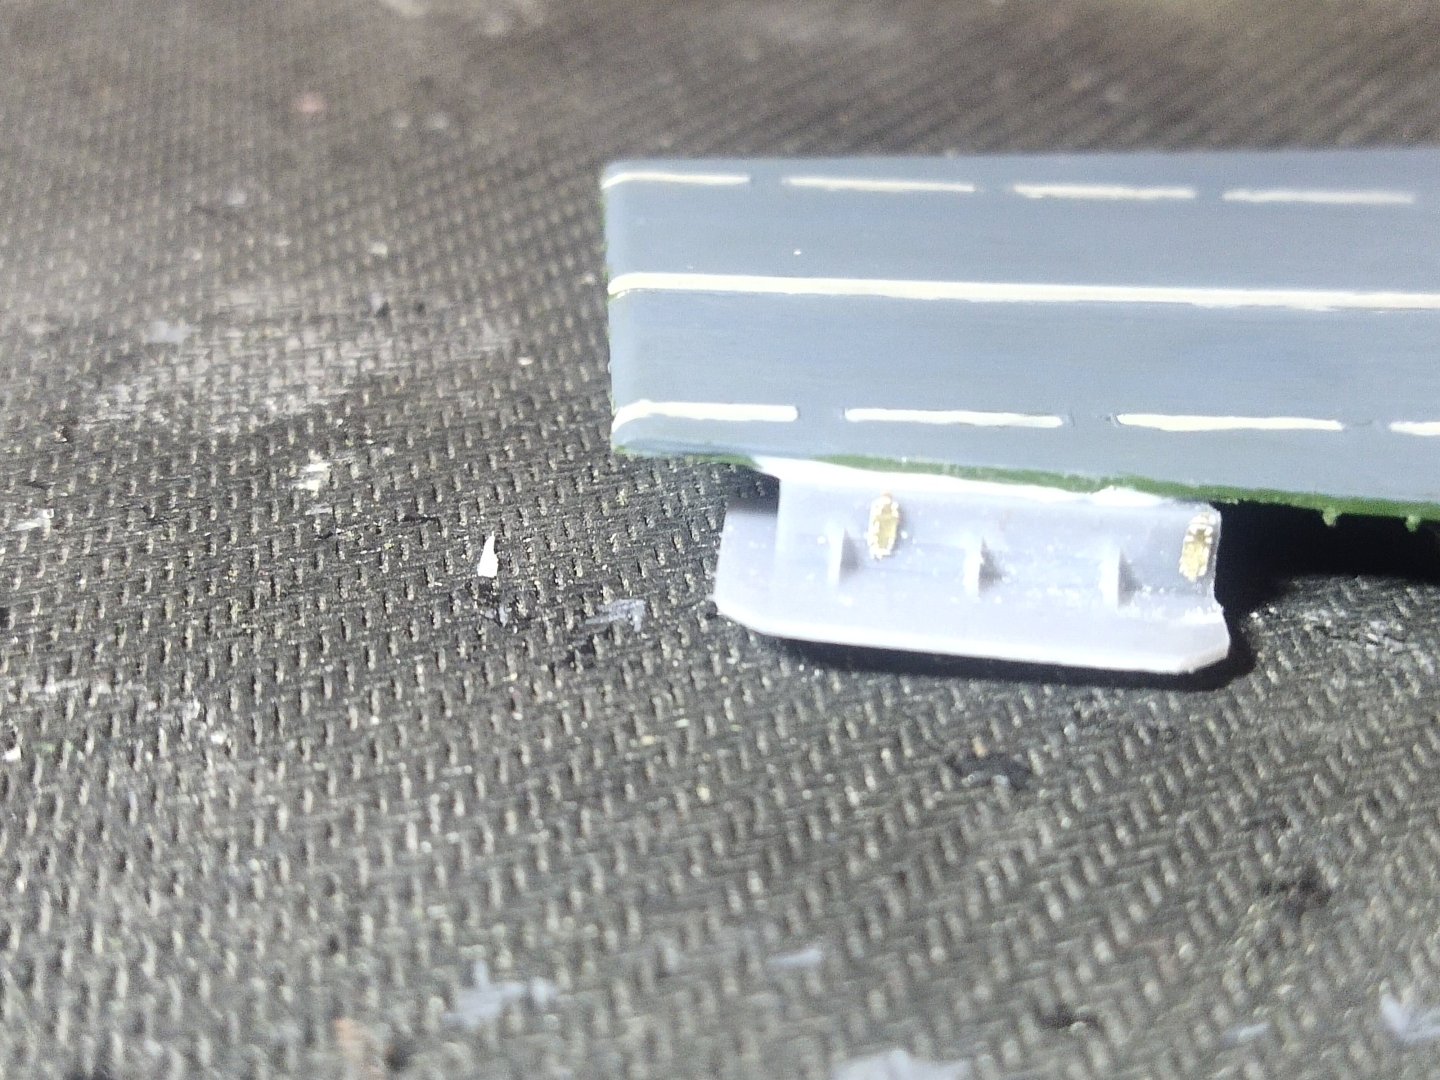
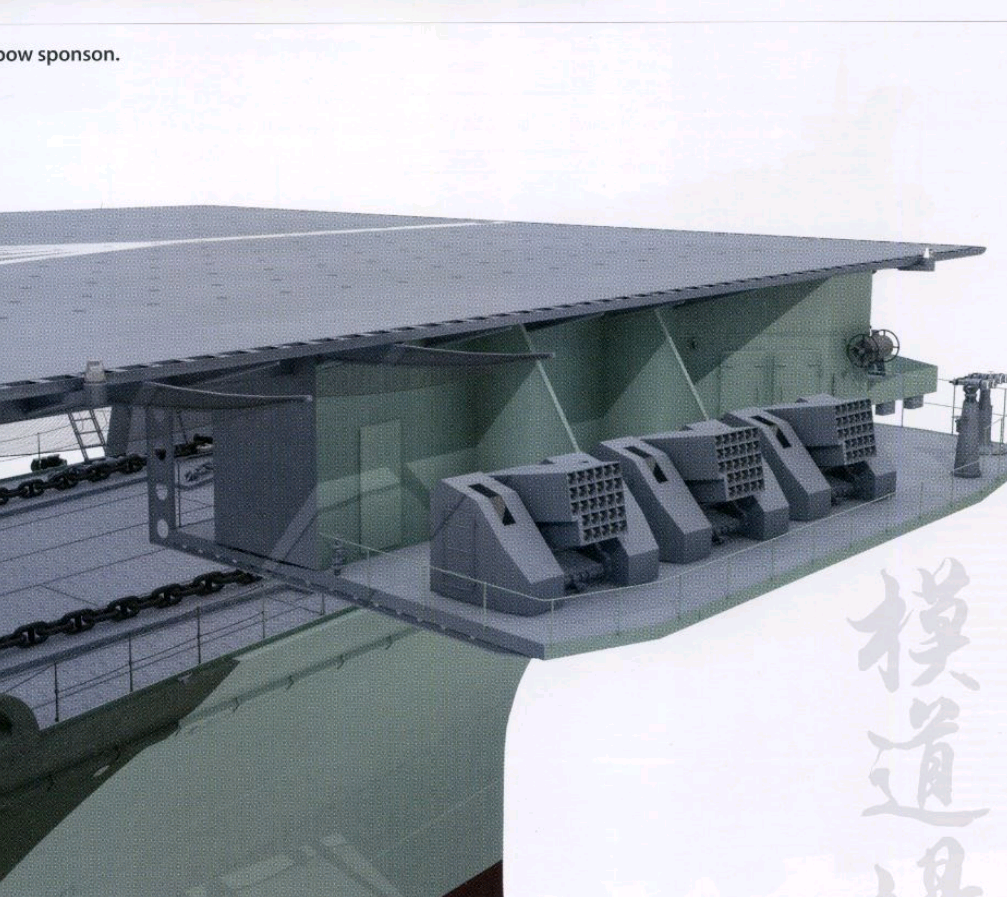
The model is made by 3 main pieces. The flight deck, the hangar area and the lower hull section. I start working on the gun platforms around the main deck. These should be all removed and replaced by correct ones. Unfortunately these are part of the hangar deck, so I had to cut them using a low rpm rotary cutter. Then sand a lot to remove the excess plastic. The fist piece installed was the bow platform set for the rocket launchers Looks like there is a lot of work to be done. I estimate this project to be done before Christmas.

-
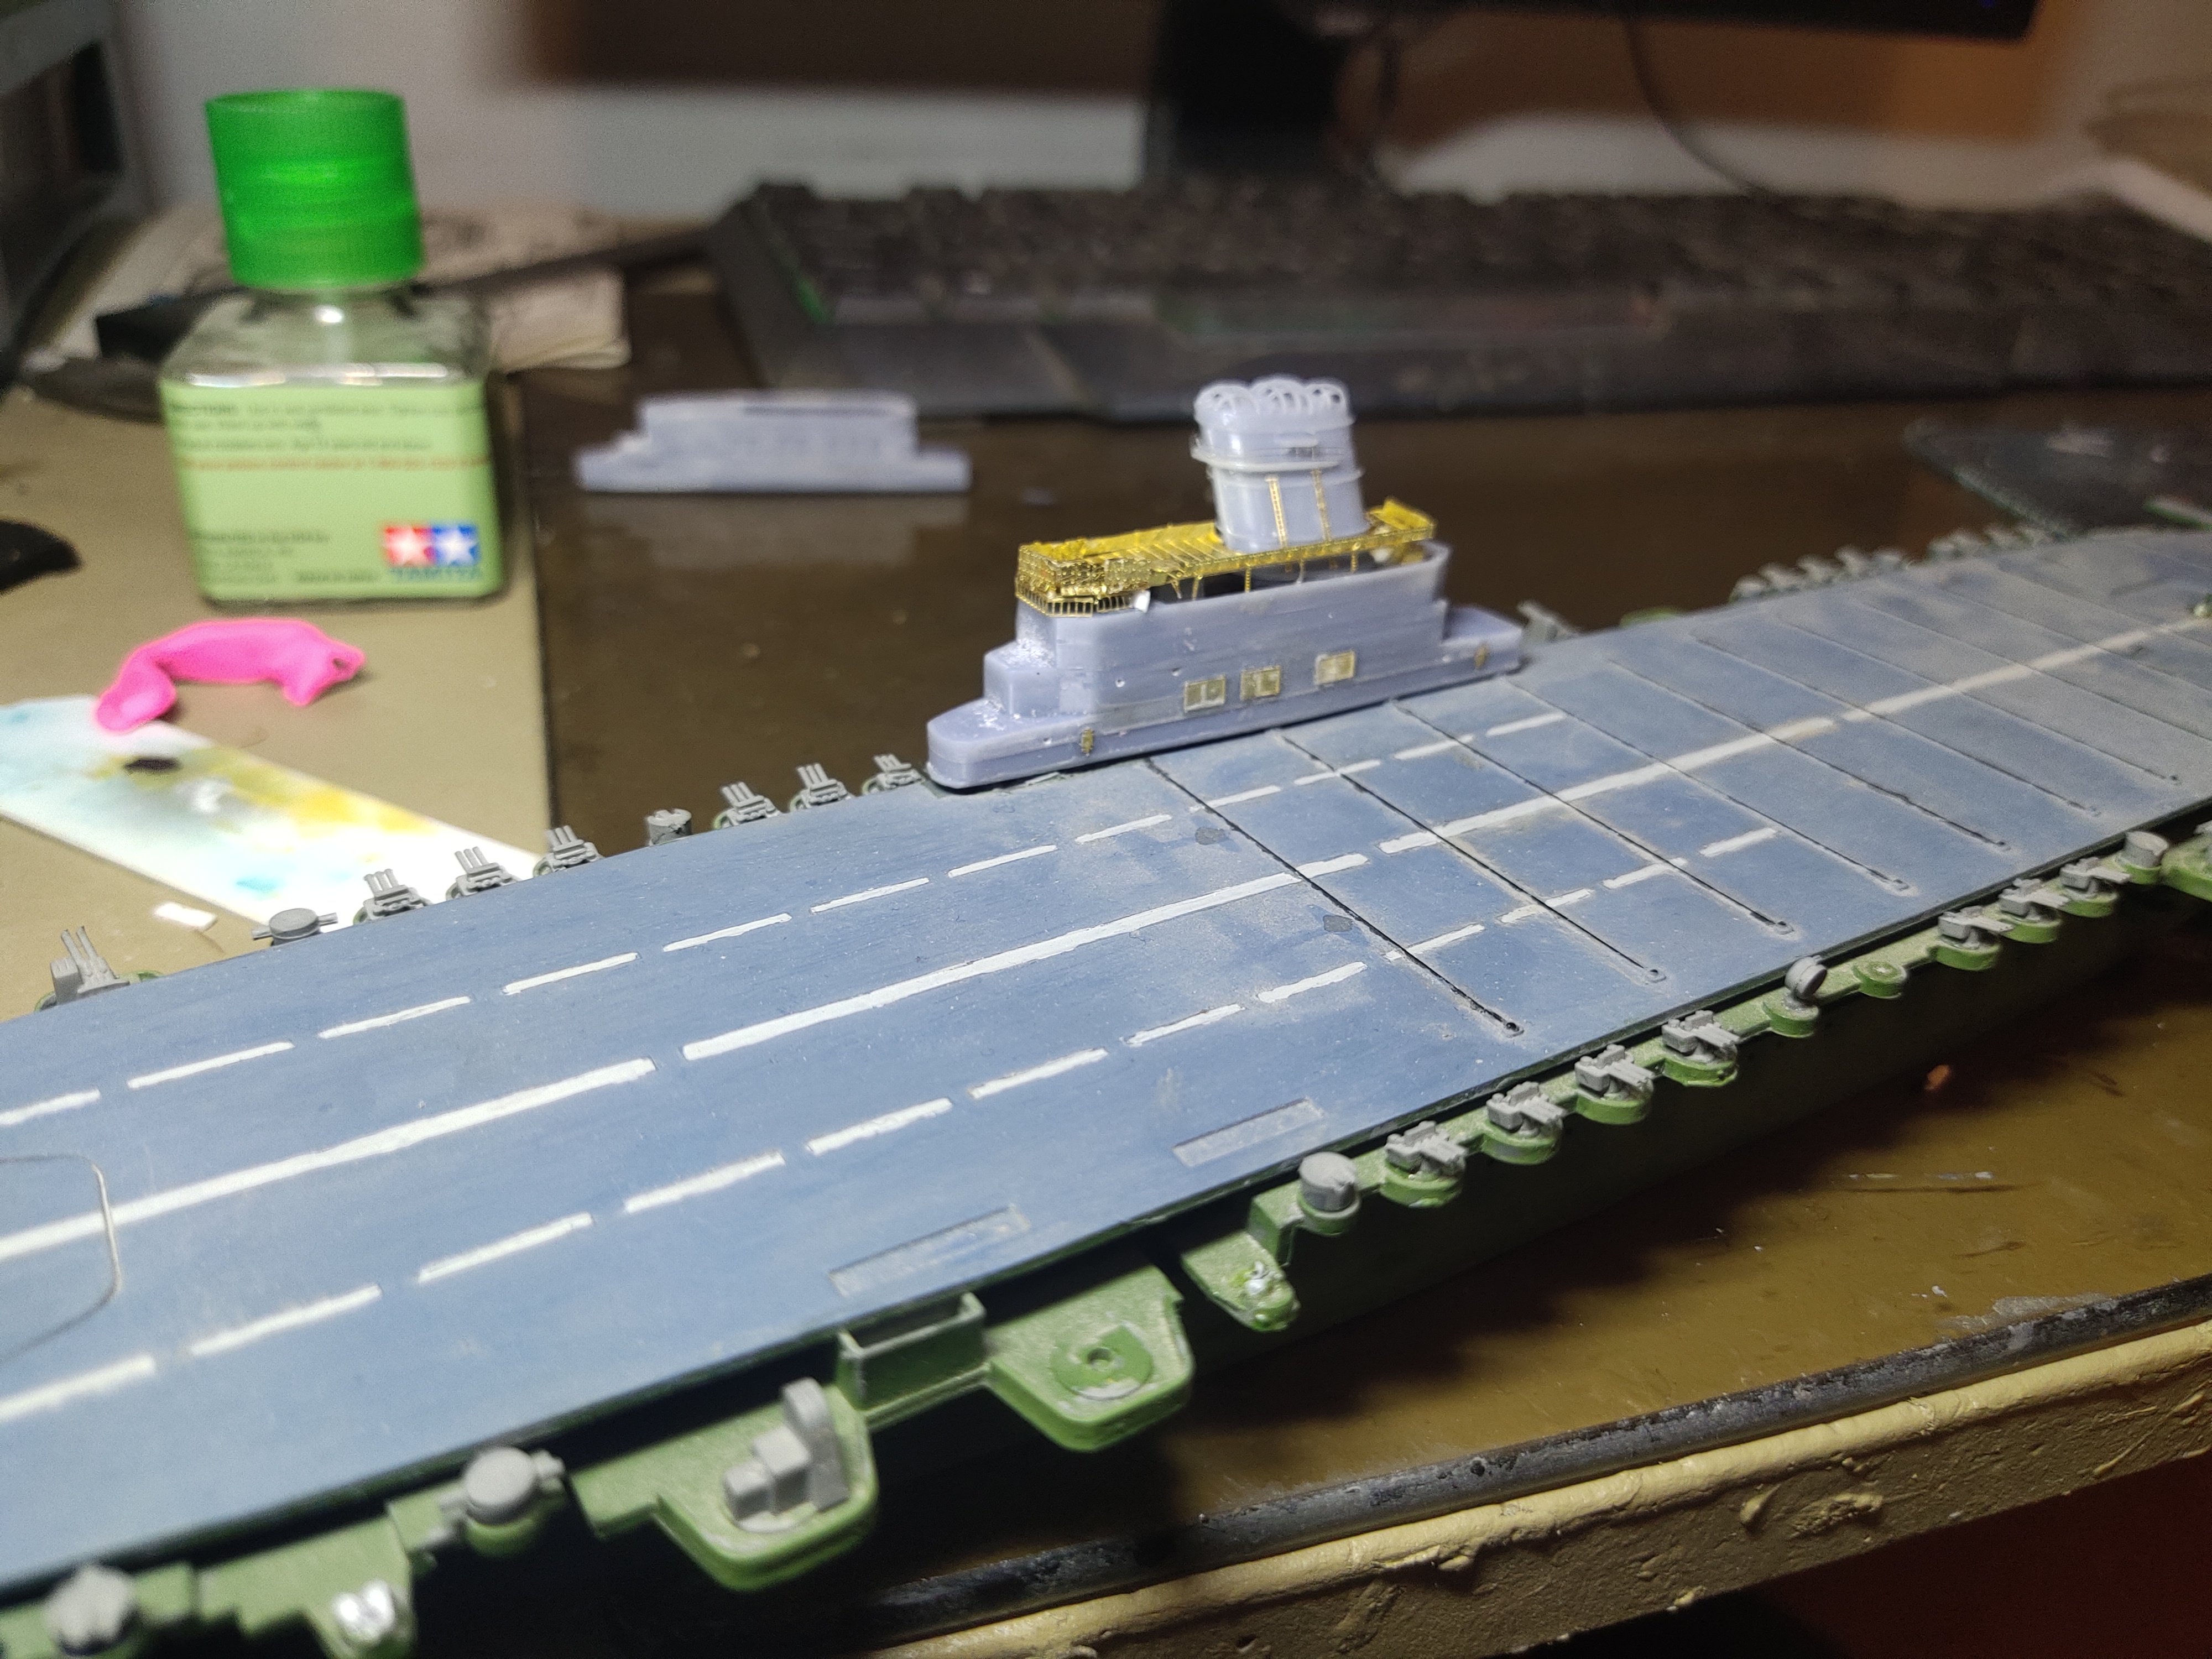
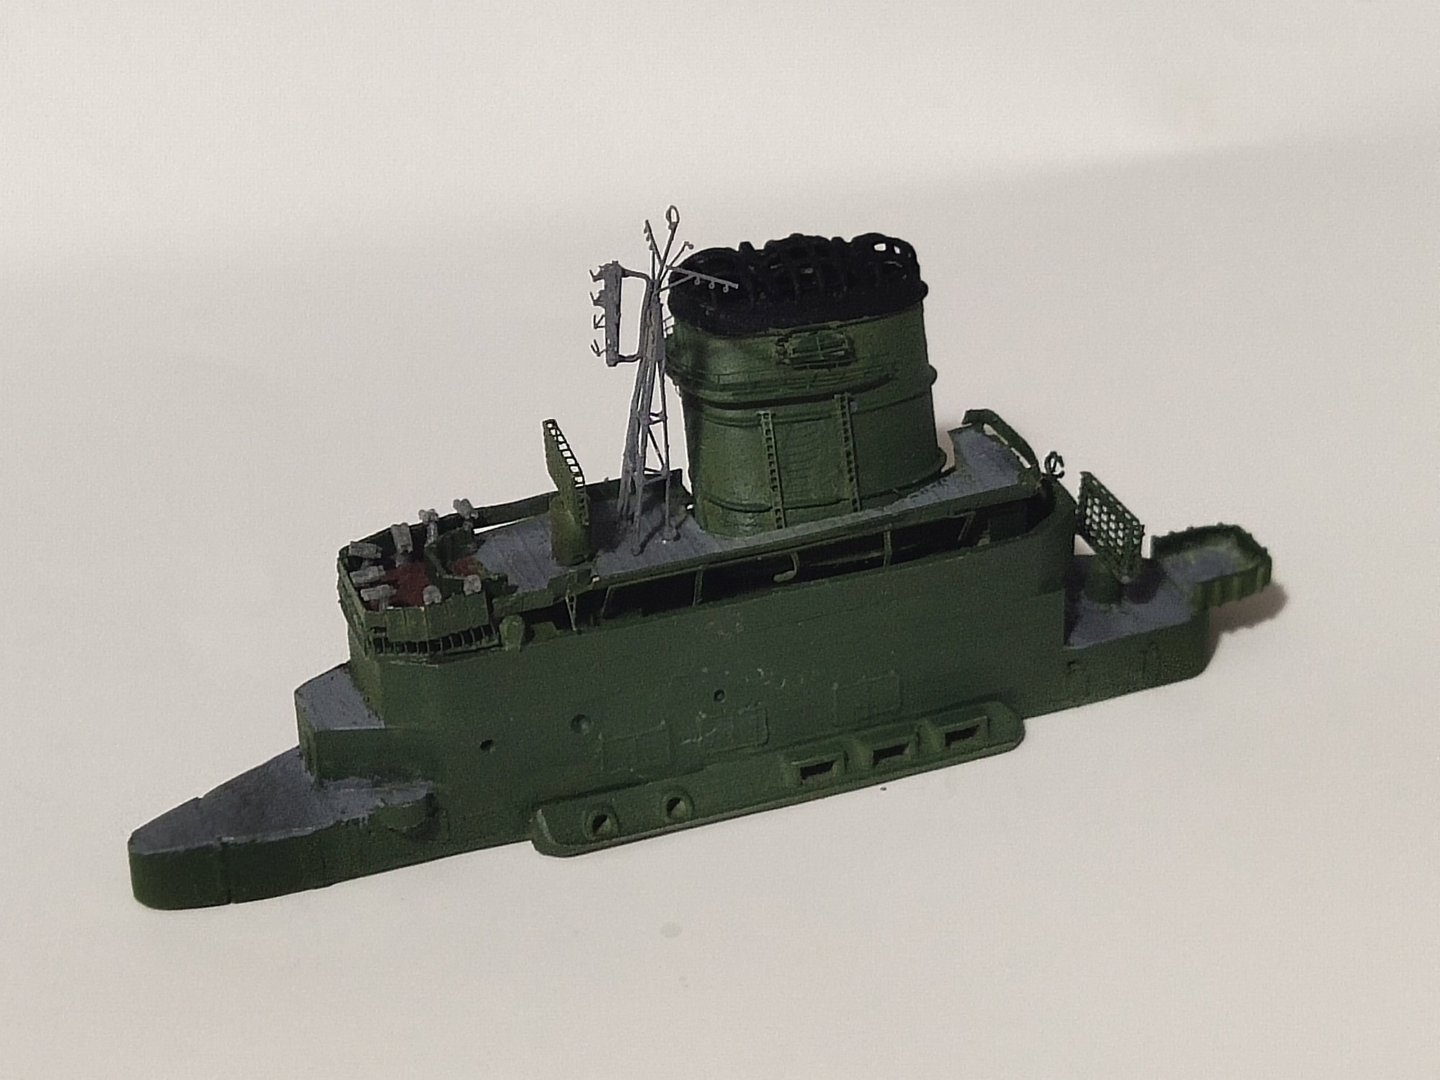
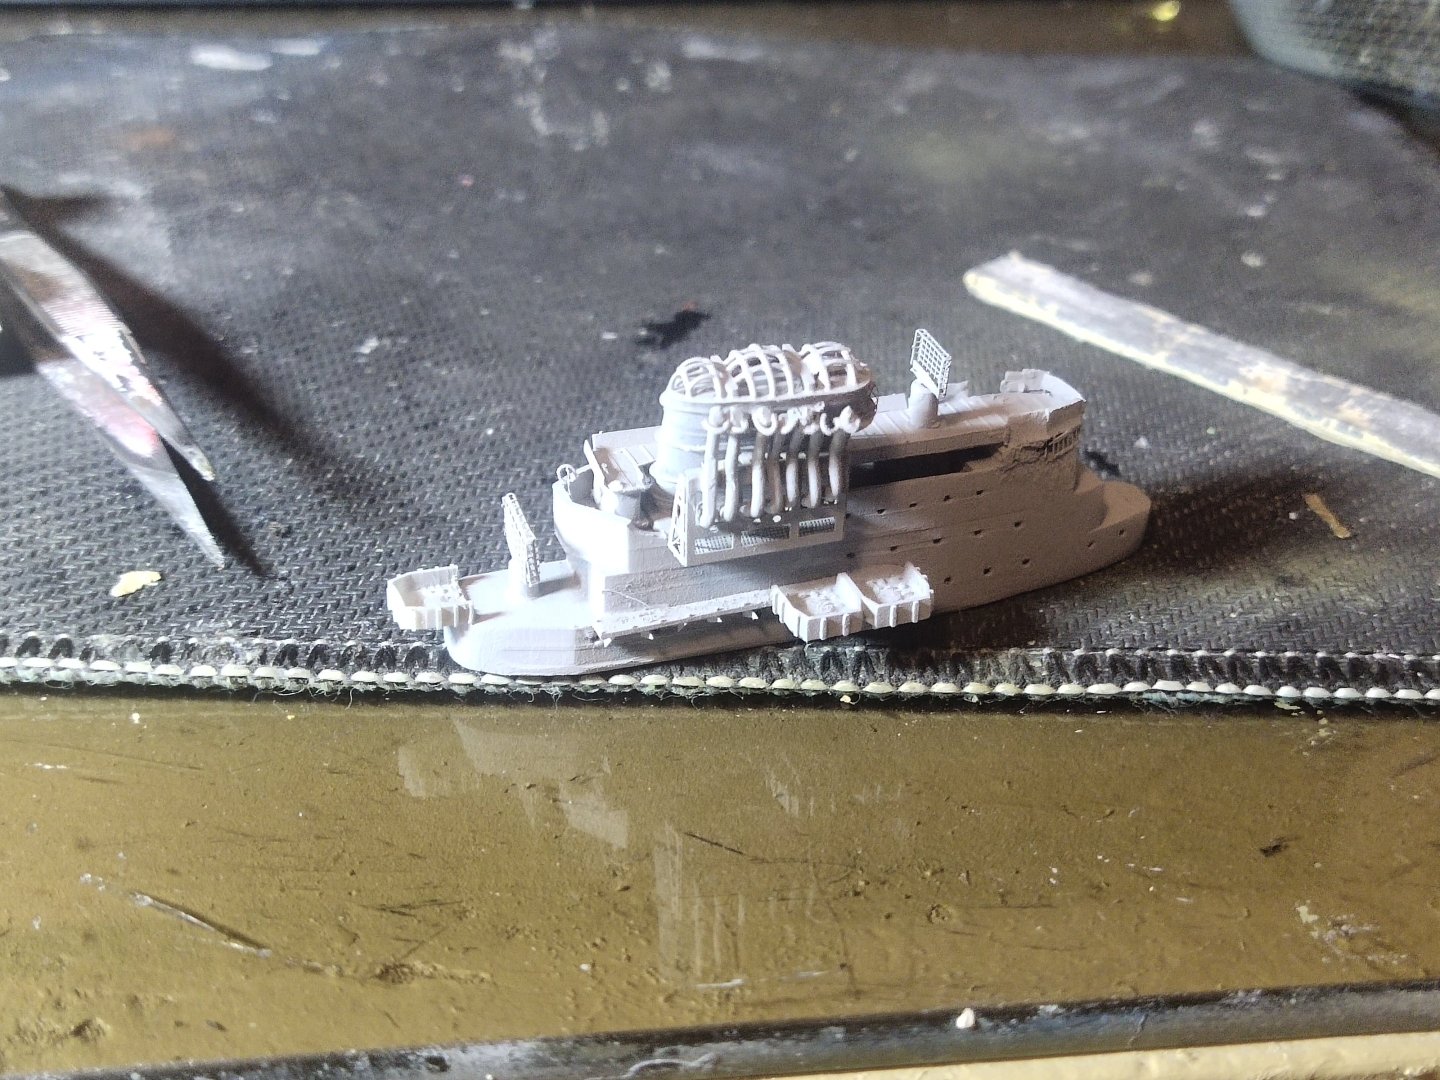
The superstructure is done. Details like searchlight, aa guns will be added later.

-
Some improvement on the gun platform and prime coating
-
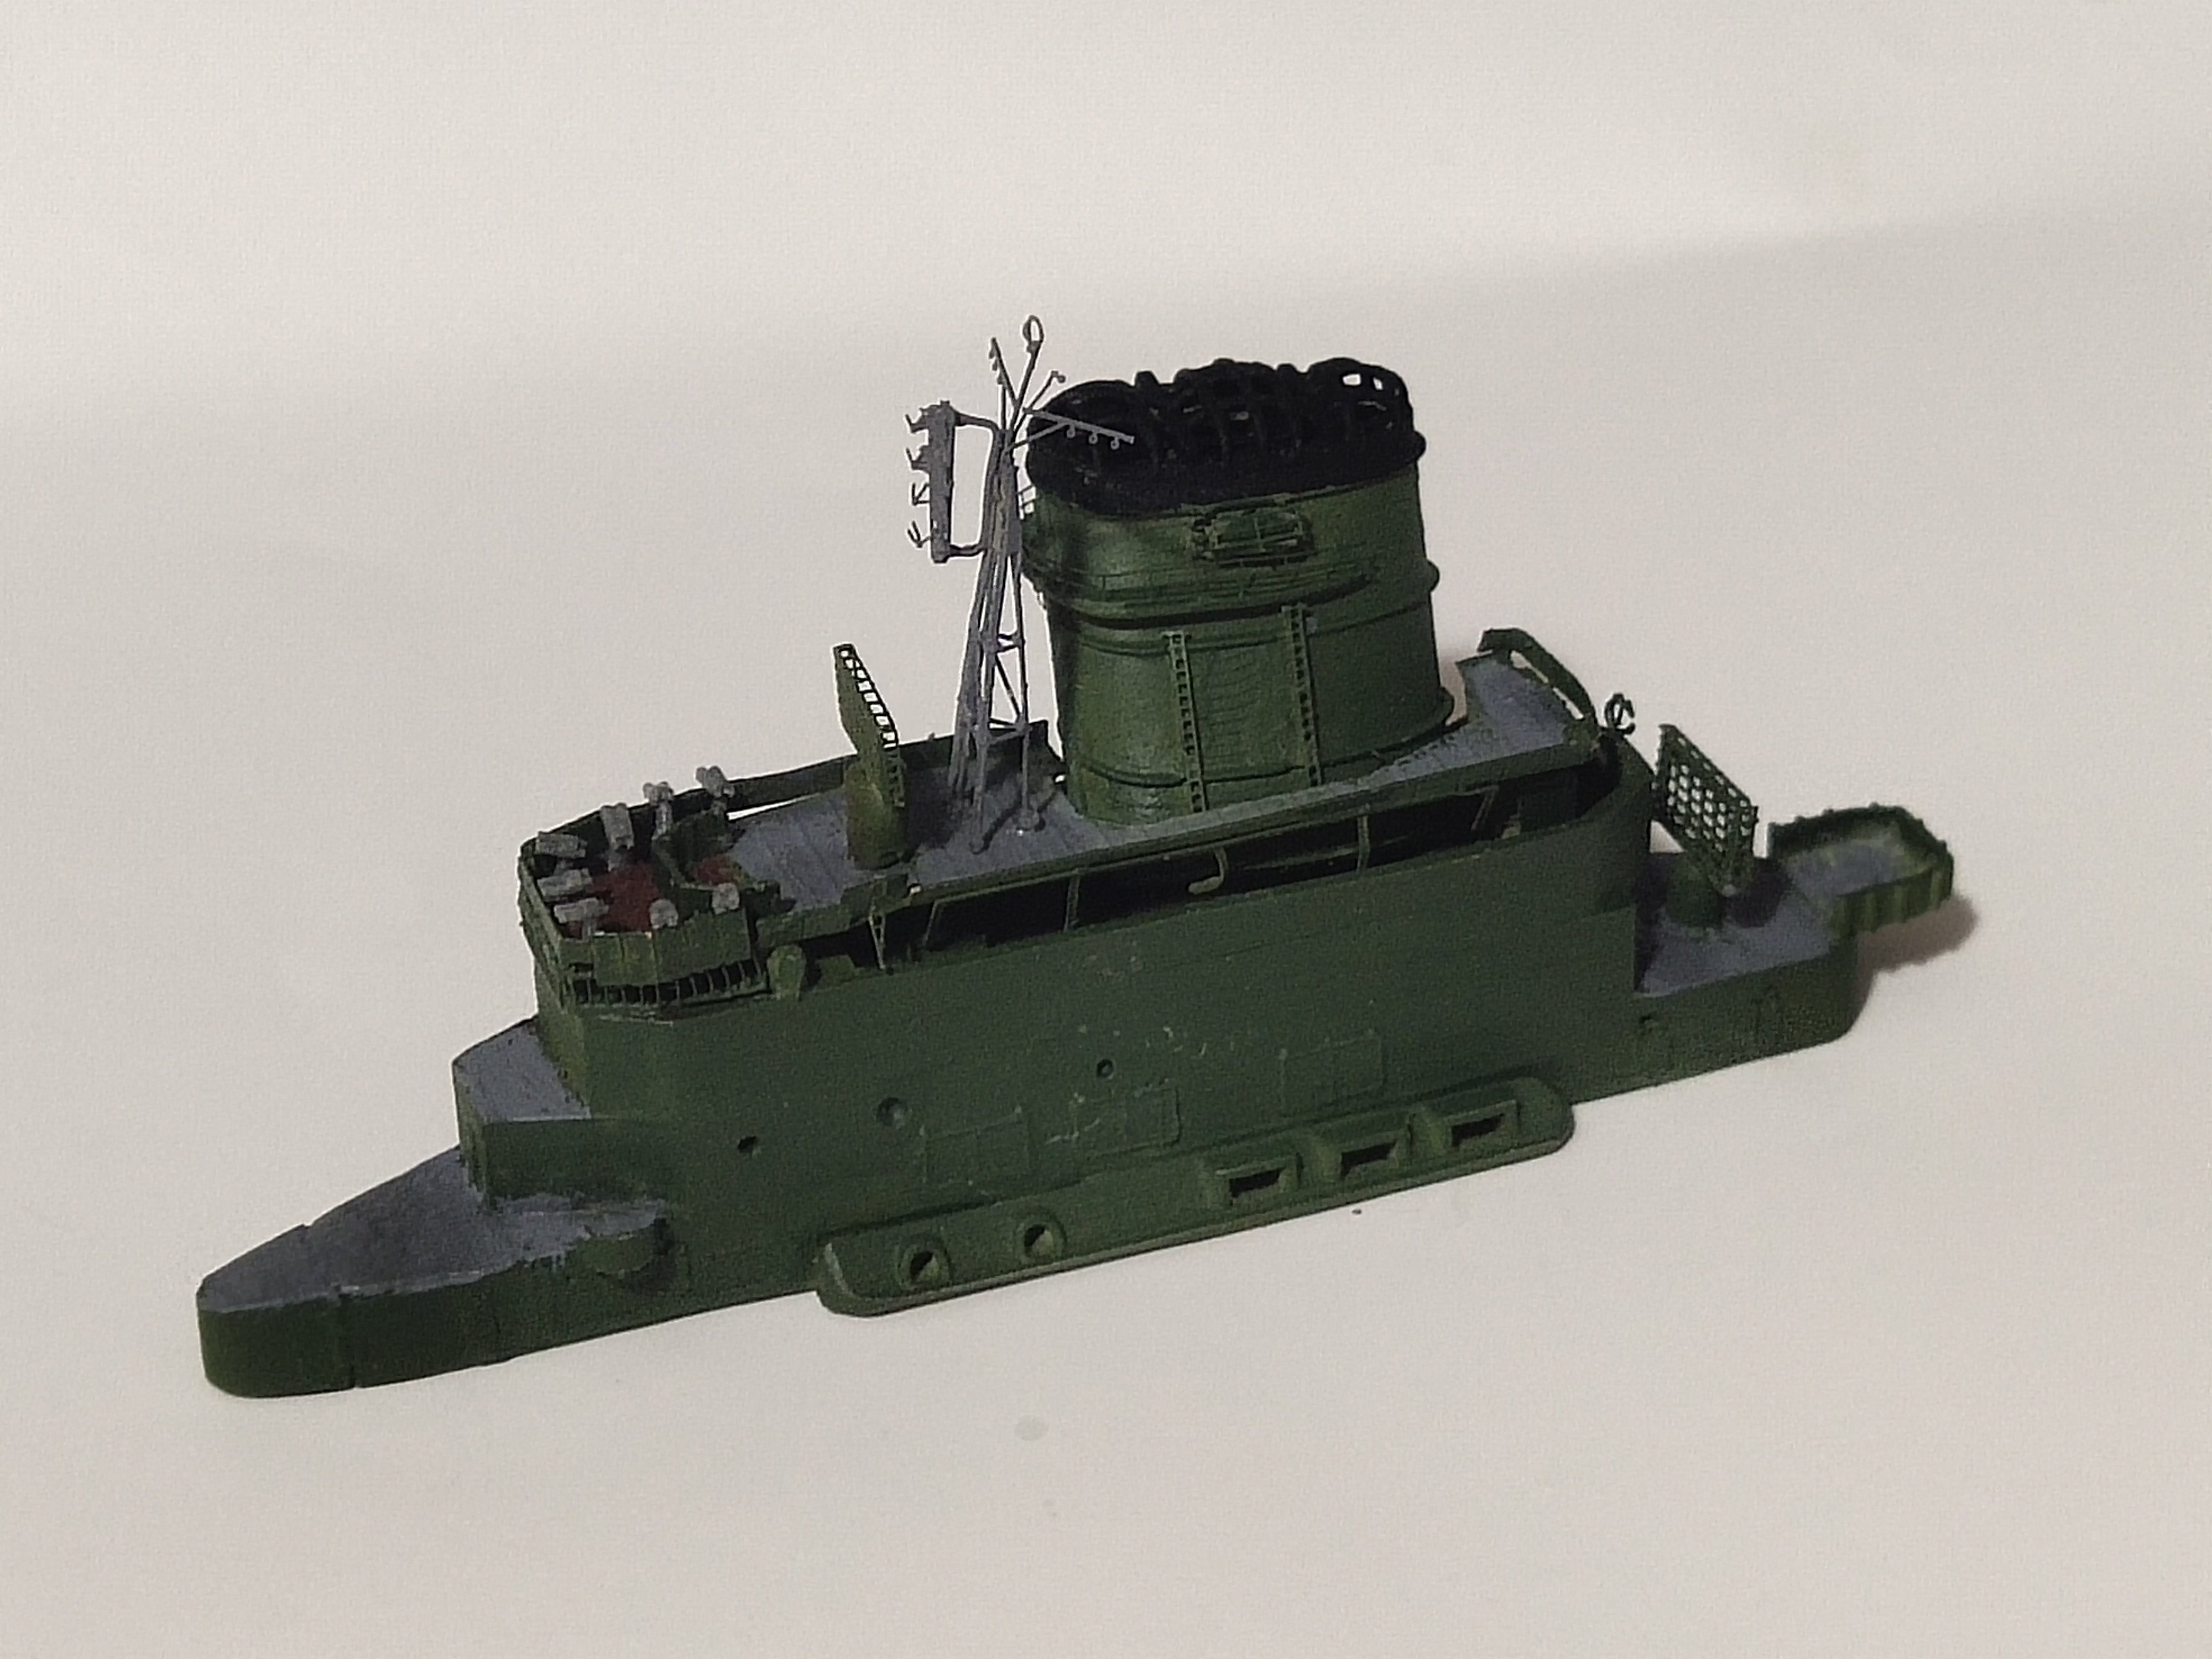
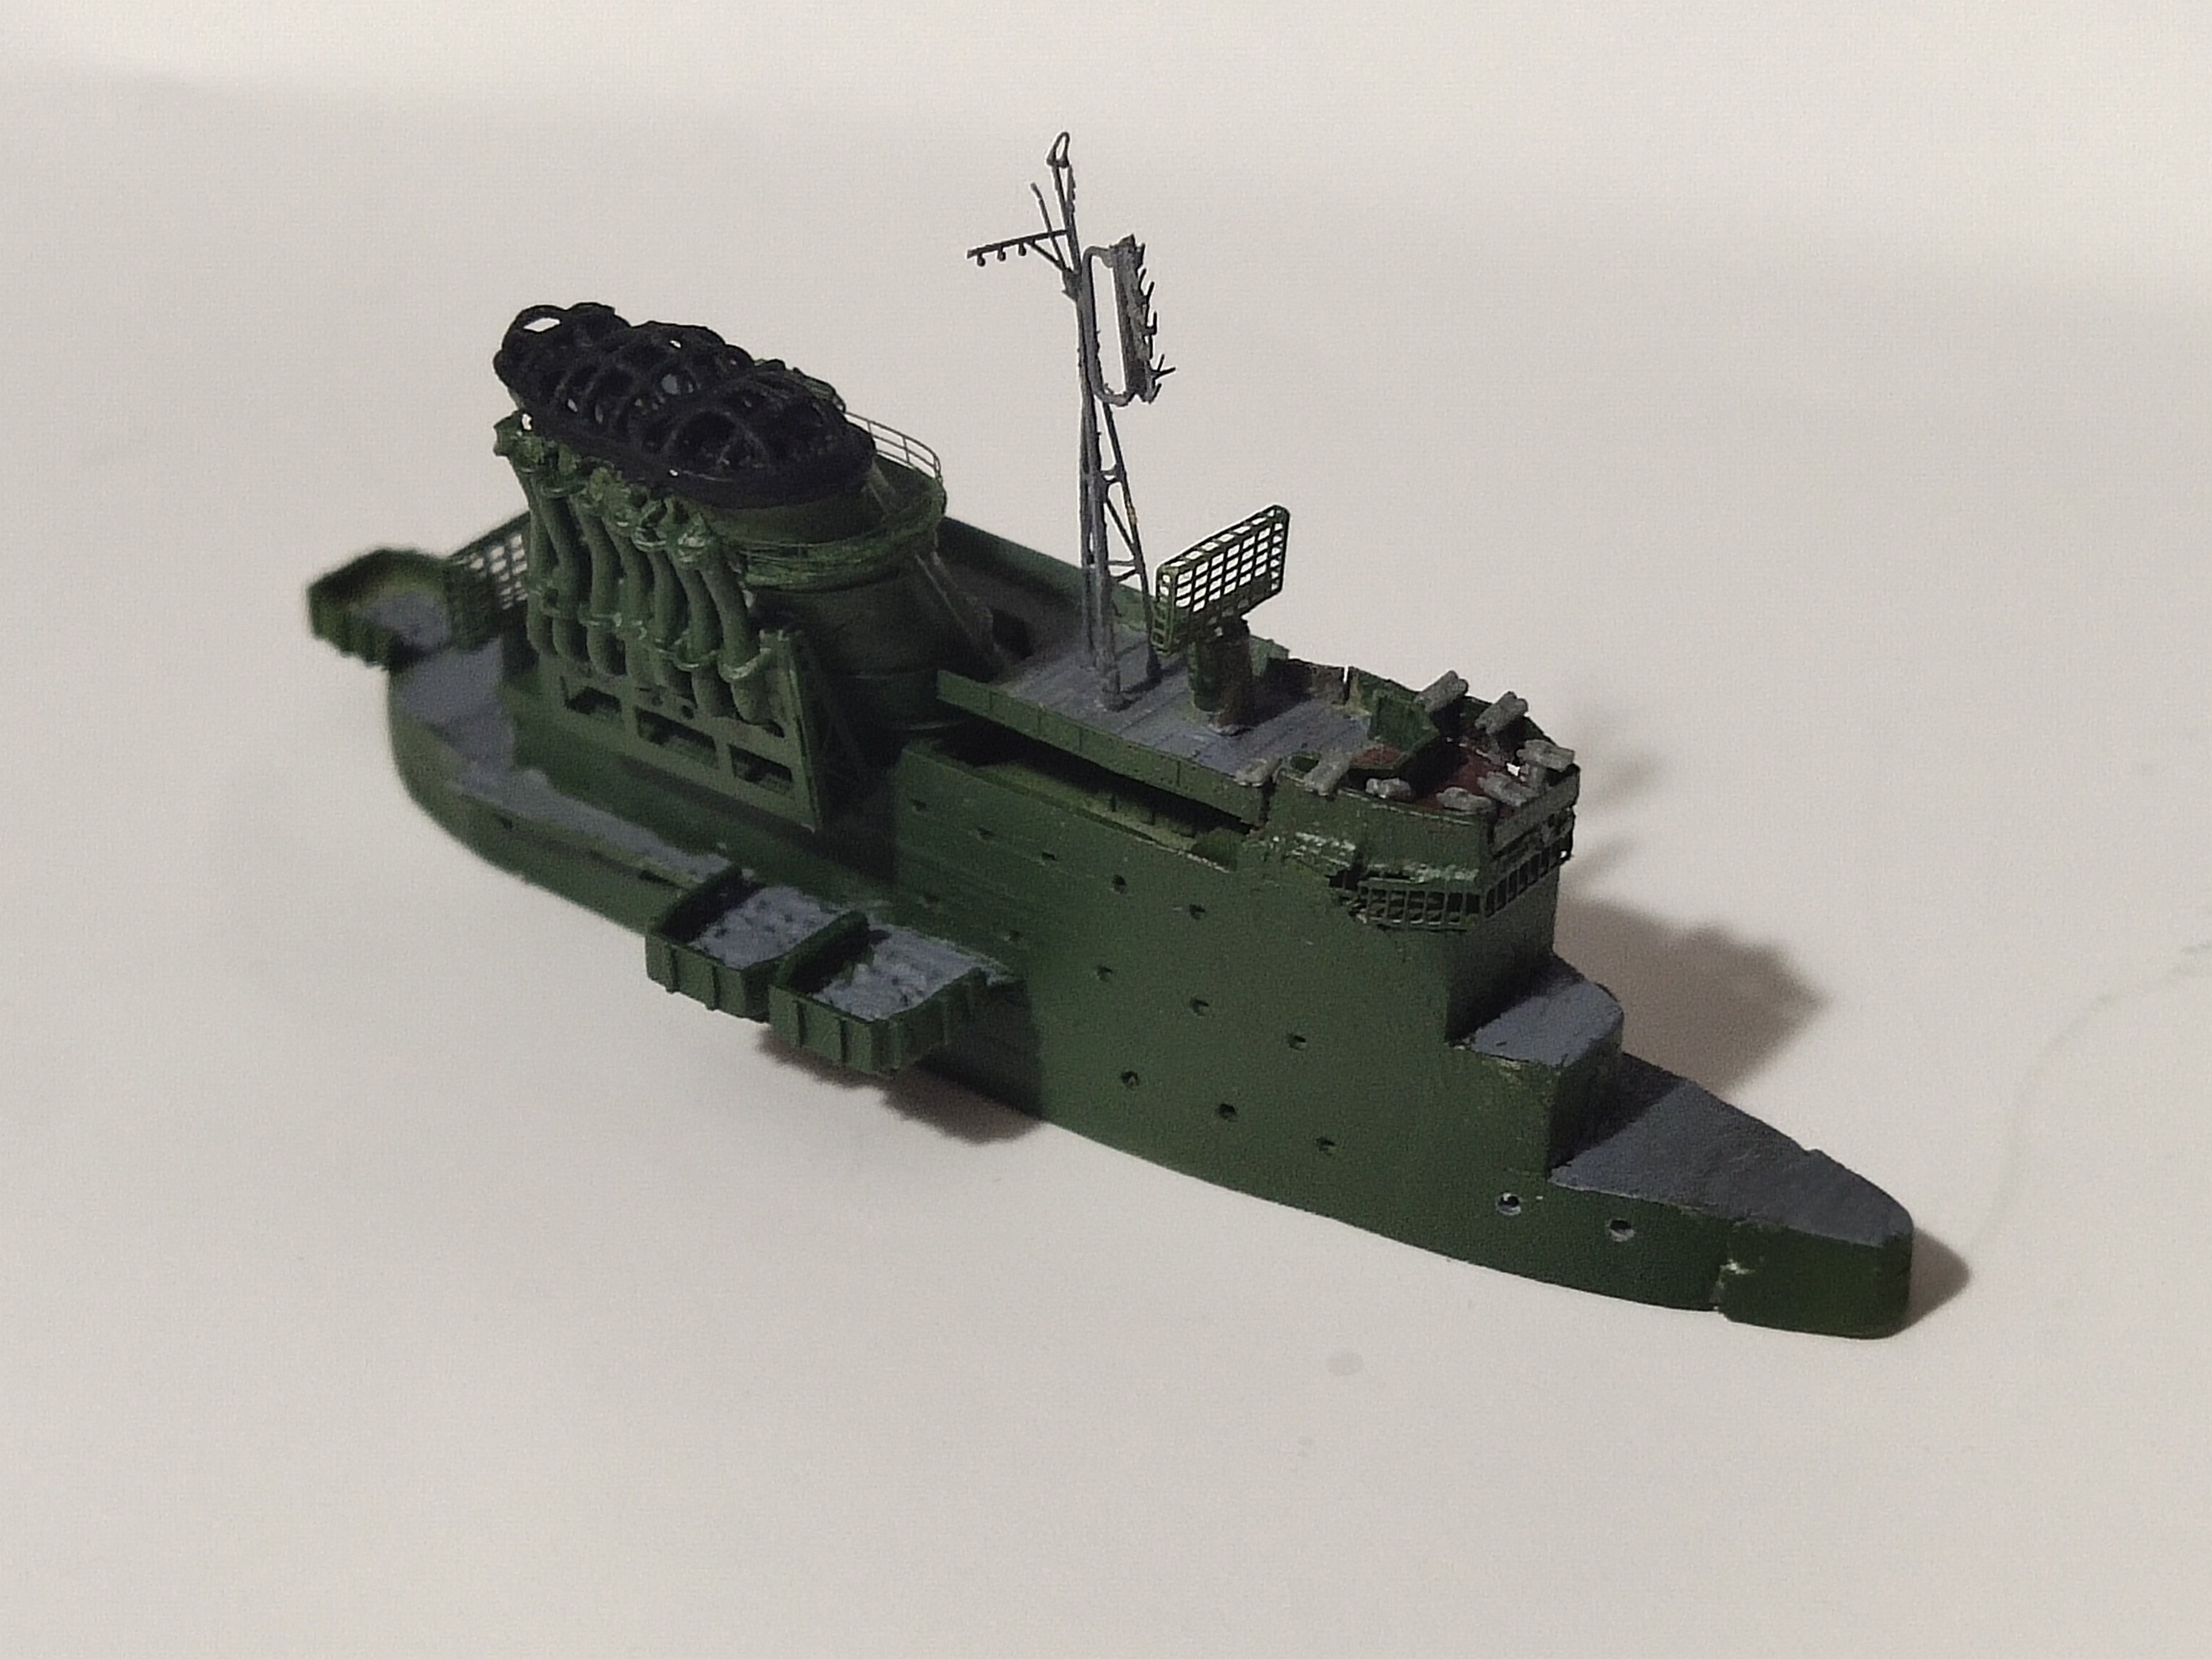
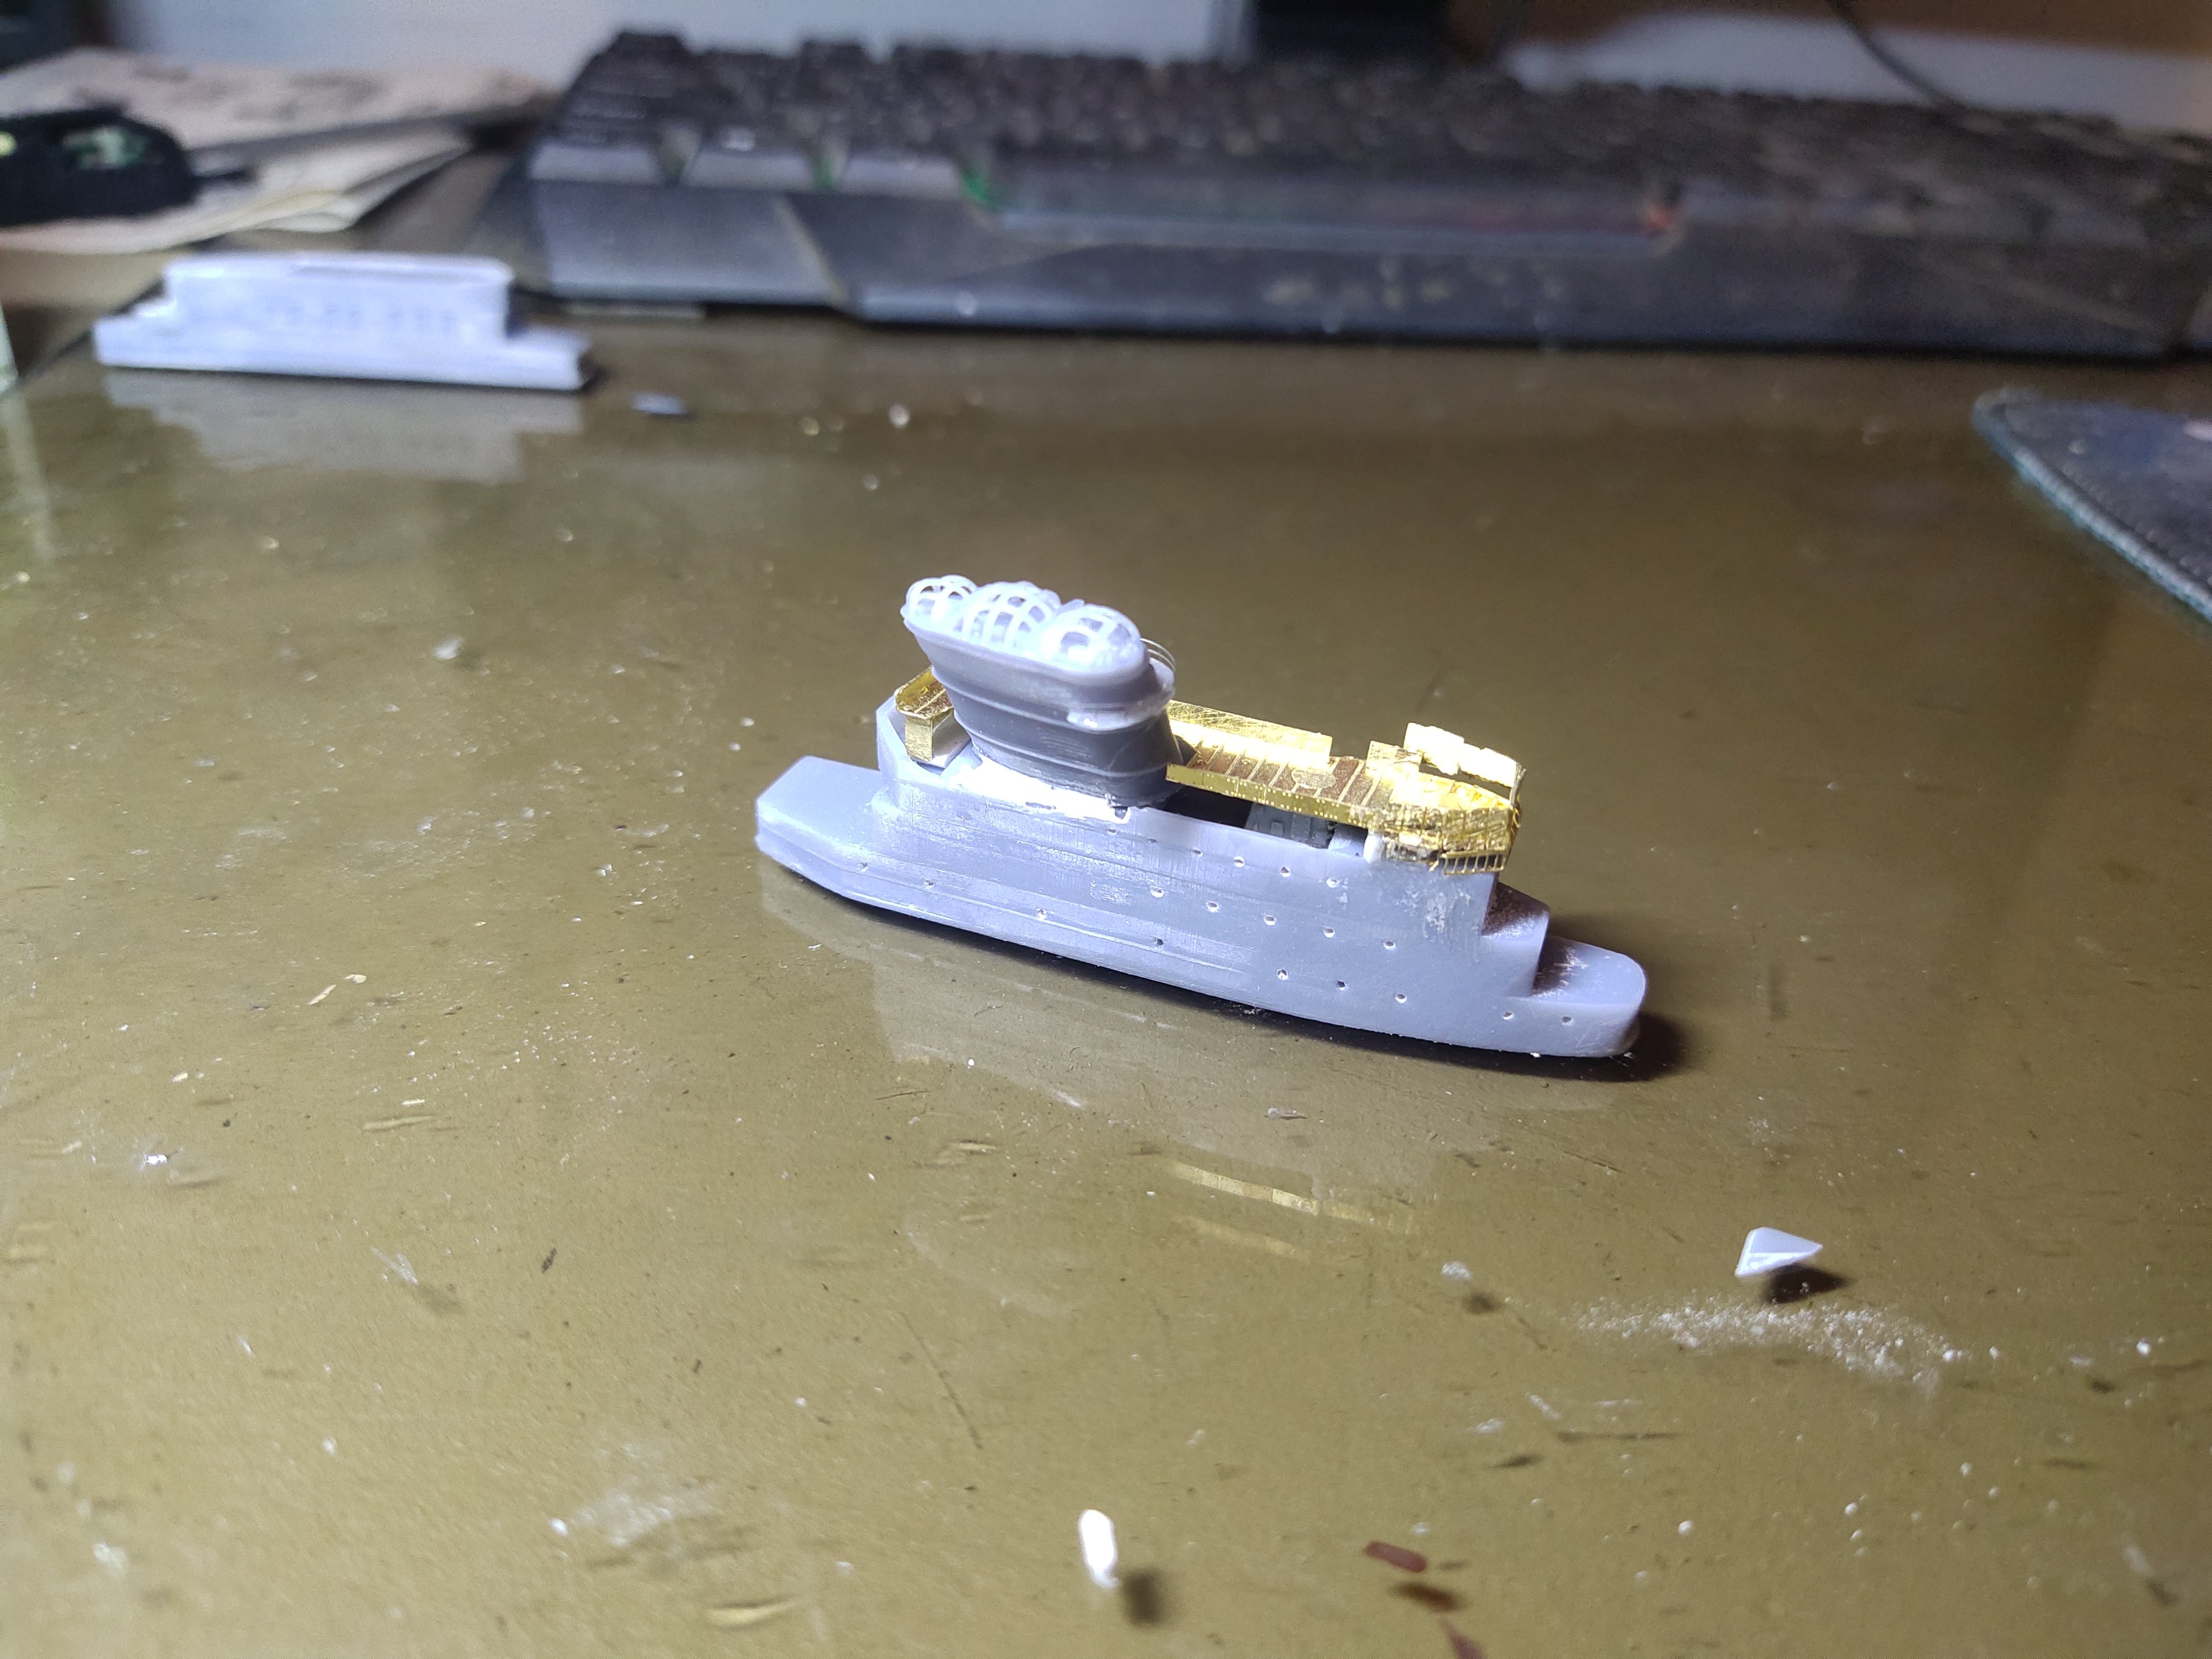
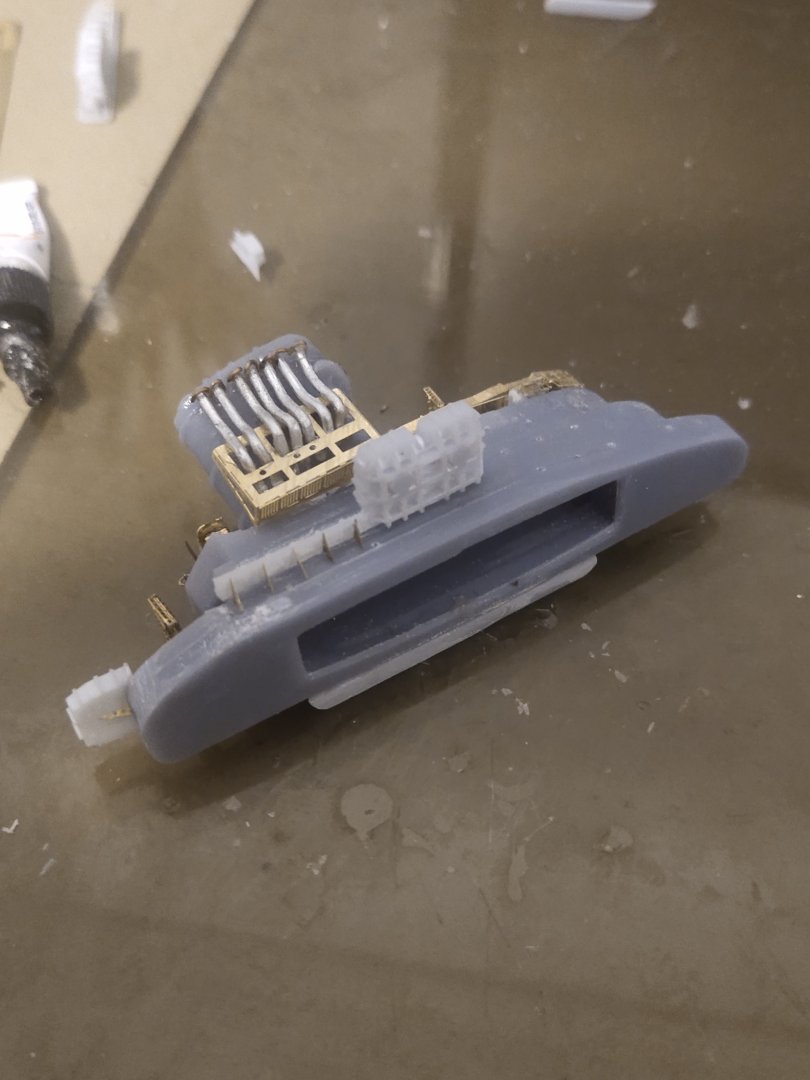
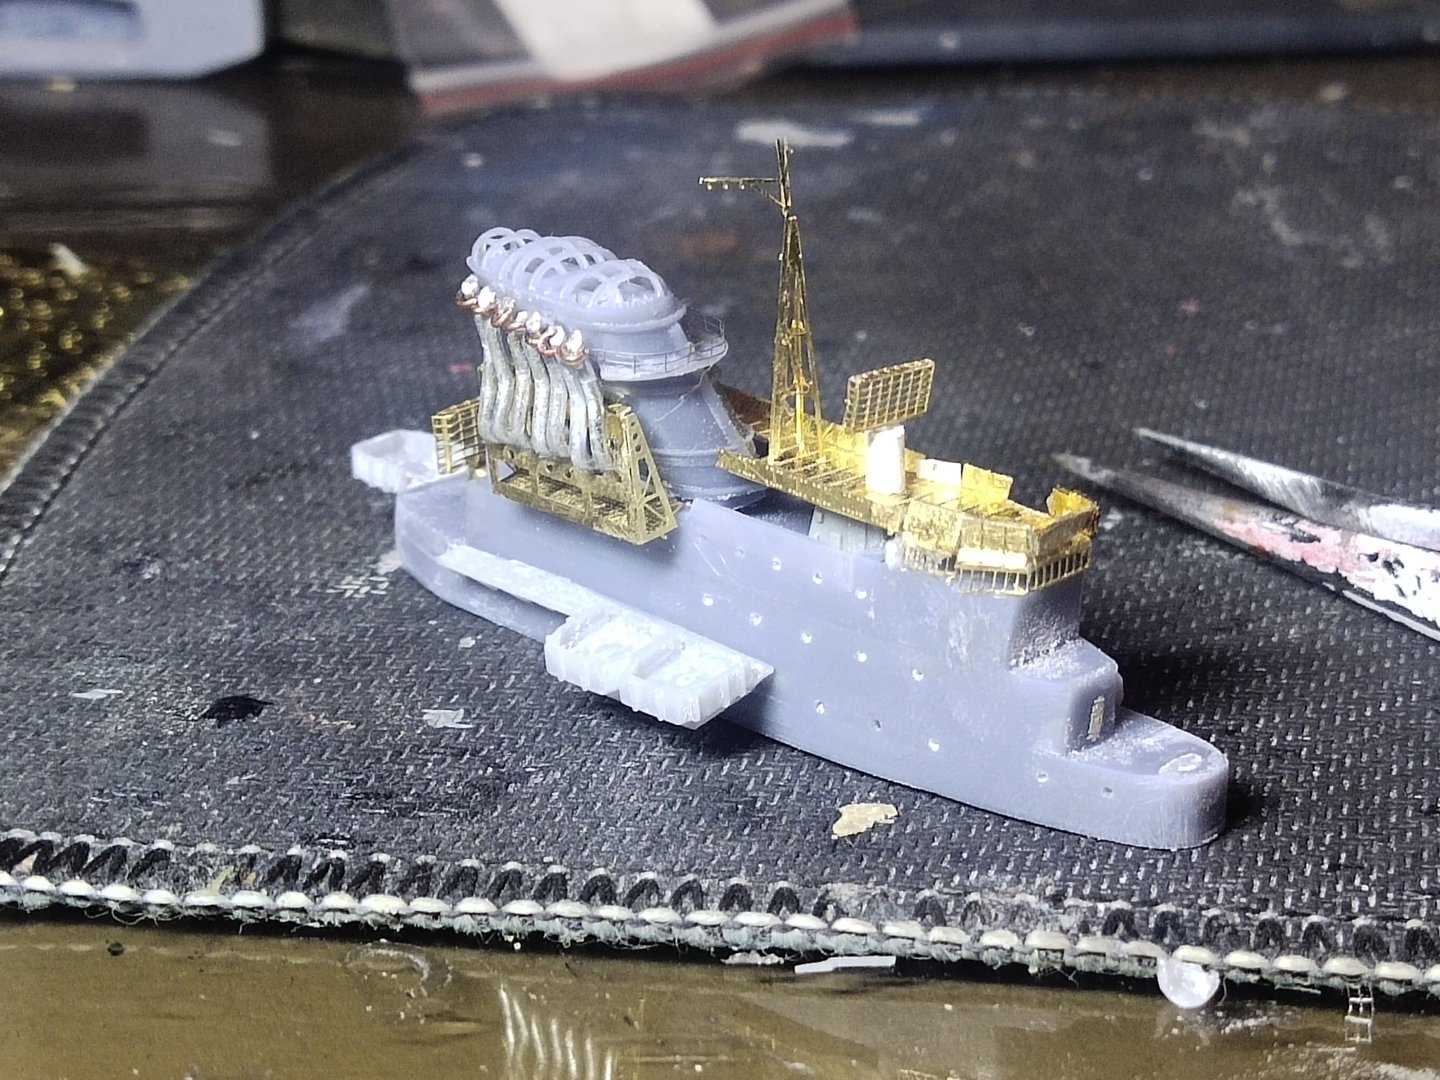
I made the funnel pipes with 1mm wire. Unfortunately there was room for only 7 in diagram I see 10. Gun platforms were made and more PEs added, almost ready for priming

-
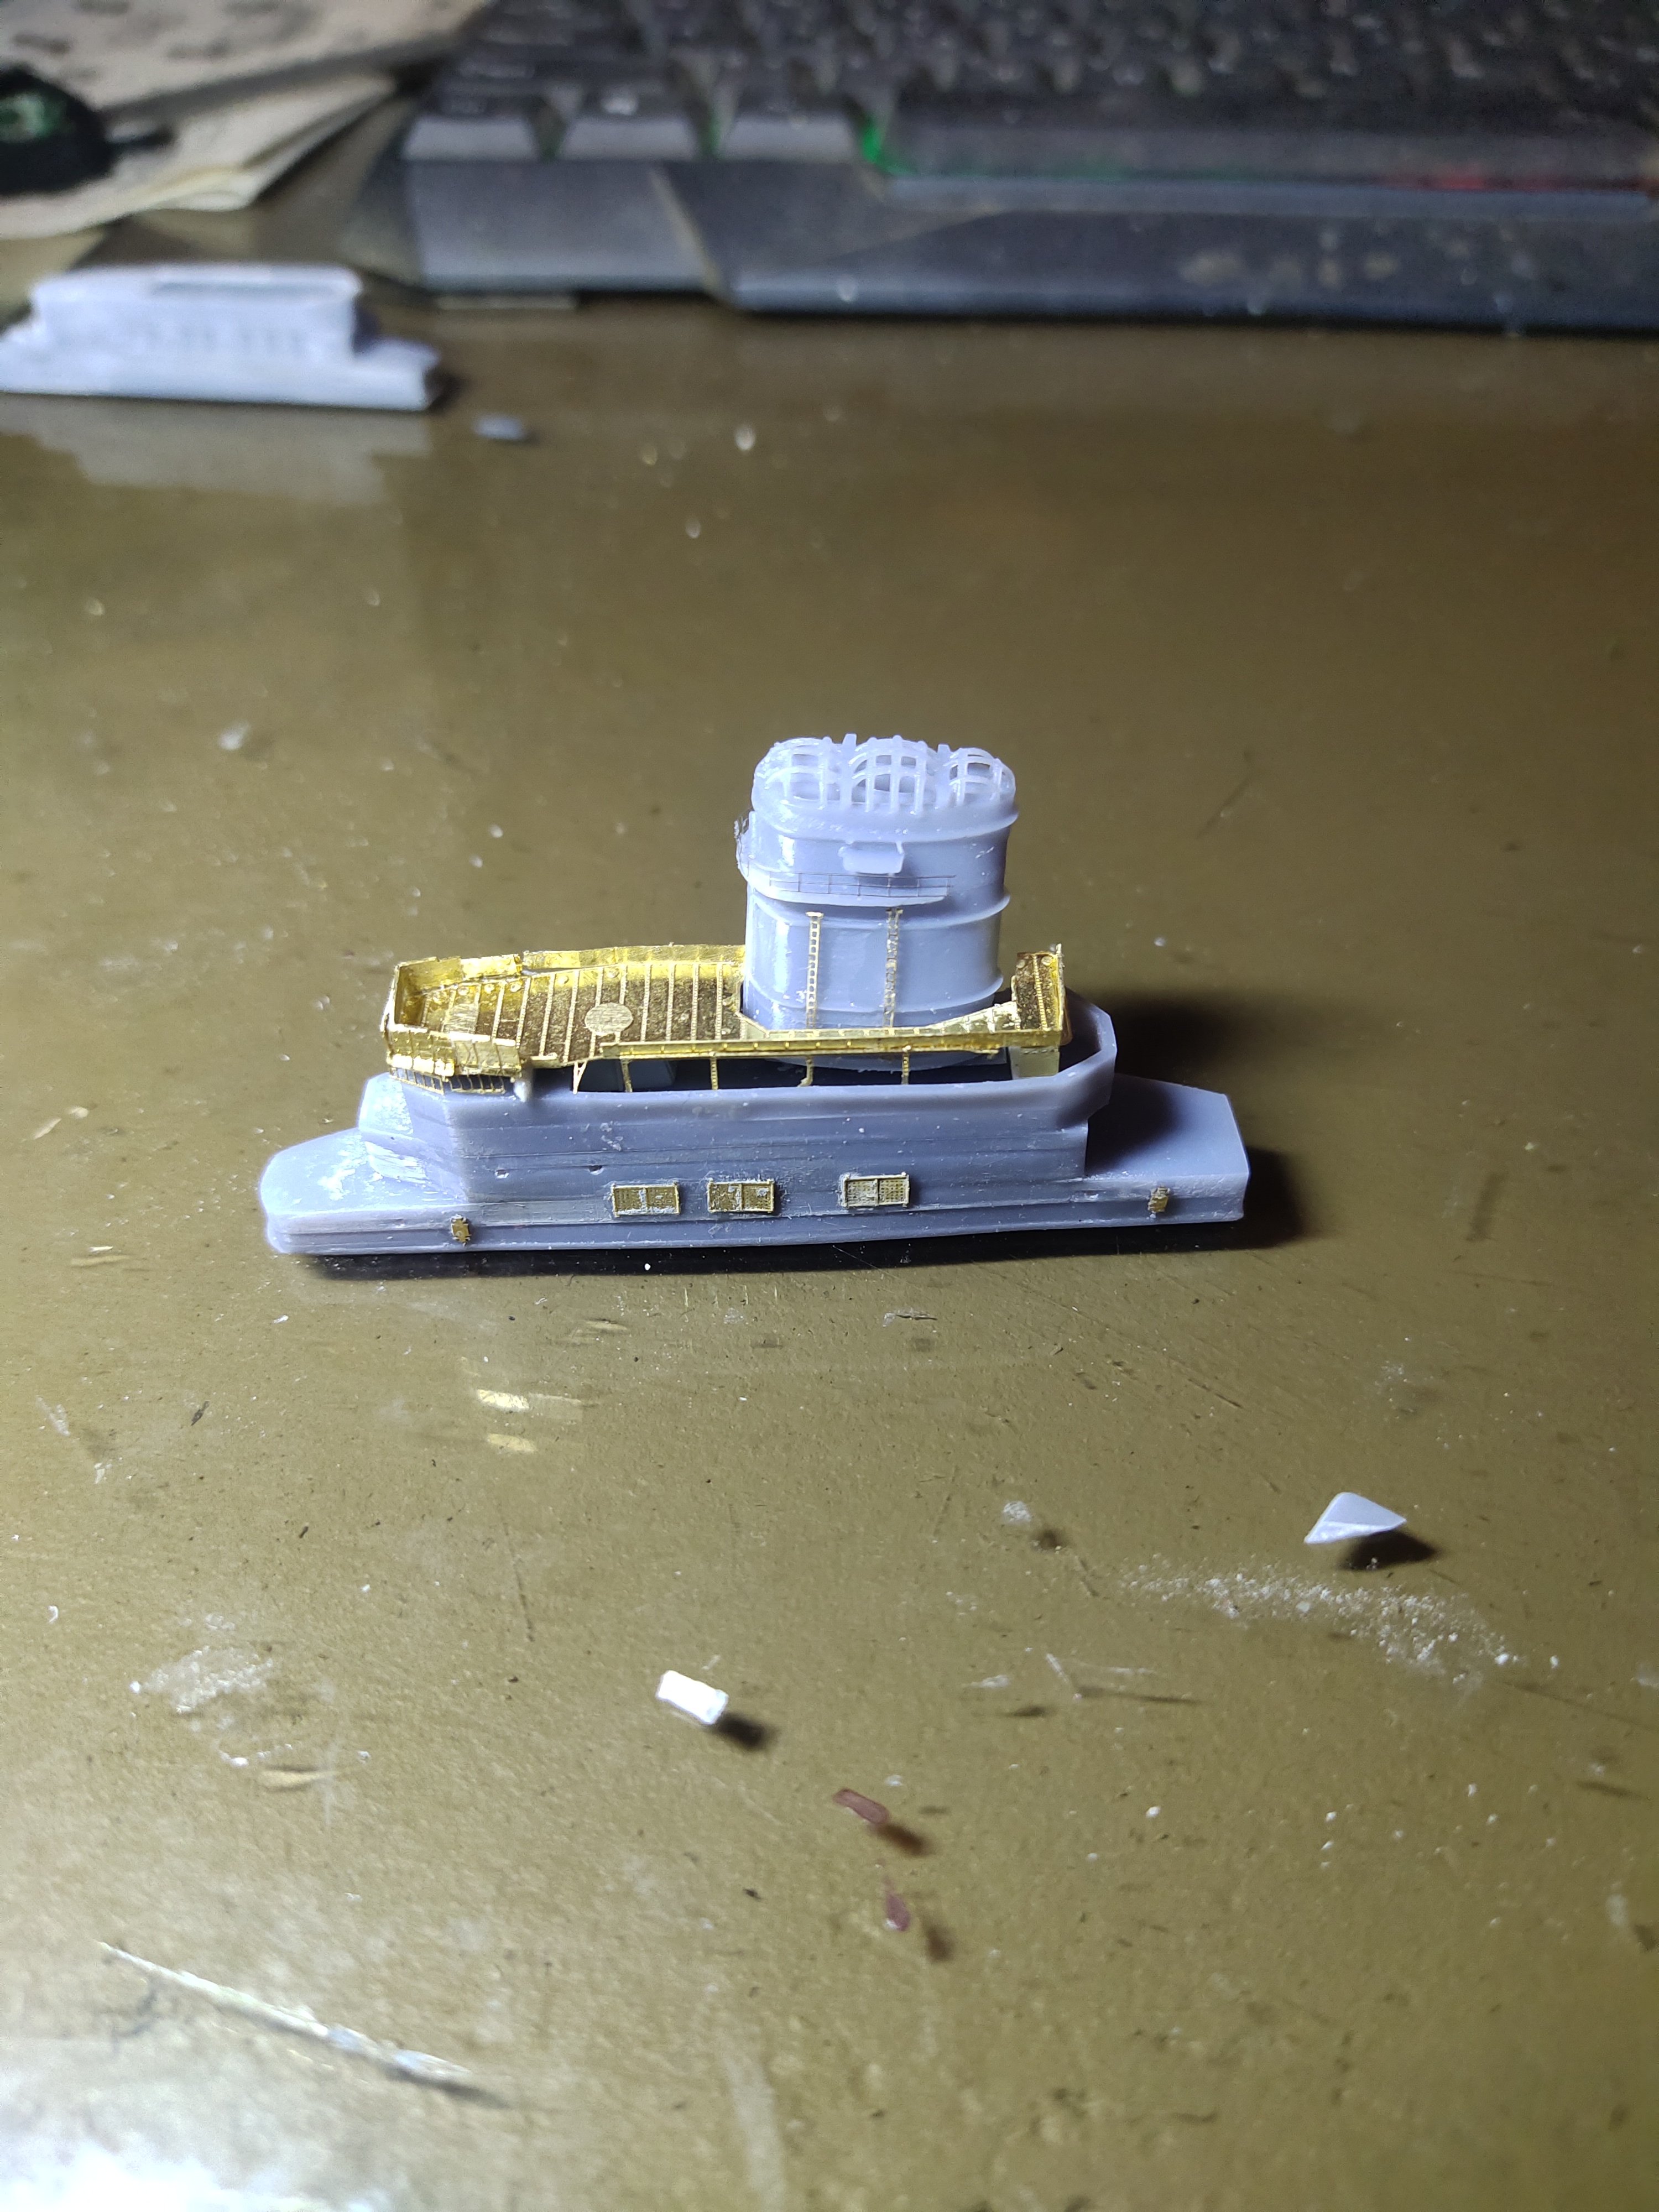
This is my reference I Measured the angle between the front leg of the vertical tripod and the inclined funnel pipe only to find out that this is 32°. According to this I made the new funnel
-
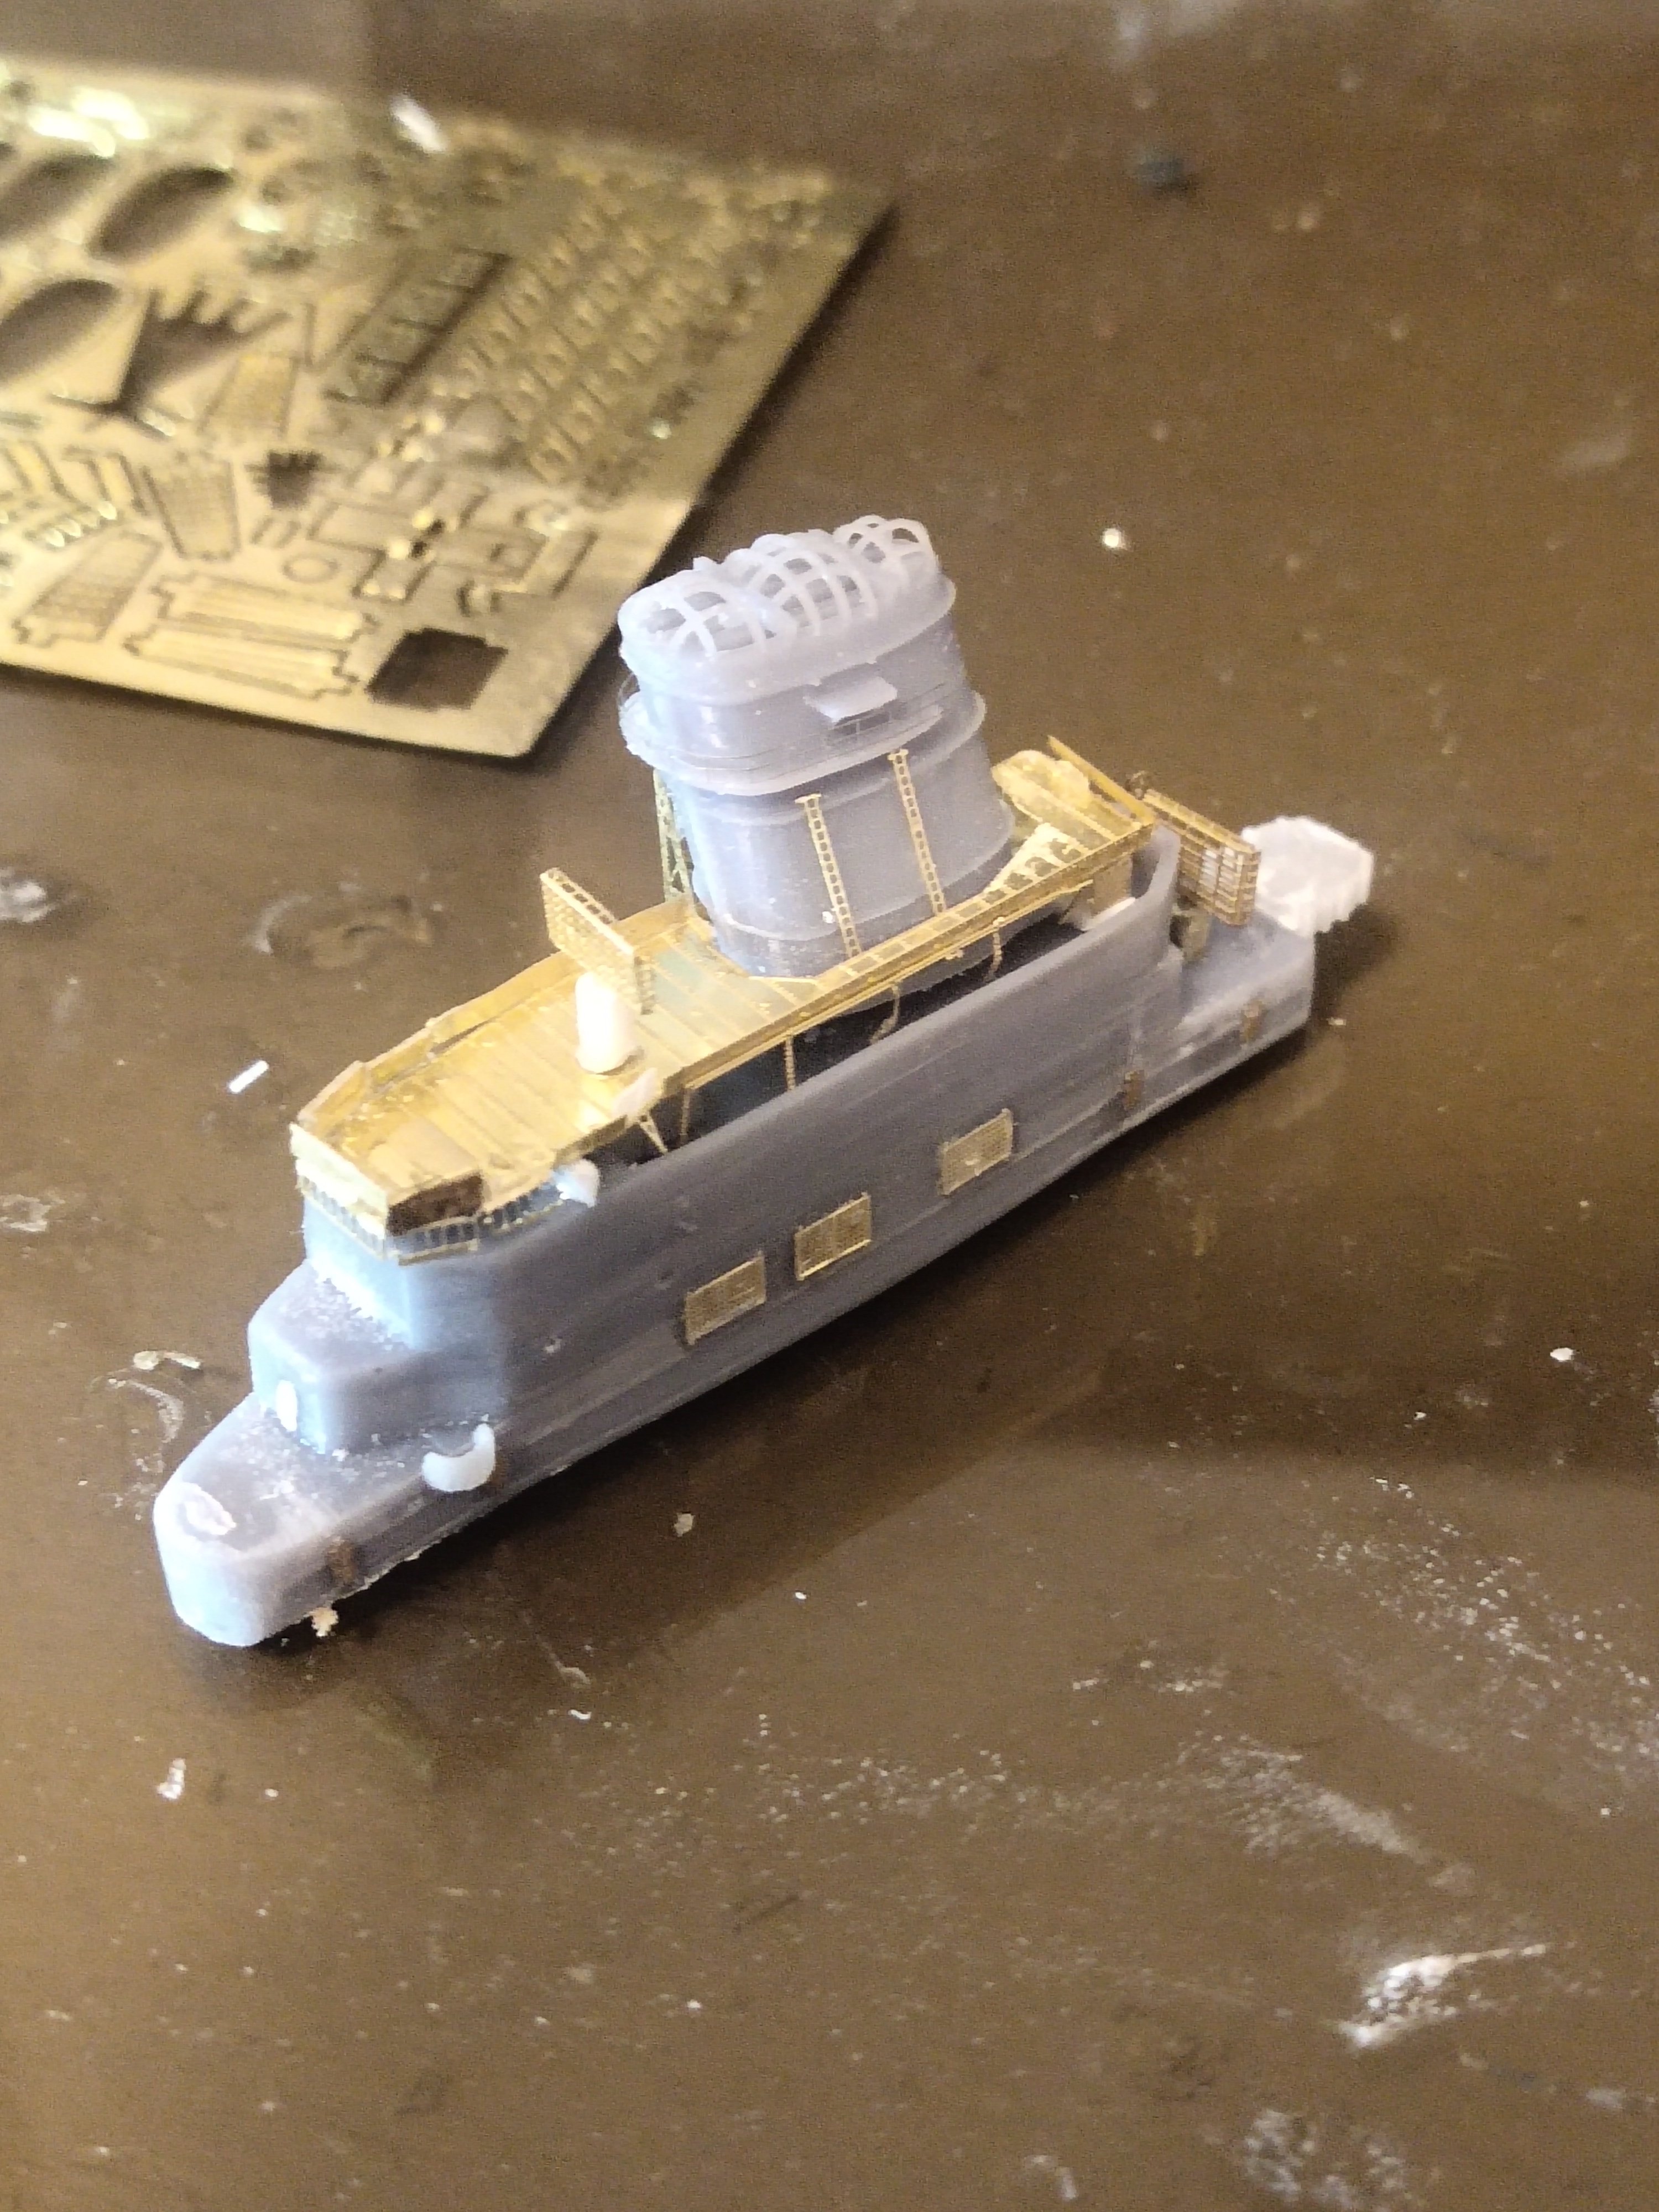
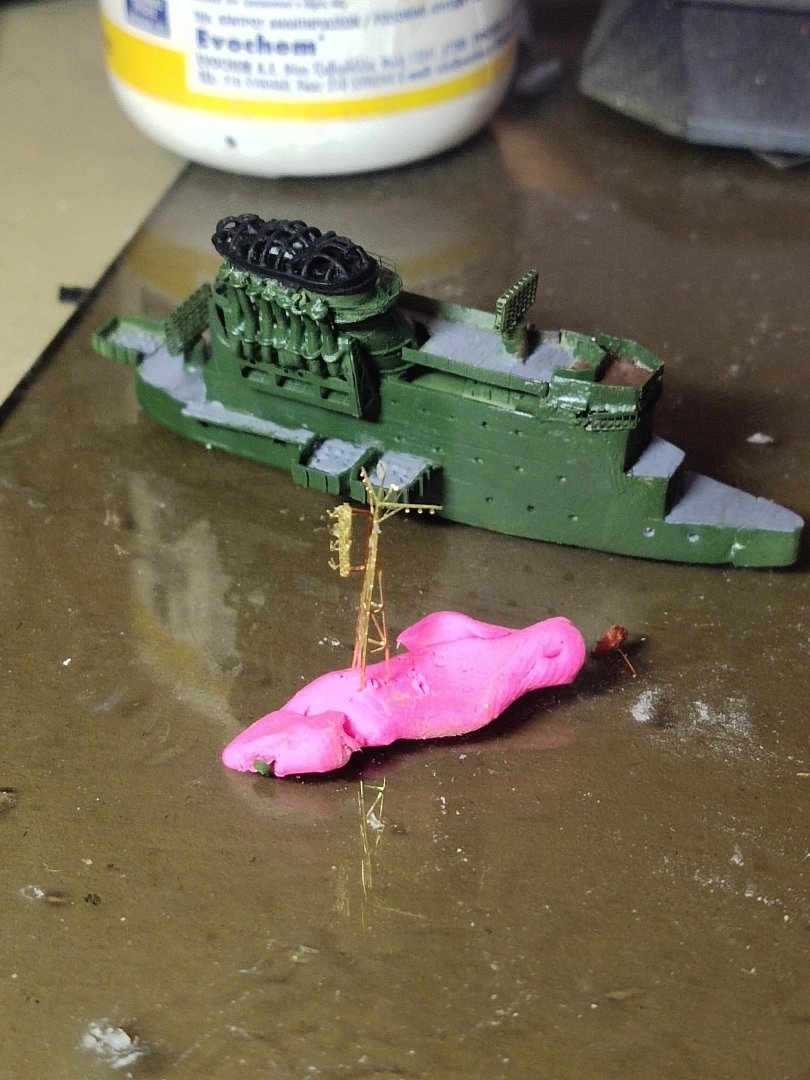
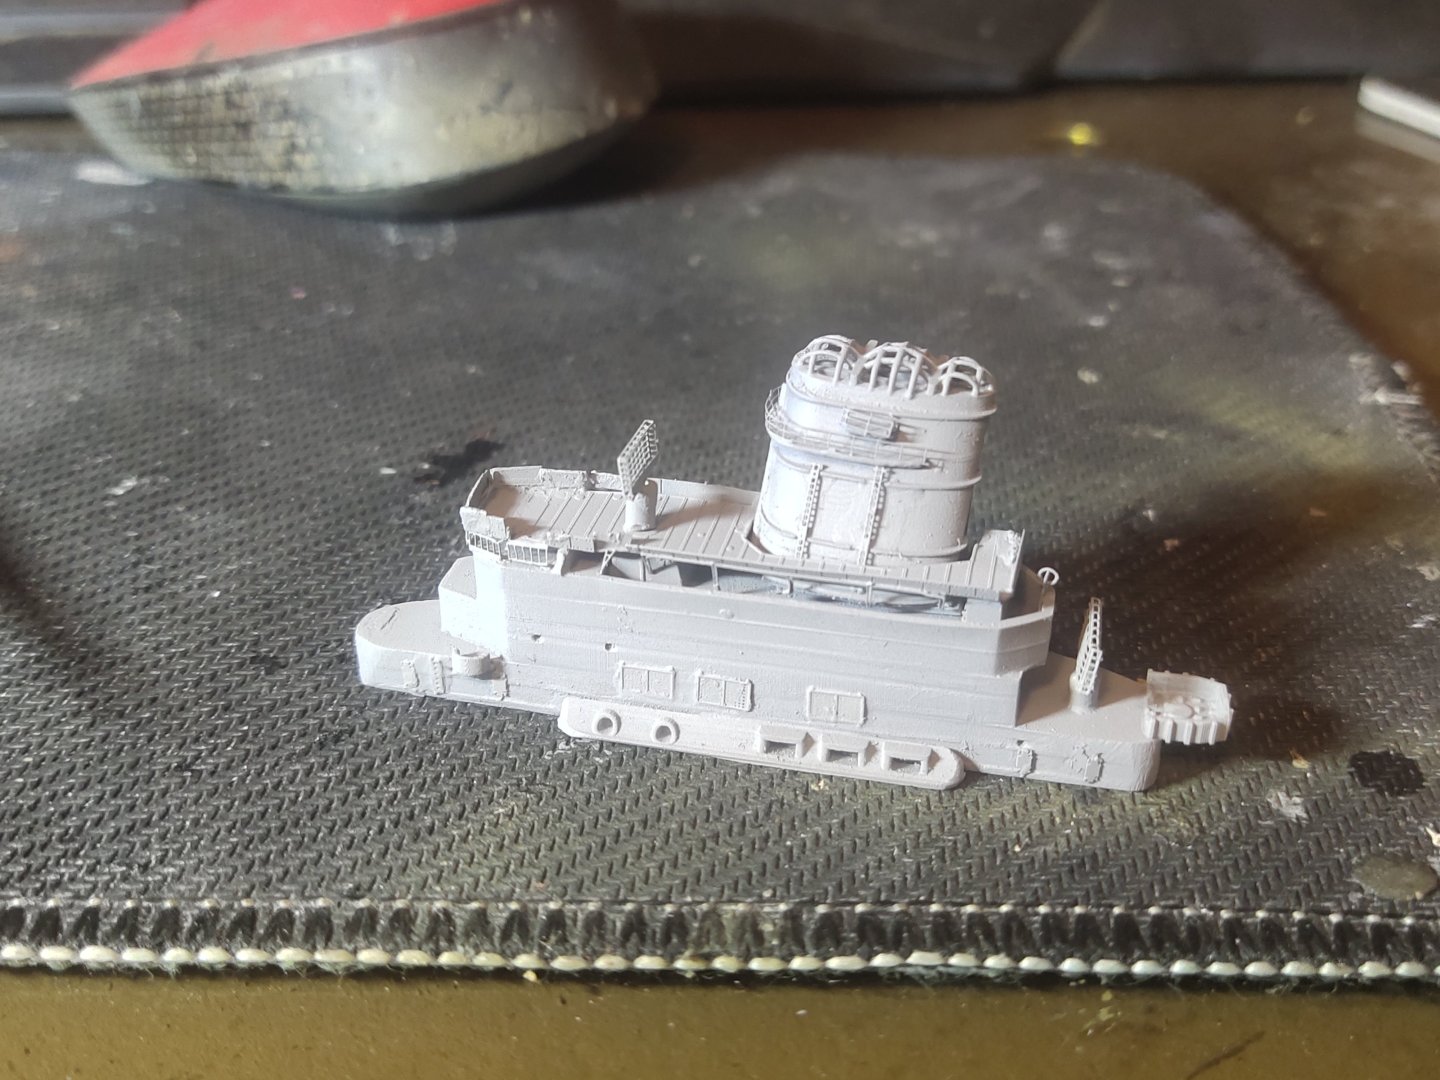
After a lot of experimentation I made the funnel and the bridge structure to the desired size and shape. PE parts added


-
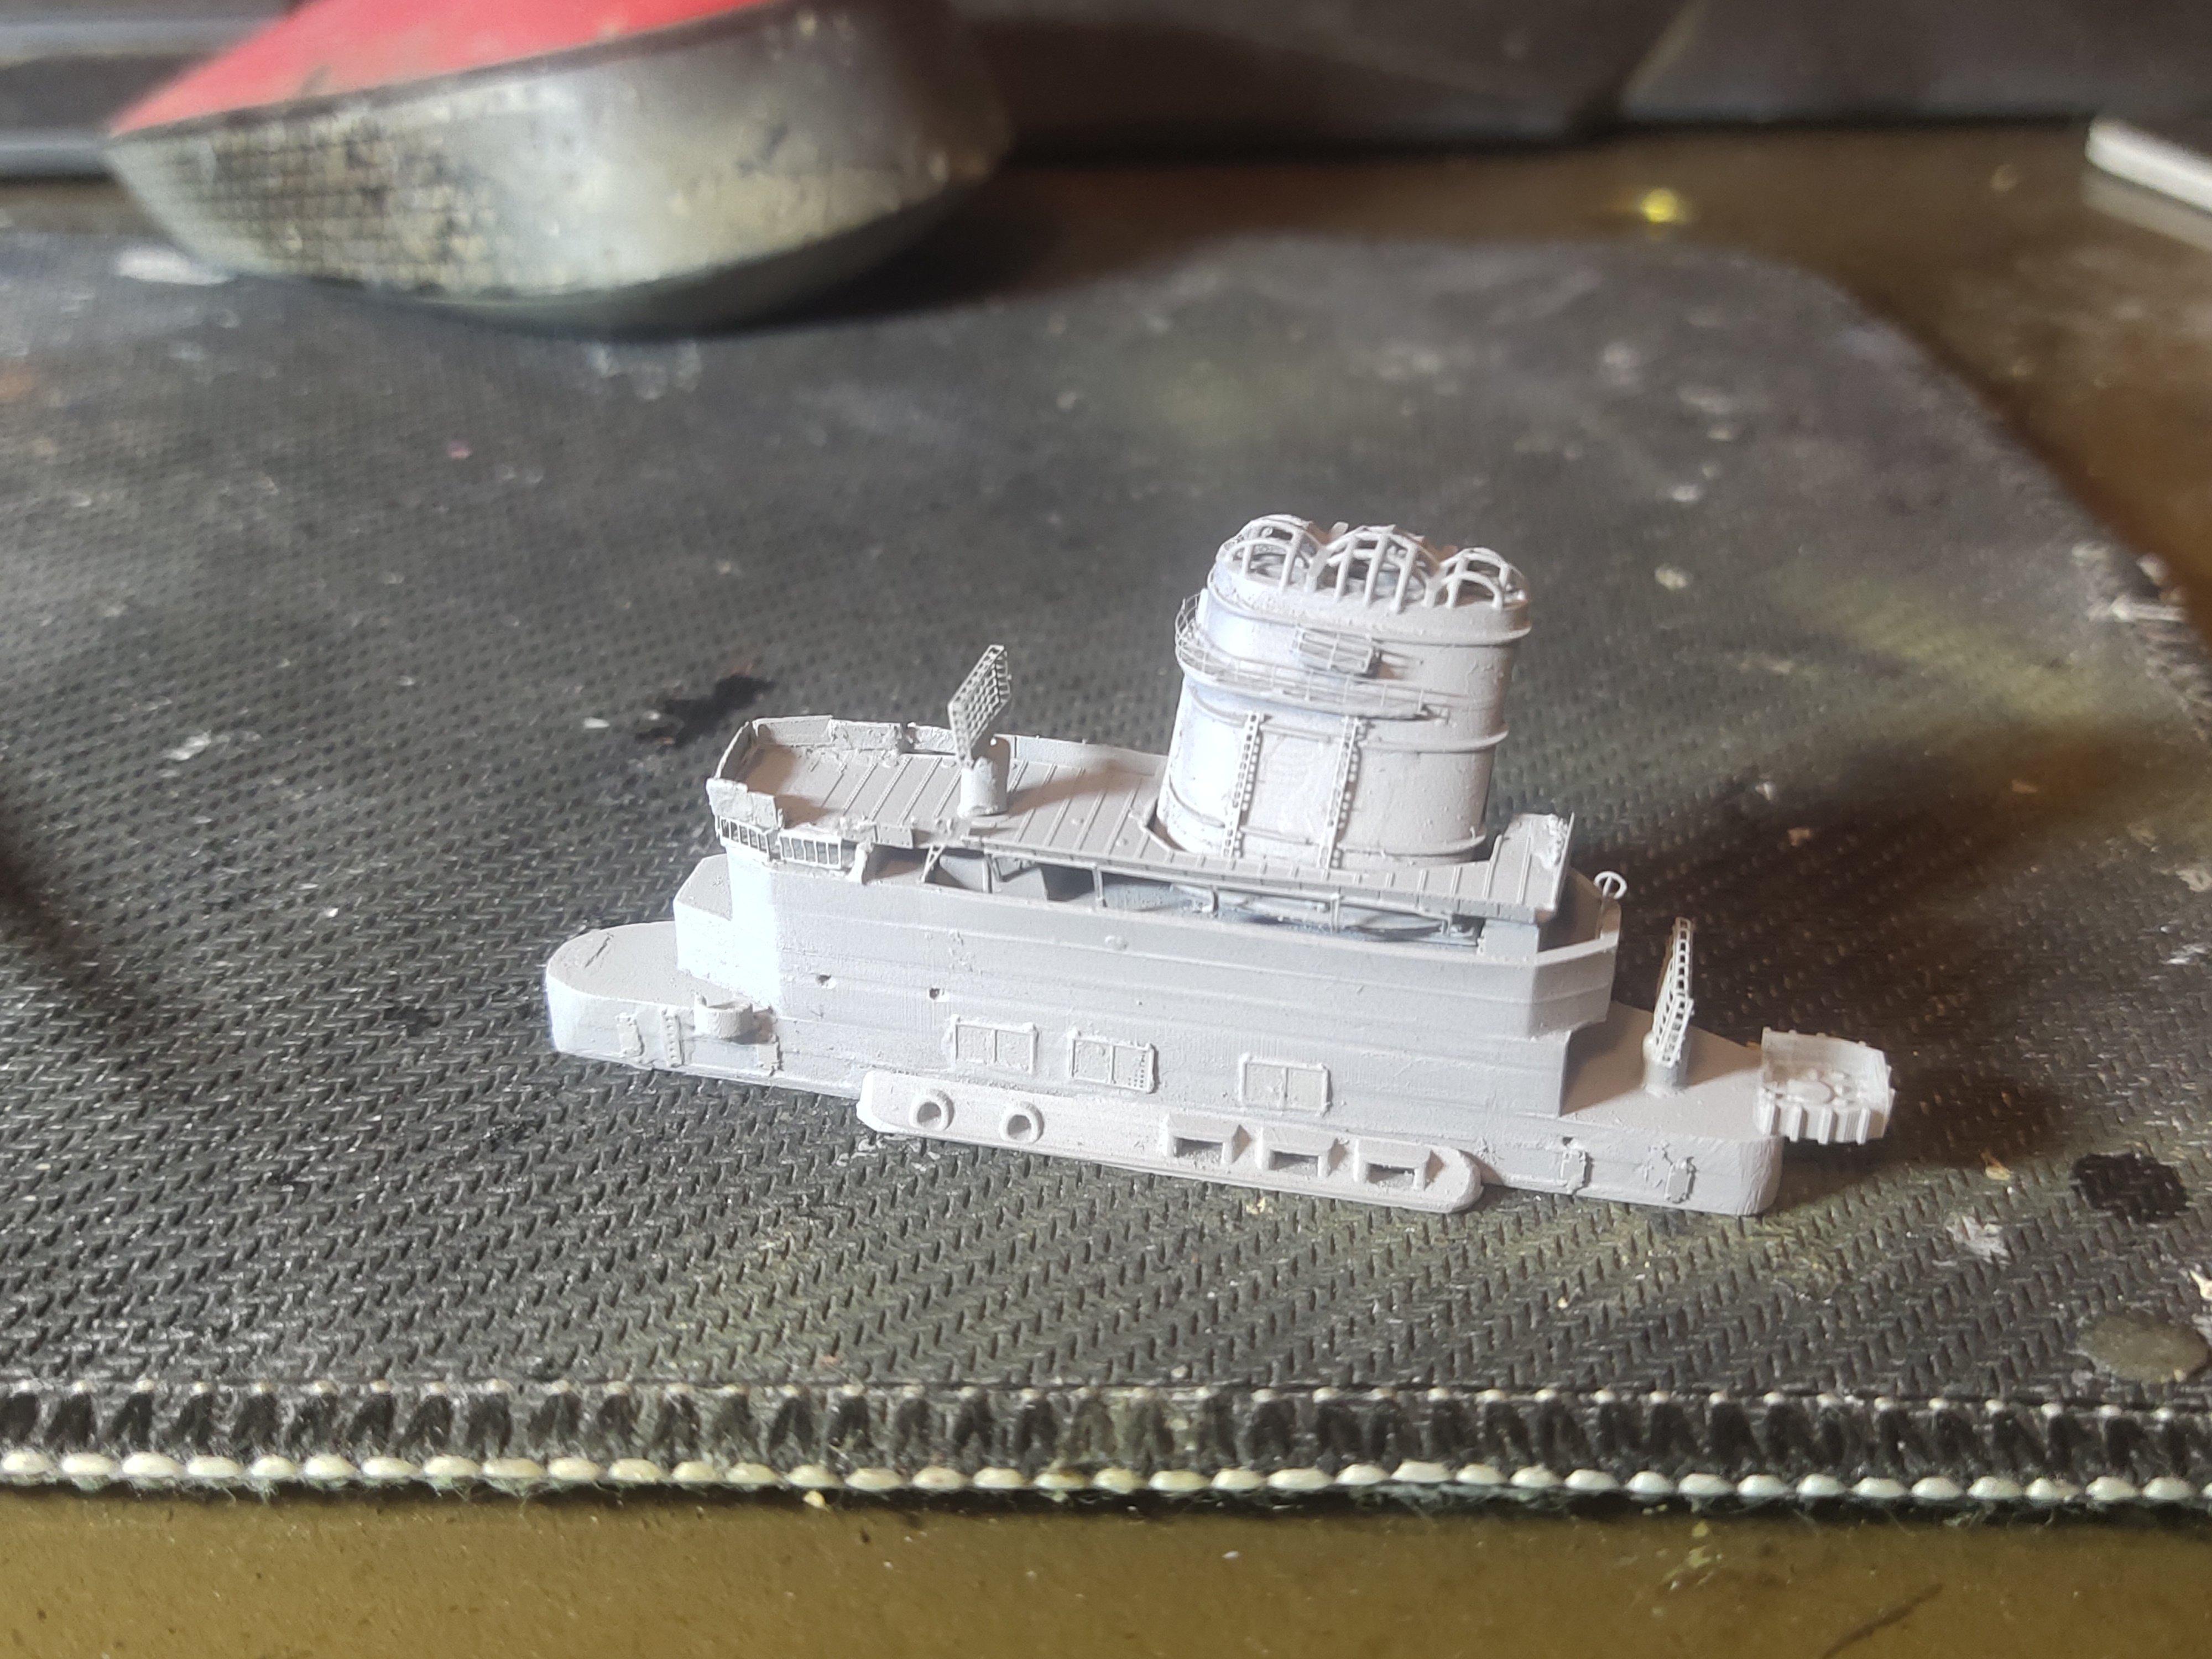
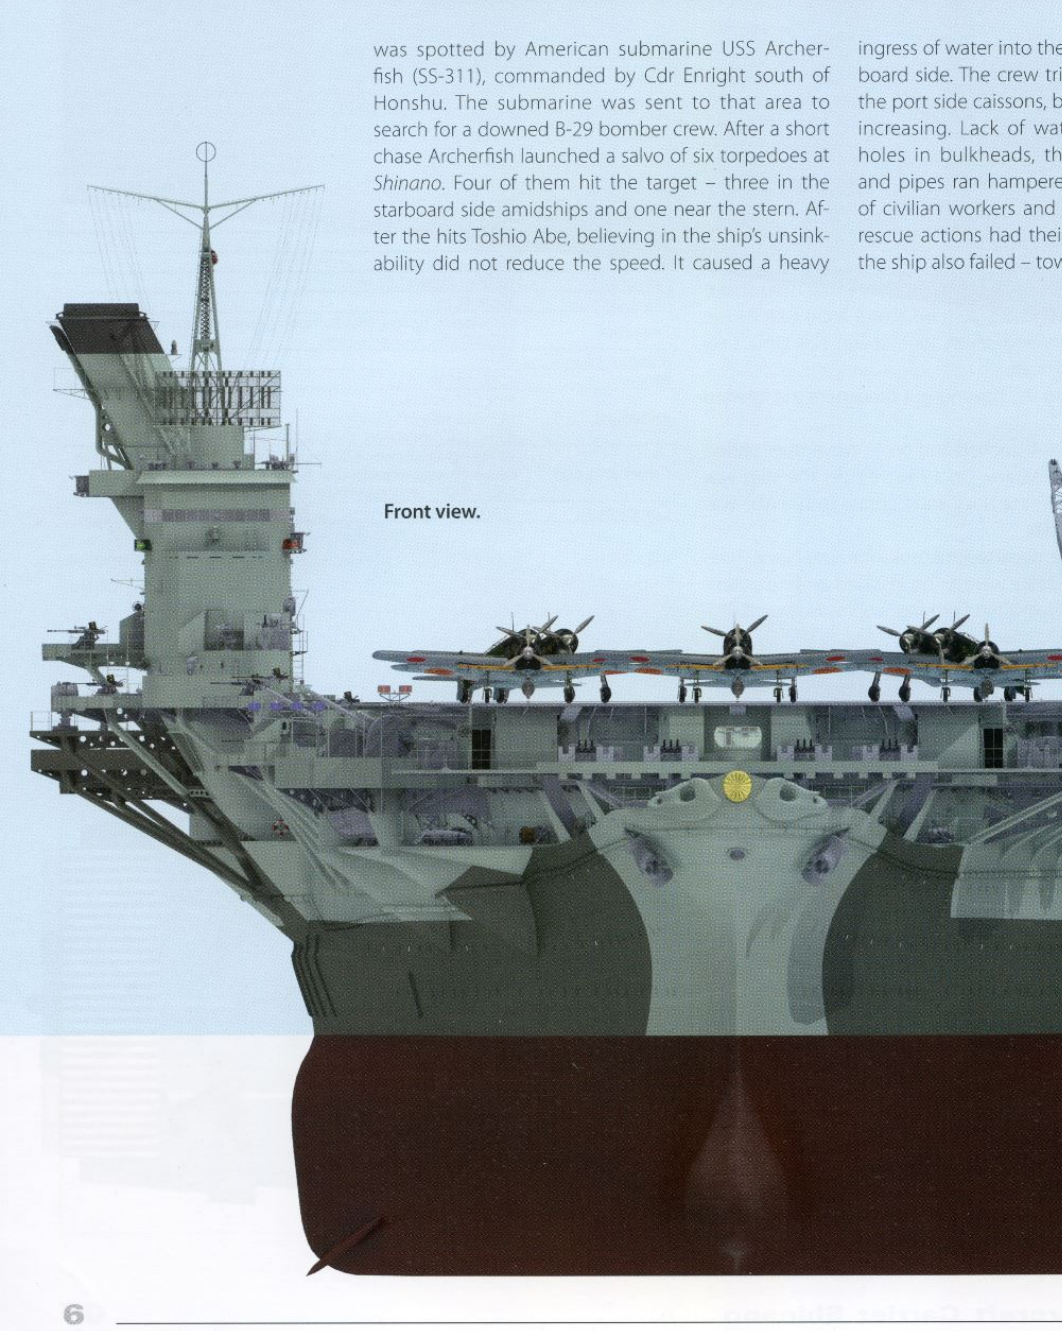
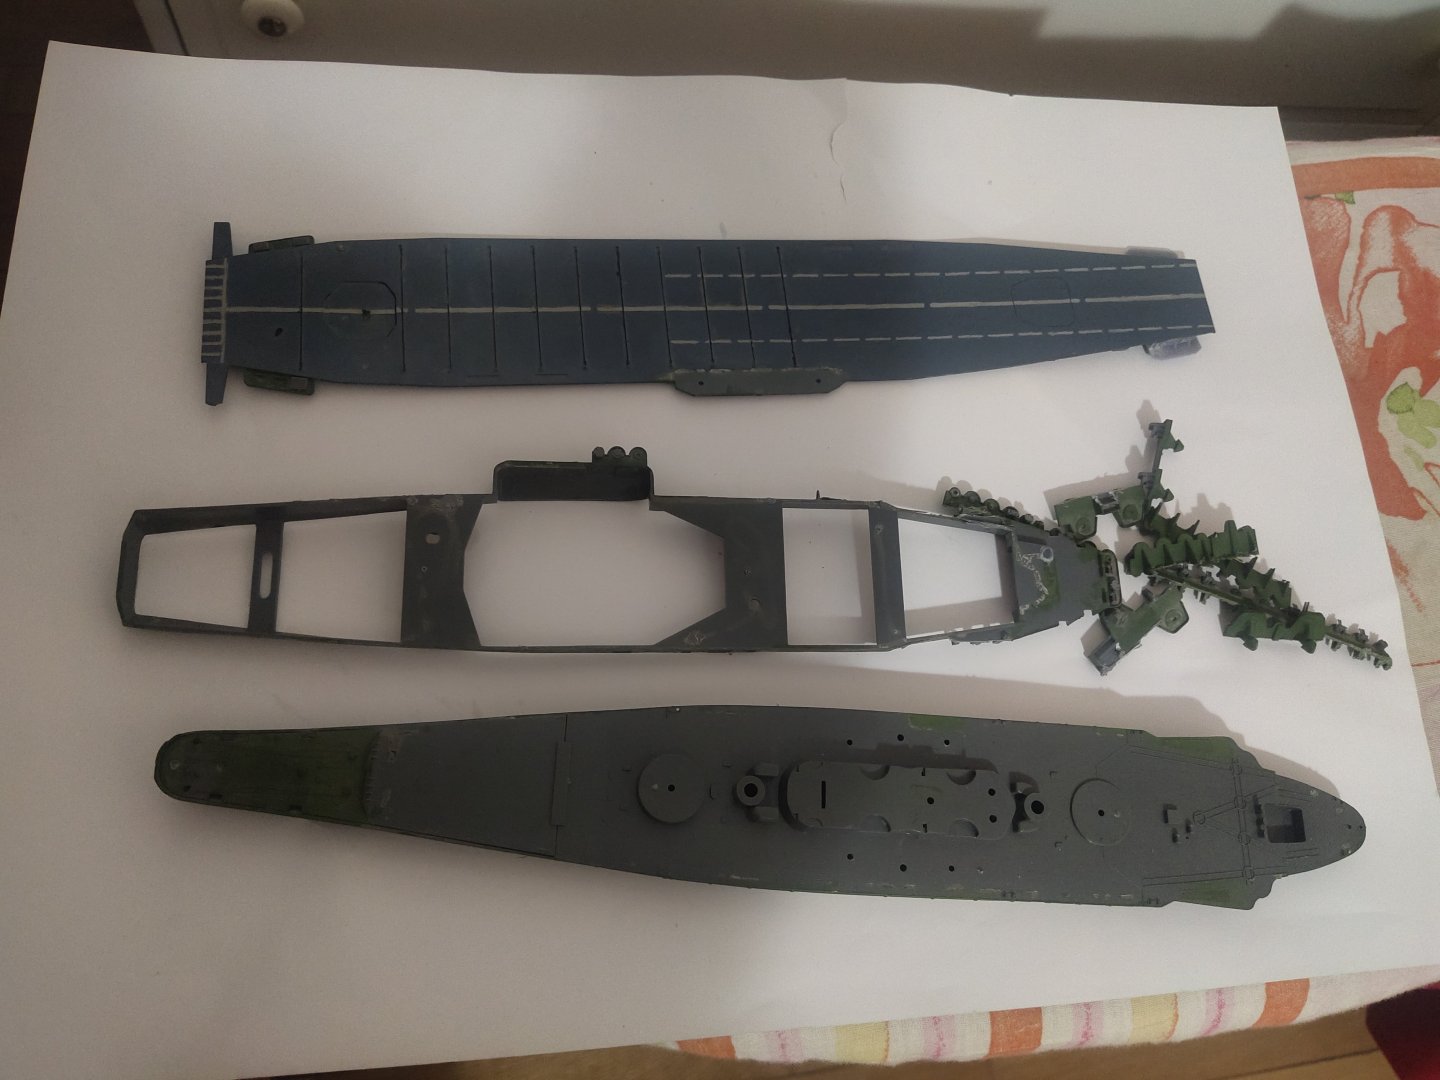
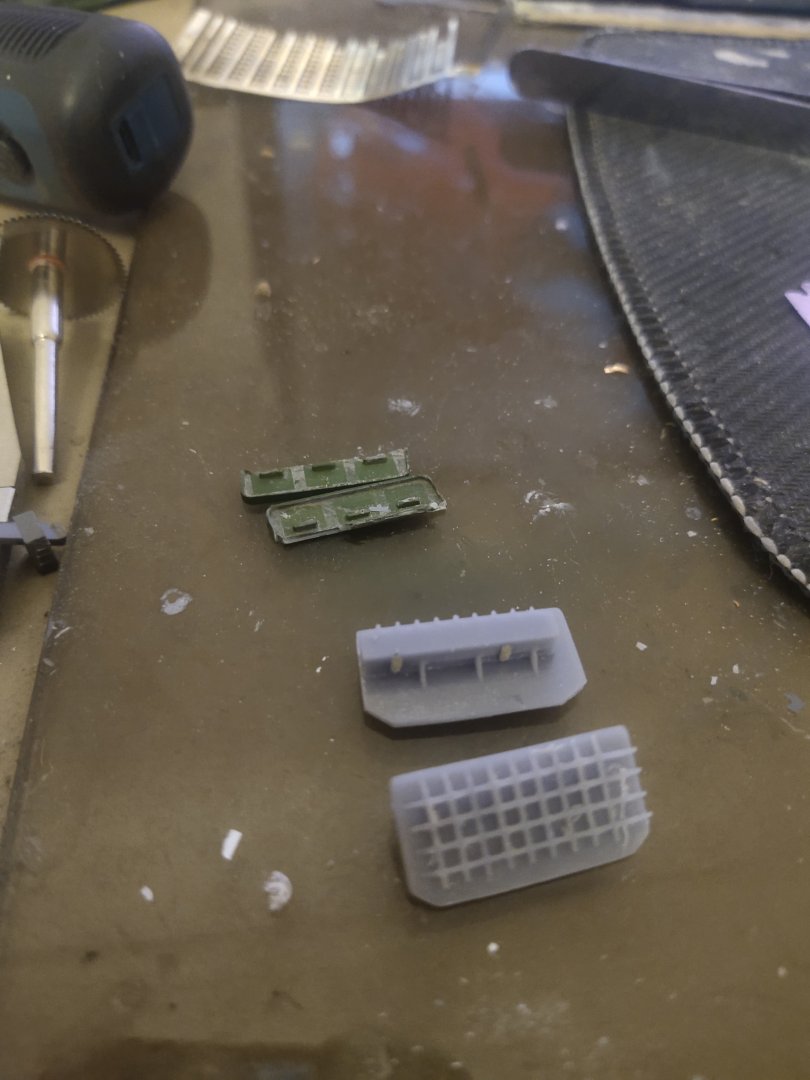
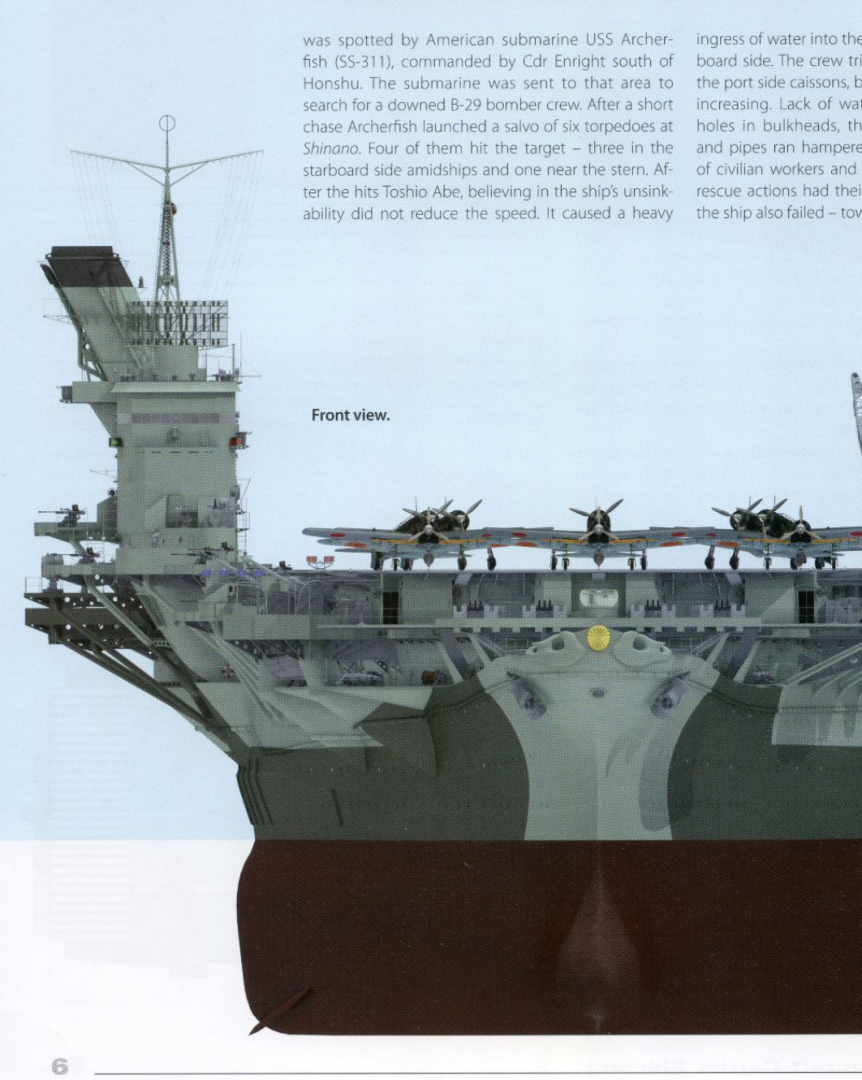
There's only one picture of Shinano available. I have Kagero's 3d book for reference. Starting from the top I realized that the oval shape of the funnel is wrong. So I printed some replacements to experiment with a teardrop shape. The superstructure is also not compatible with the PE parts so I need to work with it also Under the deck there is actually a Yamato class hull which seems that Tamiya used this to the Yamato or Mushasi model


-
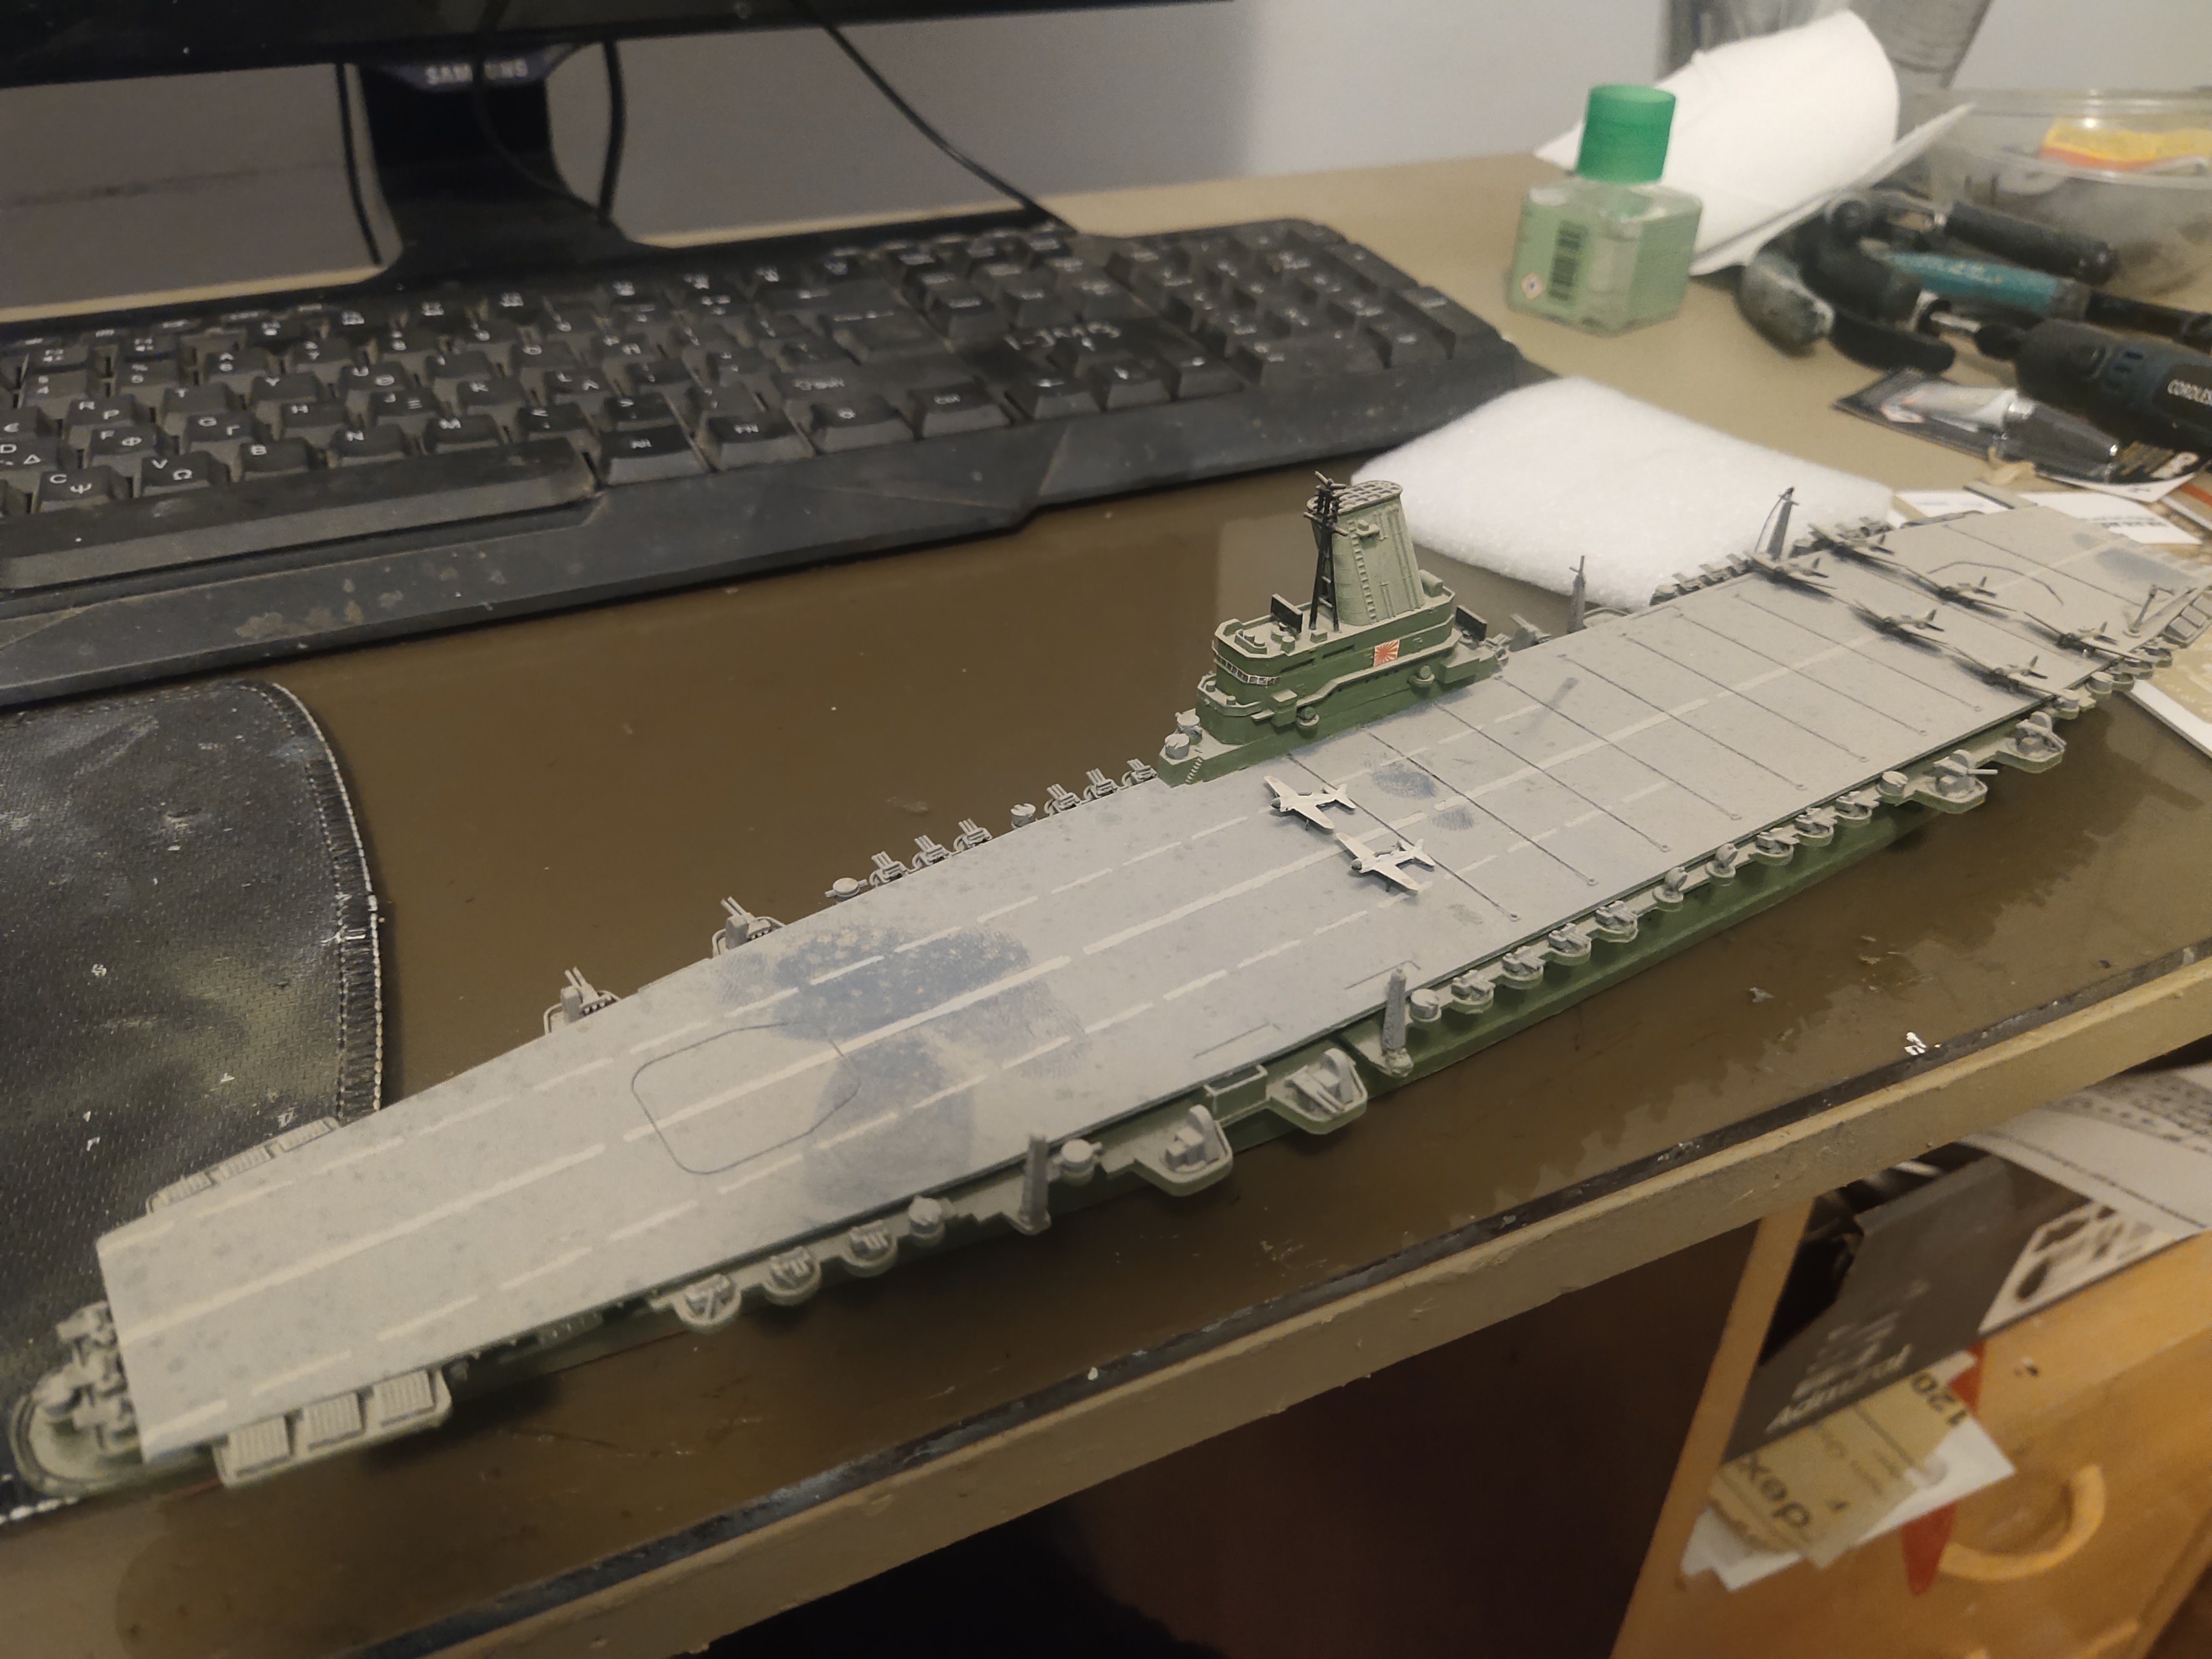
Next IJN Shinano by Tamiya. An almost intact model in big size. After washing the deck color was revealed

-
Merkava III by mikegr - Revell - 1/72 - PLASTIC
mikegr replied to mikegr's topic in Non-ship/categorised builds
A world class job in 1/35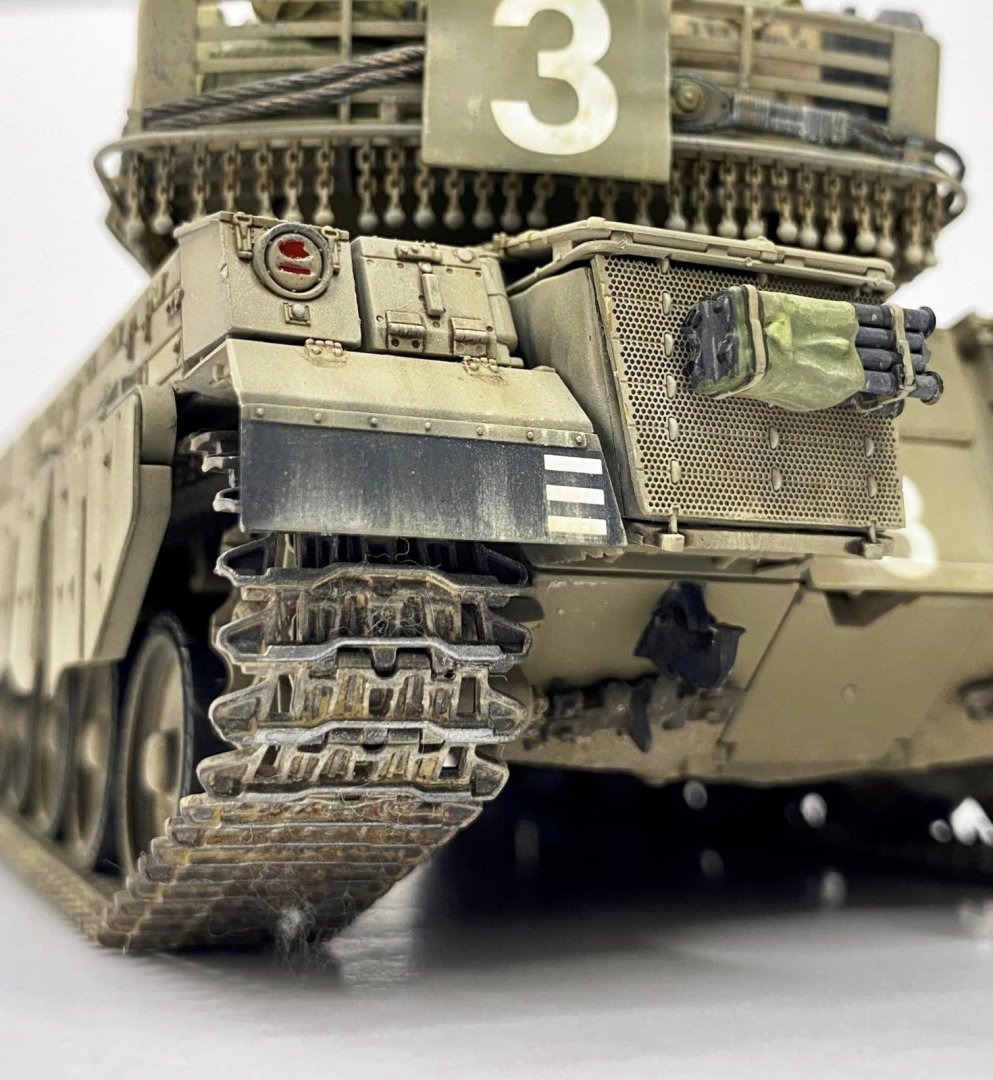


-
Merkava III by mikegr - Revell - 1/72 - PLASTIC
mikegr replied to mikegr's topic in Non-ship/categorised builds
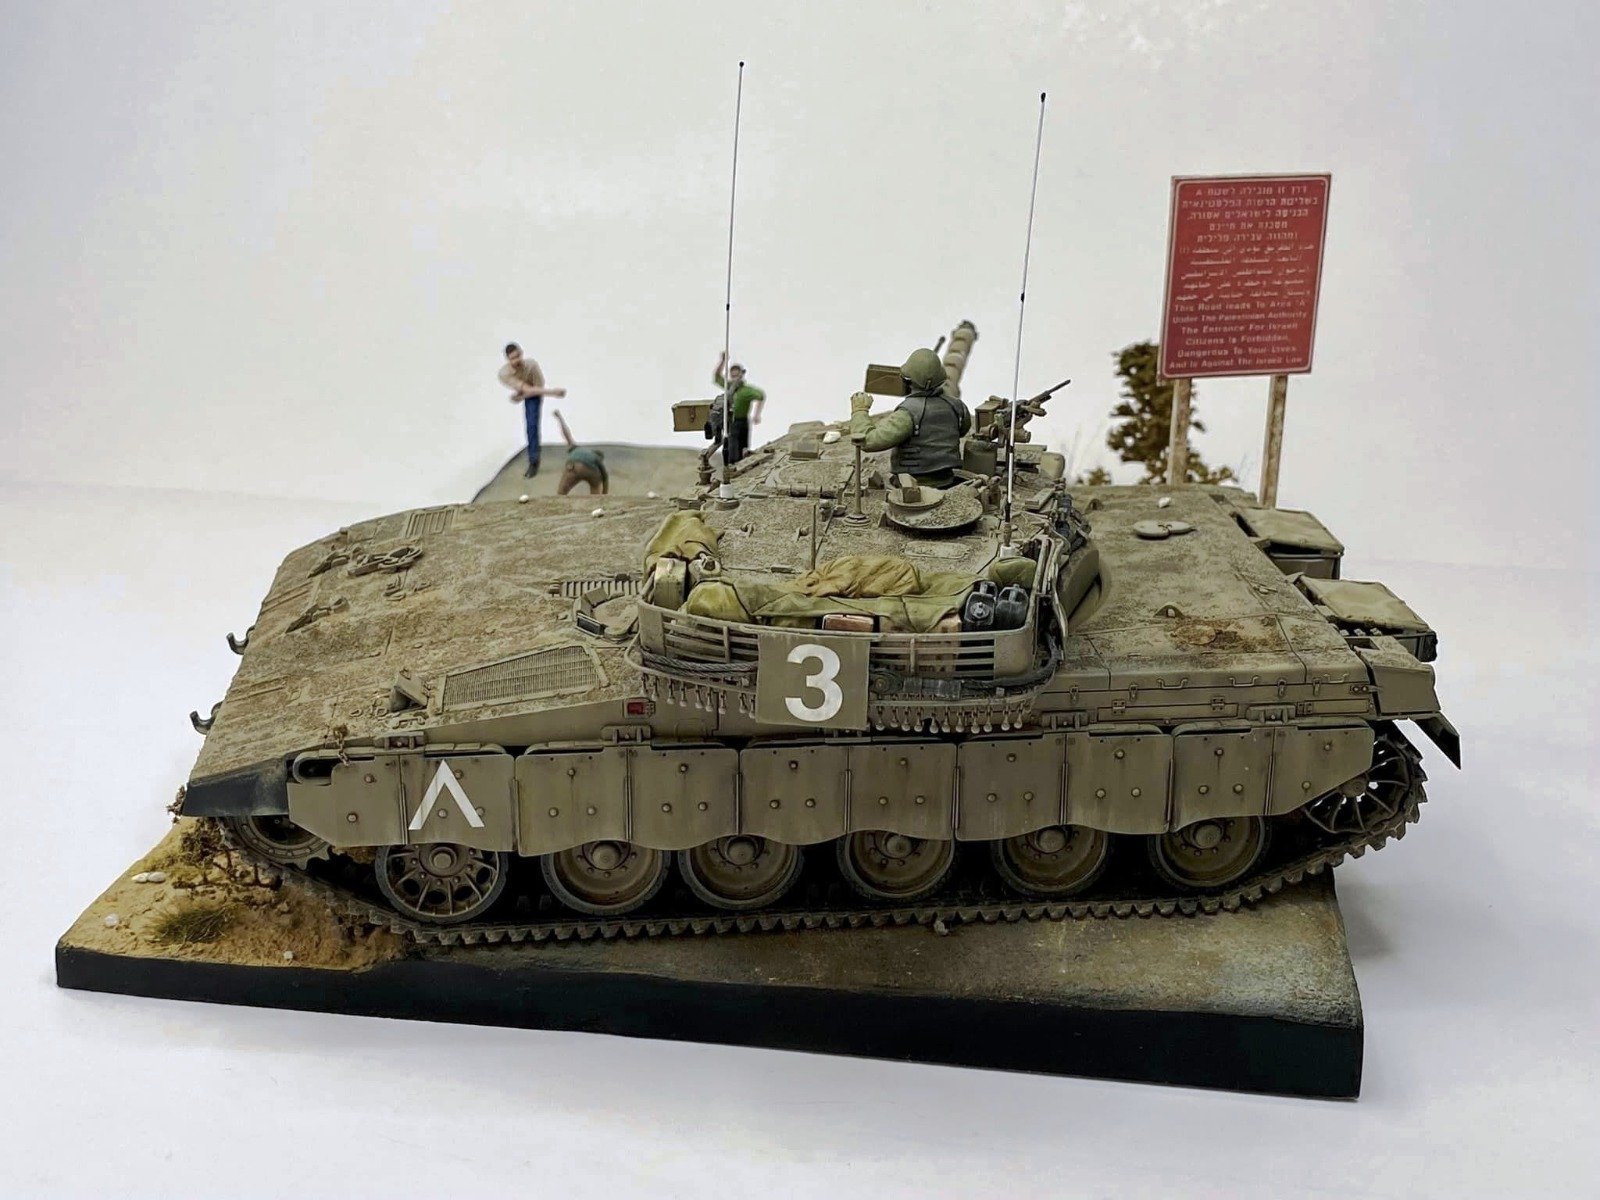
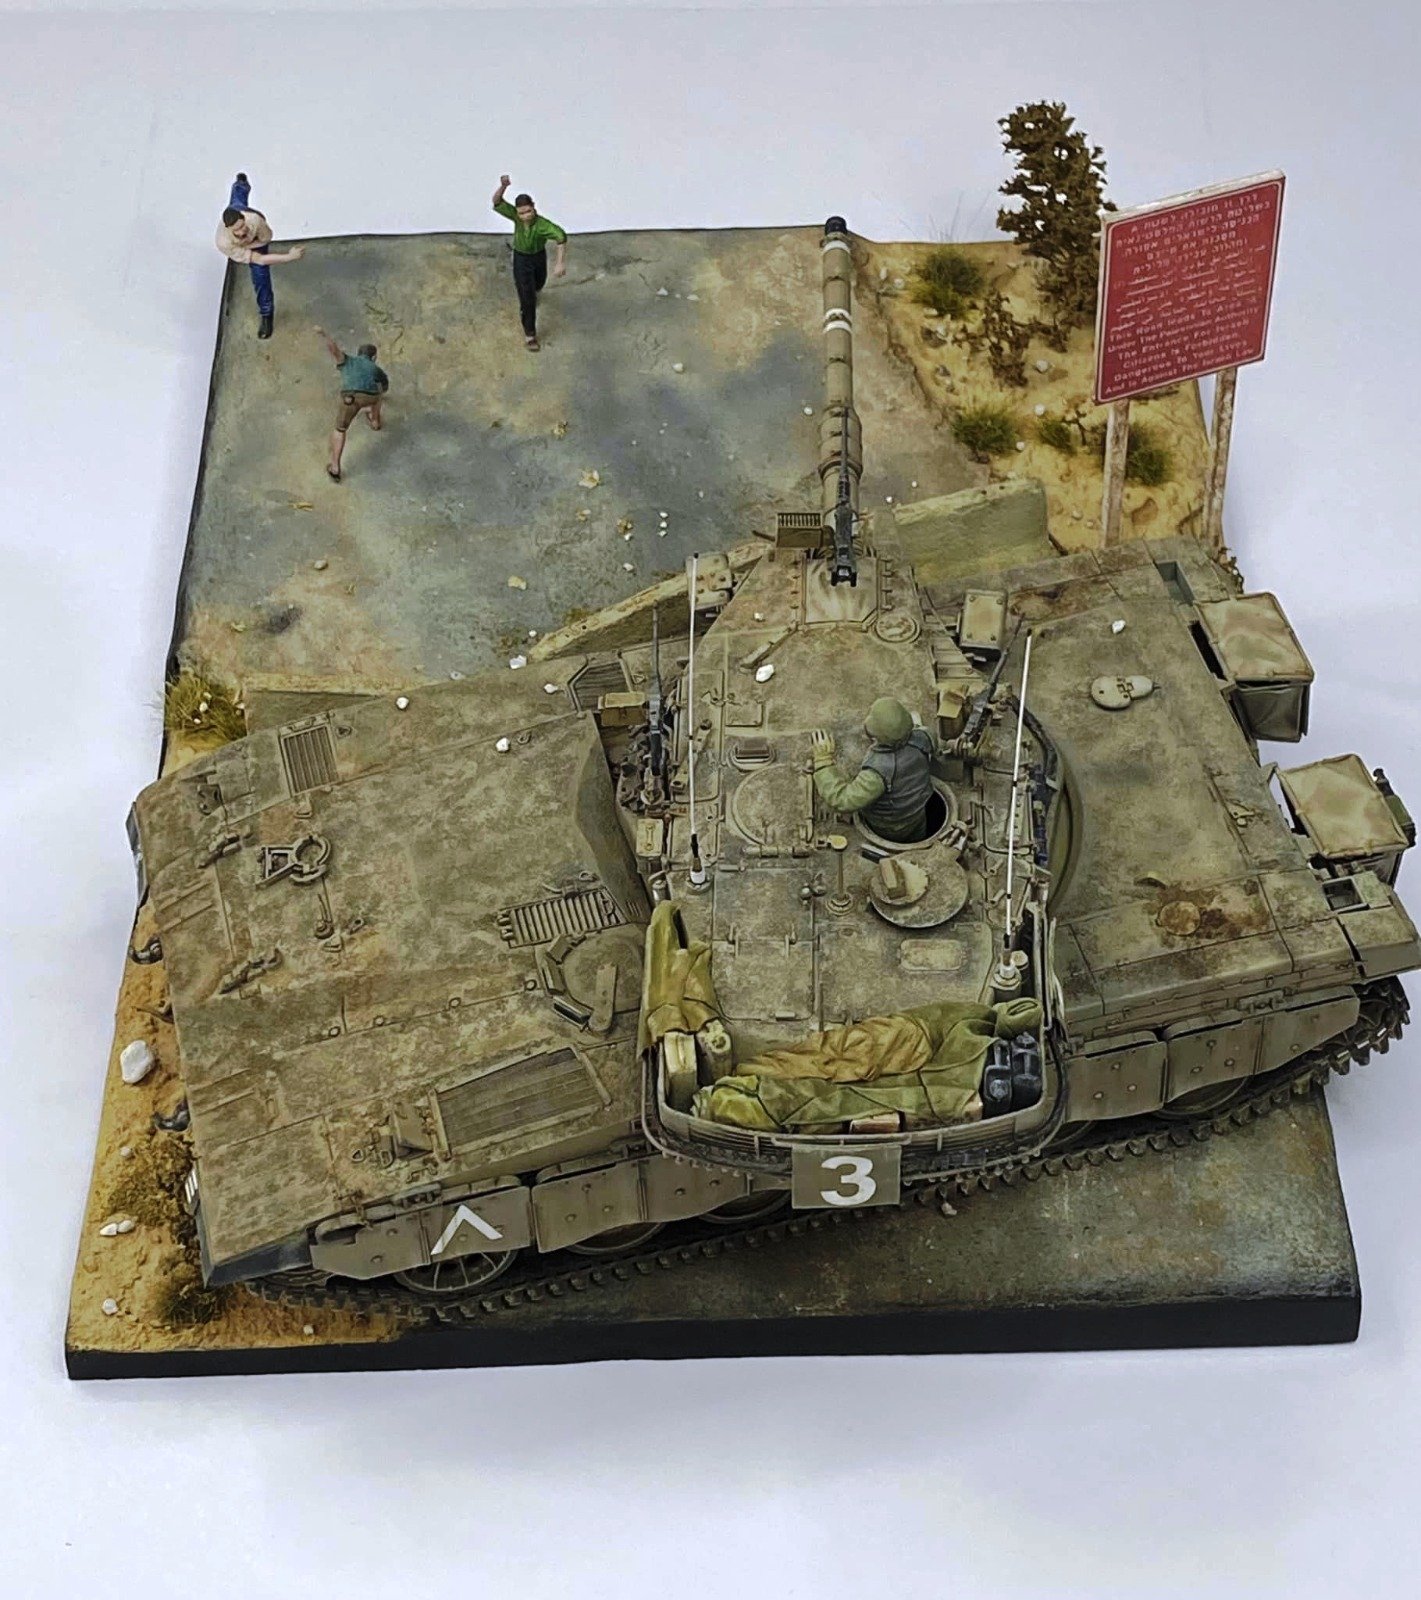
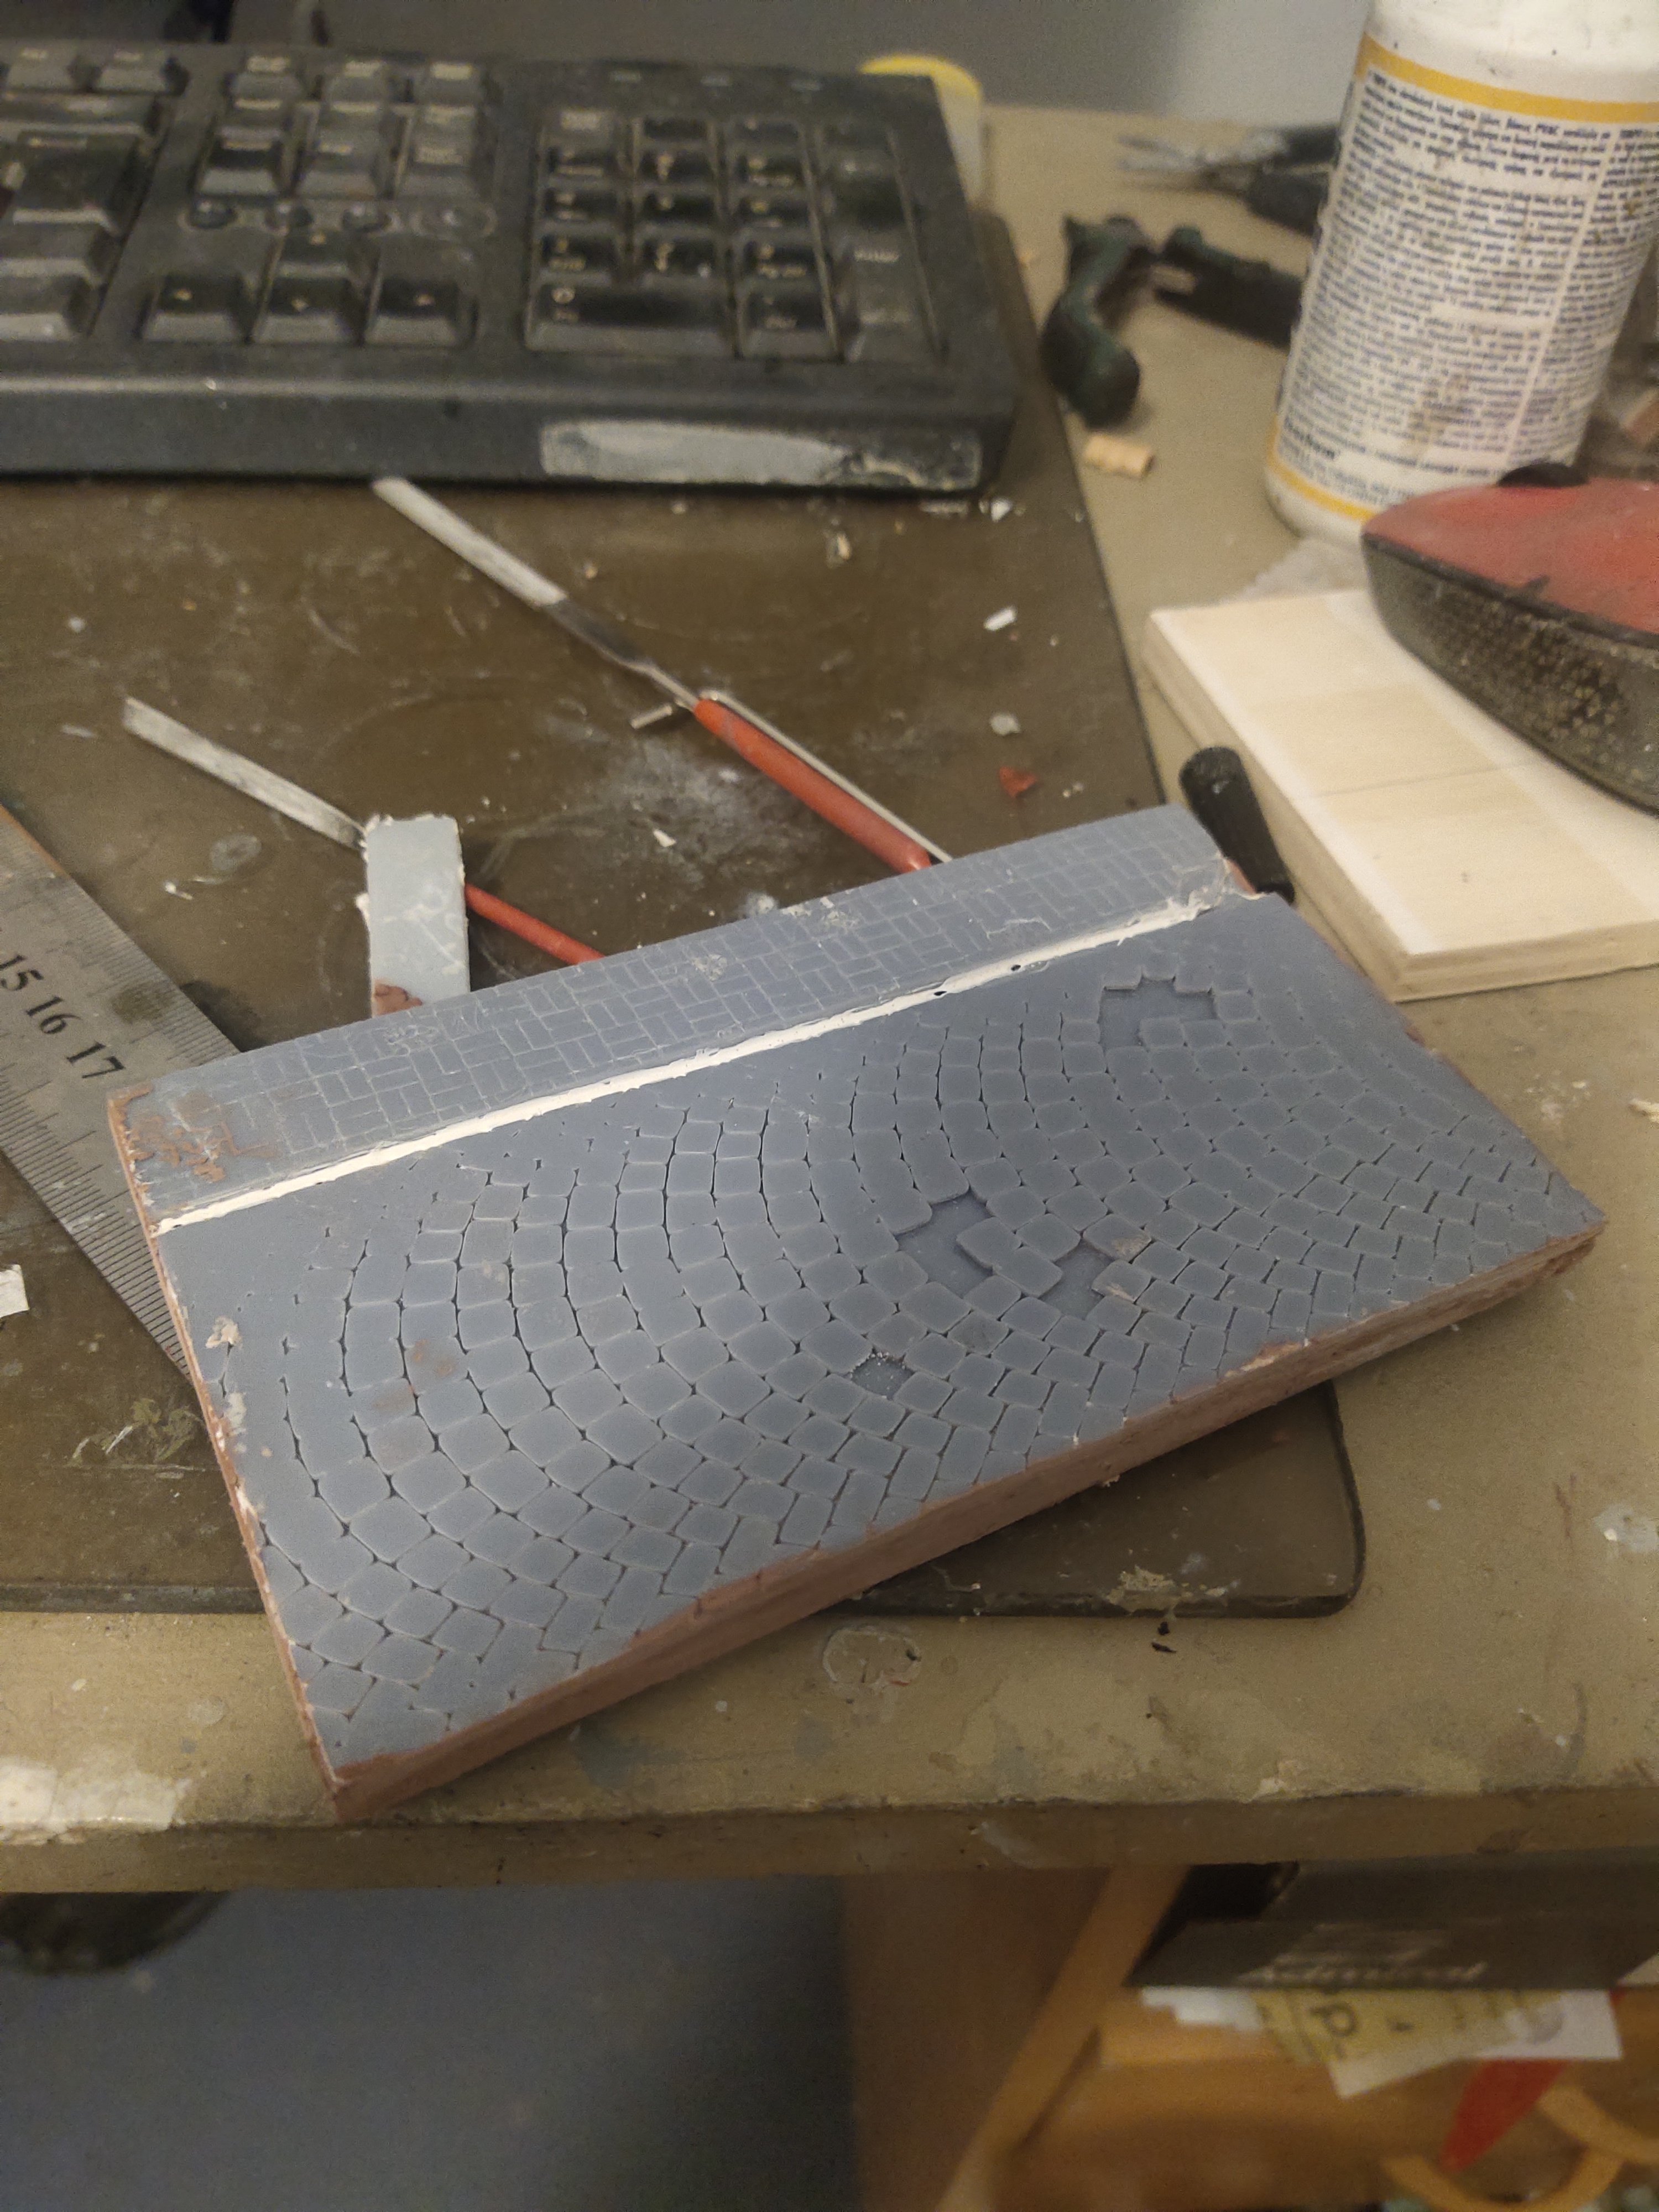
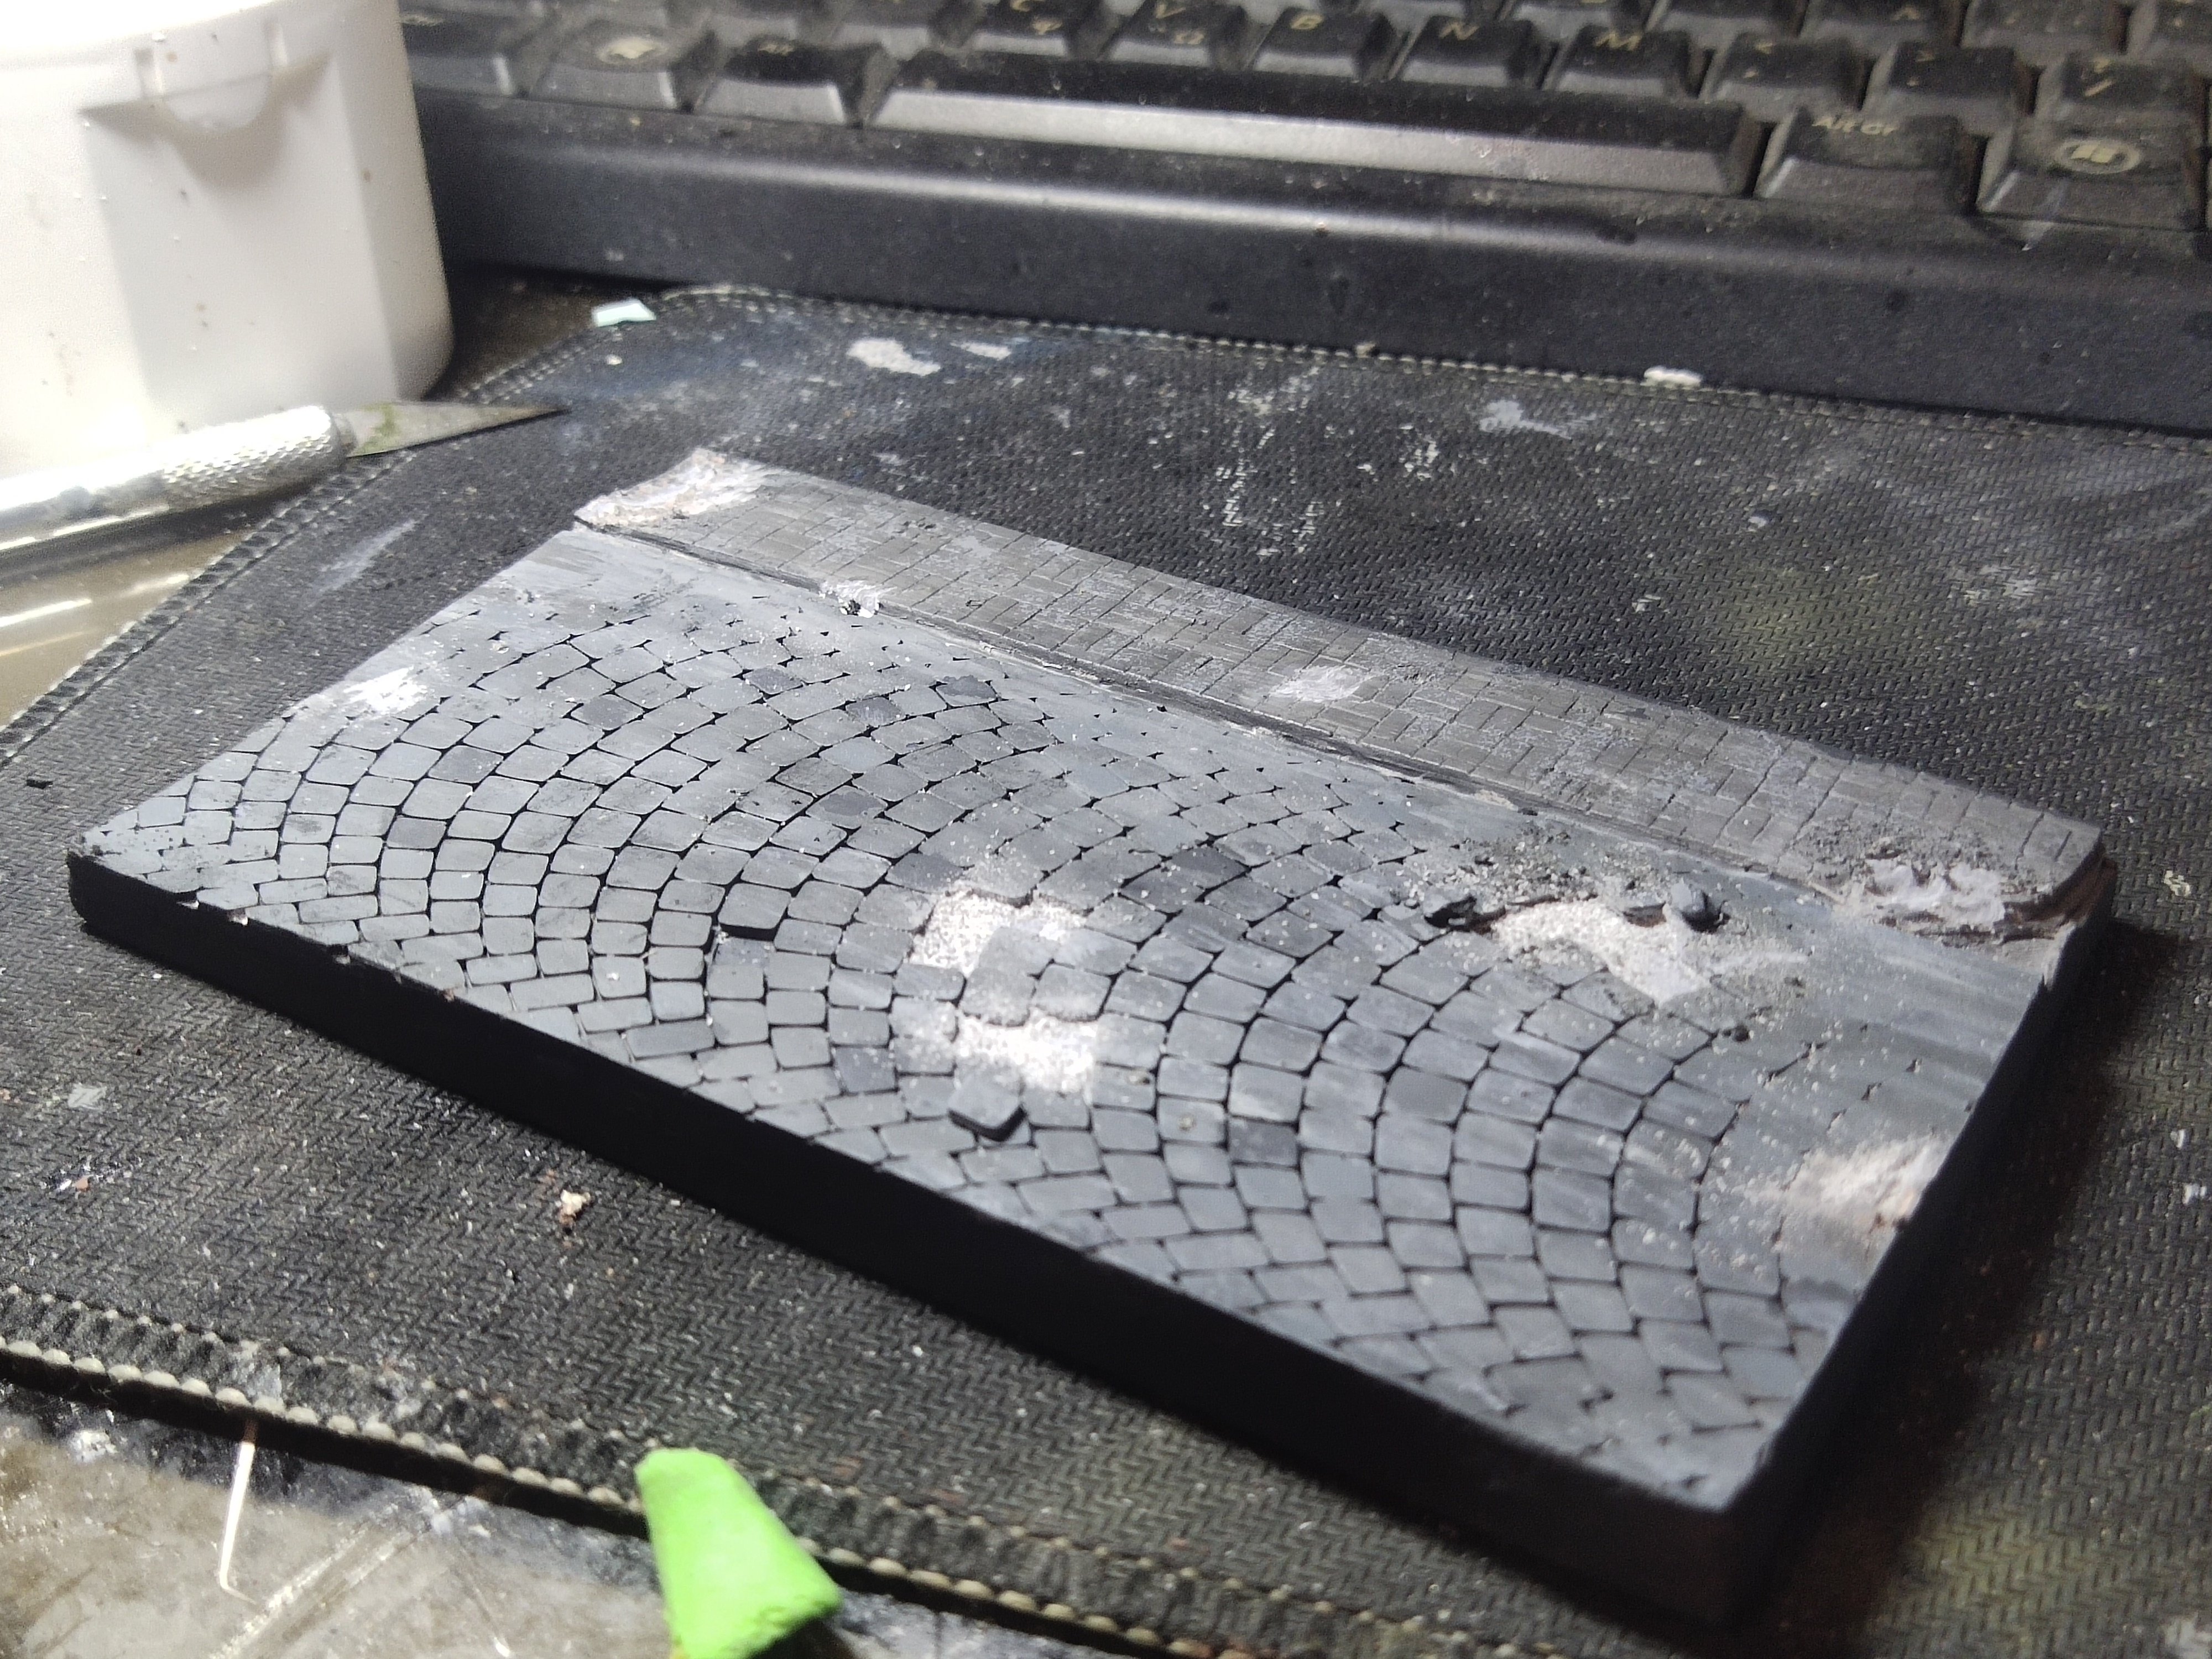
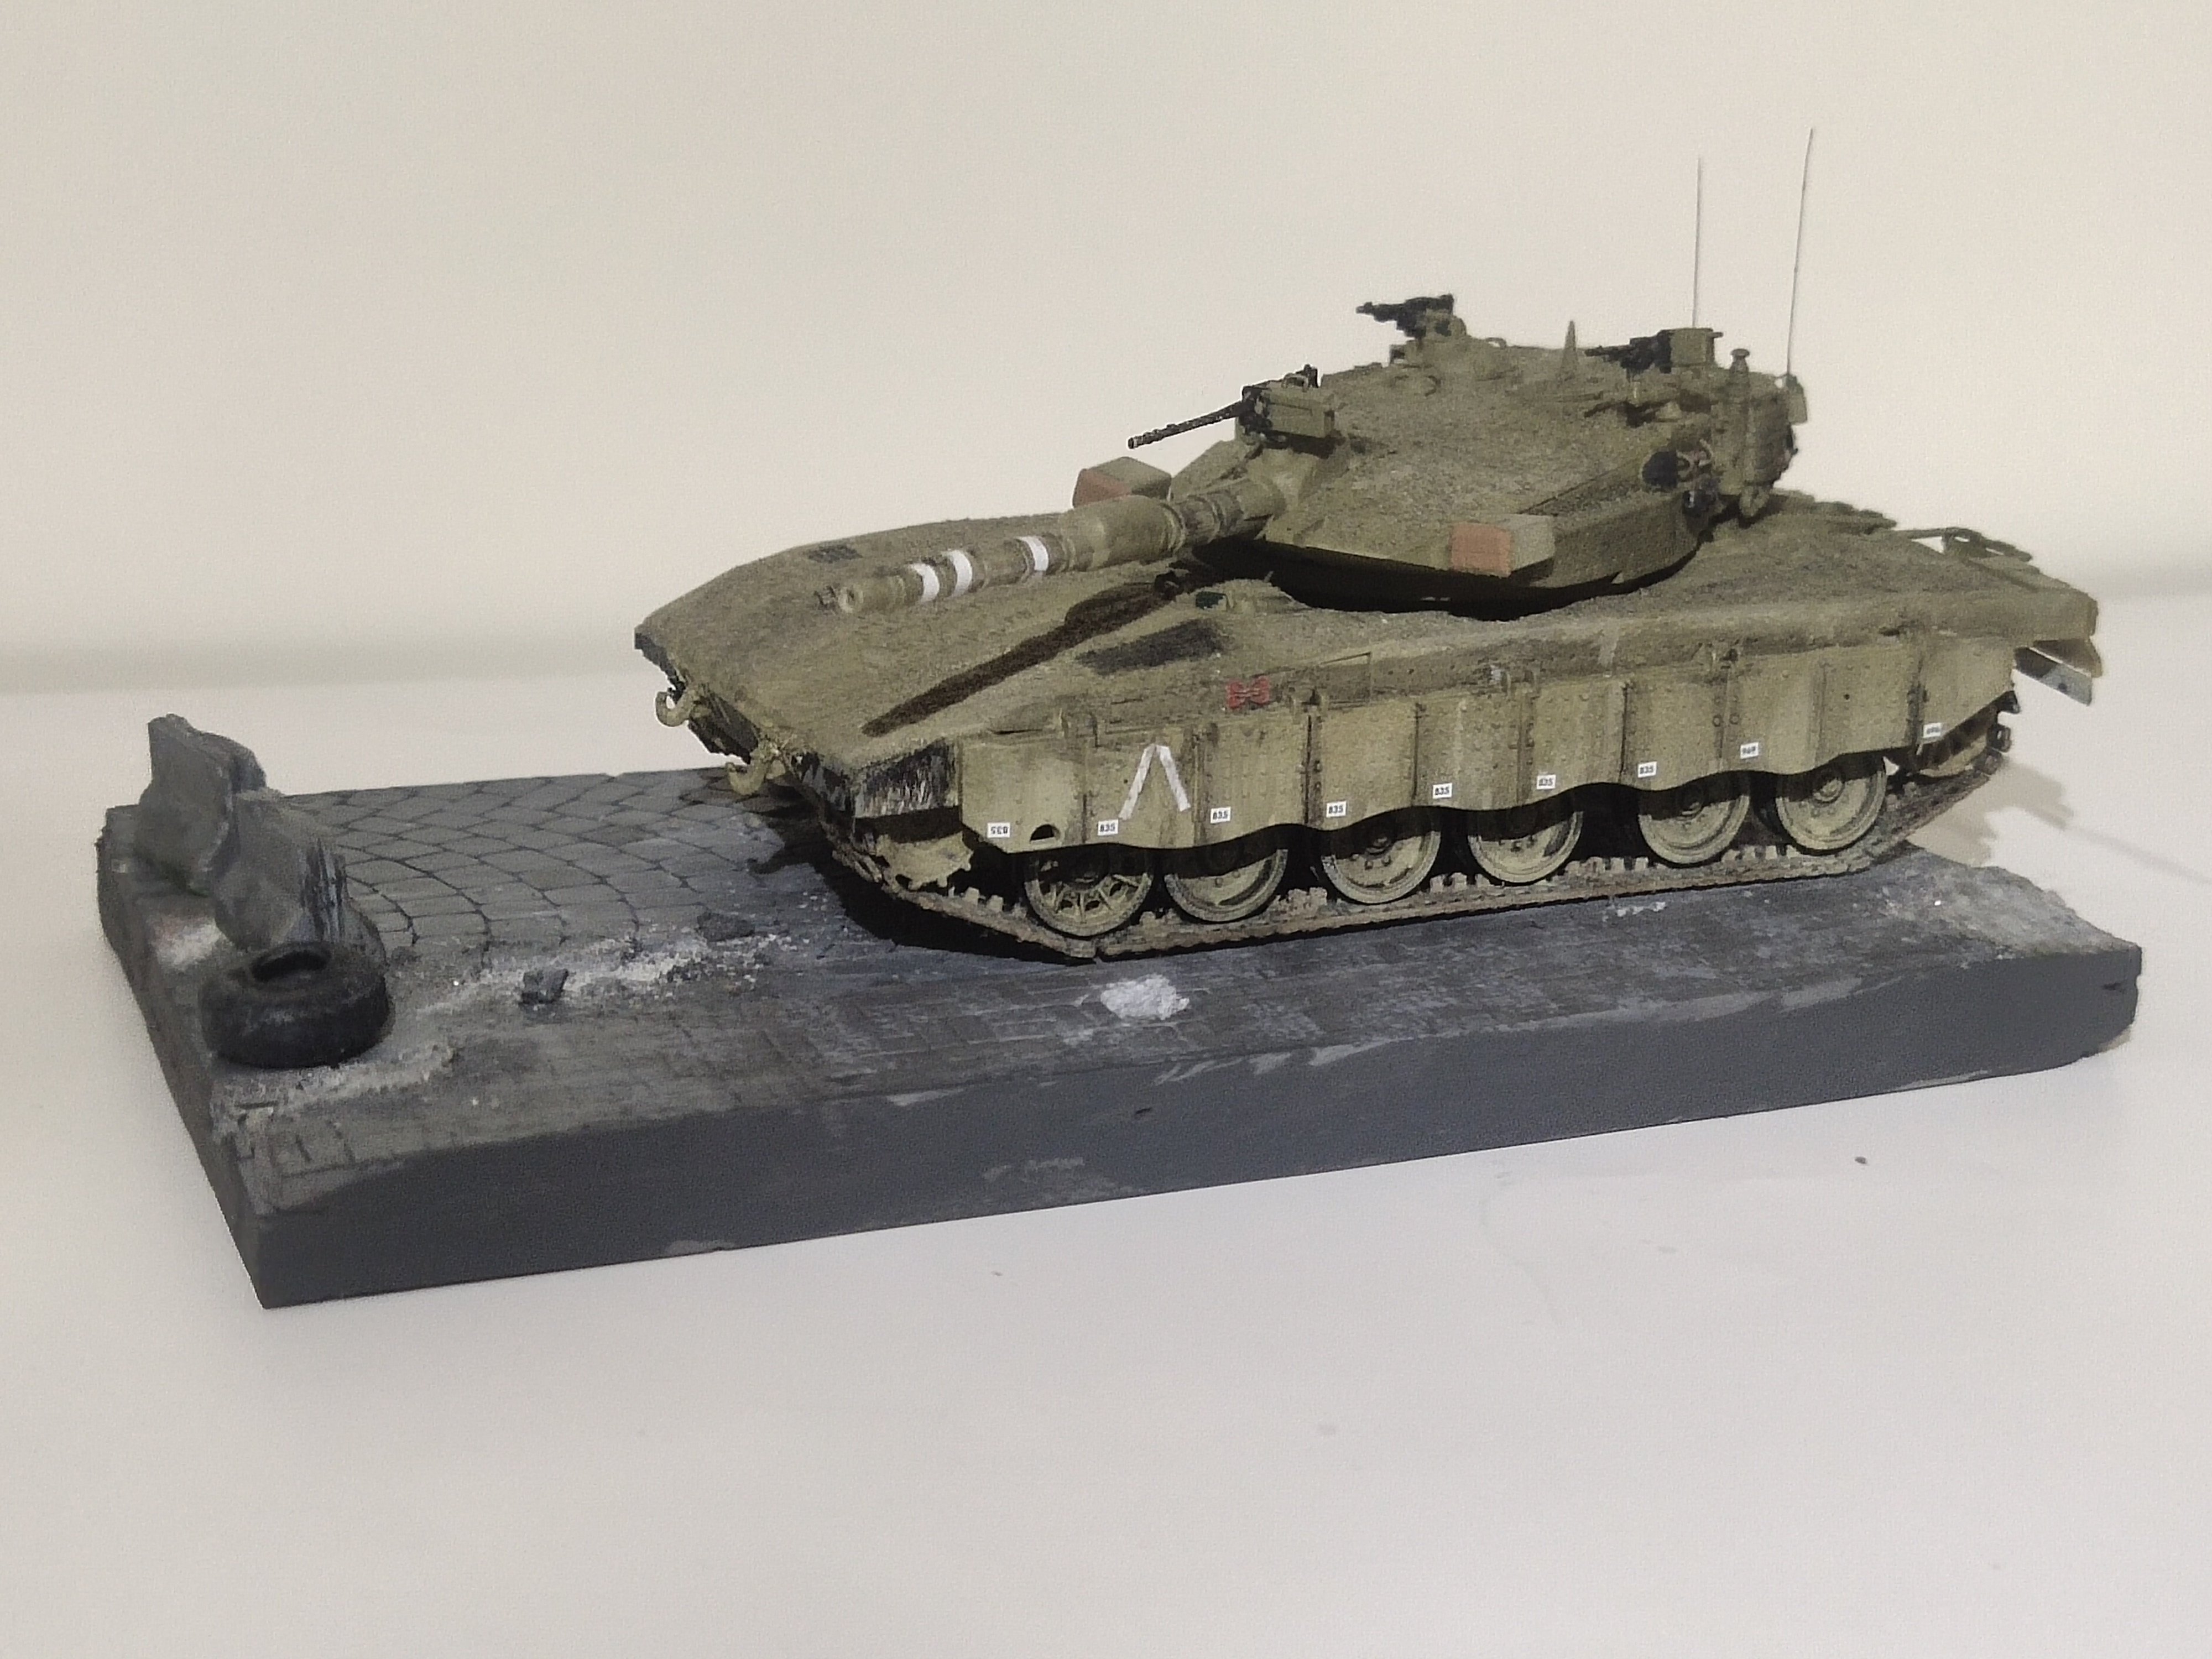
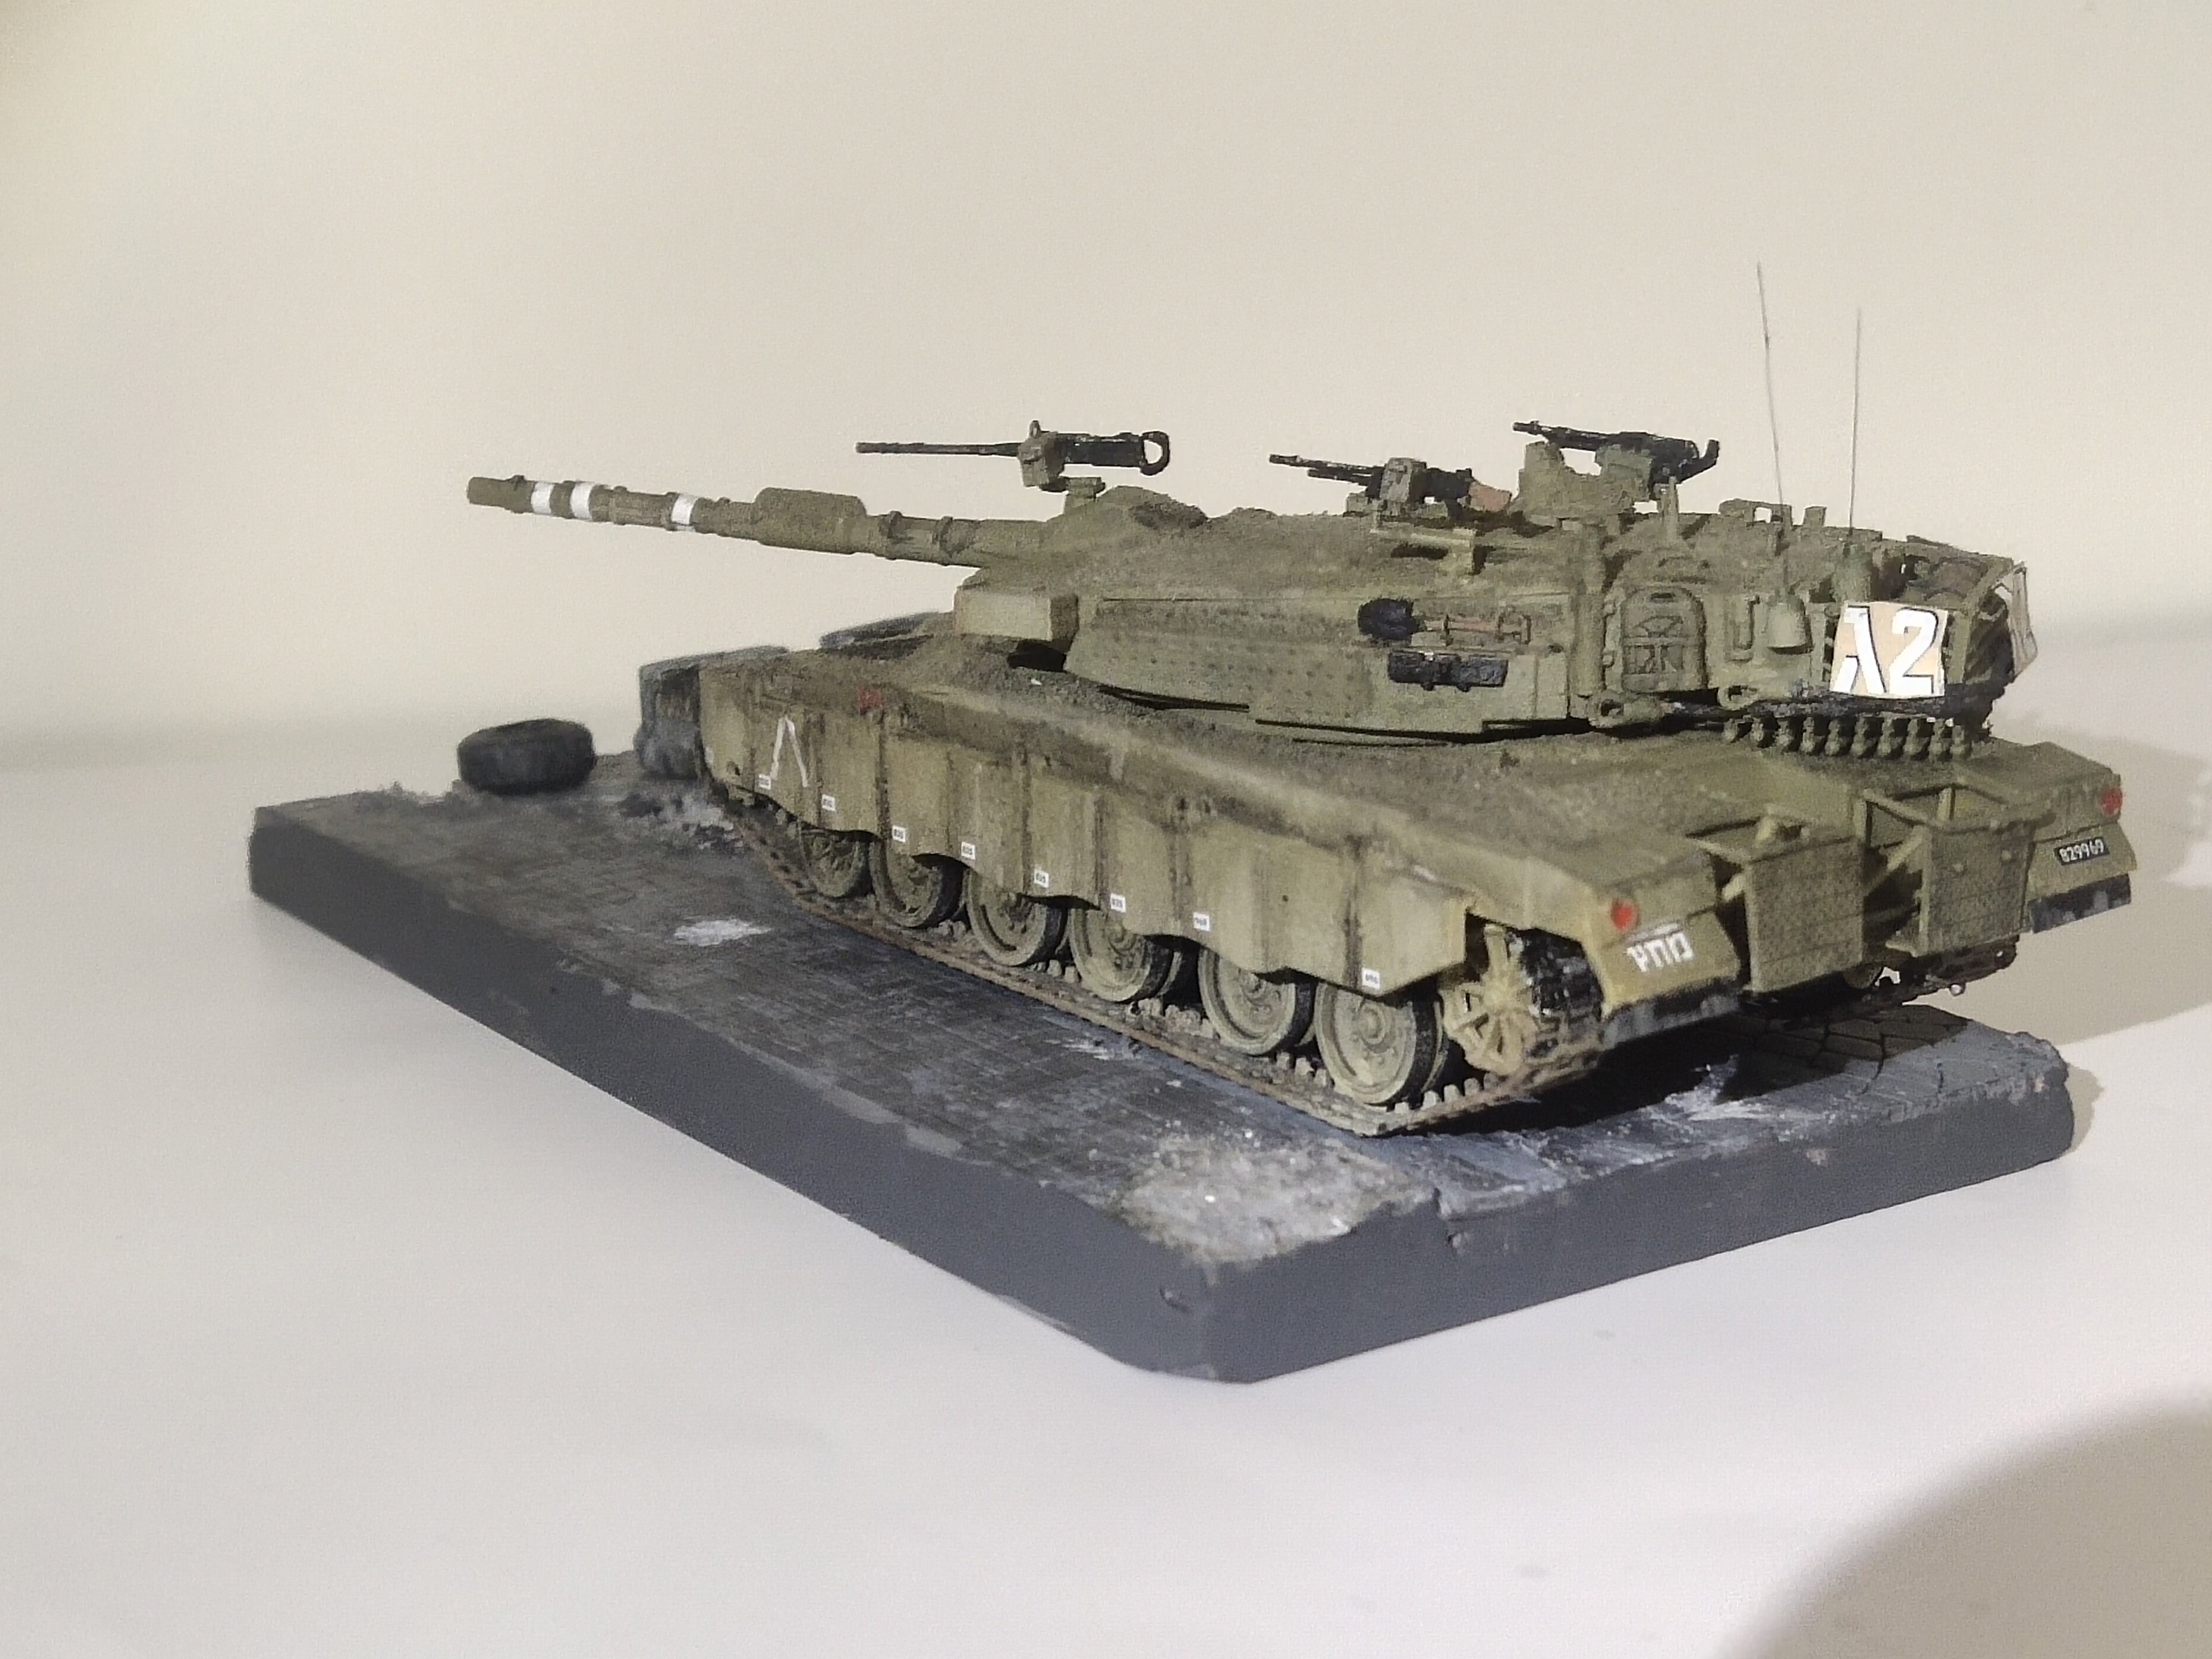
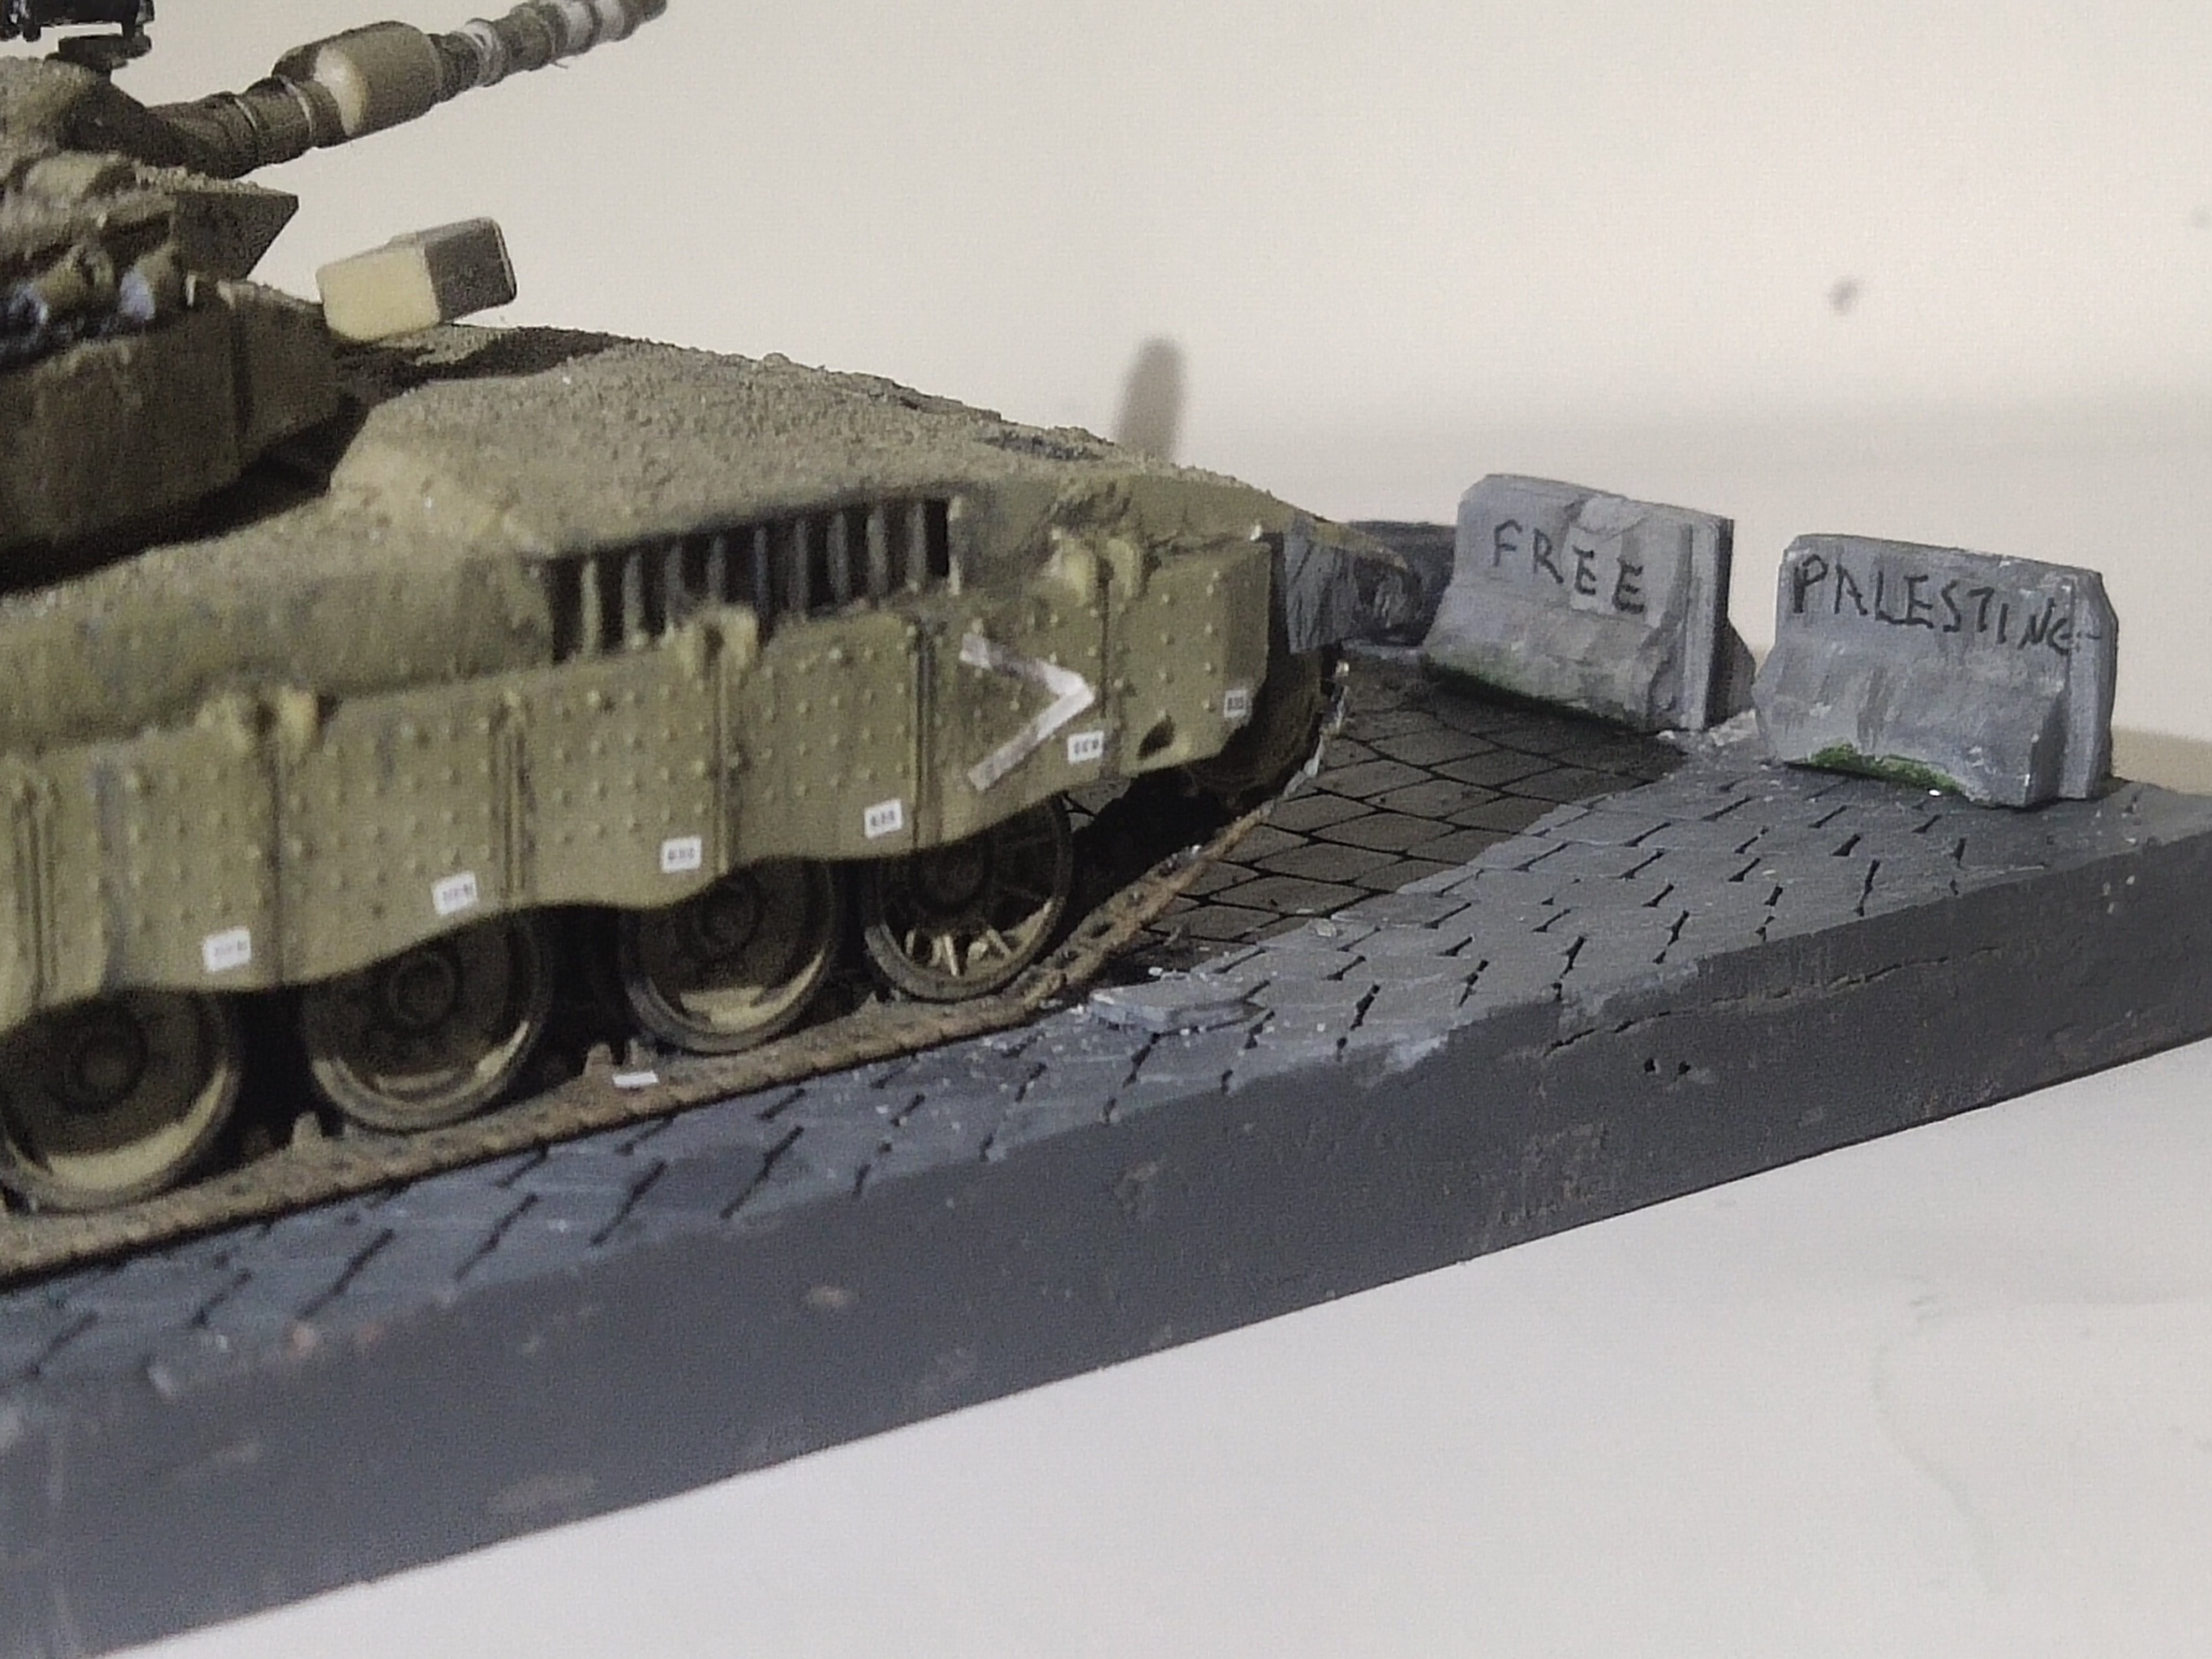
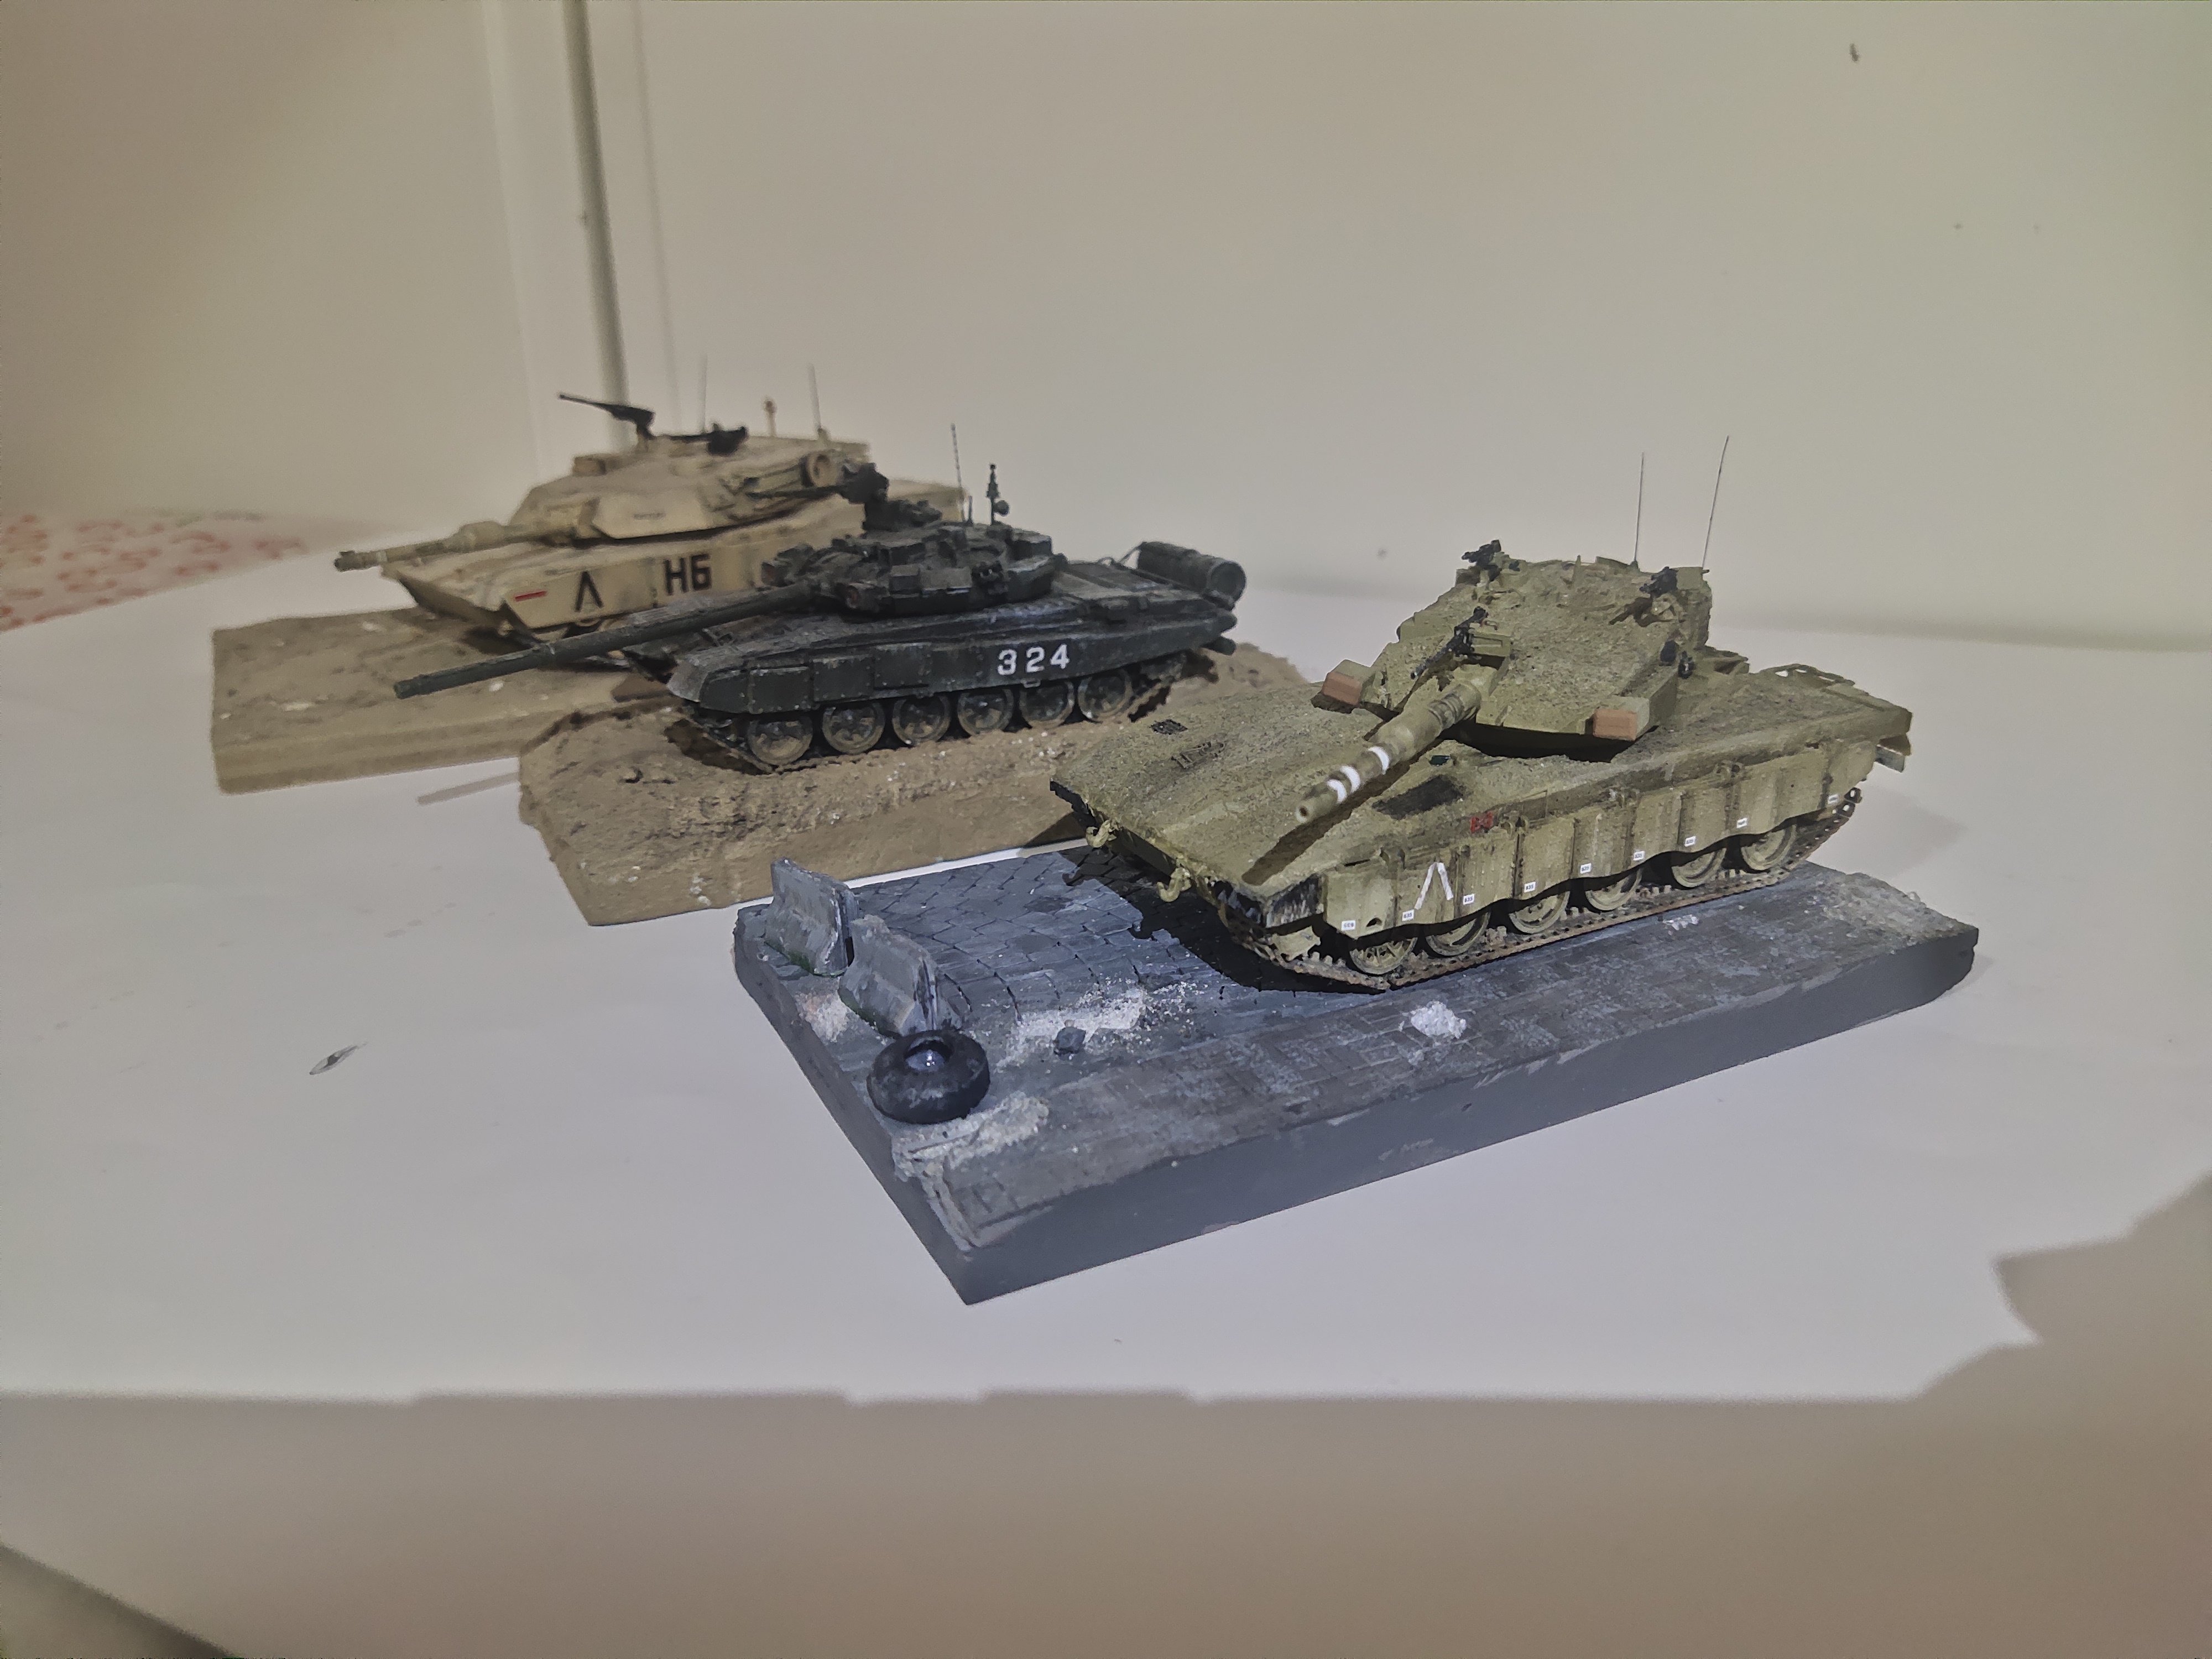
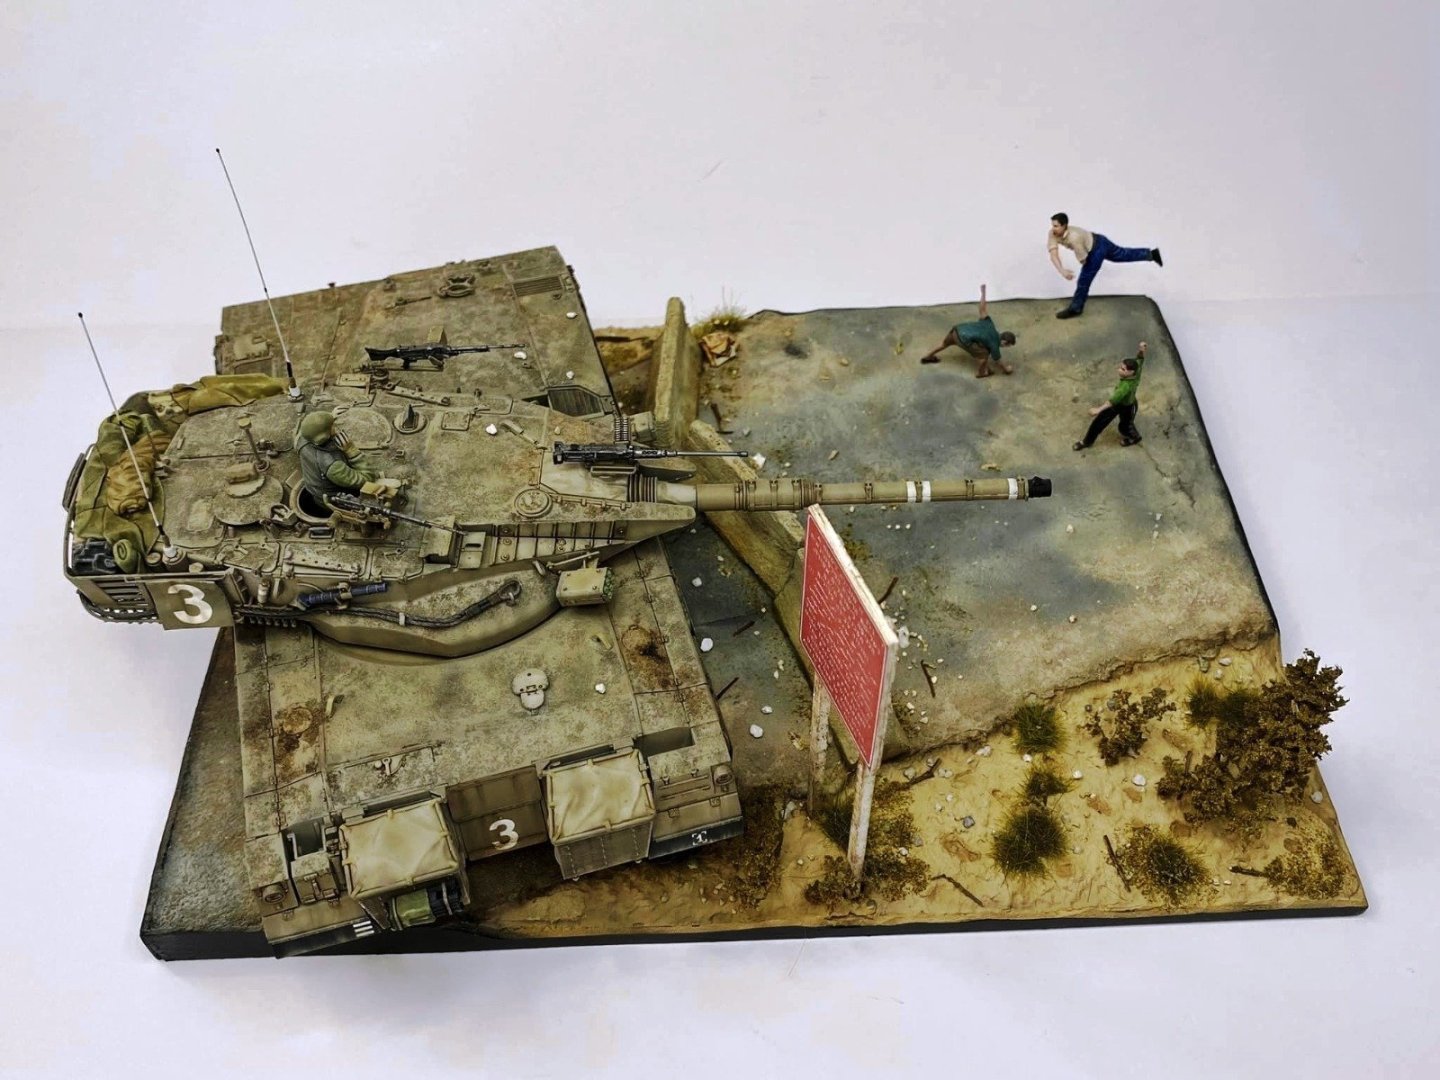
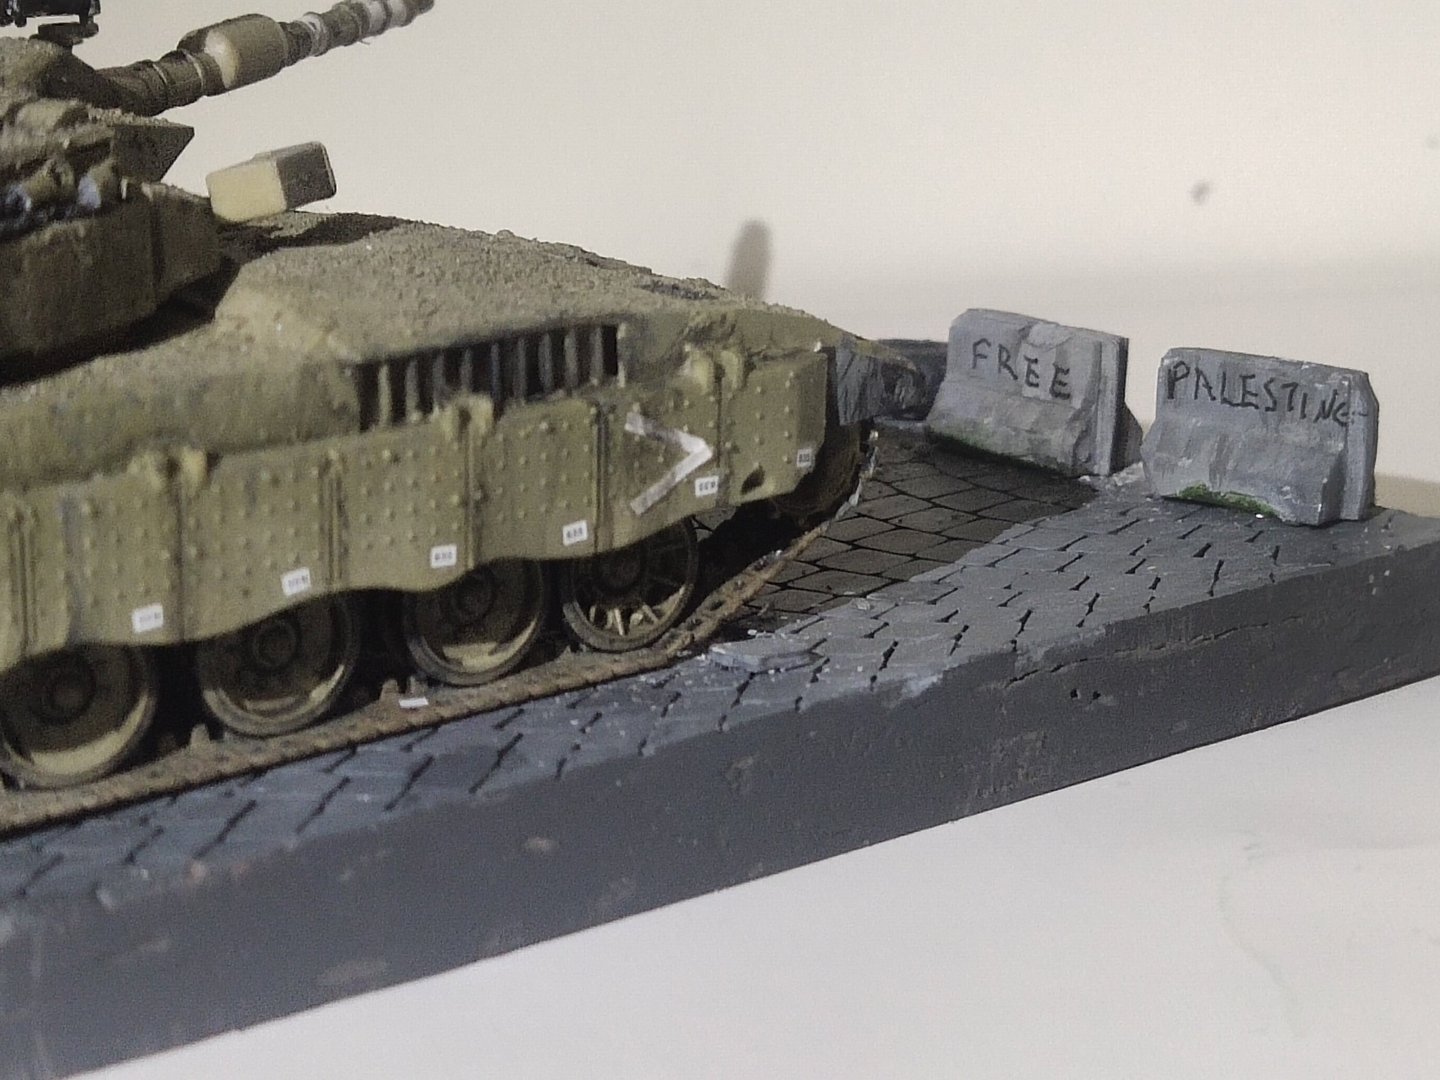
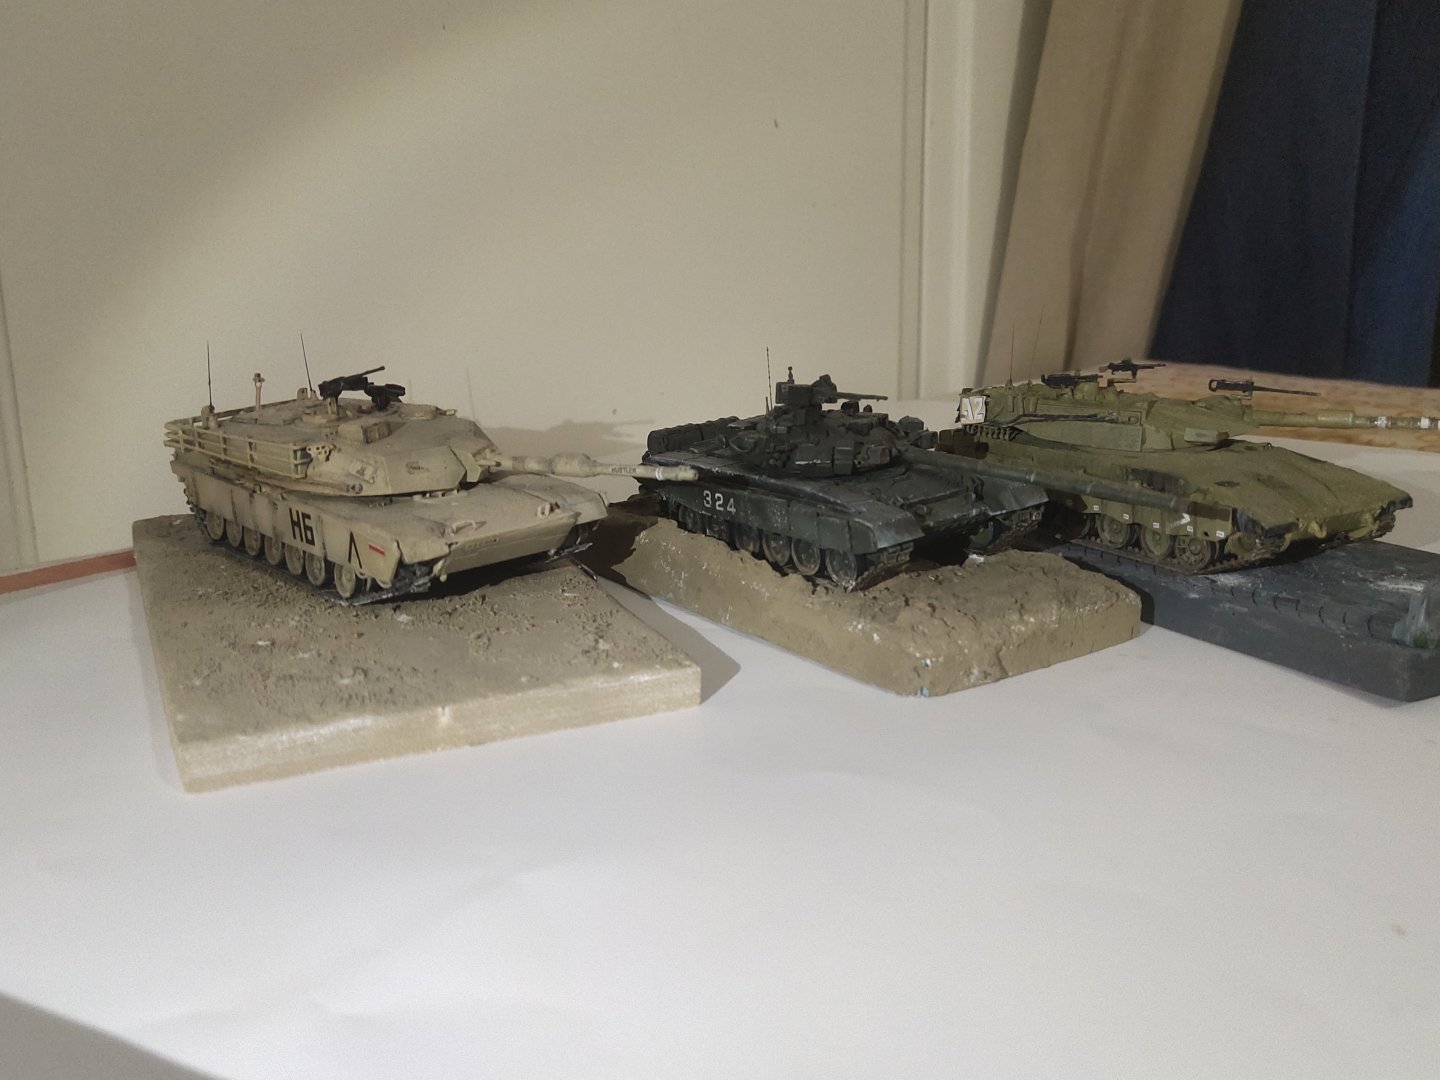
I wanted to build a base, like a small presentation but without spending much time. So I found a some 3d files, however it took me all Sunday to adjusting to my preference and scale. Anyway I turned quite ok. A couple of pics with the other beast. My first base of the M1A1 was big and empty, the T-90 muddy terain was better even simple. The 3rd was nicer I think


-
Merkava III by mikegr - Revell - 1/72 - PLASTIC
mikegr replied to mikegr's topic in Non-ship/categorised builds
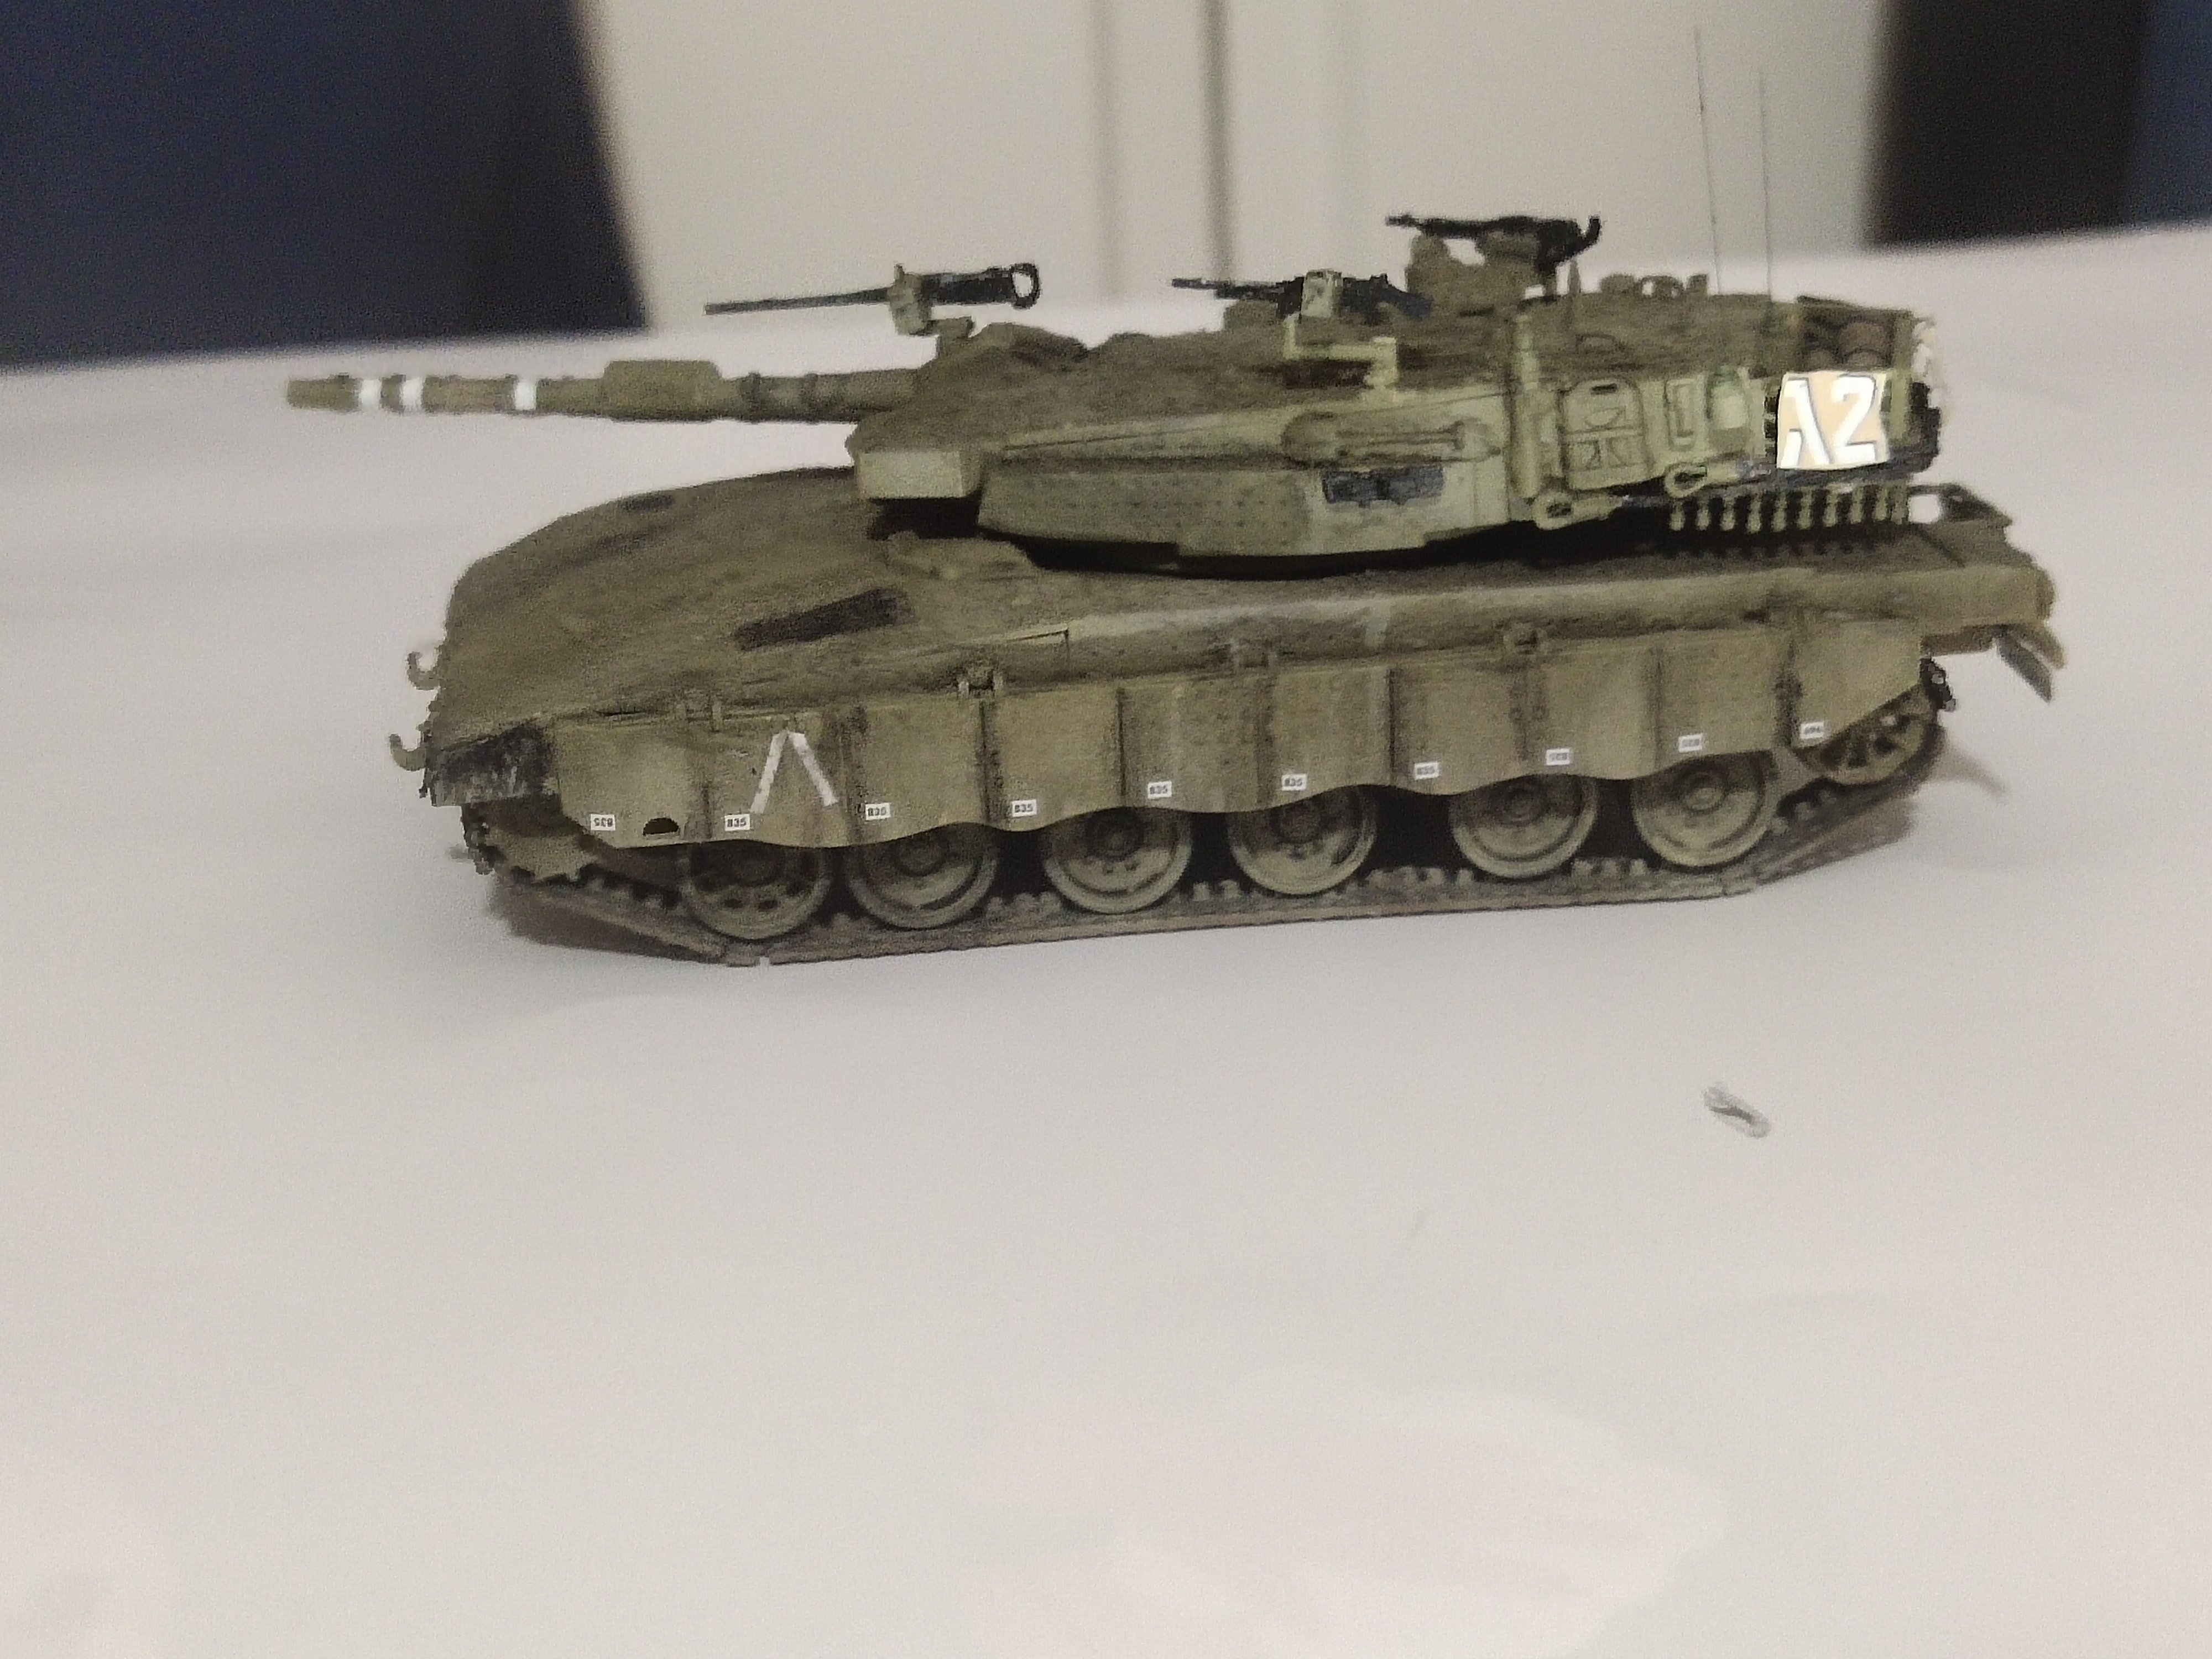
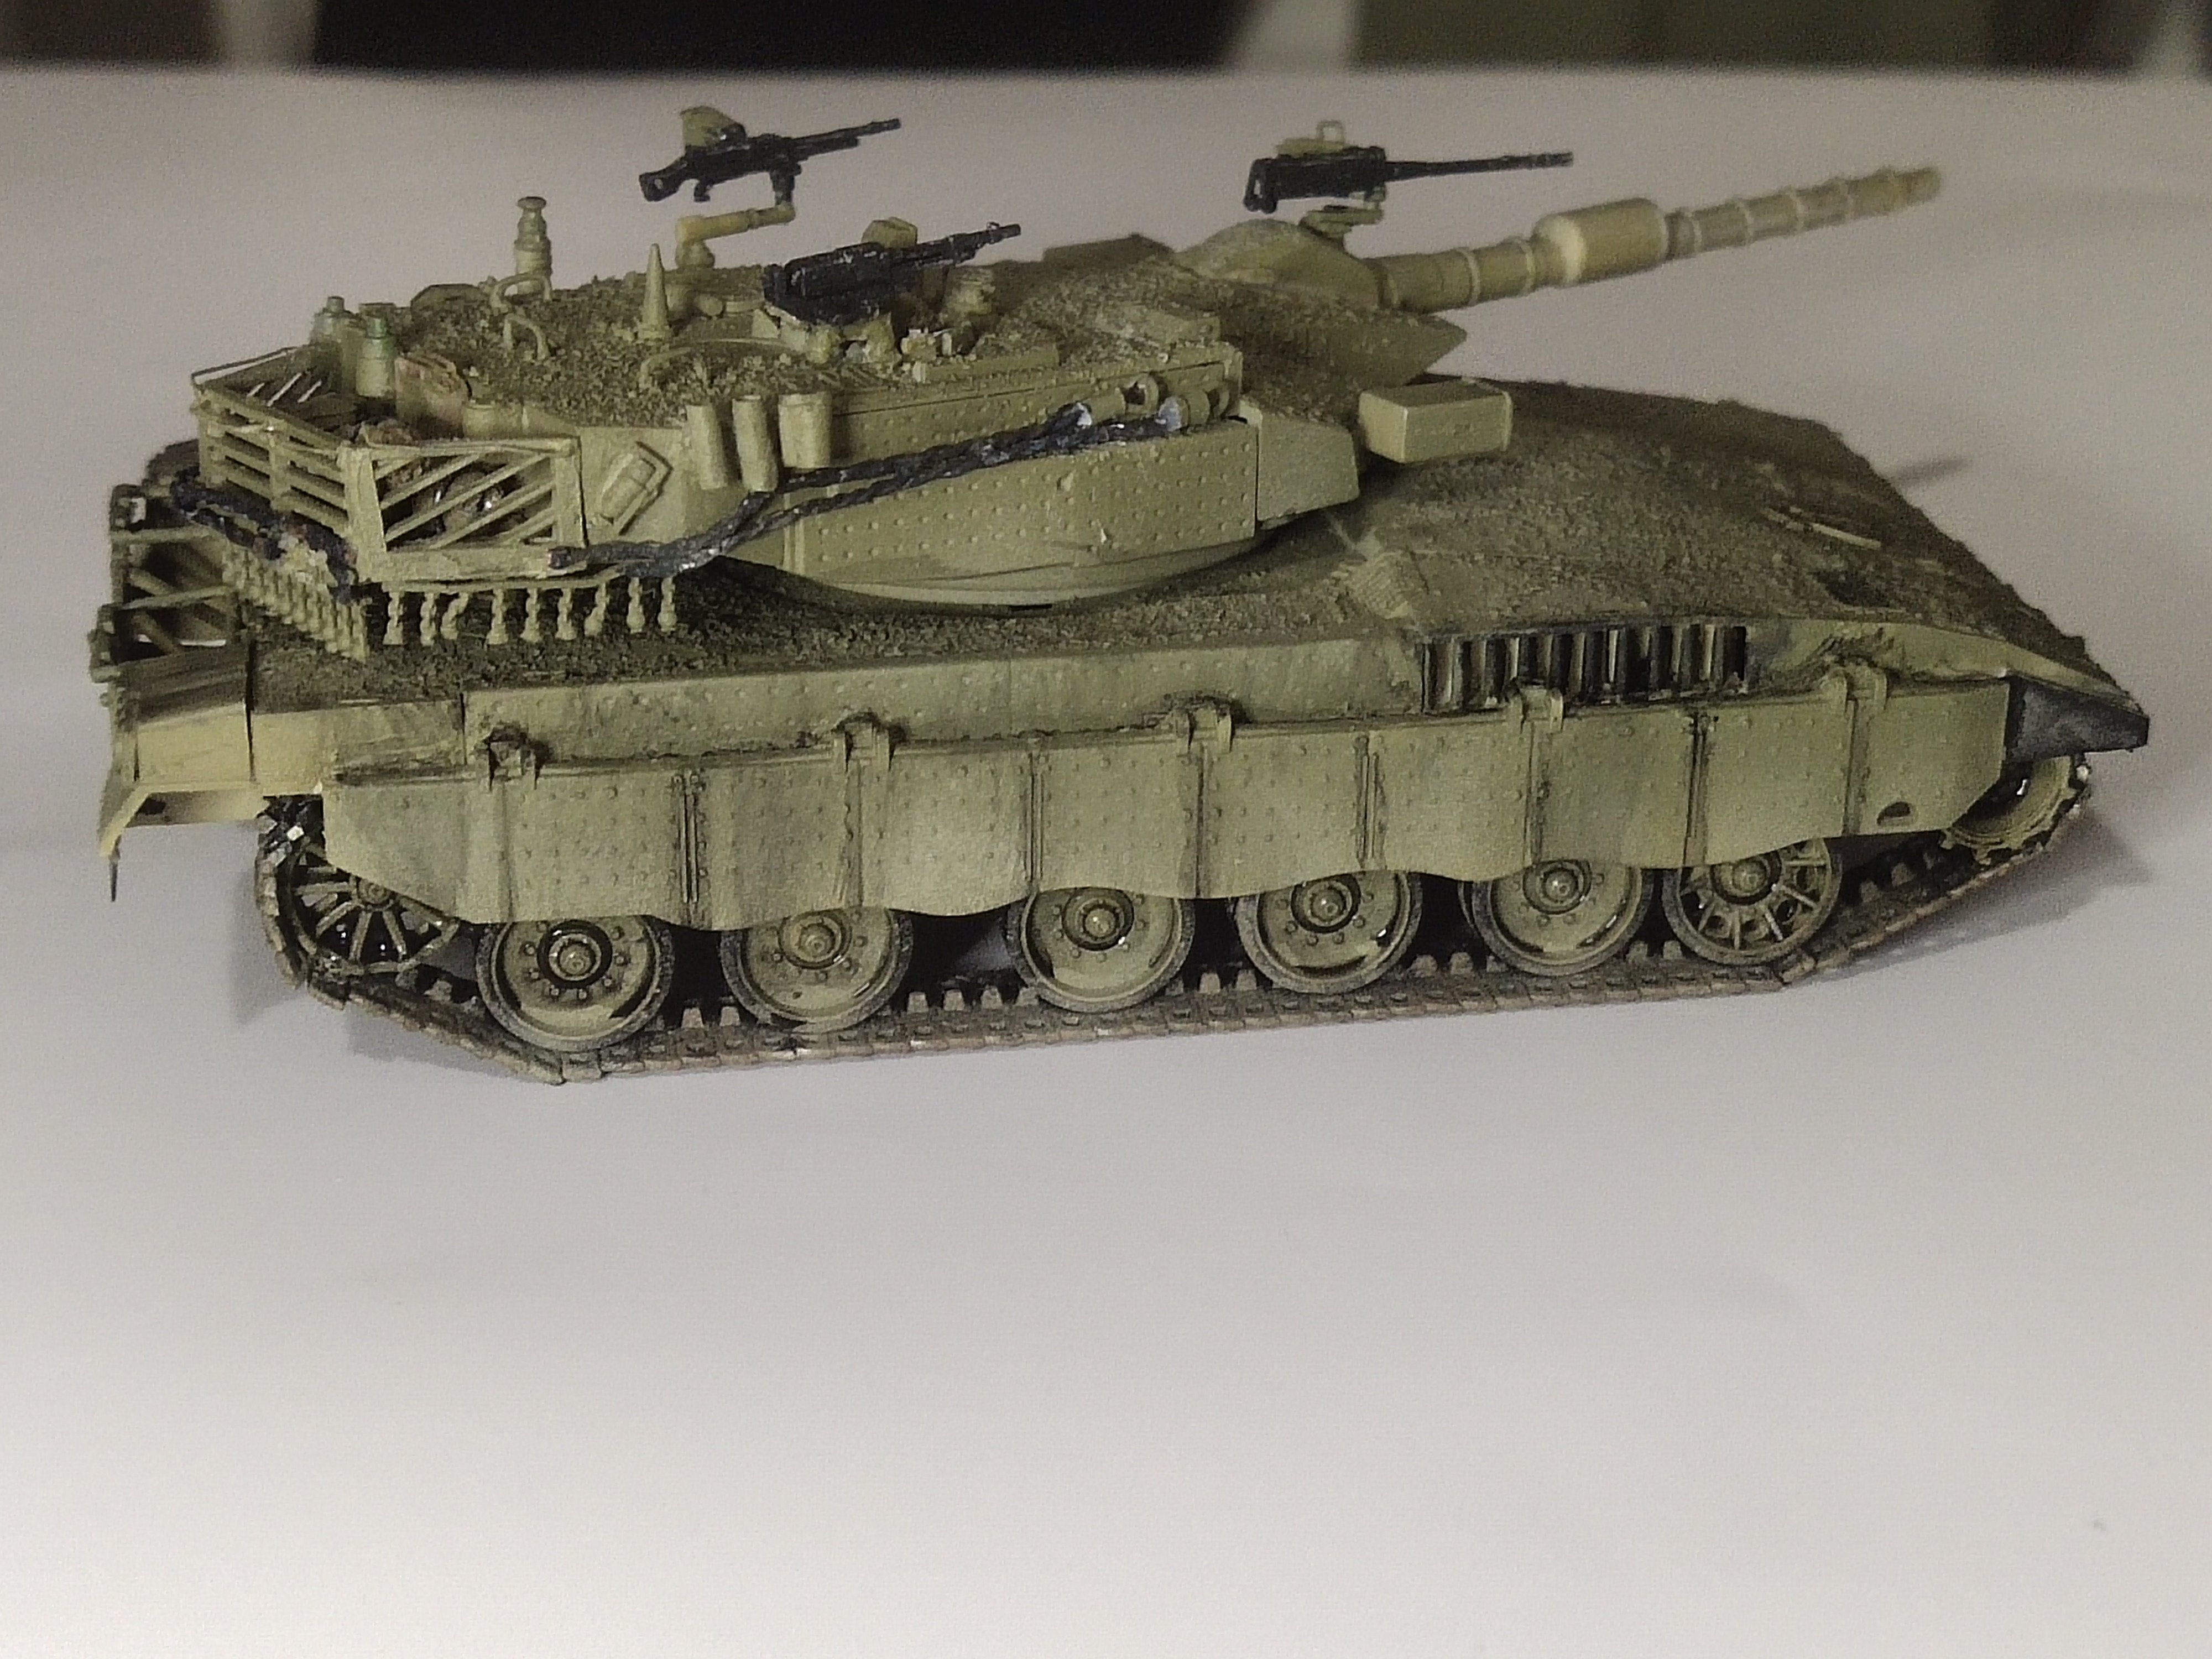
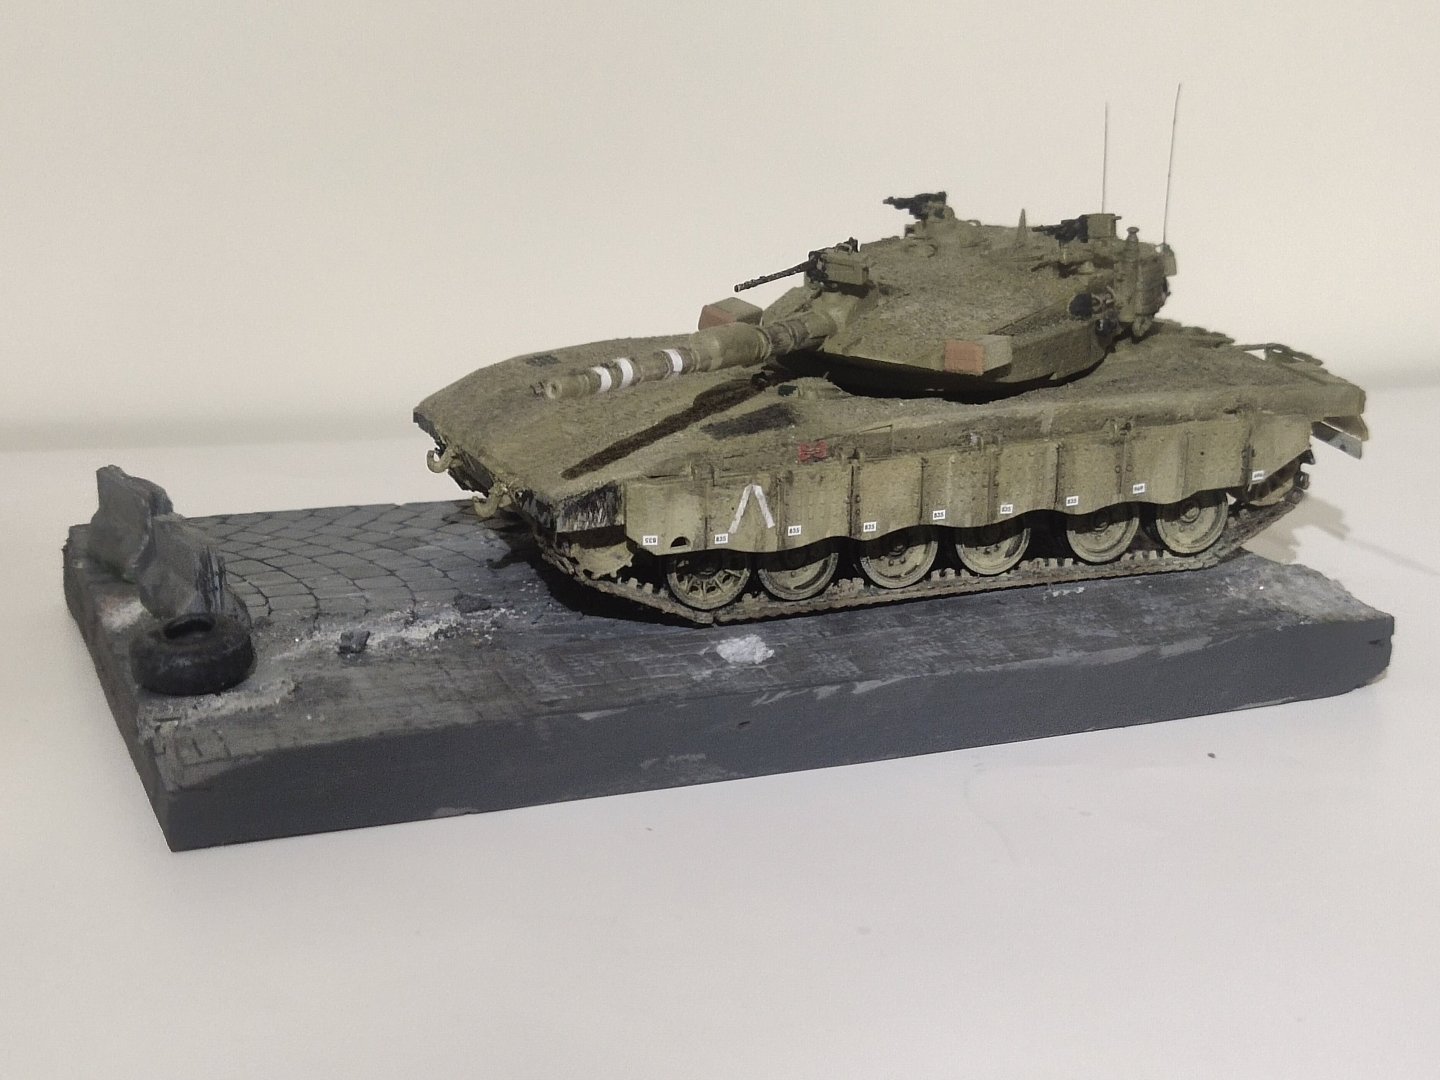
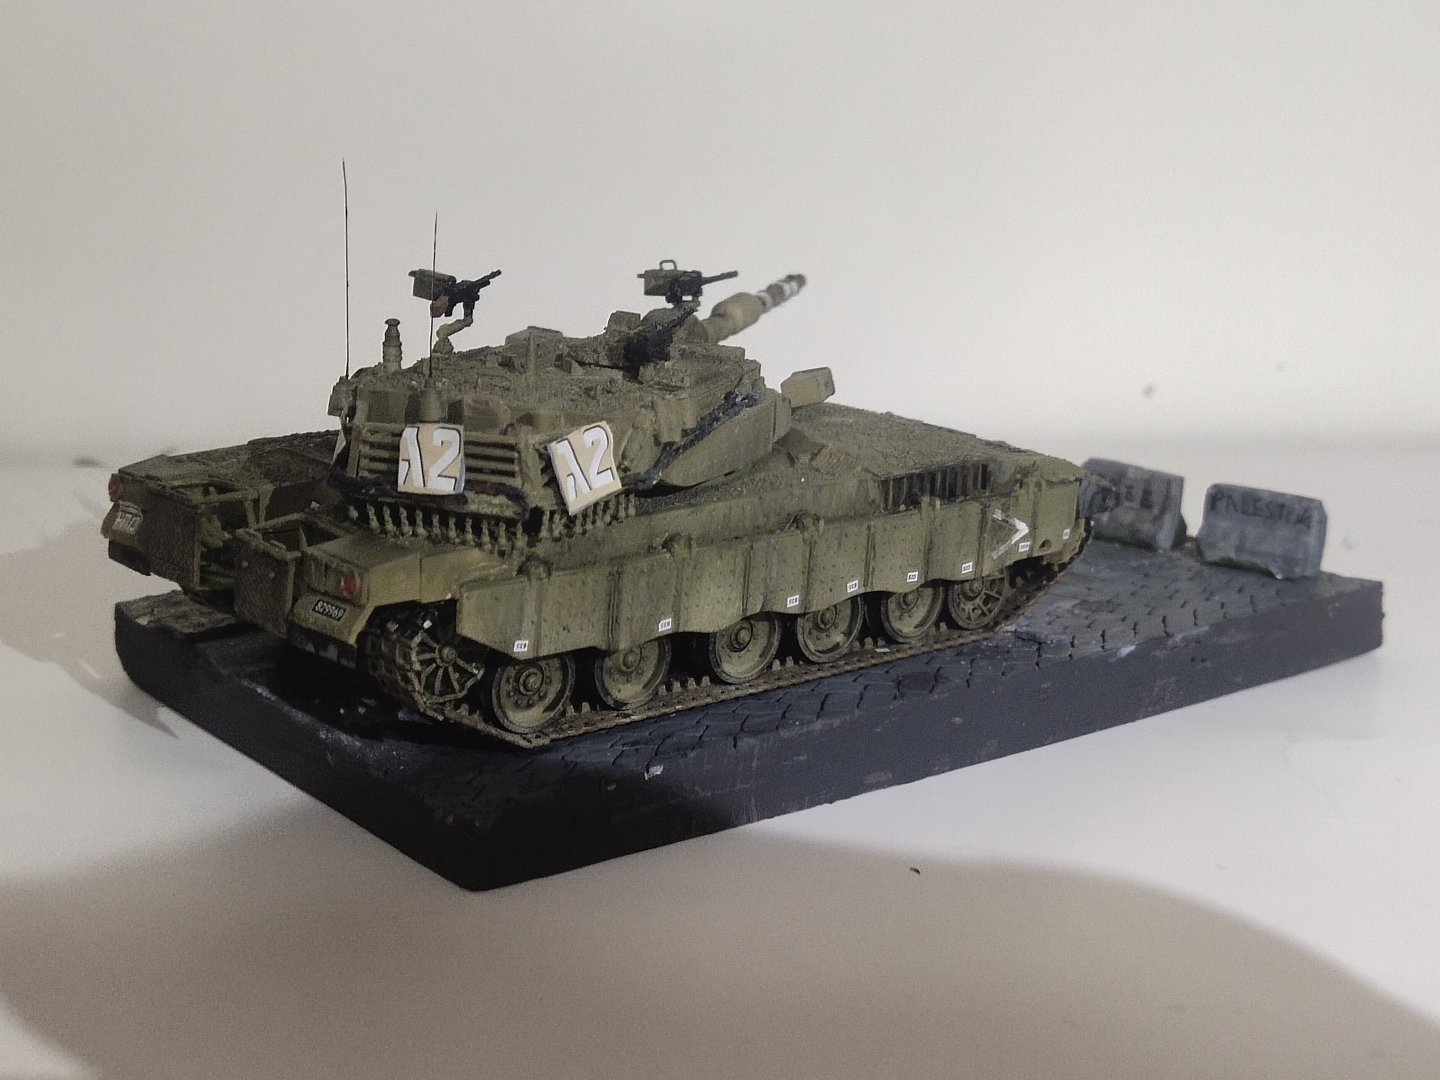
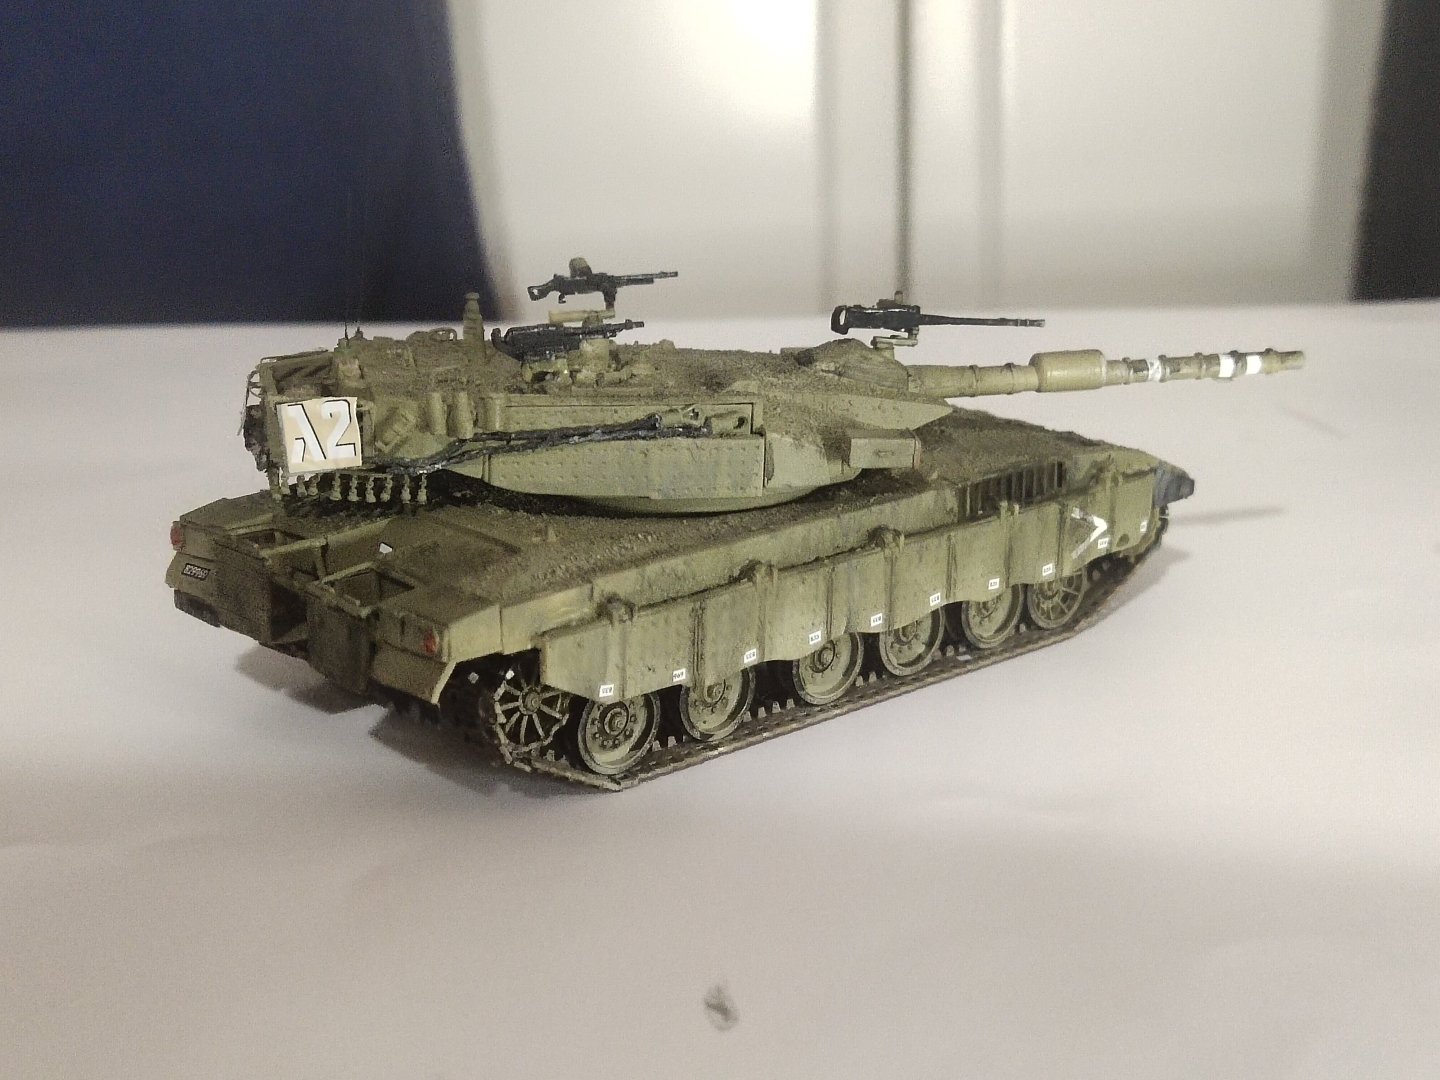
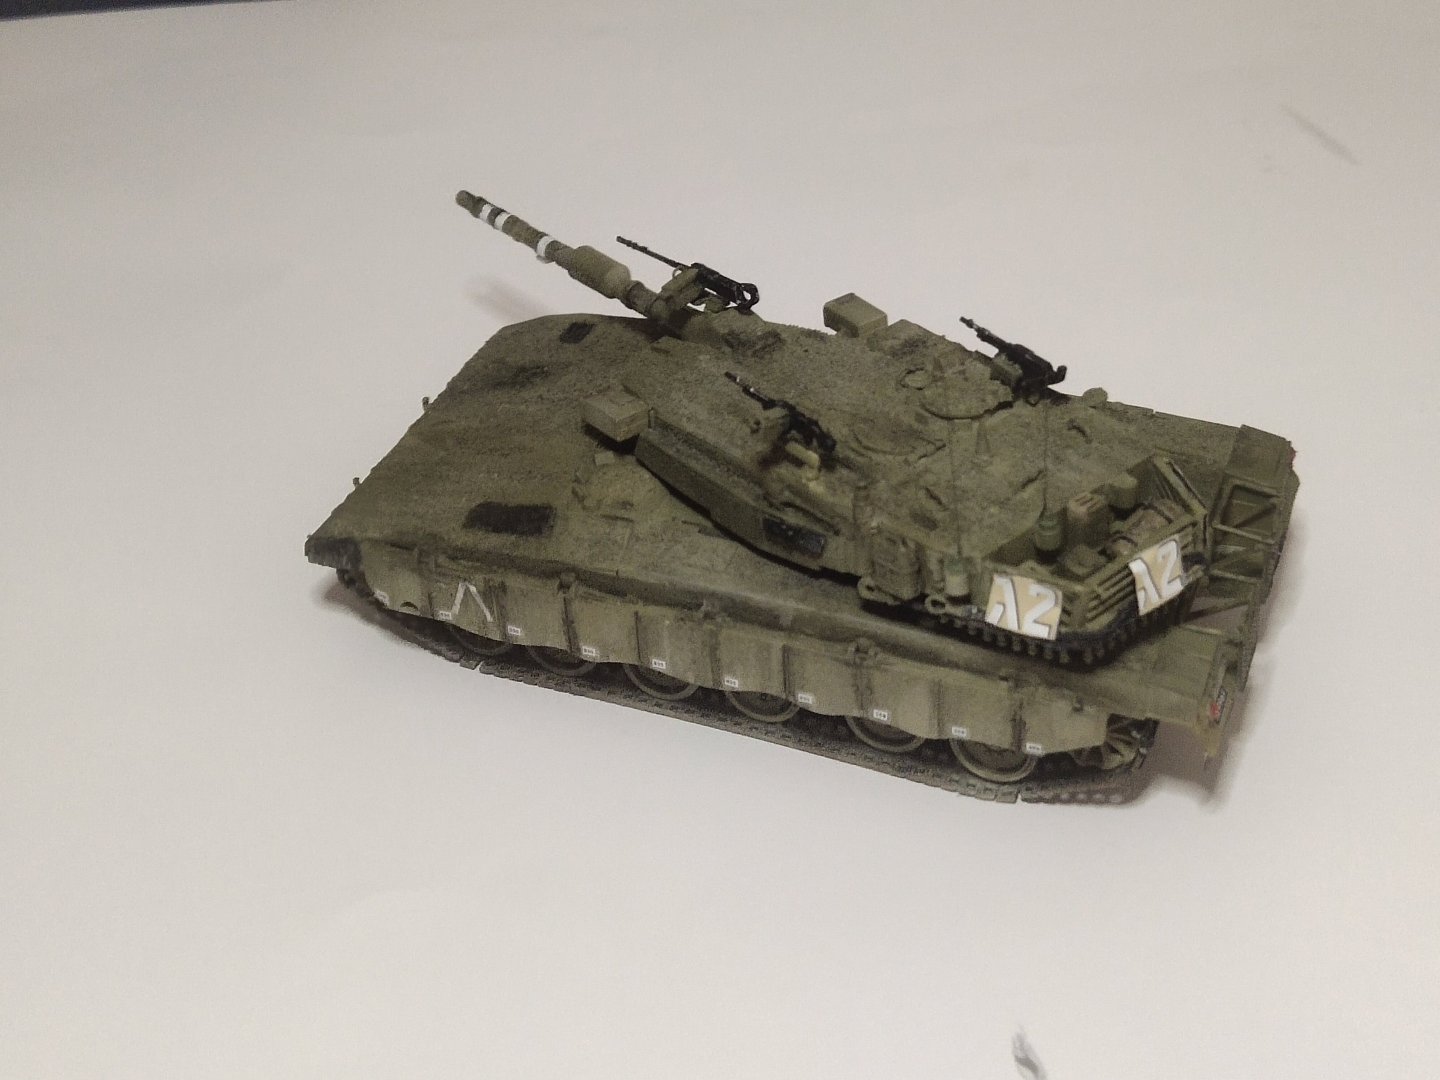
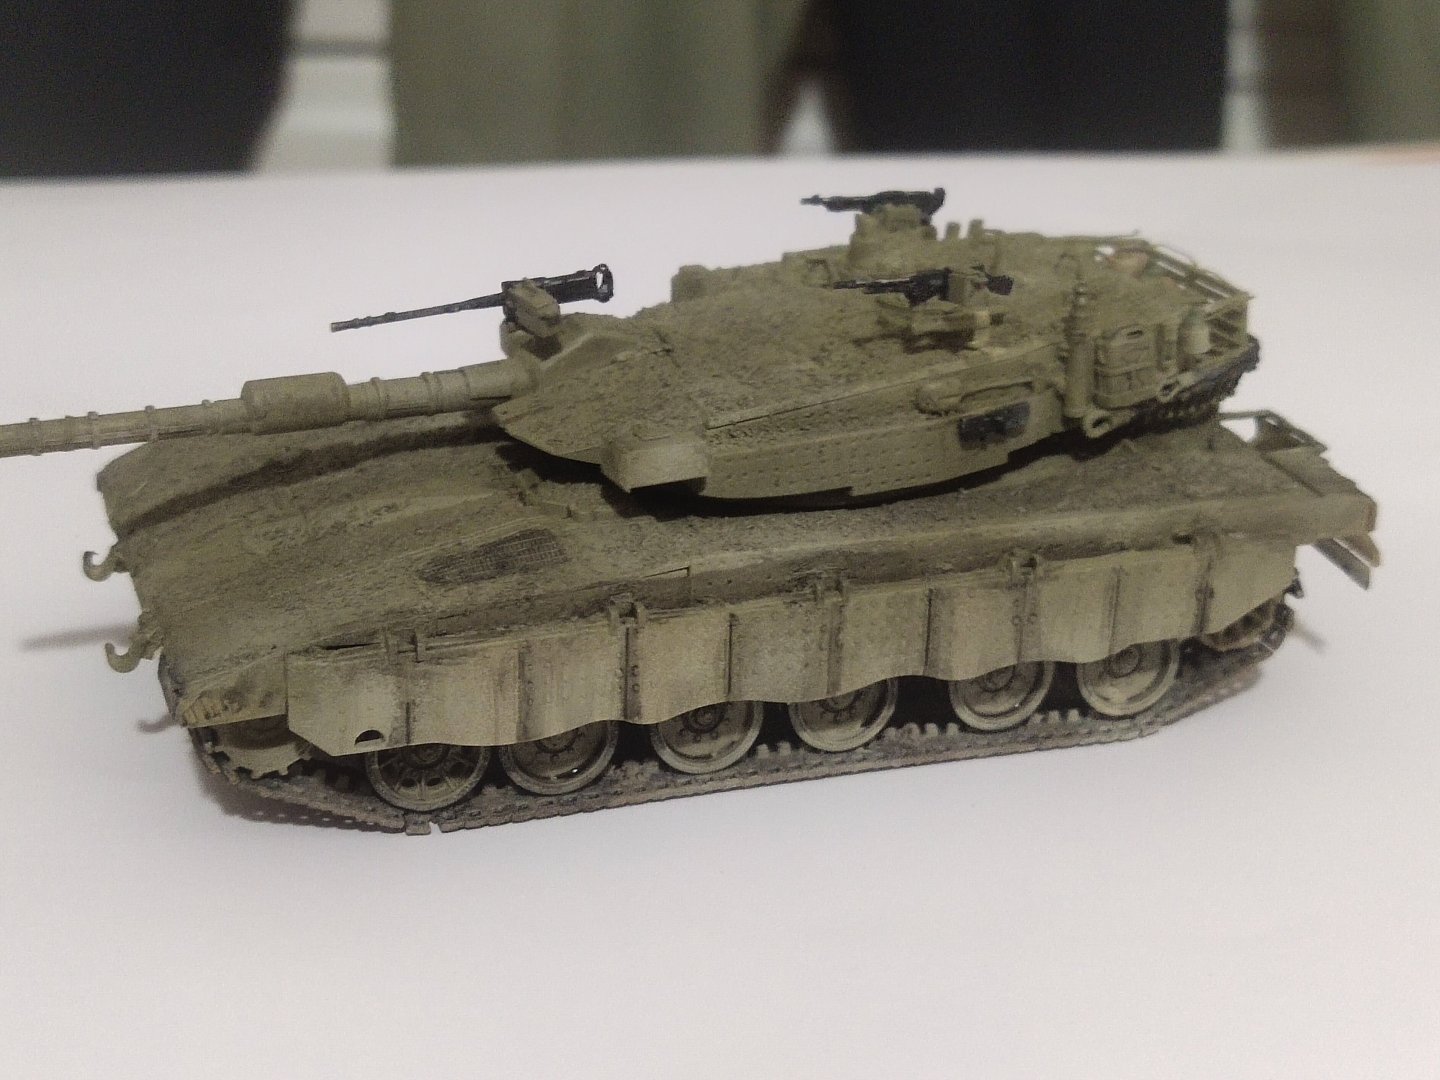
I added the decals and did some light washing. Im looking for a medium effect

-
Merkava III by mikegr - Revell - 1/72 - PLASTIC
mikegr replied to mikegr's topic in Non-ship/categorised builds
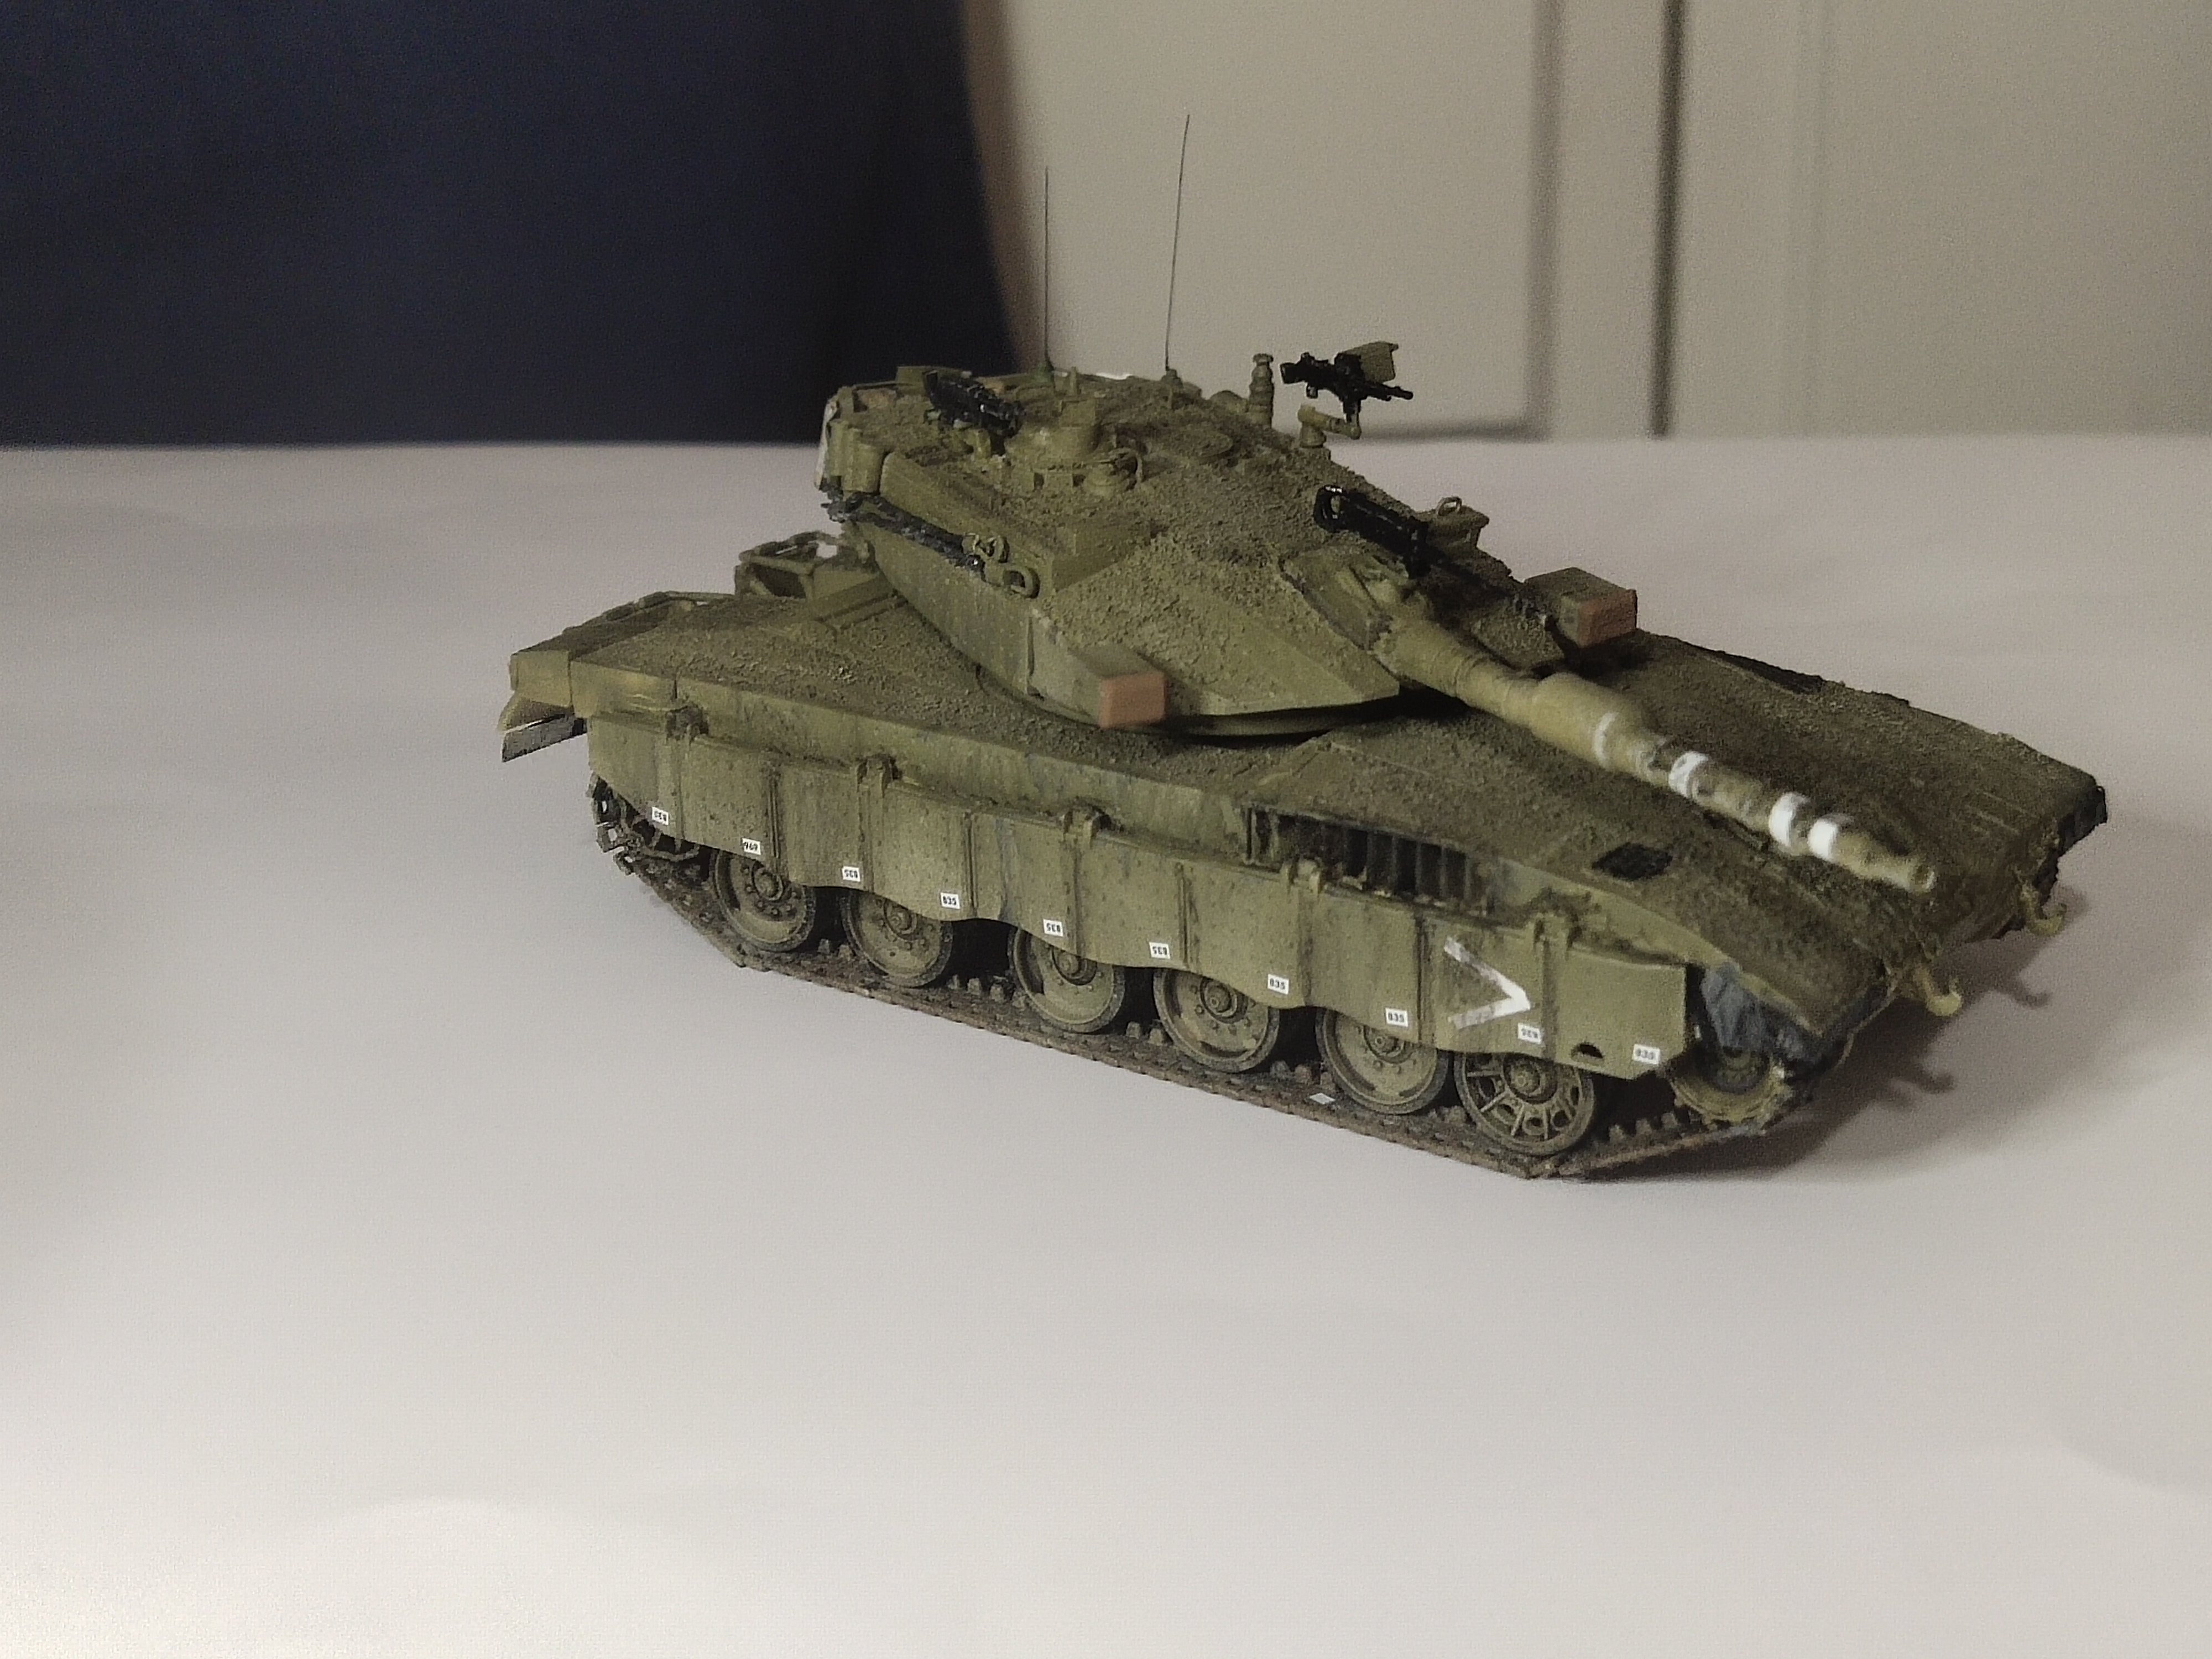
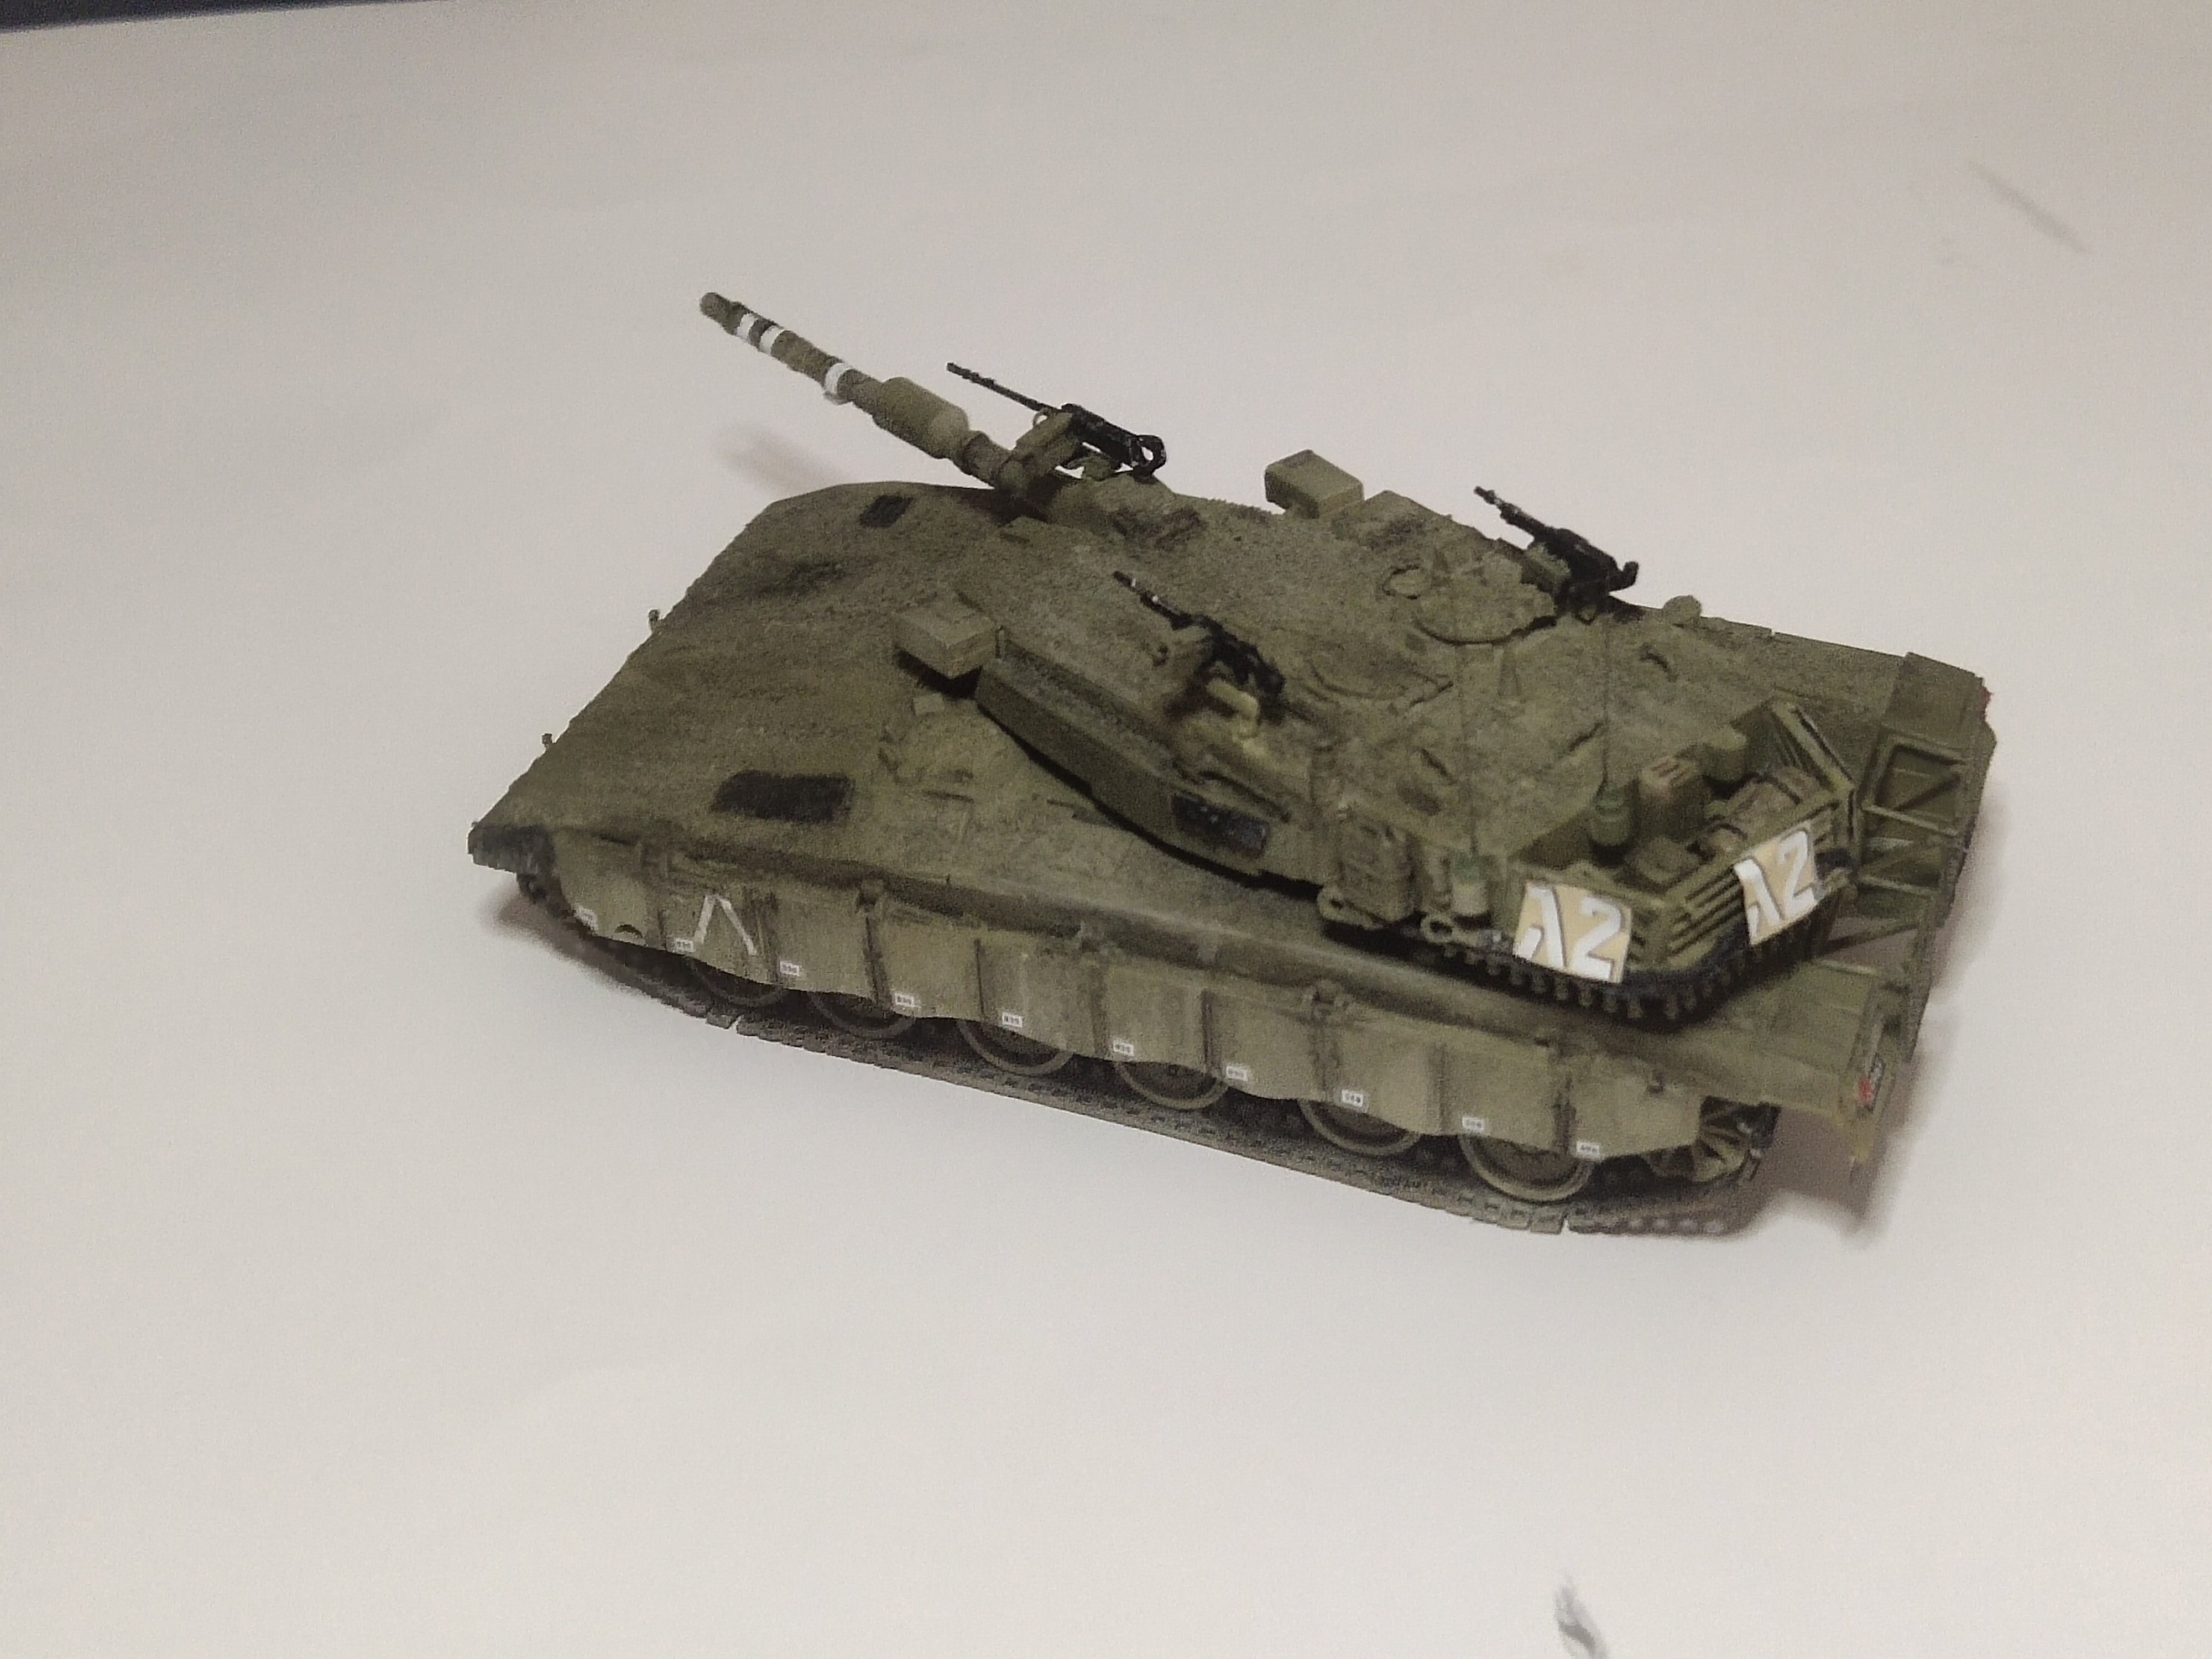
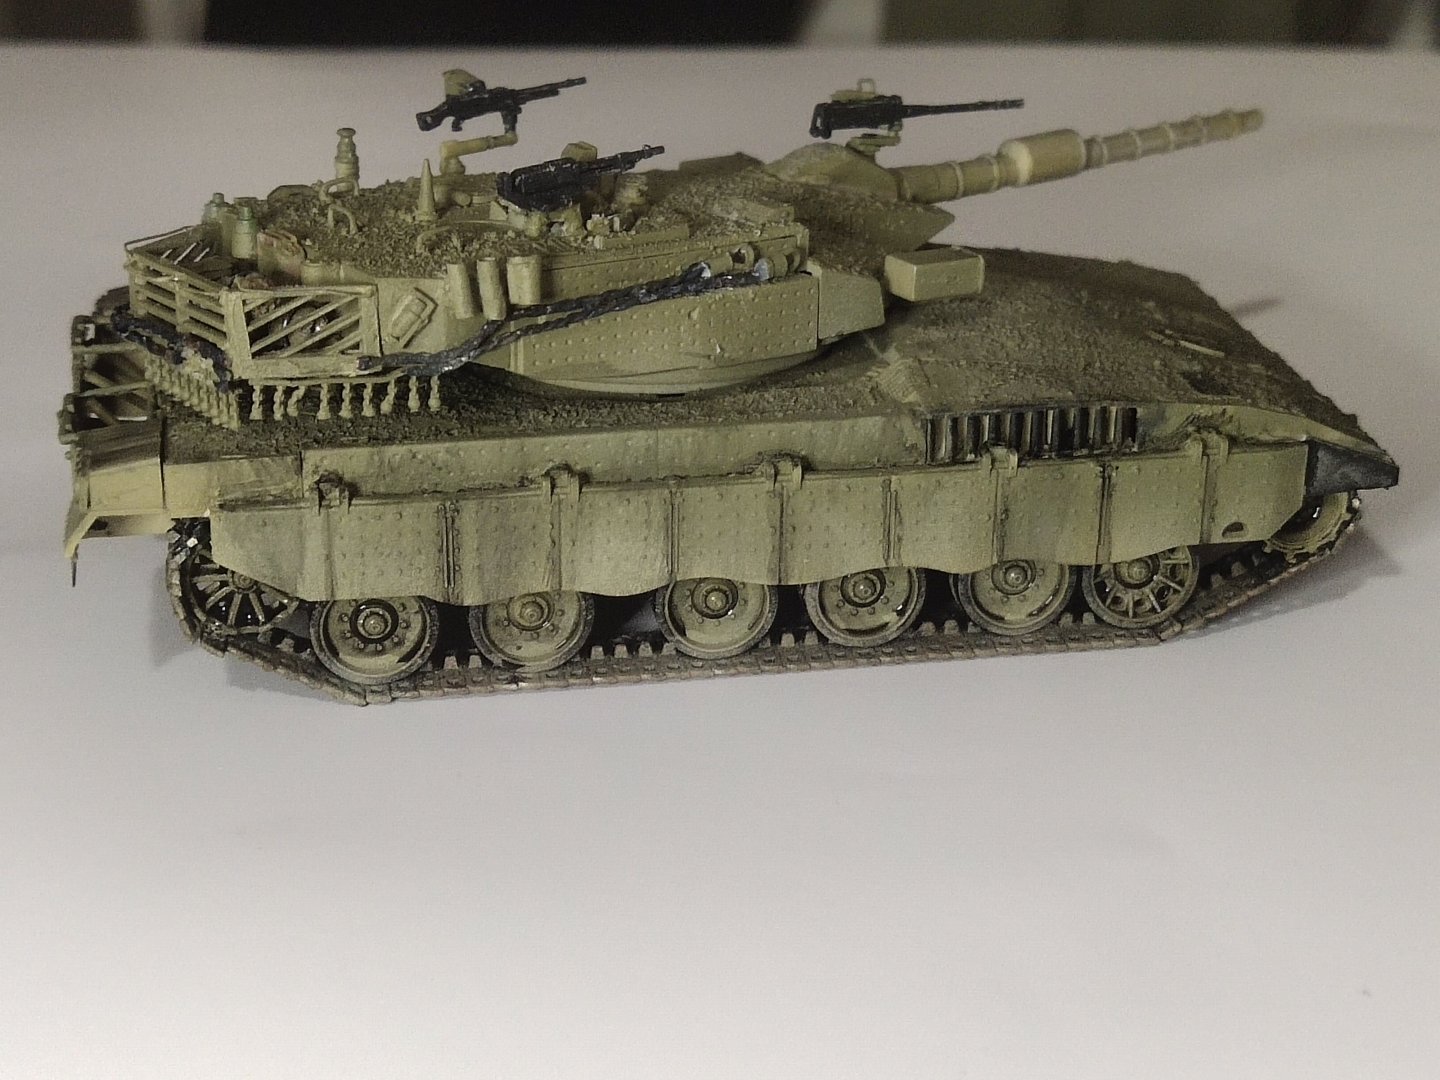
I added some equipment to fill in the empty space behind the turret. Next was the weathering by painting some areas with light shade. Then applied acrylic black wash all over but i made it thinner over the rougher horizontal surfaces to avoid excess accumulation of dark liquid. Tomorrow more shades will be applied

-
Merkava III by mikegr - Revell - 1/72 - PLASTIC
mikegr replied to mikegr's topic in Non-ship/categorised builds
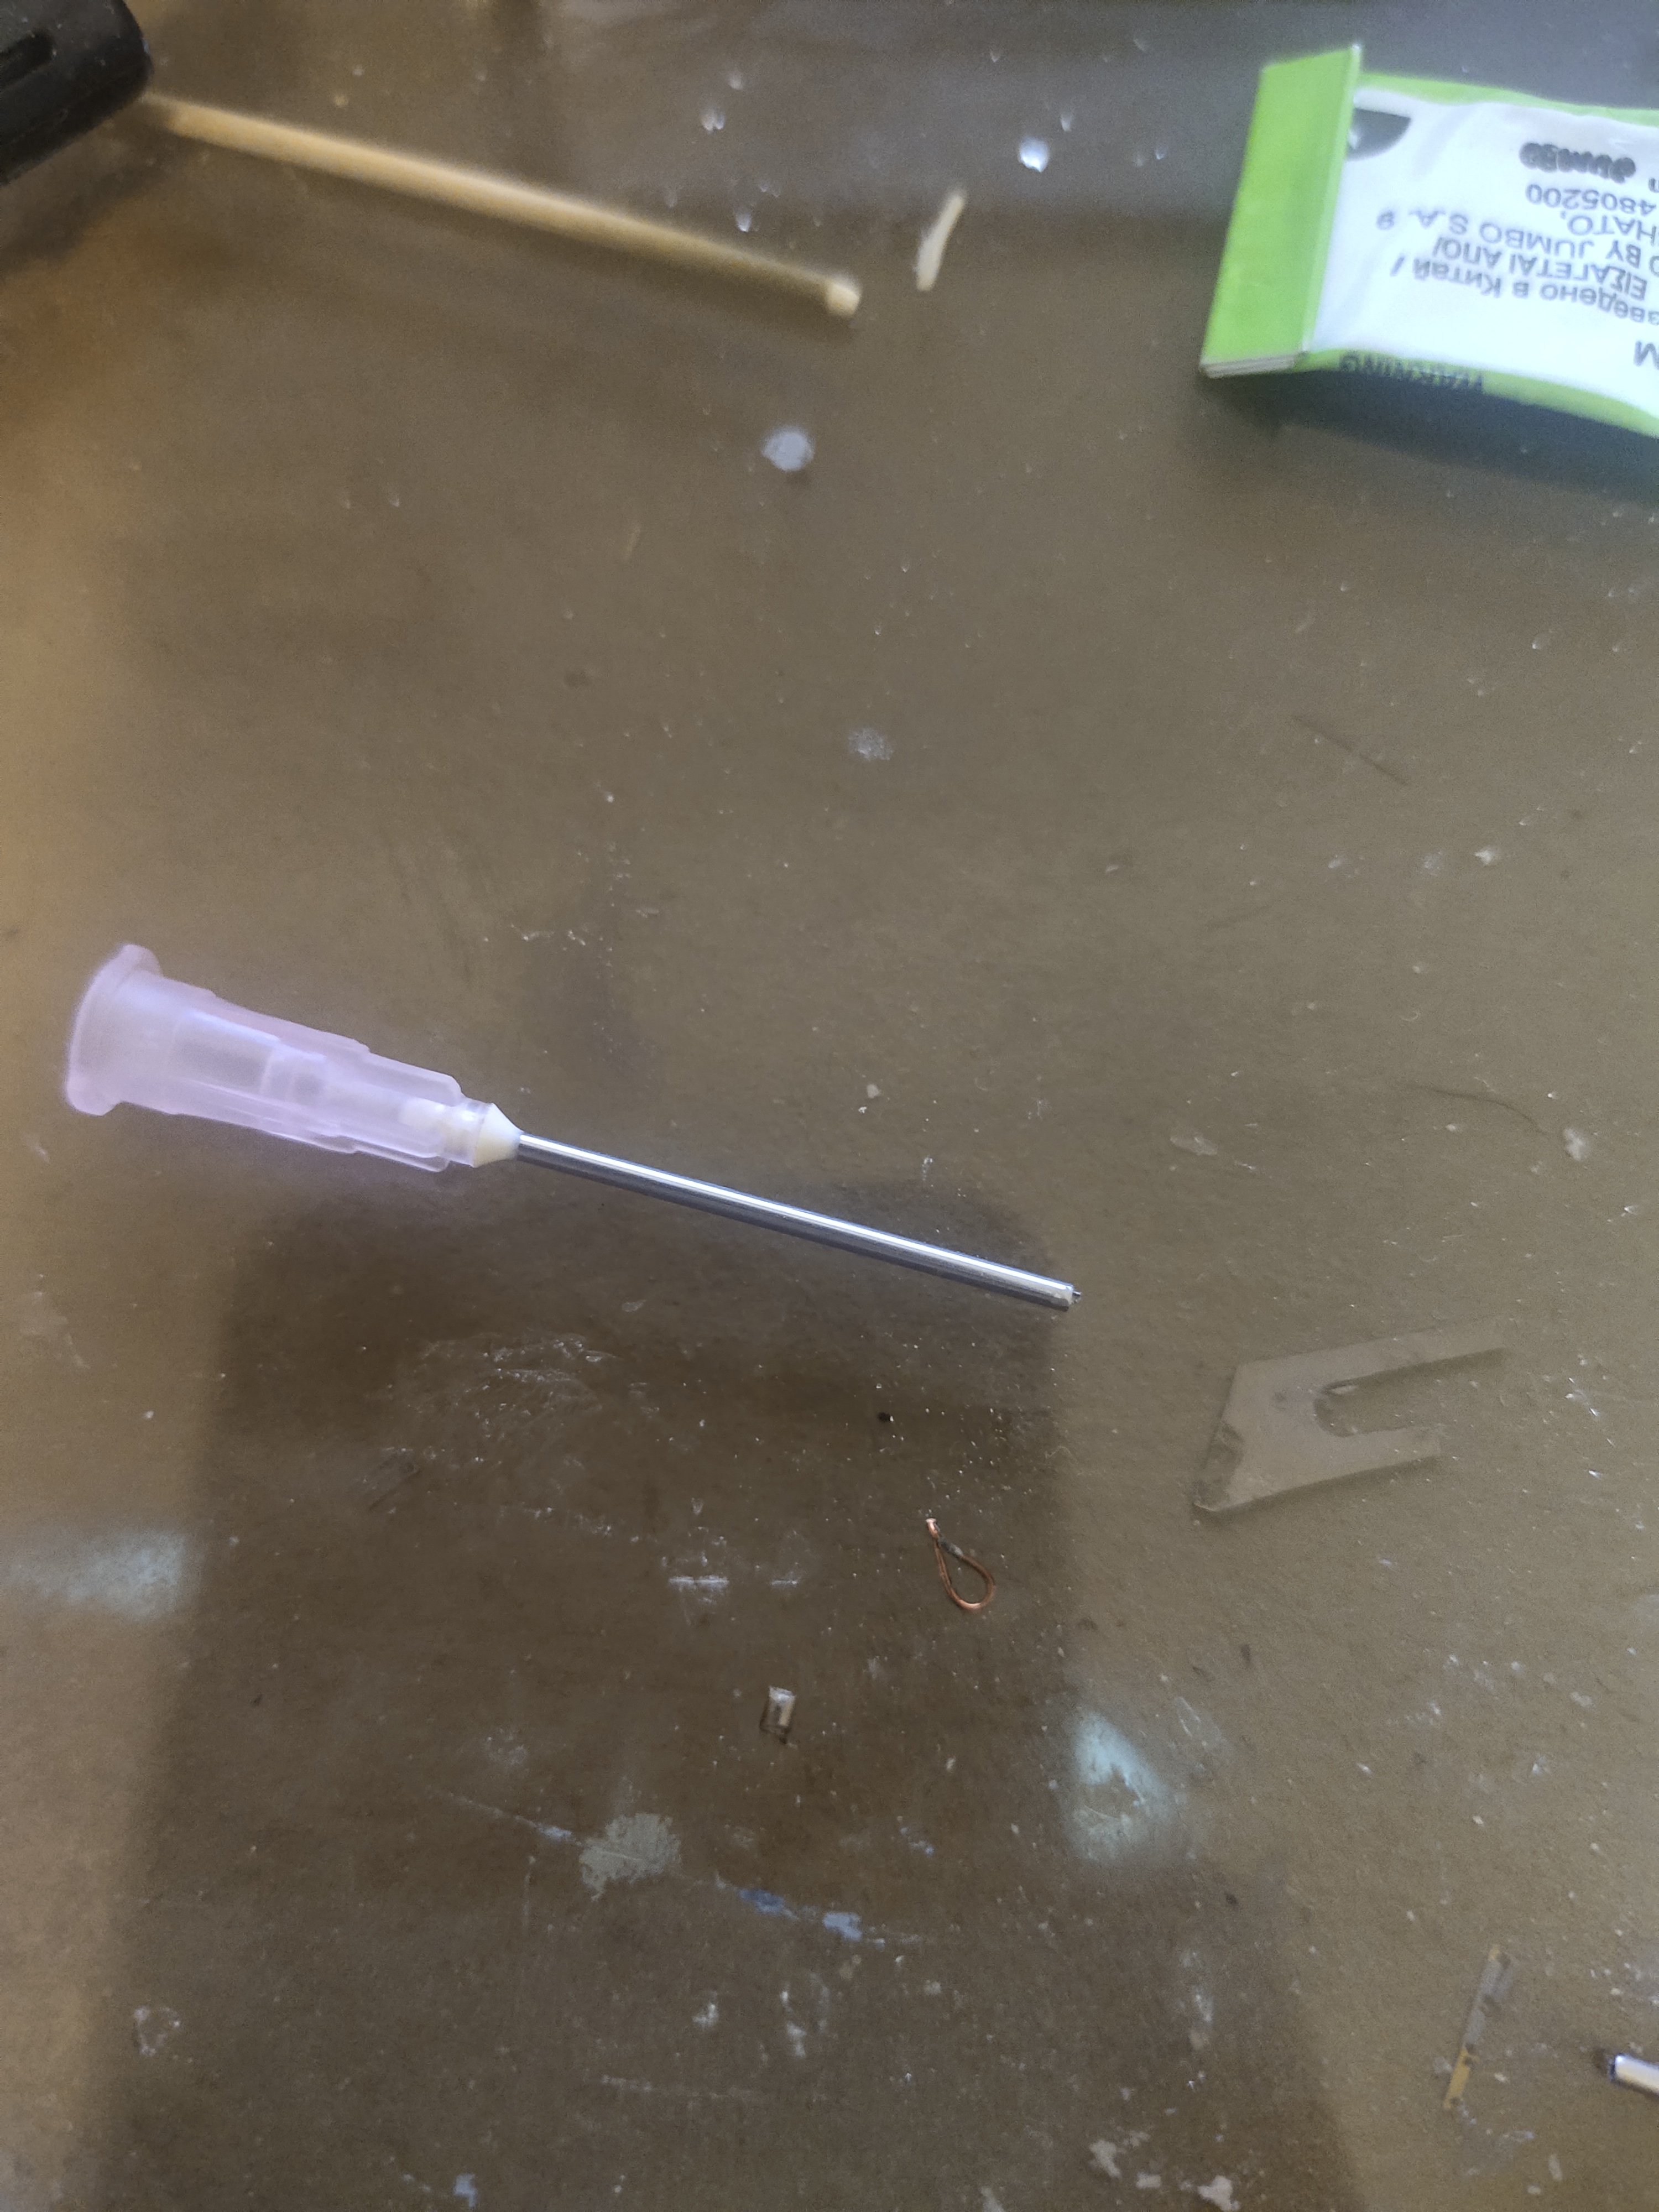
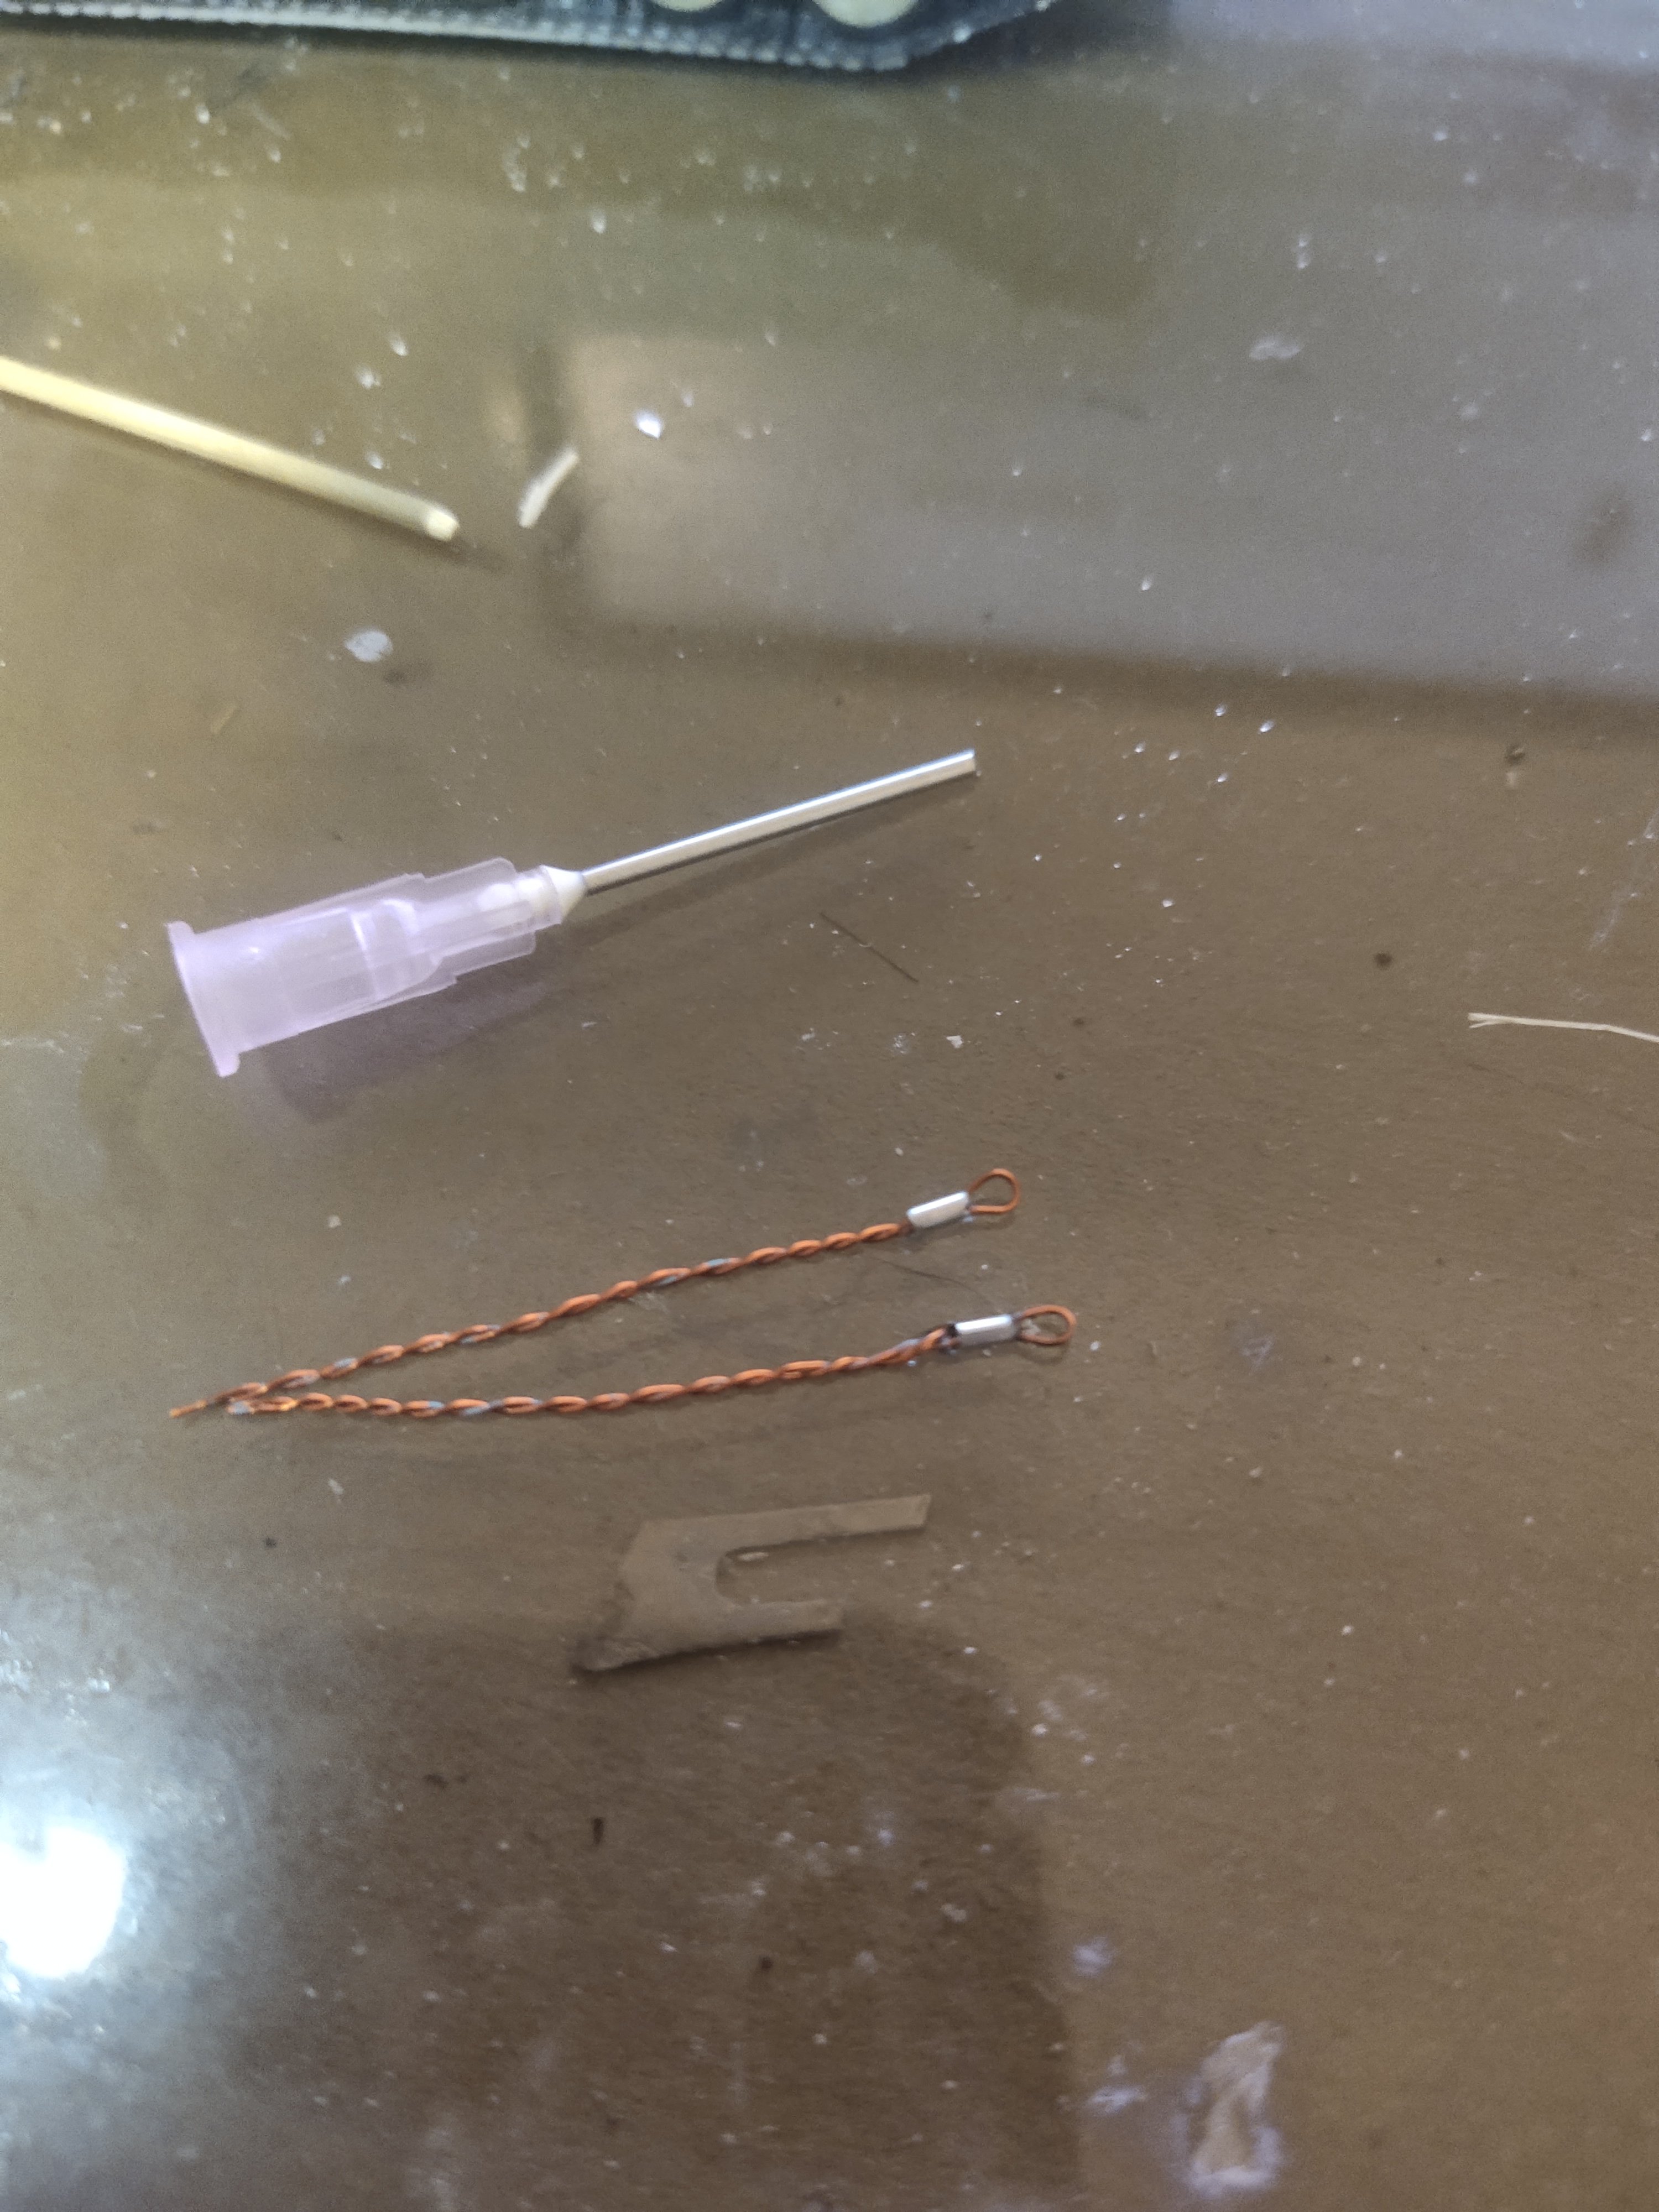
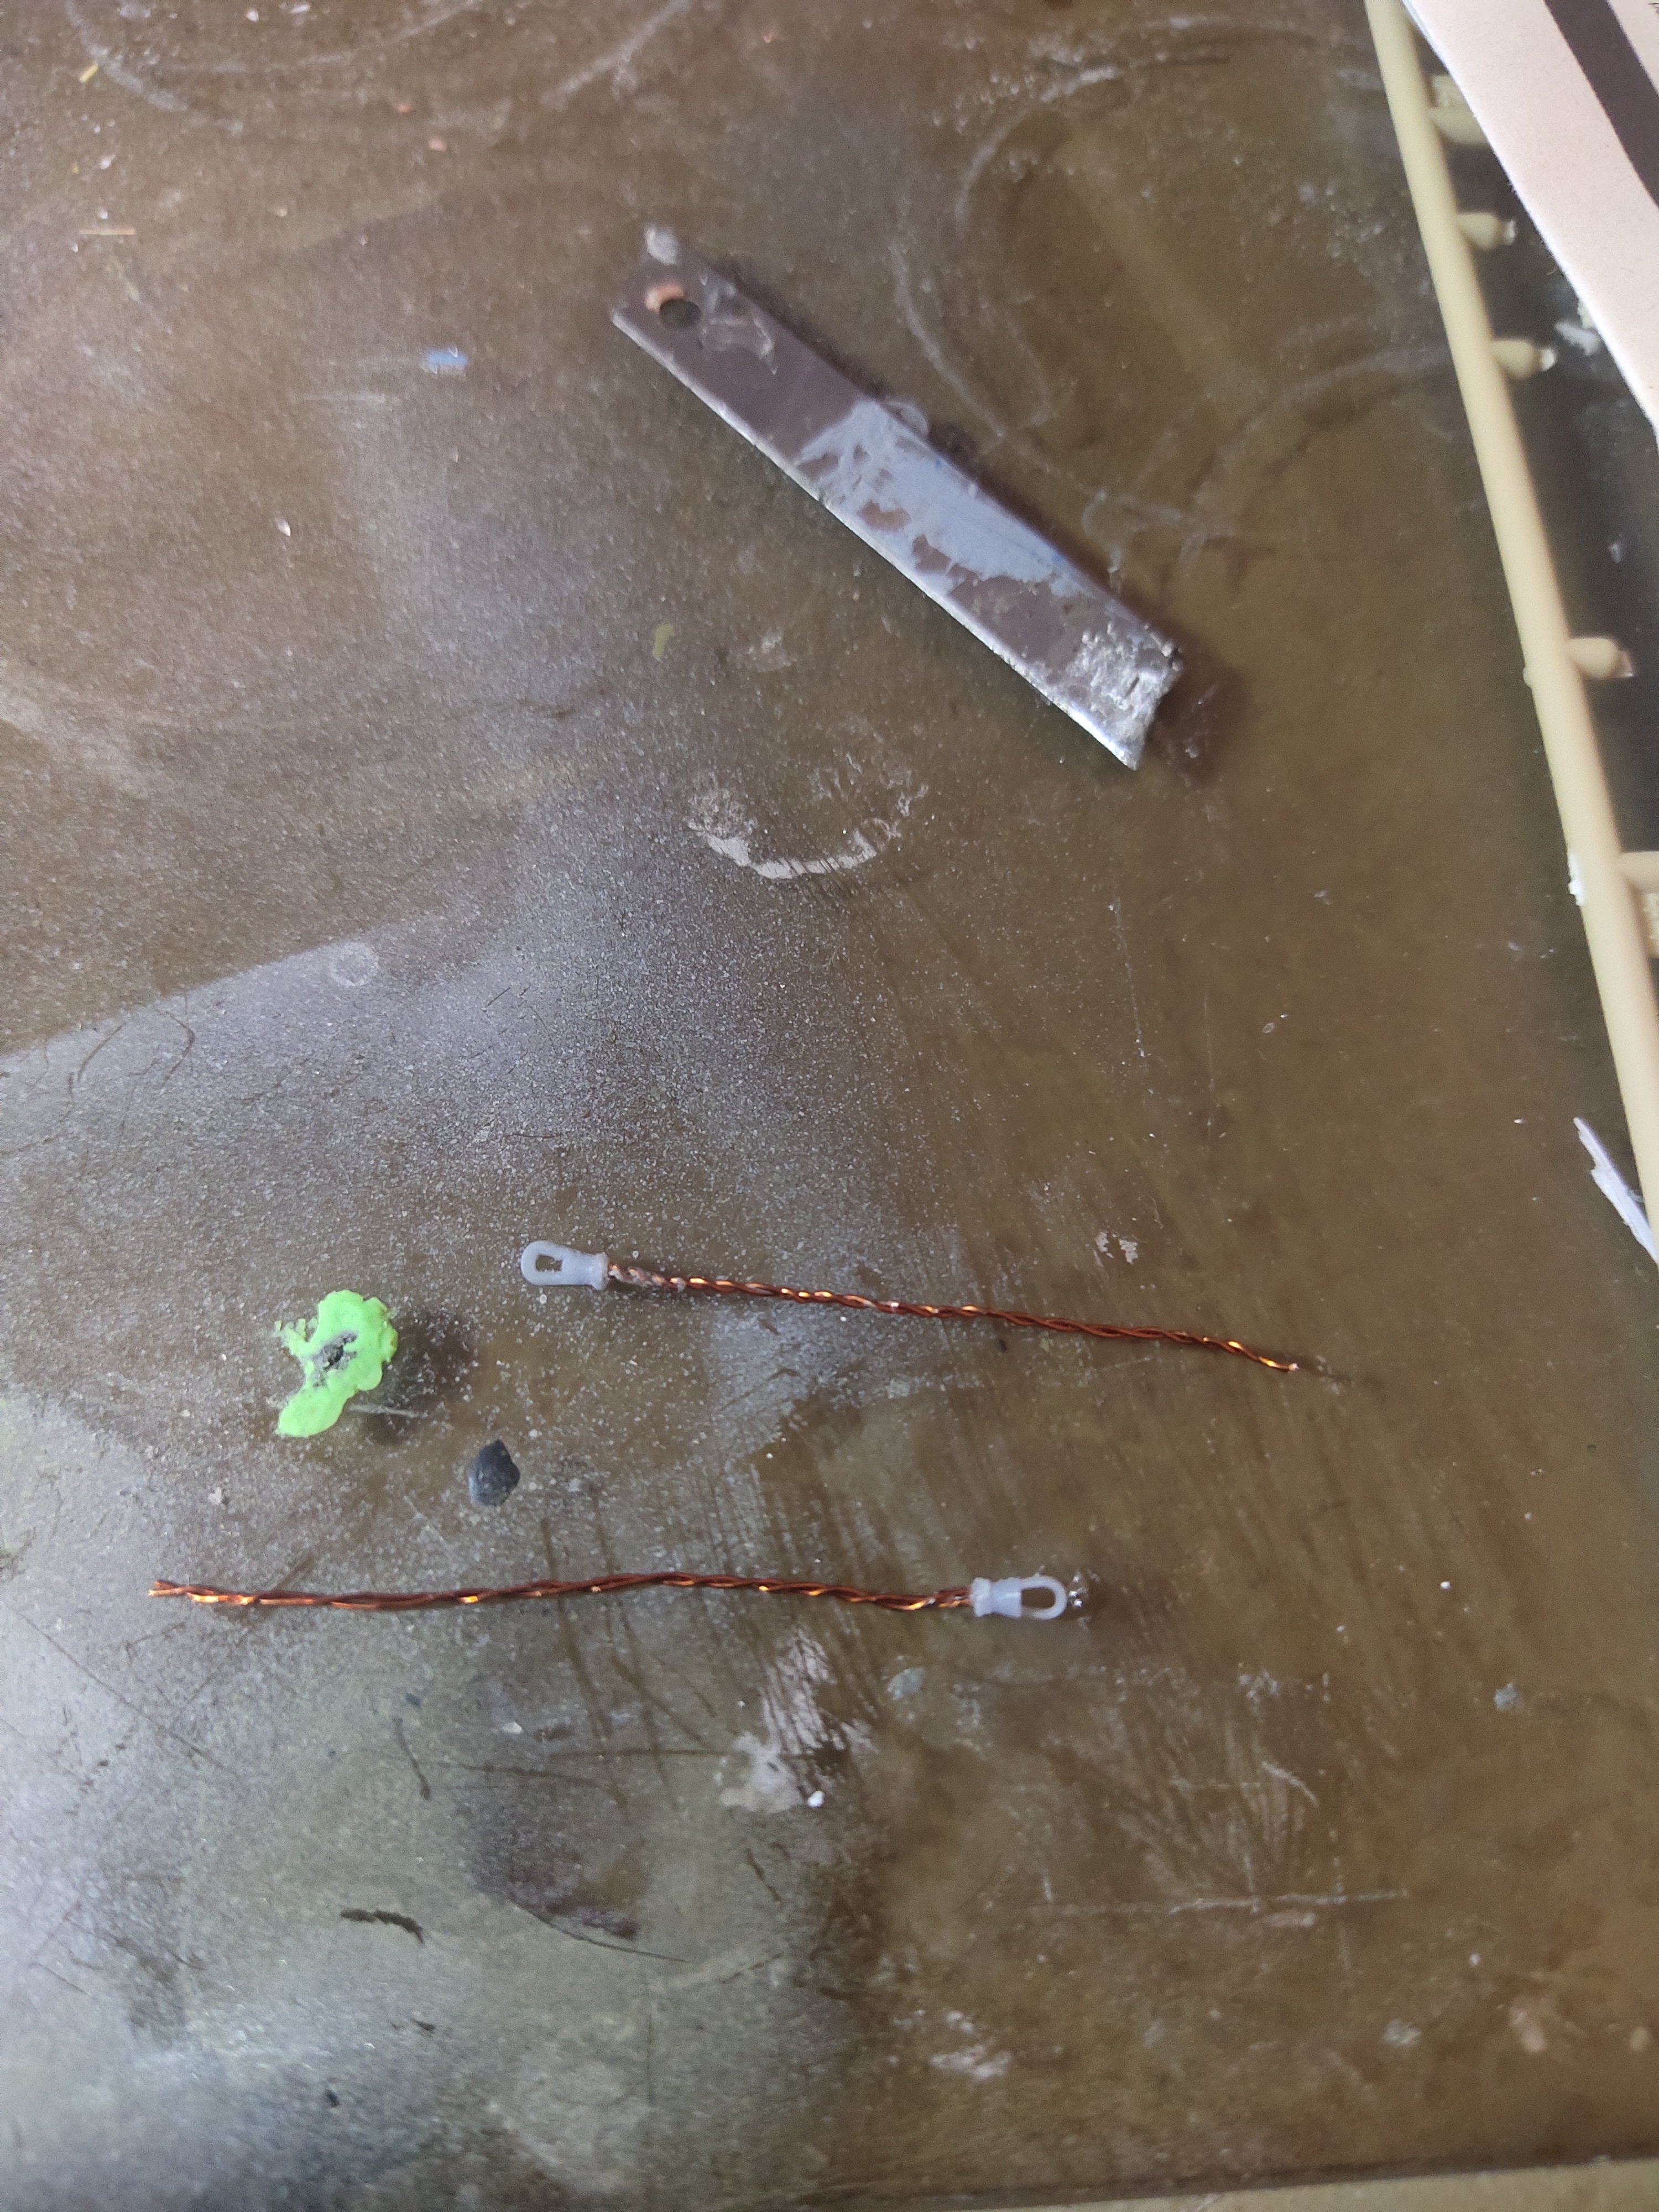
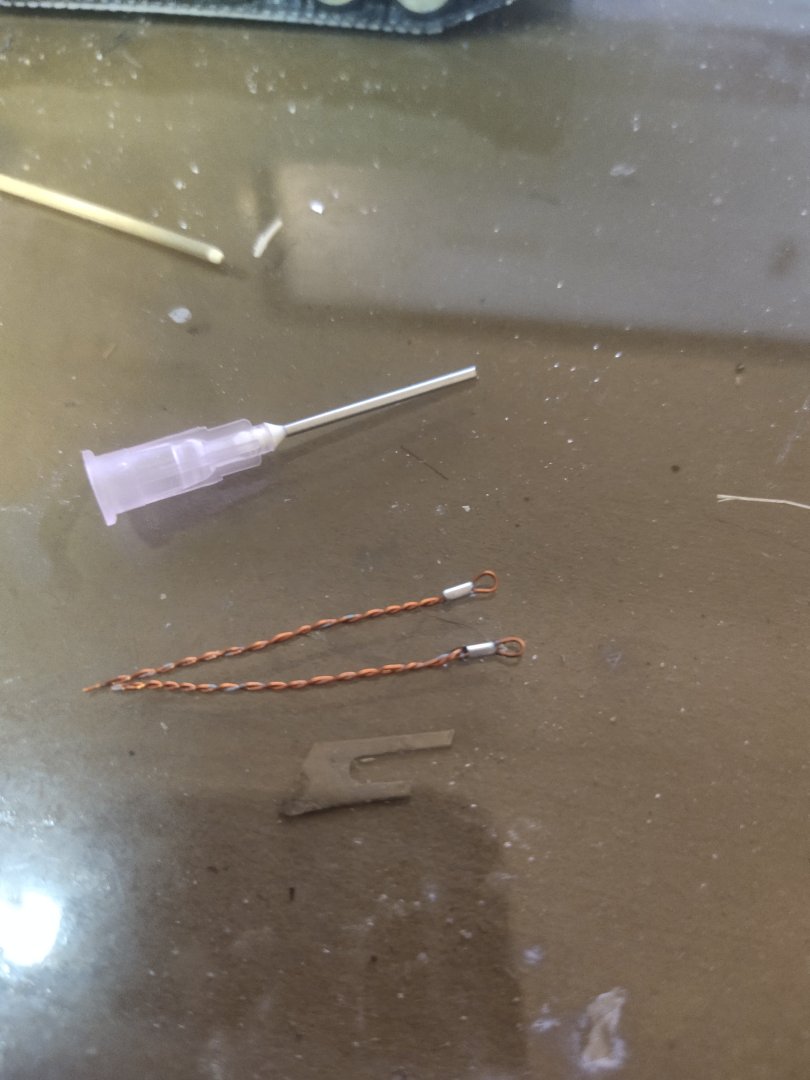
I had to make some loopholes for the wires so I found an affective way I cut a needle in small pieces, made a loop with 0.3mm wire and glued them. Easy. Then I moved on weathering the tracks

-
Merkava III by mikegr - Revell - 1/72 - PLASTIC
mikegr replied to mikegr's topic in Non-ship/categorised builds
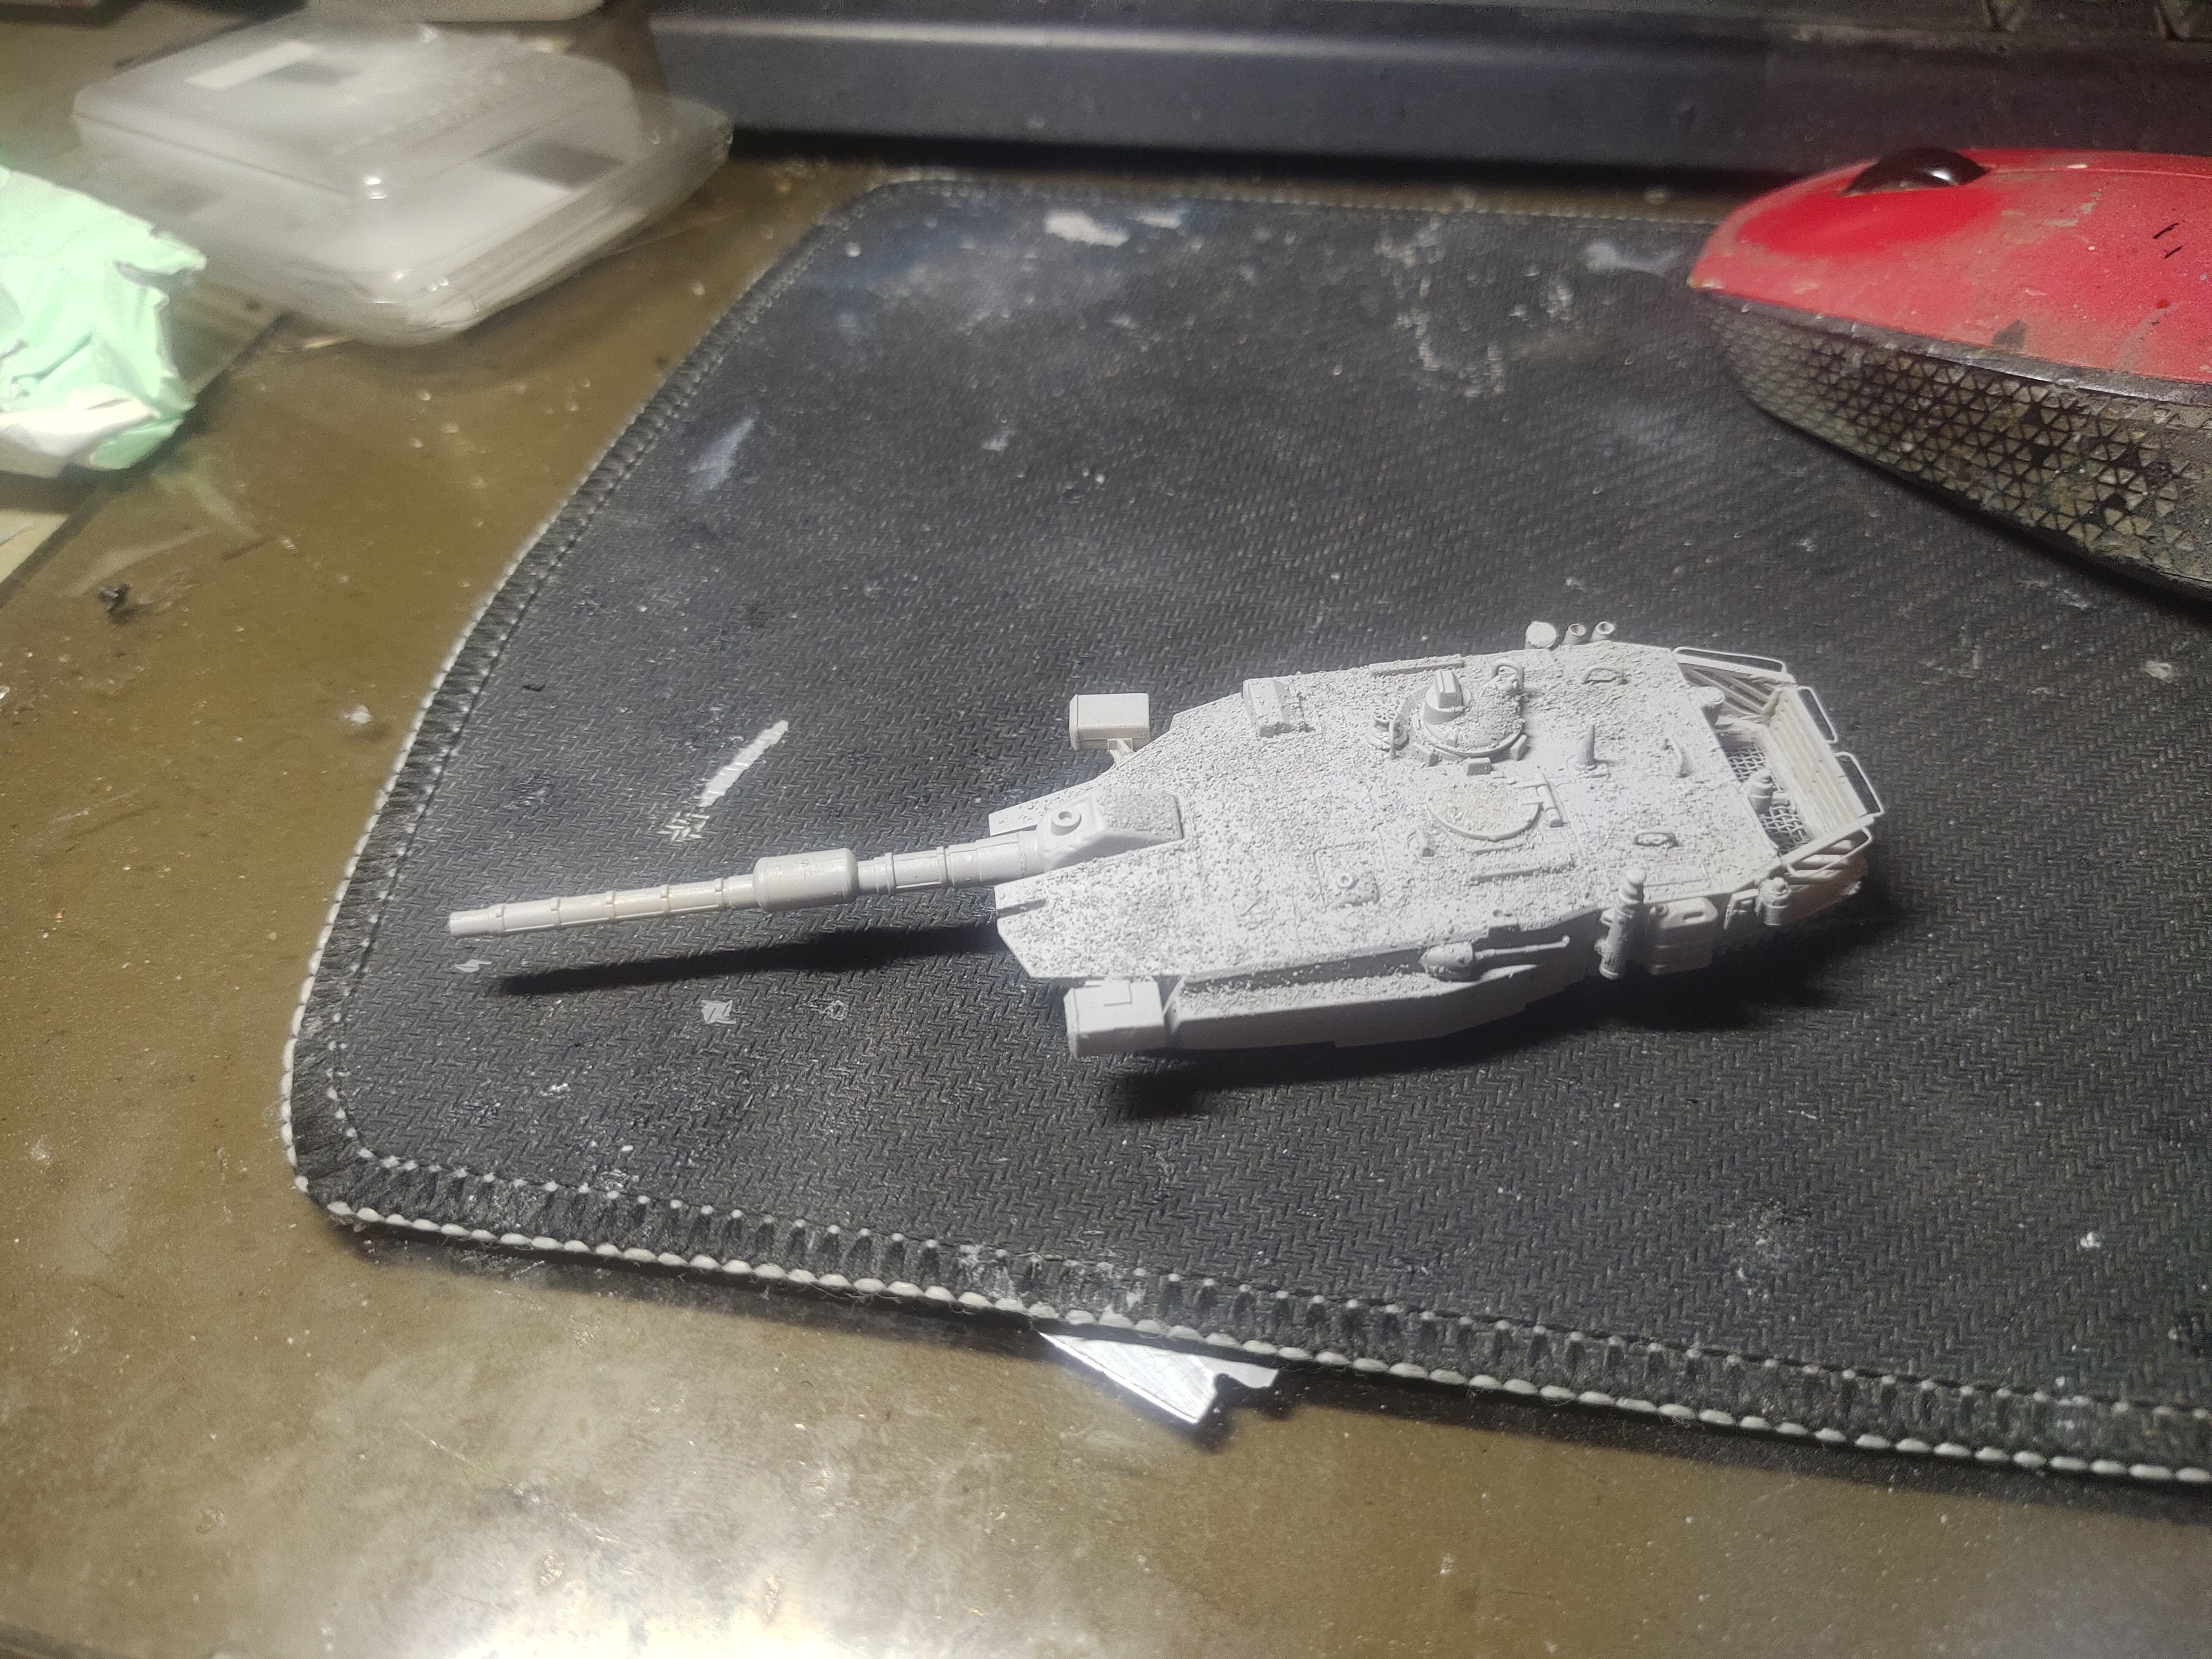
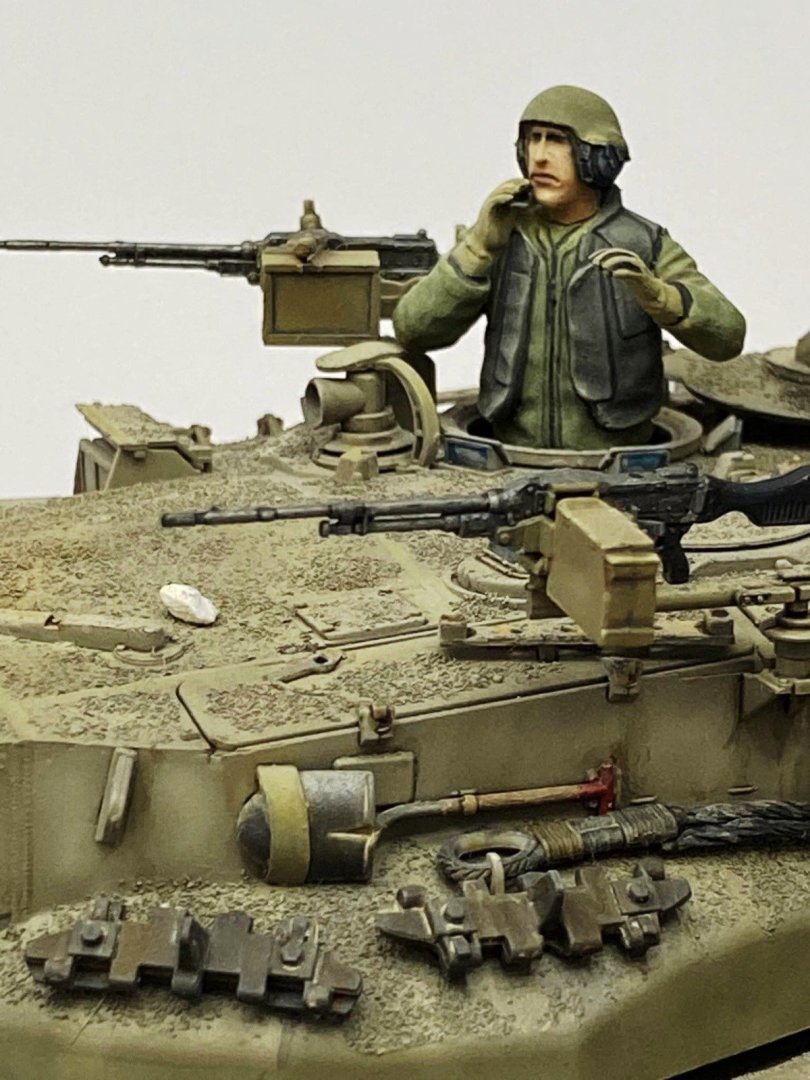
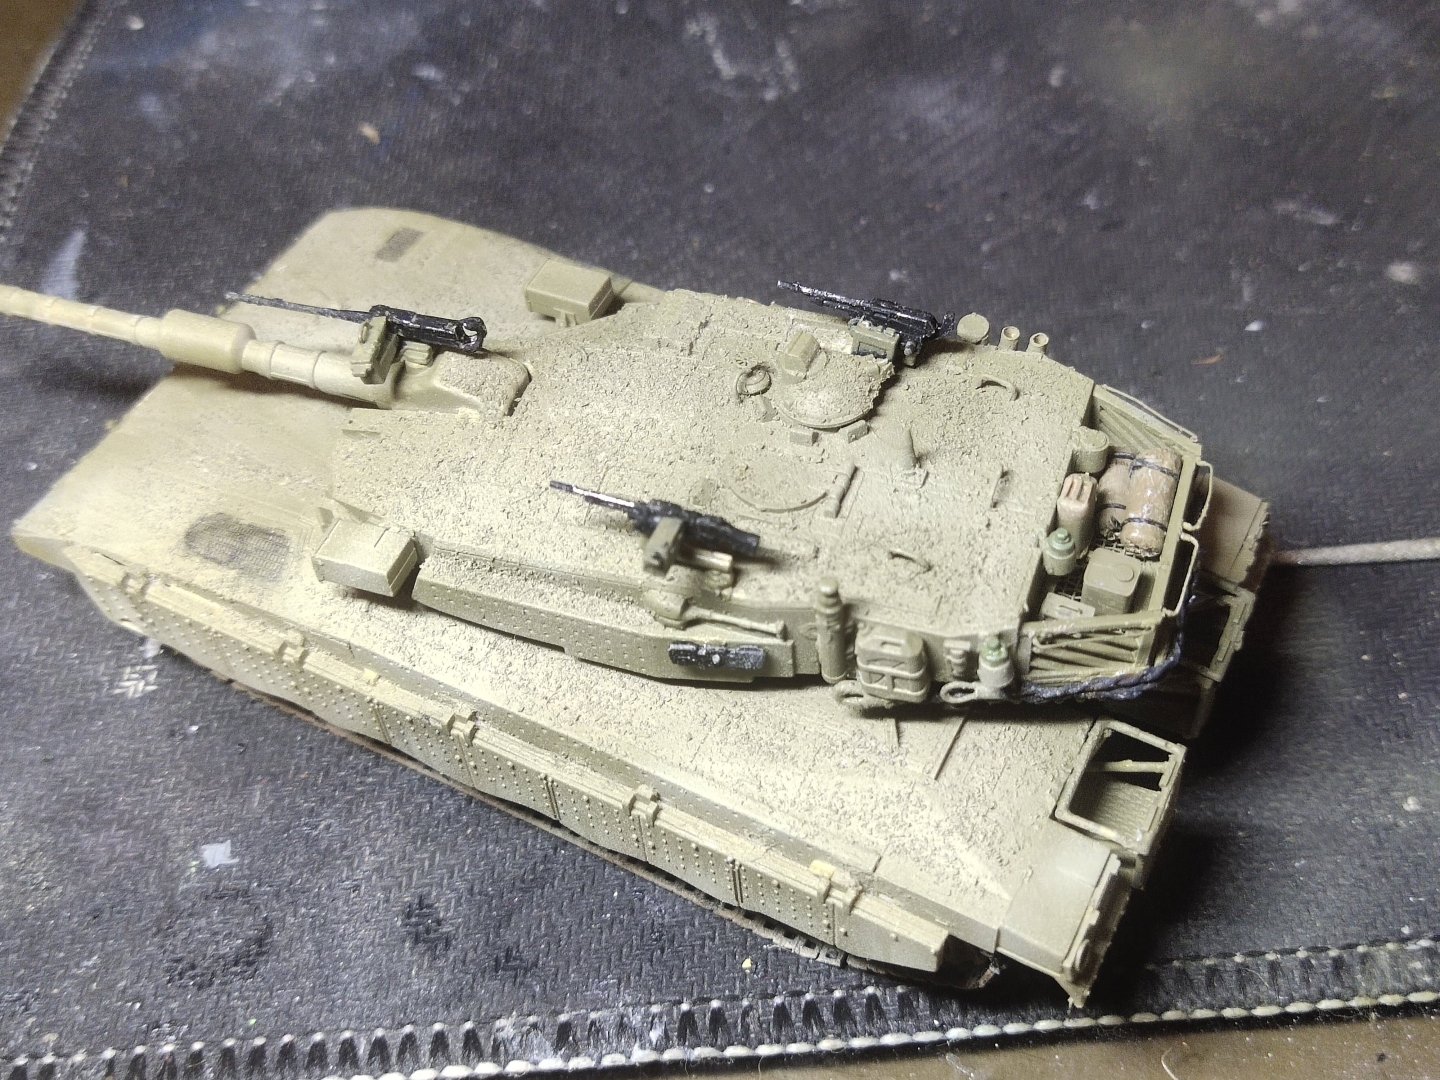
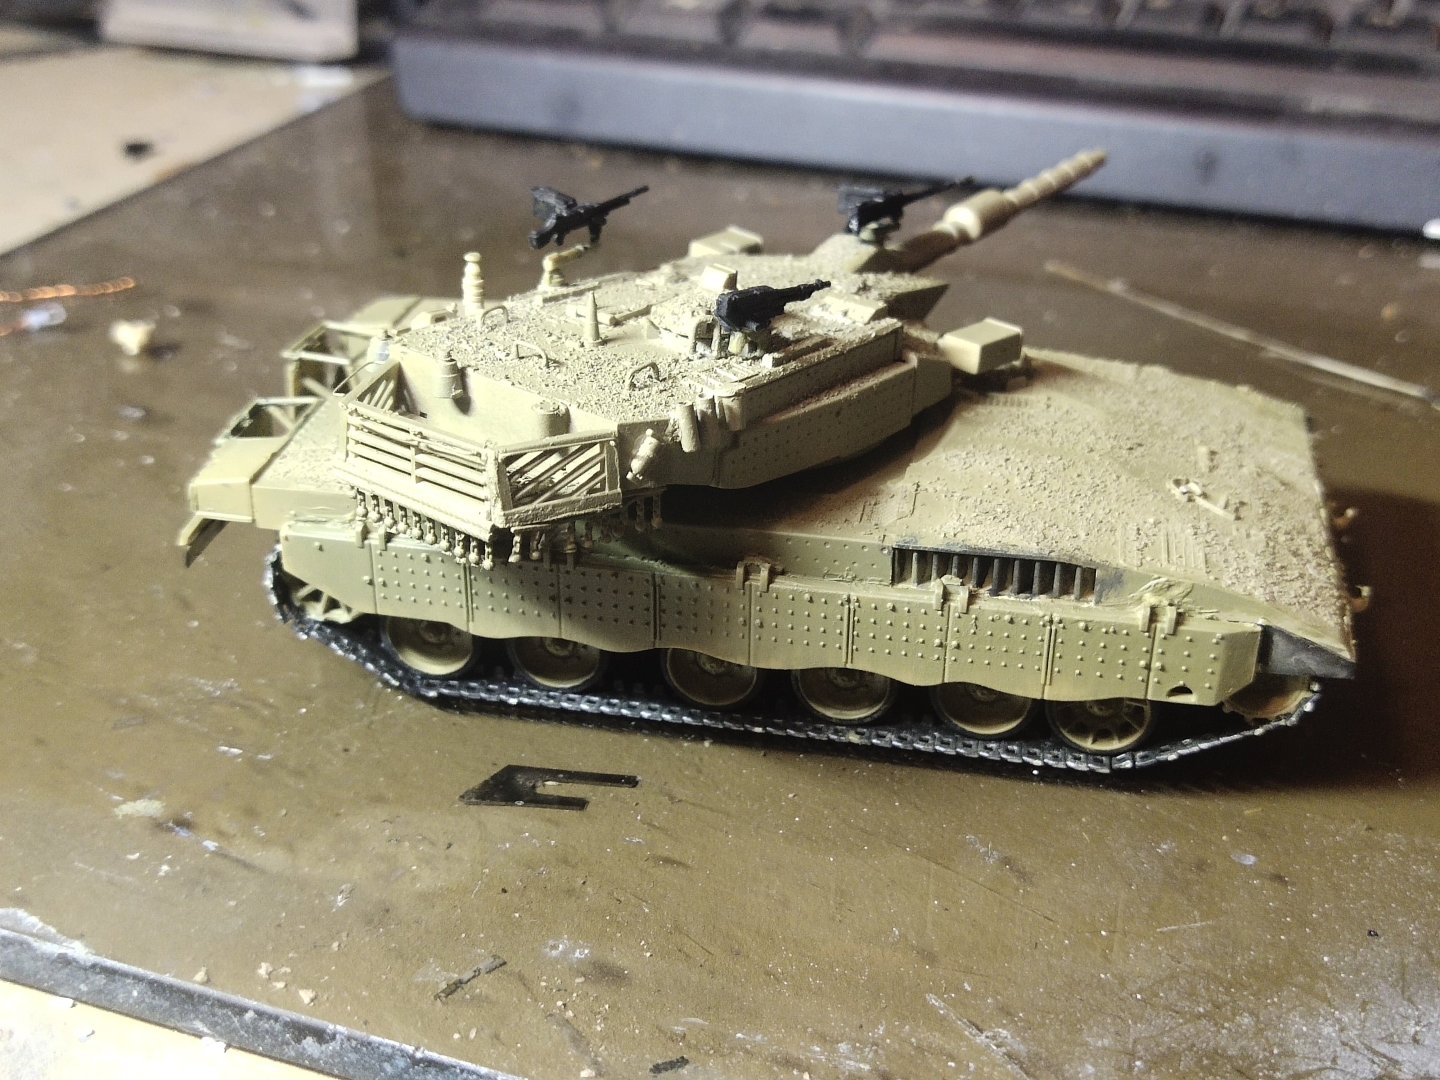
Some add on details and a few pics form today's work. Soon will be working on weathering

-
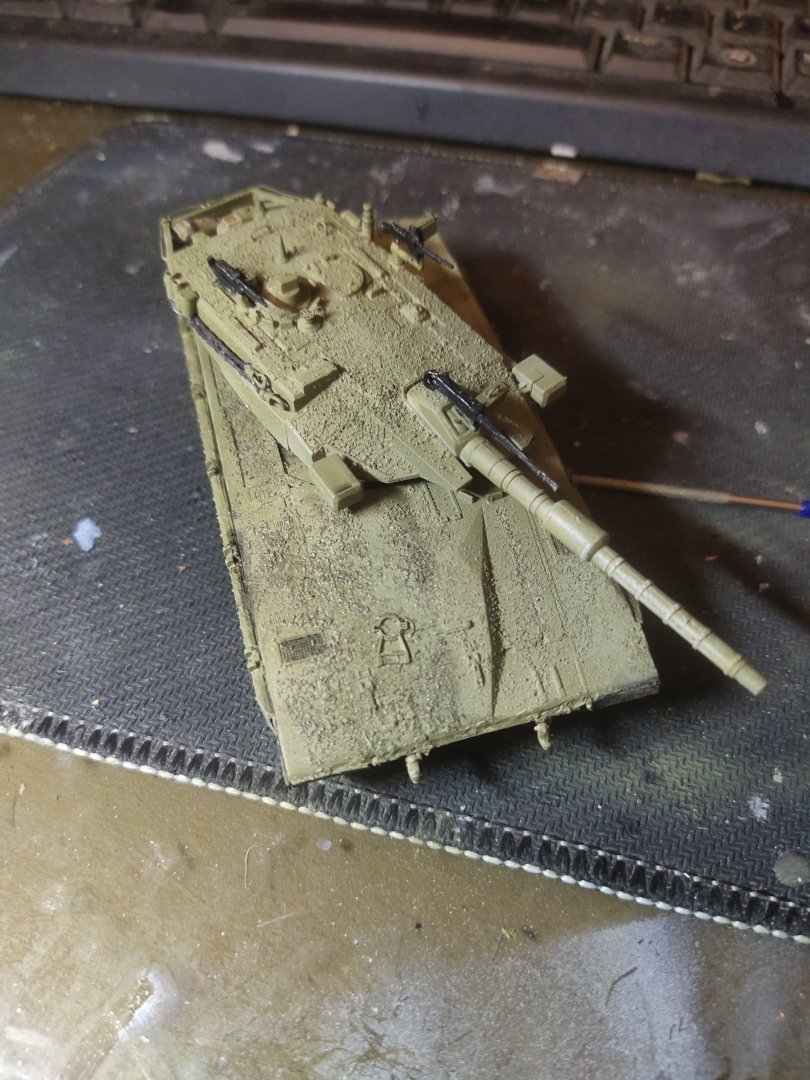
Merkava III by mikegr - Revell - 1/72 - PLASTIC
mikegr replied to mikegr's topic in Non-ship/categorised builds
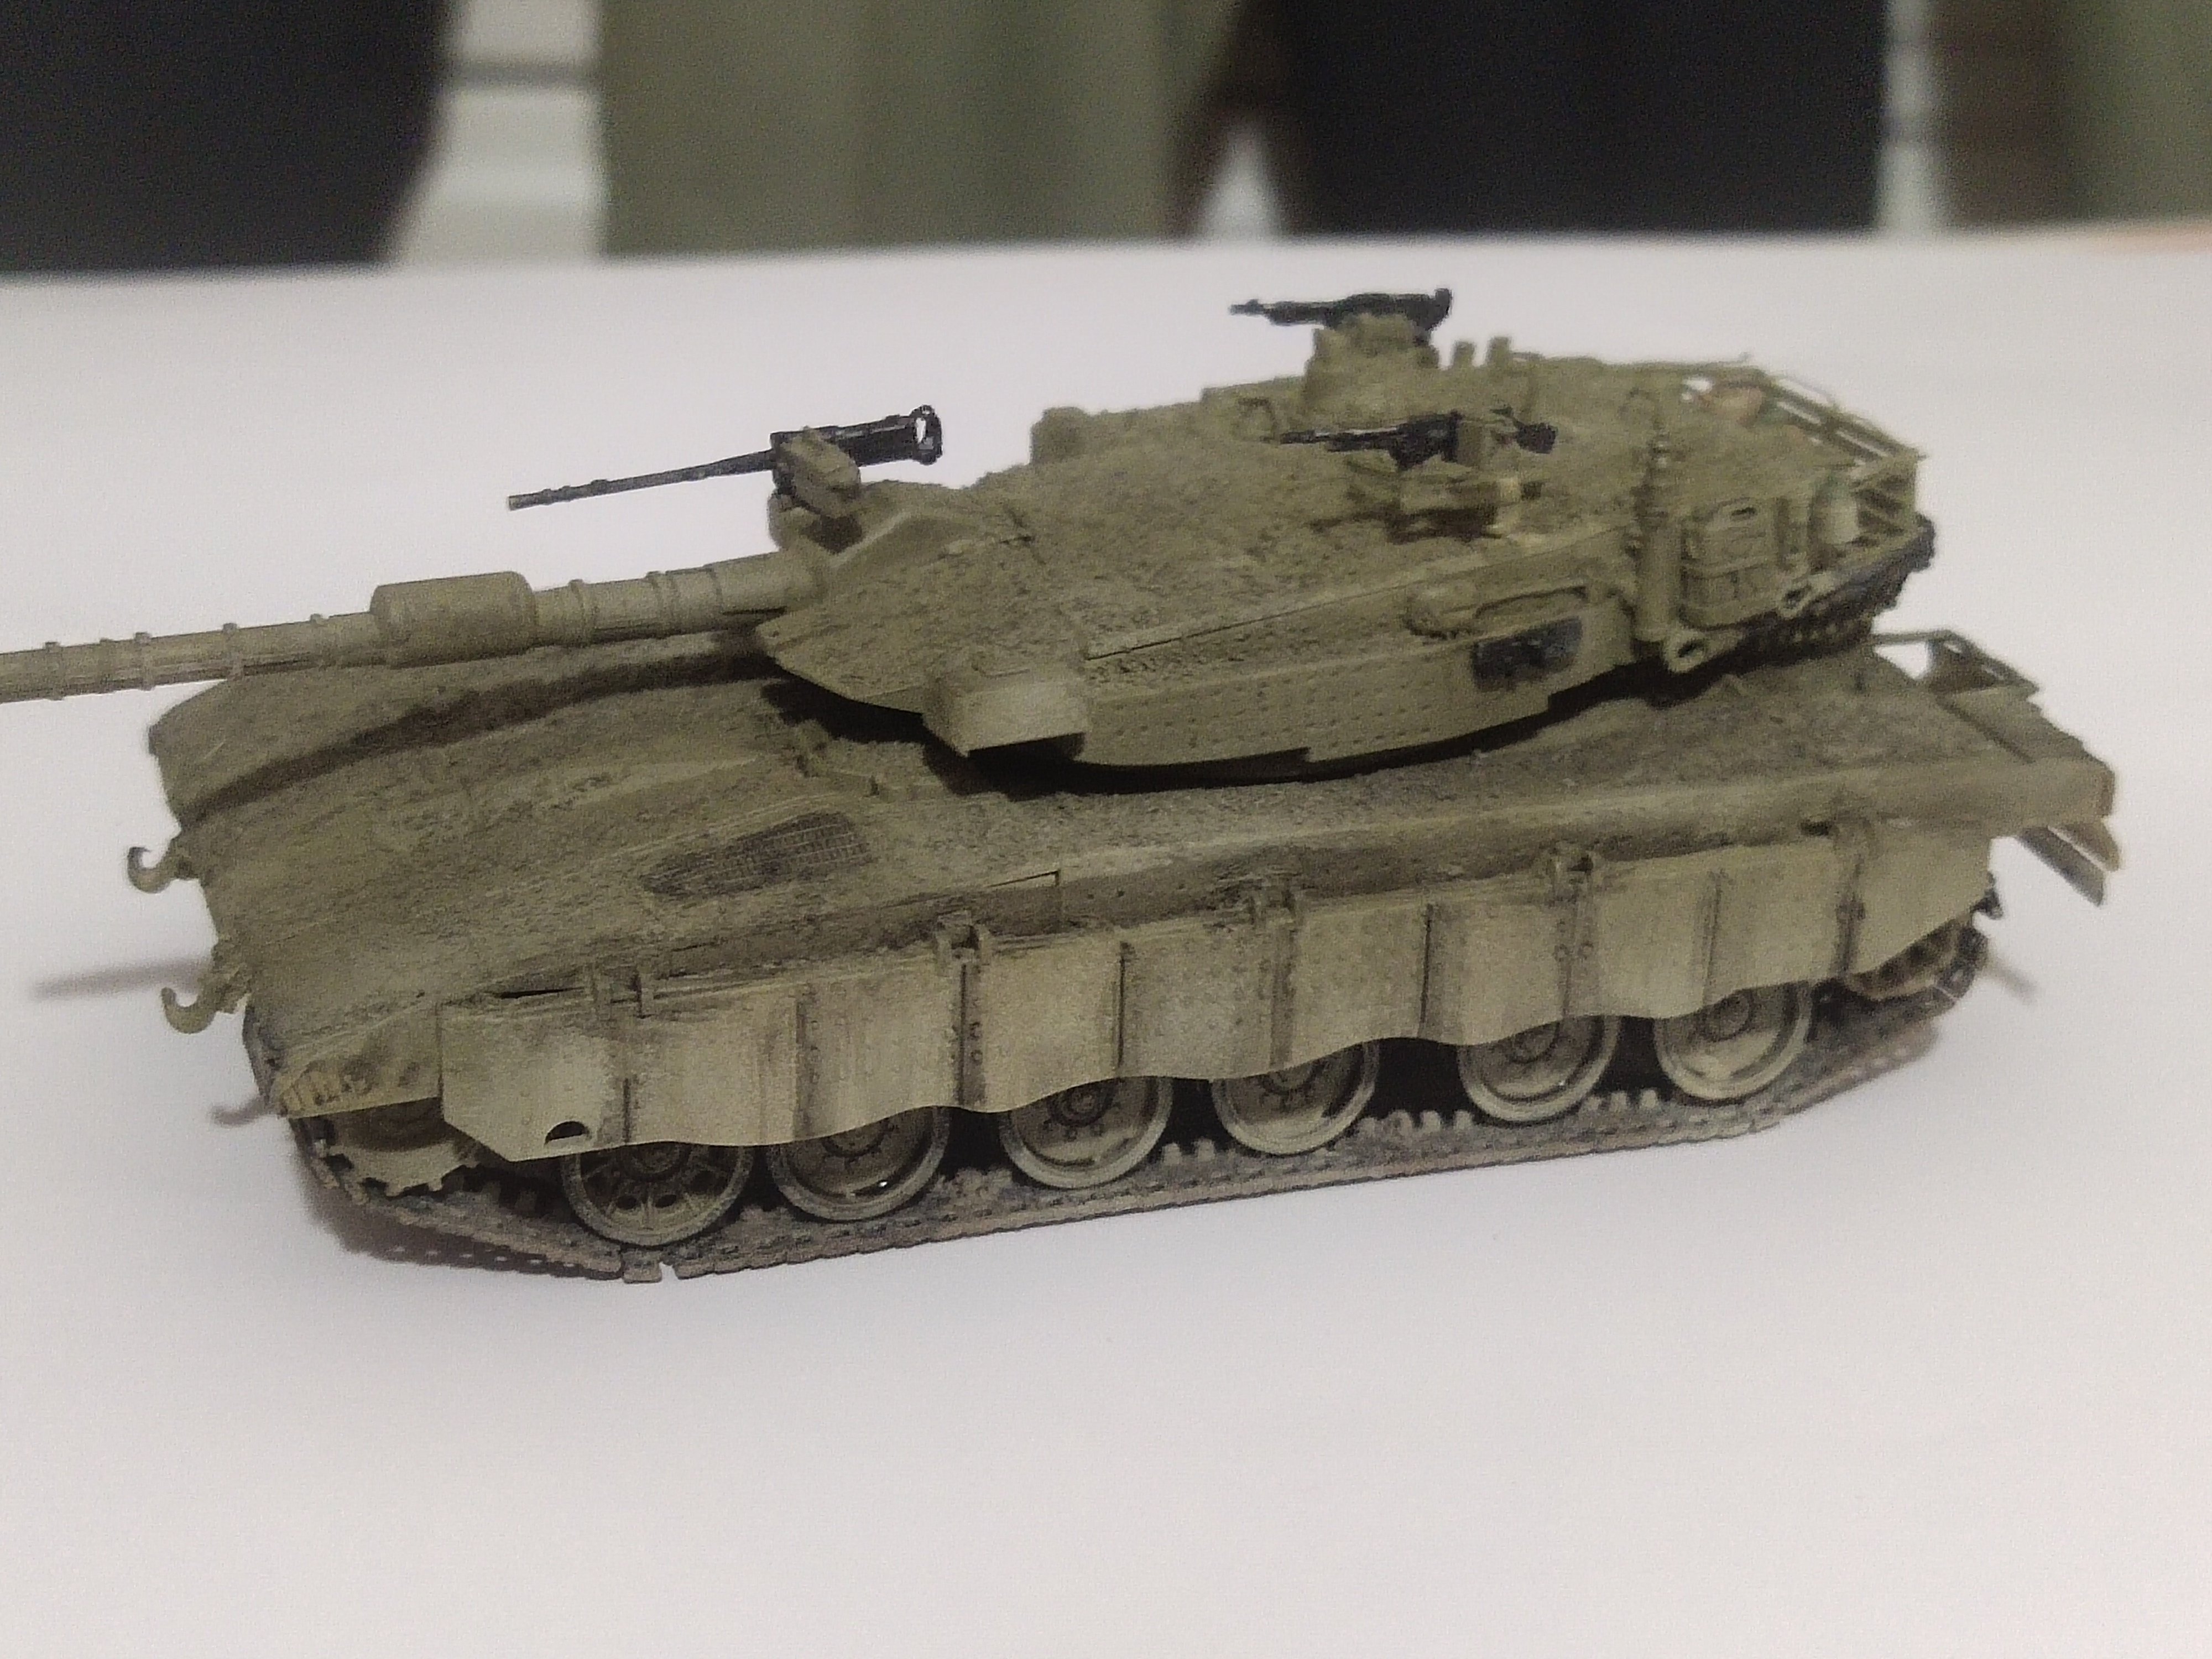
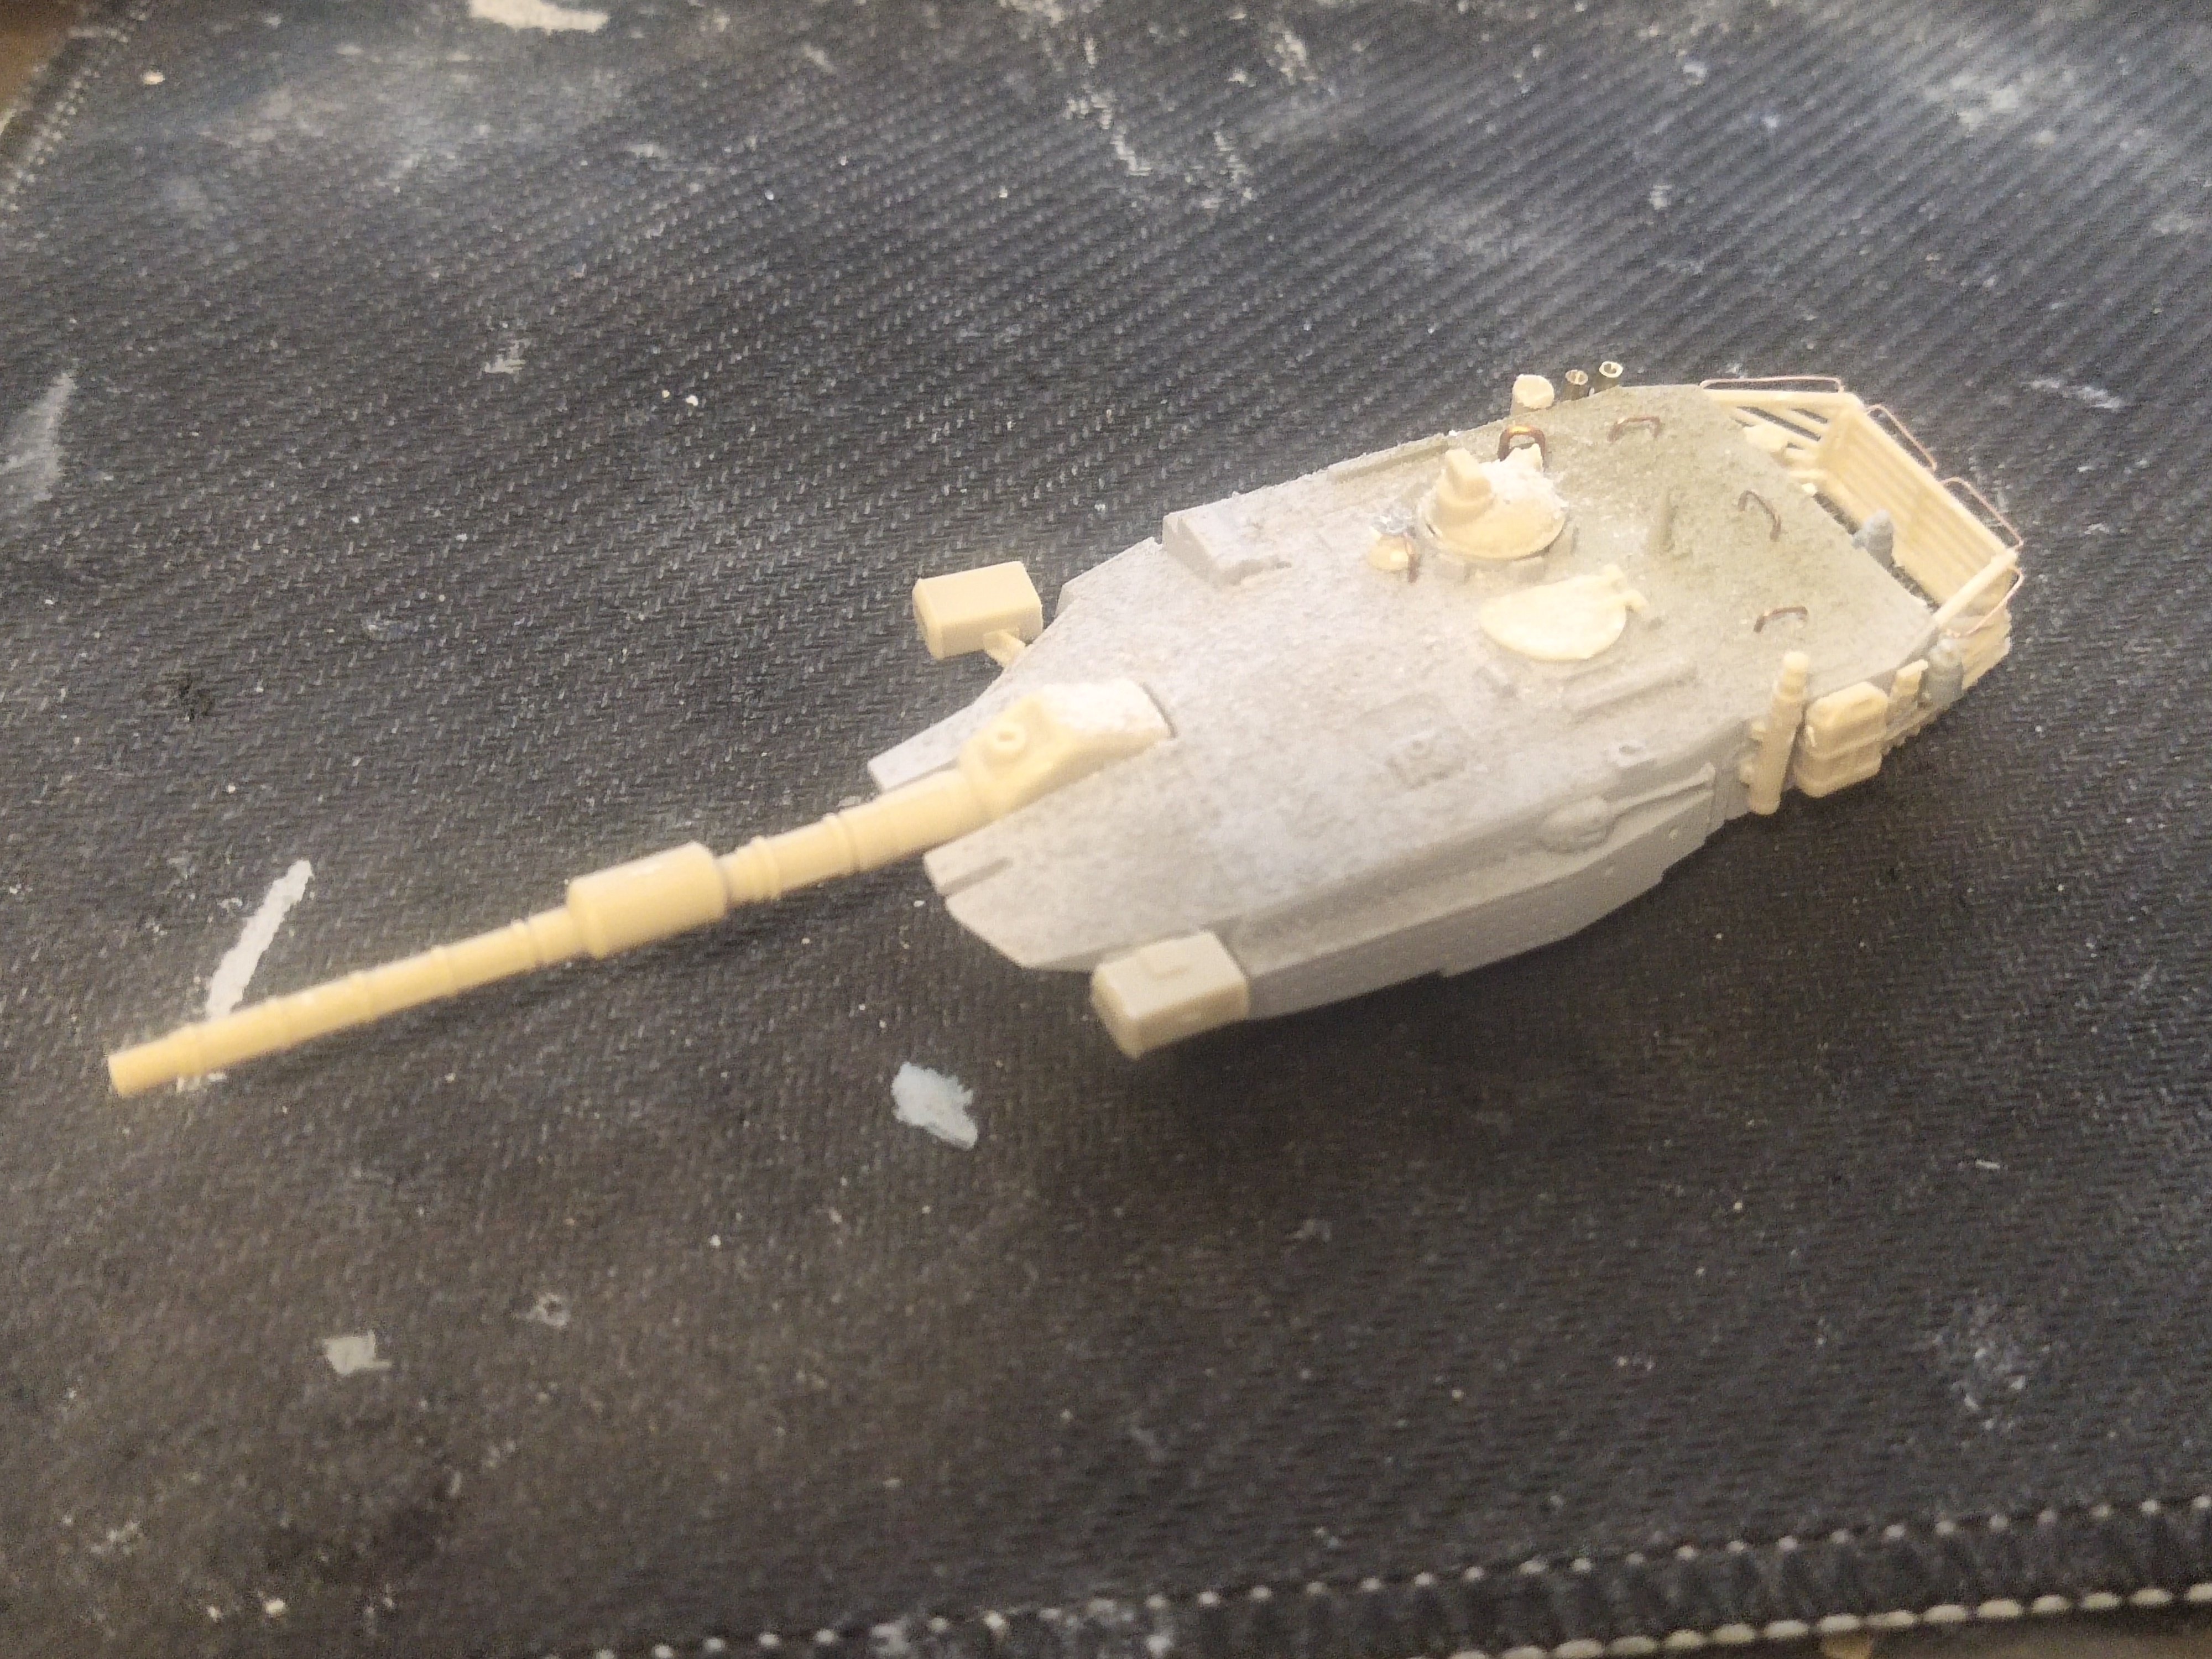
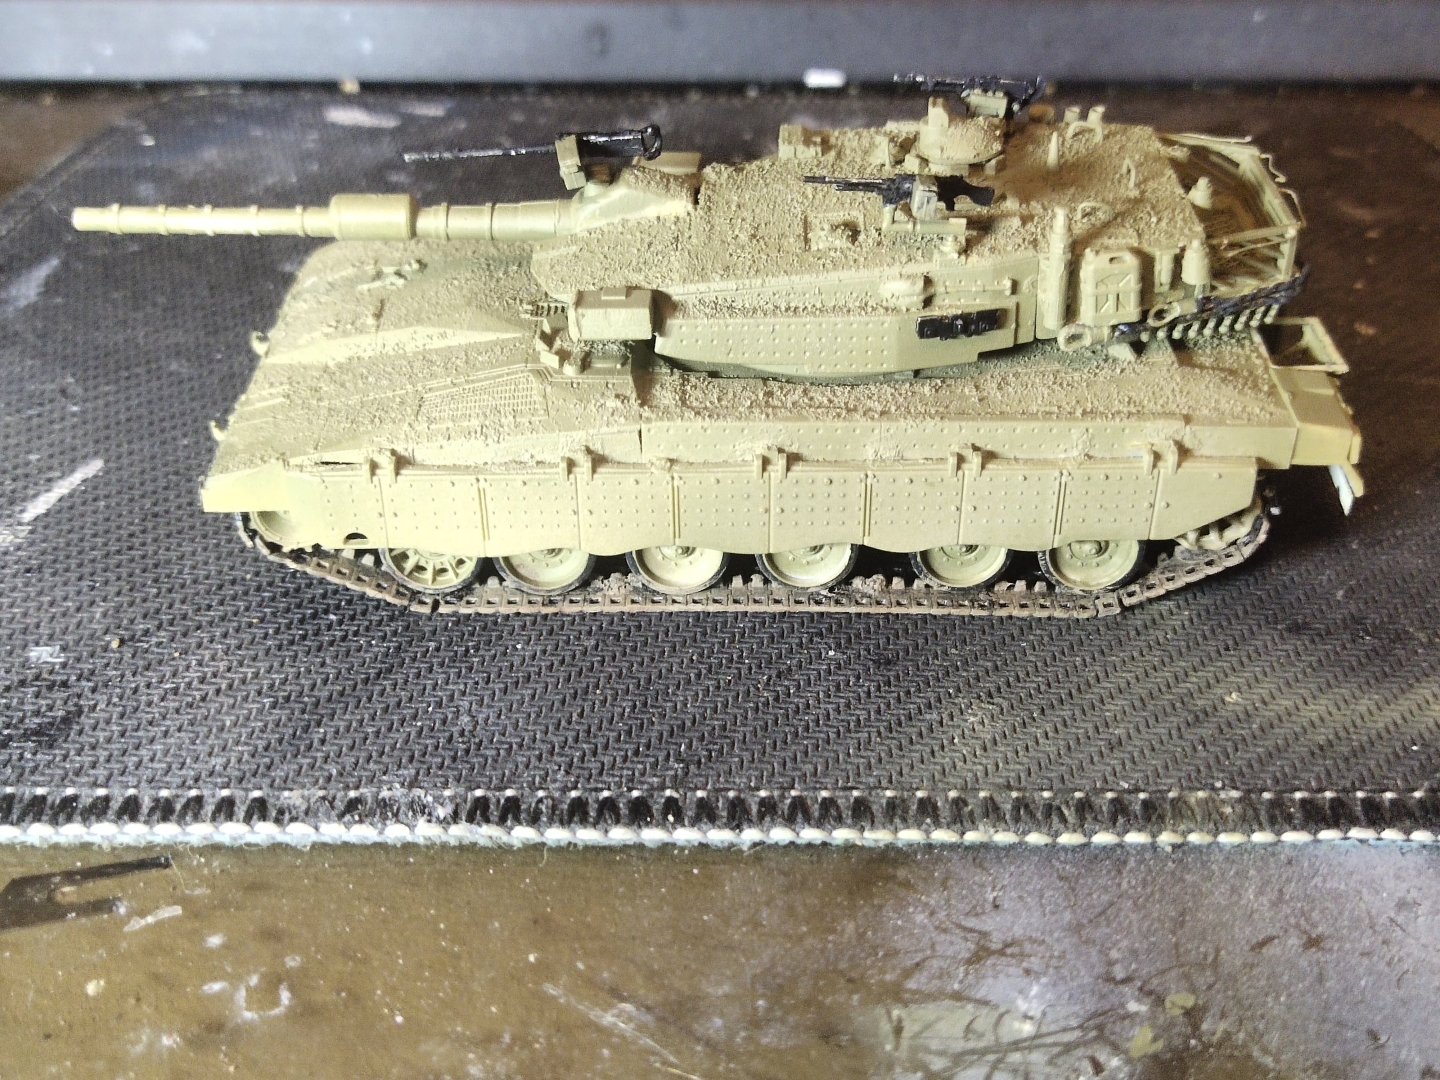
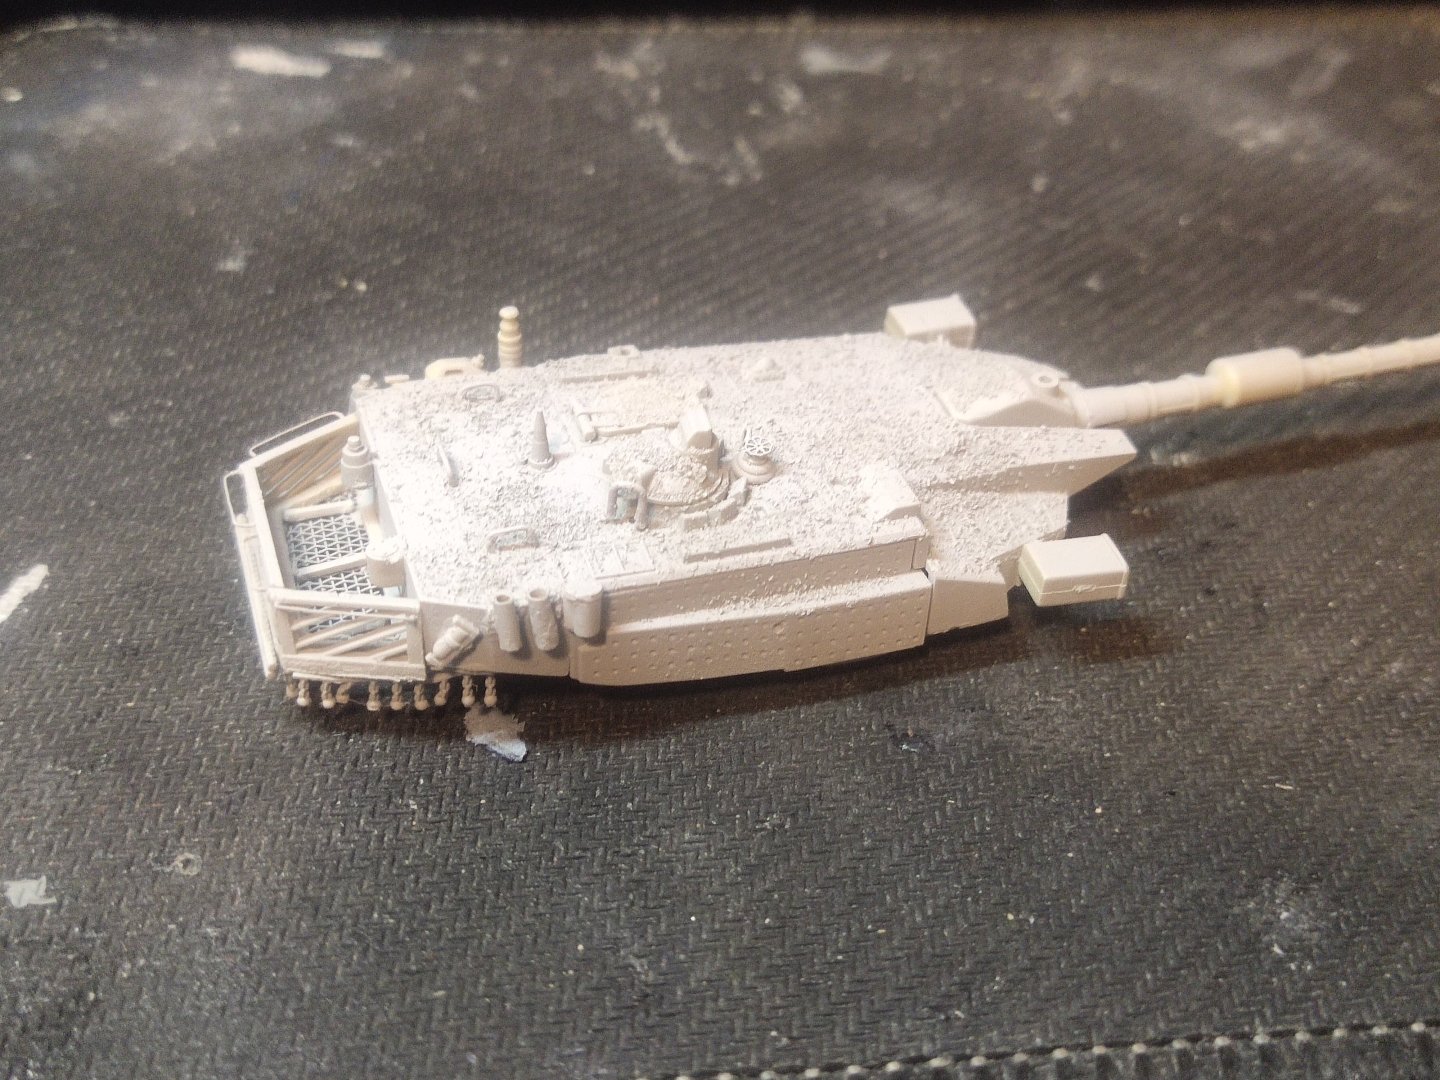
Today I finished the turret. Some details added according to pics. Tomorrow I will deal with the chassis.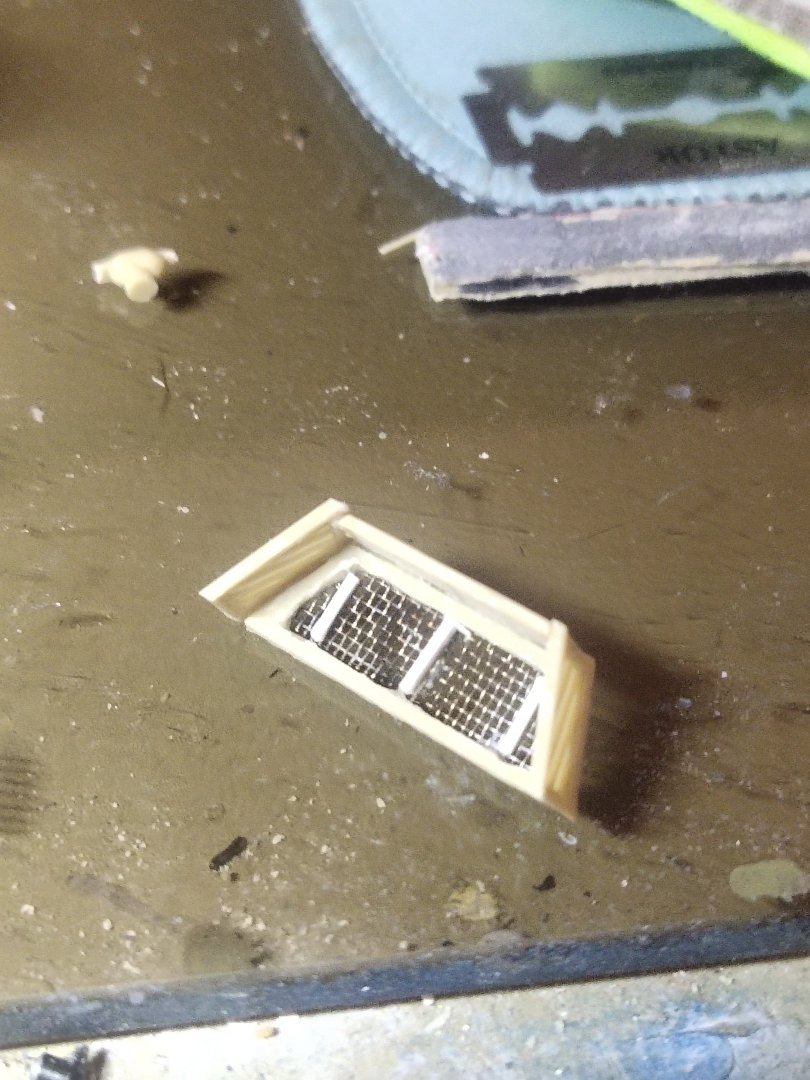


-
Merkava III by mikegr - Revell - 1/72 - PLASTIC
mikegr replied to mikegr's topic in Non-ship/categorised builds
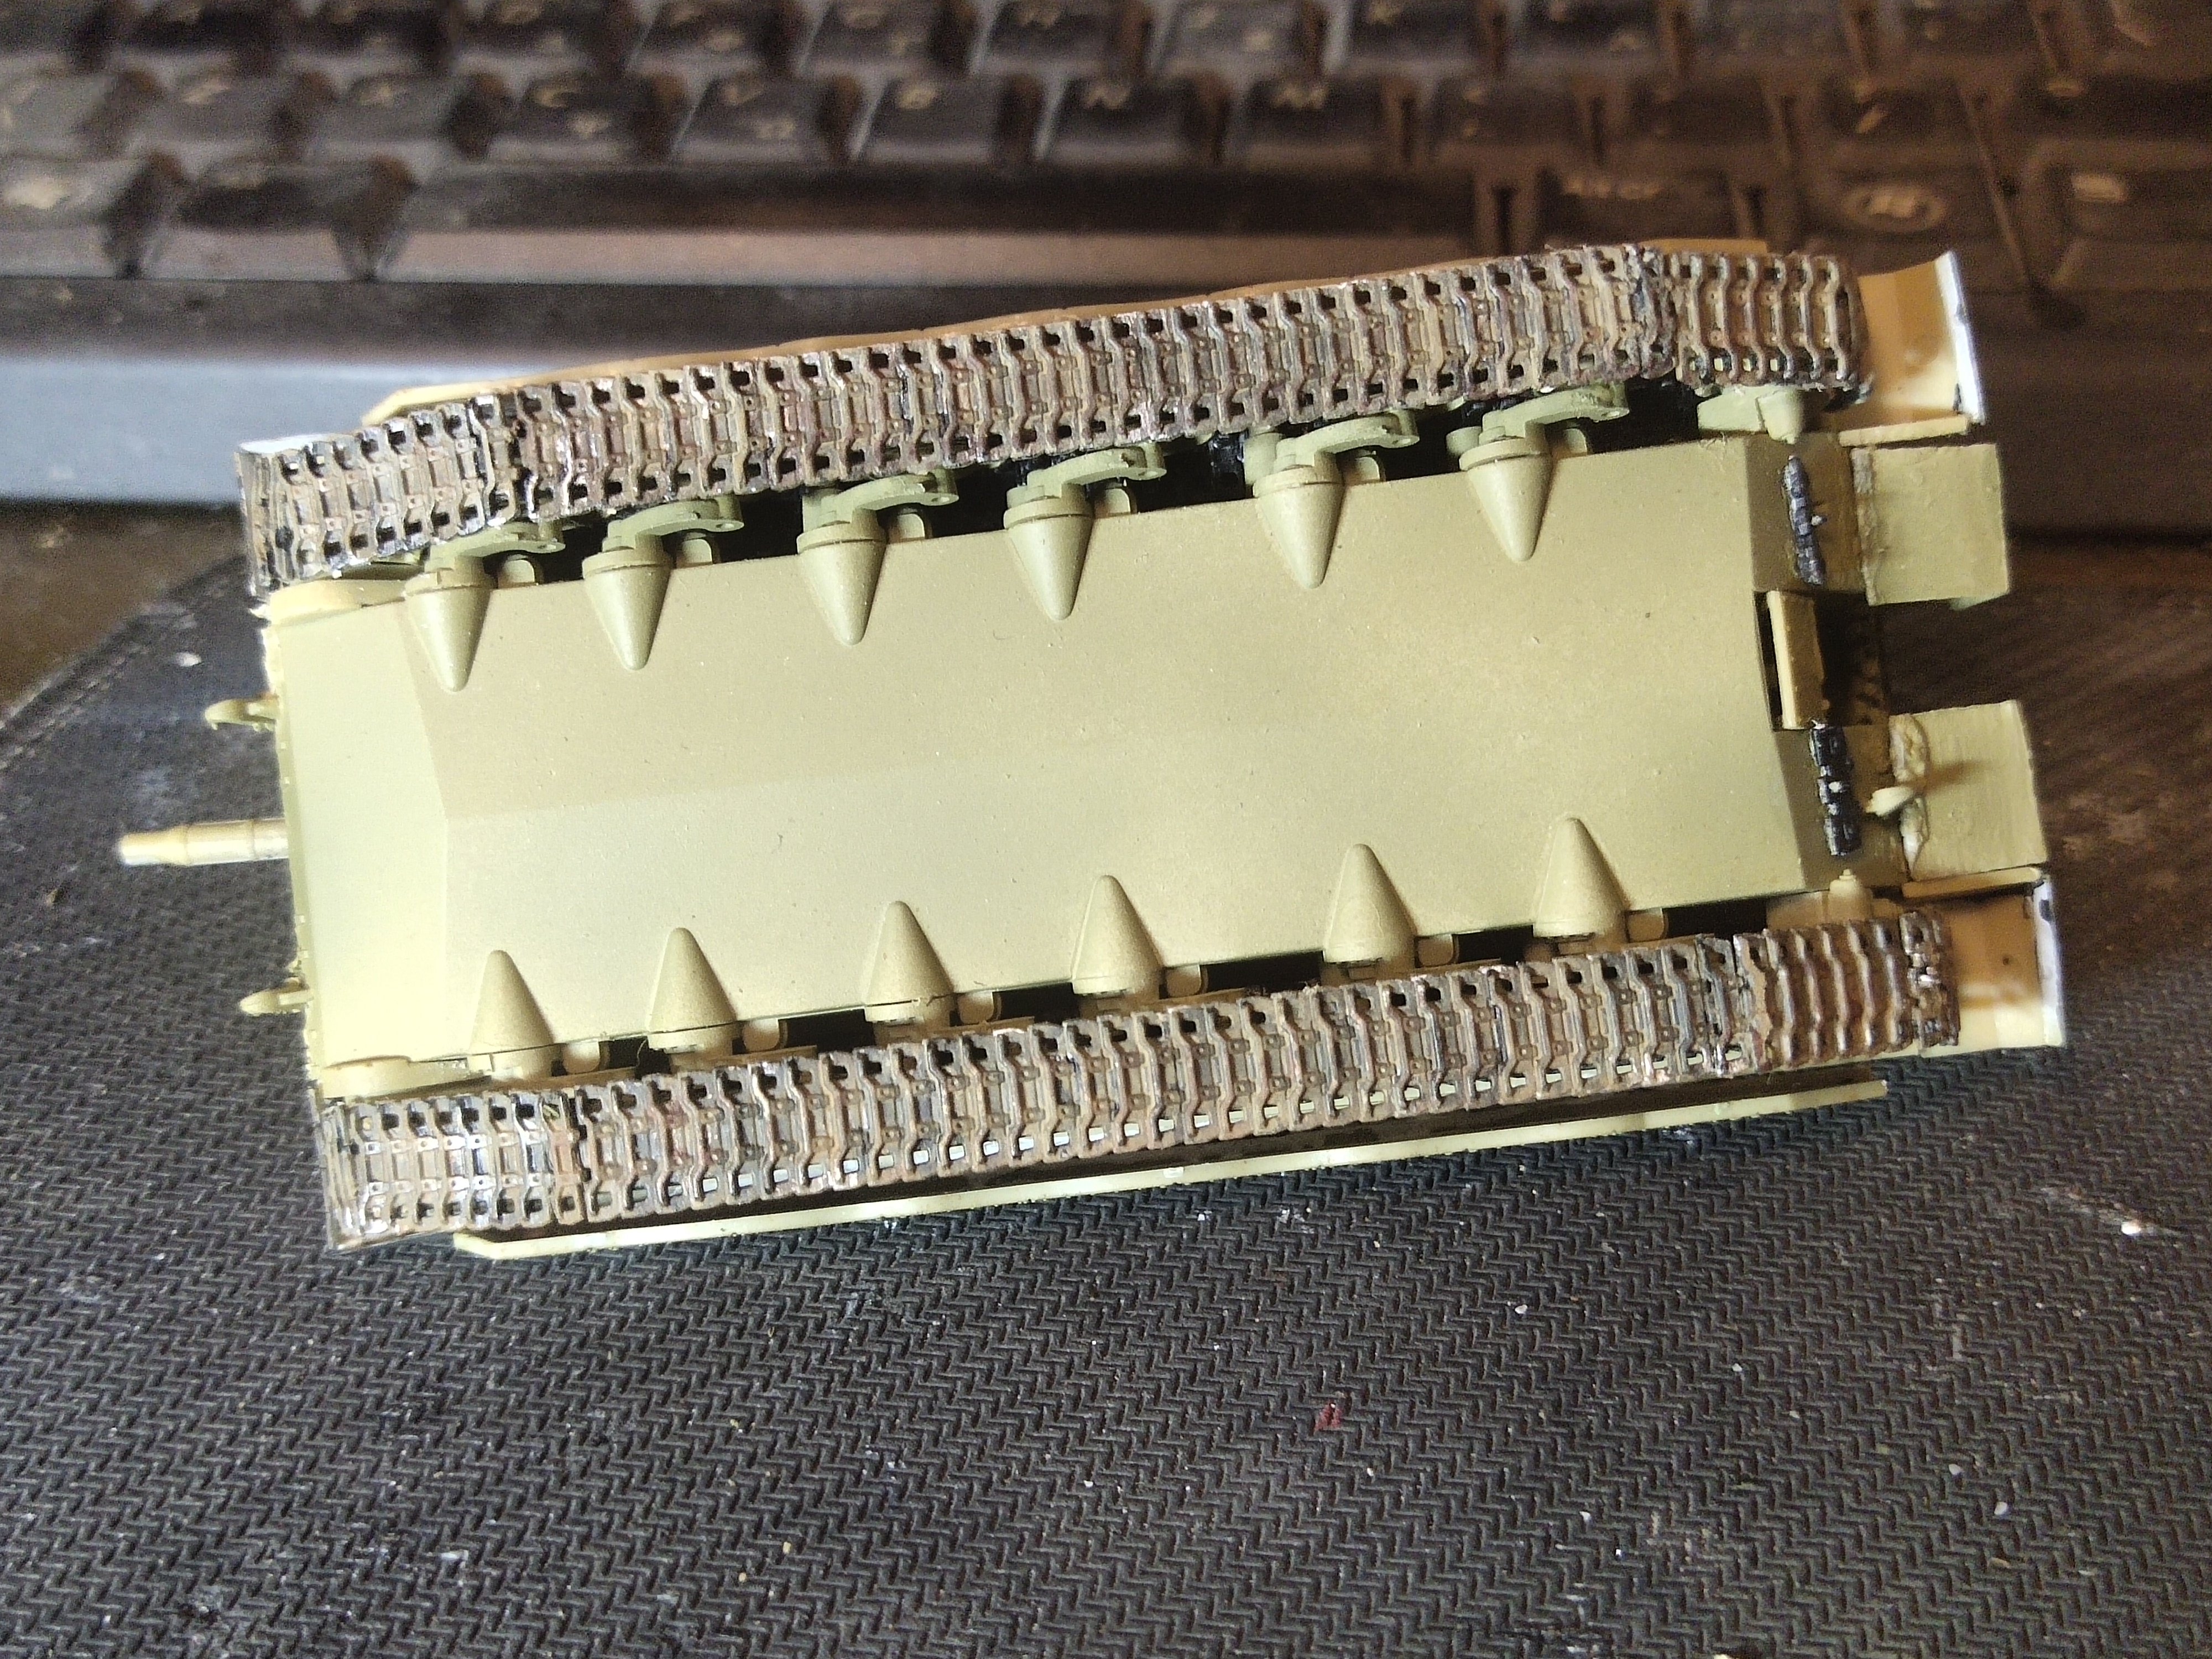
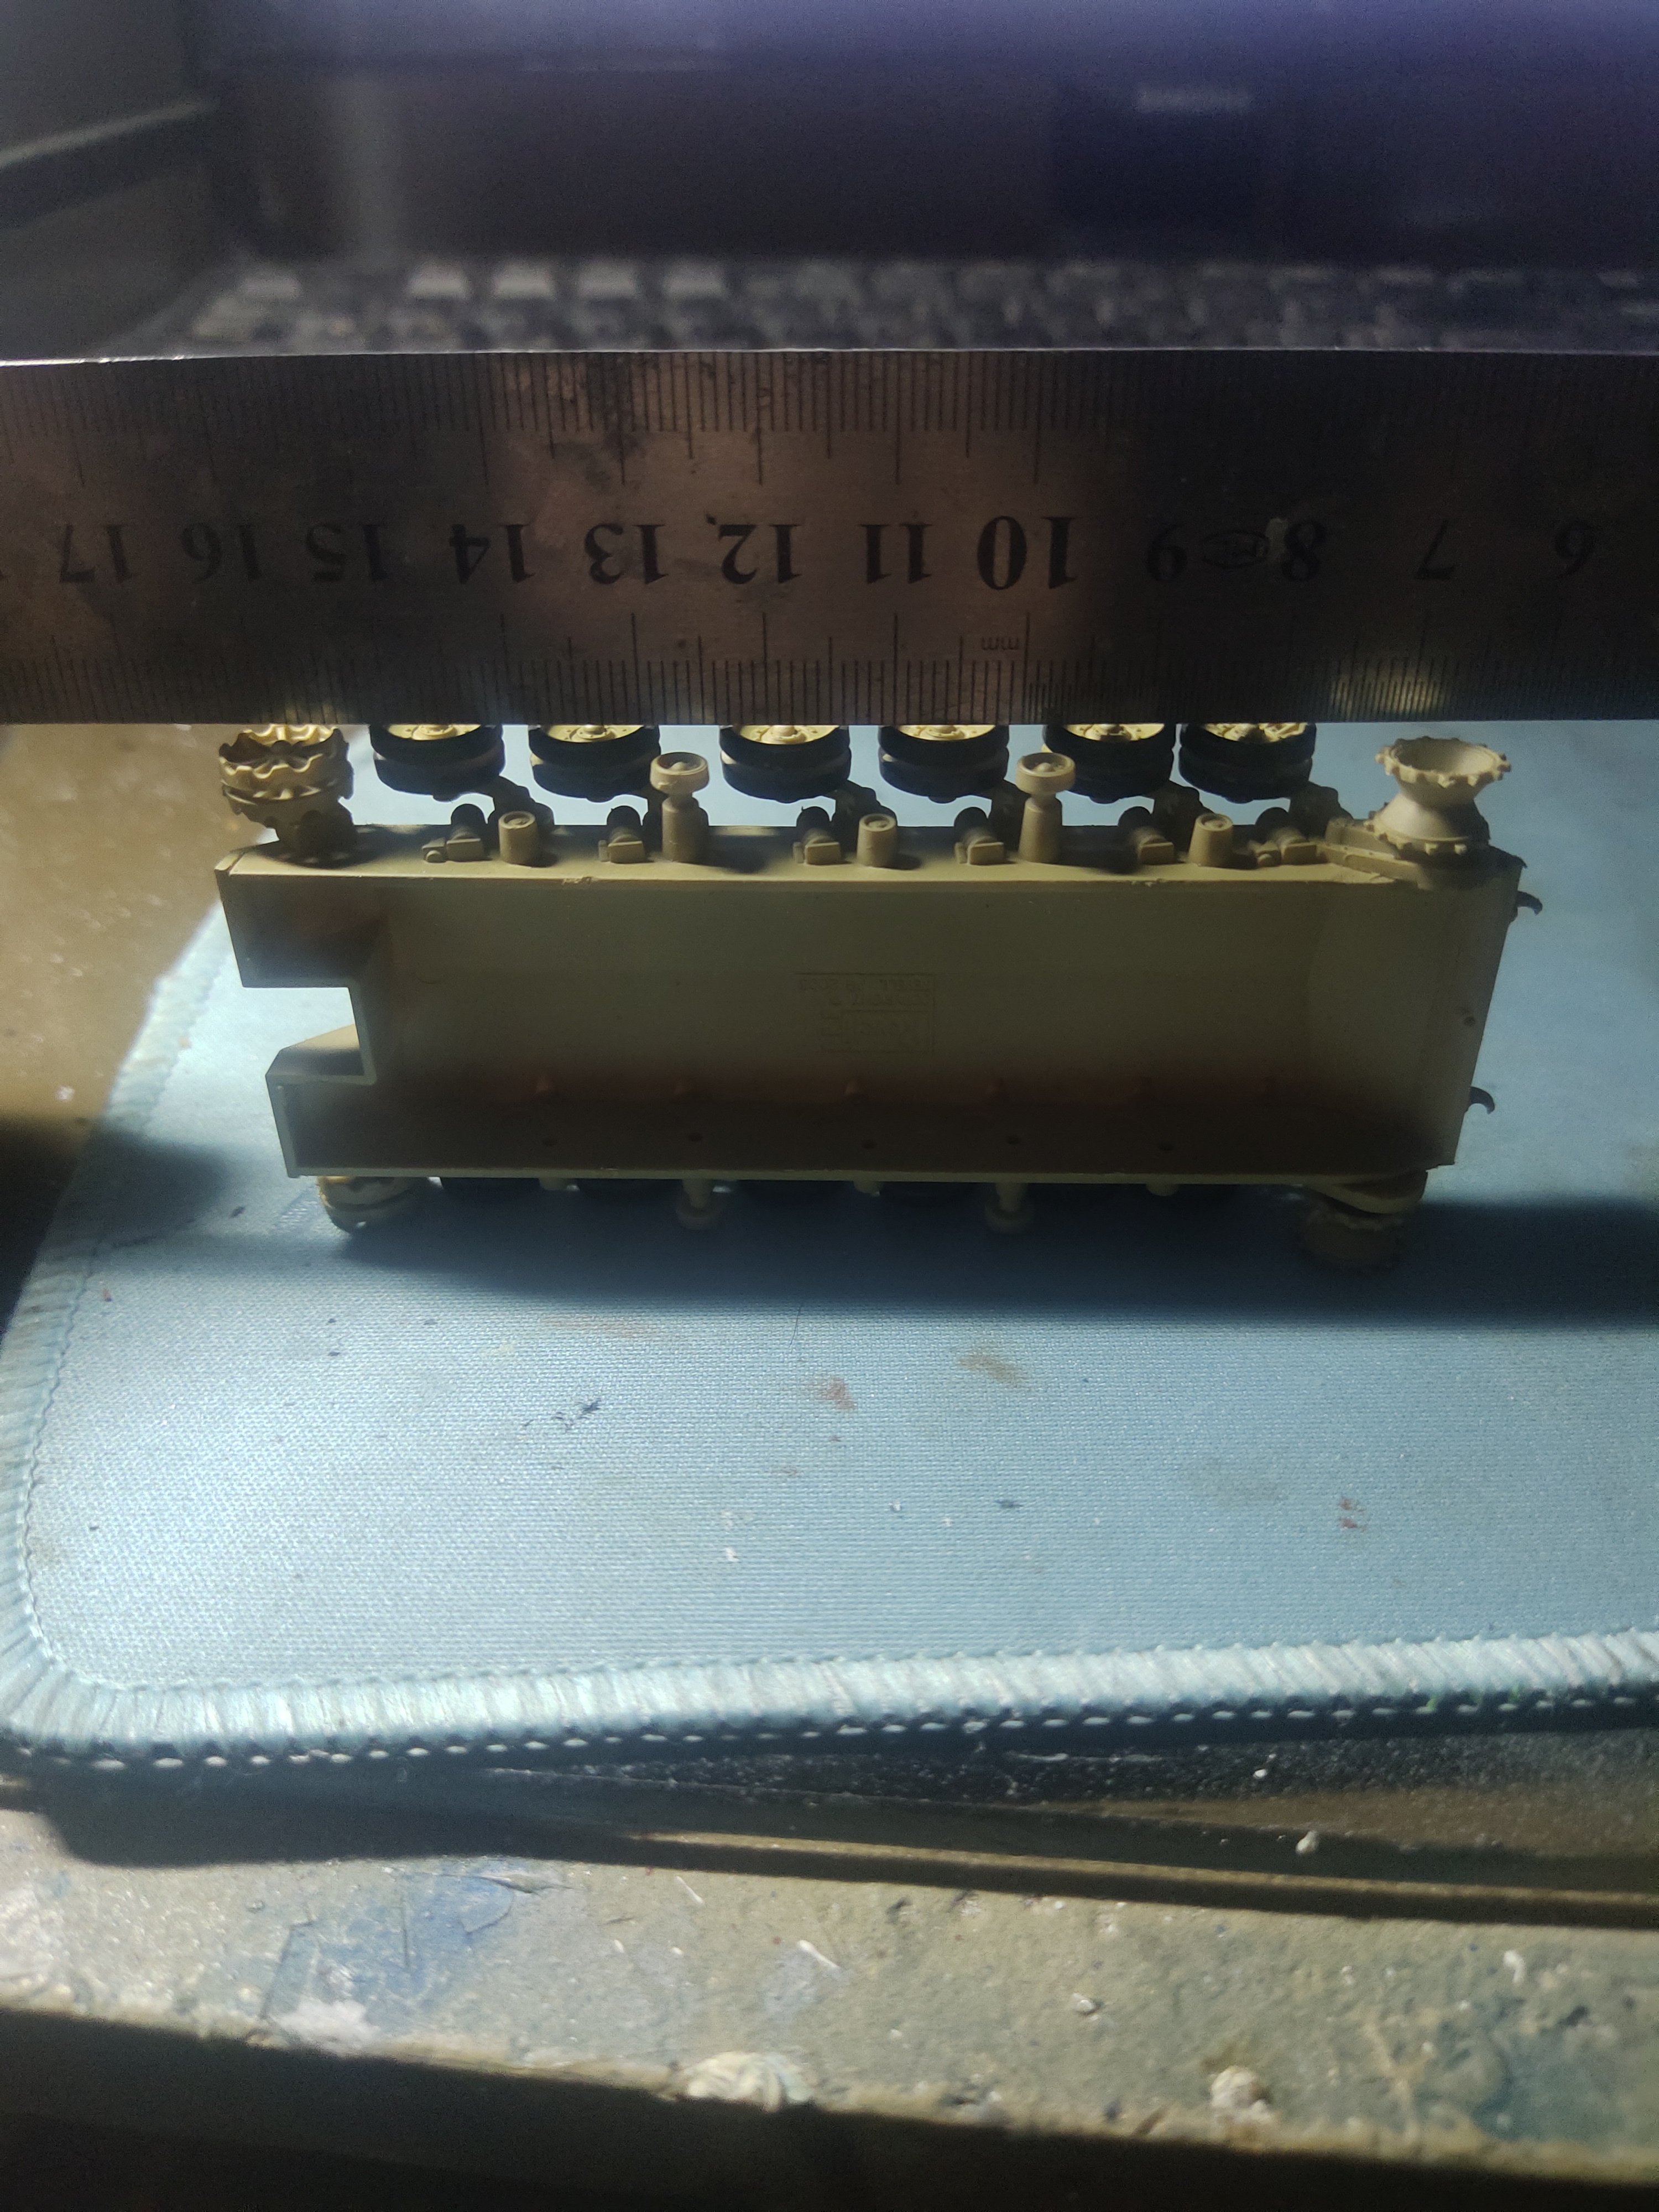
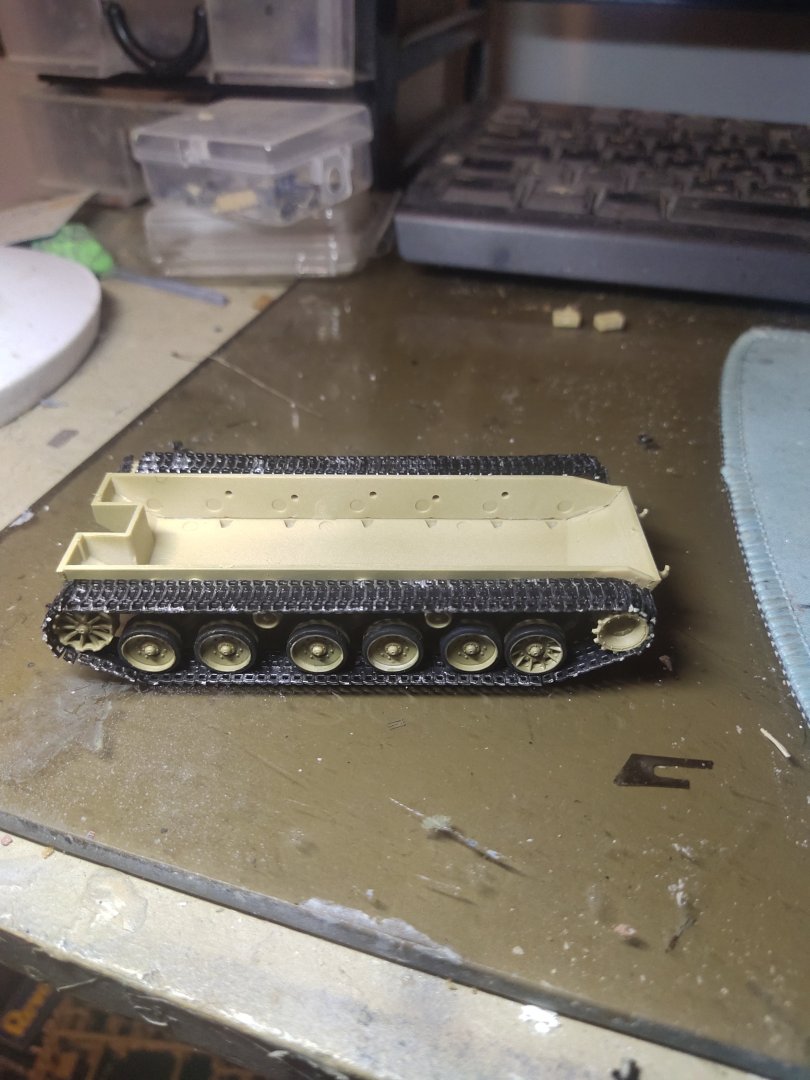
Today I finished the track fitting. Some basic weathering applied although there still more to be done. The fitting was less troublesome however I lost one of two pieces so there were a coyple of gaps under the fenders. I would call the job satisfactory as the result was far from perfect but for the time spended definitely worth it, took me a couple of hours only
-
Merkava III by mikegr - Revell - 1/72 - PLASTIC
mikegr replied to mikegr's topic in Non-ship/categorised builds
Thanks Alan actually wheels don't need to be perfect as they are quite weathered and imperfections can be hidden easily. With Tamiya I usually dont get the snowy and watery effect -
Merkava III by mikegr - Revell - 1/72 - PLASTIC
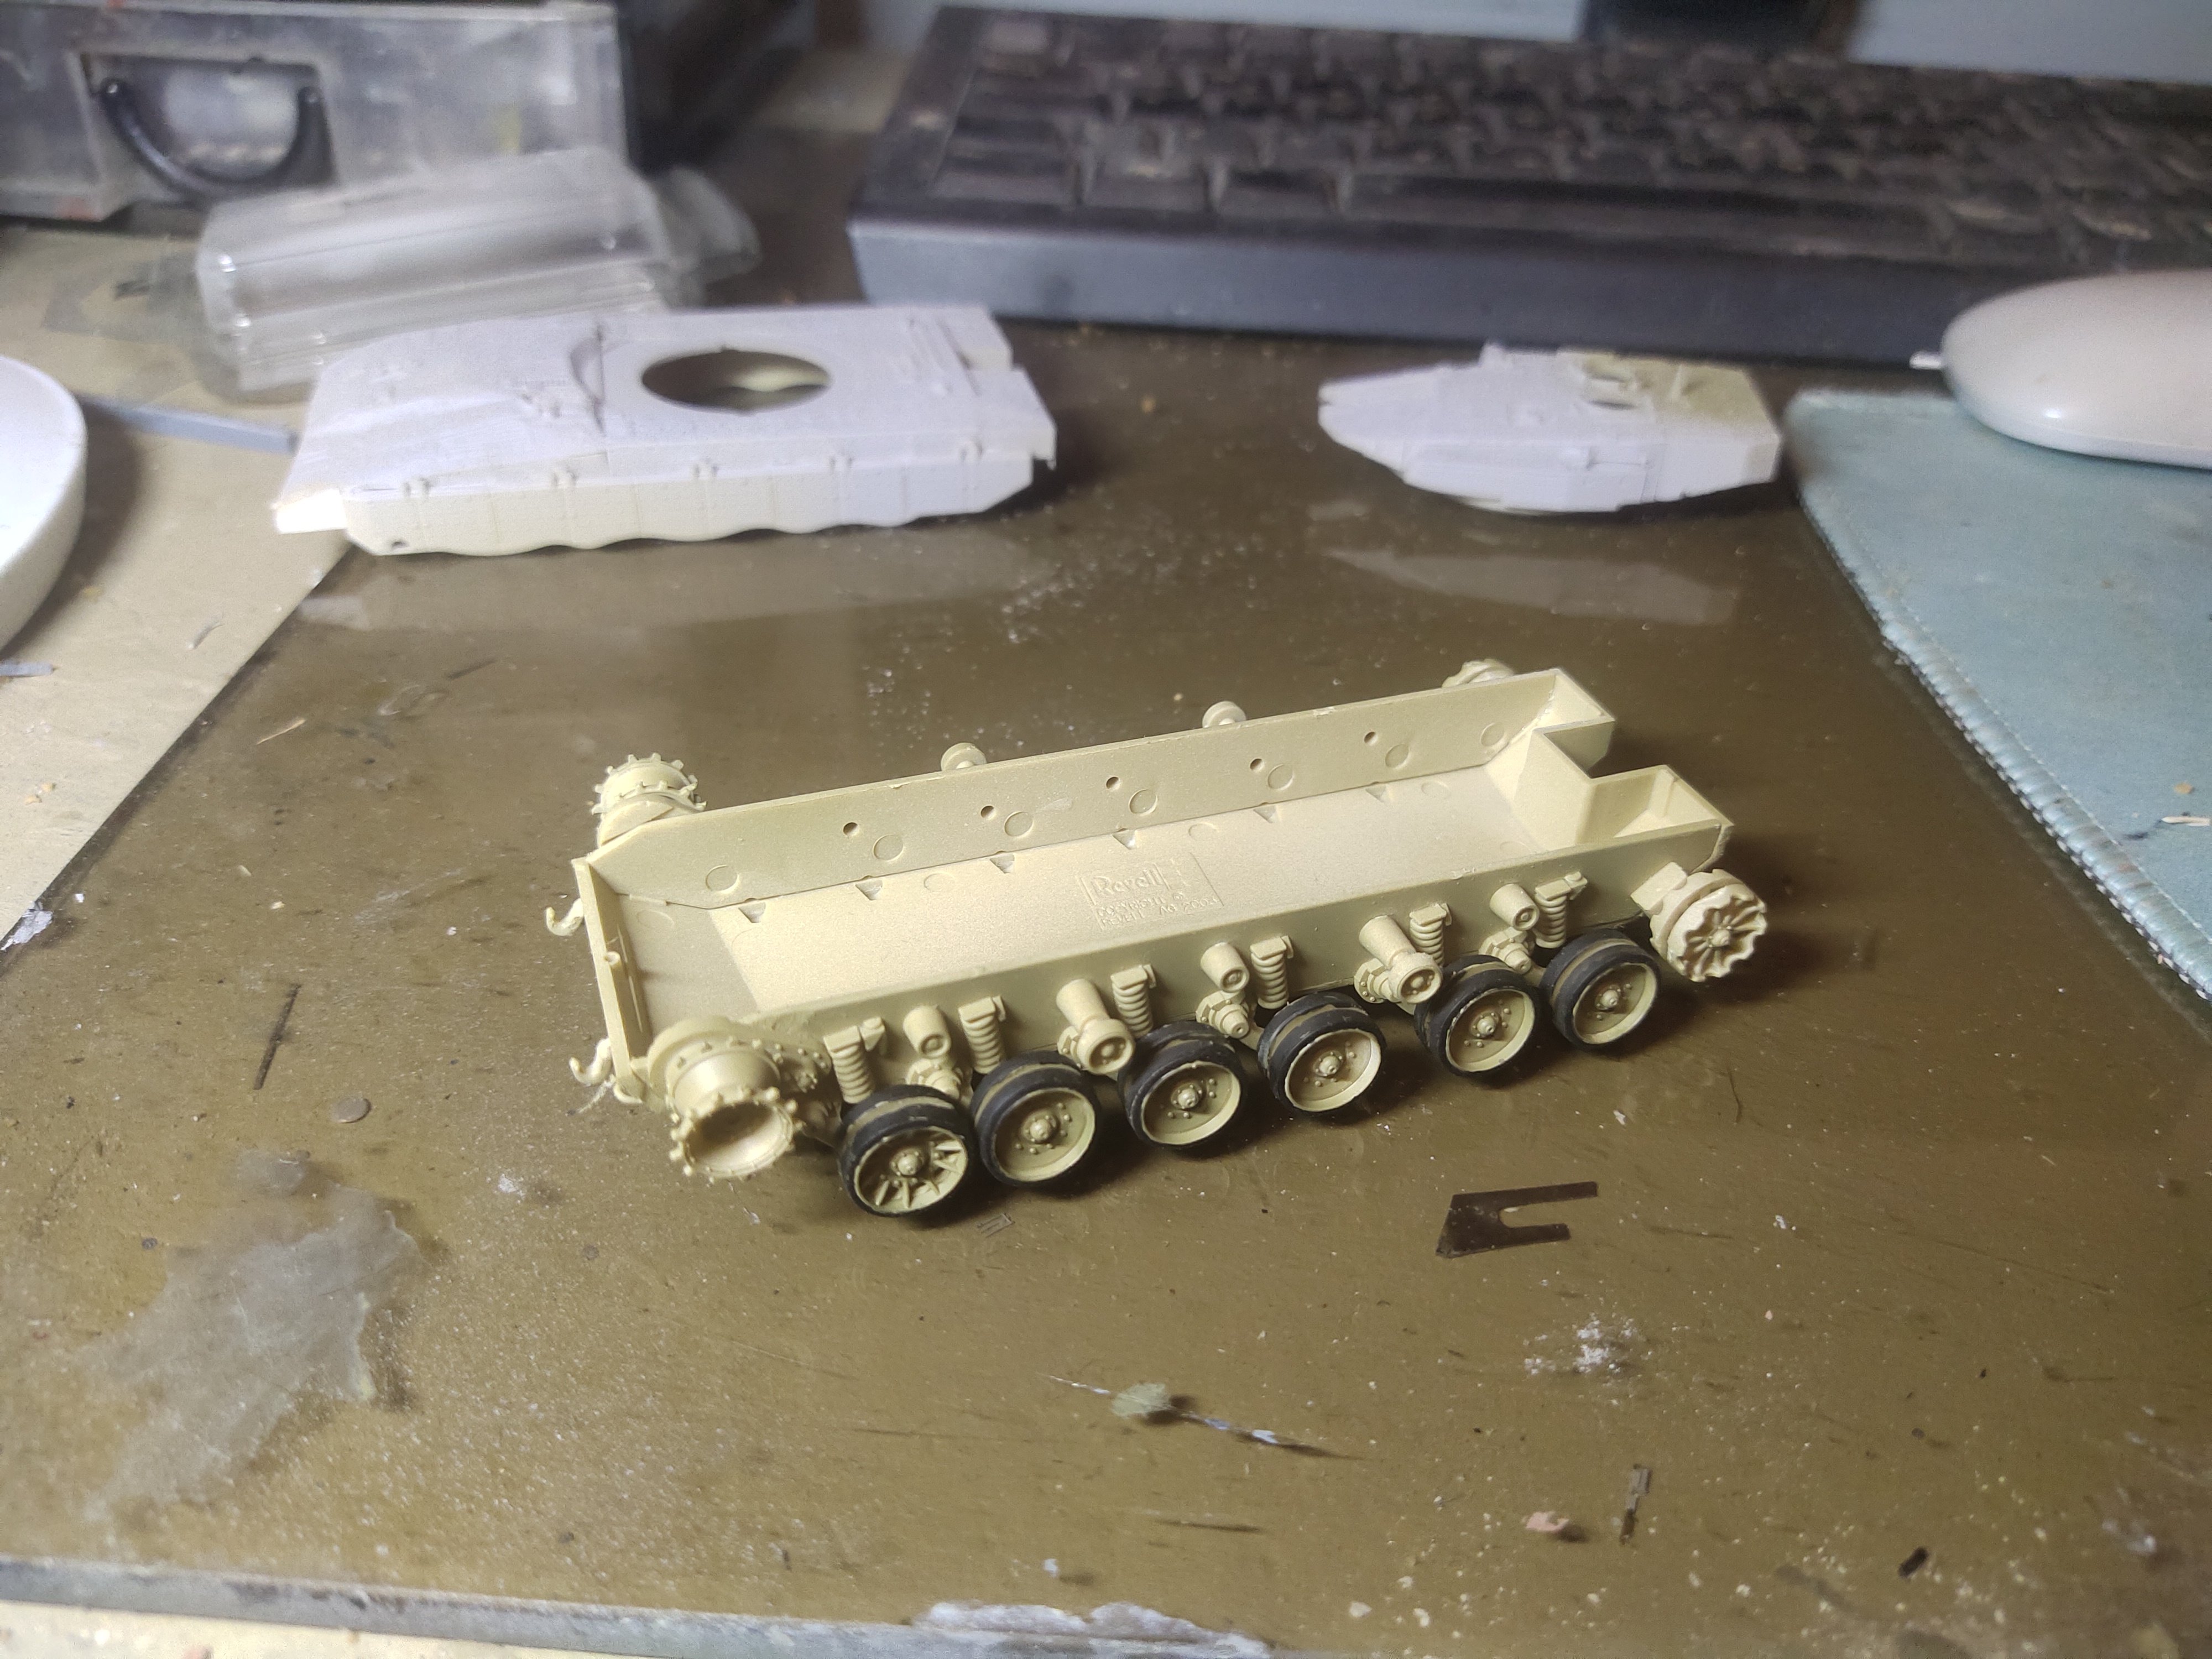
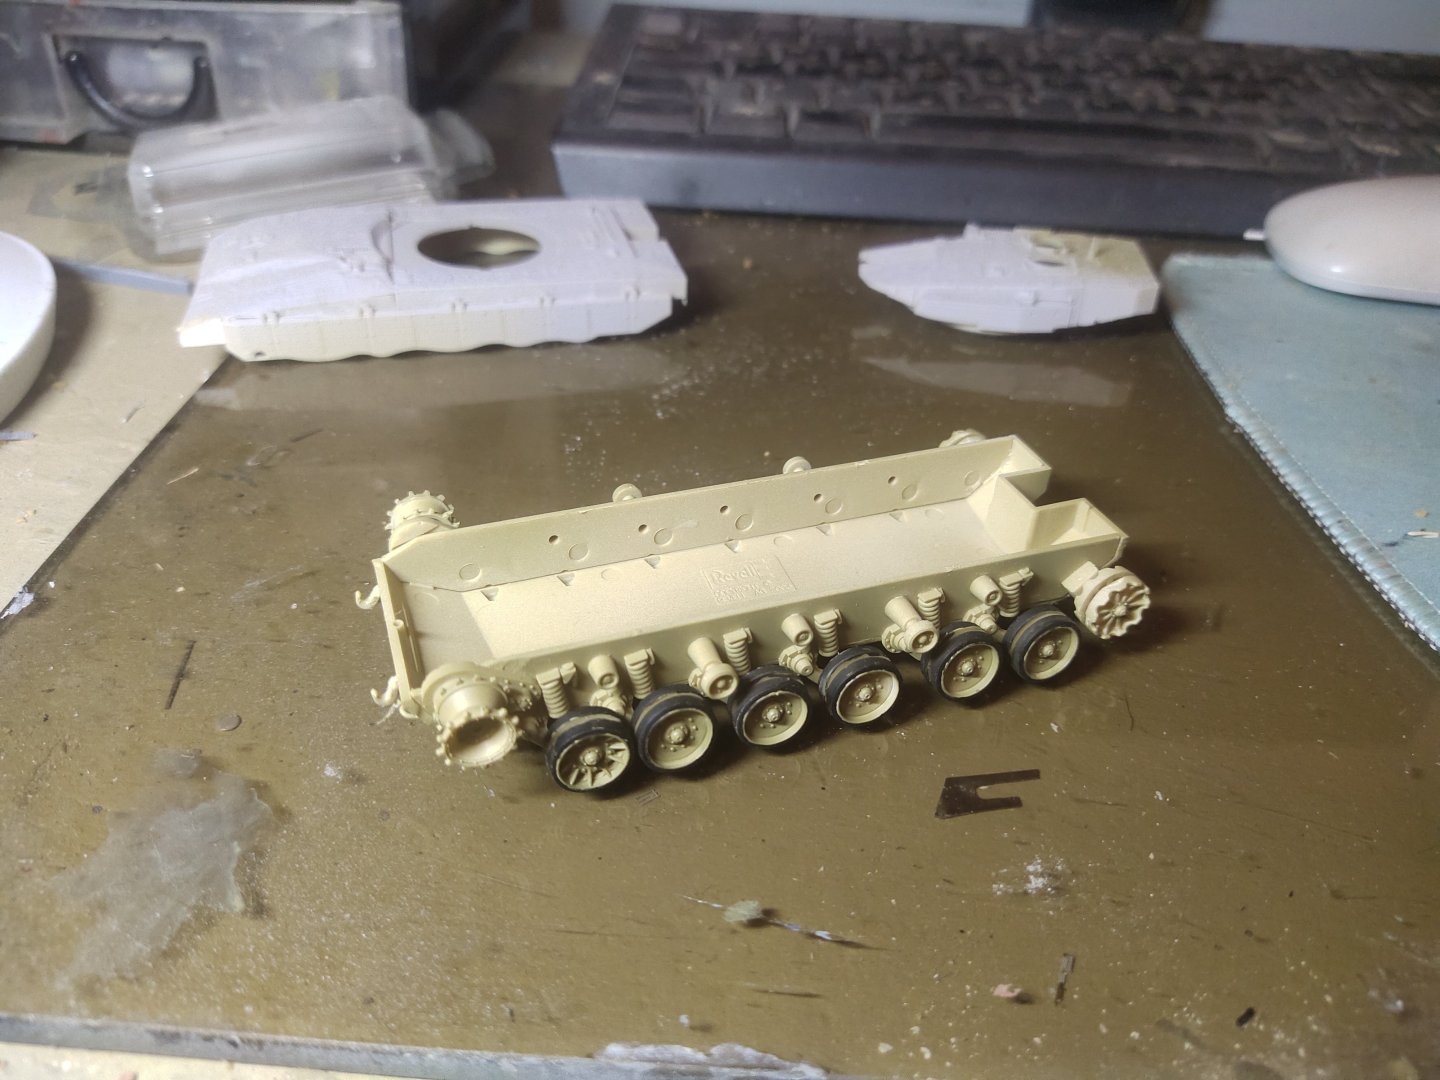
mikegr replied to mikegr's topic in Non-ship/categorised builds
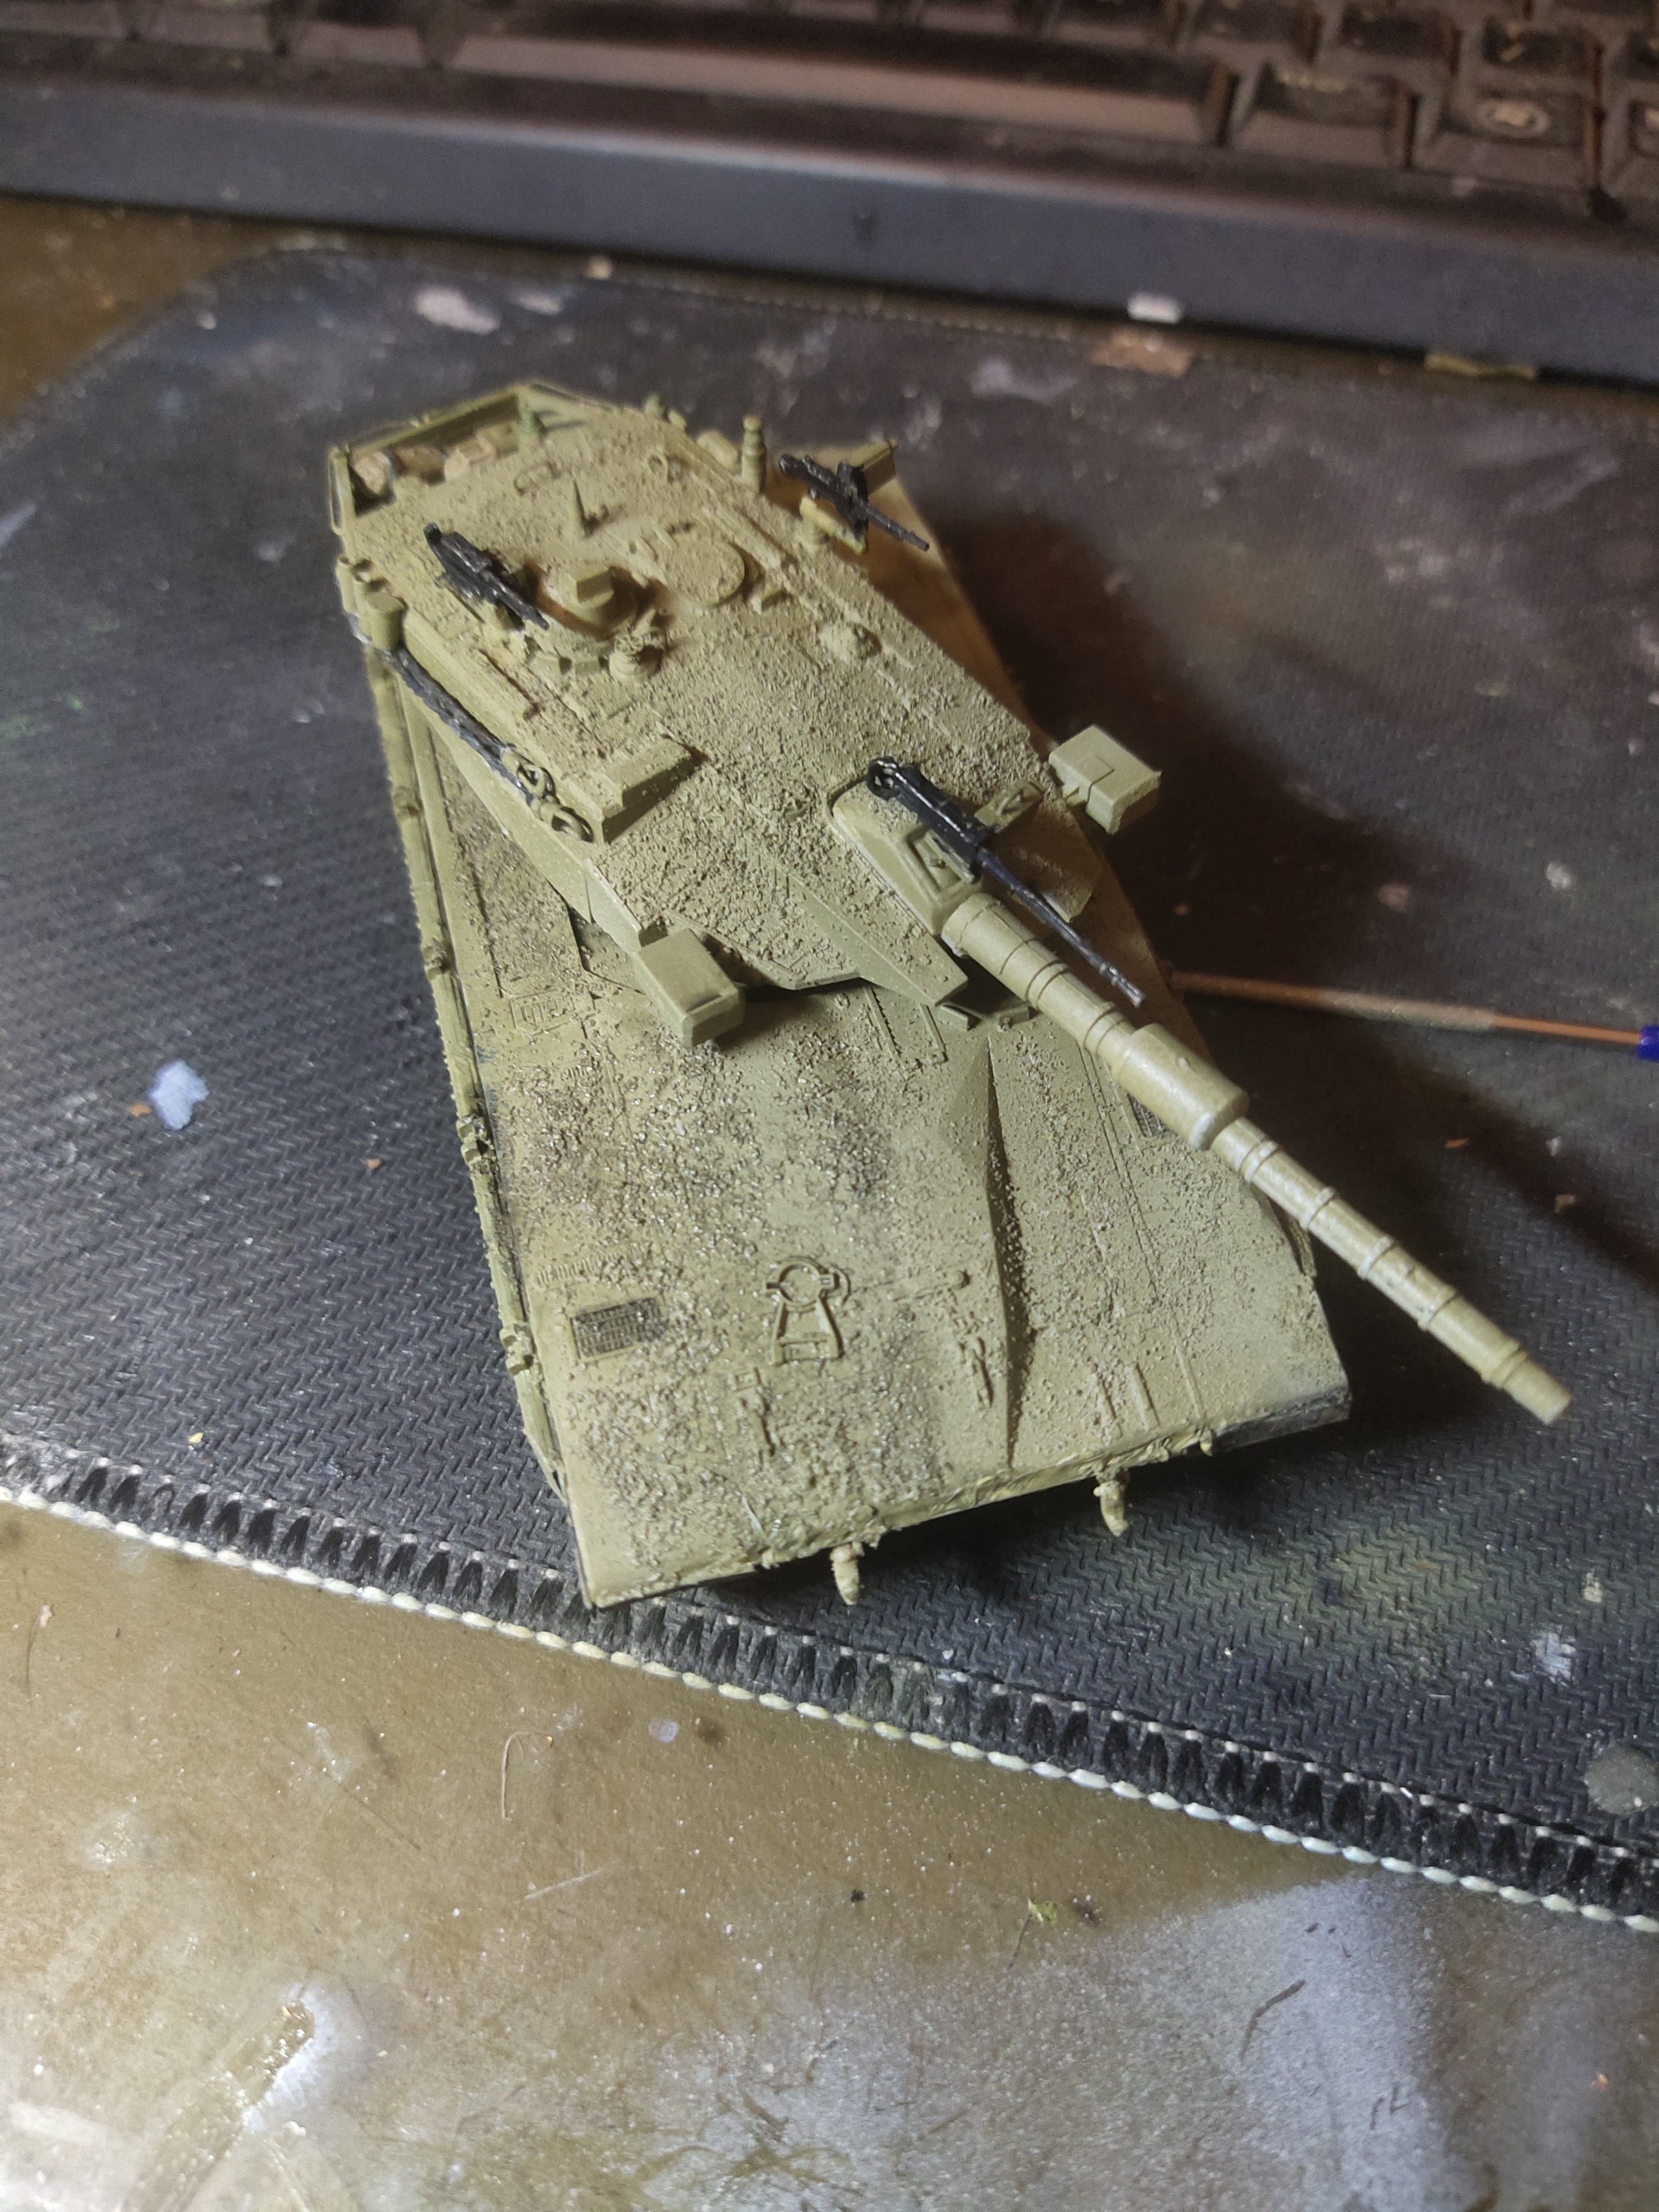
Done painting the wheels. With little brush and micro lenses. Chassis was also painted with airbrush. I really love how easily Tamiya colors are sprayed and thinned. On the upper part I cut the thick plastic at front and rear and replaced it with 0.10mm ABS to create spoilers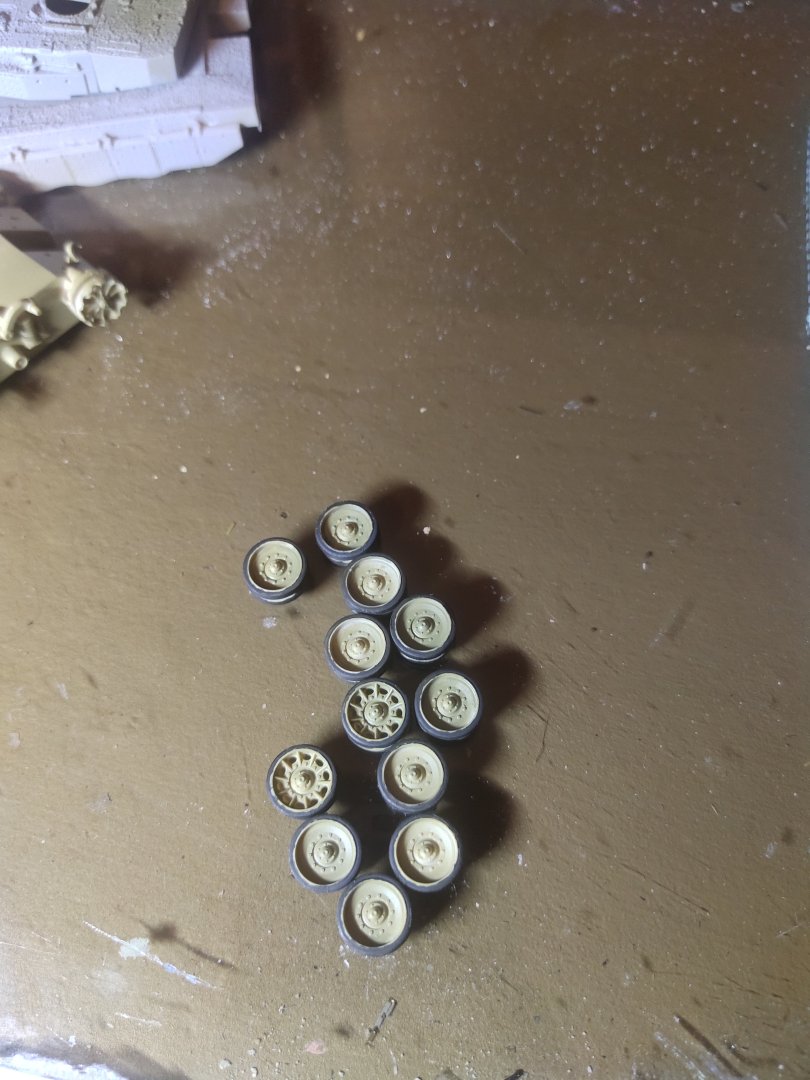
-
Merkava III by mikegr - Revell - 1/72 - PLASTIC
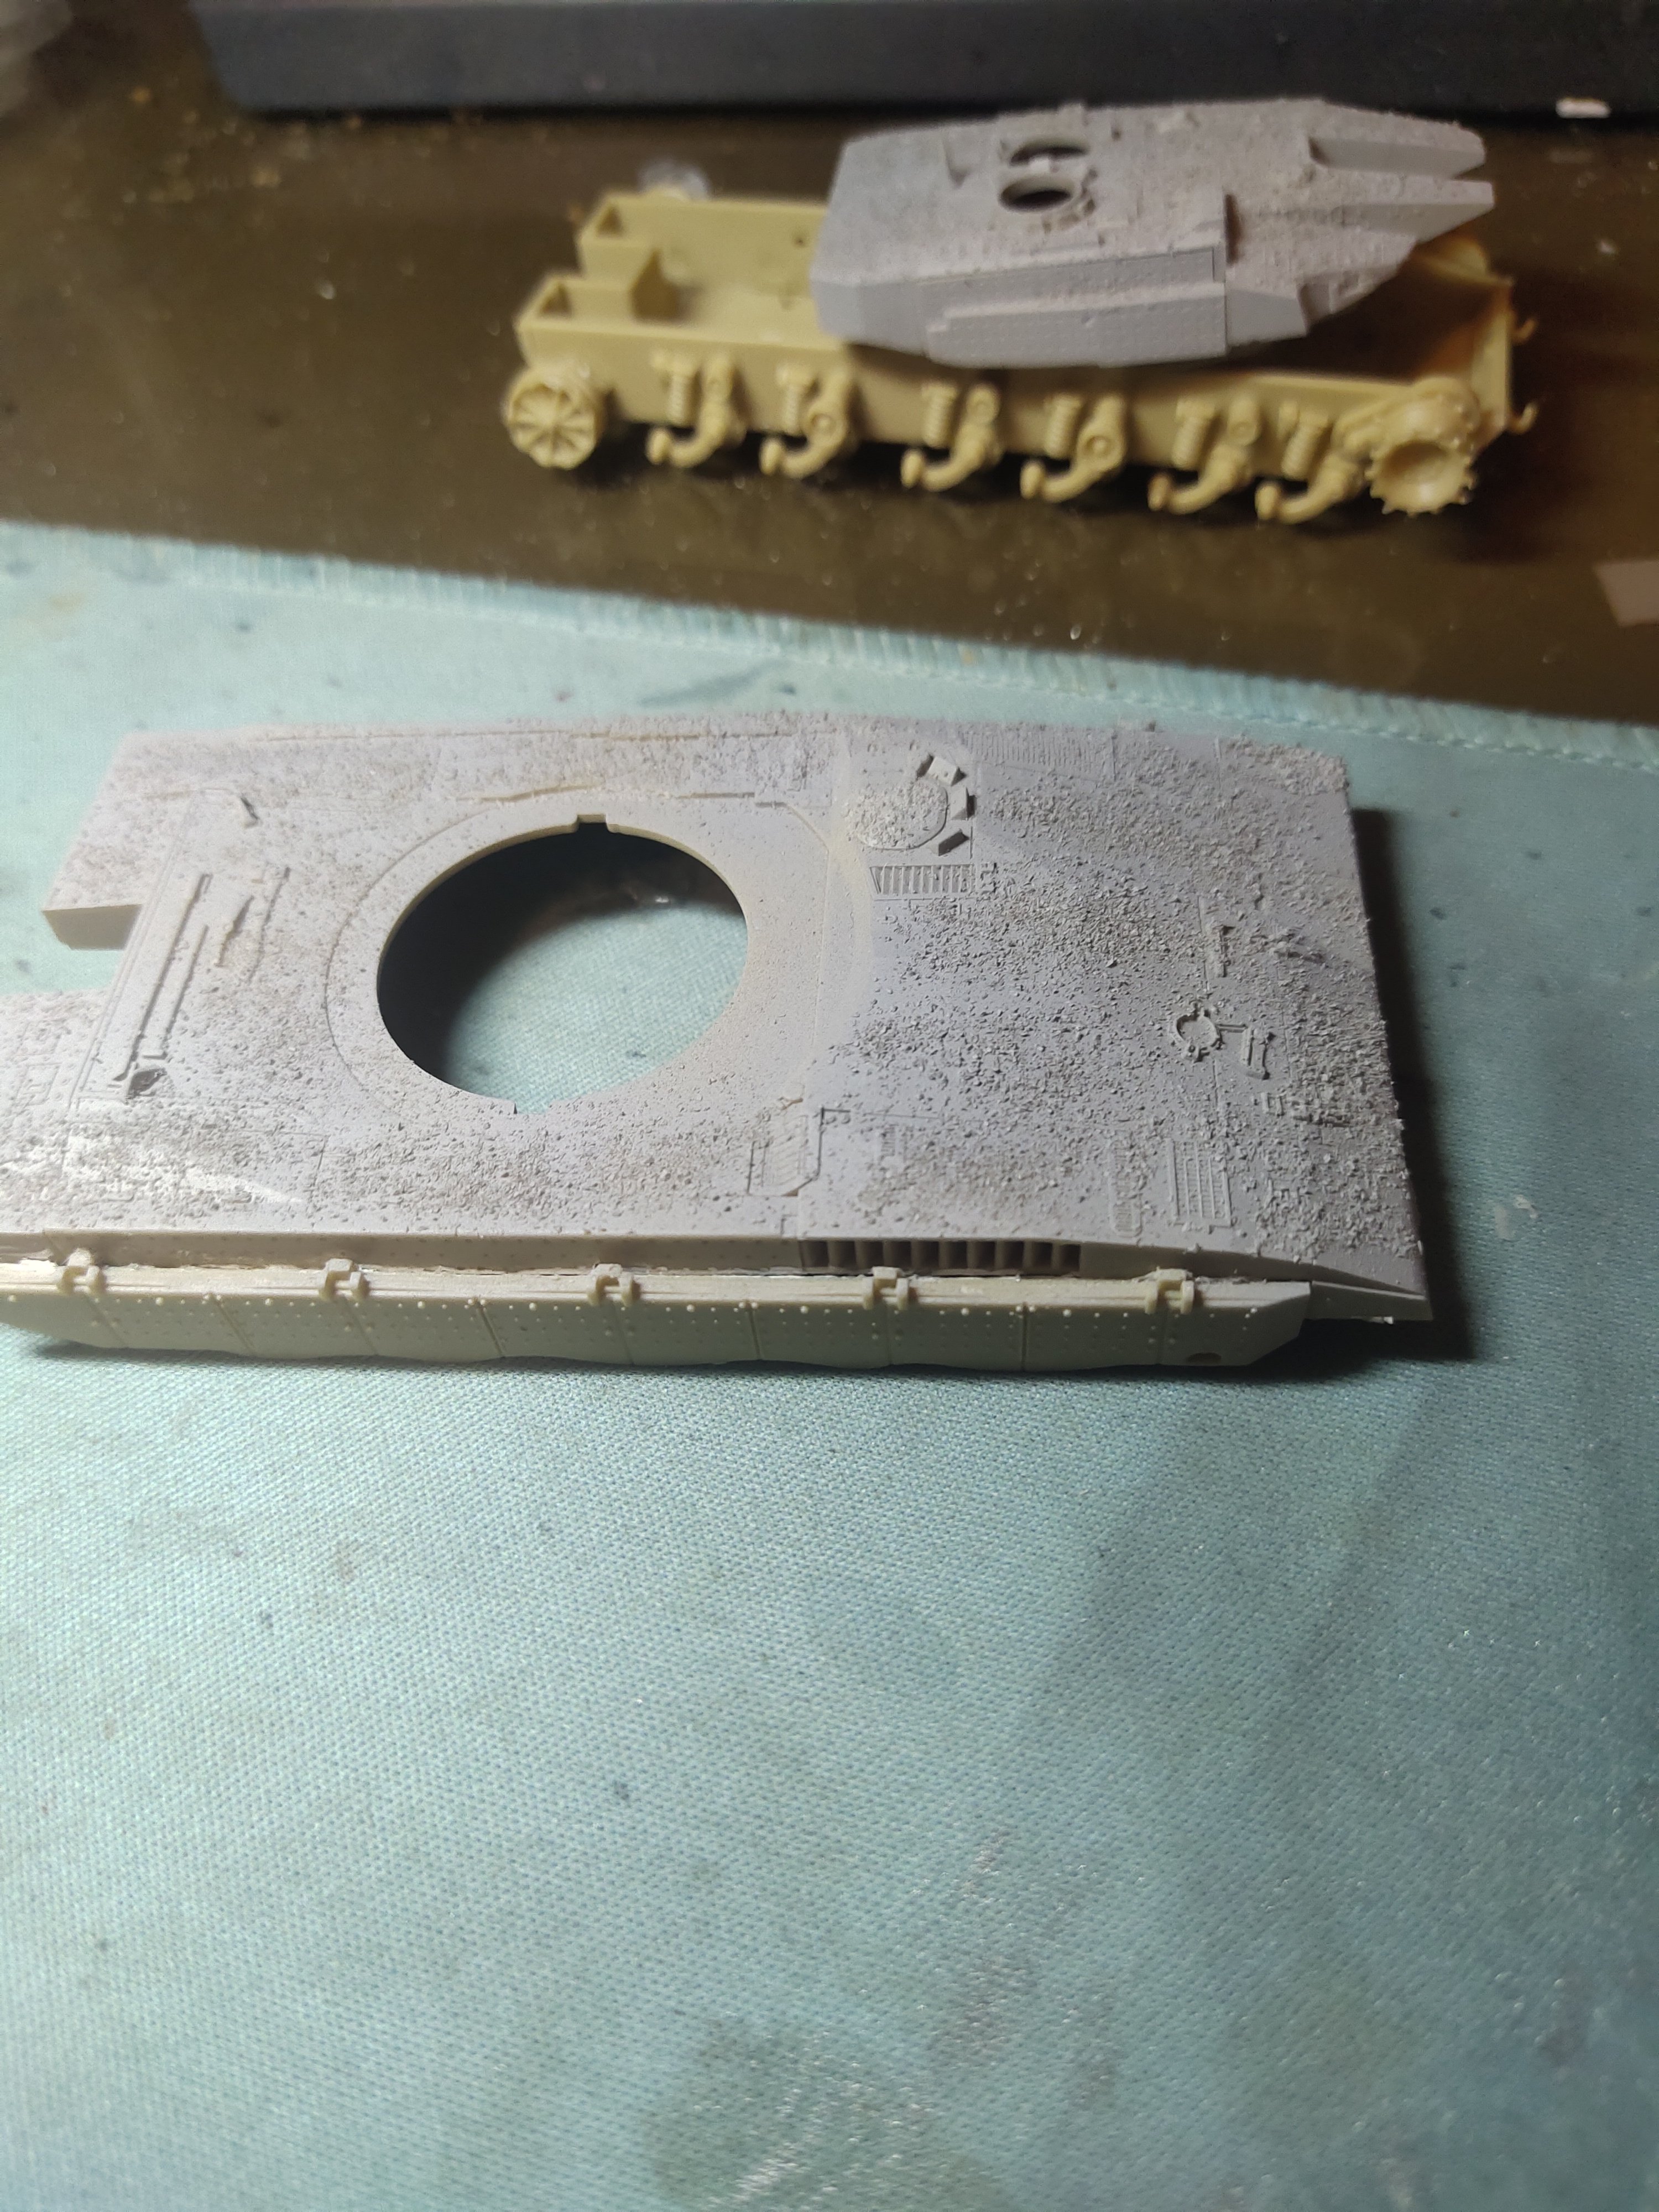
mikegr replied to mikegr's topic in Non-ship/categorised builds
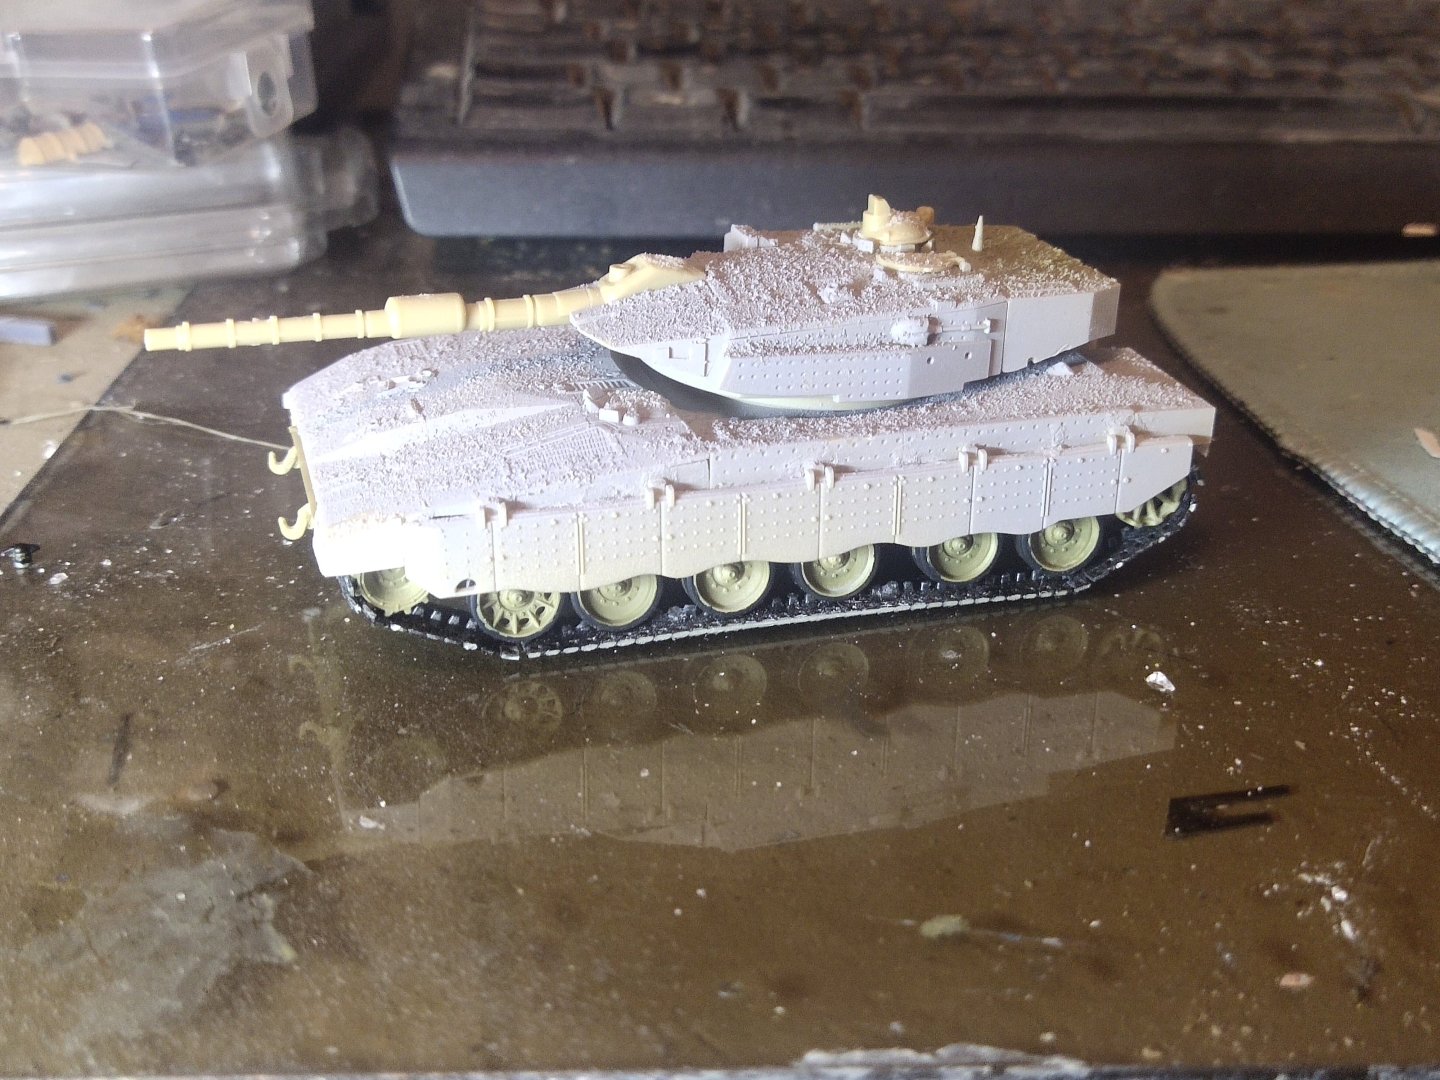
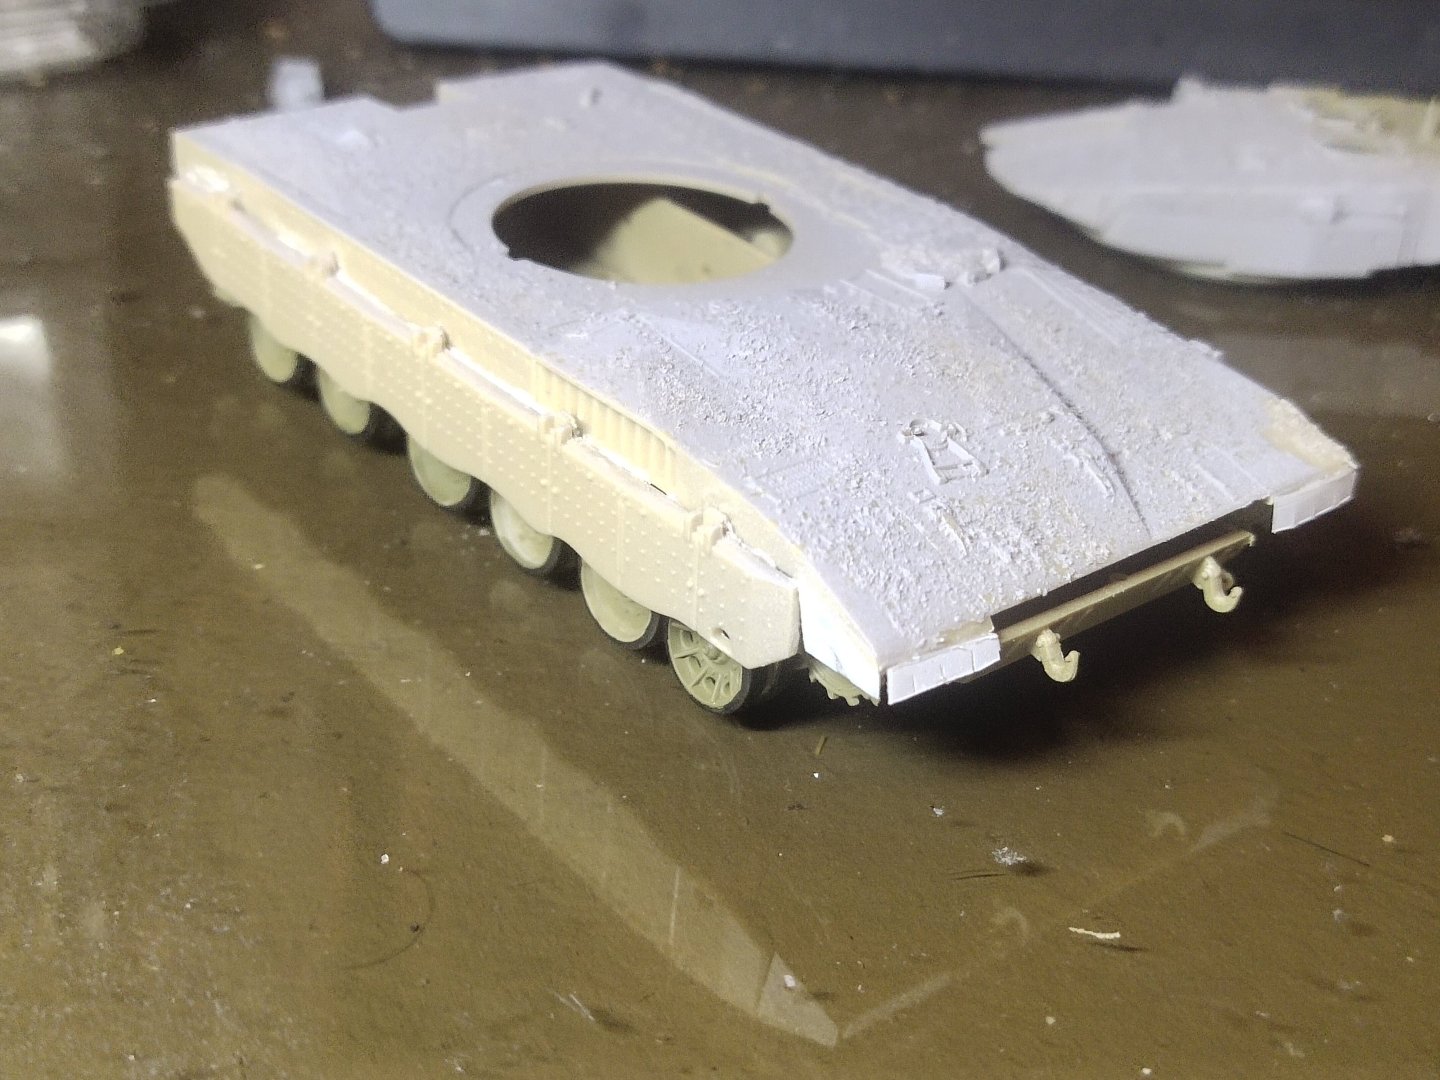
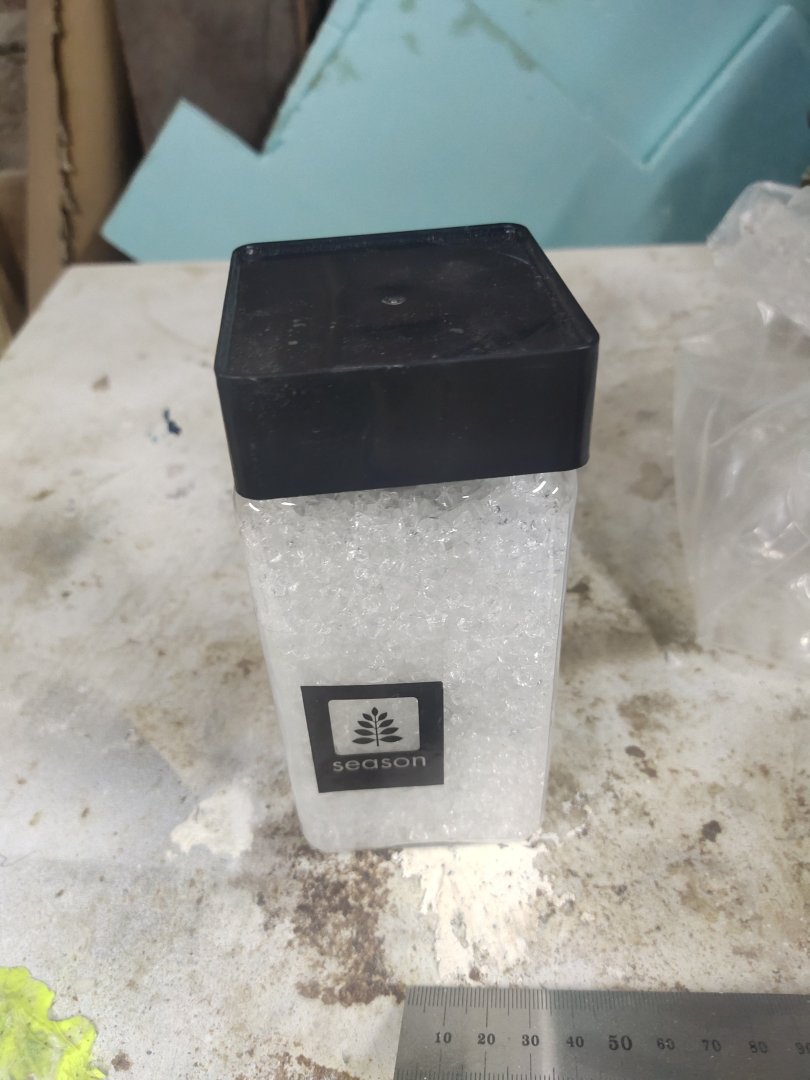
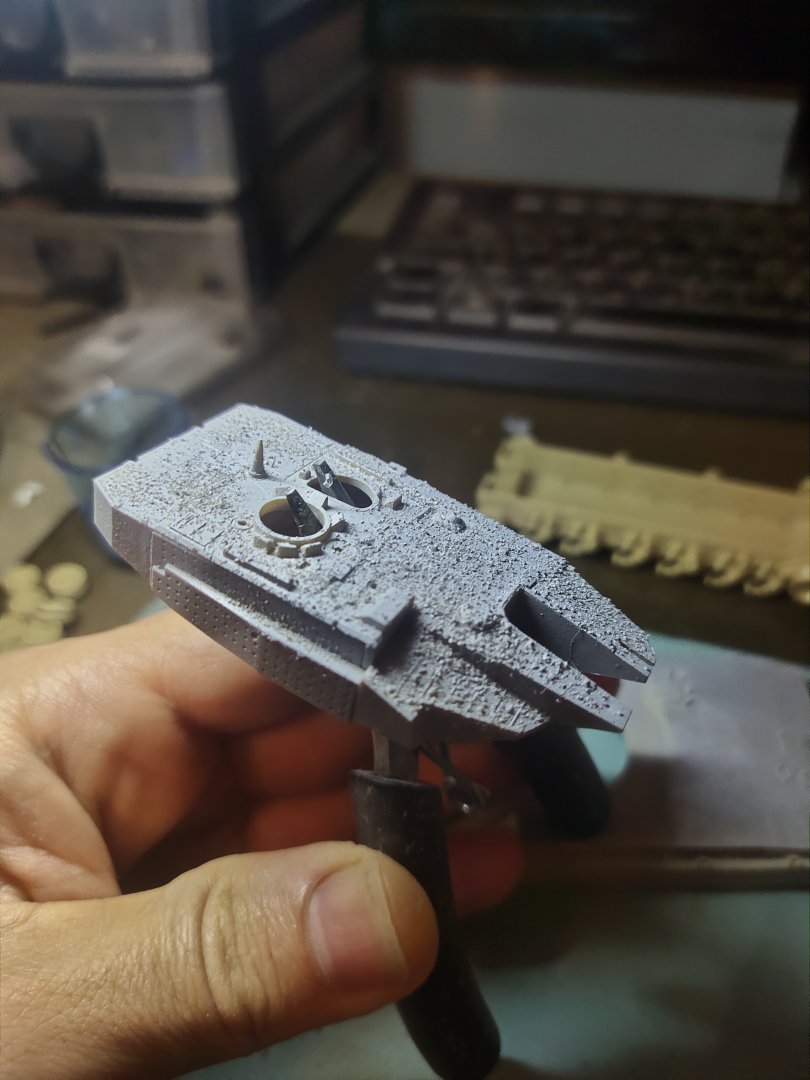
Major parts were assembled I noticed on the above pics that horizontal surfaces are not smooth but have some chipping. Spending some time thinking how to do it I found at the basement some plastic ice crystals that were used on a diorama as ice effect. Put them in a coffee grinding machine, turned them almost in powder form, like salt. Then I brushed the surfaces with PVA + water mix and sprinkle them over. Let them dry for a while then airbrush with primer on low pressure to avoid chipping from blowing away. I have to say the result, after strong initial doubts turned more than satisfying.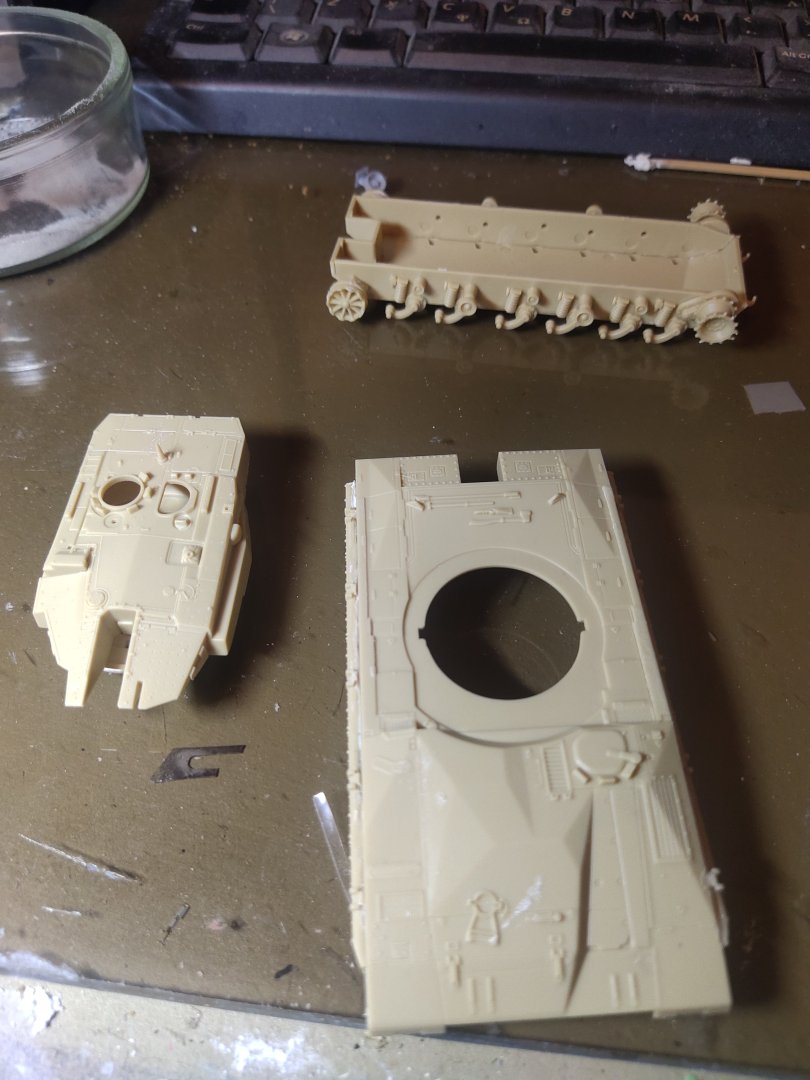

-
Merkava III by mikegr - Revell - 1/72 - PLASTIC
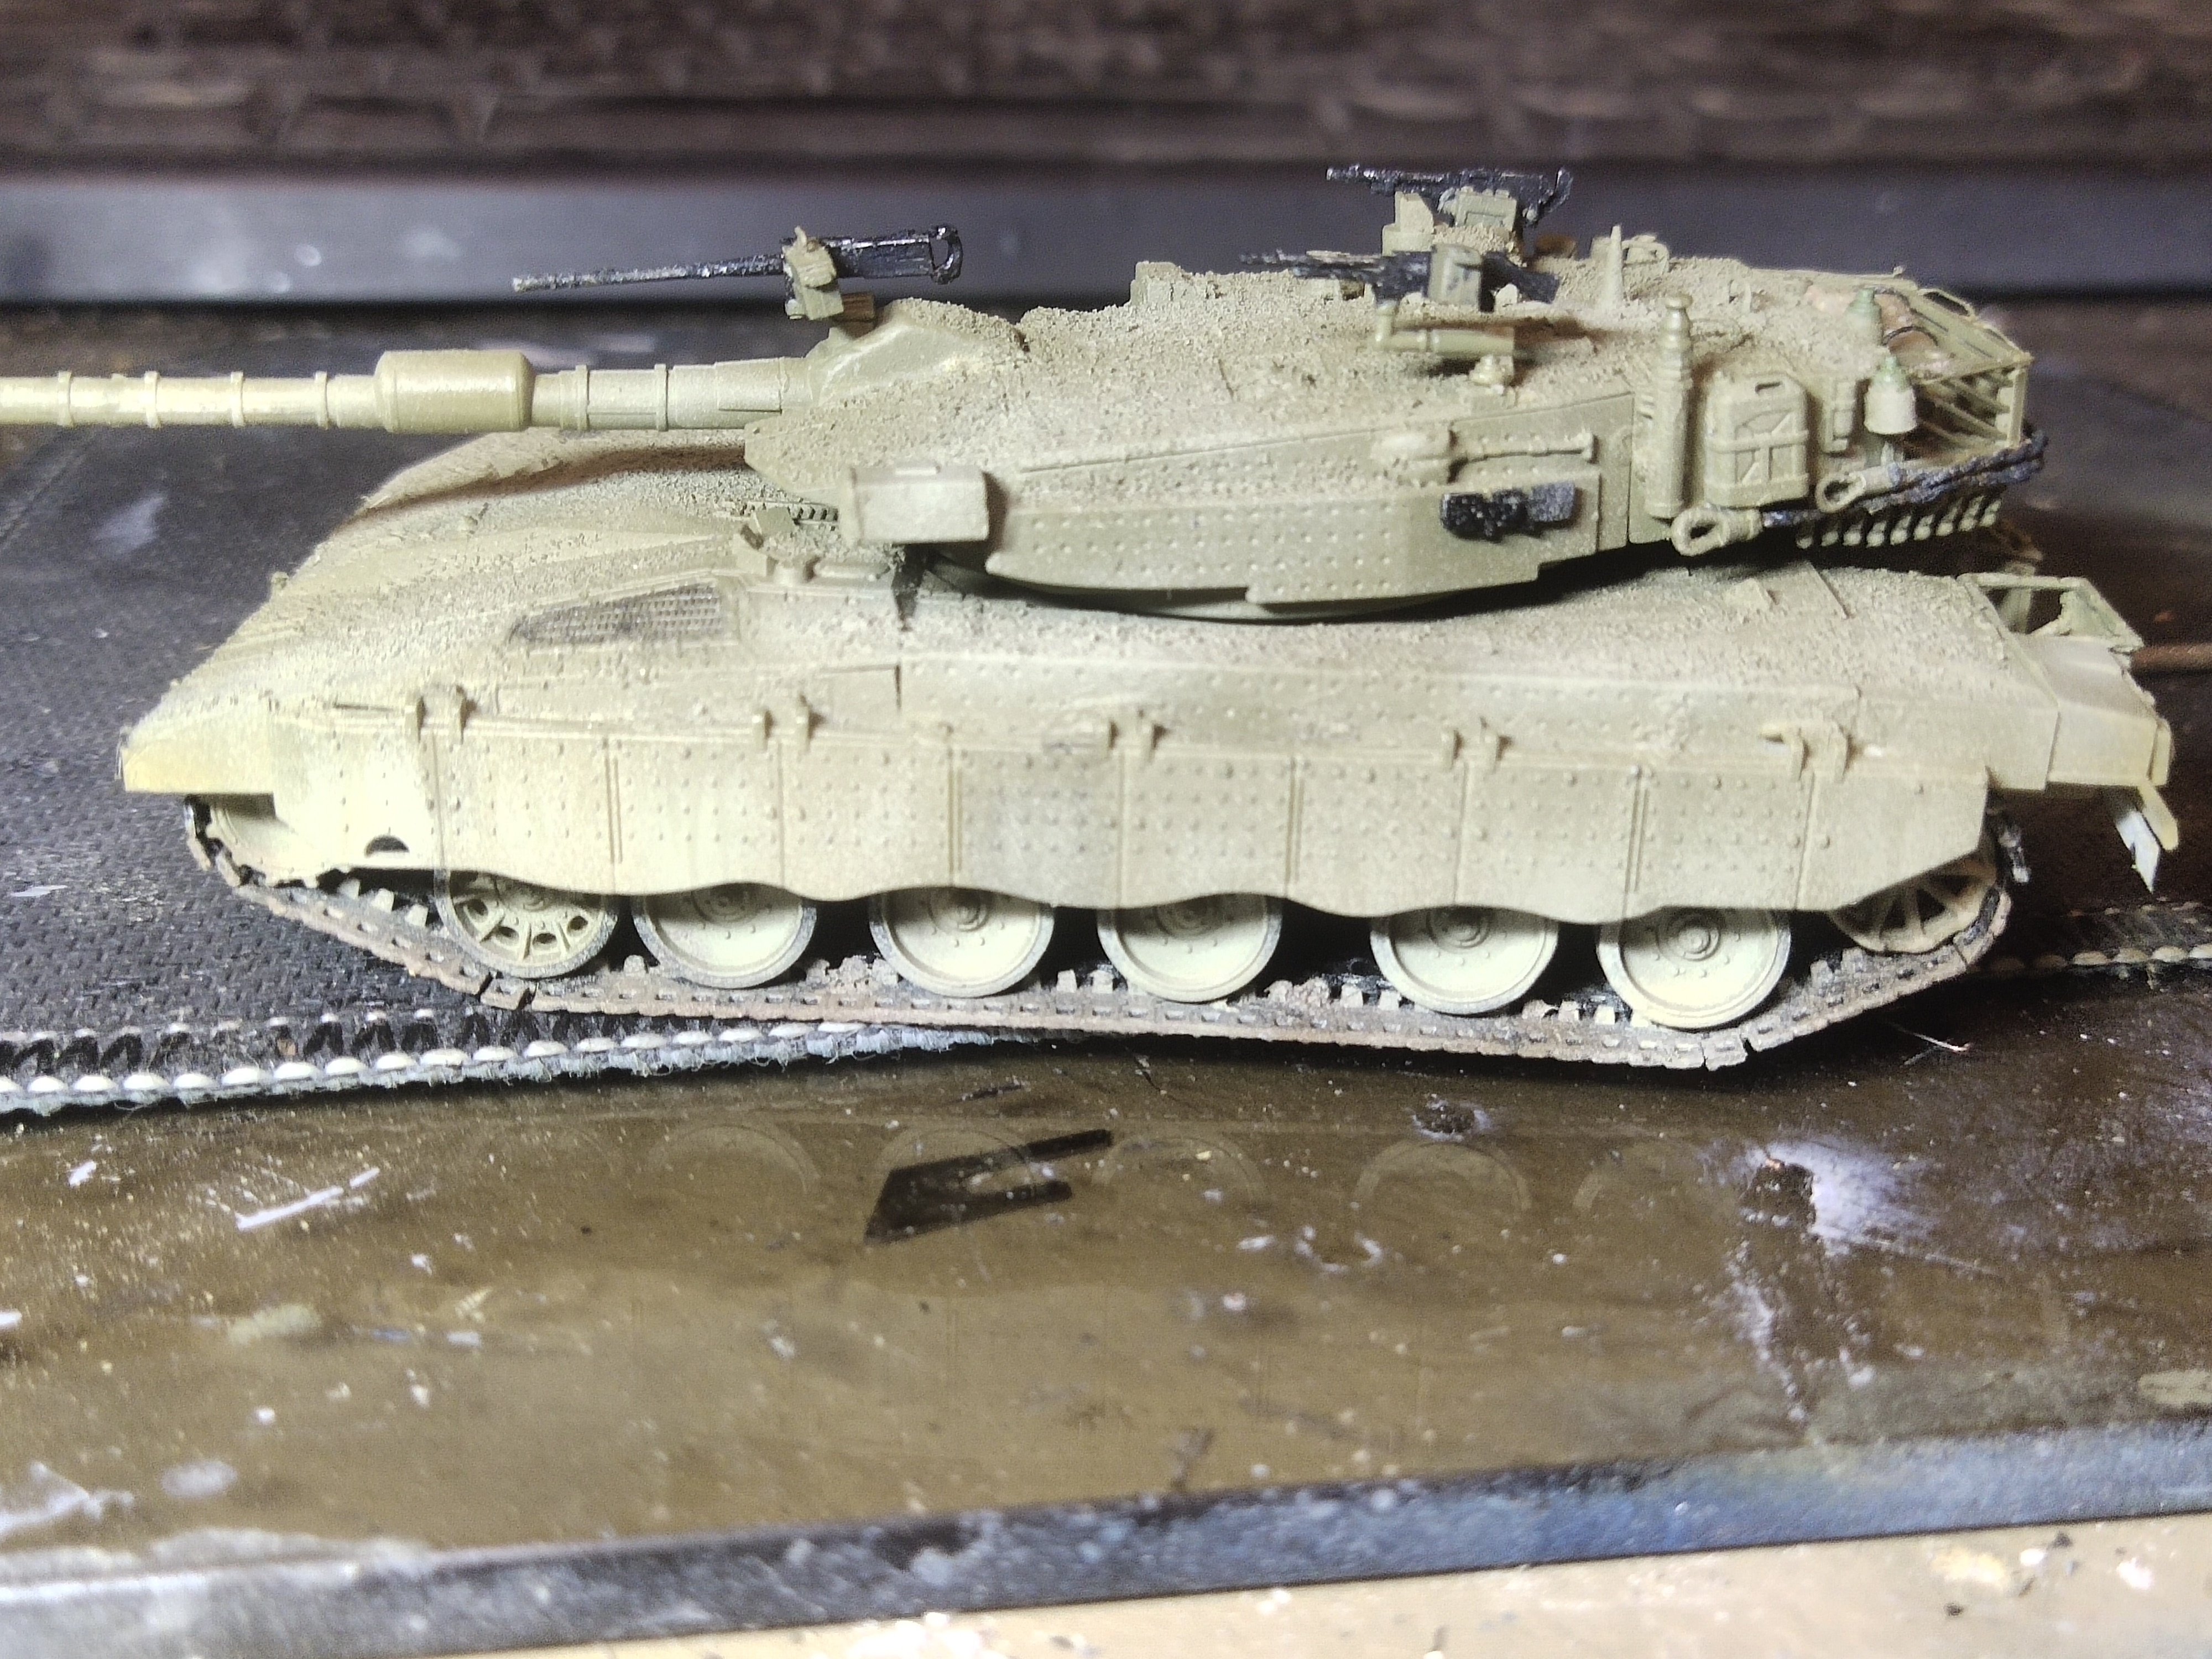
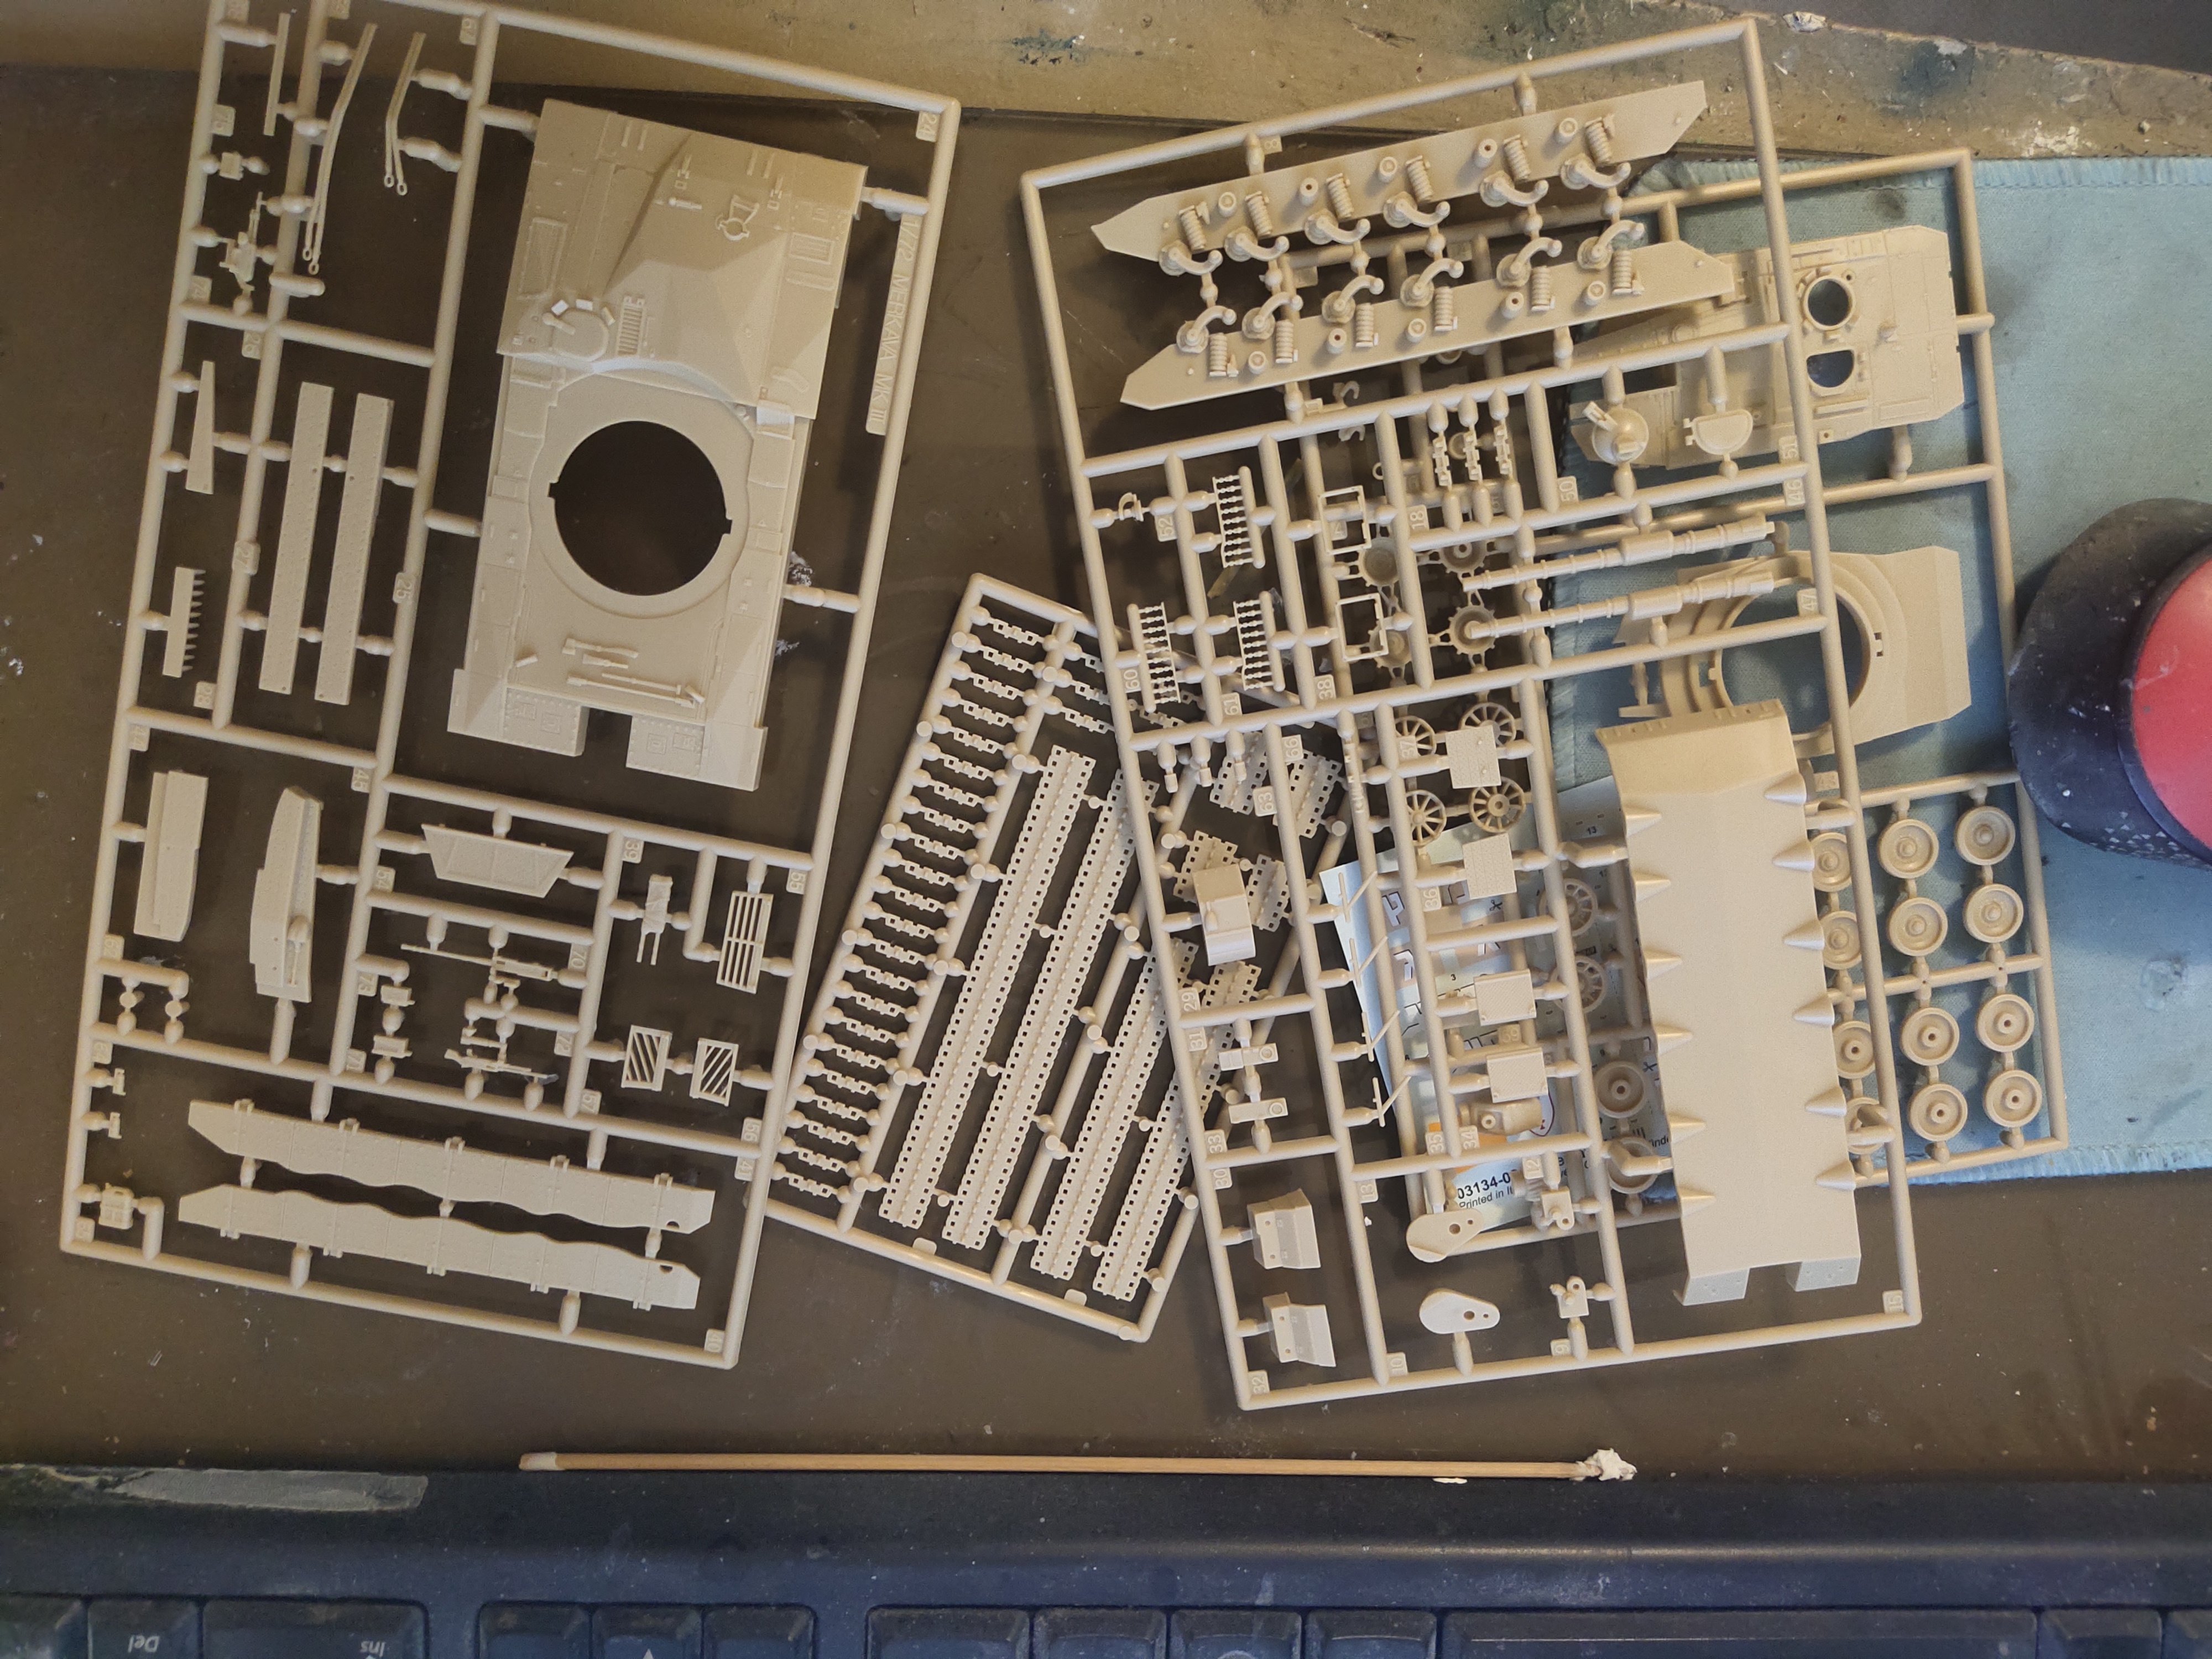
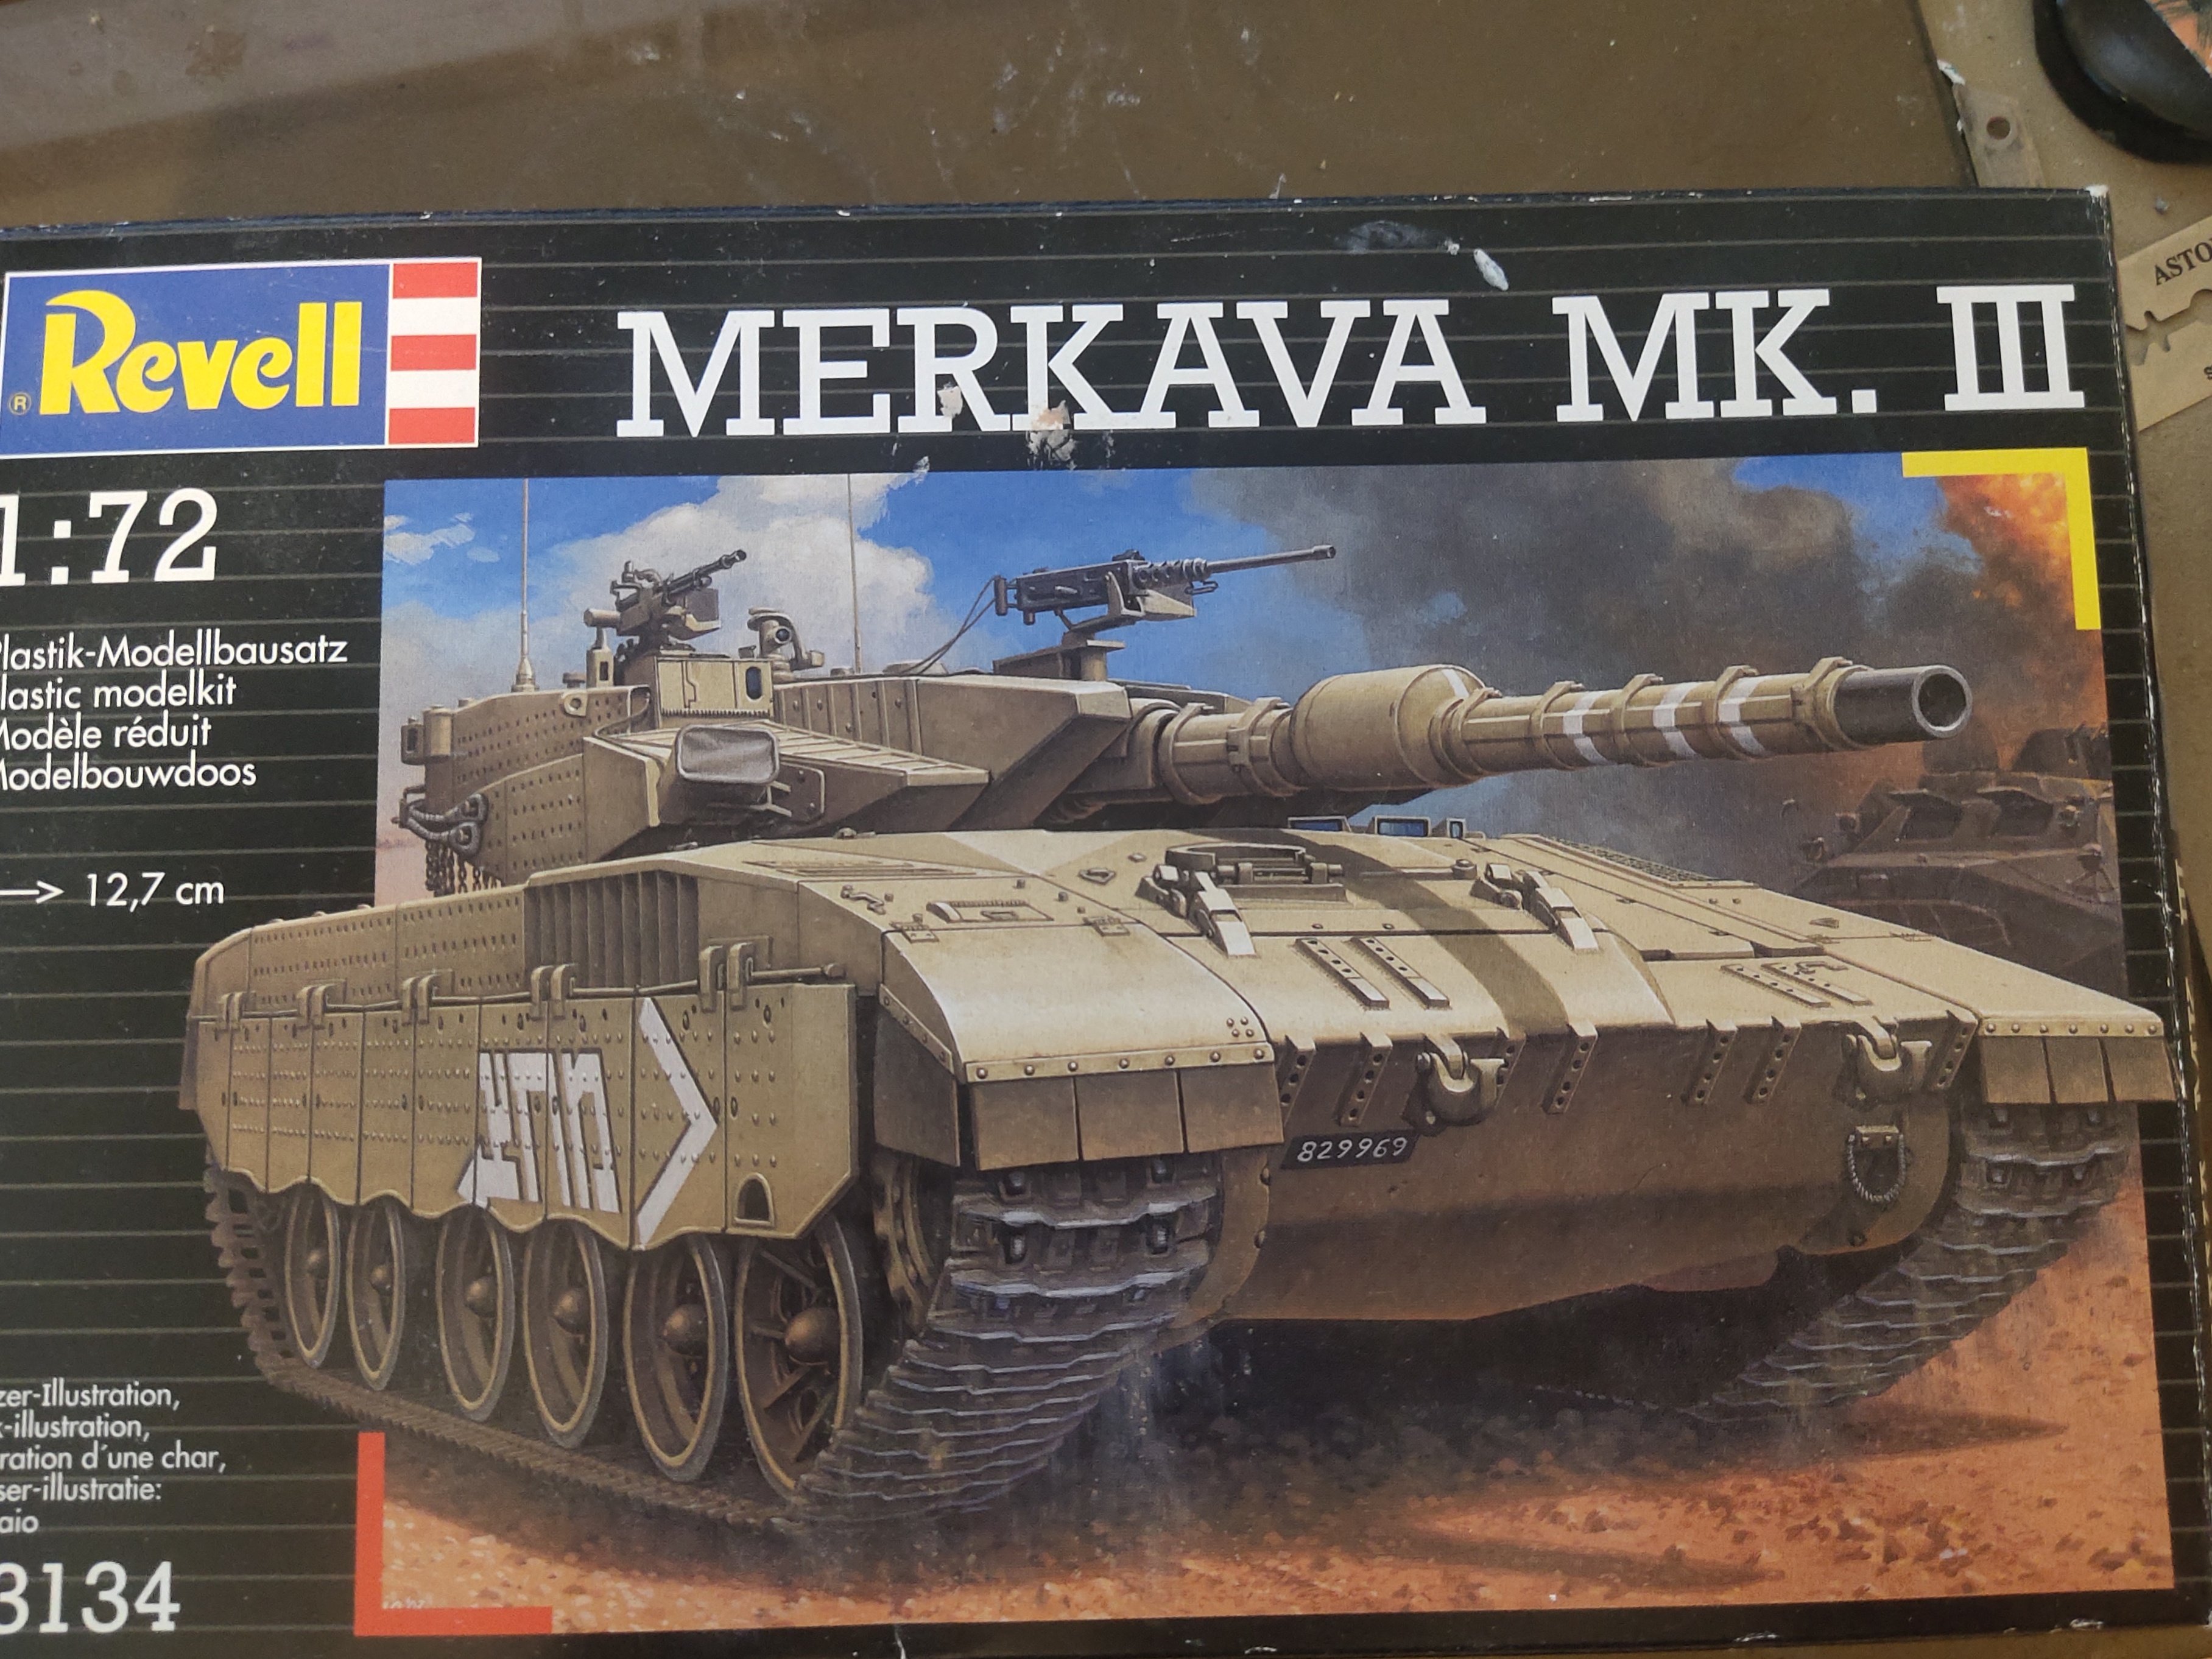
mikegr posted a topic in Non-ship/categorised builds
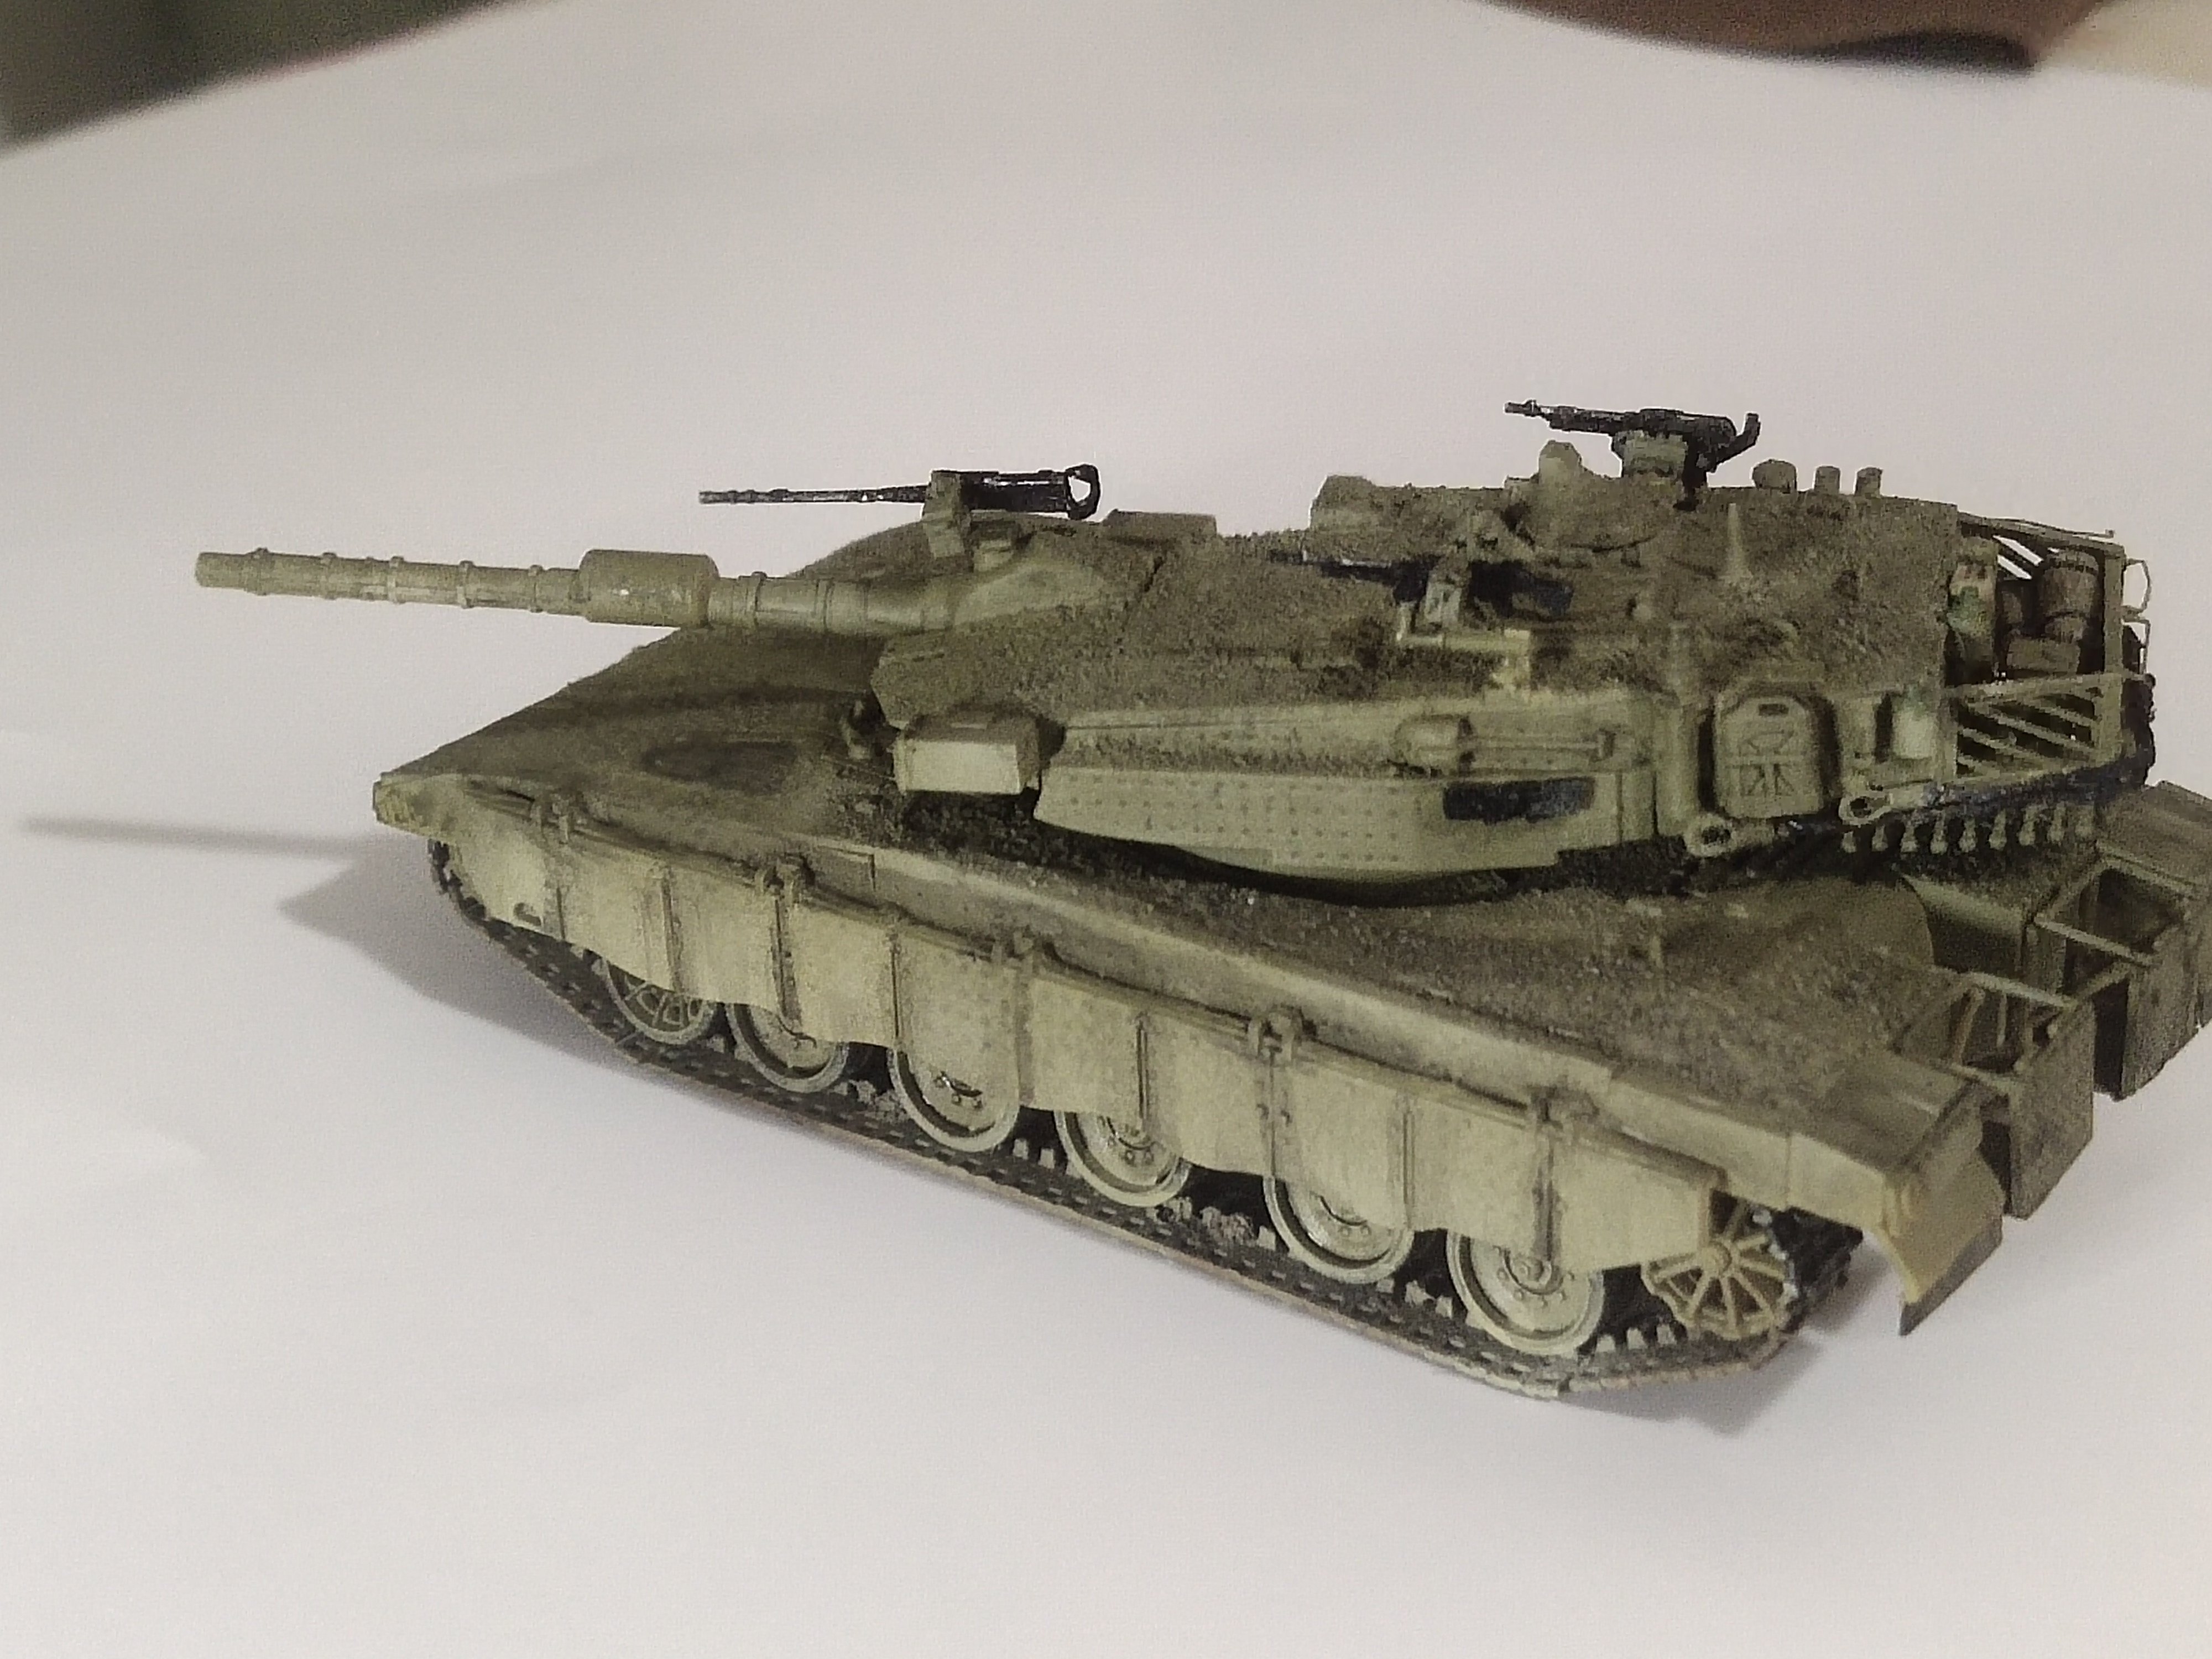
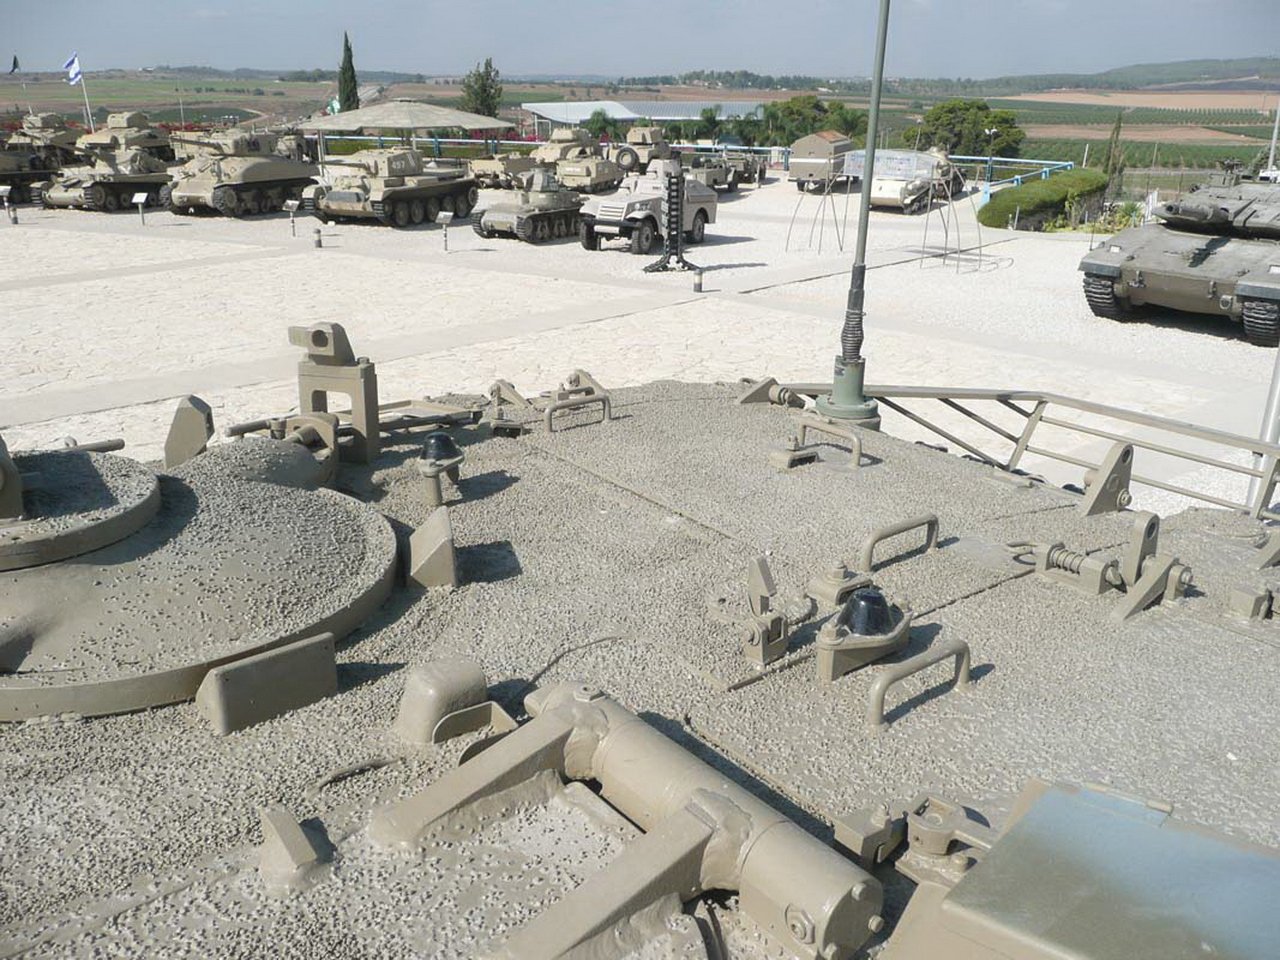
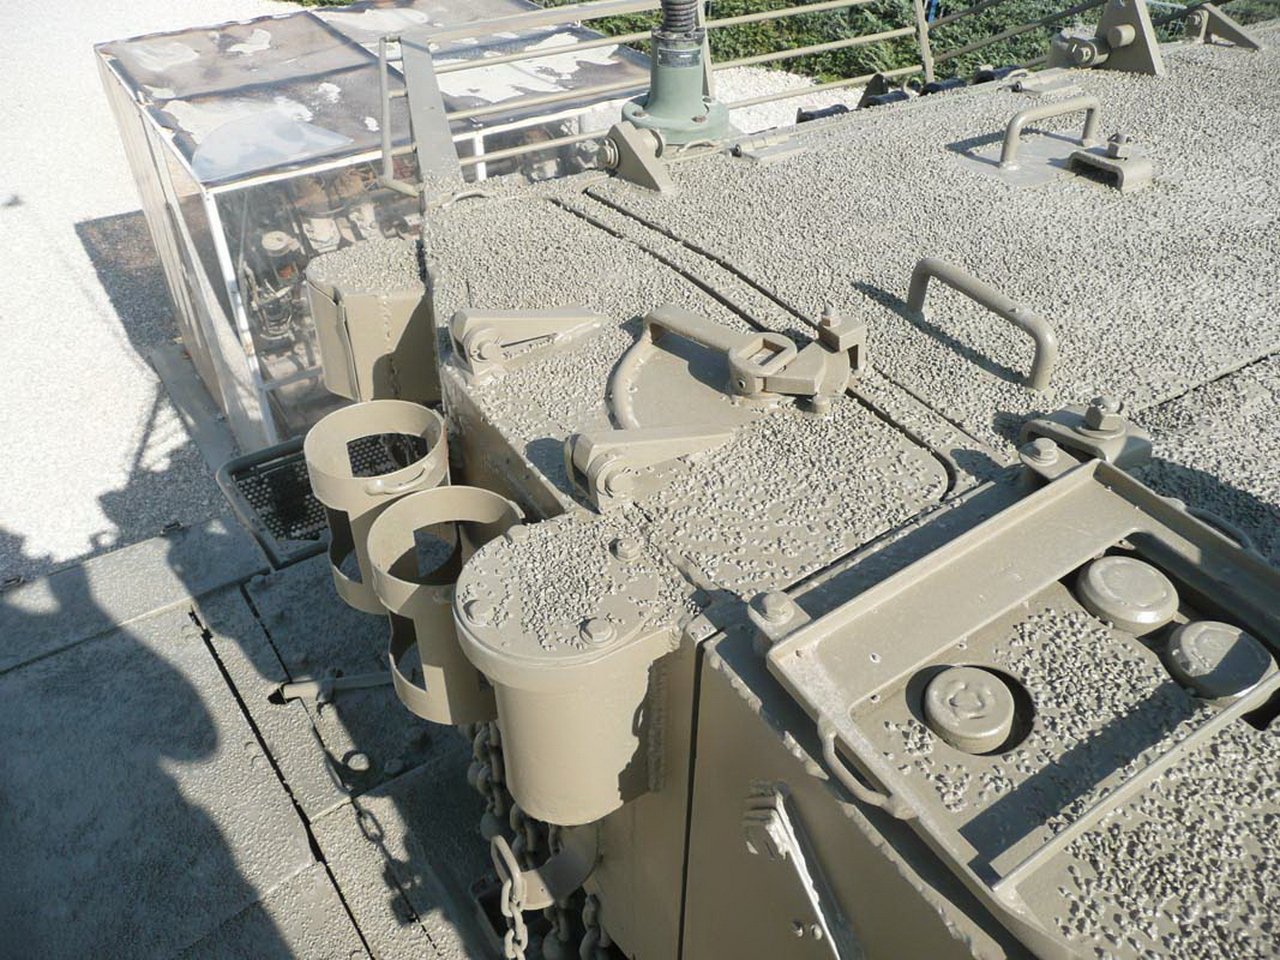
Time for a short getaway from 1/700 scale. Lets built something more relaxed. The kit in details doesn't impress much. The tracks are plastic in many pieces, not the most friendly option to a below average modeler. Somebody on youtube commented that one piece is missing matter how good can be assembled. We will see. The upgrade kit I found for 25€ doesn't sounds tempting although Revell kits do need extra detailing. I have tones of very close pics to get ideas from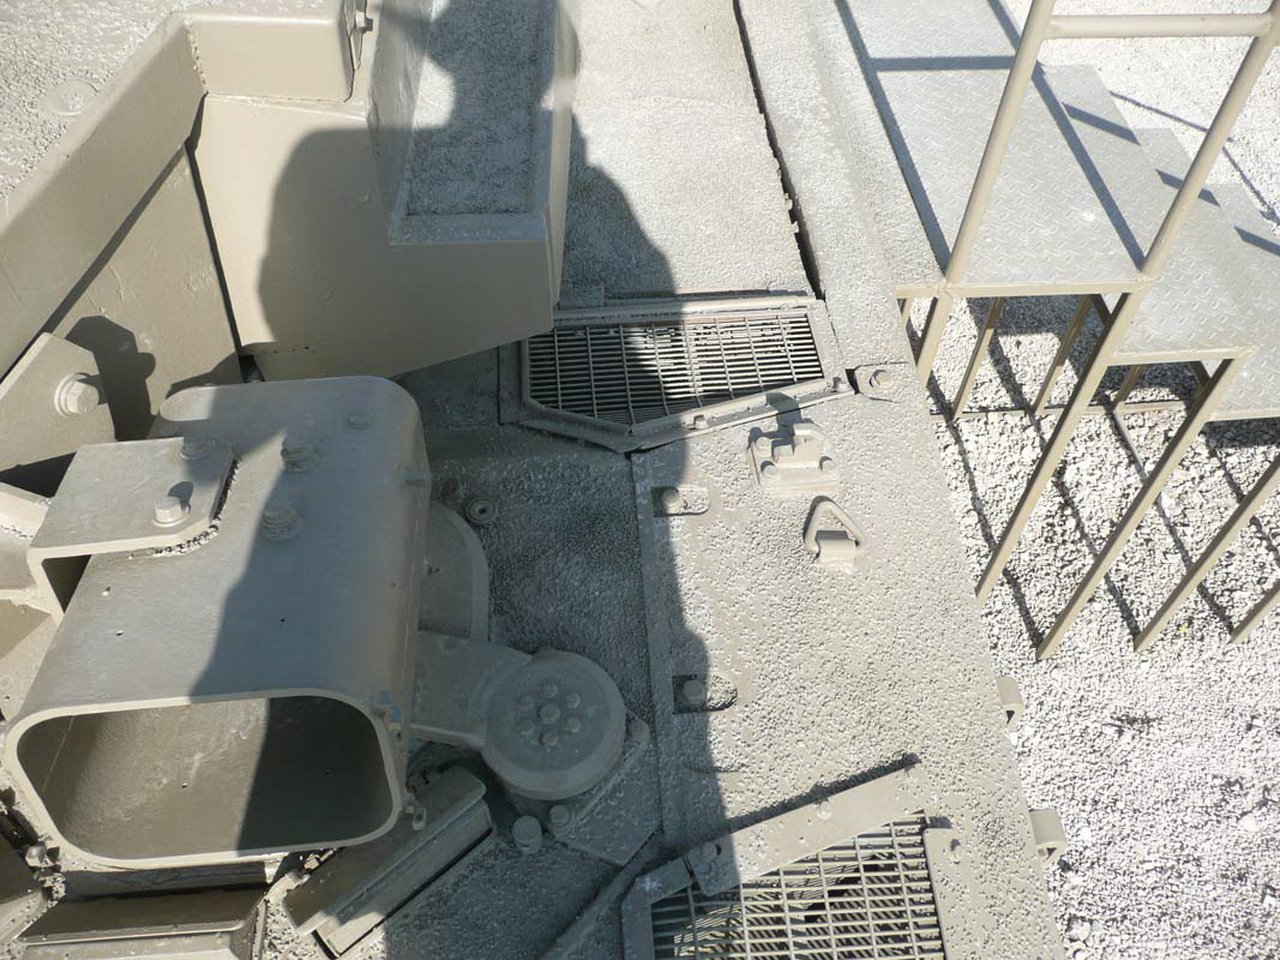


-
1. Yes you can 2. Yes they do. If you keep it in the garage won't be an issue 3. Yes they do. Below 18°c resin may need warm up. I use a hair dryer. Keep distance to avoid overspill. In hot weather may reduce curing times
-
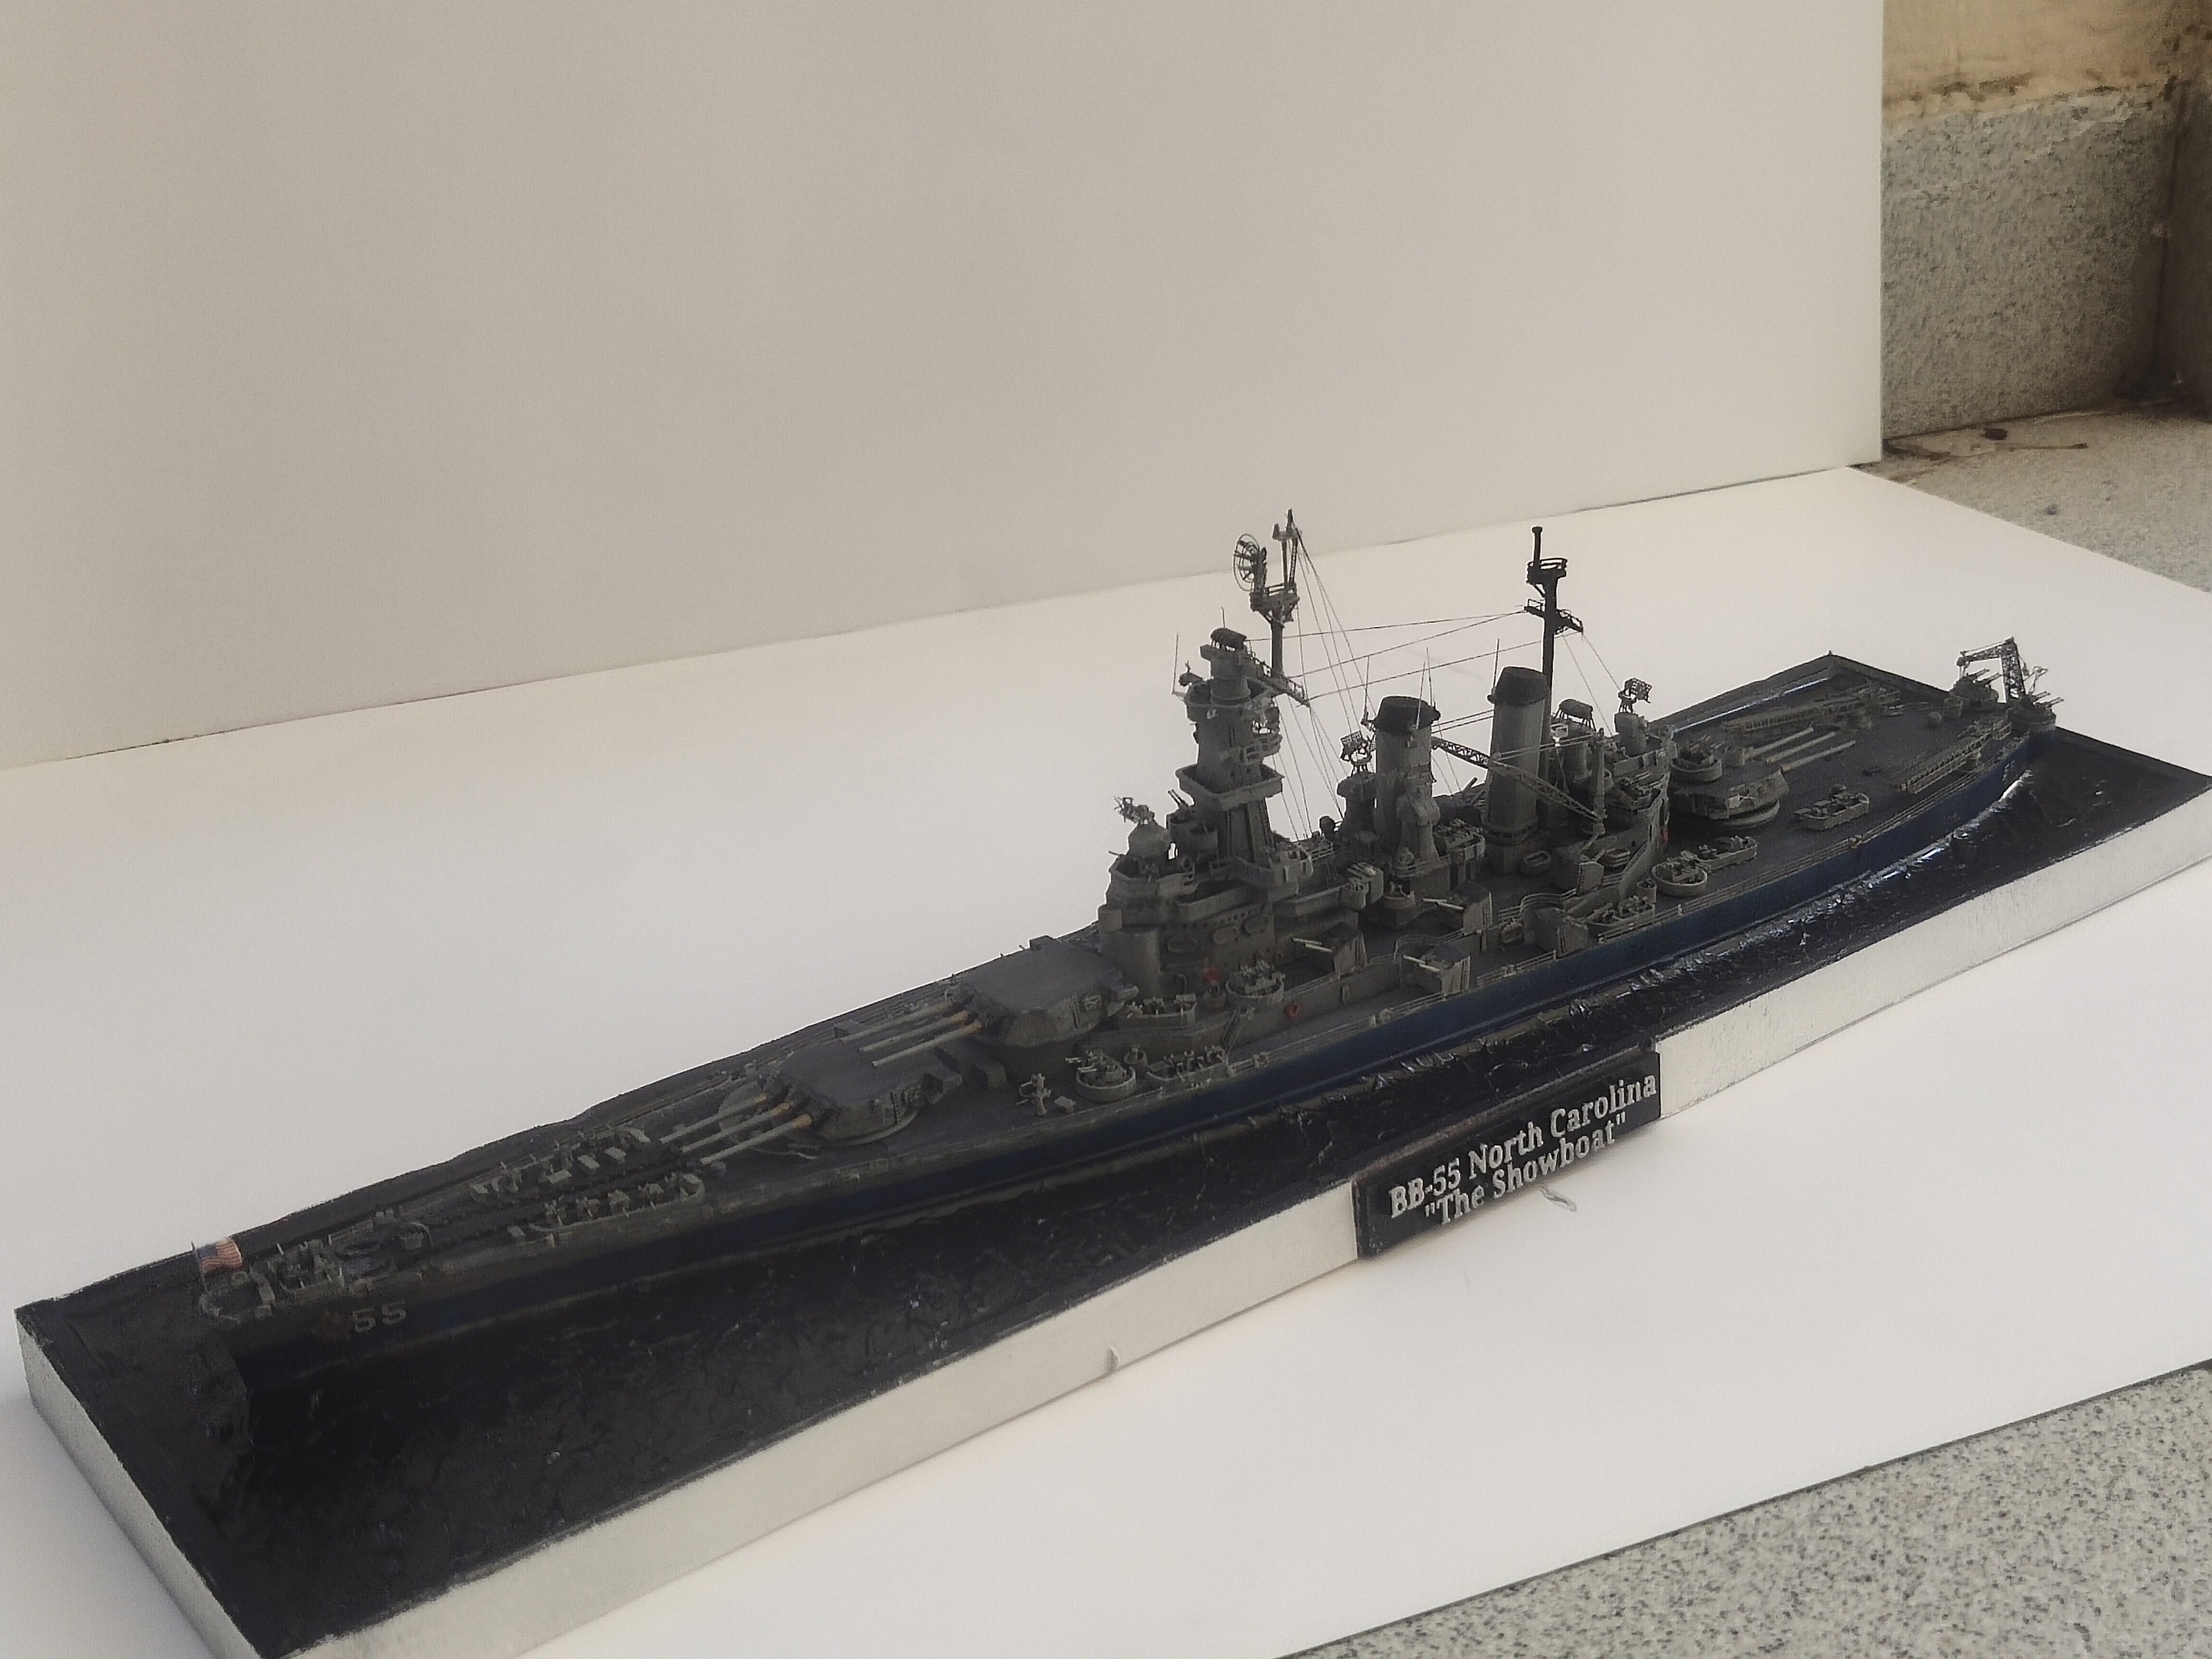
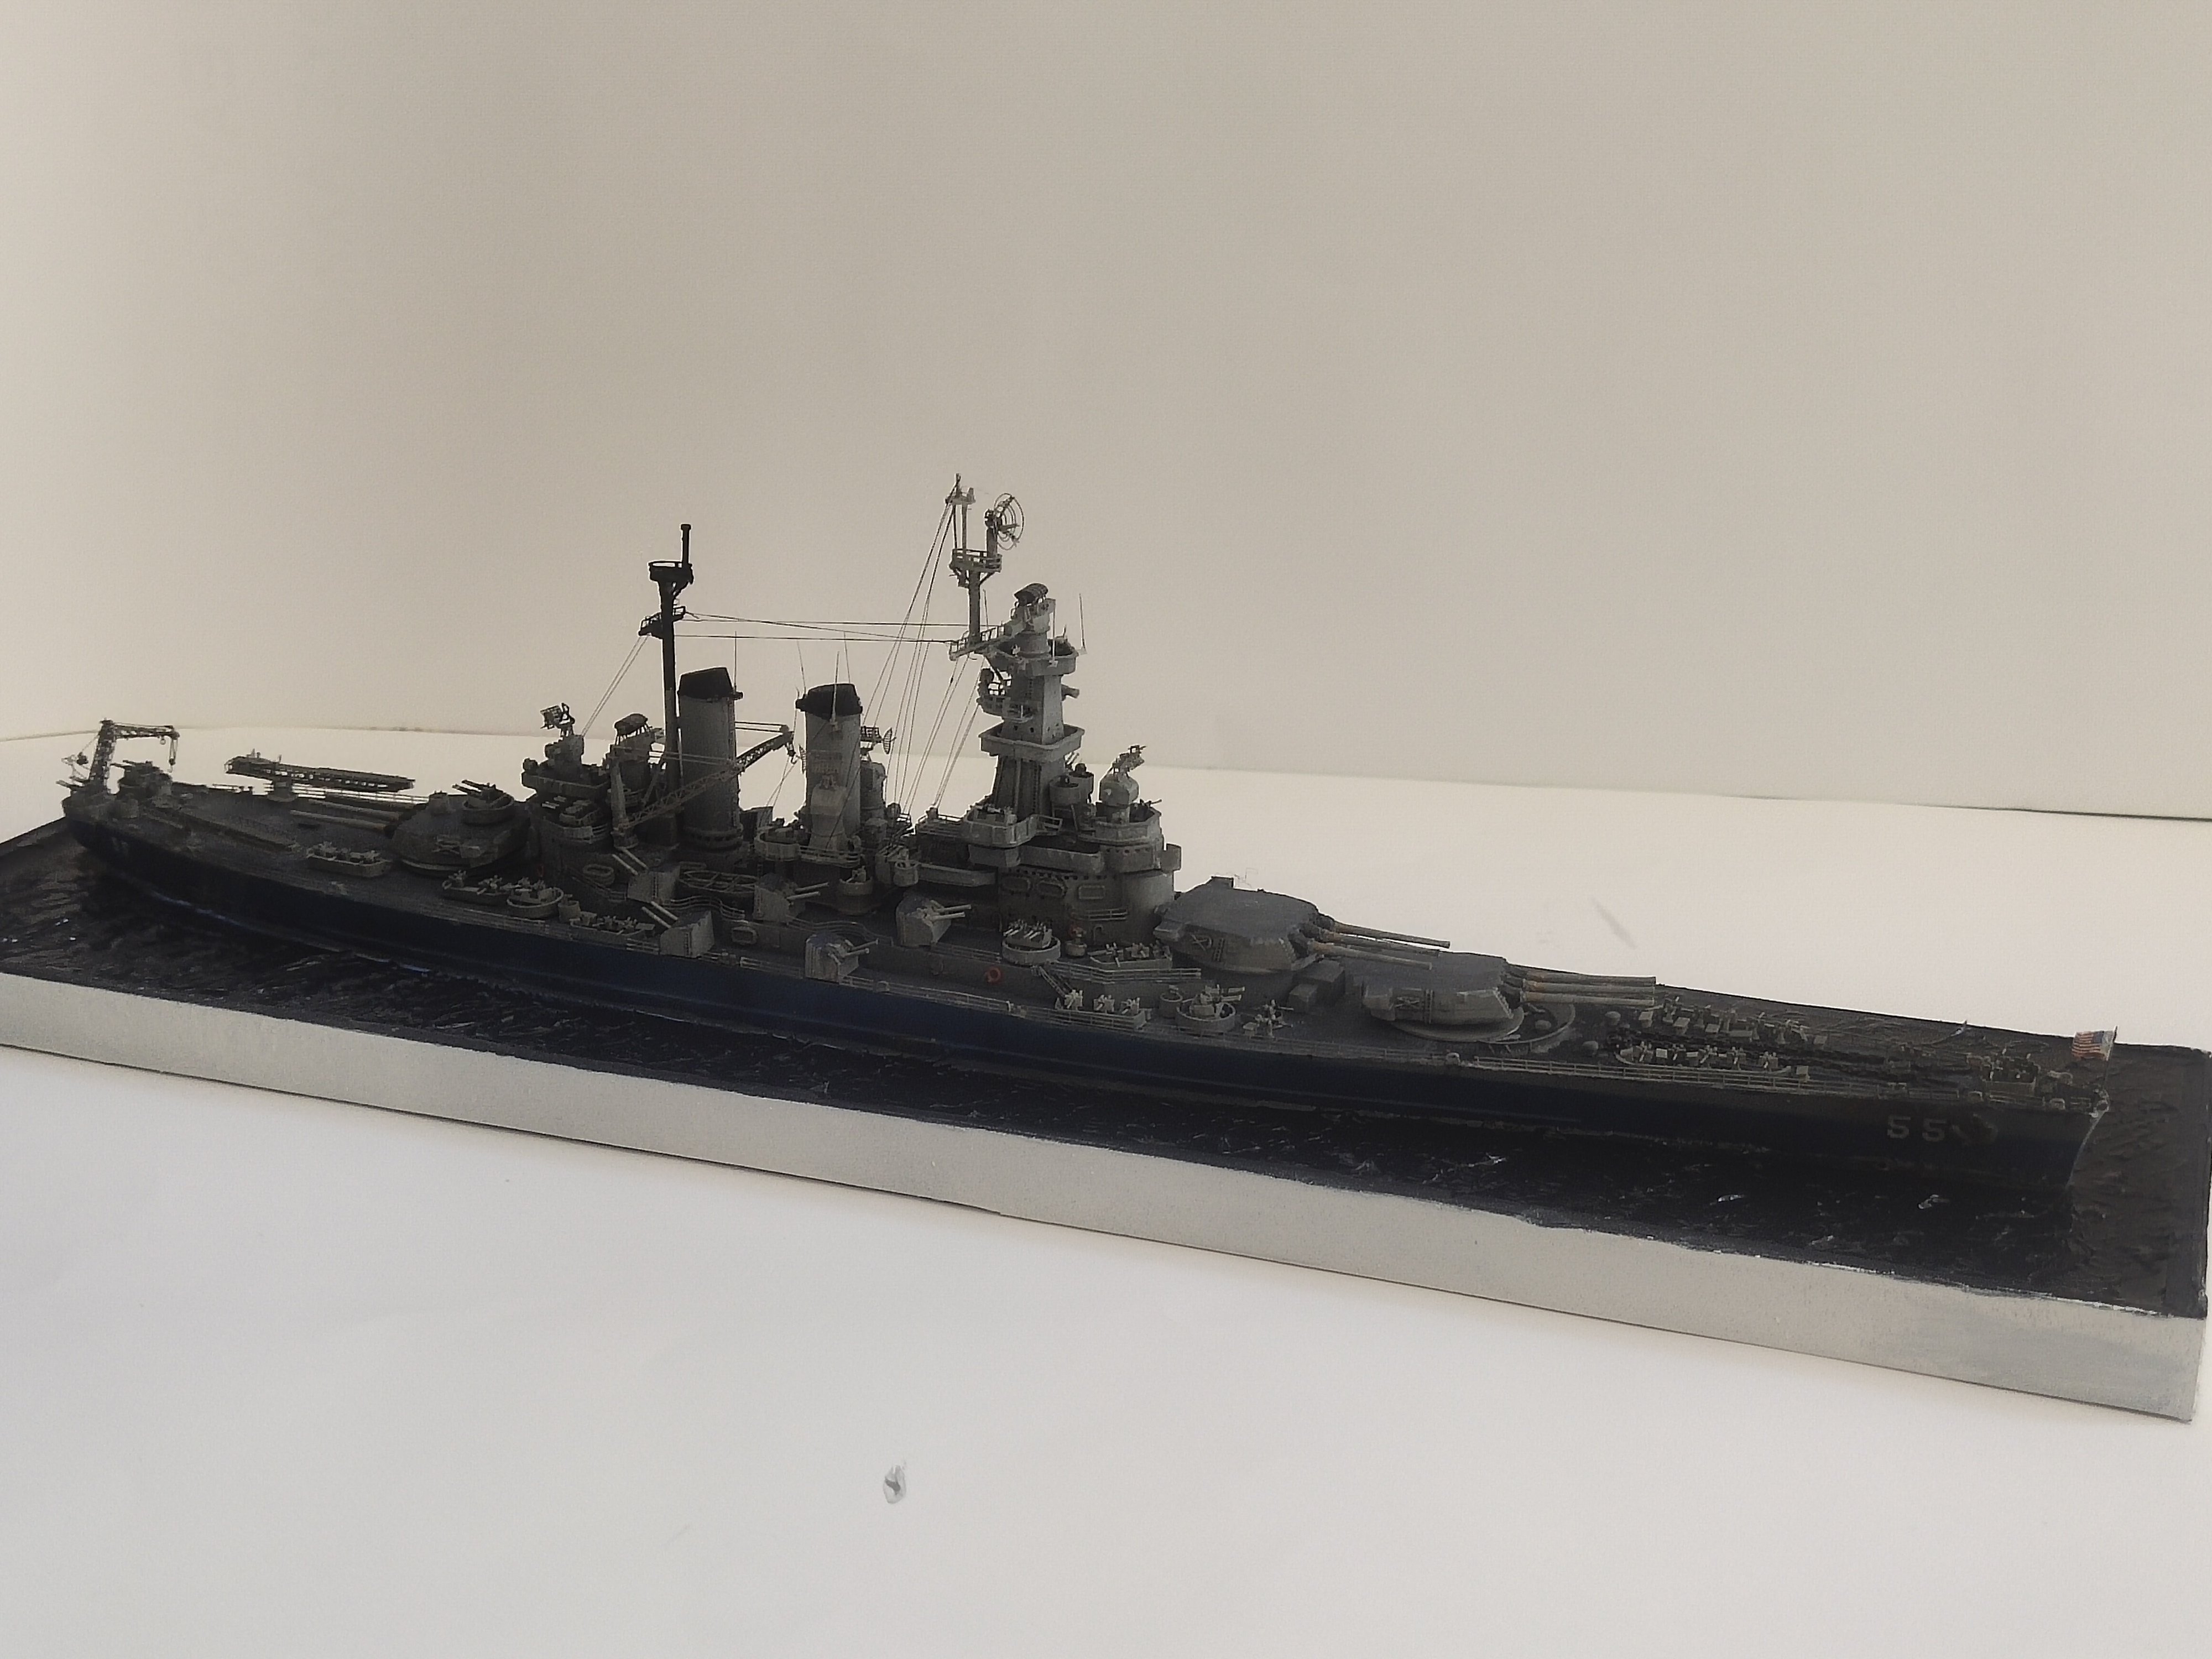
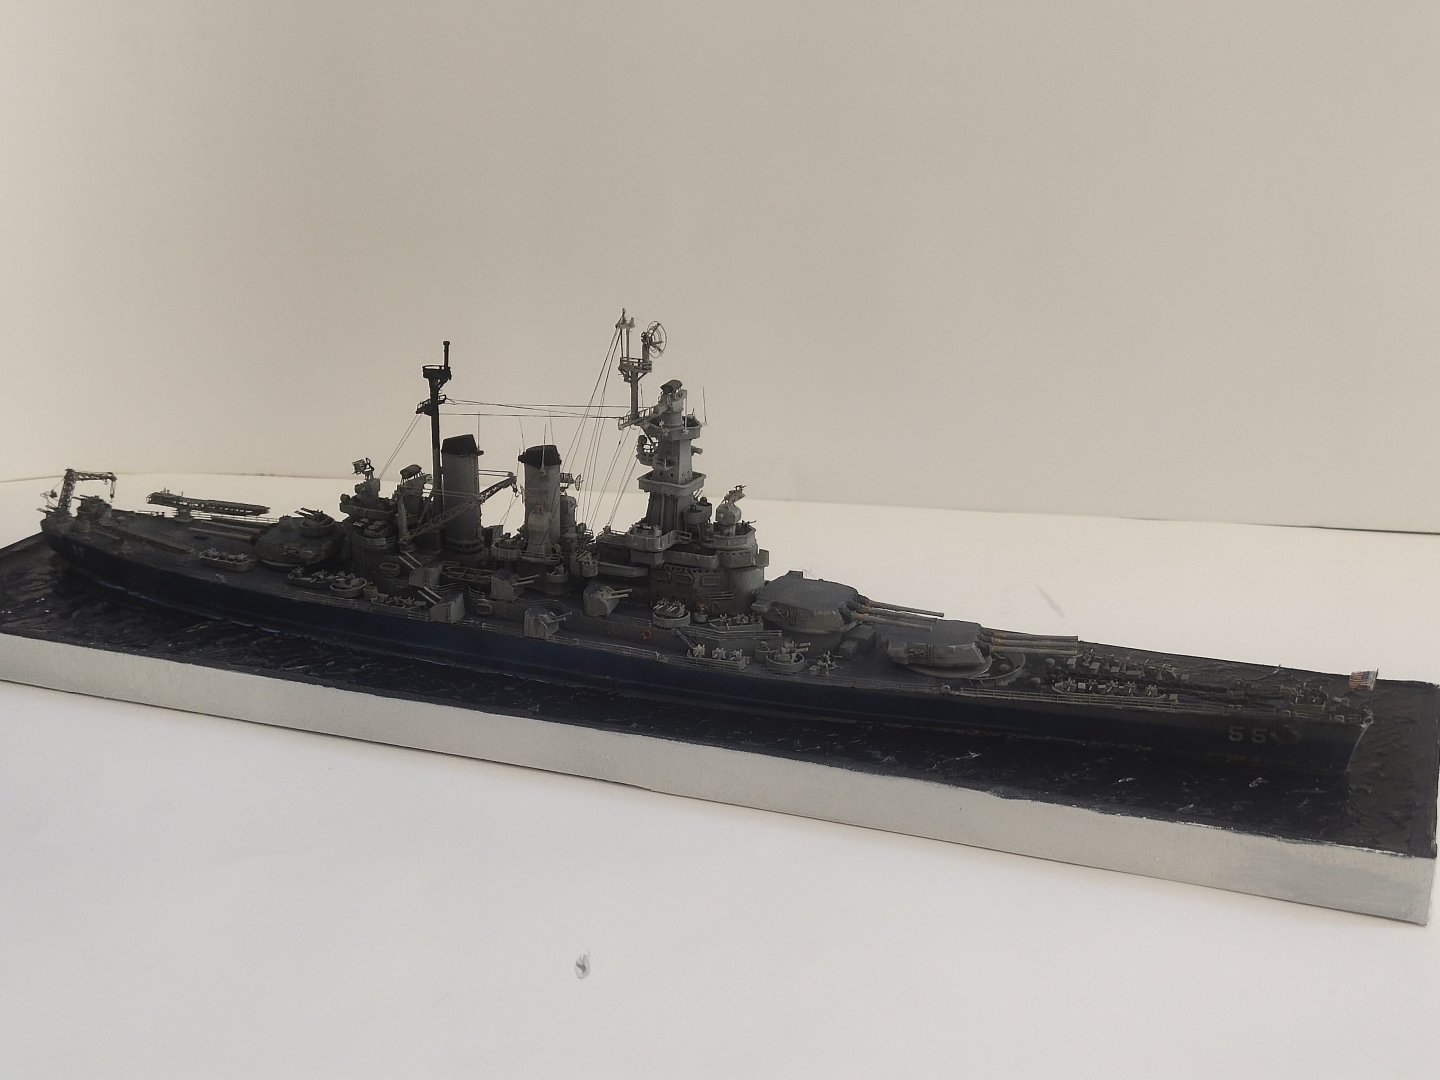
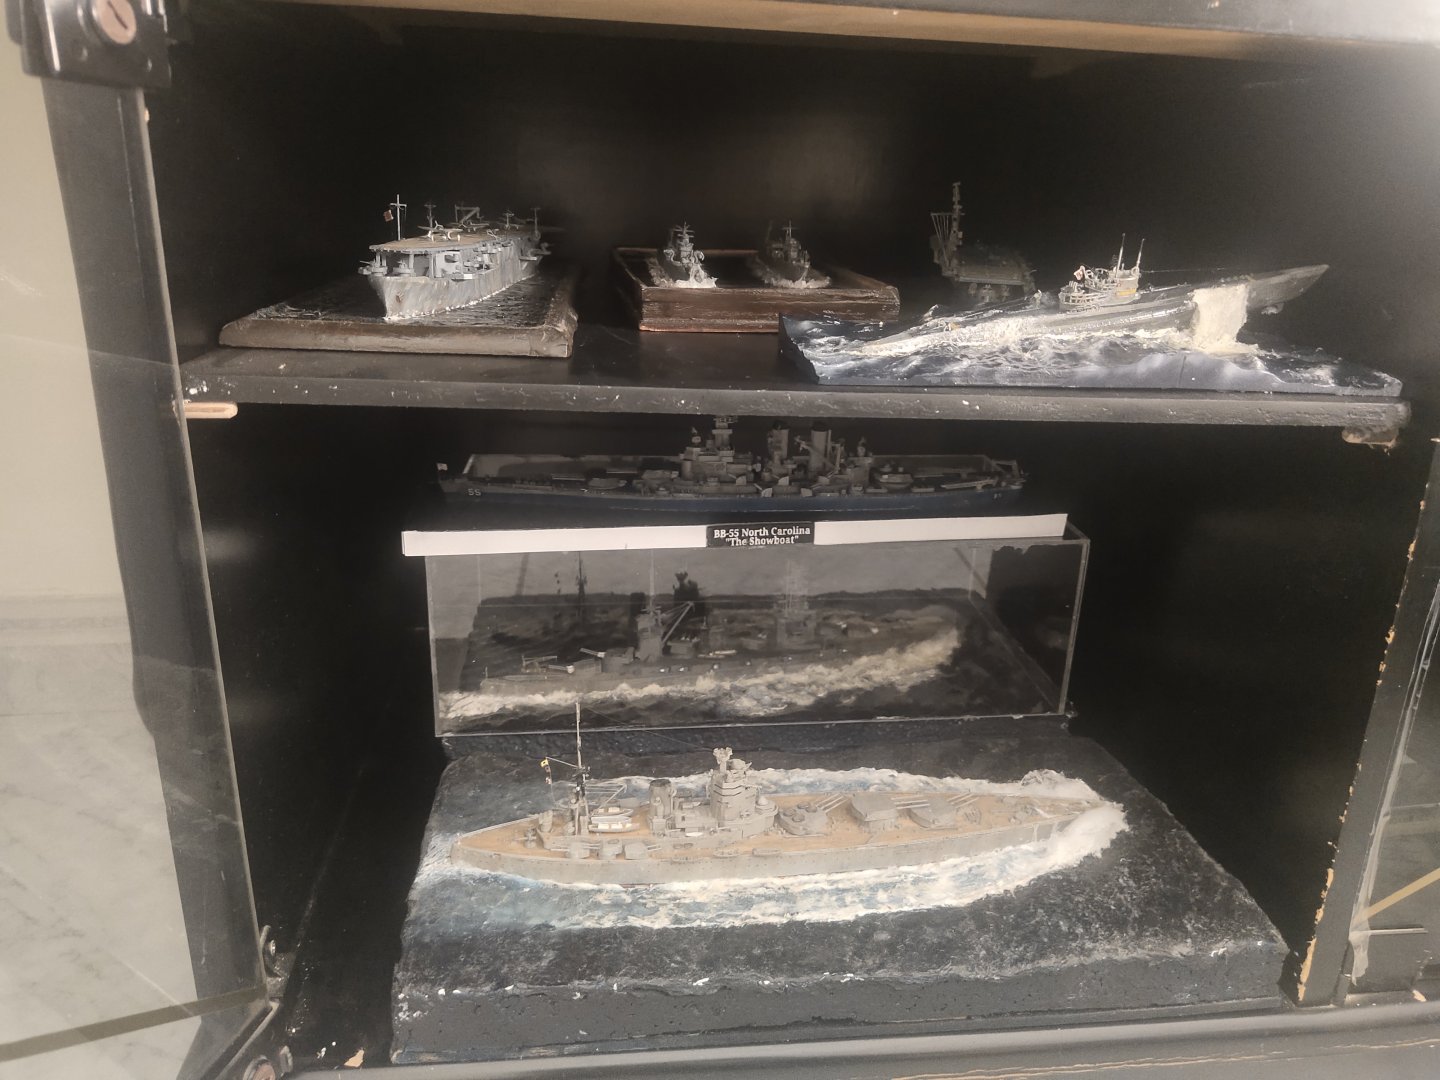
Last shots on daylight as those above looked a bit unclear Looking at the history I learned that even this ship was torpedoed at Eastern Solomons by enemy submarine it was was actually friendly fire particularly a 5" aa shell that caused the most casualties off Okinawa, 3 dead, 44 injured


-
Thanks everybody for the support and comments