


gulfmedic1
-
Posts
187 -
Joined
-
Last visited
Content Type
Profiles
Forums
Gallery
Events
Posts posted by gulfmedic1
-
-
Hey everyone,
So I noticed some issues that I will need to take care of on the hull. I got with model expo and they are sending me the cut sheet so I can fair the hull. (think thats the right wording). I have looked at just about all of the build logs for his model and have learned a lot of great information. I also learned that at the end of the day its my model so I can change things with in reason to make it mine, meaning my ocd self shouldn't sweat the small stuff lol. I do work full time so it will be a slow build. I also have looked at many other model builds and have learned so much information about this hobby. I cant wait to get back to more hands on with this build.
thanks
-
-
On 8/15/2020 at 7:41 PM, Duanelaker said:
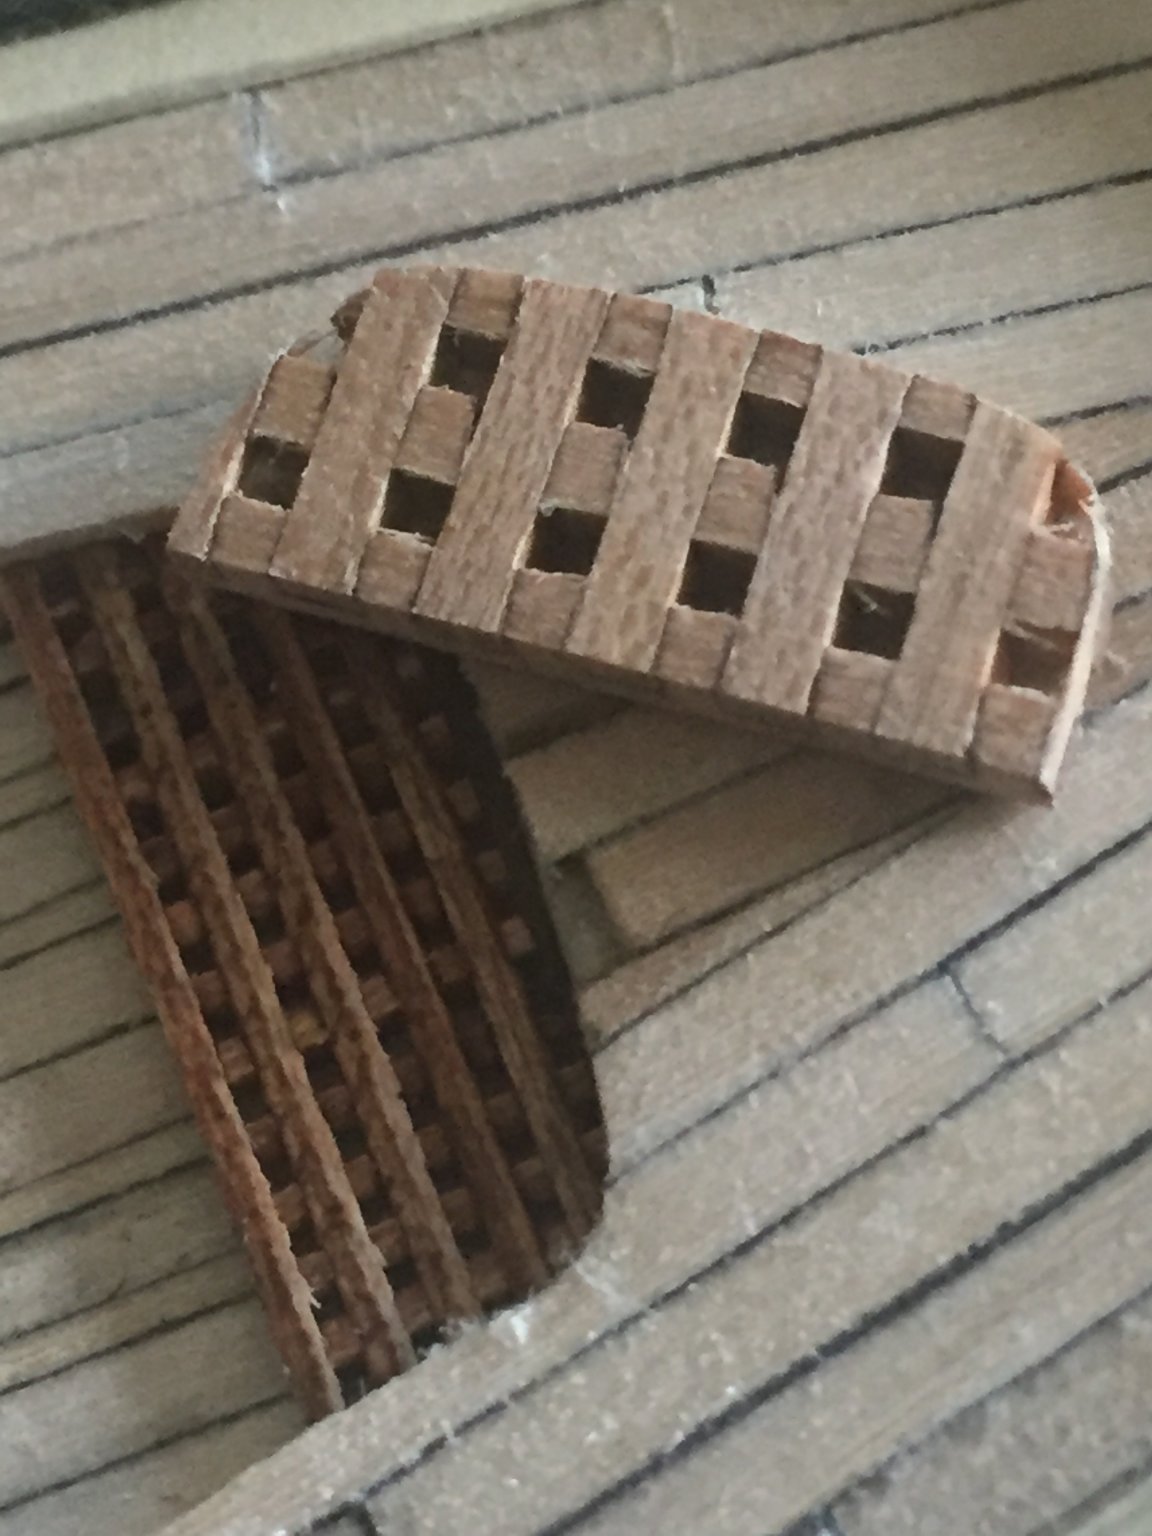
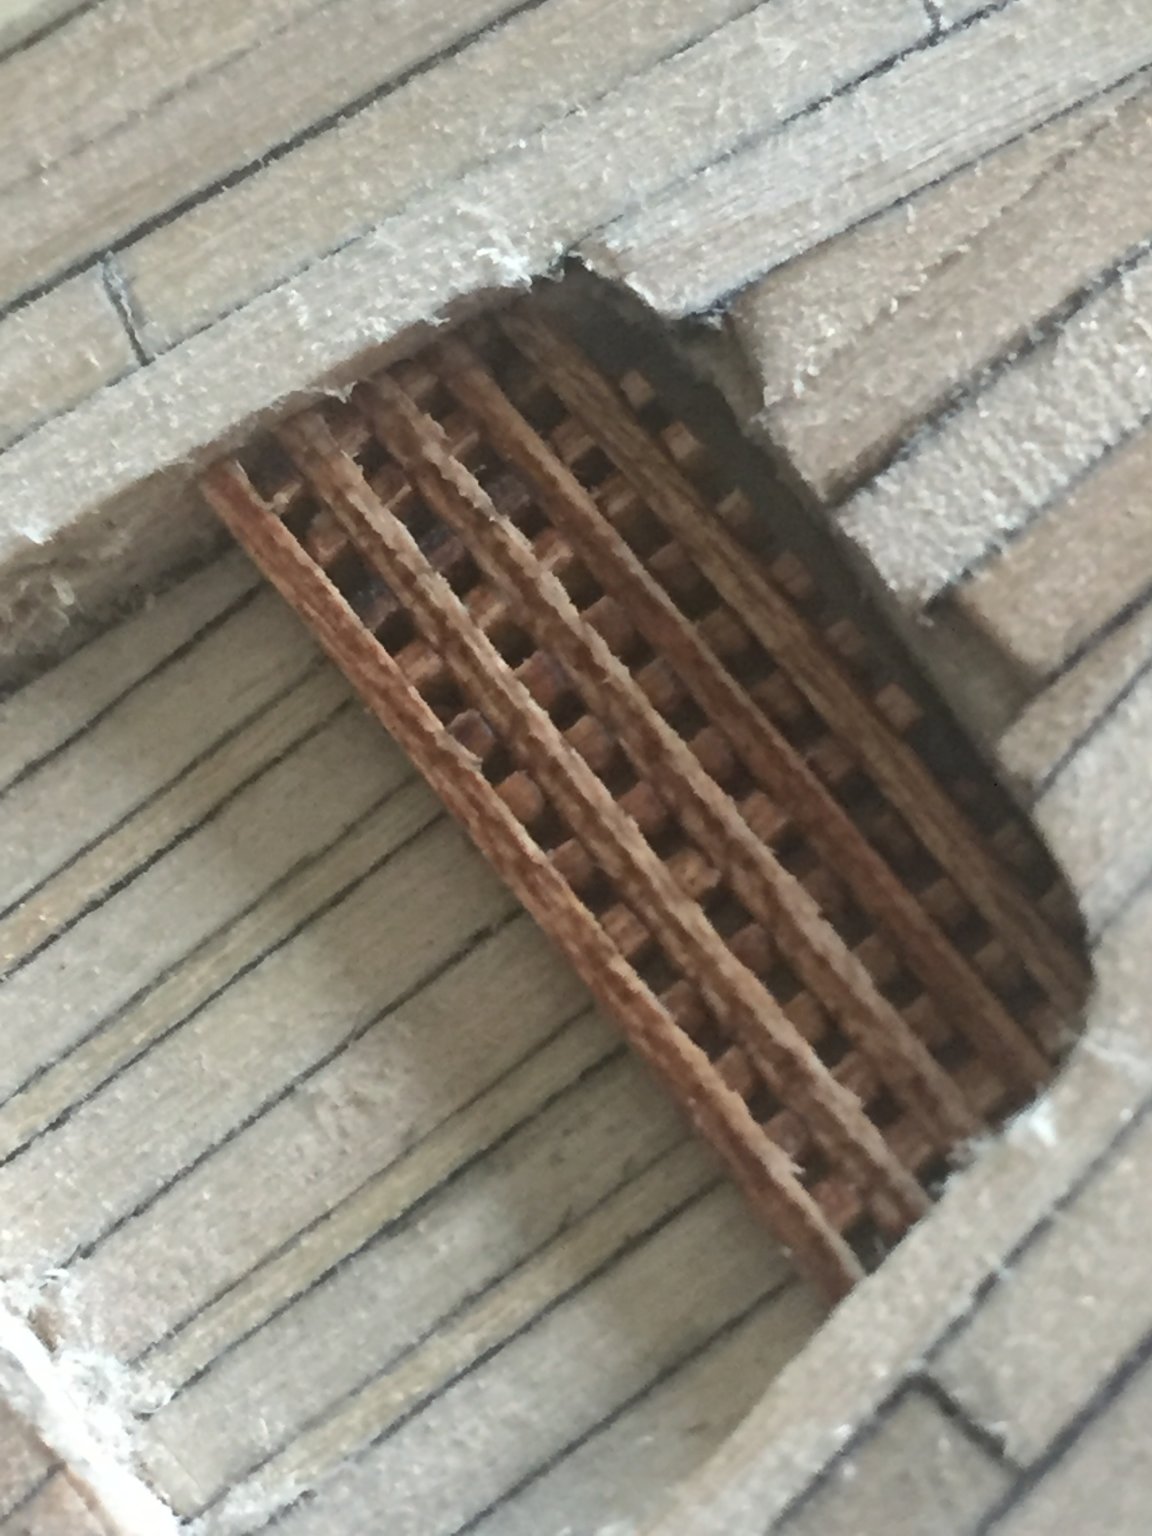
So my smaller grating came and I thinks it’s way better then the kit provided grating.


where did you get the gratting
-
On 9/10/2021 at 1:46 PM, SkiBee said:
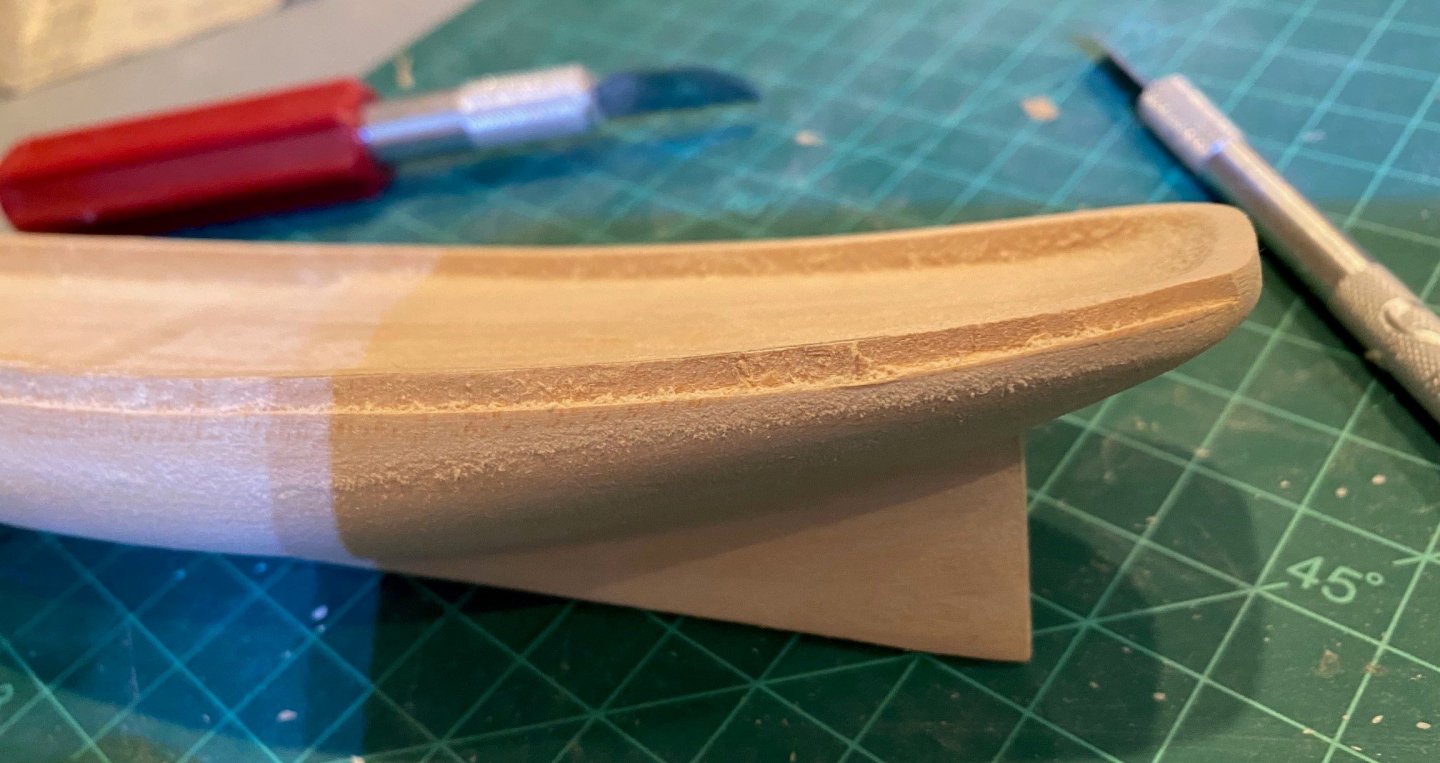
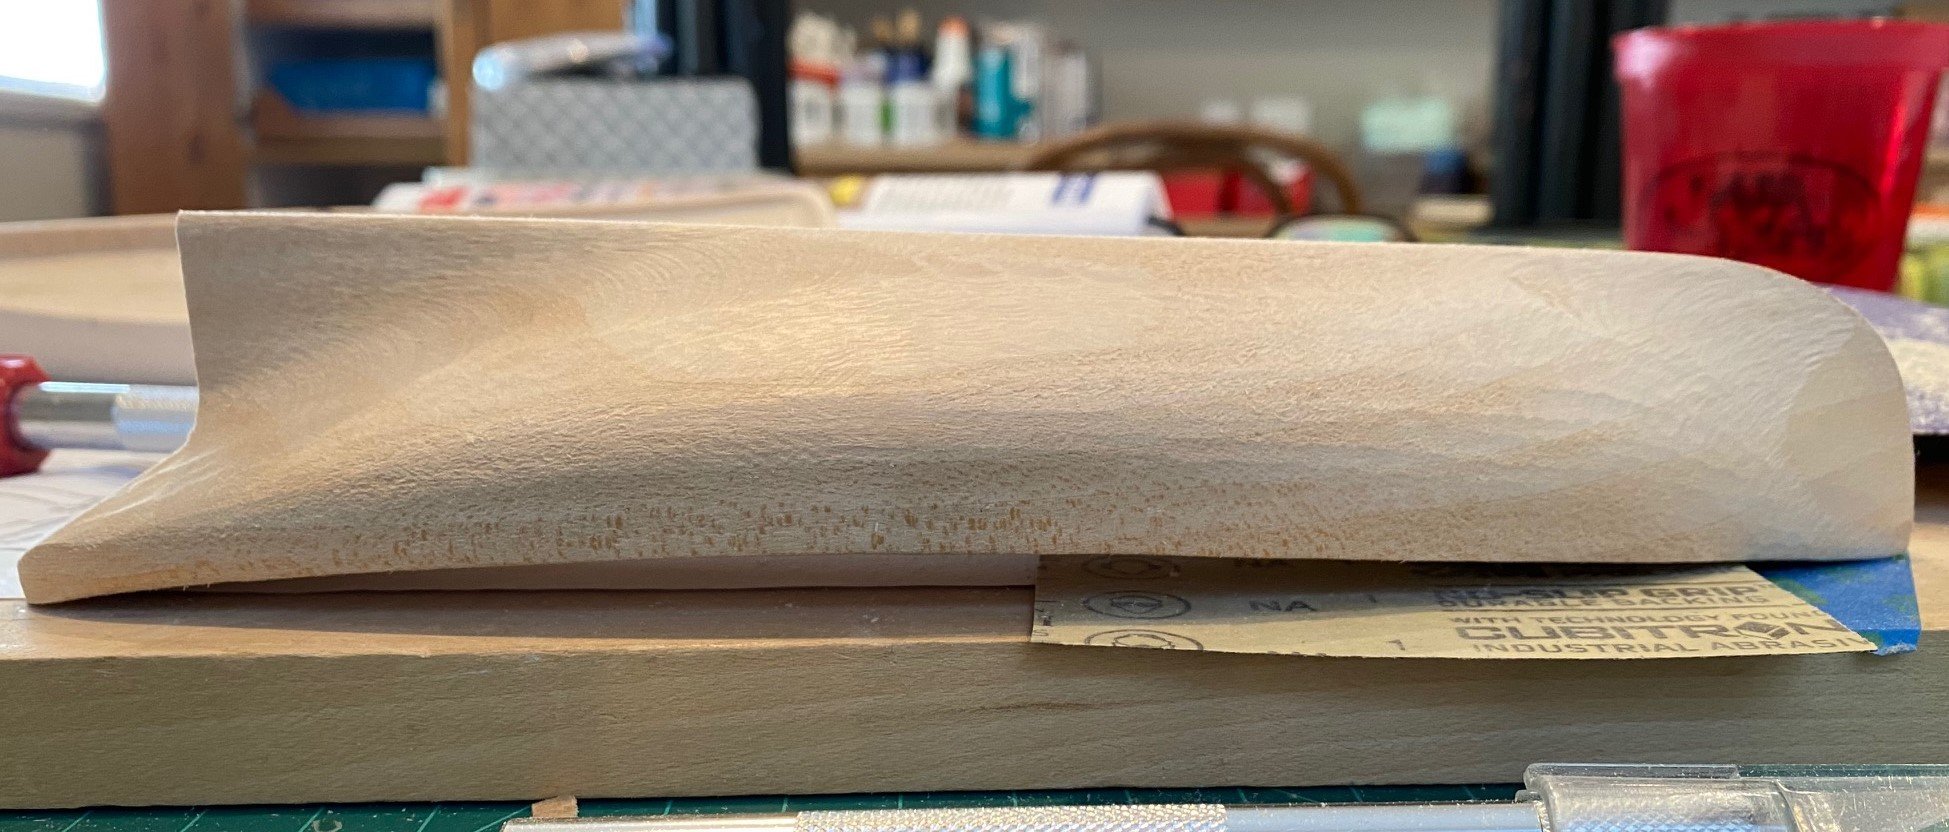
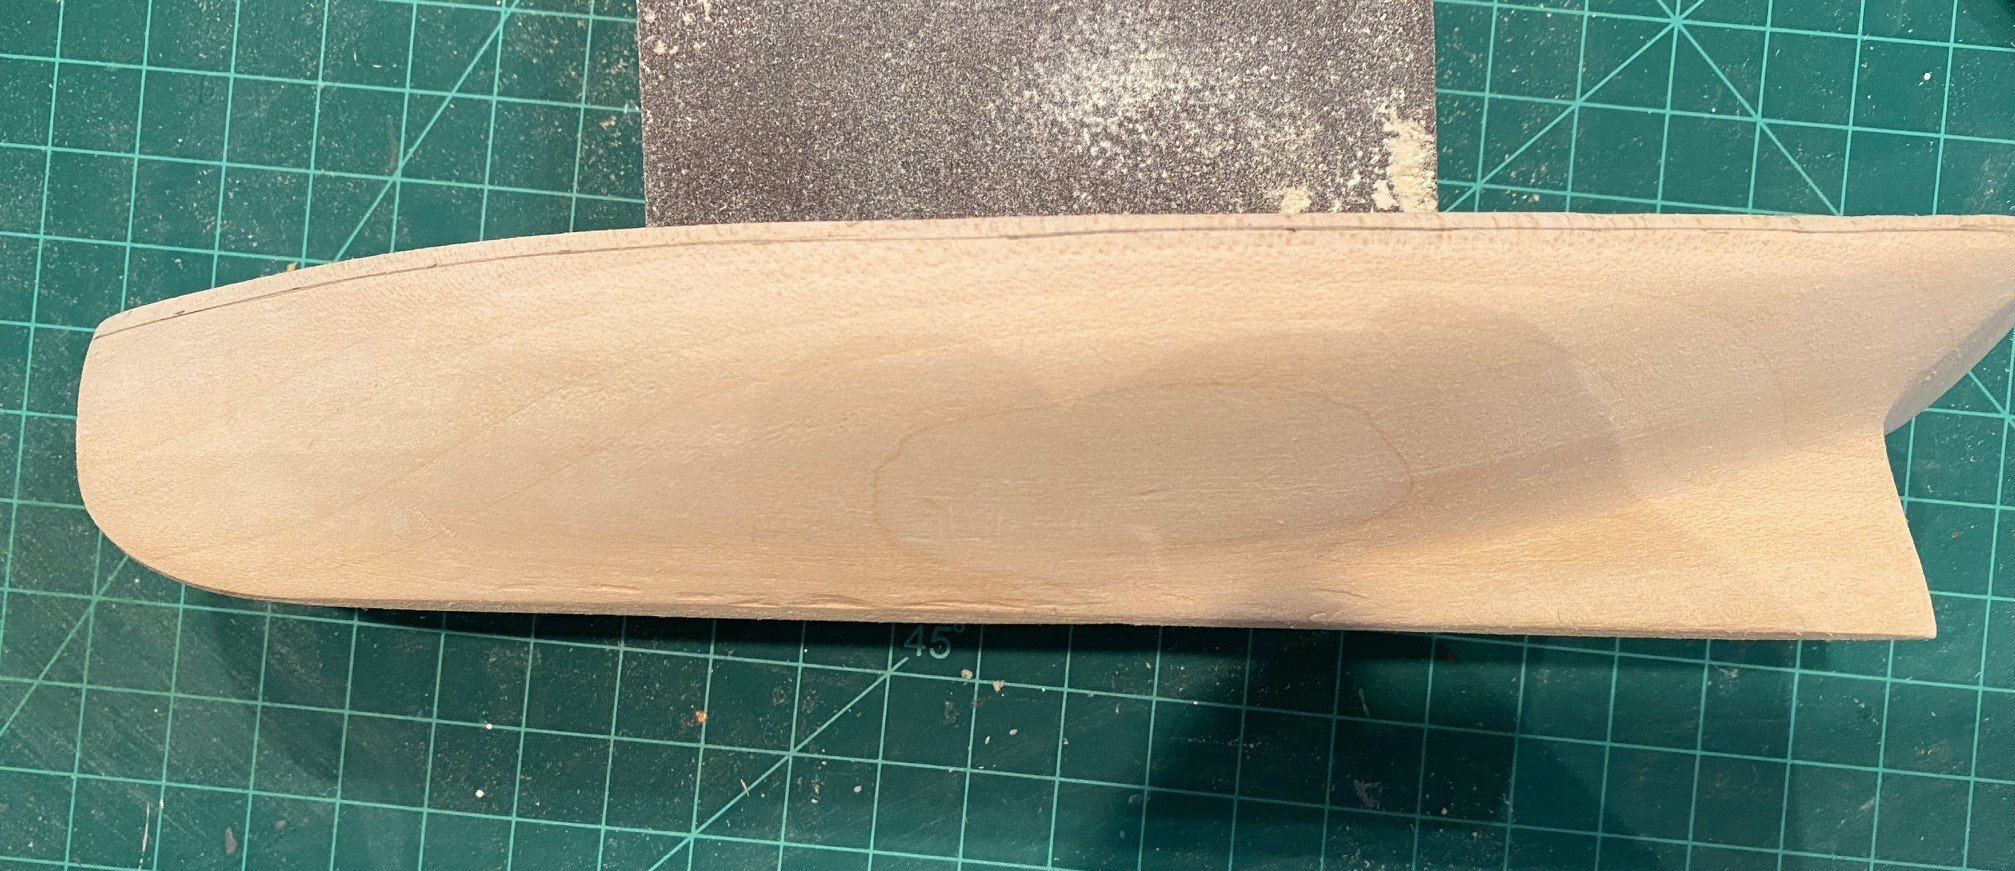
First, I checked the hull to the templates #5 thru #9 on both sides. It appears that I need to reduce the thickness of the aft part of the keel all the way down for the sternpost to fit and deepen the curve in the hull.
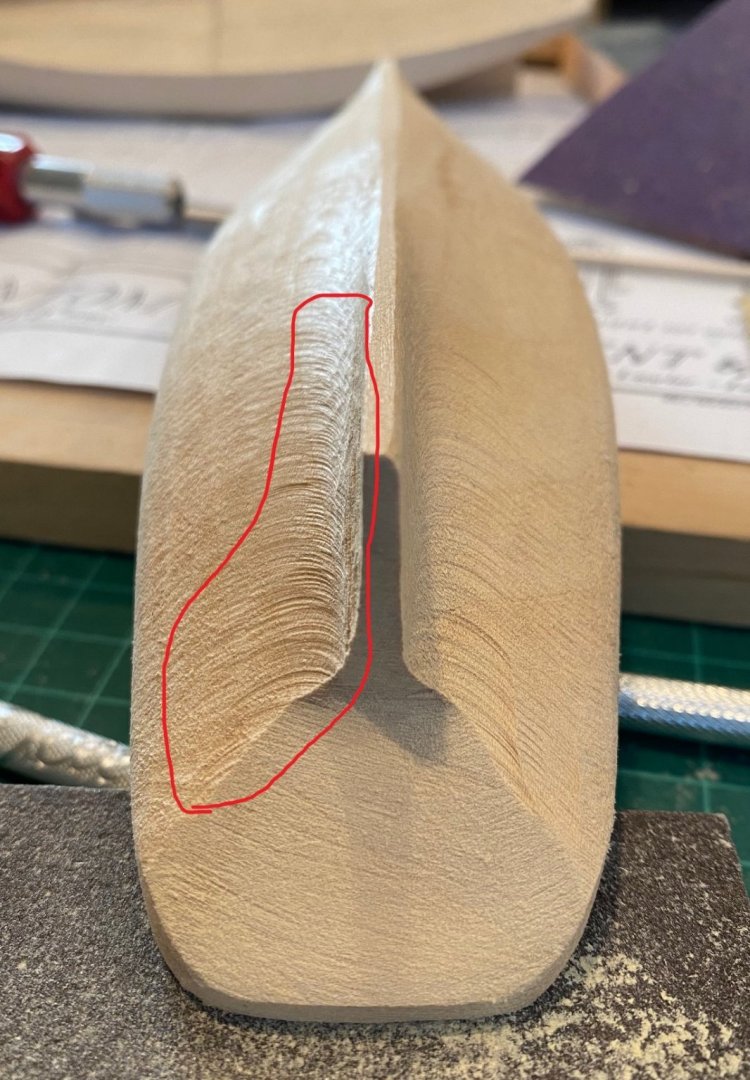
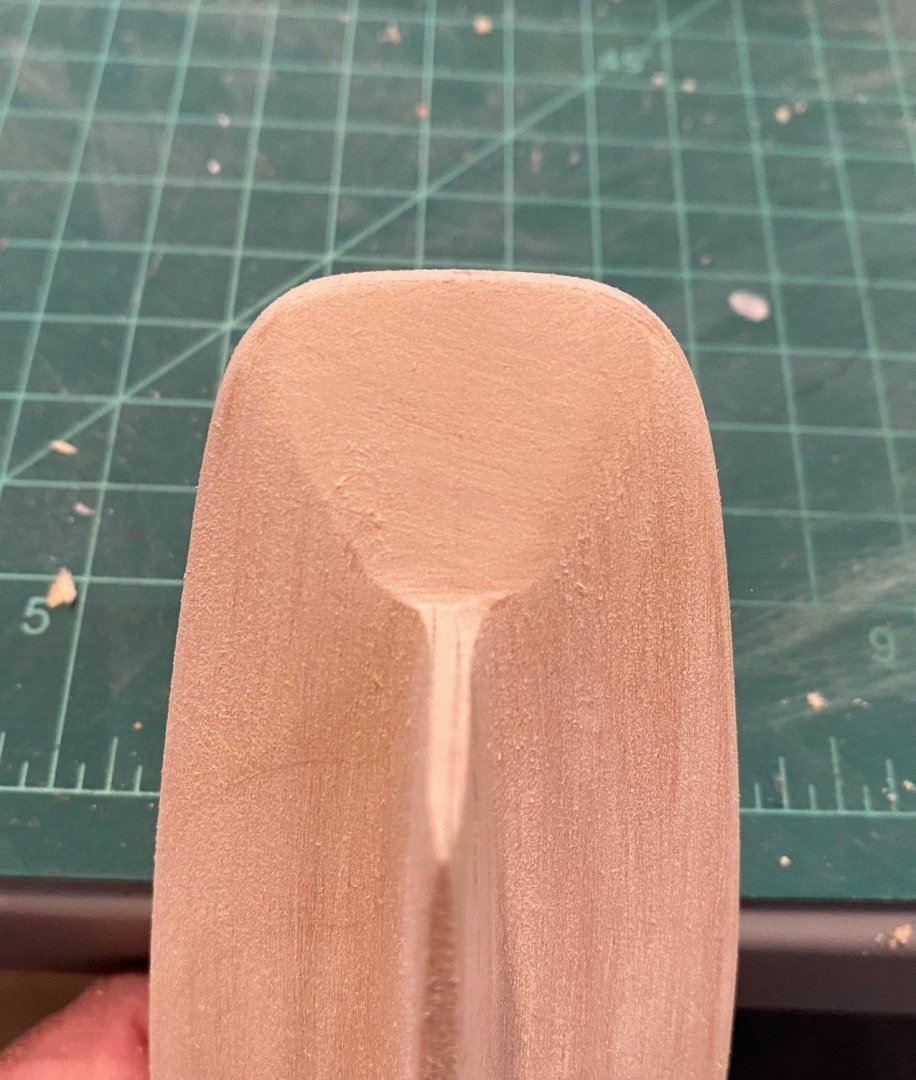
I used a chisel blade, #18, to reduce the thickness of the keel all the way down the aft end and just taking off a very small vertical notch along the keel from station #5 to #9. Then I used a curved x-acto #22 blade deepen the curve between the hull vertical and horizontal, as well as reduce the horizontal part of the hull from station #9 thru #7. Then I used some 80 grit sandpaper to smooth the areas and checked them against the templates. I had to do this about 4 times so I would not reduce to much at one time.
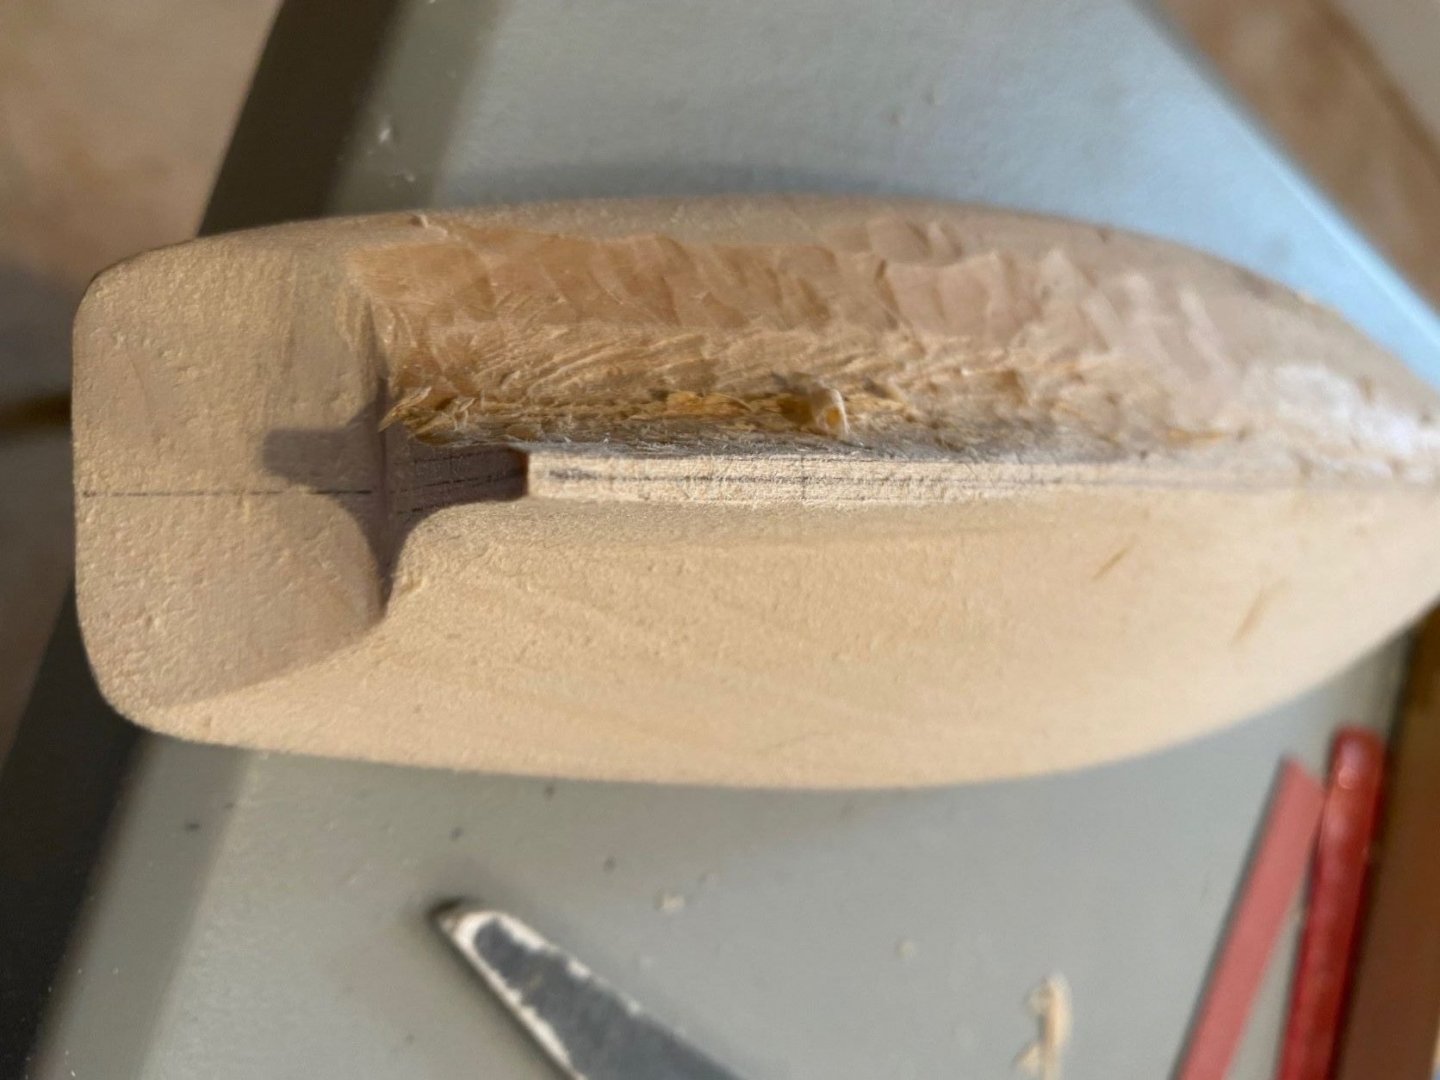
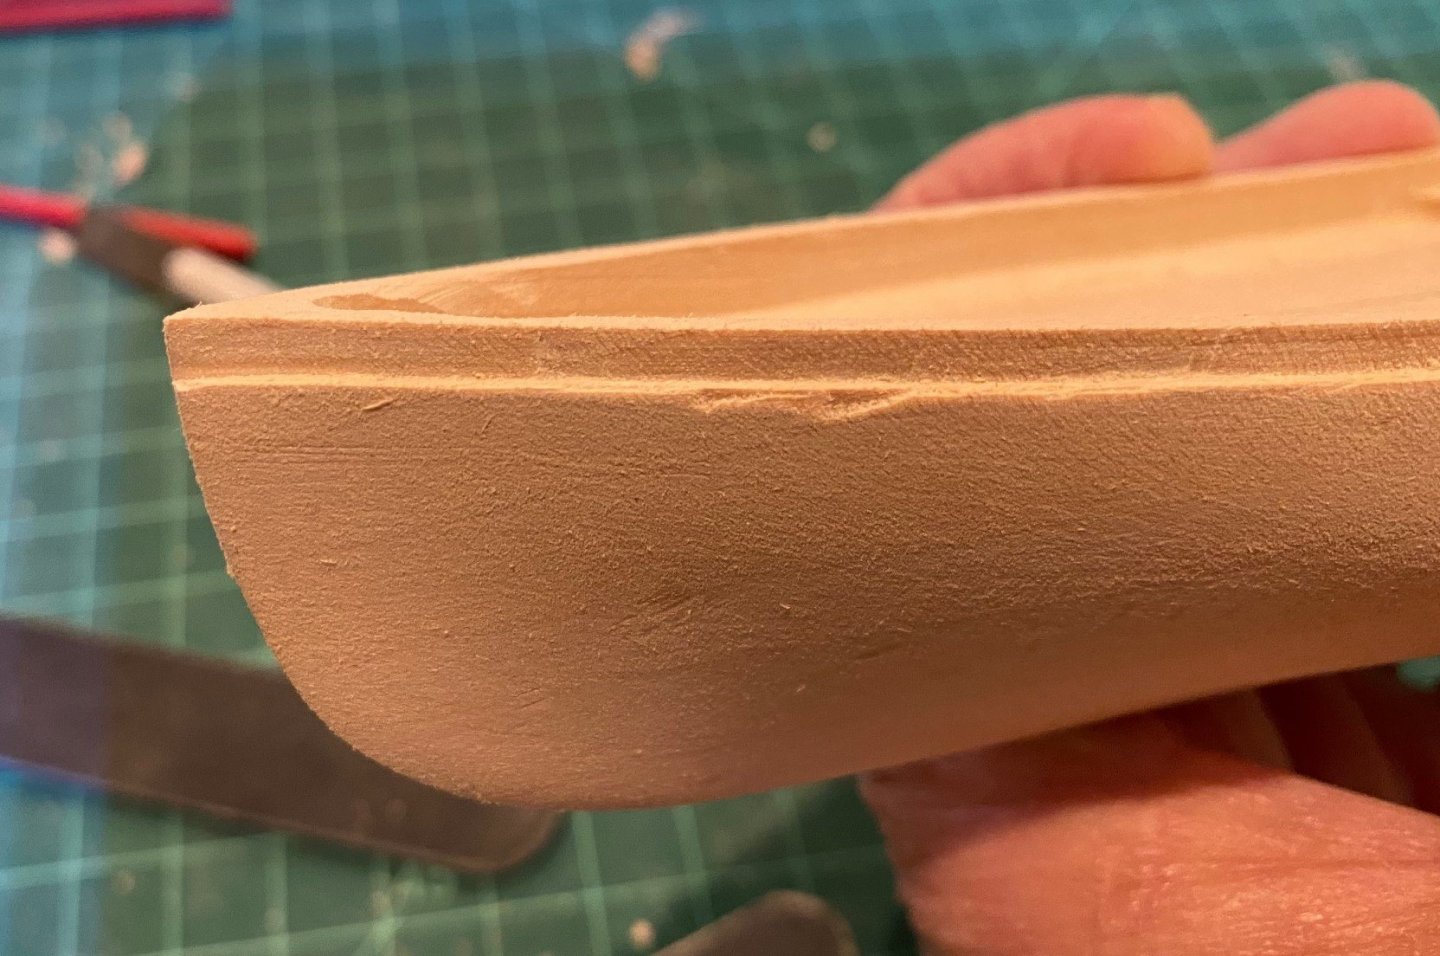
The fwd part of the hull just needed to be reduced a small amount to match the templates #1 thru #5, so I just used 80 grit sandpaper to reduce and smooth the hull transitions. My final hull did not match all of the templates exactly, but I think it was good enough. I was more concerned about getting a smooth hull with acceptable transitions. You can see that some of the gouge areas and the aft part where the keel and sternpost will be glued will require some wood filler, but that is why the sell it.
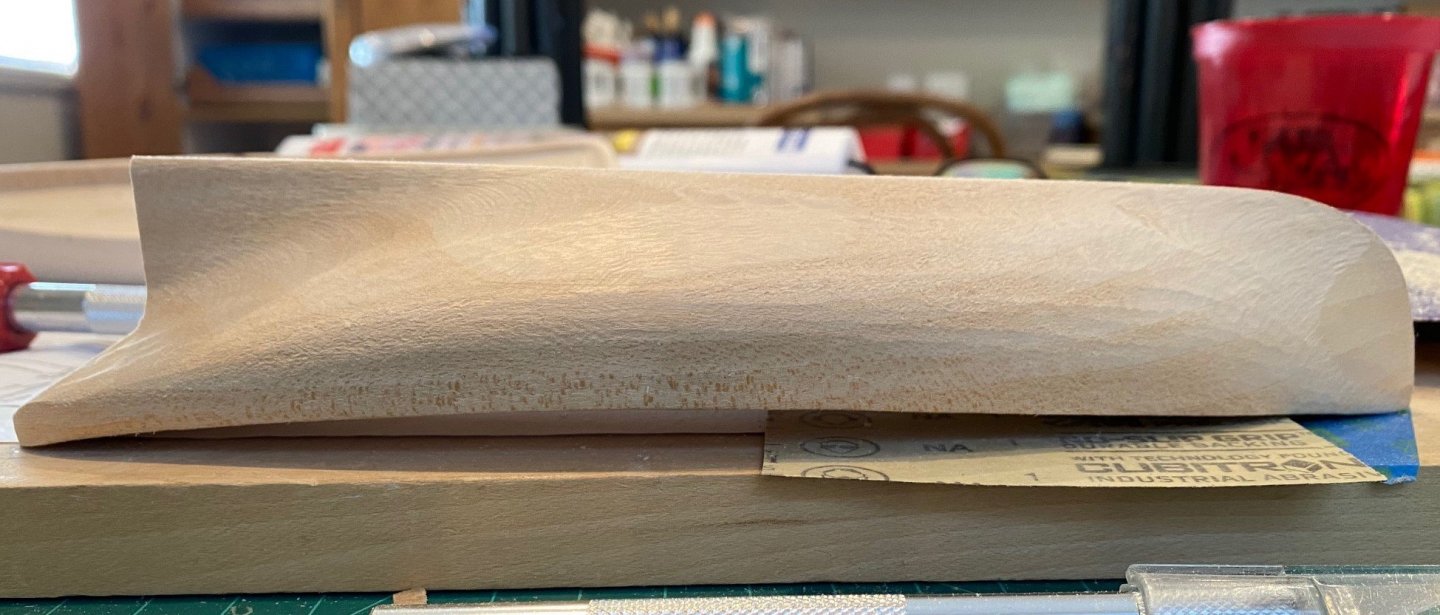

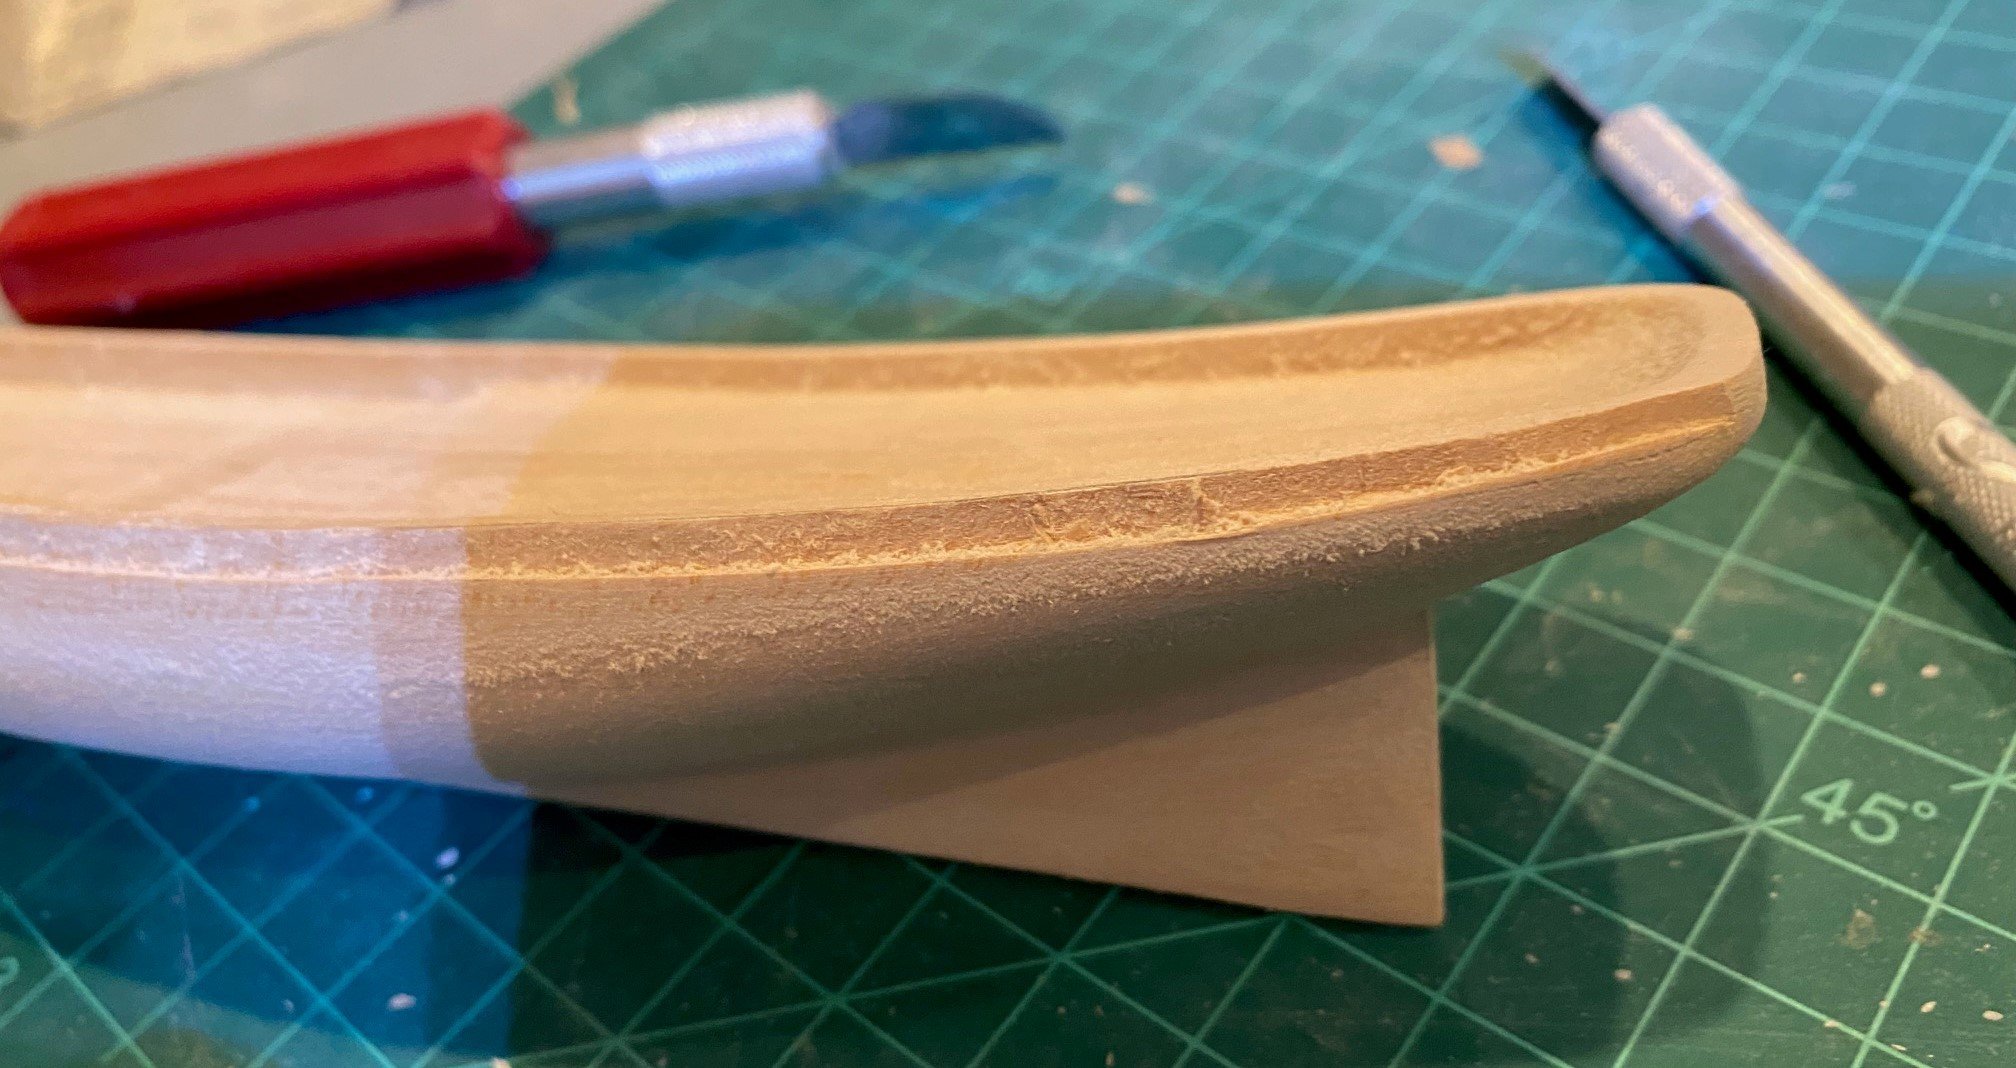
You can see a faint line where I will carve the step at the top of the hull, I also drew a line on the top of the bulwark 1/32 in from the outside to act as guides for cutting out the step. I also had to curve it up at the aft since the aft end of the fantail is only about 5/32 thick. I used a #22 curved blade to score along the line on the hull then I used the #18 chisel blade to take thin cuts down to the score line a couple of times.
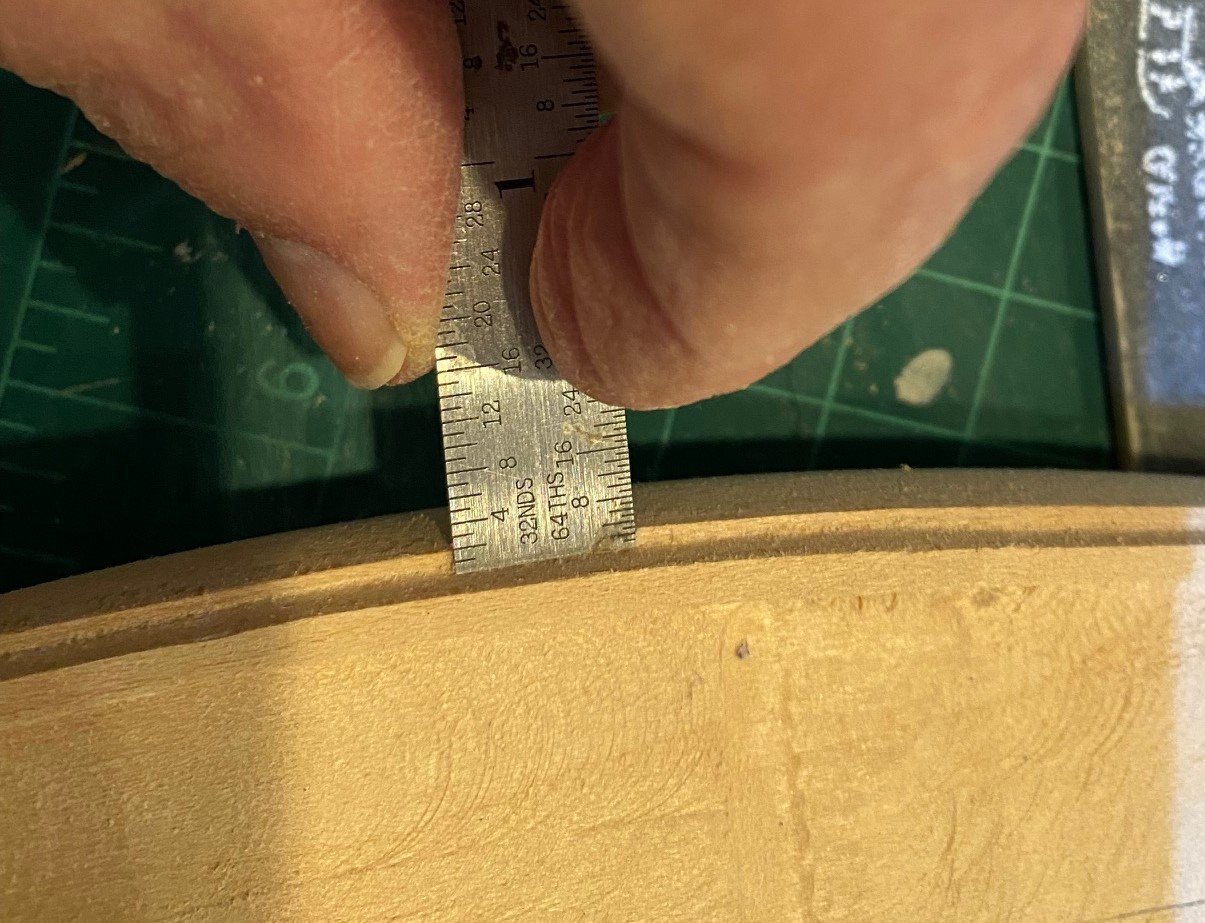
When I was done carving the step on the port side, I noticed that I ended up with 1/16 th deep step. I don’t think this will cause to much of a problem downstream, maybe with the way the cap rail fits.

question when you sanded down from Station 5 to 9 how did you ensure the gaps between the stations faired through. Thats the issue Im finding also did you have any issues with station 9 or 8 getting the template to match up?
-
beautiful build, what was the end length of her and how big is that case, wow
-
-
Yea realized quickly after I started the kit that I had no Idea what I was doing. Since then have done a lot of other wood working things and understand wood working a lot more. Of course life got in the was as well lol
-
Hey everyone, well Im back at it after a long long pause. I worked a little last night on the boat, mainly getting my stand to hold it while I work on it and rereading some instructions and going over where I am and where I am going. Ill post some pics and details later.
Thanks
Scott
- ccoyle and Duanelaker
-
 2
2
-
Thank you sir that is what I was asking
-
On 7/6/2019 at 8:01 AM, Chuck said:
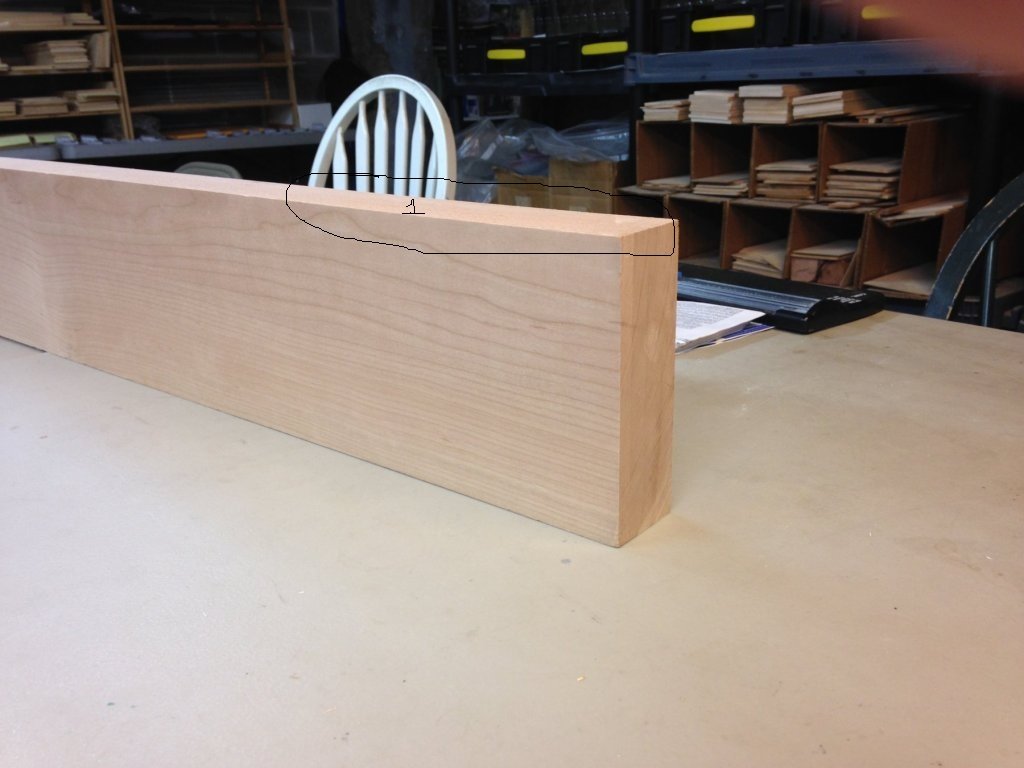
I also just got a wonderful batch of raw cherry lumber. I thought I would show you guys. The Winnie will also be available in cherry. From this very cherry board. Its really nice stuff and some of the best I have bought. Very clear cherry with little to no gum pockets and sap spots. Once I get some of this milled along with a few more boards of cedar I will actually start laser cutting parts for the first two Winnie parts. This way I have a bunch in stock when I am ready to launch.
Chuck so on this board you will cut the plank strips from where I circled and put number 1?
-
Ive lucked out my father in Law has a lot of mixed prime wood above his garage that I can get from him. One of my sons parents had some red cedar trees knocked down and they let me go cut it and get it and I had it milled. My cost about 150 and ended up with 85 planks of beautiful cedar. We have a lot of tree cutting companies here in Louisiana some times Ill go to them before they cut the wood for fire wood and by a piece of a big branch or trunk. Typically Im looking for pecan or oak.
-
On 2/9/2018 at 1:51 PM, Chuck said:
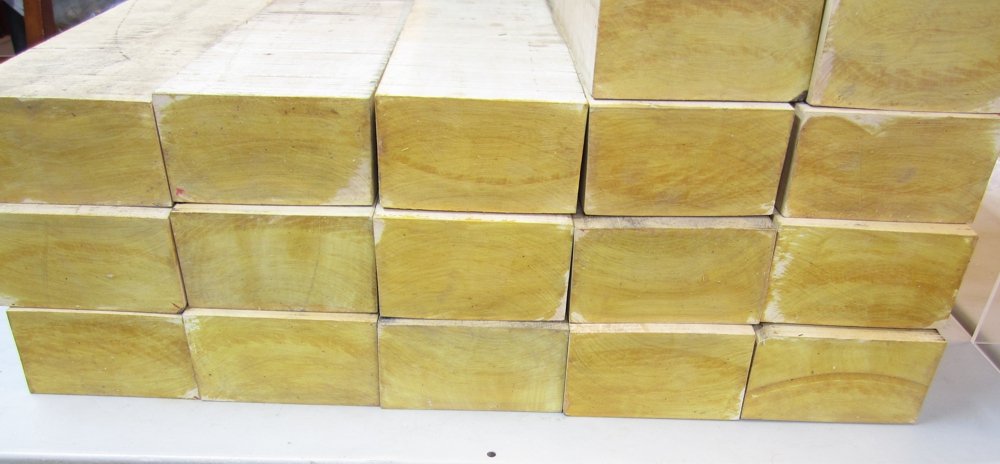
FYI...The reason for the alternative woods is two-fold. First to make these projects affordable and Boxwood and pear are very expensive. In addition, I am not sure you guys are aware of this yet, but you will be soon. The price for C.Boxwood has increased 75-100% over the last two-three months. There are very few places in the US right now where you can get really nice stuff without grain that is creamy and wonderful. At least not in the large sizes that I need. The current costs for this stuff is now $40 and up per BF. I was getting it for almost half that price six months ago. Just got what is probably my last shipment of awesome looking boxwood this morning at that price before I have to either raise my prices or start thinking about a different wood overall. When your wood guys run out of their pile....they will be very shocked to learn about the increase. And will probably pass that on to you. So my advice....if you use boxwood a lot, buy all you can over the next few months from where ever you can find it.
You are looking at really nice boxwood boards that are 3+" thick, 5-5 1/2" wide and 30" long. If you knew how much this stack of wood cost you wouldnt believe it. I am looking to buy another batch within the next few weeks to try and hoard it at the lower prices where ever I can find it. Gilmer now charges the lowest at $40 per BF. Other sources have garbage boxwood or its even more money with boards half the thickness and width.
This is also the reason guys why my block inventory has been in bad shape. I was waiting on this nice stack of wood. Once I find time to mill it up I will get right on restocking the sizes of blocks I am out of.
Chuck
Chuck
I know what you mean. I do other wood working and the wood I used has gone up so much I cant afford it even now in 2022, and here in Southern US every time we have a hurricane it shoots up even more
-
I have really enjoyed this build, I learned a lot of tricks and tips. Your work is amazing
-
-
-
23 hours ago, allanyed said:
As stated above it takes a library, albeit a small one to get started. Great advice has been given above. I highly recommend Goodwin's The Construction and Fitting of the English Man of War and Brian Lavery's The Arming and Fitting of English Ships of War 1600-1815. For rigging, there are several, but the best by far, and I think many would agree, when it comes to explanations and accuracy, is David Lees' The Masting and Rigging of English Ships of War 1625-1860.
There are also free sources that are useful.
The formulas in Lees' book for sizing masts, spars and lines have been put into a spread sheet by the late Danny Vadas and available here at MSW in the Articles data base. It is spot on except for the period from 1670 to 1711 where he did not use the right initial formula so everything is completely wrong for that time span and should not be used.
To learn how to properly plank ships of that era the 4 part You Tube Video by Chuck Passaro and the article Primer on Planking by professional ship modeler and author David Antscherl, both of who are members here, which can be found here at MSW in the Articles data base are hard to beat.
Even if you are kit building, these articles and books will help you immensely.
And there are thousands of free low resolution contemporary plans and photos of models on the RMG Collections site as well as free high resolution versions of nearly 1000 of these (along with about 2000 low res) on the Wiki Commons site. https://commons.wikimedia.org/wiki/Category:Ship_plans_of_the_Royal_Museums_Greenwich
It is all part of the journey and should be a most pleasurable one.
Allan
Where are Chucks videos on MSW?
-
-
-
-
Can anyone recommend a book for:
Explaining all the parts of a wood sailing vessel
Explaining hull shaping and planking
Explaining ropes and riggin
Thanks
-
Afternoon everyone,
Well its been quite a while since I have been on here. I started the Phantom back around 2014 and quickly realised I had no idea what I was doing and no Idea about wood working. Of course life happened and the build went to the wayside.
Now my son has left home and joined the Navy, my daughter is growing up, so I have a bit more time to myself now and have an outlet to escape to. I am in the process of setting up my build desk in my sons room. (dont worry I still have his bed so when he comes home hes not on the floor) lol. Since Ive been gone I actually have done quite a bit of wood working from wood turning, building and carving. So I think Im a little better prepared for my build, note I said "little". I reorder the plans for the Phantom due to the ones I had got messed up pretty good. As soon as I get the build desk fixed up Ill start posting pics of where I am in the build and go from there. Its good to be back with such a great group of people.
thanks Scott
-
absolutely beautiful work
- FrankWouts and mtaylor
-
2
-
-
great job, Im about to get back to this kit and start working on it.


Phantom by SkiBee - Model Shipways - 1:96 Scale - New York Pilot Boat
in - Kit build logs for subjects built from 1851 - 1900
Posted
Which wood filler do you use