Mirabell61
-
Posts
7,421 -
Joined
-
Last visited
Content Type
Profiles
Forums
Gallery
Events
Everything posted by Mirabell61
-
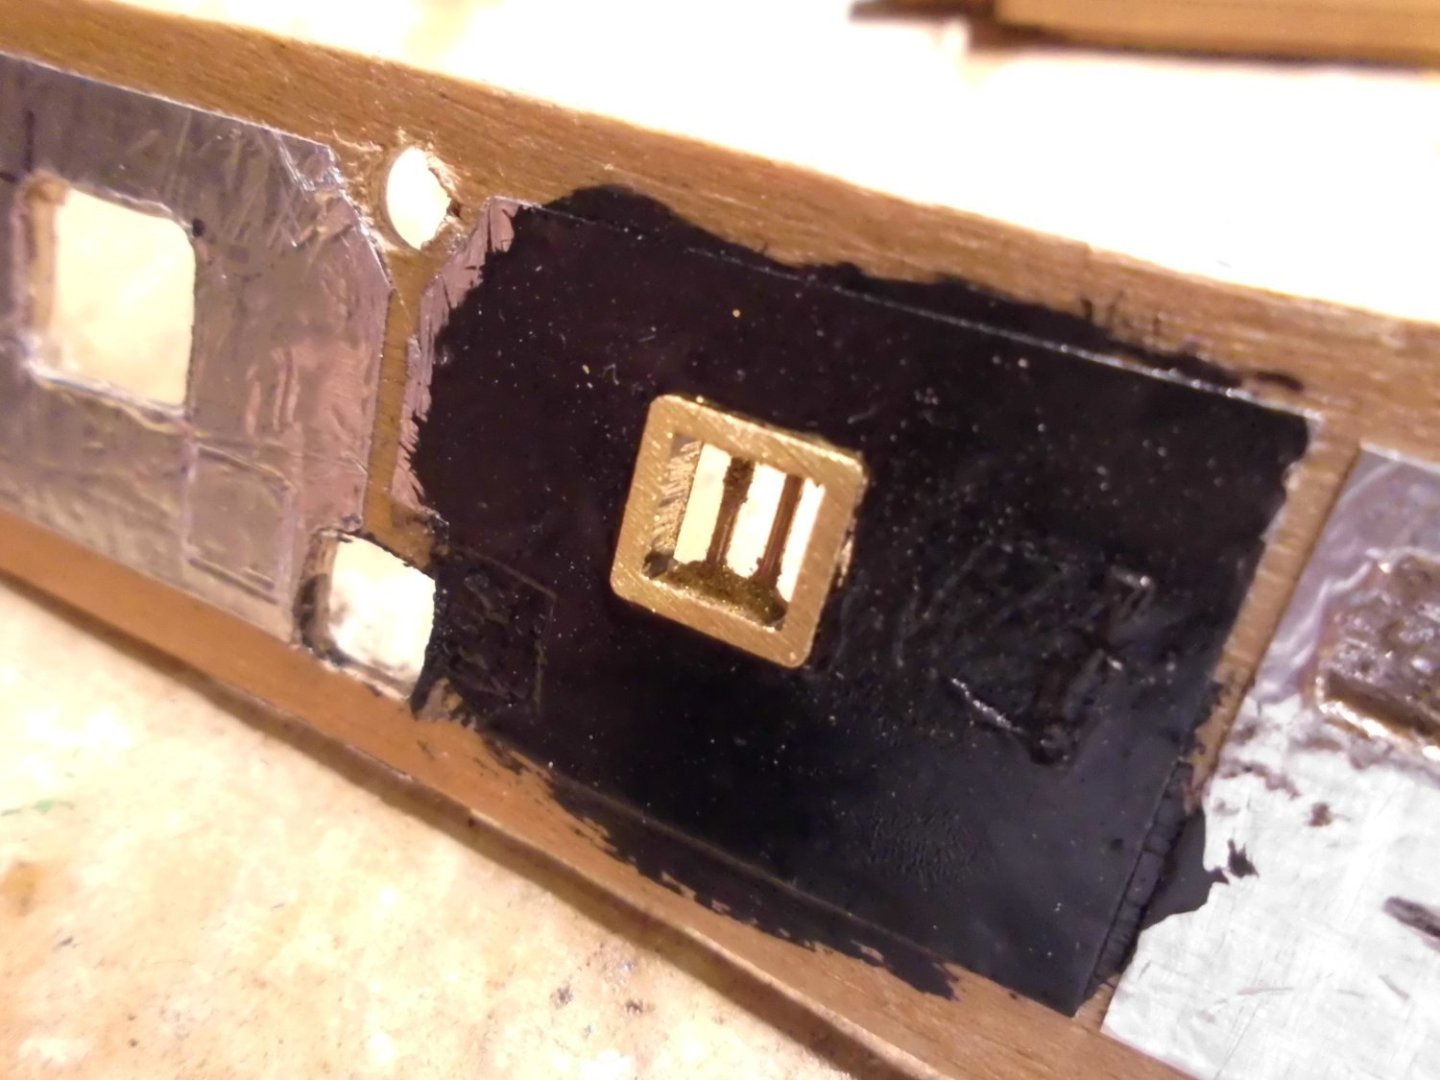
 thank you very much Keith, Update it took me several hours to find a way in doing the freeing ports with adequate size into the well-deck bulwarks. Finally I`ve chosen a version whereby a frame will be inserted and glued into a cut out square opening (in a close fit as good as I can get it done), and soldered-in vertical bars prevent crew being washed through into rough seas. I used a scrap dummy piece of the bulwark 1,5mm ply for doing so Nils there will be 12 of these frames the frame will probably be flush the outer skin
- 330 replies
-
- 15
-

-
Valeriy, your deck plating in brass is super, good luck with the further soldering job, I know its not easy th keep the heat away from the wood Nils
-
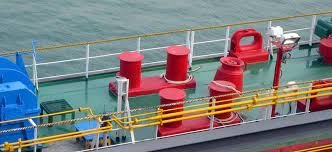
thank you very much Andy, good input, I think I know what you are saying, I had also ordered these Panama fairleads metal-castings together with the cargo winches and strong deck-bollards already some time ago in scale 1:100. Your confirmation on the usage of these devices gives me confidence to install them behind the smaller bulwark openings. Googleing up Panama Fairleads I found this pic, which shows exactly this described arrangement...... Nils the red casting fairlead here is directly behind the railing (resp. bulwark) to lead the mooring ropes from the bollard to the shore bollards
-
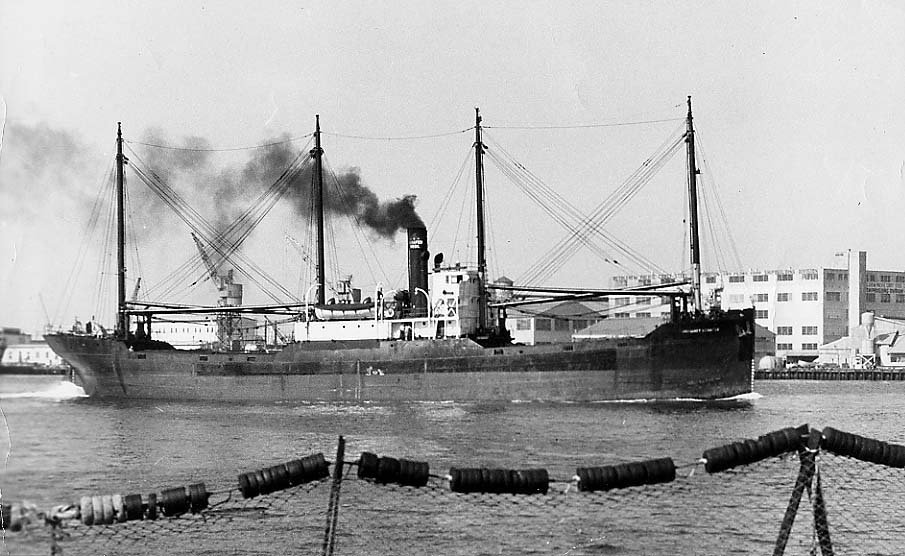
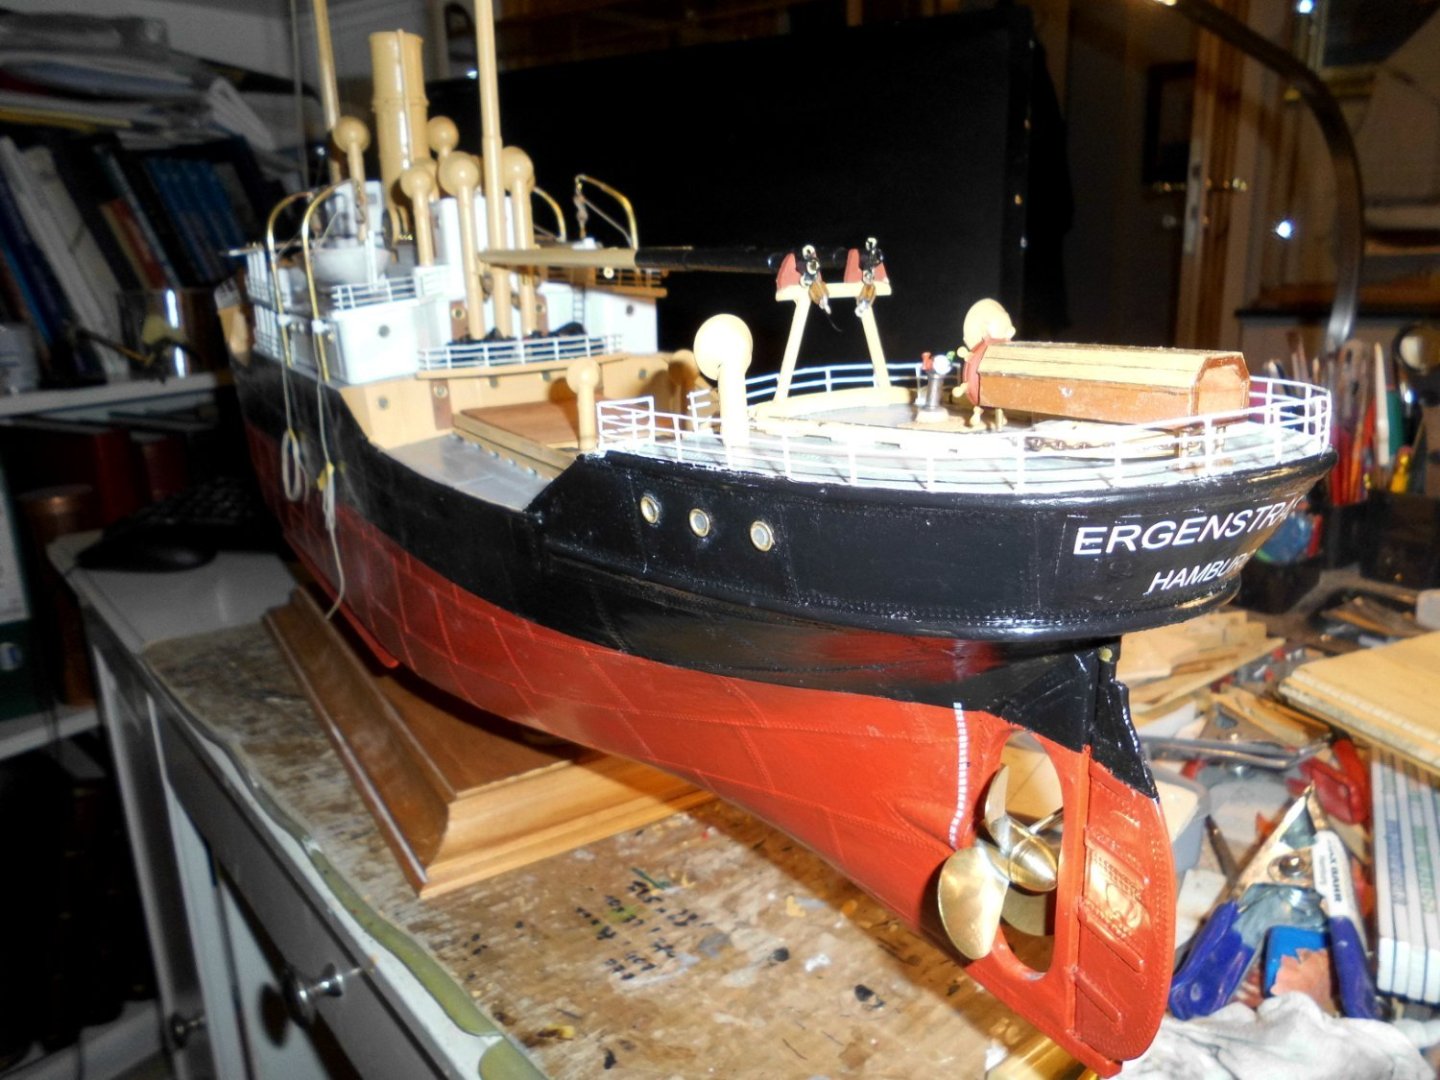
Many thanks Andy, I know what you mean, I built these "oneway Flaps" into the bulwarks of my tallships Gorch Fock and Pamir, for exactly your described reason. For the Corsicana and subsequently the Ergenstrasse I wish it were so, but there are permenant rectangular shape openings, each 3 in fore- and aft welldeck bulwarks, pls. see encl. pic. I trust that these do not only drain overcoming water, but that they also are openings for the mooring ropes Nils these openings..... (here the Corsicana) under steam with the former masting arrangement, and without bridge wing cabs
-
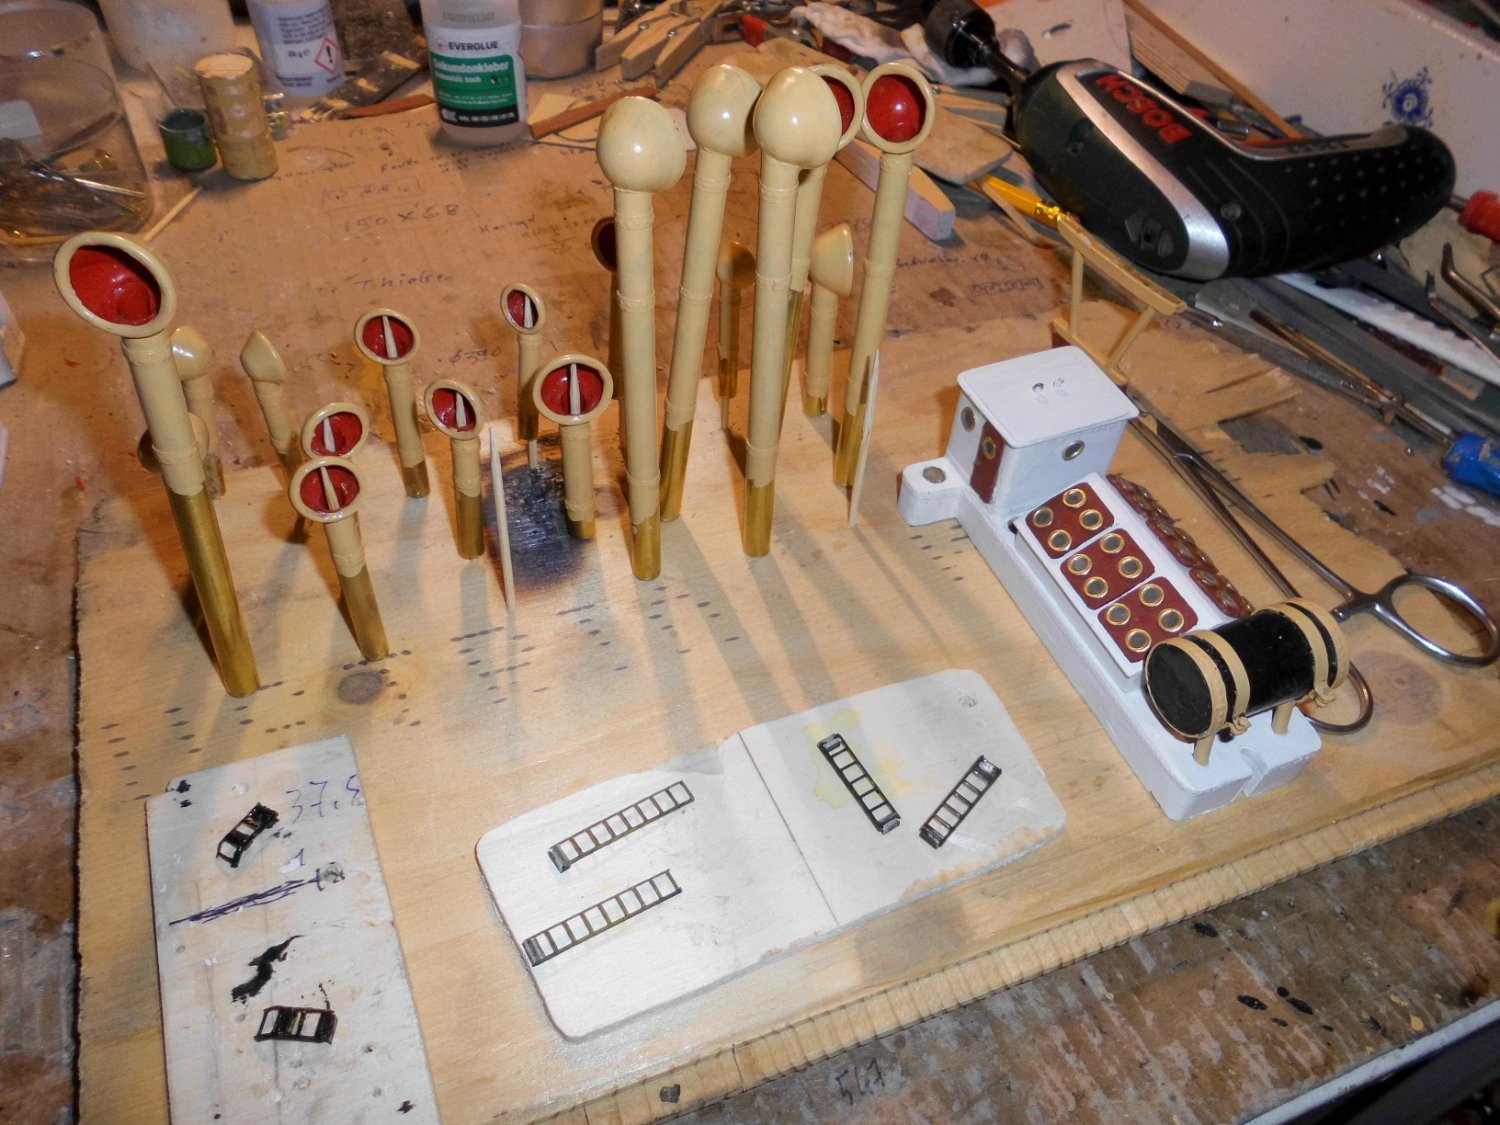
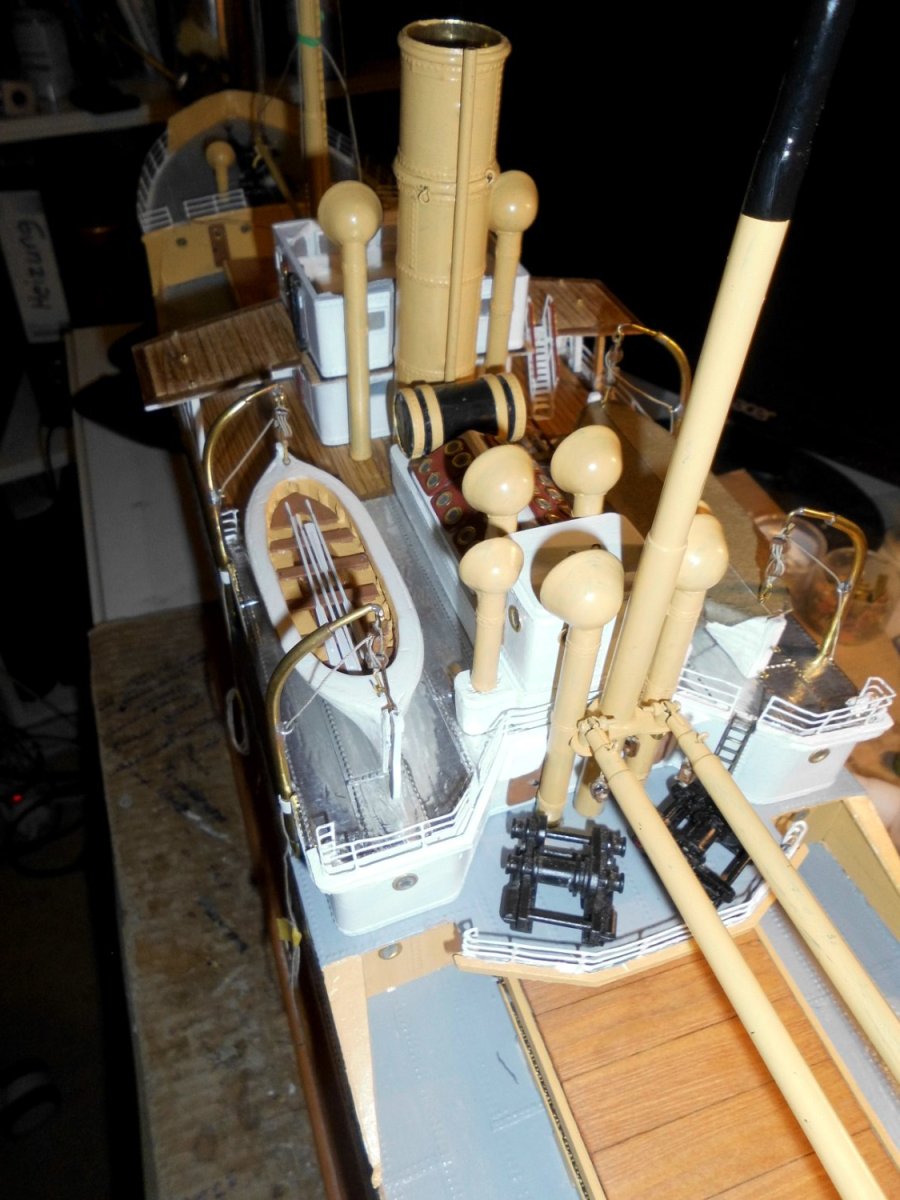
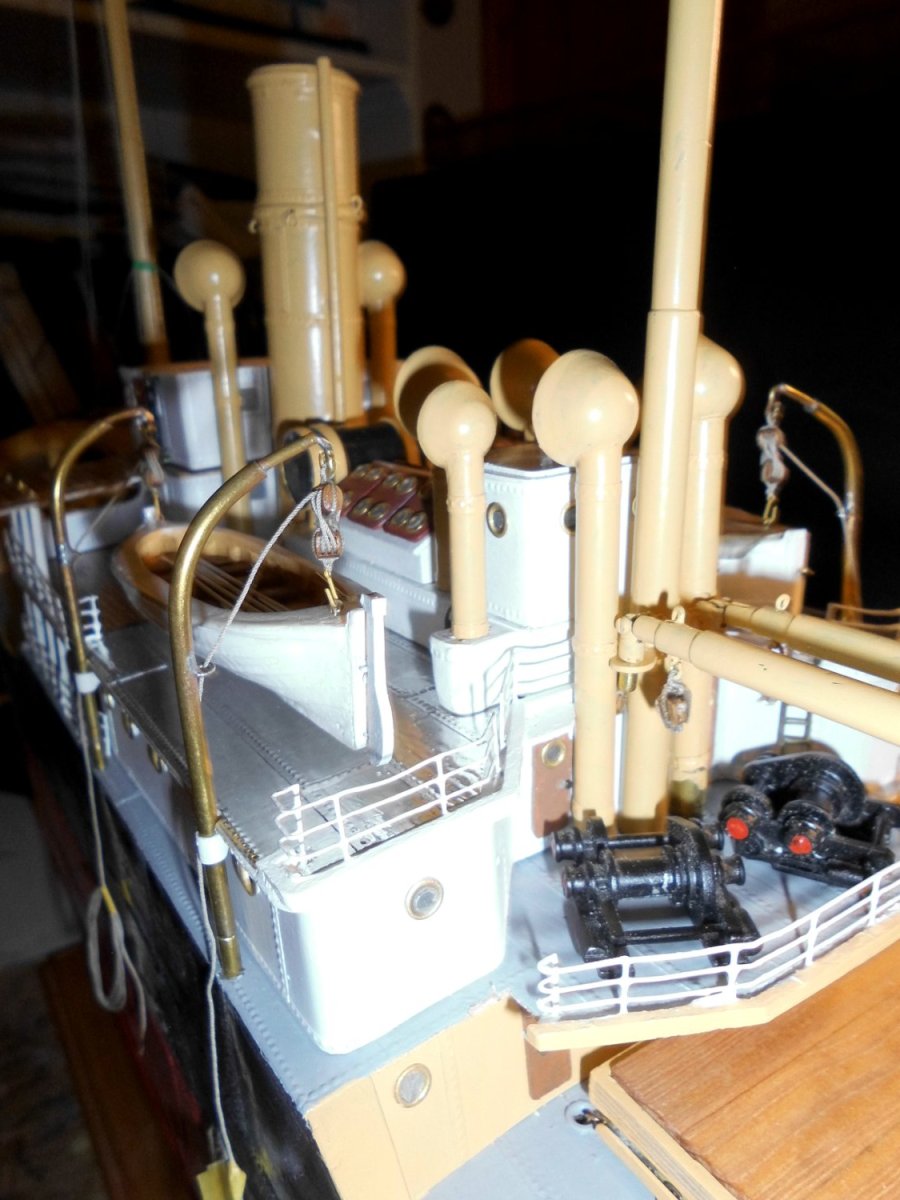
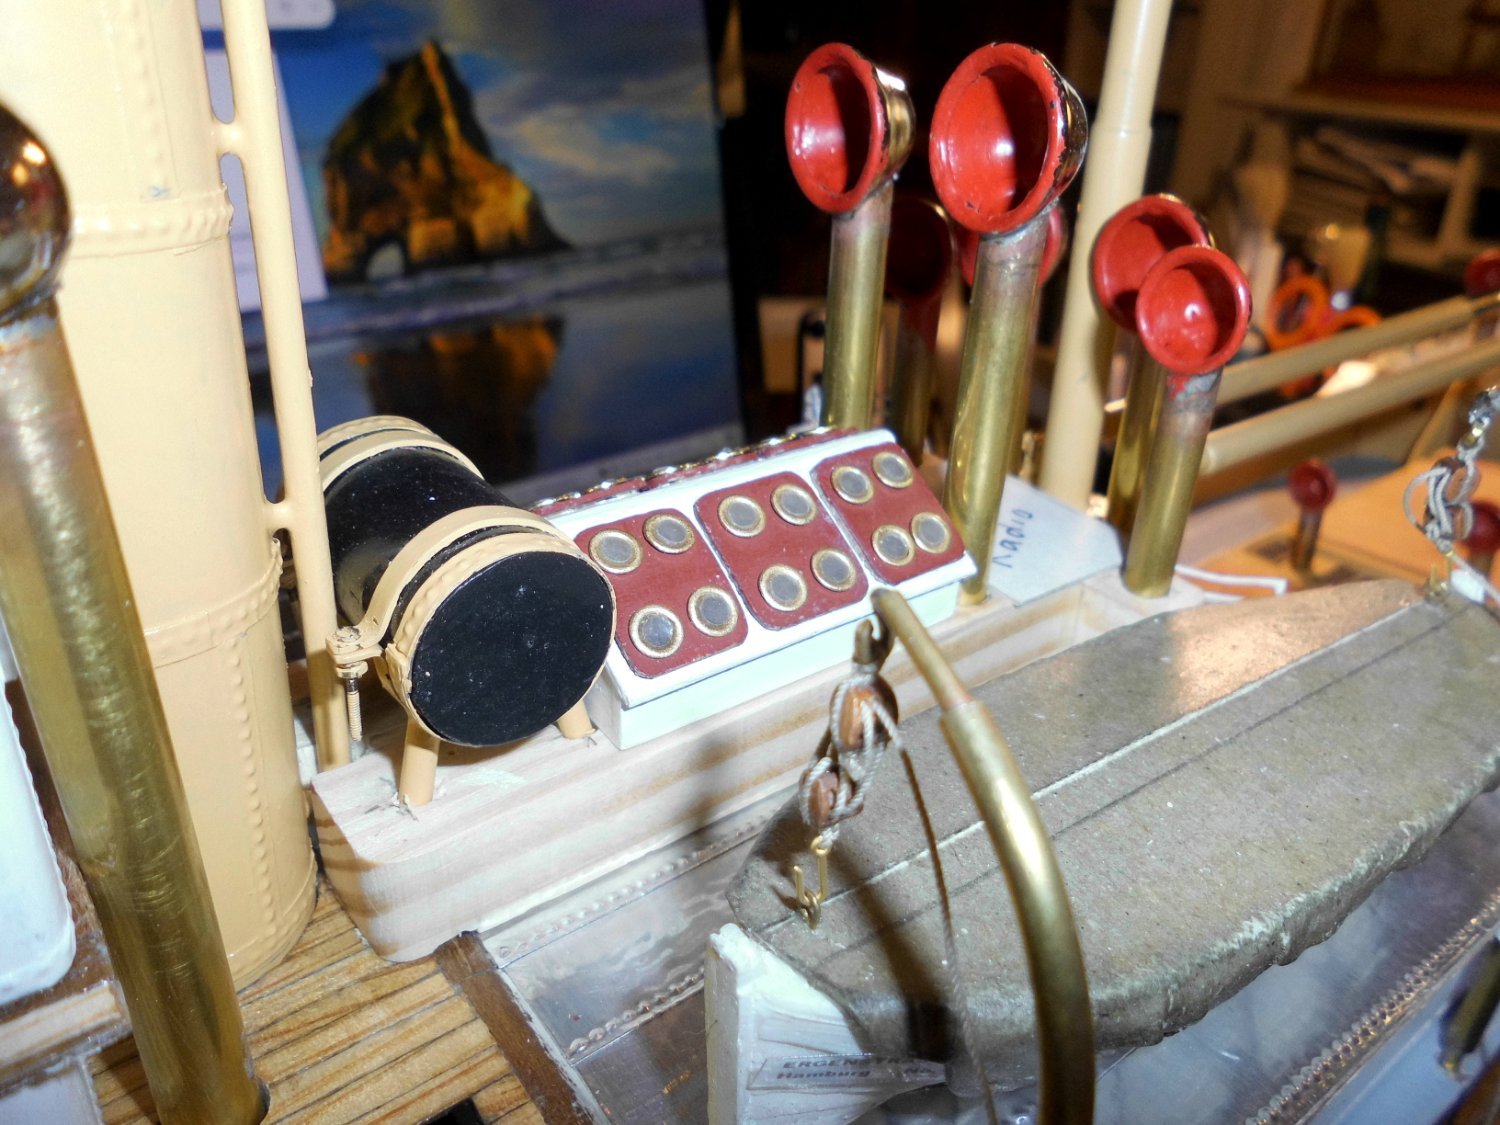
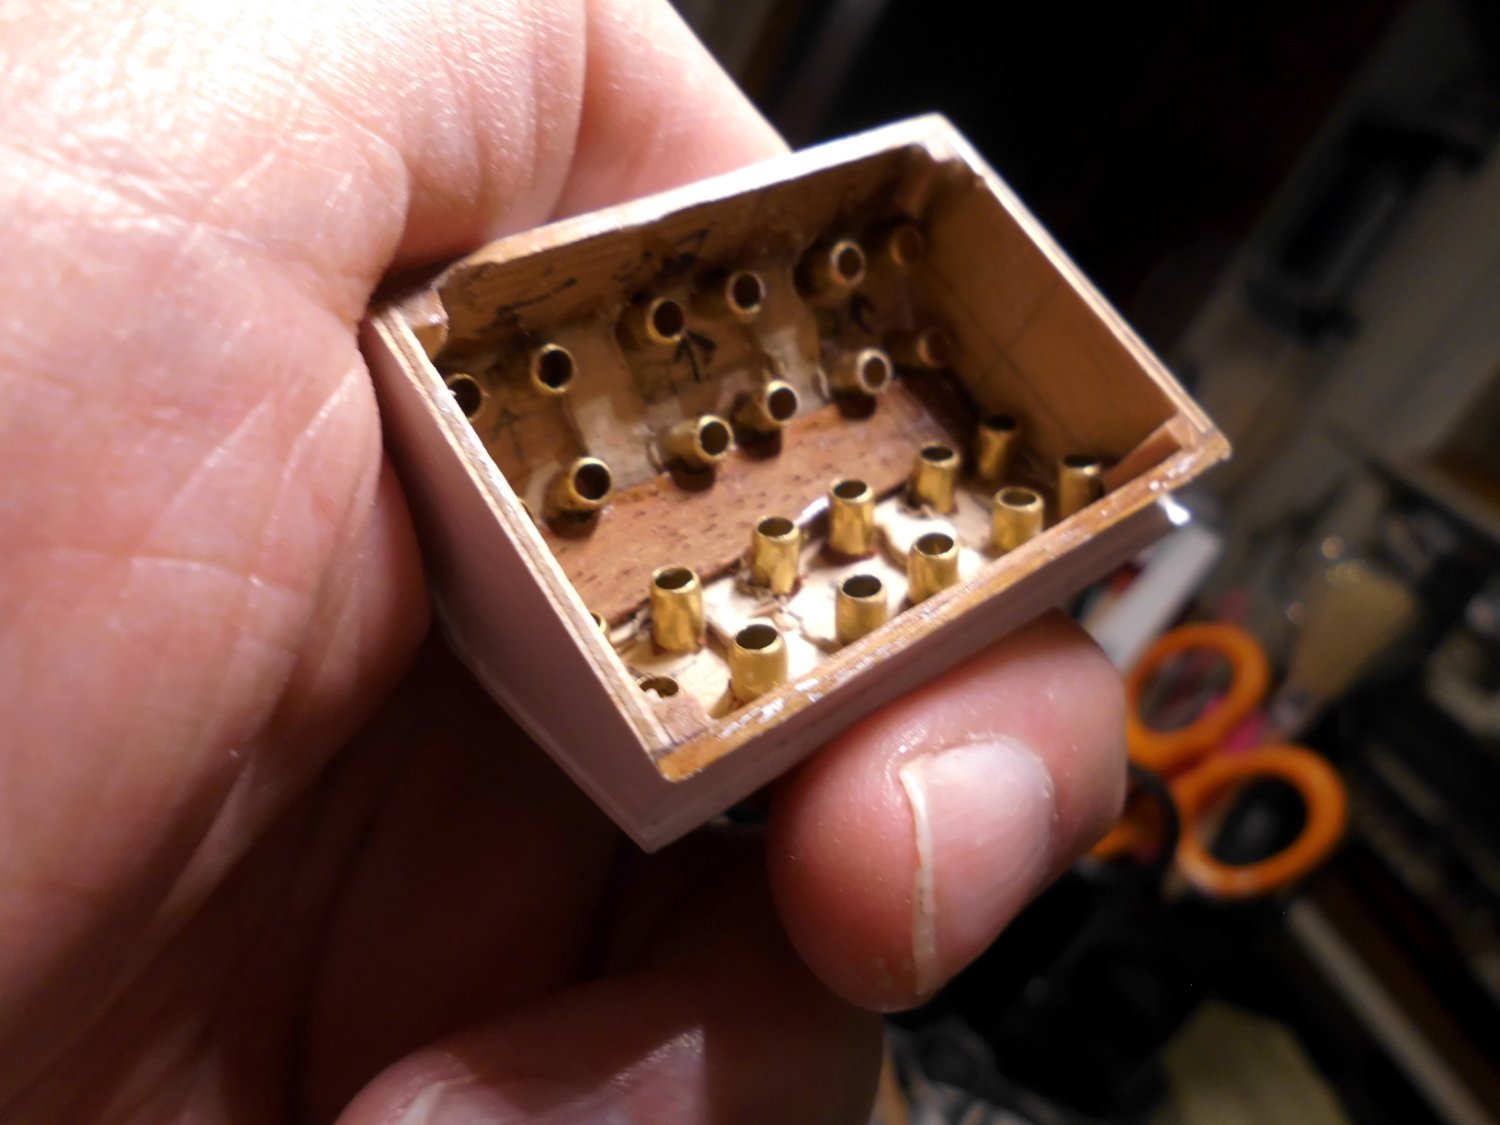
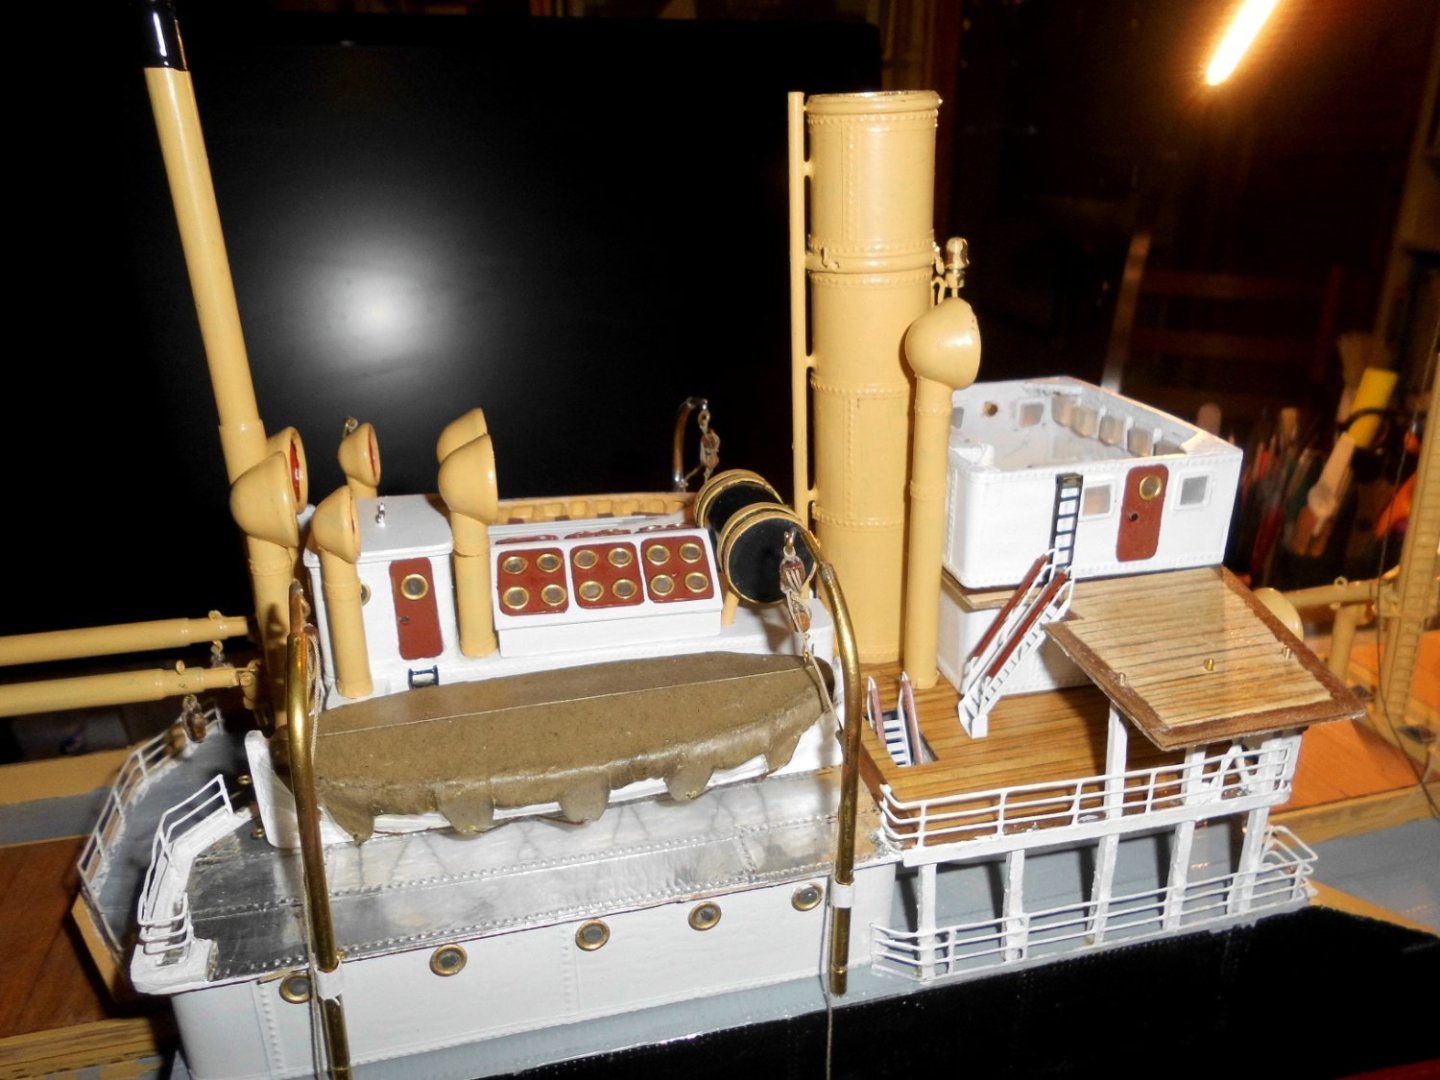
Update I`m doing the vertical ladders and have painted all 18 vents. I think the bridge with it`s wing cabs and the deck over the wheelhouse for taking bearings with landmarks will be next. What I am a bit anxious about is for cutting out the scuppers into the welldeck bulwarks. A mess by doing so can ruin the whole hull appearence. Still the cargo derricks-rigging, the funnelstays and the mast shrouds have to be fitted. The 105 year old laker steamer is being built in the 1955 movie version and therefore quite compact Nils painting all 18 vents. Toothpics are helpfull here. The ladders are chemically blackened The radio cabin has become 2 antenna connection terminals the bridgedeck is held to the supports by means of 4 tiny spindles (through the hollow squarebar profiles) and M1,6 nuts and washers on the deck. open and closed boat under the davits the anchor windless and the chain stoppers are mounted the upward stairs are for dry fit position check. Here the position for the radio-cabin can be seen I think I`ll hang one boat in open version and the other (Stb) one closed with canvas decking. The third closed boat will settle upright on the aft hold #4 the aft portion of the boatsdeck as well as the davits must still be painted


- 330 replies
-
- 16
-
-

-
excellent work Siggi, how did you do the "eyebrow" over the rectangular window? Wood carving or resin casting? Nils
-
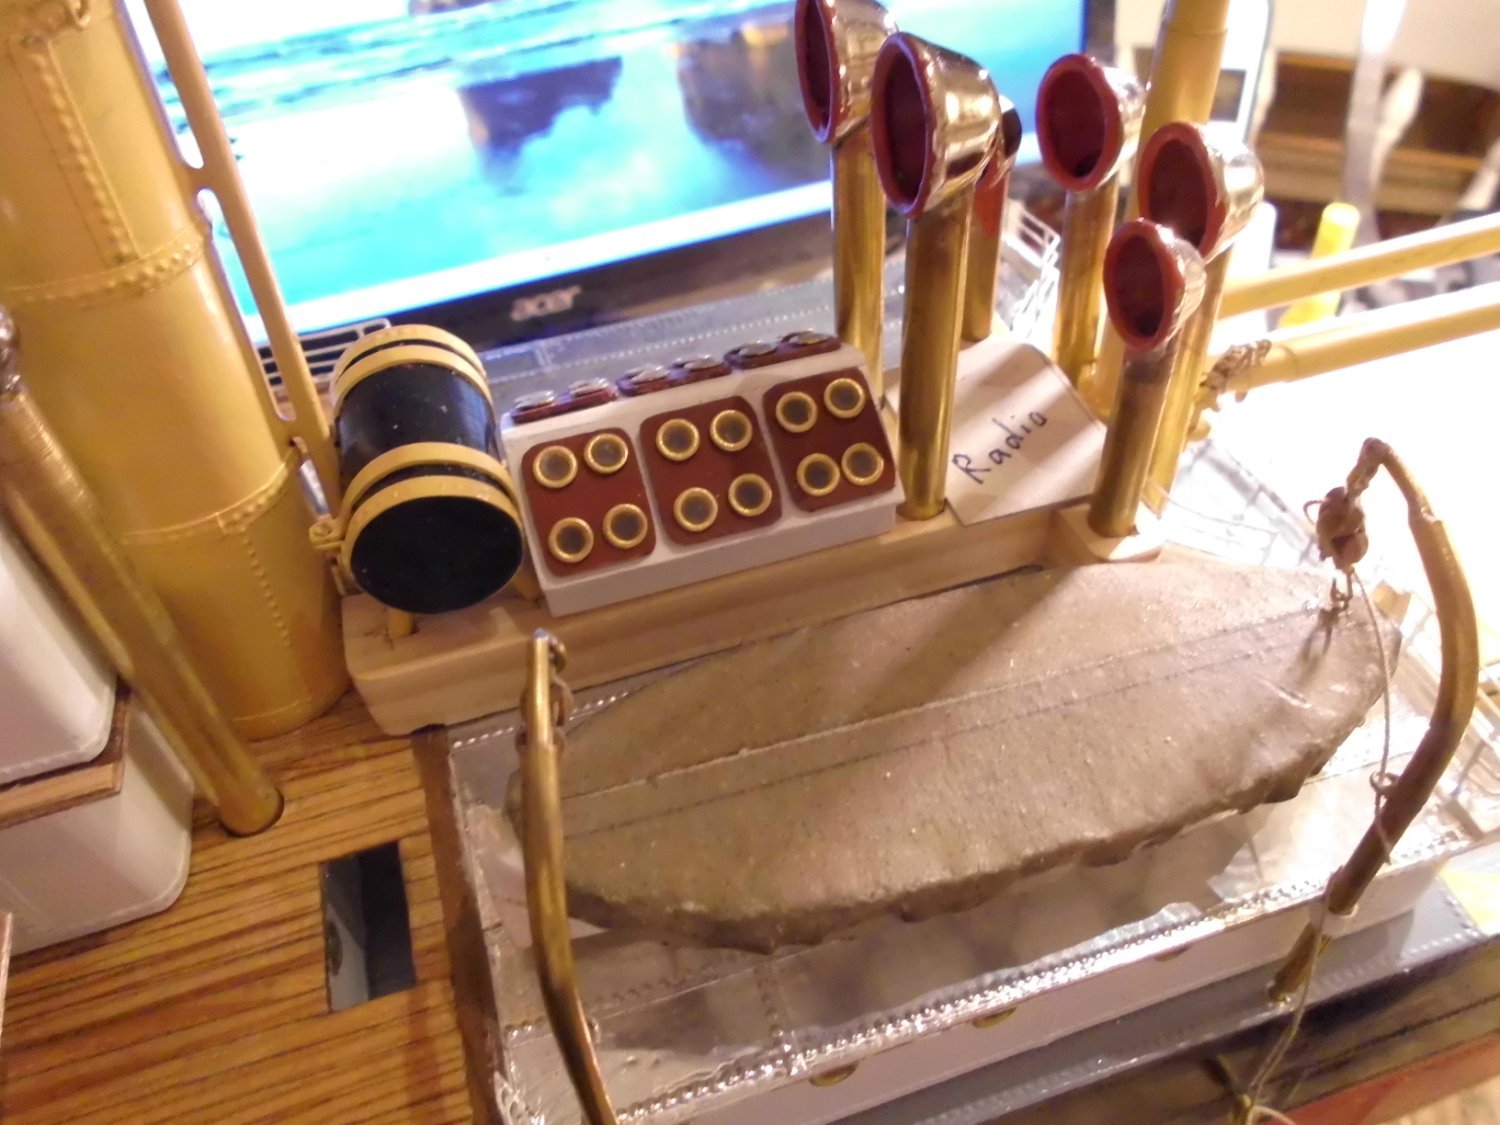
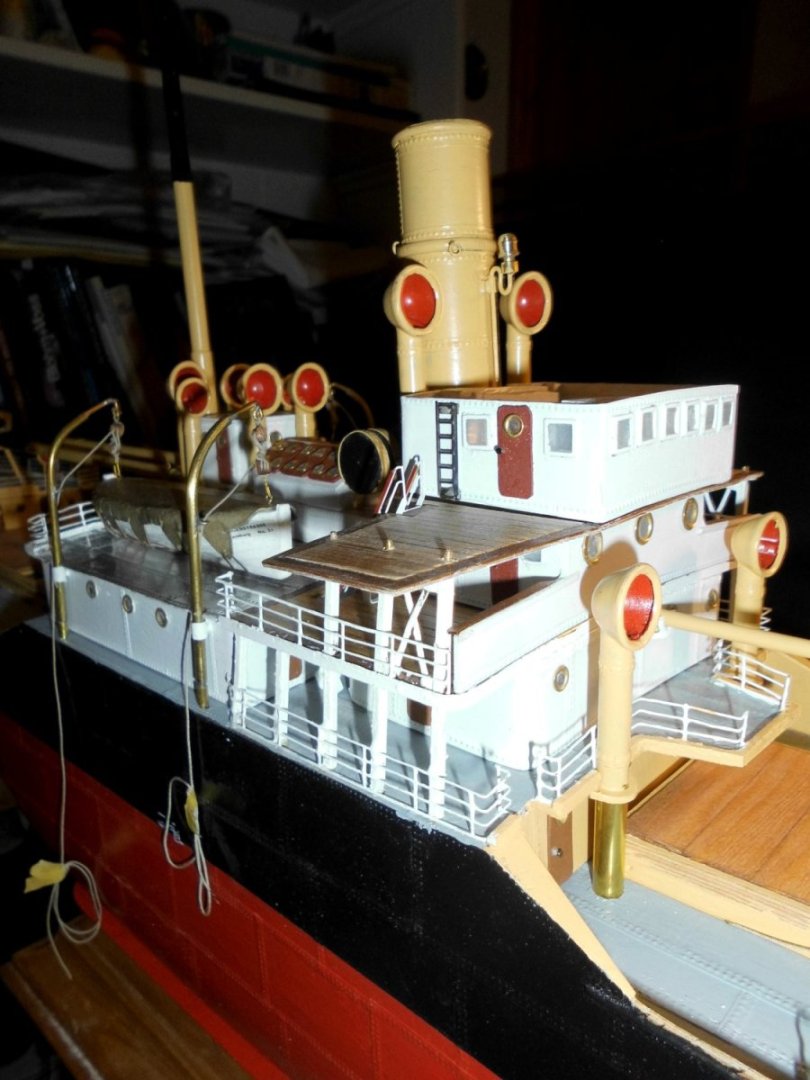
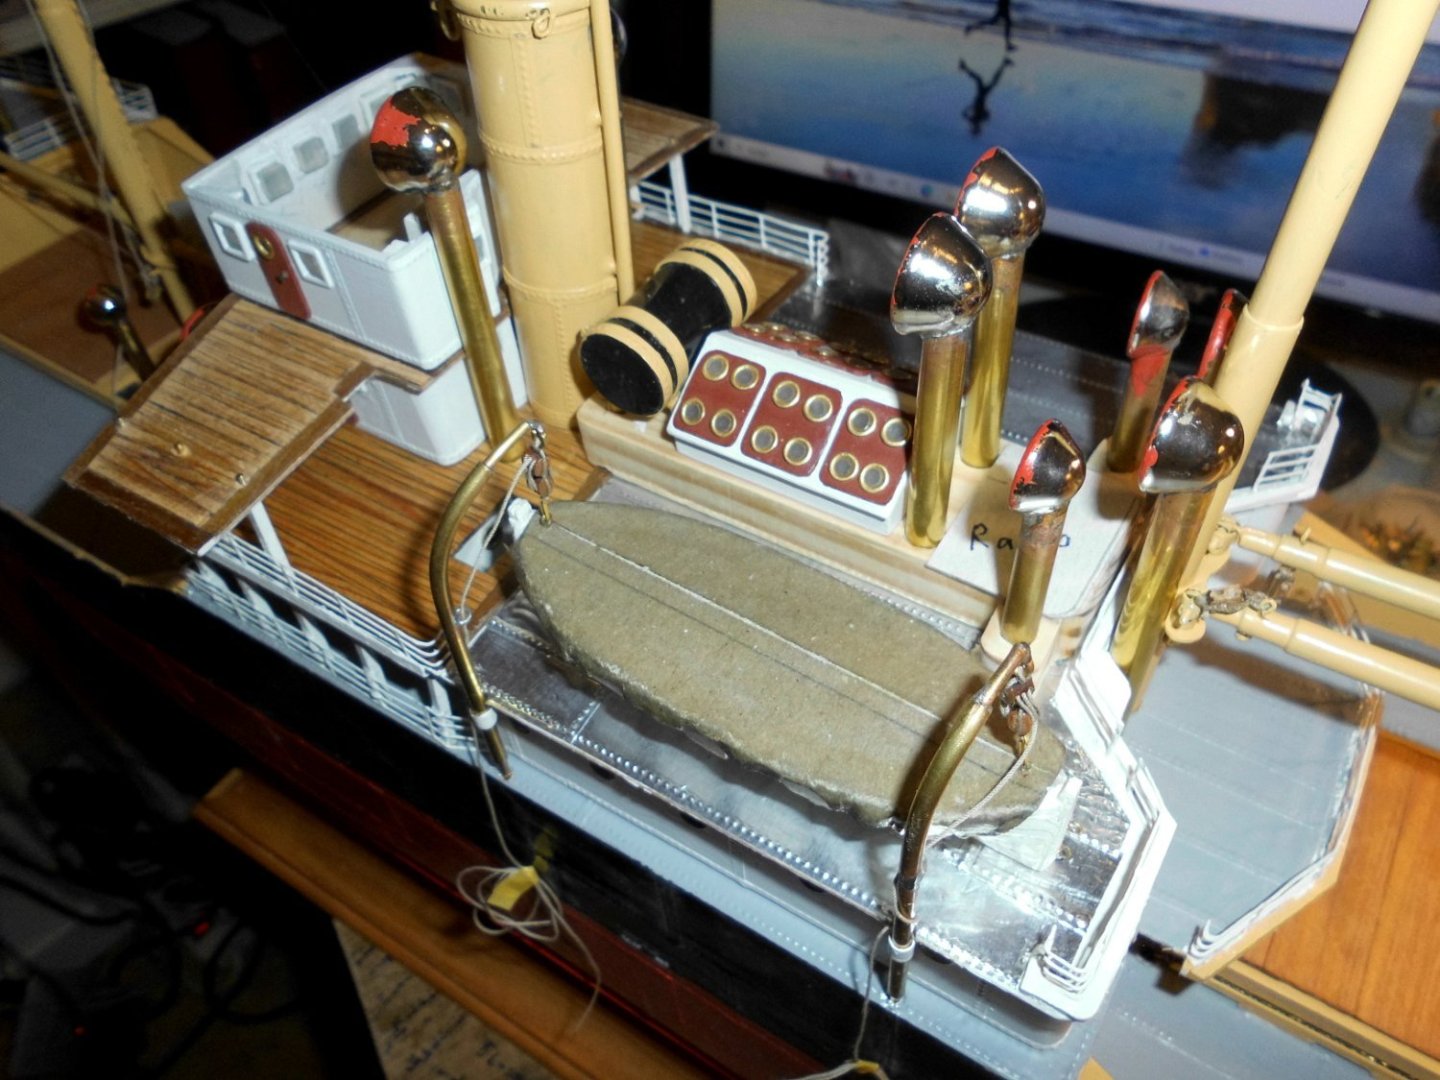
Thank you John, I first thought that I would`nt get all details fitted in line in that section, after my decision was to add the water tank on supports, 4 additional engineroom vents and the skylight, and in opposite to an earlier post of mine, there will also be a radio-opperaters cabin (where the card template is laying) Therefore the skylight had to be created very compact, and with 3 light panels on each side, but after all I get everything brought in line, which I`m quite pleased with. Nils the two vents behind the skylight will still be shortend, the freshwater-tank will get some connection tubes


- 330 replies
-
- 20
-
-
Many thanks for your kind advice Yaleriy, Nils
-
Valeriy, I like the surface condition of your spray putty, could this also be applied with a paint brush for acceptable results ? It looks like your deck is from brass plates, its hard to see from the photo Nils
-
splended work Valeriy, its a beautiful hull, will you imitate the riveting and do plating ? Nils
-
very nice work Richard Nils
-
Hi Valeriy, I like the way and methode you tackle the hull-building. BTW why was this ship chosen for order, does your customer have a special relation to it ? When I built my steamship "Heinrich Kayser" my grandfather in 1922 was the captain in command when it foundered in the north Atlantic without a trace, and I had to do a lot of research for building the model. Nils
-
Hi Valeriy, I suppose it will be a stand model afterwards. If so, how do you fasten the pedestals of the stand ? will you build a flat bottom or will a minimum of the keeline stand out ? Nils
-
thanks for your swift answer Valeriy, you are doing a super job !! Nils
-
Hello Valeriy that looks like a very promissing project. Did you lasercut the parts yourself ? It looks so good as if it were a kit. It`s a nice scale and the building methode looks very smart, I`ll certainly be watching your progress Nils
-
Thank you very much John, slowly I`m getting there, I think bridge and boatsdeck middle section with machine-room skylights, etc. will be next... Nils
-
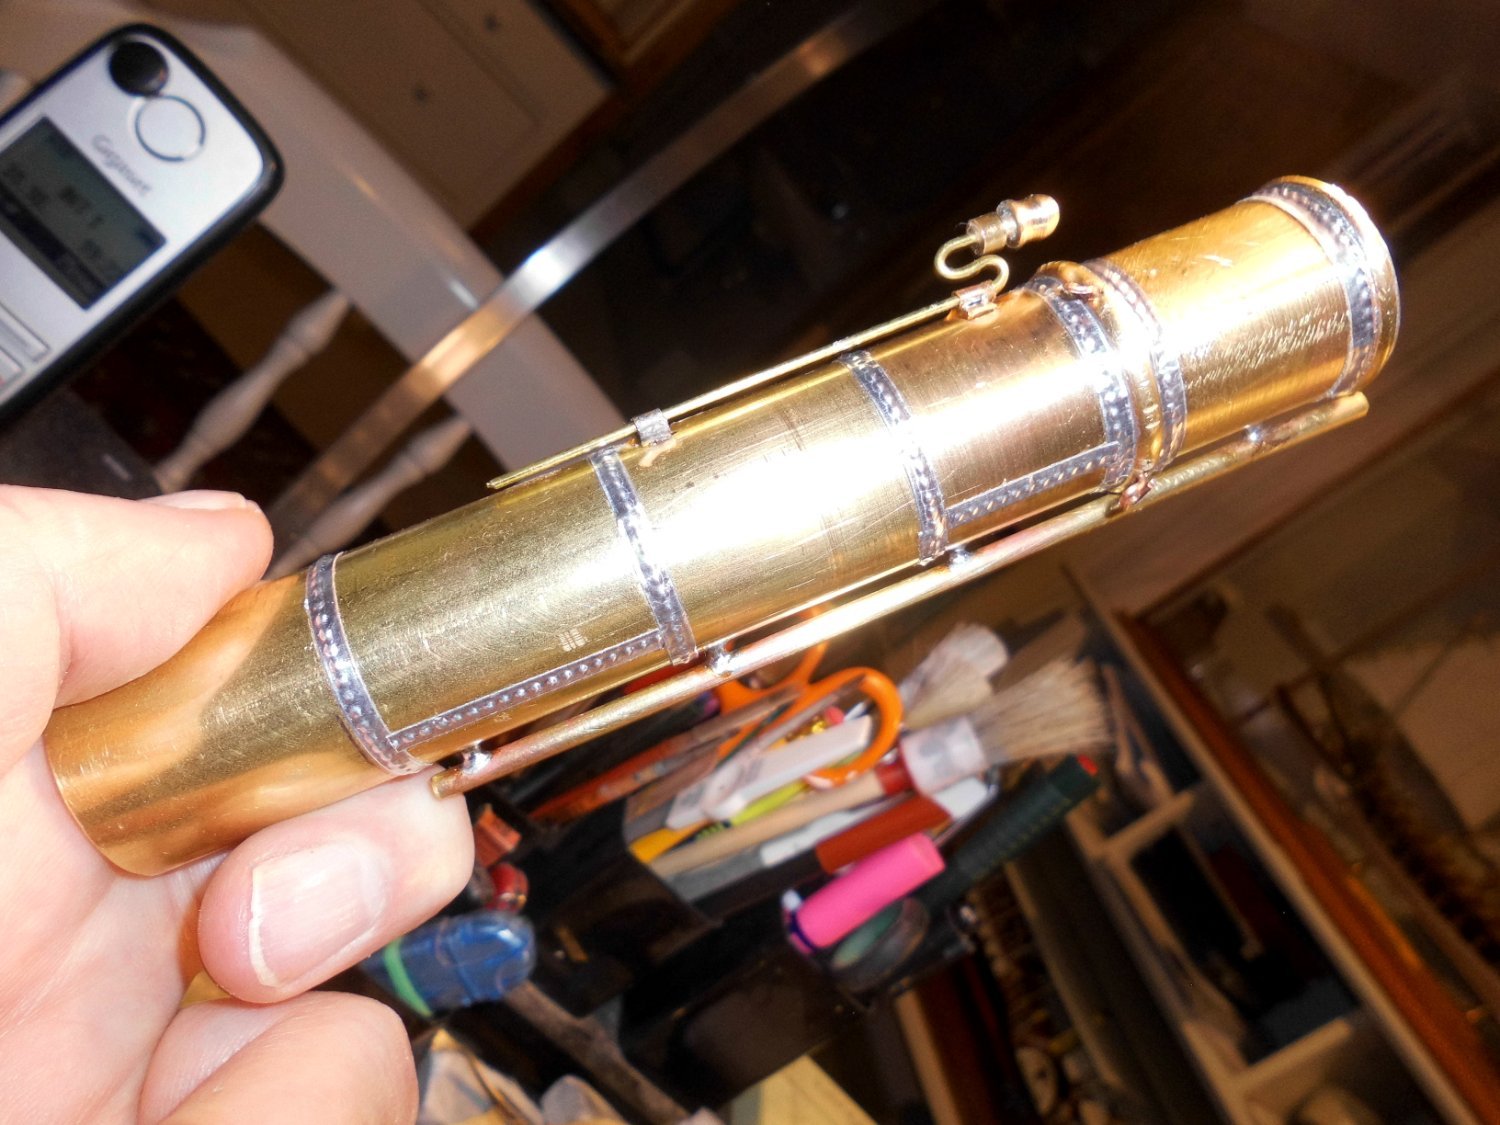
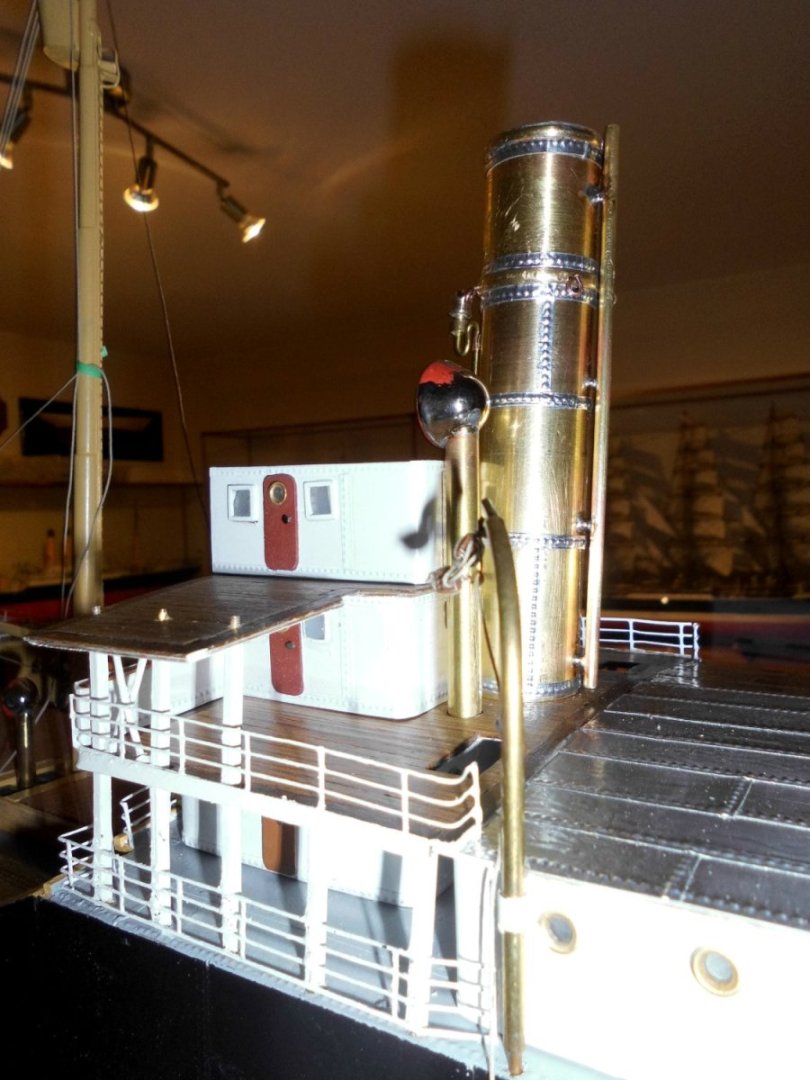
Update doors fitted to the superstructure, and funnel shortened and fitted with blow out tube, fastening points for the funnel stays and ships steam-whistle/Horn Nils ready for painting...., funnel from 25mm dia brasstube

- 330 replies
-
- 24
-
-
-
Hi Sir Hayden, I`m very sorry that I did`nt look up quoted posts on this thread regurlary. By doing so I just came across your question per incedence today...... Yes you`re right it was`nt easy also for me to find adequate information on this ship. There has been a digitalisation of old technical journals around year 1900 called Polytechnisches Journal and here I found the information I desired. I`ll give you the link to the Journal, Band overview of the year 1900. There you can go through the list in the link and search for Kaiser Wilhelm der Grosse related technical articals with good illustrations for details. This all unfortunately is only in German language I recommend that you click directly in the overview on Seite (page) 1, 39, 53, 71 From this information I had all I needed for planing the build. Besides that I searched the web for pics of the KWdG fitting out and the proportions. Hope this is of help for you, and I wish you good luck and success. https://dingler.bbaw.de/article-listings/pj315.html Regards Nils
- 2,625 replies
-
- 1
-
-
- kaiser wilhelm der grosse
- passenger steamer
- (and 1 more)
-
Bill, thanks for looking in, let me answer to your you questions..... - the single foil sheets overlap about 1 - 1,5 mm, so that the ponced rivet side edge of the next plate comes to lay and overlap on the edge of the last plate. -the rub rail is a beech profile 2 mm halfround, in those cases where there is a stronger curve, I submerge the curved ends of wooden profile for a minute or so in boiling hot water. I wish you much fun and good success with your paddle steam tug Nils
-
Hi Masa, very nice build Nils