Mirabell61
-
Posts
7,410 -
Joined
-
Last visited
Content Type
Profiles
Forums
Gallery
Events
Everything posted by Mirabell61
-
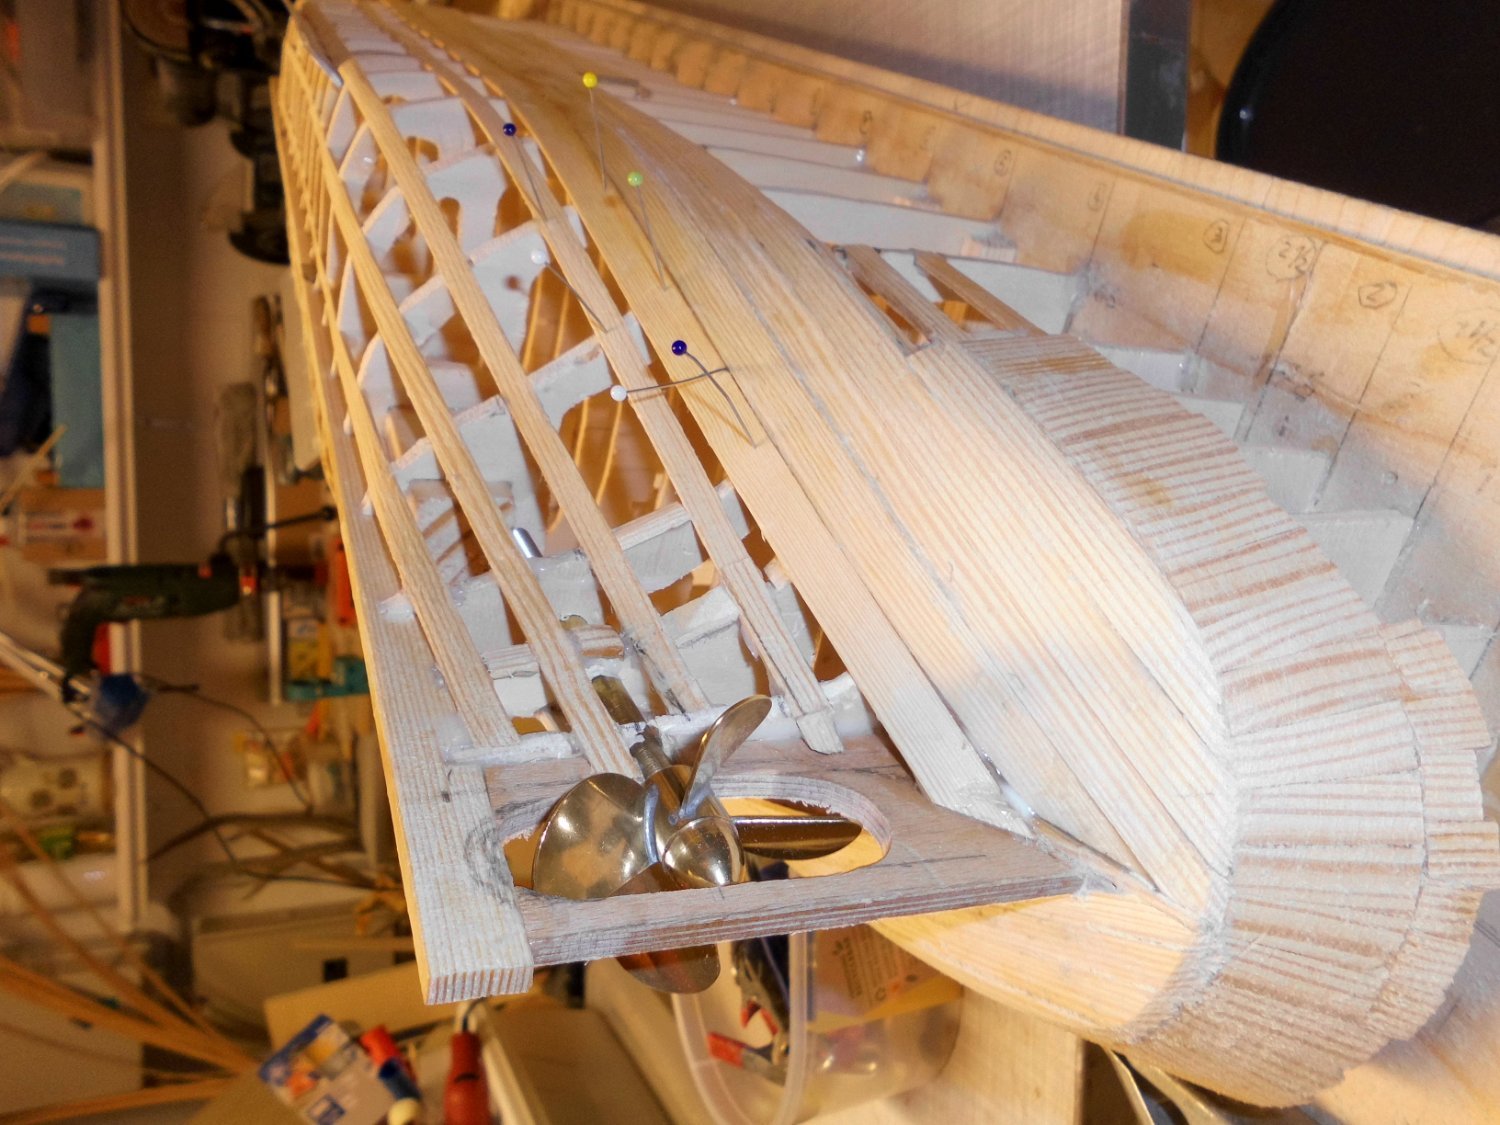
 Update it could go swifter with the planking, but the glue takes its time to cure out well Nils around the bilge bend the planking will be more tricky prop, -sleeve- and shaft are fitted in
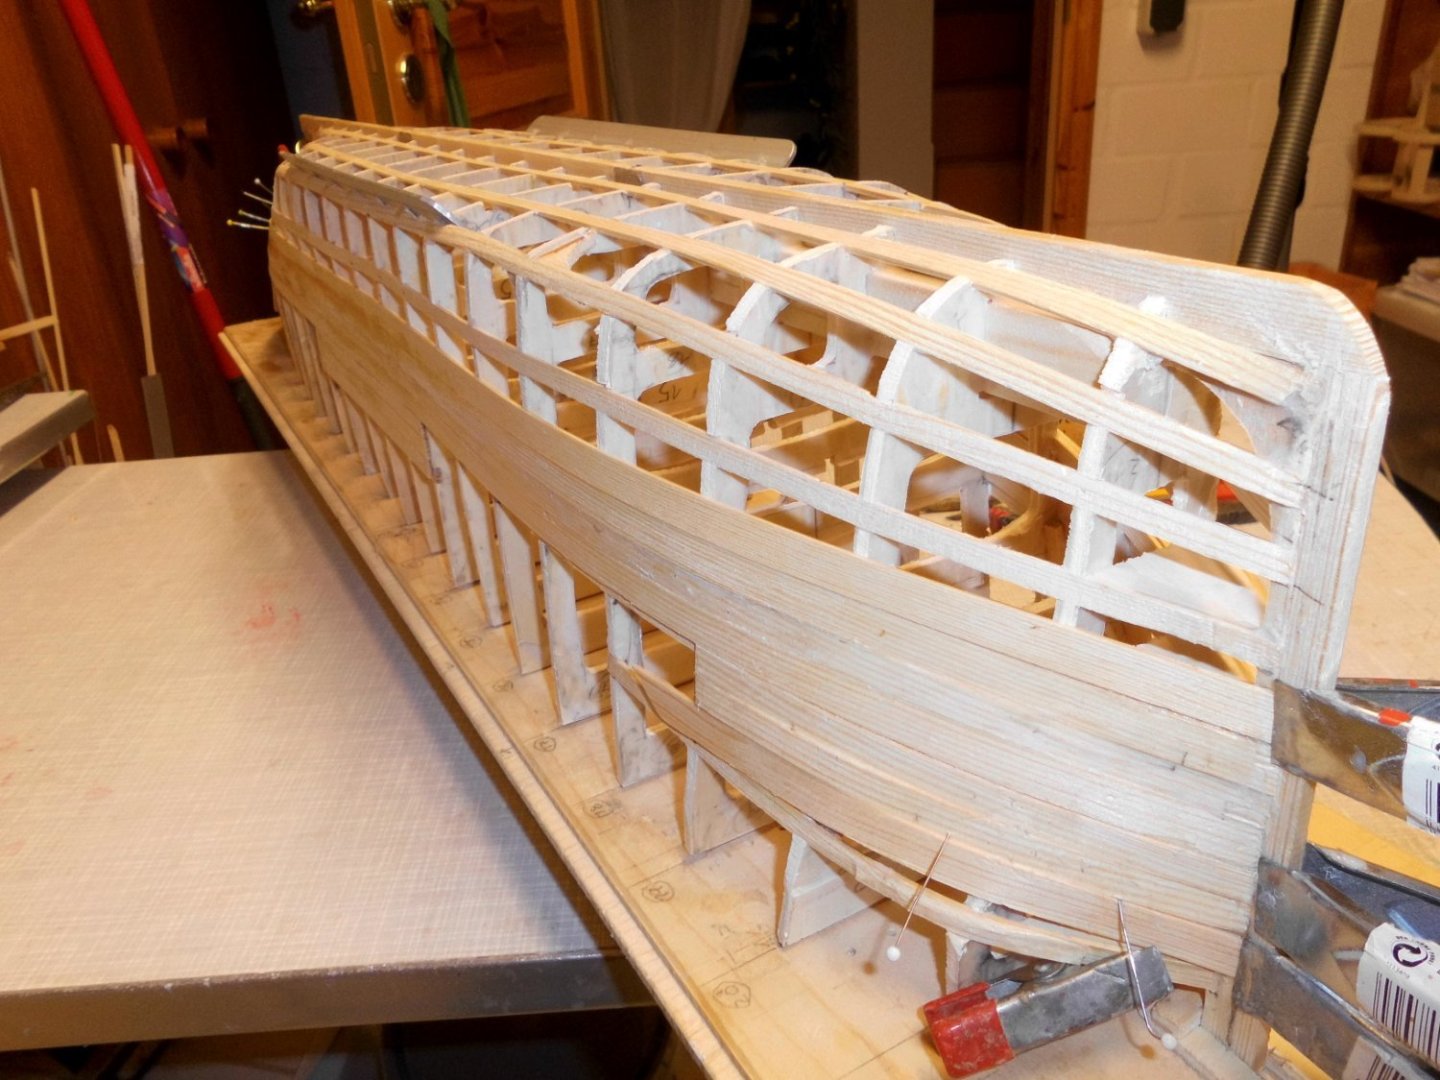

- 330 replies
-
- 21
-

-
excellelant work Freeks, that looks really nice, also together with the davits Nils
-
Great diagonal Karweel plaking Nils
-
Good morning Valeriy, and welcome aboard, I also love steamships and so I just could`t skip to dig into the Ergenstrasse as a model. Nils
-
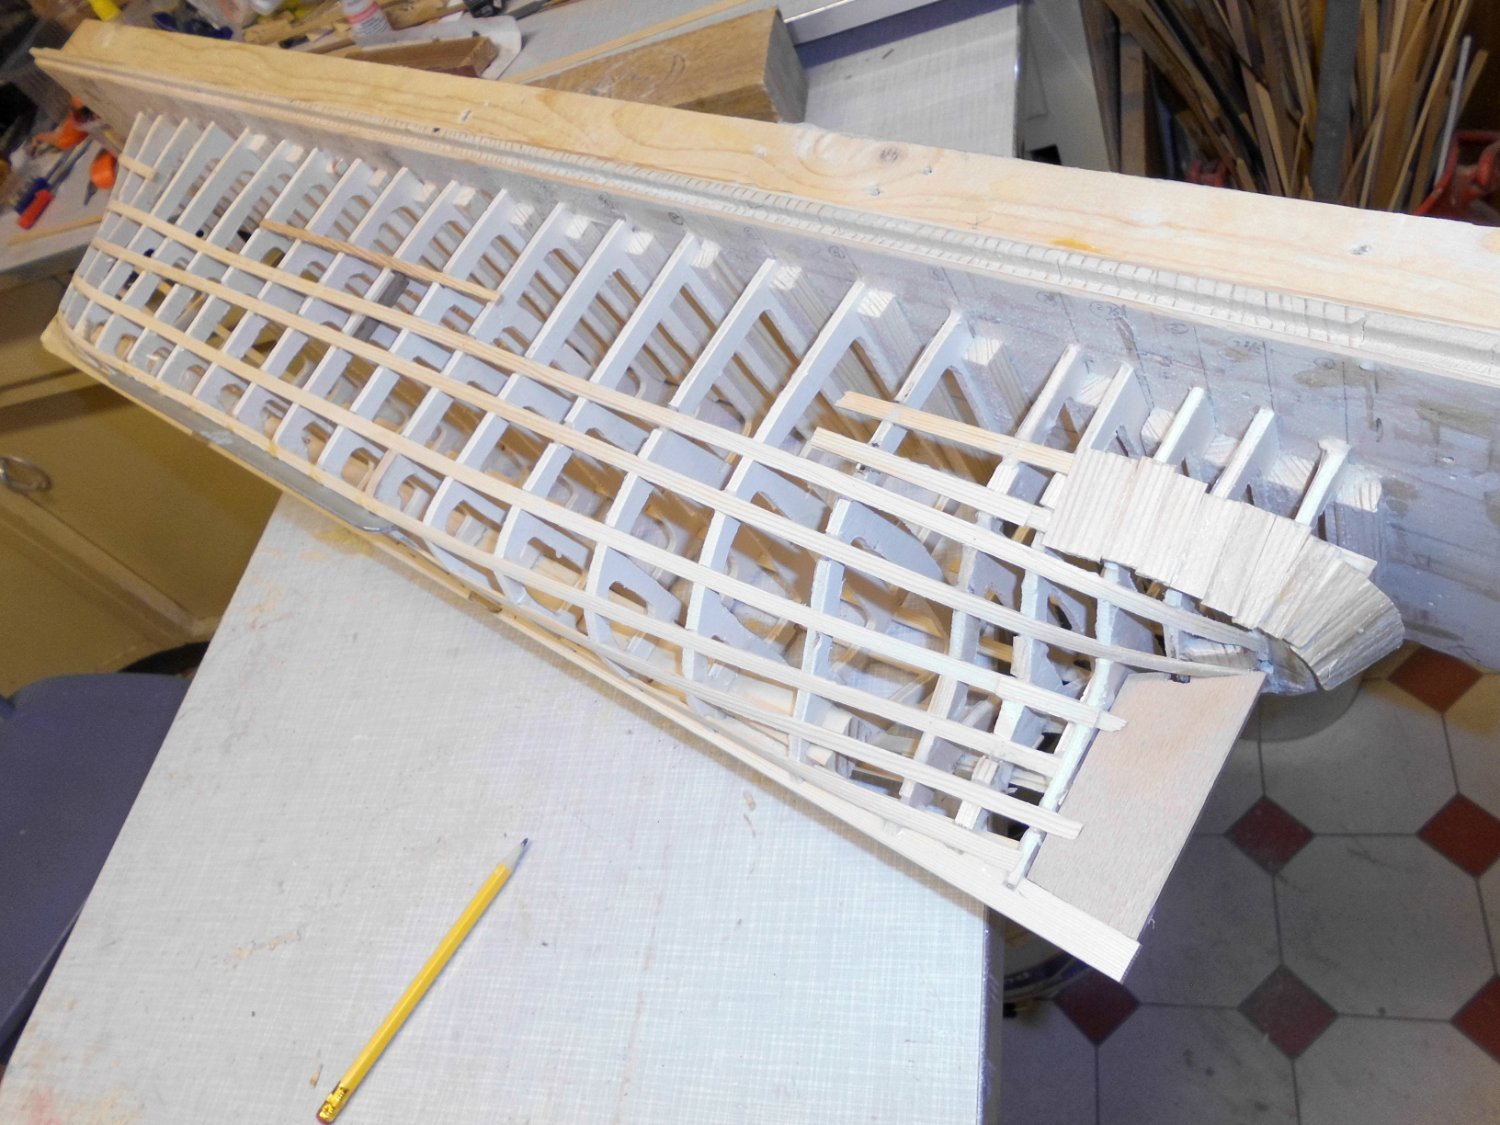
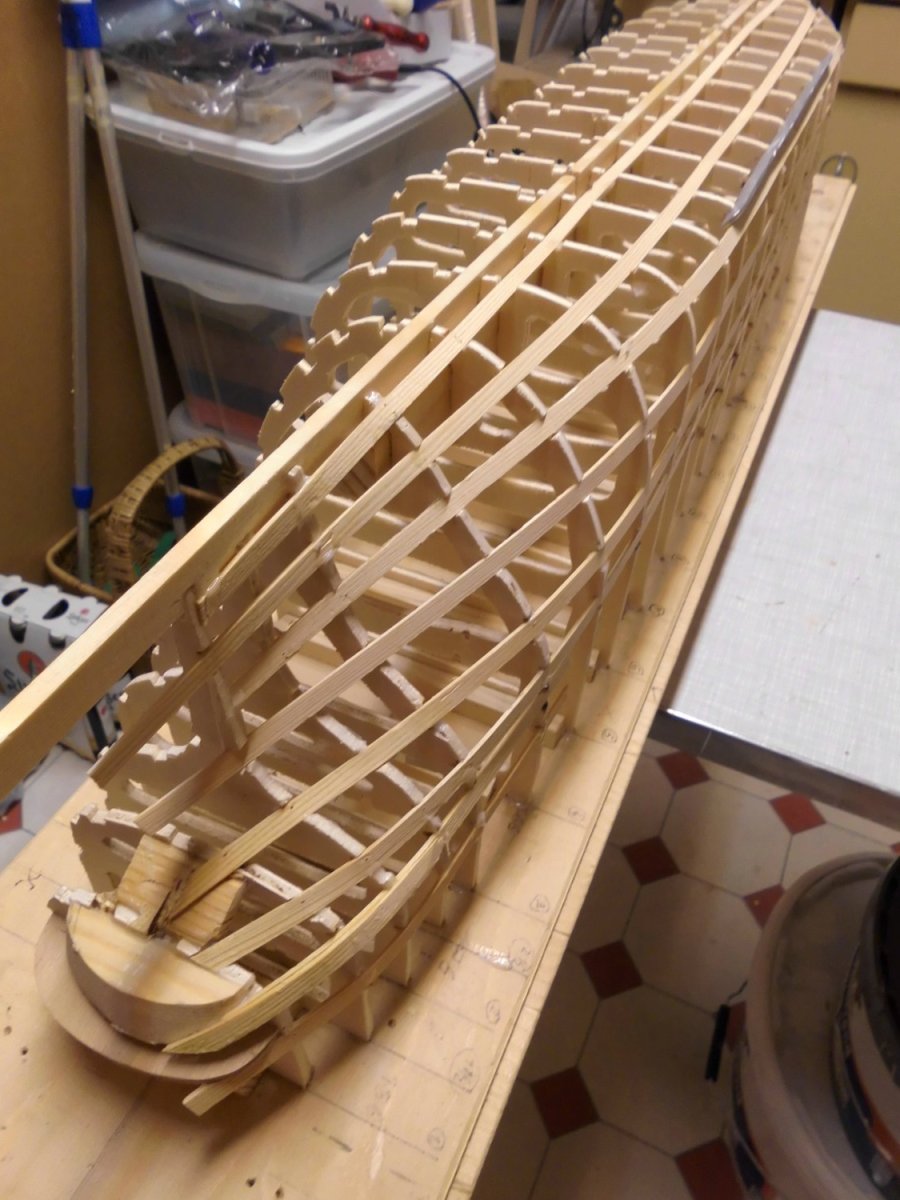
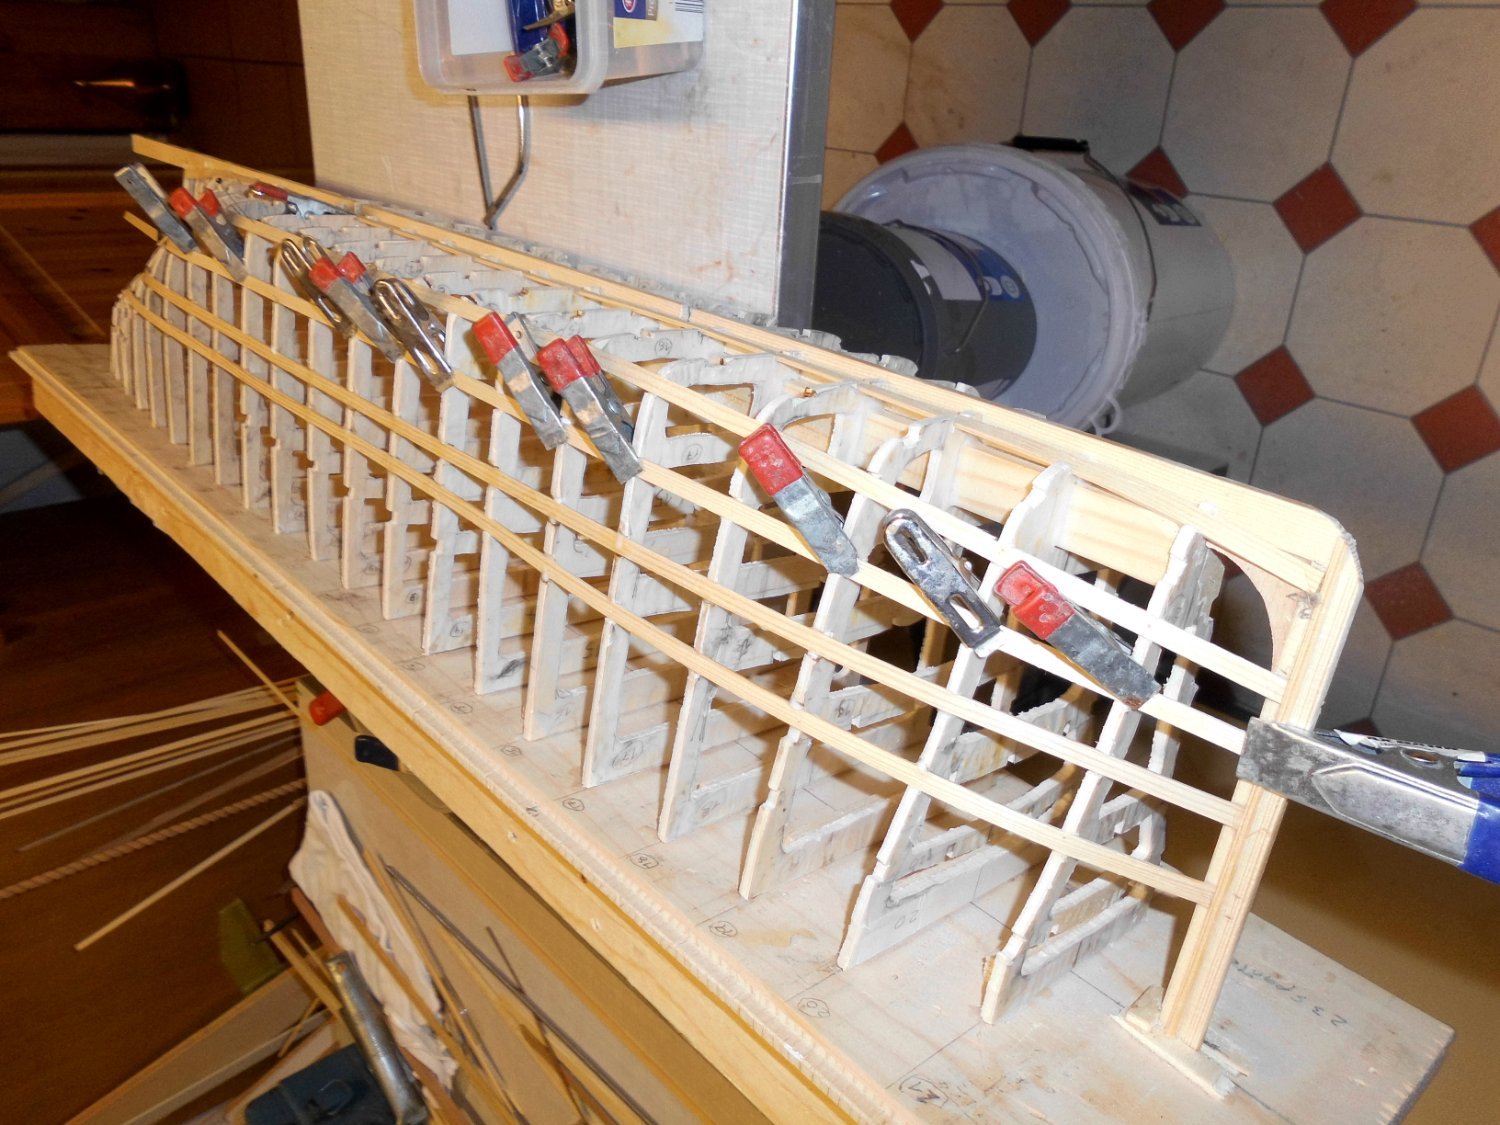
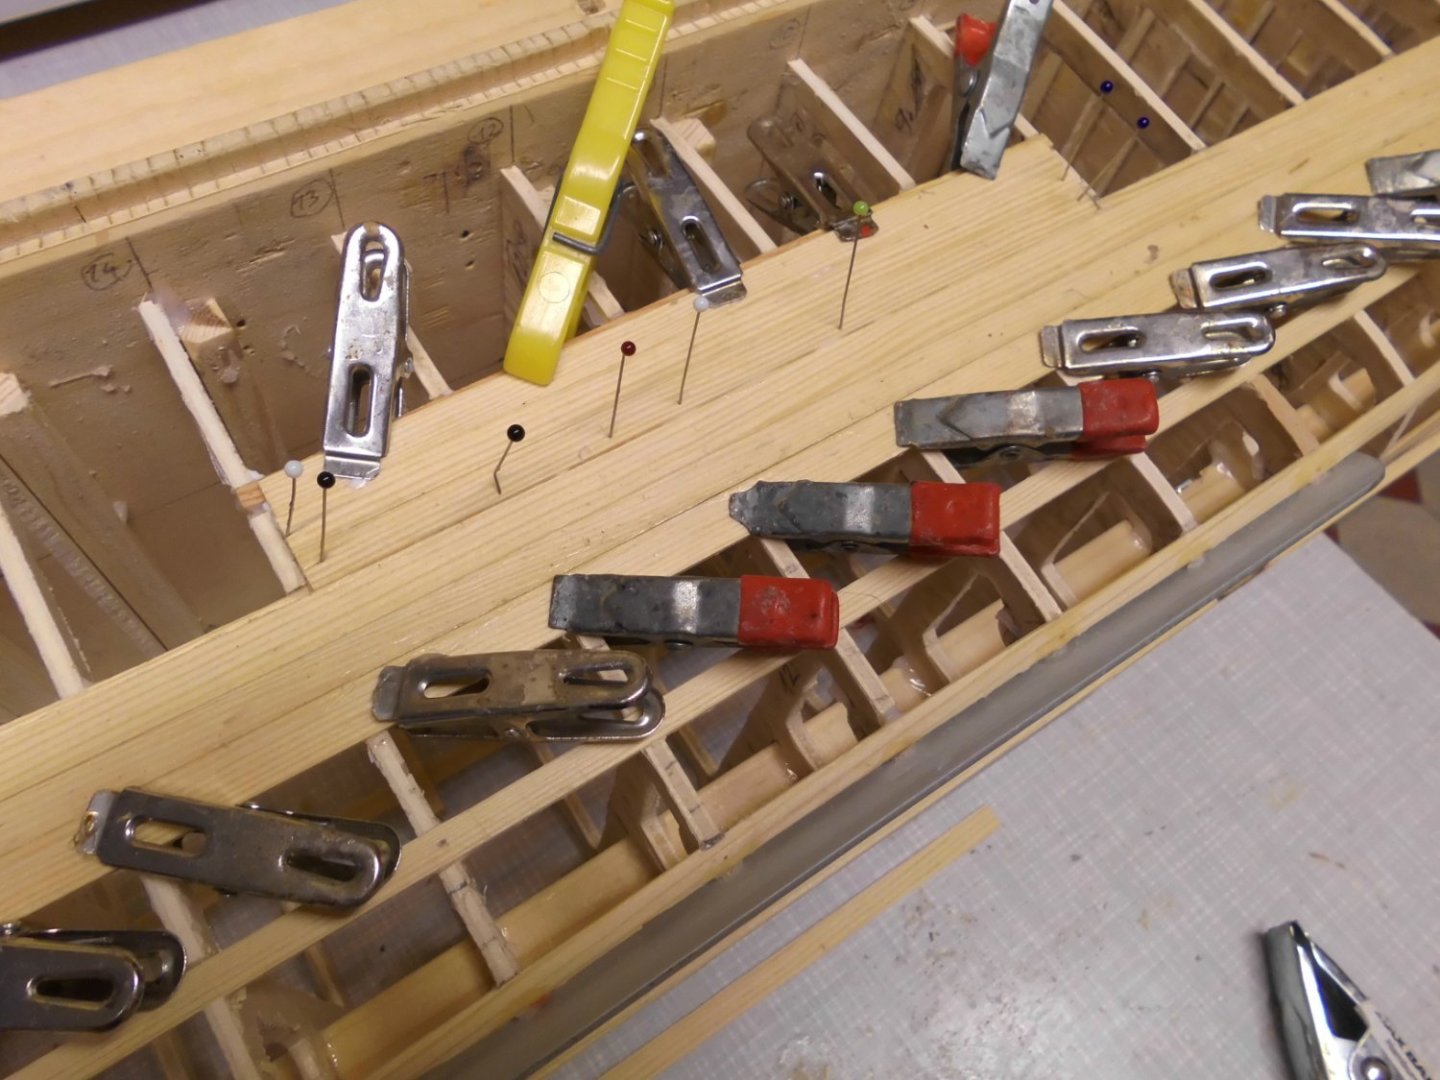
Today I started with the planking (one layer only, 2 mm thick planks) in 8 and 10 mm width, I`m waiting for the ordered 50 mm dia. brass propellor to arrive per mail, for adequate fitting into the aft area prior to continuing wit the underwater planking. The bulwarks in the welldeck areas will be made later on from 1,5 mm thick 3 layer beechwood ply, and the frames will be cut away there flush with the well-decks in those places. After planking the starboard side to the same degree I think I`ll remove the raw-hull from the building base for better handling. The hull will be stiff enough then to avoid any twisting during planking. Nils the fine trimming will be done by scraping the outer skin and with a light sanding all the frame contours are straking very well with the skin planking planking the midship island sides is also part of this sequence as well as forecastle- and poop sides. The stringers are a great help for attaching the preliminary holding clamps during glueing

- 330 replies
-
- 23
-
-
MONTAÑES by Amalio
Mirabell61 replied to Amalio's topic in - Build logs for subjects built 1751 - 1800
Amalio, congratulations your model is breathtaking ! it is a beauty Nils -
you`ve chosen a beautiful model Keith, I`ll be following the journey ... Nils
-
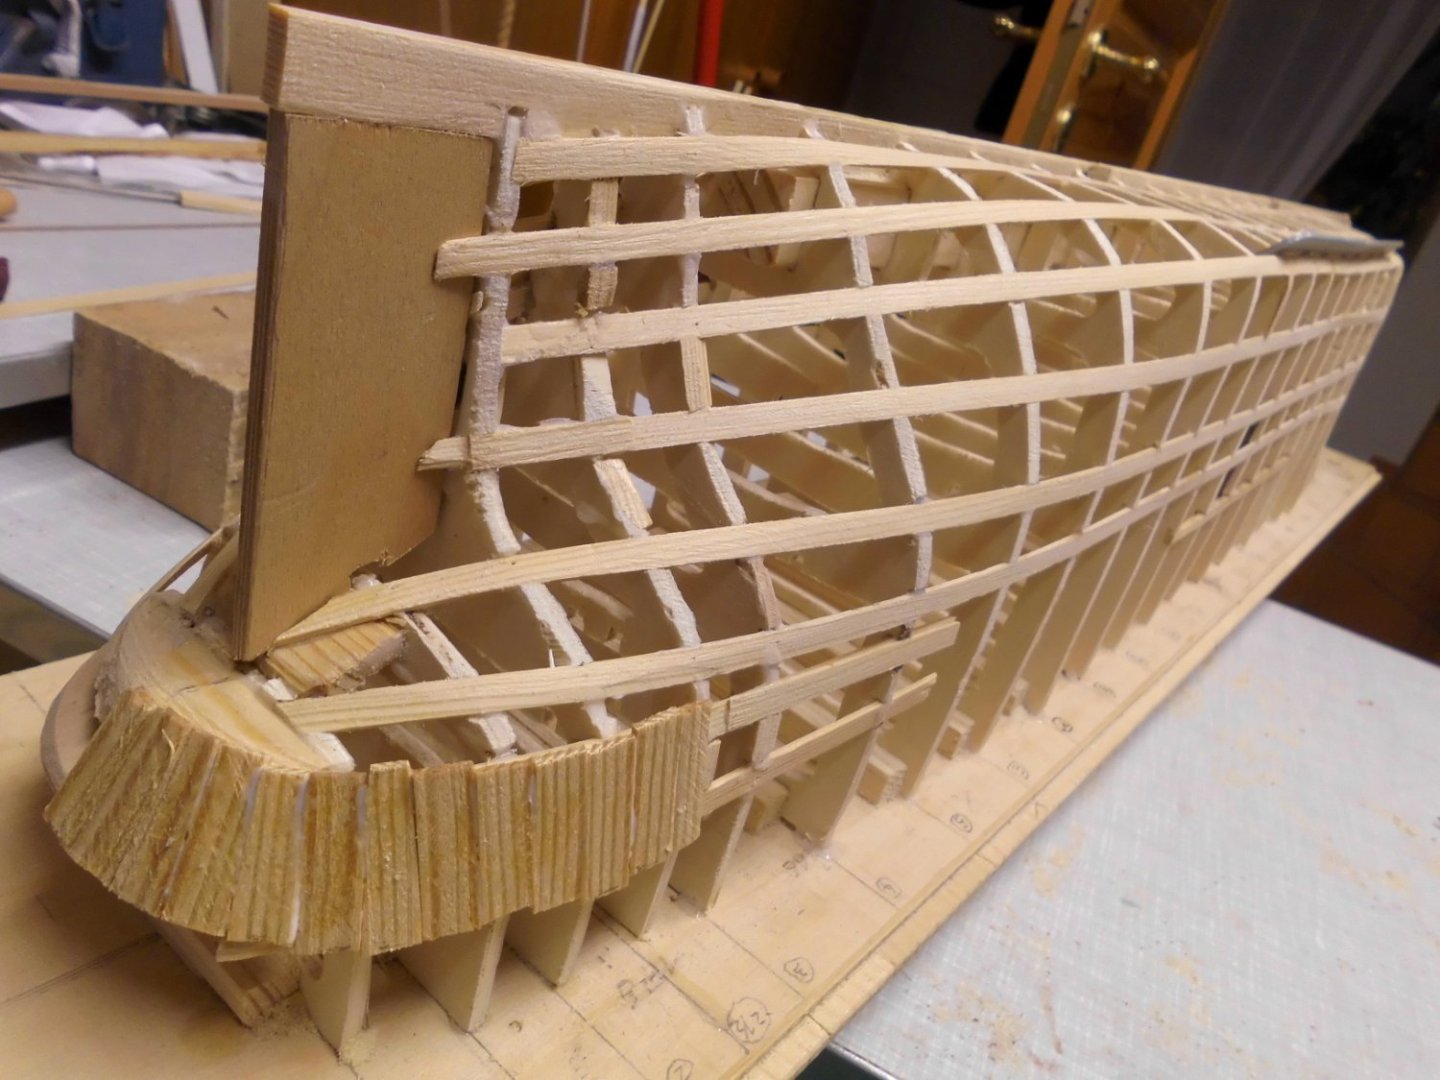
Thanks Andy, amazing what feedback I`m getting here ......, much appreciated meanwhile the port side frames together with the stringers are sanded over, one the bilge keels glued in, a solution for the prop / Rudder area, and the begin of the aft rounding vertically planked Nils

- 330 replies
-
- 18
-
-
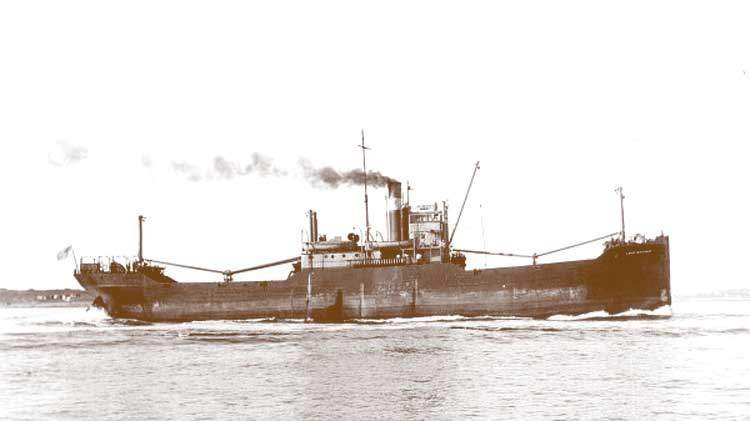
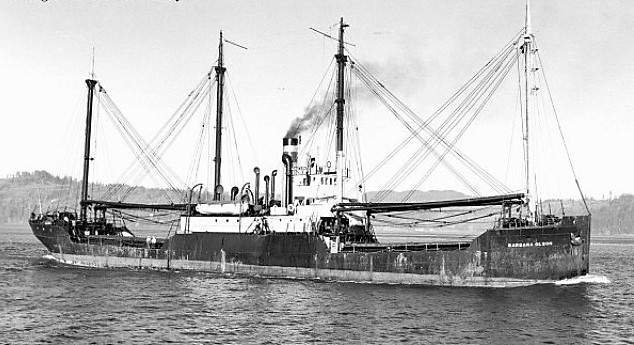
Both about the same tonnage and looking like the Ergenstrasse before the changes. This surely will help to get the masting right on my model This is the "Norna" and the "Rio Pastaza"
-
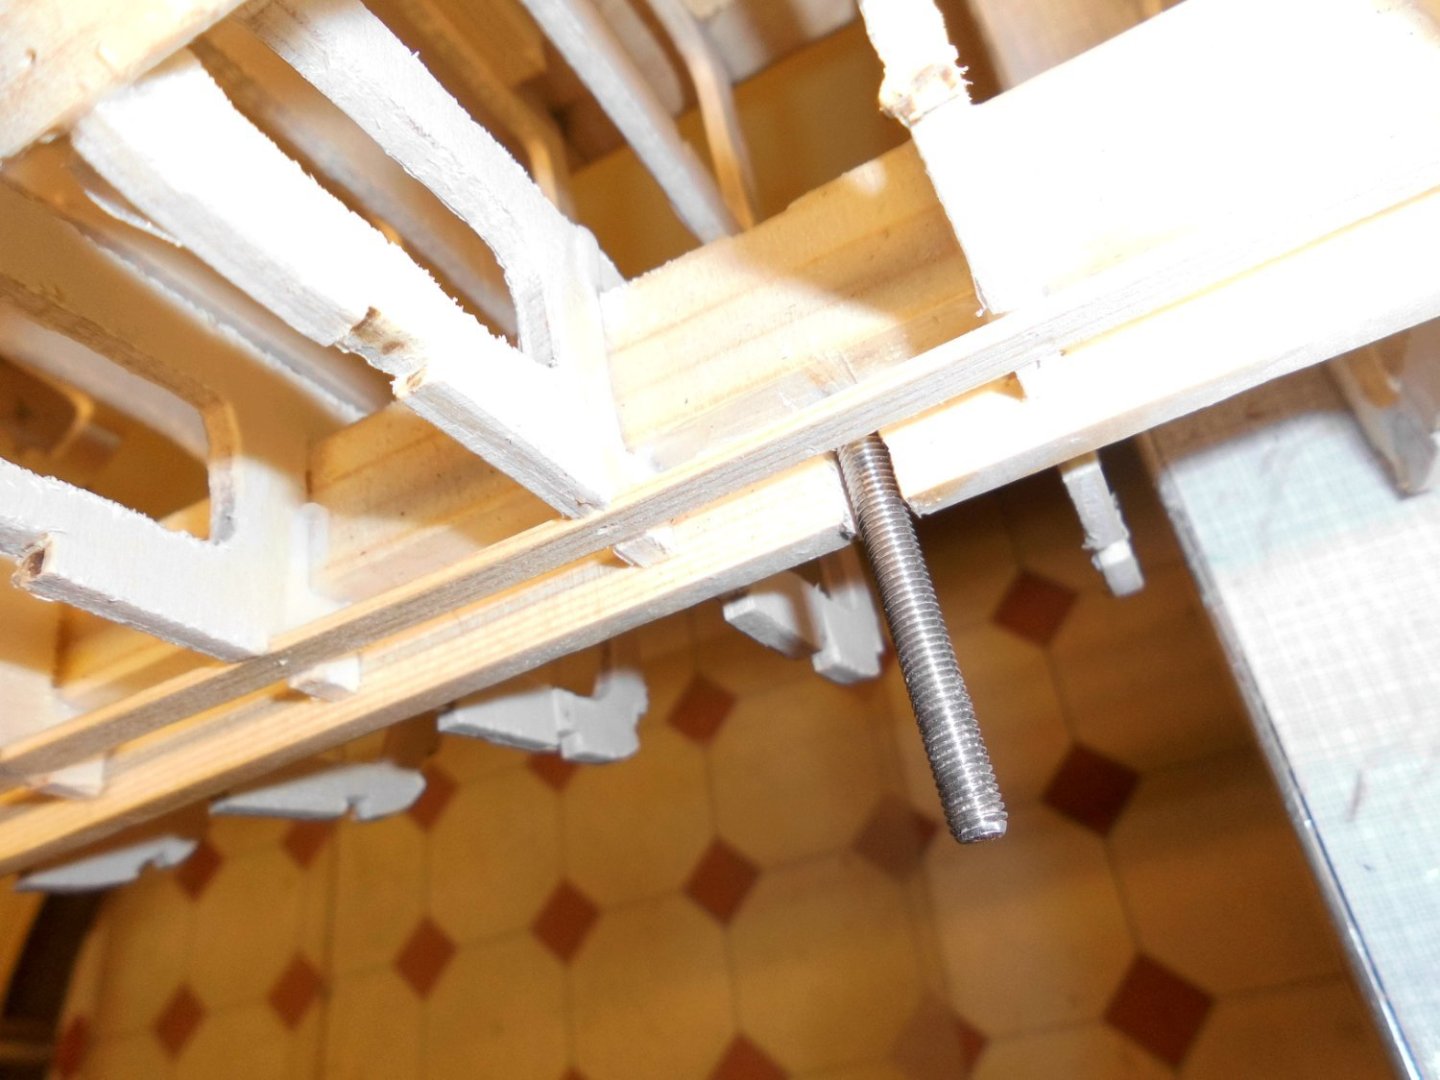
Many thanks Andy, good answer, yes I think youre right, compared with the Corsicana pic only mast # 3 was left standing and the aft derrick booms reach over the entire aft welldeck. Having this in mind I found another movie pic (looking aft) wich proves that. It can be seen that the derrick booms are being supported just before the poop. It also shows 2 extra lifeboats upside down on hatch # 4 Nils
-
I an a bit confused about the arrangement of the masts (it is probably not representive for a Laker steamer) and the previous mounted four masts had been removed anyhow. Acc. to the movie pic below the first mast may be between the two front welldeck hatches, thats OK. Acc. to the same movie pic the aft mast is directly aft of the superstructure, with the load beams serving both aft welldeck hatches, why not also between the hatches? Does anyone know why this is so ? Nils strange arrangement of the masts, but it seems to be perticular for the Ergenstrasse

-
Thank you John, I`m putting on the last stringer on the port side today. The heel with the outcut for the 4-blade prop is in work as well as the rudder arrangement. Nils
-
hello Bruce, welcome and its nice to have you on board Nils many thanks B.E. I read the German version, der Seefuchs of "The Sea Chase" a couple of weeks ago, and was looking if anyone had ever built a model of the Ergenstrasse, but in vain, no results. What I found on the web was the original Laker steamer which transfered into the movie ship. I also remembered some drawing data I had filed some years ago of the Ferris typ wooden steamer. What came out is now my new project Nils
-
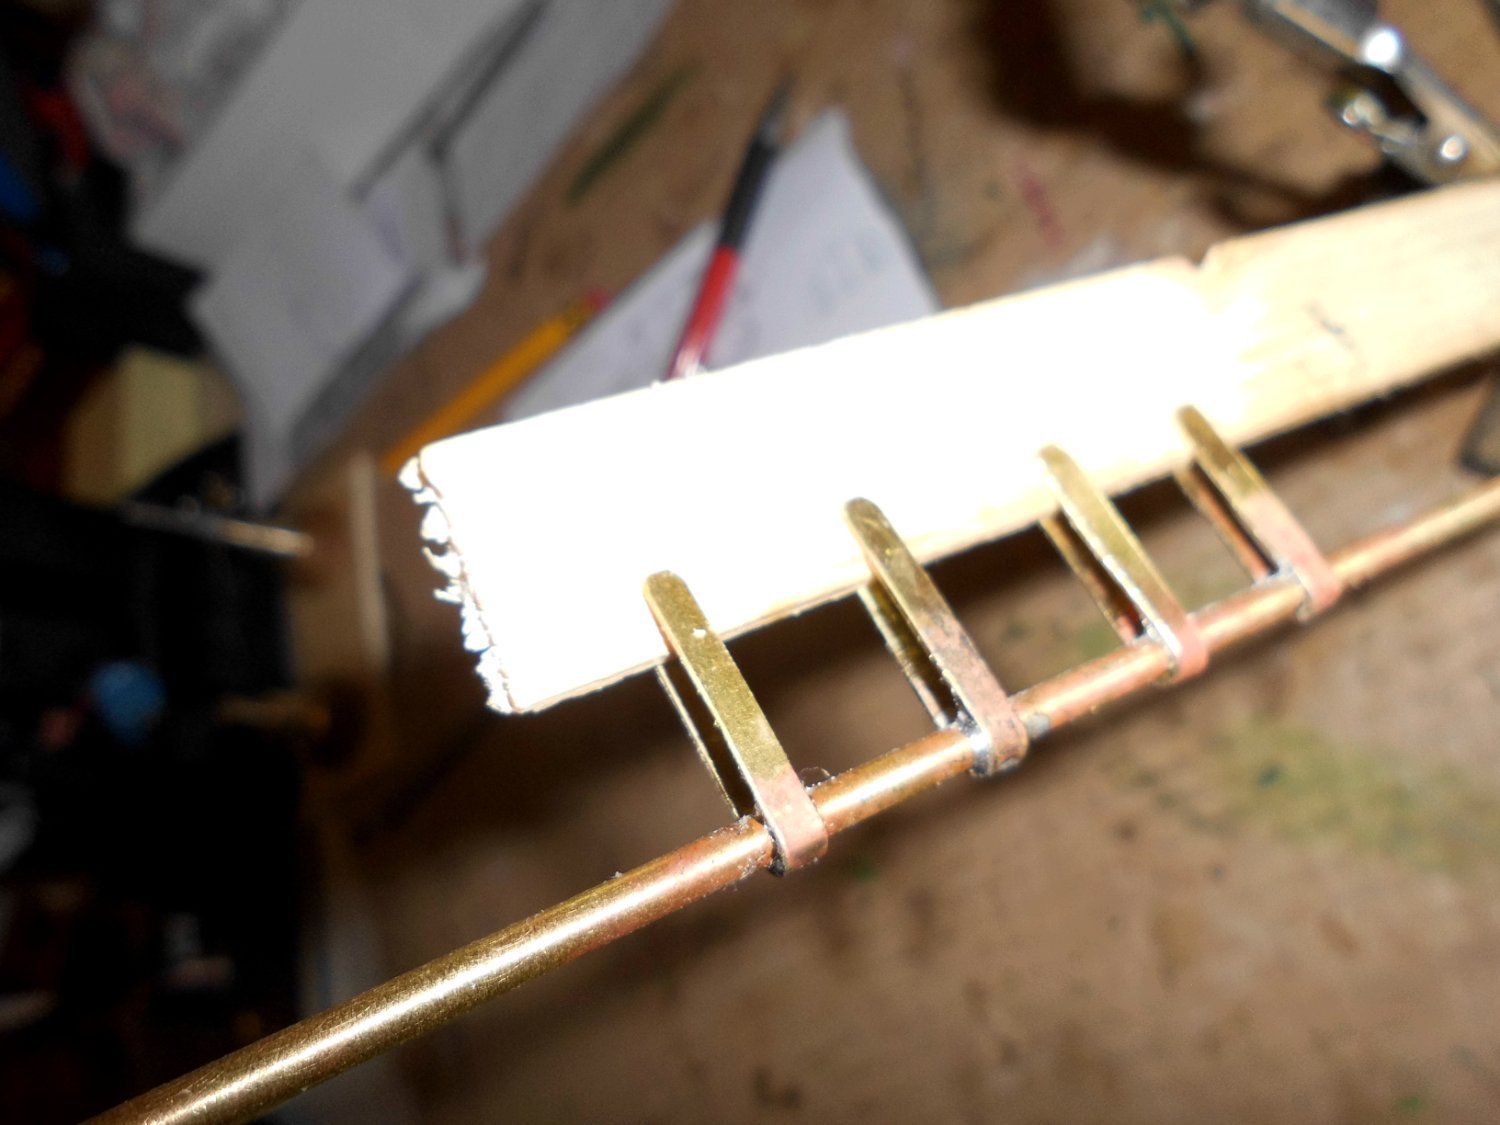
the rudder is going to be attached to the Ruddershaft with on-soldered tabs the peace of wood (dummy rudder) is only a help in soldering and for alignment of the tabs for position and thickness Nils

- 330 replies
-
- 12
-
-
very nice fisher boat Maurino and painted in mediteranian colors, well done Nils
-
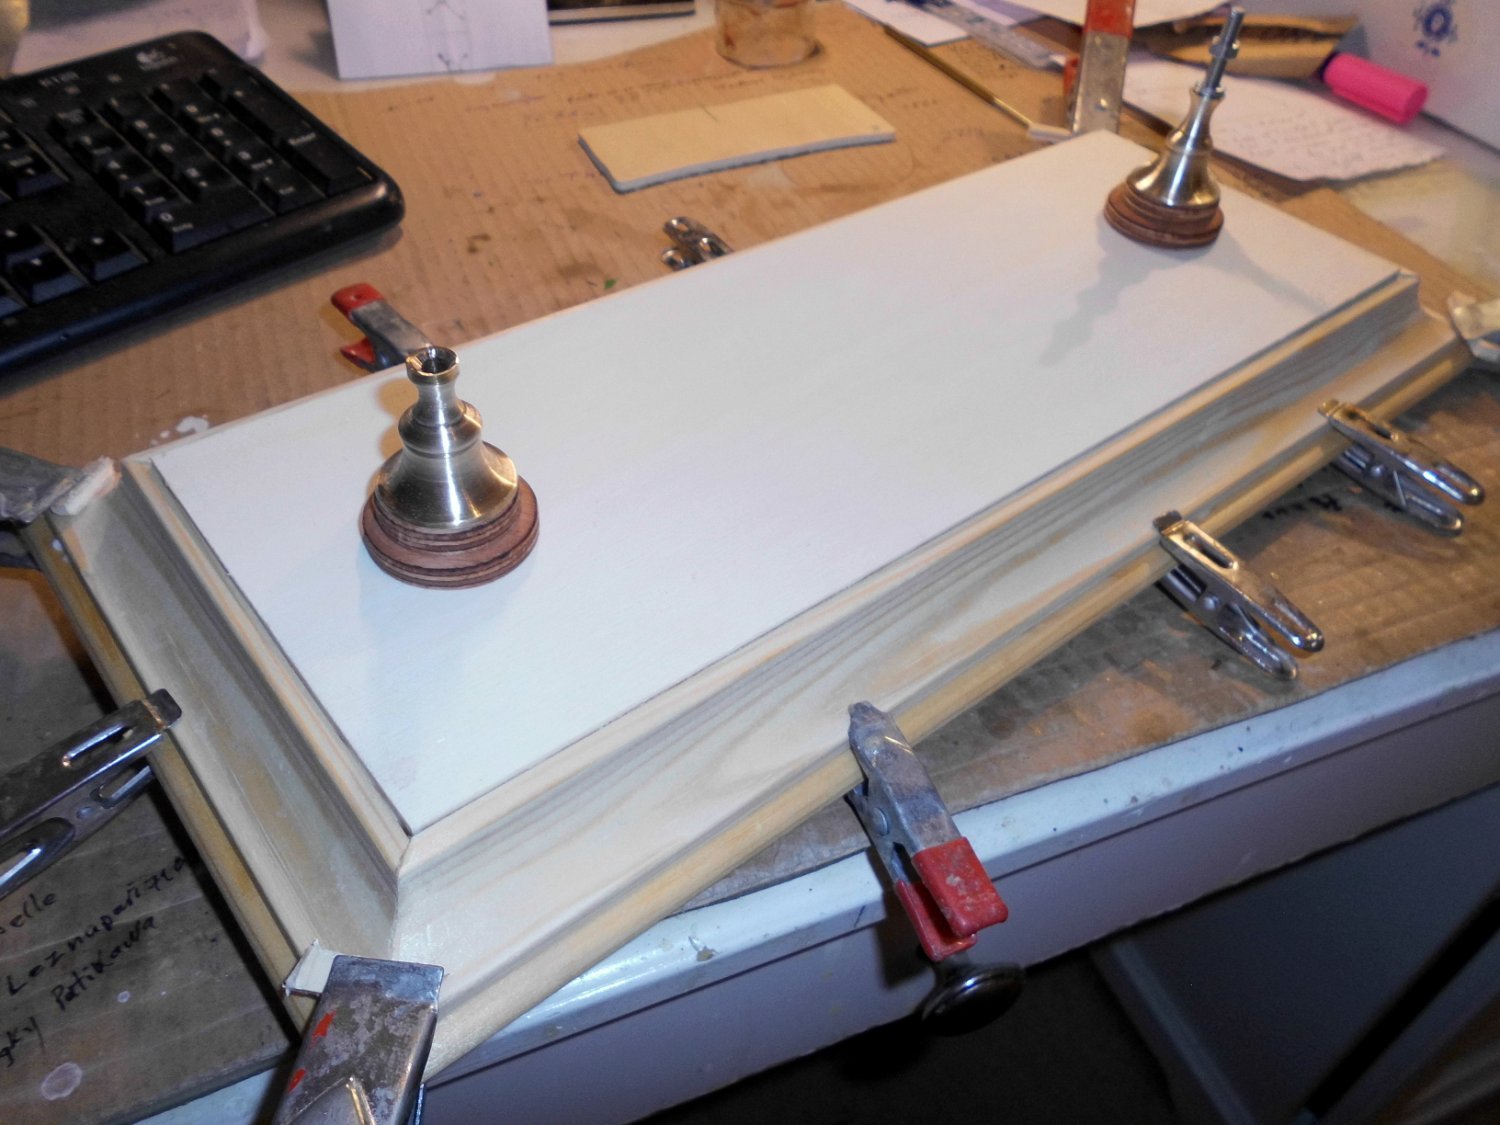
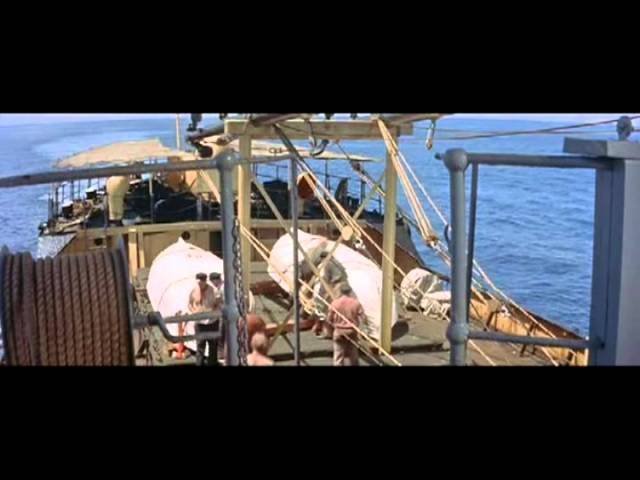
update made the bilge keels, the raw standplates,and the pedestals Nils the raw standplate prior to staining and the two pedestals. Am again using brass parts of a candle holder and made a 5 mm center boring the bilge keels are from aluminium flat 2 x 15 mm. Here in the pic the alum. strips are appr. 12mm wide, but that was too narrow, so they wii be rejected am experimenting a little how to get the prop / rudder area. The upper aft area (poop sides) will be vertically planked Nils


- 330 replies
-
- 21
-
-
do`nt worry Grant, your good in time for watching the logs begin, thanks for looking in ..... Nils
-
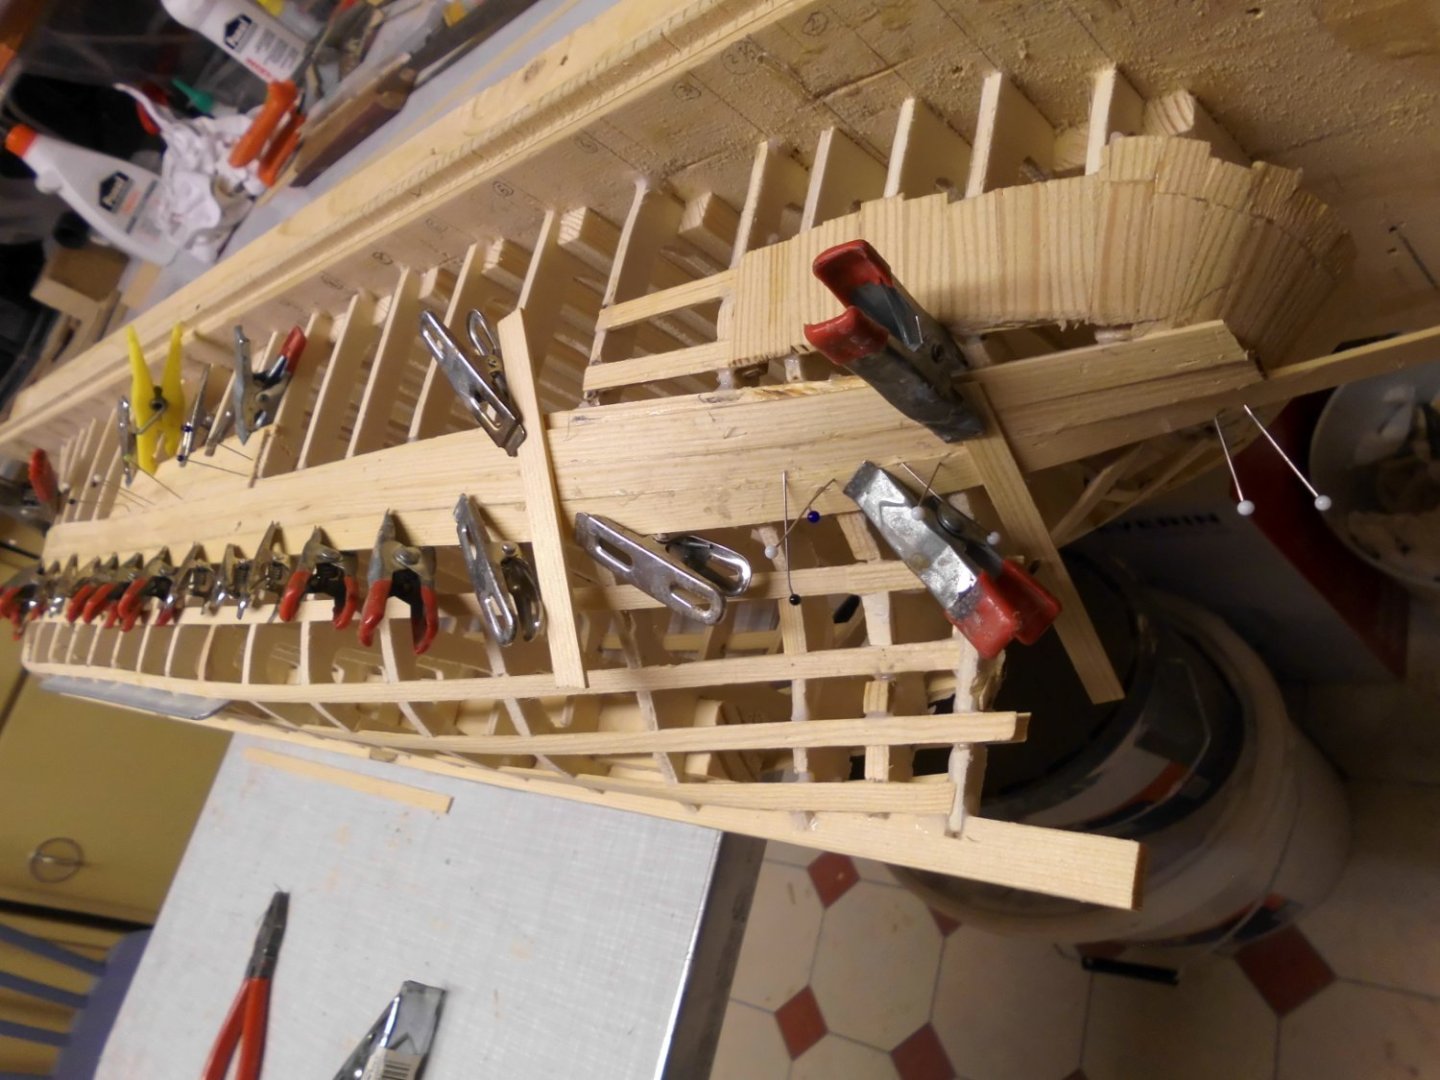
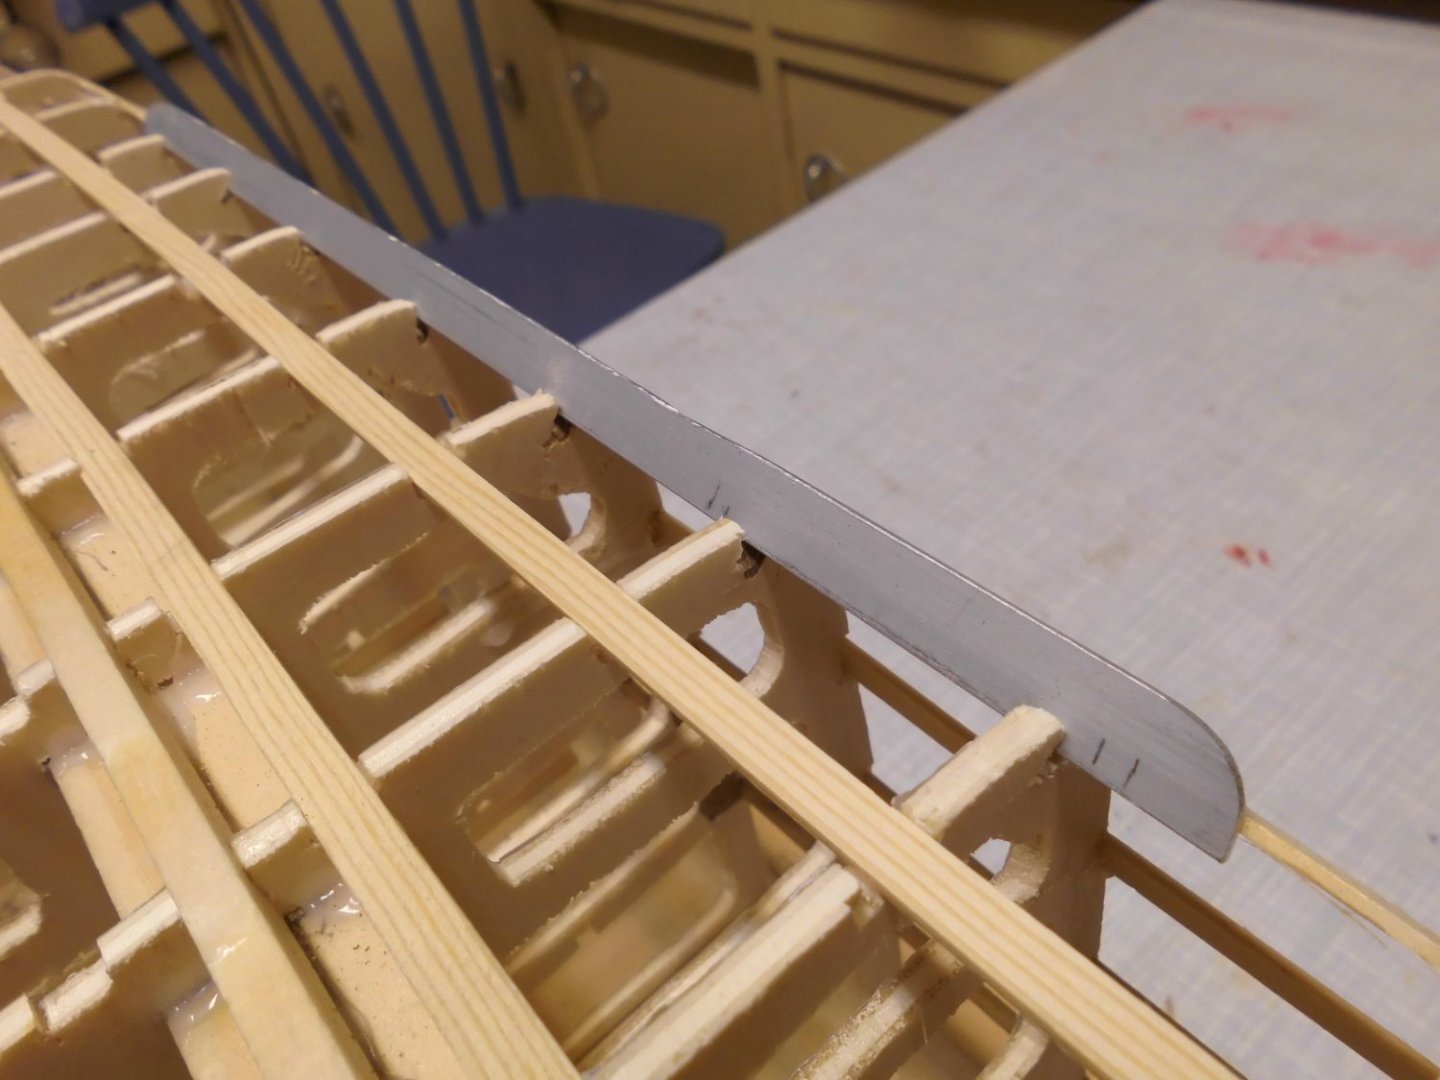
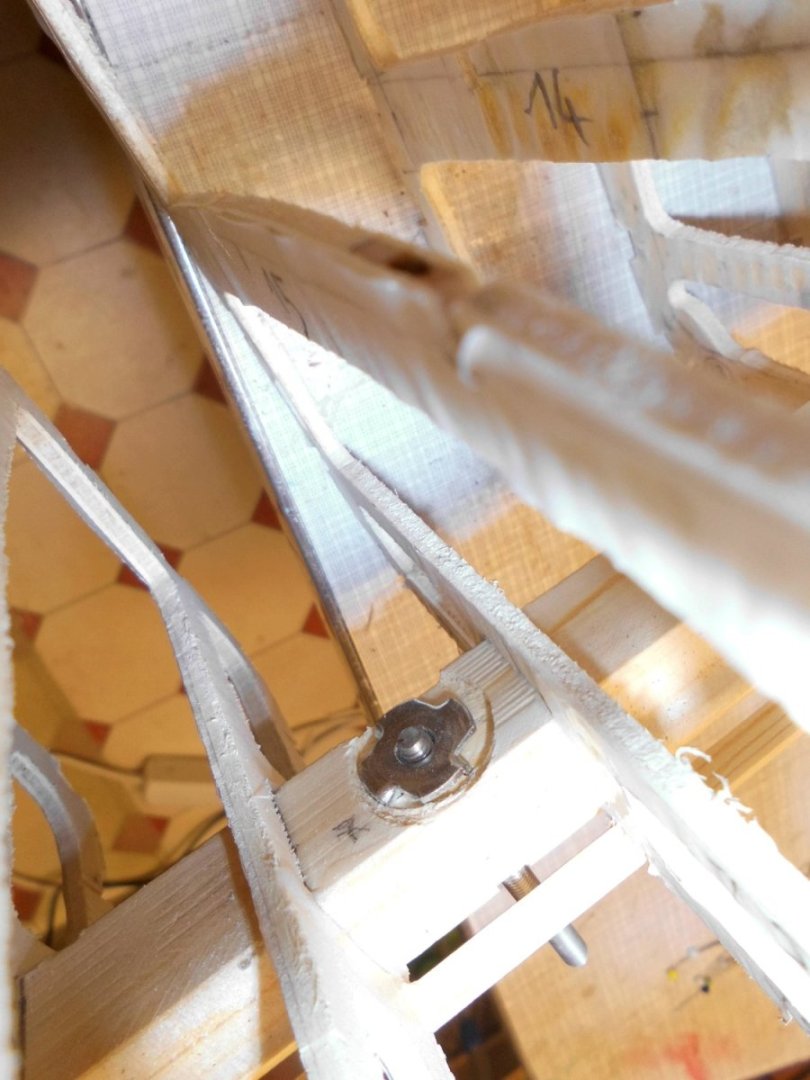
John I´m happy that you like it, stay tuned Roger many thanks for your information ....... Nils I started with the stringers yesterday, 6 on each side, it takes a little tuning on the position of the frame outcuts, but in generell it fits good. There are now 2 out-cuts in the lower part of the keel and press-in counternuts in the squarebar (topside) for taking up the M5 pedestal spindles for the standplate the stringers are relatively thin planks but get there strength through the bending. They provide (after sanding) a good surface for the later planking The press-in nuts ..... where spindles go through

- 330 replies
-
- 15
-
-
excellent work Sascha, I love all those details for example the funnels, and others, great work Nils