Mirabell61
-
Posts
7,410 -
Joined
-
Last visited
Content Type
Profiles
Forums
Gallery
Events
Everything posted by Mirabell61
-
 many thanks Andy, I experienced the tapering of the masts and yards in this way already with my tallships Gorck Fock and Pamir and am quite pleased with it. Most viewers did`nt even recognize the stepped tapering. Of course I need to stock an amount of certain sized brass tubes from time to time Nils
 -
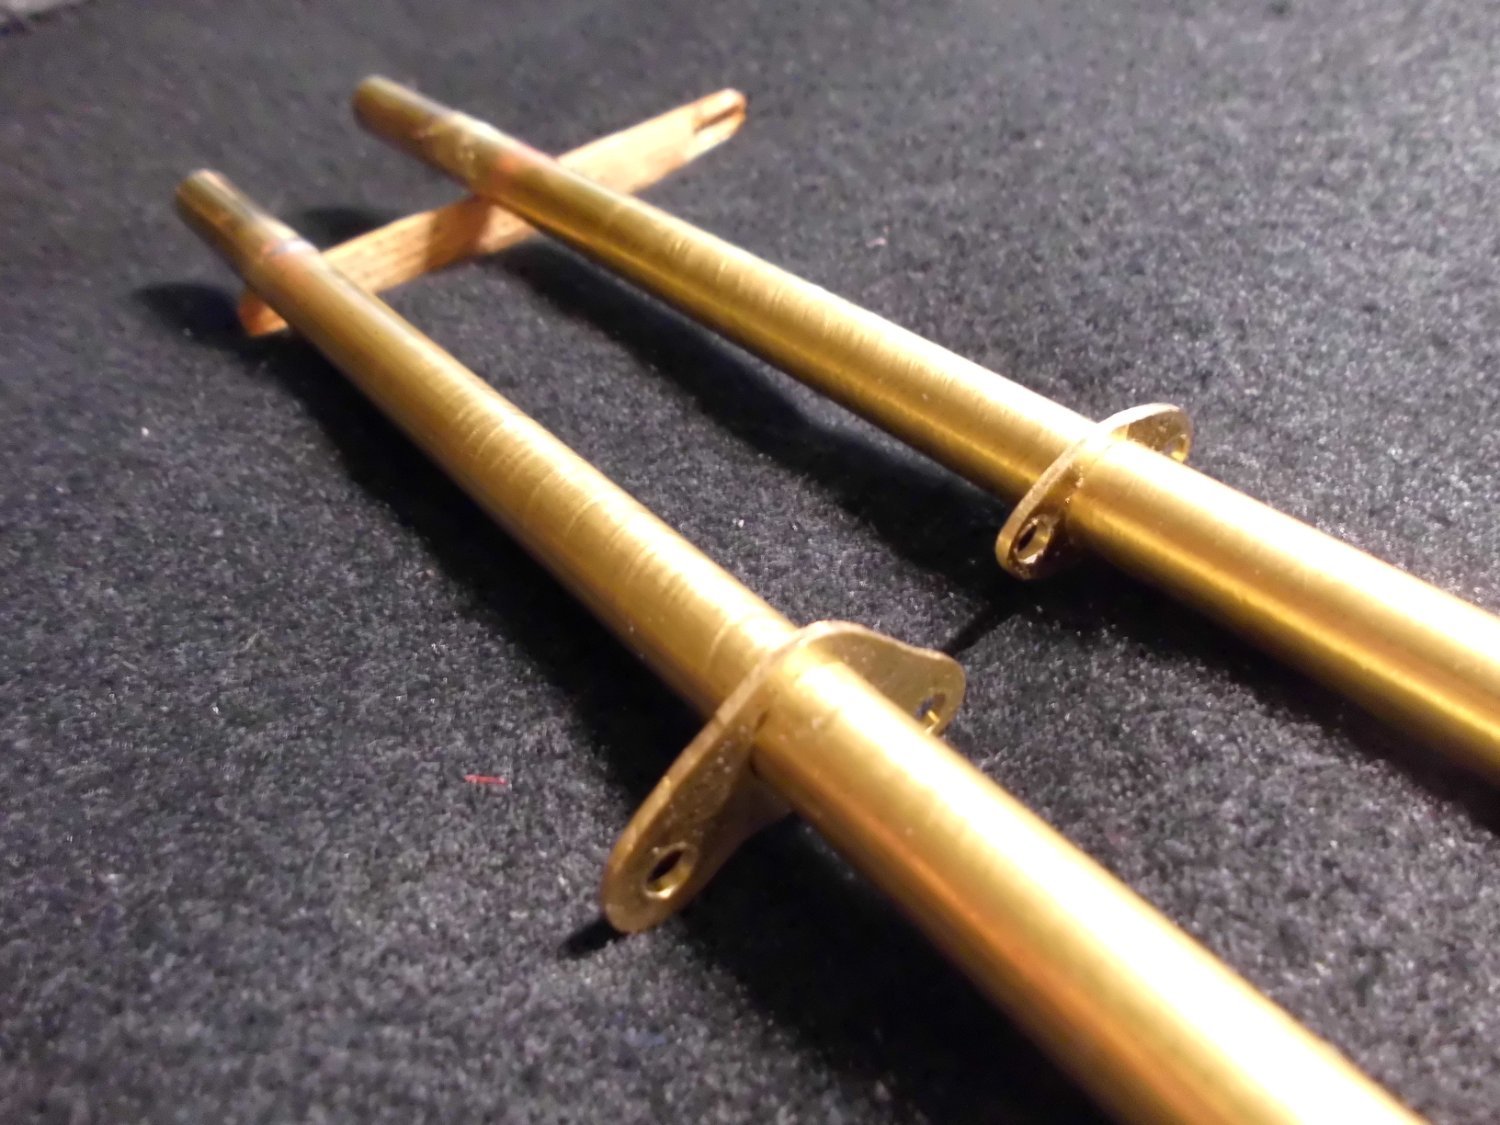
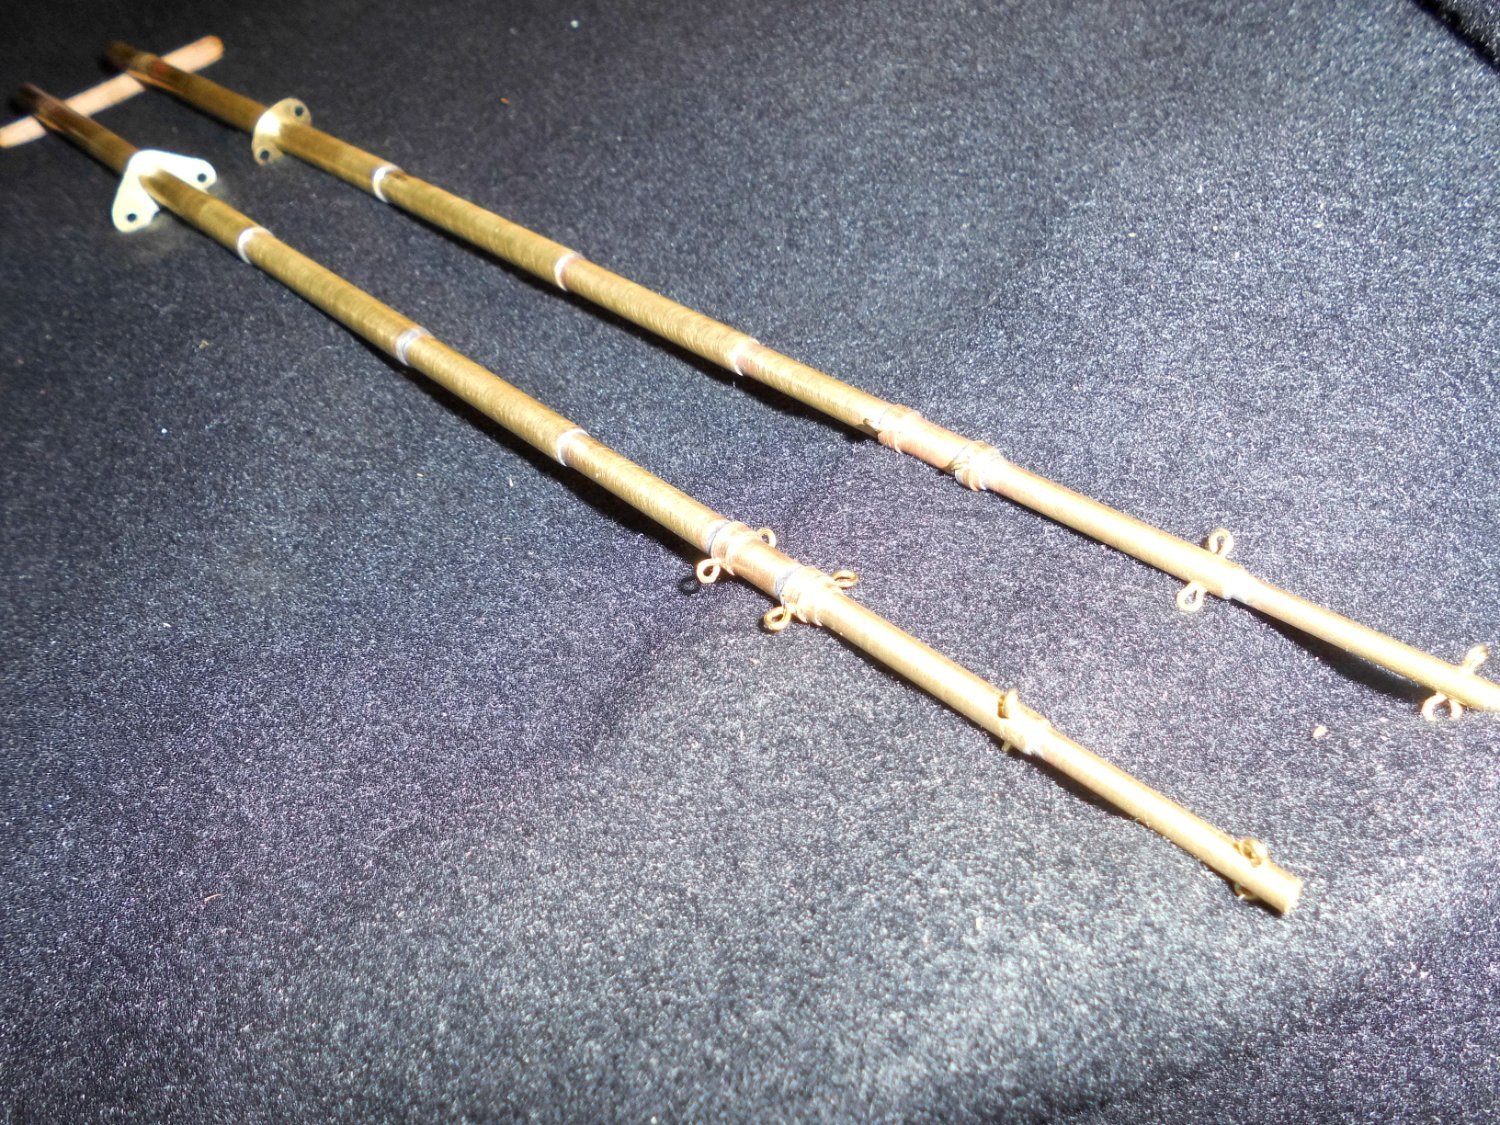
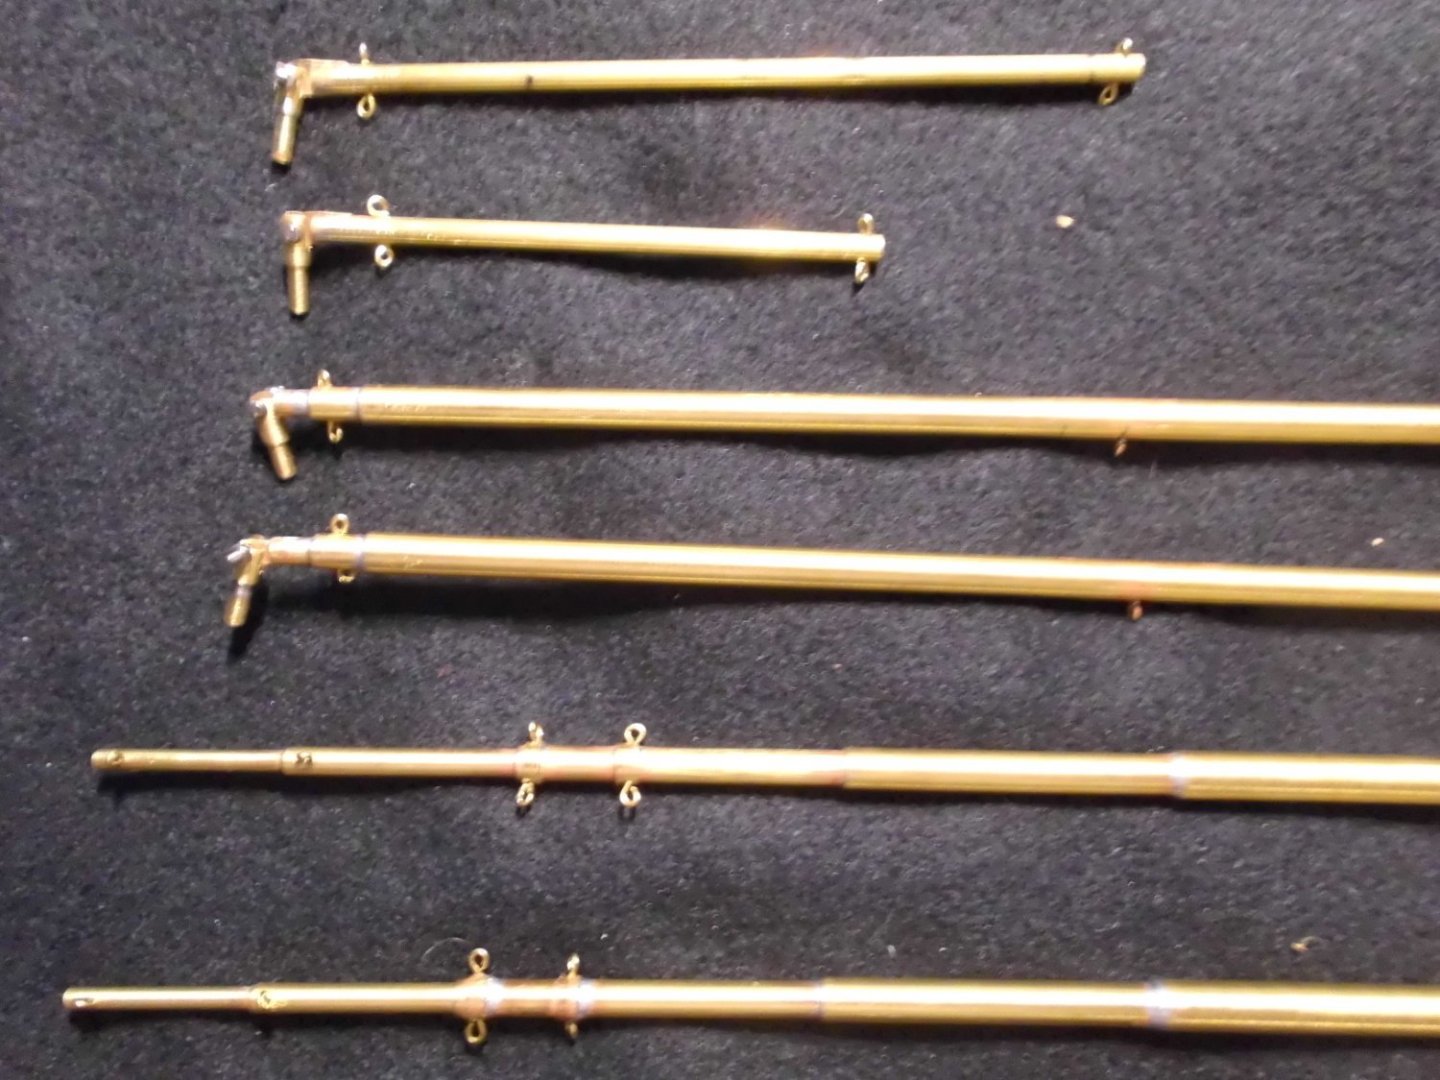
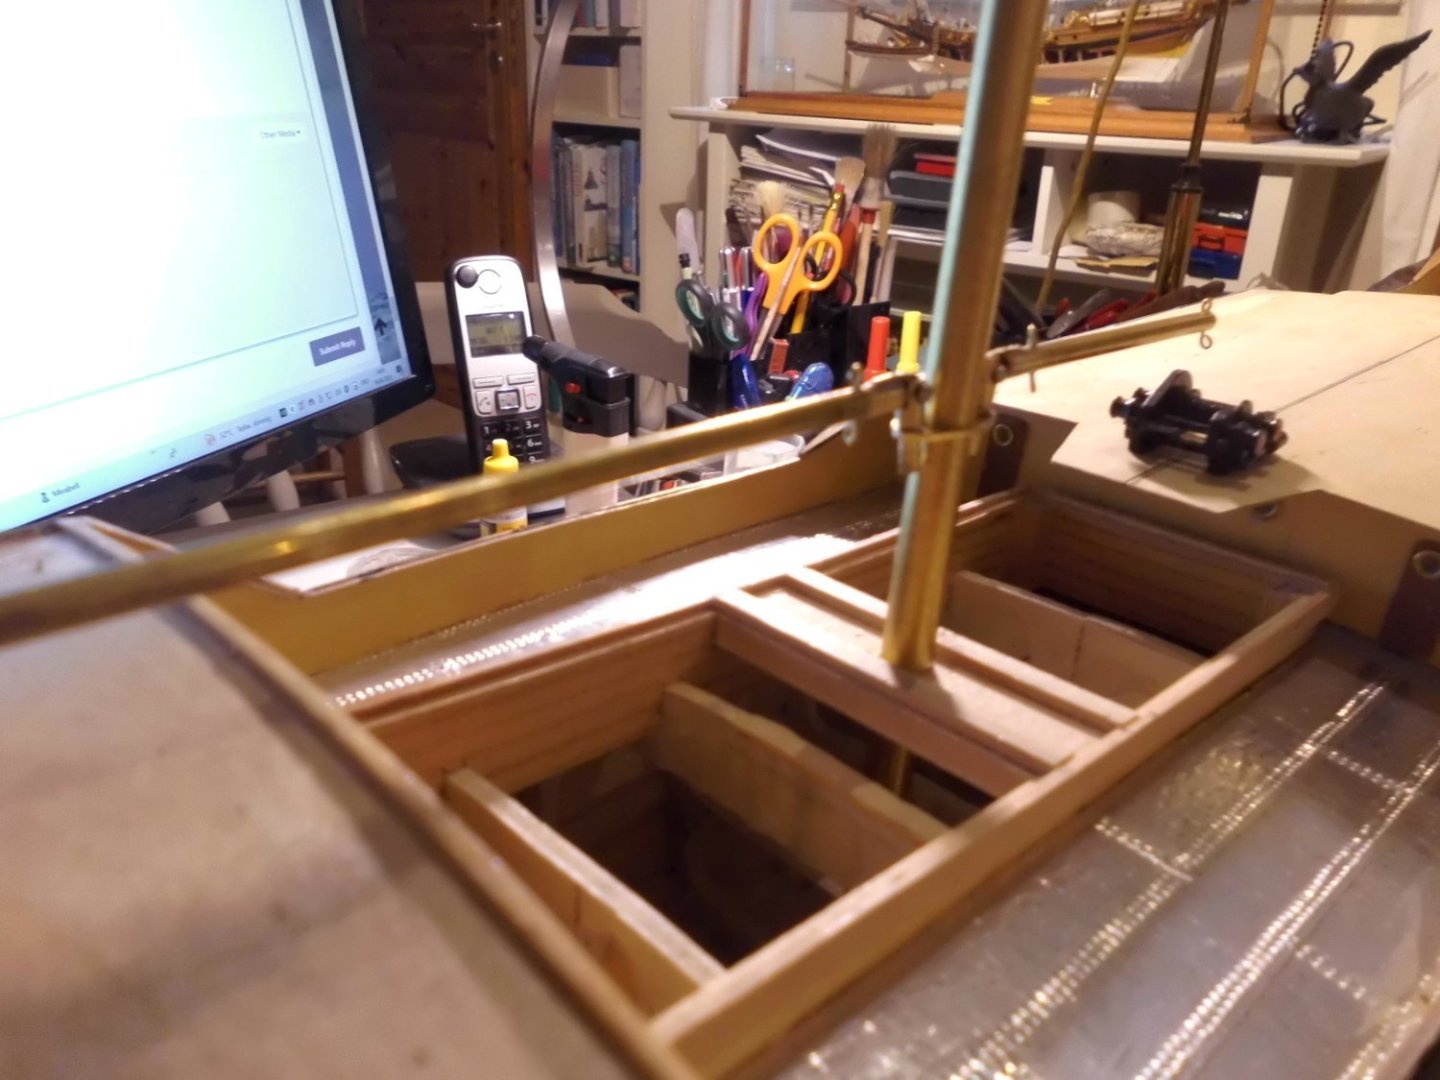
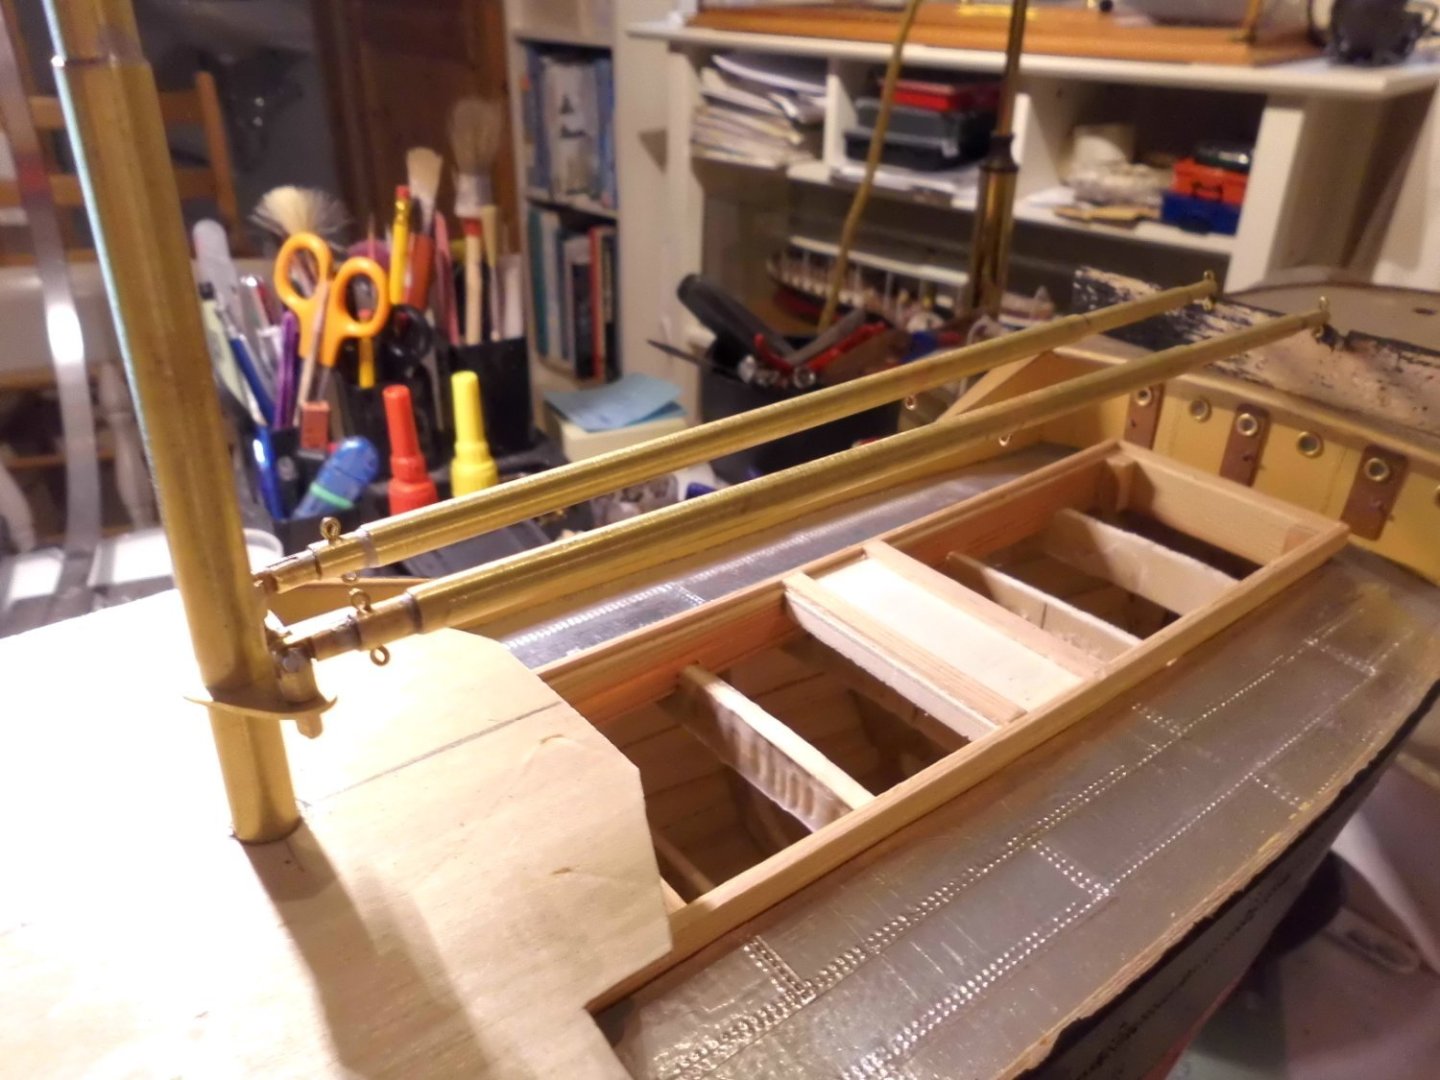
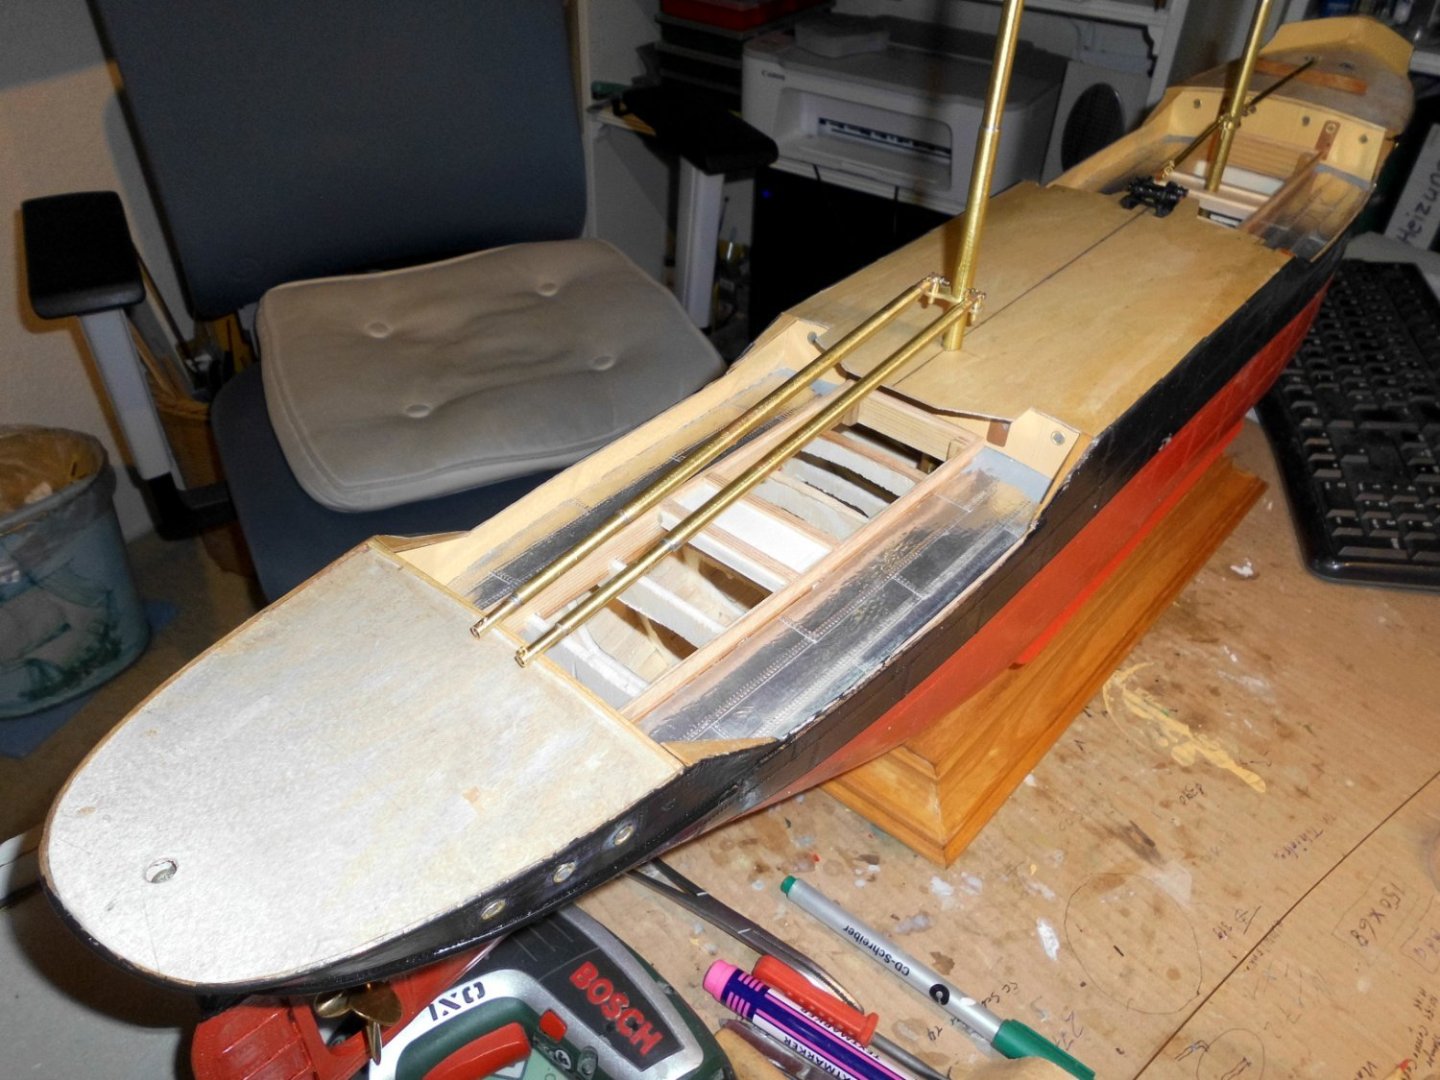
Update I made the 2 masts and the 4 loading derricks. For the frontmast I`m planing to fit the crows nest with an access ladder from deck to it Nils the 4 derricks with fastening pionts for the blocks and angle pivot, also the 2 "tapered" masts with fastening eyes for rigging- blocks and shrouds the counter-points for the derrick pivot pins "tapered" masts the long aft derricks reach over the entire welldeck area with the 2 holds


- 330 replies
-
- 19
-

-
Many thanks for Your pics Andy, did you issue your Sylvan Laker at any time on MSW, its worth it.... Nils
-
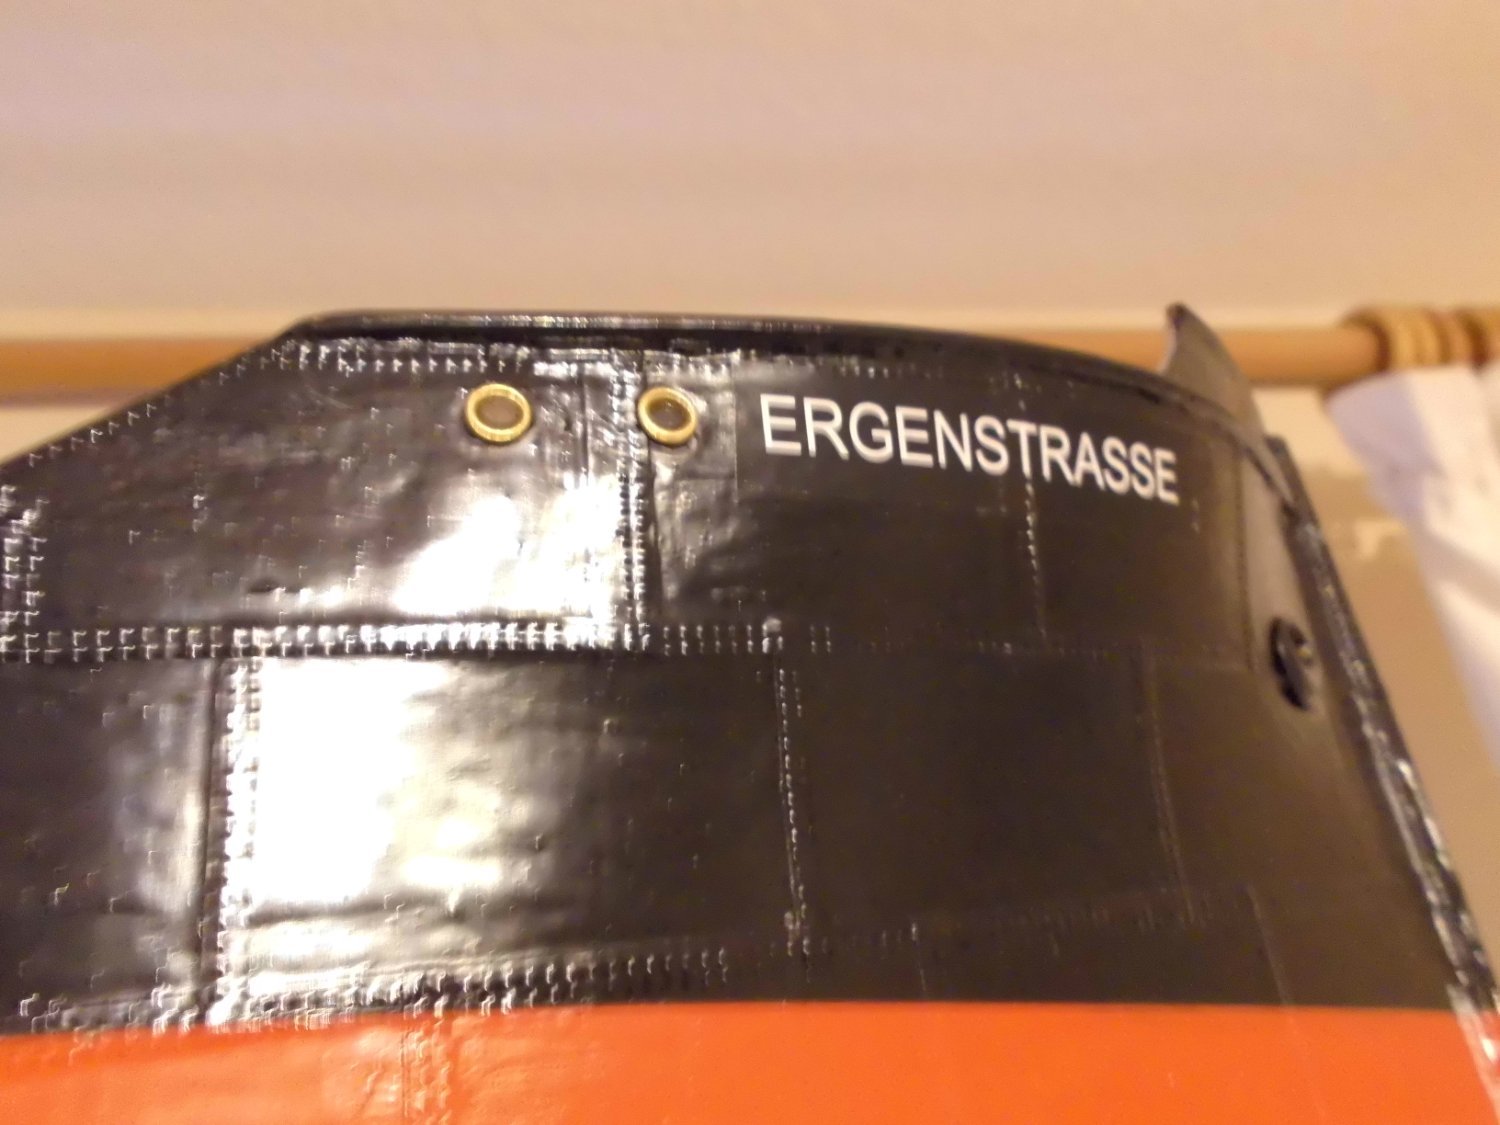
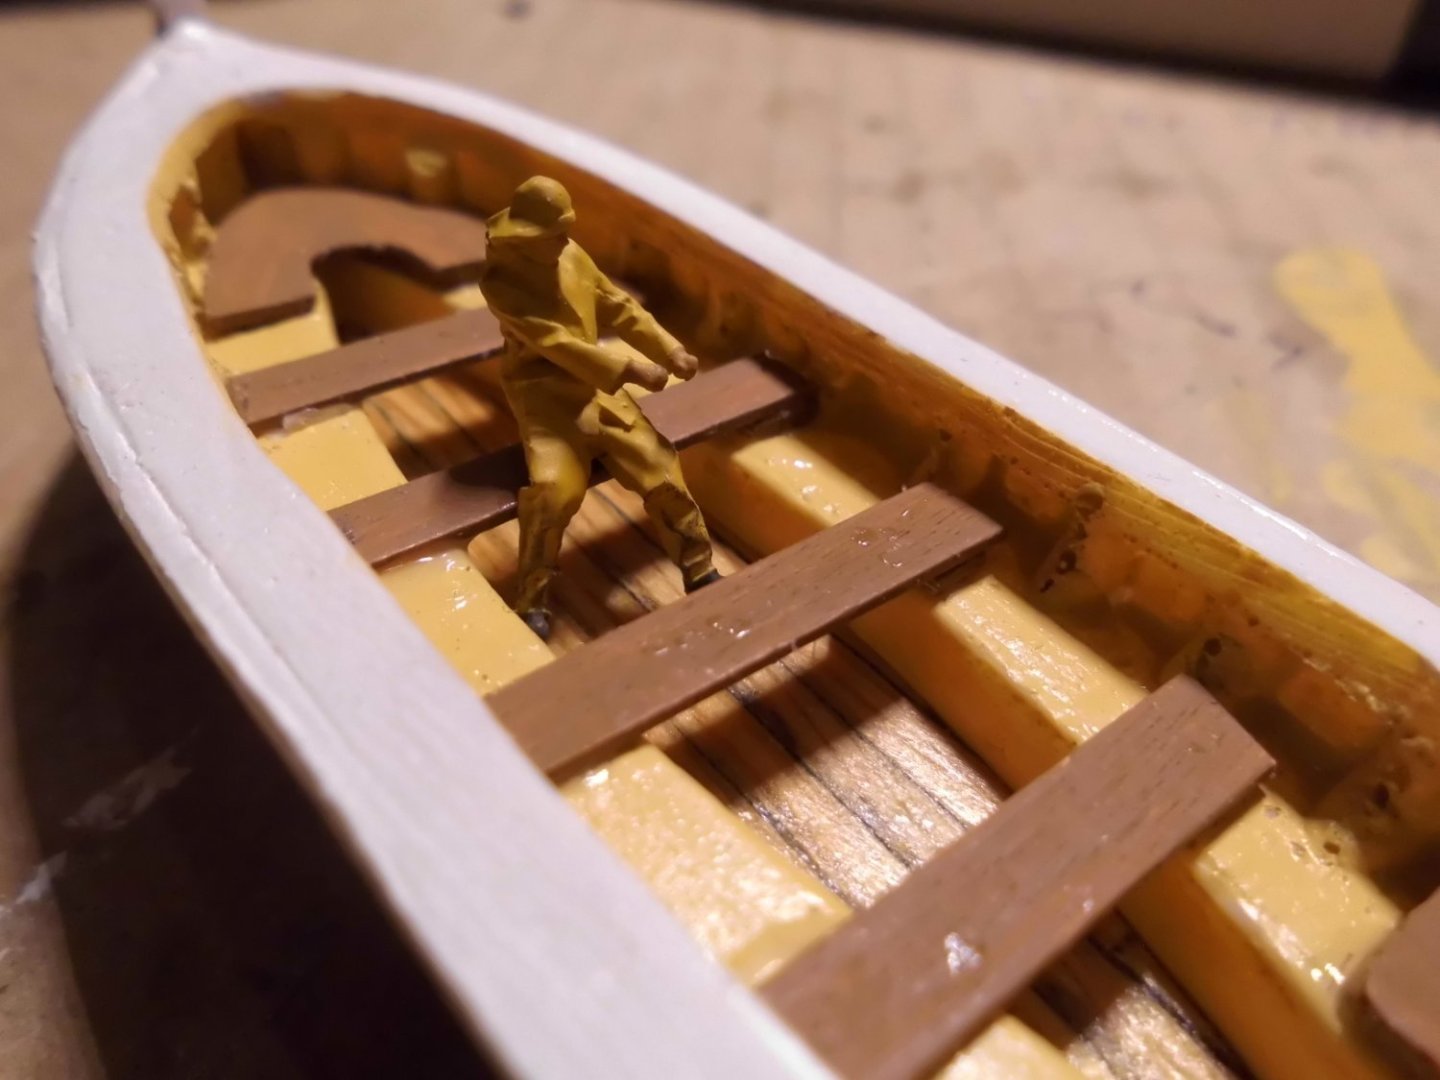
Update I`ve completed the boats so far. Special thanks go to Andy who kindly helped me with the number of portholes, and where they should be on the hull. After "glassing" them I put them on the hull already today. Nils here is a 1:87 (H0) sailor figure for size comparison the name and numbers on the boats are printed with incjet on transparent self adhesive foil sorry for the rather bad pic quality. The portholes "glassing" is made from 3 mm round silicon bar and glued in place with a drop of CA. The portholes housing is a brass hollow rivet with flange


- 330 replies
-
- 15
-
-
A beautiful build Roger, congrats to your good work Nils
-
Update After making two trial dummies as covers for two of the 3 boats I decided to use the card-made version, when varnished in silk appeal it looks like weathered canvas. The open boat will have no cover..... Nils

- 330 replies
-
- 12
-
-
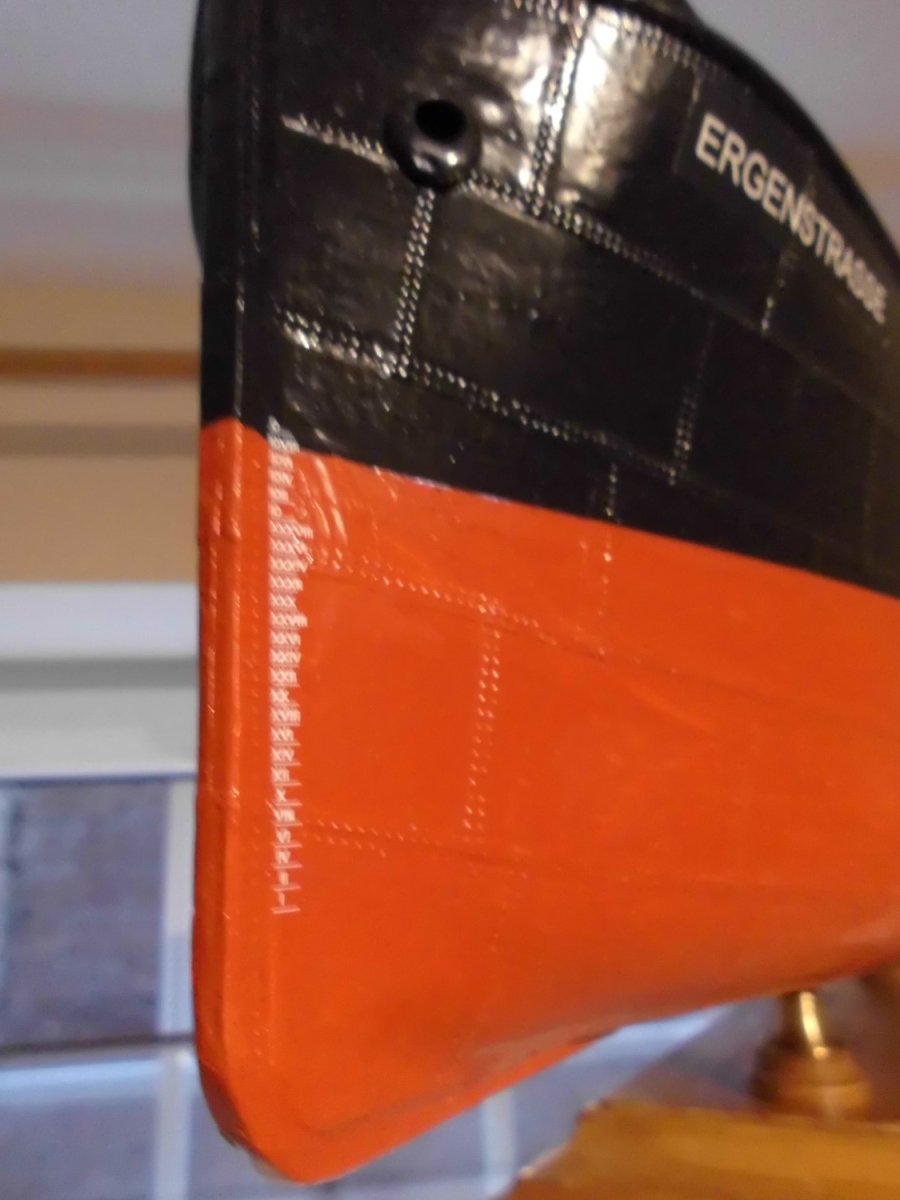
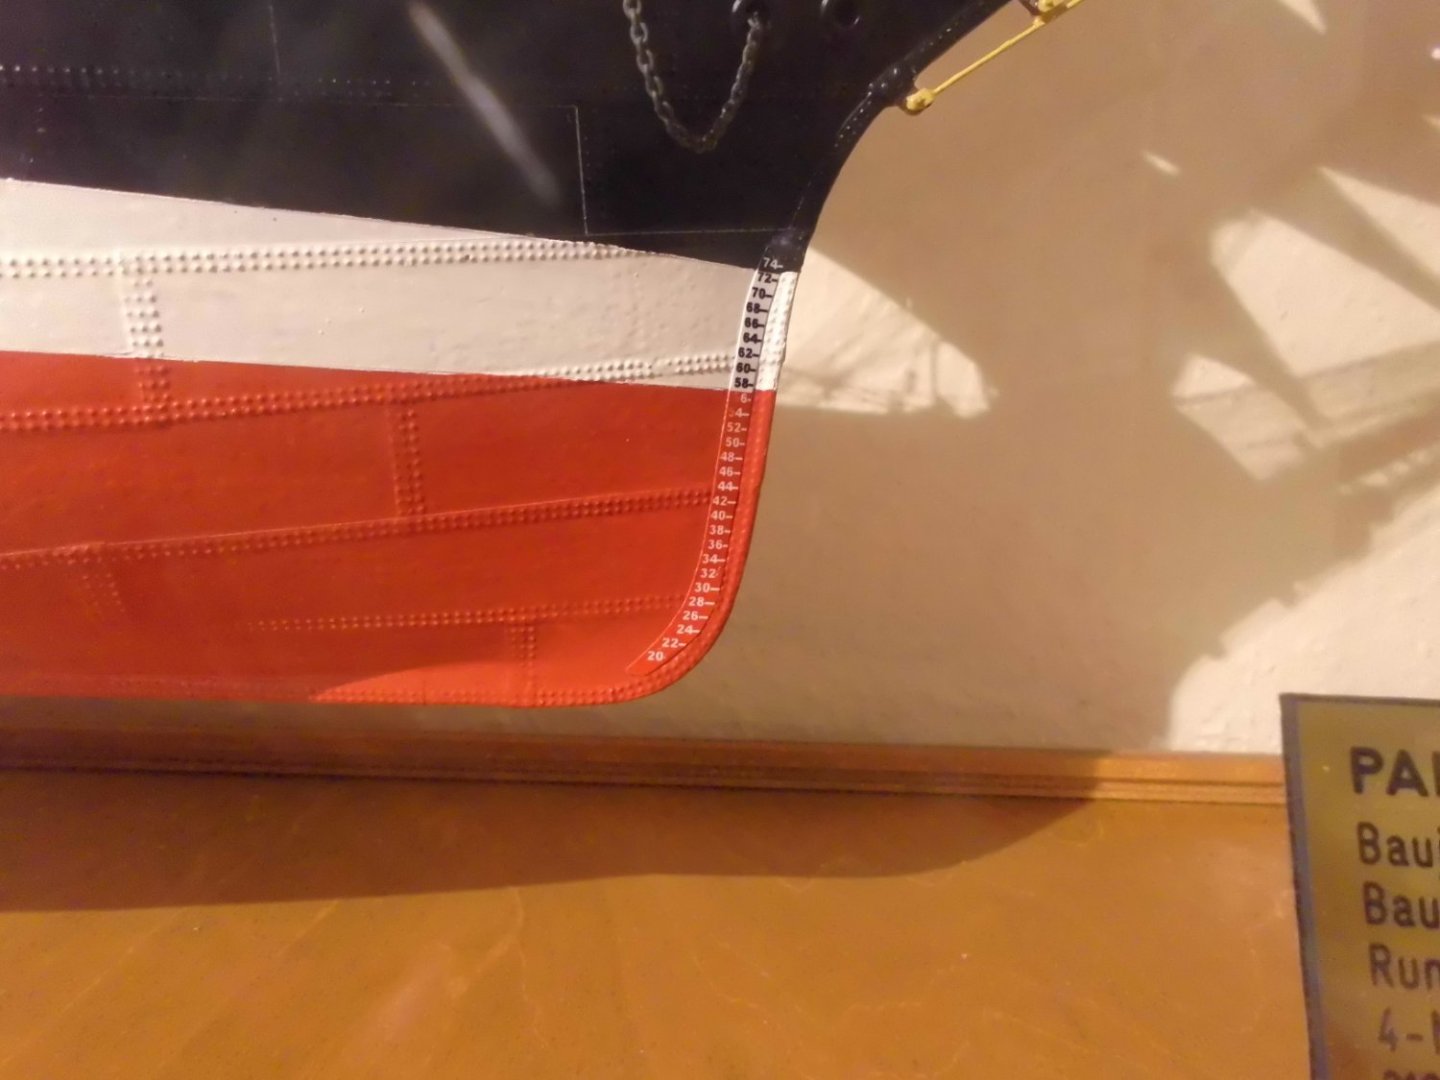
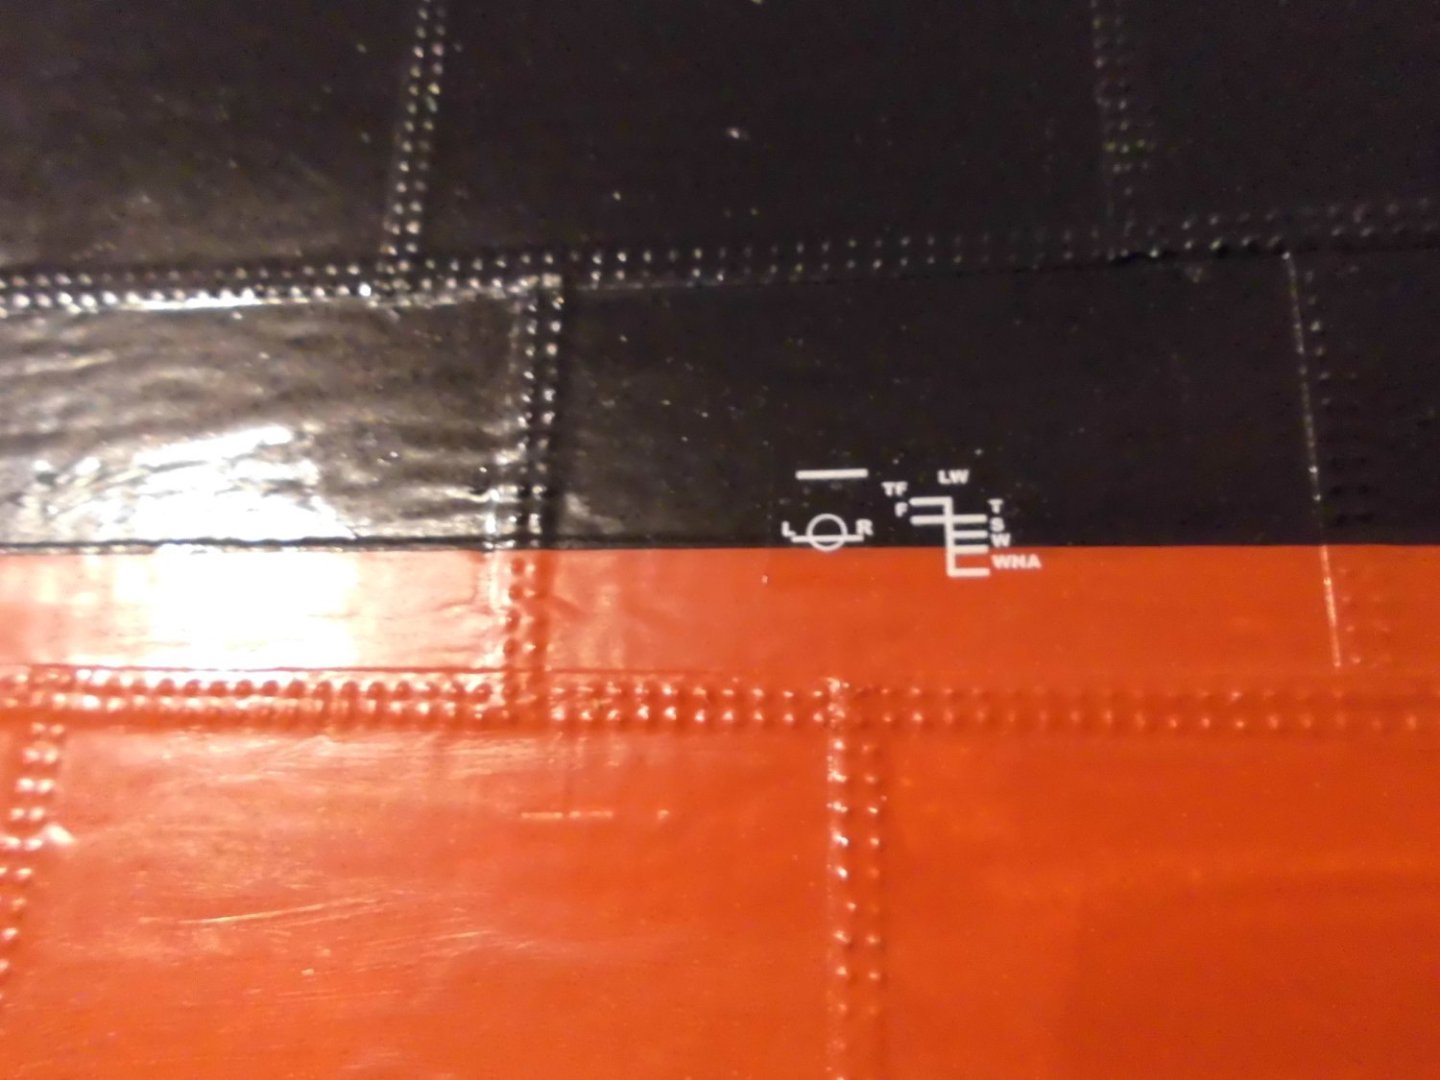
Yves, I do`nt make my own decals, but use Excel i.e. for doing the depth markings and printing out on glossy photopaper and cutting out. The encl. pic is showing the bow depth-marking of my Pamir. For the Ergenstrasse I did`nt find any decal for the plysmoll marking in scale 1:87, but in 1:100. which I used in this case. And this little decal sheet it was on, had also depth markings on it. The pics are in my post. I would have made them with Excel also but here I bought them. Maybe I`ll change them out if I find appropriate decals in 1:87 one day. With Excel its possible to follow the bottom bow-rounding quite well and even to choose the right color on the red white black Hull Nils Pamir bow-markings
- 330 replies
-
- 10
-

-
-
well done Harry, I`m looking for some fabric cloth I can do the covers for my boats as well. Also I do`nt know yet how I`m going to fasten the tying ropes to the cover`s trangle latches Nils
- 118 replies
-
- 1
-
-
- sanson
- artesania latina
- (and 1 more)
-
nice build Hof, did you scratch build the boats, they also look good ? Nils
- 118 replies
-
- 1
-
-
- sanson
- artesania latina
- (and 1 more)
-
congrats Evan, excellant work with the plating, its not so easy in this small scale, and the look is great. Also the Trumpeter basis hull seems to be a high quality, beautiful lines. Nils
-
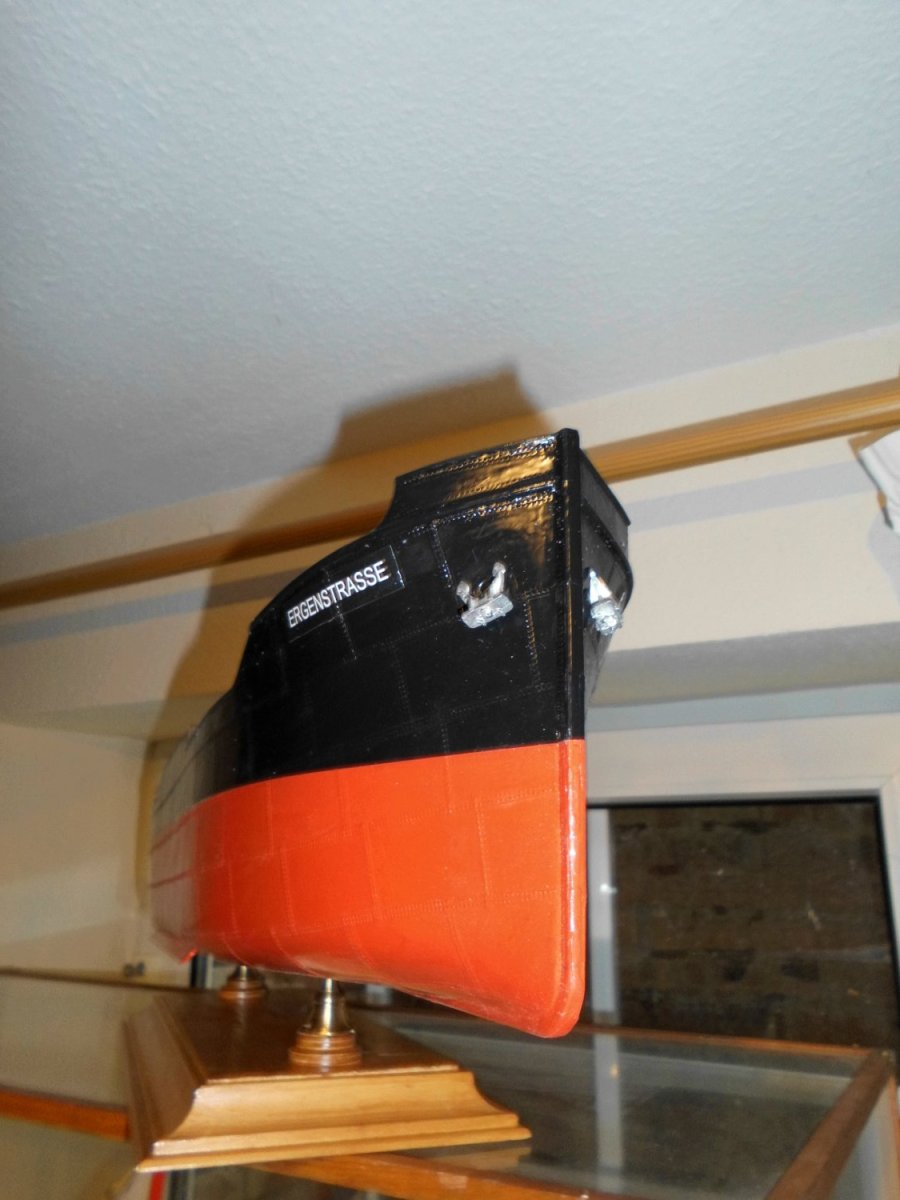
Thank you very much for your nice comment B.E., much appreciated I just put on the bow- and stern depth markings and the Lloyds Register "Plymsoll" marking. Nils stern in normal lettering bow in roman lettering

- 330 replies
-
- 12
-

-
-
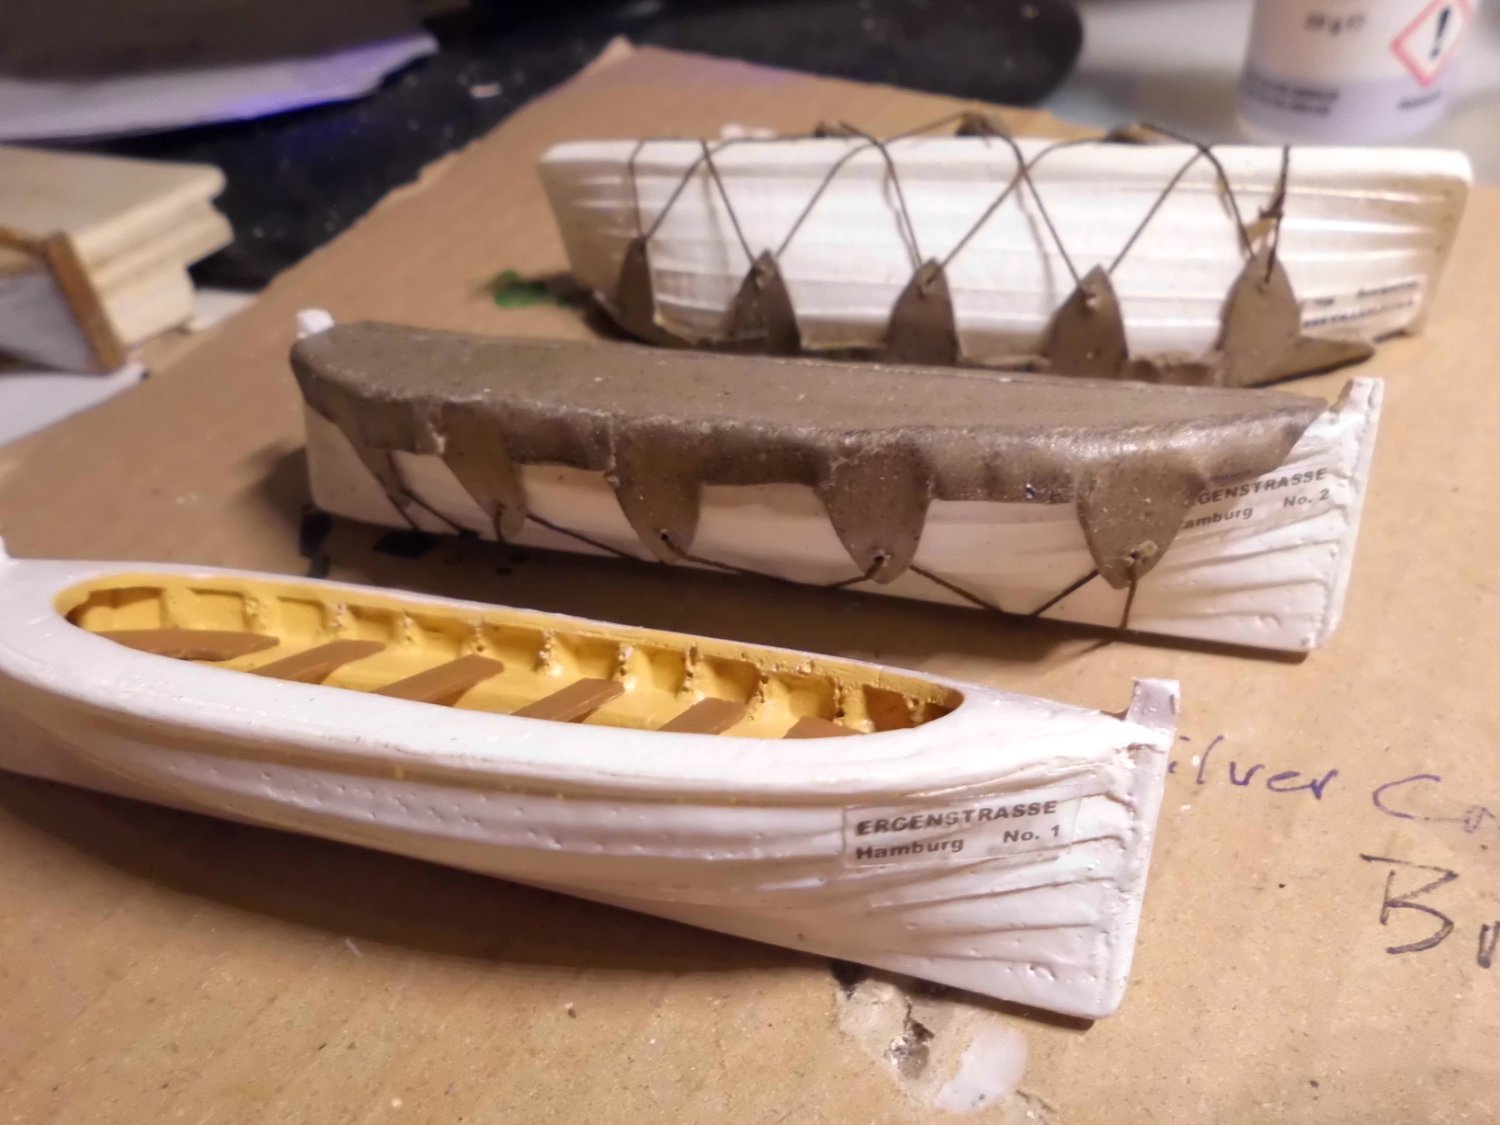
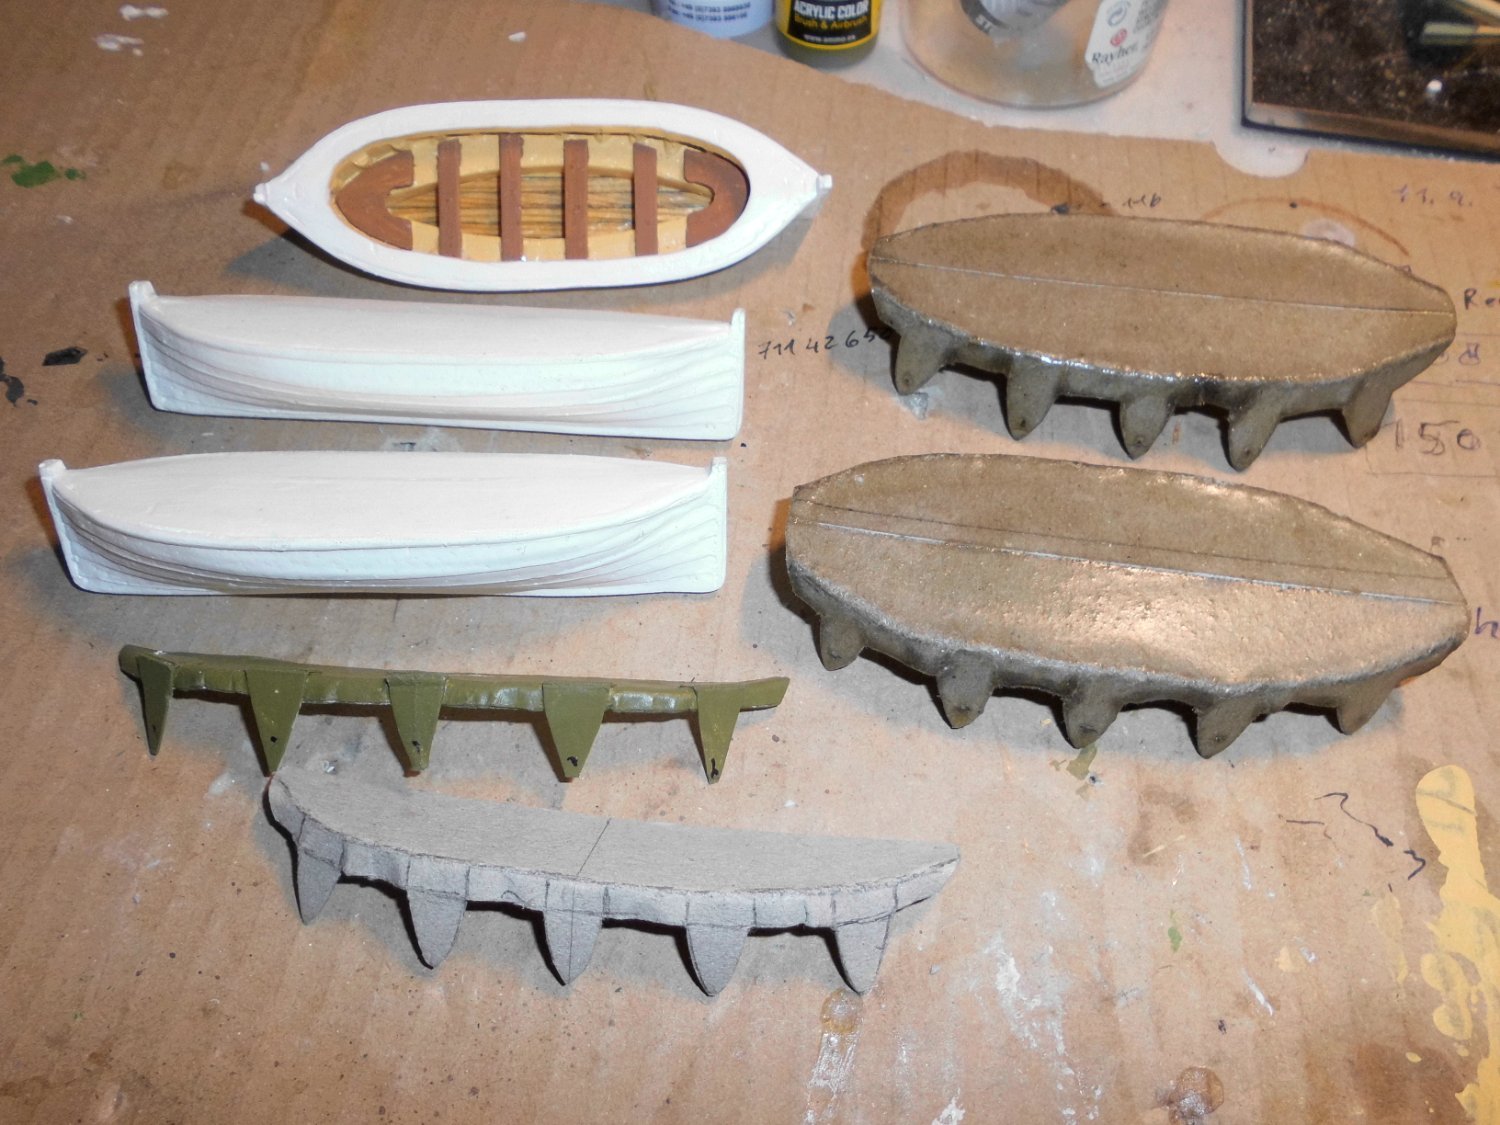
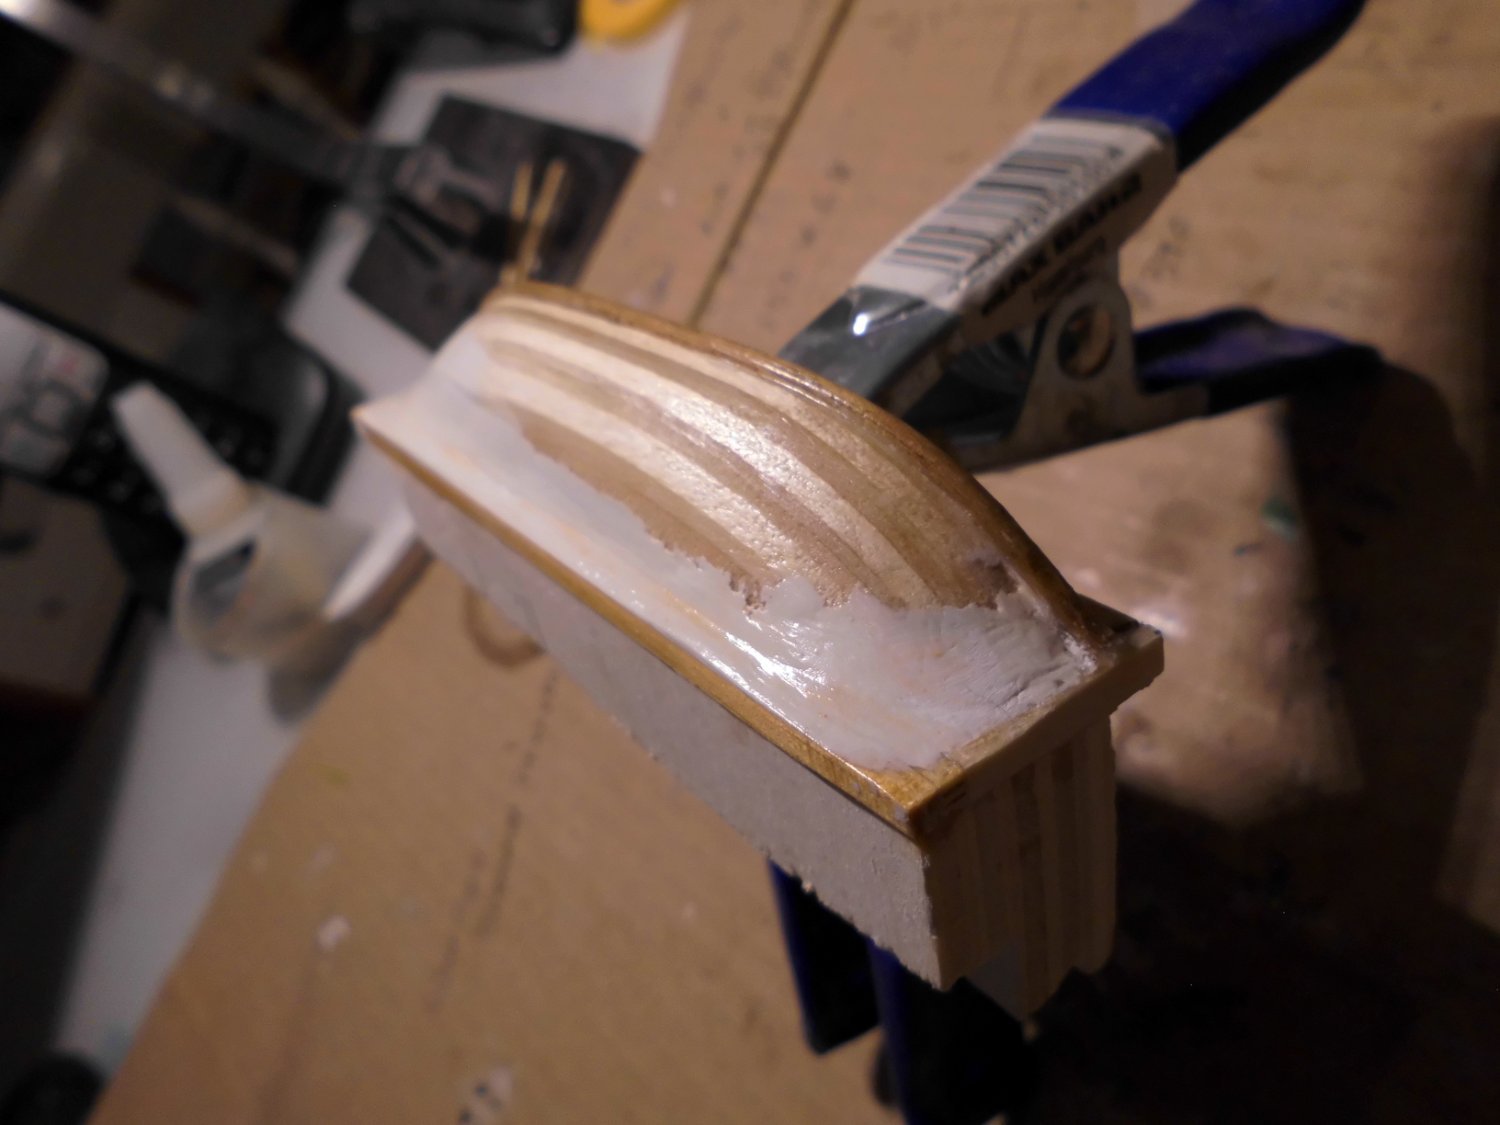
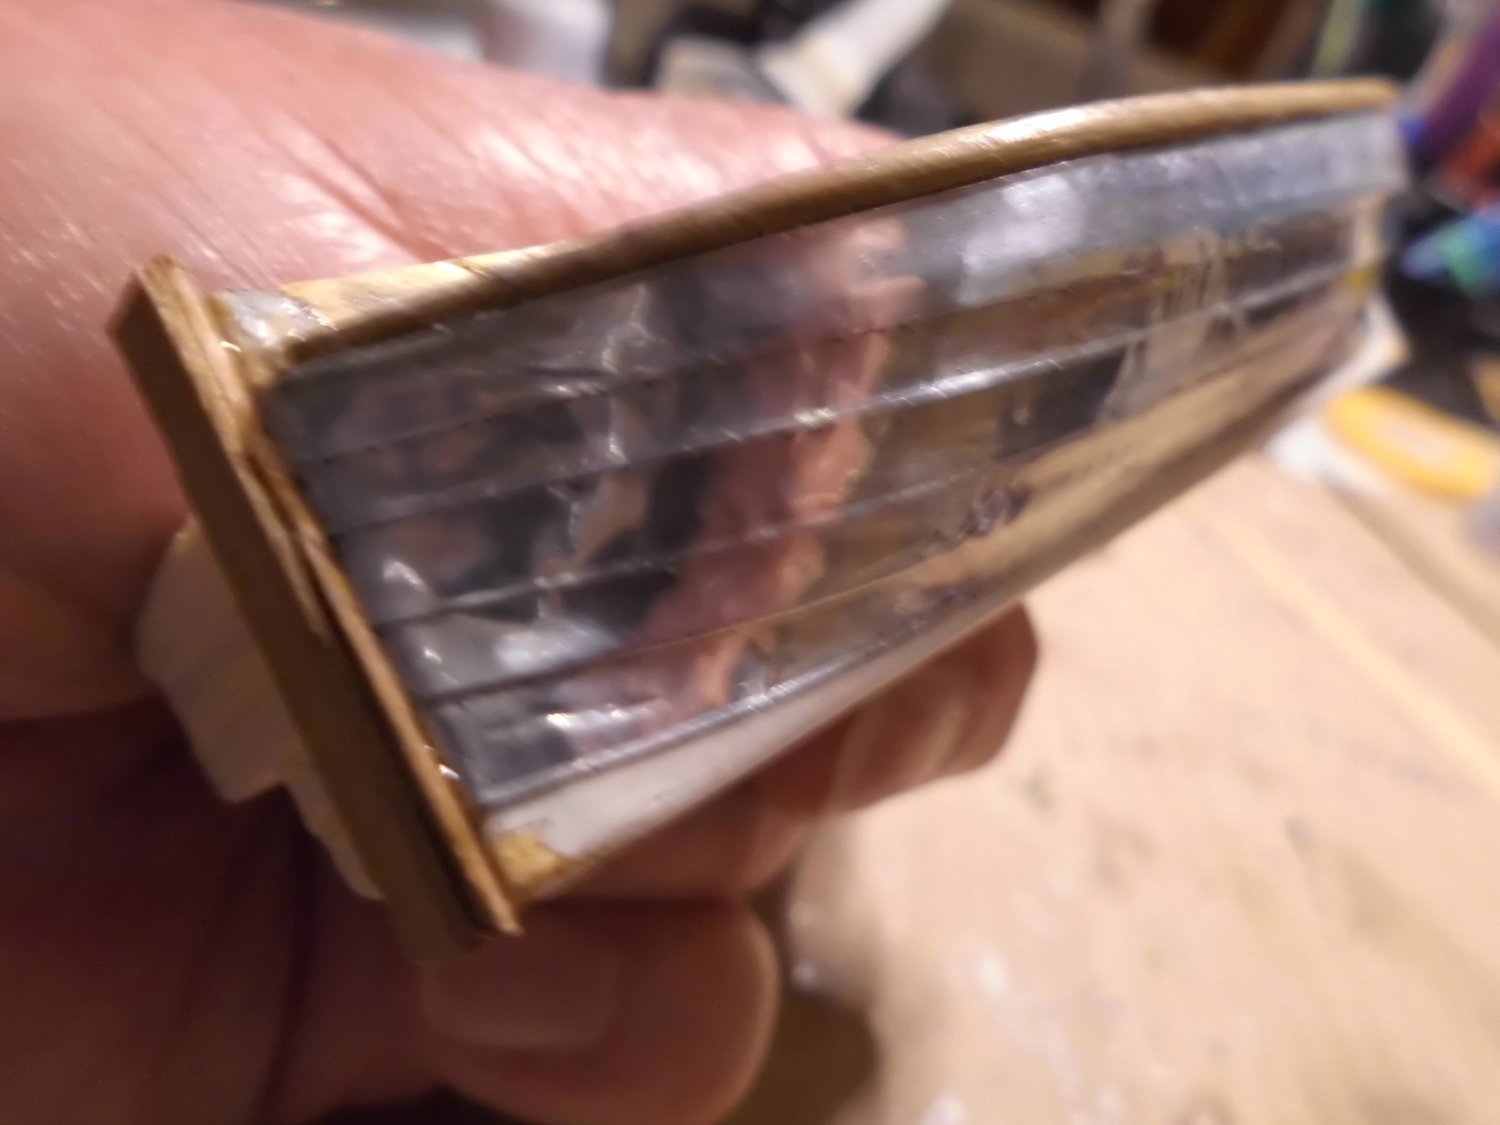
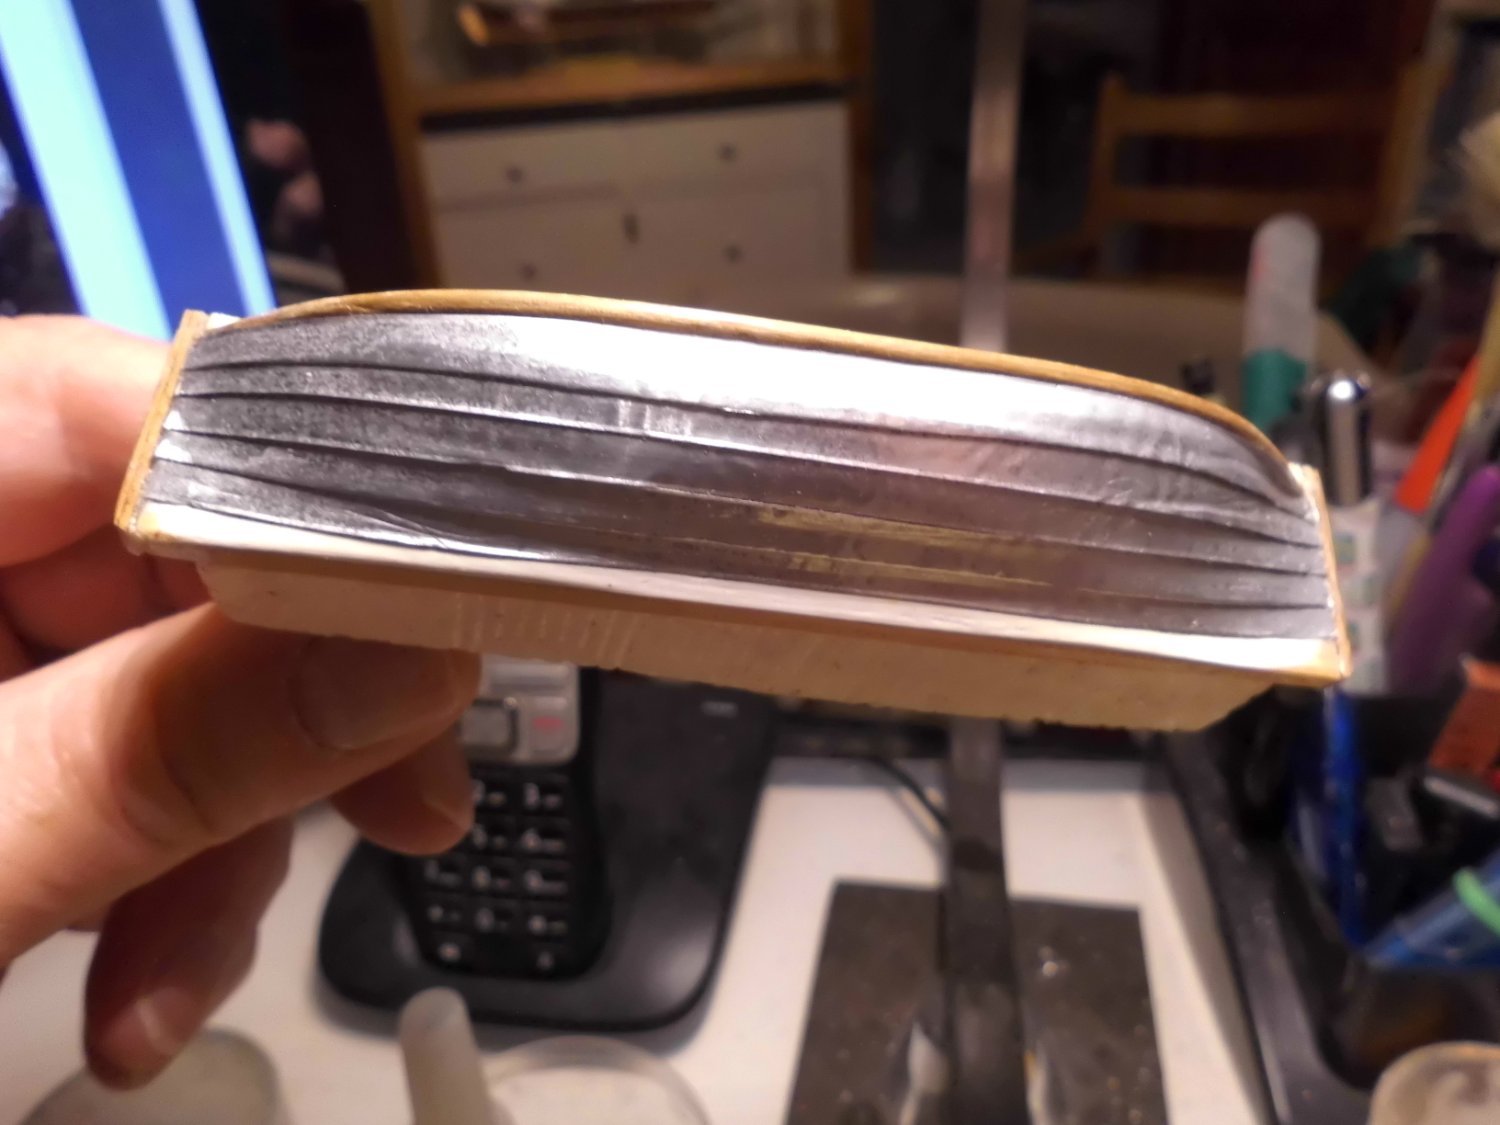
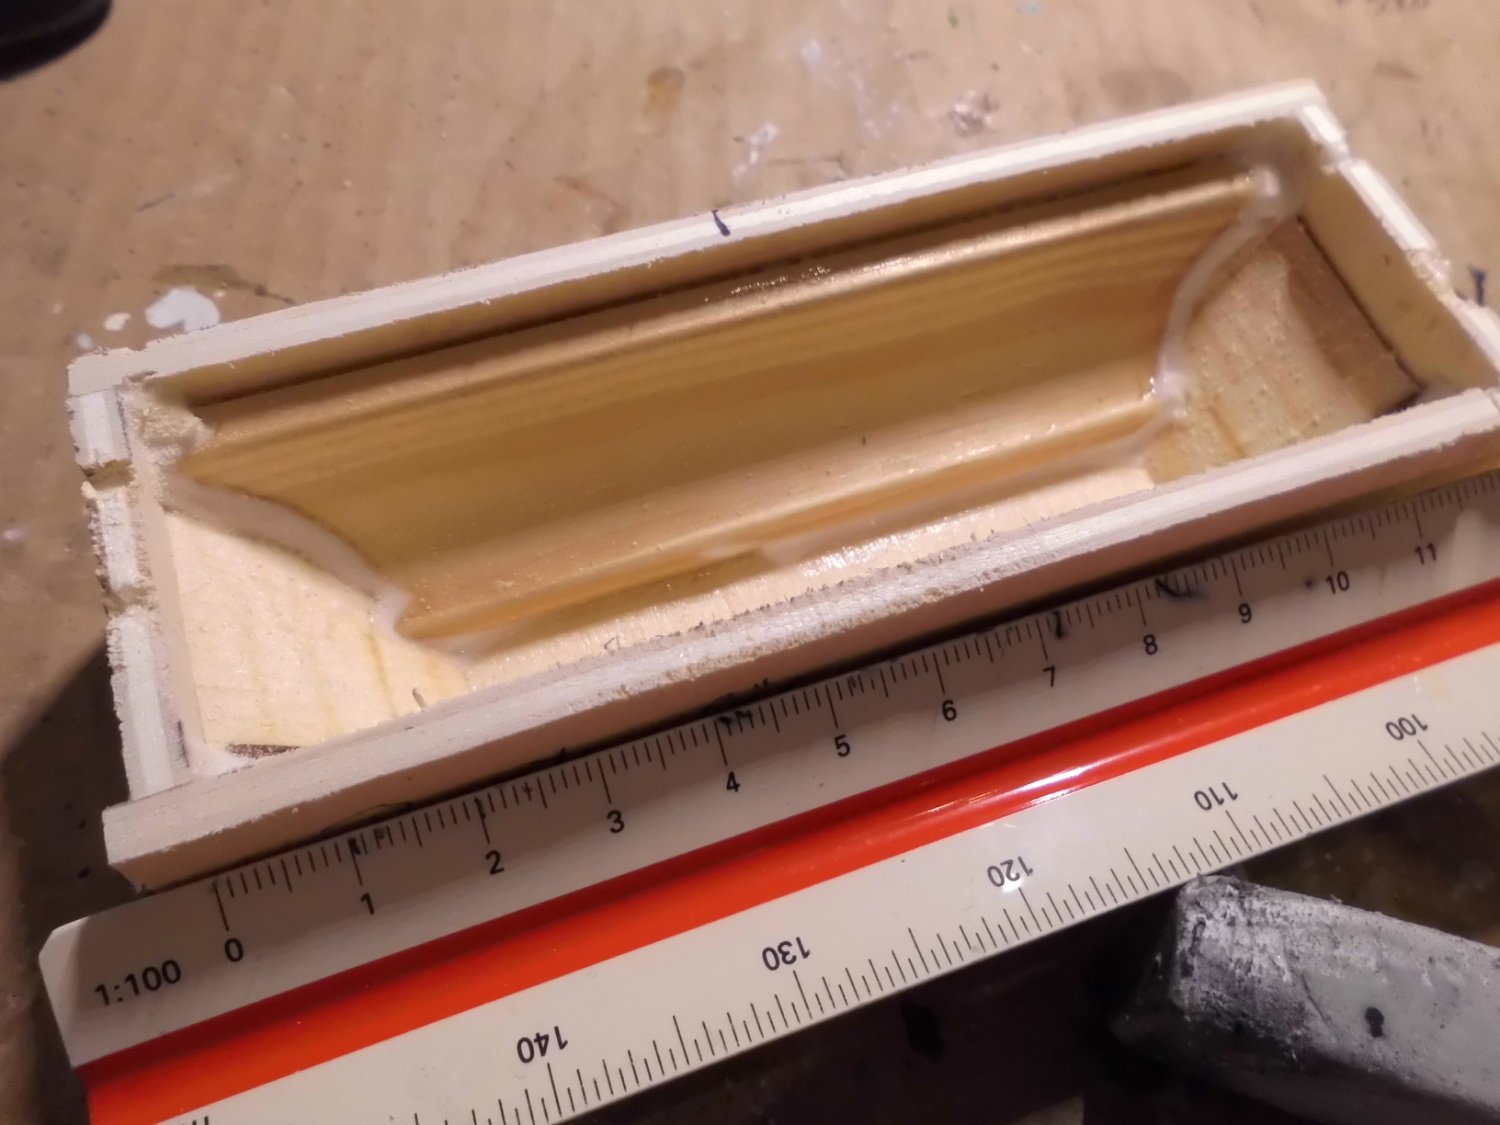
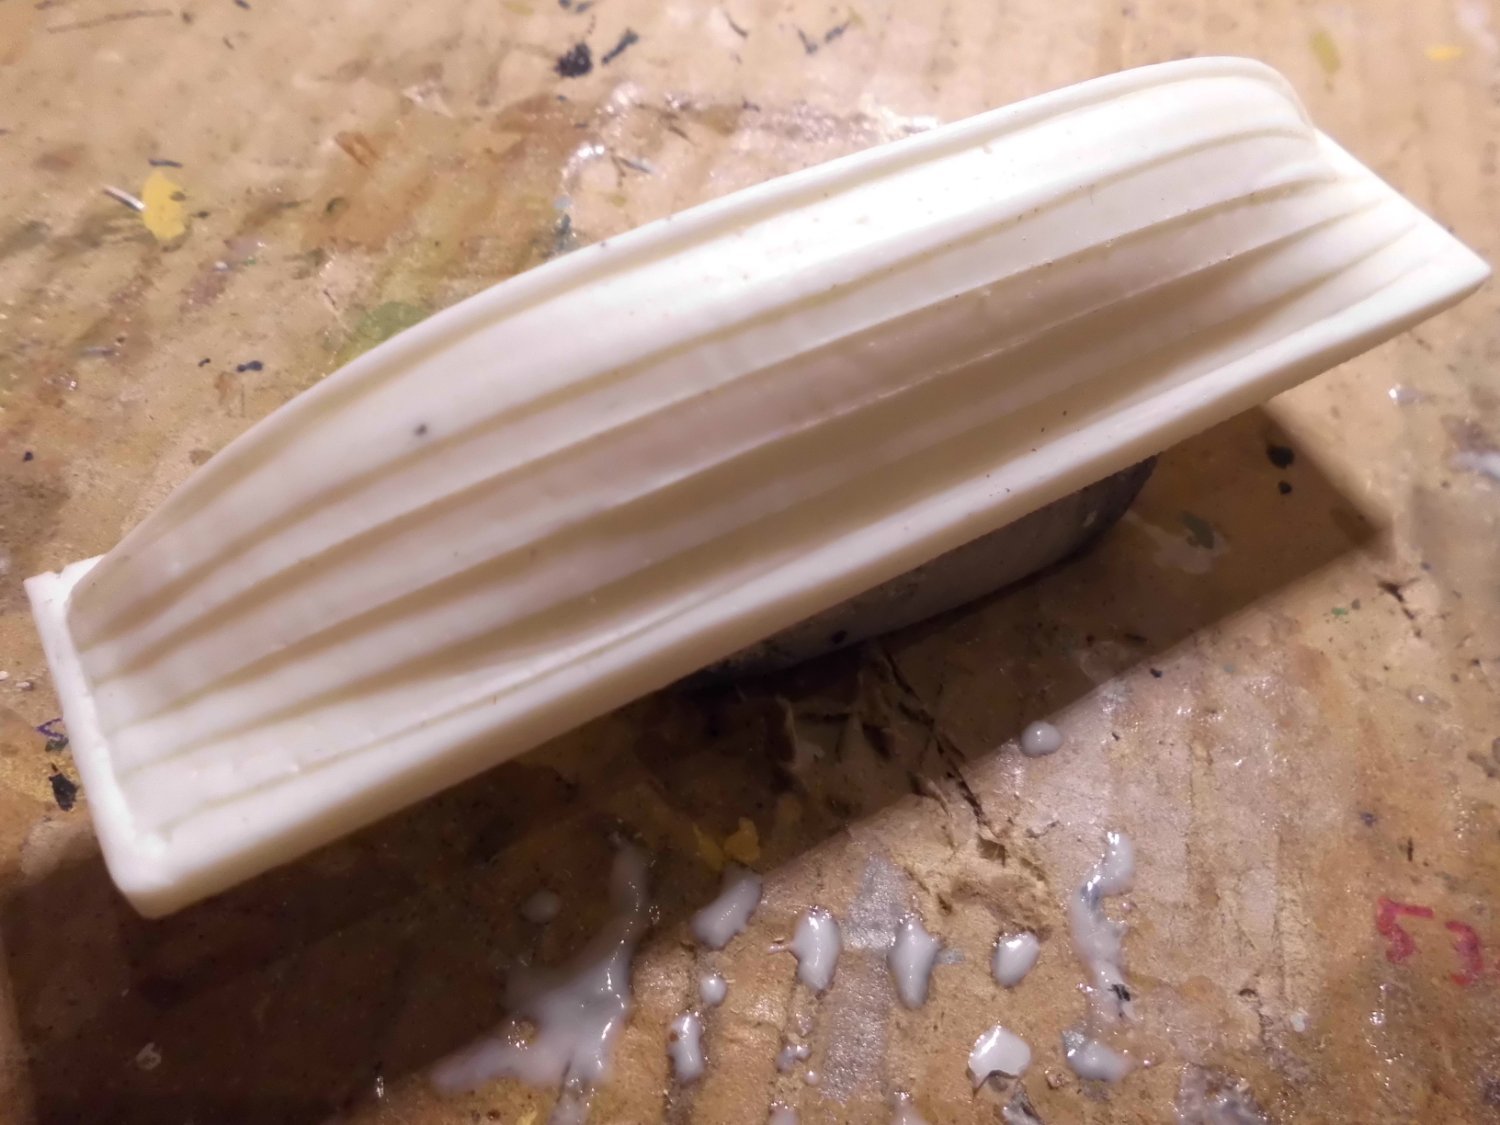
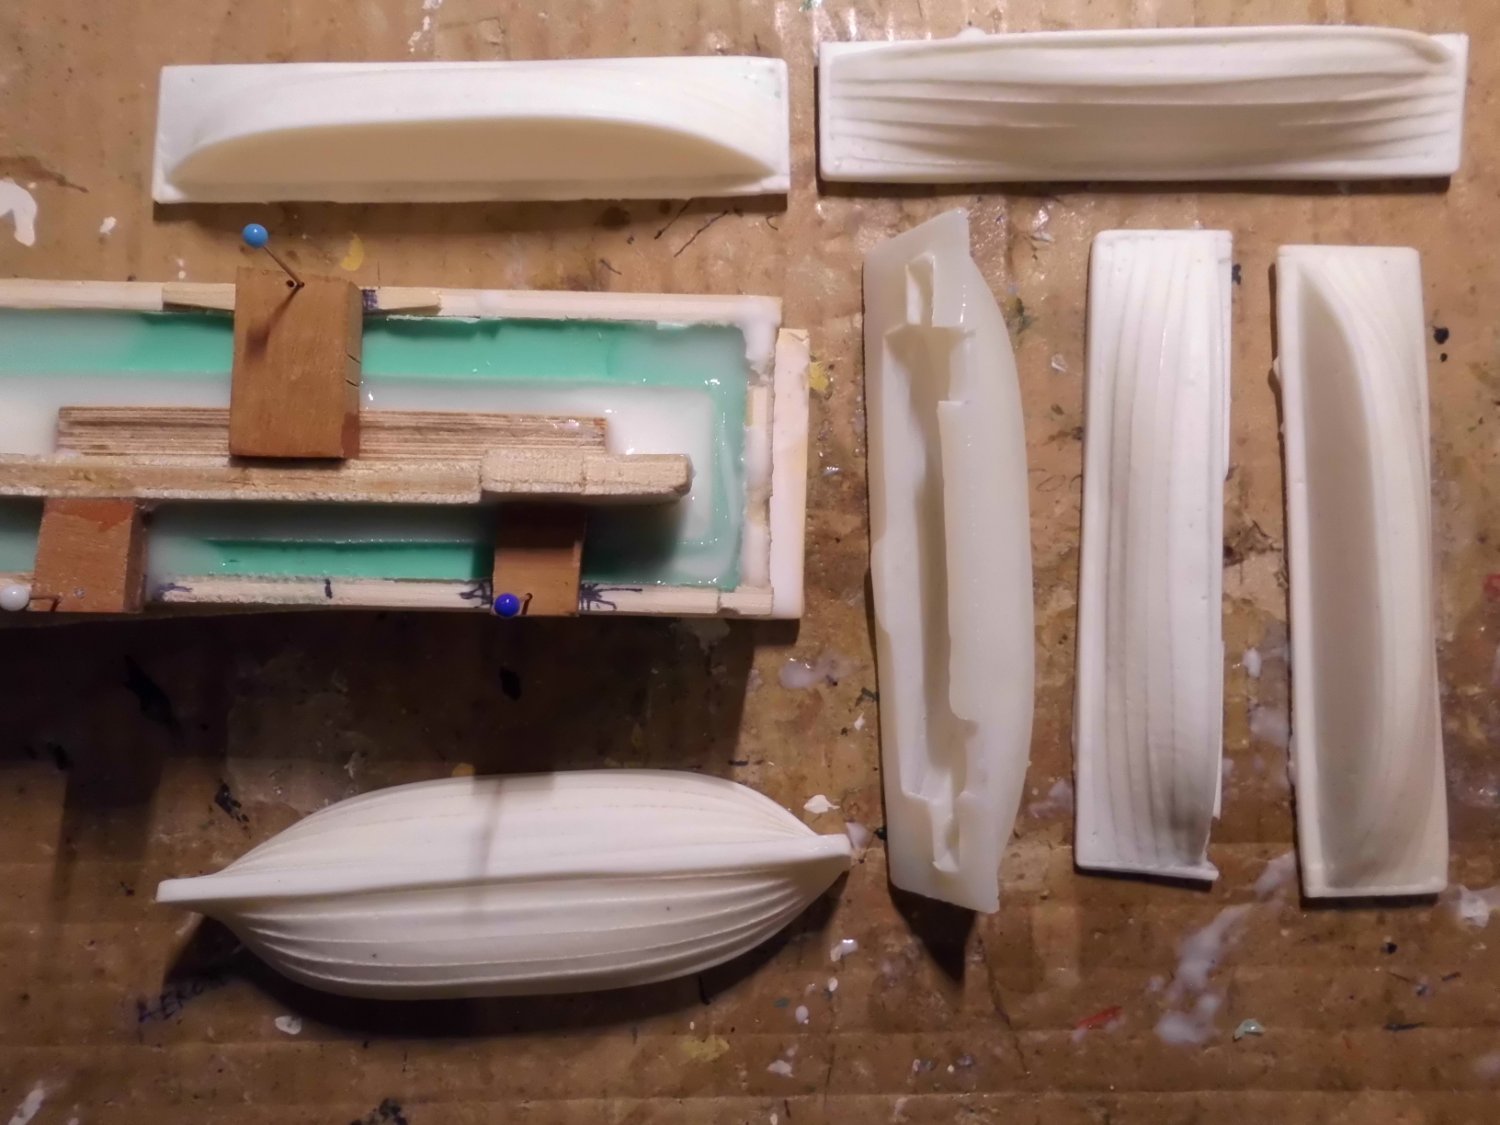
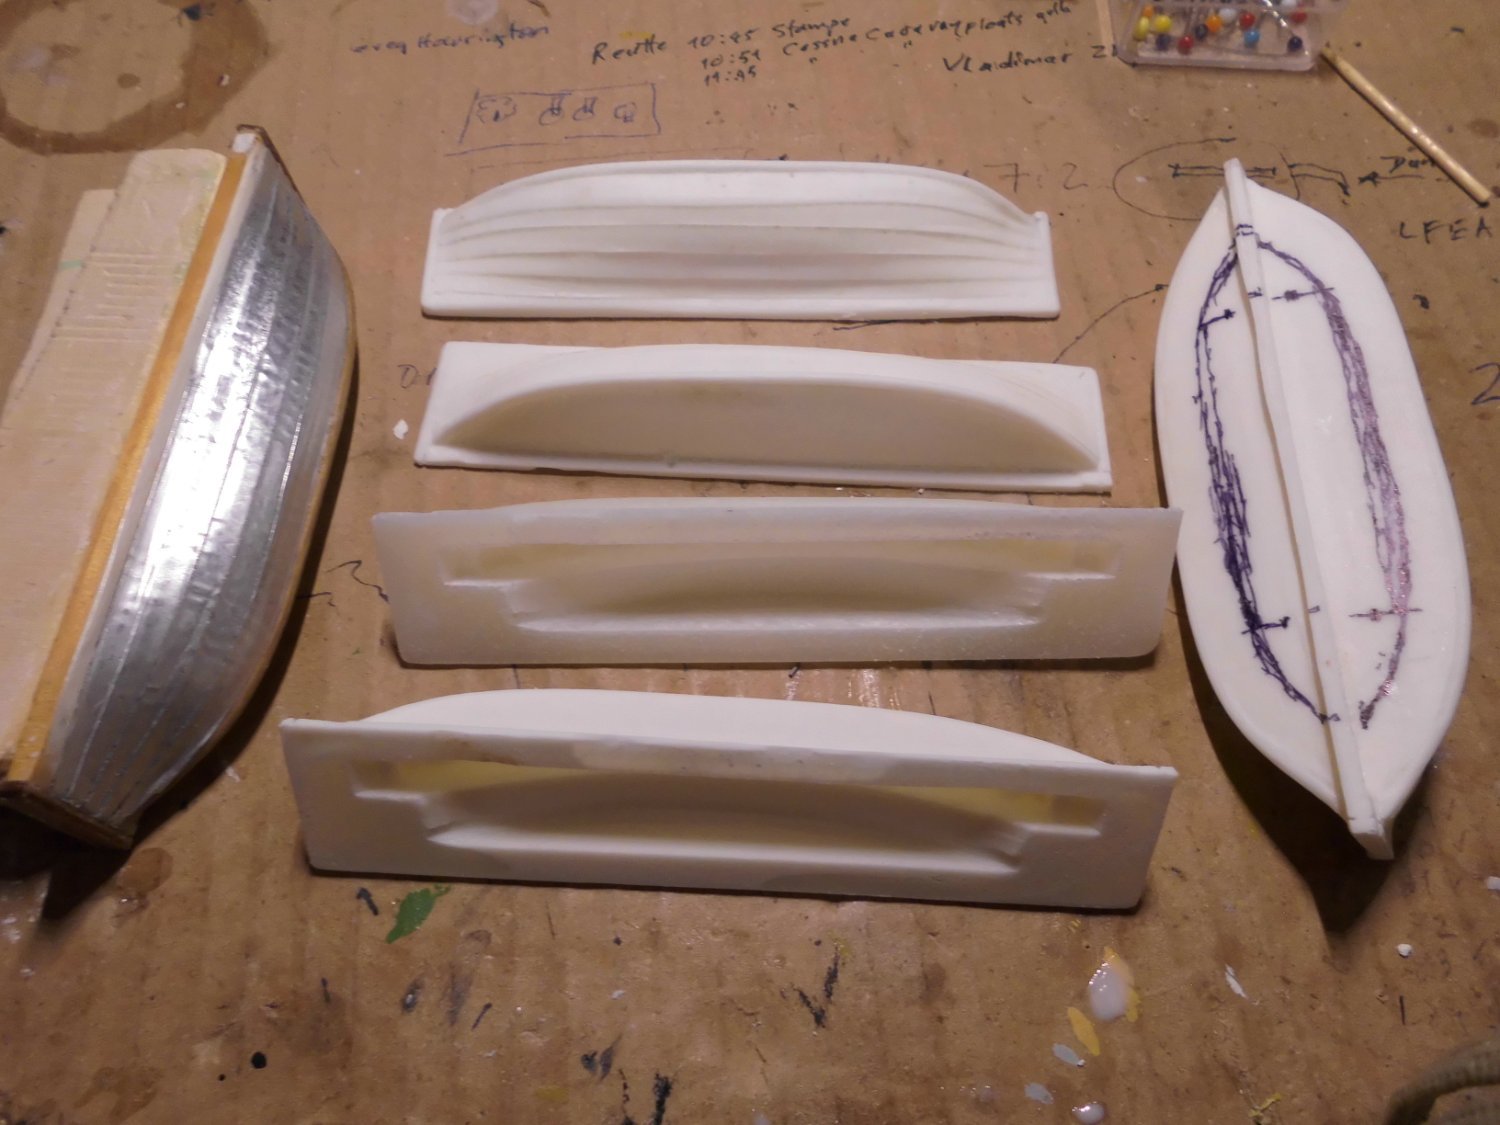
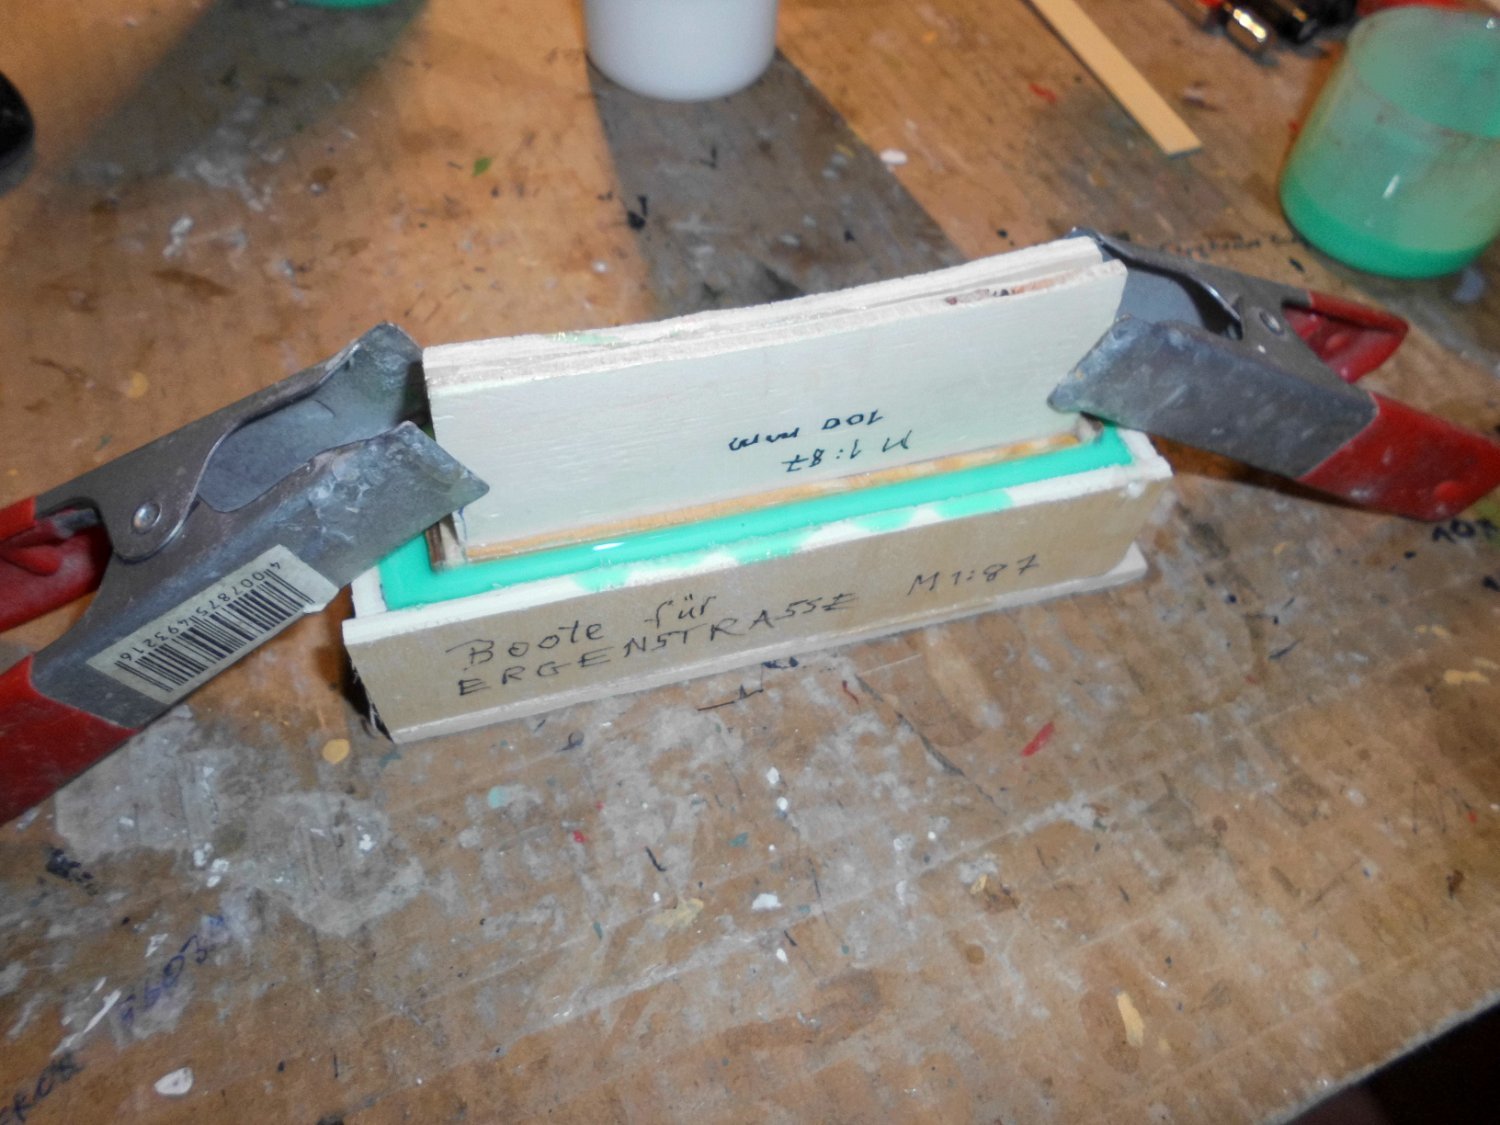
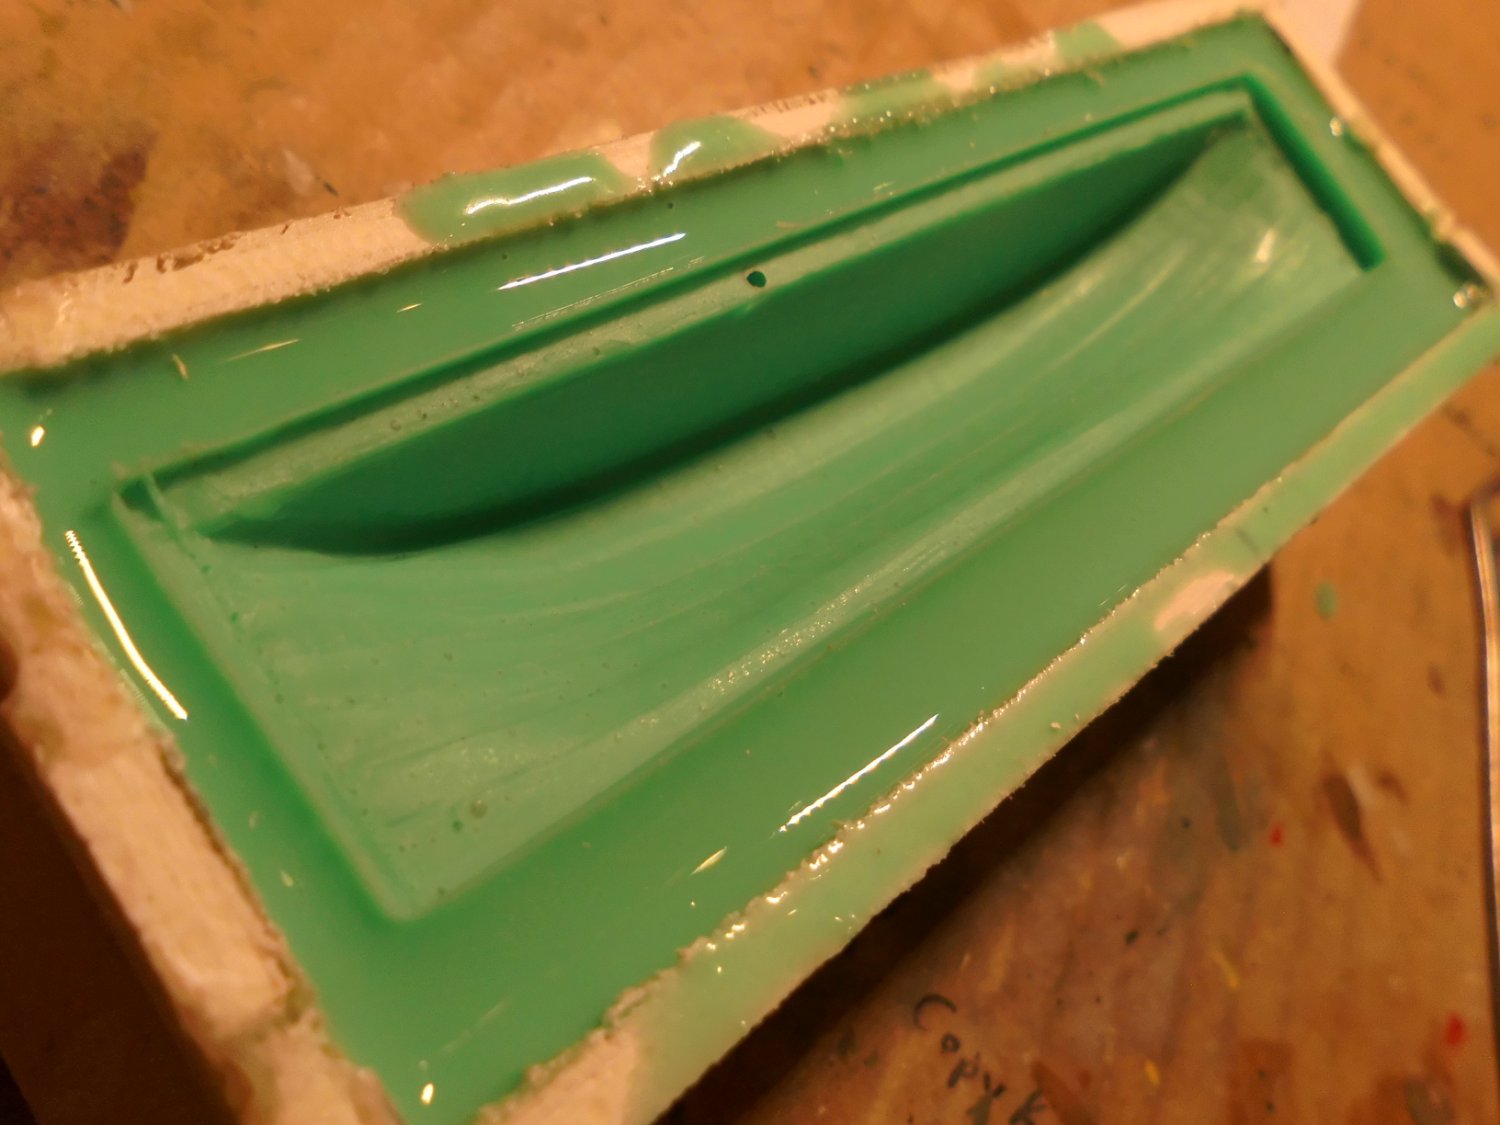
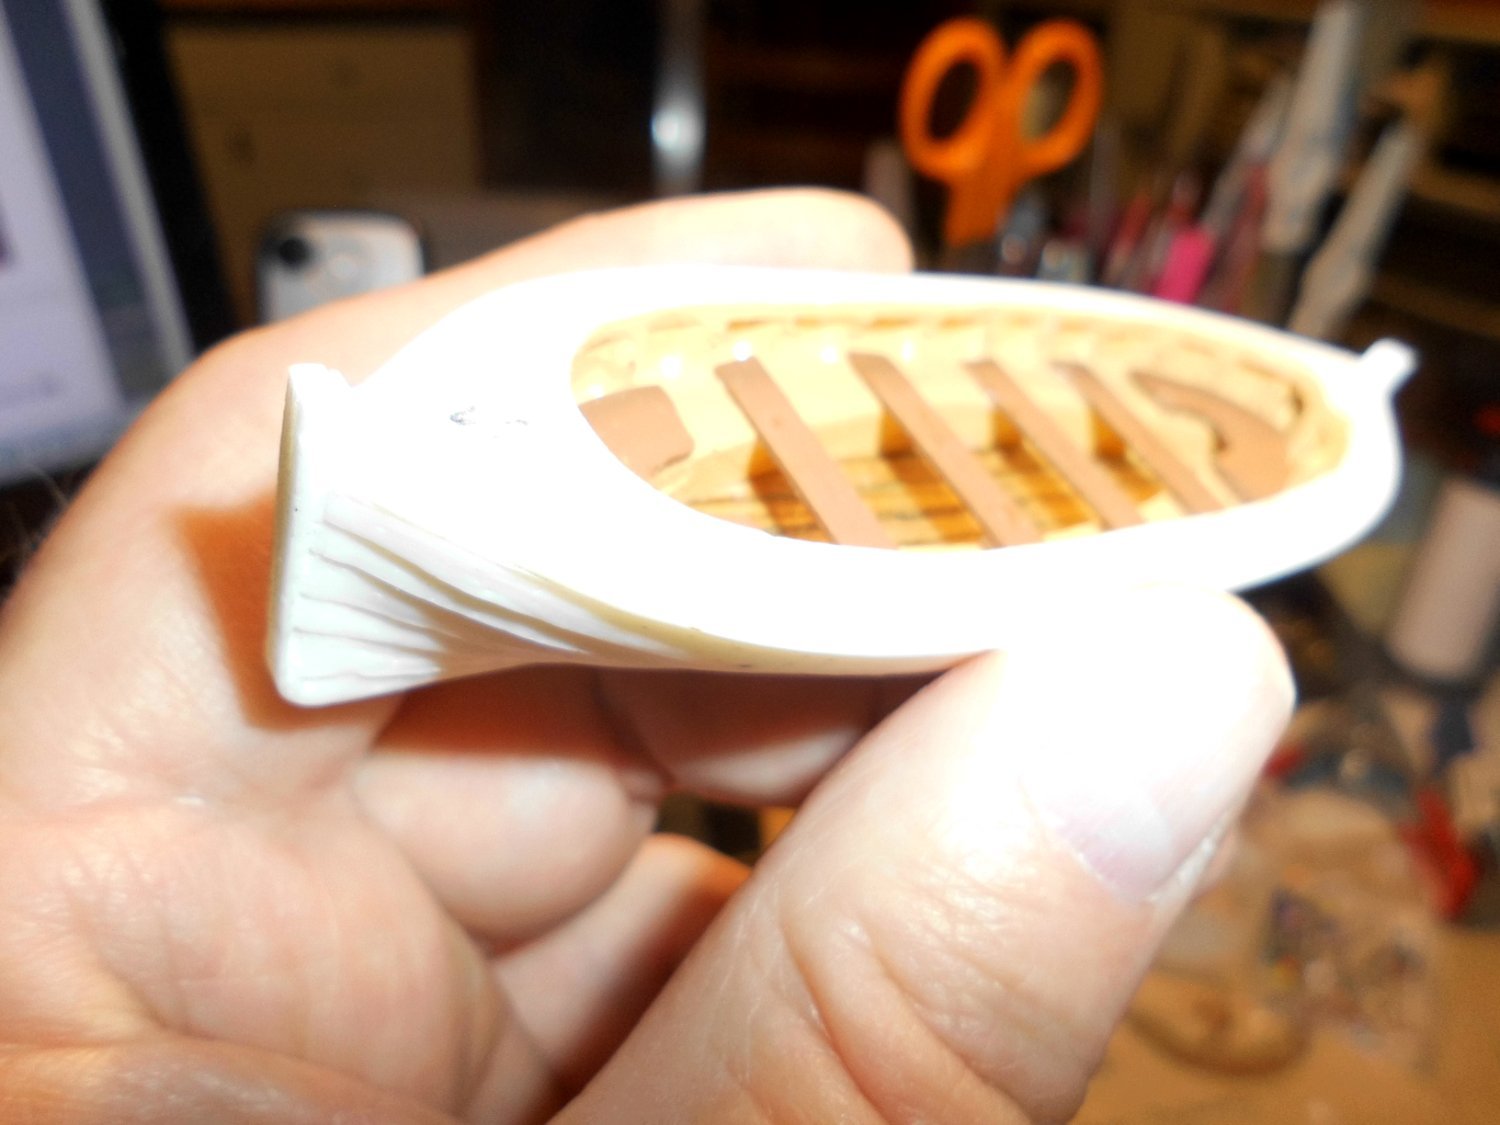
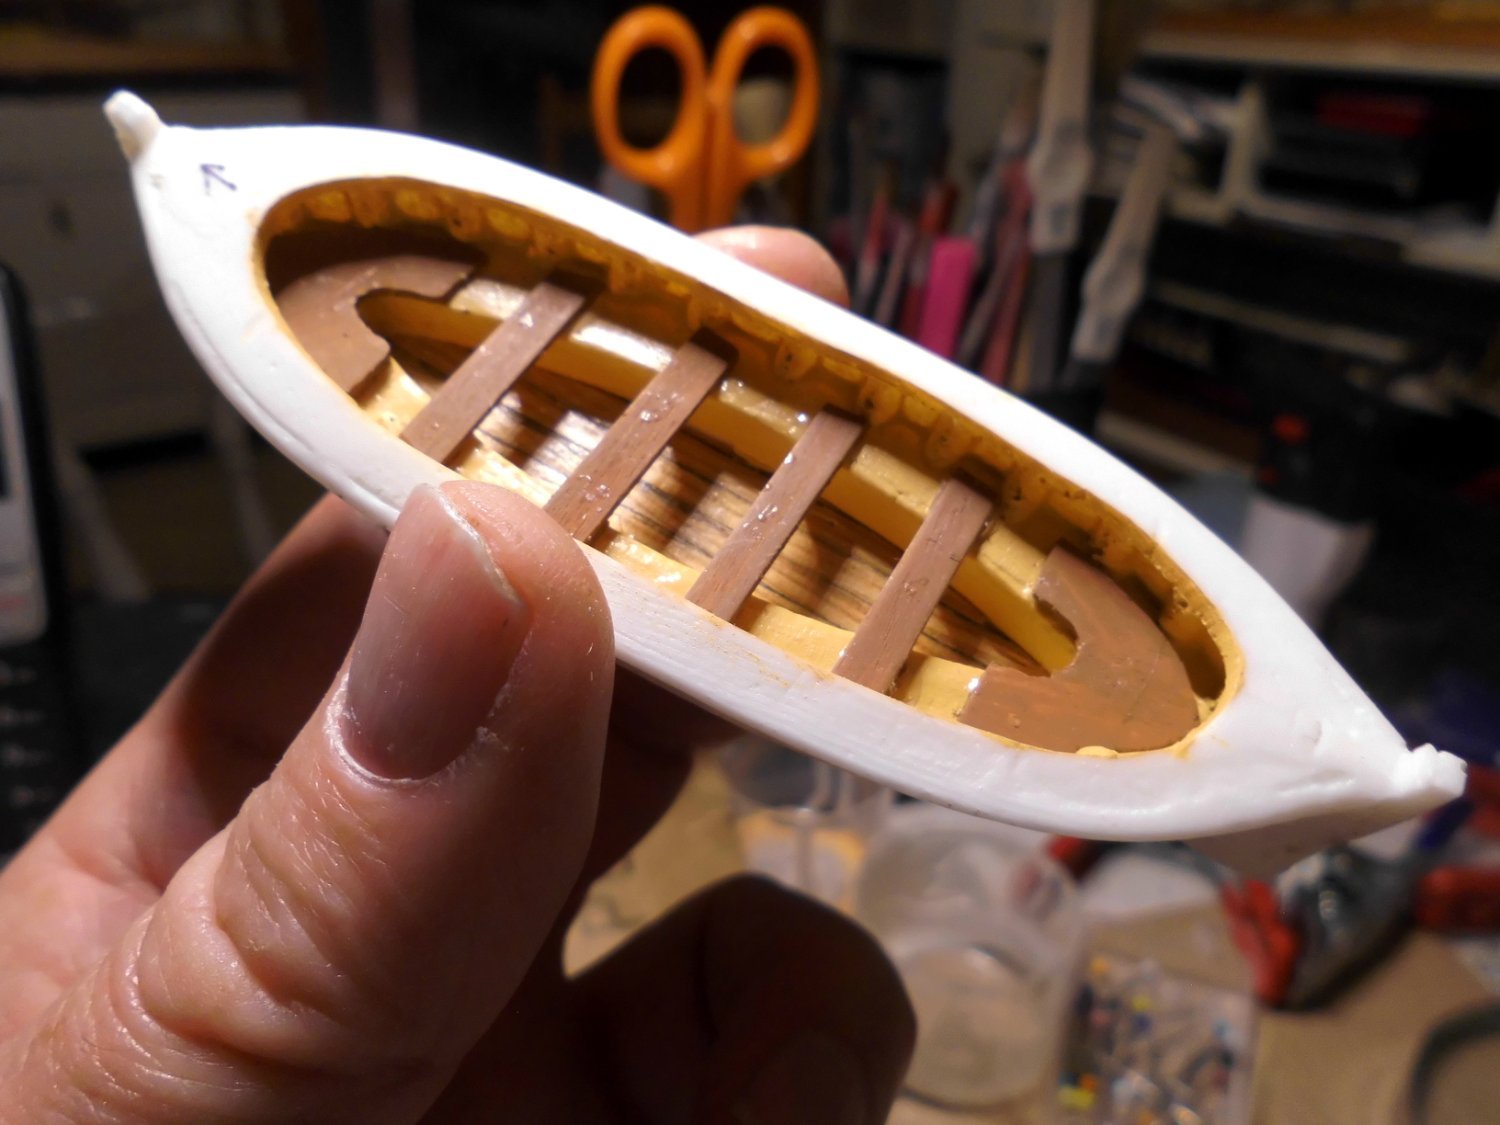
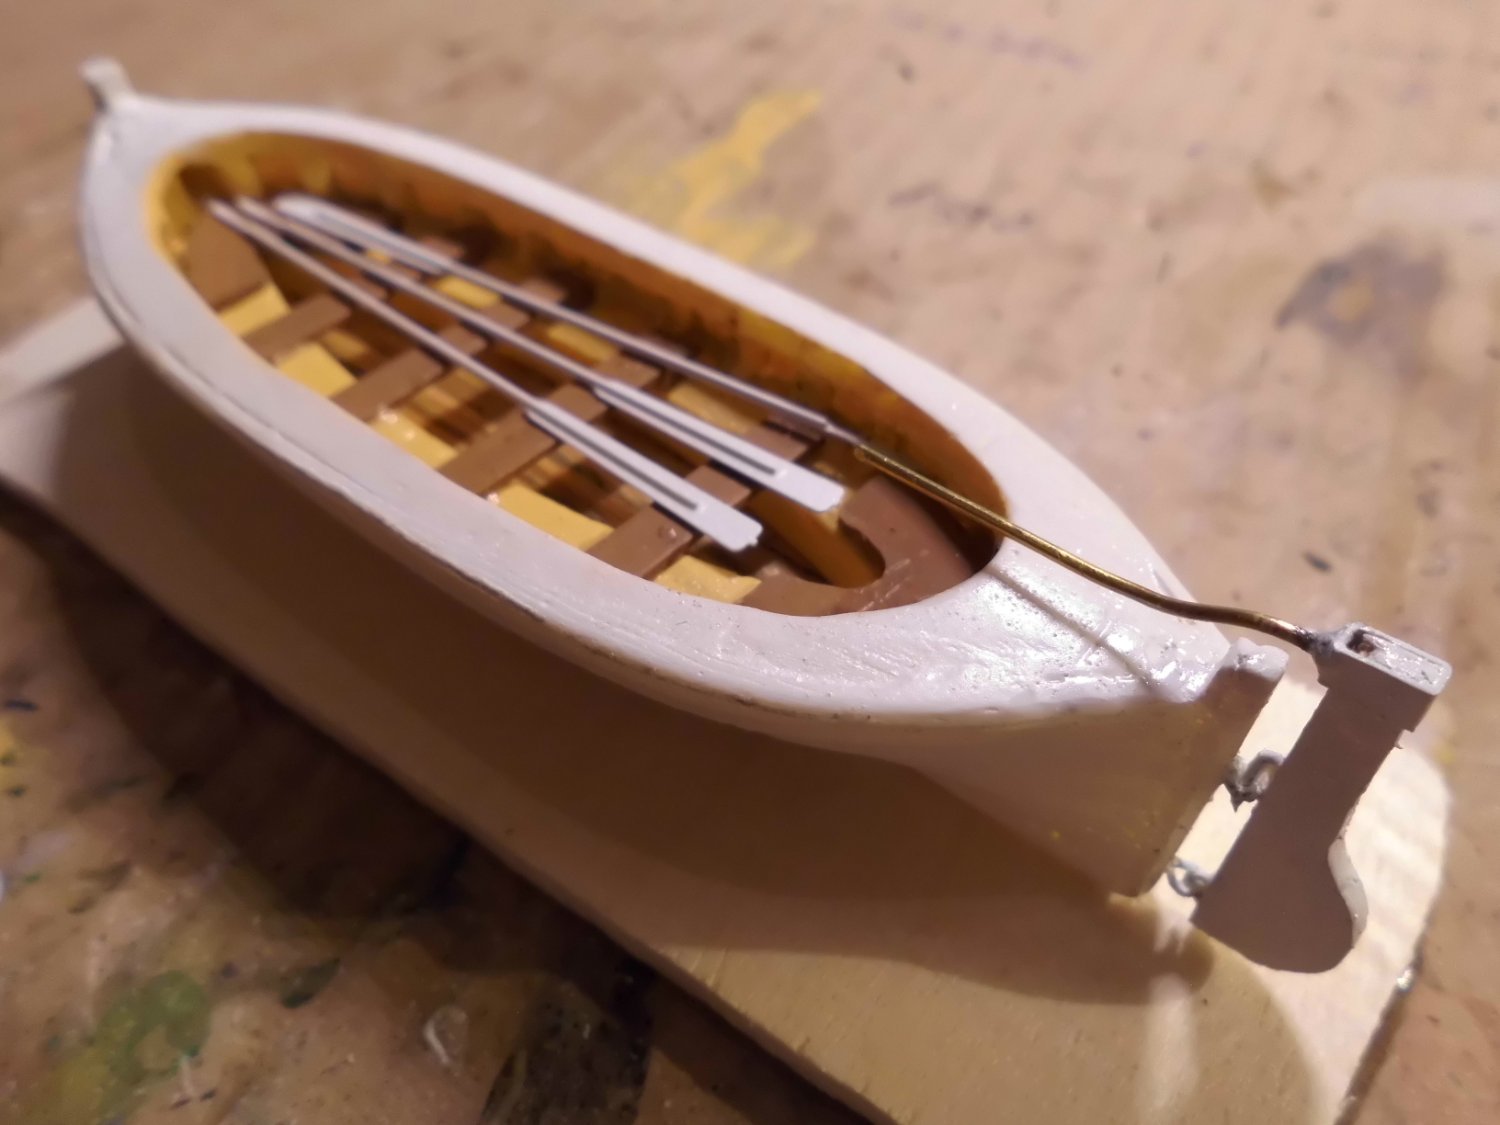
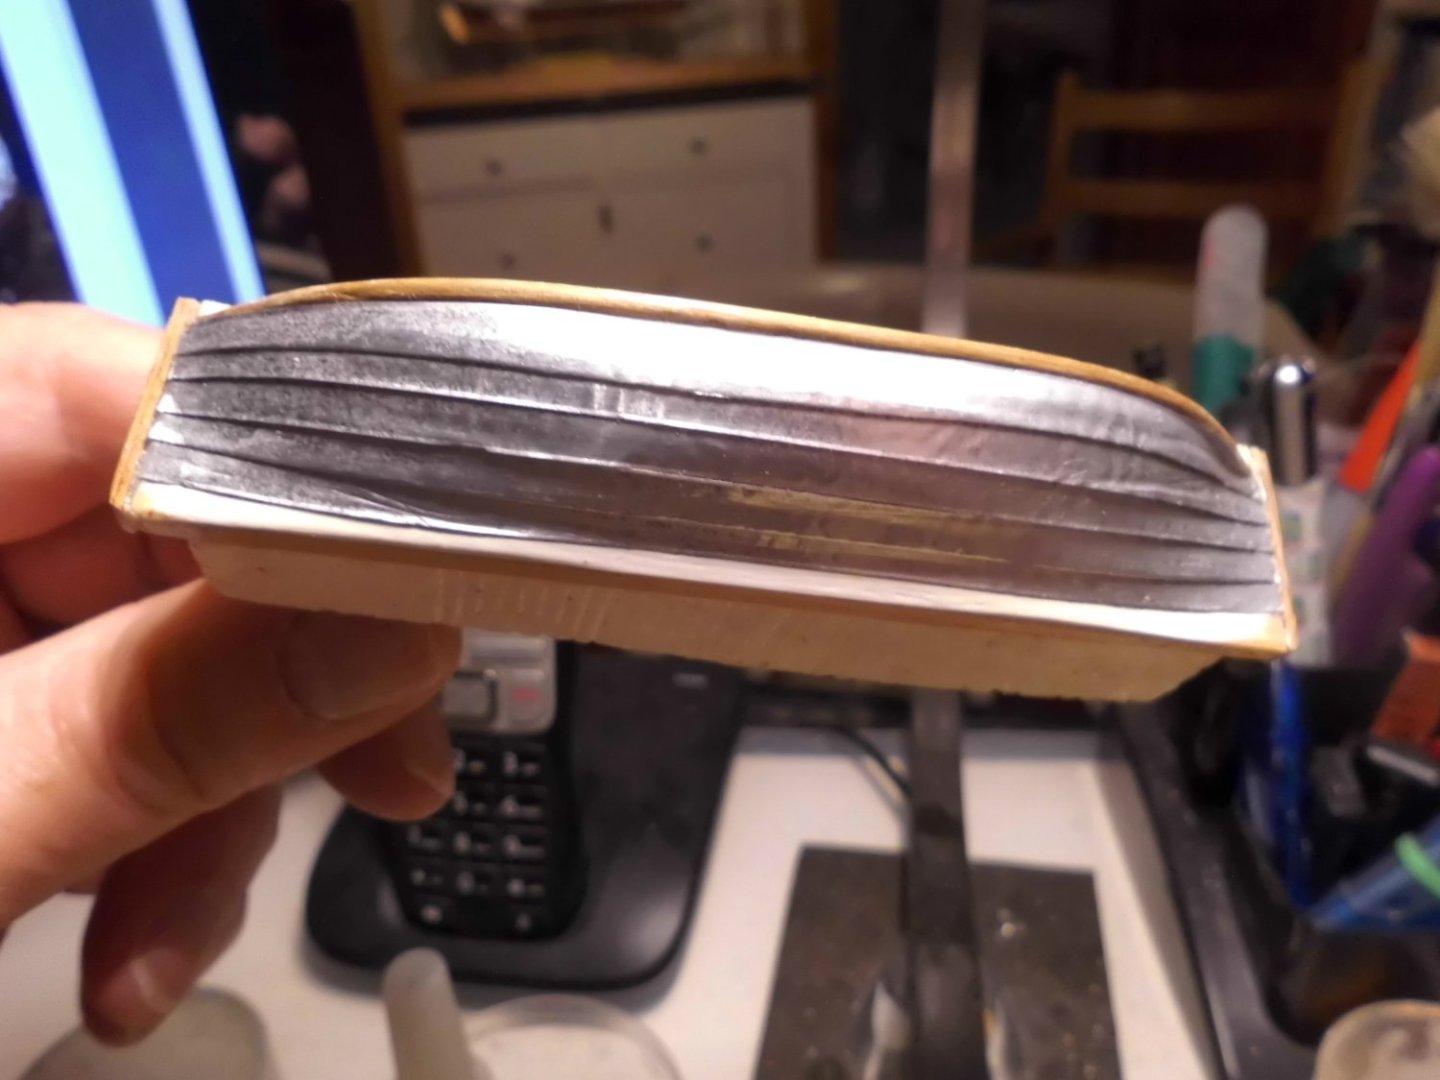
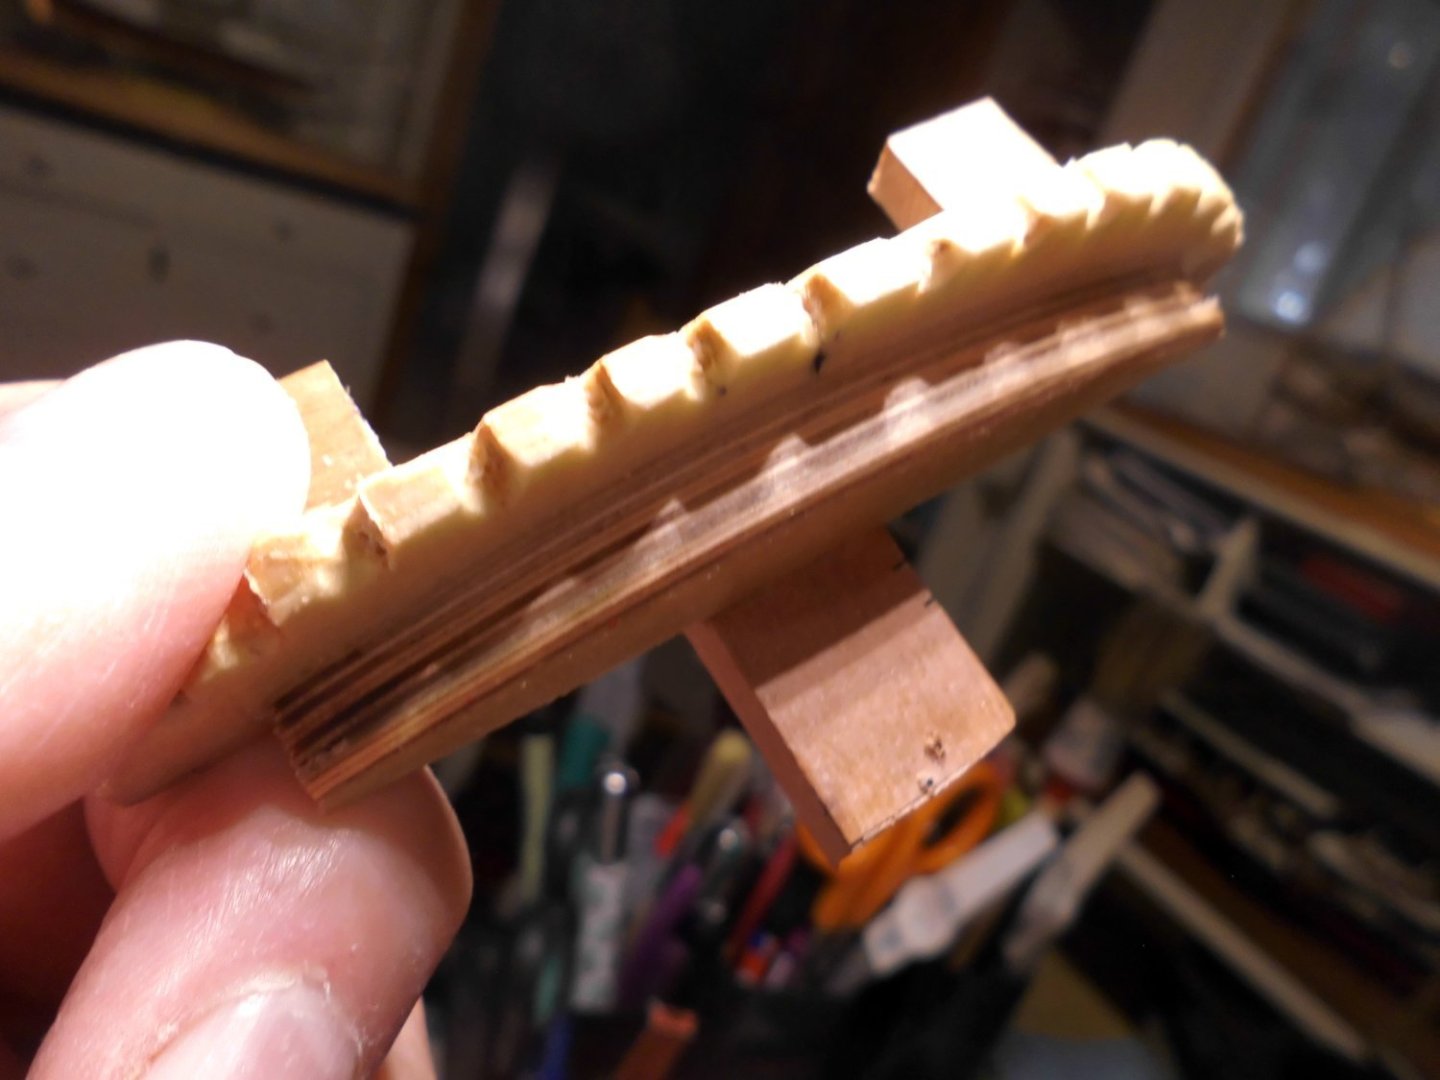
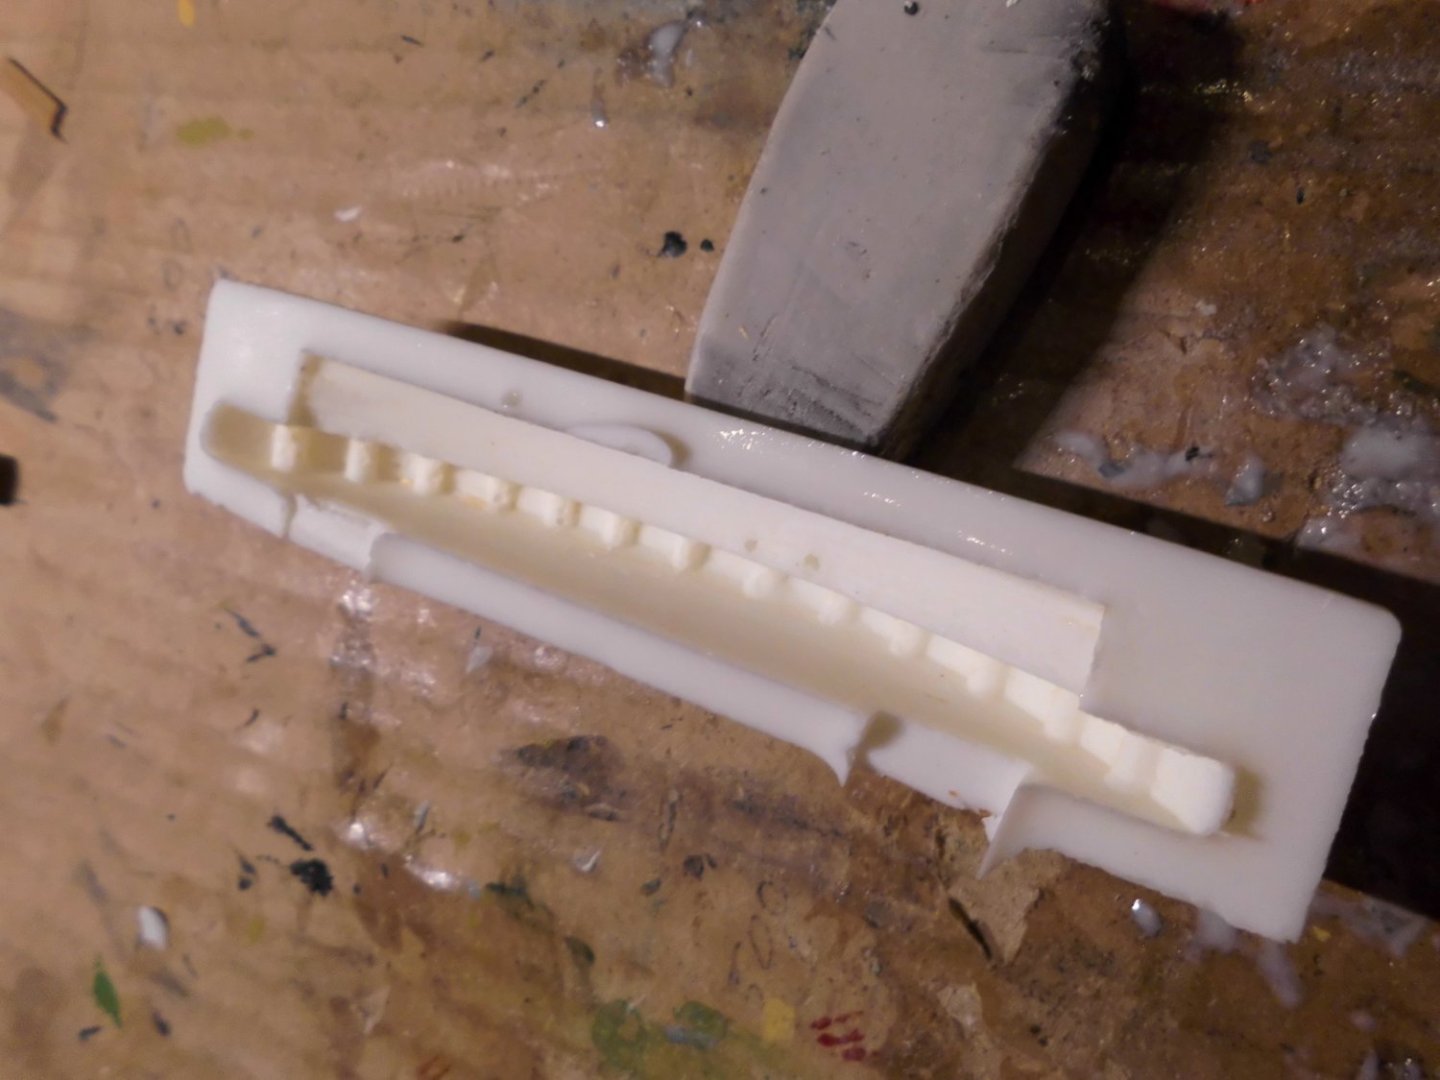
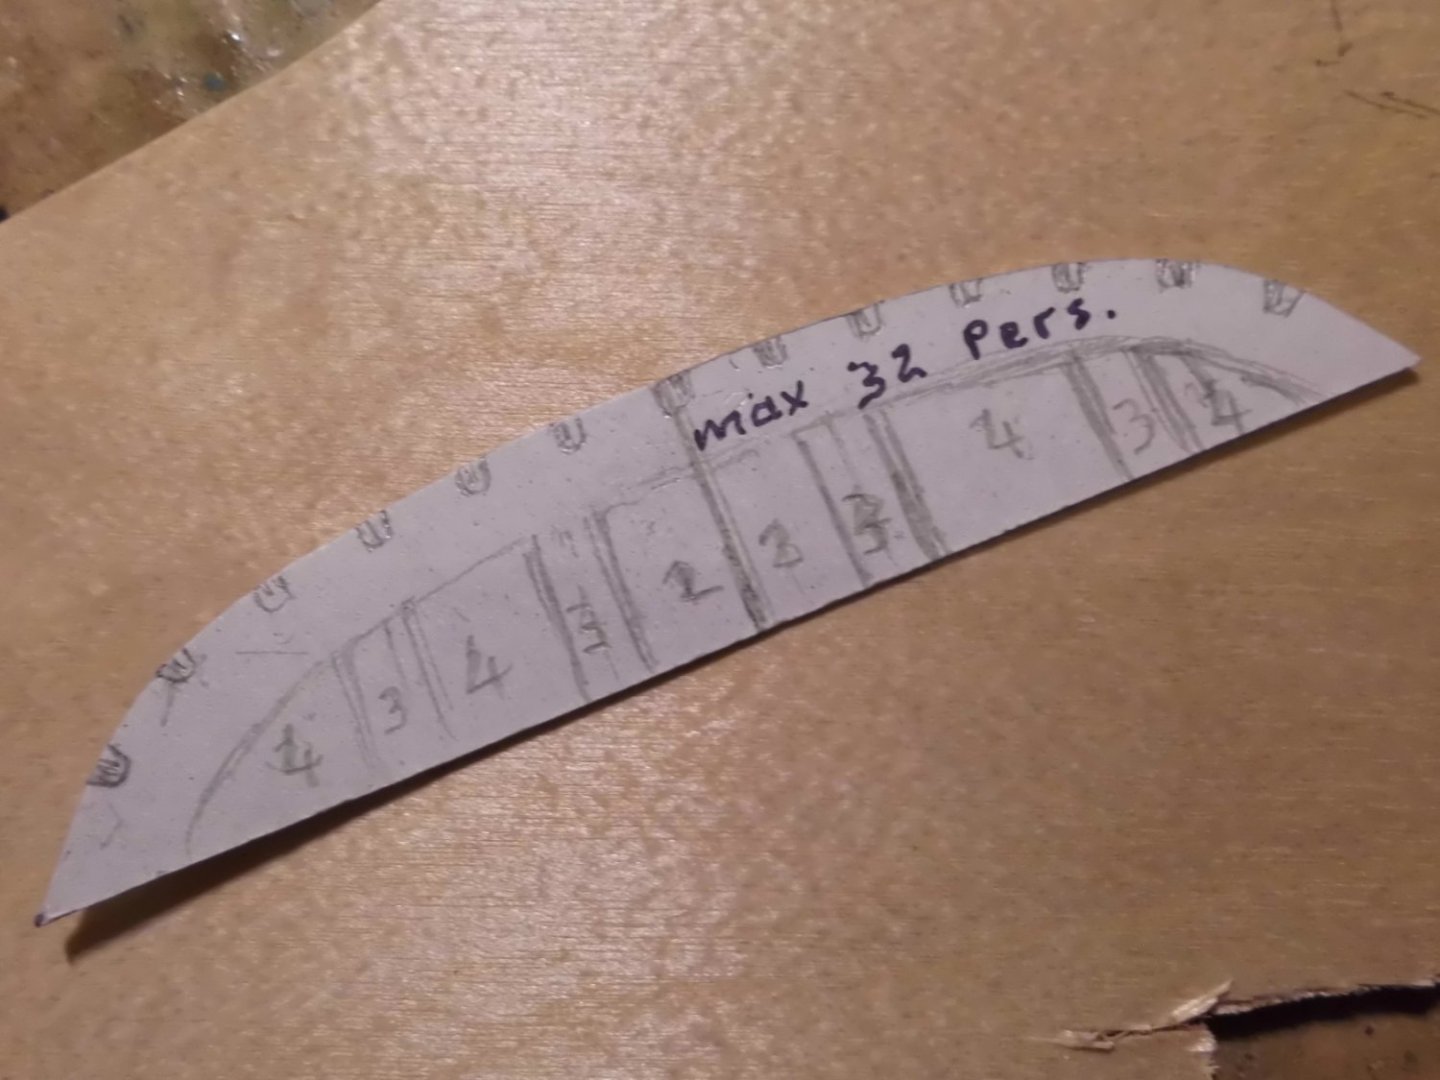
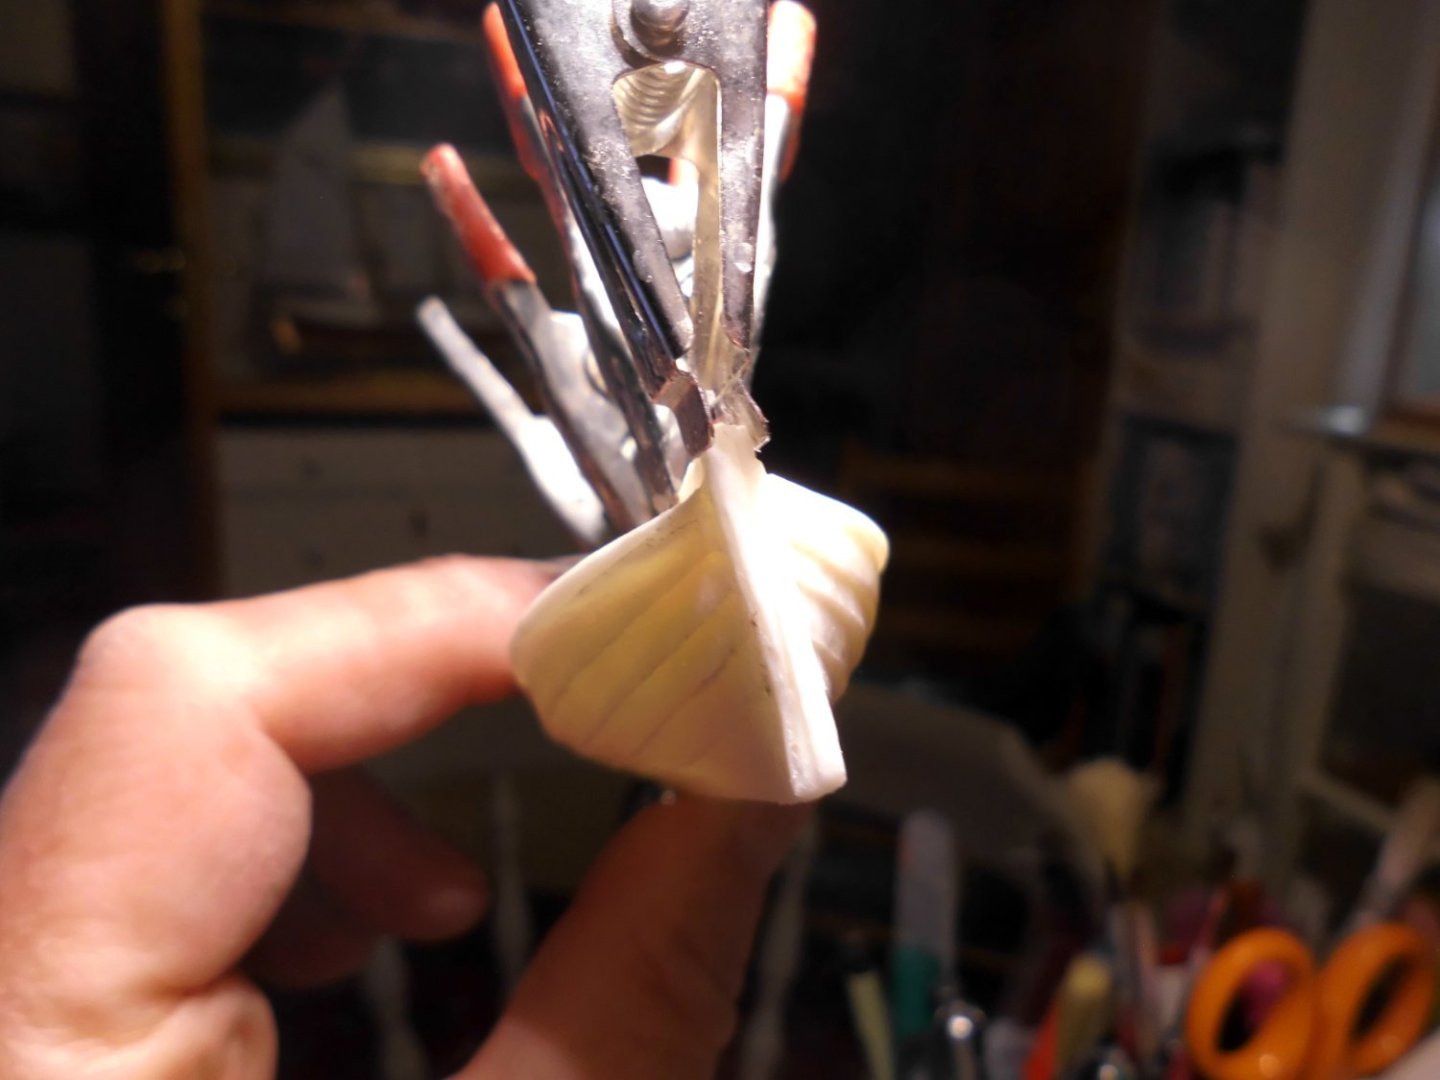
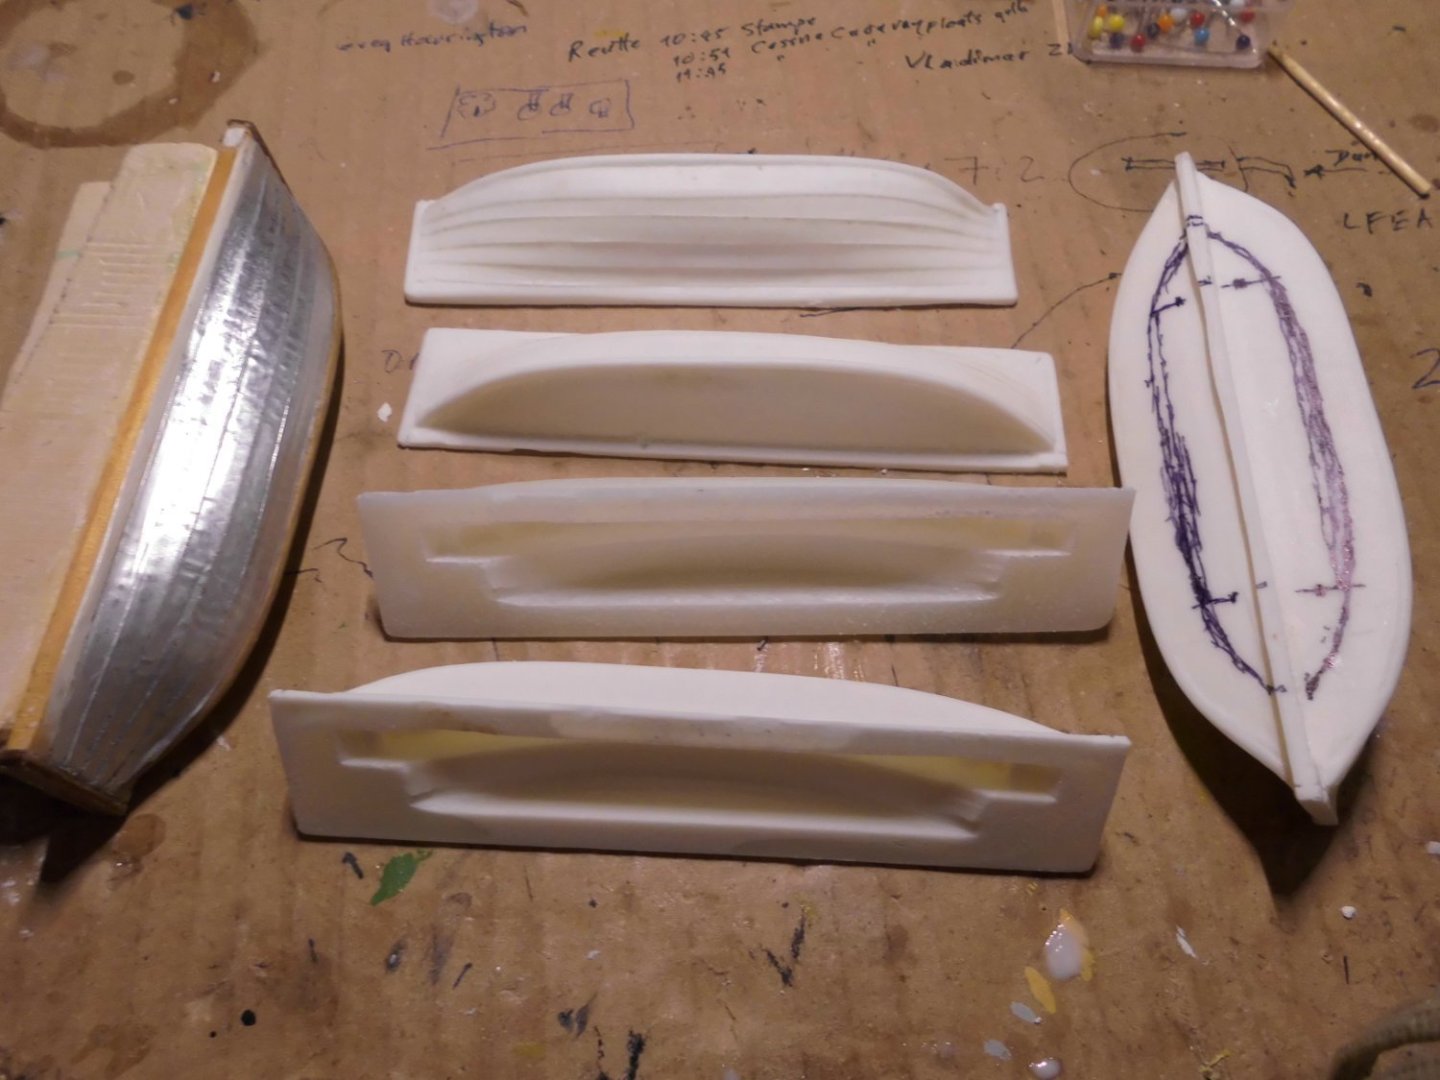
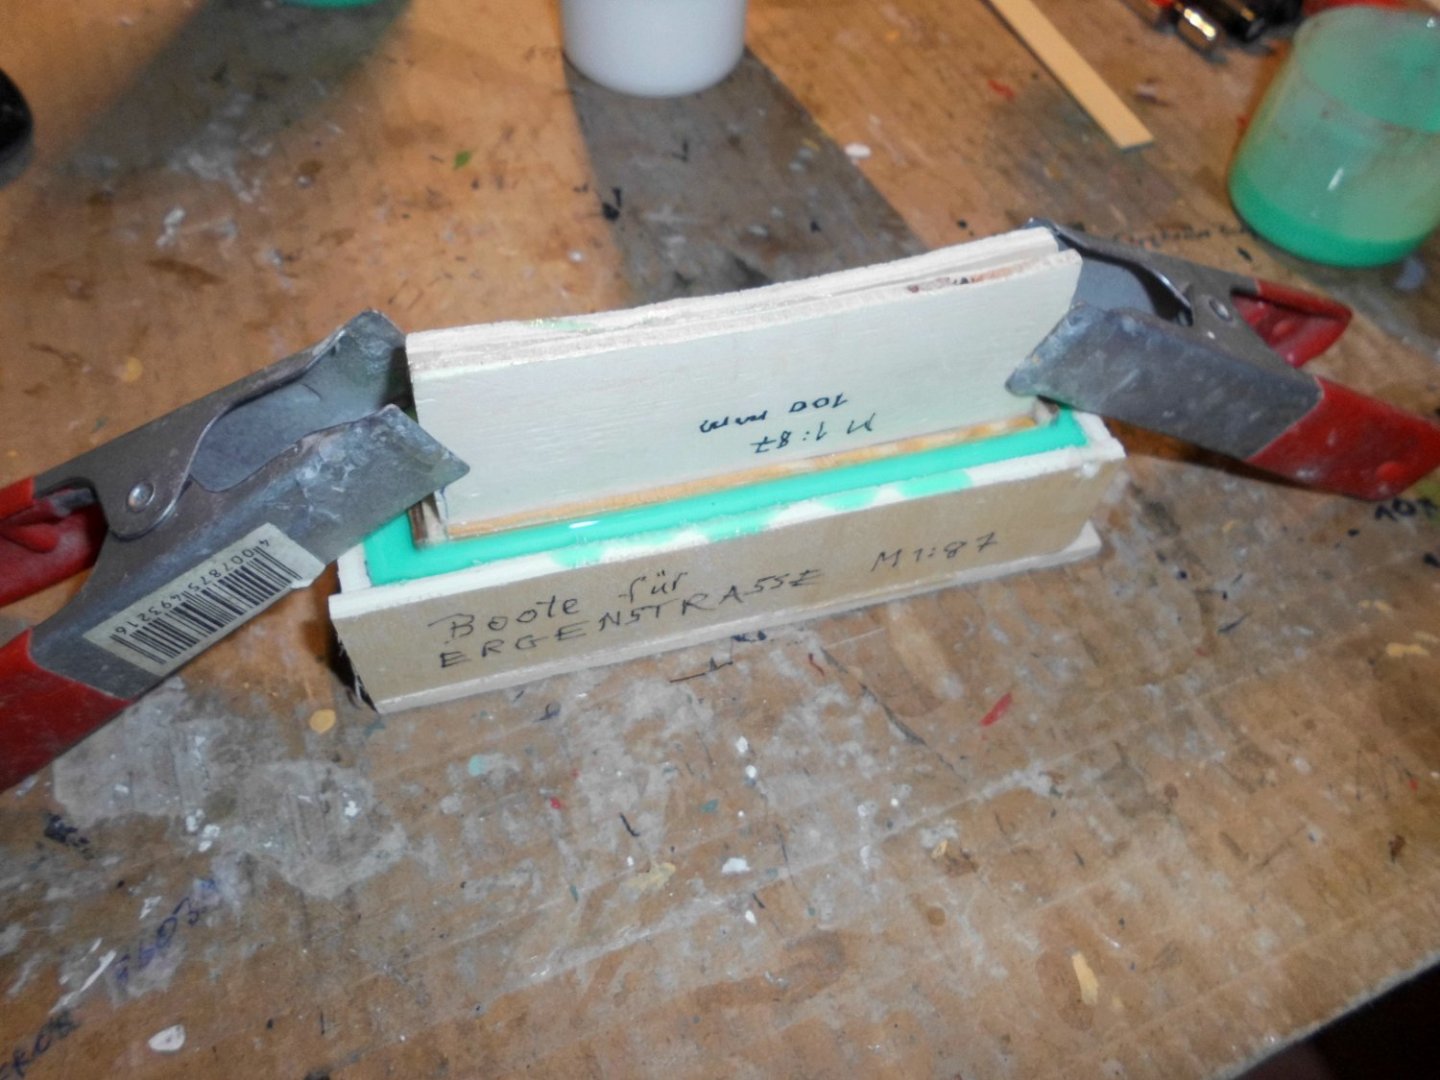
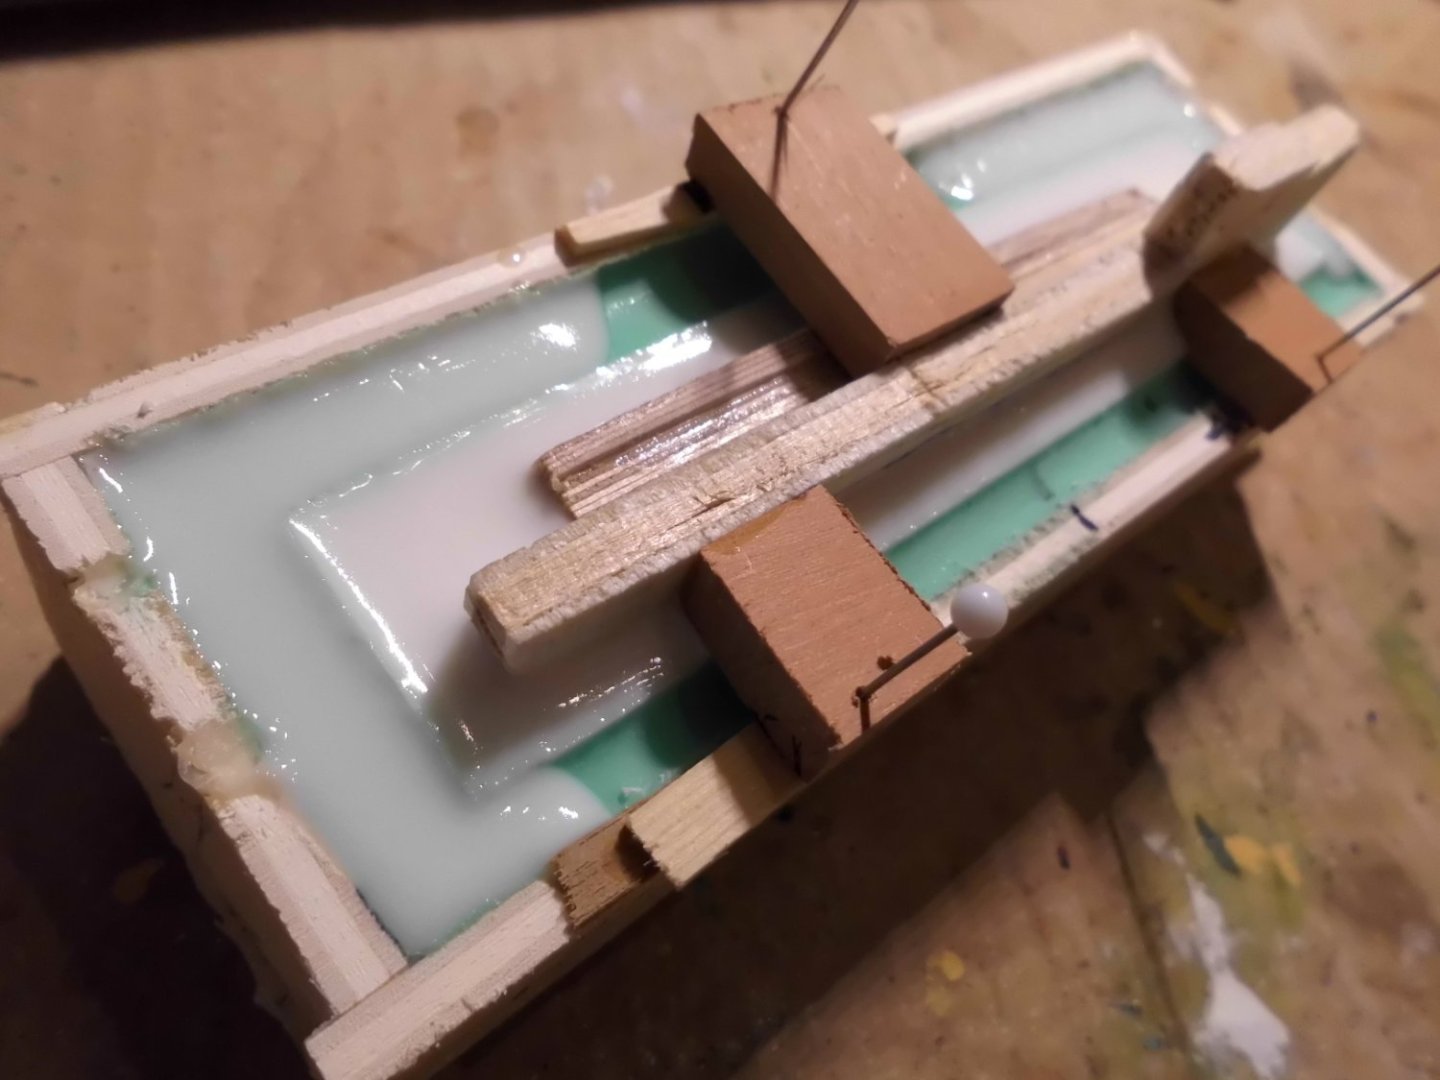
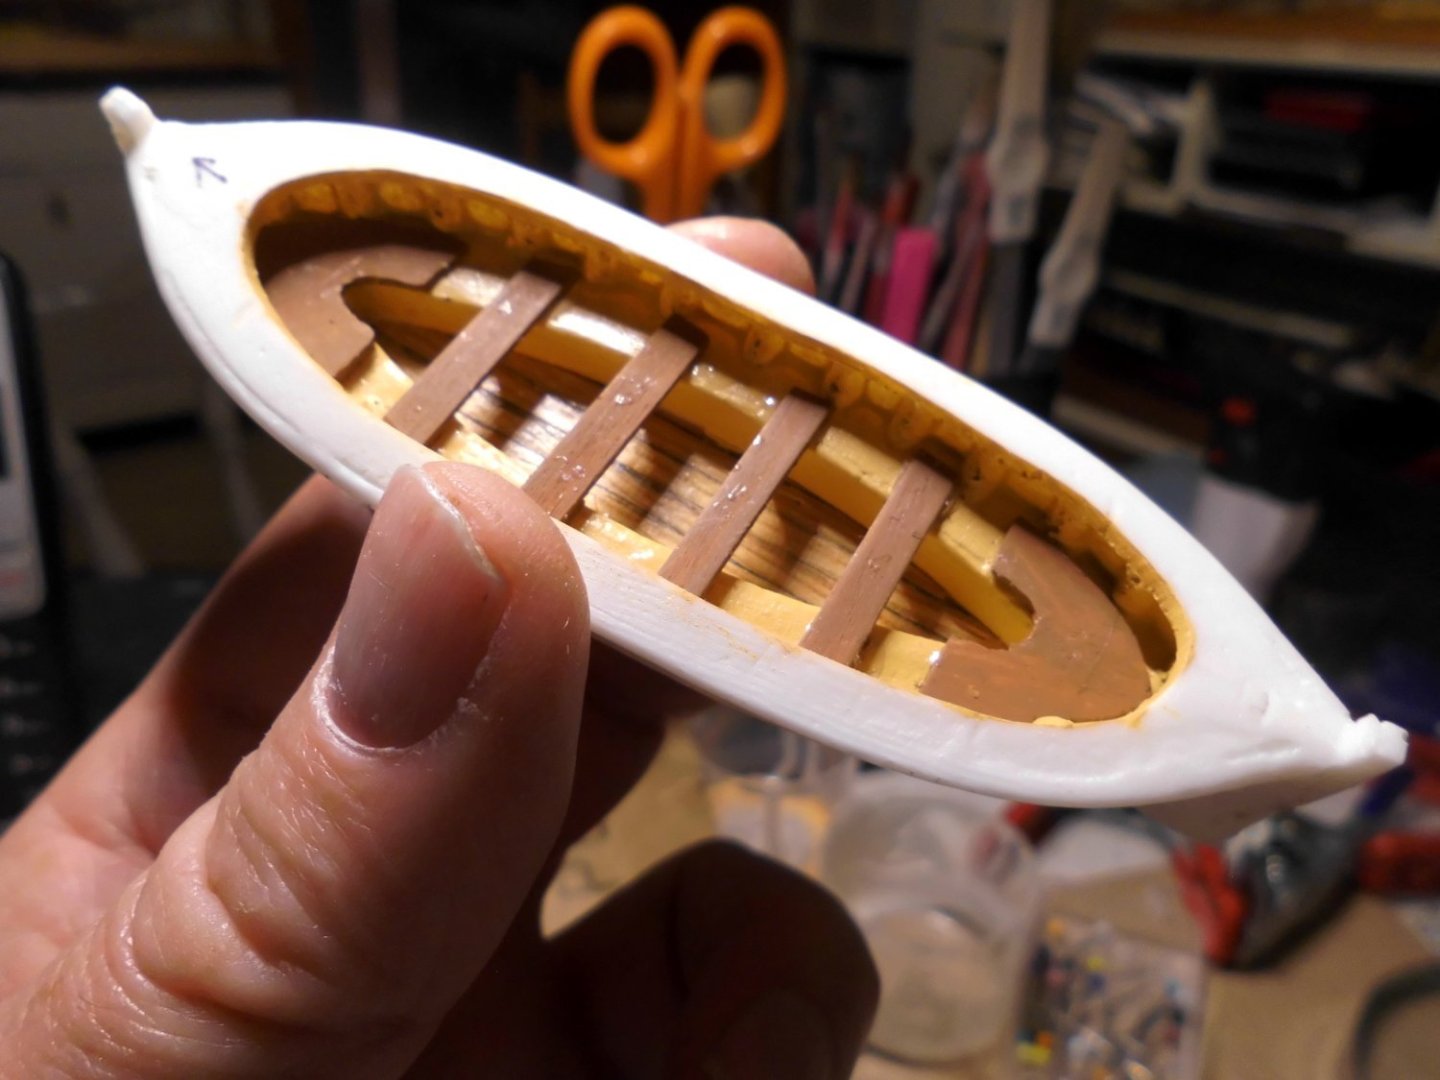
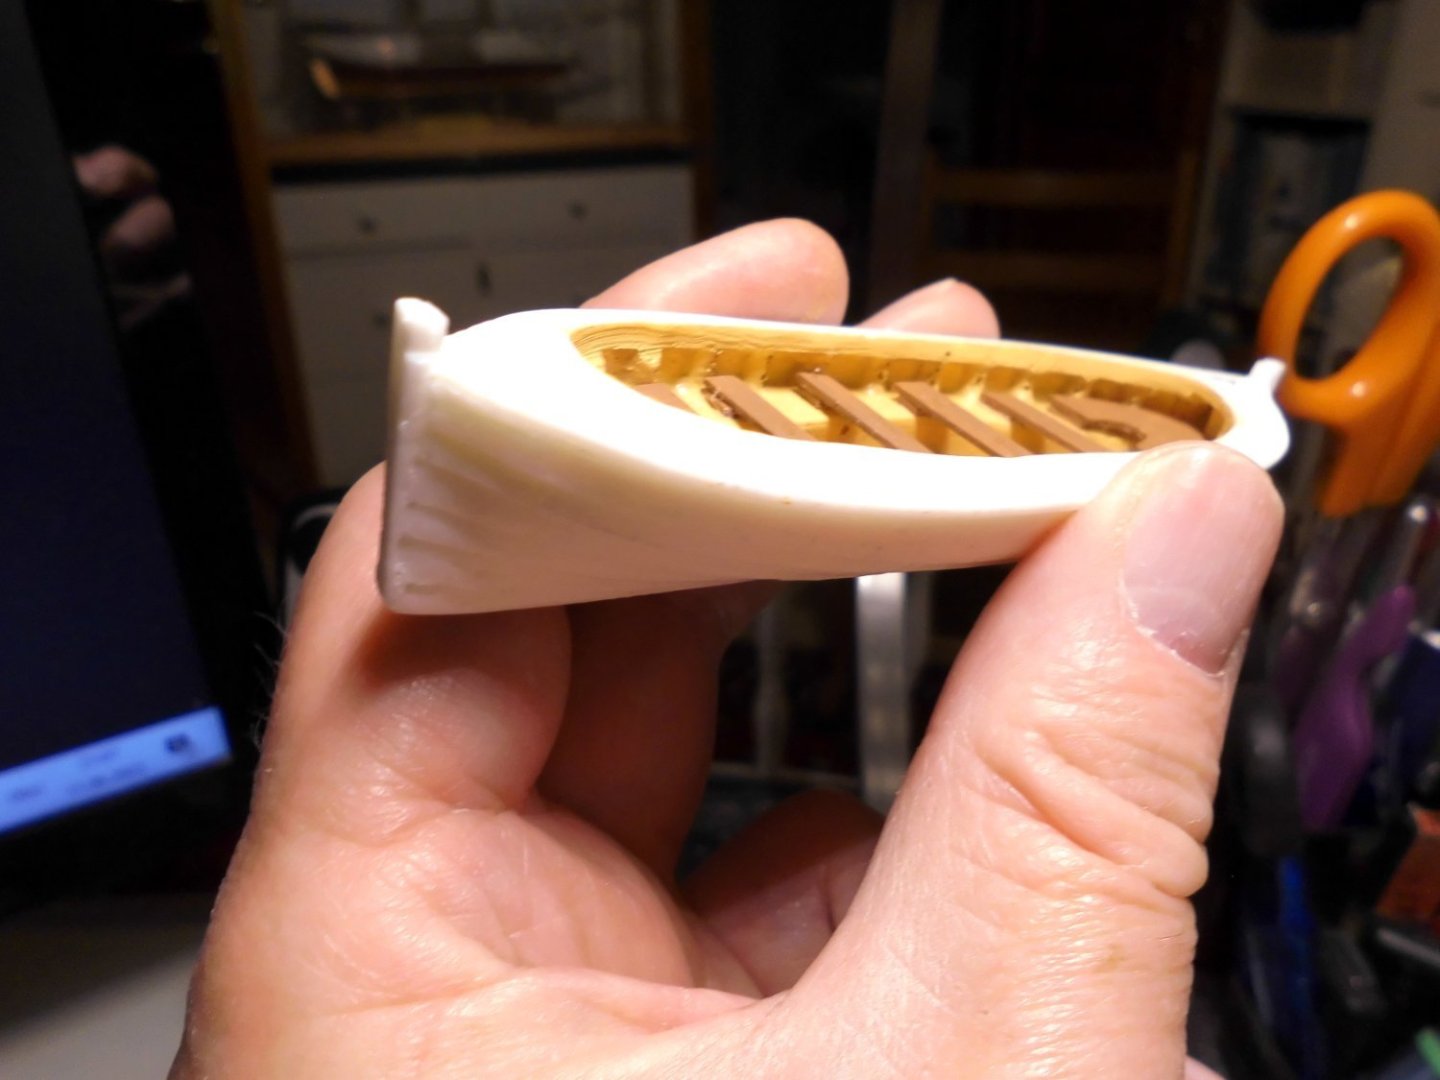
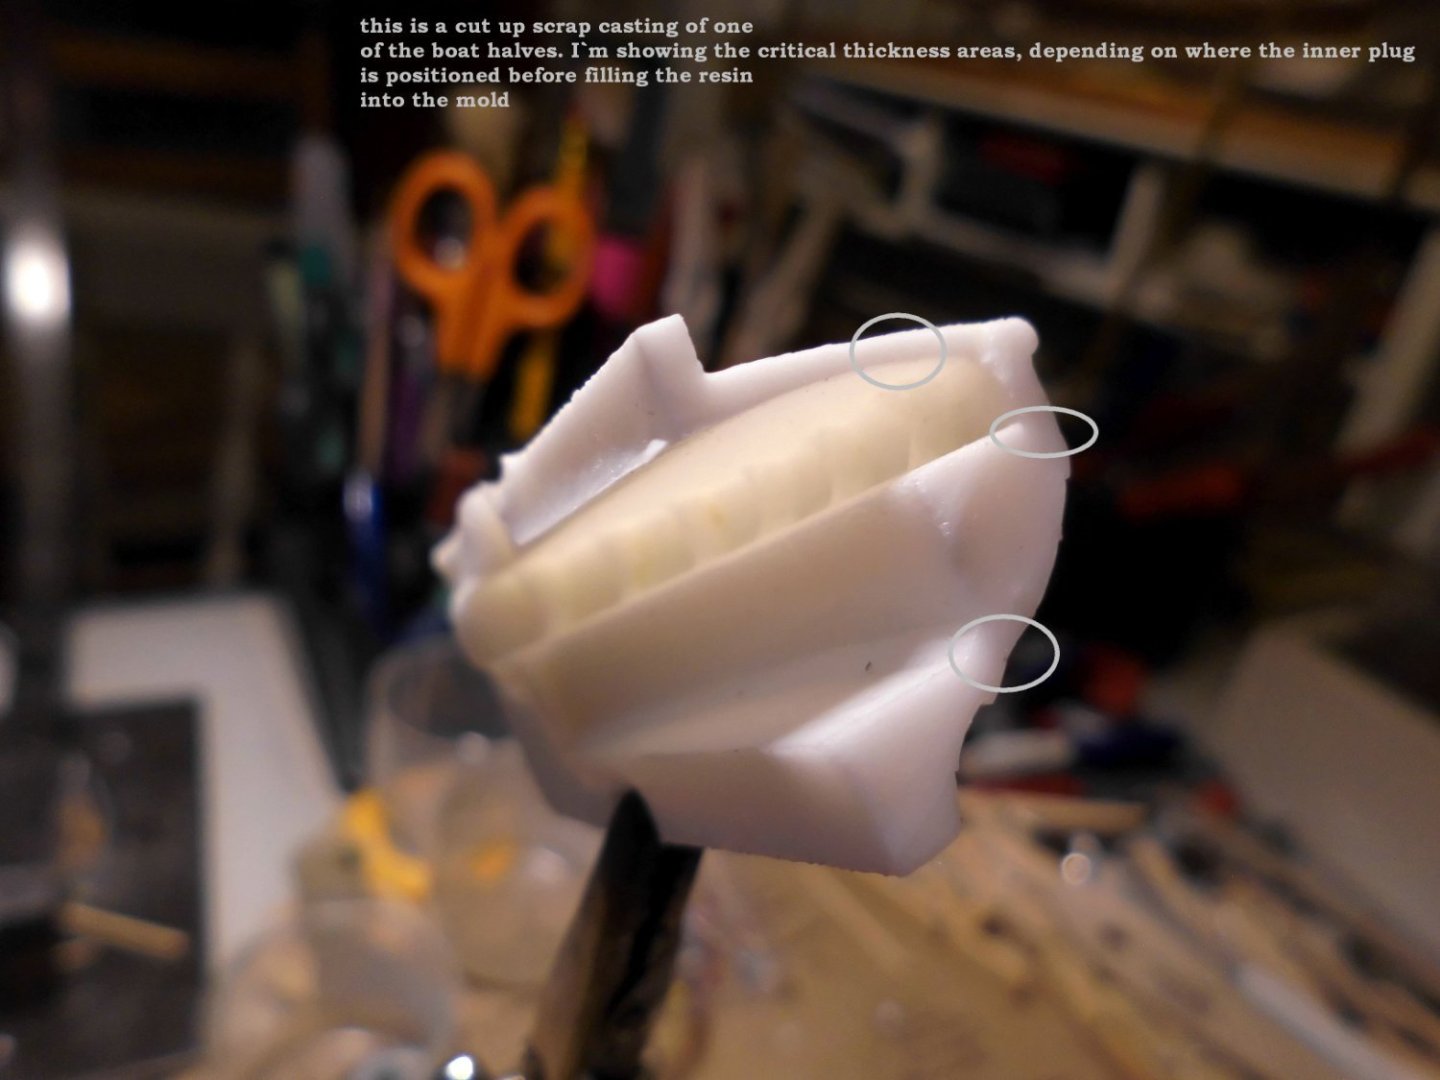
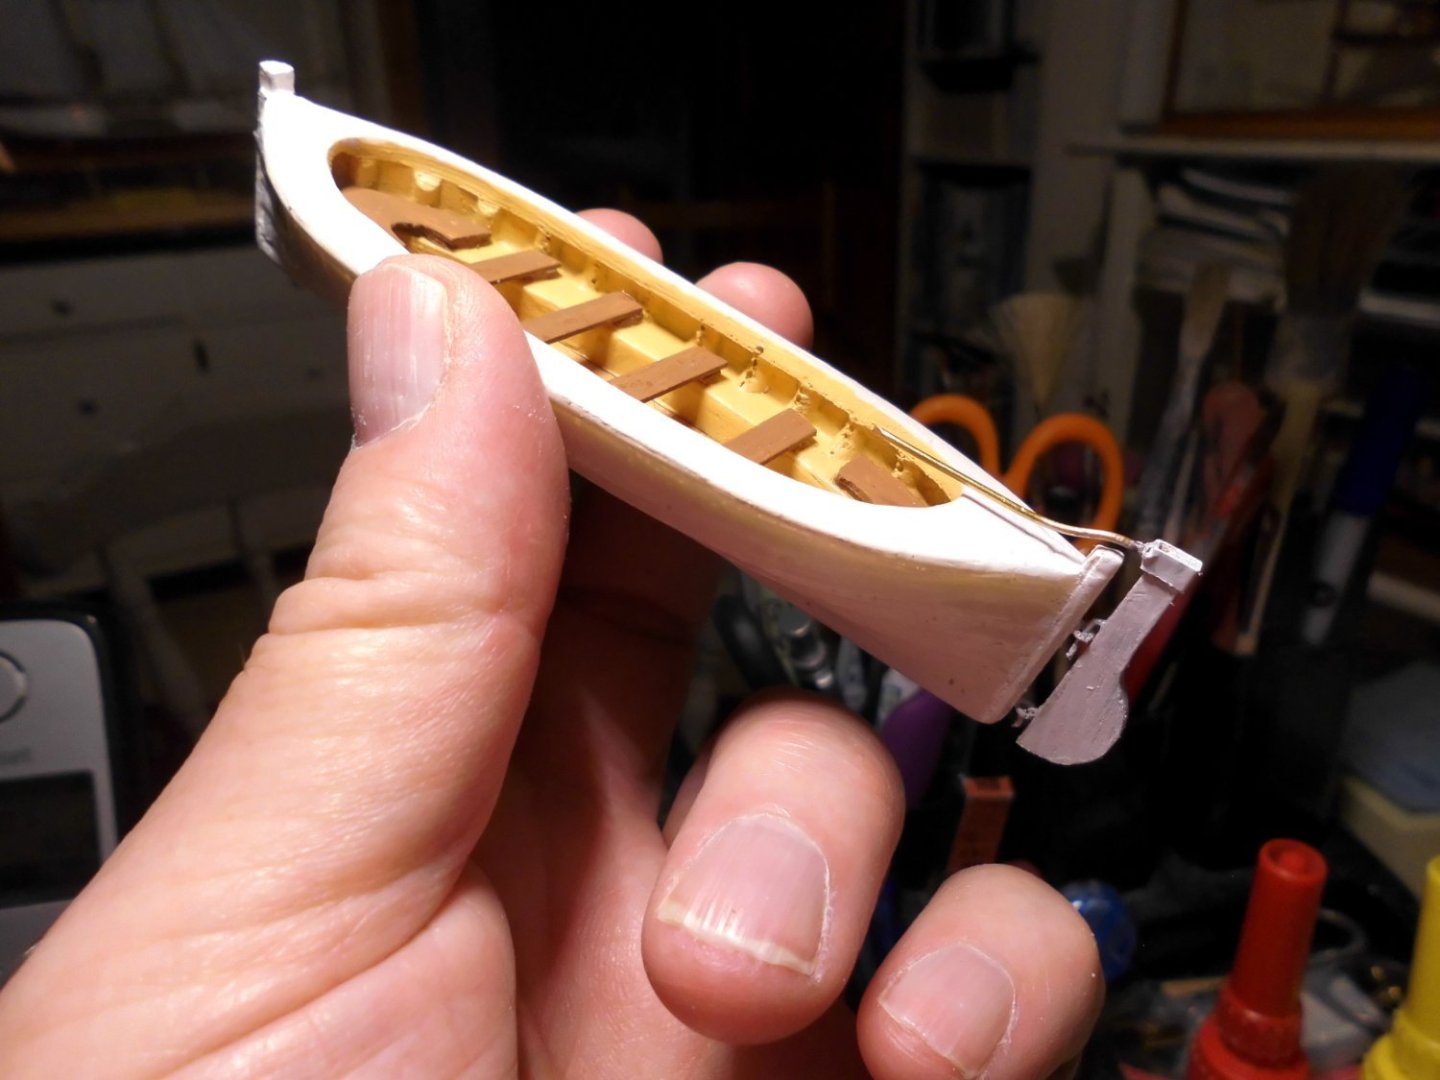
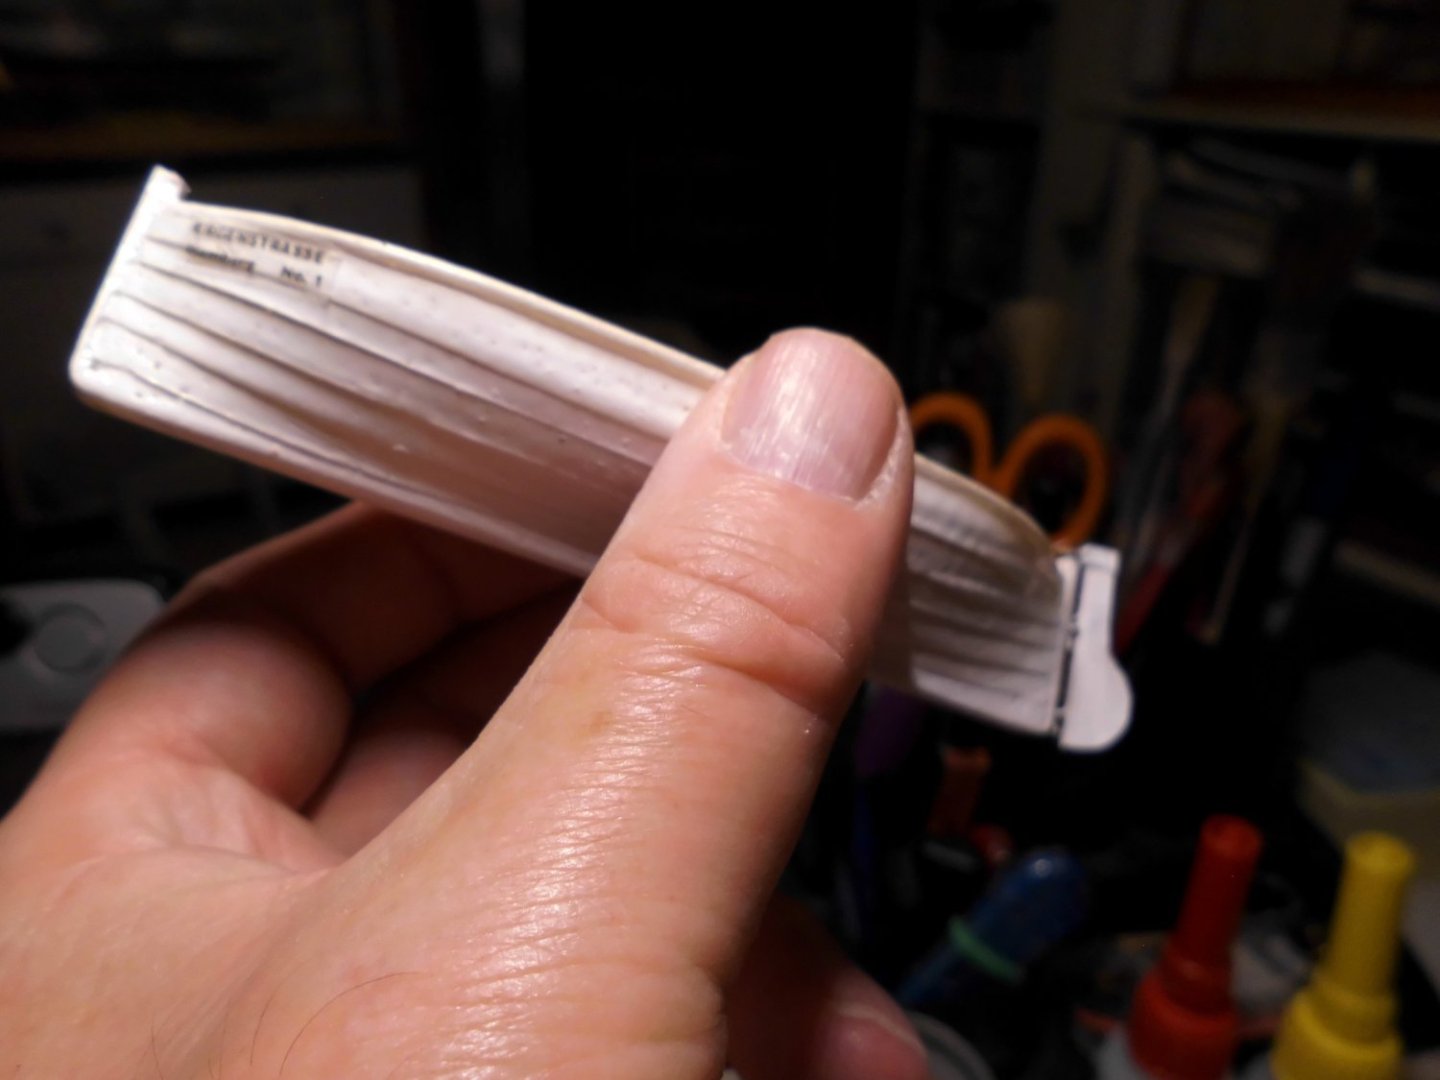
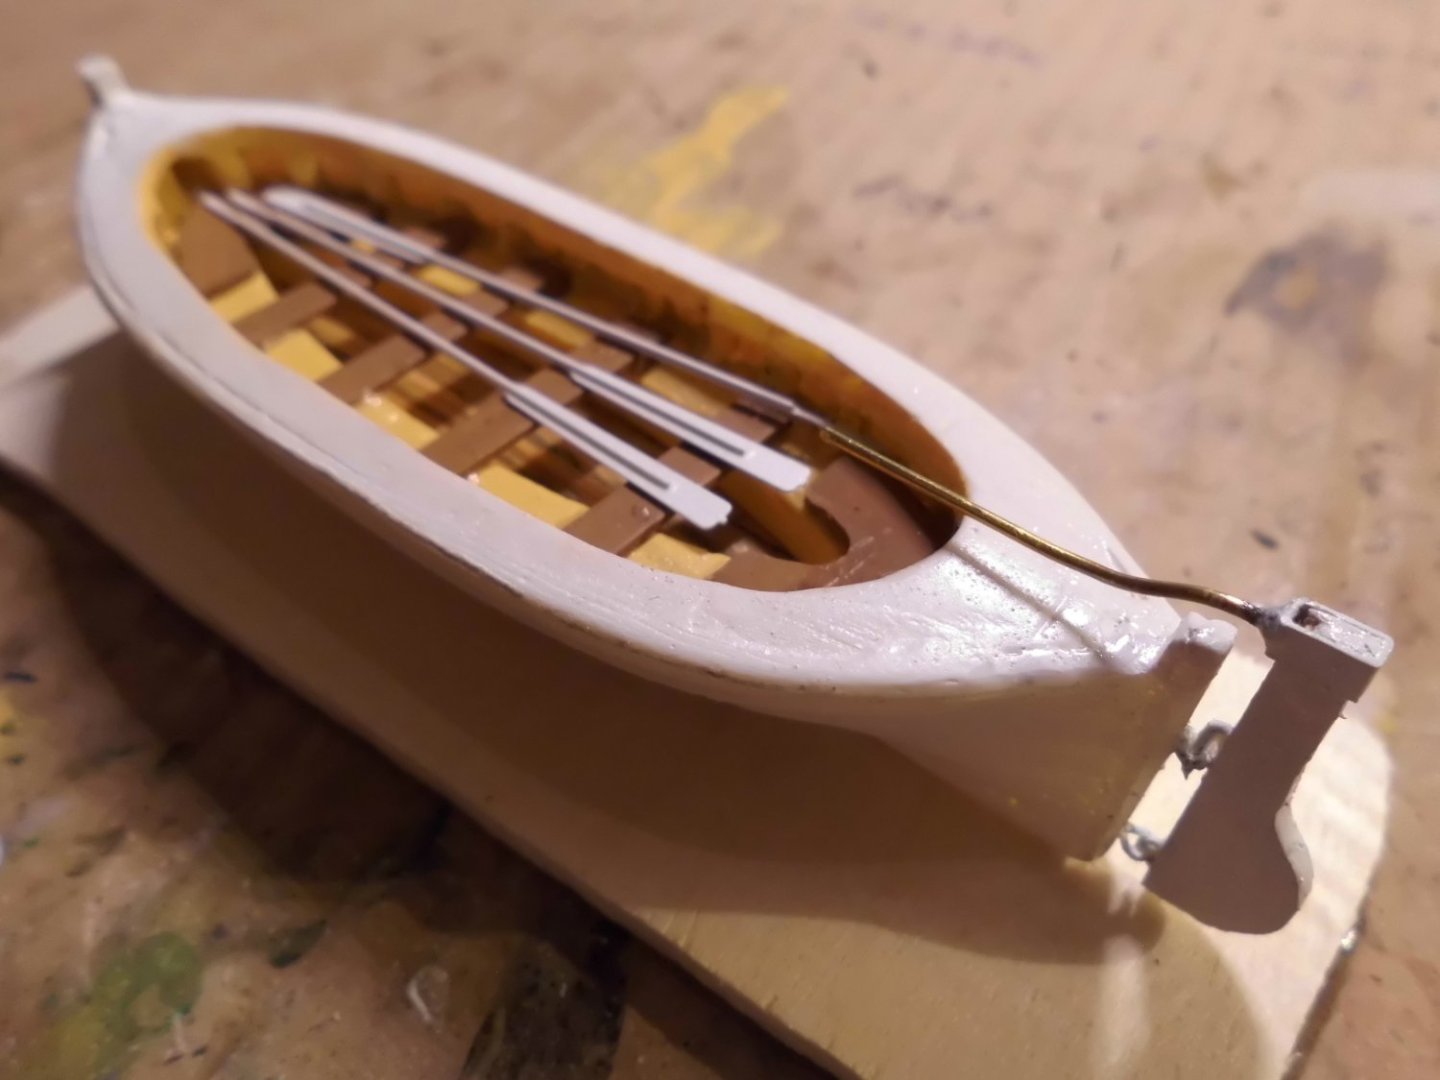
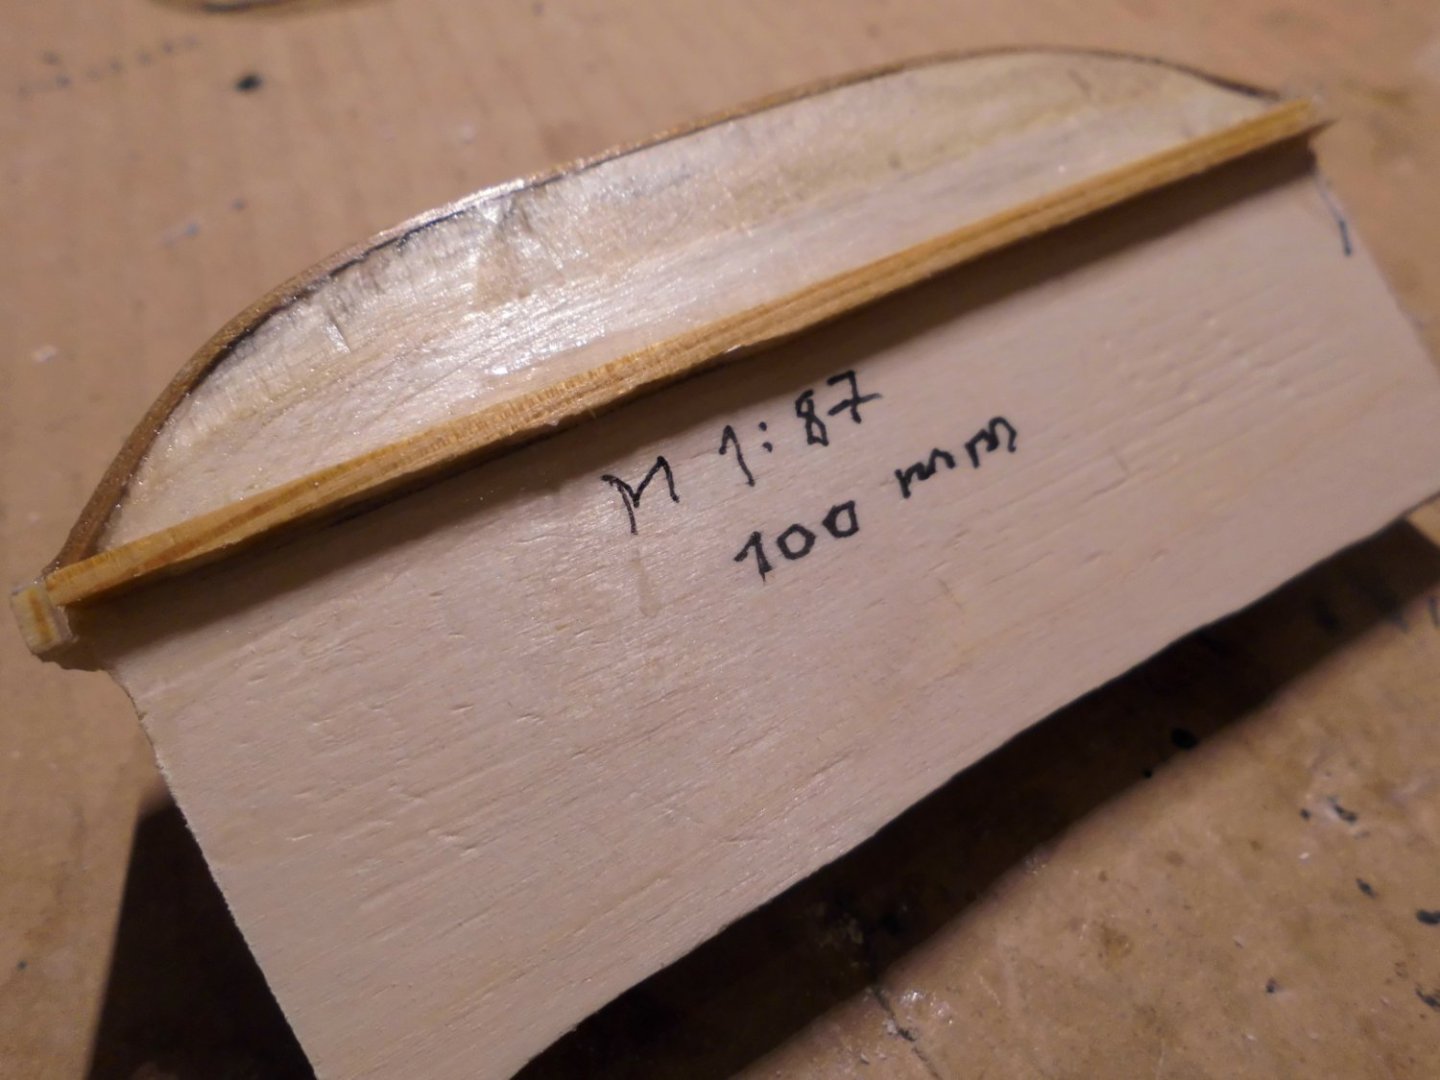
intermediate session after experiencing the make of the boats for 5 Elbe in scale 1:50, and for the liner Kaiser Wilhelm der Grosse in scale 1:160, I needed boats in scale ( H0 ) 1:87 for this project. I documented the building sequences for my own backup anyhow and thought it might be interesting for my fellow builders, whoever may require selfmade boats in special scales. So I`m sharing this intermediate session to whom it may concern. I still had some leftover two-component resin to allow the pruduction (material wise) of 3 identical double-ender lifeboats for Ergenstrasse. It would have been total 4 boats if I had not forgotten by mistake to mix enough hardener component there. Now my resin is used up and 3 boats will also do. Nils wooden halfplug fake clinkering application of half plug (double-ender) boxing for the silicon mold. Tapered filler logs to save quantity of silicon material used setting of the halfplug into the mold and filling in silicon, use seperation wax spray for both plug and mold silicon mold for casting the boats from this is the second plug for the inner boat shapes, to be inserted into the silicon mold. Use temp. spacers for checking wallthicknesses and position of the plug. (fixing withe needles) Two-compont resin into the mold with inserted plug. Use seperation spay wax for both plag and mold before casting result after the resin is cured and the part removed from the mold ( inside view) outside view persons maximum capacity check when seated preparing for cutting out the cockpit deck area glueing 2 halves together cut out cockpit cover. The boats length is 108 mm without the rudder the open boat (without outer painting and rudder) is completed there will also be some oars for the boat


- 330 replies
-
- 14
-
-
-
very nice build Rick Nils
-
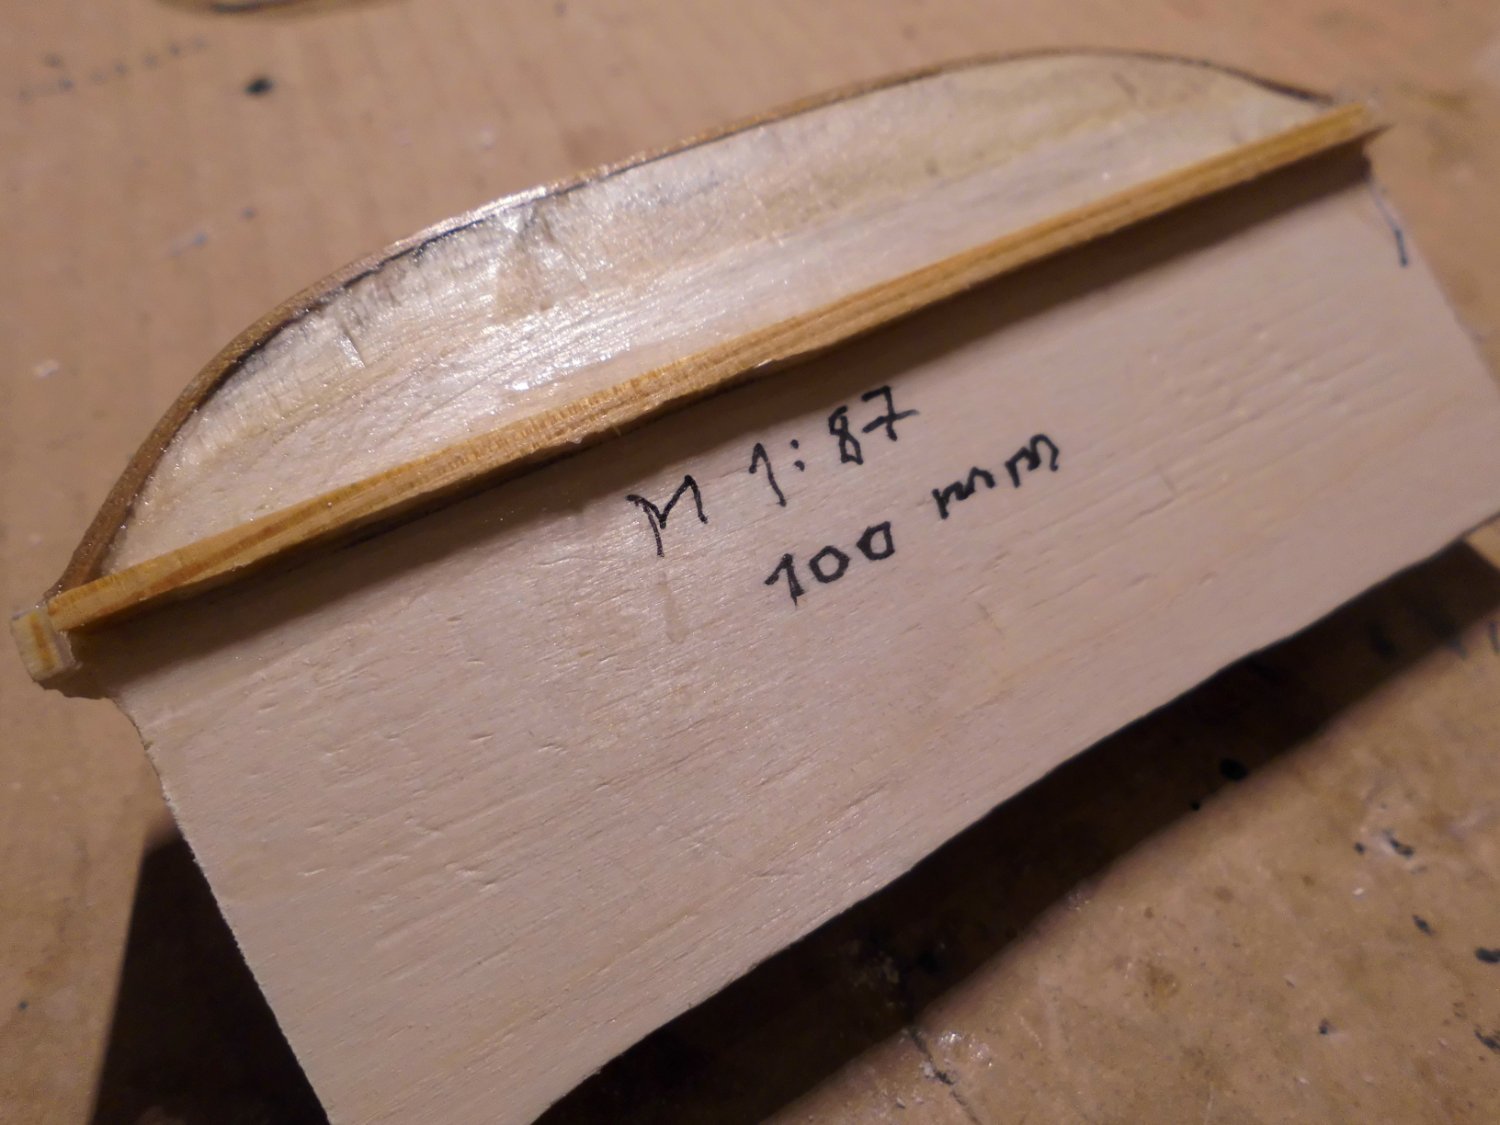
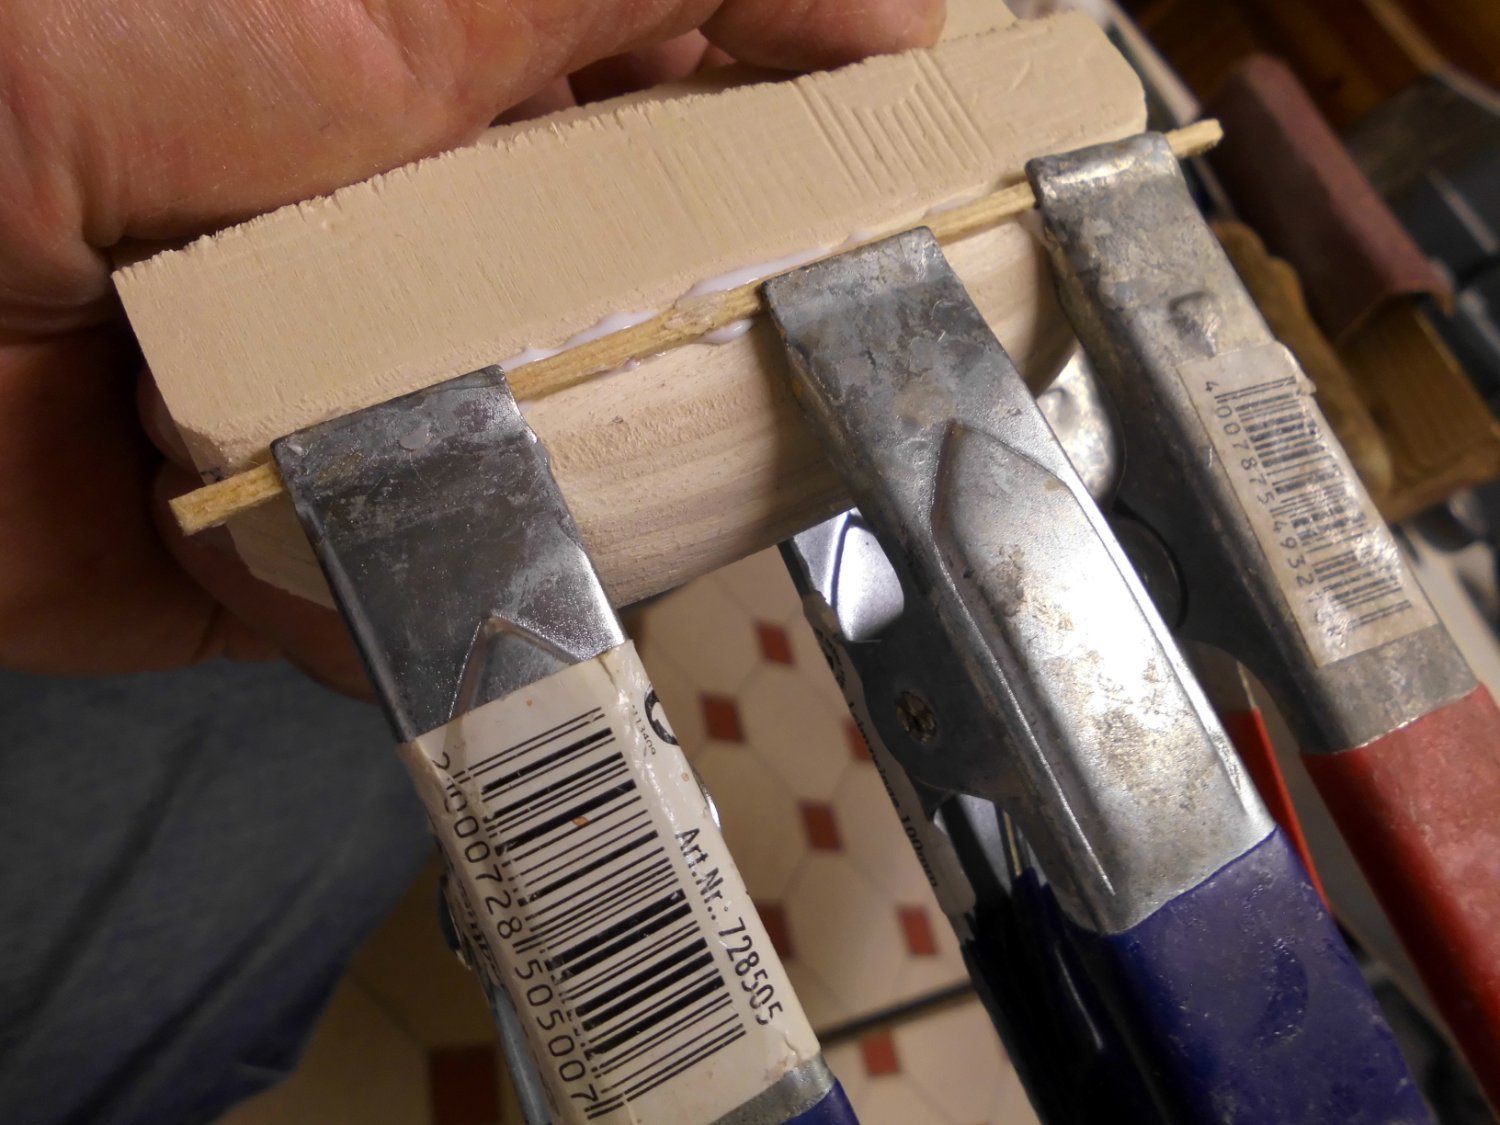
Thank you very much Yves, I`m still working on the plug for the clinkered lifeboats .For the lapstraking I`m using two-layer stripe foil before cutting them. Otherwise they would`nt show the lapstrake appeal after painting. Boats in scale 1:87, taking up (in scale) 15 persons or so could not be found, so I`m doing them myself Nils some srap ply layers were glued to a block to shape the raw plug


- 330 replies
-
- 15
-
-
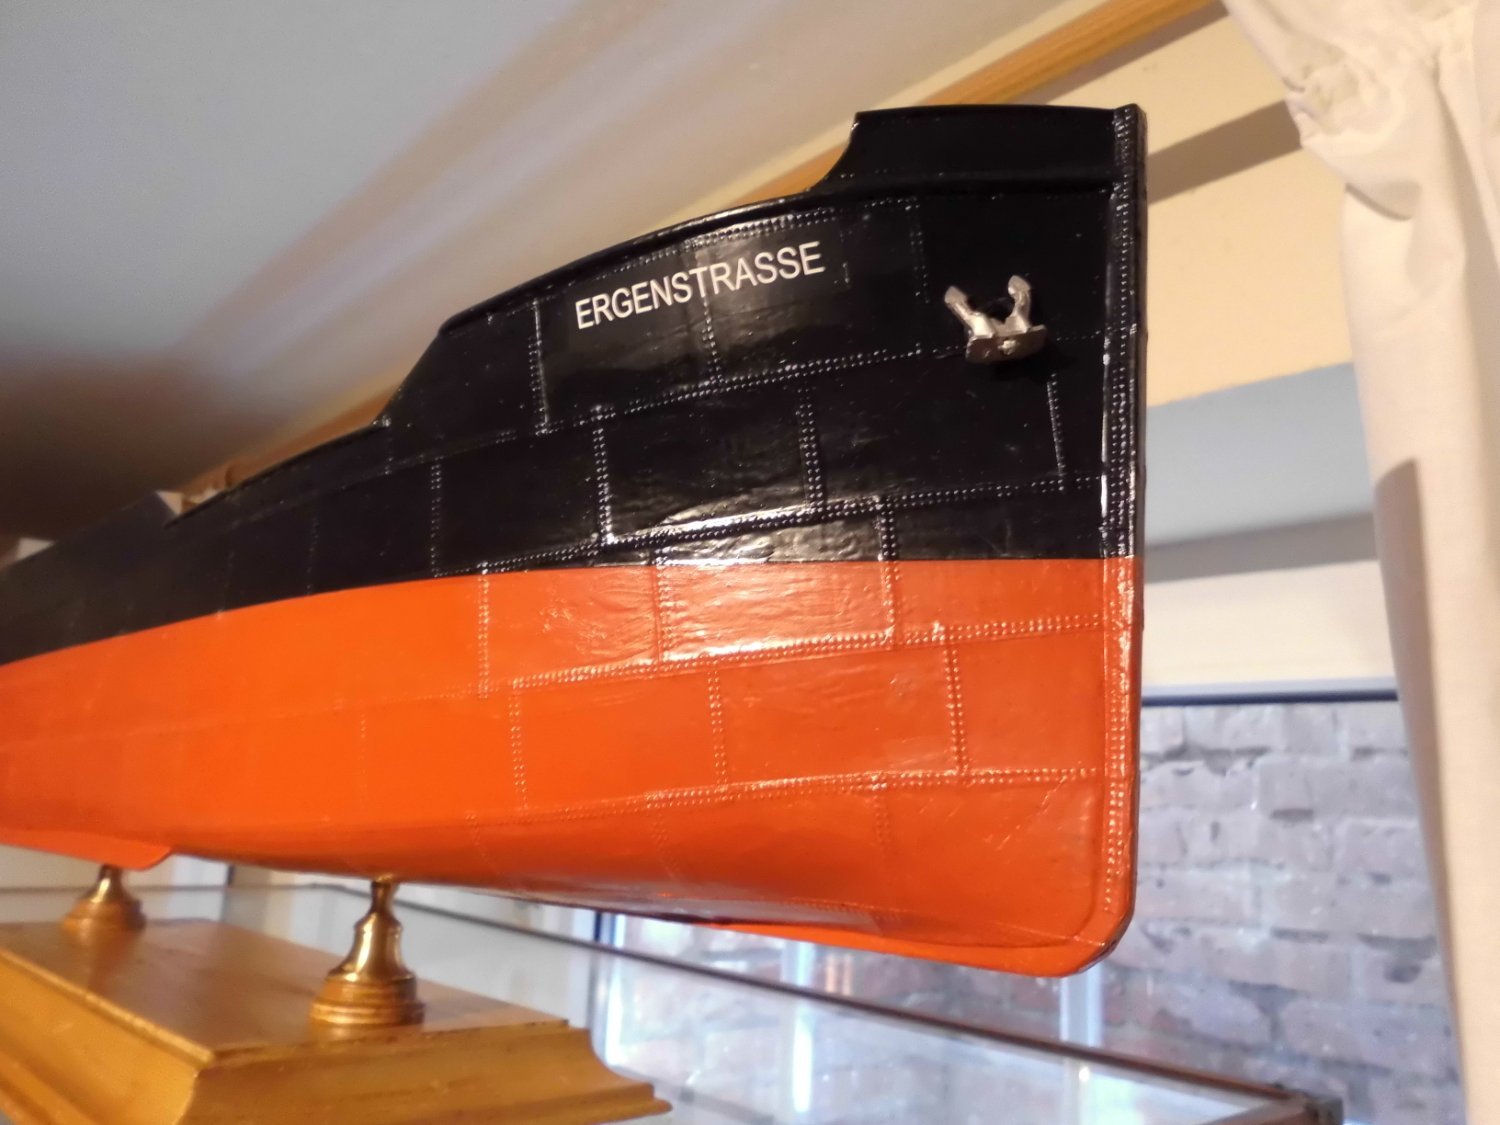
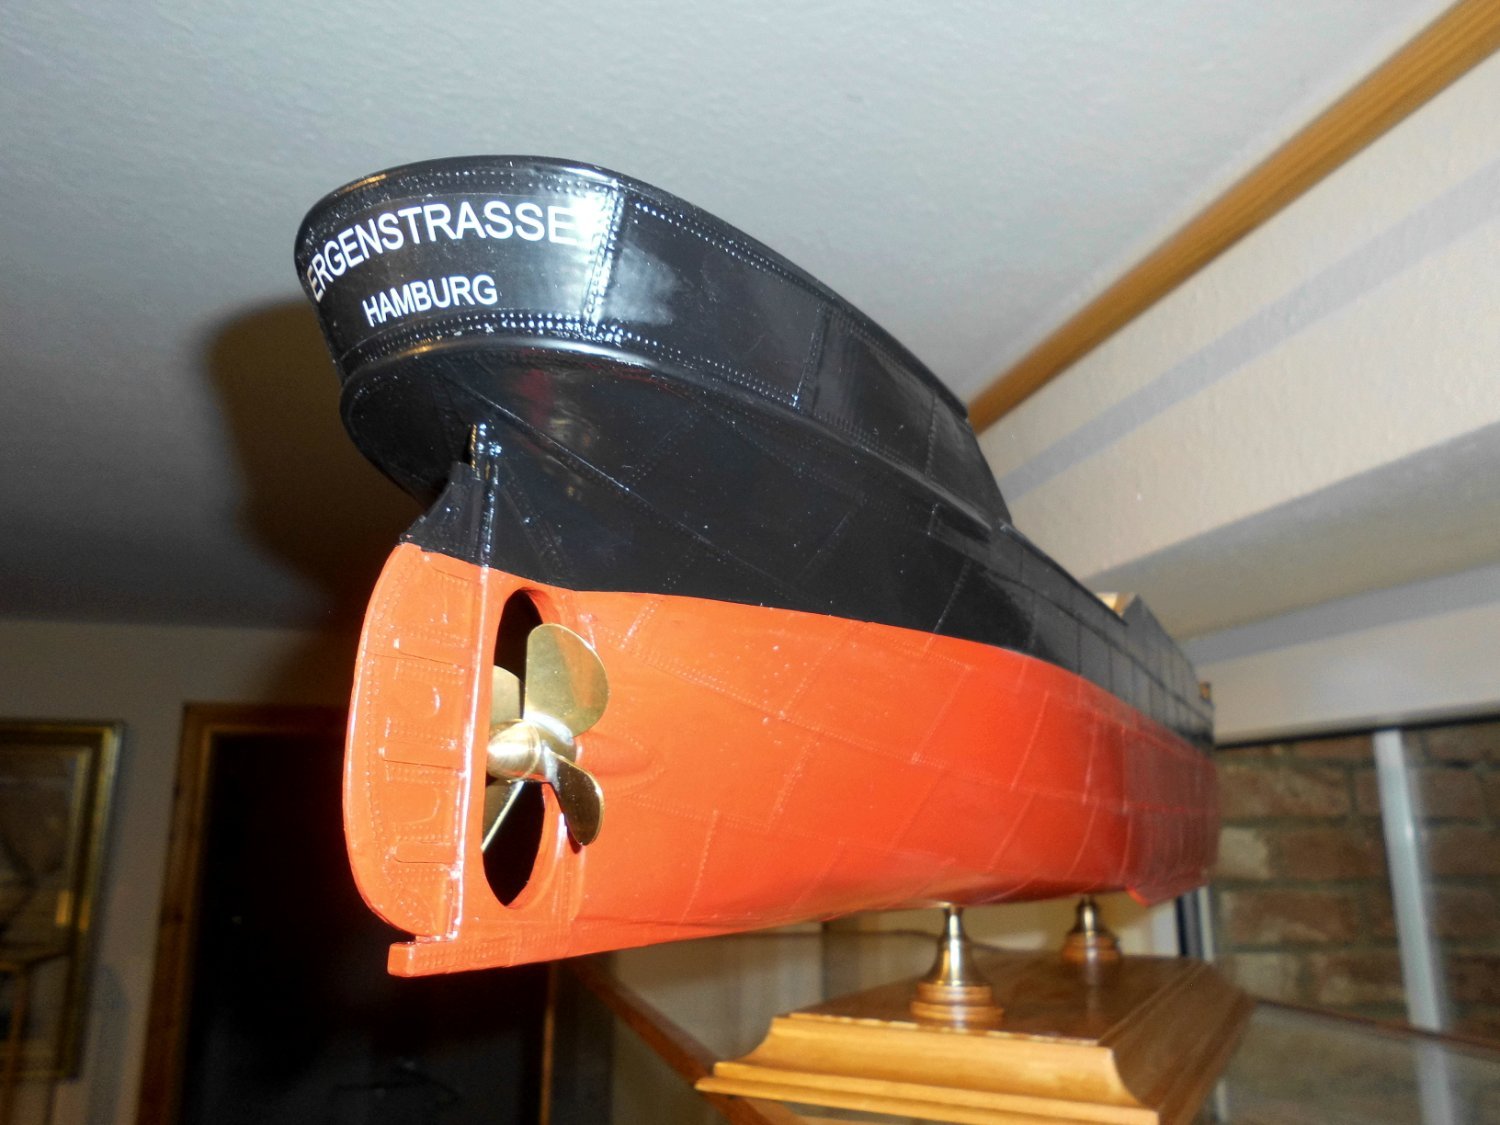
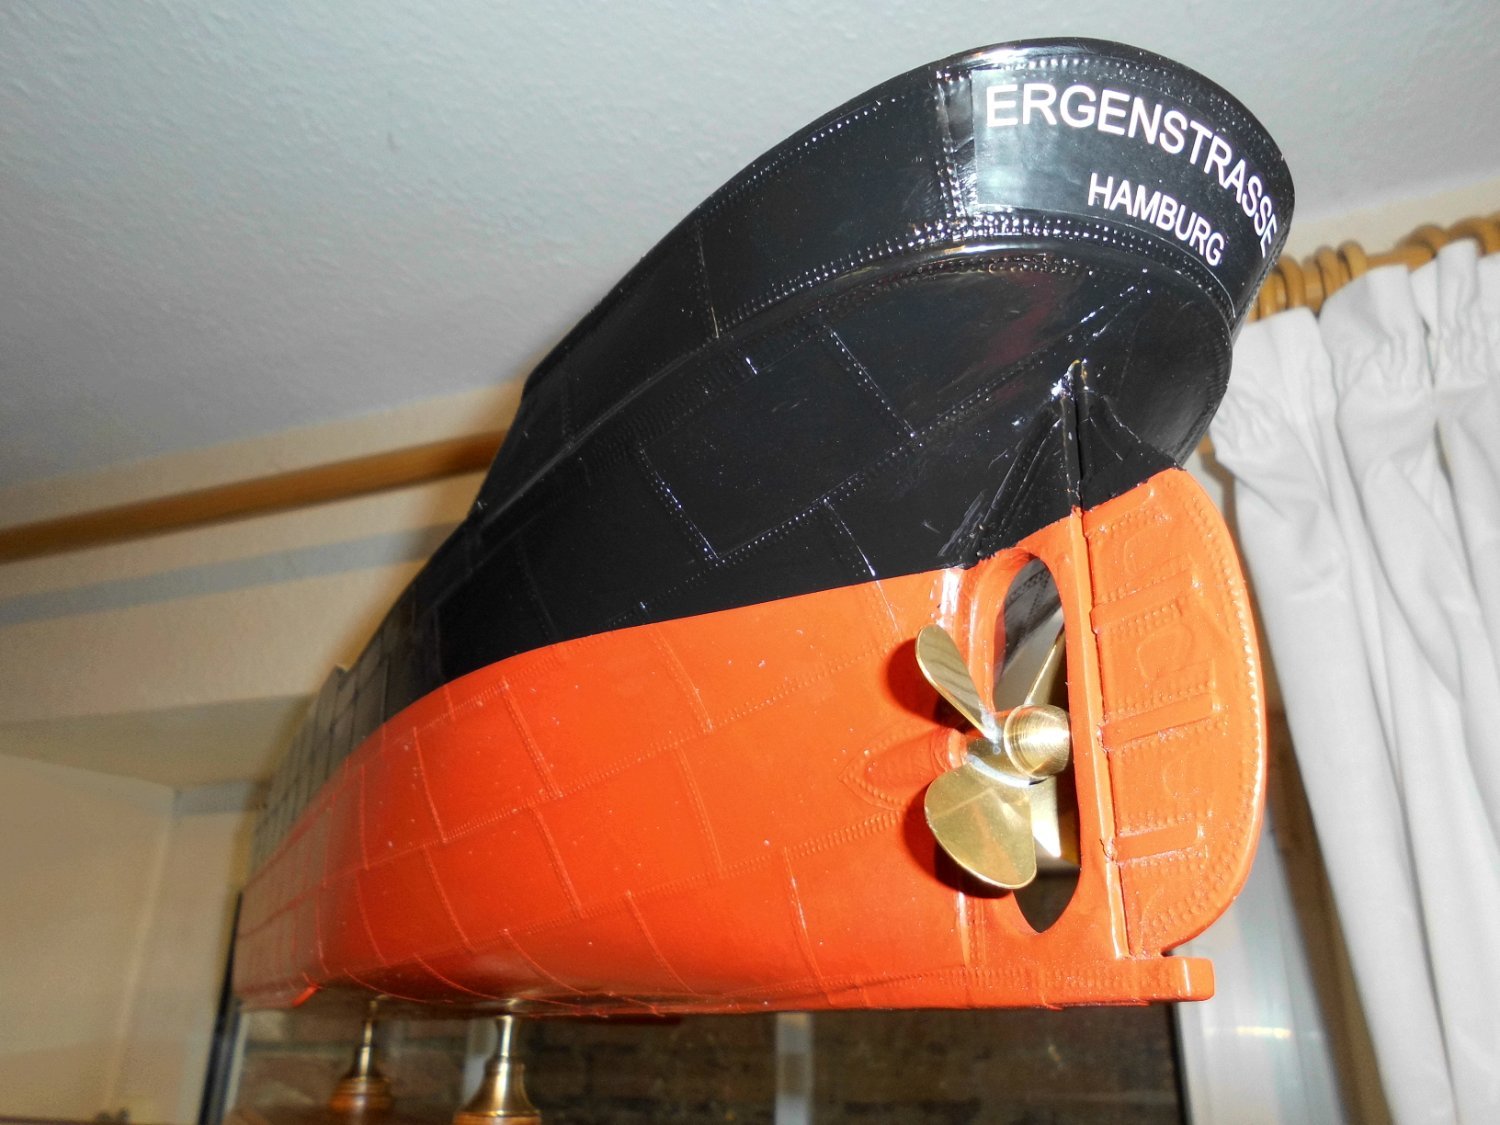
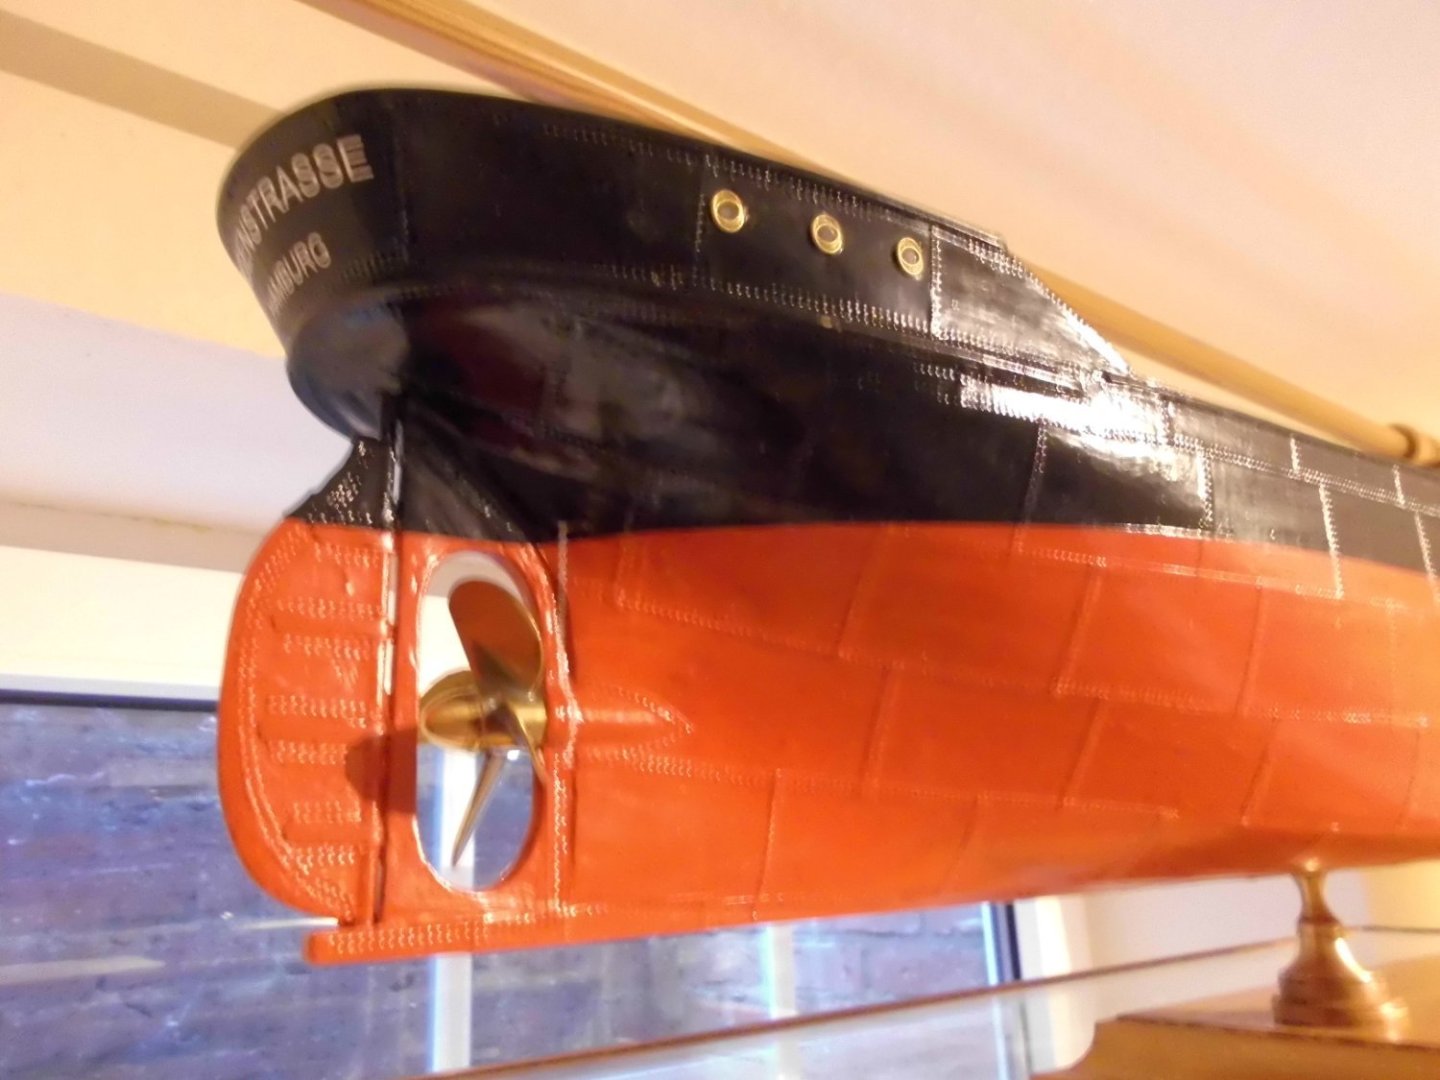
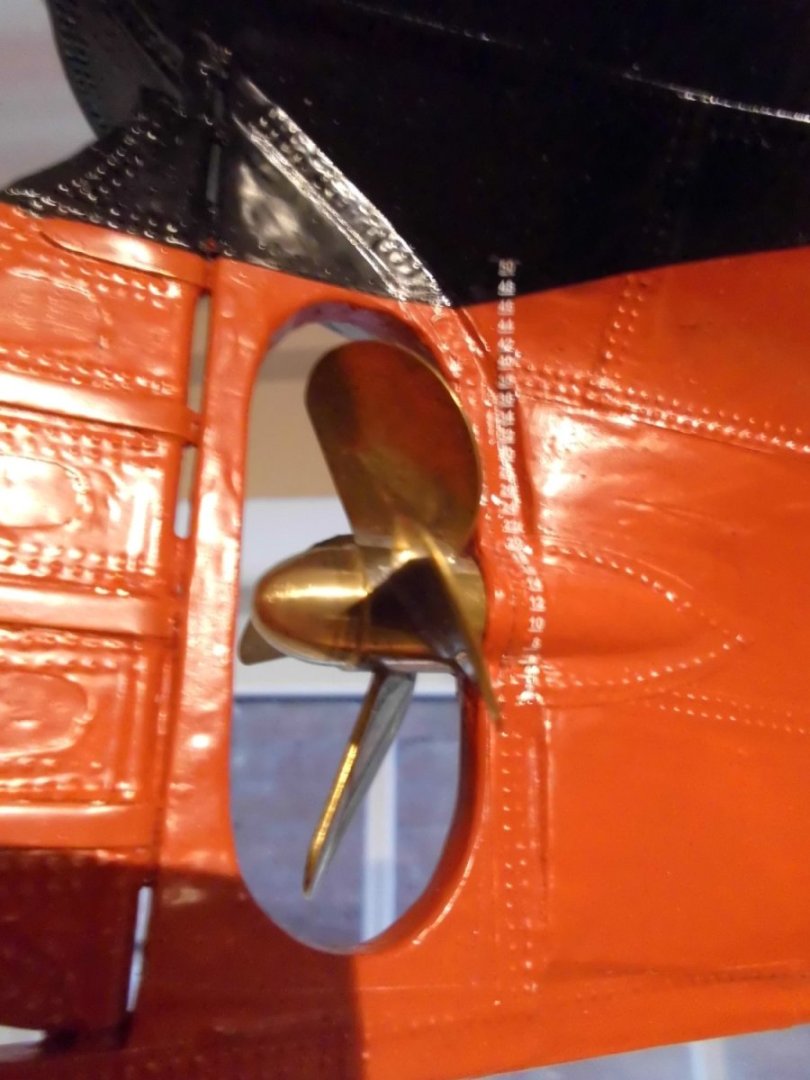
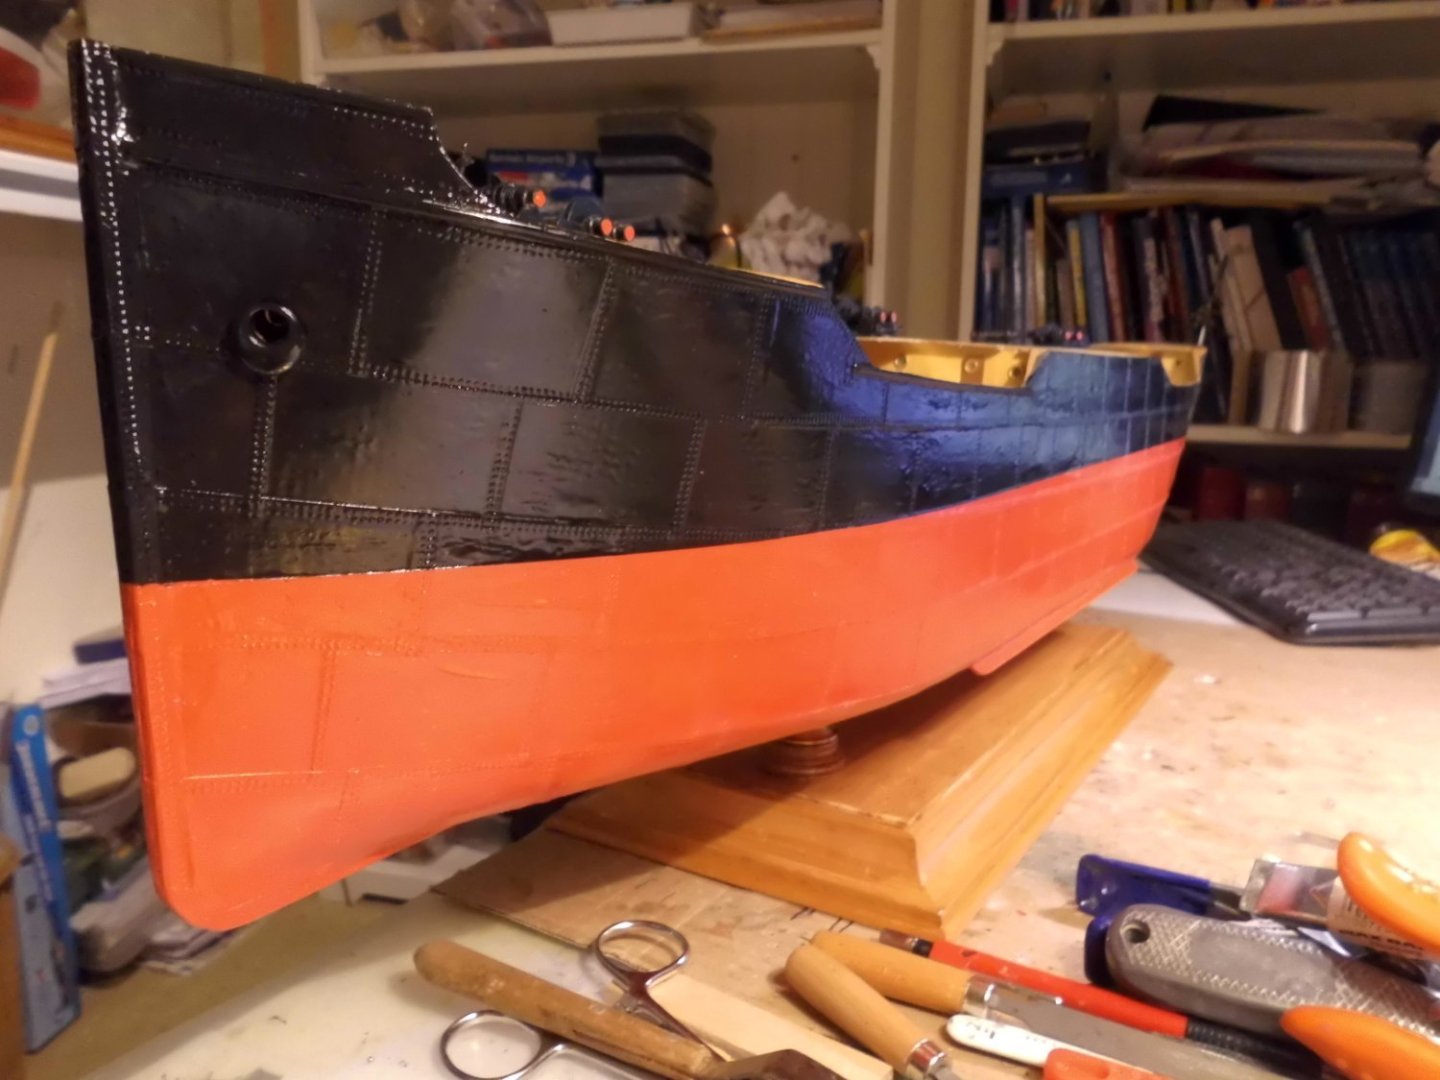
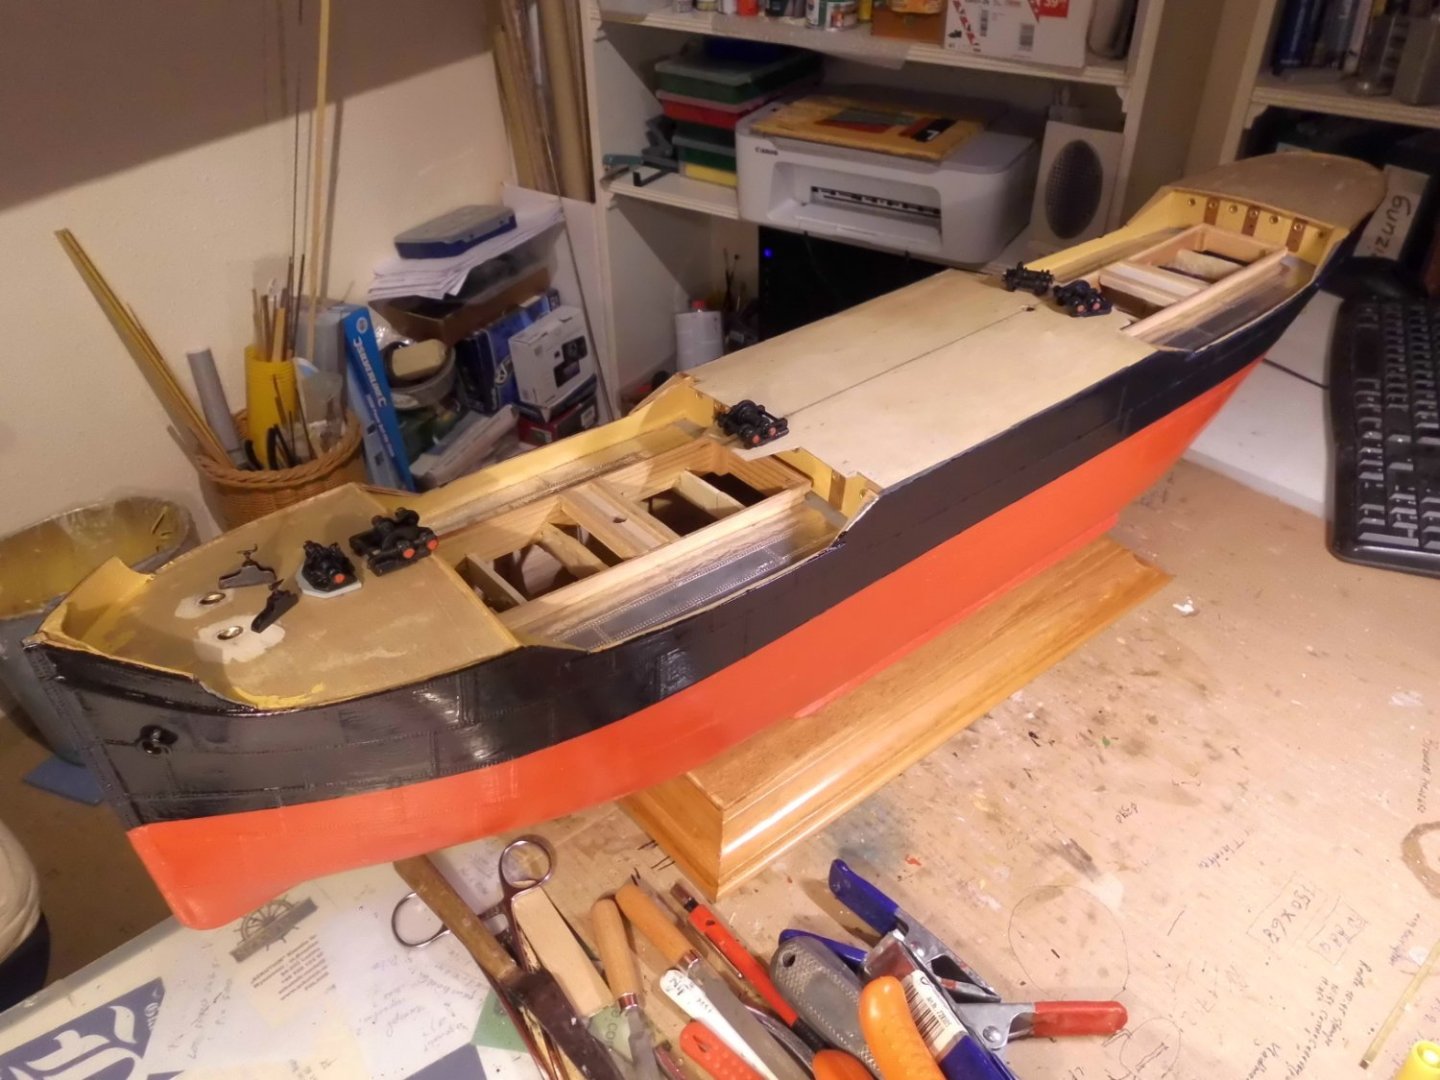
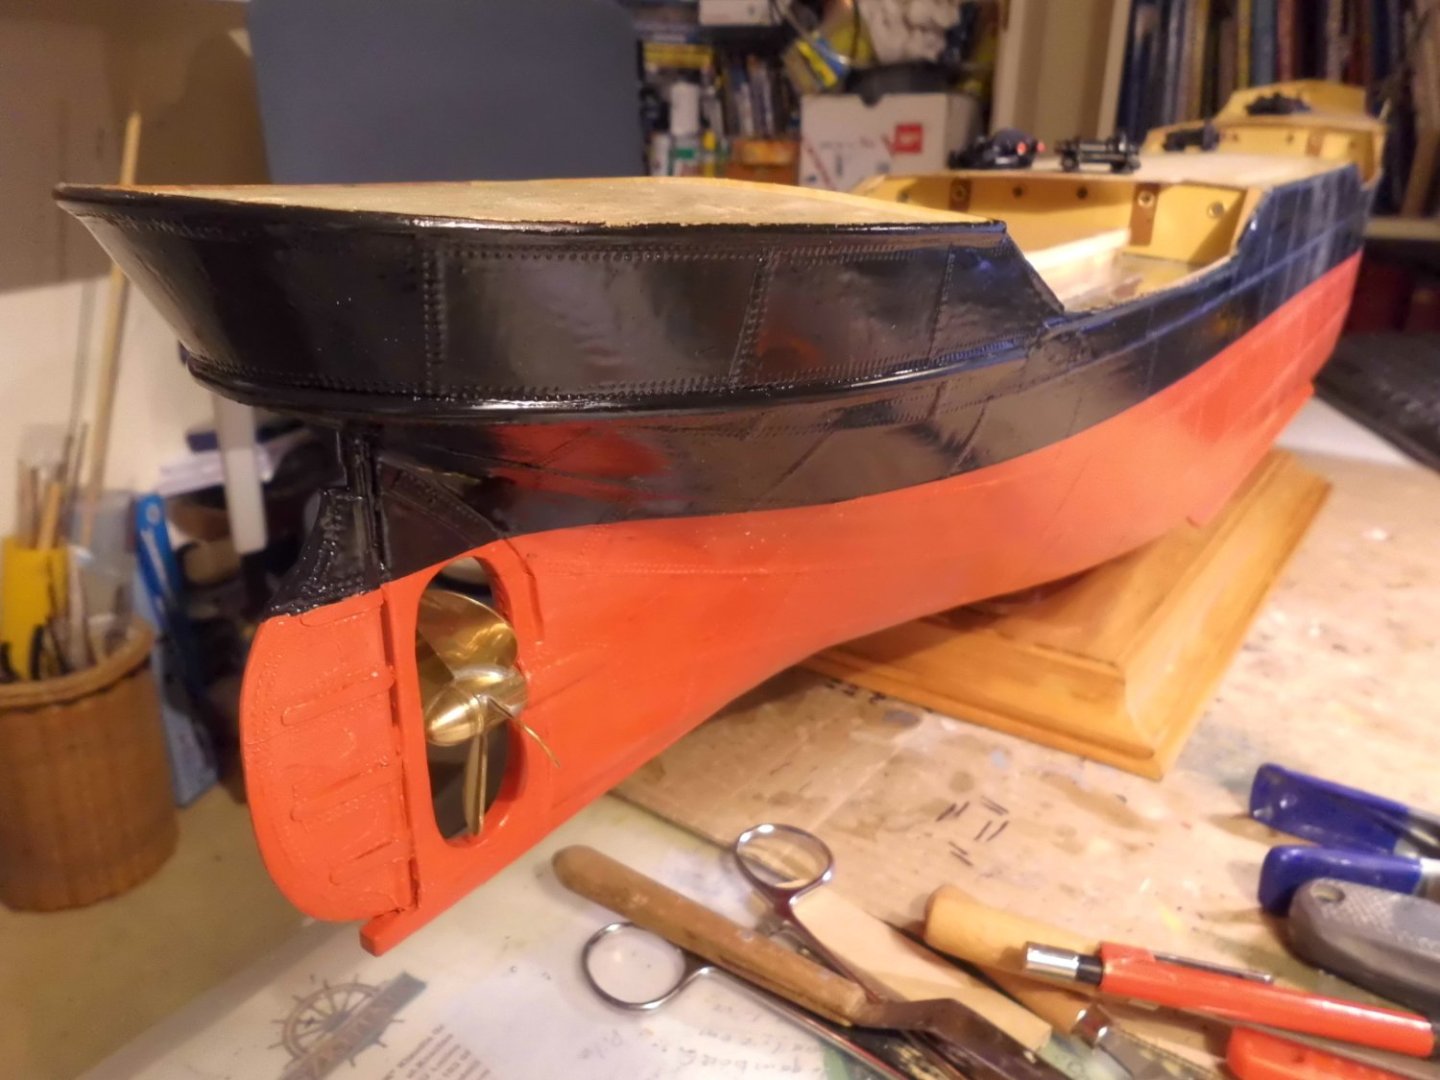
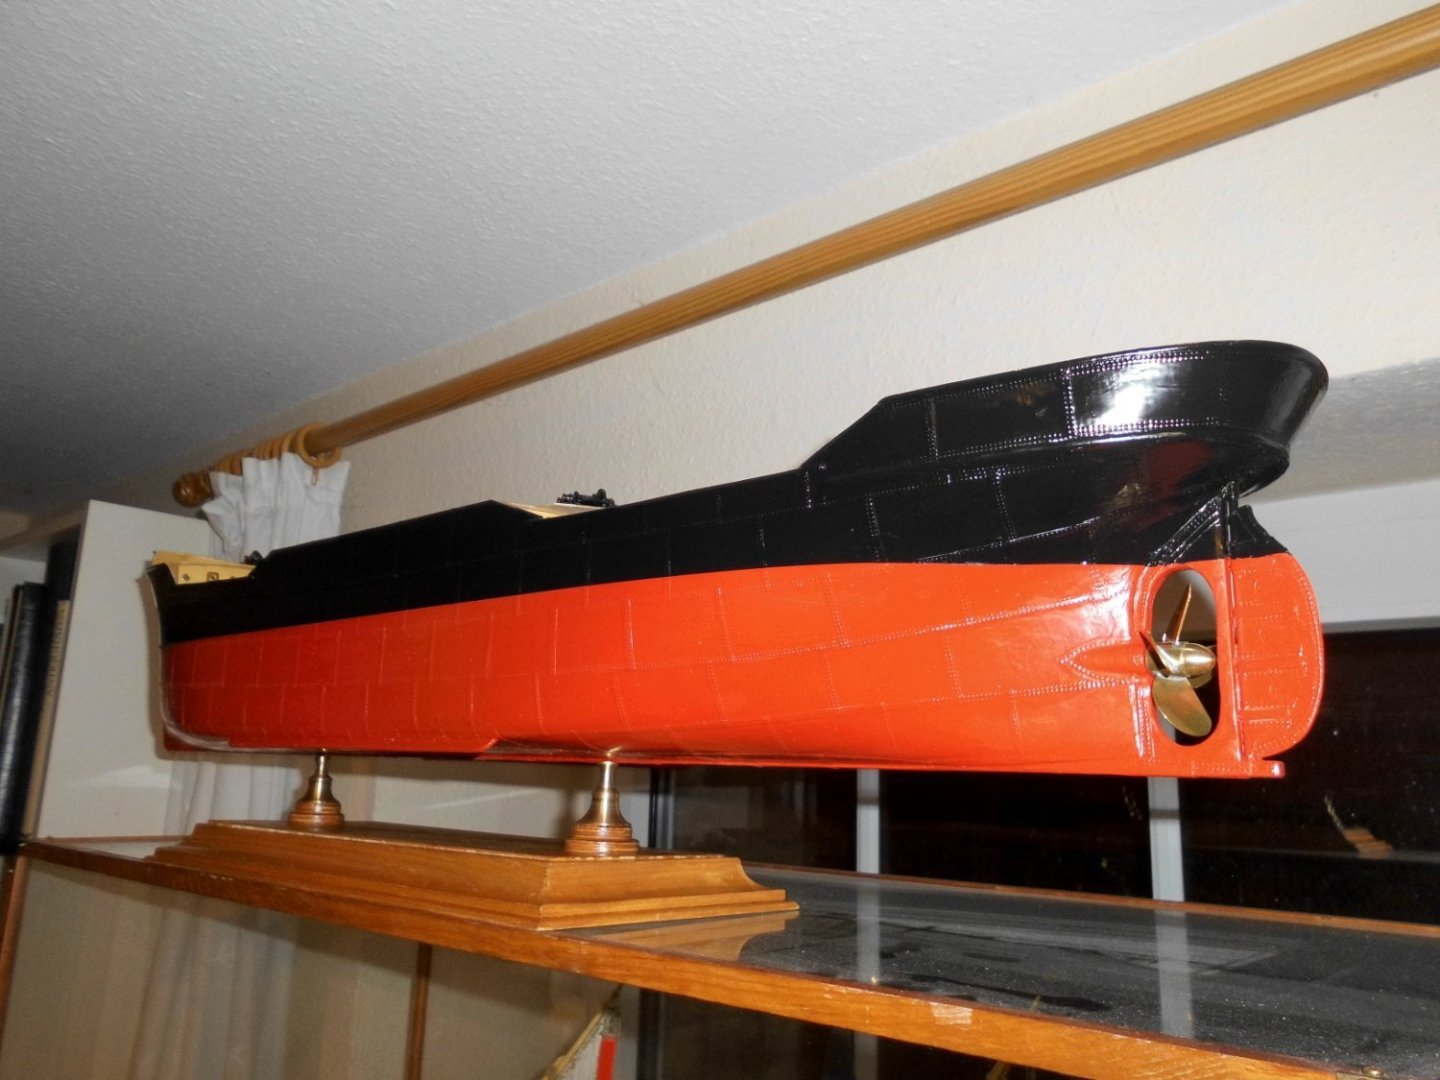
Update Started with the painting of the hull. The paint sticks on quite well together with the used promoting bounding primer for shiny aluminium. The lettering (names, homeport) is not yet attached but already printed in white letters on self adhesive black background foil (cut out patches). I also started with the ships boats, because they are double-ender lifeboats, It will only require 1/2 a boat as a plug for doing the silicon mould. They will be cast in resin. Each two halves will be glued together, (total 8 halves), trimmed and 4 boats then brought to final shape. I shall try to get some appropriate decals in transparent with white lettering for the front and aft depth markings, and for the Plymsoll mark midships Nils the sub-waterline is "African red" silk, acrylic paint, the upper hull is silk black, a silicone based black paint used for iron stoves and thear ductwork the lettering printed on black foil (for cutting out patches) preparing to make 1/2 a plug for the silicon mold for the ships boats that will be cast in resin afterwards

- 330 replies
-
- 20
-
-
-
Right there Yves, Thanks for your nice compliment it is so long ago that the two kits you mentioned were available from Billing Boats. (thear great time) I see offers for these rare old kits now and then on Ebay. It was also a time where there were no laser-cutten wood parts, and the good old jigsaw was used. I remember that for the Bohuslän I did`nt have the money for the seperate Billings fittings-kit, so all the appropriate fittings were self made. Nils
-
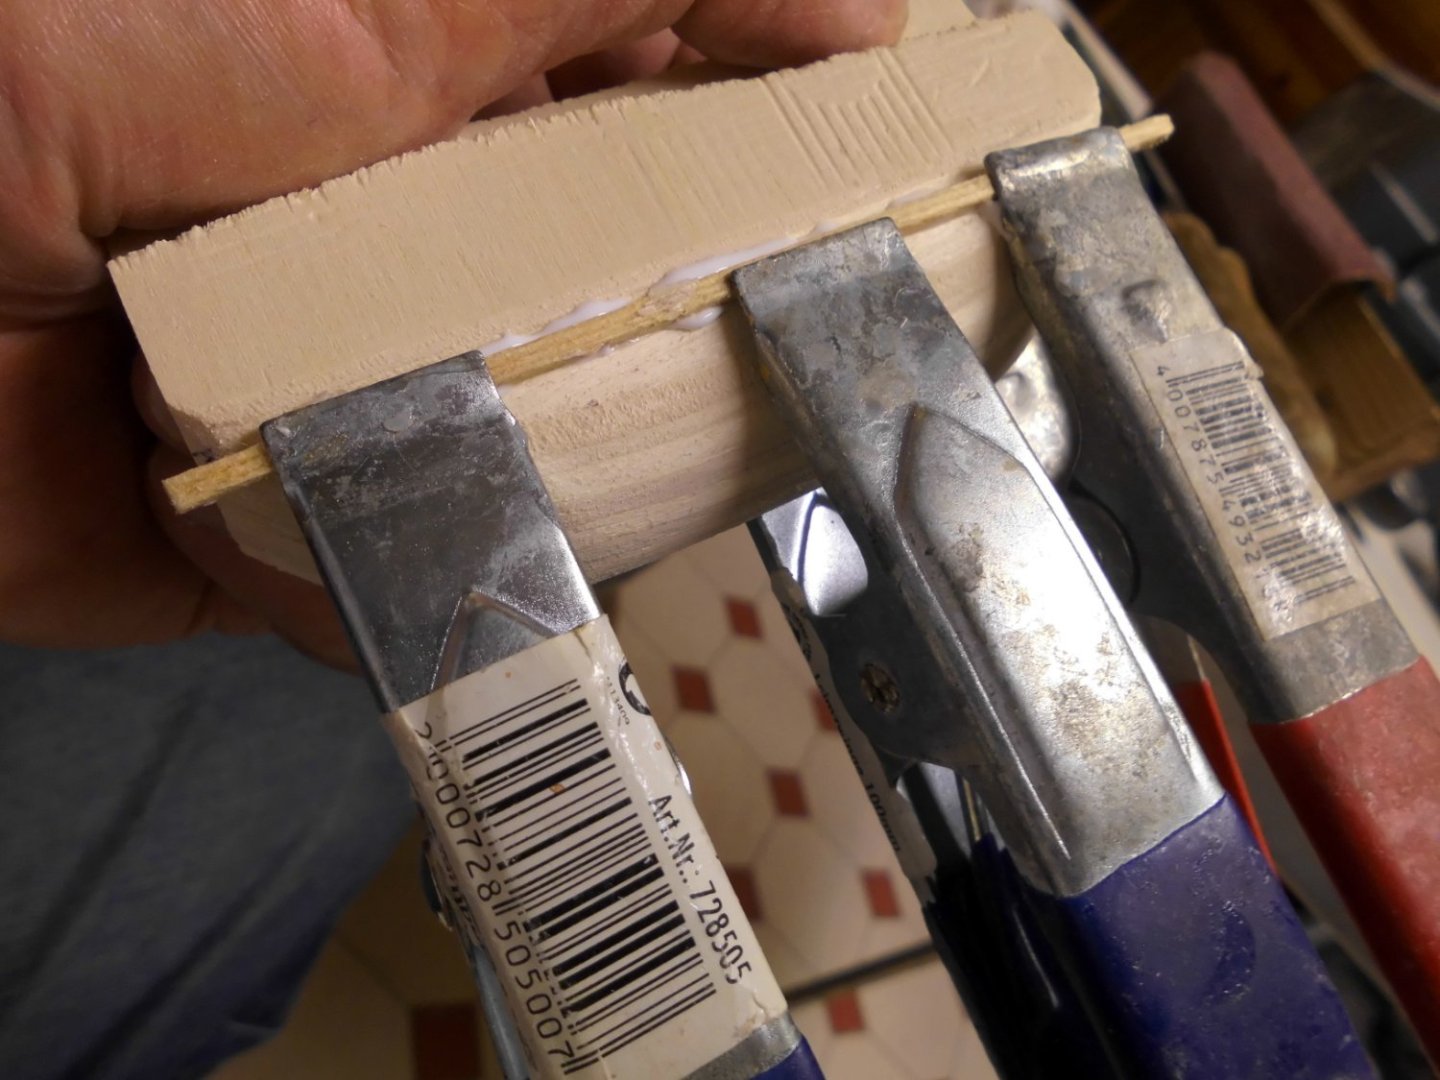
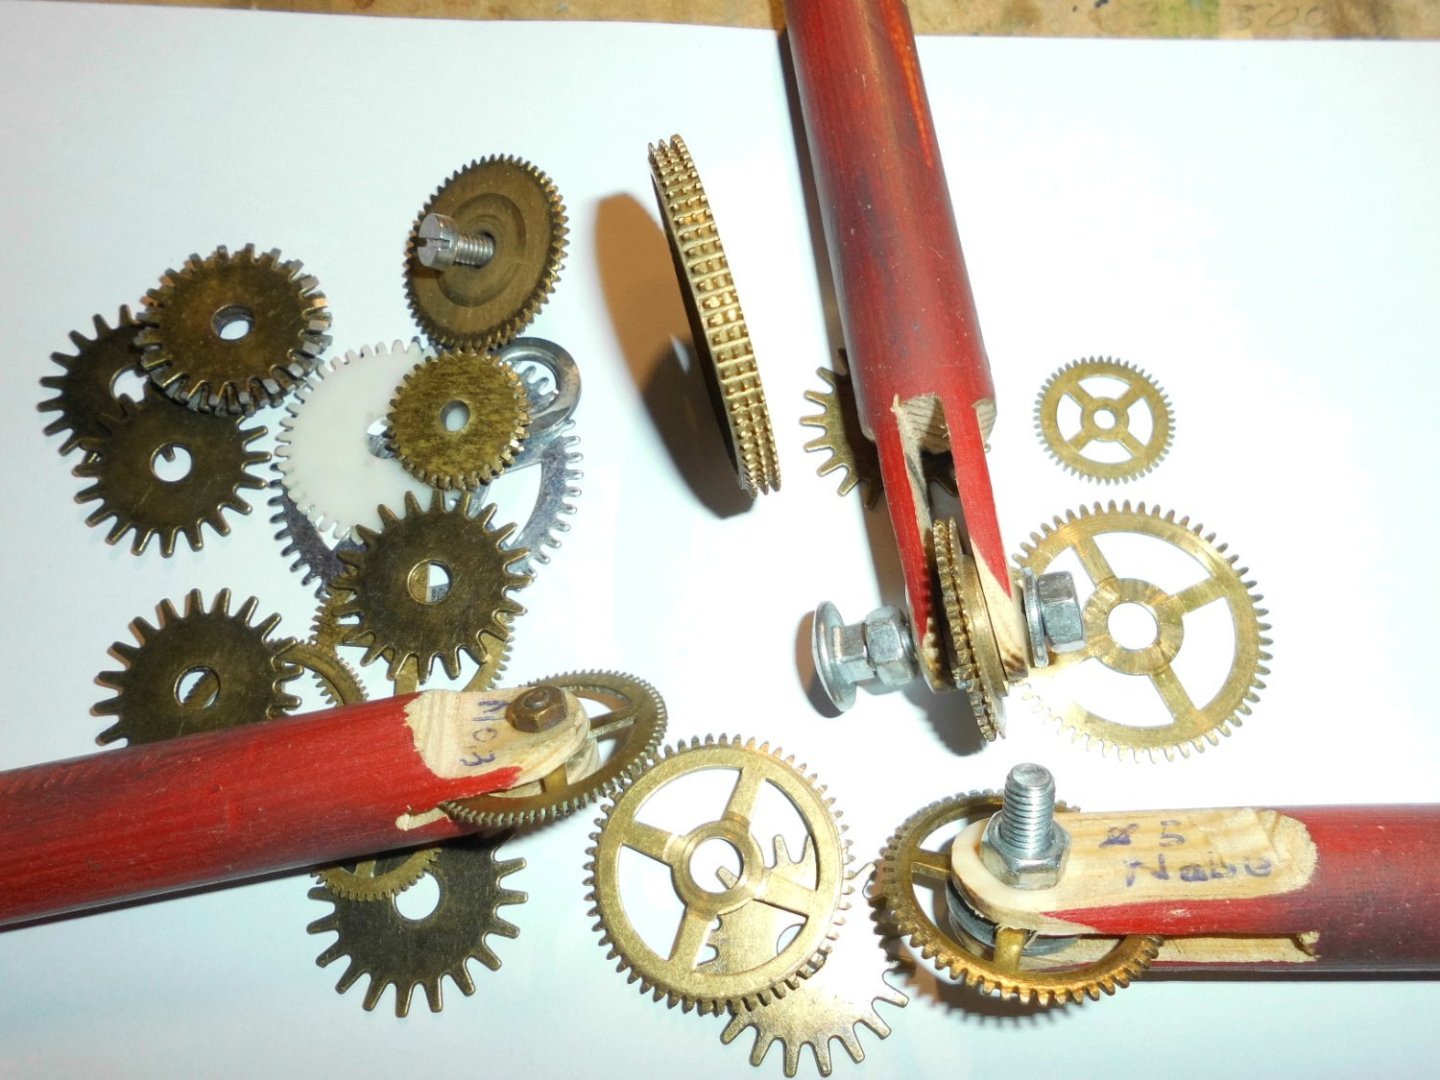
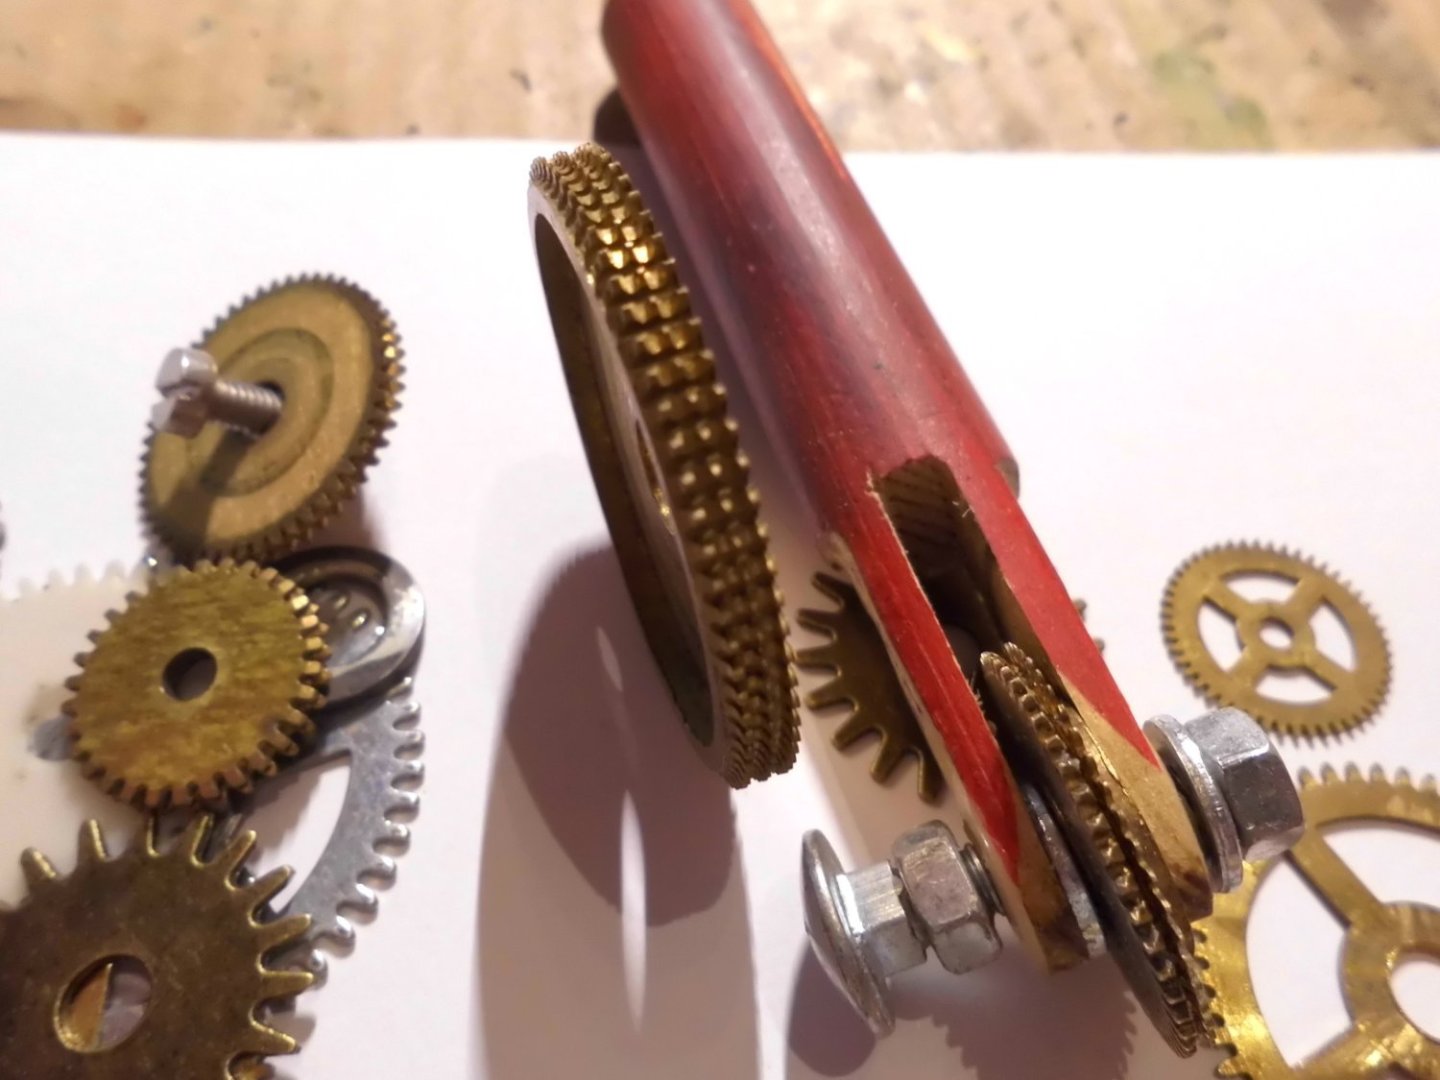
thanks for you comment Yves, I`m using toothwheels of old mantel clocks for poncing (rivets). The handles are made from old paint brush handles. Regards to your brother and I wish him much luck and fun with the Hjejlen build Nils if you look close, you`l notice different tooth sizes and by sloting the circumferal wheel I get even 2- and 3 fold "rivet rows. The 2-fold I used on the Ergenstrasse plating
- 330 replies
-
- 18
-
-