Supplies of the Ship Modeler's Handbook are running out. Get your copy NOW before they are gone! Click here to order
×
MORE HANDBOOKS ARE ON THEIR WAY! We will let you know when they get here.
×


Mirabell61
-
Posts
7,403 -
Joined
-
Last visited
Content Type
Profiles
Forums
Gallery
Events
Everything posted by Mirabell61
-
 Thank you very much B.E. yes, once an interesting new project is identified i do some research to find out and learn more about it. The world wide web is an great achievement for doing so. I like to build boats I did`nt do before and it certainly must turn out as something spooking around in my mind continuously before I get started, also considering possible scale and how I would preferaly display the ship / boat and its features when its finished. Last not least I gain many thoughts how to tackle the one or or other modeling sequences as far as my capability allows. there is for instance my to date incomplete "Zeesboot" which still requires decks planking the rigging and the sails. Seeing the new fantastic Zeesboot project of Javier Baron in "scale 1:100 ! " today, encourages me very much to go on with it, once the Elbe is completed. Nils
- 180 replies
-
- 3
-

-
- pilot boat
- Elbe 5
- (and 3 more)
-
Hello Javier, a wonderful built small model, and a very nice historical introduction with much background introduction Are you going to fit sails as well ? Nils
-
Two methods for painting on sails.
Mirabell61 replied to modeller_masa's topic in Masting, rigging and sails
Hello Masa, thanks for your input here and for sharing your well explained experience with the techniques used... Nils -
MONTAÑES by Amalio
Mirabell61 replied to Amalio's topic in - Build logs for subjects built 1751 - 1800
Wunderbar !! Nils -
Bruce, the sail lettering was not done with my new Prixma, but upon order in a copy shop. I do`nt know what type of printing method they are using. I`m anxious to use my own new printer for transfer foil application Nils
- 180 replies
-
- 2
-
-
- pilot boat
- Elbe 5
- (and 3 more)
-
Many thanks Keith and John, now I have to groove myself in again with my wife`s old electric sewing machine Nils
- 180 replies
-
- 1
-
-
- pilot boat
- Elbe 5
- (and 3 more)
-
Nice model Jack, it reminds me of the Gorch Fock, except for the Yards on the mizzen Nils
-
Very nice looking vessel Rick, good work with the fitting out and the over all look.... Nils
- 35 replies
-
- 1
-
-
- Artesania Latina
- Sultan
- (and 1 more)
-
Thank you very much Ian and Bruce for your nice comments Nils
- 180 replies
-
- 2
-
-
- pilot boat
- Elbe 5
- (and 3 more)
-
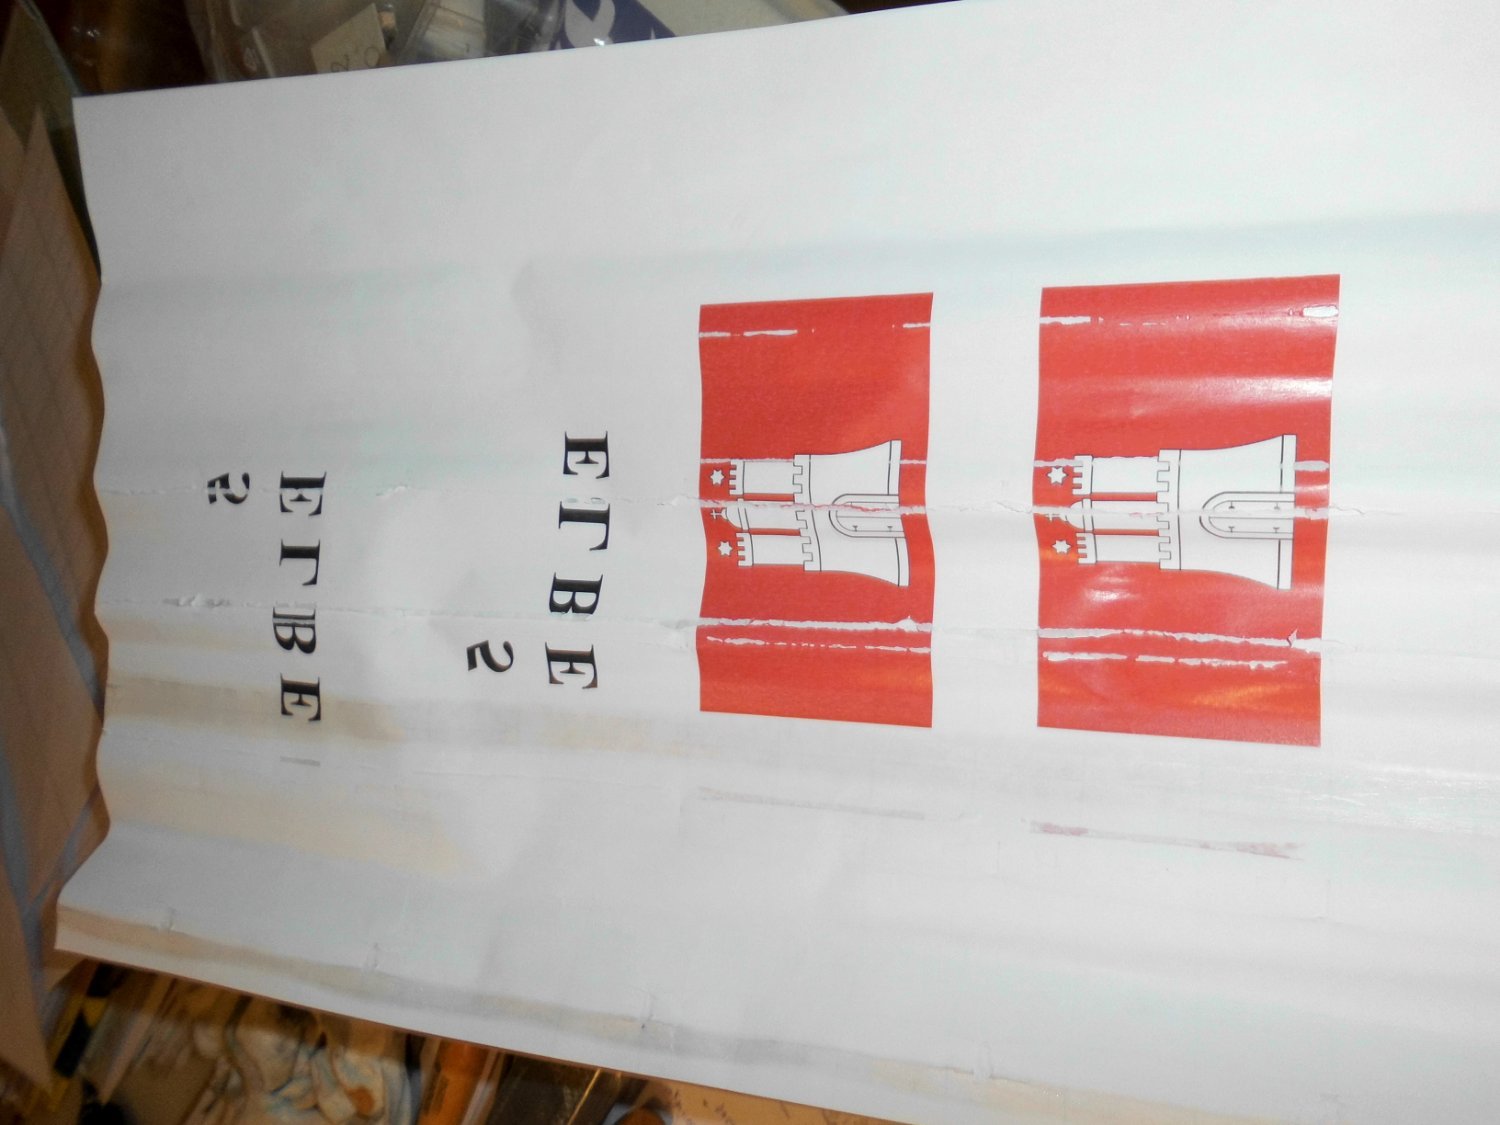
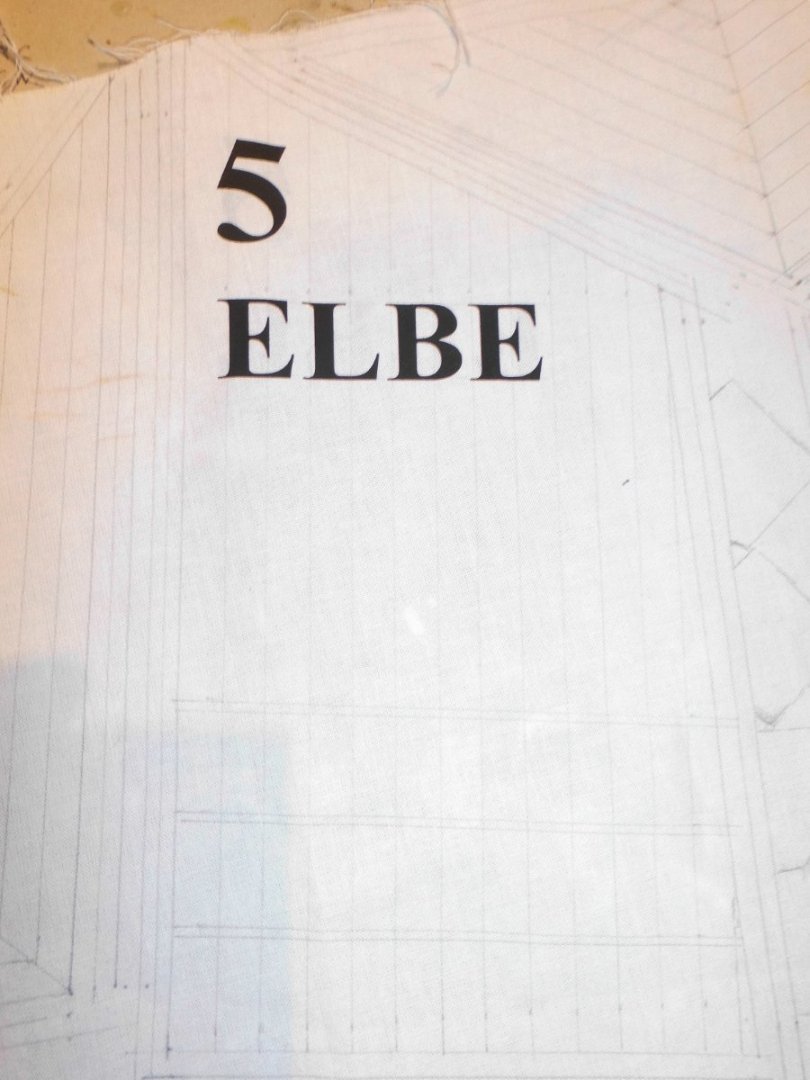
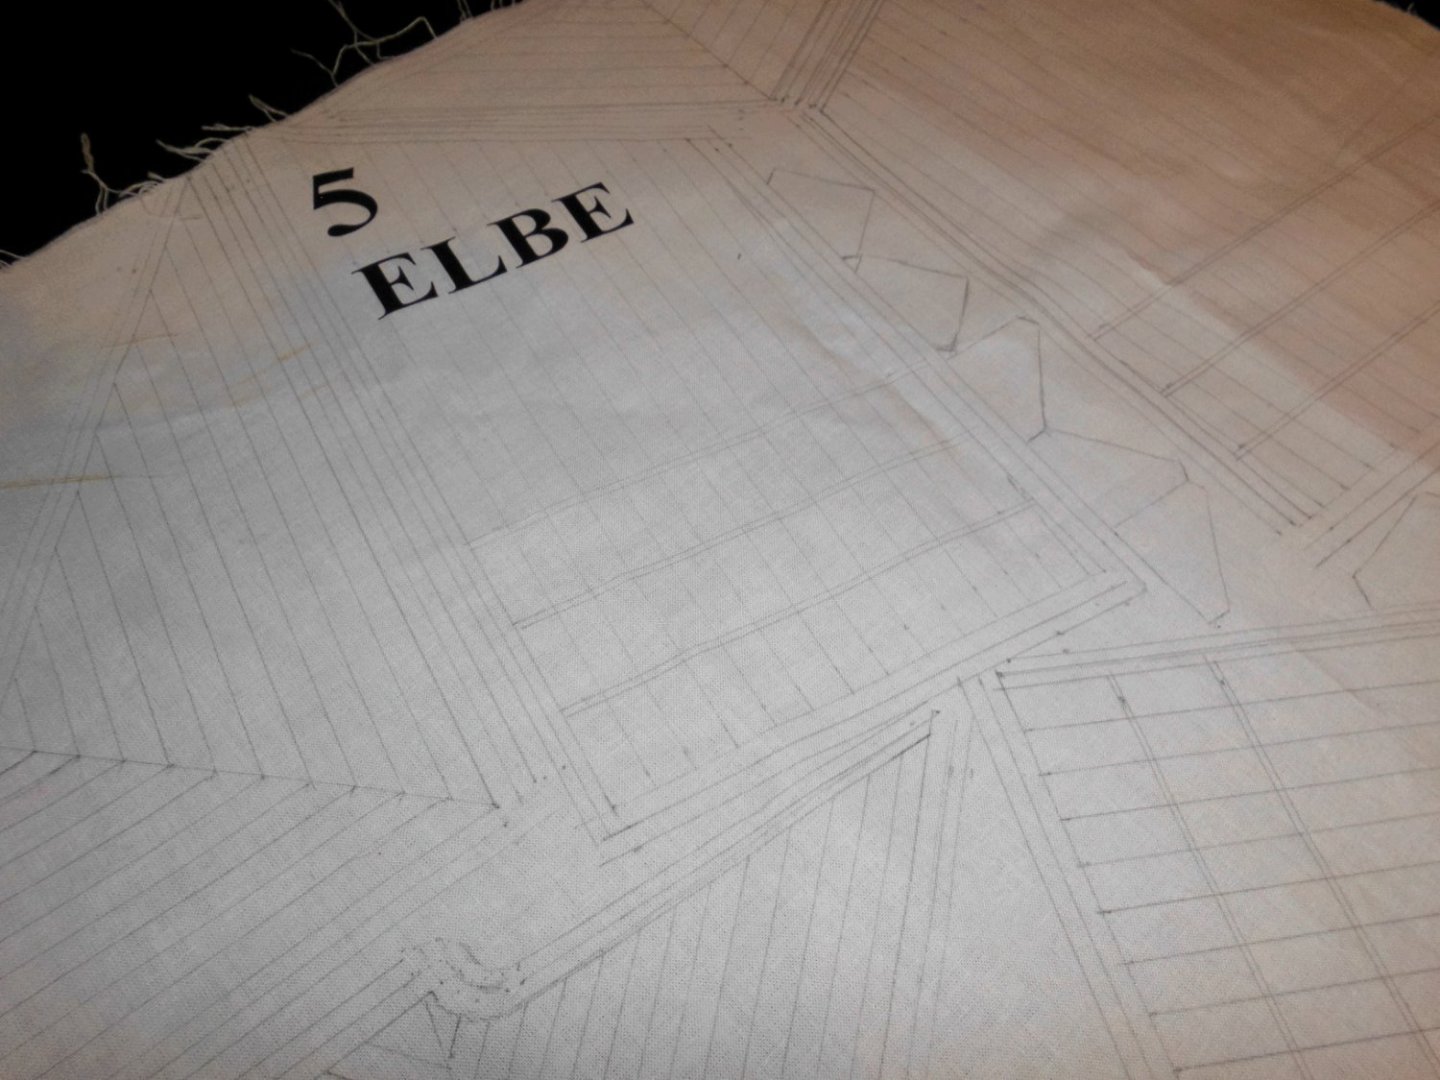
Update I`m just coming from the Hamburg based Copy Shop where I had placed the order to print the number and lettering to the sail cloth two days ago, and am delighted with the result, its better than I have expected, the young lady that took up the order has done an excellent and well understood job. The lettering is exactly in the same sail location-area on both sides of the cloth and good visable from furtheraway, so the pilot schooner can be well identified. I just hope that I will manage to sew the sails with duckllines and boltropes all around accordingly, without messing it all up Nils
- 180 replies
-
- 5
-
-

-
- pilot boat
- Elbe 5
- (and 3 more)
-
Many thanks John, yes, I beleave the transfer paper was too thick for the paper infeed of my HP printer (allthough it was to be working with an regular inc-jet printer). I now changed the brand and ordered a CANON Pixma TS 3451 multifunction inc-jet, hoping to have less trouble with it... Nils
-
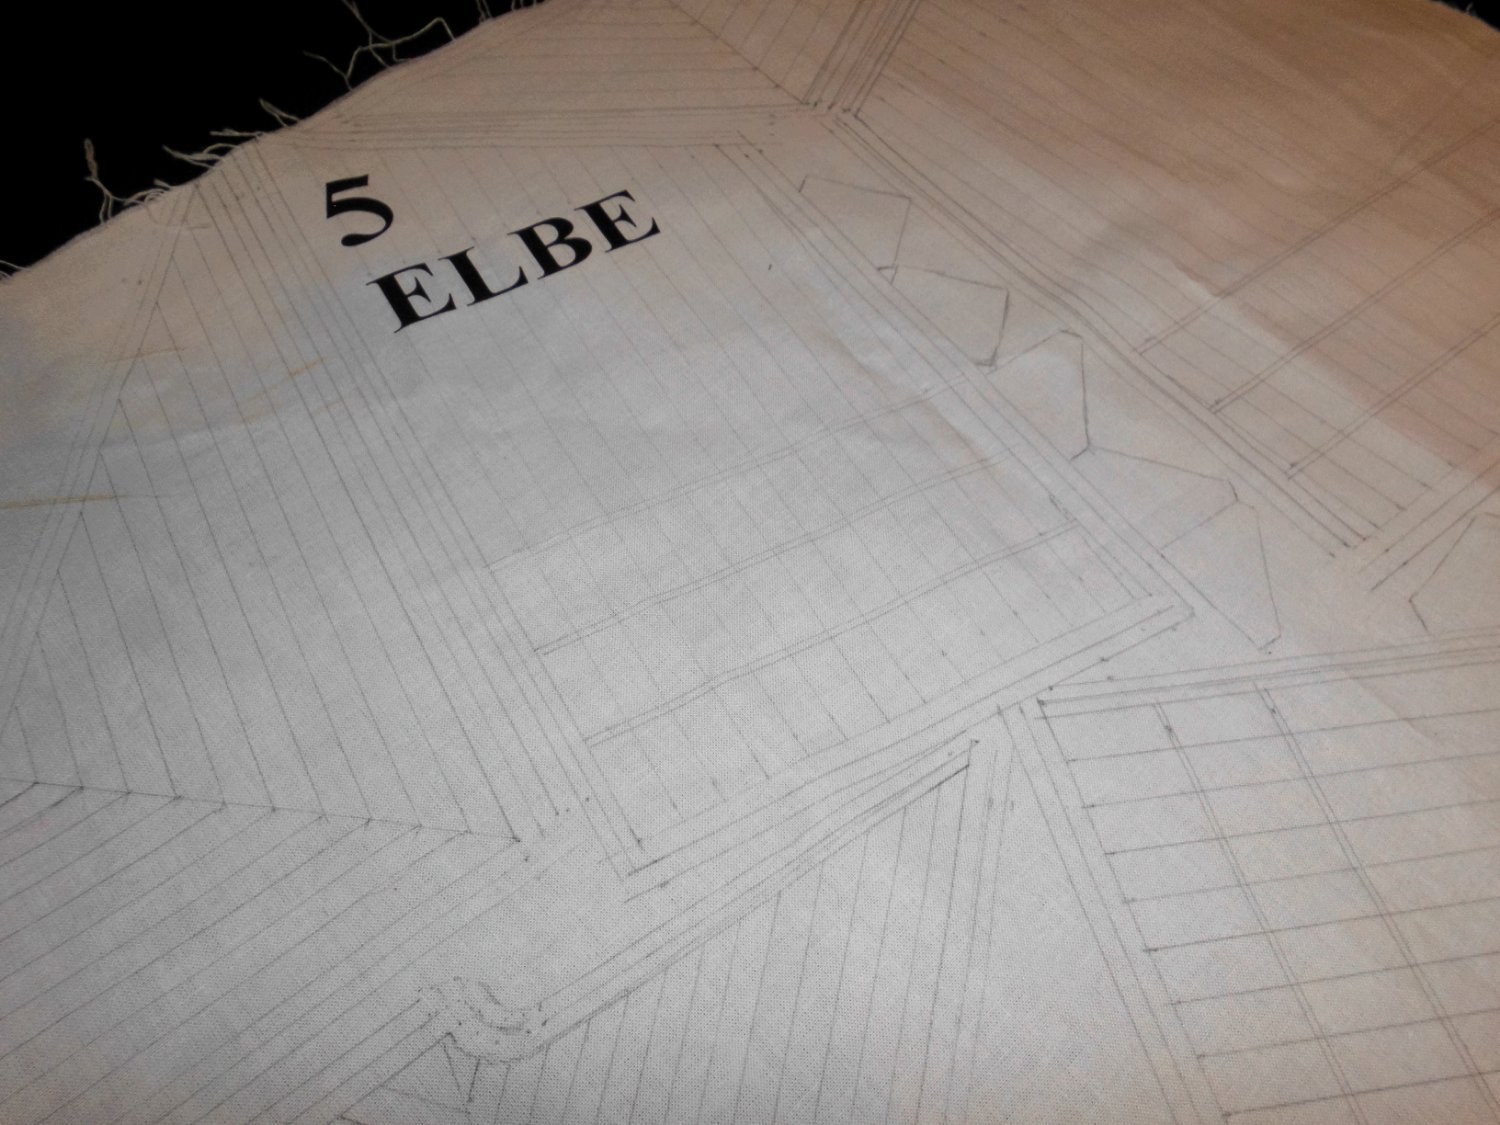
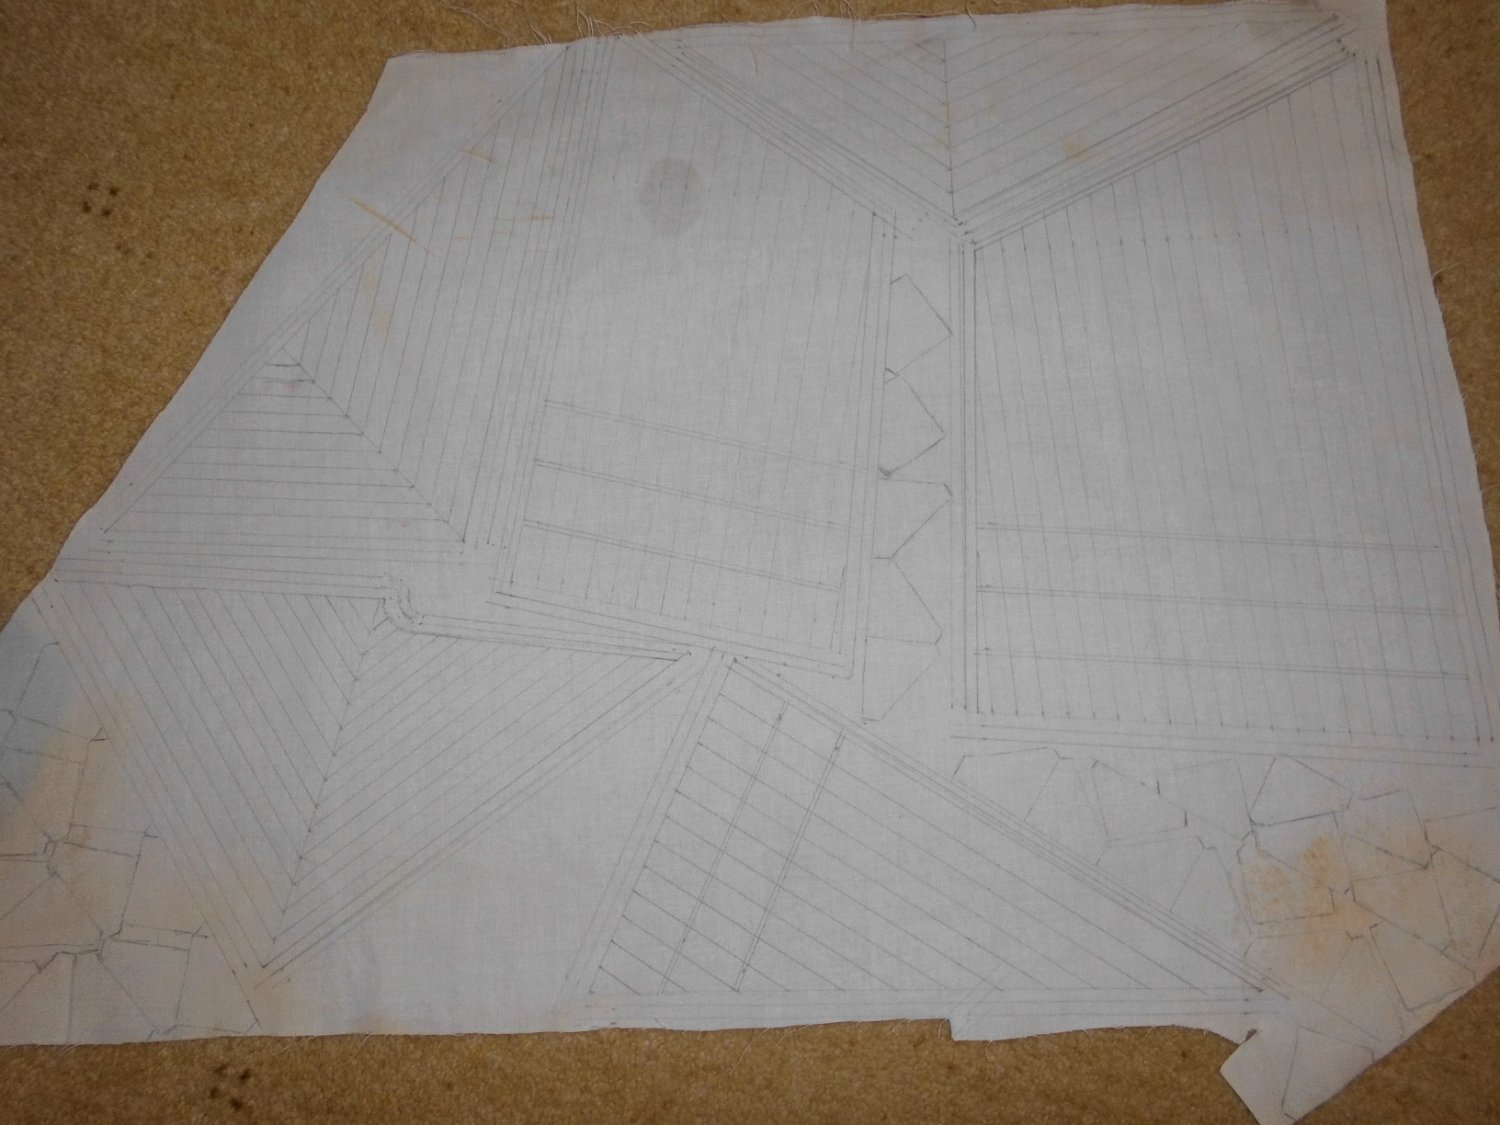
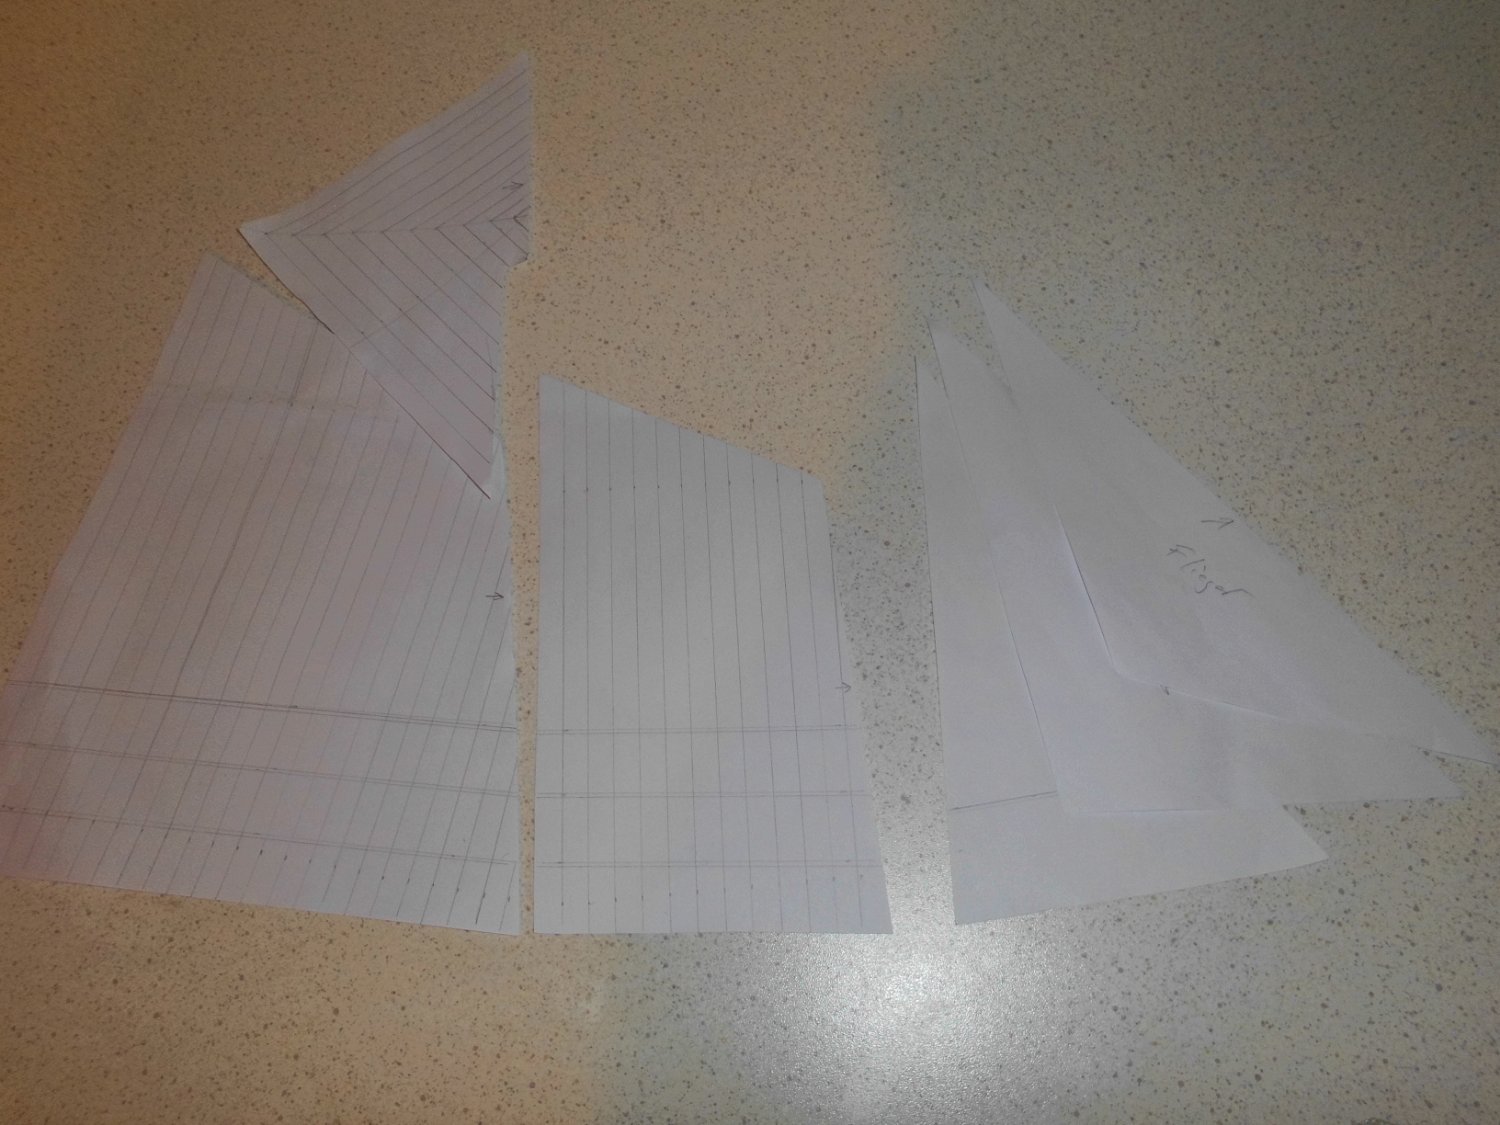
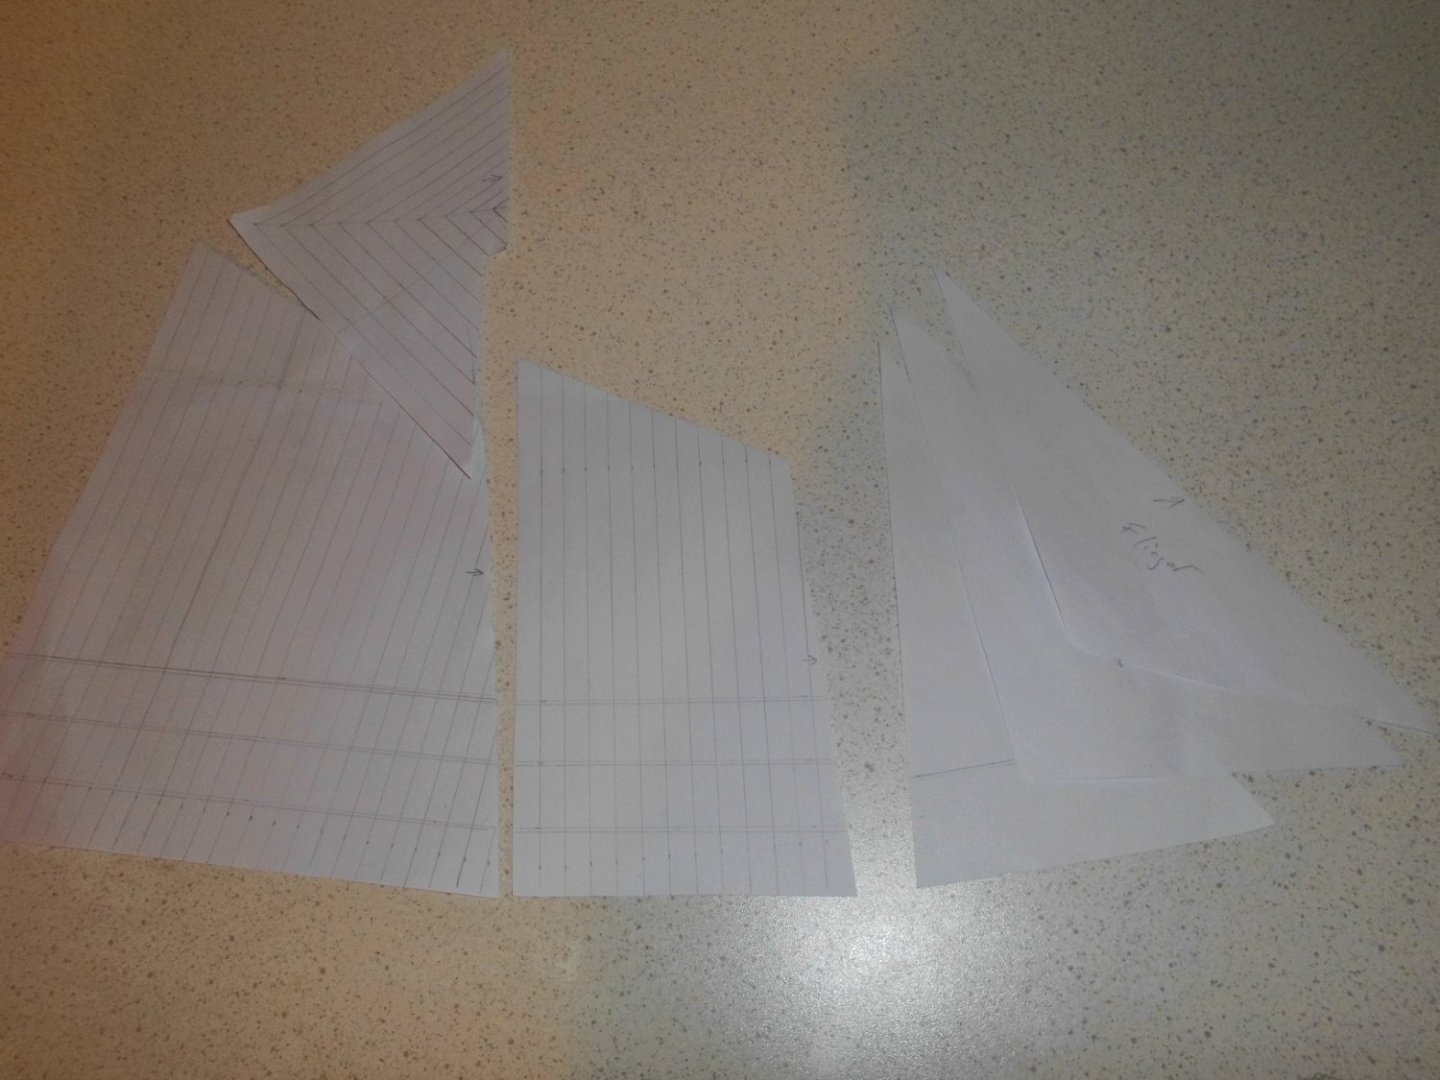
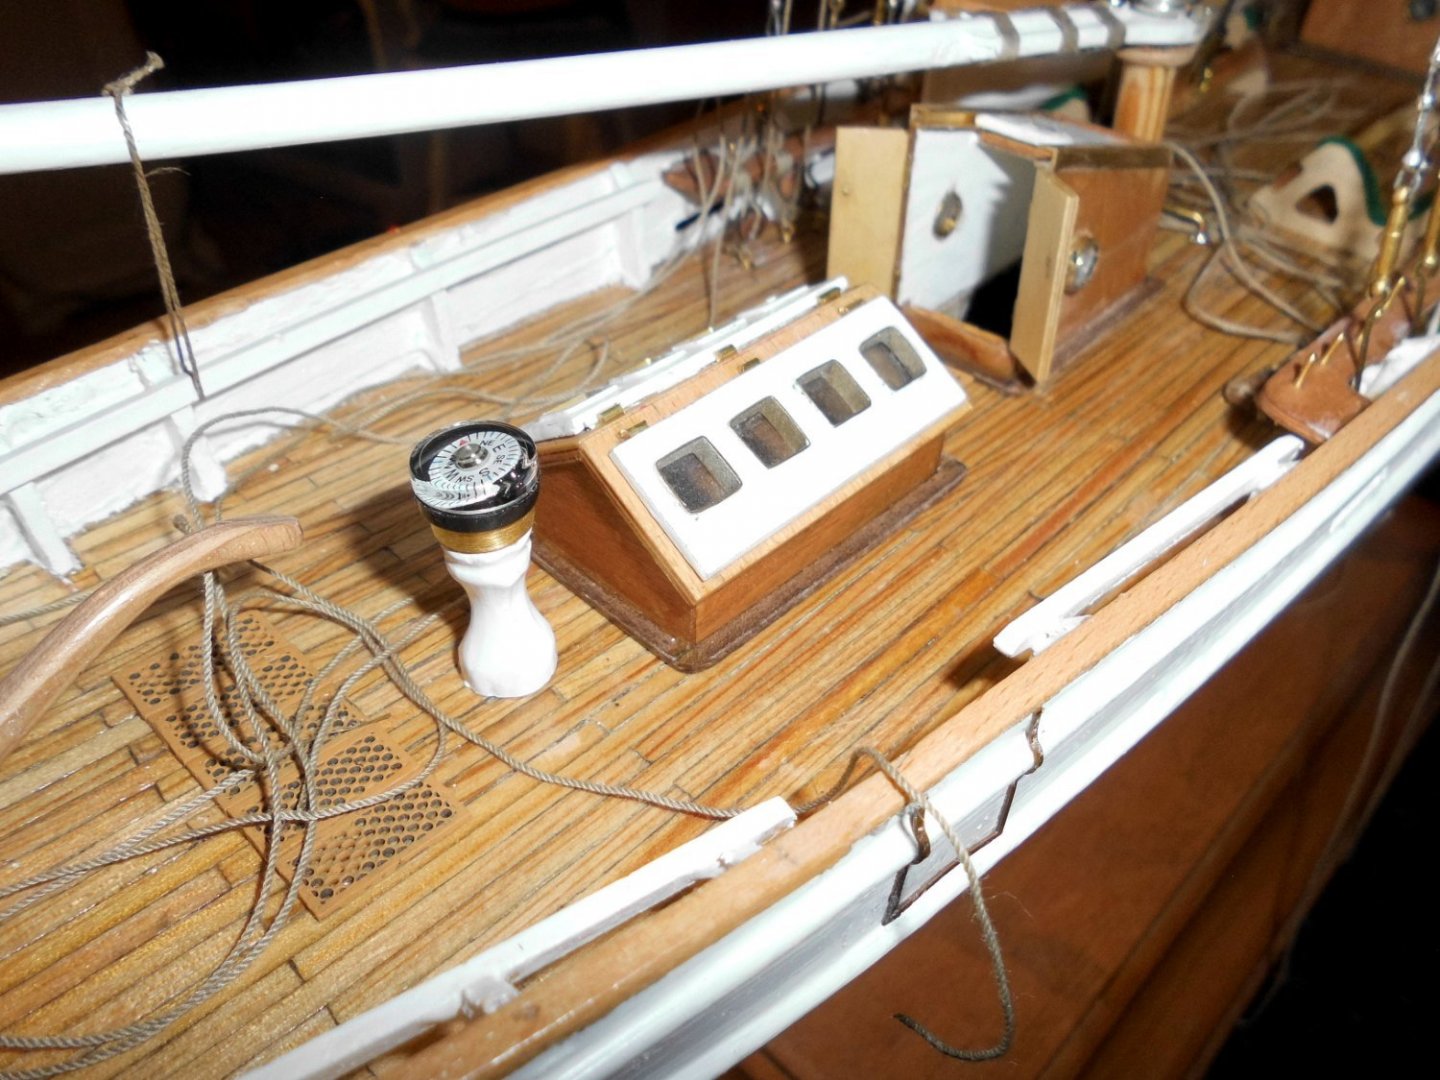
Update beginning with the sails, thin cotton cloth preparation. With the first misfortuned contemt to print on the inc-jet transferpaper (Number on the sail), I probably wrecked my HP-printer. I does`nt take any sort of paper anymore from the paper infeed shaft. I shall now consult a professional shop for printing on cotton-fibres. Shall get the results not before wednesday this week. Meantime made the compass colum, hinges for the skylight covers, bulleyes for the companionways sides (light to the stairways ), and a grating for the helmsman .... Nils misfortuned attempt with the number and mirrored lettering in the sail and the Hamburg-flag using my last piece of cotton cloth Am planing to rig 6 sails to the schooner hinges for the skylight covers and compass colum, also grating for the helmsman bulleyes for the companionway sides


- 180 replies
-
- 8
-
-
- pilot boat
- Elbe 5
- (and 3 more)
-
Hi Richard, I came across your build rather late and am impressed of your modeling technique from the start to the state in progress. She will be a beauty and a highlight on MSW scratchbuilds. With ref. to the rivets, why did`nt you ponce them to the plating you are using, did you try it..... Nils
- 454 replies
-
- 2
-
-
- Union Steamship Company
- Stepcraft 840
- (and 3 more)
-
Very nice Model ! Nils
-
brilliant work Dan.... Nils
-
Hi Uwe. very nice solution for the water-tightness. Are you still able to hold the intended waterline (weightwise) Nils
-
Hi Uwe, you mentioned sharp keel by means of brass profile and to withstand rough driving...It looks very nice Are you intending to RC control the steamer on the water ? I did this with my boat in the beginning but had to relialize that moisture was creeping into the planking under the paint indicating several mini-cracks so I refrained from that and have a stand model instead since then Nils
-
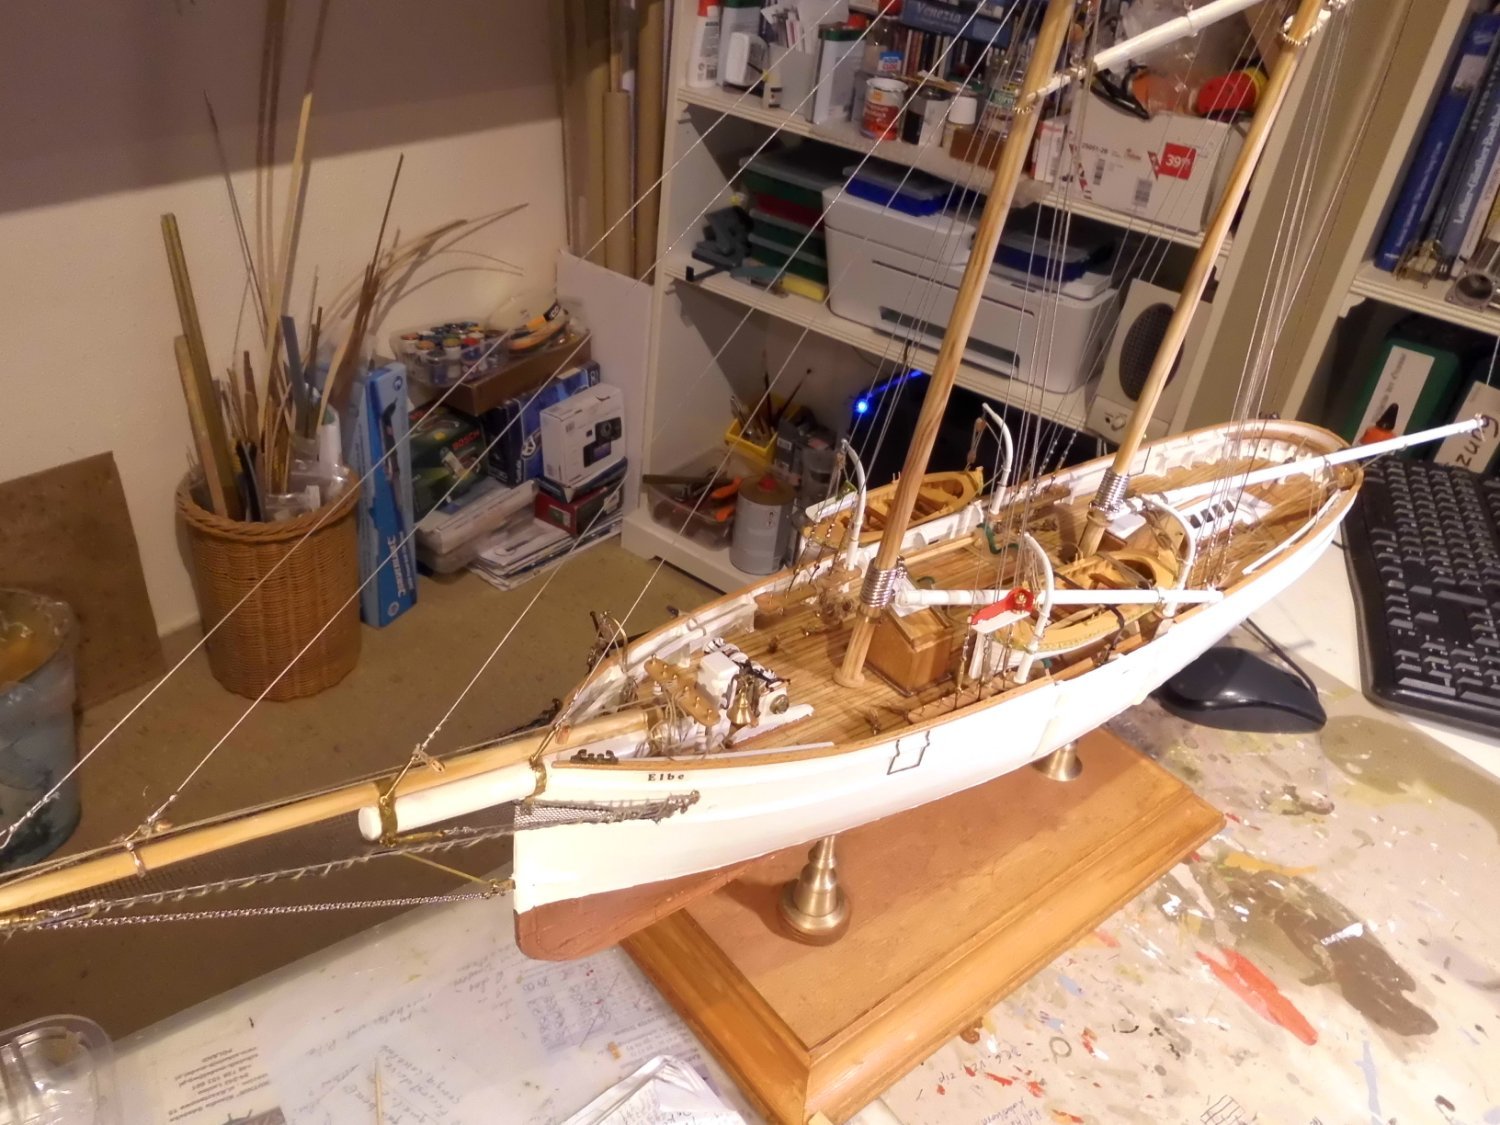
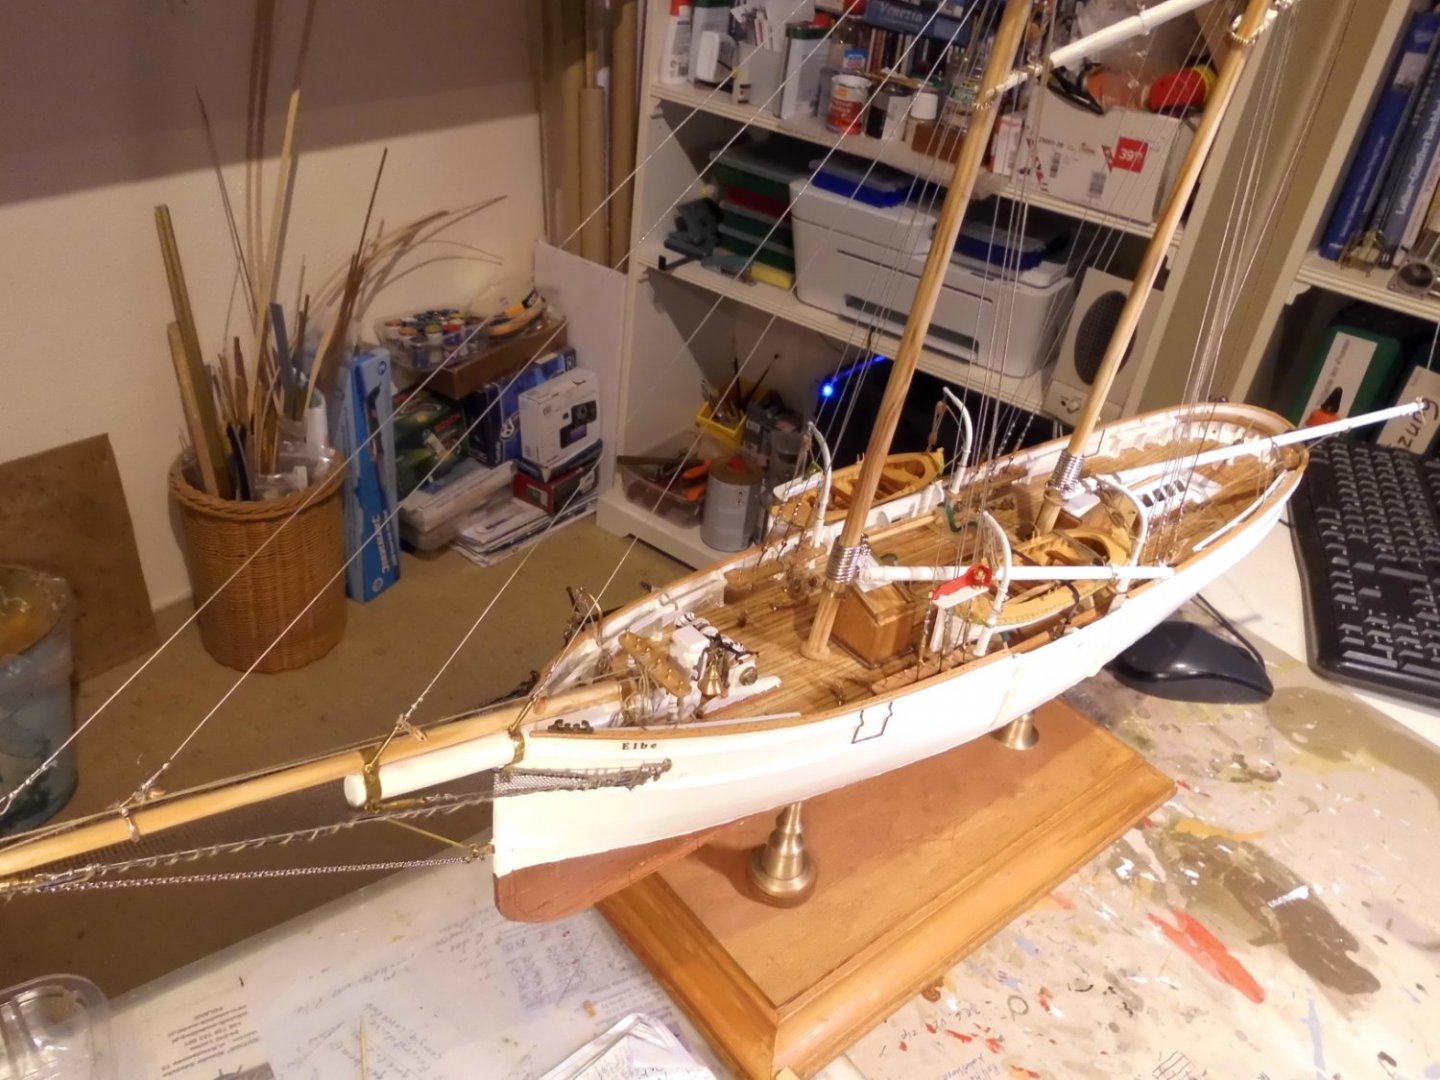
Hello Keith, Thanks for you words. I`m quite through with the basic ship and am looking at the manufacturing of the sails set. The foremast gaff sail is to bear the lettering ( "5 ELBE) on both sides in larger black letters. I would start with this one. For doing so I need a working ink jet printer and a way to mirror the lettering (with Words program functions. Momentary my printer does not take any paper by the infeed shaft neigther for normal paper and especially not for transfer foil I`m intending to use, and I`m looking for a way to solve that. I need to find a solution on that. I hate to invest on a new printer. At least by now I practiced to mirror with the Words function..... Nils
- 180 replies
-
- 3
-
-
- pilot boat
- Elbe 5
- (and 3 more)
-
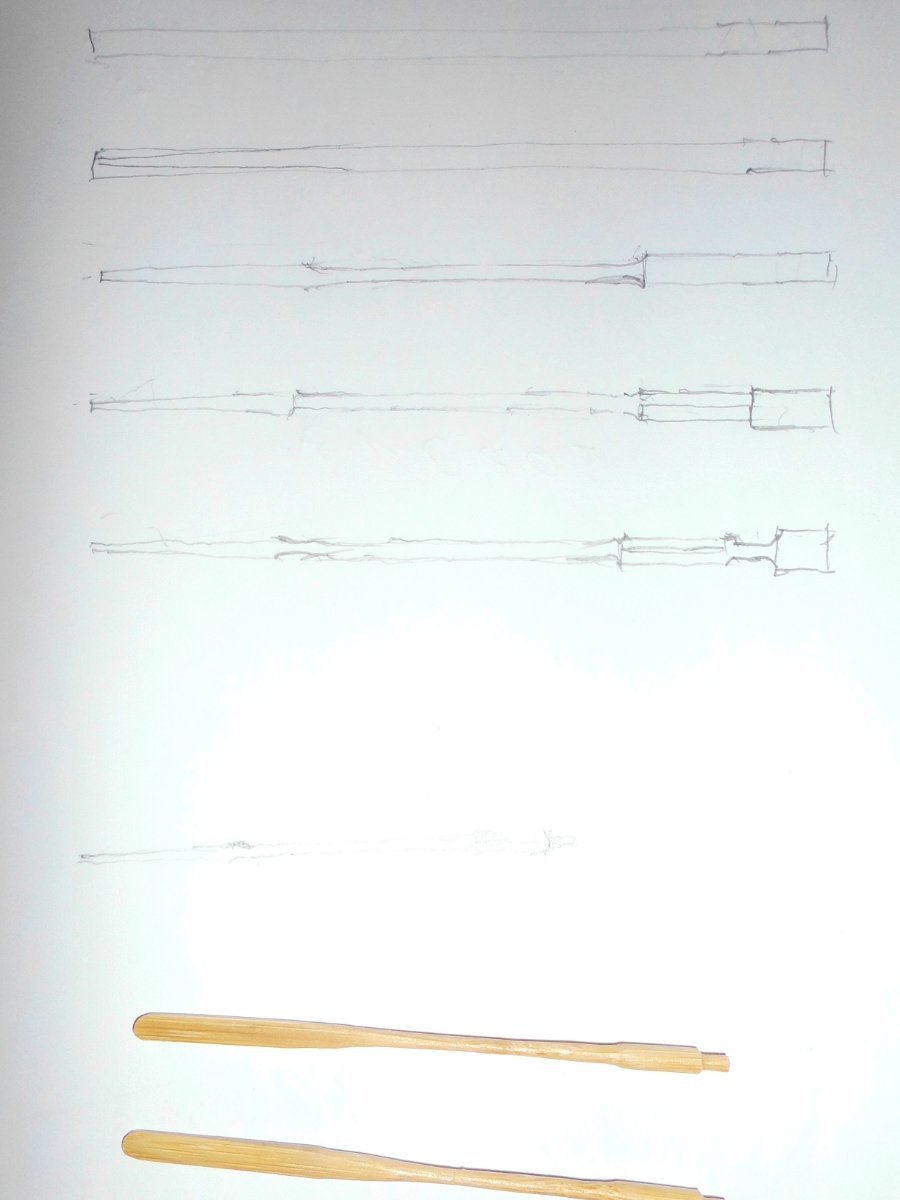
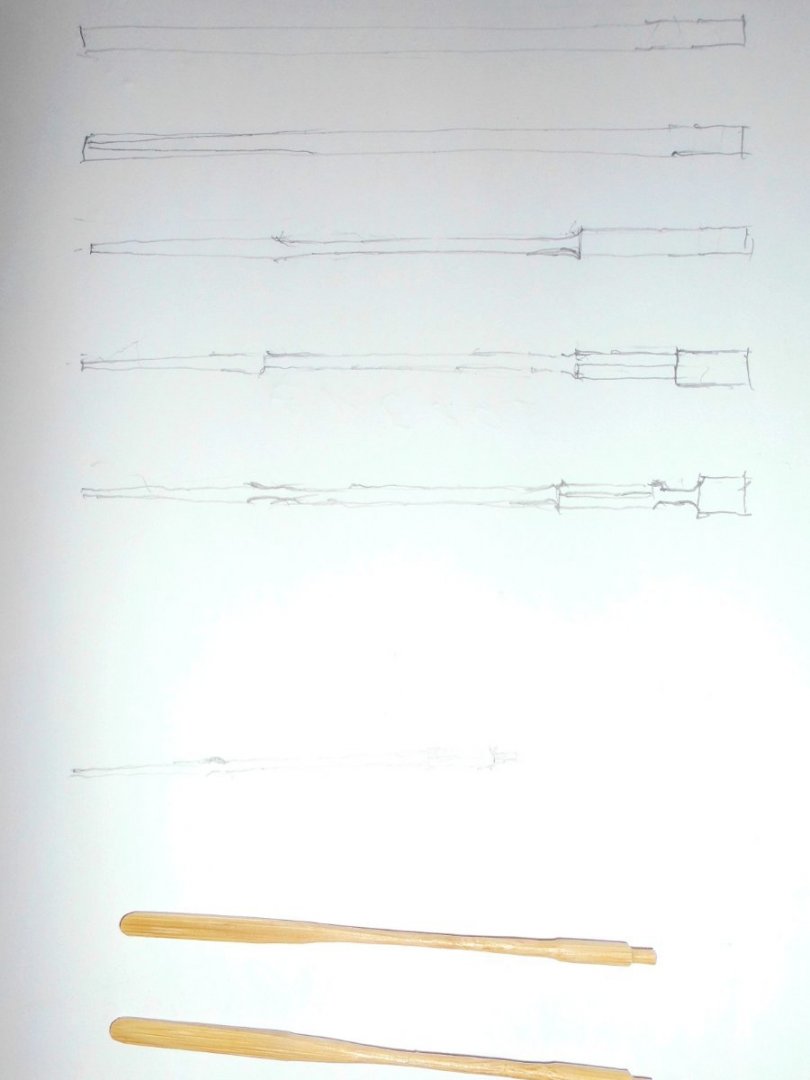
Update yes, the oars were still missing. I made two sets today from 4mm dia bamboo spars, ref. to encl. steps of manufacturing Nils oars from 4mm bamboo spars
- 180 replies
-
- 7
-
-
-
- pilot boat
- Elbe 5
- (and 3 more)
-
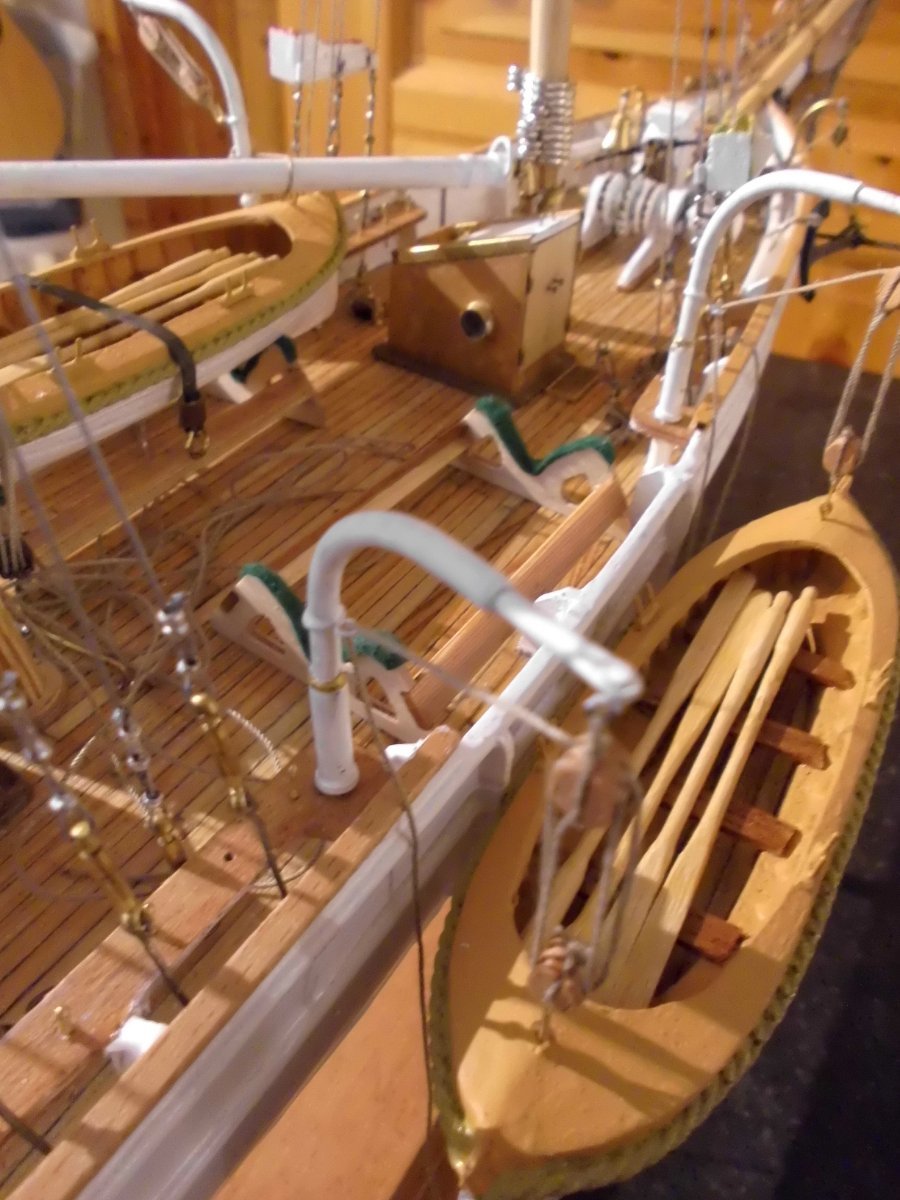
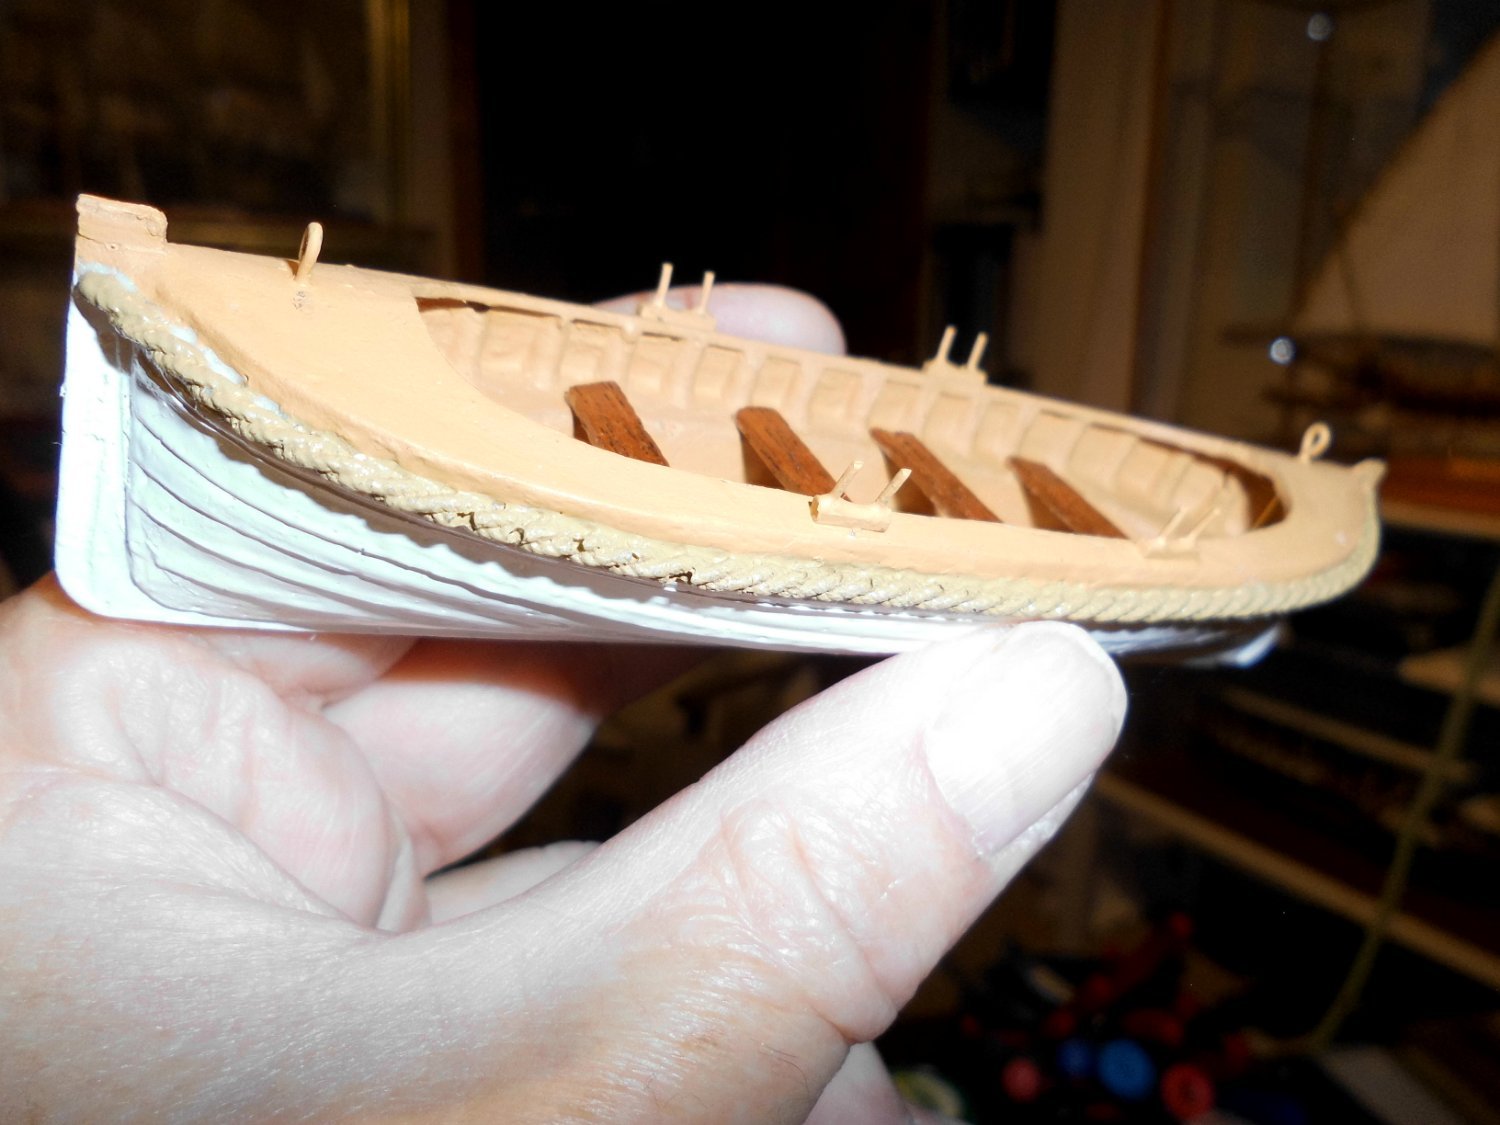
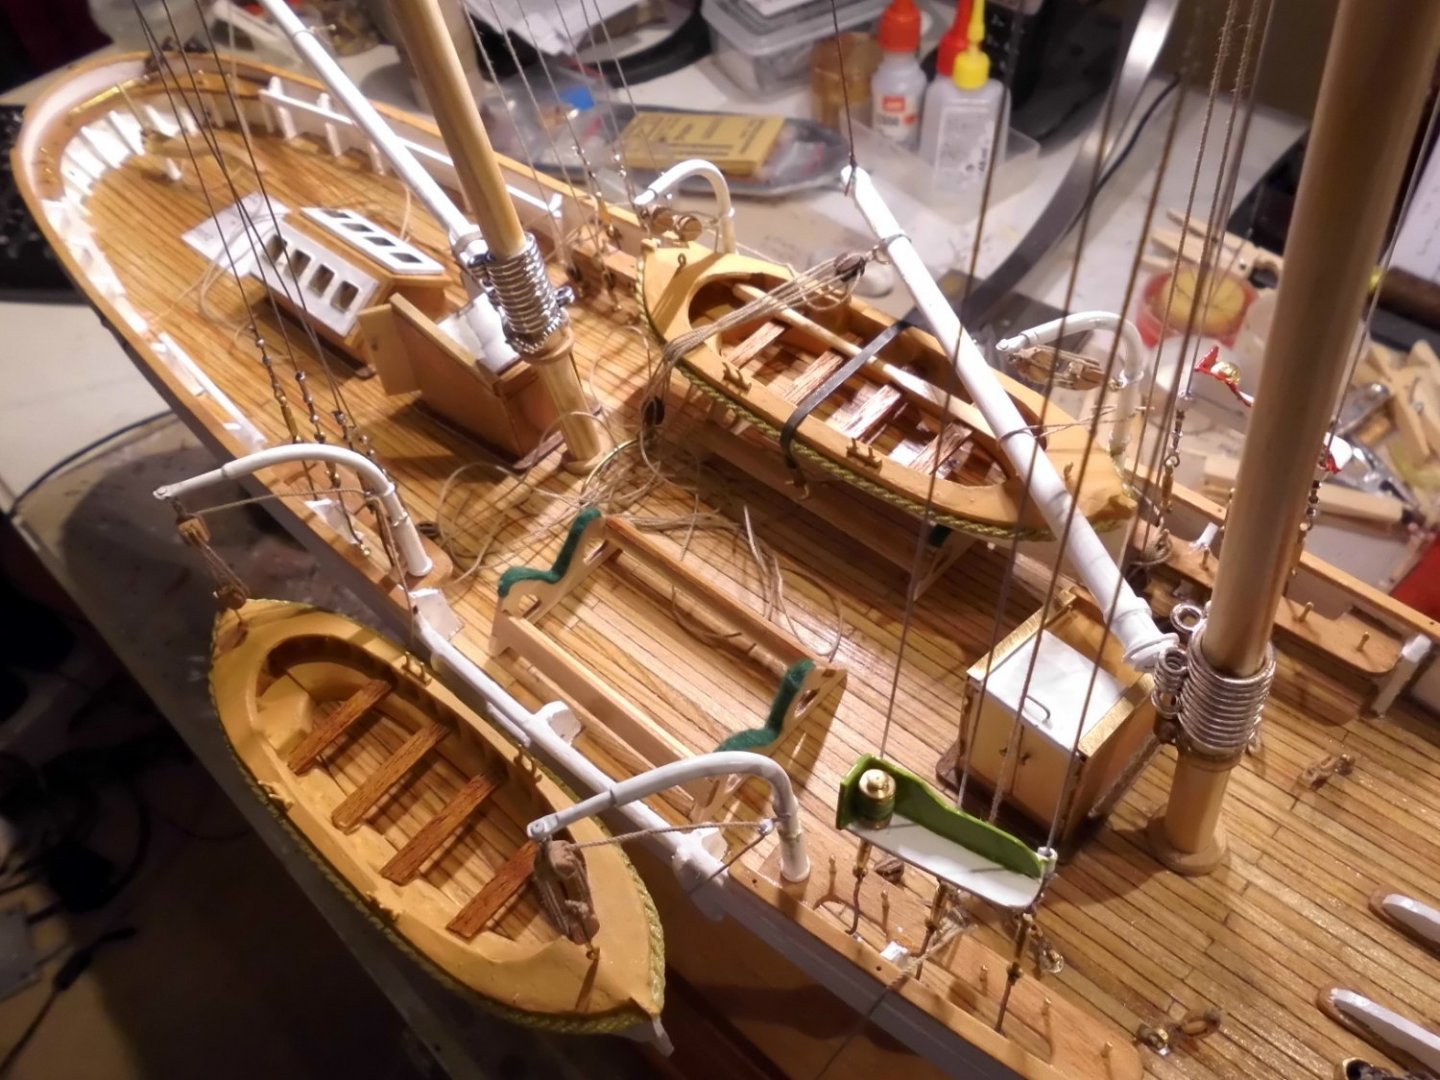
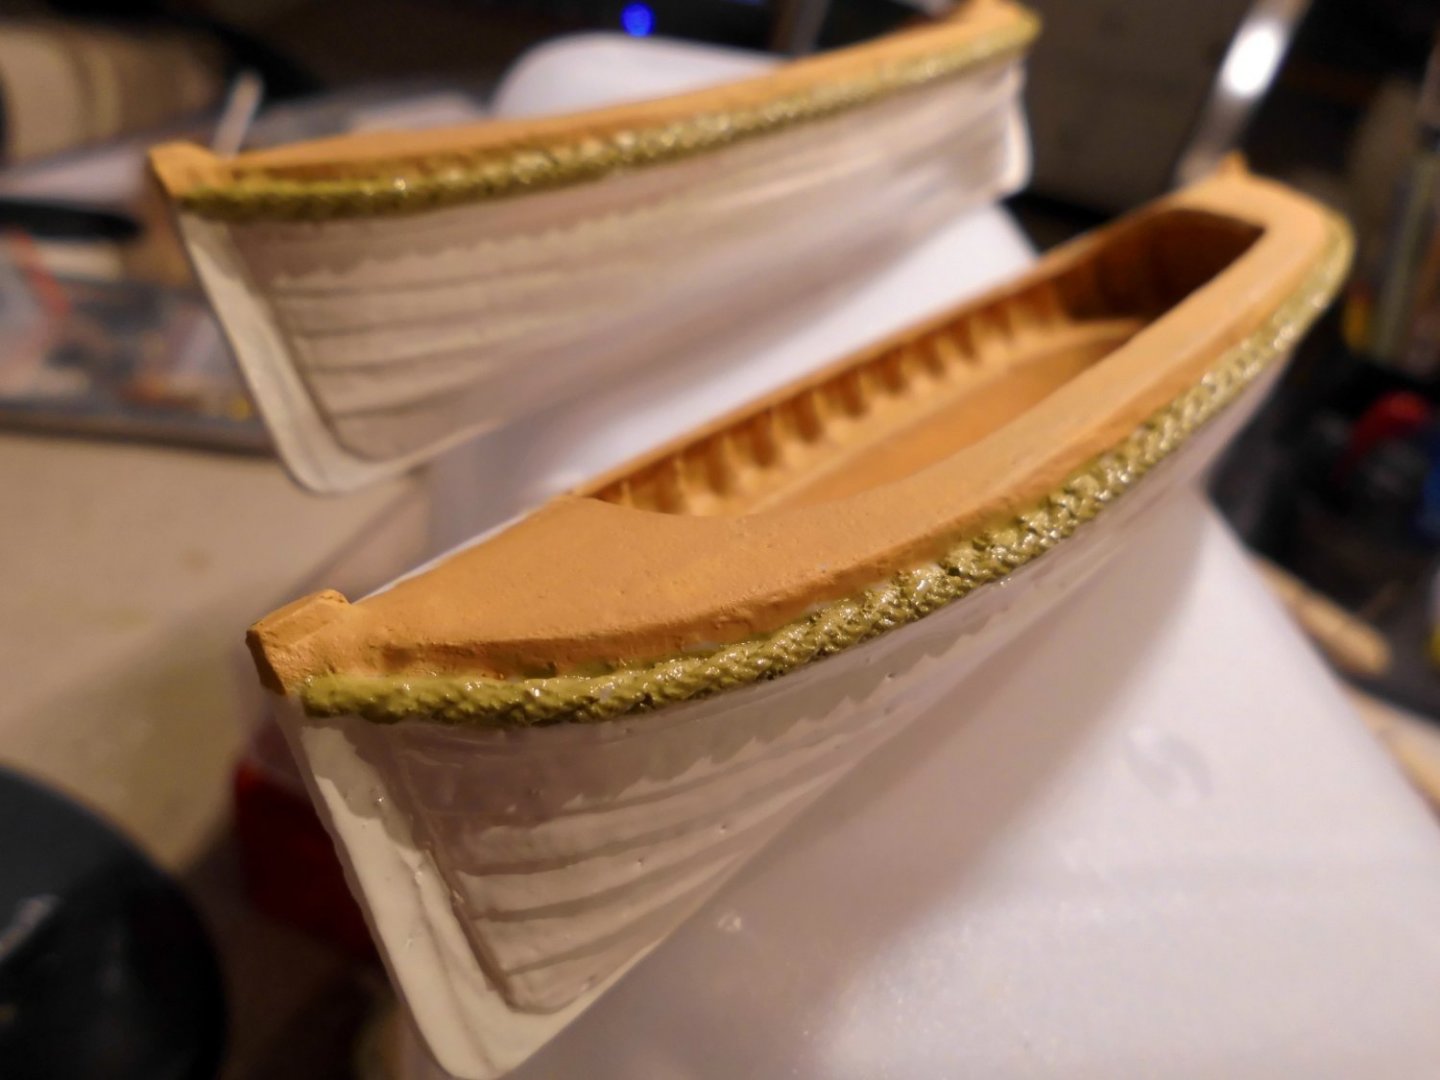
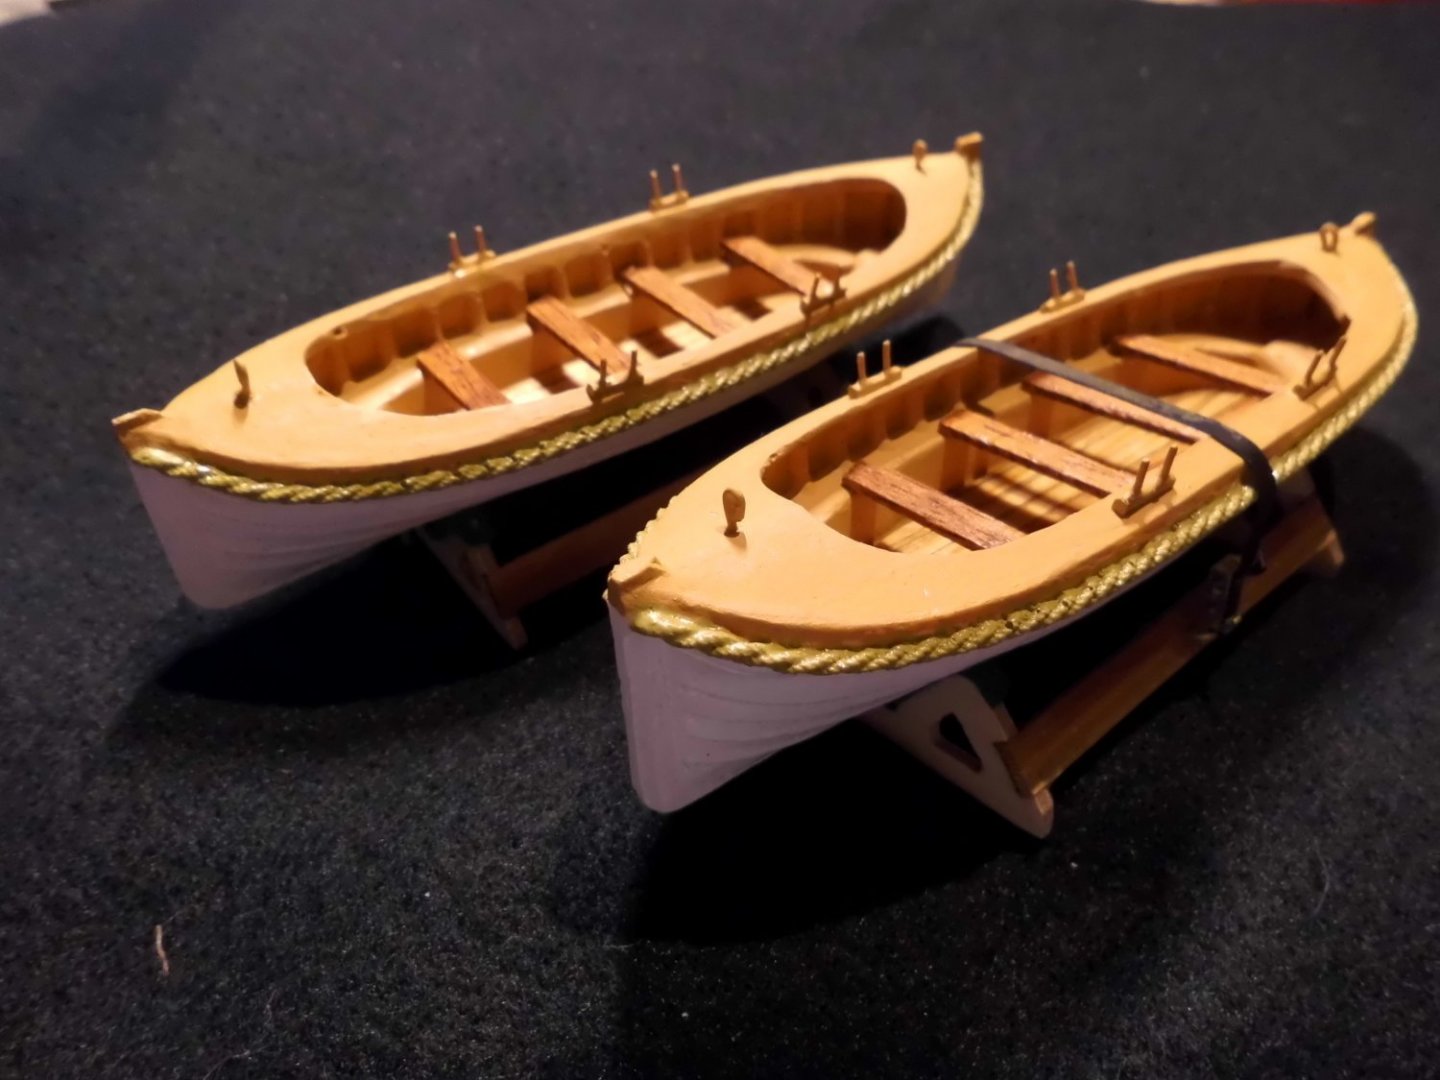
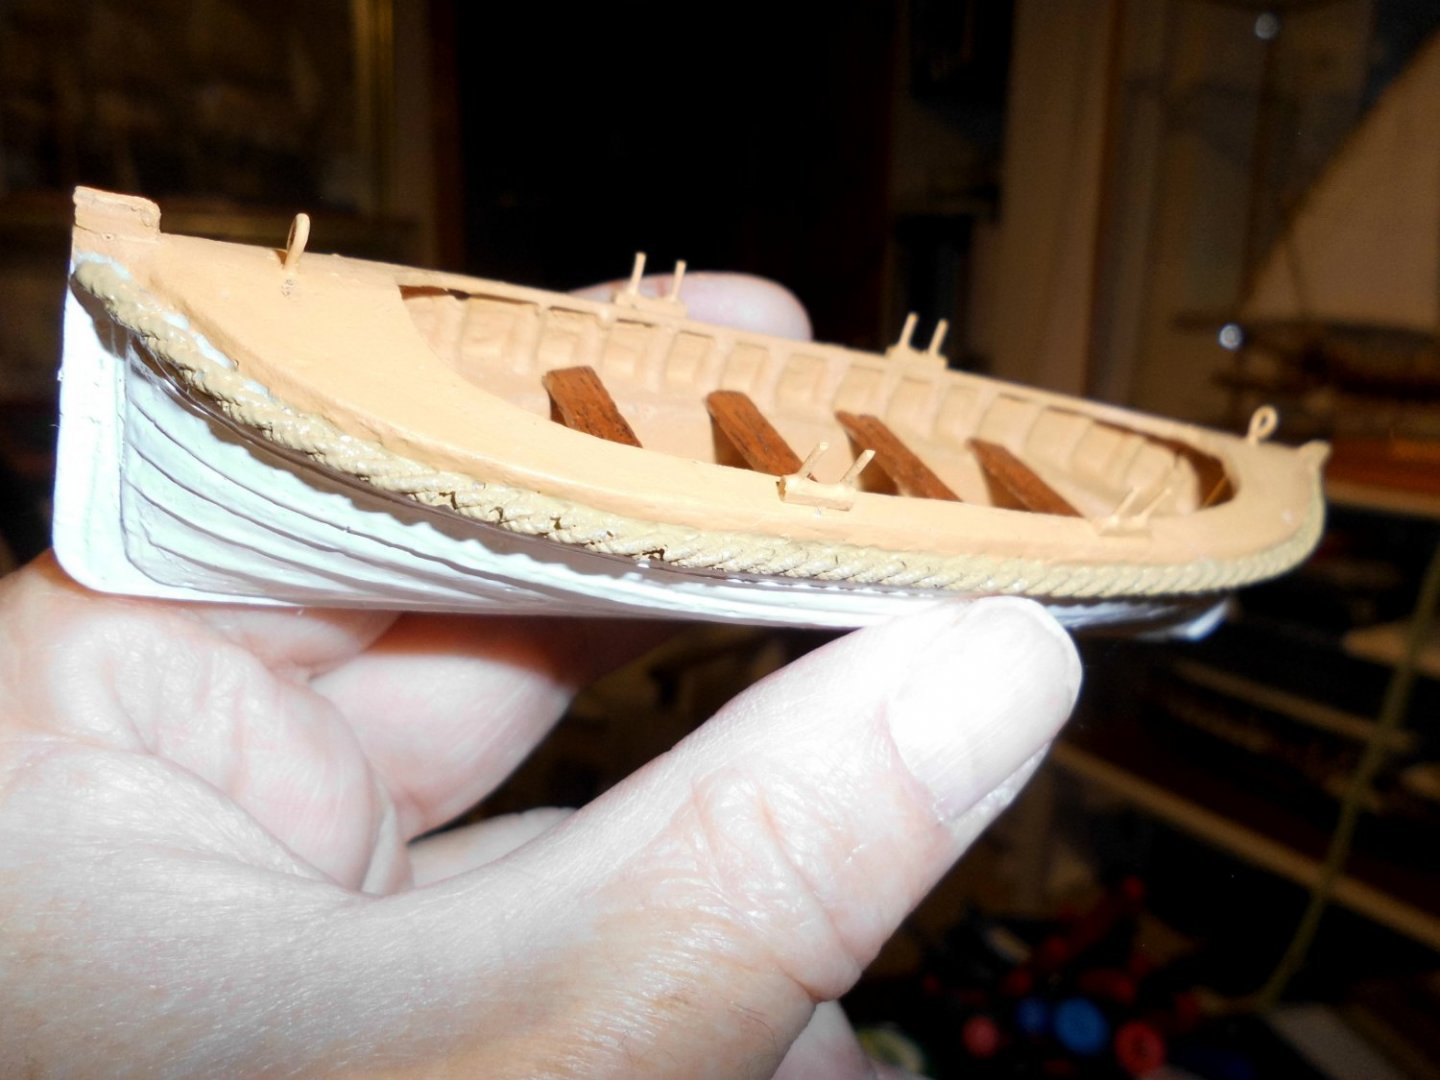
Update finished, the new set of boats. I wo`nt give them an underwater painting like the former ones, plain white hulls I think look better Maybe I`ll put the former obsolete ones on sale at Ebay Nils

- 180 replies
-
- 8
-
-
- pilot boat
- Elbe 5
- (and 3 more)
-
Hi Paul, congrats, thats a beautiful build, accurate and precise.... Nils
- 55 replies
-
- 1
-
-
- Nordlandsbaaden
- Billing Boats
- (and 1 more)