


prototypep3
-
Posts
15 -
Joined
-
Last visited
Content Type
Profiles
Forums
Gallery
Events
Posts posted by prototypep3
-
-
Just to give everyone an update I haven't given up building, I know it's been quite a while since I posted anything but I haven't had a lot of time to really sit down and give the attention modelling requires. Just a bit of backstory I'm currently back in TAFE or College to those not from Australia and that has been taking up the majority of my time and focus. Hopefully within the next few weeks my assignments should be all in and I can turn my attention back to this great hobby. With that said I have been playing around with plank bending techniques and to be honest I'm not thrilled with my results with the normal bending tool, the one that makes little creases in the wood, so maybe a heated bender is on the next tool list.
-
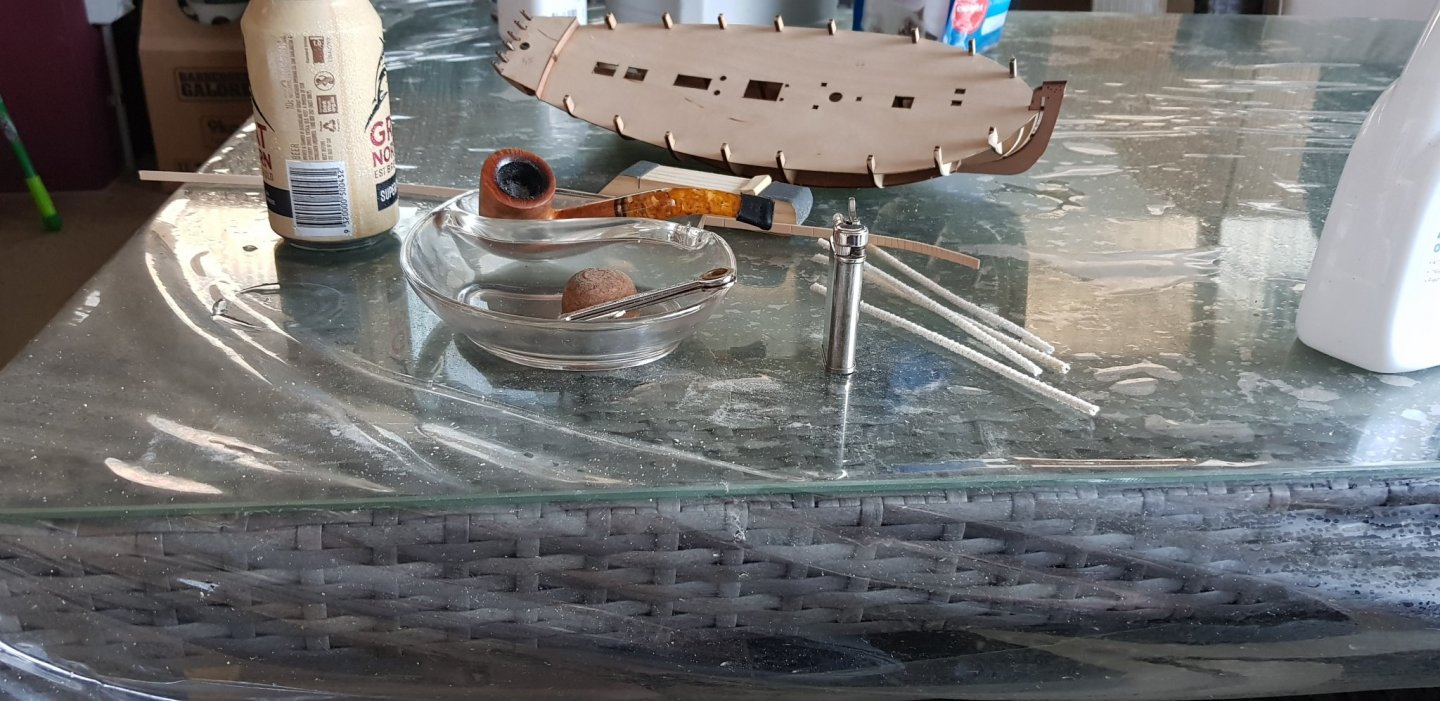
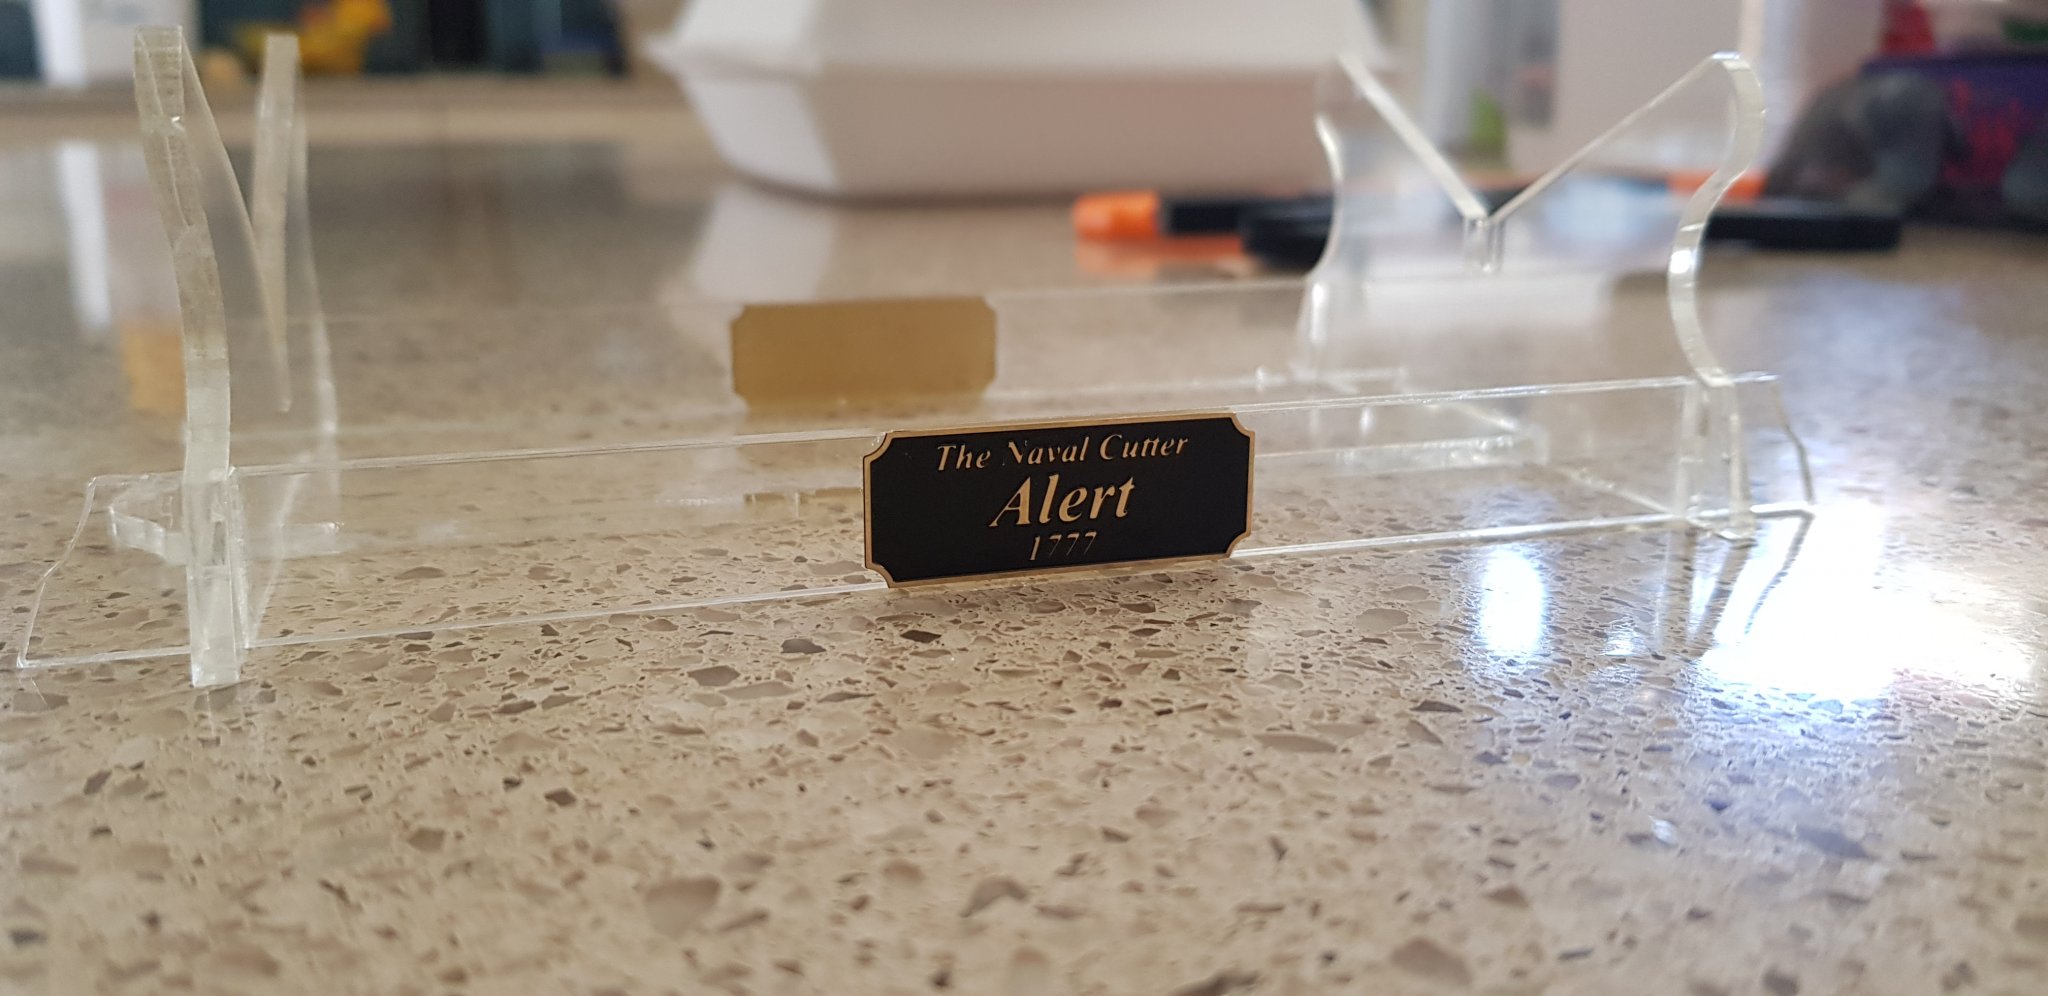
Still waiting on some extra wood to make a bending station for side bending the planks so in the meantime I put the cradle together

- GrandpaPhil, Edwardkenway, JpR62 and 4 others
-
 7
7
-
-
11 hours ago, SpyGlass said:
When it comes finally to sanding - do it gently
Thus far I think I have the first 2 bulkheads sanded satisfactorily, maybe some slight adjustments needed but the majority is done. The rest are much thicker and require less work on them.
-
Ok just a quick update, the broken bulkhead hasn't bee too much of an issue, I drove a pin into it and it's holding up to the fairing thus far. I've also tapered the bearding line and am just in the process of fairing the hull. This exercise is a great excuse to sit and relax with another of my hobbies.
- JayCub, Jonny 007, KARAVOKIRIS and 4 others
-
7
-
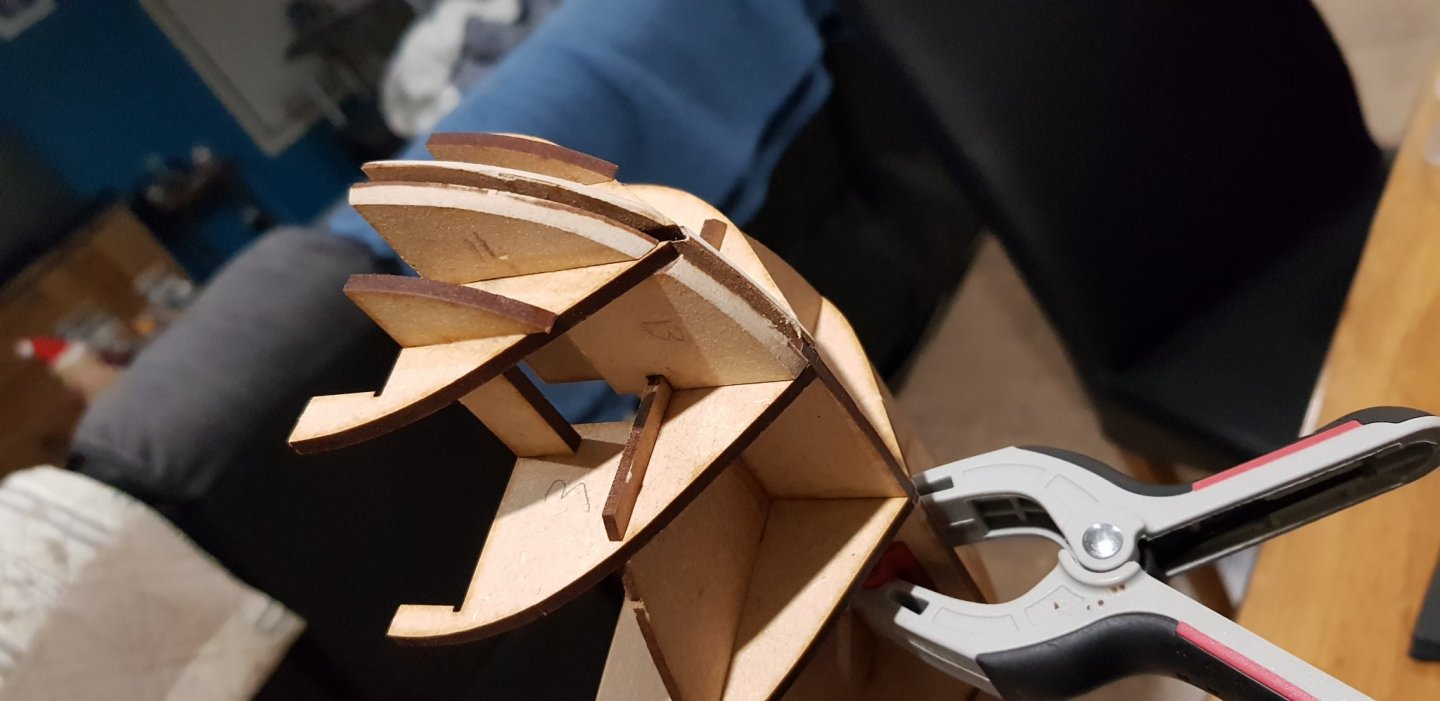
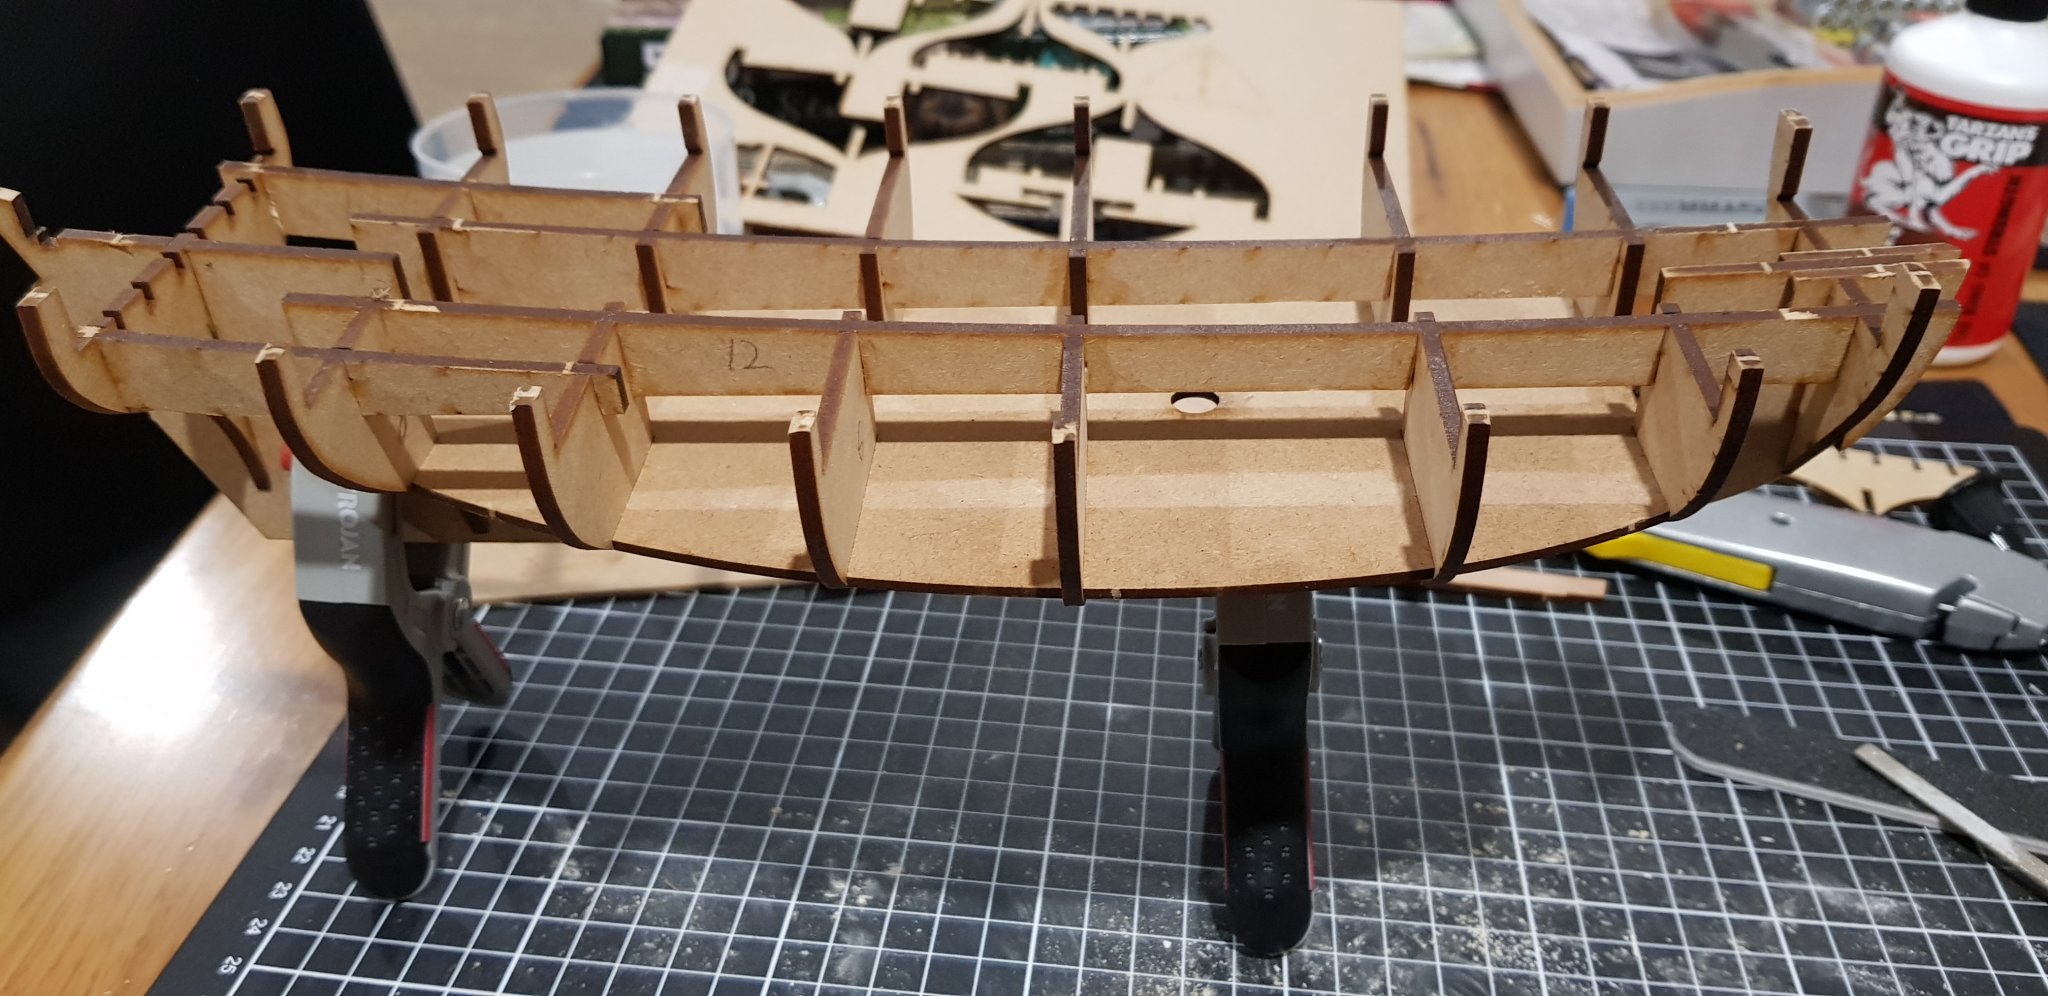
Here's another update with some more on where I'm up to. I have fitted and glued the stern frames. As well as drawn in (though not yet tapered) the bearding line

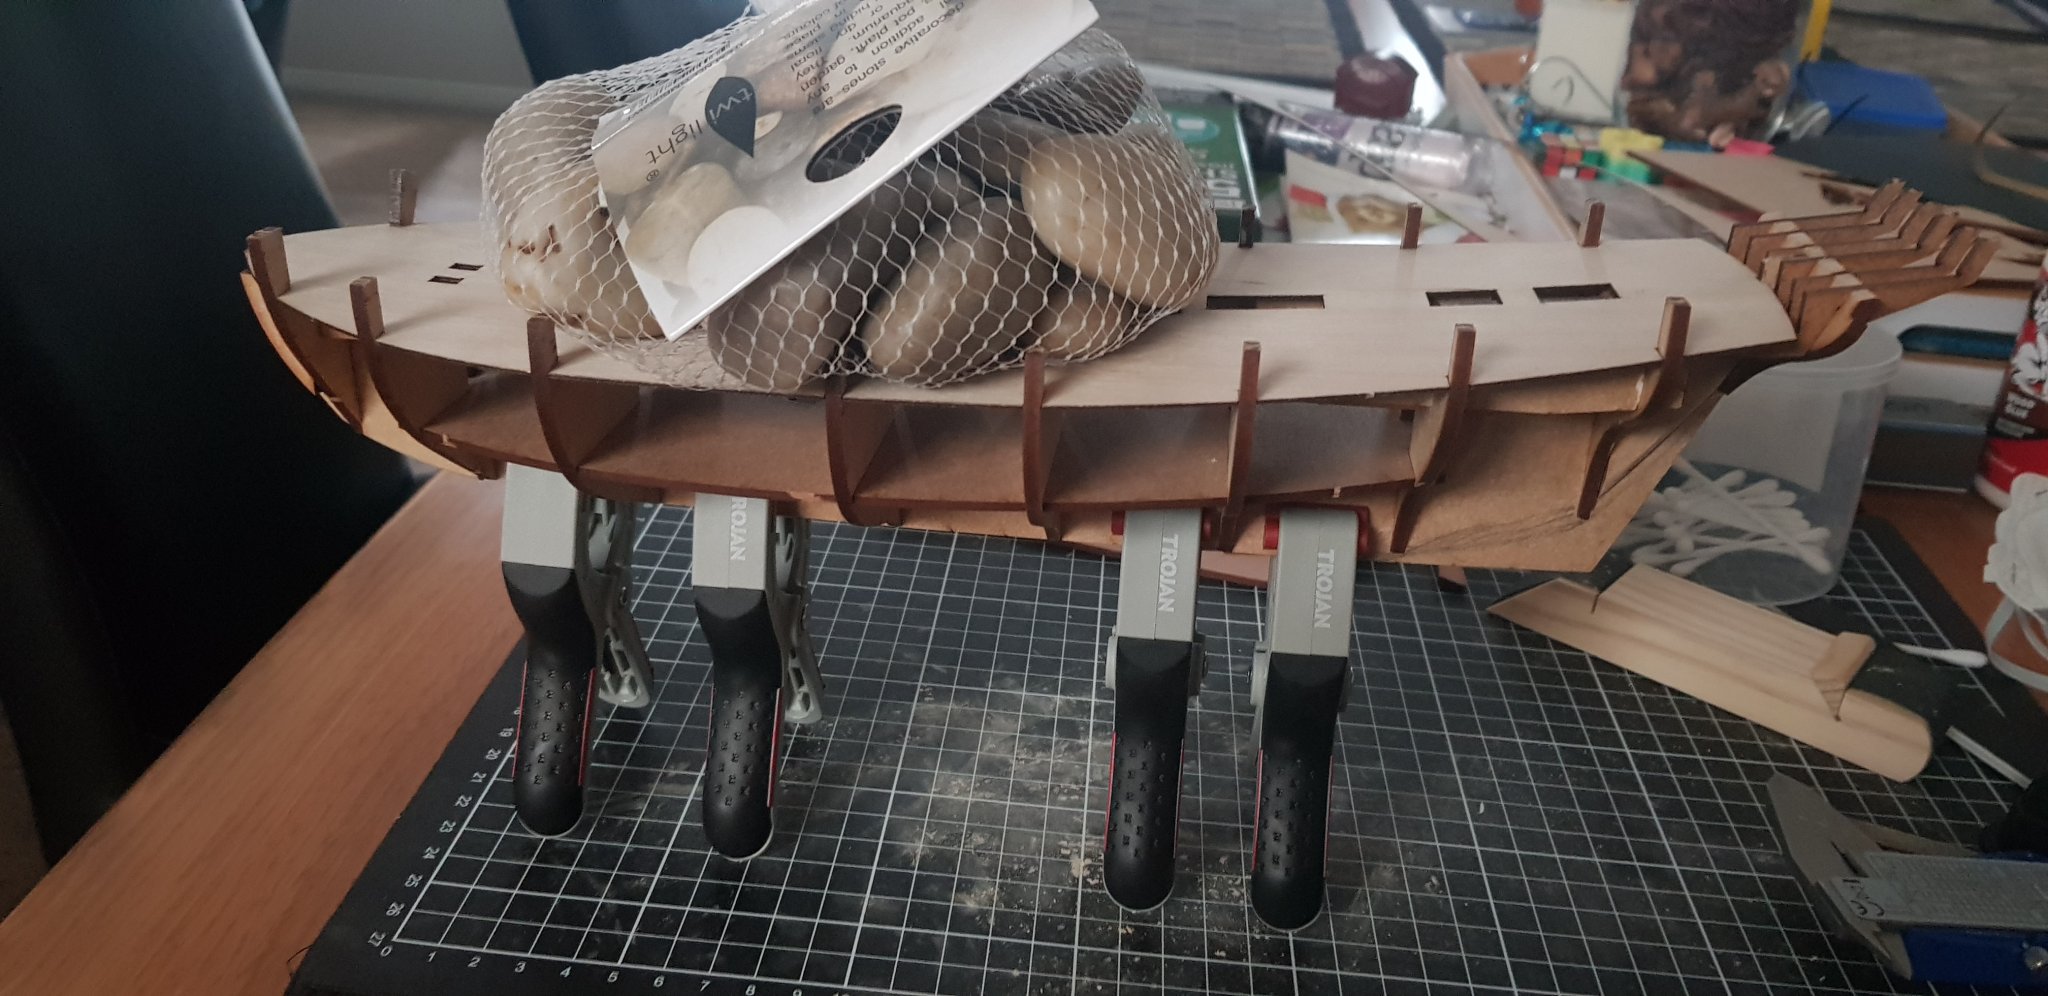
I next dry fitted and finally glued in the top deck, though this is where I met with some misfortune.

Please excuse my makeshift weight here, not much else I had at hand would sit on there.
and here the misfortune I mentioned, the starboard post on bulkhead 2 has chacked and is on a lean, when noticed I did get some thinned down glue in there to try and strengthen it a little but in terms of fairing this area of the ship I am currently at a bit of a loss.
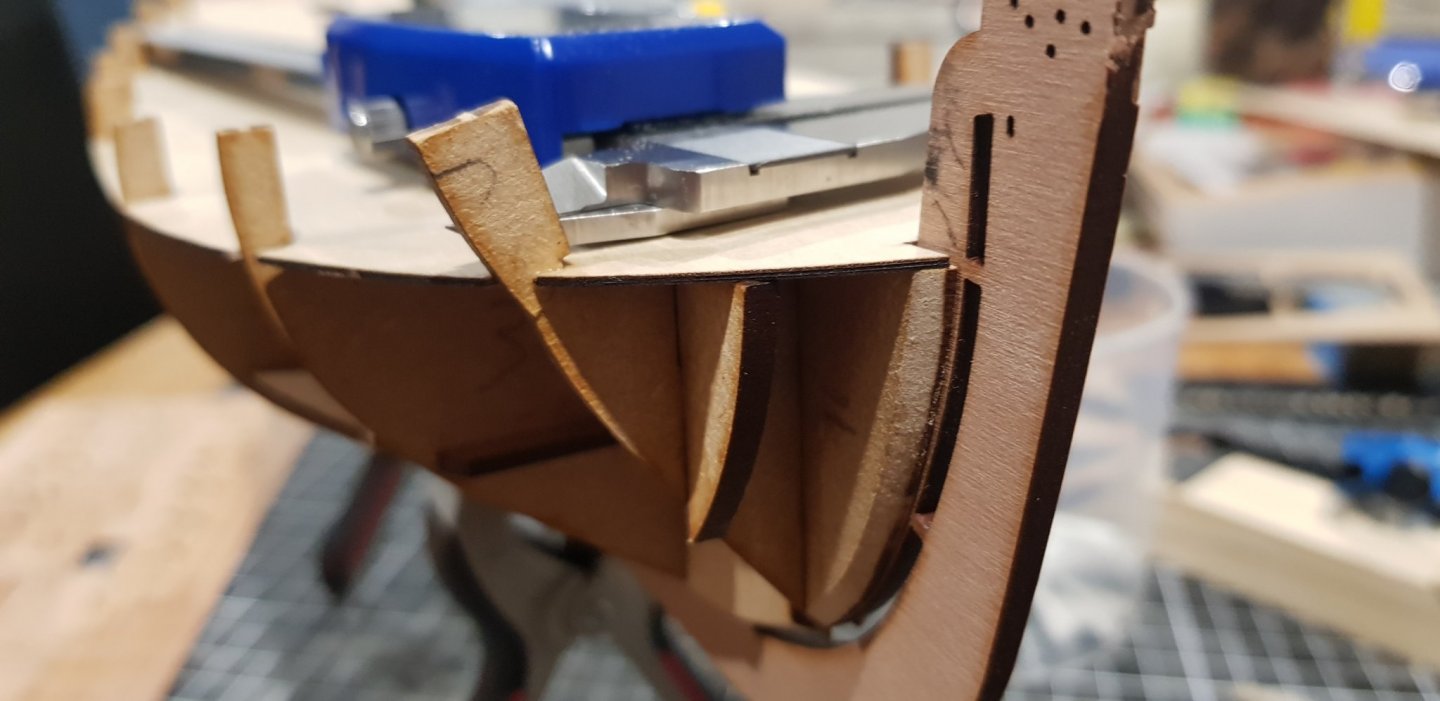
The bow stern piece is only just sitting in there, it hasn't been glued yet, I'll be moving on to tapering the bearding line and attaching the keel and rudder post next but in the meantime if anyone has a suggestion for how to fix or fair that front bulkhead it would be greatly appreciated.
- Jonny 007, JayCub, Edwardkenway and 3 others
-
6
-
2 hours ago, VTHokiEE said:
Yes, leave it off for now. Bulkhead 10 is aligned with that back edge. You could probably hold off attaching that bulkhead until you attach the 6 stern frames and use them to help align the bulkhead as well.
Alright, thank you very much for your help. I've already been dry fitting the stern frames, had to sand the bulkhead slots slightly for them to fit and there is a little bit of tension in them similar to what you mentioned in your build log but I don't think it's too bad.

-
24 minutes ago, VTHokiEE said:31 minutes ago, prototypep3 said:
No, the planks will butt up against this edge. The addendum in my kit explained that the rudder post is attached after the first planking, so it would not be tapered. The tapering is so the rudder post is flush with the planking.
So just leave it now and continue on to the deck until I come to the planking? How do I go about attaching bulkhead 10 in that case? Apologies for all the questions.
-
2 hours ago, VTHokiEE said:
Sorry, I'm really not that much further along than you are. From my basic knowledge the curve you are drawing will be from the bottom edge of the final bulkhead to the front edge of the first bulkhead that touches the very bottom of the false keel (the part the bulkheads are attached to). If you take a look at my log I think you'll be able to see this line (I don't think I matched the back of the curve correctly it should have stopped a bit lower, on the edge of the bulkhead).
Drawing the line is one thing but the issue I'm having is understanding its relationship to the rudder post. Am I supposed to taper the inside edge of the new rudder post at all? Or was it only the keyed section on the old design that need tapering and I just simply attach the full rudder post to the bearded(?) false keel? Tapering and drawing in the line isn't too difficult I get the purpose just not really the relationship with the rudder post for some reason. When planking the hull do my planks stop short of the rudder post treating it like the edge of a rabbet or is there something different meant to hapoen there? The NRG tutorials seem quite different to what's suggested for planking in the instructions 😕 I'm quite confused.
-
2 hours ago, Gregory said:
You might take a look at the Framing and Planking tutorials where the bearding line is explained.
Thank you for that link, there is quite a bit of useful information in there
-
5 hours ago, VTHokiEE said:
You might want to take a look at this post:
It really helped me understand drawing the bearding line. I am building the same version with the non-keyed rudder (as I work through that planking kit).
The sheer amount of terms used in that post with no real explanation is kind of off putting to be honest but that may be due to my serious lack of knowledge concerning ships in general. I came to the hobby from a more "I like to make things that look nice" mentality and these seem like heavily into the more maritime fanatic side of things. Still is probably worth looking at that kit though if for no other reason than to practice and maybe try and learn a thing or two about parts of the ships planking. Thank you for the suggestion all the same
-
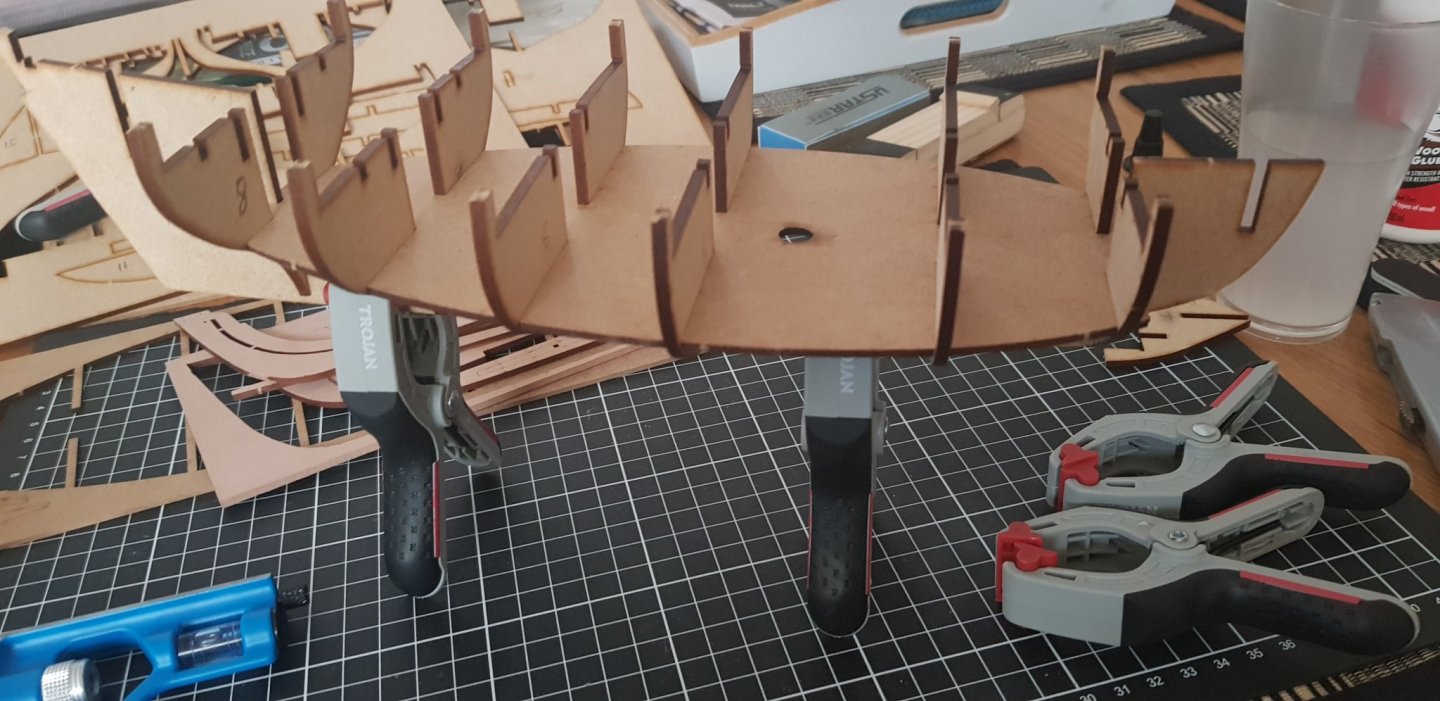
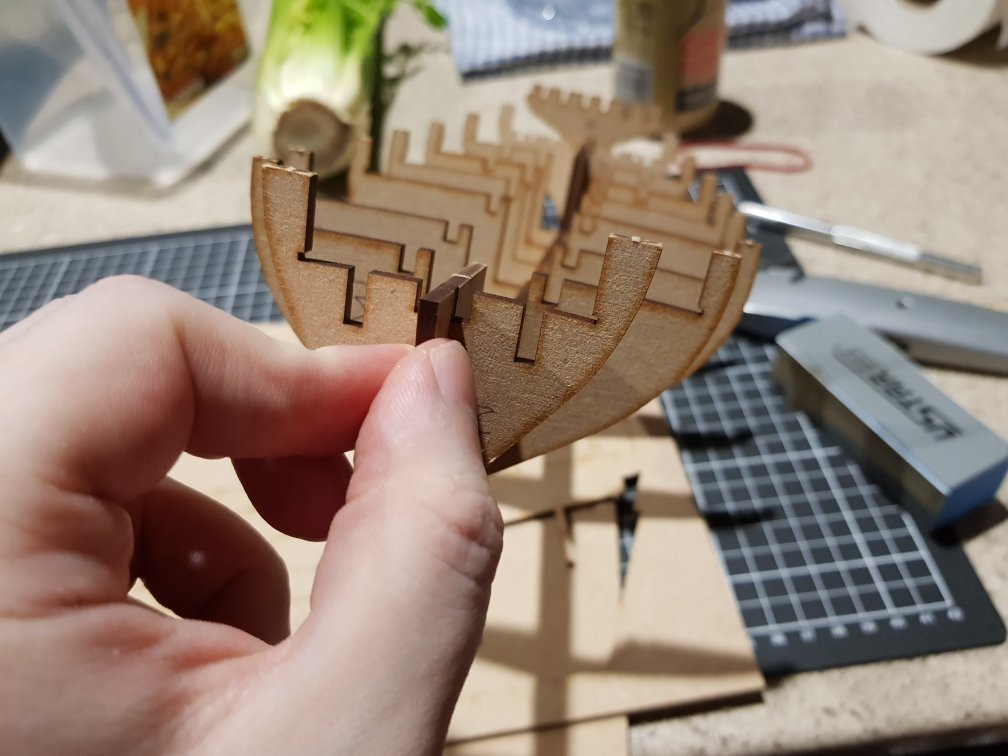
So have a few updates to make, the first of which was gluing down the bulkheads 3-8
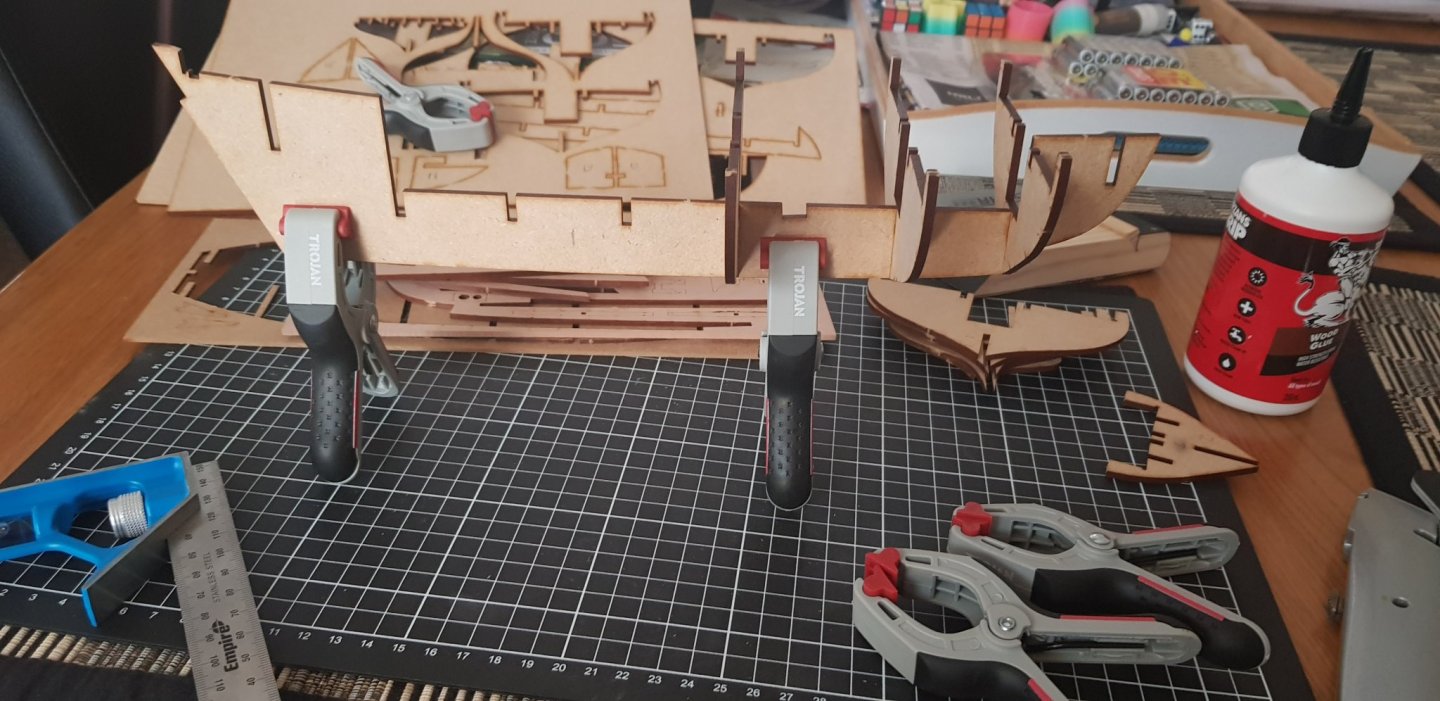
Here is the false deck being glued into place aswell
Here we have the deck support beams being dry fitted with the bow supports glued and shaped.
And finally the deck supports are glued in place
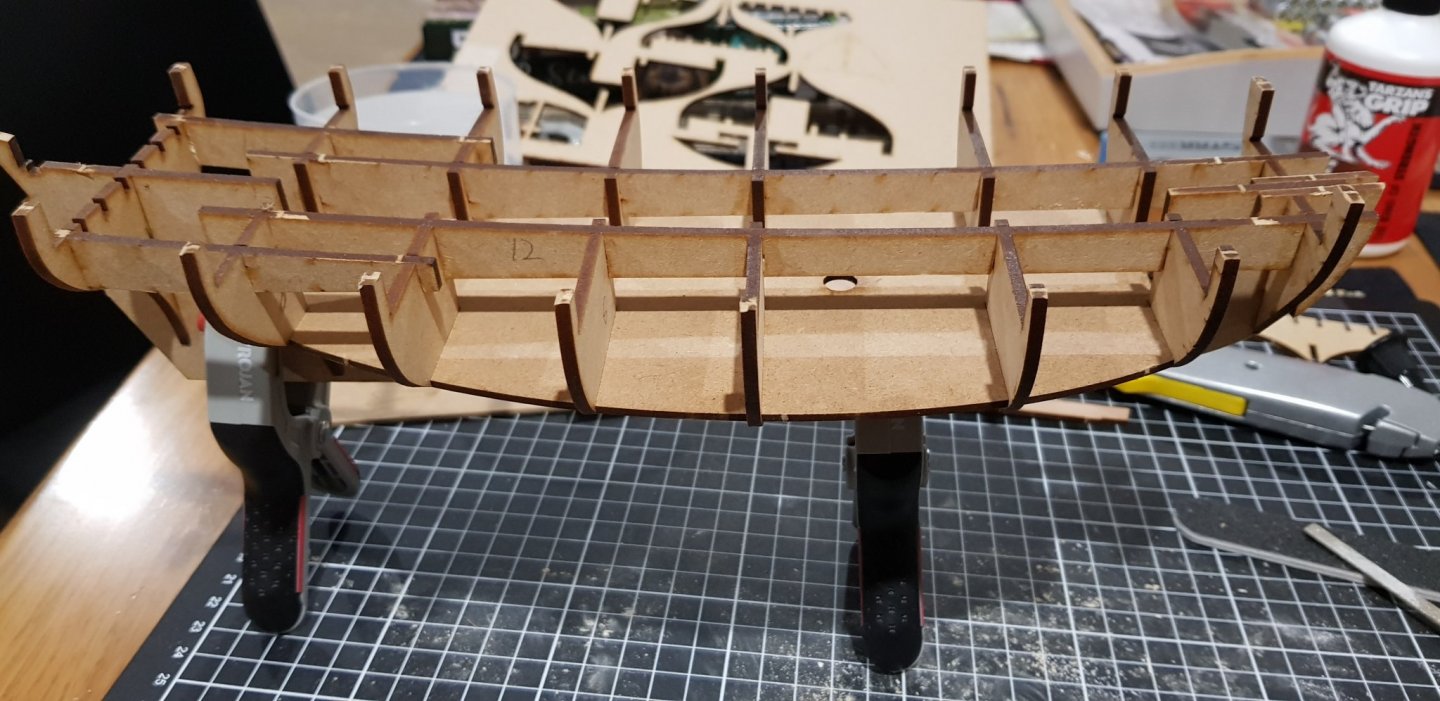
Now for the part where I'm not so sure about how to continue. As I've seen from other members' builds of this kit they added a bearding line and the instructions indicate to sand certain areas of the rudder post and false keel, having the non keyed rudder post I'm unclear of where to sand. Time for more research on this matter.
- JpR62, KARAVOKIRIS, JayCub and 3 others
-
6
-
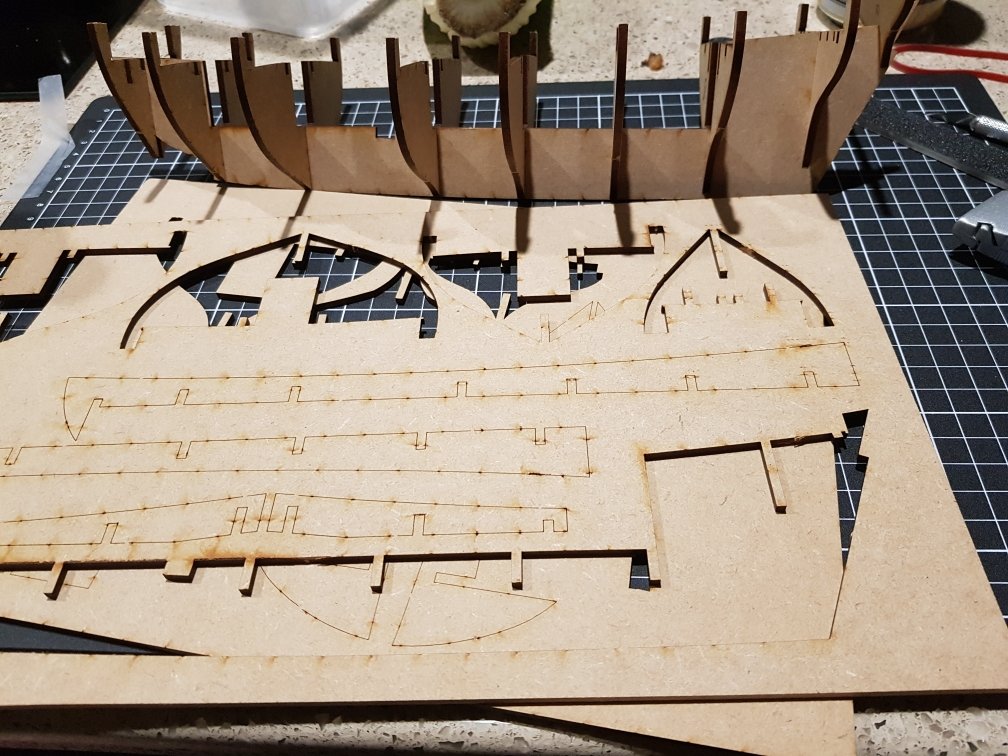
Hi all, so starting off the build I'd like to say this is my very first build to go with. Some of you may have read my introduction post in the new members section and I said I had chosen a mamoli kit, well the kit was incomplete and was sent back. Long story short I saw James H's review of the alert kit and his statement about if you had a bit of an engineers mind it's not a bad first kit. And so here we are, any suggestions or tips are most welcome along the way as well as corrections on incorrect terminology.
To start things off I did a complete inventory, numbered all the parts and started dry fitting the bulkheads to the false keel. (and no my kitchen bench is not my final workspace, this was done late at night and I was a tad over excited to start)
- KARAVOKIRIS, JpR62, Jonny 007 and 7 others
-
10
-
Hi everyone, just starting out with this hobby with not a lot of background in modelling outside of some cheap plastic ones in my teens. Coming into this with a background in PC building and a love of working on projects by hand. I've set a few goals for myself, first of which is to buy a model and just see if I enjoy the hobby to begin with (I followed the NRG recommended beginner models resource and got a mamoli kit). If all goes well I'd be very interested on where to go next in terms of learning planking and building up my skillset.


HM Cutter Alert by prototypep3 - Vanguard Models - 1/64th scale
in - Kit build logs for subjects built from 1751 - 1800
Posted
Short little update, I'm starting to get back into things and should be updating more regularly now. I've put the first two planks on tonight and will be adding more within the next few days.