modeller_masa
-
Posts
950 -
Joined
-
Last visited
Content Type
Profiles
Forums
Gallery
Events
Everything posted by modeller_masa
-
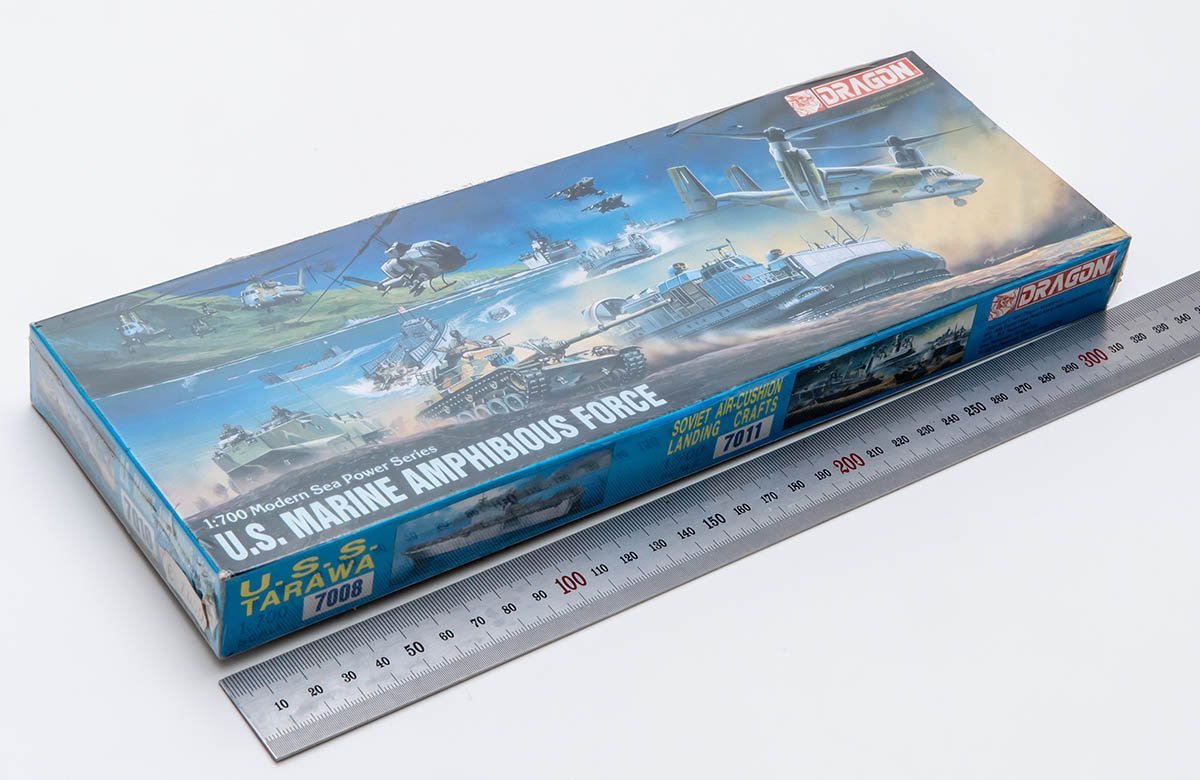
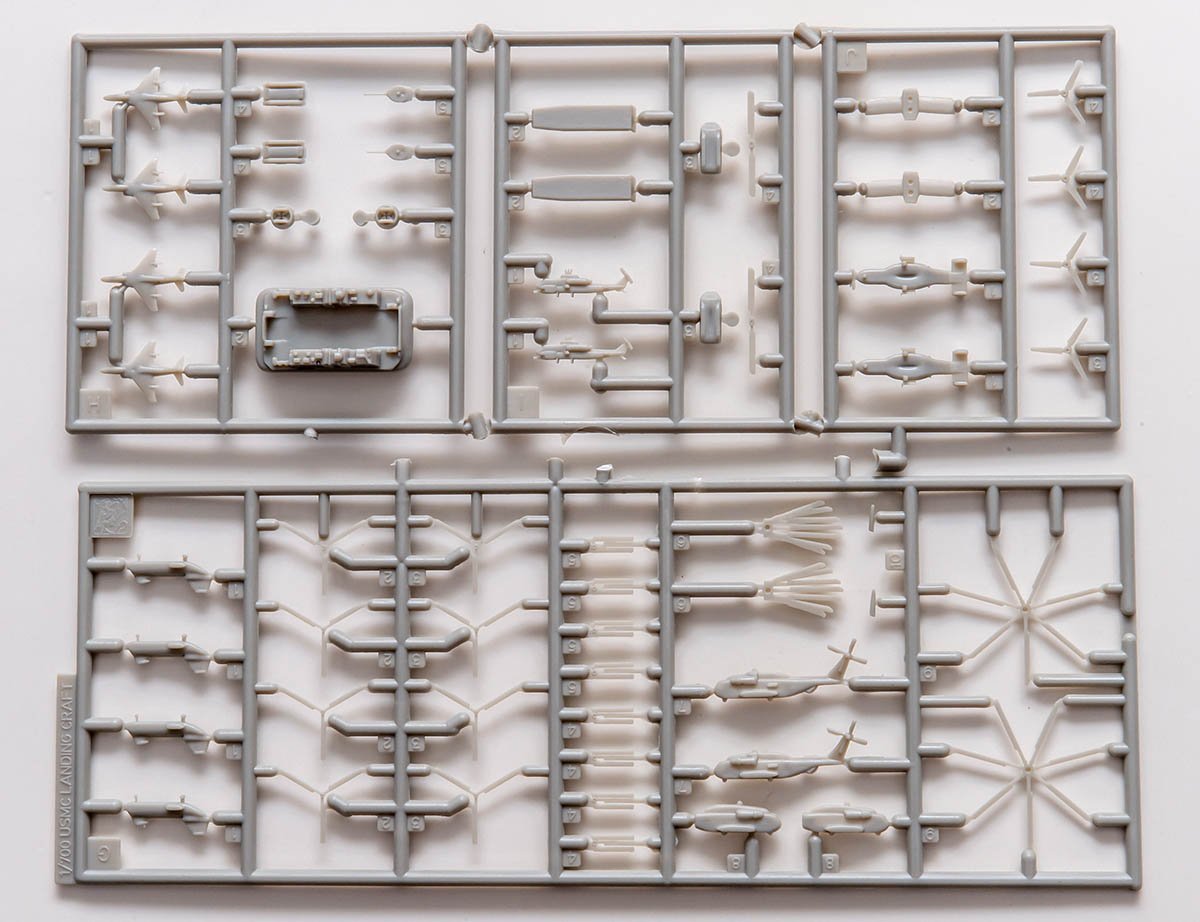
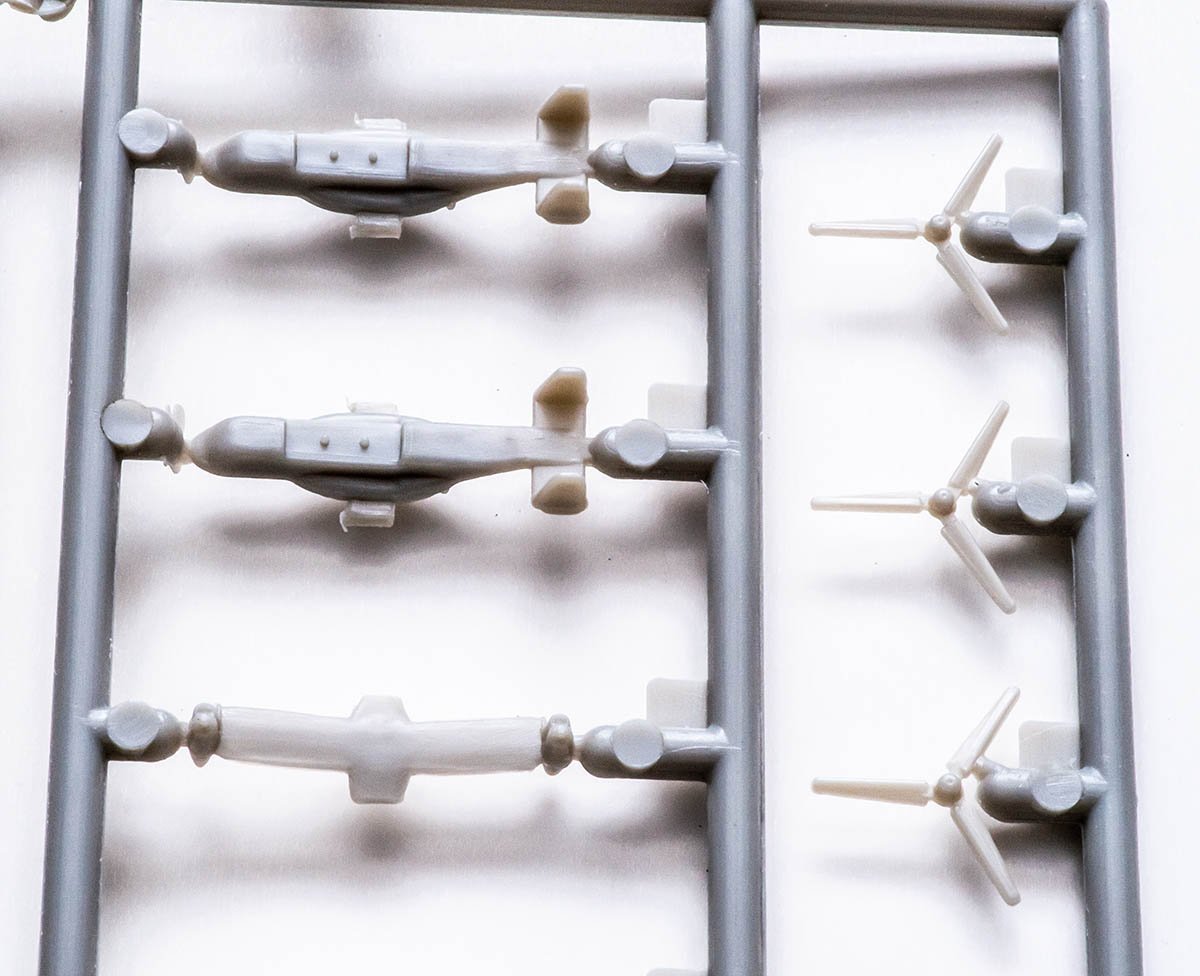
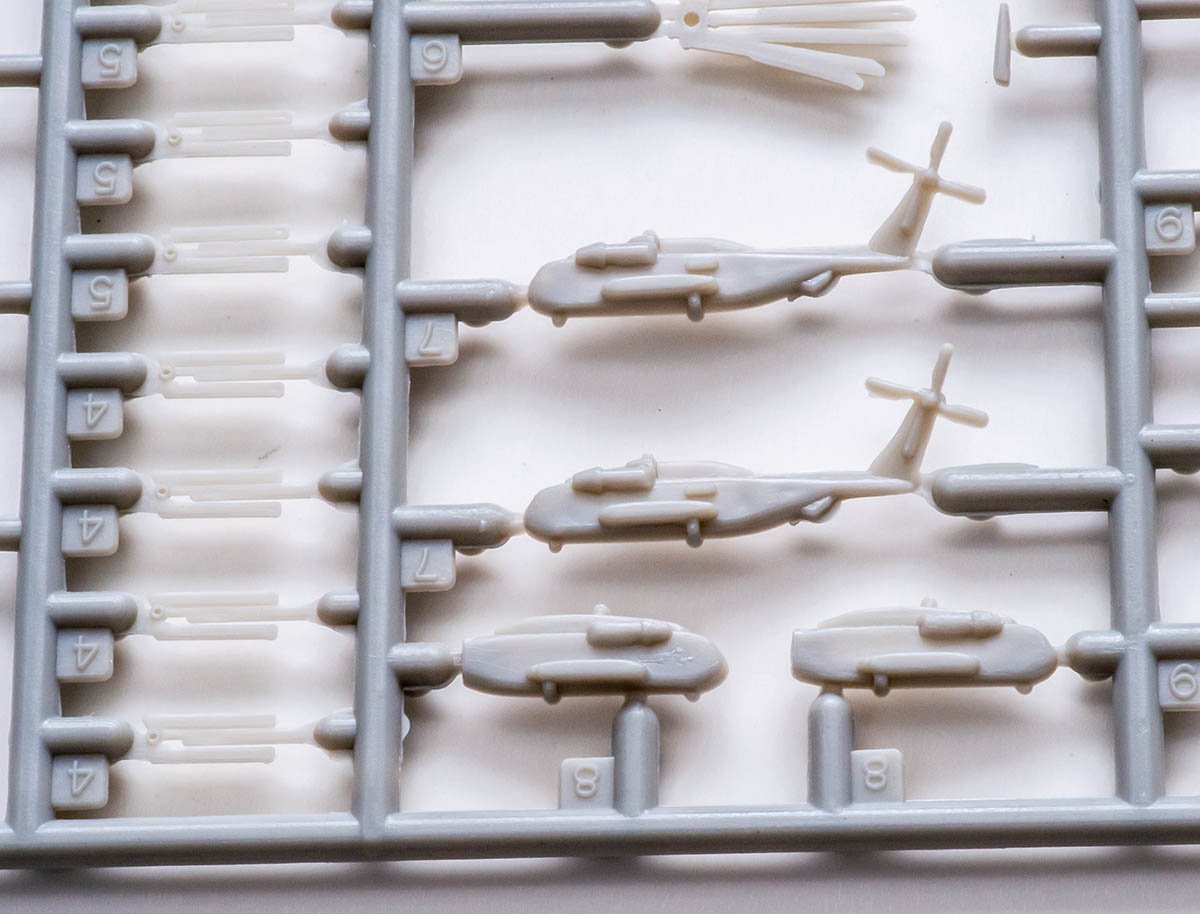
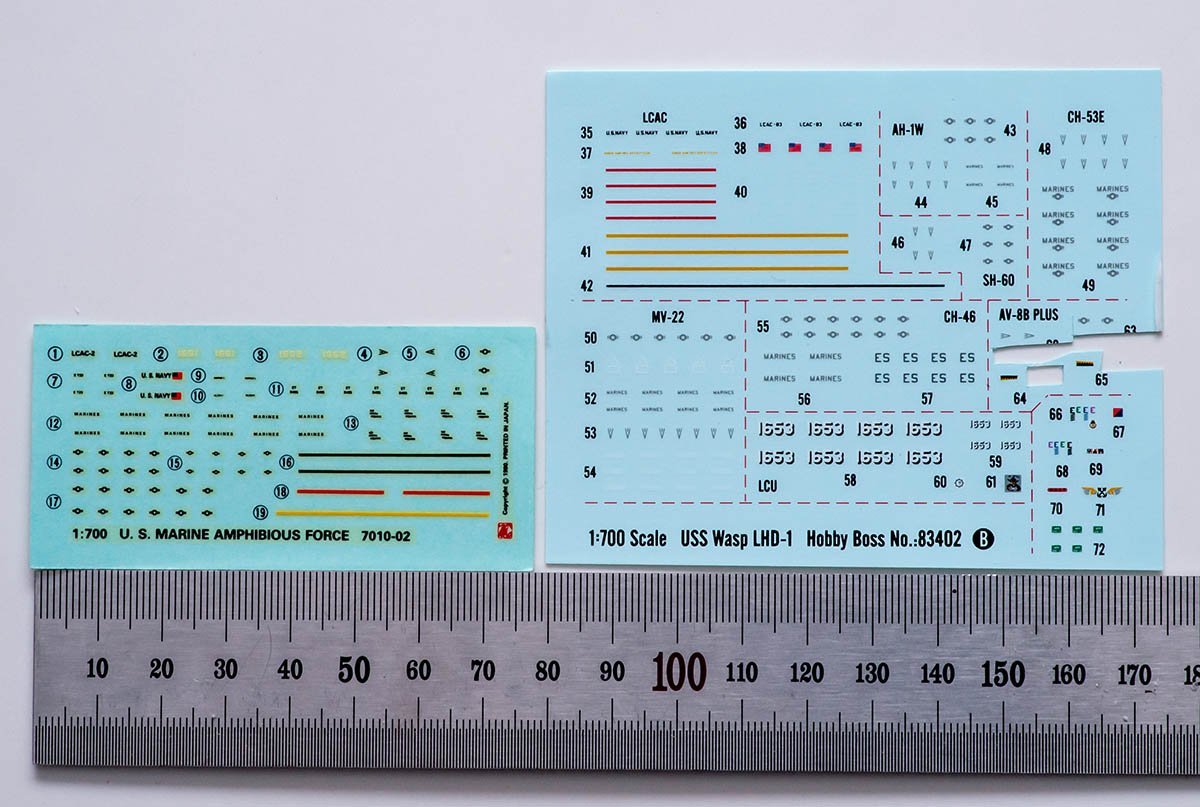
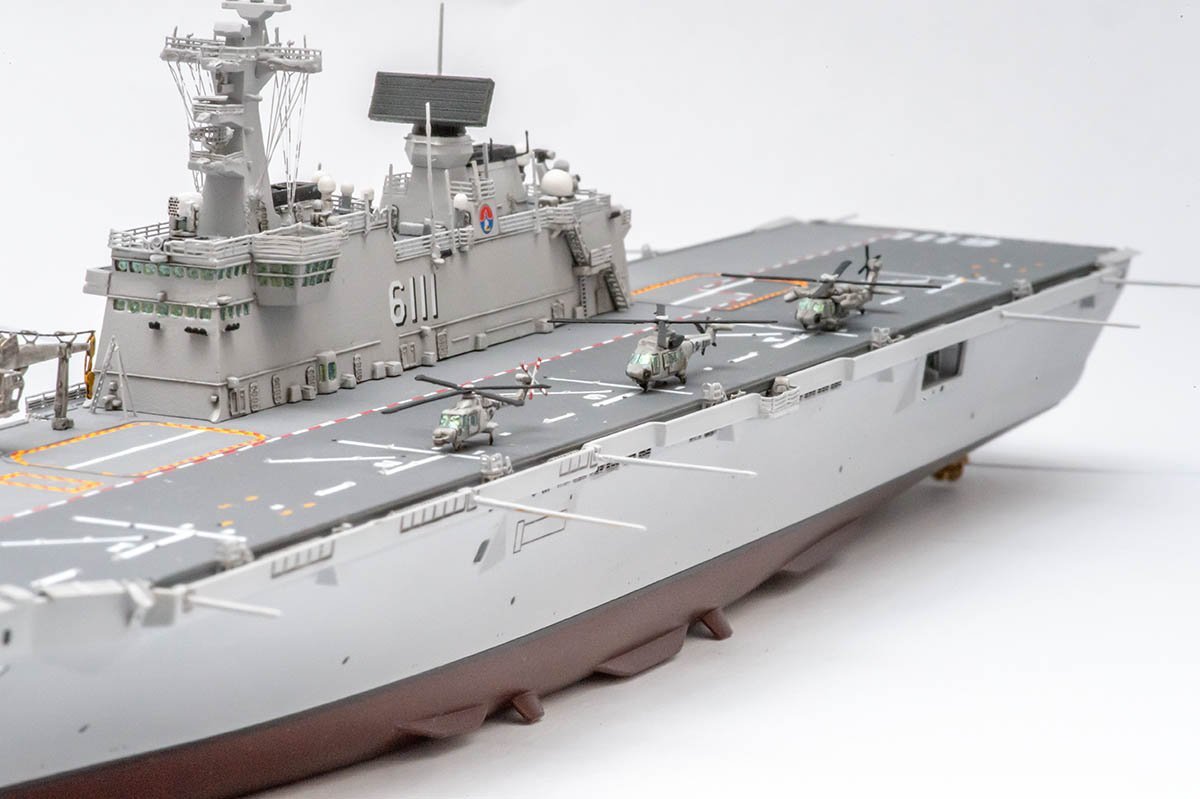
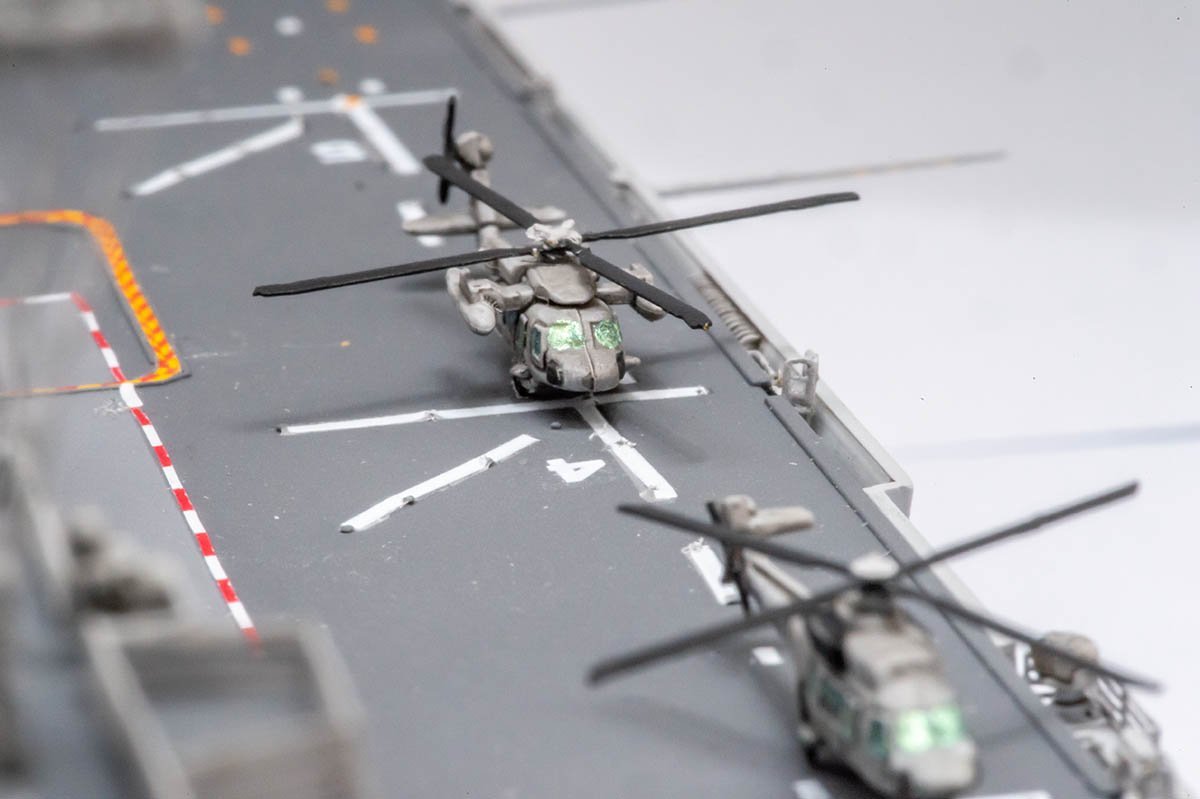
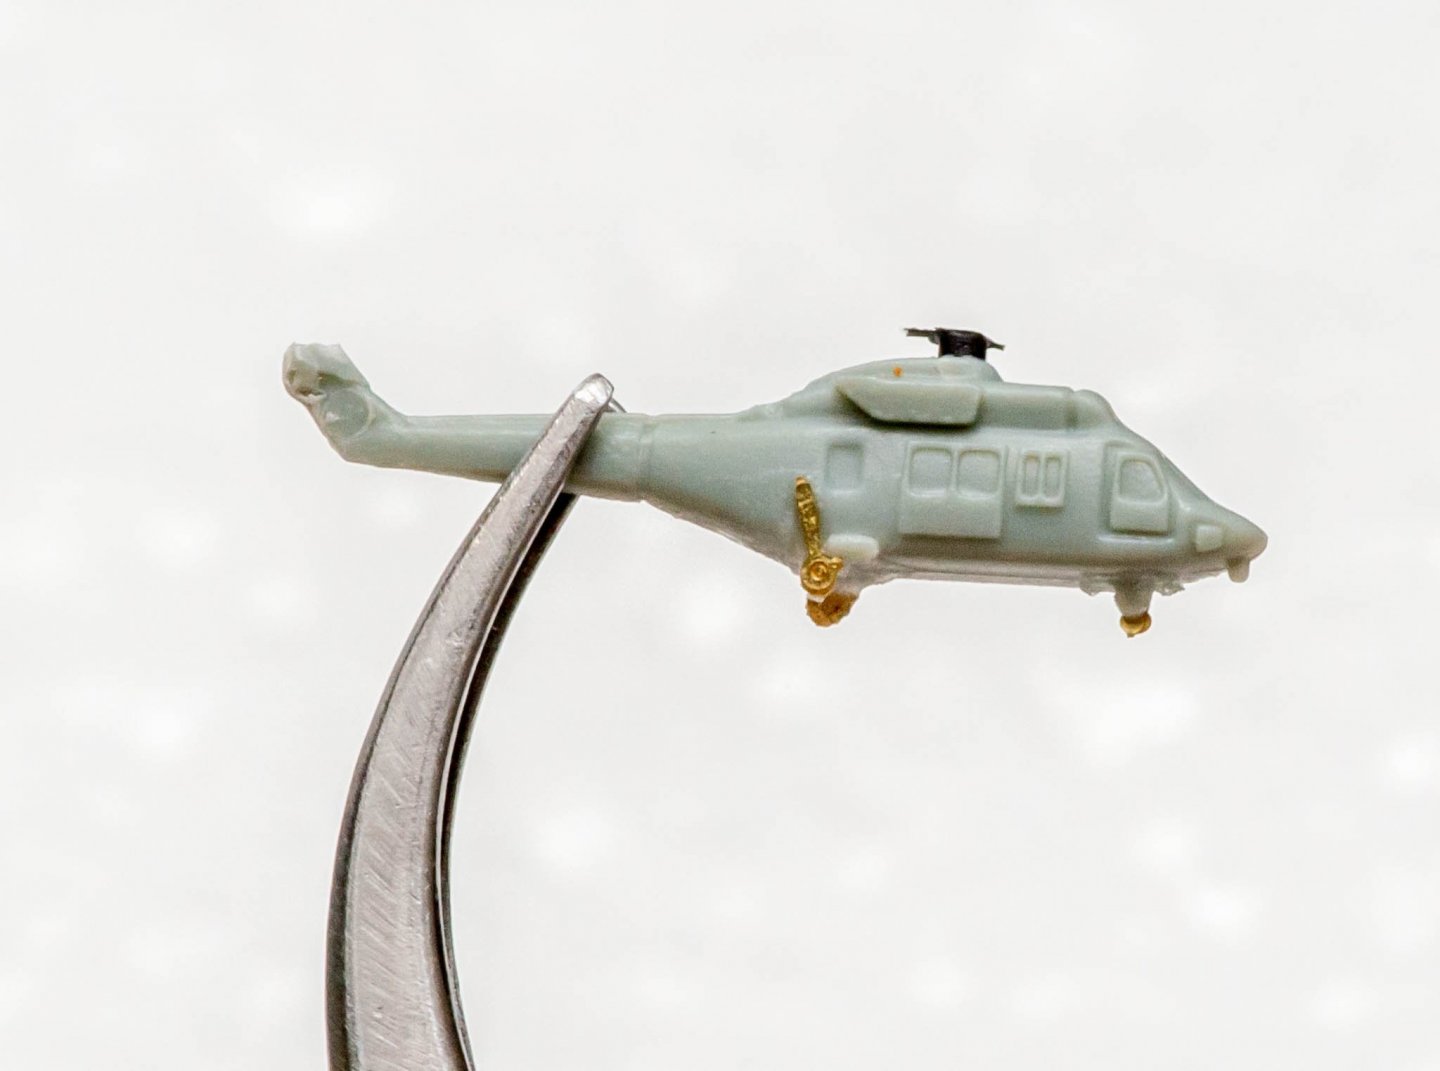
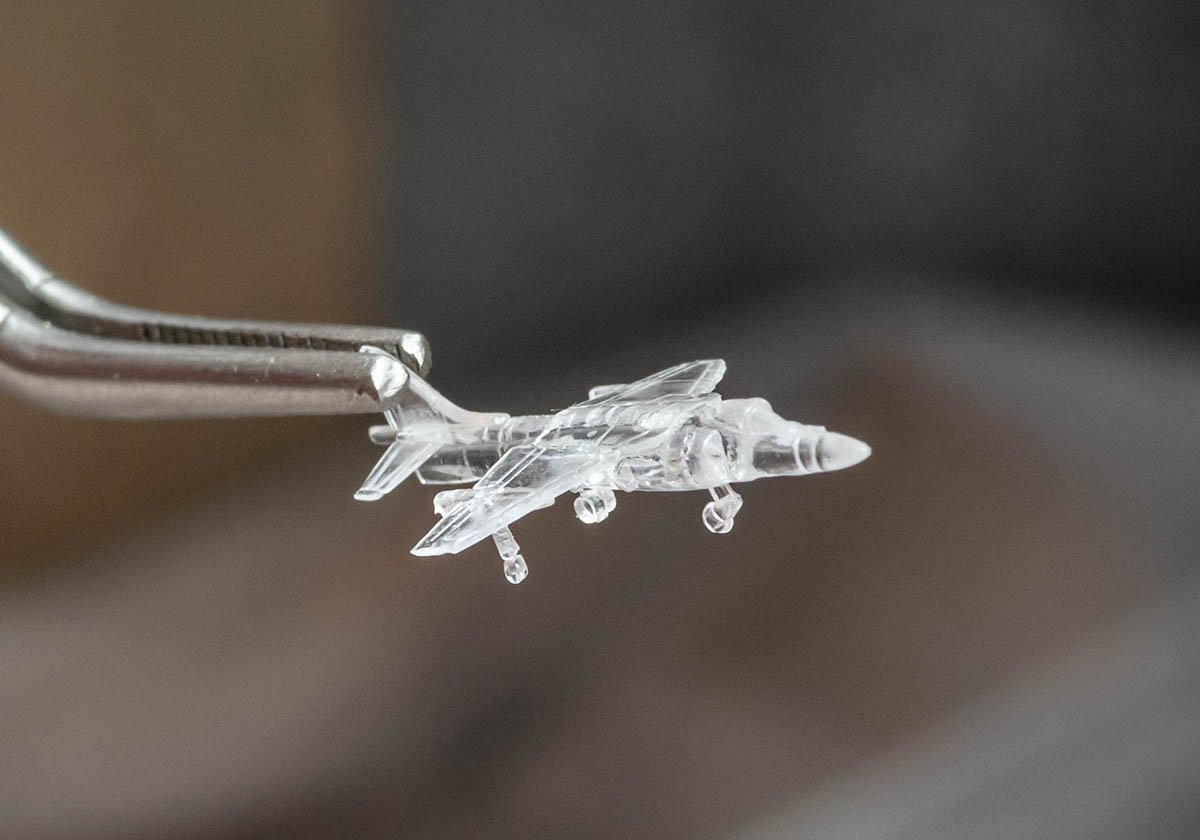
I received 30 years old deck plane kit from Italy today. The price was 10.50 euros! It is too late to use them because I'm almost done. Also, the quality of this classic kit is much worse than 2010s HobbyBoss' amphibious ship kit, of course. No panel lines, too thick parts, and less details such as landing gear and tail rotor. The only better thing is decal sheet. The thirty years old kit has much accurate scale. The HobbyBoss Wasp class kits have too many scale issue that they produced 1/350 scale parts and decals instead of 1/700. I'll paste the Dragon's decal to HobbyBoss's deck planes.
-
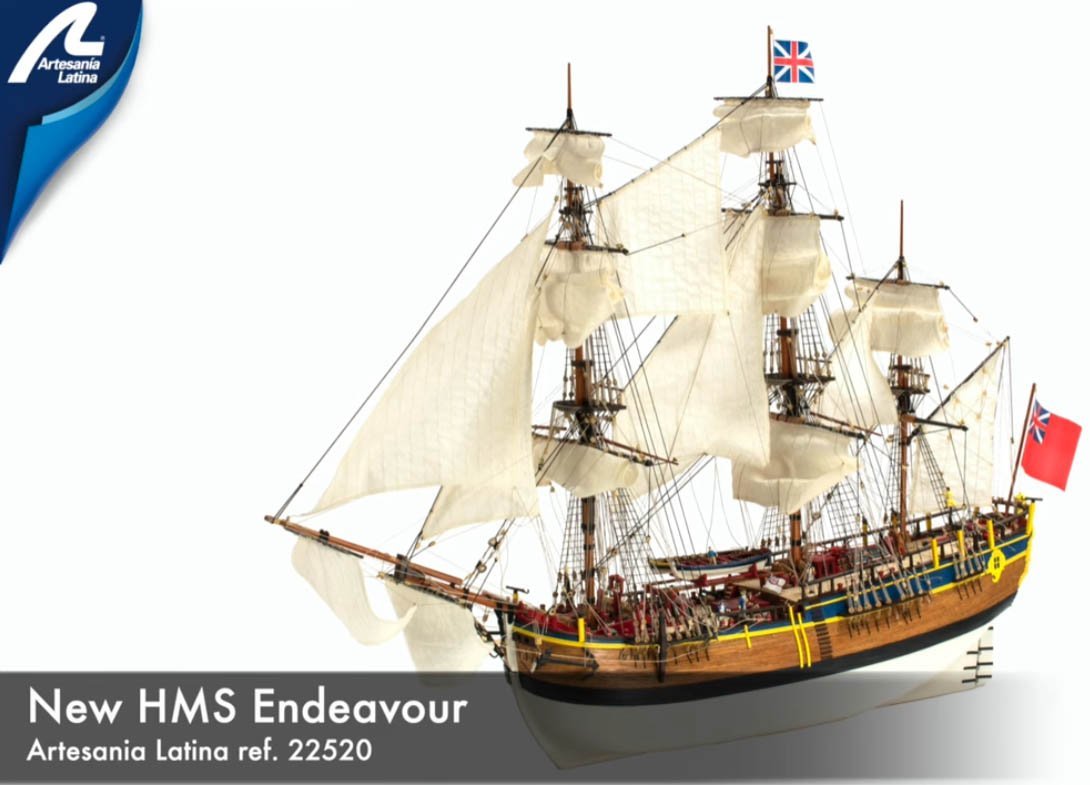
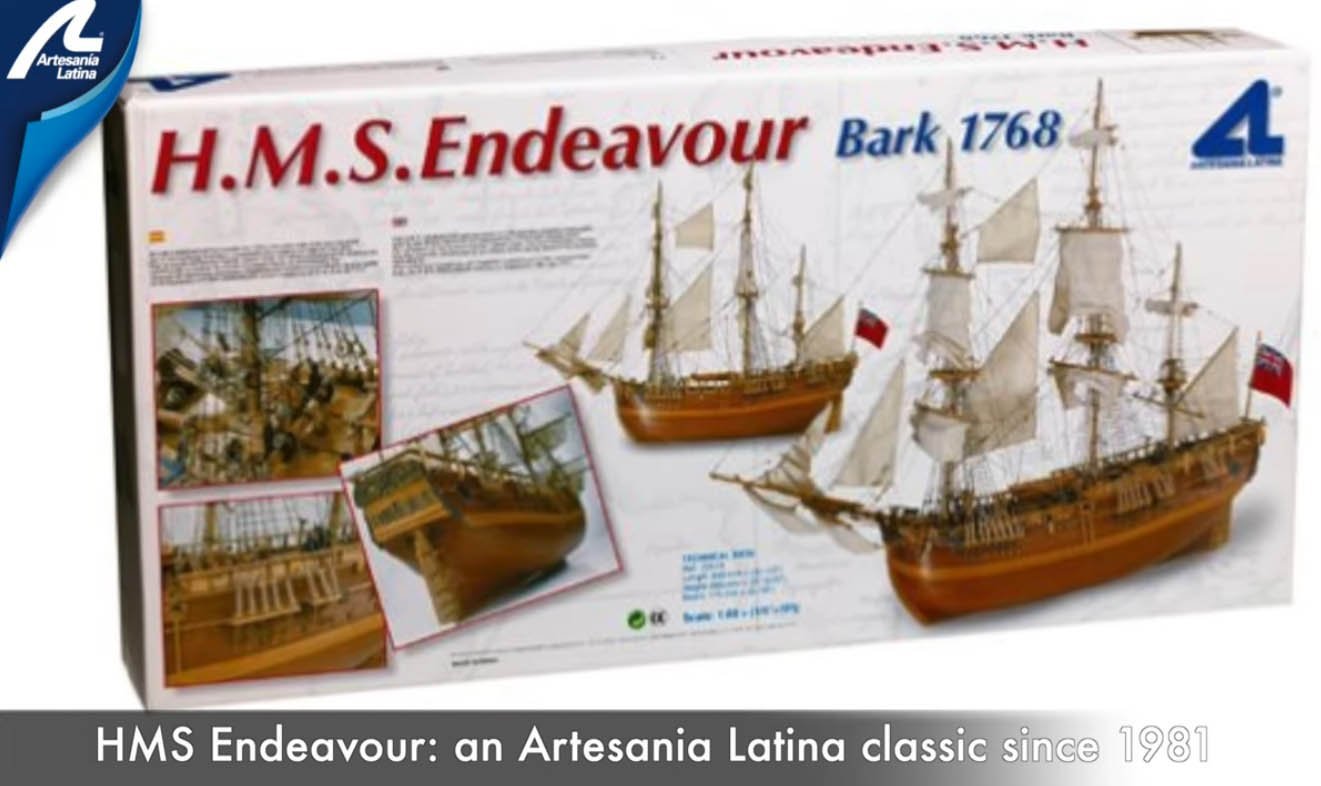
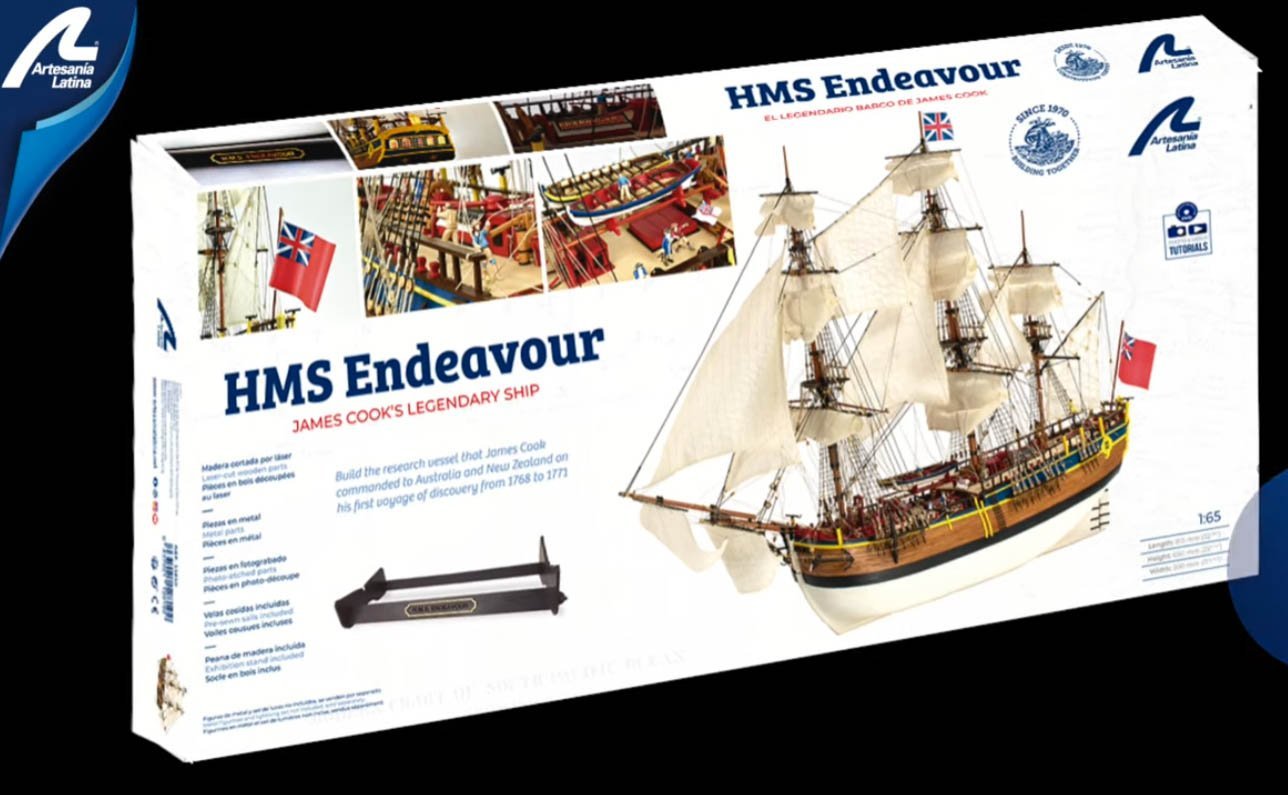
Here is new HMS Endeavour from Artesania Latina. (1/65, 22520) It replaces the old kit. (1/60, 22516) - Length : 815mm - 3D cad design - diecast and PE steel parts - more tutorial pages and video - dedicated figurines and accessories set (22520F) : 14 metal figurines, telescope, and flag stick - dedicated lightning assembly (27590) LED lightning set Looking good! They are doing better than past.
-
- 1
-

-
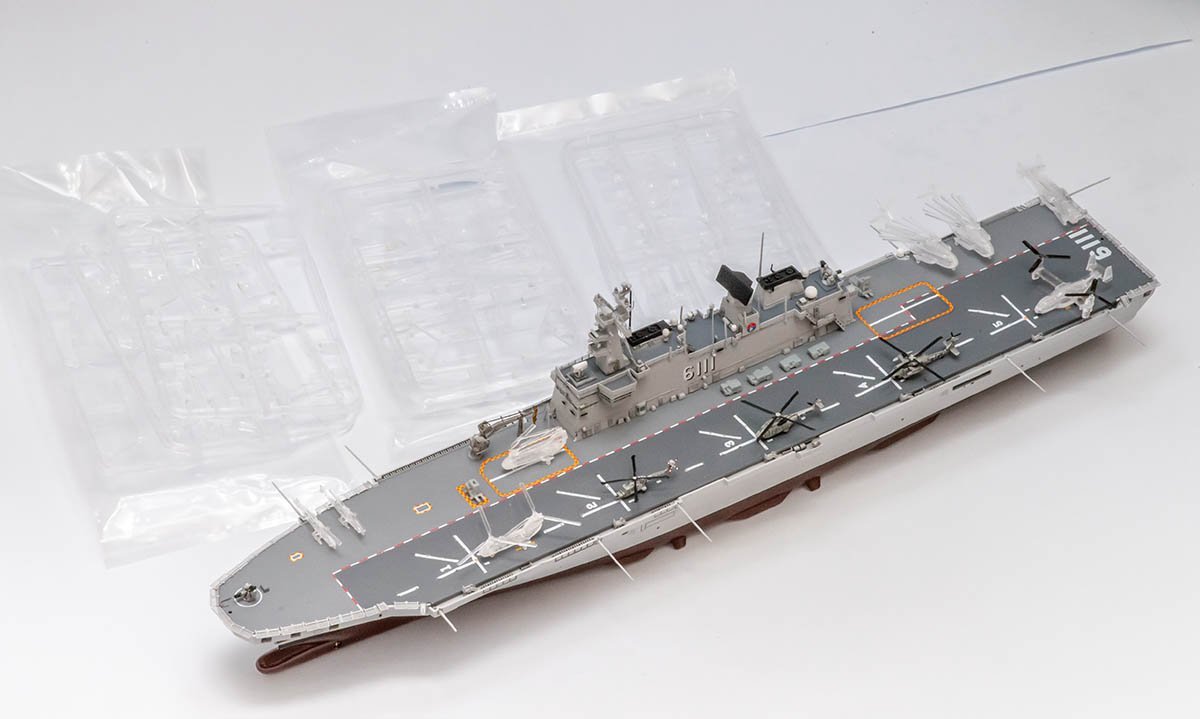
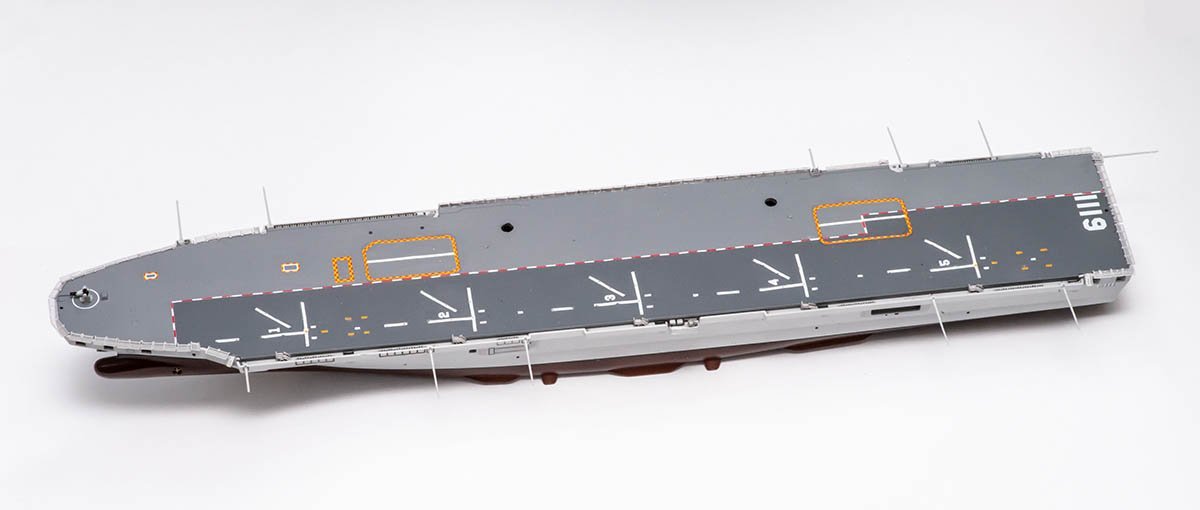
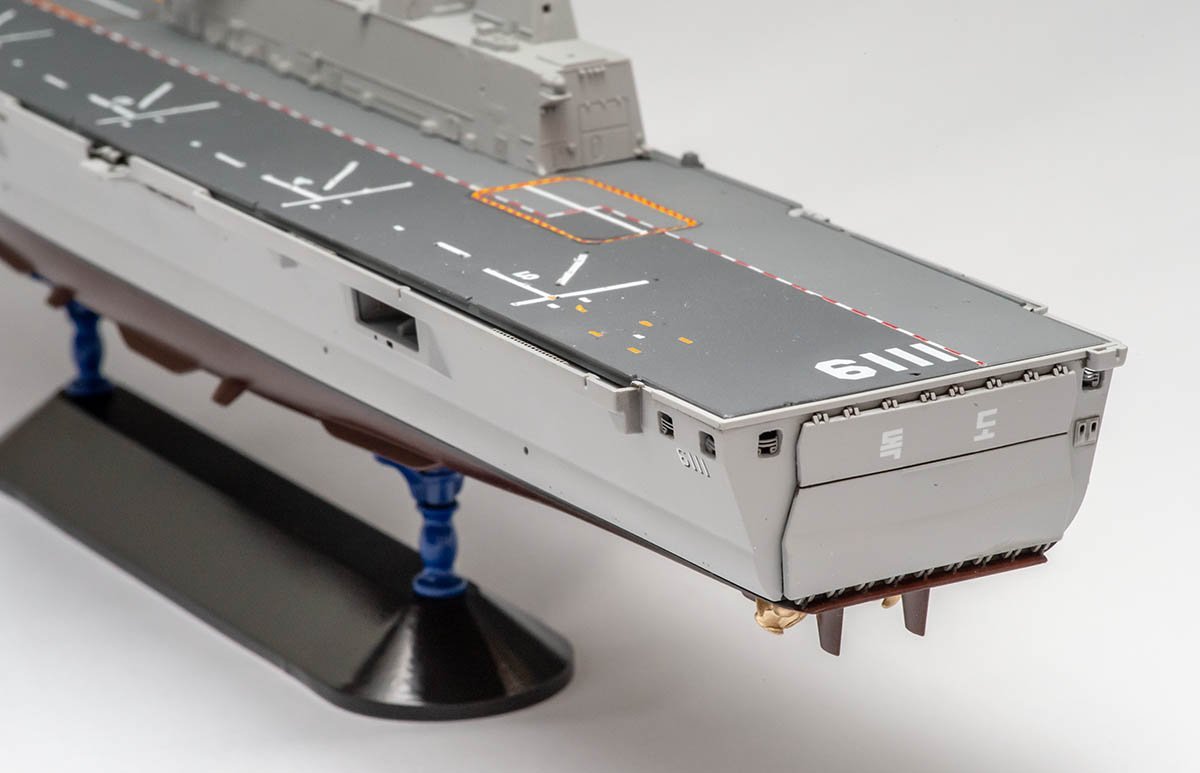
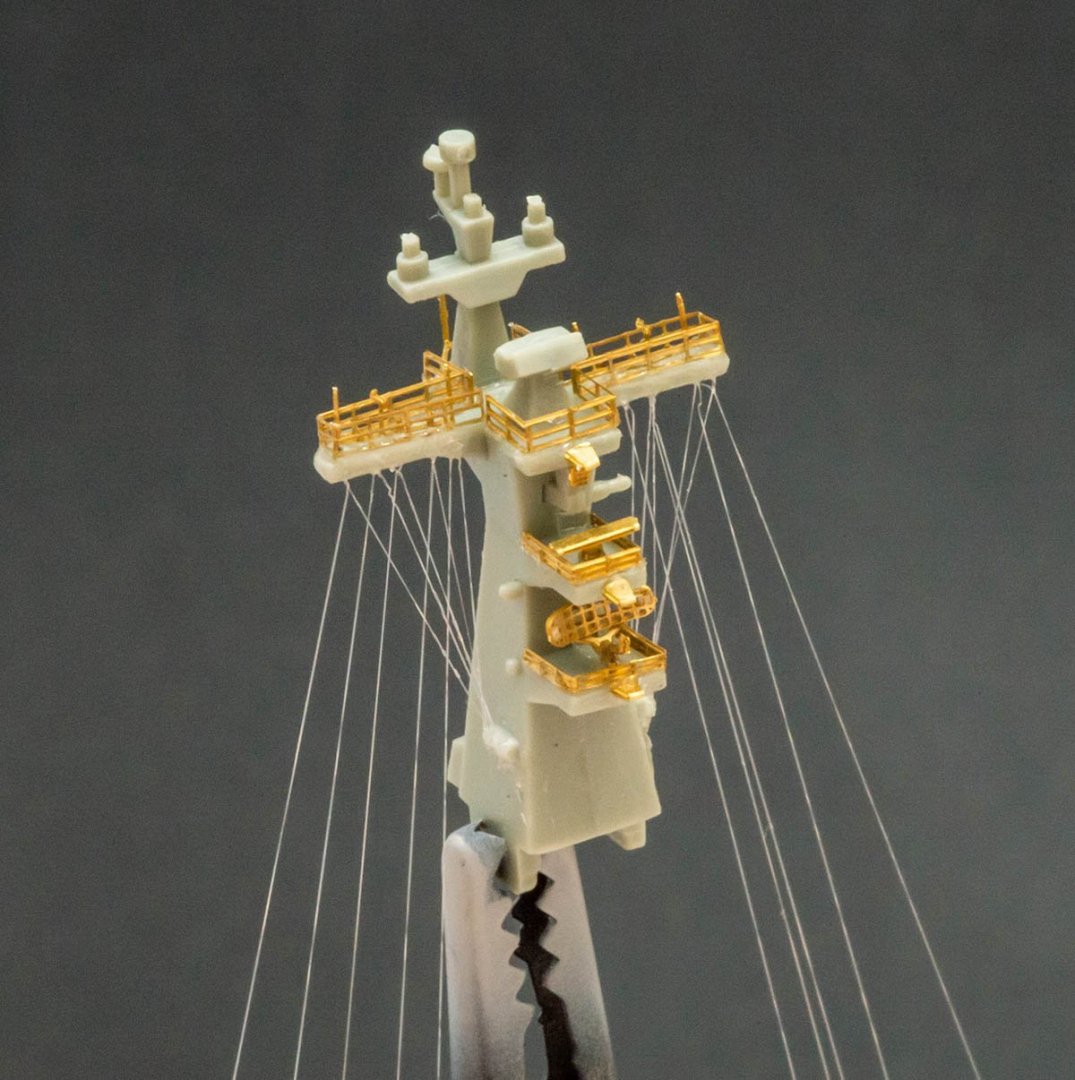
I finished basic setting of original kit and Tetra model PE kit. The next and final step is additional deck planes.
-
Unfortunately, the new DDG-991 kit, also known as KDX-III, from Wolfpack design is postponed to early next year. It is 11,000 tons full load guided missile Aegis destroyer. The Wolfpack design is kind of professional model company, so you won't be disappointed.
-
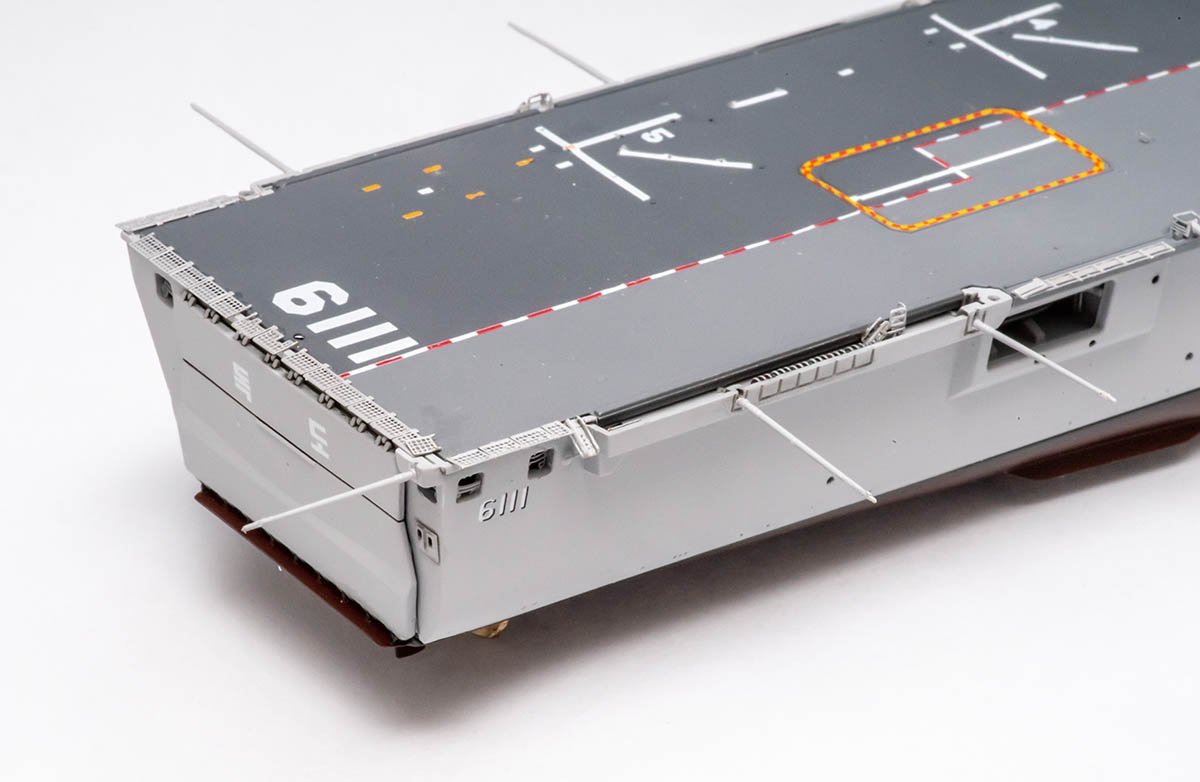
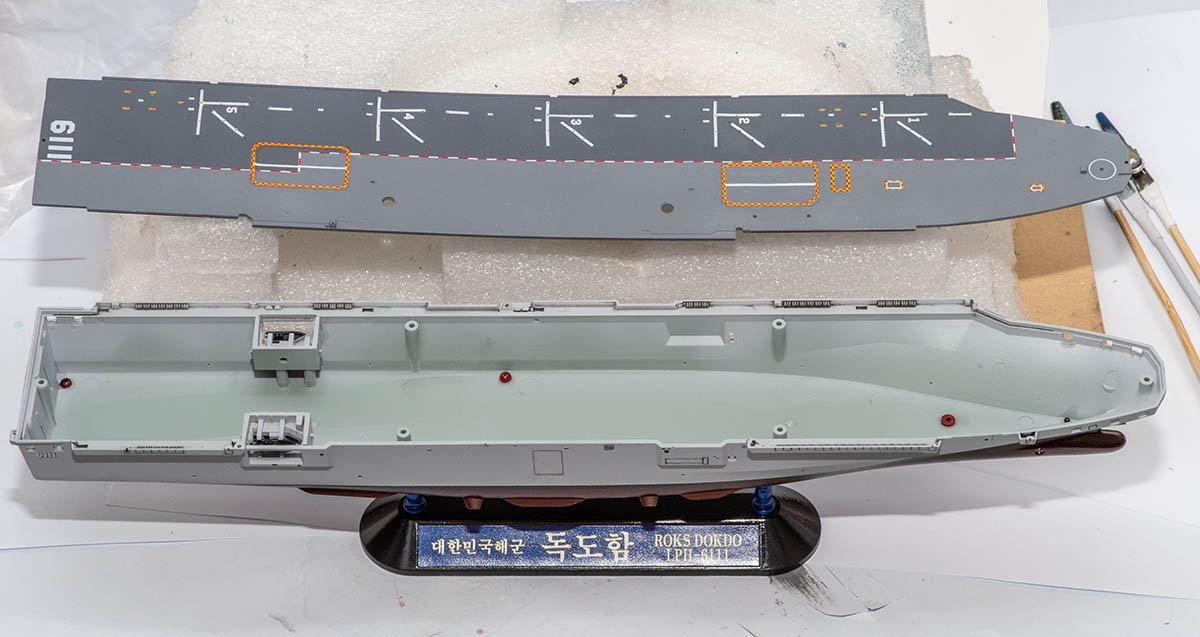
I finished deck floor. The next step is bridge. Multiple masking and airbrushing work is waiting. 😂
-
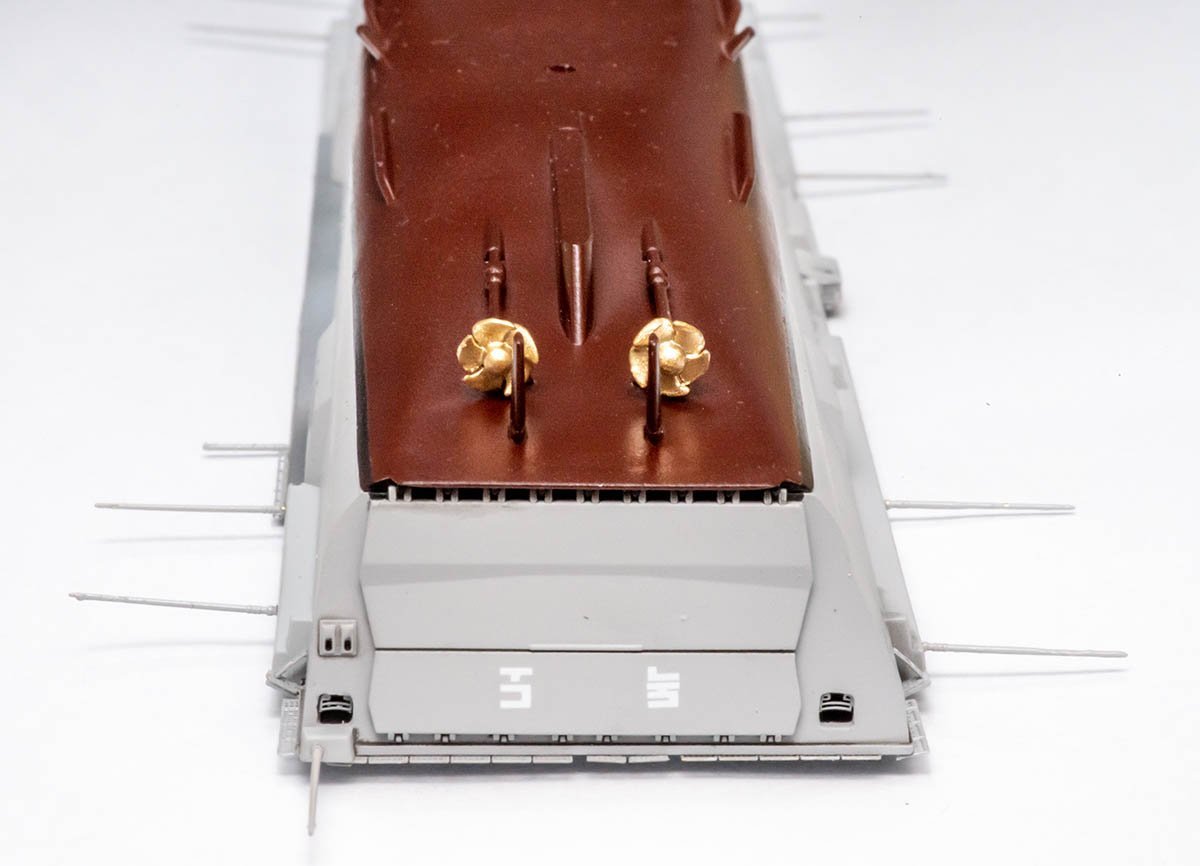
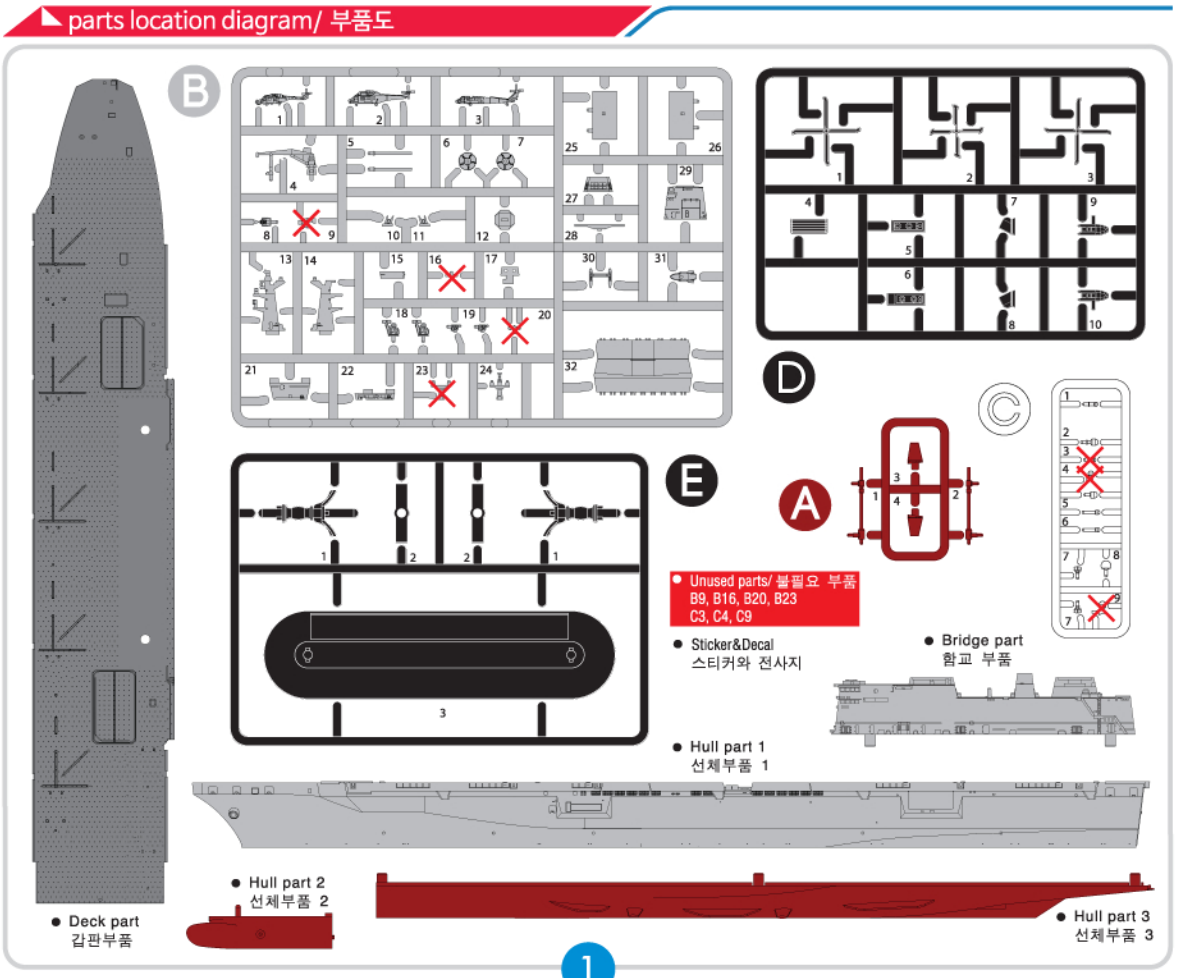
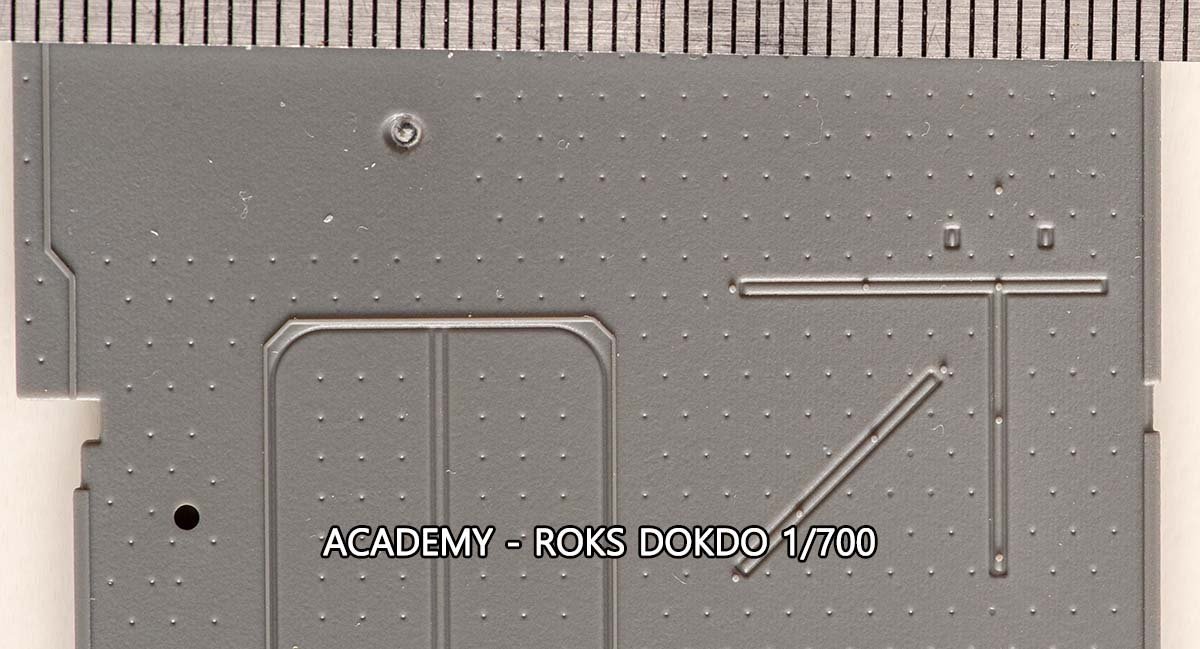
mikegr // I agree that many Academy kits are usually fancy and simplified kit for general people, but a few of them are serious kit when they are ROKA equipments. Academy tends to follow Bandai's position which is easy assembly and multi colored parts. They are highly commercial company, so they make profitable kits only. However, they sometimes make serious kits with high standard. As a South Korean company, they have close relationship with ROK Army. They can refer to unveiled information such as under water or interior of military equipment that nobody can see or confirm. In this case, I couldn't find any reference picture of screw and rudder of Dokdo ship. Here is a sample how Academy catches two birds - general people and professional modellers. If you follow this kit's manual, you will be dissapointed by simple parts. However, Academy hid explains of upgraded parts for professional modellers on manual. All of those red X are additional detailed parts that essential for realistic expression of Dokdo ship. I compared each unused parts and real pictures thousand times, and found all of correct places. It feels like mistery puzzle. I don't know how the other kits are great, but given PE kit is already funny and impressive. I'll buy Eduard PE kits for USS Wasp LHD-1 kit when I build her.
-
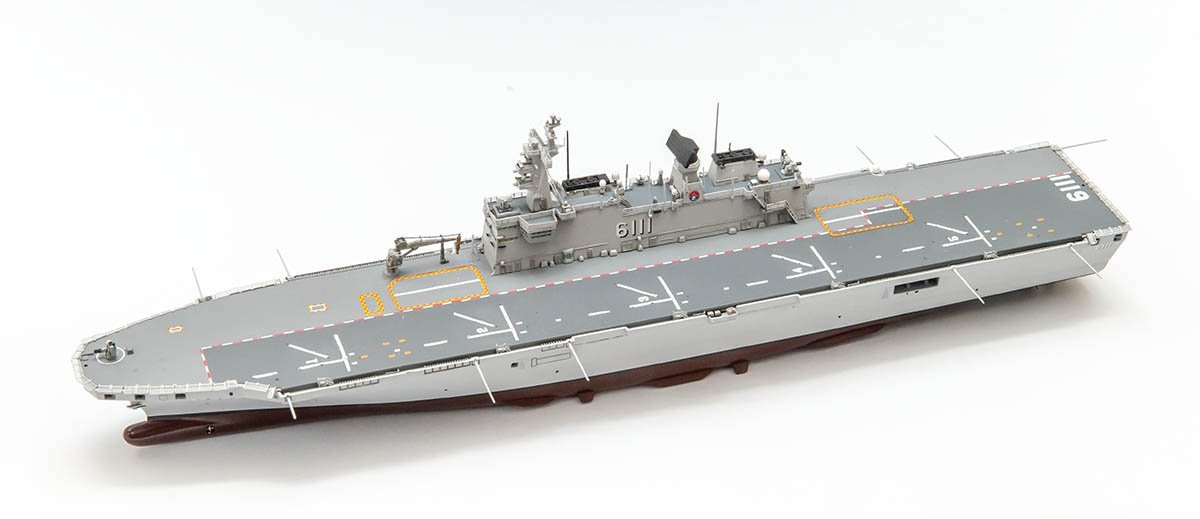
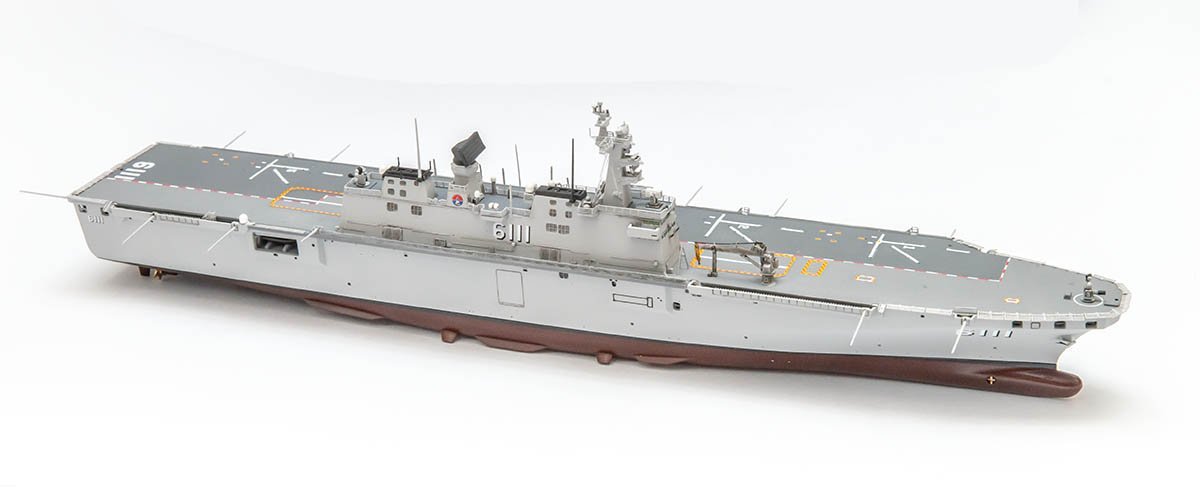
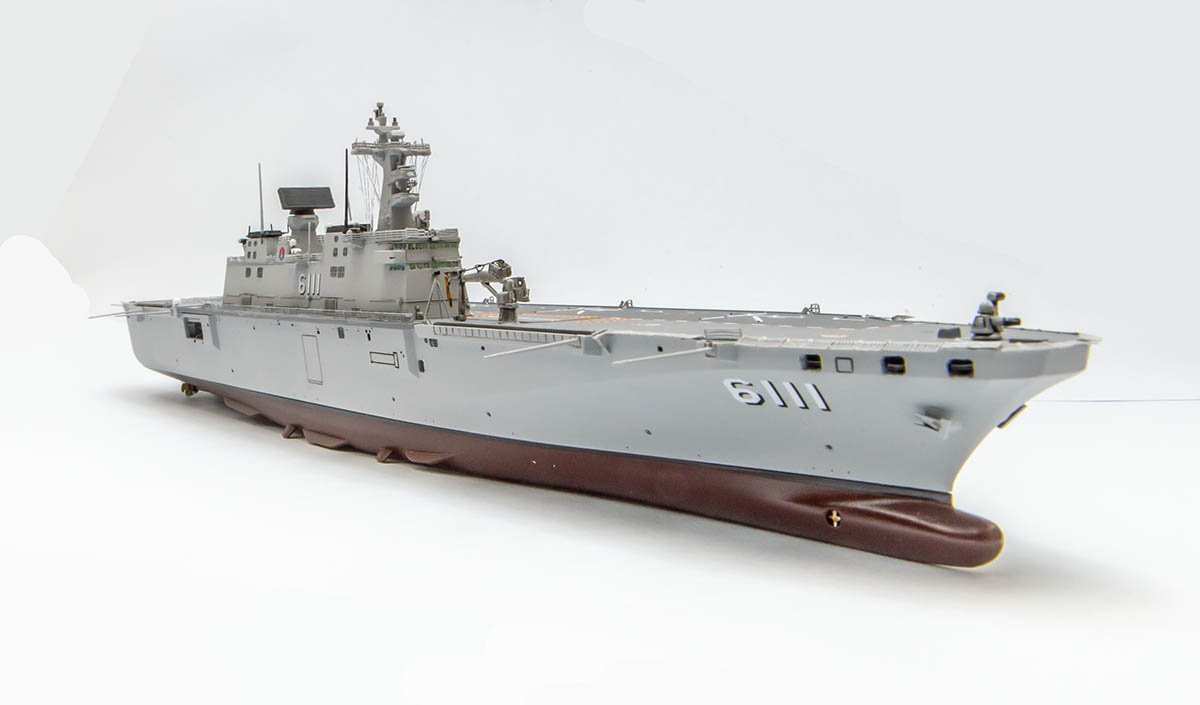
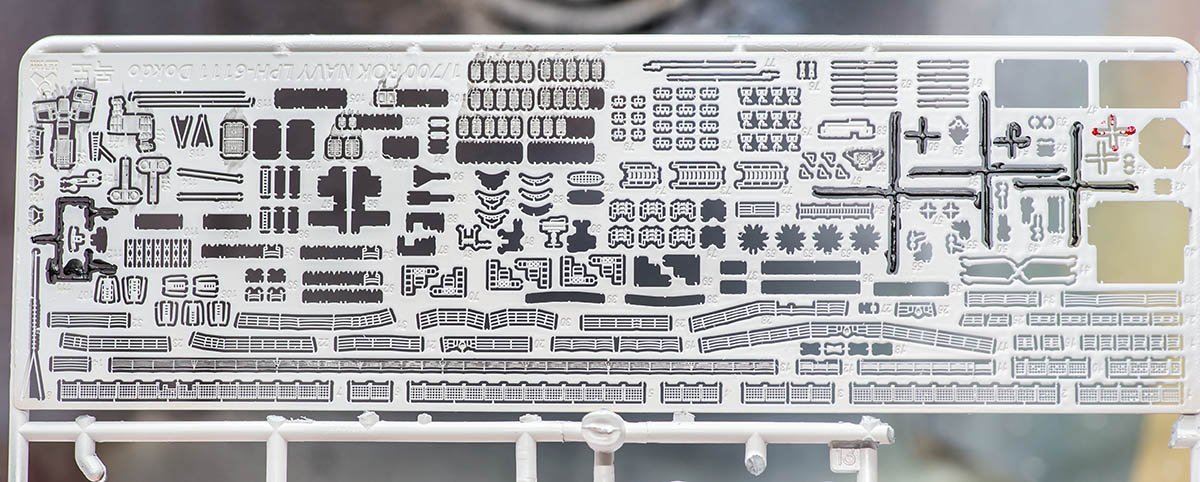
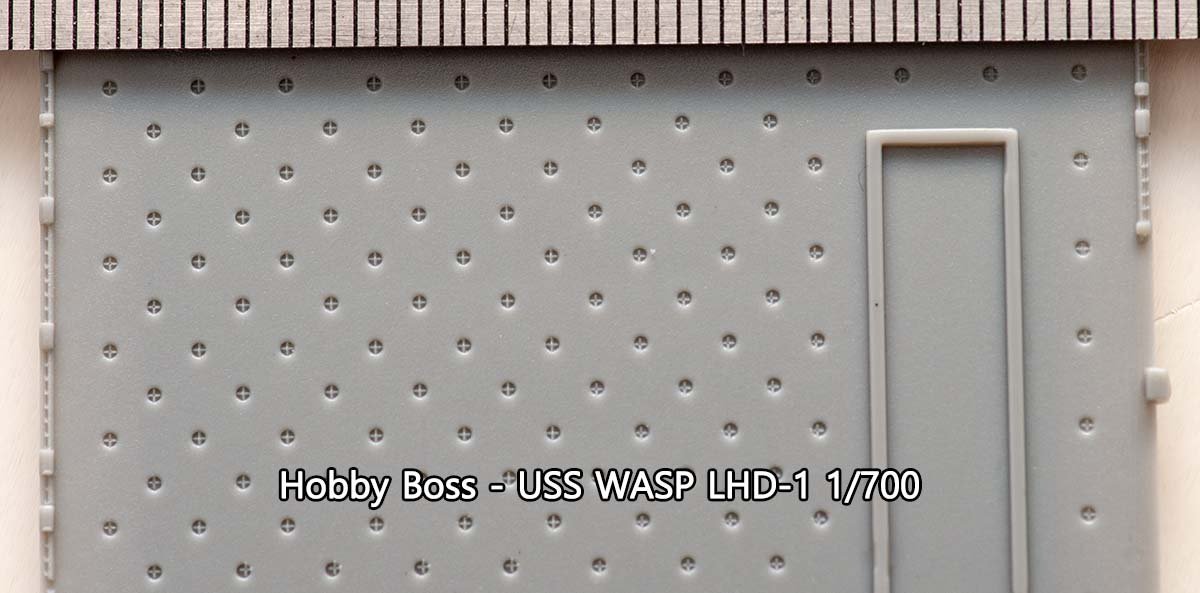
Hello. My current project is an amphibious assault ship ROKS Dokdo from Academy. This snap-tite kit is very convenient and allows no gap. There are only two Dokdo class ships. In my opinion, Academy won't make 1/350 Dokdo kit because South Korea decided to make bigger aircraft carrier ship. This kit is fairly easy and fast. I bought Tetra models PE kit for additional detail. It is the first time I play with PE... Pretty tough, but very challenge and exciting work. It is so tiny that my eyes hurt. 😭 The kit has only three helicopters. So I bought another amphibious assault ship kit. ROKS Dokdo was made based on USS Wasp class amphibious assault ship. It is only 20% shorter than Wasp class. I bought HobbyBoss USS WASP LHD-1 1/700. I'll transfer some deck planes from the kit to here. Combined operation of ROKS and USFK. Here is a tip : The HobbyBoss USS Wasp class 1/700 Kits has some errors regarding scaling. When HobbyBoss (AKA Trumpeter) made 1/700 kit from 1/350, they forgot to resize parts... In this case, they forgot to resize tie down padeyes. The holes are 1/350 size. As a result, the huge holes look weird... I'll close all holes when I build this kit in near future. There are more same errors such as over sized decals. You may need to fix them for realistic expression. (One of not accurate part.) To compare with the HobbyBoss kit, the Academy kit has minor issues. However, it is very hard to find because this ship is very rare and references are insufficient. I'll complete Dokdo kit this month. I hope you enjoy my first PE work. ( I already lost 8 tiny tiny parts. )

-
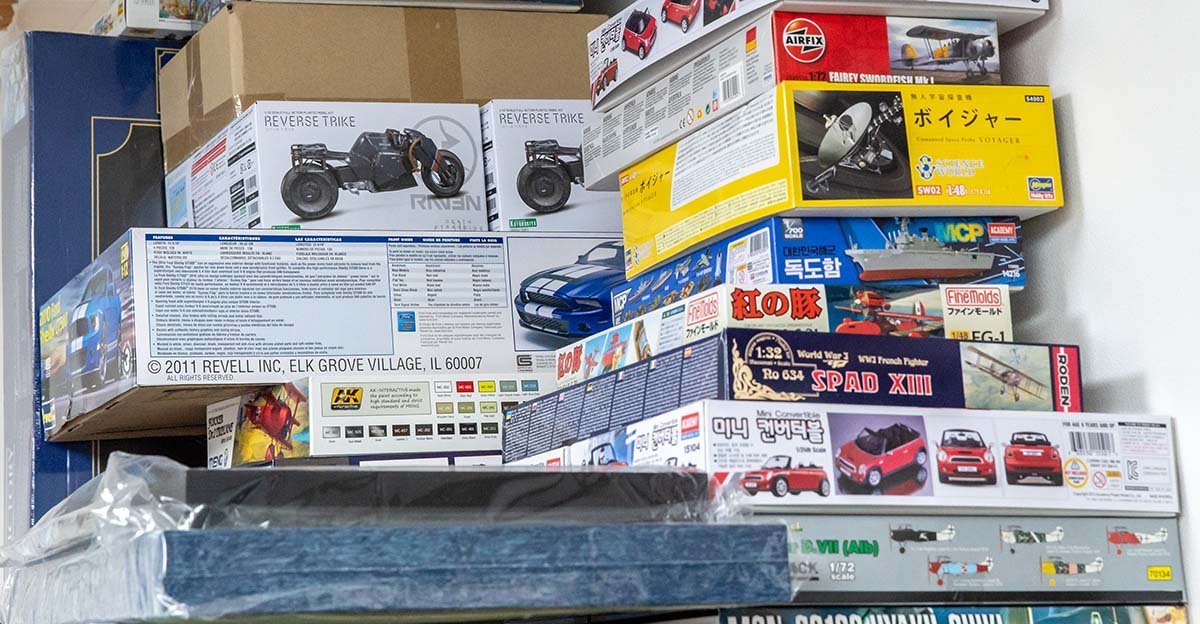
I bought each kit for specific themes. I'm not sure all the results will satisfy Old Collingwood's favour, but you can believe that they will be slightly unique models. I'm going to concentrate on late homeworks such as La Recouvrance, stone house, and train models for the rest of year. I need to clear my dirty workshop before adding new project. 😂
-
Your pleasure is my happiness, Old Collingwood! I'm also really appreciated to Mark, Javlin, and everyone who watched and enjoyed my project!
-
Thanks, Egilman! I was so happy when I was taking a picture. 📷
-
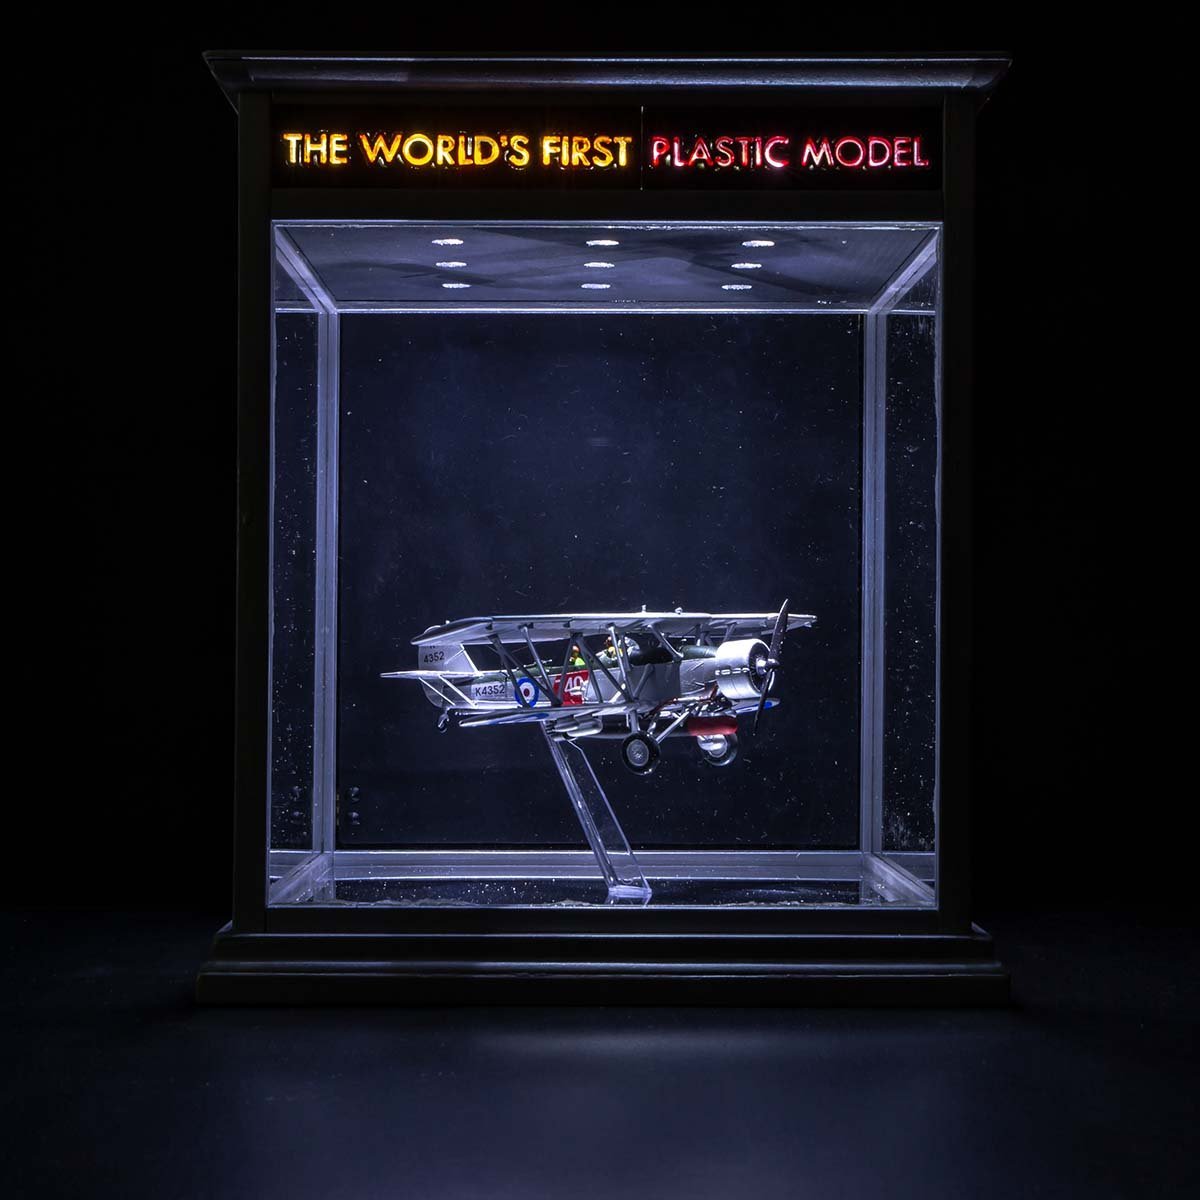
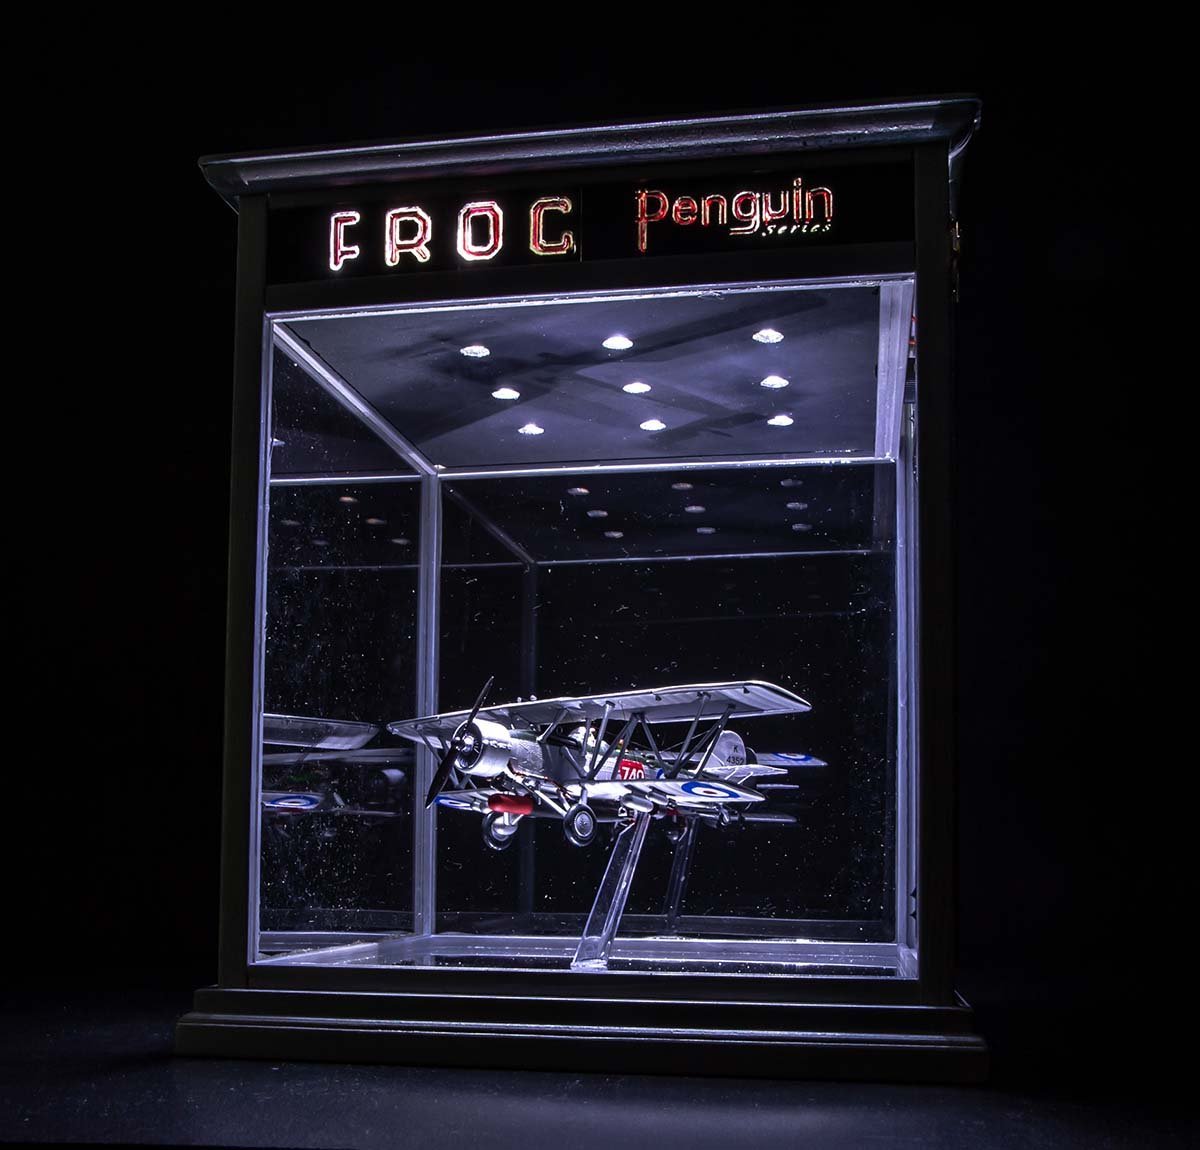
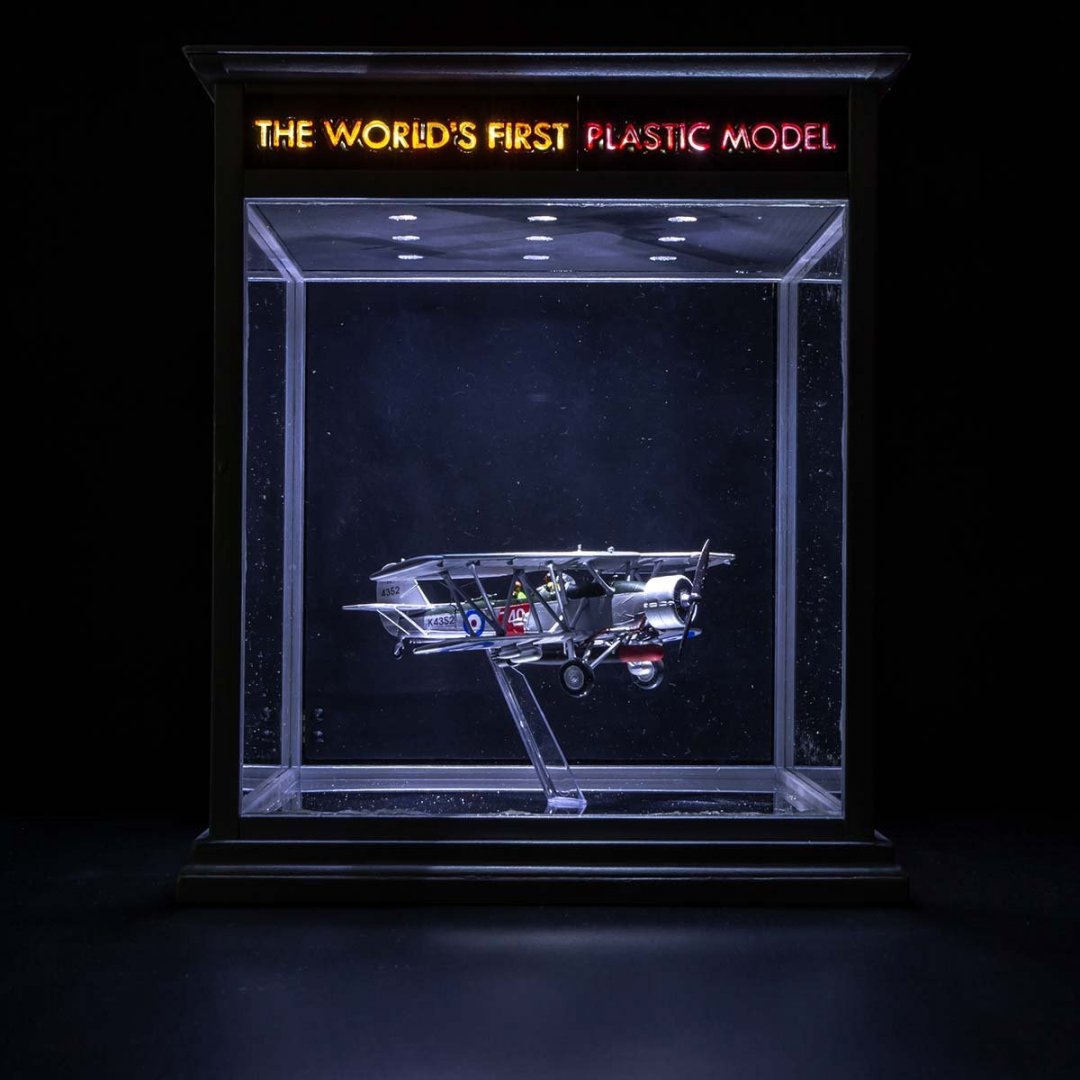
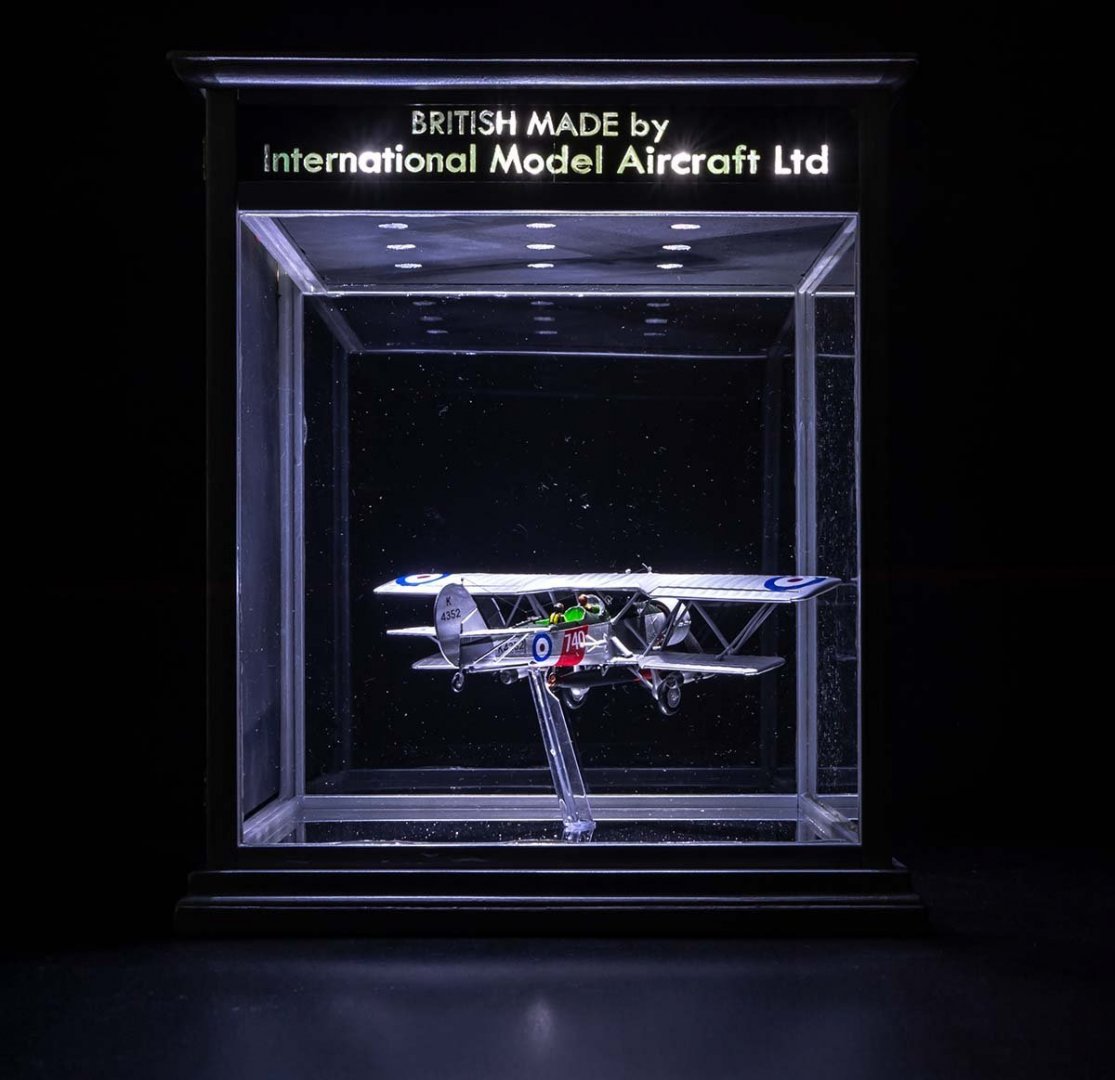
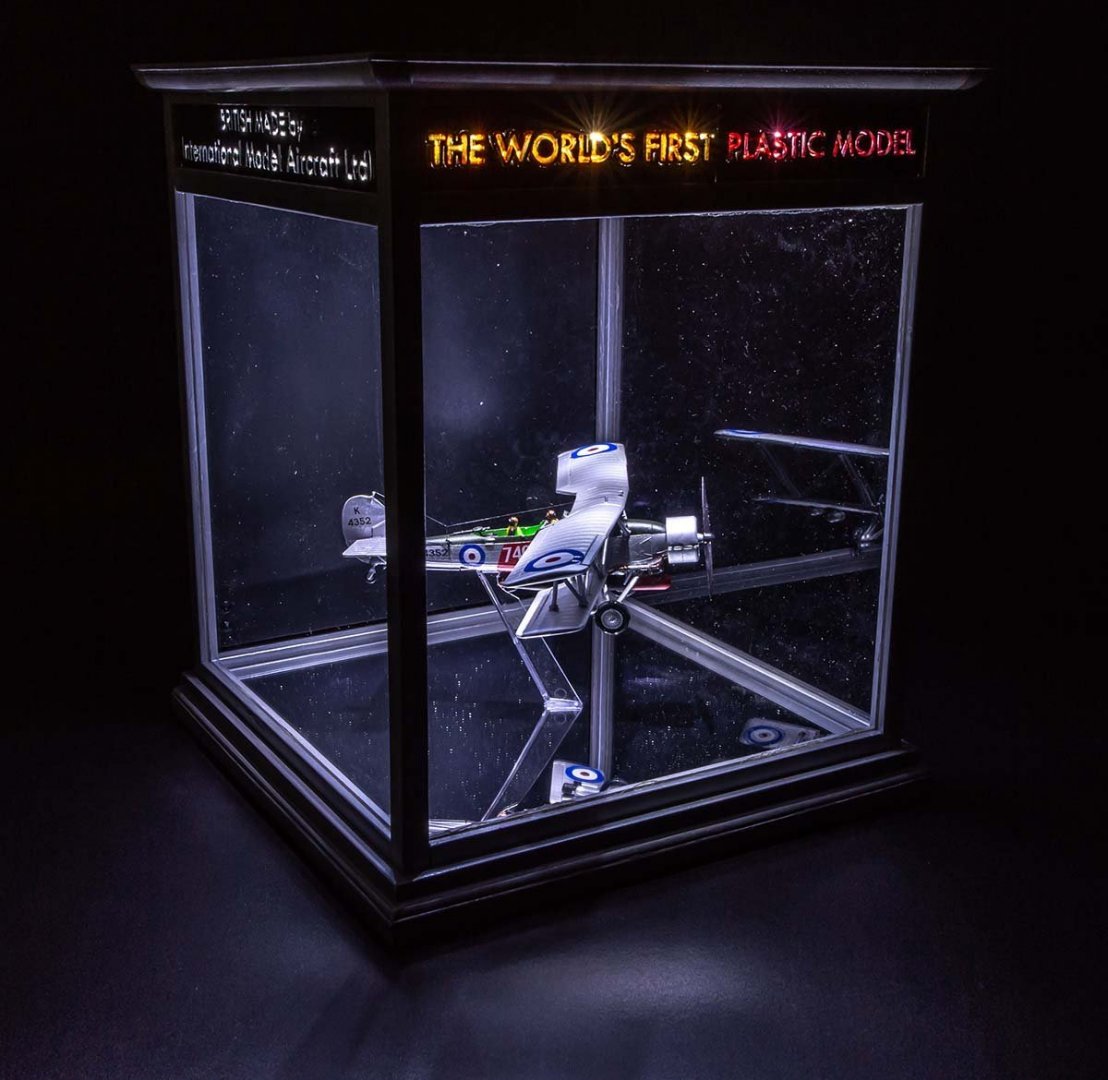
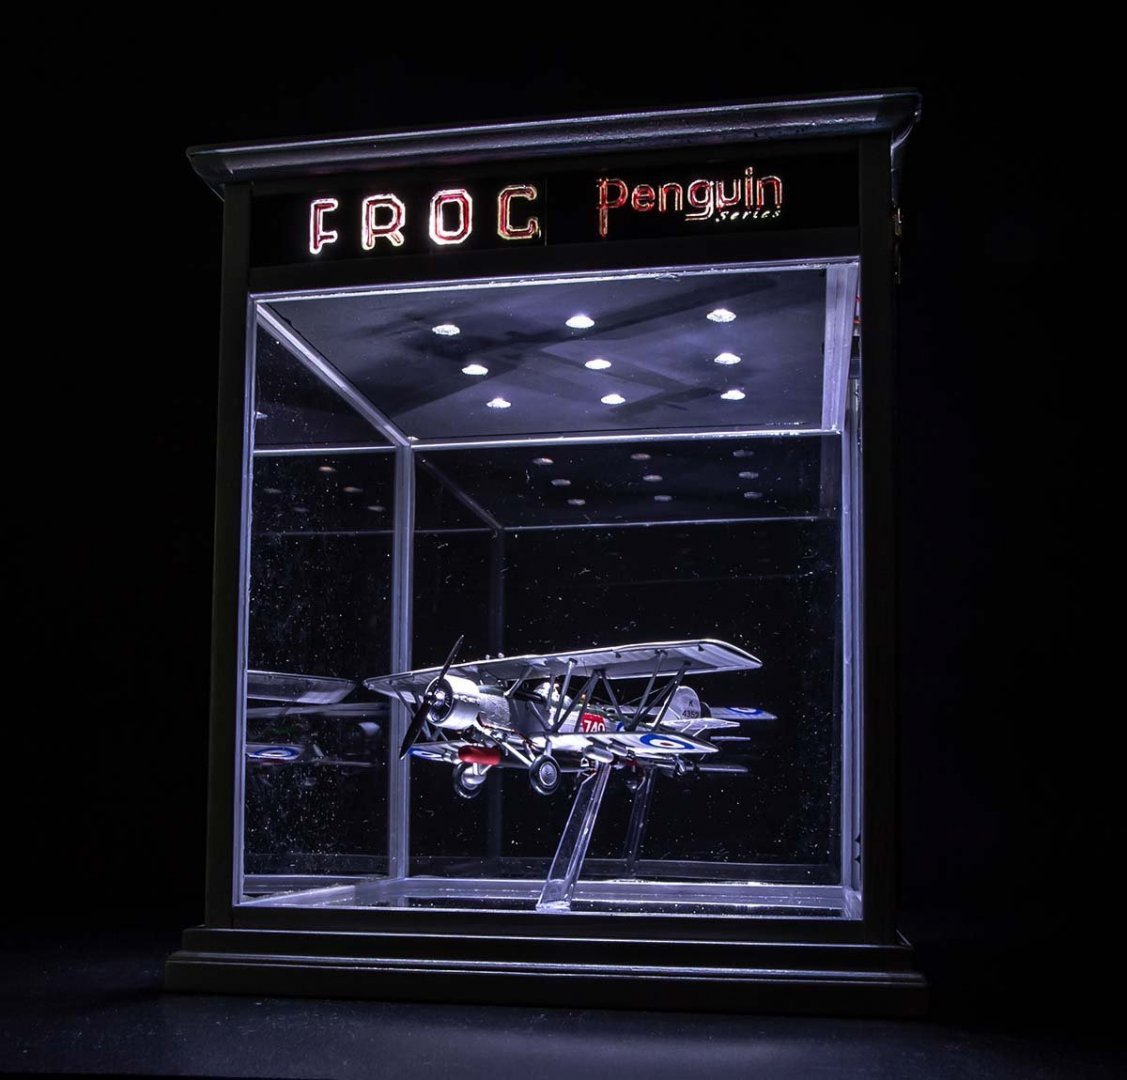
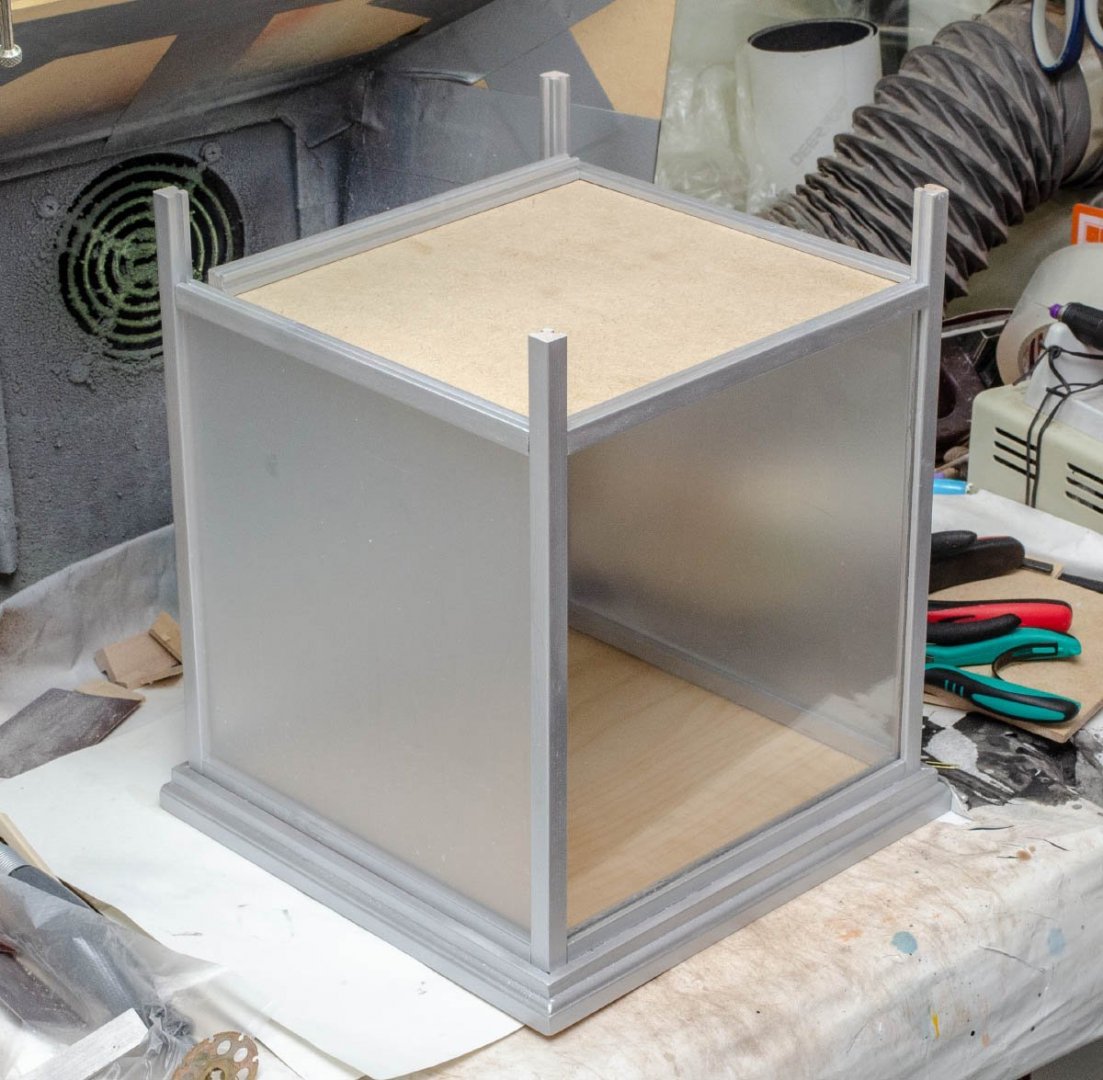
It's done. It looks like a temple of modeller when turns off the light, or modern museum when turns on. Details are not outstanding, but I'm satisfied with overall visual. Thank you for following my rough work. Secured, contained, protected.


-
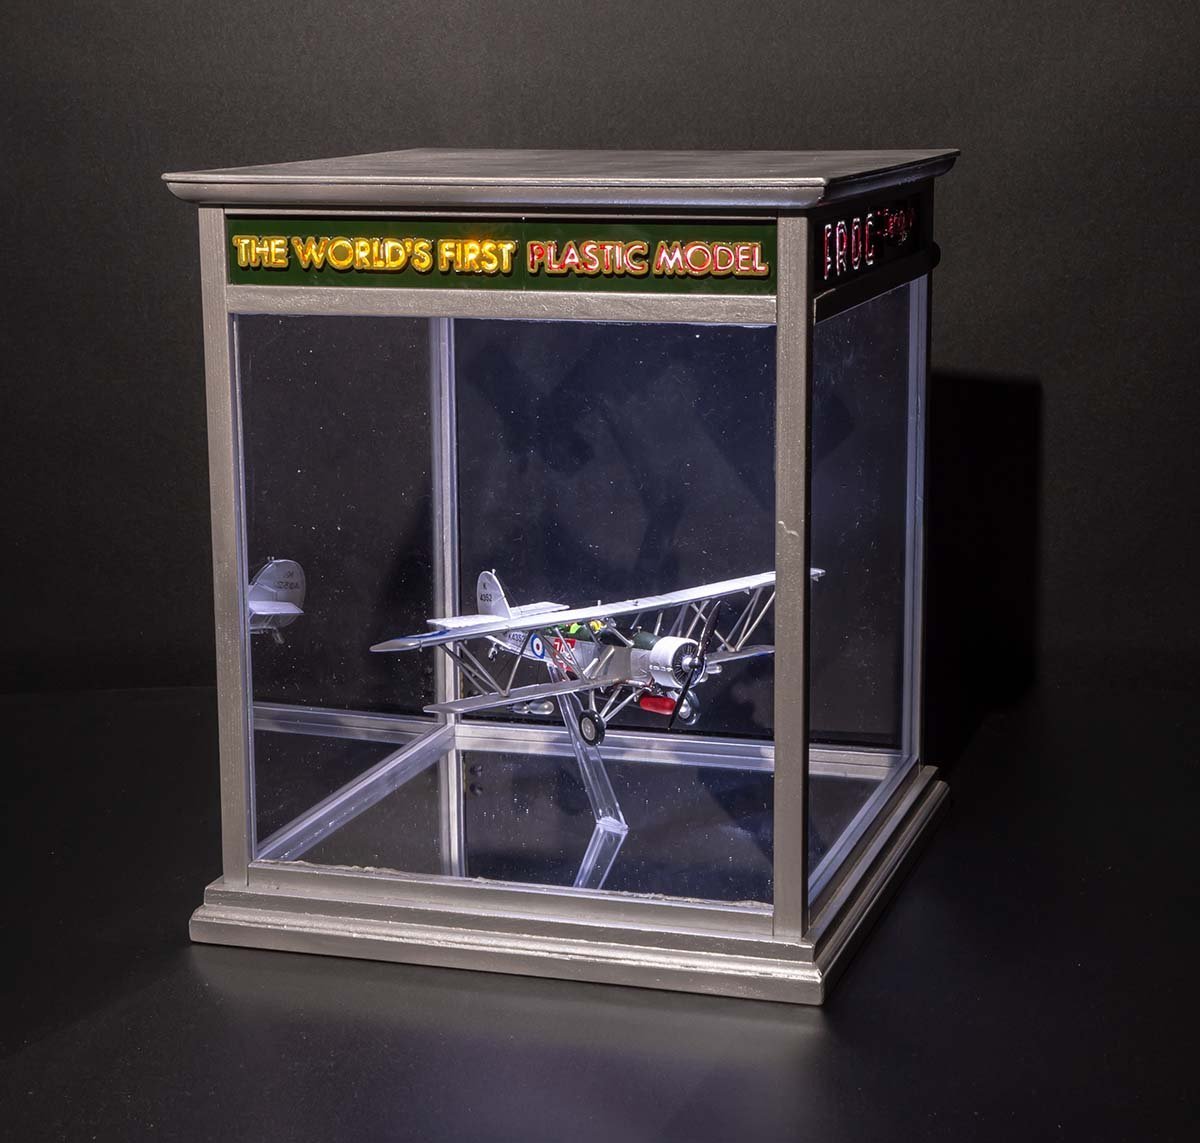
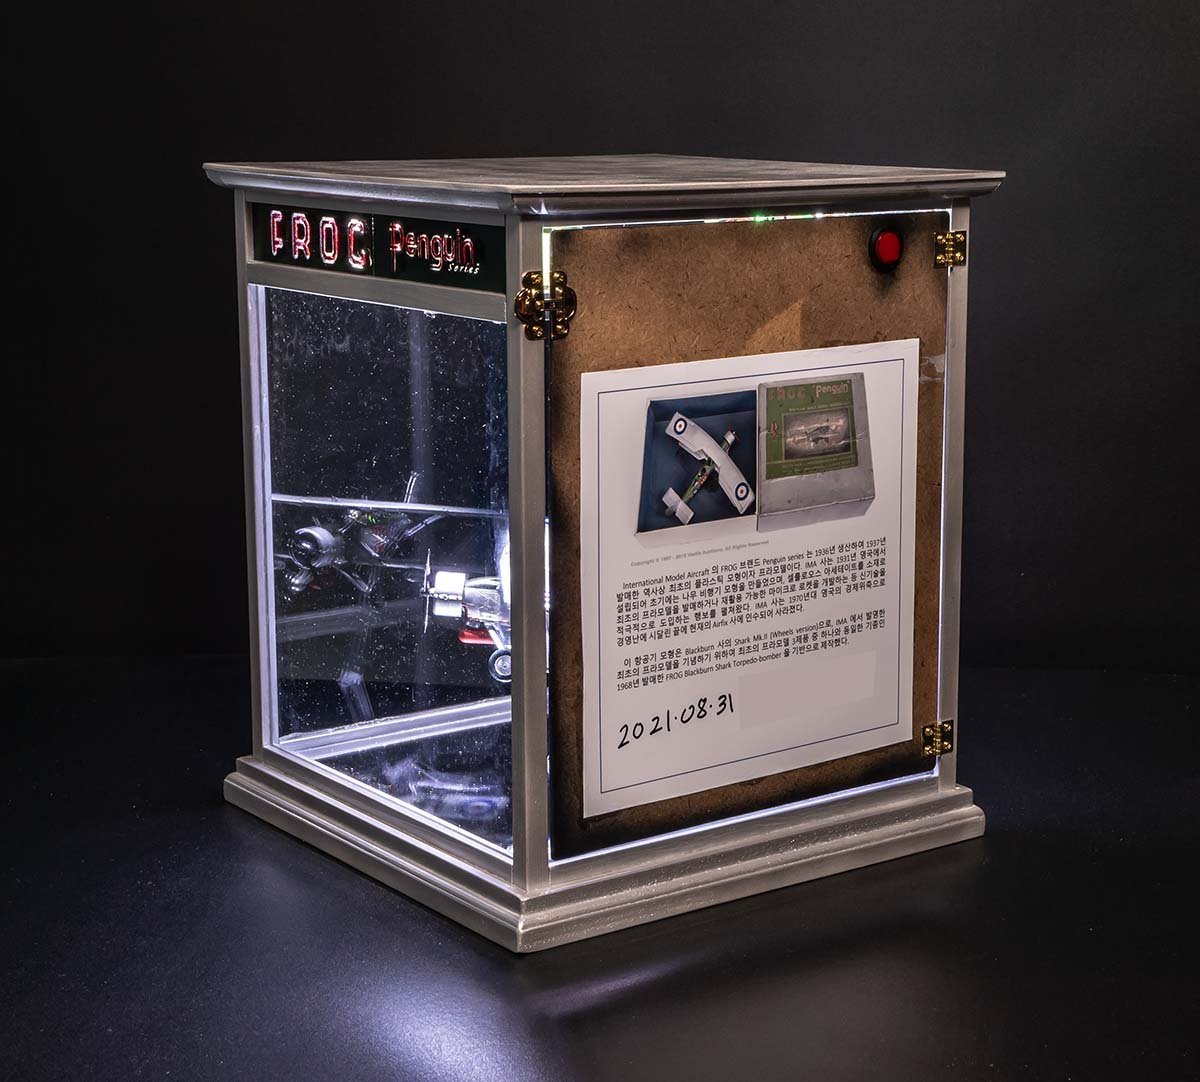
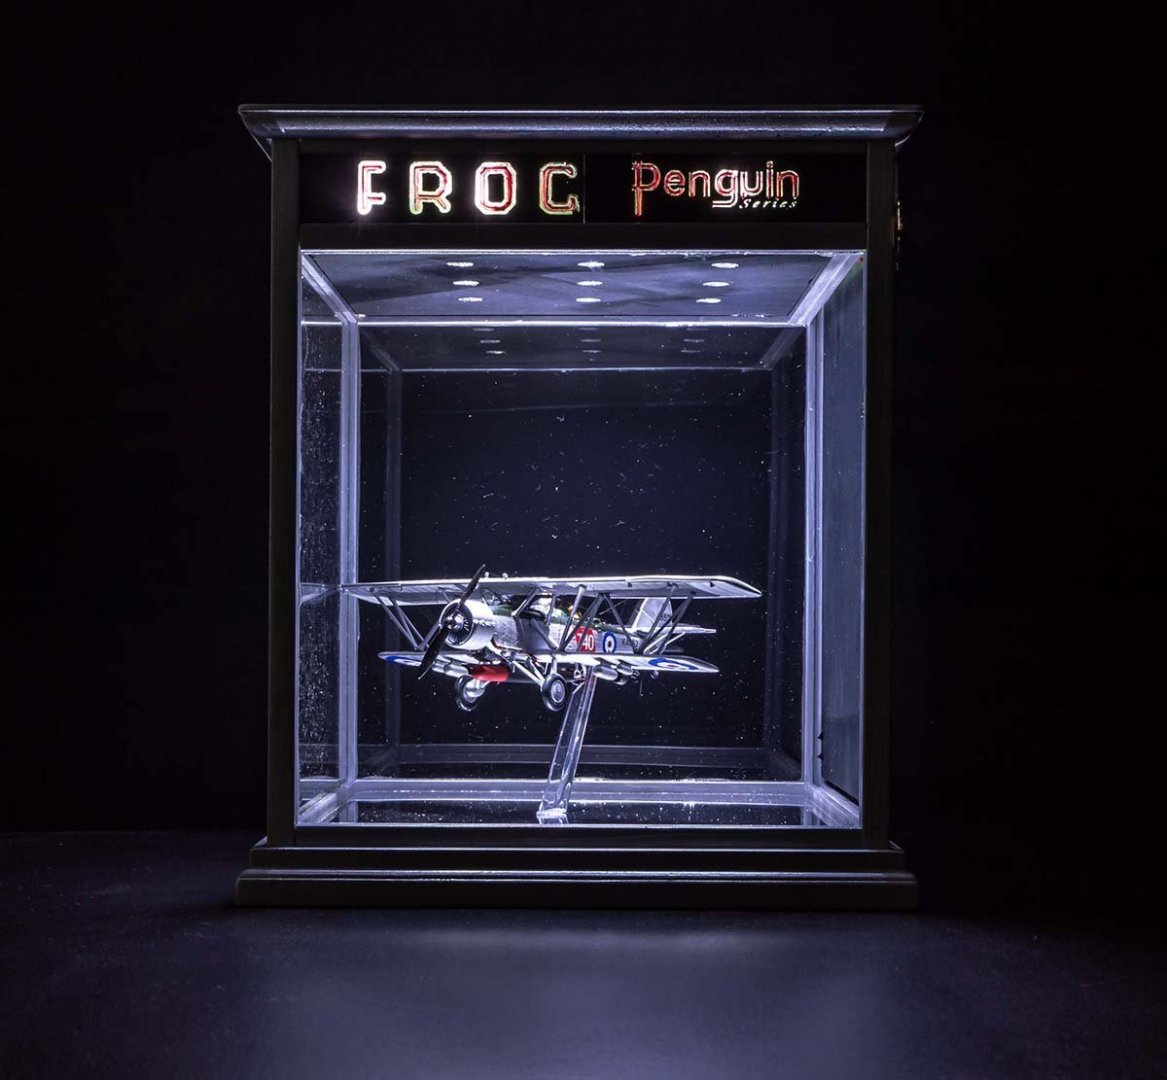
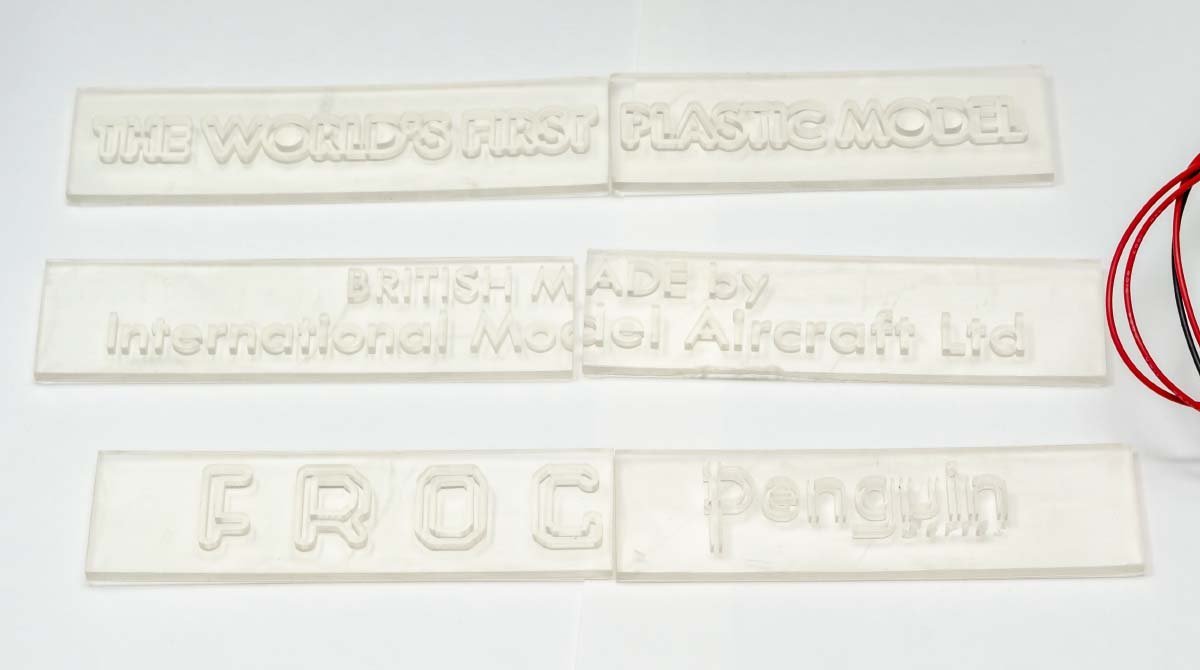
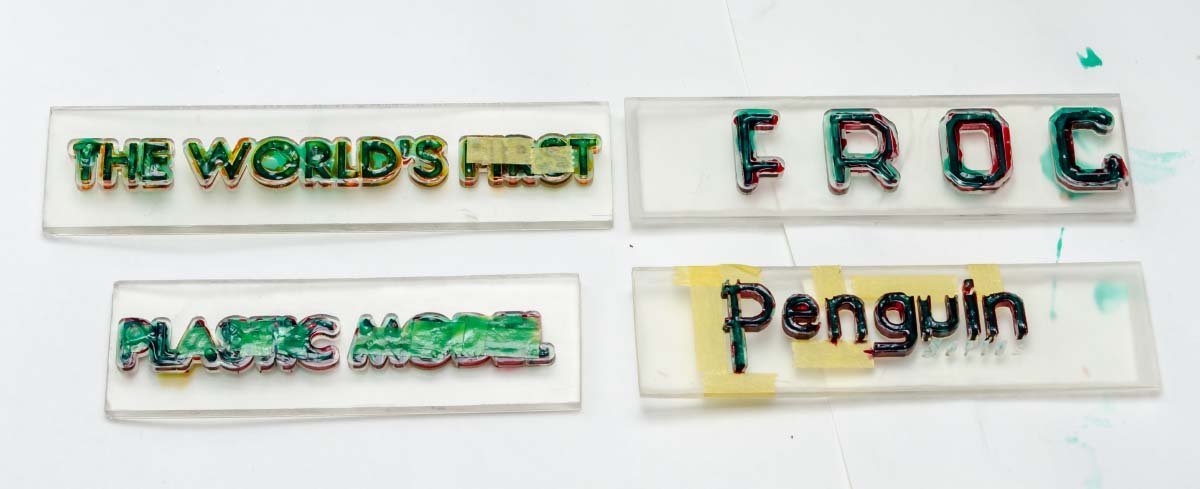
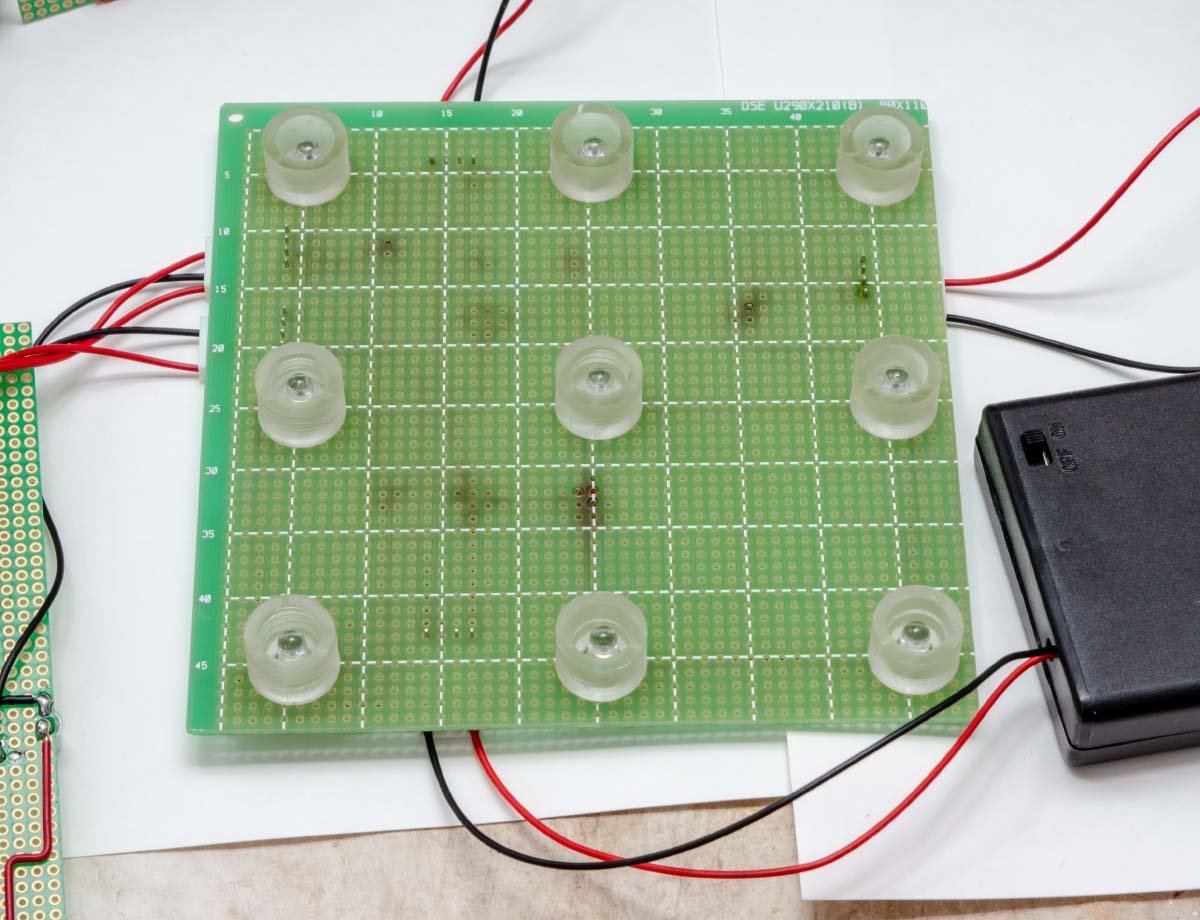
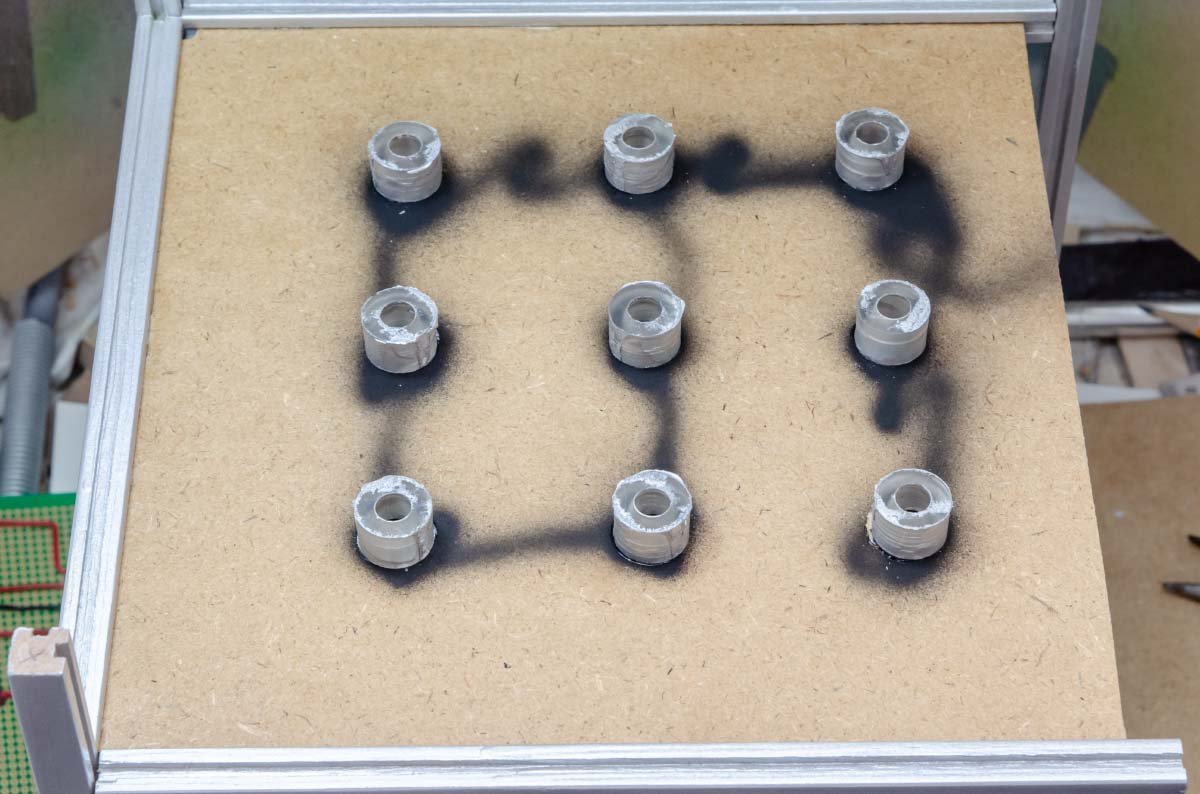
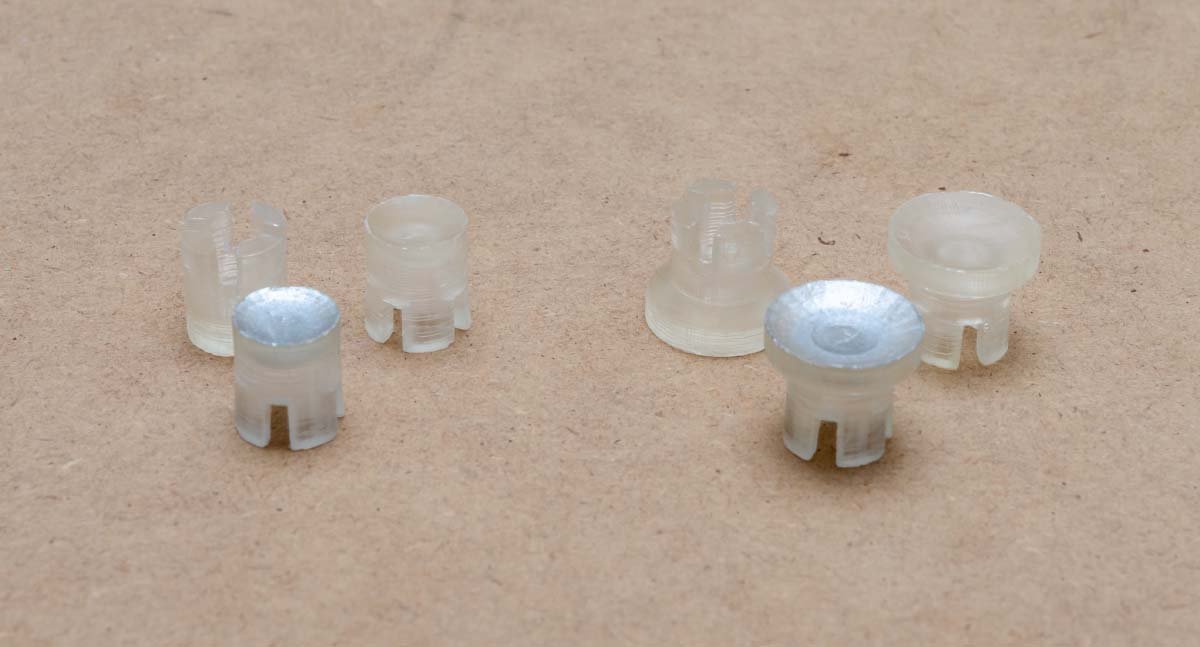
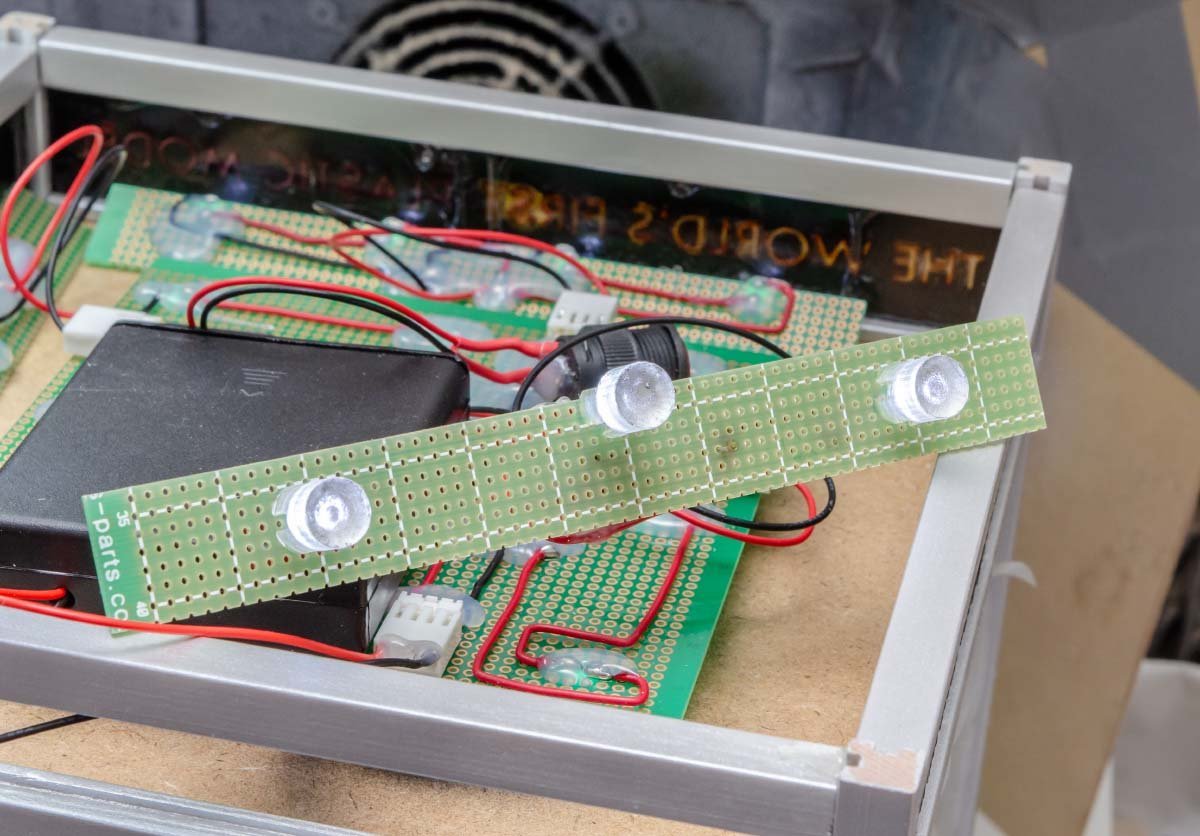
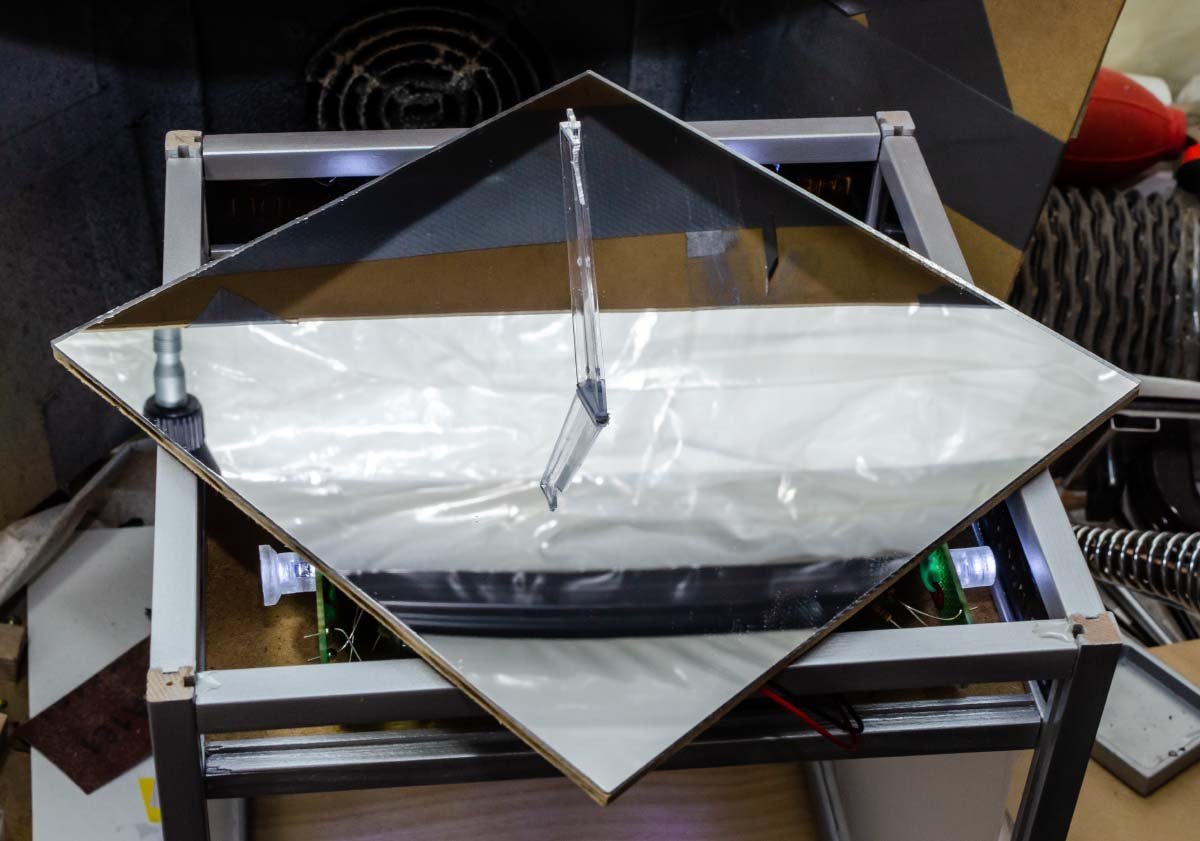
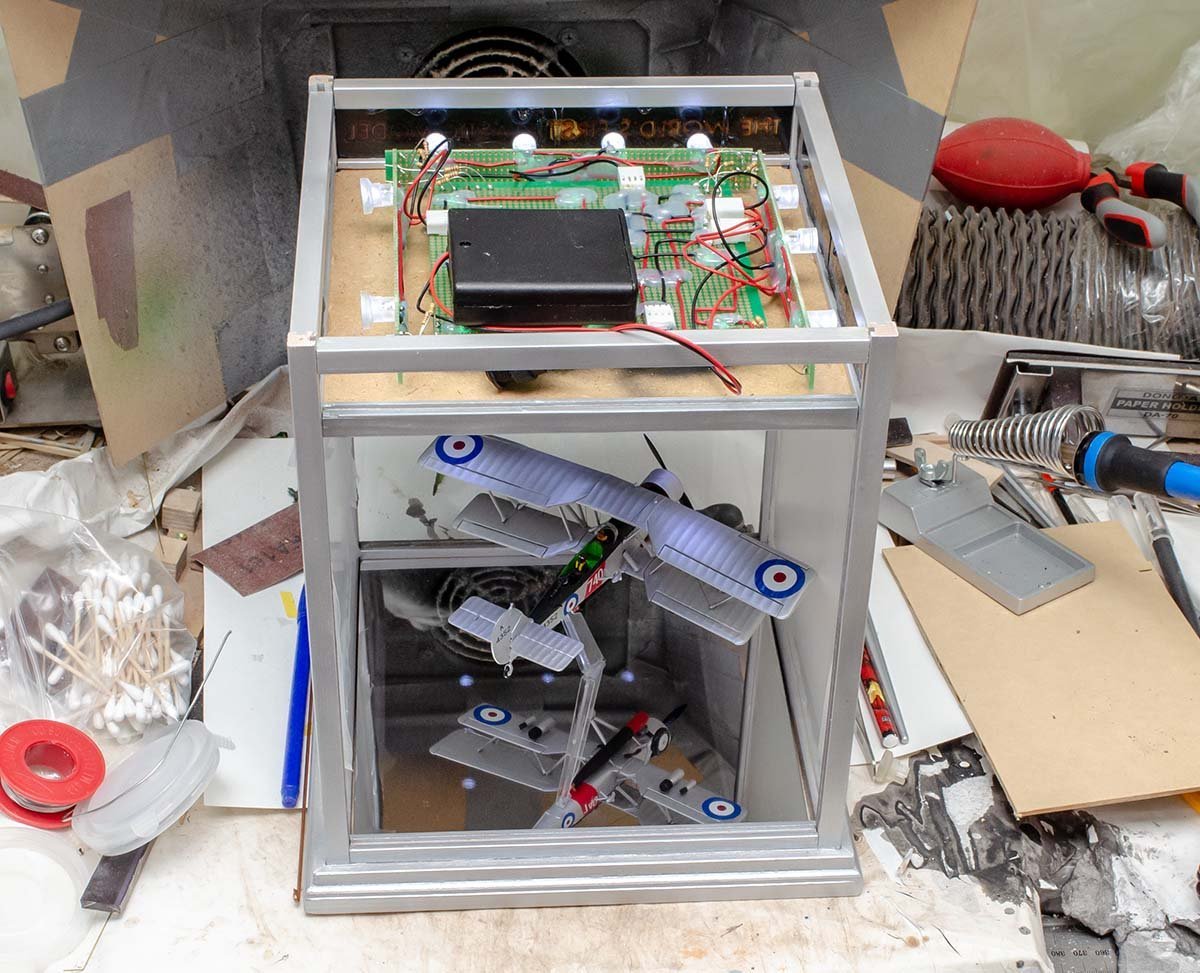
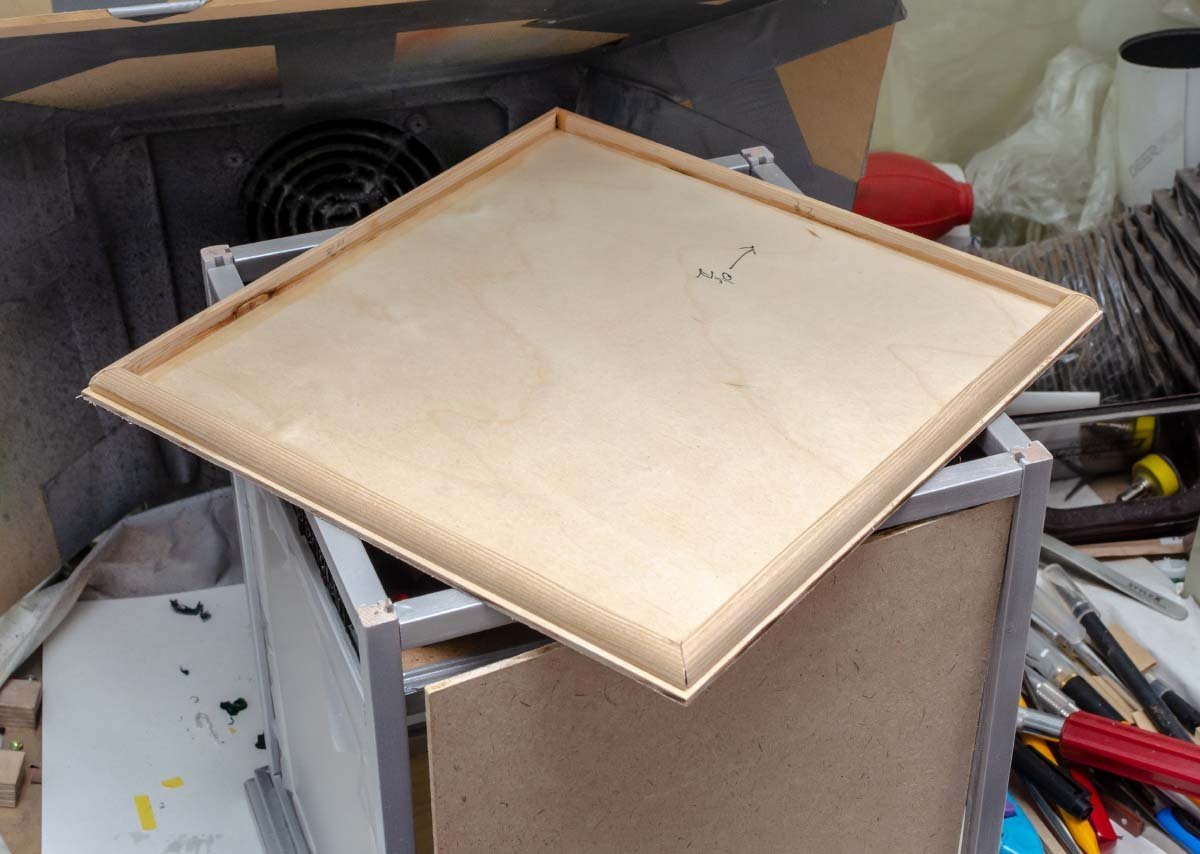
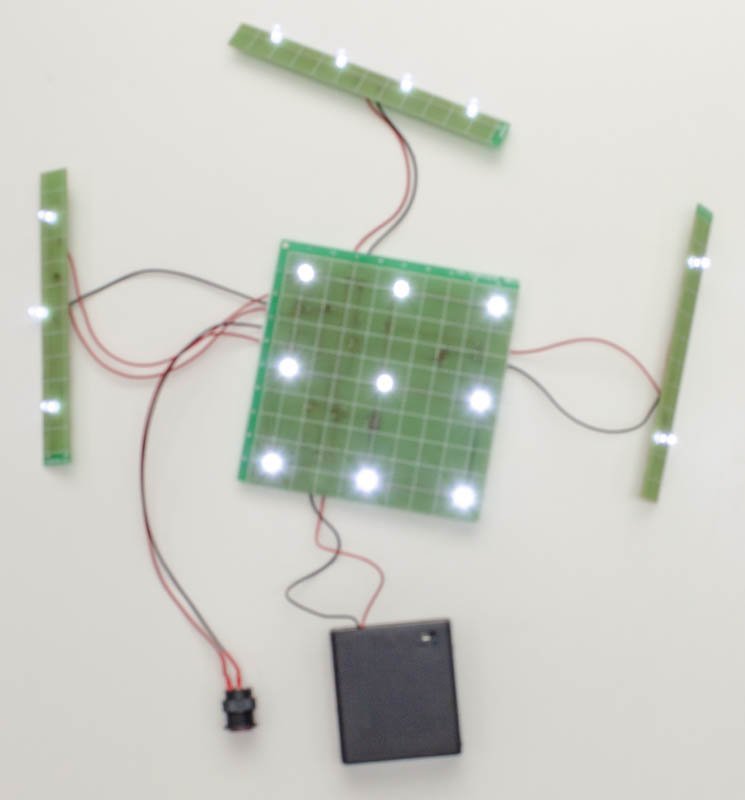
I printed out new catchphrases. Masking and painting was hard lesson. I may need different approach in the next time. Looks not bad. 😎 I decided to add some focussers. It is not like a spotlight, but better than nothing. For the side panels, all the LEDs are too straight and strong. I need diffuser, but distance is not enough. I made some reflector + diffuser. Better than past, but not great. It has single mirror, and two mirrors should have had better result. I may upgrade them in the next time. All light is white! The resistances are cheat support. 🤪 The bottom layer of cabinet is combination of 1.5T mirror acrylic and MDF. I put stand from Airfix which is still compatible with original FROG airplanes. Ouch, I placed the stand in wrong place... I'll change it someday. The last part is top cover and back door. I won't bond them because of maintenance issue and potential of future upgrade. I'll paint them tonight and finish everything tomorrow. 😄
-
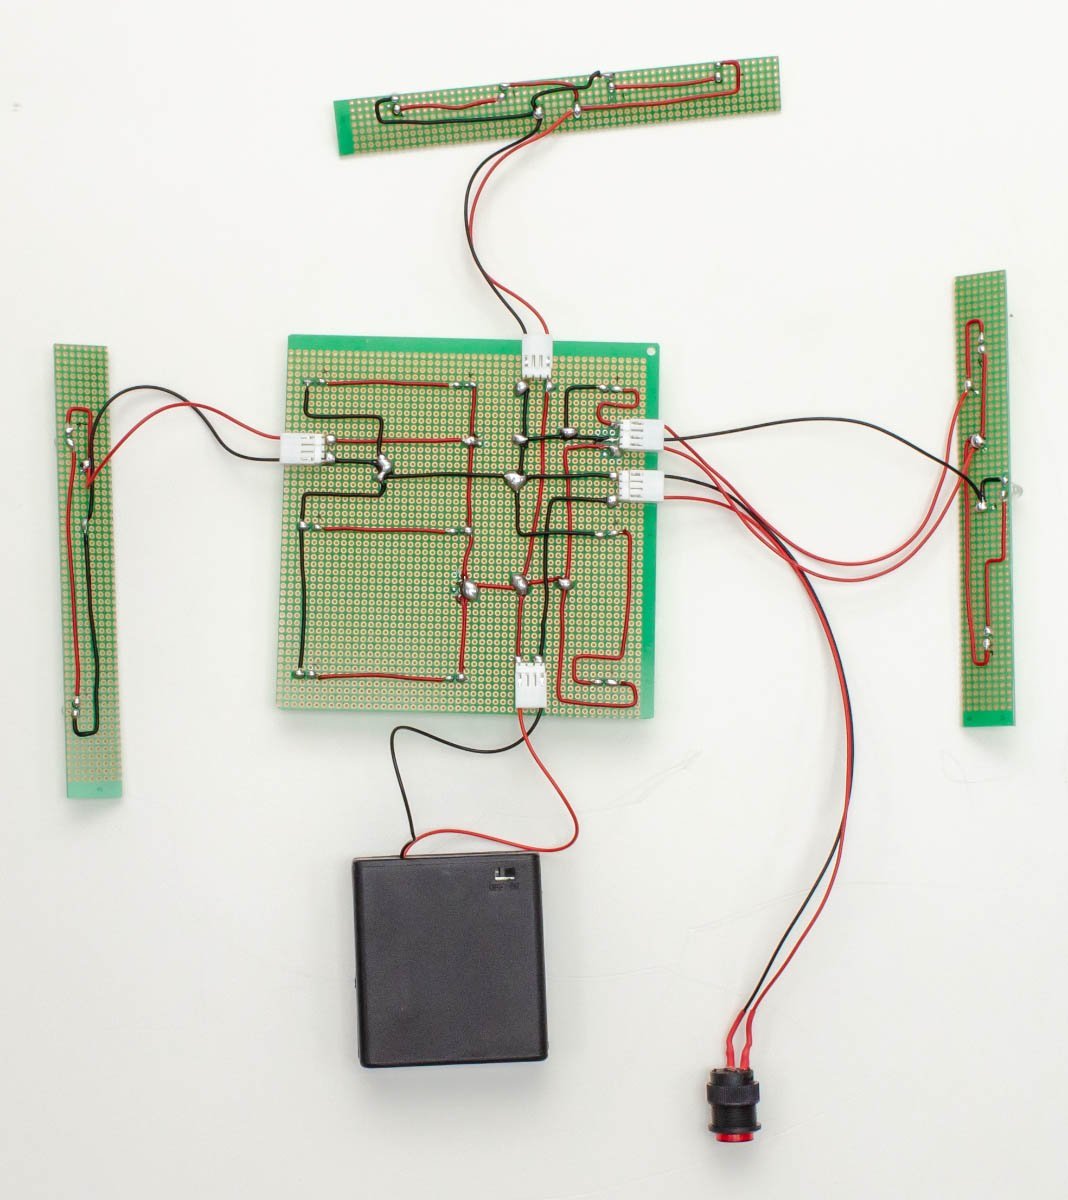
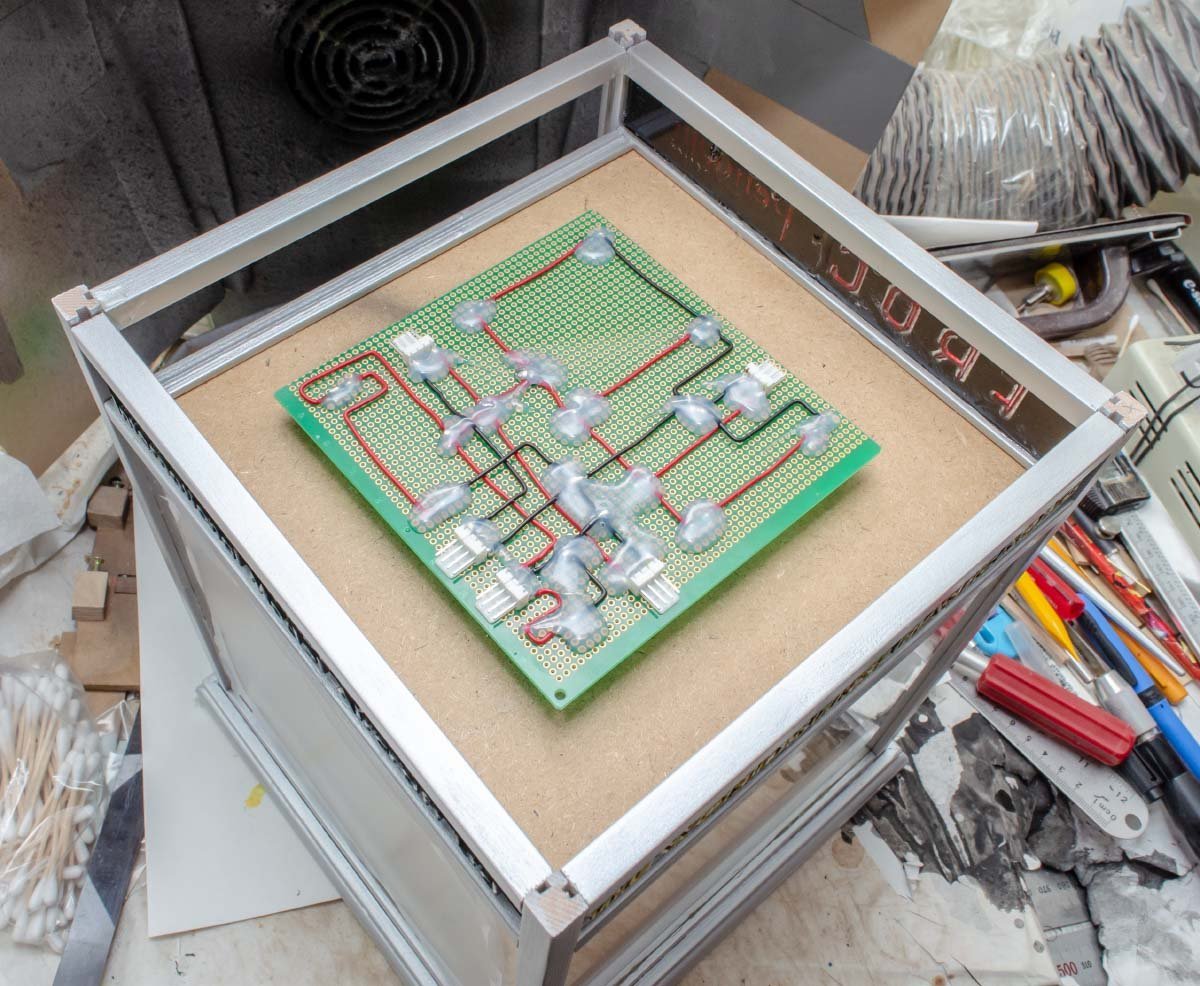
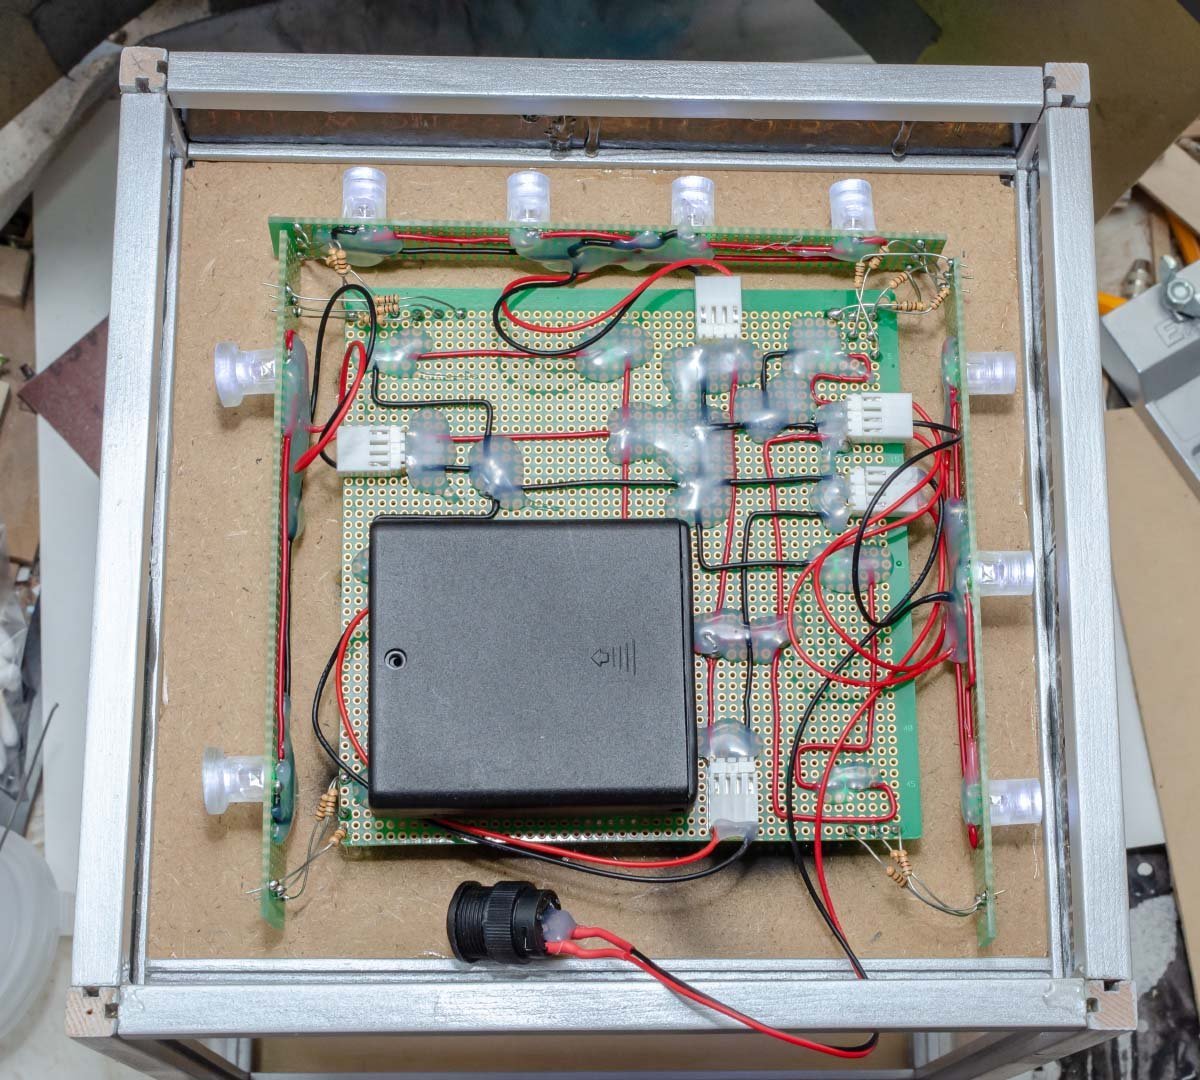
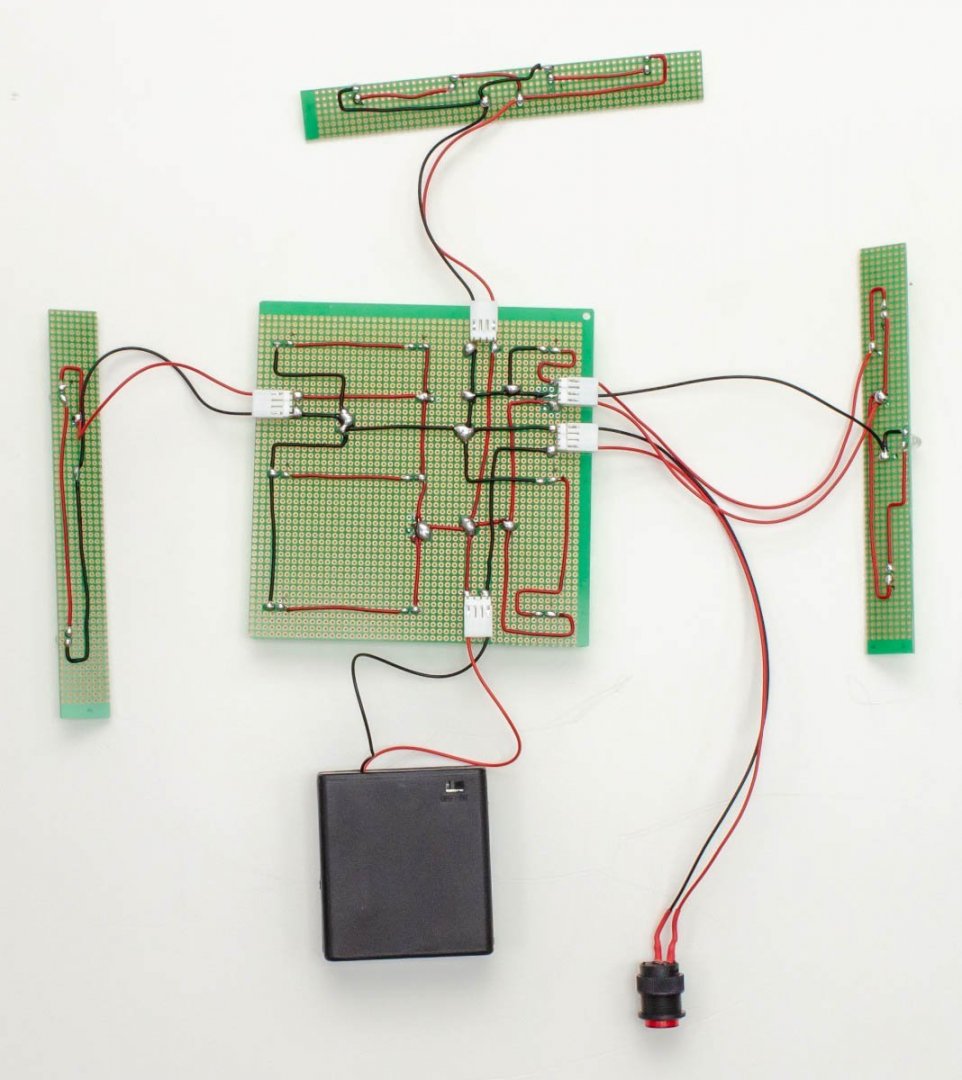
Finished a spaghetti like circuit. 🤪 It works... unbelievable! 😱 Next and final job is 3d printing transparency neon signs.
-
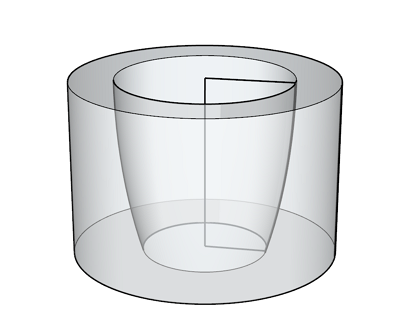
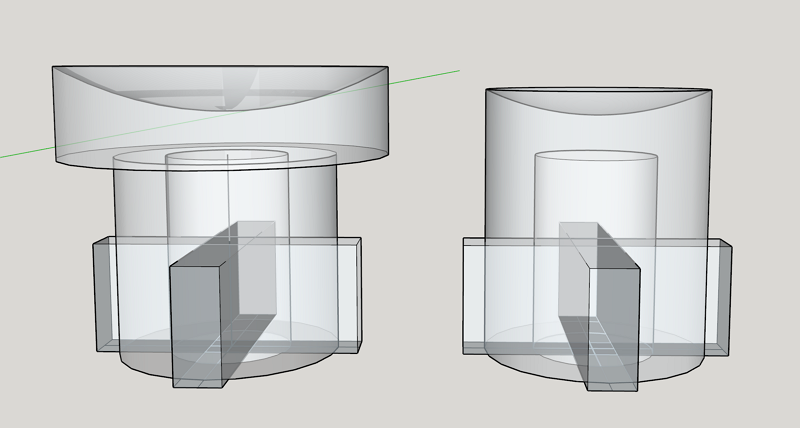
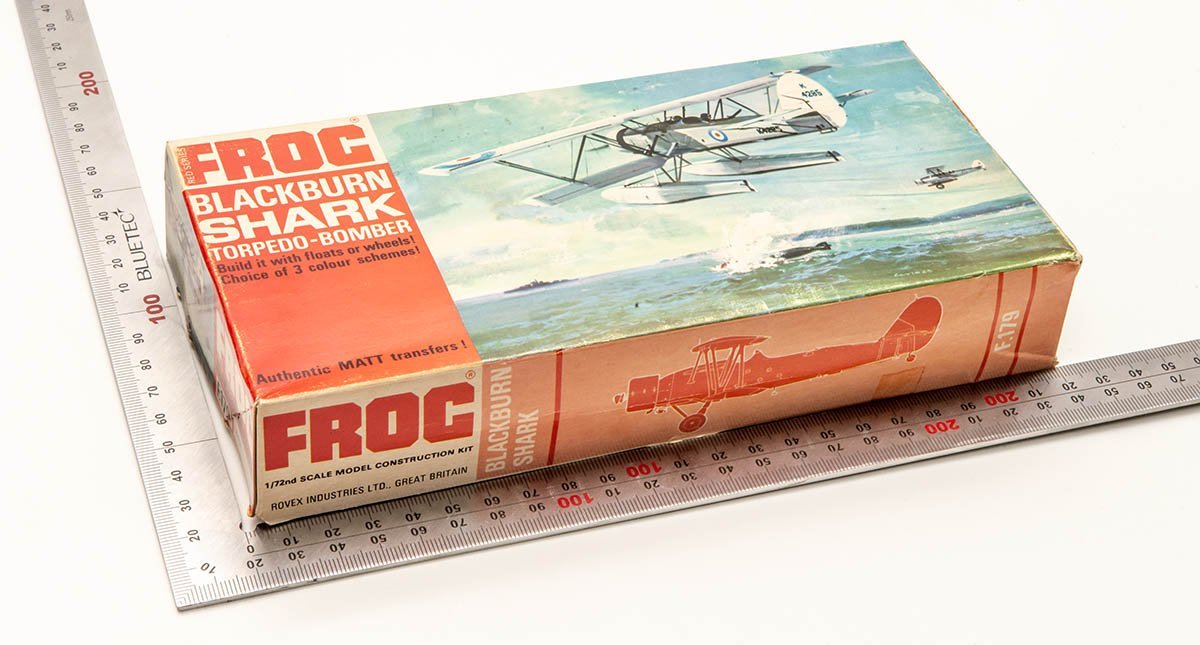
I'm making a LED case. https://www.vectis.co.uk/lot/frog-penguin-series-the-blackburn-shark_563129 Its color theme is based on the original box design, https://www.pamono.eu/20th-century-english-shop-display-cabinet-promoting-selected-sponges-1920s and cabinet design is based on the 1920s display cabinet. I wanted a curved cabinet design like a jukebox, but it should have taken time more than this.
-
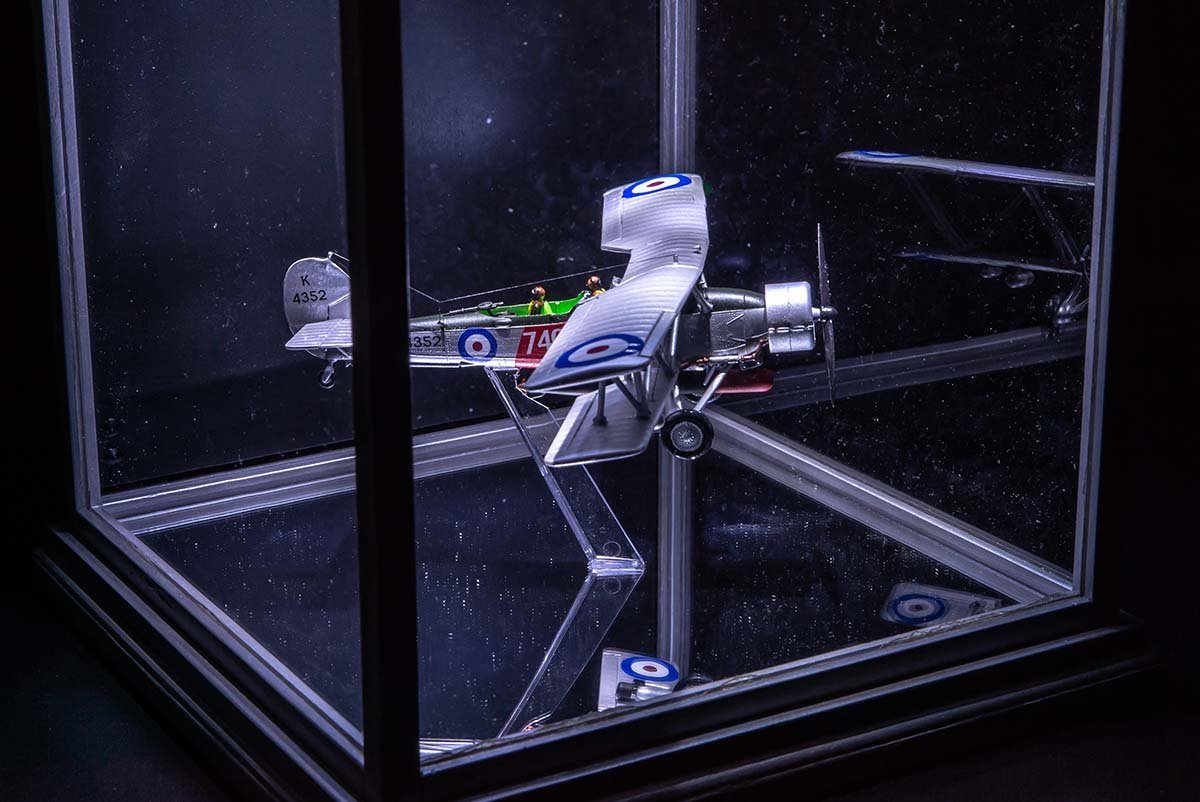
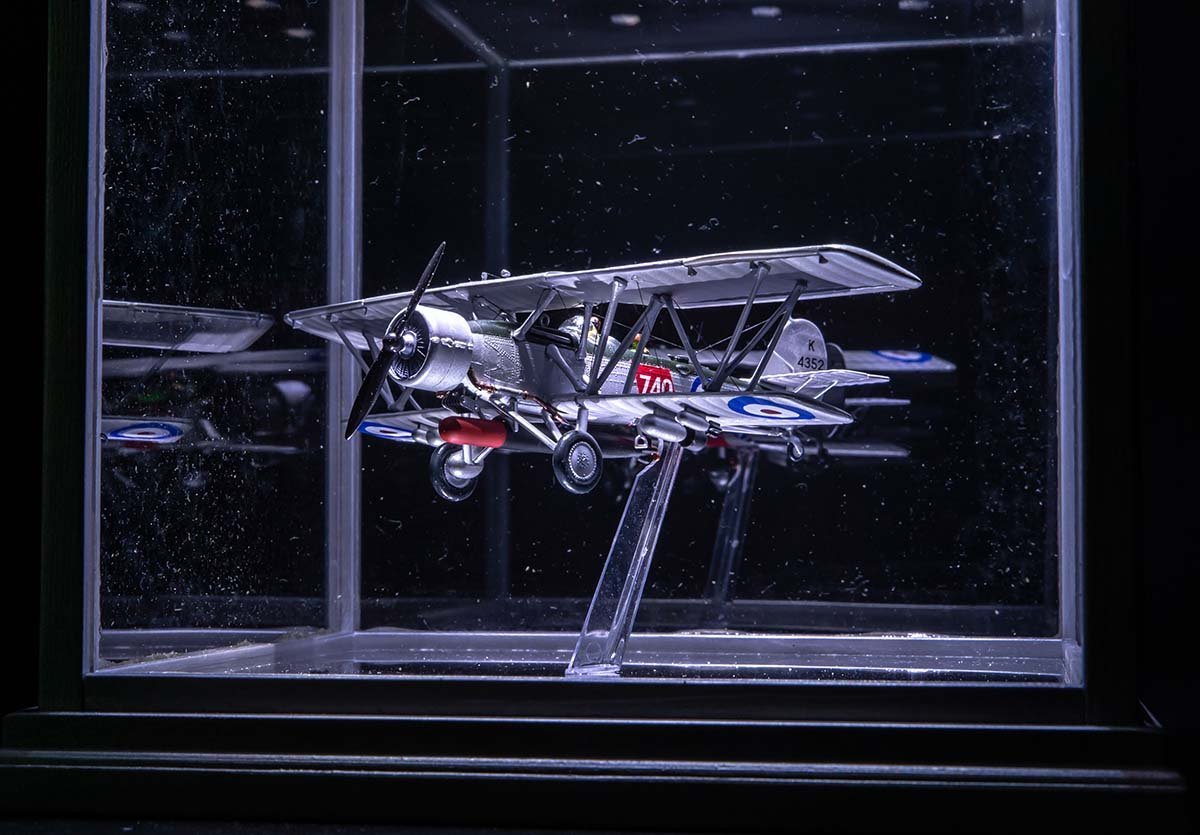
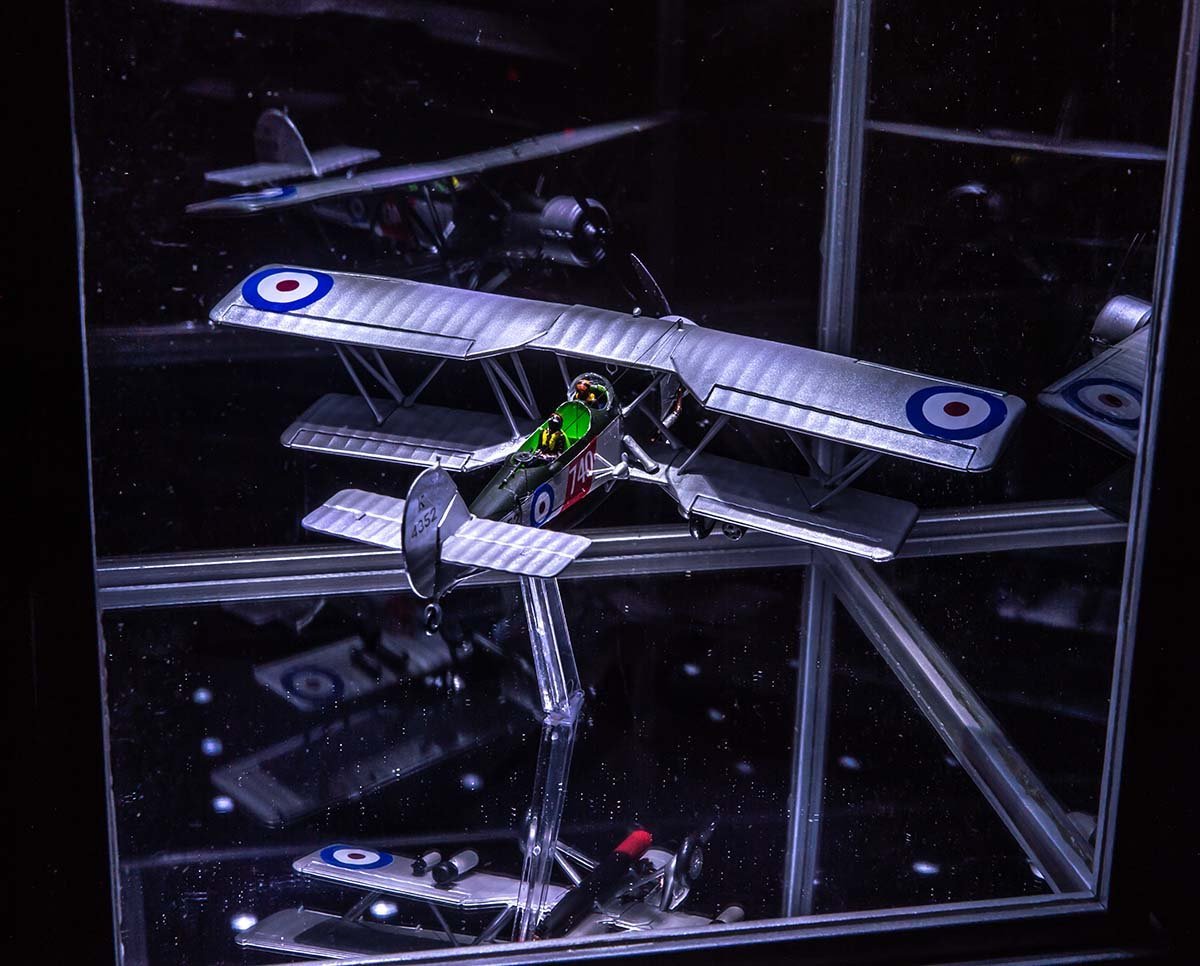
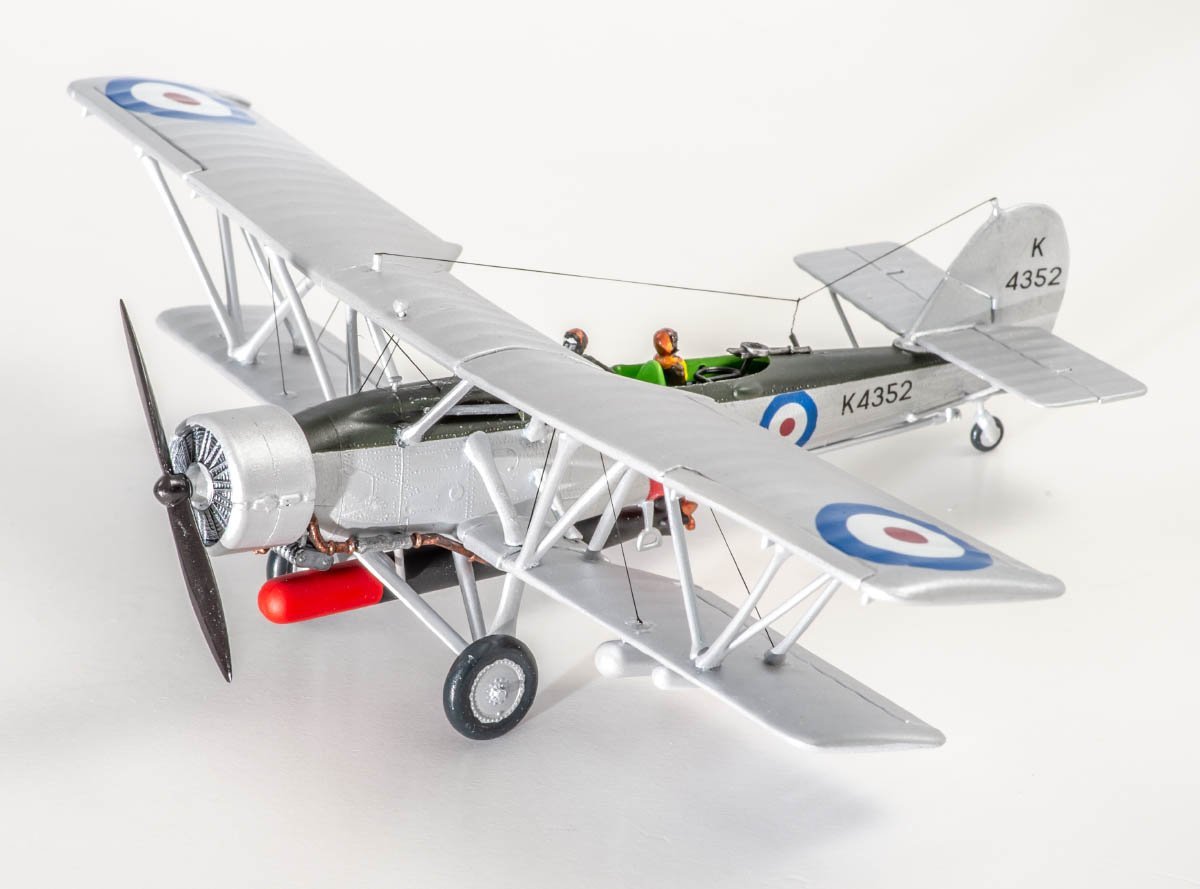
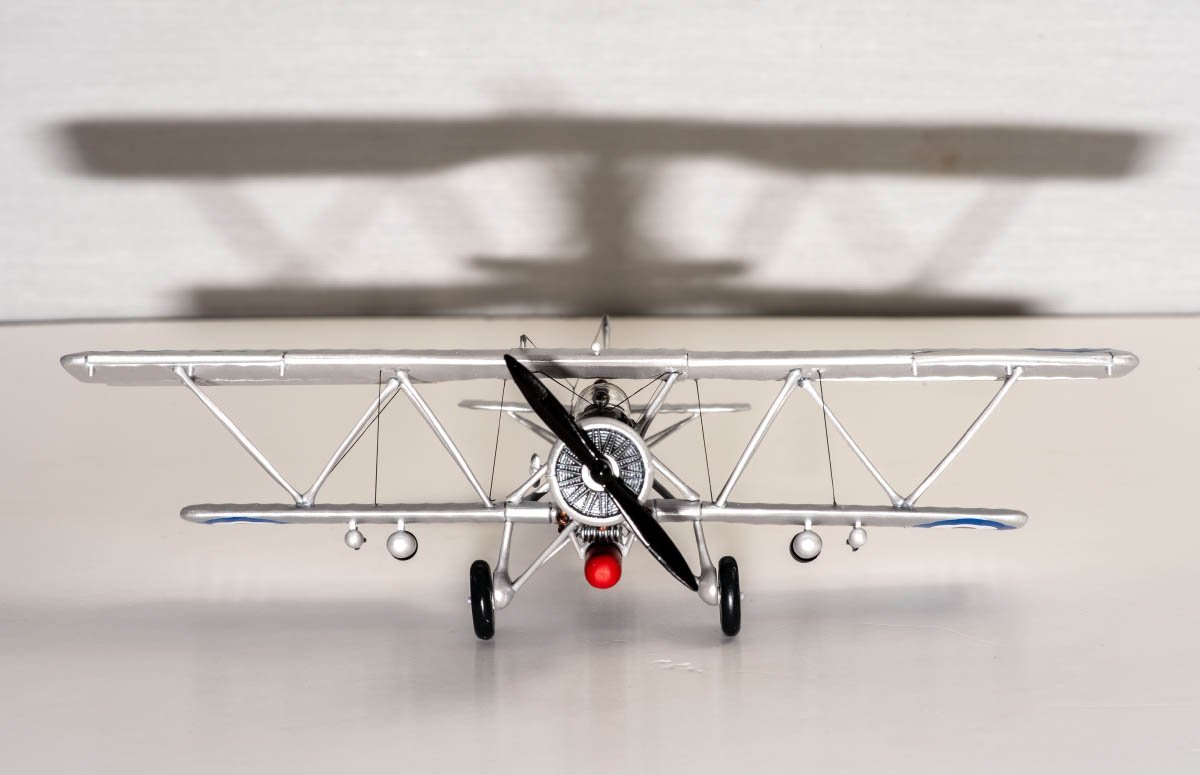
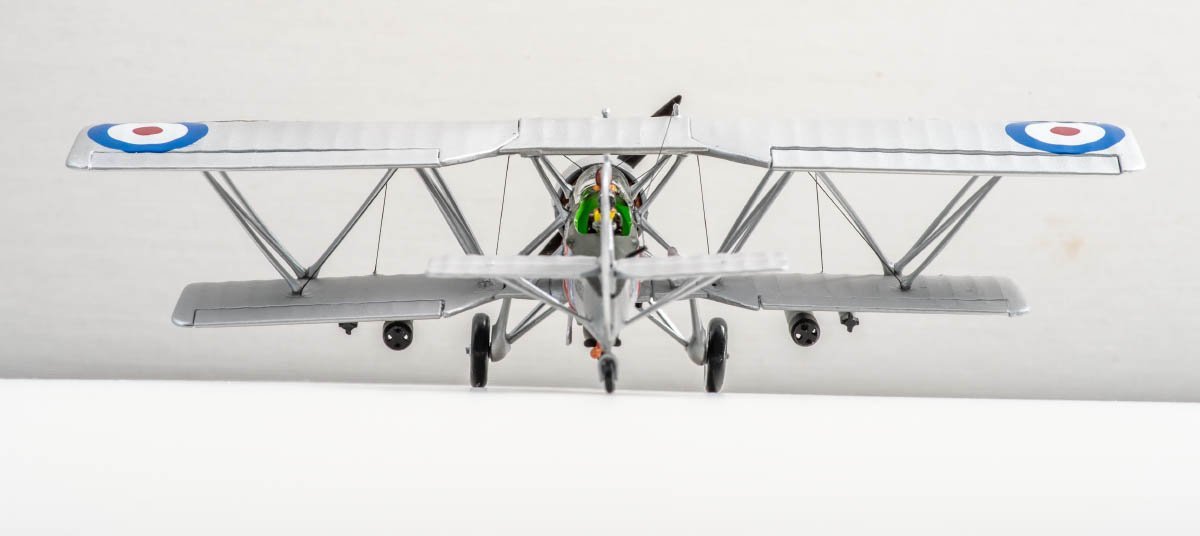
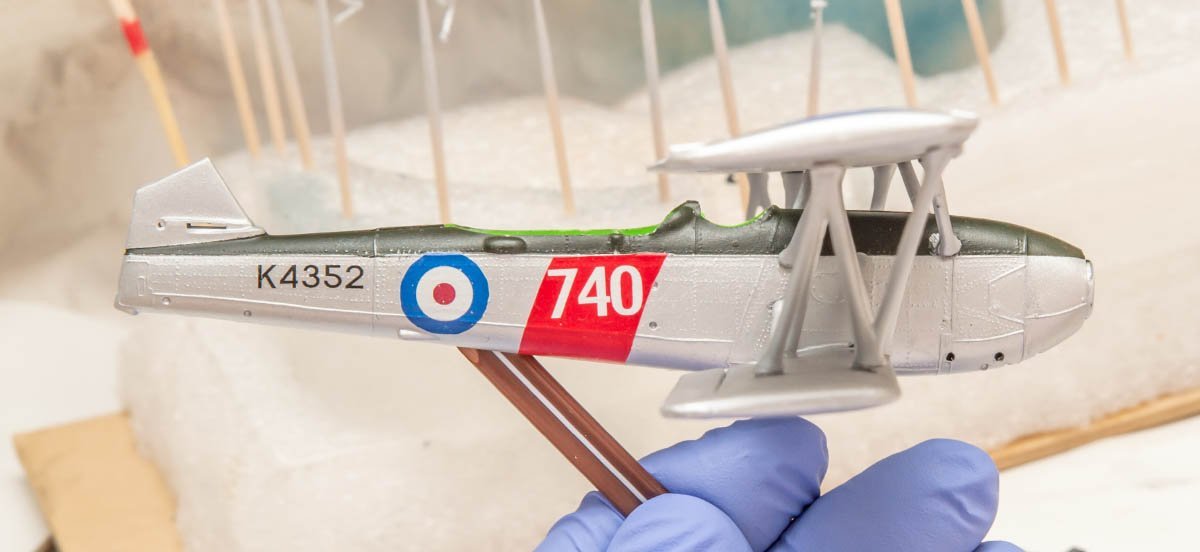
Roger // Thanks for the comment. I'll pay attention to the case more. Egilman // I've never seen any real fabric wing with silver dope in South Korea just like middle age sailing boat. I hope to see the old biplanes if I have a chance. I applied one coat of Holbein acrylic ink - pearl silver color with vallejo gloss varnish.
-
I just finished an airplane. I didn't decide case design yet... Both wood and acryil works take a lot of money and time.


- 24 replies
-
- 16
-
-

-
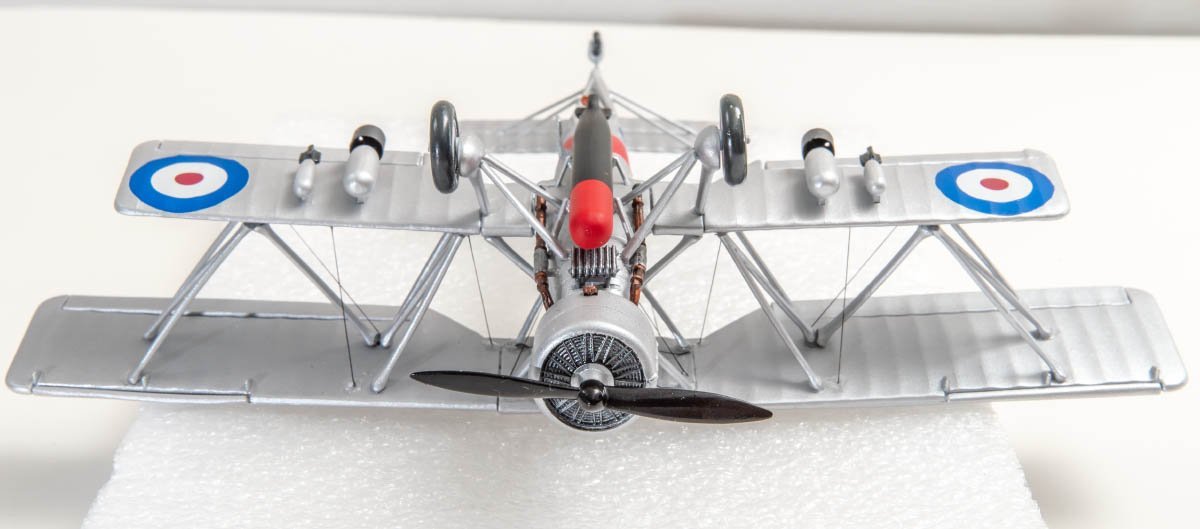
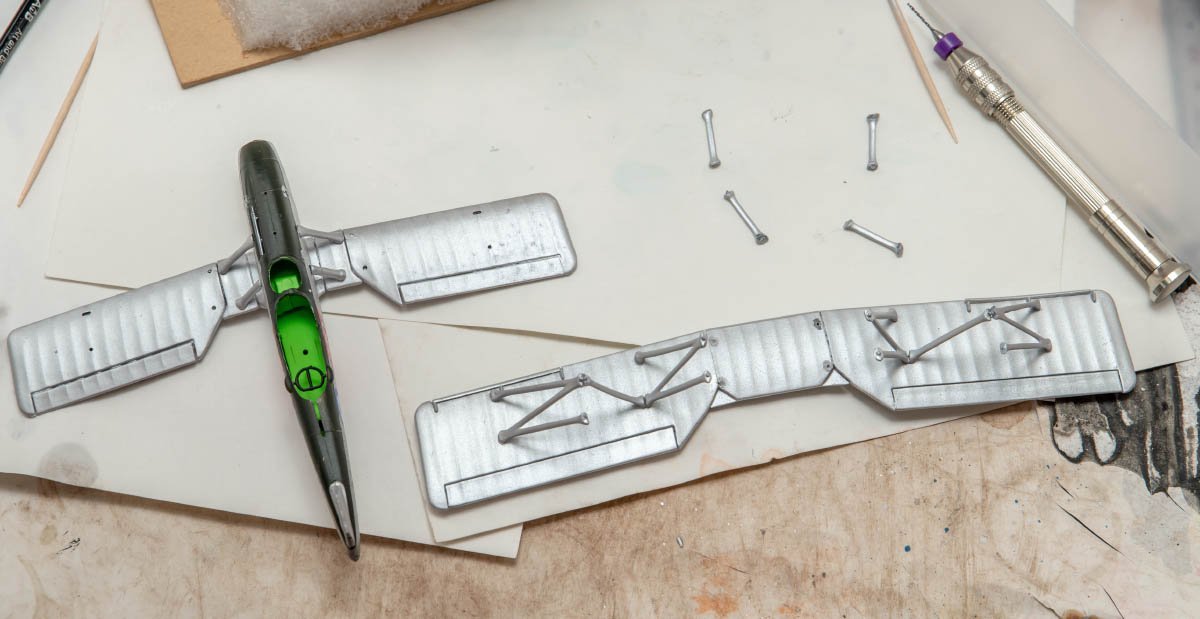
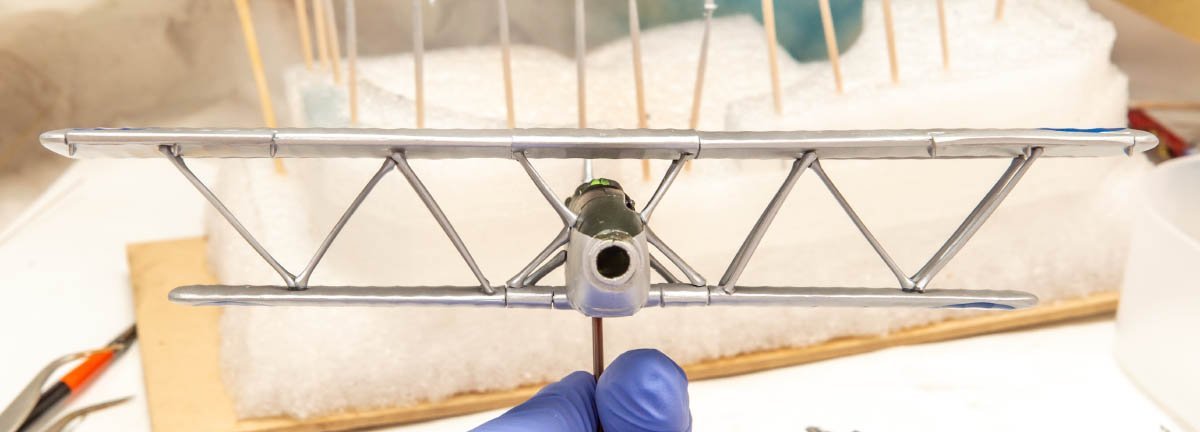
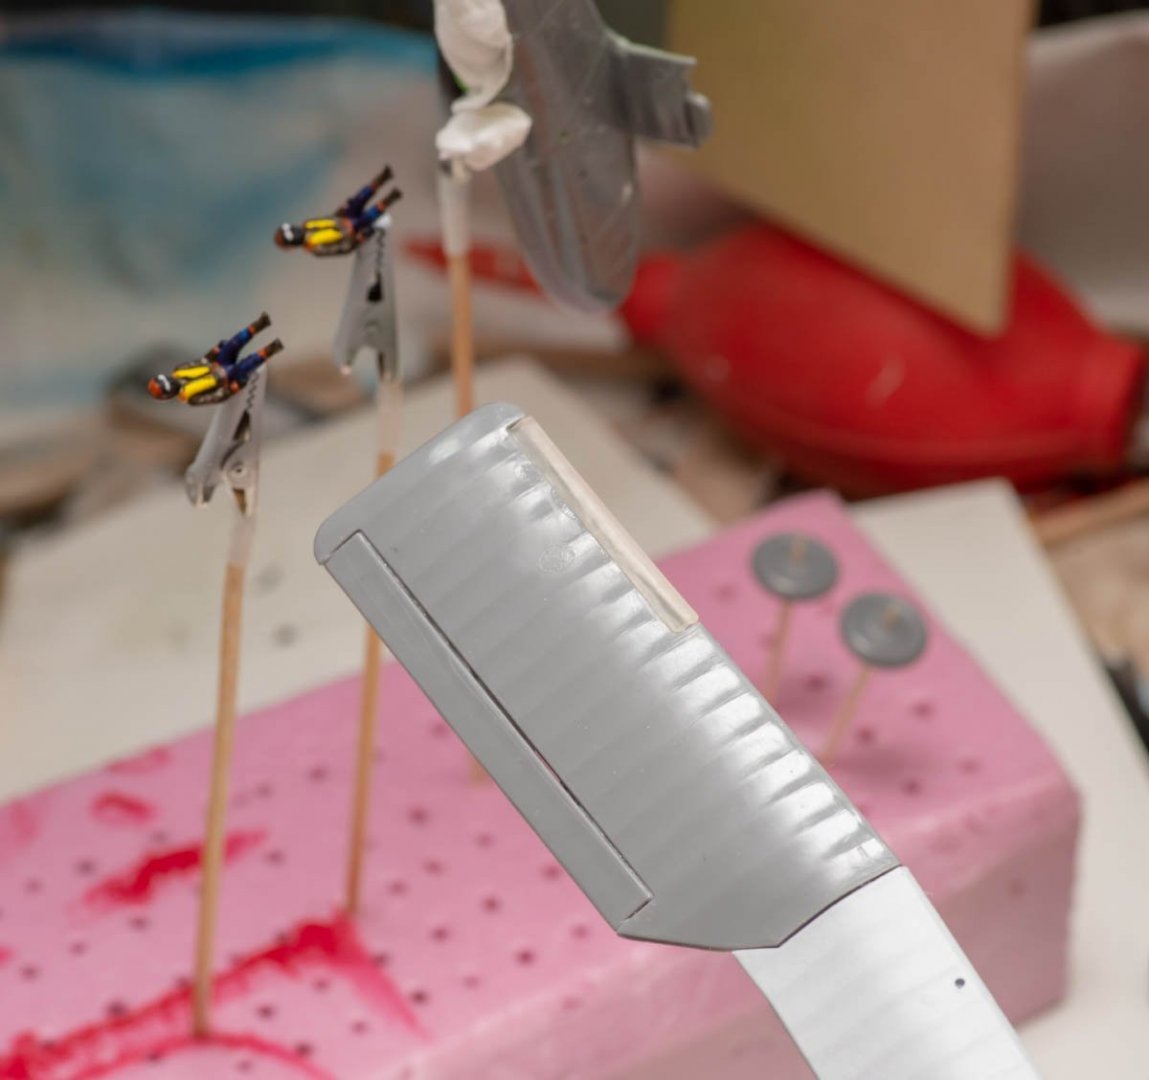
Most parts are fine or bit annoying, but not a real big problem. This was really huge issue. It almost killed me... I would have given up if this last approach was failed. NOT BAD. NOT BAD. The main issue is that length of the rods are not correct. I would say that they are designed to folding position. I had to cut them a lot.
-
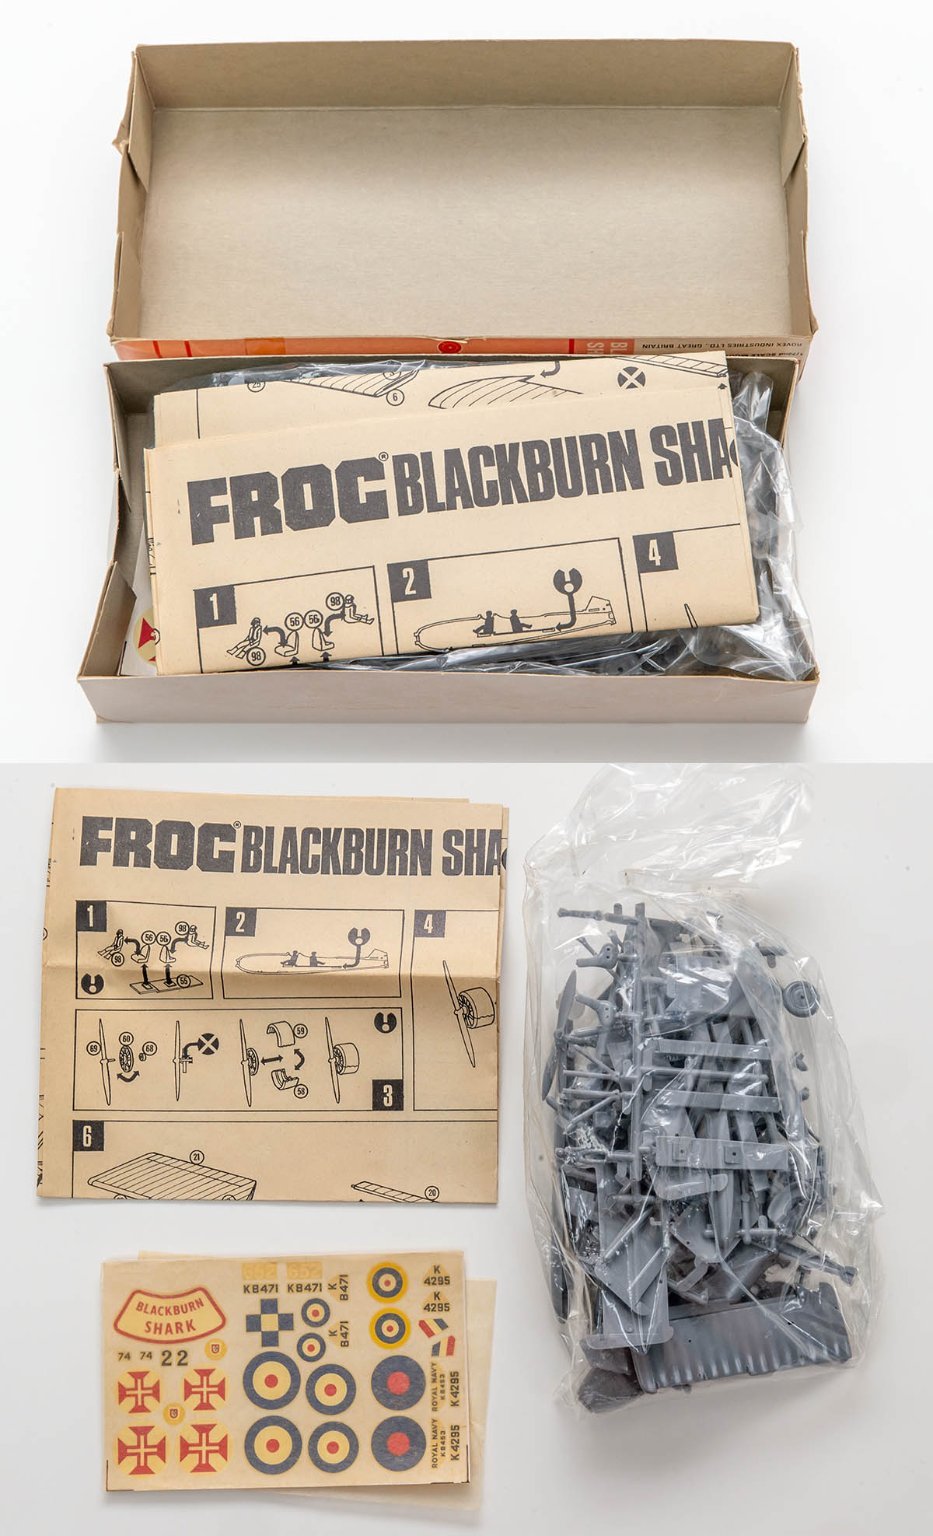
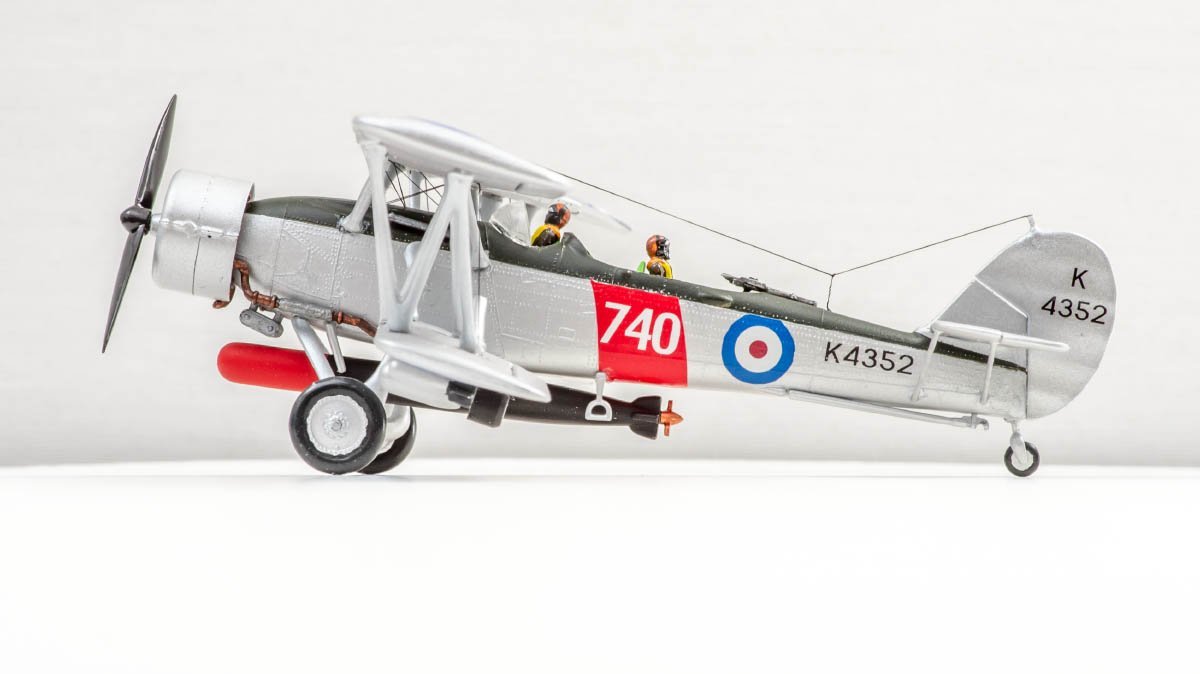
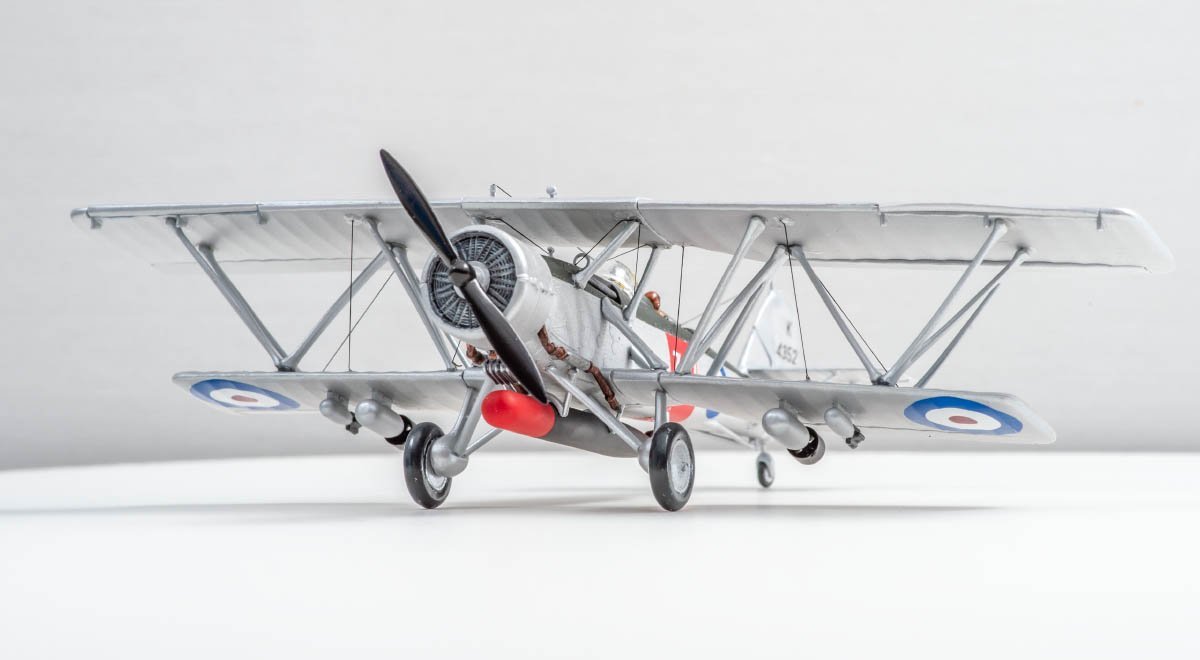
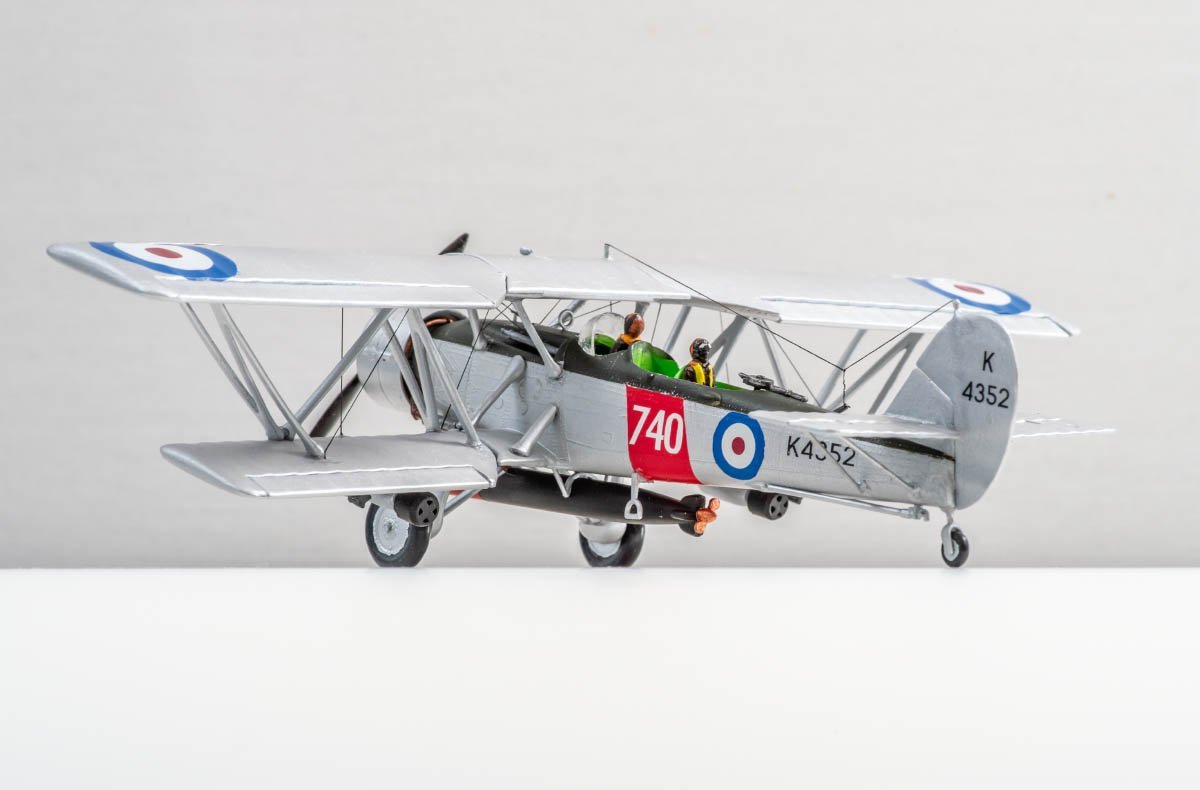
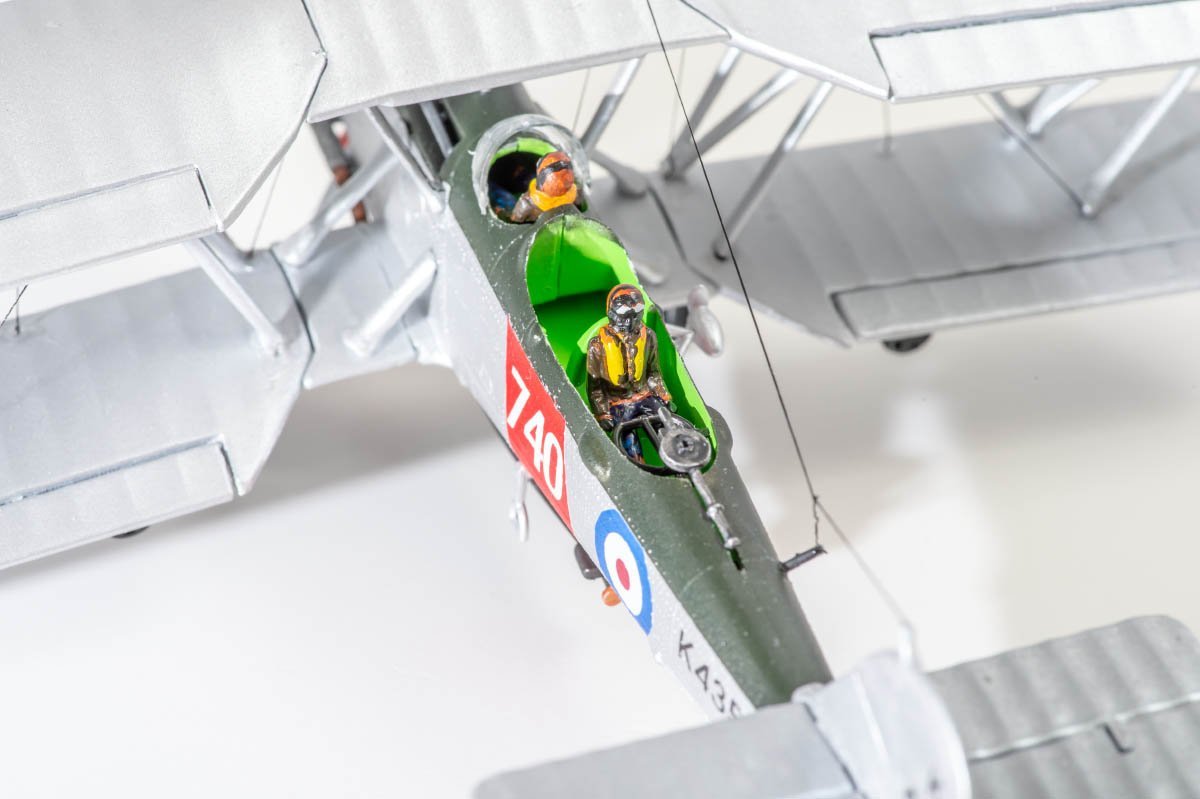
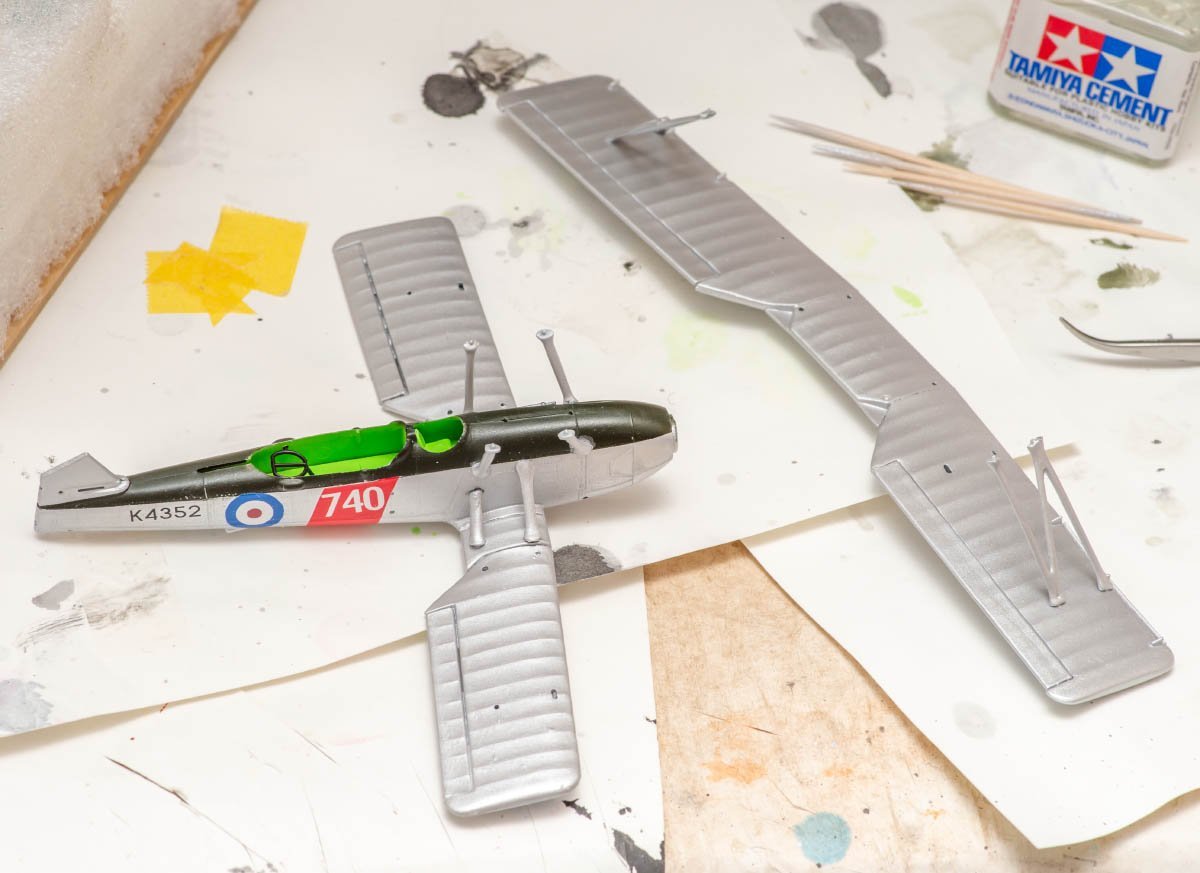
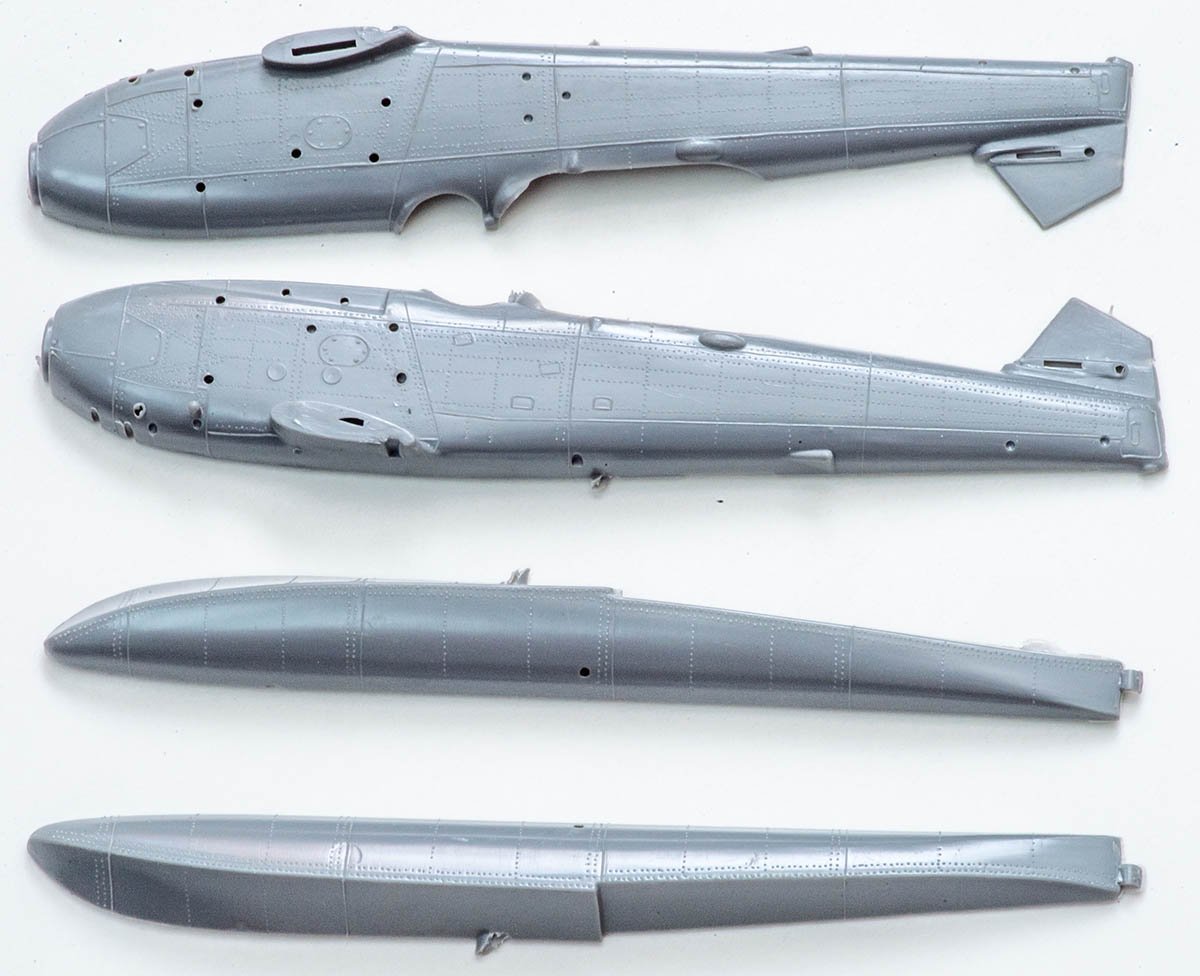
Popeye // I didn't know about the water slide decal issue because of the frequent use on plastic kits. This kit also have a decal sheet and it looks fine, and I'll build my own water slide decal to emulate the 1936 original model plane. I want to finish it quick and simple, so I won't use stencil technique. This kit has embossed rivets and panel lines unlike modern engraved panel lines. It is one of reasons I don't retouch this kit heavily unlike the Russian modeller. If someone want to retool the kit, sanding is very quick and simple. This kit has some errors and mistakes due to hand made mold, but it doesn't harm joy of assembly, and imaging how they designed it in 1960s is funny. 😄
-
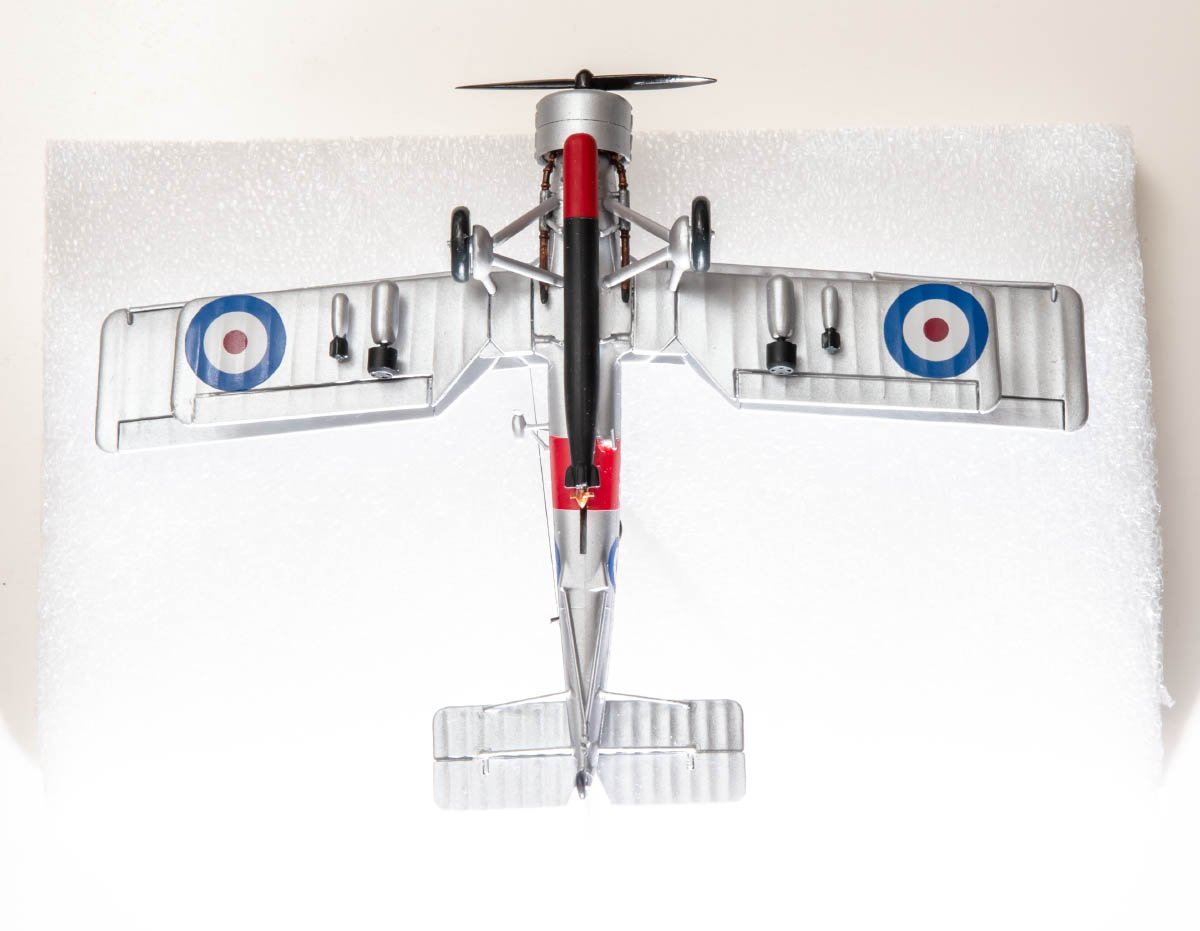
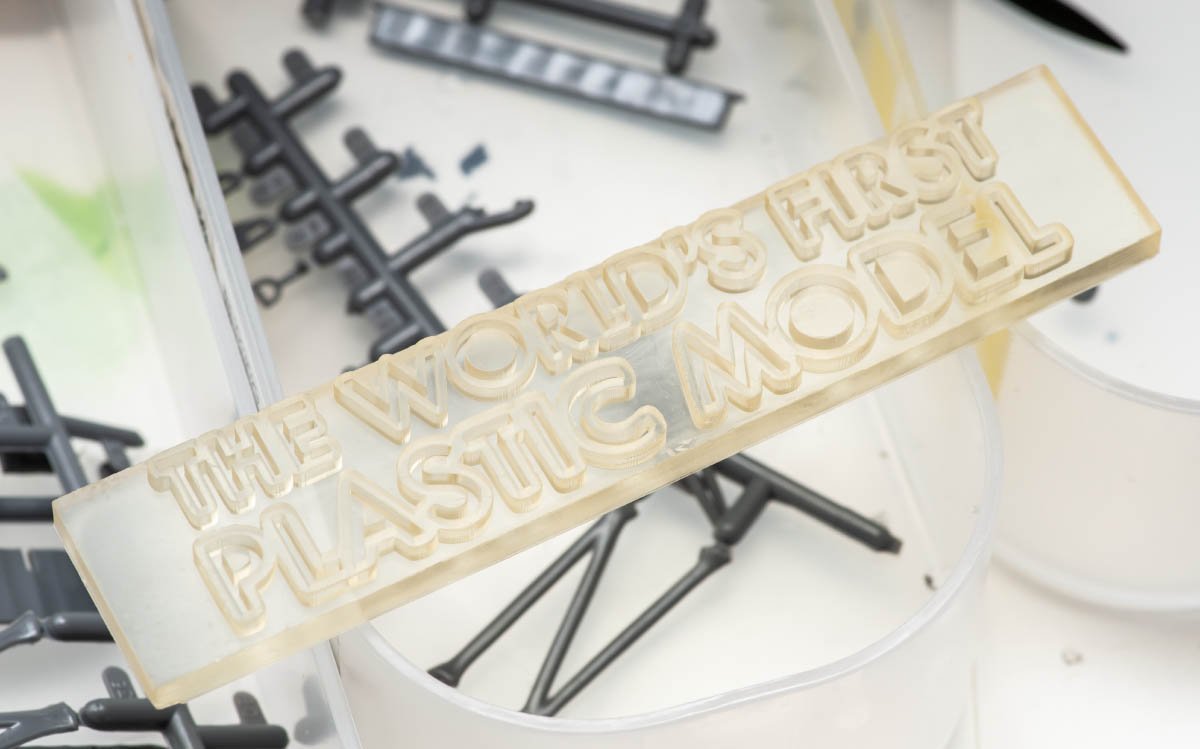
I'm building the world's first plastic model made by British company IMA. Here are some interesting stories regarding the International Model Aircraft. https://frogpenguin.com/ http://archivesite.jetex.org/history/path_to_jetex.html Actually, this kit is a new tool launched in 1968, and the first kit was produced in 1936. I decided to build this kit to pay respect to the pioneers. Also, this kit is 'genuine kit' by original company unlike many russian kits on the Ebay. The good thing of this original kit is that molding line is very clear and sharp. https://www.britmodeller.com/forums/index.php?/topic/235047566-blackburn-shark-mkii-eastern-express-172/ This is an ambitious work by russian modeller and my reference page. https://karopka.ru/forum/forum259/topic23364/?PAGEN_1=10 While I was researching his walkthrough pages, I found that his russian kit after several decades is fairly damaged. Of course, it is not important if you sand and fix all of them. The downside of too old kit is that some parts were missing when I bought. I bought the cheapest Frog kit on the Ebay. I designed and printed the missing parts using 3D printer. Unlike the Russian' guy's master work, my goal is immitating the original 1936 work using the 1968 kit without heavy modification. I want to celebrate the first plastic model company in the world in my own way. https://www.vectis.co.uk/lot/frog-penguin-series-blackburn_563155 The painting and decals will be like this. In addition, I'll add some gimmicks such as 1930's neon sign like LED advertising on the top of case.

-
Yes. I got the image from T-shirts. https://www.google.com/search?q=OMG+IT'S+R2D2&tbm=isch
-
I made a simple model derived from funny internet meme. 😆 For those of who aren't happy. 😄 The kit is Metal earth's PE kit. Thanks for watching. 😉


-
wefalck // Eveything you said is new and cutting edge artwork. Thanks for introducing so many clues to make 'non edible' rice paper sail with waterproof coating. They are very interesting and promising project, but I'll concentrate on this heat transfer paper due to financial limit. I'll stick to the paper sail after I finish this homework. Allan // I found this heat activated spray bond. https://www.amazon.com/dp/B007POWZPW I'm not sure it is made of acrylic, but it offers water and odor resistance.
-
https://www.amazon.com/Supreme-Collection-Extra-Sheets-White/dp/B00AMNAE4W/ref=sr_1_19?keywords=1200+count+bedding&sr=8-19 https://www.amazon.com/LBRO2M-Microfiber-Hypoallergenic-Breathable-Resistant/dp/B07X57KS65/ref=sr_1_17?keywords=1200+count+bedding&sr=8-17 I found 1500 and 1800 count bedding. I read an article that there are several ways to count numbers such as weaving method and yarn. I'm not sure they are really 1800 TC performance to compare with the most expensive 800 TC cotton fabric. I'll test the 1800 TC bedding. 😍
-
Ken // I heard that Fairchild republic is testing unmanned version of A-10C. This is a prototype body... in my imagination... Lou // I made same kit when I was a child, and it wasn't good in my memory. This is the first jet-plane kit I finished after becoming an adult. I'm happy to hear that it looks good this time.
-
I planned to use Vallejo polyurethane matt varnish. I'll apply the multi coat UV blocker. Thanks, Gregory!