modeller_masa
-
Posts
950 -
Joined
-
Last visited
Content Type
Profiles
Forums
Gallery
Events
Everything posted by modeller_masa
-
In other word, I'm finding novel models unseen in my life at here. The cost and language wall is thick, but it is worth to come this forum and watch your post. I'll be back!
-
That's a point what I'm utmost curious. In my case, I read the next steps, and checked the length of each frames and estimated heights how all the planks will go including garboard. I would say that same width planks will be the best looking except the garboard. Good luck! Please ignore the unclear part. I'm not sure the part, and I have no clues like the above pictures. Someone will leave a correct answer soon. Also, I hope you and all people who read this are healthy.
-
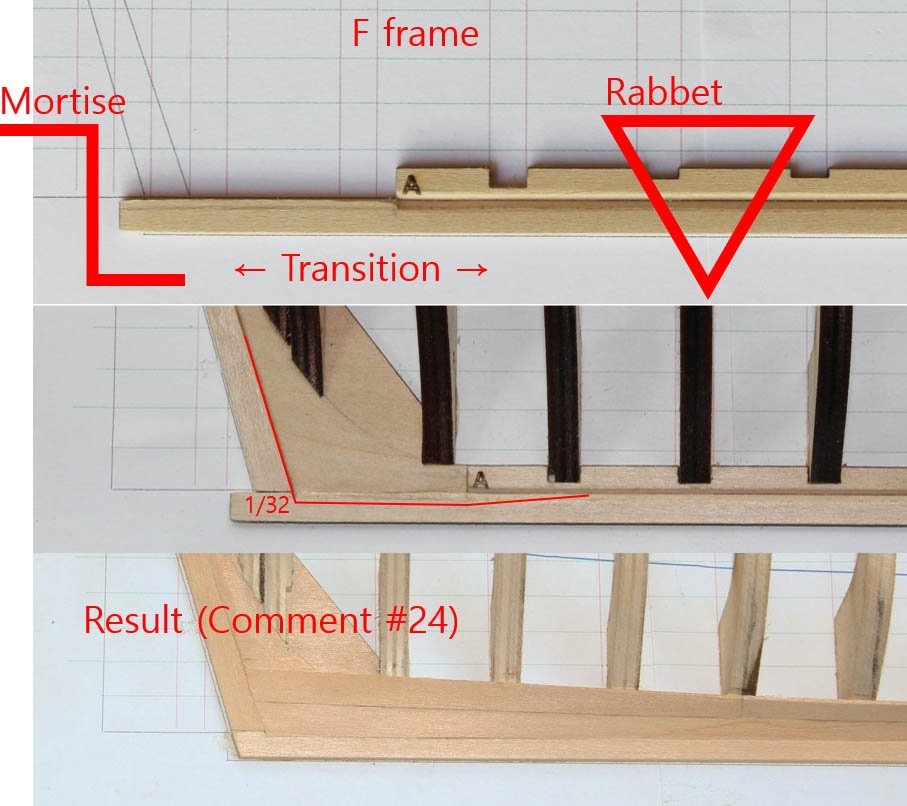
Hello, Cabbie. You're doing exactly same progress I'm doing. Here is what I'm understanding. (All of these pictures are from this article by Toni.) I did same thing like the mortise on stem. I hope it is correct.
-
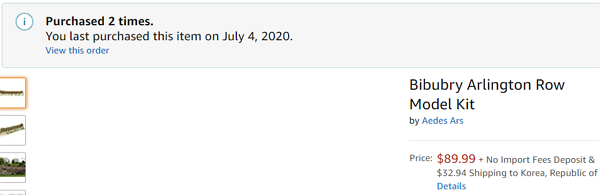
Ekis, I think you're a French, and you may be able to find extra parts at local hobby stores. However, I can't find any information about this company in South Korea. The only way I can purchase the extra tiles online is ordering at Amazon.es via shipping agency in Europe. The final cost will be about $50. https://www.amazon.es/AEDES-Aedes2211-Láminas-Papel-Piezas/dp/B00SAH0XUM/ref=sr_1_2?__mk_es_ES=ÅMÅŽÕÑ&dchild=1&keywords=Aedes+2211&qid=1593867788&sr=8-2 Also, I thought about buying less complex kit like a country house with same tiles, but they are quite expensive, and my kit is relatively economical. https://www.amazon.com/Aedes-Ars-Aedes_1413-English-House-Model/dp/B001F9XFI4/ref=sr_1_22?dchild=1&keywords=aedes+ars&qid=1594428999&sr=8-22 The ref.2206 tiles for roof ridge is not replaceable, but I already have a plan to replace it using plastruct tubes. I'll cut the plastic tube and paint them. On the other hands, I can make my own roof ridges using CNC... I think these stone blocks give me a passion for creativity. I'm making lots of plan to use the white and brown blocks for stand or decoratives.
-
Hello. I apologize for delaying progress. After I finished a doll house, I recalculated all amount of process and found that I didn't even pass a milestone. My current progress is like a completing the 1st planking only. Because I will sand all of roof tiles to same size, I need about 3,000 pieces, but only 2,750 pieces according to weight calculation are in my hand. It is the reason I bought a same kit again for insufficient 300 additional pieces. 😂 The kit has 5~10% additional parts, but my way needs more of them... Also, I need a minute per a tile for sanding. It means I need 50 hours to sand 3,000 pieces alone. 😱 This is the most time taking progress that I undergraded at the beginning... I didn't hear about it when I bought it... I expected that the whole kit would be done within 2 weeks until I received the NRG Half Hull Planking kit... A painful lesson... From today, I'll sand roof tiles little by little every day. It will take a long day that you may be disappointed. I'm sorry about delaying the project, but promise that I won't let it incompleted. I'll post a finished project of the NRG HHP kit at the end of this month, and this project may be updated on Oct or Nov. Of course, please feel free to ask any questions about this project. By the way, I won't make a same kit again with a new kit. I'll use the surplus parts as decoration for other models.
-
It is good to hear that no big error exists. Thank you for notification.
-
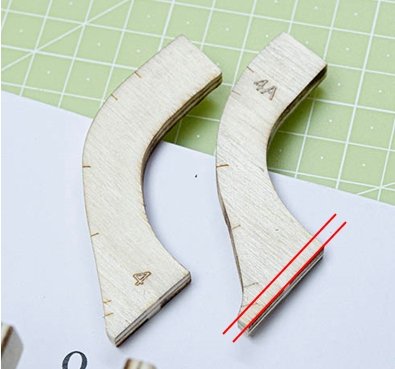
Hello, Toni. I have question about 2020 February production batch. I found a difference between this build log and my batch. Did you fix the shallow frame 4A? Looks like I don't need to fix the part and just attach it. // I gotcha. The first batch that delivered on January had the shallow frame 4A with an additional instruction paper. my kit doesn't need to be it. Also, I would like to know whether you produced new batch that may include more improvements.
-
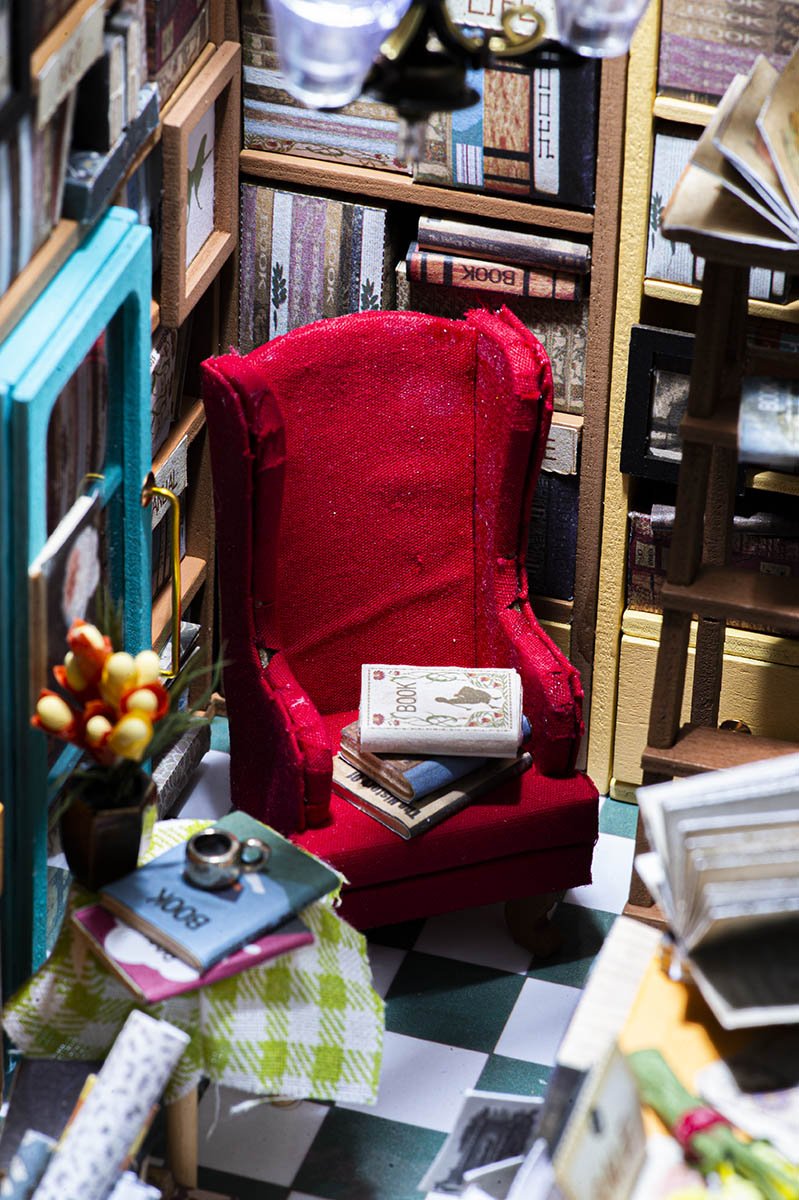
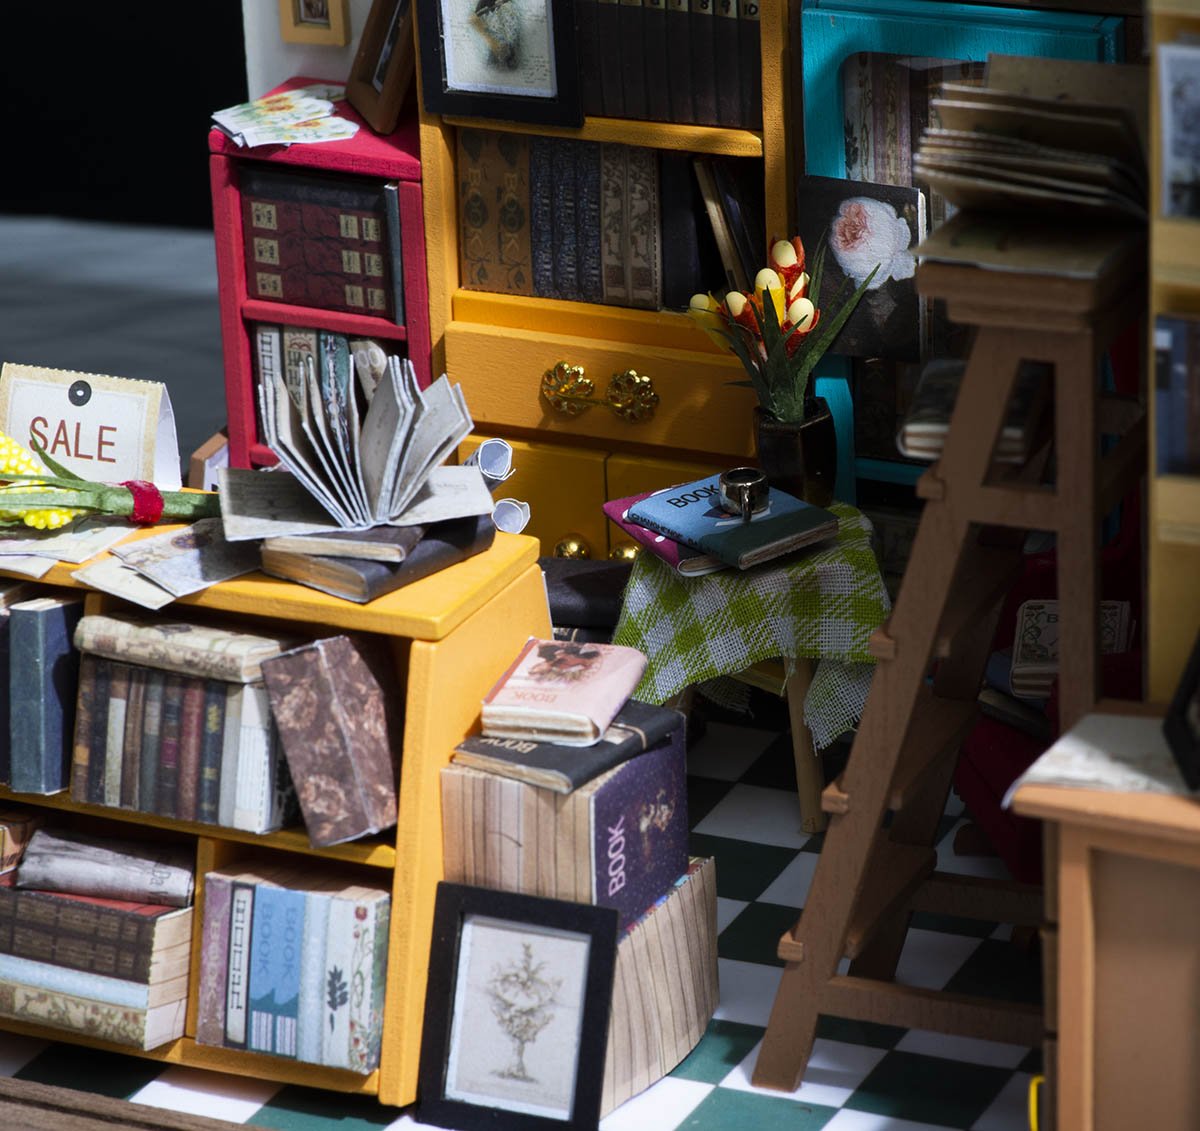
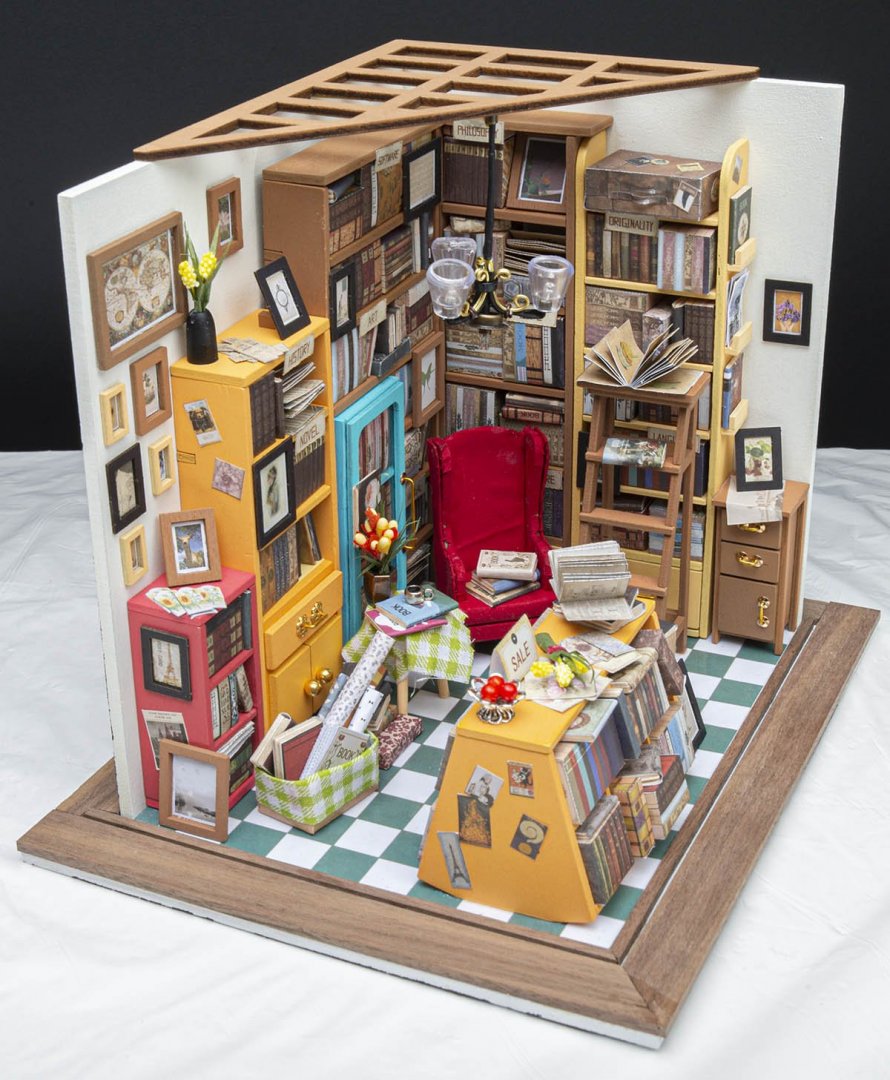
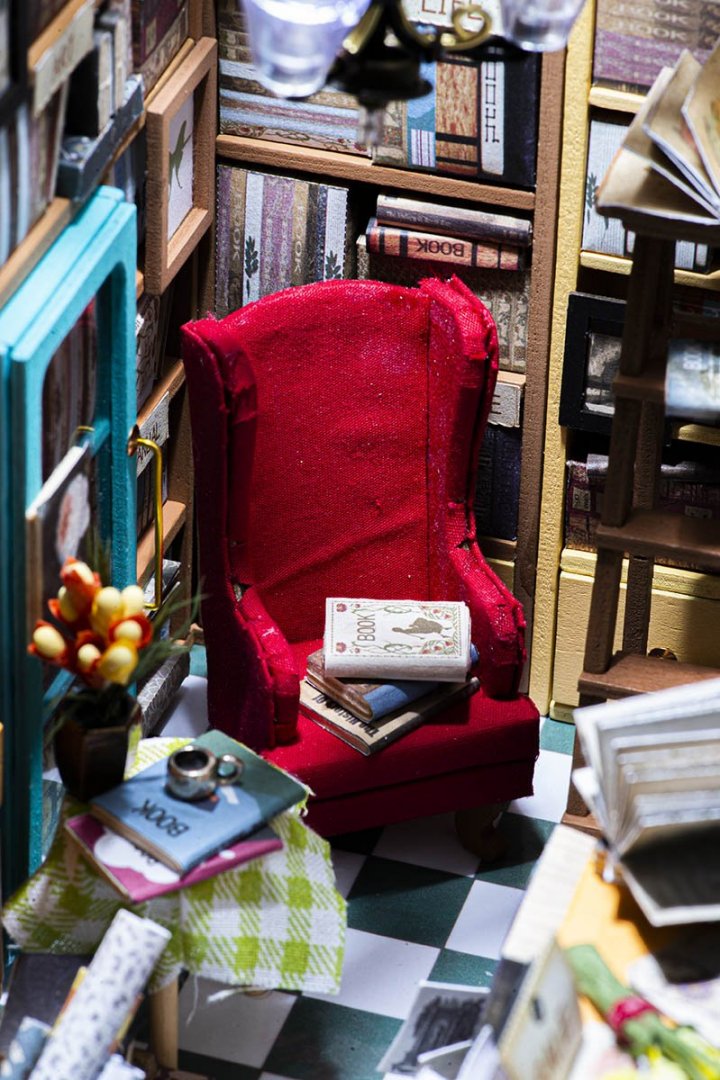
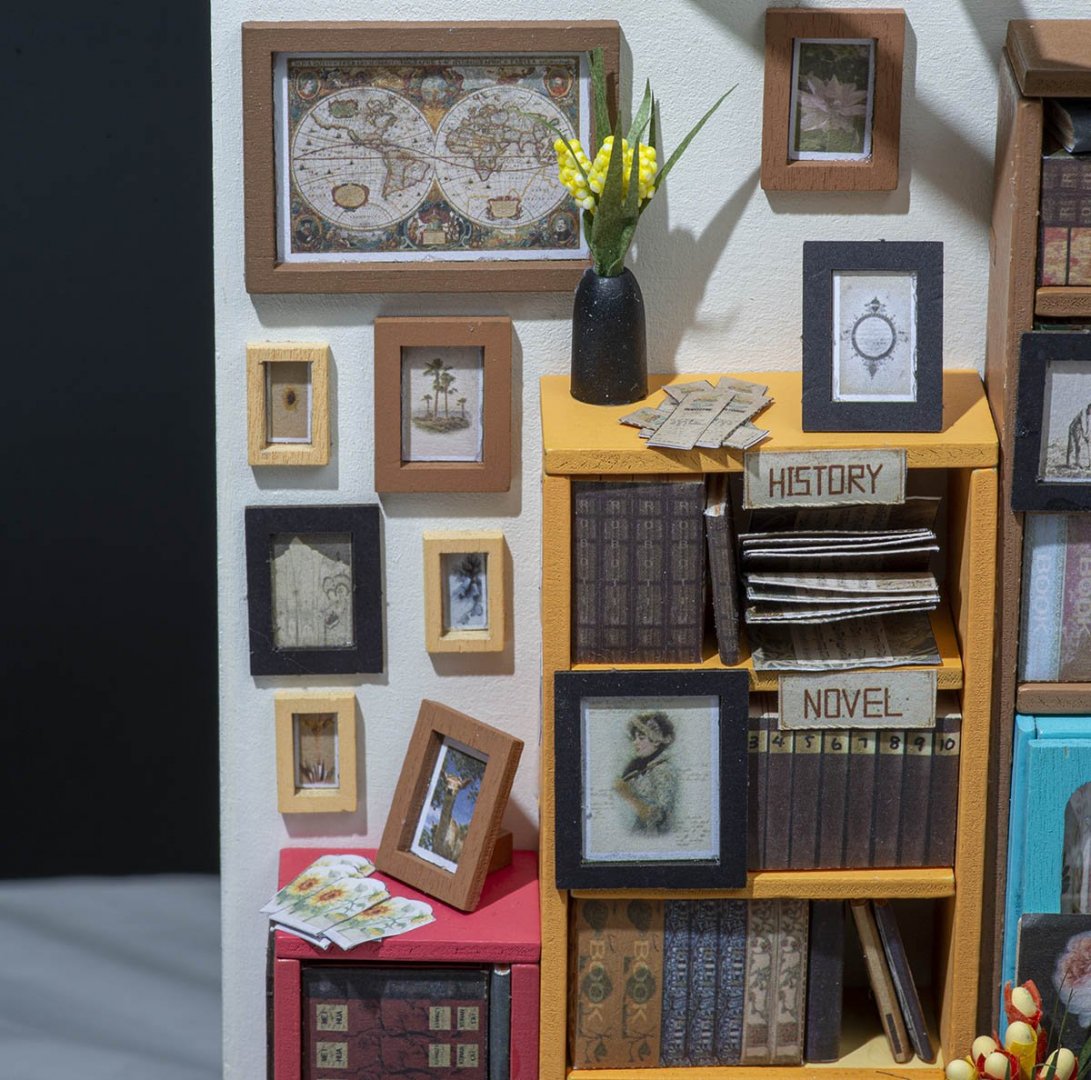
Popeye the sailor // I would say that the Robotime chose level of completion instead of same scale and unity. Their series of doll house have different scales, but the each model's design sense is very attractive. It is bad that I can't make one big doll house by putting together them, but great for sole present. The reason I don't want to touch a structure thing is that one of my close relative is a famous retired architecture professor. If I make a building model, his pupils will laugh at low level of reality. It feels like checking with a retired ship carpenter about my model ship. Fortunately, he really loves my wooden model ship. Lou // I've already replaced most of my book to digital scanned books for same reason. I want more docks to build another ship.
-
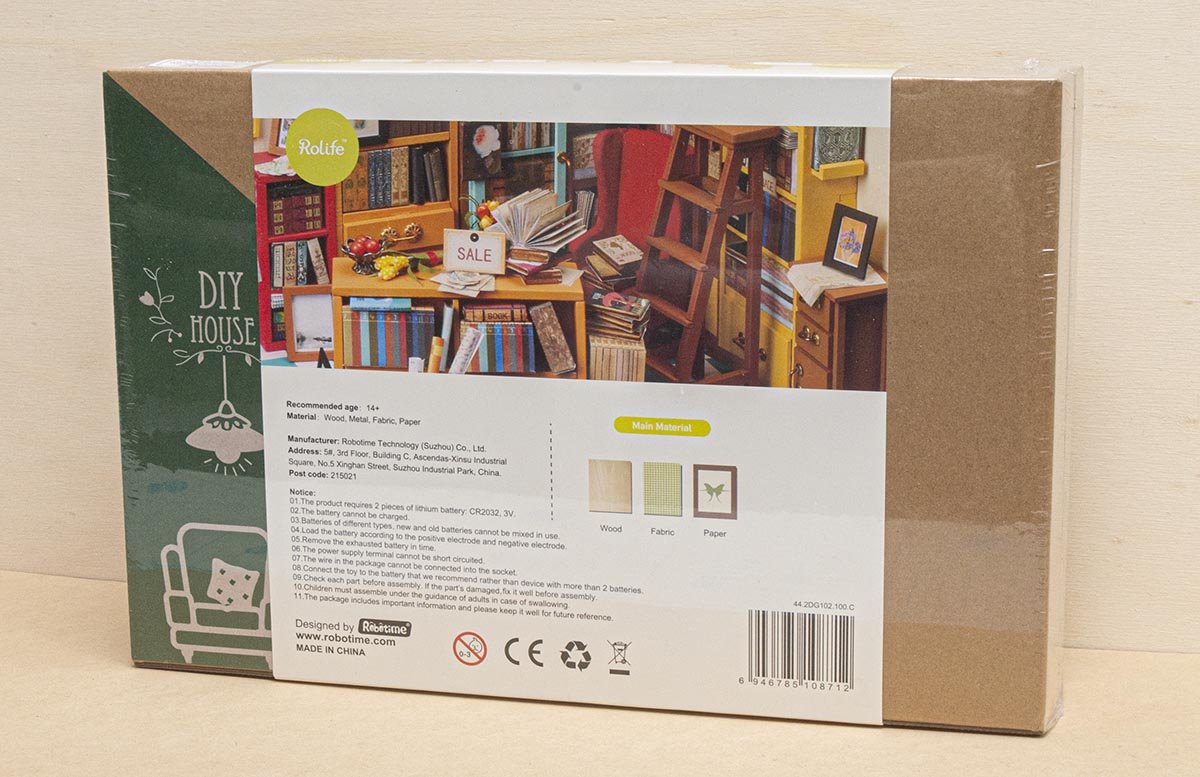
The LED assembly part is not polished and easily breakable. Someone who uploaded walkthrough movie on the Youtube skipped or modified the LED part to less complex structure such as 1 LED lamp instead of 4 LED lamps. The other parts are super easy and flawless like the Bandai's Gundam models. I would say that the LED light should have made the kit 100 times better!
-
Thanks for your comment, Yves. I couldn't close my eyes when I first saw this kit. I hope the Robotime will make better doll house kit in the near future.
-
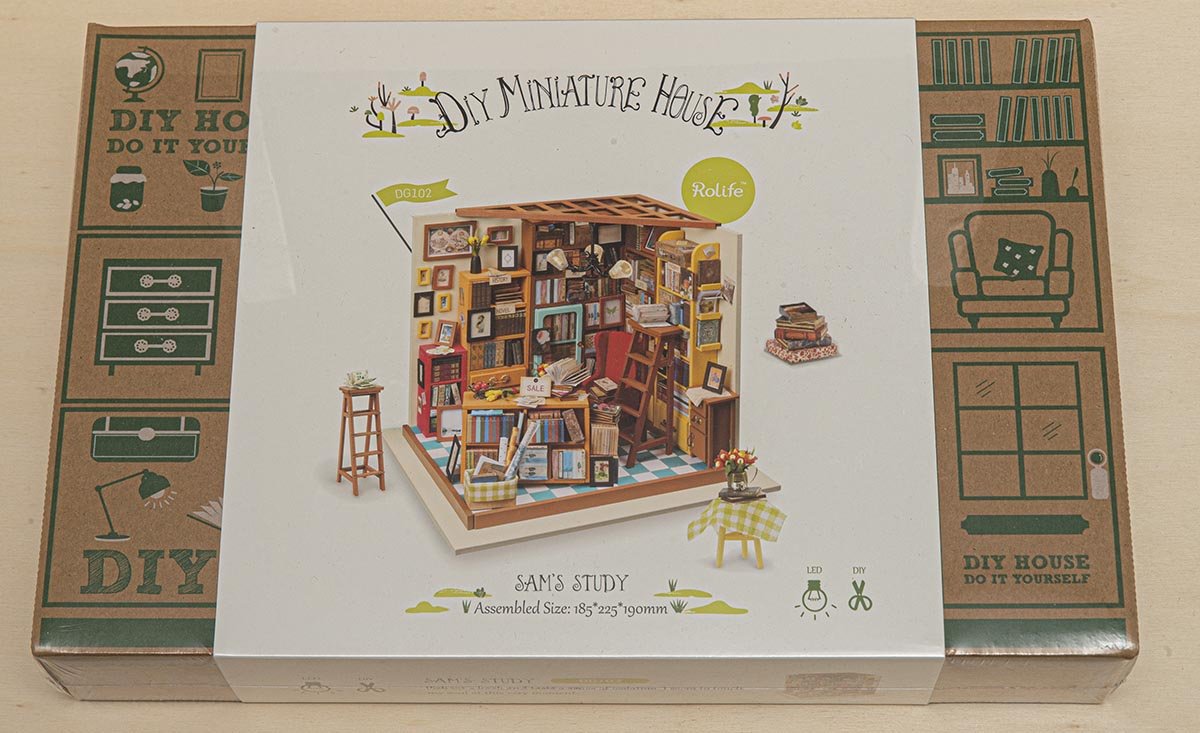
That article made me to buy this kit. I made my kit for the past week to get a rest. I spent approx. 12 hours. Overall, this is a very good kit unlike most of china cheap goods. I would say that this company has very talented people like the Trumpet or Meng. Unfortunately, the LED parts is gone while I was finishing assembly. The reason of LED fail was an insufficient assembly guidance and inaccurate manual like most wooden model ship kit does. That's an only issue of this kit. Almost perfect! Now it's a time to go back to the priority project...


- 12 replies
-
- 14
-

-
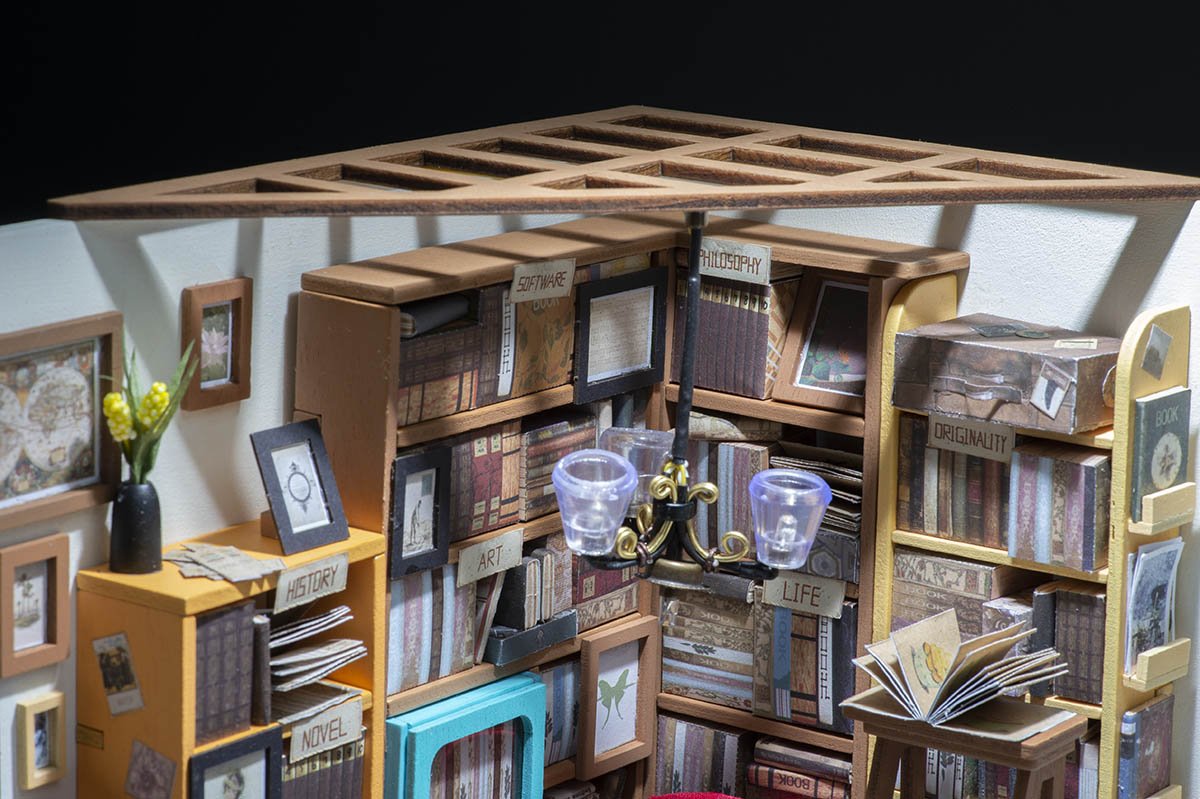
Thanks, popeye. The roof part determines 90% of this kit's charming point.
-
Thanks for your comment, Egilman. I should recreate myself for a while. A good result is residue of enjoying mind.
-
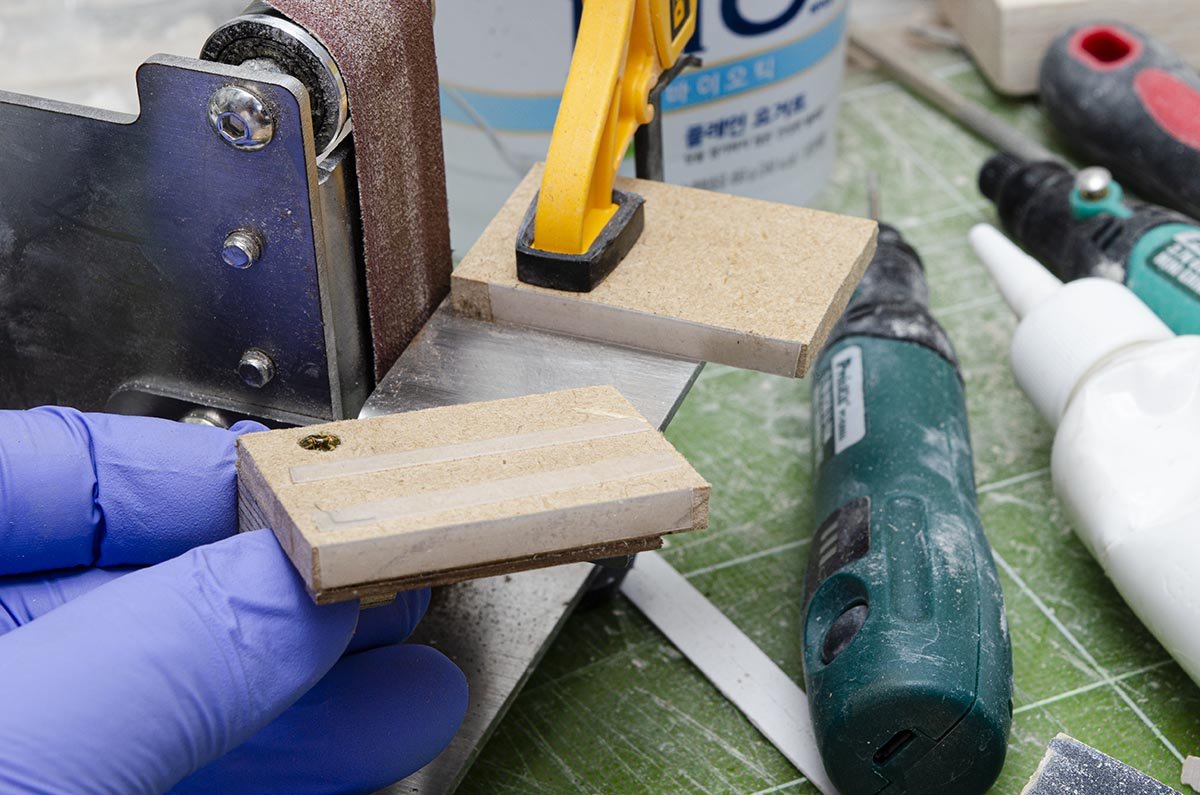
I made a new jig for same height adjustment. Much easier than before. Very slow work. I already gave up finishing on time.
-
The AL's the last legacy! Thank you for uploading.
-
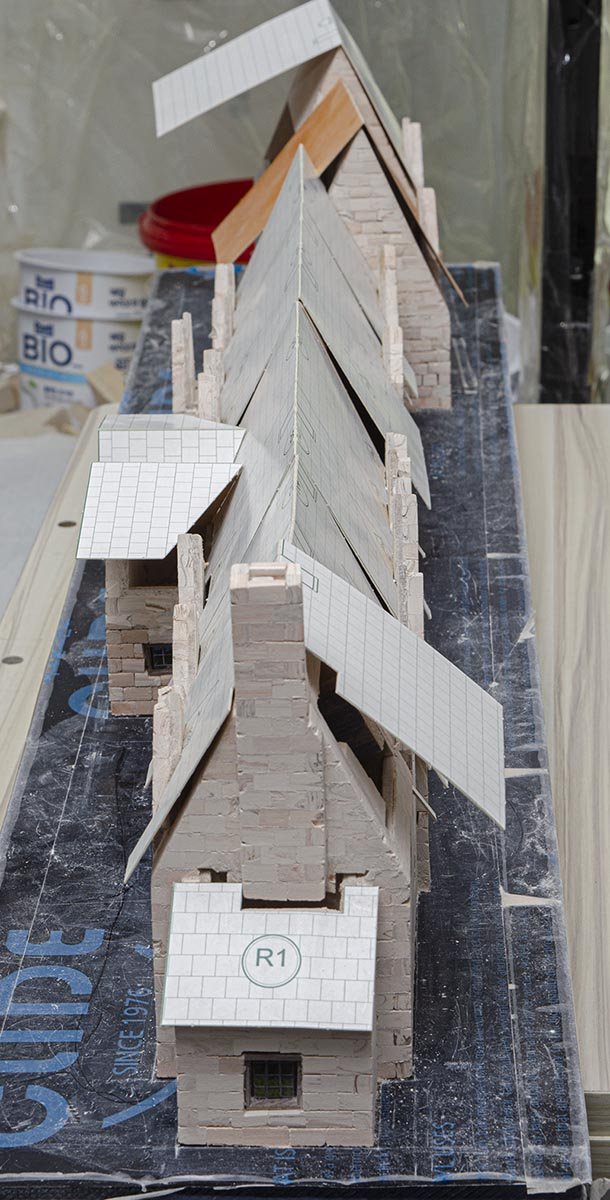
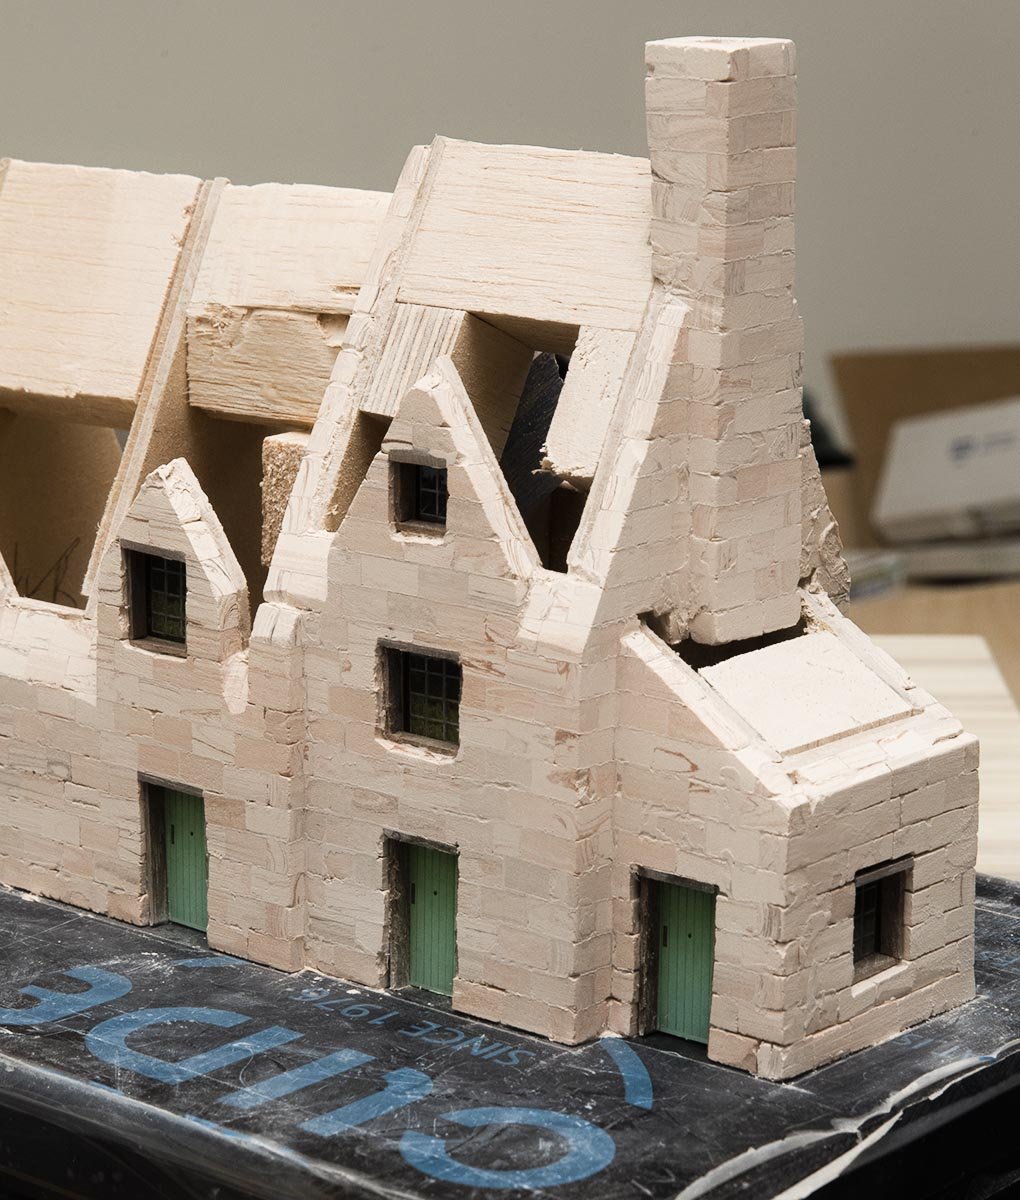
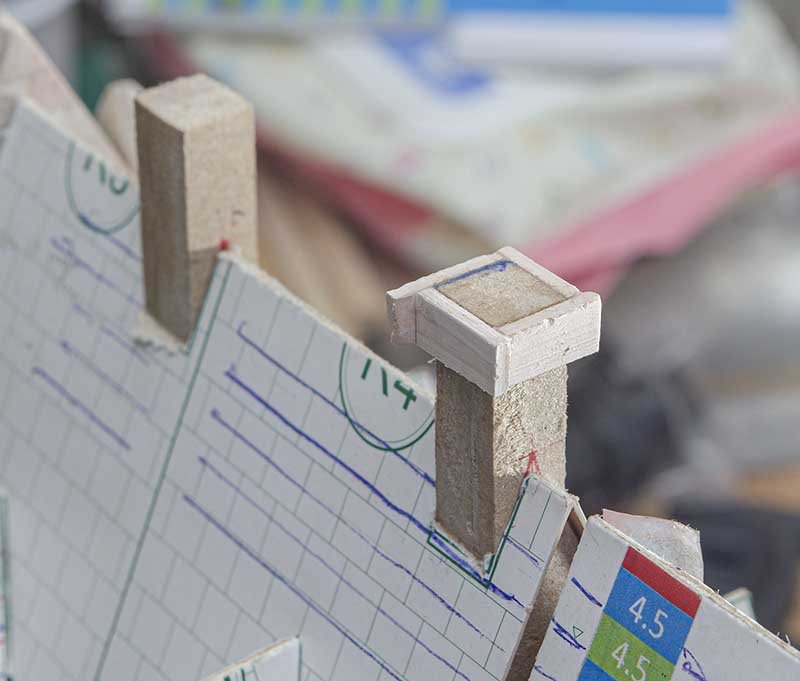
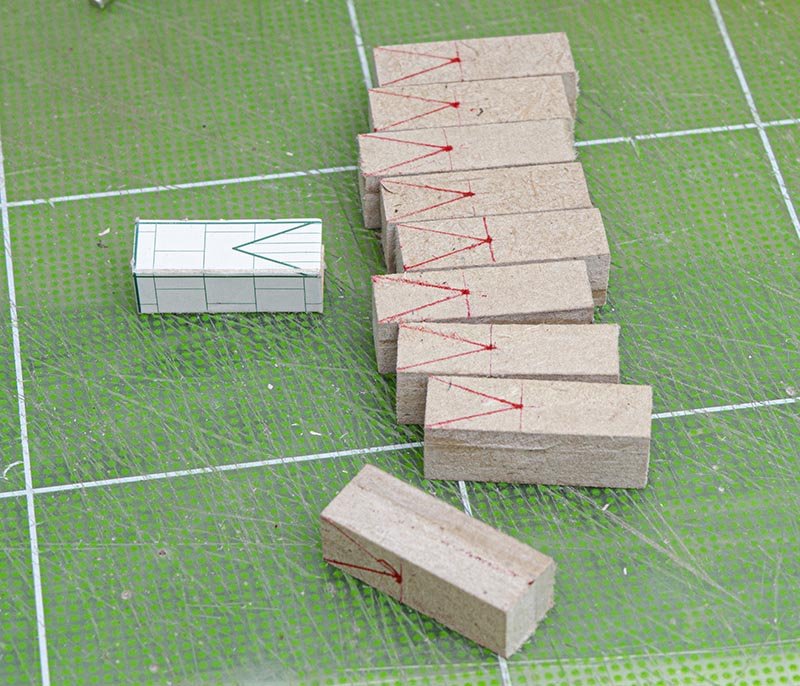
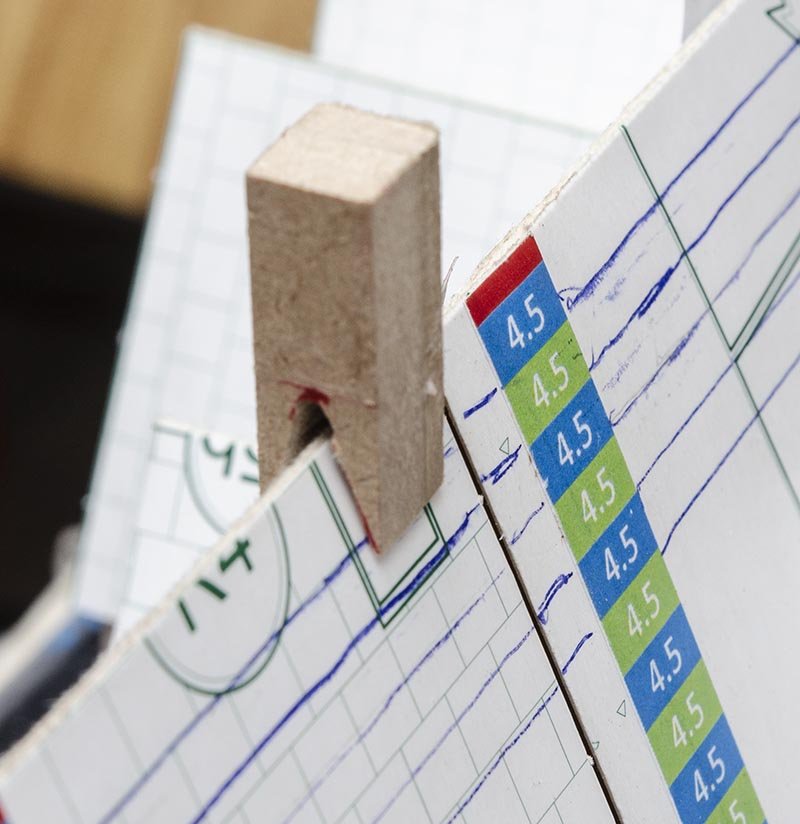
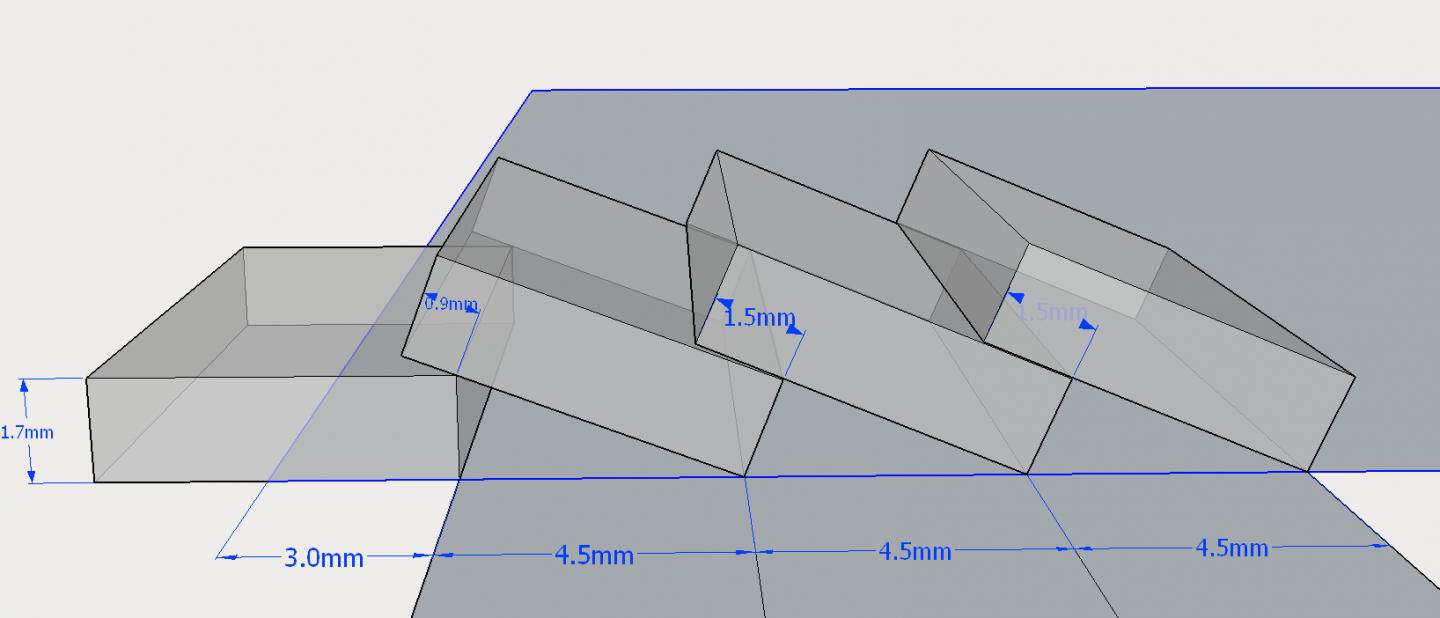
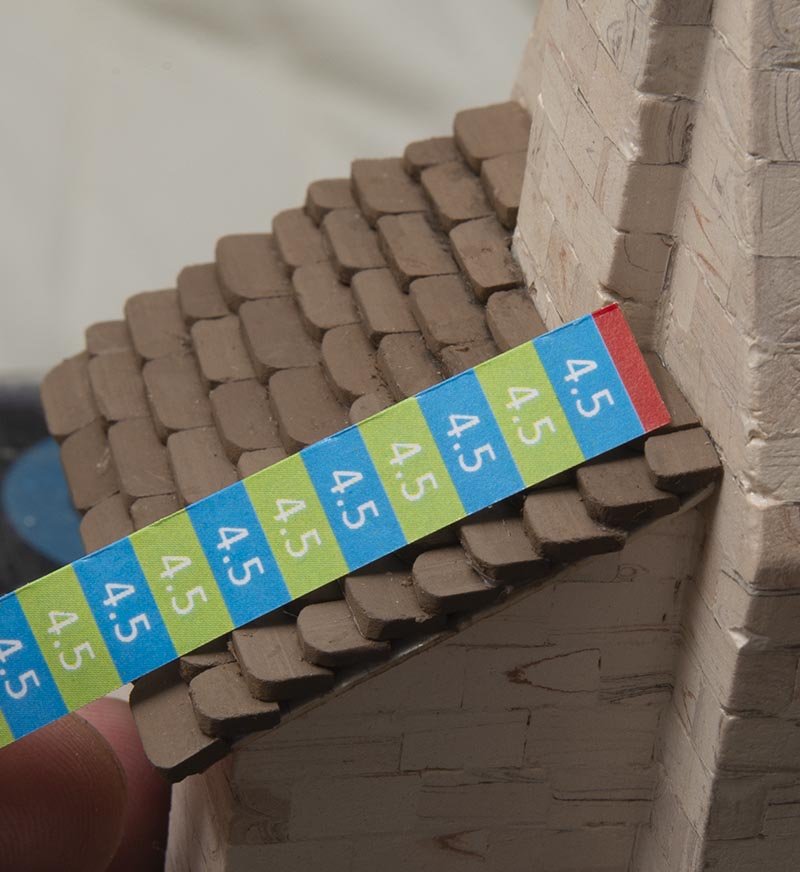
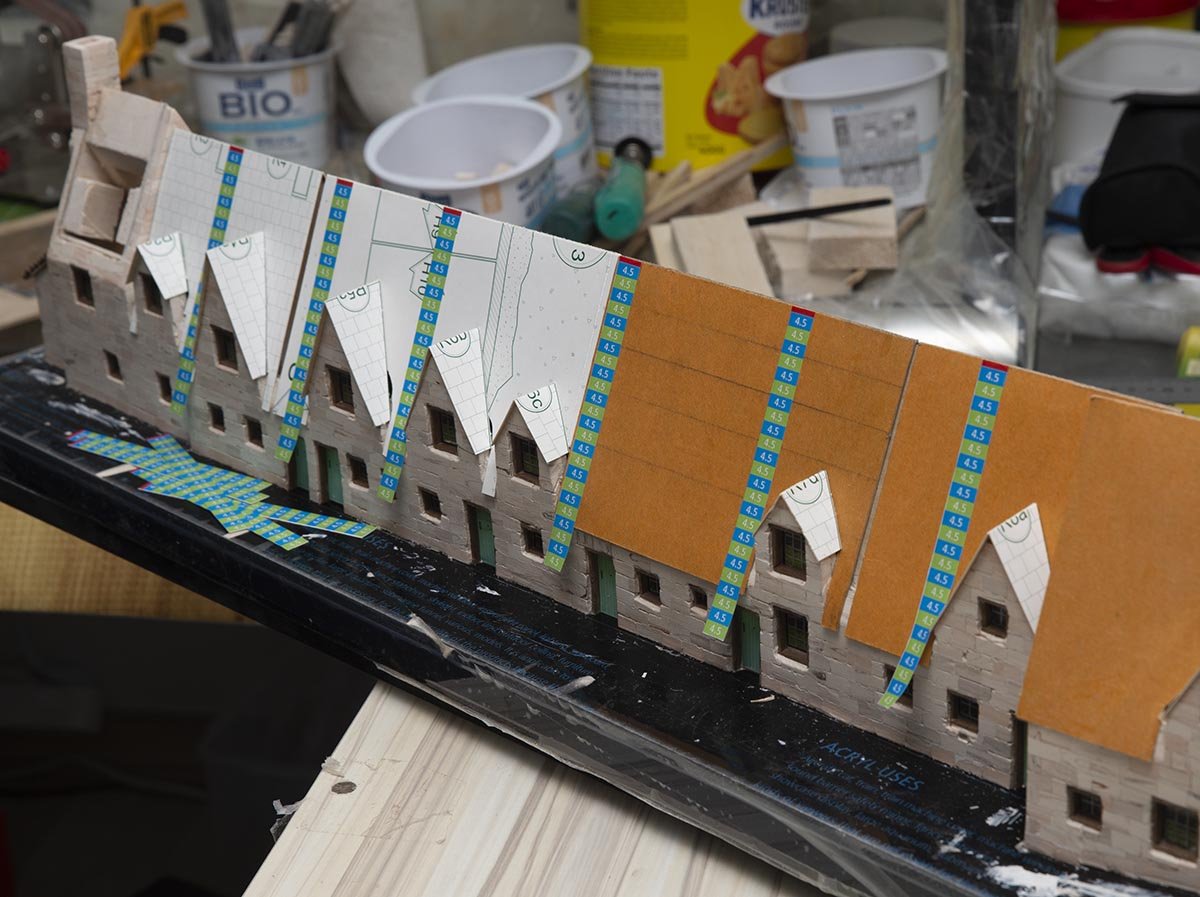
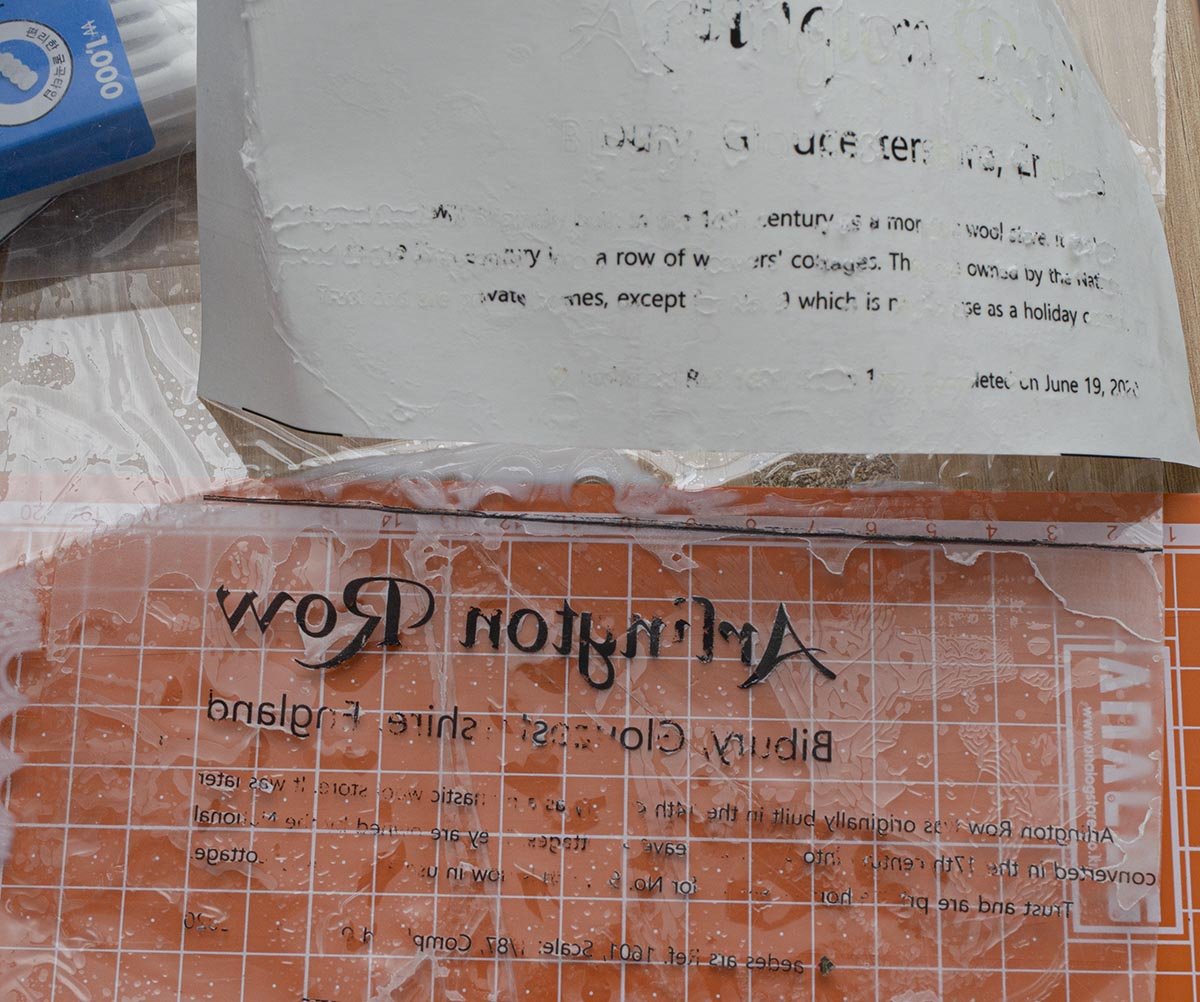
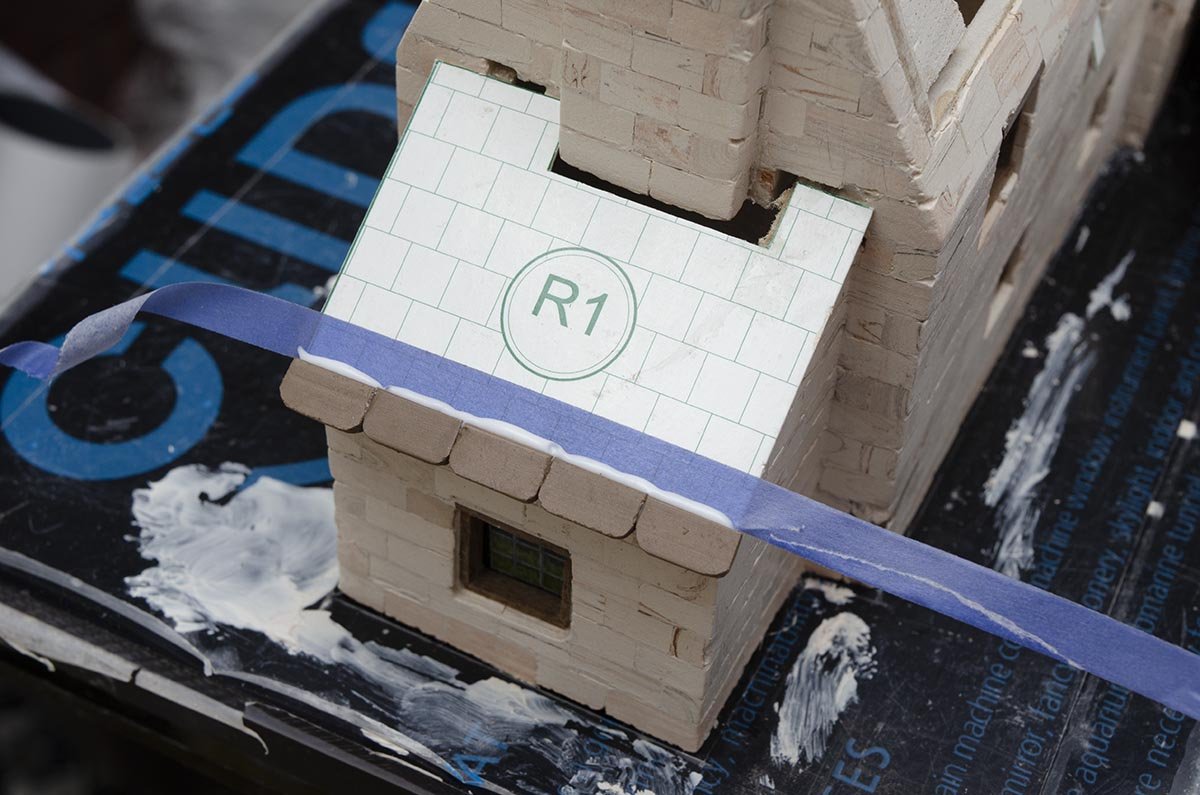
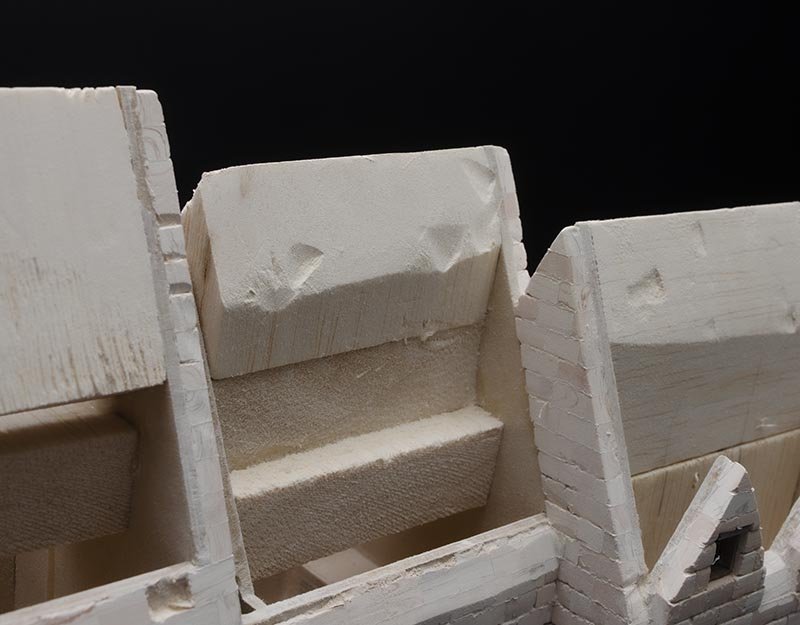
I replaced paper chimneys to MDF blocks. However, When I tried to apply them... I found that the angle is different due to my new MDF structure. Tomorrow, I'll cut the roof simply, and place the cube chimney on it. The balsa reinforced ridge is flexible for this kind of job. By the way, you may be interested in the blue and green 4.5 strips. It is a distance between roof tiles. I calculated the number from manual, and... It is verified. I made the paper sticker rulers using powerpoint and laser printer. Due to a MDF structure, I had to make new roof ground. (Check the orange cardboard.) The ruler sticker will help me to draw guide lines with masking tape.
-
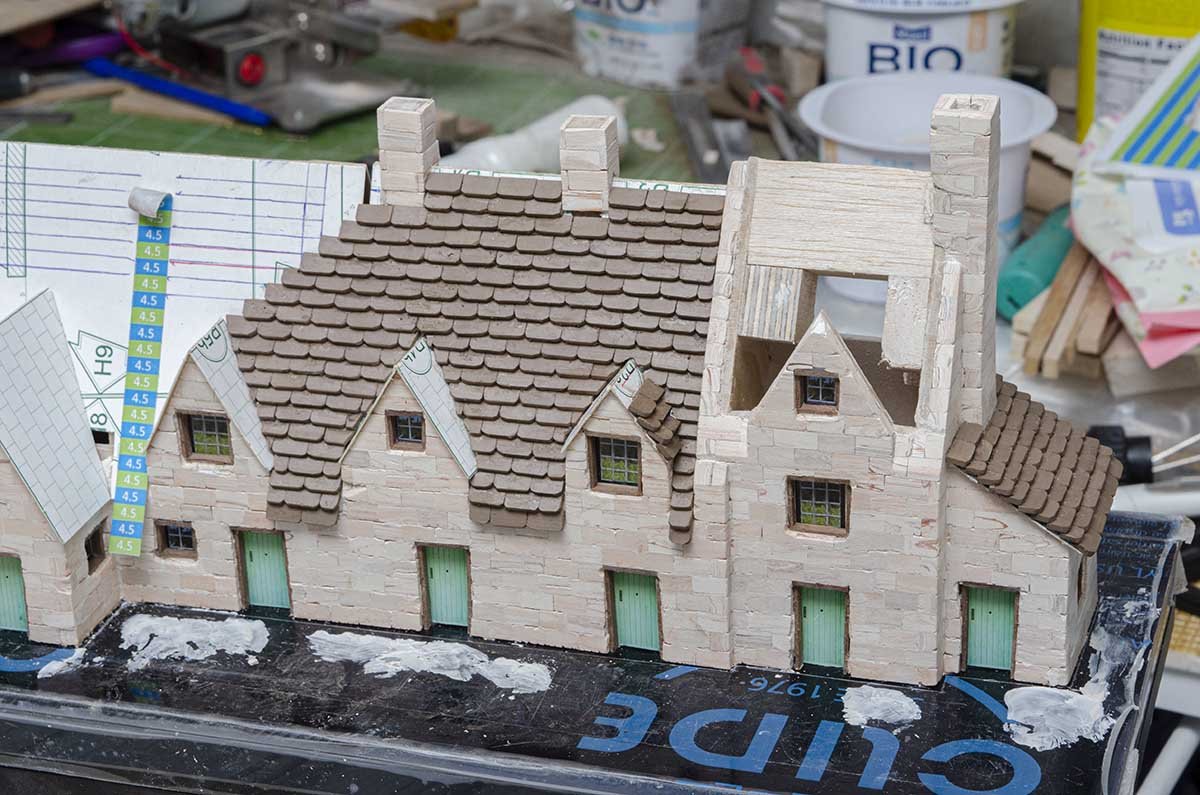
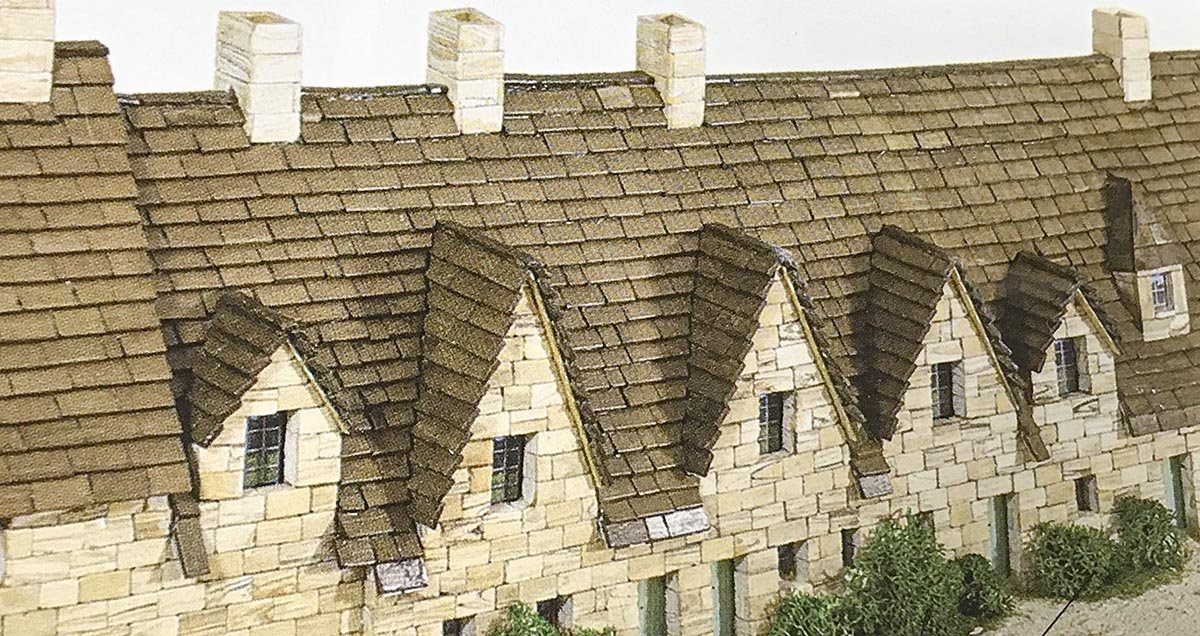
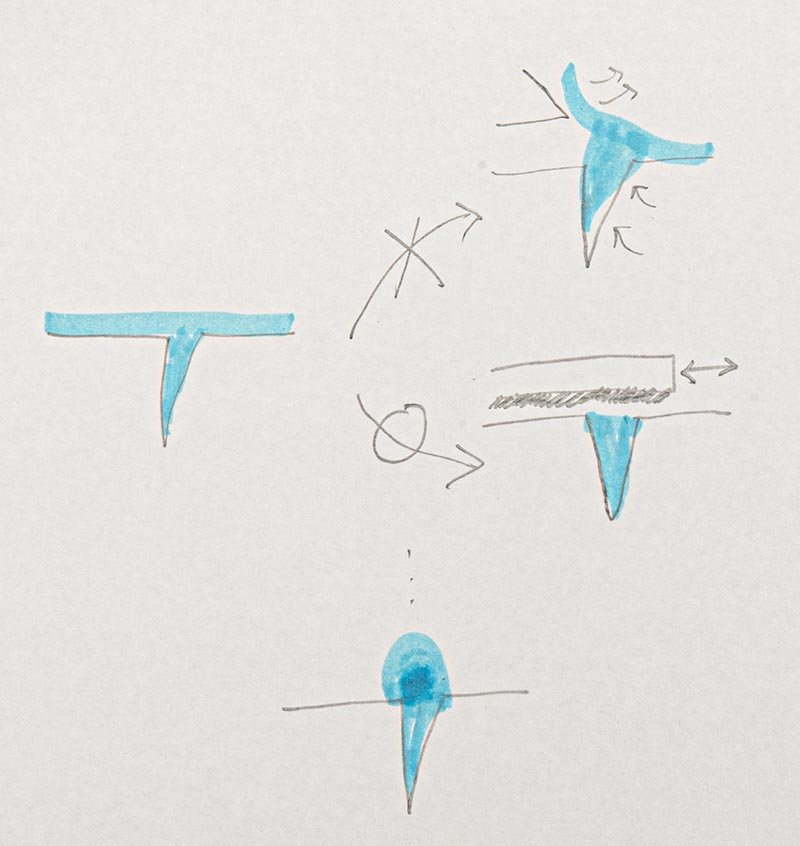
This is really challeging issue. To get the best result, I tied tiles together at corner. This method took TWO HOURS to do this picture only. I simplified the first method a little bit as you see. The second method took ONE HOUR to do same amount of part. Still slow , but the quality is similar. The third method that manual explained may take about 10~20 minutes to do same amount of work. However, it is not beautiful. In reality, The first method is more like a real arlington row, but the block's scale is too big. (1/18~1/24) For this Ho scale (1/87) kit, The third method is more like realistic at distant view although the roof tiles are too big. I have no time, but I don't want to lower quality...
-
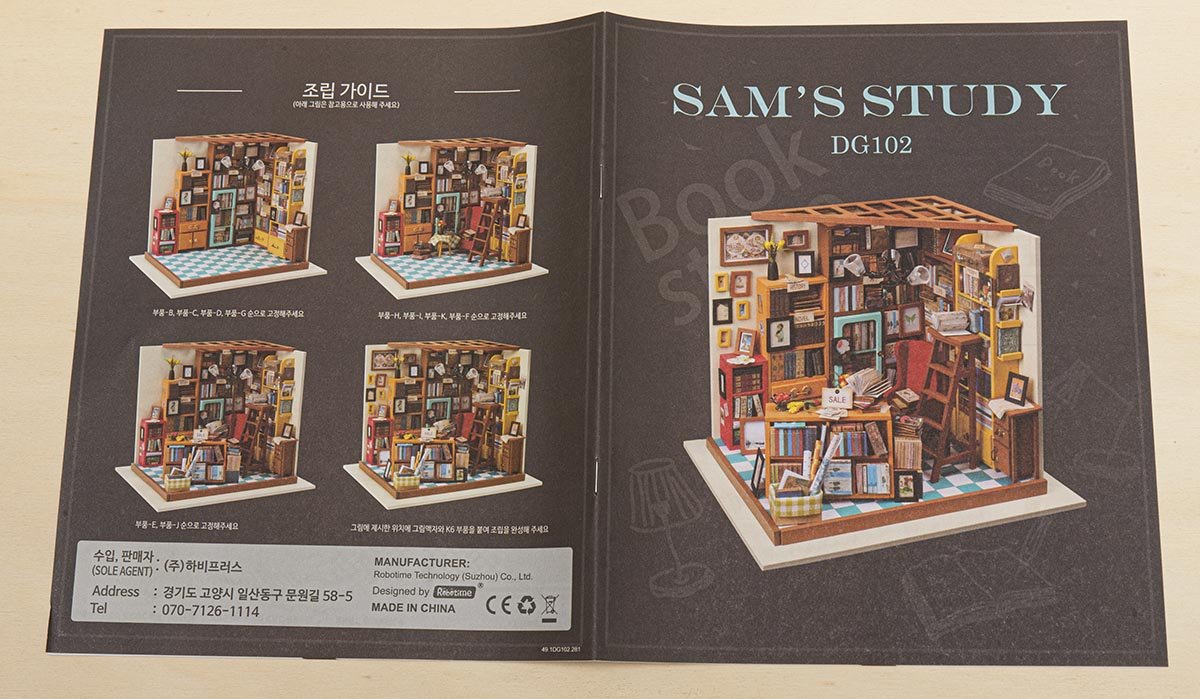
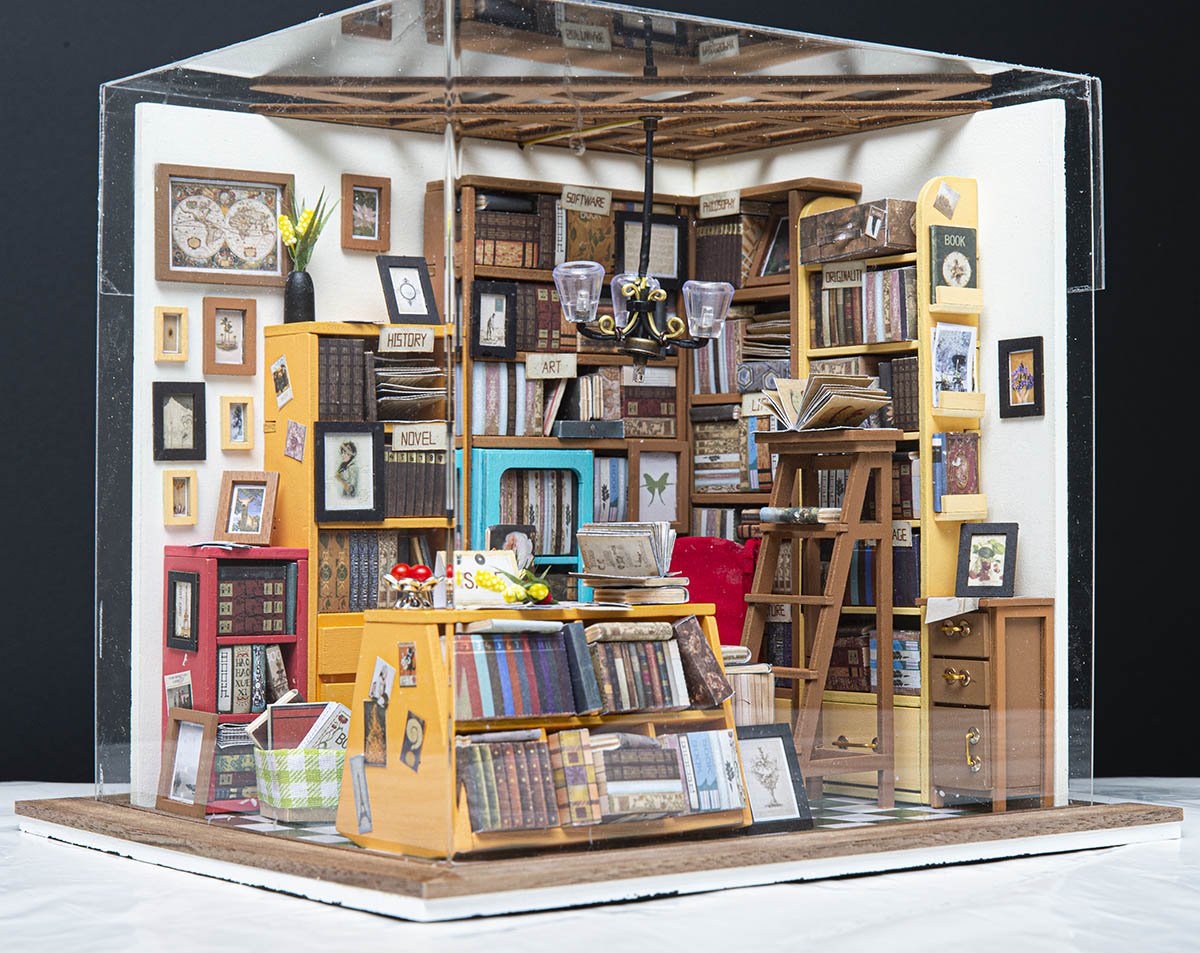
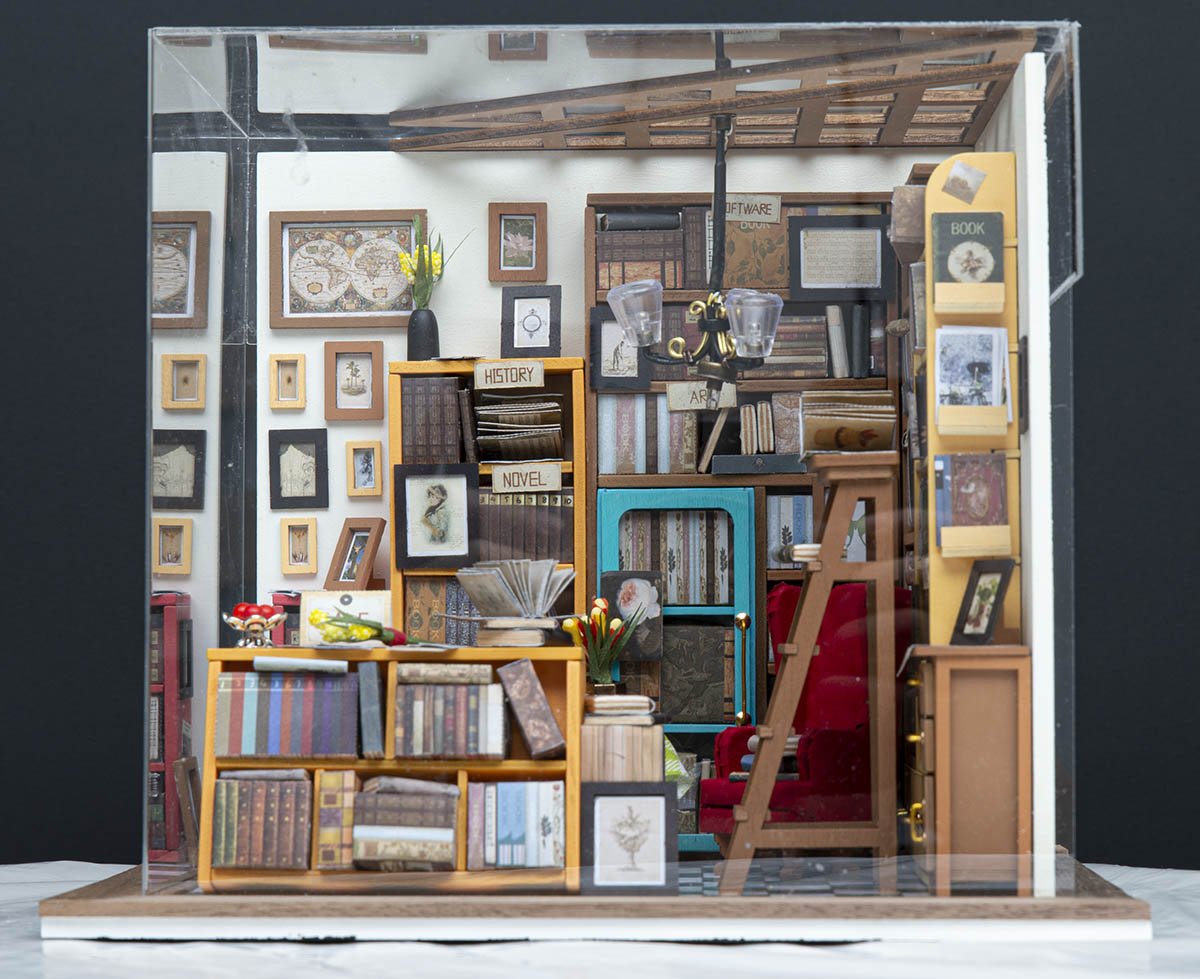
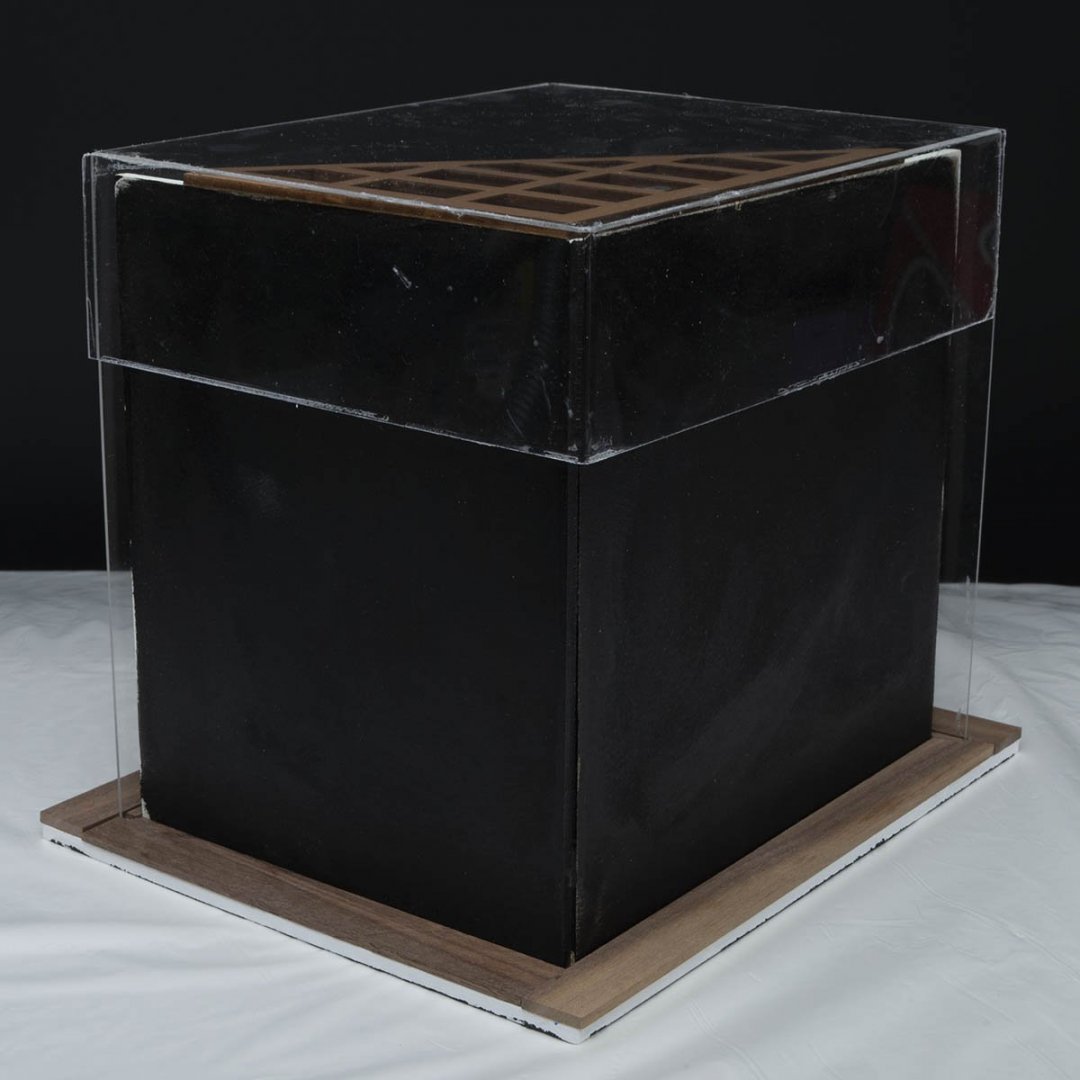
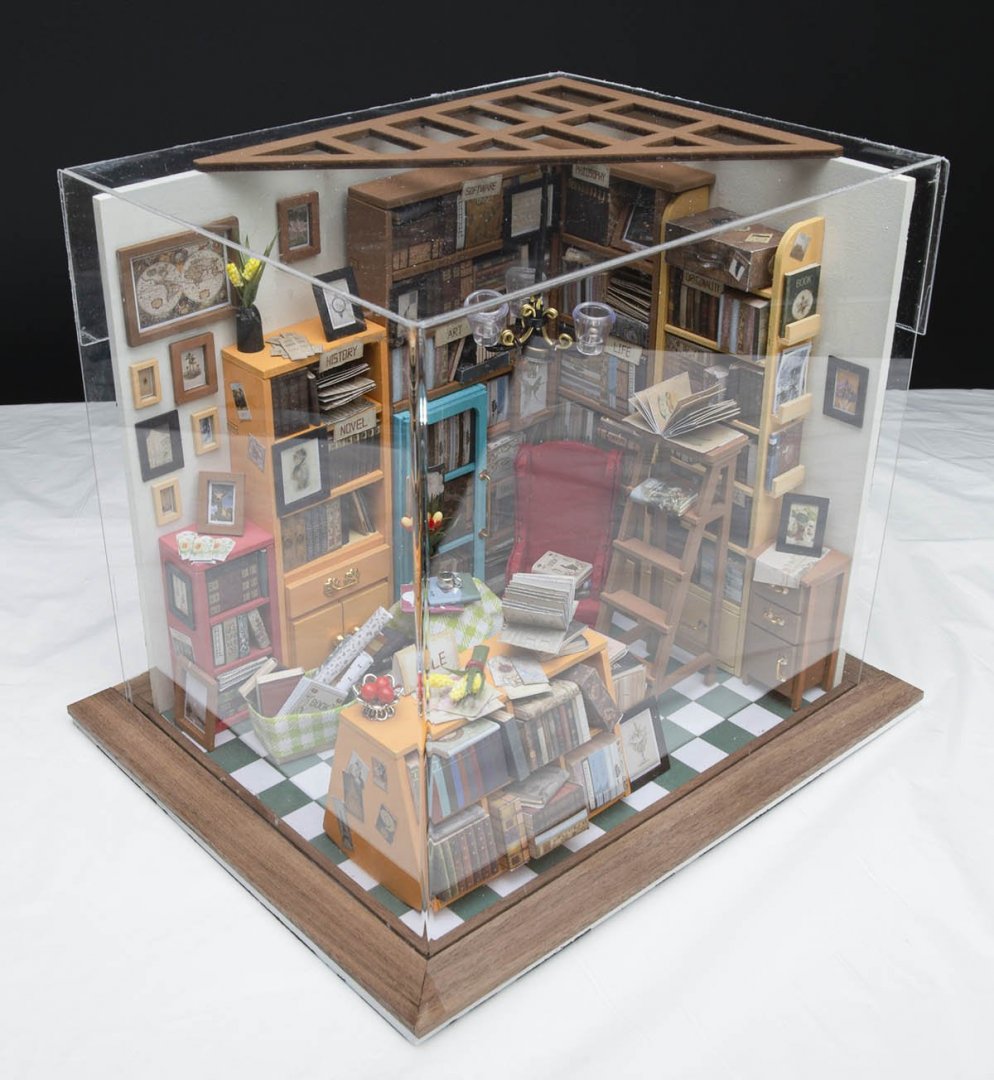
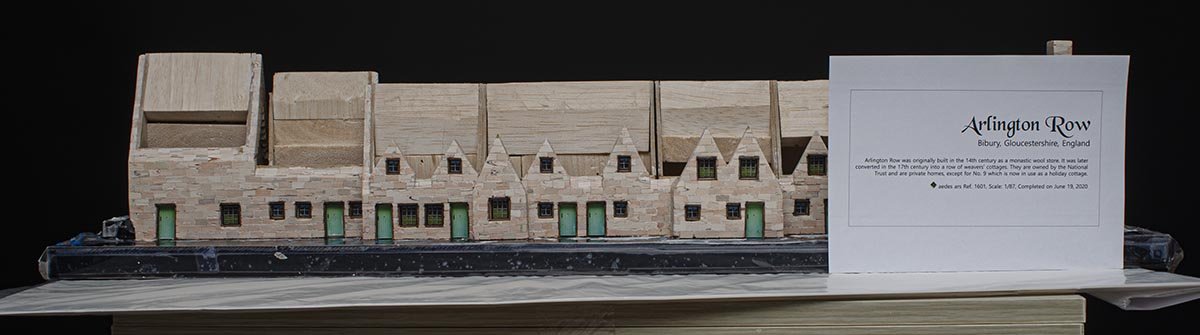
That's a point. I'll give a finished kit to someone this week. The person doesn't have knowledge of modelling hobby, and usually likes a neat and clean things like many common people. I would say that the person won't like weathered model, and it is one of the reason I made a GLOSSY acrylic base and case. My minimum goal is a picture on an original package. If I didn't have a due date, (Actually, the birthday was last week...) I would have added drain pipes and terrains just like your picture.
-
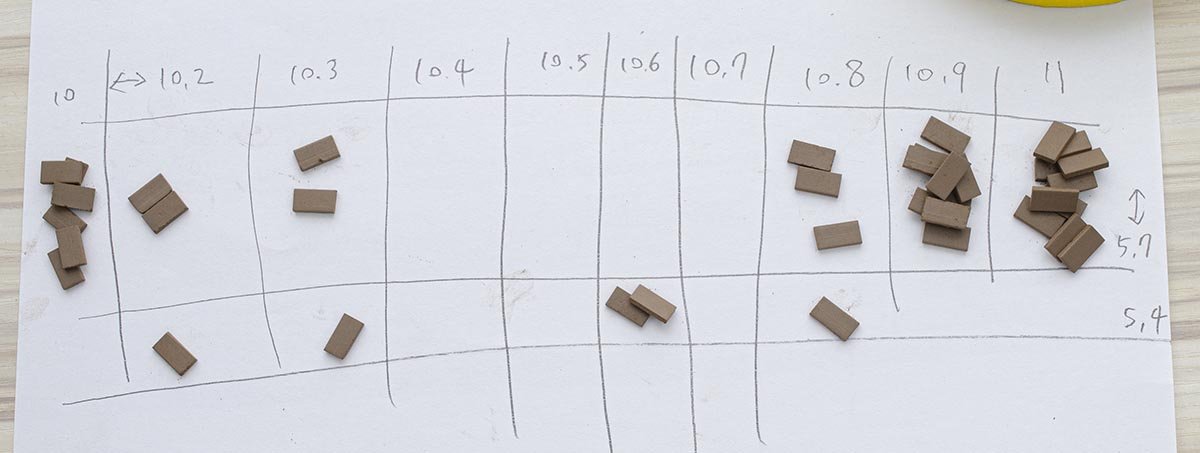
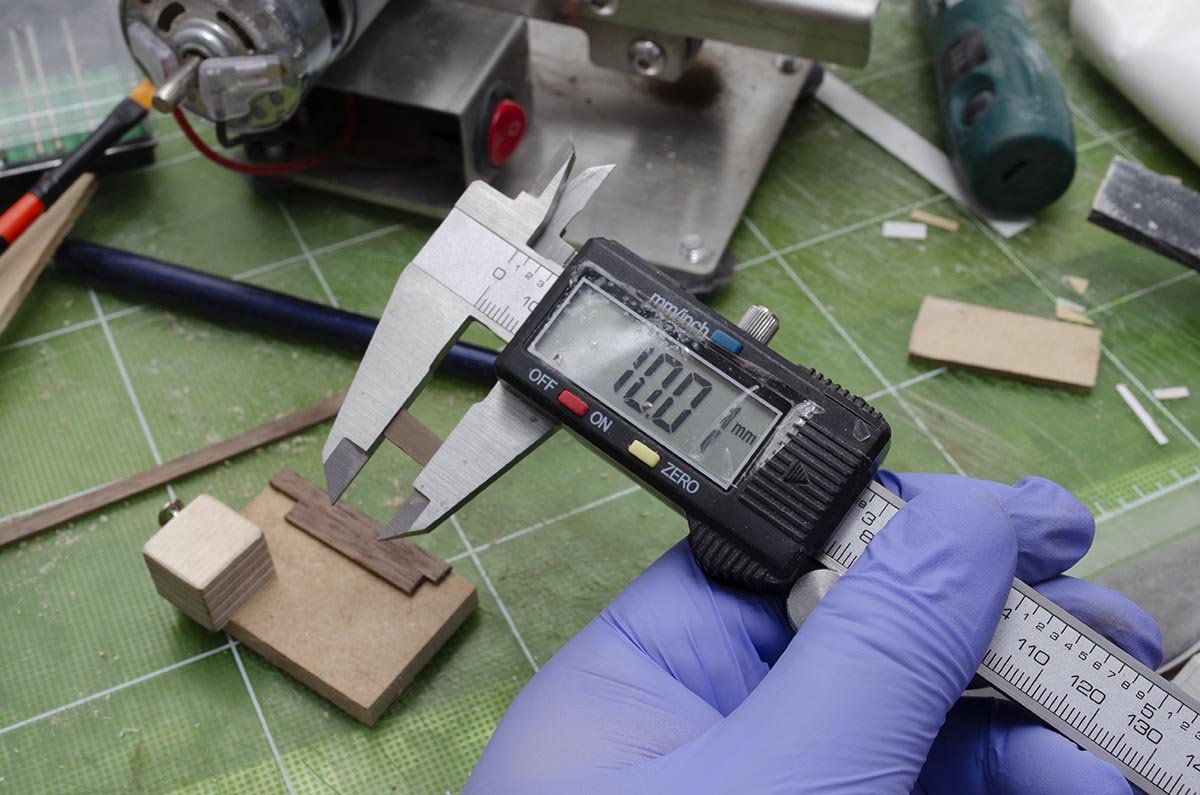
I tried to attach a thermal transfer paper on acrylic panel... Failed. Looking for the other ways. The most famous and best solutions cost a lot. (over $30) Finished to build a bottom of roof . Started to attach roof tiles... Why didn't I use a masking tape? It works like a superman. I thought the roof tiles are better than wall blocks. NO. Every tiles are not SQUARE. I have to sand them all... Phew. Also, the size of the tiles are super different that makes ugly pattern. I decided to make a jig that produces exact same parts. After thousands of seconds... I made a simple jig for adjusting length of tiles to 10.0mm simultaneously. Adjusting method is a screw bolt. Attached UHMW tapes to lower friction. Works fantastic! I should have made the jig when I started!

-
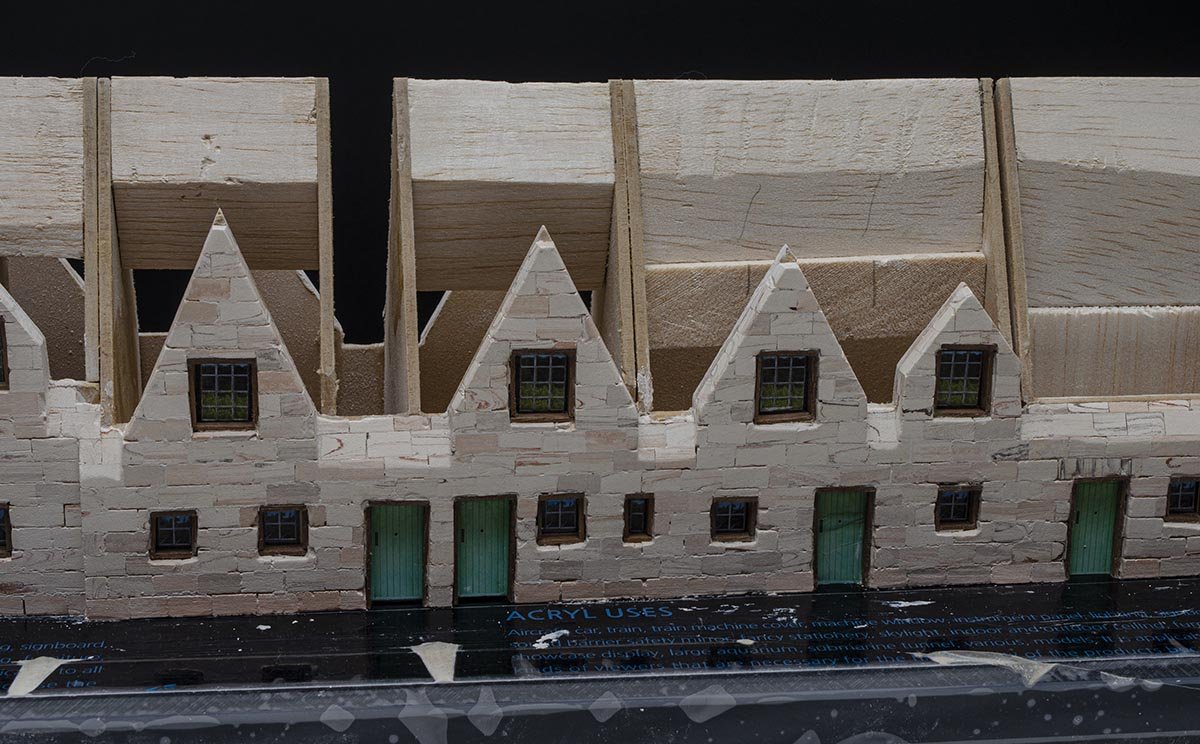
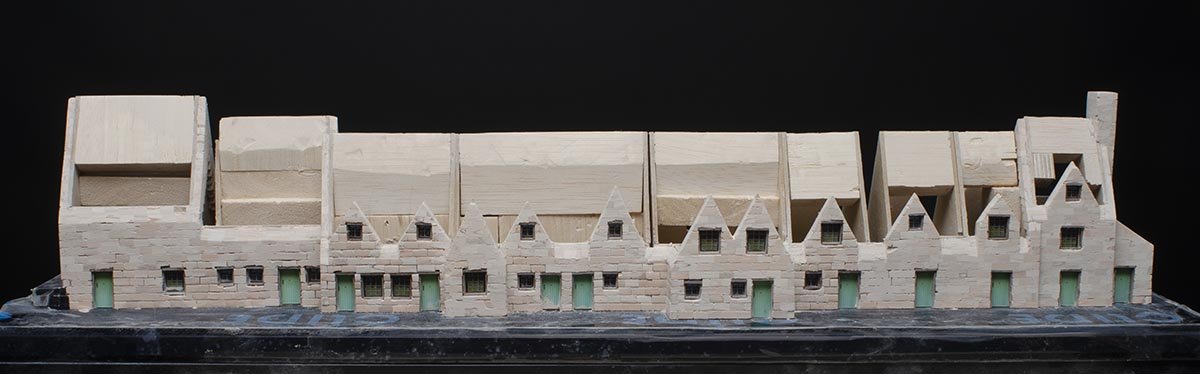
After 4 days, I finally finished polishing work. The wall is done. I used a cheap multi-use water based matte varnish. The stone really absorbs water quickly, so the brushing a varnish was smooth work. I satisfy the result of the varnish. This will be a final showcase. I already received acrylic panels for case asembly, and I'll paste the texts on the transparent front window using transfer paper. I'm testing the two kind of transfer paper to get the best result (water based transfer paper and thermal heat transfer paper)

- 75 replies
-
- 10
-
-
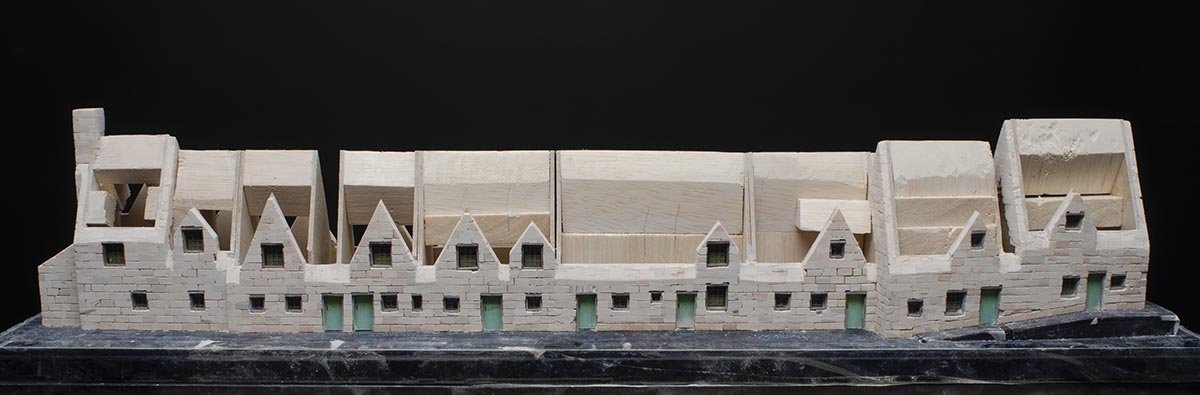
The wall is almost done. Making the balsa block ridges was easy task thanks to a mini belt sander, but the placing a roof was really time consuming hard work. I'll go to a roof after more tuning - filling the gaps and polishing edges. Three days left, but i'll keep going on. A new due date is a next week.


-
If you know how to use a milling machine, I recommend to buy cheap Chinese CNC machine with digital controller at $100. You can move the drill bit by 0.01mm to X, Y, and Z axis.
-
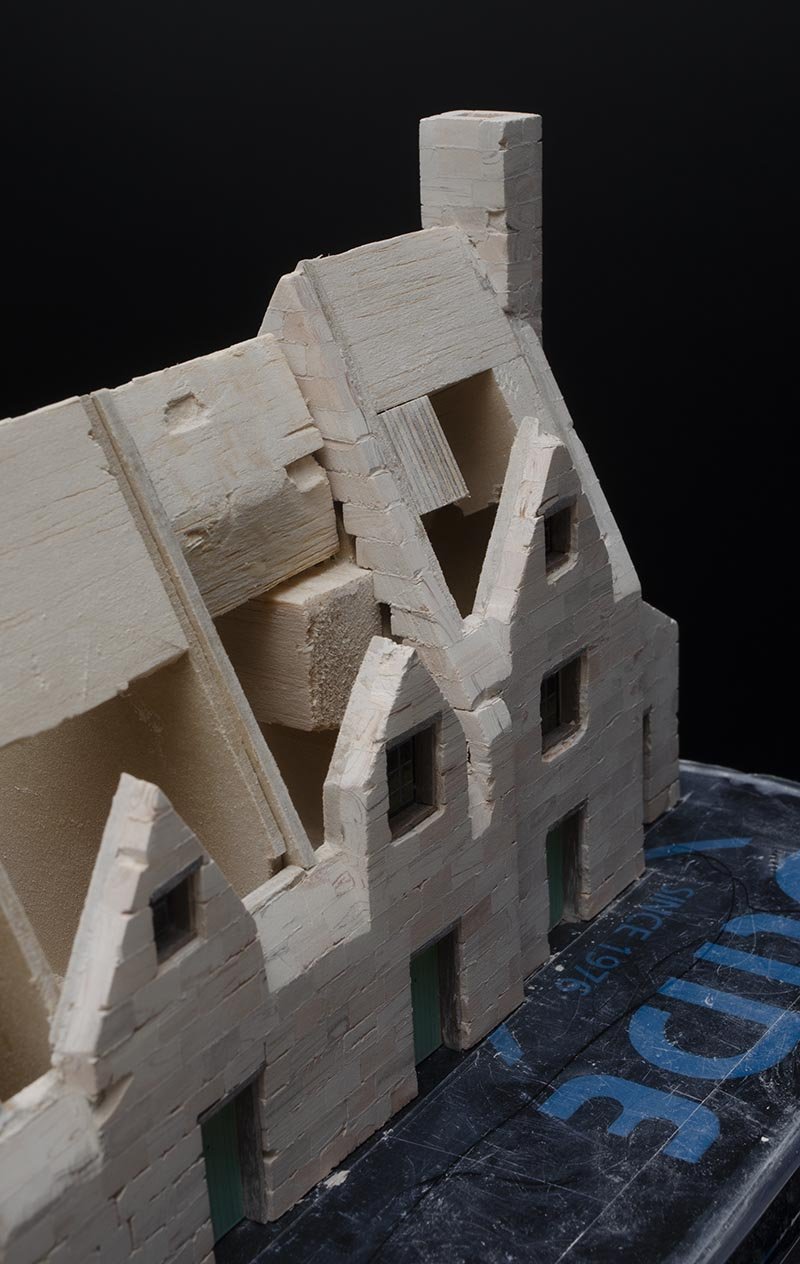
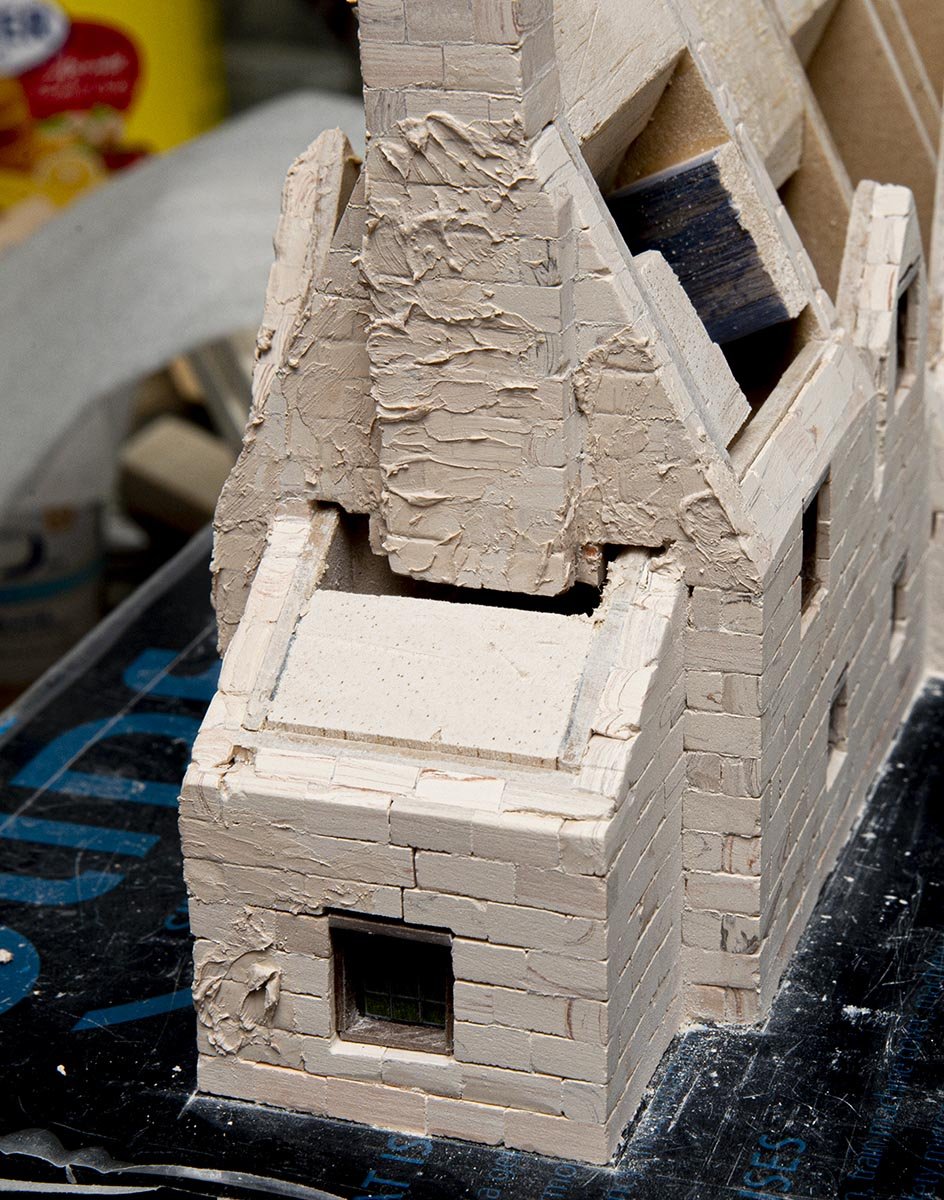
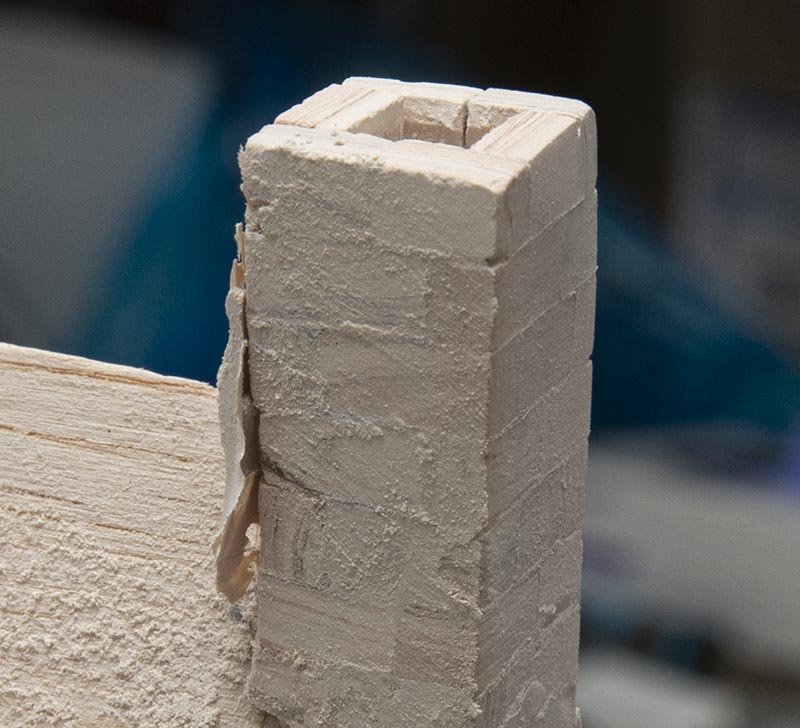
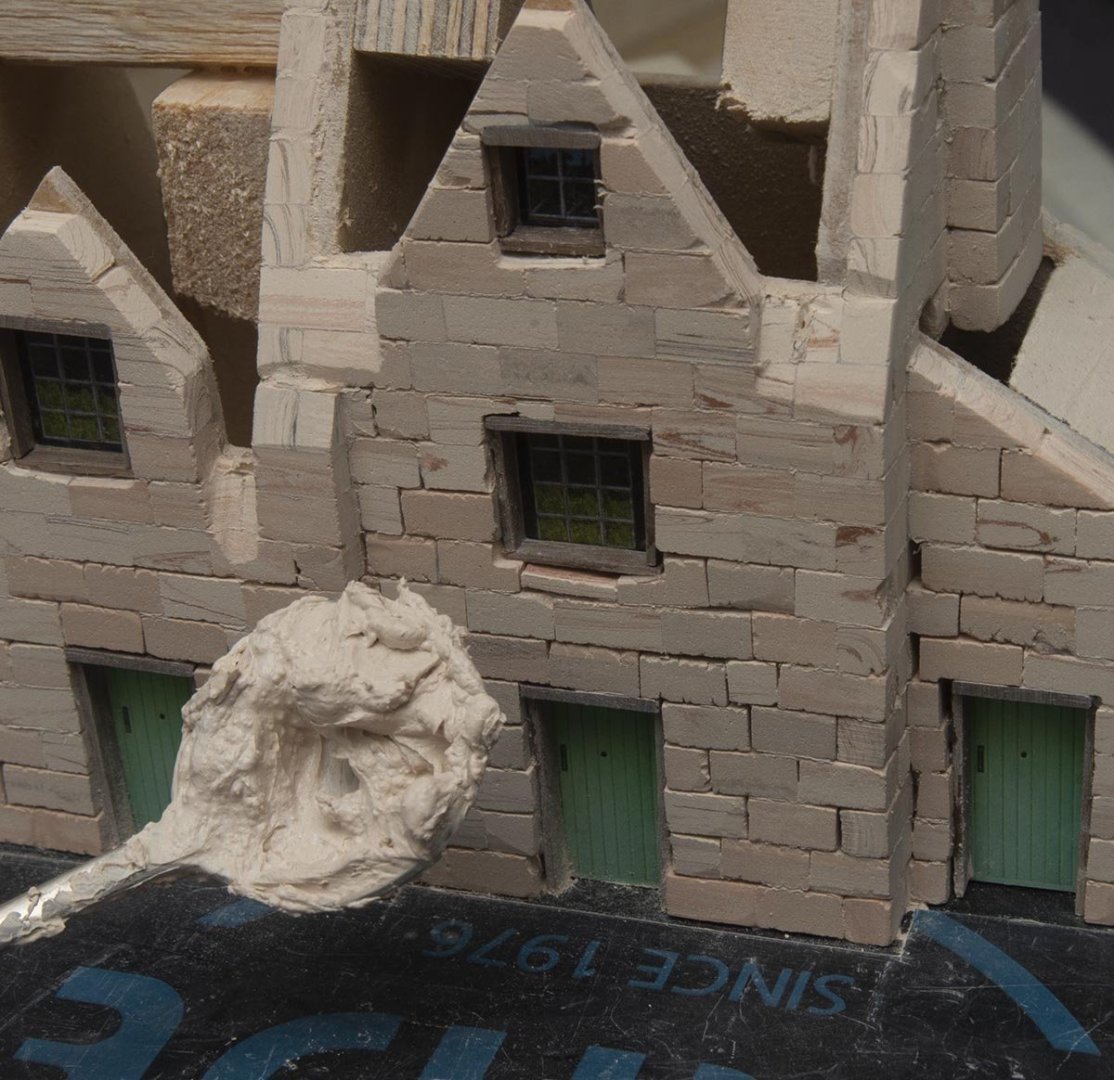
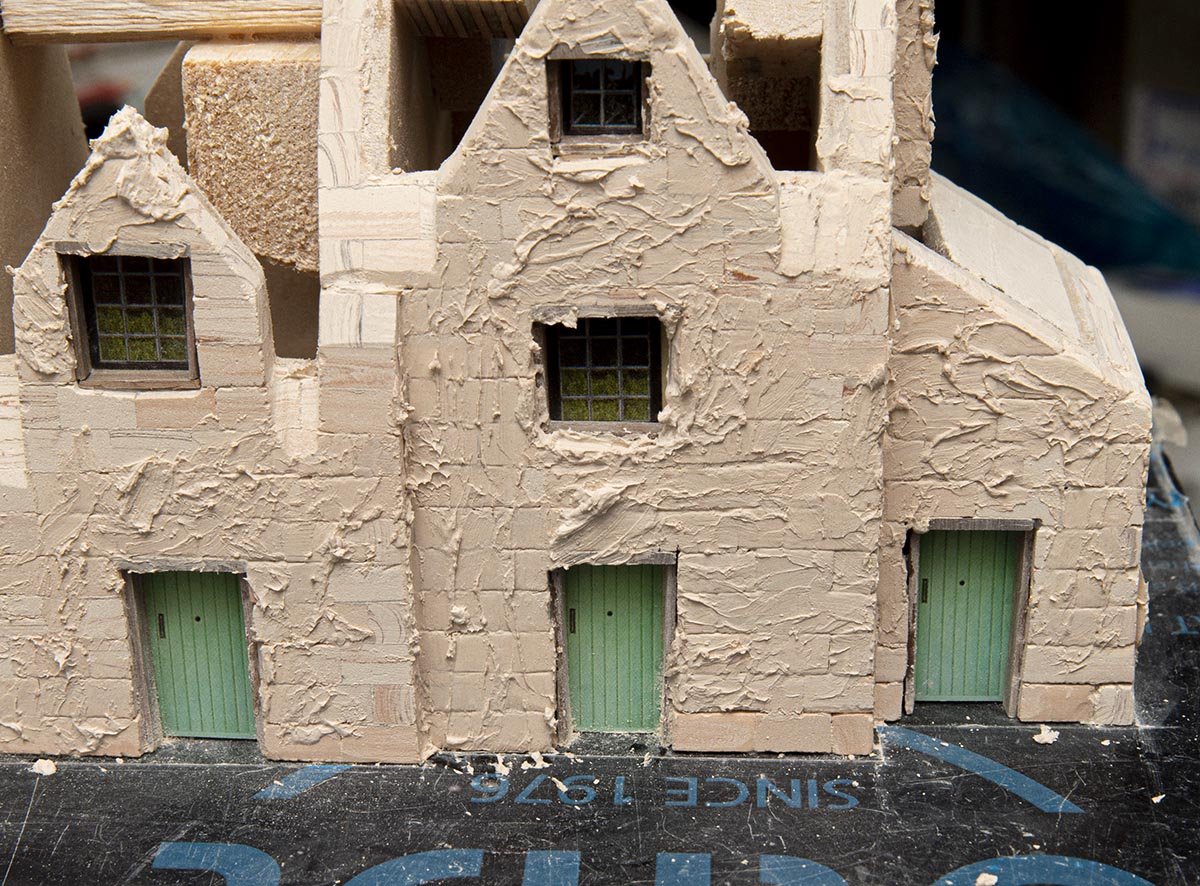
Passed the test. Great result. Now it looks like 13th century building to compare with the yesterday's wreckage. If you pay more time for sanding, it will be a 21th century modern style building. There is a warning point. The modeling paste dries quickly, but it tends to be... gummy. It seems to be a solid rock and very tight, but it can be easily removed by sharp knife. When you remove the rubber film without care... it will bite the nearby stones like the upper picture. This is my methodology. Just sand it. Don't try to remove the film with knife easily. Hard work will make looking better. Don't spread it. Fill the crack only. It can be a kind of paint, but it is very weak paint for long period of time. Just use it to fill cracks.

-
This is the most important part of my project. I didn't pay attention to the gap between blocks. The result after sanding is catastrophic, but I wasn't disappointed because it is part of my plan. Which one will save more time? Polishing each blocks? or filling the gaps? To get the answer, I executed my plan that using acrylic modeling paste with block dusts. The color is ok, viscosity is ok, and the drying speed is a bit fast, but better than mixing with PVA glue. It seems promising after filling the gaps and broken edge blocks, but it's not solid answer yet. I'll slightly sand the excessive pastes and check the final result tomorrow.

-
Yes. The Chinese sellers moved to their country's flea market from the middle of 2010s. At first, they increased the price on the Ebay, and then removed listings. The Ebay still offer much better customer protection, but I don't use it anymore when I purchase chinese cheap items. Of course, I'm always aware of a chance of loss money at Aliexpress.