HOLIDAY DONATION DRIVE - SUPPORT MSW - DO YOUR PART TO KEEP THIS GREAT FORUM GOING! (Only 75 donations so far out of 49,000 members - C'mon guys!)
×


Egilman
-
Posts
4,377 -
Joined
-
Last visited
Content Type
Profiles
Forums
Gallery
Events
Everything posted by Egilman
-
 Still one of the most dangerous places to be in this country as well, and it's not a combat zone...
 -
I can see four white blades brother in that pic... Thank you for those I didn't doubt you at all but it's nice to actually see it, strange that it wasn't picked up by some of the detail rags that seem to get printed every couple of years... I suspect it was considered a one off if anyone actually saw it... But this confirms that no it wasn't a one-off... Now I've got my odd detail for the Slick when I get around to it!! {chuckle} Thanks Thanks for the complements on the H-13's, the in country-in service persons will connect with the Air-evac bird I'm gathering... It's something they all can feel... The training bird will connect on a different level with a very select crowd and won't have the emotional draw than a bird that's coming to drag your butt out of a tight spot will... It definitely has that TV show "Whirlybird" look to it.... But it was worth modeling, tens of thousands of heli pilots got their introduction to flight in that bird and it's still one of the most liked helis flying today... Again thanks... EG
-
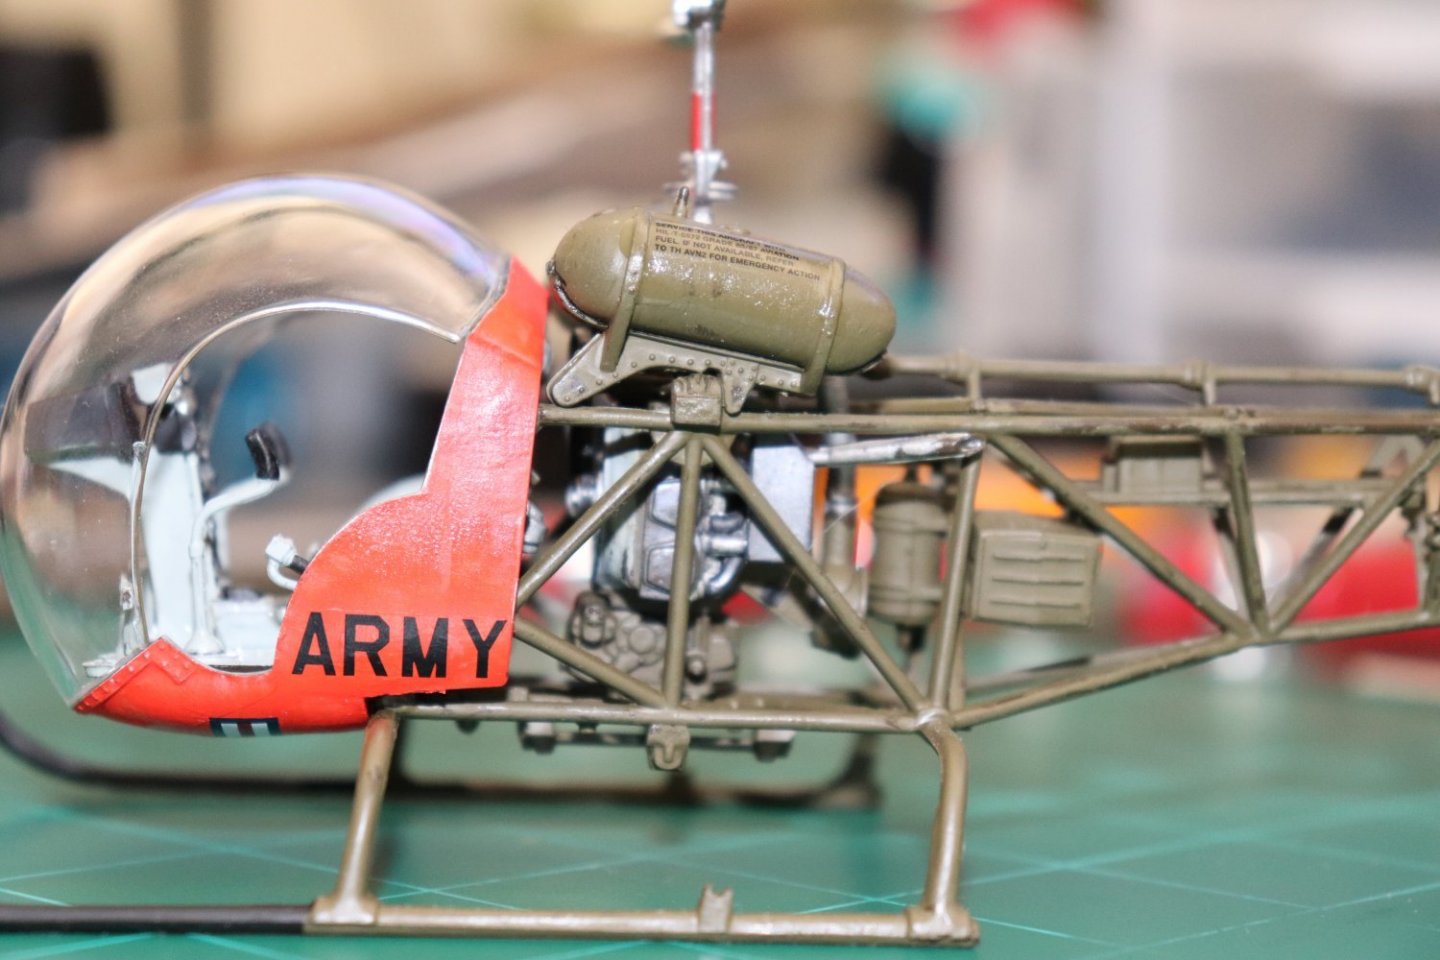
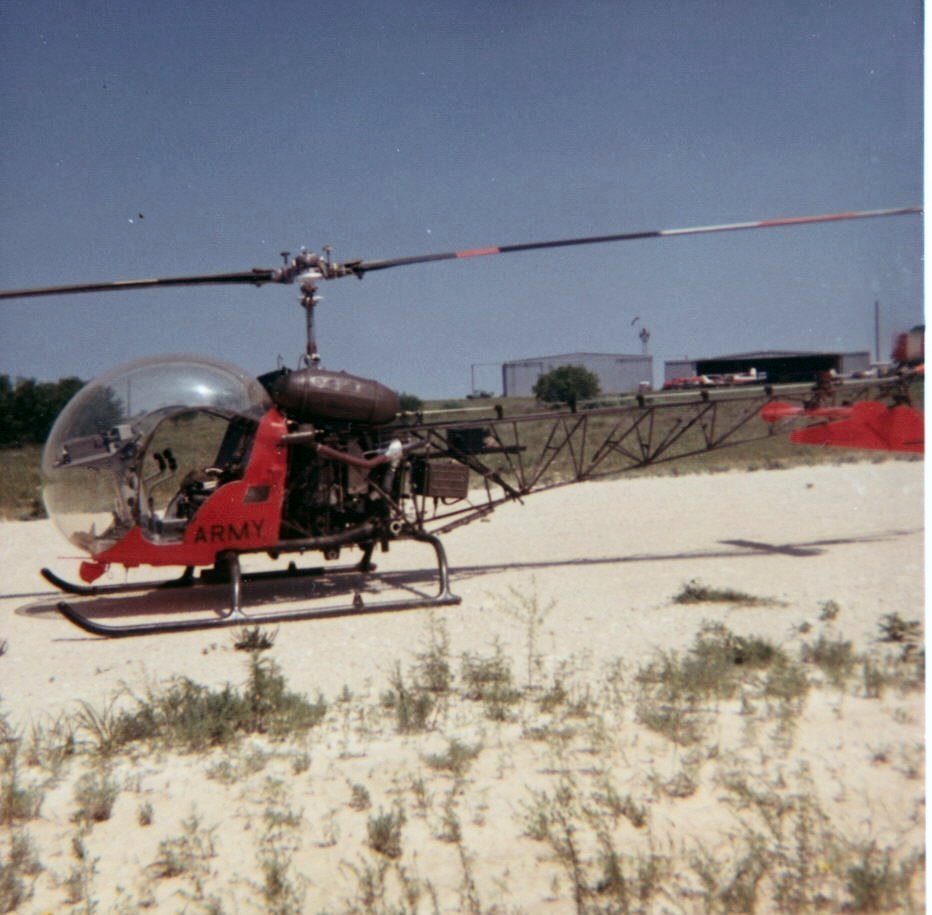
Thank you, It was one of those trying to figure out what the kit fit in real life, cause it sure didn't fit a Korean War air ambulance and I didn't want to do what everyone else did... So it had to be a General Officers taxi or a training bird... The Ft Wolters scheme fit it better and it wouldn't be just another OD green machine... Not something modeled often... Much appreciated Ken...
-
Thanks my friend, I haven't decided yet, but leaning towards something supersonic...
-
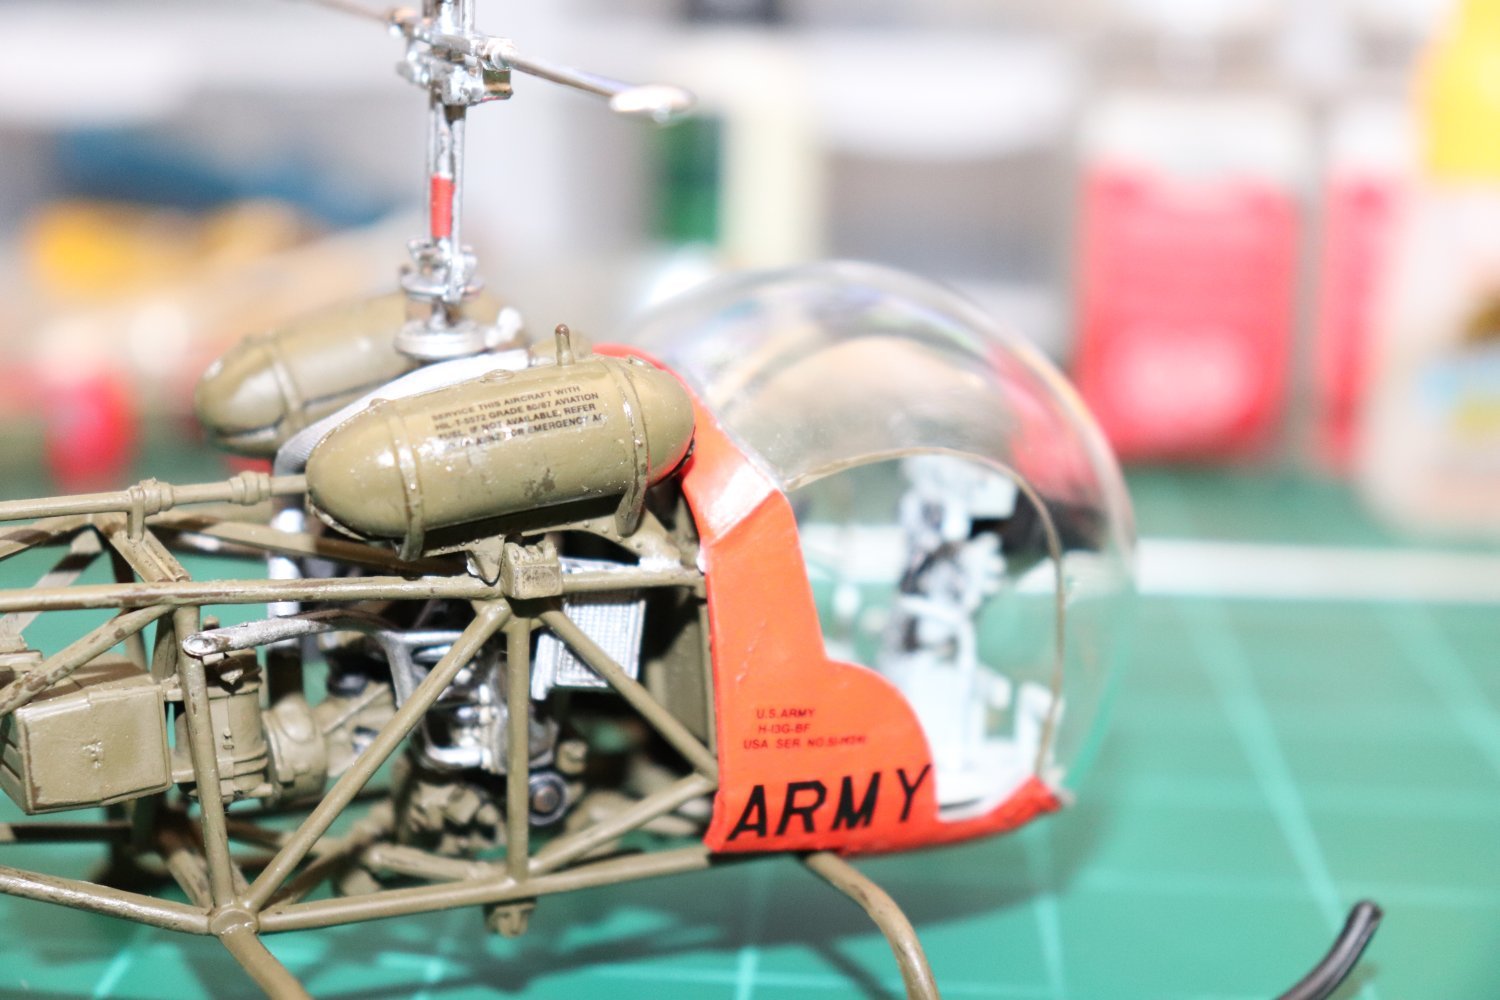
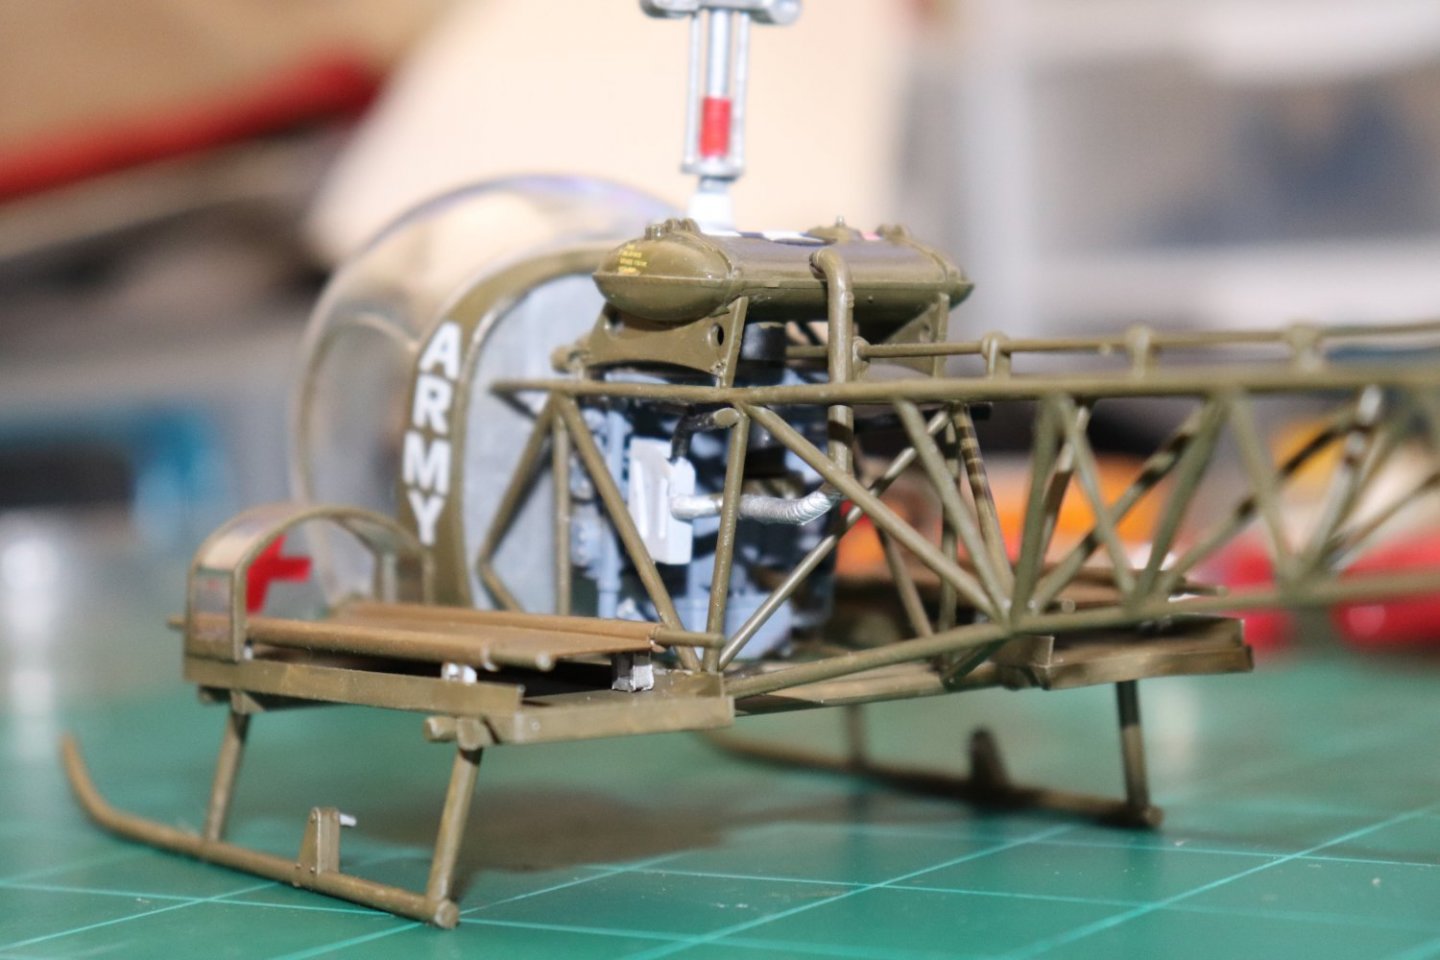
Yes it is brother, my thoughts are that the kit designers use what is typical for the period they are designed for the details rather than doing the extensive research to get down to the color of the firehoses... All of us as modelers have to deal with it.... One of the vagaries of our chosen mediums... It's looking great though... even if the detail colors are a few decades off...
-
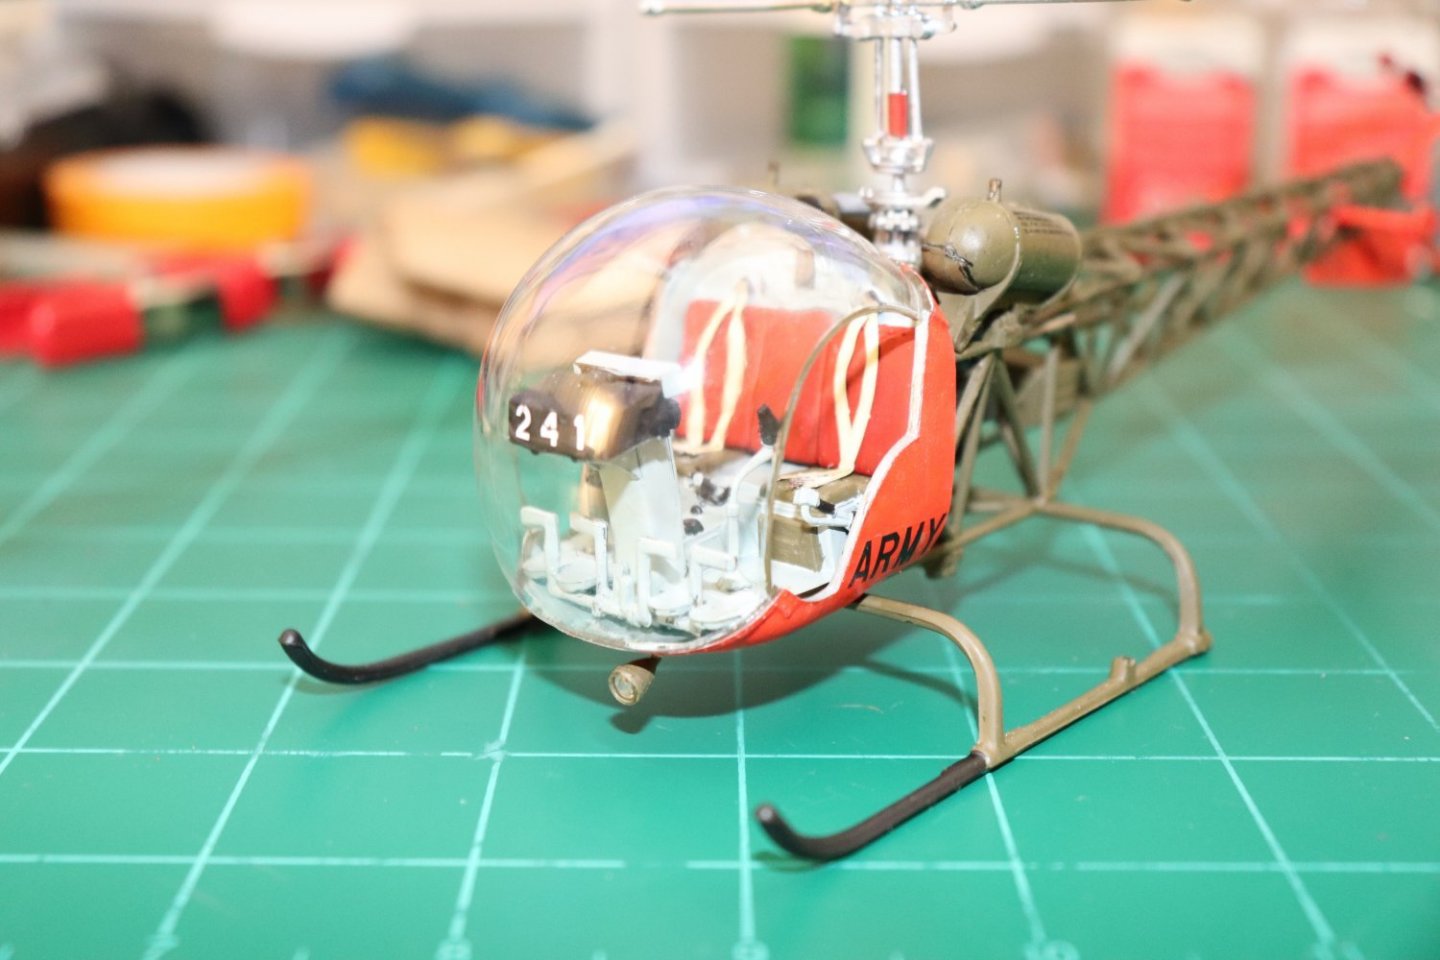
The things above are not hoses, some kind of fitting like a nozzle extension or something, things under them ARE fire hoses, stowed in their brackets, which during the period were canvas and would be canvas colored when new, painted when they repainted the bulkhead... Kind like a radome tan or light sand/off whitish color... Definitely not red, red is post war composite hose probably Vietnam era or later.... Which is totally incorrect for the vessel...
-
I was going to ask about those as well, they sure wouldn't be red during WWII... neither would the firehoses underneath them... Actually no, everything was painted, no brightwork was allowed to show and anything on a bulkhead was painted the color of the bulkhead.... (as per Ships 2, including canvas as well) they were very serious about it... Captains had a lot of leeway in when and how their ships were painted, but the details were according to Ships 2 without exception...
-
They are known as Mandrels... and yes they were painted the same as the sides of the bulkheads they were next to initially, and then plain #5 Ocean Grey (actually a blue color) The camo on the ship and the colors used would be according to Ships 2 rev 3 1944, for an example here is Ships 2 Rev 2 from Feb. '43... But I understand the need to match the colors the kit used... Not advocating for a repaint... {chuckle}
-
I'll vouch for that, I installed two of them to eliminate cross shadows, and they last 5 times longer than the regular bulbs... Much cheaper in the long run as well...
-
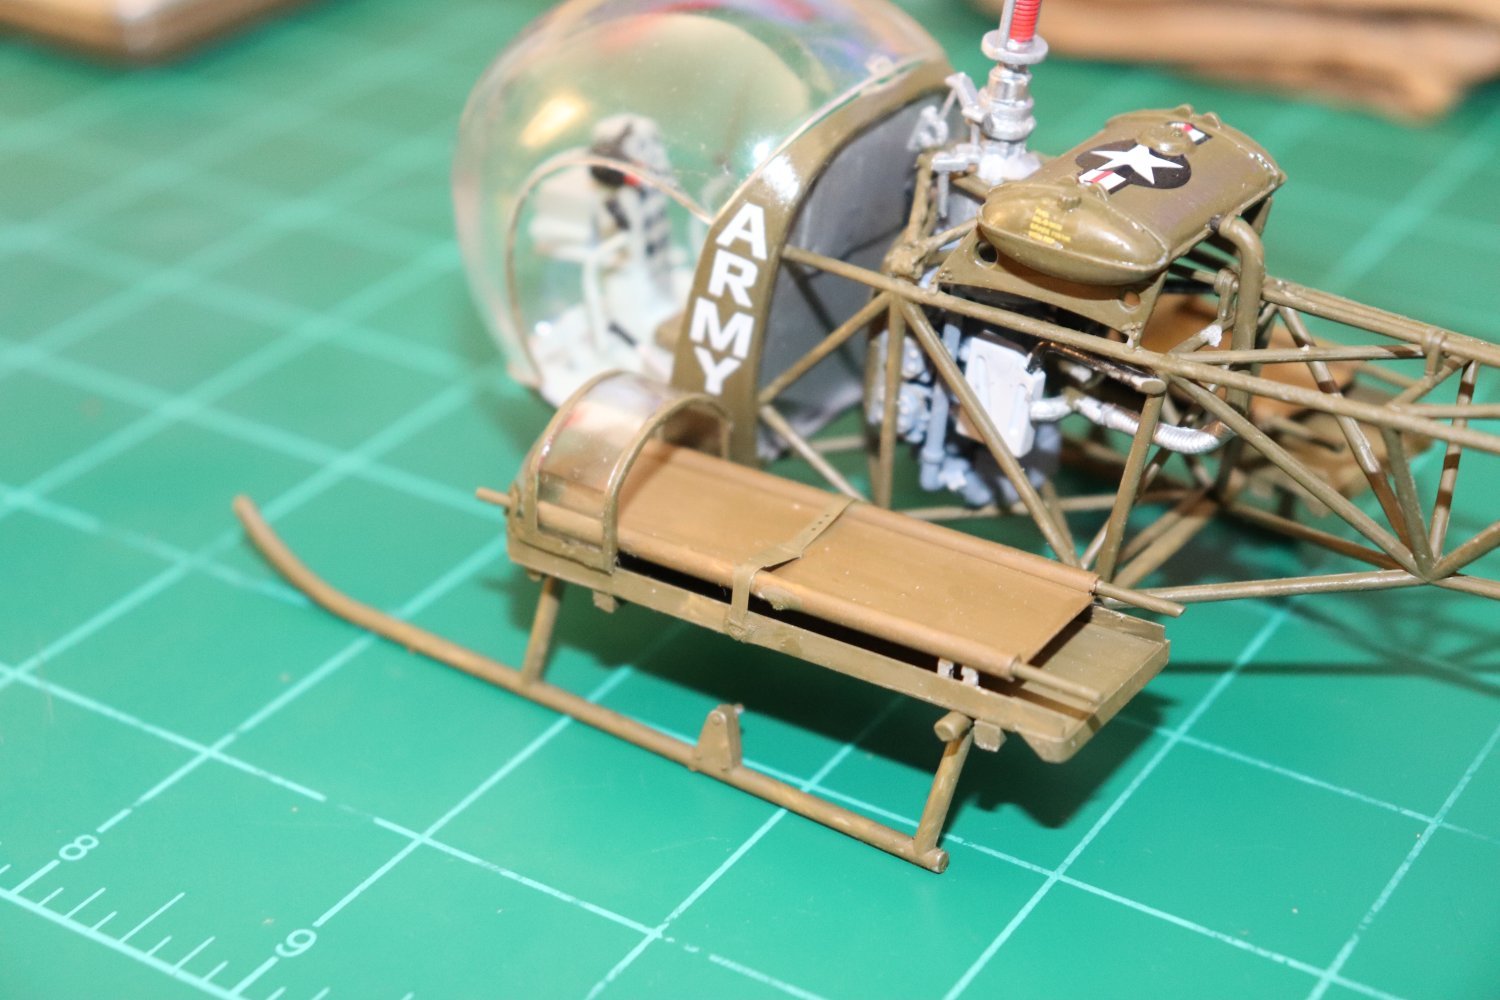
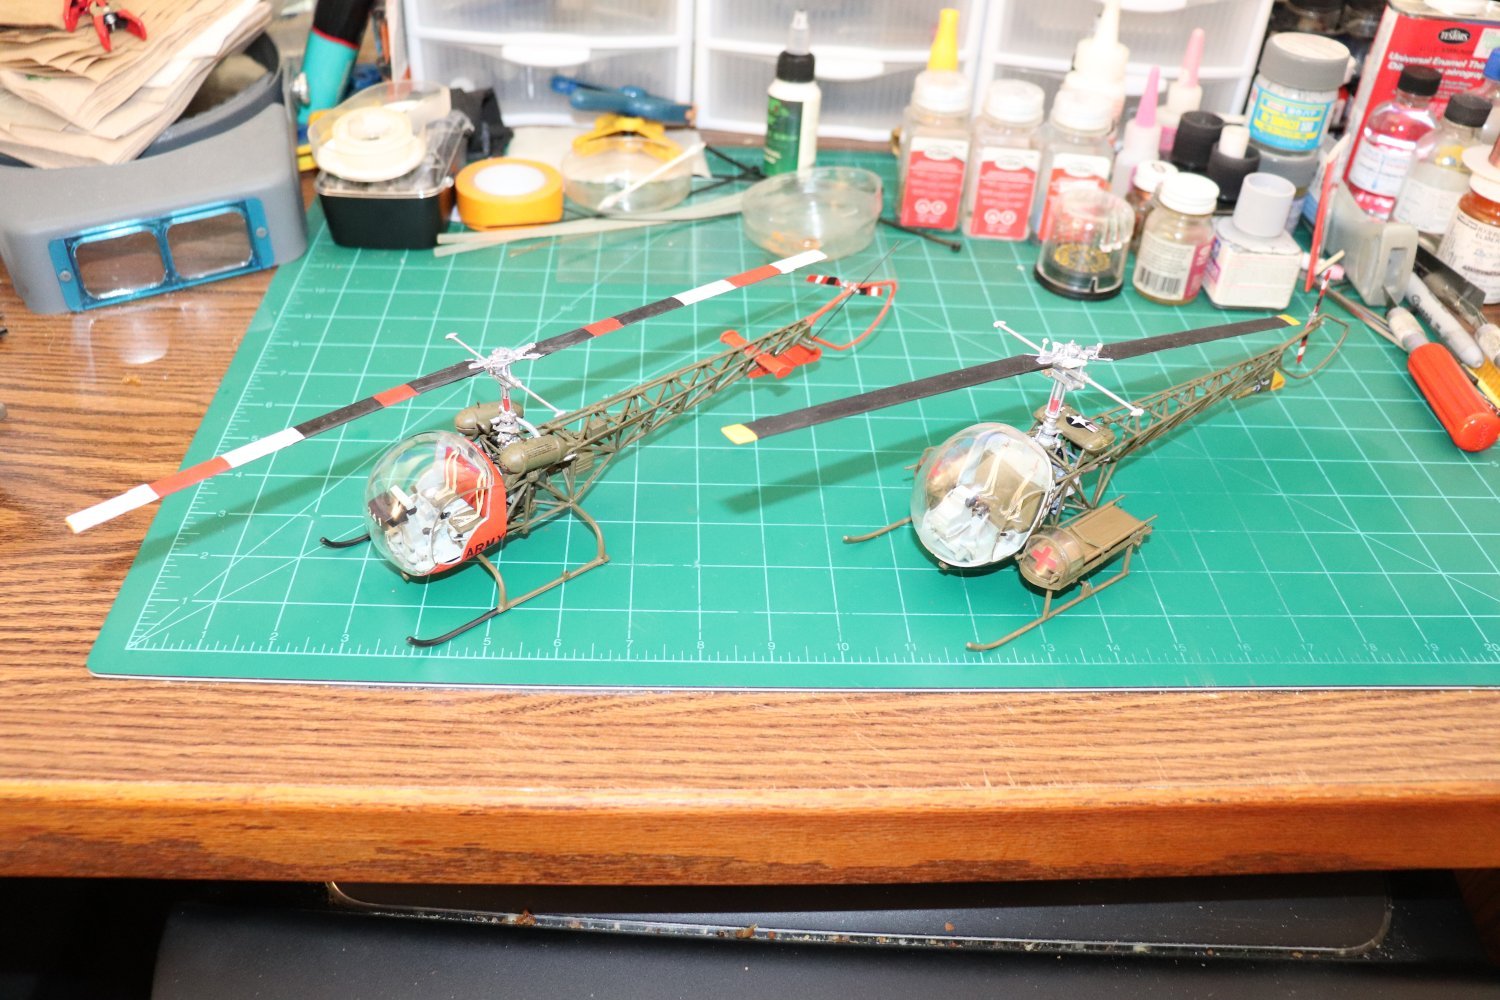
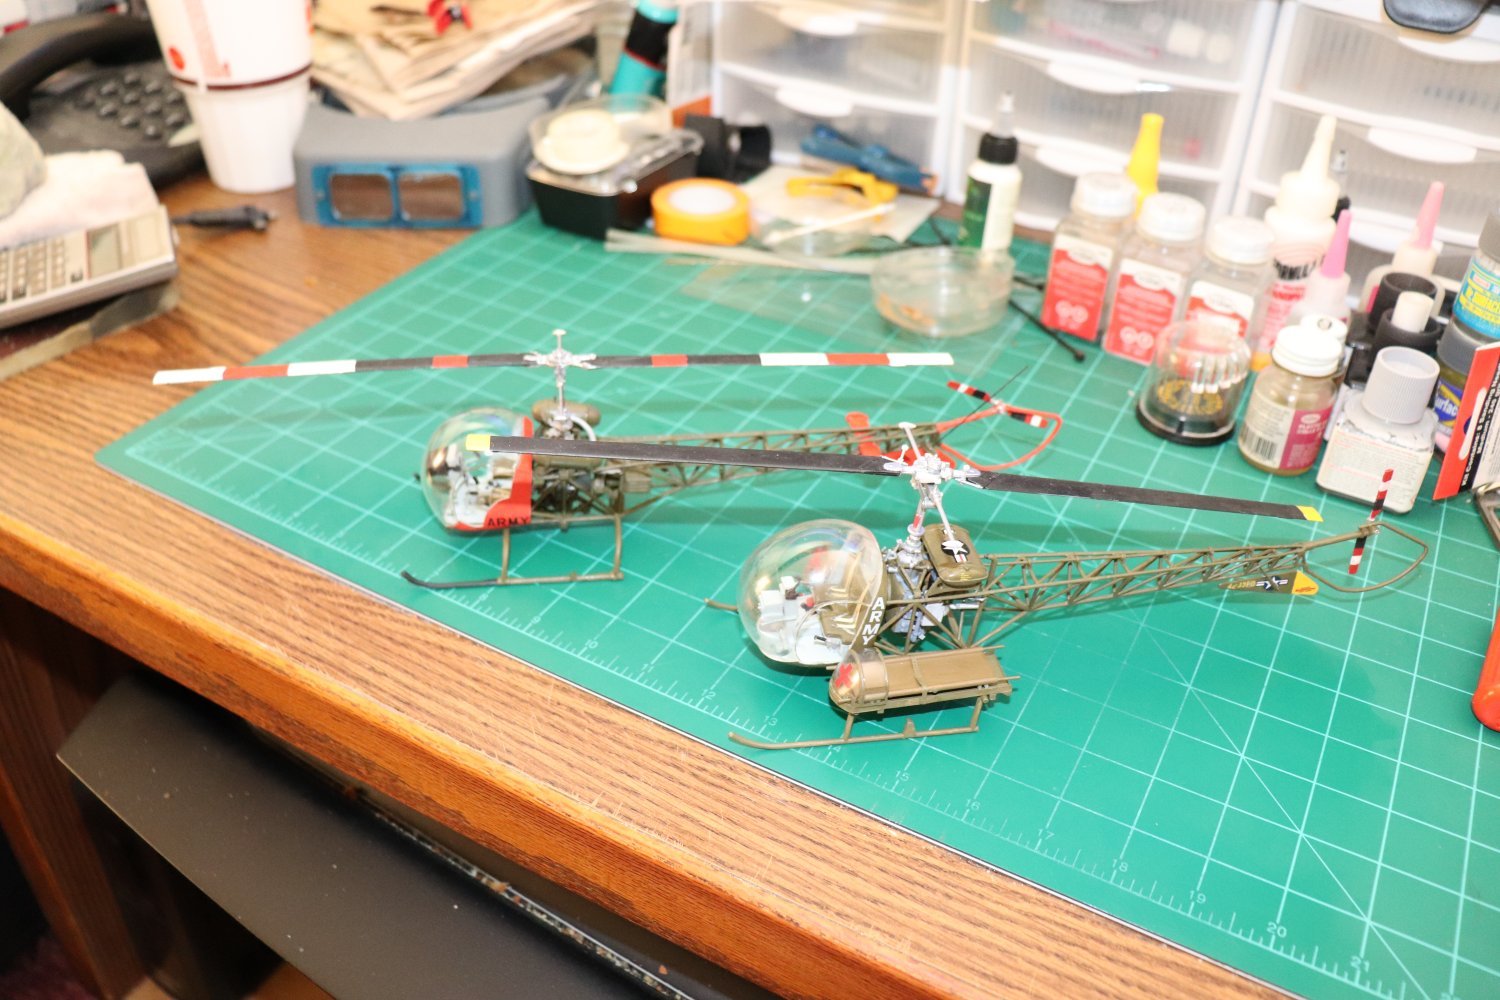
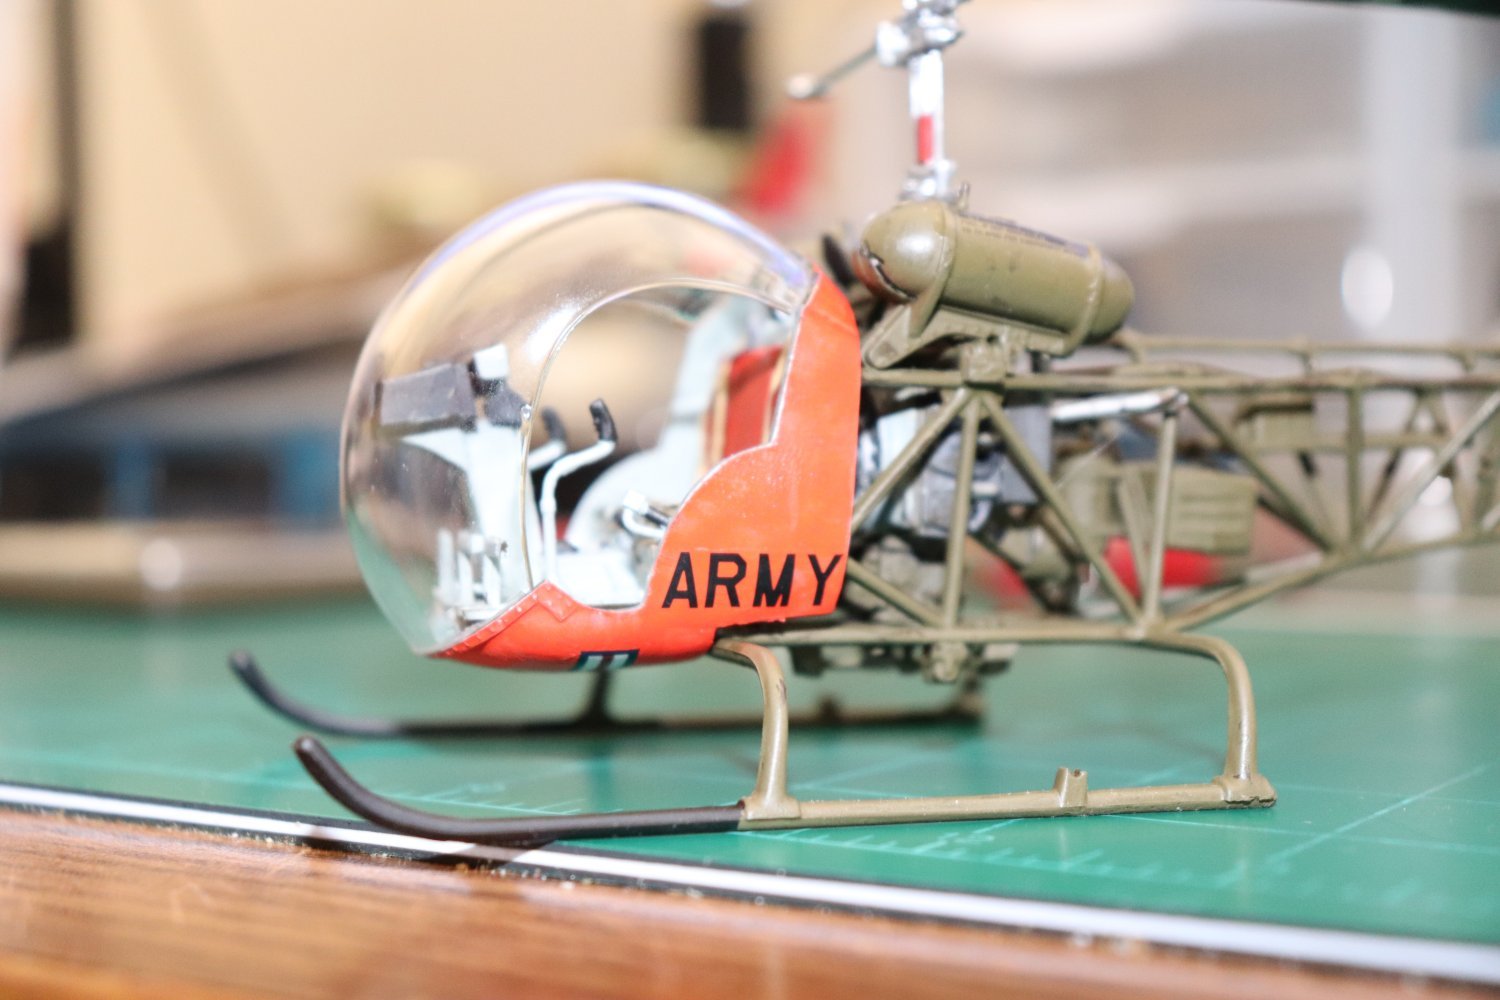
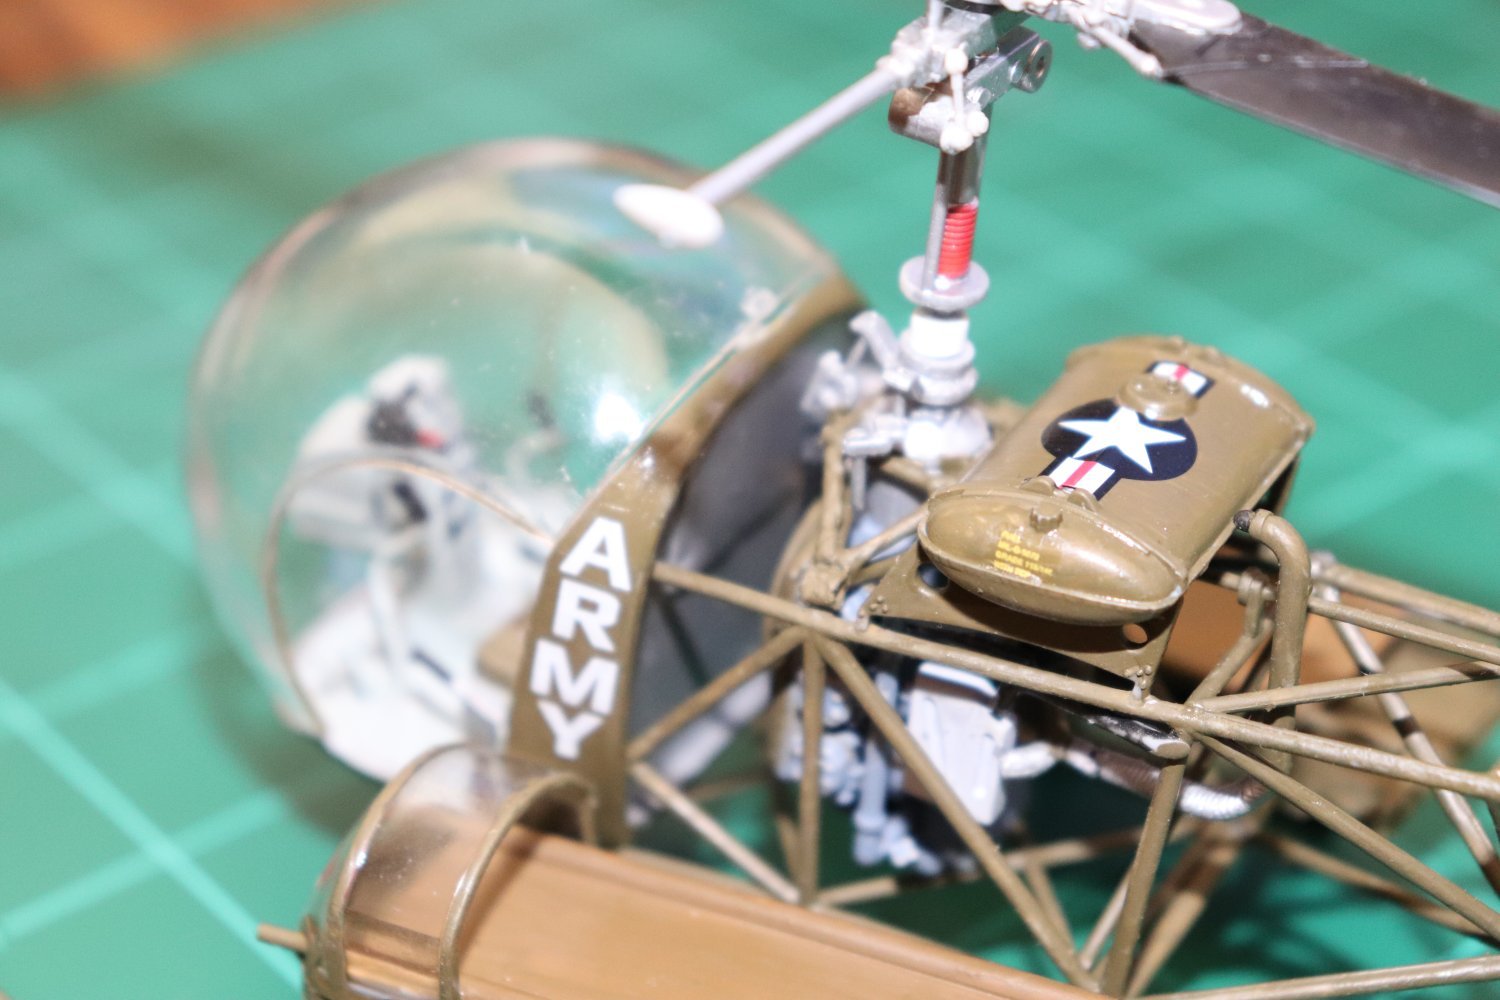
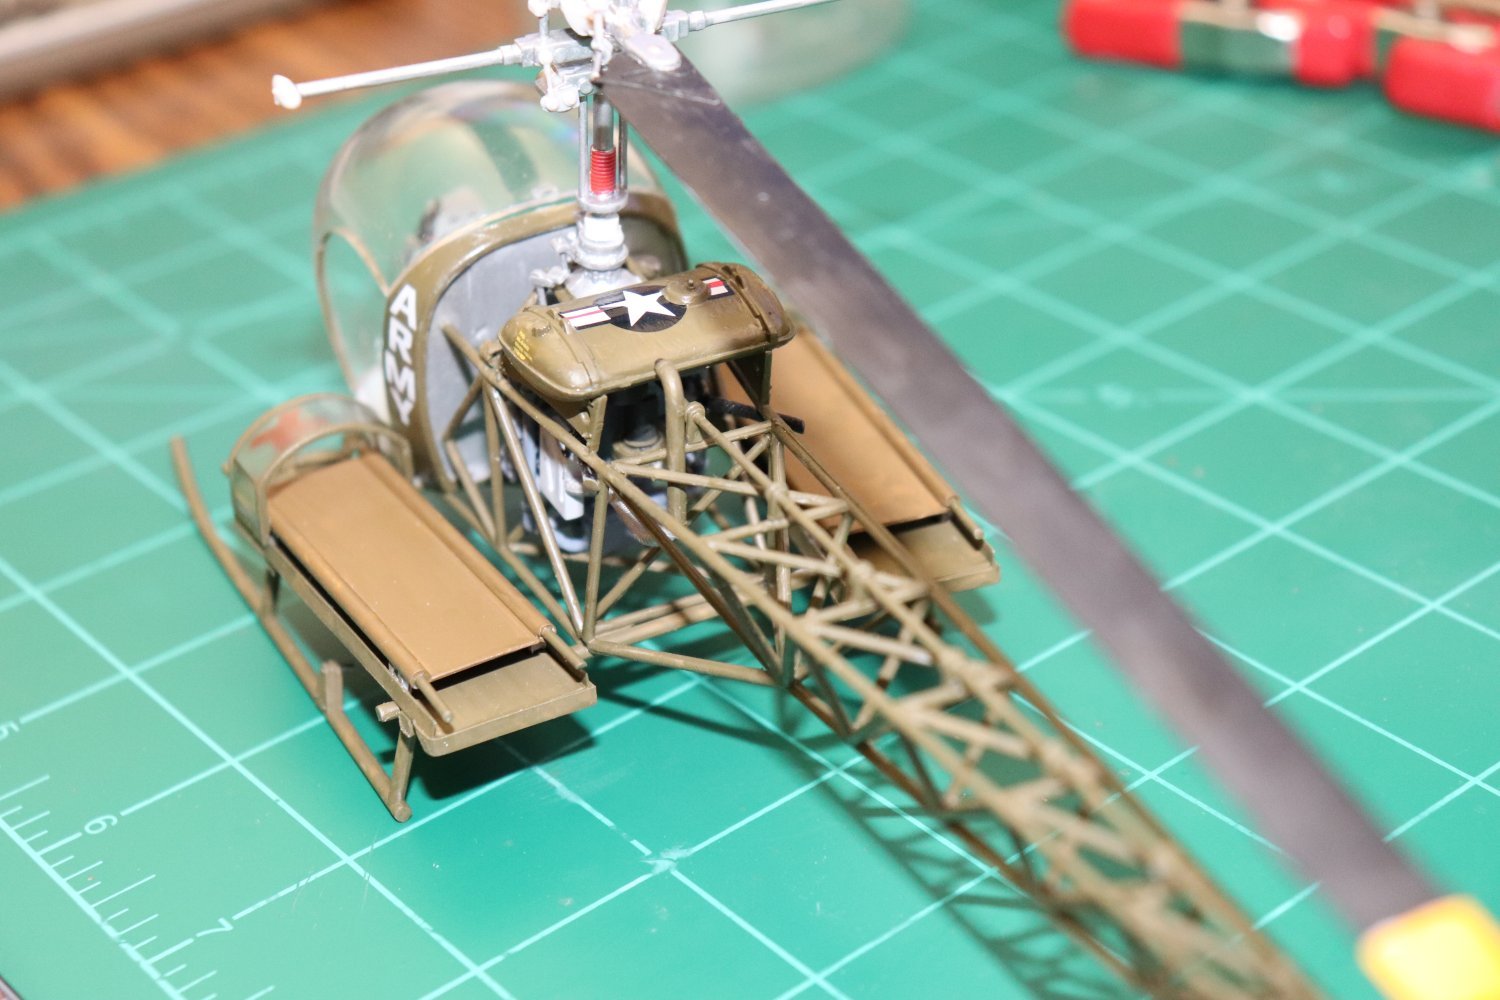
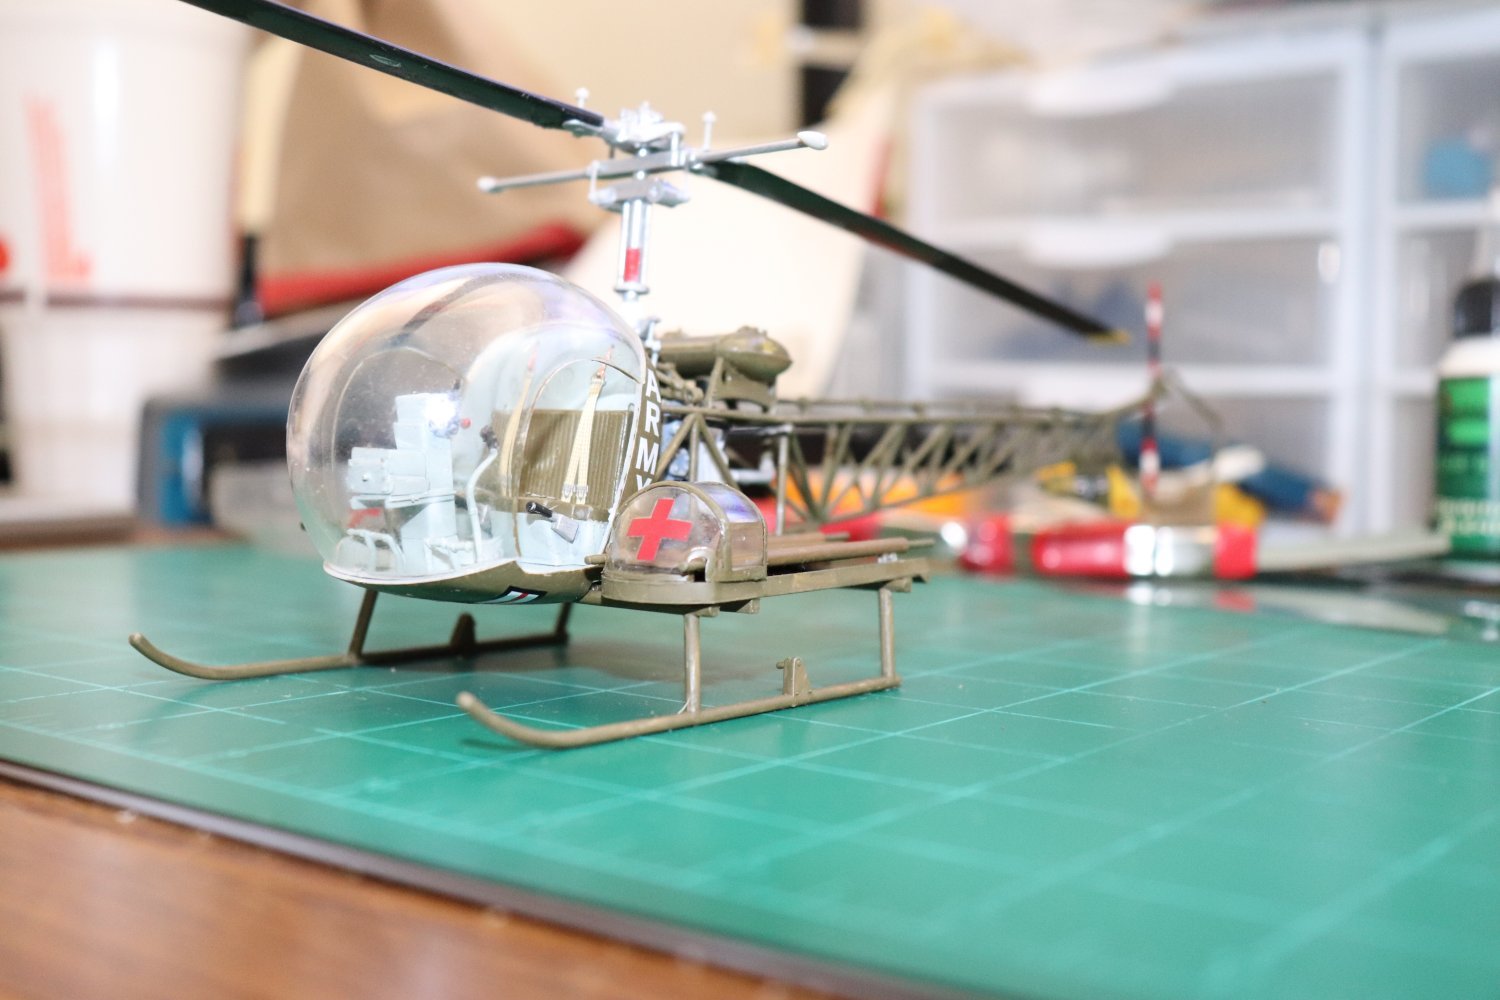
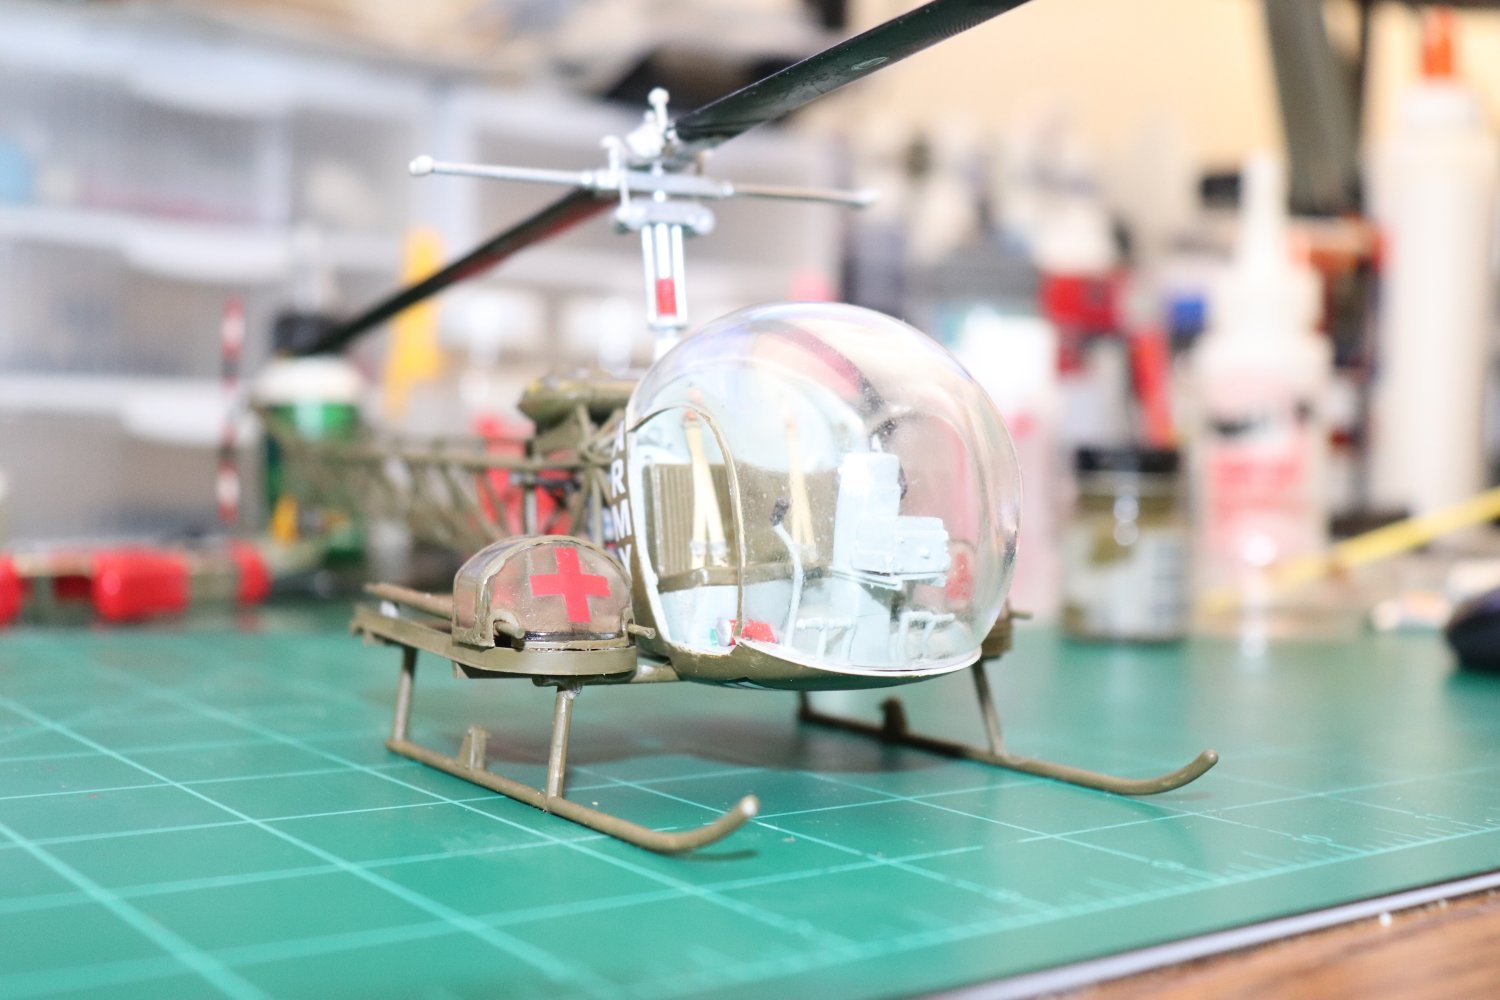
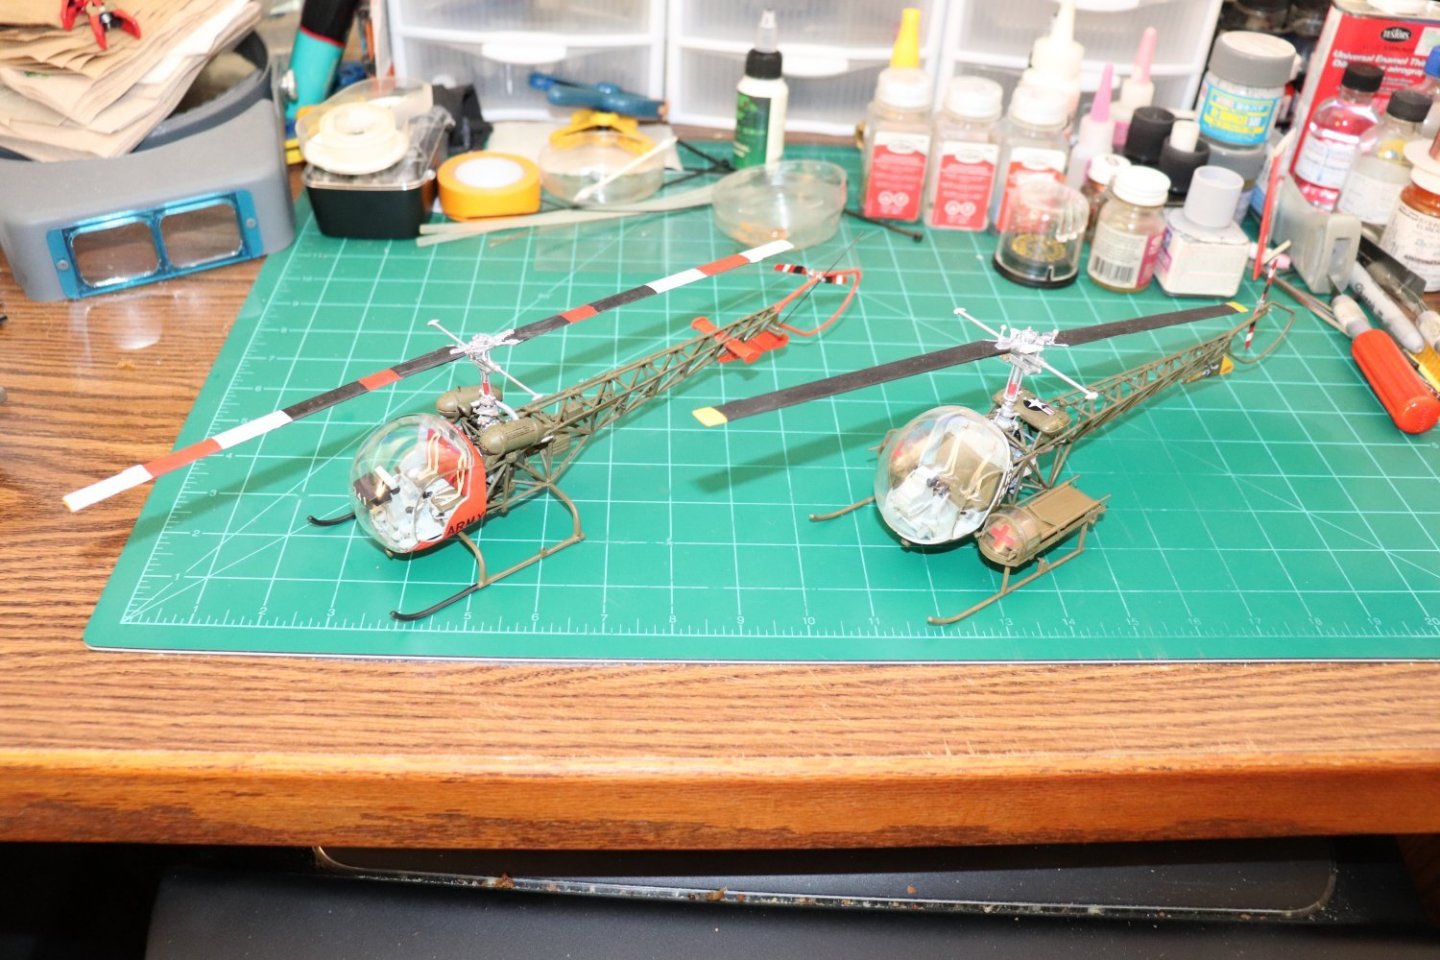
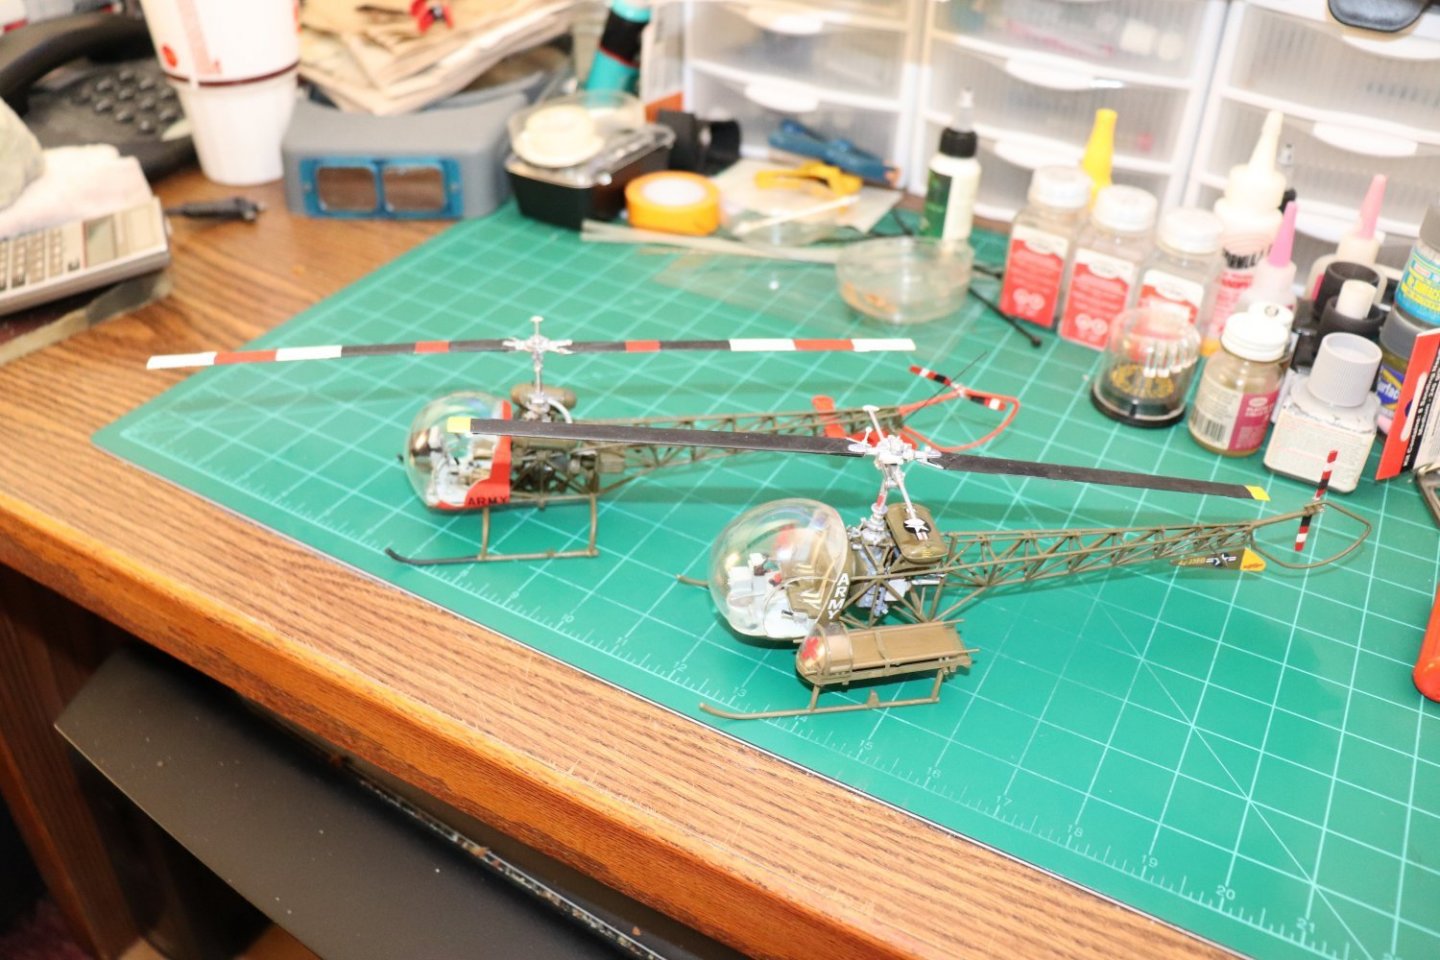
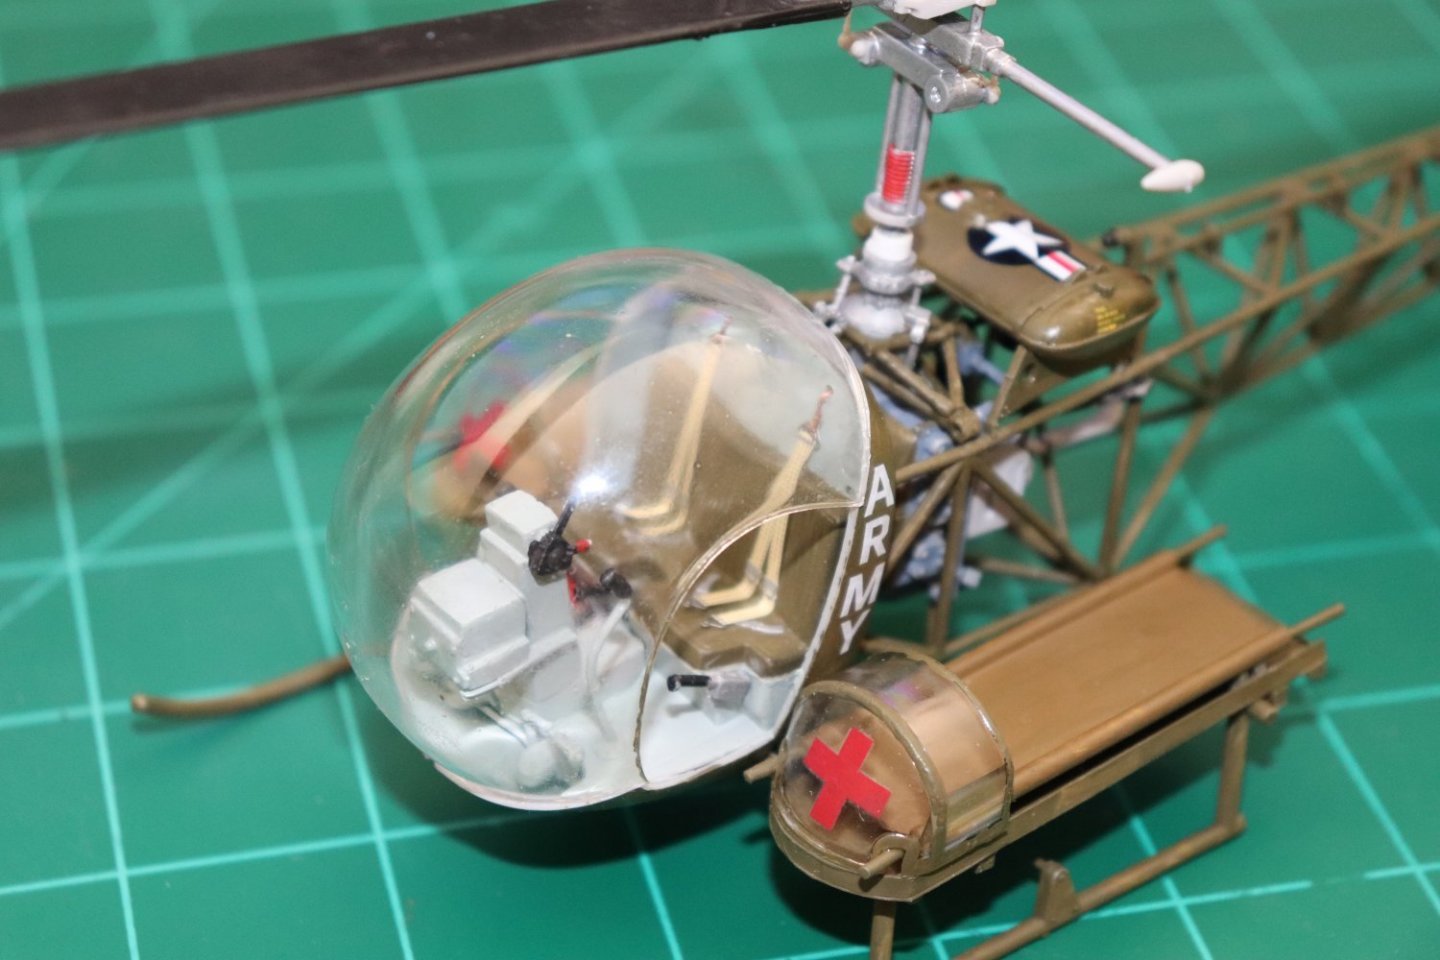
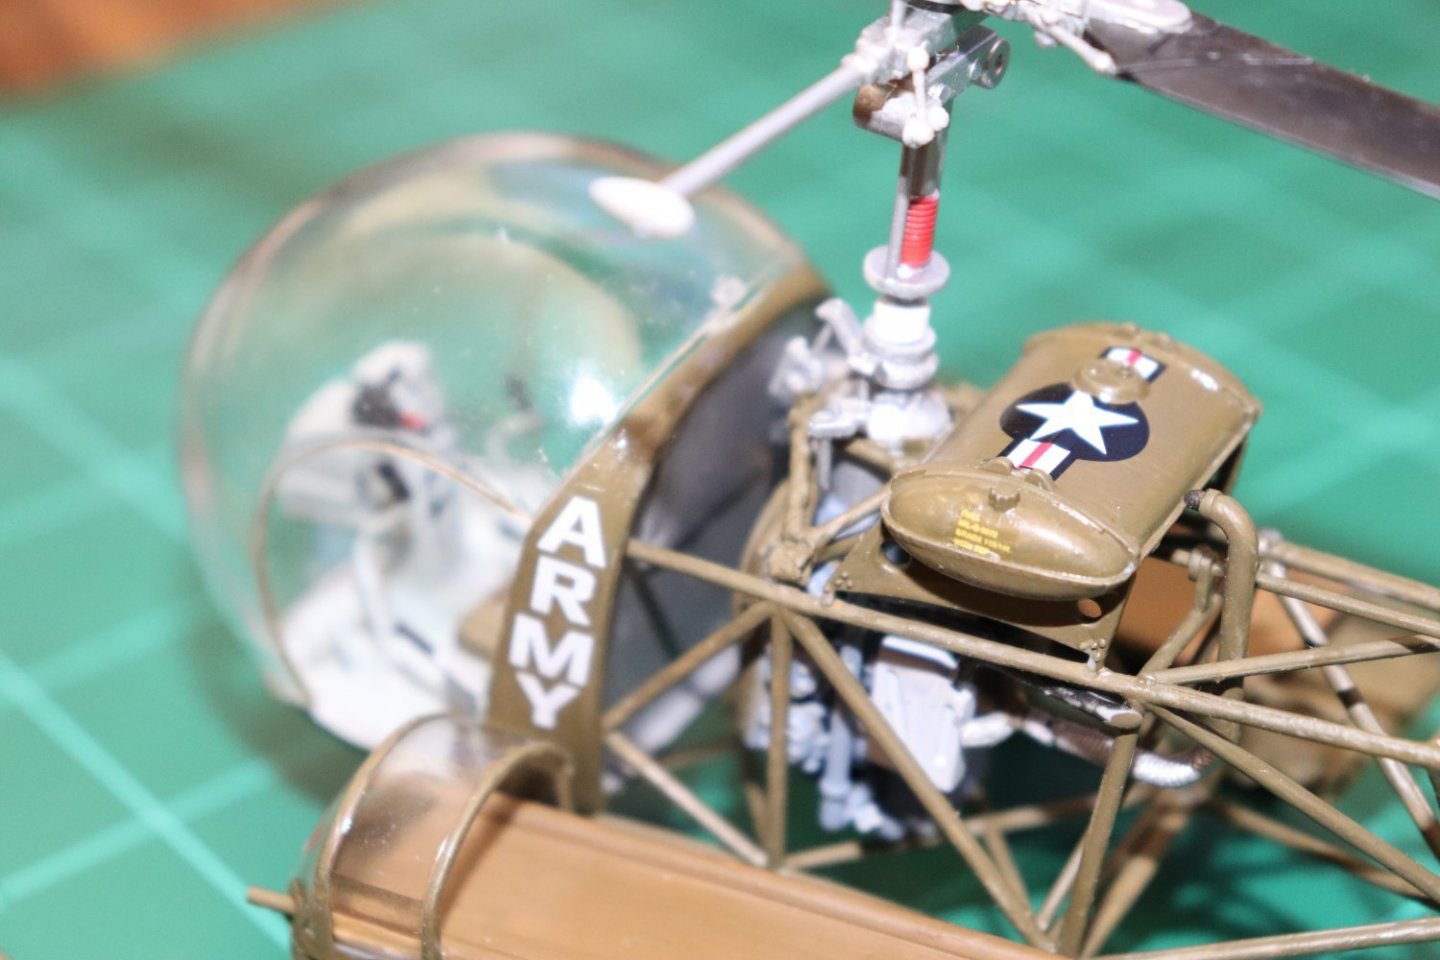
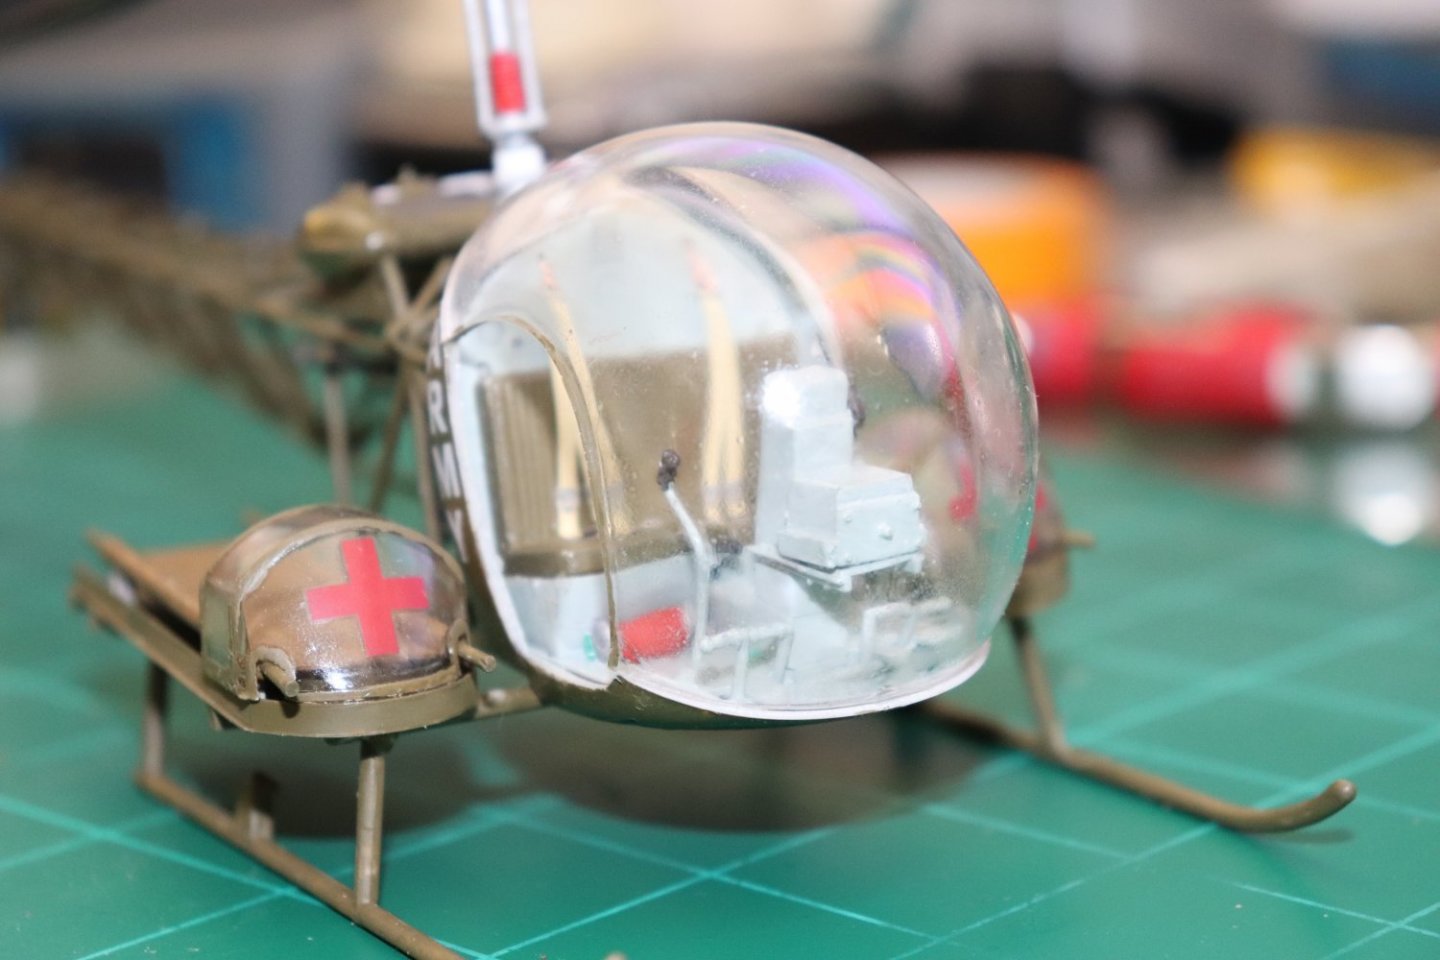
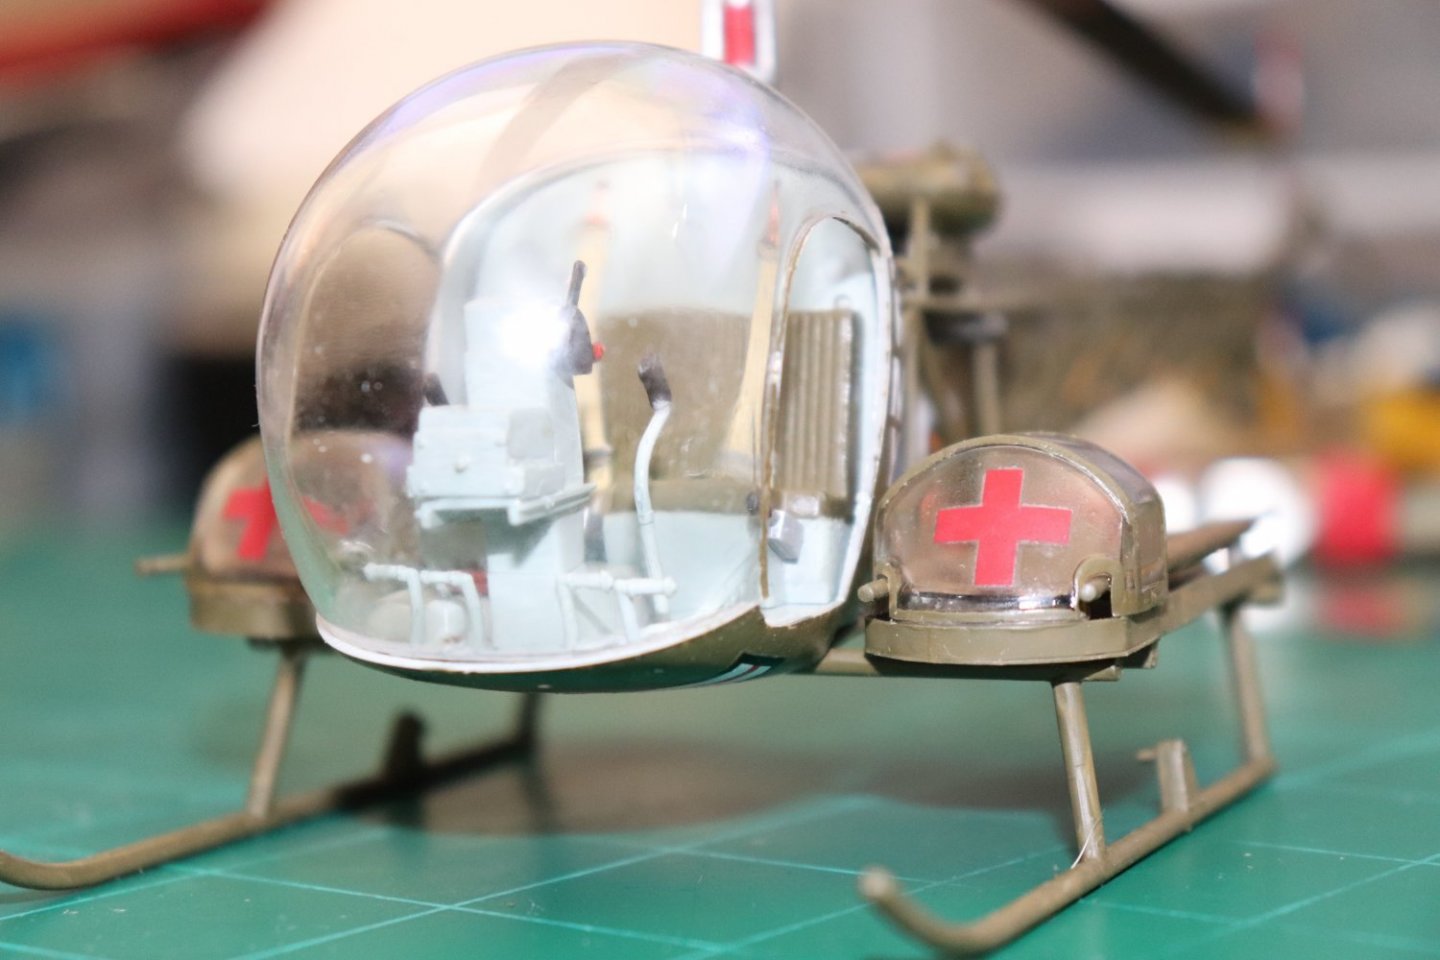
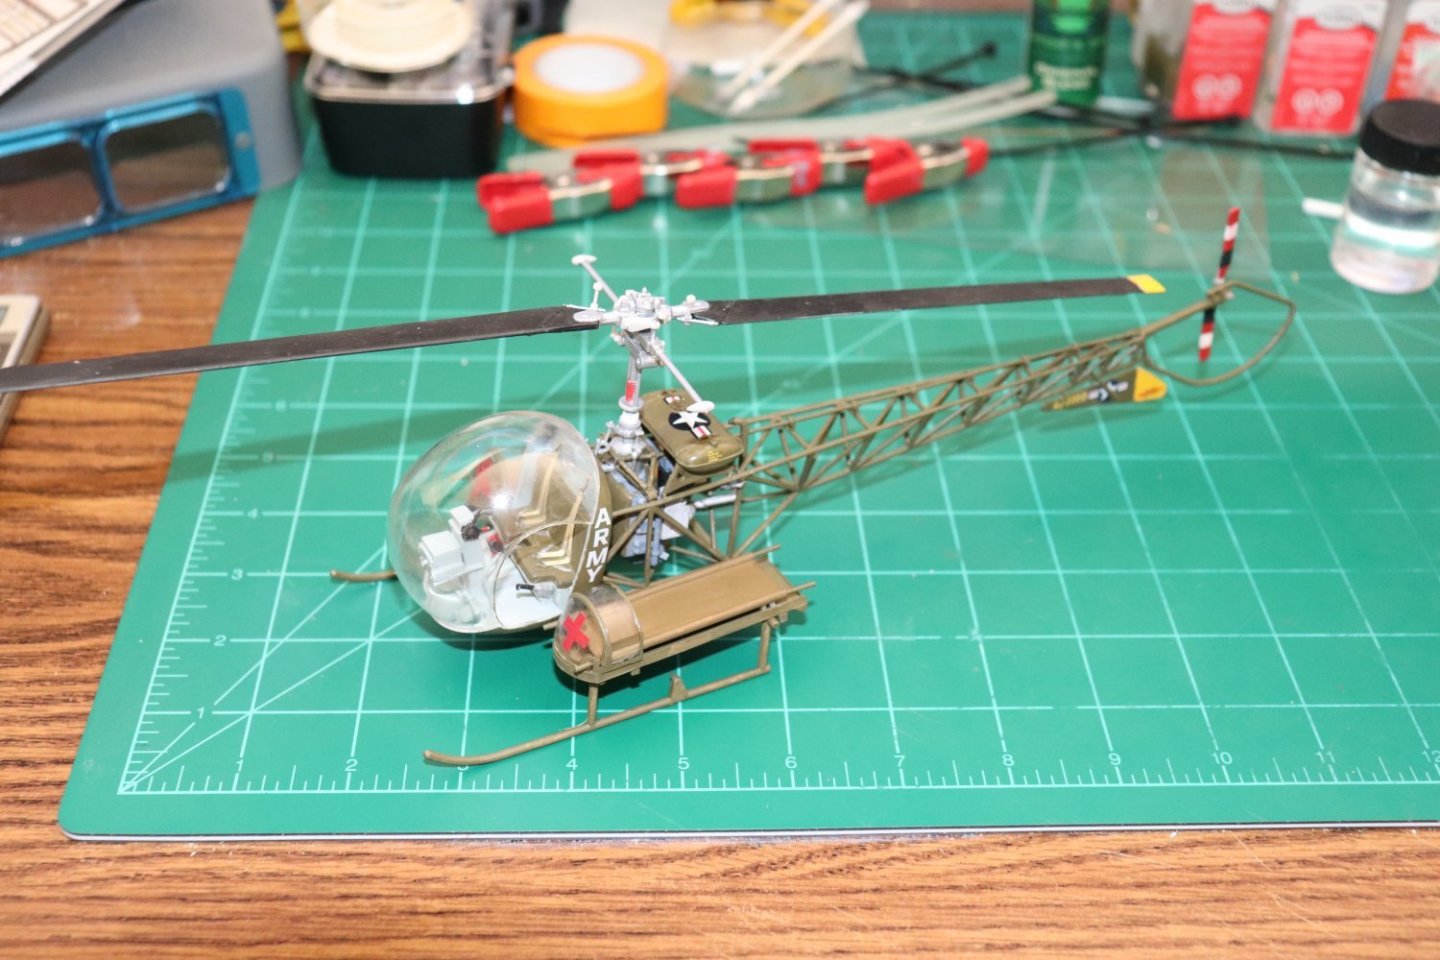
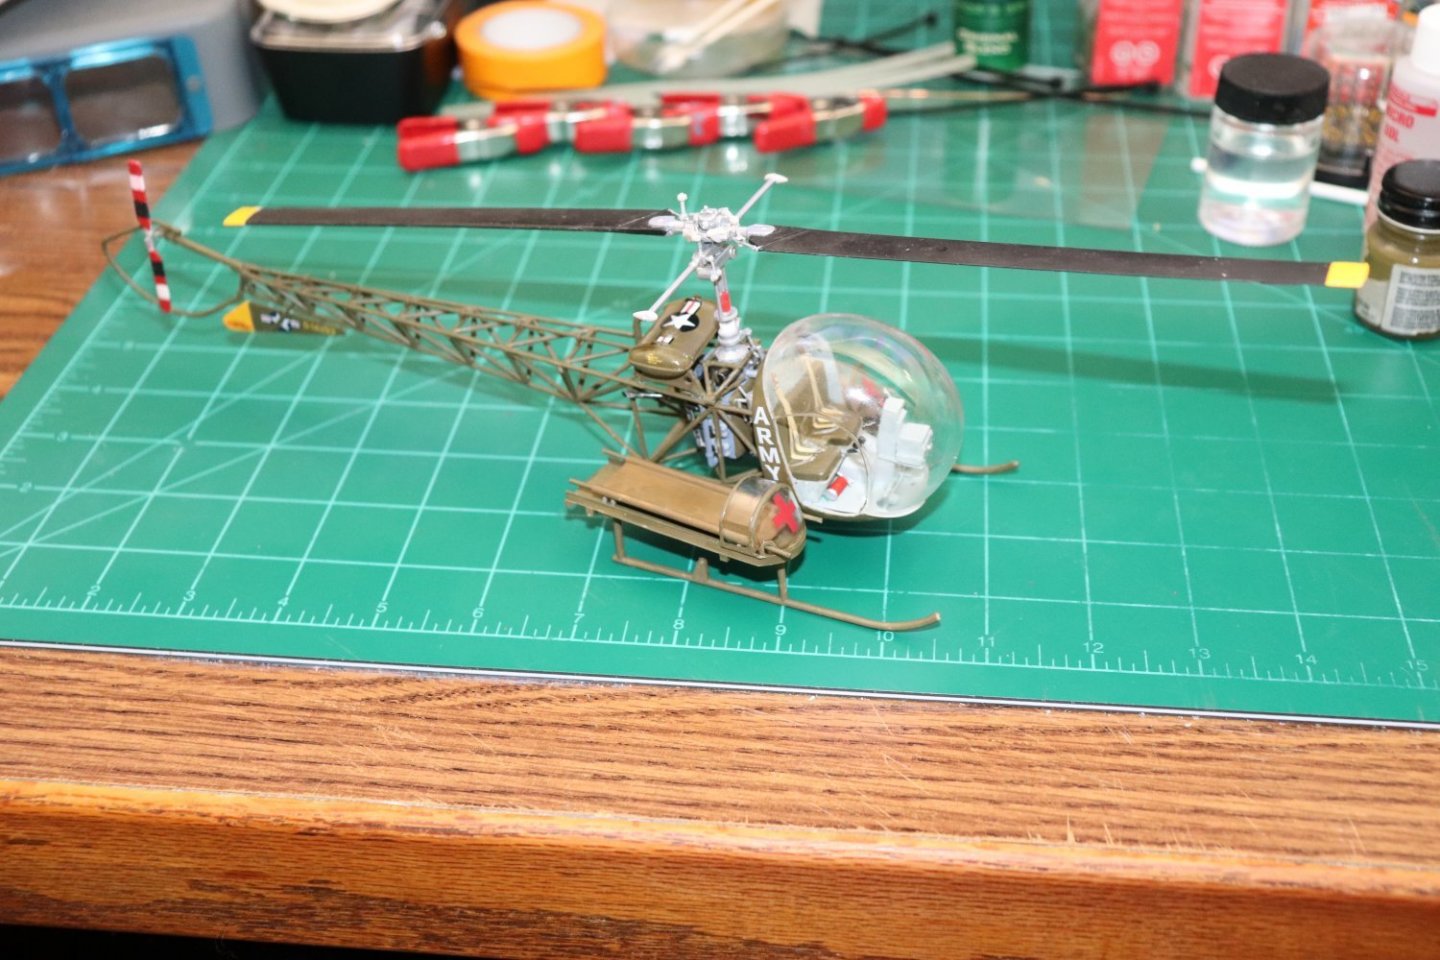
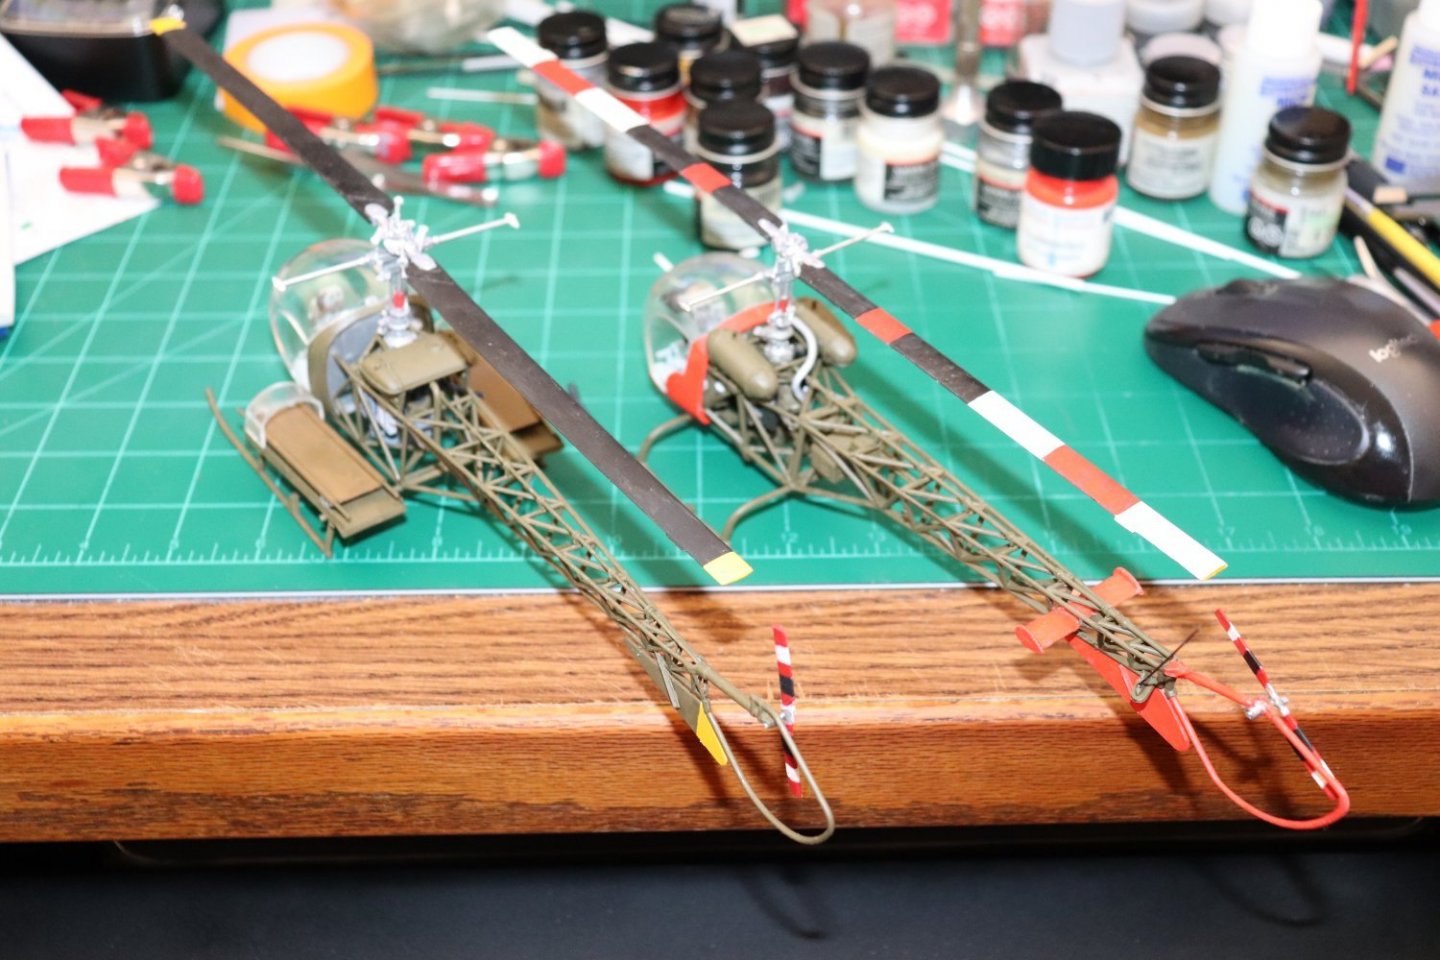
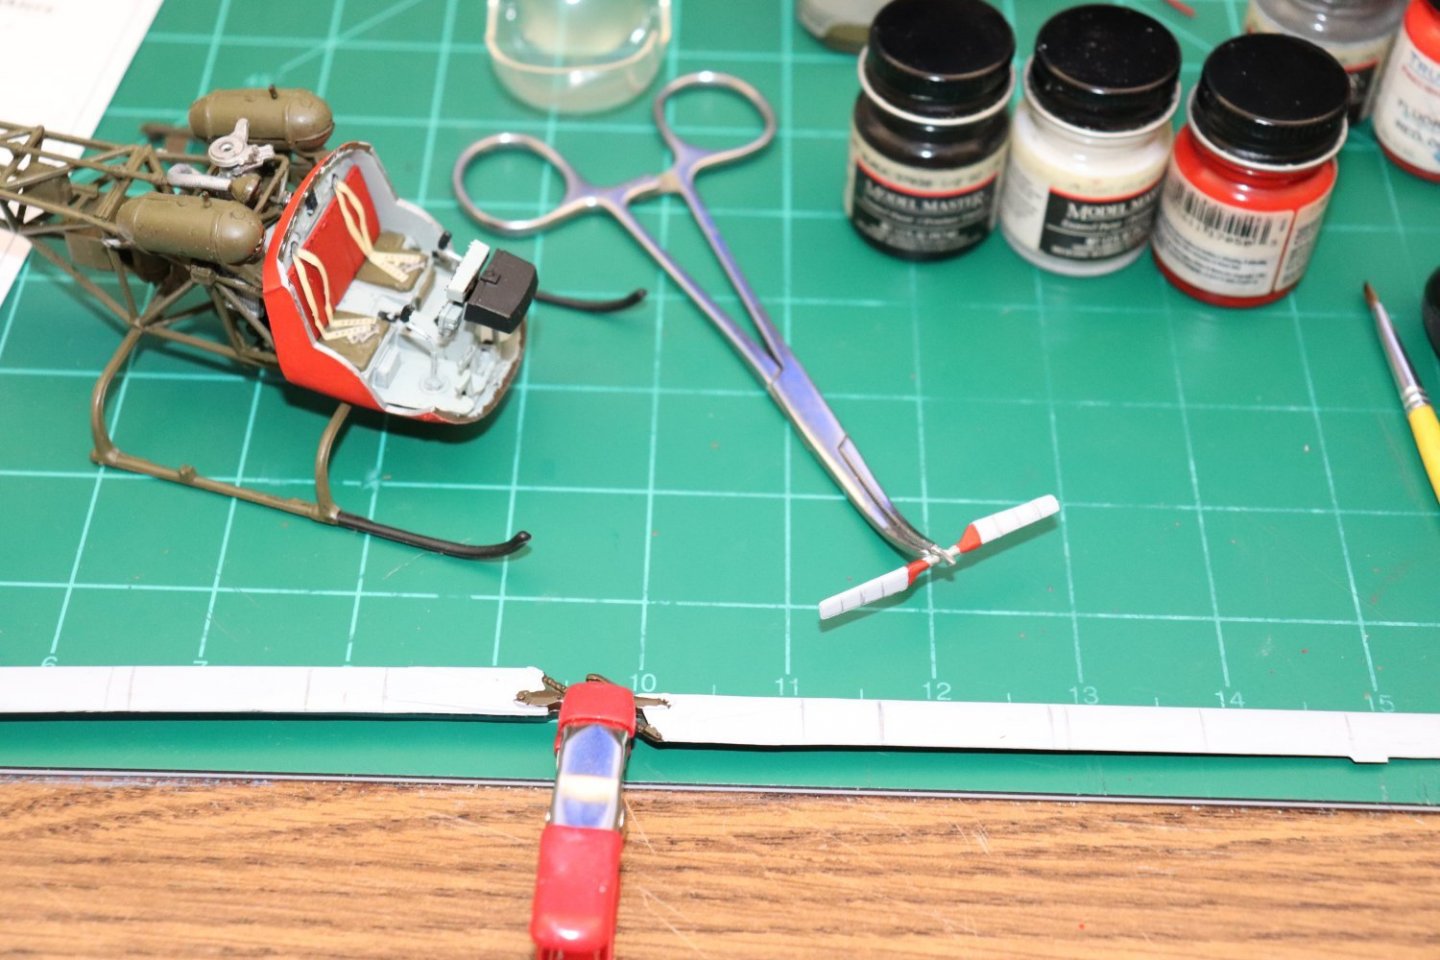
Everyone who commented and gave likes and laughs... THANK YOU! and thanks for walking the journey with me it always greatly appreciated... Now for the final eye candy as I promised... The Spotlight and Litter Straps... Spotlight on the H-13H... H-13D/E complete... H-13H Complete.... And the flightline.... It was an enjoyable trip, thank you all for following along... The H-13 2 for 1 is complete! EG

- 169 replies
-
- 13
-

-

-
Well, I tried to make them authentic, did the best I could... Thank you It's appreciated very much... There were more markings that were supposed to go on the bottom side of the rotors, (installation dates and such) but they fell apart due to age and were just too tiny to save.. As it was each and every decal split in some fashion... And there are no aftermarket parts or accessories for this aircraft, so I had to make them work... I think I saved enough to make them presentable... The early days of Helicopters, you would think that they would understand that at times it is just not smart to be a stand up guy, especially during operating helicopter rotor maintenance training... Better to be a heads up guy rather than a stand up guy in that situation.... Live and learn, thankfully they took the lesson well and it only cost them some temporary pain and embarrassment... At least they can instruct the young ones in what happens to you when you stick your head in a turning rotor... I wonder if that was a lesson they really wanted to teach? They saved a lot of lives in that respect, they were worth every penny... Thank you for your service my friend...
-
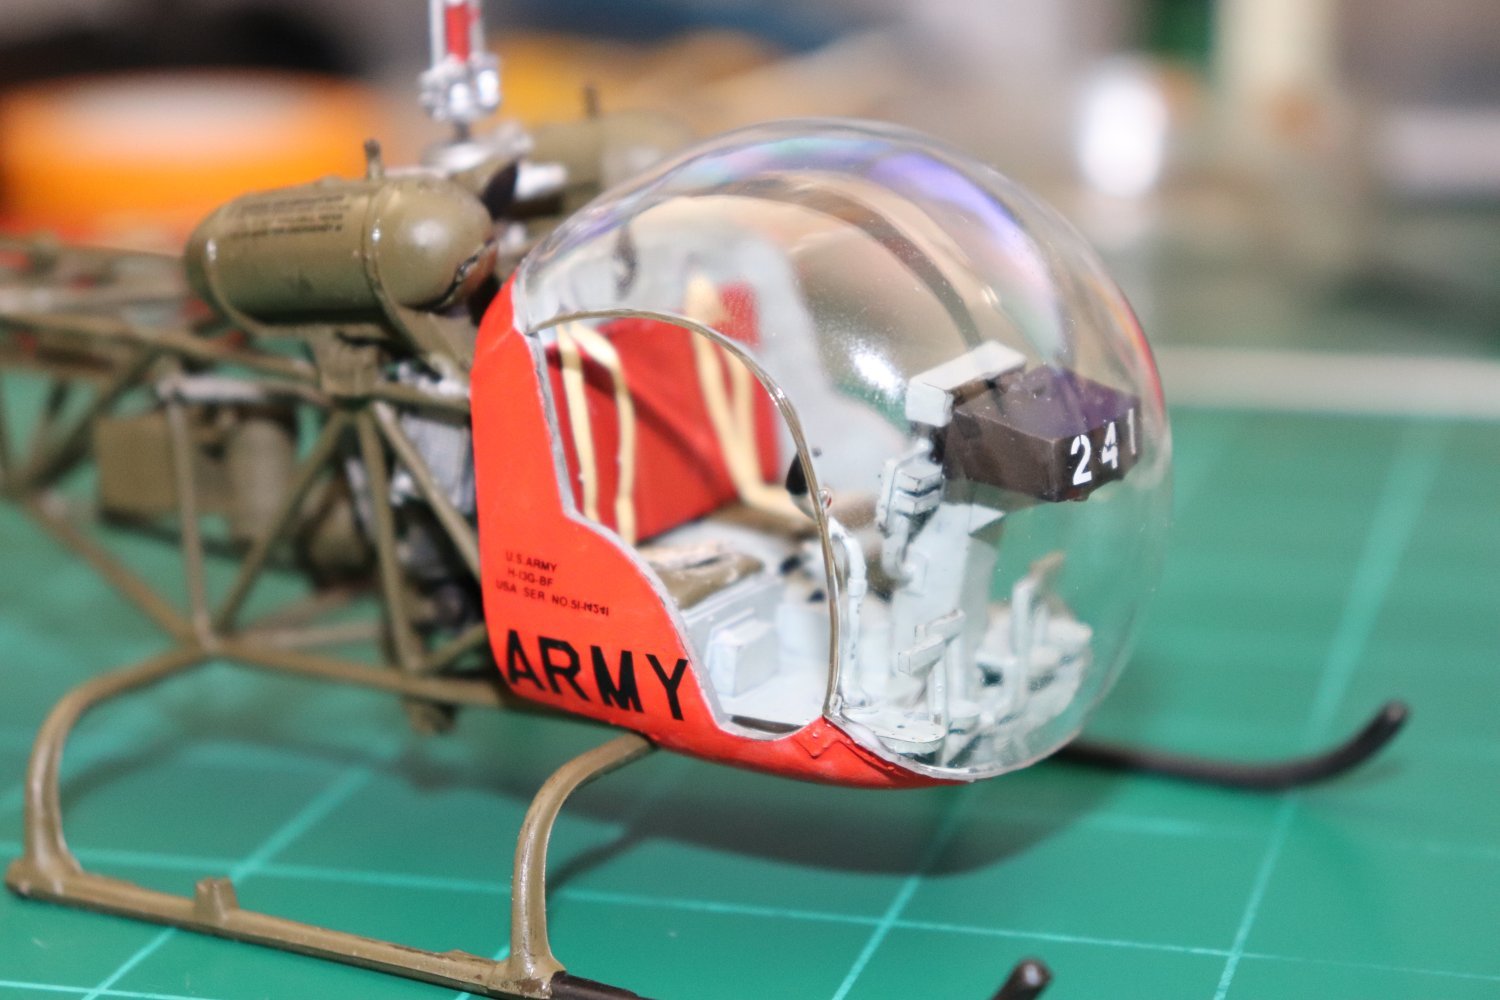
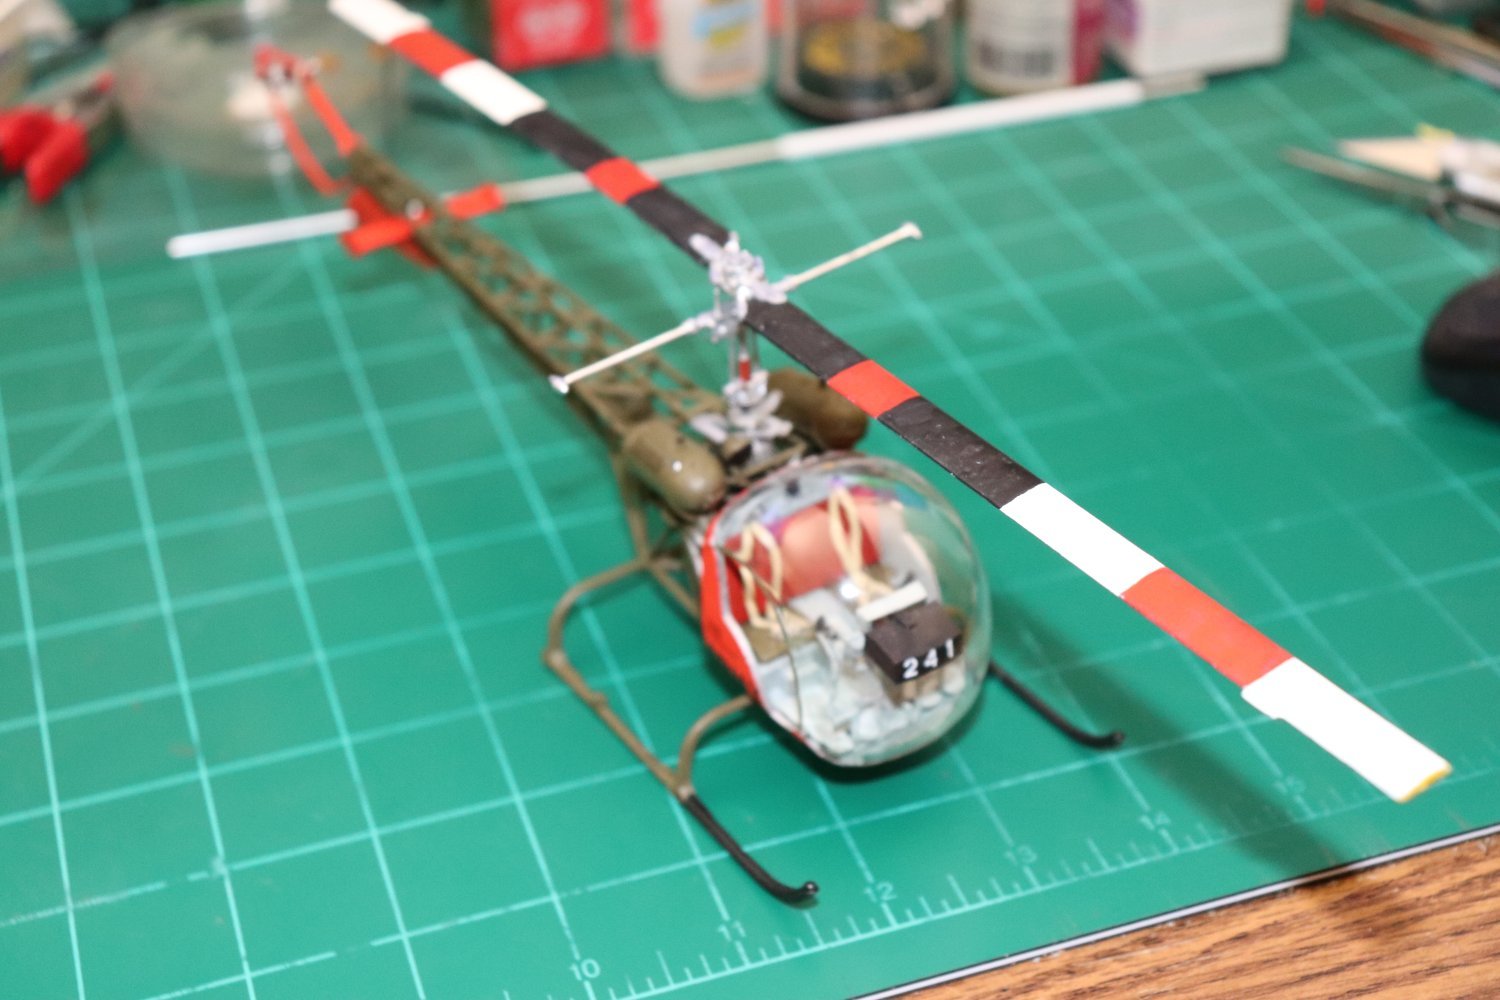
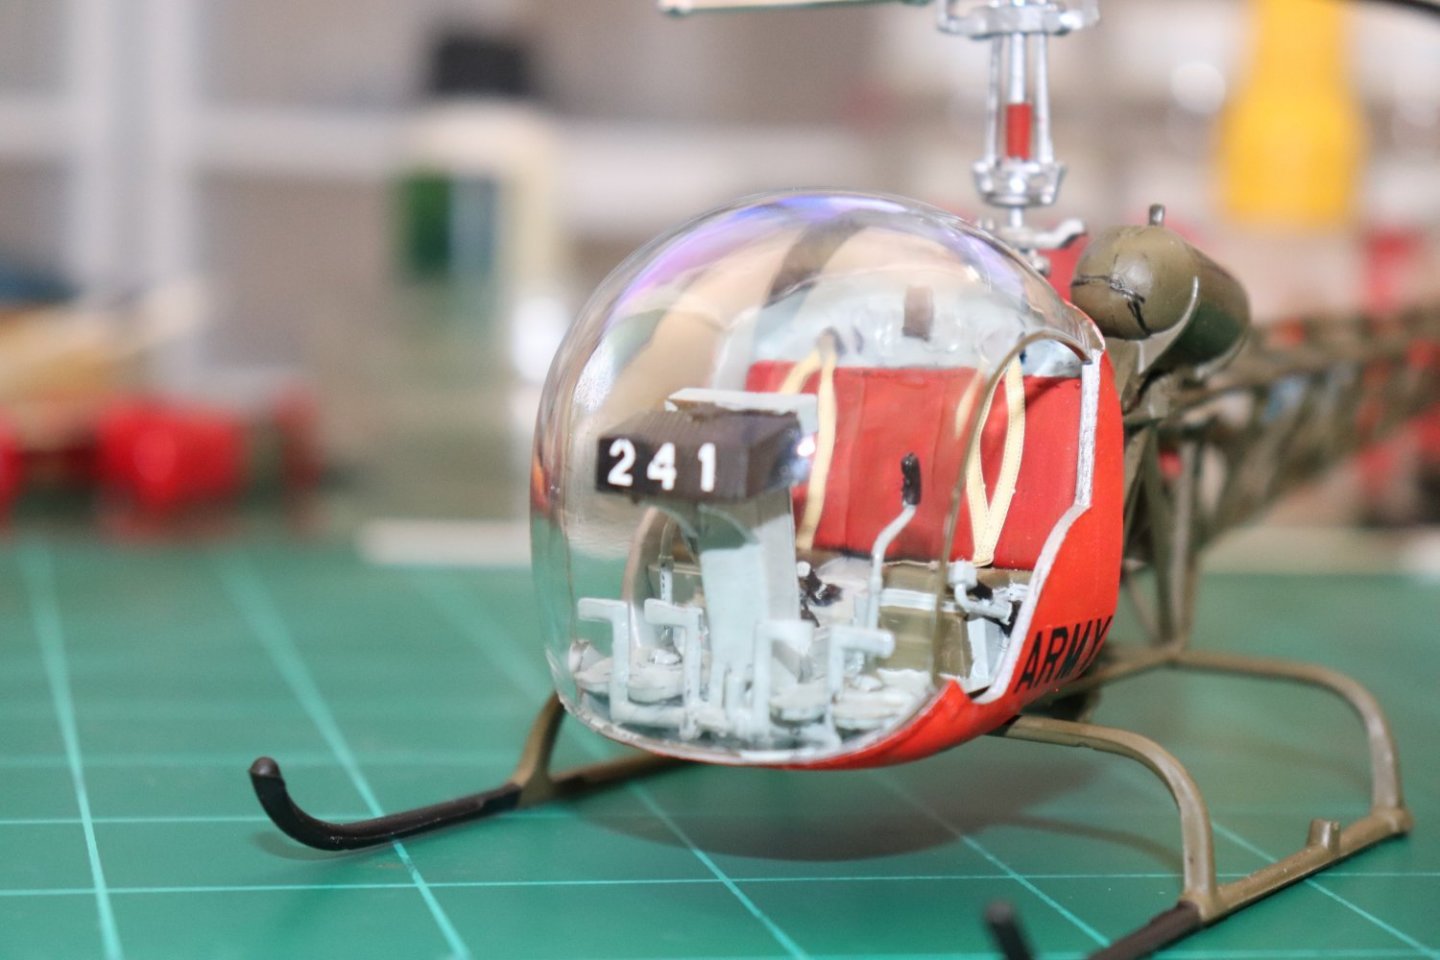
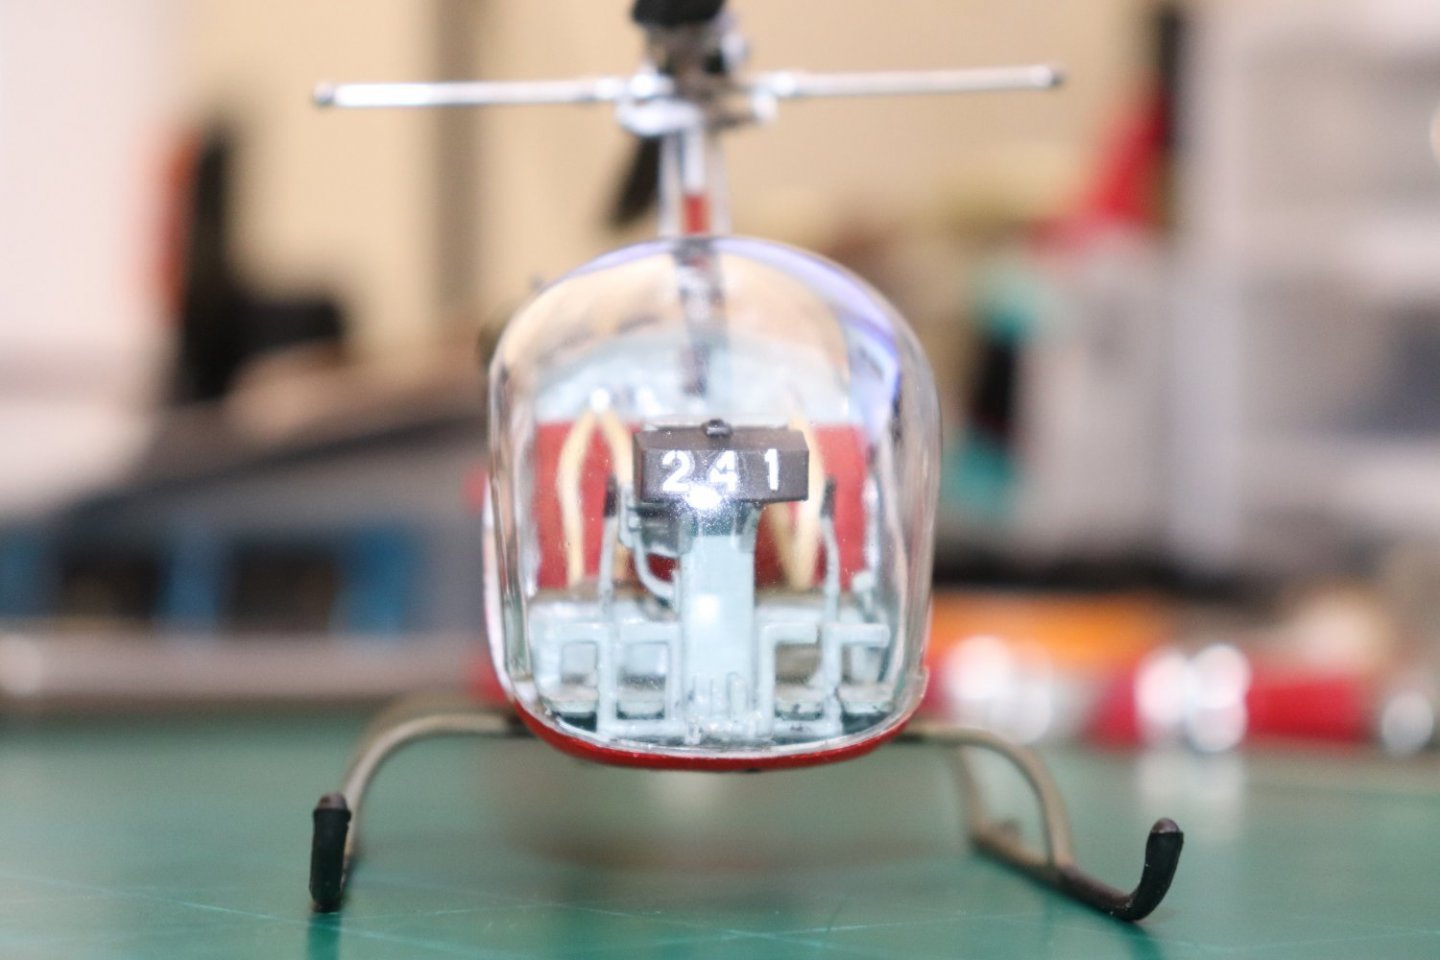
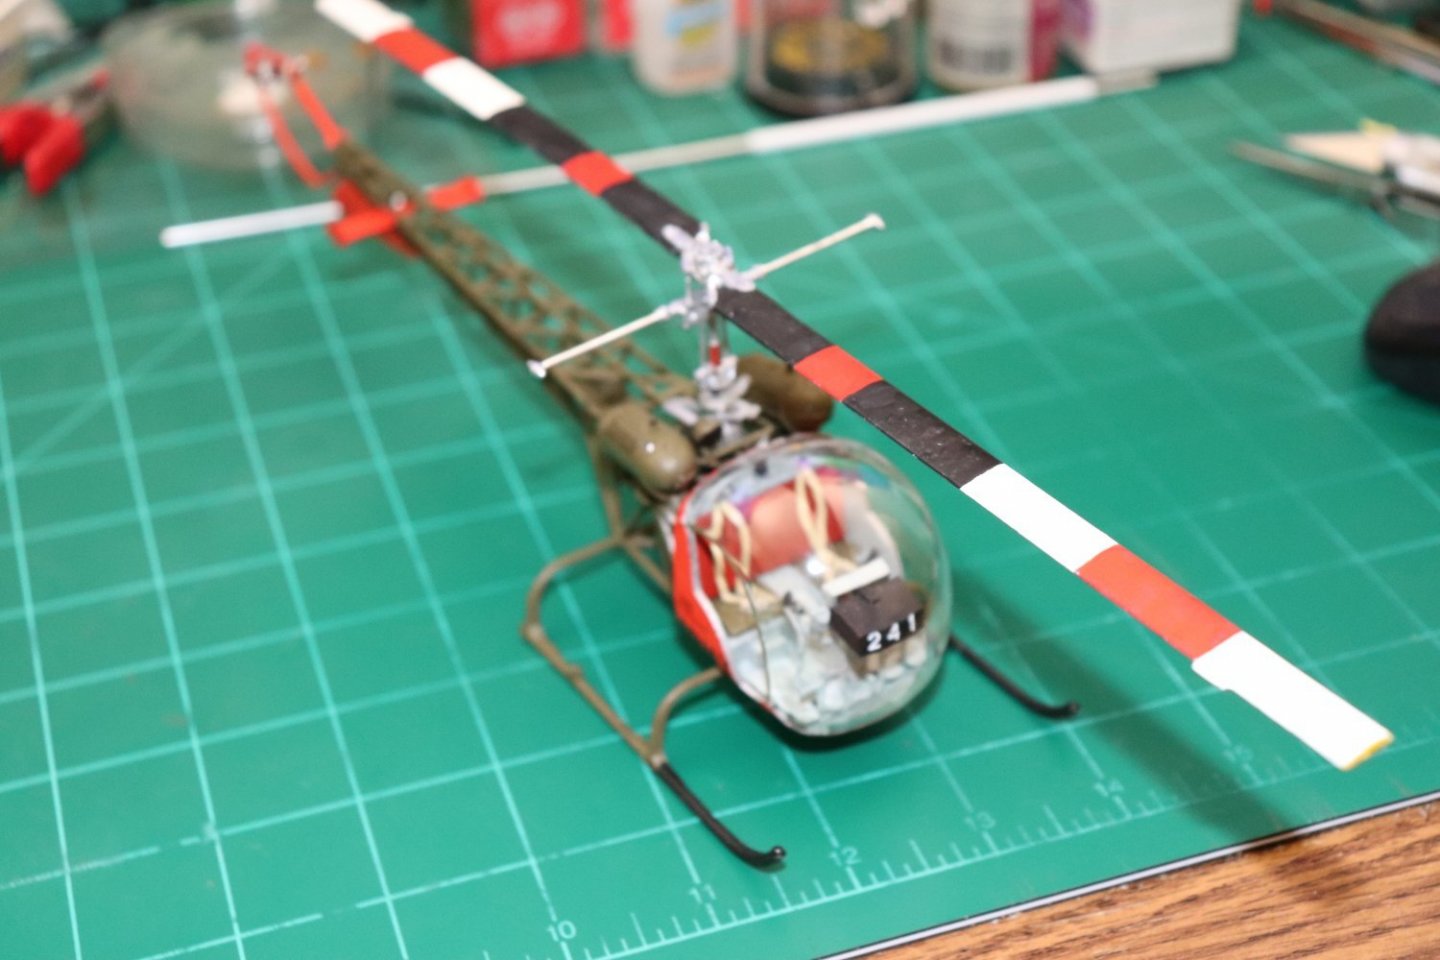
Thanks Chris, It's much appreciated... 241 can get complicated, even for such a small project as this.... Don't know if I'll do another...
-
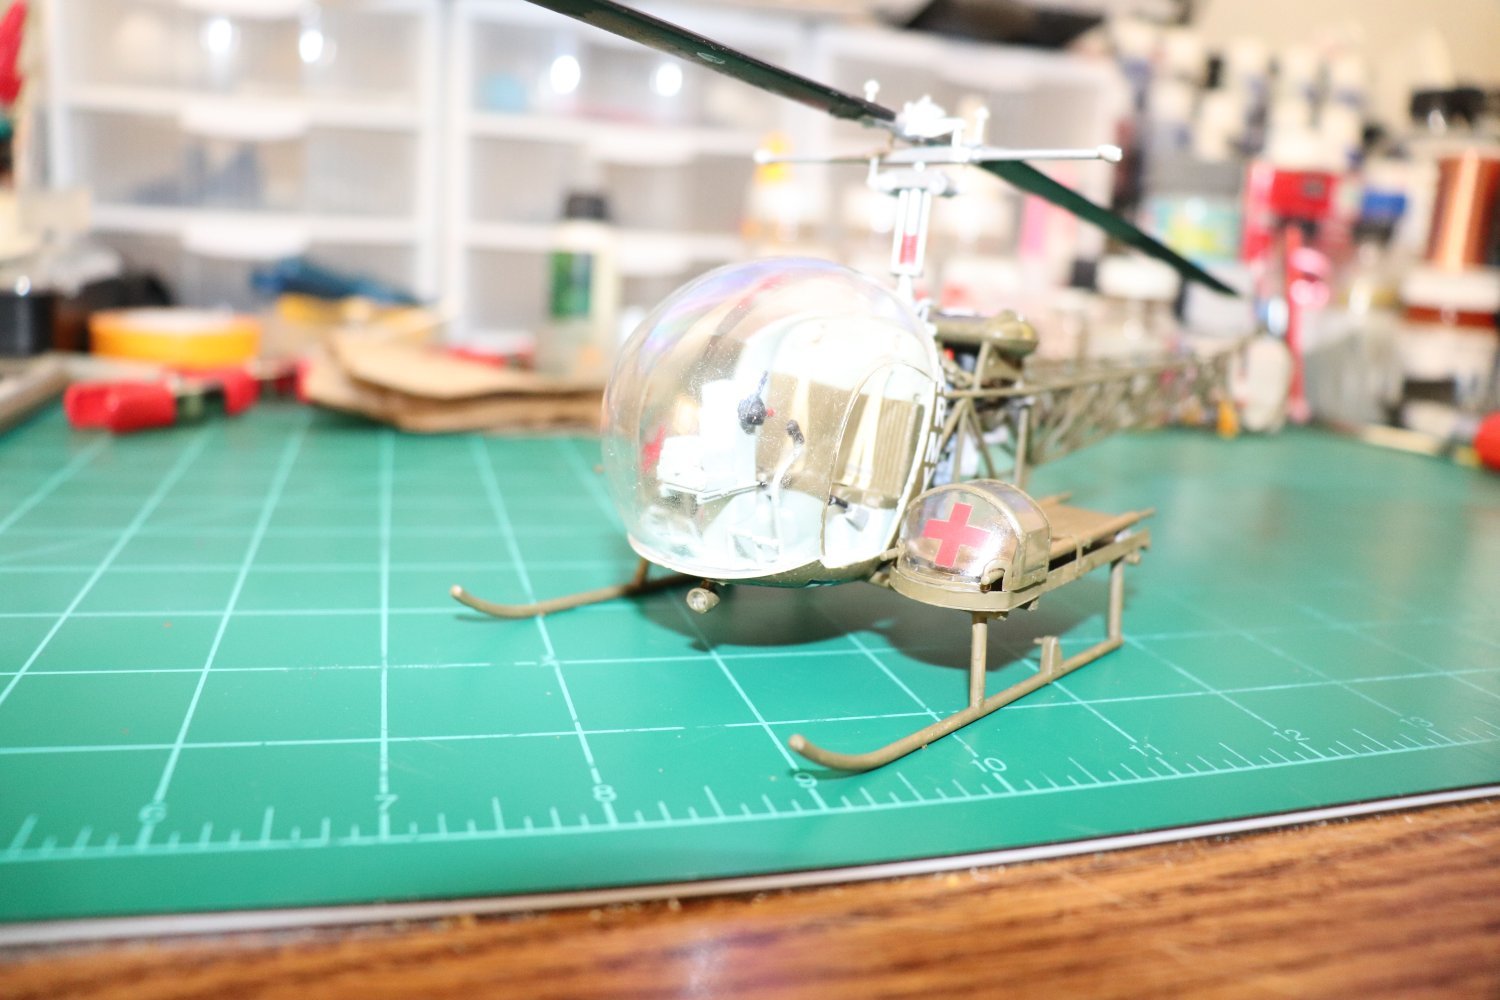
I think the Medical Evac version brother, is the one everyone will click on as it is the most known version.. partly cause of Mash, and partly cause of it's role of saving lives... Thank you very much... Next project coming soon...
-
Thank you Ken, I think it came out the better of the two as well... (not counting everything I had to do to get it there) It's much appreciated..
-
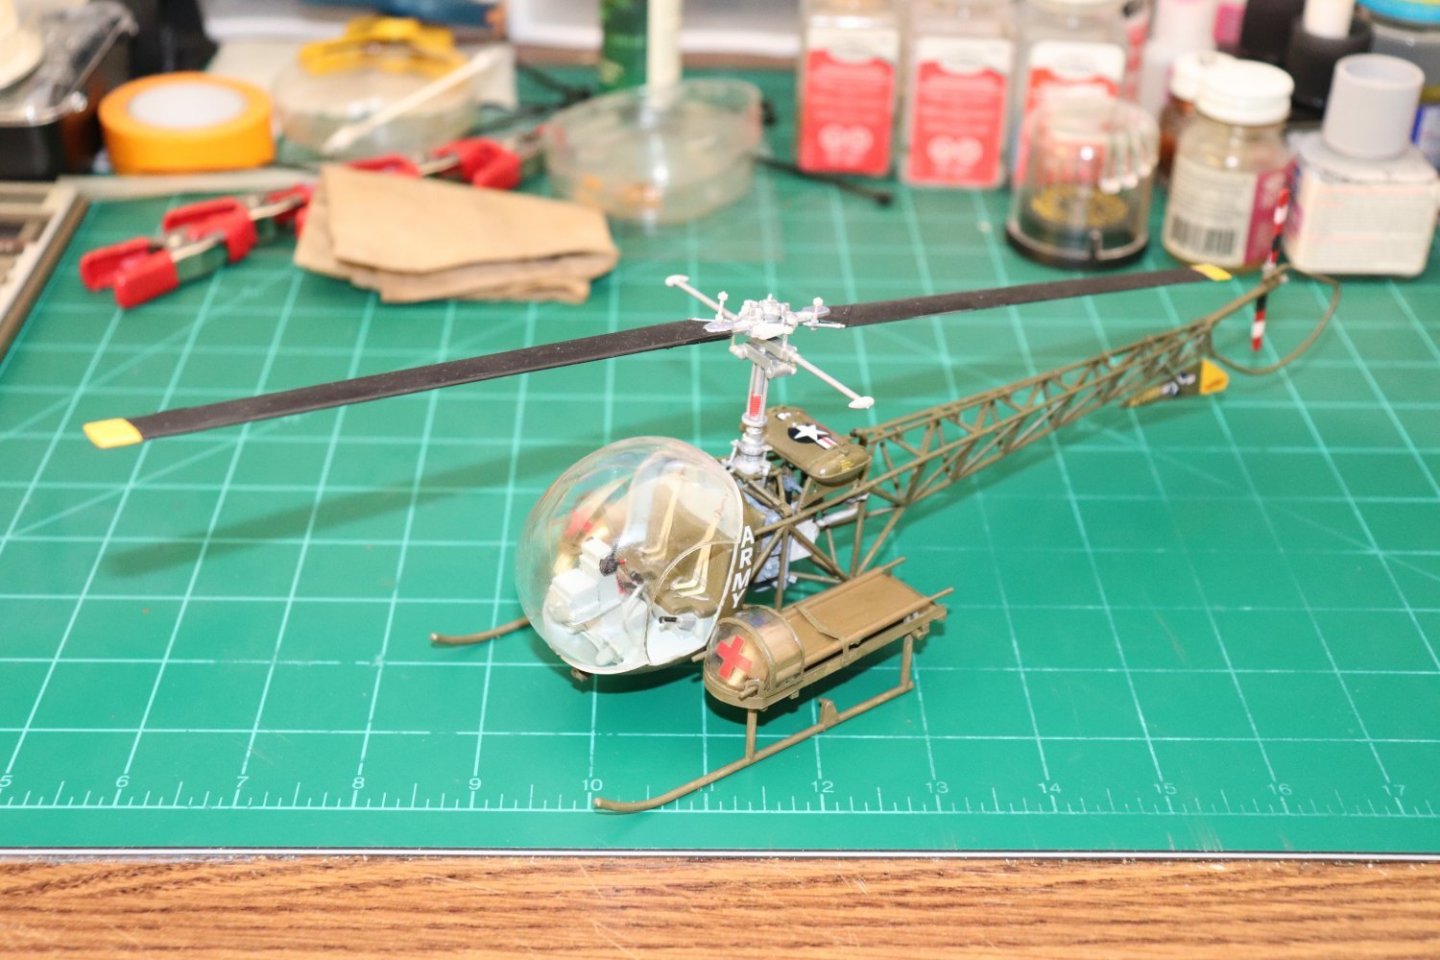
Decaling the H-13H... DONE... Only one more part for this one, the spot light hung under the bubble and then it's done.... At this point when they have the final little parts installed I'll be calling them done... I'll post a set of shots of each both alone and together... Thank you for coming along on the journey, it was an interesting trip, although I don't think I'm going to do another 2-4-1 anytime soon... Thank you EG


- 169 replies
-
- 11
-
-
That is one thing I learned from my research, markings were all over the place. There was a general theme but after a few months in service all other markings became catch as catch can... The funny thing is the white blade is a detail that didn't make it into the books, I've rechecked my sources and confirmed no one took a pic of it... or captured it on any film either... at least not that has been published... It's details like this that make being able to talk with someone who was there so interesting... Thank you Lou...
-
Time for a bit of an update... I know I said it will be a few days, but I just spent 12 hours working with 35+ year old decals, fragile is the word... DONE!!! It's still not complete a few minor parts and some touching up and fixing to do... But I'm happy with it... Now to work the decals on the H-13H... EG


- 169 replies
-
- 13
-
-

-
Thanks Mark, I believe that the rational was it was a distraction to the pilot... Now that's an unusual one Lou, usually they did both sides equally, perchance could it have been a unit marking of some such?
-
Thank you Mike It's really appreciated....
-
F-86F-30 Sabre by Javlin - FINISHED - Kinetic - 1/32
Egilman replied to Javlin's topic in Non-ship/categorised builds
Still here Kevin... -
A-26B Invader by Javlin - ICM - 1/48 - PLASTIC - MTO 1945
Egilman replied to Javlin's topic in Non-ship/categorised builds
Nice, smooth metal finish.... Looking good...- 8 replies
-
- 11
-
-
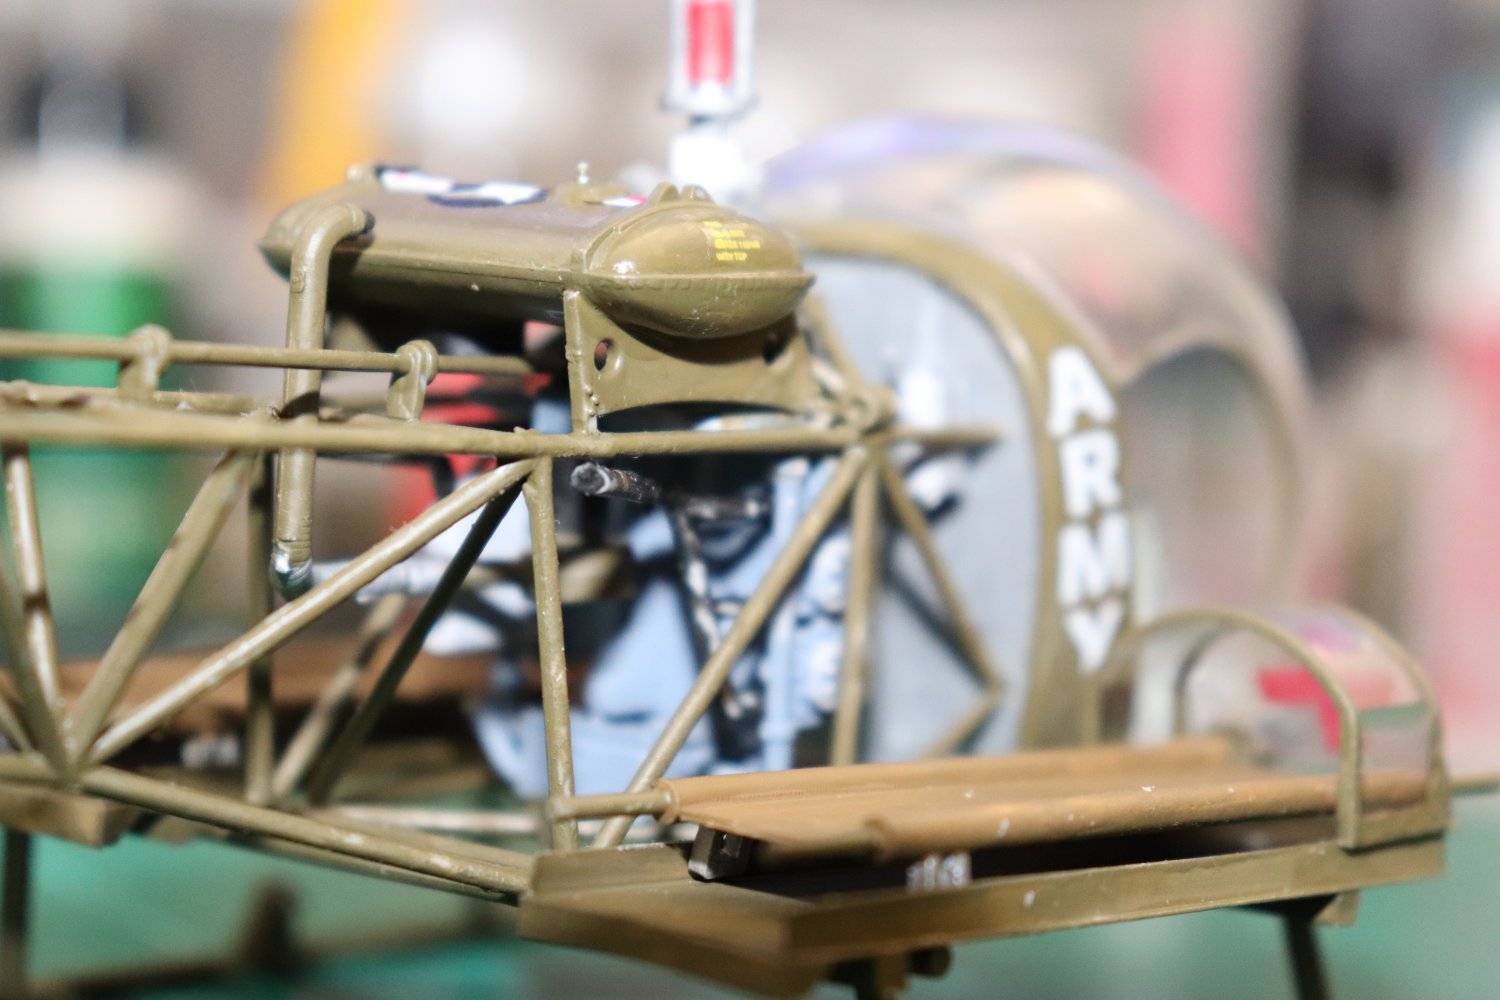
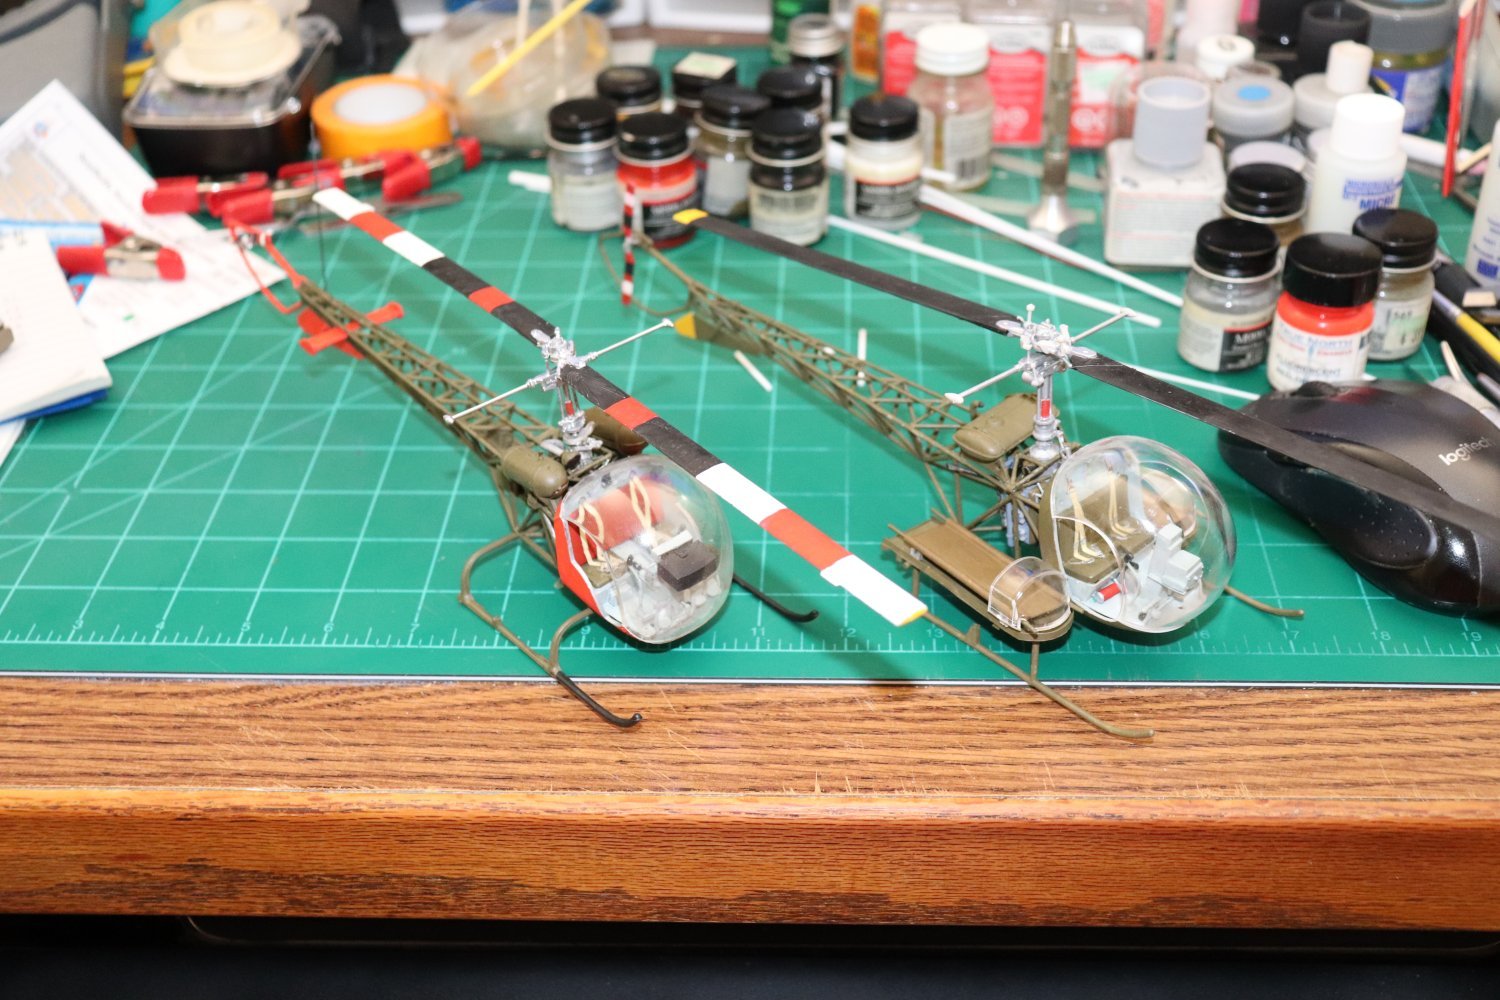
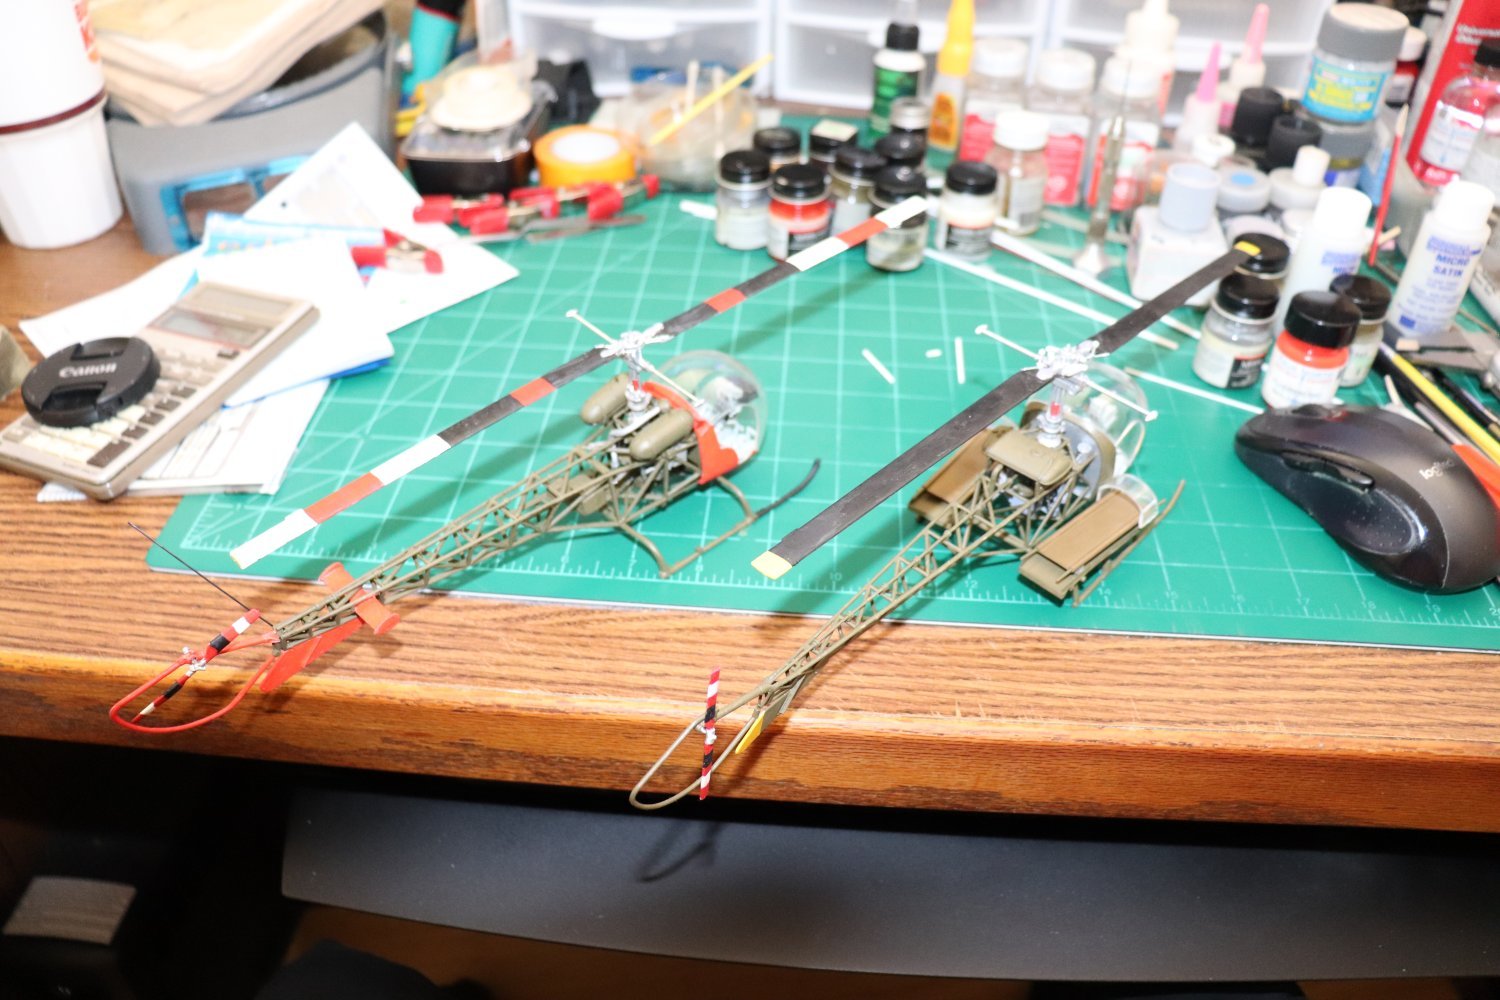
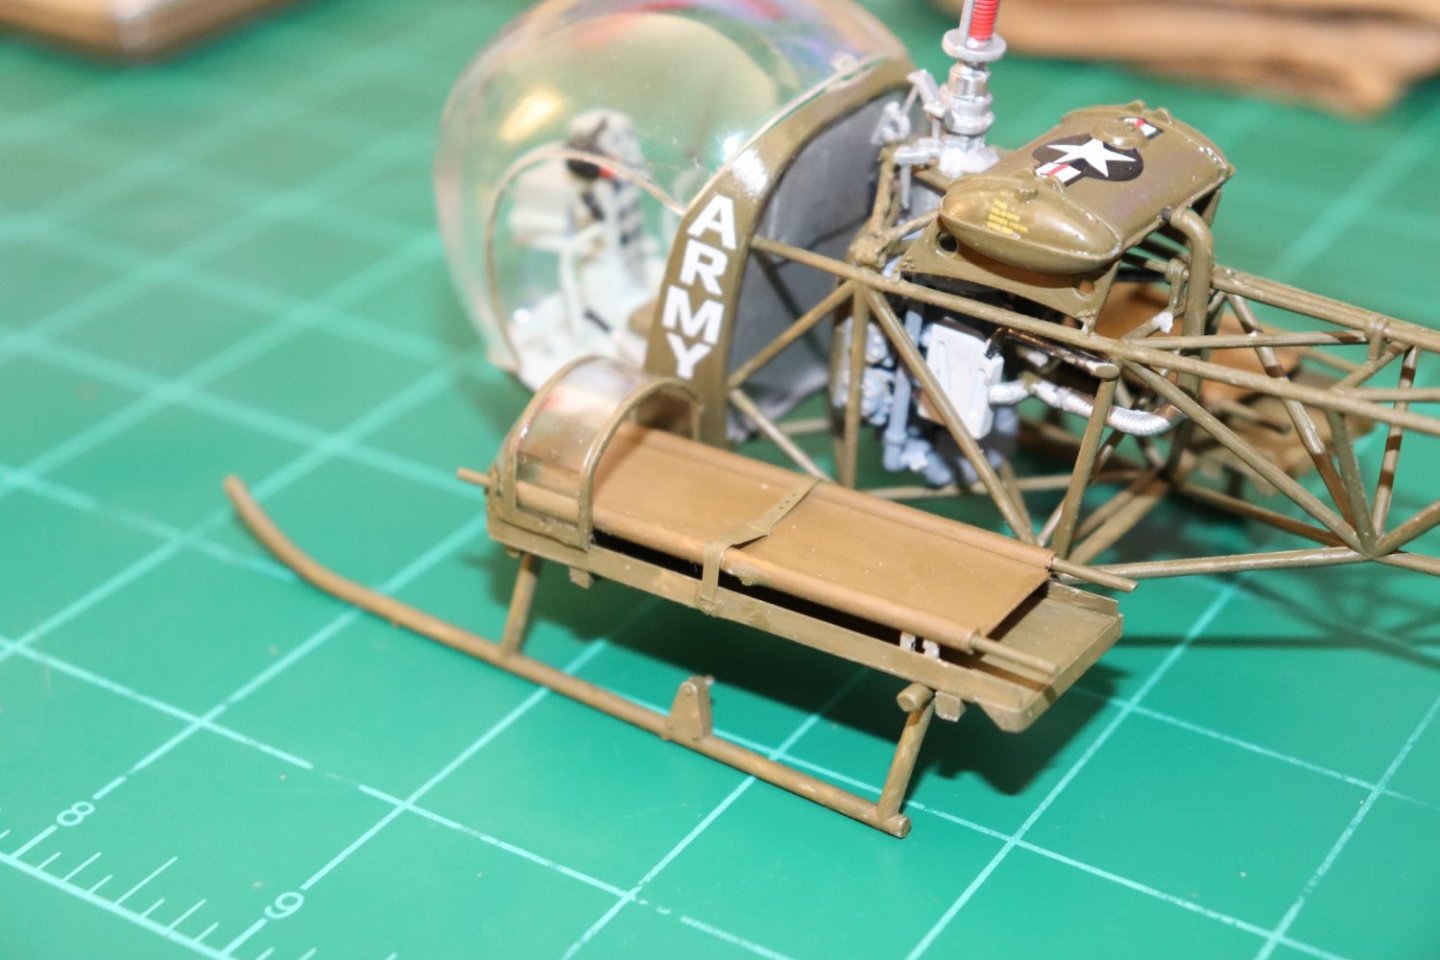
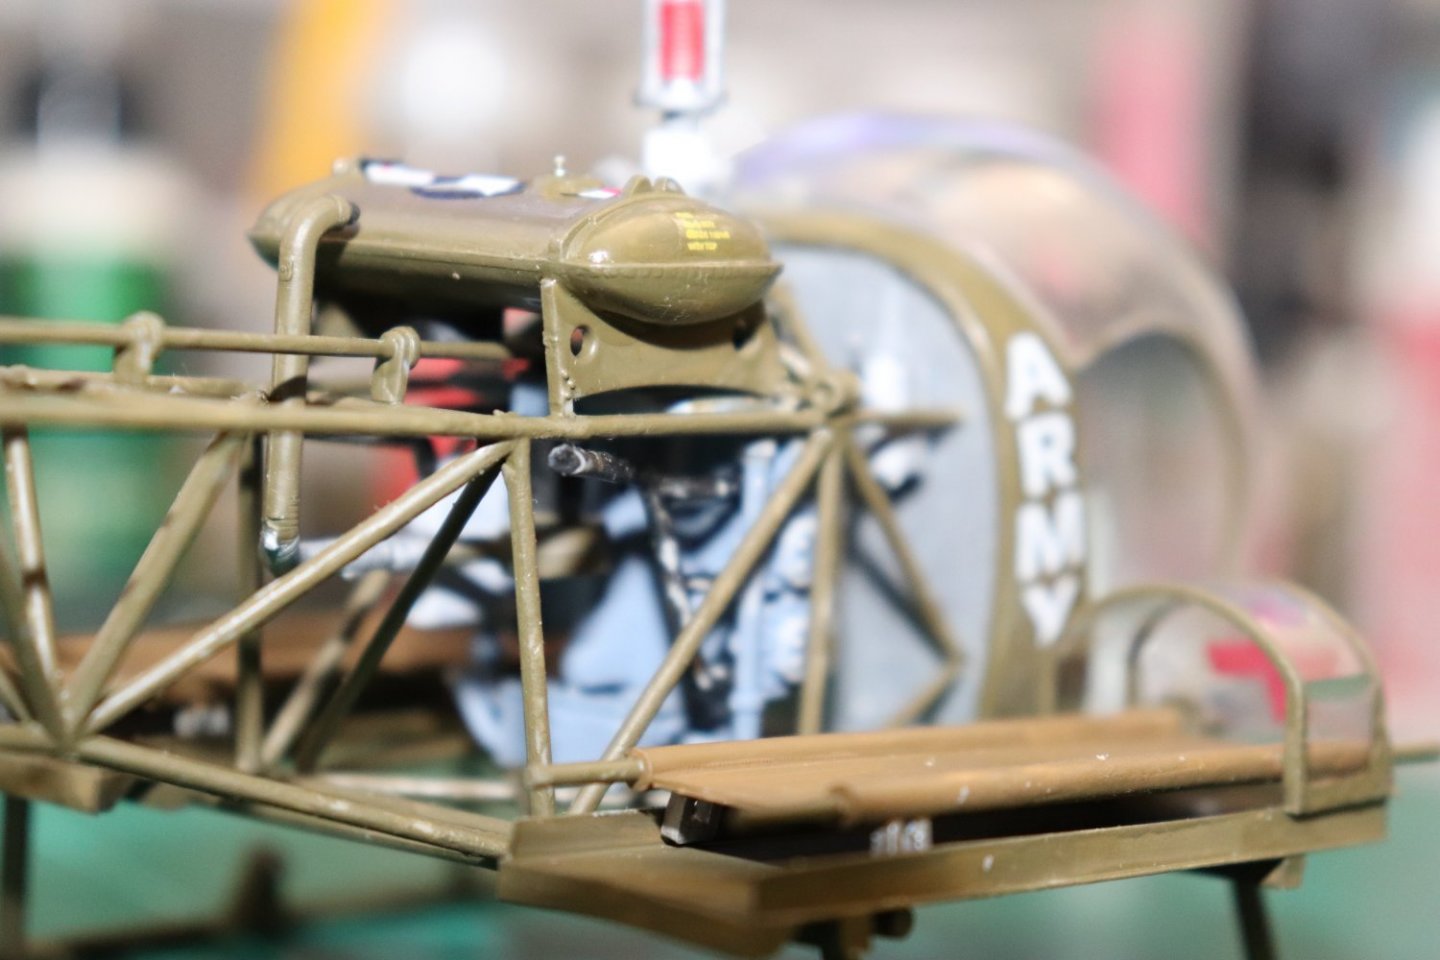
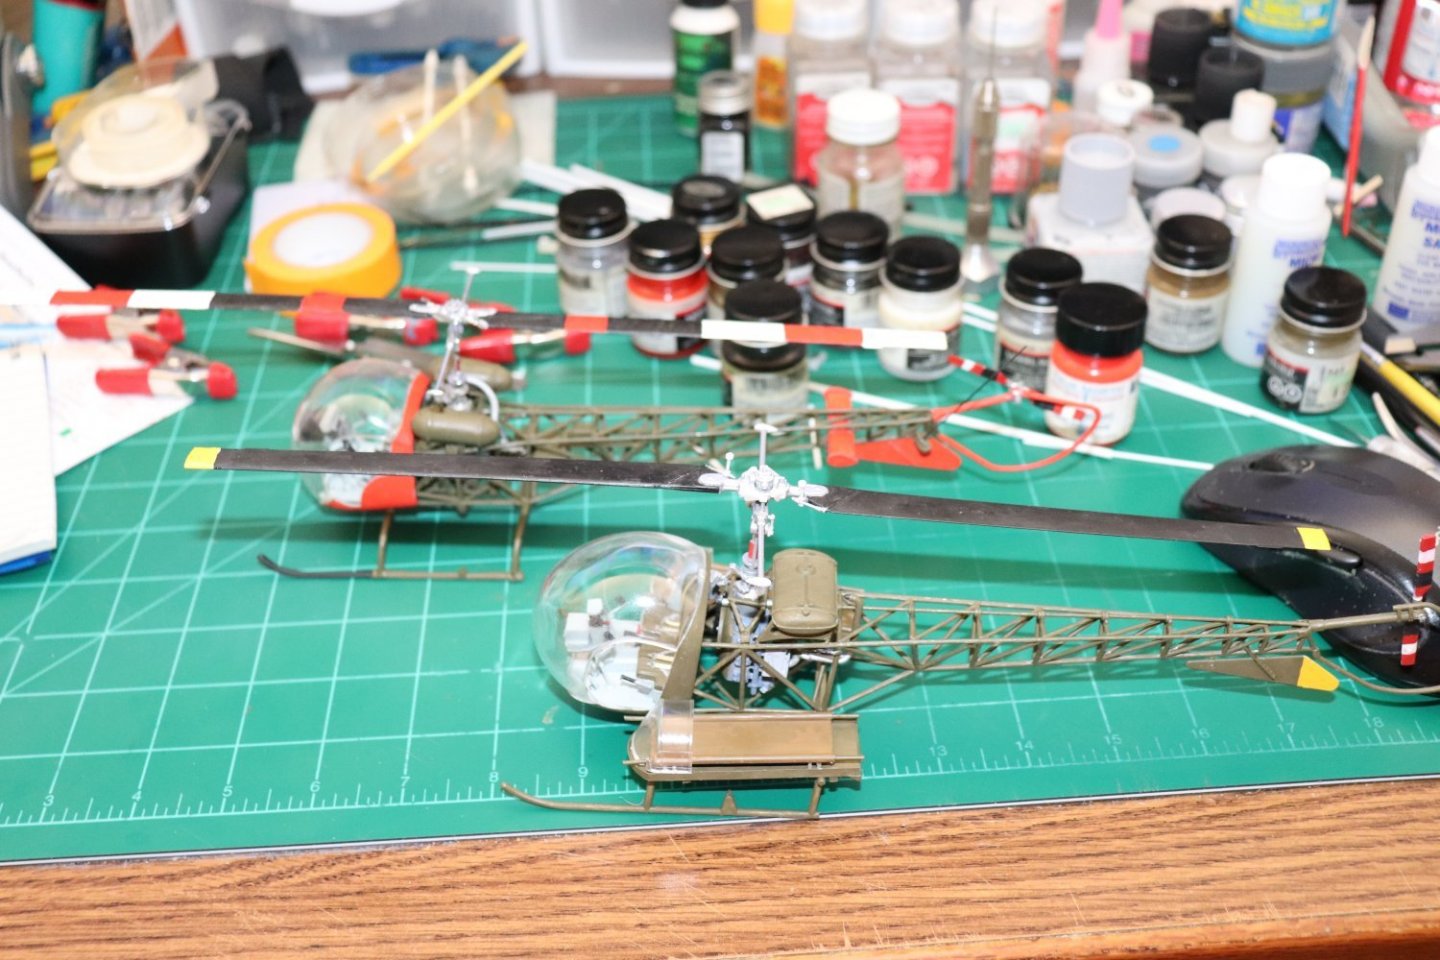
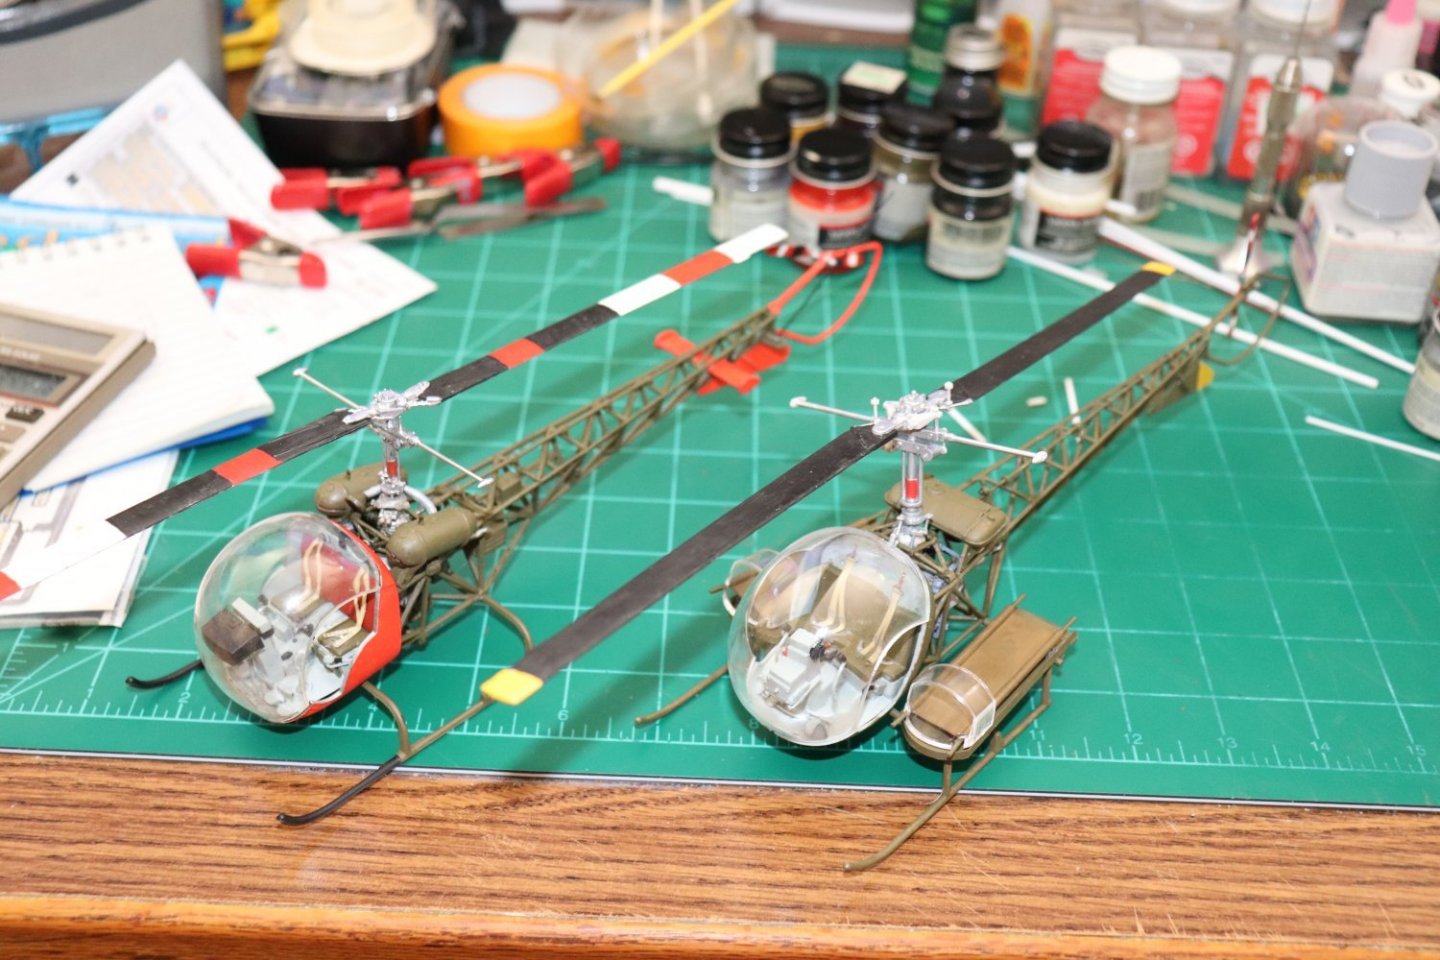
Ok basic assembly is complete, we are now moving into the finishing stage... A little eye candy is needed... I think they came out ok, at least they should look the part.... Time to clear off the desk and break out the decaling stuff.... Going to take a short break for a day or two and then finish them off... Onwards my friends, getting close now...


- 169 replies
-
- 15
-
-
-
Thank you Lou, steady sure progress, a little bit a day when I get the chance... And yeah I've got a place... getting a bit full but I'll make more room... Thank you Gary, My plastic hacking ain't quite up to yours but I, like you, (and most everyone else around here as well) try to get it as authentic as possible... your work inspires me....
-
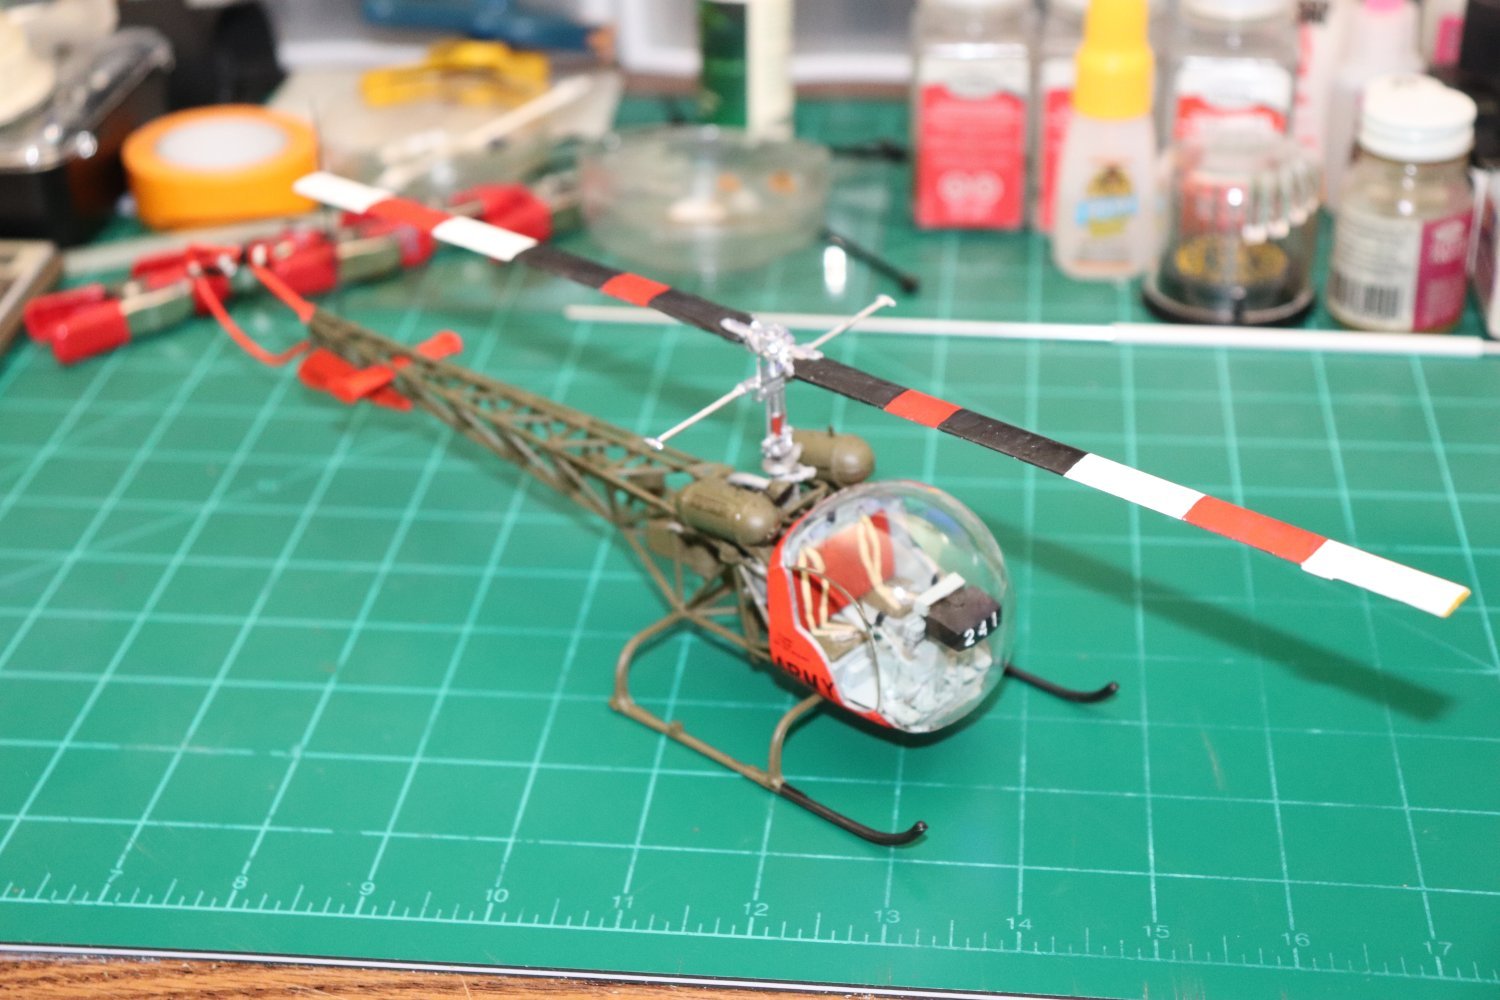
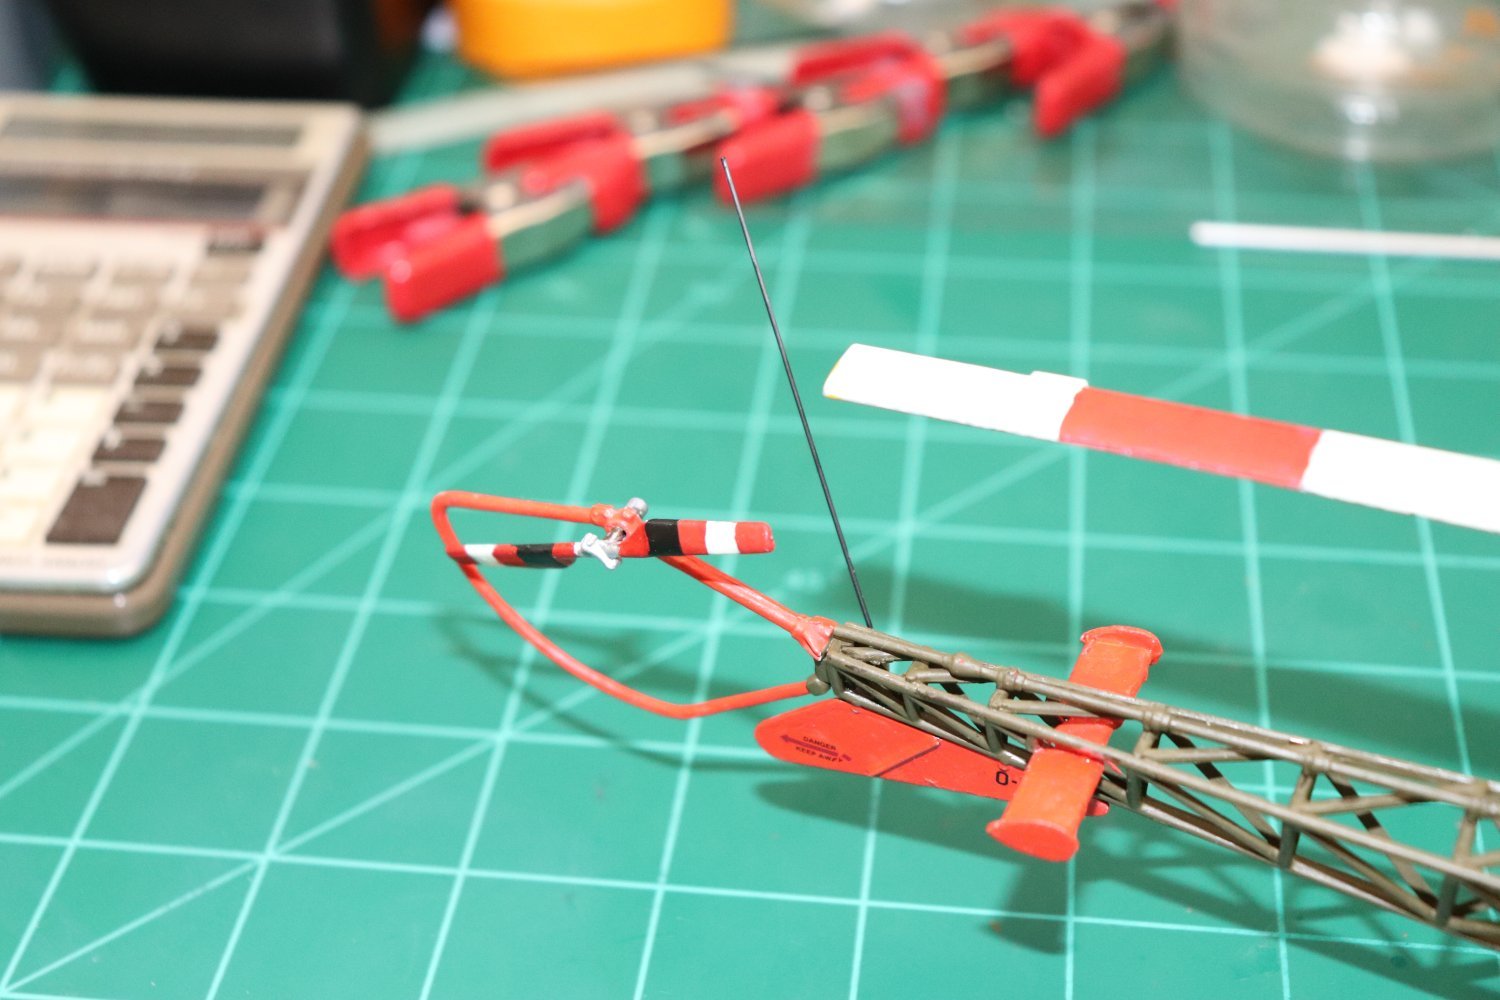
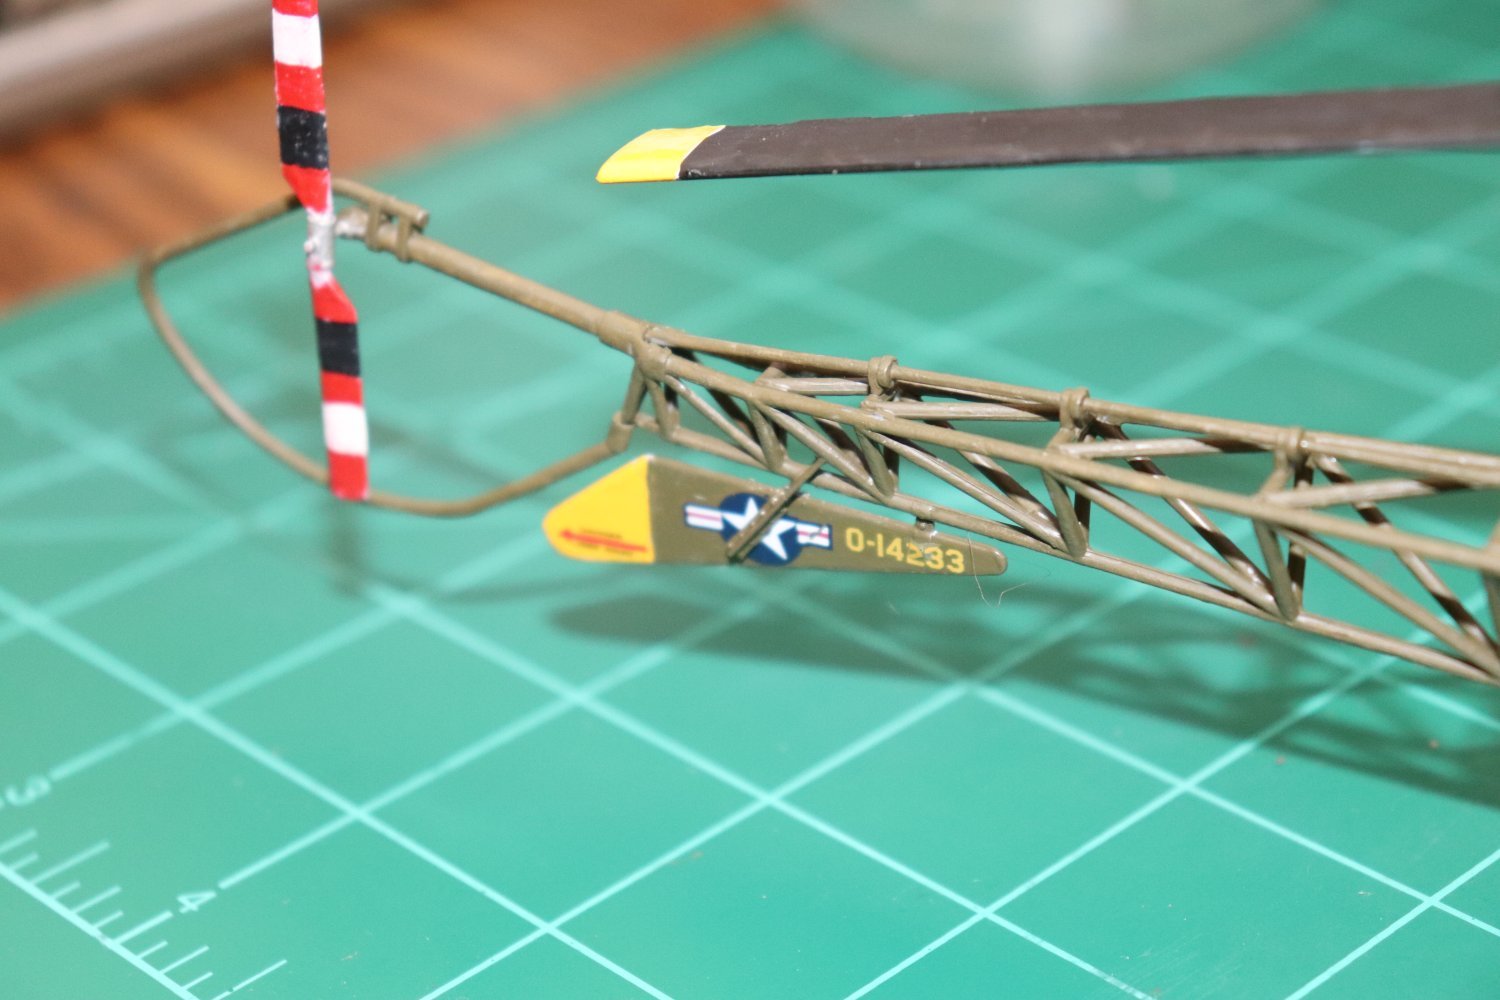
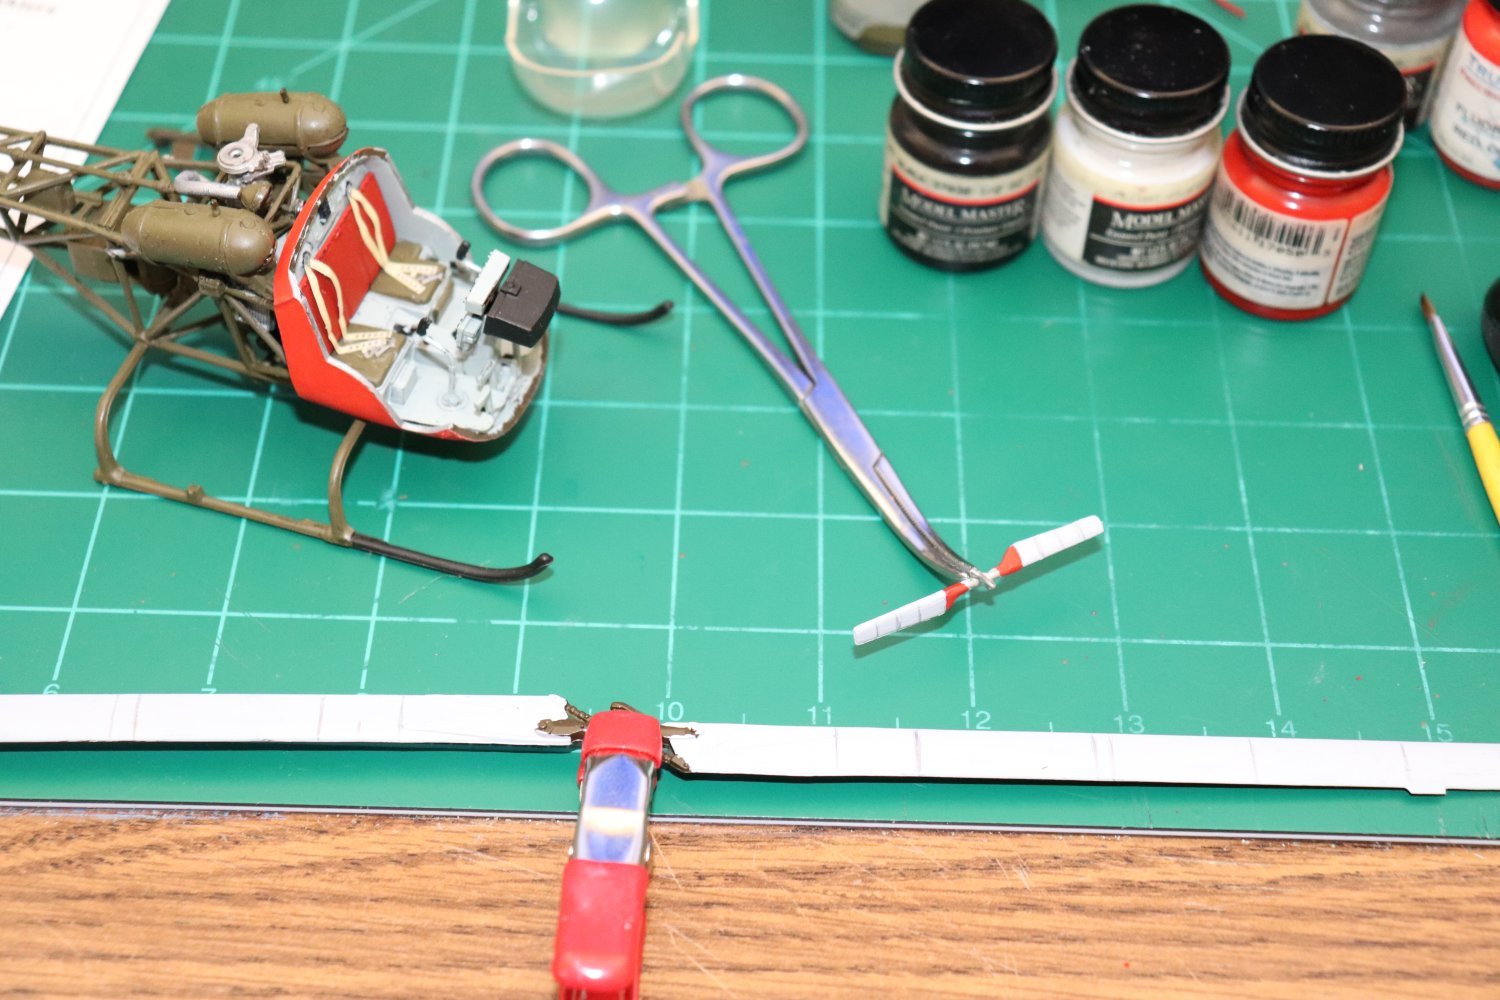
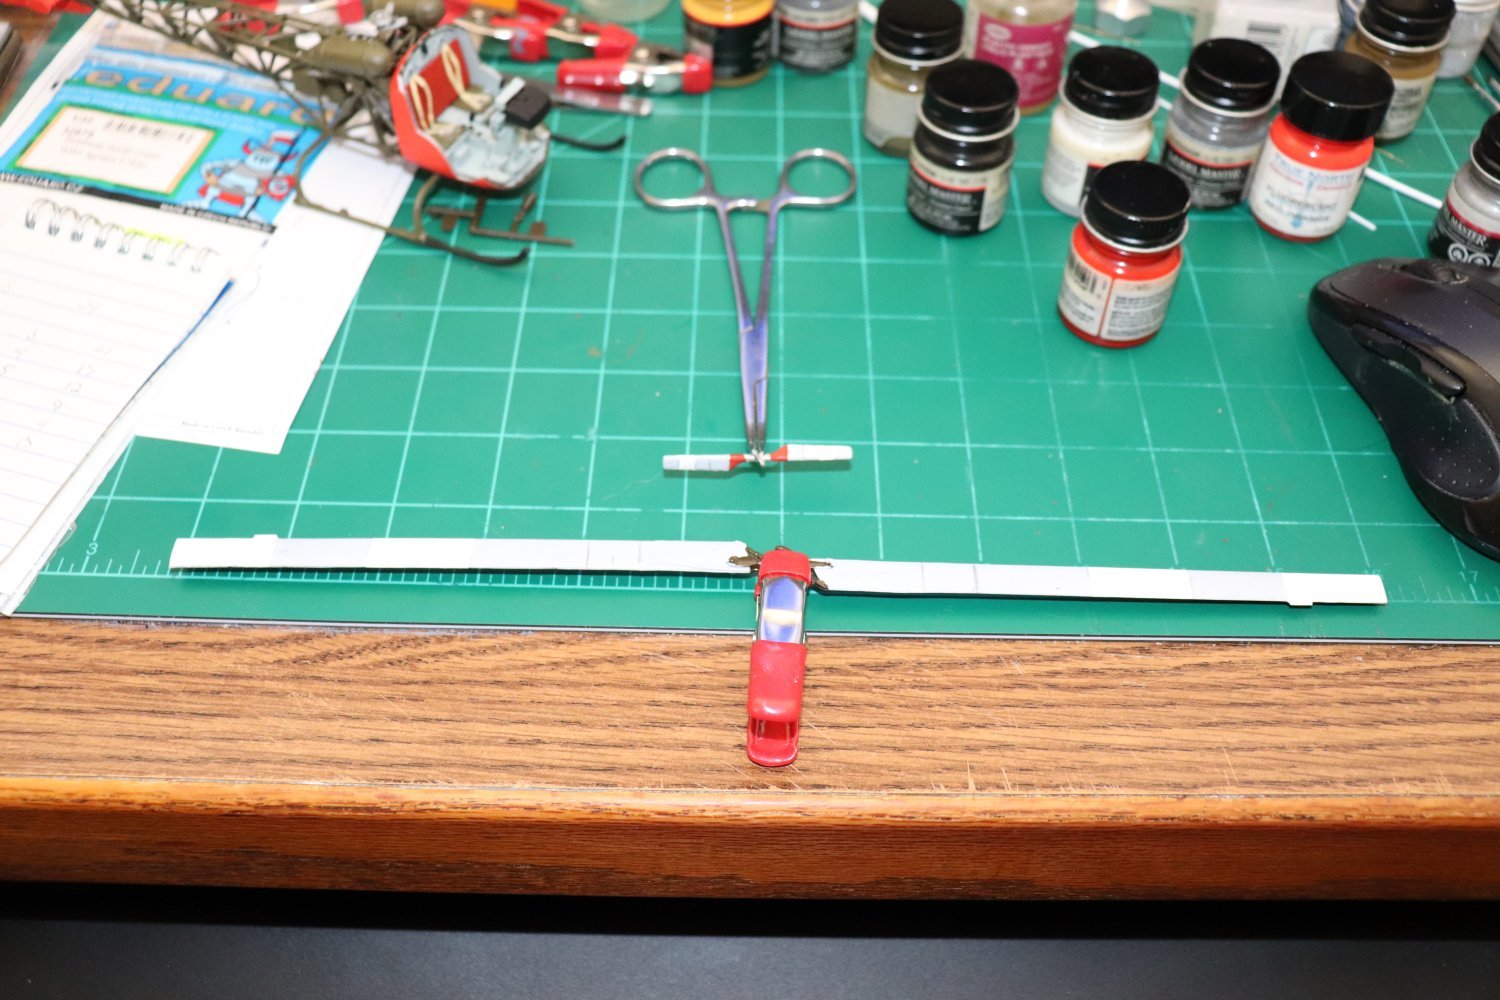
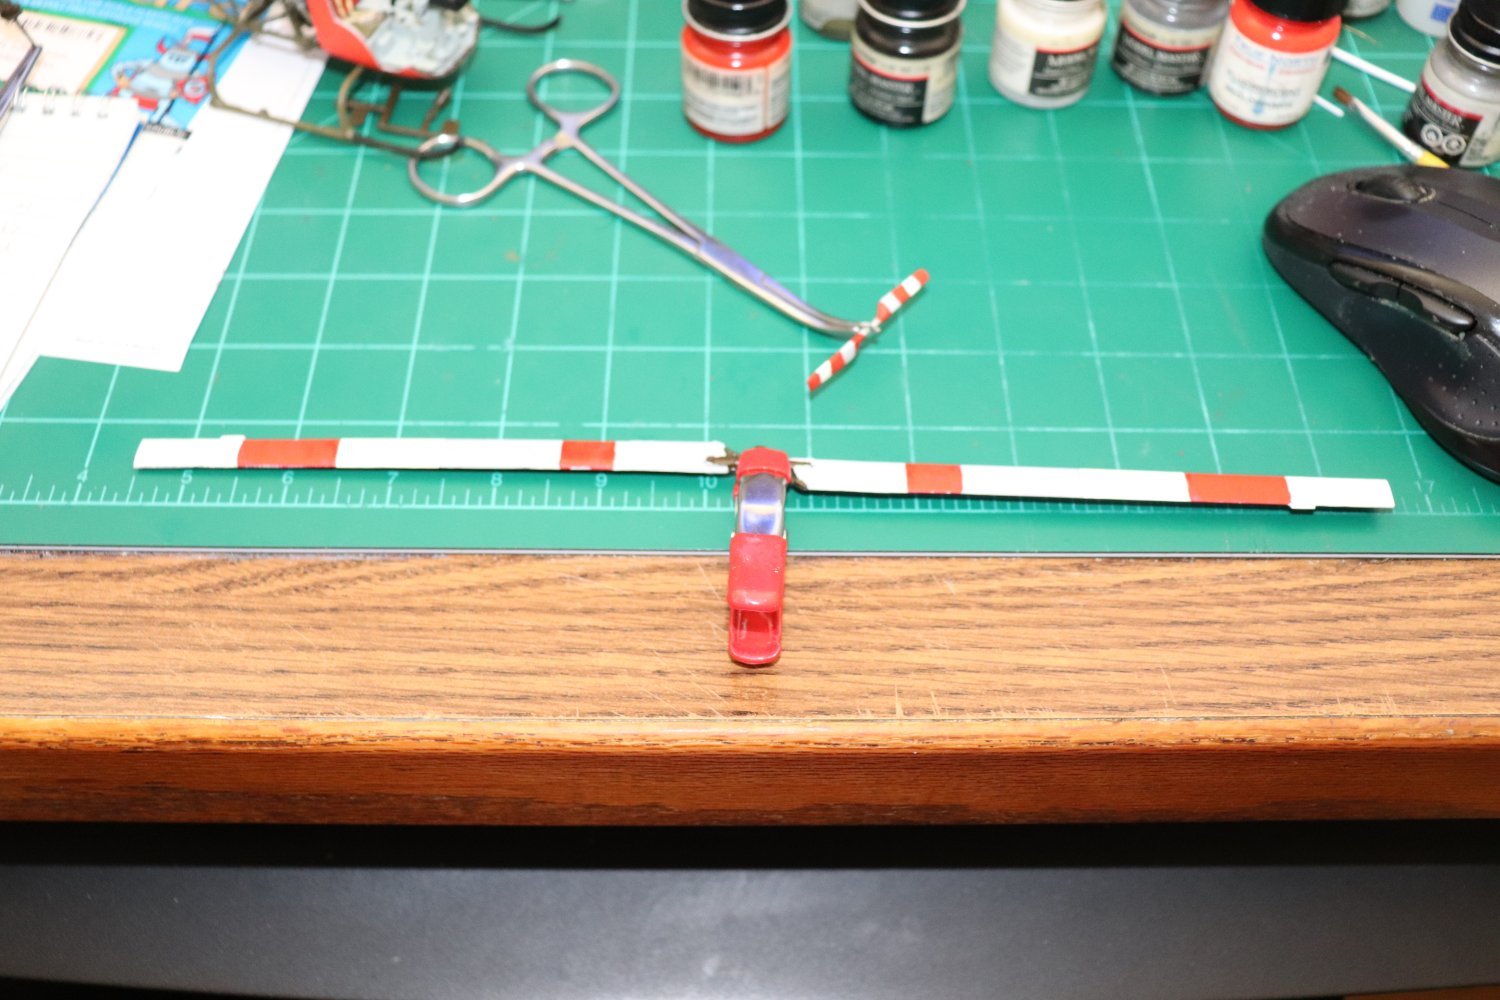
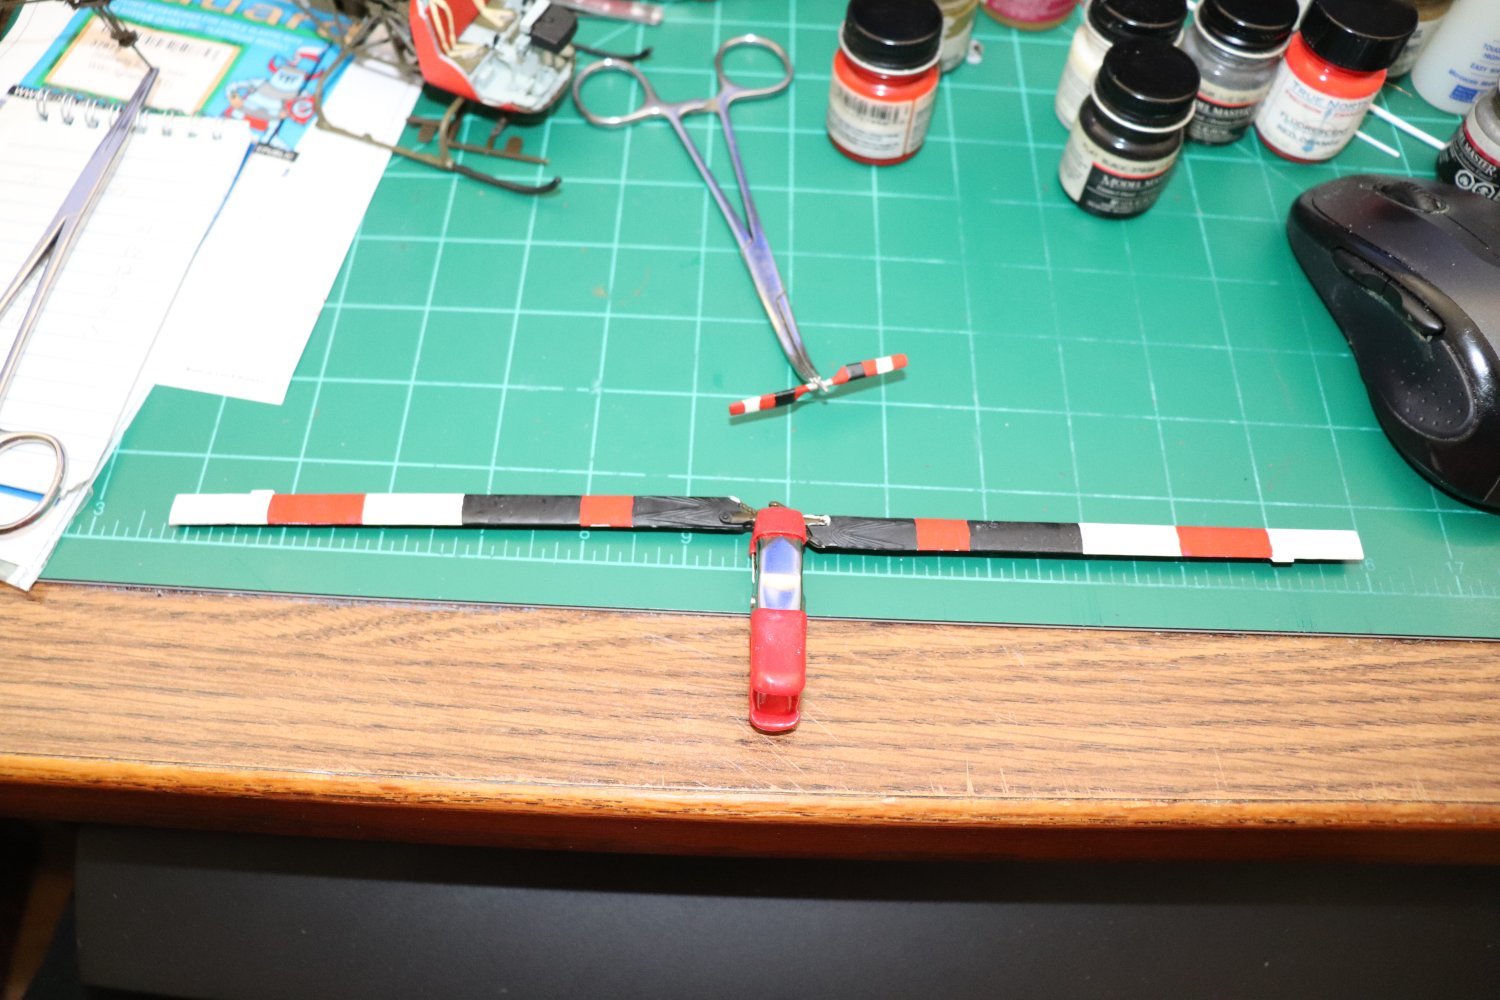
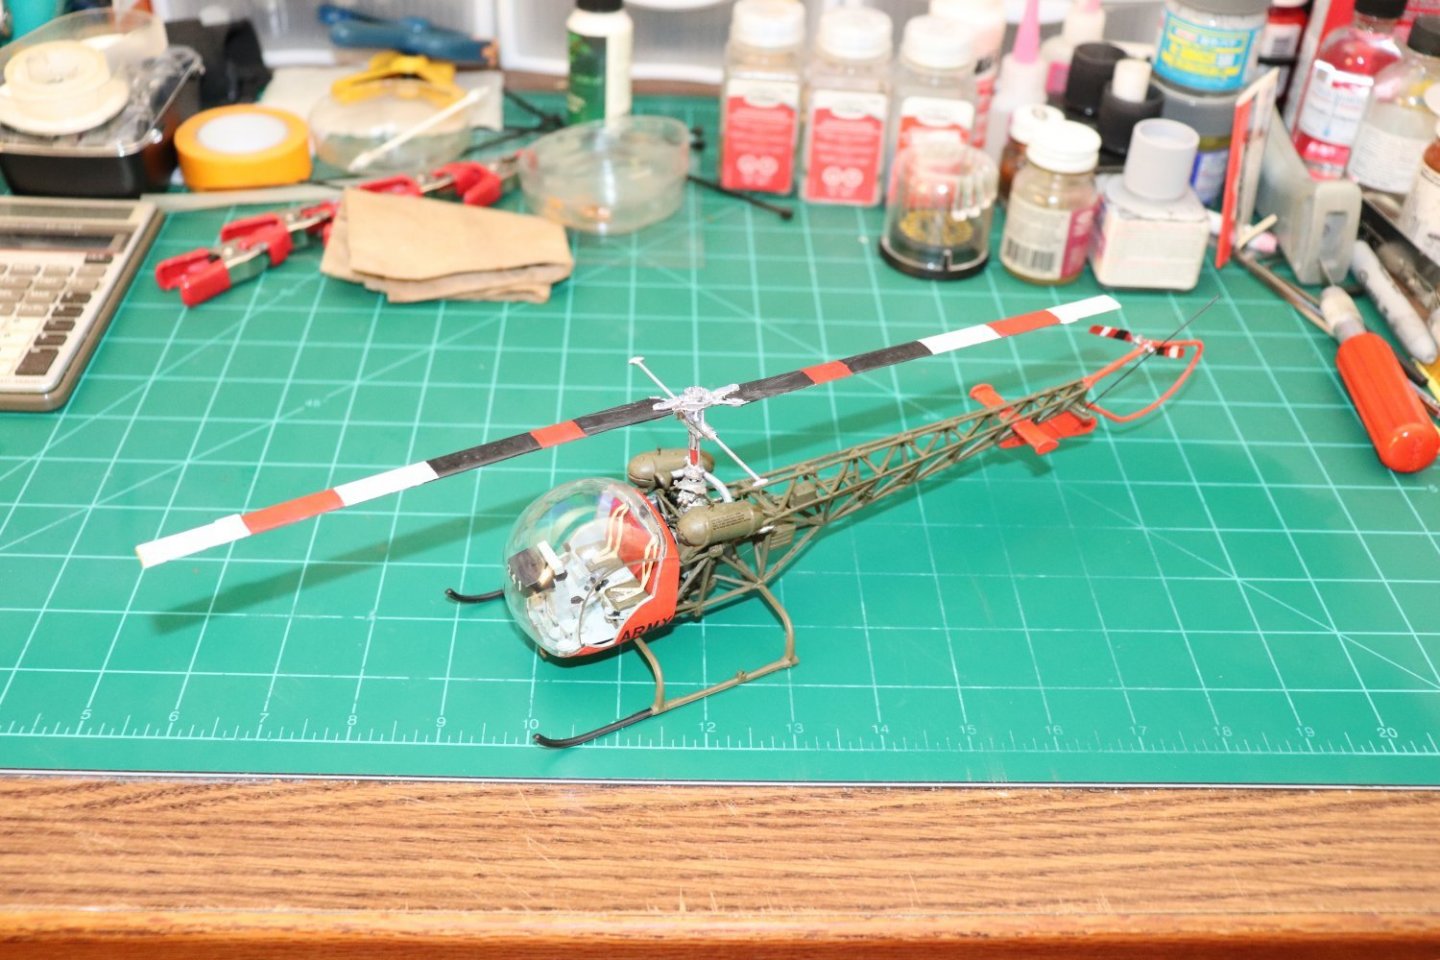
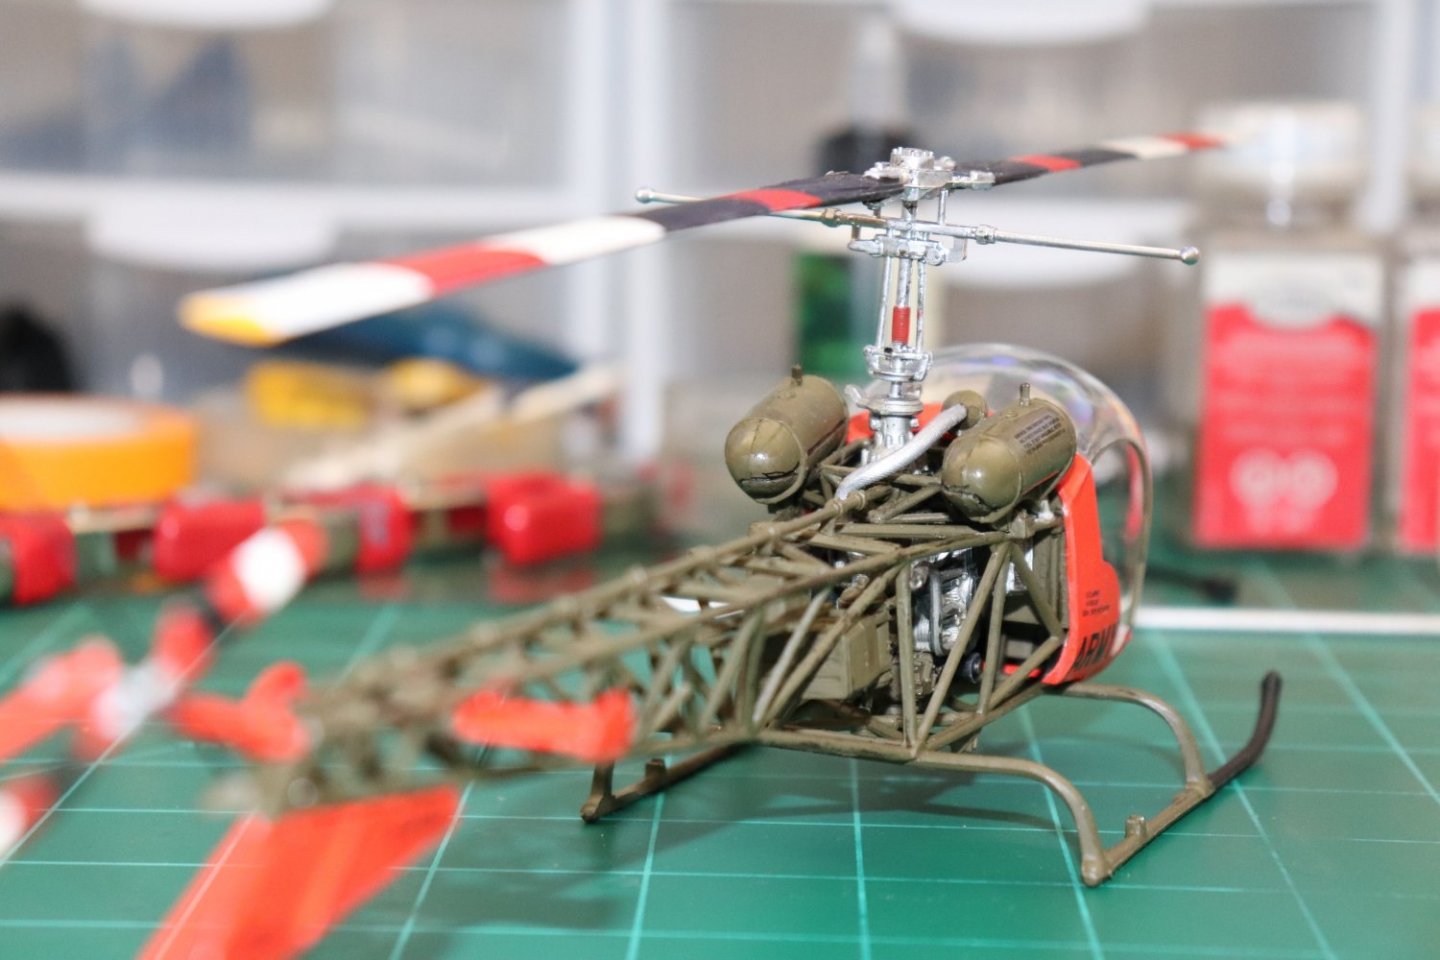
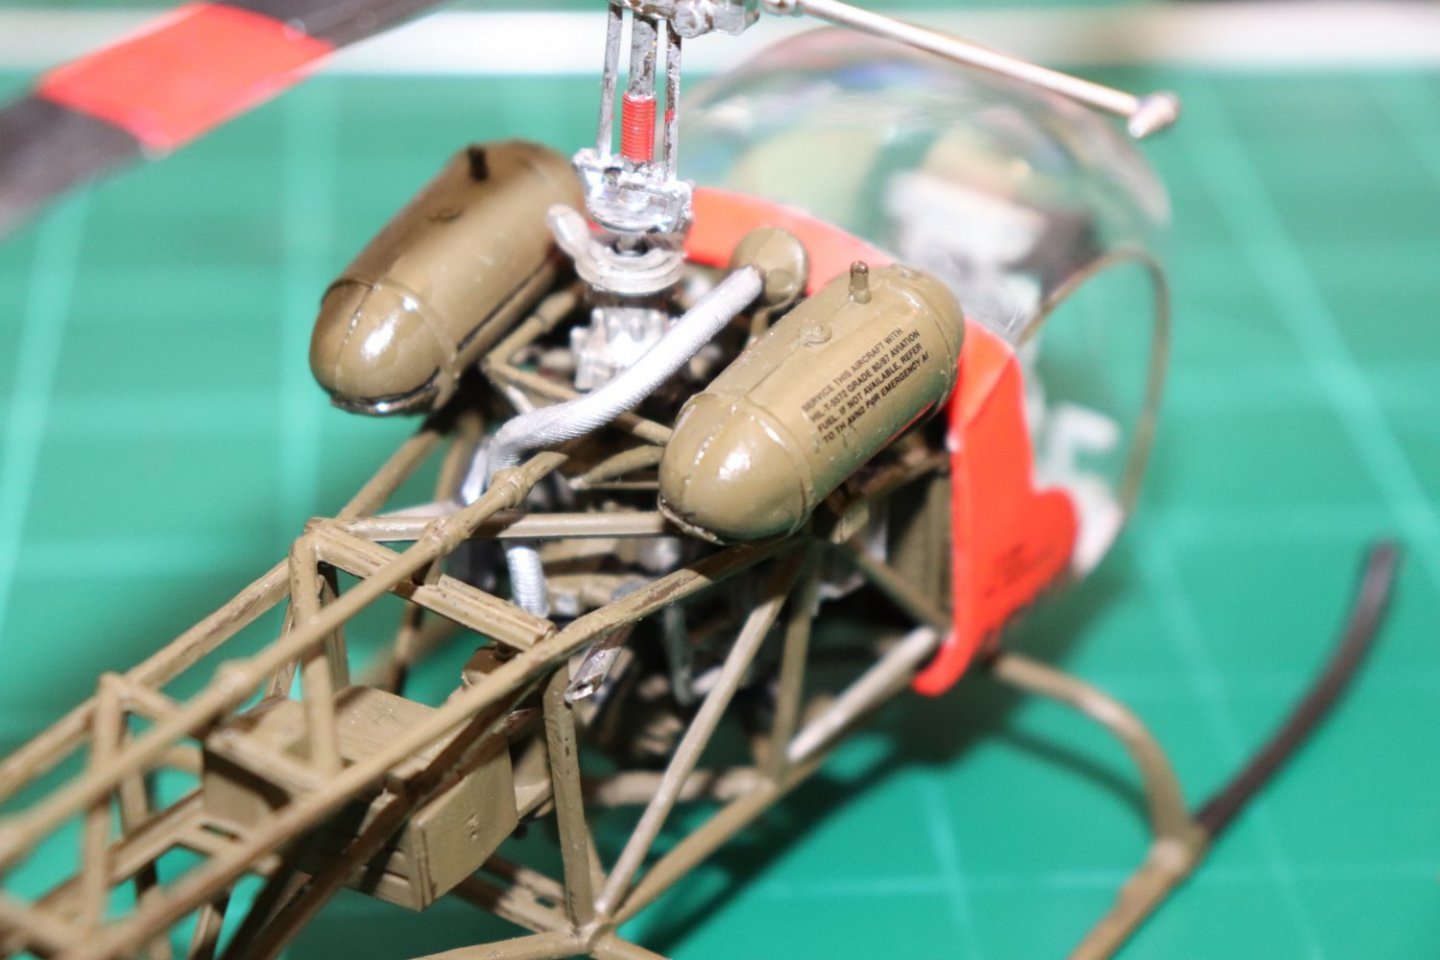
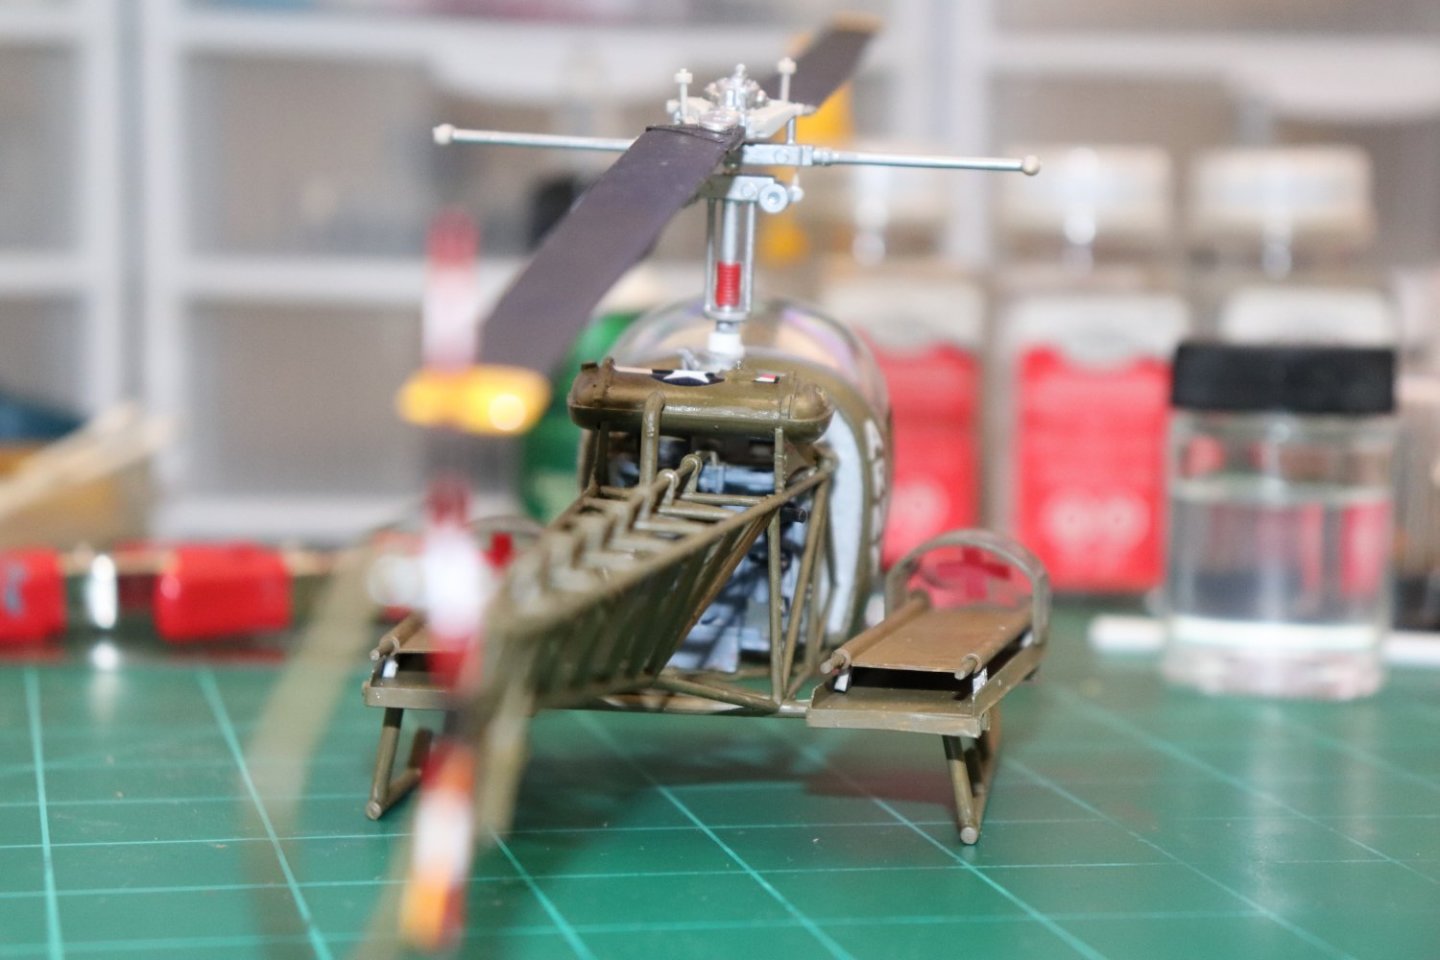
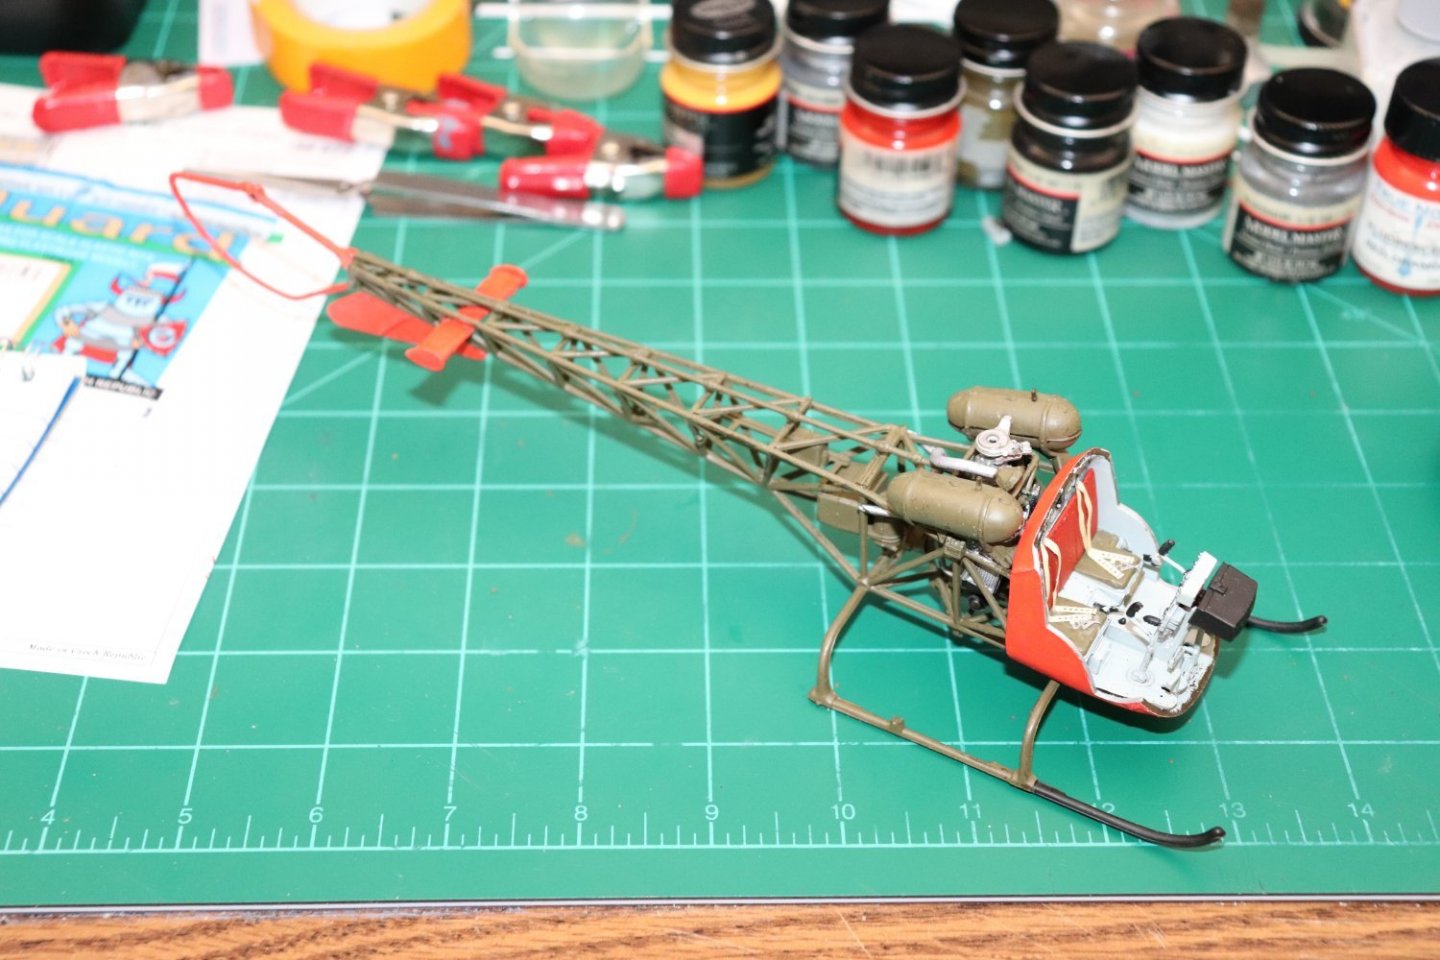
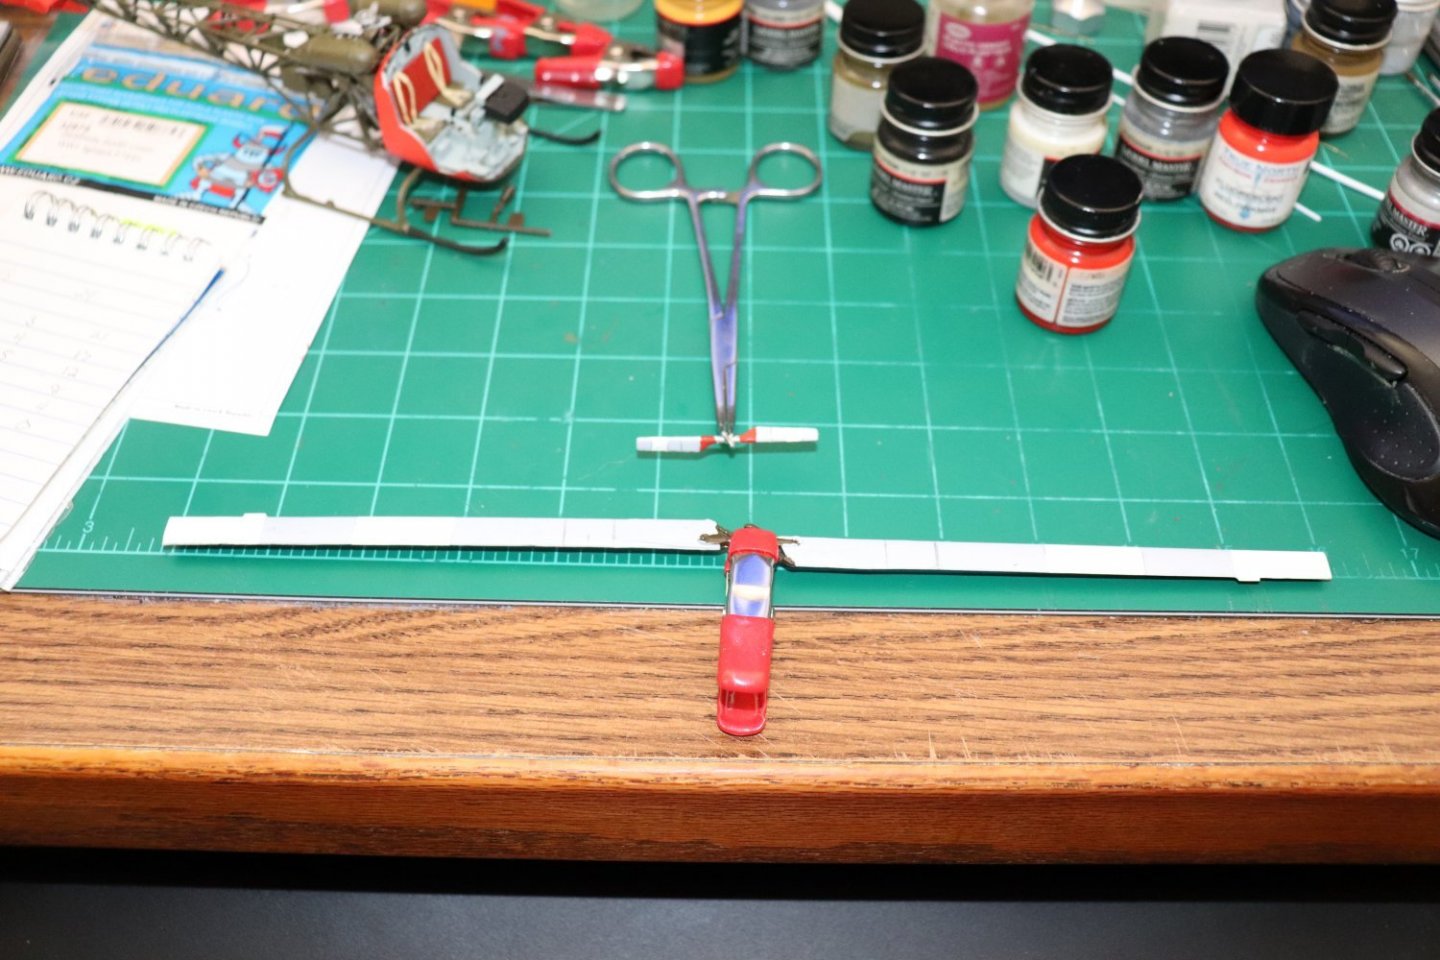
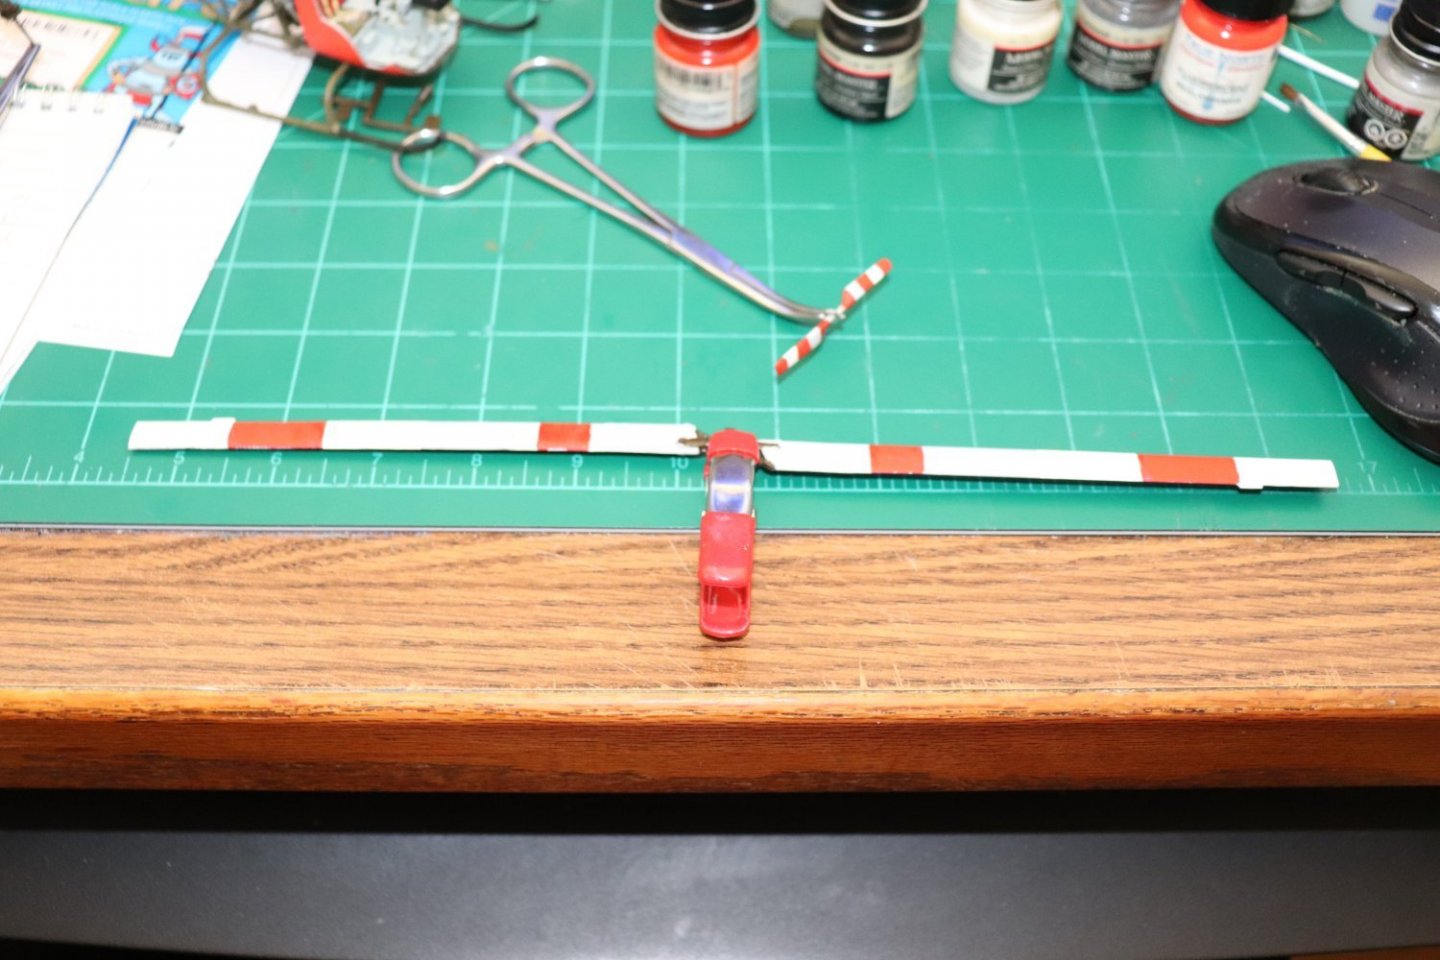
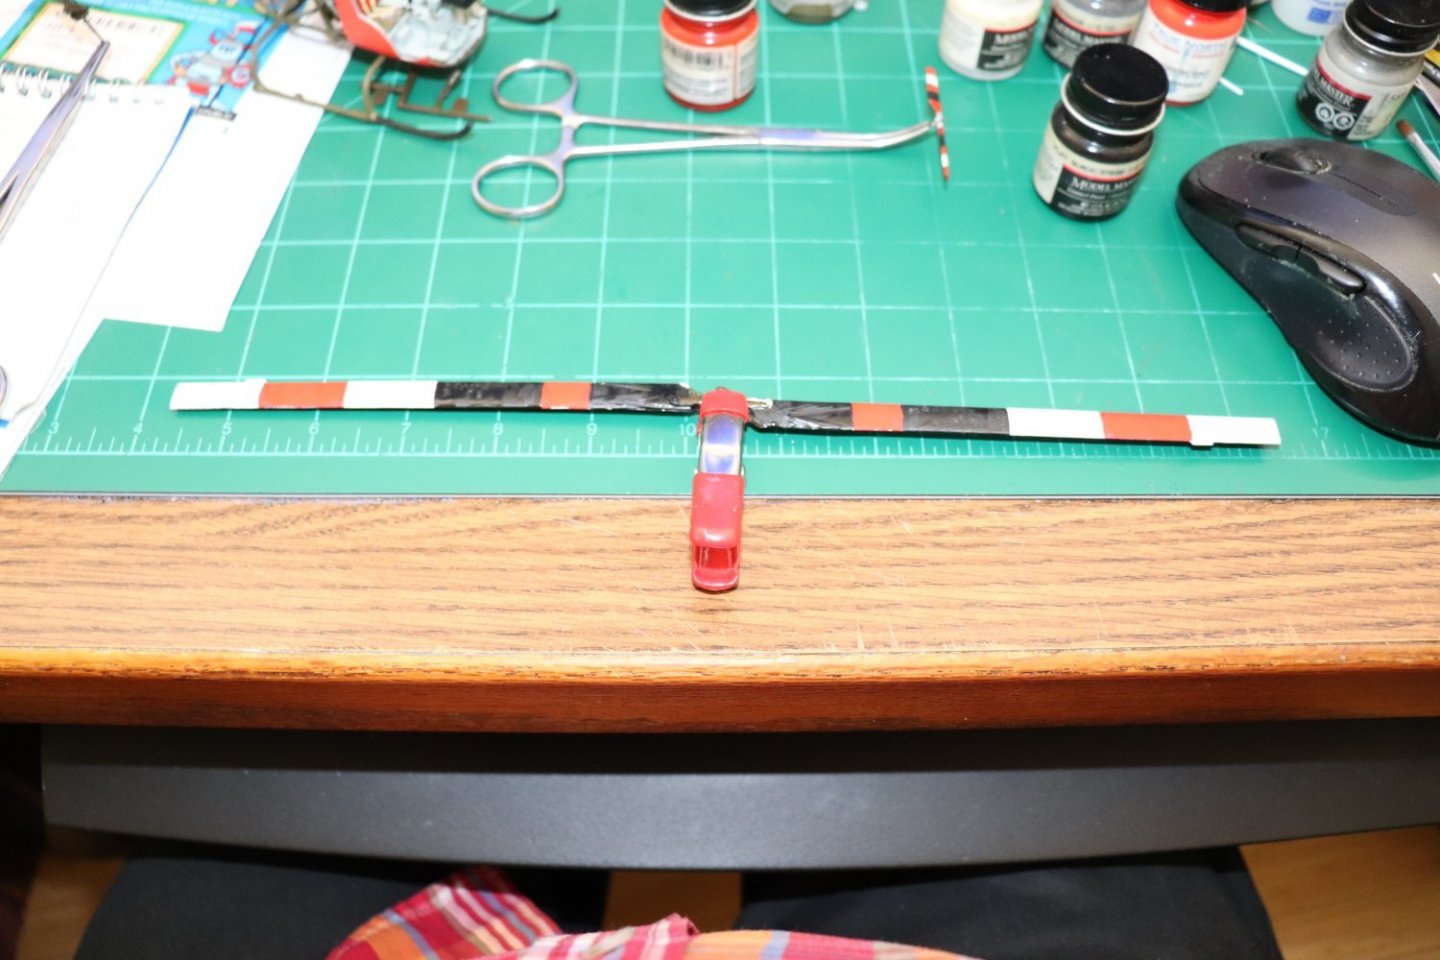
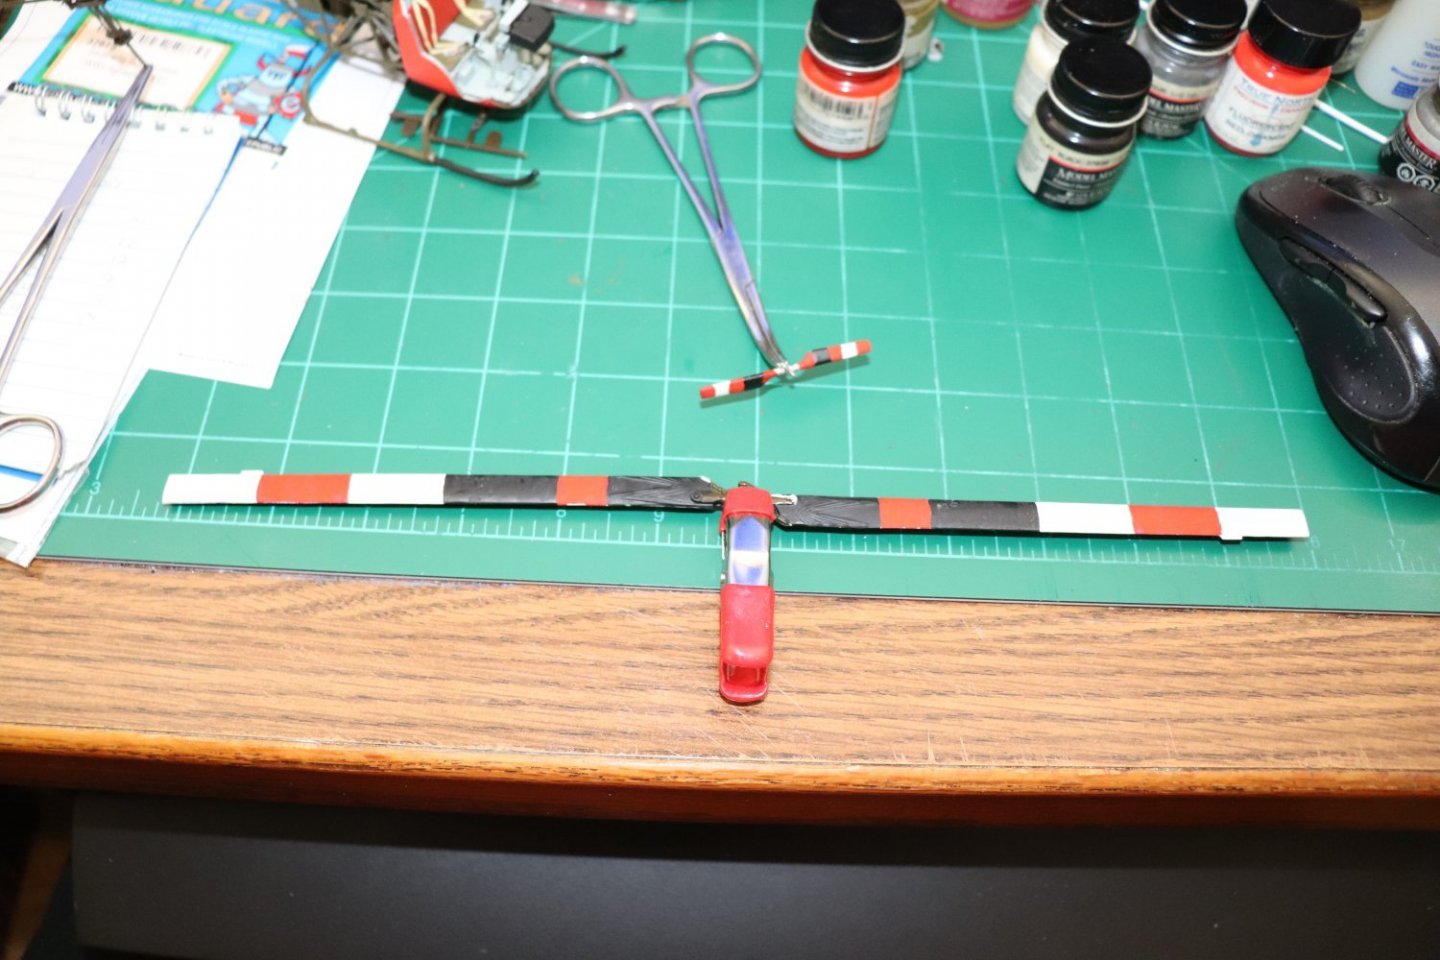
Small update... H-13H Ft Wolters... Basic airframe assembly complete... Still a bit drab even with the orange-red high vis paint... The rotor will add a bit of pop... Laying out the rotor patterns and beginning paint... The tail rotor has the same pattern as the D model, it was a standard pattern applied at the factory... The main rotor on the other hand had a distinct high-vis pattern.... As you can see in this pic, the pattern consisted of alternating white and red blocks on the rotor top surface... (the bottom remained black) the ideal was to be easily seen from above while in the air... it was hard enough as a trainee to pay attention to flying the bird and lose track of the airspace around you, the color blocks served to not only locate other aircraft in the air, but to let the trainee pilot know just how close he could get to another aircraft before there were space issues... First we paint the top of the rotor with primer.. then lay out the pattern.... Next we start with the lightest color, in this case white... You can barely see the four blocks of flat white against the primer .... Then, when dry, you coat those blocks of white with a sealer... I used Microscale's micro satin product to seal the white paint... Once that is dry the red paint comes next... Flat Insignia Red... Then you can paint the flat black without having to seal the red, the sealing coat is to prevent the red paint from bleeding into the white paint turning it pink... Flat Black... Not quite dry yet, next up is to finish the underside full length black with yellow tips and paint the center hub metallics... Onwards my friends...
- 169 replies
-
- 11
-
-
Thank you Ed & Ken, yeah the little bits of color add a certain something over the usual drab of olive color... The decals will certainly finish off the look even if they aren't that prominent.... the H-13H is a bit more colorful than an operating machine on the front lines though......