HOLIDAY DONATION DRIVE - SUPPORT MSW - DO YOUR PART TO KEEP THIS GREAT FORUM GOING! (Only 24 donations so far out of 49,000 members - C'mon guys!)
×

Unegawahya
-
Posts
179 -
Joined
-
Last visited
Content Type
Profiles
Forums
Gallery
Events
Everything posted by Unegawahya
-
For such a fiddly struggle as the head is, yours is looking great! Just keep in mind, the artist is always the harshest critic of his own work.
-
To make it three! Your supports look great. Keep up the great work!
-
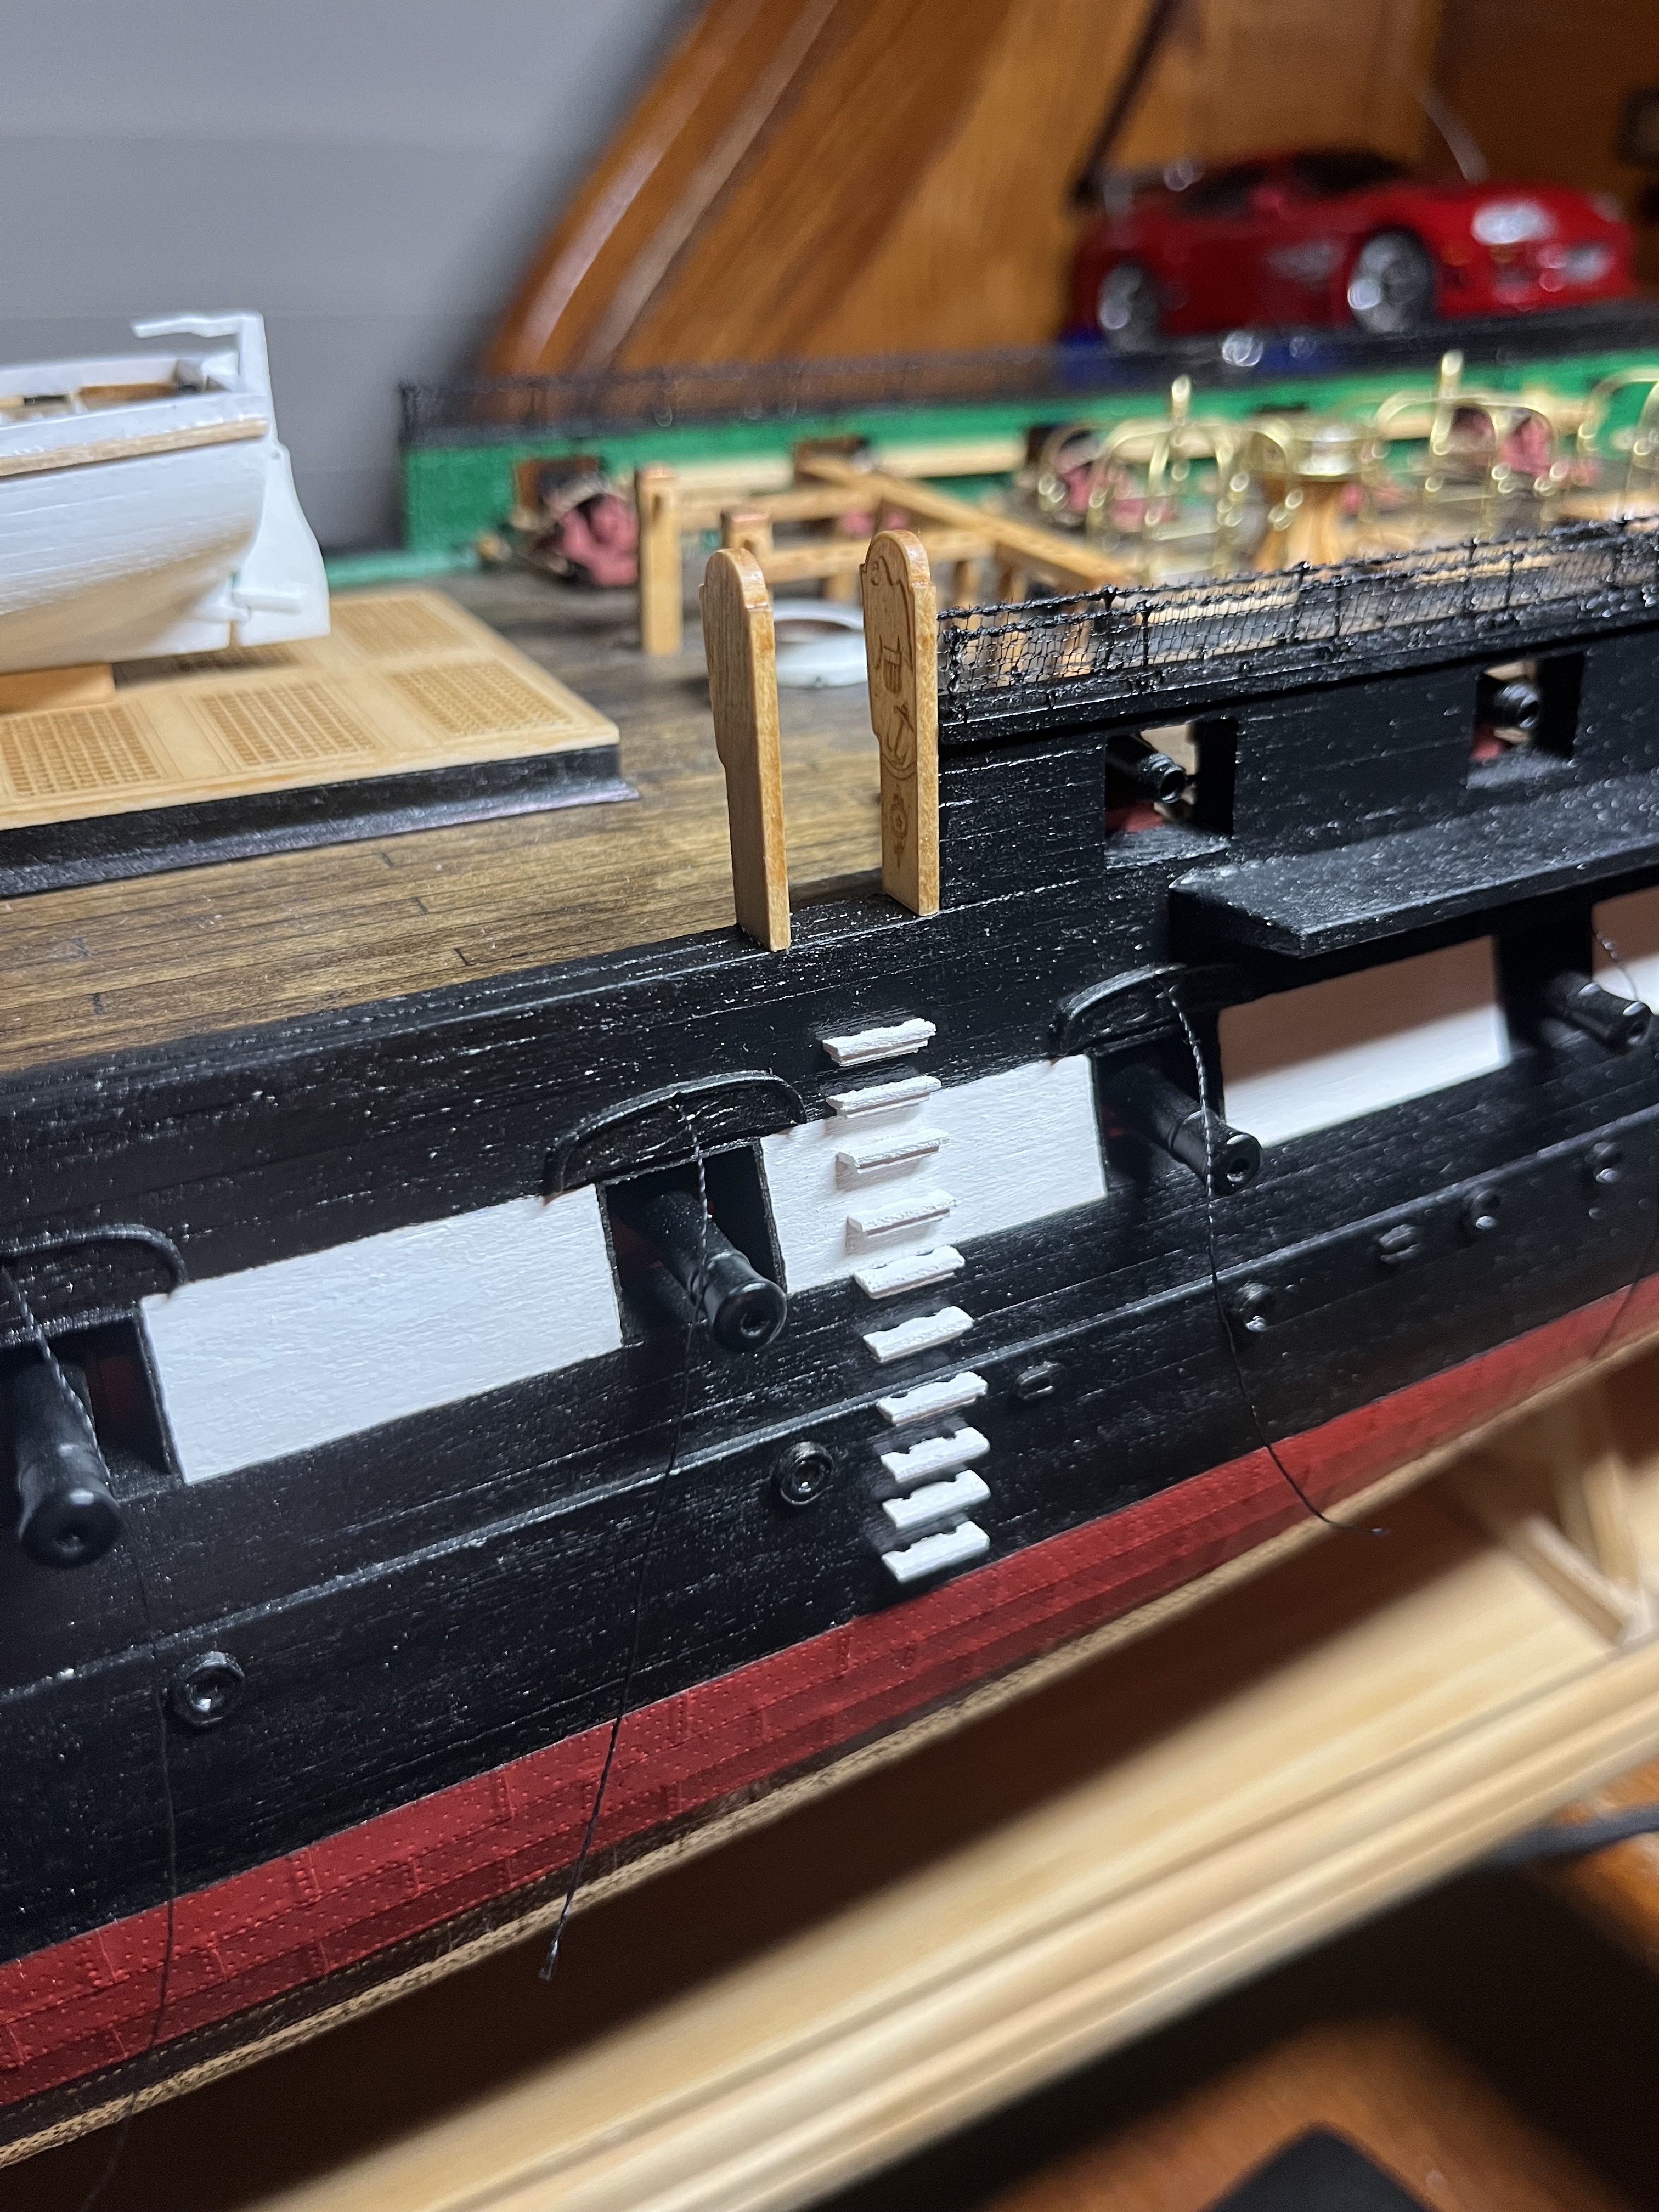
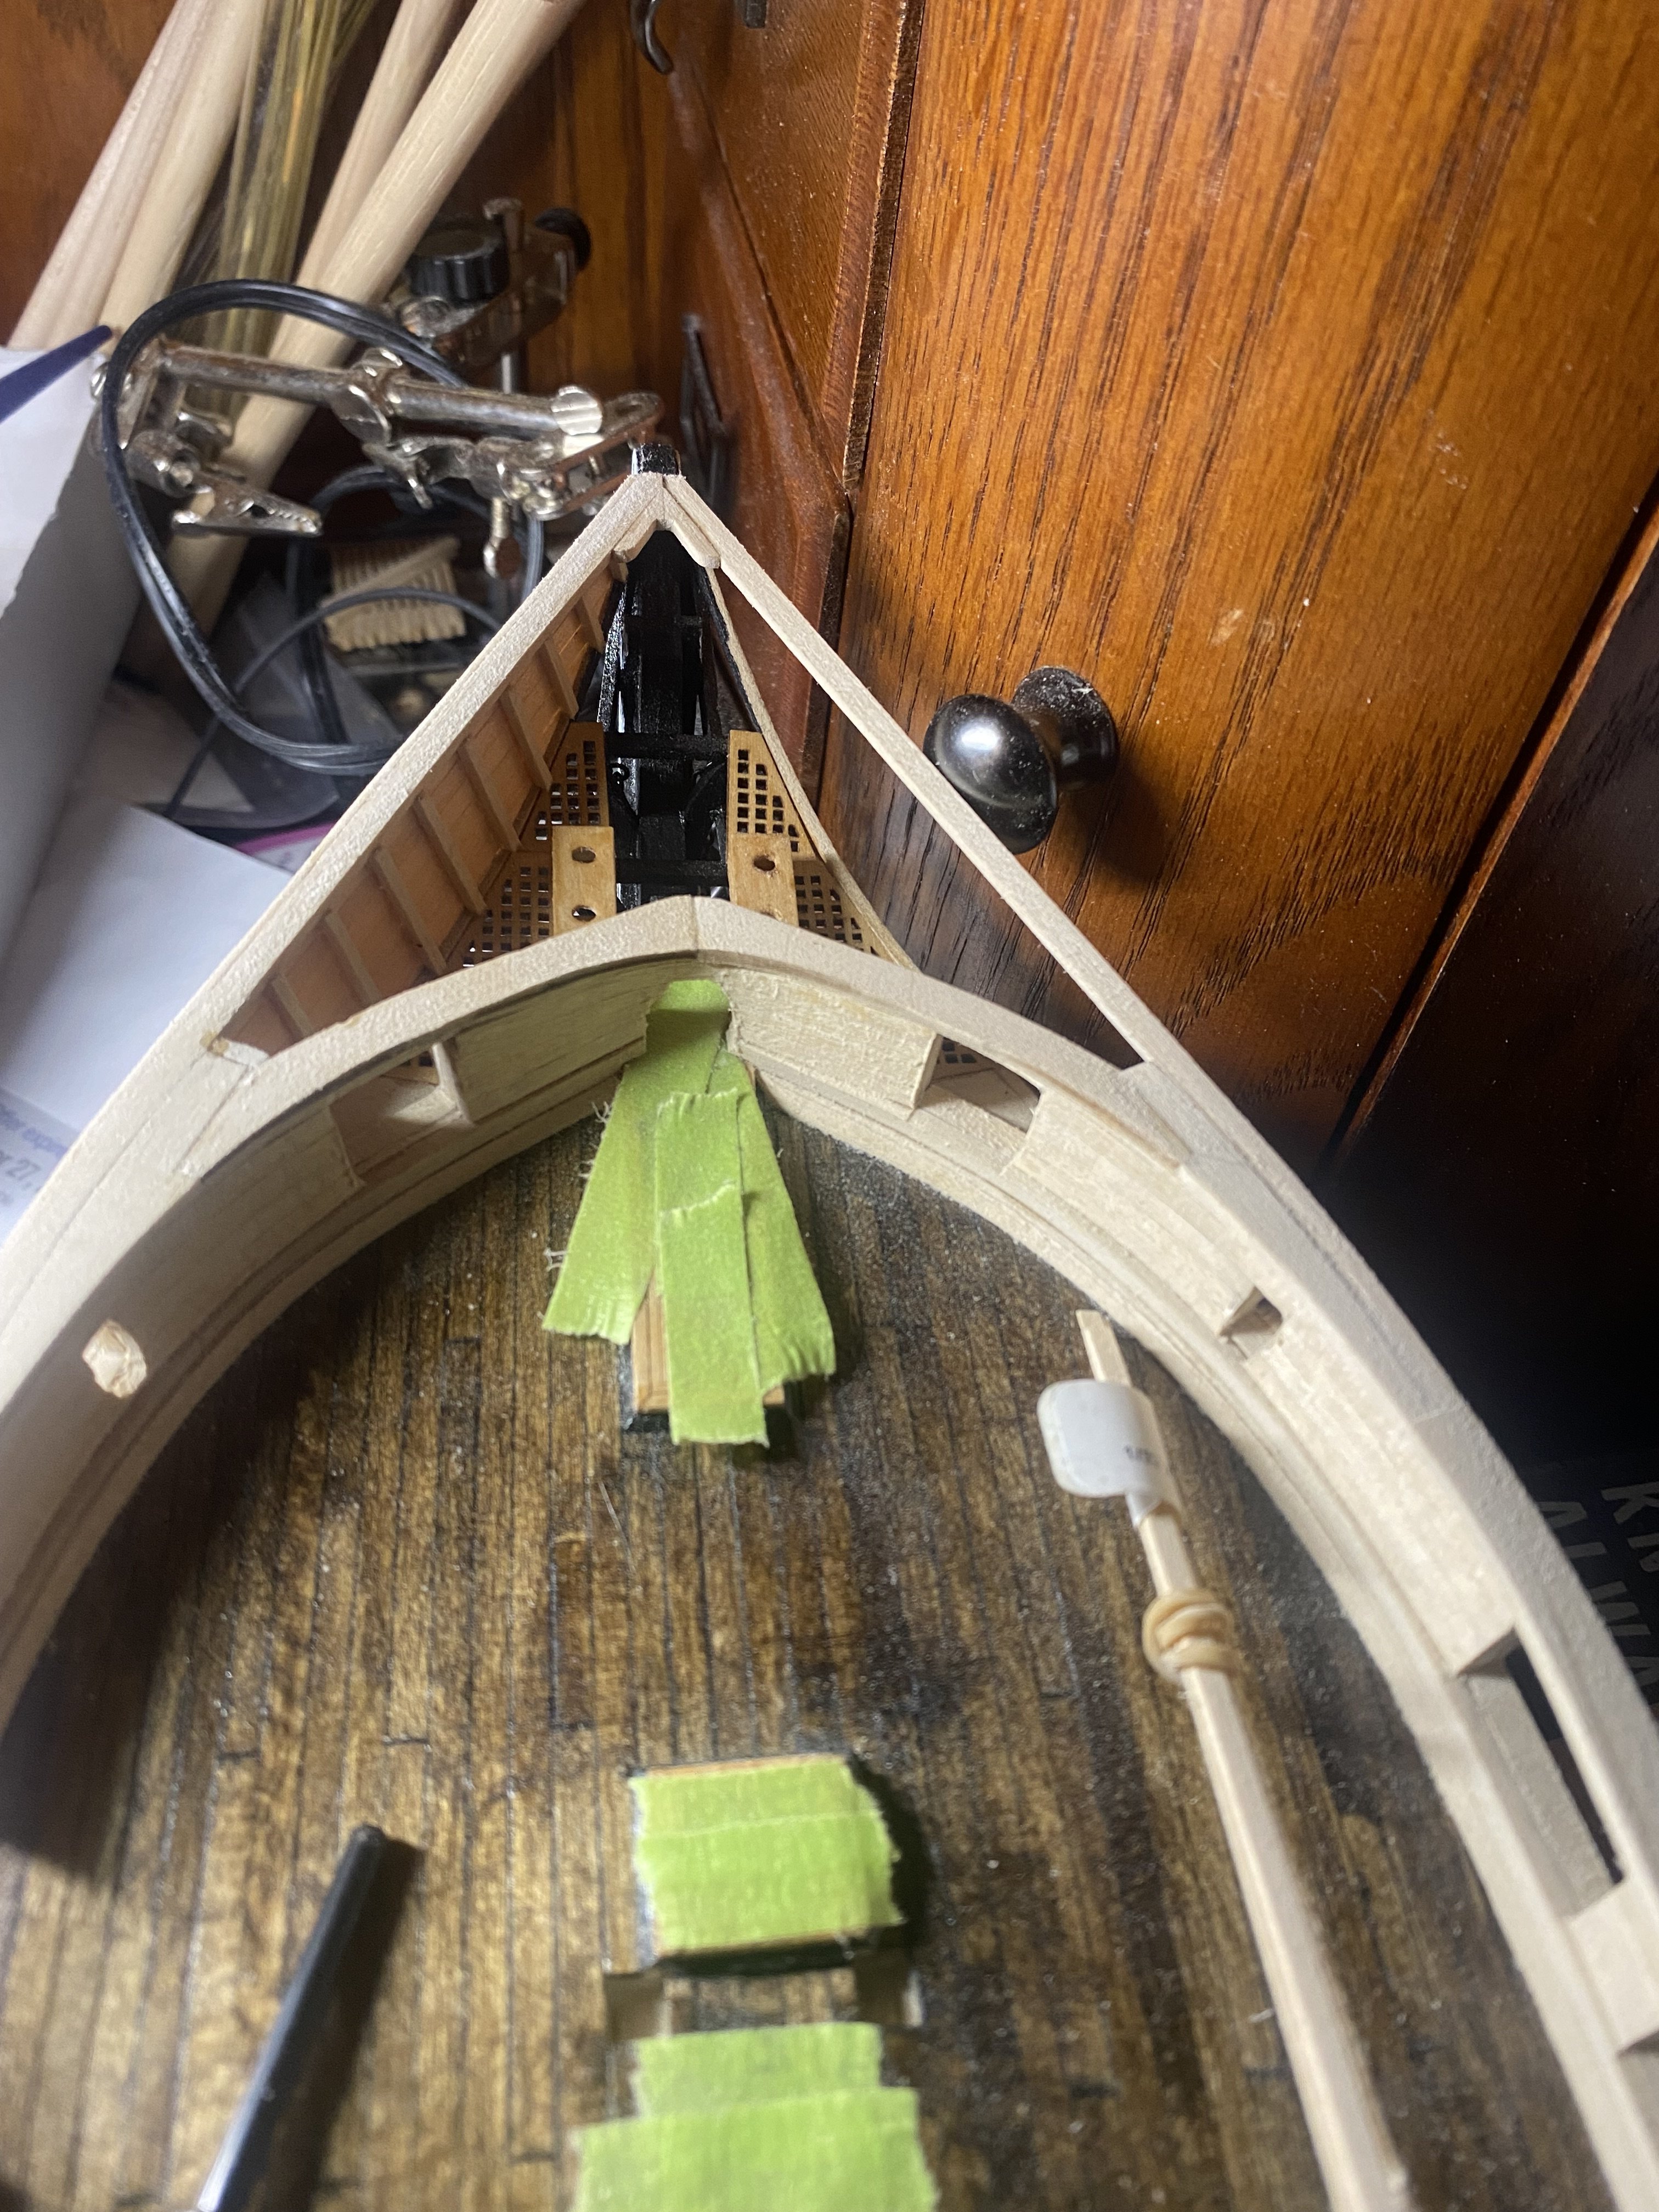
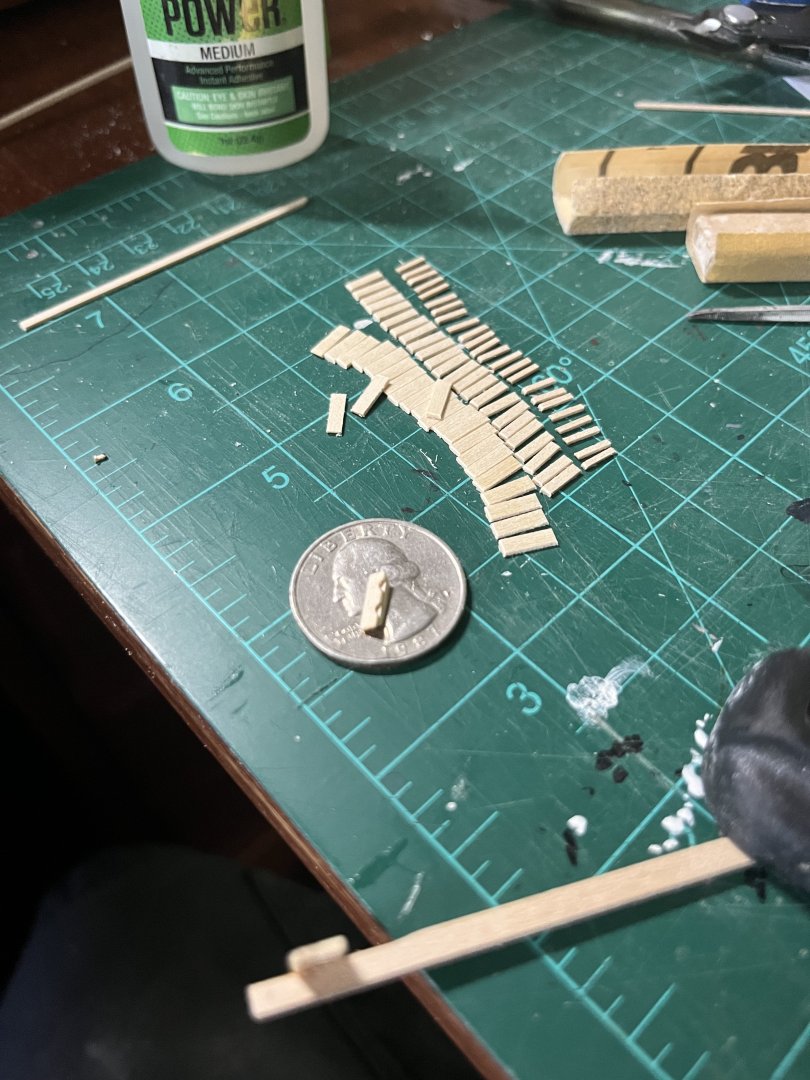
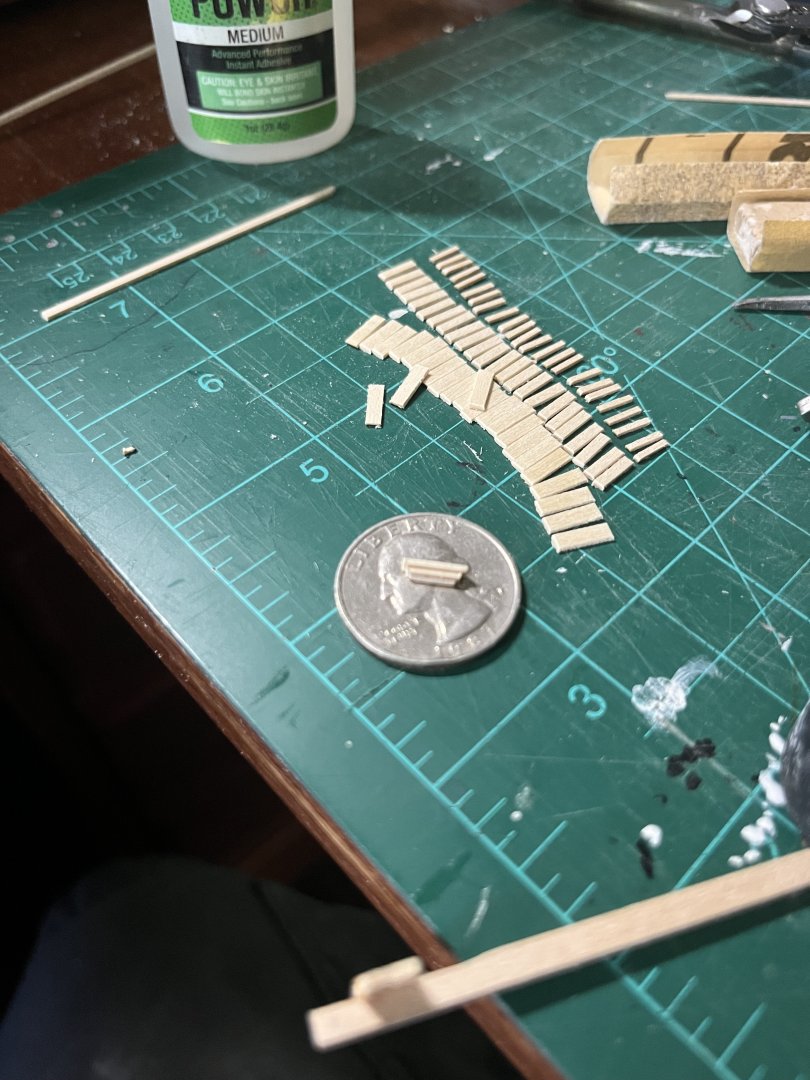
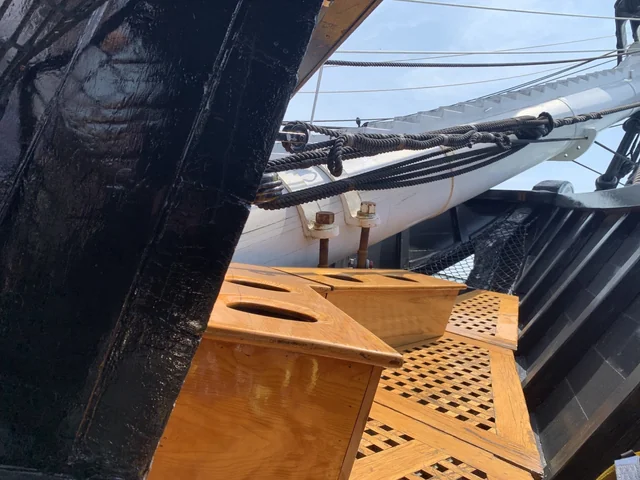
My port sea steps are done! The starboard side will be much faster because I made them at the same time!

-
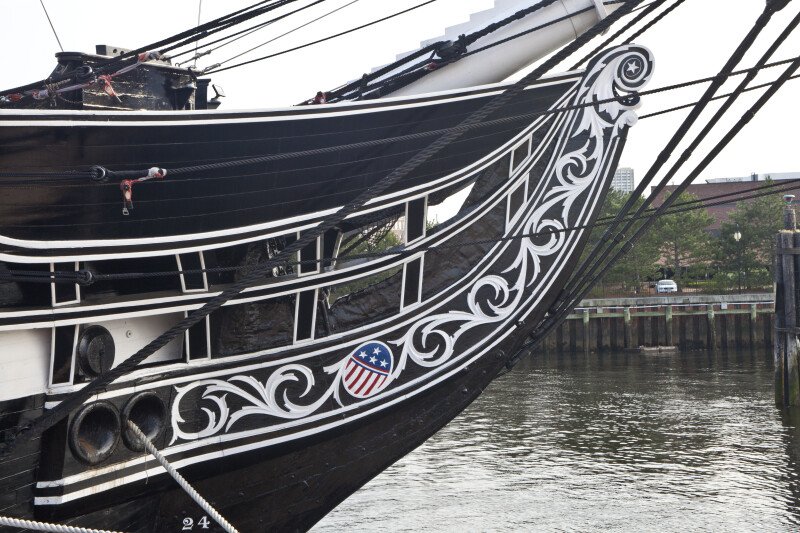
Your bow is looking really good and it’s coming along nicely!
-
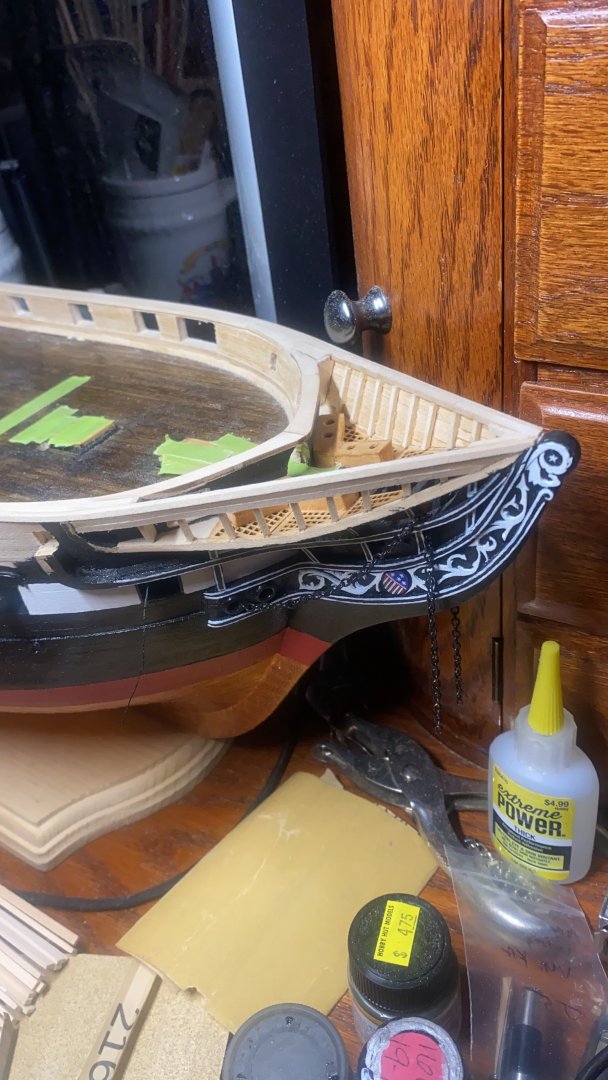
My fist two gangway boars are installed and I’ve mapped out where my sea steps are going to be located.After doing some research, it seems that when the bulwarks on the waste where removed it looks like the placement of the sea stairs where changed and one was removed. I’m borrowing mtbediz’s method for making the sea stairs and made a jig for the top 7 for each side. My first one is done. Now I have 19 more to make.


-
I believe that’s where I got it! I just don’t remember.
-
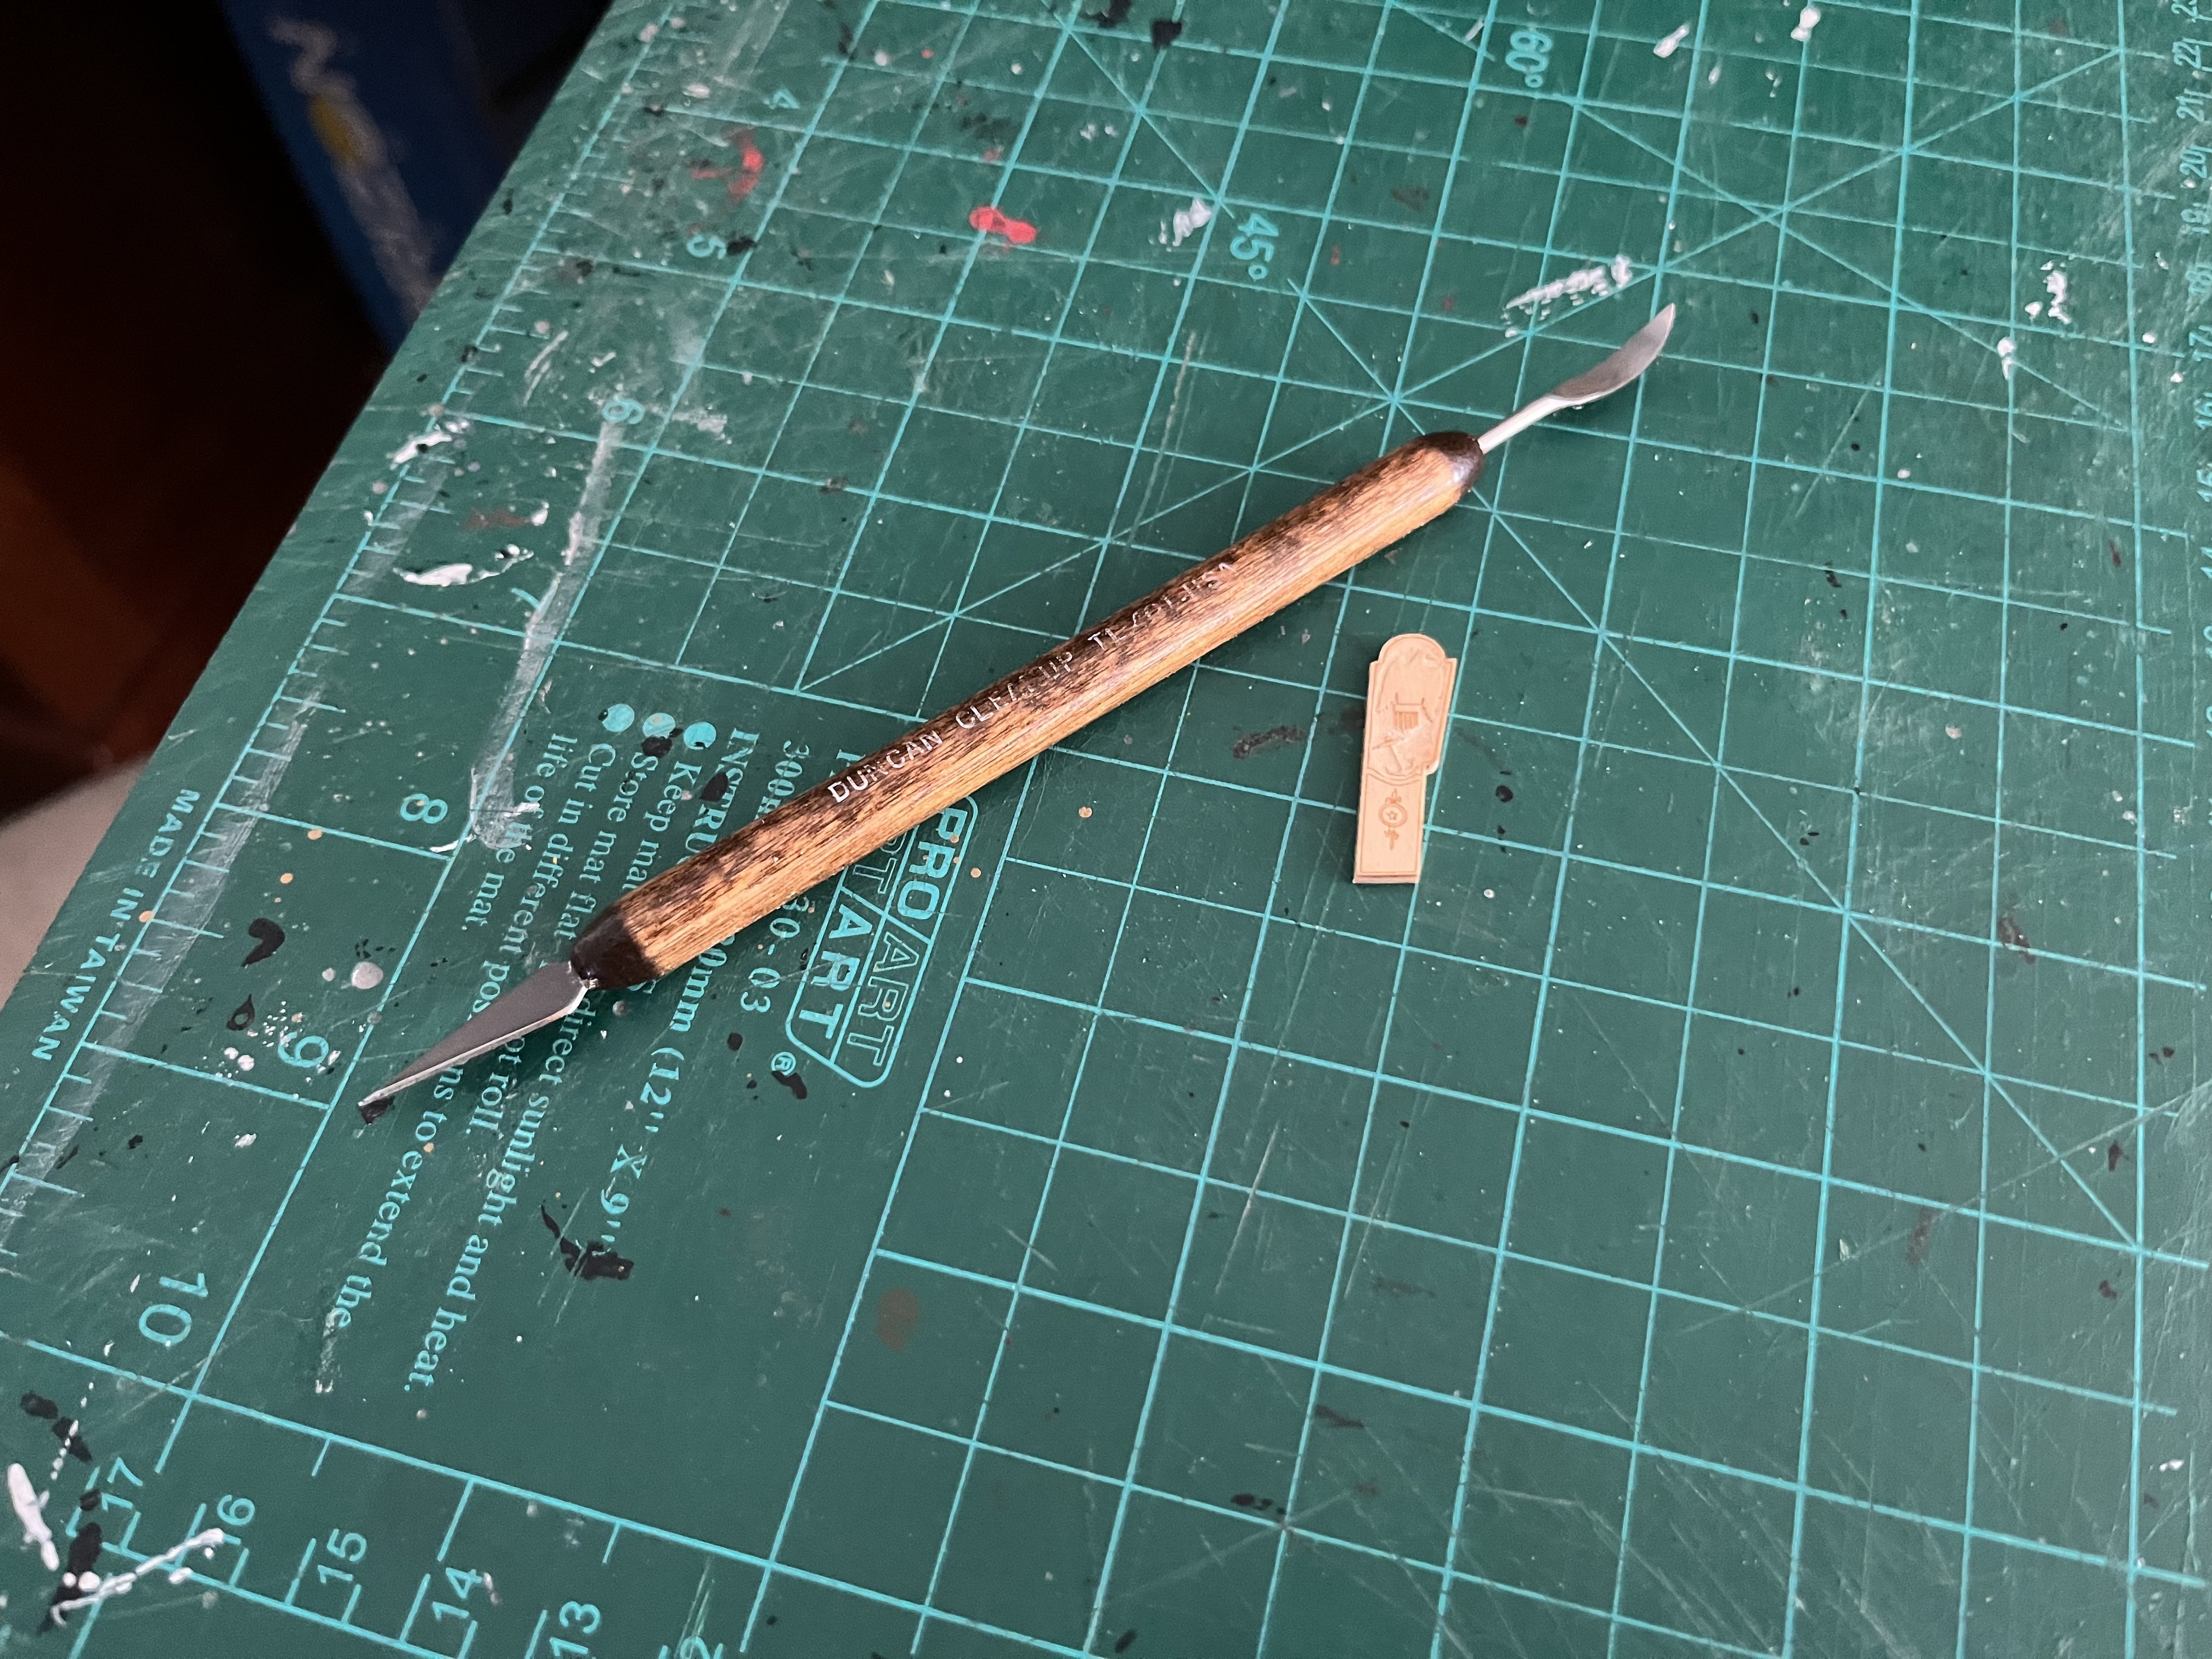
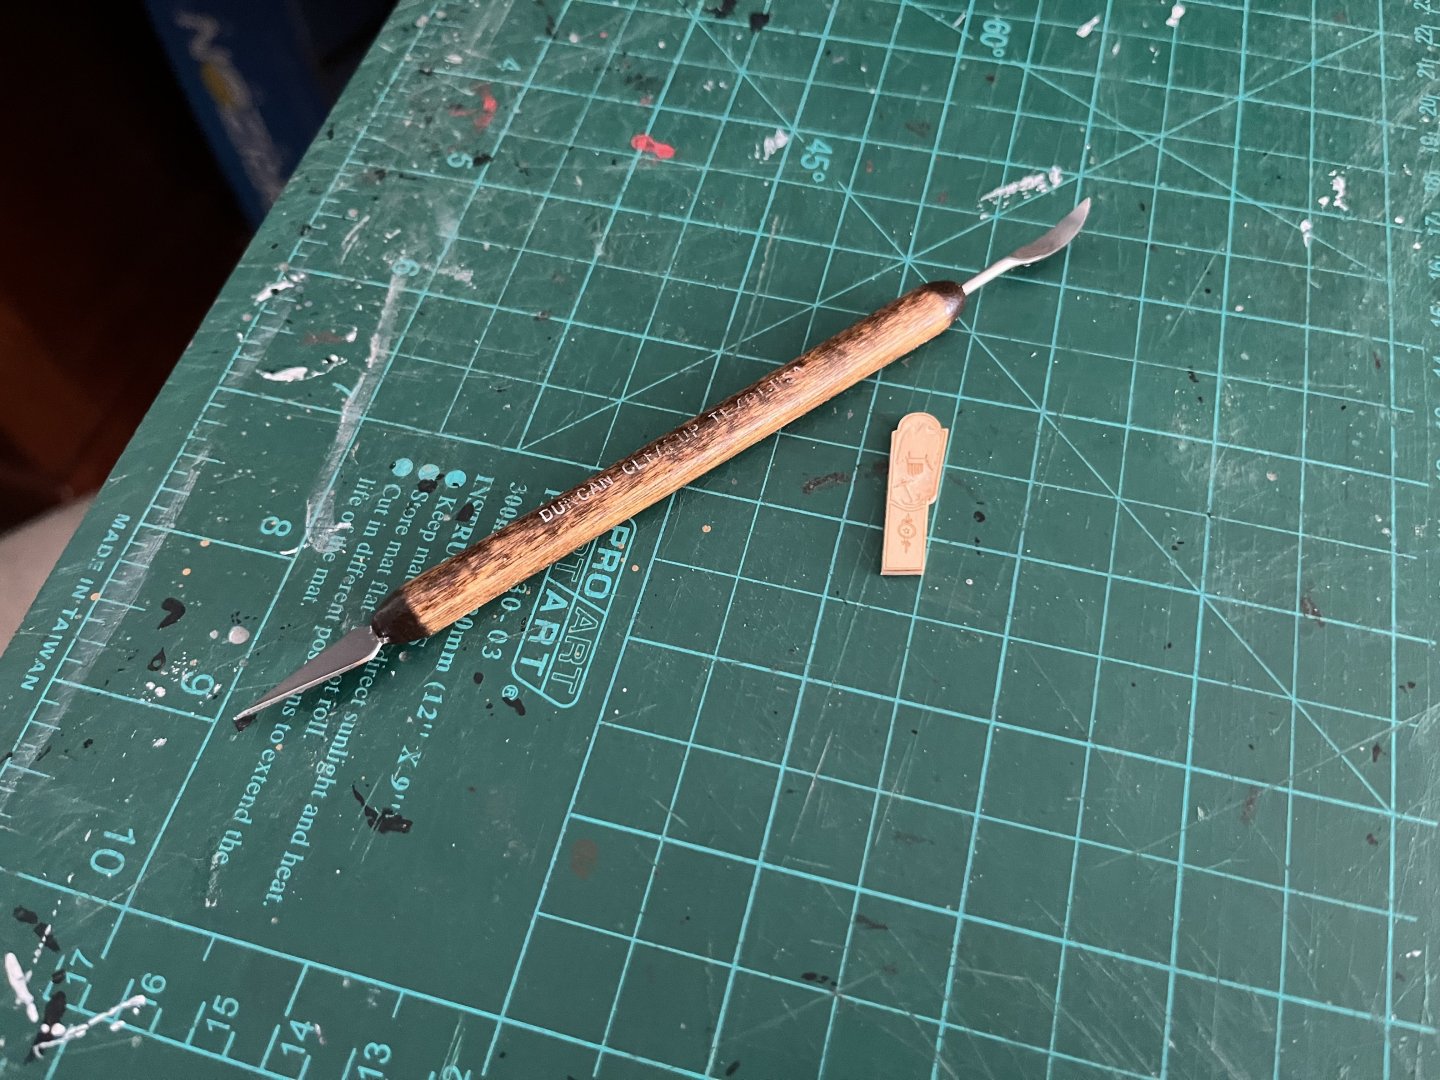
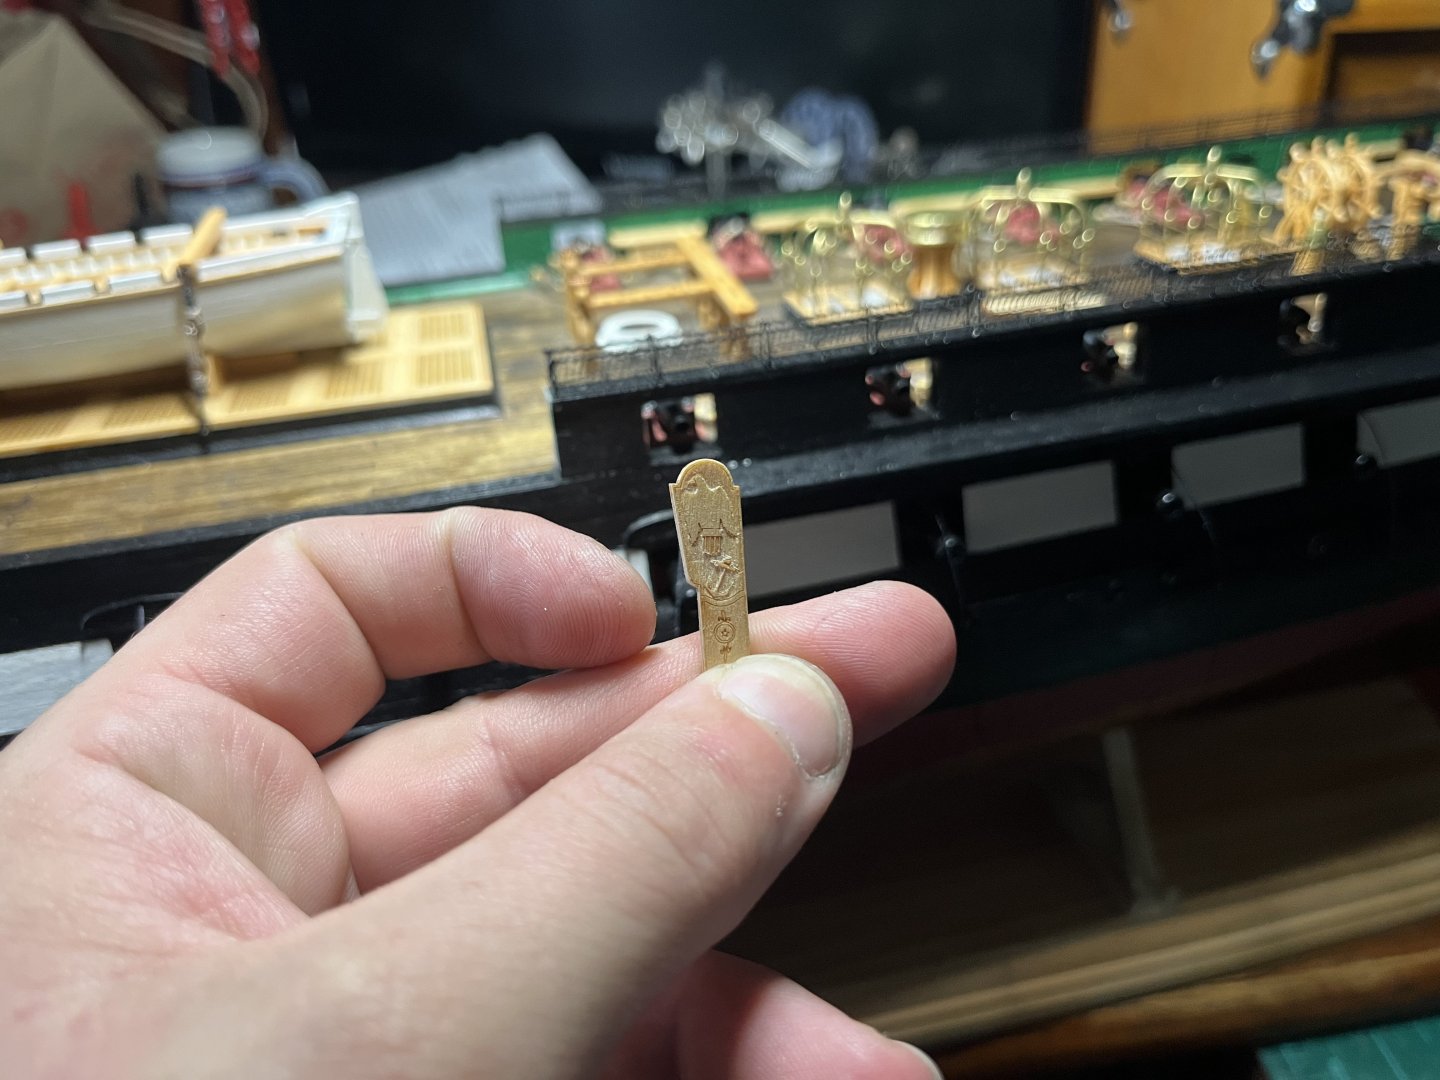
Sorry. This is what I’ve been using. I’ve had it so long that I had to hone the blades. I’ve been carefully using it to gently scrape away the borders in the carving on the laser cut supplied parts.
-
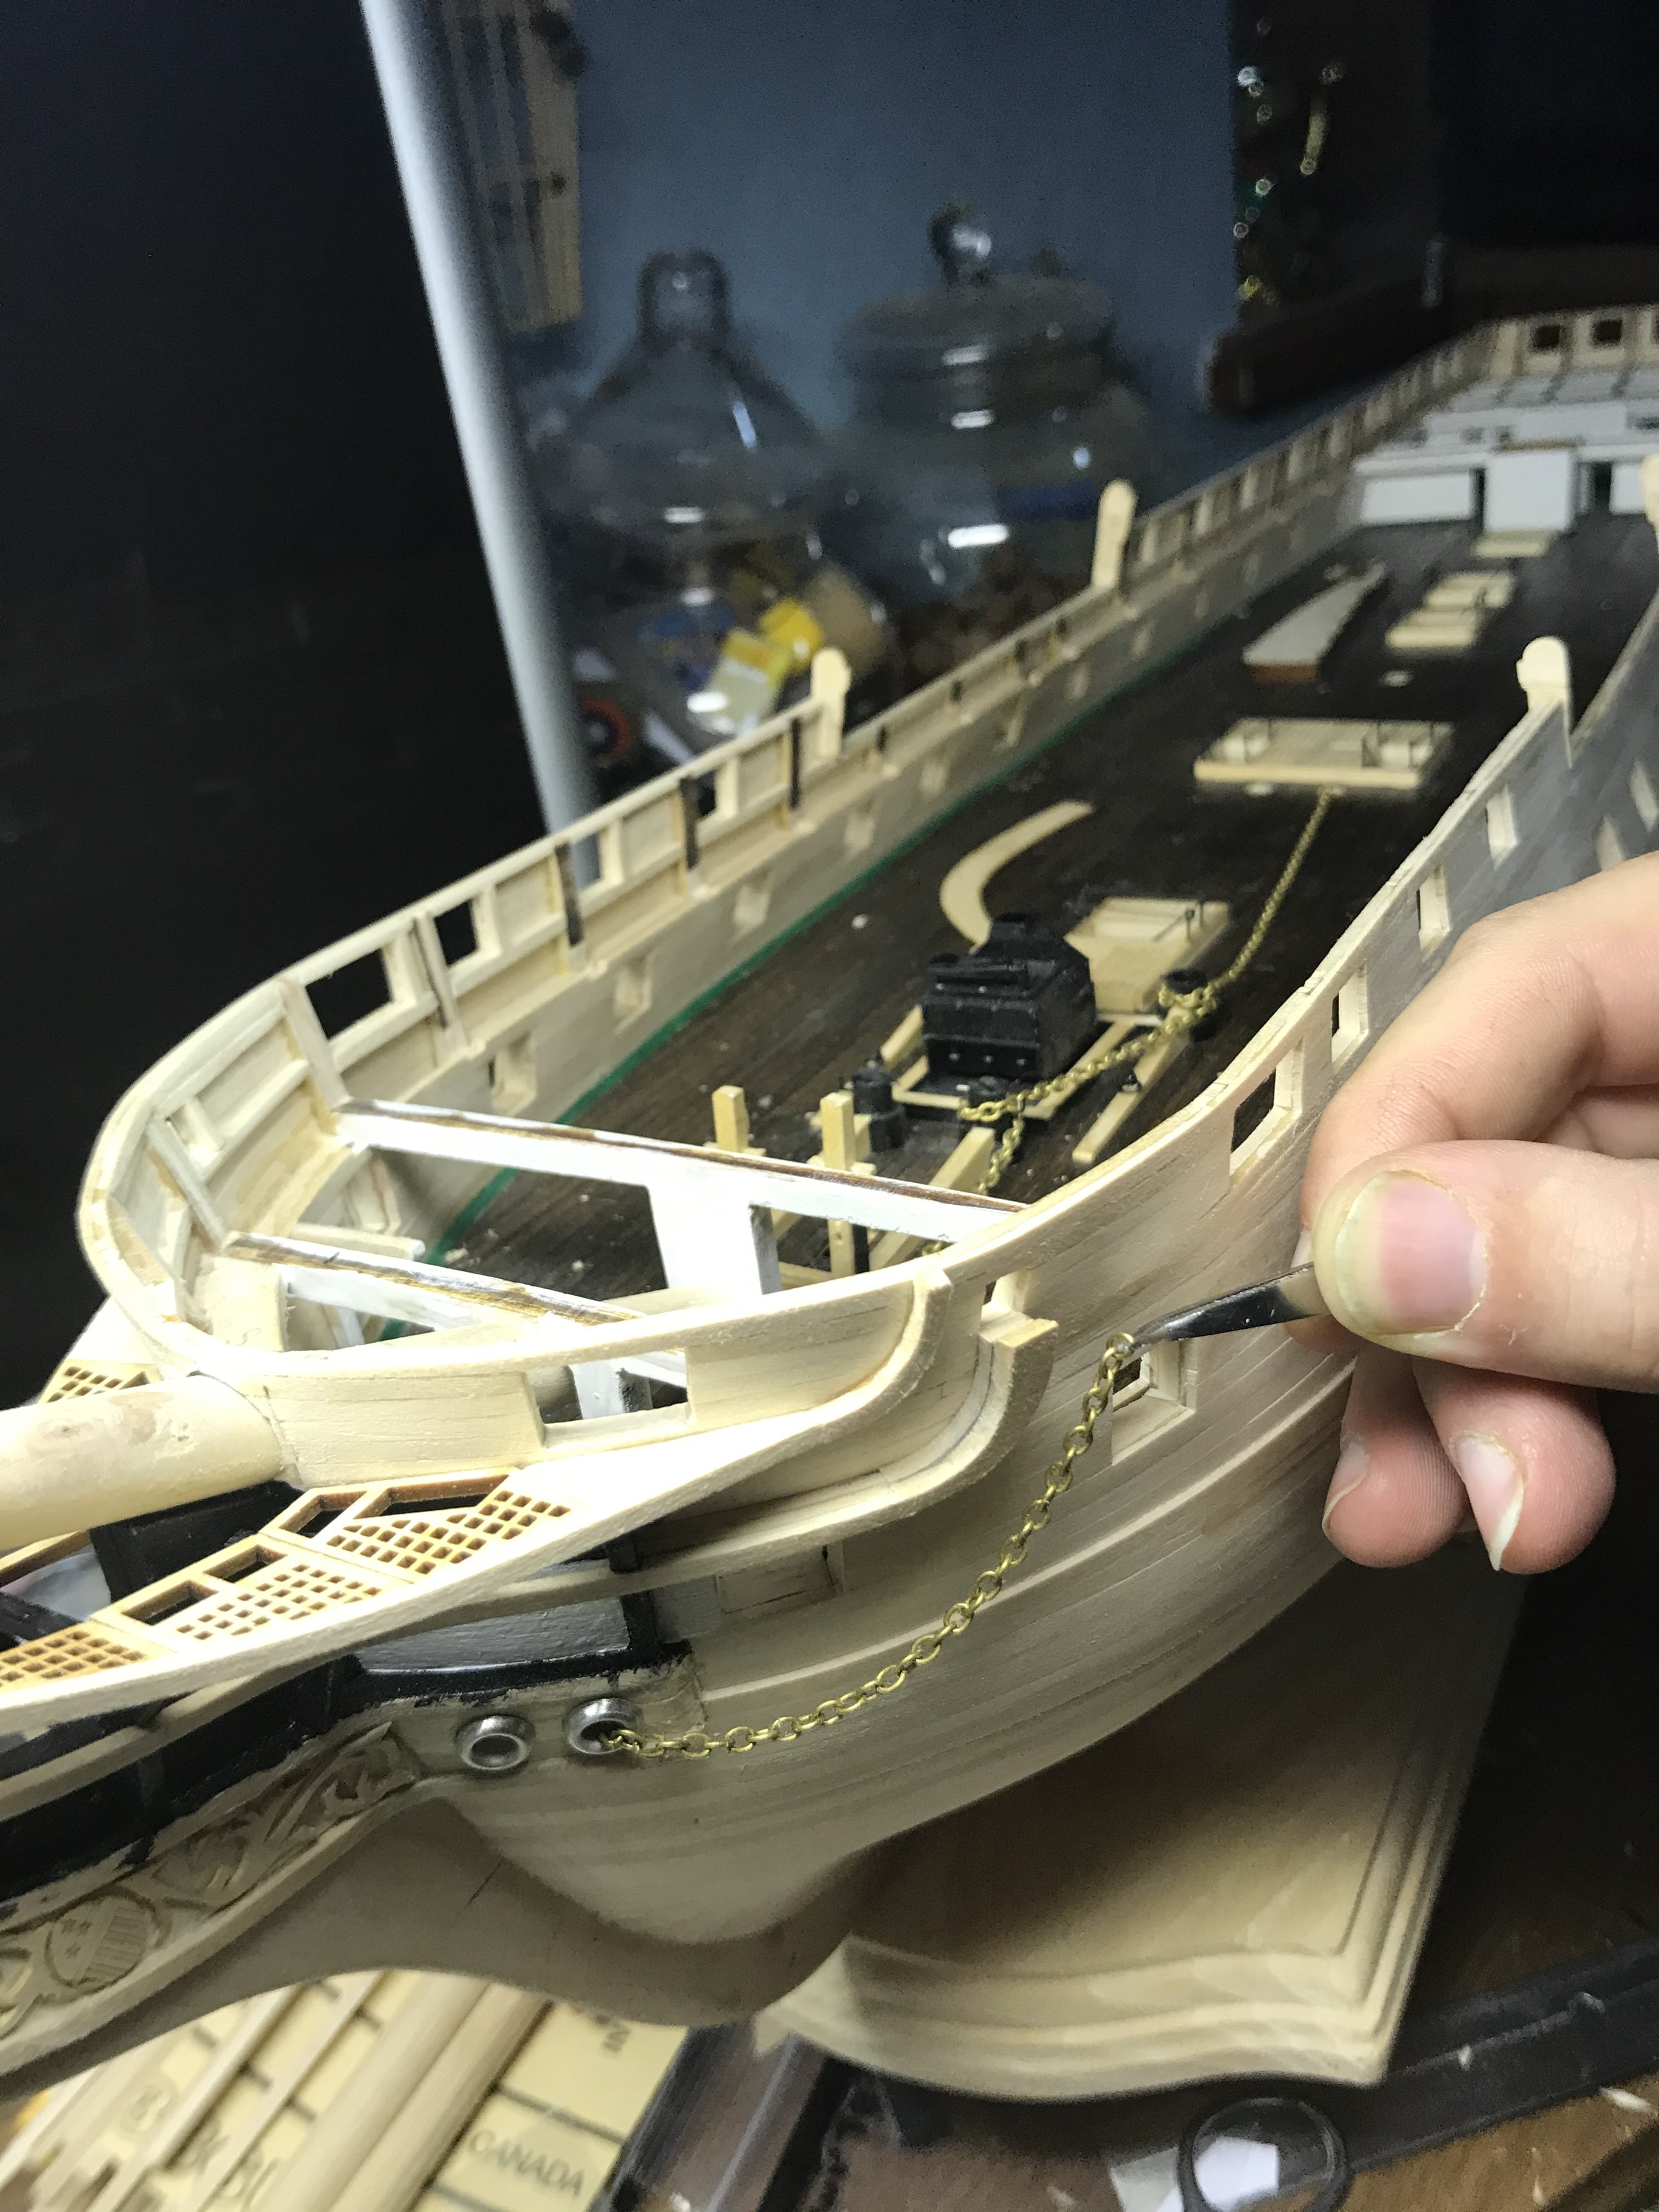
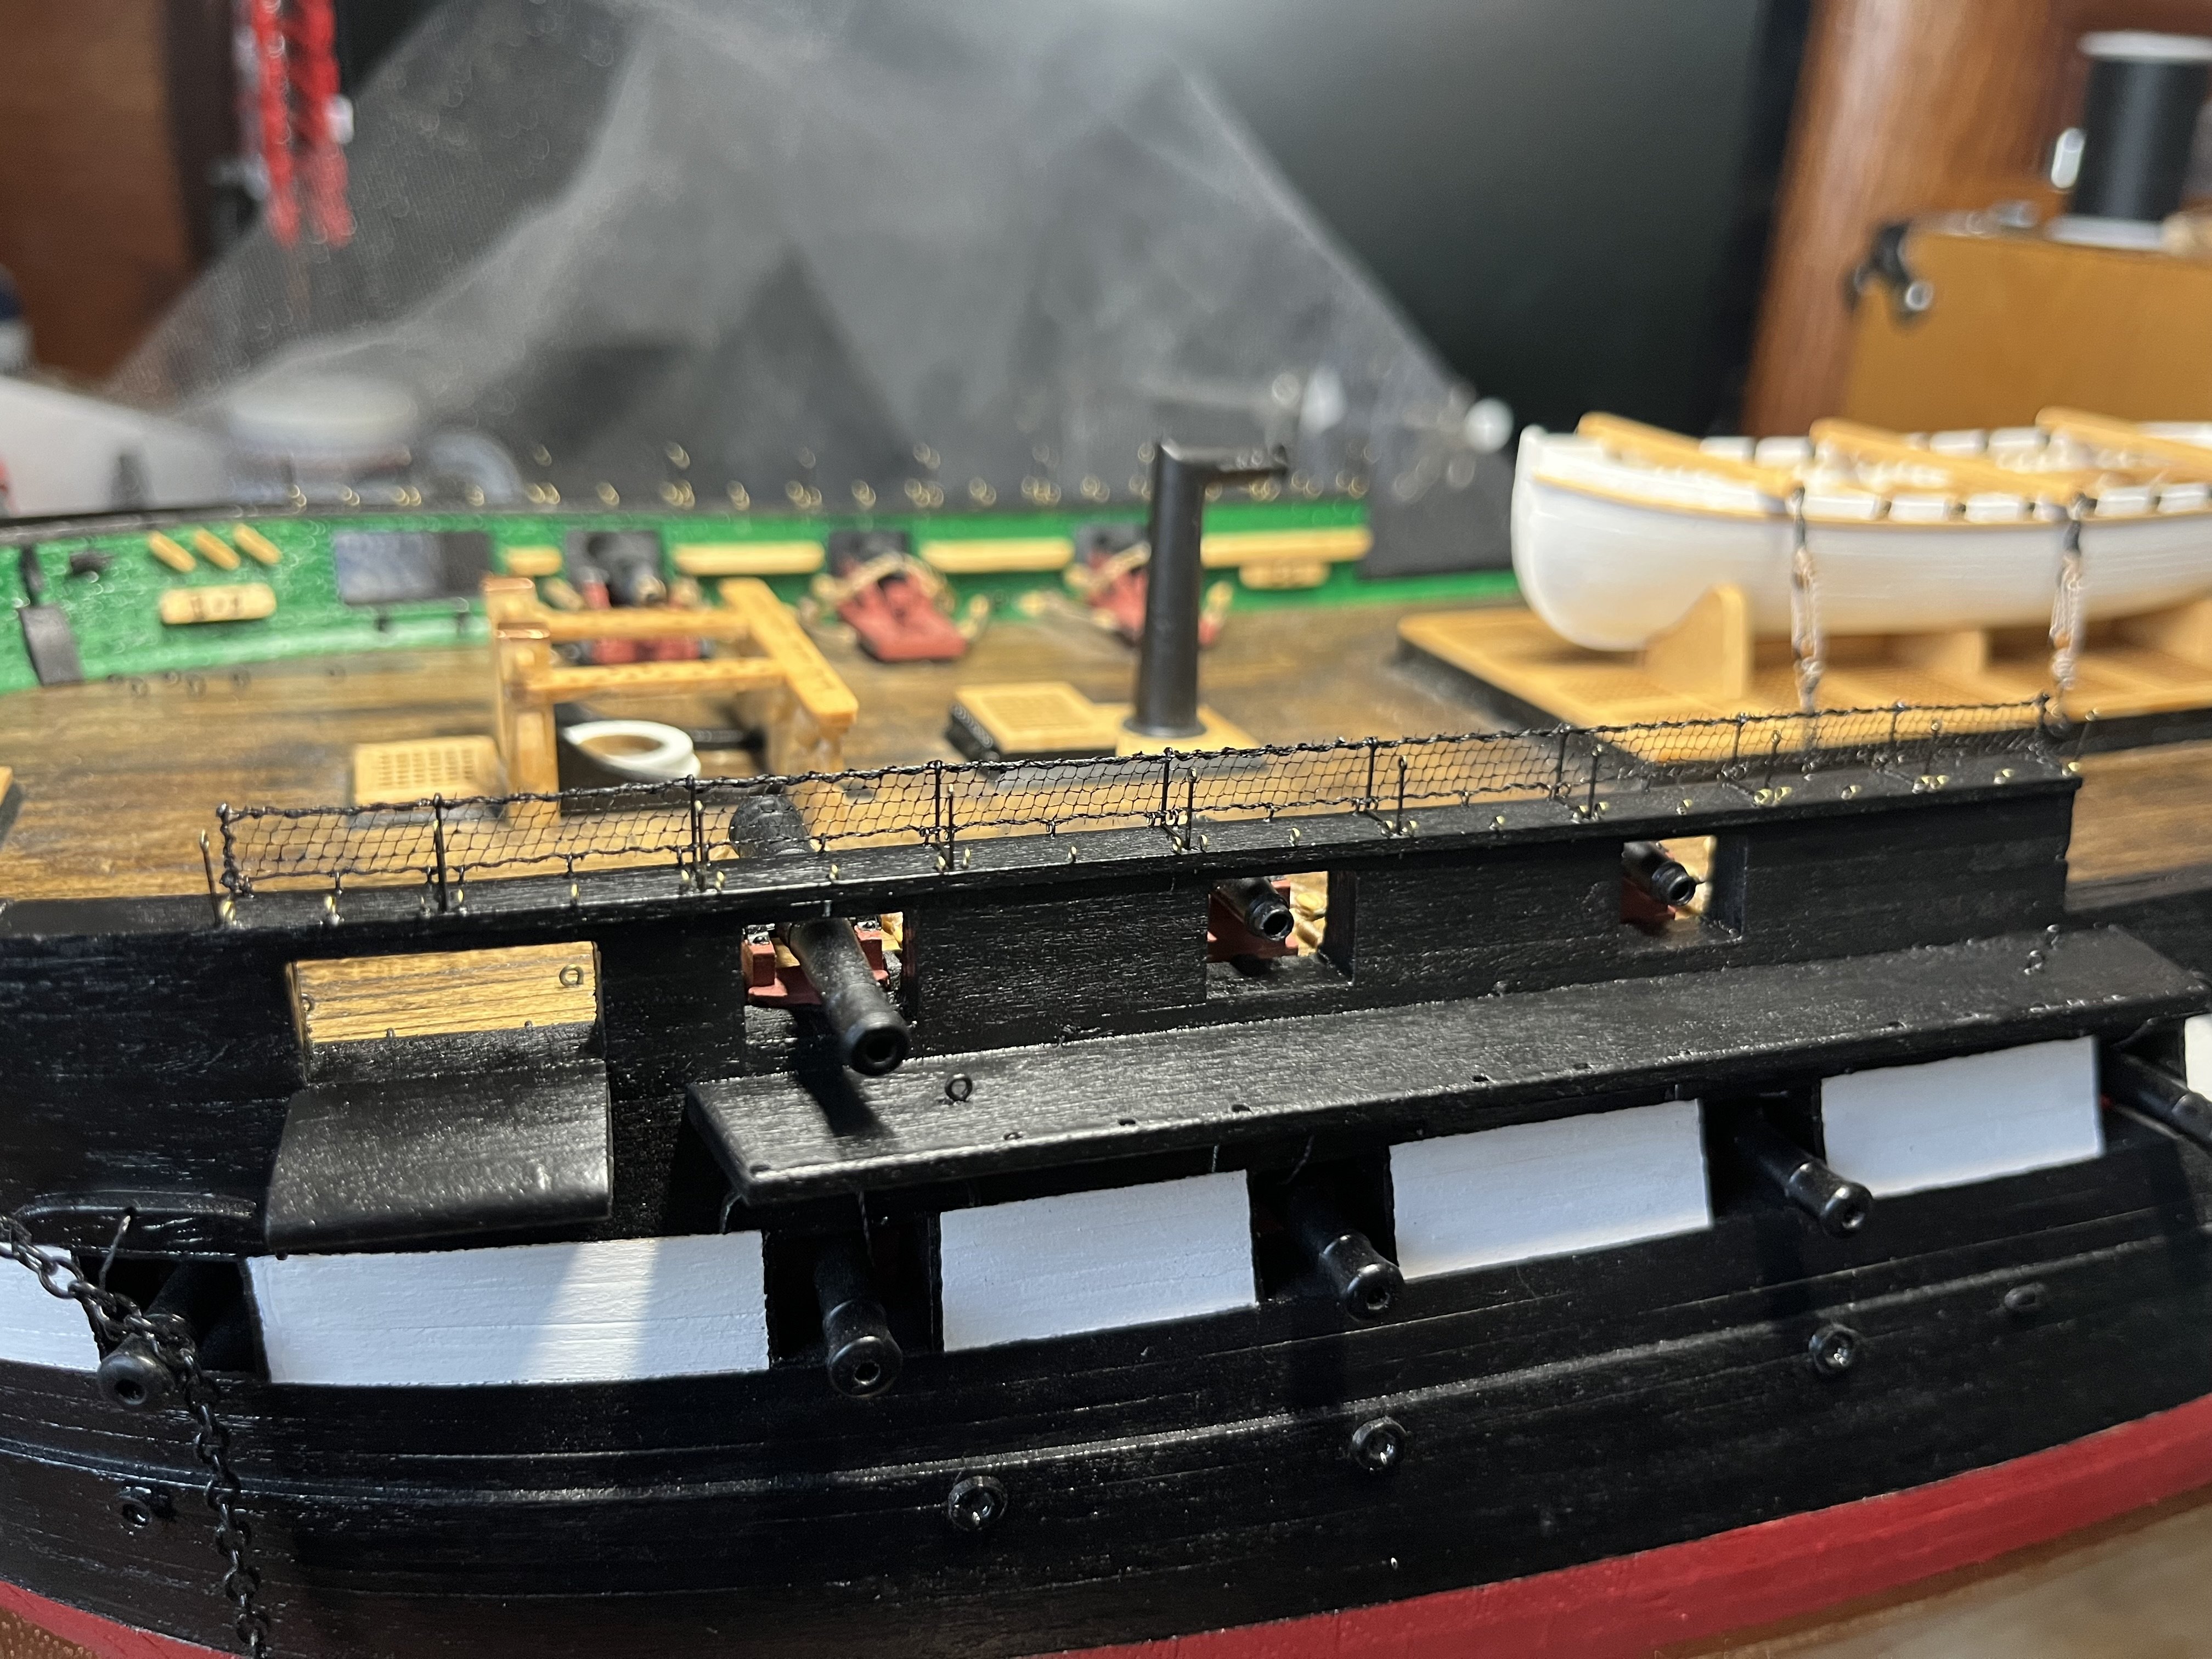
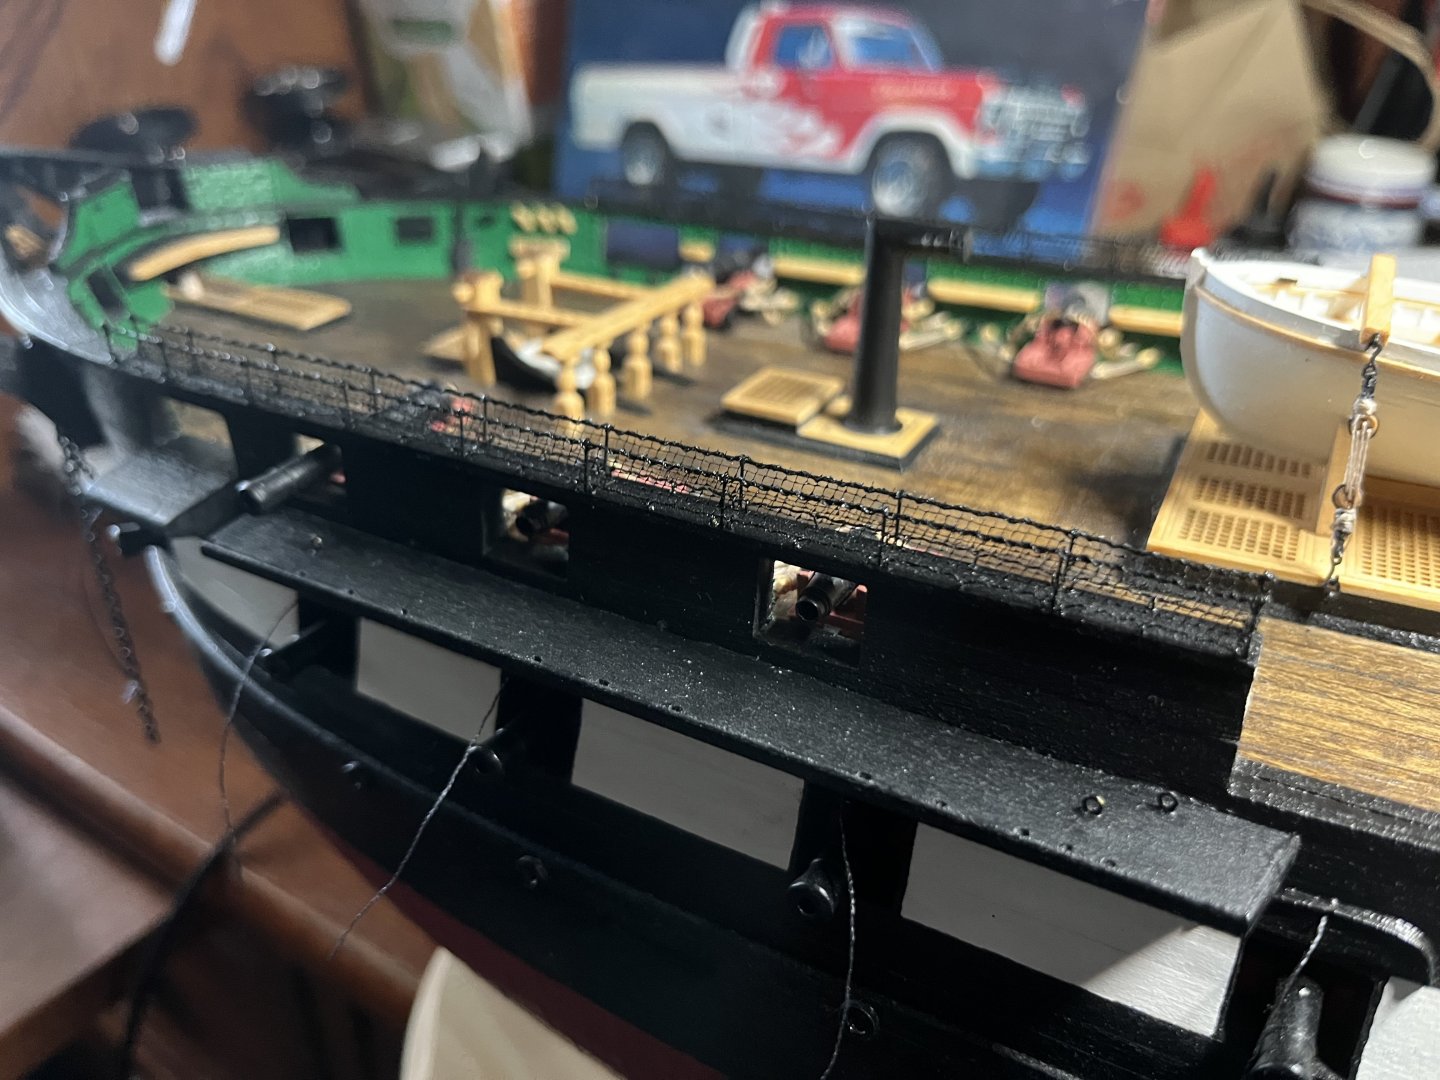
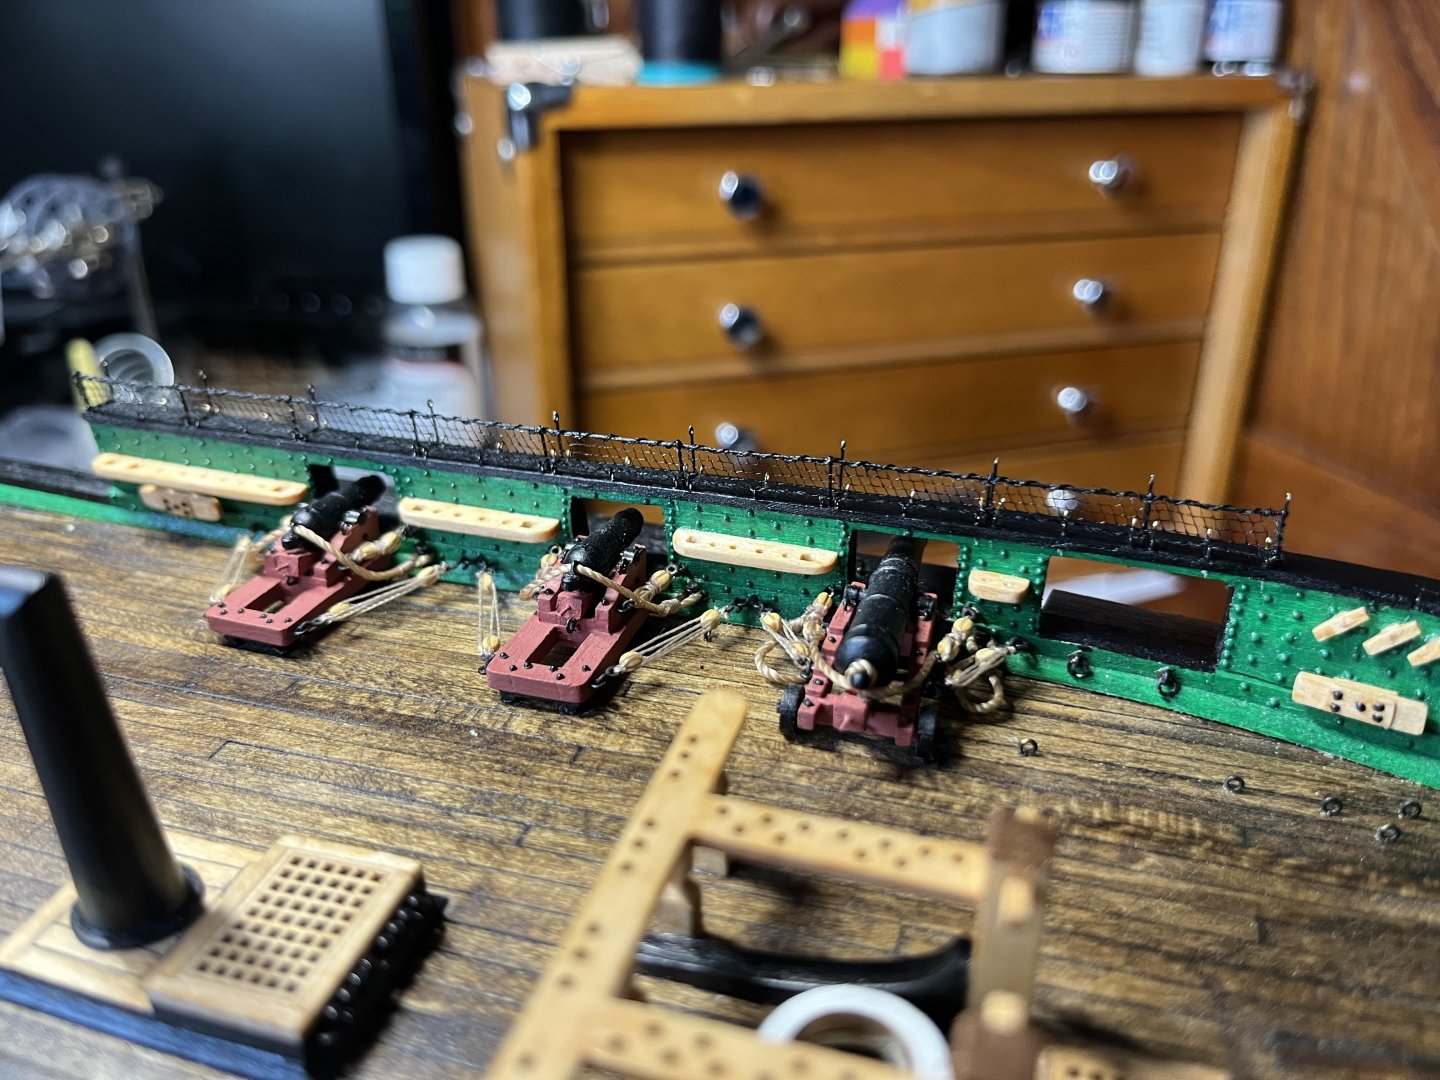
I’ve finally finished stitching my hammock netting on! I’ve started carefully scratching out the background on my gangway boards. I’m using a curved scraping tool that I’ve had for long enough that I don’t even remember where I got it.

-
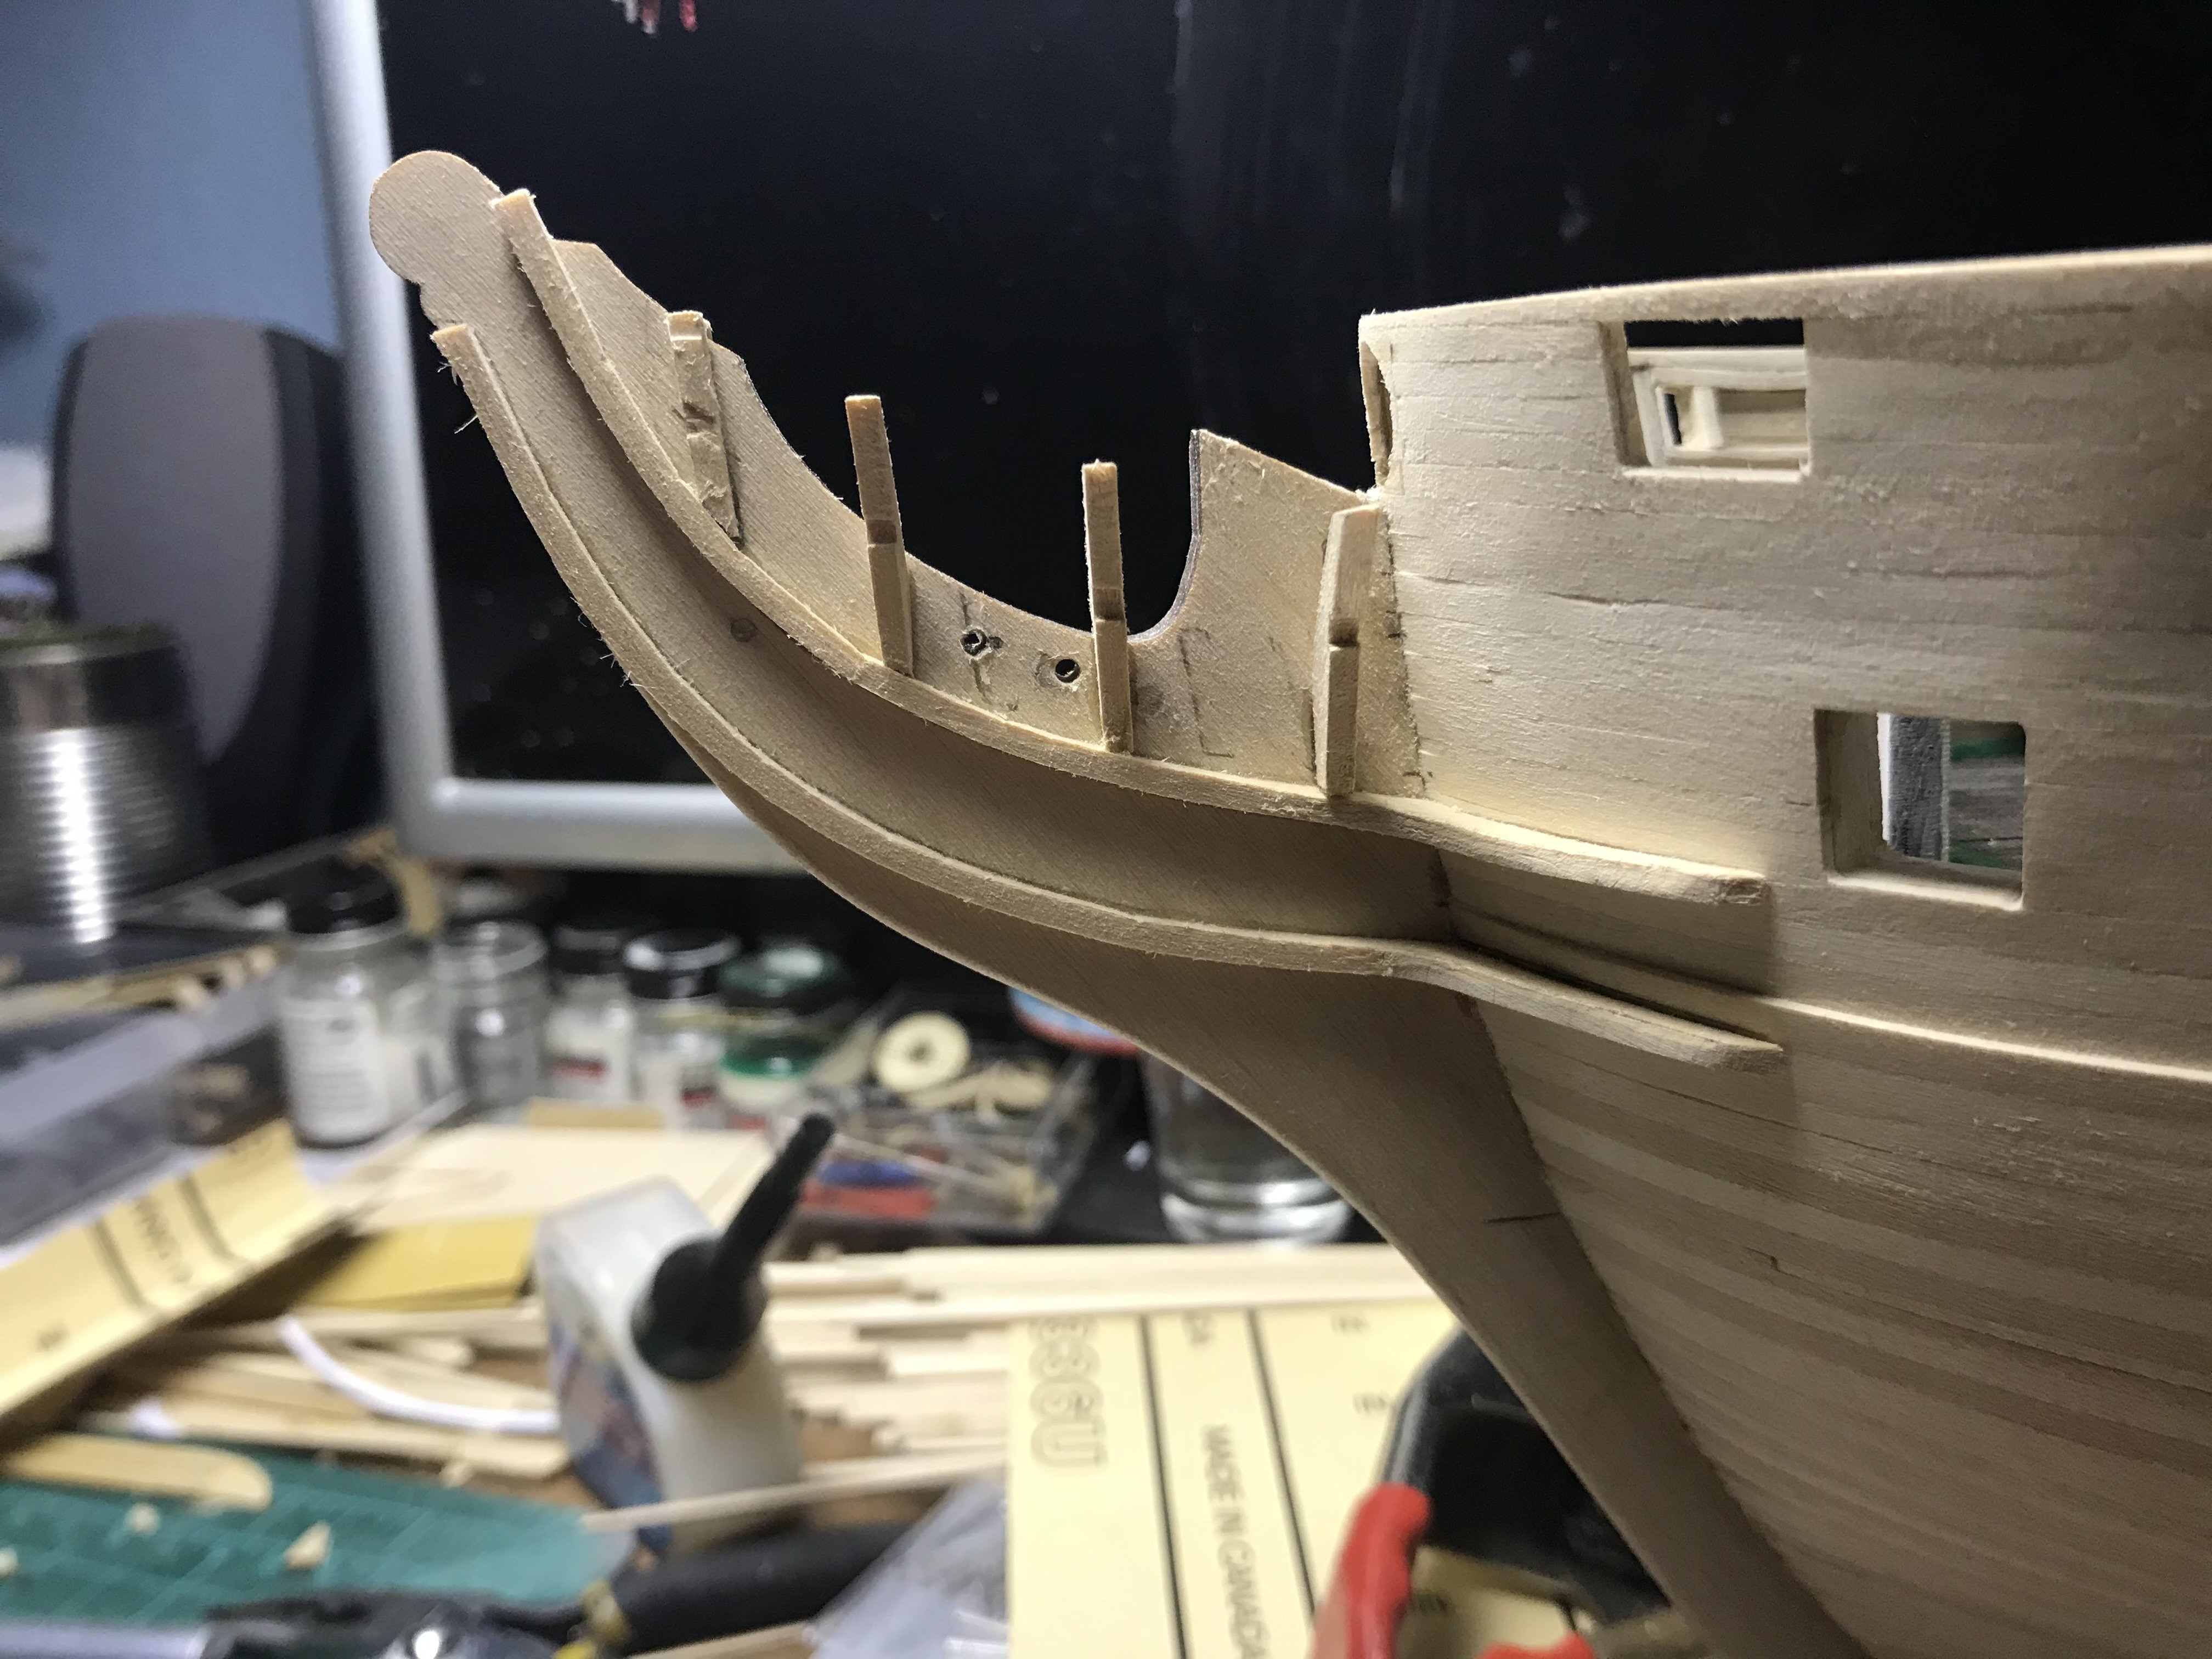
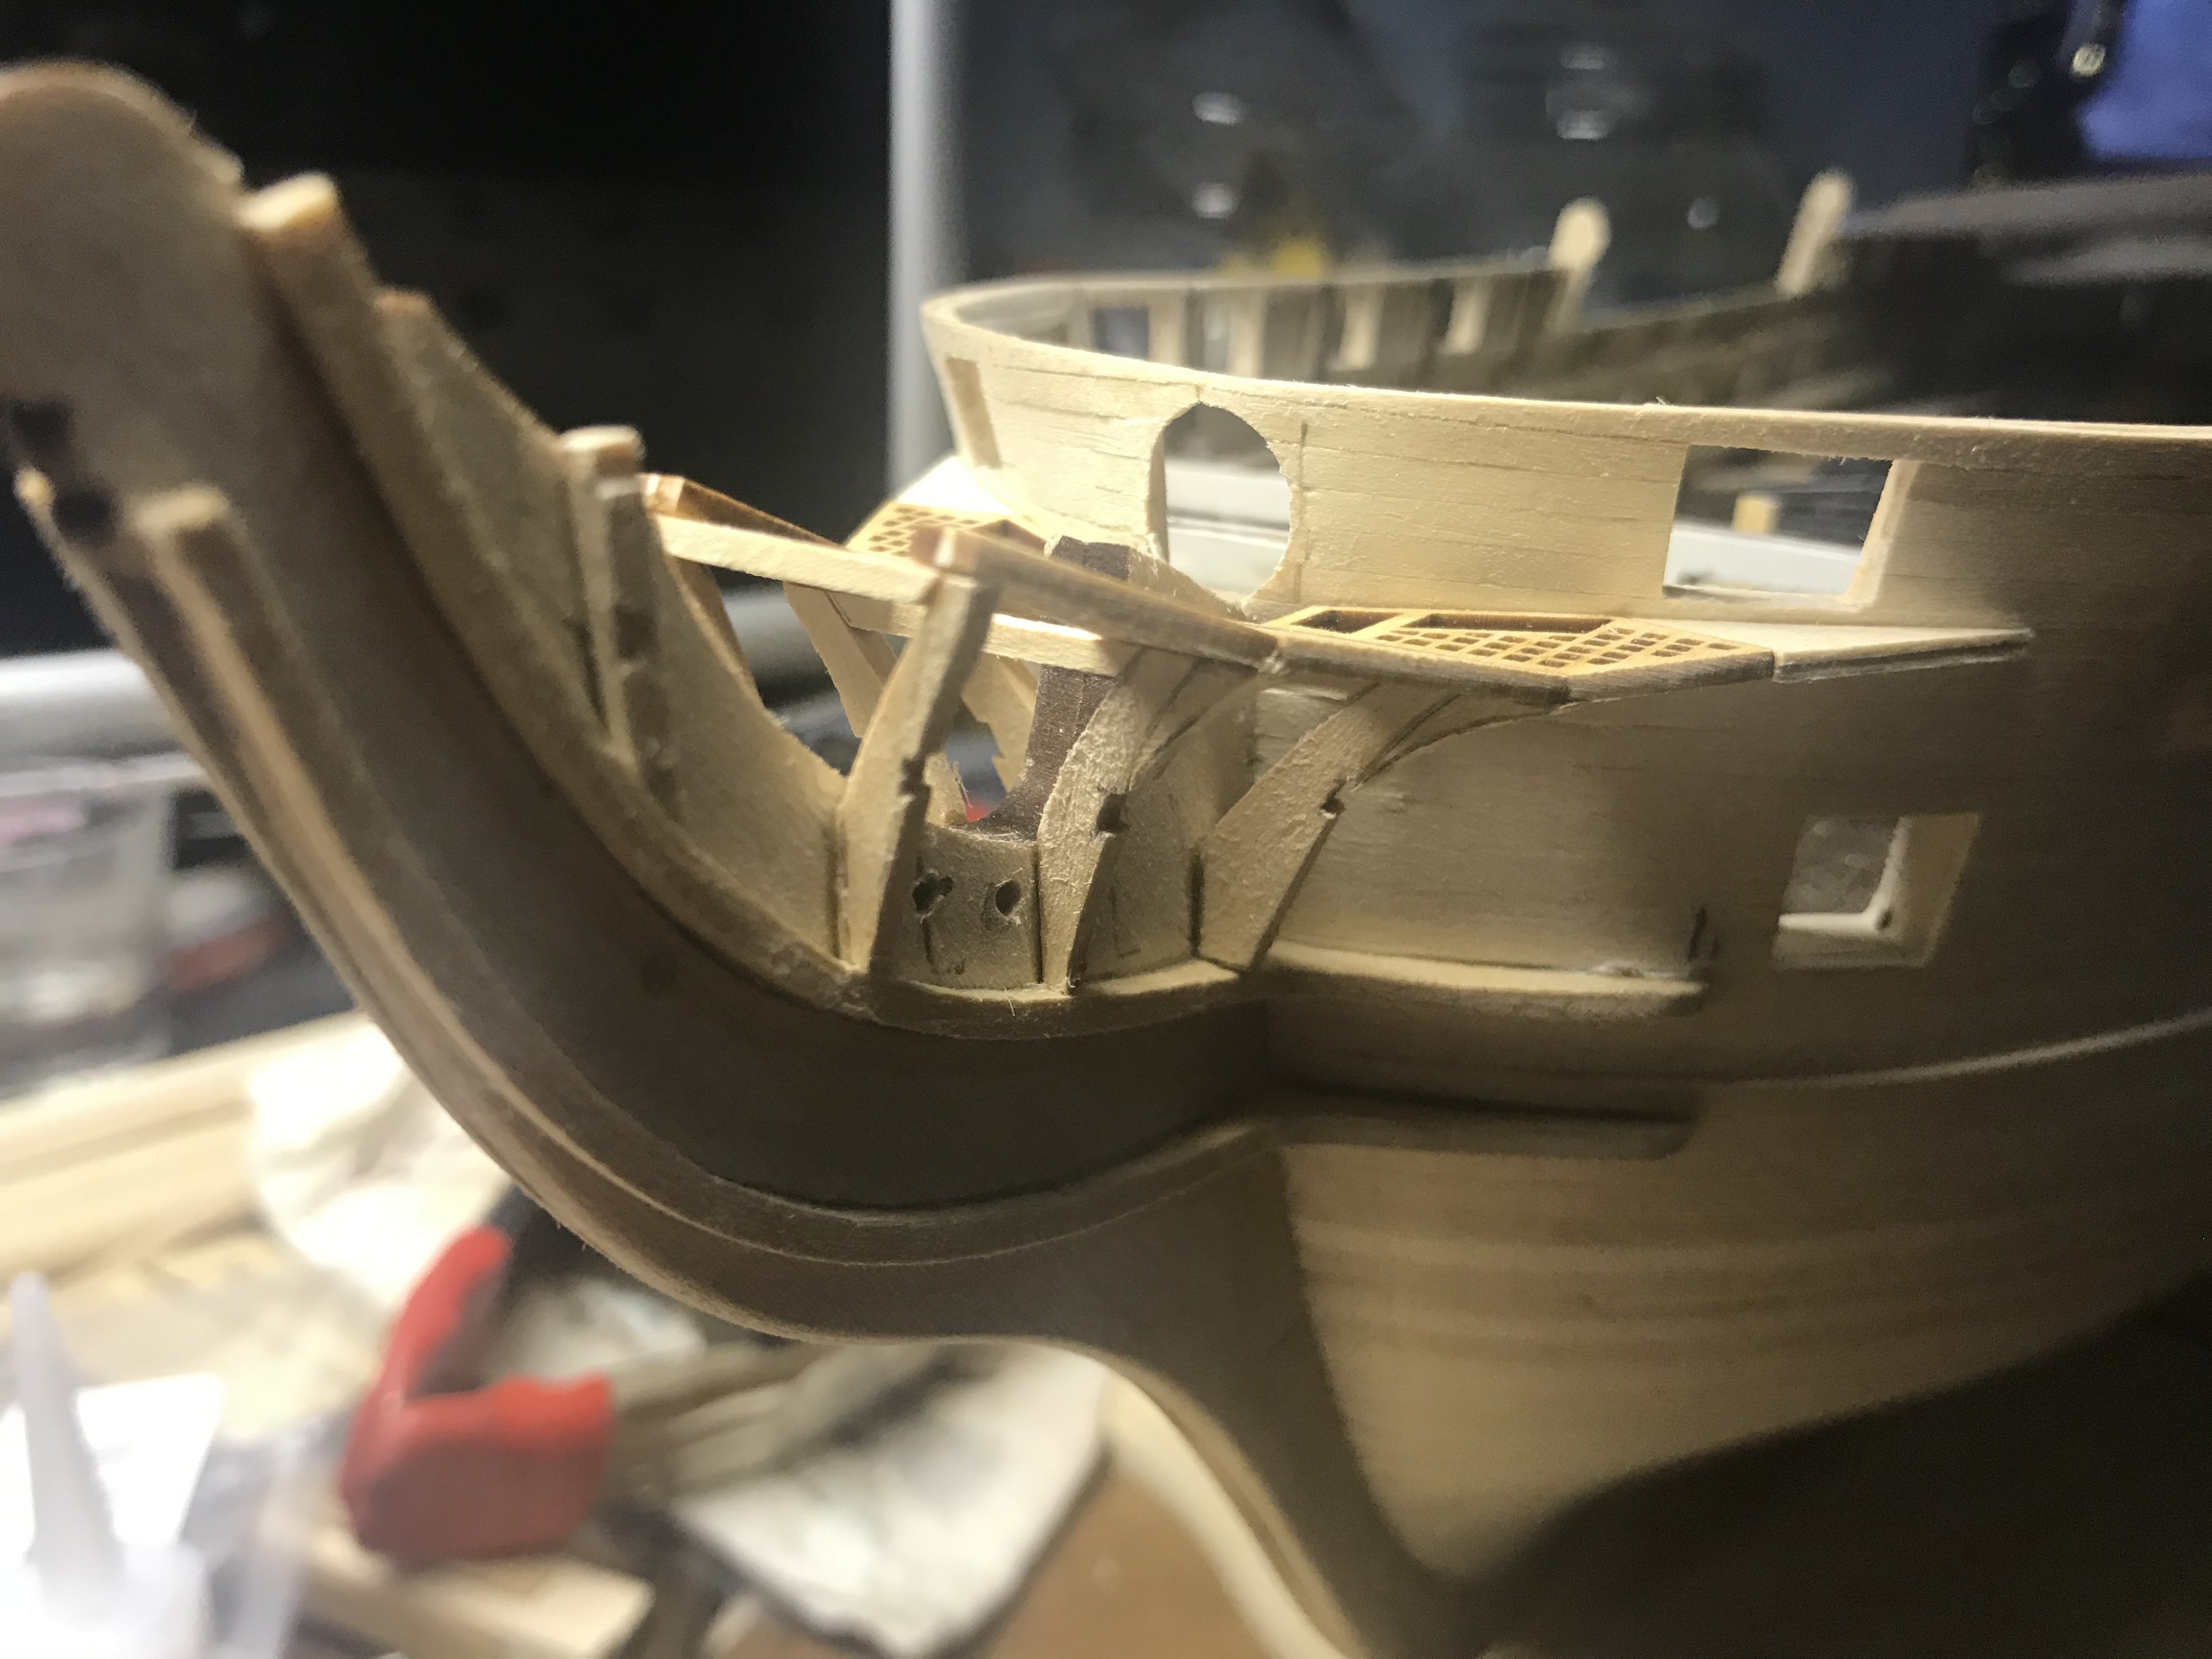
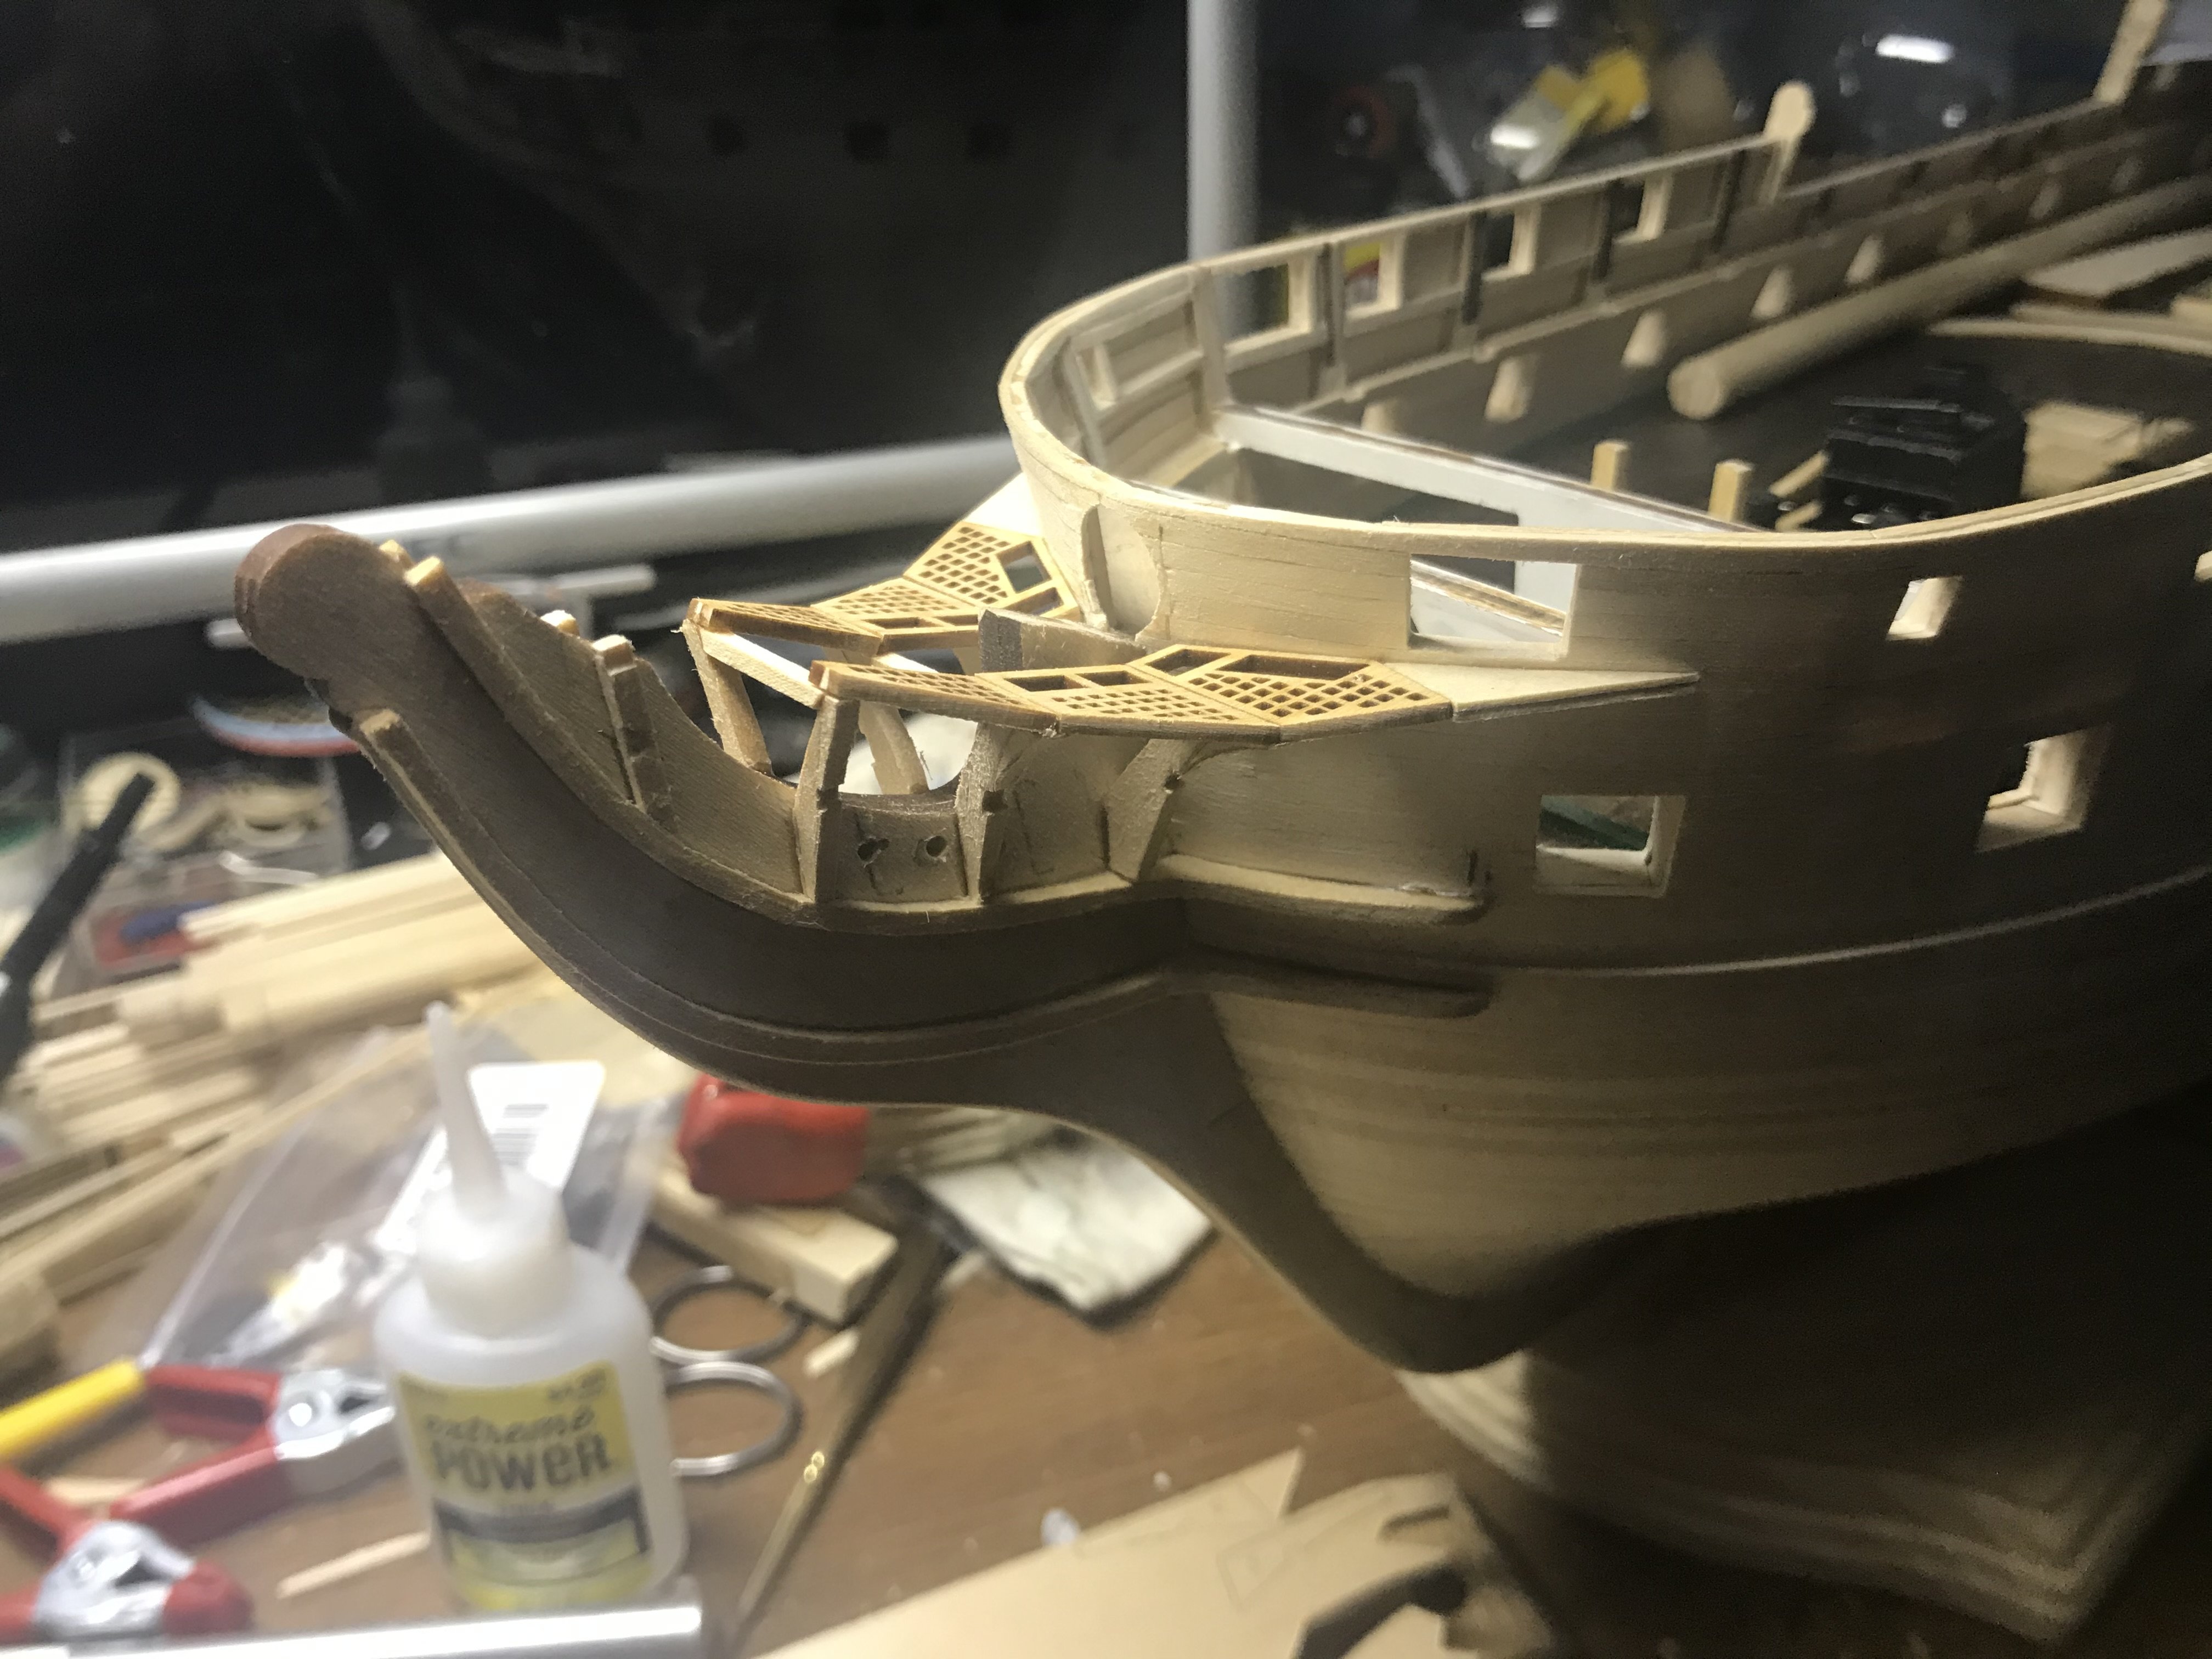
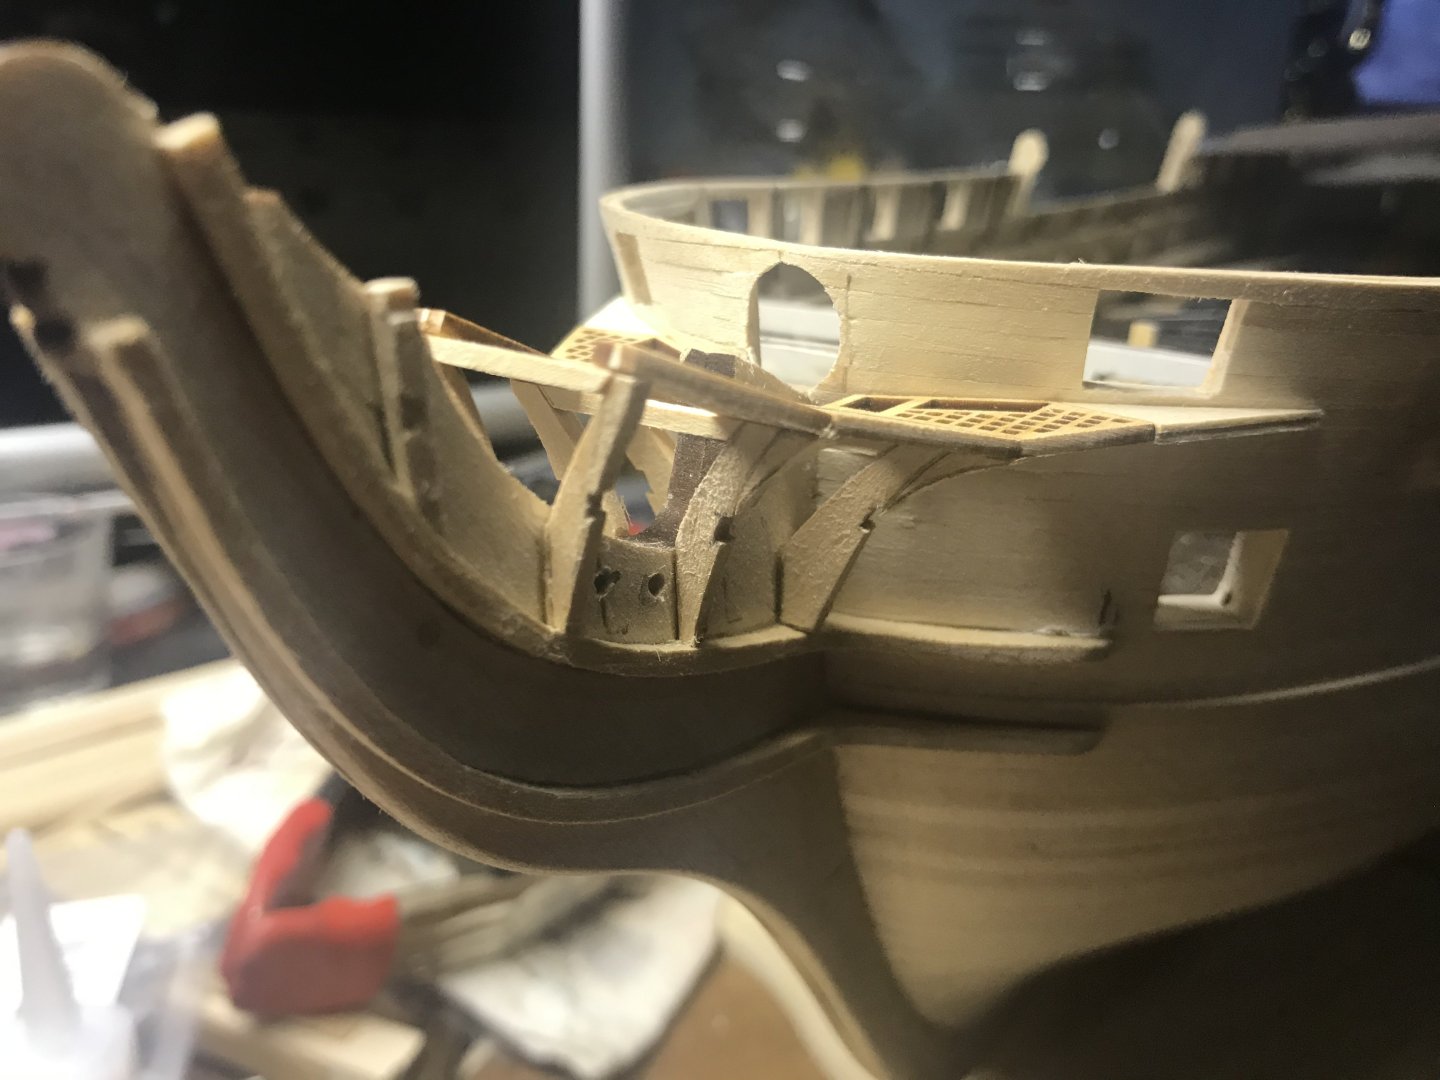
Thank you! From what I remember, I did all of the supports first using the gratings as a guide. The second rail was fitted to fit the grating and the hull. It’s also been 5 years since then too!You can also see in my picture that I messed up the supports and had to patch them to get a better shape.

-
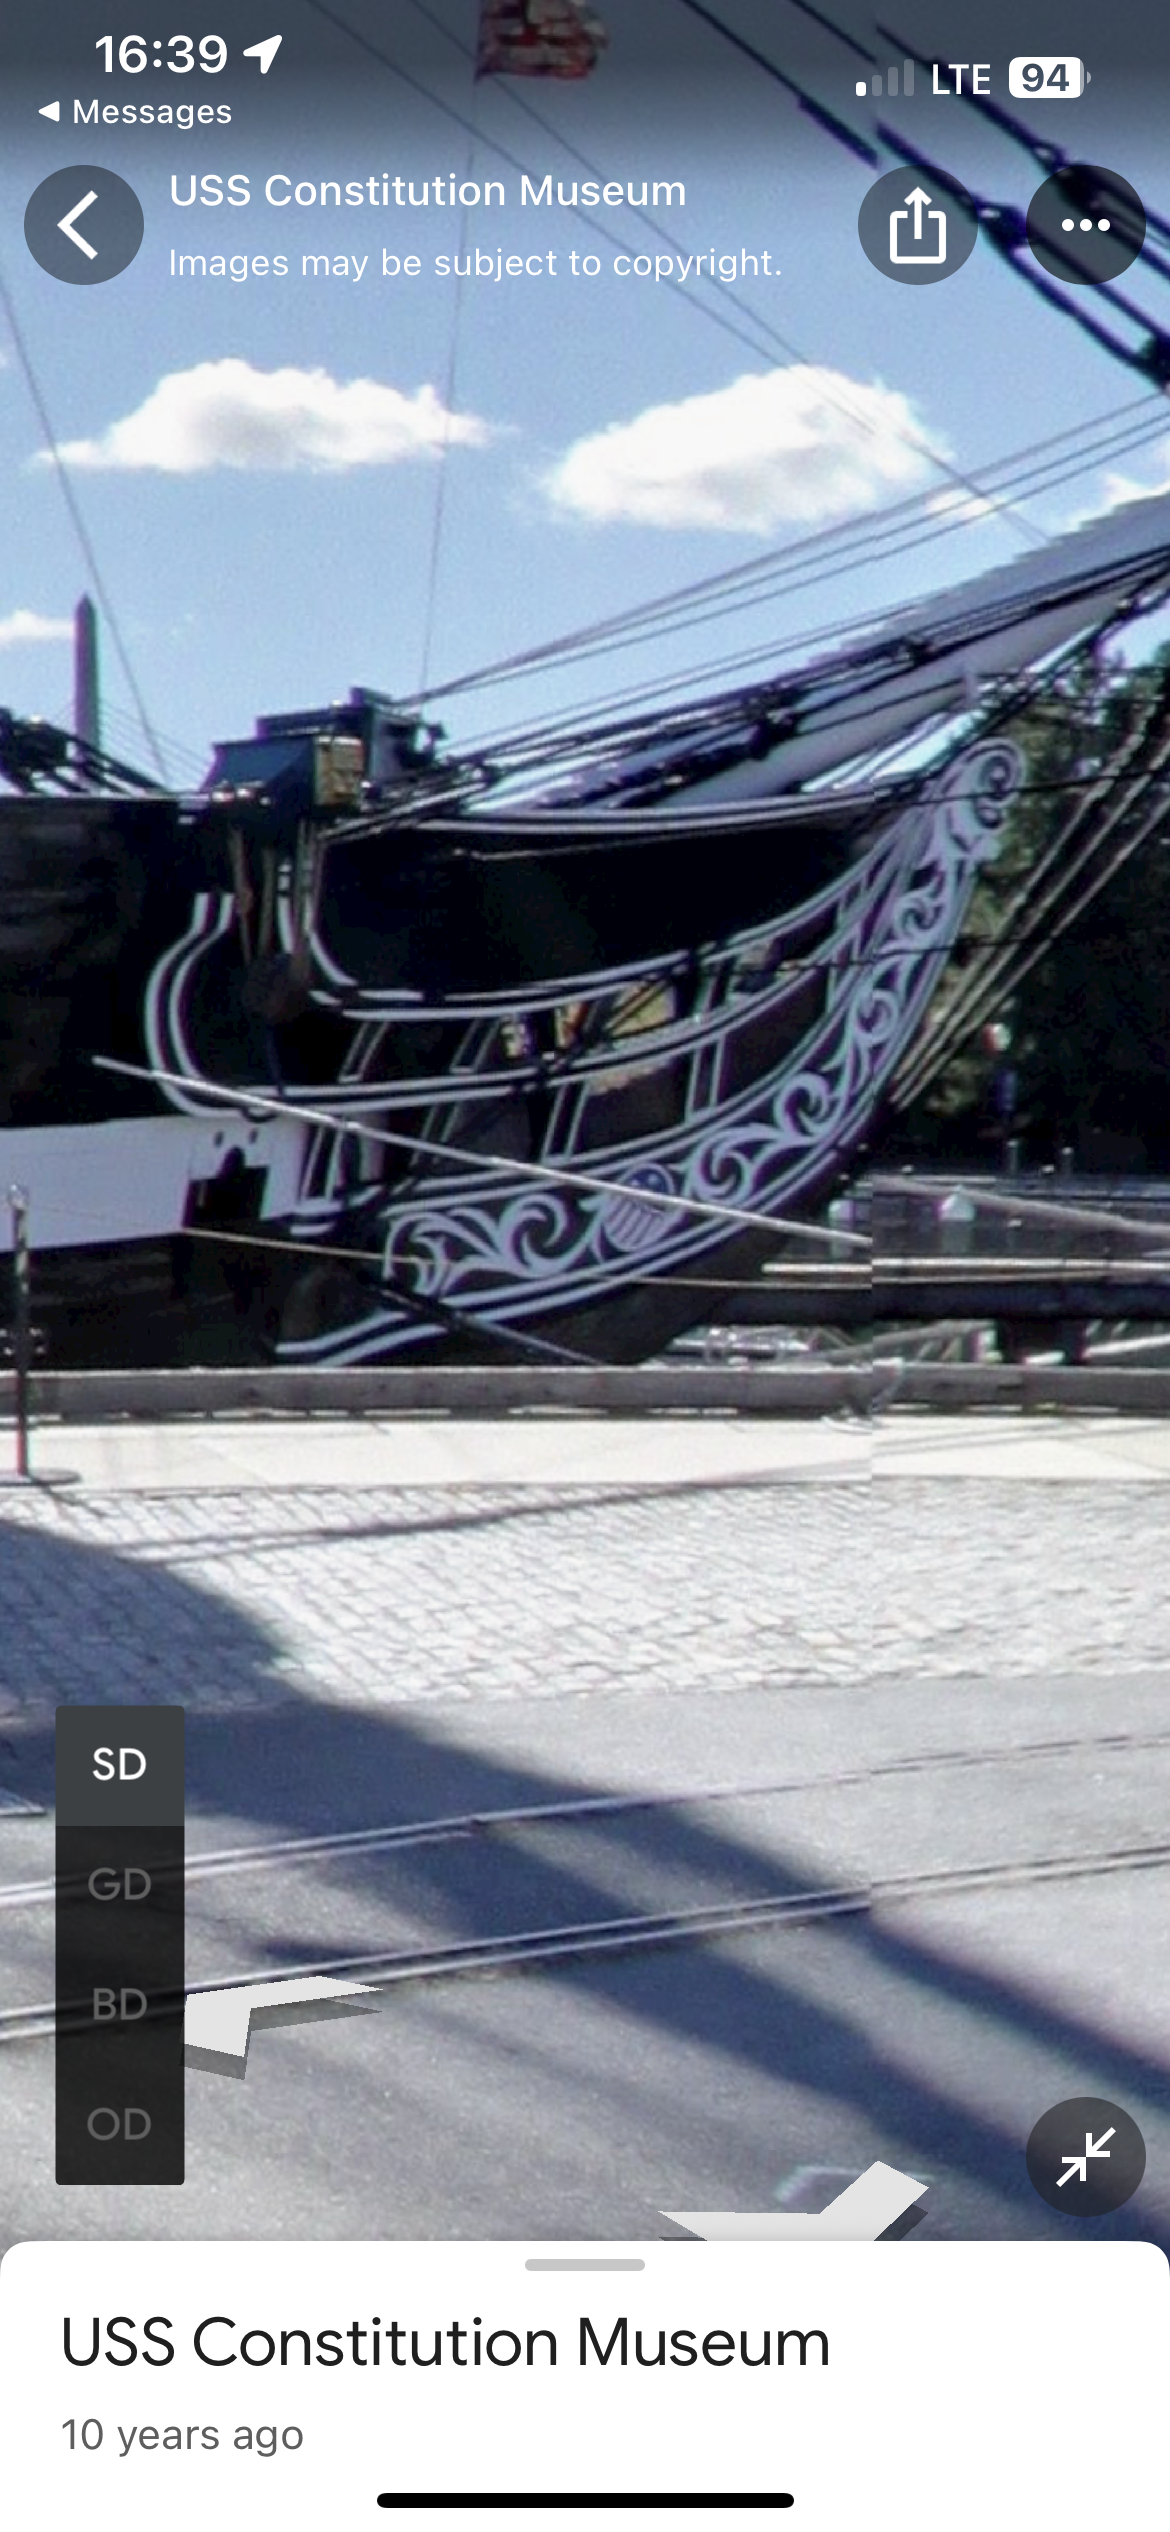
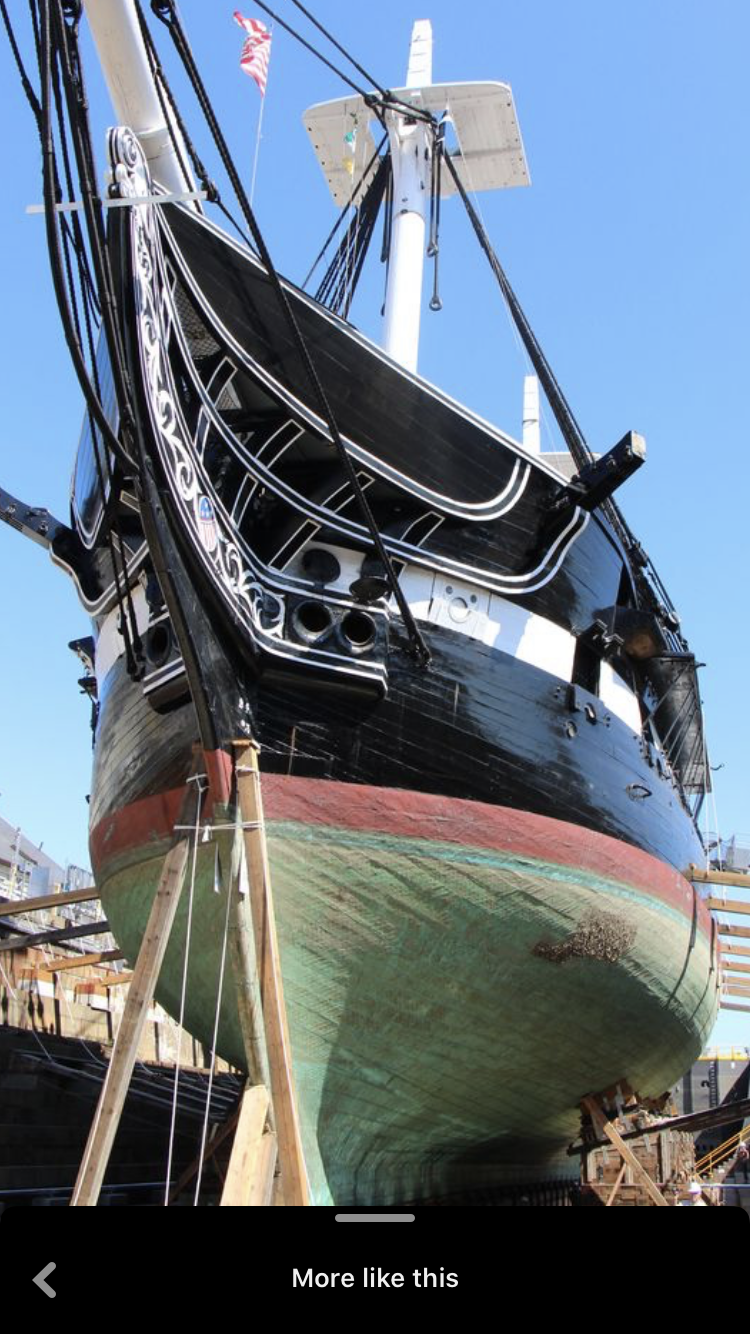
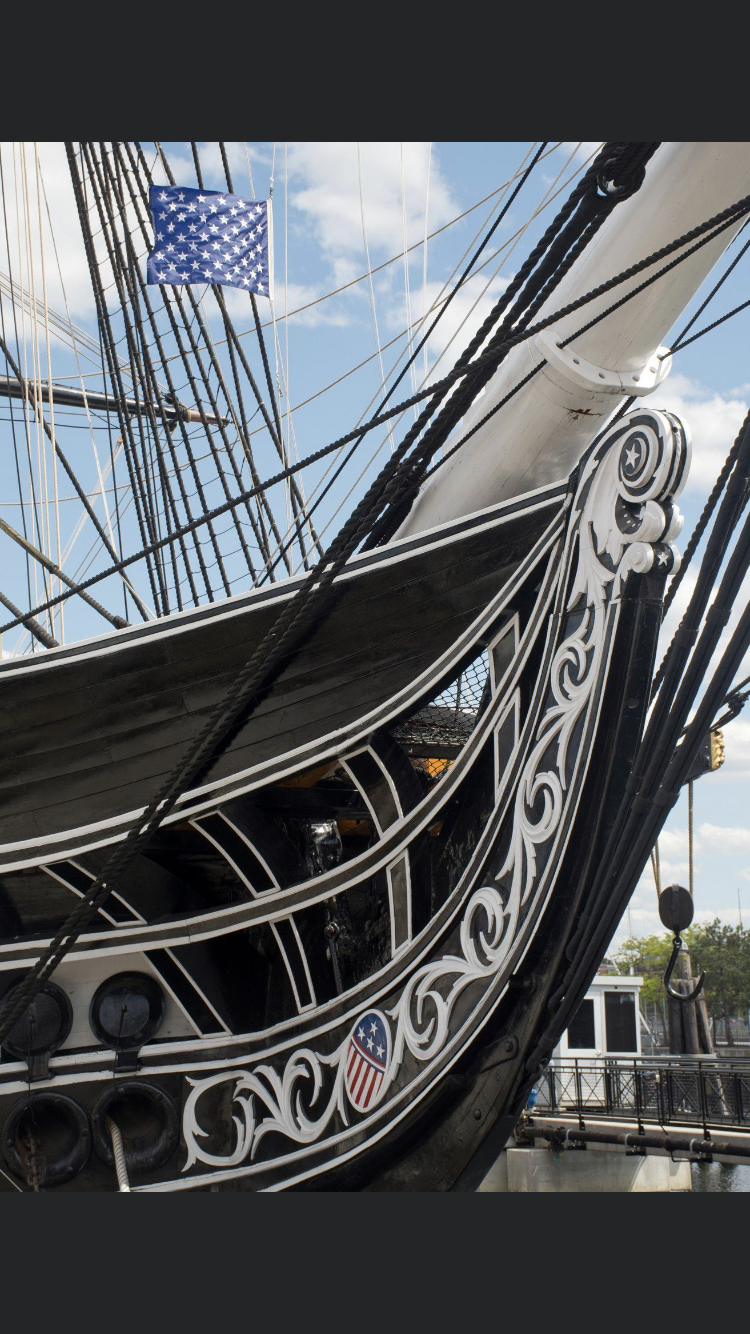
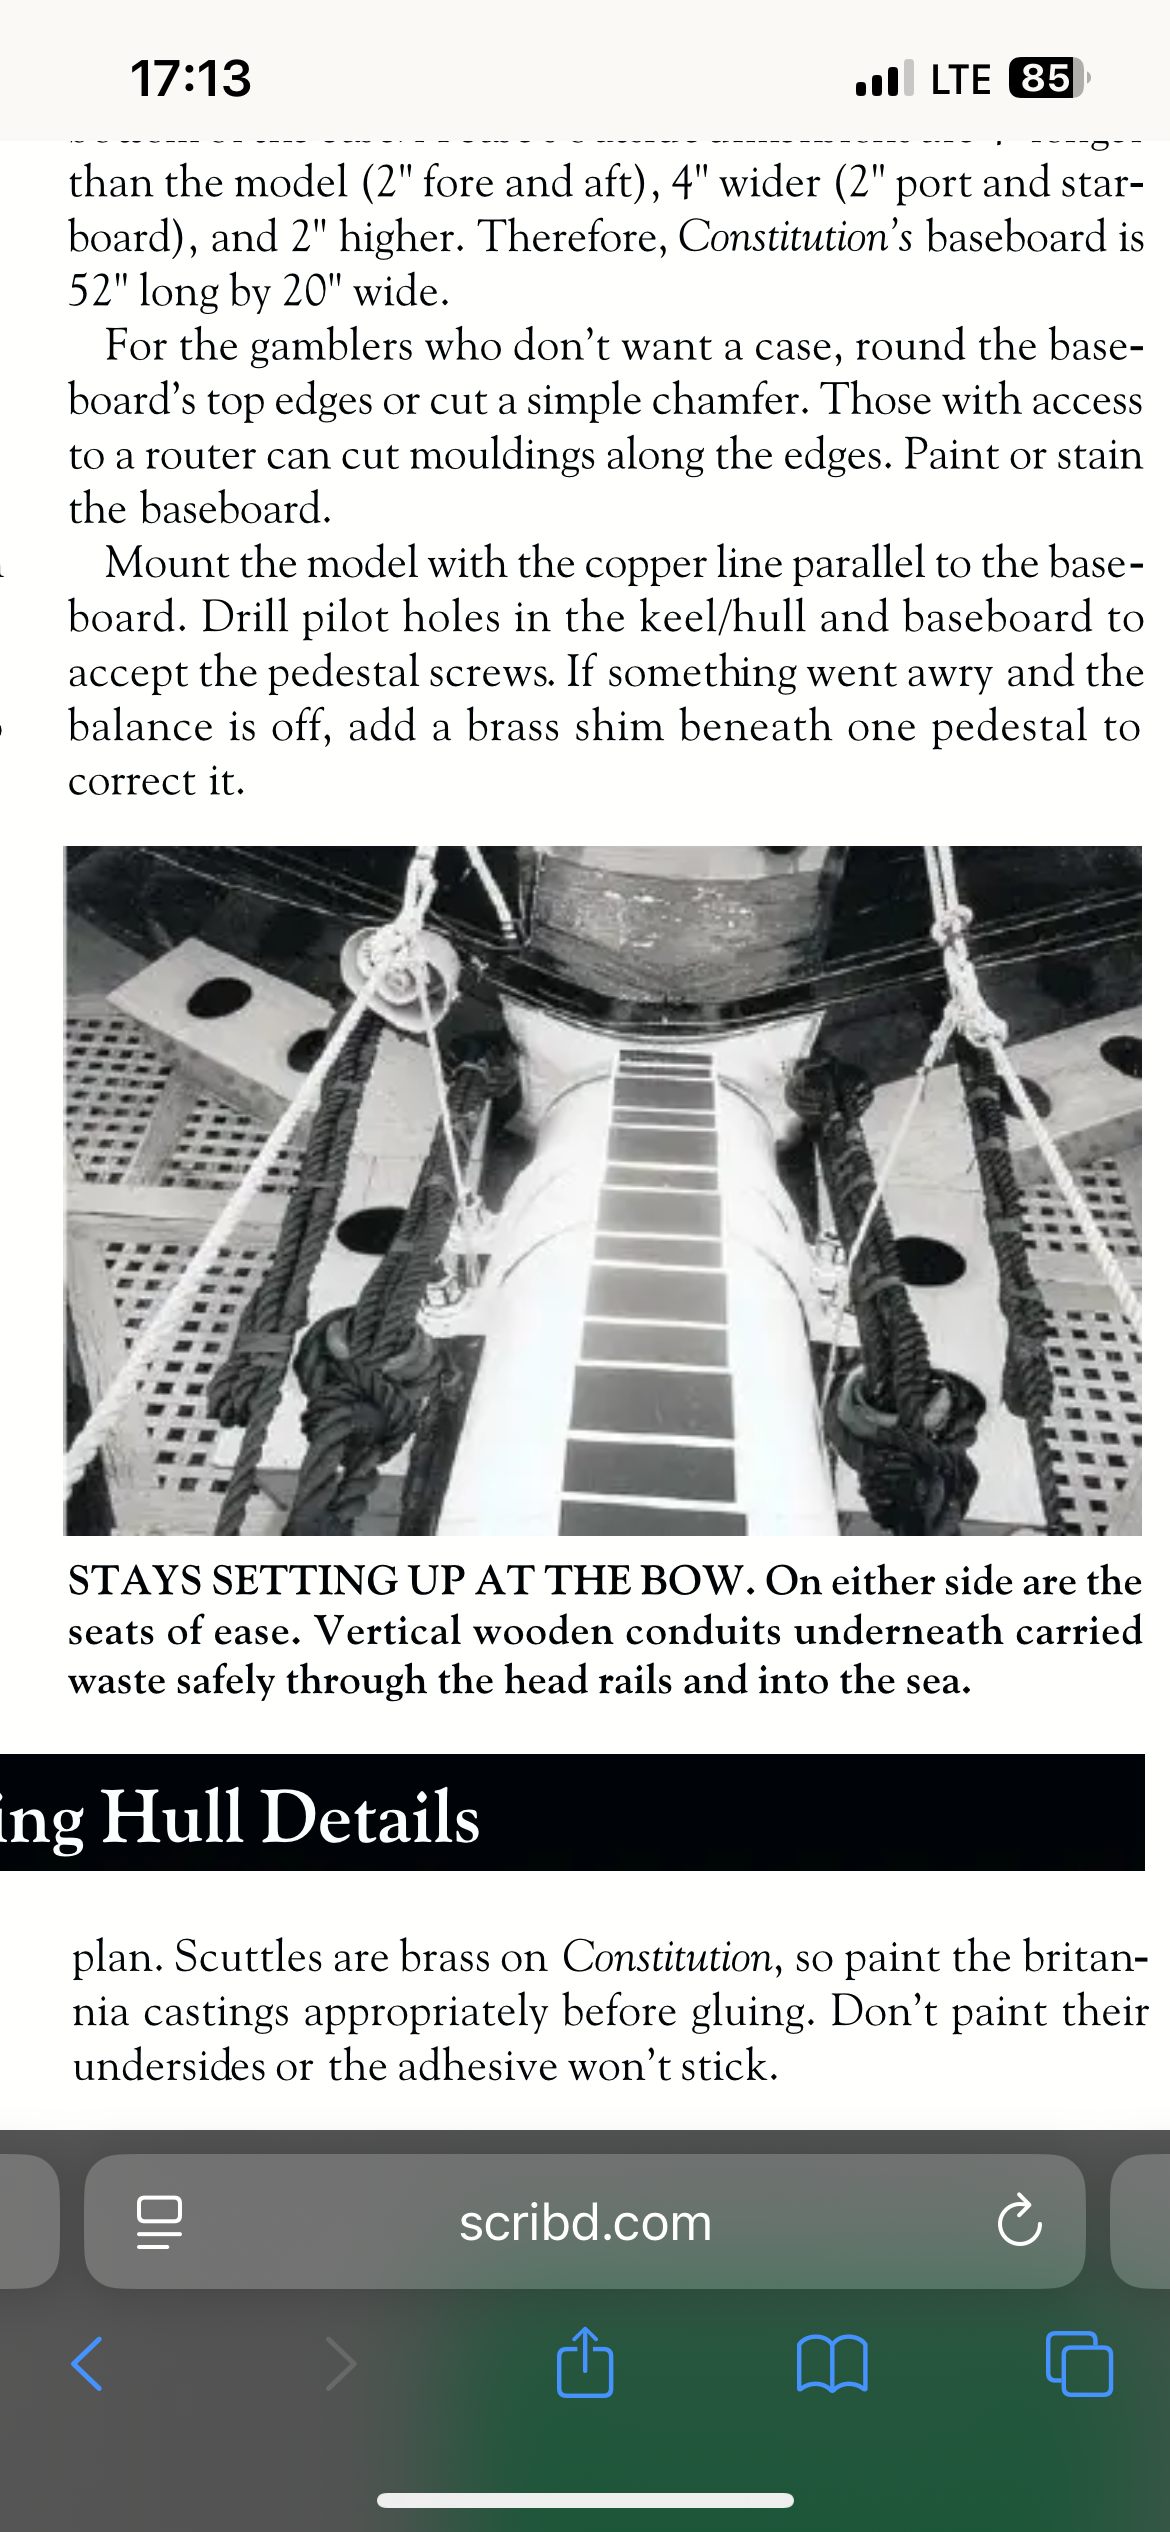
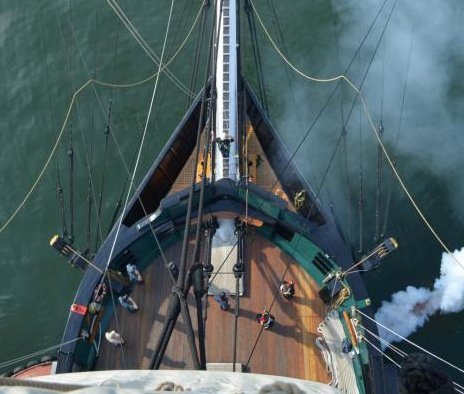
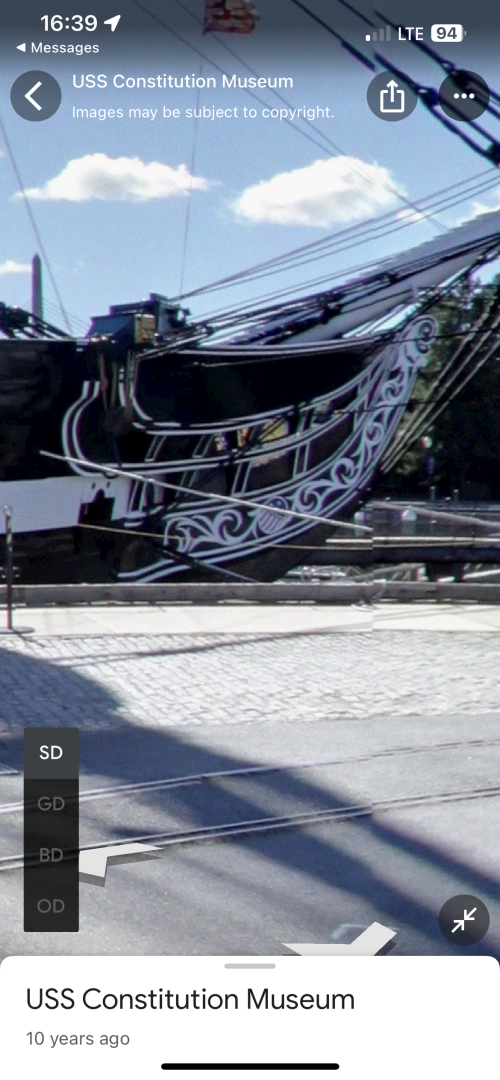
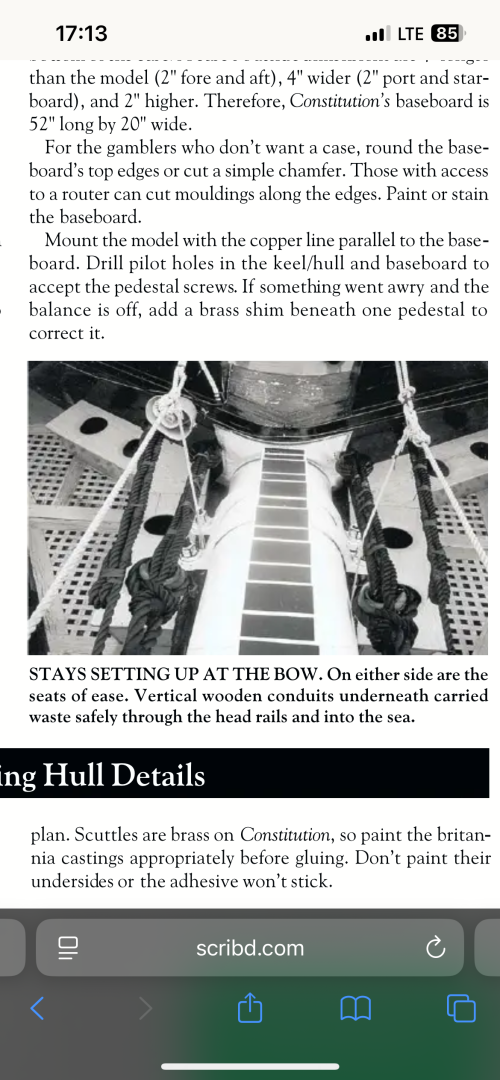
I found the picture that I saw a wile back! But, I’m not going to pay $40 for a digital picture from Alamy! This picture looks like it may of been taken at the same time as the overhead one. It’s from on top of the bowsprit looking aft at the salute! USS Constitution bowsprit looking aft.I was also able to find these different angles for you too! It may be the way I was looking at the grates, but they look to be sloping up a little as the got forward. I’m also thinking that my gratings may slope up a little too much?
-
Beautiful build and wonderful details!
- 112 replies
-
- 2
-

-

-
- Bluejacket Shipcrafters
- Constitution
- (and 2 more)
-
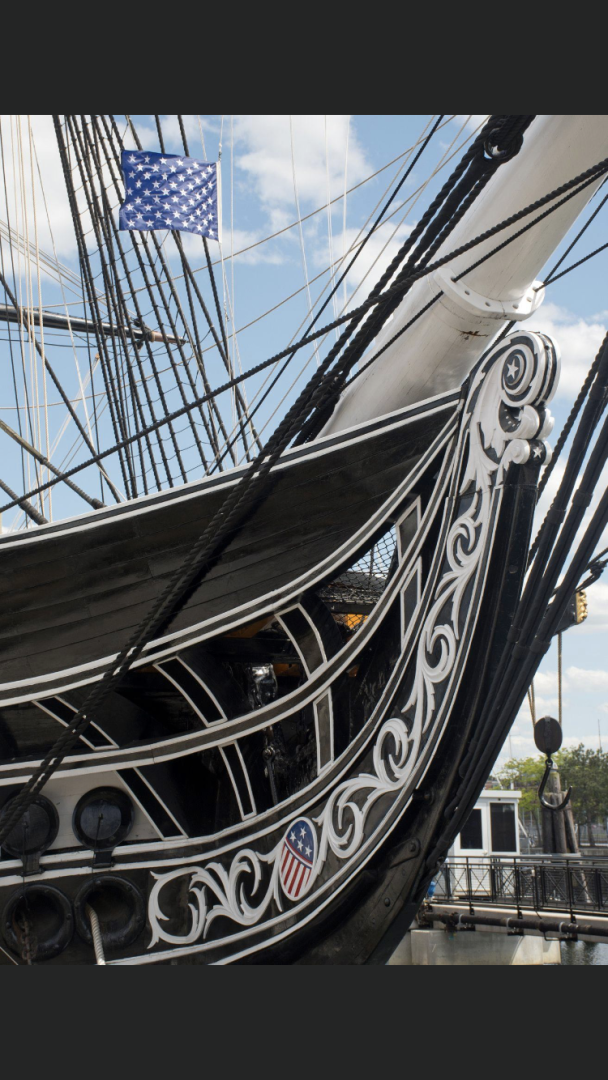
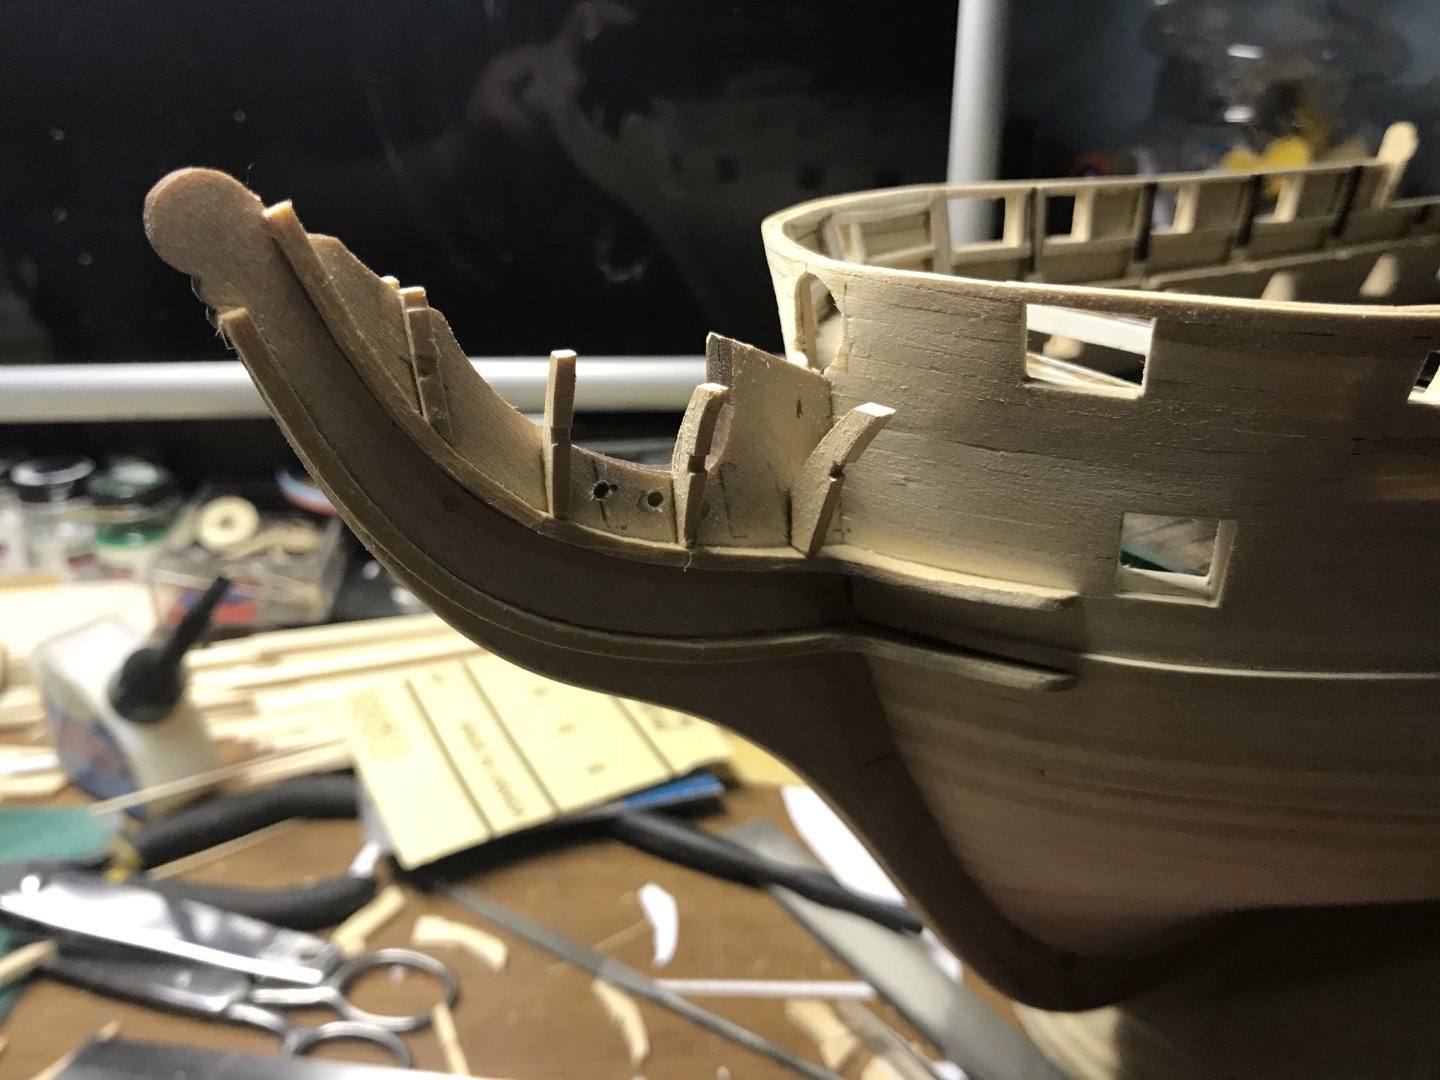
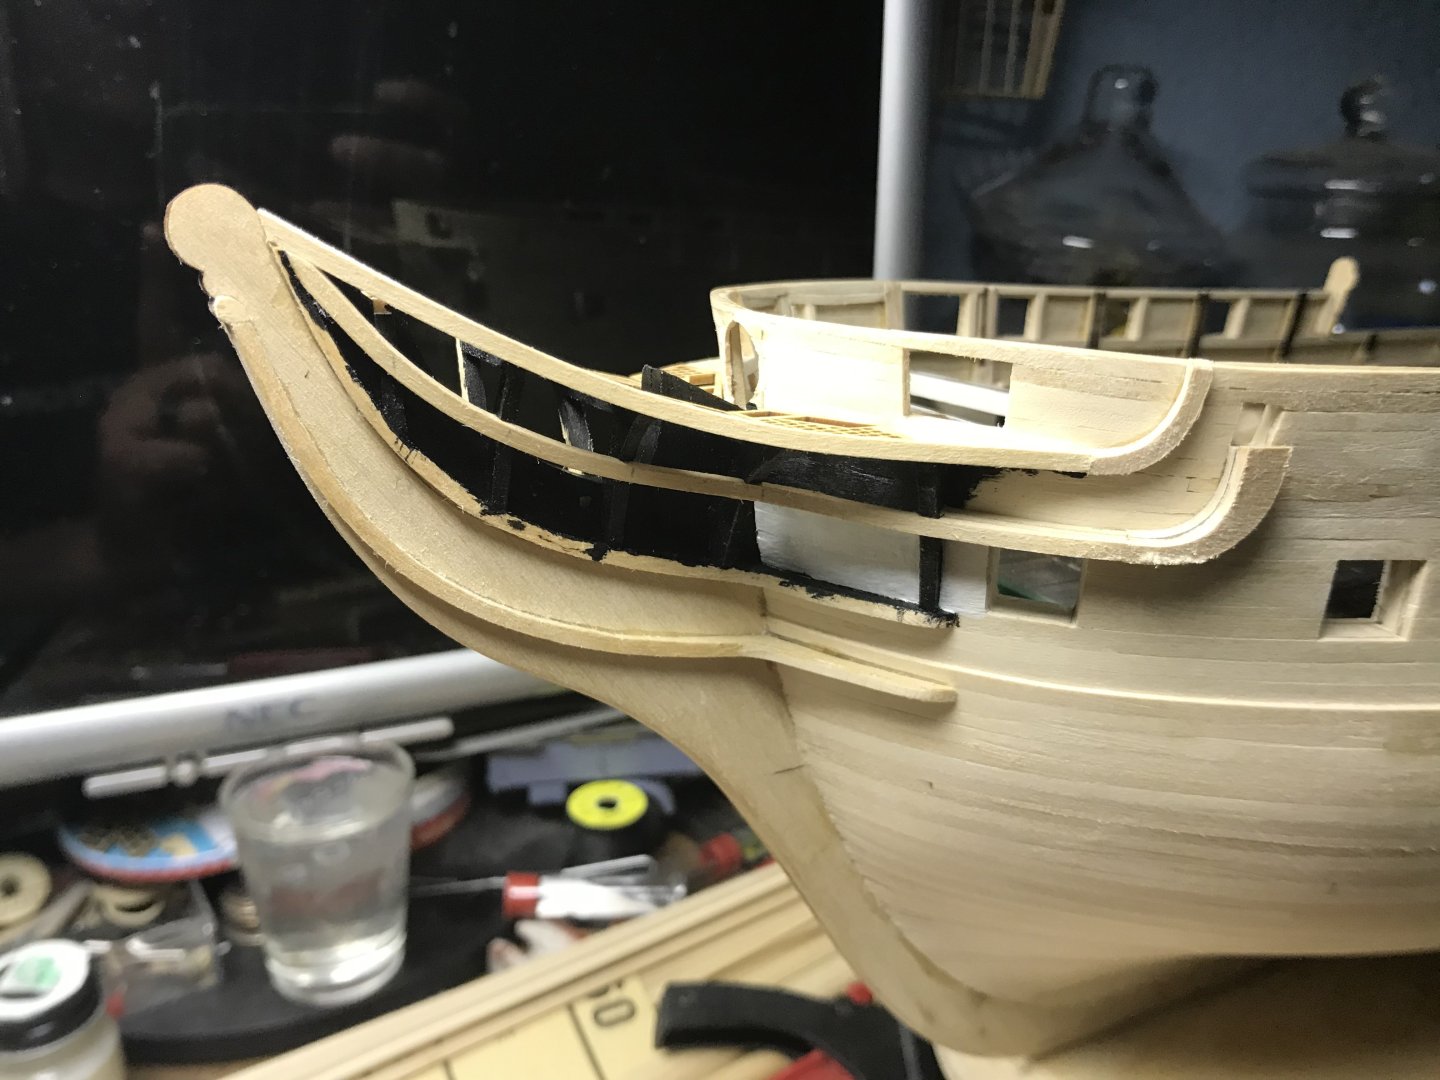
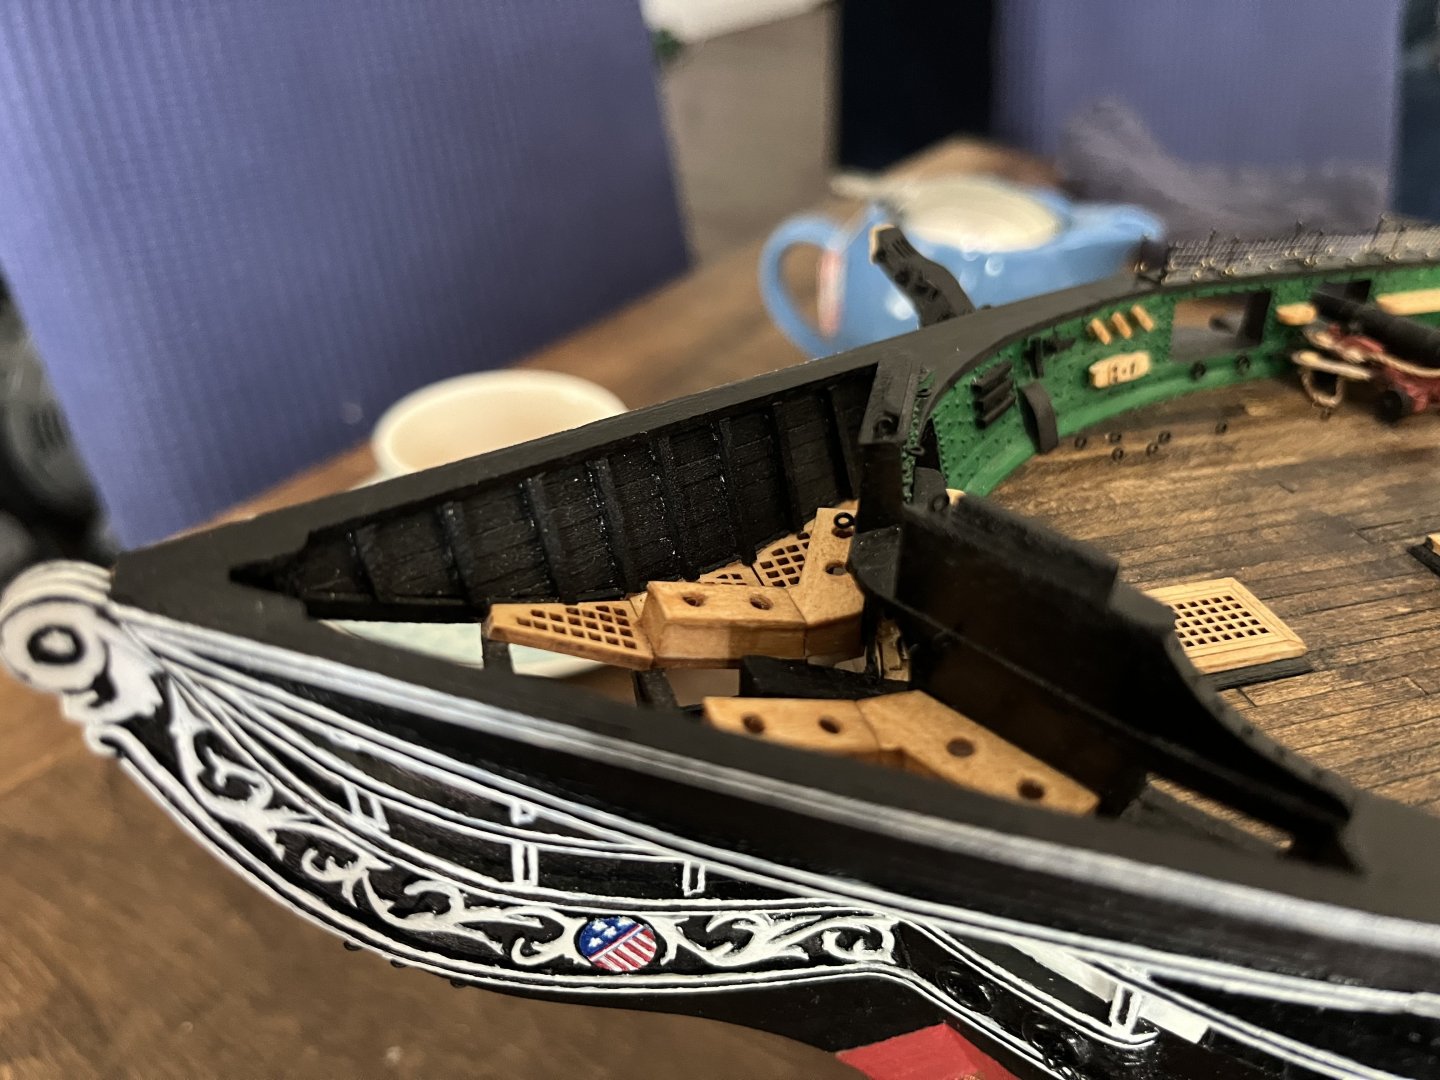
I left the bumpkins off on my model because at some point prior to 2015 they were removed. This may cause an issue for me later when it’s time to start my rigging. But, I’m hoping it I’ll be ok!Looking at your bow and mine, I think my supports are too thin and yours are closer to the correct thickness.You can also see in the instructions that there is a triangle peace of wood at the aft outboard edges of the grates on the bow. This is where I have my aft most support on my model. I believe you labeled that one #5. I also came to the same conclusion that #4,3,&2 line up with the gratings.

-
I went back in my phone and found you some more pictures if they’ll help. I seem to remember struggling with the supports a lot too!


-
I just remember something!! At the hobby stores you can get polystyrene strips and sheets. They are extremely flexible and come in a ton of different sizes and they are already white. I’ve used them mostly to make cooling fins for my planes!

-
are these the pictures you needed?


-
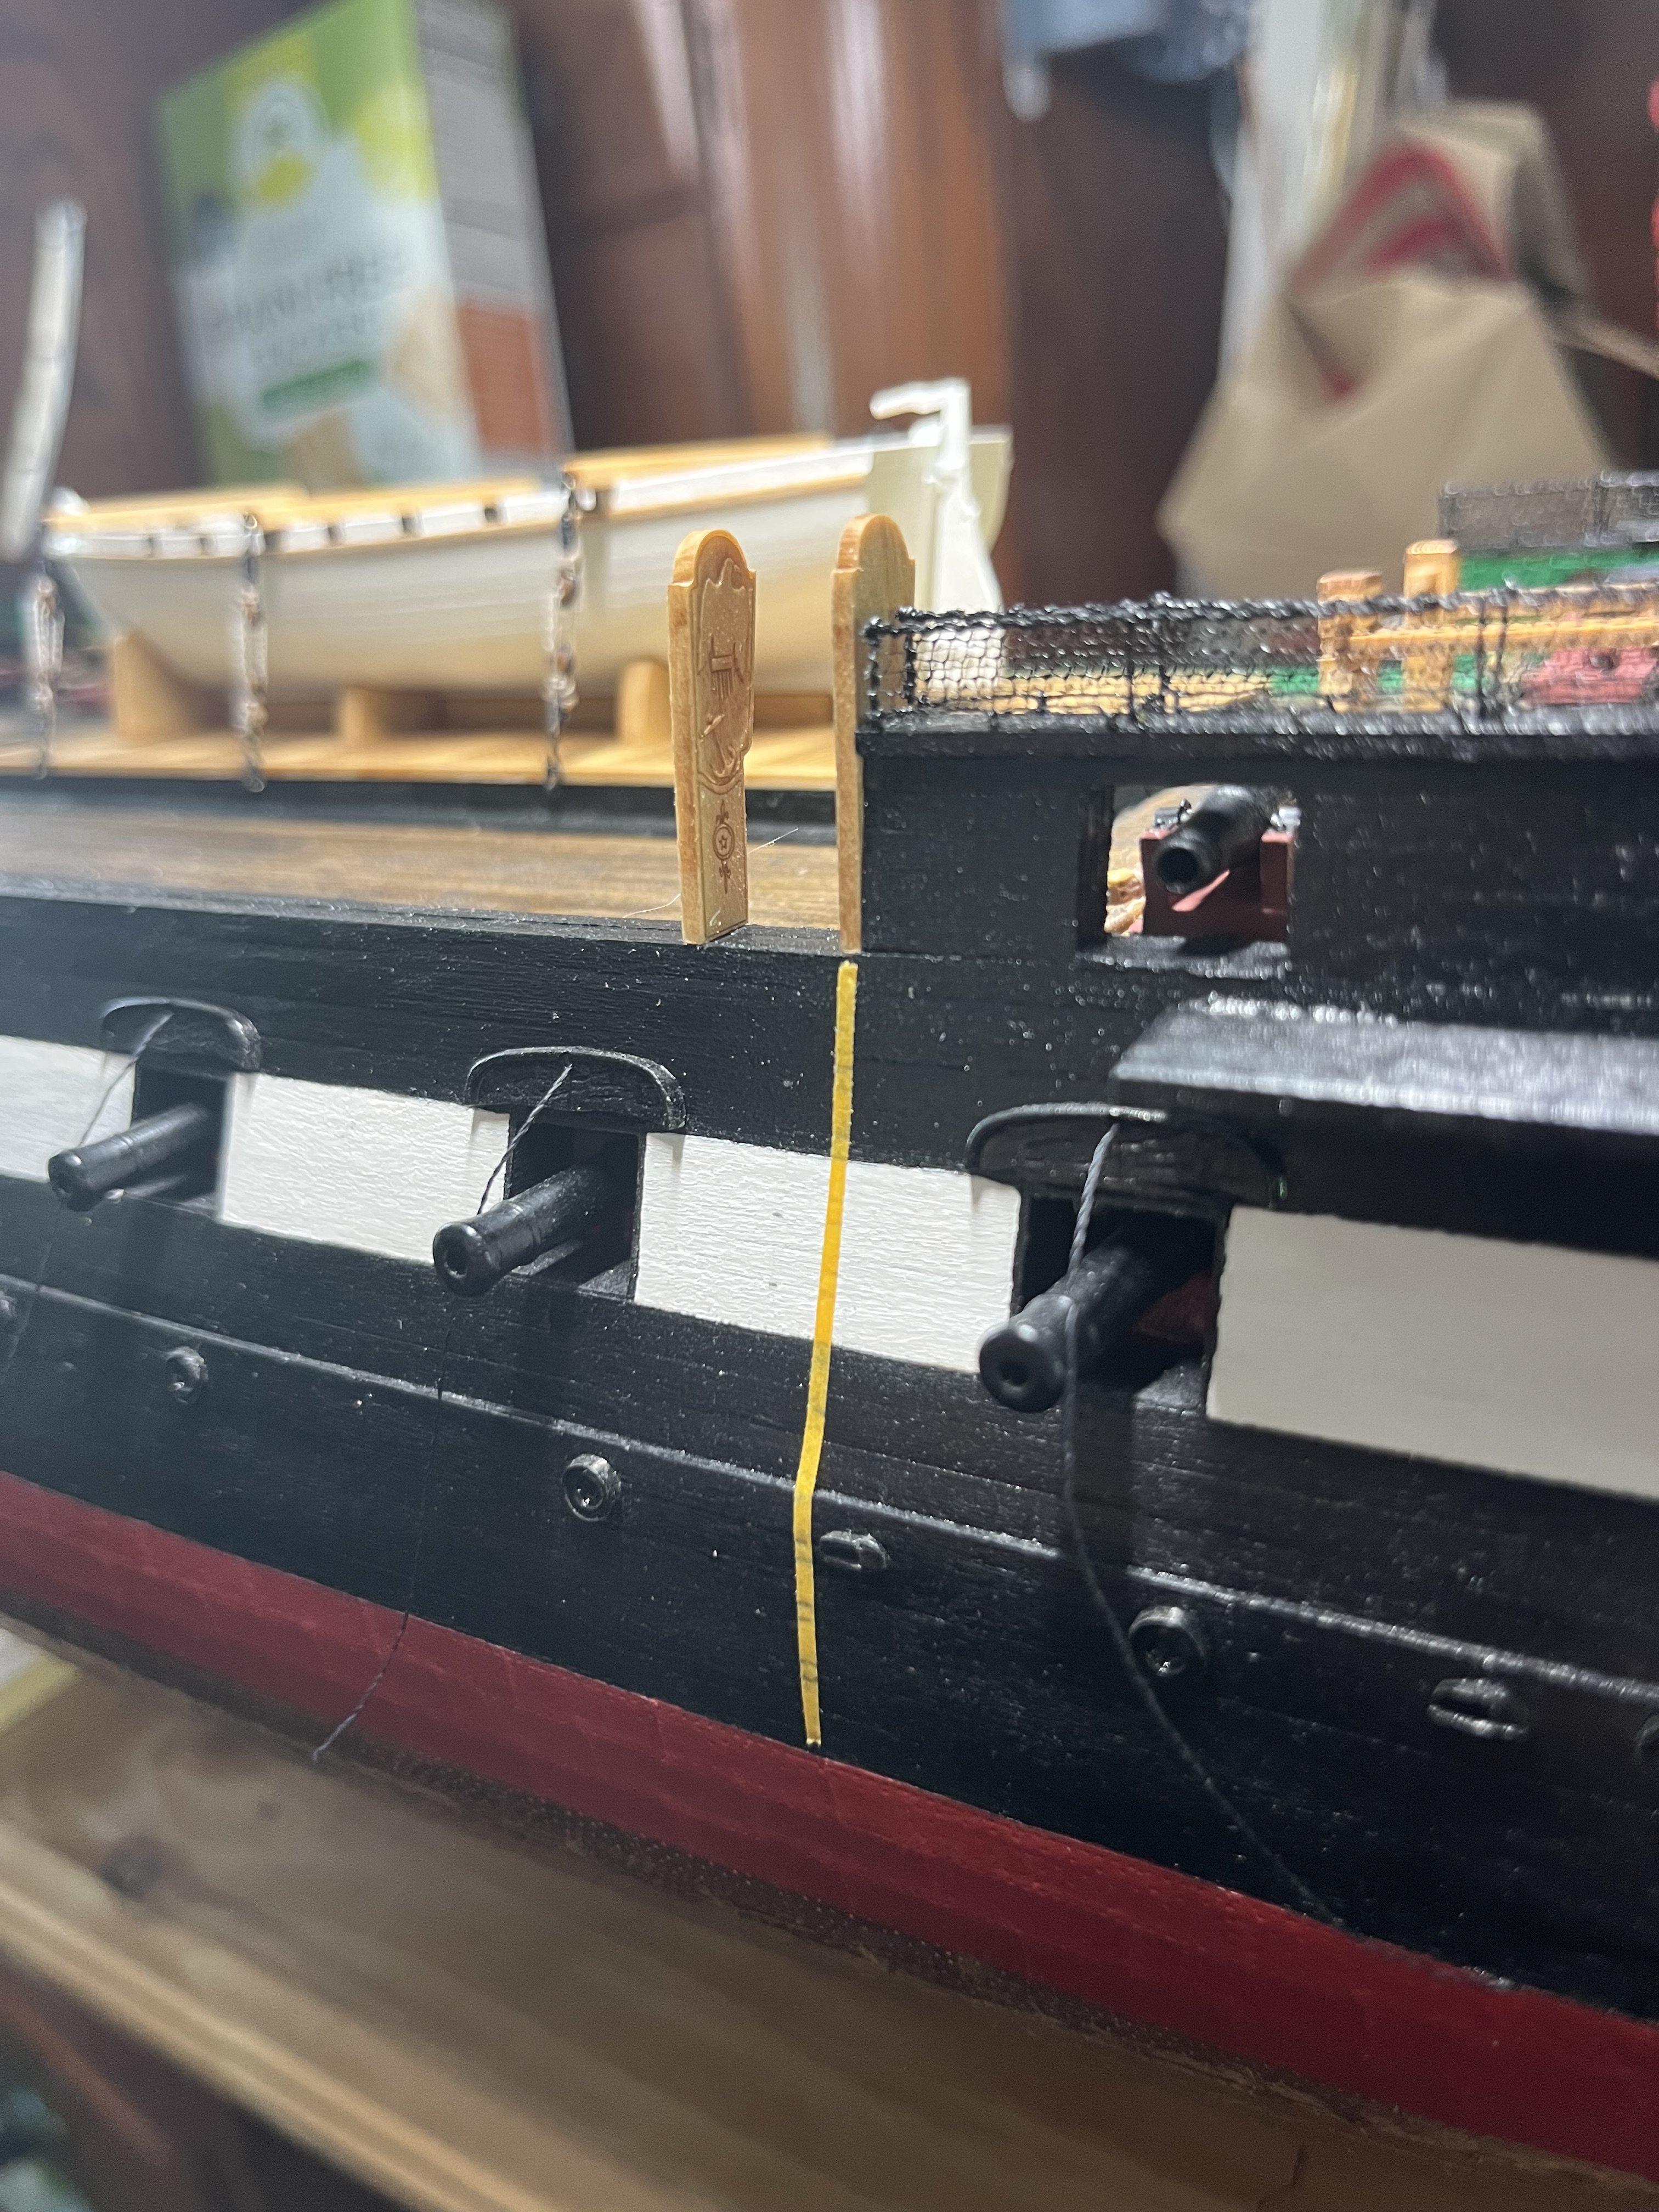
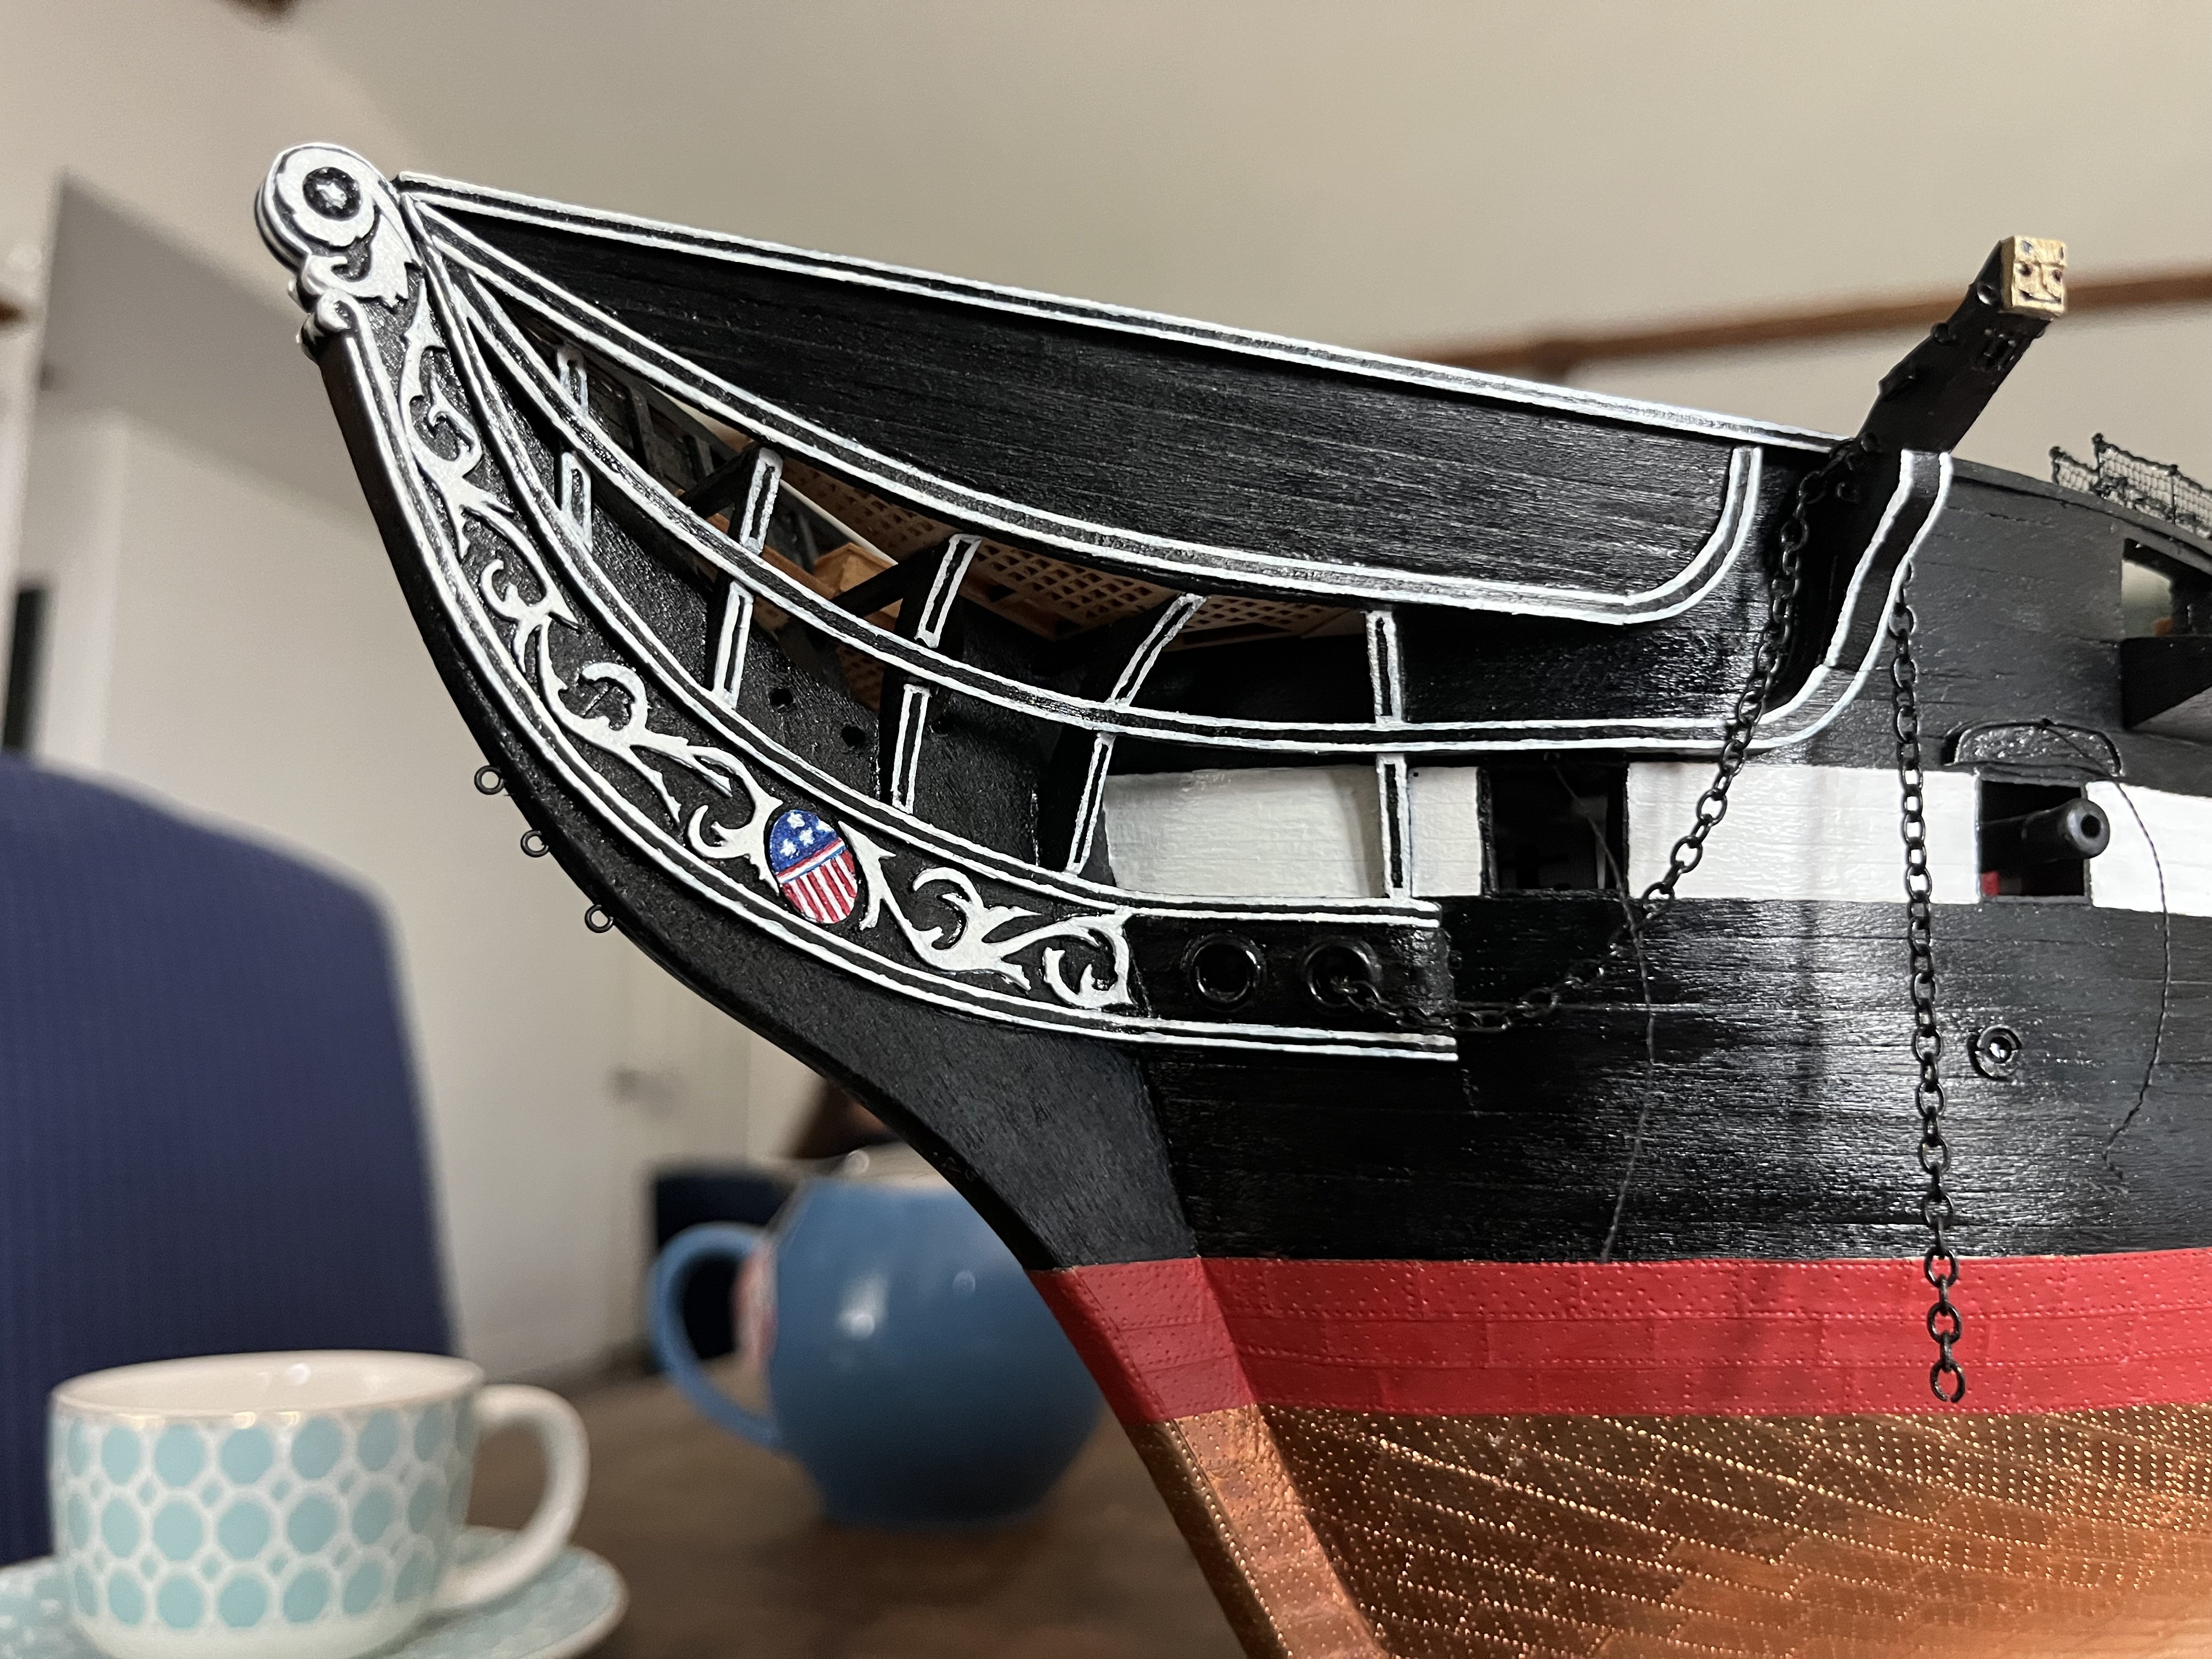
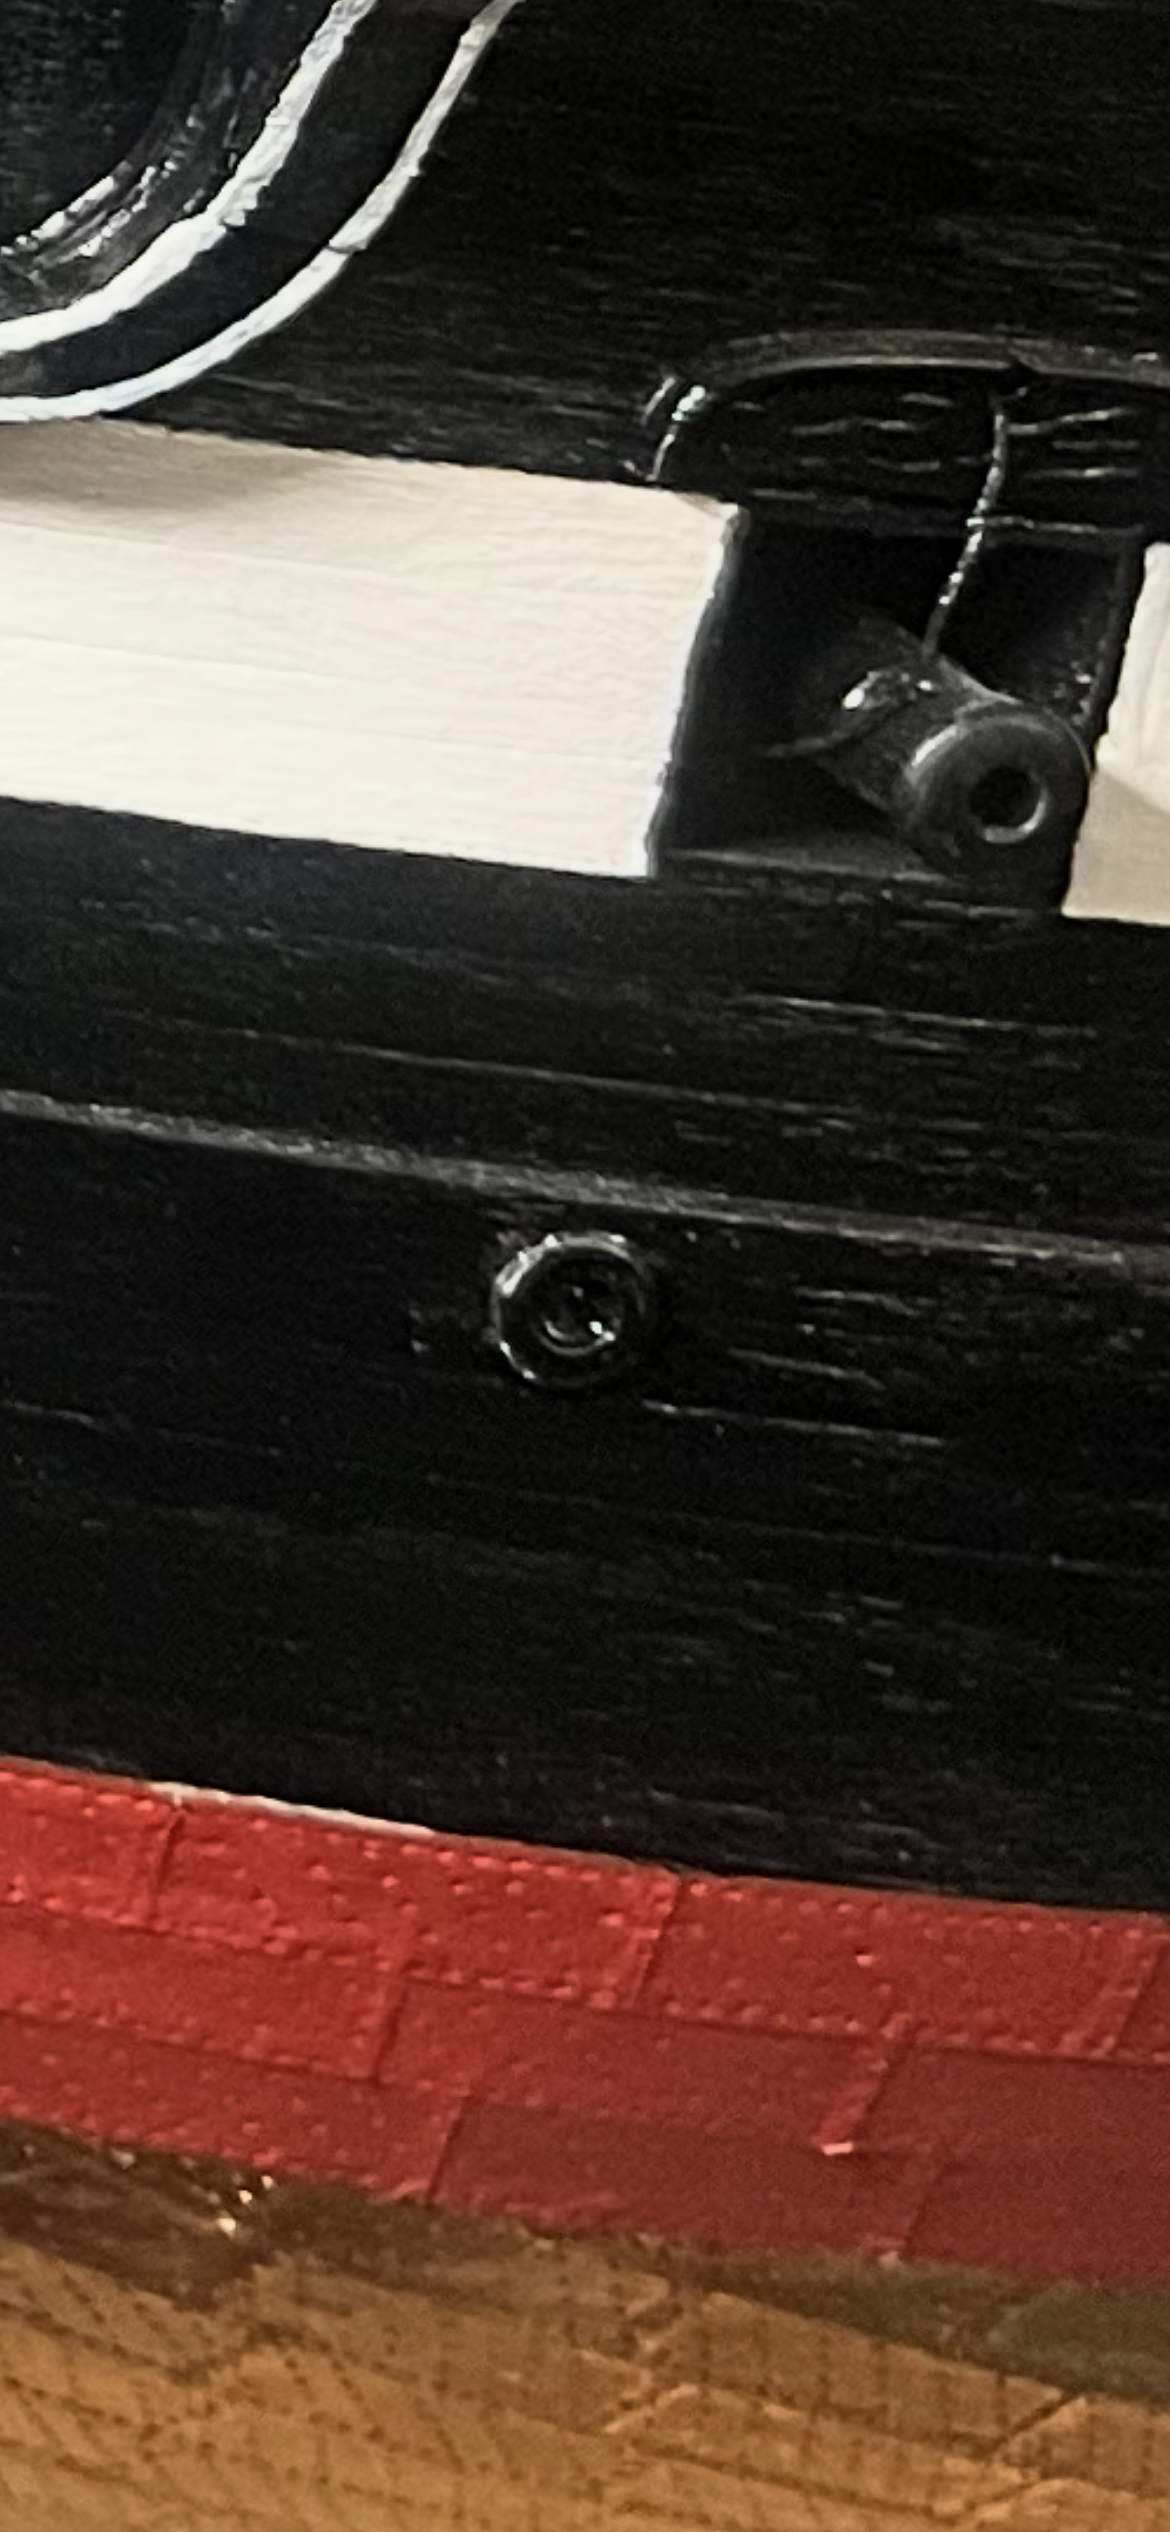
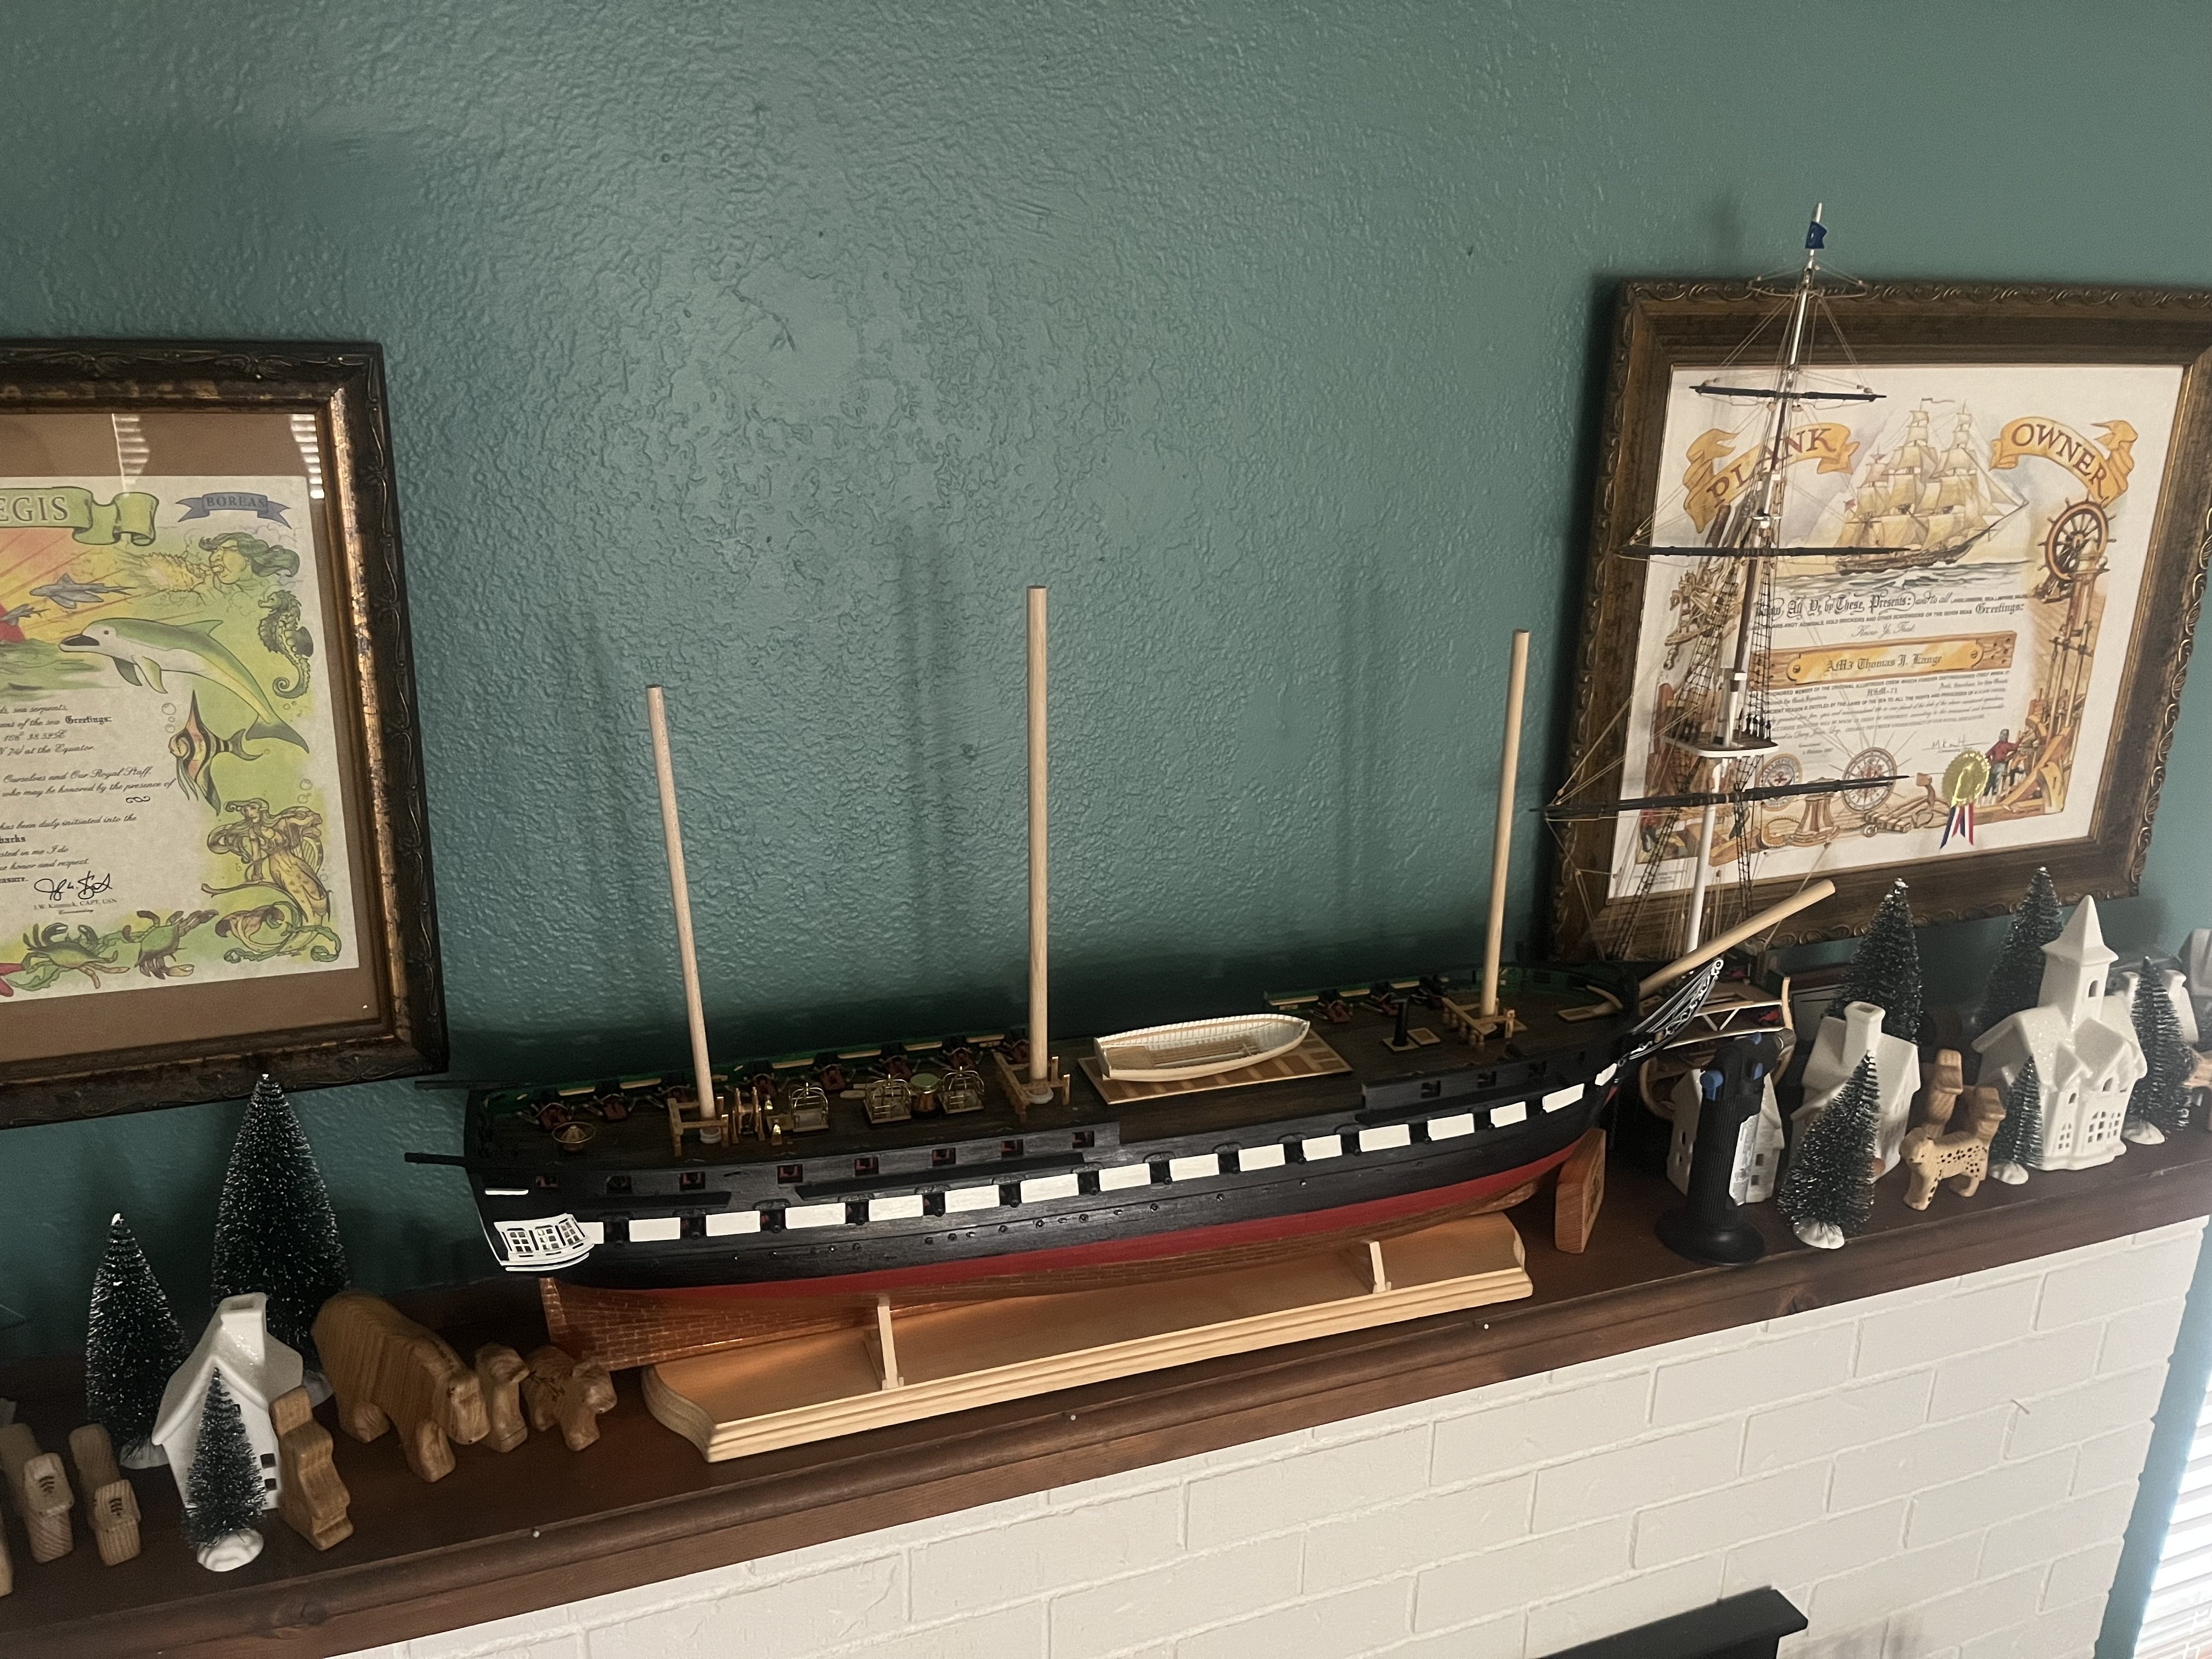
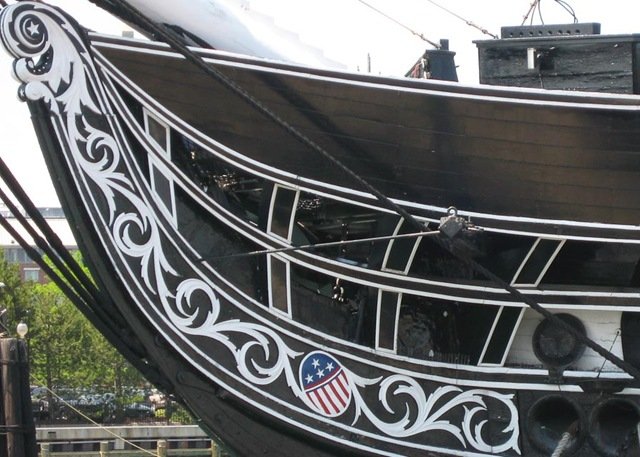
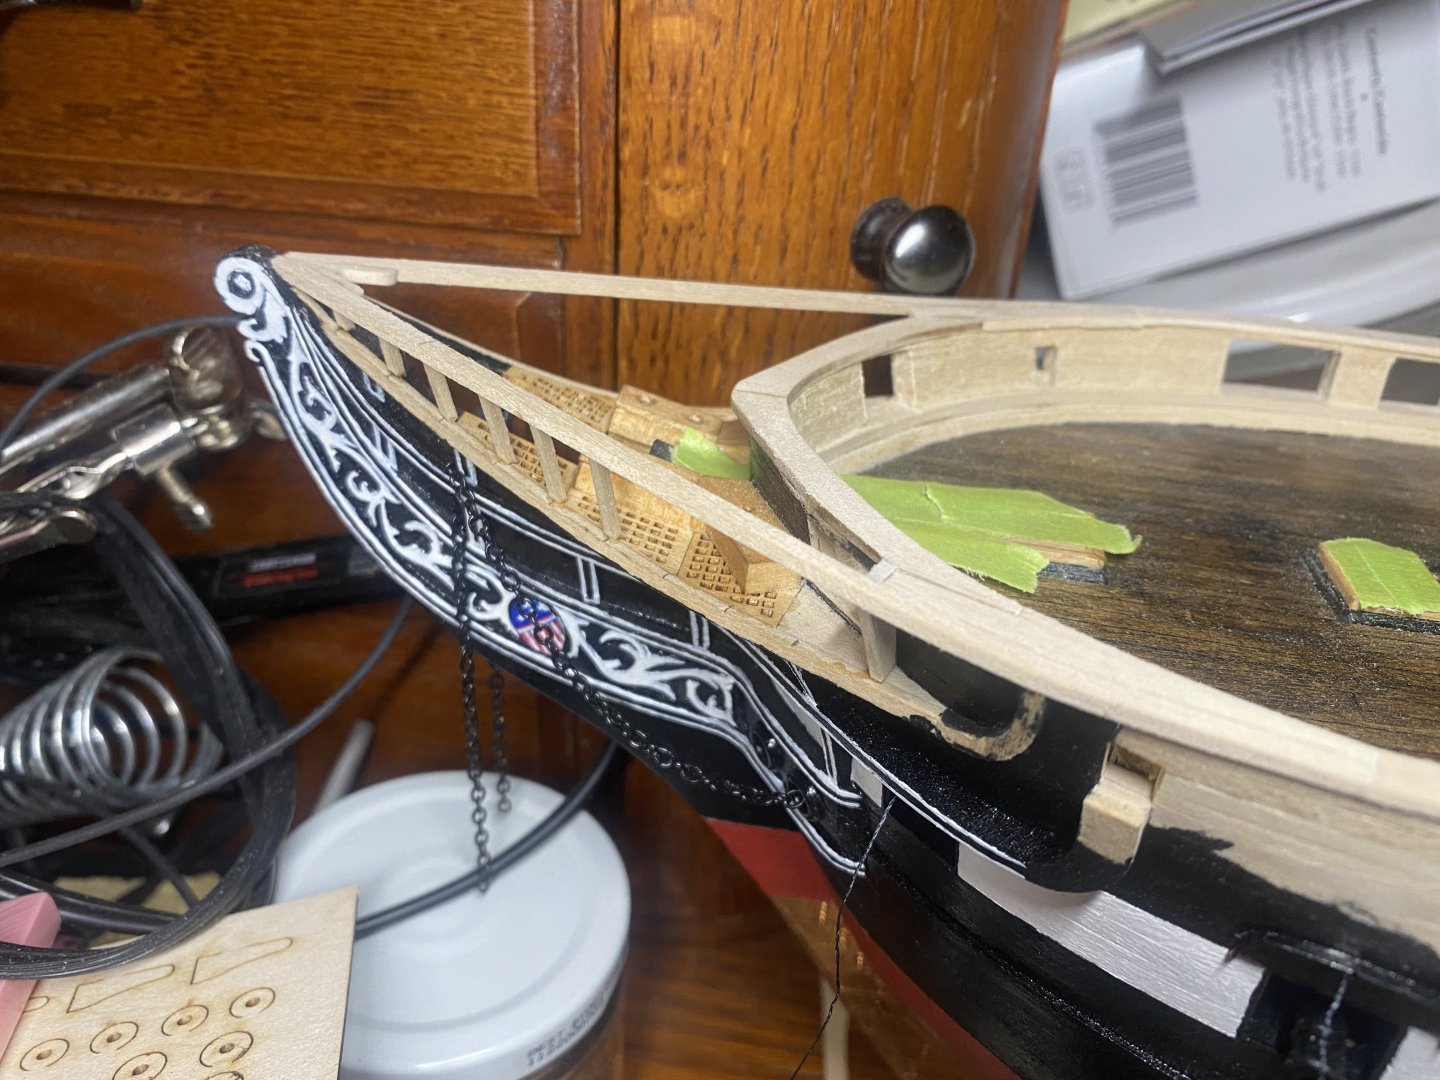
That’s ok I still remember! I just wish I had a new cool technique to share, but I just hand painted them. I painted all the black first. Then I went back and painted the white stripes. This way allowed me paint from the sides and have a little touch up in some of the black areas.
-
Thank you, and tell your sone thank you for me! I was in AIMD Lemoore Ca 2005-2007 shore duty. My second command was HSM-71 Raptors in North Island San Diego Ca 2007-mid 2009. I did most of our first deployment on CVN-74 JCS! They flew me home when we pulled into Pearl on the way home!
-
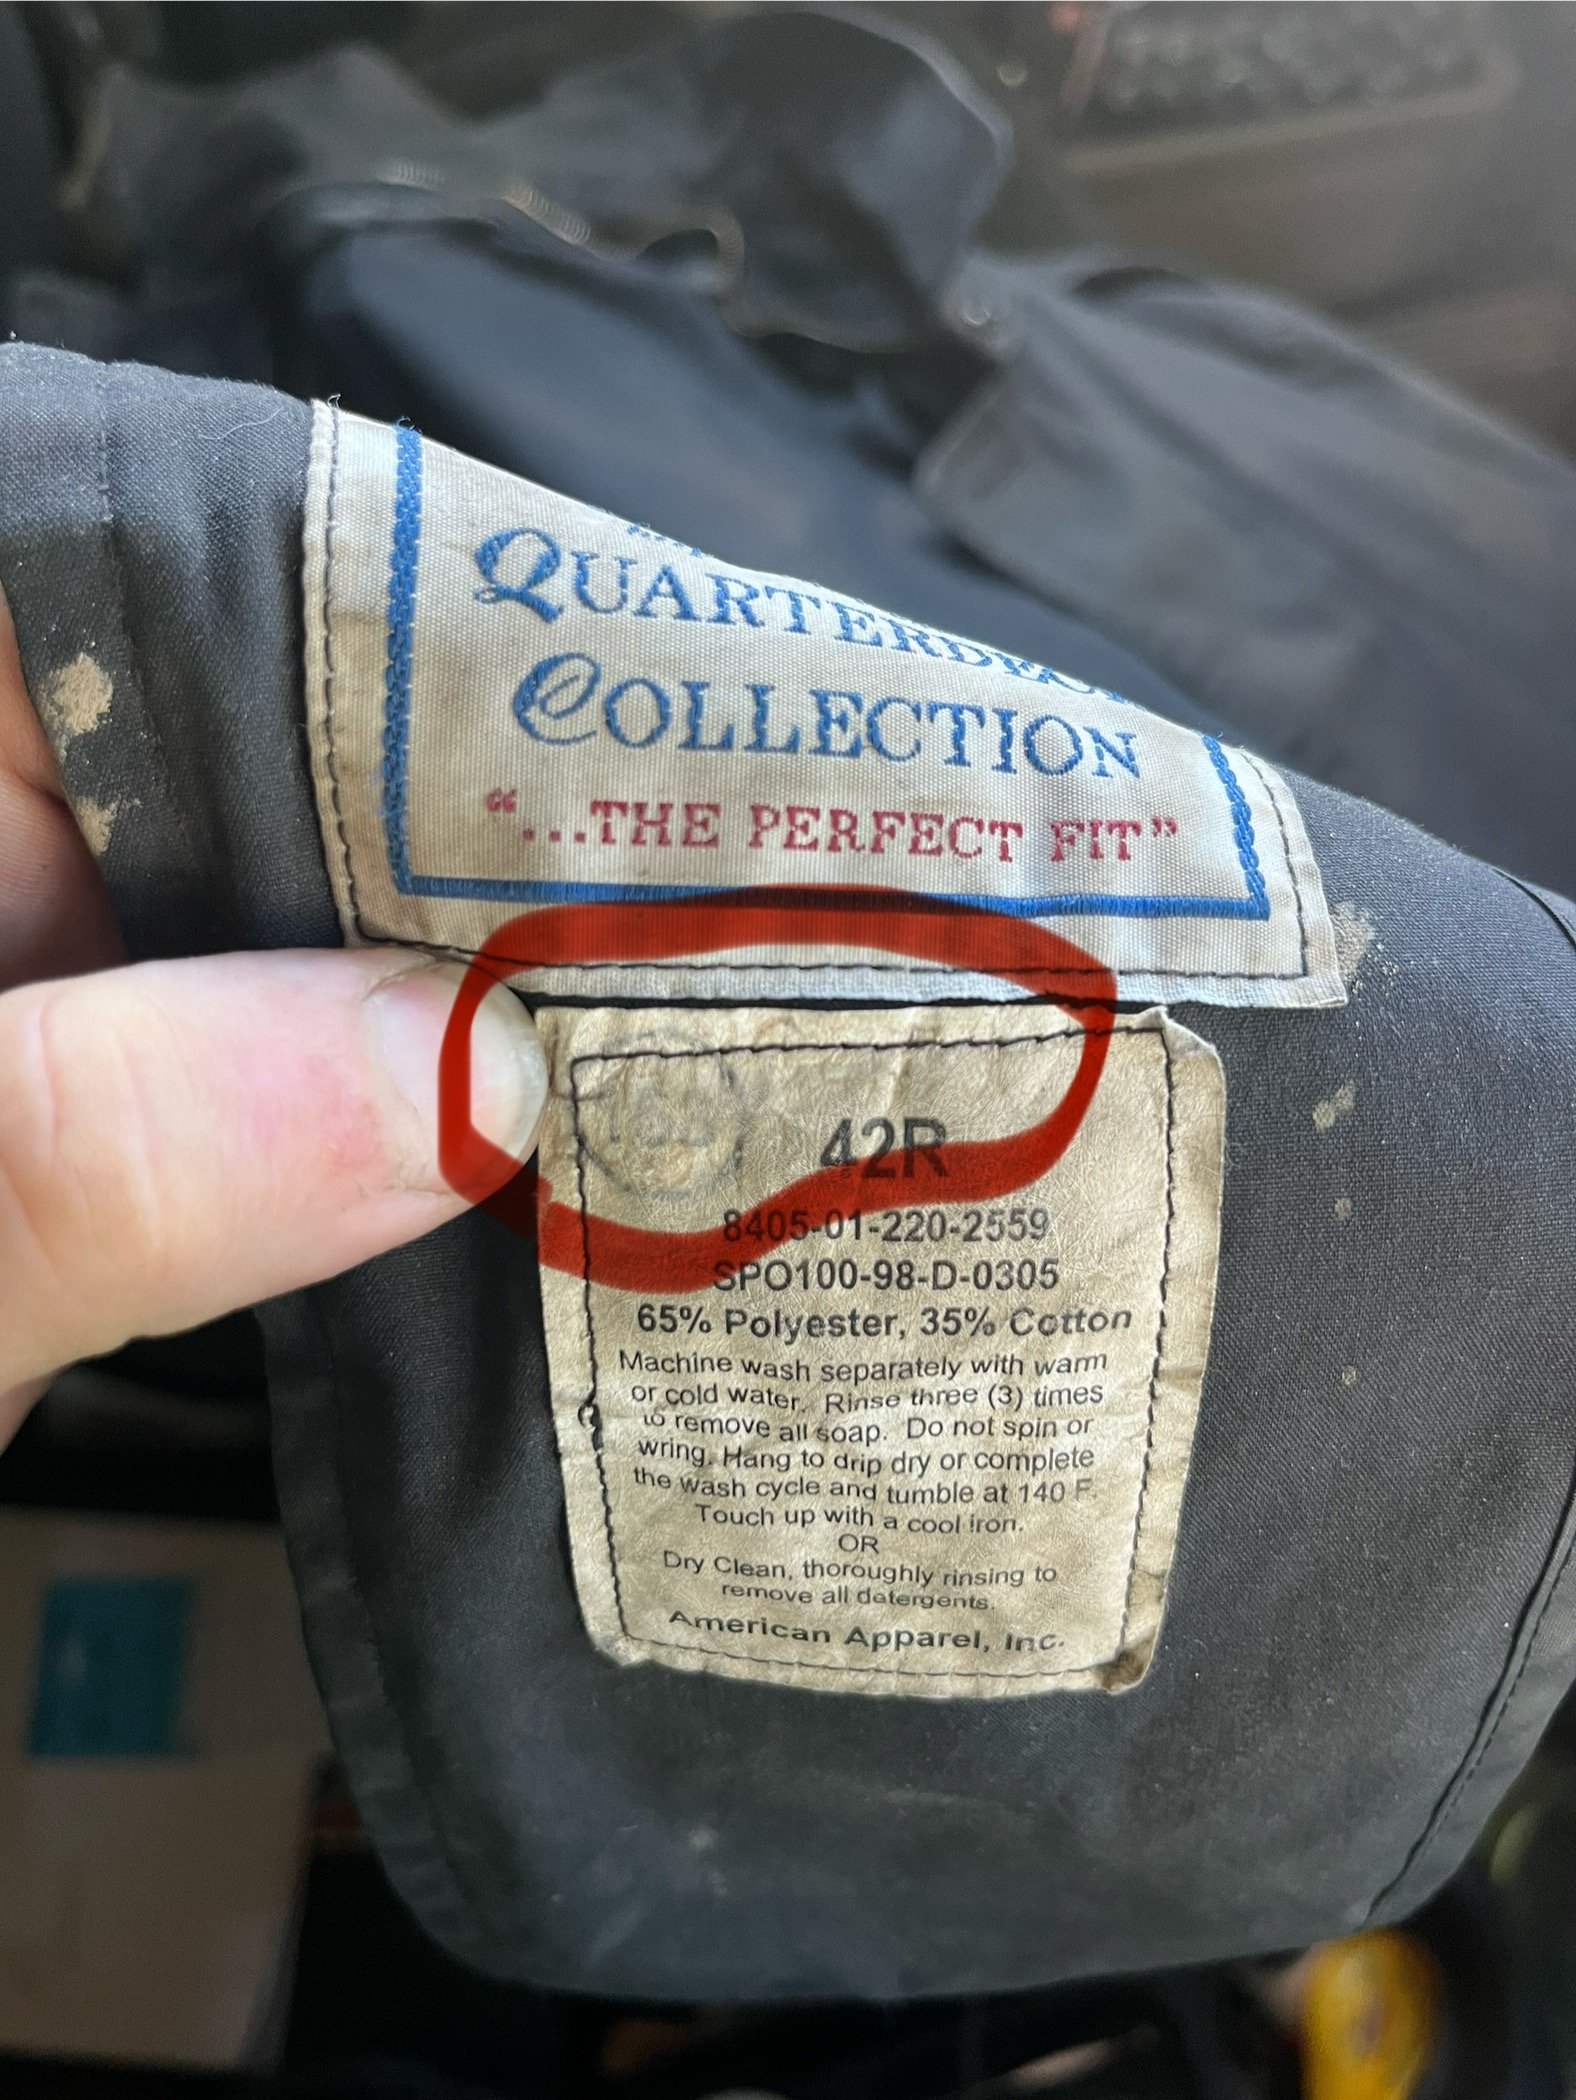
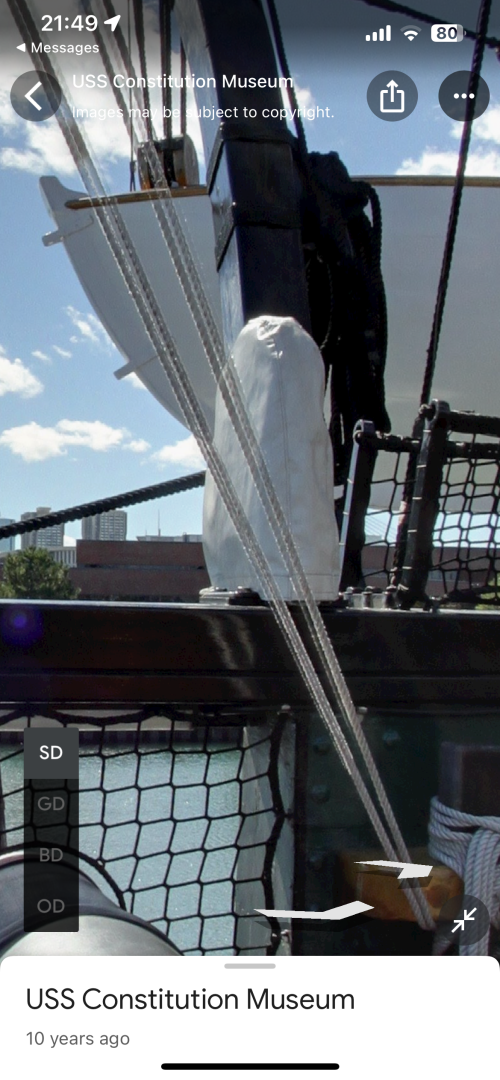
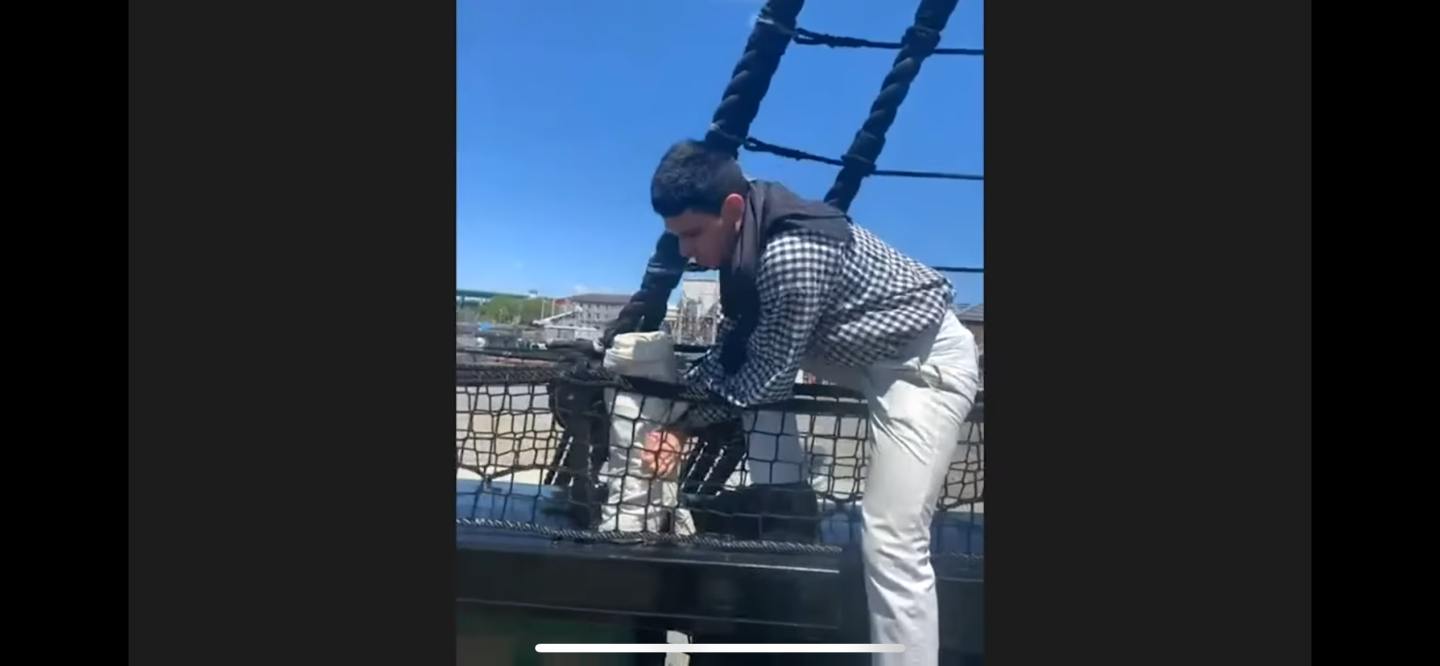
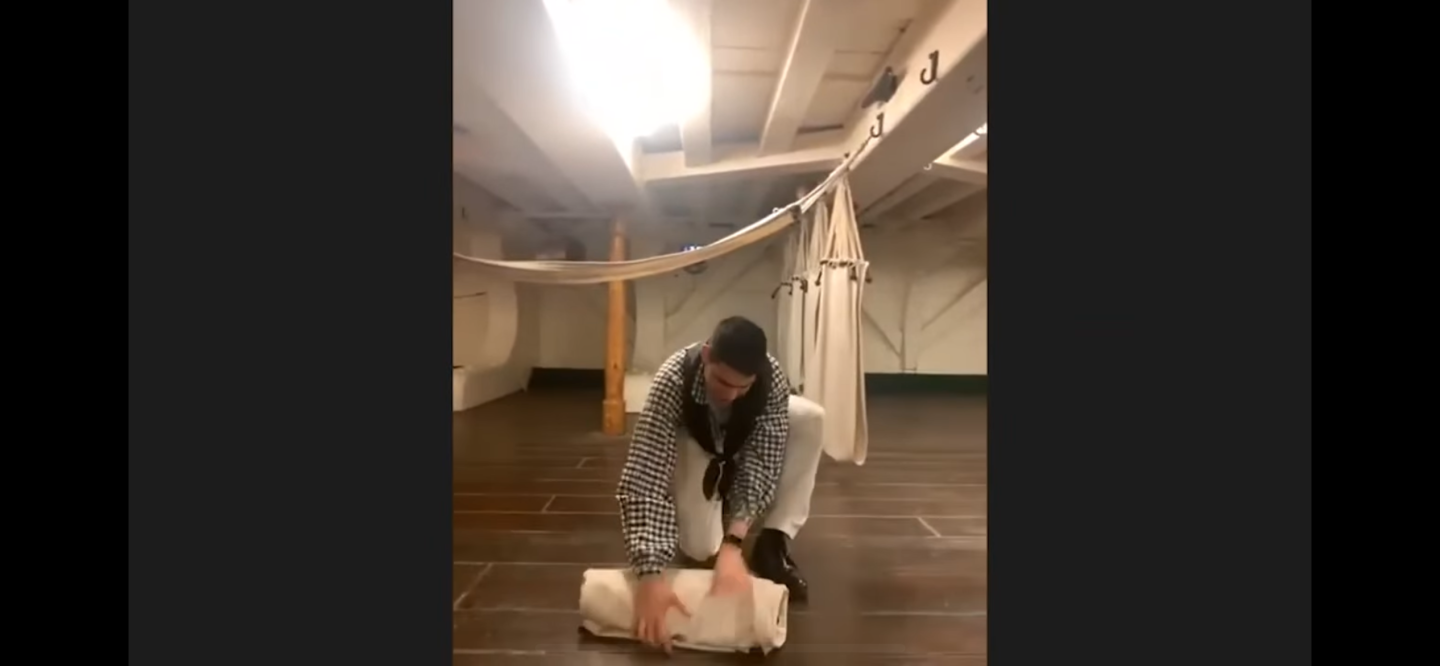
Those are all really great questions! • From my time in the Navy (2004-2009) all of our personal items had to be labeled so they can be returned to you or they would know who made the mess. You can just barely see the marking on my old rain coat! I would imagine that they may of stitched their names in somewhere. • I would also imagine that they would stay relatively dry in normal sea states but I don’t know if they would up them up during a storm or bad weather. • I would imagine that just having the on deck when they weren’t in use was blessing. Mostly because it would give them a chance to air out. I would also imagine that they would at least wash them in sea water every once in a wile to try to keep them from being too smelly. Just imagine what it was like when they were in the Mediterranean or on the world cruse!

-
Your progress is looking great! I’m looking forward to seeing more of your build! My scuppers and portlights are a little to proud too on my build. After I had them painted, I came to the realization that I should have made my holes larger so they would sit flush to the hull. On my portlights, I filled the holes with Testors canopy glue. After it dries it’ll be completely clear and make them look like they all have windows in them. It just took a couple of days to be completely clear.

-
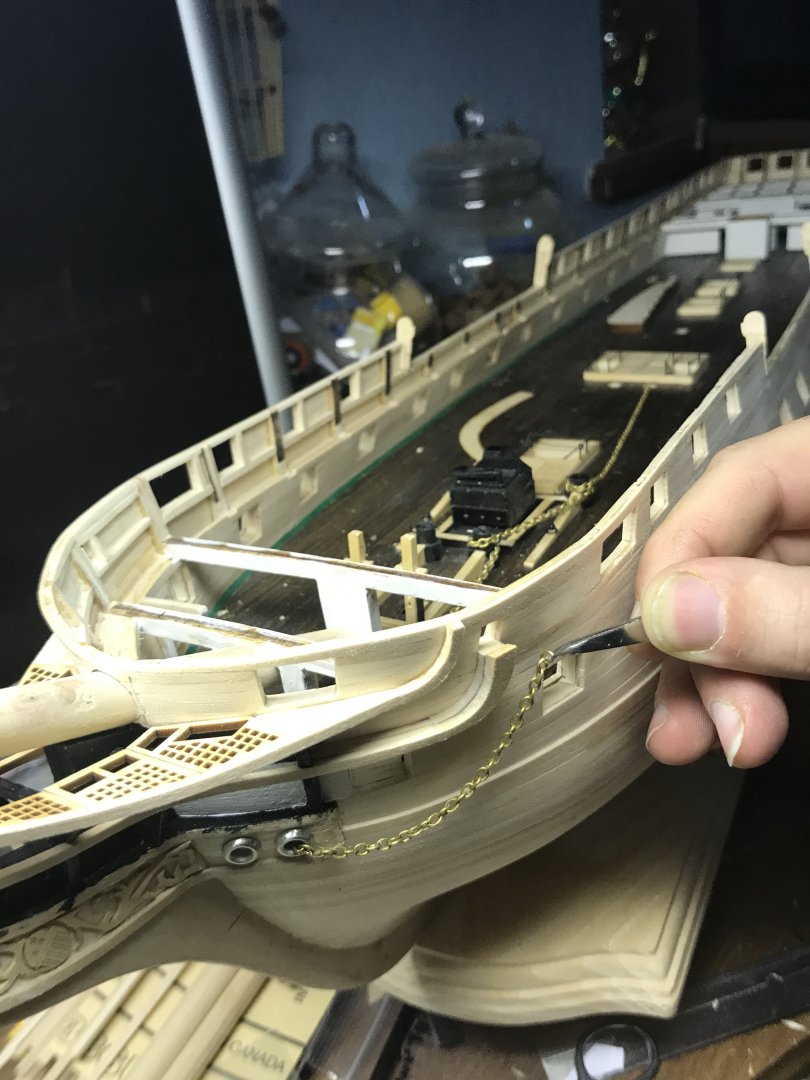
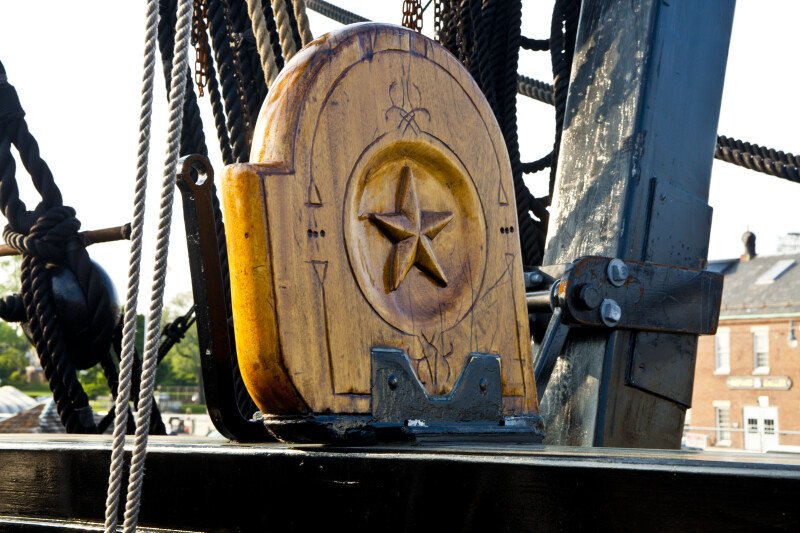
(Well, I had this all typed up and my phone decided I needed to type it again!🙄) After spending longer than I probably should have, I found some information with regards to the hammocks! I found this video on the USS Constitution FB page! USS Constitution hammocks and storage I also happened to notice the what seem like all the historical models had the hammocks either never installed or removed. I also saw that a couple of builders were making their hammocks in what looked like sausages. I’m not sure if that was to also simulate the thin mattress as well? I also noticed what look like the carved end peace at the stern of the aft hammock stanchions on both sides as well. It’s just covered with a tarp in the Google 3D tour.Sometimes it can come in handy having to spend two days in my work truck.
-
You and I seem to be of the same mind when it comes to details. I’m doing the exact same thing! I also thought you would find this interesting! The use of hammocks!
-
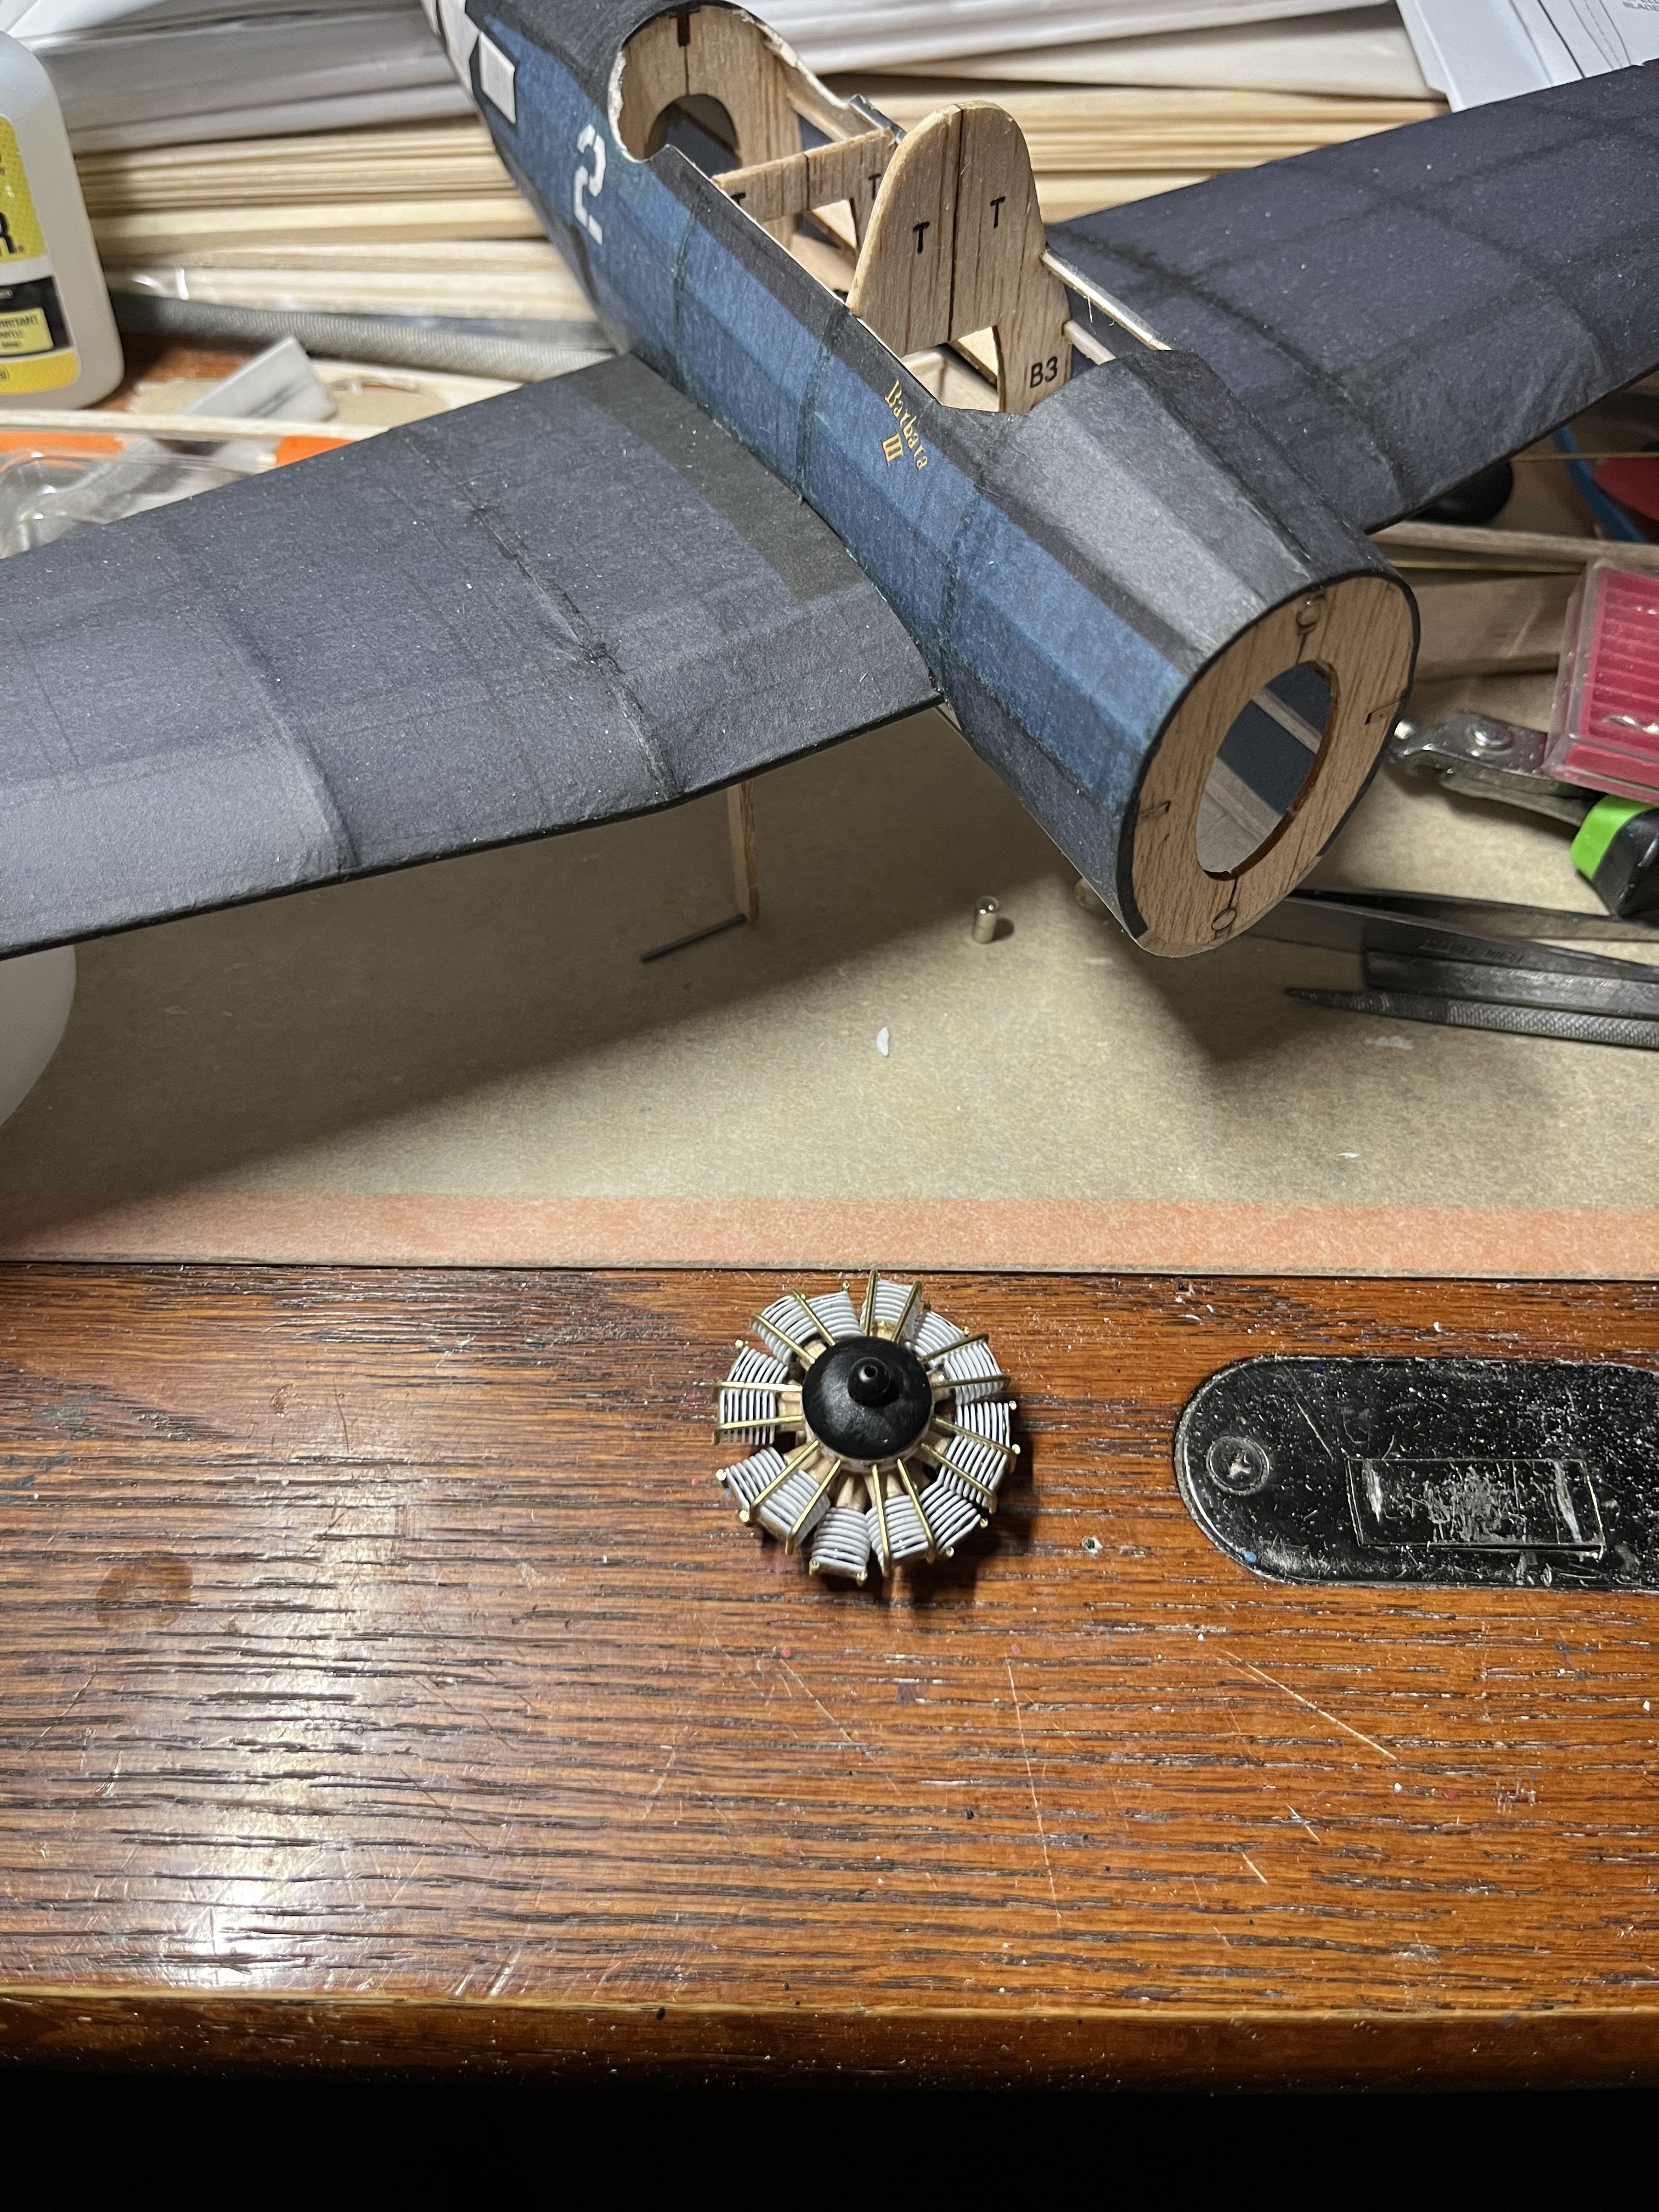
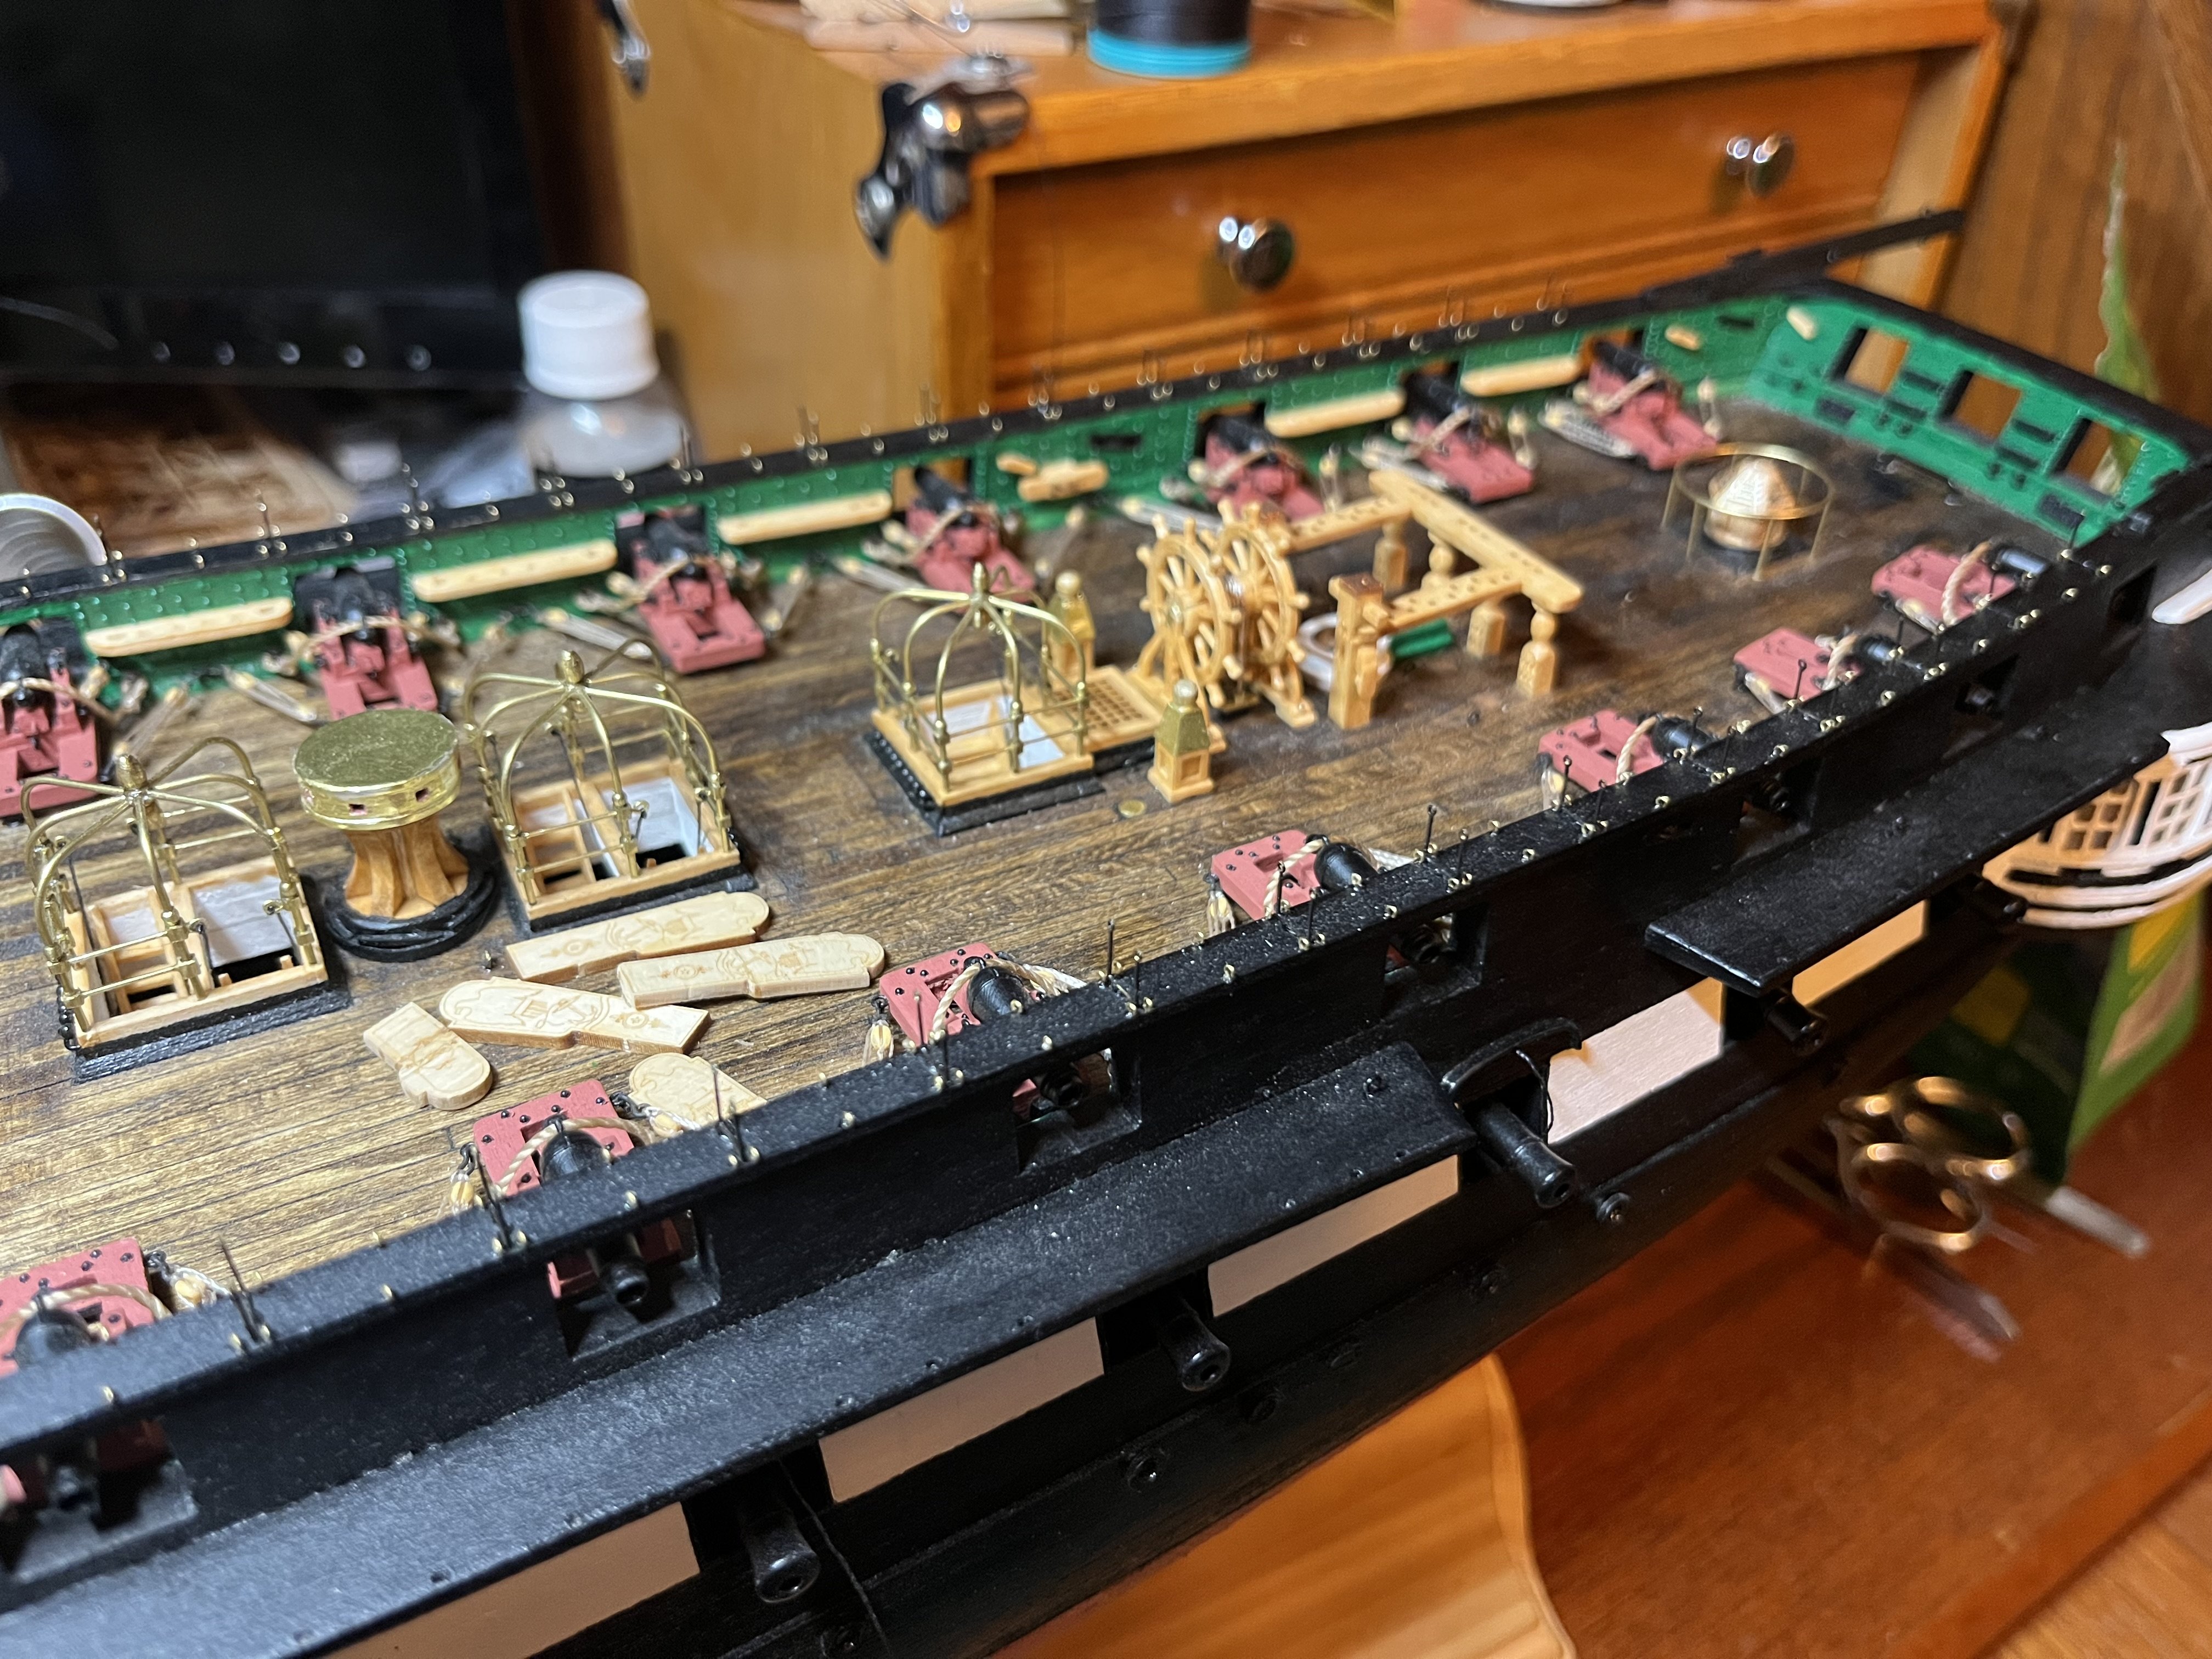
Yes the spar deck has seemed like a never ending uphill clime! But, the closer I get to being done with it the more I’m loving it! I’m also going off the 2015 Google 3D tour for reference and in the tour the stanchions and netting are there. thinking back on the canopy frames, the fist one was a pain! The next two that I did at the same time were much easier and actually a little fun. I had to take a break before I started them and try to decide how I wanted to accomplish them. ( I went plane ✈️ crazy for a little bit!) I did decide to leave the two on the main hatch off and once my Pinnace was done I’m glad I did!
-
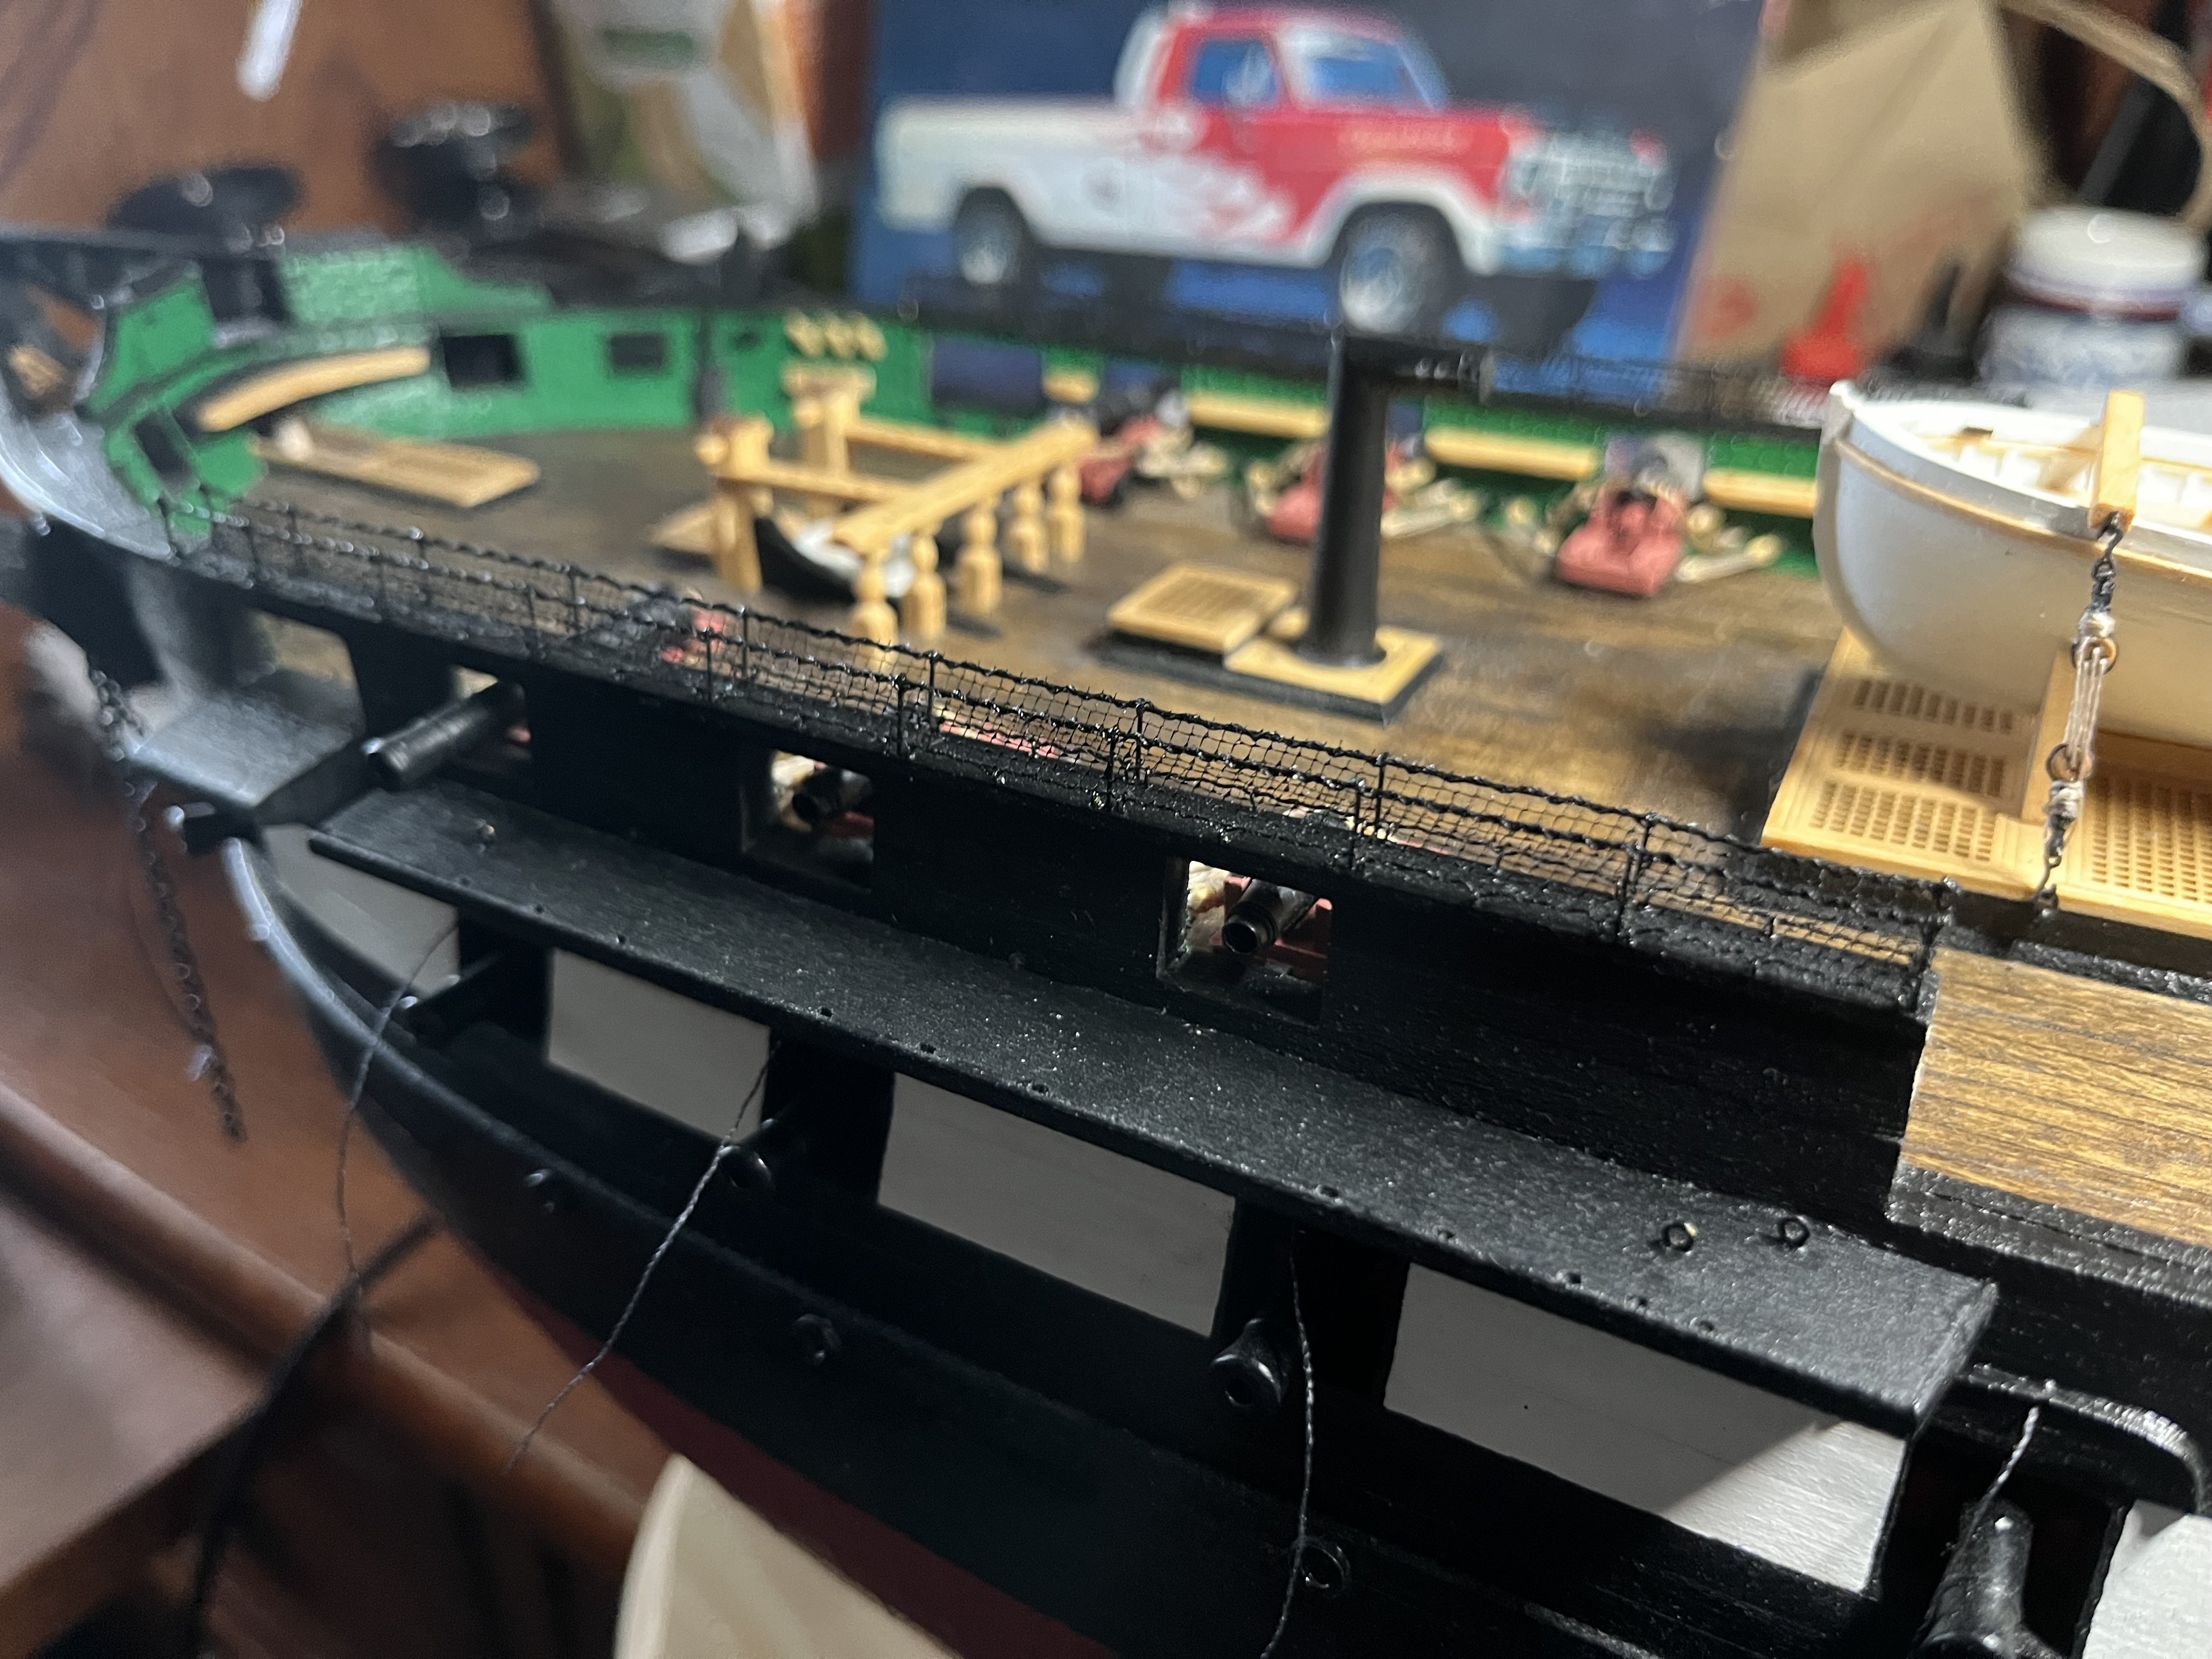
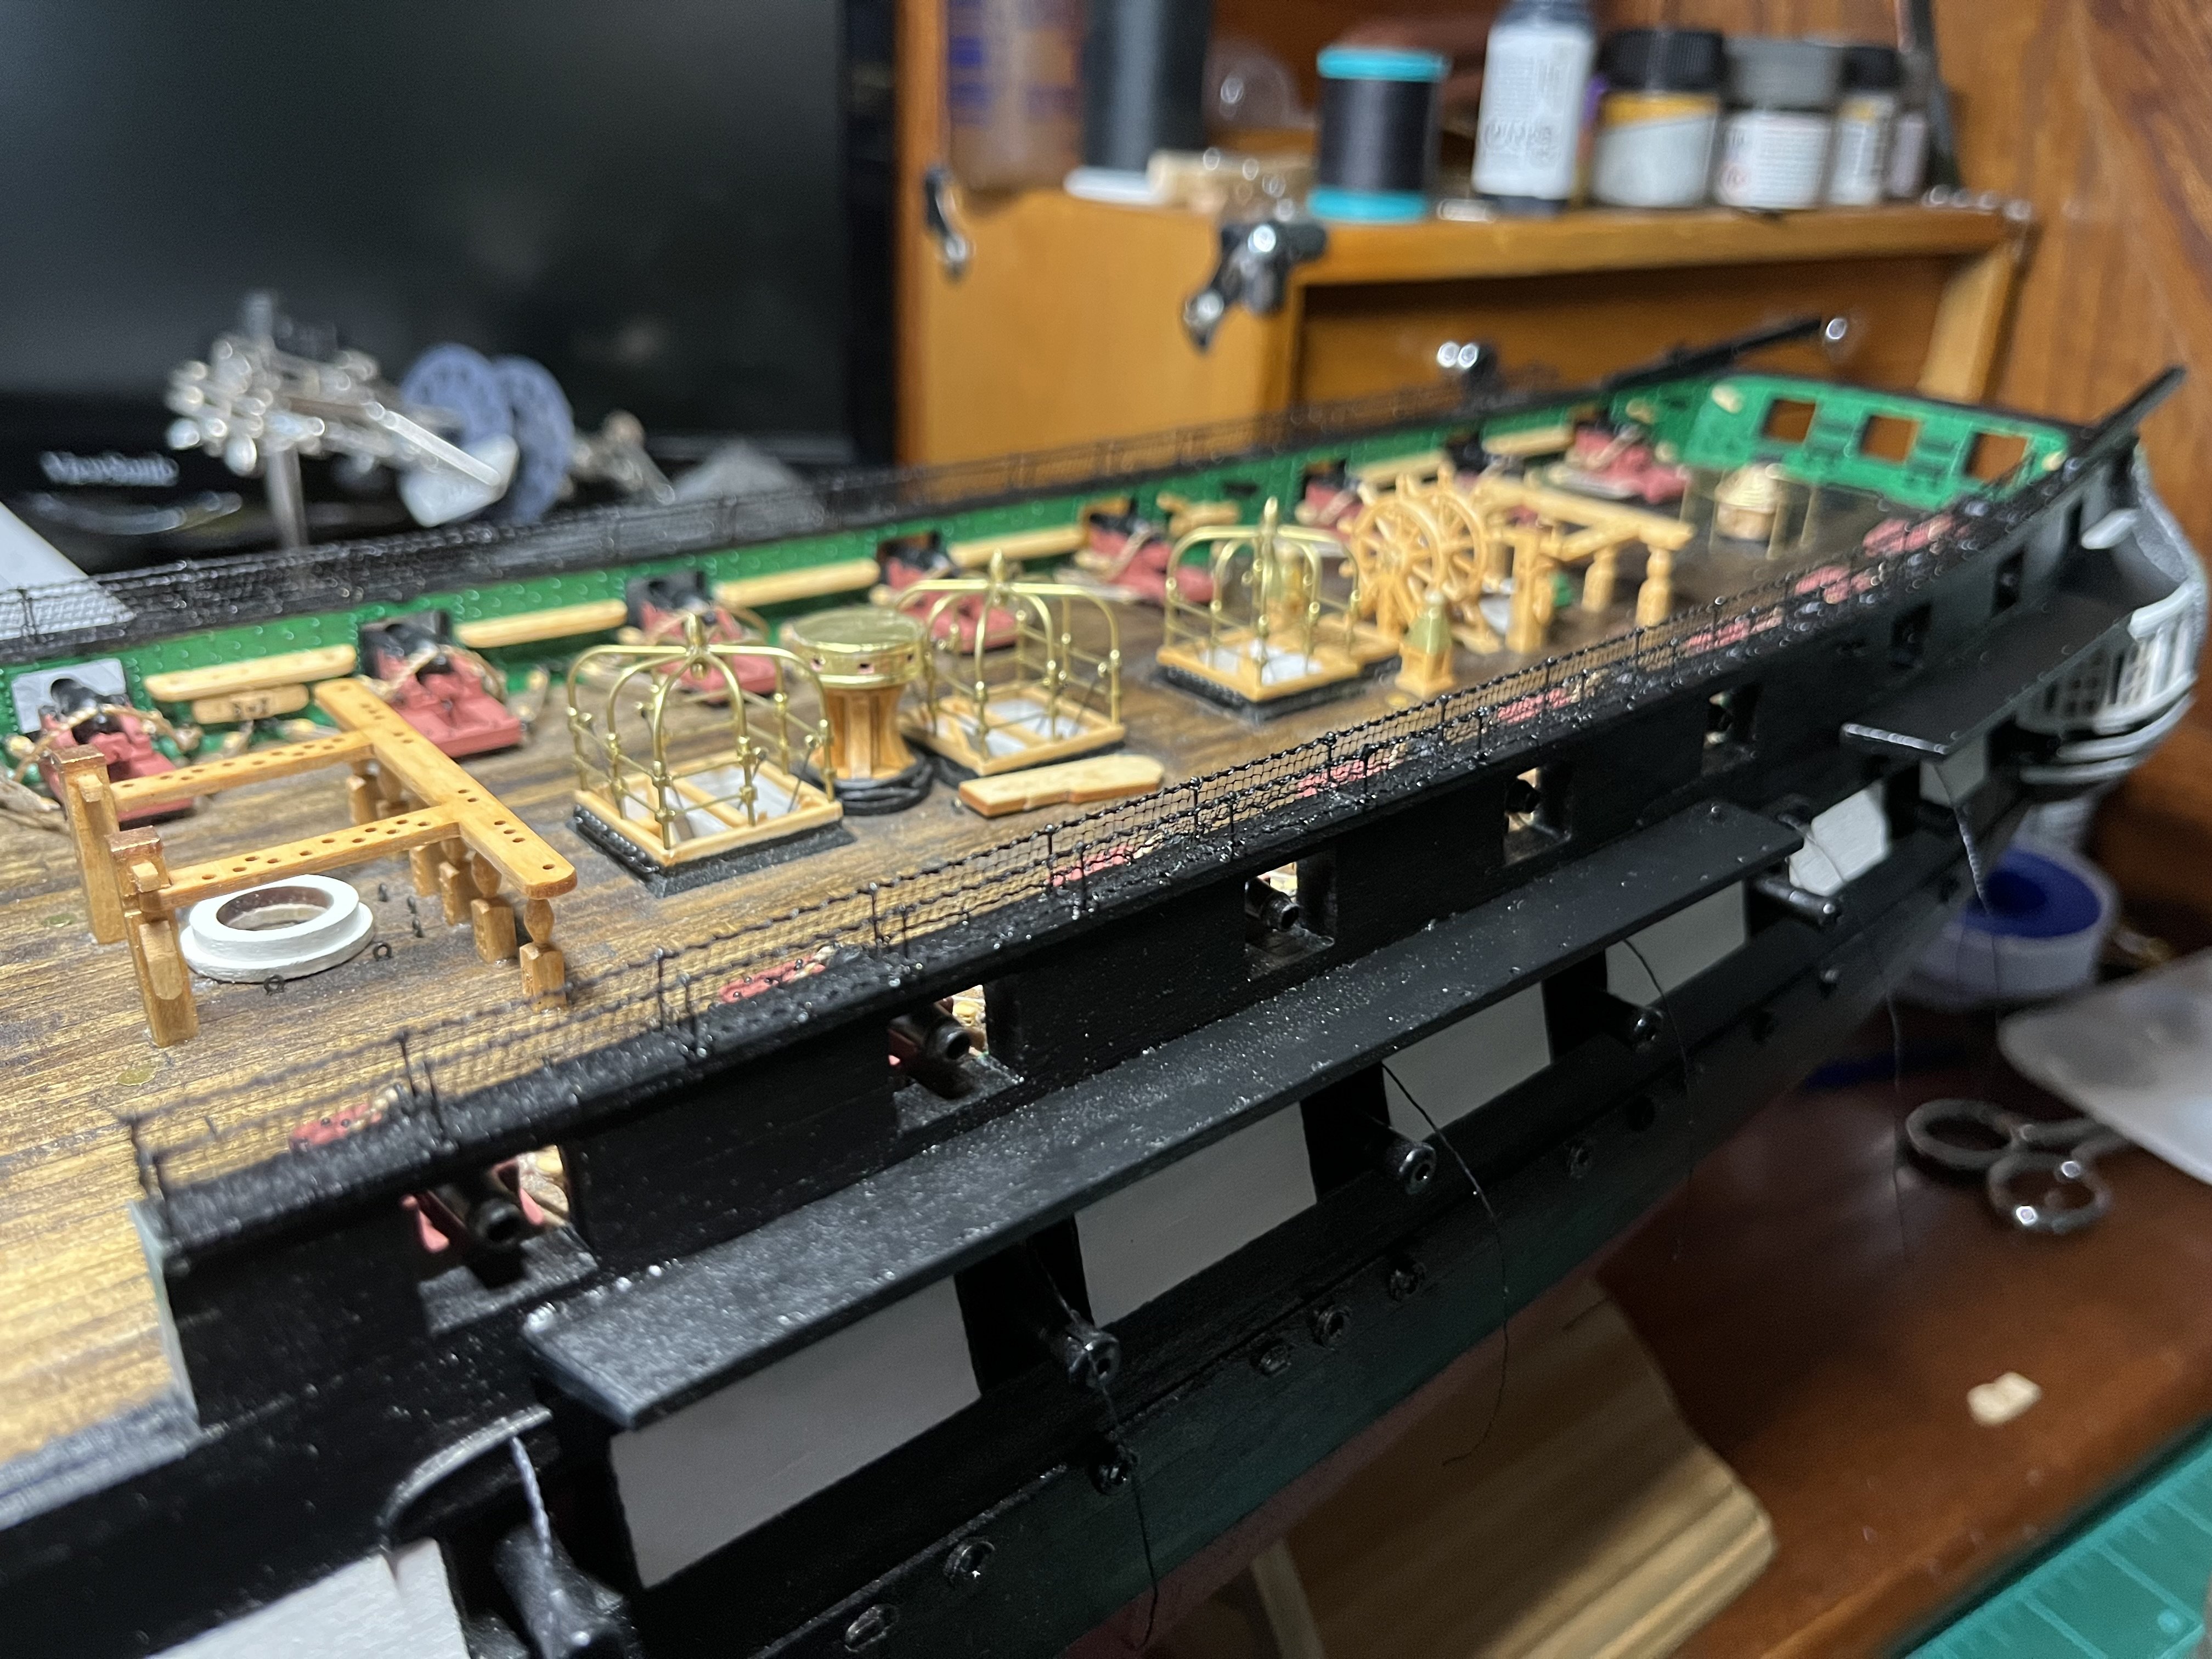
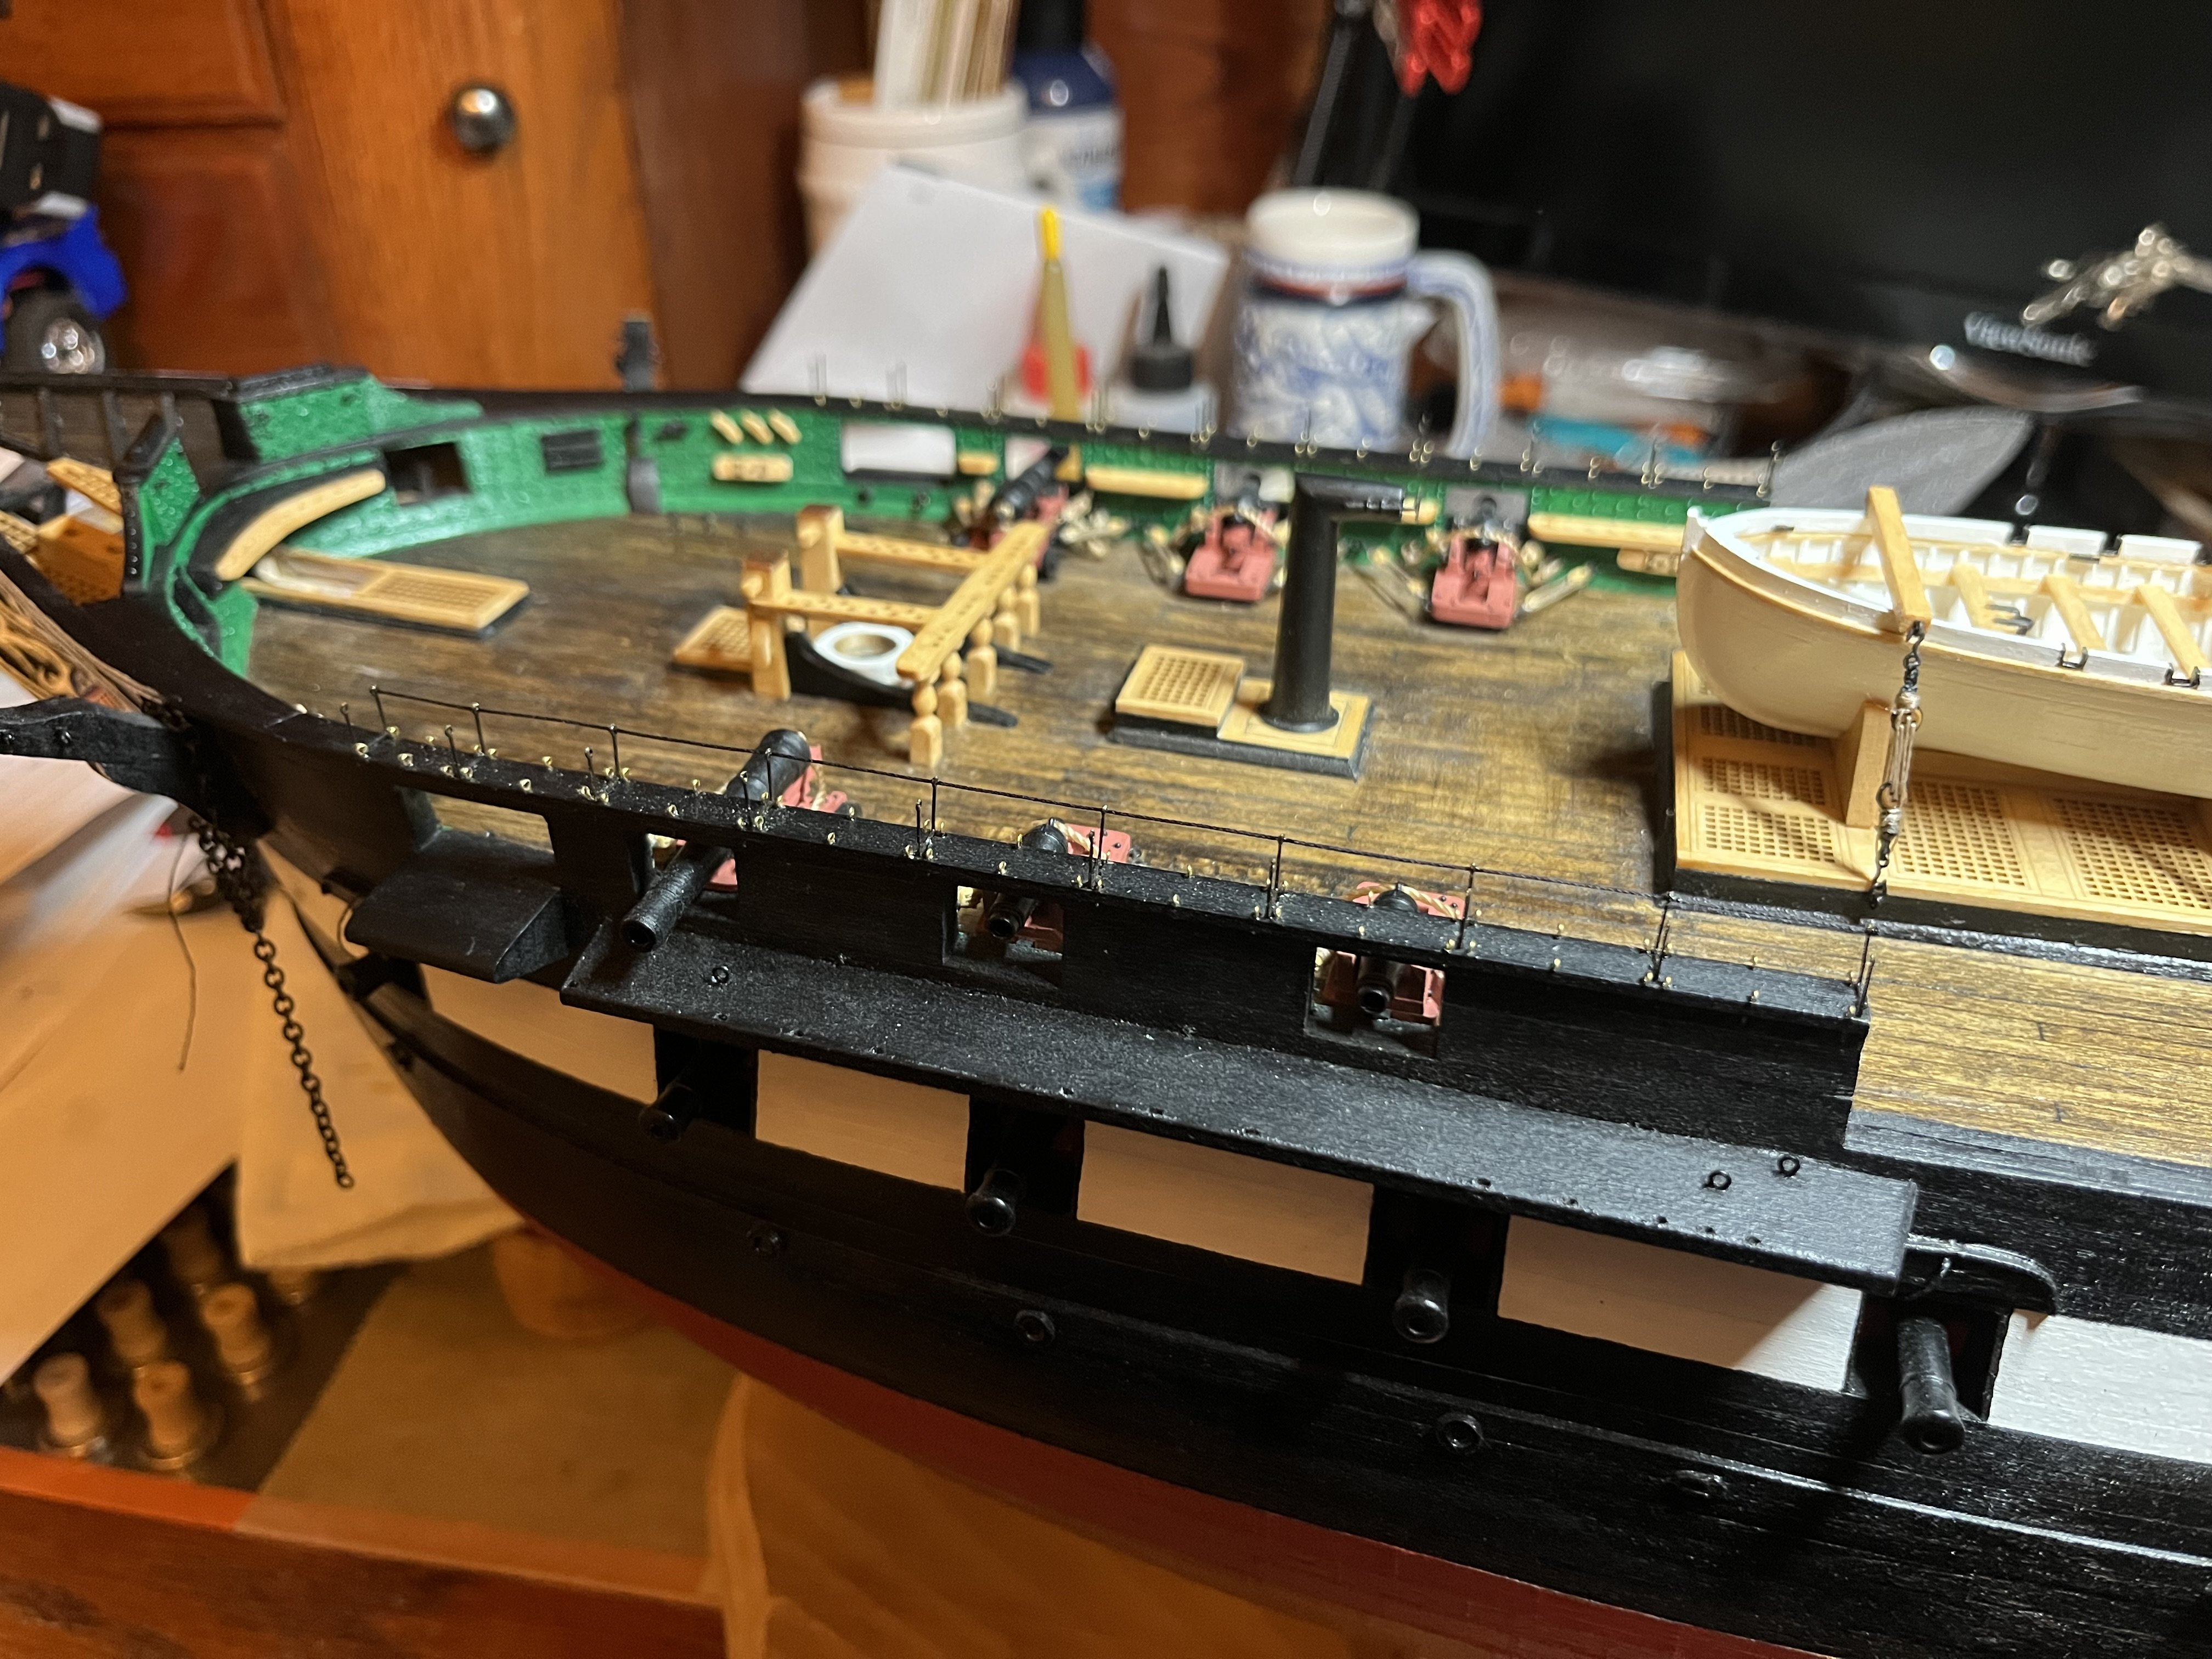
Now that my Pinnace is complete, I’ve gotten a good start on my hammock stanchions and netting. I got all of the kit supplied stanchions pained and installed. I also made all of the lower netting hooks with .012 brass wire. I left out about half of the hooks to help the netting look a little more open. My first set of netting is also completed! I just have 7 more to go.🙄


-
Everything is looking wonderful! I also didn’t install my cat heads till I had the bulwarks done and I came to regret not installing them before I planked the hull. There are also pinstripes and supports under the cat heads that may be more difficult to do later. I’ve also found that once they’re installed they are extremely sturdy. Its always exciting to see your build!

-
I think this fiddly is our addiction! If I’m not working on my Constitution I’m usually working on a 1/35 scale scratch built plane. Almost all of my wood on my planes are 1/32” and some people think I’m nuts for that! I’ve been loving your build! Keep up the good work!