HOLIDAY DONATION DRIVE - SUPPORT MSW - DO YOUR PART TO KEEP THIS GREAT FORUM GOING! (89 donations so far out of 49,000 members - C'mon guys!)
×

Robert Taylor
-
Posts
211 -
Joined
-
Last visited
Content Type
Profiles
Forums
Gallery
Events
Everything posted by Robert Taylor
-
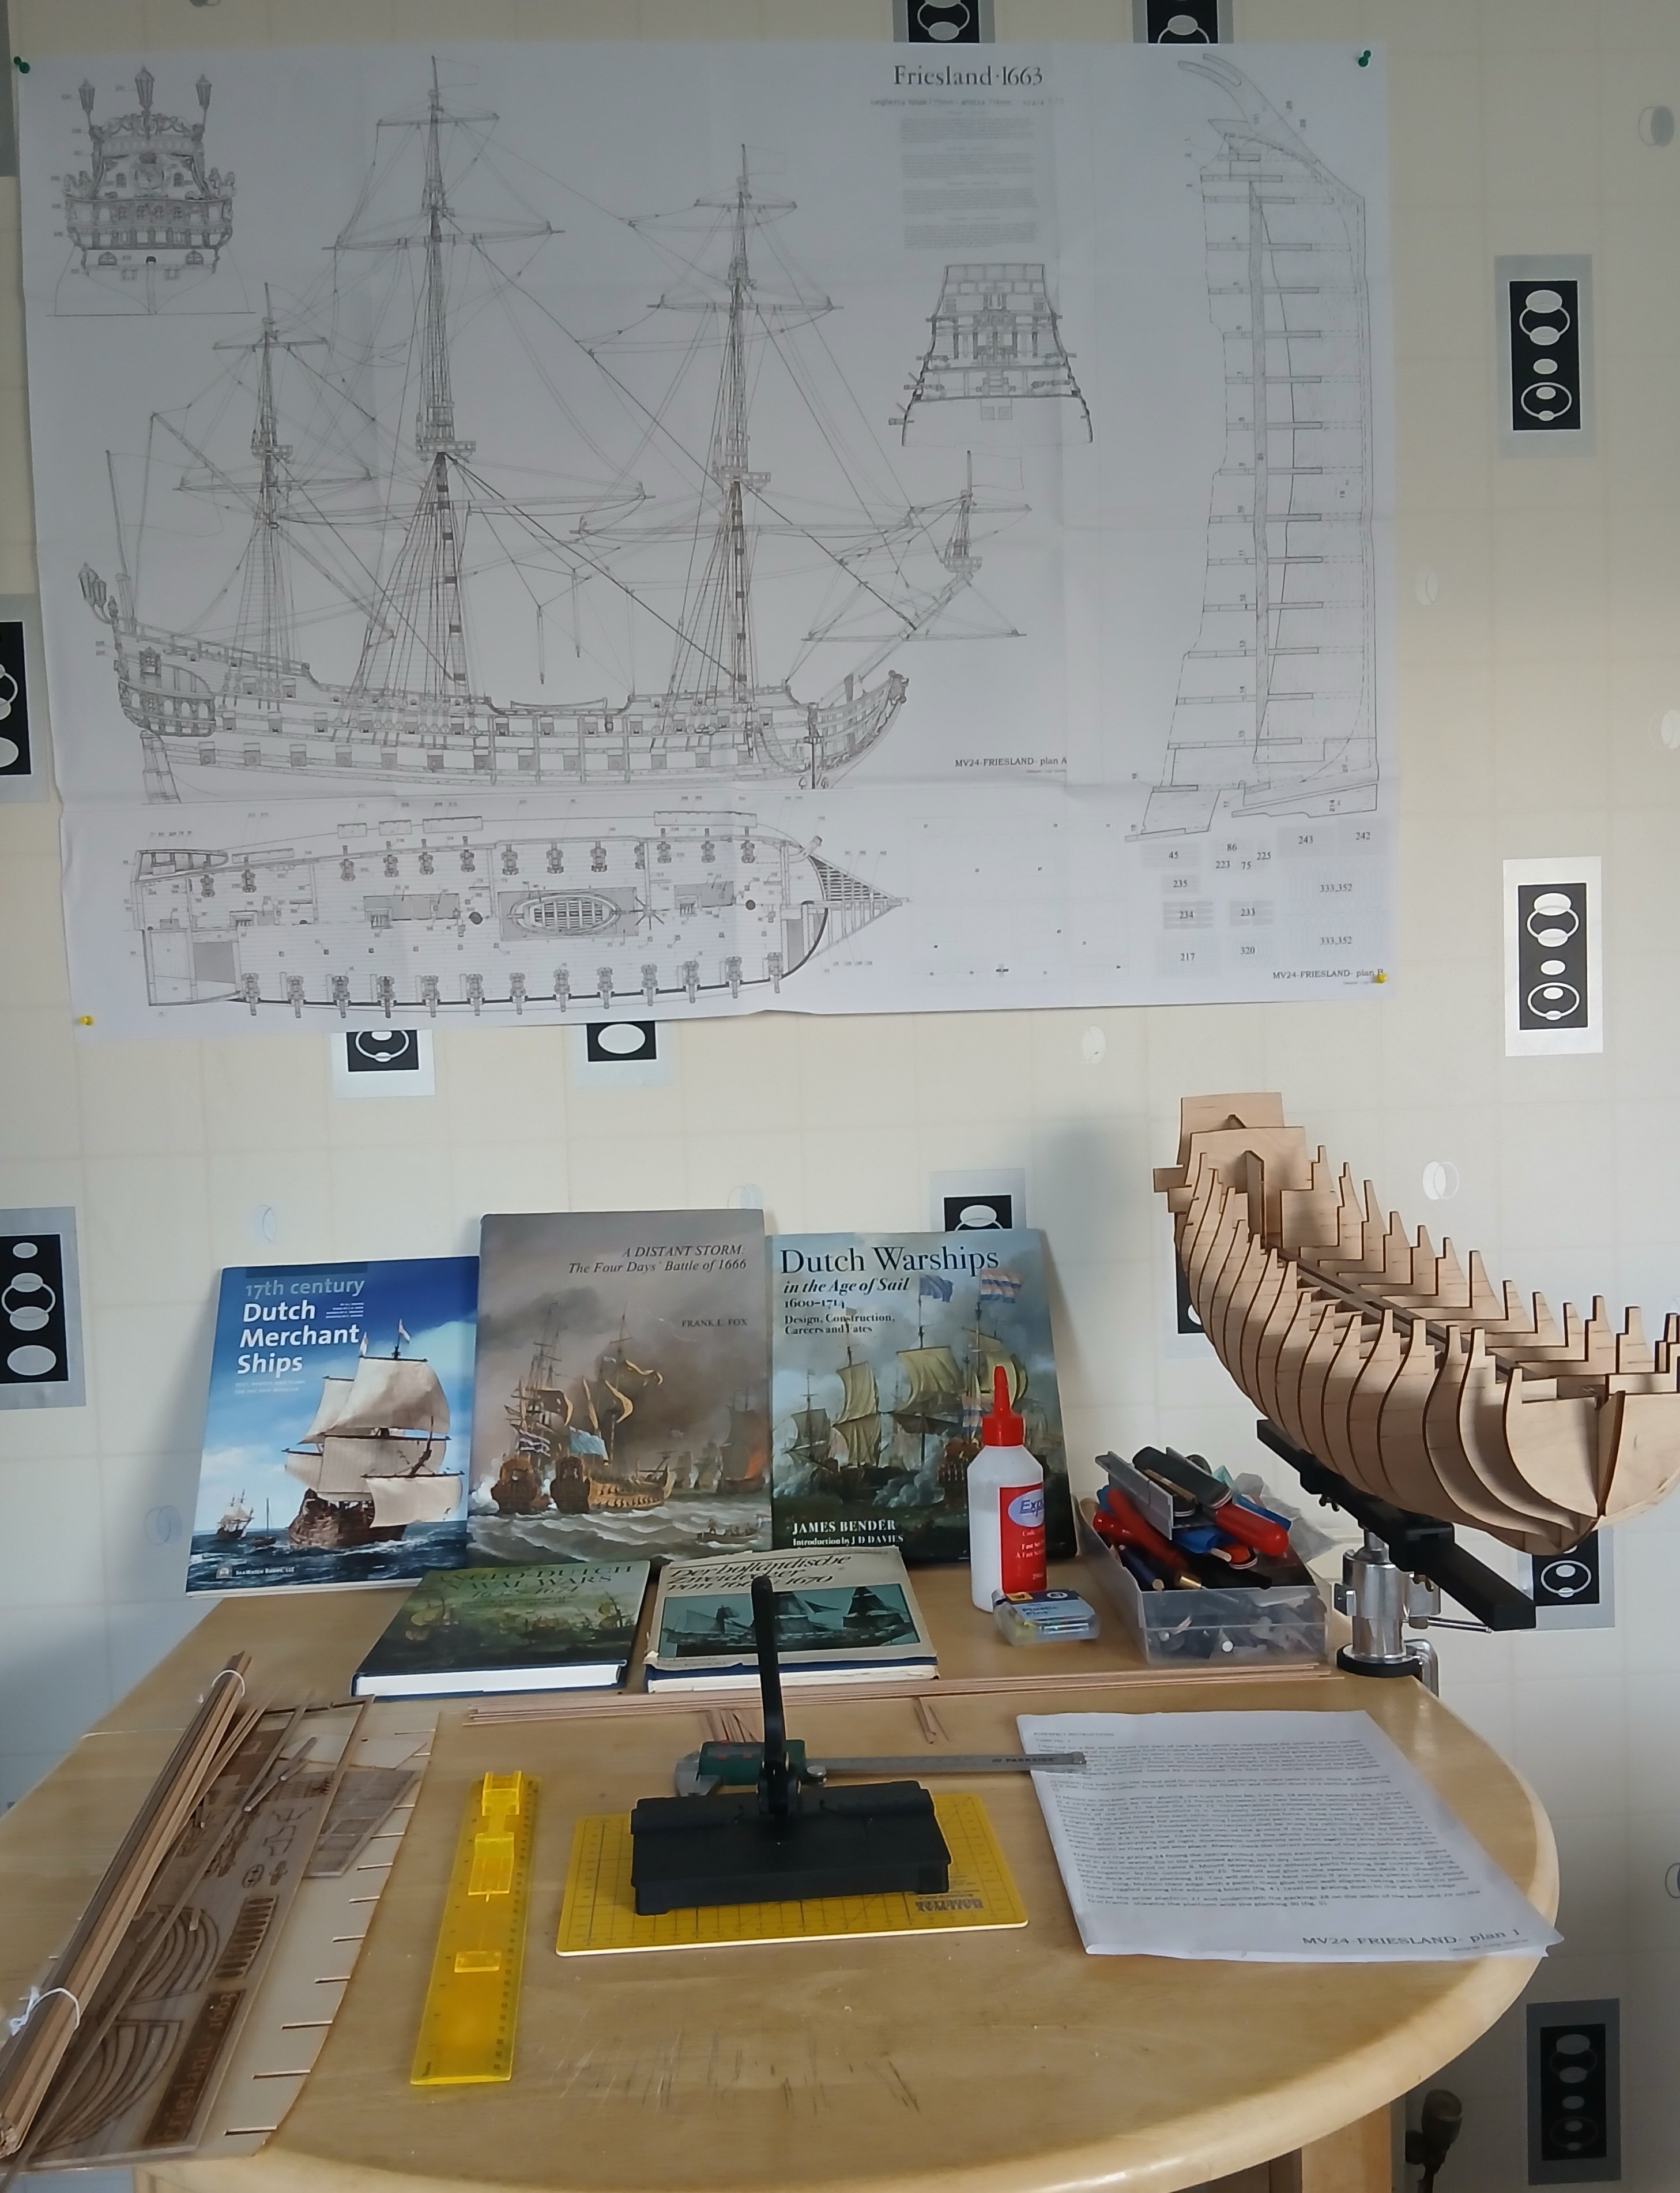
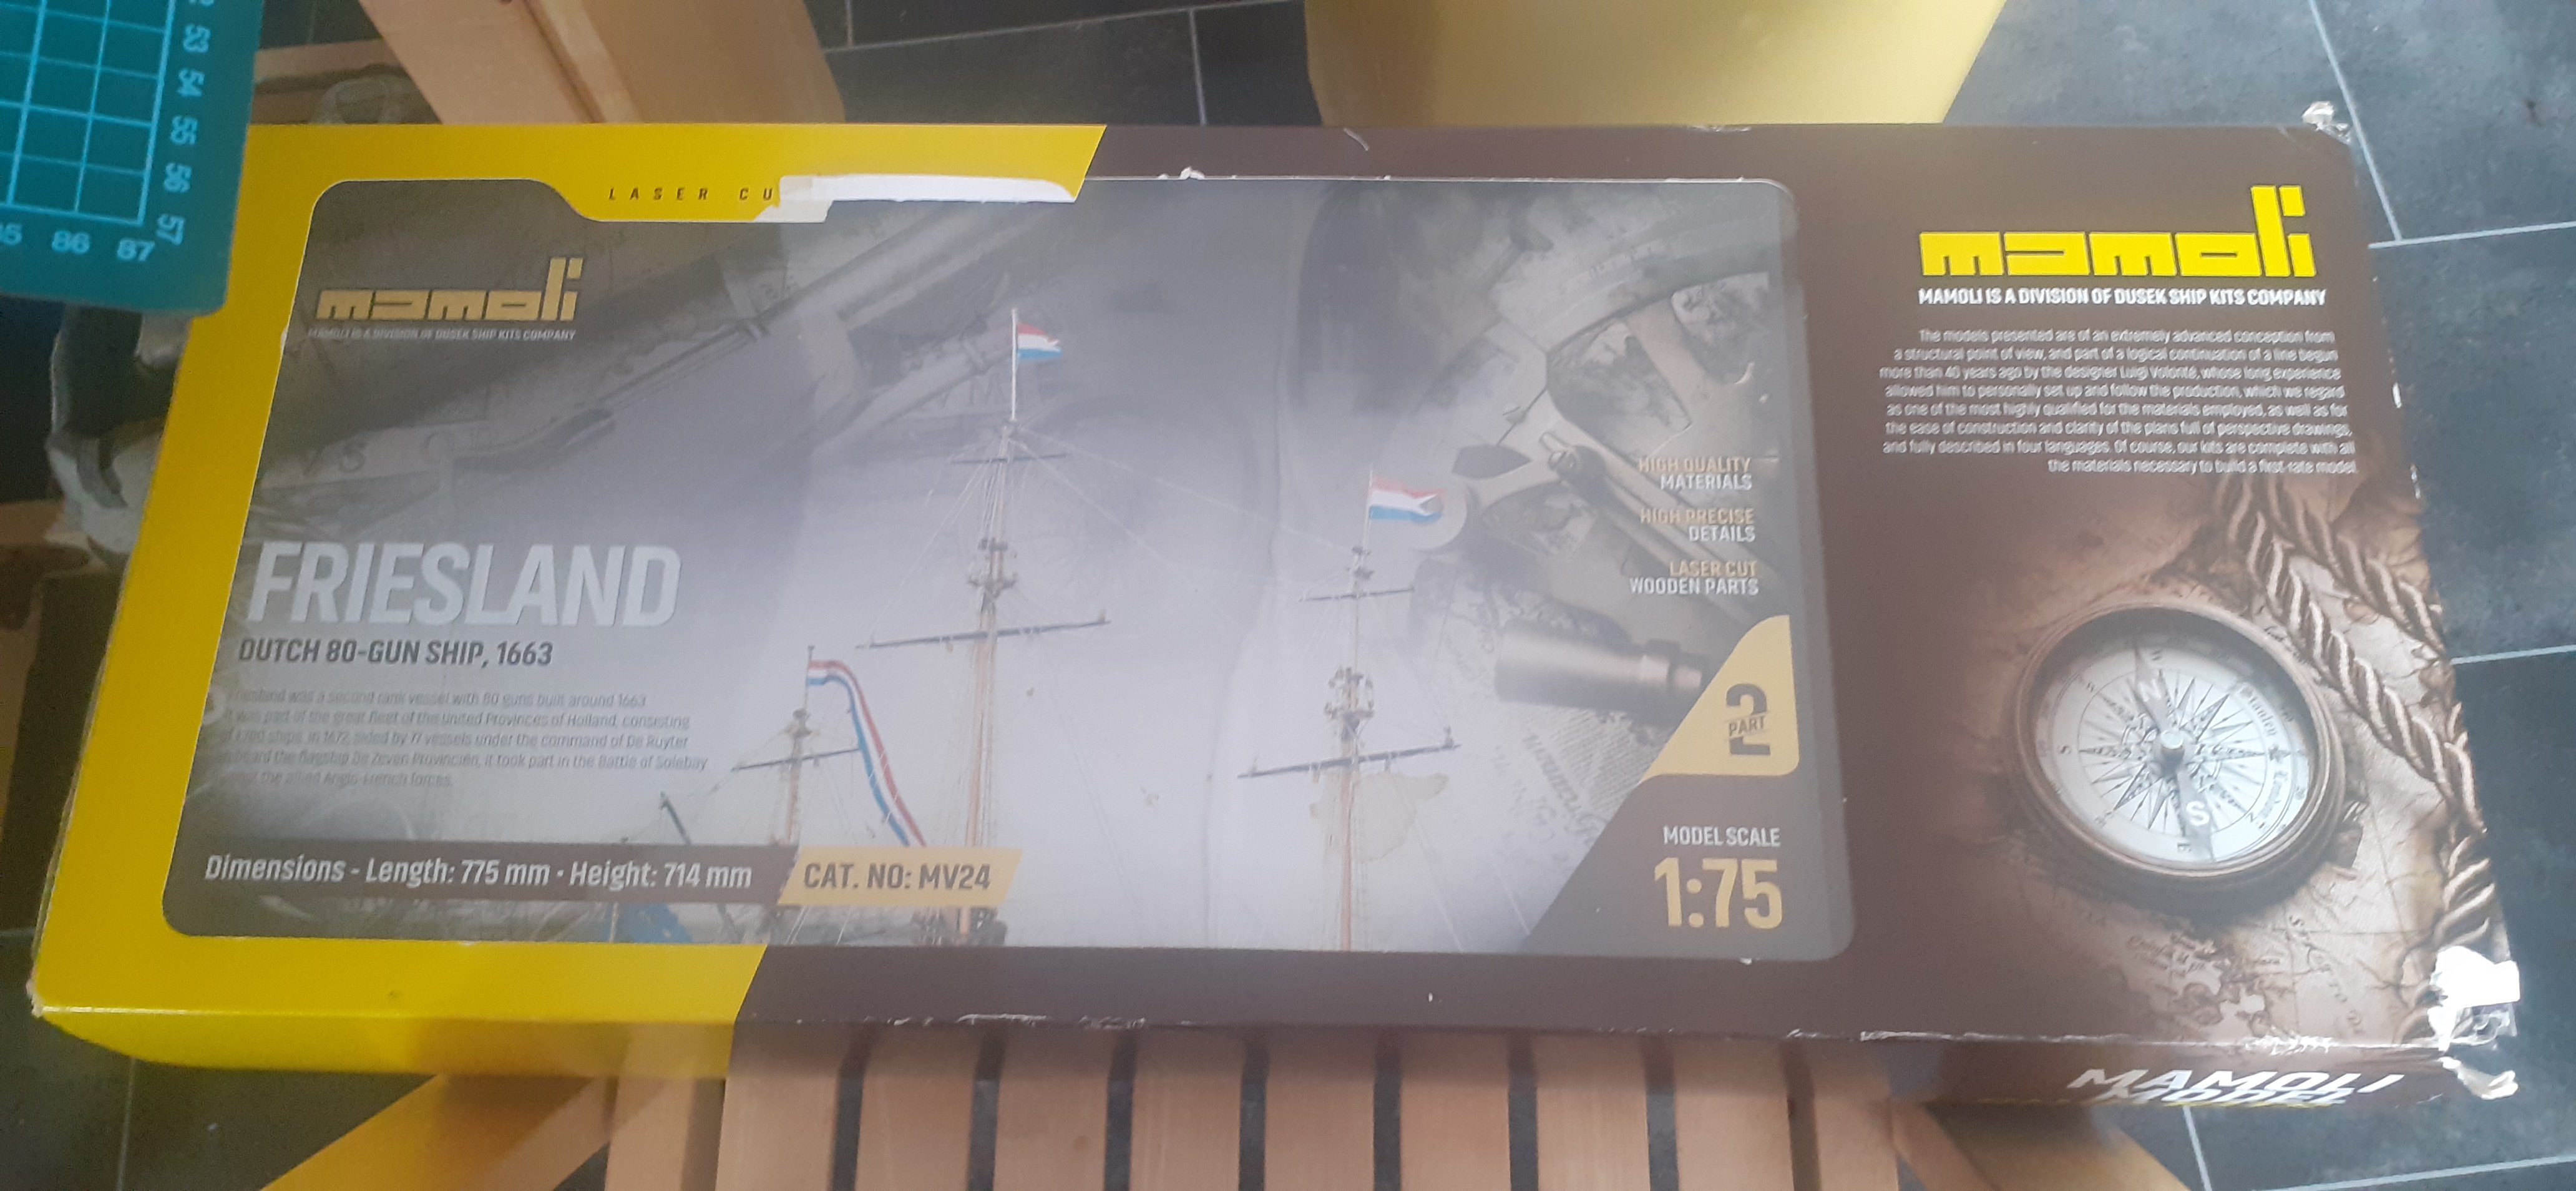
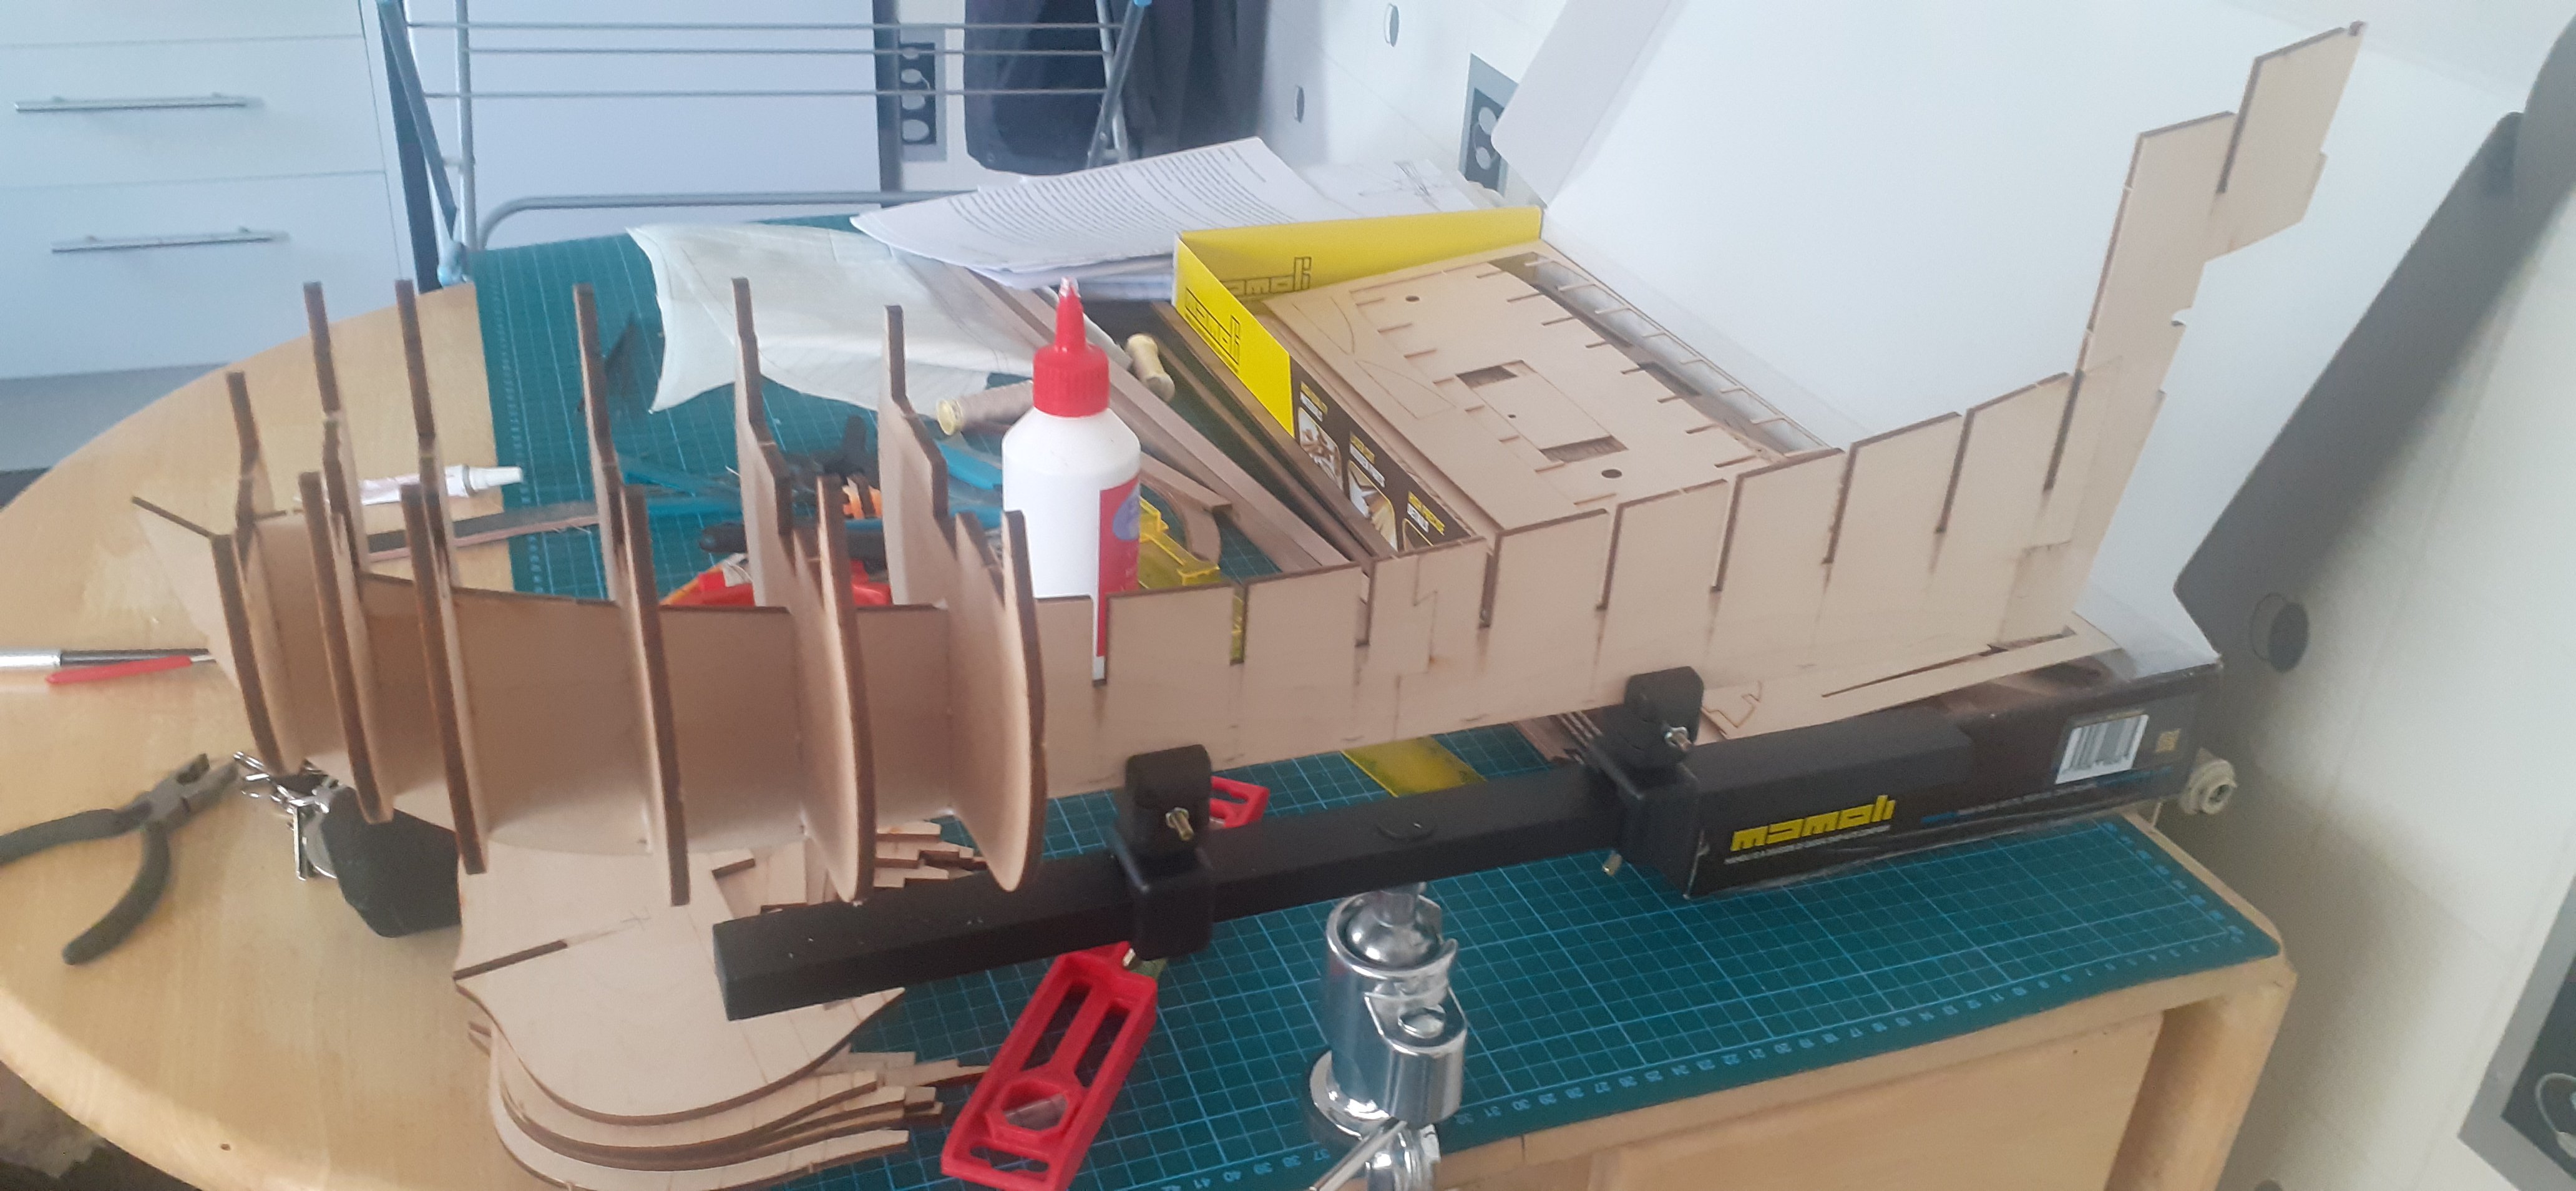
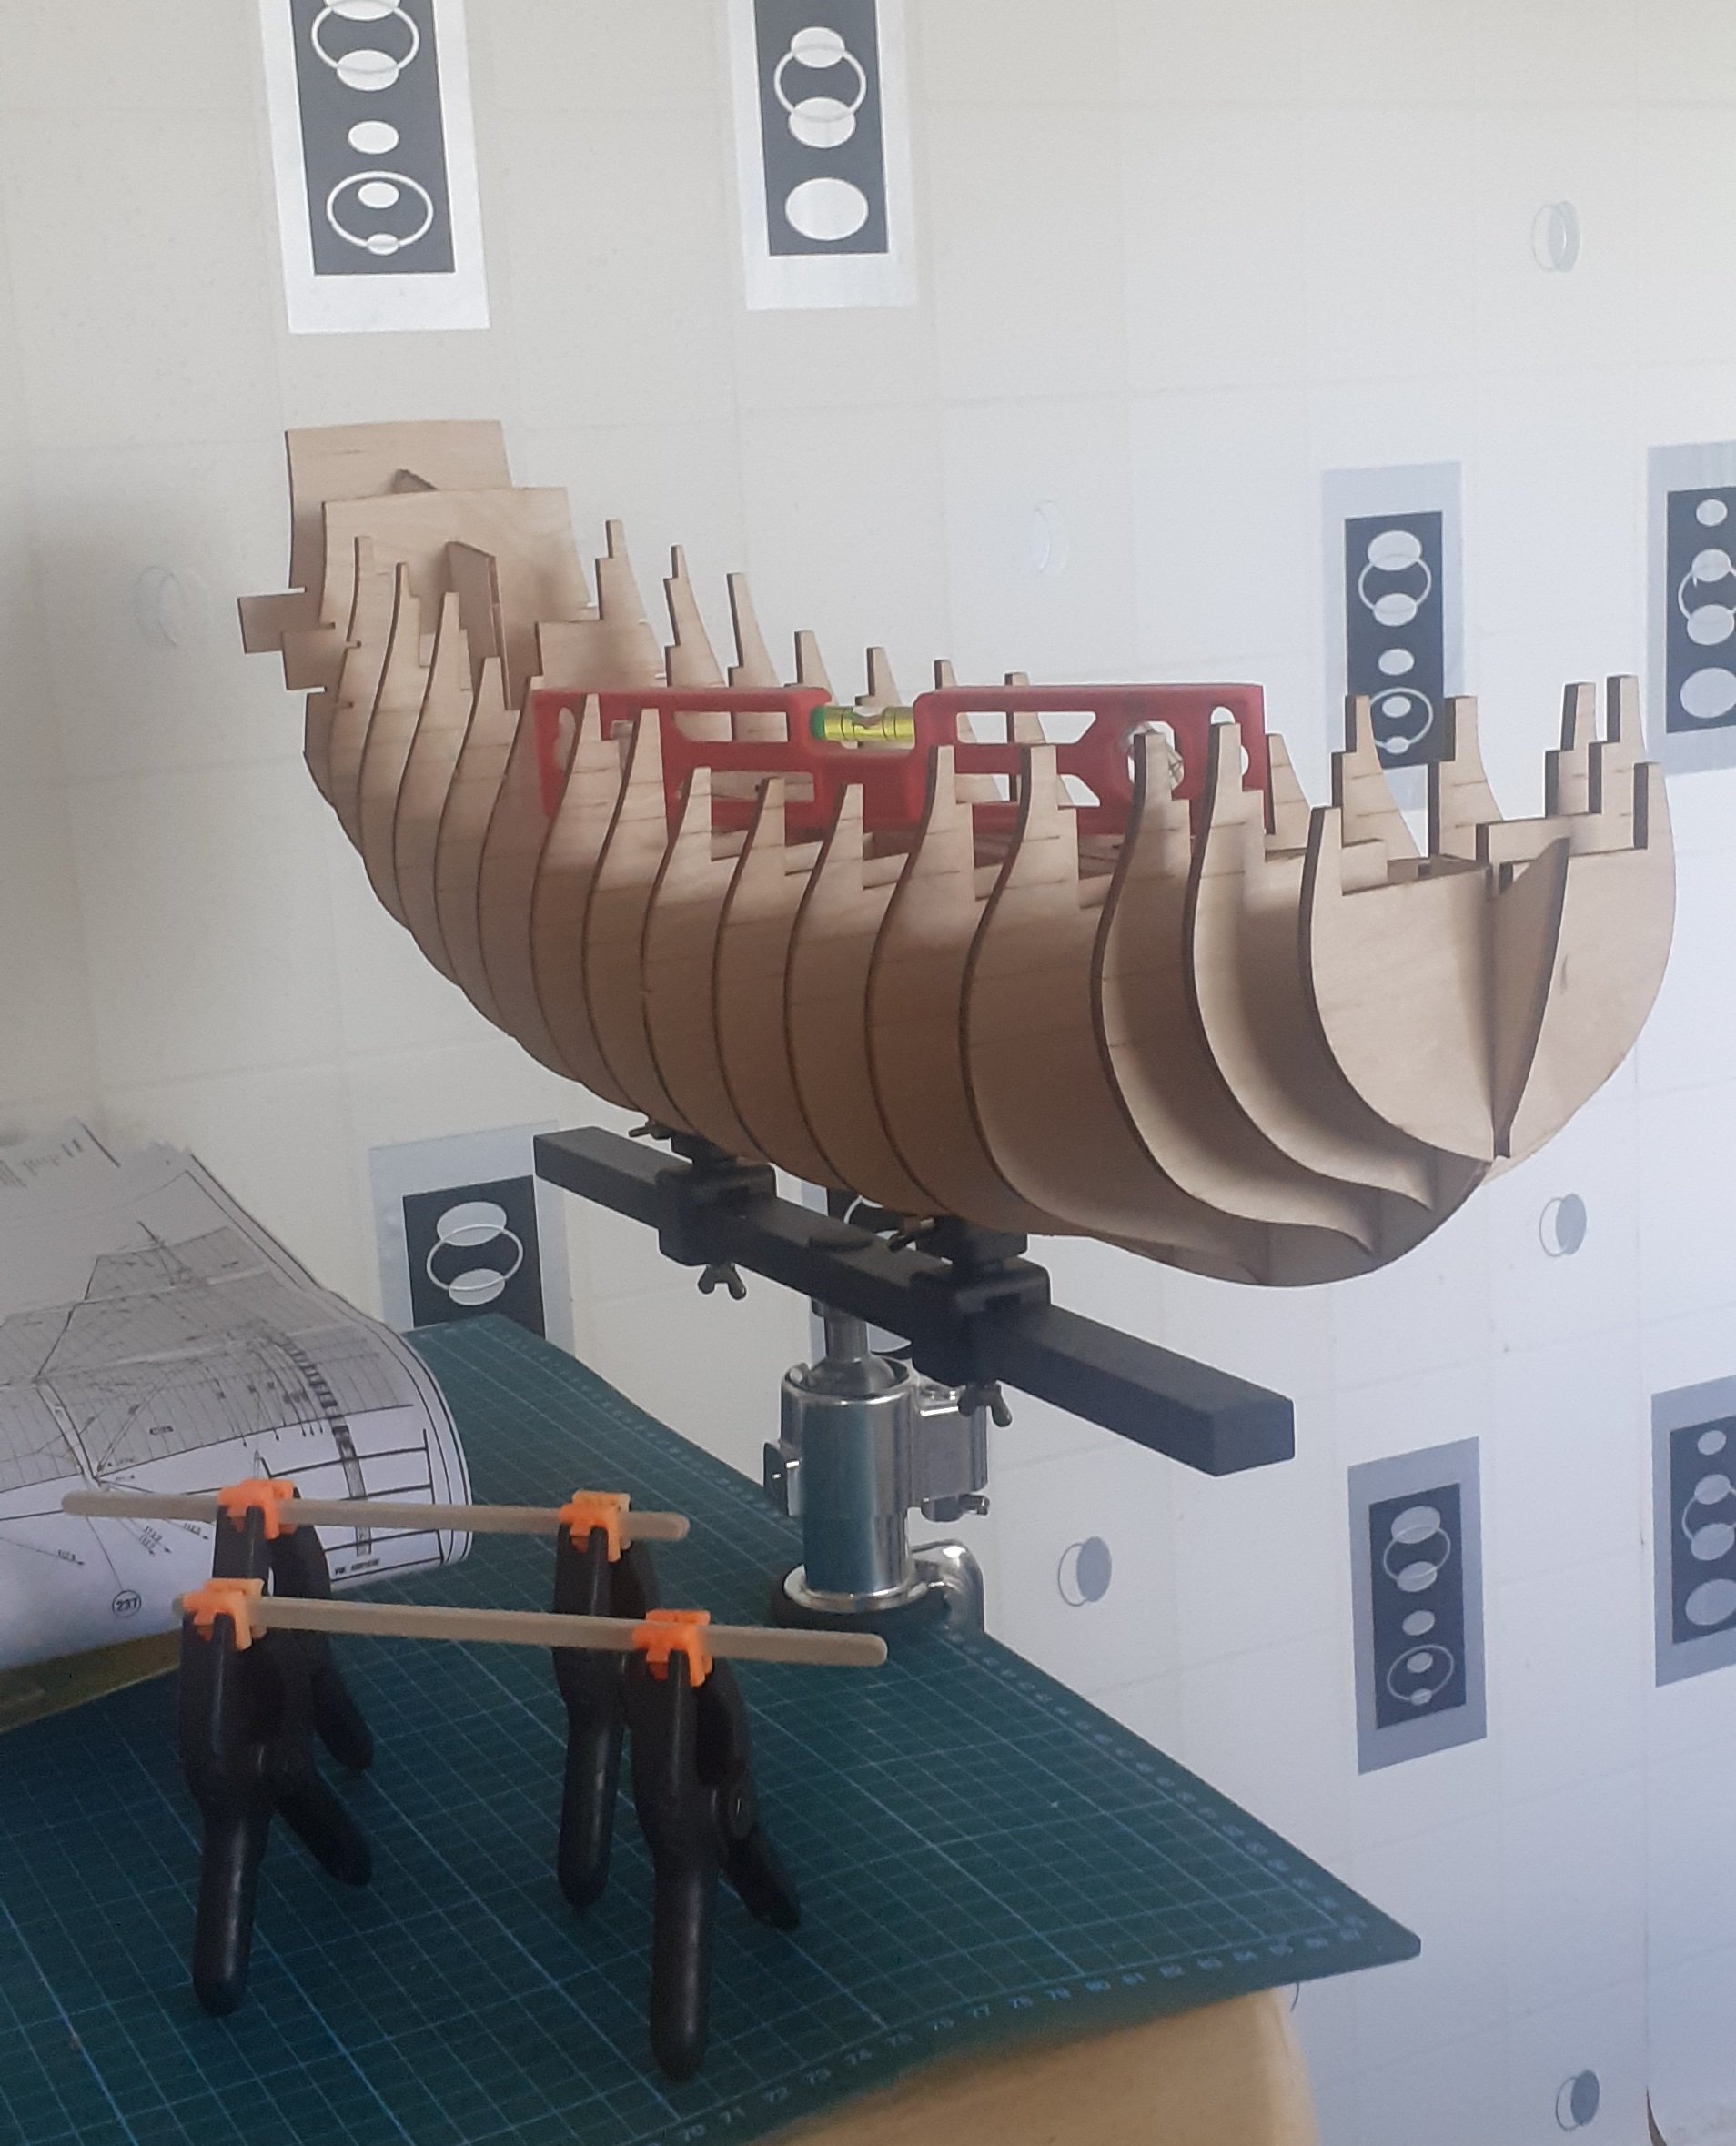
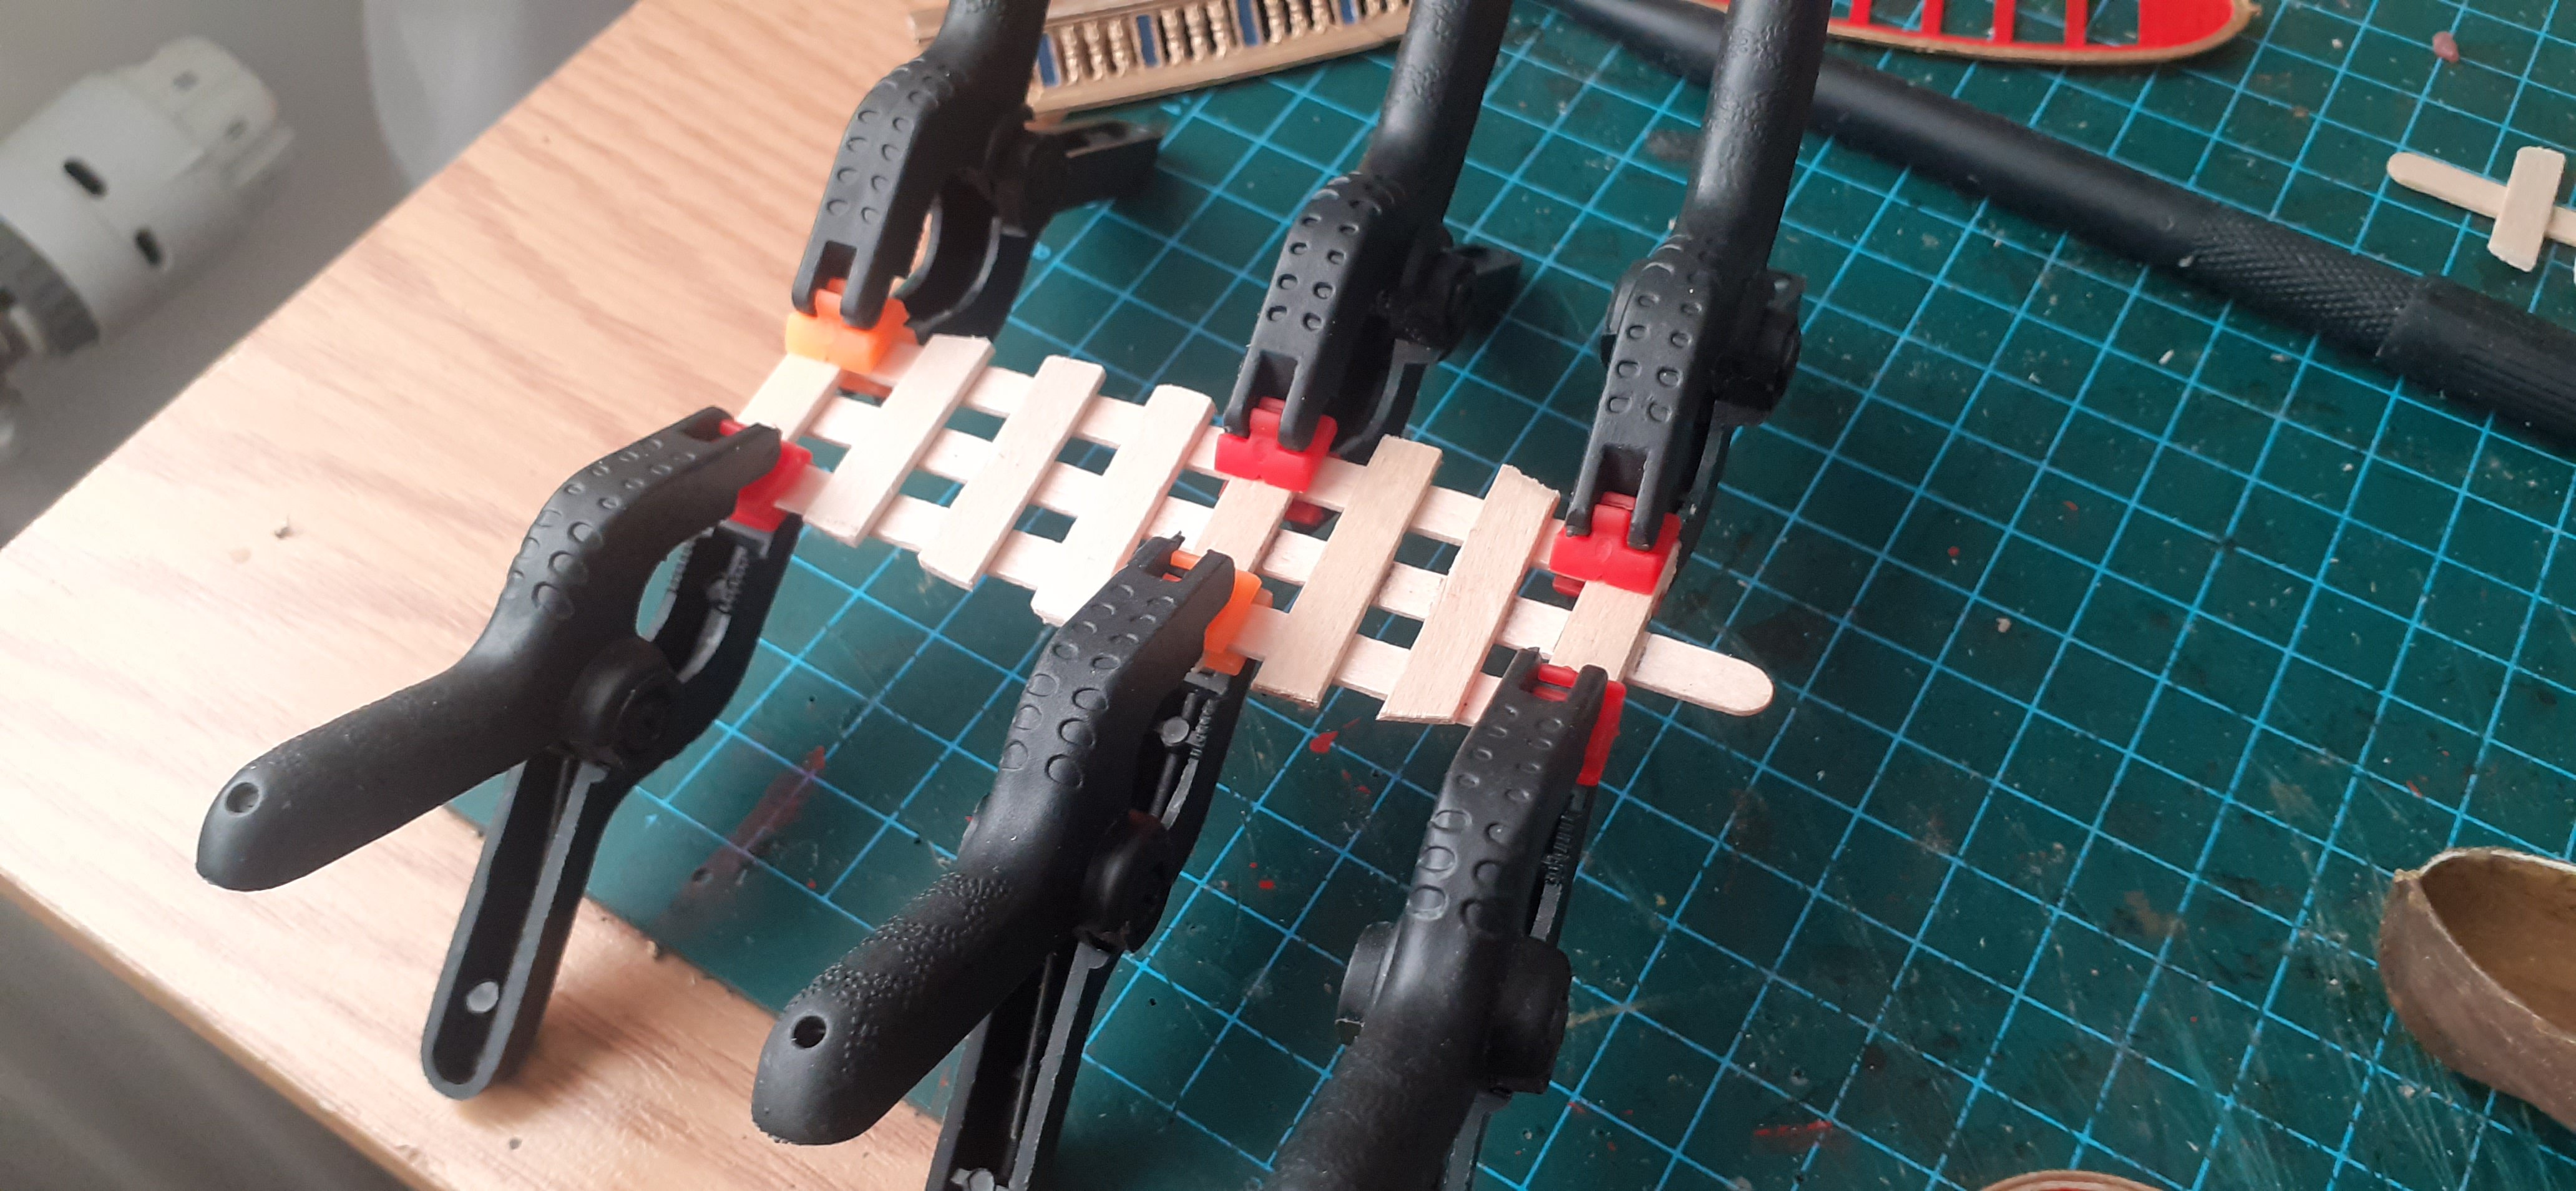
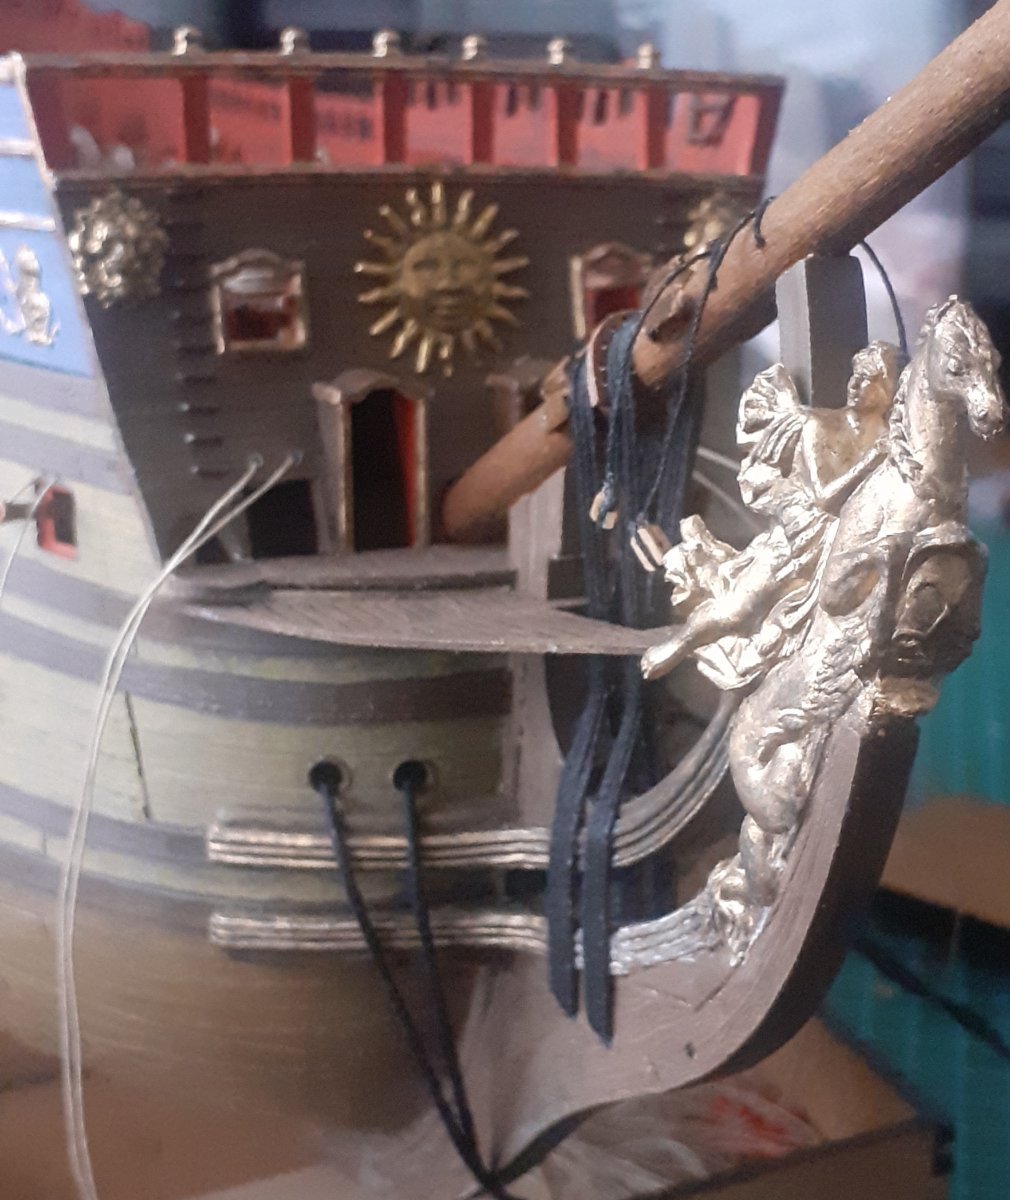
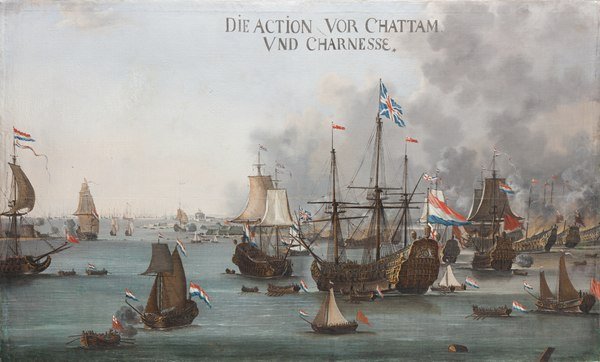
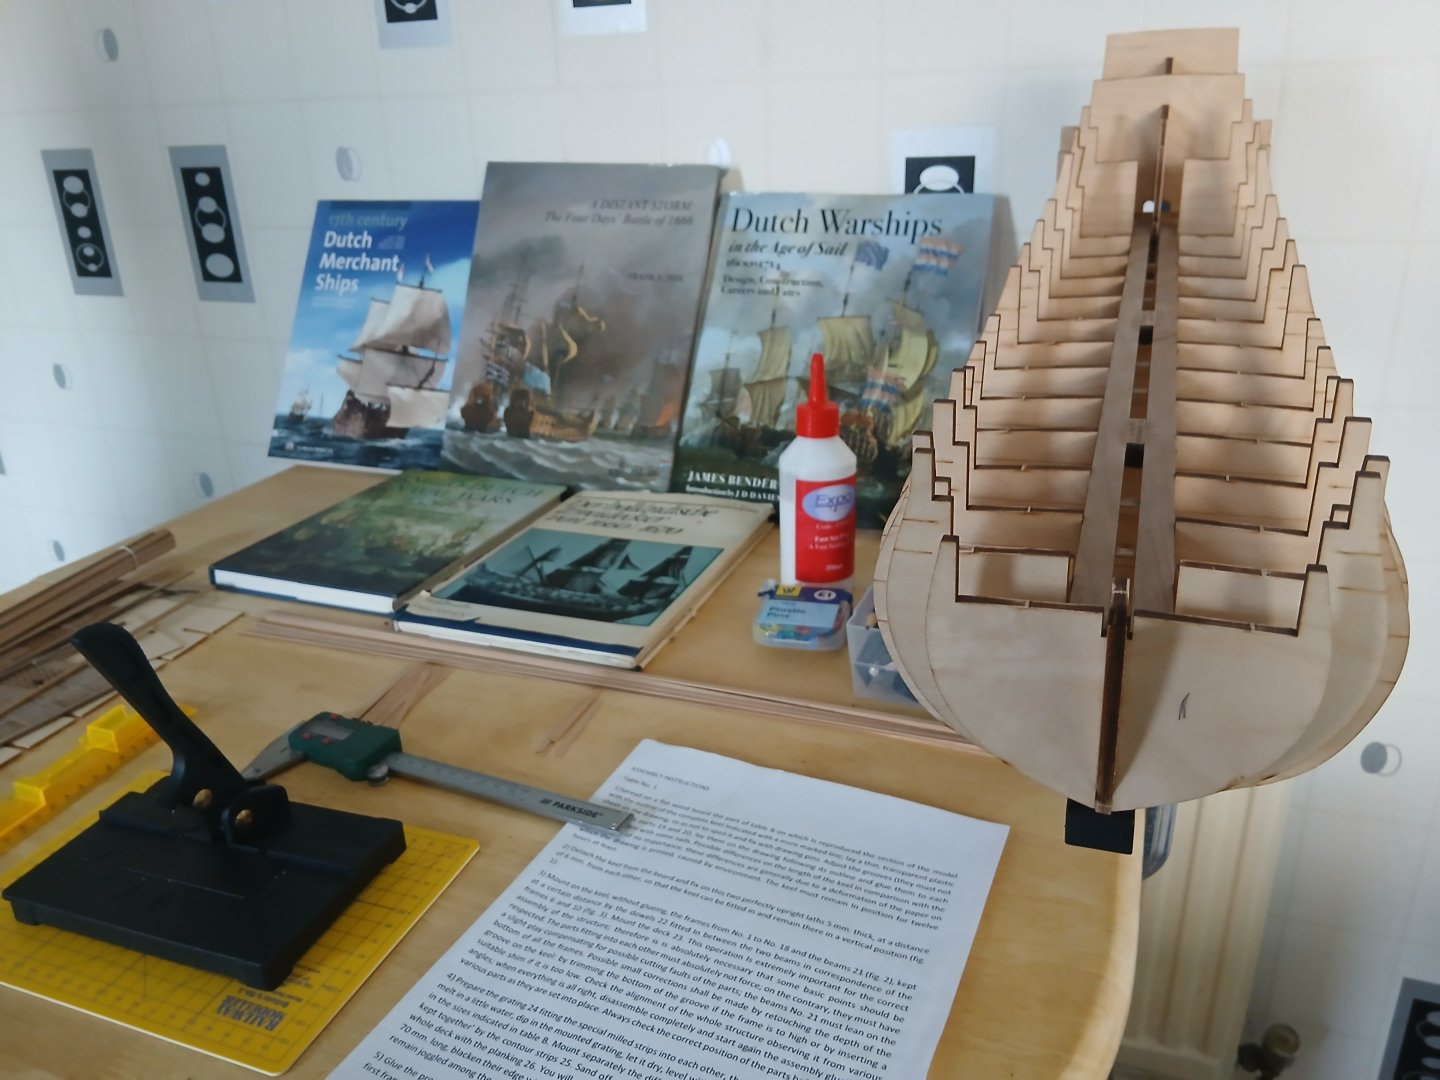
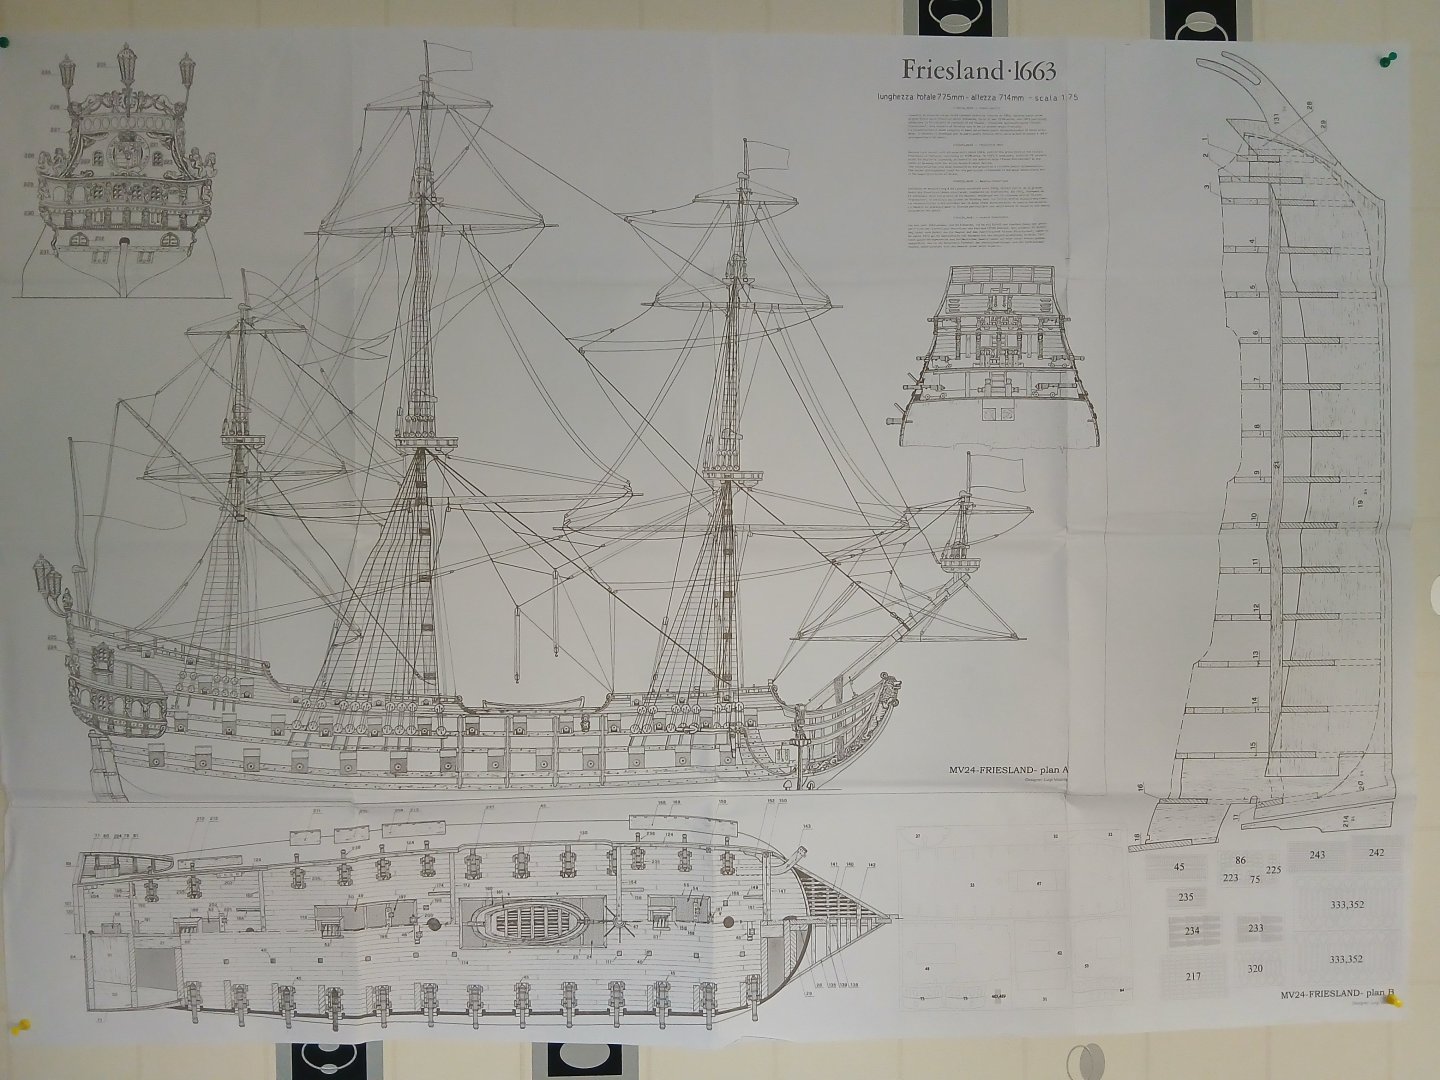
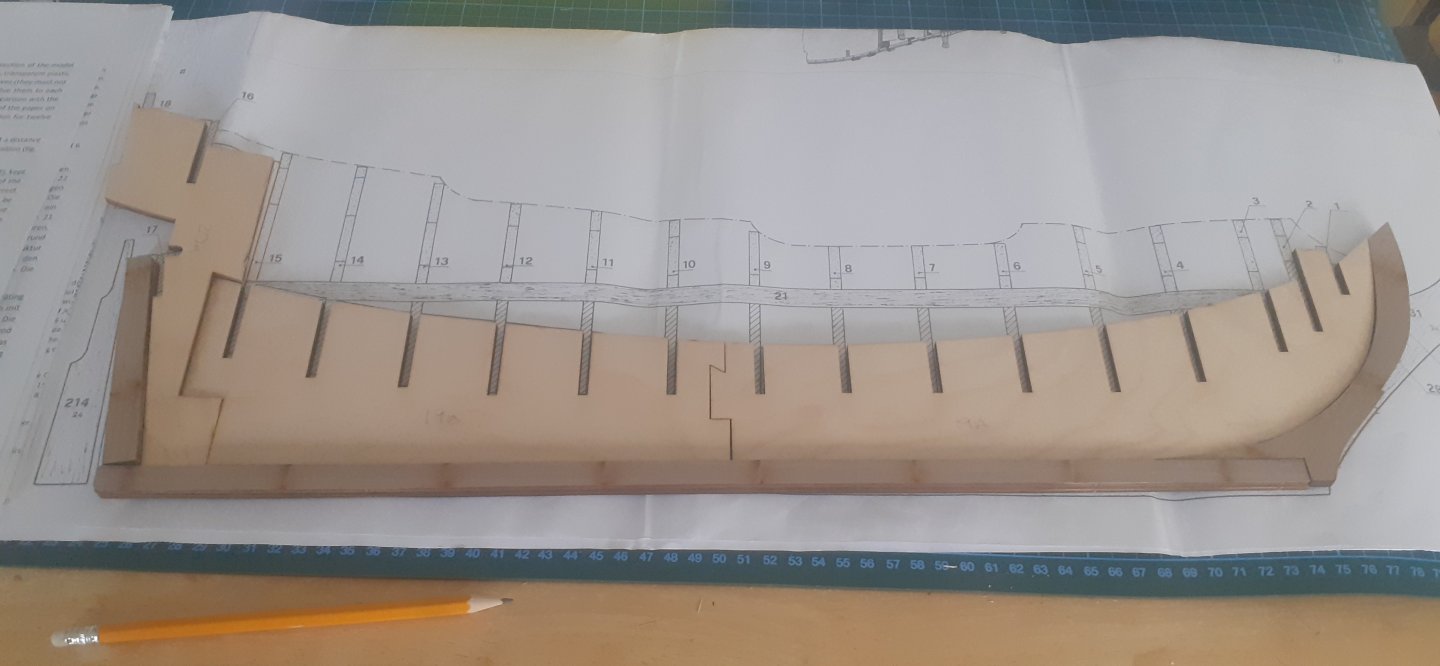
 New build in my ART's Model Dockyard WEST FRIESLAND 1674 - 1683 DUTCH 80 GUN WARSHIP Hull bulkheads fitted, gratings for the main deck built, now cutting the planks for the main deck before planking and securing with treenails. History info : According to Heinrich Winters book Der Hollandische Zweidecker von 1660/1670 (The Dutch Two decker of 1660/1670) I have taken this translation from page 11. "The history of the model" as follows... About the reason for donating the model and its later fate Nothing reliable could be determined, nor could it be determined which one Ship of the Dutch fleet is supposed to be depicted. The Orange coat of arms Decorative mirror that bears the motto of the Order of the Garter does not give any appearance conclusion about it. The museum's files don't even reveal when the model ended up in the museum. They only contain one lot younger newspaper article, according to which it belonged to the Prince of Orange around 1665 was given as a gift during his visit to the fleet in Texel. This raises the question of whether there was a ship with the same coat of arms or whether the coat of arms is only intended as a form of attention associated with the donation has been applied carefully. It must also be taken into account that the guns of the model Brandenburg eagle with Kurhut. But these pipes can should not have been added later, because it is inconceivable that the thick, blunt bronze bolts of the overlays. Just tap the pipes firmly into the pipes through the gates. The carriage cheeks could have been driven in, as was actually the case. So this must have happened at an earlier stage of construction, i.e. before the decks above the guns were laid. It's interesting in this context also that the items stored in the Berlin Armory but only from the time of Brandenburg's colonial efforts (after 1670). The guns don't carry an eagle and a Kurhut, but rather the scepter appears in color on a blue background. This indicates that the donation took place at a time when Friedrich Wilhelm I, although not yet Elector, but as Elector Prince was the future heir to this dignity, i.e. before 1648. The model would then have to be set about 30 years earlier. the. The ships at that time generally had a lower and slanting forward gallion. The news leading to these considerations have given rise to, but are too uncertain to be able to use the previously estimated. The date of creation could already be brought forward now" I have also been researching Dutch Warships in the age of sail by James Bender as follows... Where on page 265 the "Westfriesland" ship is mentioned. This Ship was first mentioned in 1666 so one can assume it was built probably earlier although as others have pointed out the Dutch weren't great for keeping historical archives bk then. However according to this book and its sources the "Westfriesland" had 5 refits of Armament over a period of 17yrs thus being the same ship since at least 1666(photo below from book). I have also researched the book "A Distant Storm" The Four days battle of 1666 by Frank L. Fox as follows... The ship itself was heavily involved in "The Four days battle" and the battle on the "St James's day fight" under the command of L.A.(N) Jan Cornelisz Meppel in the "3rd Squadron commanded by L.A.(A) Cornelis Tromp. I have enclosed photos again from this book for your pleasure... My suggestion/assumption is that this kit is nearly 100% based on the ship "Westfriesland" the 80 guns being refitted at the later date between 1674-1683 where as in 1666/7 she carried 66/78 guns probably the latter regards to the documentation in this book.


- 5 replies
-
- 5
-

-
- West Friesland
- Mamoli
- (and 11 more)
-
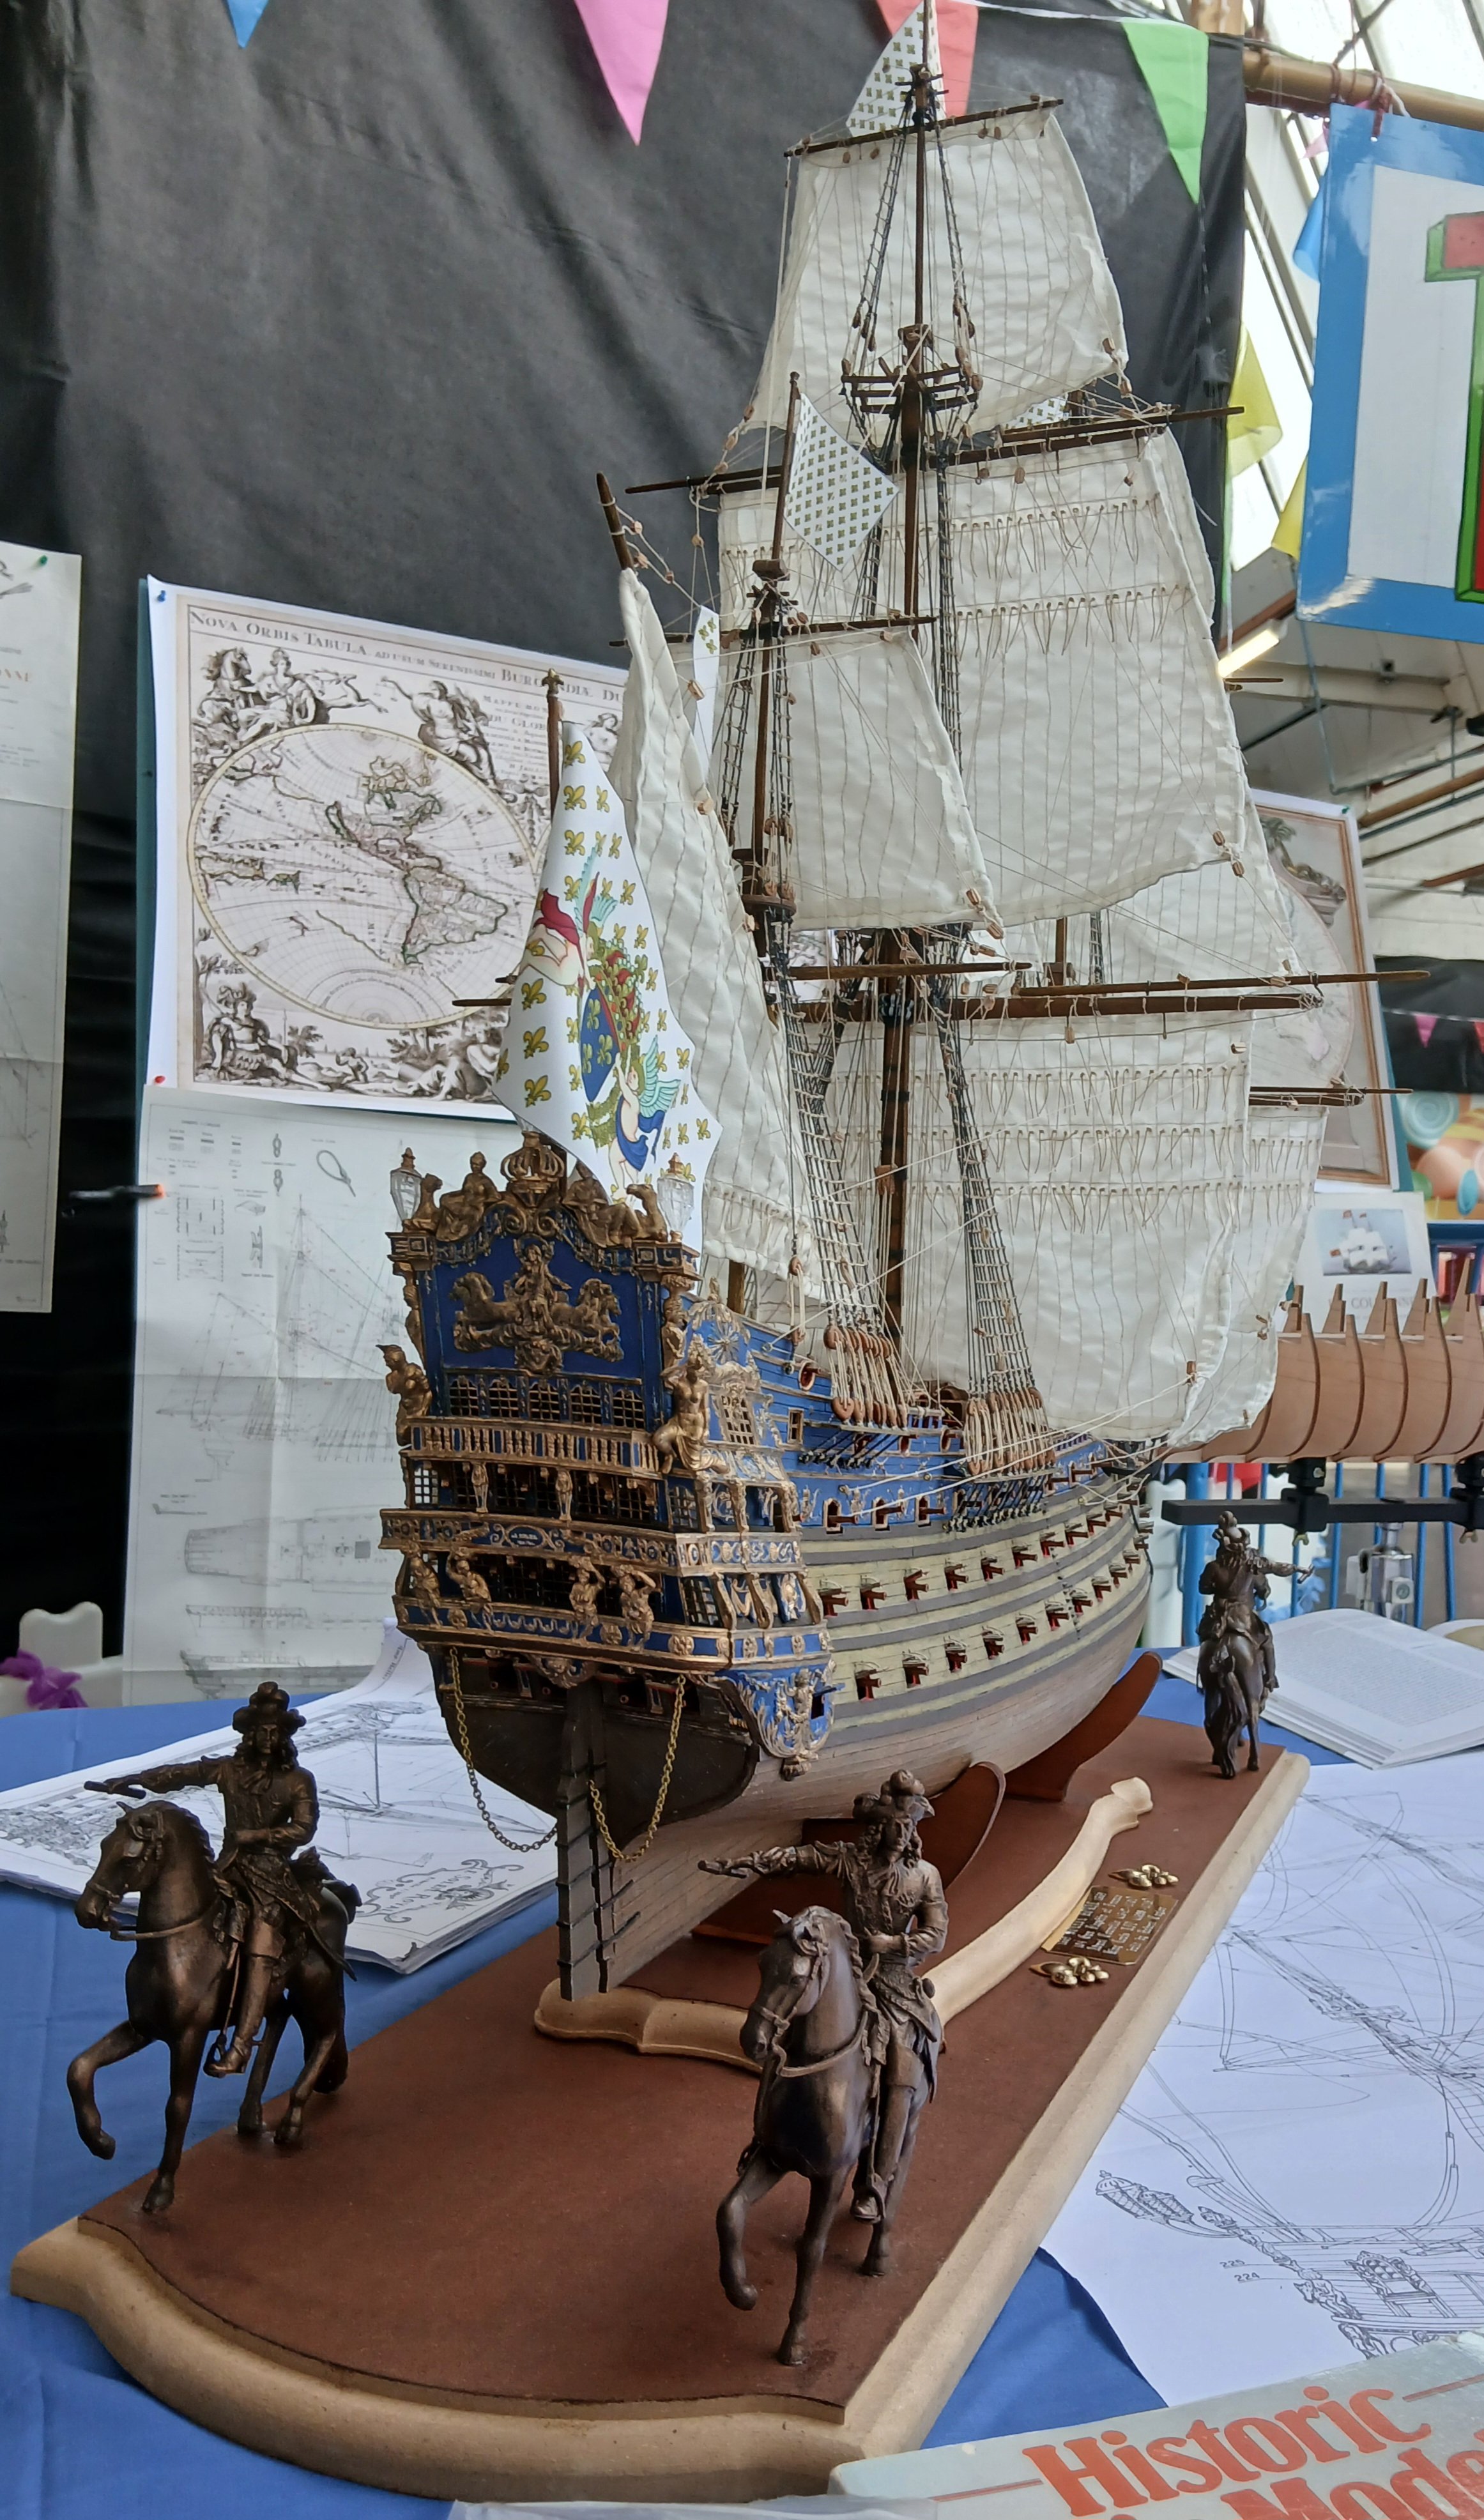
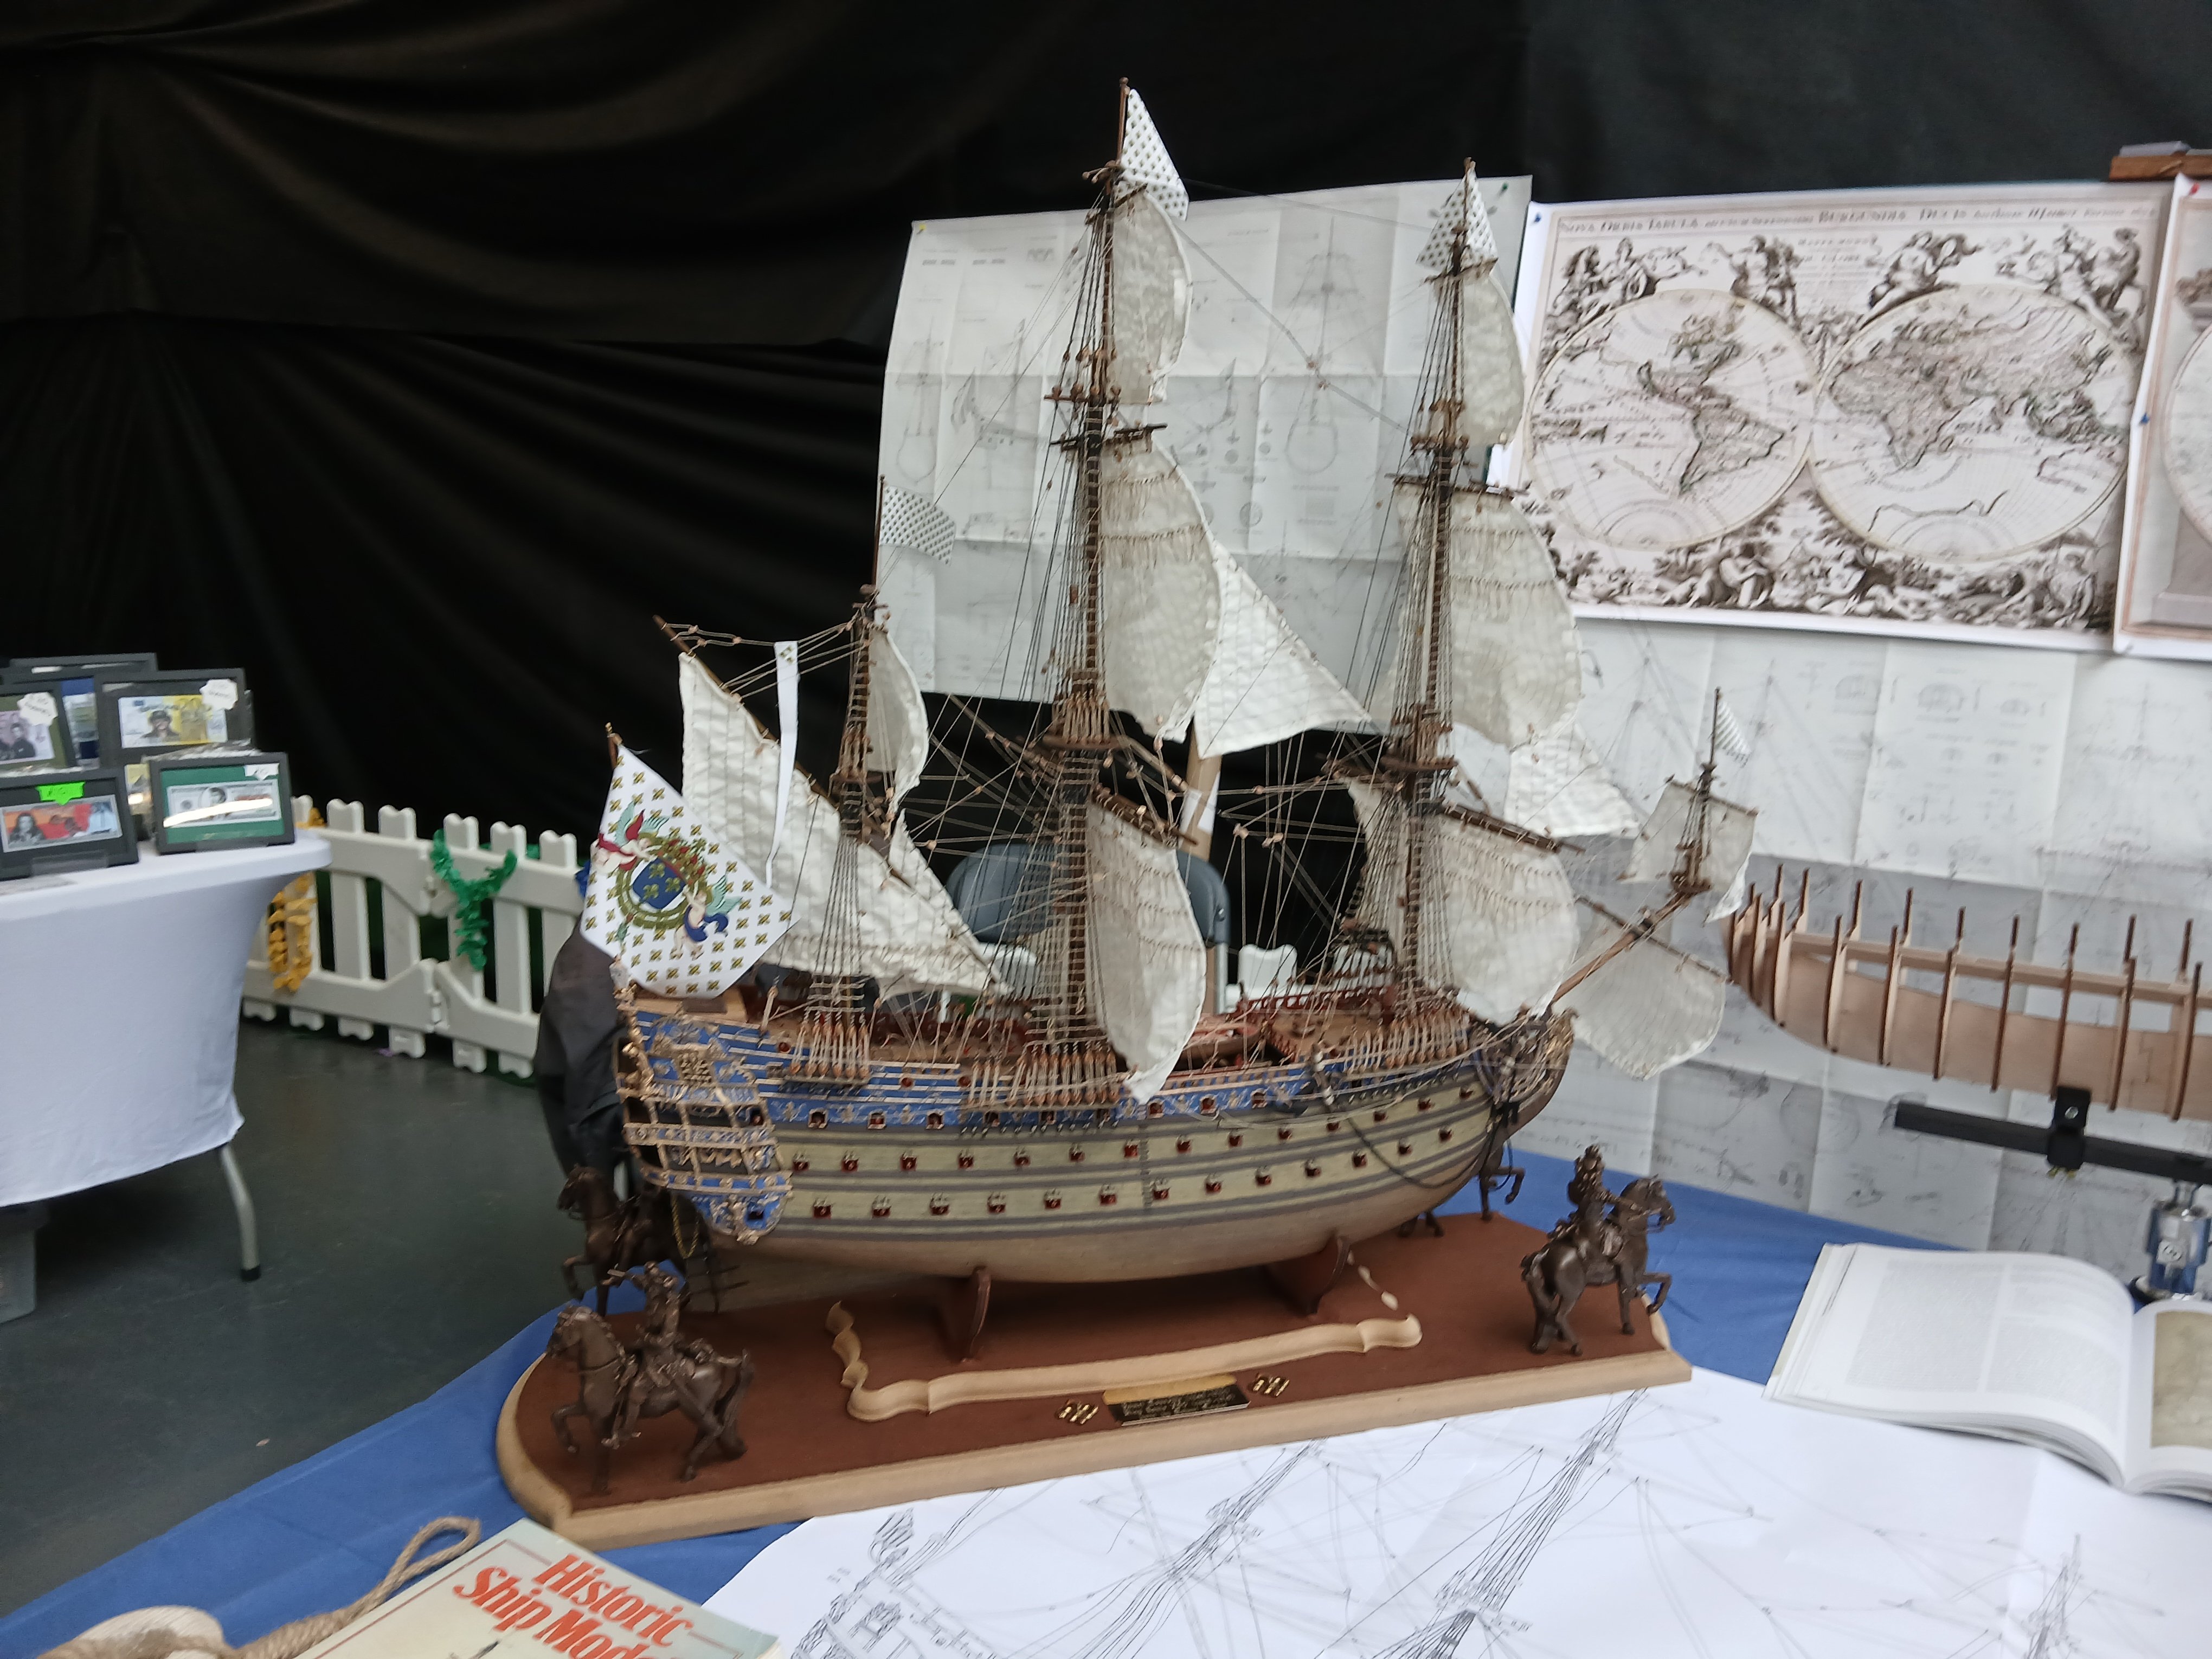
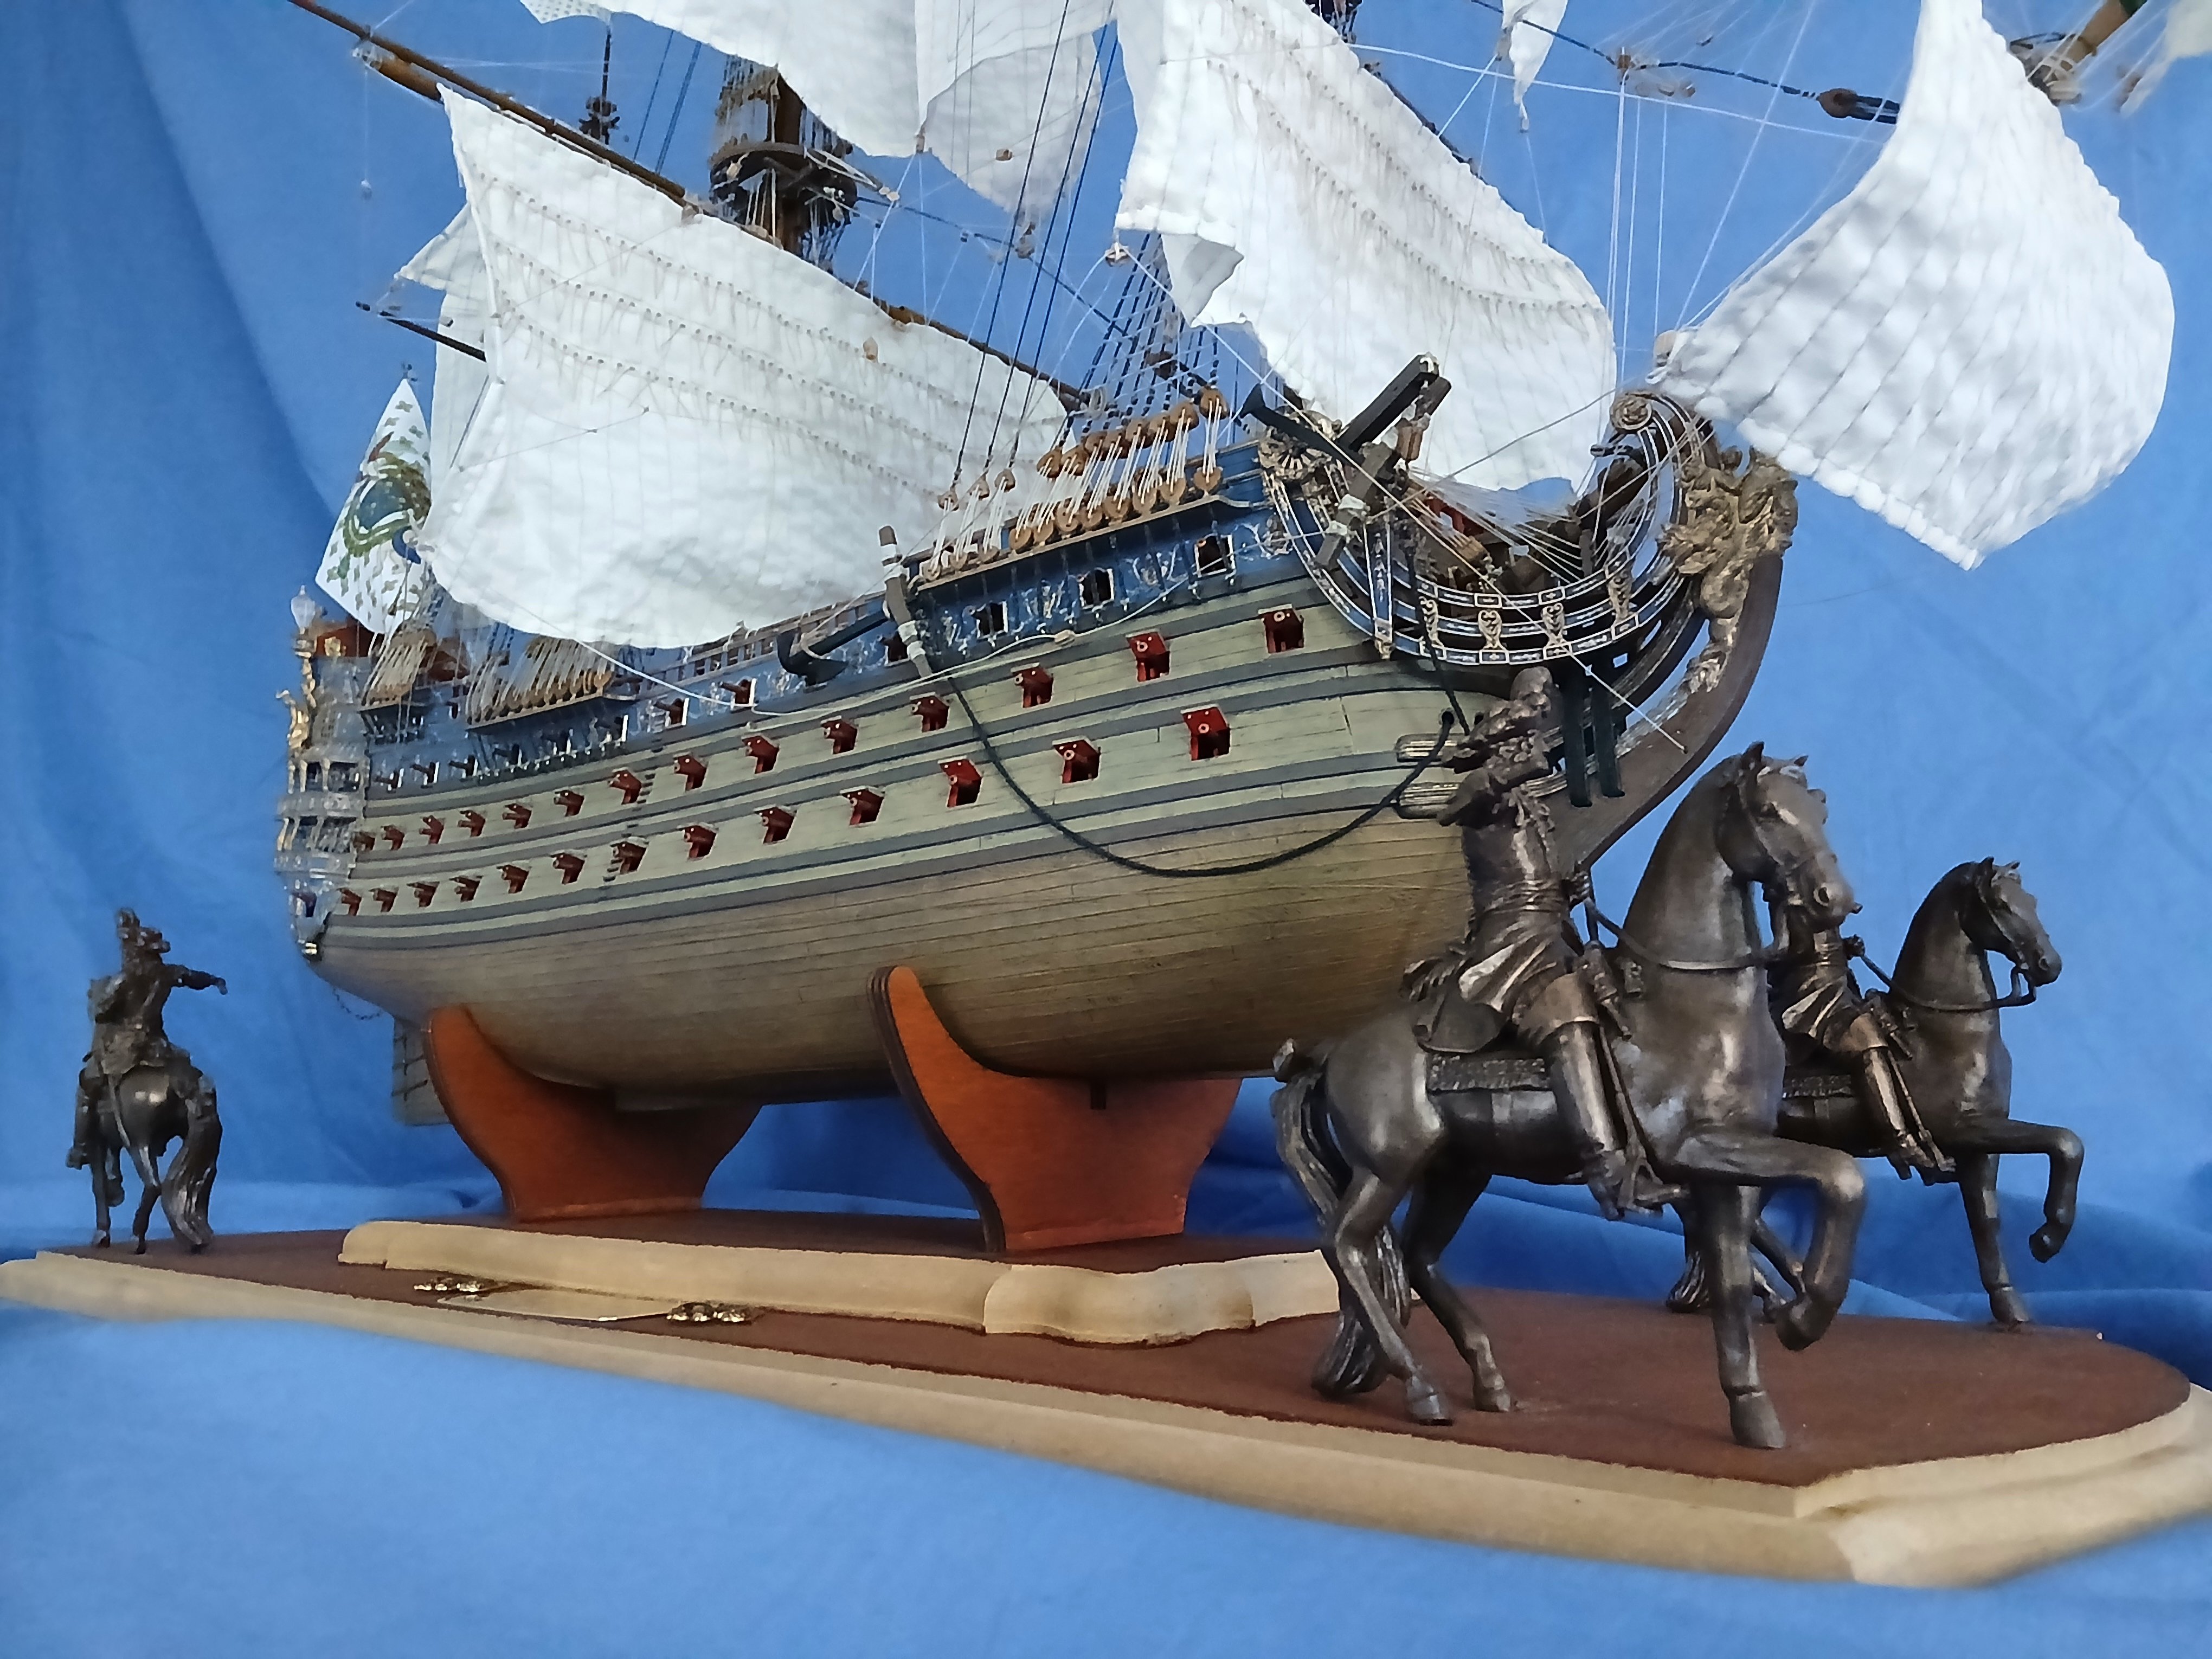
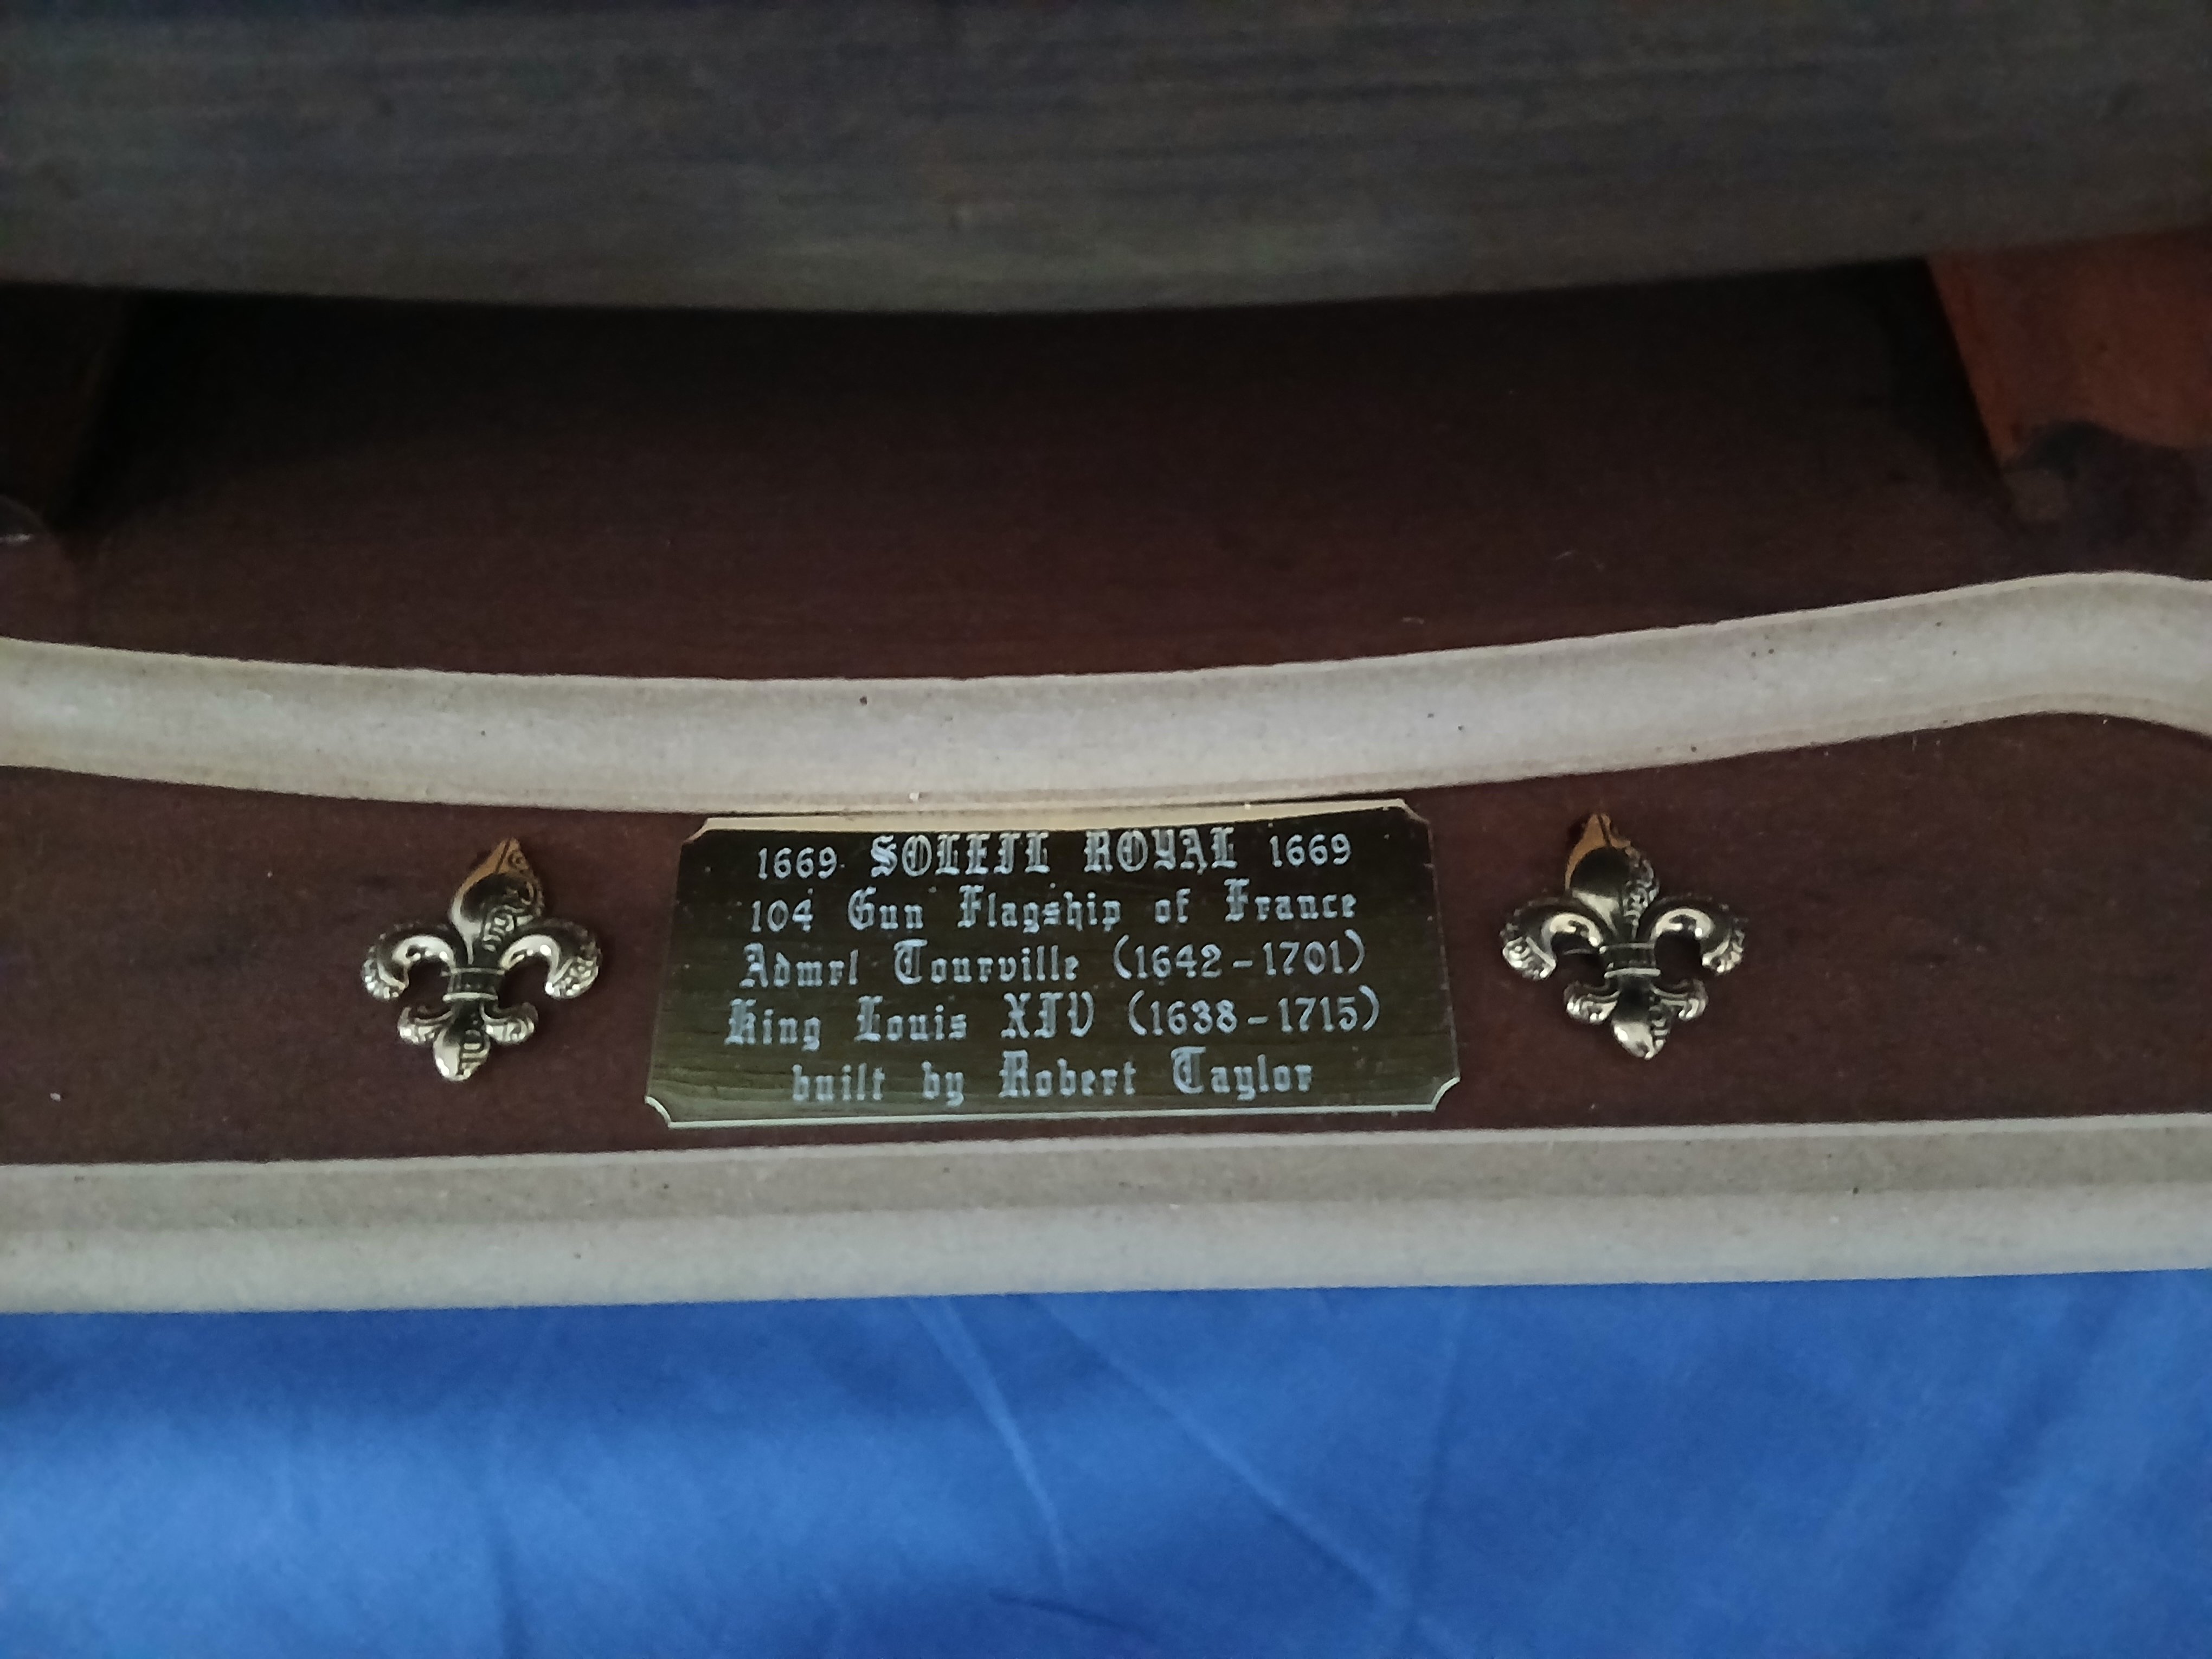
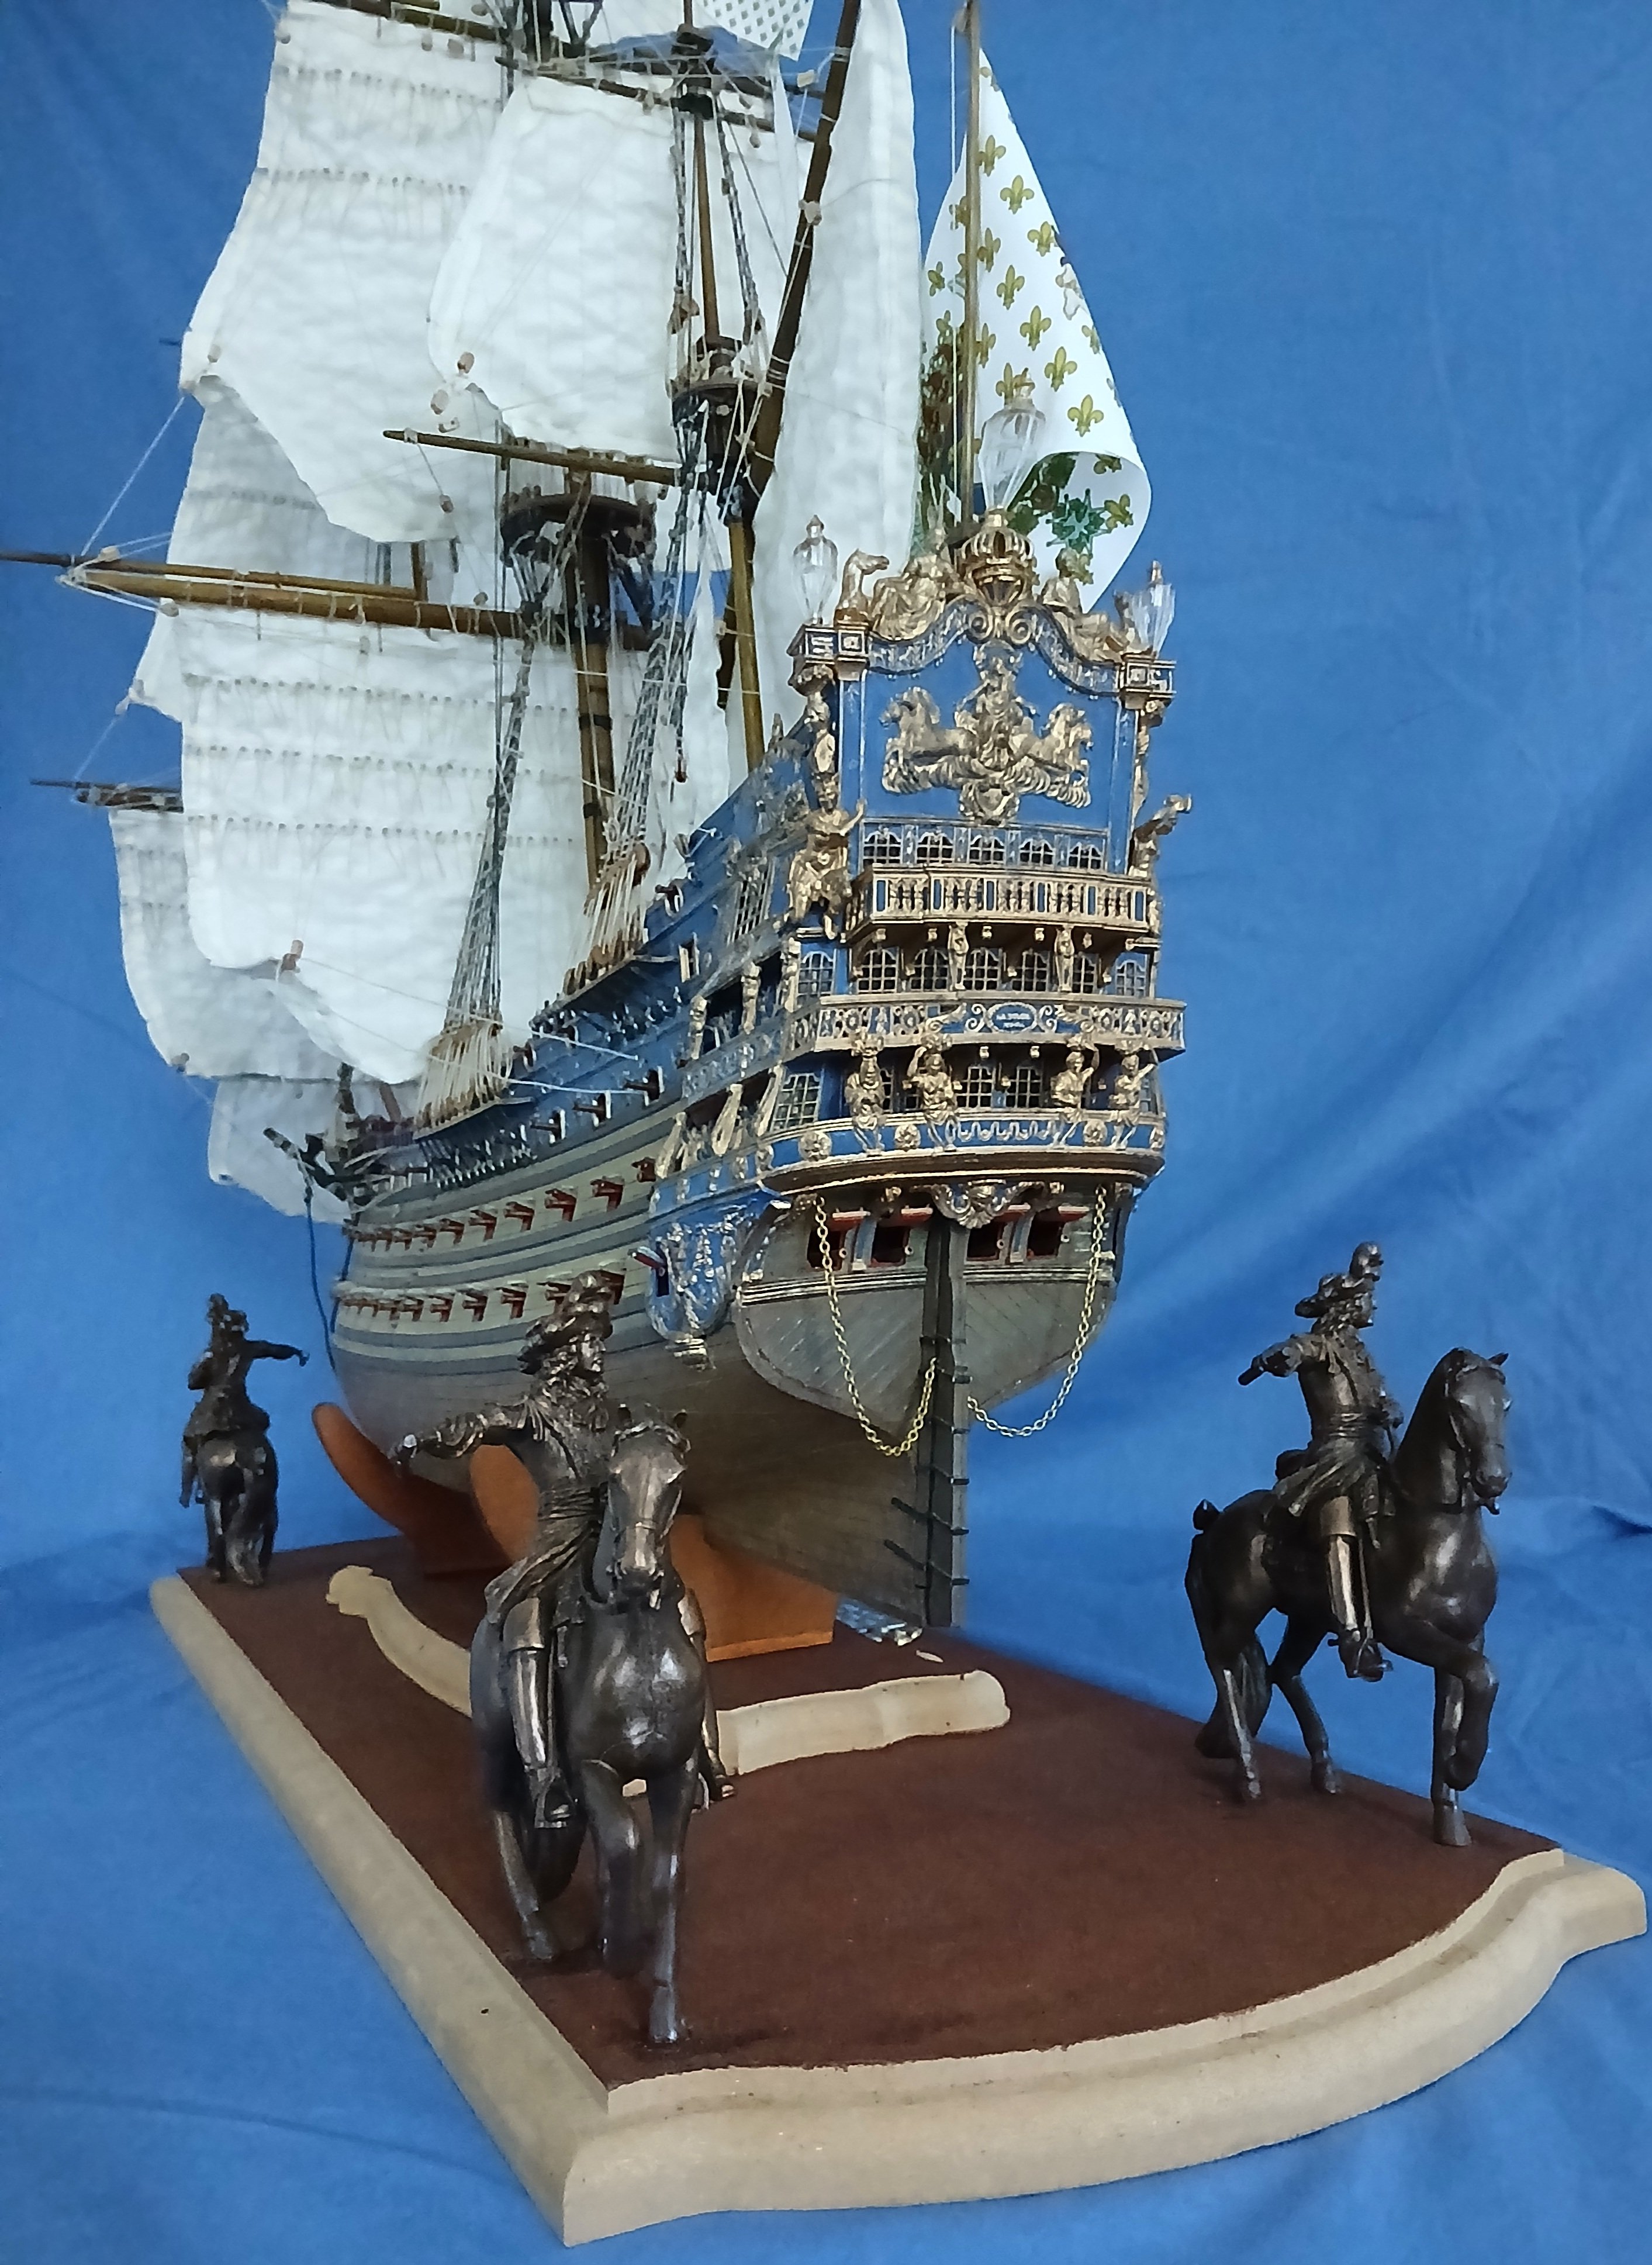
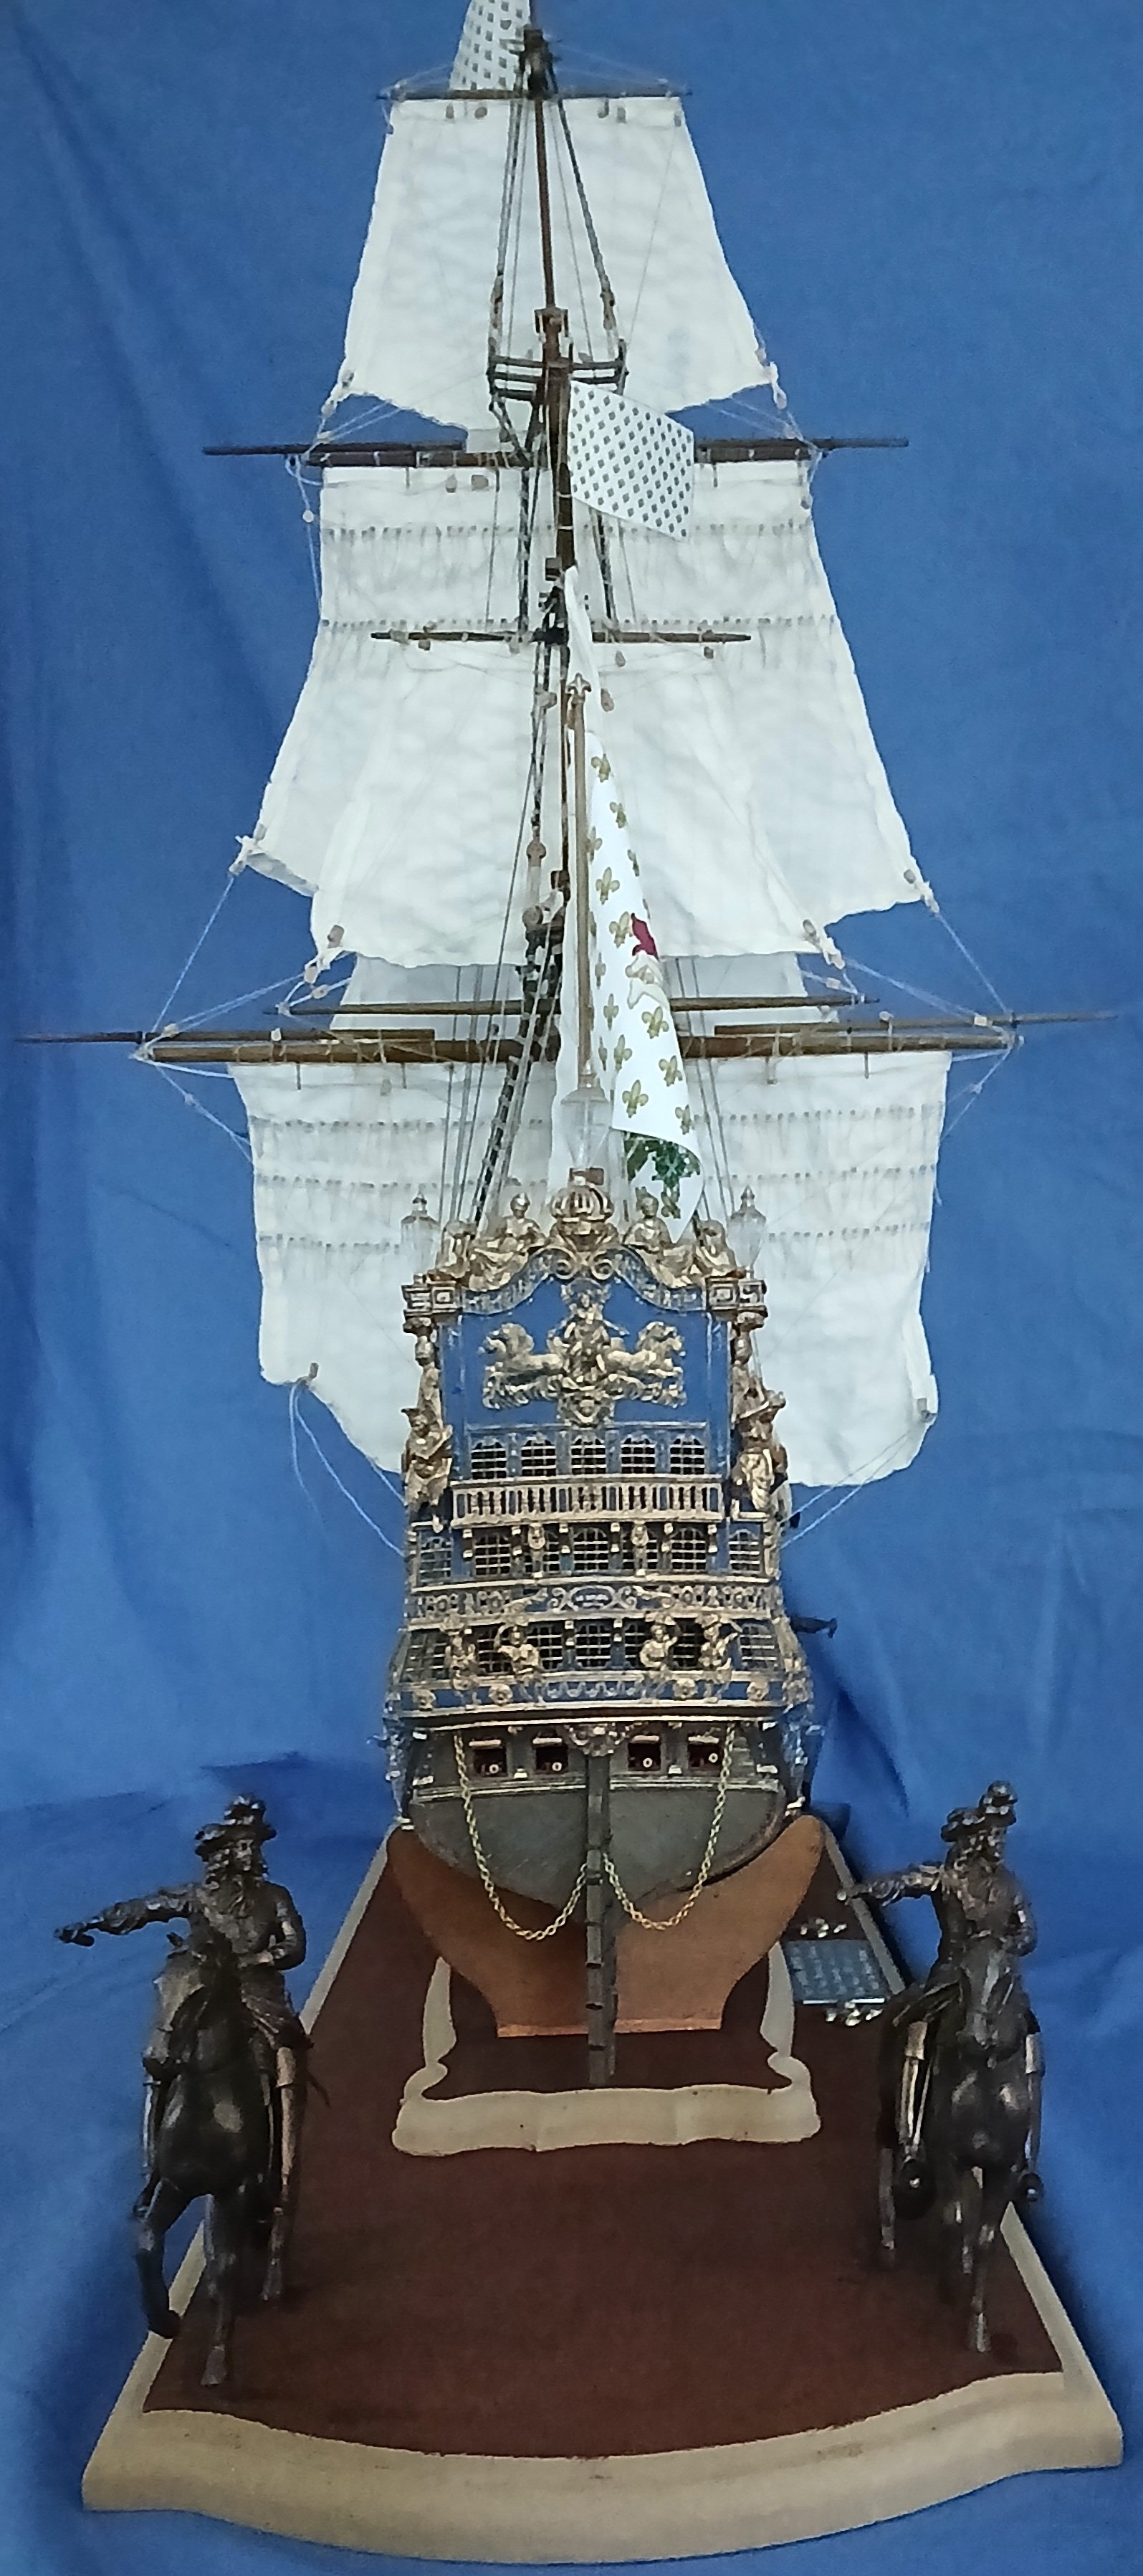
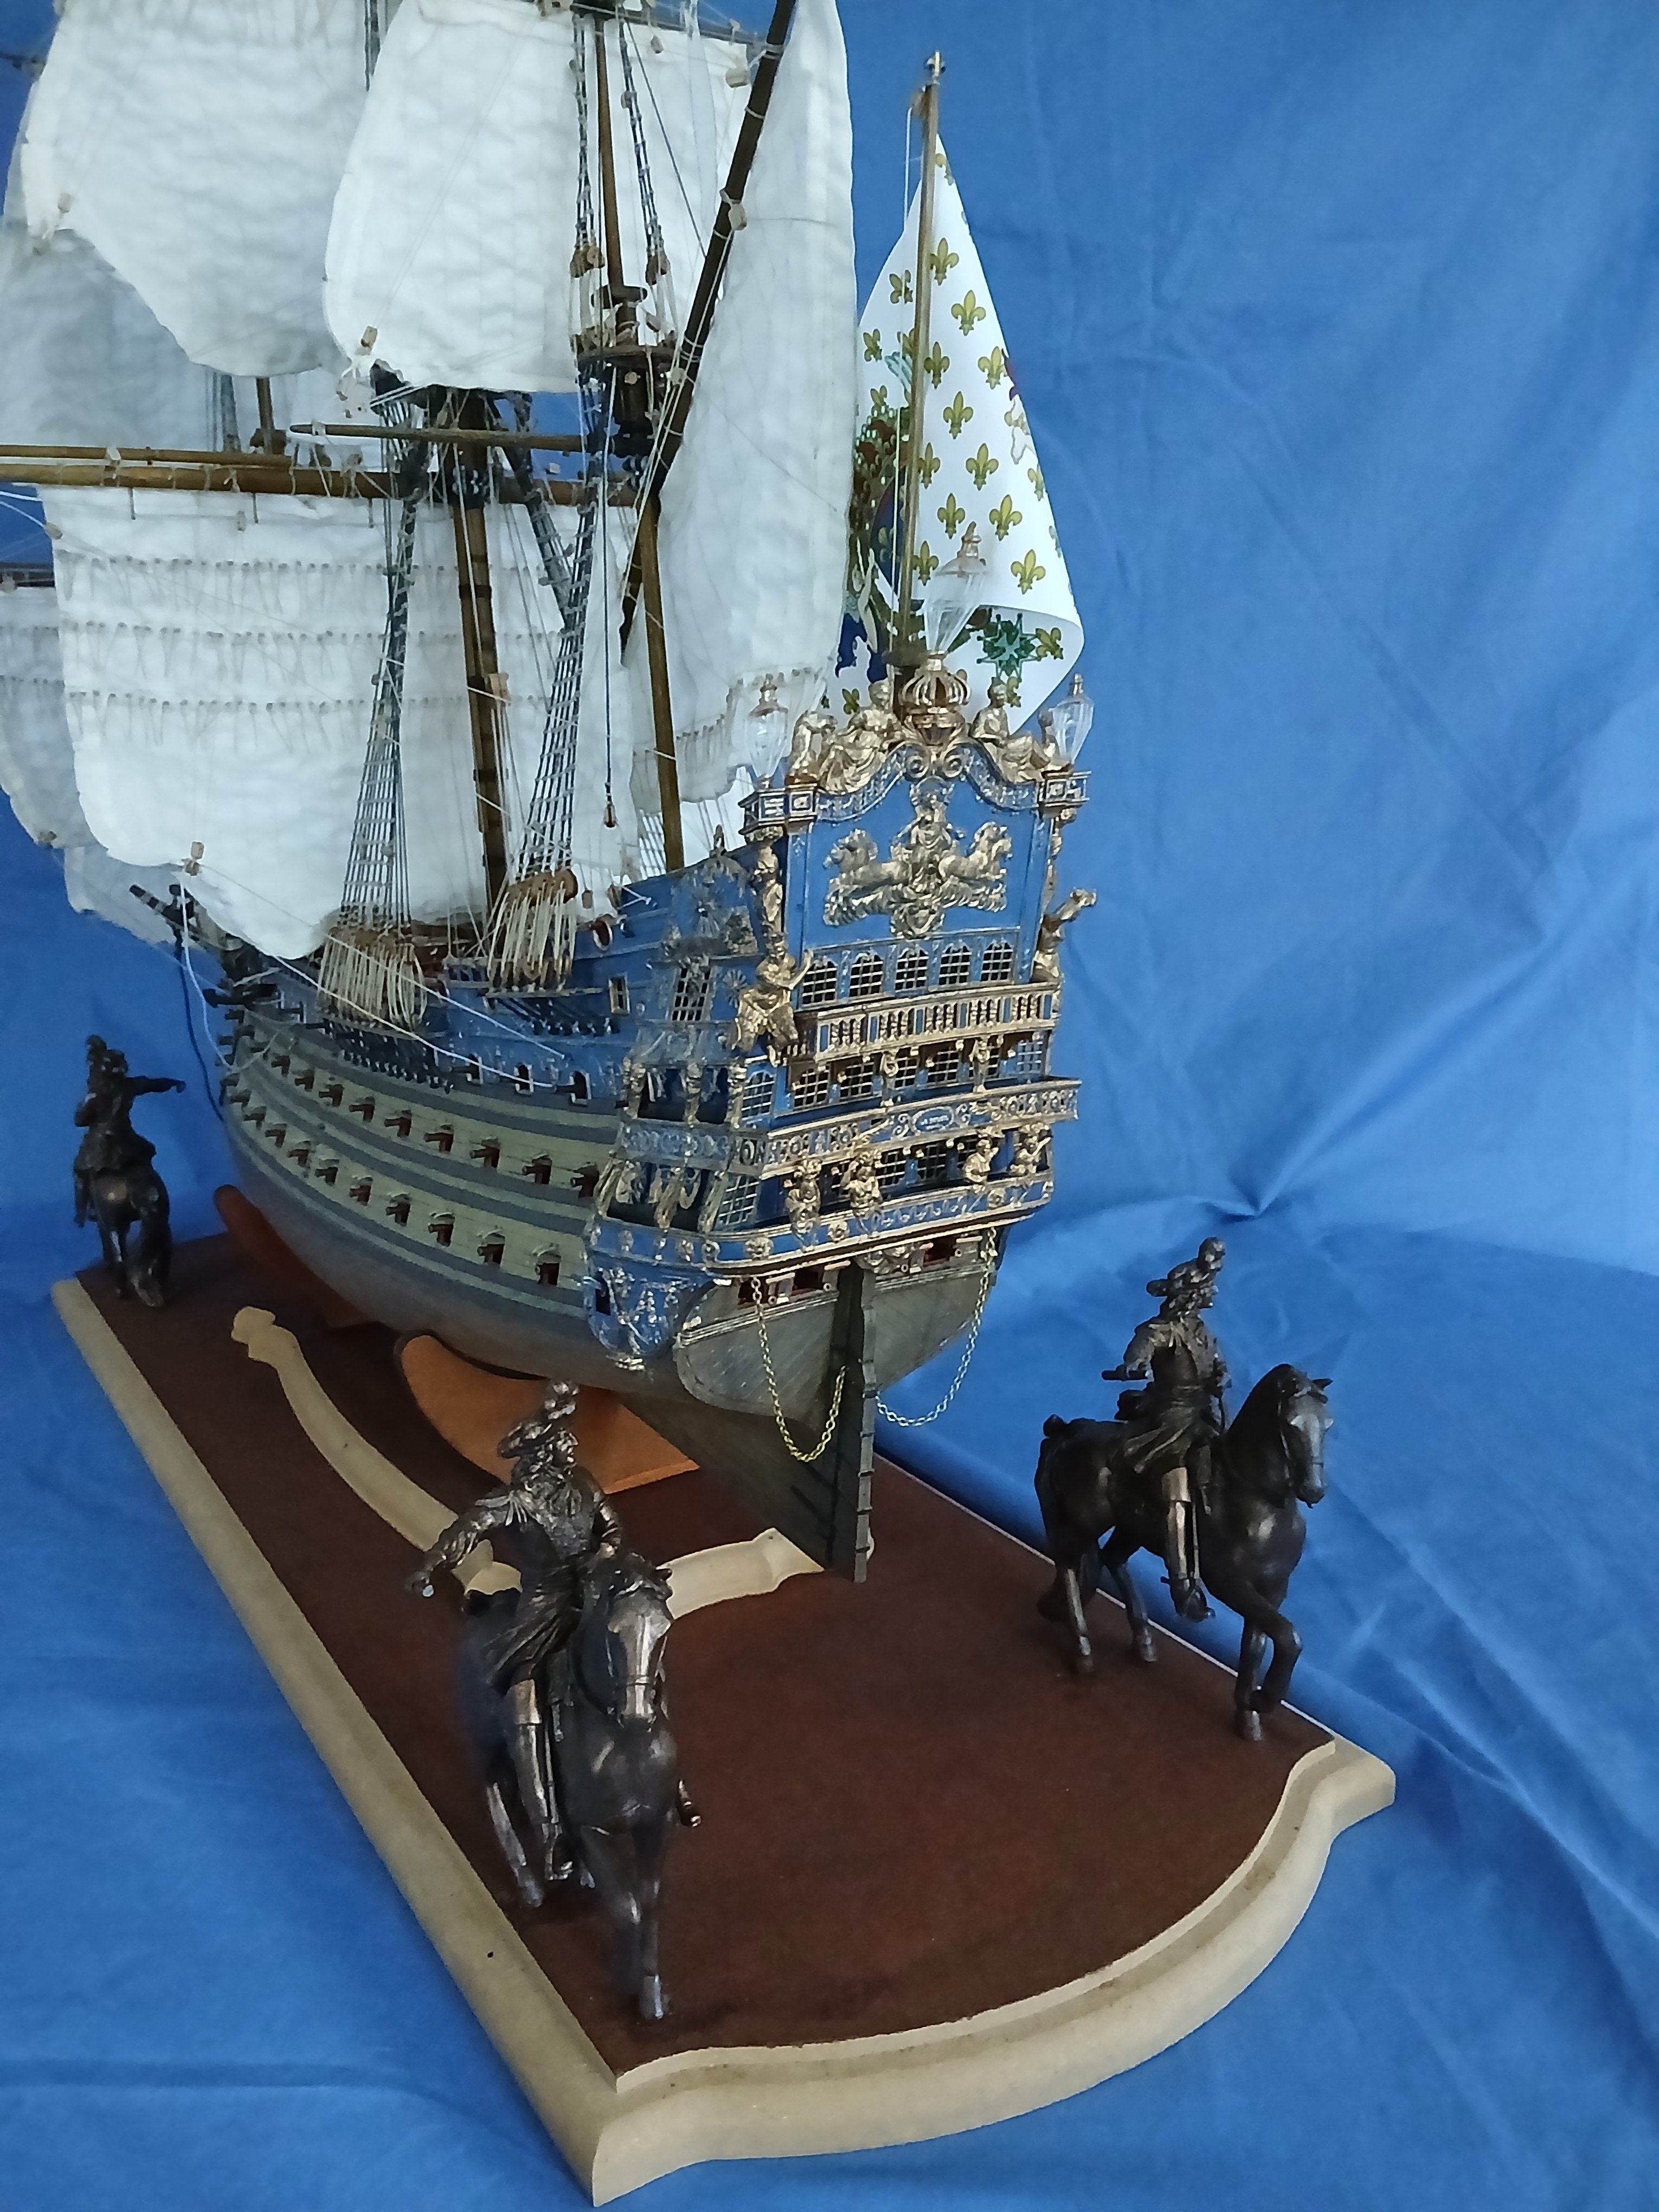
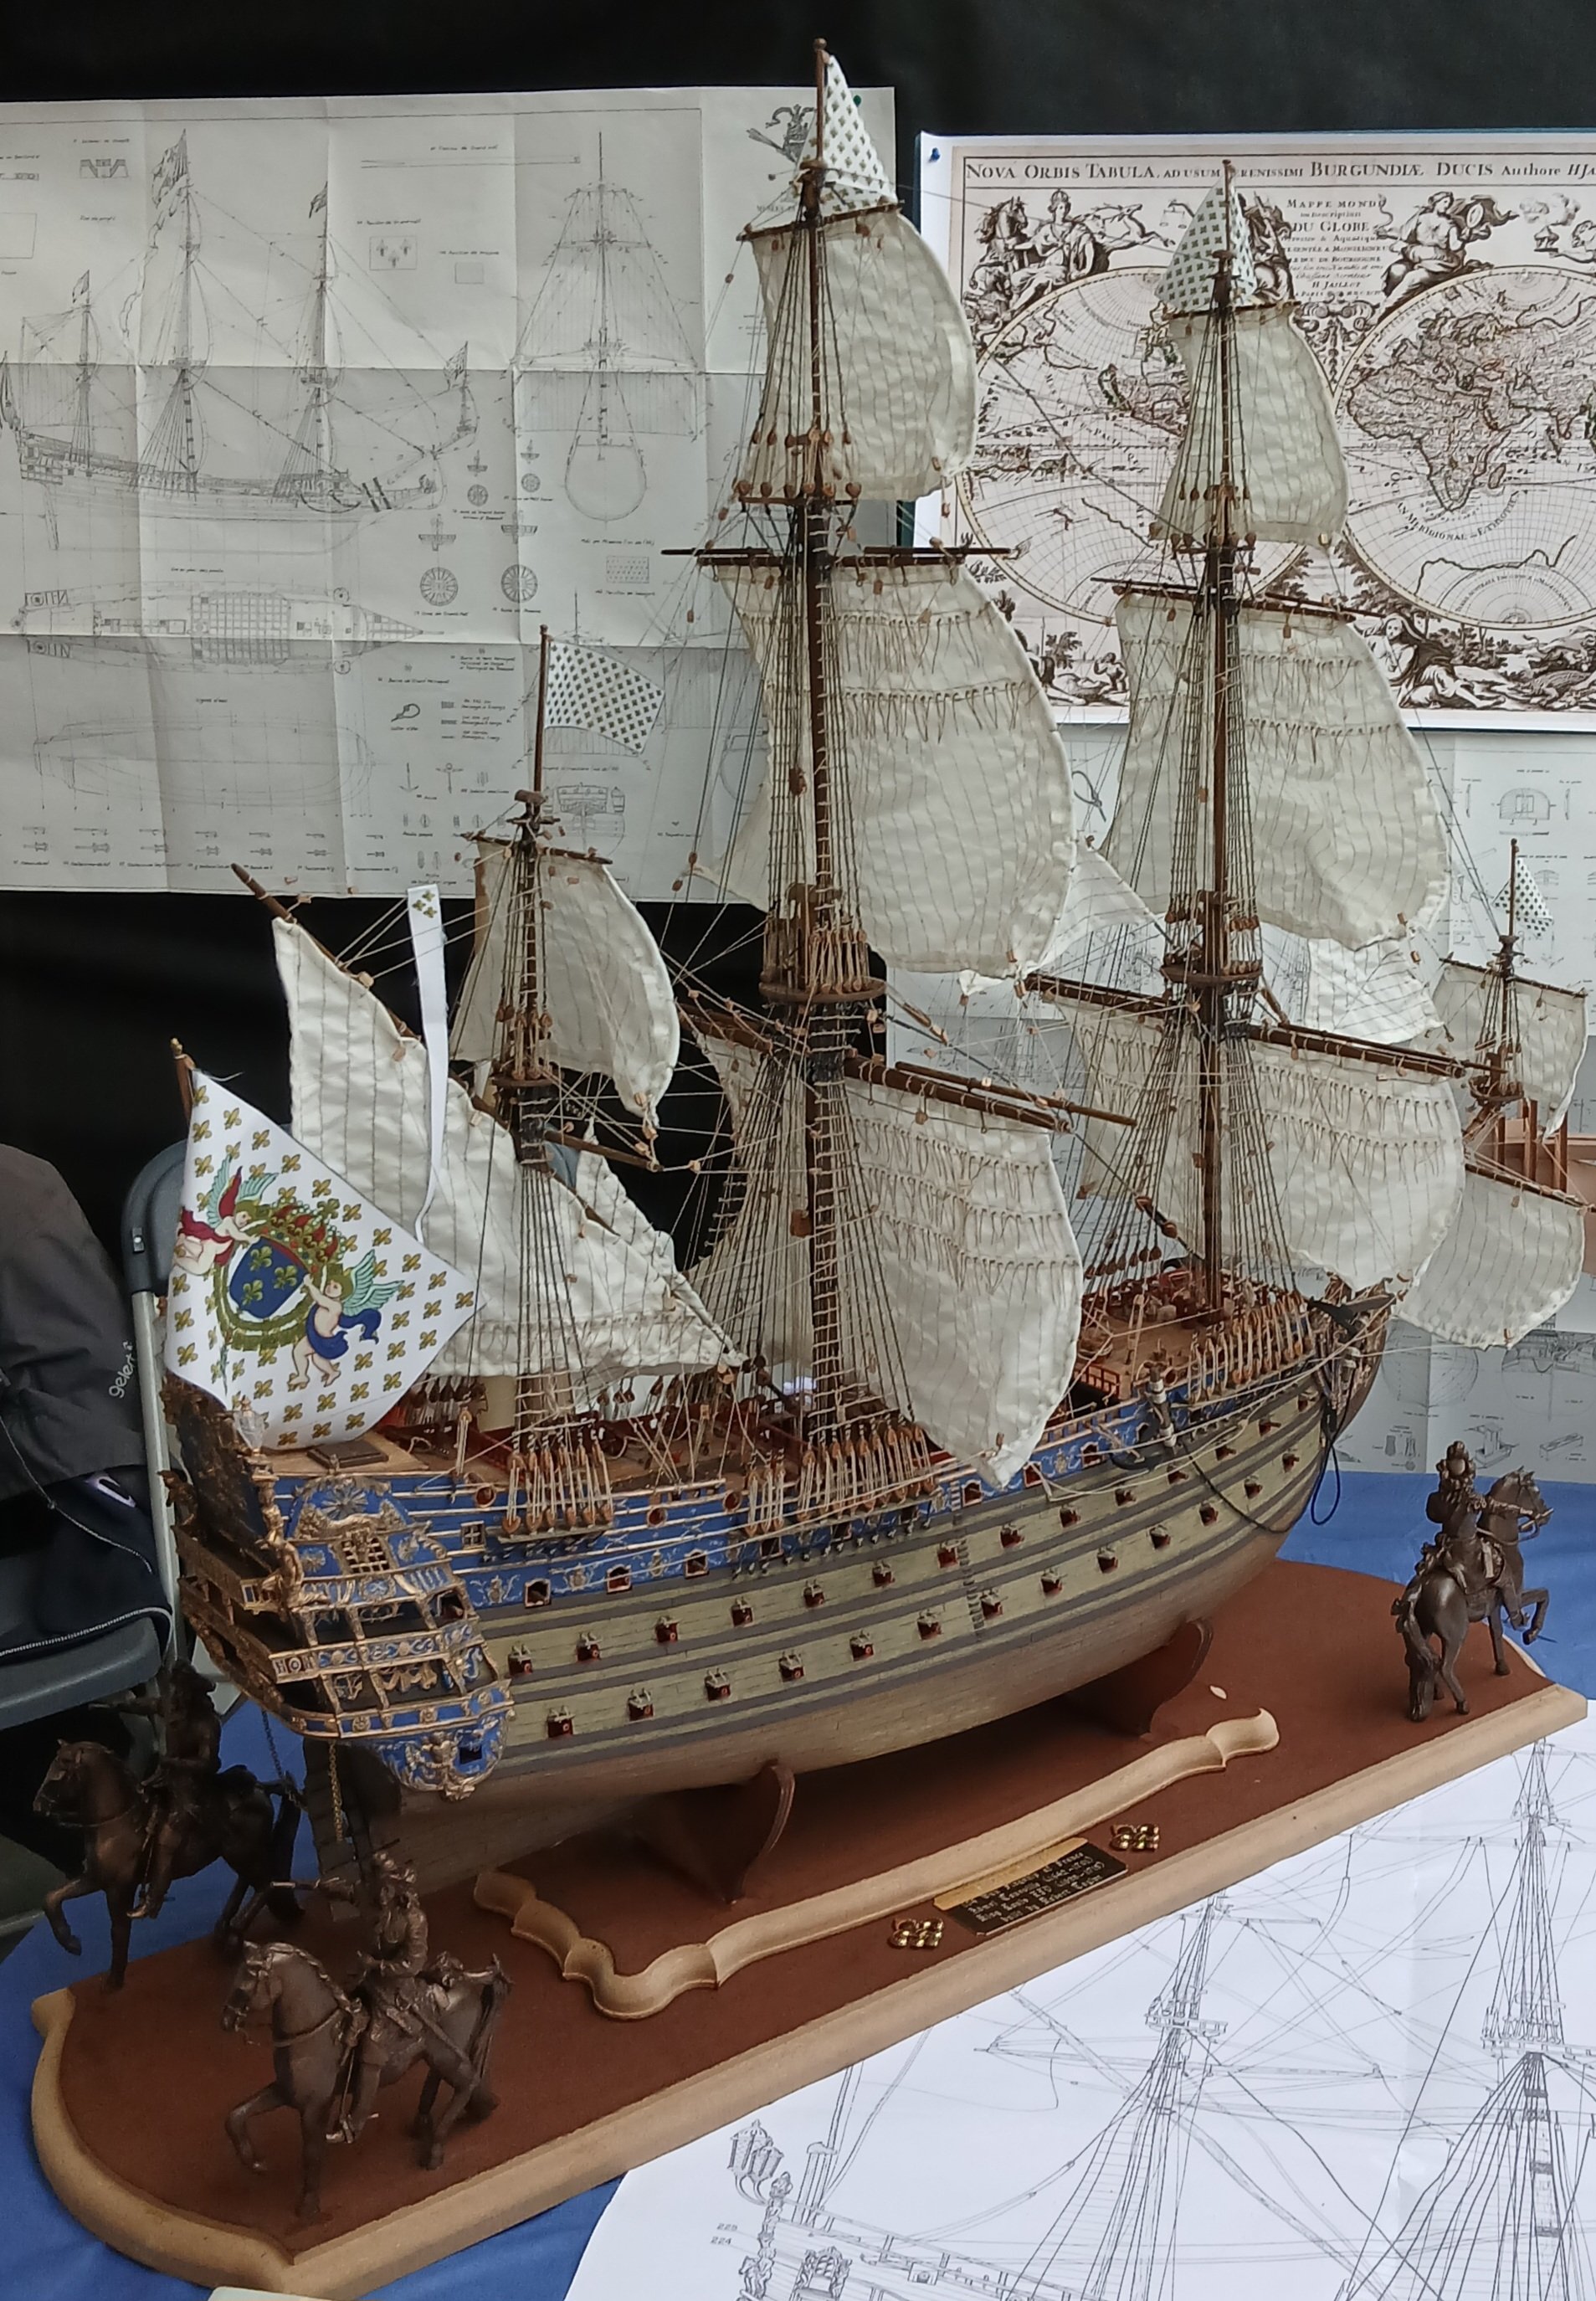
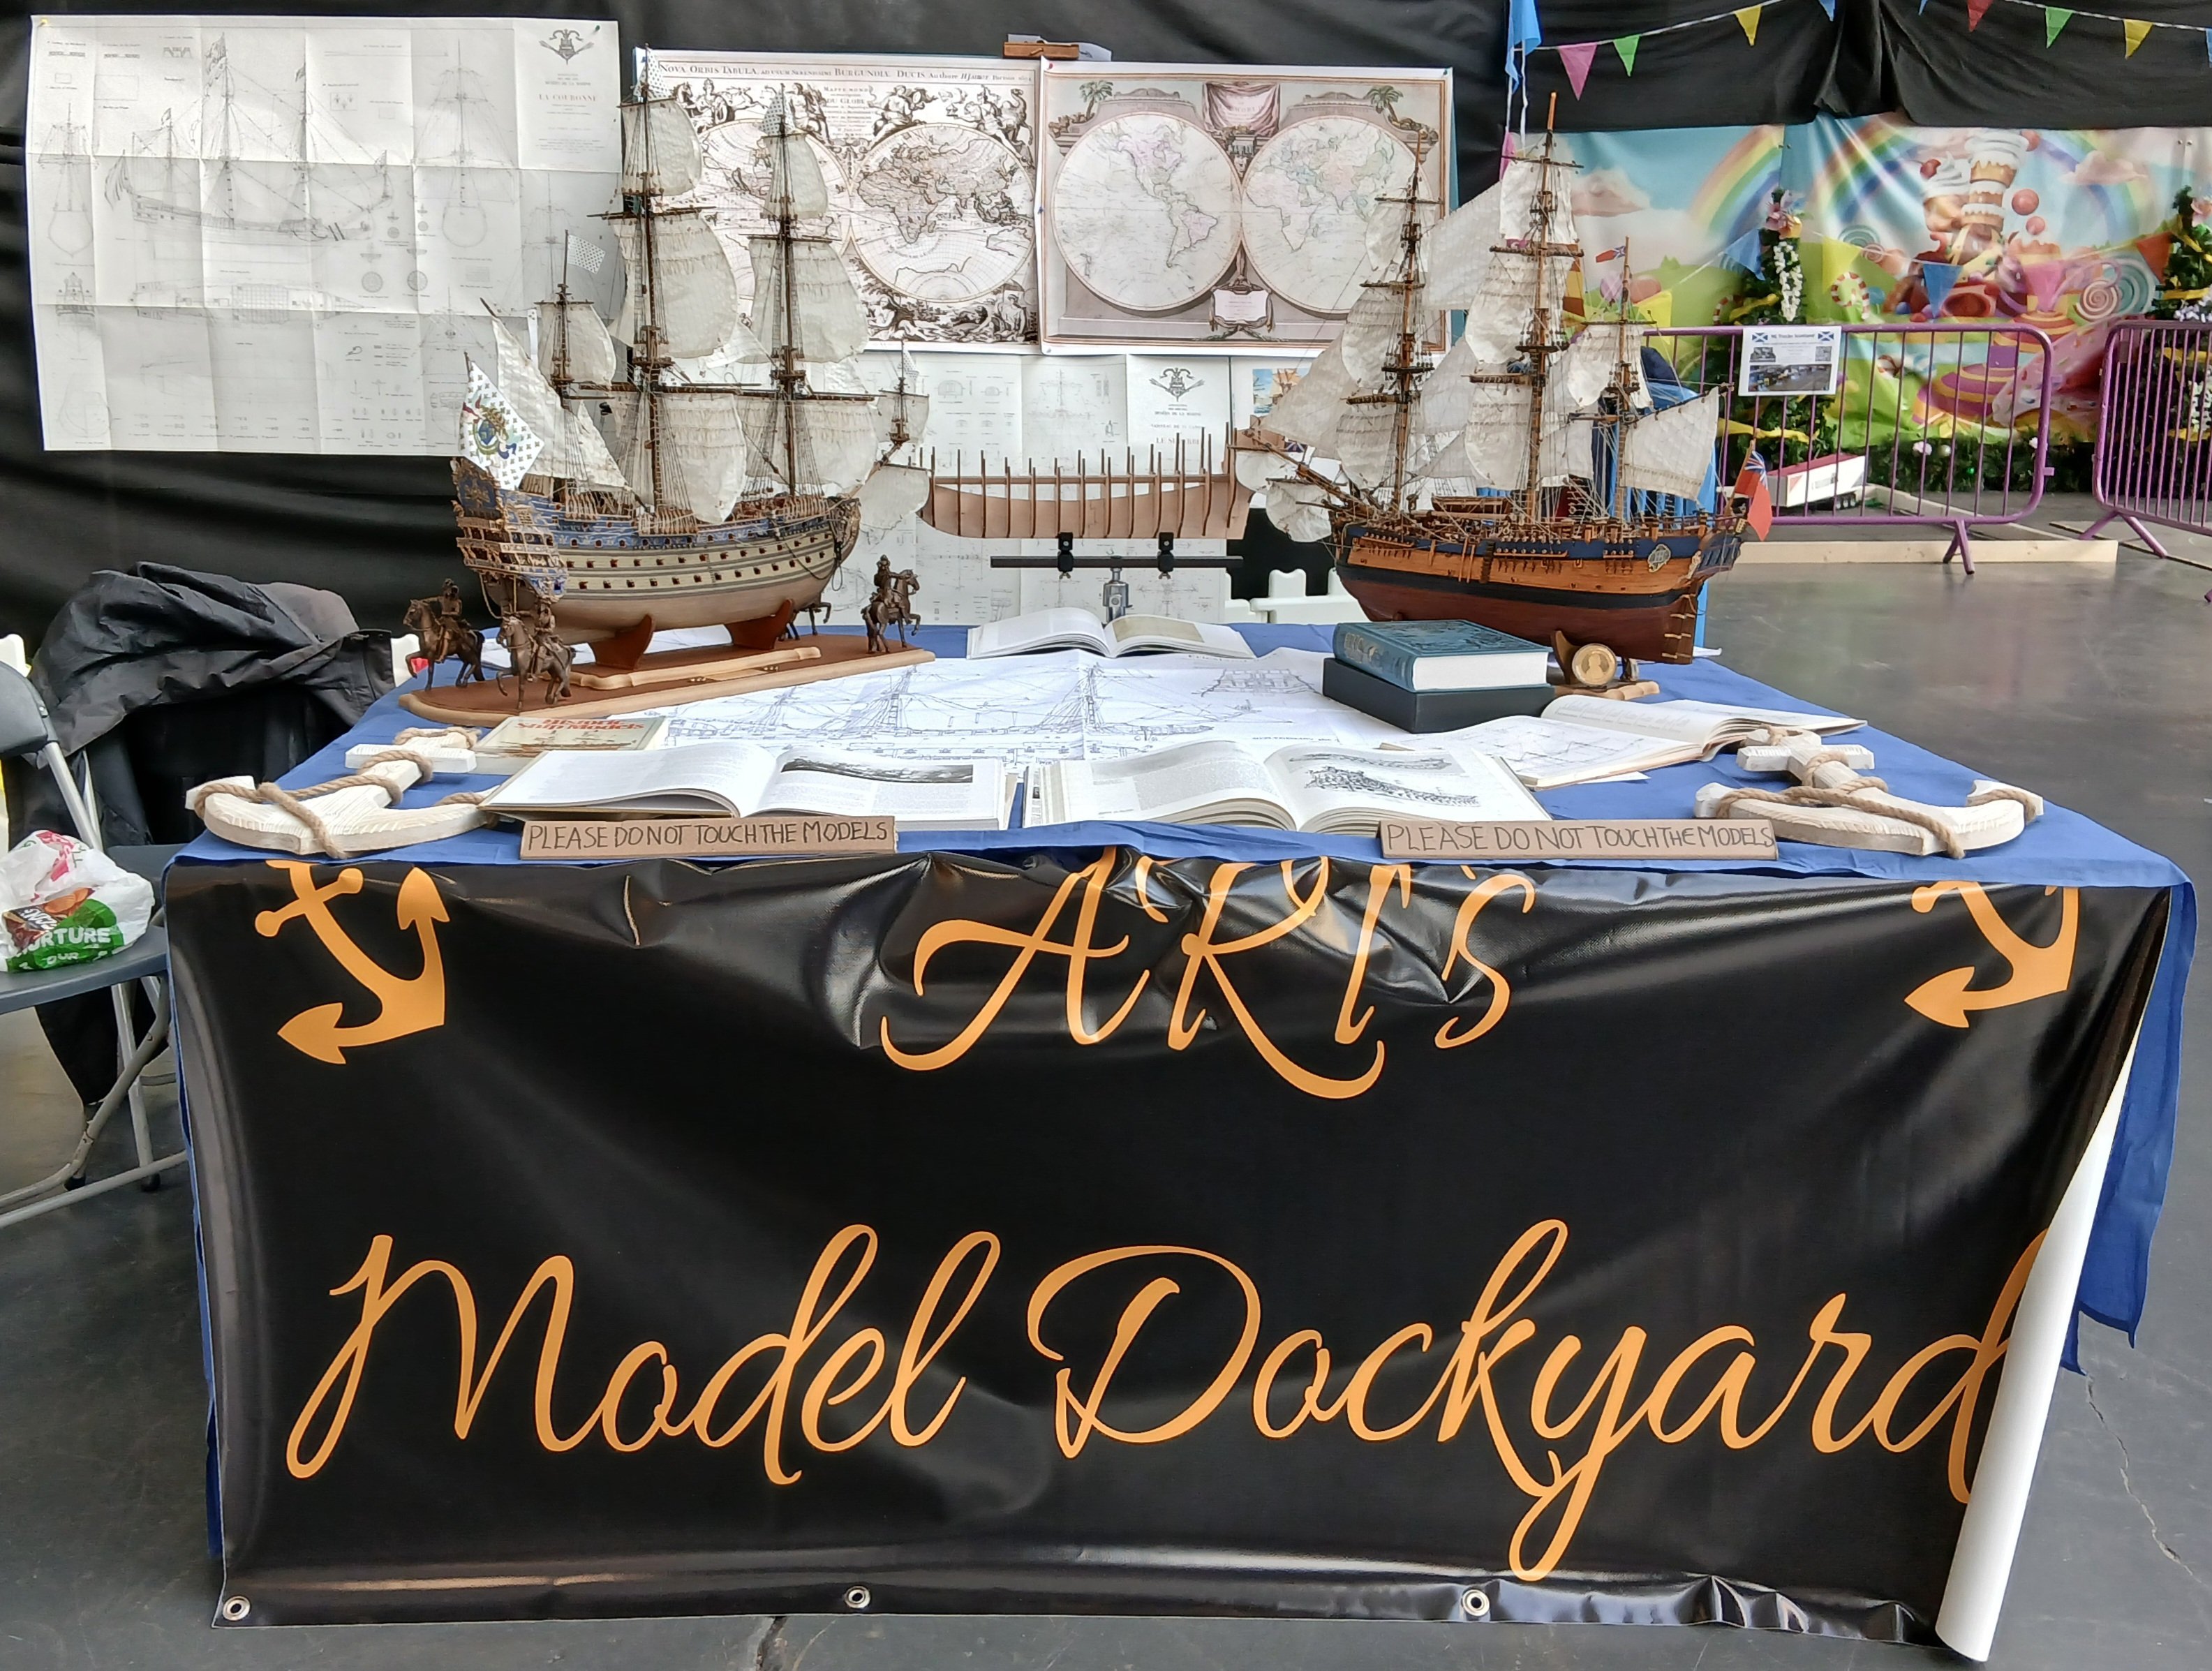
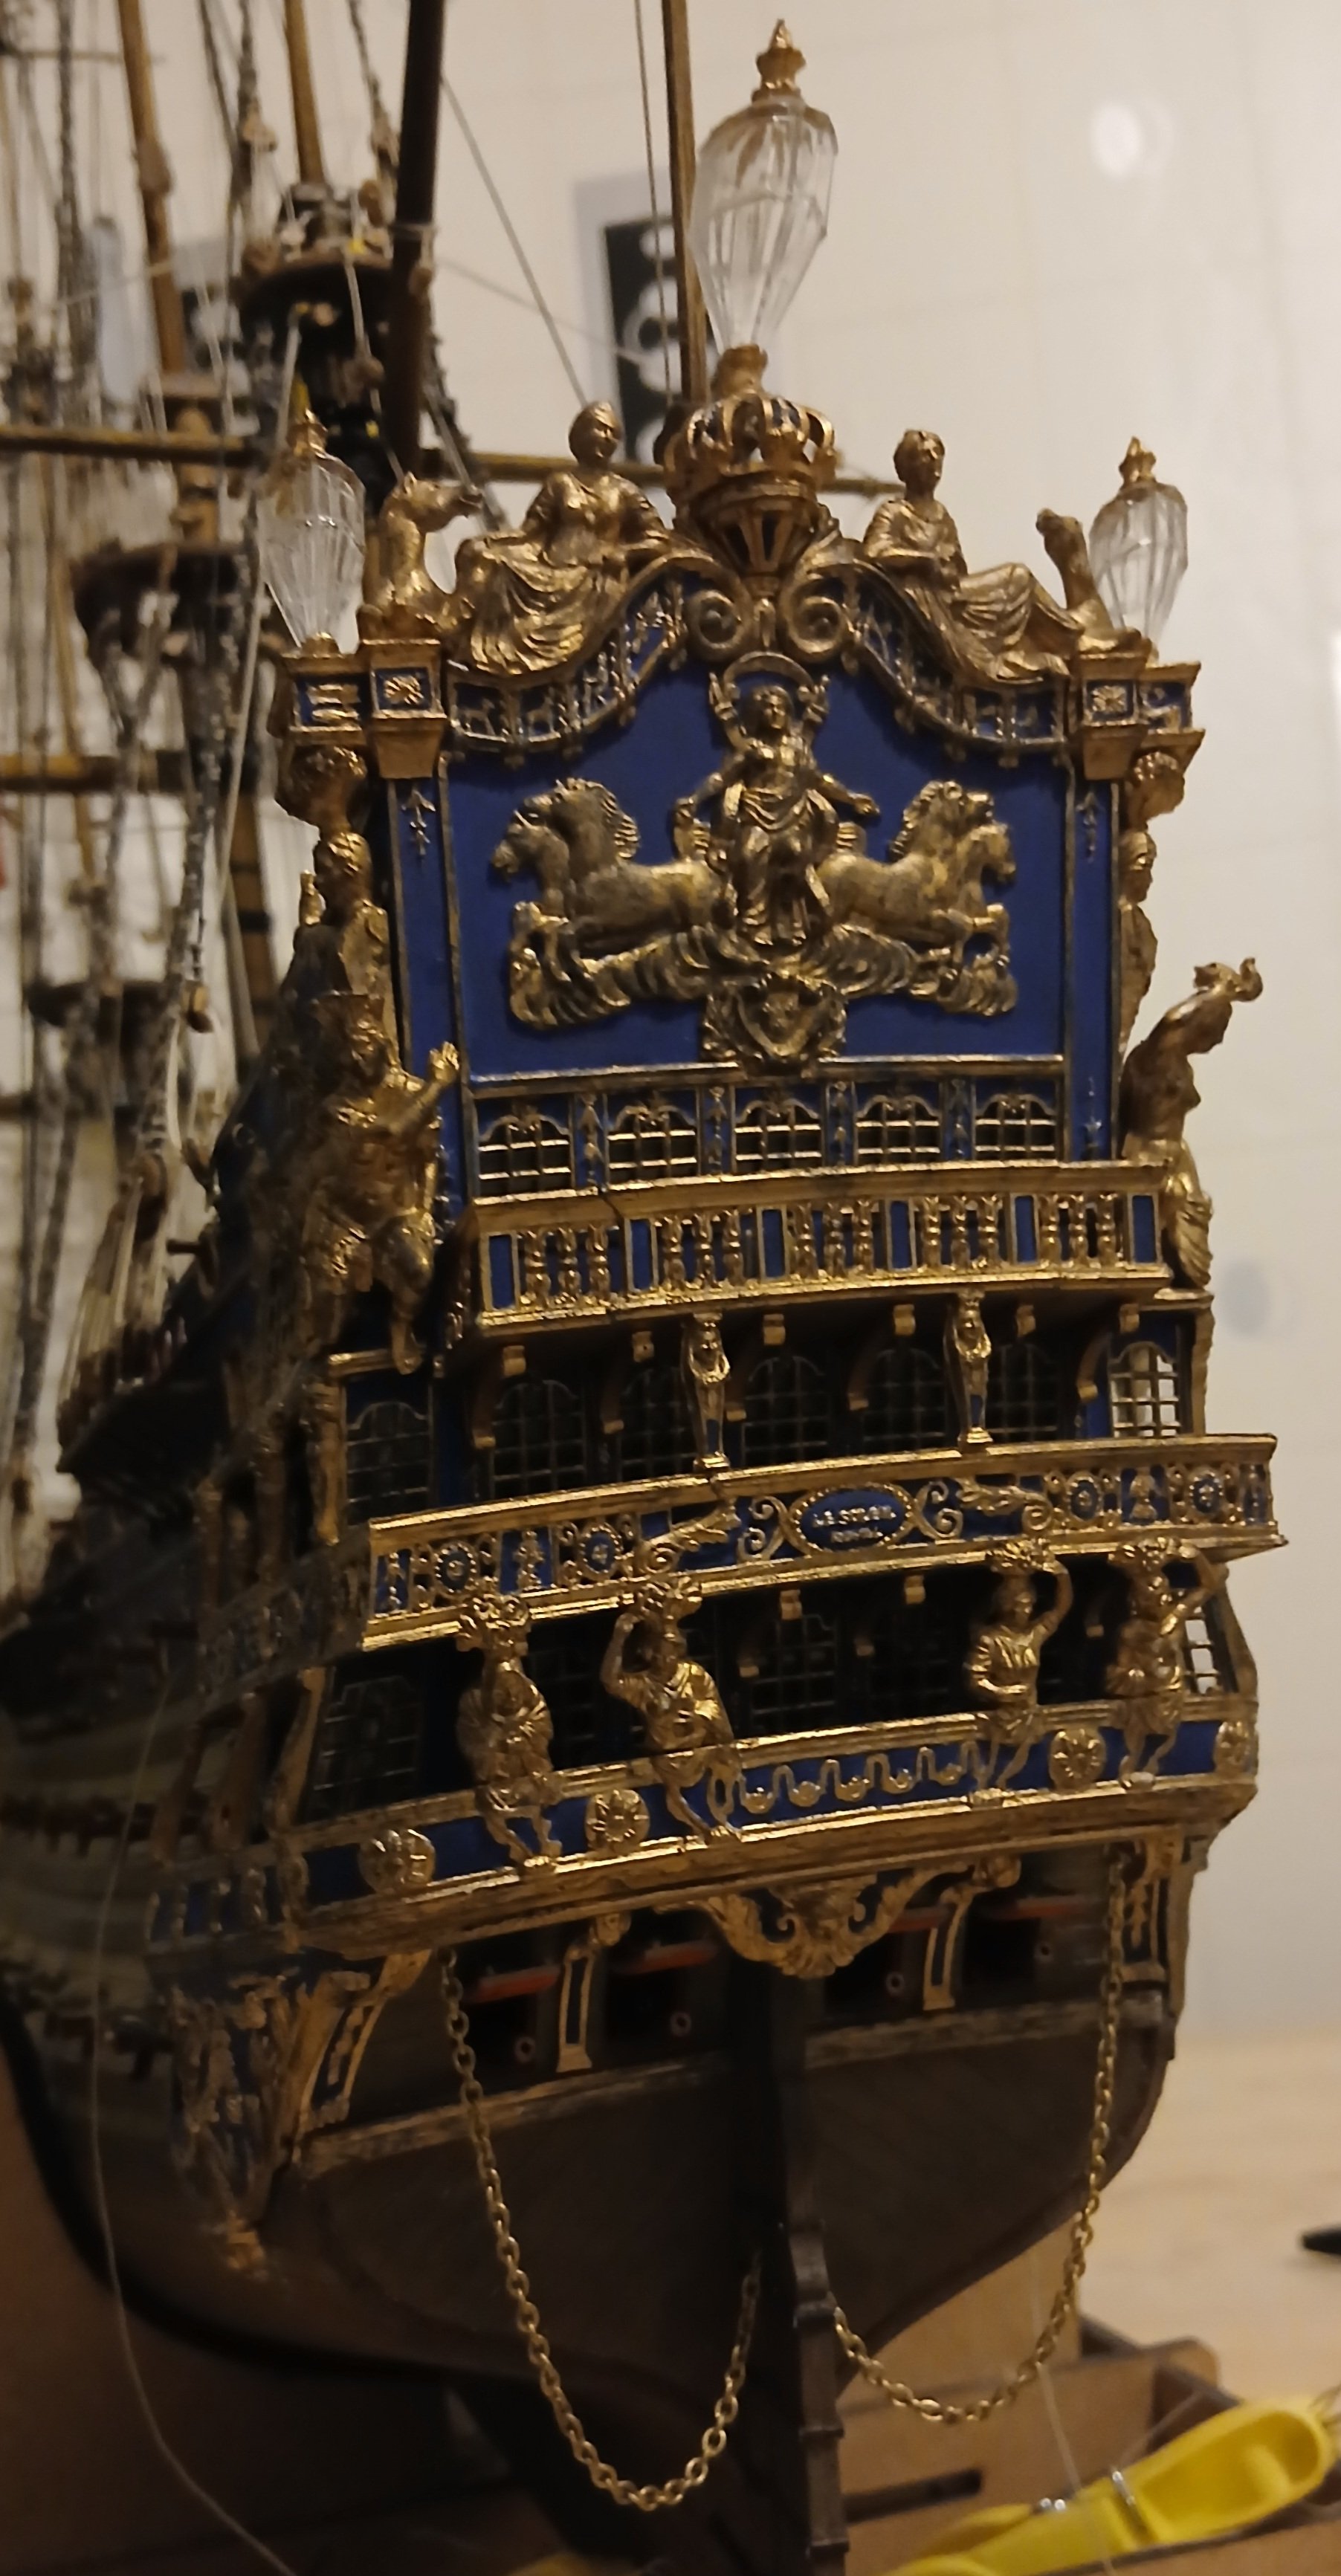
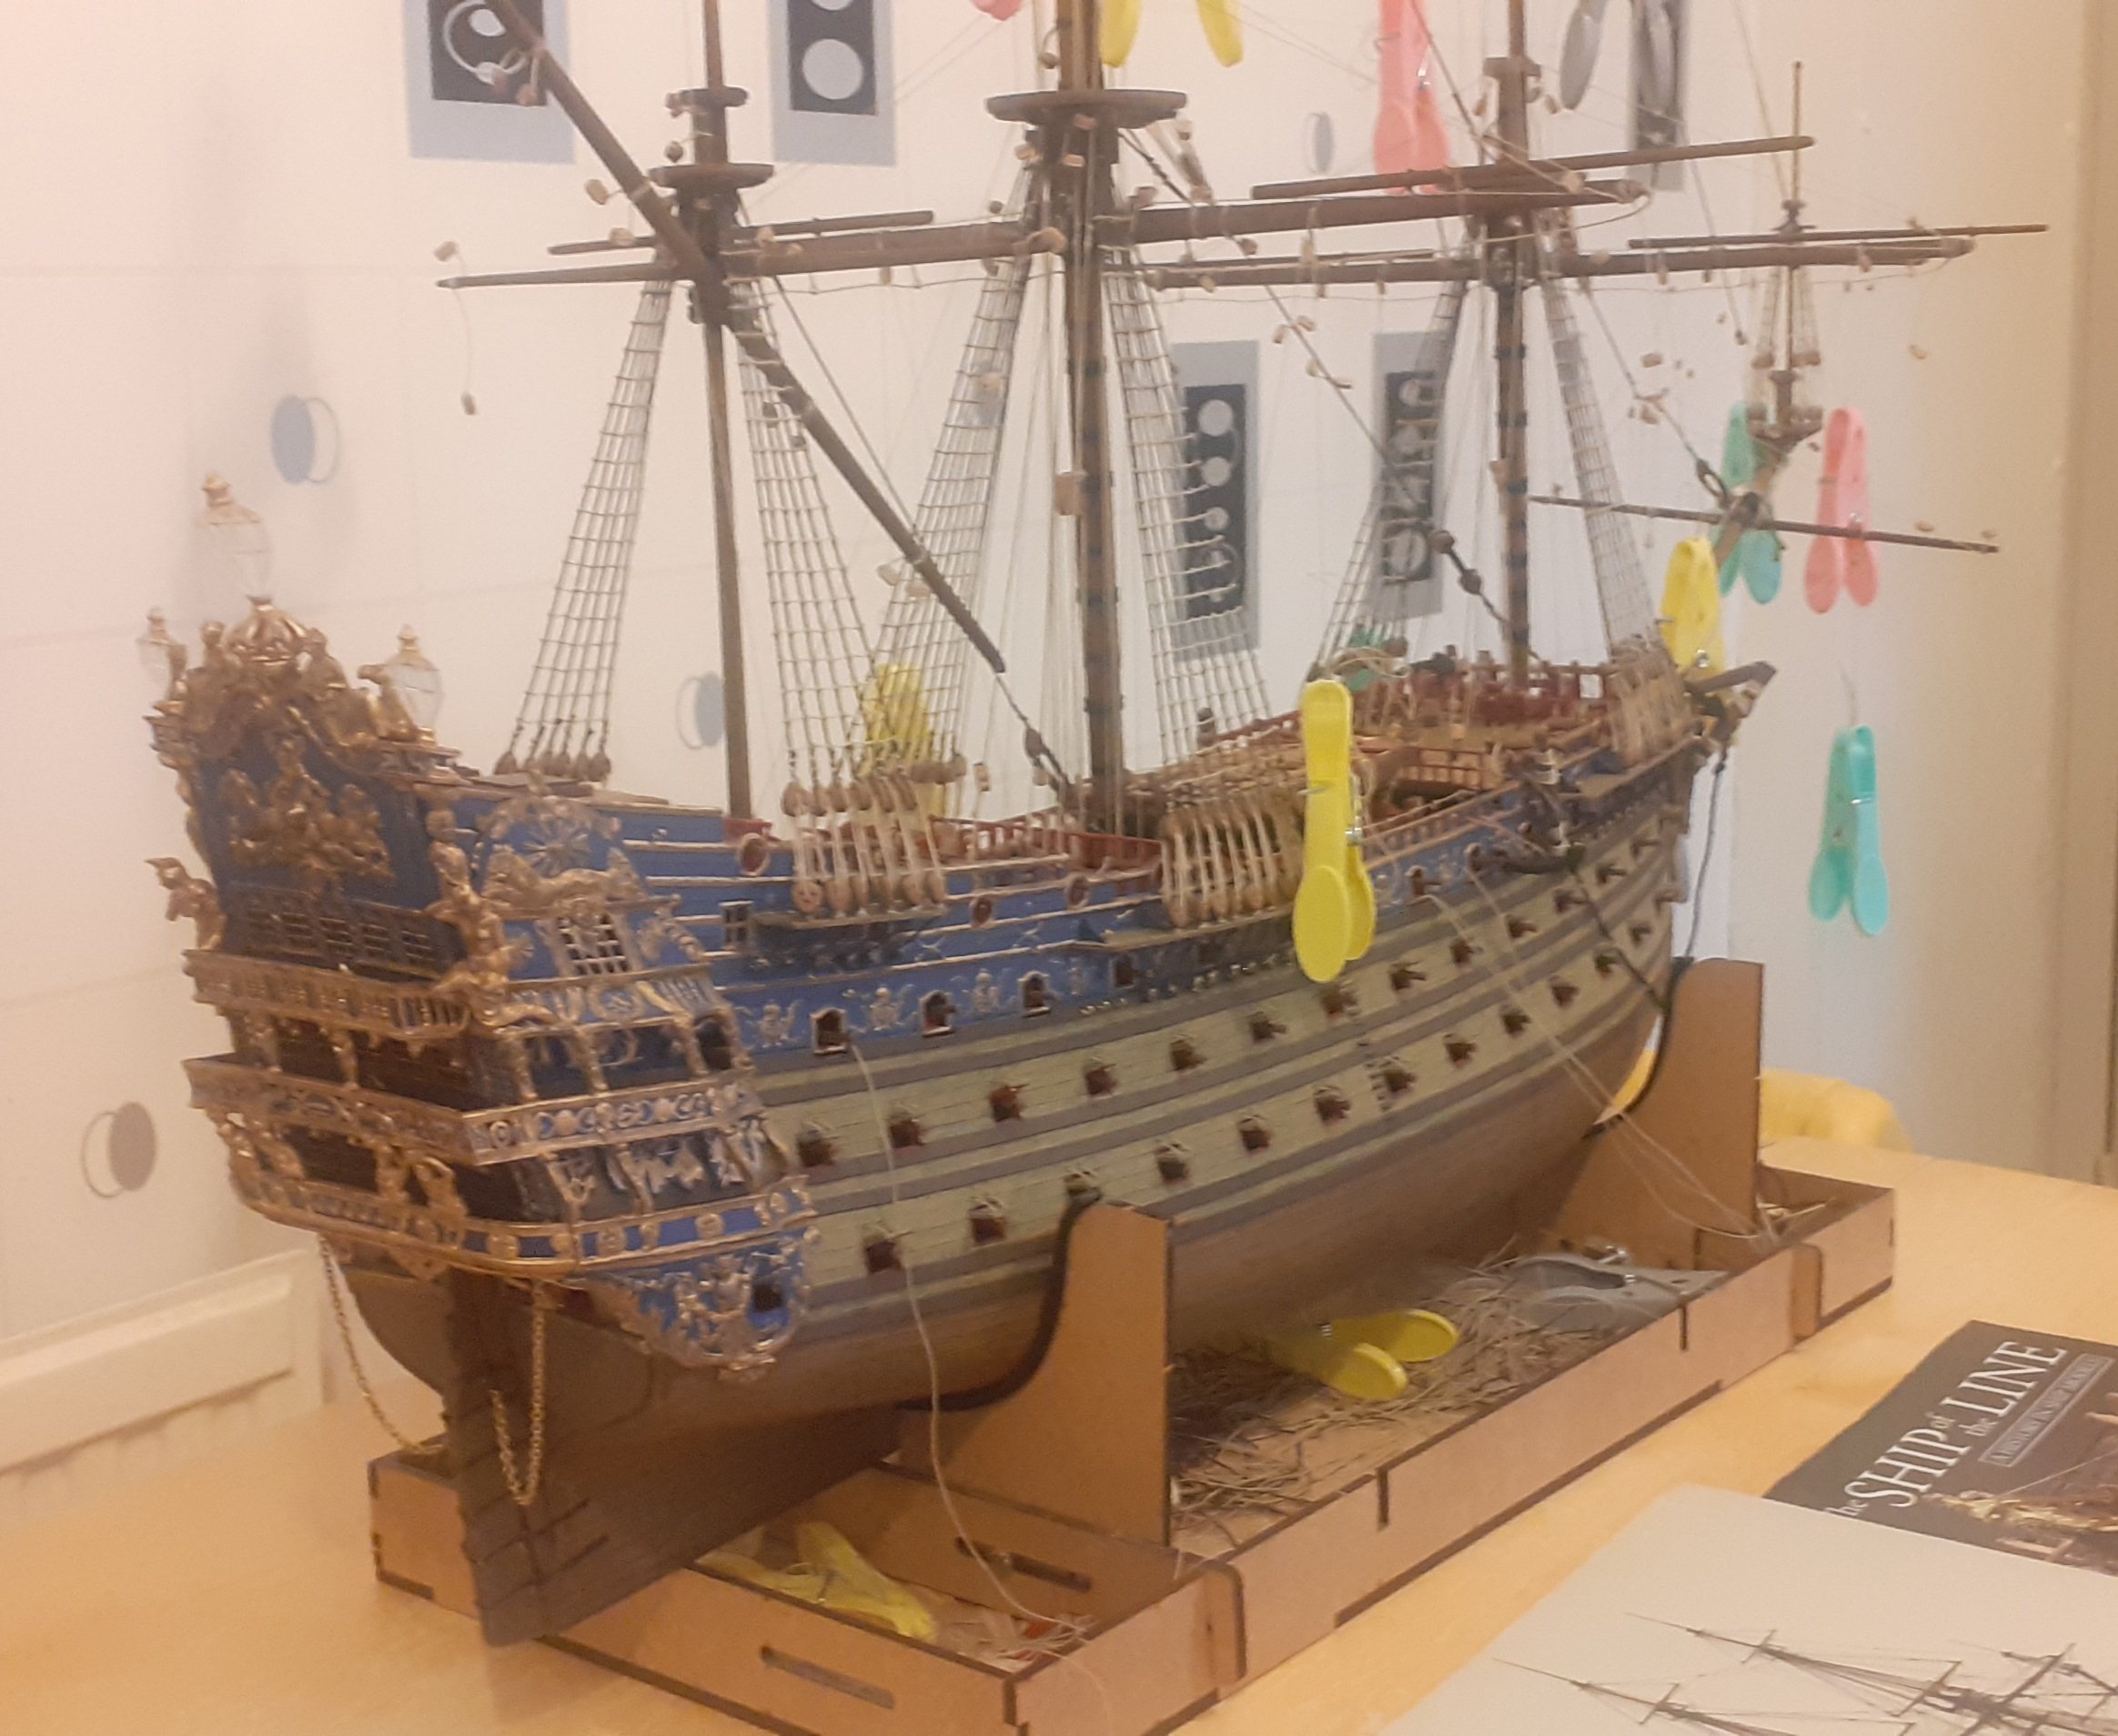
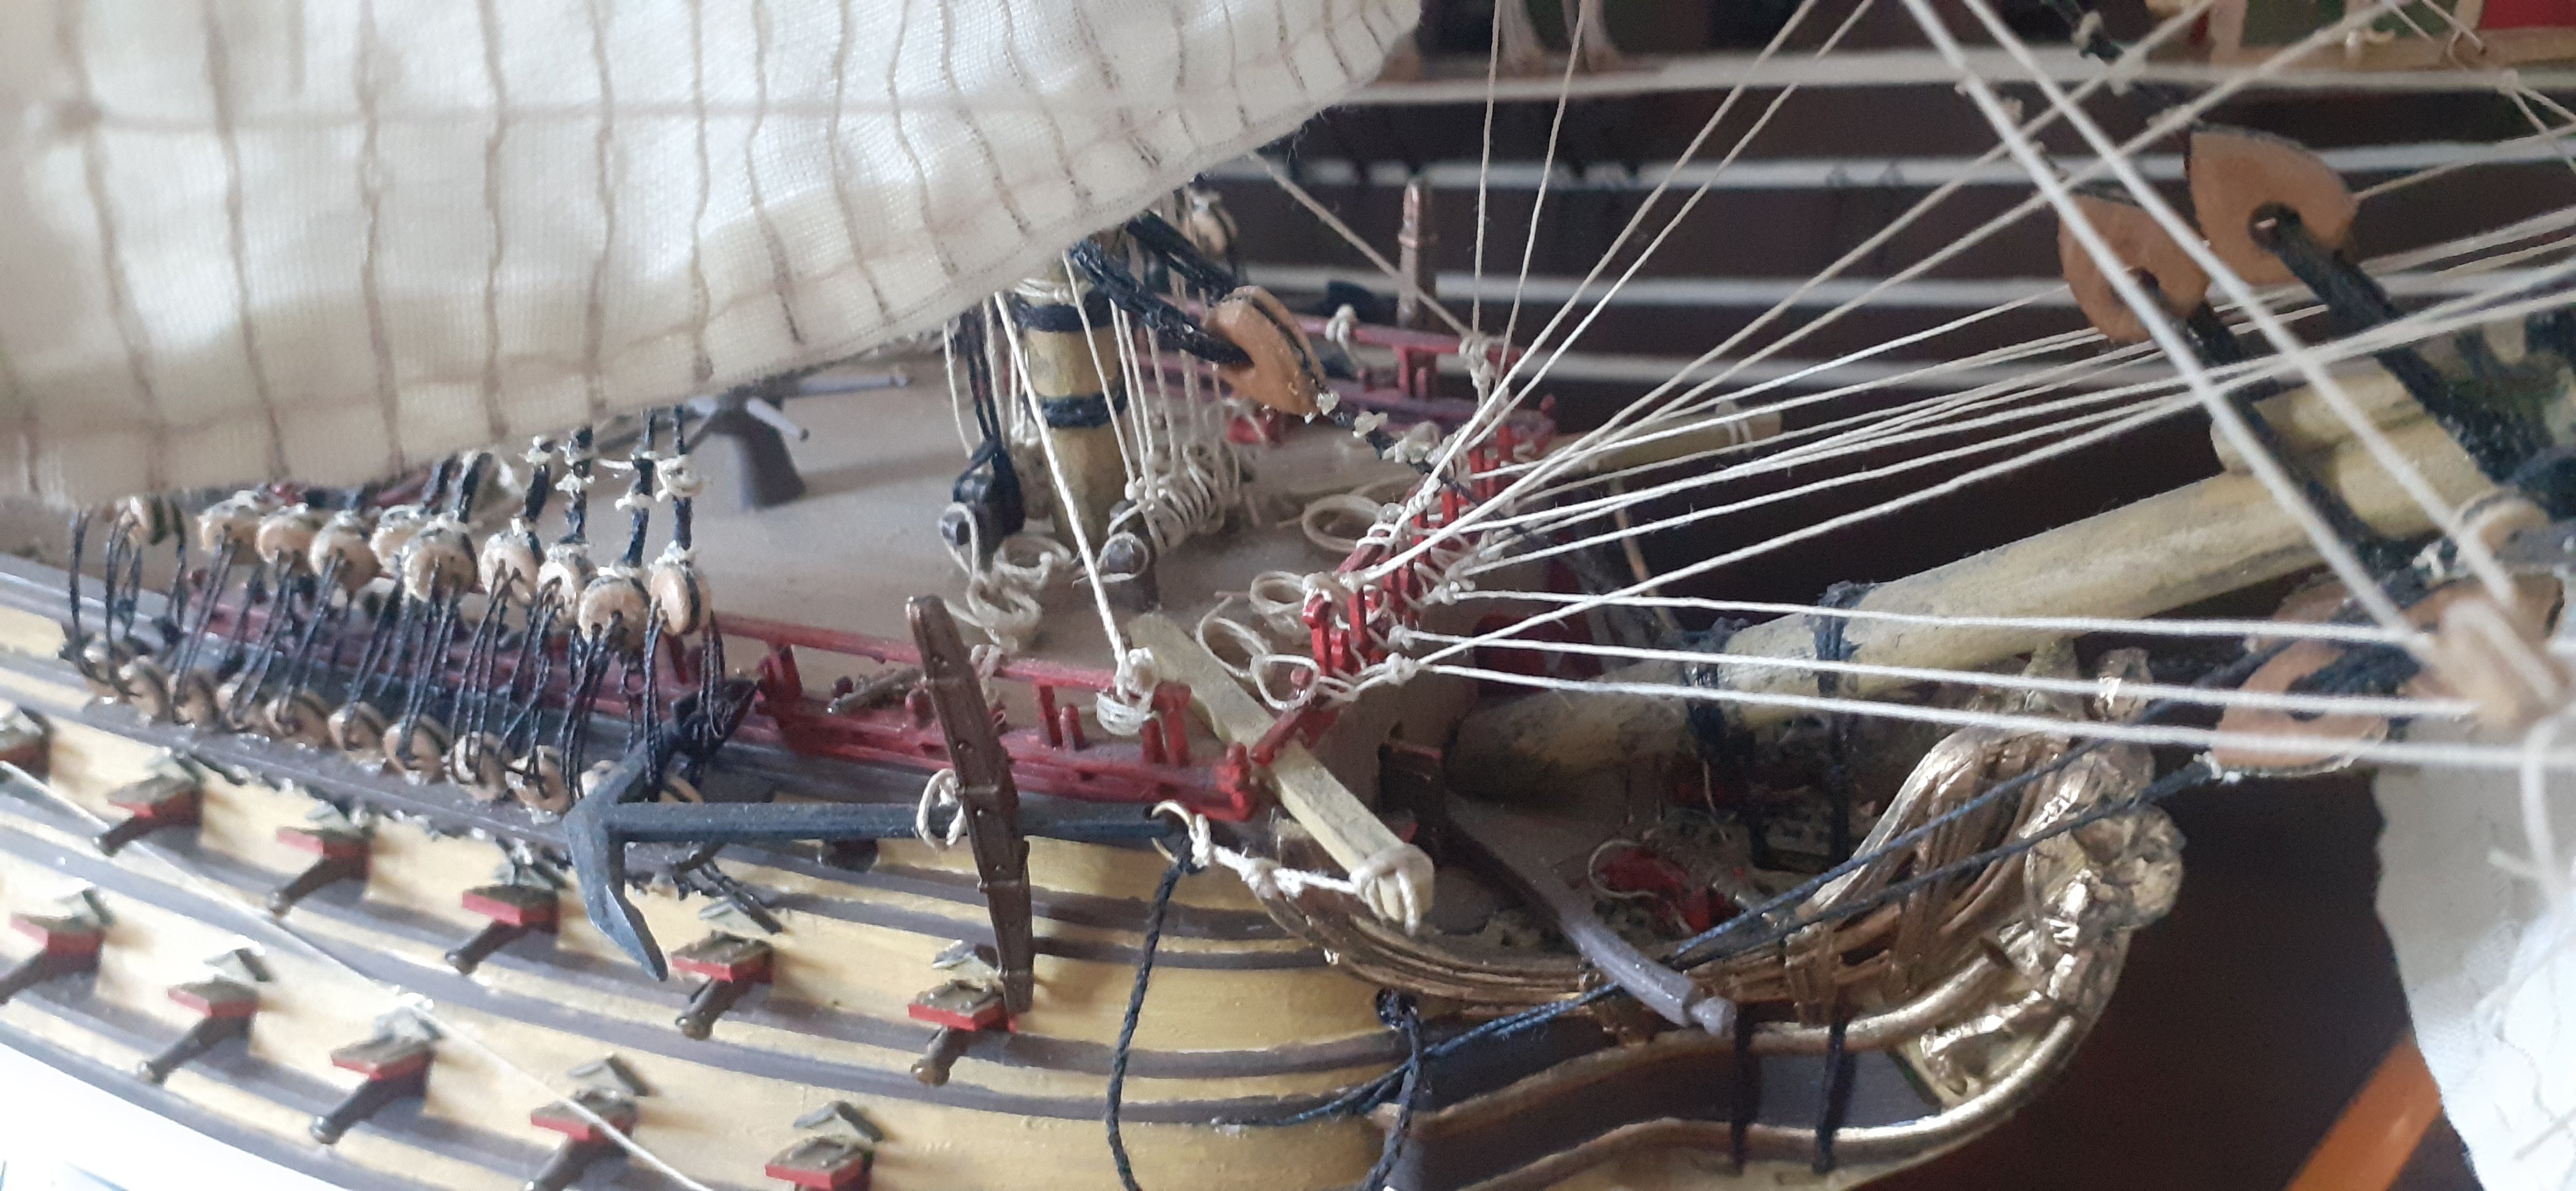
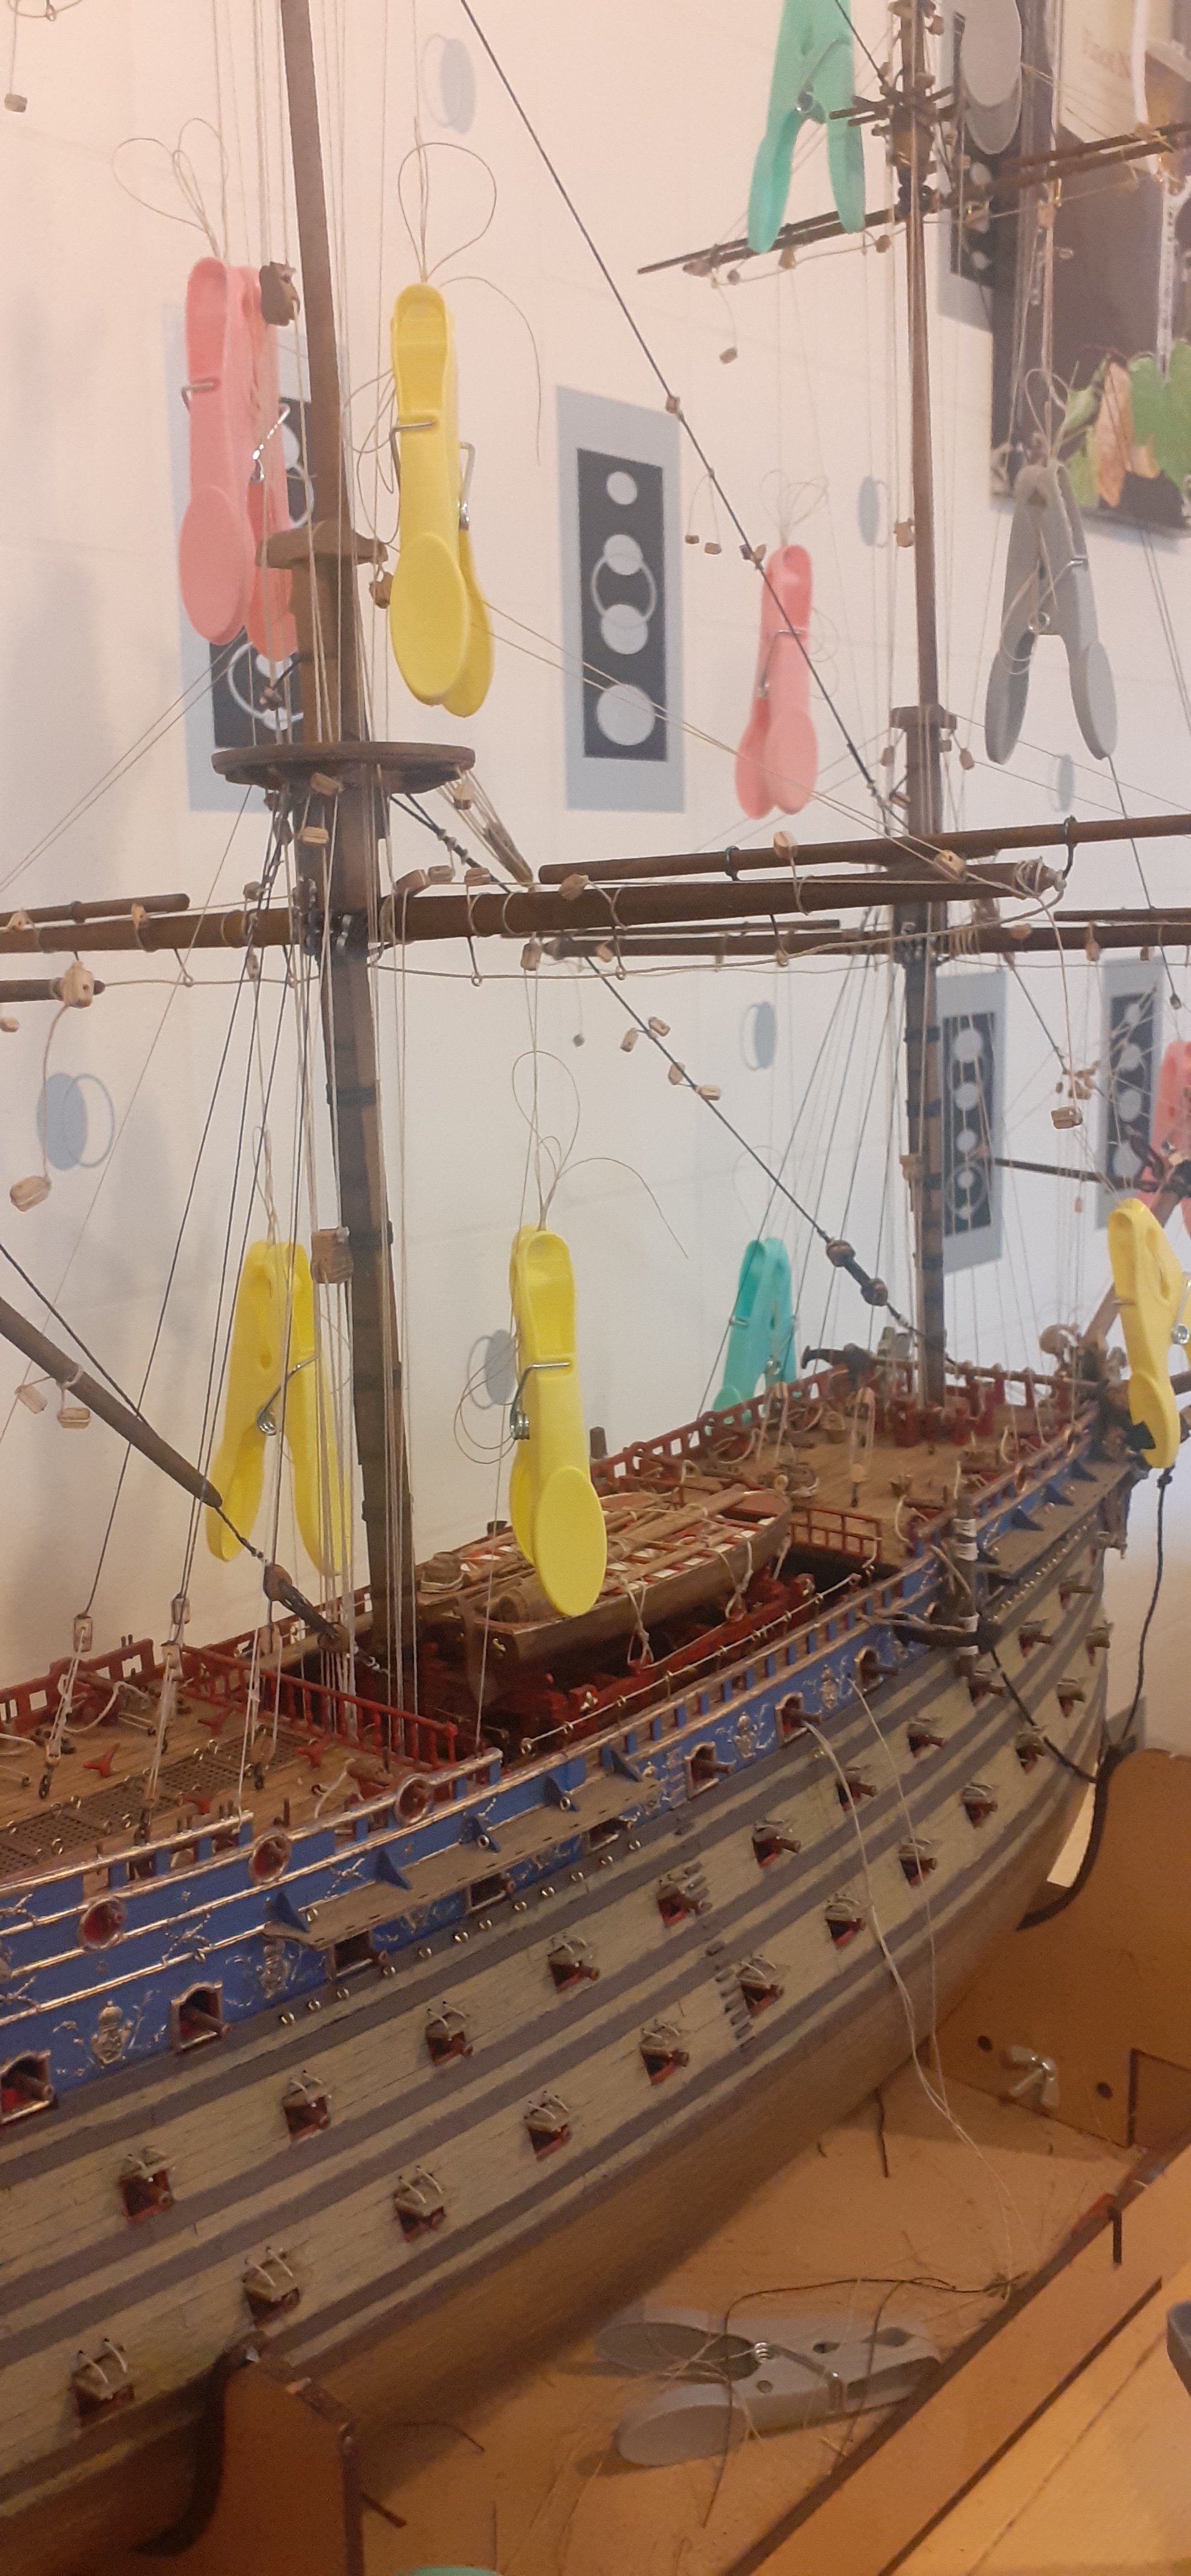
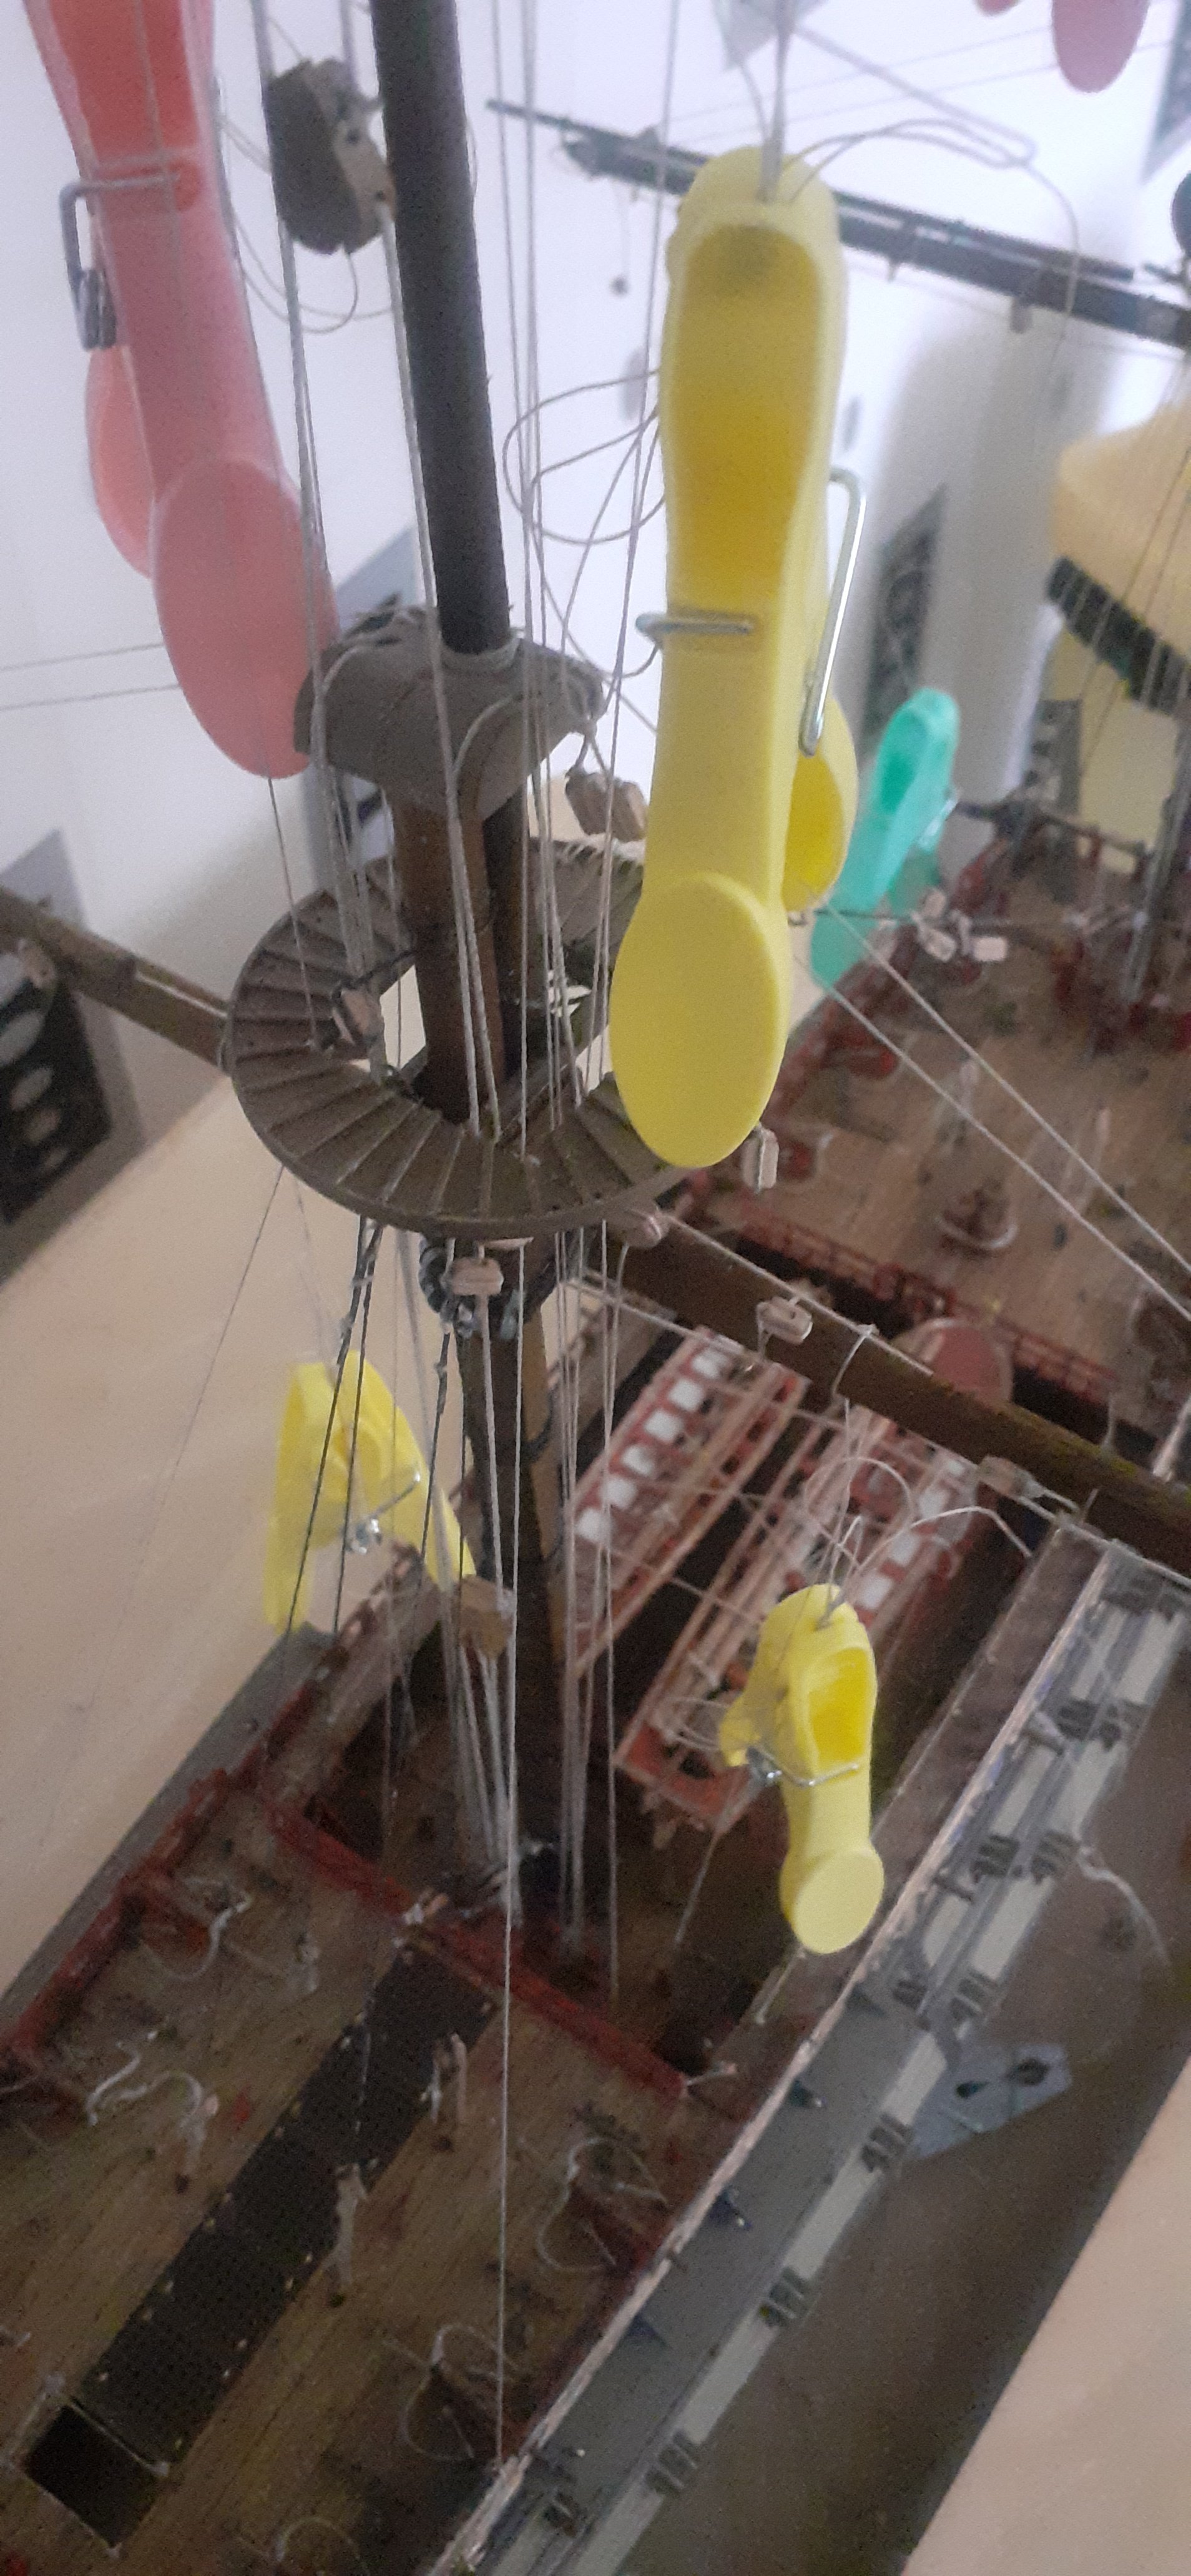
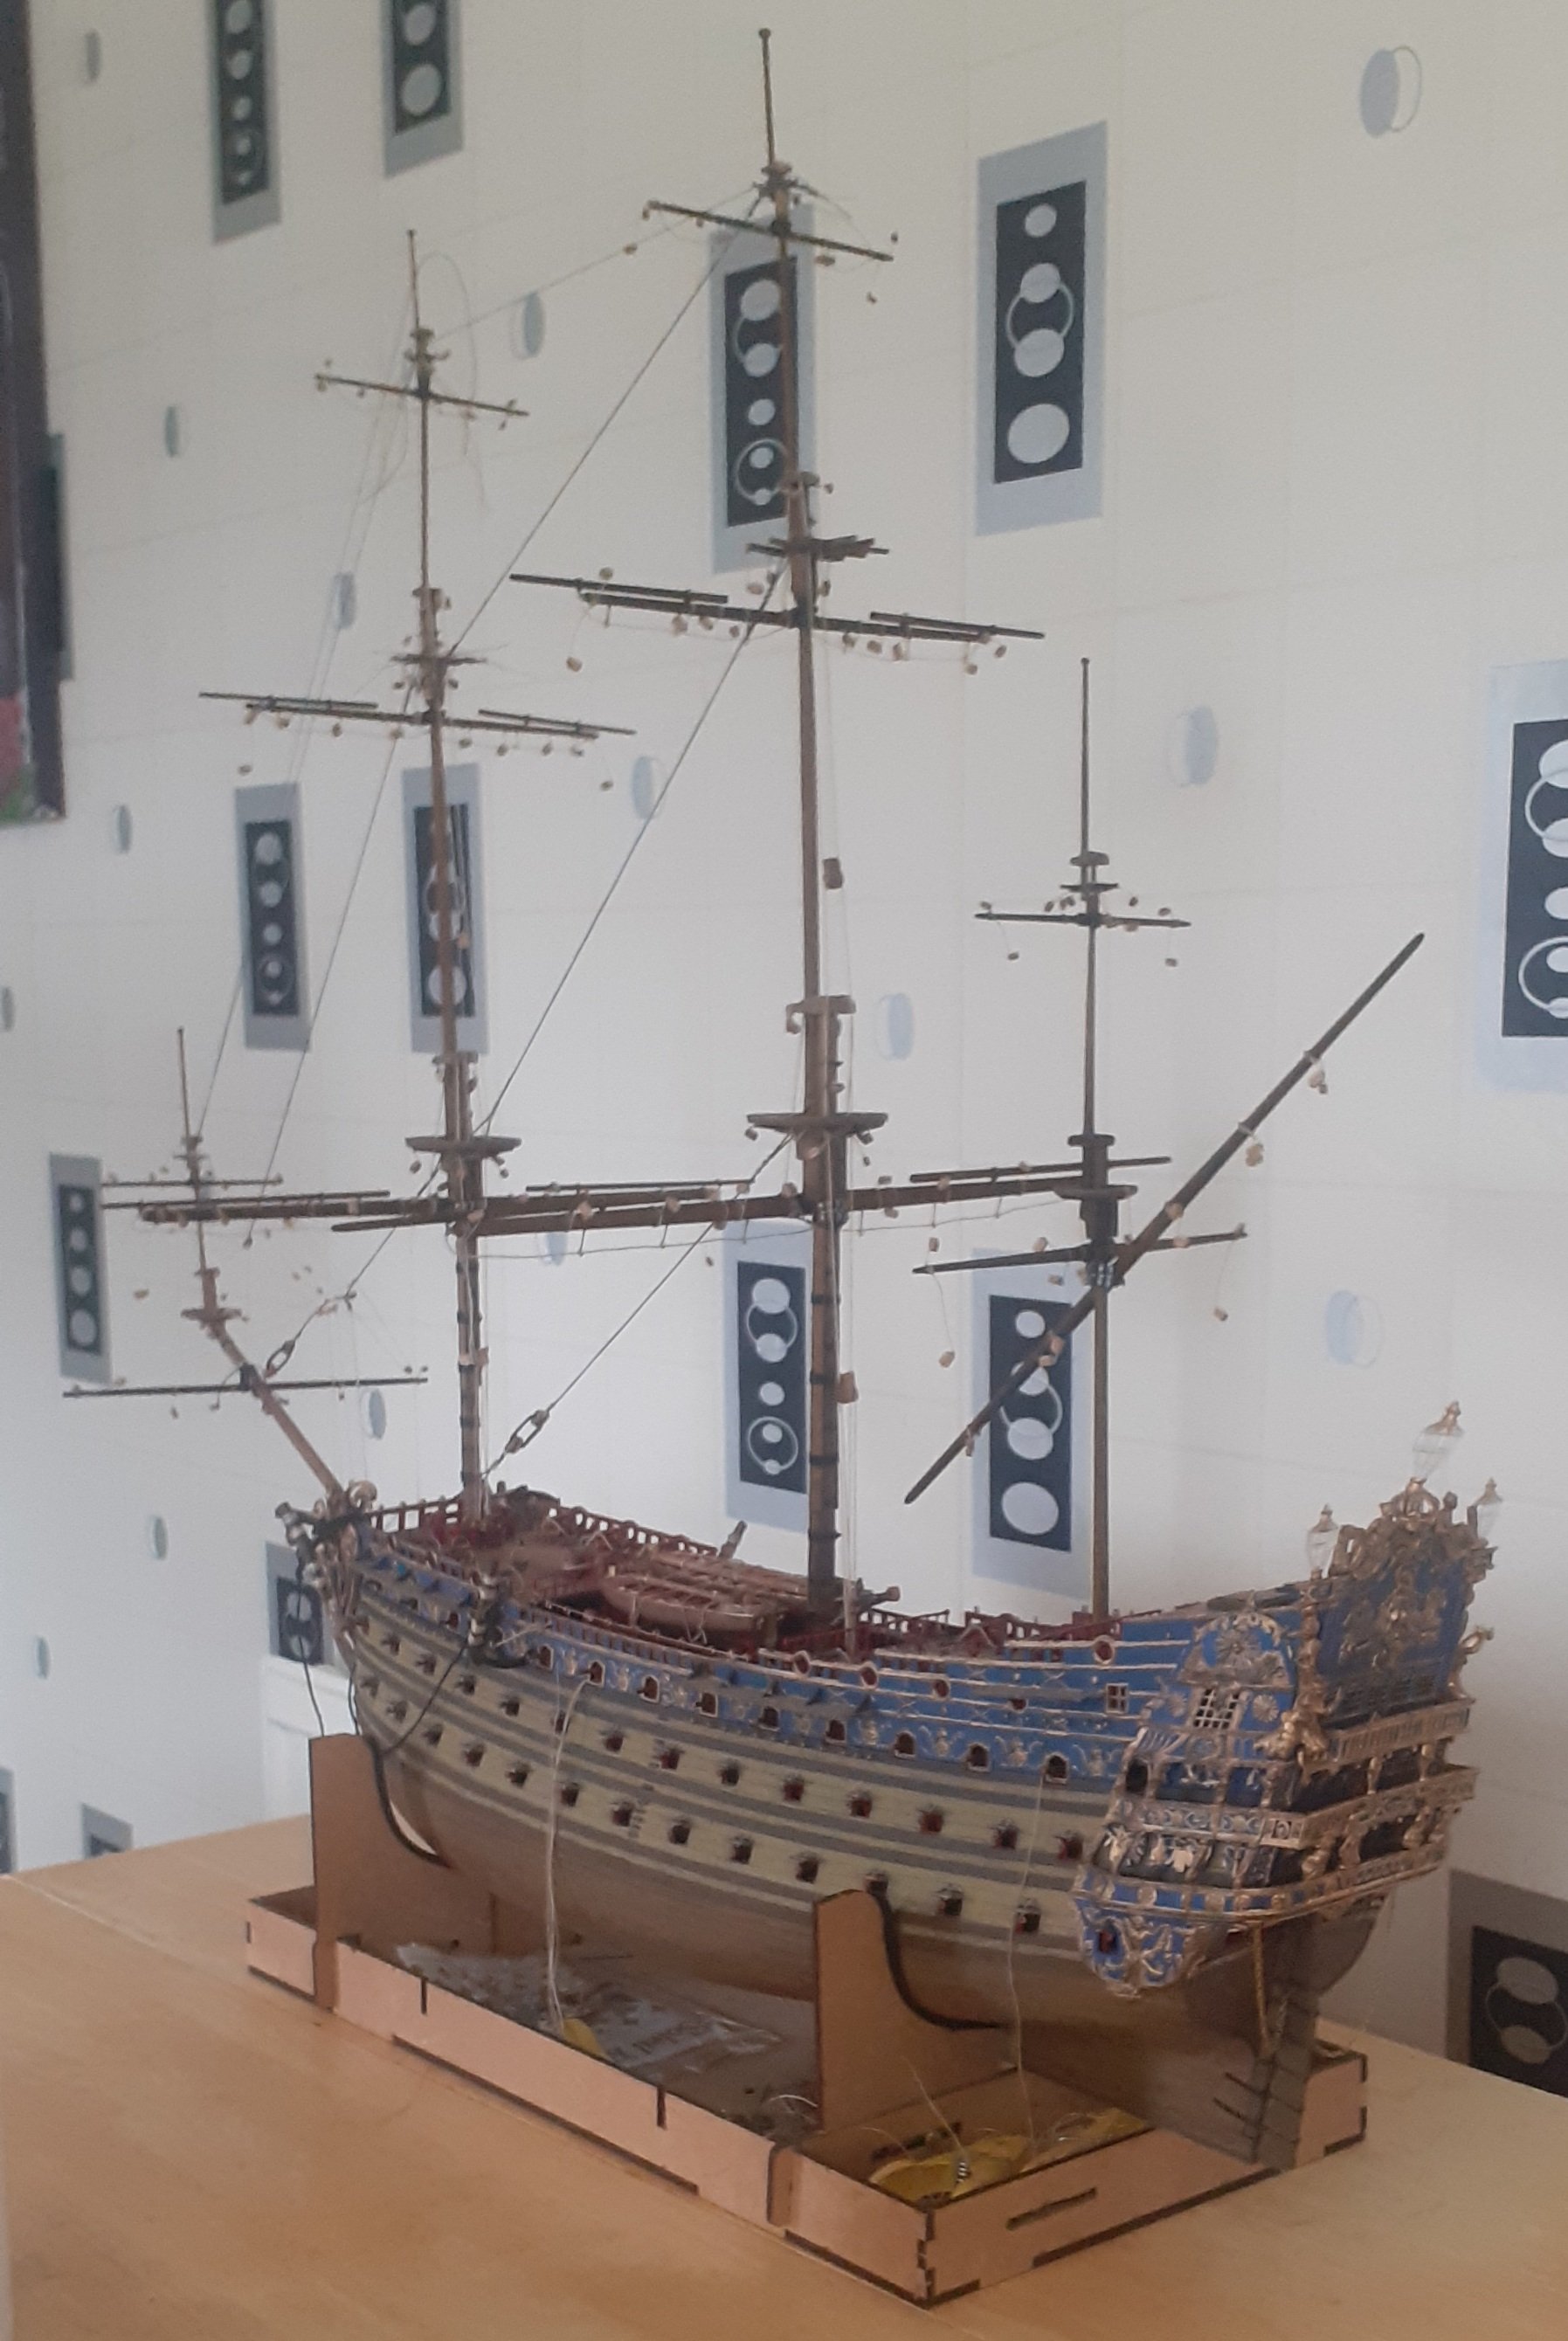
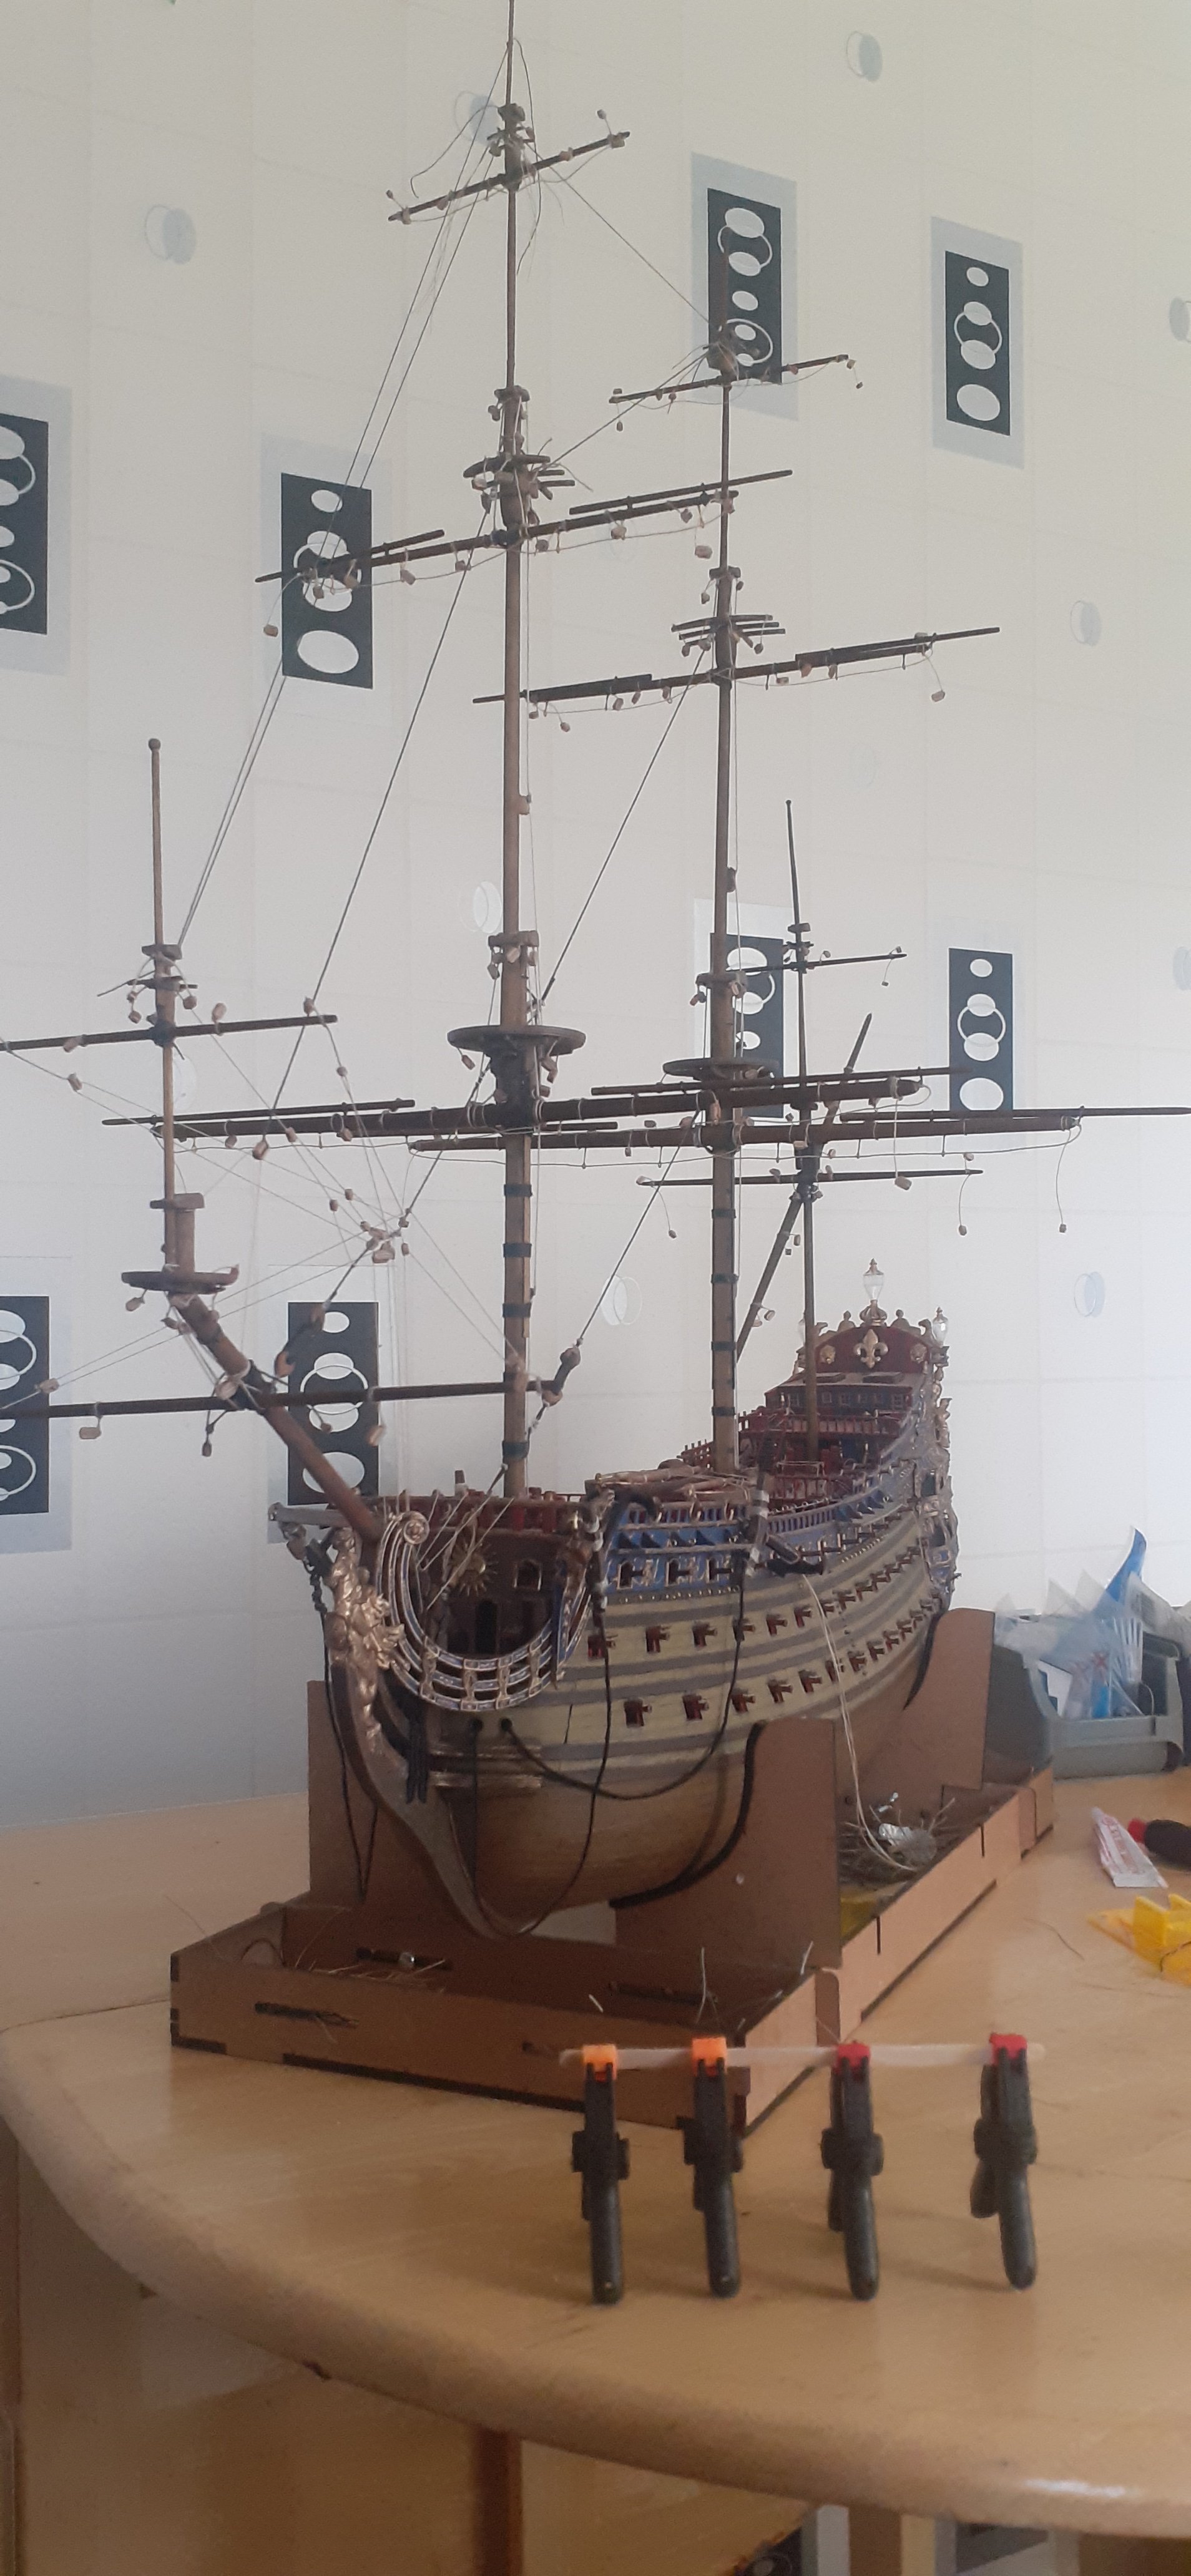
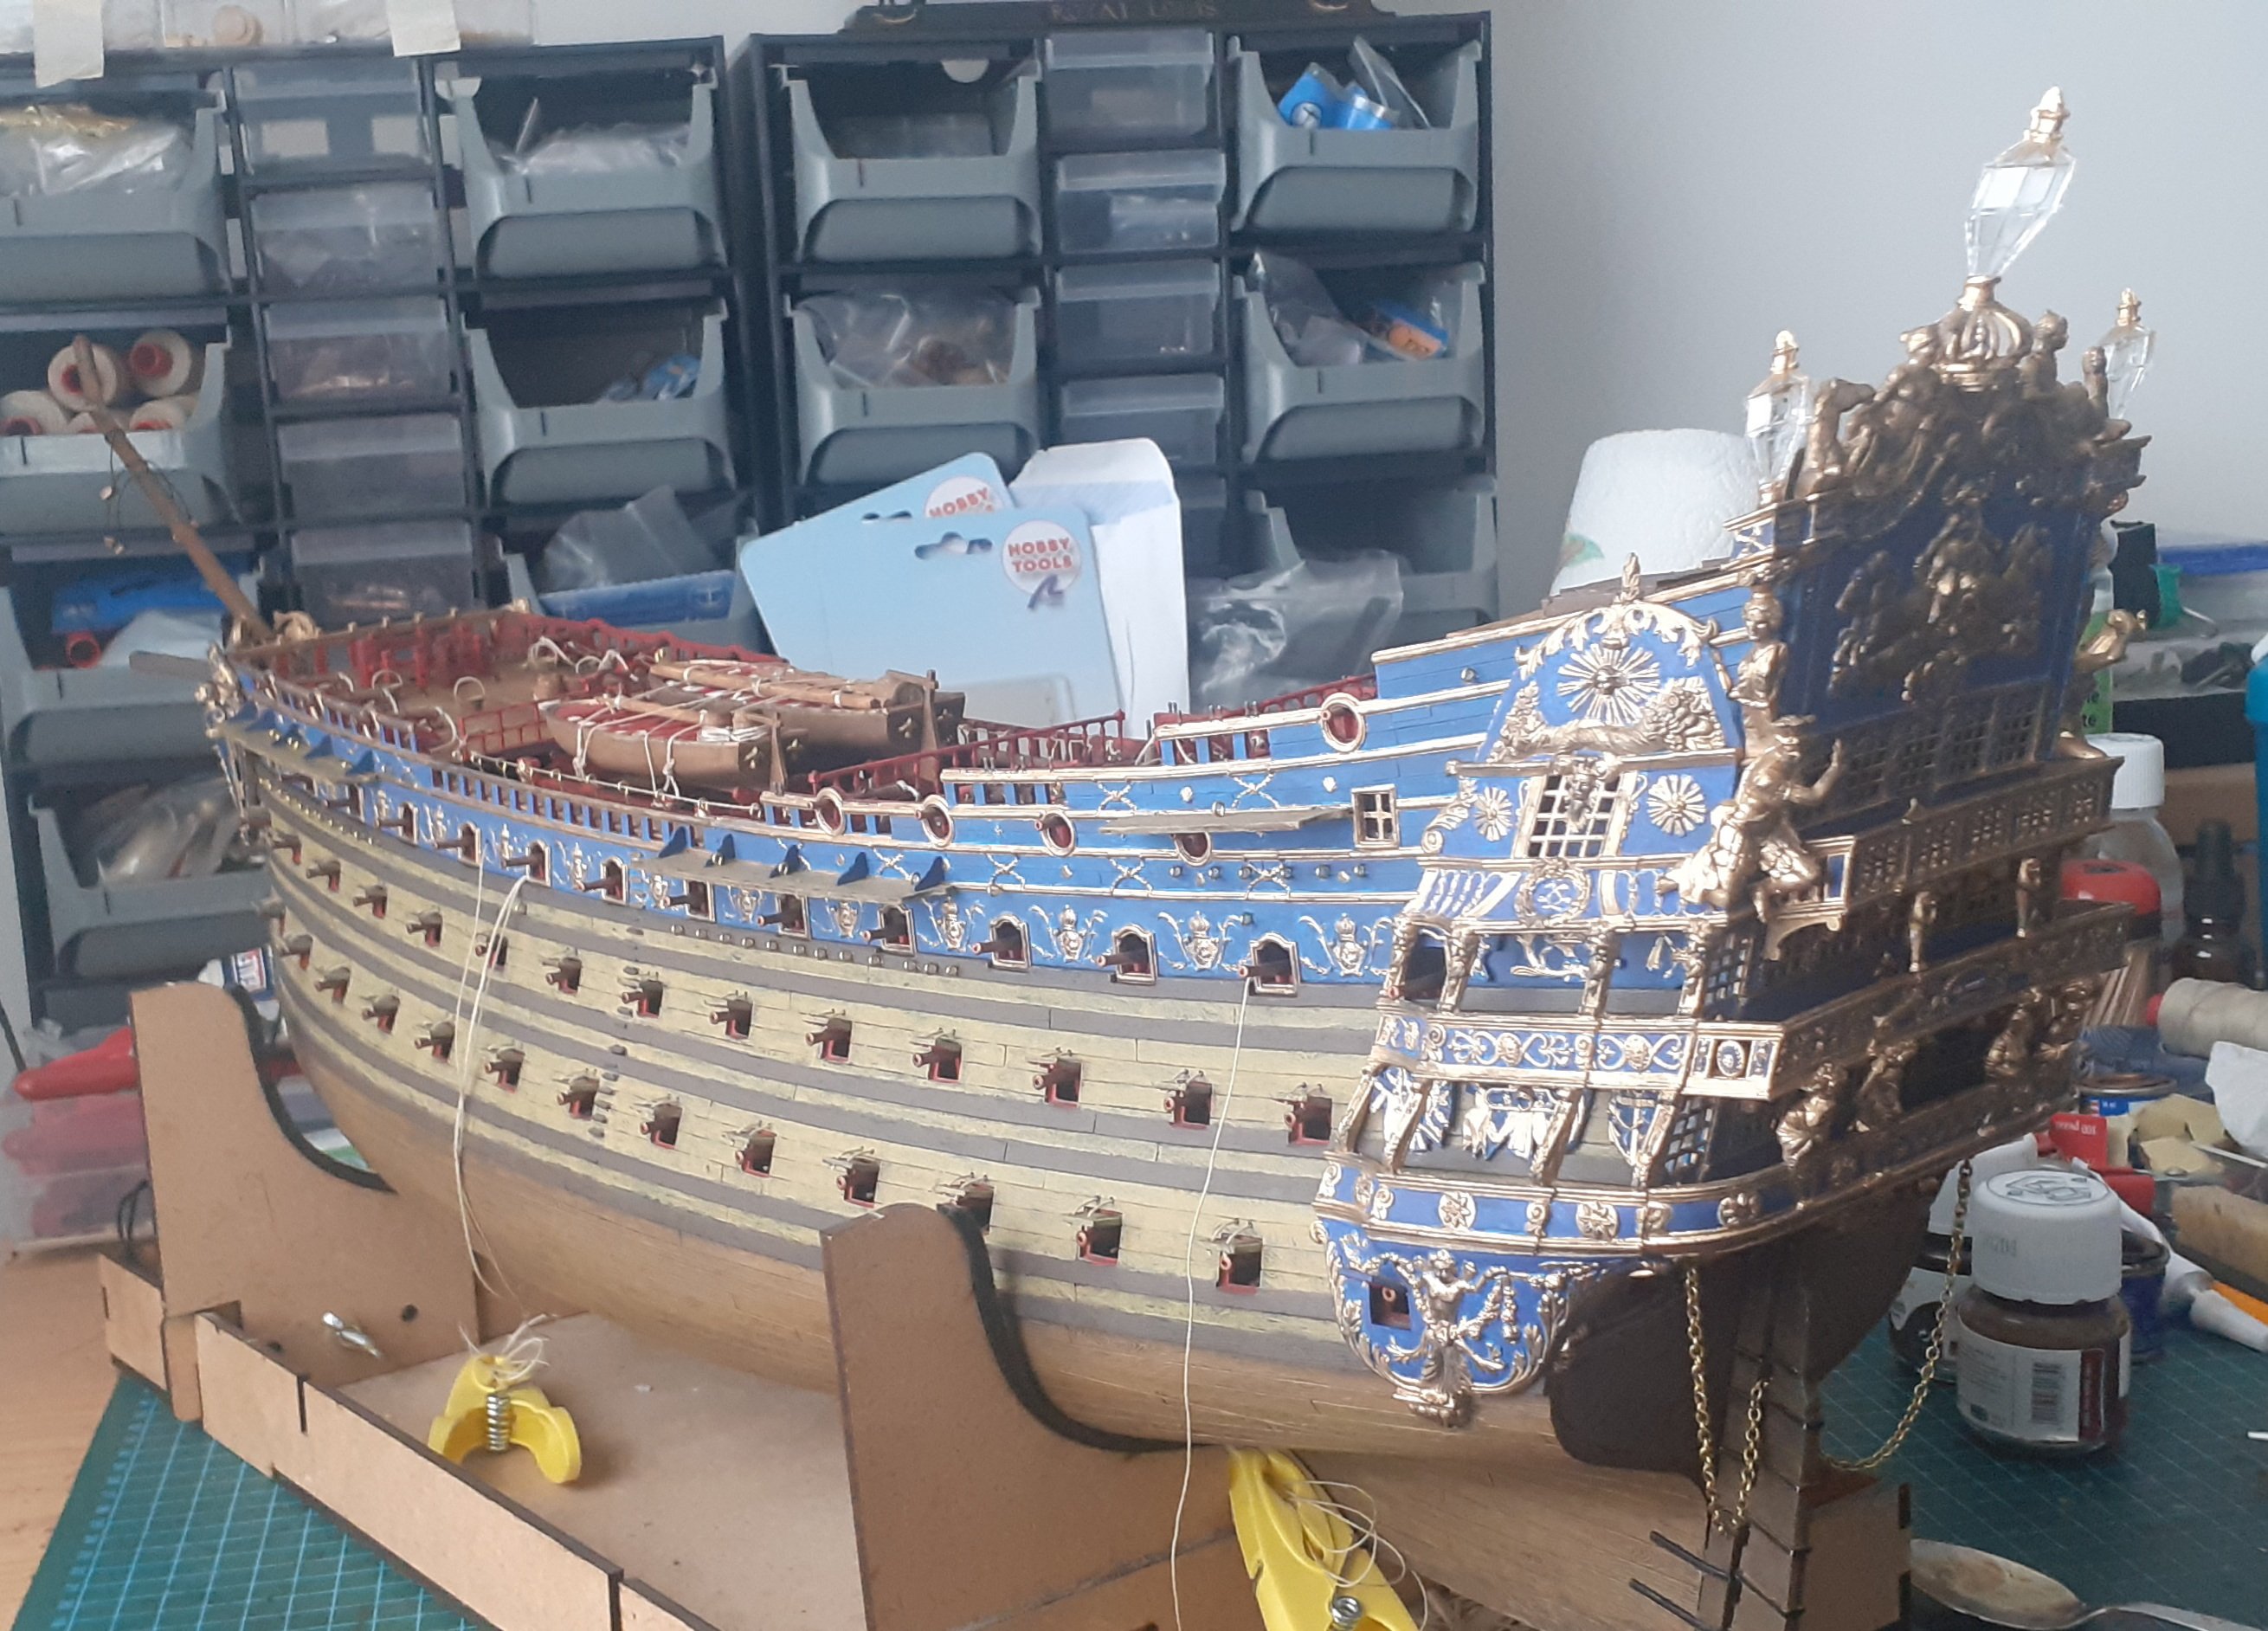
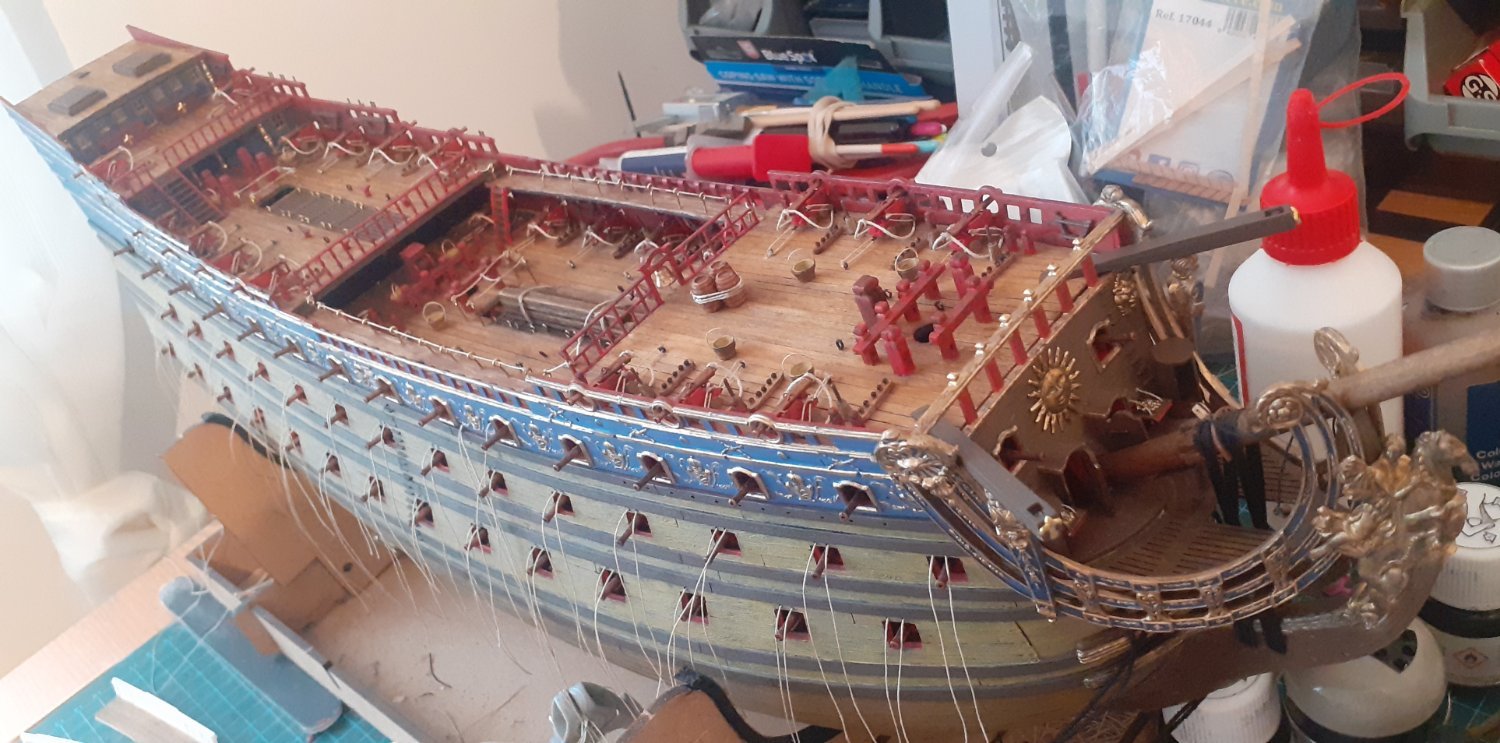
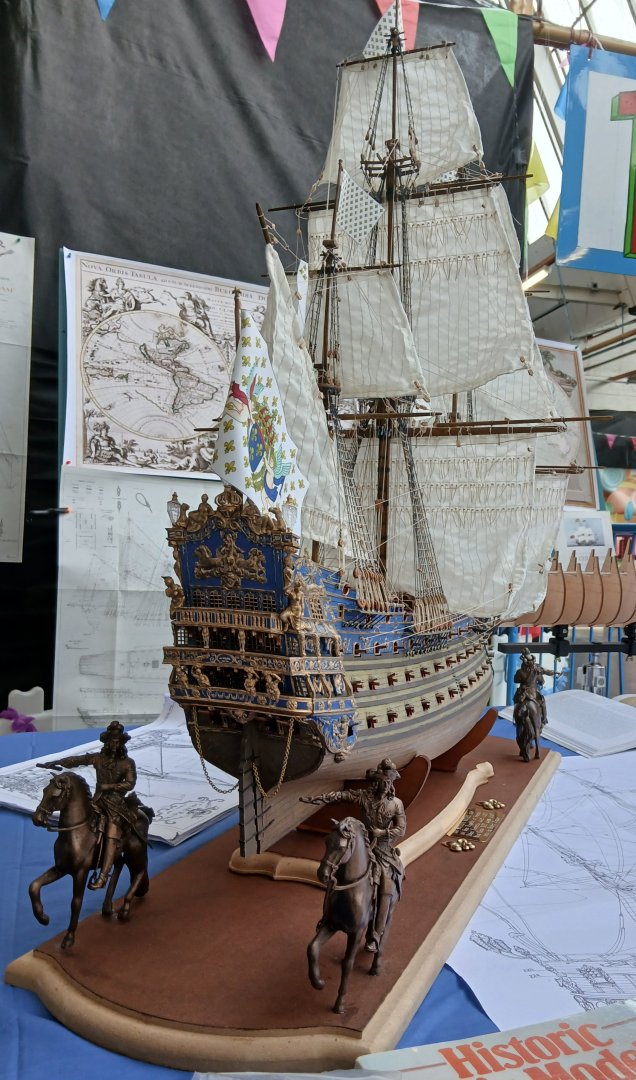
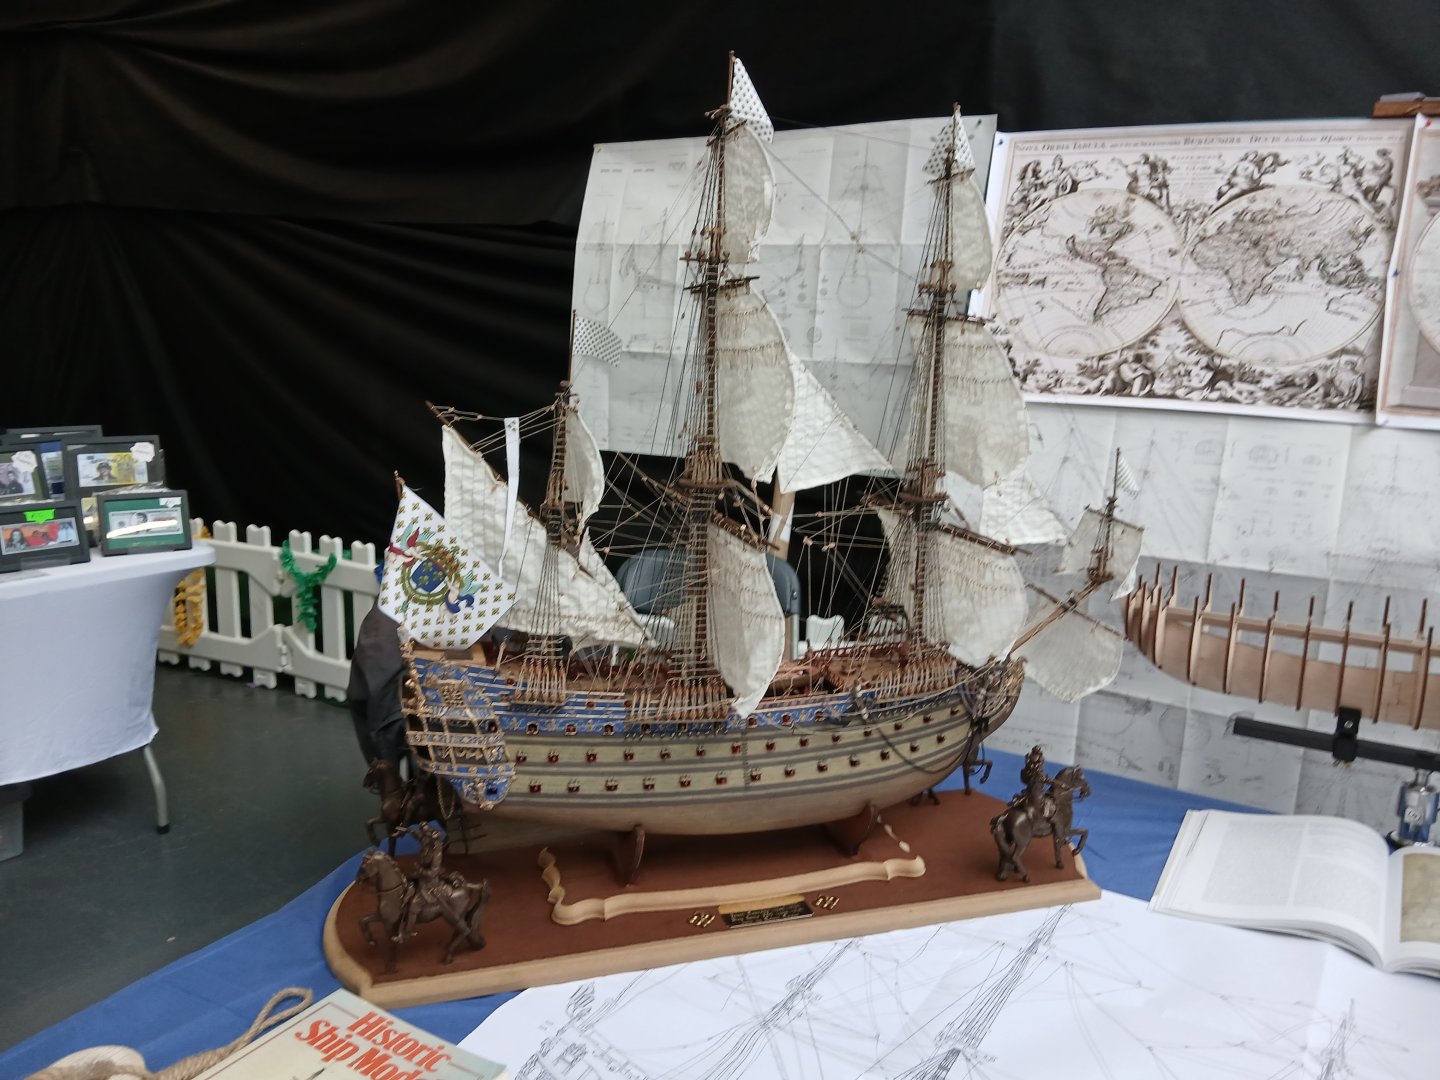
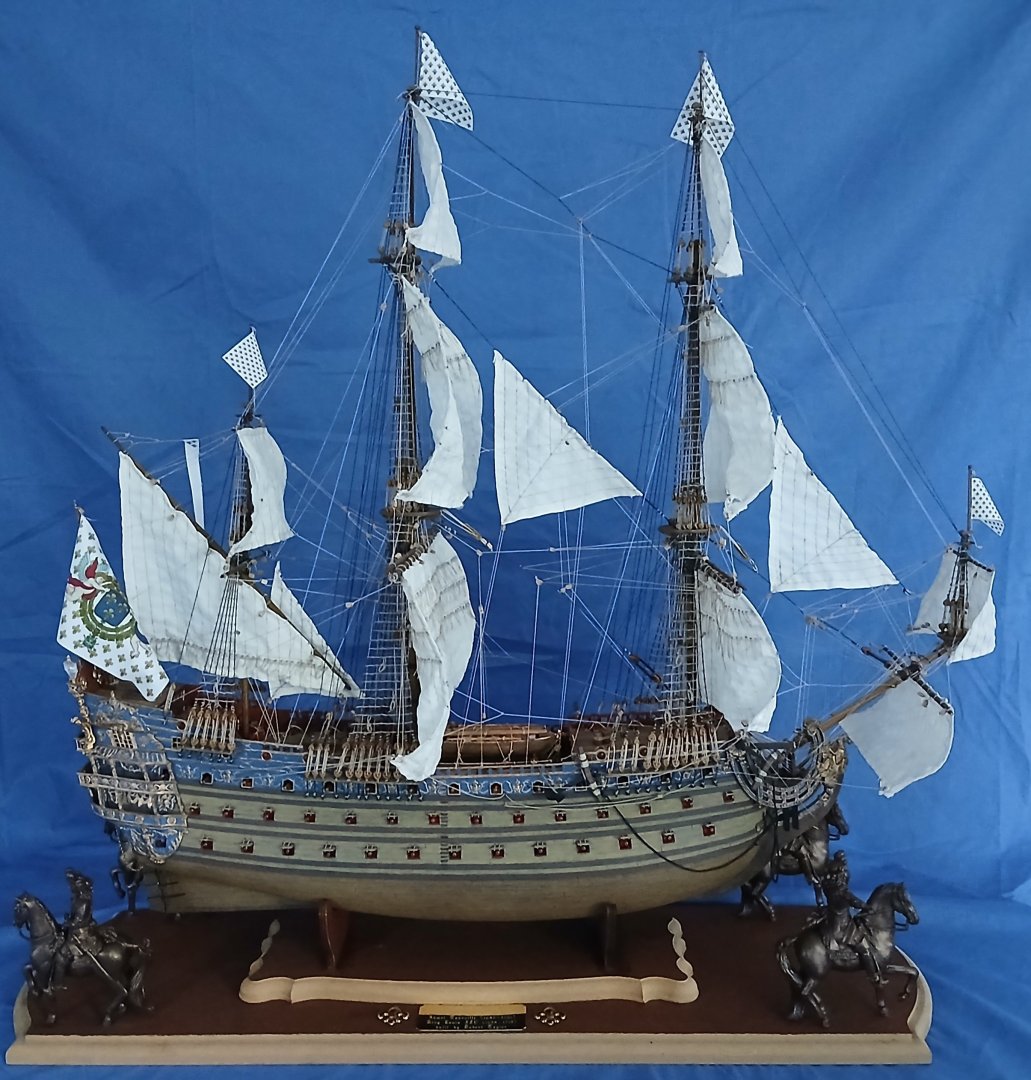
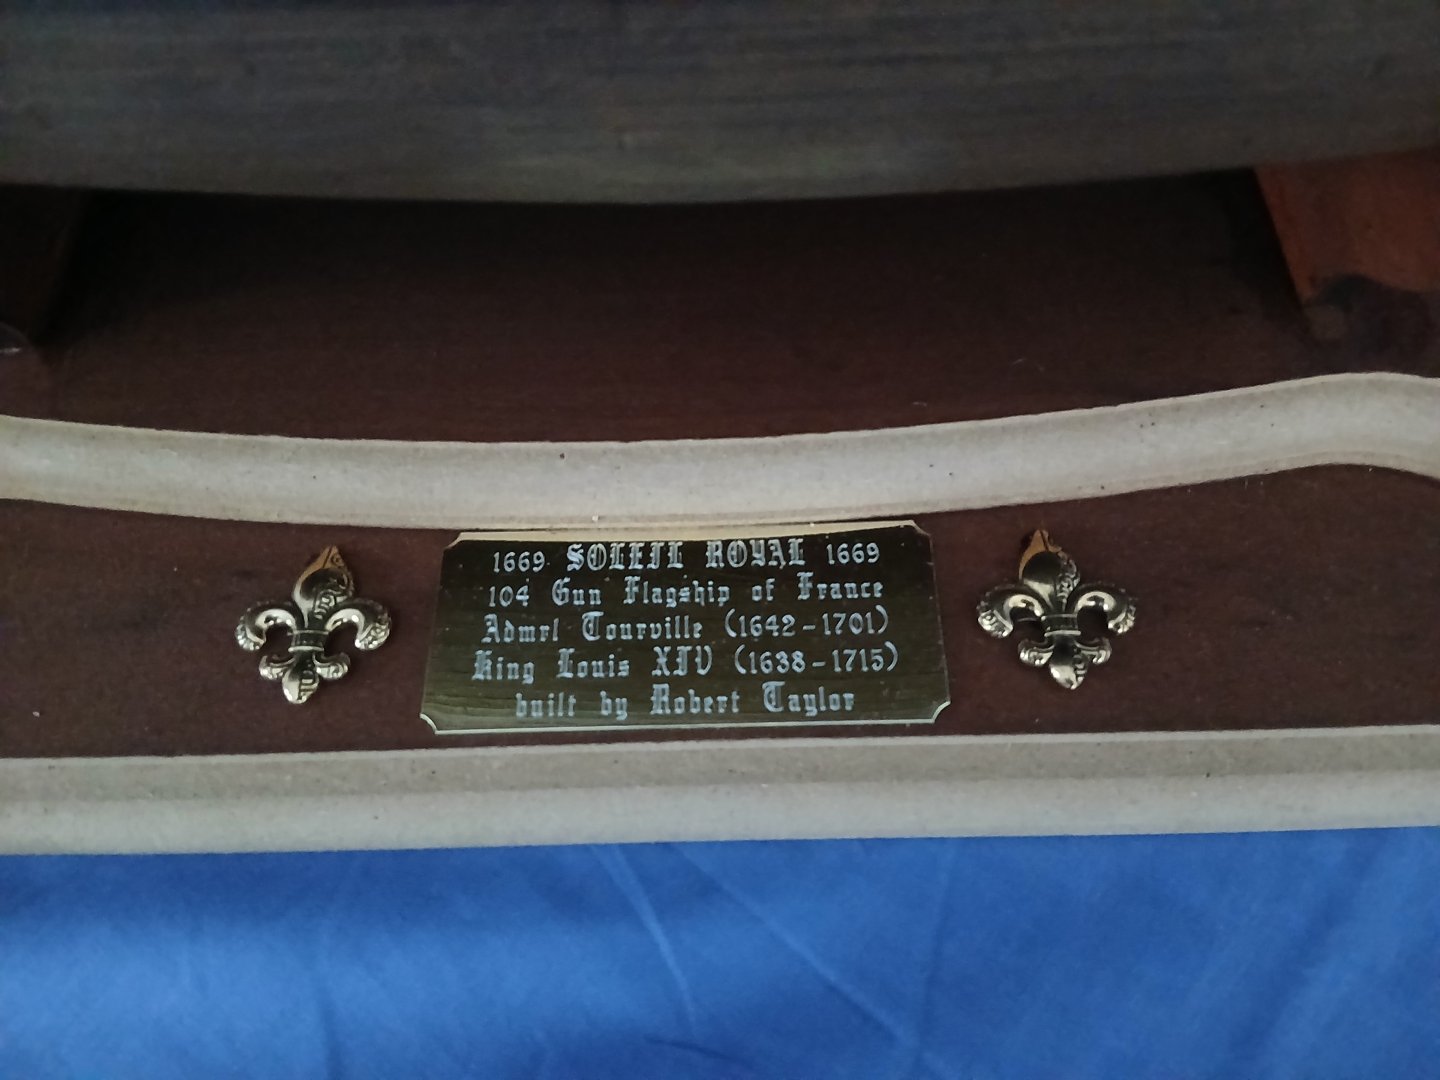
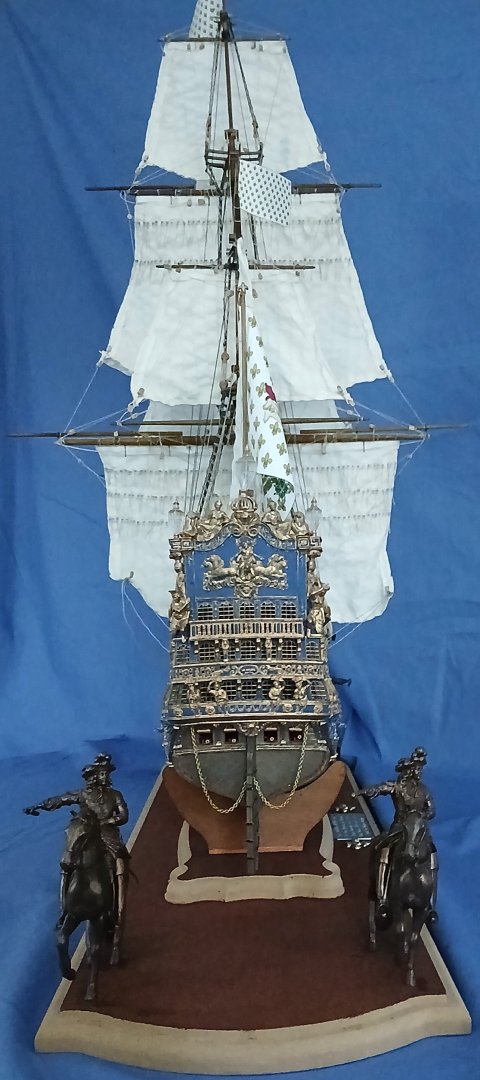
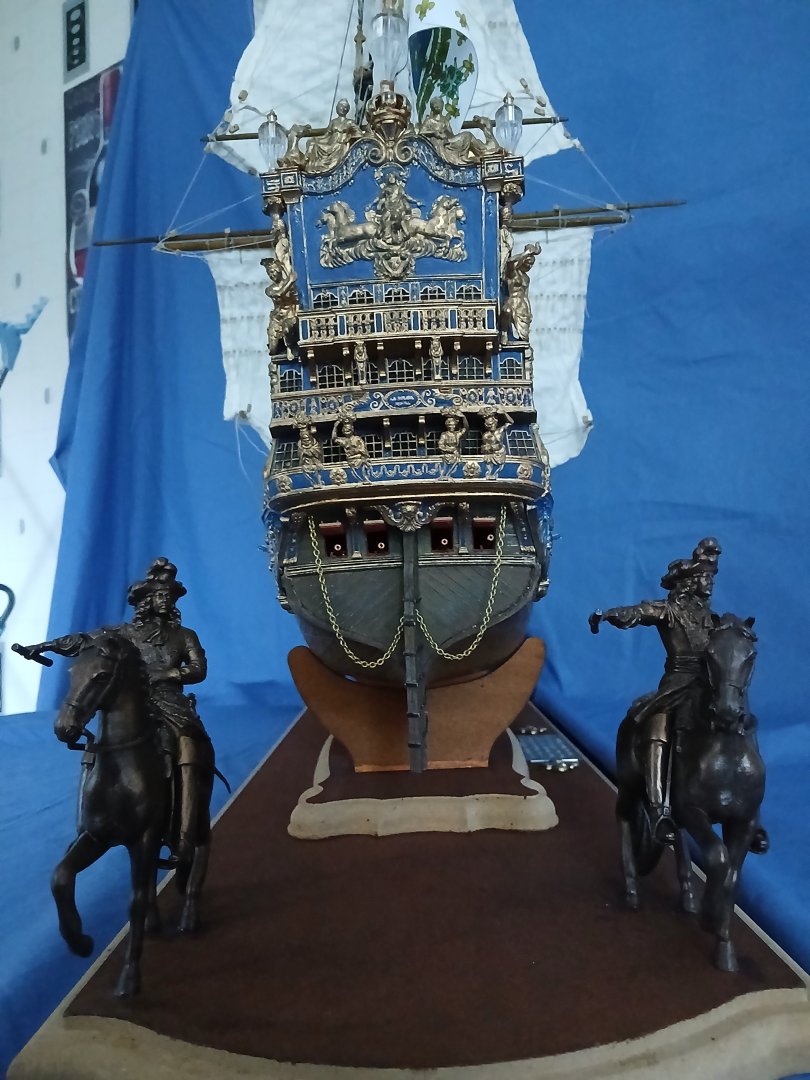
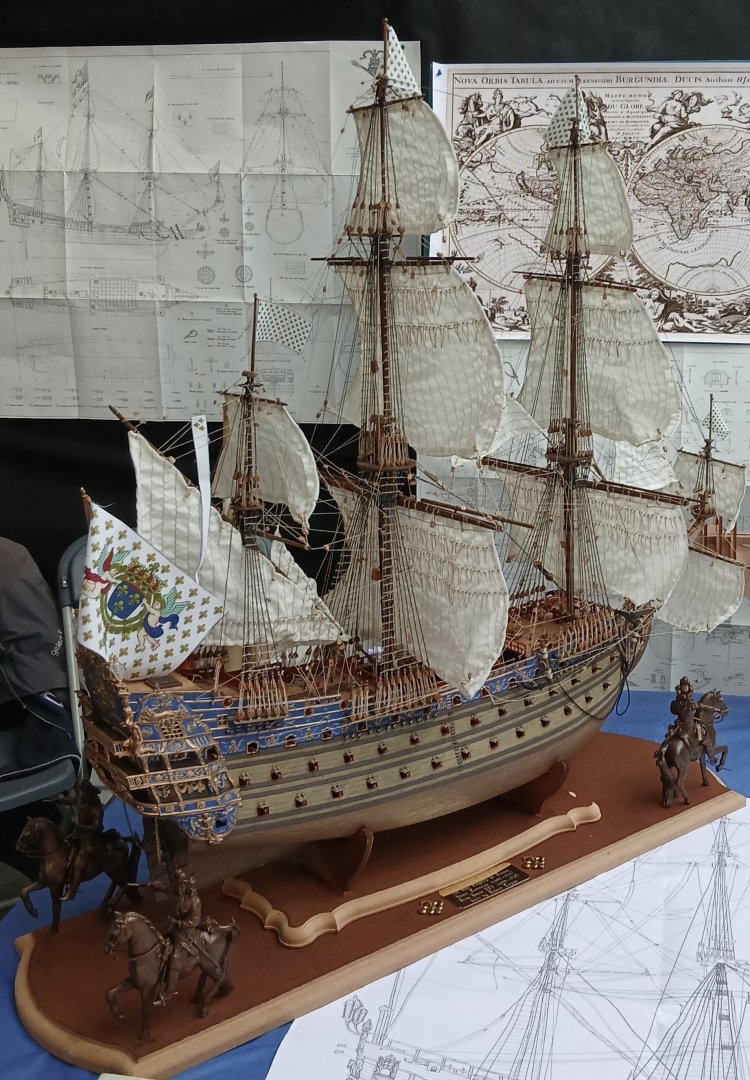
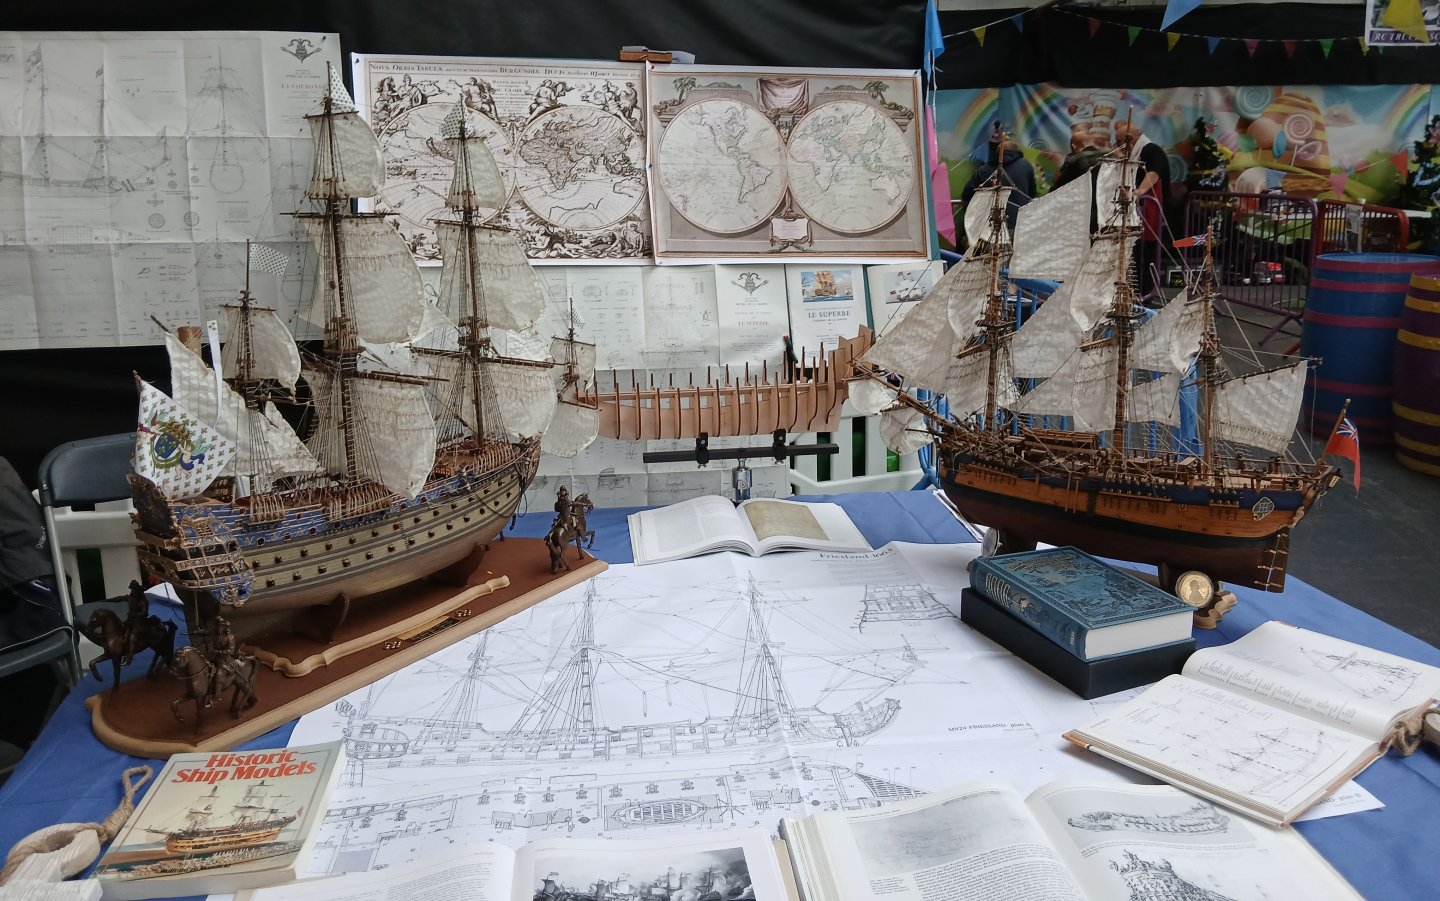
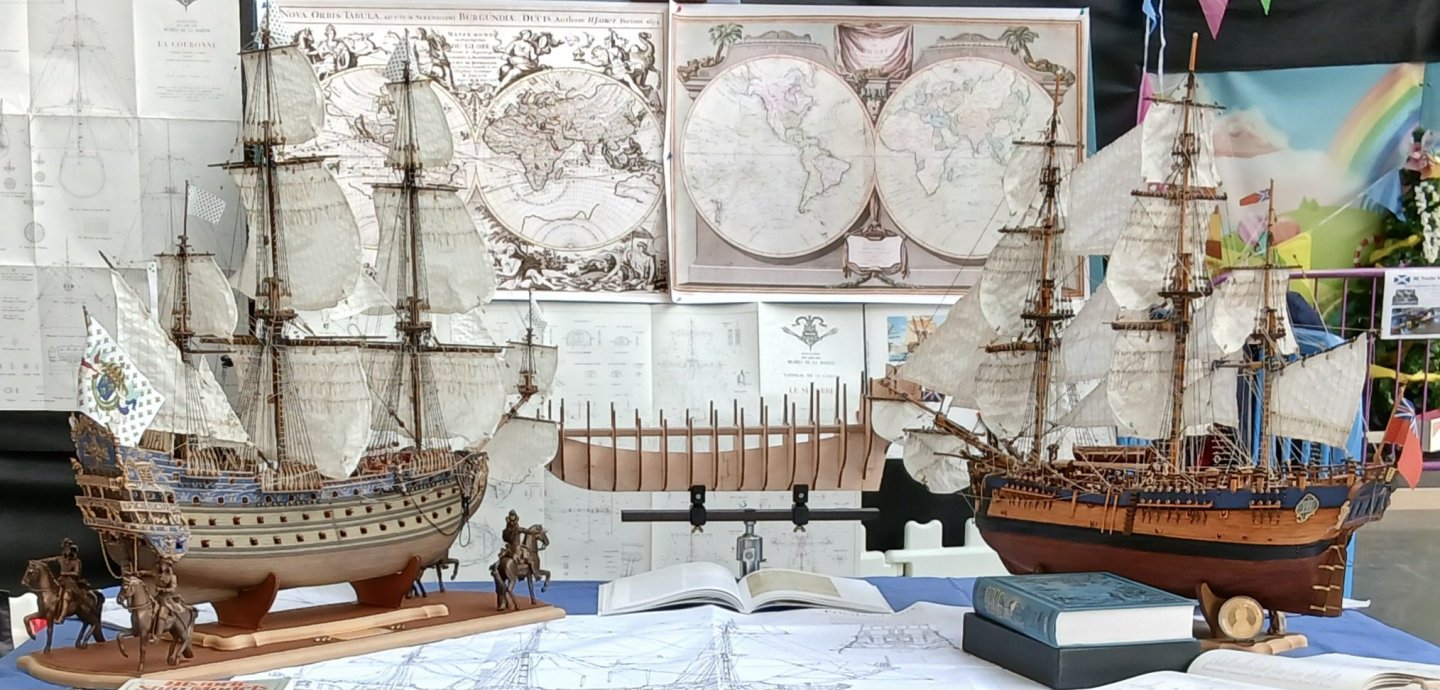
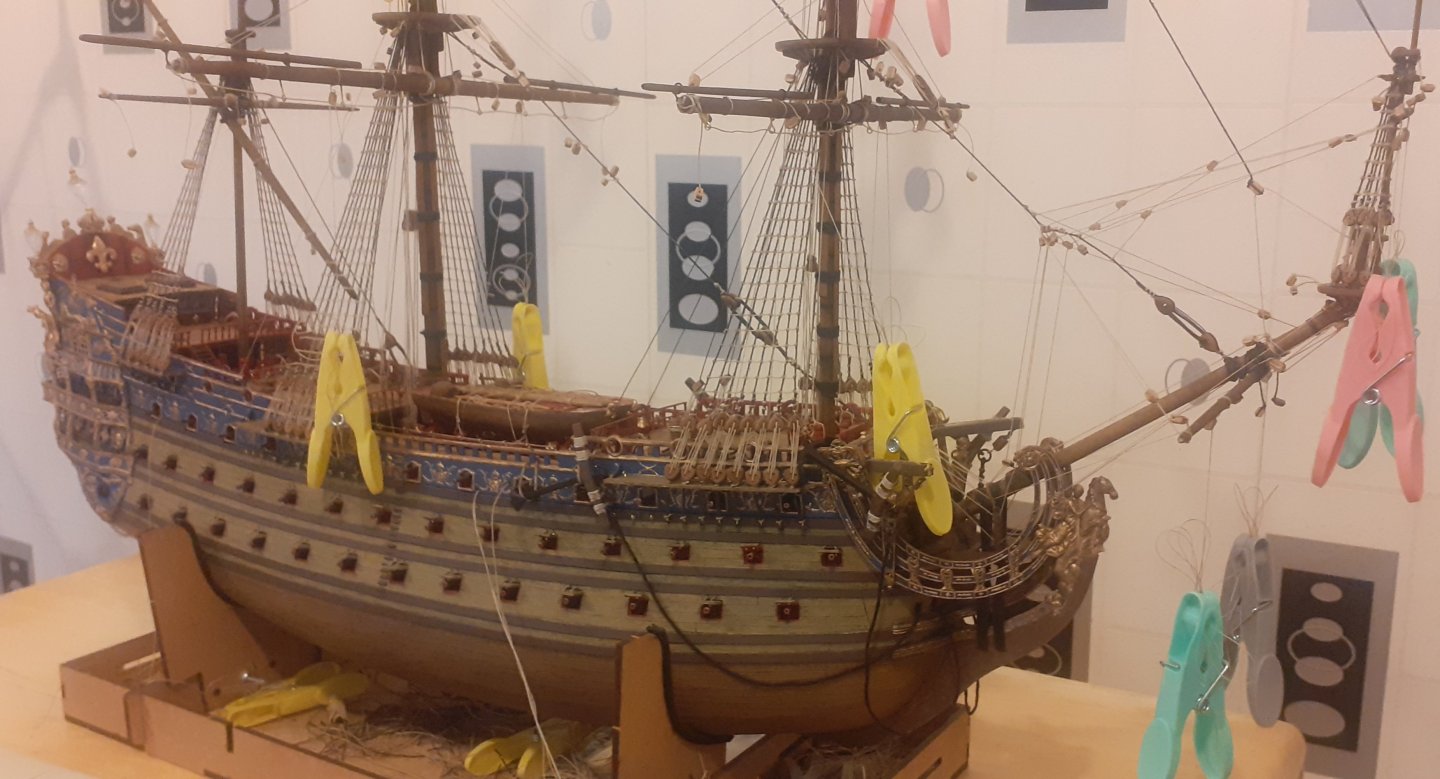
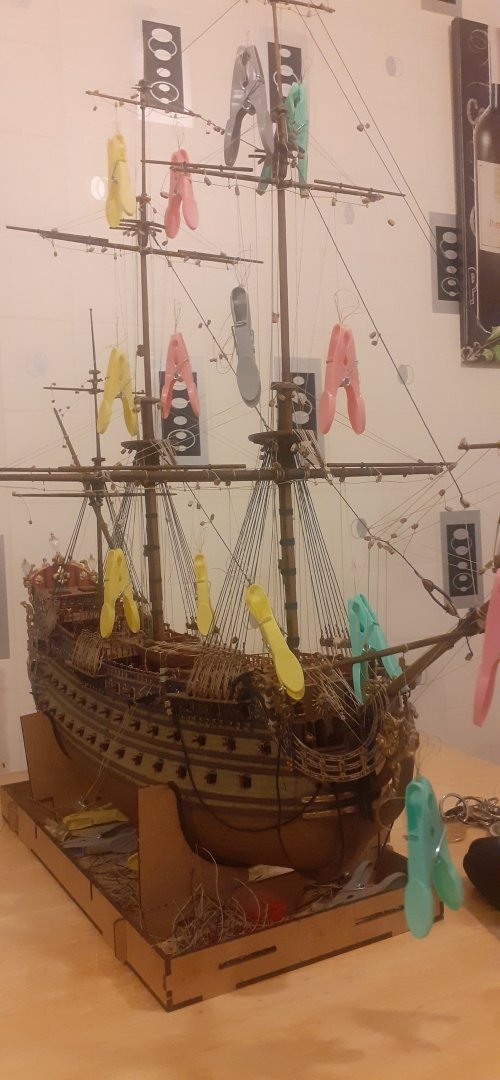
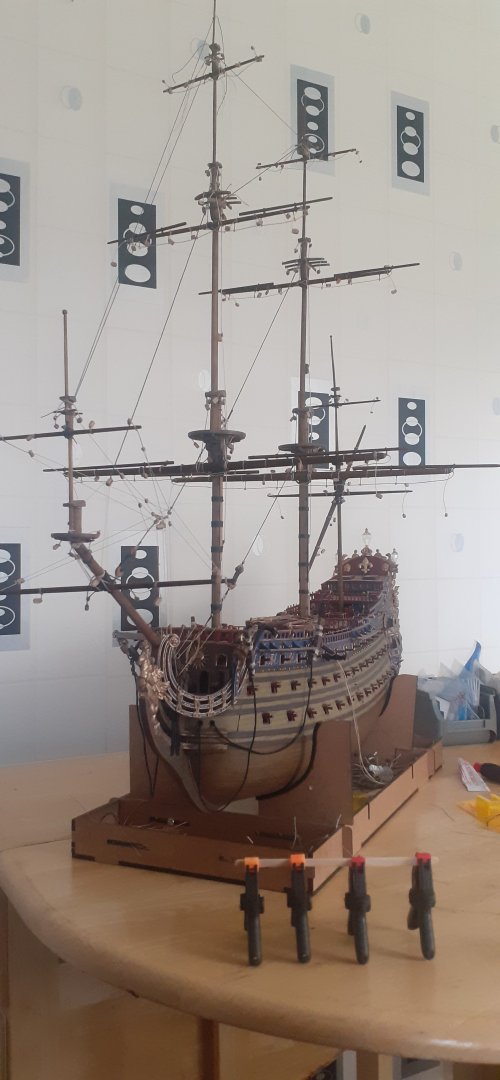
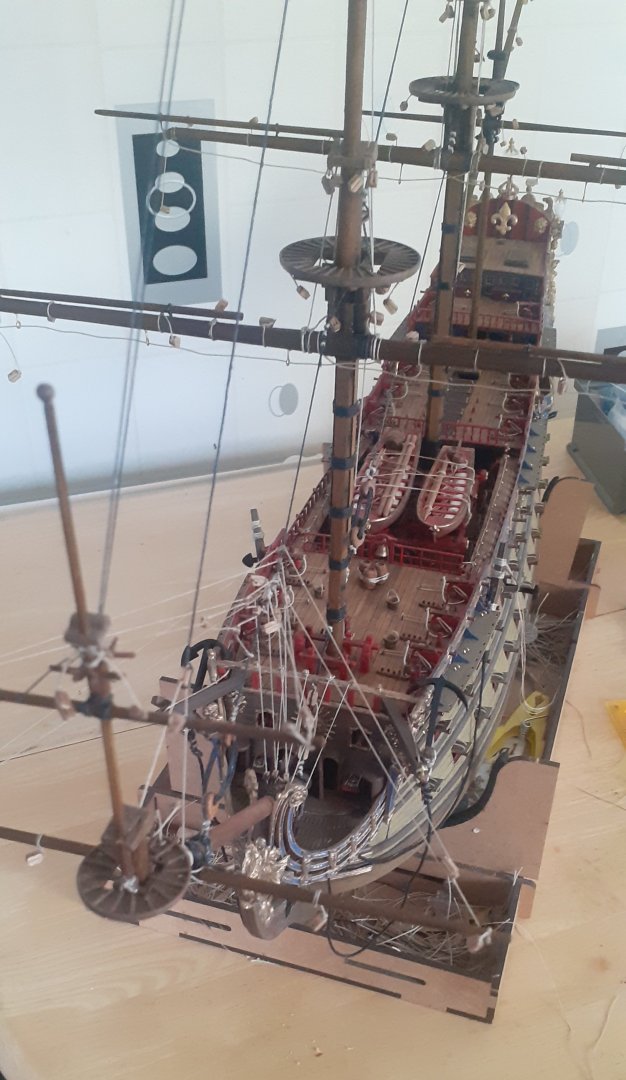
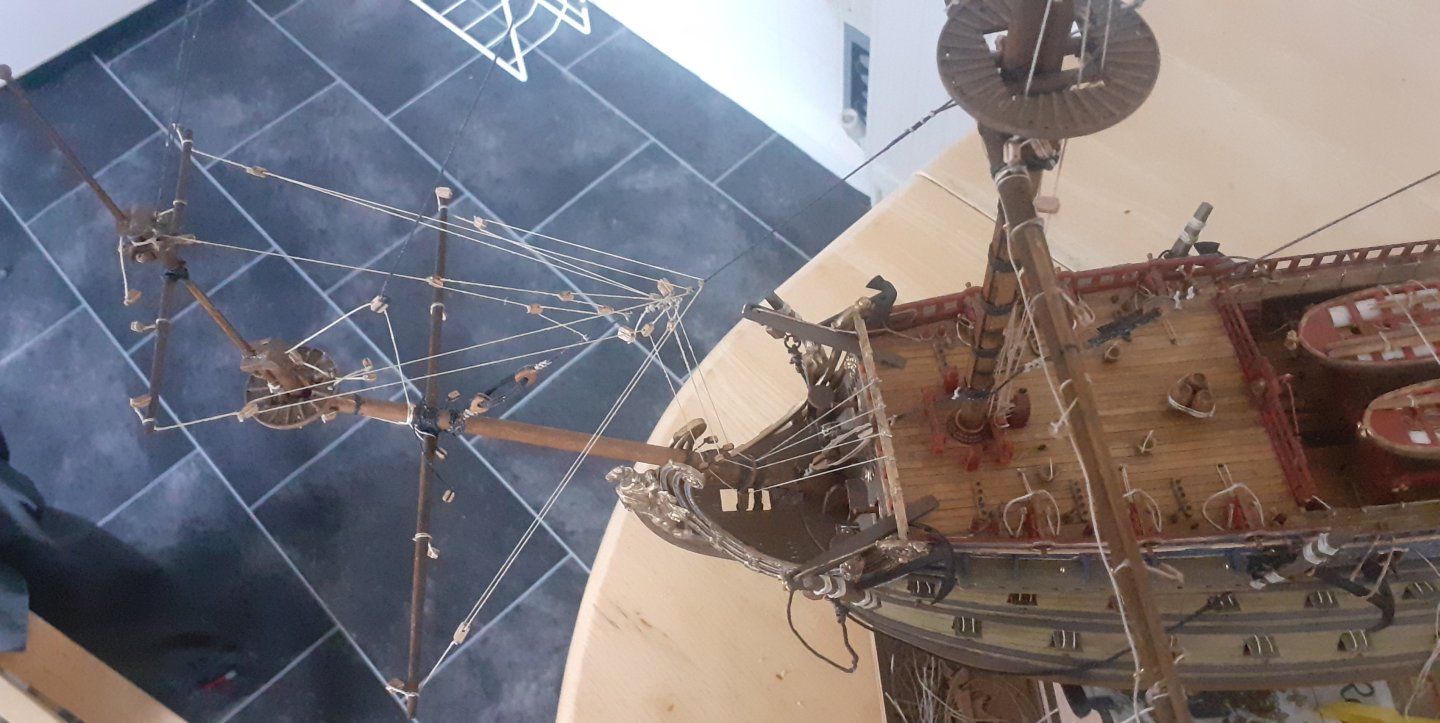
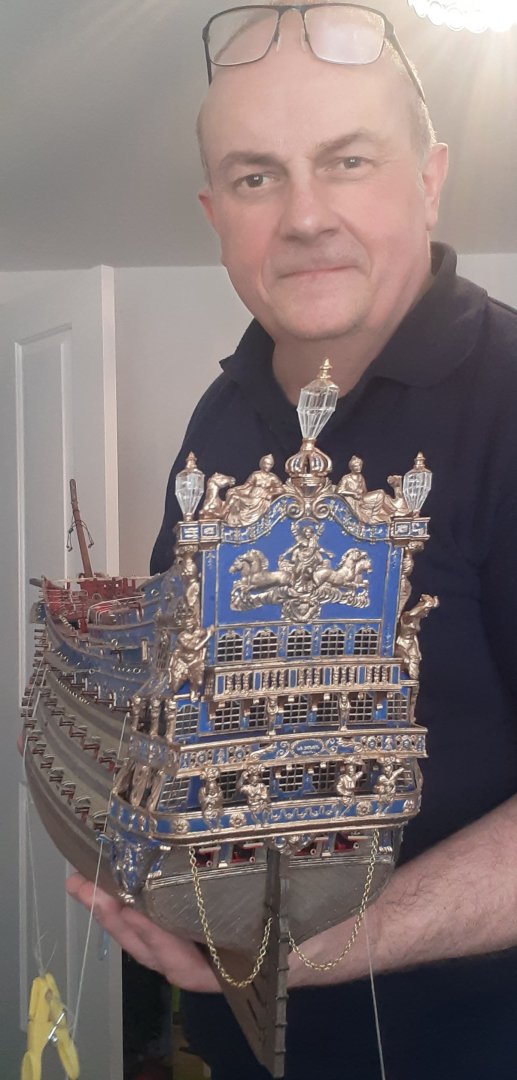
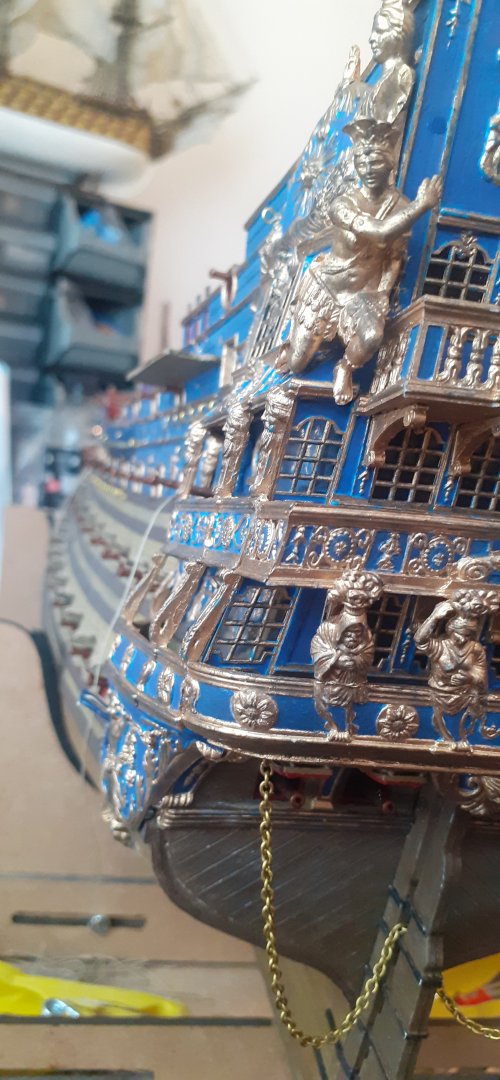
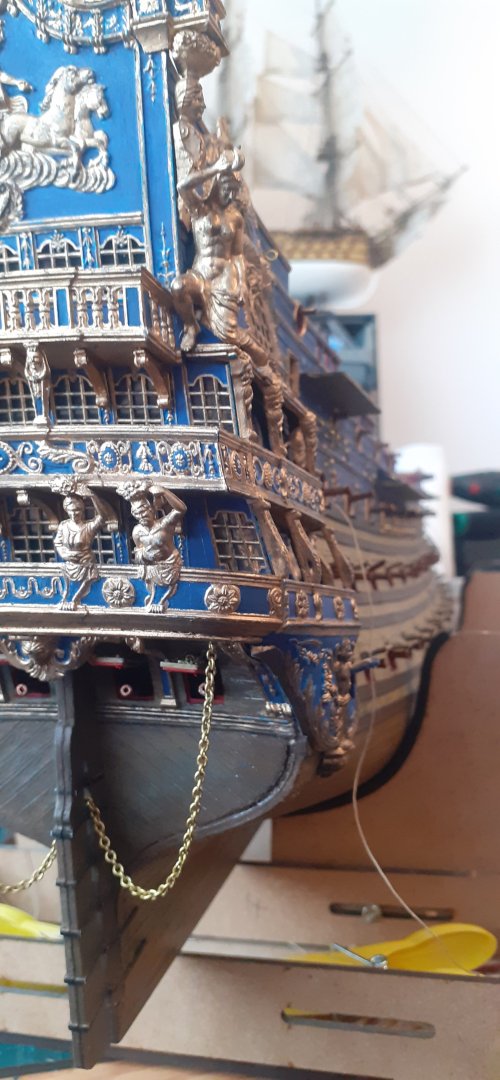
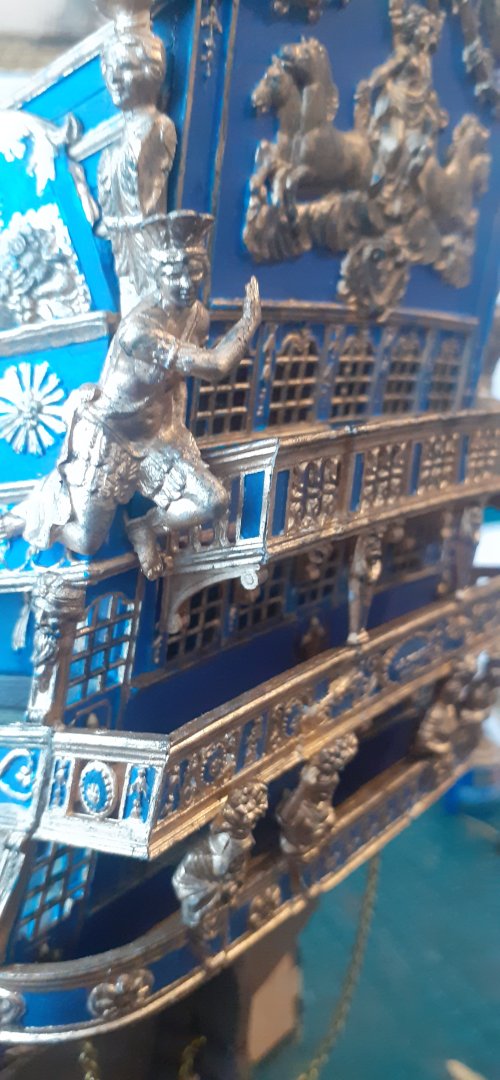
After 2 1/2 years some a lot of which I had to deal with heartbreaking circumstances my Soleil Royal is finally finished. Originally the Heller kit but I heavily improvised her giving her wooden decks, masts, yards, Deadeyes, rigging blocks etc.. while adding a lot more deck detail rigging up all 104 Cannons, 1,864 clove hitches, approx 500 reef points, 520 Cannon balls as well as Barrels and rope hanks not to mention miles of Amati rigging thread in various sizes. Without the personal circumstances I've had to endure she has been a labour of Love. I'm not a craftsman by any manner of means and don't have any ambitions to be one either. I just build these ships for the Beauty and historical aspect that each one has. Some of the photos you will see were taken at a recent Model Show in Scotland i was asked to display at. I hope you like it as much as I enjoyed building her. All the best Robert (ART's Model Dockyard)


- 44 replies
-
- 5
-
-
- soleil royal
- Heller
- (and 5 more)
-
Thank you very much mate, I don't know about being a master lol.. nowhere near a professional, then again it's not something I am overly bothered about i just build my ships the way anyone else does to their own capabilities and own pleasure.
- 44 replies
-
- 1
-
-
- soleil royal
- Heller
- (and 5 more)
-
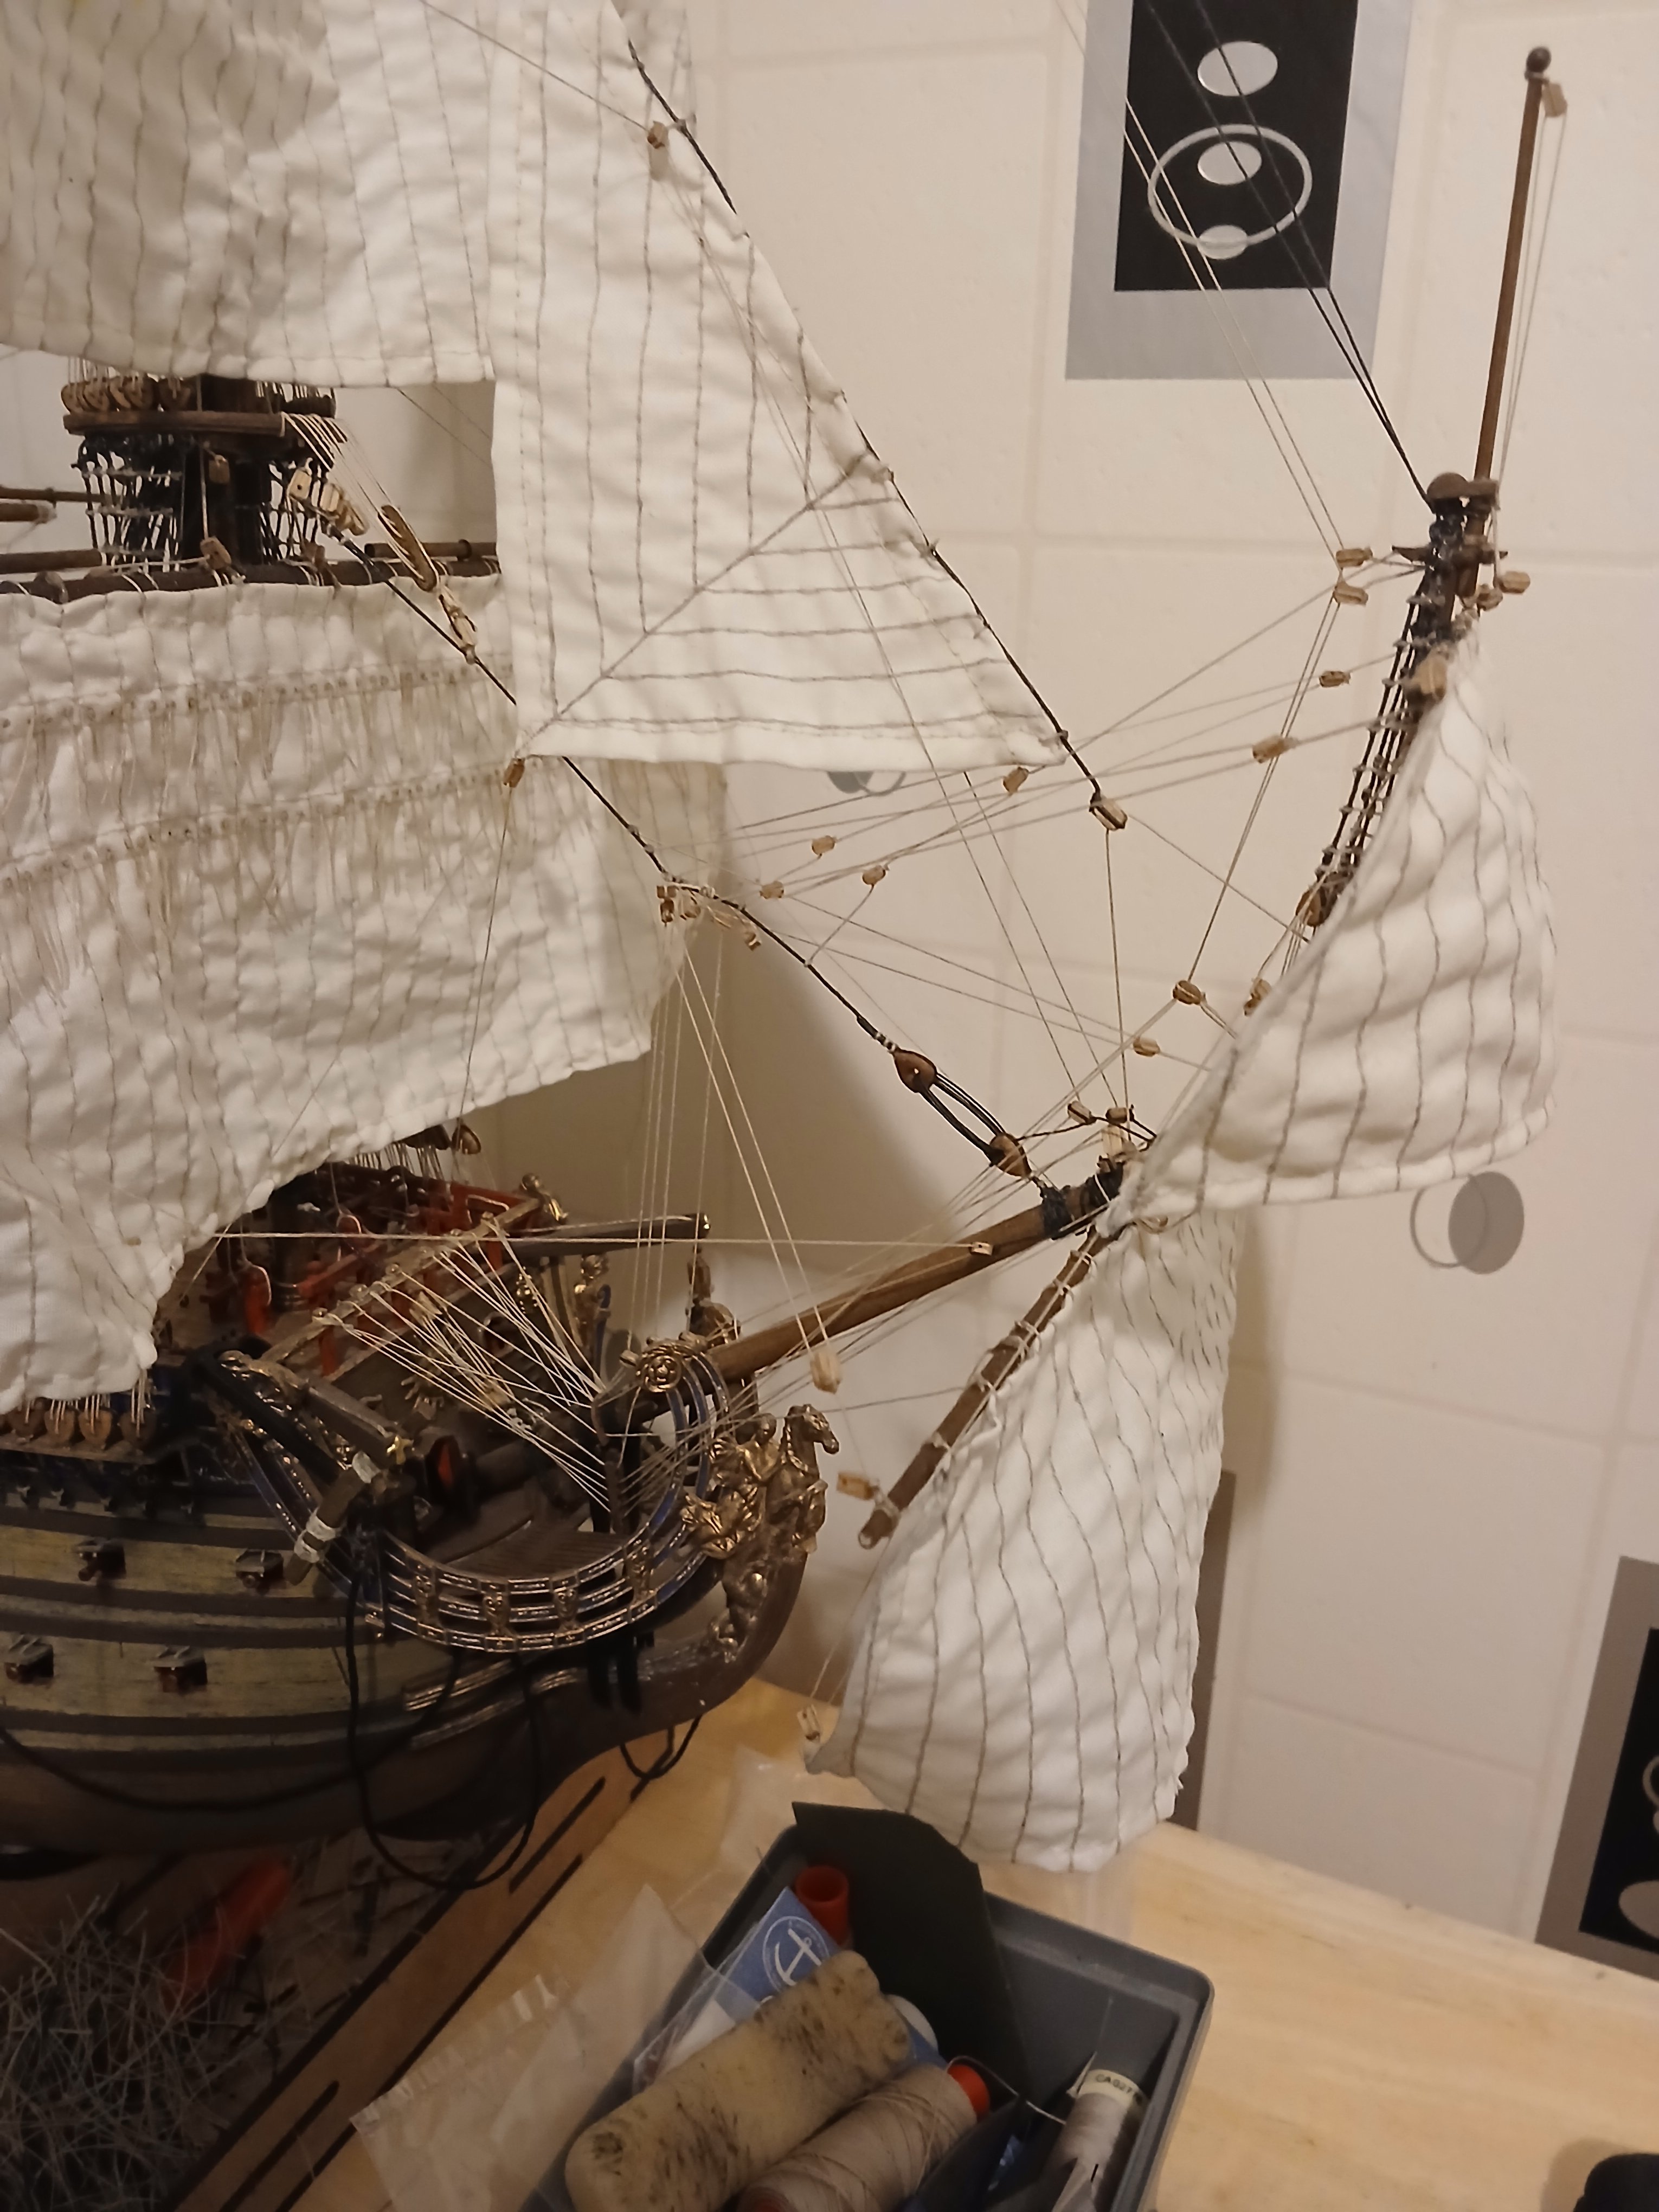
Thank you very much, the ship will be finally finished in the next couple of days, just some small bits of rigging and flags to finish and mounting her on her stand. All the sails have been rigged up as well as adding in the black n tackle for lifting and lowering the lifeboats.
-
Beautiful work 👍🏼❤️🤺⚓️
-
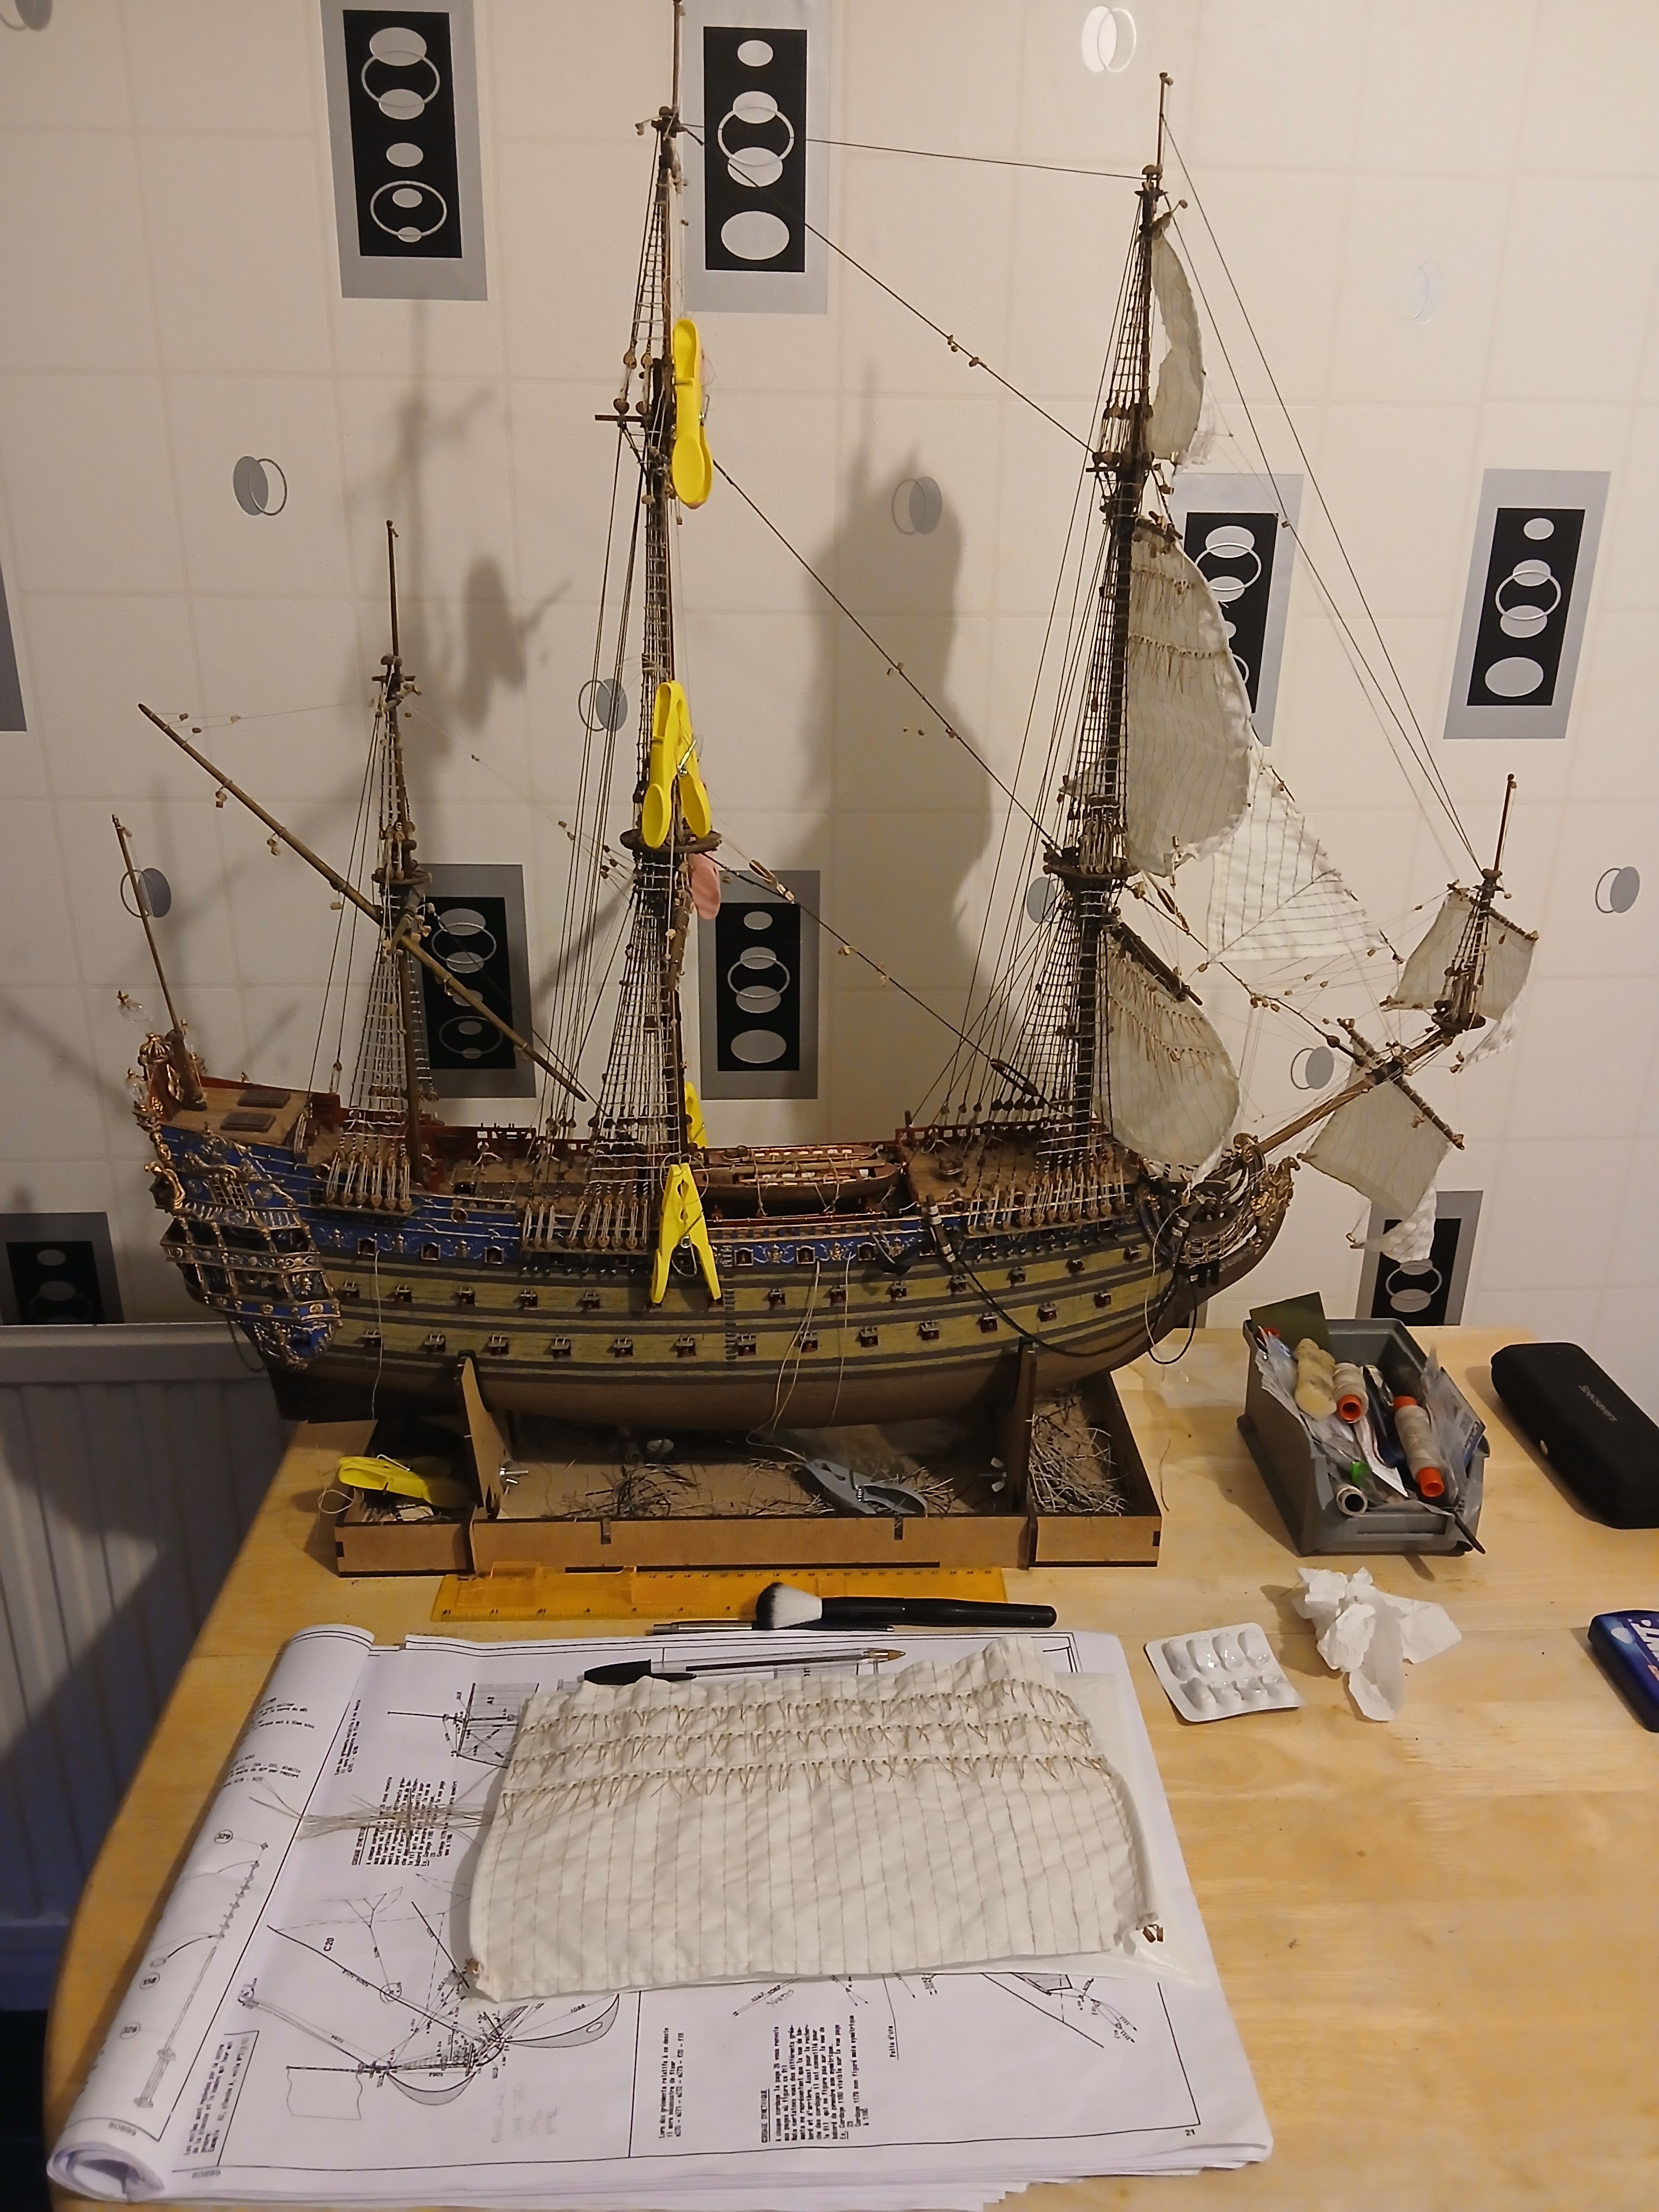
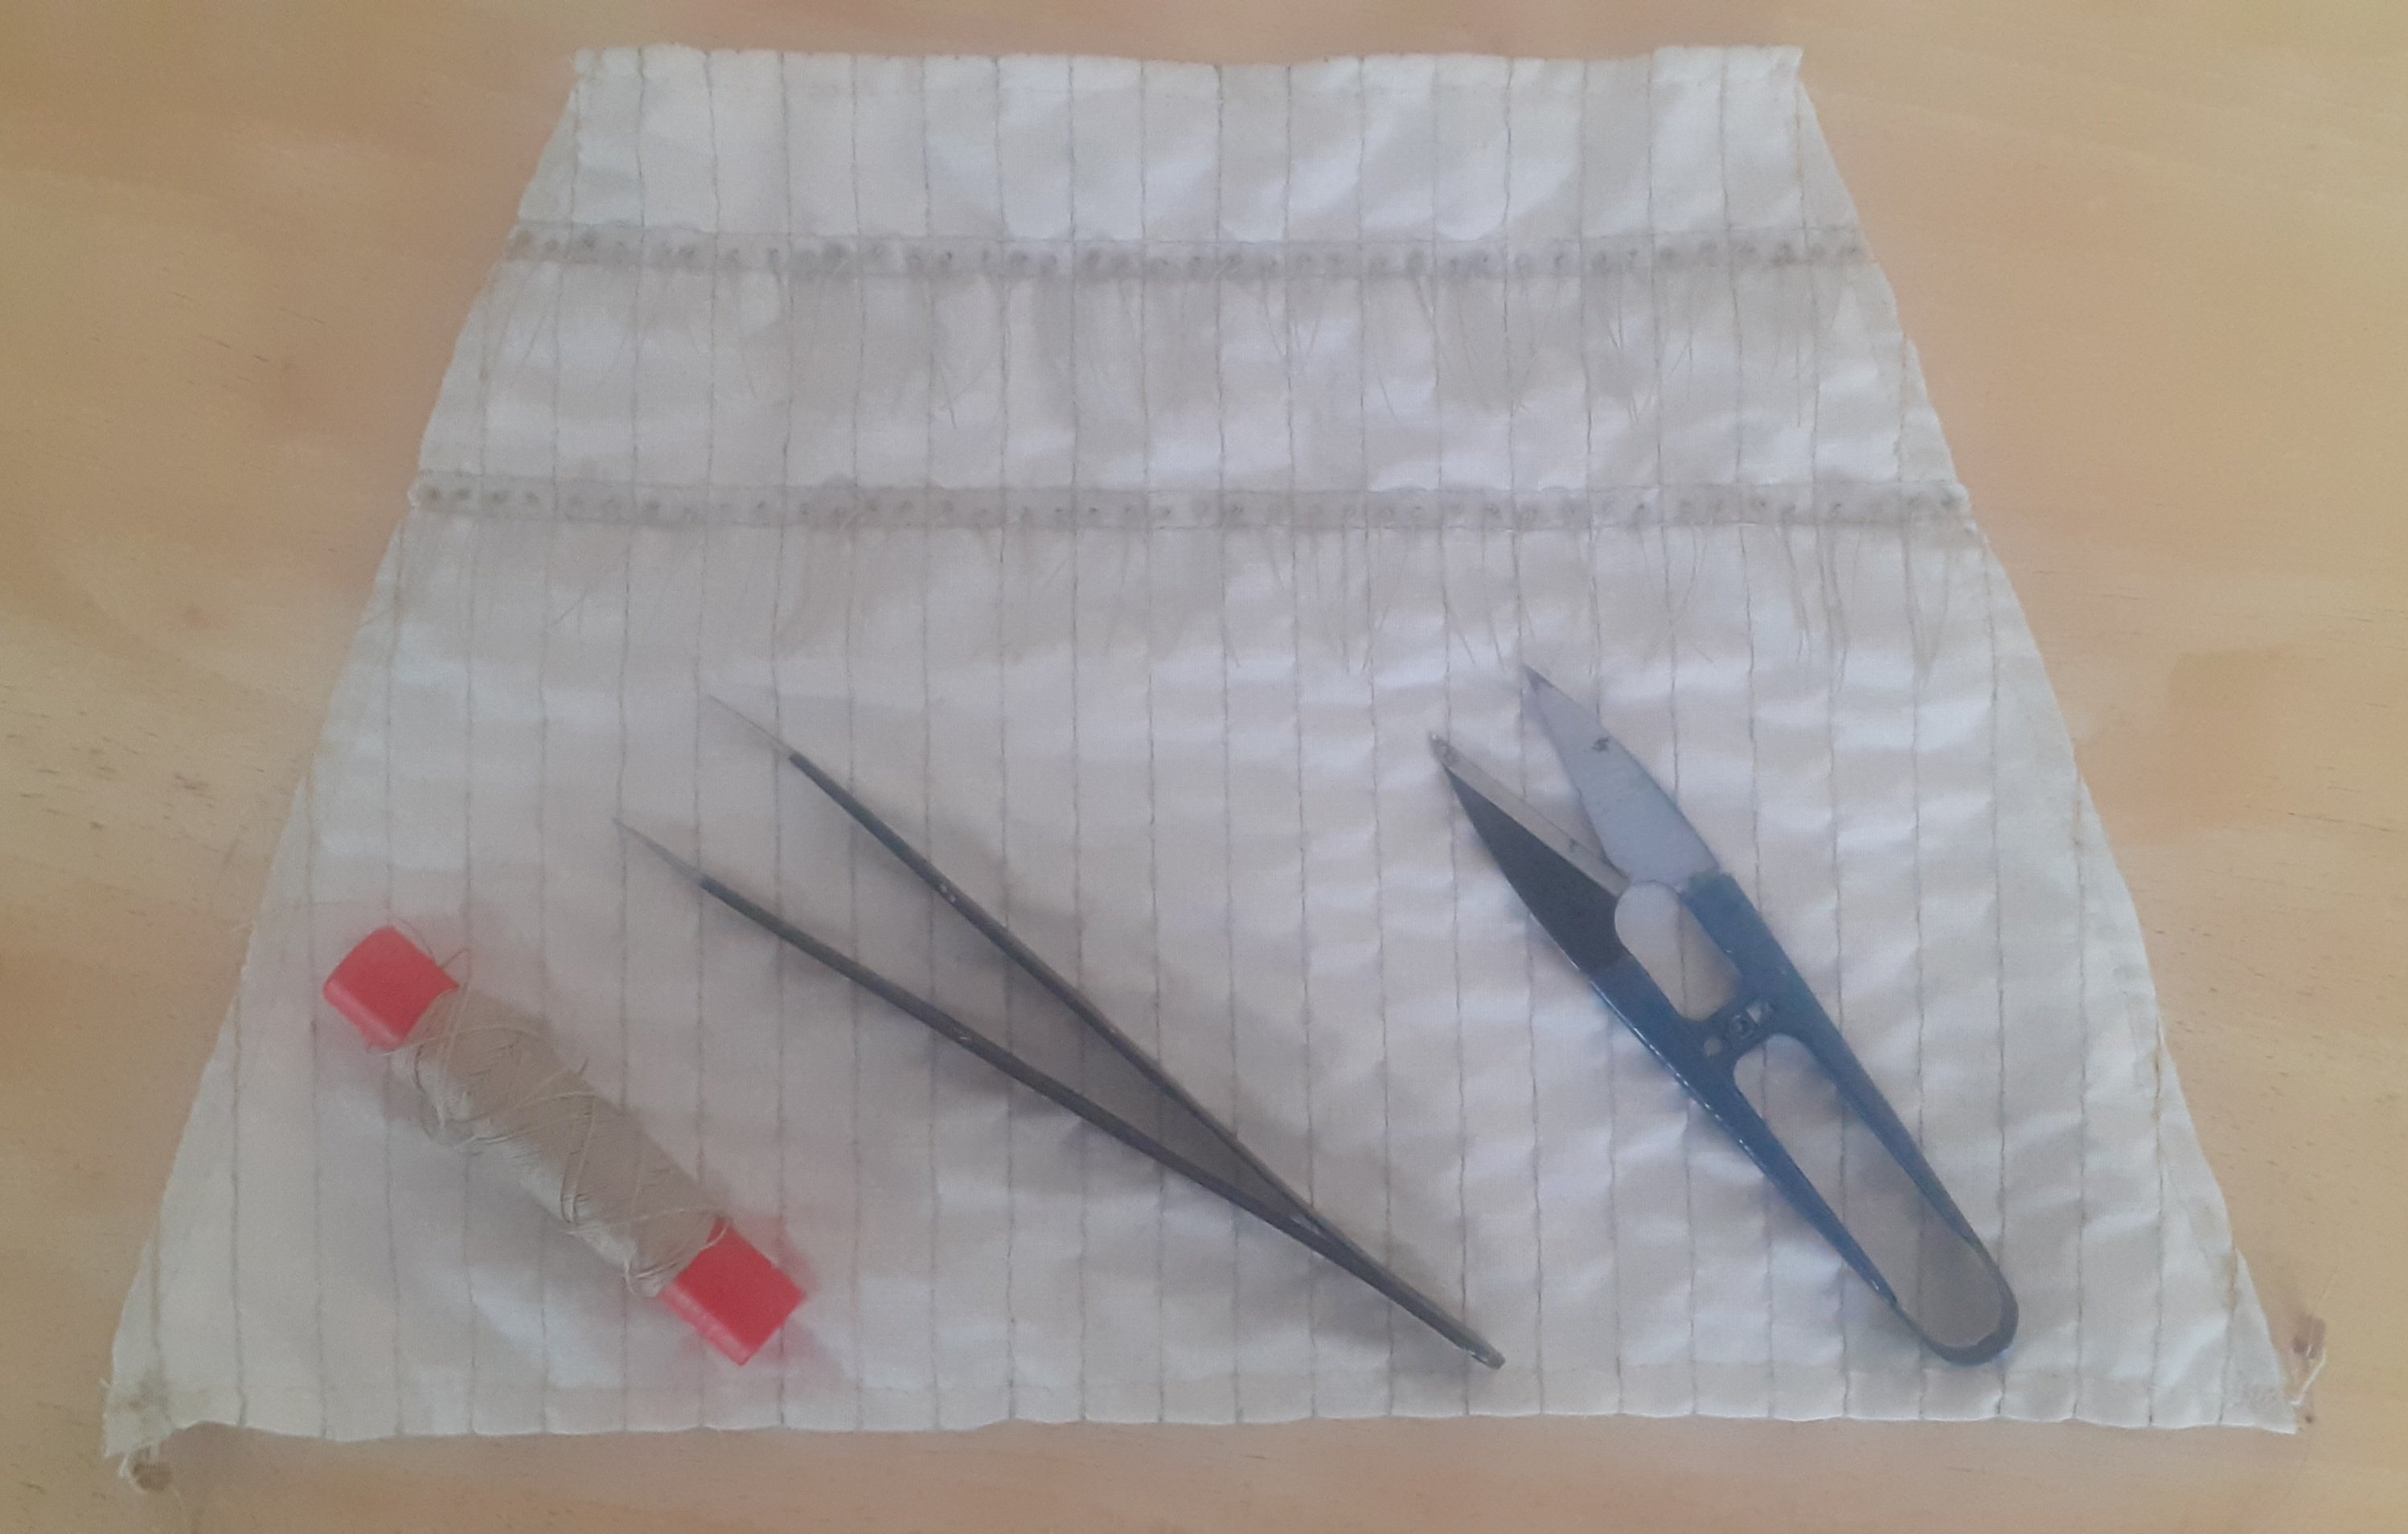
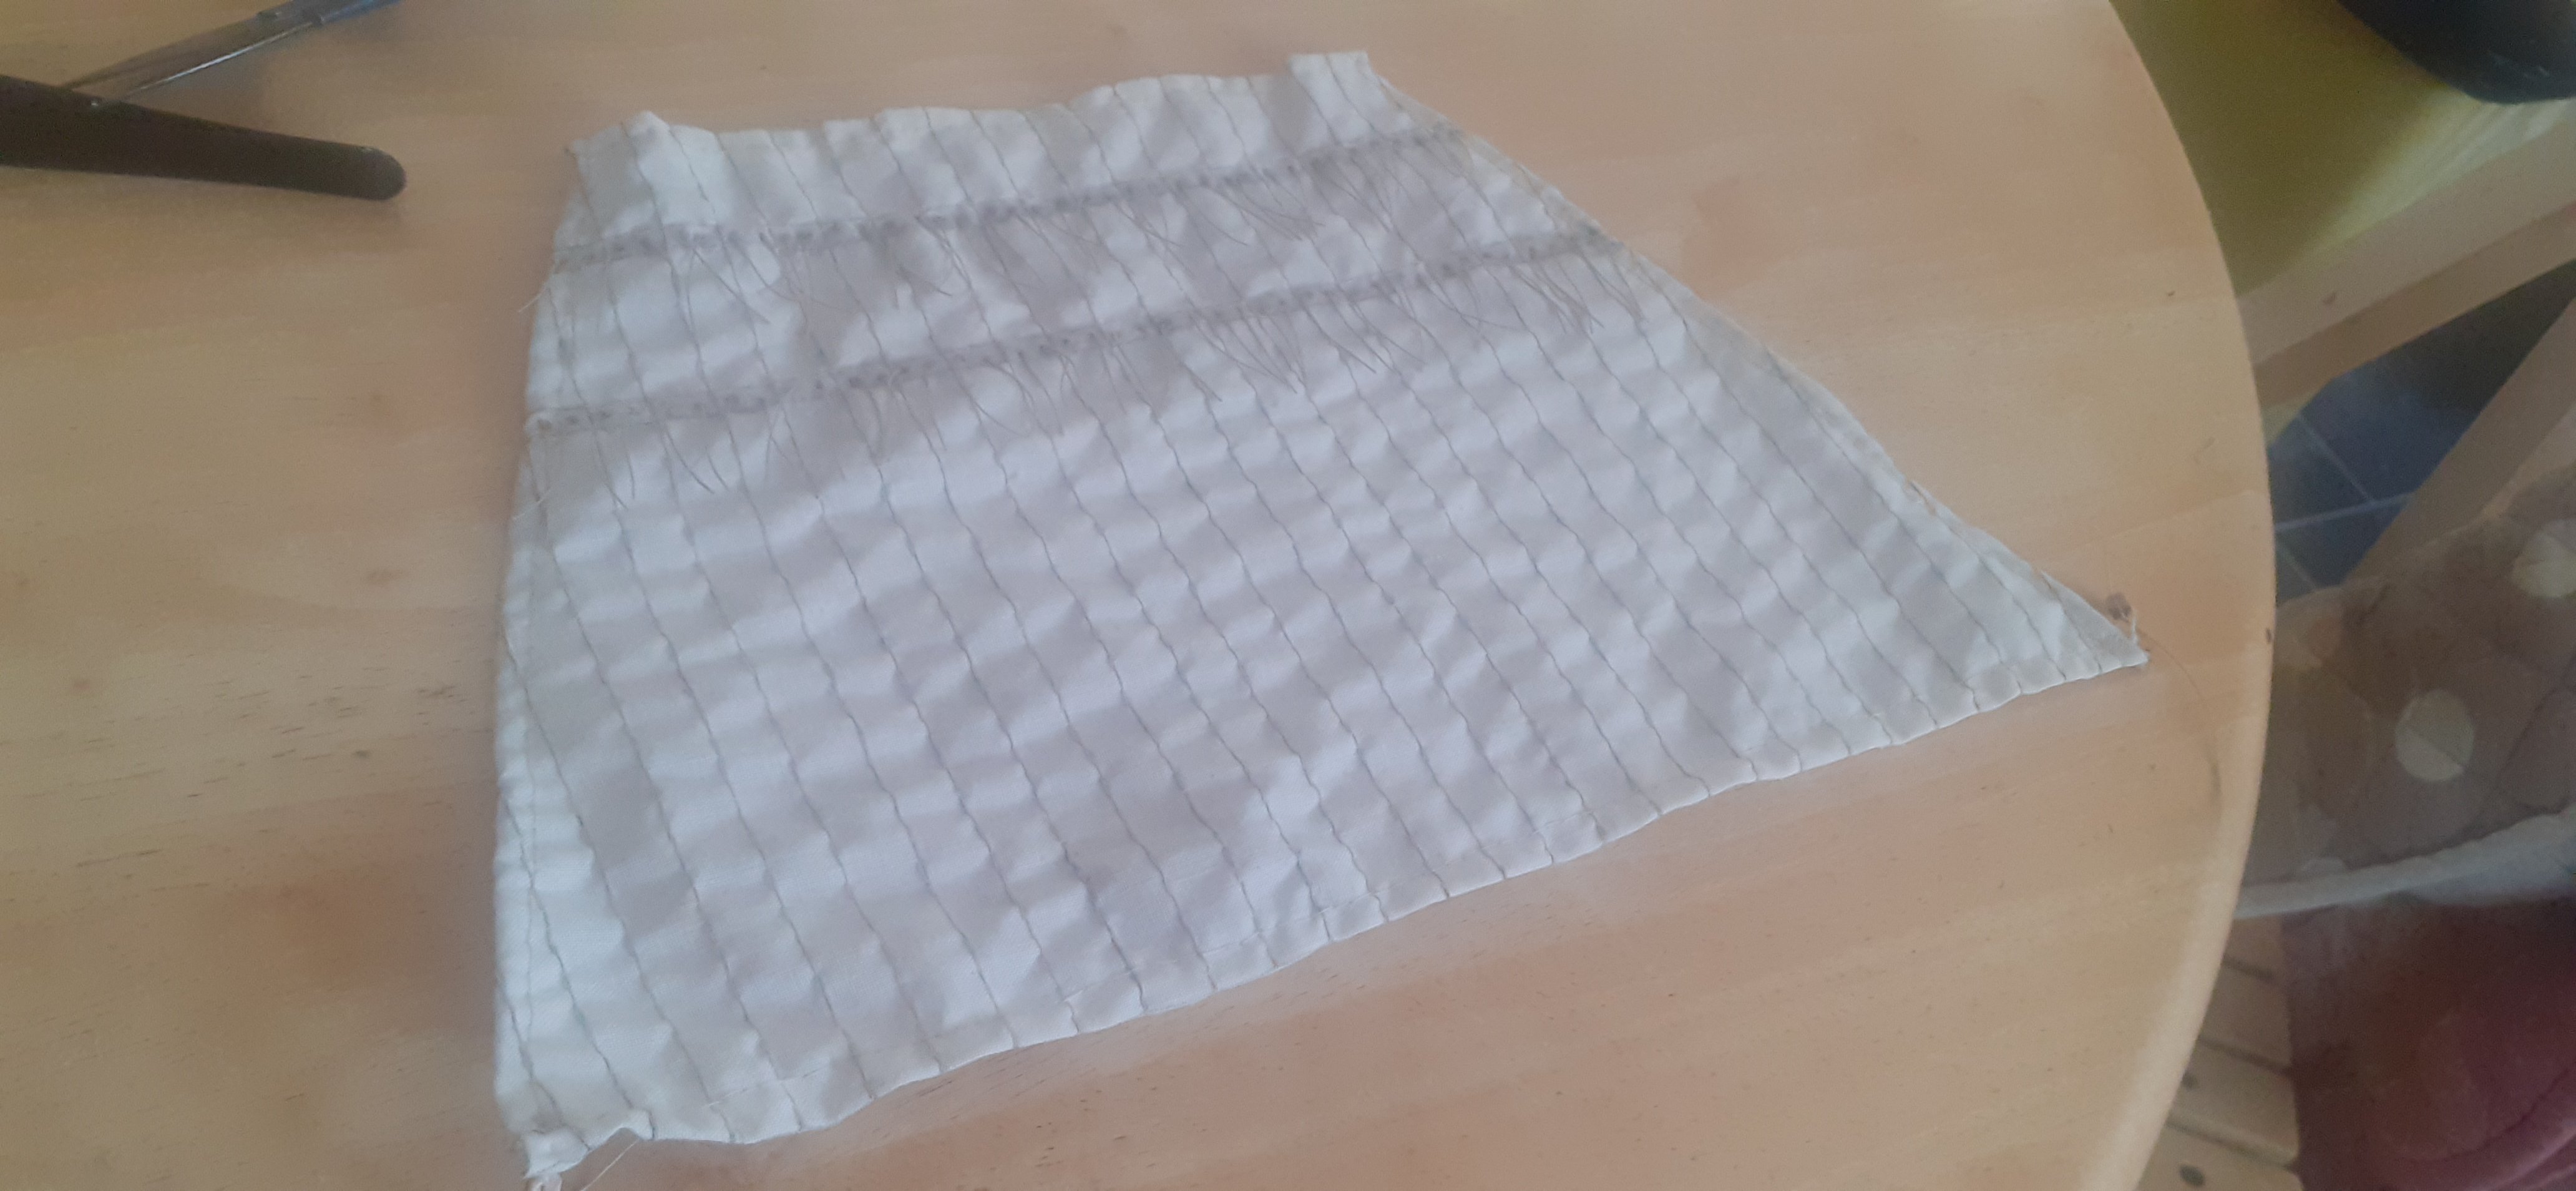
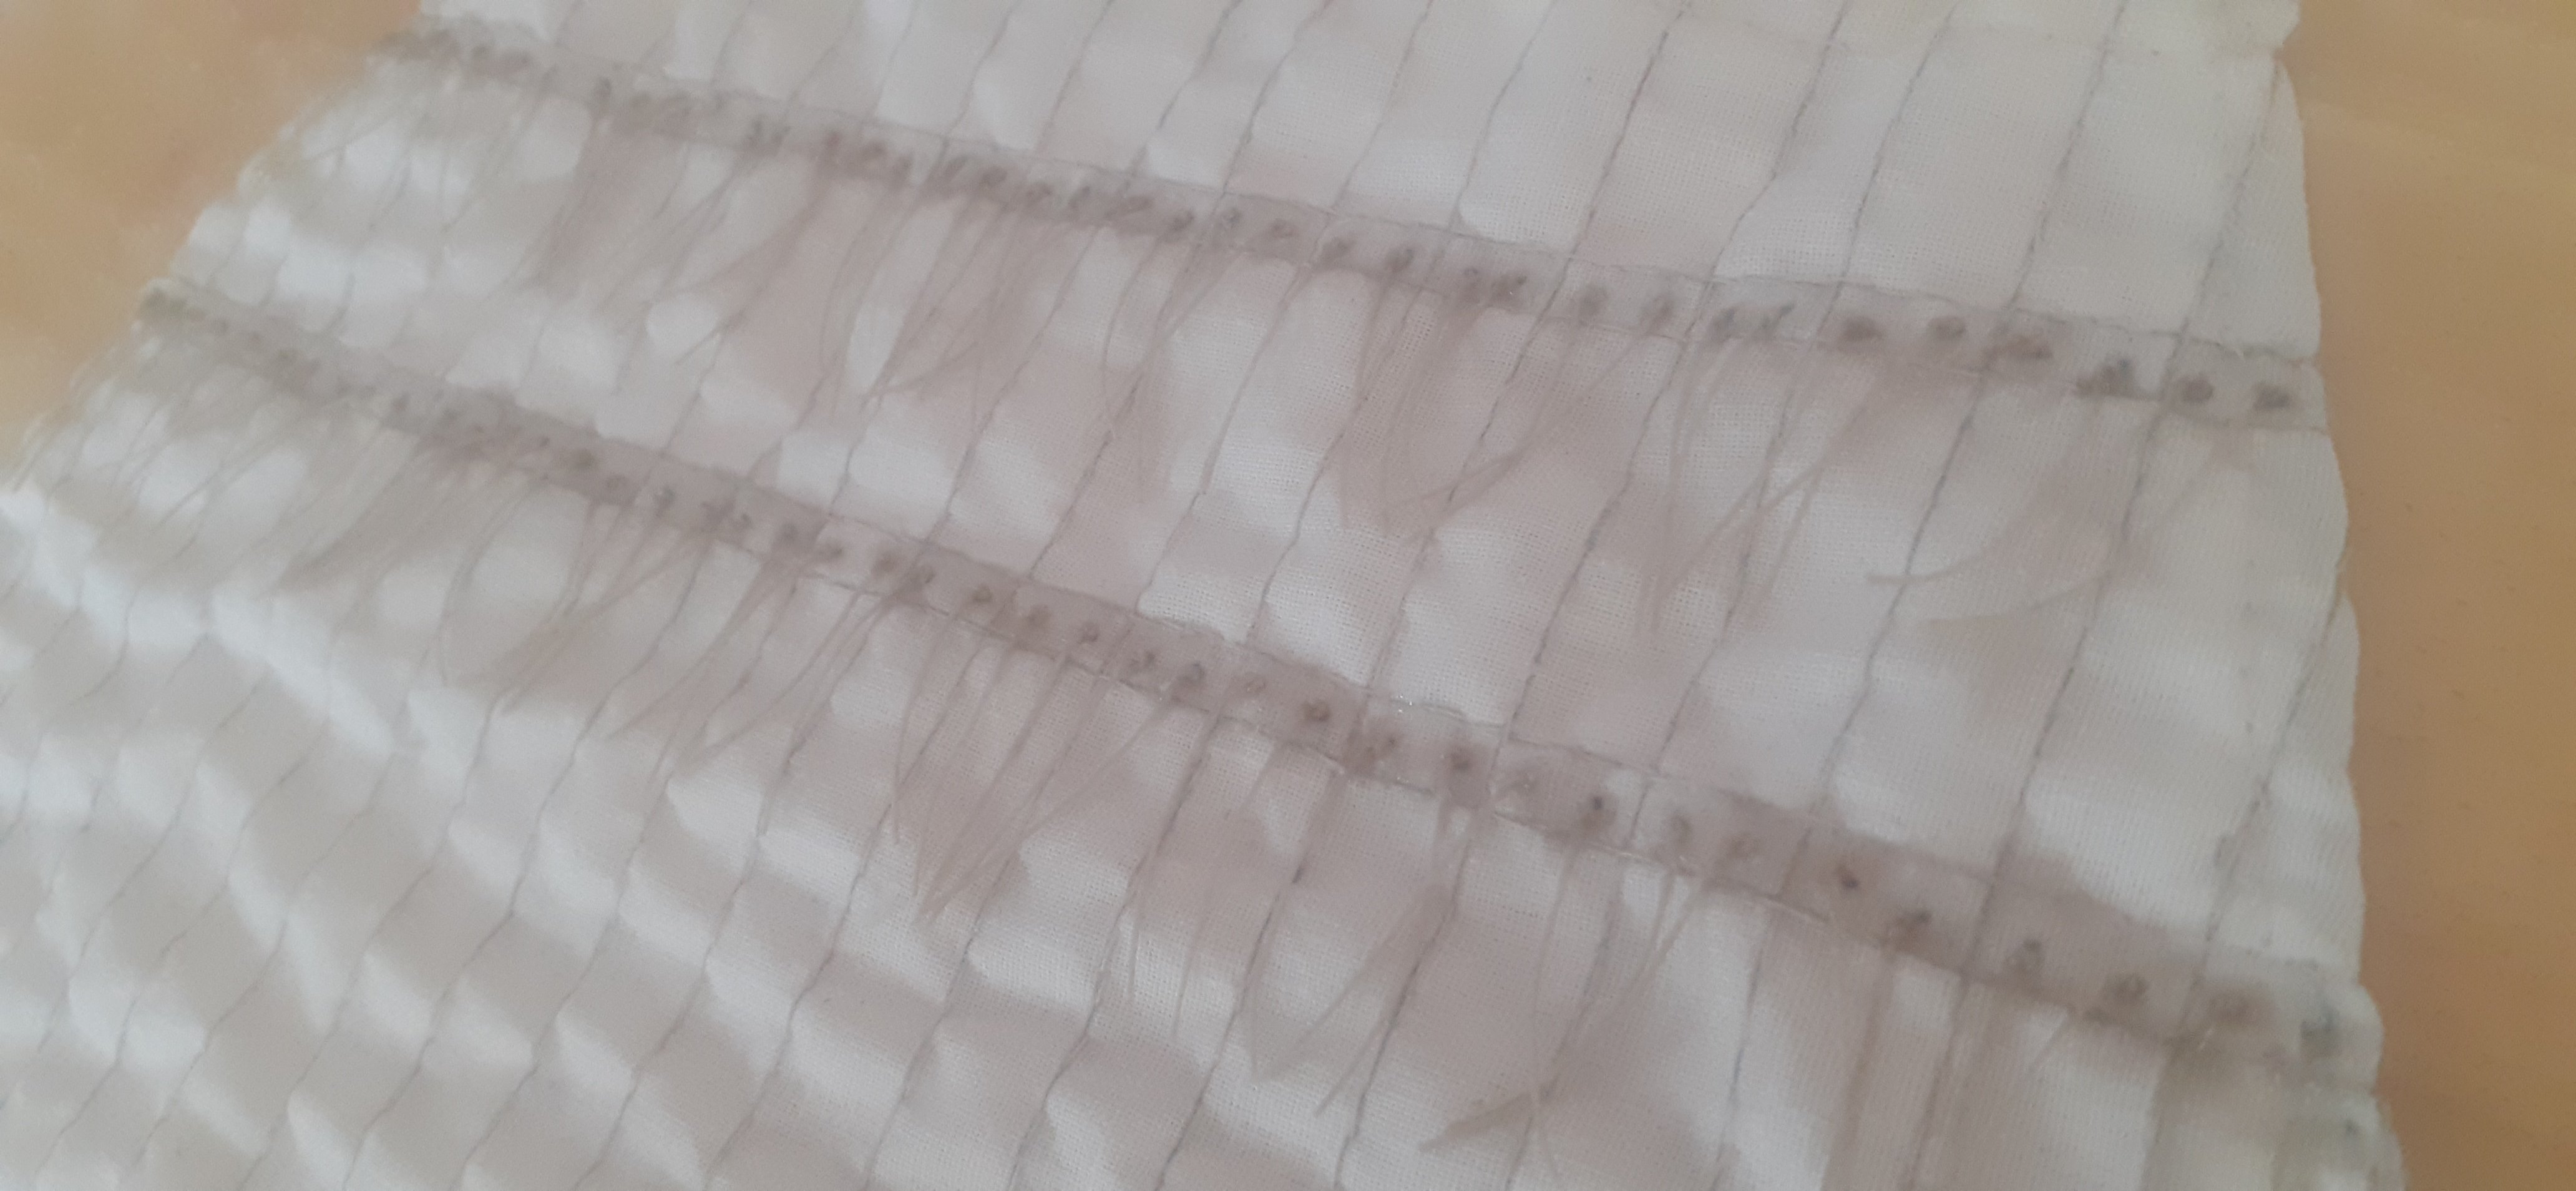
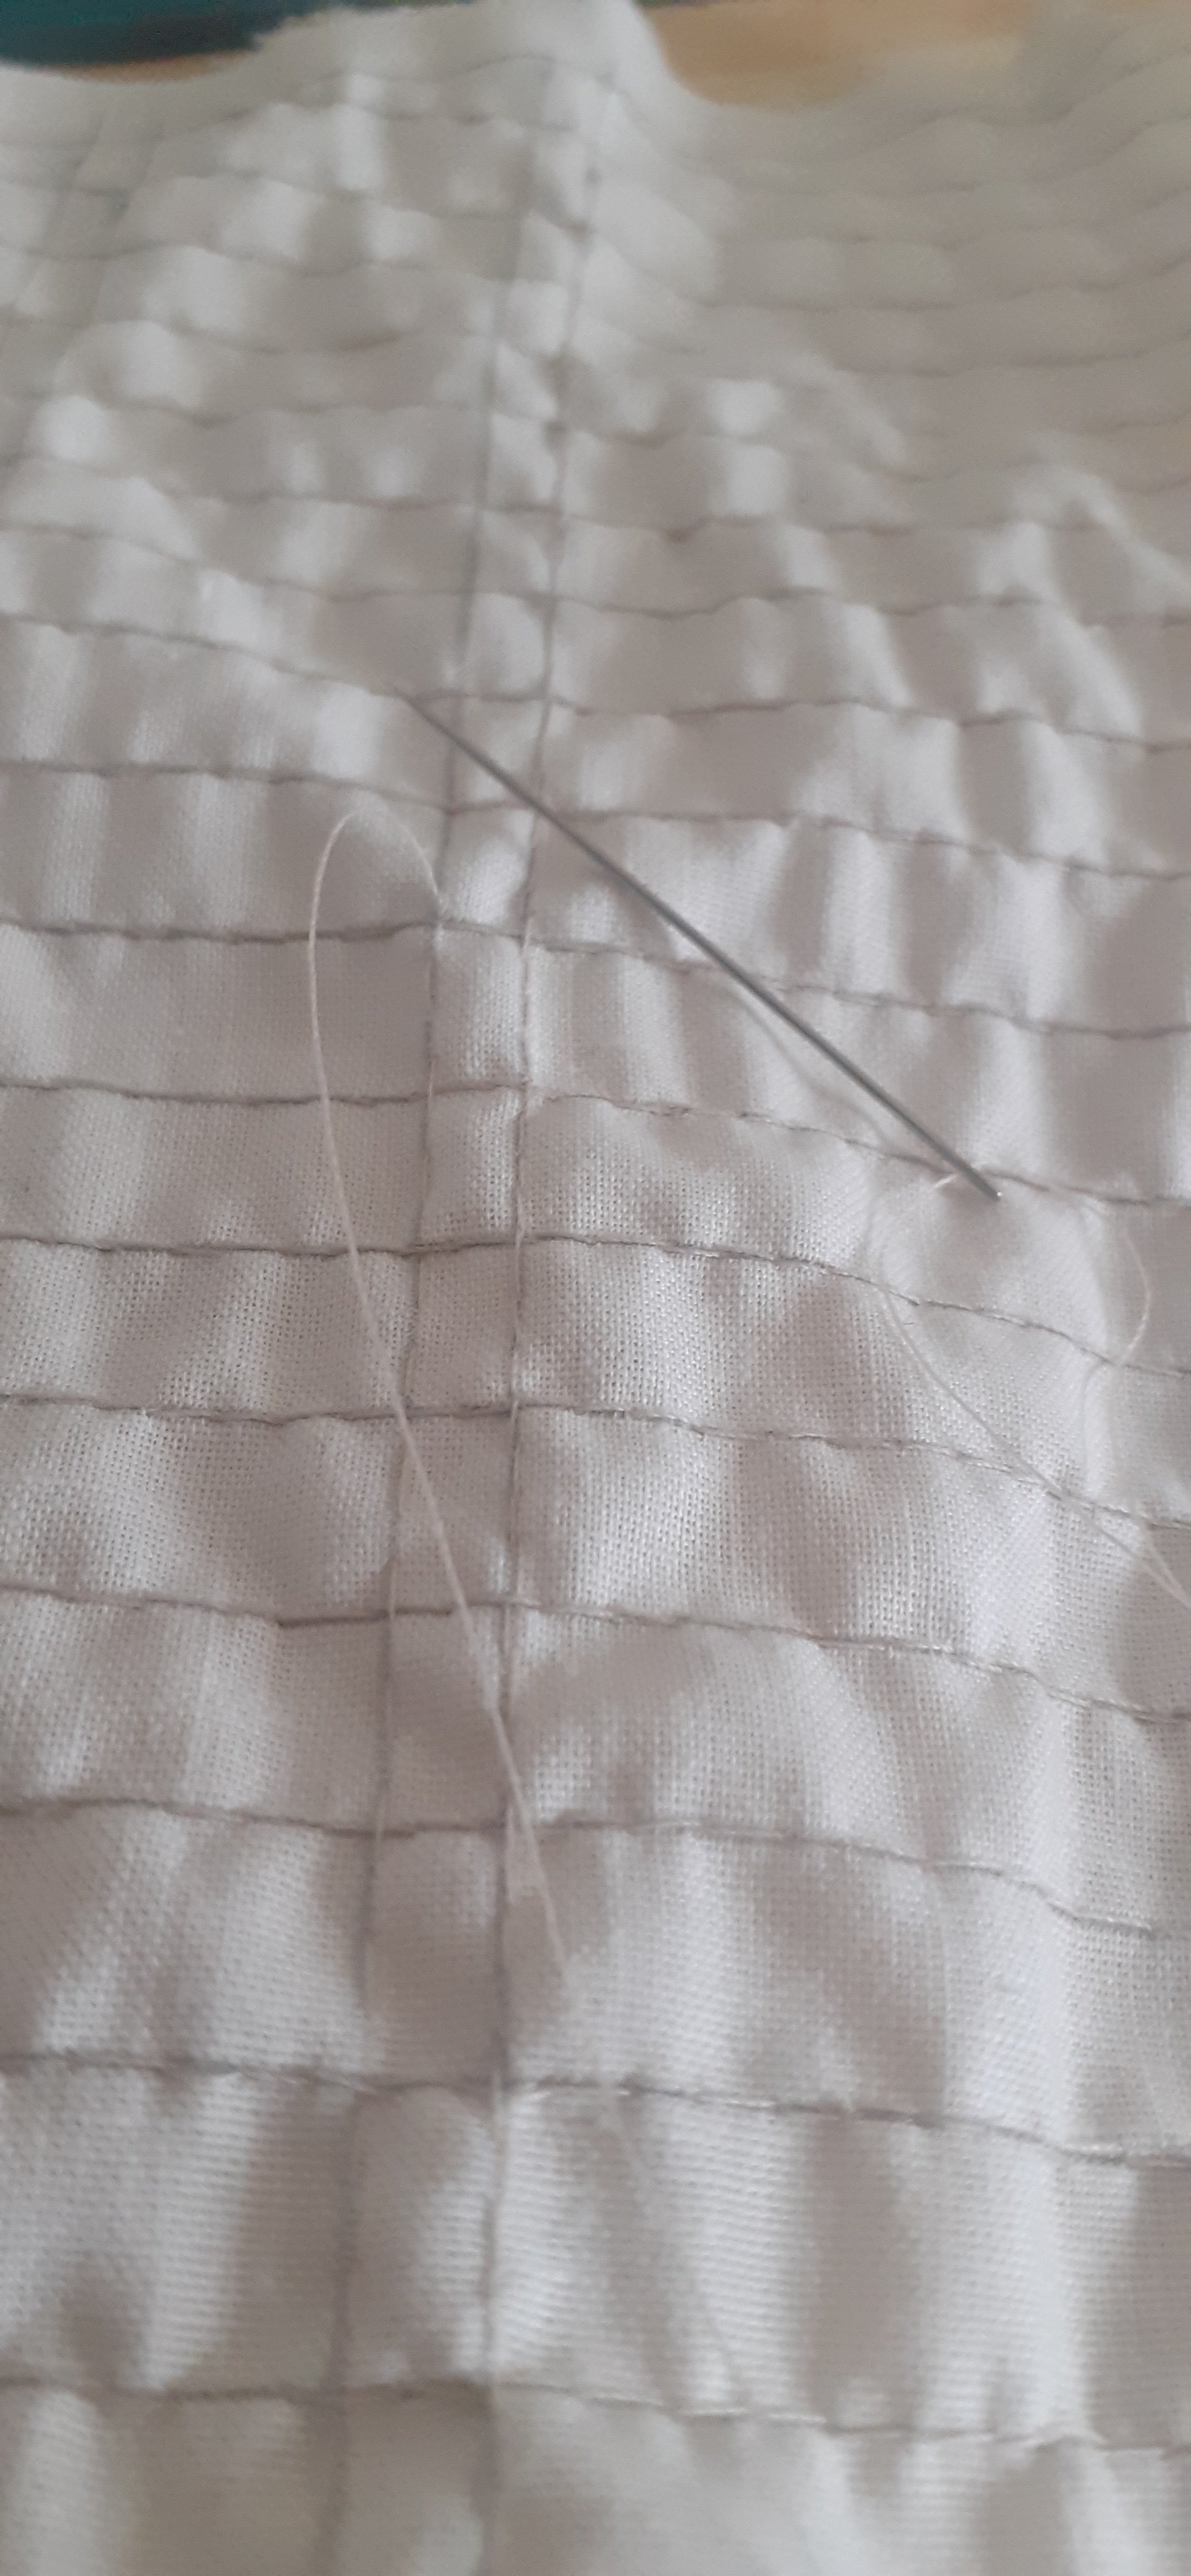
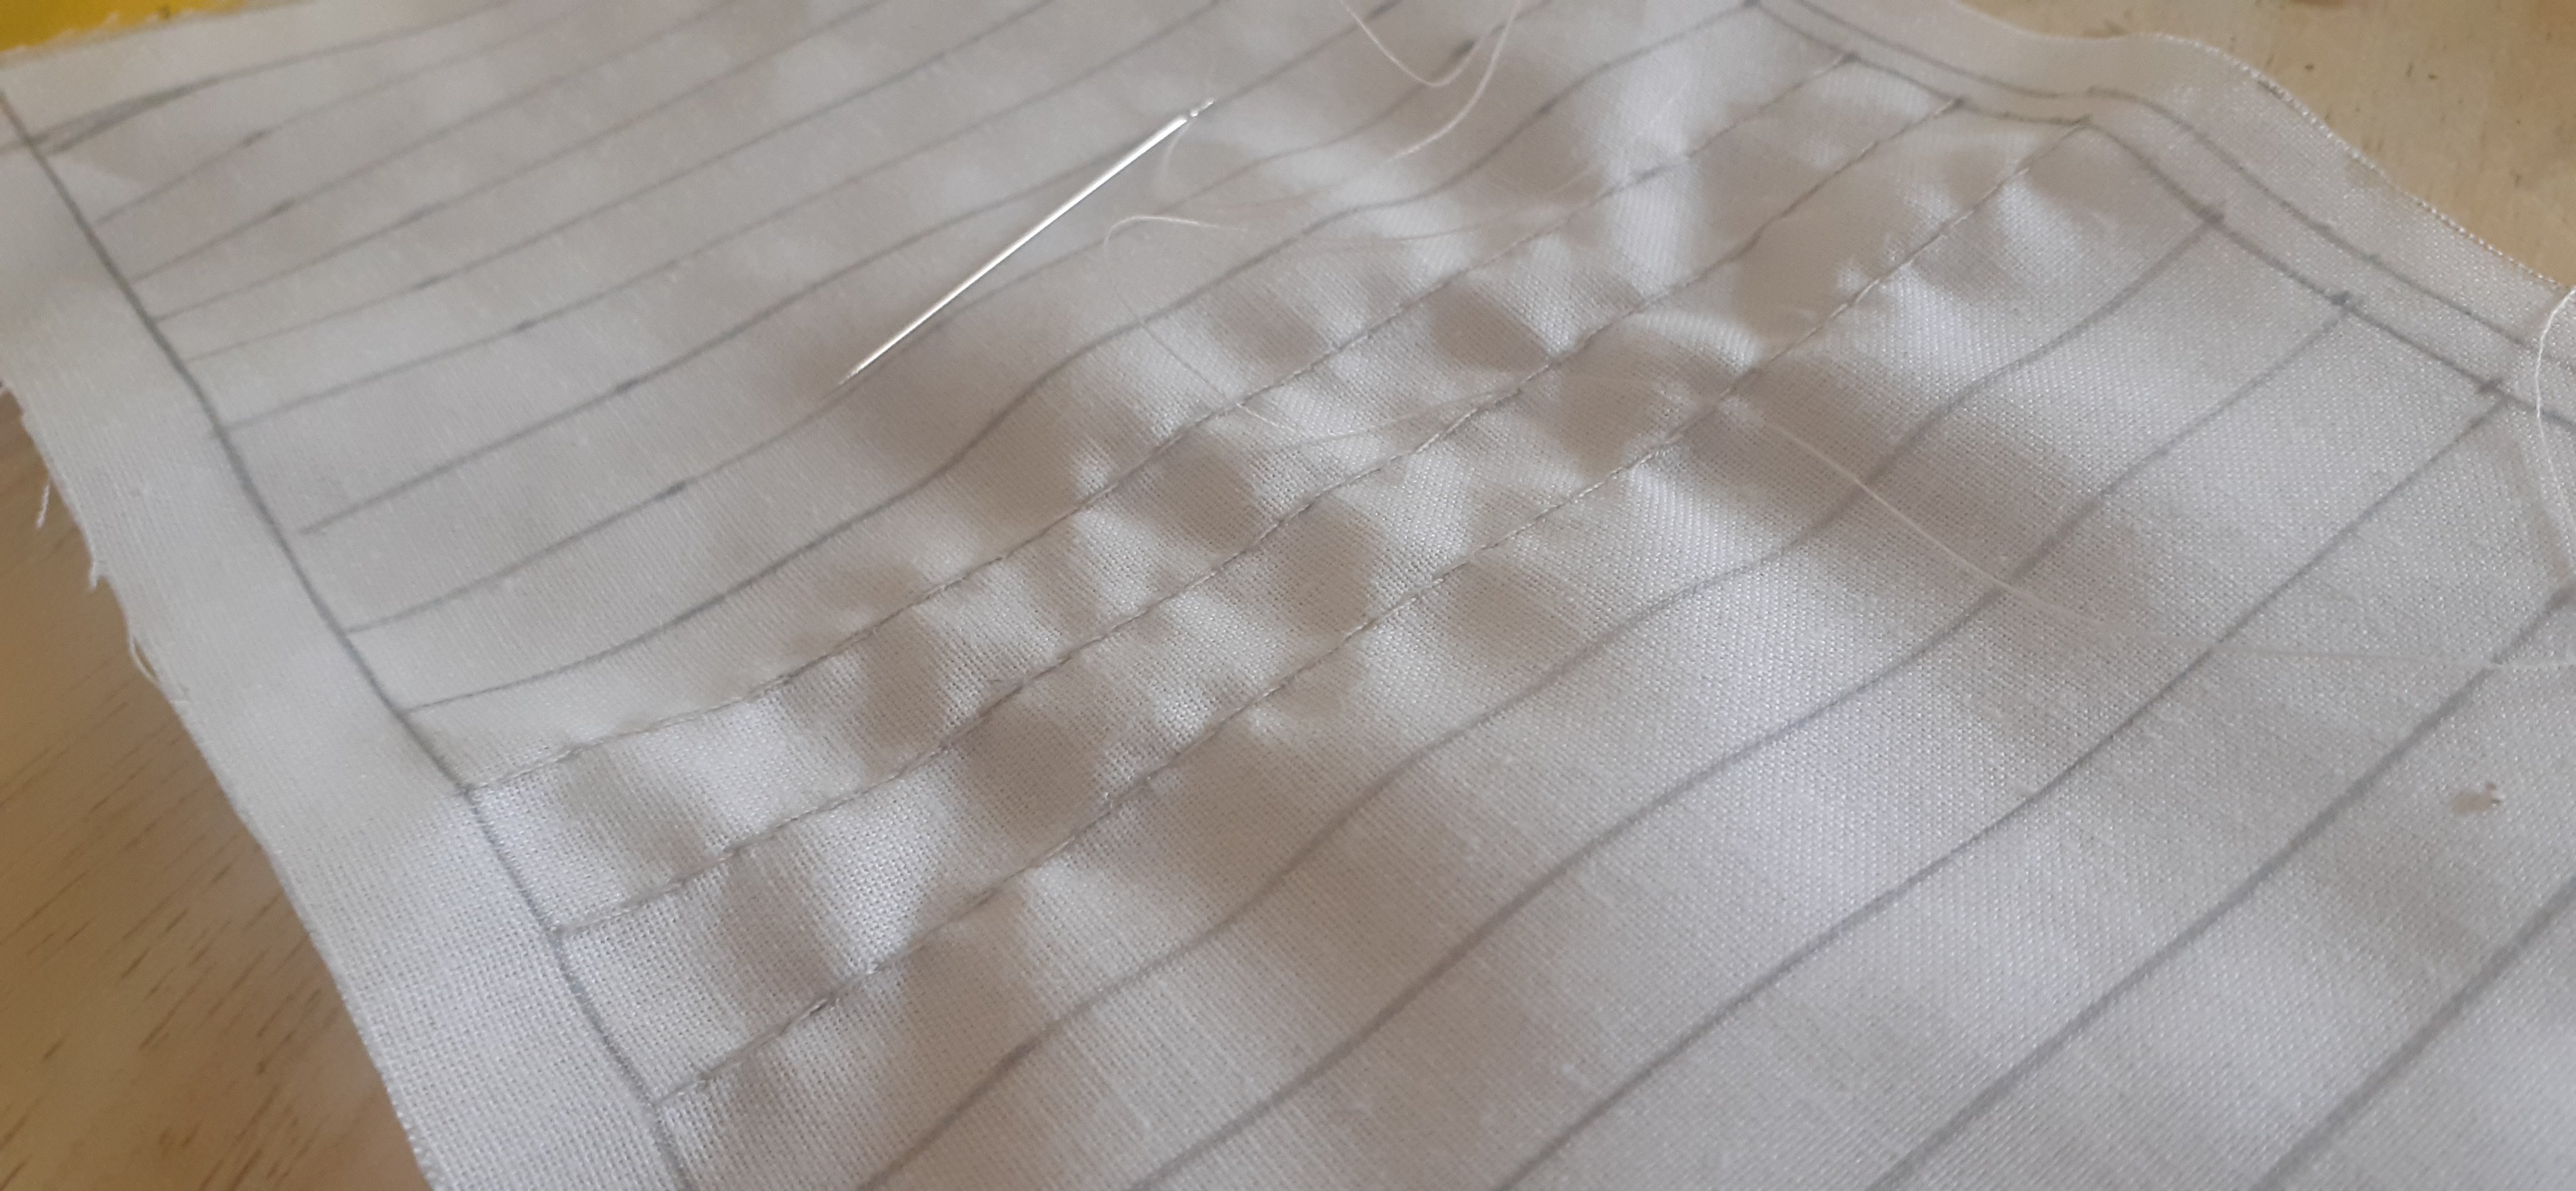
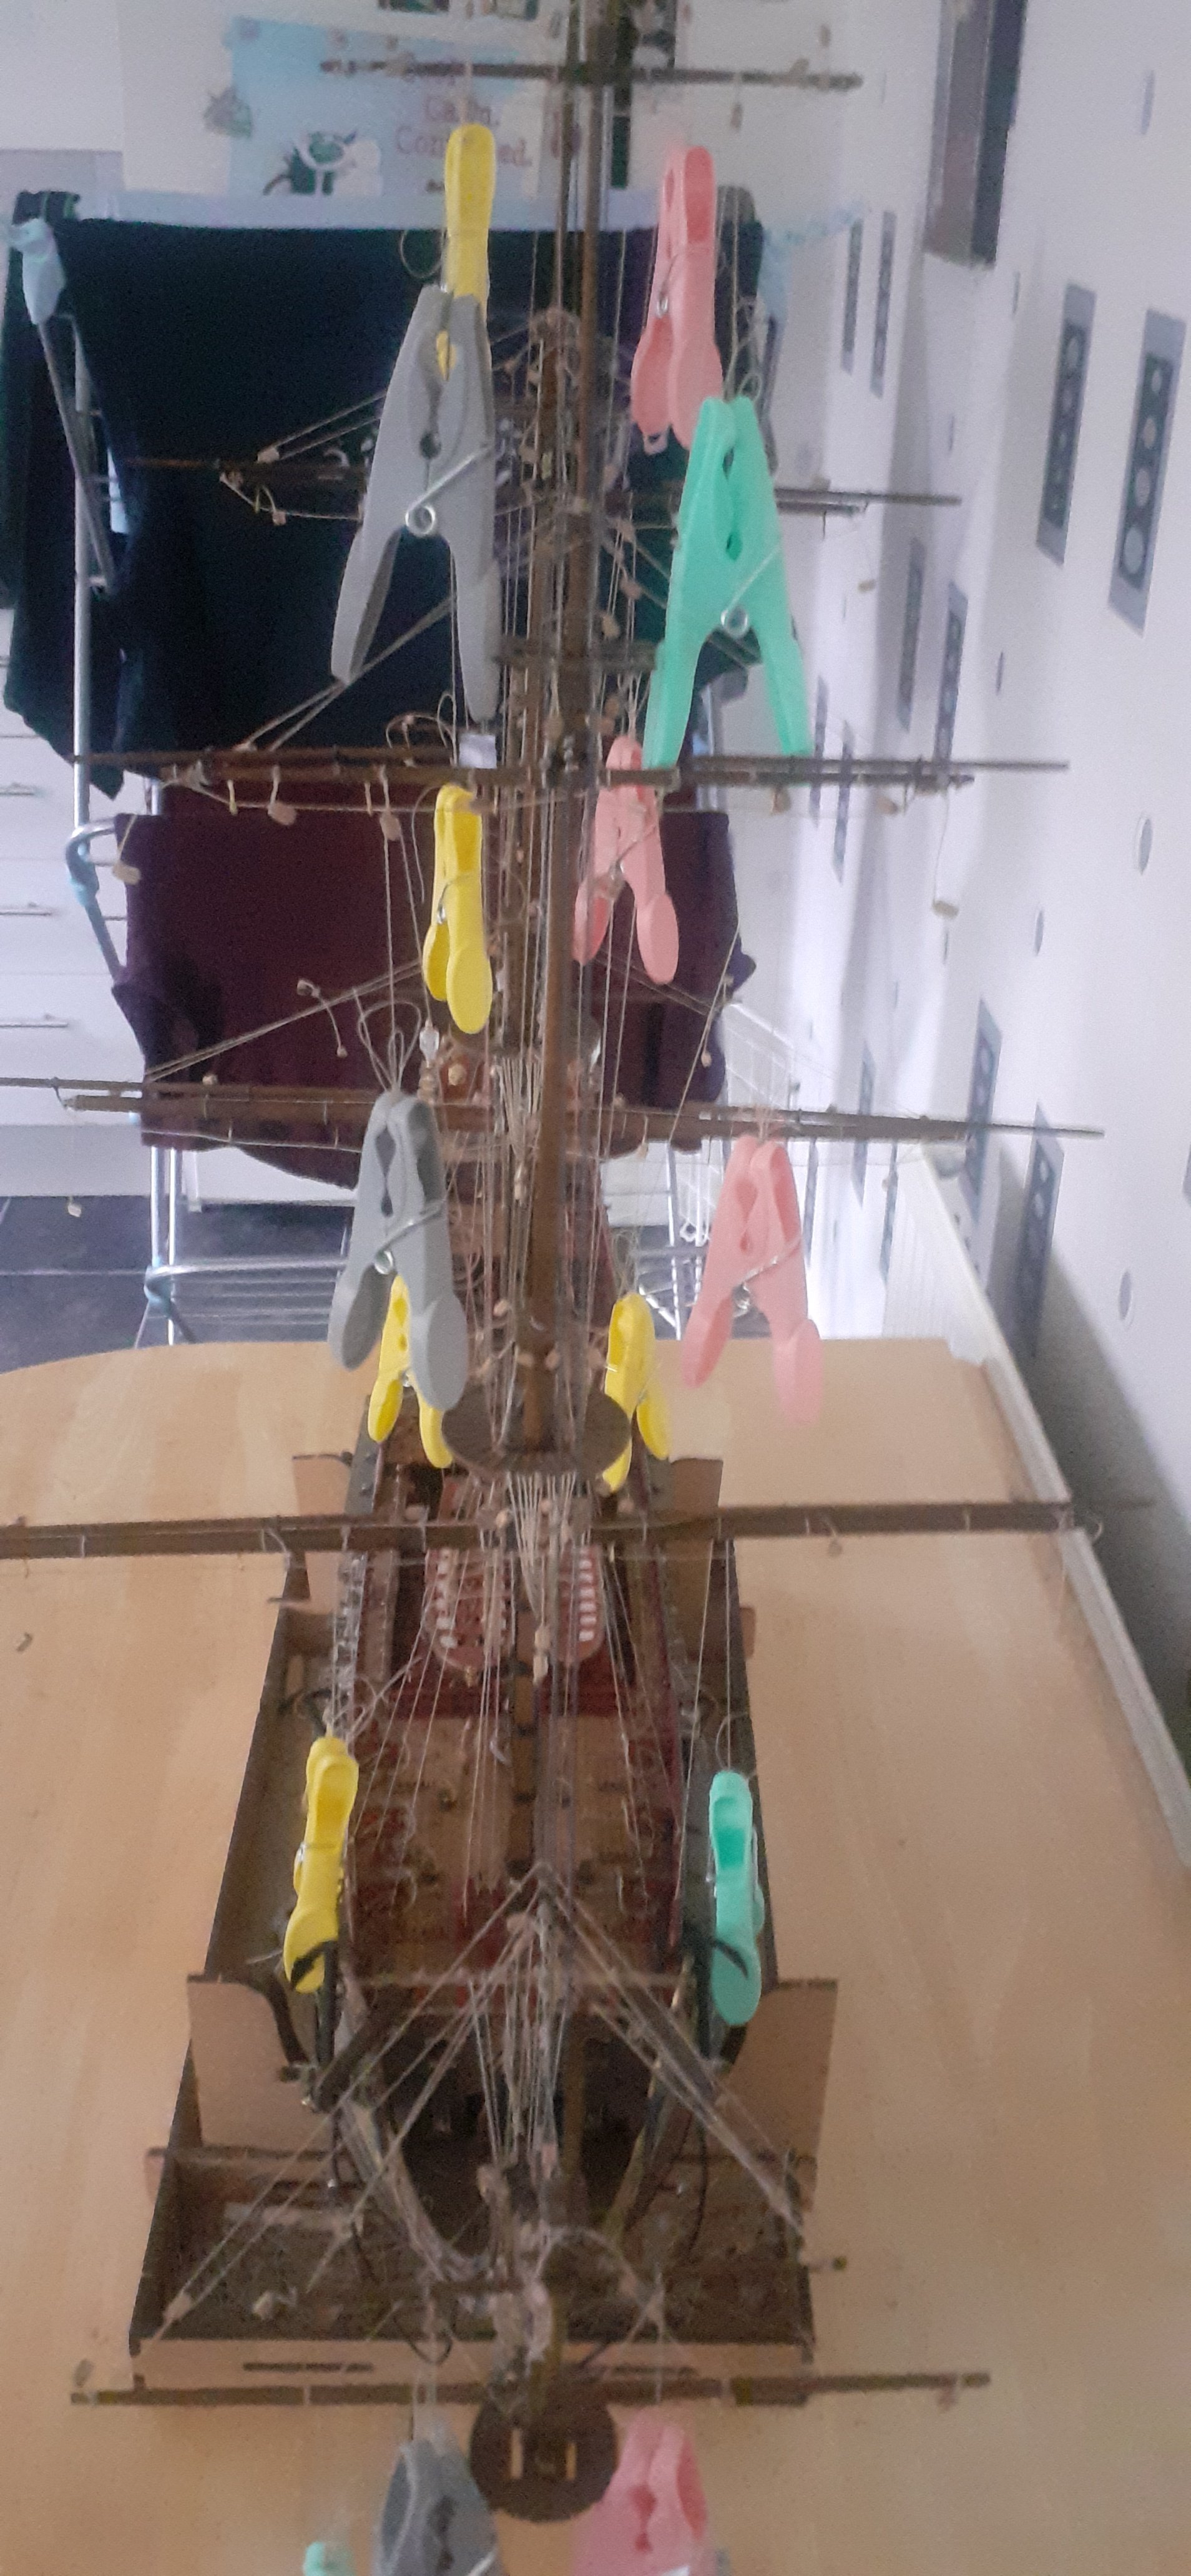
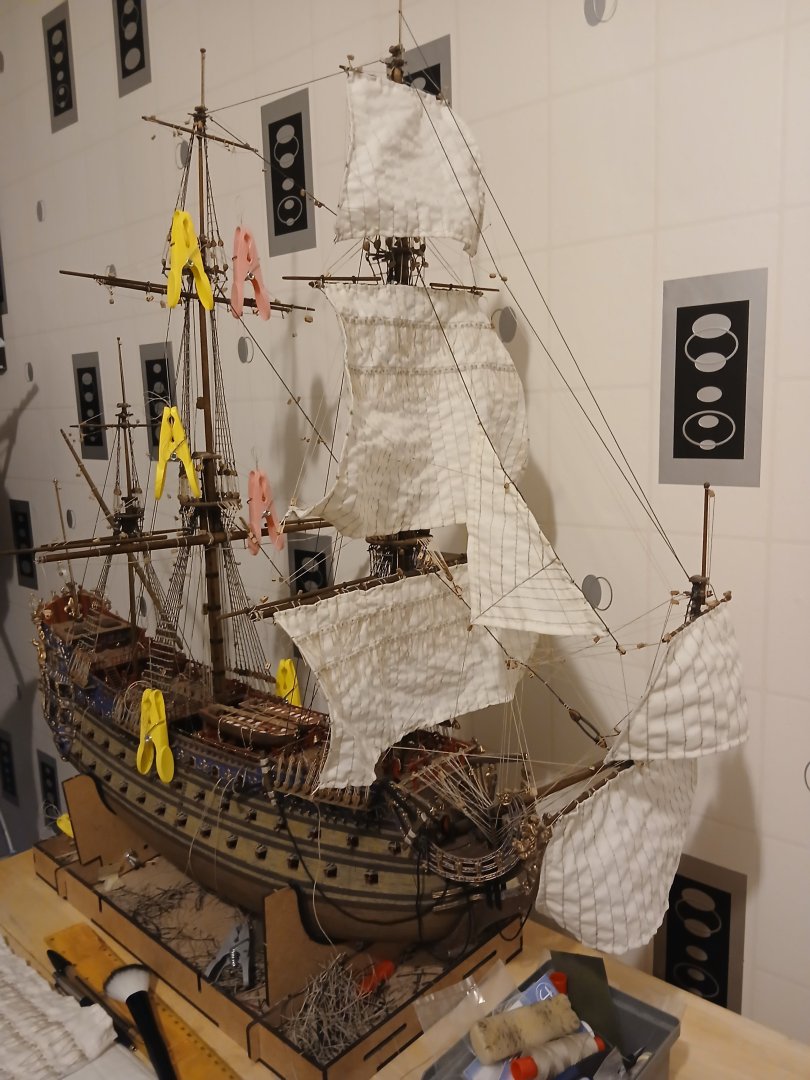
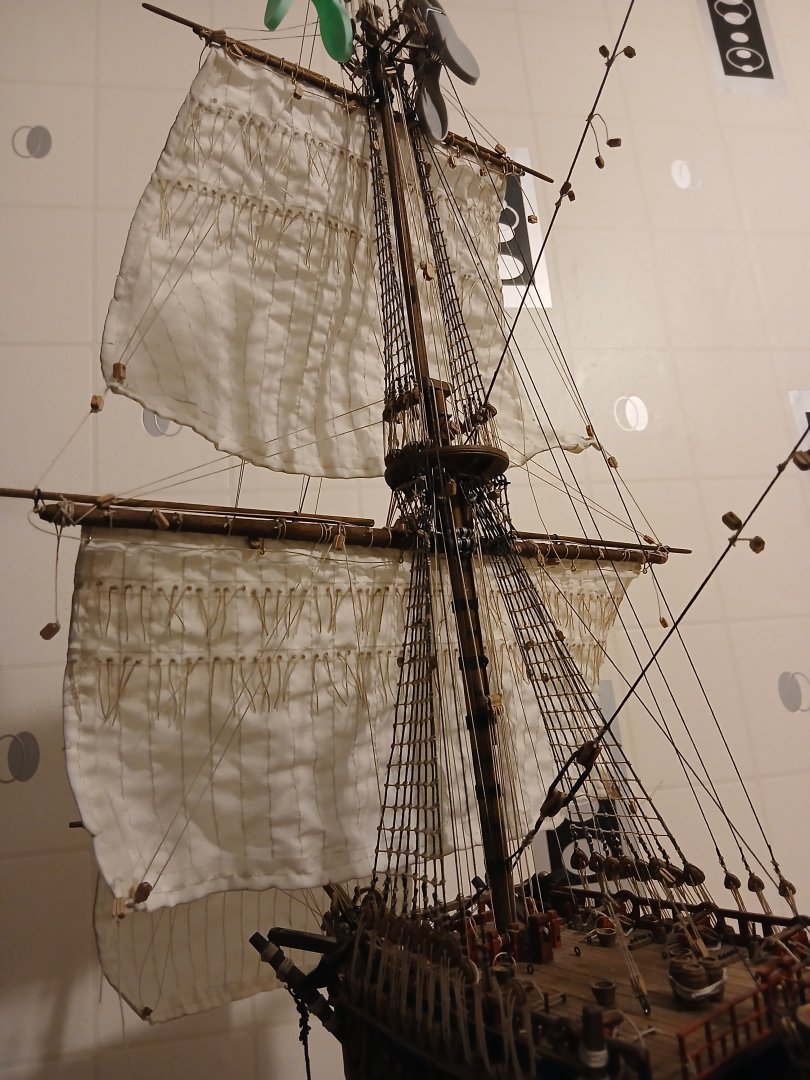
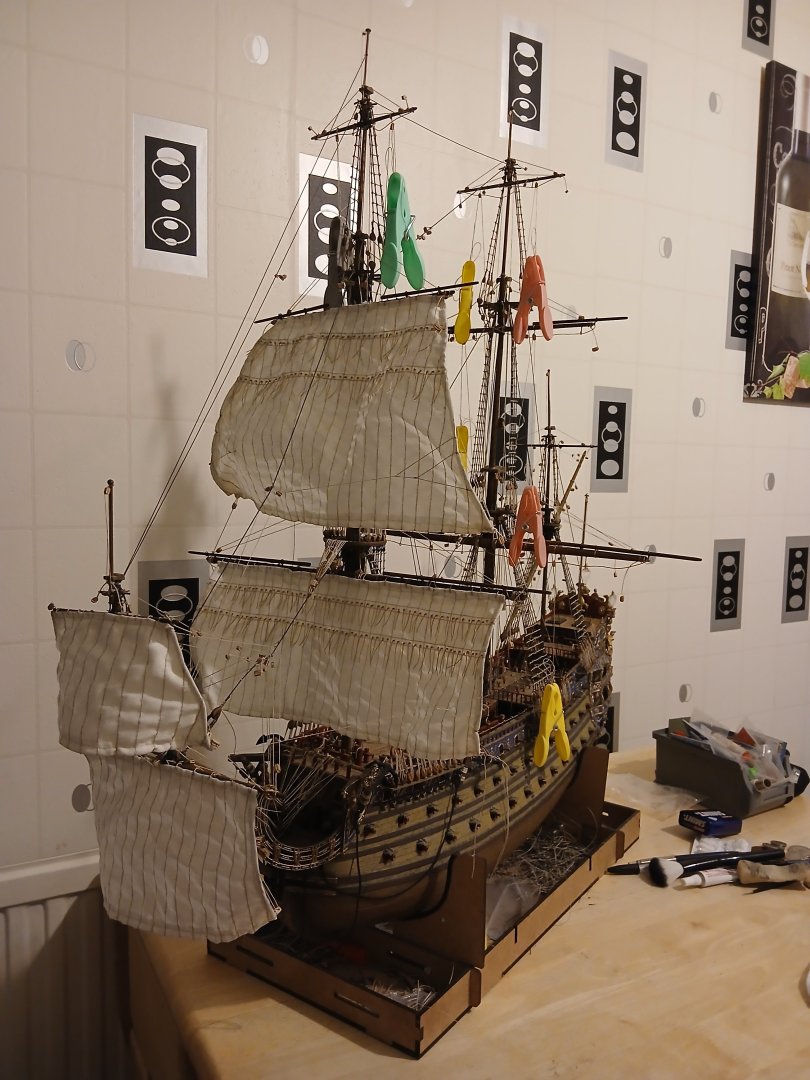
It's been a long time since my last ship building post on here due other good but necessary conflicting circumstances. All the Soleil Royal sails have been hand sewn, now in the process of rigging them up, a bit of tight time schedule due to the the fact that the model show exhibition I've been asked to display at is in just under 3 weeks time, still confident enough this ship and other stuff will be ready for her maiden voyage.


- 44 replies
-
- 8
-
-

-
- soleil royal
- Heller
- (and 5 more)
-
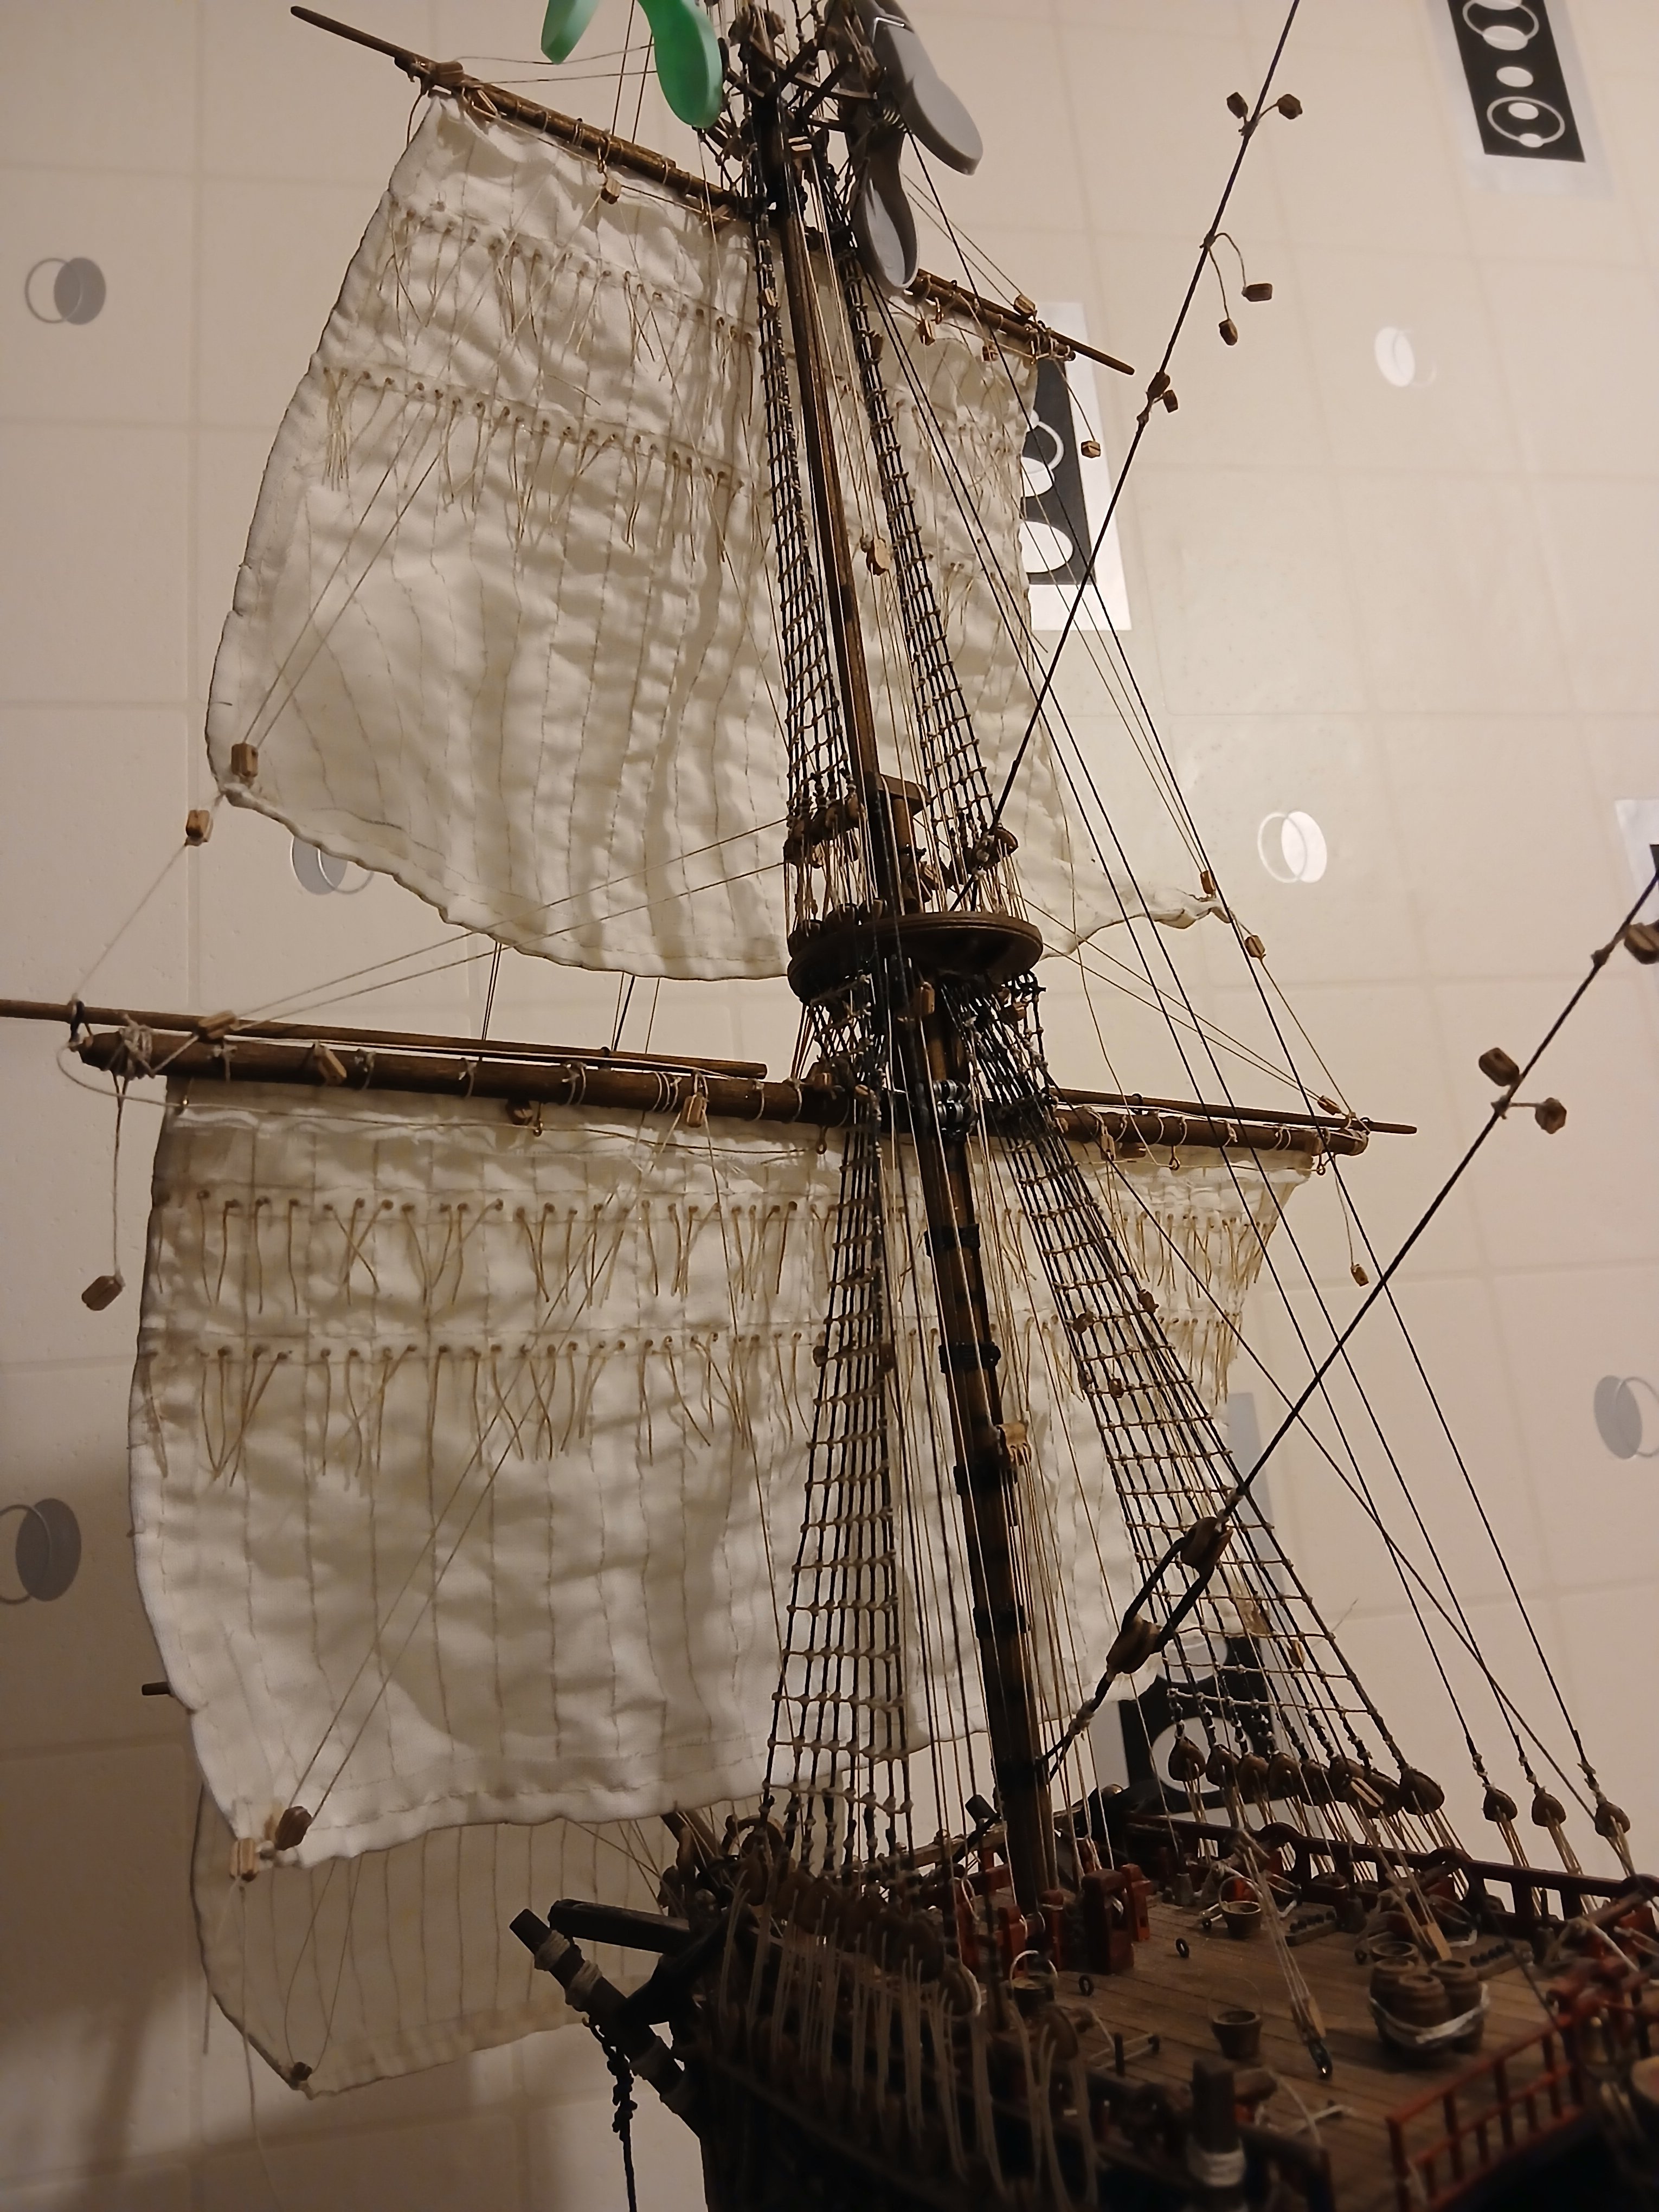
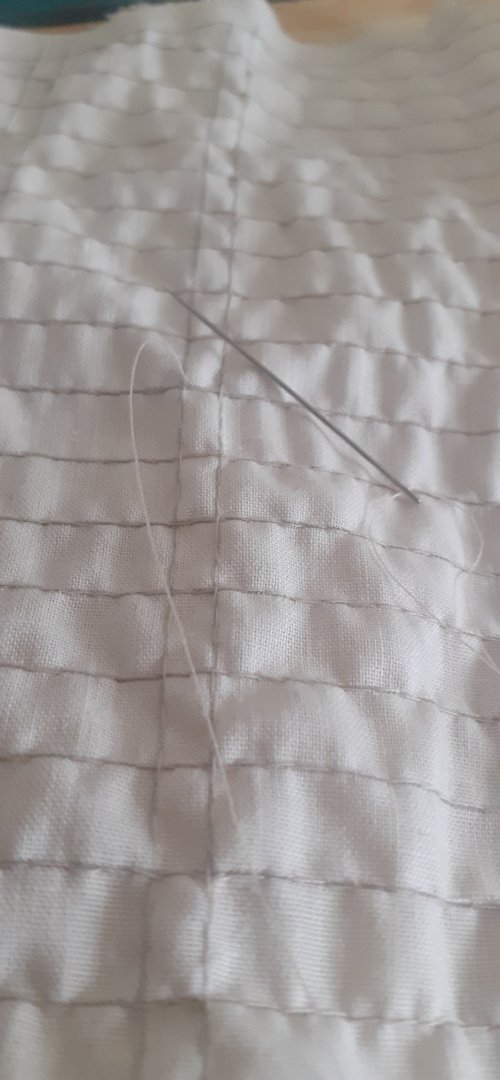
Small update on my SOLEIL ROYAL Nothing much to right up about apart from I have now completed hand sewing 4 of the 14 sails I intend my ship. Updates now will be few and far between as it's pretty pointless putting sail completion updates everytime one is finished. Hopefully I can get these done and rigged up before the start of September in time for the Model/show exhibition I've been invited to display at, if the ship isn't finished it can still go on display as a Work in Progress. Hope everyone is OK, have a great time all with your builds. A few photos below...


- 44 replies
-
- 2
-
-
- soleil royal
- Heller
- (and 5 more)
-
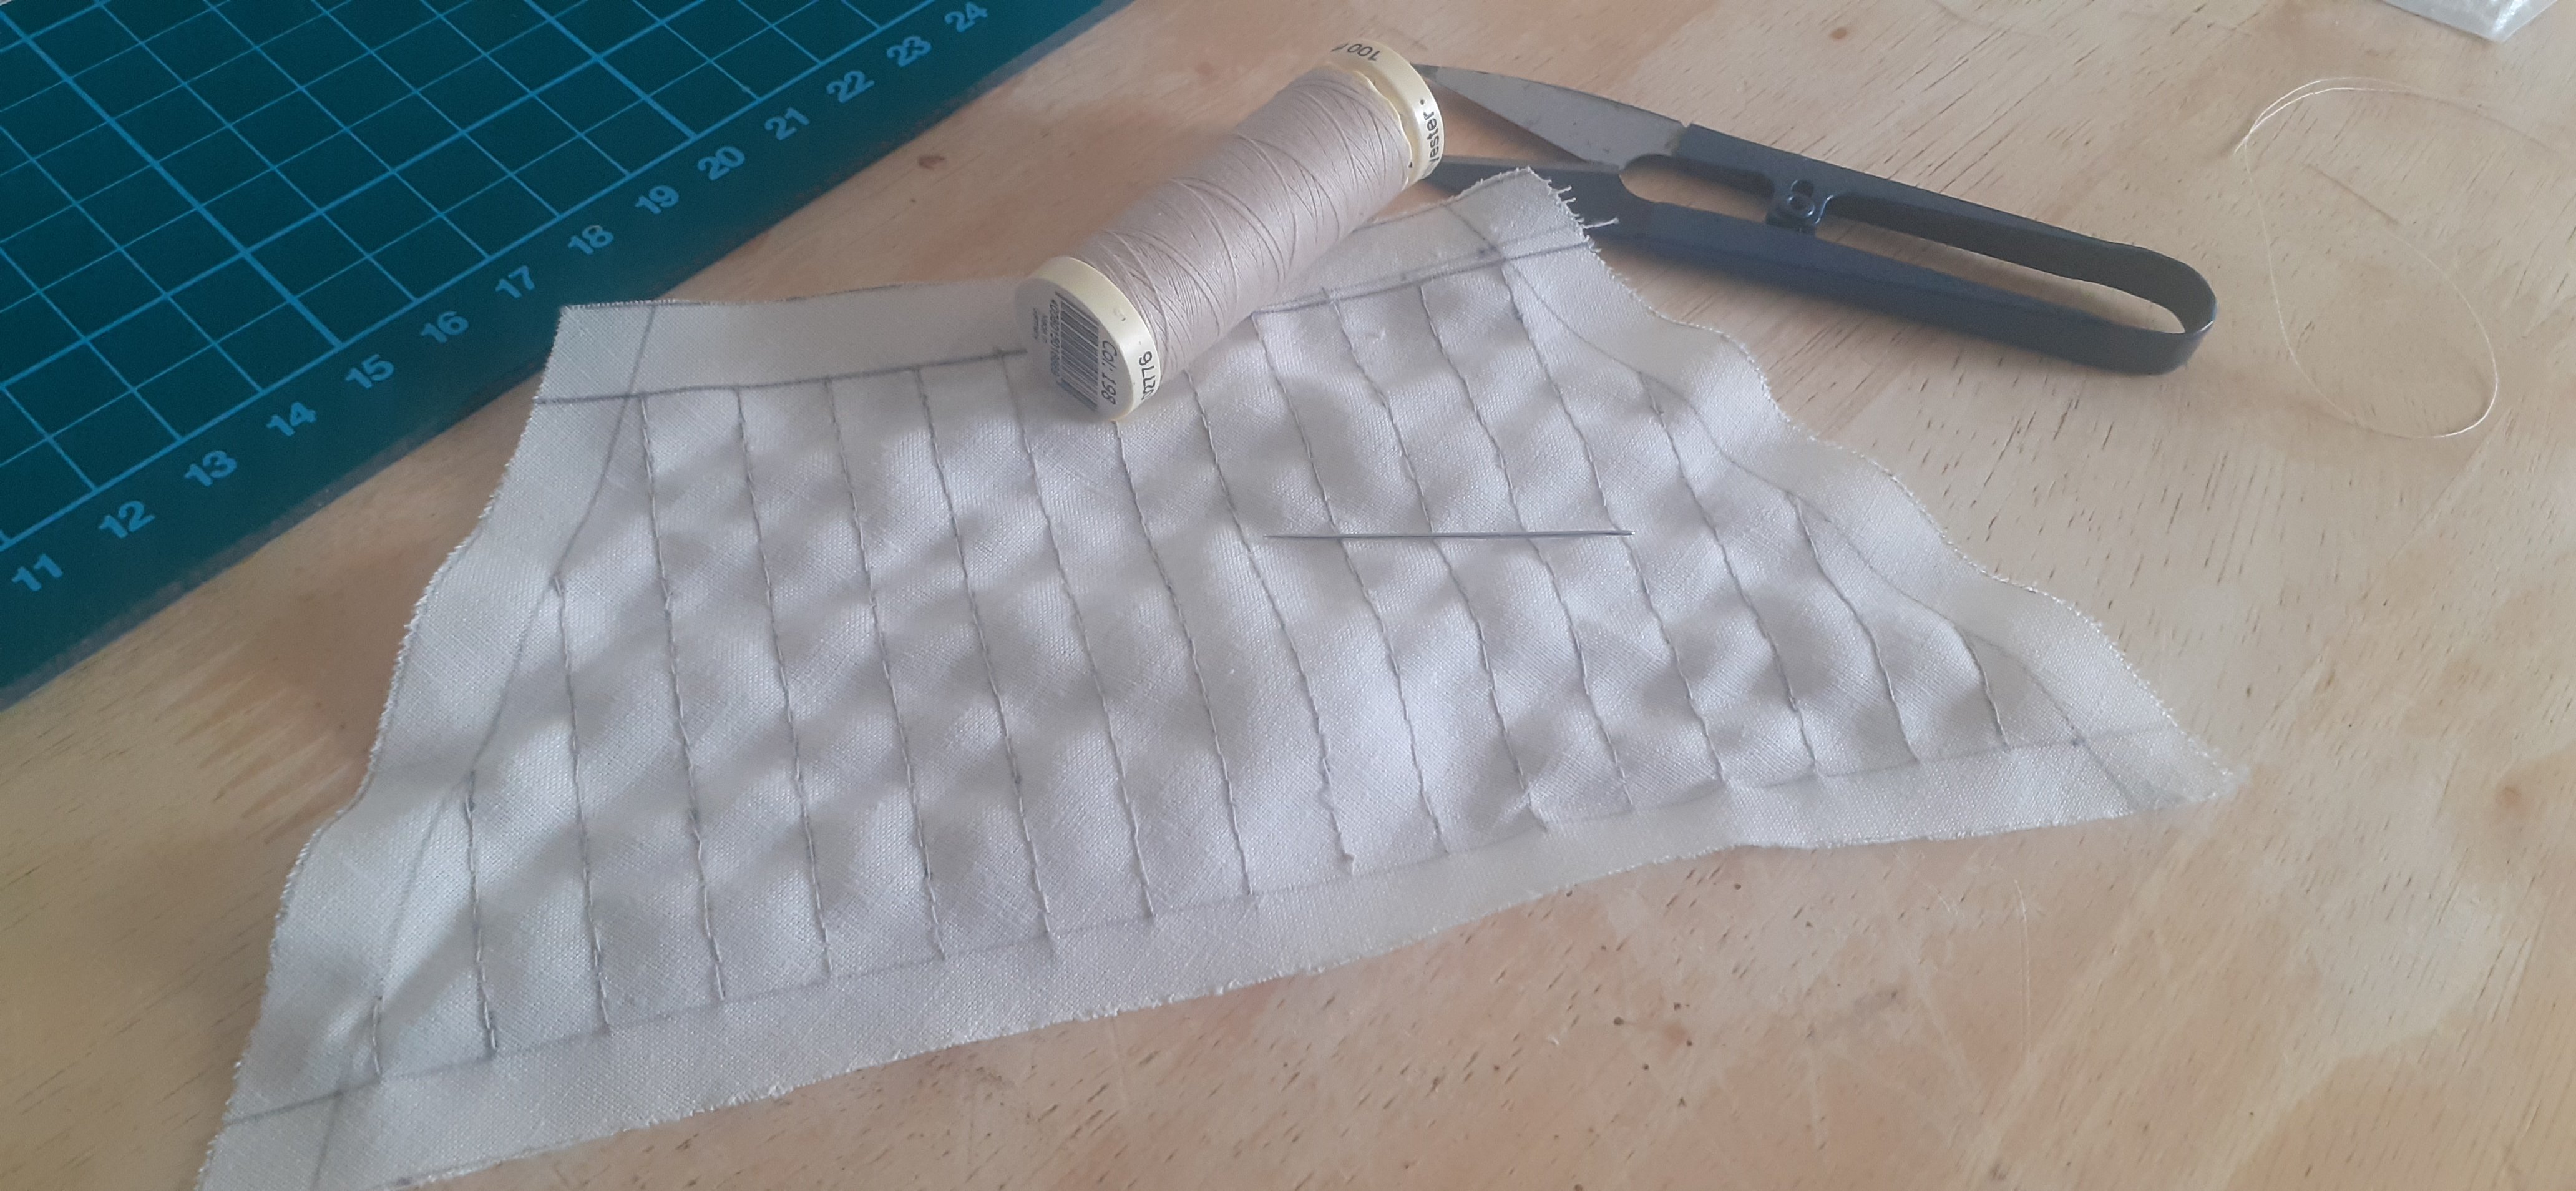
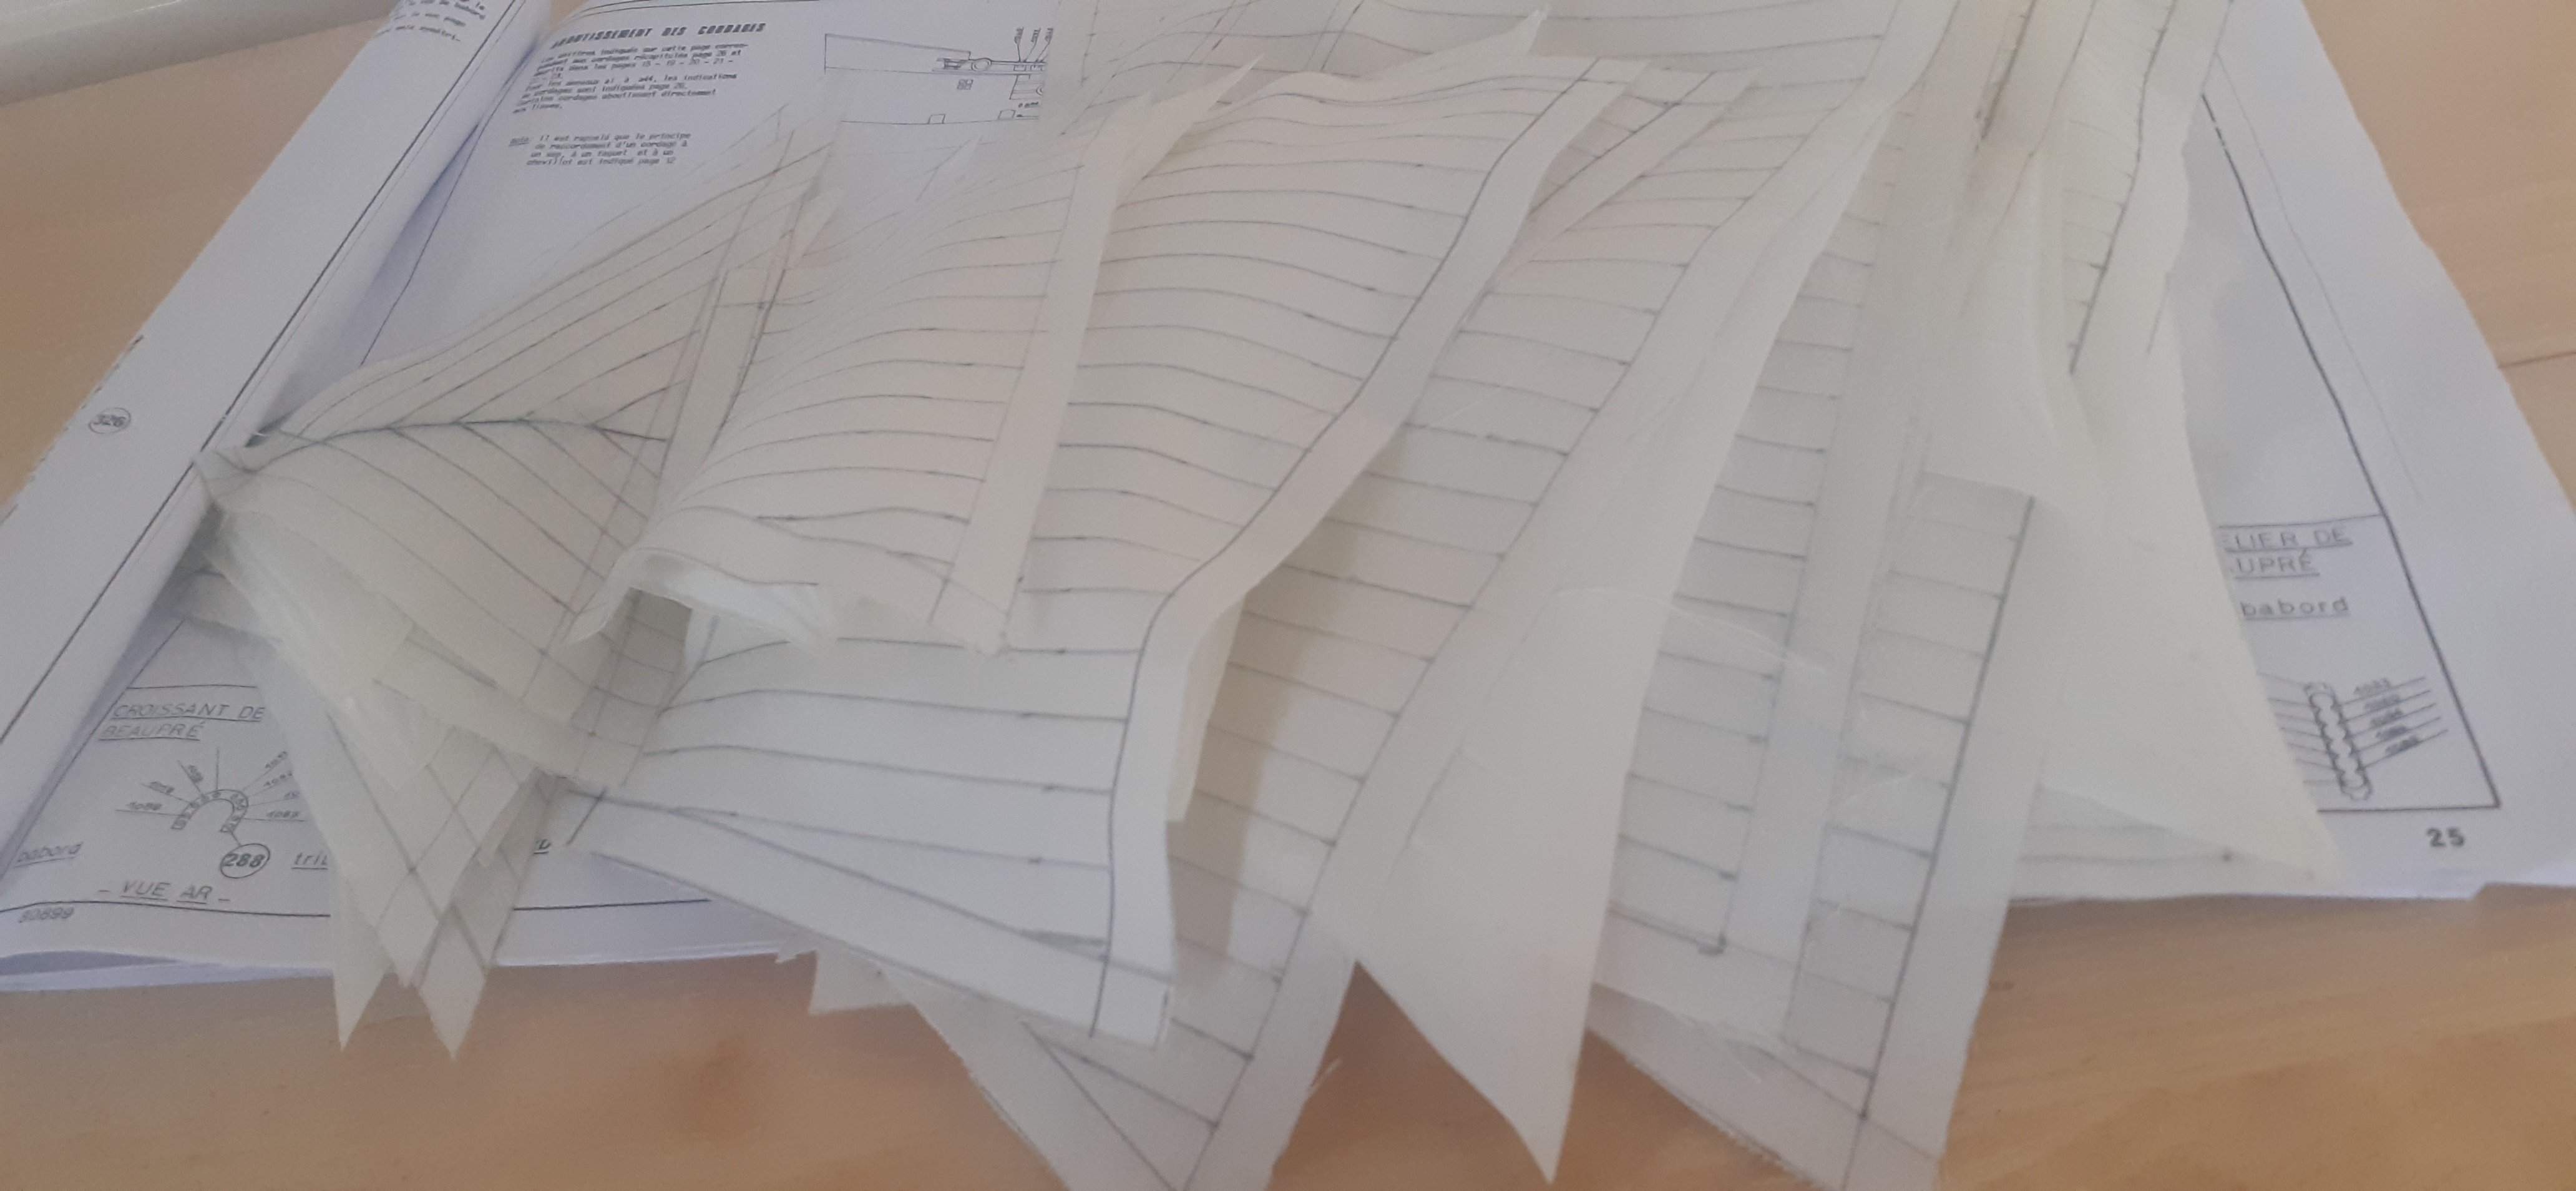
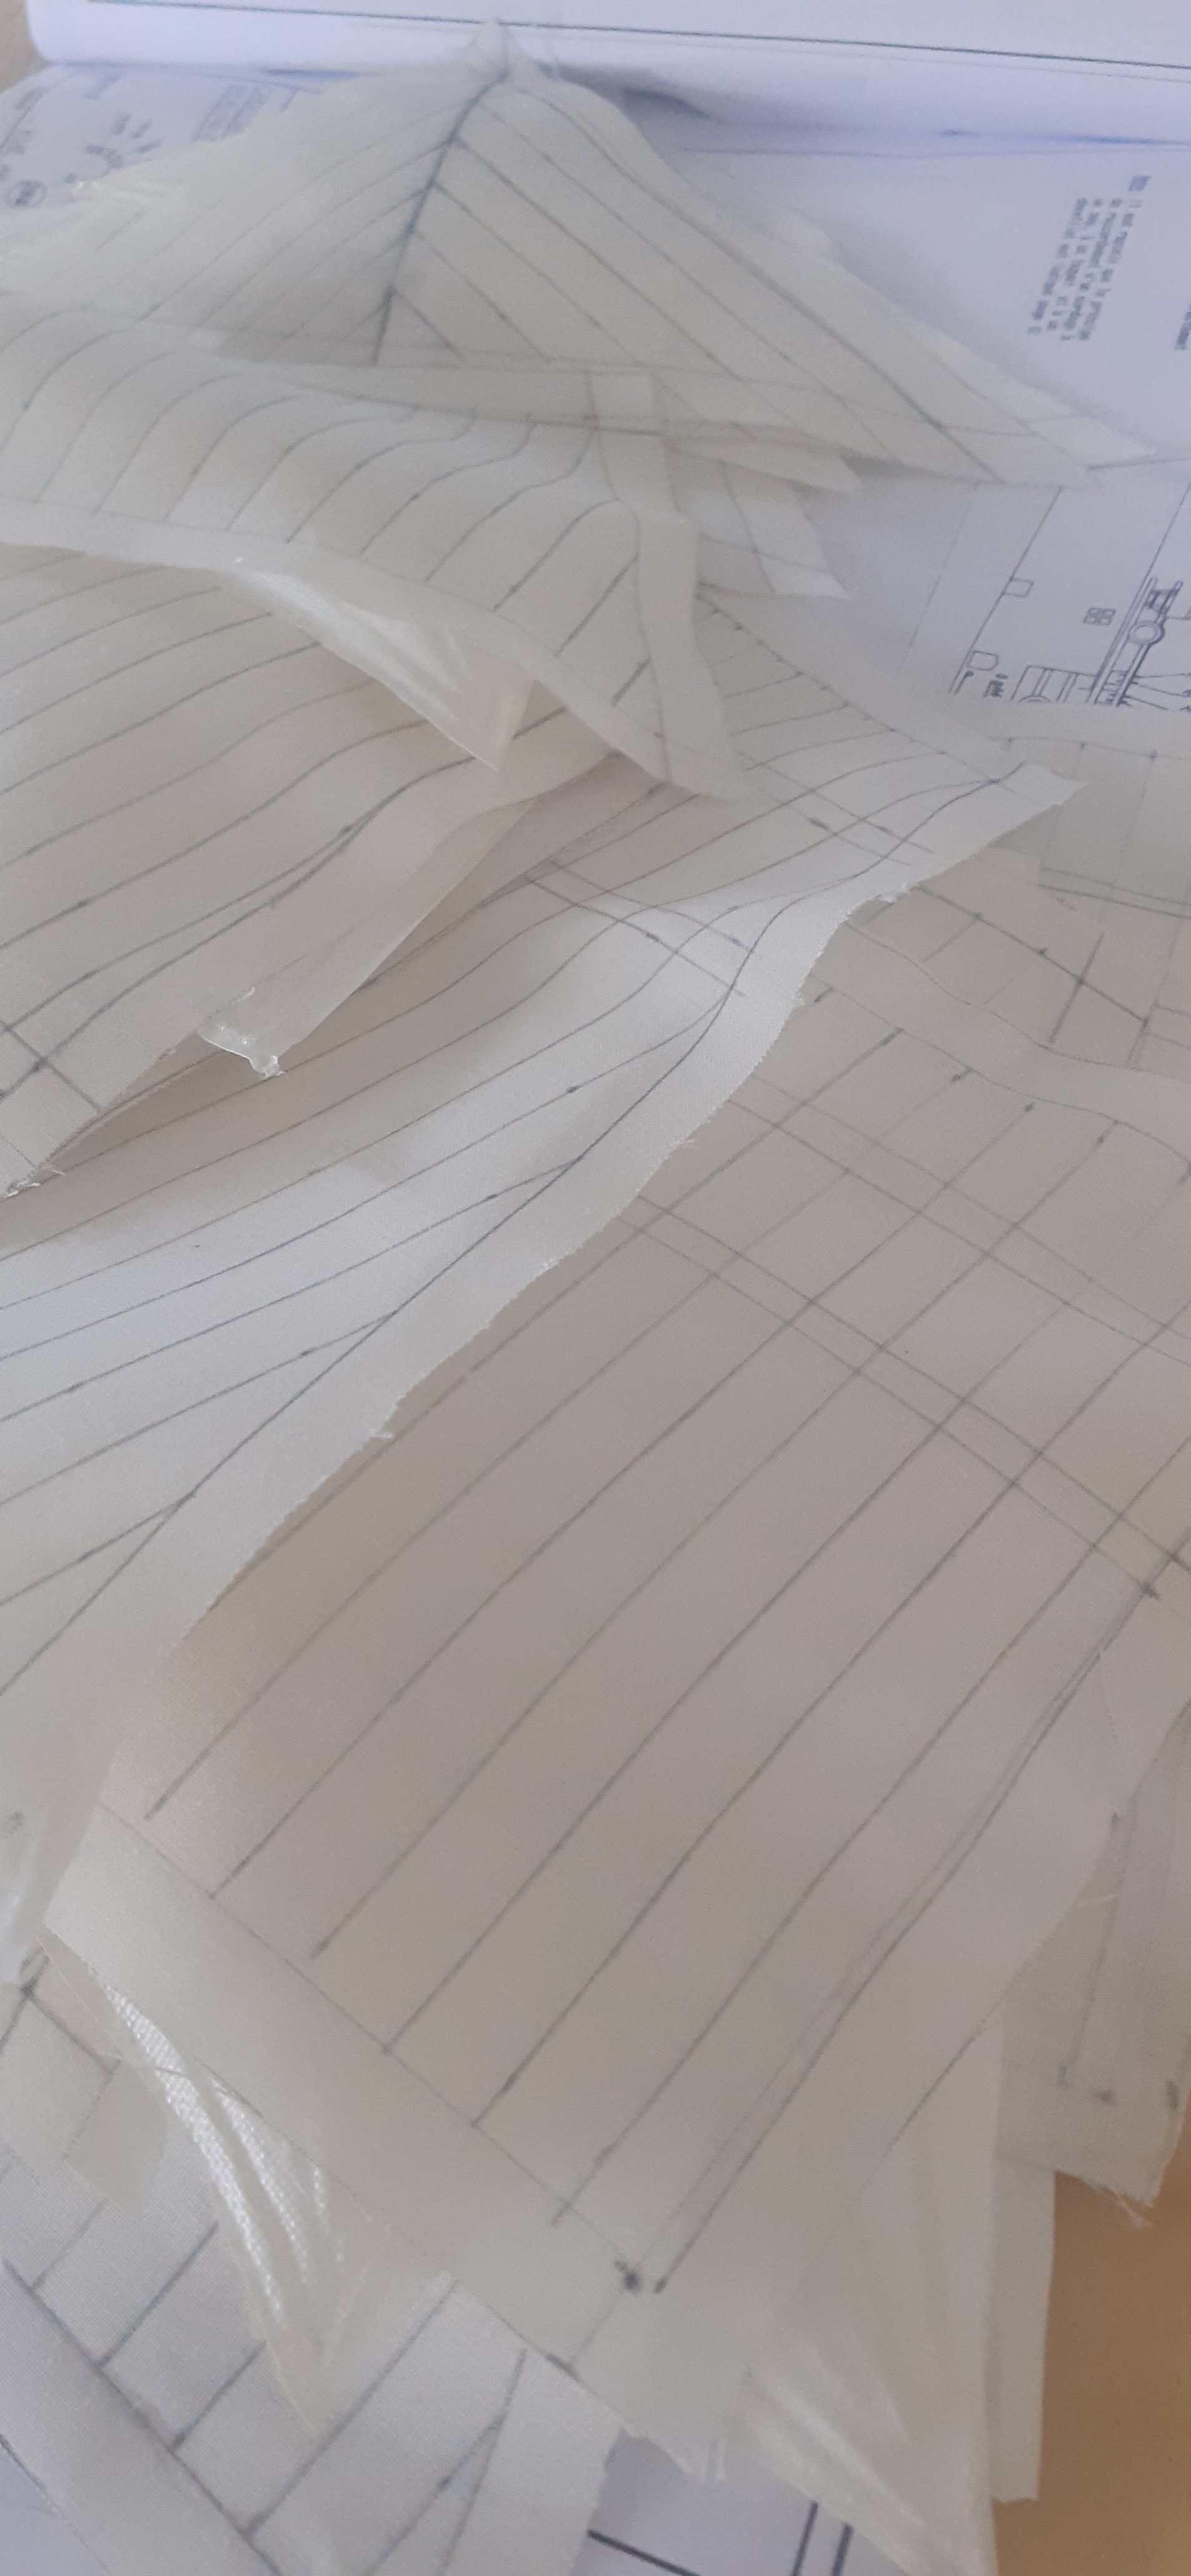
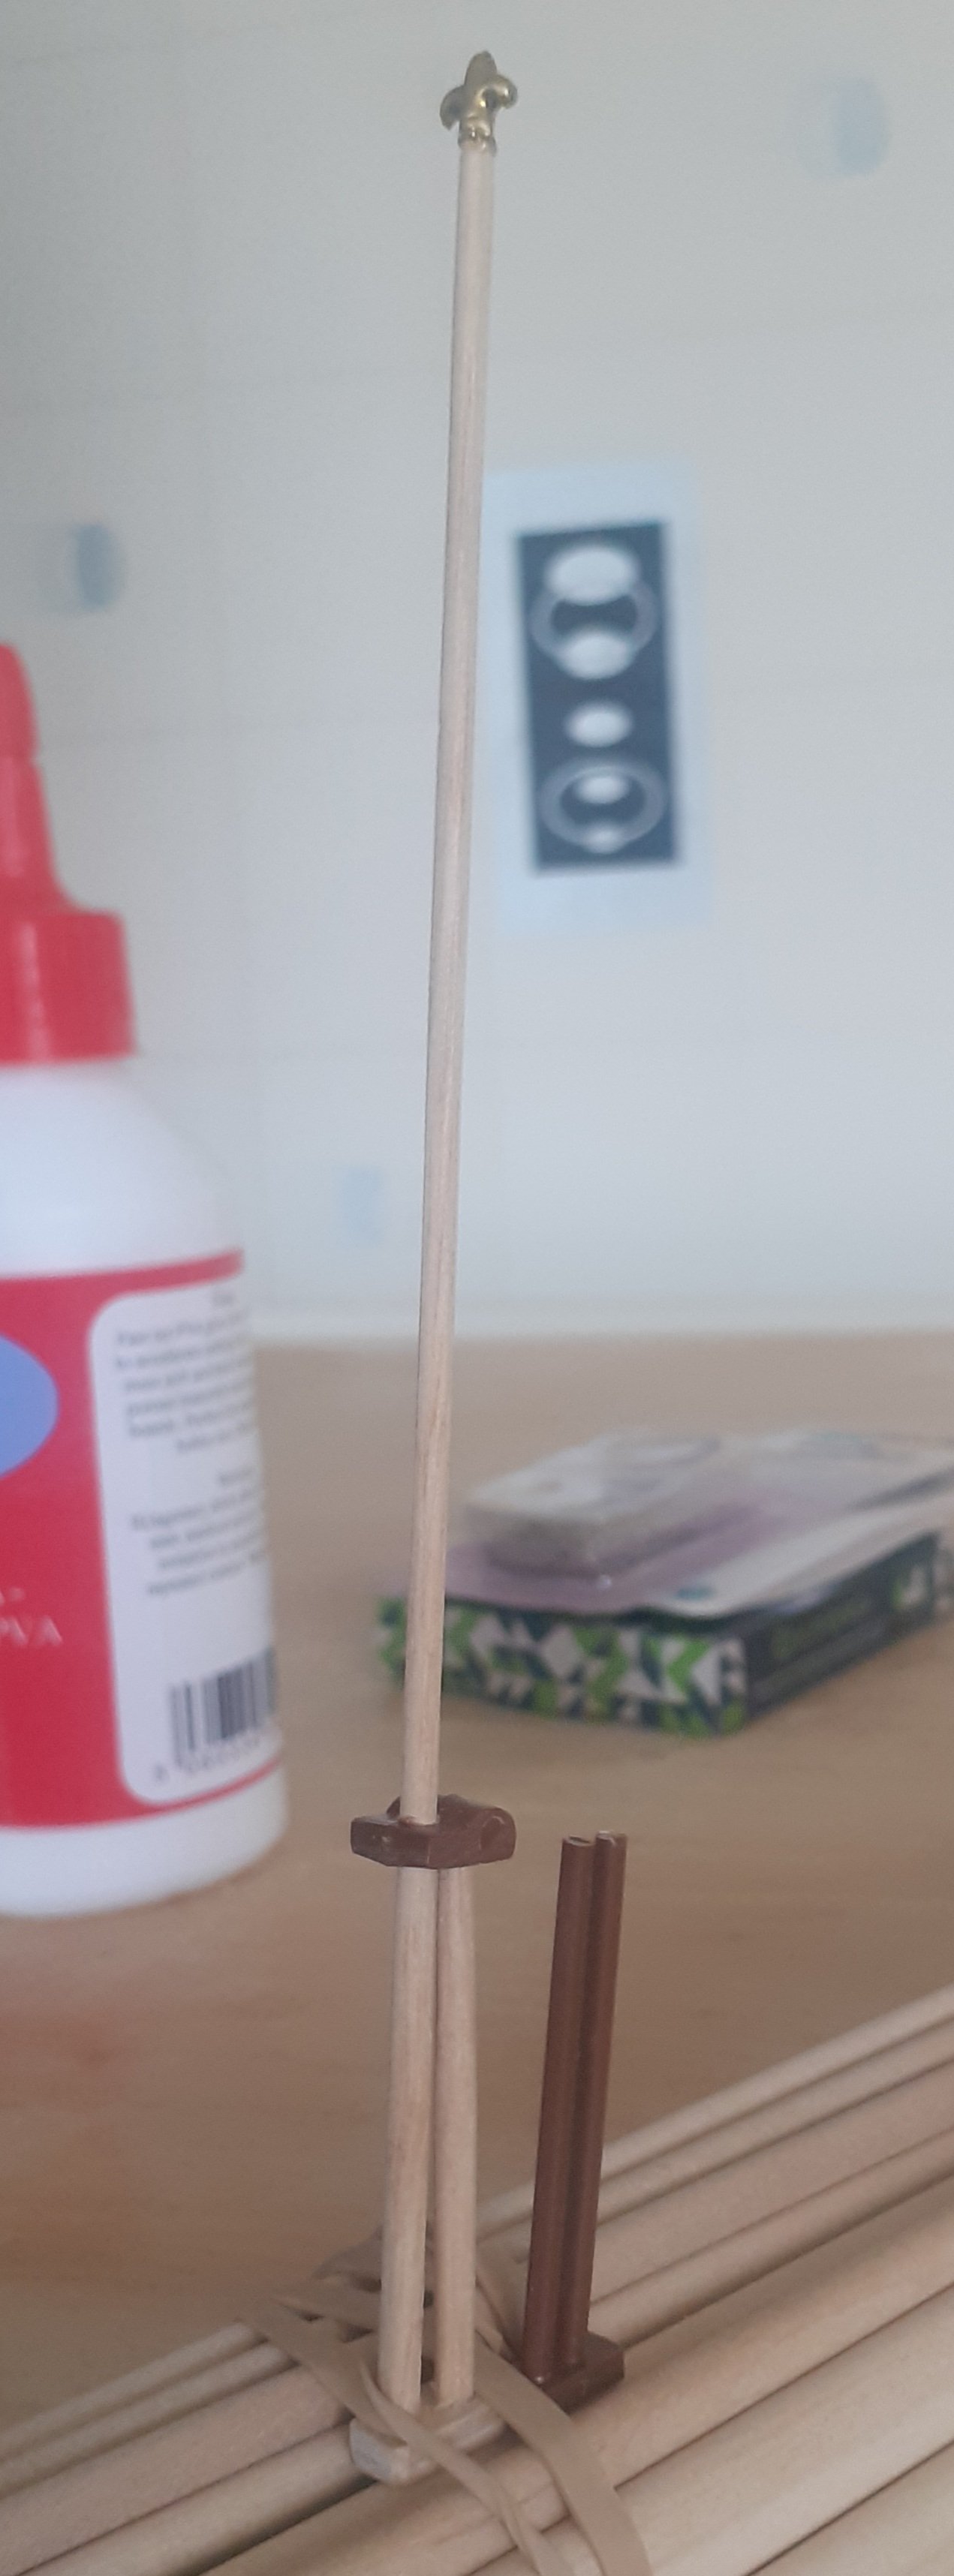
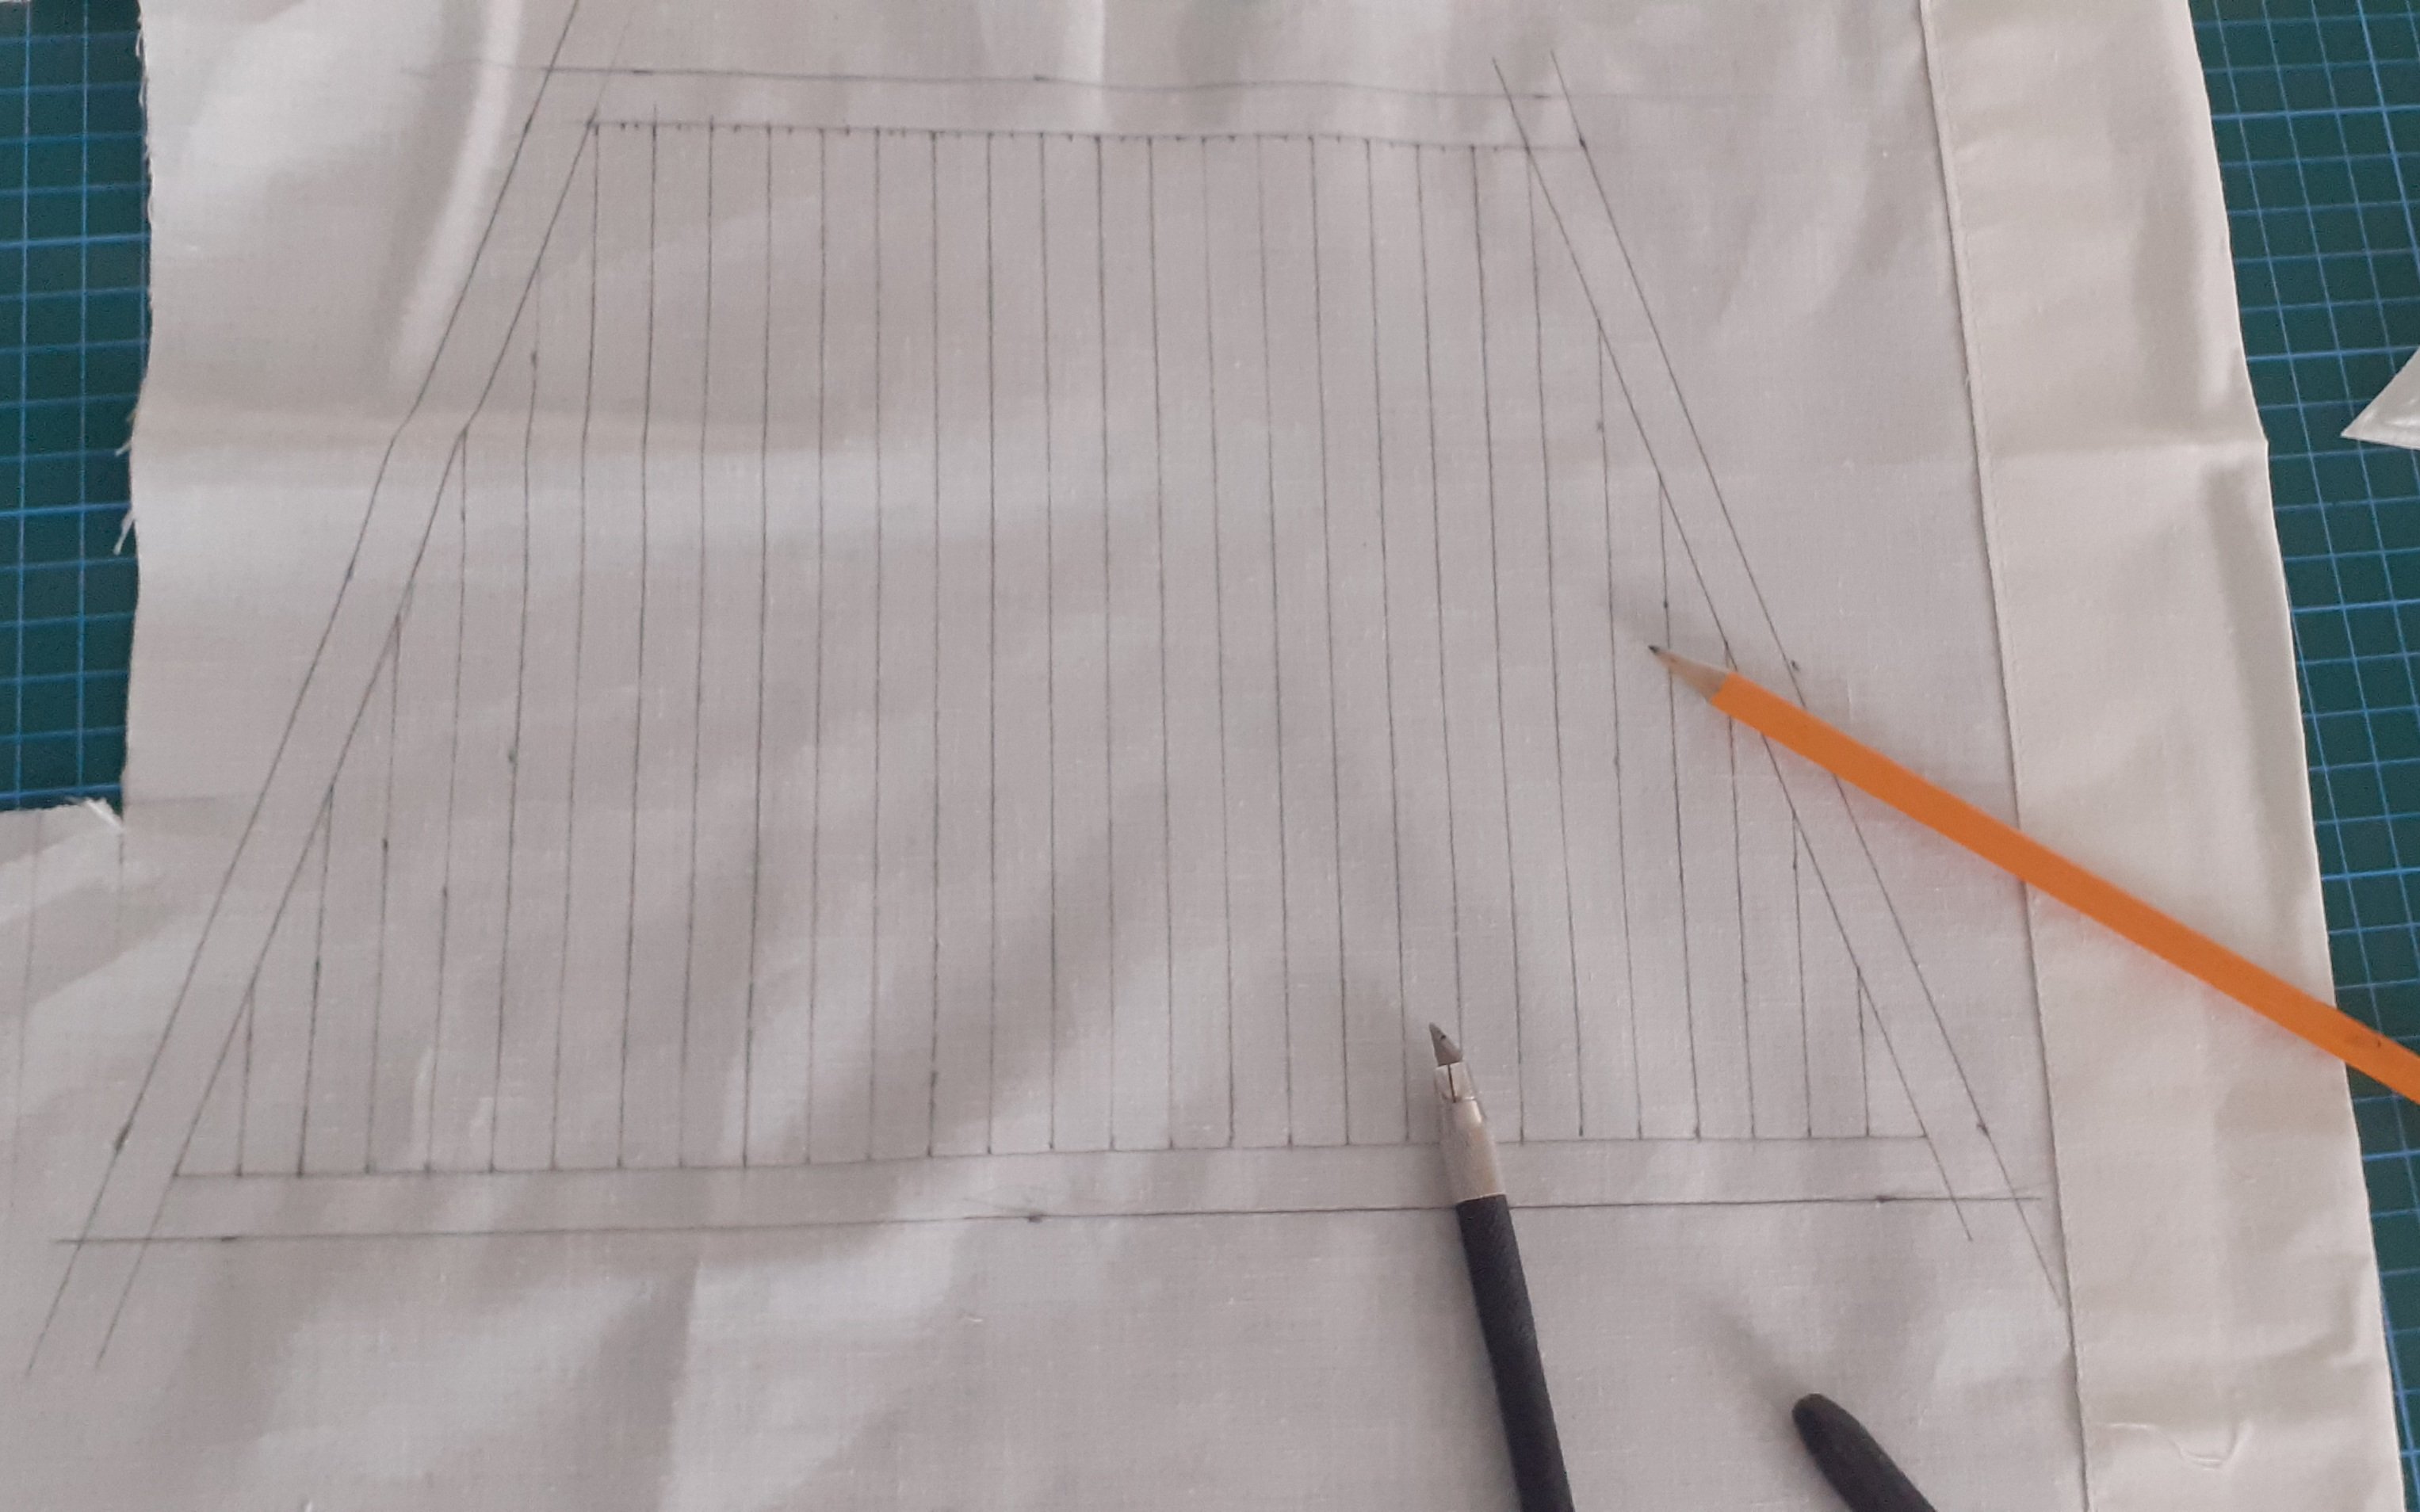
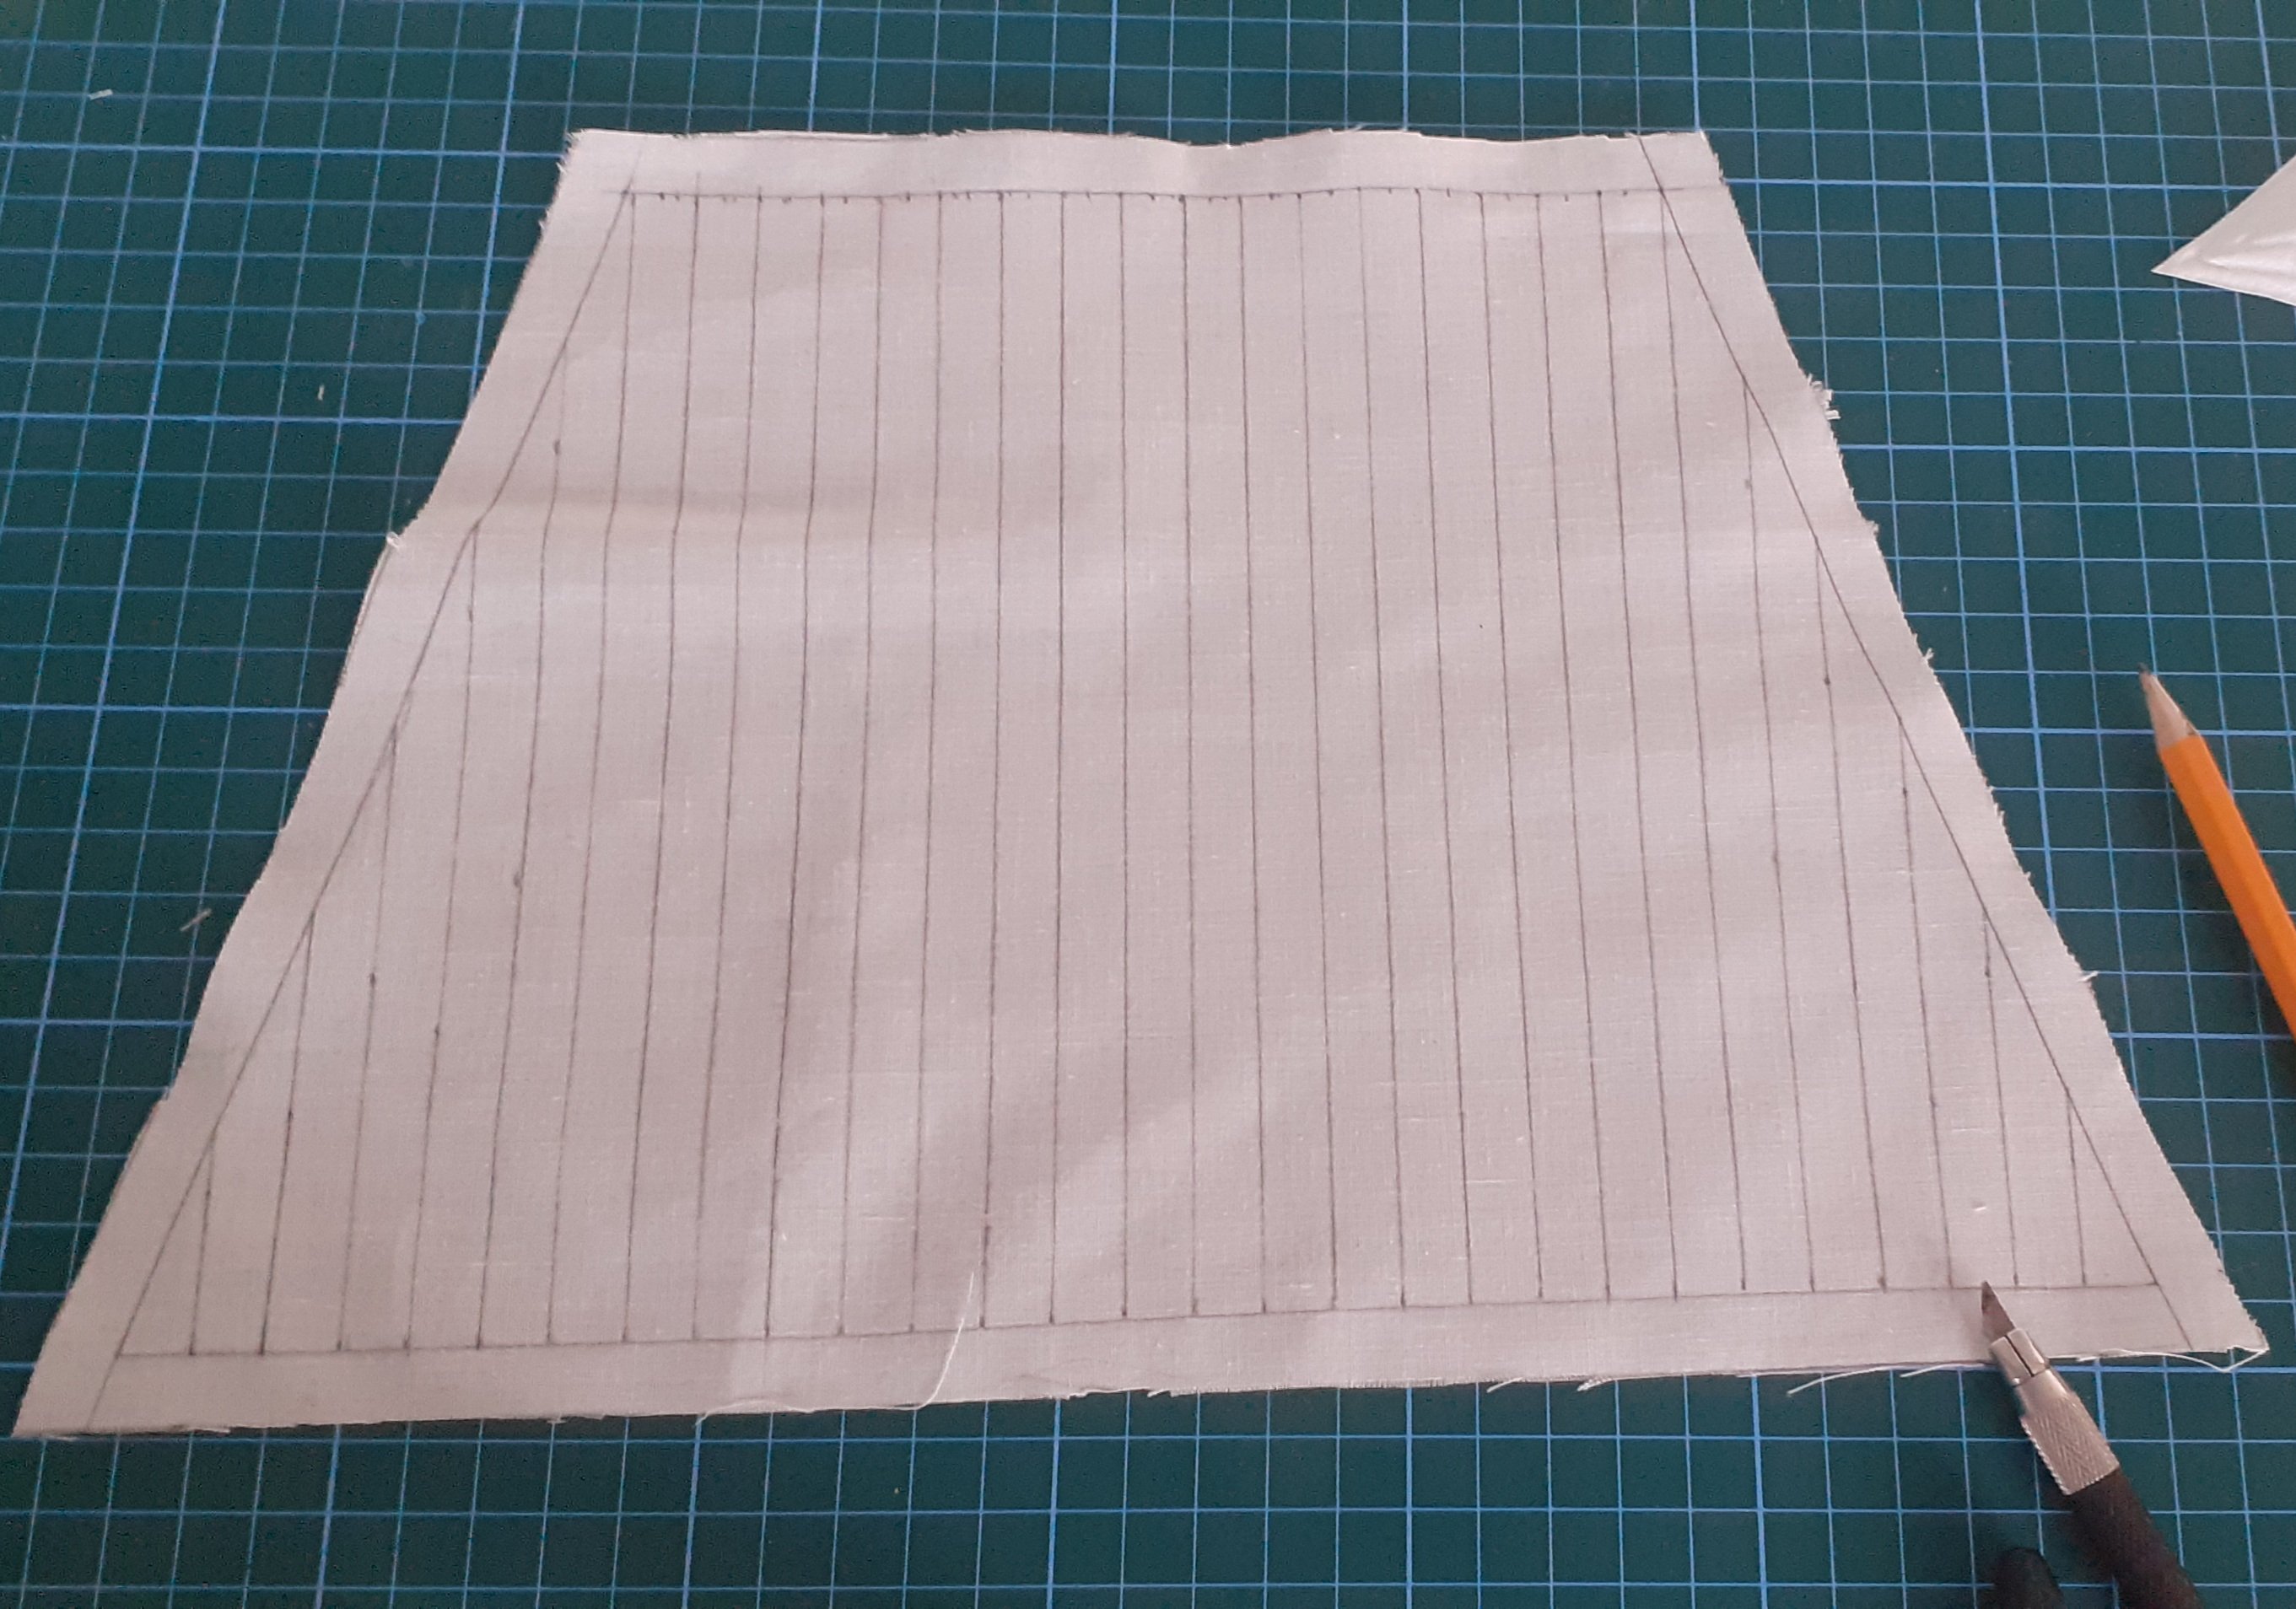
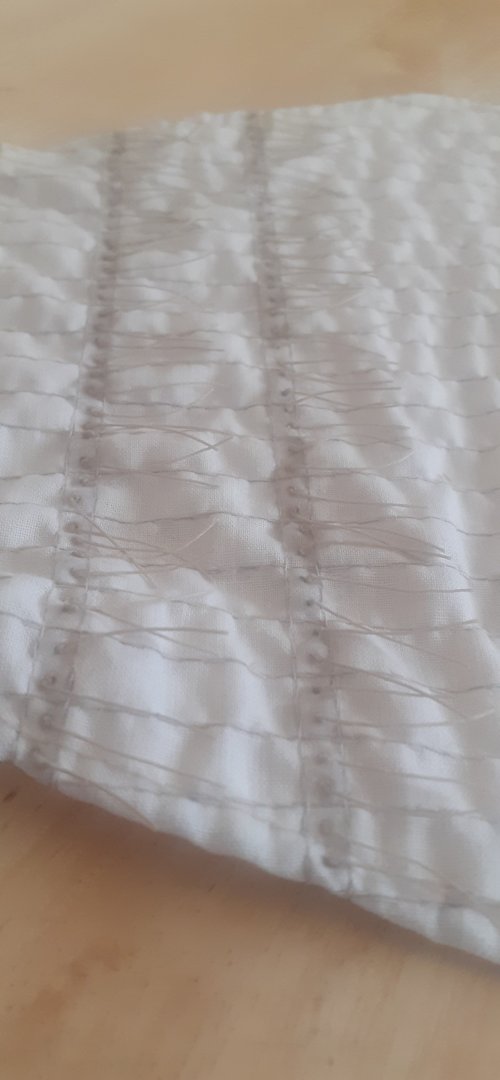
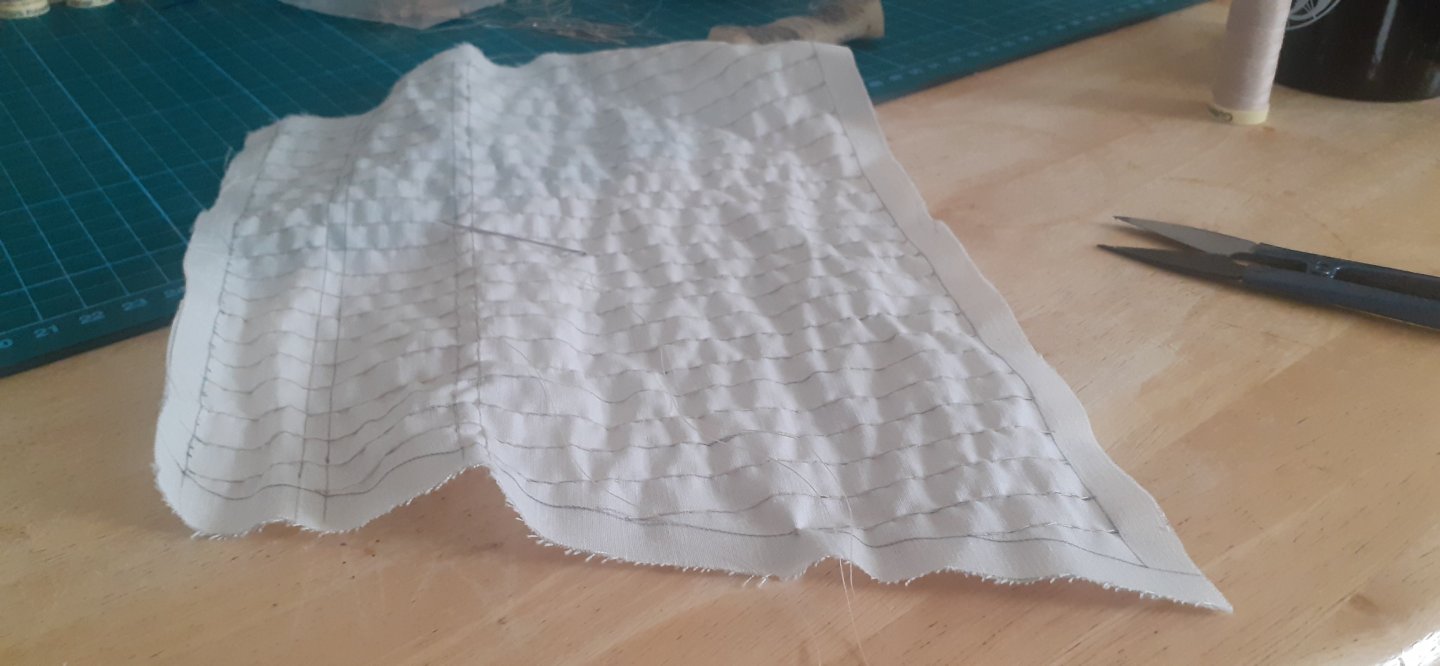
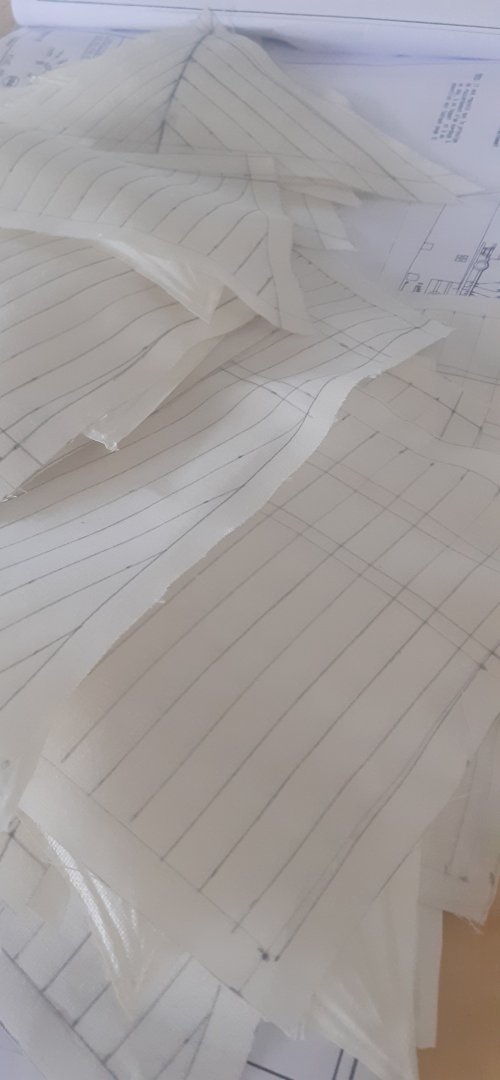
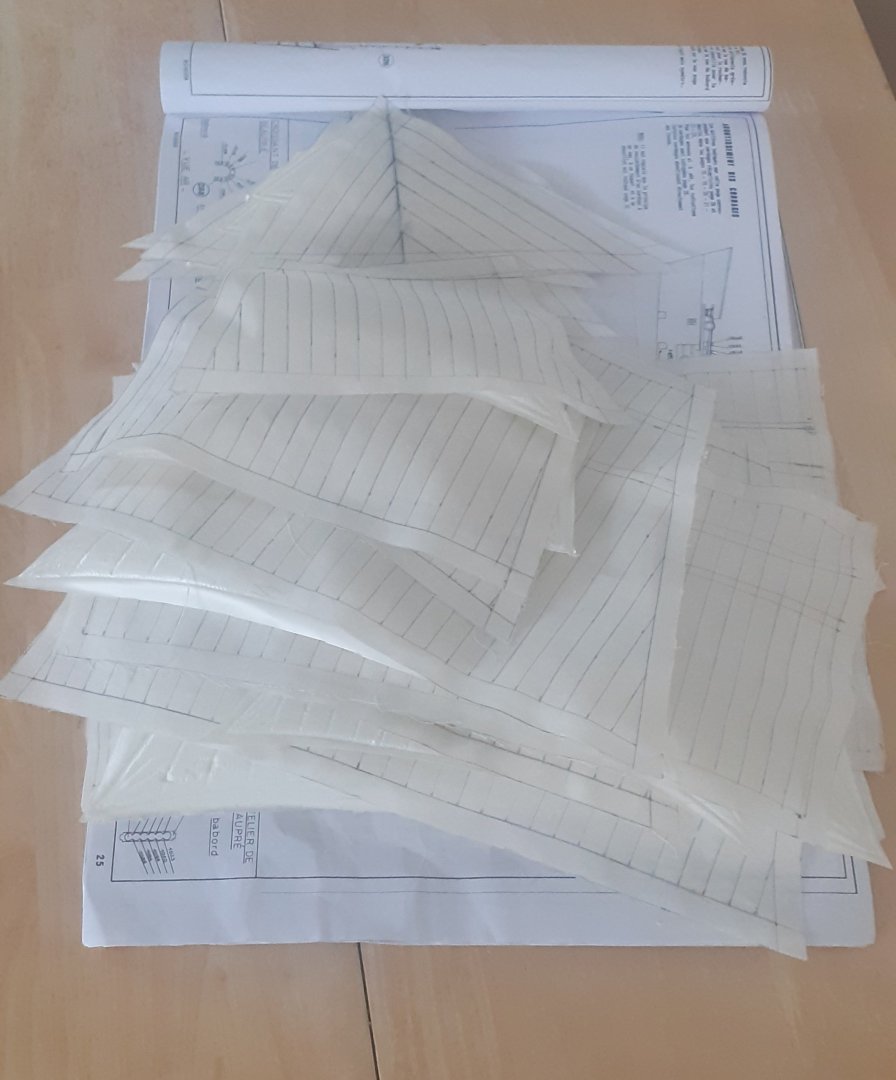
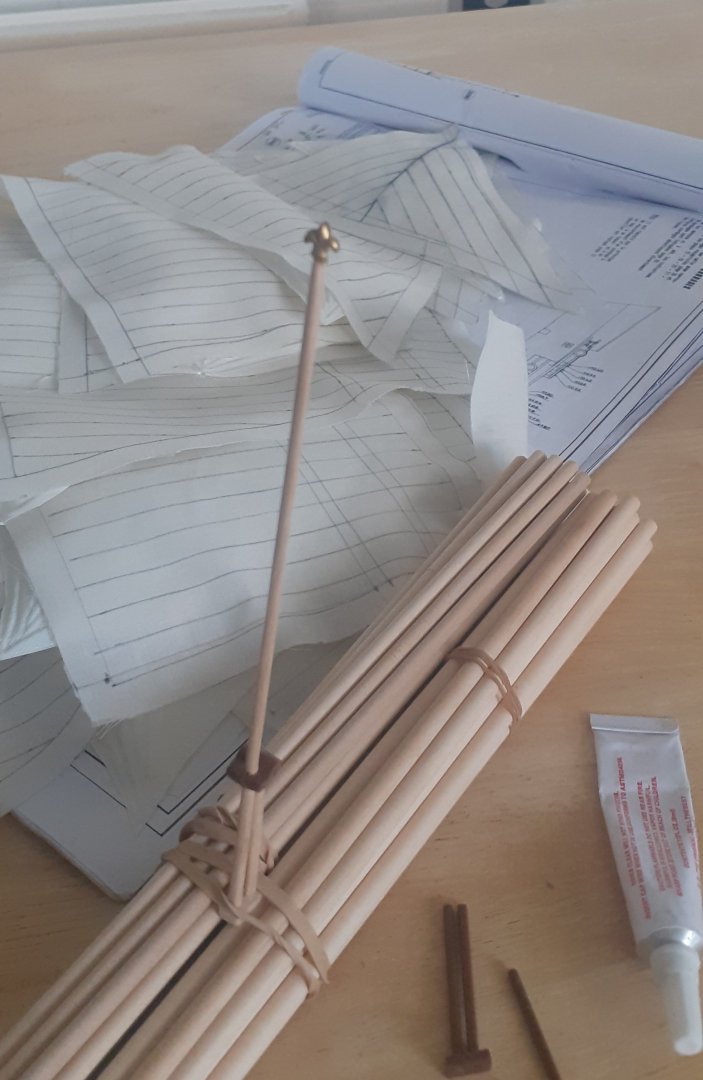
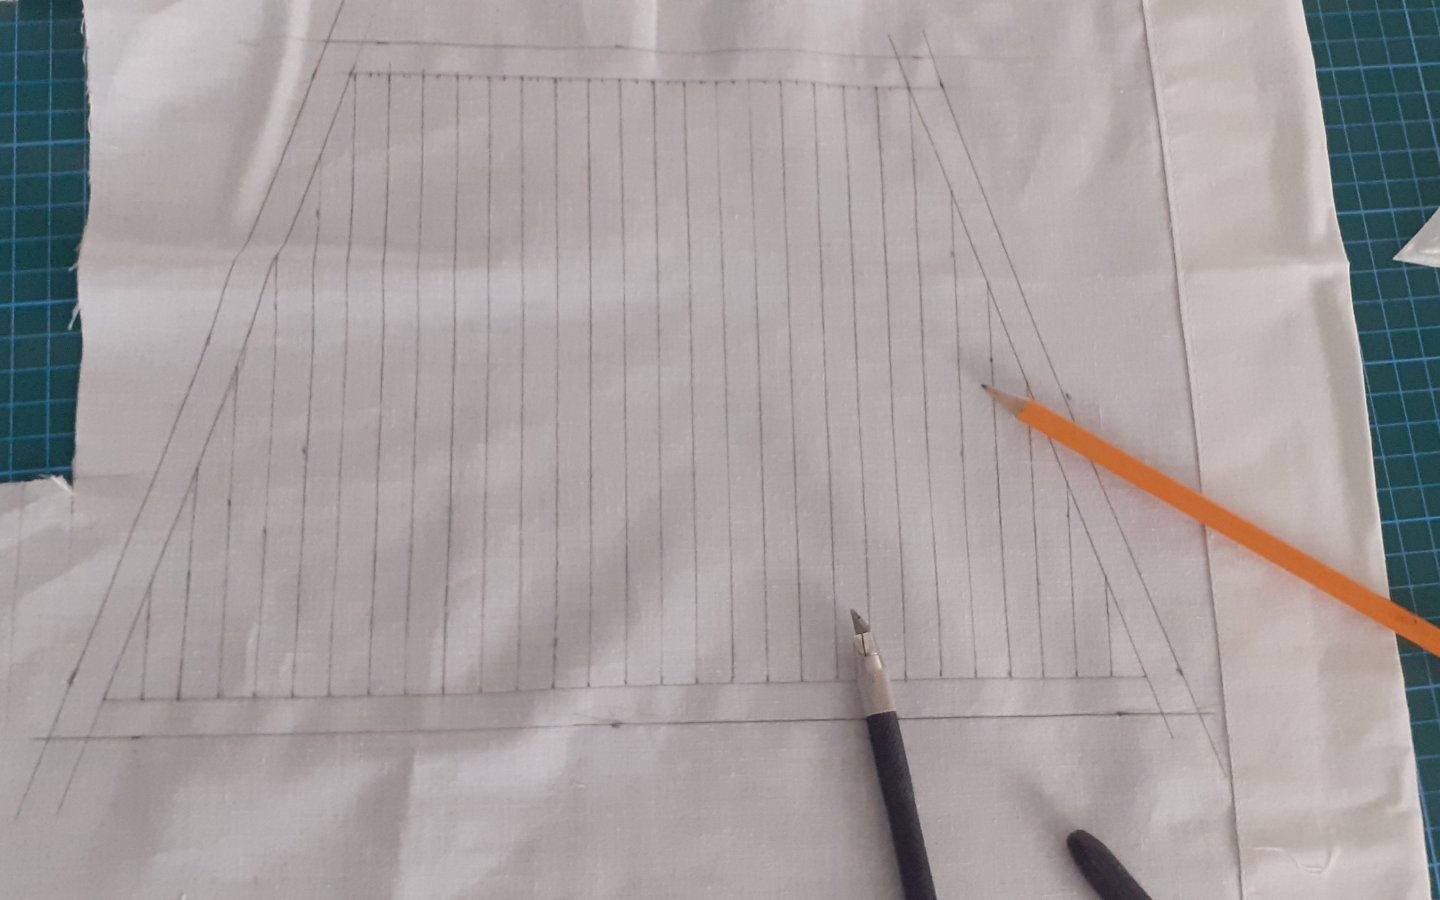
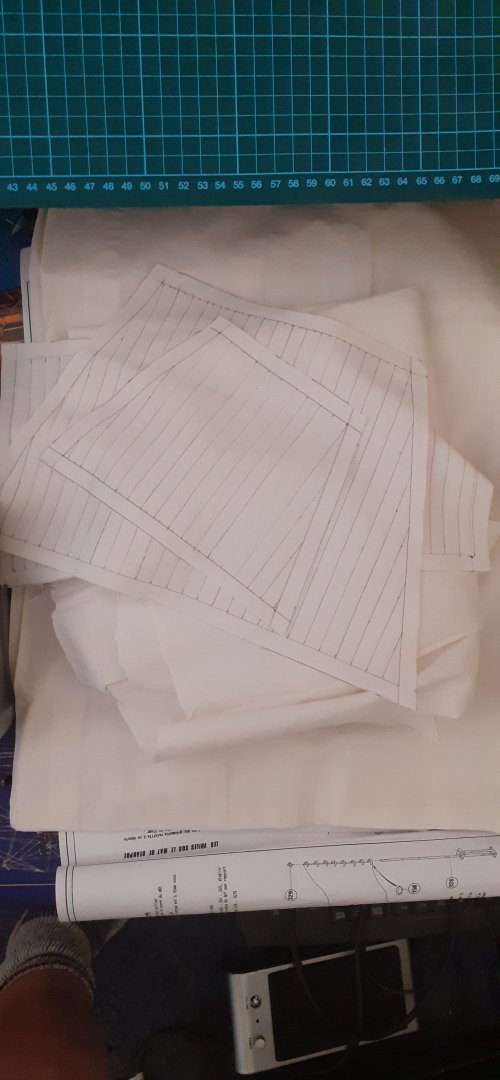
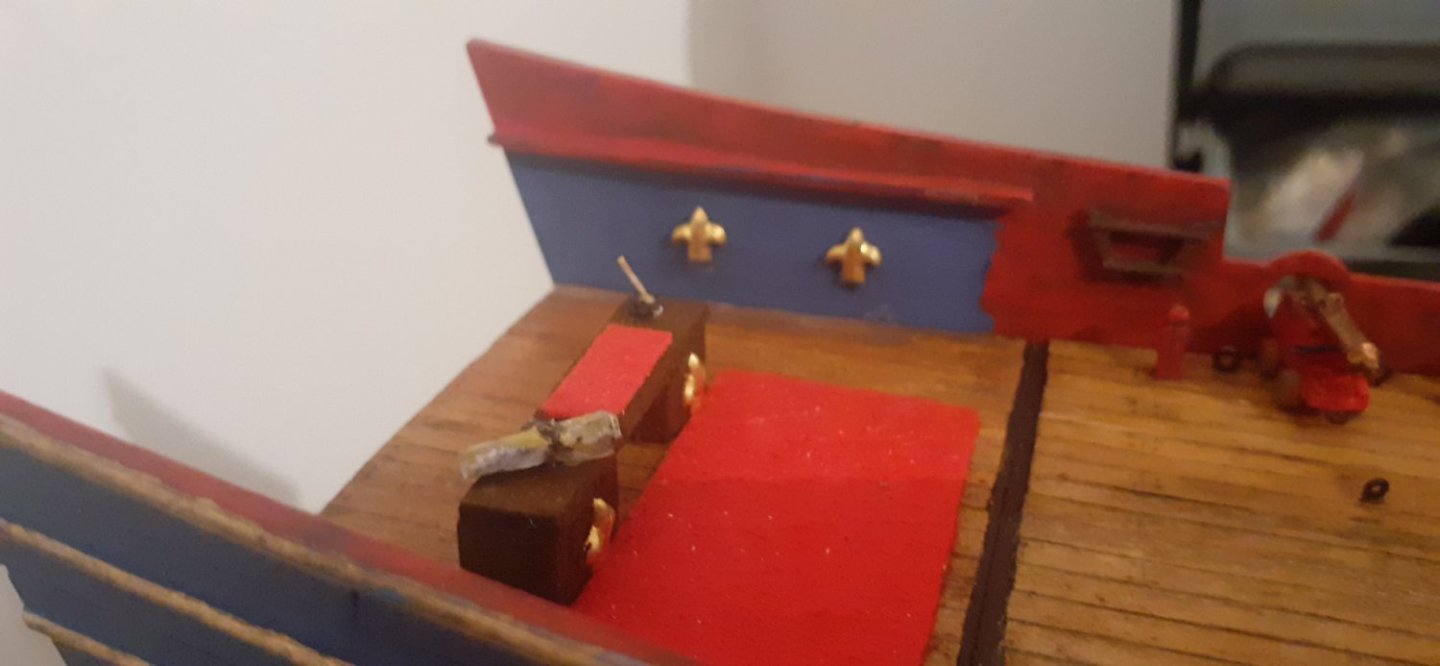
Well that's the 14 Sails measured, drawn up and cut out next step is the long process of Hand sewing all the detailed lines etc.. I've also made the flagstaff out of wood with only a little aid of the plastic support, as well as 2 brass halves of Fleur de lys bonded together, next will be a little paint and weather for the support and staining of the wood.


- 44 replies
-
- 2
-
-
- soleil royal
- Heller
- (and 5 more)
-
Fore Top gallant mast, Fore Top mast, Fore main mast sails drawn up and cut out from cloth.


- 44 replies
-
- 2
-
-
- soleil royal
- Heller
- (and 5 more)
-
Its been a while since my last update due to other circumstances. All the Futtock Shrouds and Ratlines are now complete as is all the backstays on my Soleil Royal and the rigging to a point. Next up is measuring and drawing the sails on to cloth, after which is hand sewing all the detail on to them. Roughly 14 sails to do as I won't be adding the studding sails as this would make the width too much for where I want to display the ship when finished. Still a good 3-4 months work involved in hand sewing the sails as well as adding reef points.


- 44 replies
-
- 4
-
-
- soleil royal
- Heller
- (and 5 more)
-
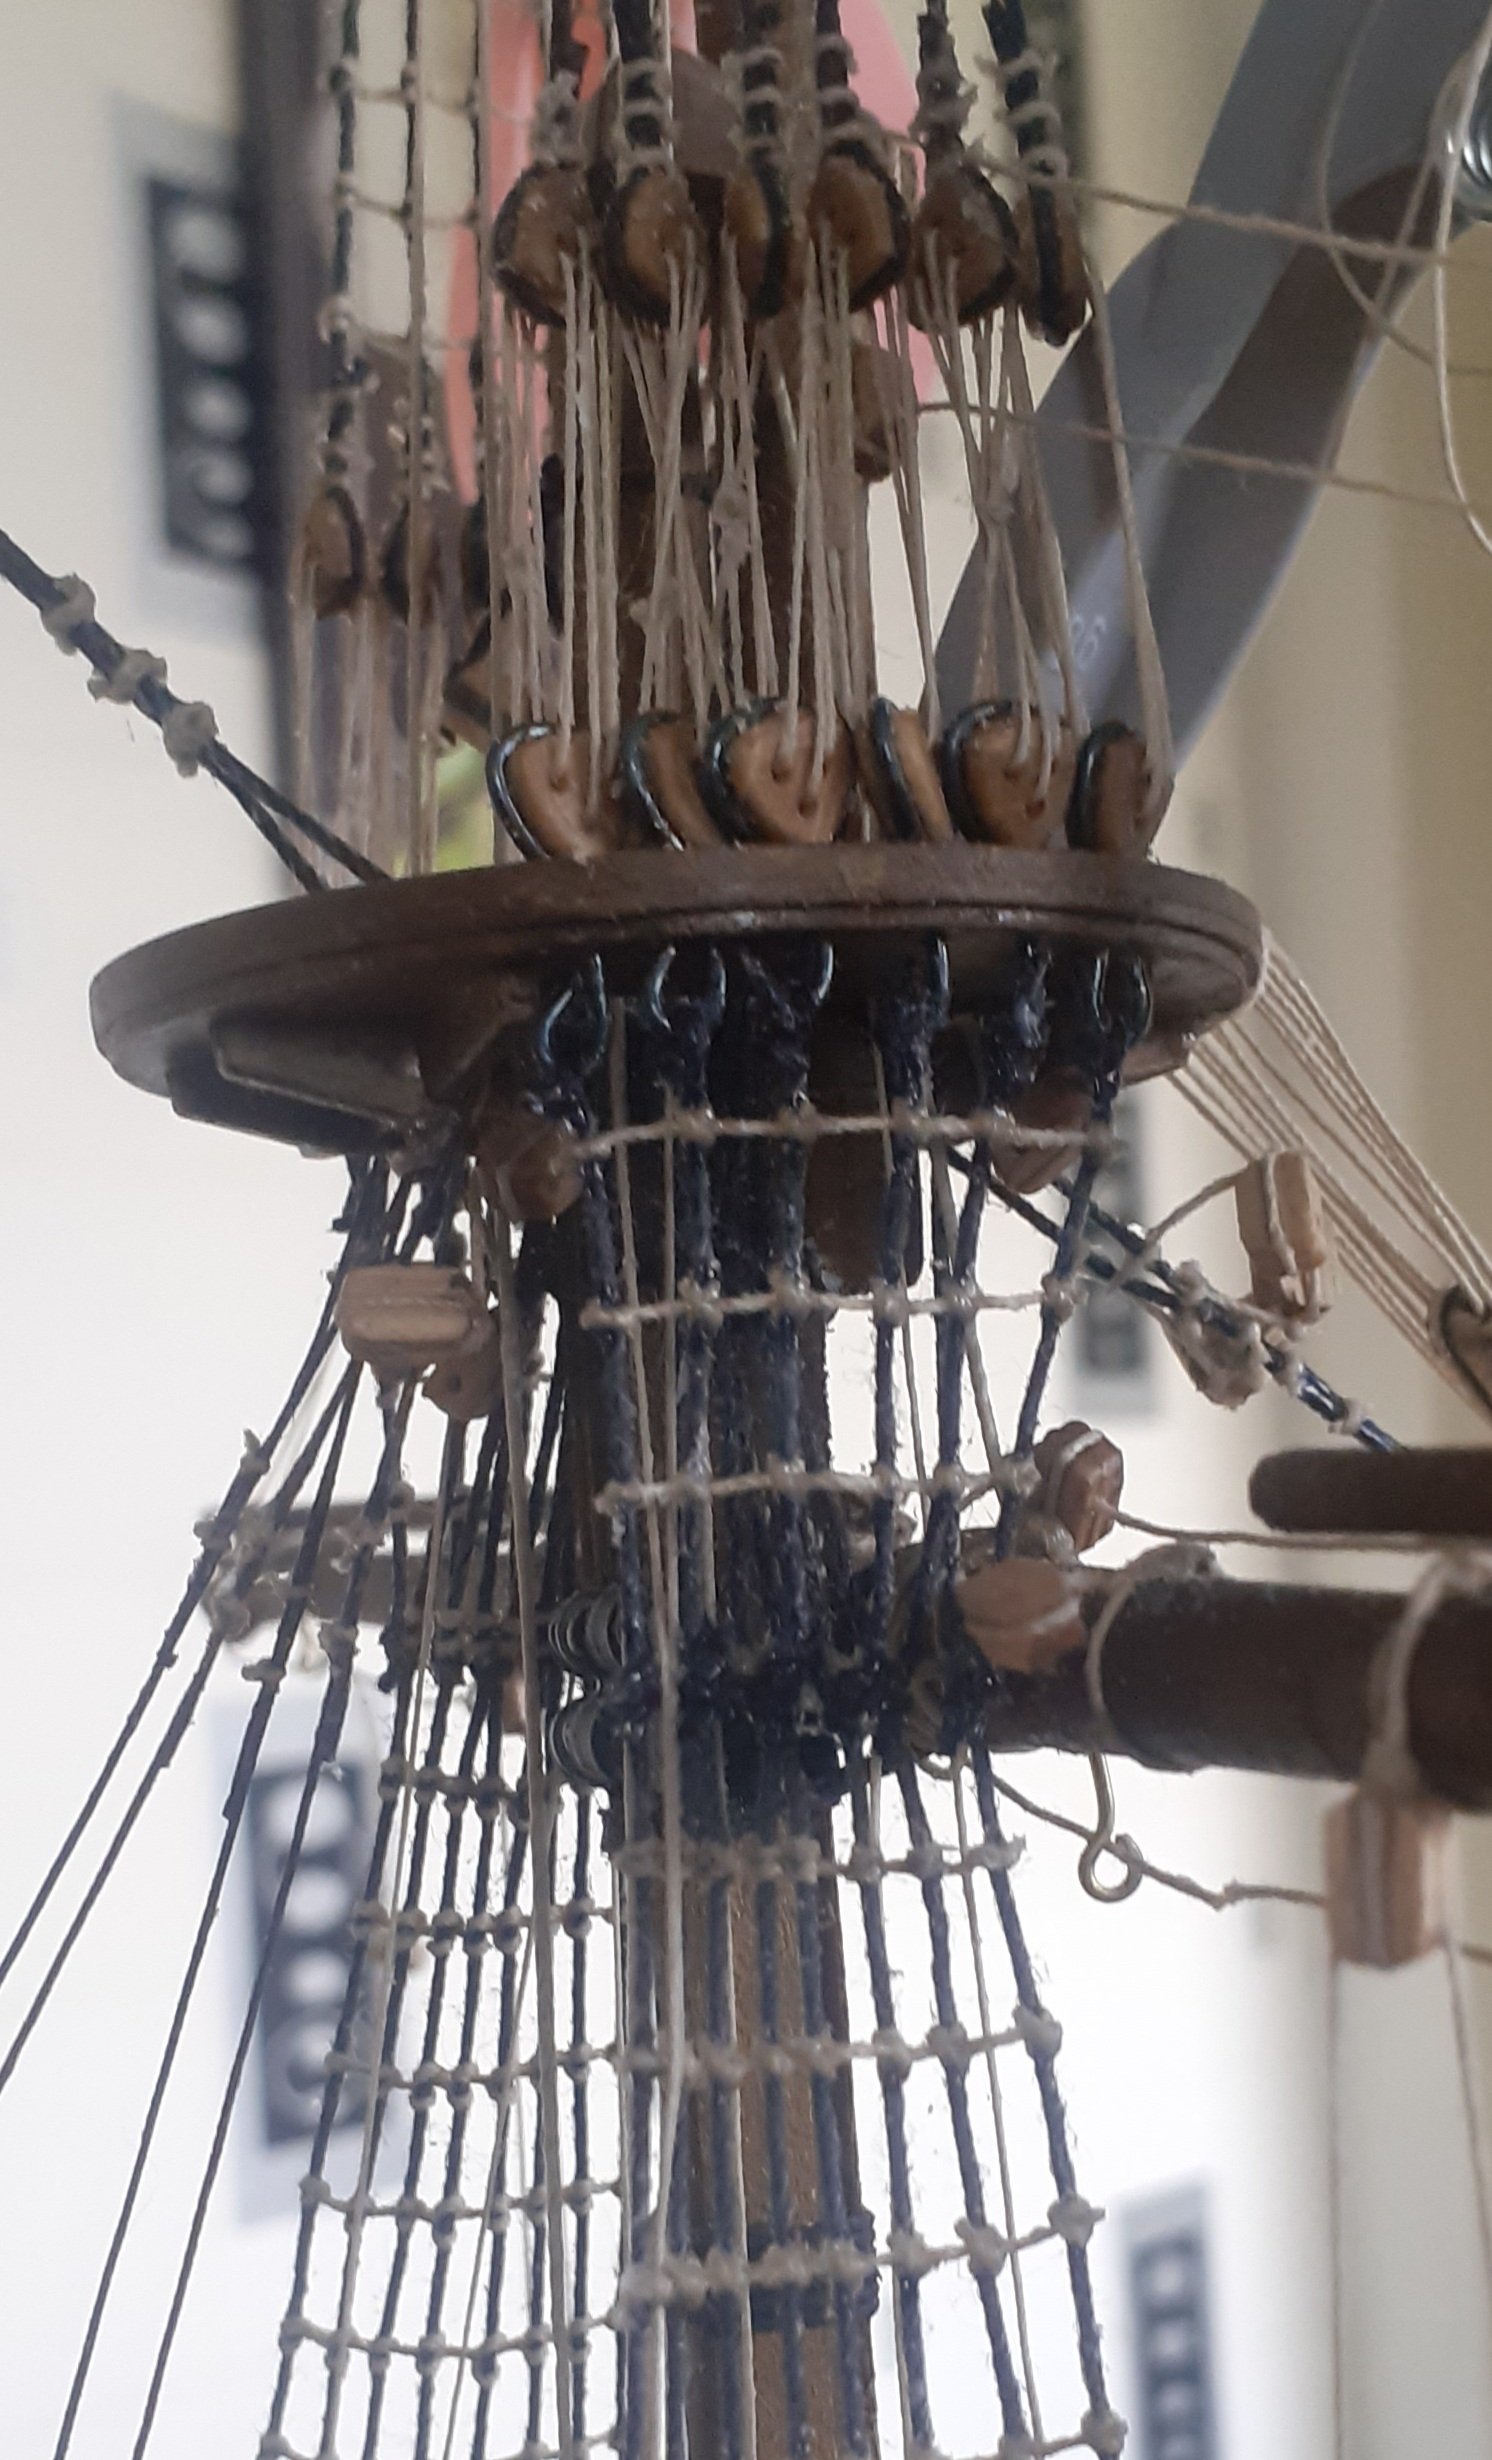
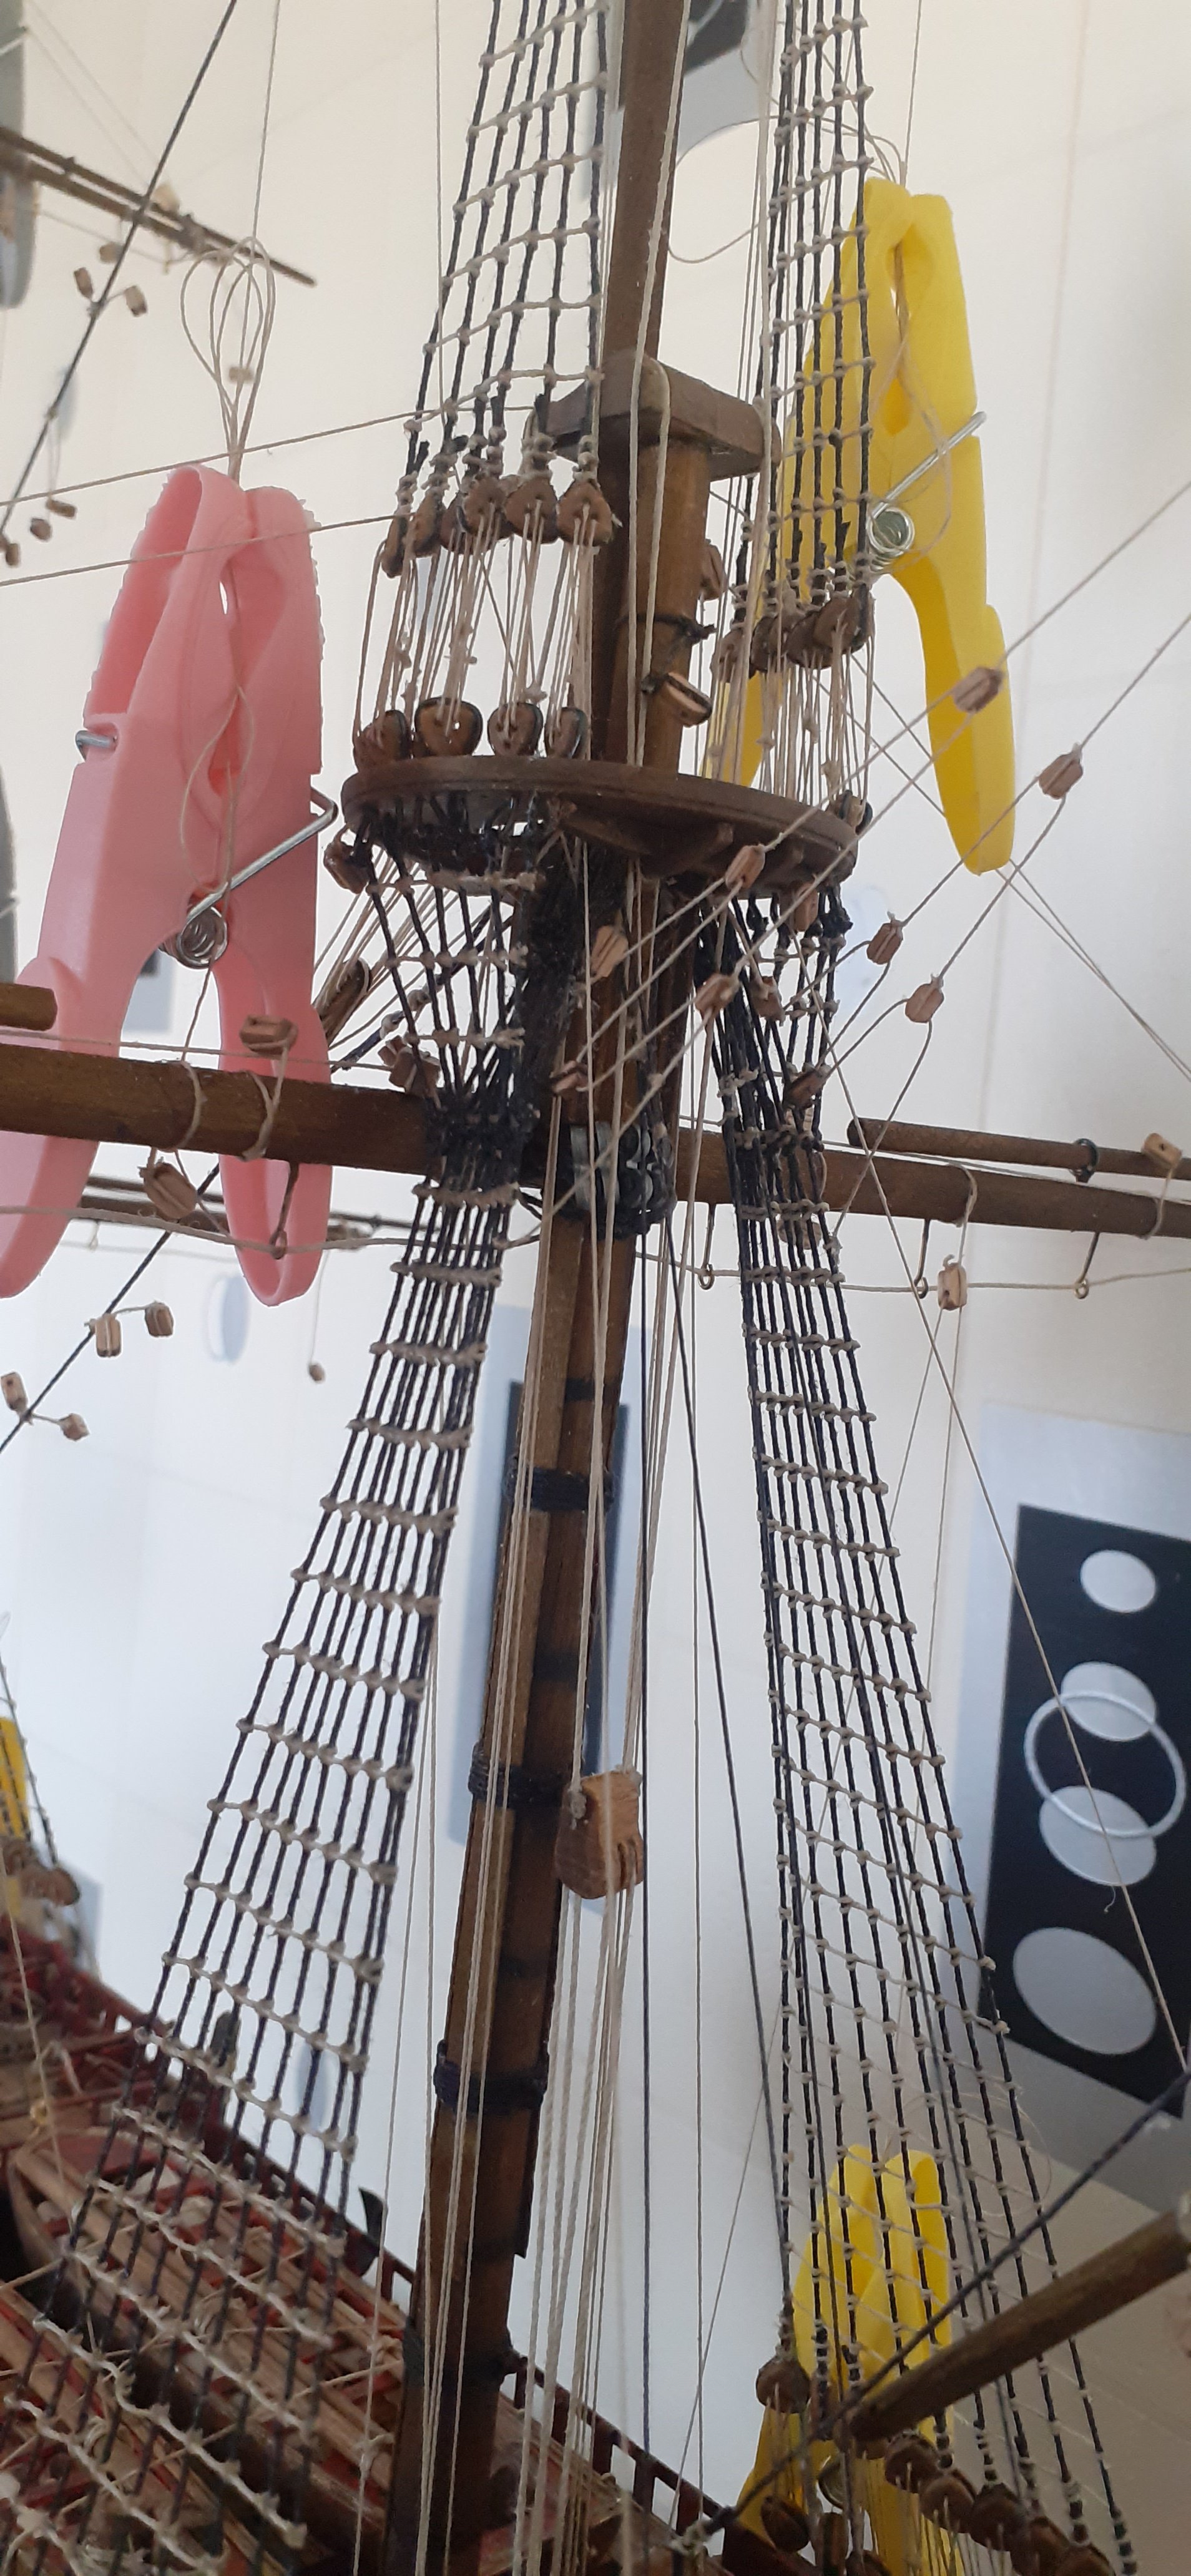
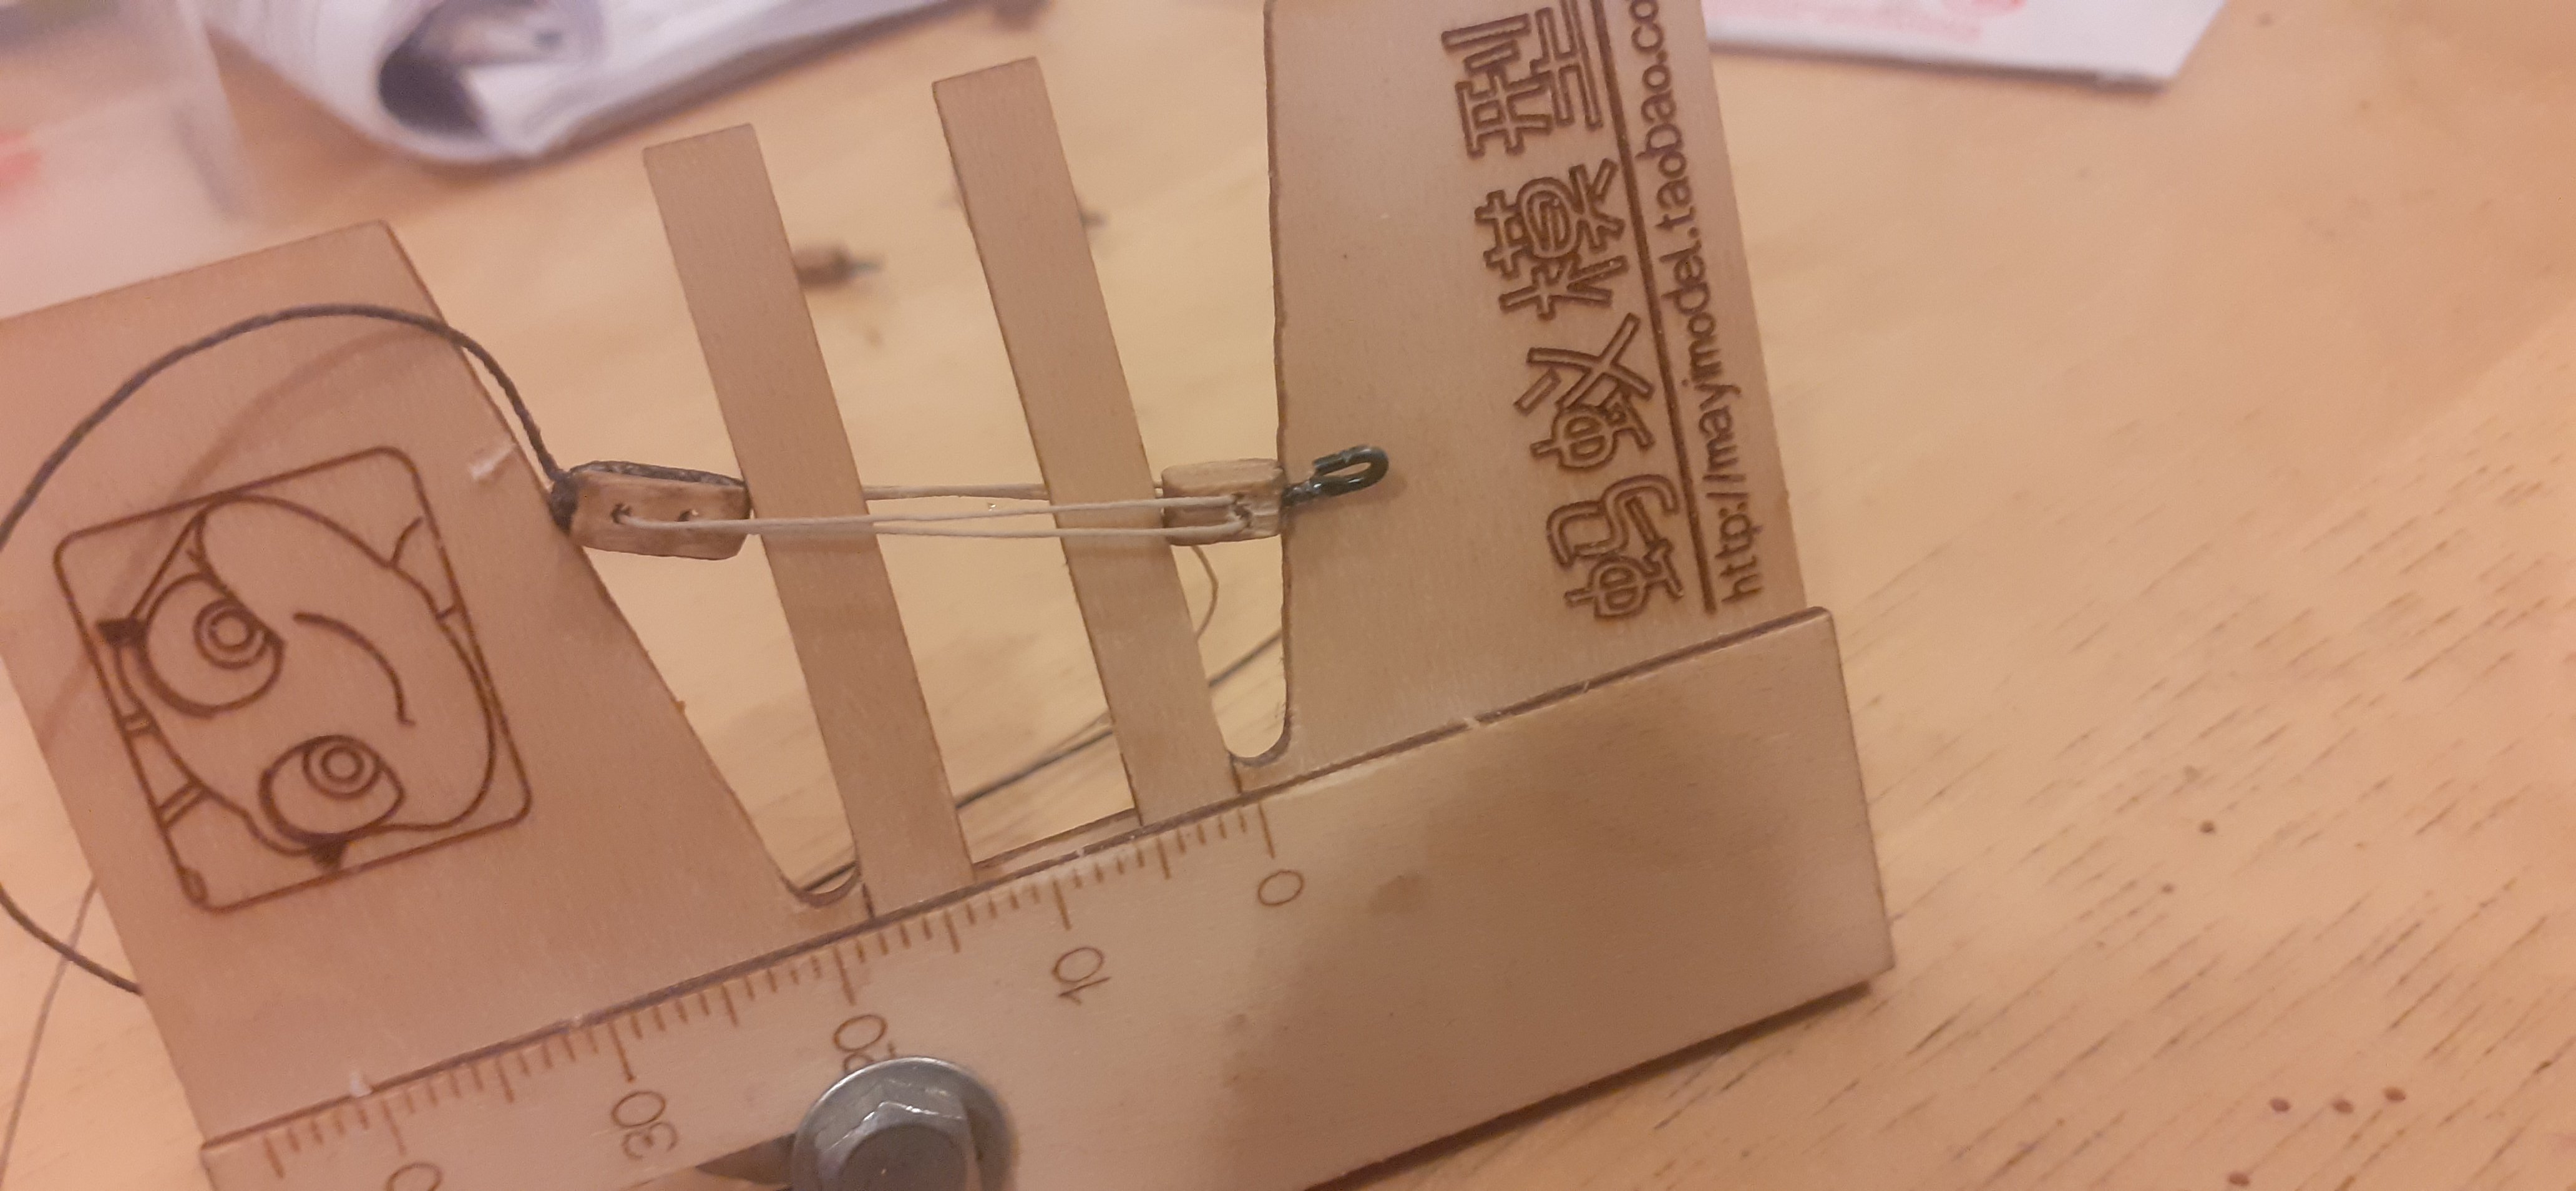
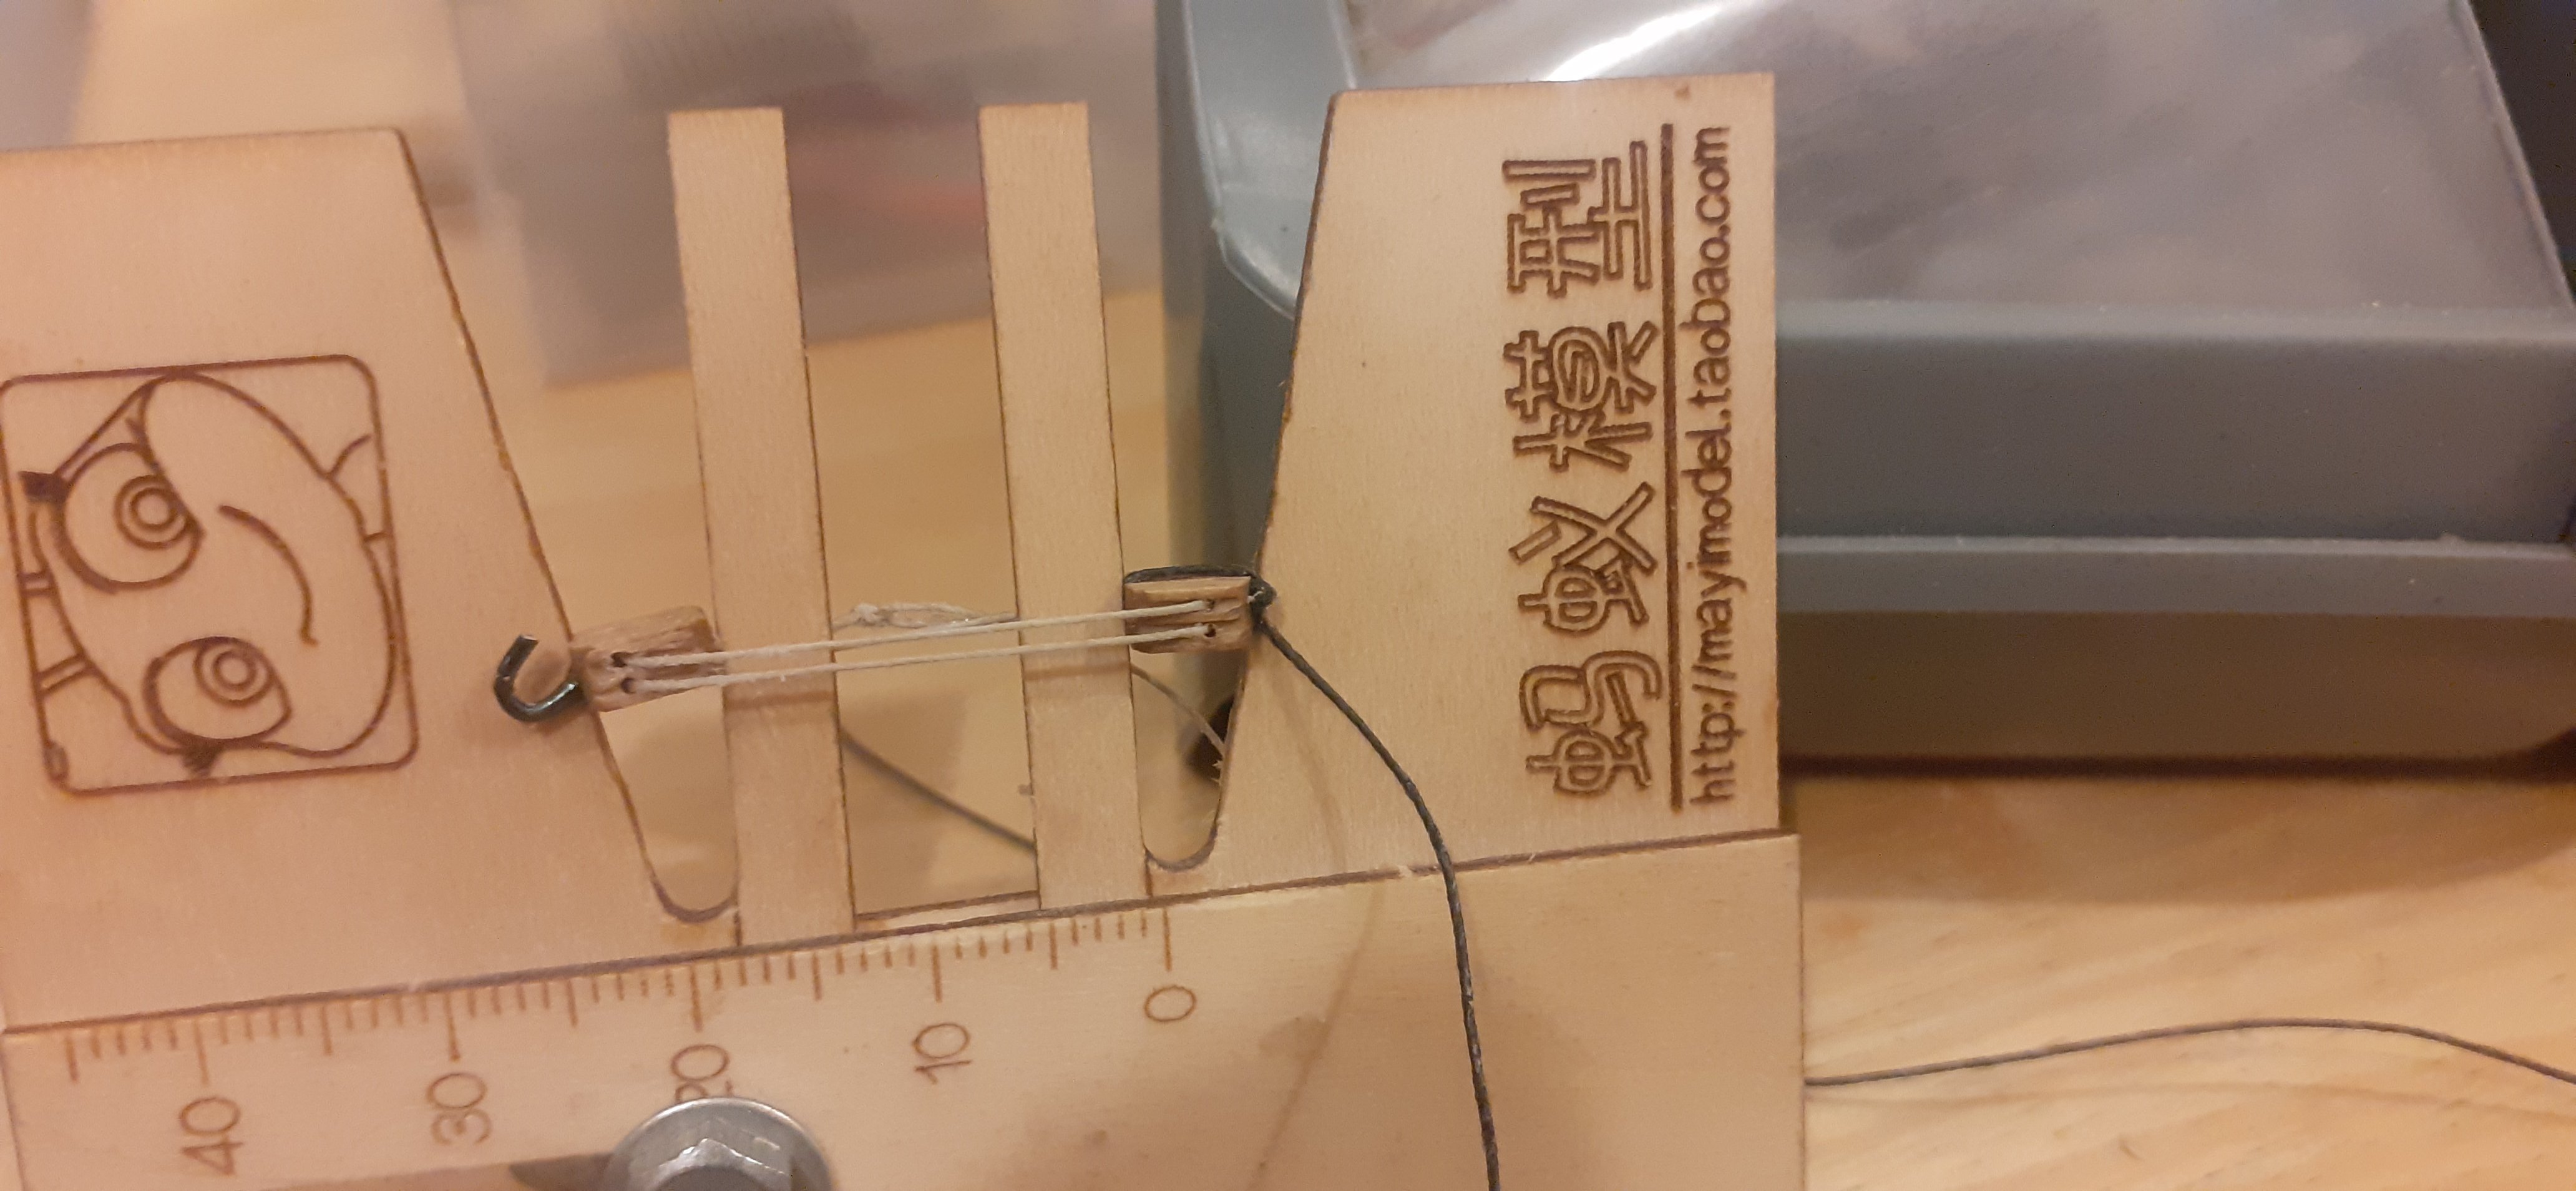
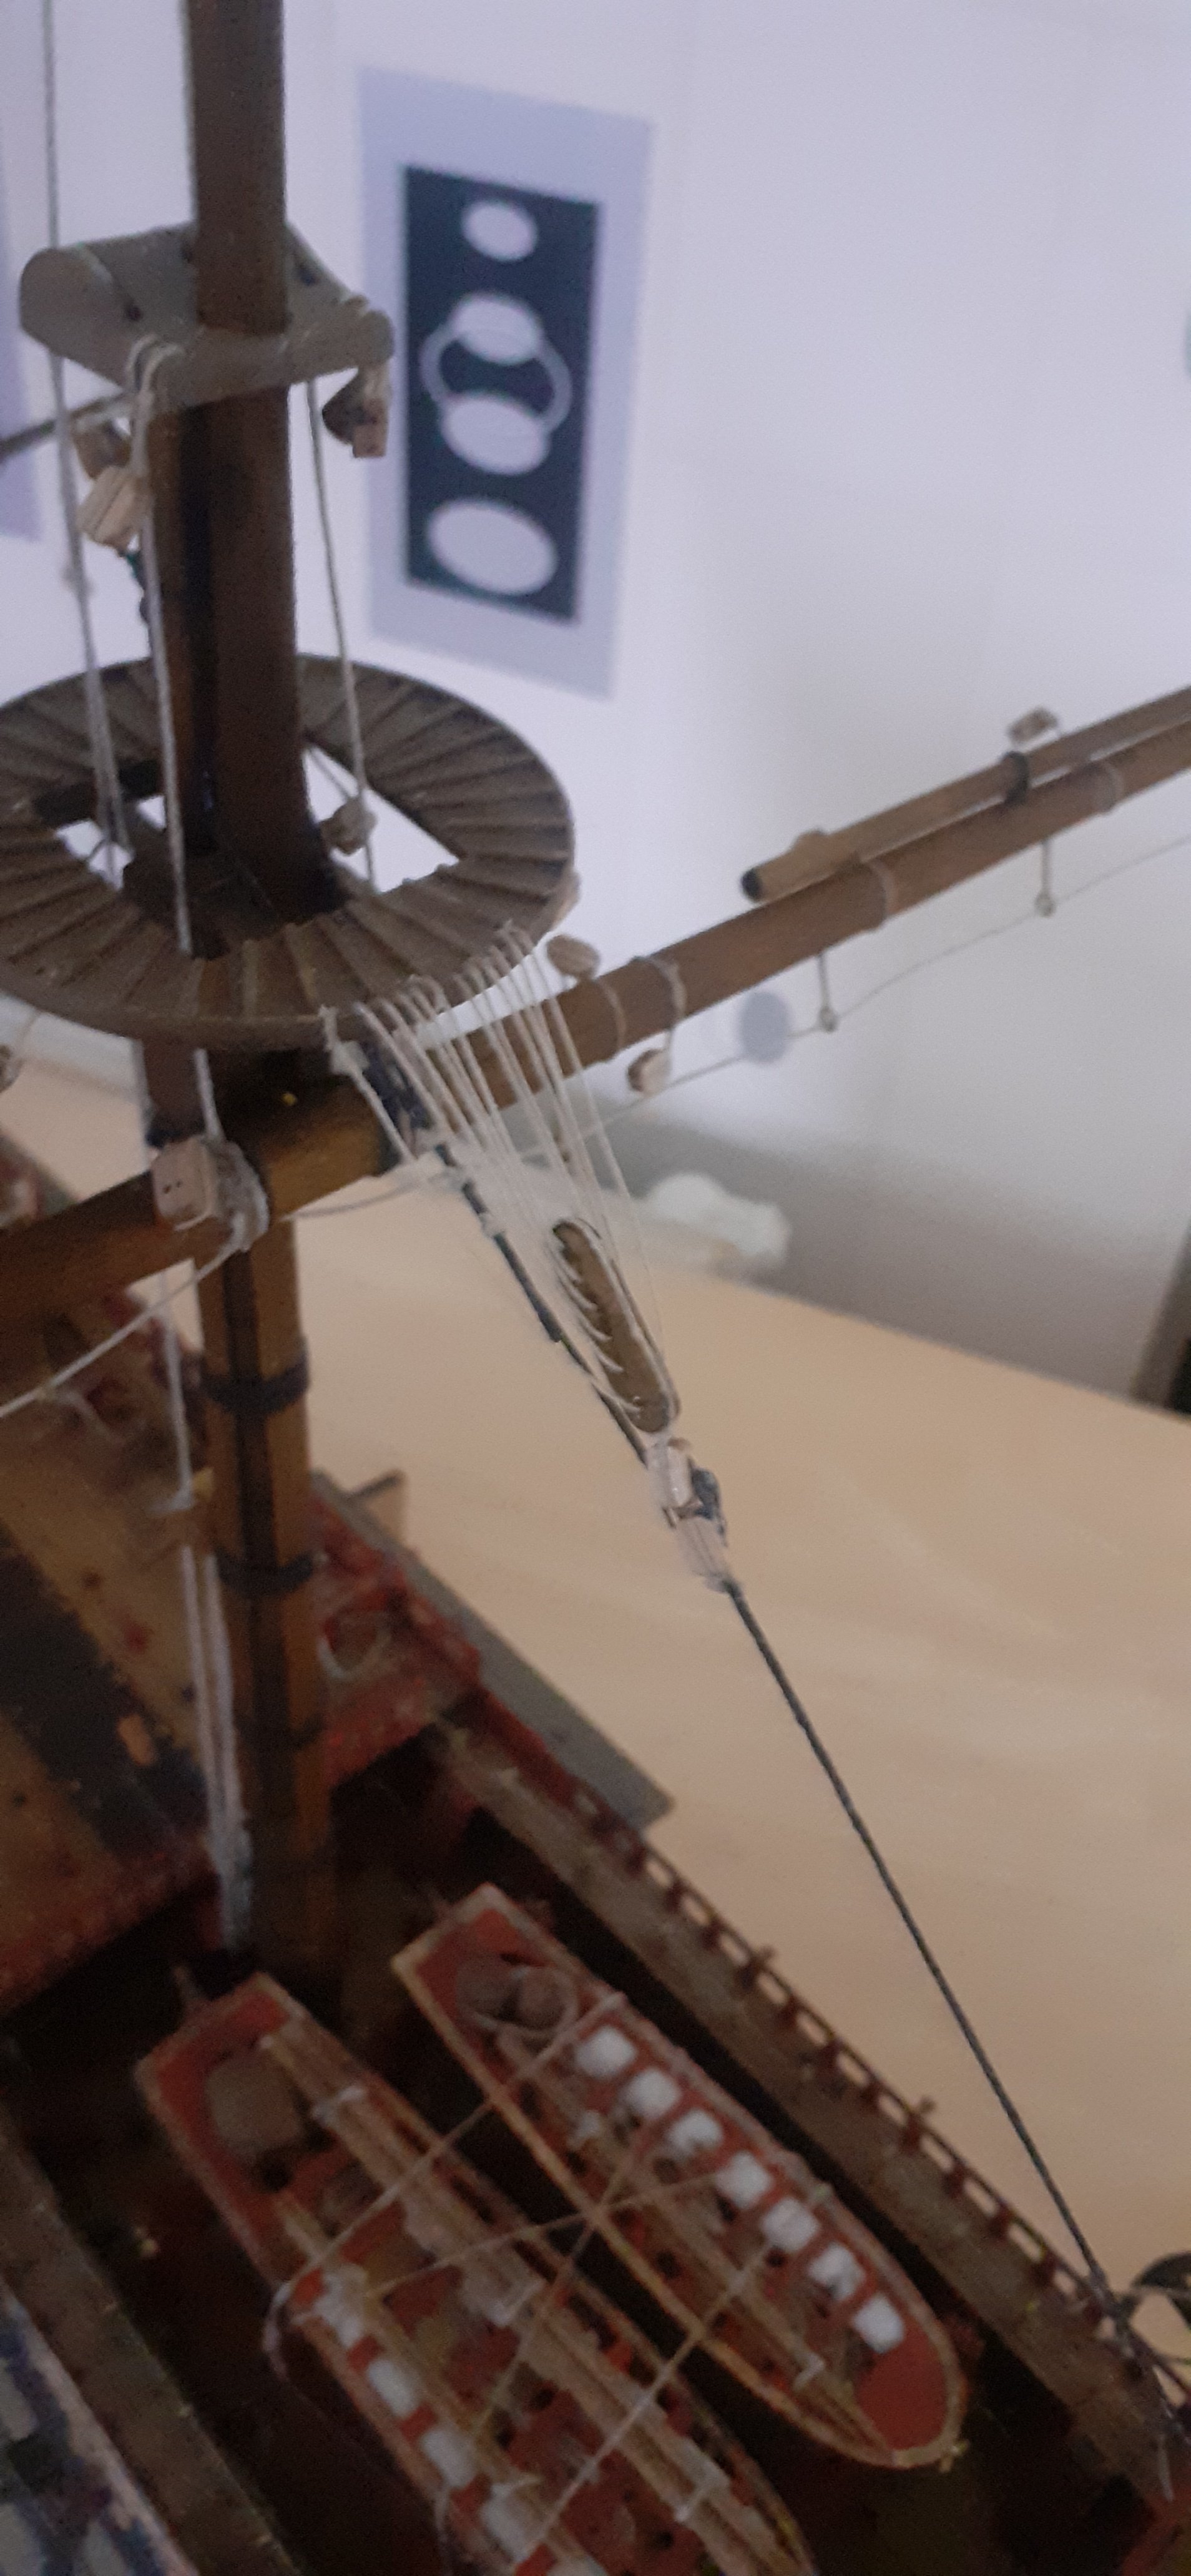
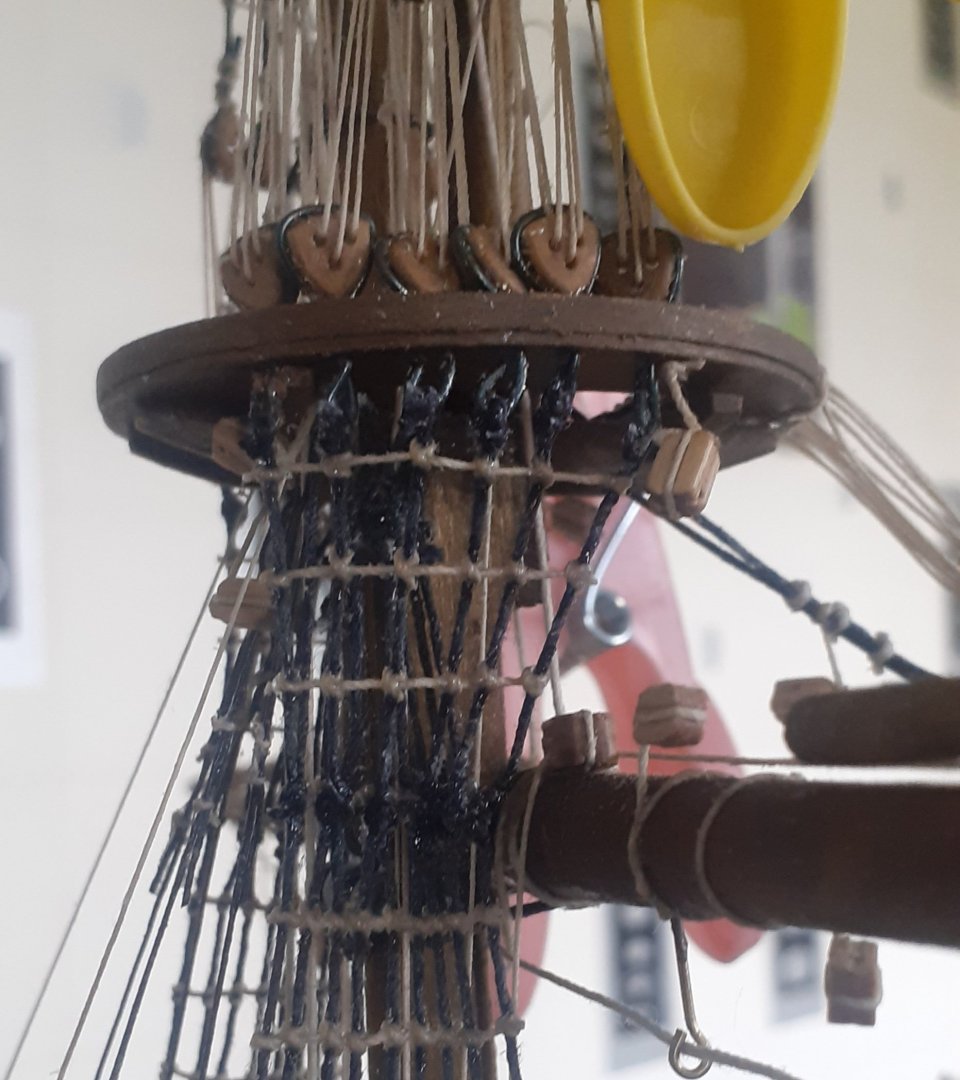
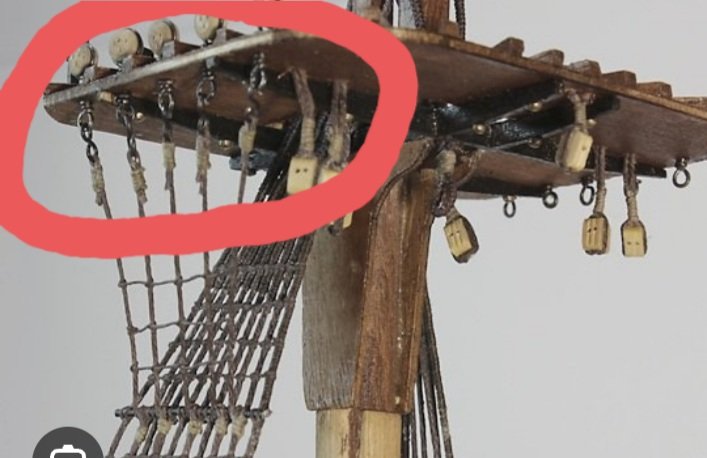
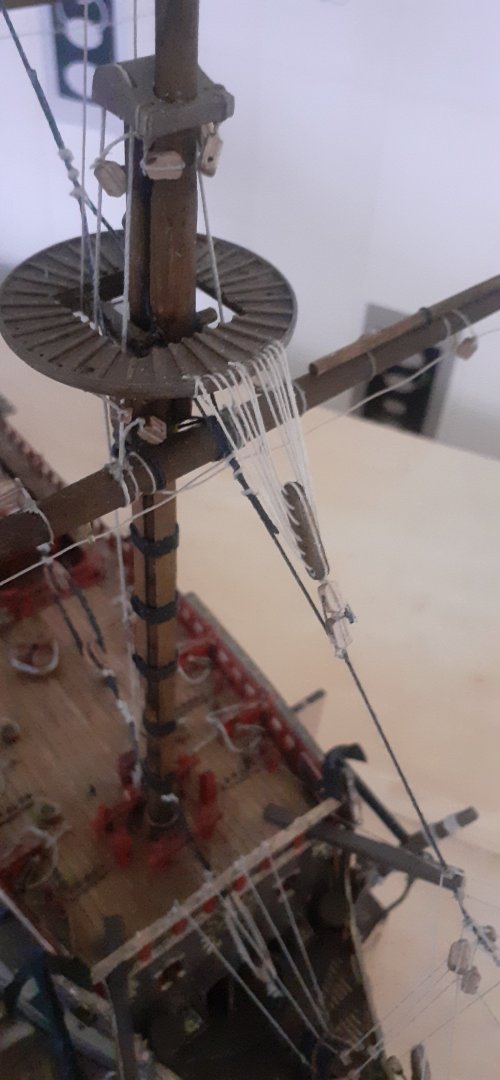
Just rigging up the deadeyes for the Fore topmost Shrouds in my usual unorthodox way. The modelling wire on the lower deadeye will go through the hole on the crowsnest then I will bend it up into a loop, where I can then tie the Futtock Shrouds from, this is the same way I rigged the futtock Shrouds on my Occre Endeavour build. The 2nd pic below is for information only as to what I mean, not taken from my Endeavour build.

- 44 replies
-
- 3
-
-
- soleil royal
- Heller
- (and 5 more)
-
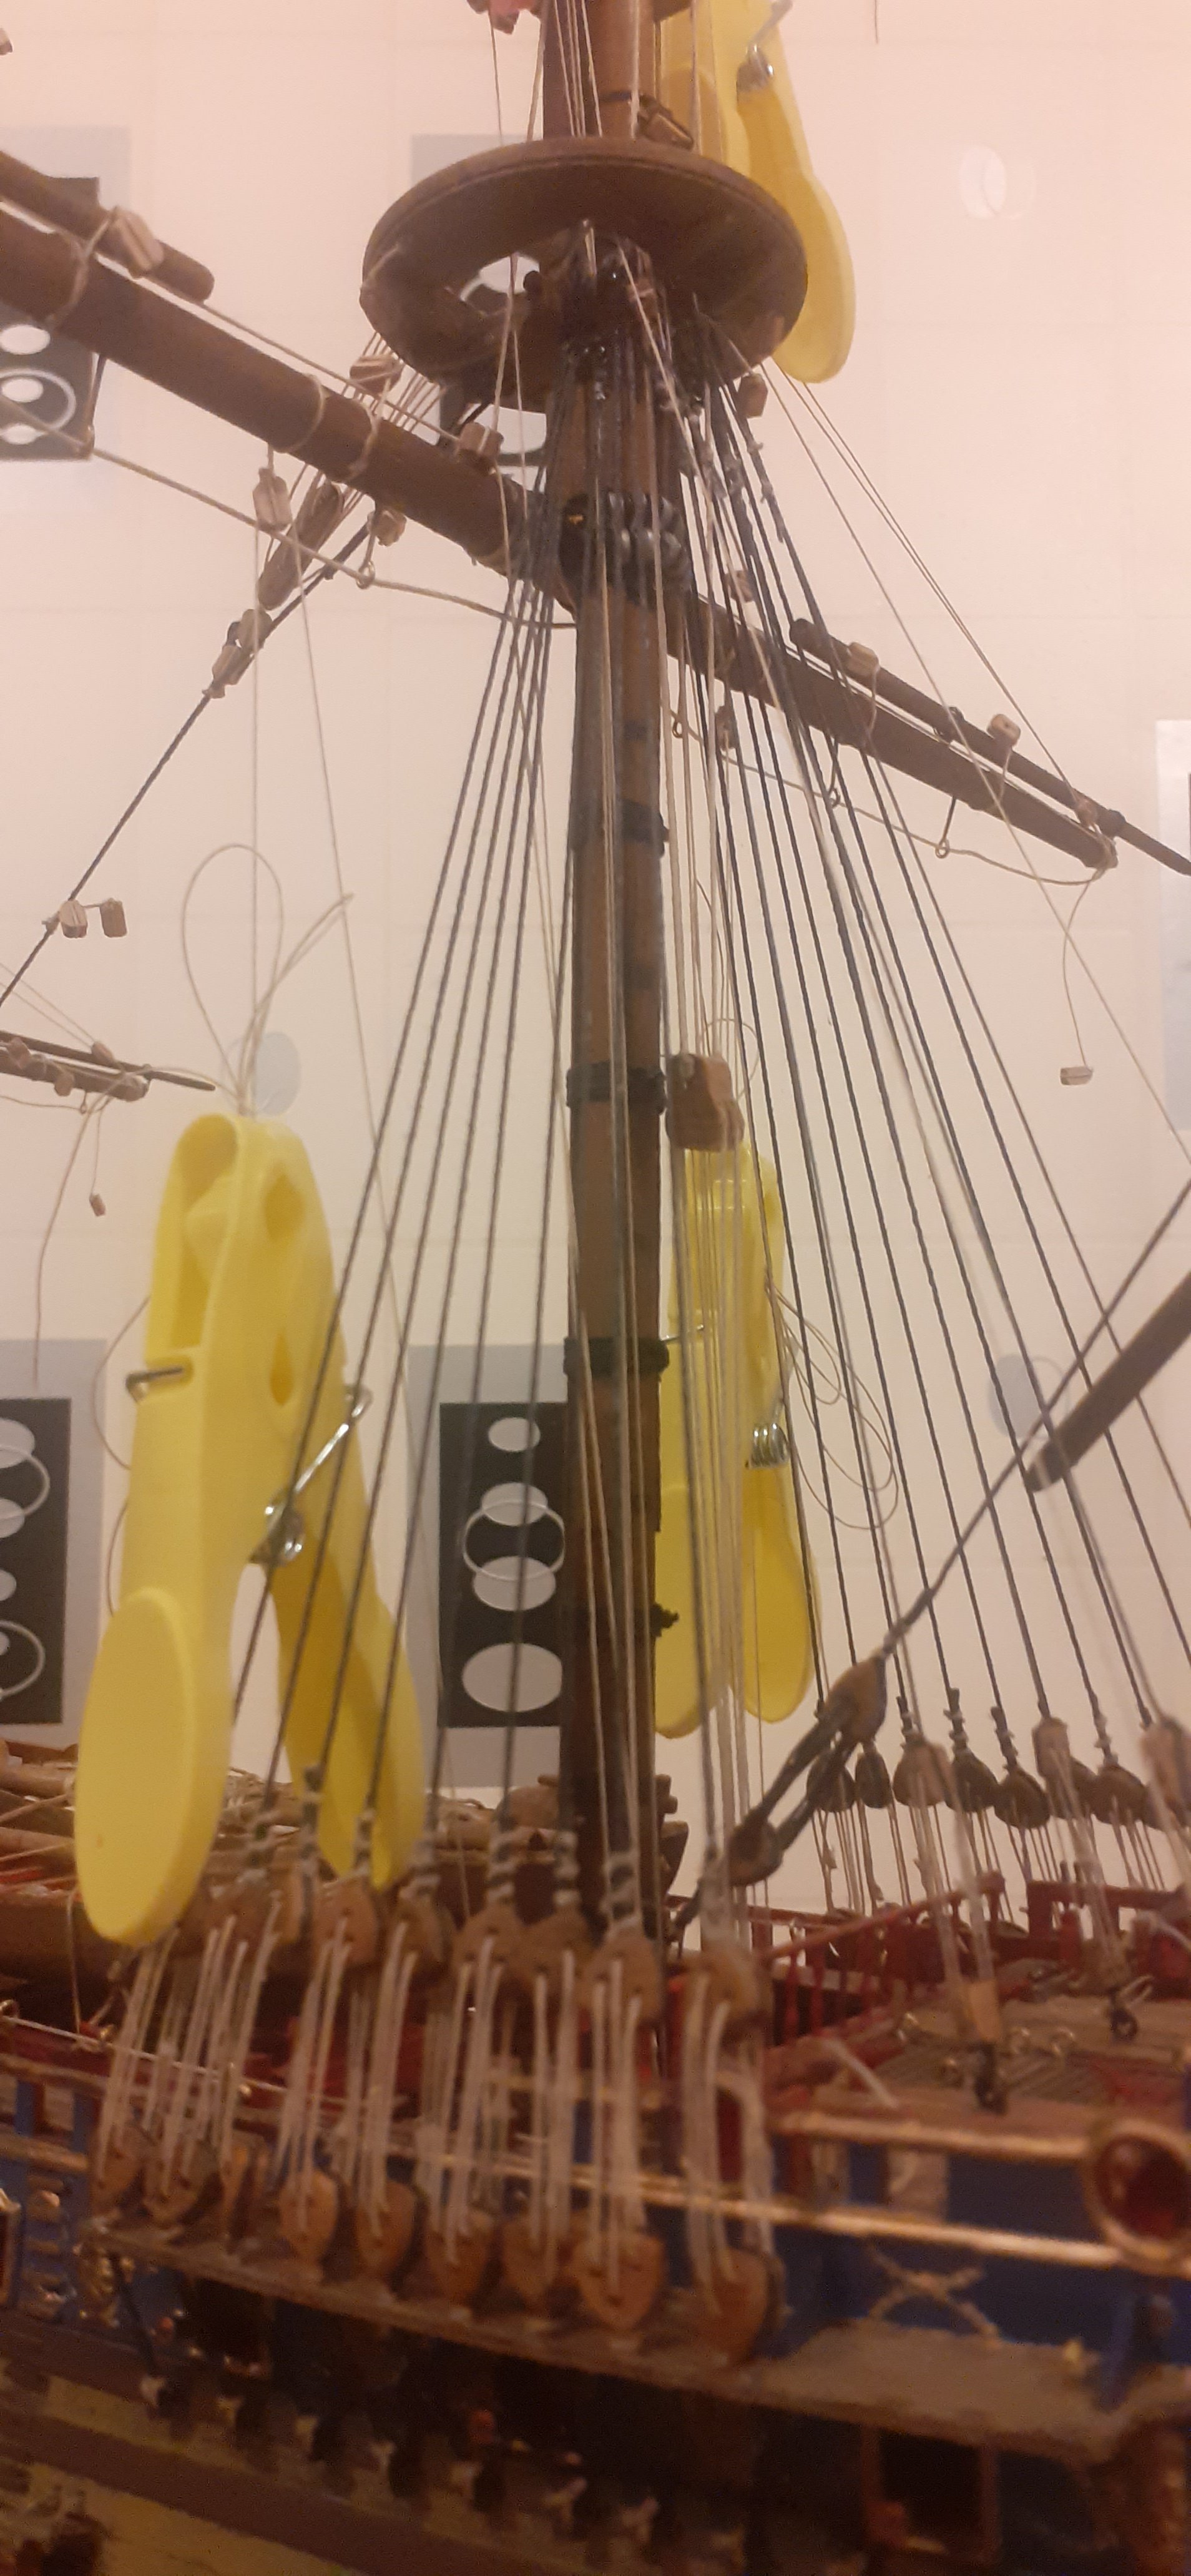
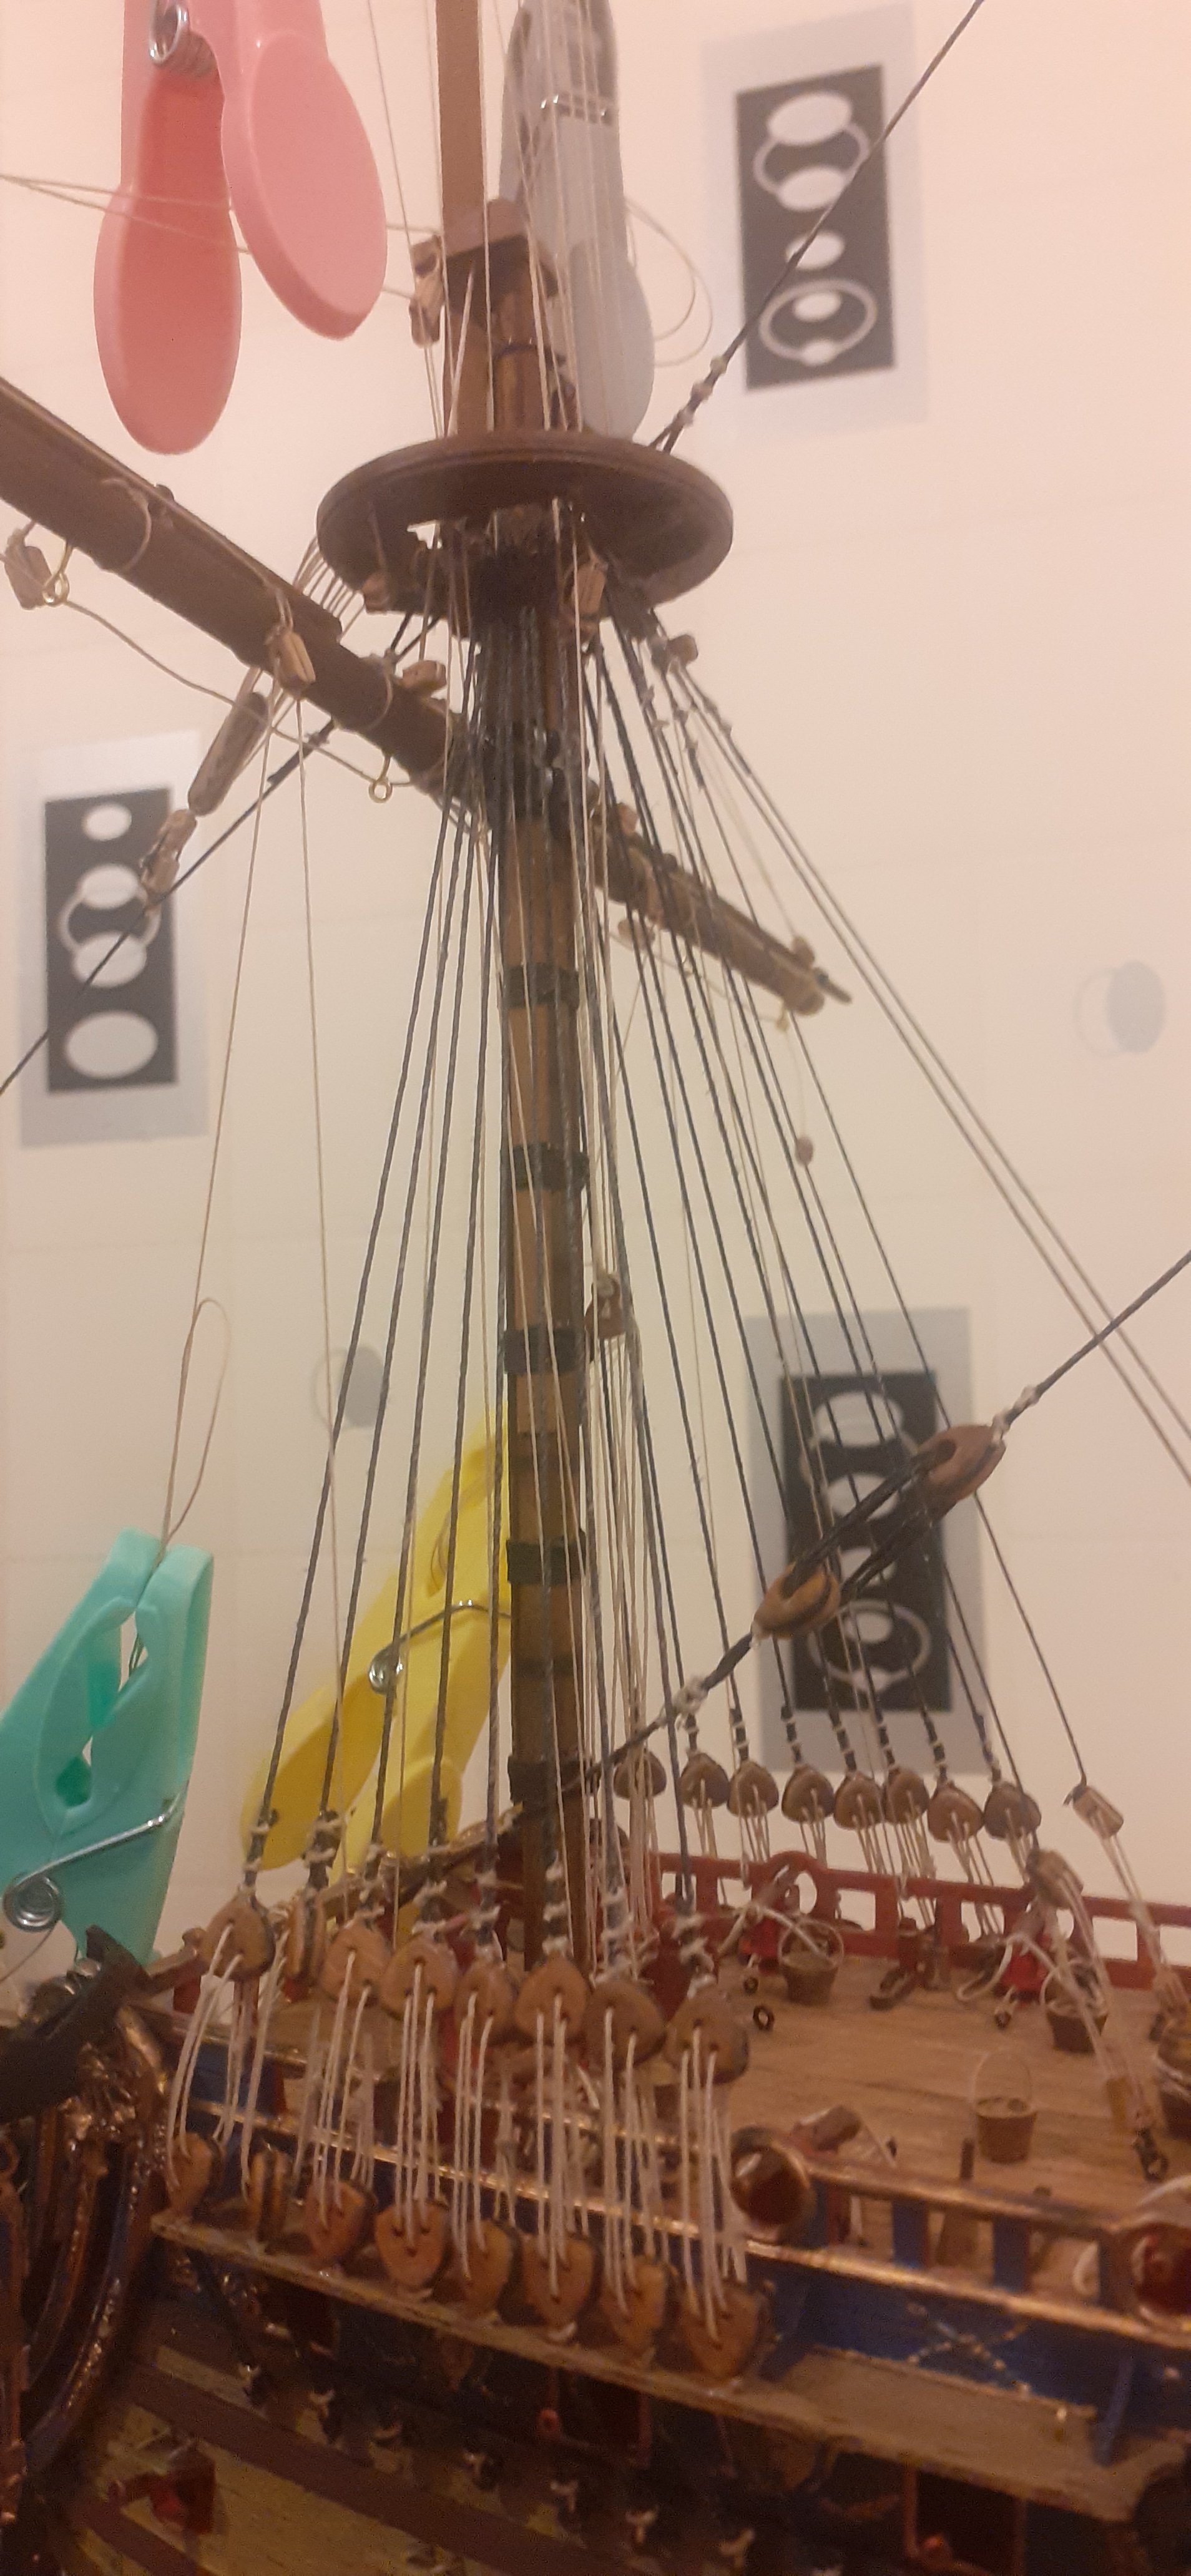
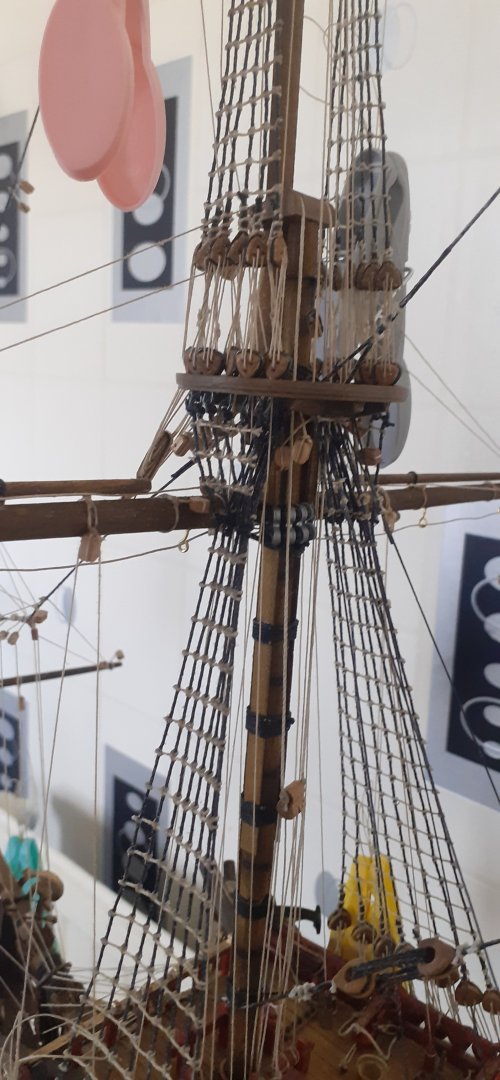
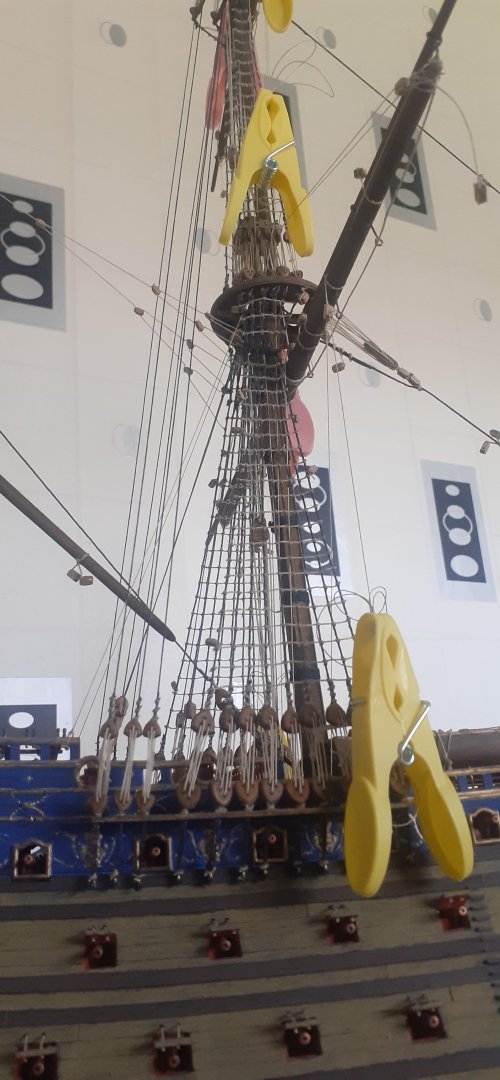
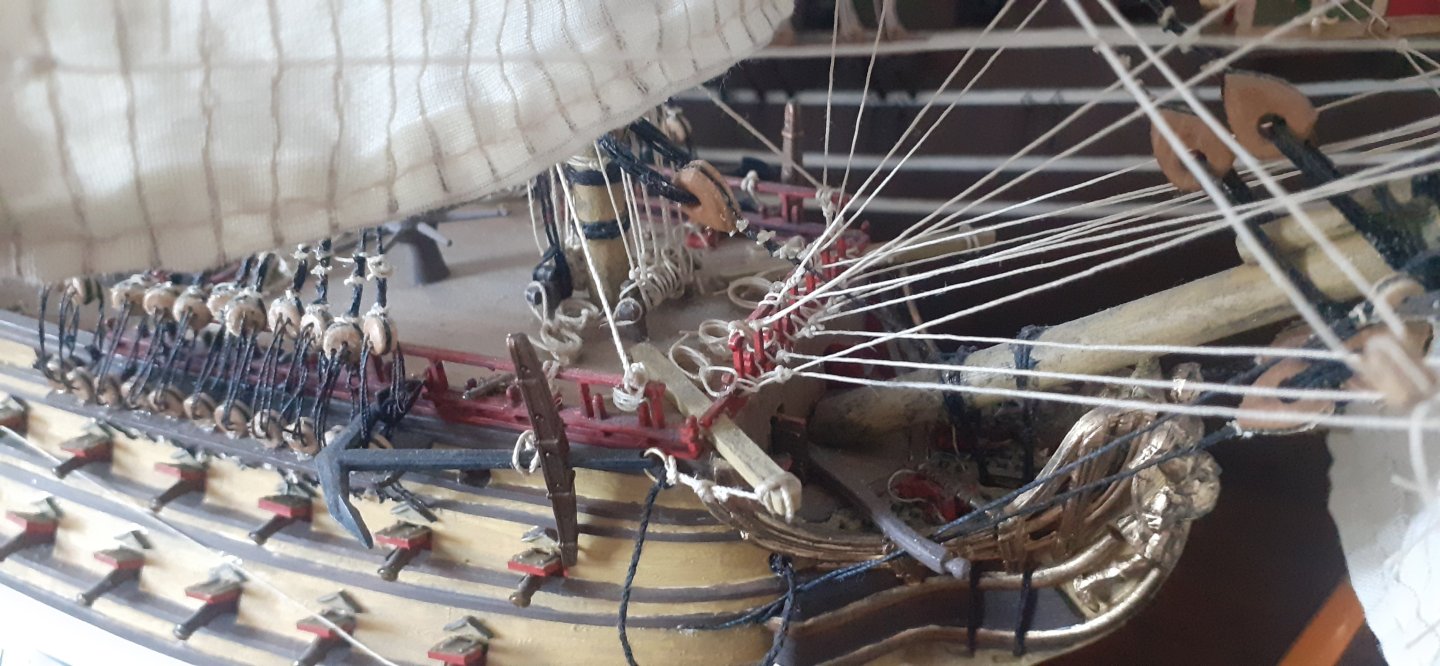
SOLEIL ROYAL UPDATE : the Lower ratlines are now complete from the Spritsail, Foremast, Main and Mizzen mast, with 942 clove hitches being tied in the process. Now moving on to rig the deadeyes/shrouds for Top masts of the Fore, Main & Mizzen.

- 44 replies
-
- 3
-
-
- soleil royal
- Heller
- (and 5 more)
-
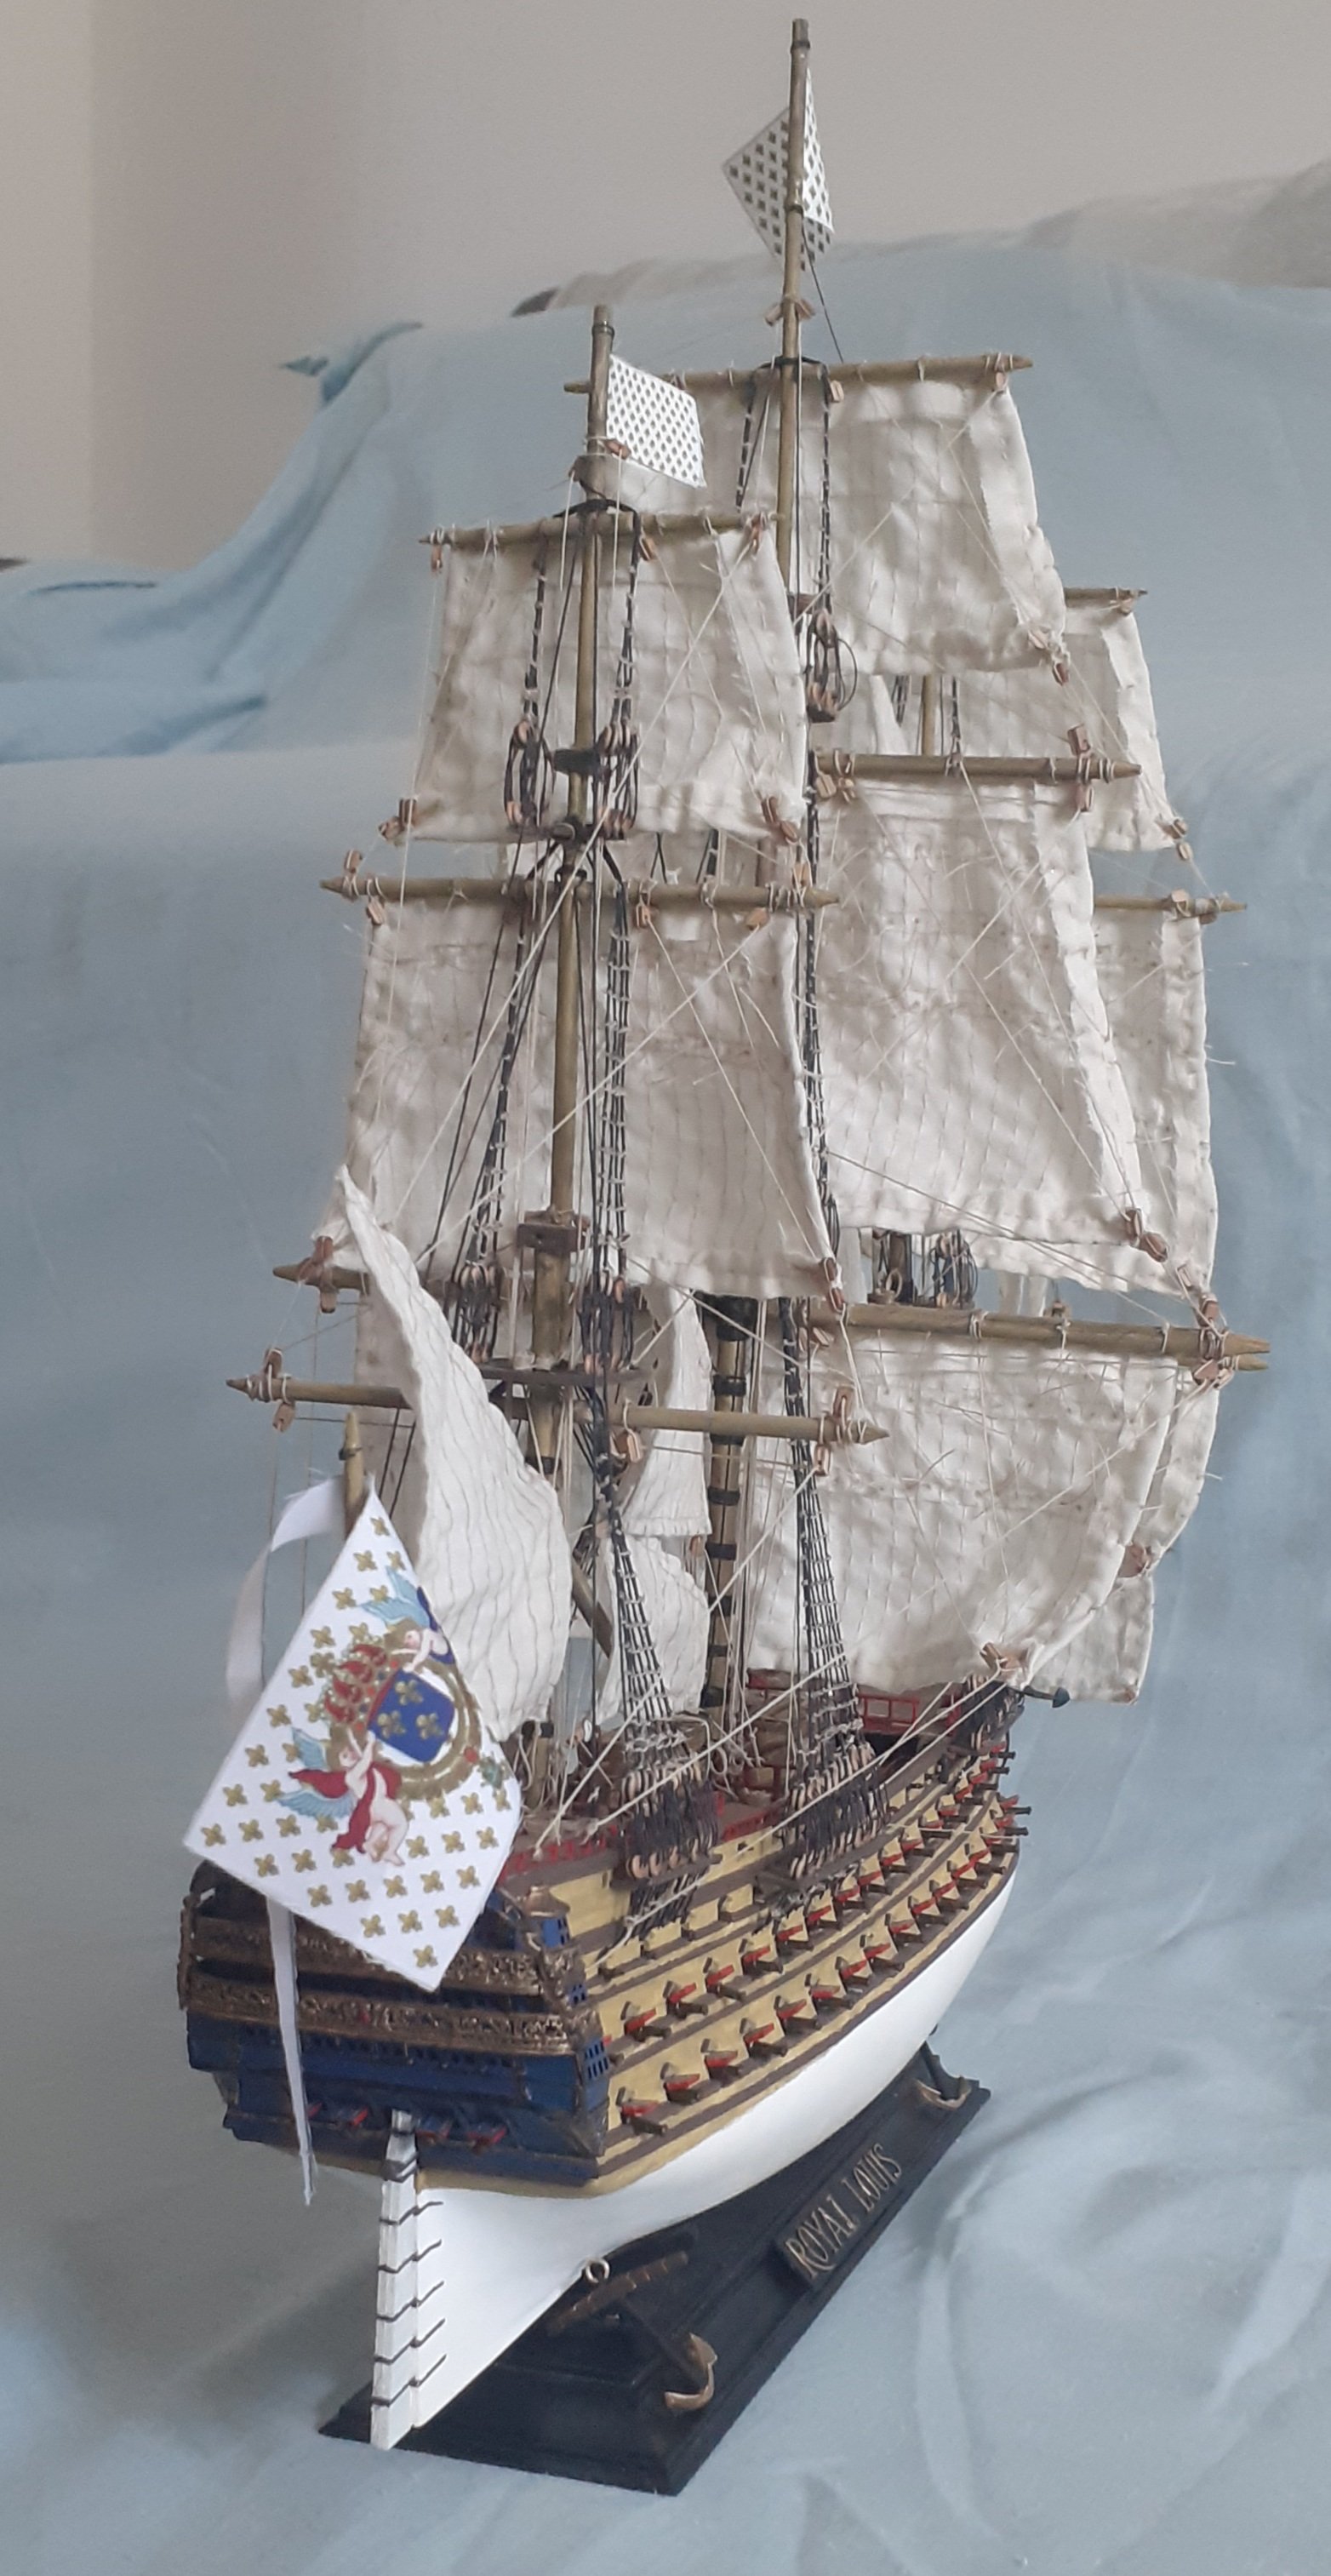
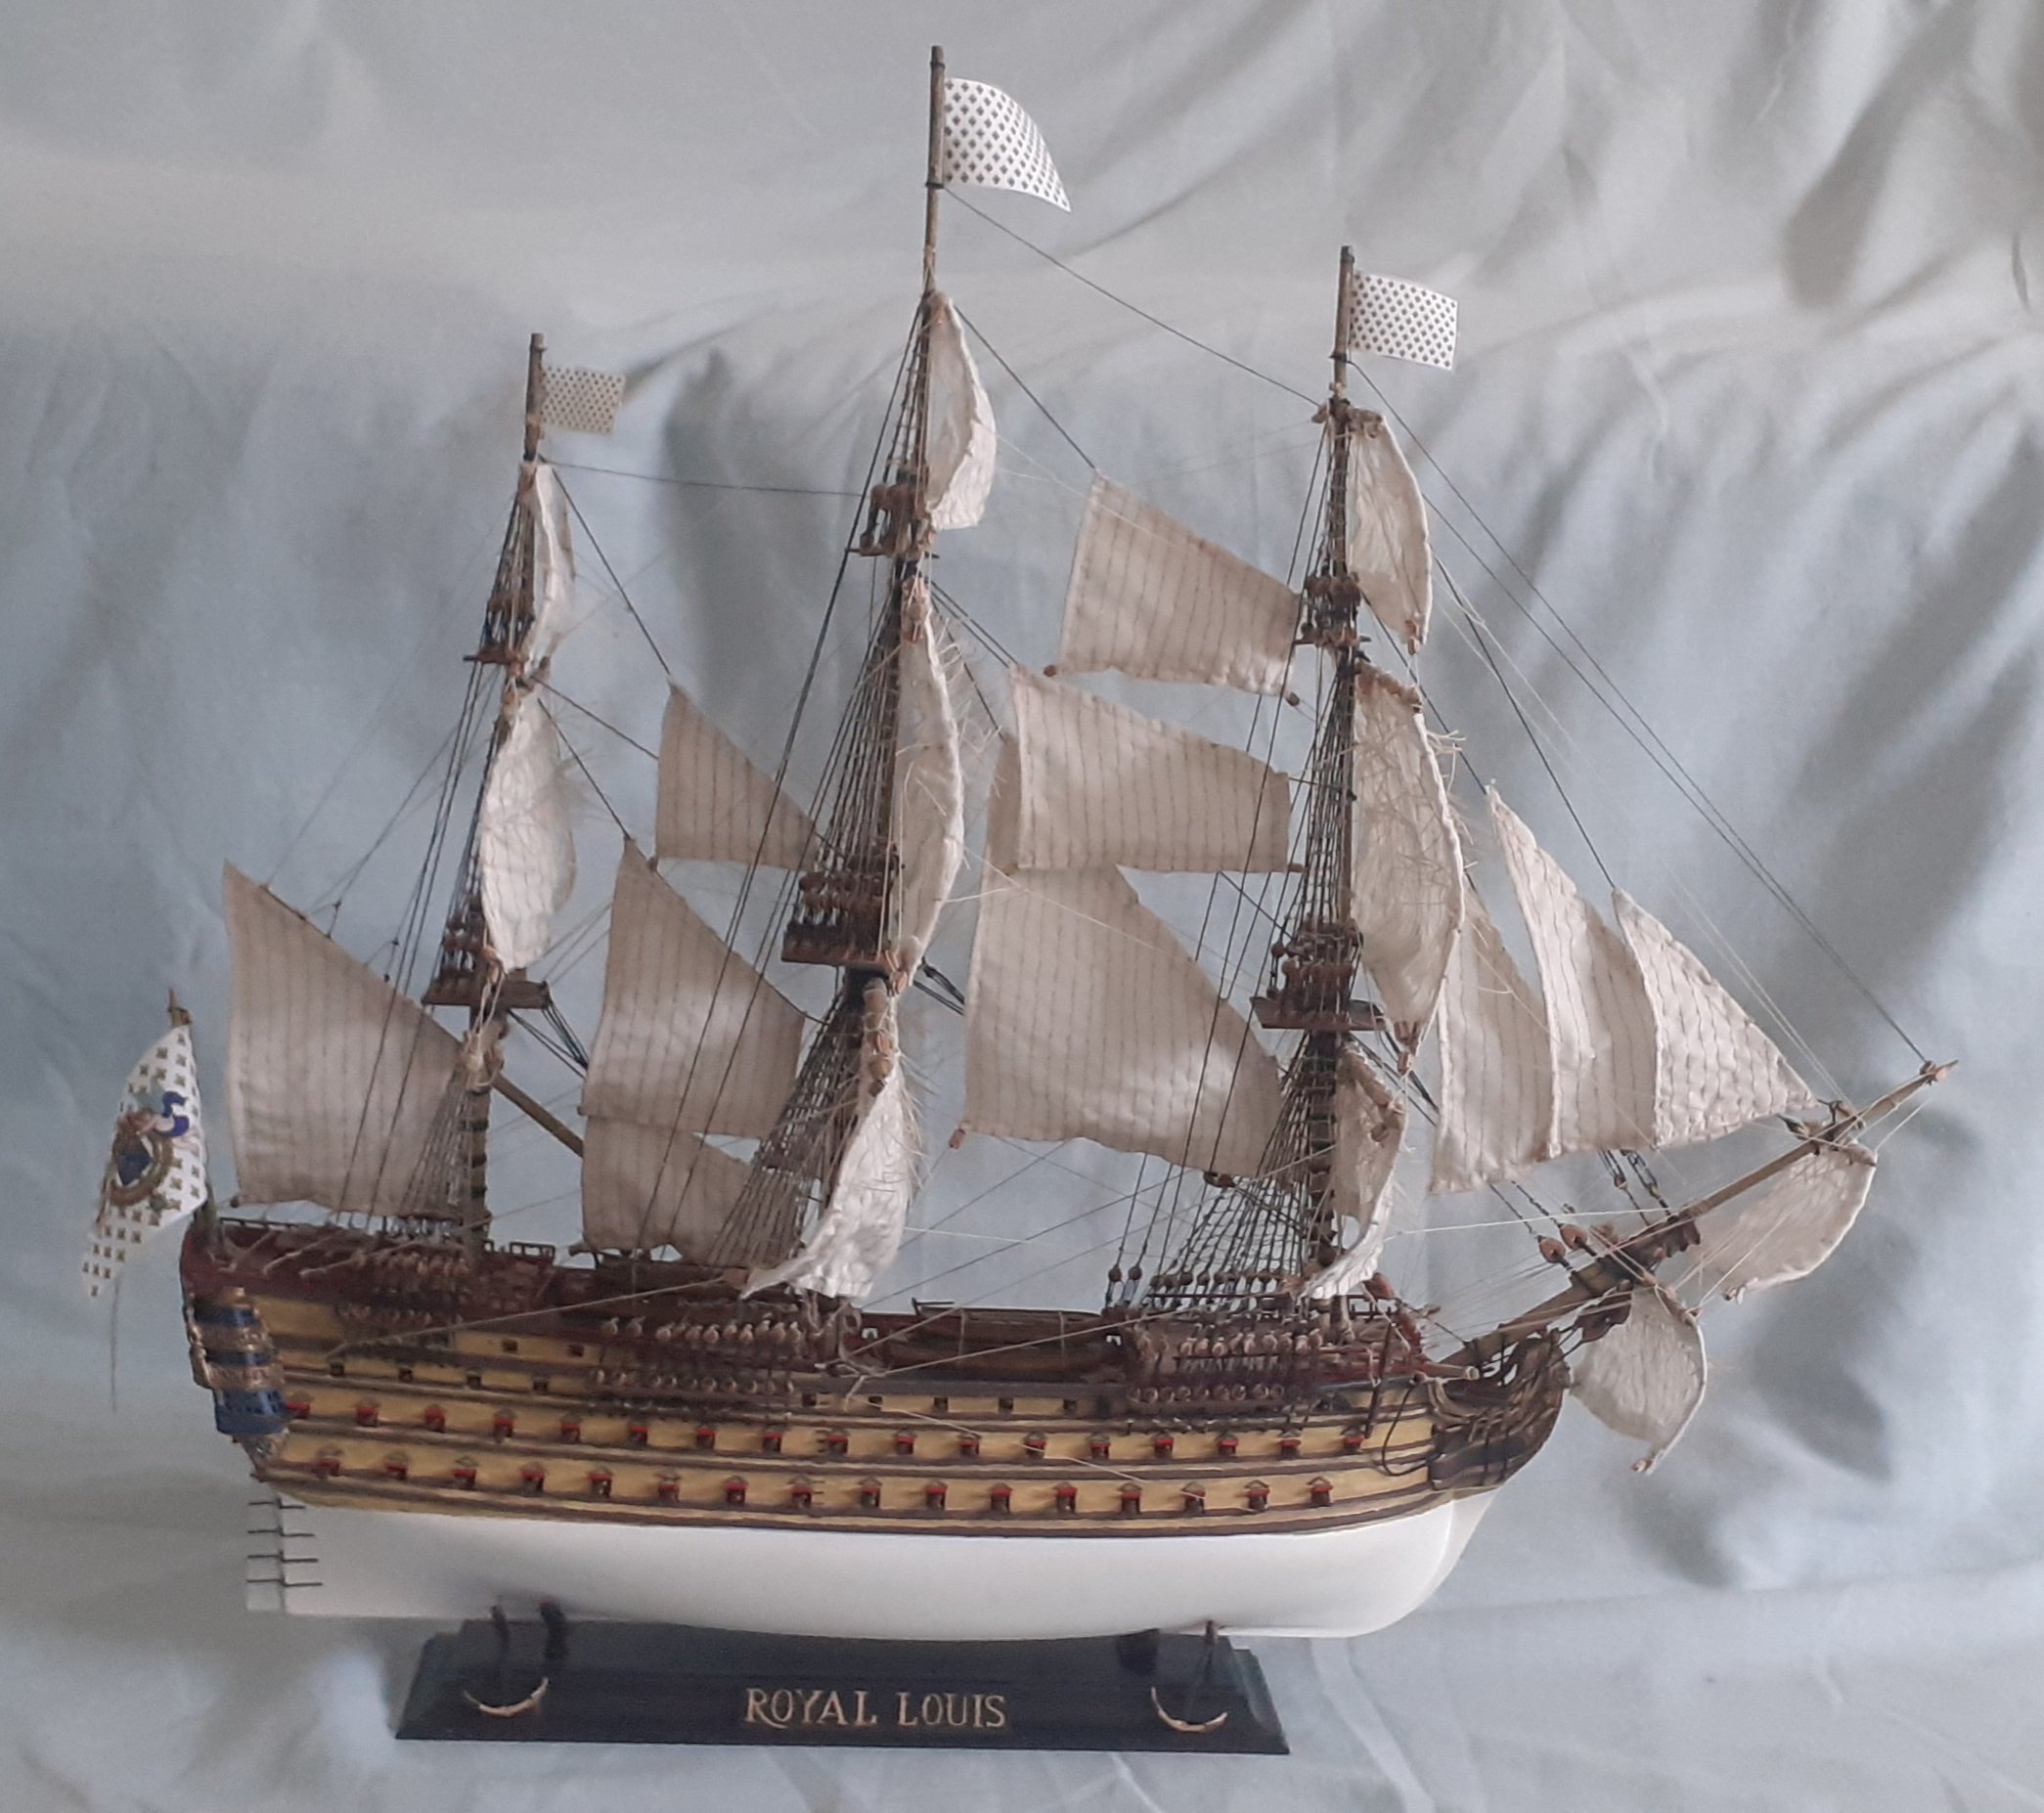
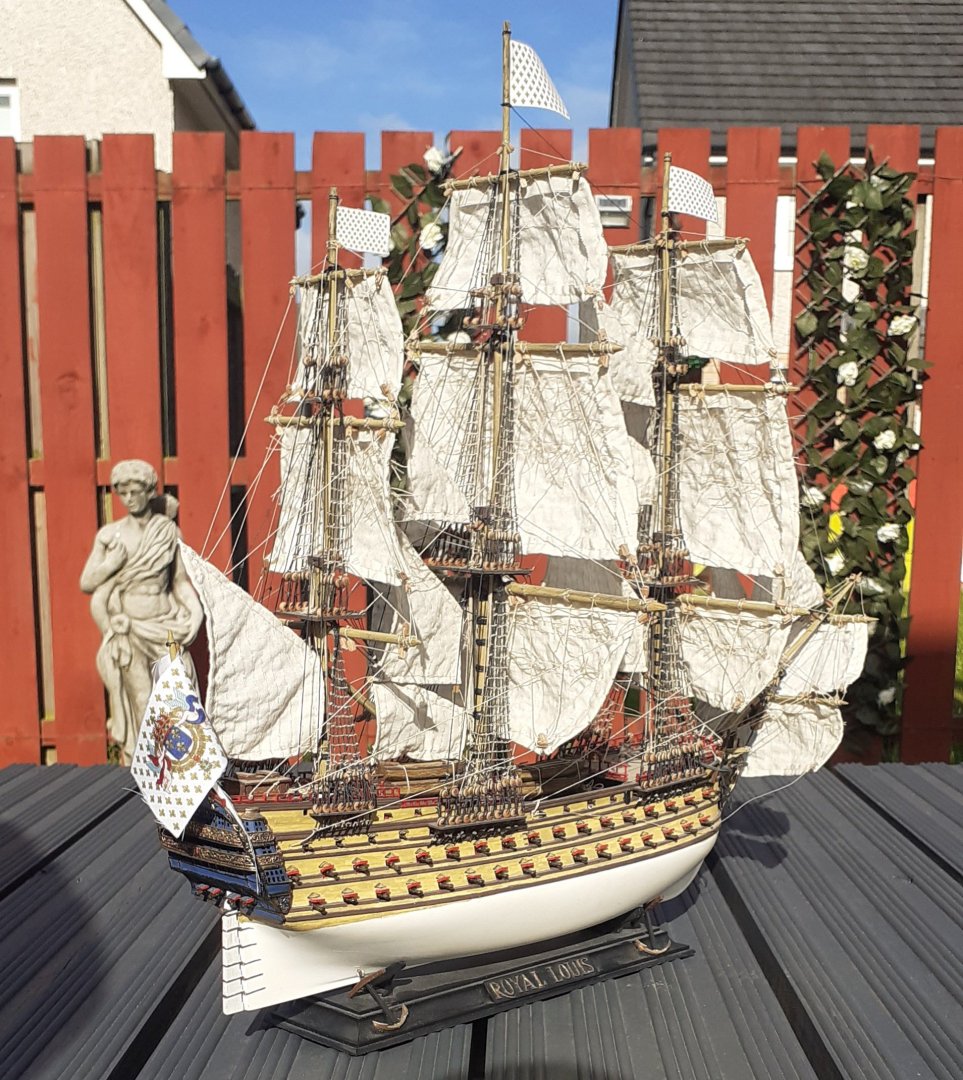
Thank you very much for your kind words Yves. I have also built the Heller Royal Louis a few years back to which I improvised on that kit too when still finding my feet bk in modelling after a 40yr absence. I didn't improvise as much as on this Soleil Royal kit obviously because of the scale difference. Here is some photos of my Royal Louis 1/200 Heller kit finished.


- 44 replies
-
- 3
-
-
-
- soleil royal
- Heller
- (and 5 more)
-
Ratlines started on the Lower Shrouds... Foremast Lower ratlines completed now with 288 clove hitches tied, on the Mainmast Lower ratlines.


- 44 replies
-
- 2
-
-
- soleil royal
- Heller
- (and 5 more)
-
The Lower Shrouds are finished now to start the ratlines...🤺🤺⚓⚓


- 44 replies
-
- 8
-
-
-
- soleil royal
- Heller
- (and 5 more)
-
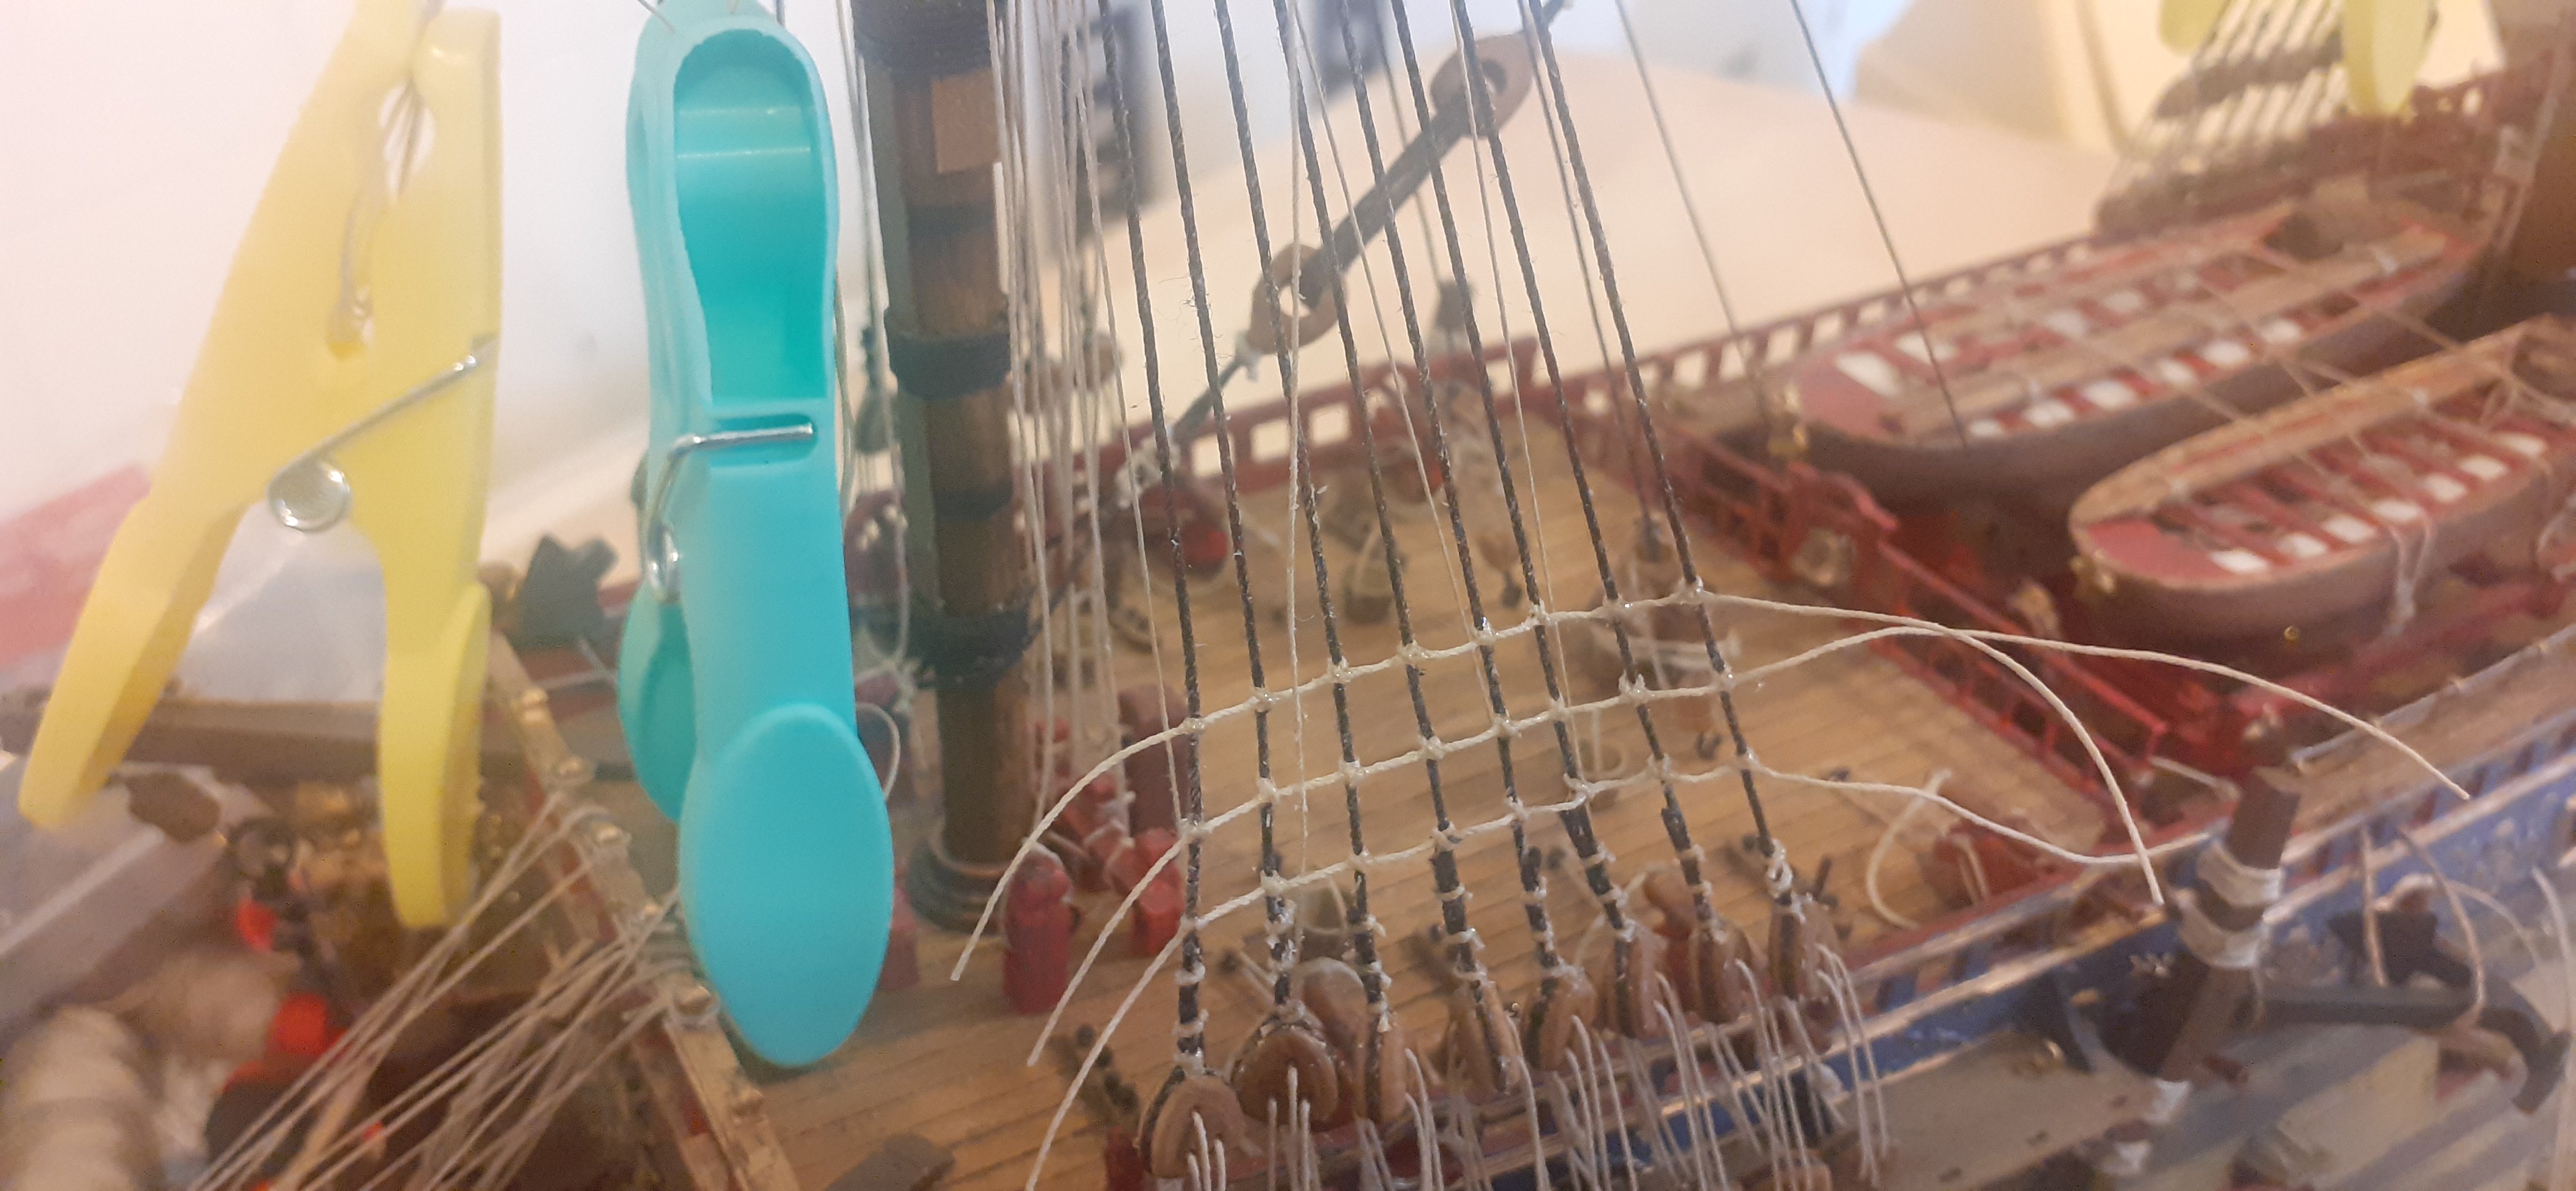
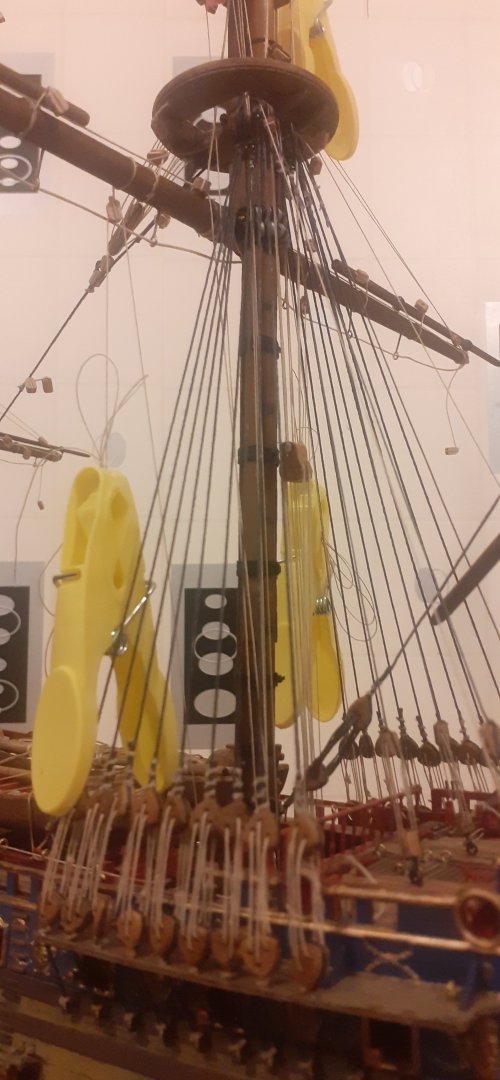
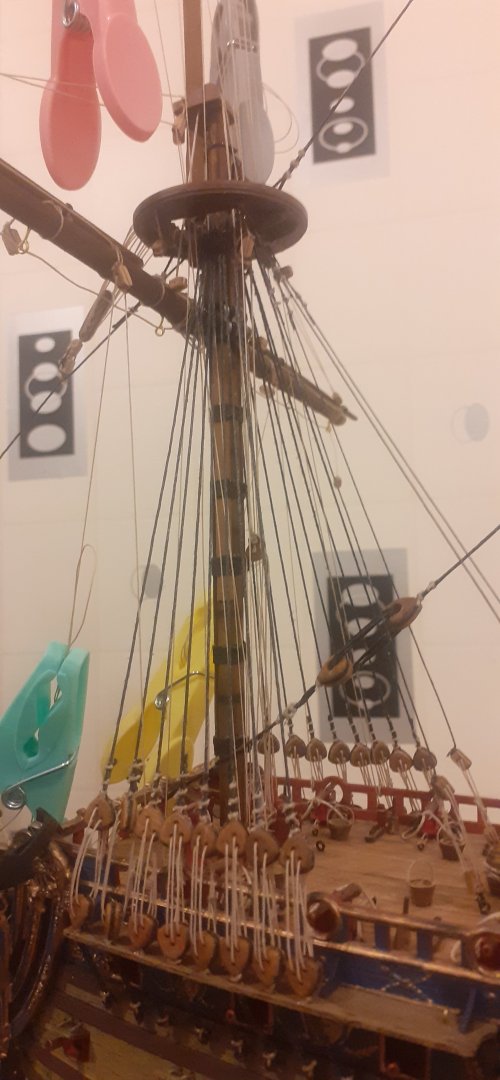
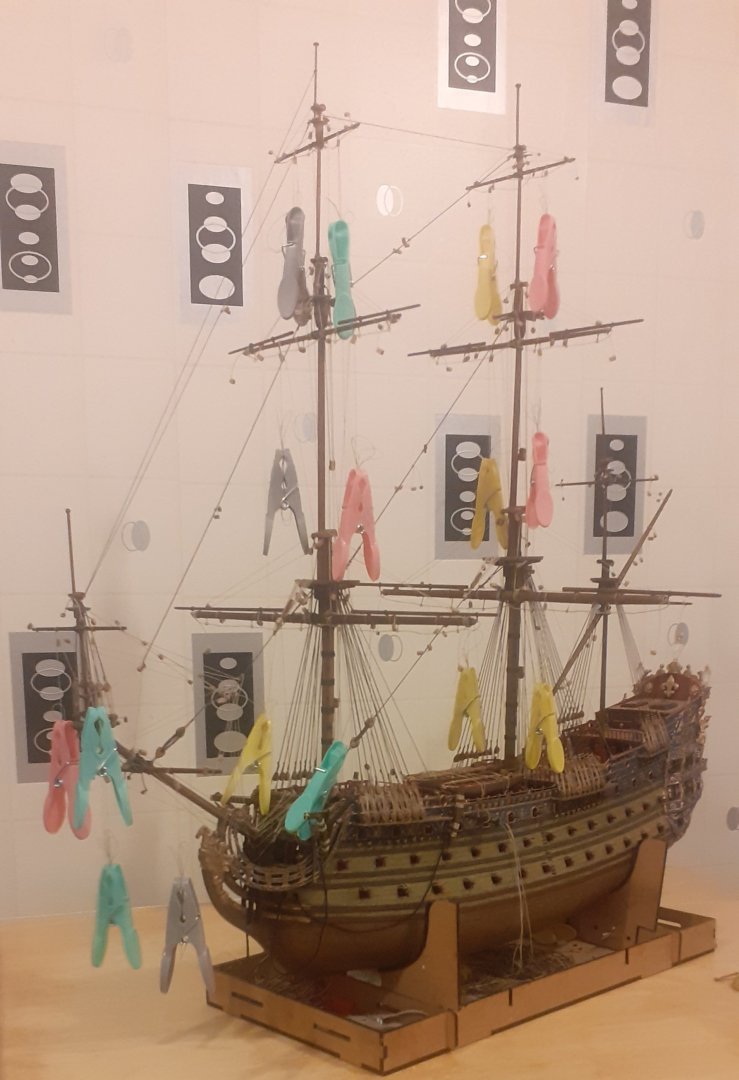
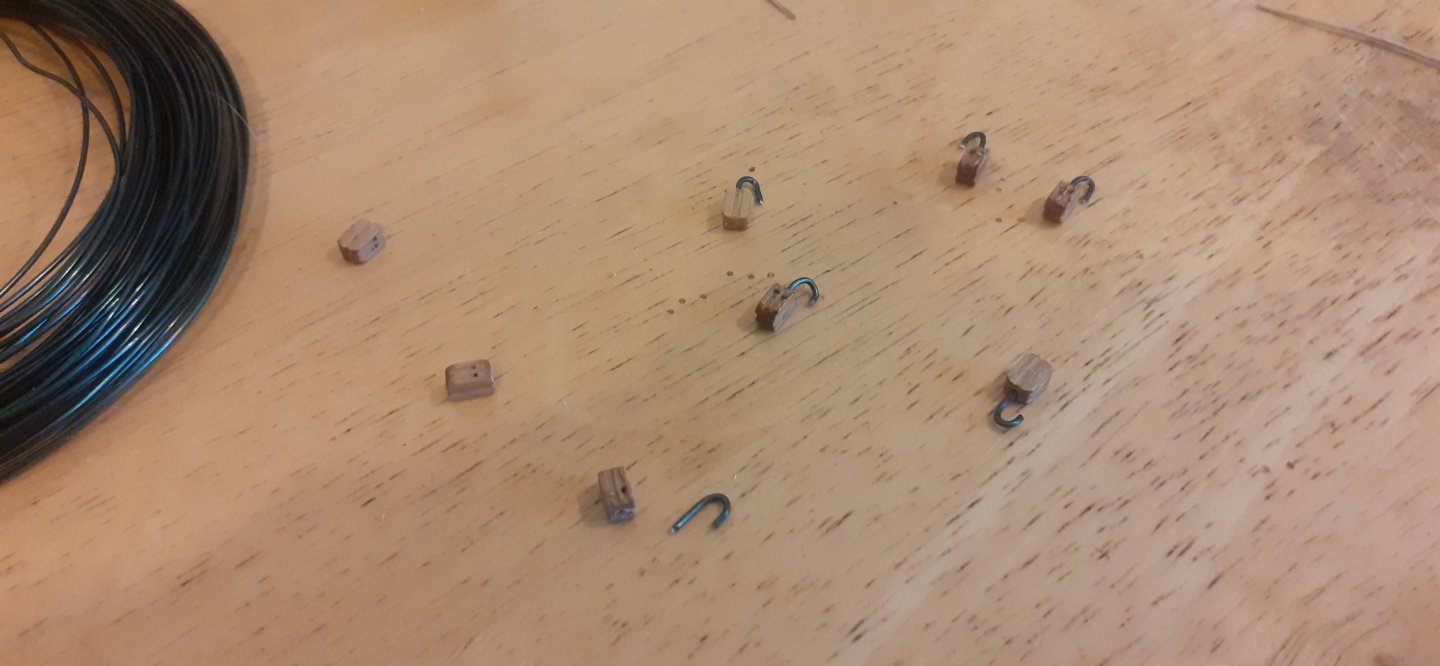
Heller Soleil Royal 1/100 Wood Improvised kit update. Most of the standing rigging done now, just a couple of bits I'll need to improvise on regards to the poor Heller instructions where there is no exact tie off point for these. I have also improvised on the double blocks adding hooks at the end which was a little tricky even using my dremel drilling between the 2 hole small holes with about 1mm to spare. Lifts and most of interior running rigging done, just really the running rigging for the bowlines of the sails, but obviously this will be done at a later date when I've made the sails. The pegs are merely to stop the thread tangling until they are ready to be tied off to the sails. Just started rigging the wooden 7mm triangular deadeyes I bought in to improvise the kit sometime ago. Slowly coming together the way I usually work from inside to out.


- 44 replies
-
- 4
-
-
- soleil royal
- Heller
- (and 5 more)
-
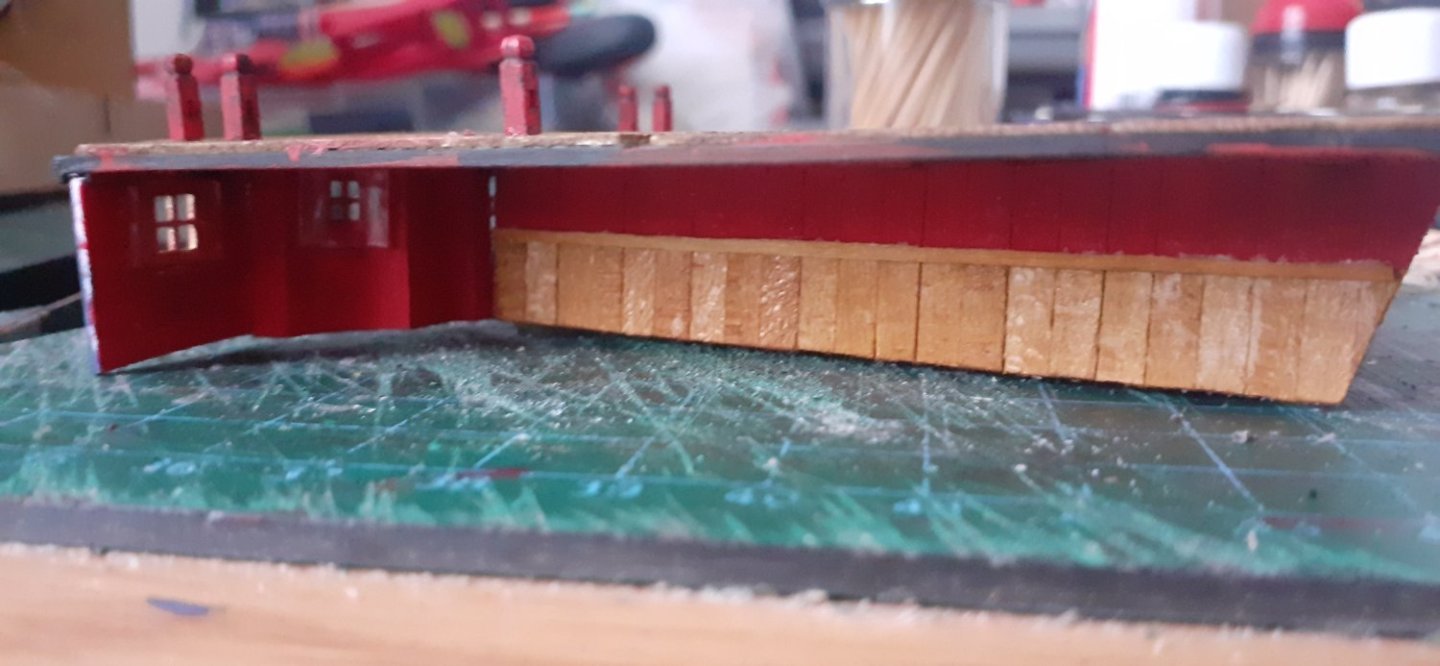
Hi Don Thank you very much for your kind words. To affix the wooden planks to the plastic decks(taking care to file/sand down the recesses for the Cannons first) I always use Expo PVA or Expo Fast setting PVA wood glue both of which set to the plastic excellently as if it was wood. Secondly the Brush size I use for the very fine detail painting is size 000. They are called "Major Brushes" where I bought them on ebay. I bought quite a few of this size(finest) and even trimmed a couple to a more fine point with my Expo micro snips I usually use for my rigging thread. Hope this helps Don All the best Robert 👍🏼 🤺 ⚓
- 44 replies
-
- 1
-

-
- soleil royal
- Heller
- (and 5 more)
-
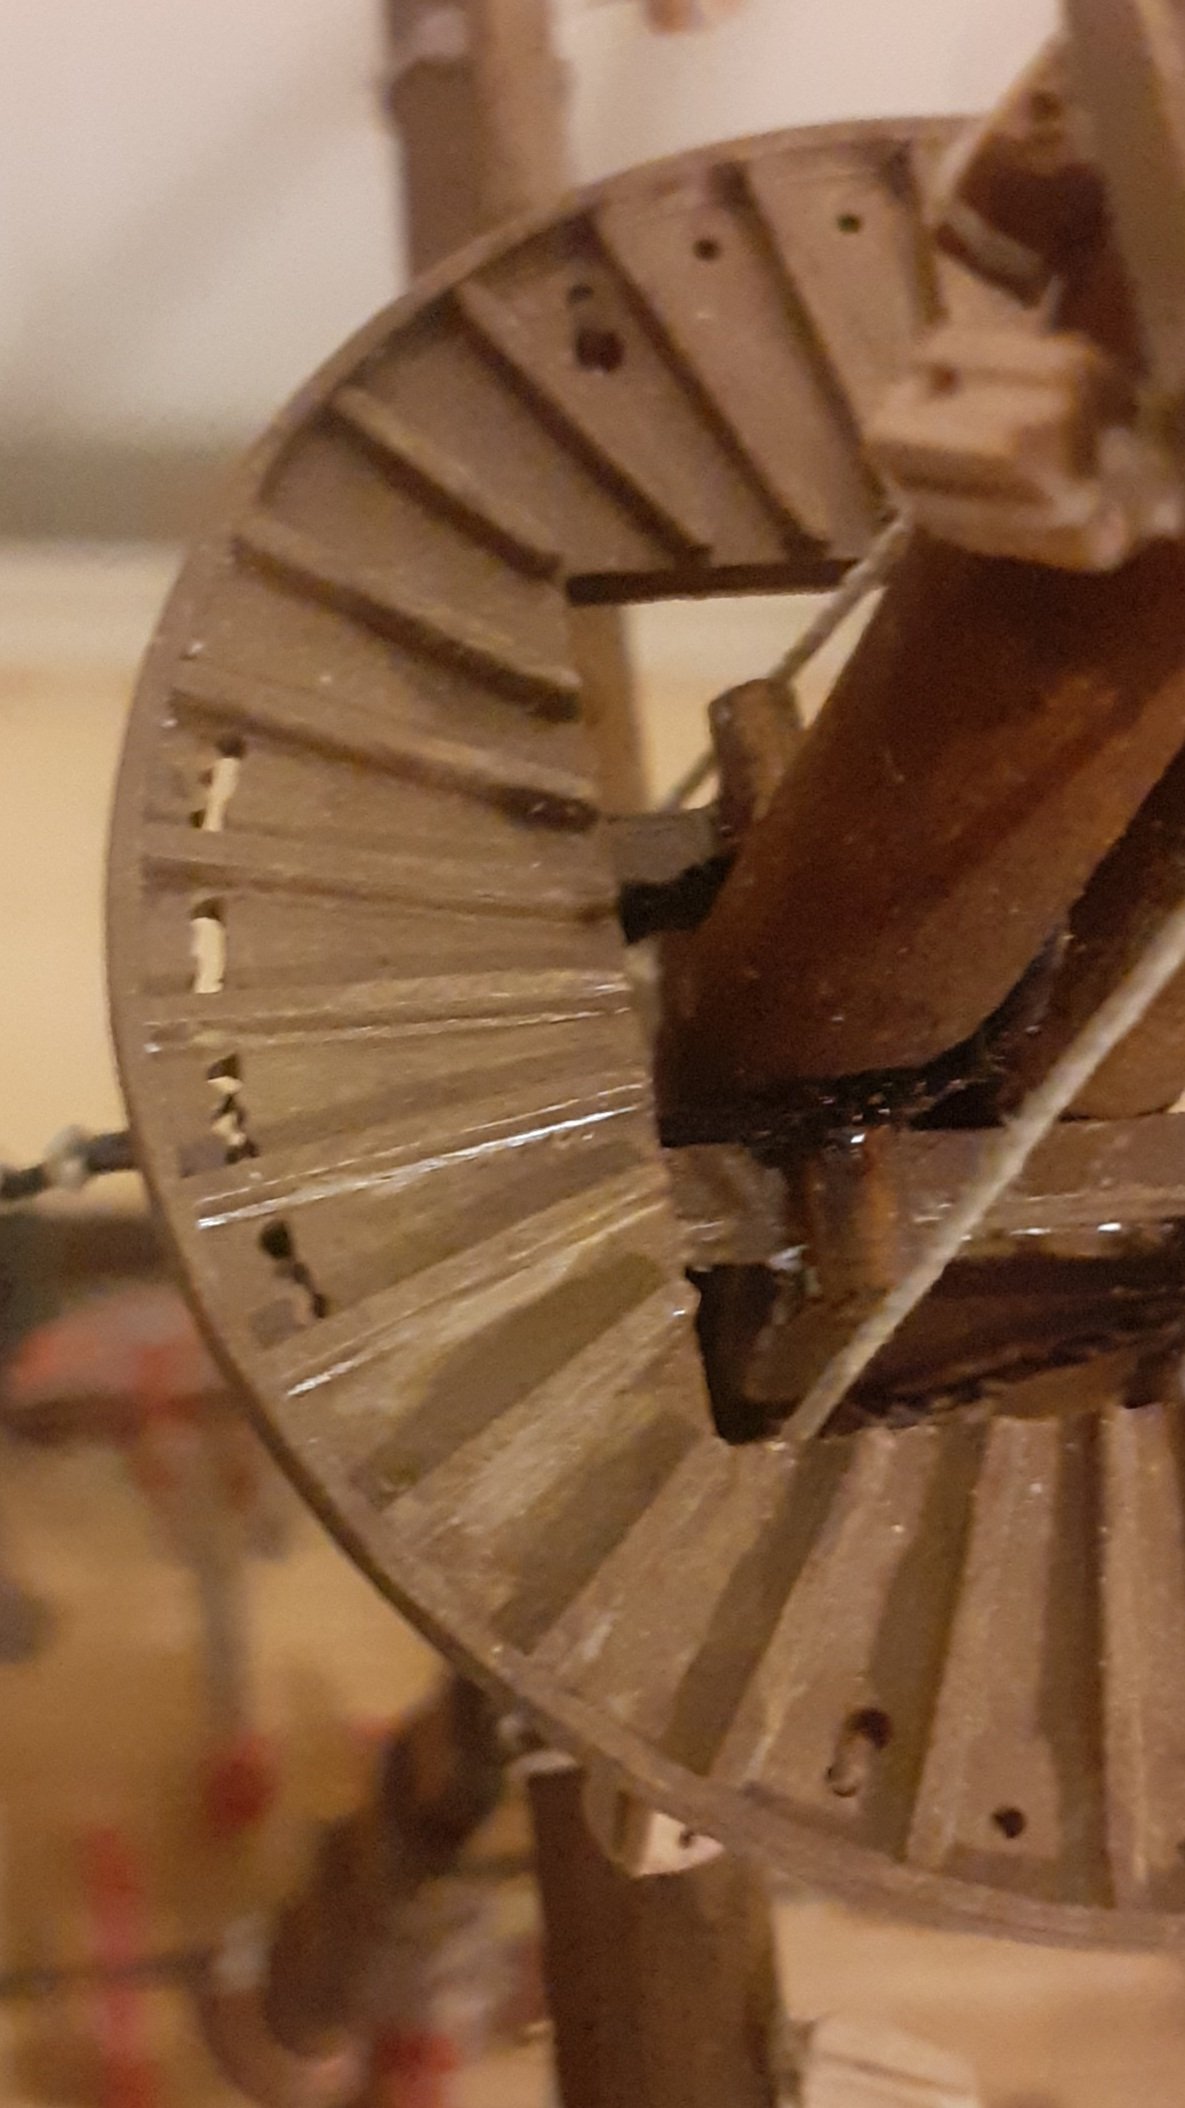
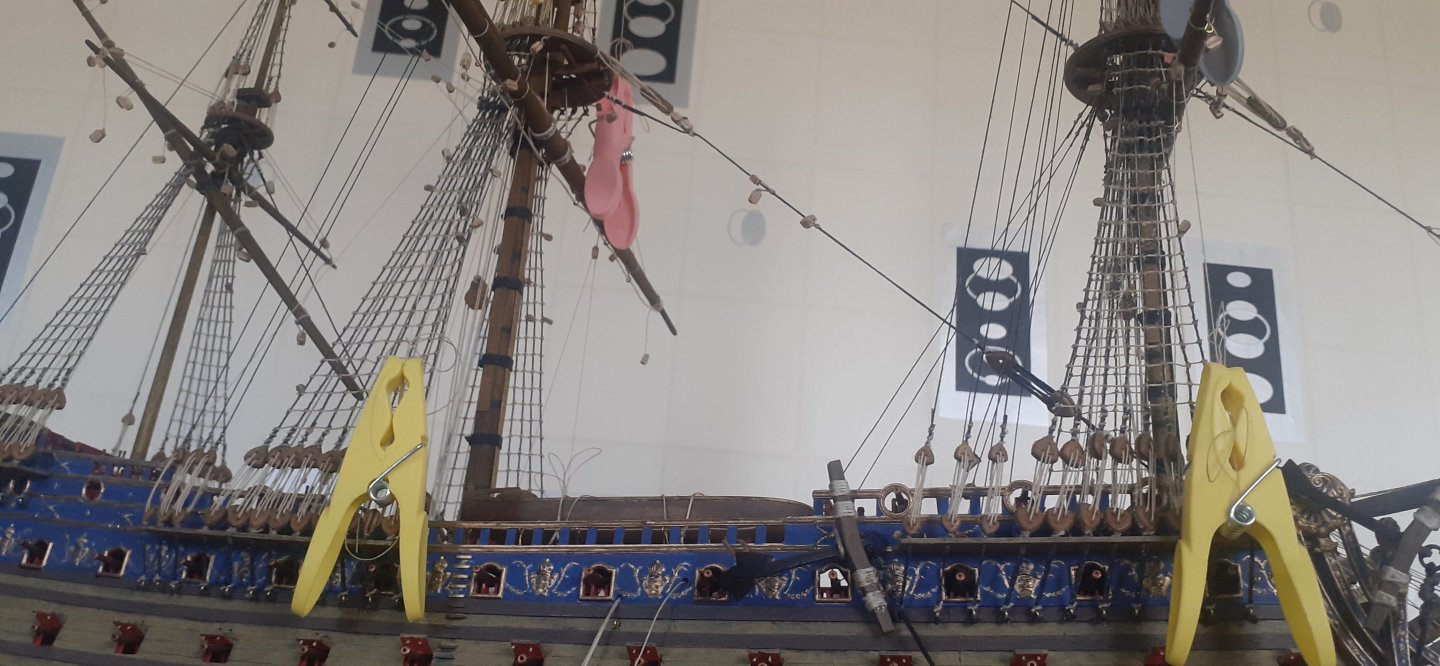
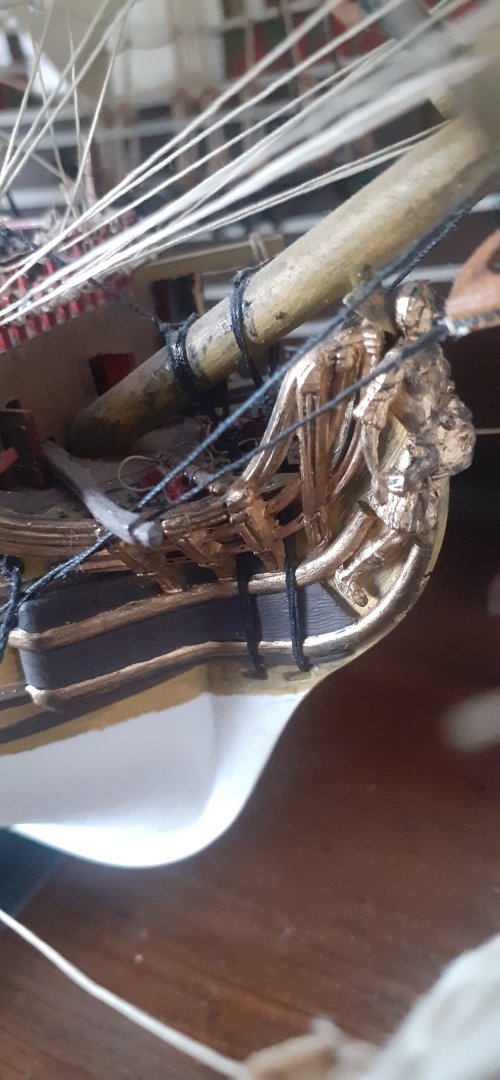
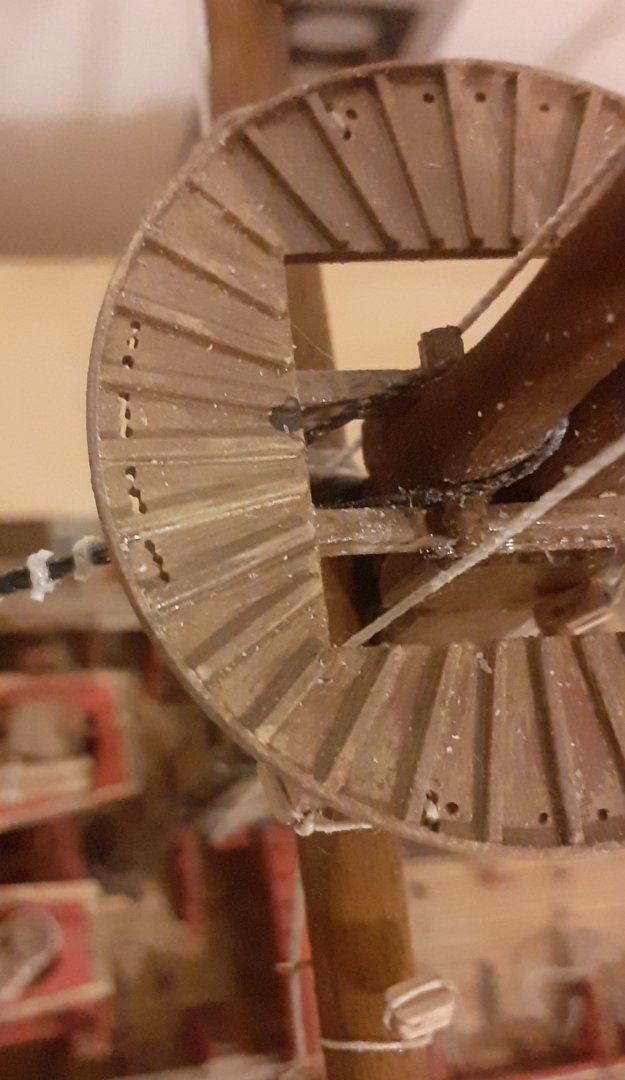
These Crowsfeet are going to take a bit of Improvisation. These are supposed to be 12 individual holes, but with shorts in the plastic, they more or less ended up with 4 x 3 large holes both for the Foremast and Mainmast.

- 44 replies
-
- 3
-
-
-
- soleil royal
- Heller
- (and 5 more)
-
Just touching base again after an absence of 5-6months due to personal family reasons. Just finding my feet again... My Heller Soleil Royal bk in progress albeit small steps at a time. All the masts and yards are finished with appropriate rigging blocks and foot ropes. I have now started the Standing rigging and certain other running rigging particularly for the Bowsprit. Just about to start scratch building the collars for the Crowsfeet. A long way to go, the Heller plans aren't great so I am researching other ships and from that time period as well as trying to improvise along the way.


- 44 replies
-
- 8
-
-
- soleil royal
- Heller
- (and 5 more)
-
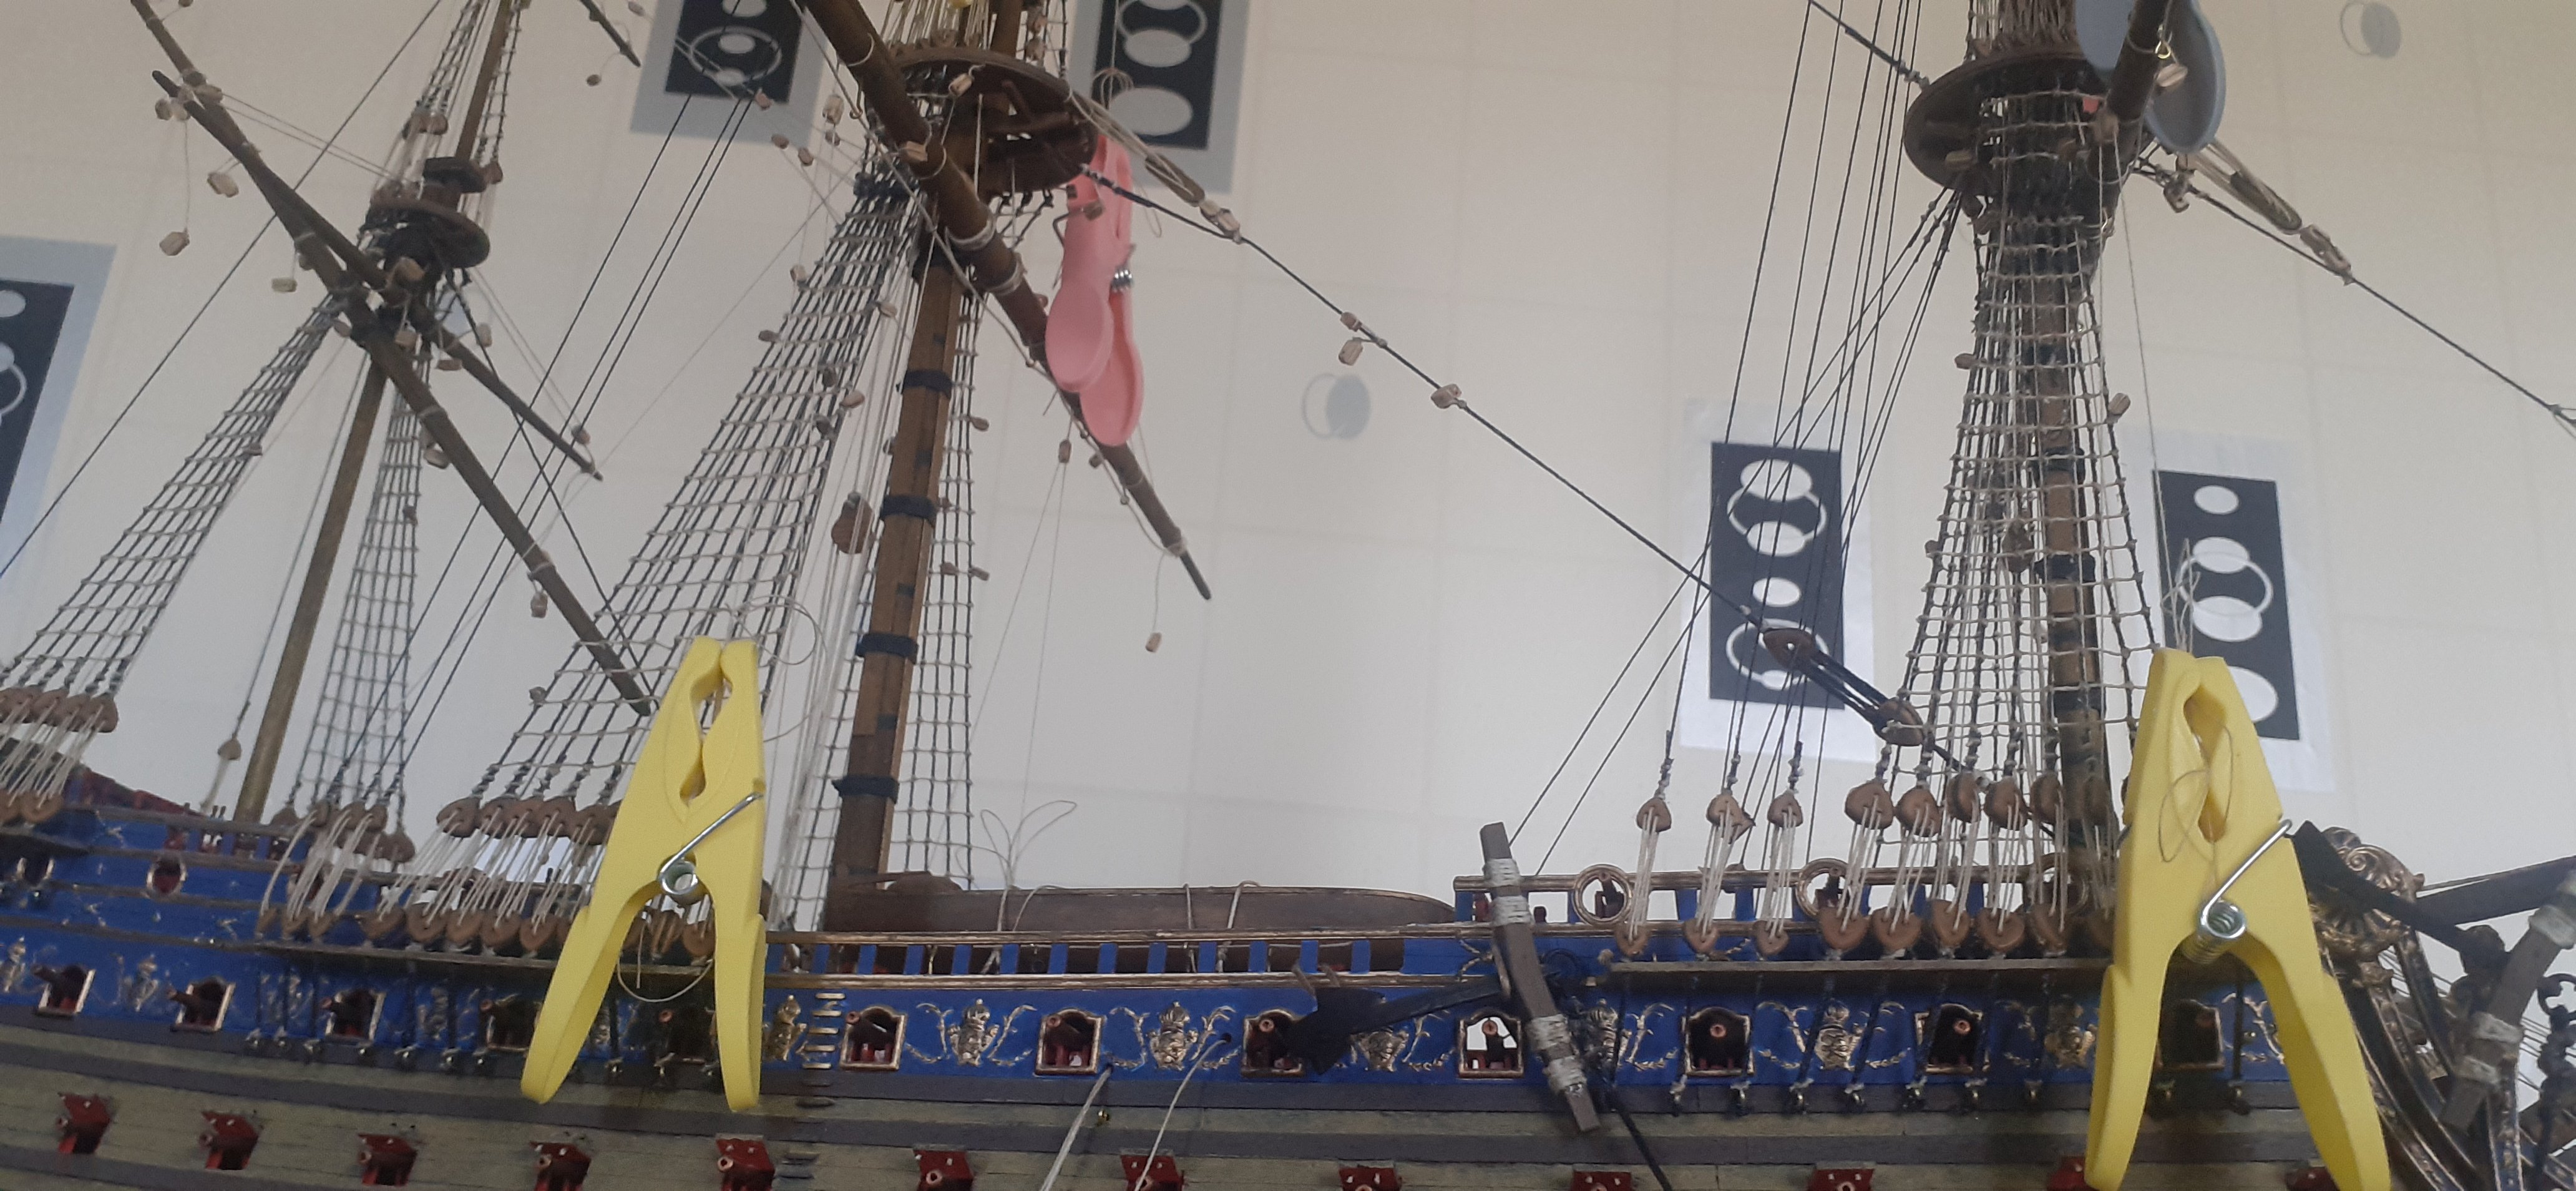
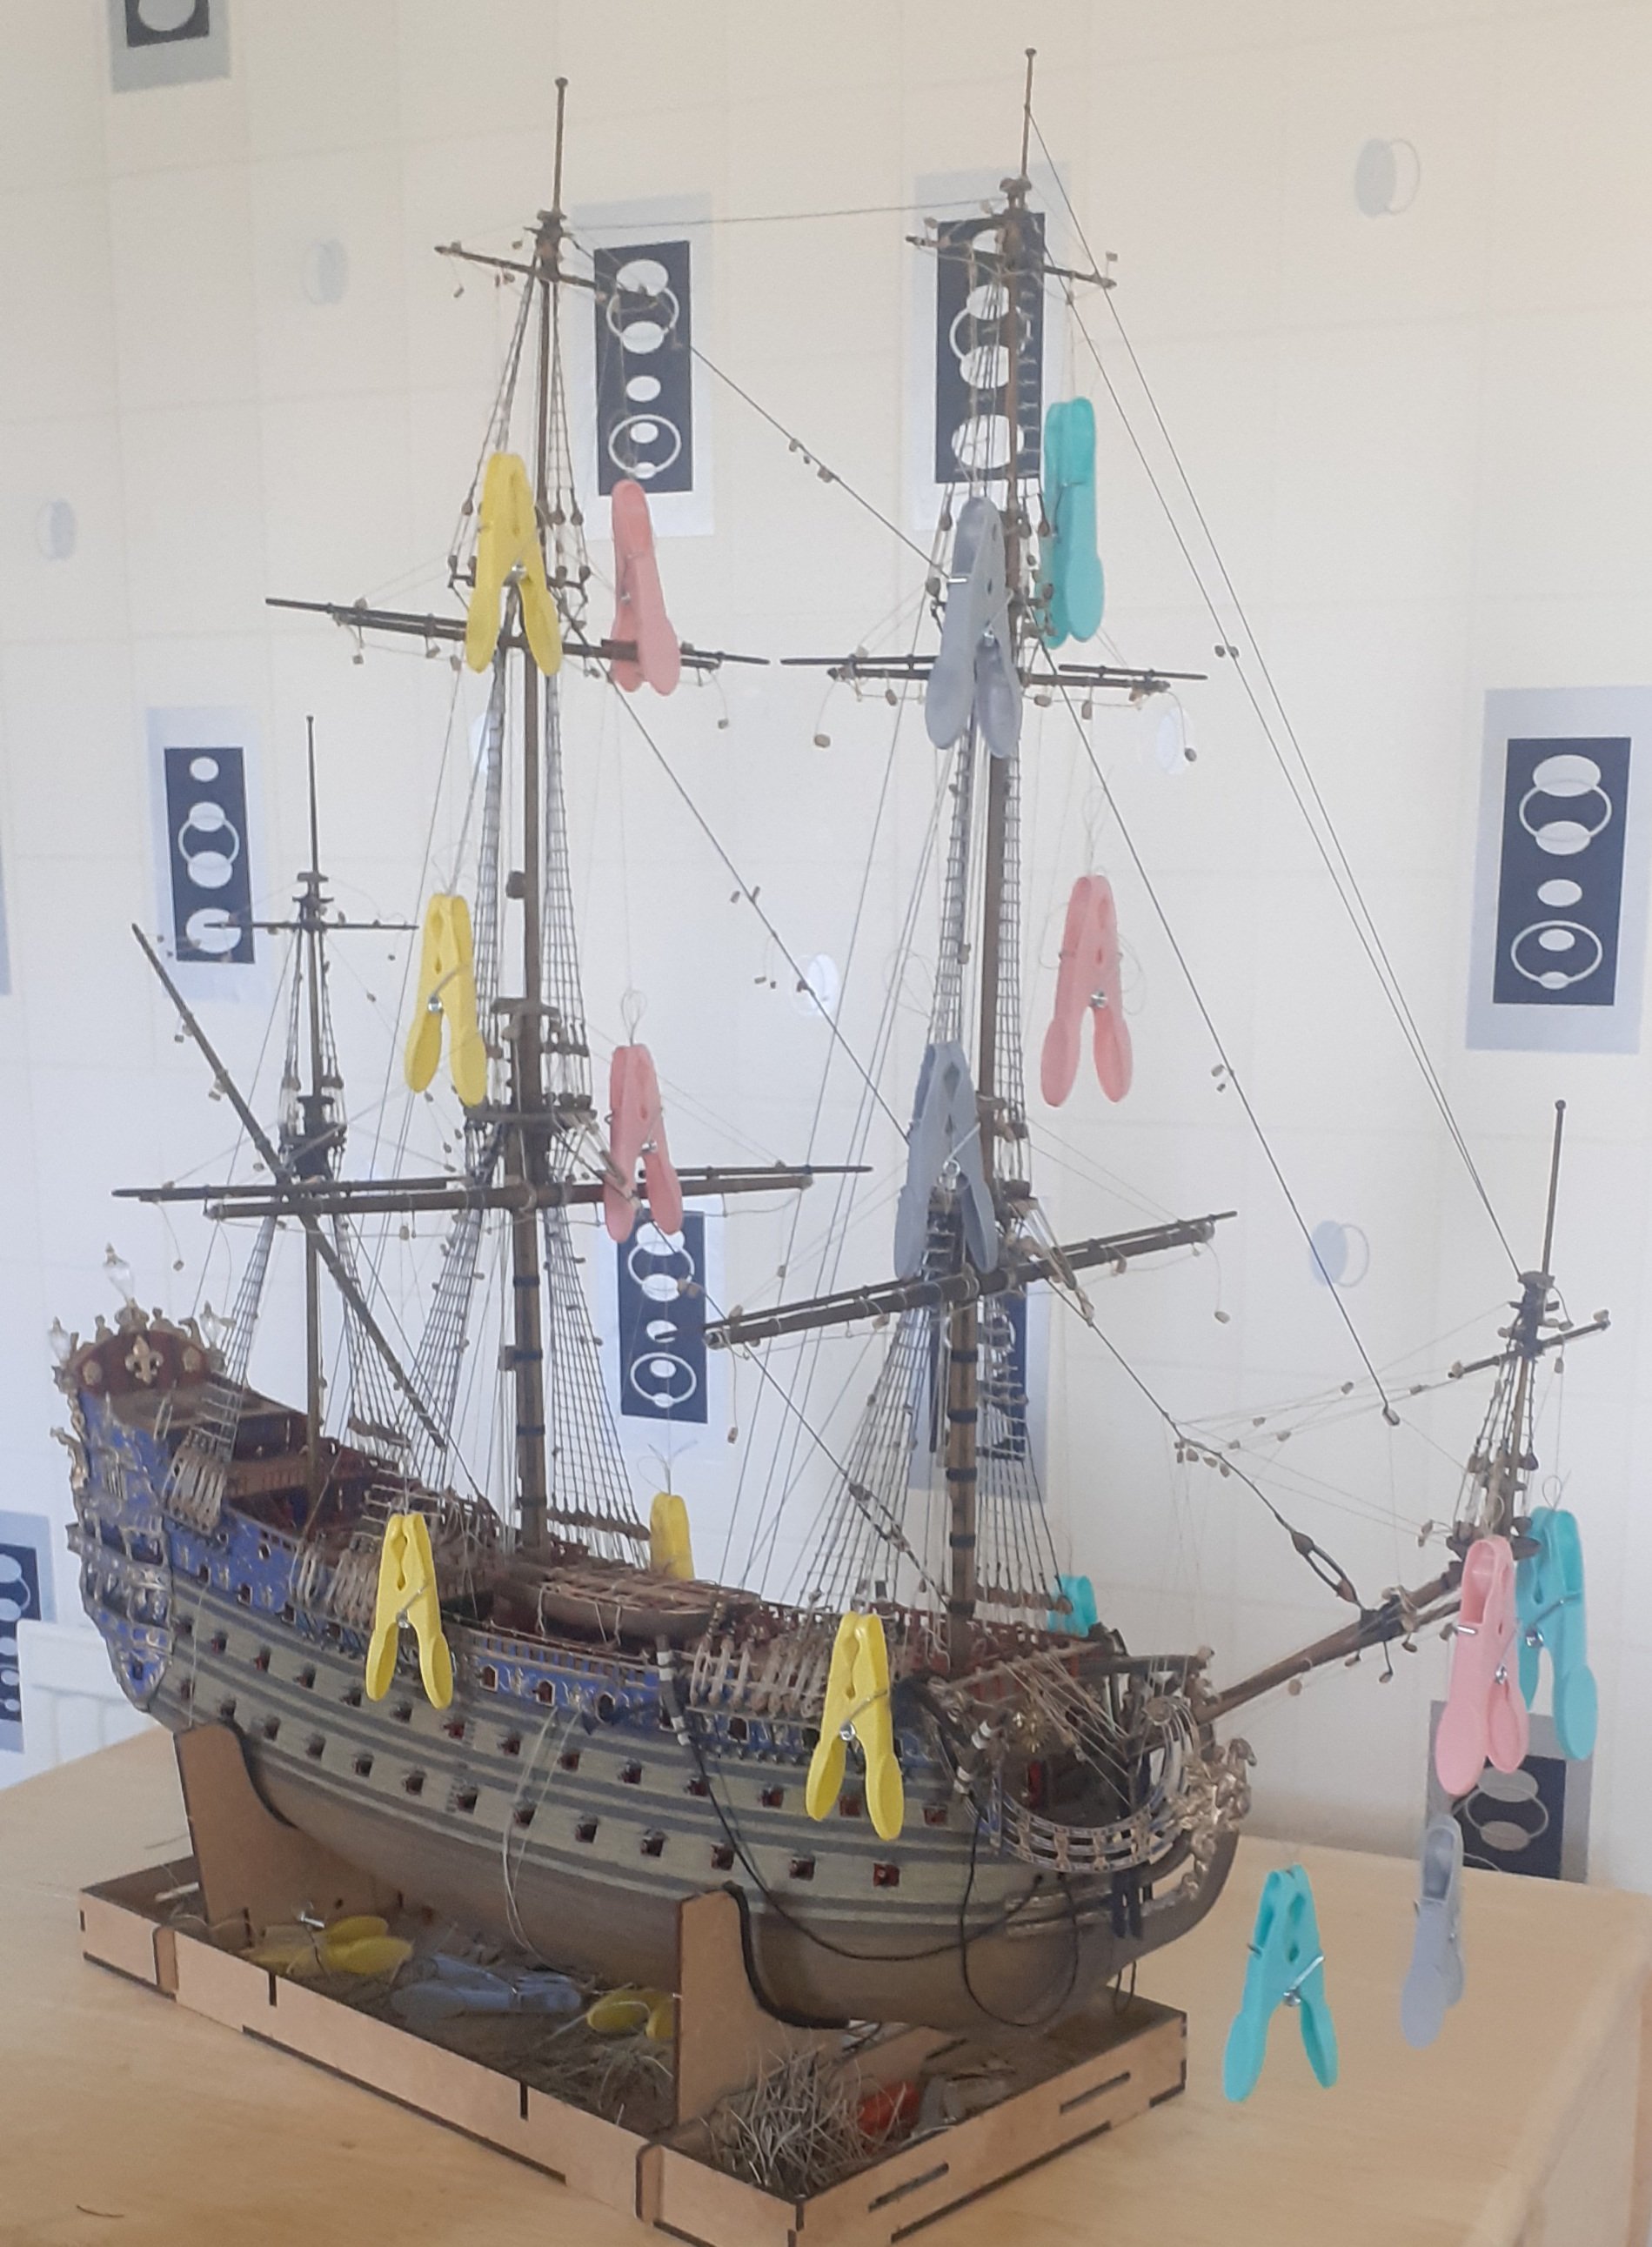
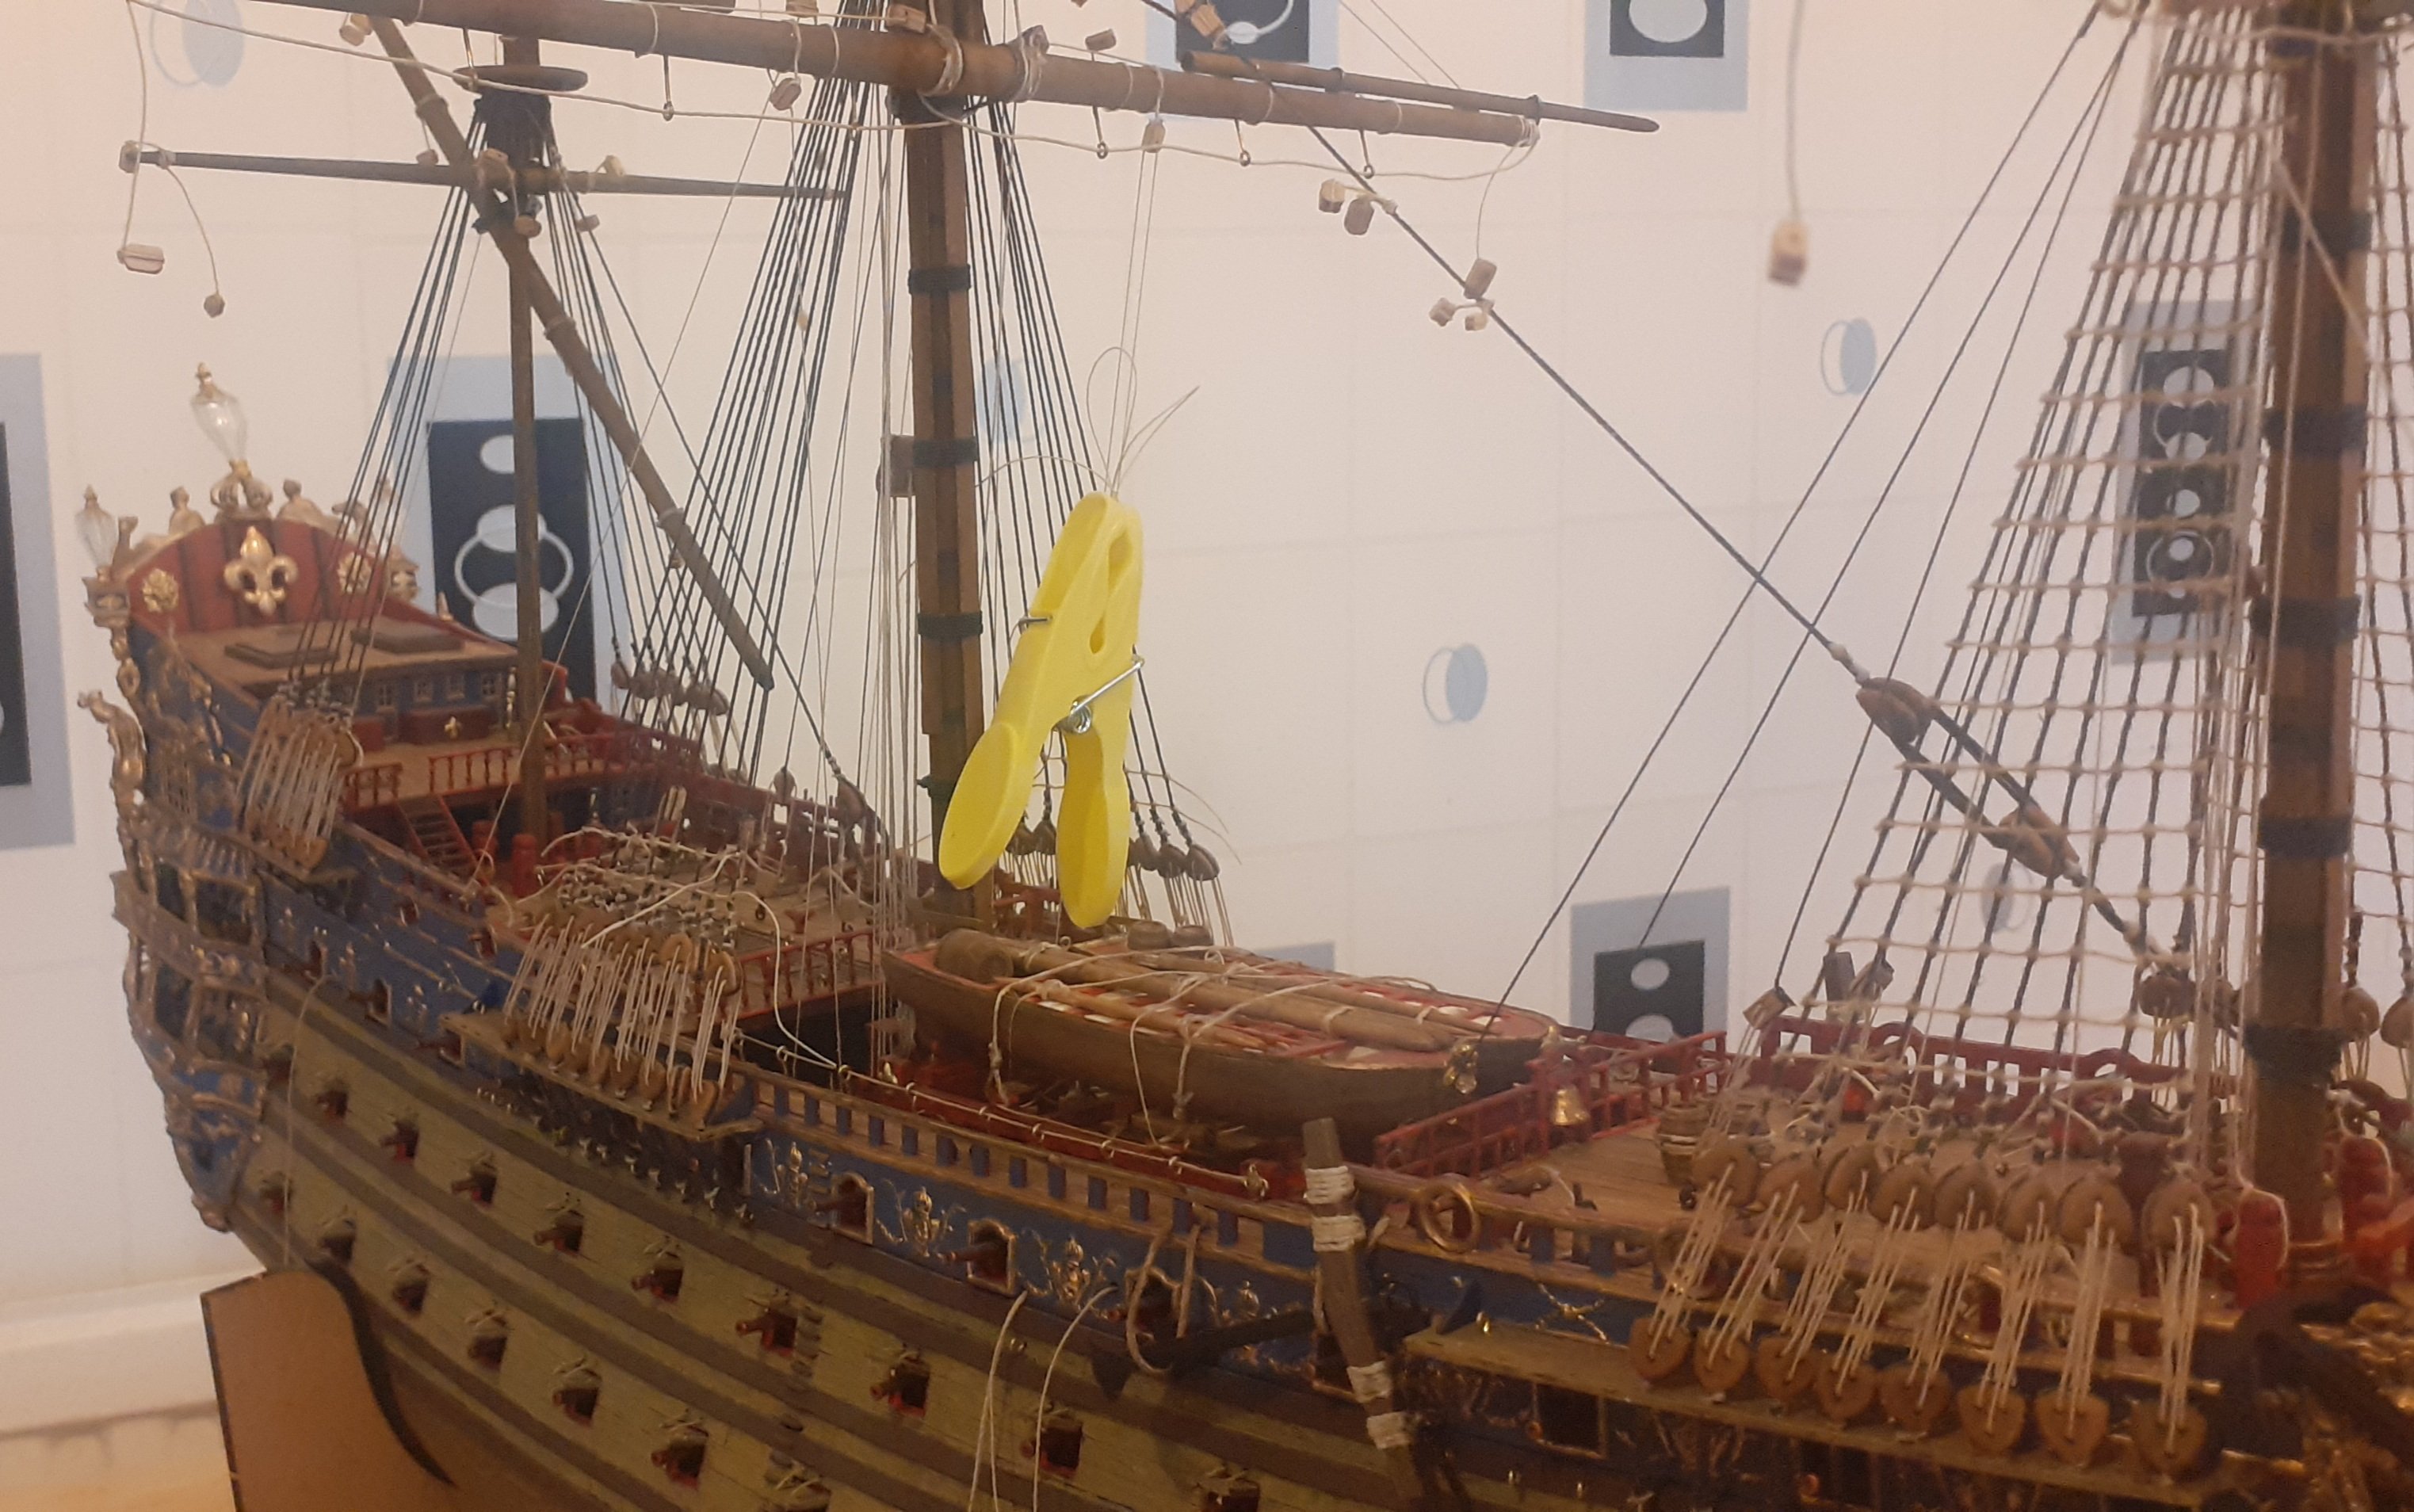
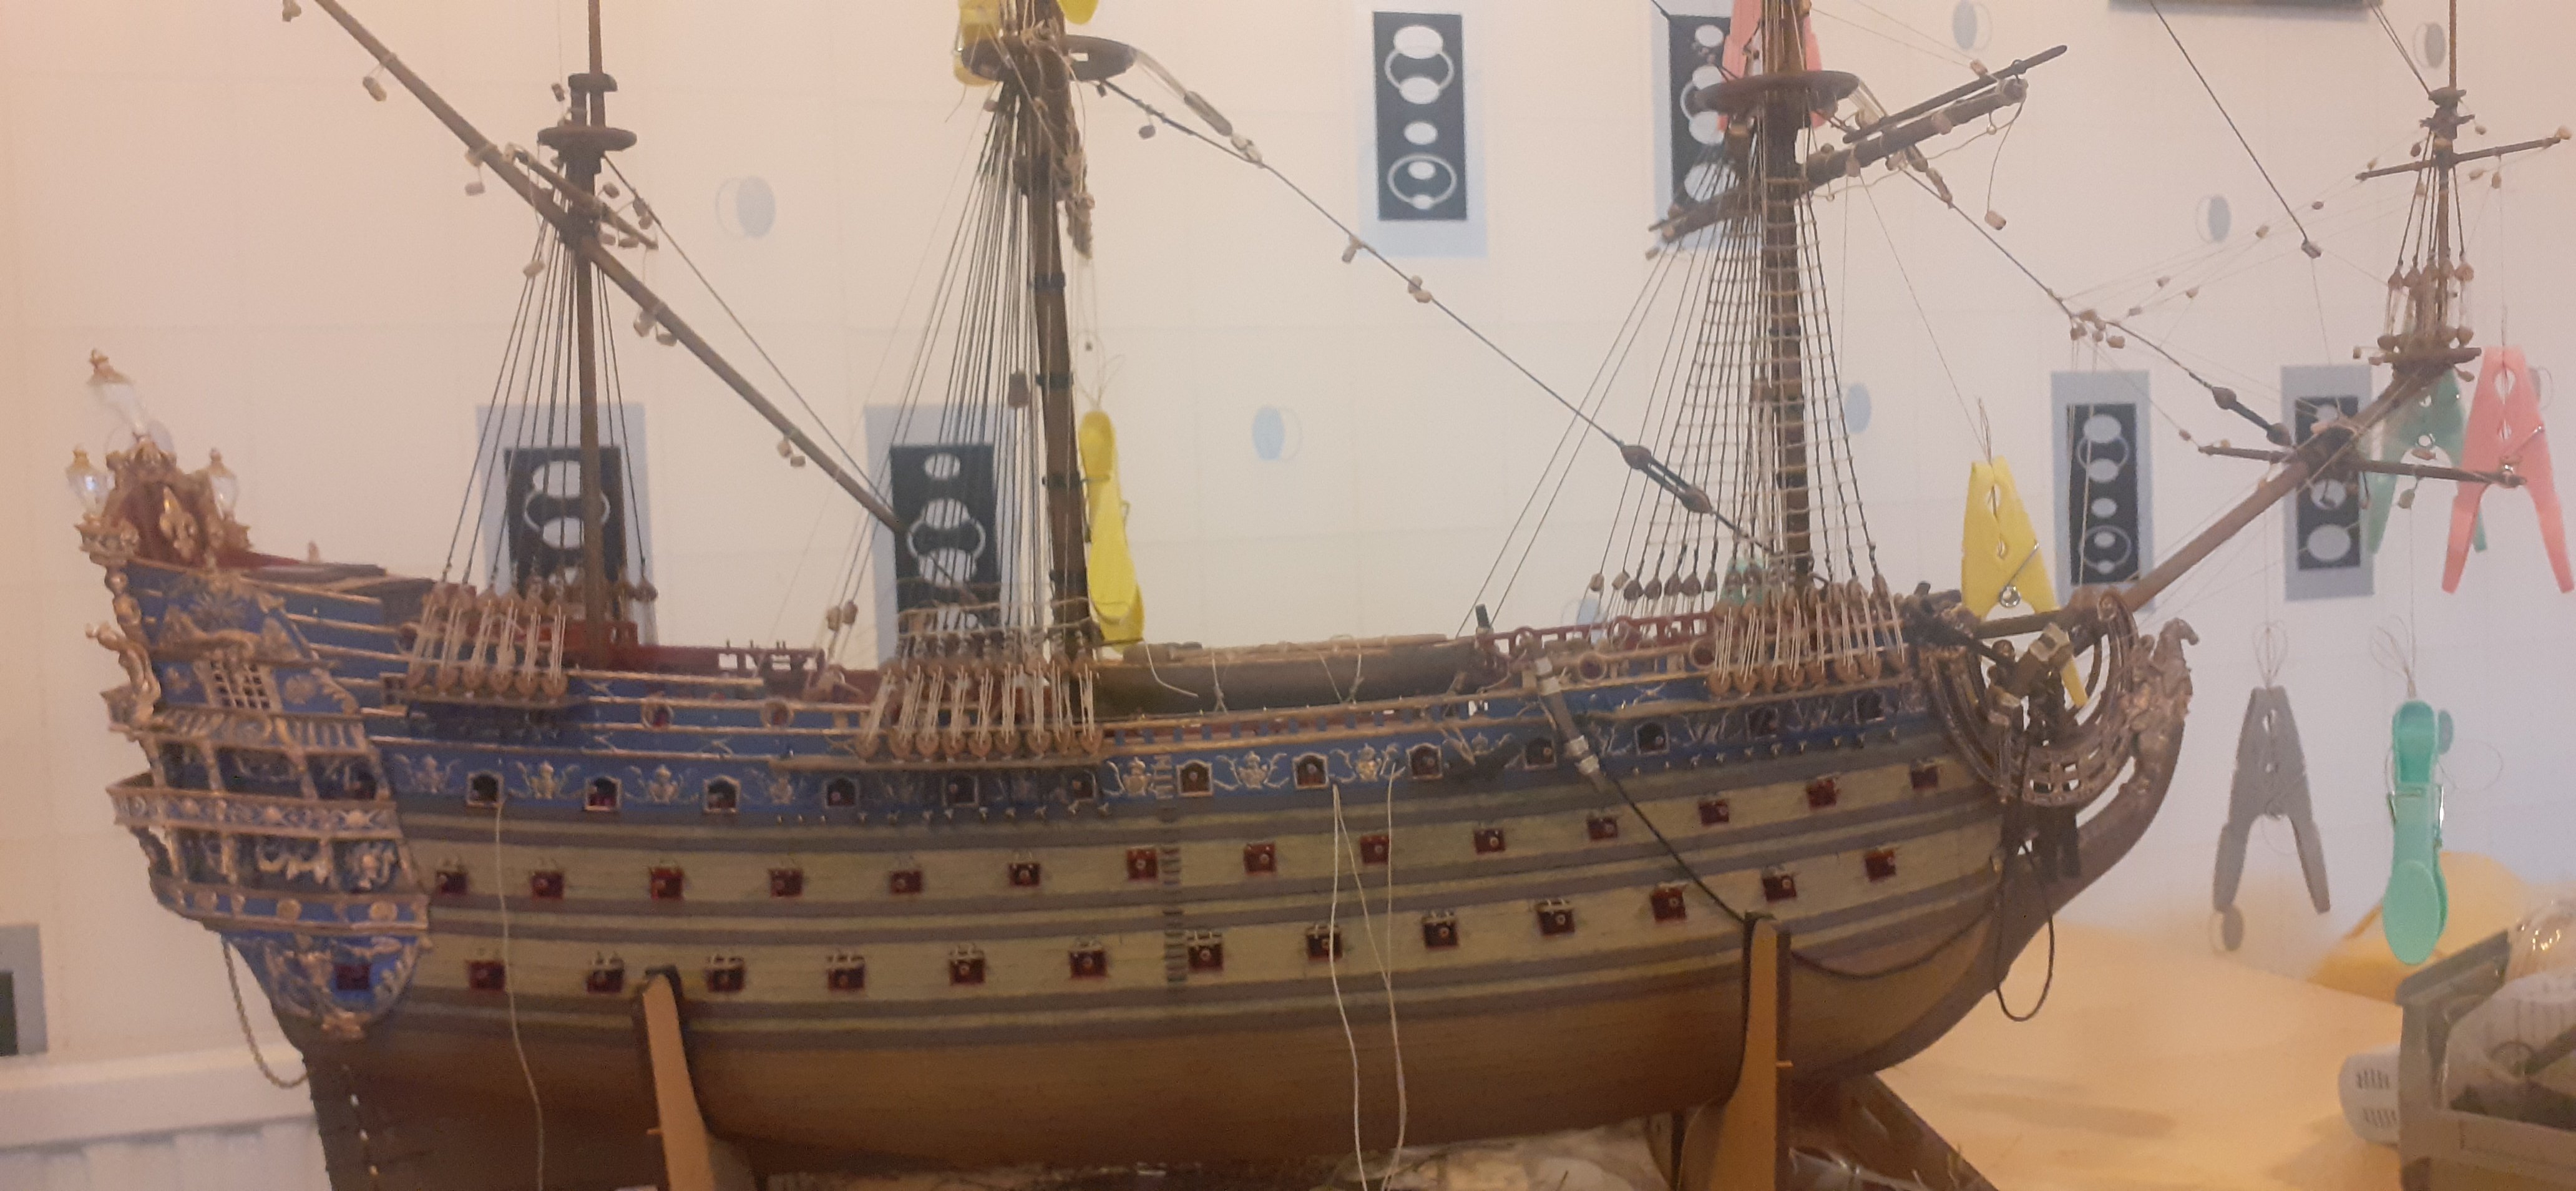
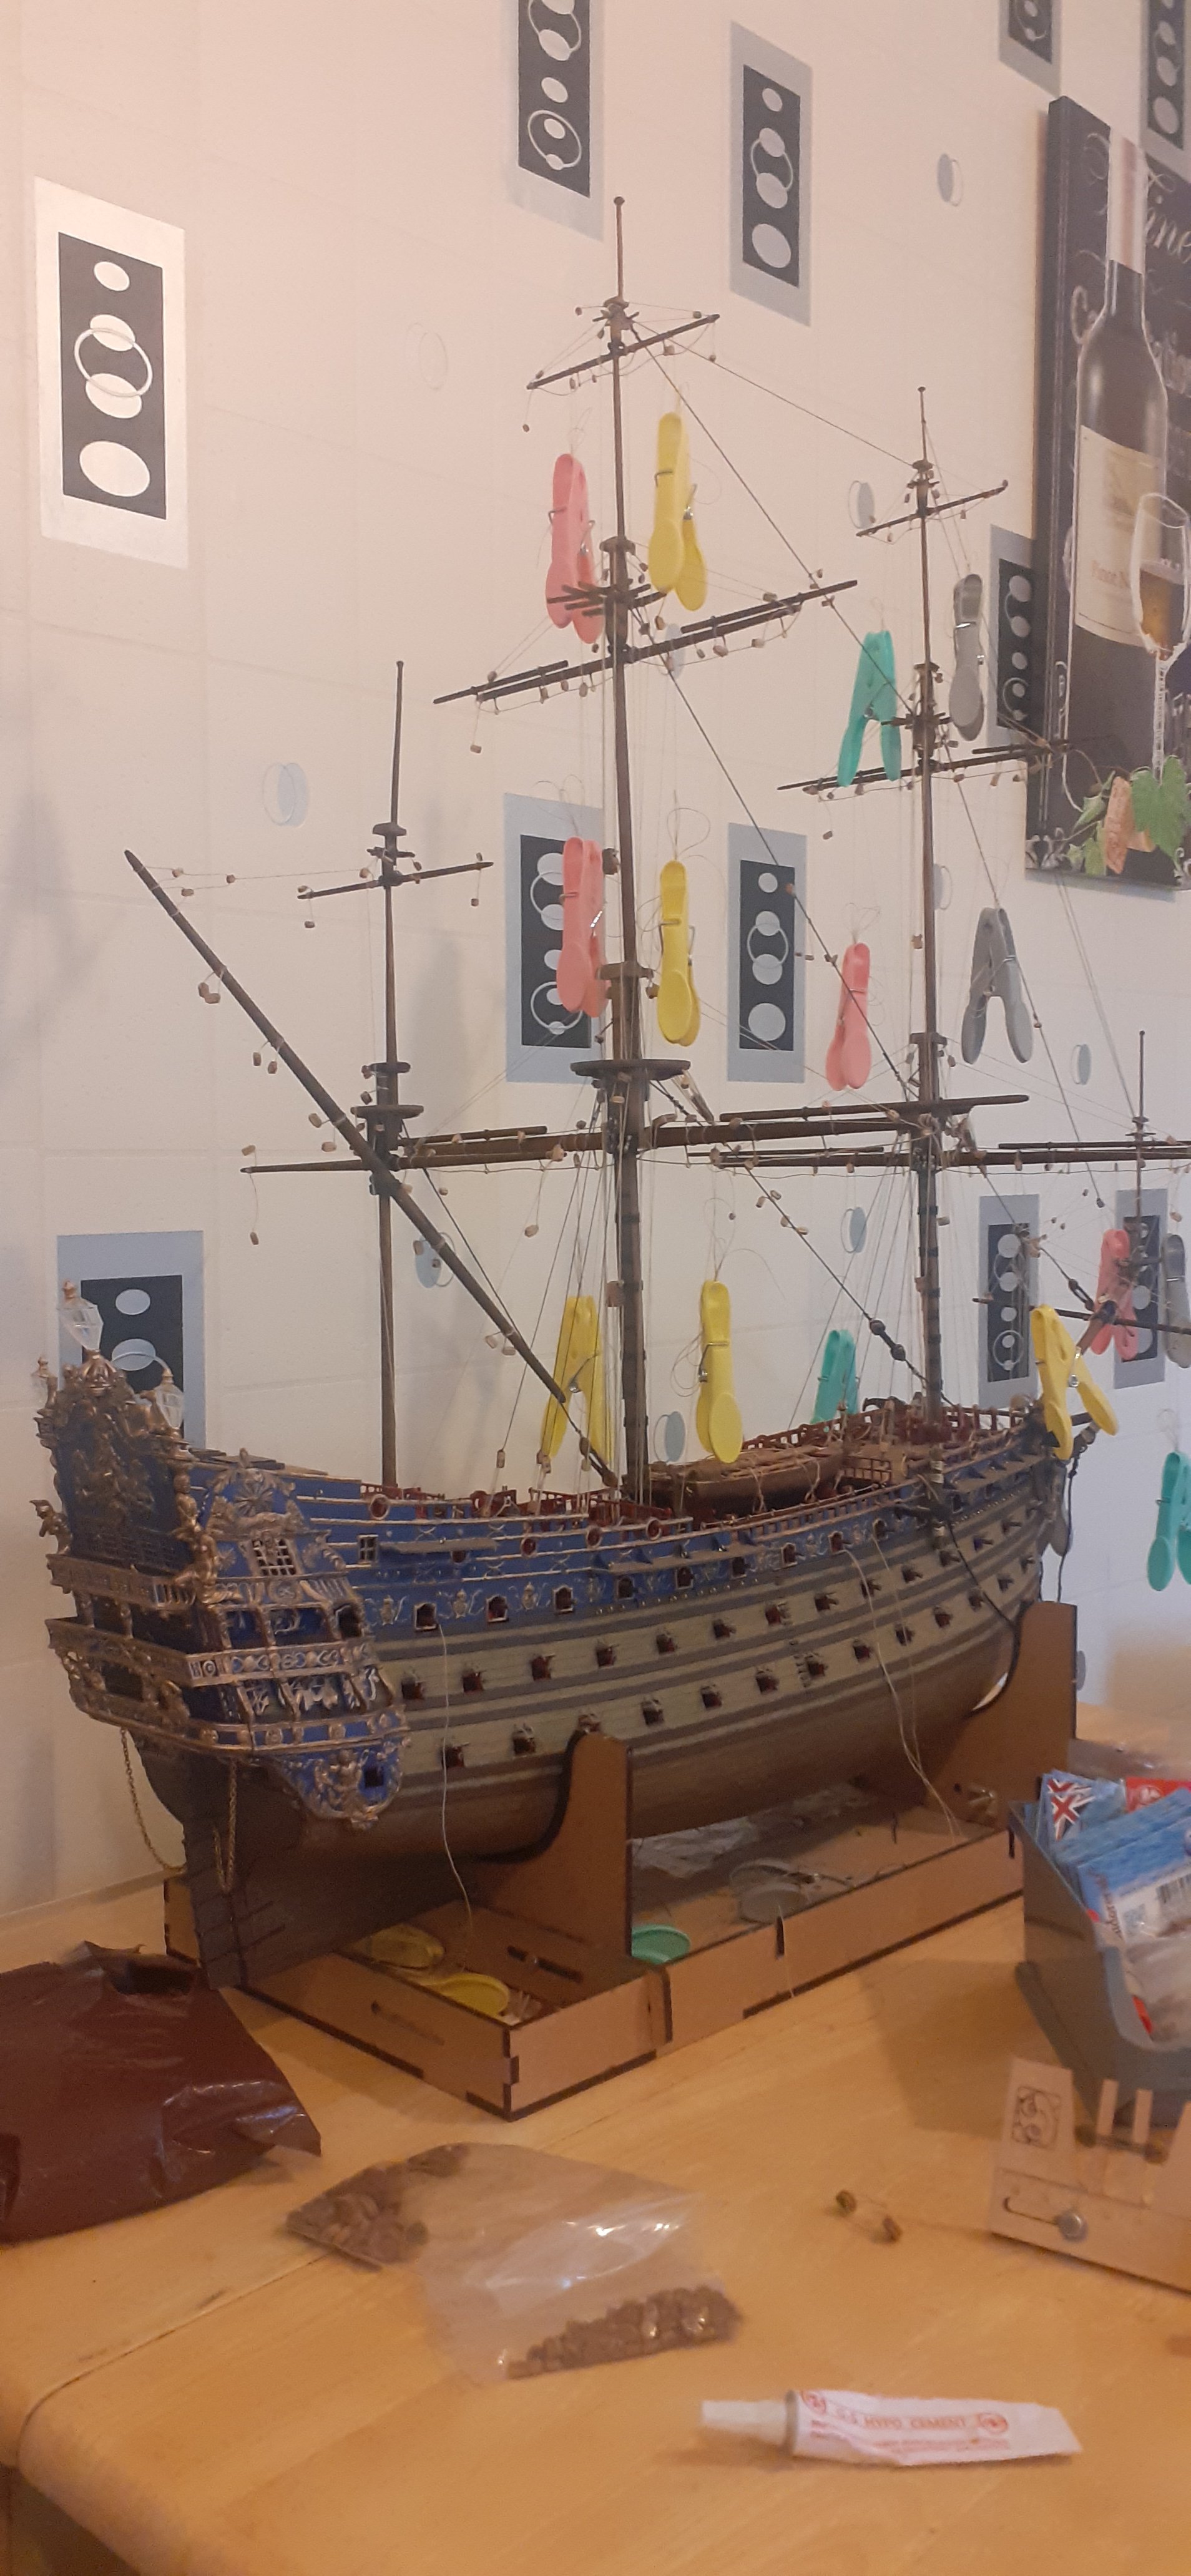
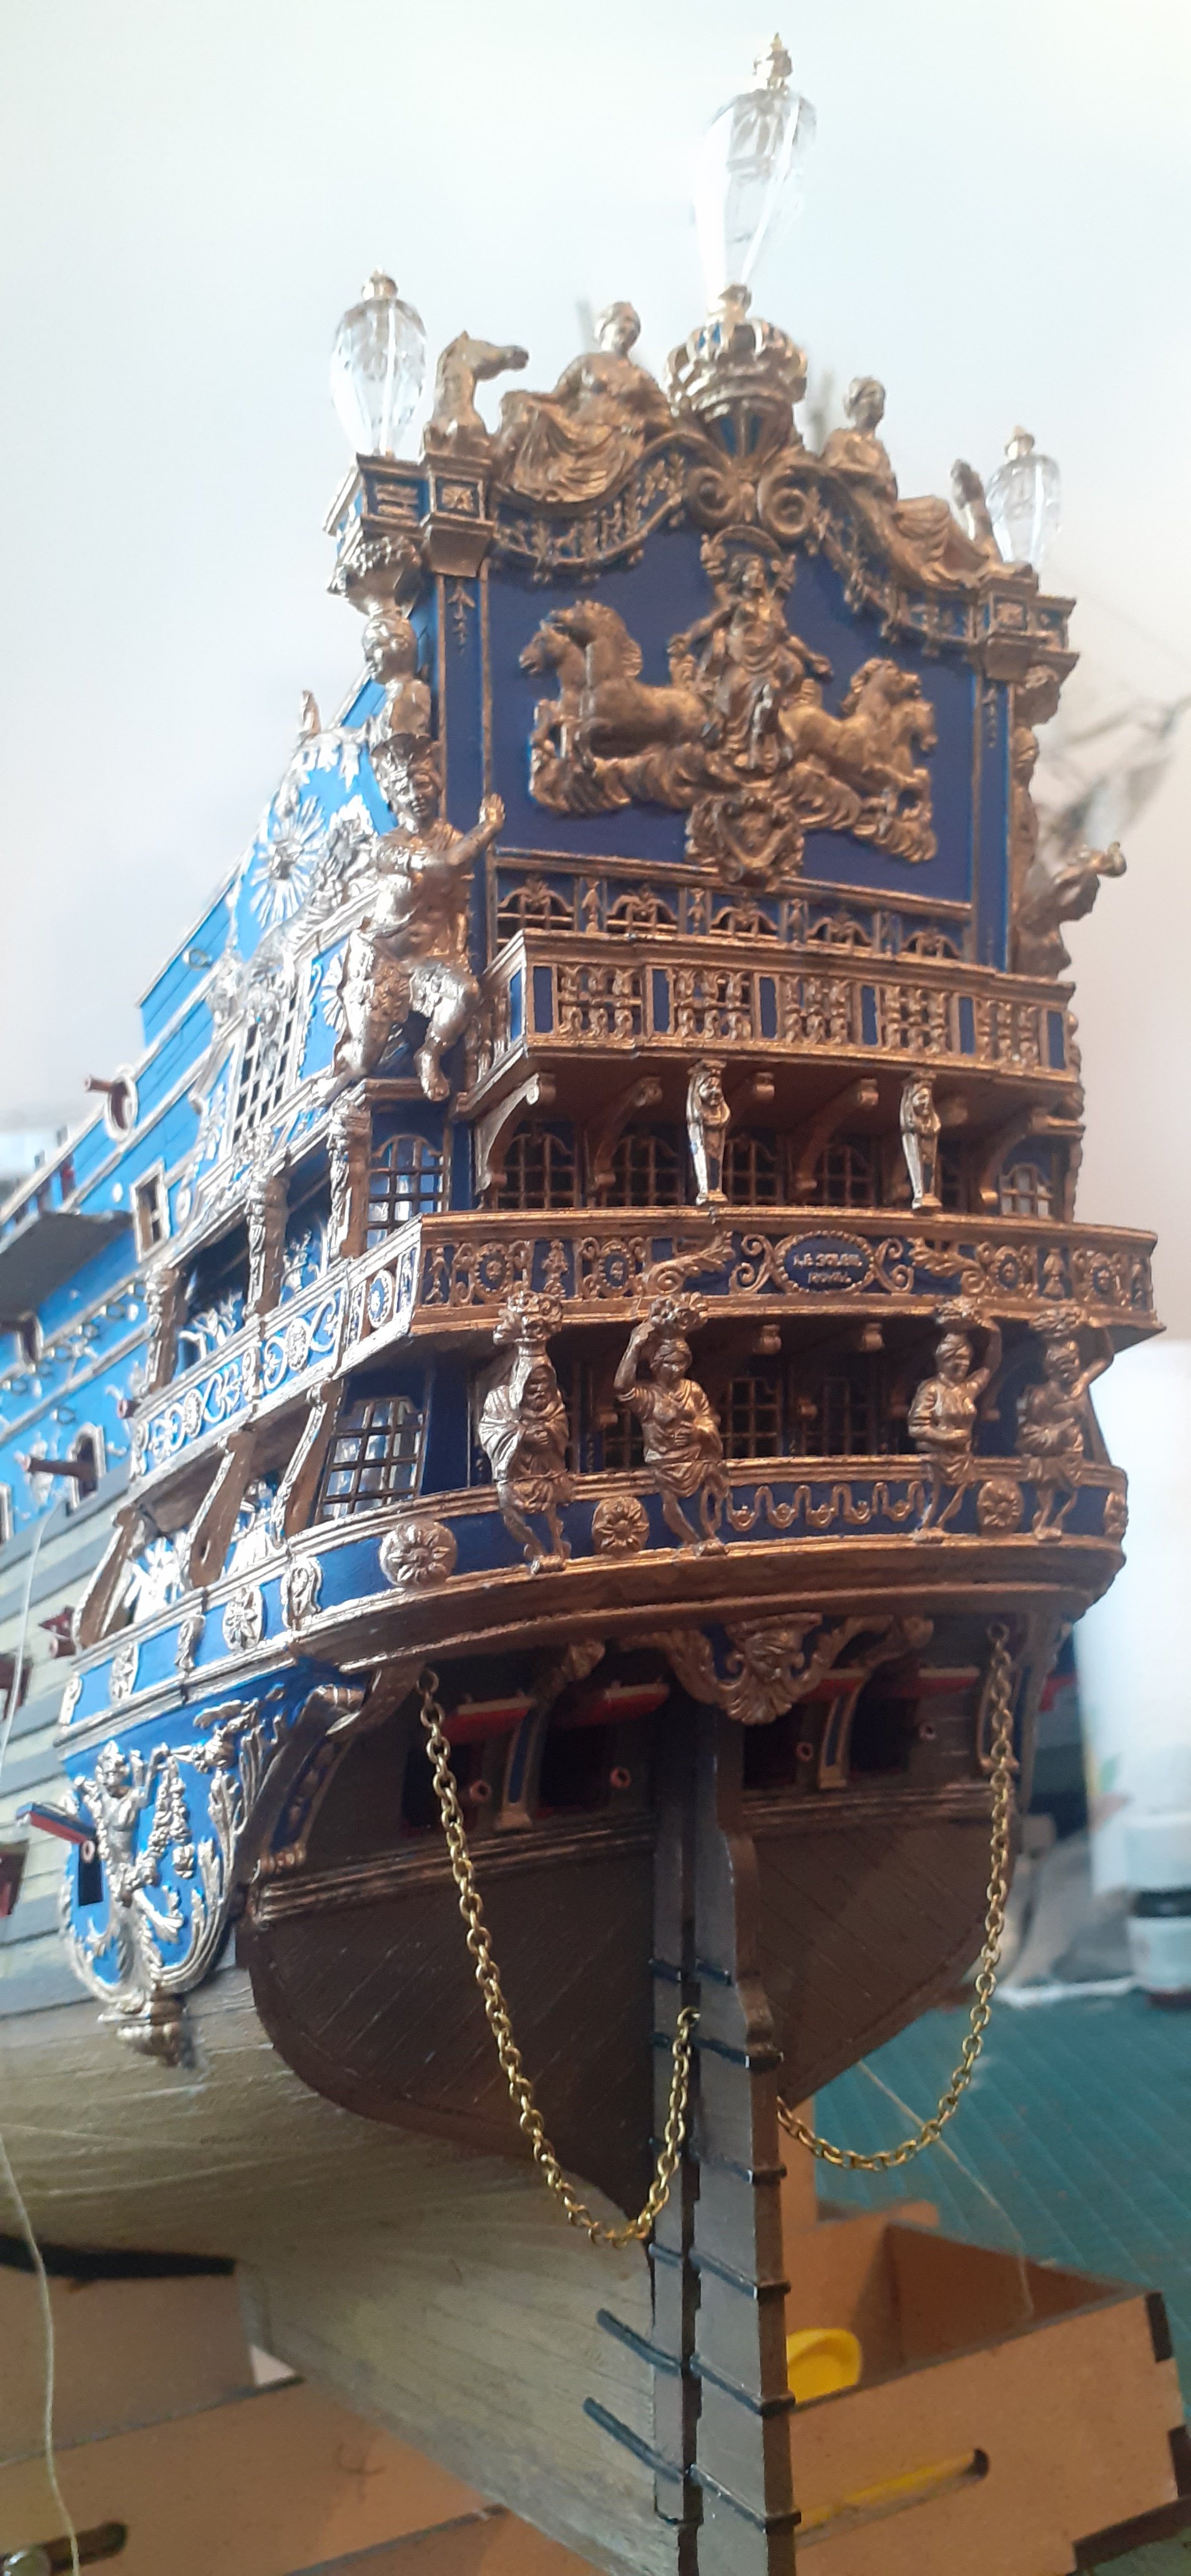
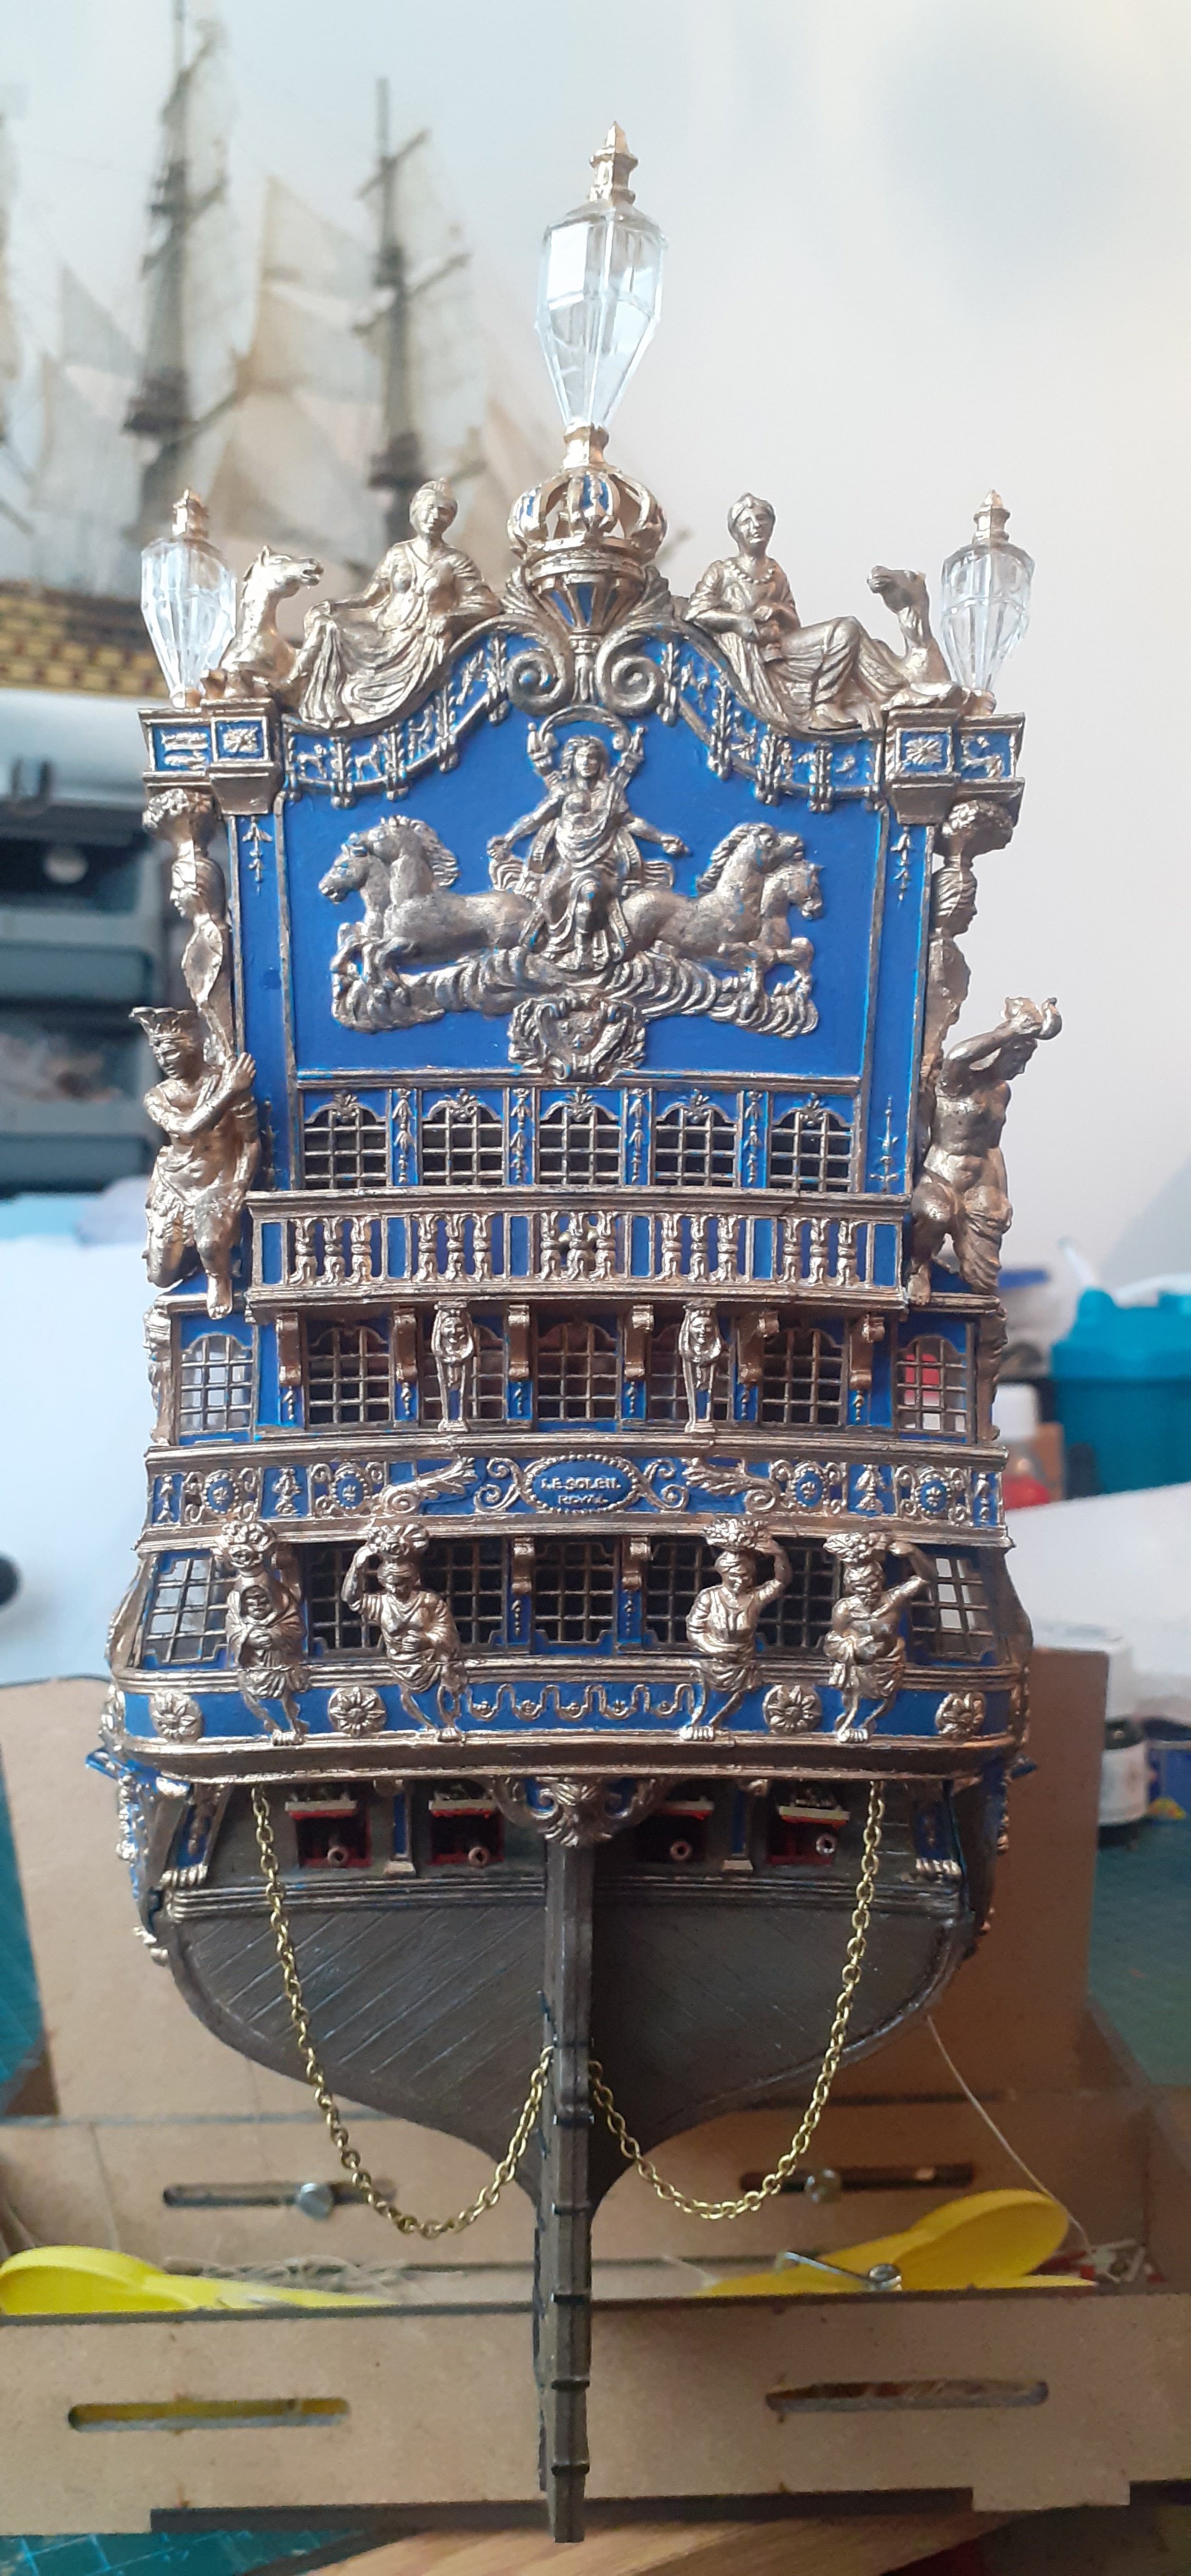
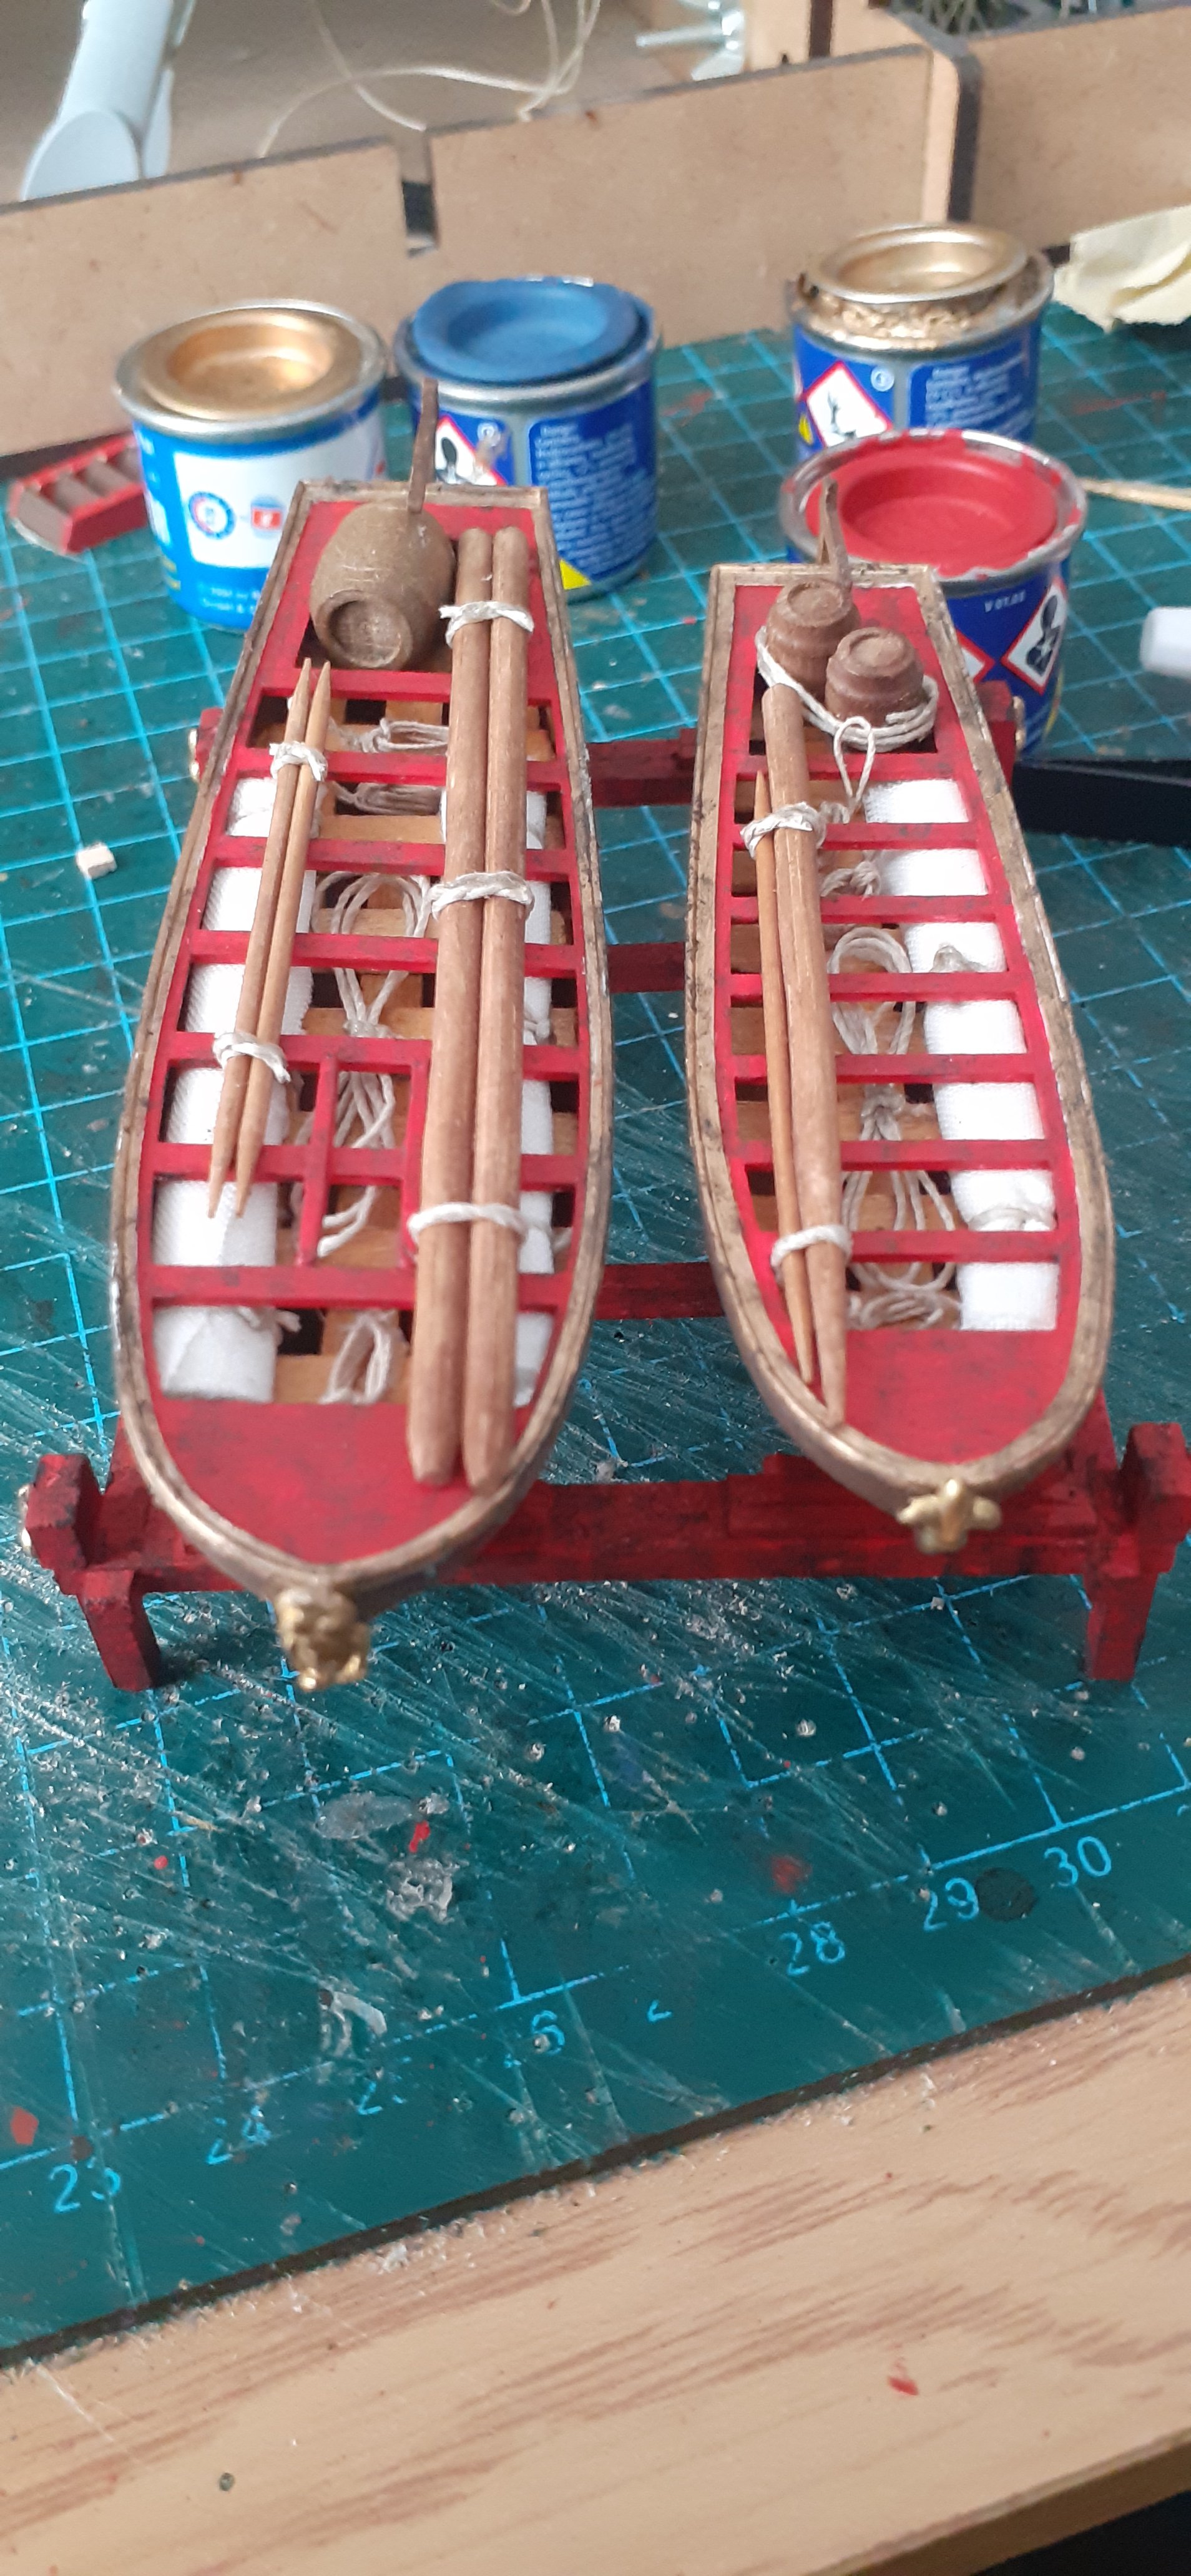
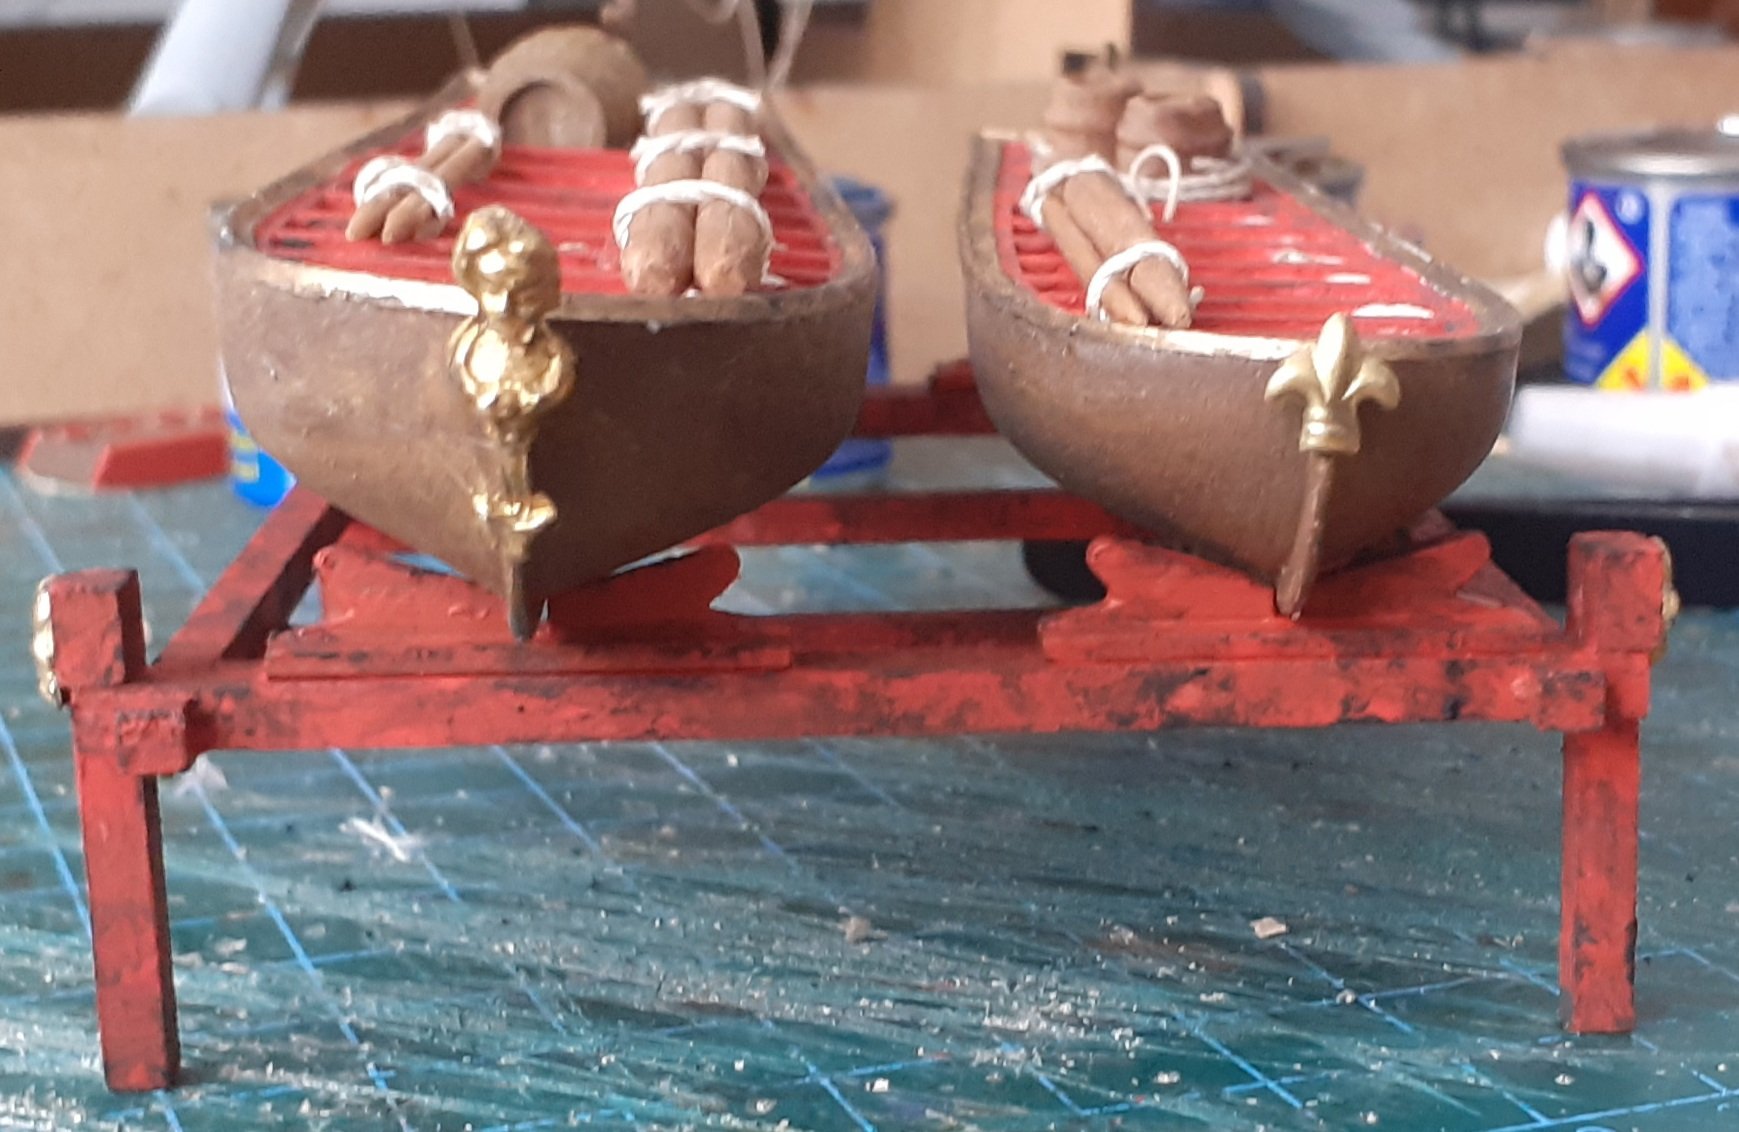
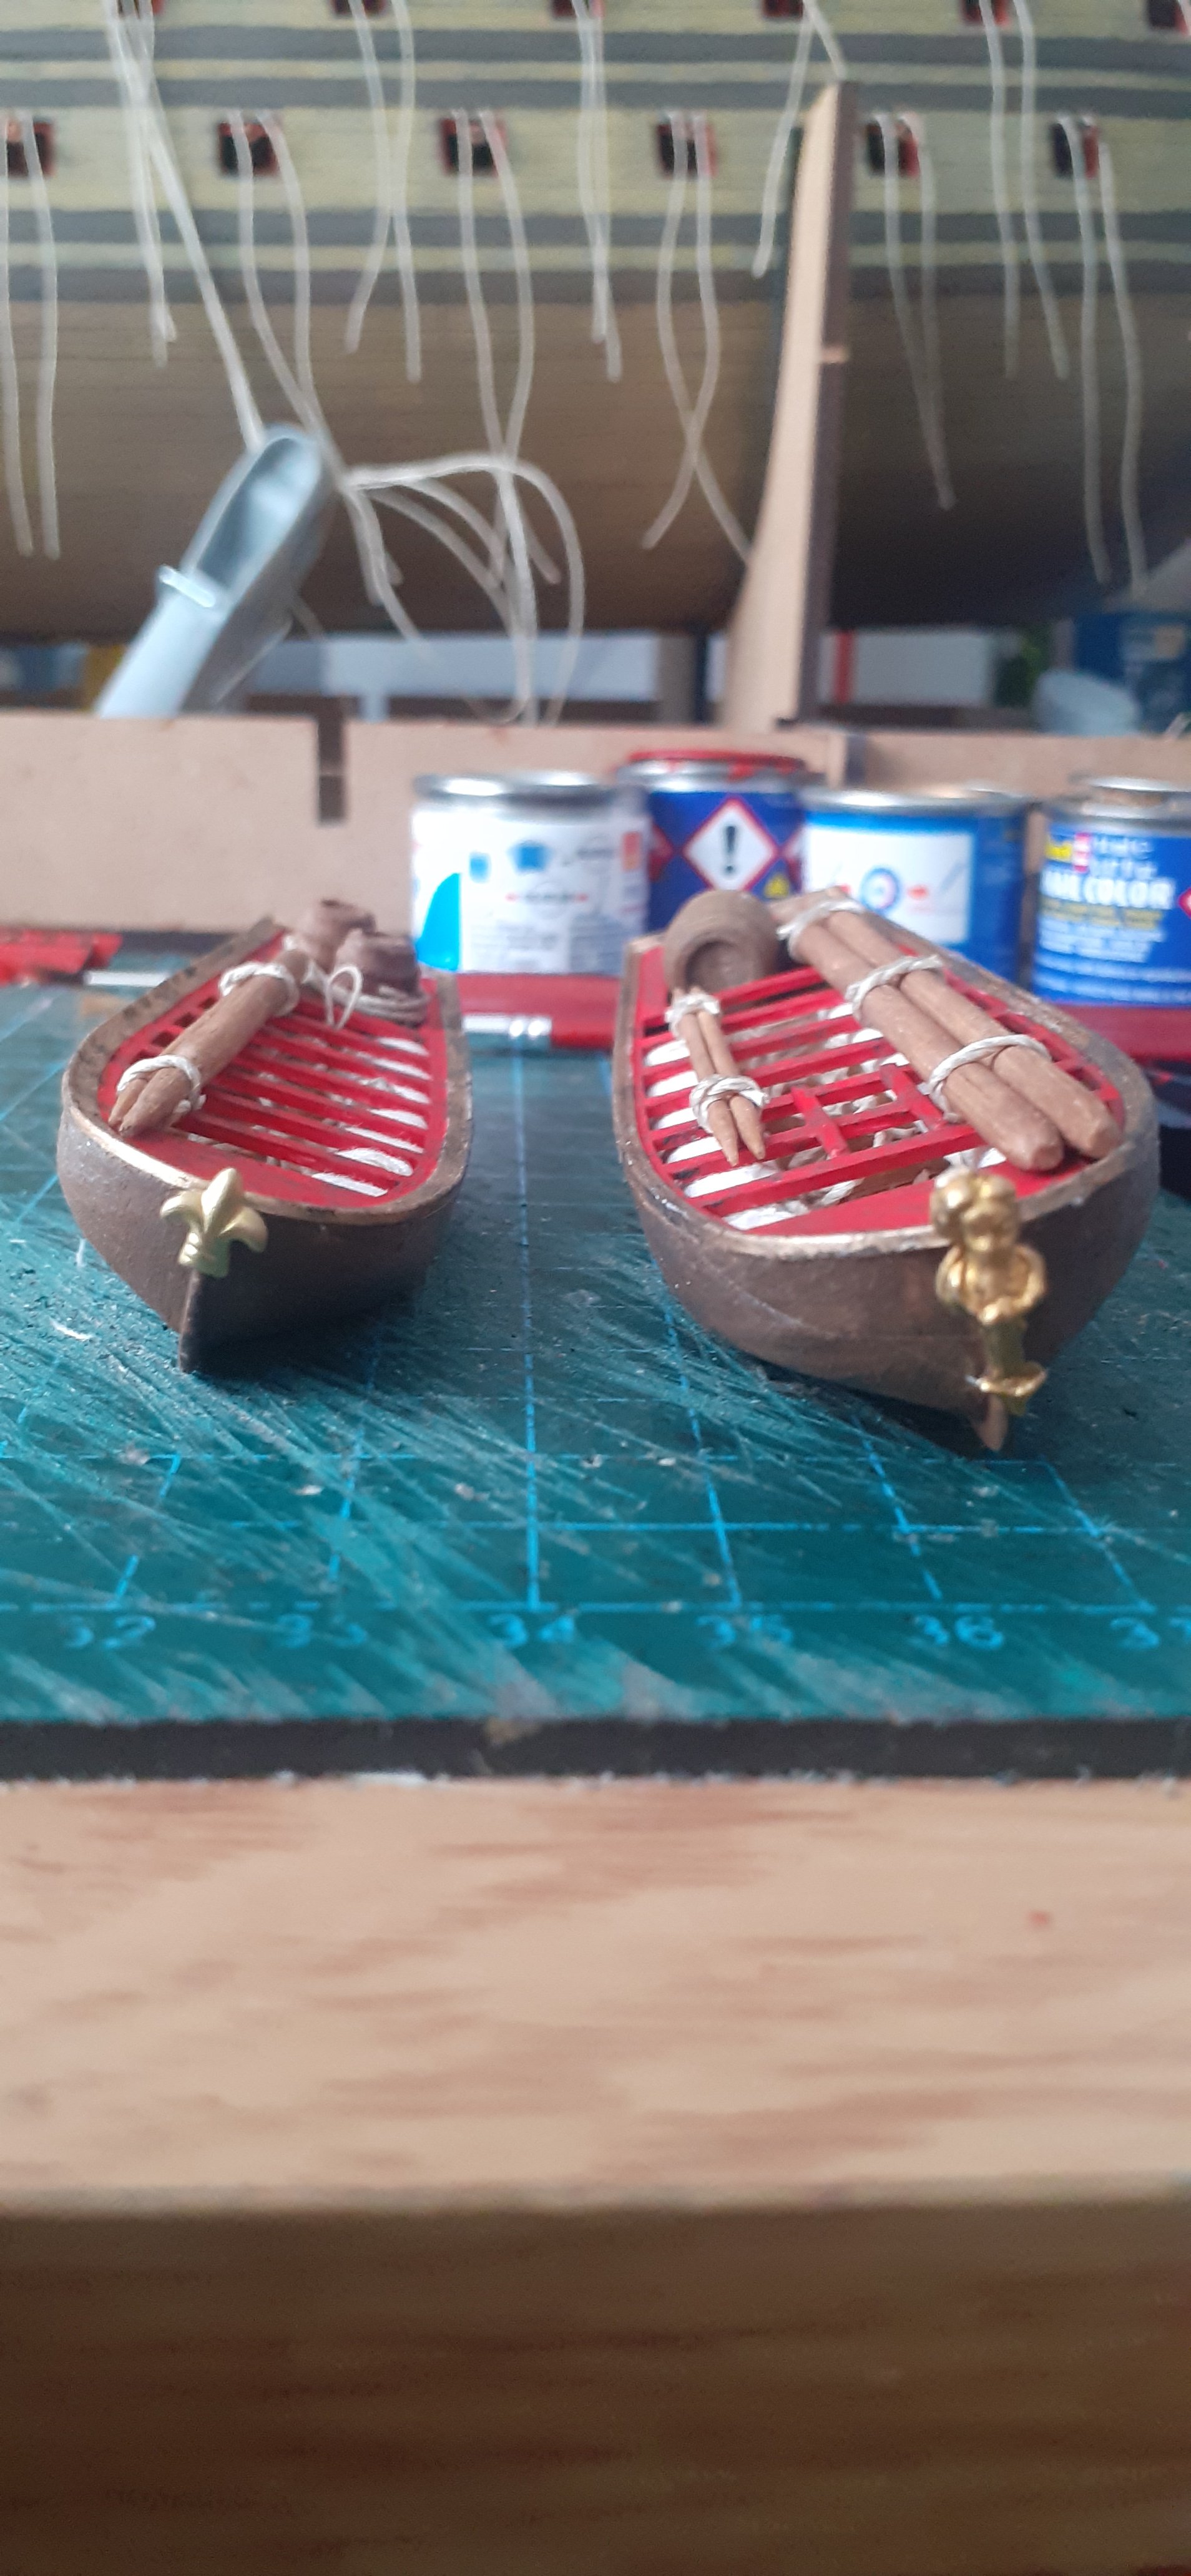
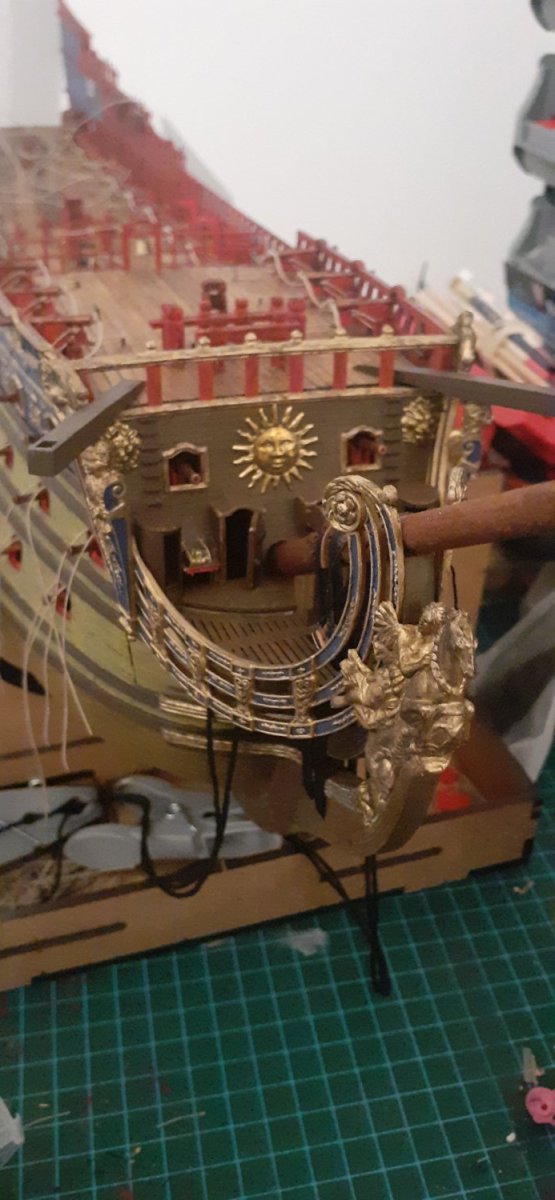
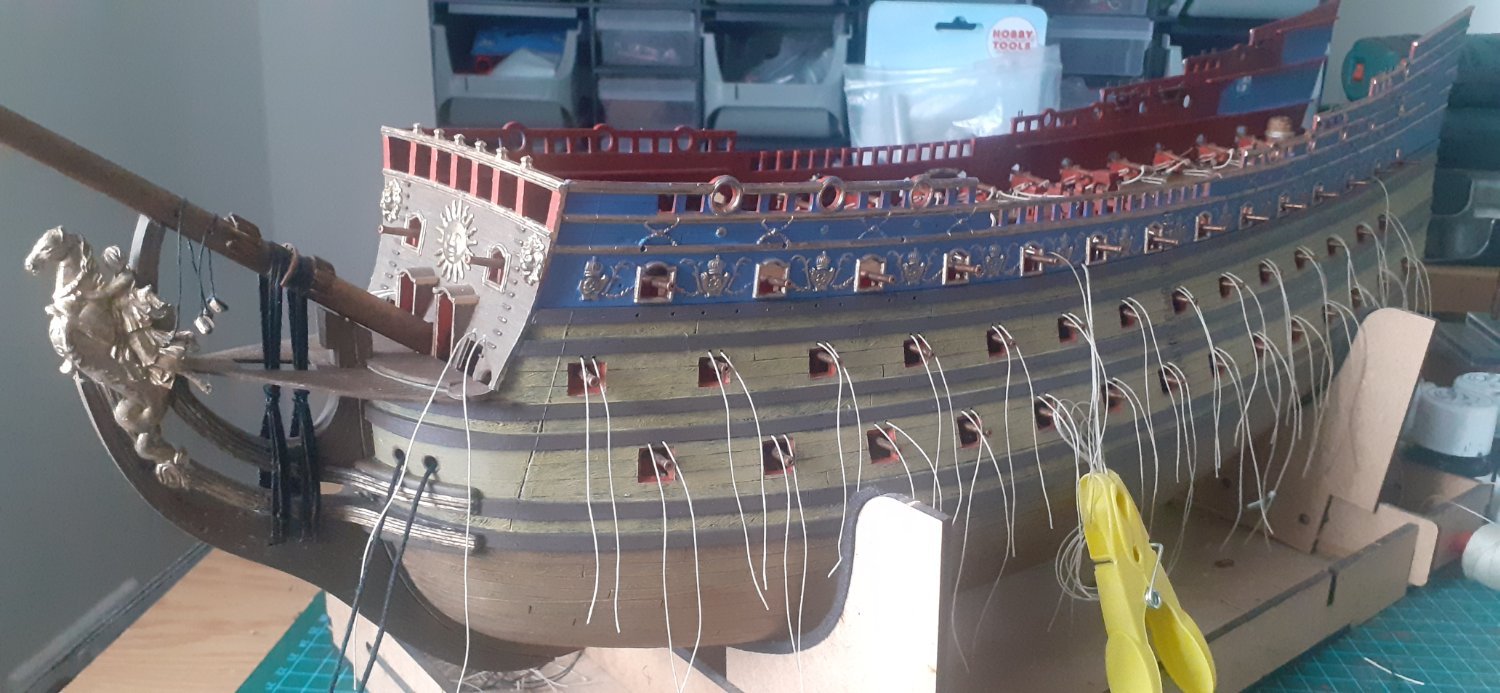
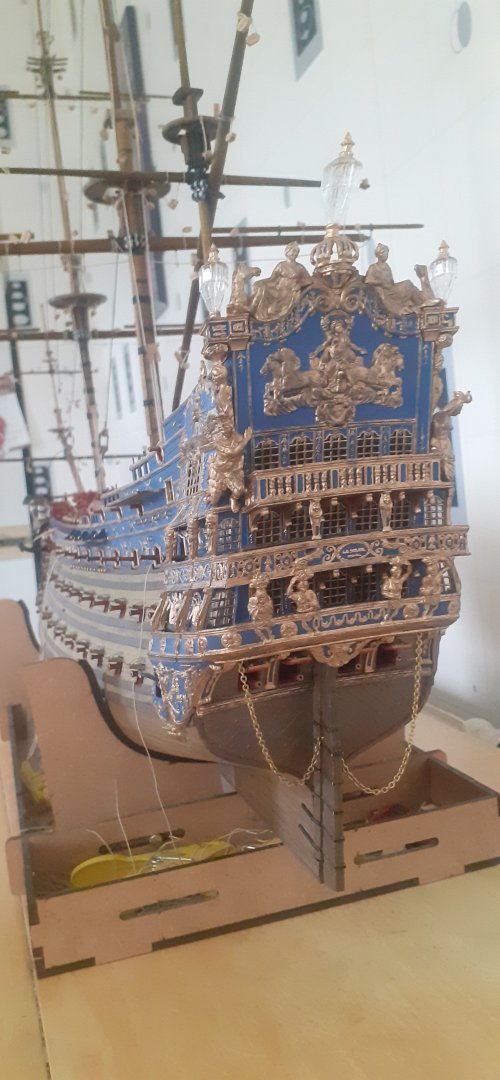
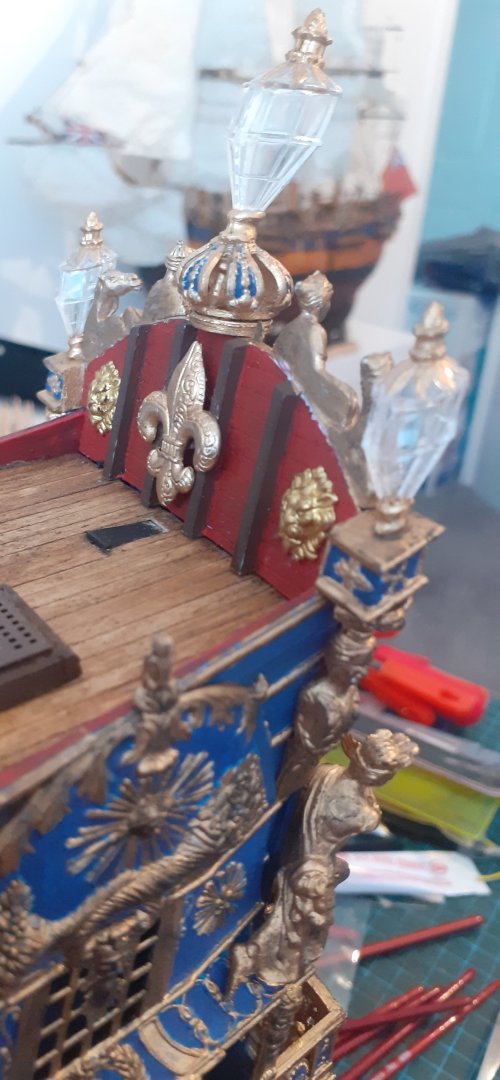
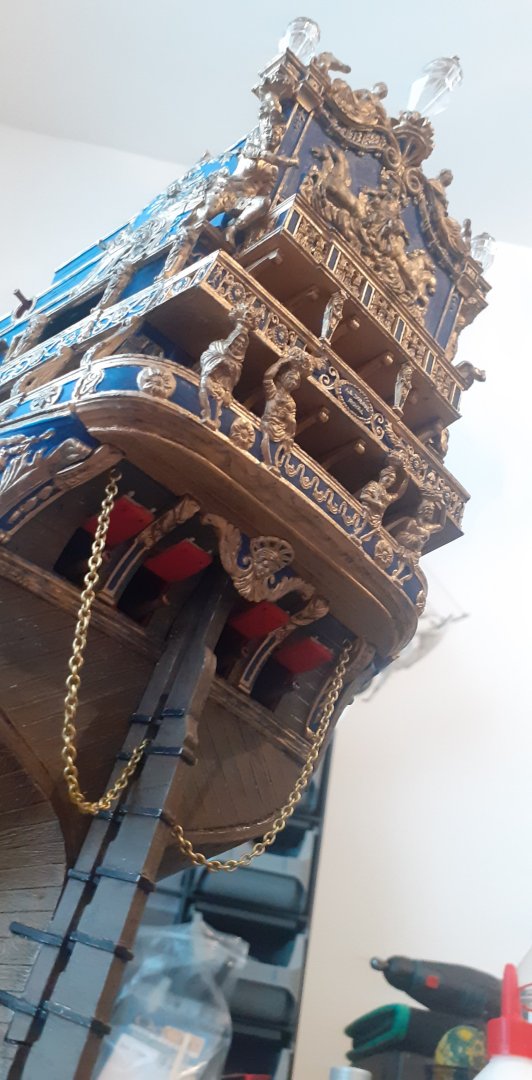
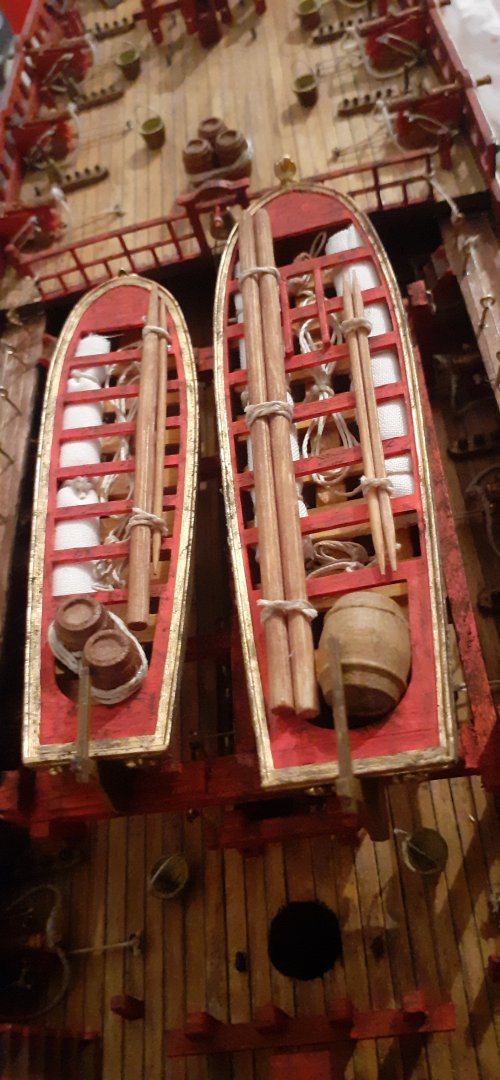
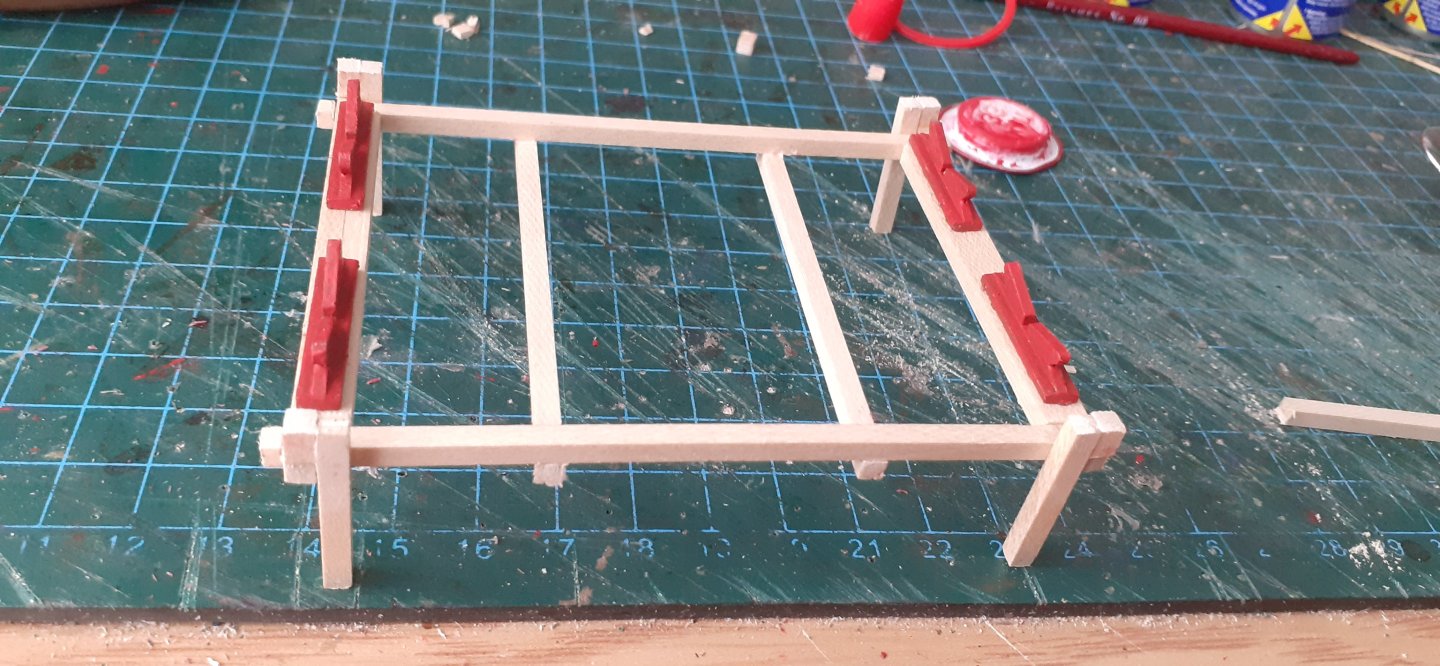
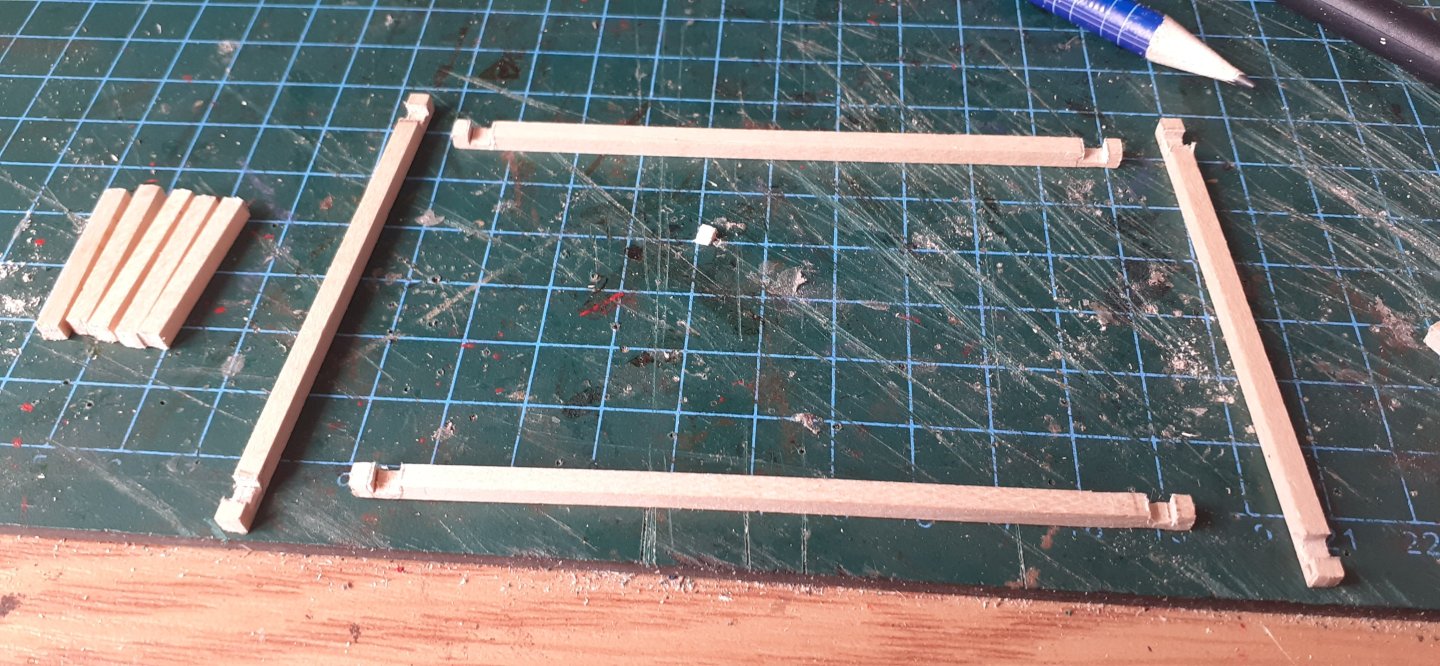
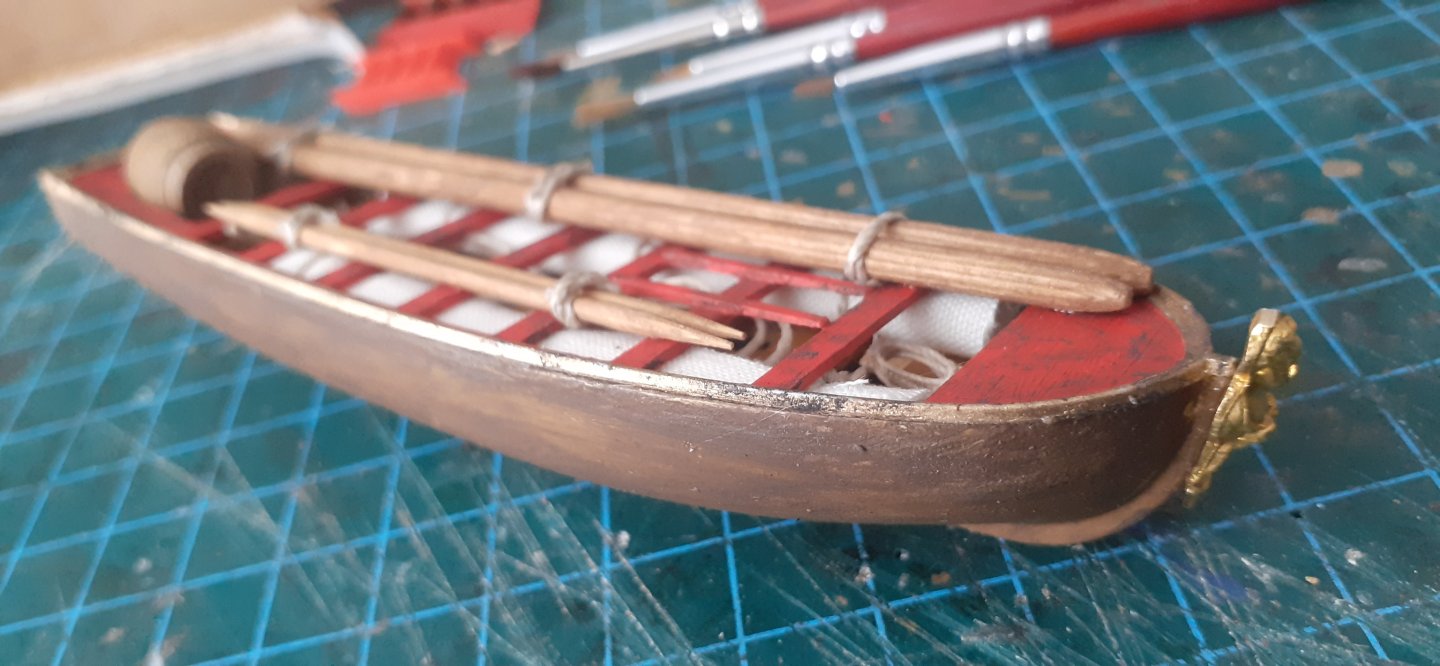
SOLEIL ROYAL 1669 update... Hull construction work has now finished. Stern is finished along with all architectural features including the lanterns and some added ones. Boats and cradle are finished as well as the channels and rigging eyepins for the start of the rigging. I am pretty pleased they way she has turned out, considering I didn't really have a vision of how it would go. Next up will be working the wood to make the masts and yards so it will stand up to the rigging tension.


- 44 replies
-
- 7
-
-
-
- soleil royal
- Heller
- (and 5 more)
-
Hi Ed Yes I positioned the Bowsprit as per instructions which are pretty much self explanatory in the plans. The thing is with Heller's instructions and plans they are a bit all over the place so sometimes you need to look further in the plans for something that should be nearer the beginning if that makes sense. Failing that having built sailing ships for a long time I can work things out before hand if the plans are poor. Regards Robert 👍🏼
-
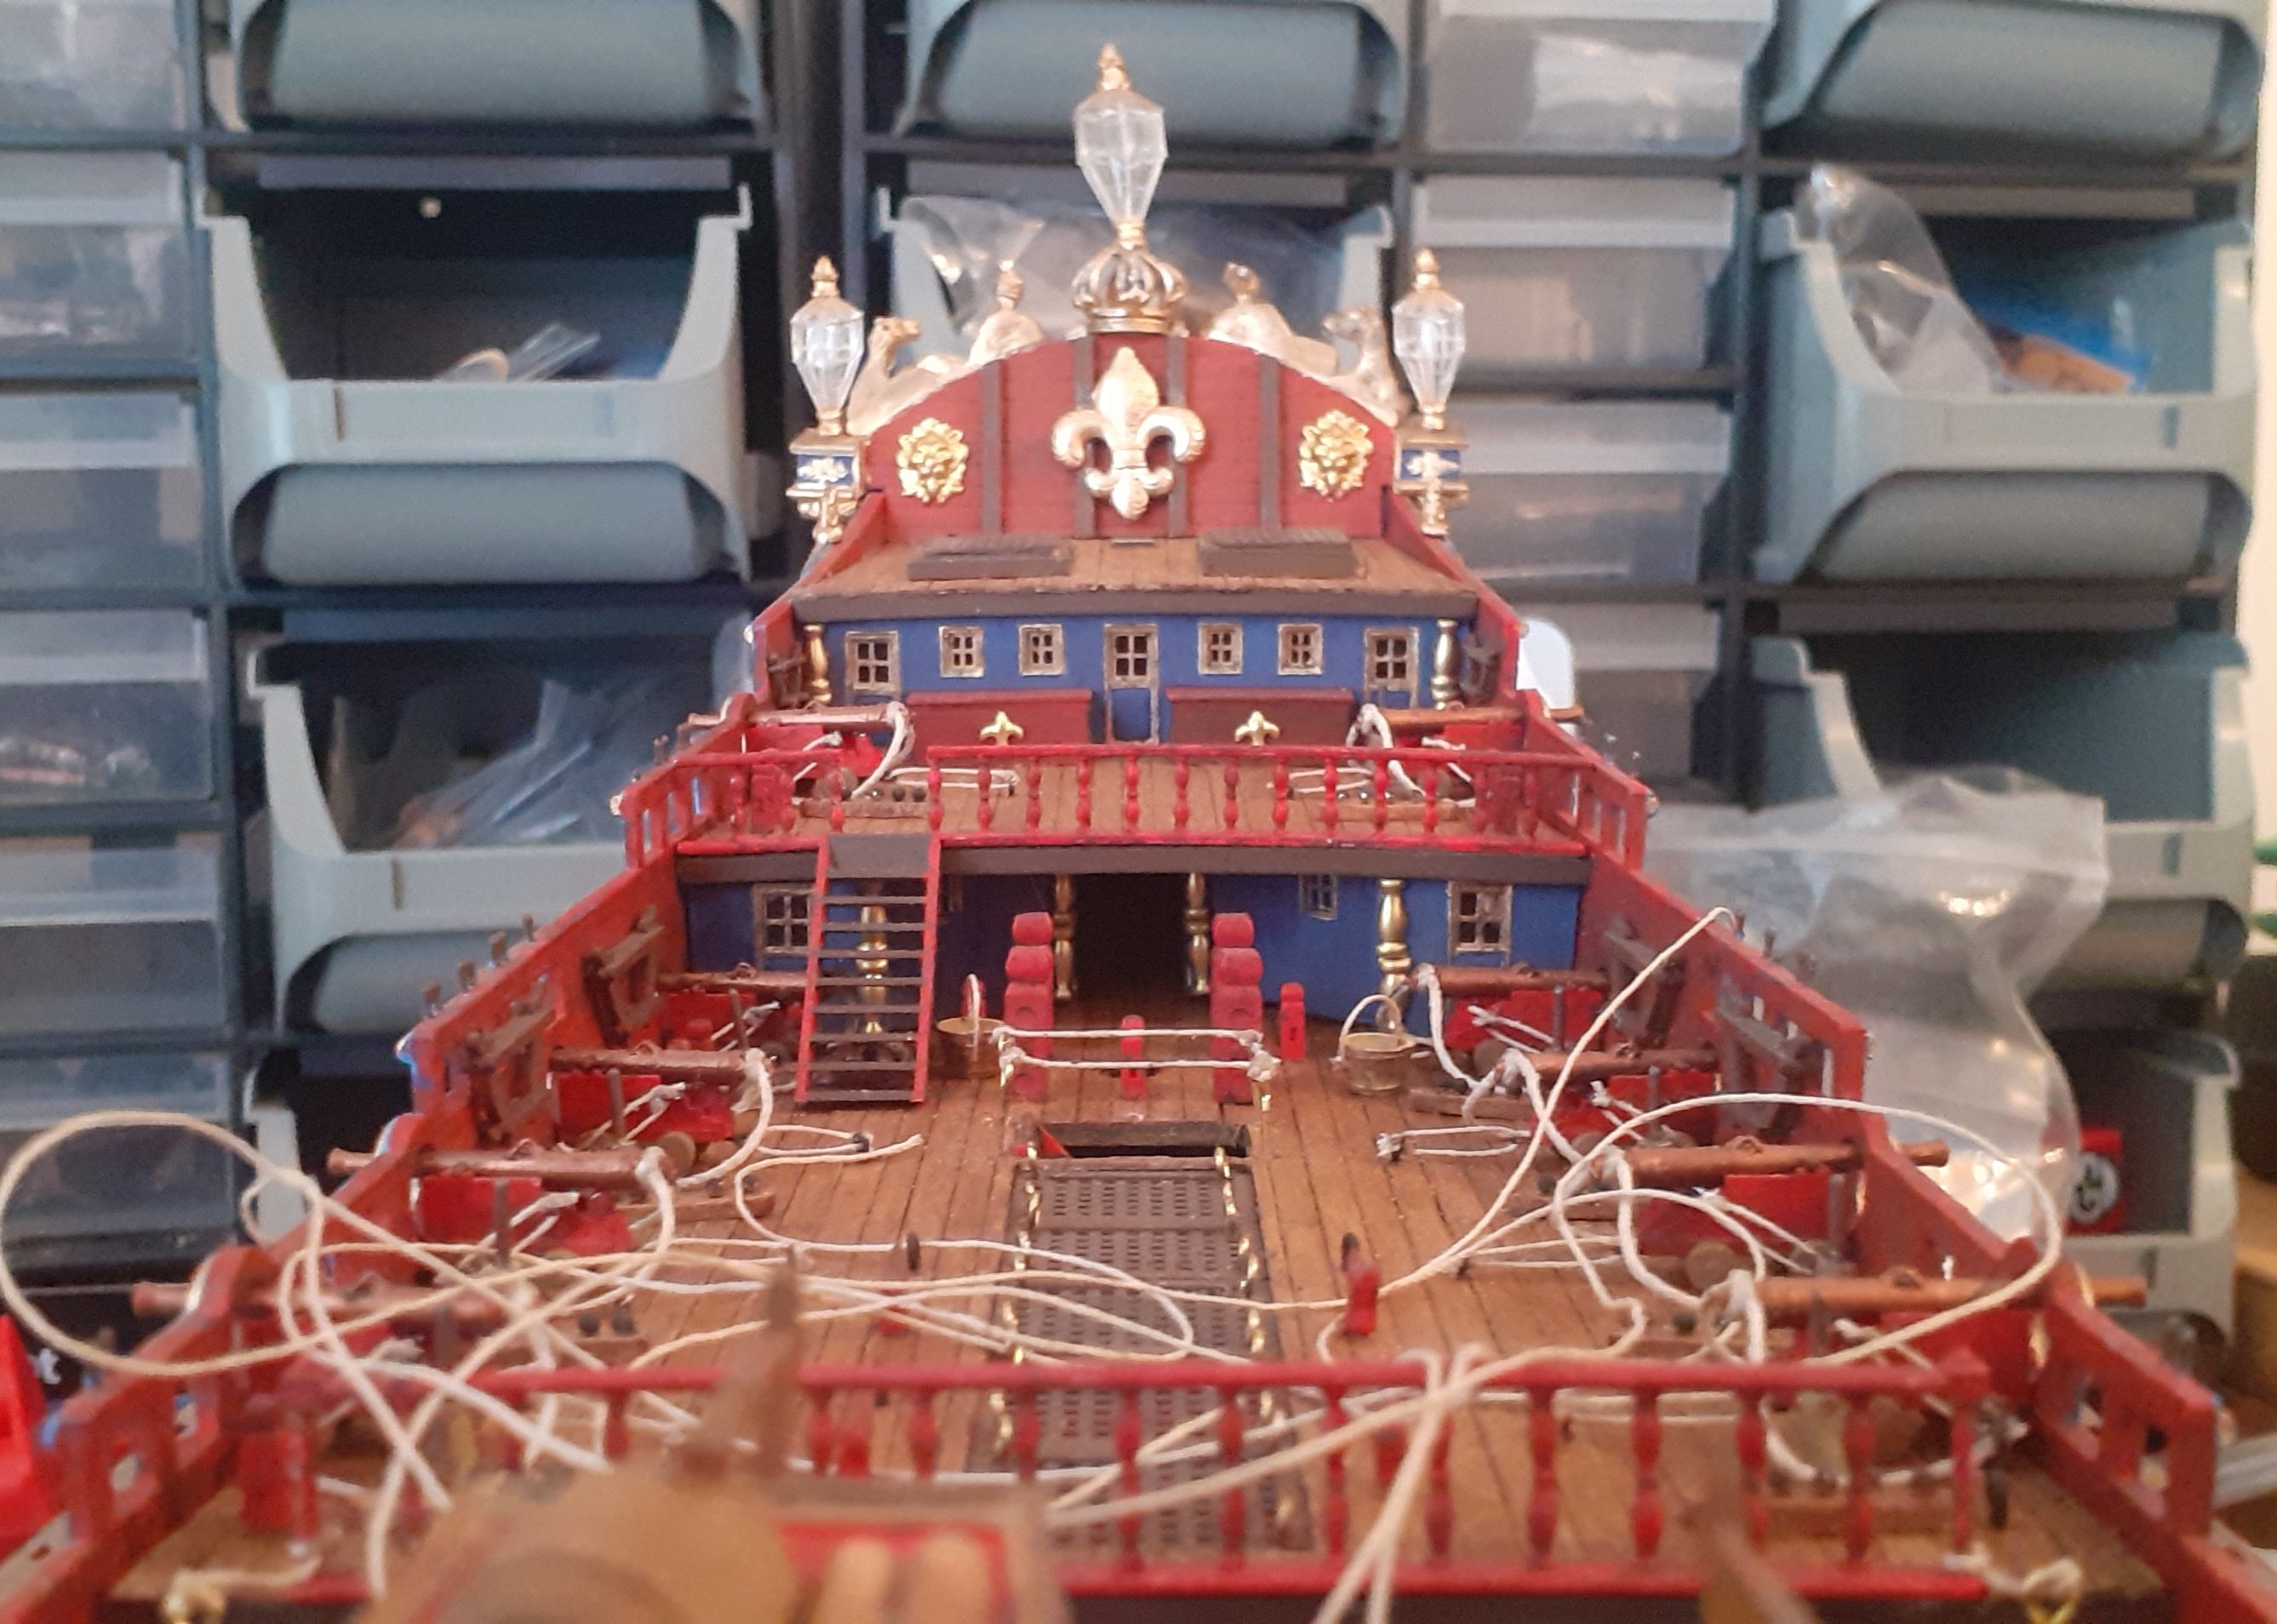
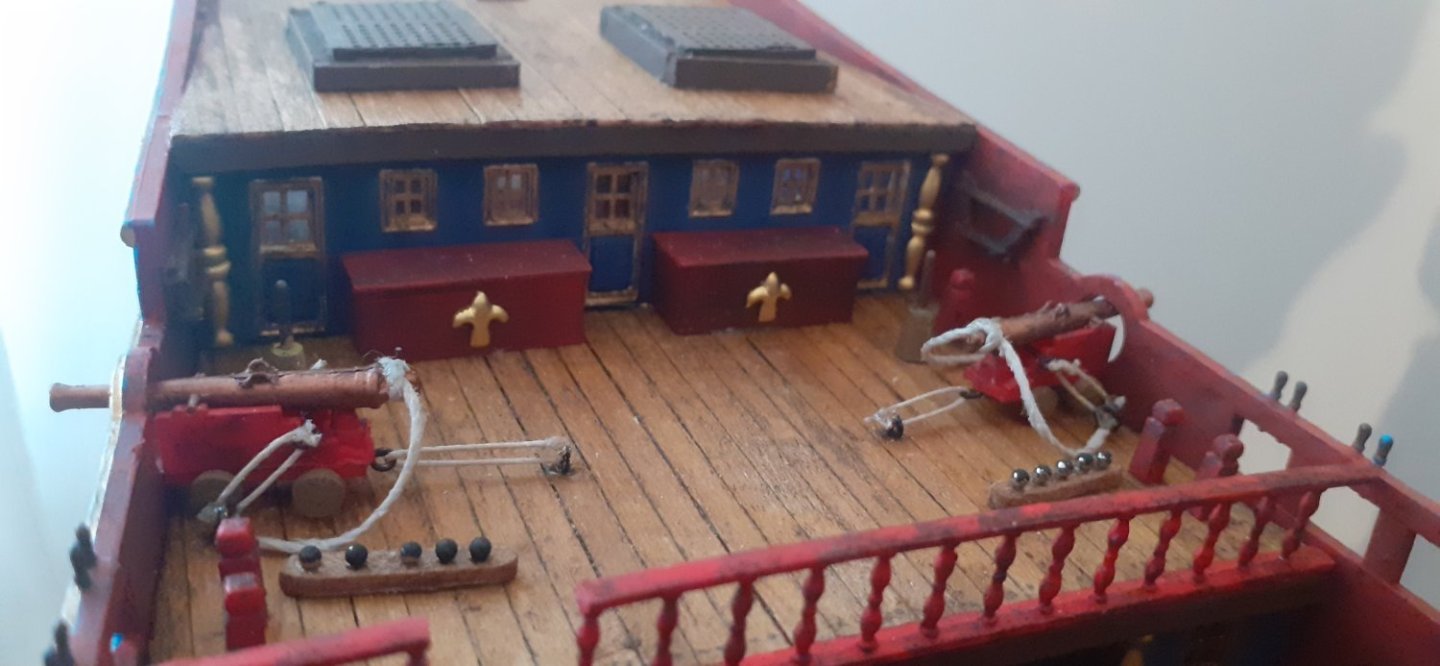
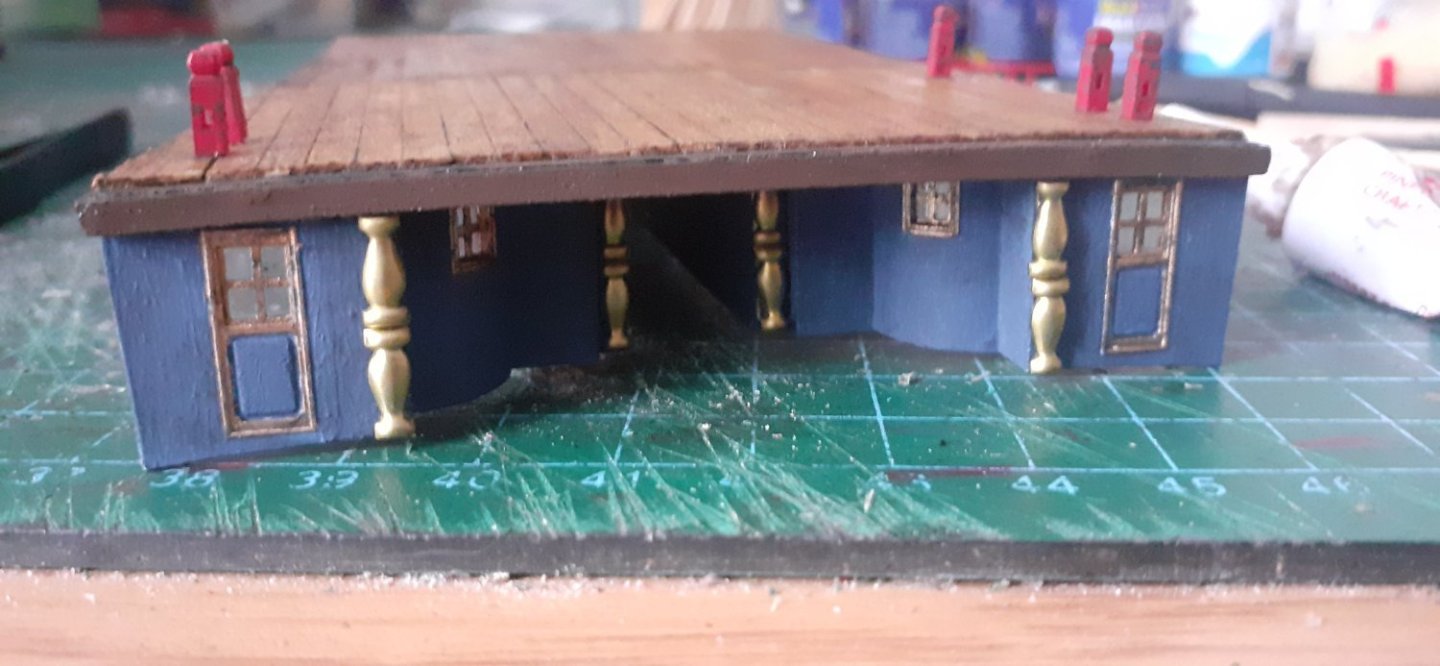
SOLEIL ROYAL - 1/100 Heller update... Forecastle deck, Waist balconies, quarter decks, poop deck, Officer's quarters and Captain's cabin all finished. Now starting on the Stern balconies and boats.


- 44 replies
-
- 6
-
-
- soleil royal
- Heller
- (and 5 more)
-
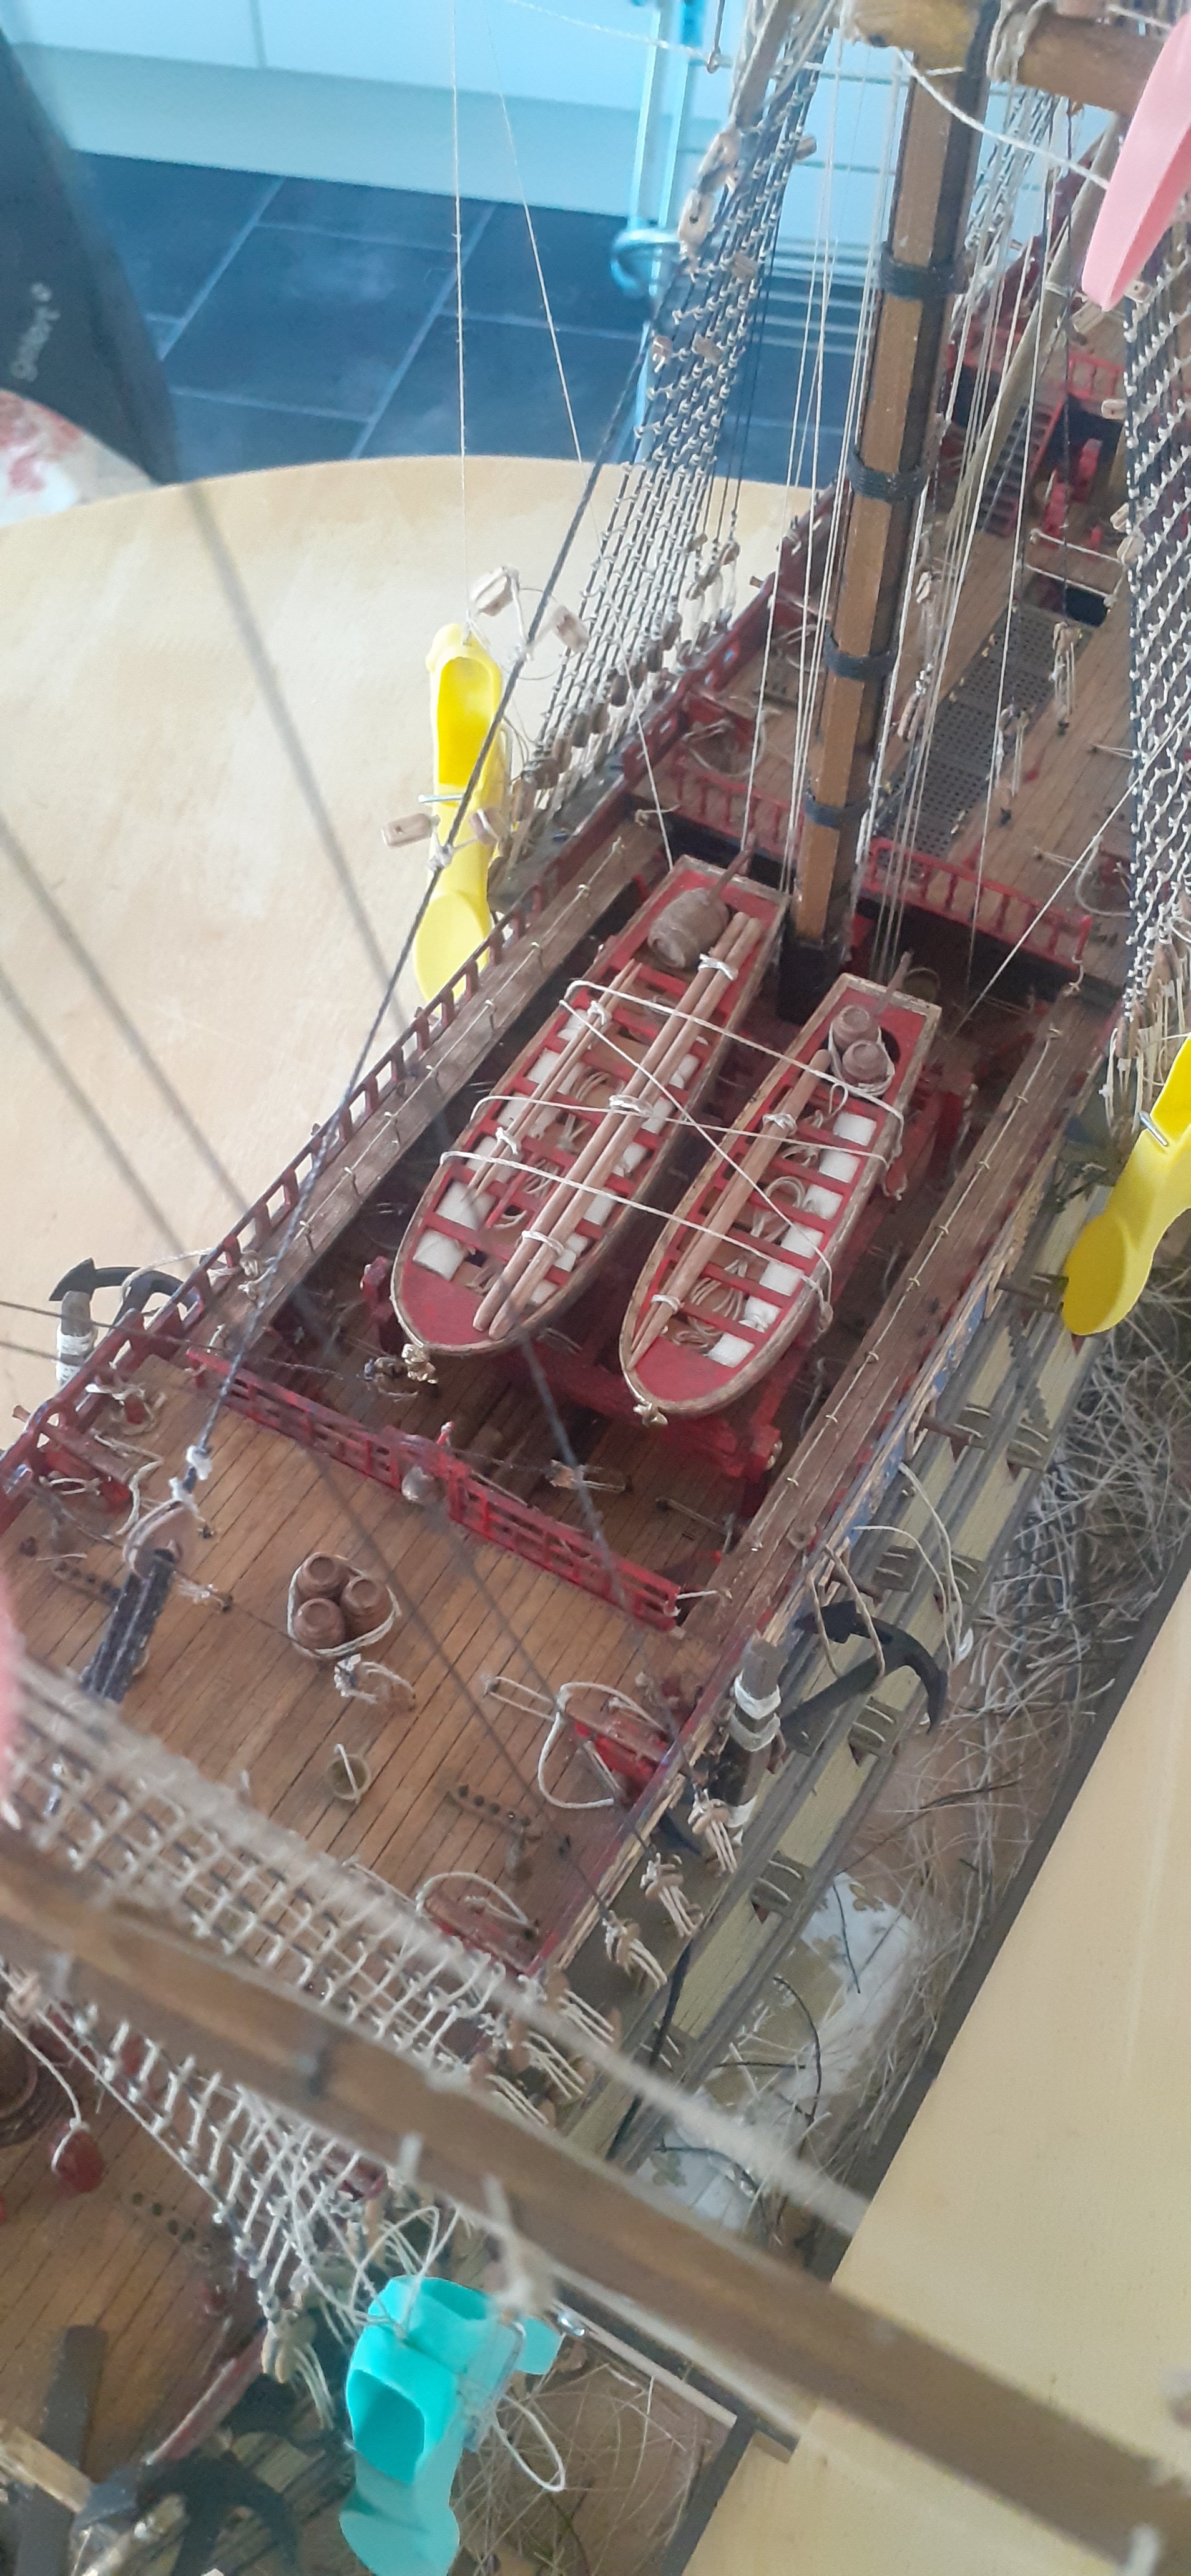
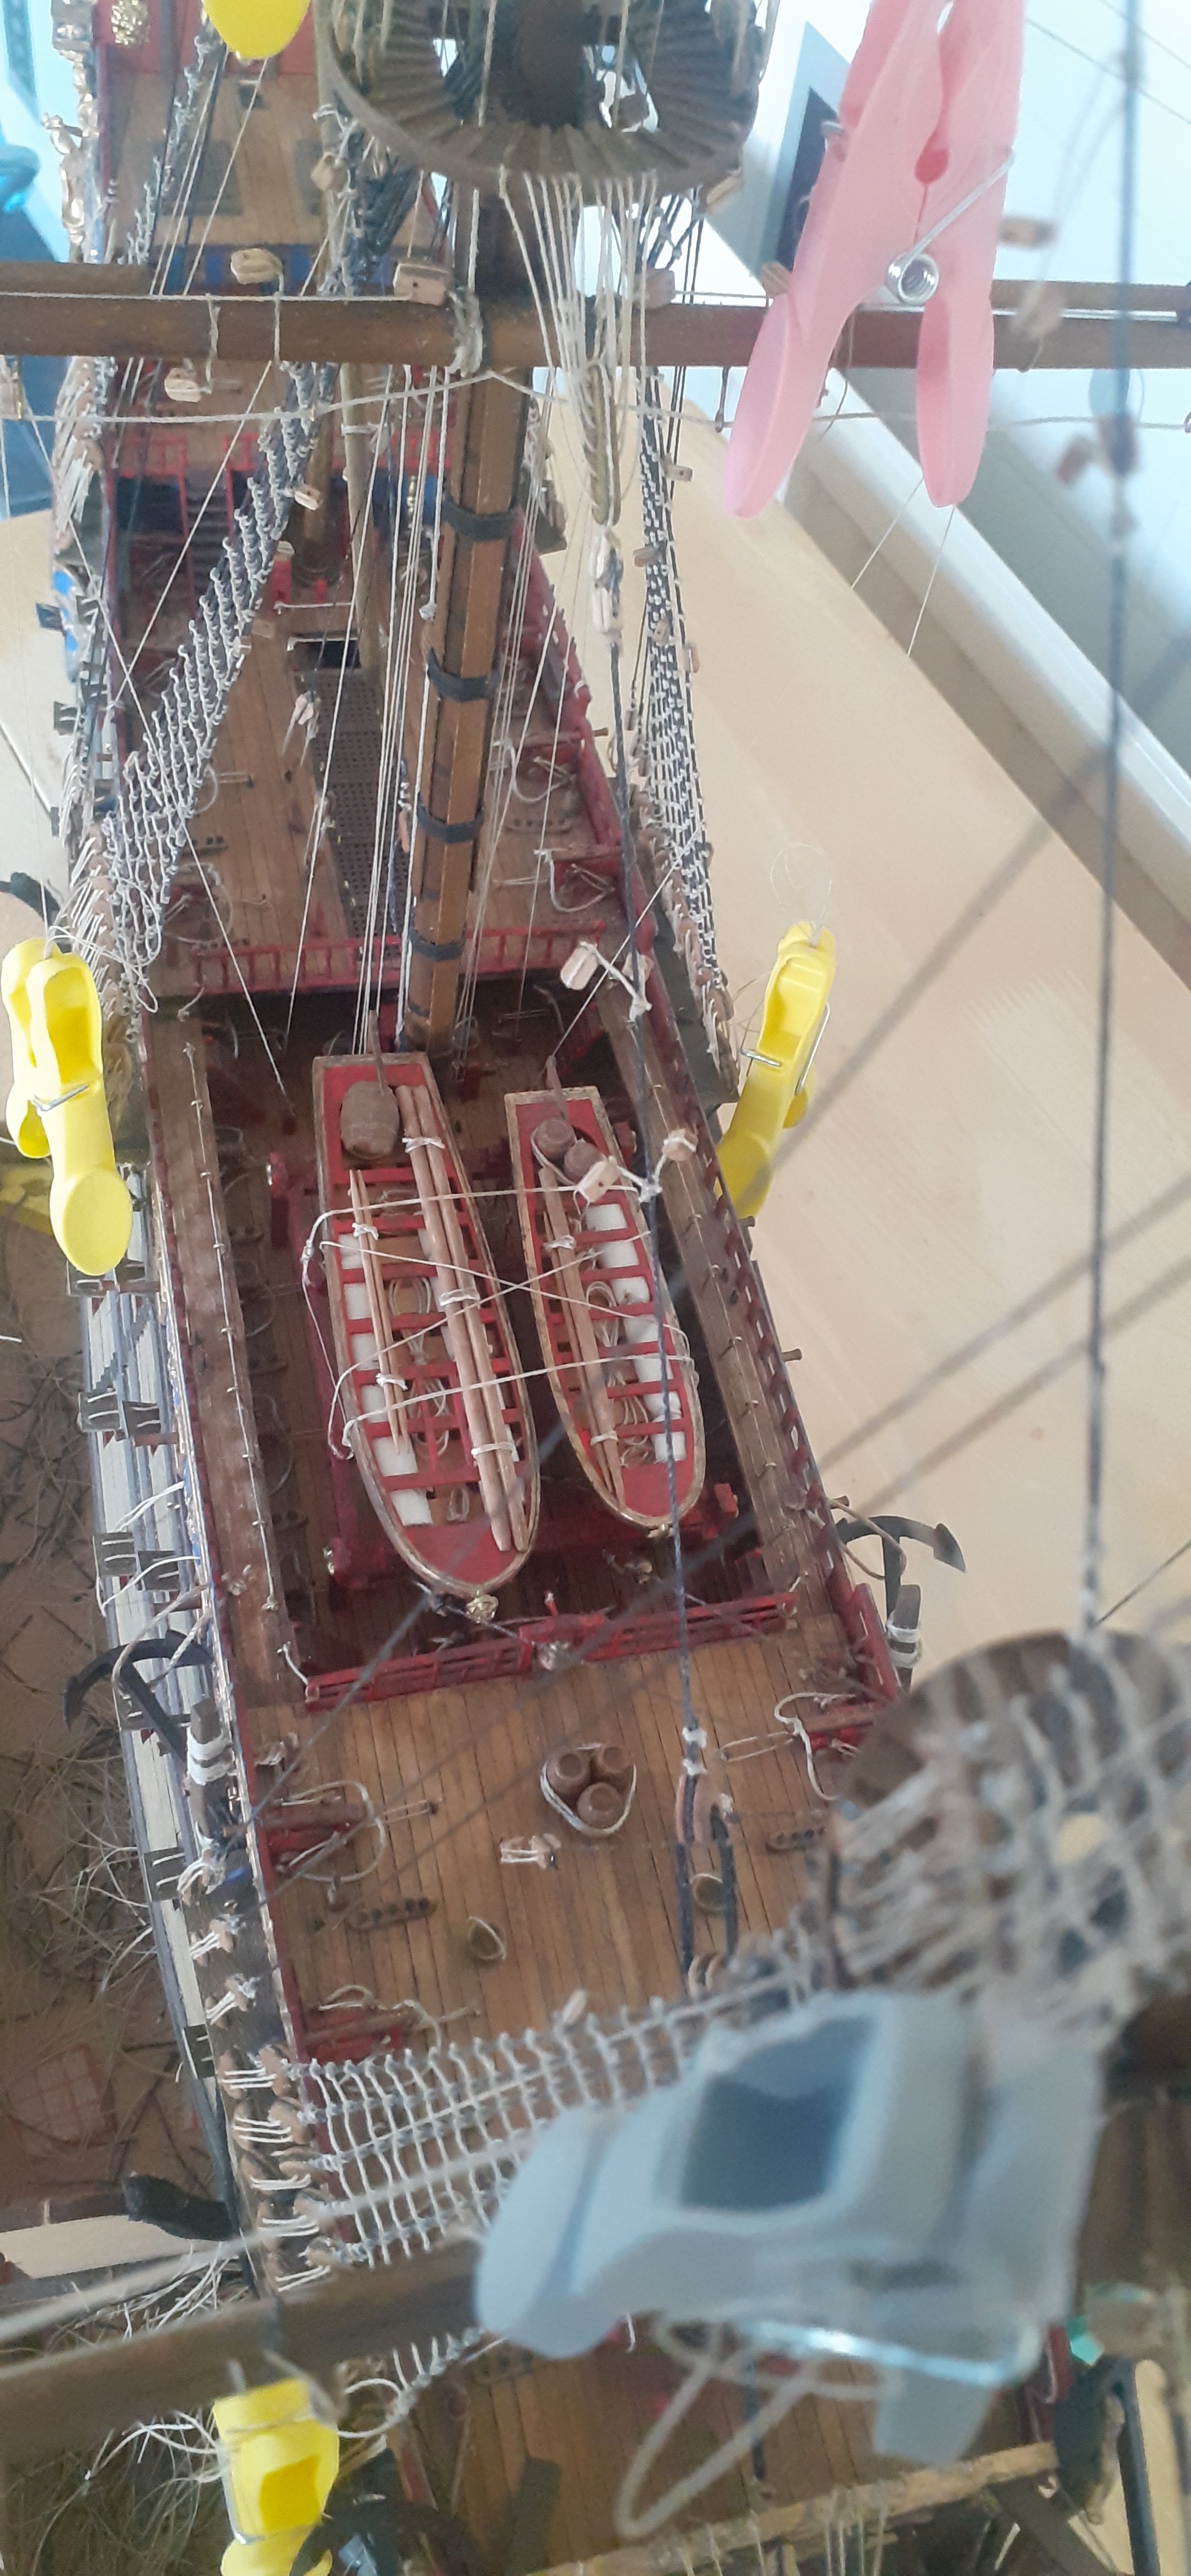
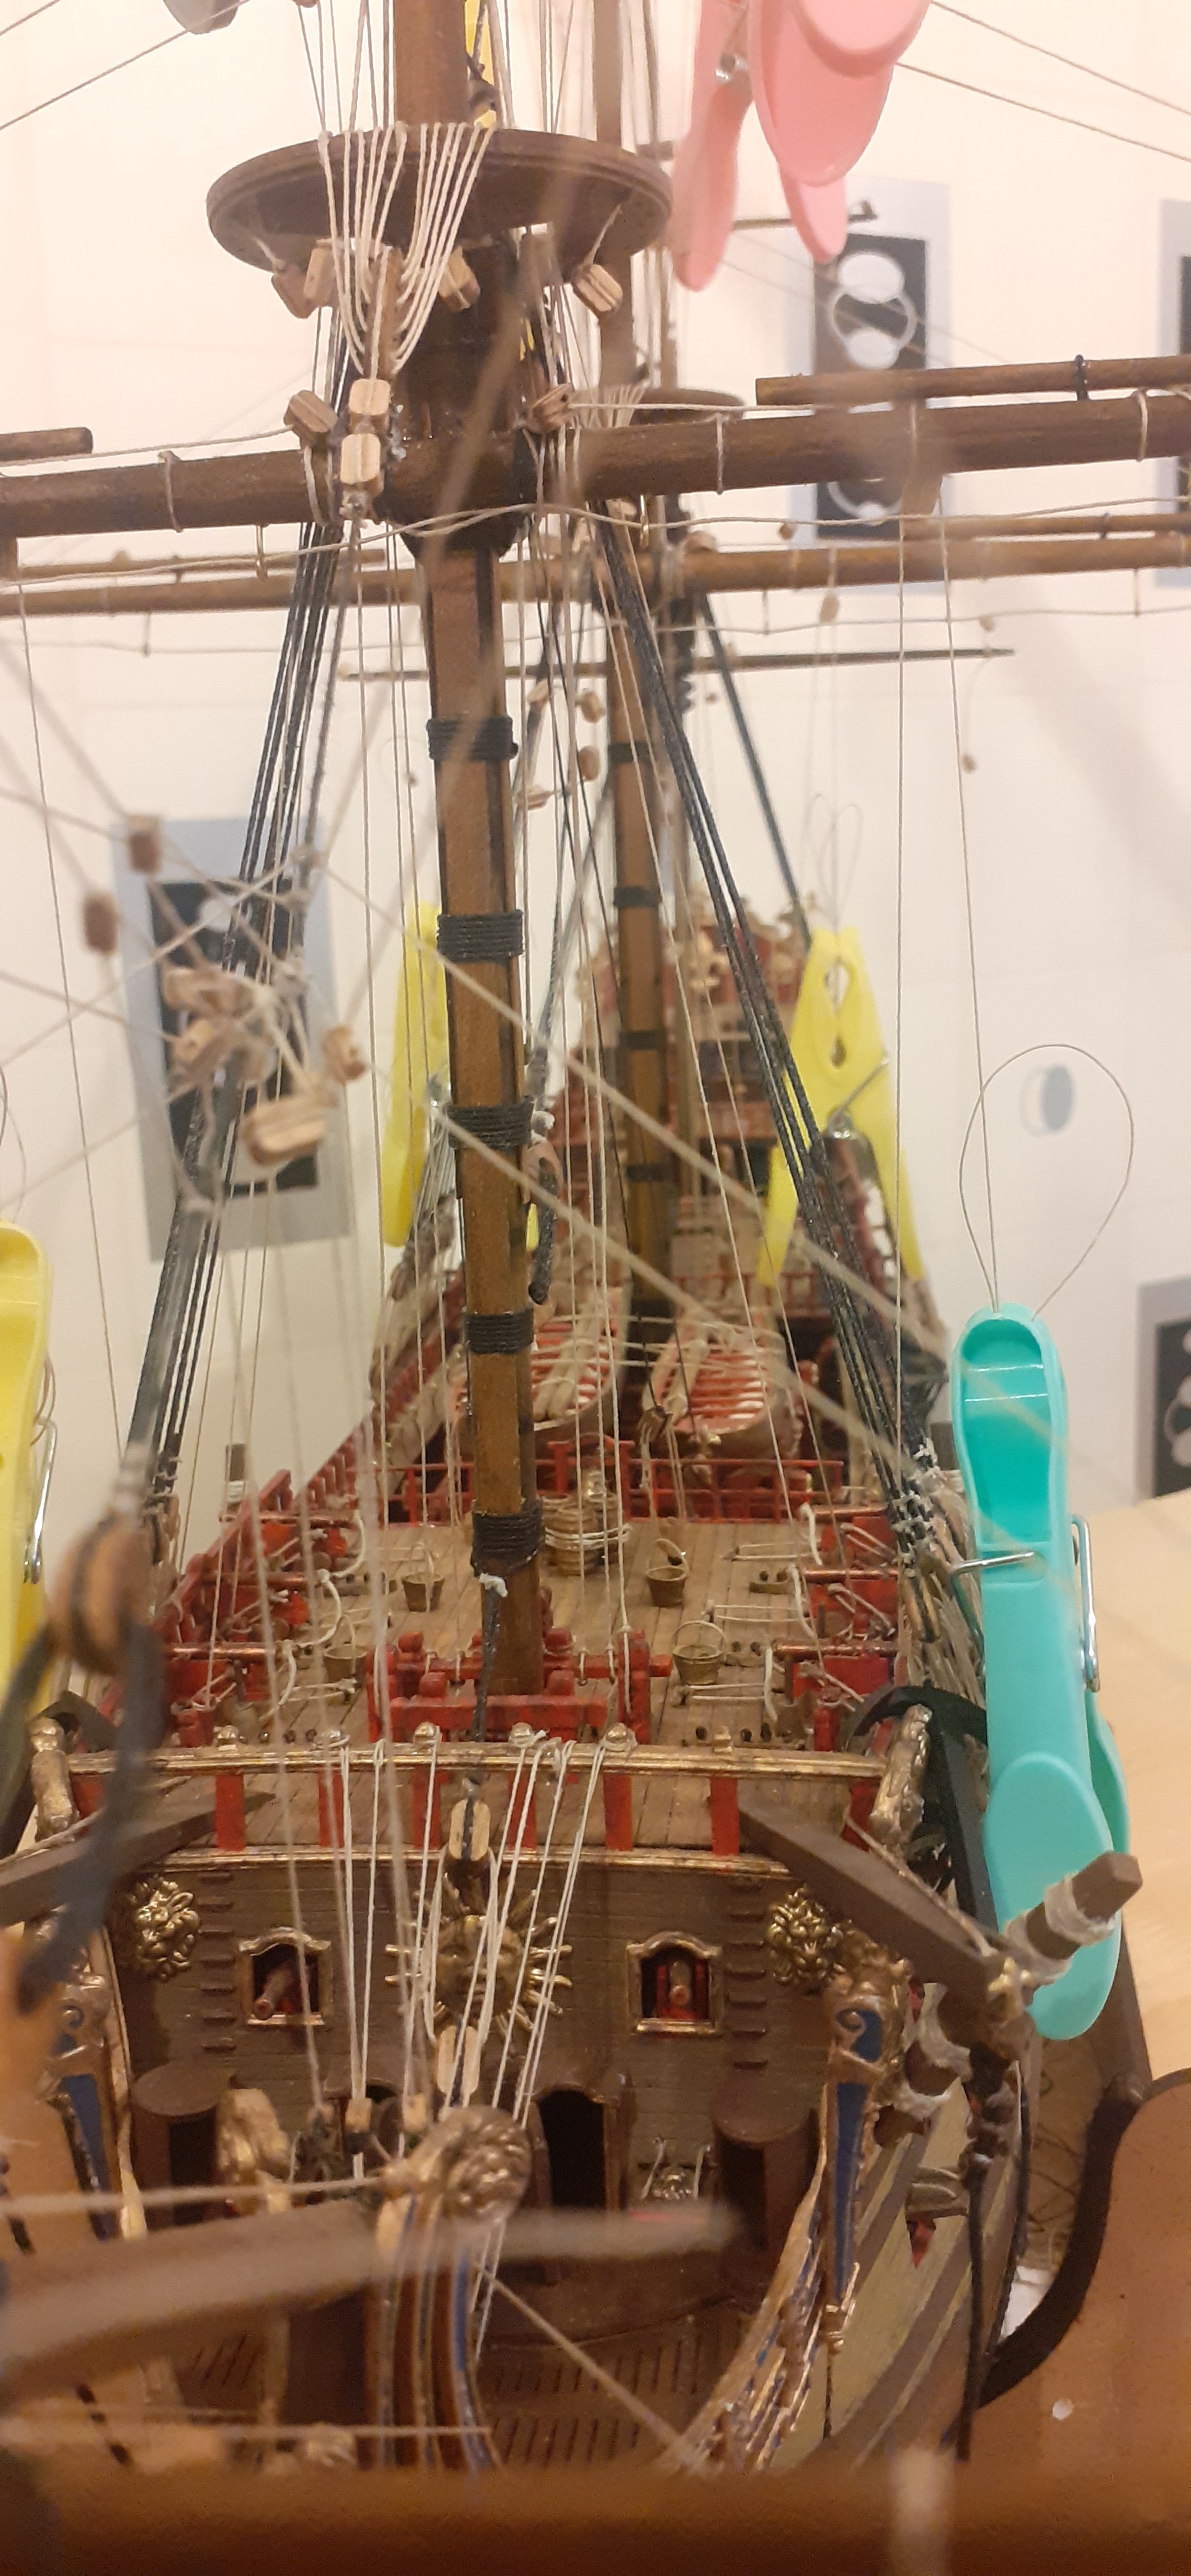
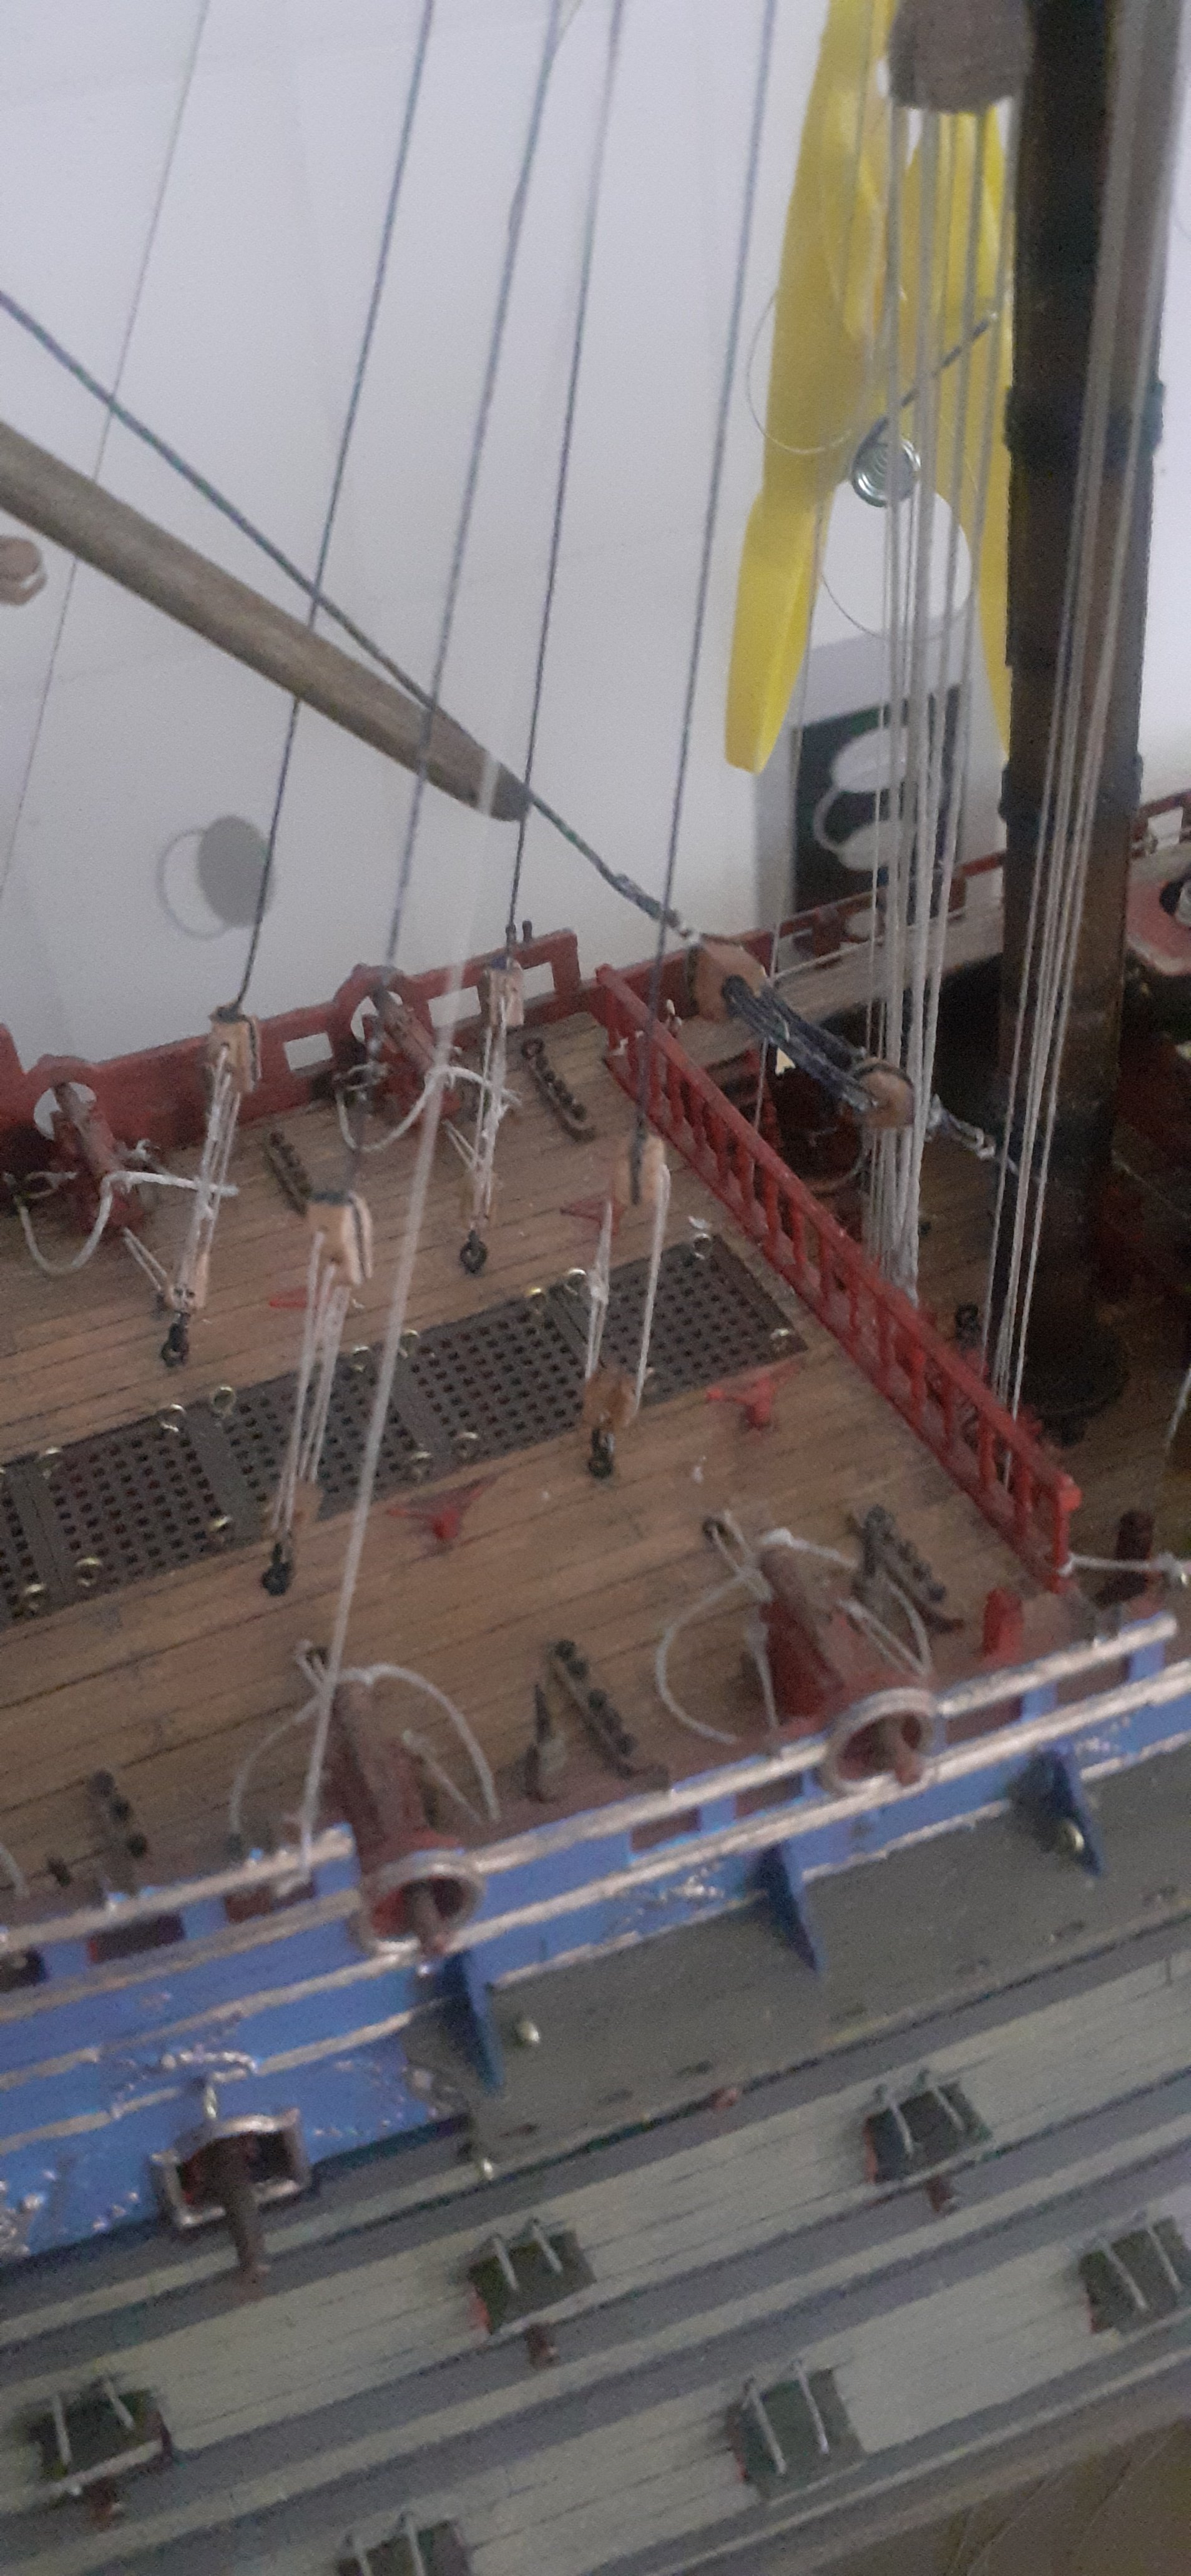
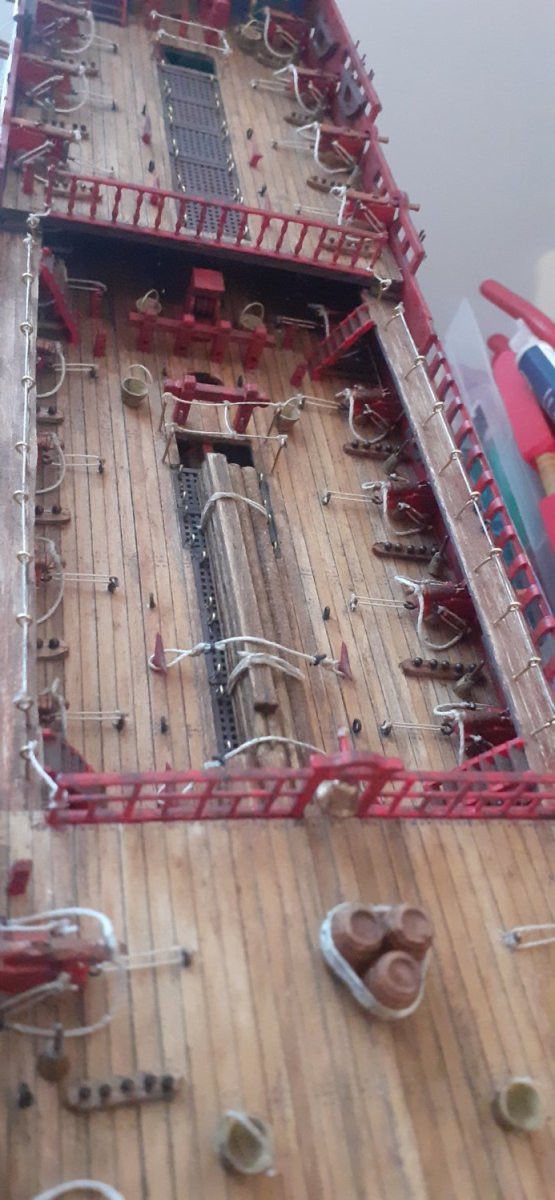
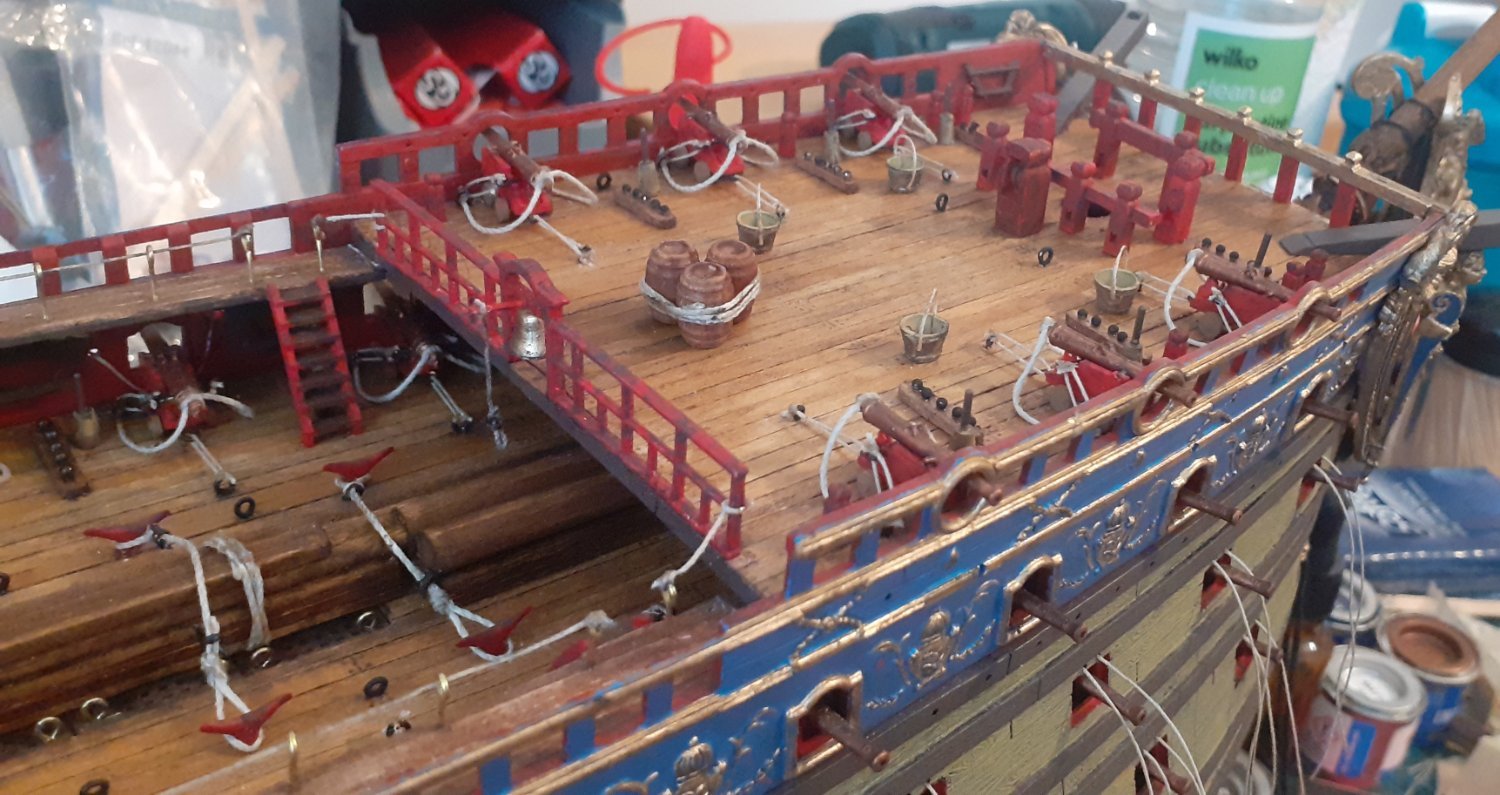
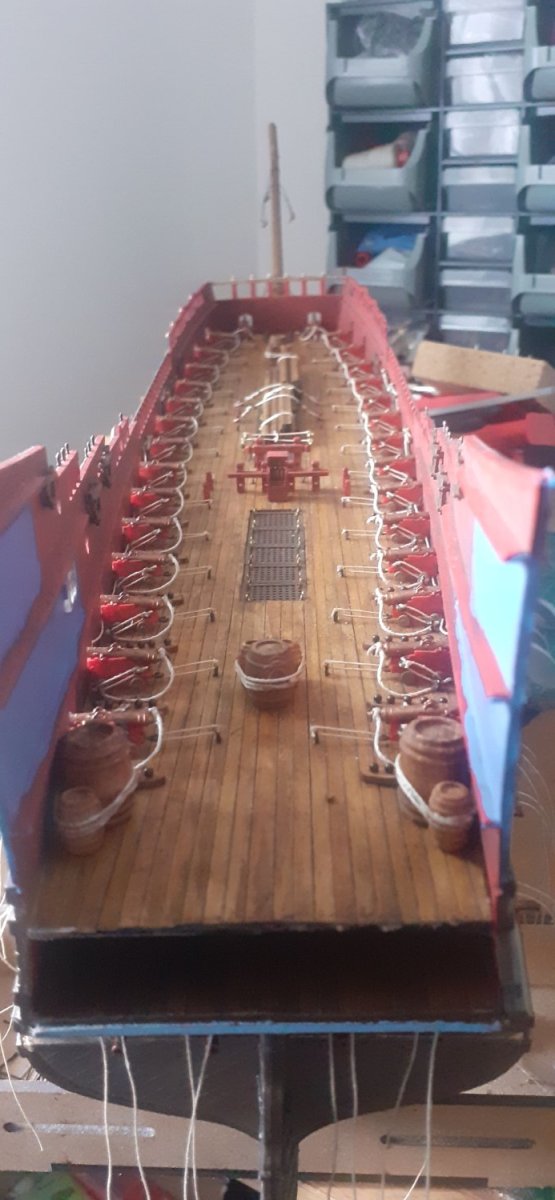
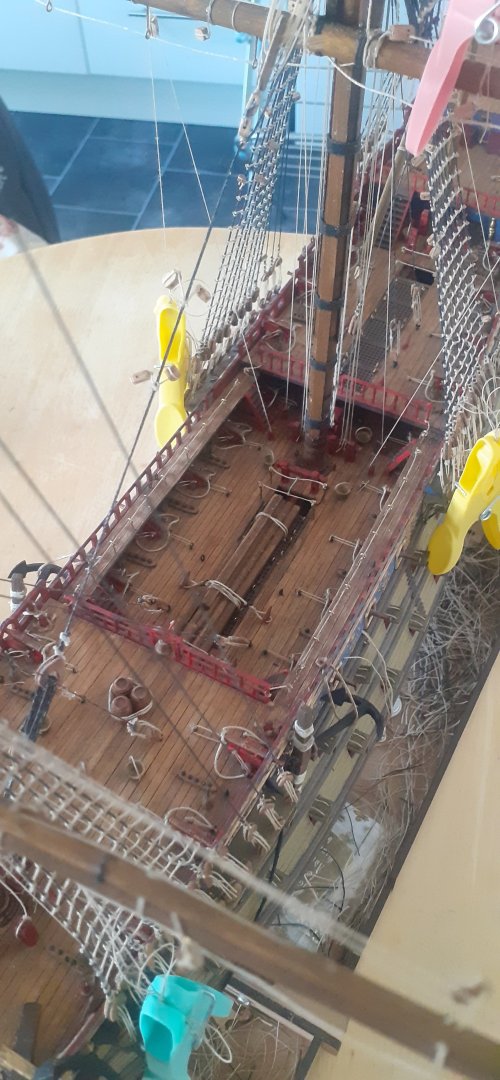
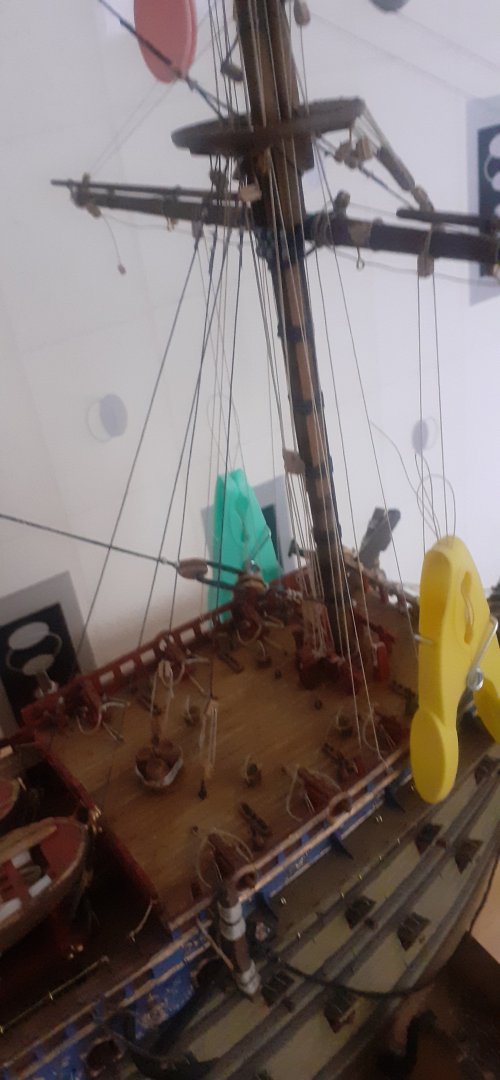
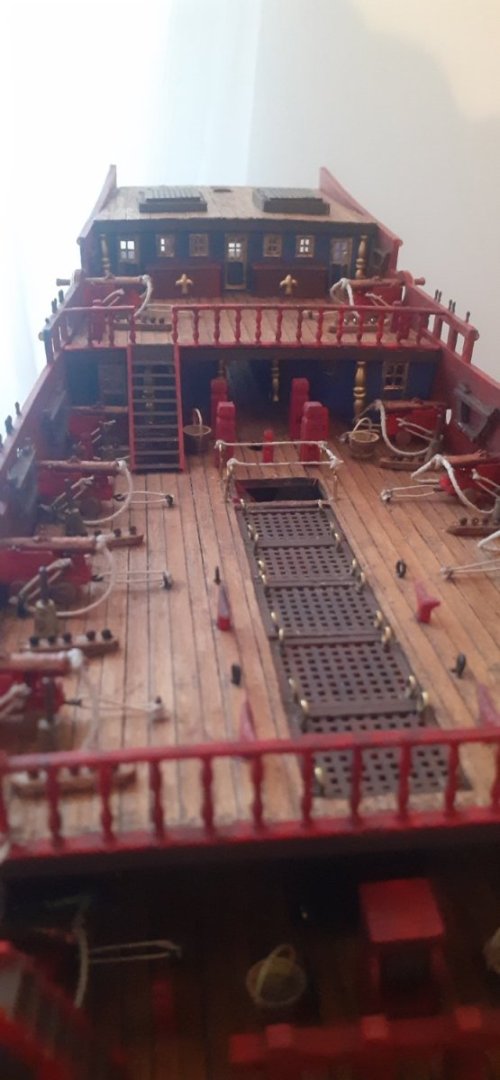
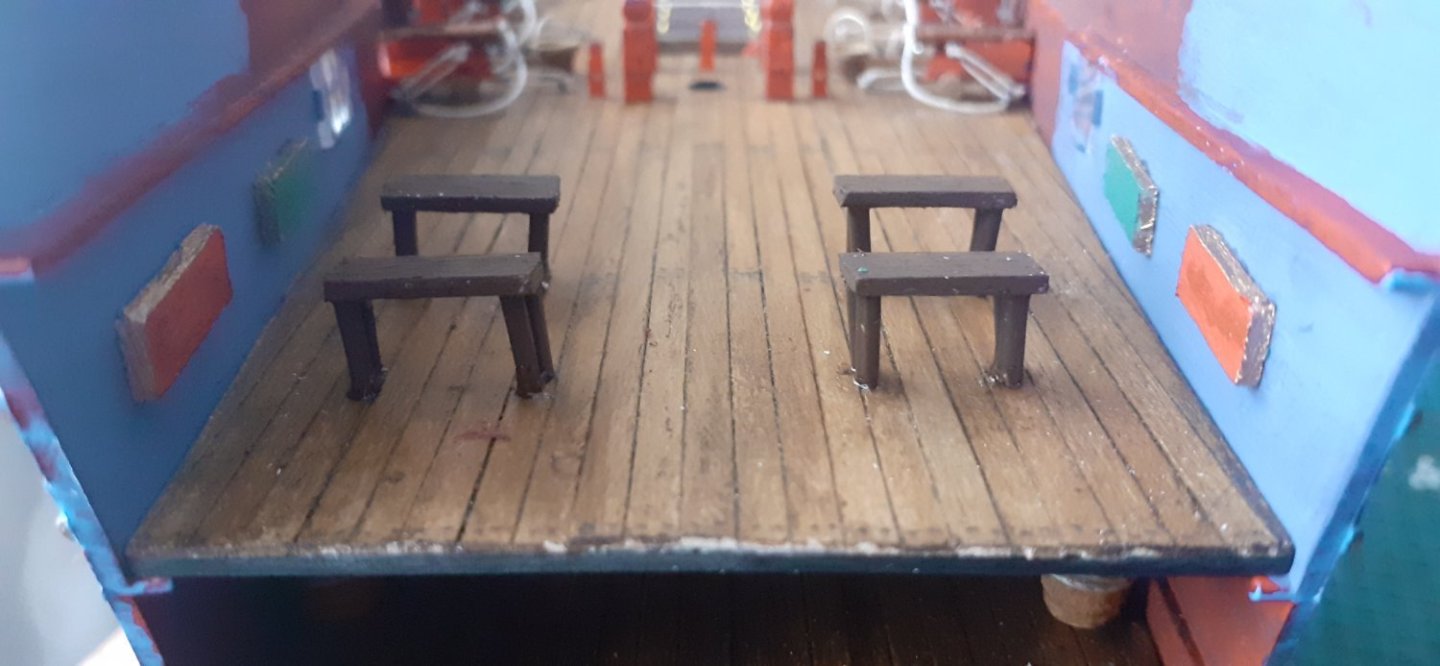
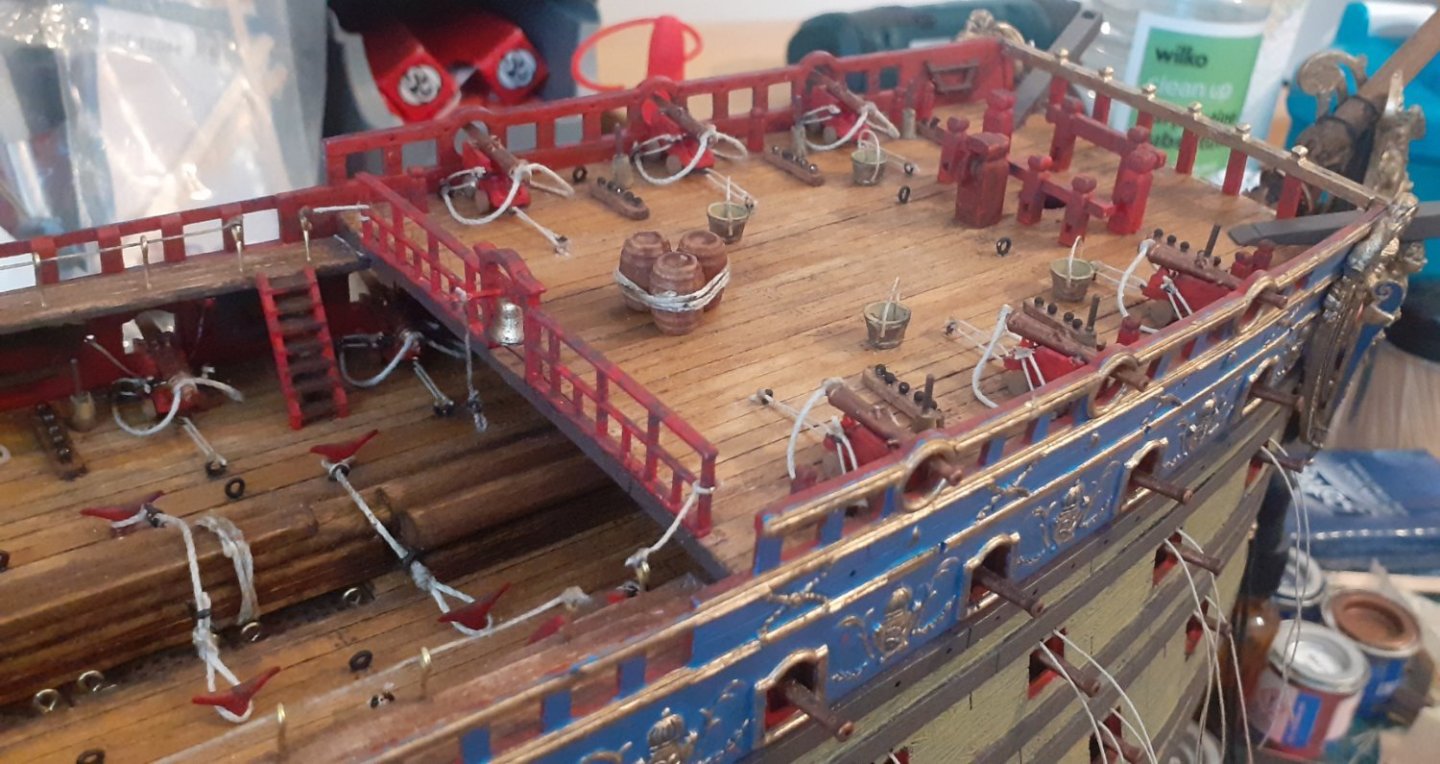
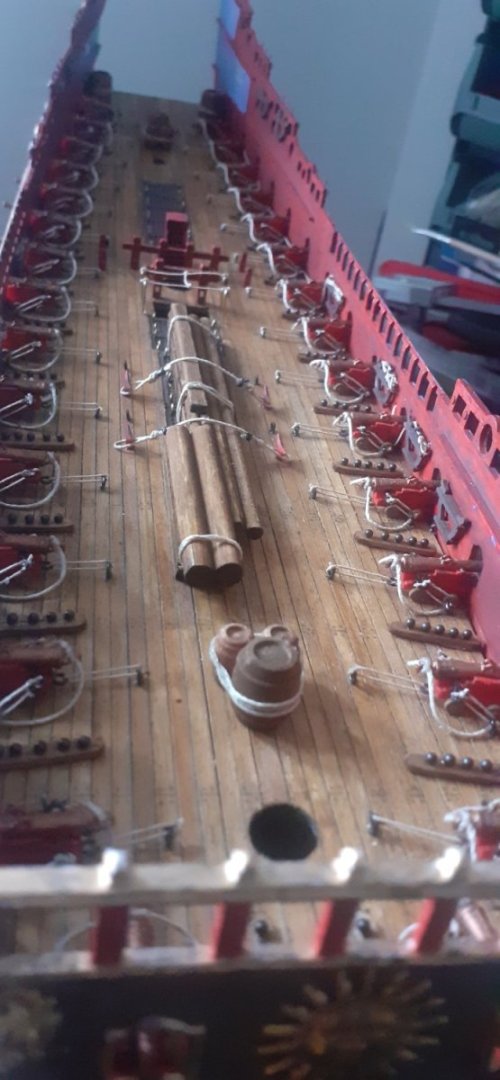
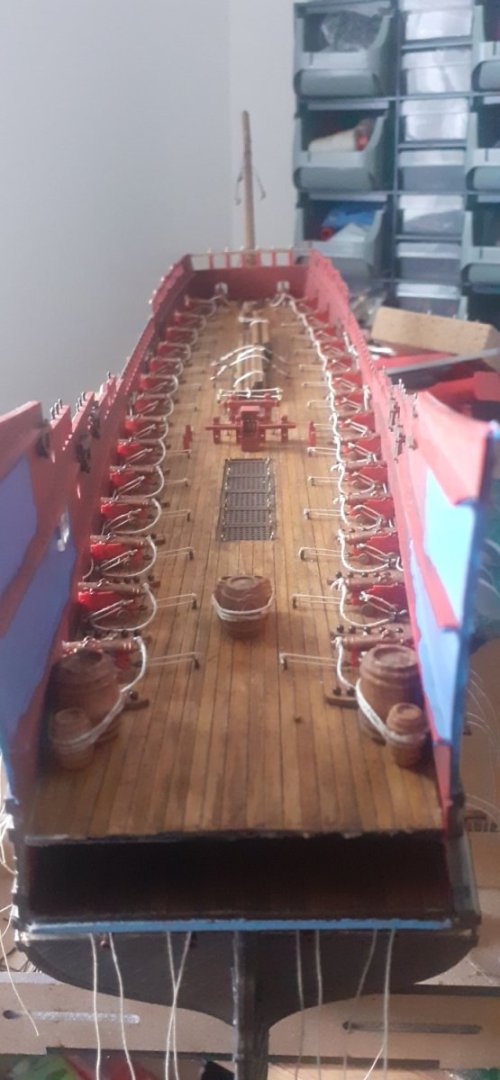
Main deck now finished, Cannons rigged, deck detail added regards to Cannon balls/carriage, barrels/kegs spare wood for yards etc.. stairwell rigged and eyepins added to gratings. 6 running rigging lines attached as per instructions 2 of which get rigged to the Main sail as far as I can make out, will obviously have to double check the poor rigging plans just to be sure. The Hull architectural sides are all permanently fixed. Slowly coming together


- 44 replies
-
- 5
-
-
- soleil royal
- Heller
- (and 5 more)