HOLIDAY DONATION DRIVE - SUPPORT MSW - DO YOUR PART TO KEEP THIS GREAT FORUM GOING! (Only 69 donations so far out of 49,000 members - Can we at least get 100? C'mon guys!)
×
Robert Taylor
-
Posts
208 -
Joined
-
Last visited
Content Type
Profiles
Forums
Gallery
Events
Everything posted by Robert Taylor
-
 Hi Bill, Yes mines is the Airfix 1:72 scale, but the Special edition so I dont know if it had more parts in it or not?
 -
Just as good as anything else mate, no point in complicating things, if something is tried and trusted then stick by it, unless certain circumstances need change.
-
No probs Bill, anytime you need to ask you know where I am 👍
-
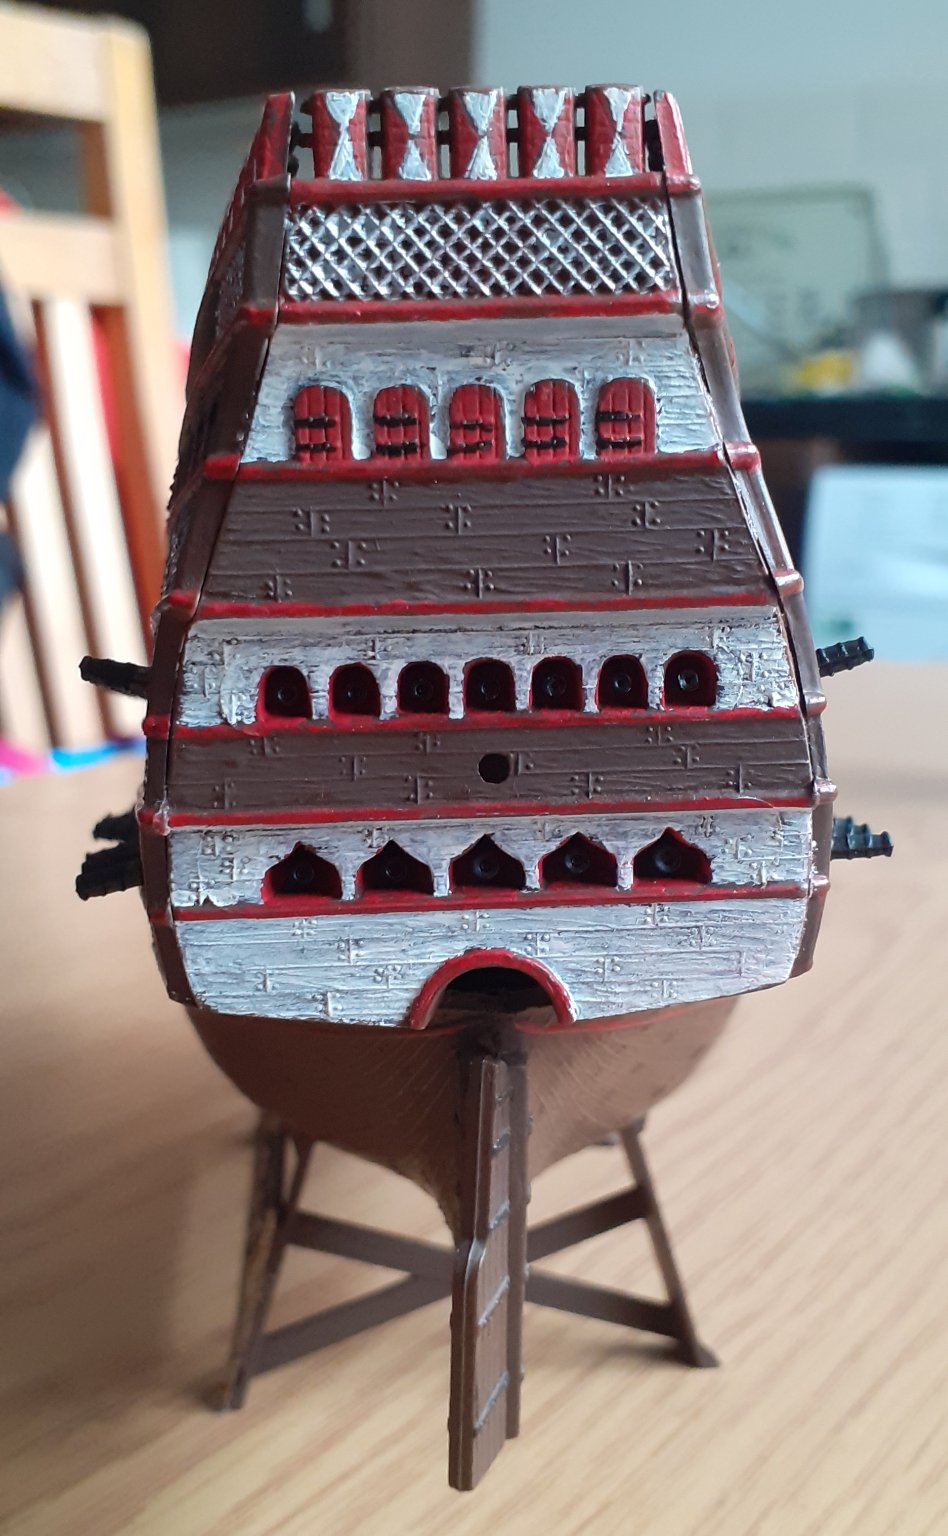
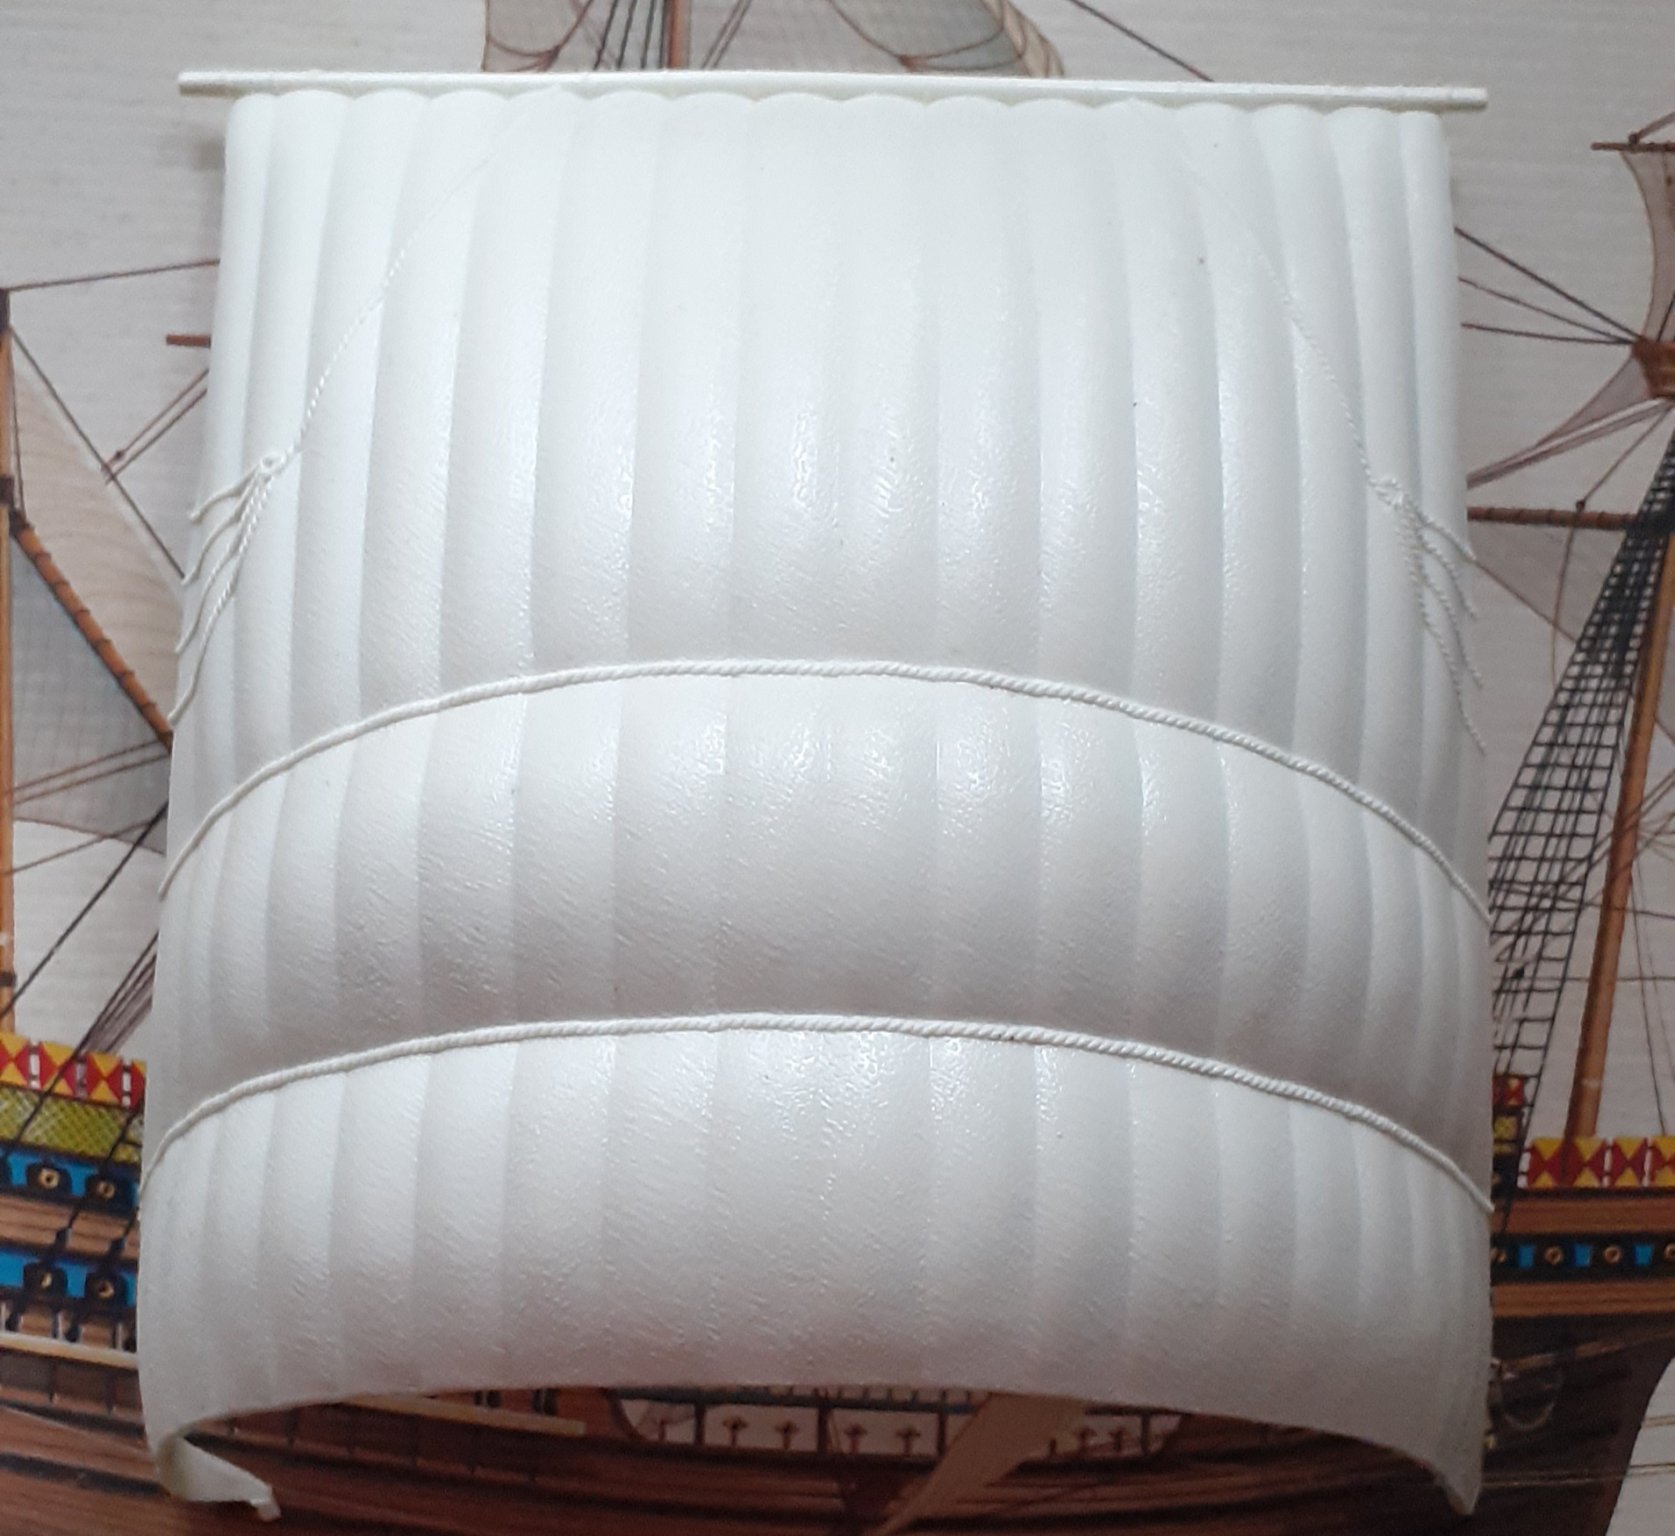
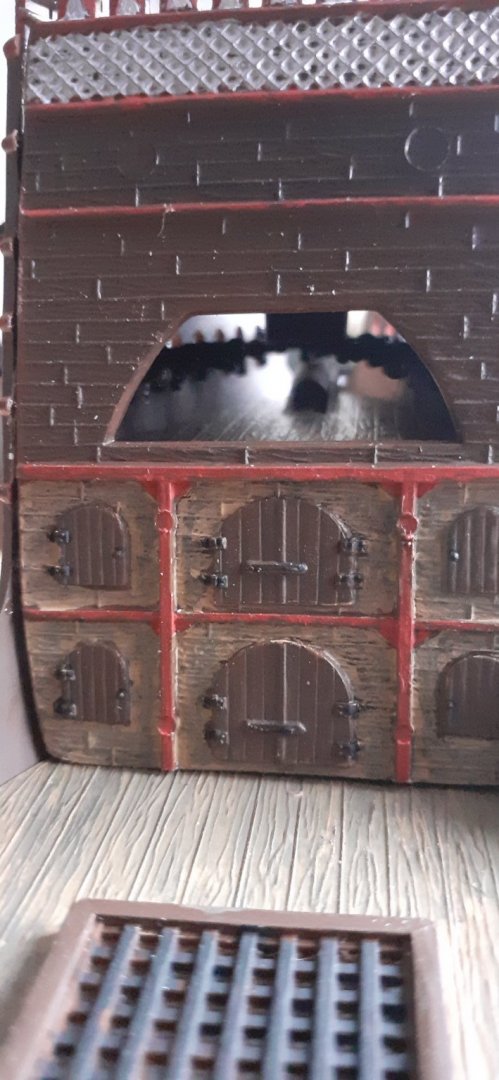
Hi Louie thanks for that and the photos. Regards to the kit there is No part in the instructions to cover the front of the fore castle. So it maybe something I will try and look into further. Regards the Sails I will probably just use the fabric I usually do re my English man o'war in which I used a cream coloured pillowcase.
-
Really not sure if I could do or pull off paper sails, especially if I go down the route of the doubled main and forsails, I feel a lot mor comfortable with fabric as well as it looking a lot more authentic and less chance of getting damaged. However I haven't decided yet which way to go on either Sail or Yard will worry about that when the time comes. Thanks again for the Informative link Louie much appreciated mate 👍
-
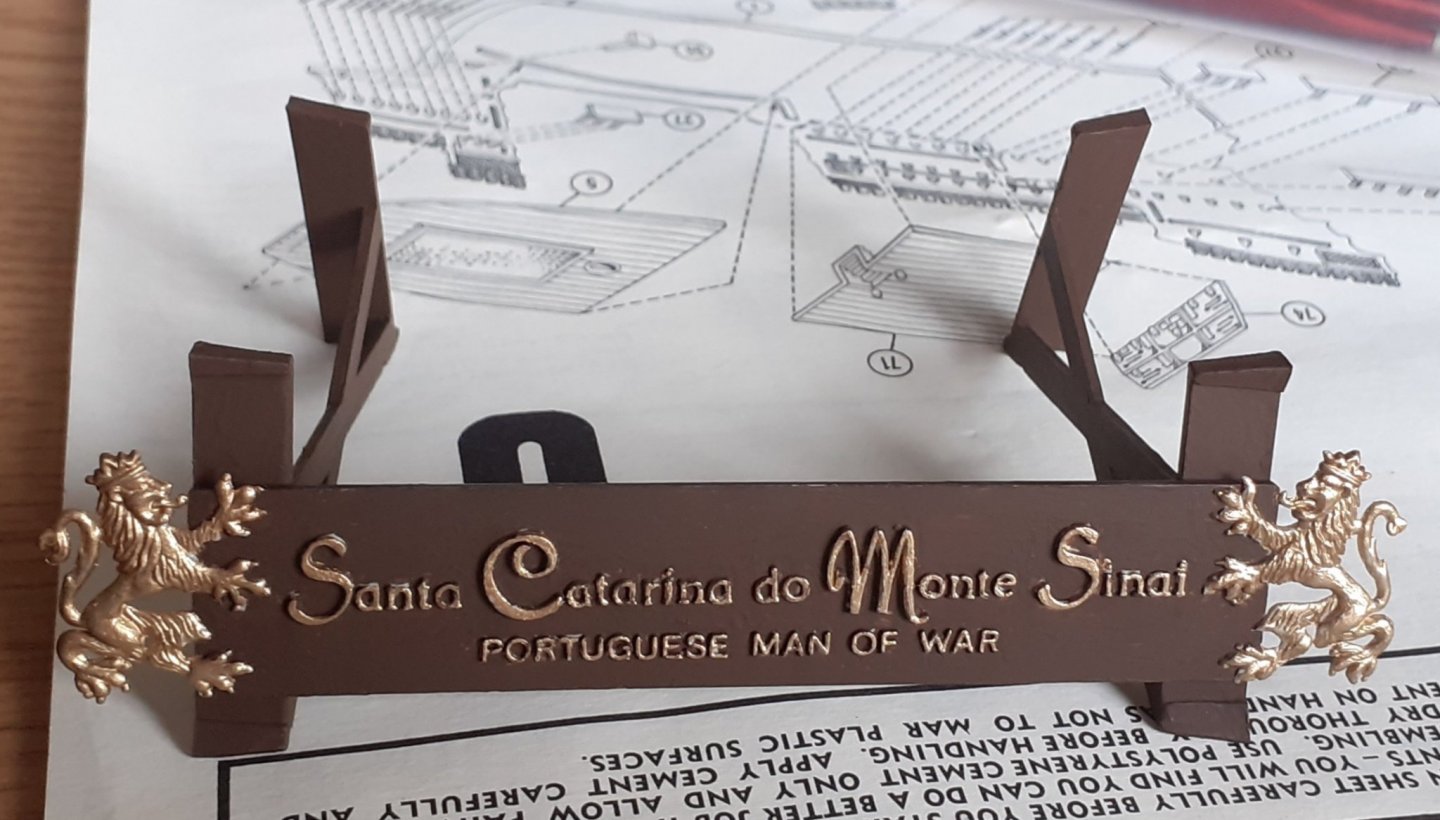
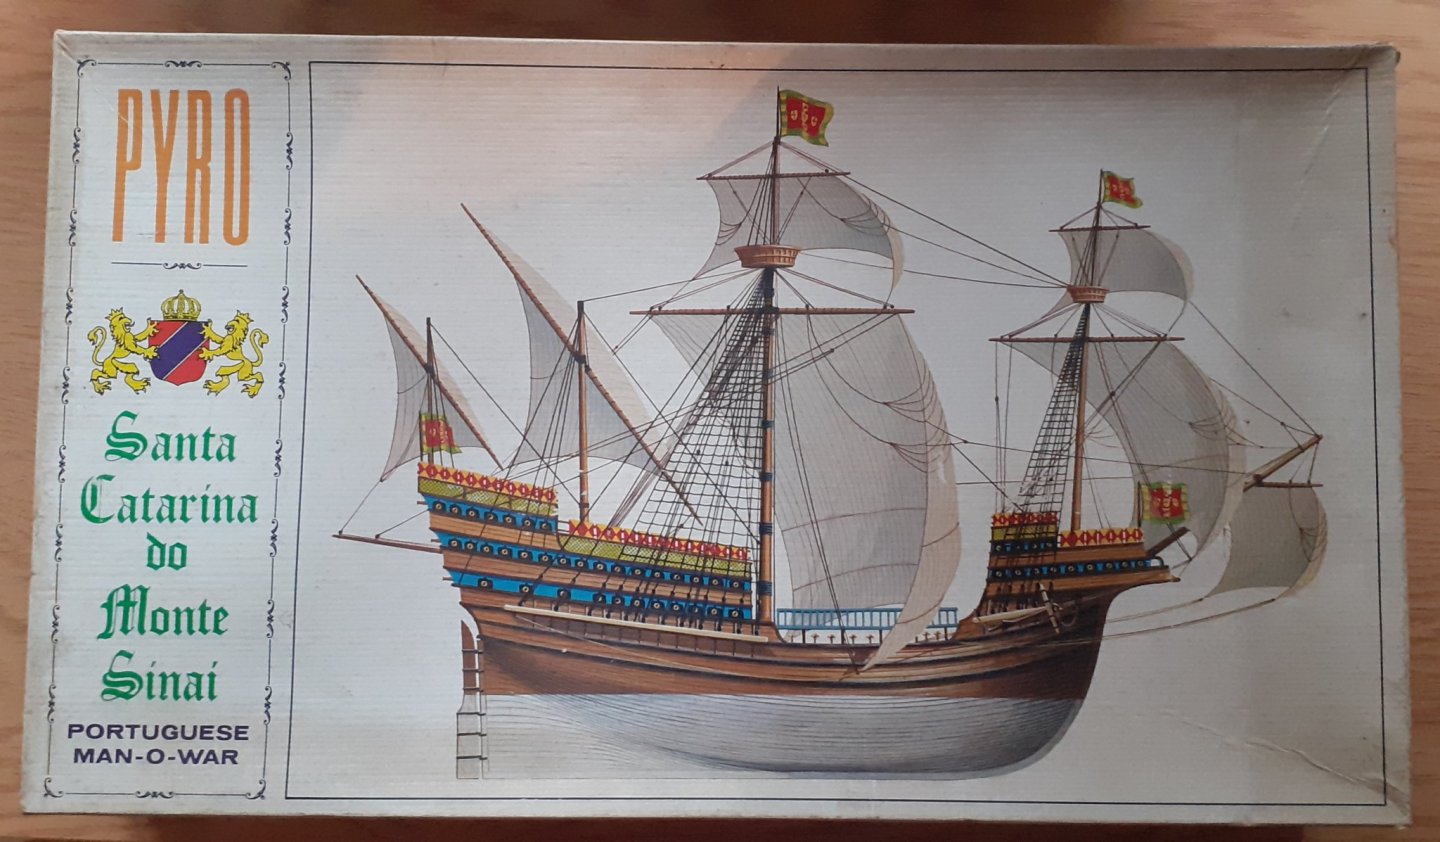
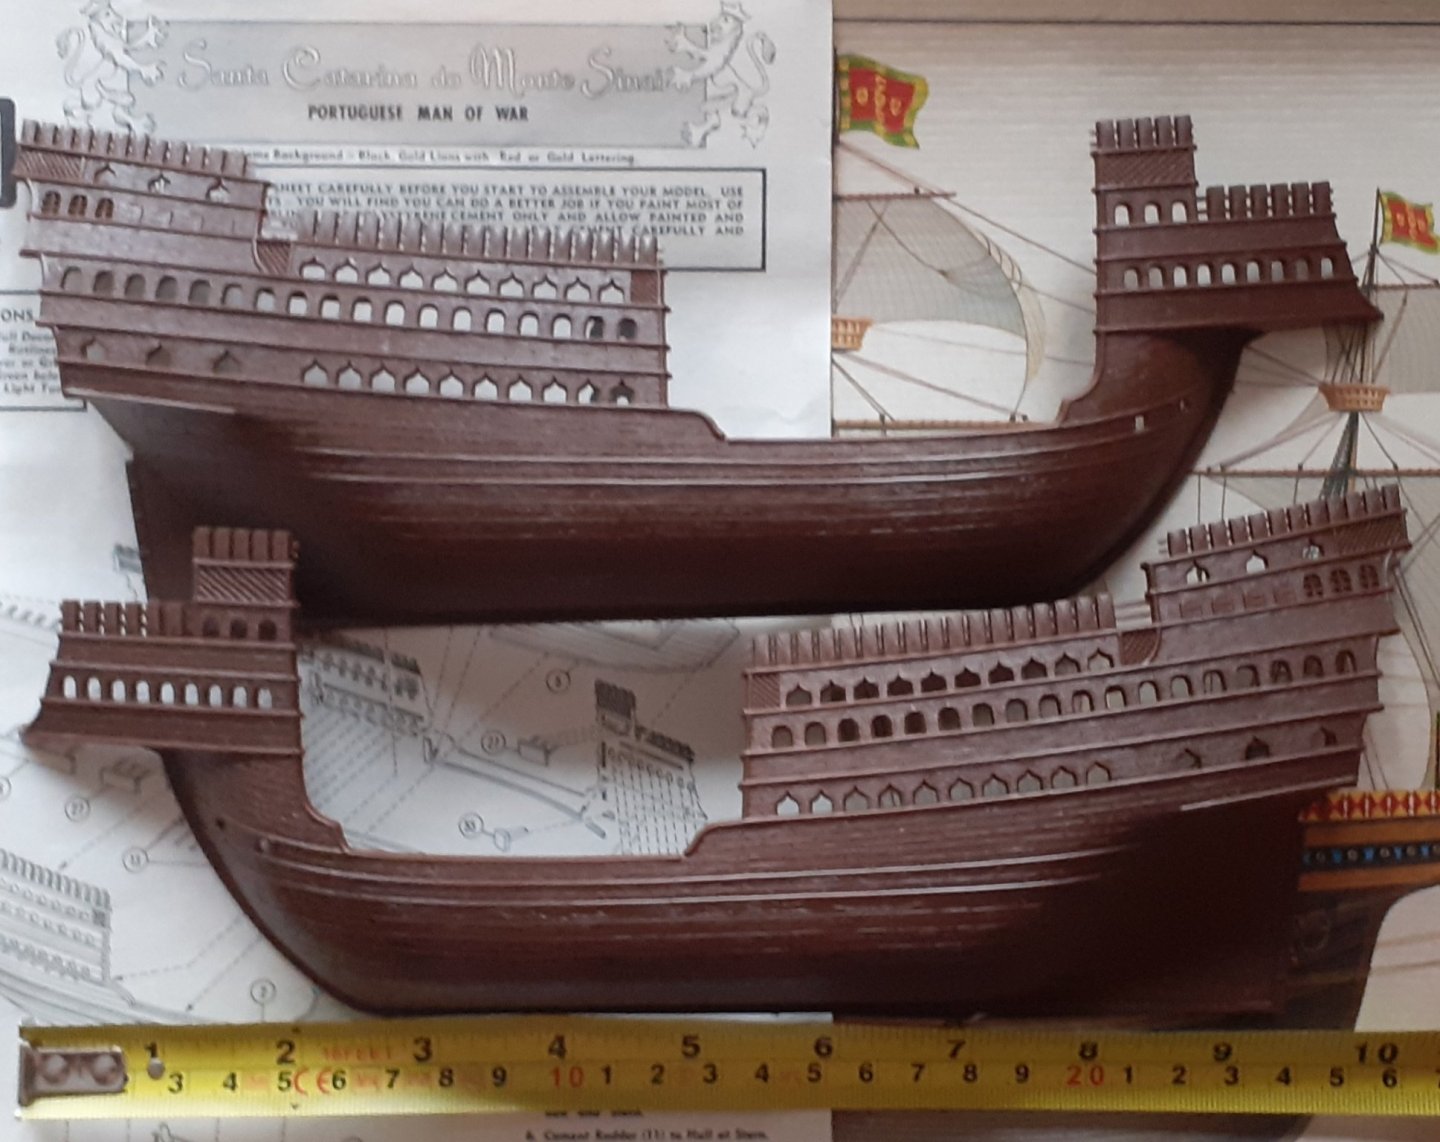
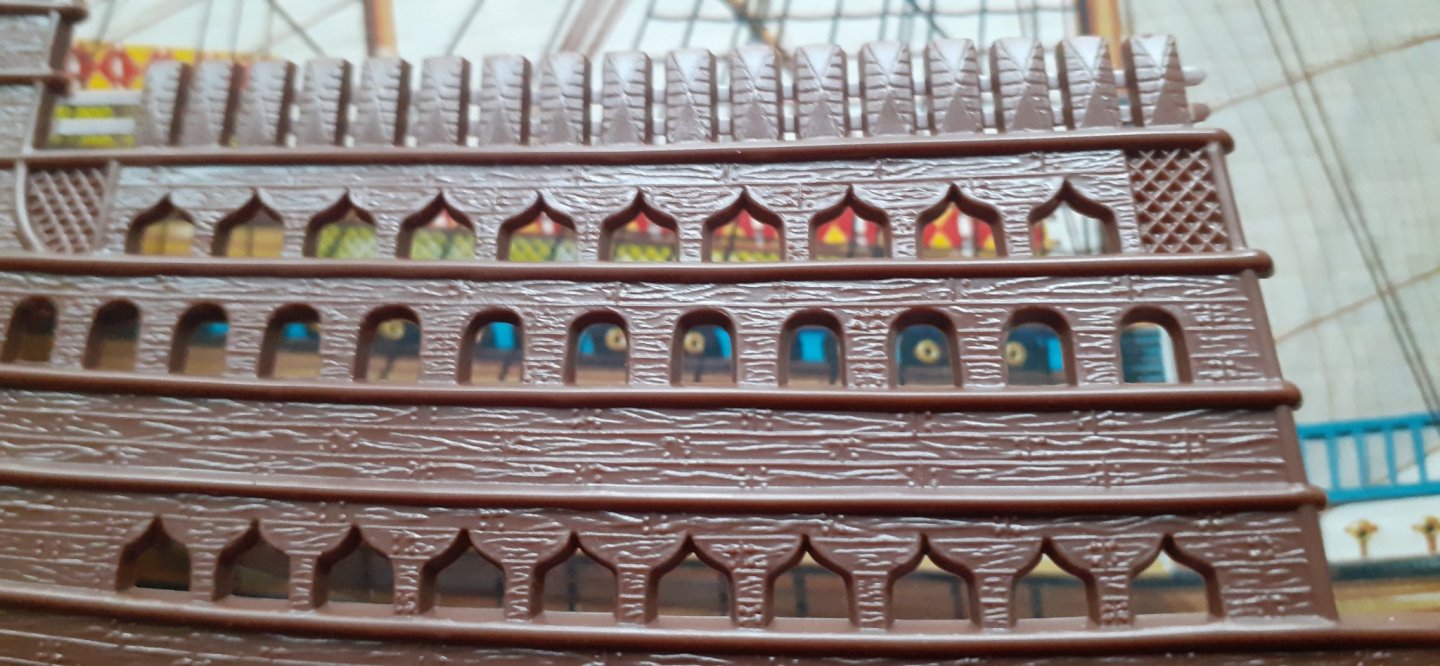
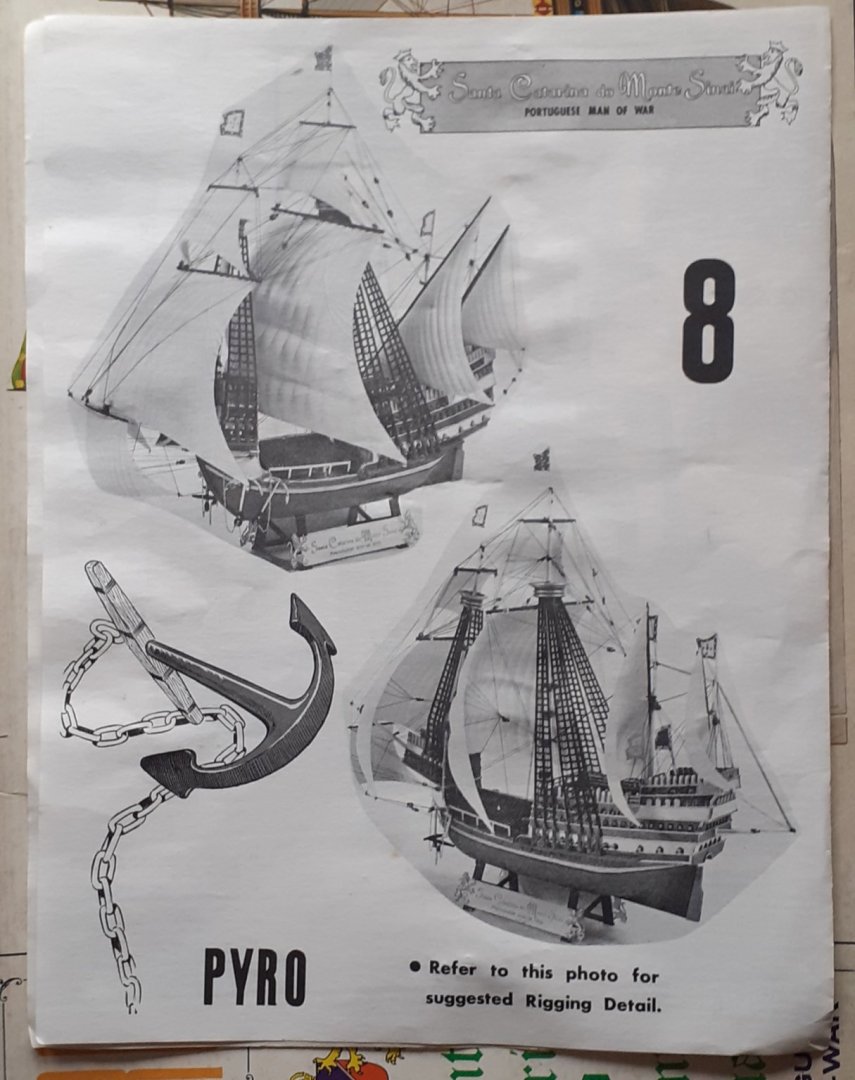
Still a lot of work to be done, but for a 54yr old kit and 140 Cannons when finished, its coming together. Pyro 1:144 "SANTA CATARINA DO MONTE SINAI"


-
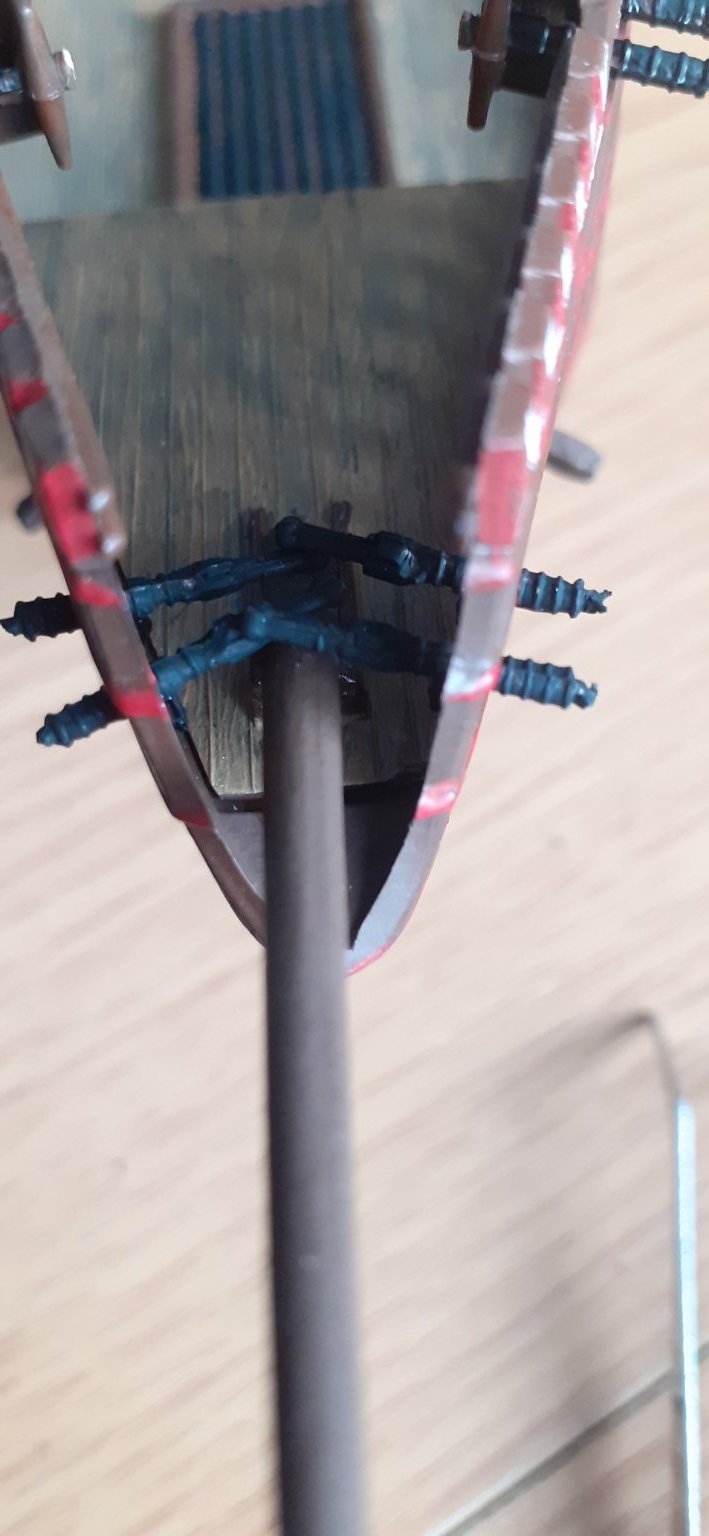
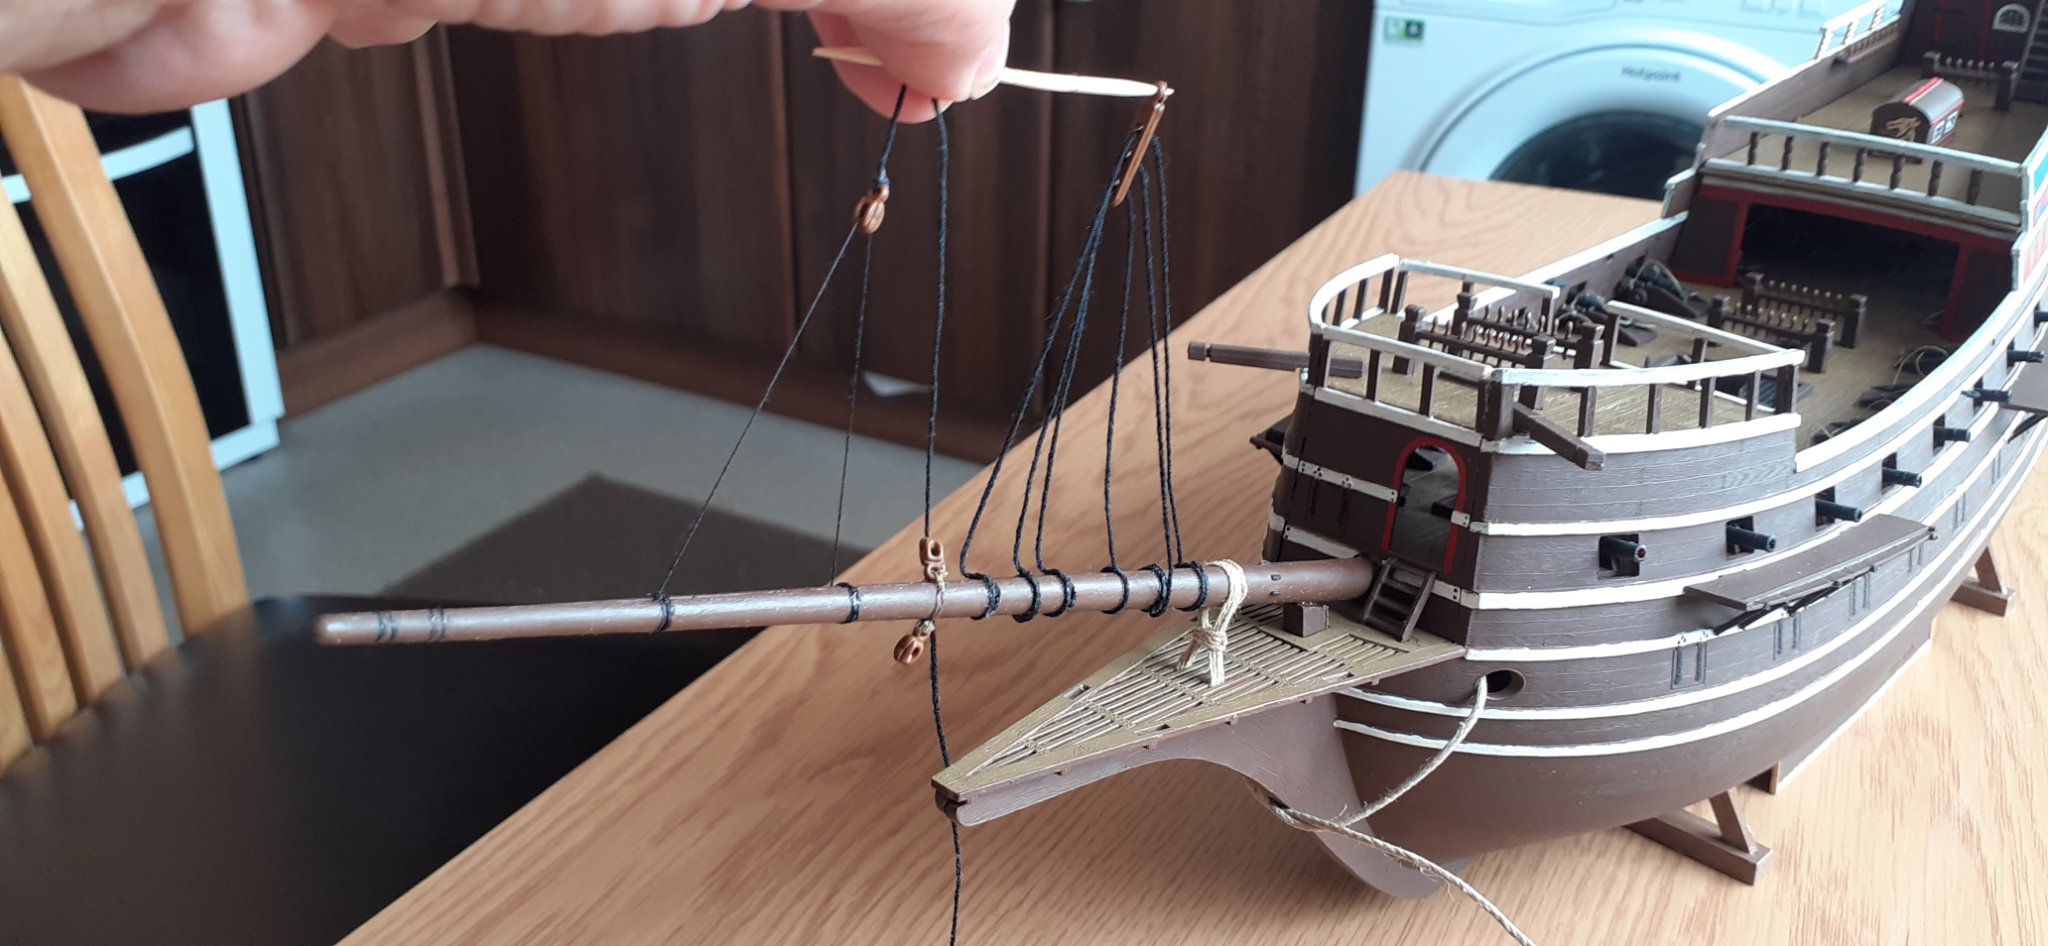
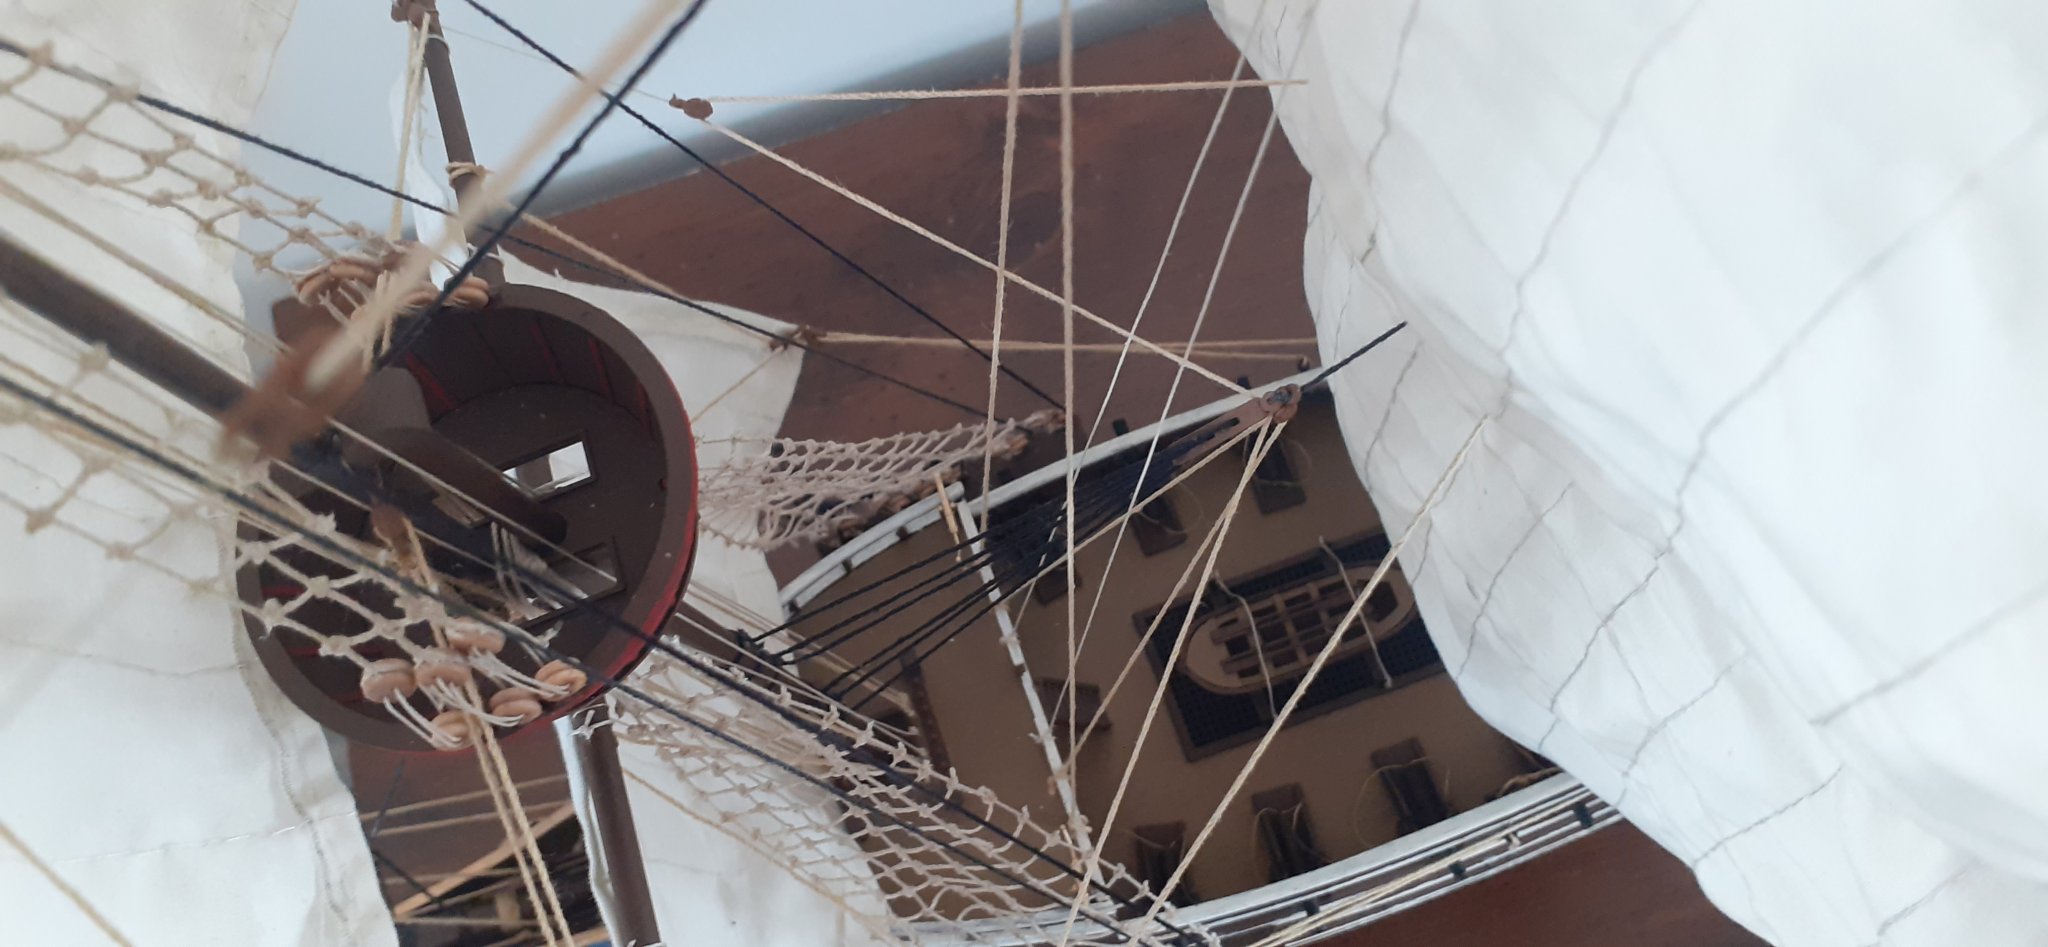
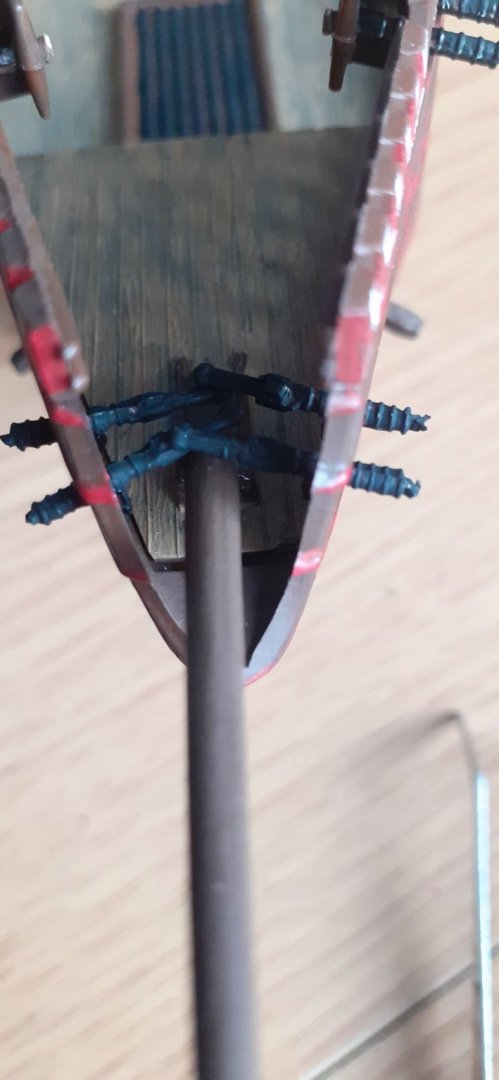
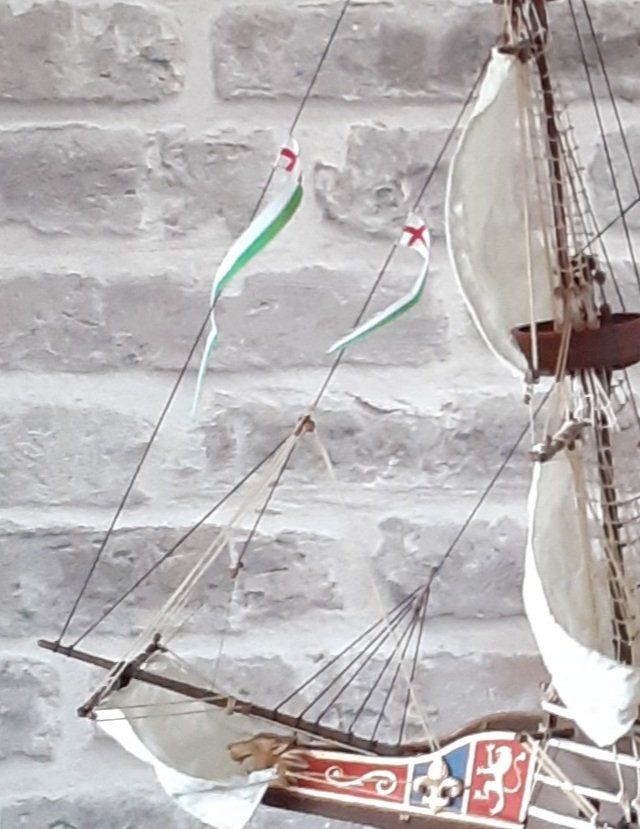
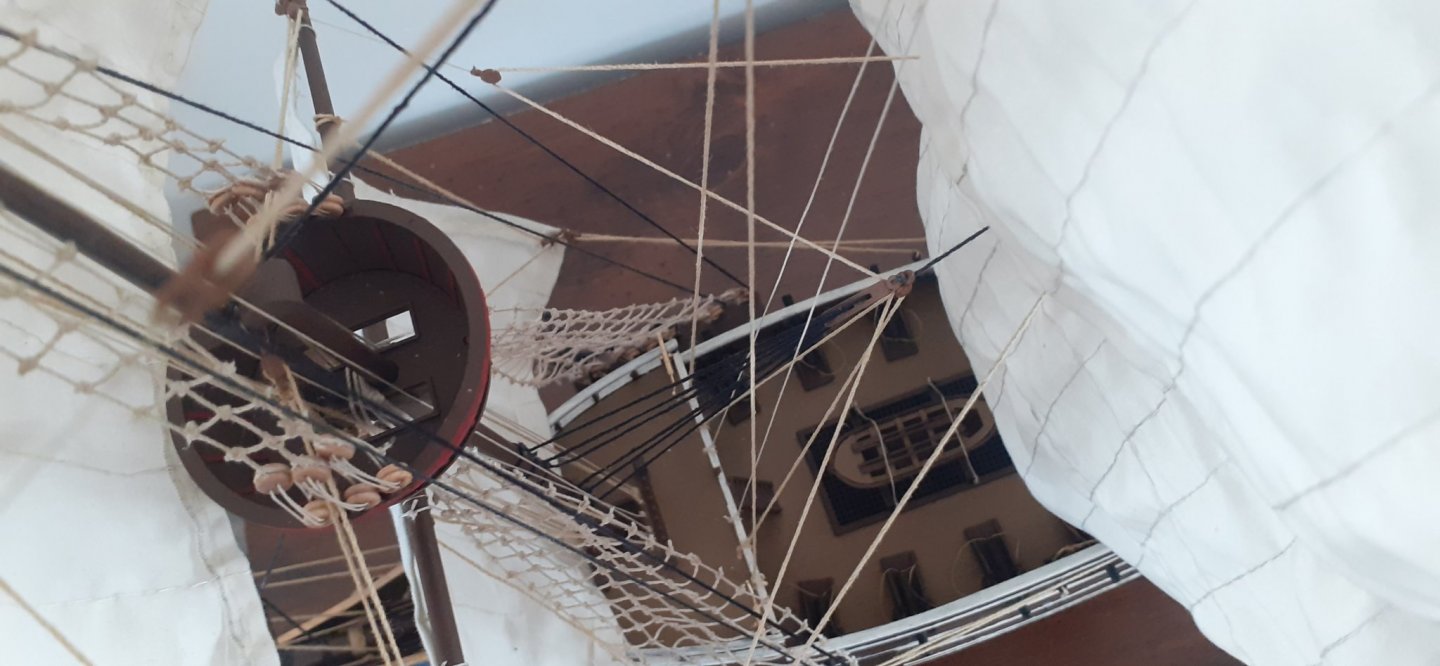
Hi Bill, First of all 1,2&3 threads are a continuation to be rigged through a triple hole block and tied back into the bowsprit. No4, is the same thread through a block making a triangular shape again tied bk onto the bowsprit. No5 thread is attached to the other end of the block in No4 and will eventually be rigged to the 2nd crows nest on the foremast and has nothing to do with Nos1,2 or3. Btw, there are another 2 triple holed blocks to get rigged the same way for the fore and main mast standing rigging. Have gave you the 2 photos to see work in progress and finished example.

- 165 replies
-
- 2
-

-
- english galleon
- revell
- (and 2 more)
-
Good afternoon Bill, Yes that is correct my friend, same can be slightly said for the main mast too, however the Mizzen and Bonaventure masts slant in the opposite direction, I was concerned about these too when building the kit, but I think it's to do with the rigging and obviously the height of the quarter deck and balance of the ship, in the end it all looks finished ok. I see you have more or less went with paintwork within the instructions, looking good my friend.
- 165 replies
-
- 1
-
-
- english galleon
- revell
- (and 2 more)
-
Thanks for that link Louie, very informative. Its definitely something I am going to take into consideration, I was thinking about extending the length of the Main sail anyway, and slightly shortening the height to make it look more rectangular rather than square like the kit moulded ones. I will obviously need to do a few measurement calculations as I have to watch that my kit doesn't become Top heavy as it's a very small plastic kit with the hull only measuring 26cm, so compared to Woodrats Wooden kit, he's had a lot more scope and a much bigger and stronger carrack play about with big improvisations. As for the double main yard, it is also something I will look at, although it is not entirely clear in the painting Joachim Patinir of the SCDMS had a double main yard, but I can obviously see why it might have done.
-
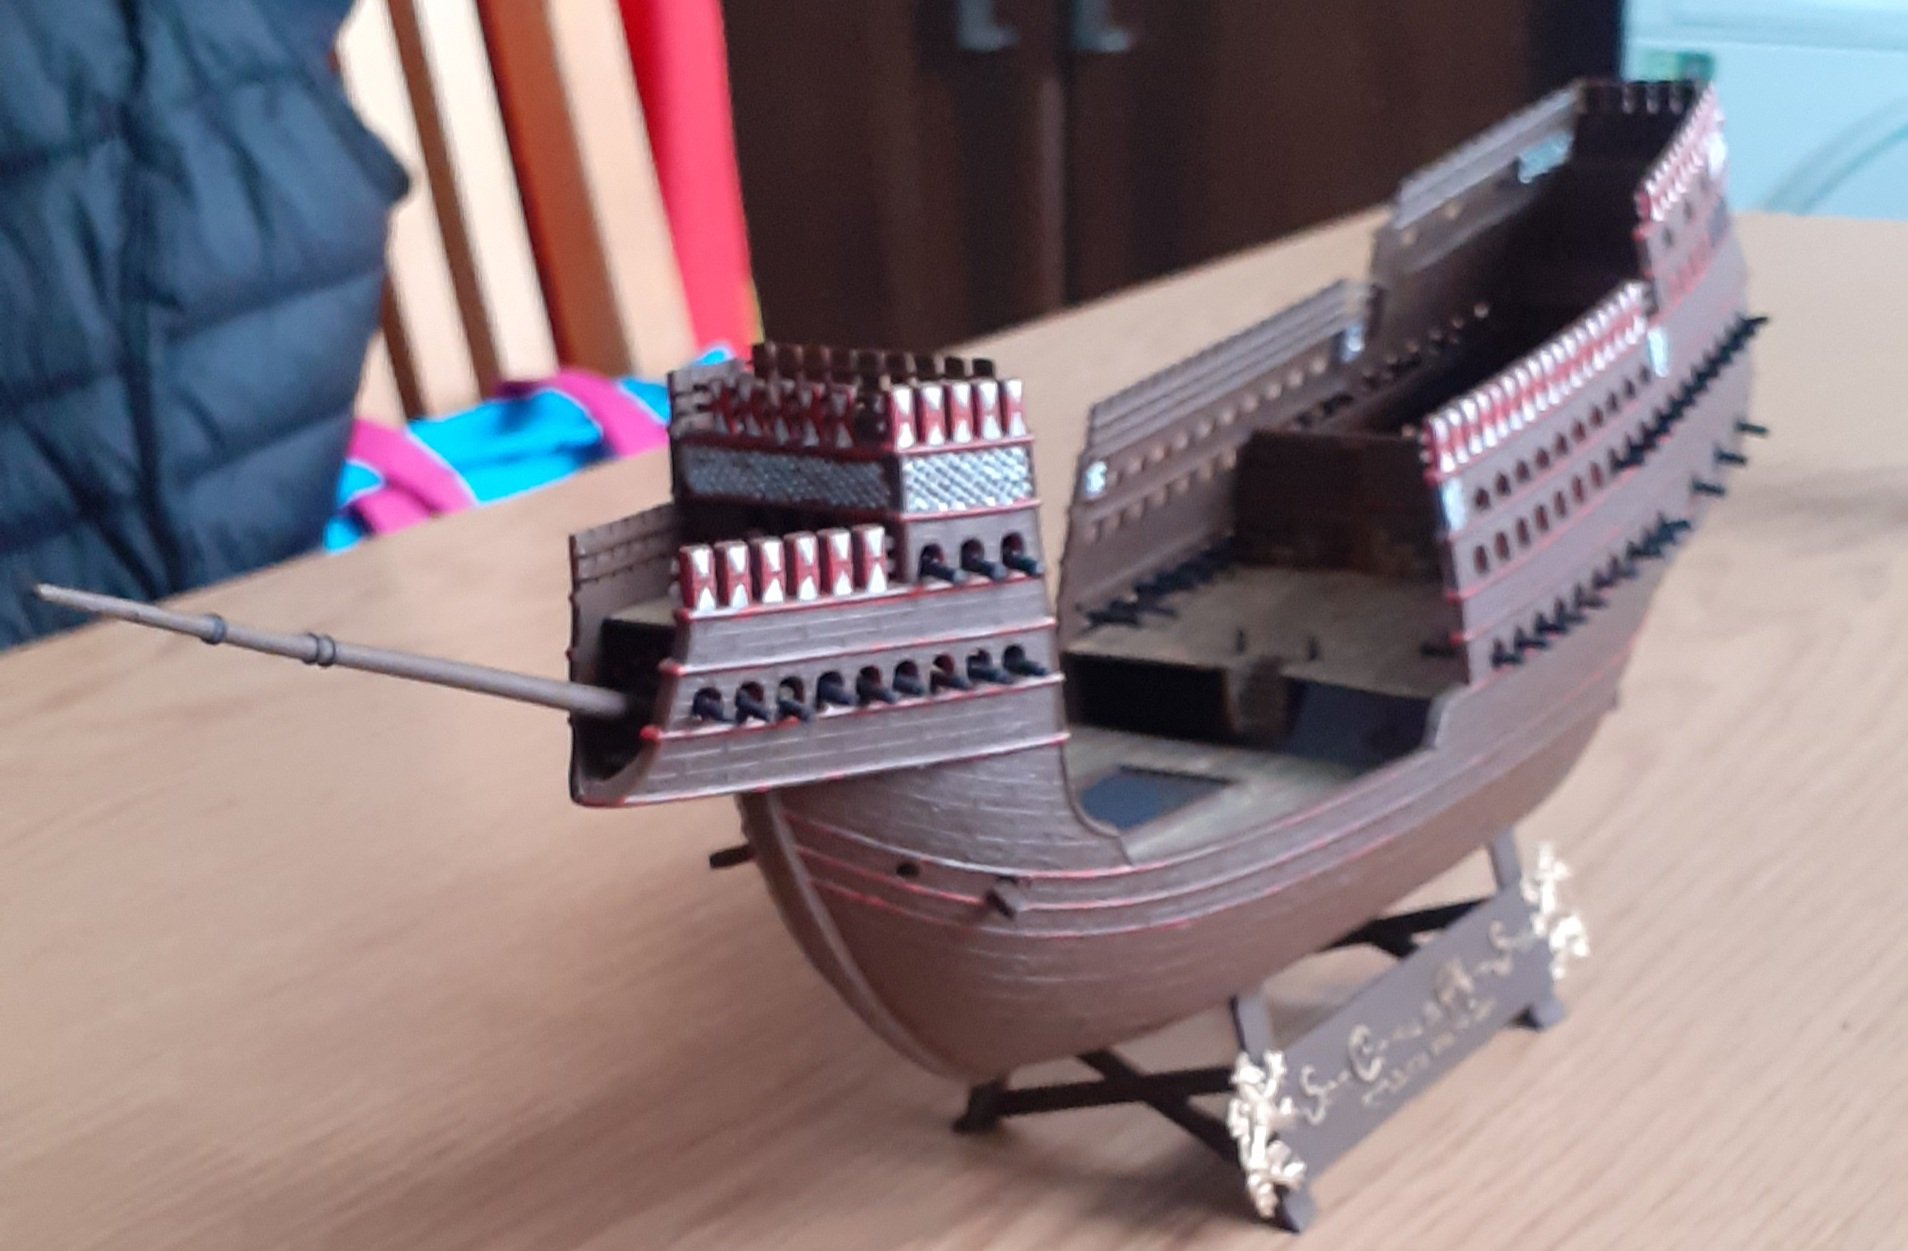
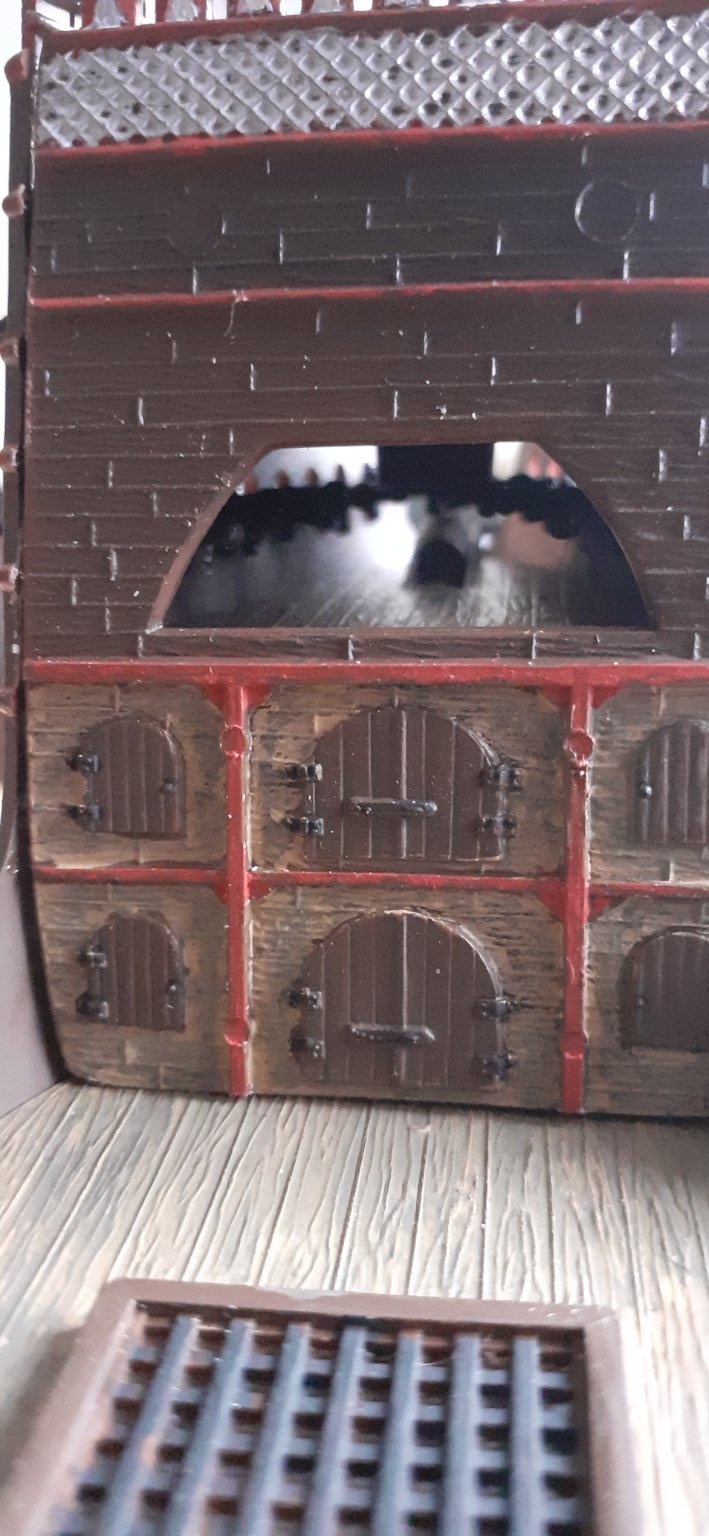
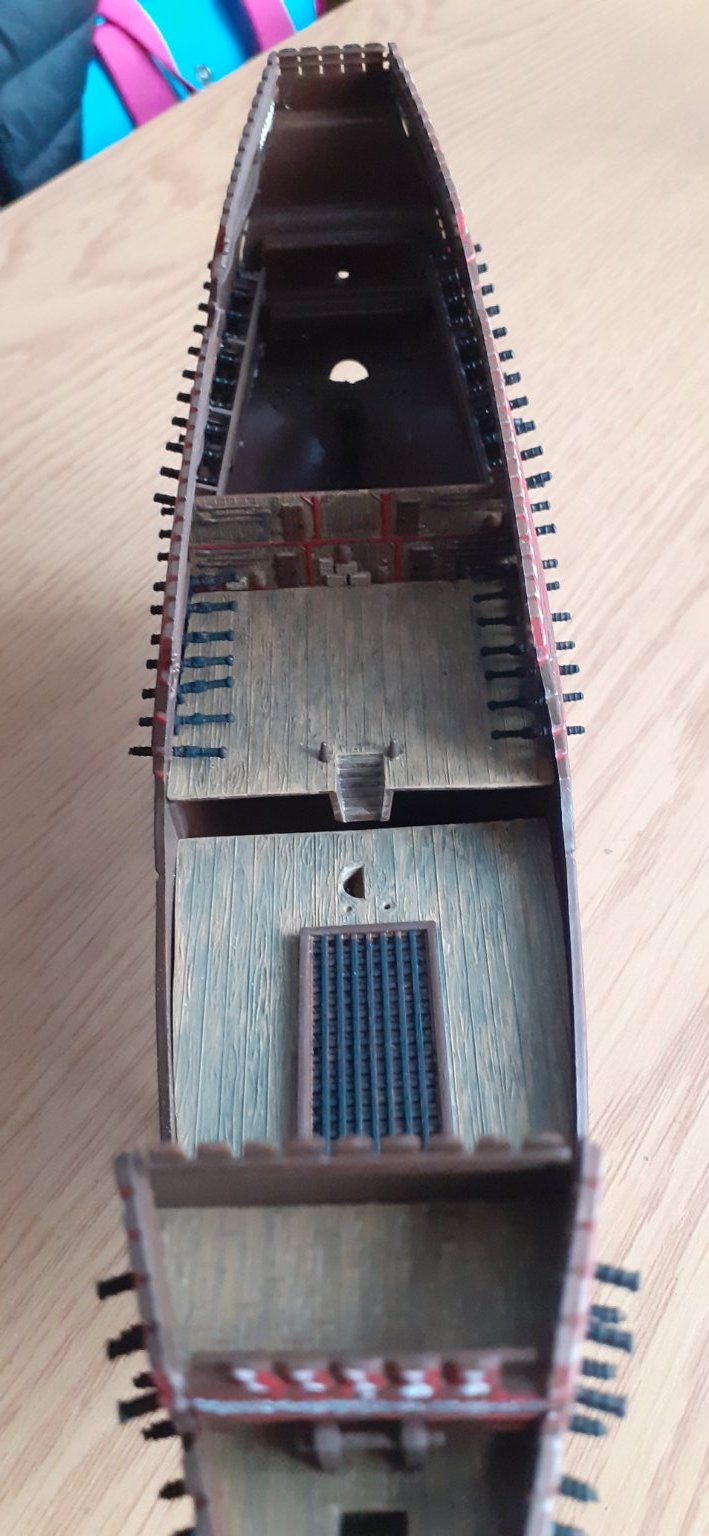
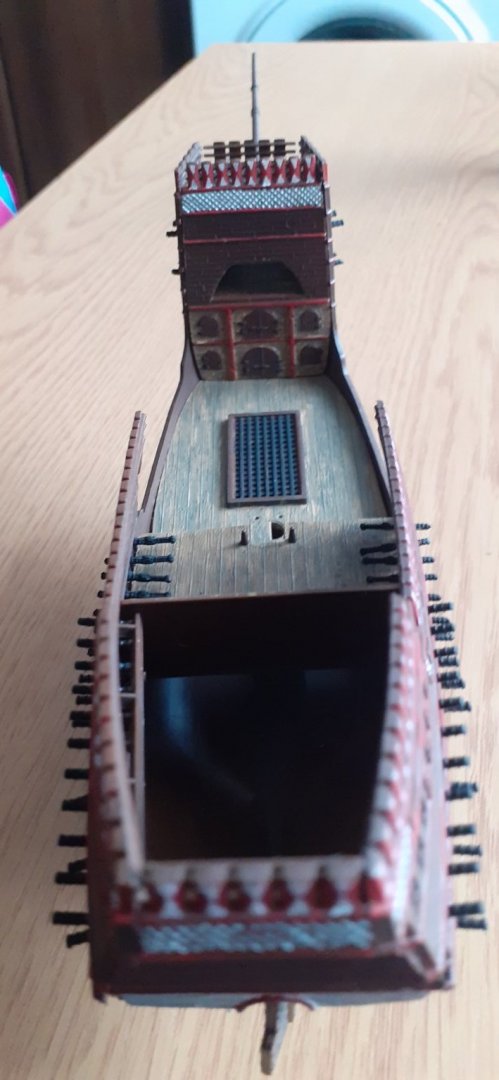
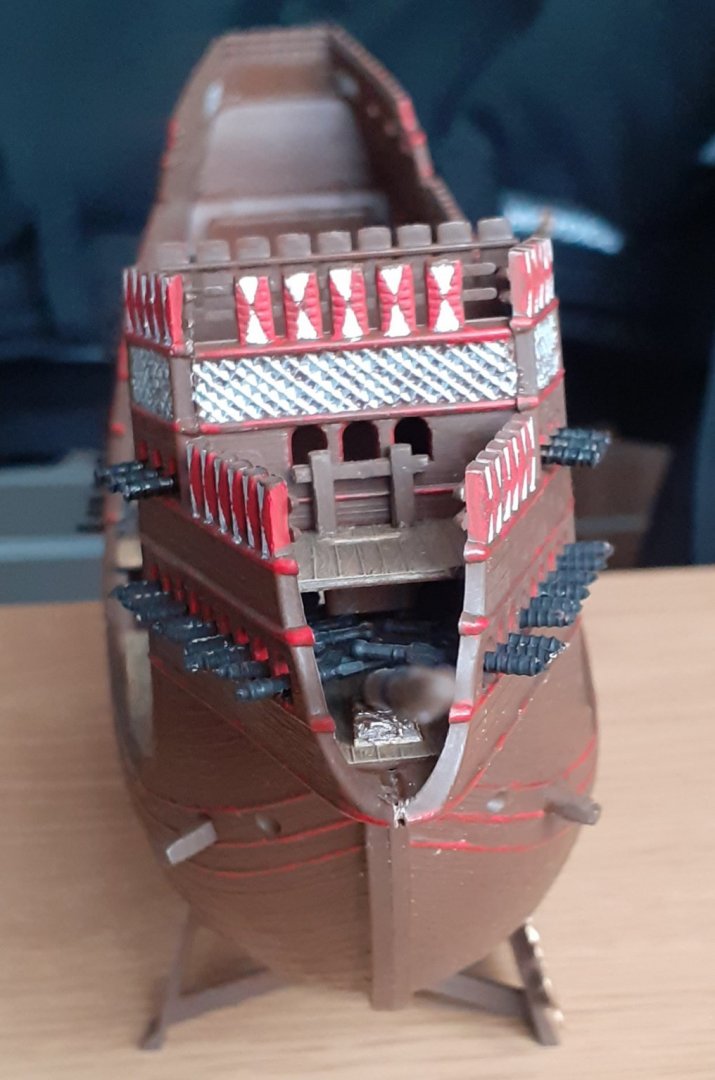
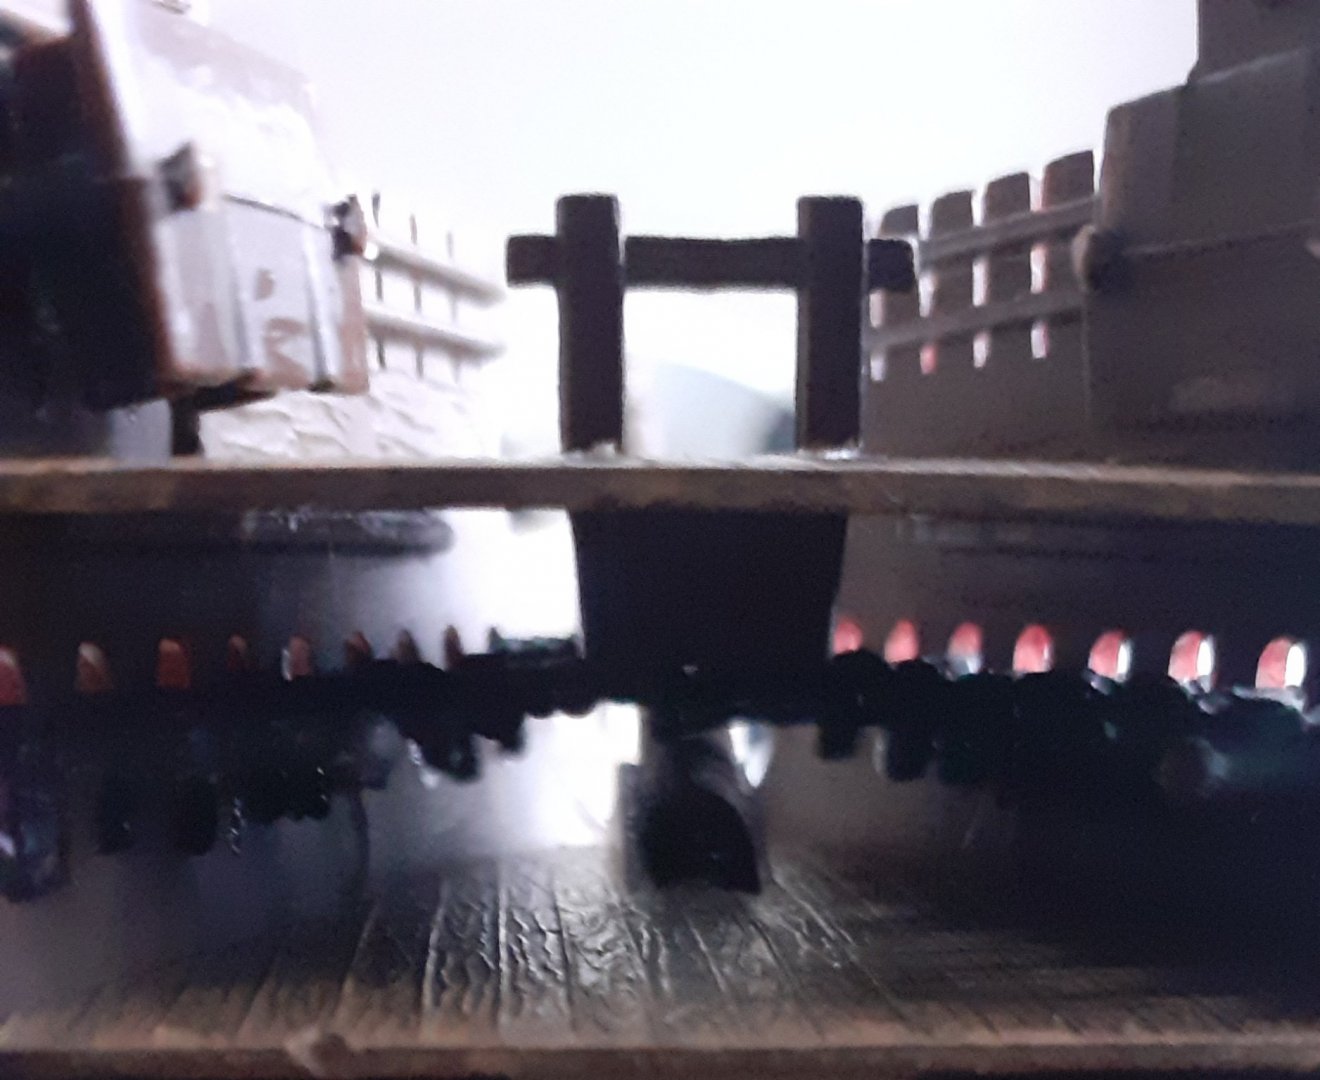
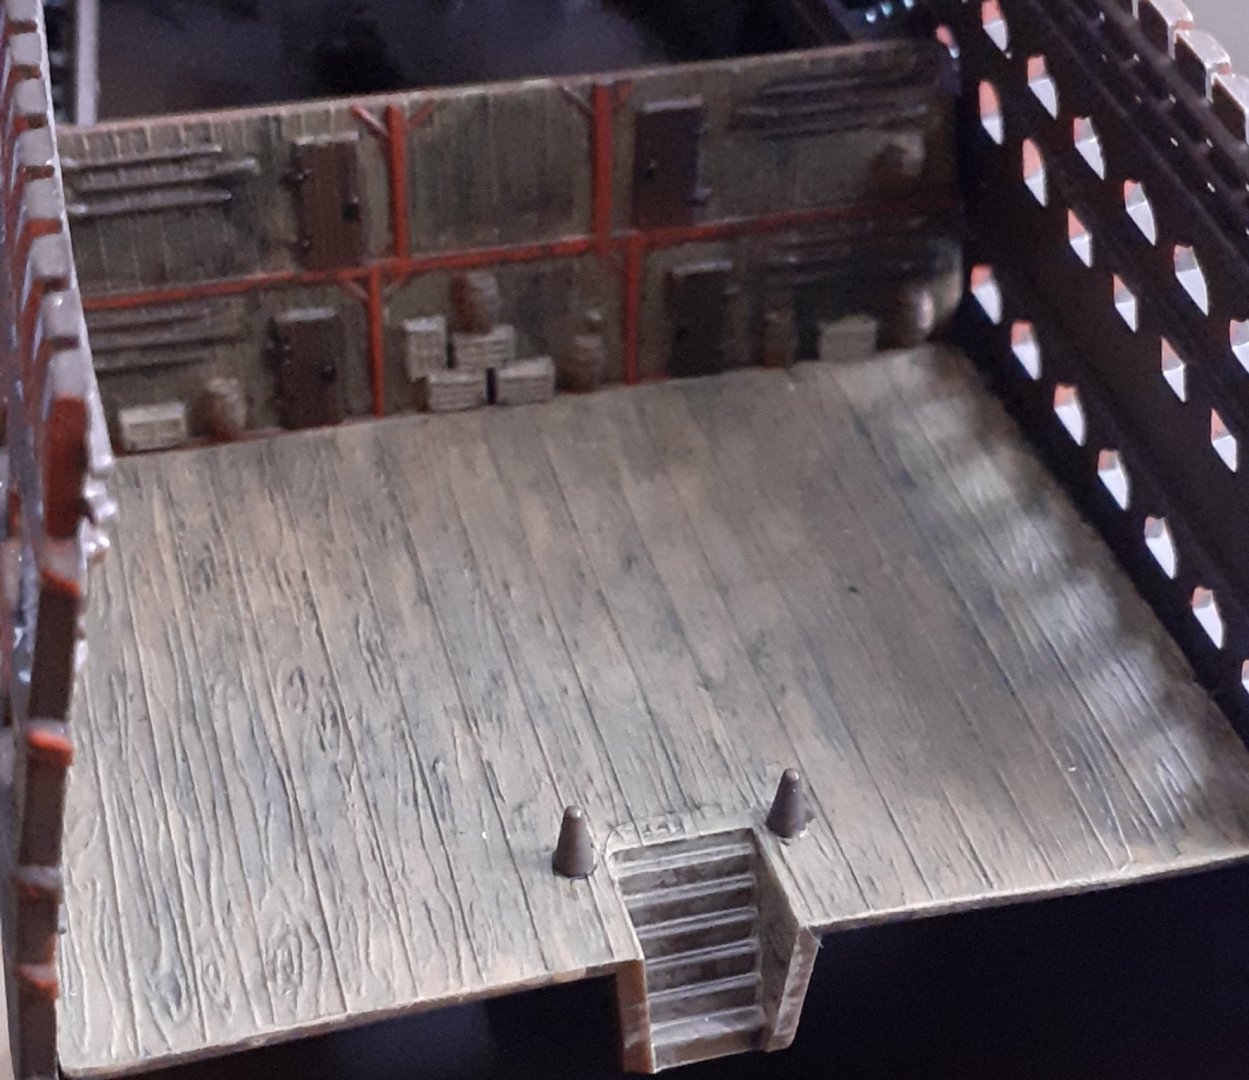
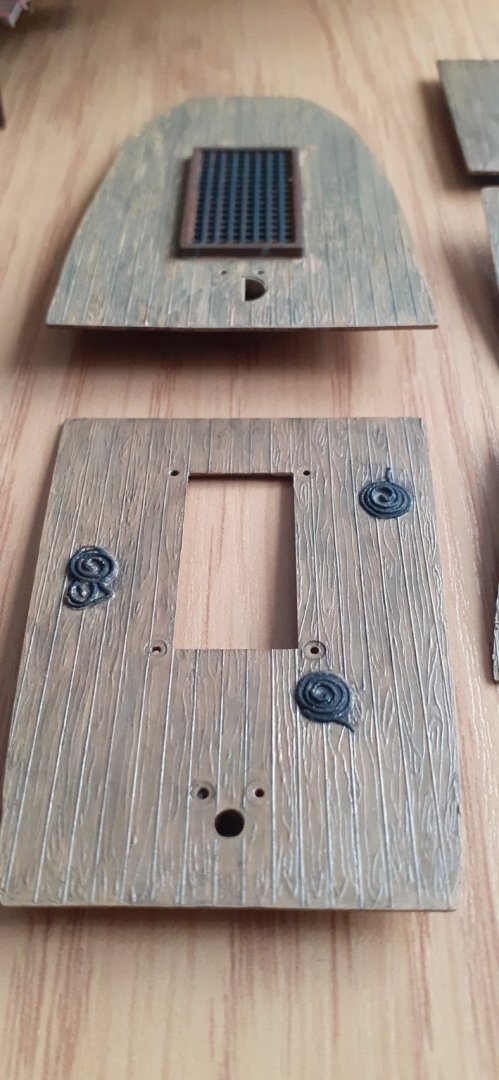
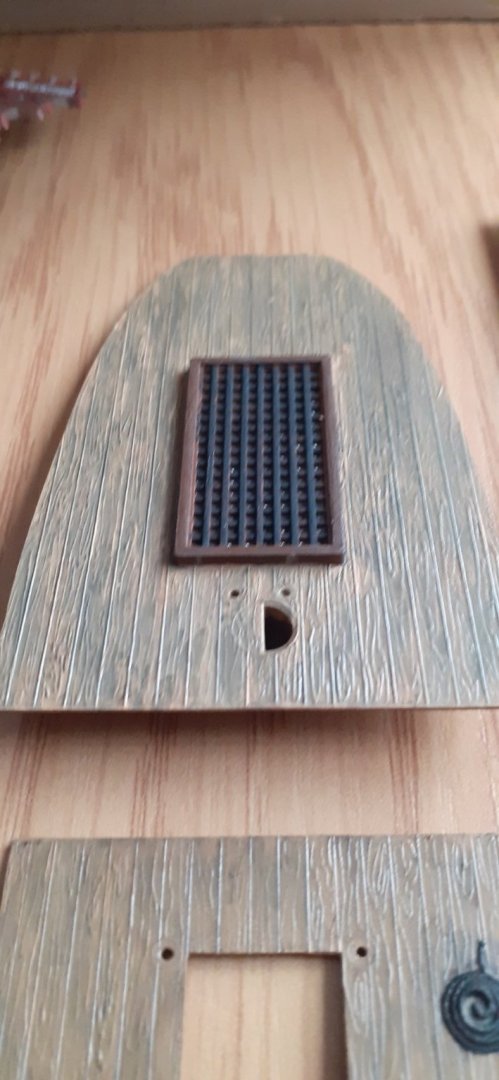
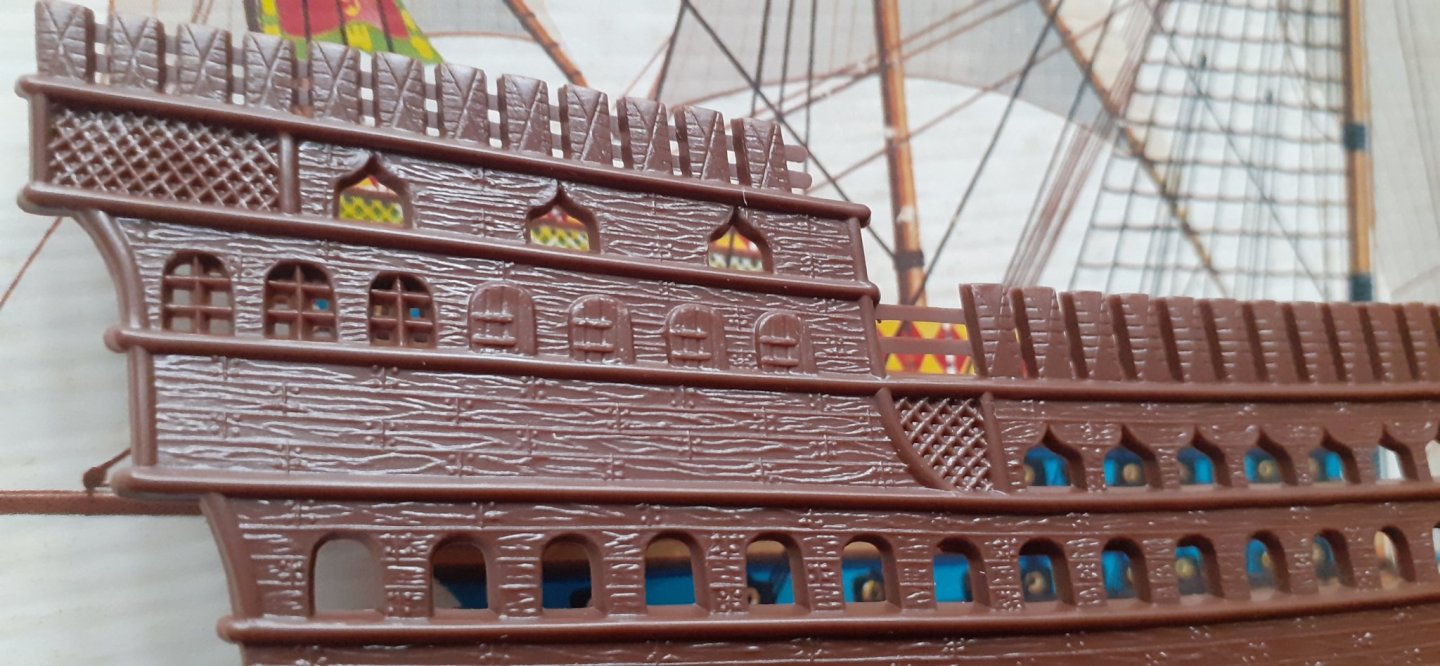
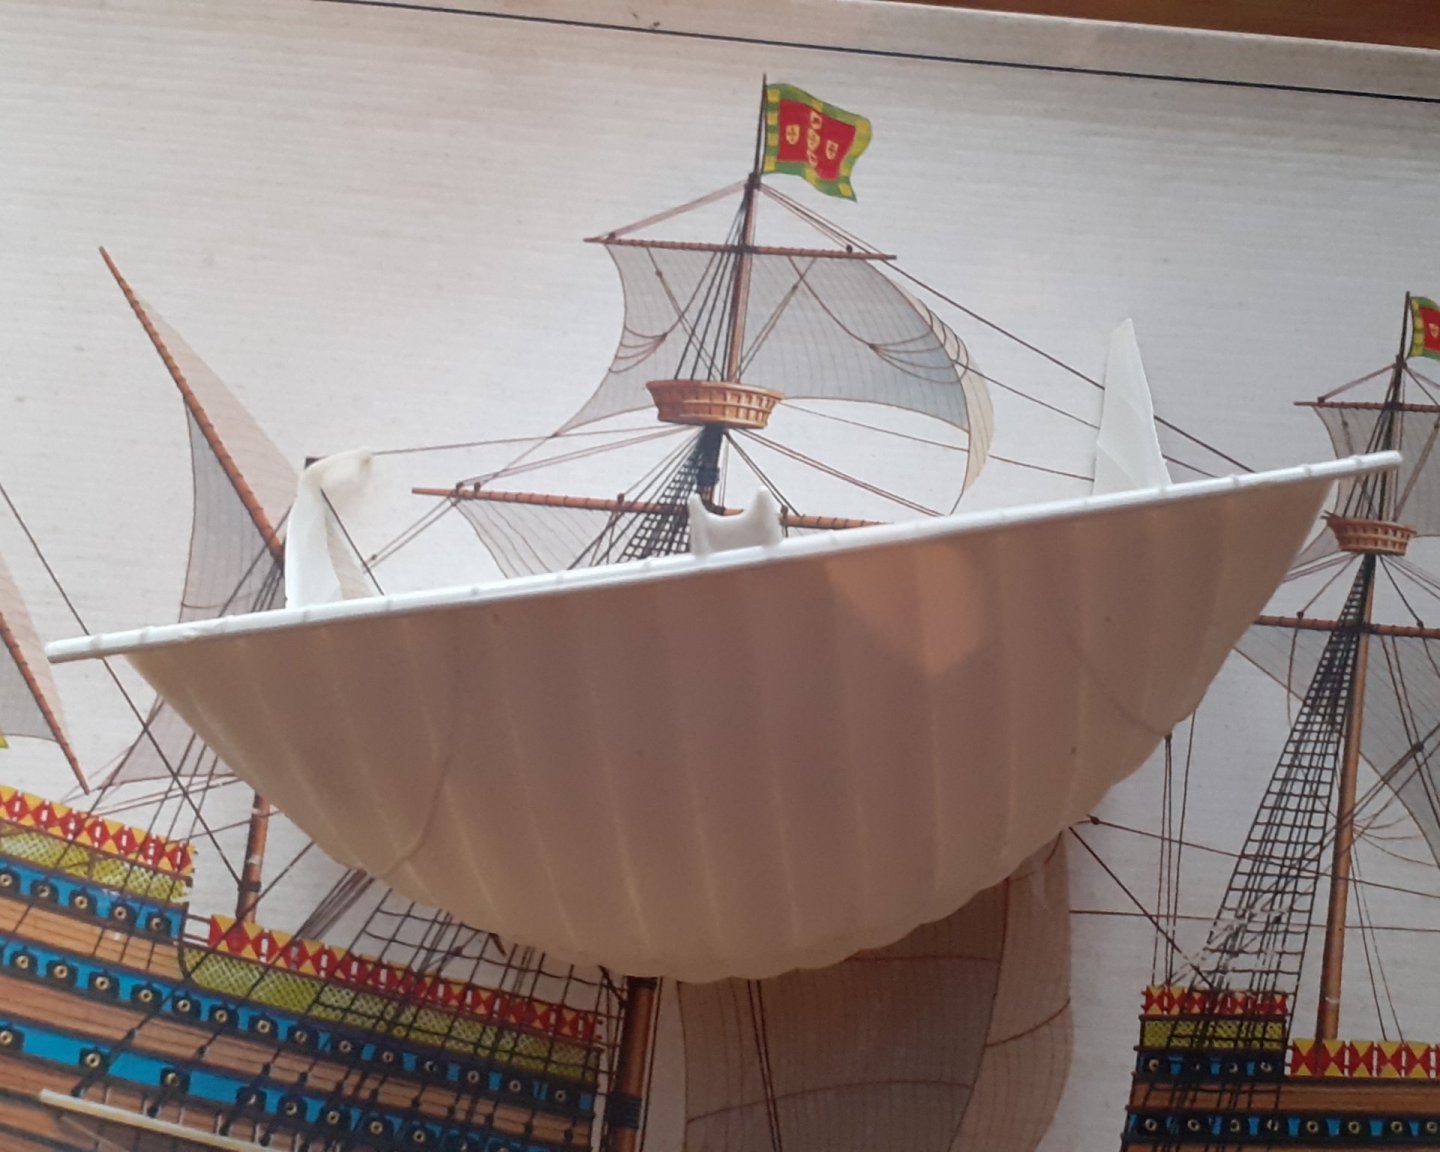
Small update on my Pyro "Santa Catarina do Monte Sinai" Decking finished and weathered, some Cannons added to Hulls as per instructions, also detailed painting inside ship finshed and weathered. Now to start the the building process to move on to the next stage of adding more Cannons, as well as hatches, Awning, Masts and bowsprit. I will try and make Yards for the masts as the ones with the kit are moulded to the Sails, as I want to add cloth sails as well which I will be hand sewing. Taking a lot longer due to 12hr shifts at work, but have been able to do 30mins-1hr here and there.


-
Hi Jeff any suggestions on a decent set of head mounted magnifying lenses, just wanting to avoid poor cheap stuff. Regards Robert.
-
Thanks Jeff, Yes I tried using a free hands magnifying glass, but I didn't feel comfortable with it, I don't wear glasses normally, only for reading very small print, so I suffice with using them, but using them and a magnifying glass confuses the problem re brush distance to subject and etc, I am more accurate just using my reading glasses. However very early stages still and touch ups and the likes will obviously get done in time 😄
-
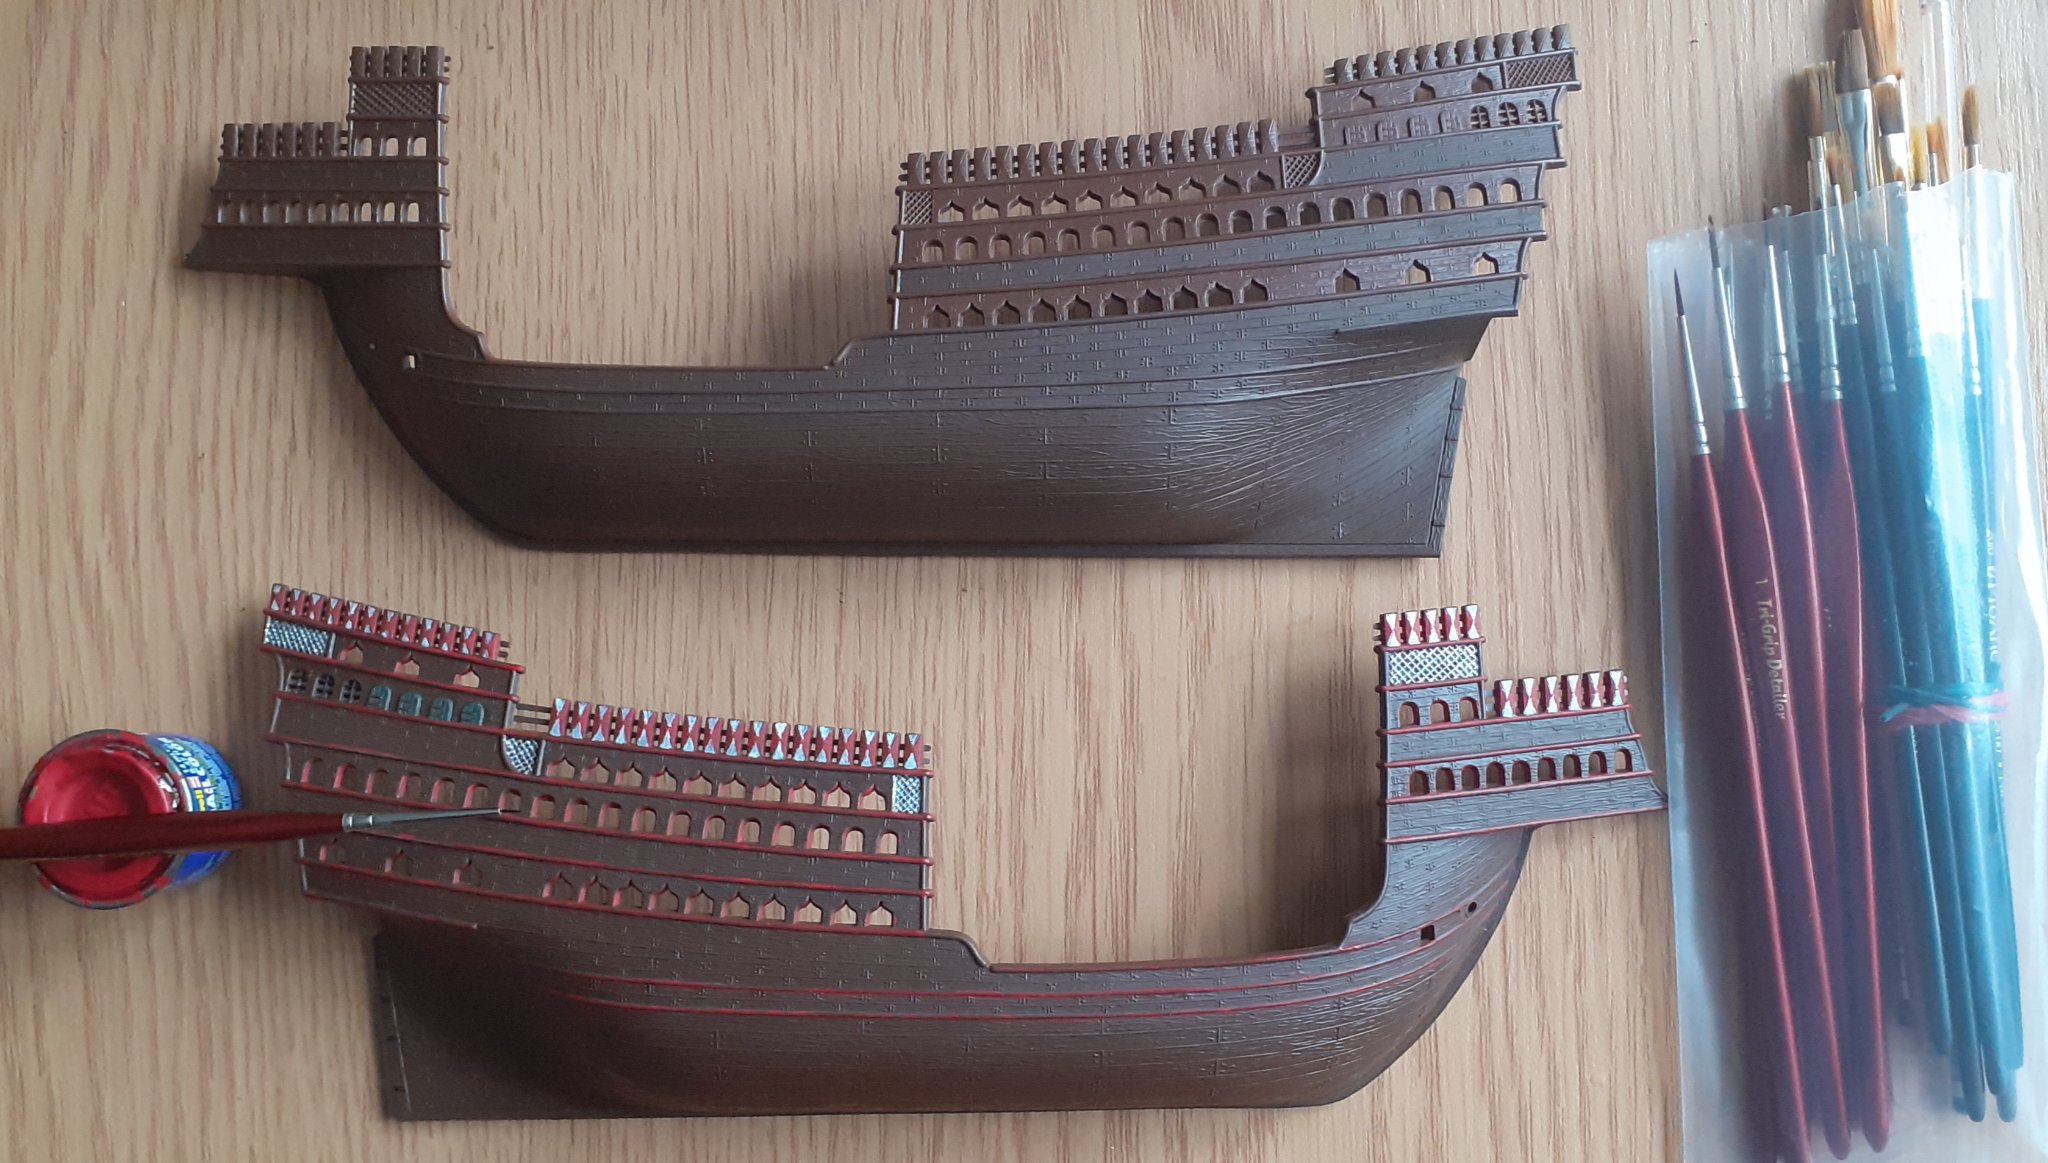
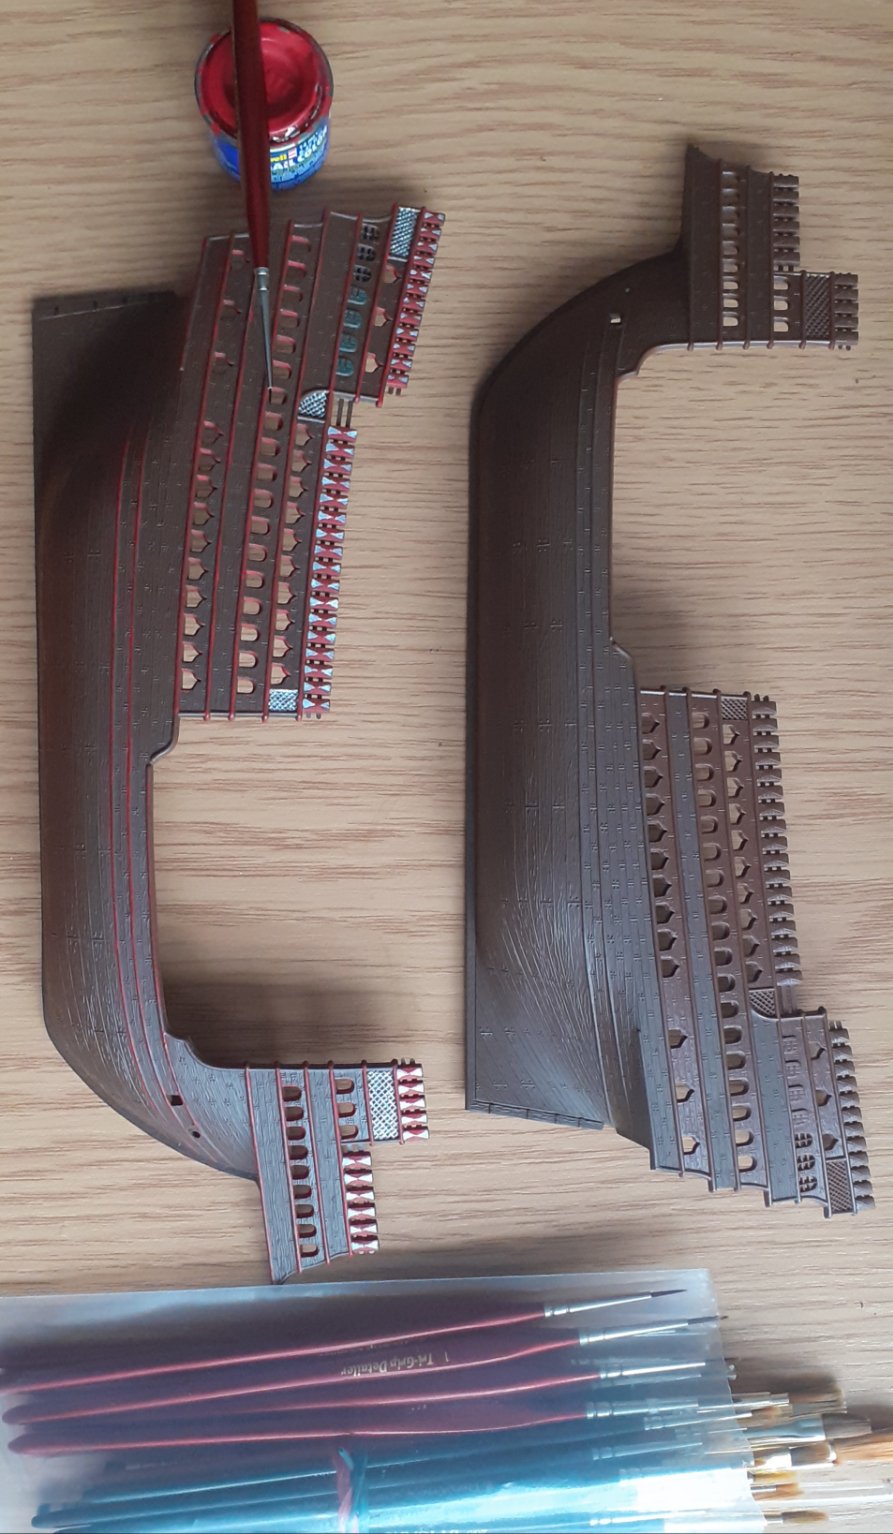
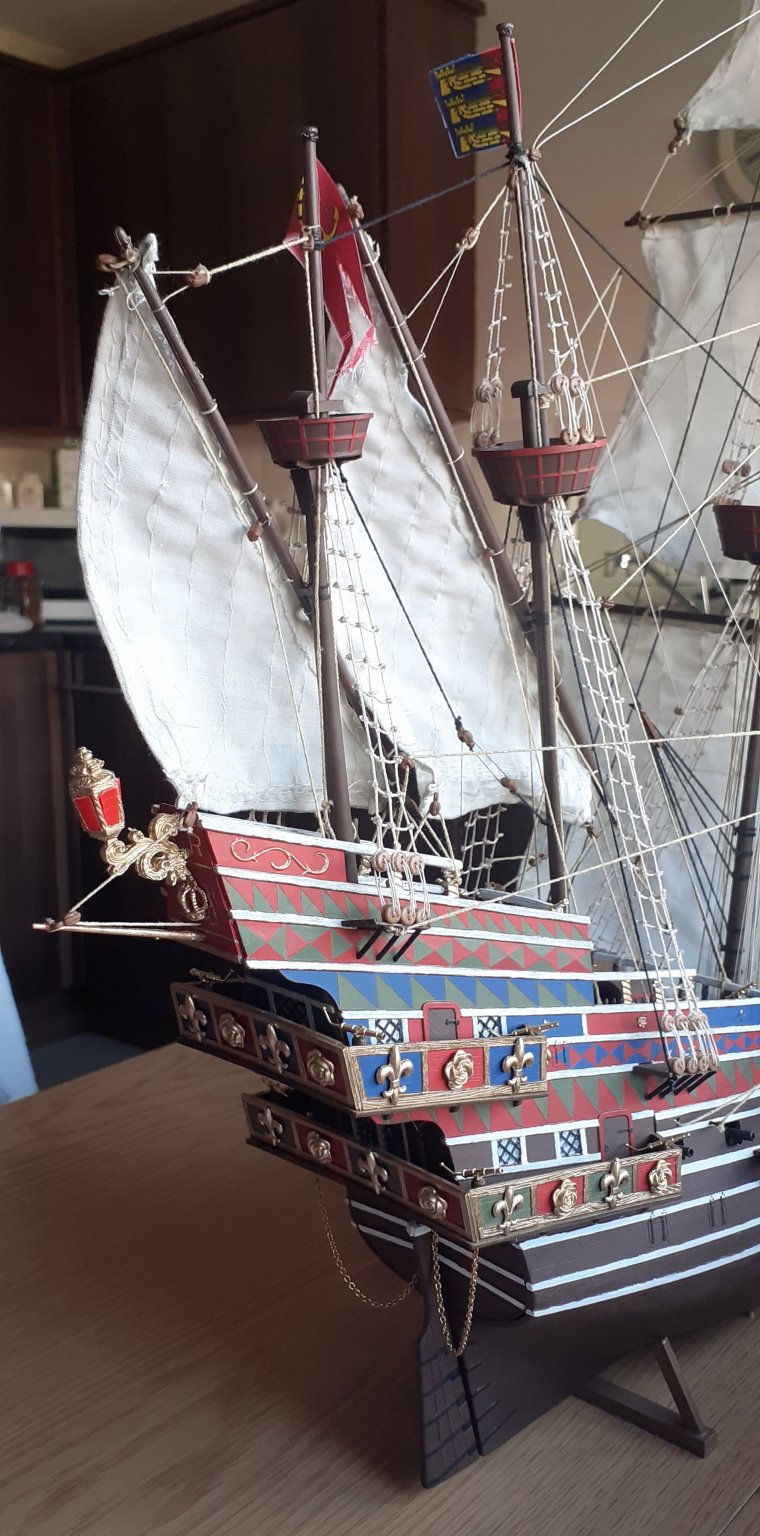
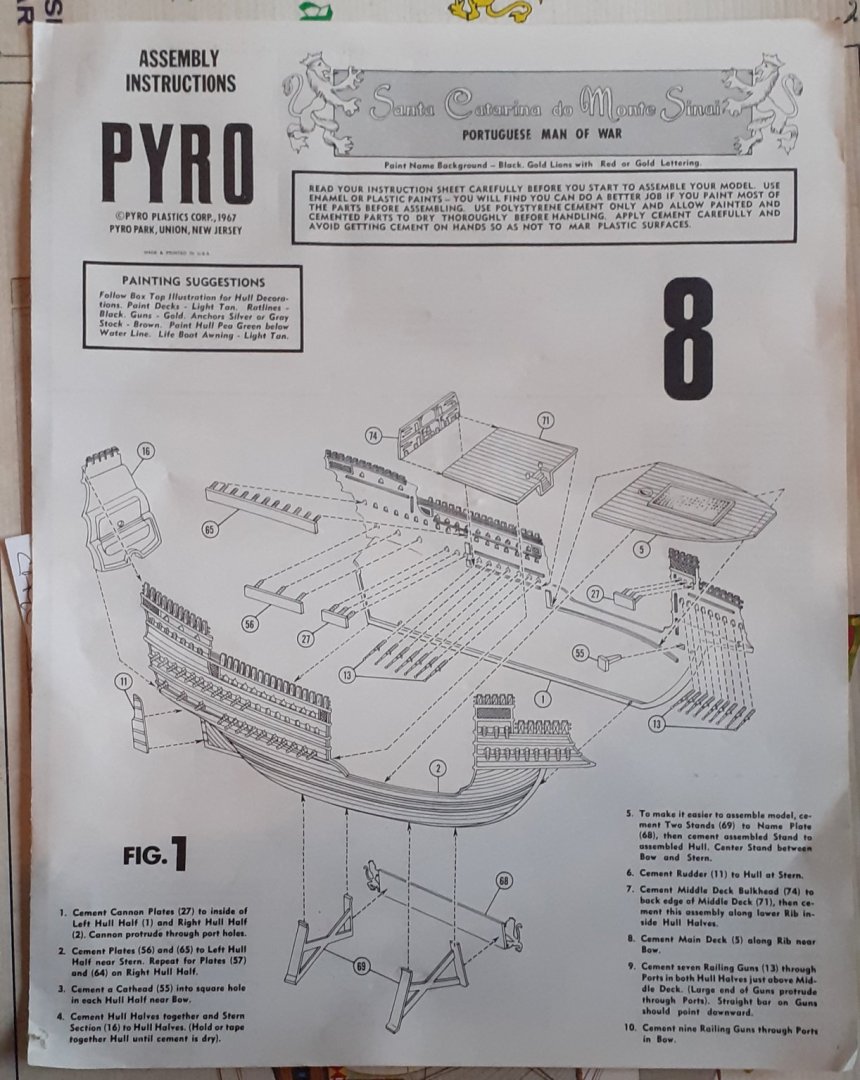
Been held up with shift changes at work so I've had next to no time to start this kit. I've spent more time thinking about the colour scheme as the Box instructions and the 16th century painting are that far apart that its caused me a few headaches. I have only completed the stand and 1 side of the hull painting due to this but I suppose I've got started in some direction. And I thought painting triangles on the Hind and Revenge were time consuming these ones on the shields are only a couple of mm long very intricate on such a small scale hull.


-
Lovely work on that Decking Bill,it looks superb.
-
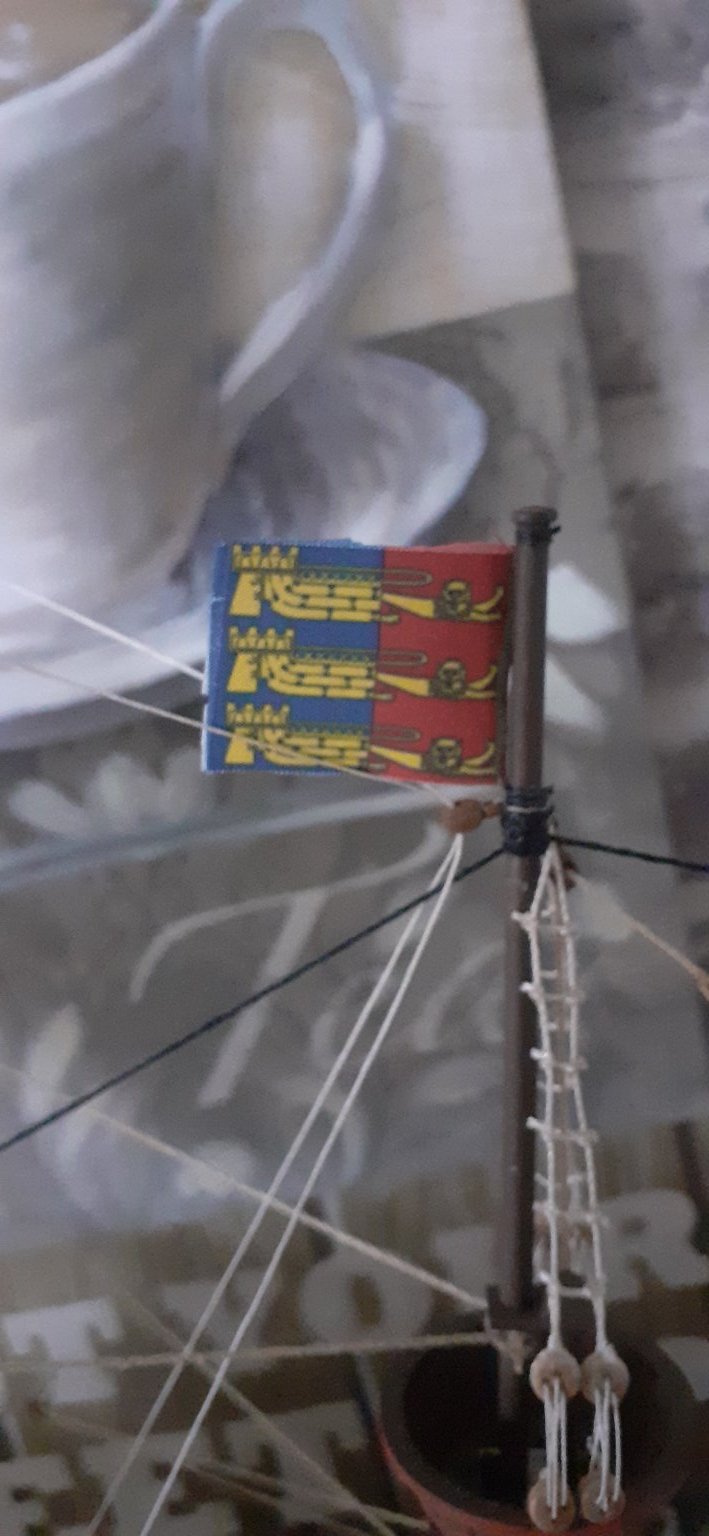
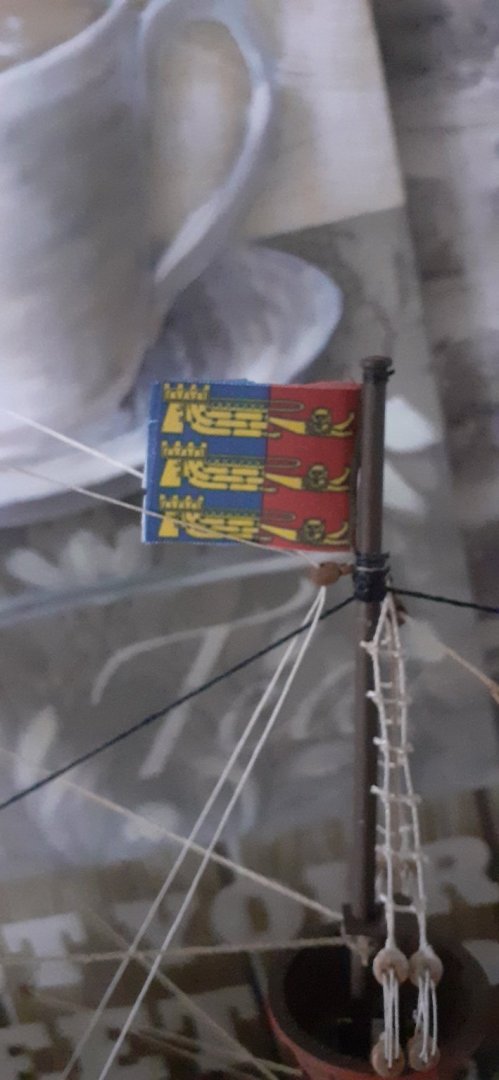
Hi Louie You are correct in that case, this particular flag being the "Lord Warden of Cinque Ports" I bought my Cloth Flags after sails from HISmodel as they look so much better than paper ones, just a shame you can't get Cloth flags for every kit out there. Best wishes Robert.
- 165 replies
-
- 2
-
-
- english galleon
- revell
- (and 2 more)
-
Hi Bill More or less correct, I usually paint all my parts first, Hulls and on sprues, before any assembly, anything after this is just little touch ups if needed. I think it's better to do this with Galleons as there are usually a lot of intricate painting to be done which isn't very feasible if the assembly has already been done or at least it makes it harder to do imho. Hope this helps Bill mate
- 165 replies
-
- 1
-
-
- english galleon
- revell
- (and 2 more)
-
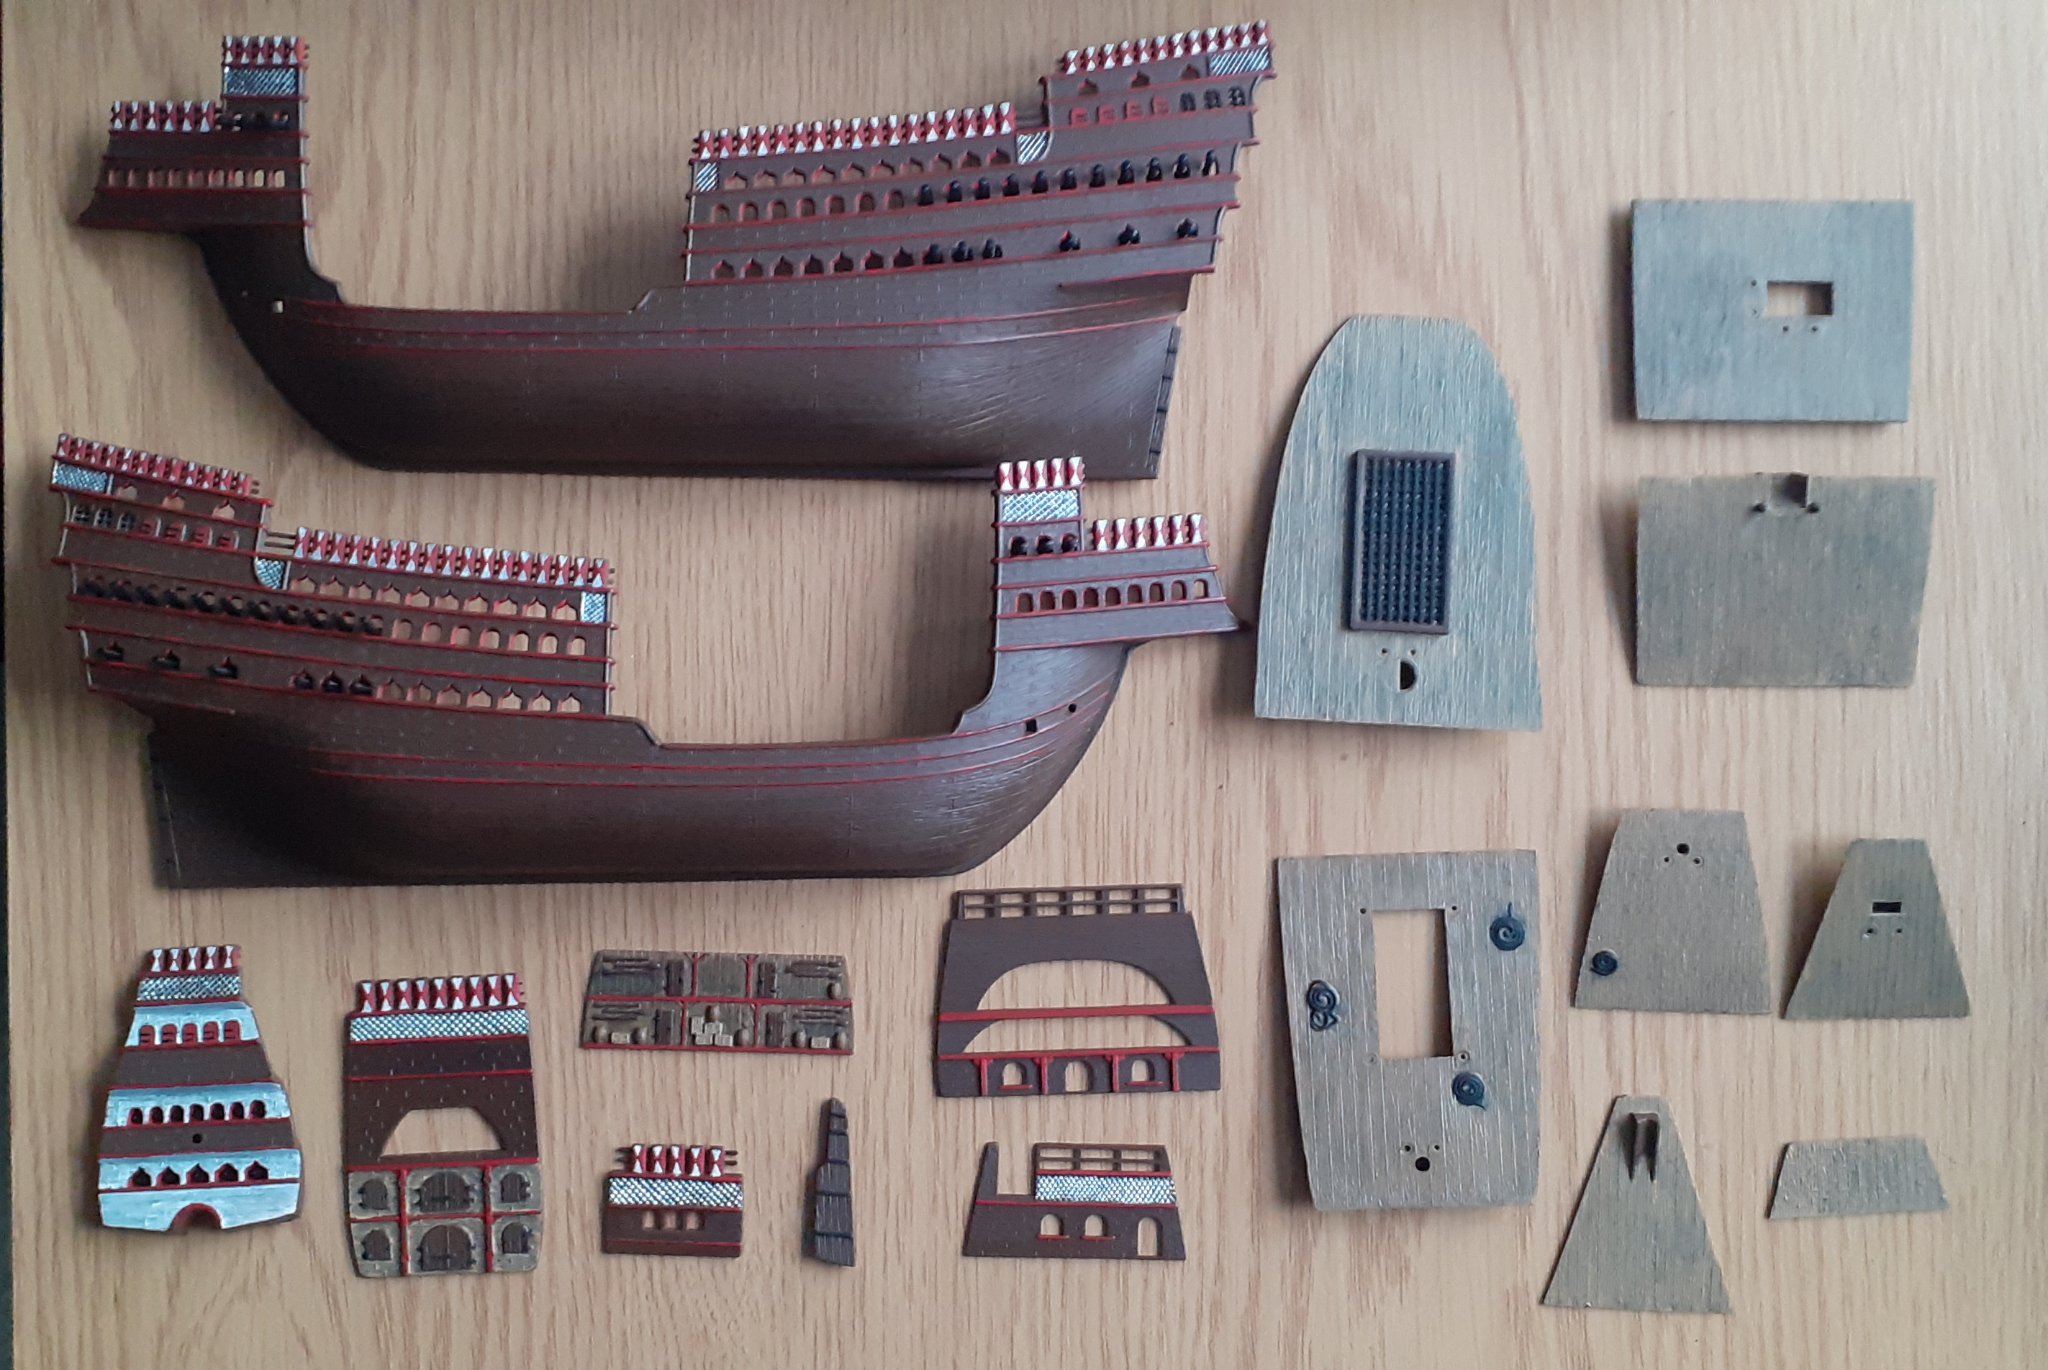
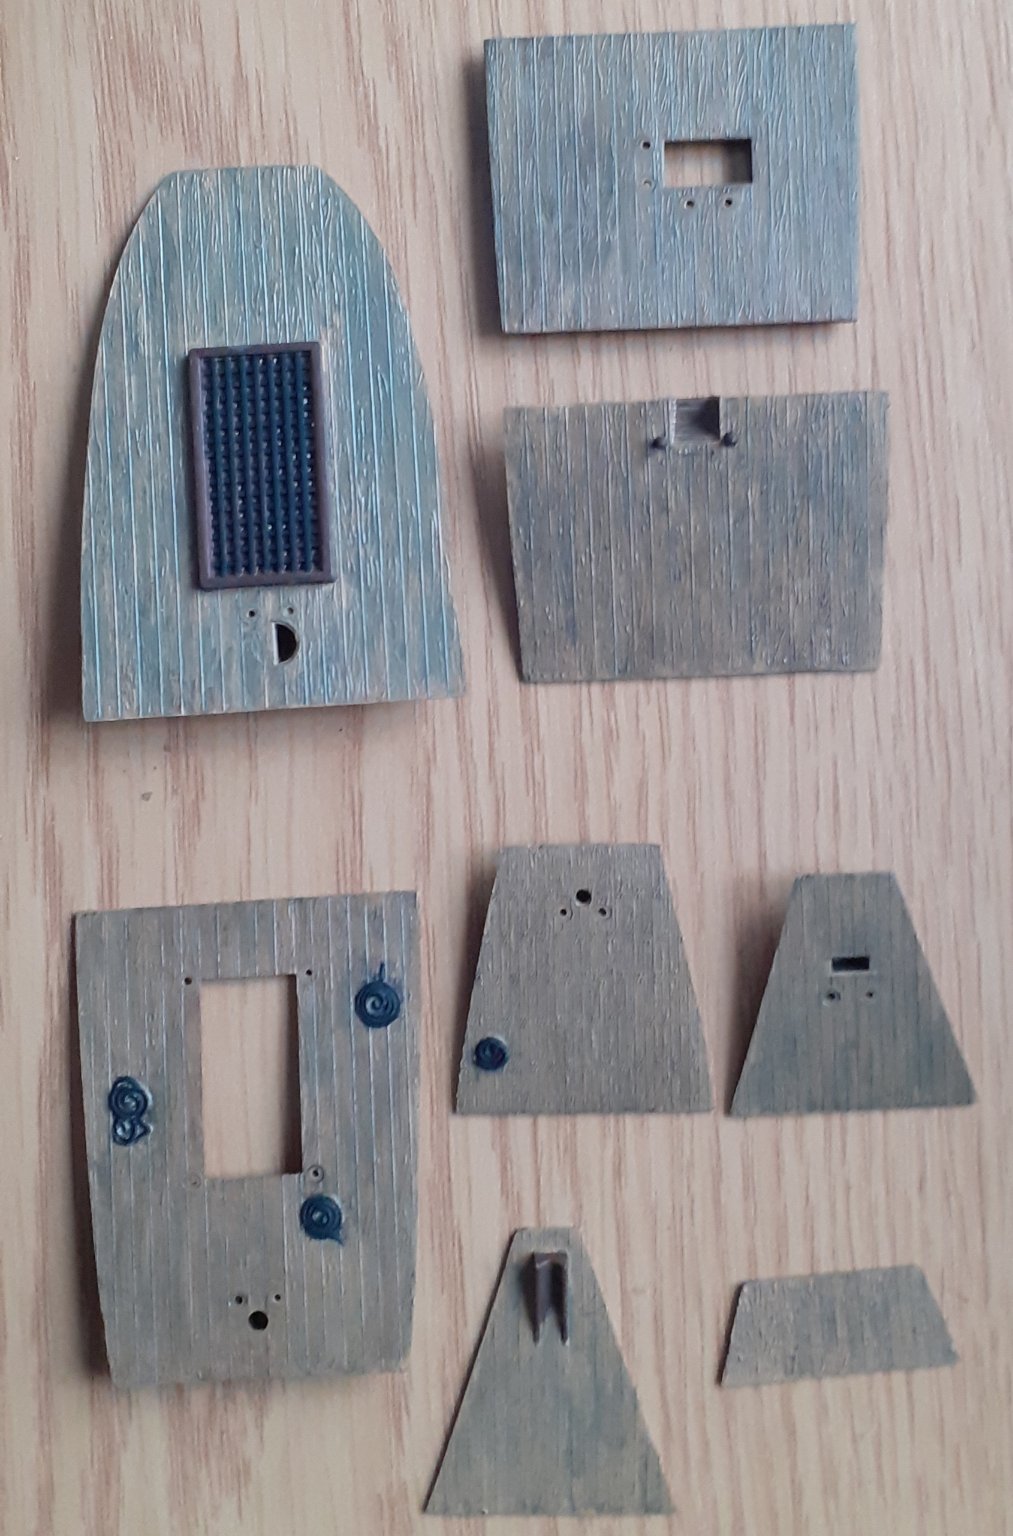
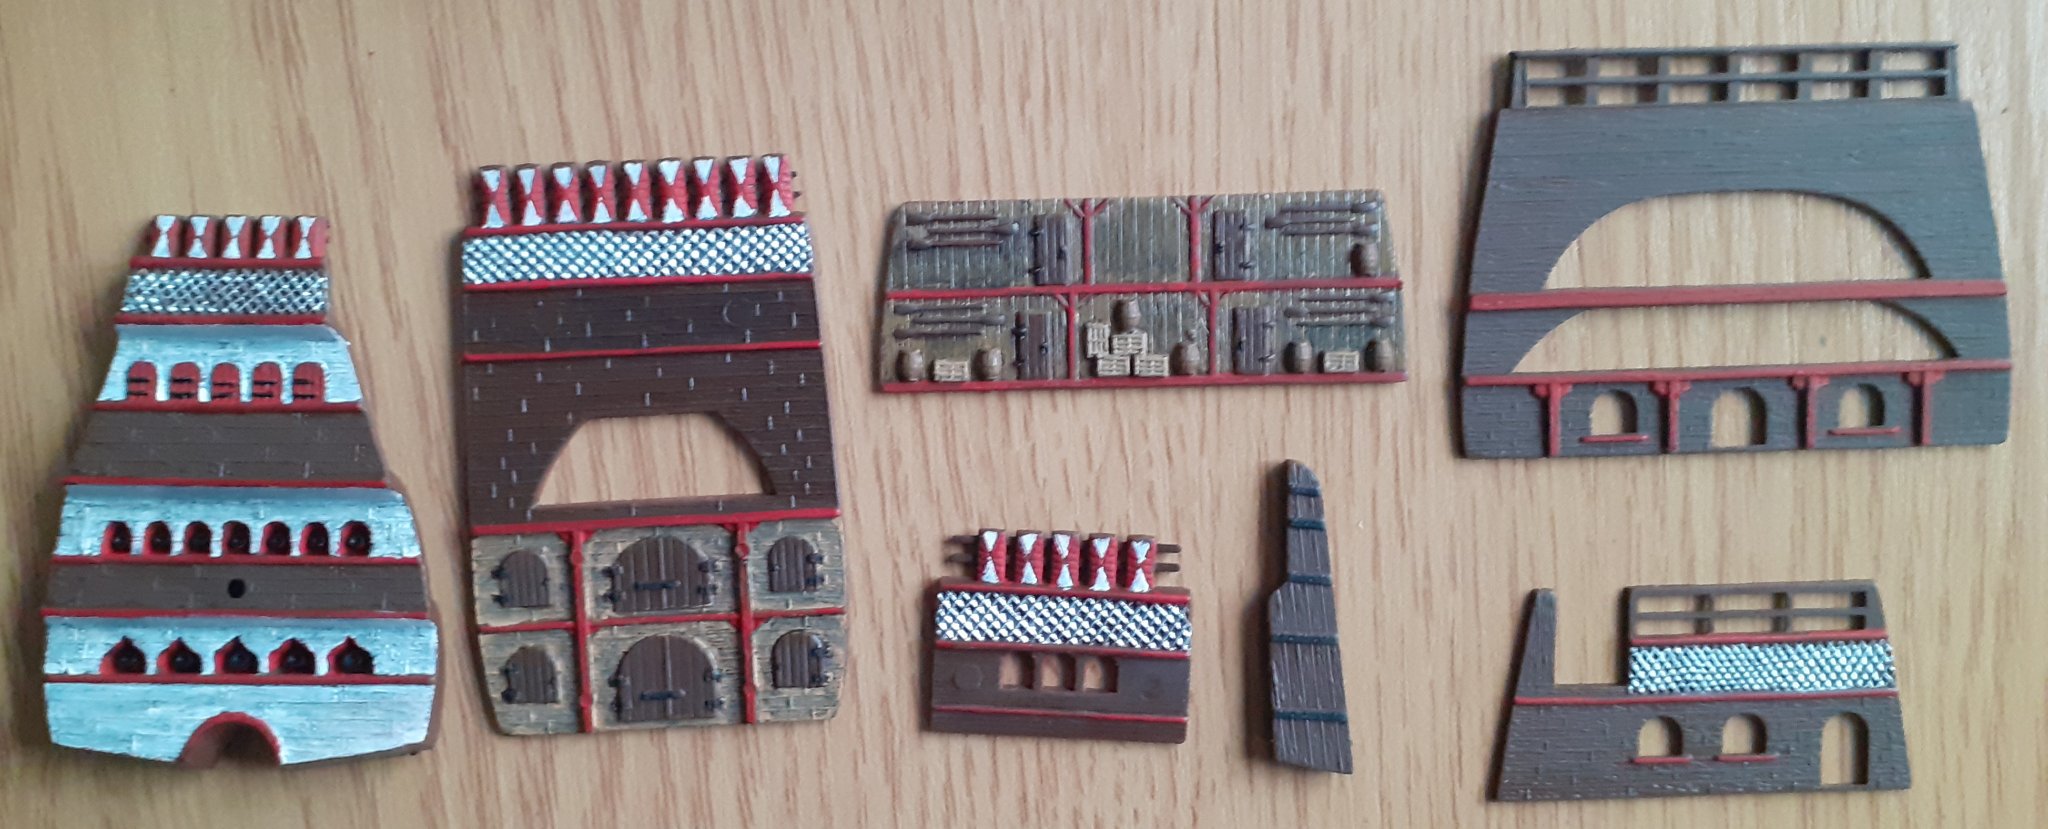
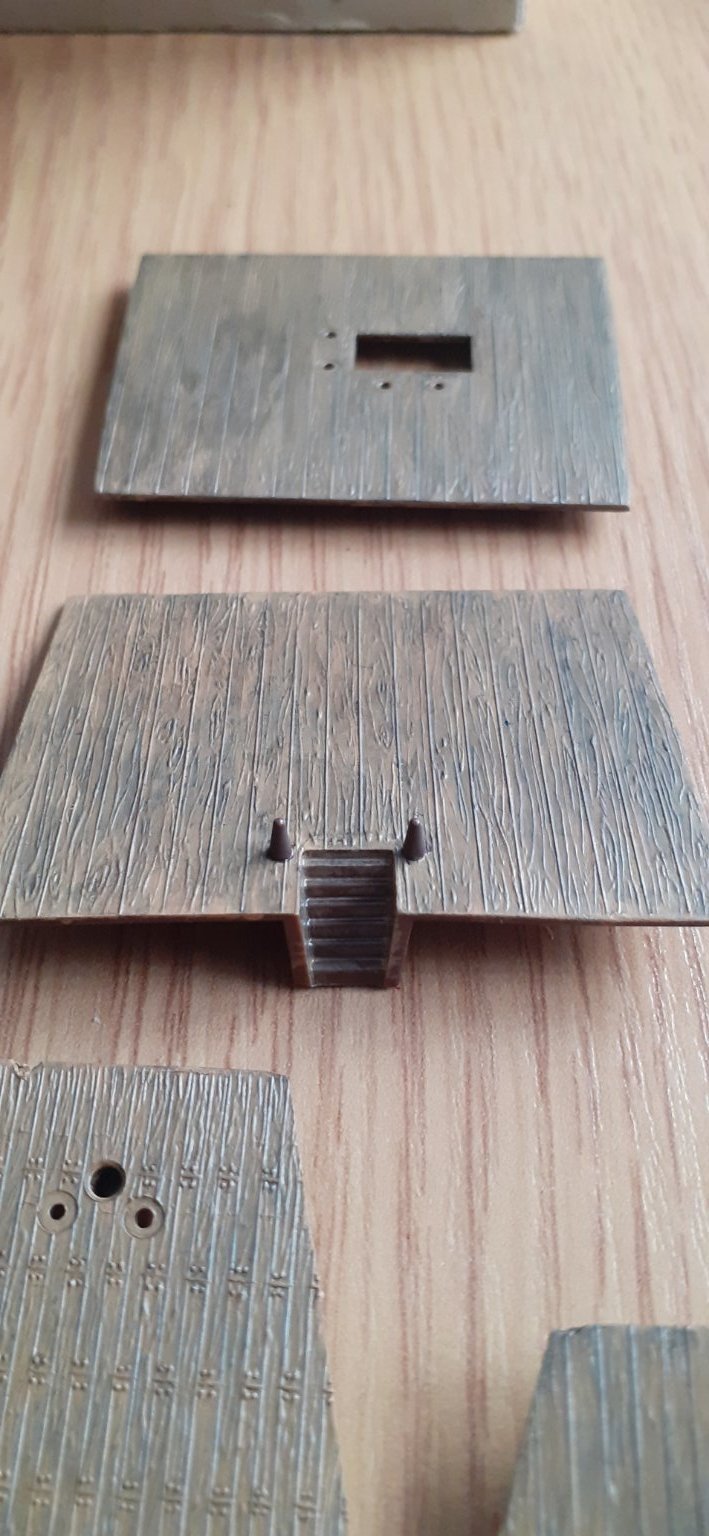
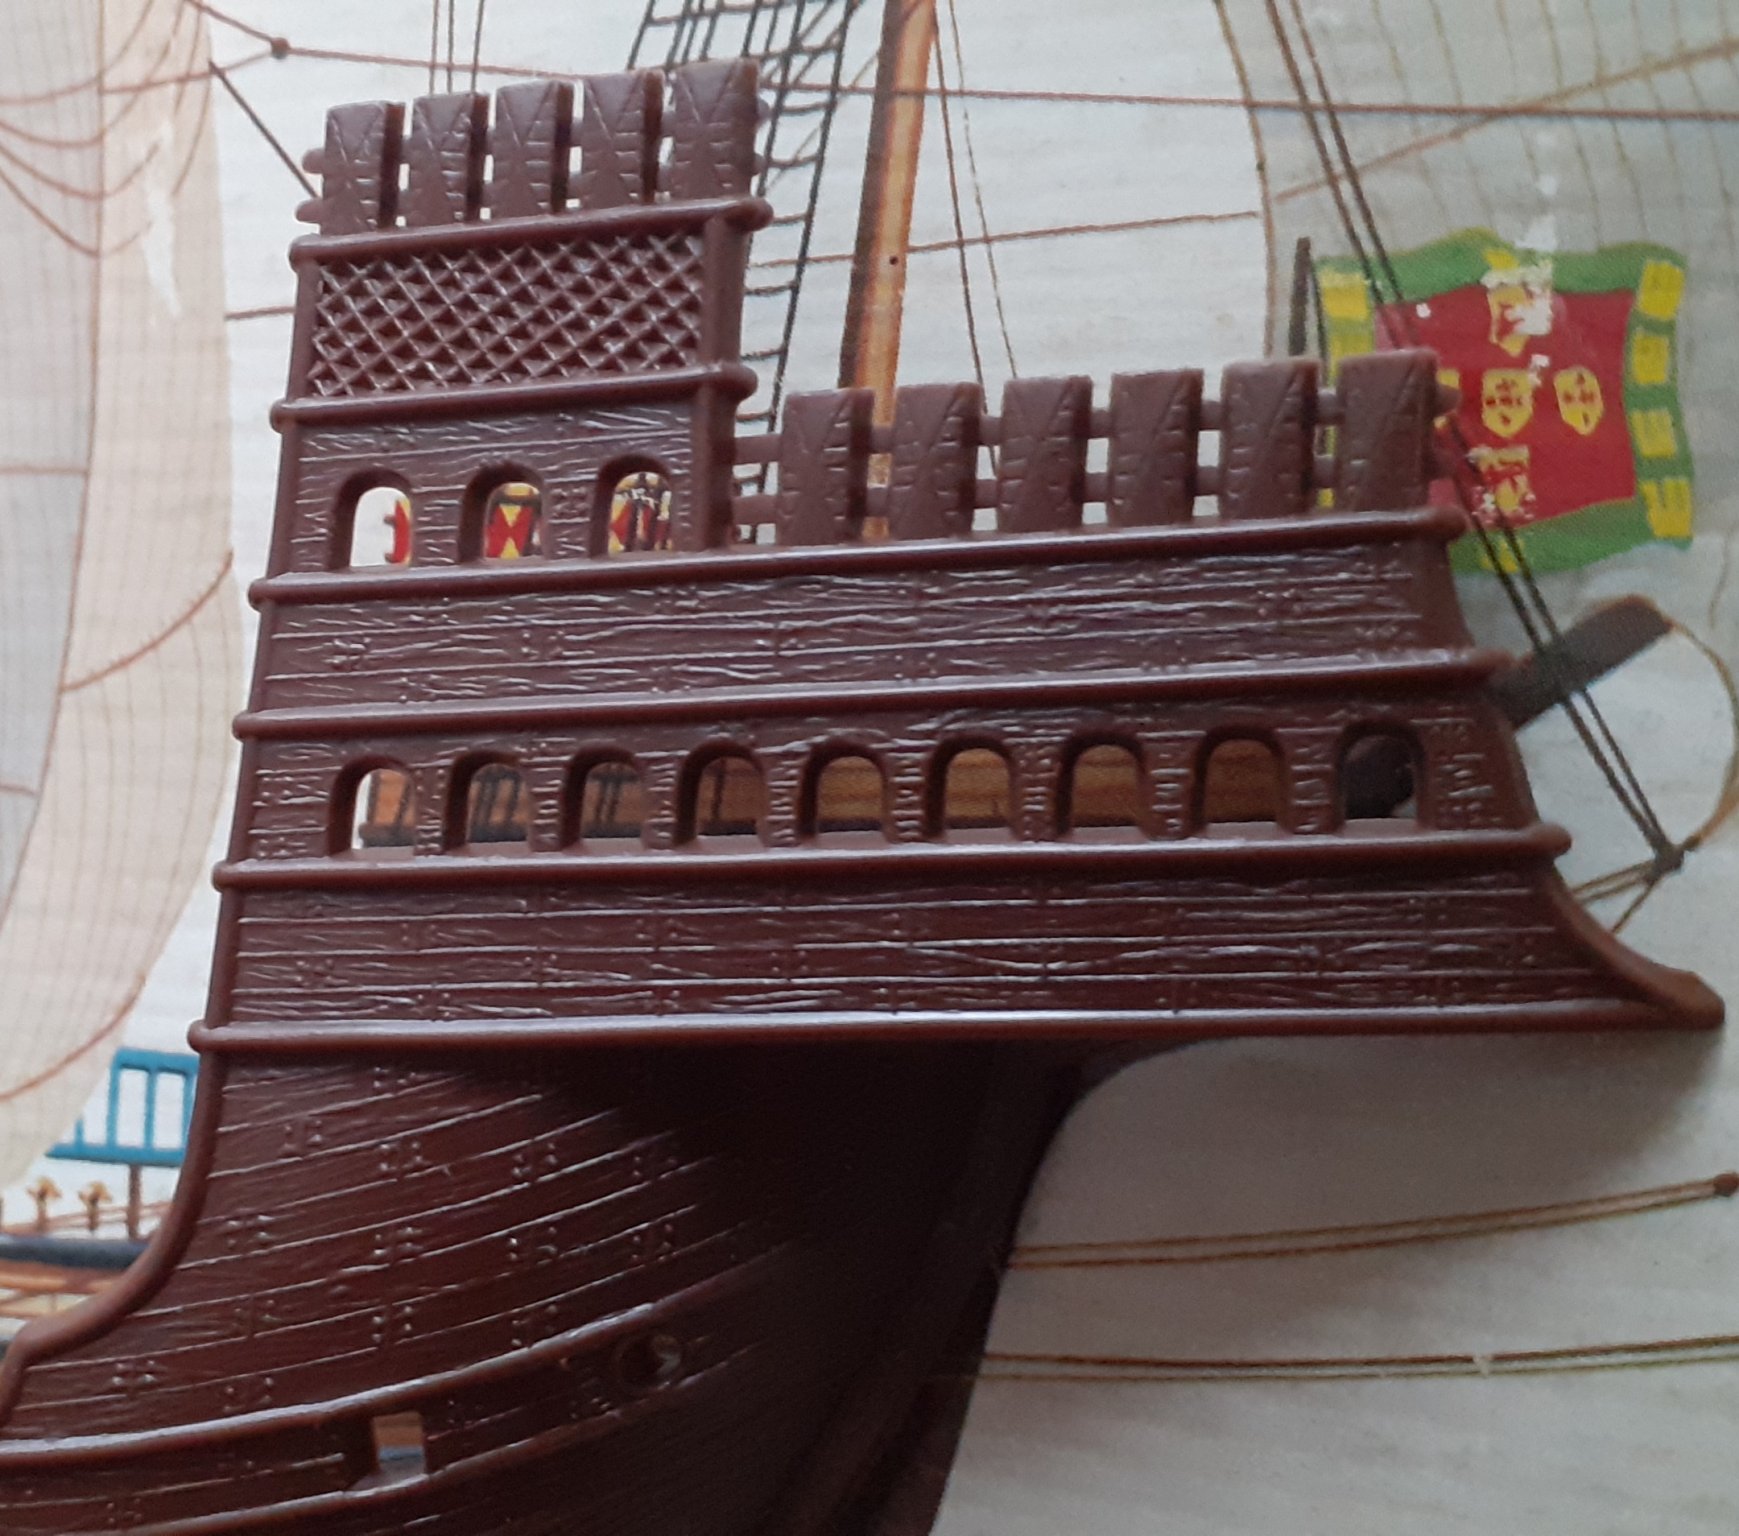
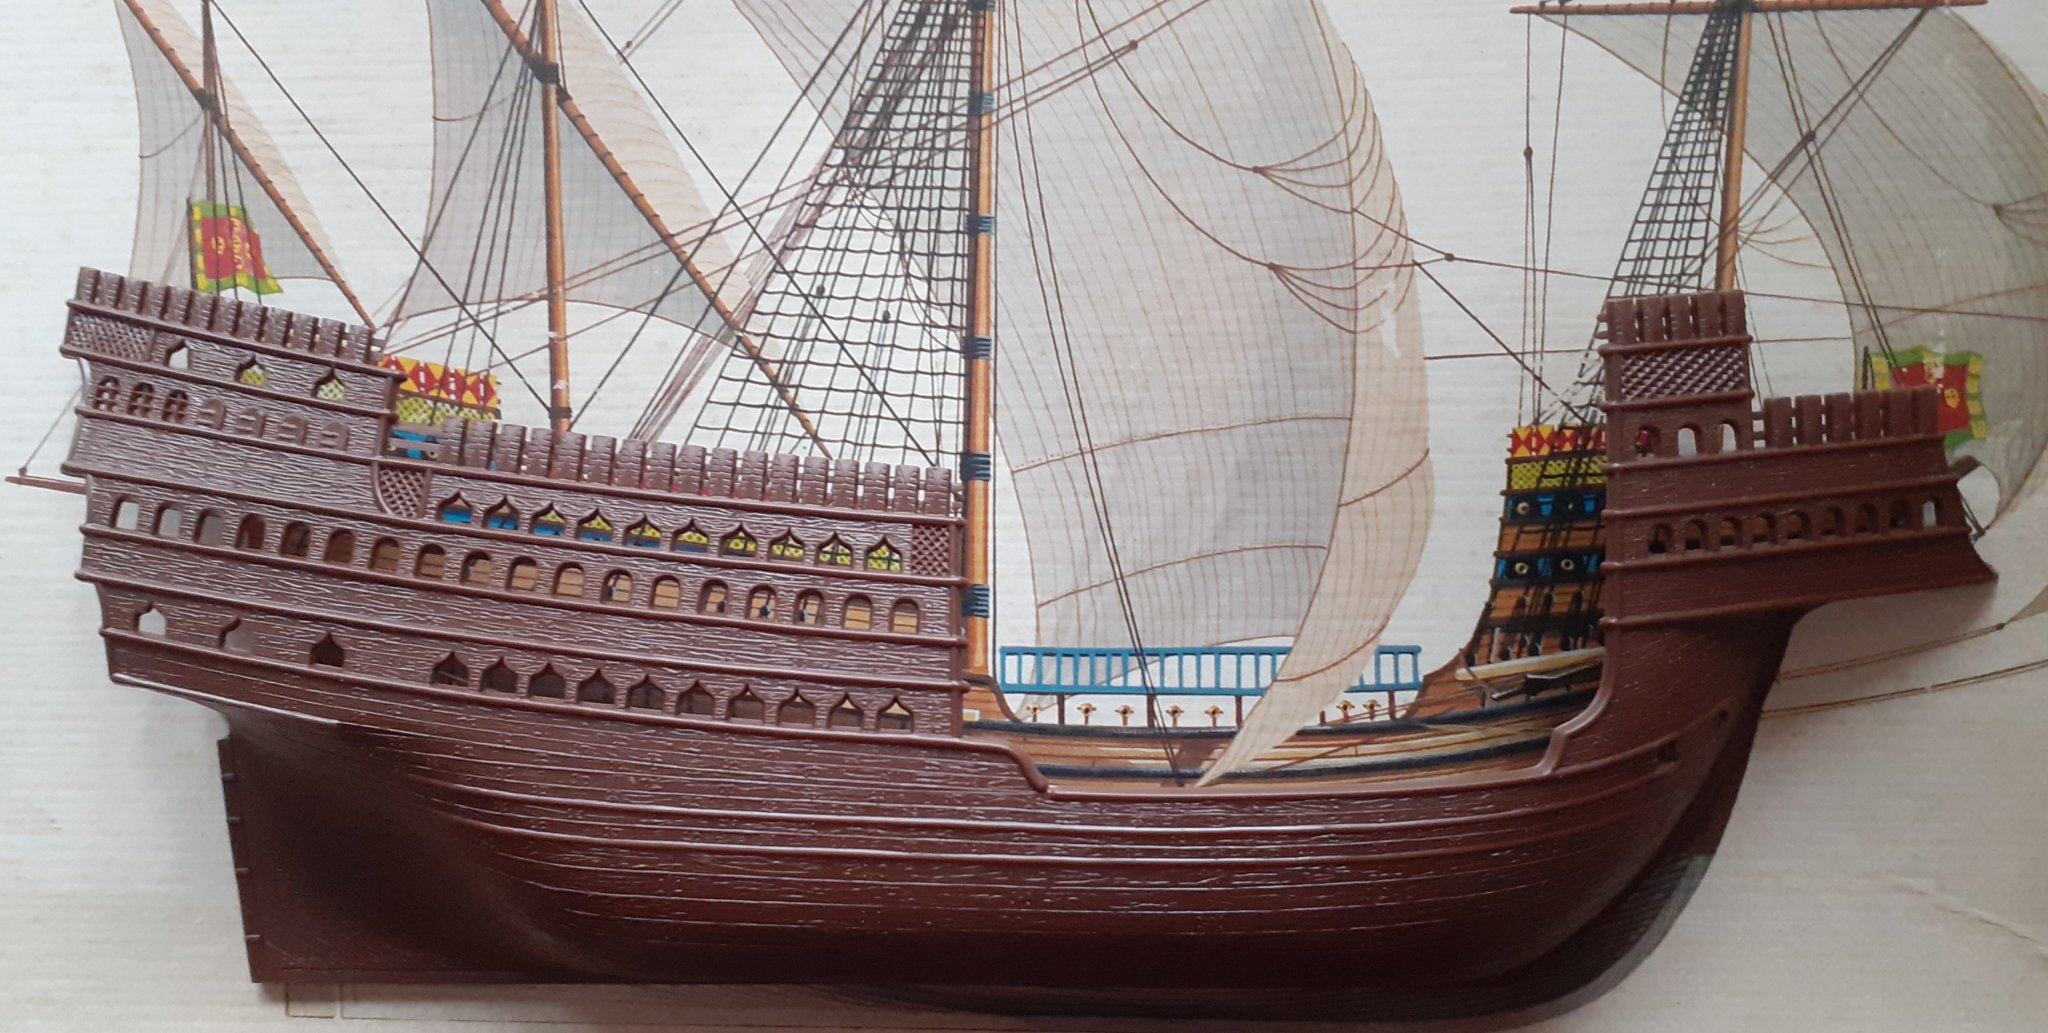
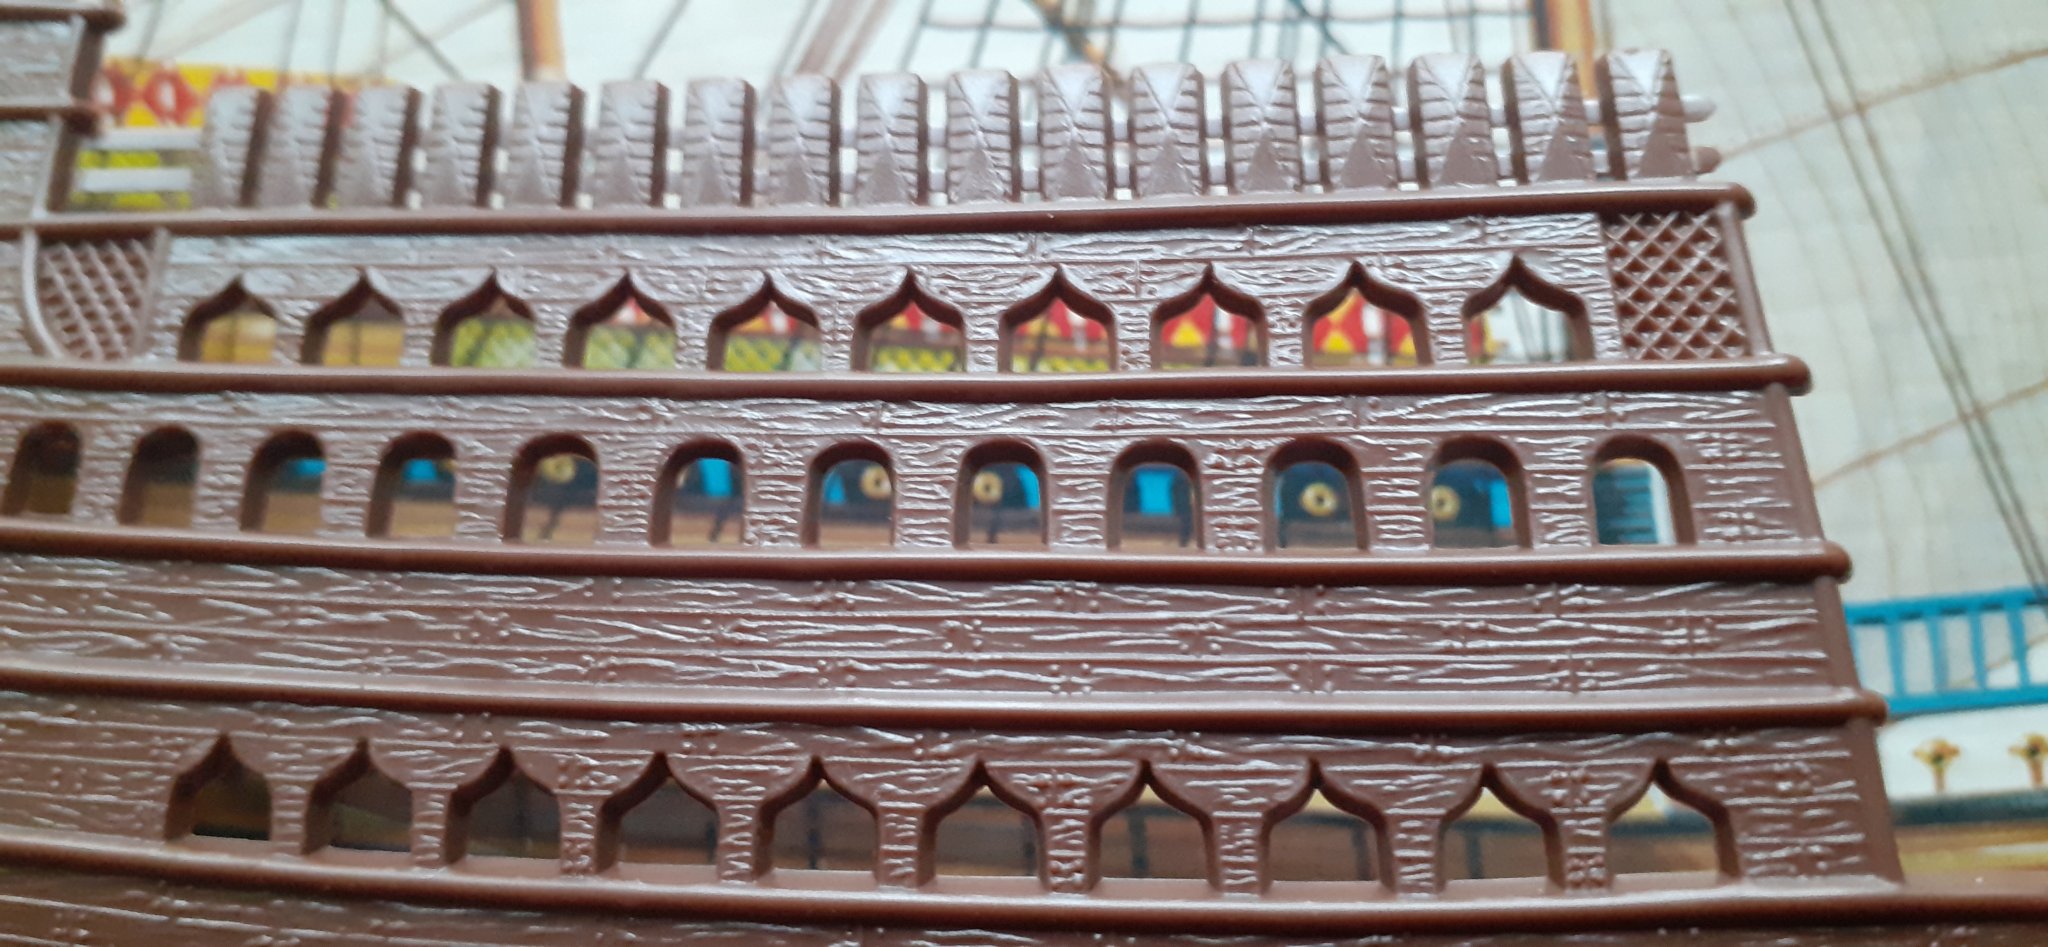
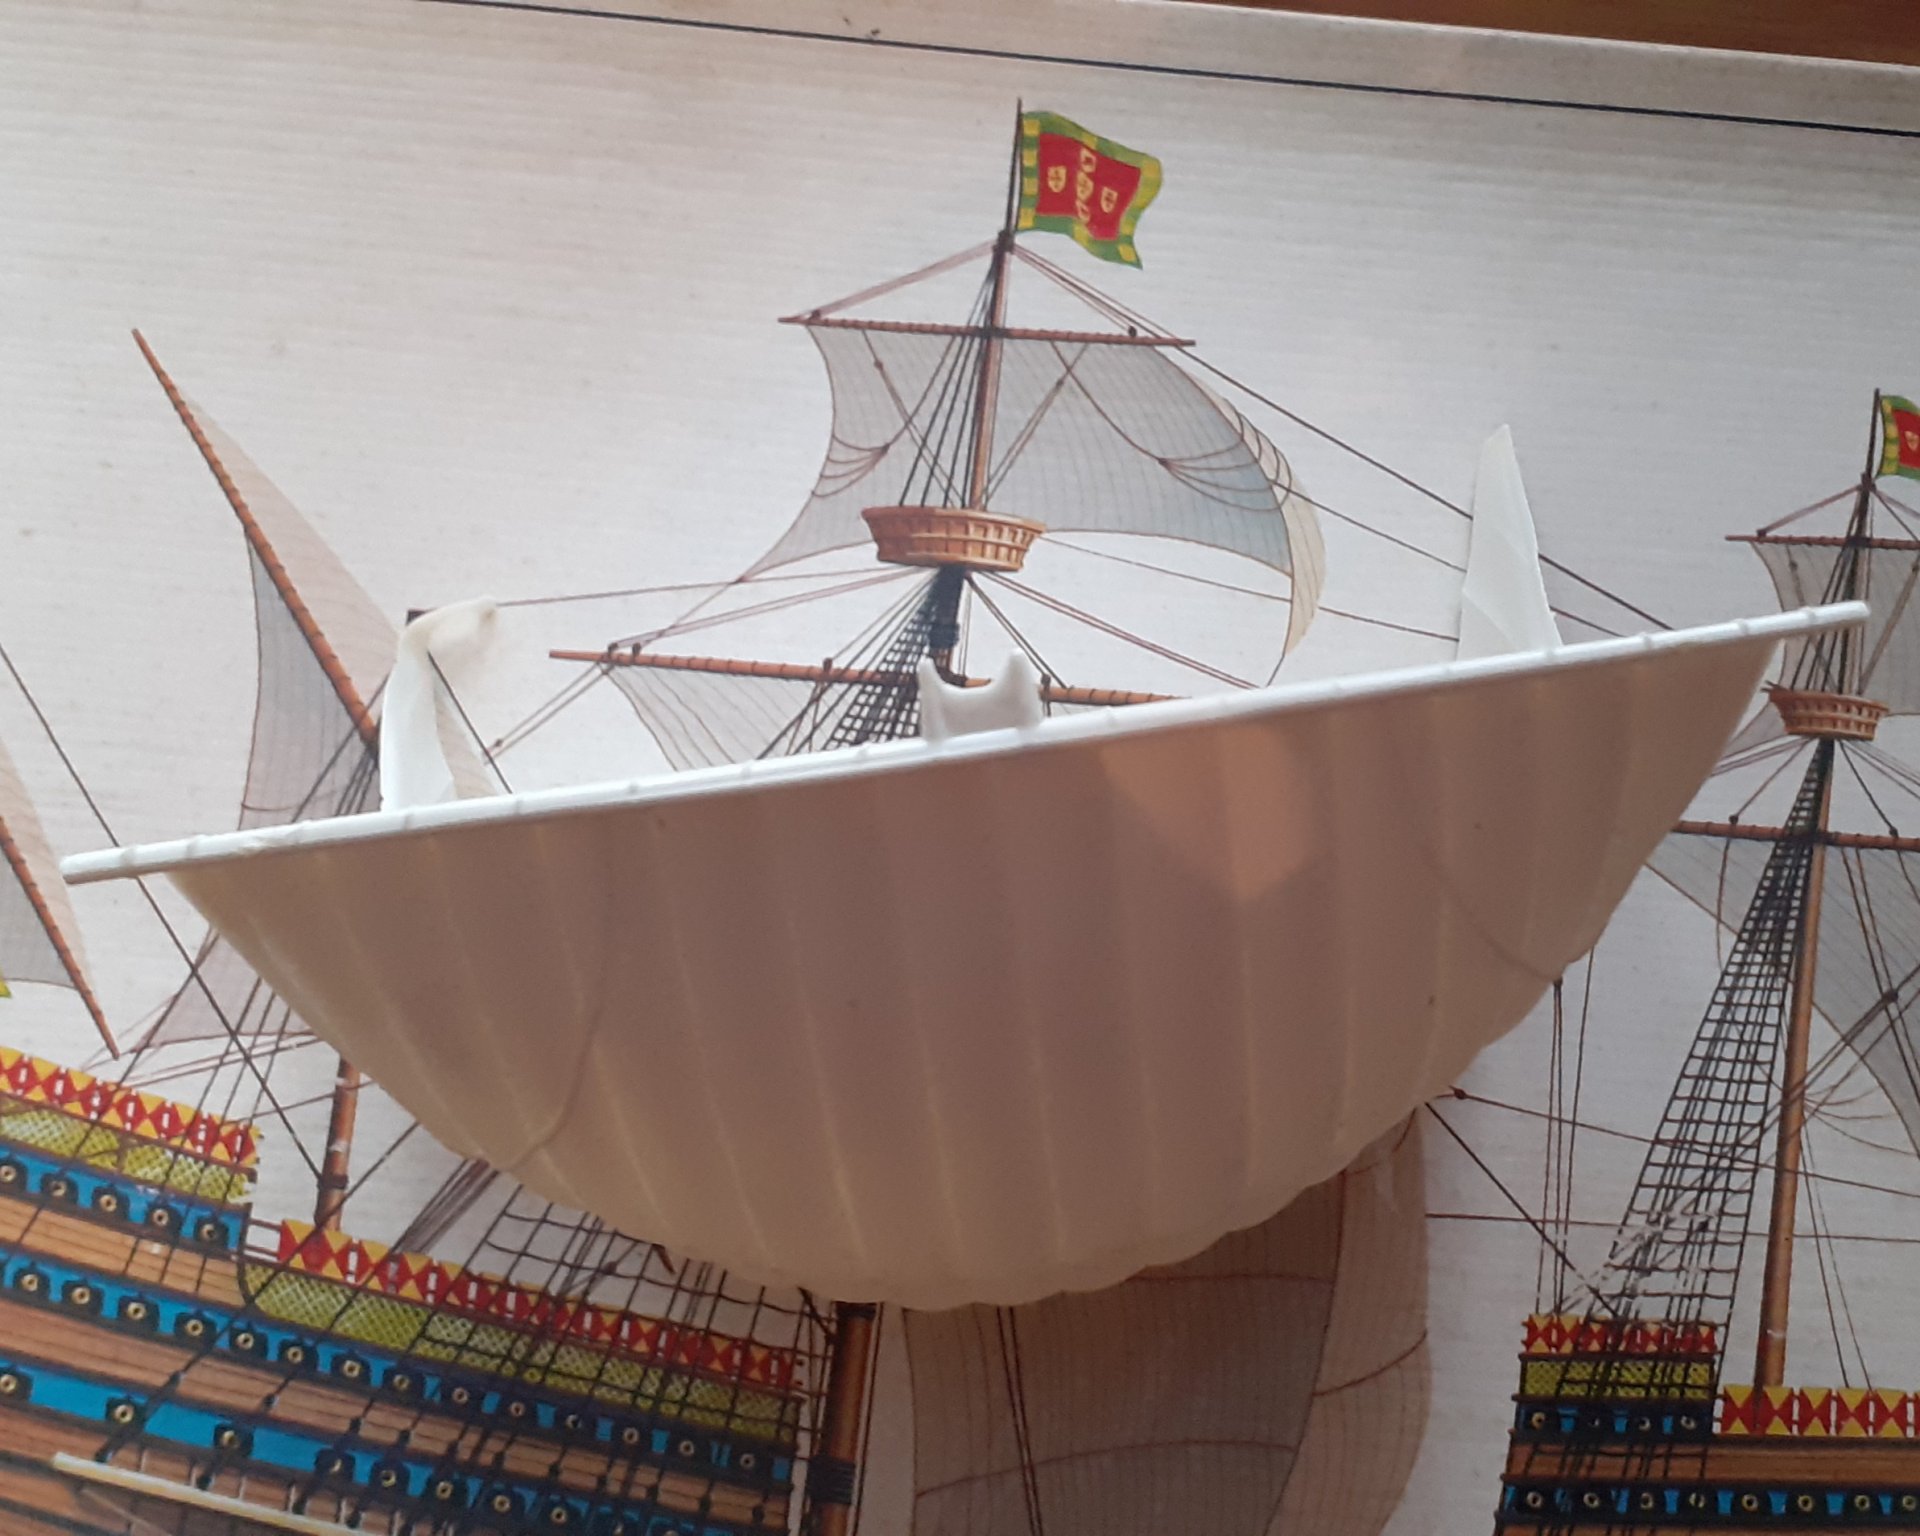
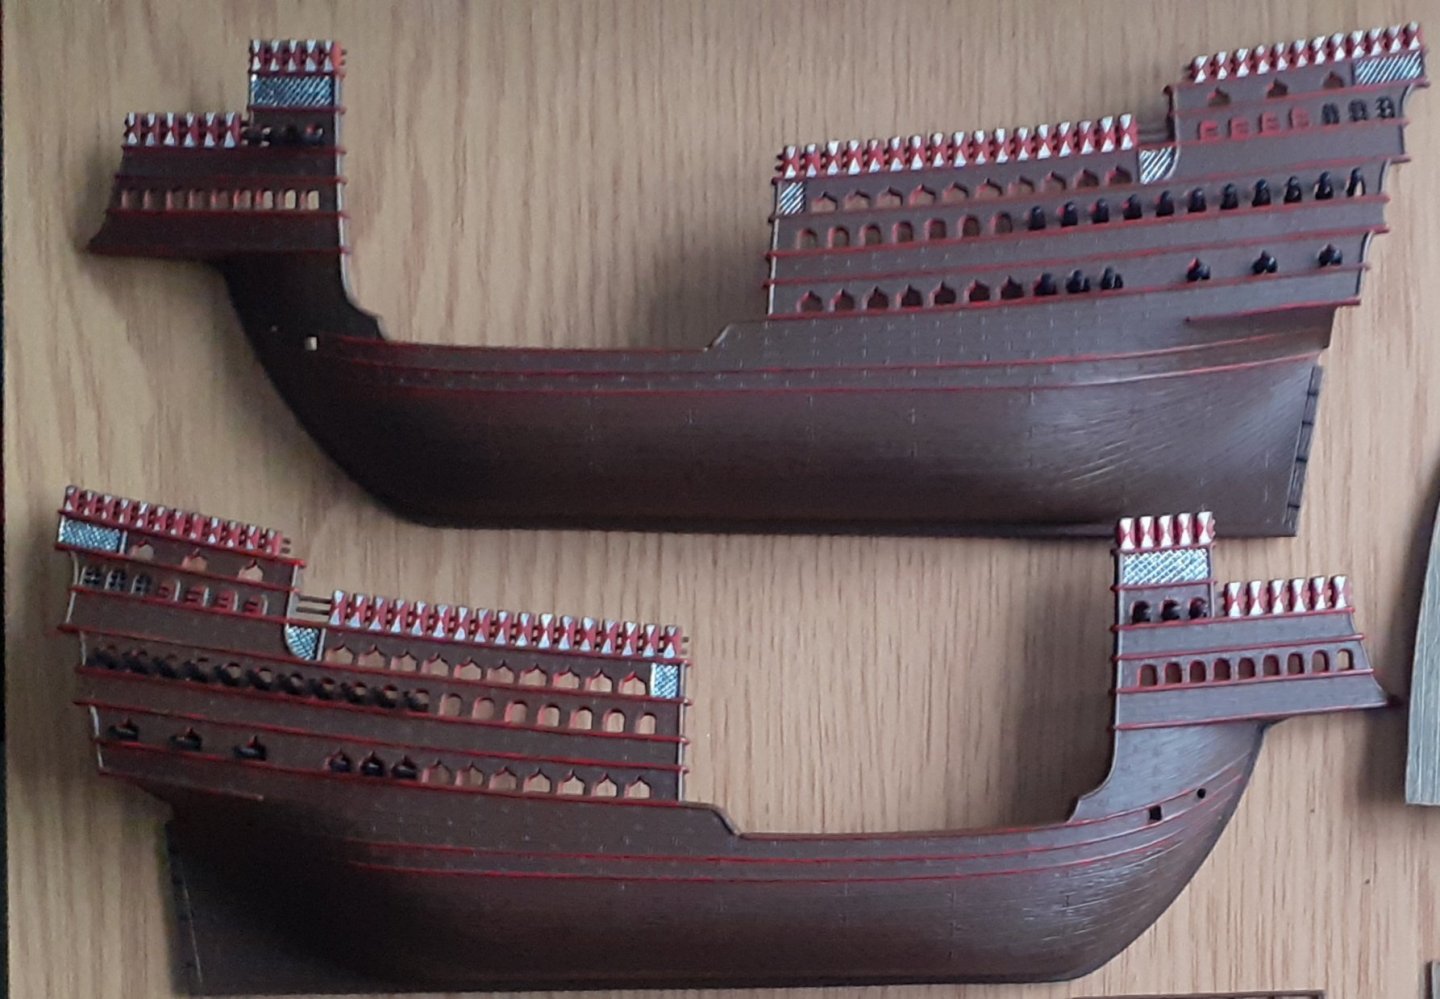
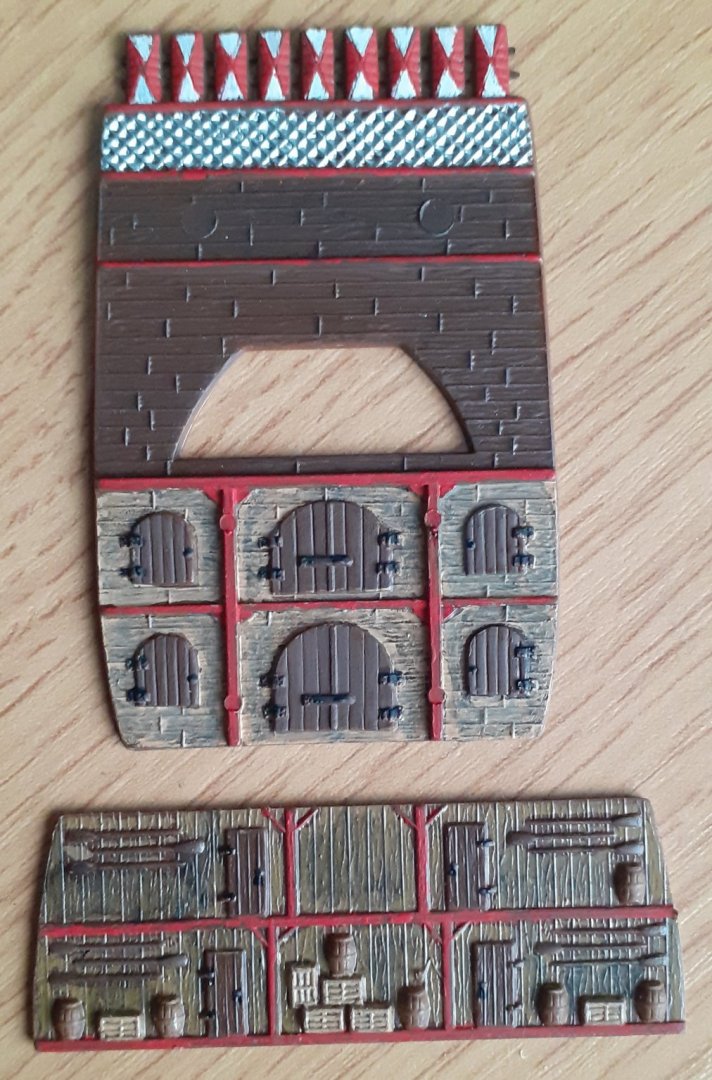
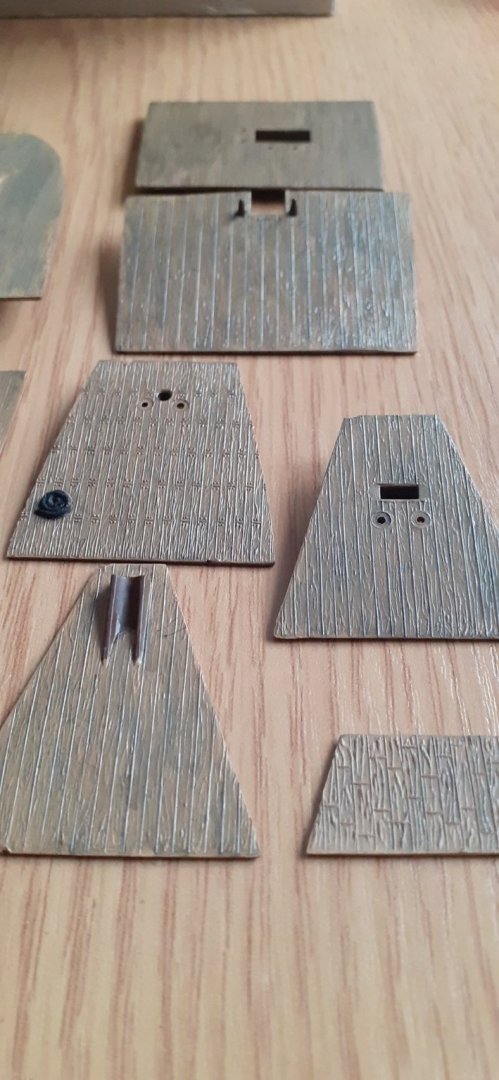
Hi Everyone. My Next build I have opted to go for out of my stash is Vasco Da Gama's Flagship Carrack the " Santa Catarina do Monte Sinai" on his 3rd Voyage to Portuguese India in 1524. Although a smaller kit with the hull at 26cm with bowsprit and stern mast added the full length will be 41cm approx. This kit with its beautiful architectural moulding(photos below) has has the potential to be a little cracker. Albeit this is will take some time as there is a lot of very small articulate painting. I am also going to try and make New yards for the masts so I can make cloth sails for this, as much as the plastic moulded sails/yards together have good detail on them, I much prefer cloth ones. I will also have to experiment with the colour scheme a bit as actual original carrack colours seem to differ a bit every time on a different website and from the kit instructions which aren't very good. I will also have to re examine the rigging as the instructions again aren't great. I guess this will probably hold as man challenges as a bigger kit, but I really wanted to do this kit as I love the history of it and it's a step back from the normal a bit. Hopefully I will be starting this in the next couple of days if not the start of next week 👍🤺🤺🤺⚓⚓⚓


-
Thank you so very much, the best of health and happiness to you 🍻👍
- 165 replies
-
- 1
-
-
- english galleon
- revell
- (and 2 more)
-
Hi Bill, Not sure at the moment as I have quite few to choose from in my stash, I may go for a french one or an early carrack, undecided at the moment mate. Any help you need and if I can I will help👍🤺🤺🤺⚓⚓⚓
-
Thank you very much, I am touched that it brought back Happy memories for yourself.
-
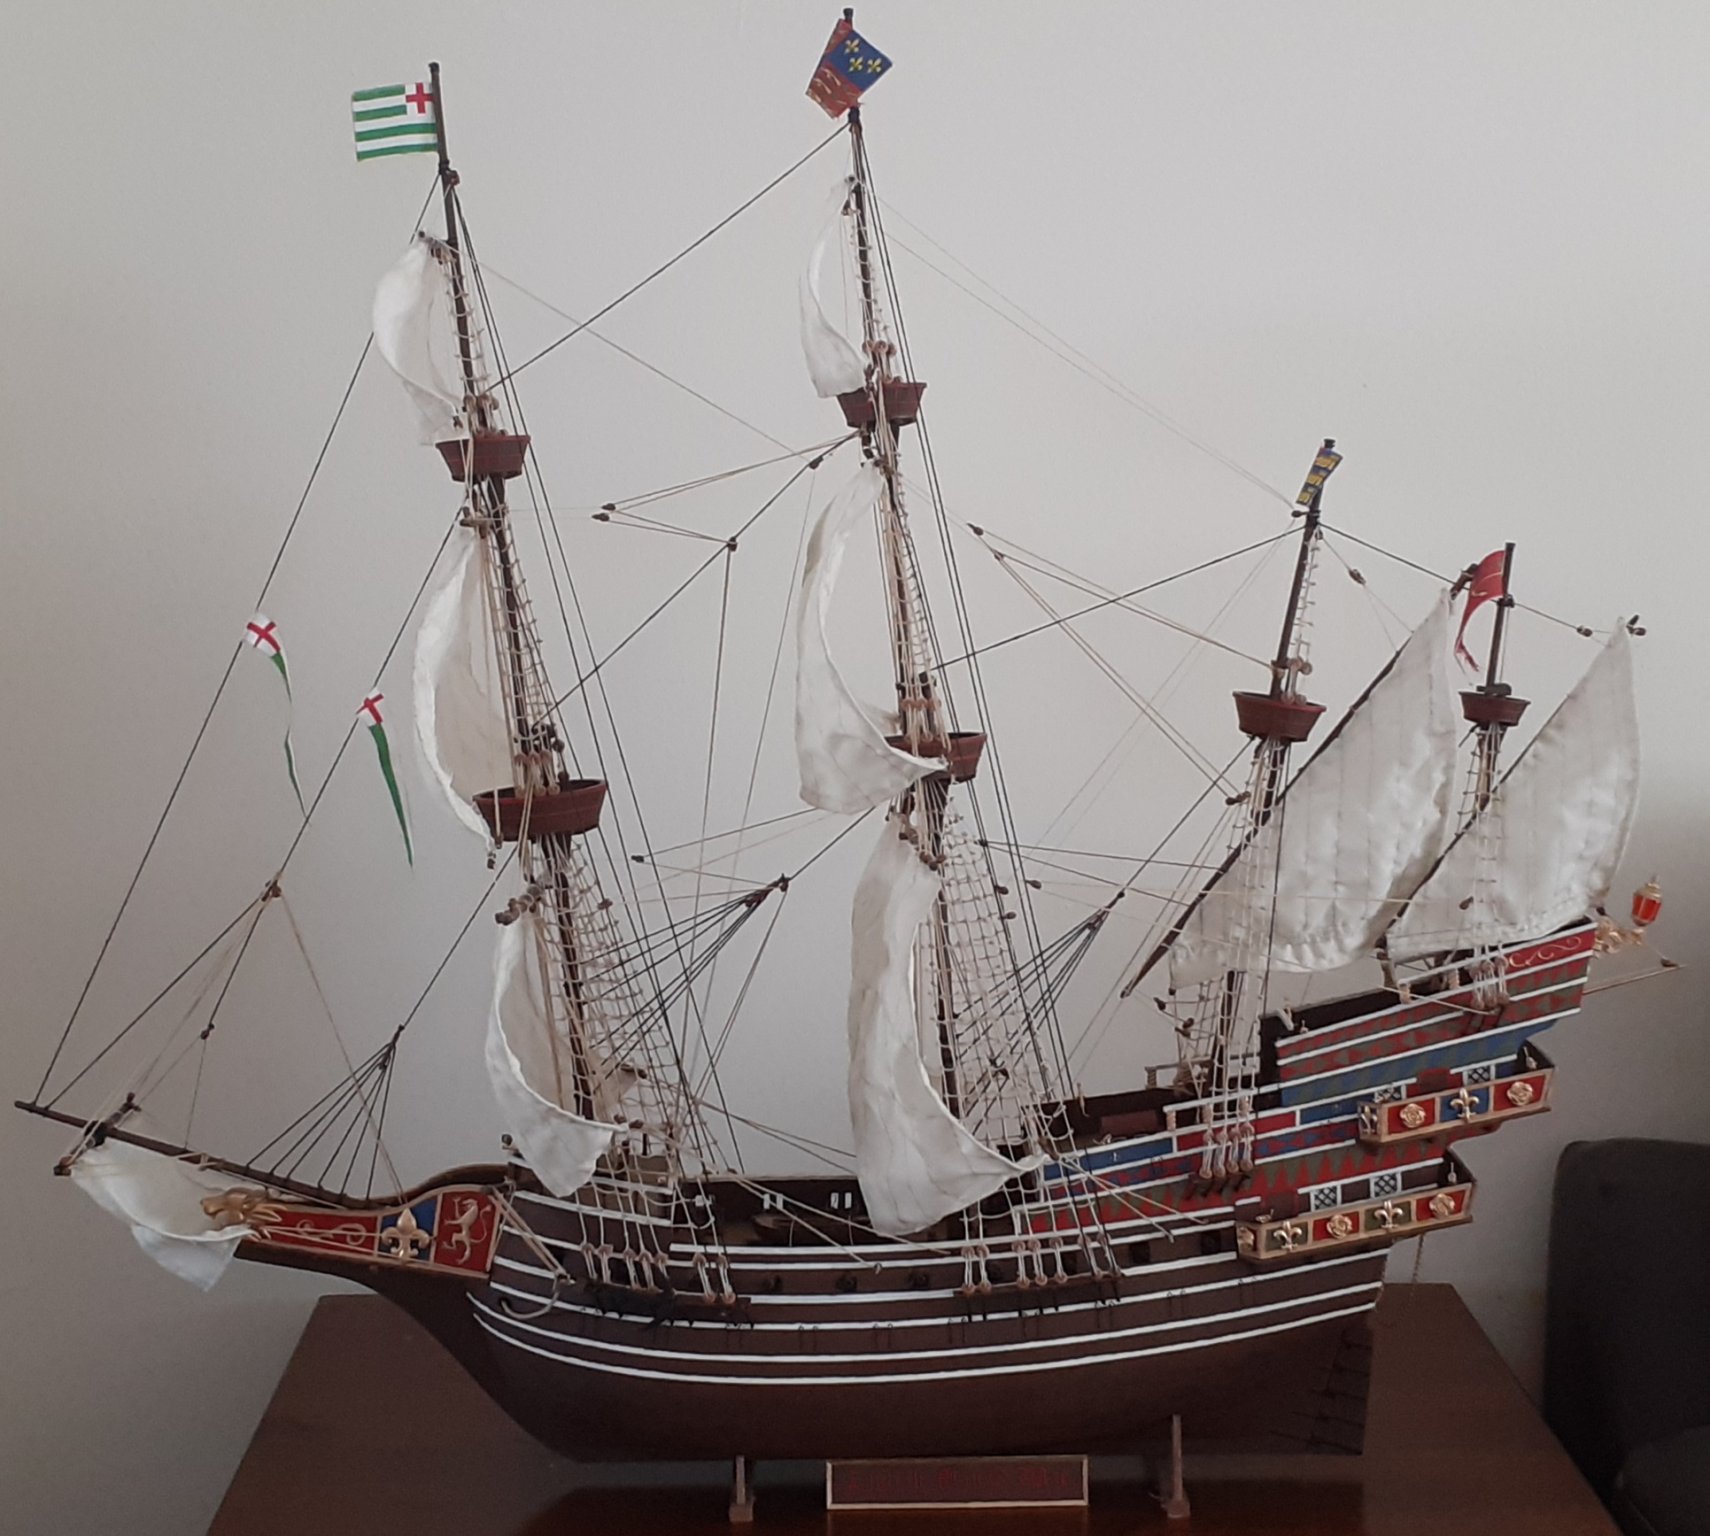
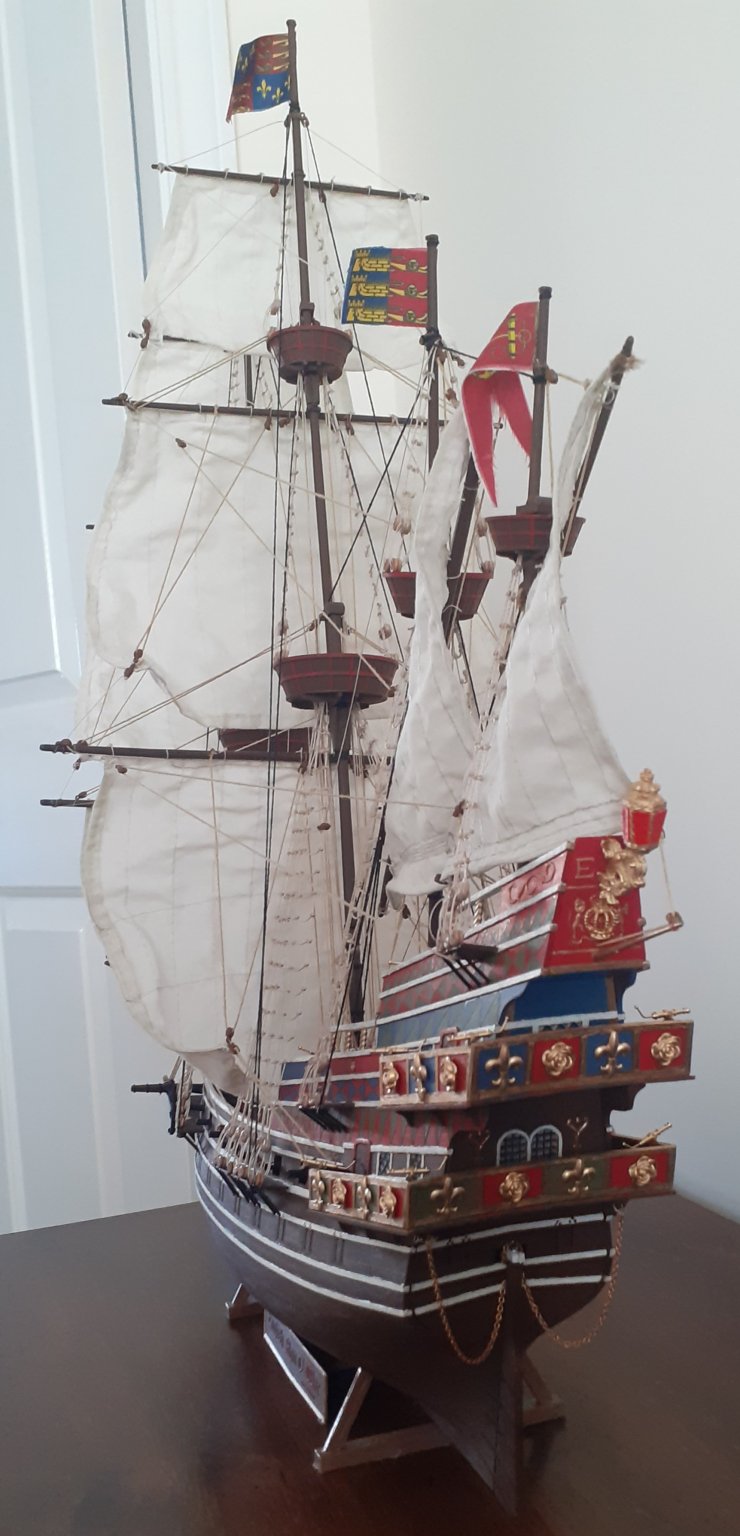
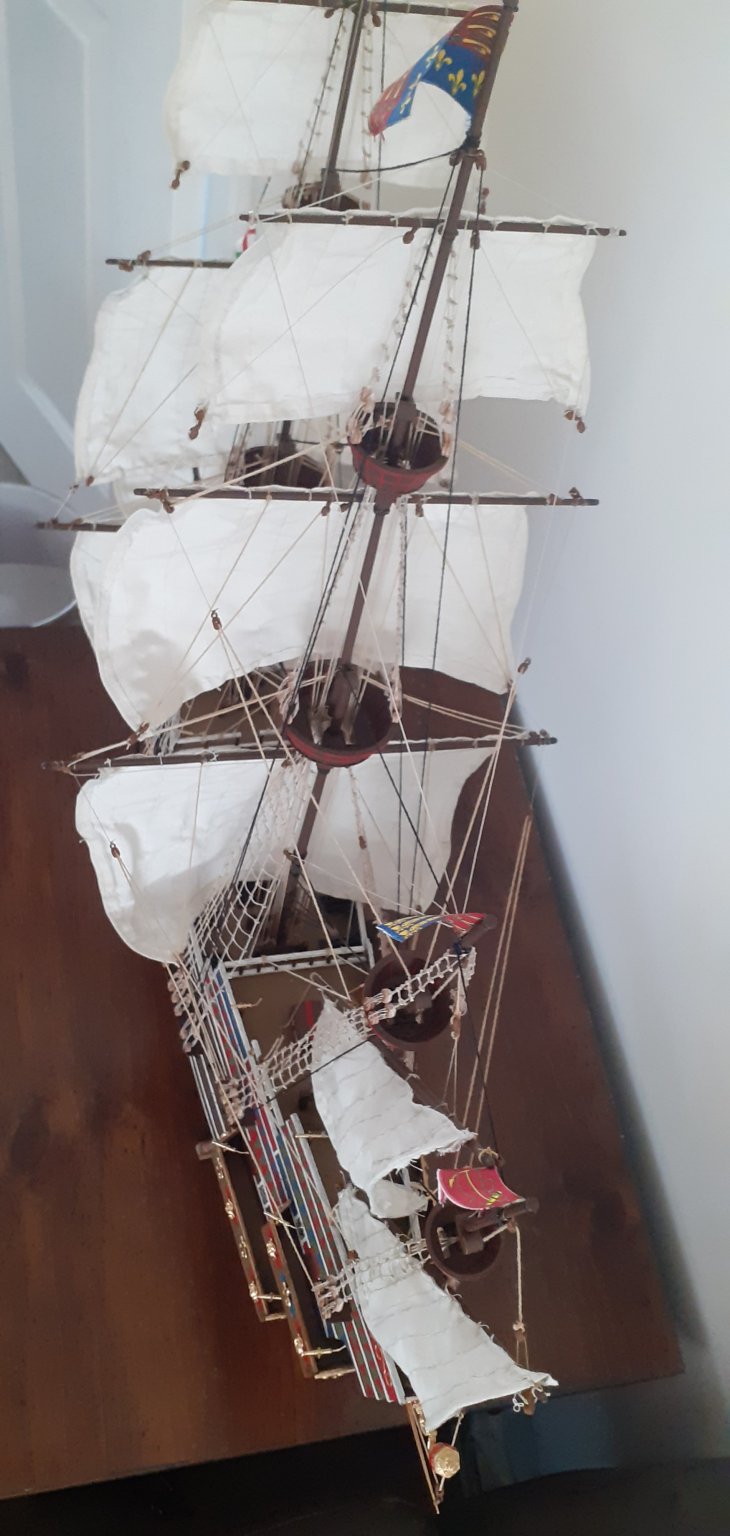
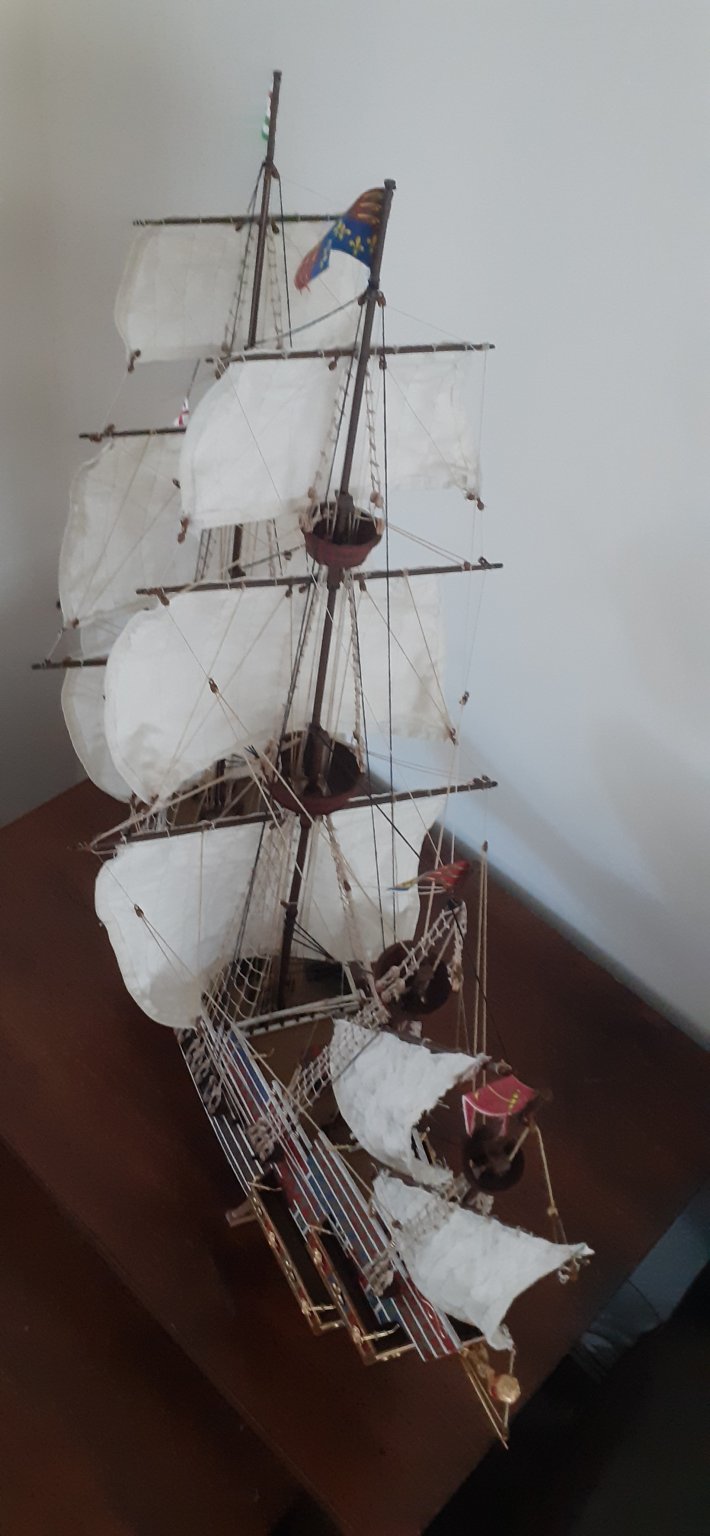
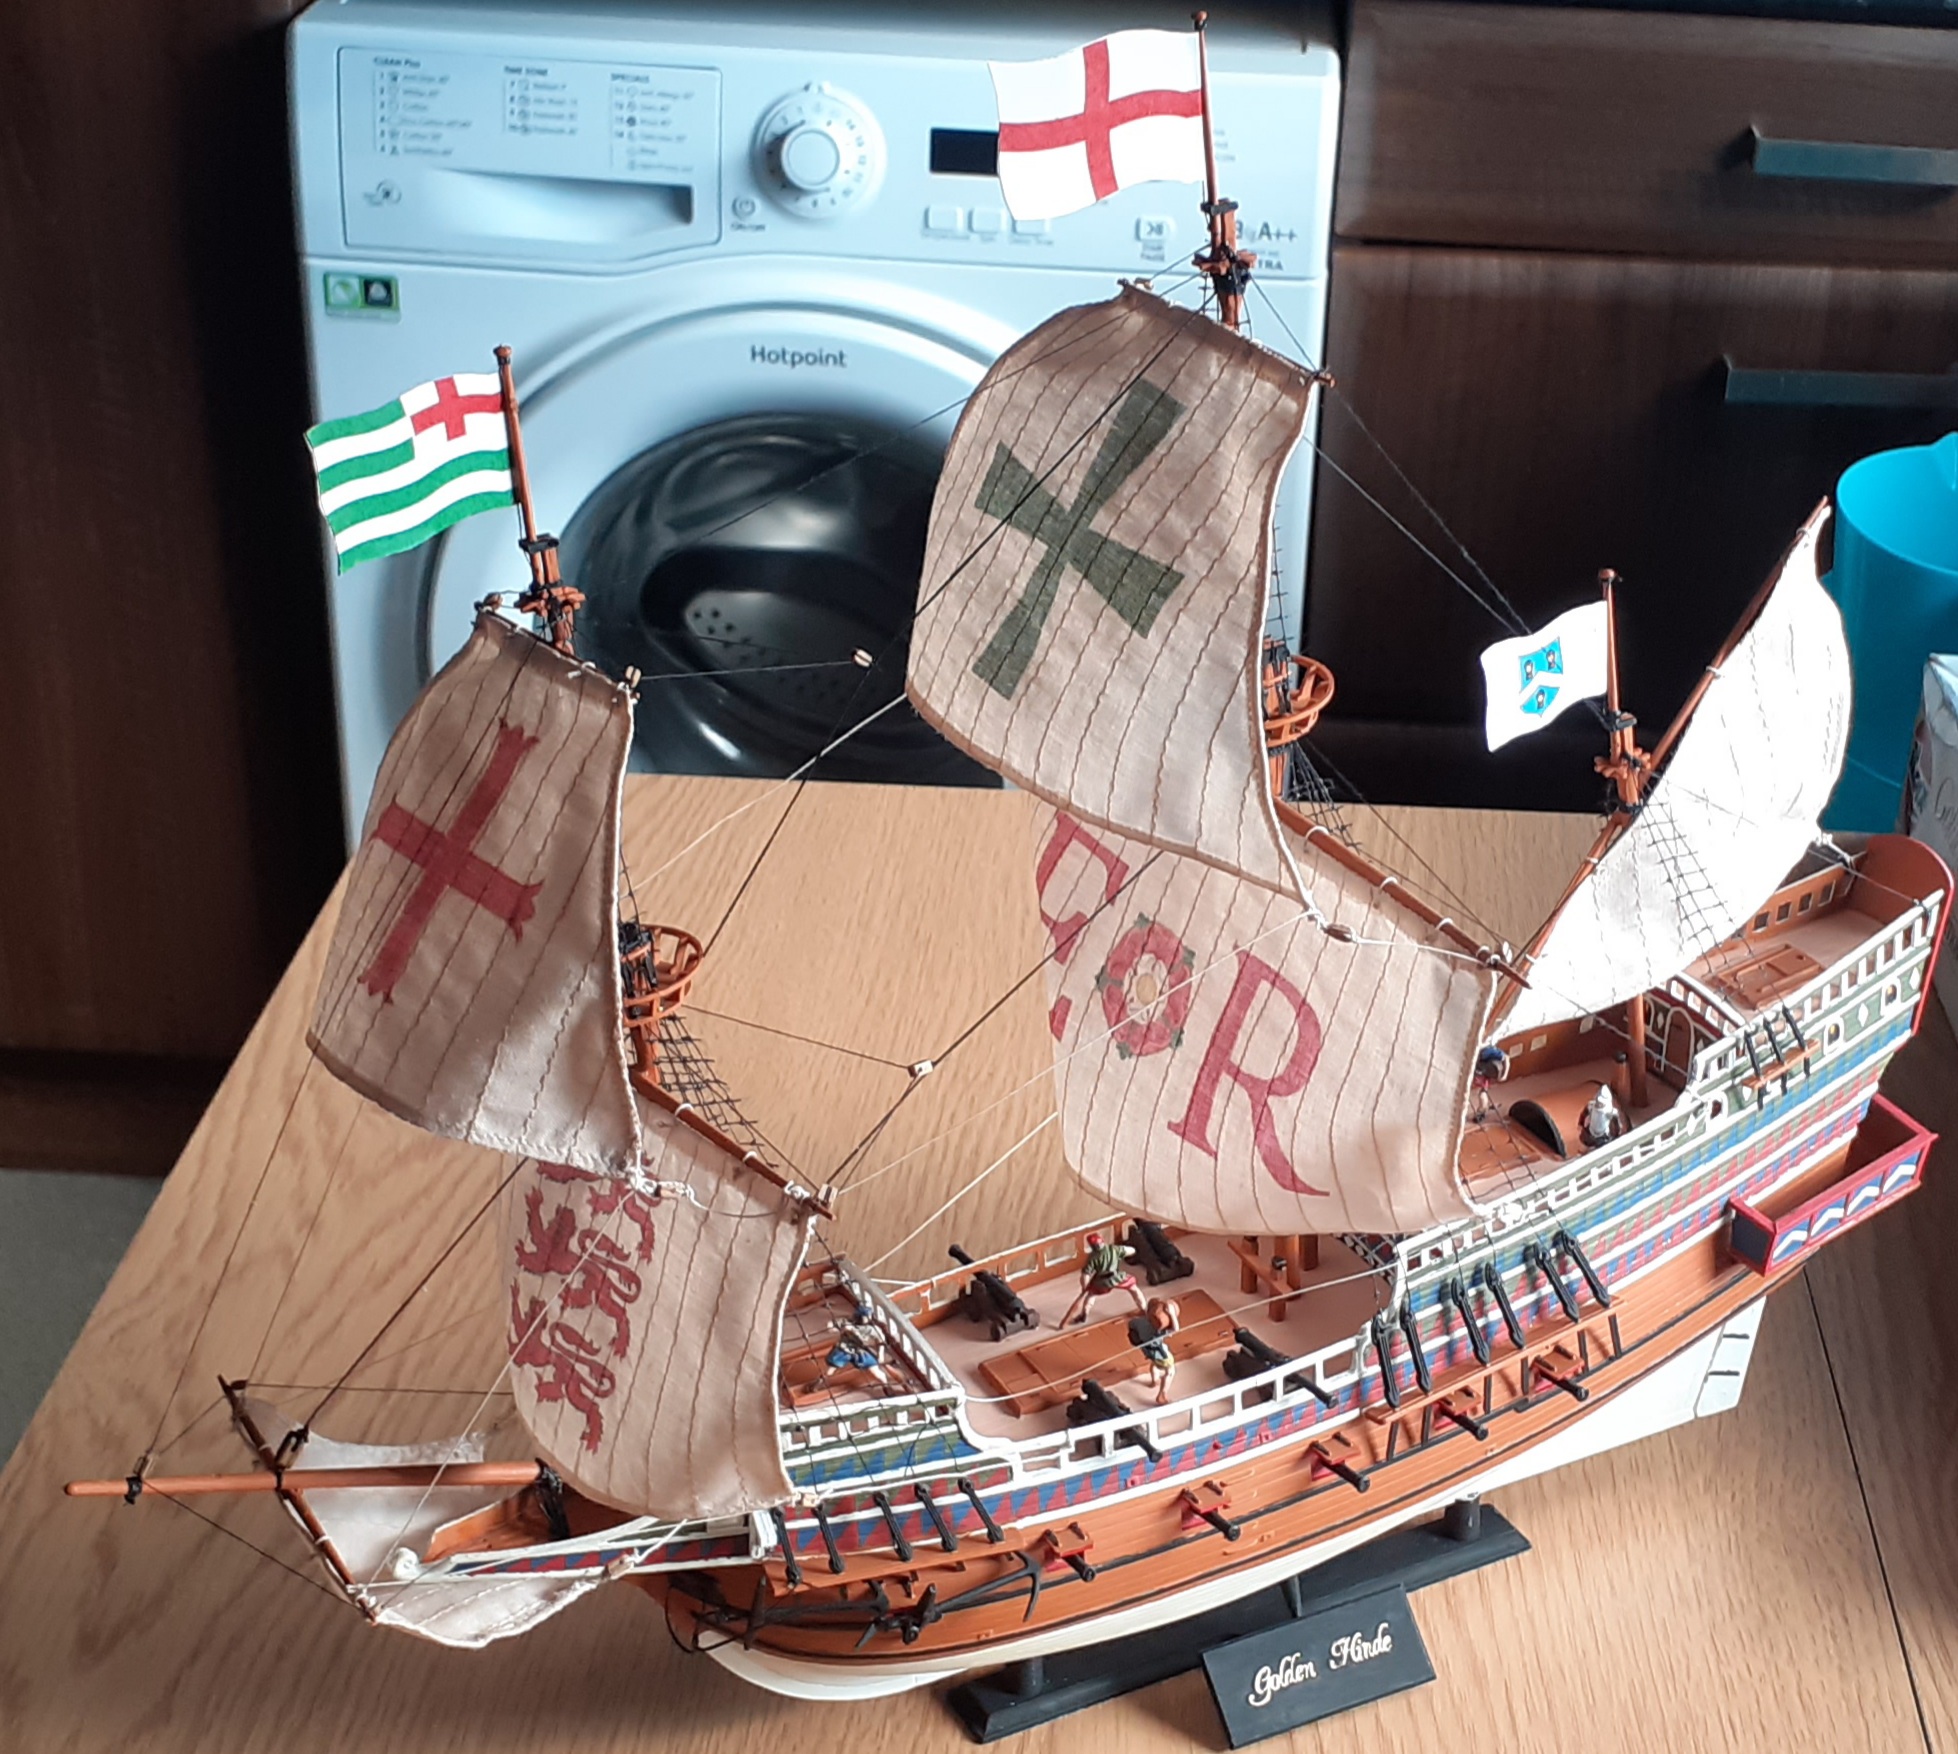
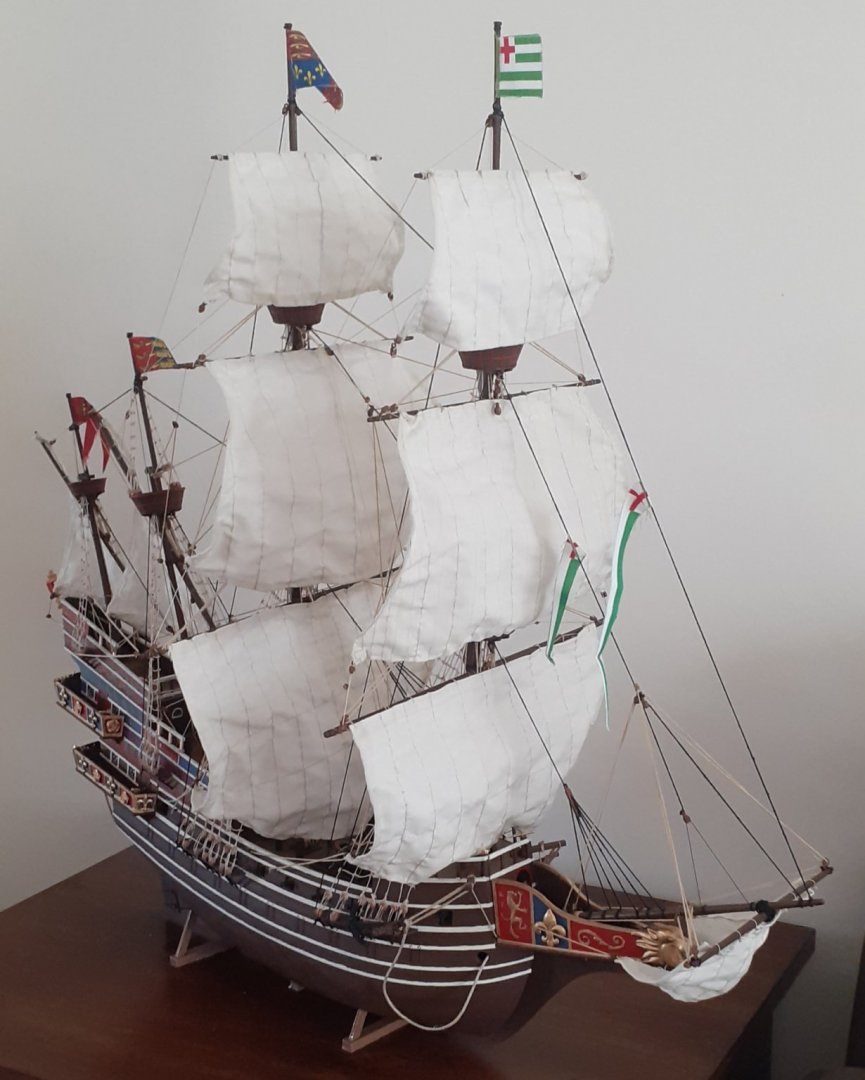
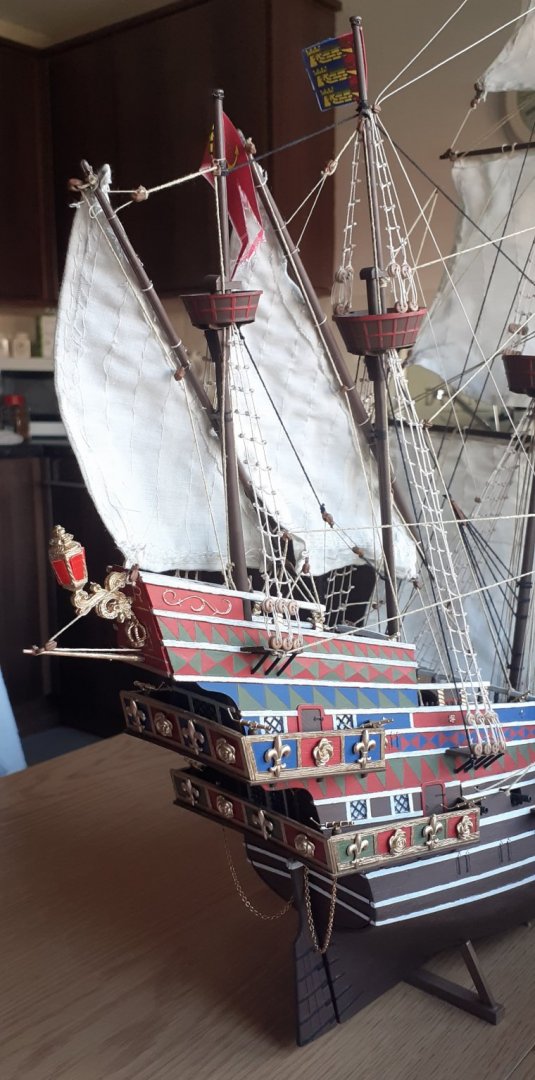
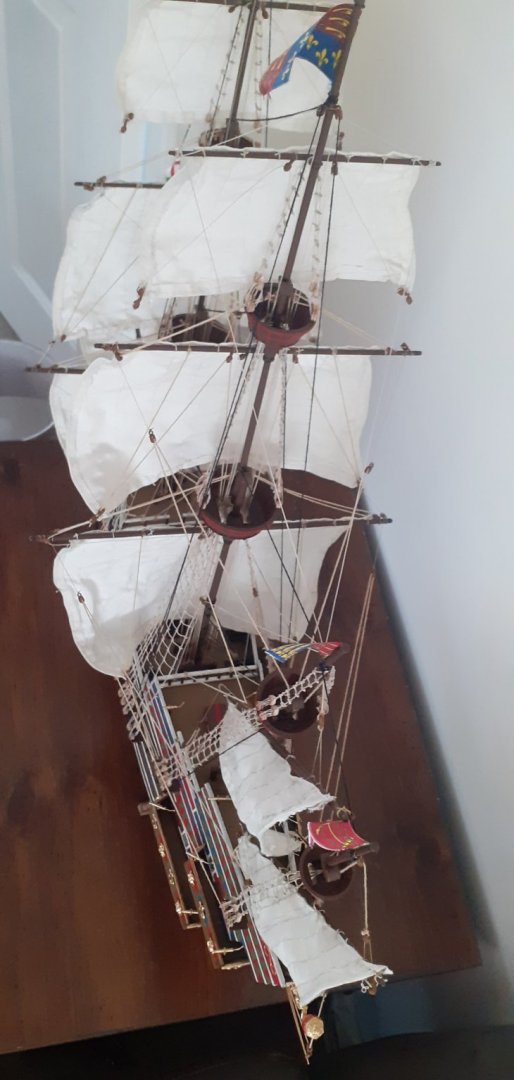
My English Man O'war Queen's Flagship Finished! Its been another labour of Love in difficult circumstances these past few weeks. I do have 40 figures for this kit, that I may add some at a later date if I decide to. All relevant comments are welcome as to what I could improve on or missed out, I am still a novice as to Historical accuracy although this kit doesn't relate to one Specific ship from history. Happy Modelling everyone and all the best of health and happiness to you all #staysafe 🤺🤺🤺🤺🤺⚓⚓⚓⚓⚓


- 165 replies
-
- 6
-
-
- english galleon
- revell
- (and 2 more)
-
Thanks Guys your kind wishes are much appreciated. I have been taking time out here and there to keep myself positive, so I have been going forwards with my kit I have added a few architectural features with some more to follow, I have decided not just to make this just a Man O'war but also the Queen's Flagship also with more armoury, even though this kit isn't based on any one historical ship accurately. On the down side I need to cut and remake 2 sails, rookie and impetus error on the Mizzen and Bonaventure sails, as I have sewn them inside out thinking the yards were on the other side of the masts. I'll will post pics once the ship is finished. Happy modelling guys and once again your kind thoughts and wishes are well appreciated. ❤❤❤❤
- 165 replies
-
- 2
-
-
- english galleon
- revell
- (and 2 more)