


Reborn
-
Posts
15 -
Joined
-
Last visited
Content Type
Profiles
Forums
Gallery
Events
Posts posted by Reborn
-
-
Hello everyone. I am back, and I know it has been awhile. There were two hiatus' this past year since my last posting. The first one, happened around July; however, I was able to get some work done on the ship. Back in August I was at this point before the second hiatus occurred.

That last one lasted until almost Thanksgiving. Anyway I digress...
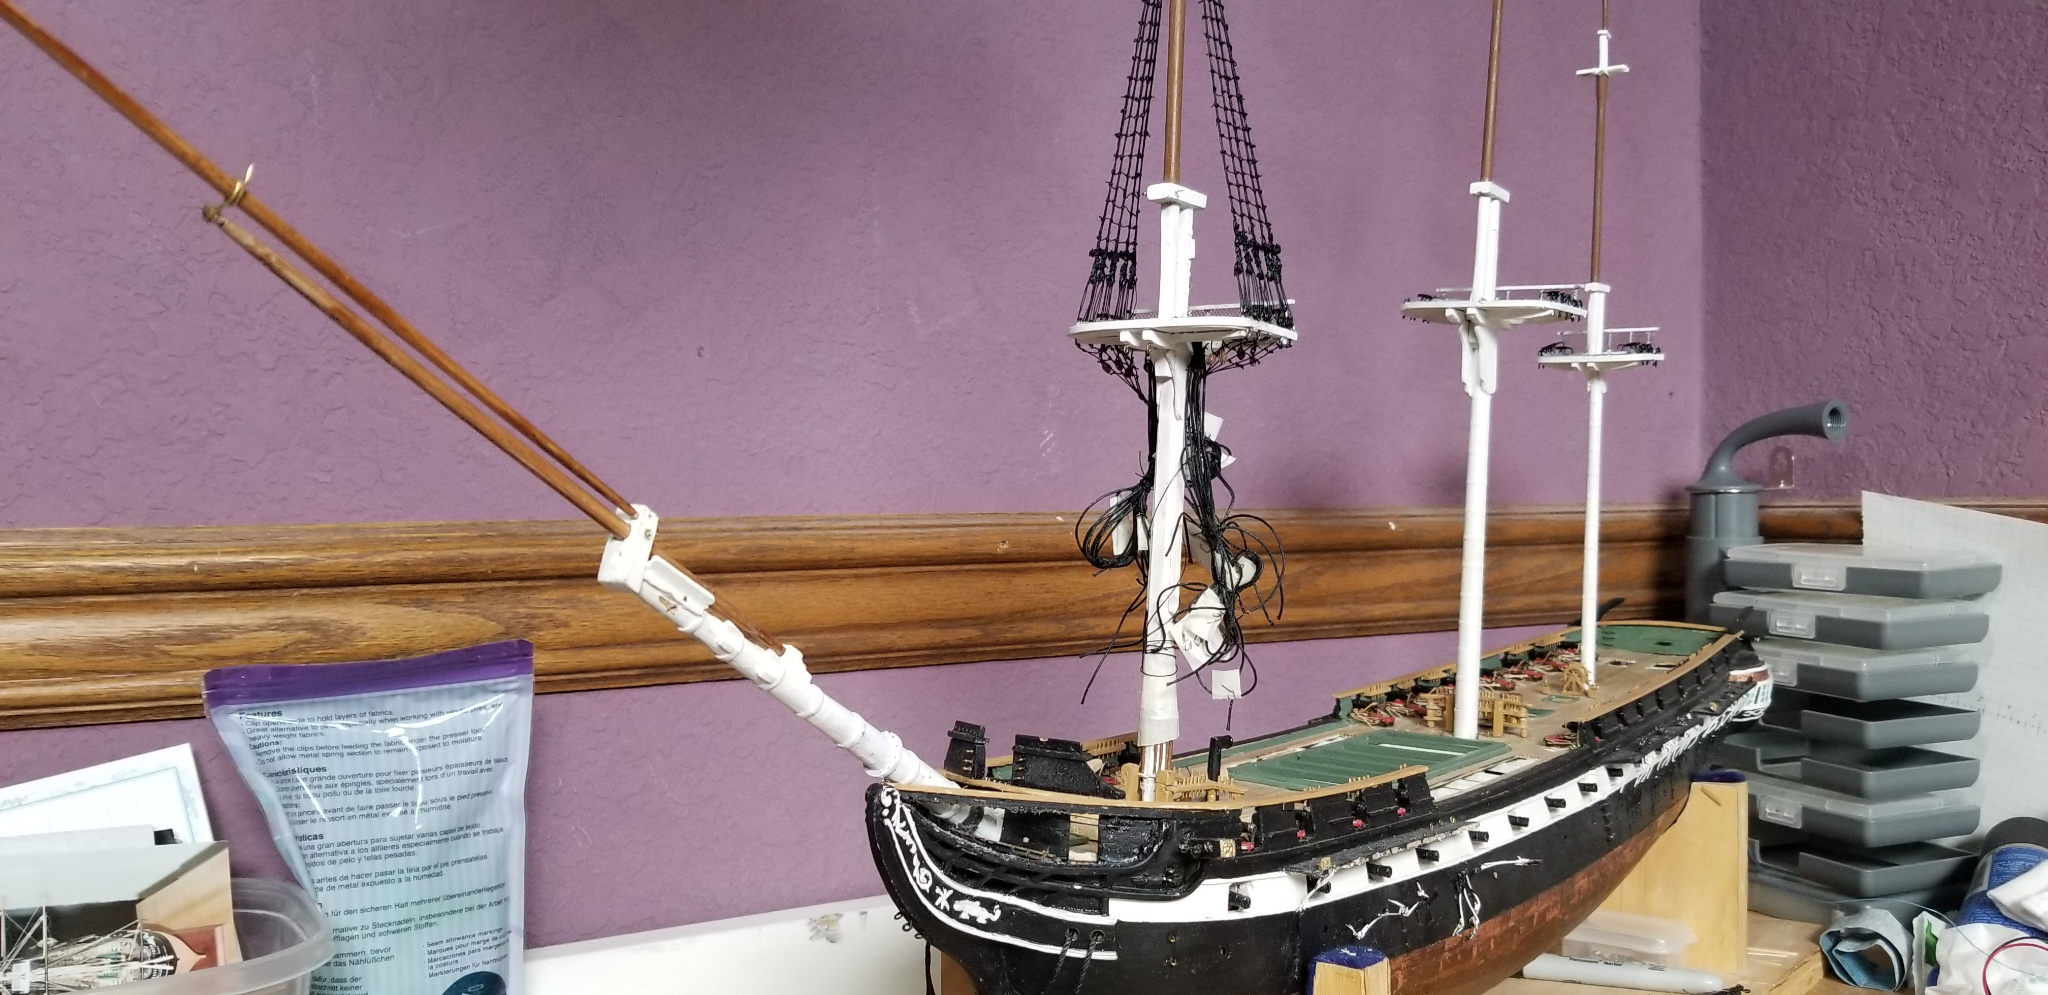
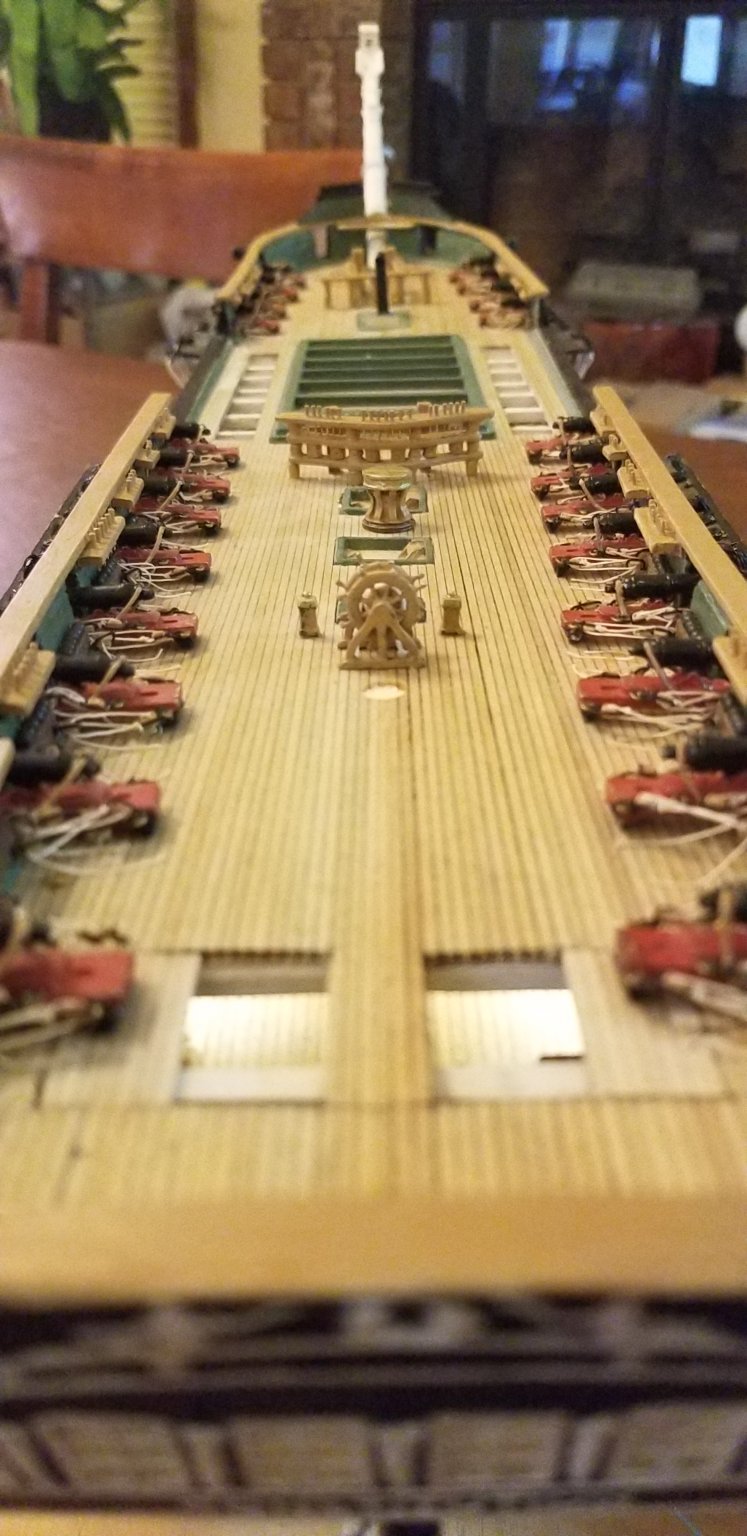
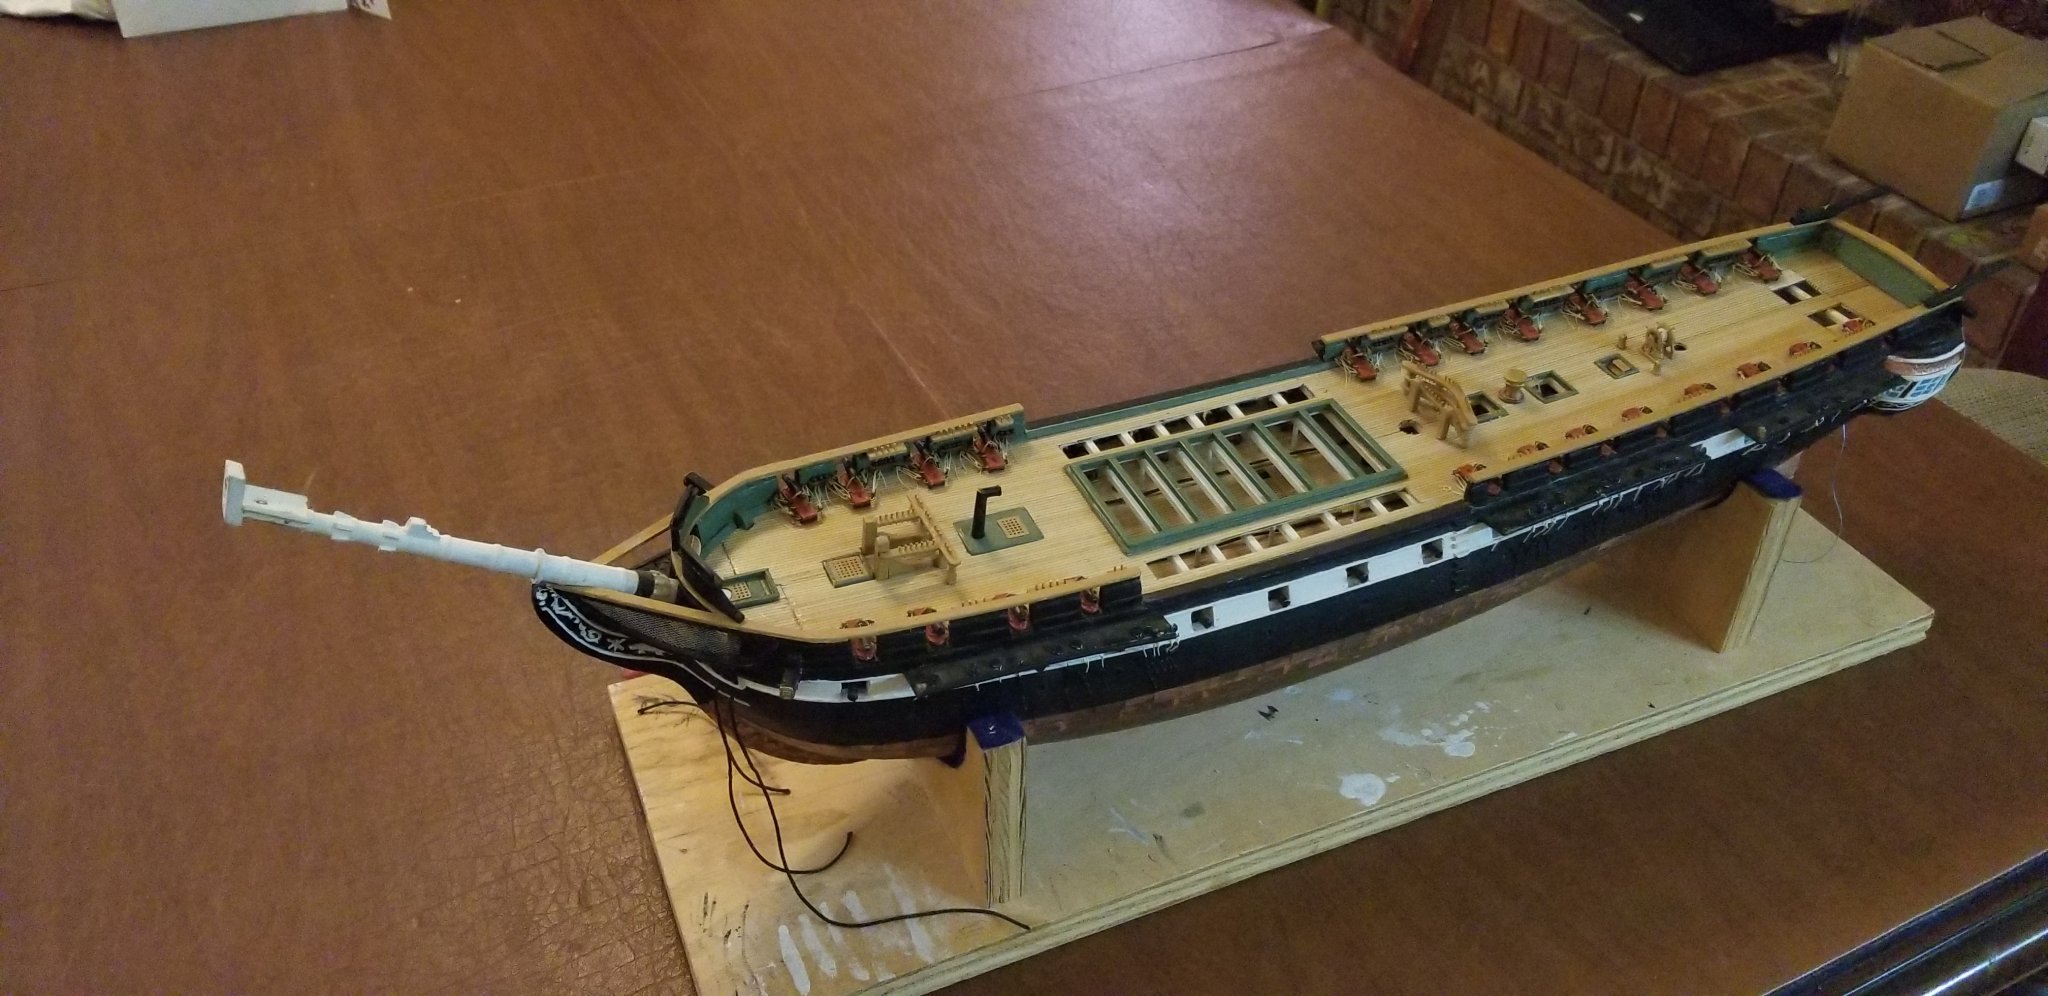
Here is where I am currently:
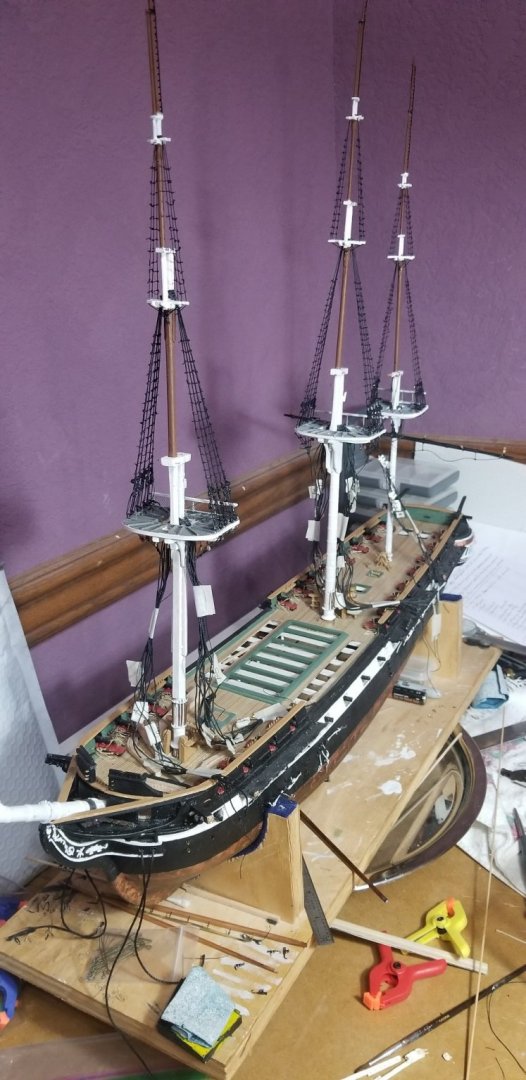
As you can see in the above photo I have the masts completed and the upper shrouds completed. As Nic has stated in his Red Jacket build 'rat lines are fun'... hehehe!!!
NOTE: The masts are just sitting in their respective places in the ship and are 'not' glued in. I will not be glueing in the masts. Rigging will take care of aligning the masts and keeping everything where it needs to be.
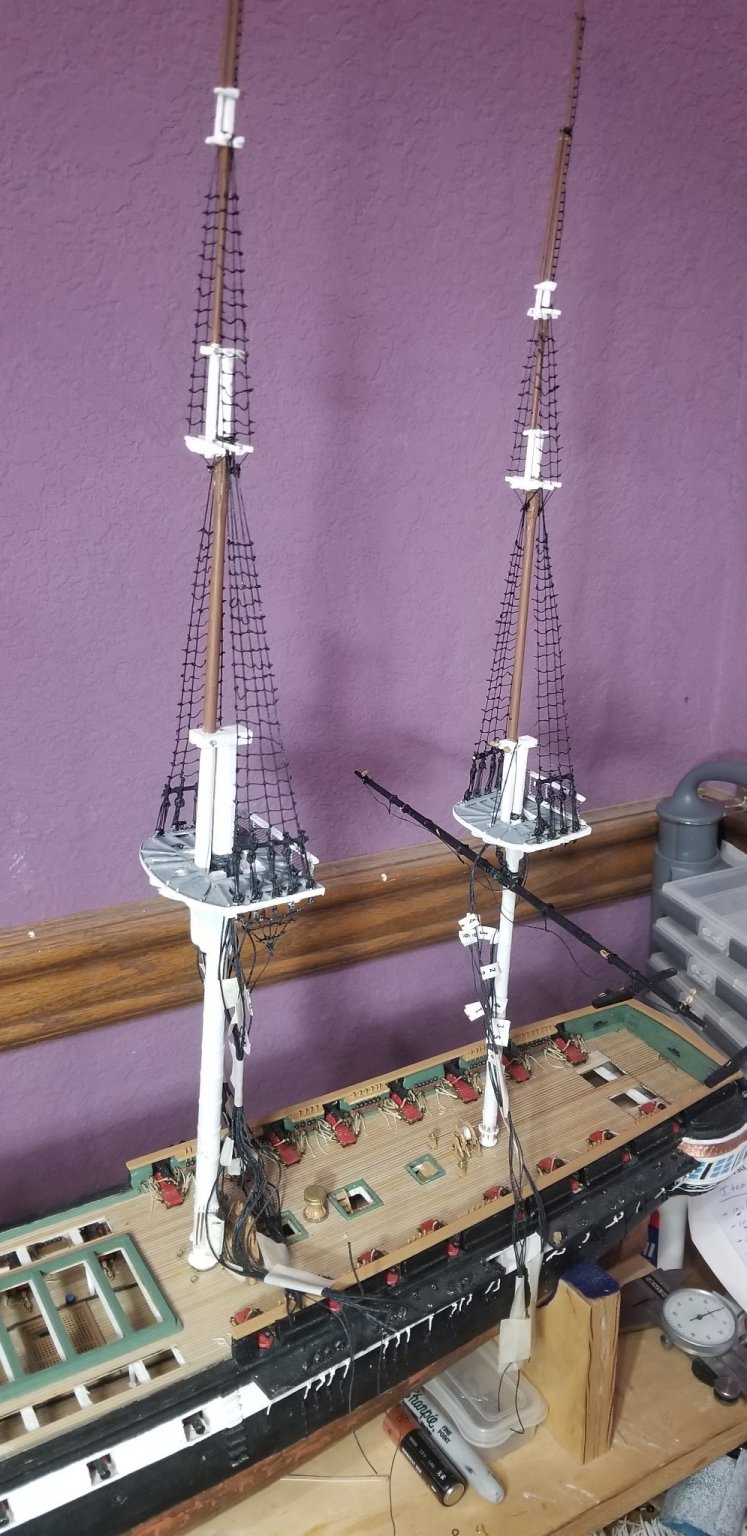
And this one...
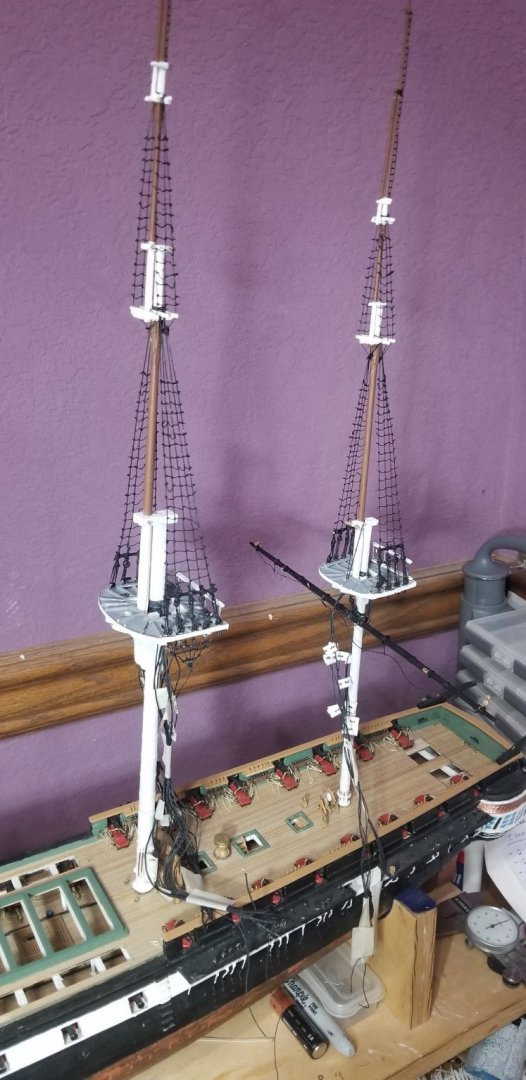
I will be building out all of the masts. As shown I have the Crojack installed on the Mizzen mast. I will be building out the masts from aft forward. Each mast will have all of the rigging lines installed for that particular mast. As you can see with the lower shroud lines each line will be numbered. As I put a line on the mast I will make a 'cheat sheet' with the number and the name of the line. Then when I begin the rest of the rigging I have a guide number and then just need to look in the rigging plan in the instruction book to see where it goes to. Once correctly in place I'll then cross that line off my list. I will also highlight the plan to show that particular line is completed.
My next steps will be:
o - Put in the Crojack lift rigging. This will 'not' be belayed at this time, and the Crojack brace lines
o - Install the rest of the mizzen yards, their respective lifts, and brace lines, if applicable, jeers, halyards, etc
o - Install any missing eye pins that will be required, as per the plan
o - And, all of the 'Stay' lines
Once I have the Mizzen mast completed as noted above I'll provide another post. Hopefully it won't be another couple of months
")
- GrandpaPhil, coxswain, sjanicki and 2 others
-
 5
5
-
Hello Louie da fly...
It has been an 'eventful' year, 2020. Been delayed in building and responding and posting. Was gone for 2 months, then got back and the rest of life and family and 'honey-dos' caught up with me. I'll be adding updates in a few days, and hopefully 2021 will be a better year.
-
On 5/29/2020 at 1:50 PM, Brian Falke said:
Picking back up on this build after finishing and placing in a display case (finally!) the previous build. As I left off, I went down to my parents house to include my father in on the build. Well, did not go as well as I had envisioned - unfortunately. Guess eventually we all will reach that point. I have a little re-work to do on the gun carriages.
Picking back up, as you recall, this is to be somewhat modified. I am going to build the hull as a plank on frame construction in order to open one side of the hull, all decks for viewing.
My first was to do a little research in order to get a better picture of the keel. From the National Archives, I was able to pull the drawings Samuel H. Pook drew in 1849. Though not from 1812, it is well known that the keel is the original thus I felt Pook's drawings would be accurate for this purpose. Additionally, I reviewed SCRATCH BUILDING A MODEL SHIP by Gene Bodnar (August 2007) and his build log when he built the CONSTITUTION in 4 sections. The document is located here: http://modelshipworldforum.com/resources/plans_and_research/ScratchBuildingaModelShipgene.pdf and the build log is on another ship model building website.
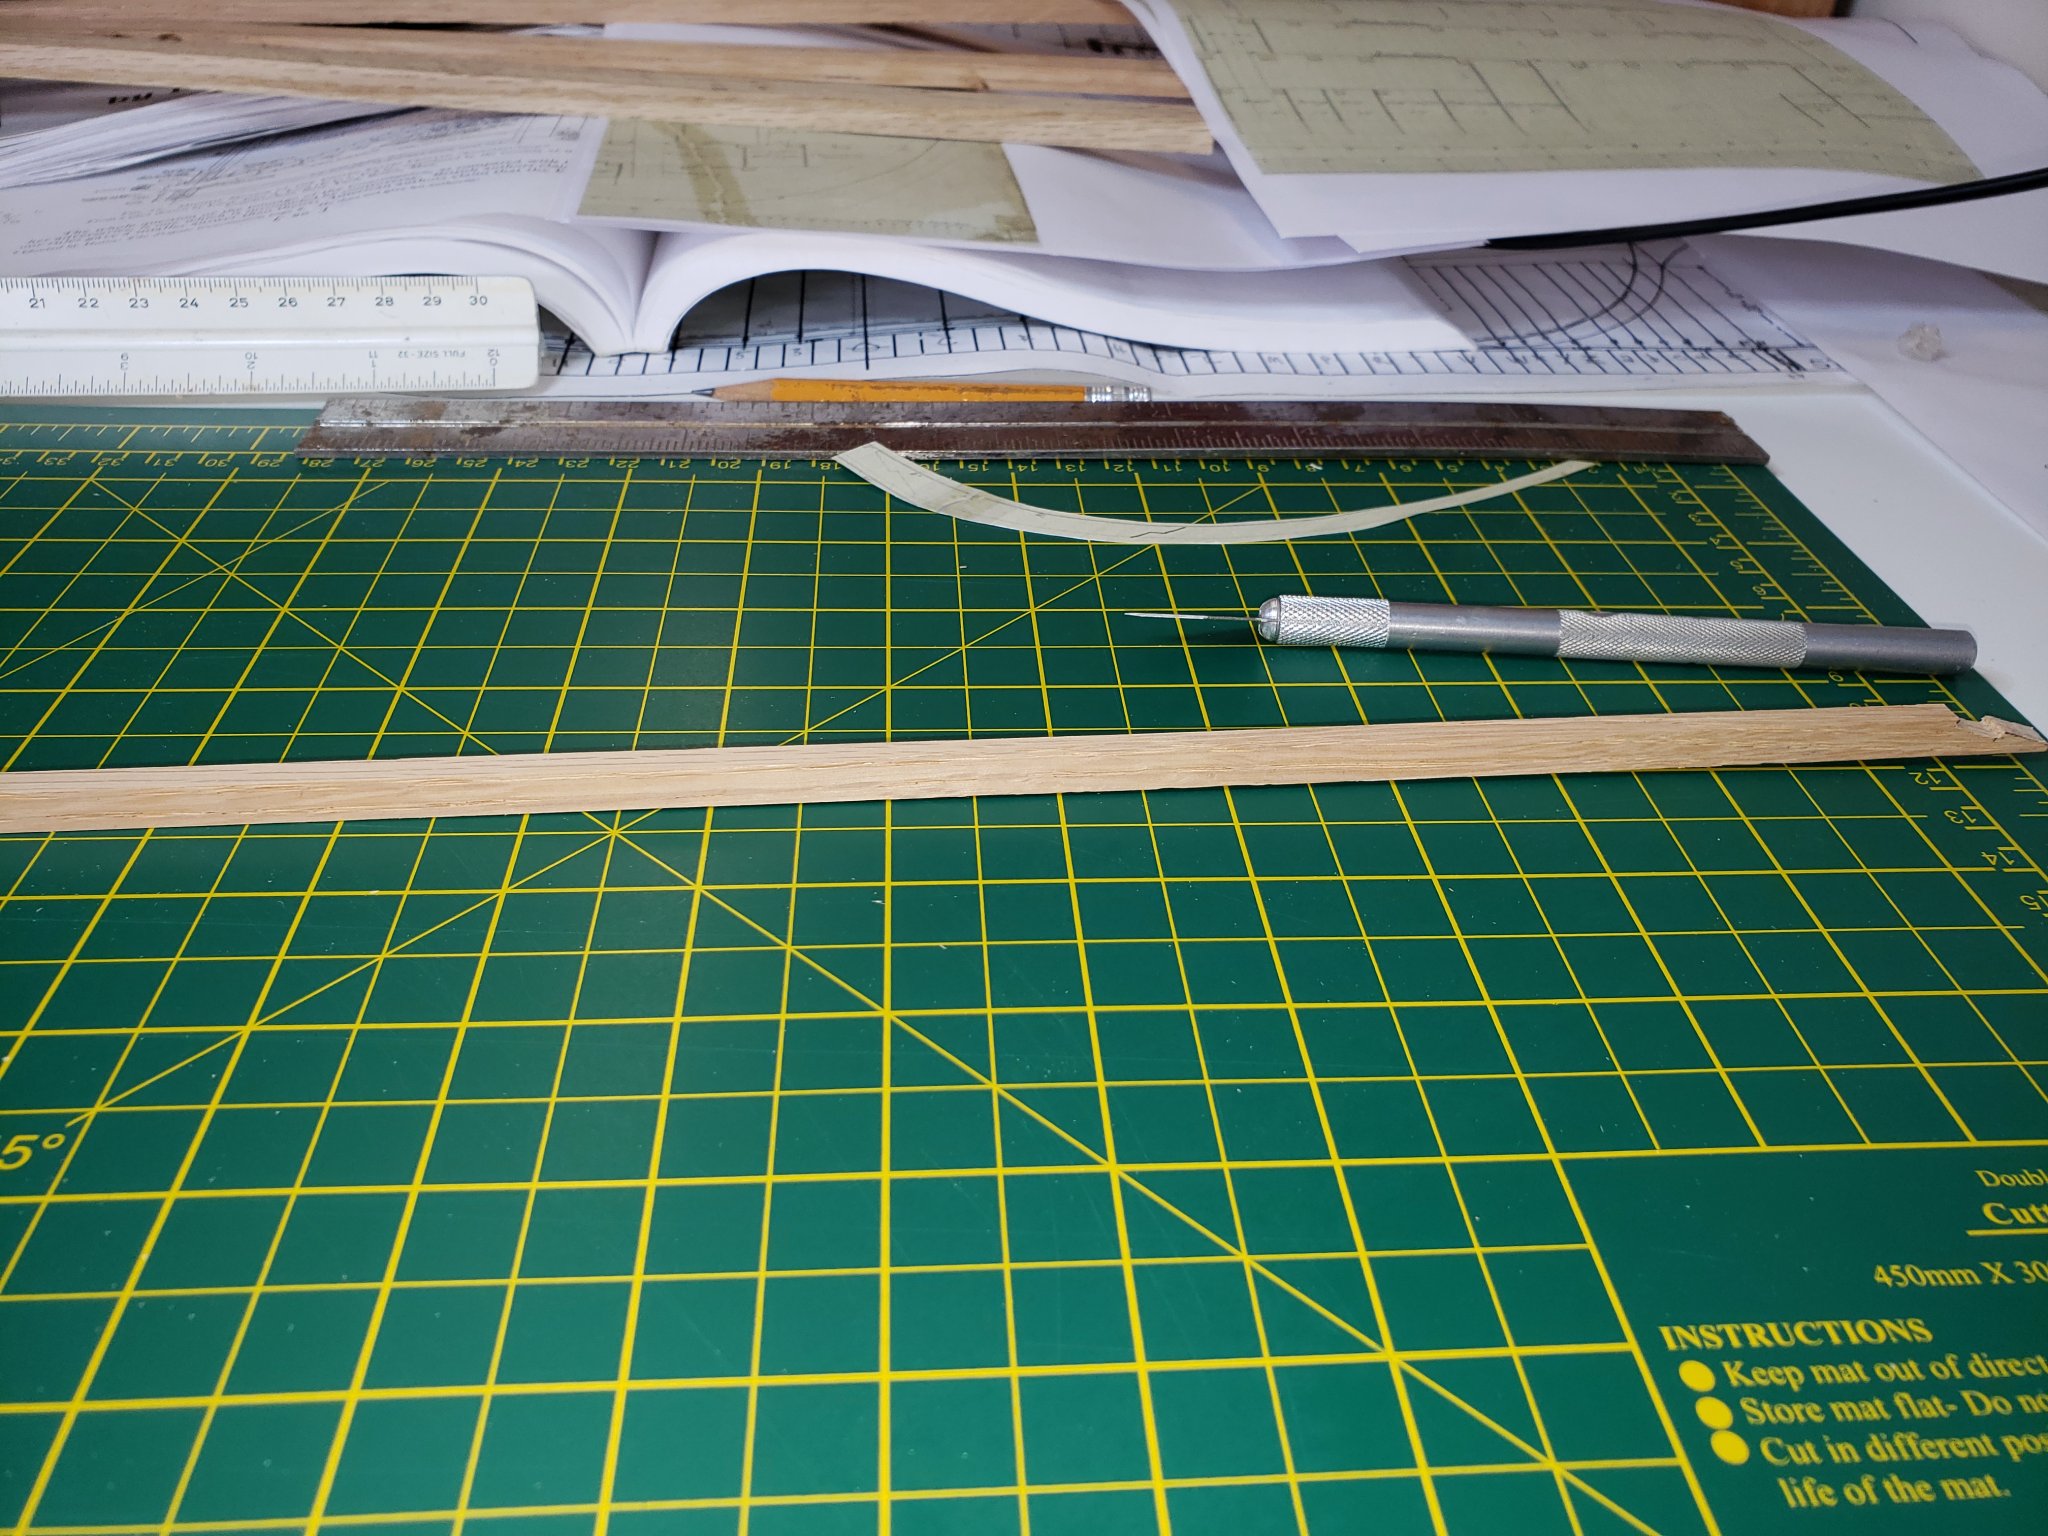
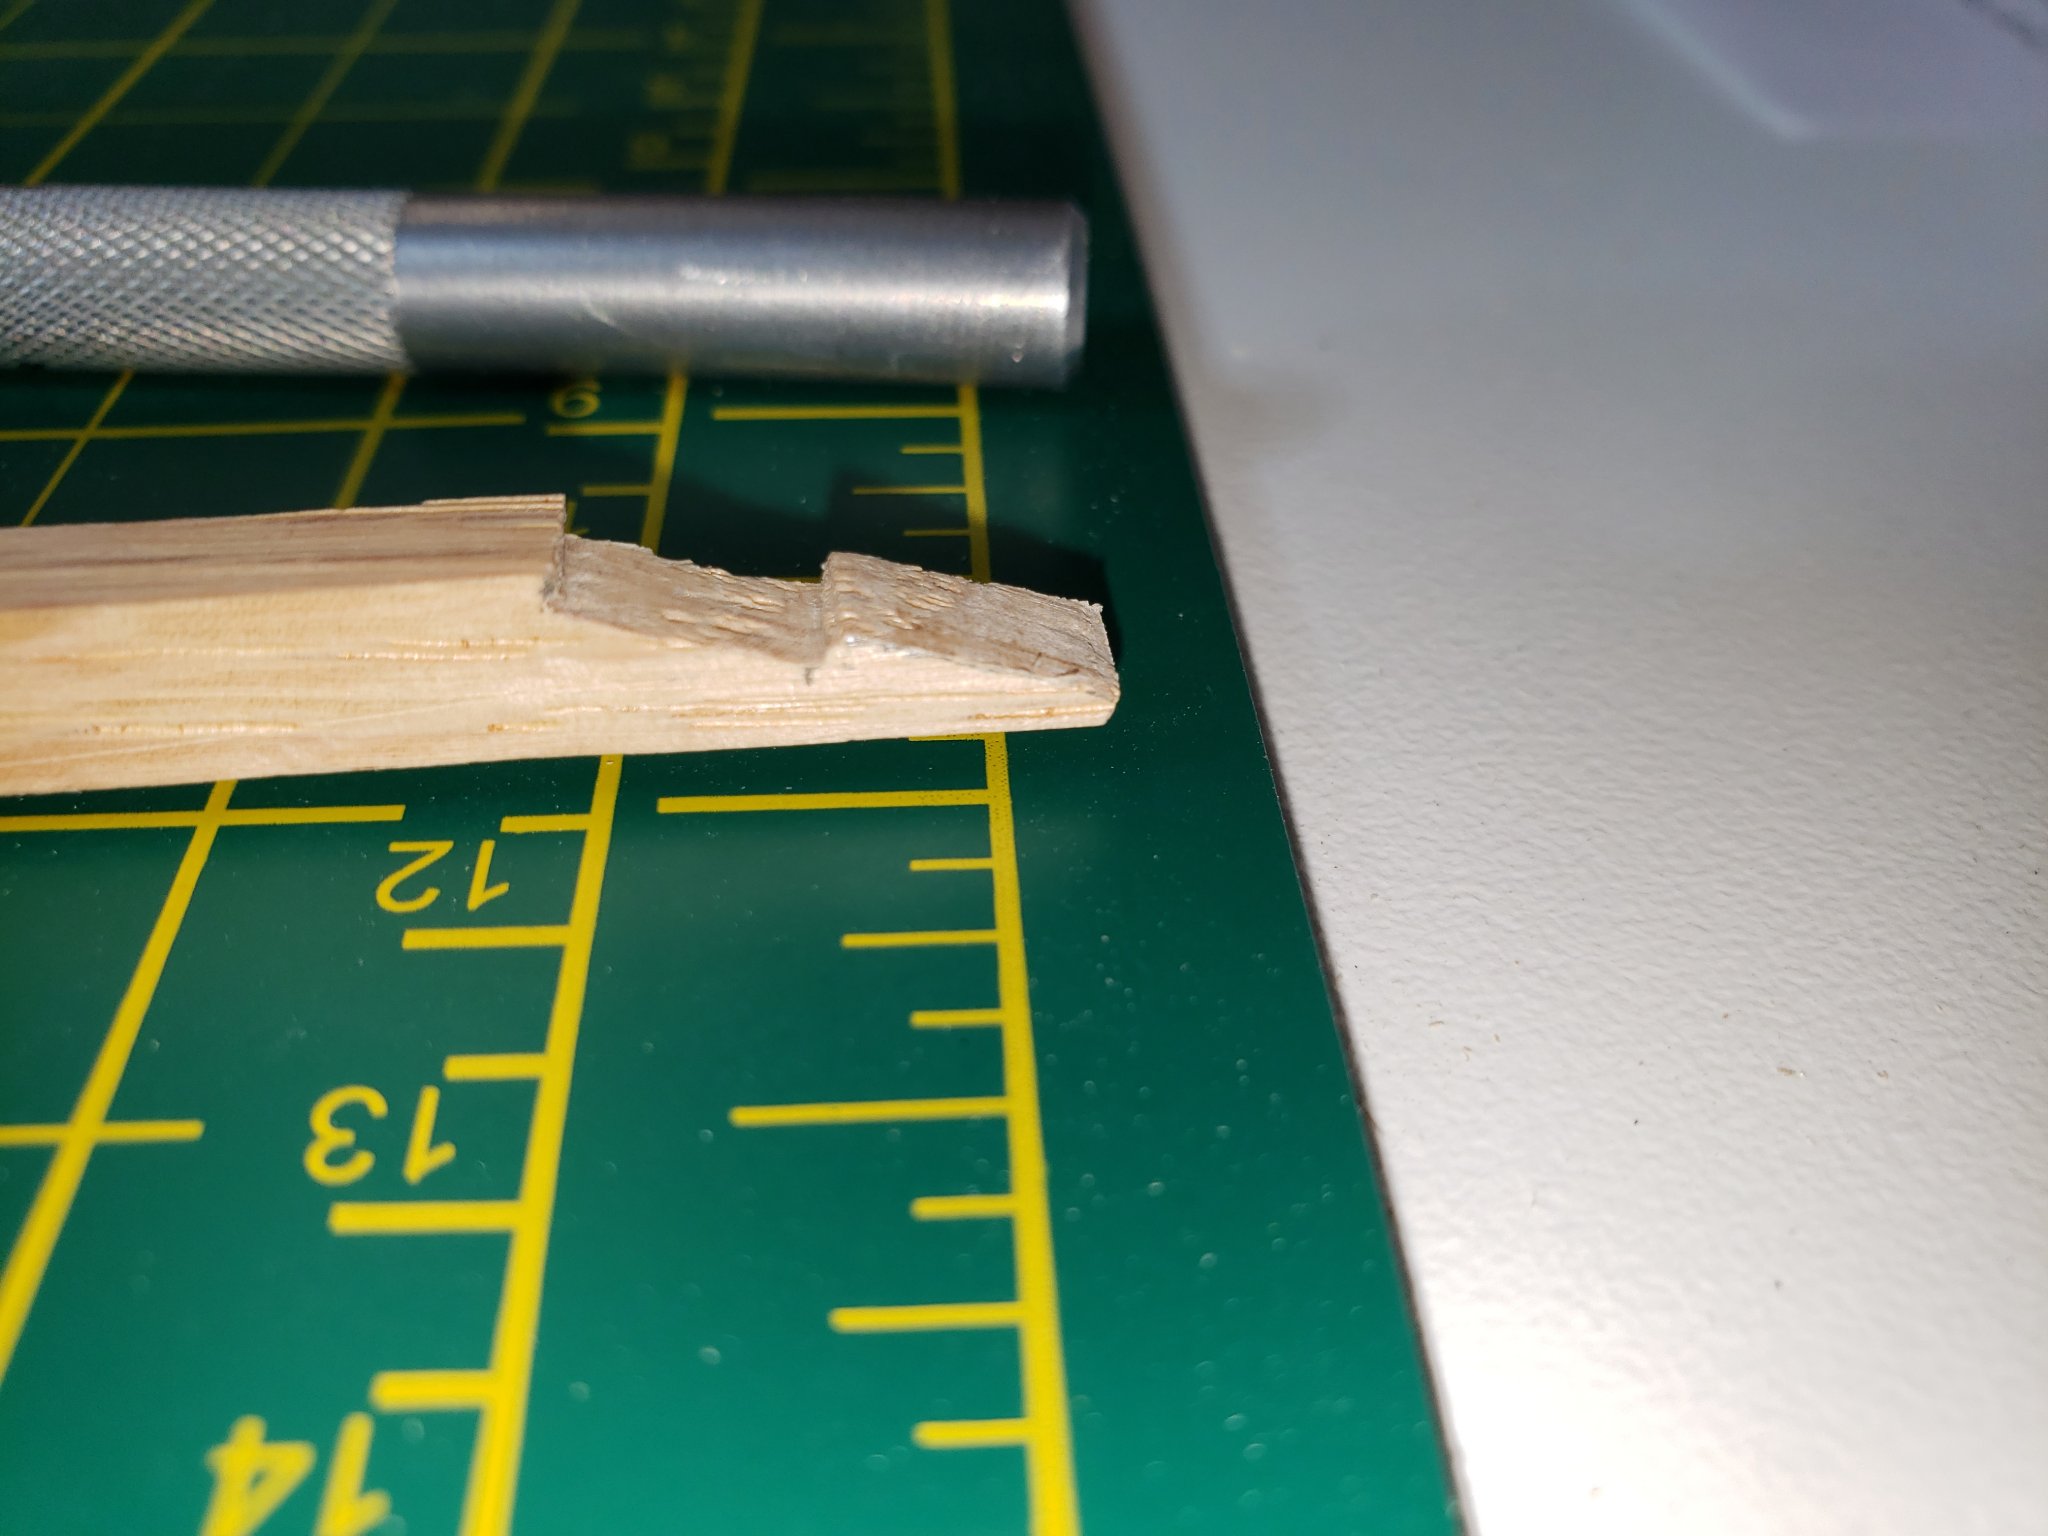
The keel is as the CONSTITUTION's - white oak. I elected to use a single keel, not two sections. To get the proper size (1/4" x 3/16") of the keel, I used a planner. Then, using a scroll saw, I cut the forward joint (where the bow stem meets the keel). Then measuring back from that joint, I cut the stern end of the keel. I did this process just in case I fouled up the bow to stem joint I wouldn't have to re-plane a new keel all over again. The bow stem is made of two sections such that the curvature of the stem would follow the wood grain giving it the most strength. After attaching the bow stem, using the Pook drawings again I cut out the sternpost and glued that to the keel.
After the glue had dried overnight, I then drilled holes at each joint just tight enough to insert a toothpick. I then inserted a glue coated toothpick into each joint providing additional strength to each joint.
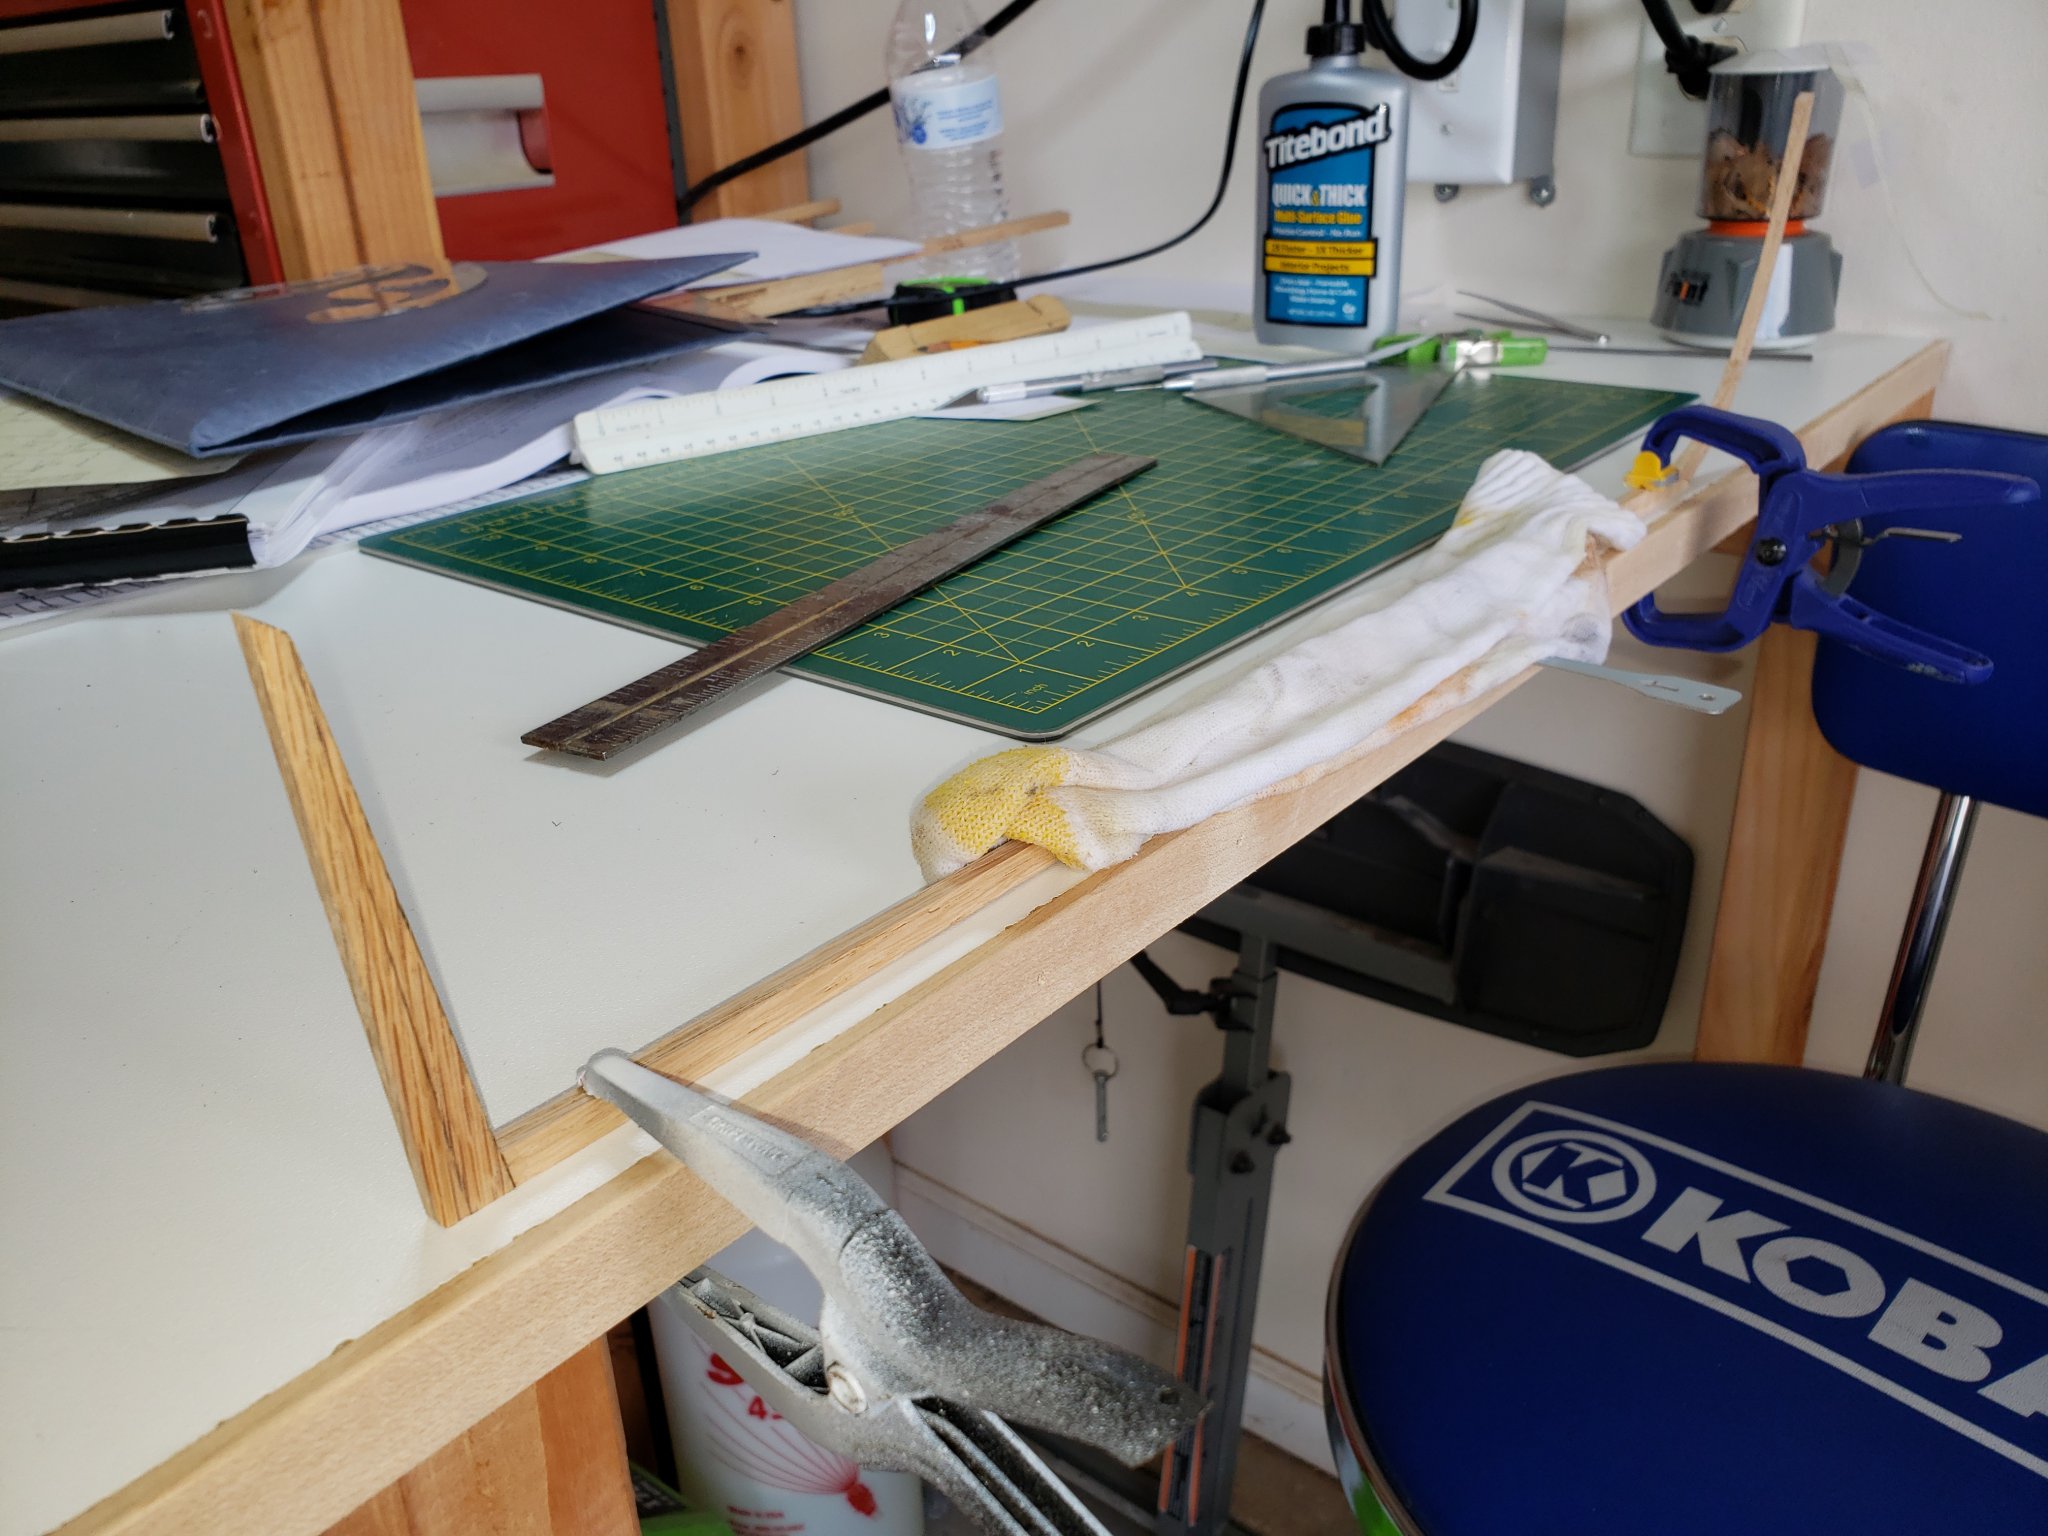
Once done I place the keel on the work table and saw that I was starting off with a little sagging (you can see the stern is a little off the table). To remedy this, I place a small piece of metal under the keel at midships and then clamped down the stern and bow sections. I then place a wet sock (shop rag now) on the keel and let it set overnight. This, at last check, remedy the sagging and I now have a straight keel to work from.
Next step is to start on the frames - which again, will be using Bodnar's document as a guide.


I never would have known where to start something like you are doing. That is truly amazing. I'll be keeping tabs on your progress, and I am certain they will be spectacular.
Ron
-
On 5/29/2020 at 1:51 PM, jgilchrist800 said:
Nice work! Much better than mine! Like you and others I'm also on my decade long quest to finish up this model, in fact I'm almost finished with the rigging. Maybe 6 more months!
We do have patience!!!
Thanks John! I hope to start the rigging in the next couple of weeks. I 'hope' to get the ship finished this year. But we'll see.
I see you have completed several ship builds. I am starting to 'think' about my next ship, or boat, but have not come up with a decision yet. I'll take any suggestions.
Ron
- mtaylor and Louie da fly
-
2
-
On 5/29/2020 at 2:23 PM, Brian Falke said:
Very nice! Patience is definitely a necessity doing this.
Thanks Brian!
- mtaylor and Louie da fly
-
2
-
On 5/29/2020 at 3:08 PM, KHauptfuehrer said:
Great photo. I would need an endoscope to get a view like that. Very neat and clean. I thought about having lights in the gun deck, but could not figure out how to do it. Congrats! Thanks also for the kind words.
Regards,
Kurt
Thanks Kurt. Sorry for calling you Ken.
Let me say that some of the work you have done with your Constitution is so much better than mine and in more detail. You definitely have the knack for working with small items that are on these ships. Even my wife said 'Why doesn't your ship look as good as Kurt's?' (HA!!!).
I will admit that your masts are really, really good. I am hoping mine will come out looking that good.
Ron
- mtaylor and Louie da fly
-
2
-
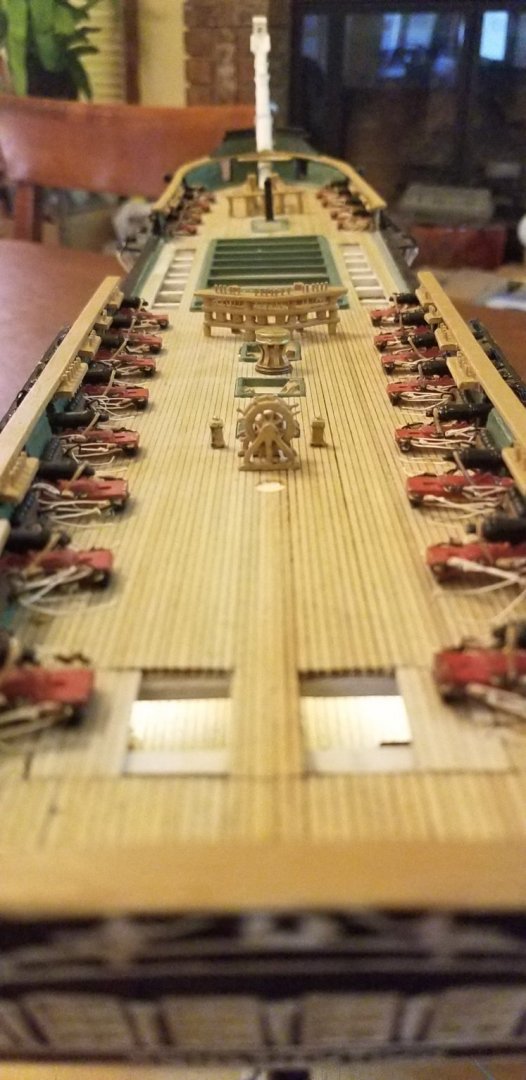
Here are a couple of other photos.
This first one is another view (please ignore my mistakes
) at the currect build stage:
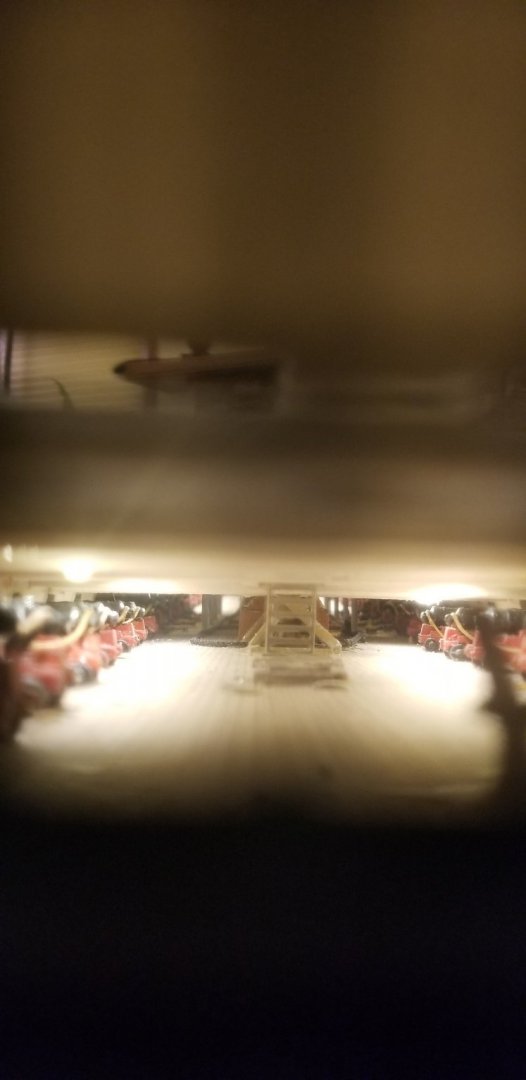
Not sure yet how the text and photos line up, but the 2nd photo is taken thru the windows of the transom looking towards the bow. The light you see shining off the gun deck are from small LED lights I installed in the ceiling of the gun deck. Course using my phone to take the photo does not due it justice. When you look at it with the naked eye you can see all the way to the bow.
- Louie da fly, mort stoll, JeffT and 6 others
-
9
-
-
On 5/27/2020 at 10:18 PM, KHauptfuehrer said:
Beautifully done. Having struggled with the same kit for 11 years, I am in a position to appreciate what it took to get to this point and have it look so excellent!
Thanks Ken (hope I got the name correct). That says a lot coming from you. I have seen your Constitution and your work is 'amazing'.
-
-
-
Hello everyone. Name is Ron, but I also go by reborn (semi-long story so won't bore you here). Hope the below is not too long-winded...
I am new to MSW, just signed up yesterday. I read ccoyle's 2016 notes that started this thread in 2016. I can relate to the fact that the 'really' simple boats/ships, which a beginner like me should start with, don't have the 'draw' like building something like the Constitution, or many of the others that should require an expert hand at building.
I am 68 now, but when I was about 10 I was given a birthday gift of the Constitution, Revell model I believe. Following each step and gluing 'stuff' together was 'easy'. Note I did not paint anything back then. Then came time for rigging and quickly discovered I had no clue, and no one around to help me growing up in a small town in the middle of the Mohave desert of California. Model never got completed. Fast forward many years to about 2004
The bug bit me to attempt to build a model ship, and thinking back to my childhood it had to be the Constitution. I was so taken with that endeavor that I ordered the Constitution from Bluejacket. Let me first say I believe it is a 'great' kit, and as you all know, not one you just glue pieces together. Anyway, enter the 'less than rookie/ensign' and work began in earnest and then everything ran 'a ground', as you might say. But luckily there was a mentor available named Charlie Cook. I remember him telling me, after I told him I was new to this, 'Ron, this is not something you can build in a weekend, or in many cases even a month'. Fast forward again...
The year is now 2020. Here I am still attempting to build the Constitution, but progress has been made. Over the 15 years, or so, things/life has gotten in the way...work, several major renovations in the house (complete kitchen redo, 3 bathroom redos - all done on my own, and a flooded basement that was and still is fully livable - again another super major project that was done by me, except for laying down the new carpet, but I digress...). Anyway, here is where I am with the ship: hull shaped, planked, copper plates attached (yep, about 3000 of them), outside painted; gun deck completed (even installed LED lights with outside battery and switch where you can look in the windows of the transom and see all the way to the bow end), spar deck completed - carronades installed and rigged, transom on, cap rail installed, bowsprit (lower part only) installed, shot lockers in place and all pin rails in place. NOTE: All of this I owe to Charlie who has helped me out immensely.
I am now at the point of placing all of the needed cleats, eye bolts, etc on the ship. And, I have hit a snag. I keep reading the instruction manual over and over, and looking at the drawings and even found some instructions for the Revell model, in an attempt to figure out where everything goes. Terminology is doing me in, among other things. BUT, I am determined to finish this ship this year.
My immediate goal is to get the eye pins/eye bolts and cleats installed on the hull in bulworks and spardeck now, then I'll start to build the masts and finish out the bowsprit. Any suggestions, or places that I can find better drawings or photos would be greatly appreciated.
Thanks in advance, and I wish I would have found MSW earlier in my ship building. Looking forward to hearing from anyone/everyone.
Ron
- Wahka_est, Scottish Guy, ccoyle and 4 others
-
7


USS CONSTITUTION by Brian Falke - BlueJacket Shipcrafters - Scale 1:96
in - Kit build logs for subjects built from 1751 - 1800
Posted
That is amazing Brian. If the frames are not going to be seen then 'cheating' would be allowed. As such there are many ways out there to make this 3D printed frame look like wood. So, I guess that would work. It is amazing to see. I would not even know how to begin to do what you are doing. Nice work.
Ron