Bill97
-
Posts
2,716 -
Joined
-
Last visited
Content Type
Profiles
Forums
Gallery
Events
Everything posted by Bill97
-
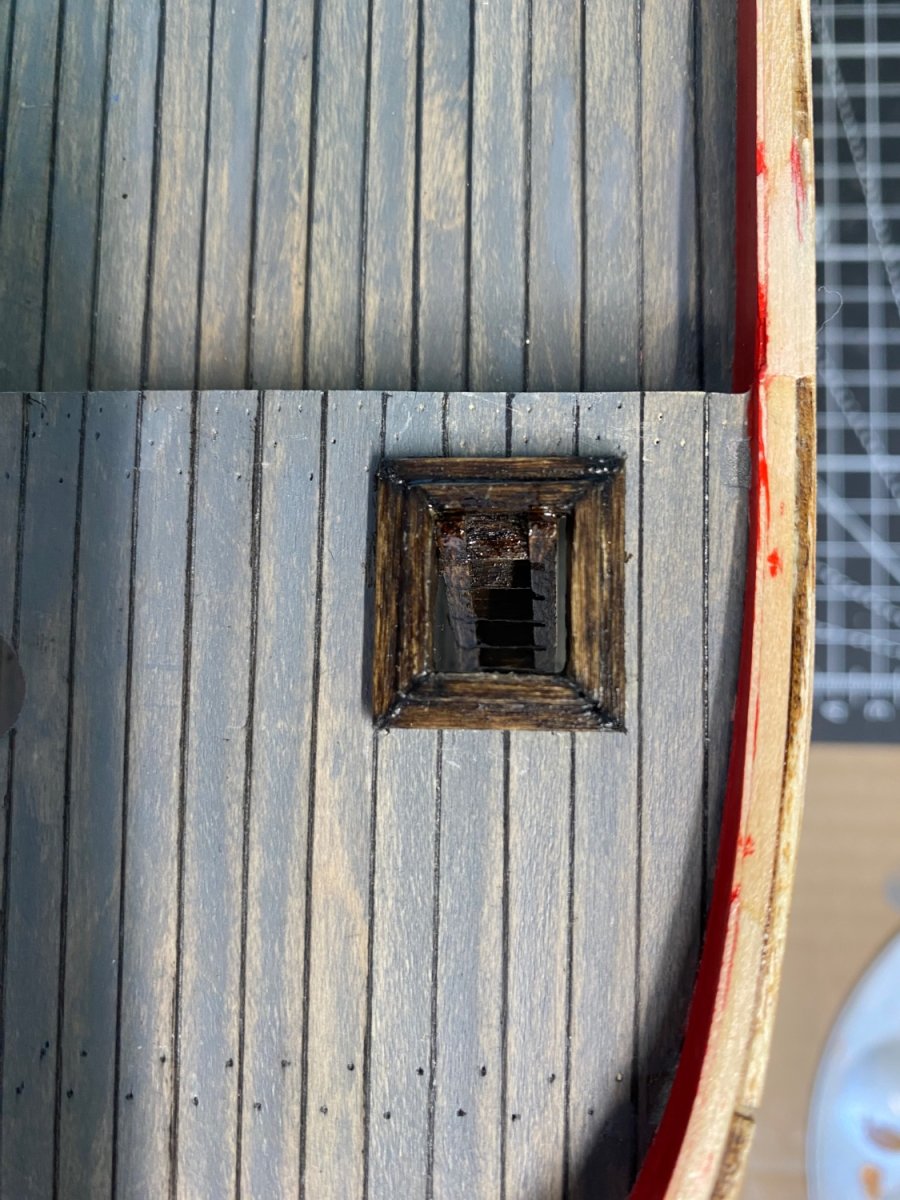
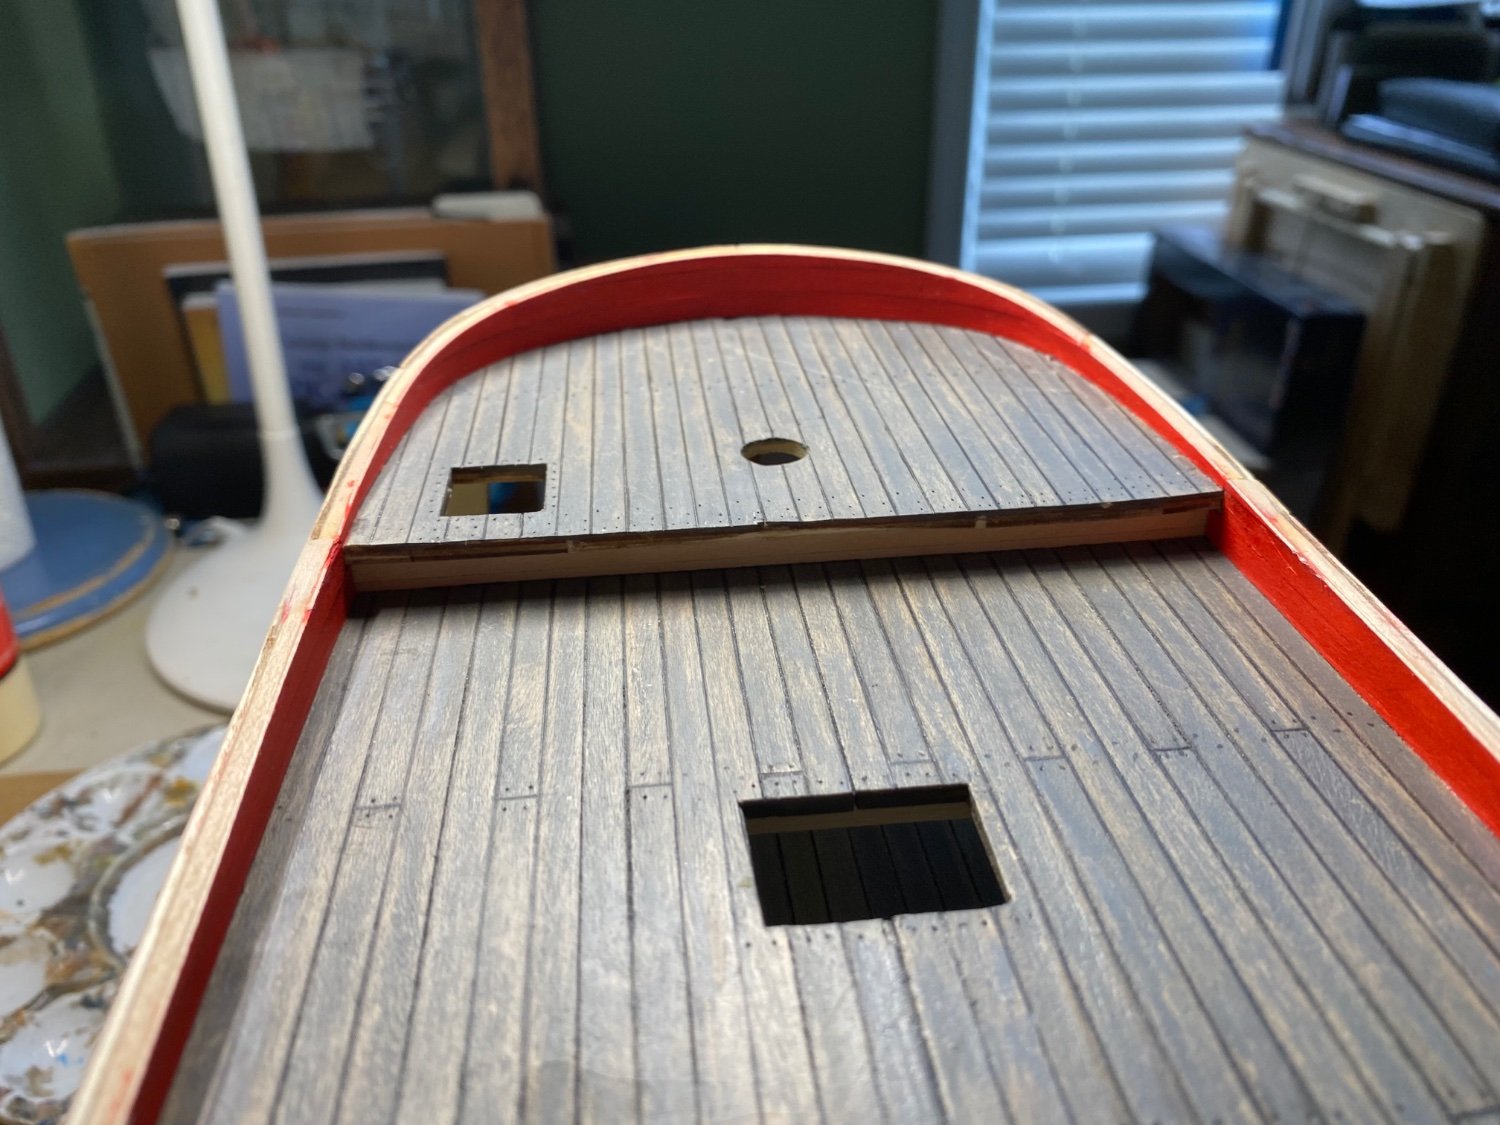
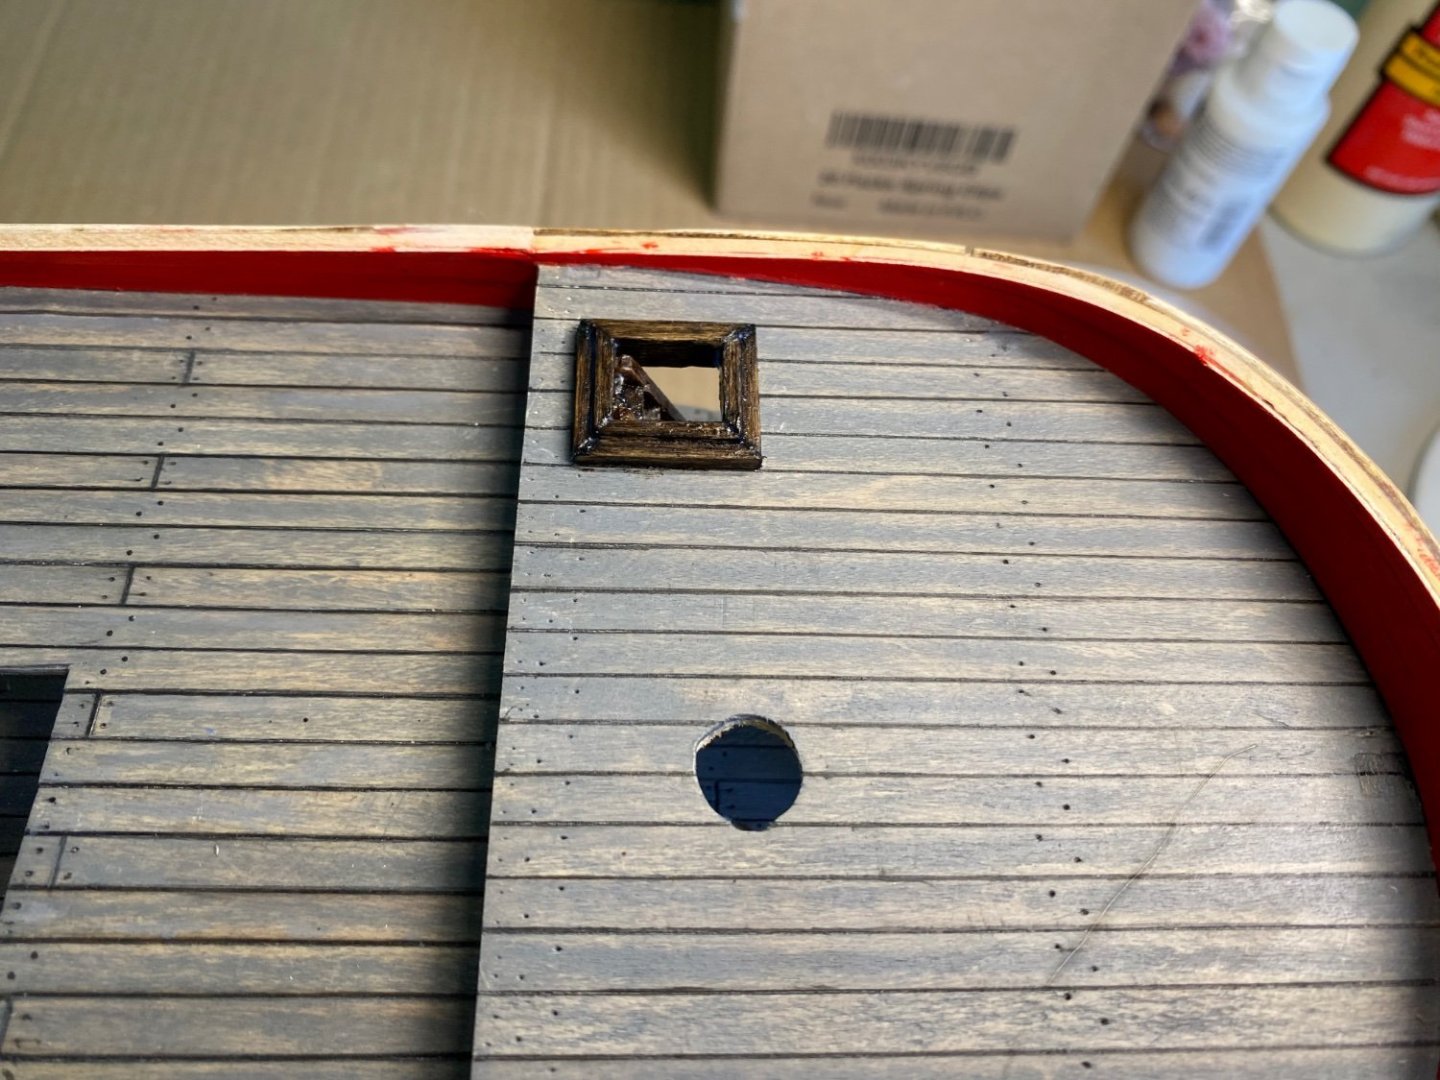
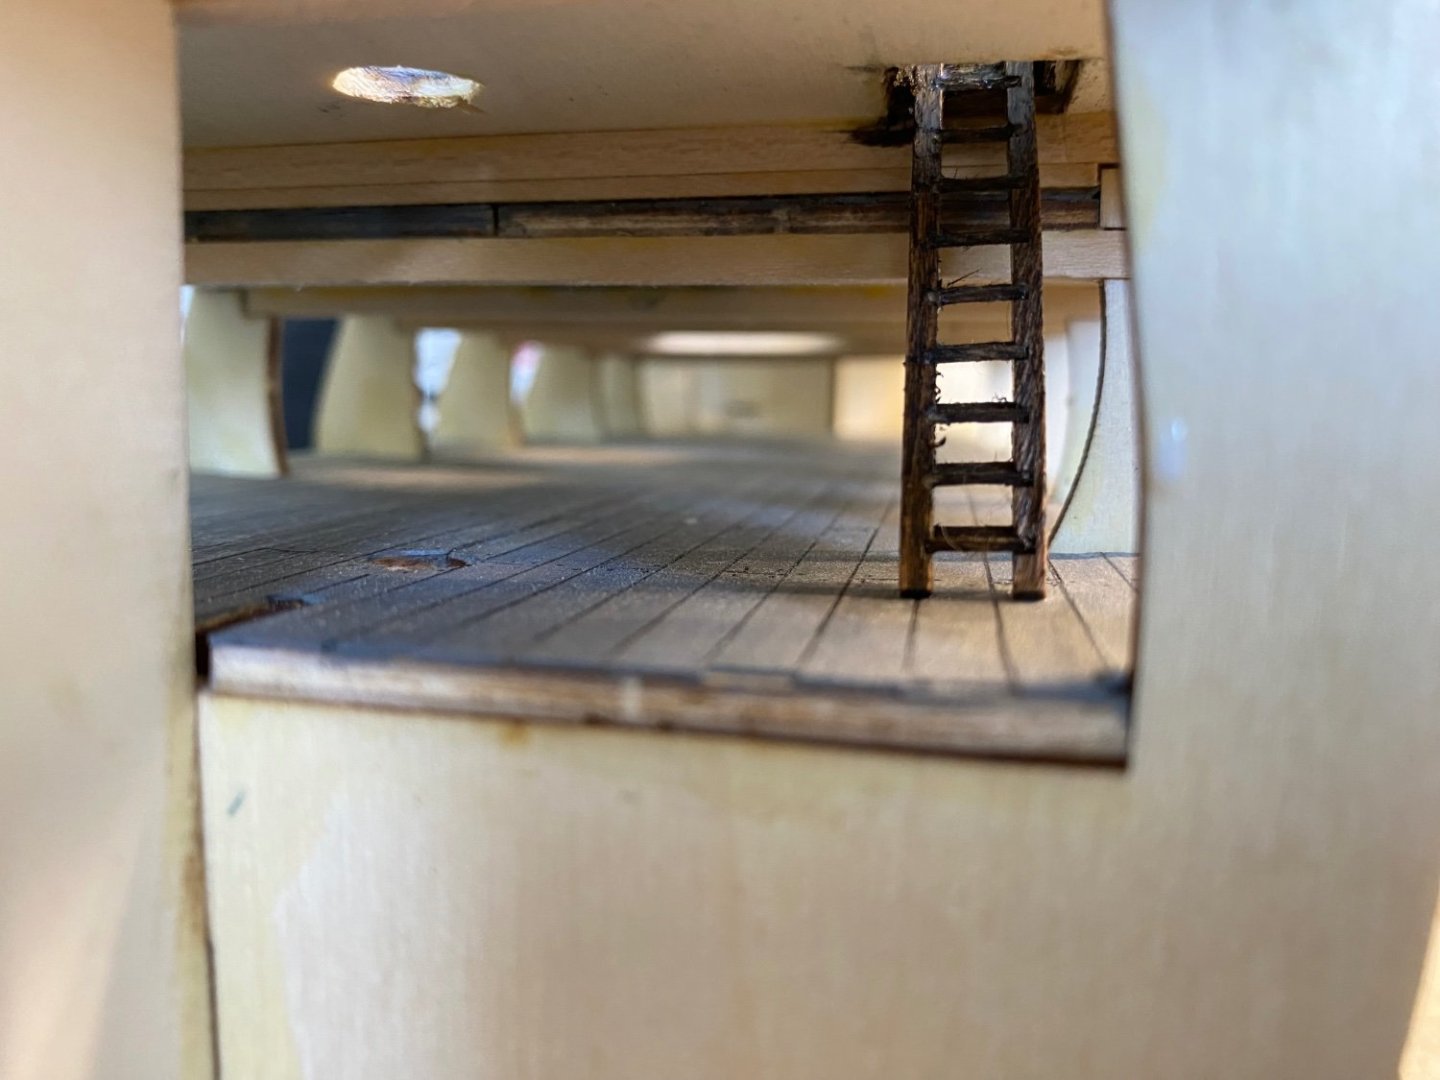
Marc it is already glued down with several layers of clear matt varnish. I am concerned if I put solvent to it I am just going to “F” it up. I may toy with a little light brown wash on one of the lower decks that will not be seen to see if I can just warm up the appearance a little. Will keep you posted. In the meantime I framed the hatch at the front and built the ladder that goes down to the lower deck. OcCre has you make the ladder by cutting the steps and gluing to the stringers. The instructions had a simple butt joint at the corners but I opted to mitre the tiny pieces. The hatch has a little shine to it because the varnish was still wet.


-
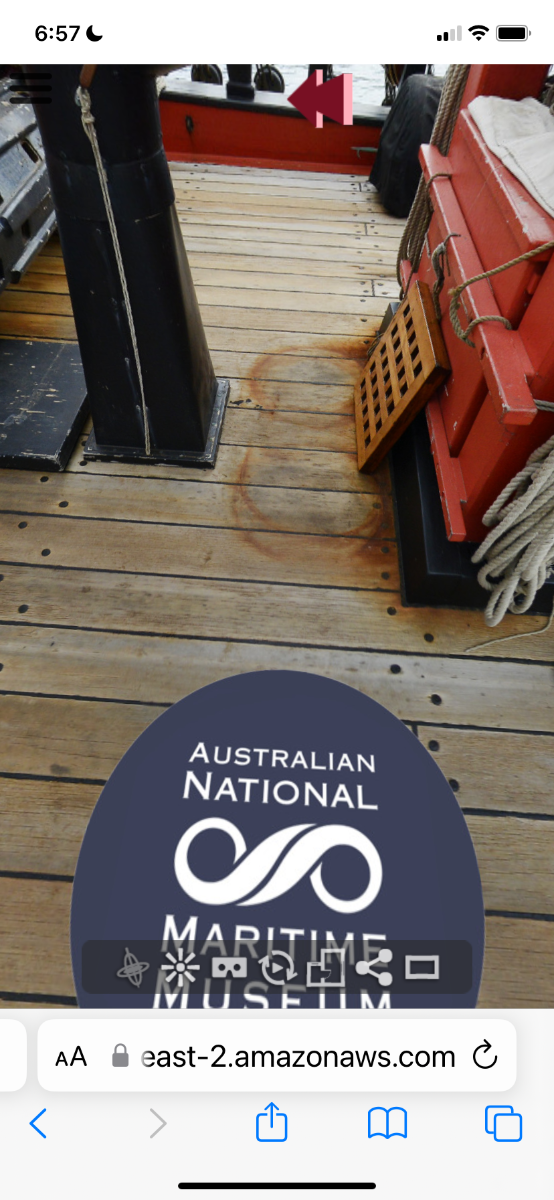
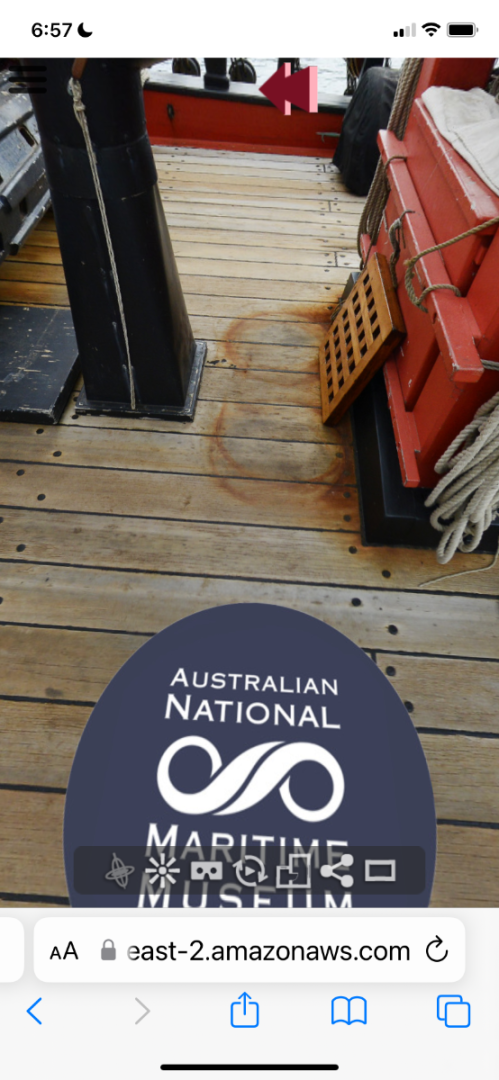
Marc you complimented me above on my deck weathering. I am looking at this picture of the replica of the Endeavour. As you can see the deck has a certain light brown weathering compared to mine that leans more gray. Of course I guess I would need to consider what harsh conditions the real Endeauvor deck experienced over the years at sea. The replica spending most of its time in Sydney harbor, I think. I am wondering which color would be more realistic. Should I attempt to add a light brown wash and risk screwing it up, or just leave it as is. Again I know we continue to say it is our build and we should do what we want.


-
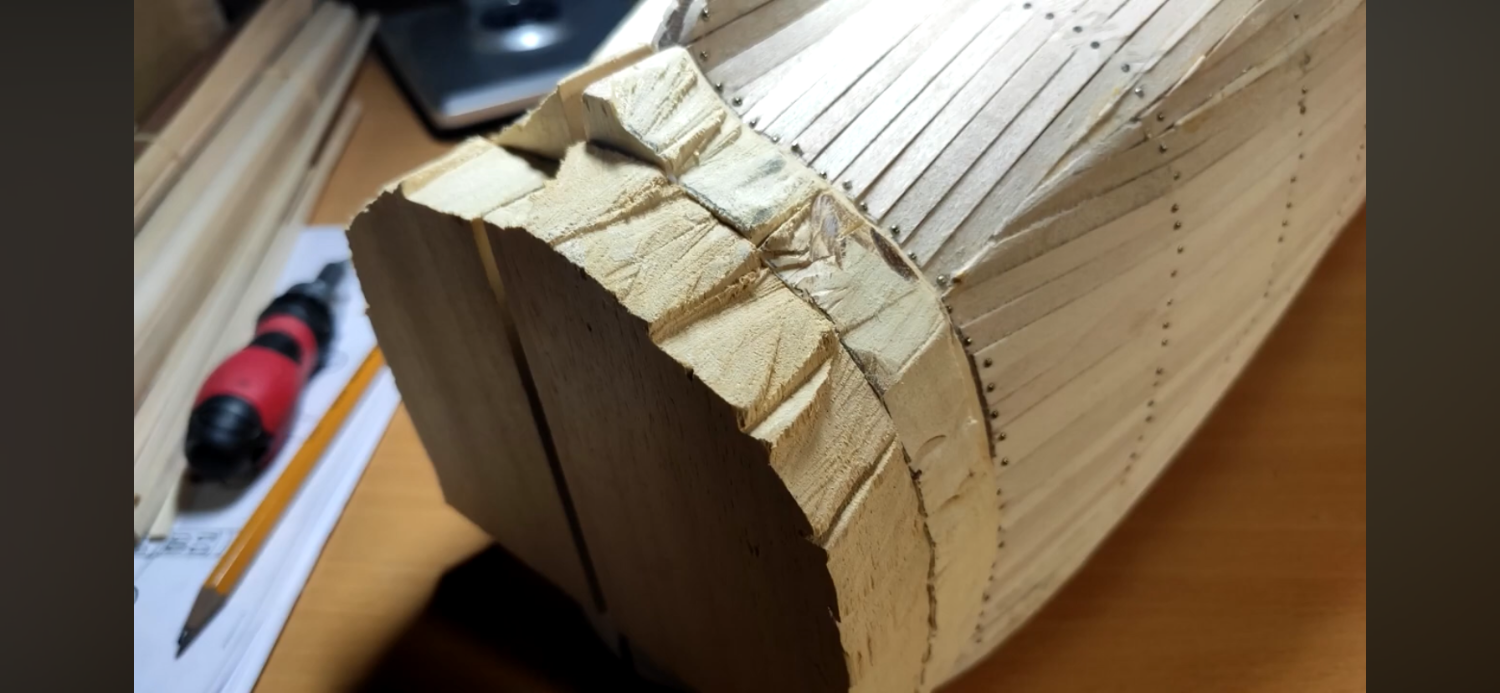
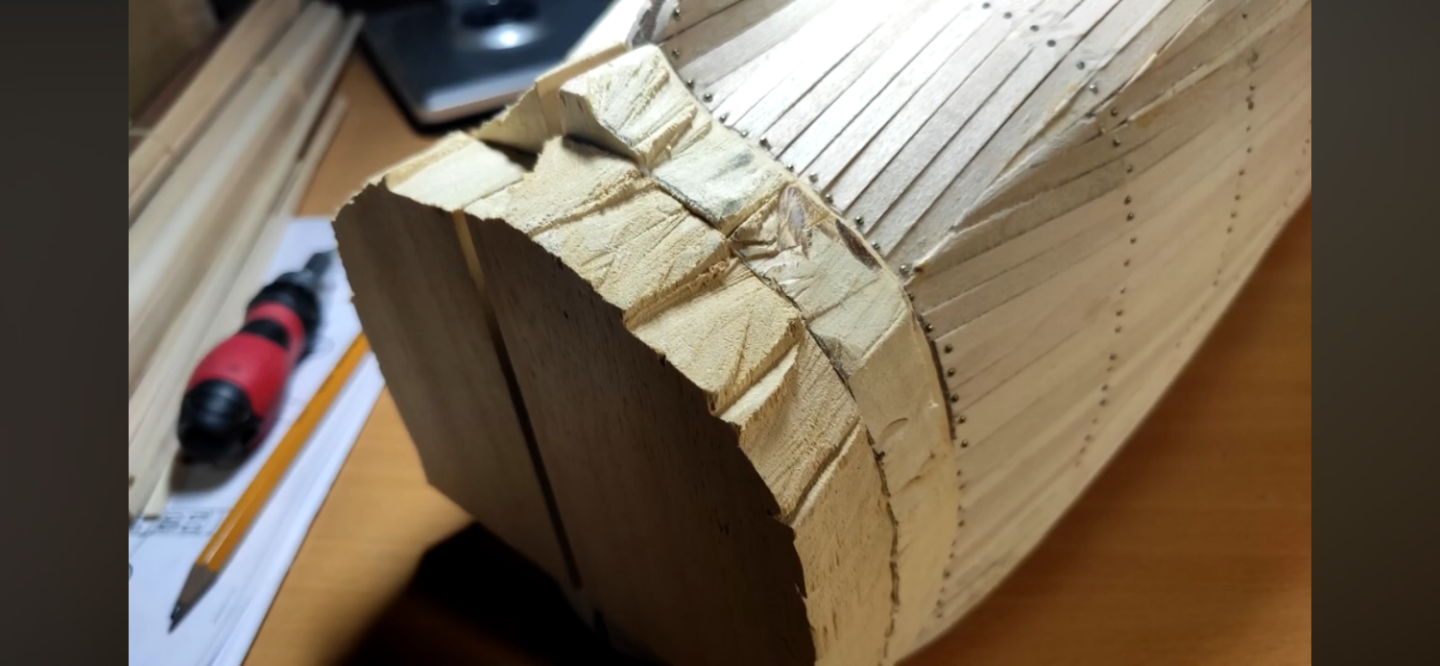
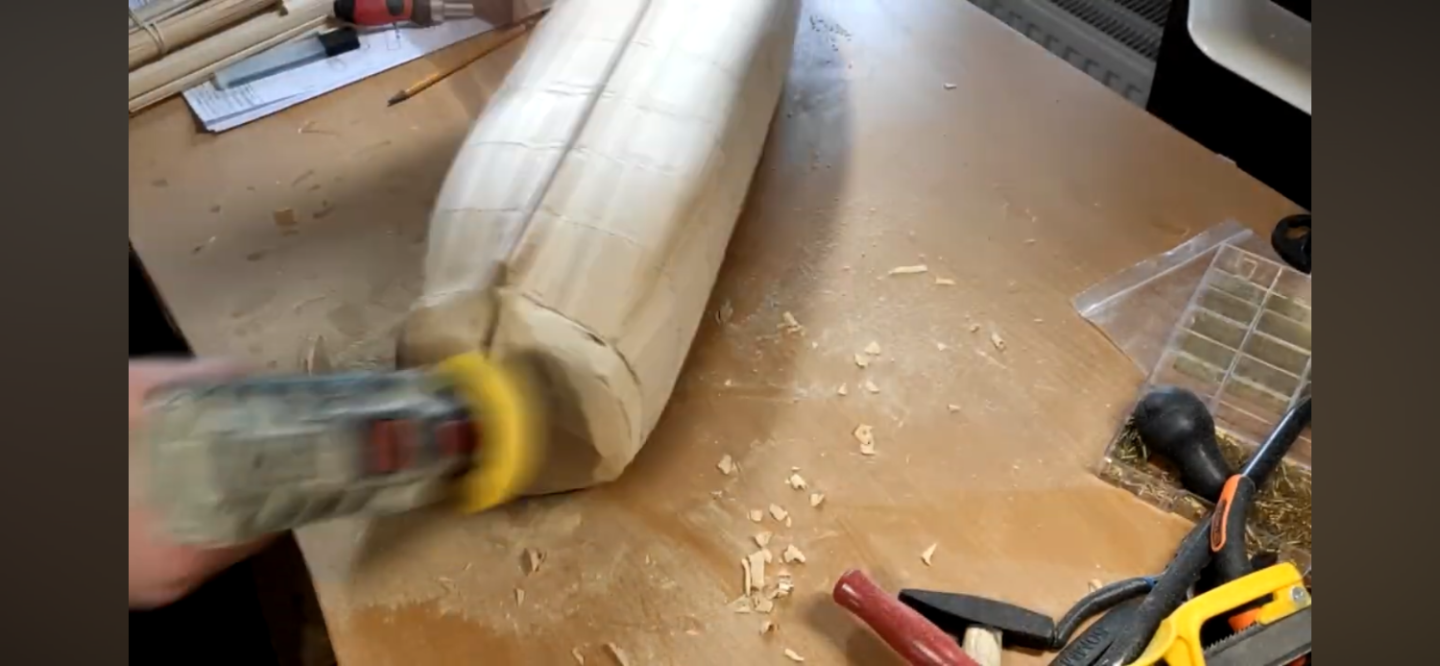
Yes Marc. The kit actually comes with the blocks of balsa to glue in the bow then trim down to the correct shape.
-
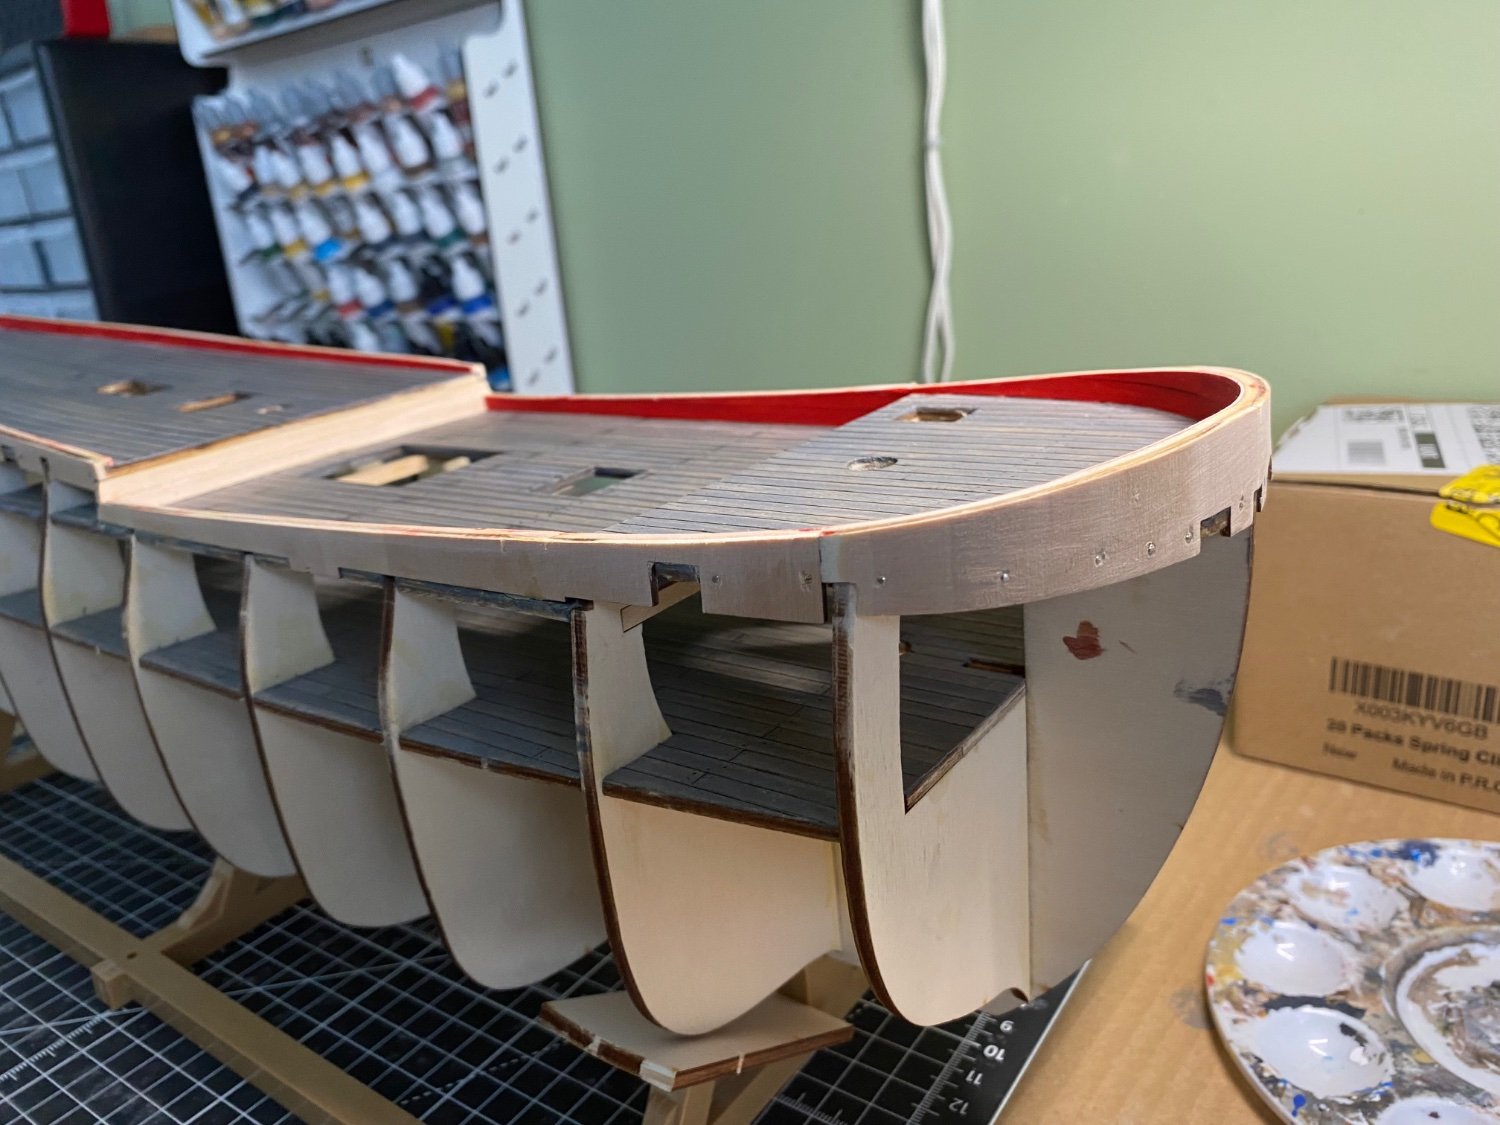
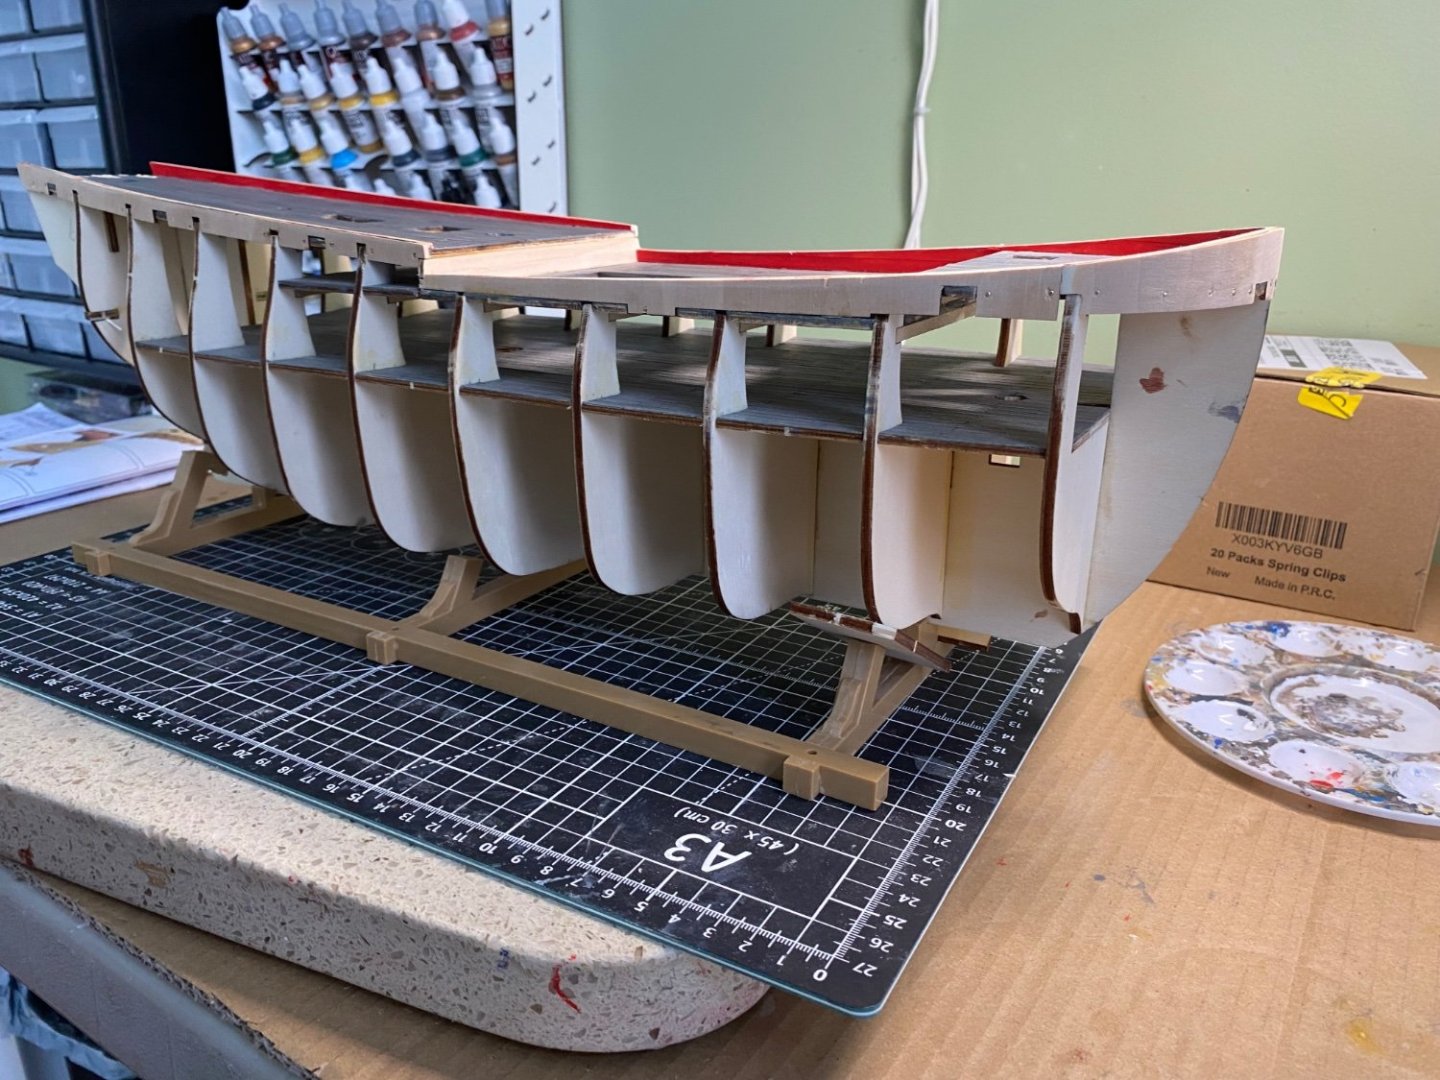
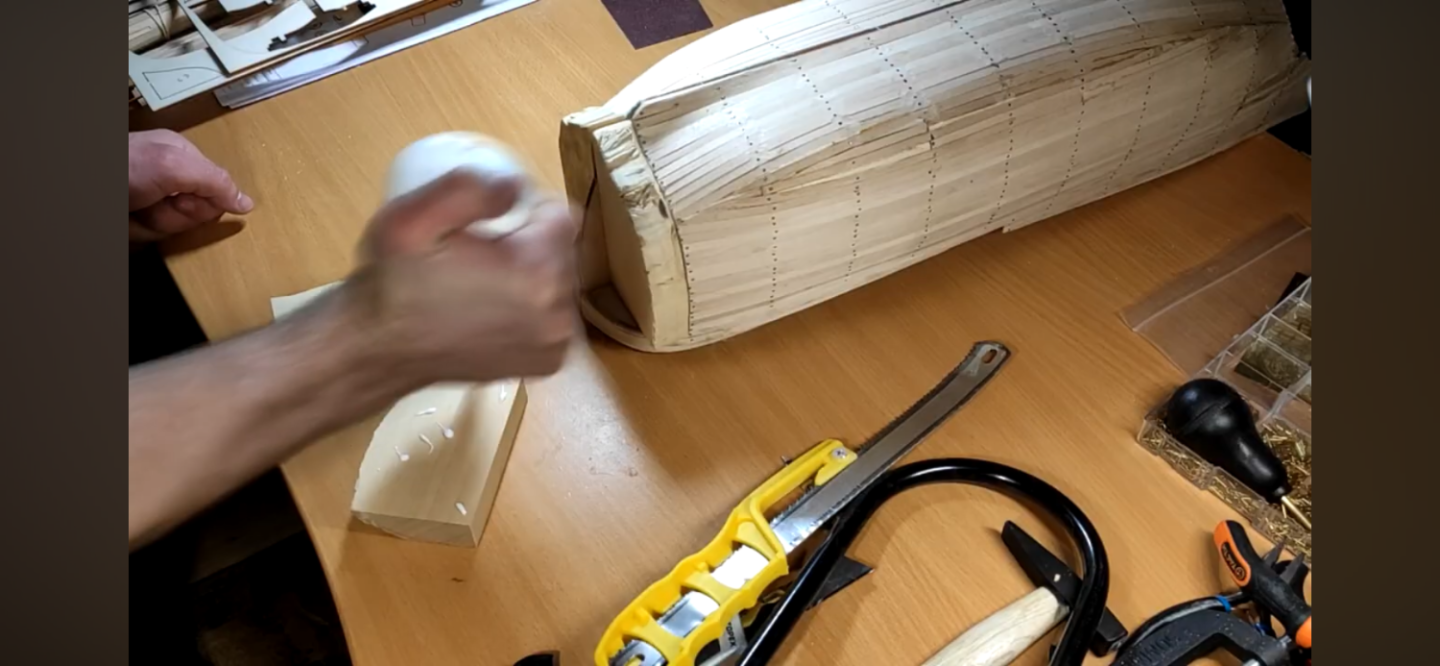
Bulwarks installed and lining added to the inboard side. I checked pictures online of the replica and saw that the inboard side is painted red. To avoid messing up my weathered deck I painted the lining wood strips before gluing them in place and trimming. The Endeavour has a very distinctive snub bow.


-
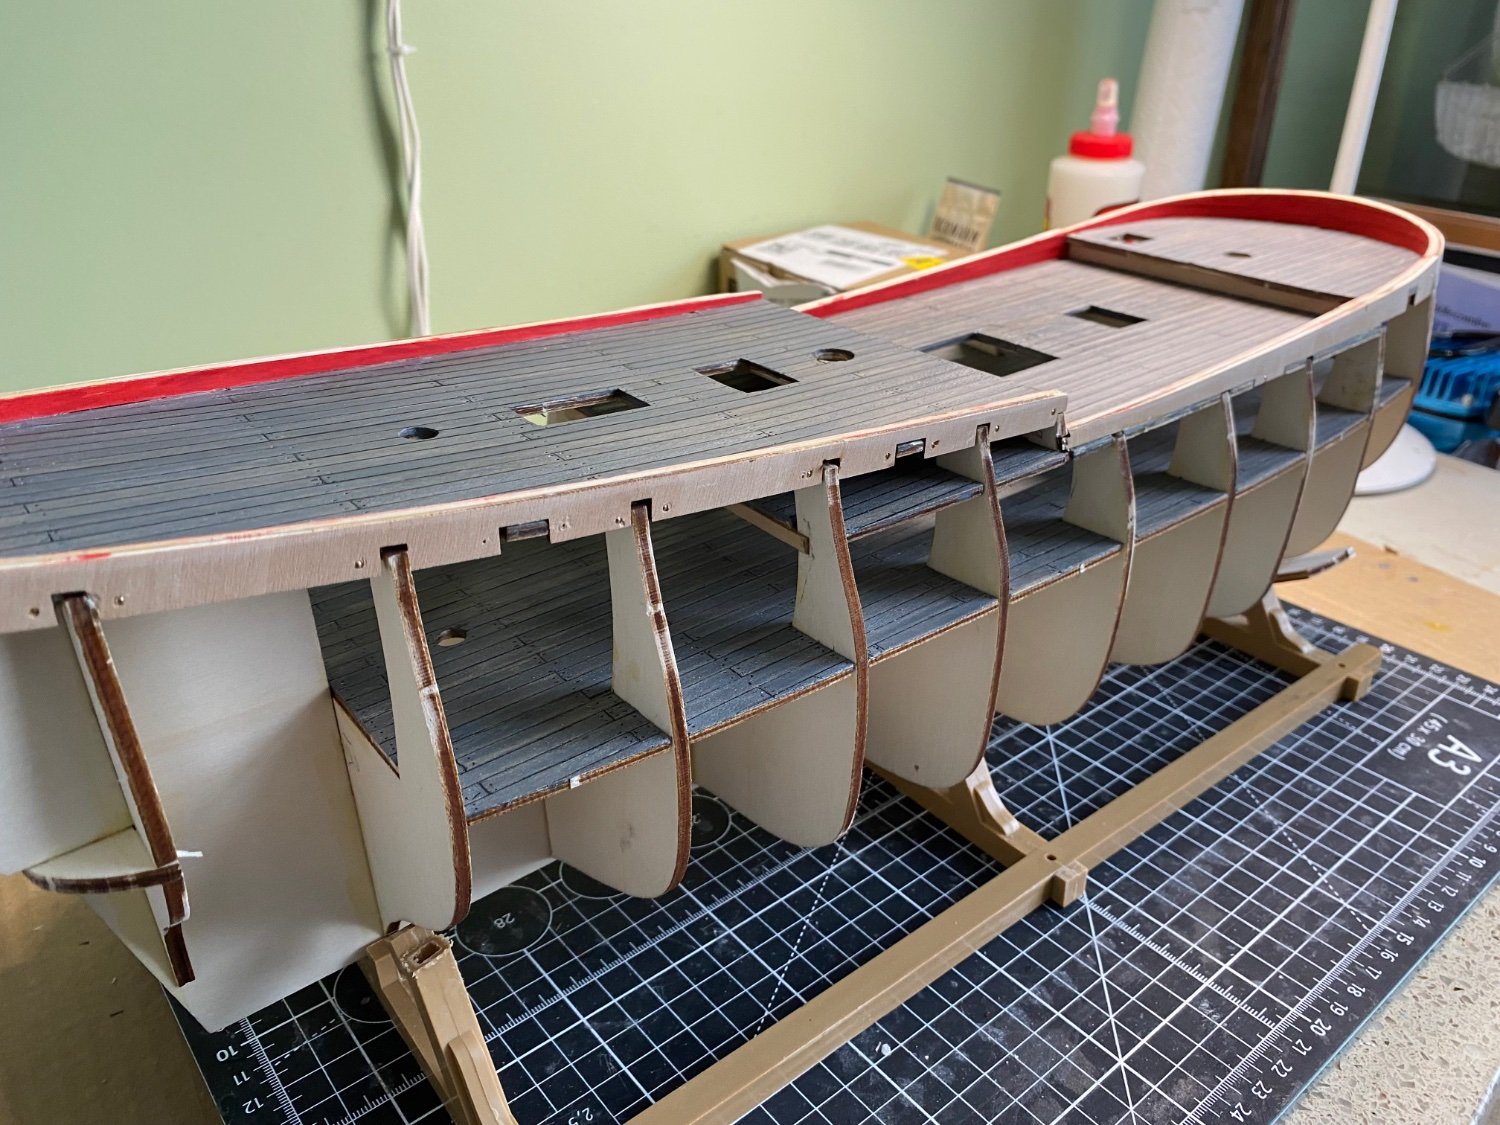
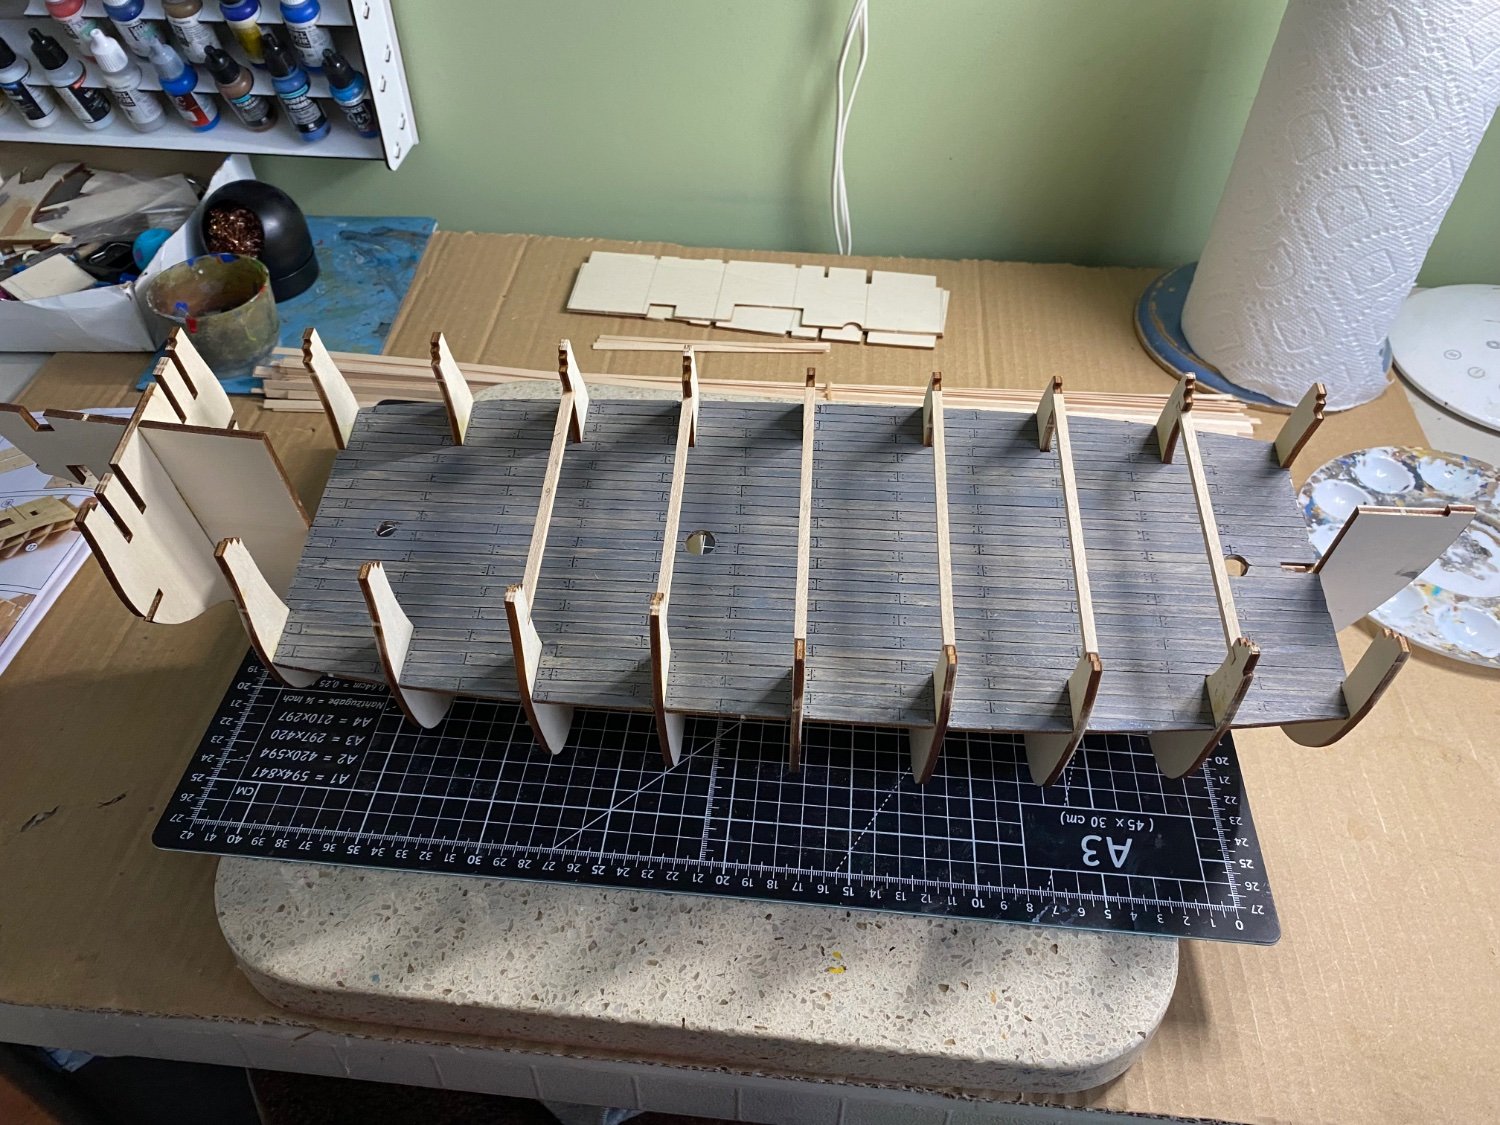
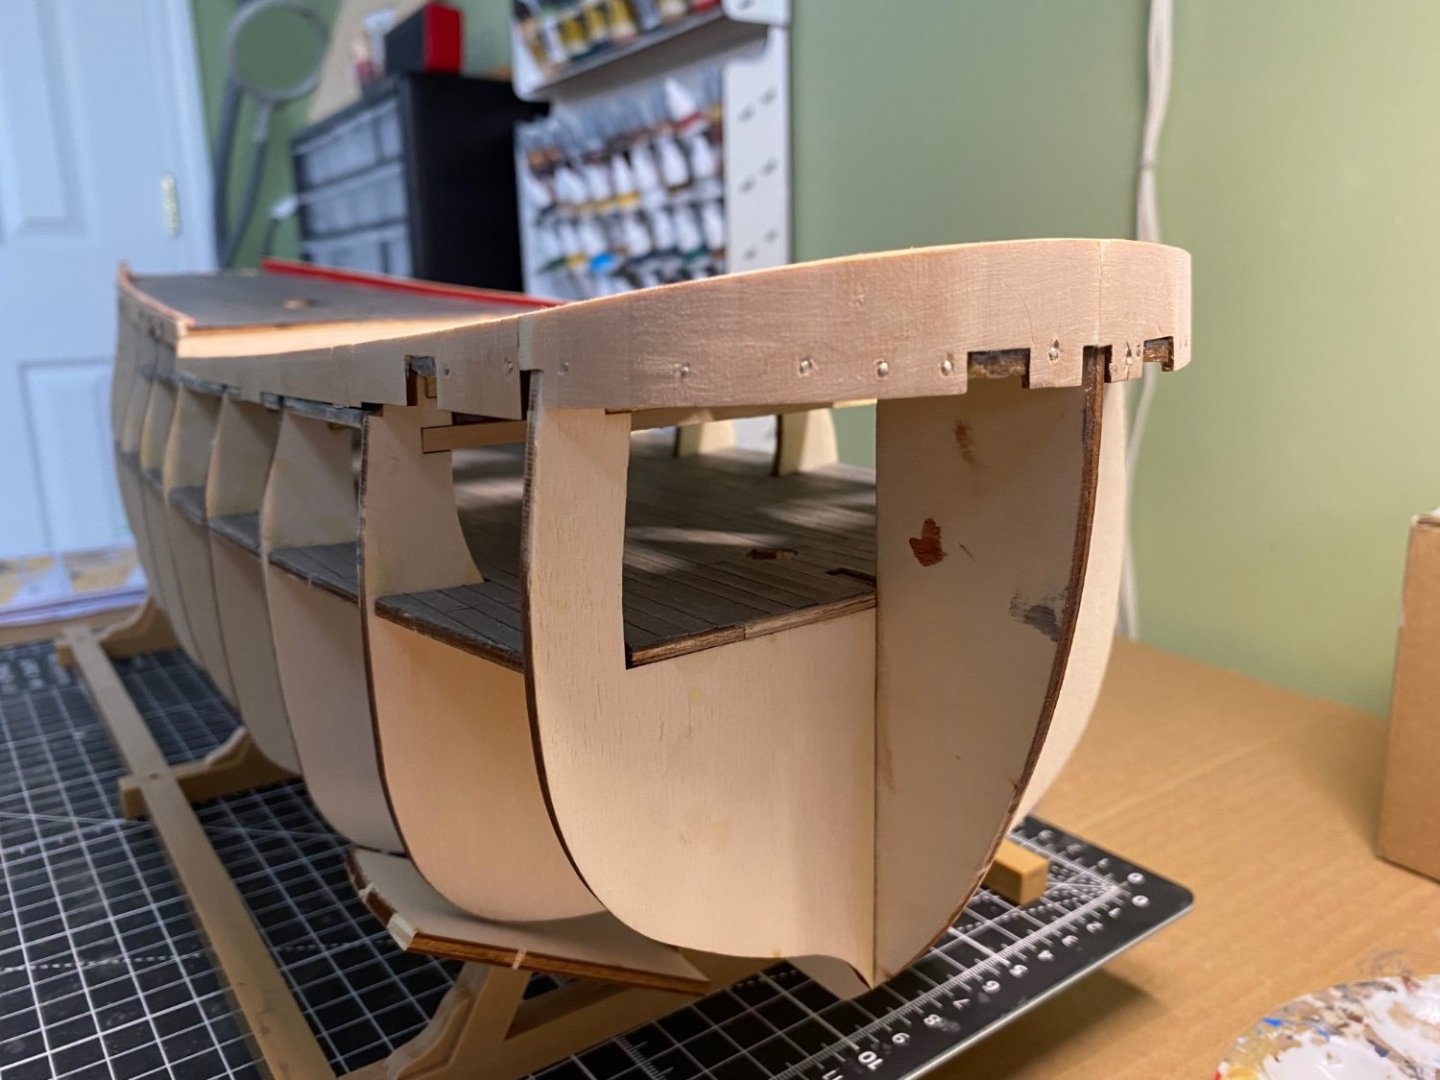
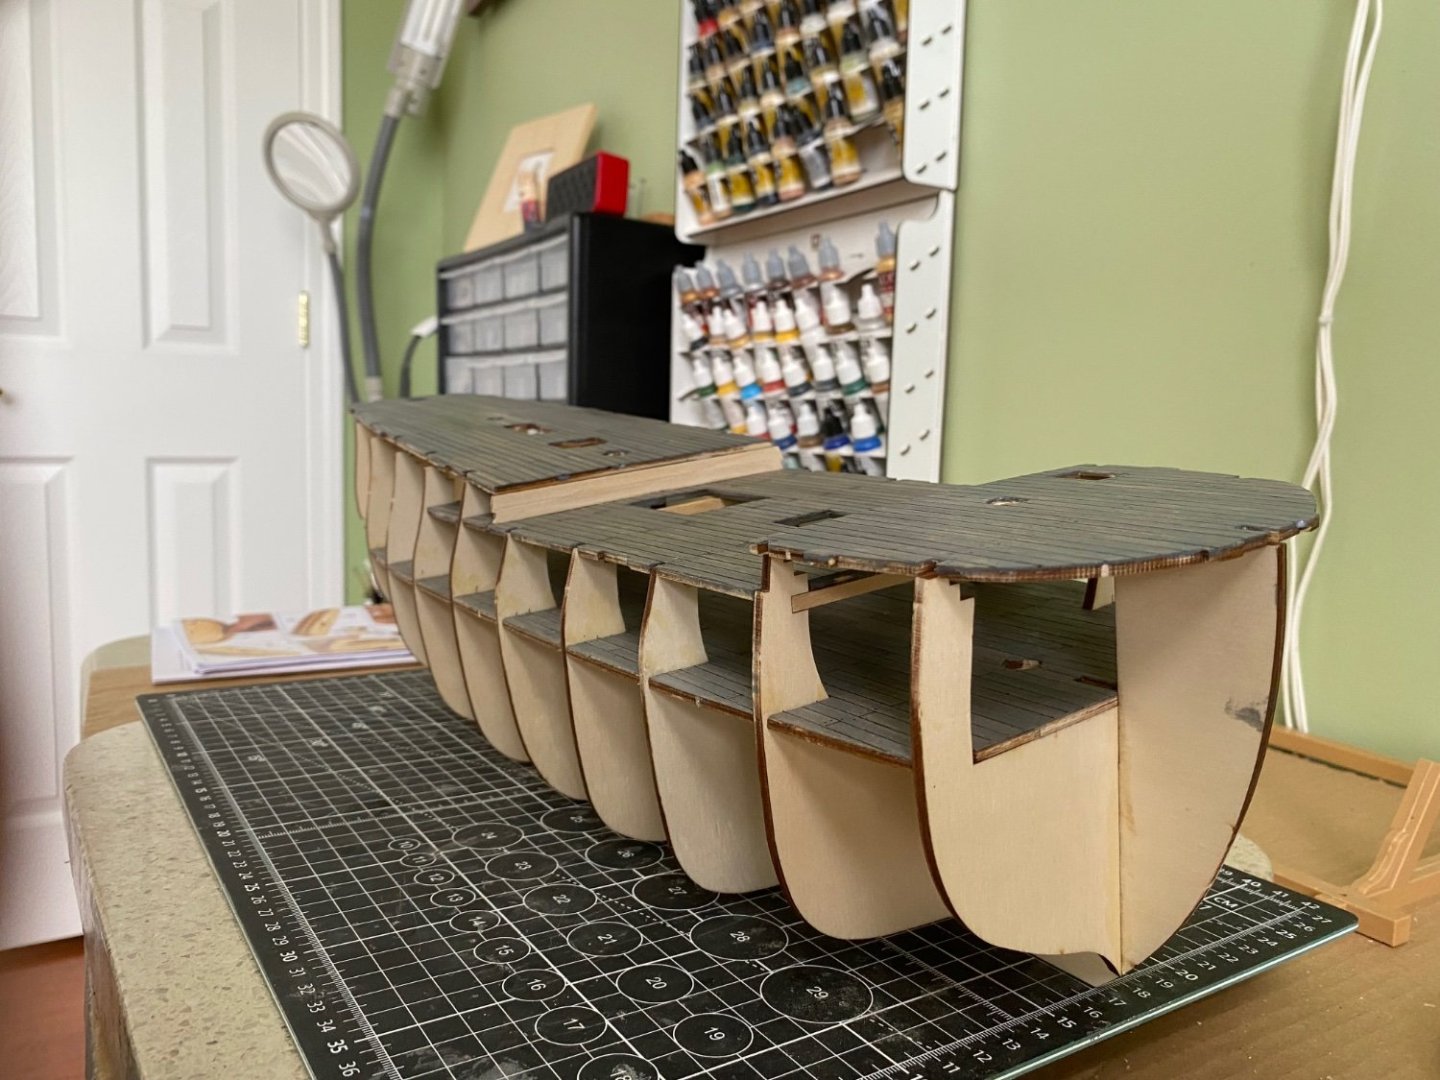
Last of the four decks installed and now working on the bulwarks. The bulwarks are made up in 3 separate layers of wood. First time I used my small nail pusher. Handy little tool.


-
Robert I hope you are still reading your notifications. If so, I have a question for you. Various times in the early part of your build you mention staining pieces different colors with OcCre stain. Did you do this from personal taste or did your instructions direct you too? Reading through my instructions I have yet to read an a direction to add color to a piece. I am just now at the point of adding the planked decks.
-
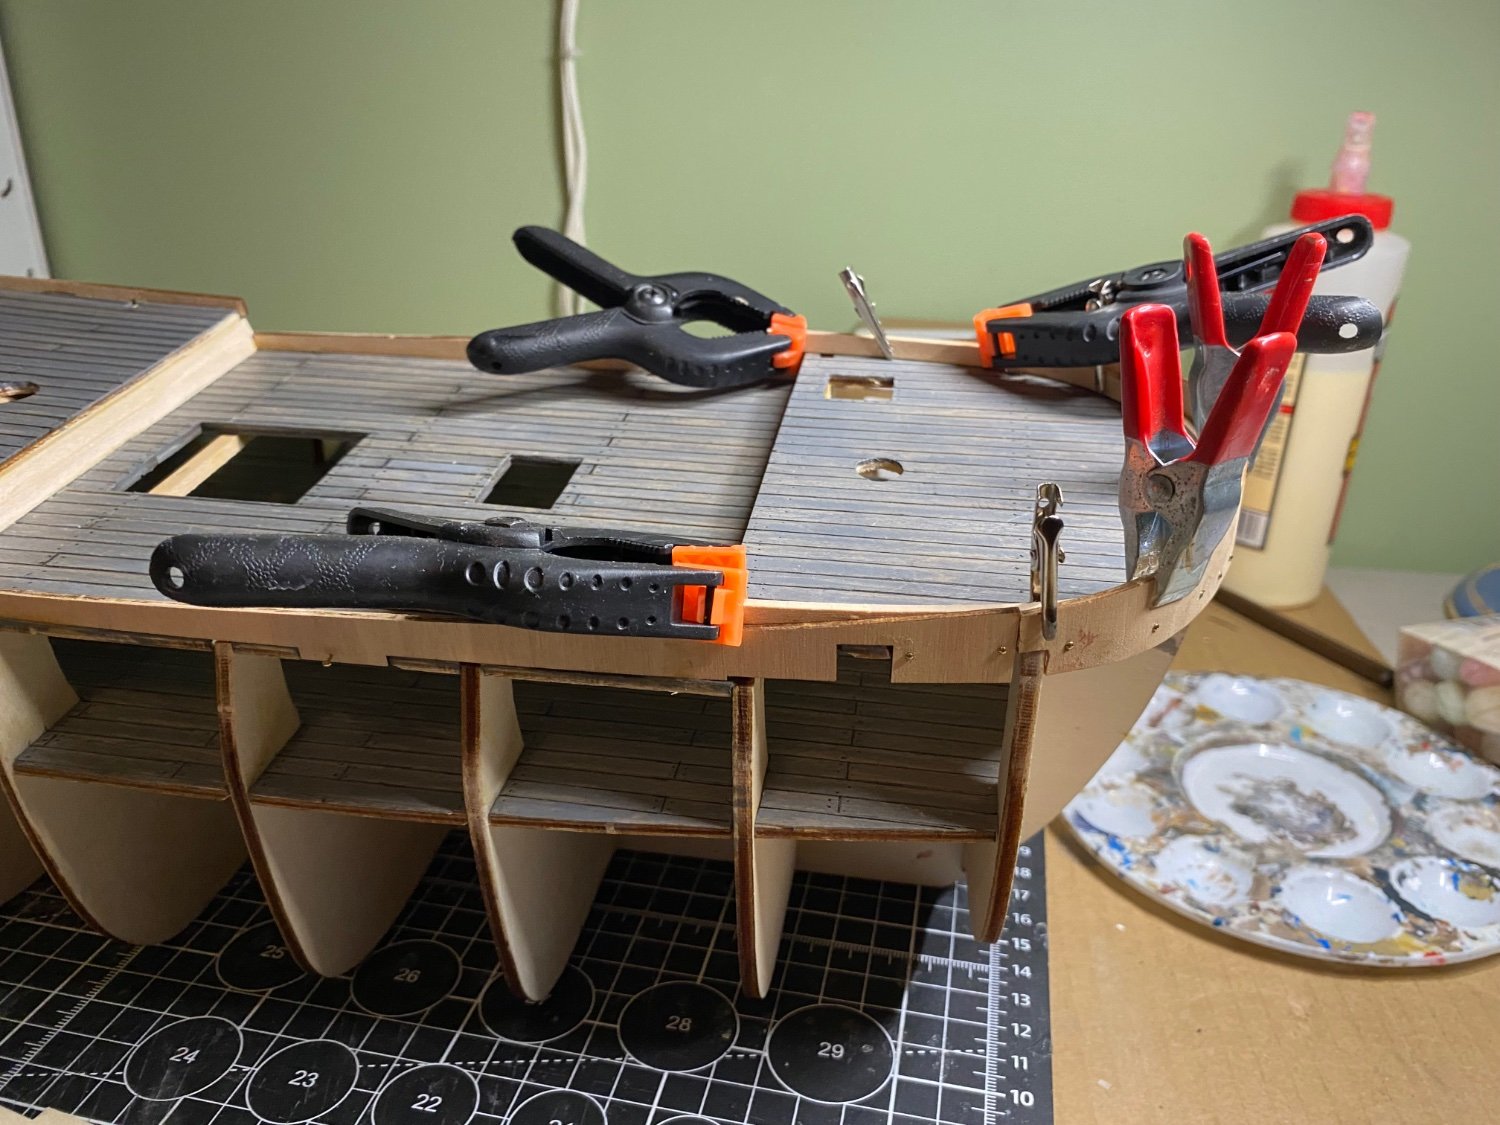
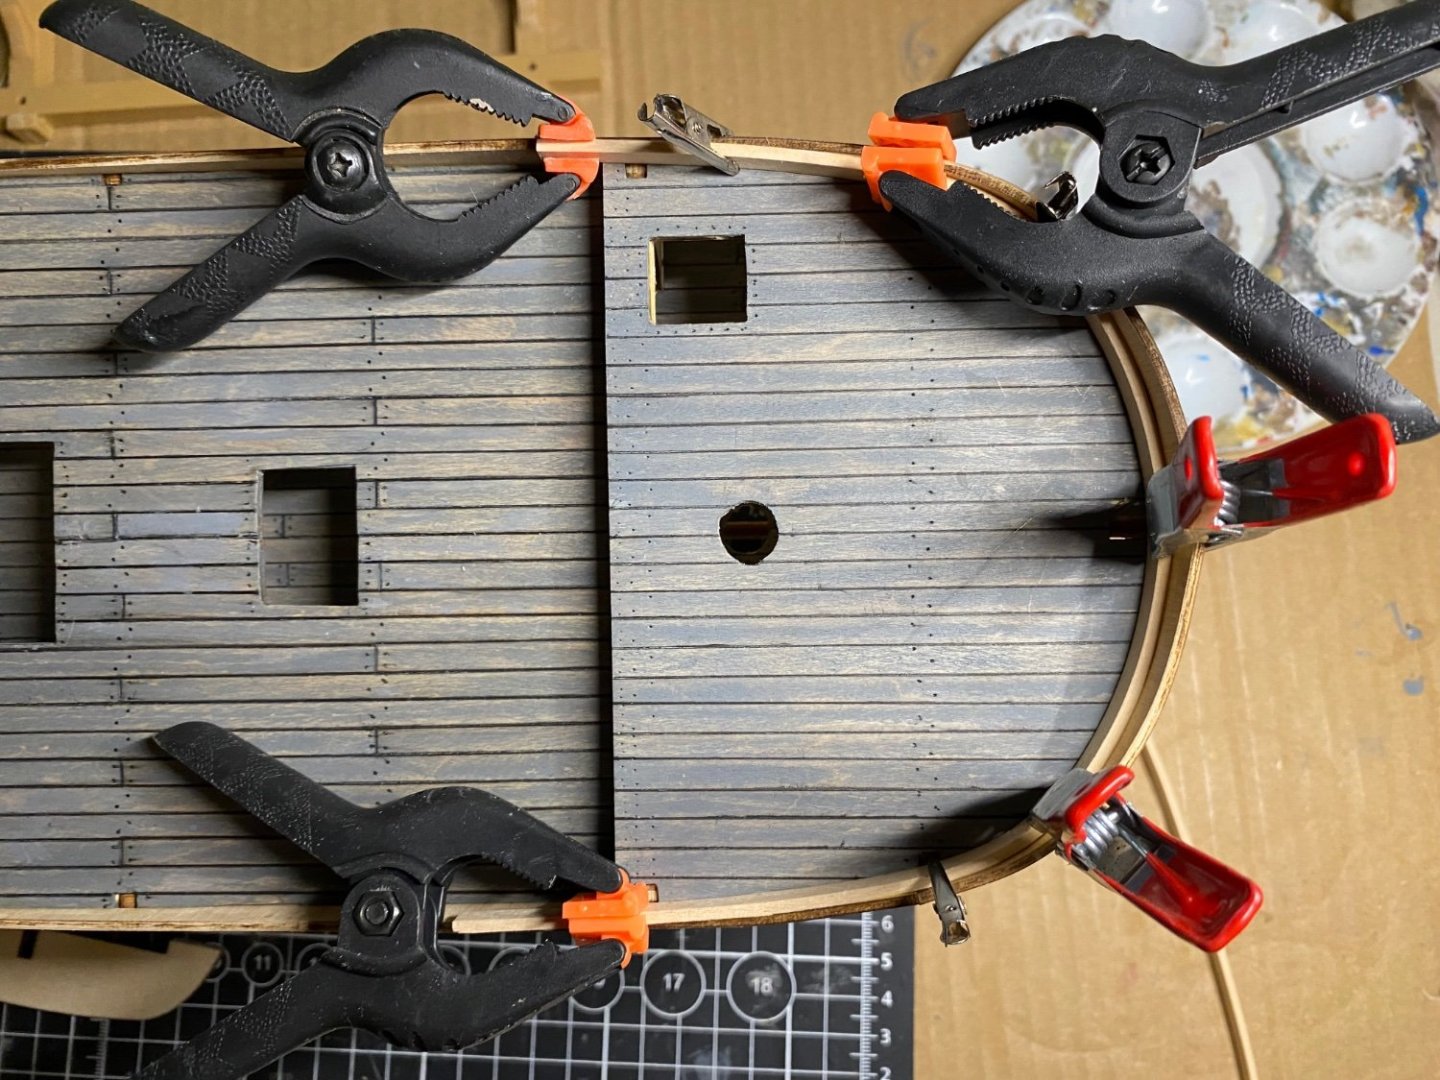
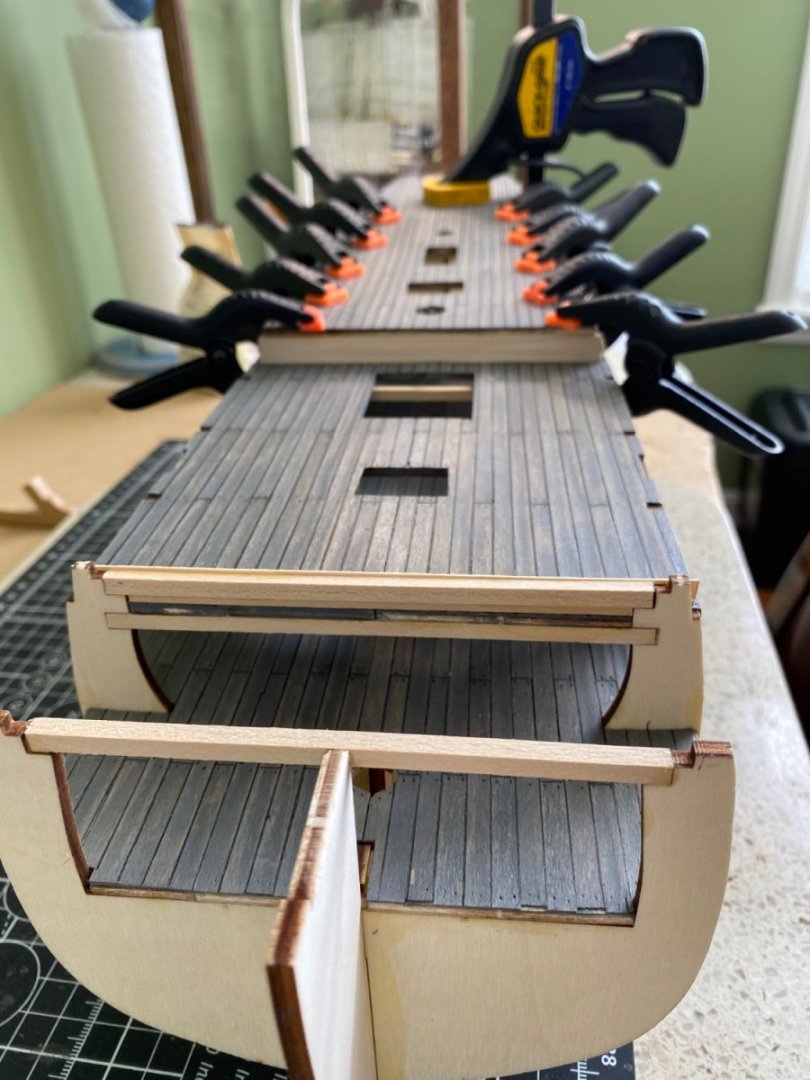
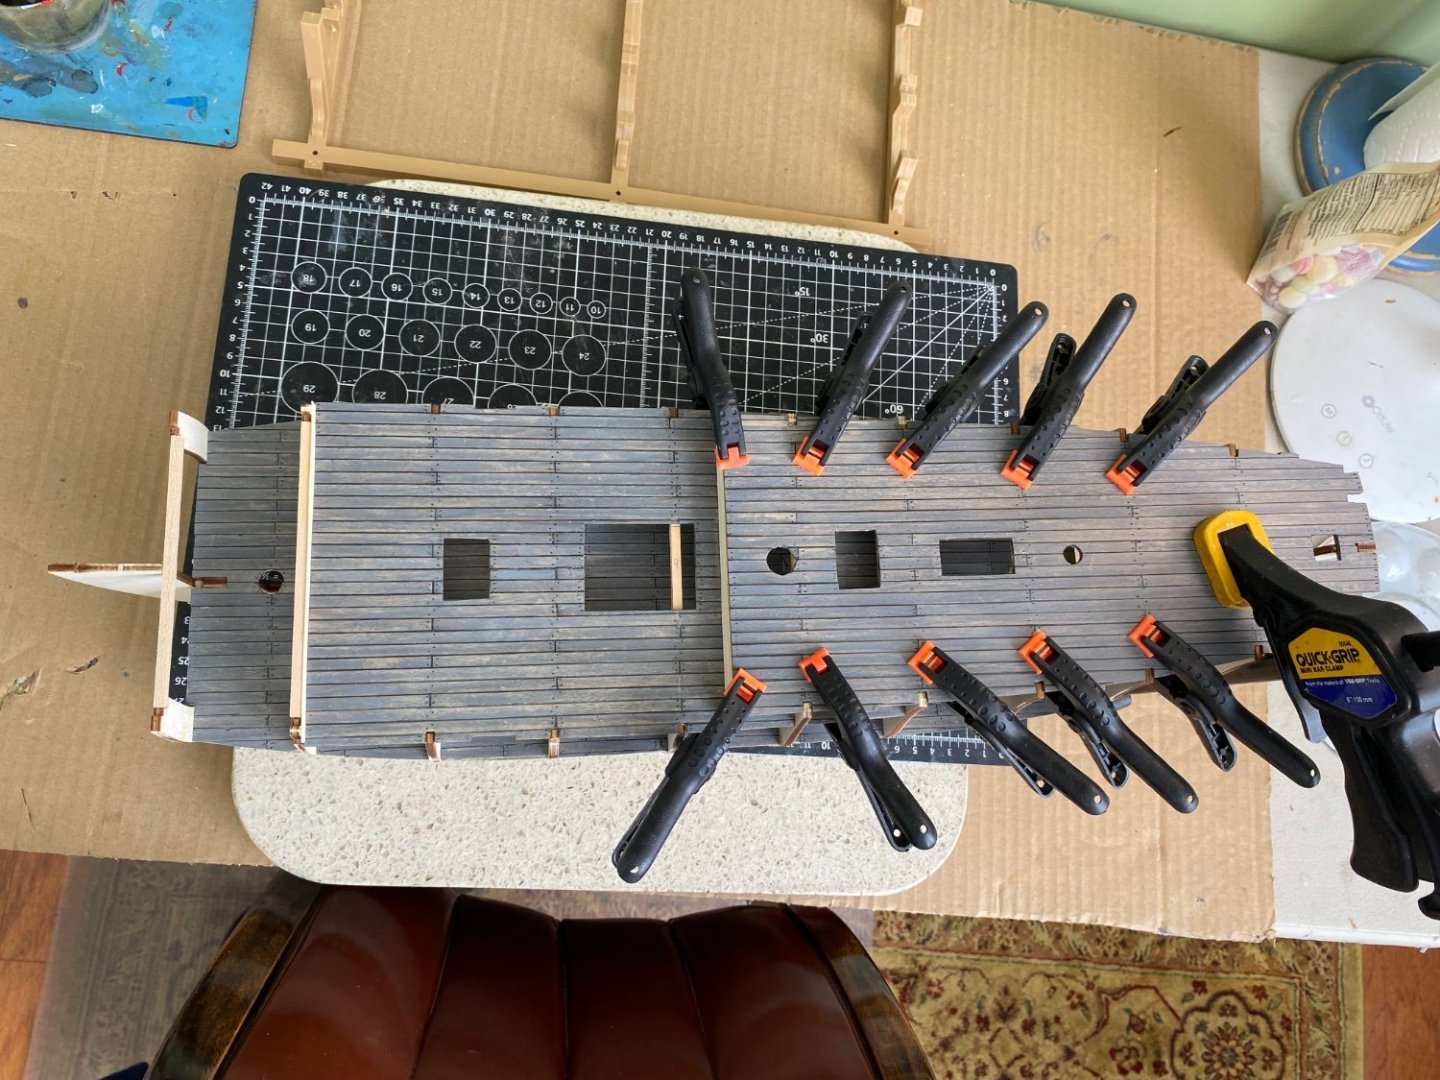
A wise carpenter once said “you can never have too many clamps”! I believe he as correct. Next deck installed and clamped in place b
-
Thanks Marc. I guess it is because of Covid and all the shields companies have up for employees, but plexiglass cost is getting outrageous! I use it in my cases because tempered glass the sizes I need is cost prohibitive. Not sure if plexiglass is going to catch up 😳.
- 1,508 replies
-
- 2
-

-

-
- Le Soleil Royal
- Heller
- (and 1 more)
-
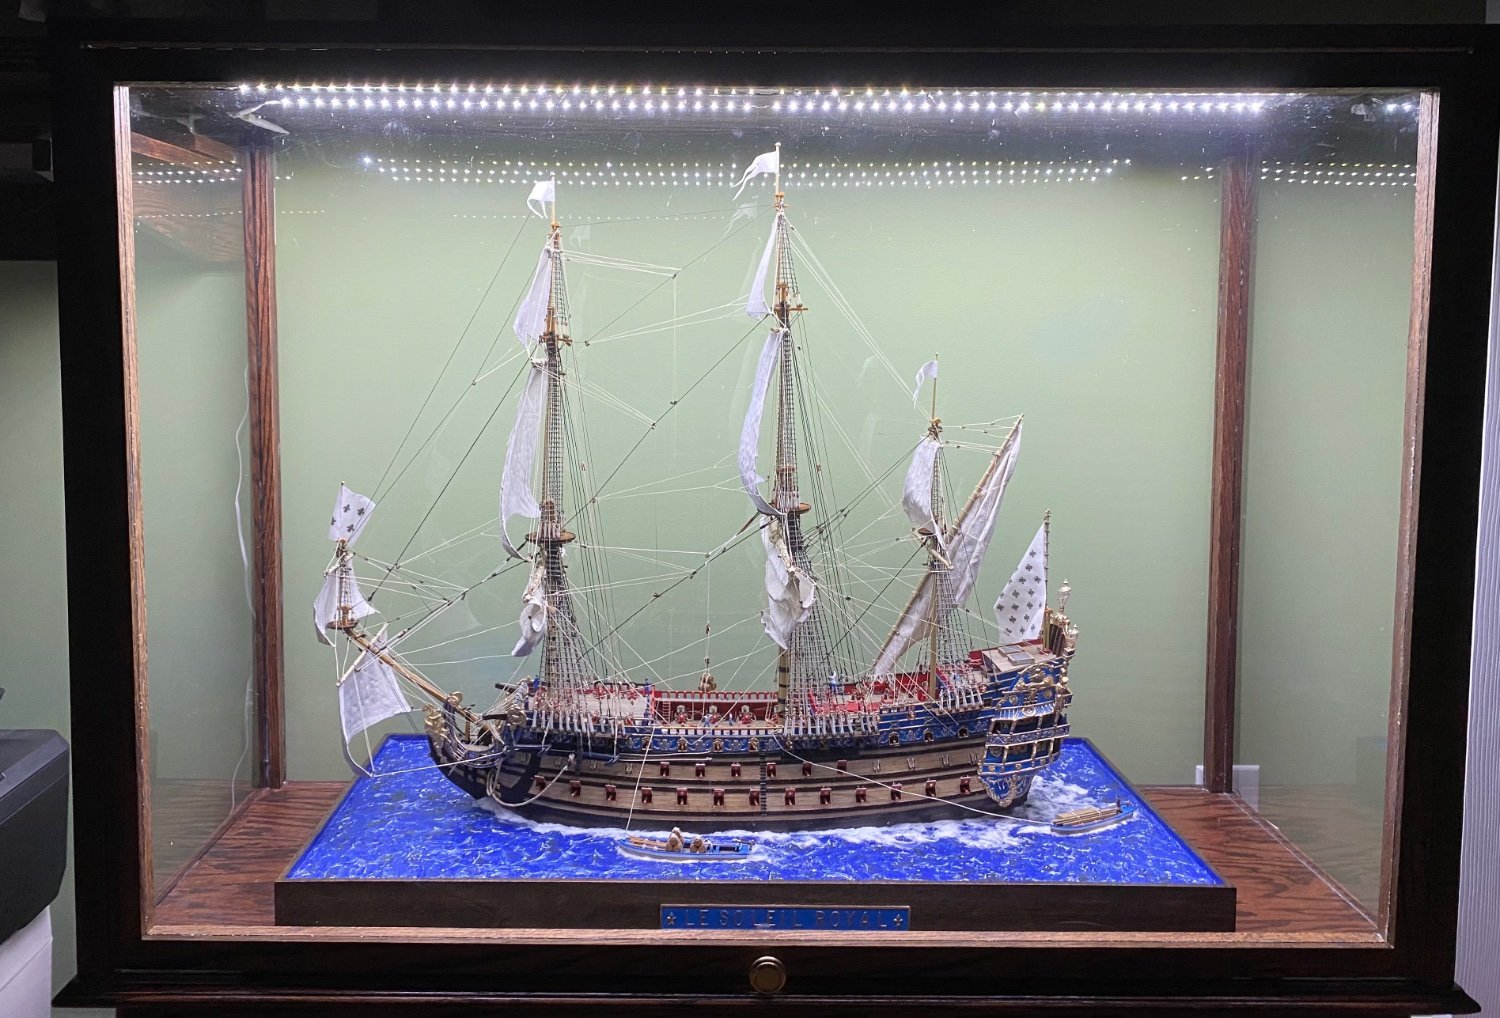
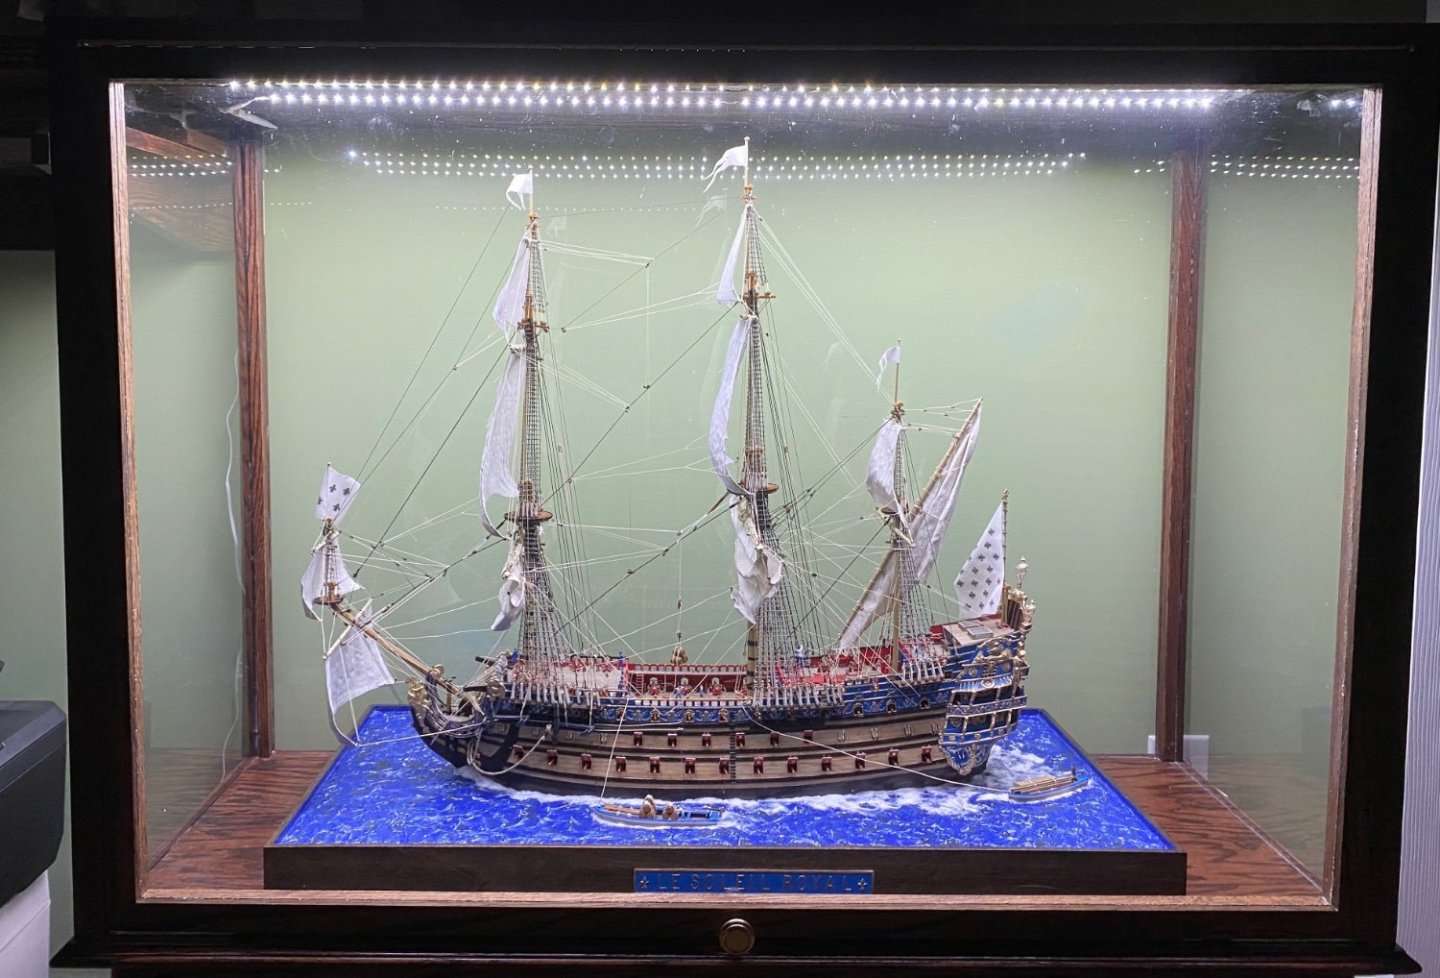
Have my completed Le Soleil Royal in the diorama displayed in its brand new custom made display case! I decided to route dados in the underside of the cabinet top to accommodate LED strip lights that are plug in instead of battery. The LEDs are adjustable by the use of a remote. I think the lights create a since of sparkle on the “water”.
- 1,508 replies
-
- 6
-
-
-
- Le Soleil Royal
- Heller
- (and 1 more)
-
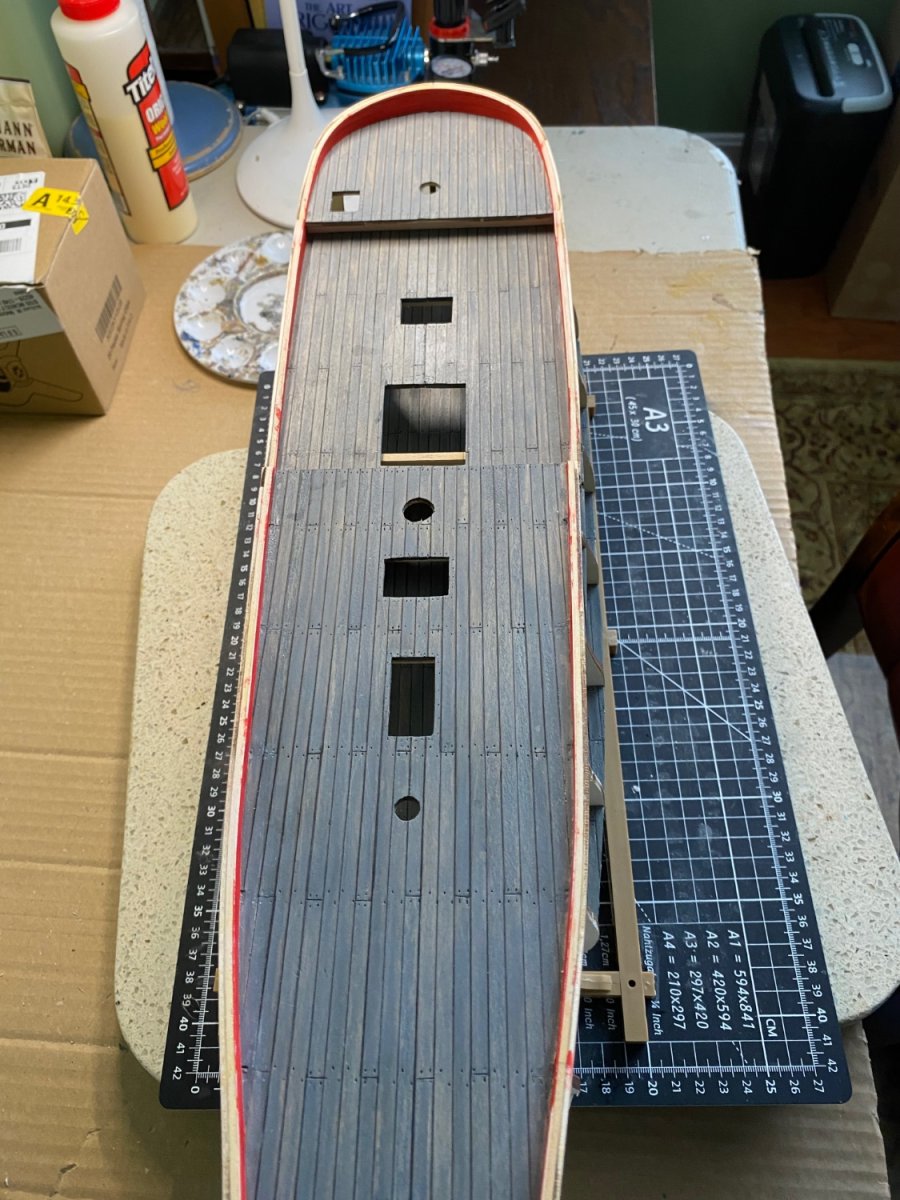
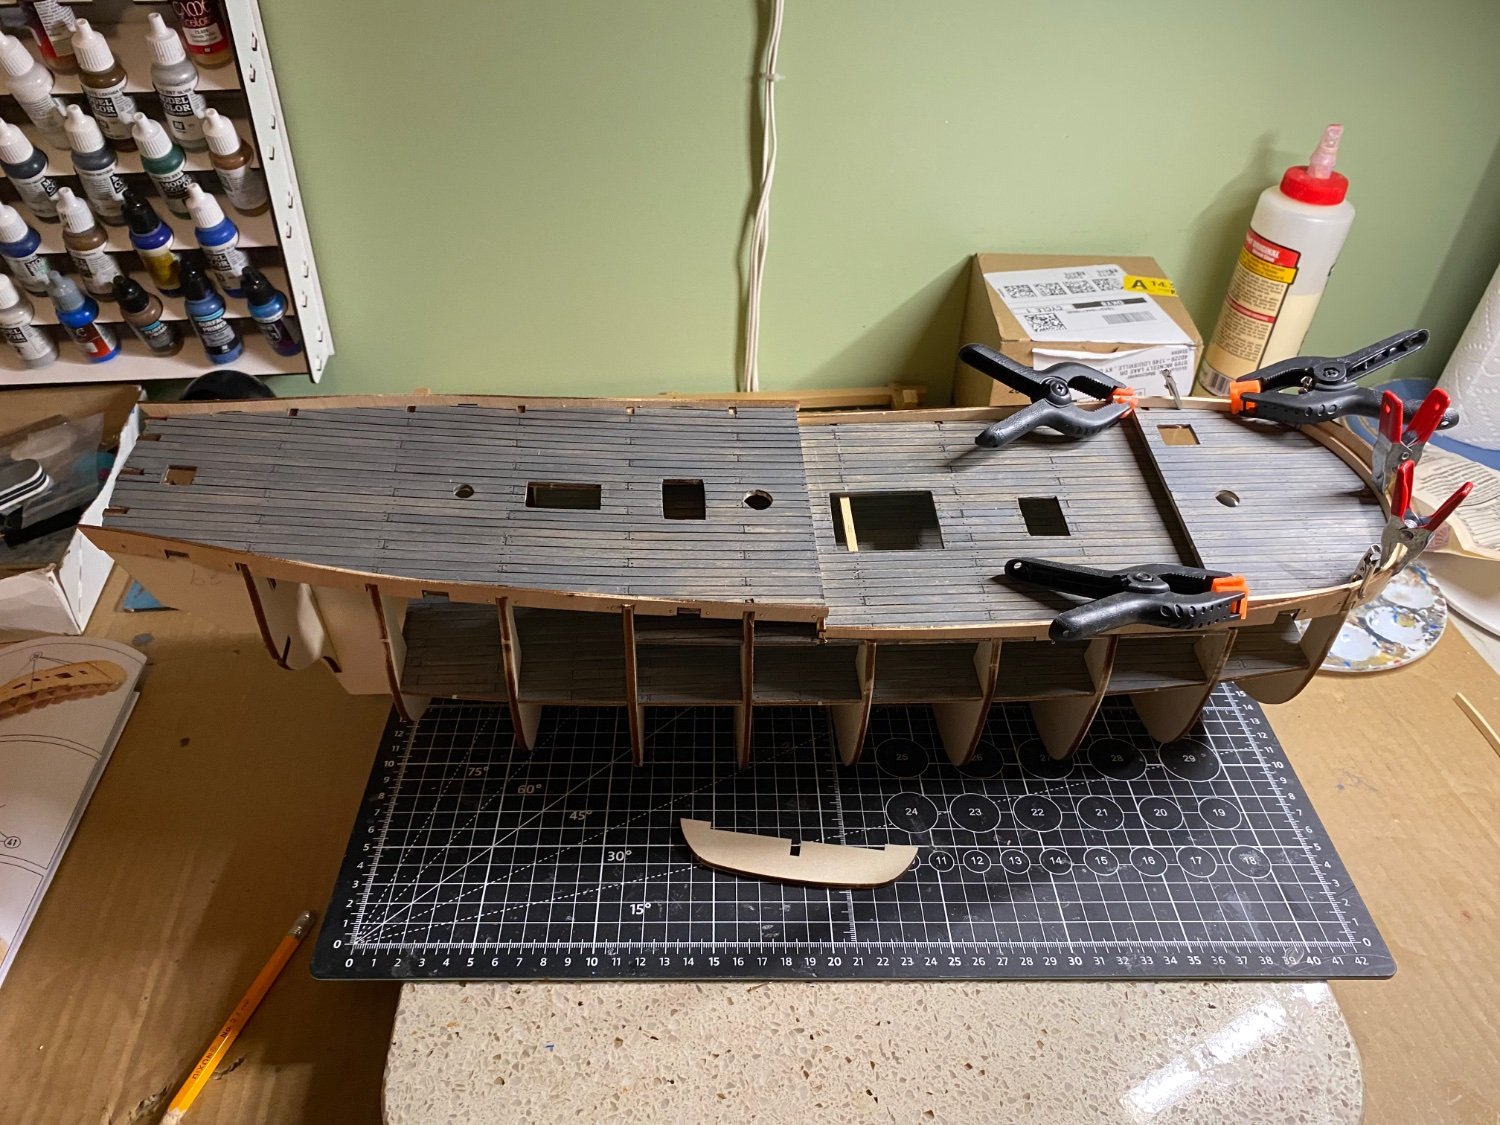
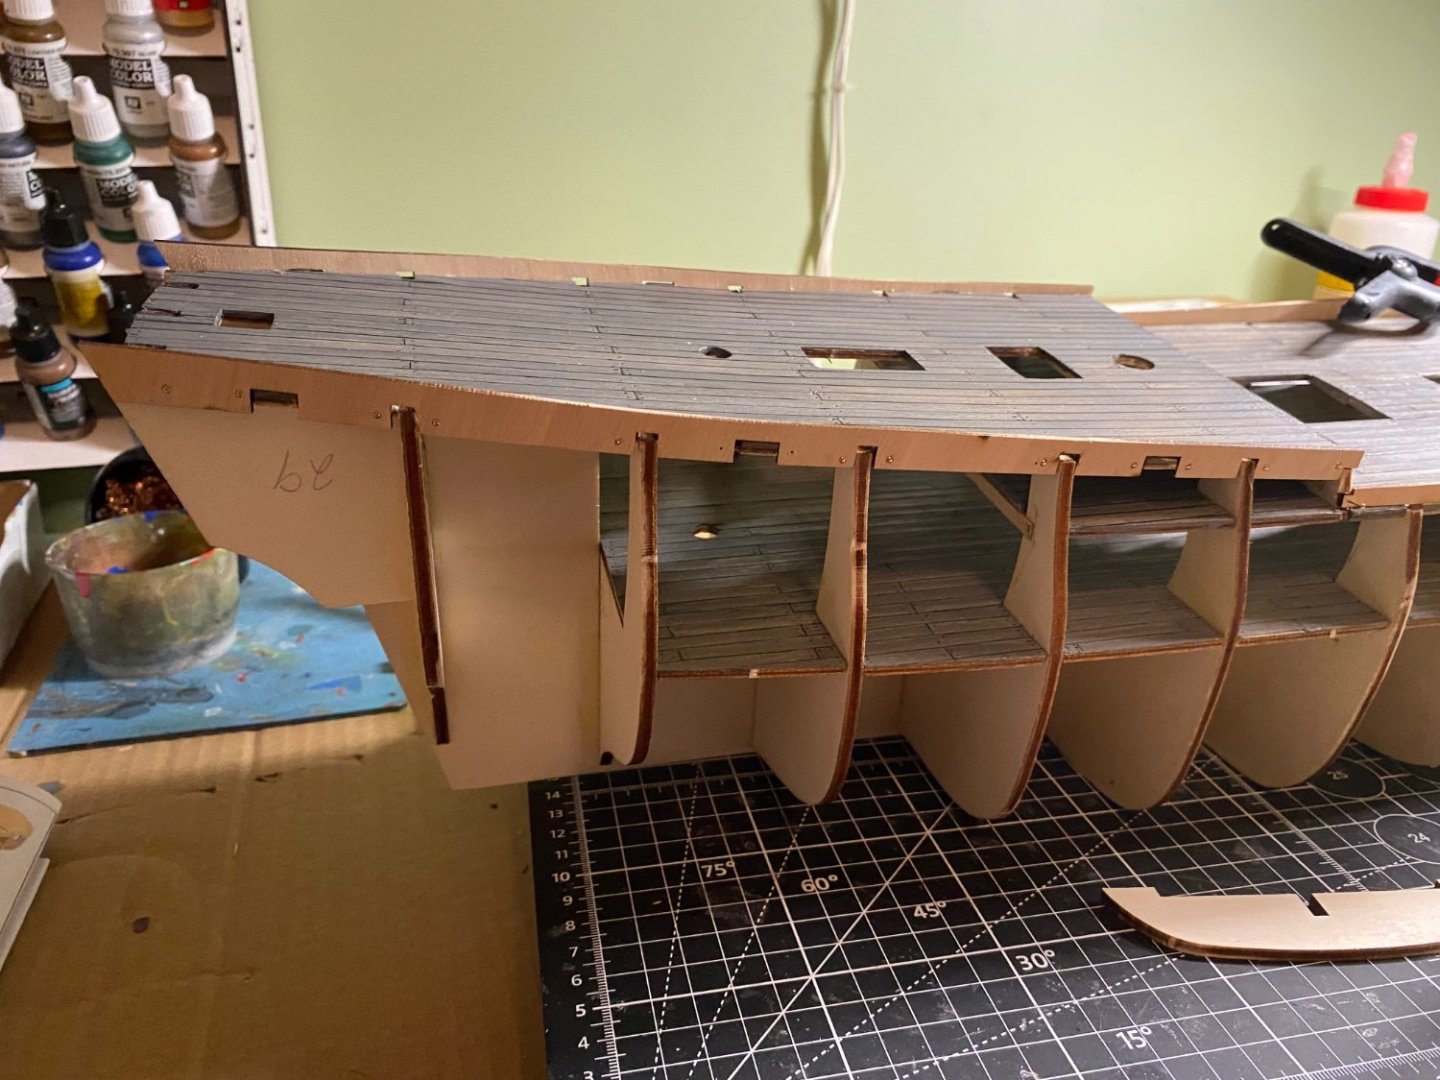
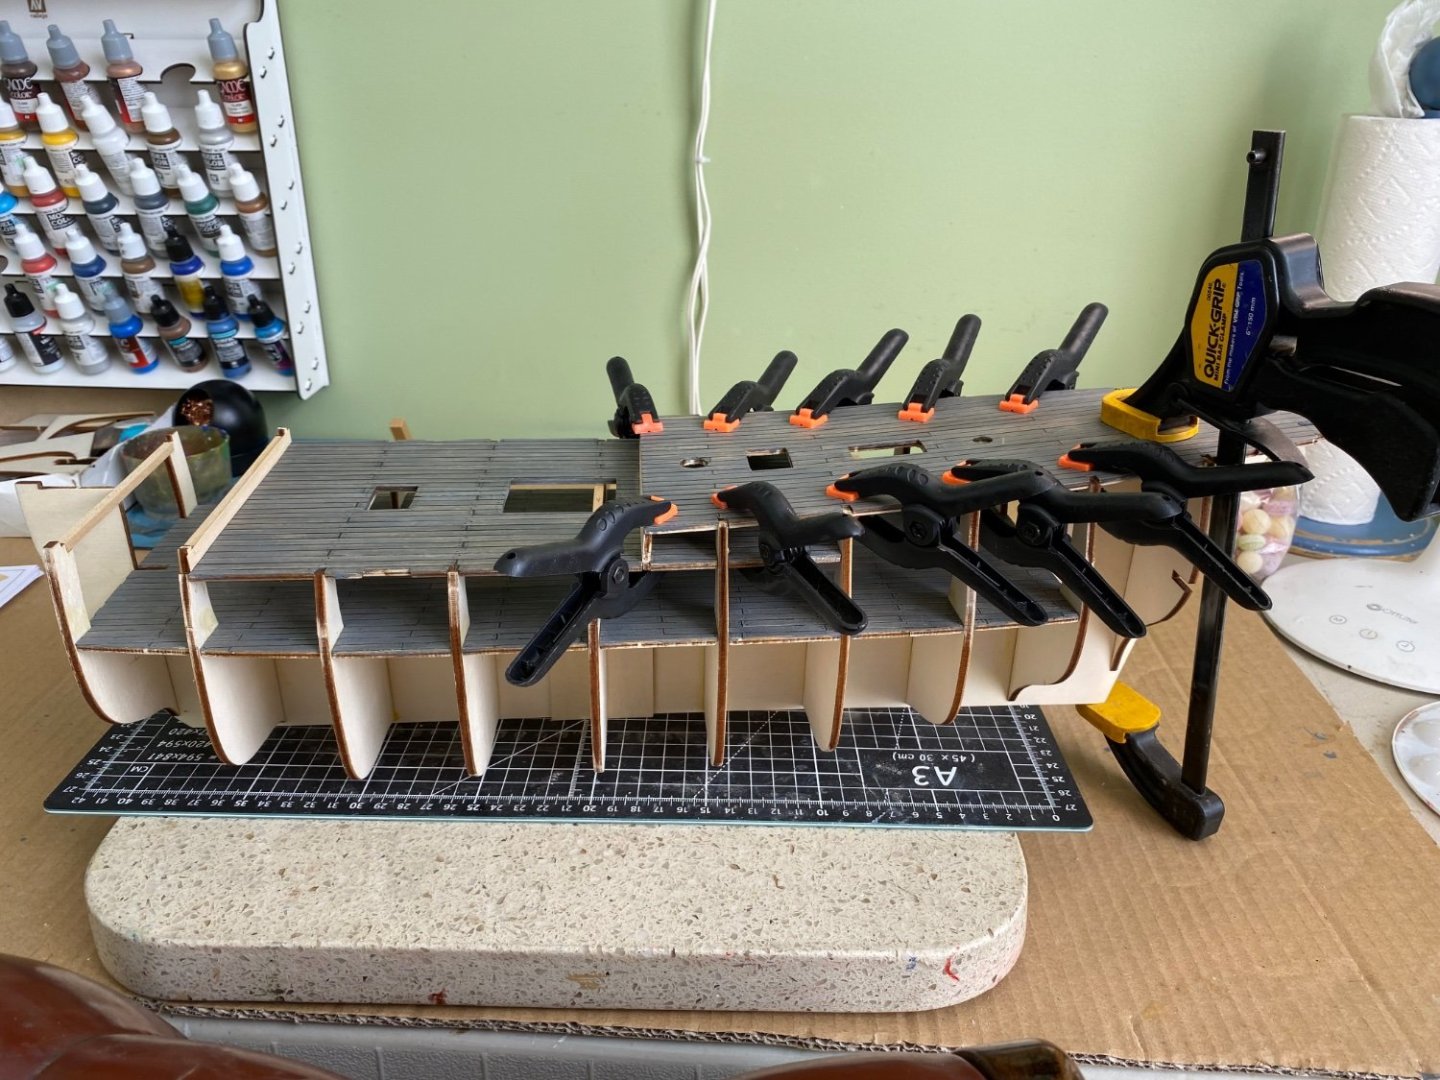
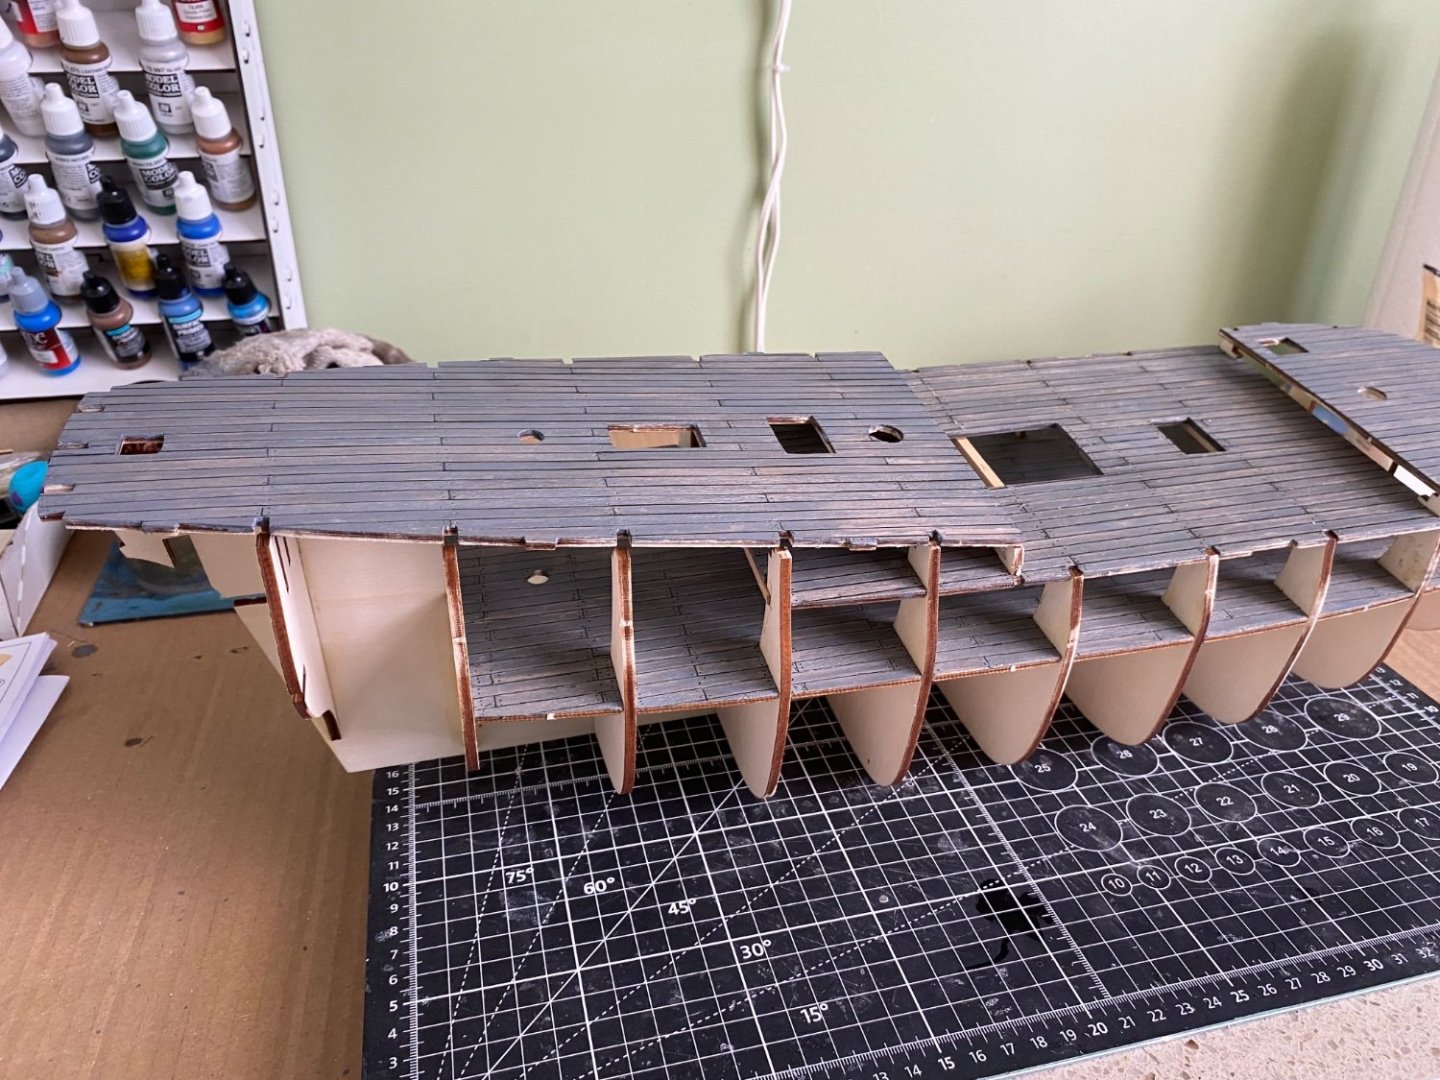
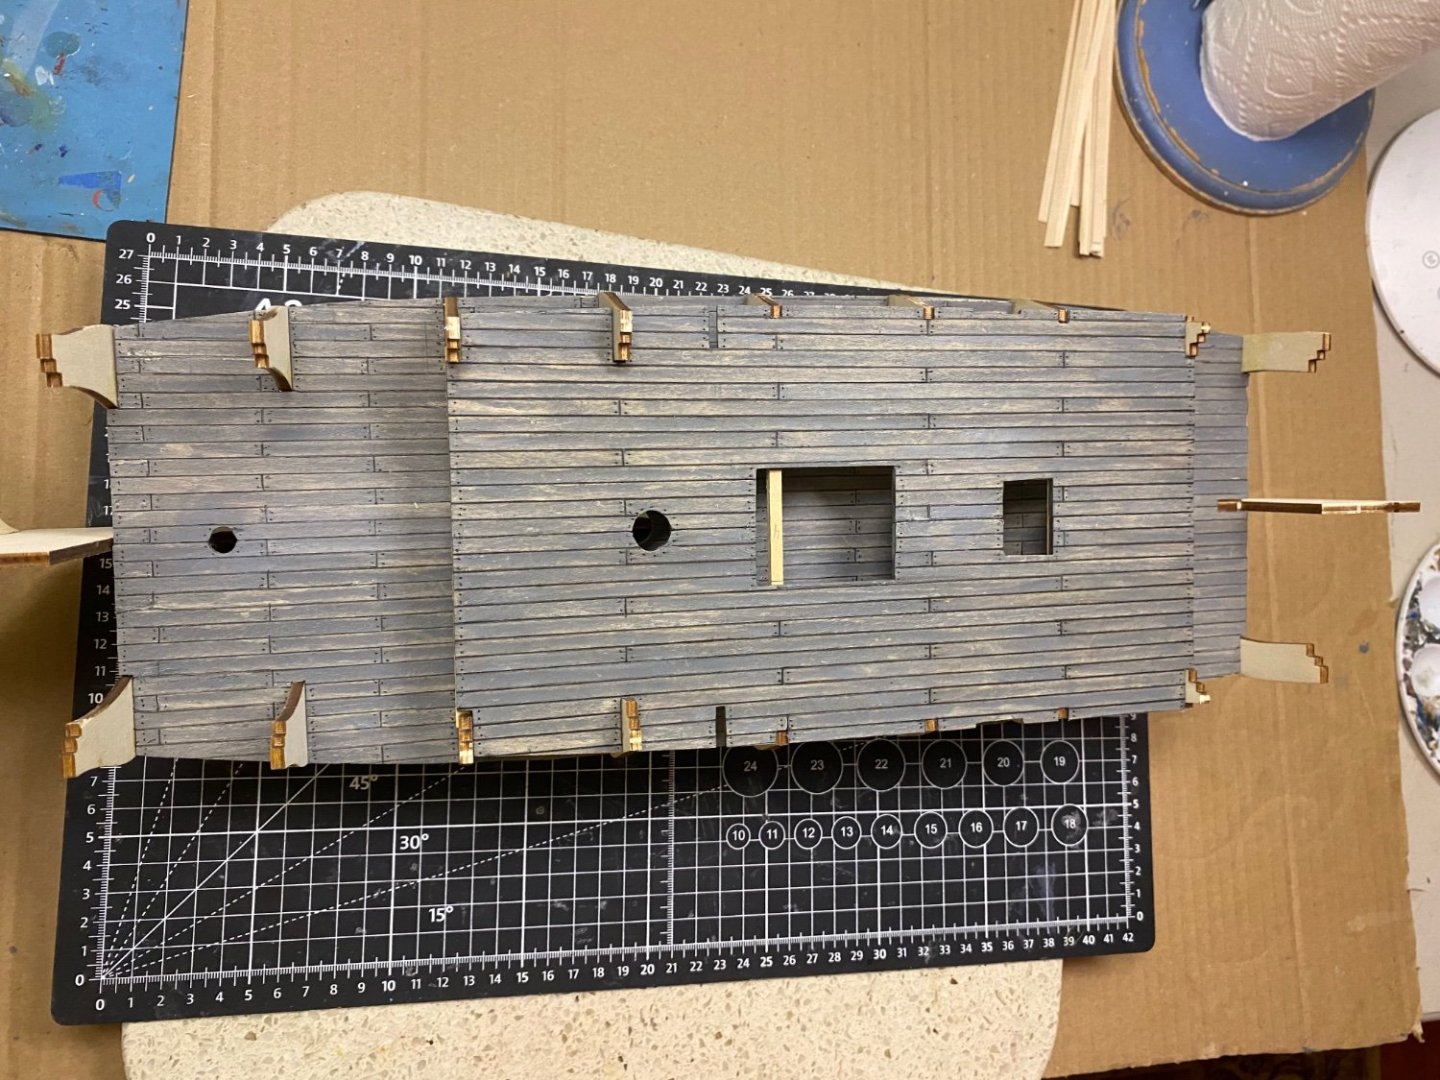
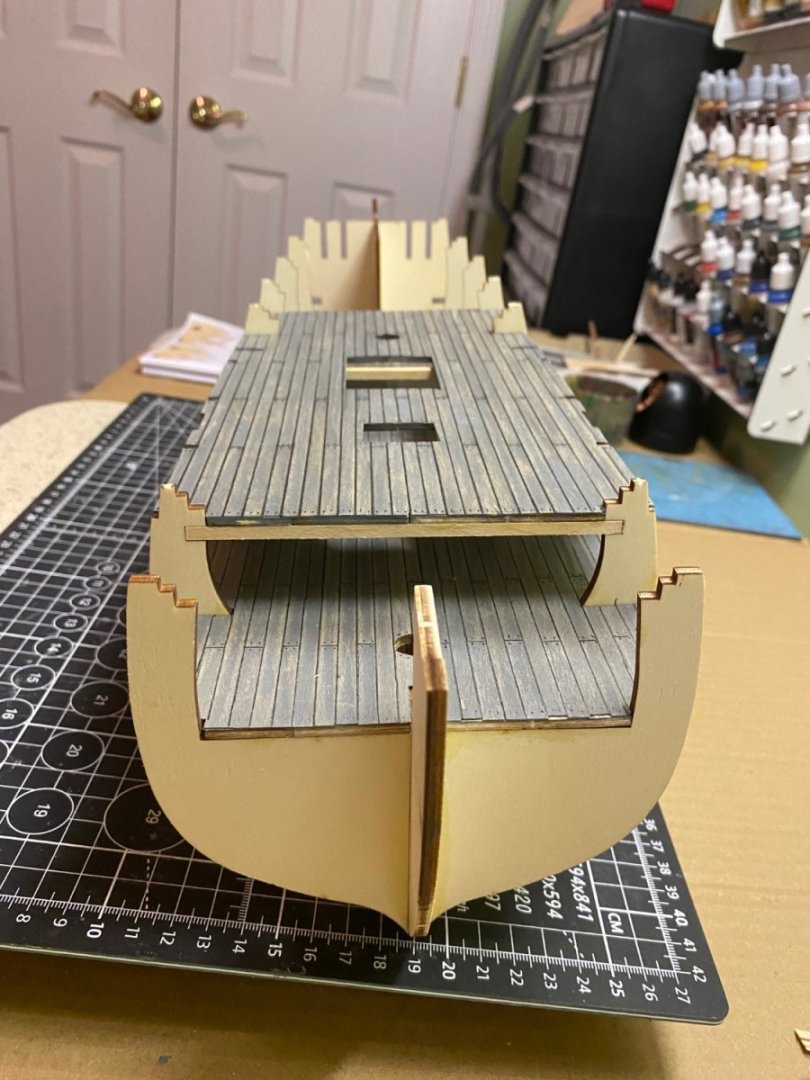
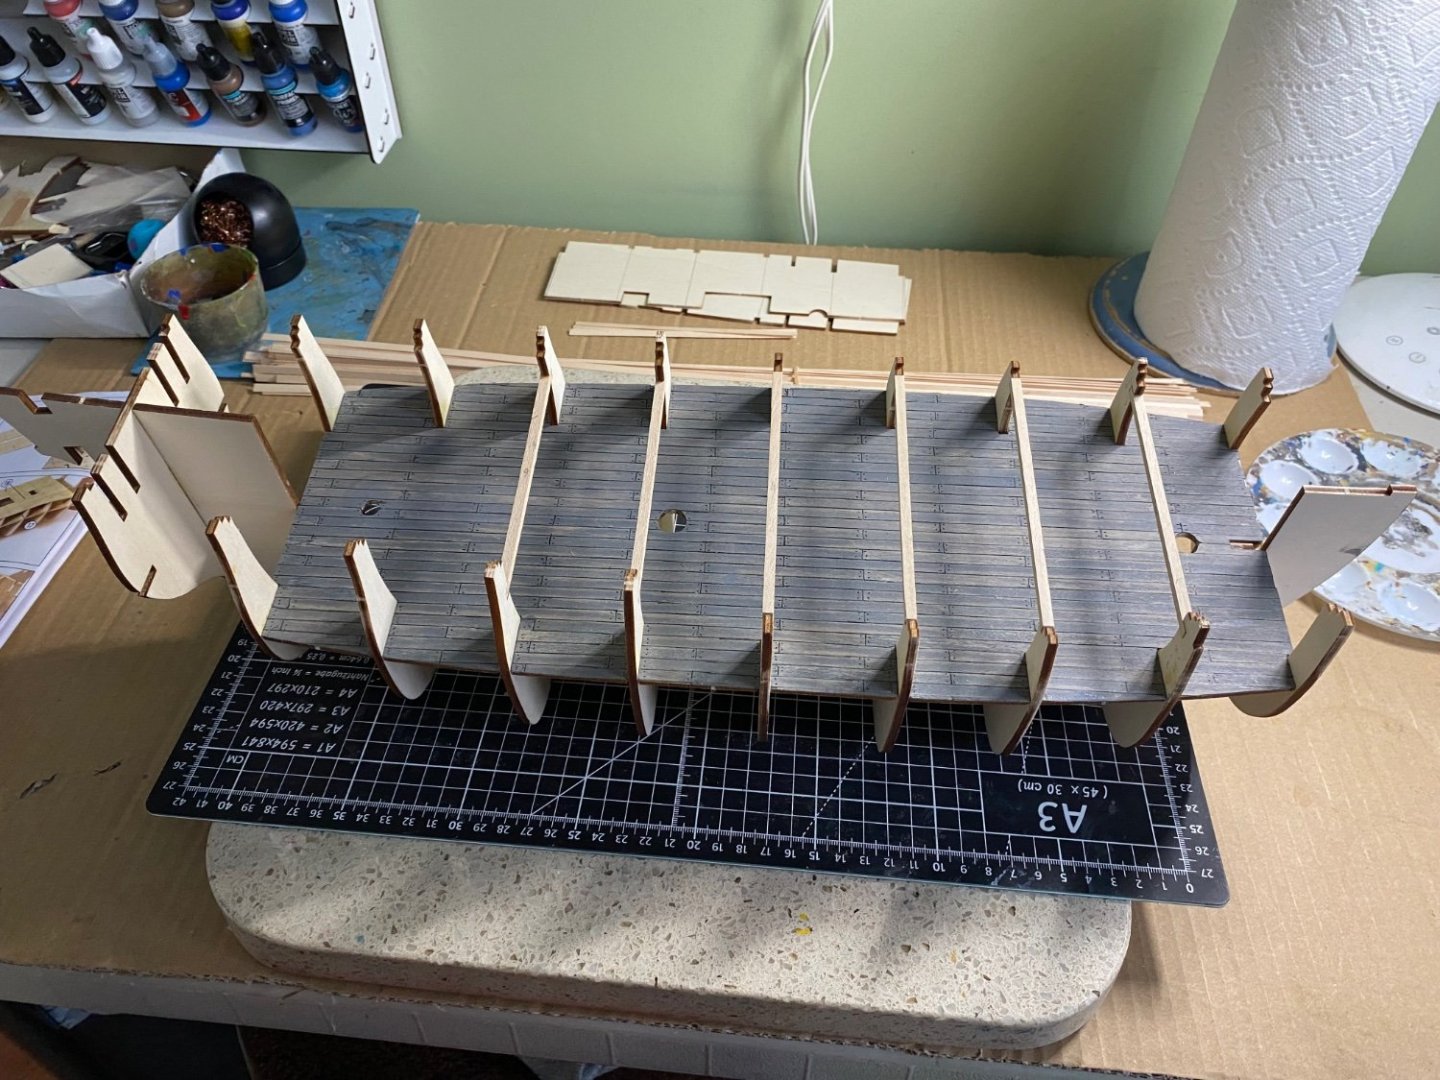
The last two deck sections planked and weathered. The two new sections still need to be installed.

-
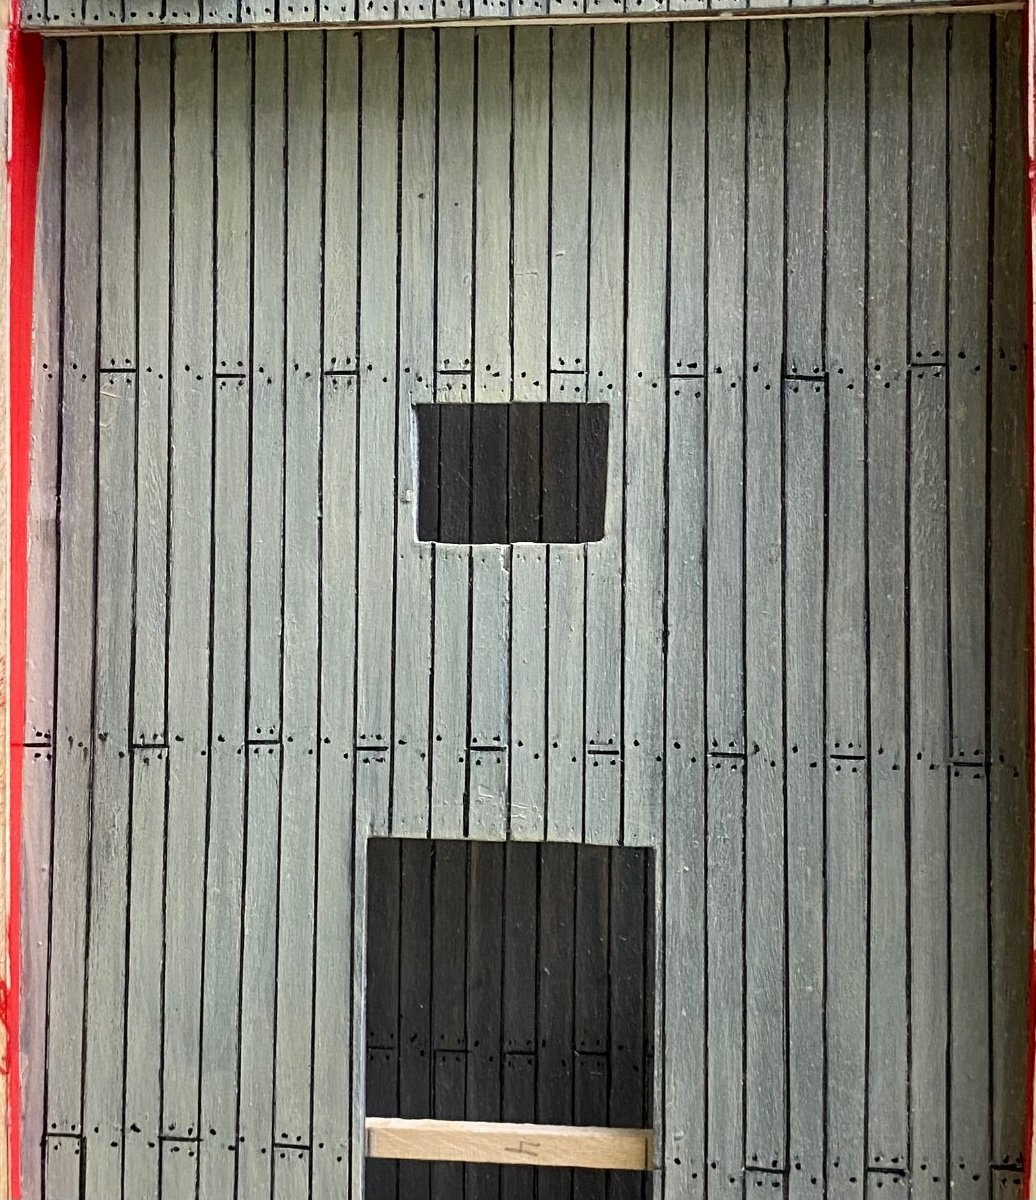
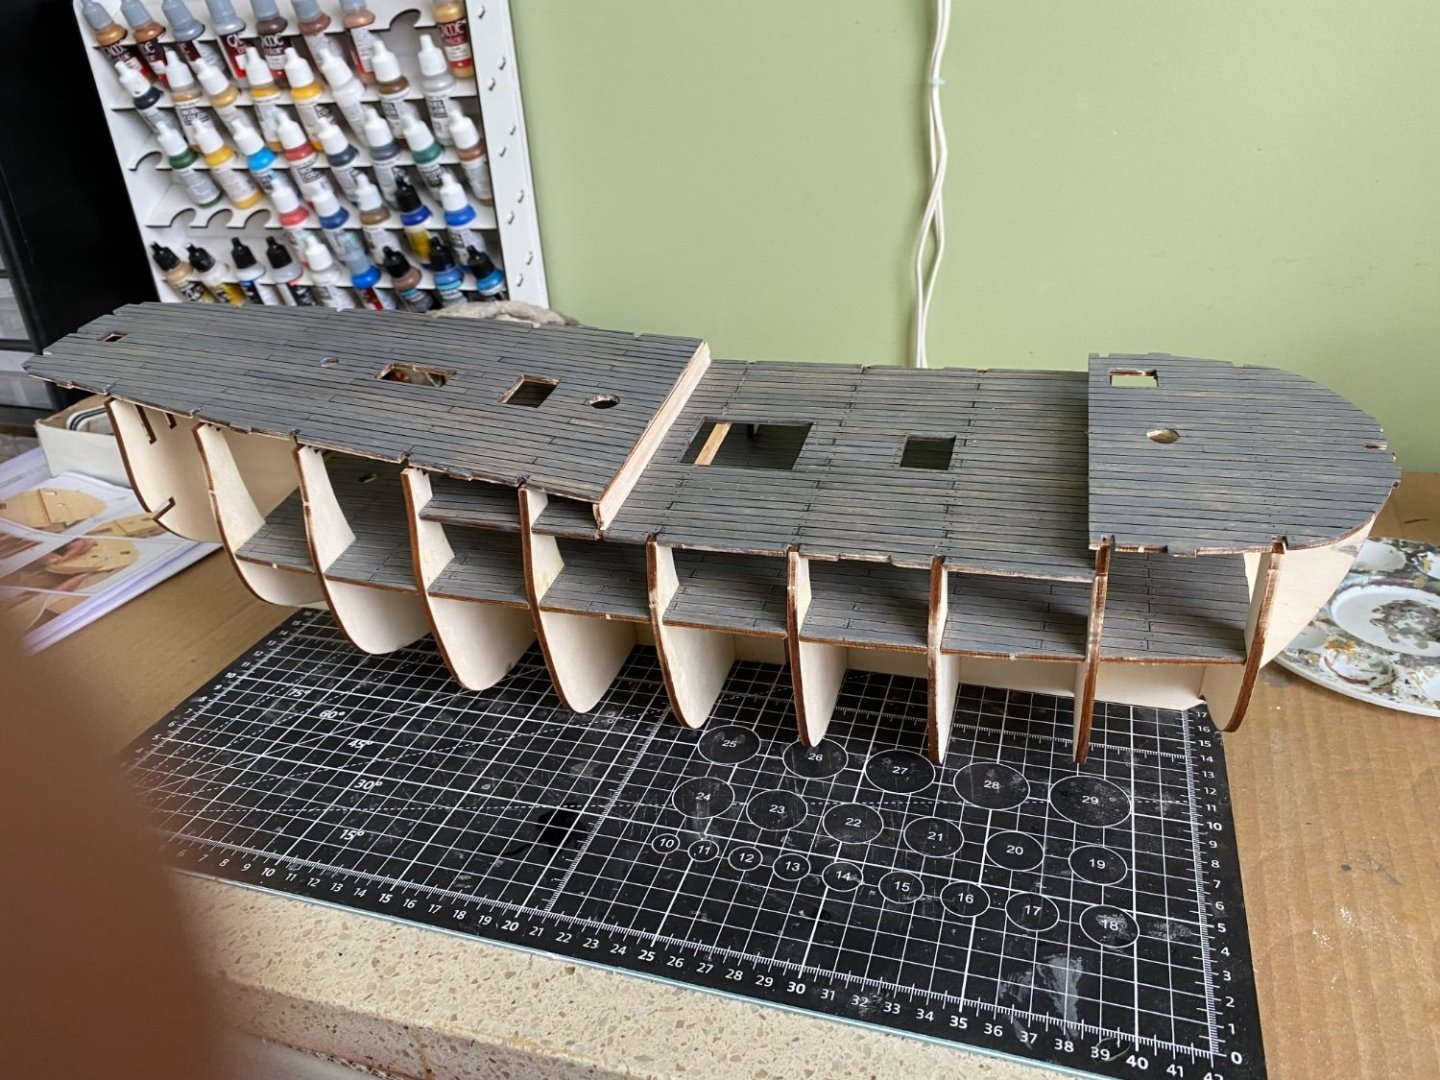
Completed sanding, weathering, and installation of the 2nd deck. OcCre shows simply coating the deck with a clear varnish which results in a new natural wood appearance. I prefer the possibly more authentic looking of the decks with a grey weathering. The build continues with little drama so far, but I don’t expect that to last much longer!
-
Thanks Marc! I never considered myself a master at any of these building processes 😊. Here is my second deck. I have finished laying the deck boards in what might be considered a modified 3 board shift. I still need to sand, shape, and weather it. allanyed I understand and have studied the needs when it comes the planking. I appreciate your advice.
-
Welcome wvdhee to my build. Thanks for following. Please feel free to advise and comment. My wife and have traveled quite a bit in Belgium. Our daughter and son-in-law were stationed there with the US Army for many years. They lived in a little town named Jerbeze. We visited them many times and three of our grandchildren were born in Belgium. Really like Brussels and Mons.
-
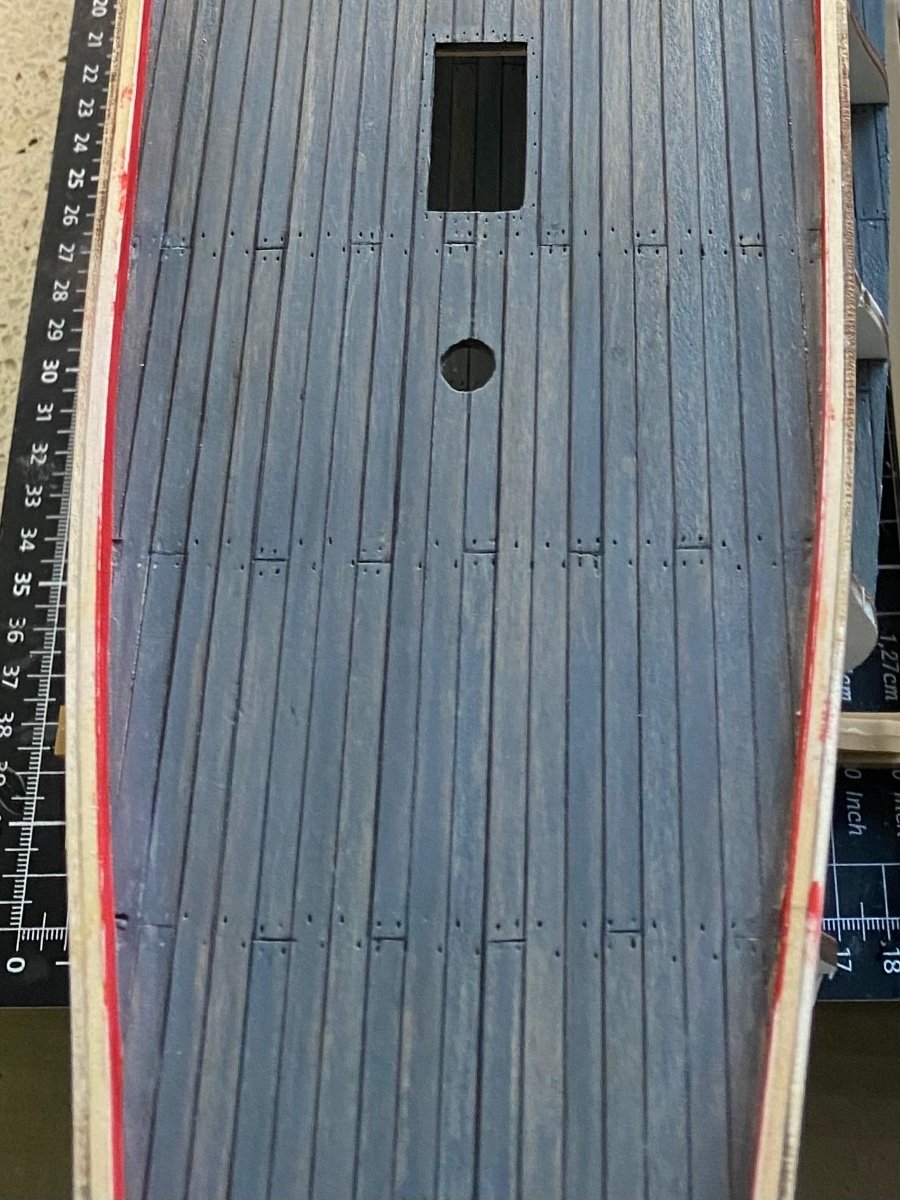
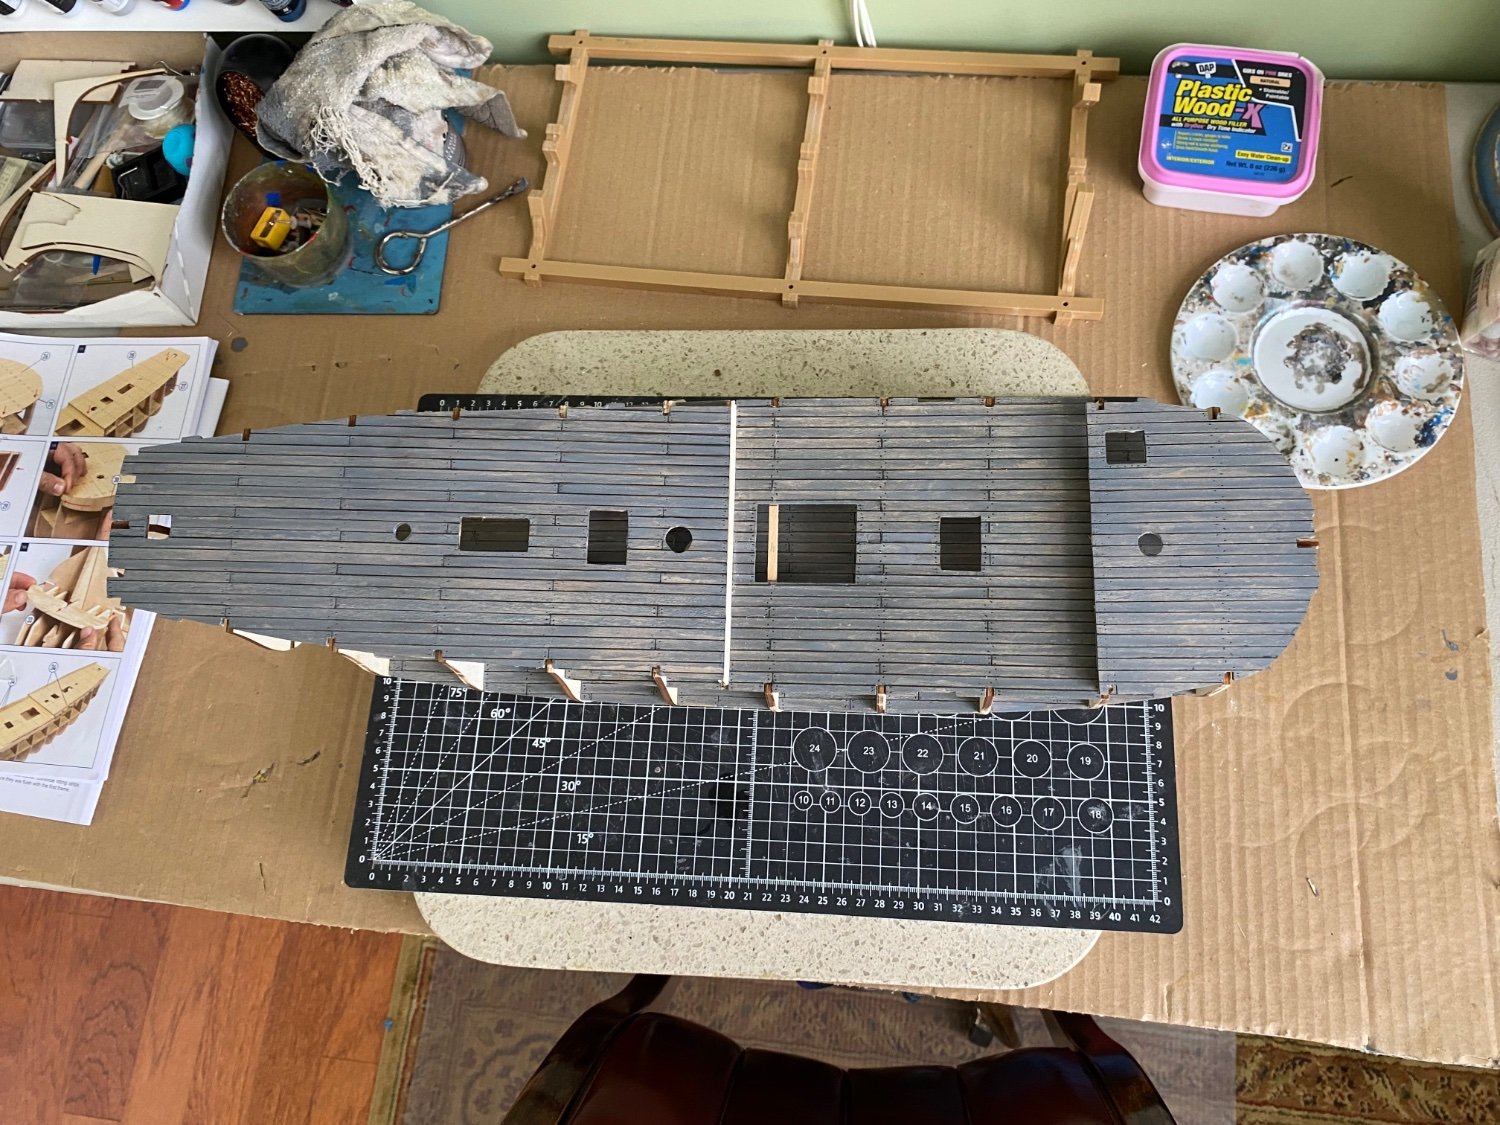
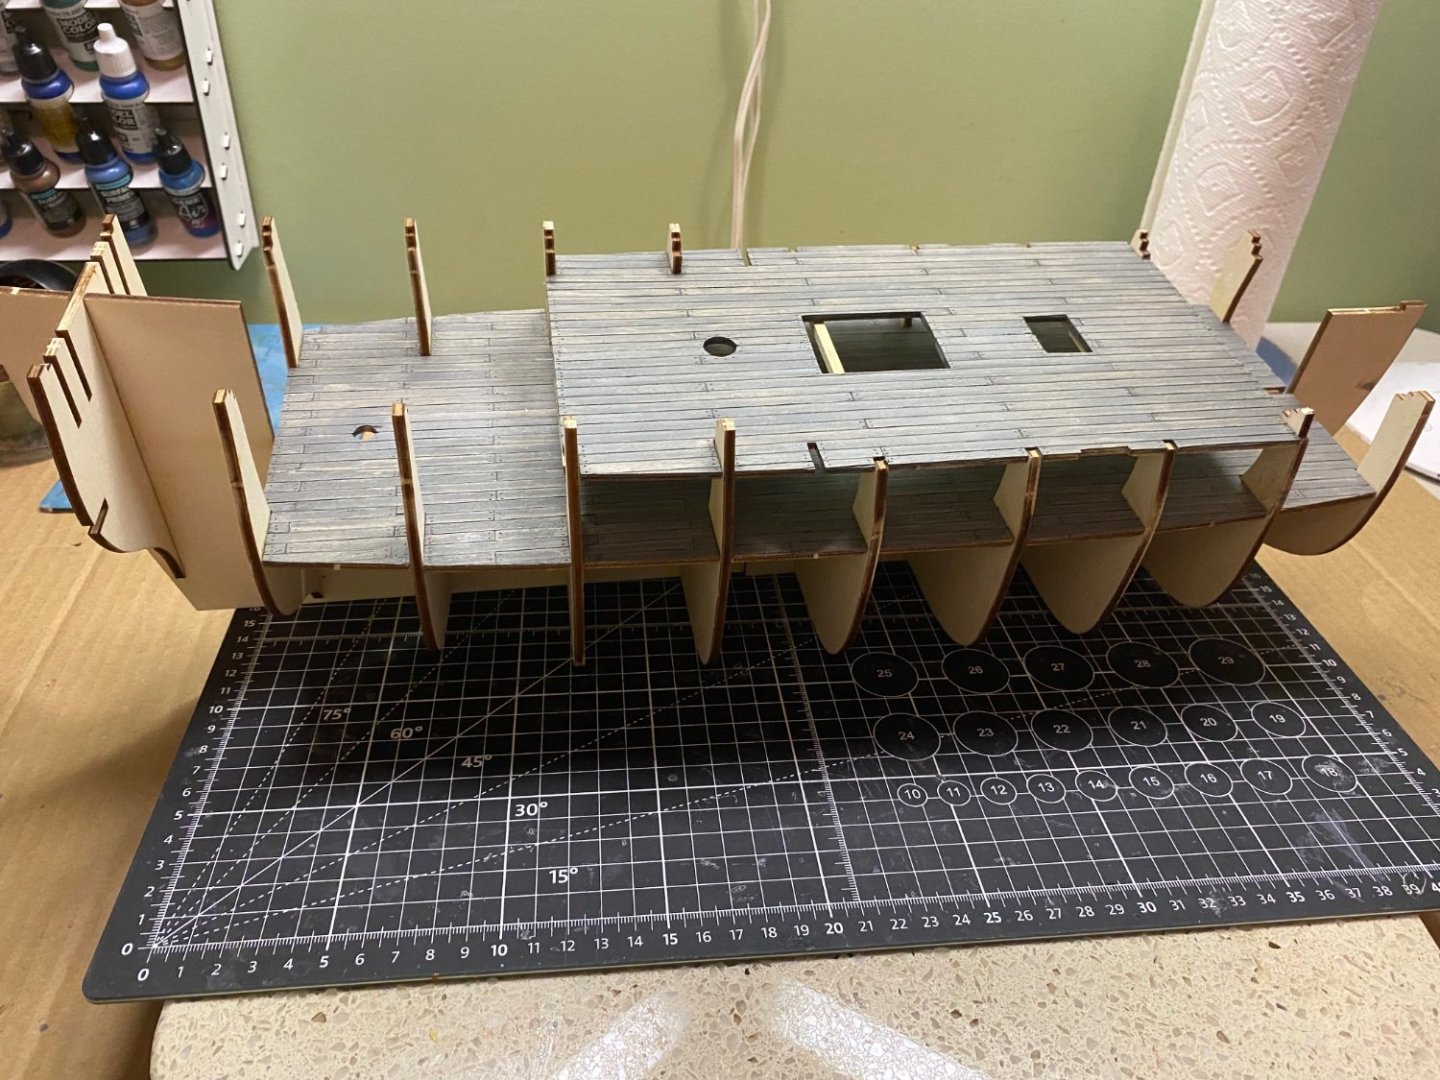
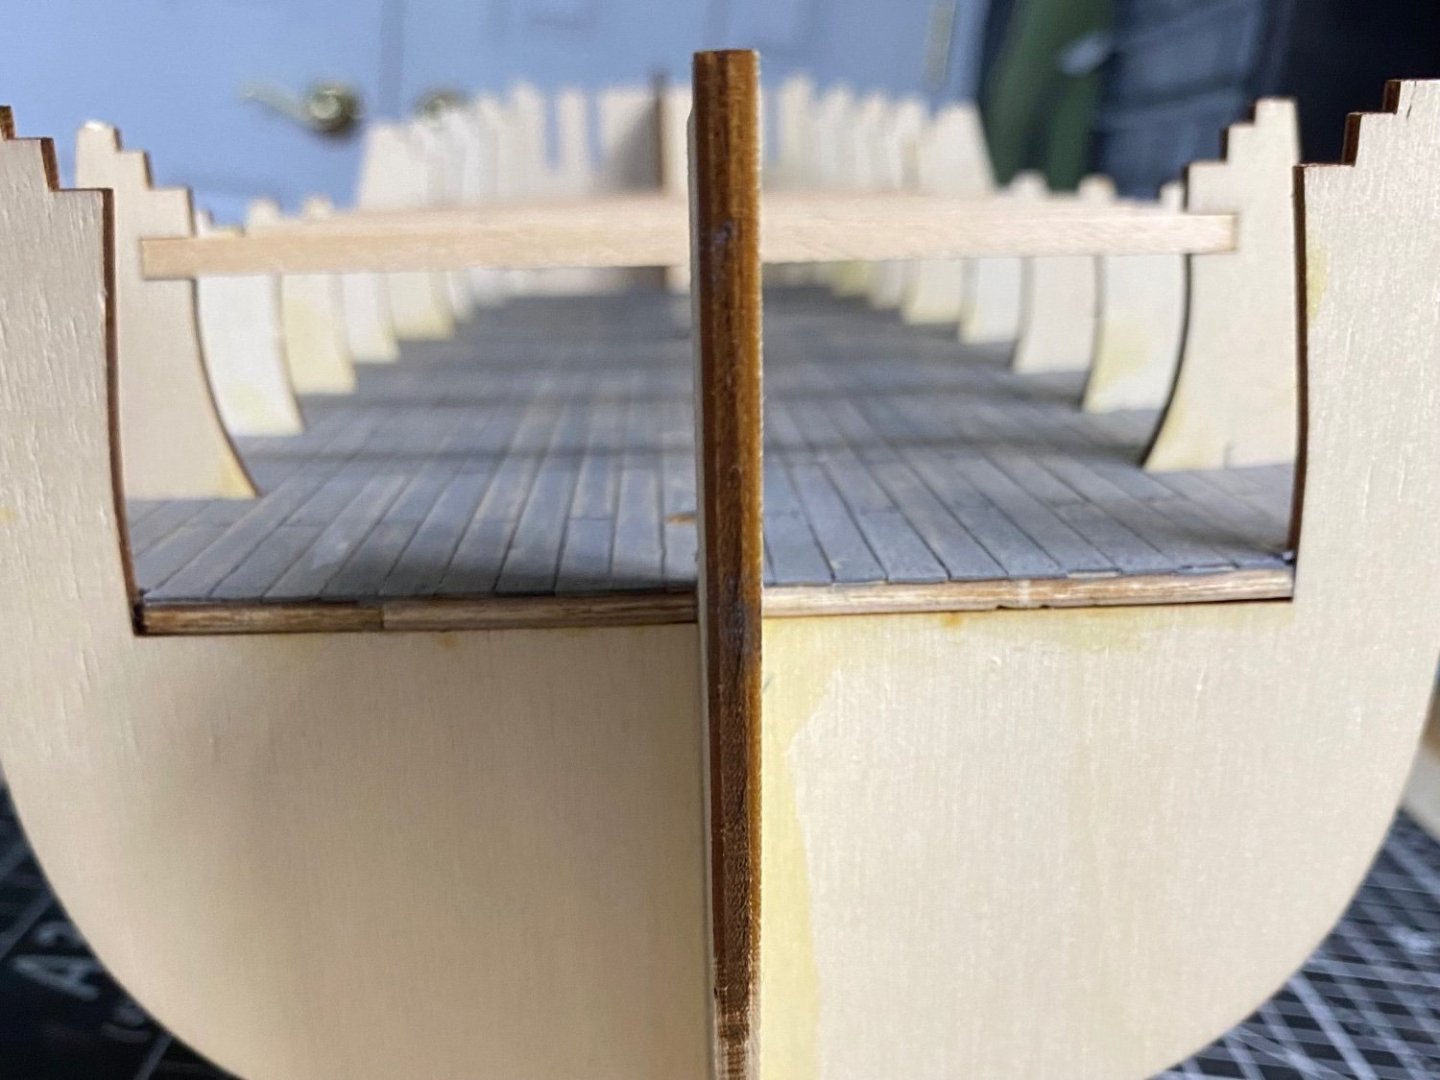
Lower deck boards installed. Weathered the boards grey and darkened the caulk lines and nails holes. Seems to have worked out OK. As I mentioned above for the upper visible decks I plan to use longer planks and do a 4 board shift.

-
Hello JPalmer. Appreciate you following. Love your country! Have spent some time in Sydney and the Blue Mountains but not as far west inland as you are.
-
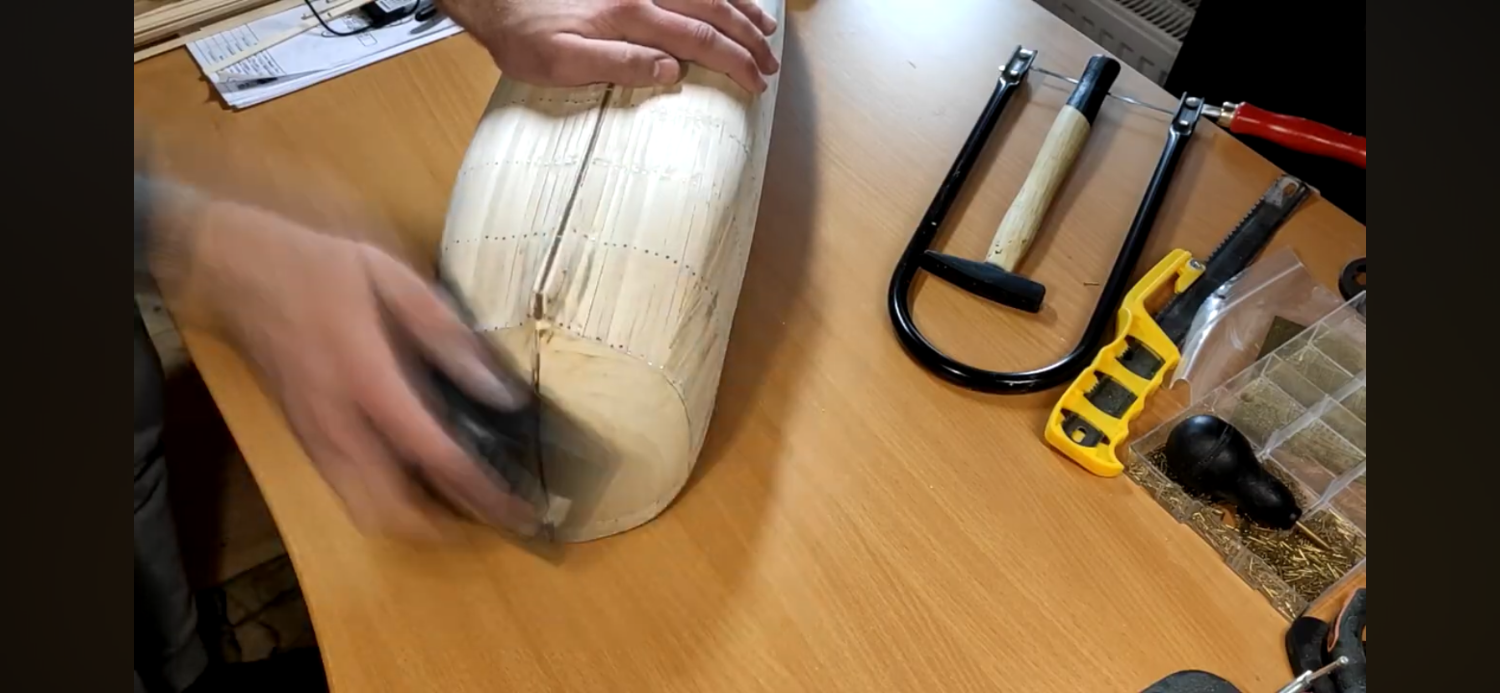
Ian OcCre has you build up the bow with pine blocks then sand and carve it down to the bull nose before adding the first planking.


-
Marc you commented that a 3 or 4 butt shift would look better for deck boards, and I agree. From your study what are your thoughts about board lengths? Anatomy of the Ship indicates boards were in the 29-30 ft length. Other references I have read suggest board lengths that long would have been difficult to sustain for ship carpenters. Tall straight trees not always available. Longer boards also cumbersome to maneuver and store in hold. Basically suggesting board lengths would vary throughout the deck as repairs and replacements were carried out over the years.
-
Ian that phase definitely has me doing some advance study. There are a few YouTube videos on building this ship. OcCre has their own which is nice. It however has the builder speaking in Spanish with English closed caption. Several builds here on MSW as well. Bending the first planking to fit the snub nose bow I understand to be tricky. Various methods are recommended for that purpose. Ian do you have any experience with building a wooden ship?
-
Hey Marc and Ian. Appreciate you so much following my new build. I picked up the Anatomy of The Ship-Captain Cook’s Endeauvor, by Karl Marquardt. I found the ATOS book by Longridge very helpful during my Victory build and hope the Endeavour version is just as helpful.
-
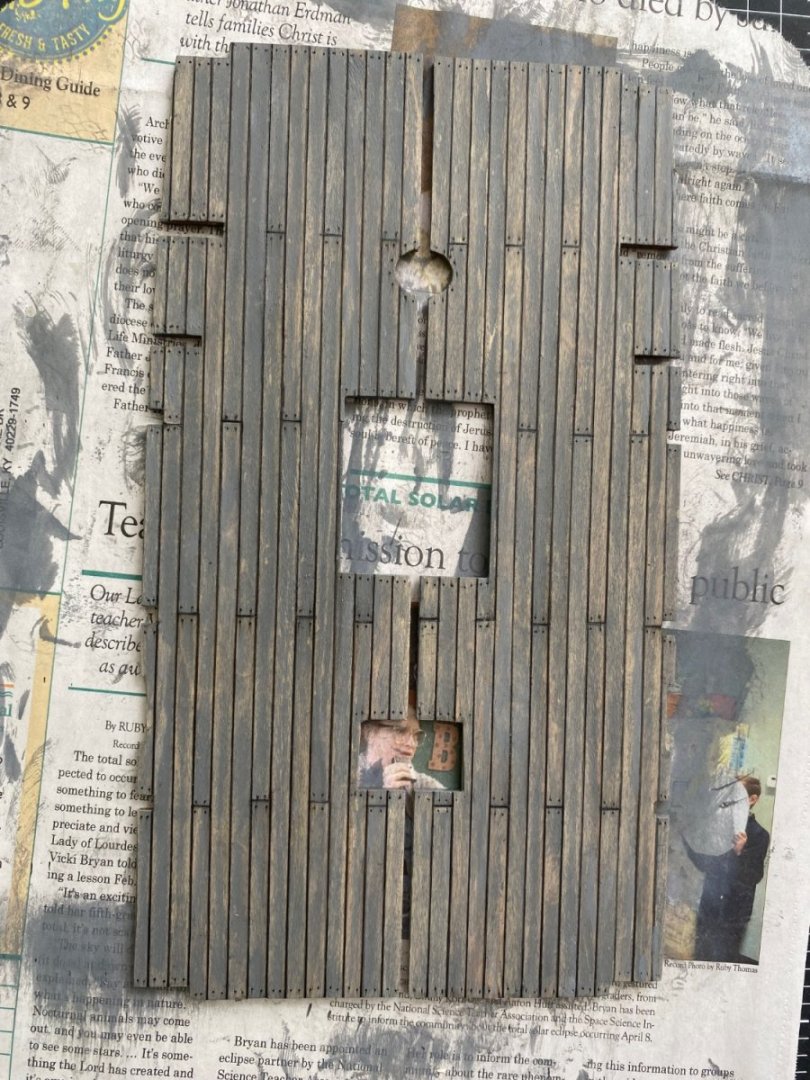
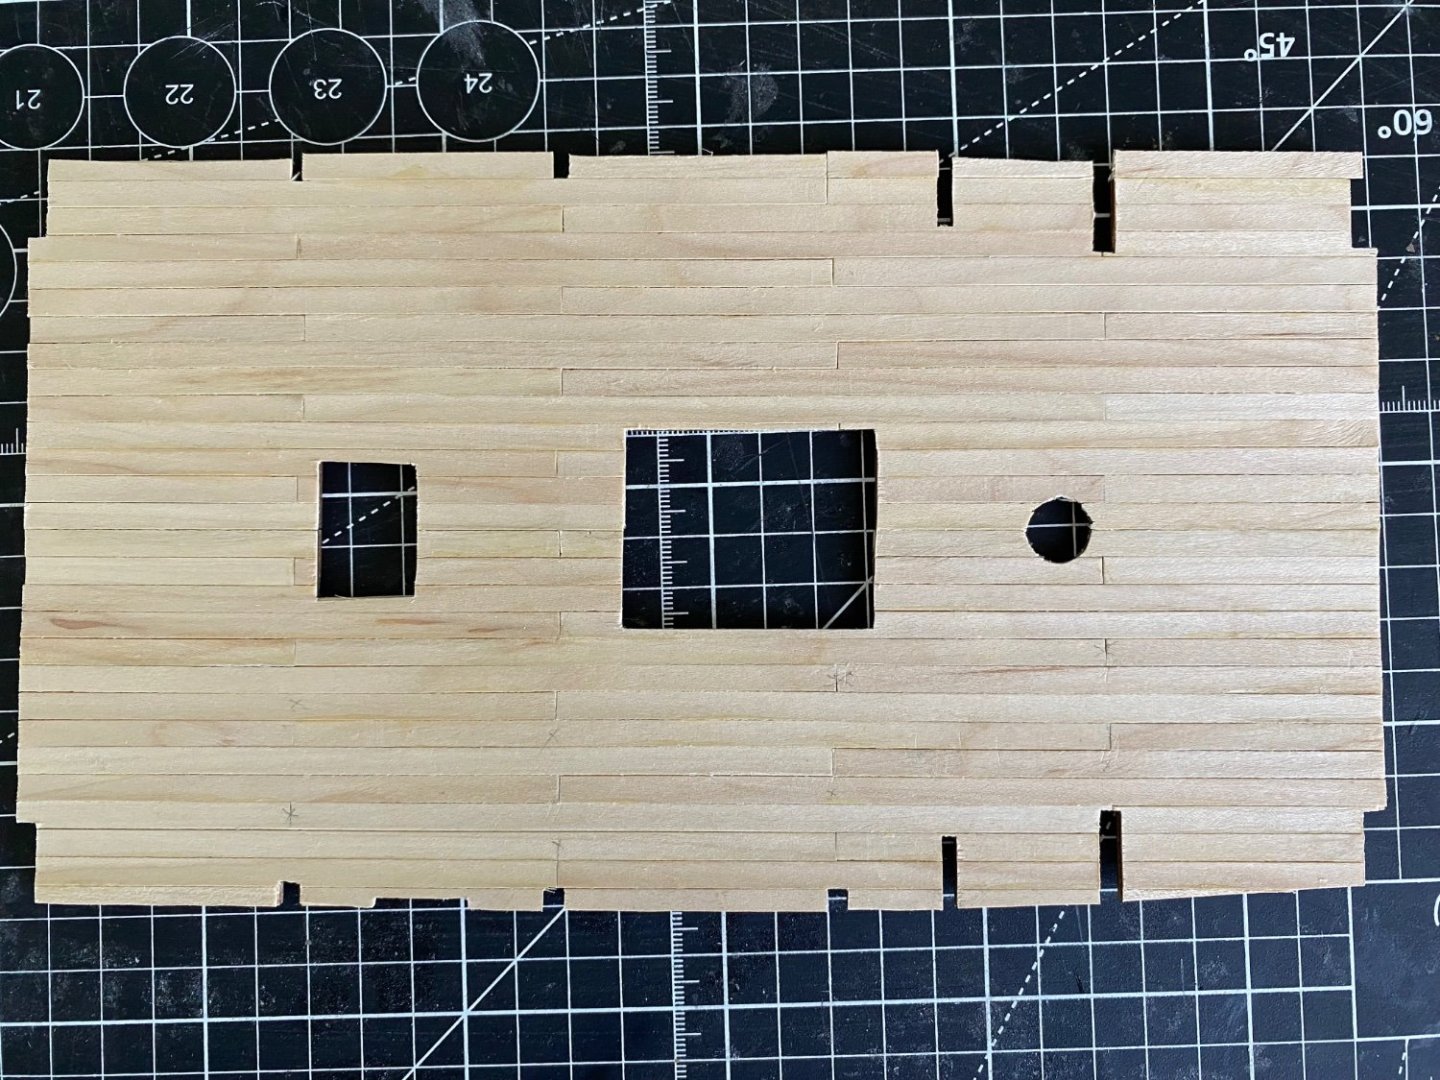
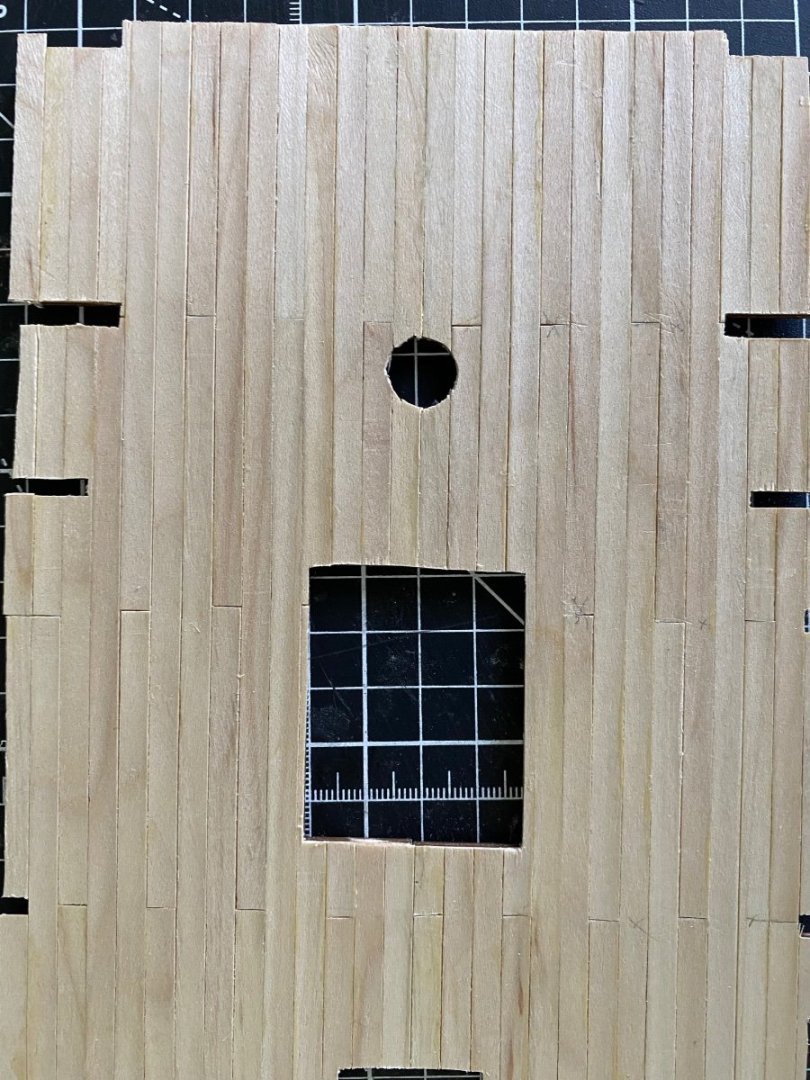
Completed the decking on the starboard half of the lower deck. Plan to stain the two halves a weathered gray. OcCre instructions have the planks at 65mm in length and alternating planks for the butt joints. AOTS shows a length that the scale would be better around 140mm and a 3 or 4 alternating board butt. Used the lower deck to get experience since not much of it will be seen. Will change the layout on the upper decks.

-
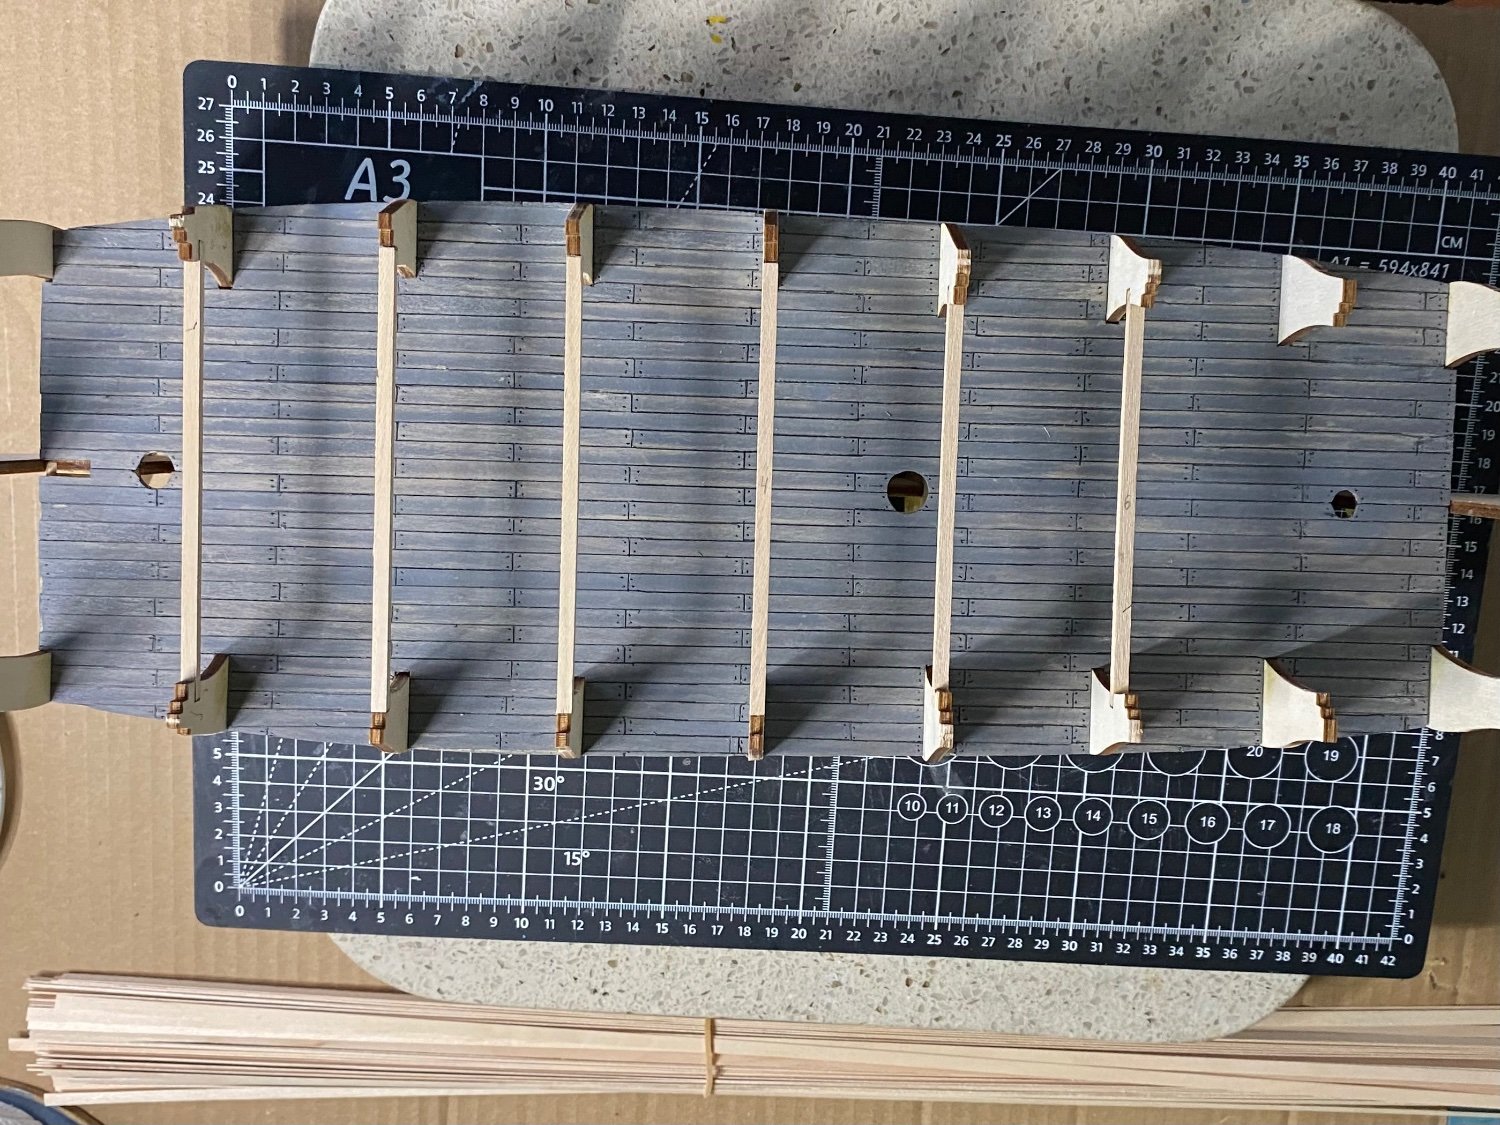
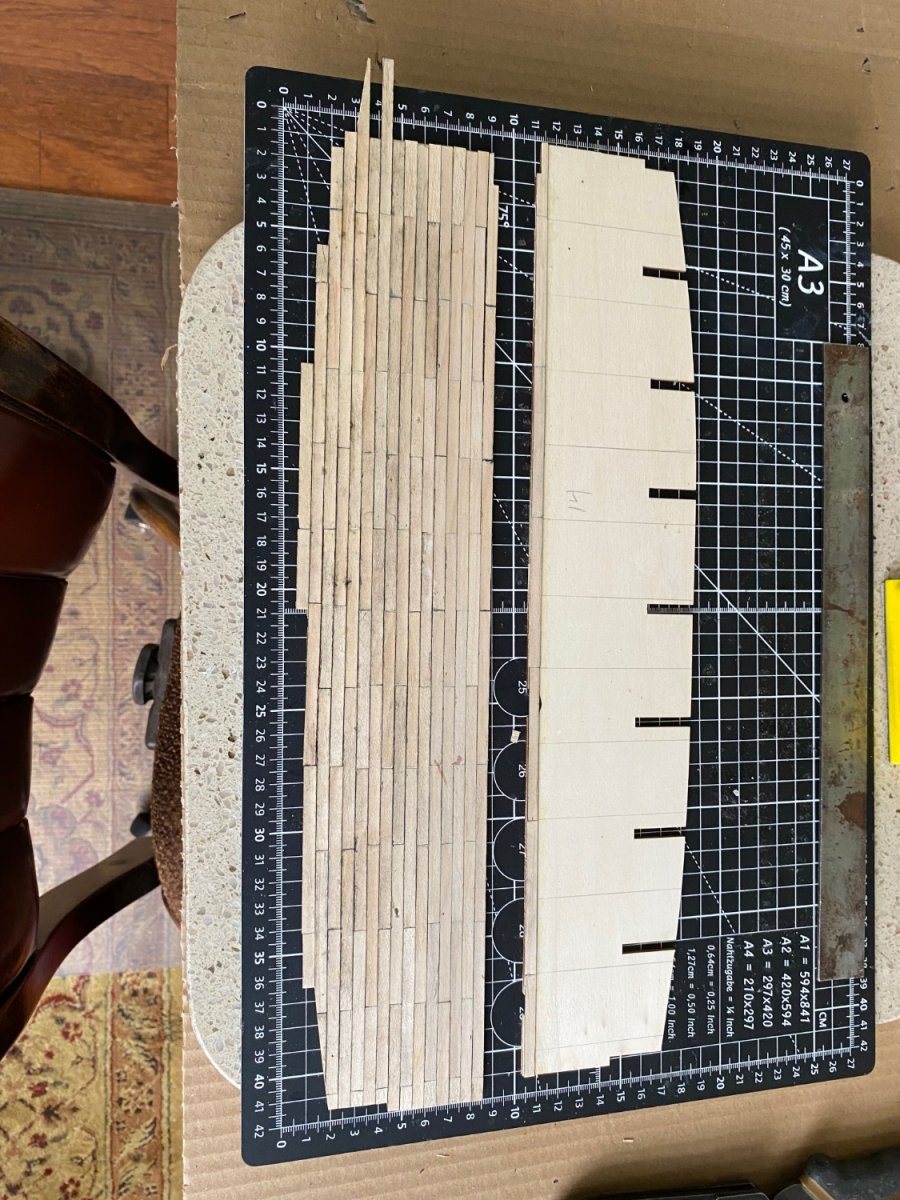
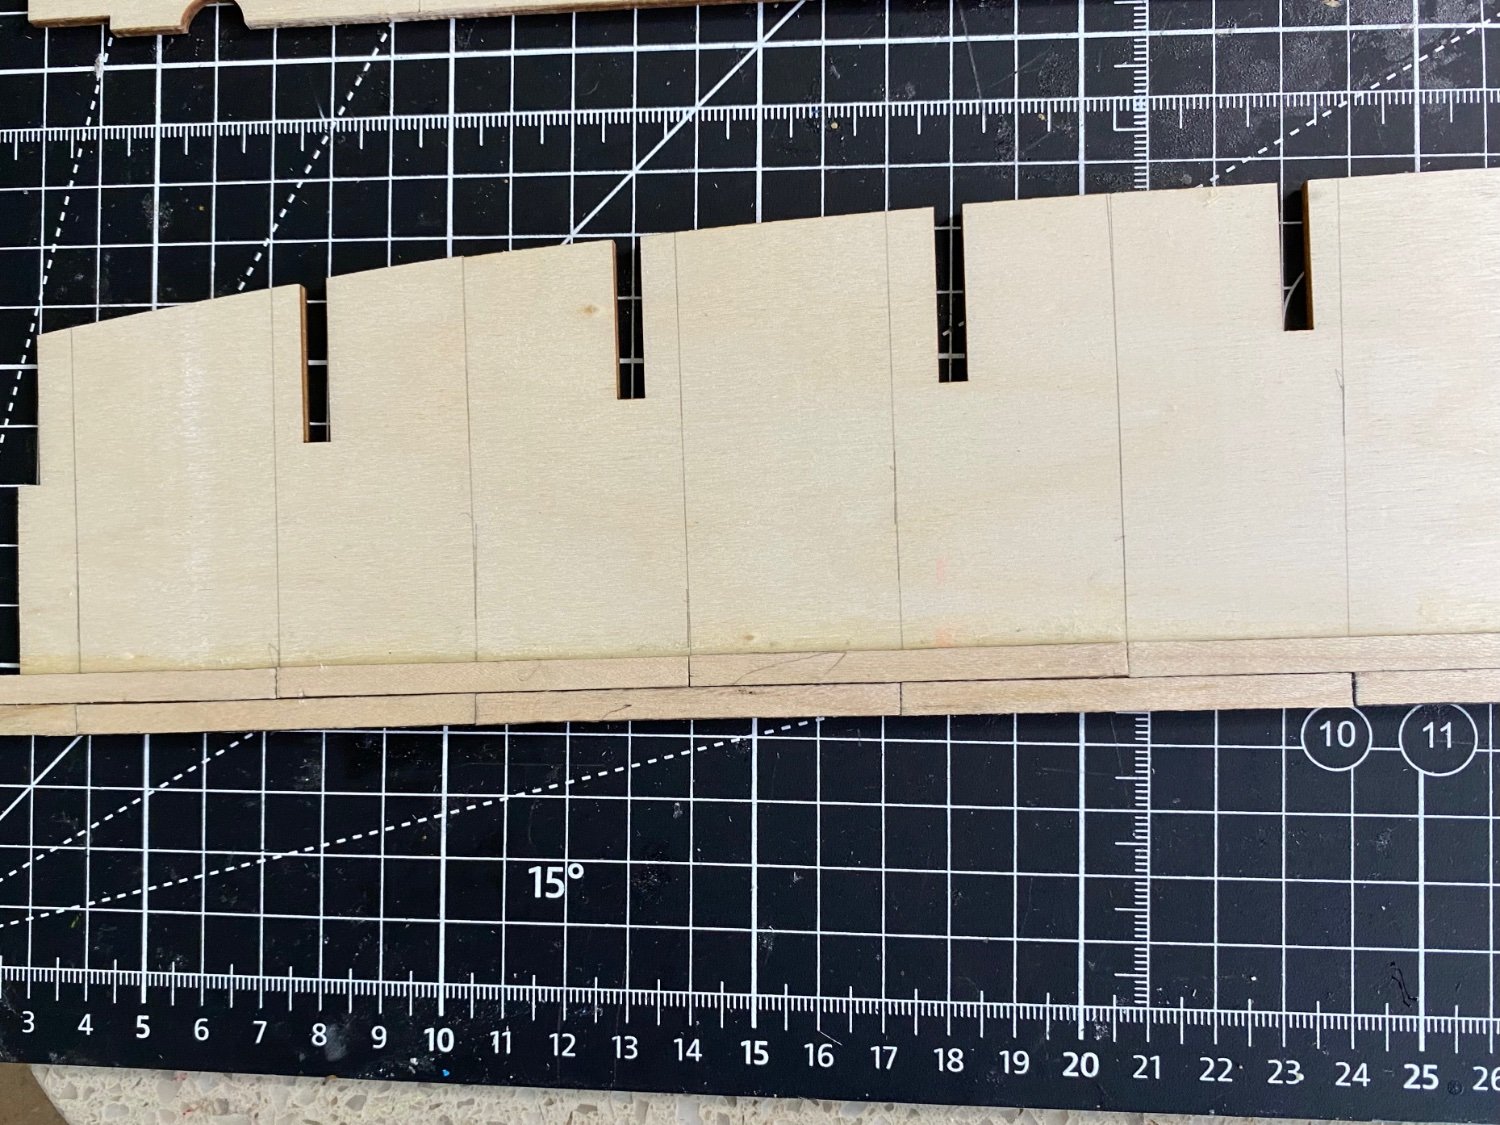
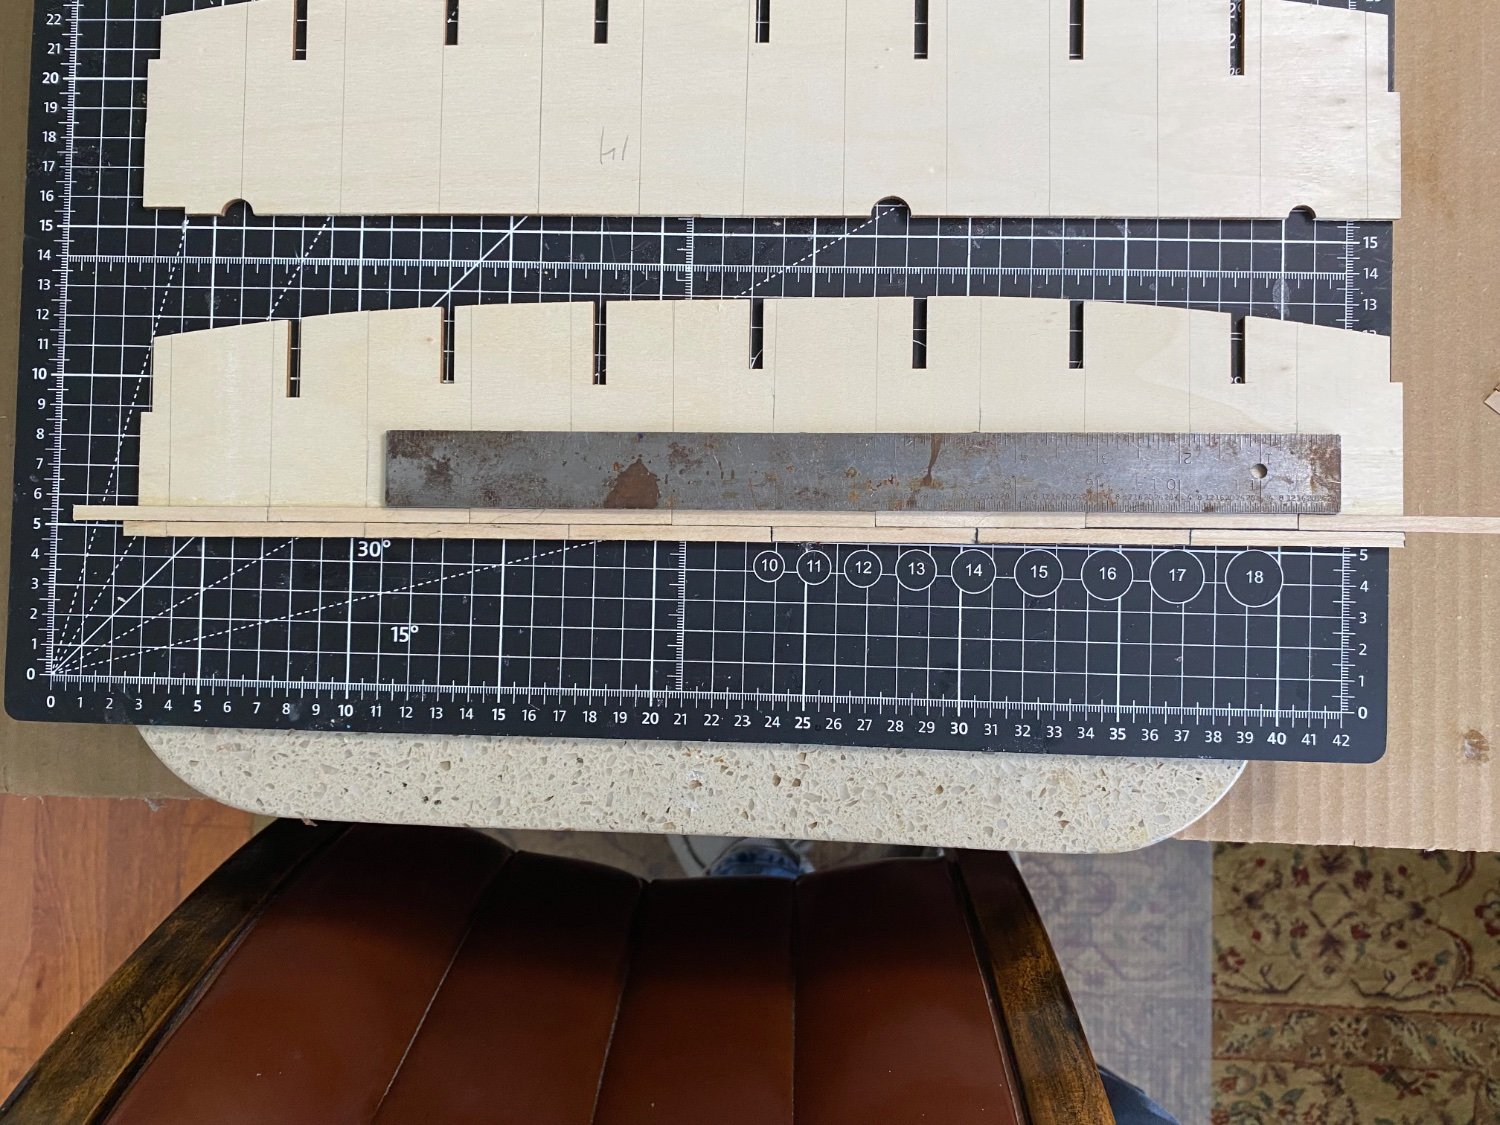
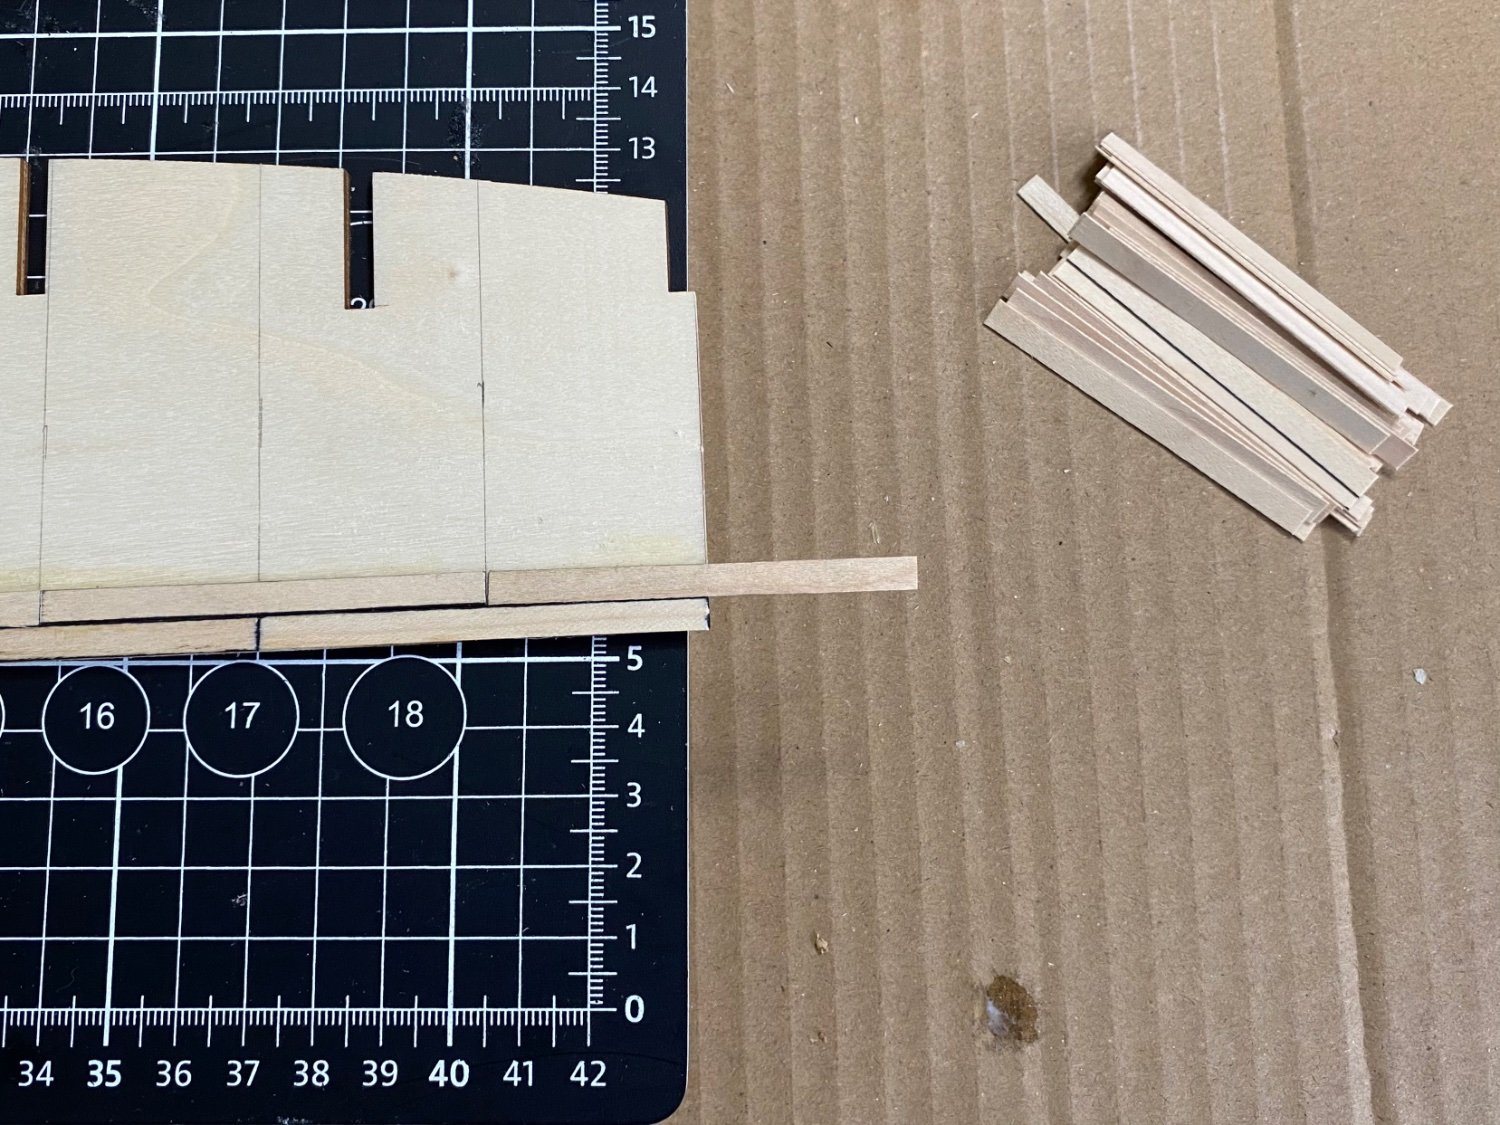
Decided to plank the deck with individual boards instead of using the long deck planking strips as the instructions direct. The layout included in the kit shows the deck boards being around 6.5mm long. I started the process of cutting all the strips into pieces that length. I also am covering the 4 sides of each small strip with pencil graphite that will ultimately resemble plank caulk when sanded, stained, and top coated.


-
Veszett I am loving your ideas! 😊