Bill97
-
Posts
2,718 -
Joined
-
Last visited
Content Type
Profiles
Forums
Gallery
Events
Everything posted by Bill97
-
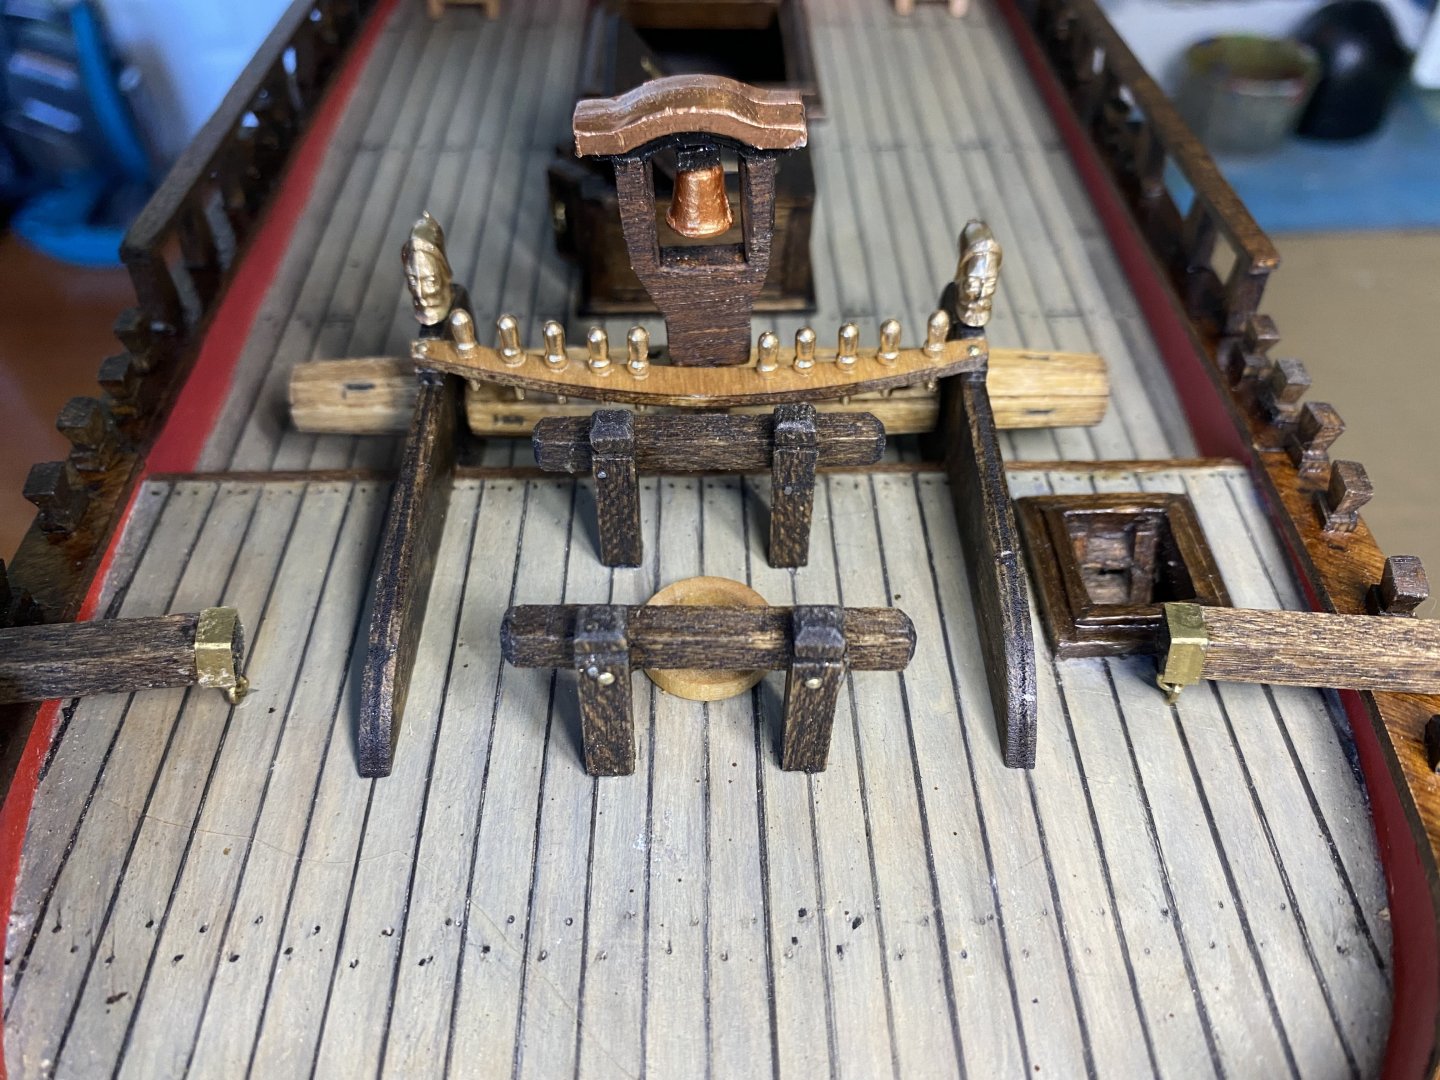
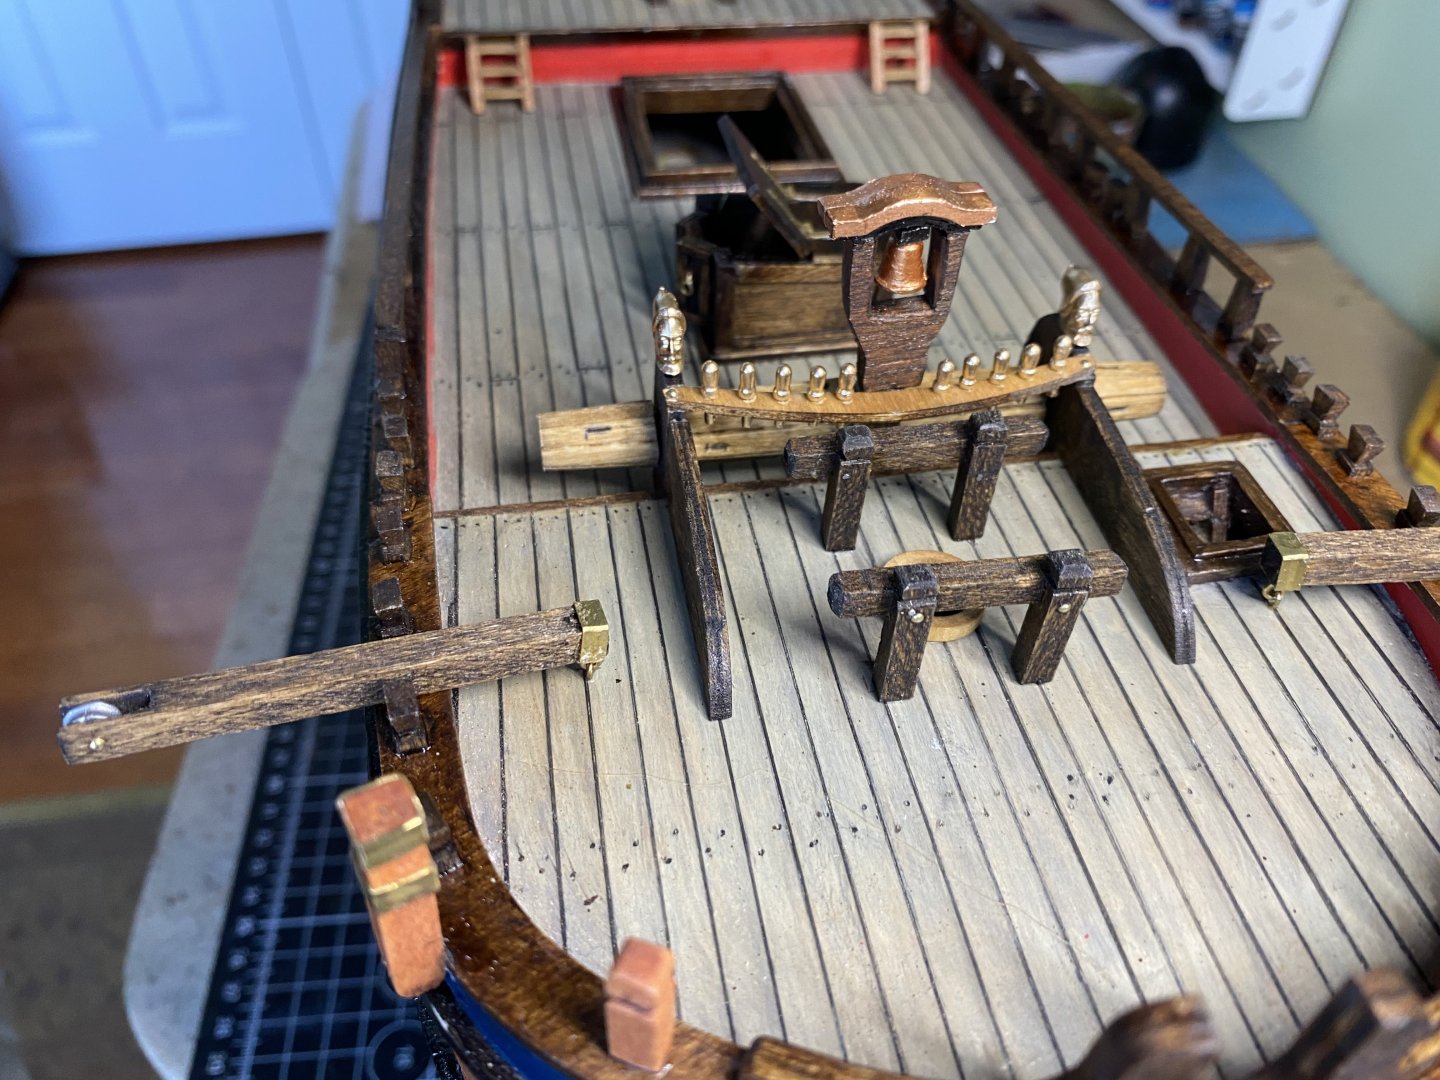
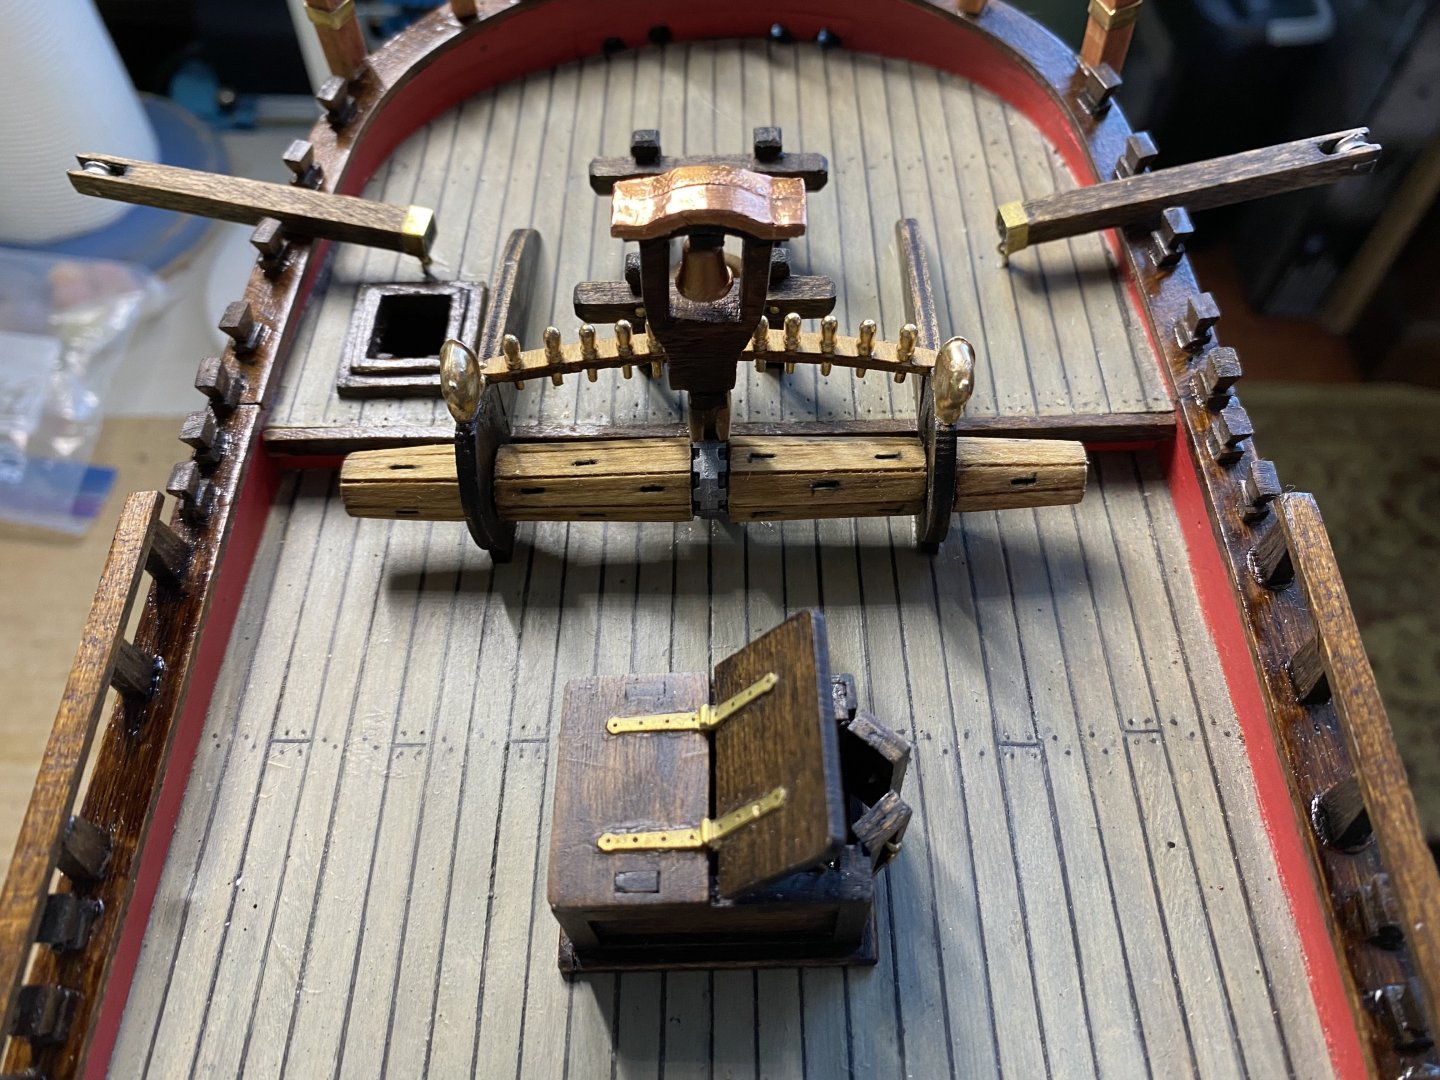
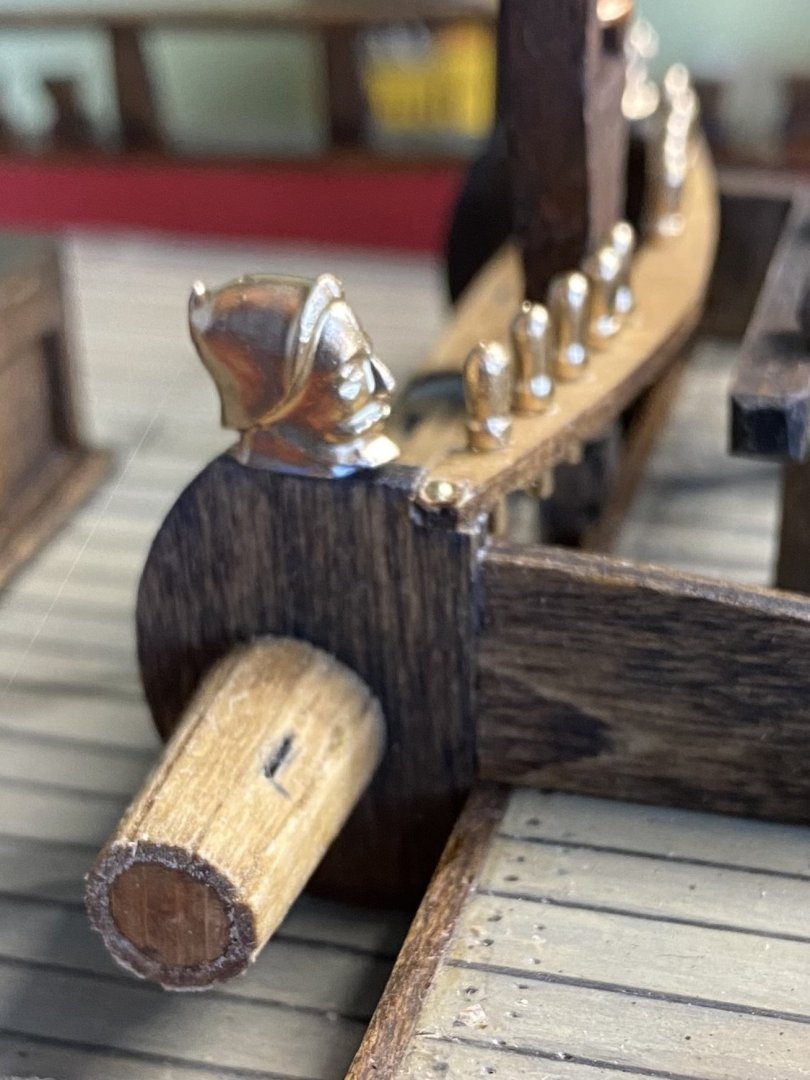
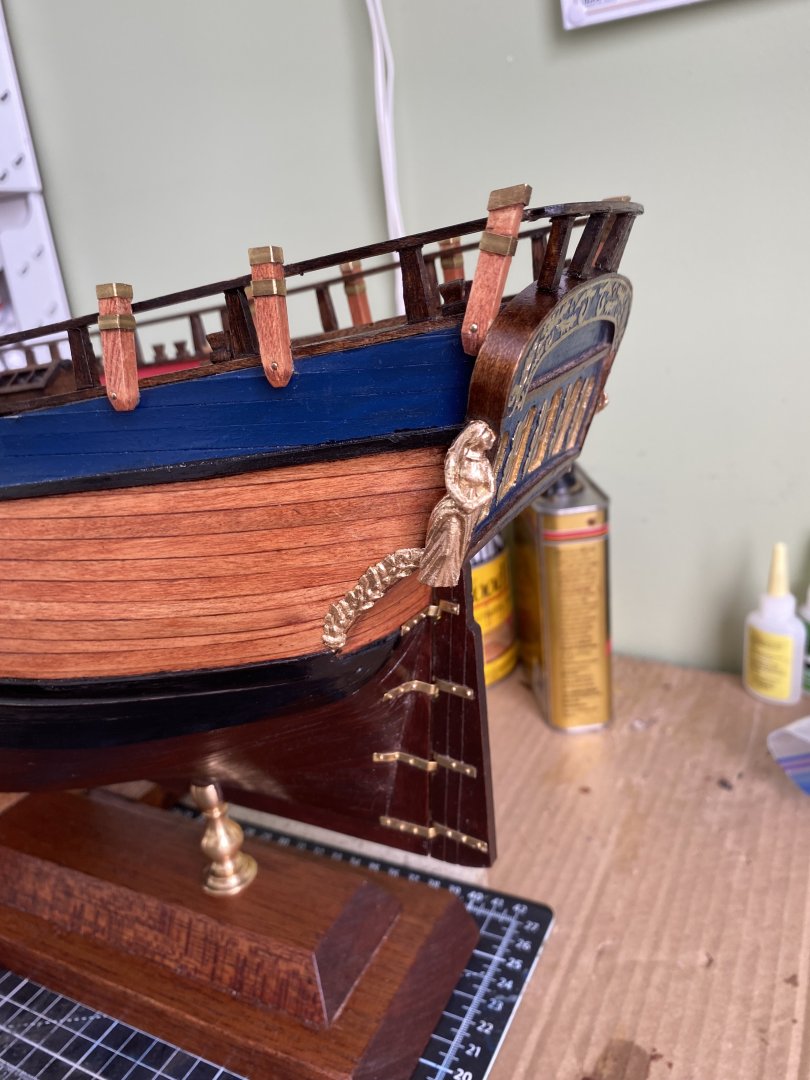
Davits, windless, and belaying pin rail added. Also a couple figure heads on top of windless. Coming along beautifully I think.
-
Some may think me crazy but rigging is probably my favorite part of building these ships. Initially, years ago, I was more interested in building the actual ship and found the rigging tedious. While building the HMS Victory I received so much guidance and help from all you guys reference the rigging, plus read numerous recommended books on the subject. I began to understand the fascinating engineering that went into each rigging line. Prior to that I just put the different threads where the instructions directed. Looking back at some of my older models I see numerous rigging mistakes. Although sometimes very tedious, like tying ratlines, I really enjoy how rigging the model brings it to life. ,
- 2,699 replies
-
- 6
-

-
- heller
- soleil royal
- (and 9 more)
-
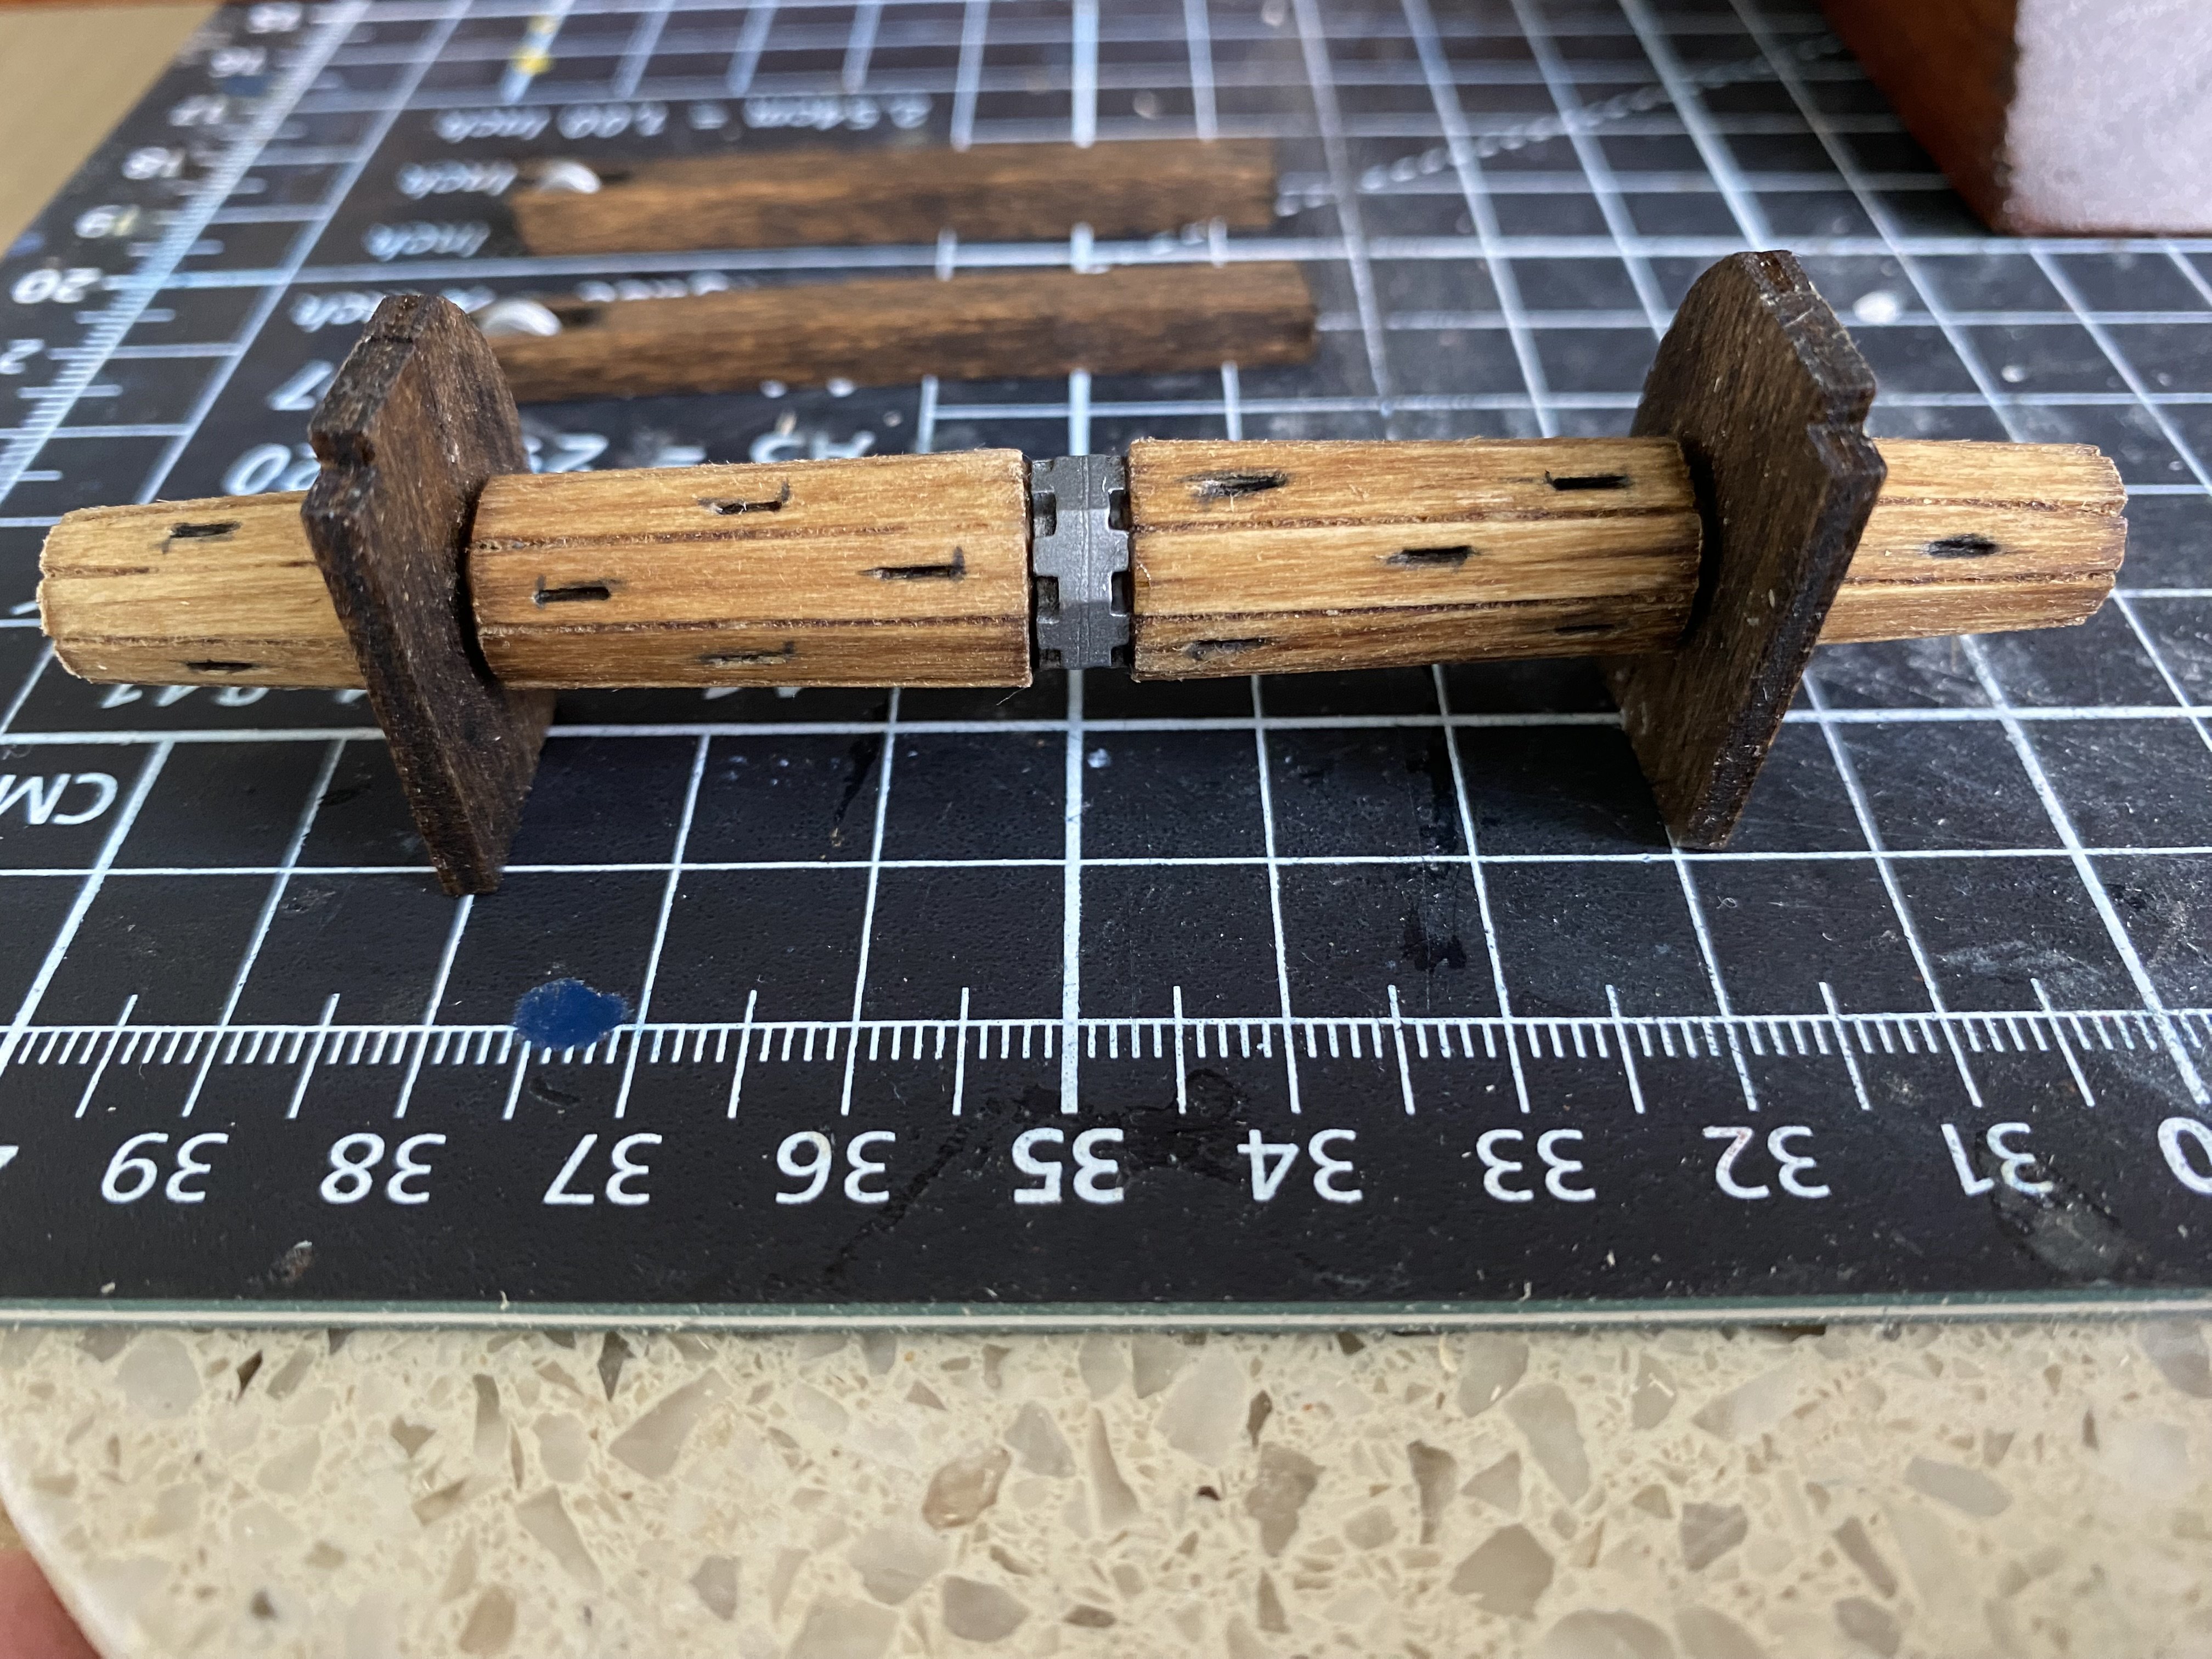
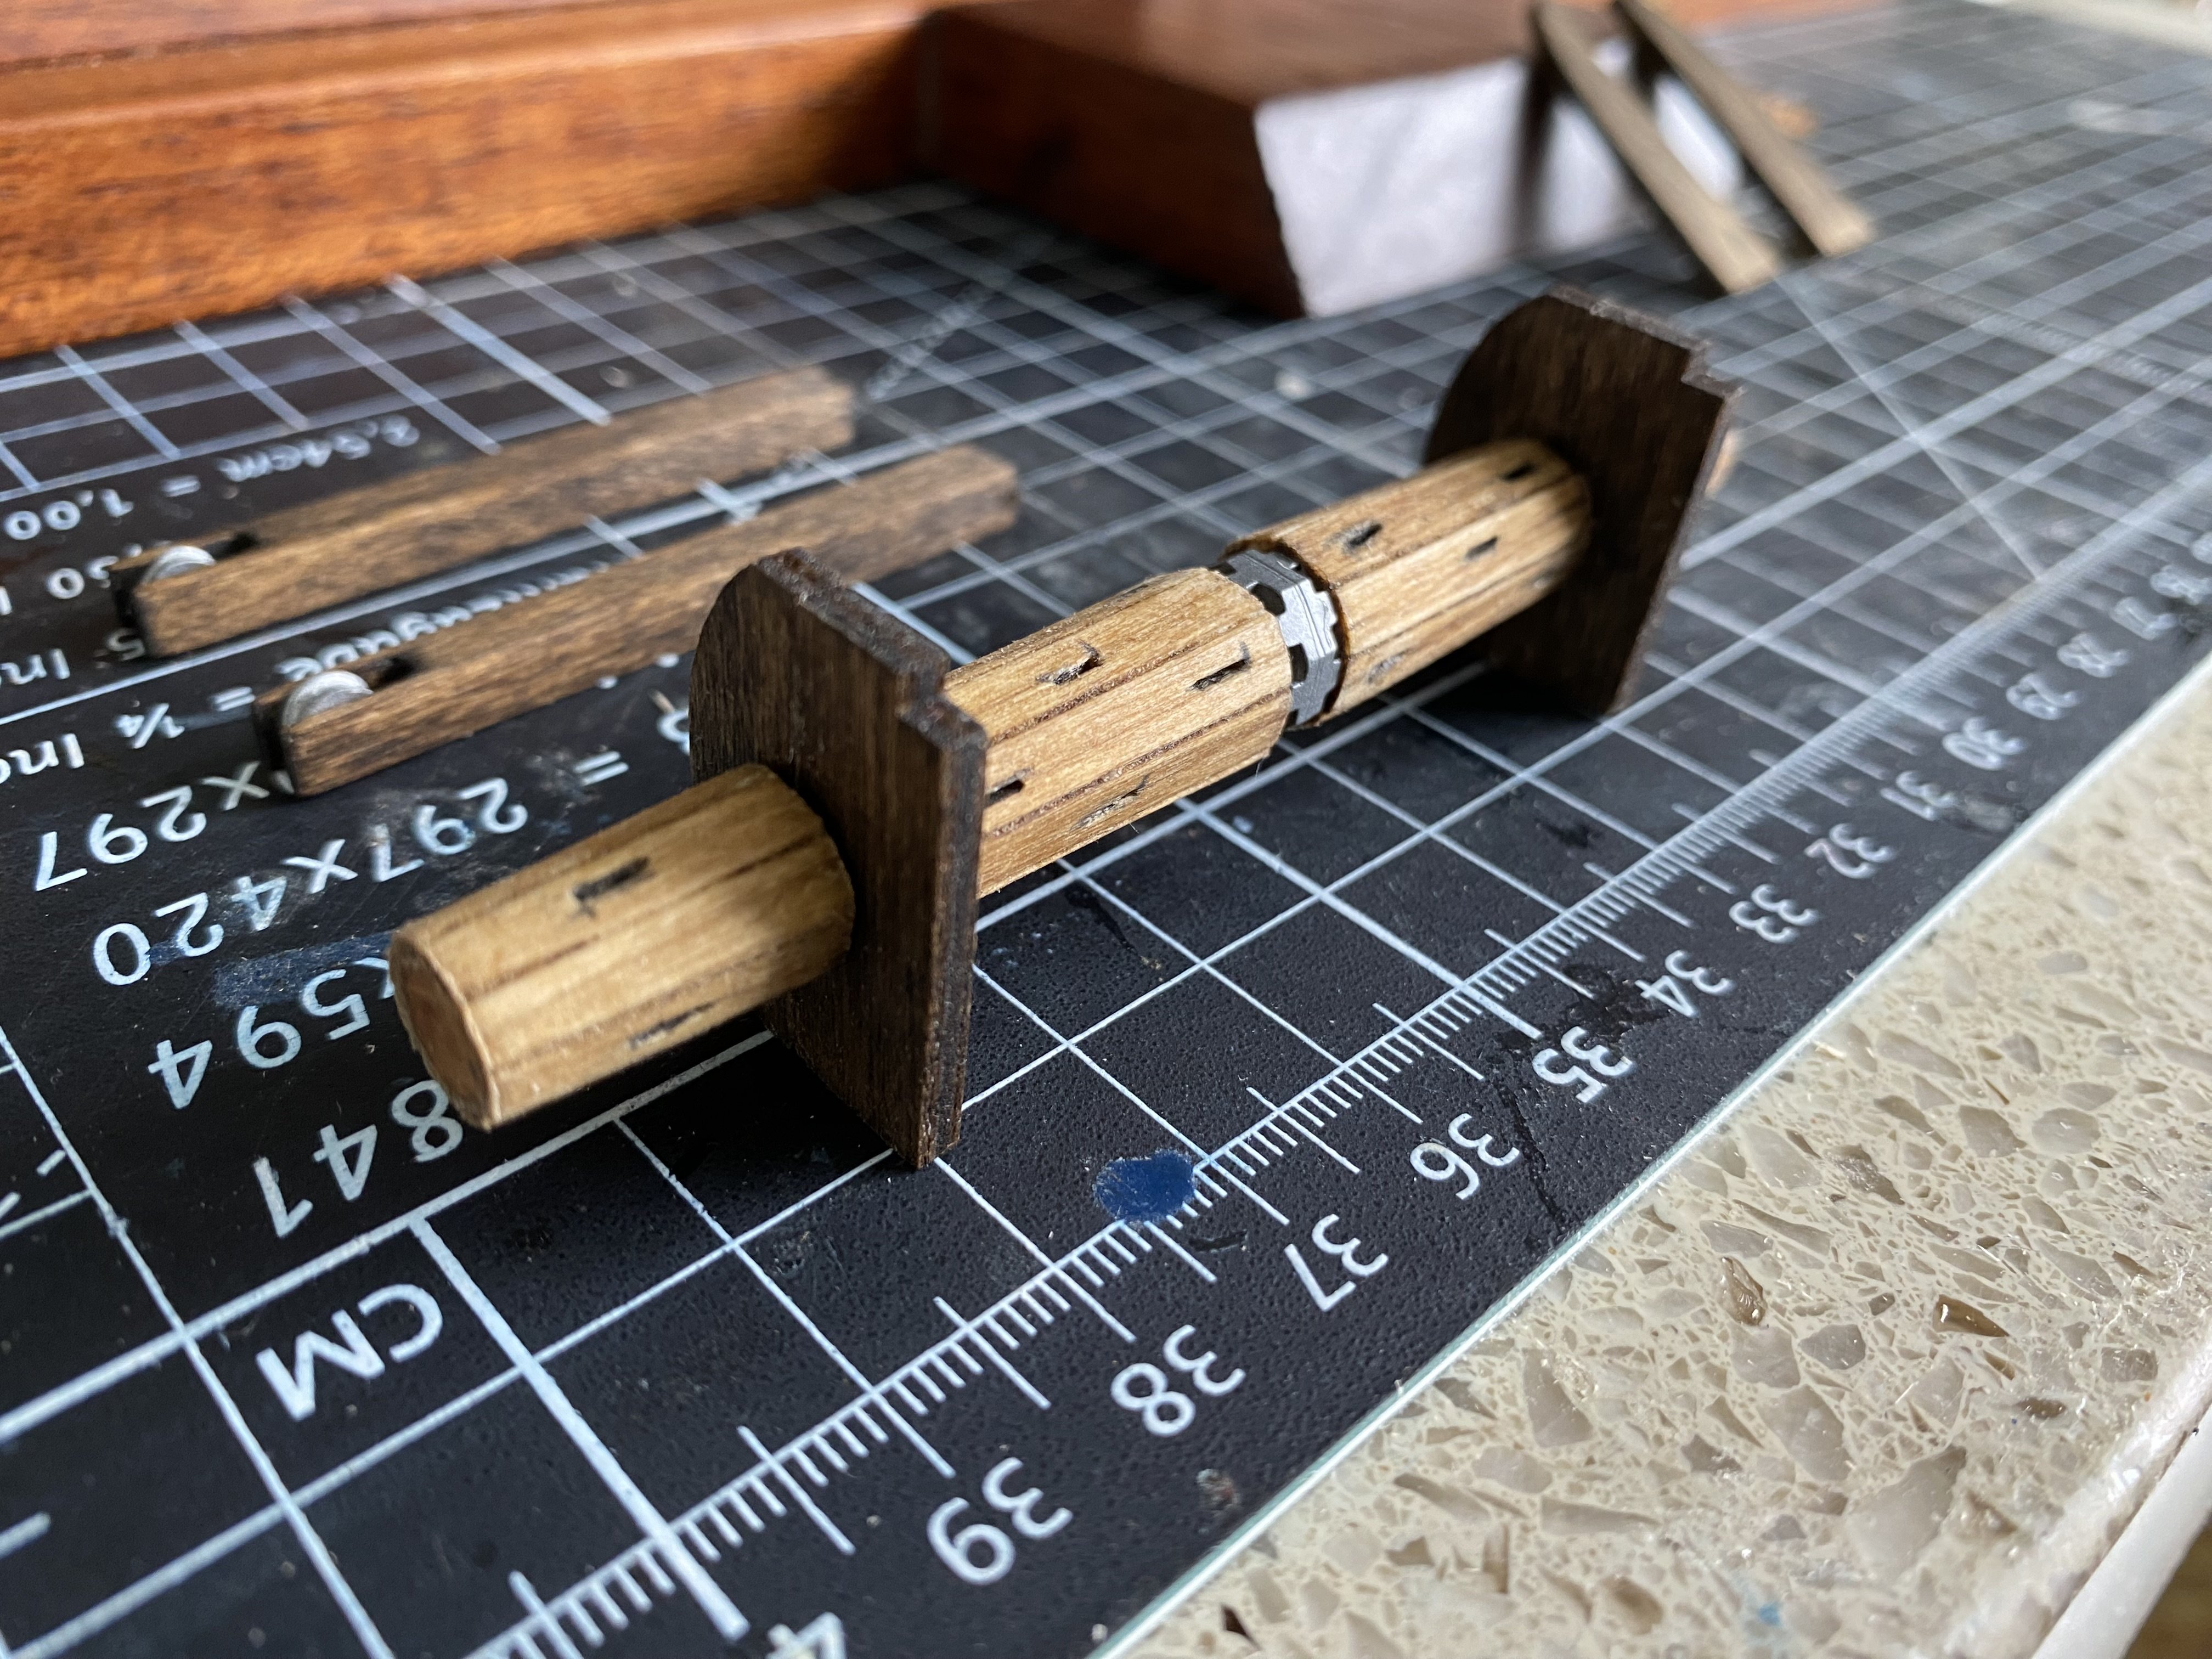
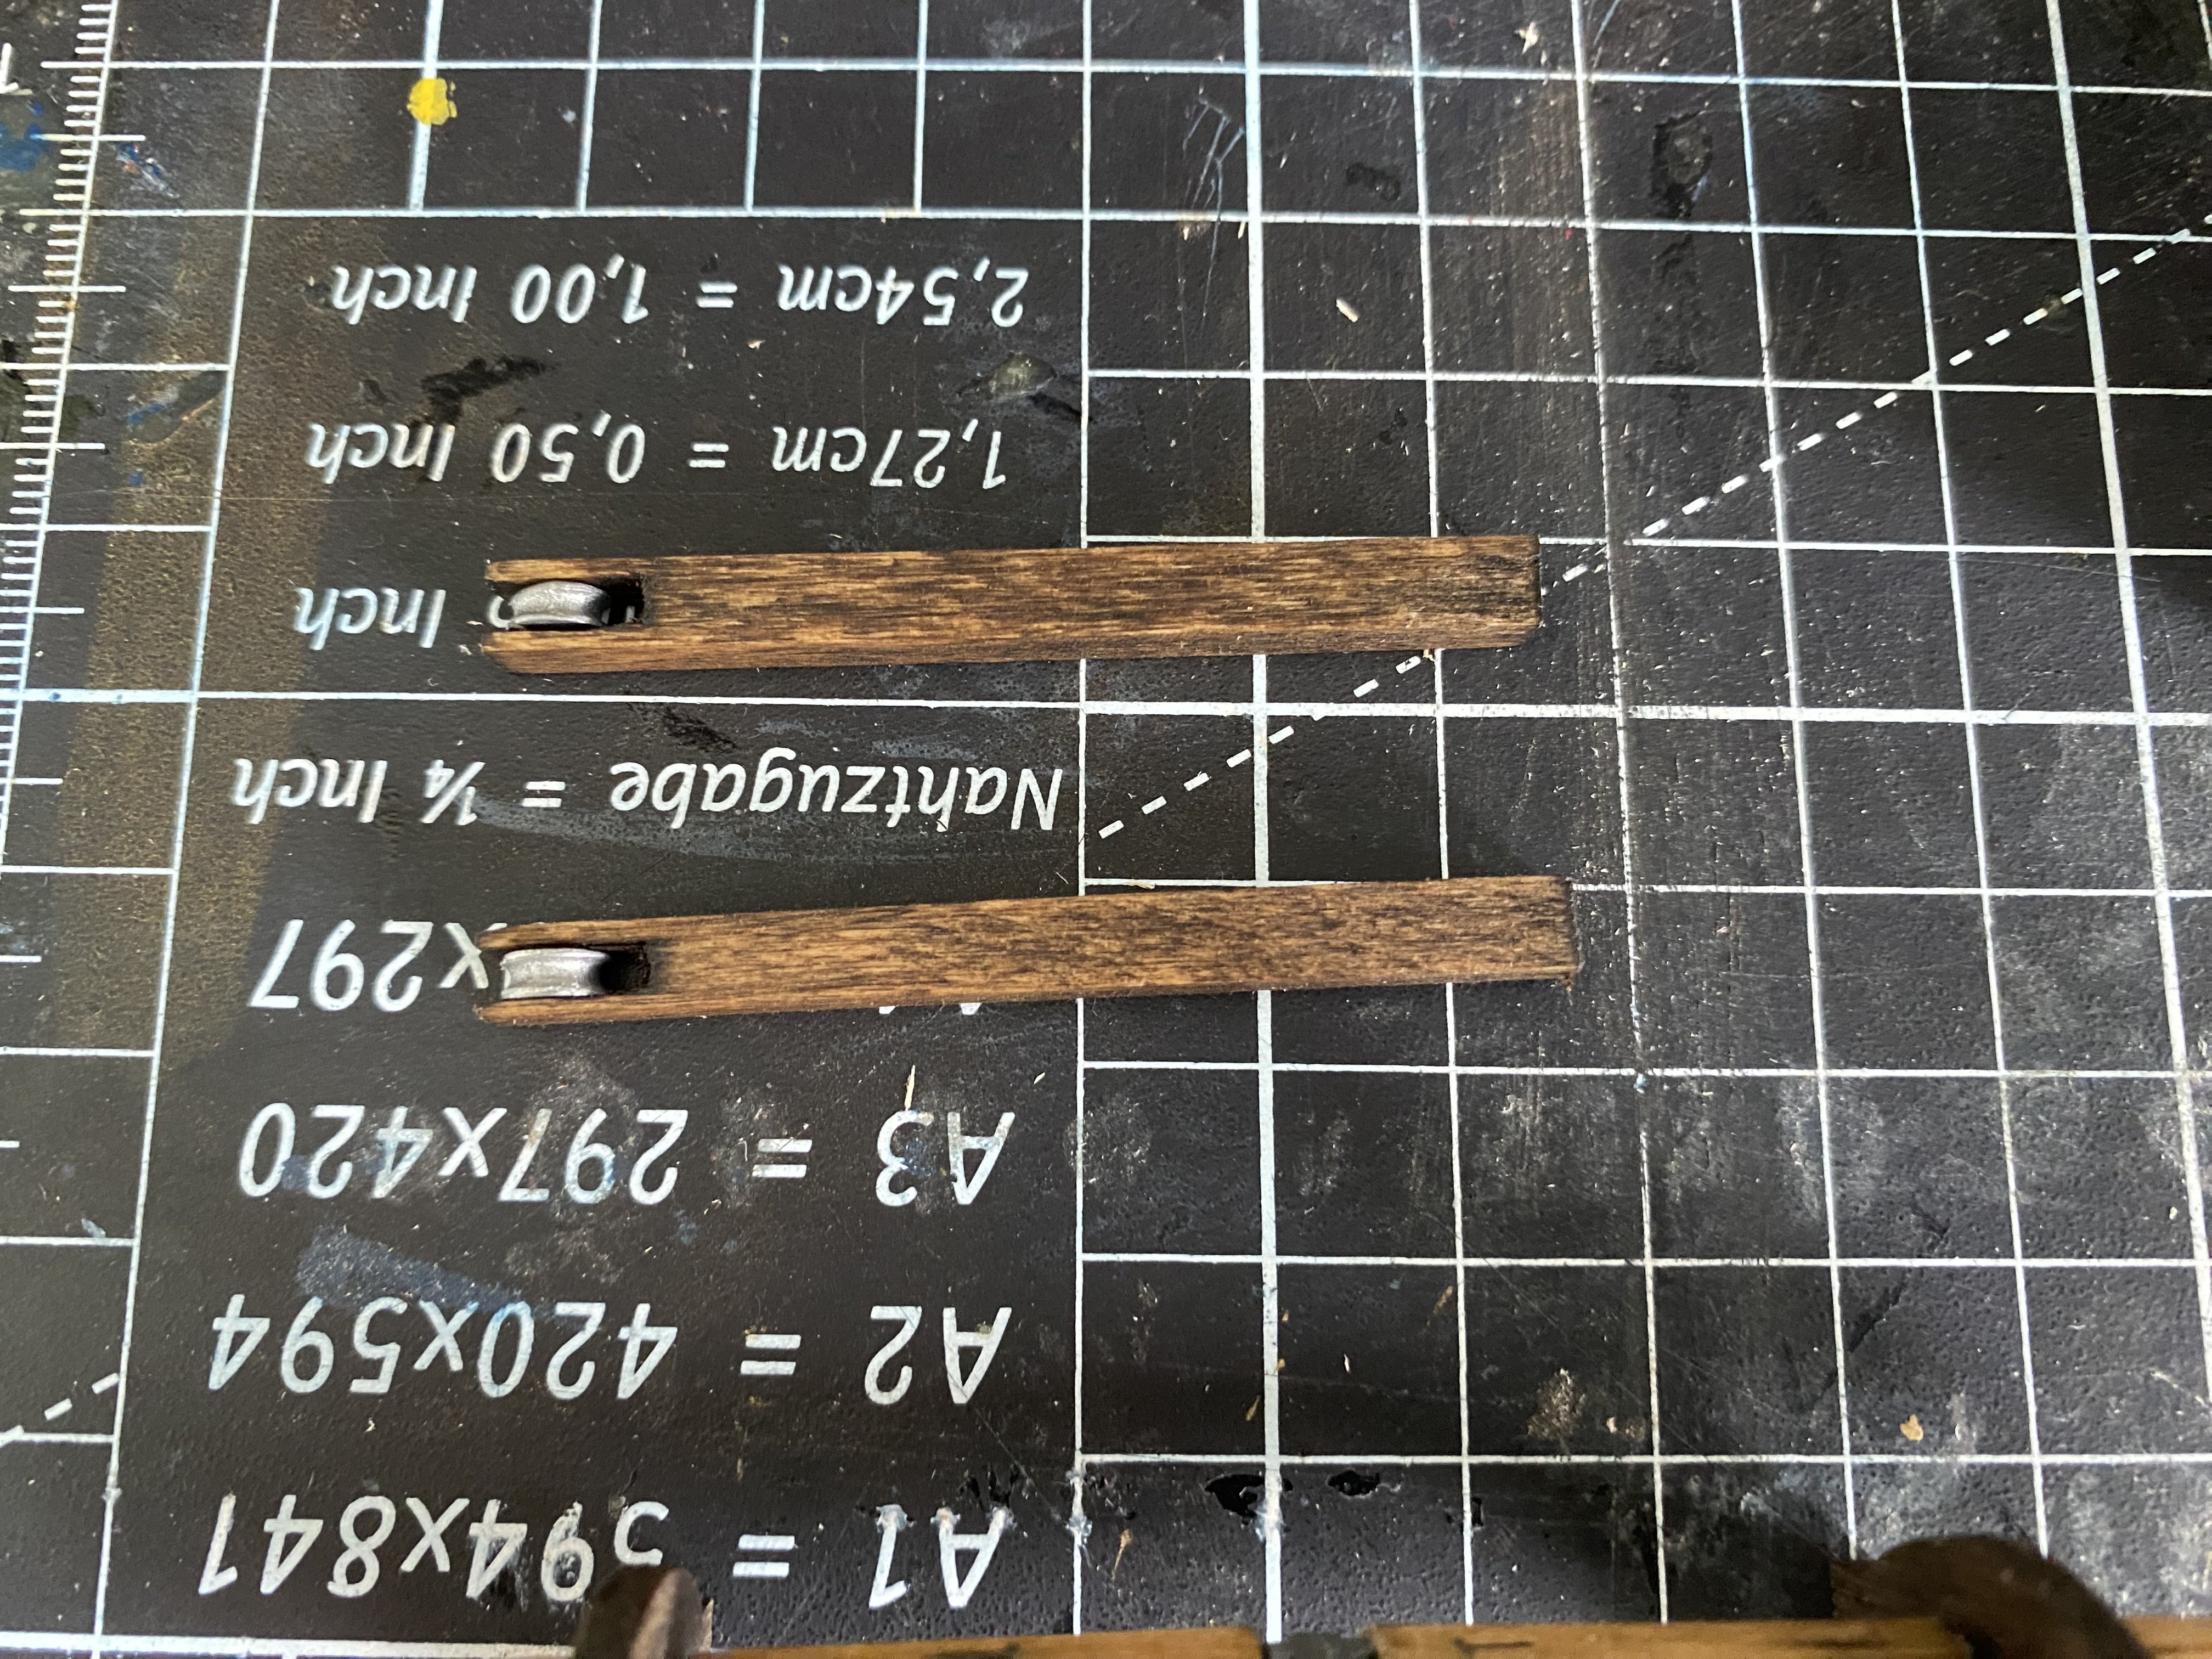
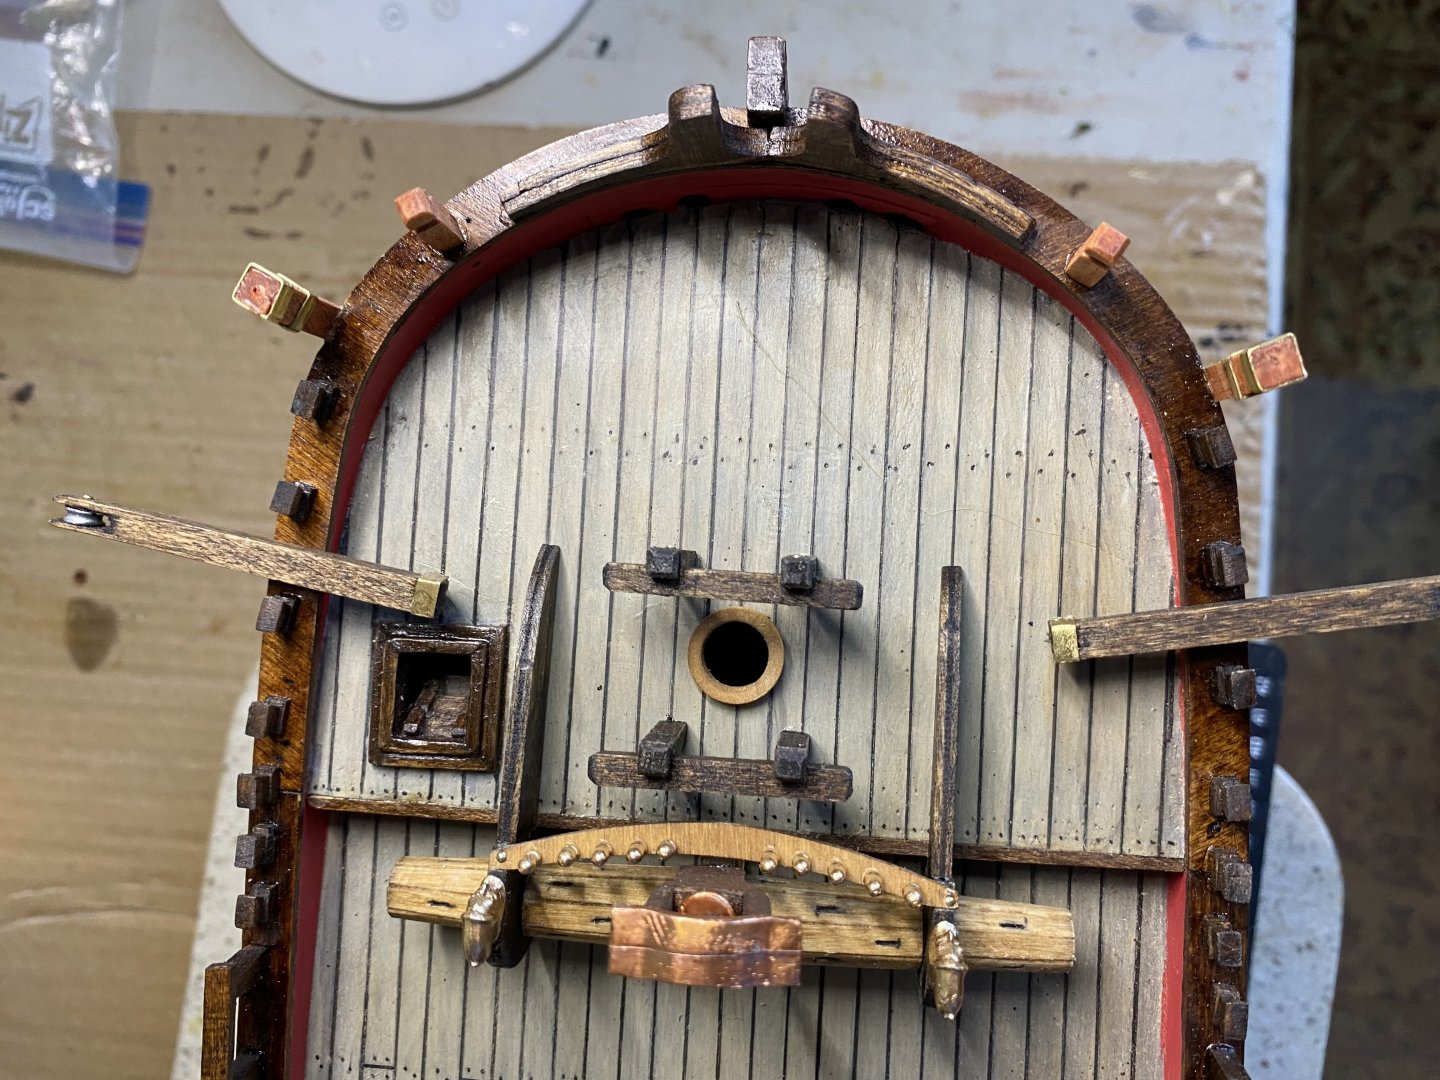
Continuing the building of the on deck pieces. The windless was an absolute woodworking dream shaping the 8 linings to fit accurately around a tapering cone. Also starting the davits by carving out the slots for the rope wheels. The opposite end of the davits will get anchoring hardware.


-
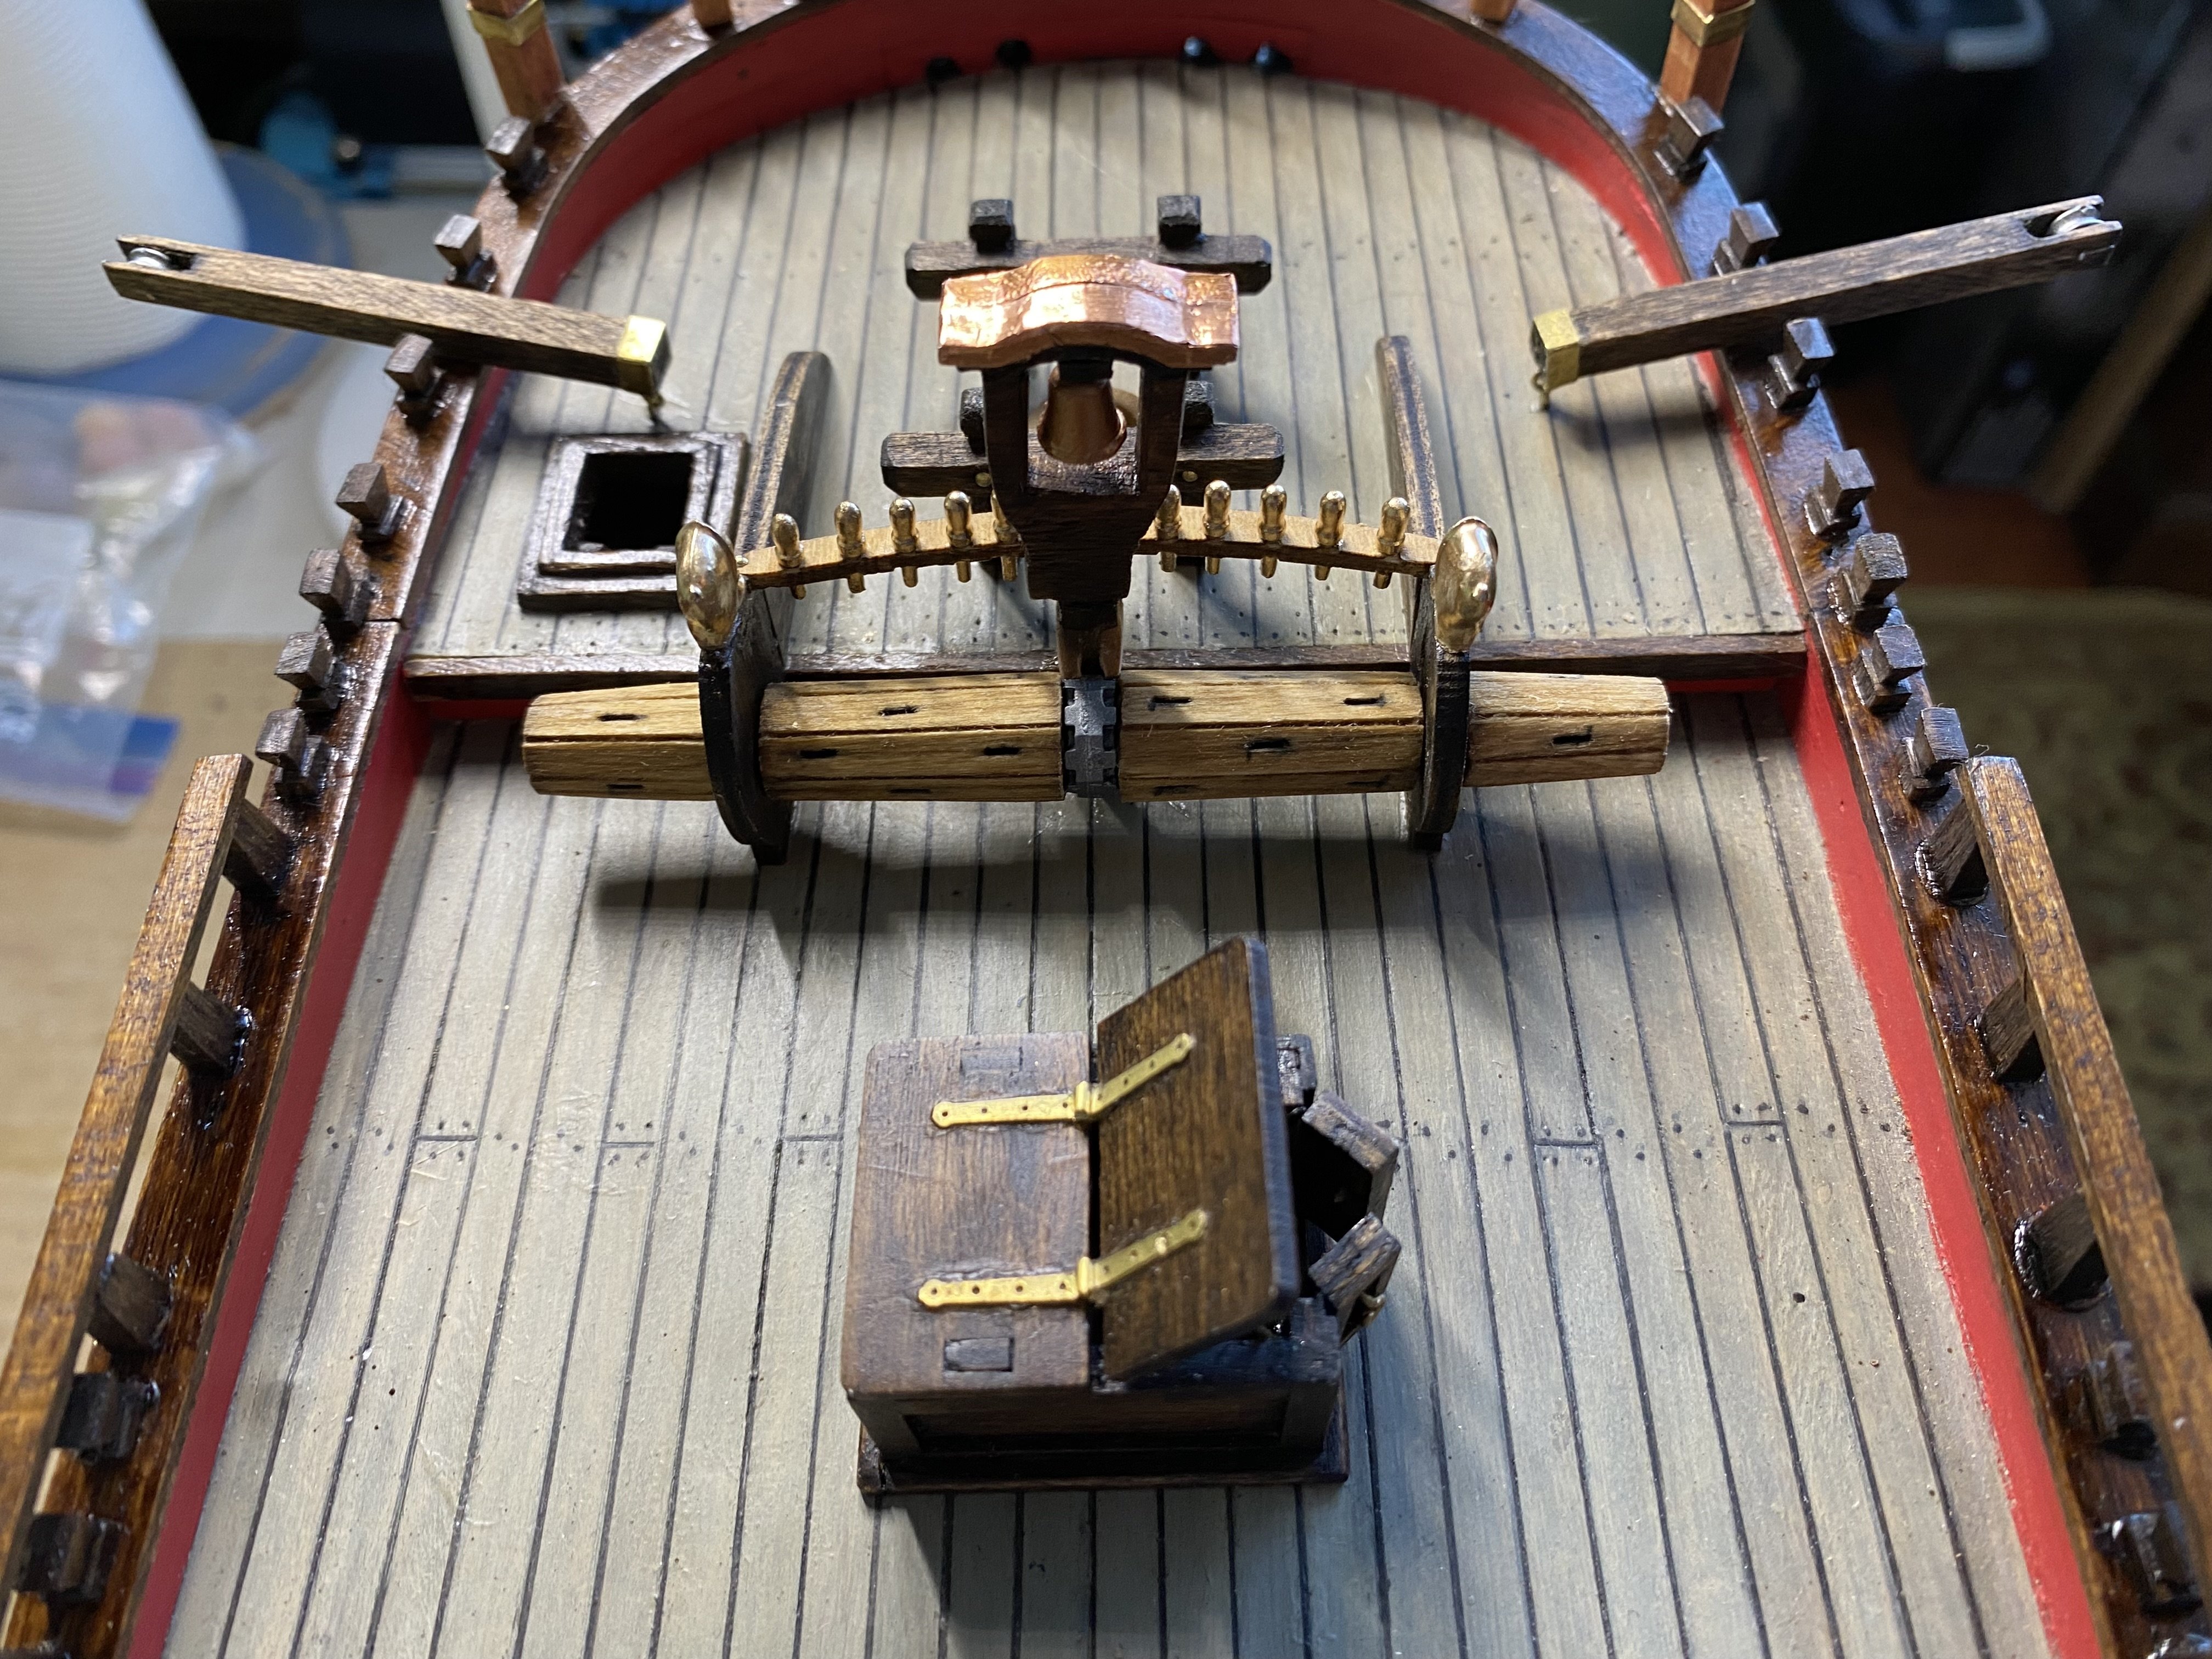
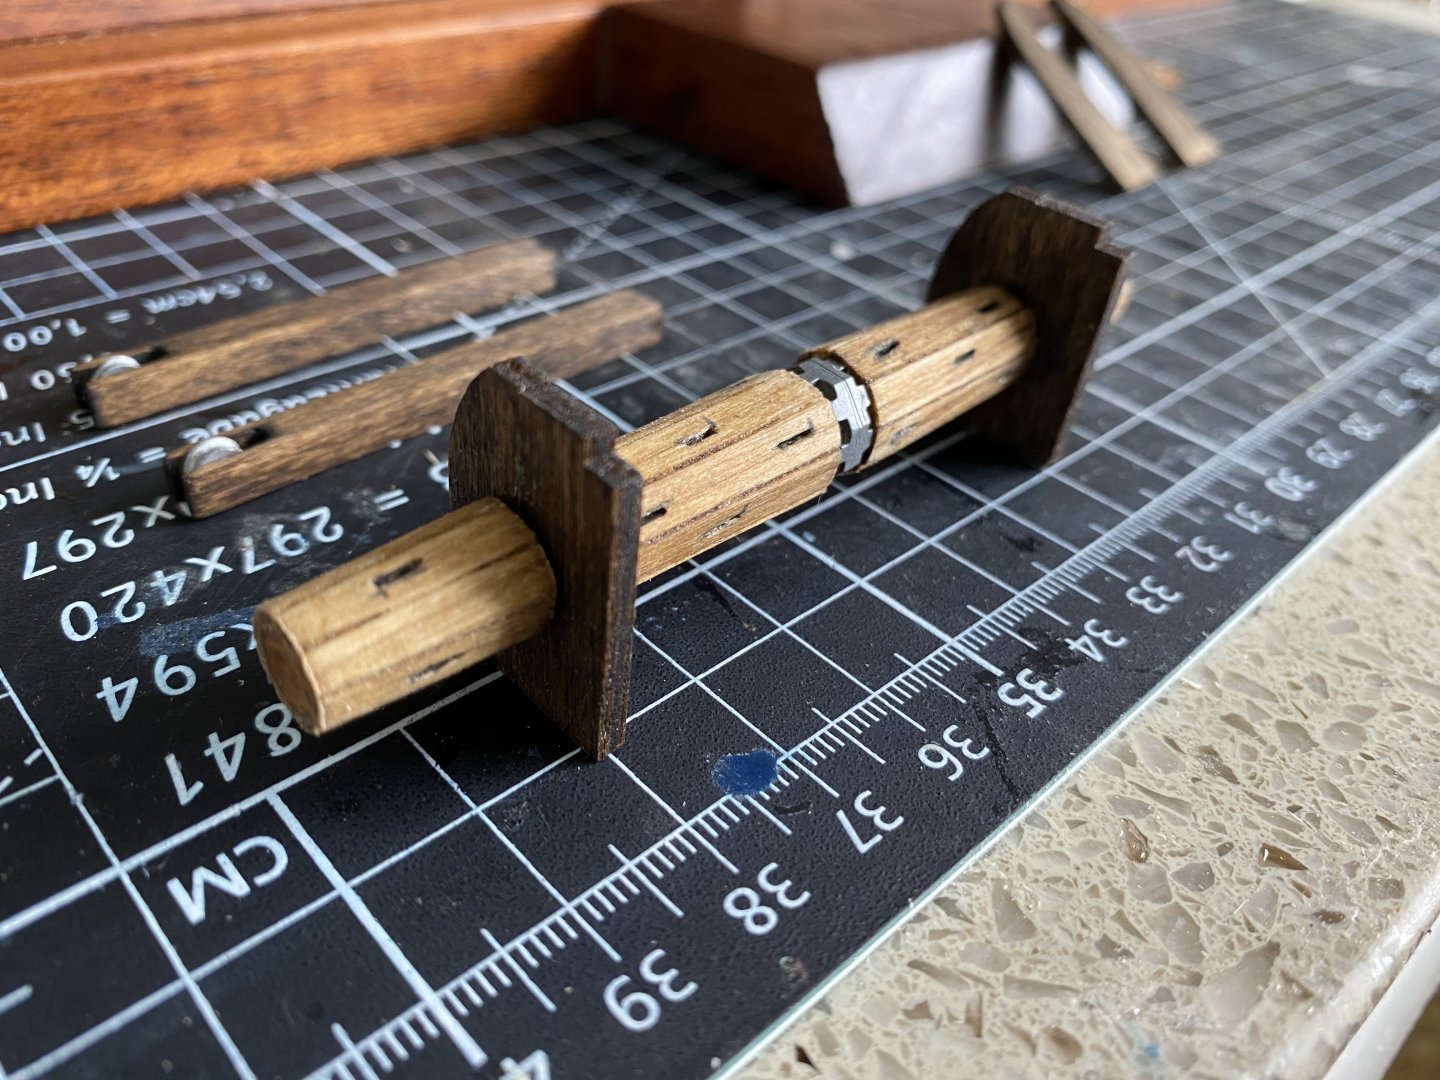
Got the stern trim added today and fixed the capstan issue. I also made 8 capstan poles which I will rack somewhere.

-
My daughter and her husband lived in Belgium for quite a few years. When we visited we would often go up to the Netherlands.
-
Thank you so much Ronald-V. Appreciated you looking in and your compliments. Whenever I see a comment from someone new to my post I find it fun to check the profile to see how far MSW reaches around the world 😊! How are things in the Netherlands? Been to several of the cities west if you (Amsterdam, Rotterdam, etc) but never Joure. No doubt it is as beautiful as the rest of the country.
-
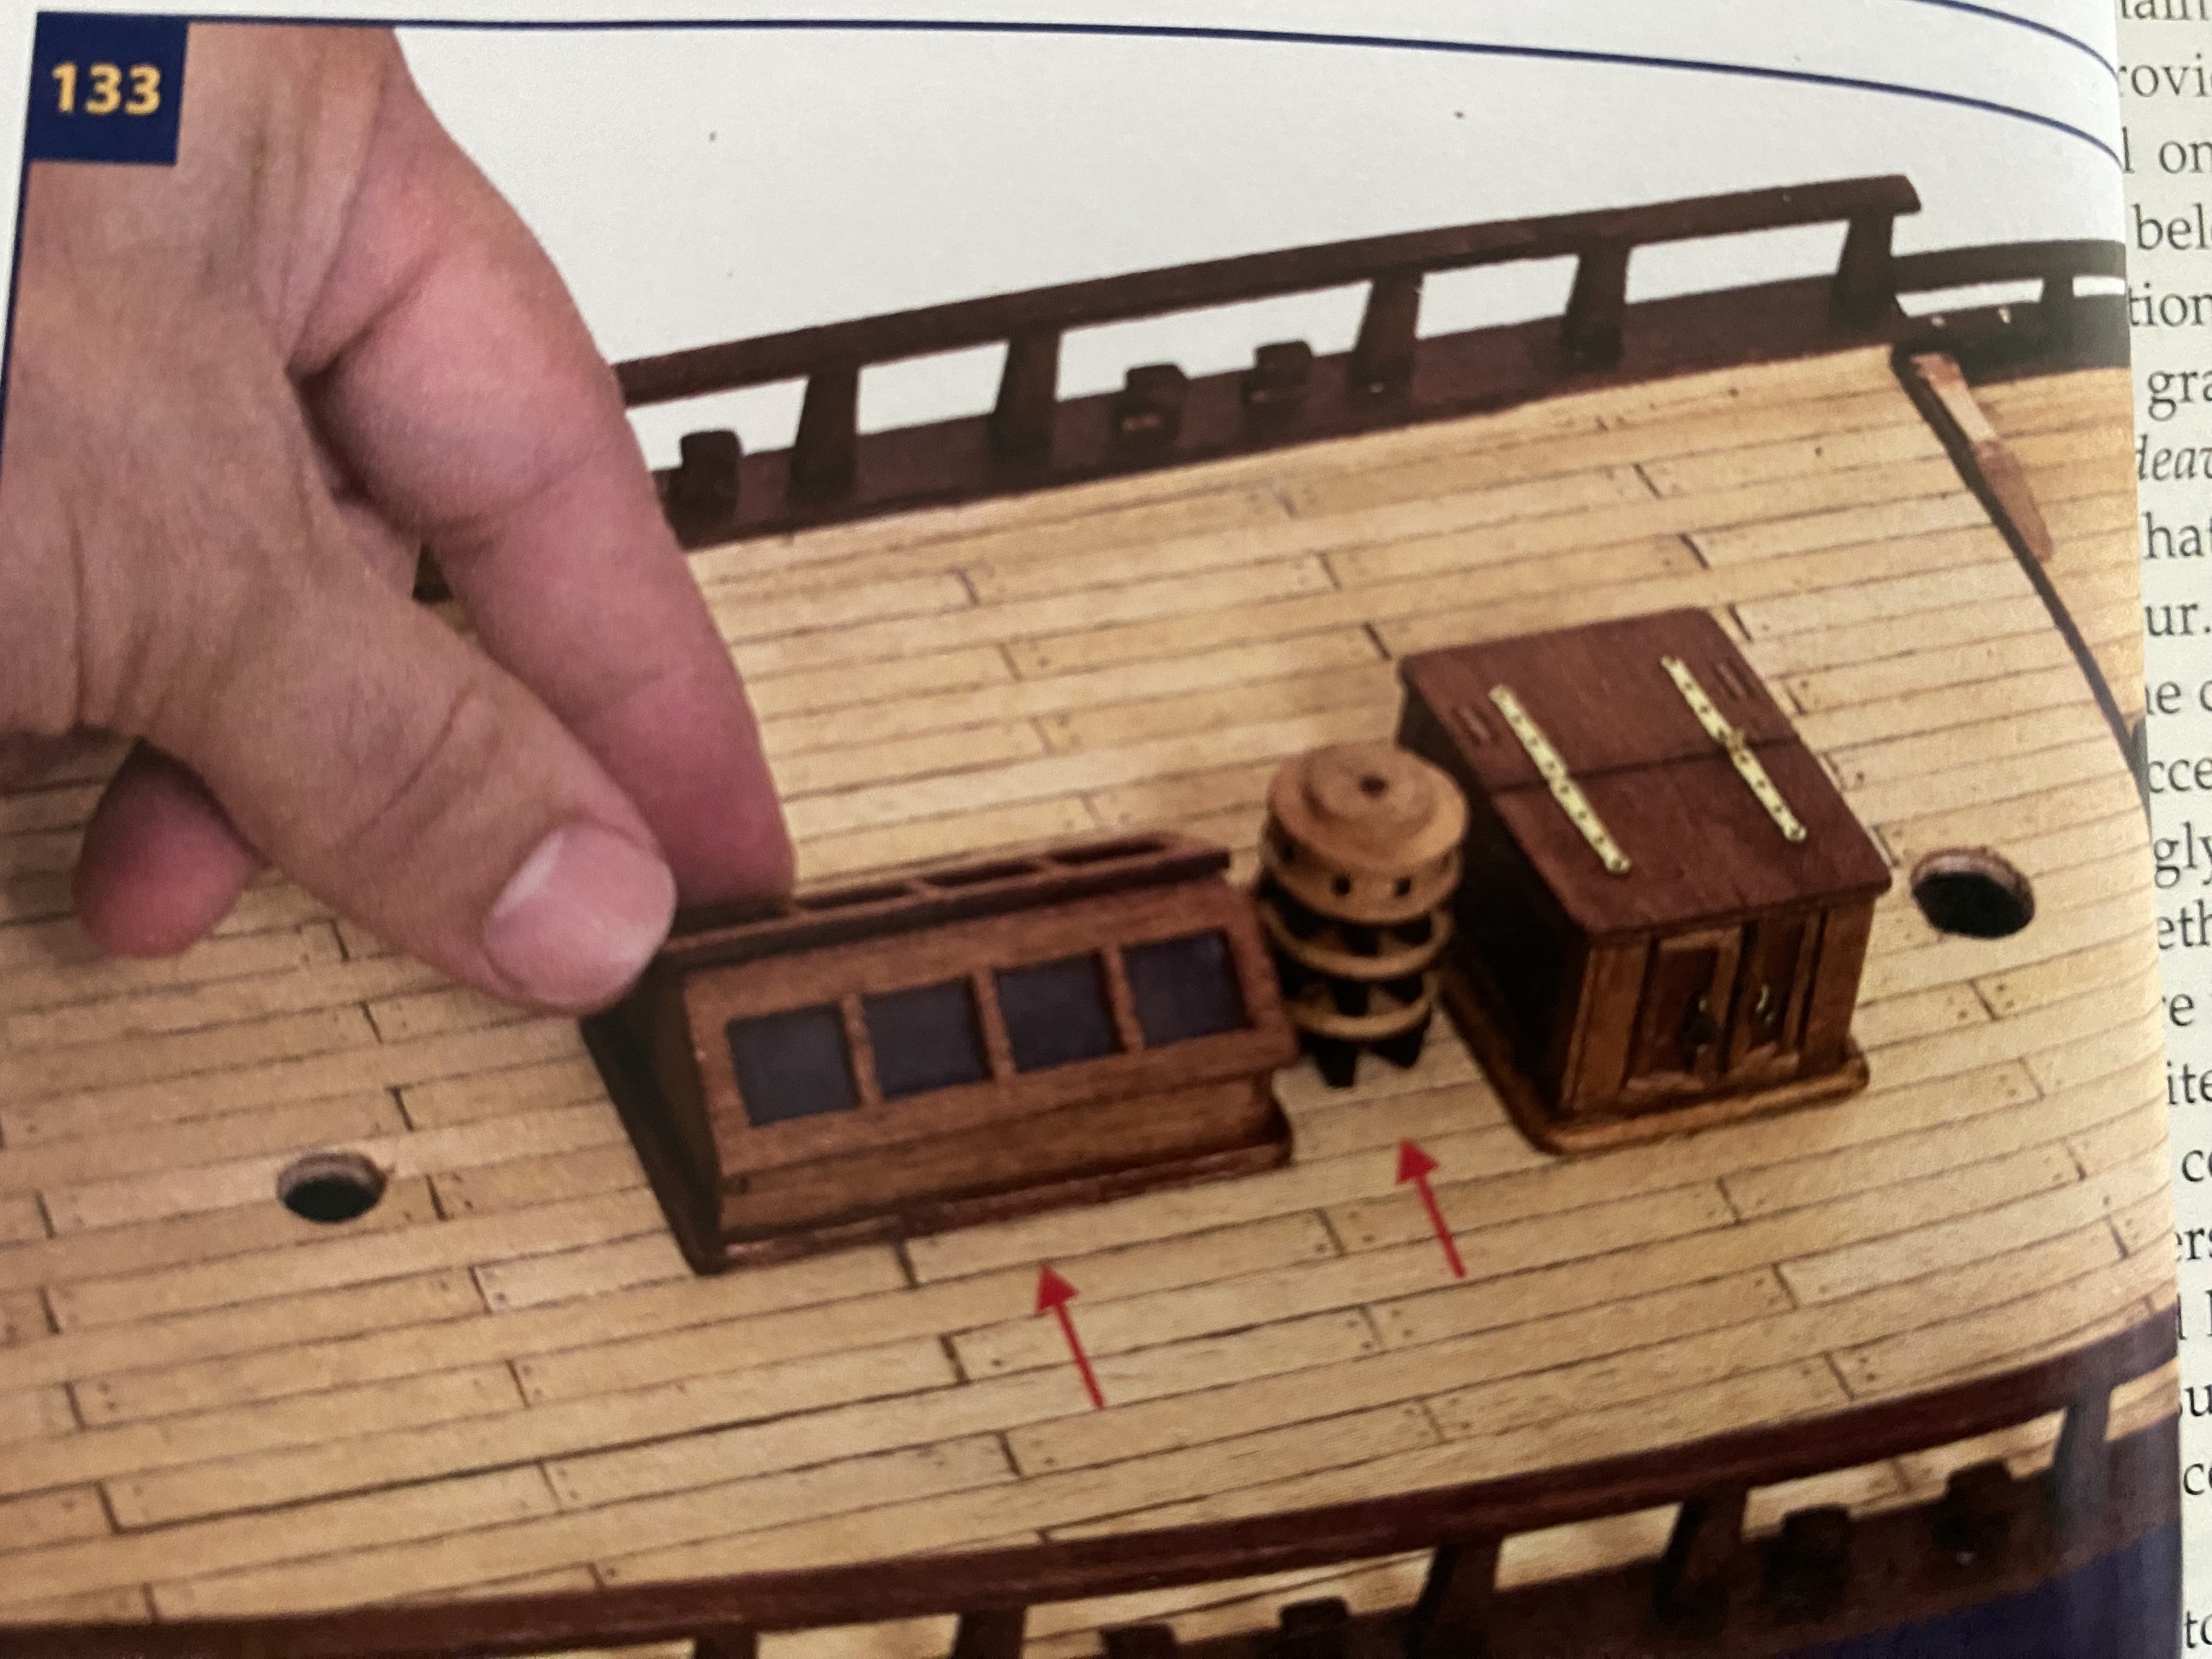
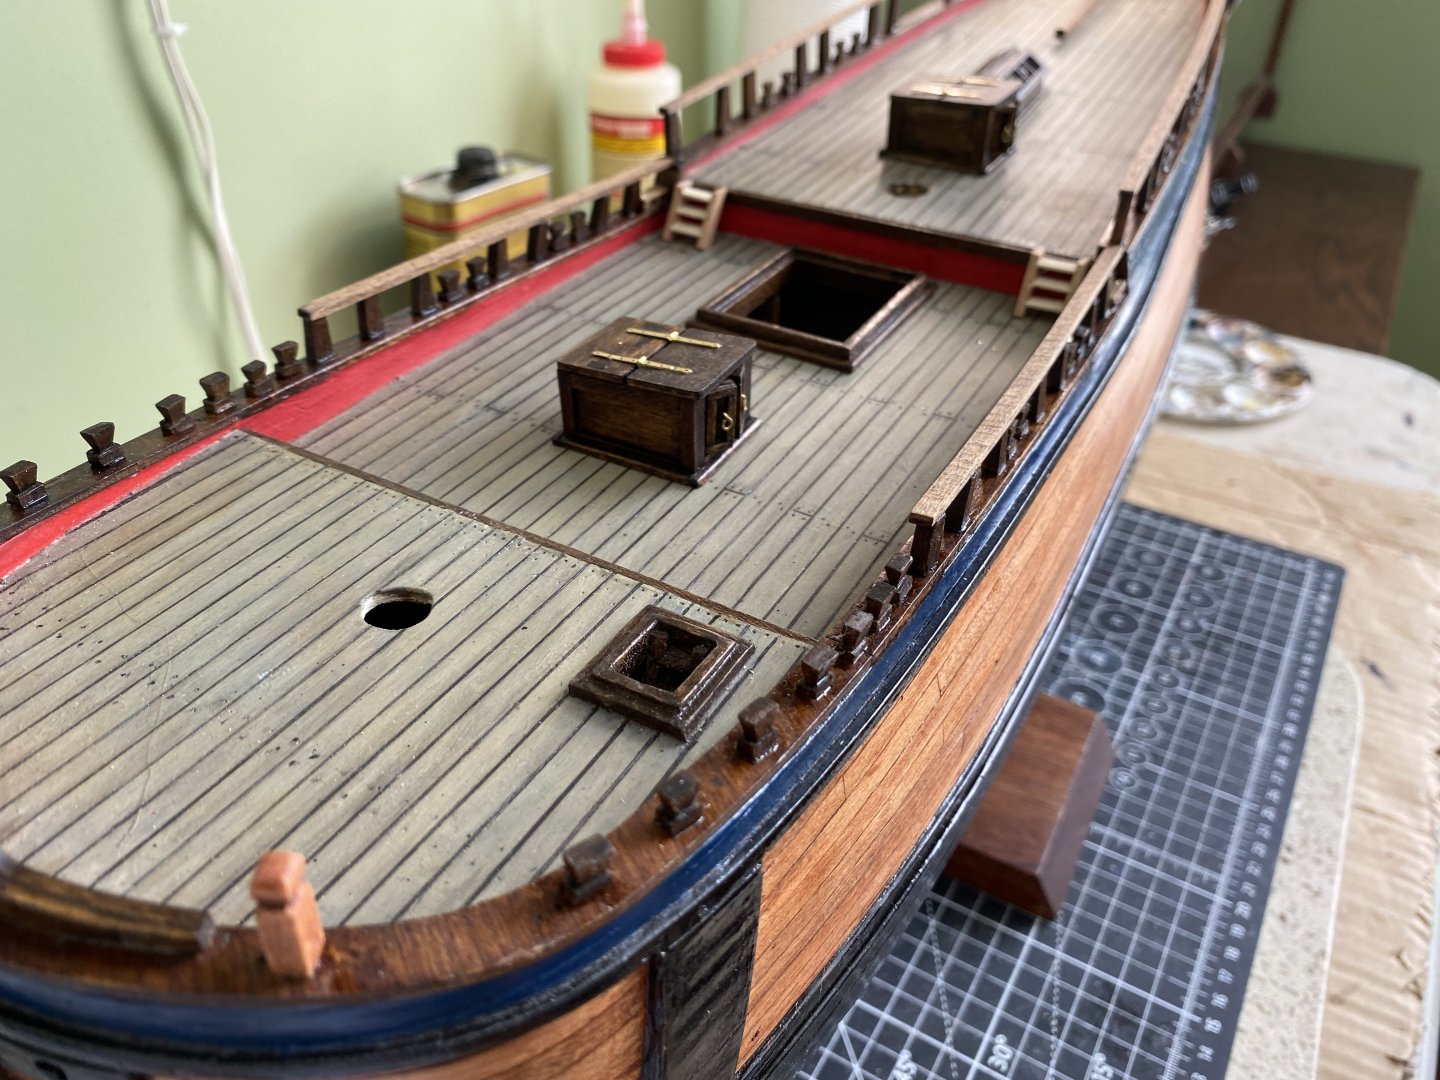
Thanks Marc. Going to attach these pieces then tackle the capstan issue. After reading Phil’s comment I see there are corrections needed in the model design. In keeping with the AOTS photos I plan to (hopefully with no damage) pry loose the companionway and the capstan. I want to cutdown the height of the companionway to match the skylight height, and place a round spacer under the capstan to raise it above the height of the other two pieces. The model does not call for poles to be added to the capstan. Would they have been just inserted when needed? Where close to the capstan would the poles be stored when not in use? I may add that detail.
-
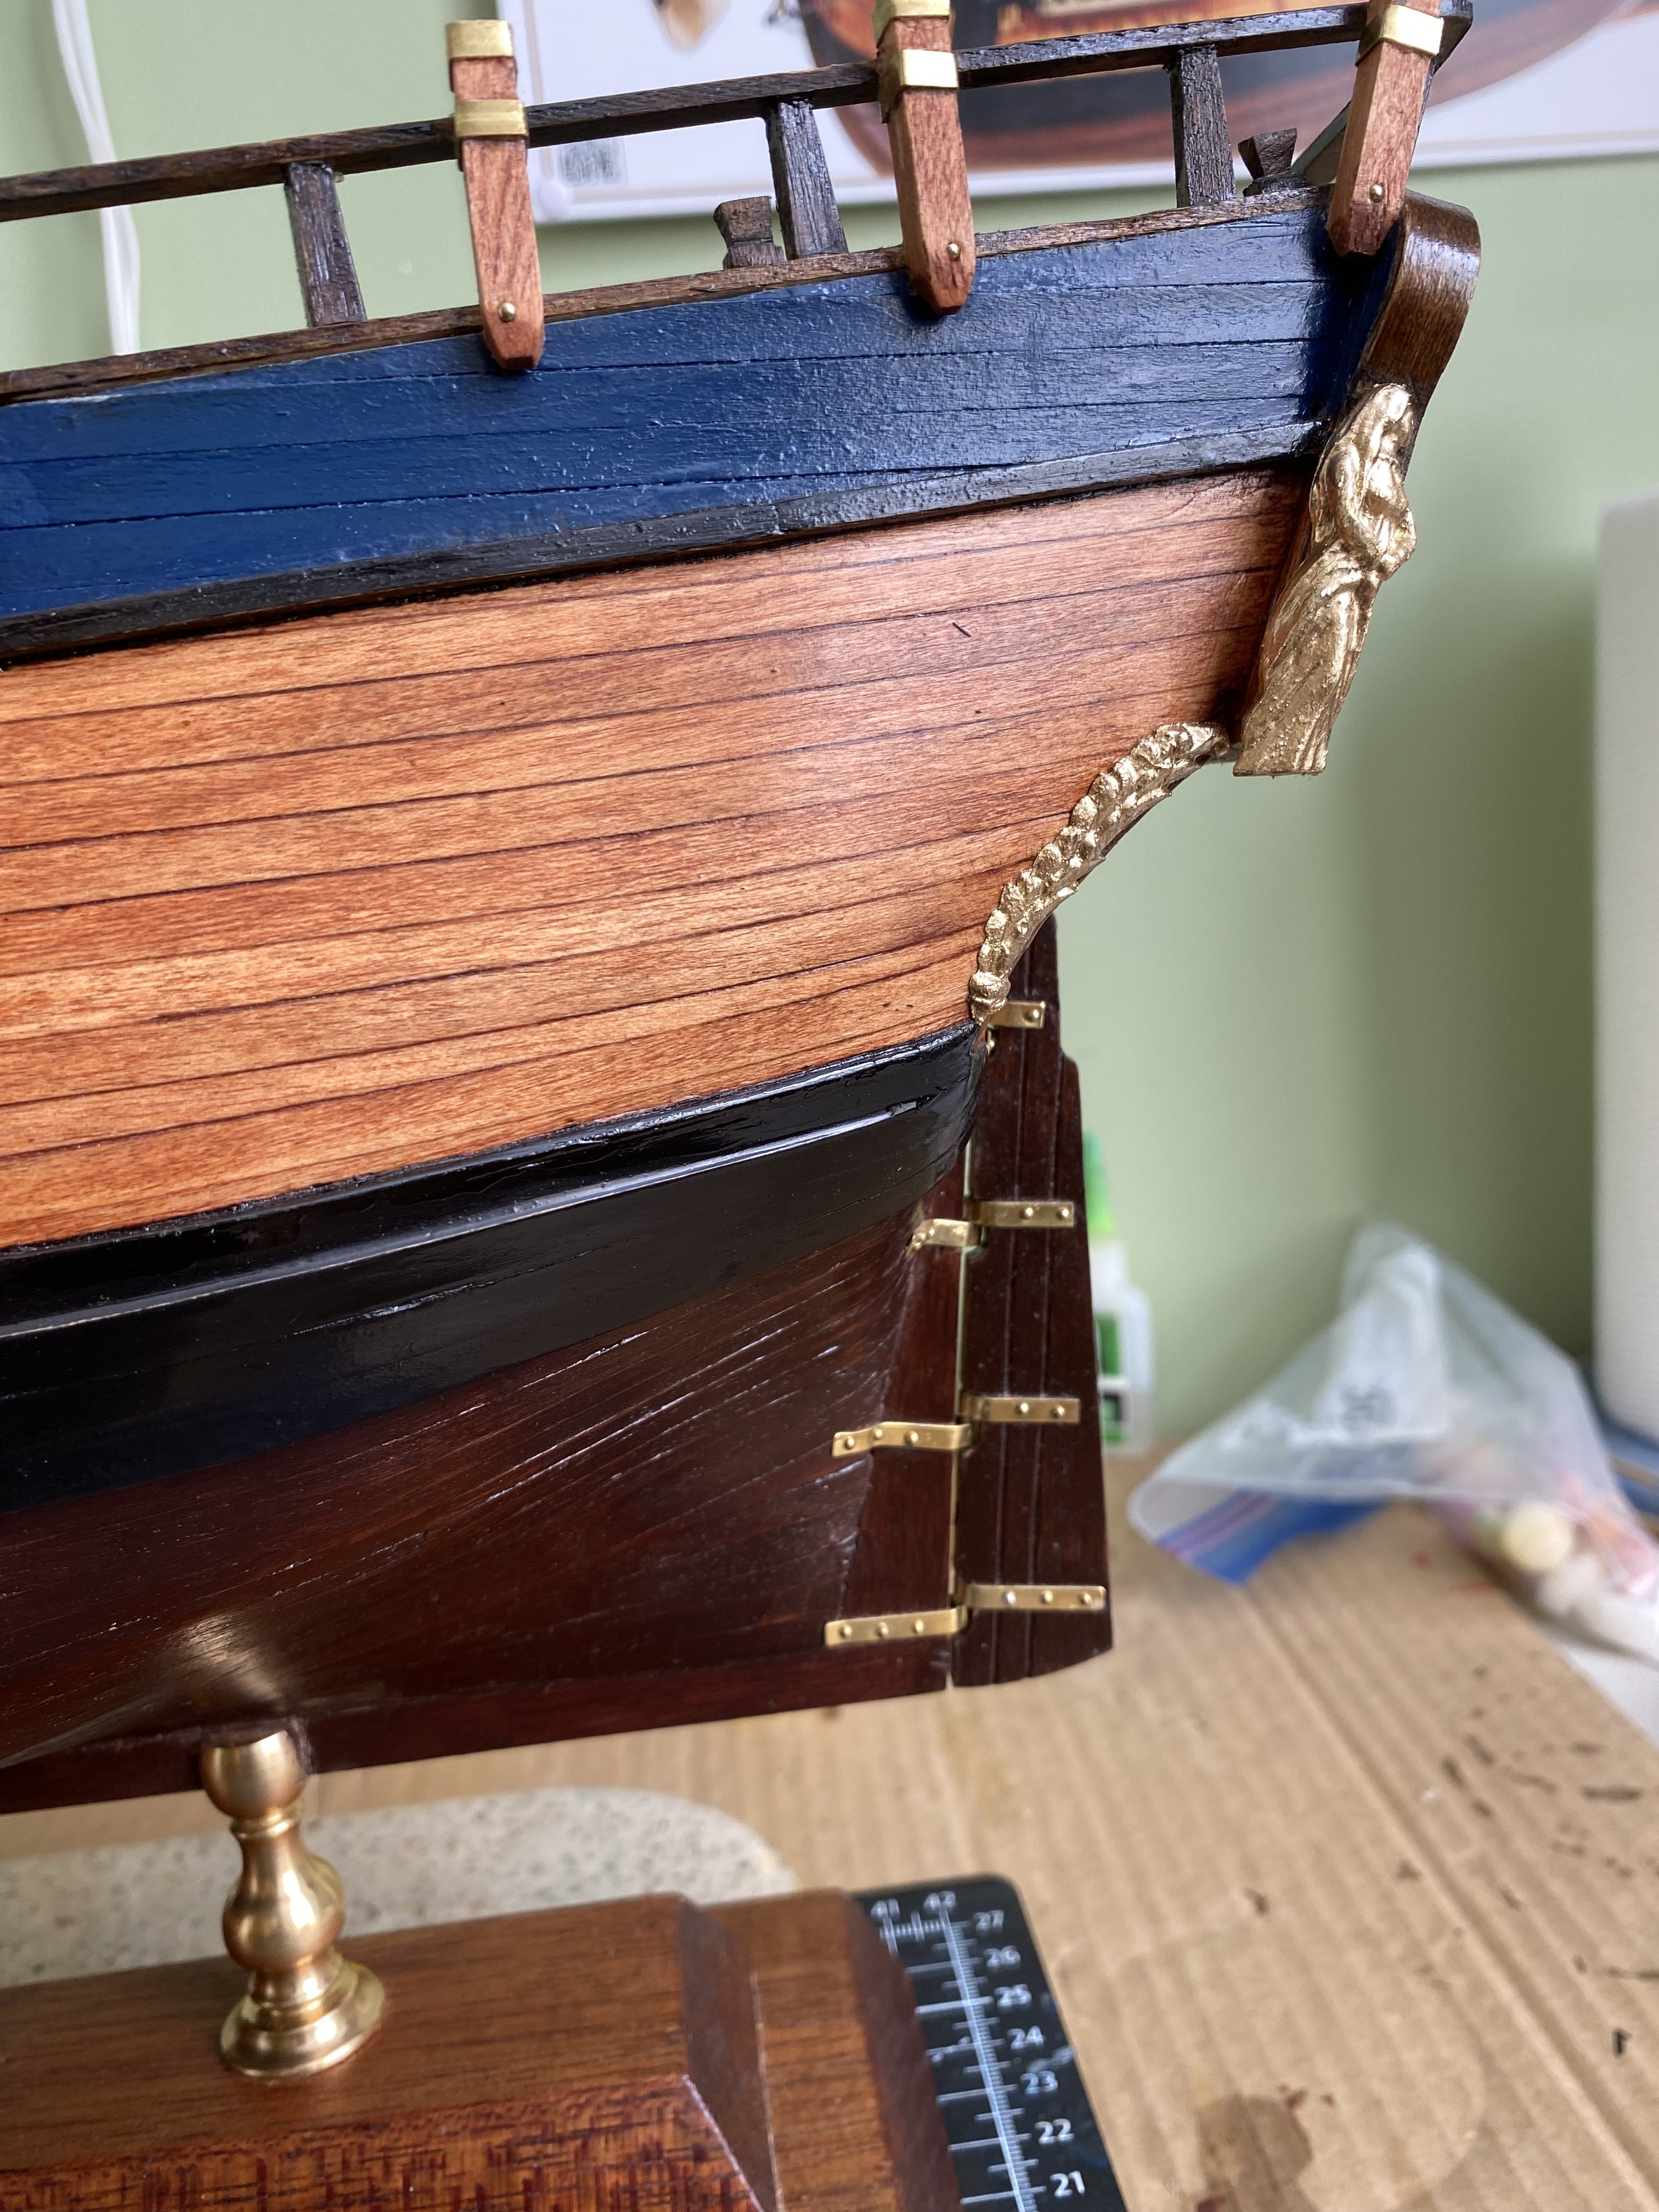
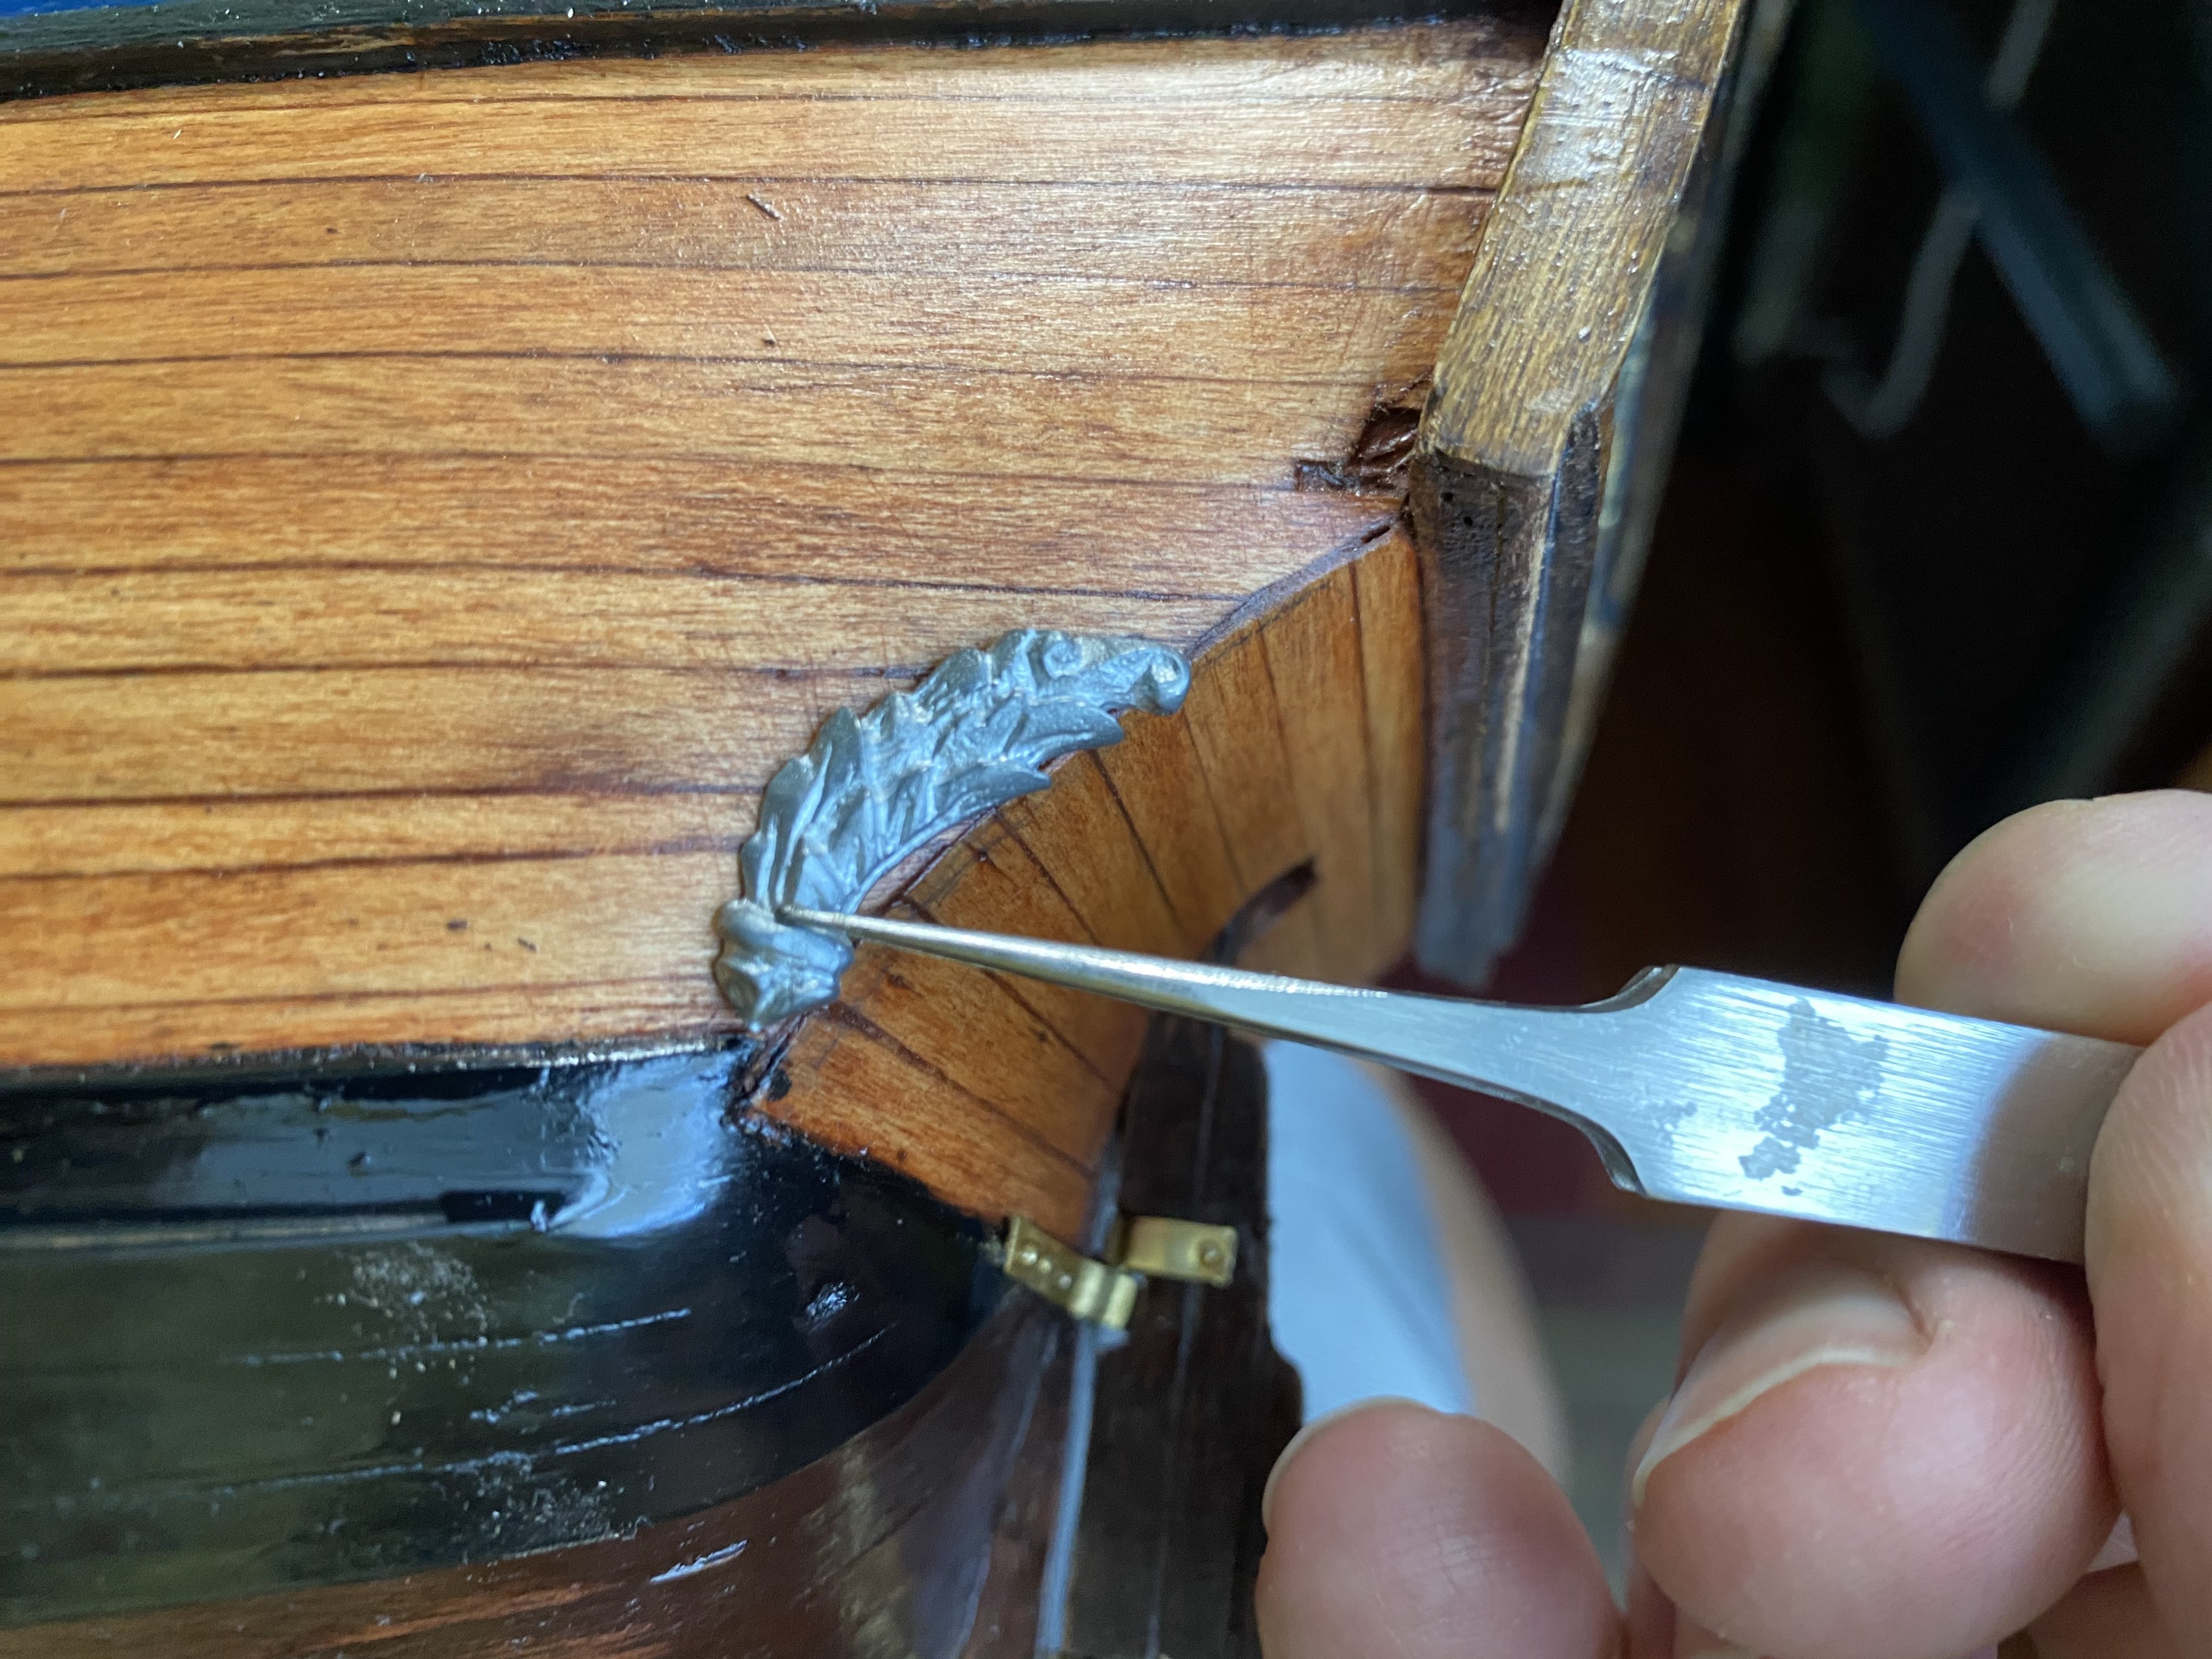
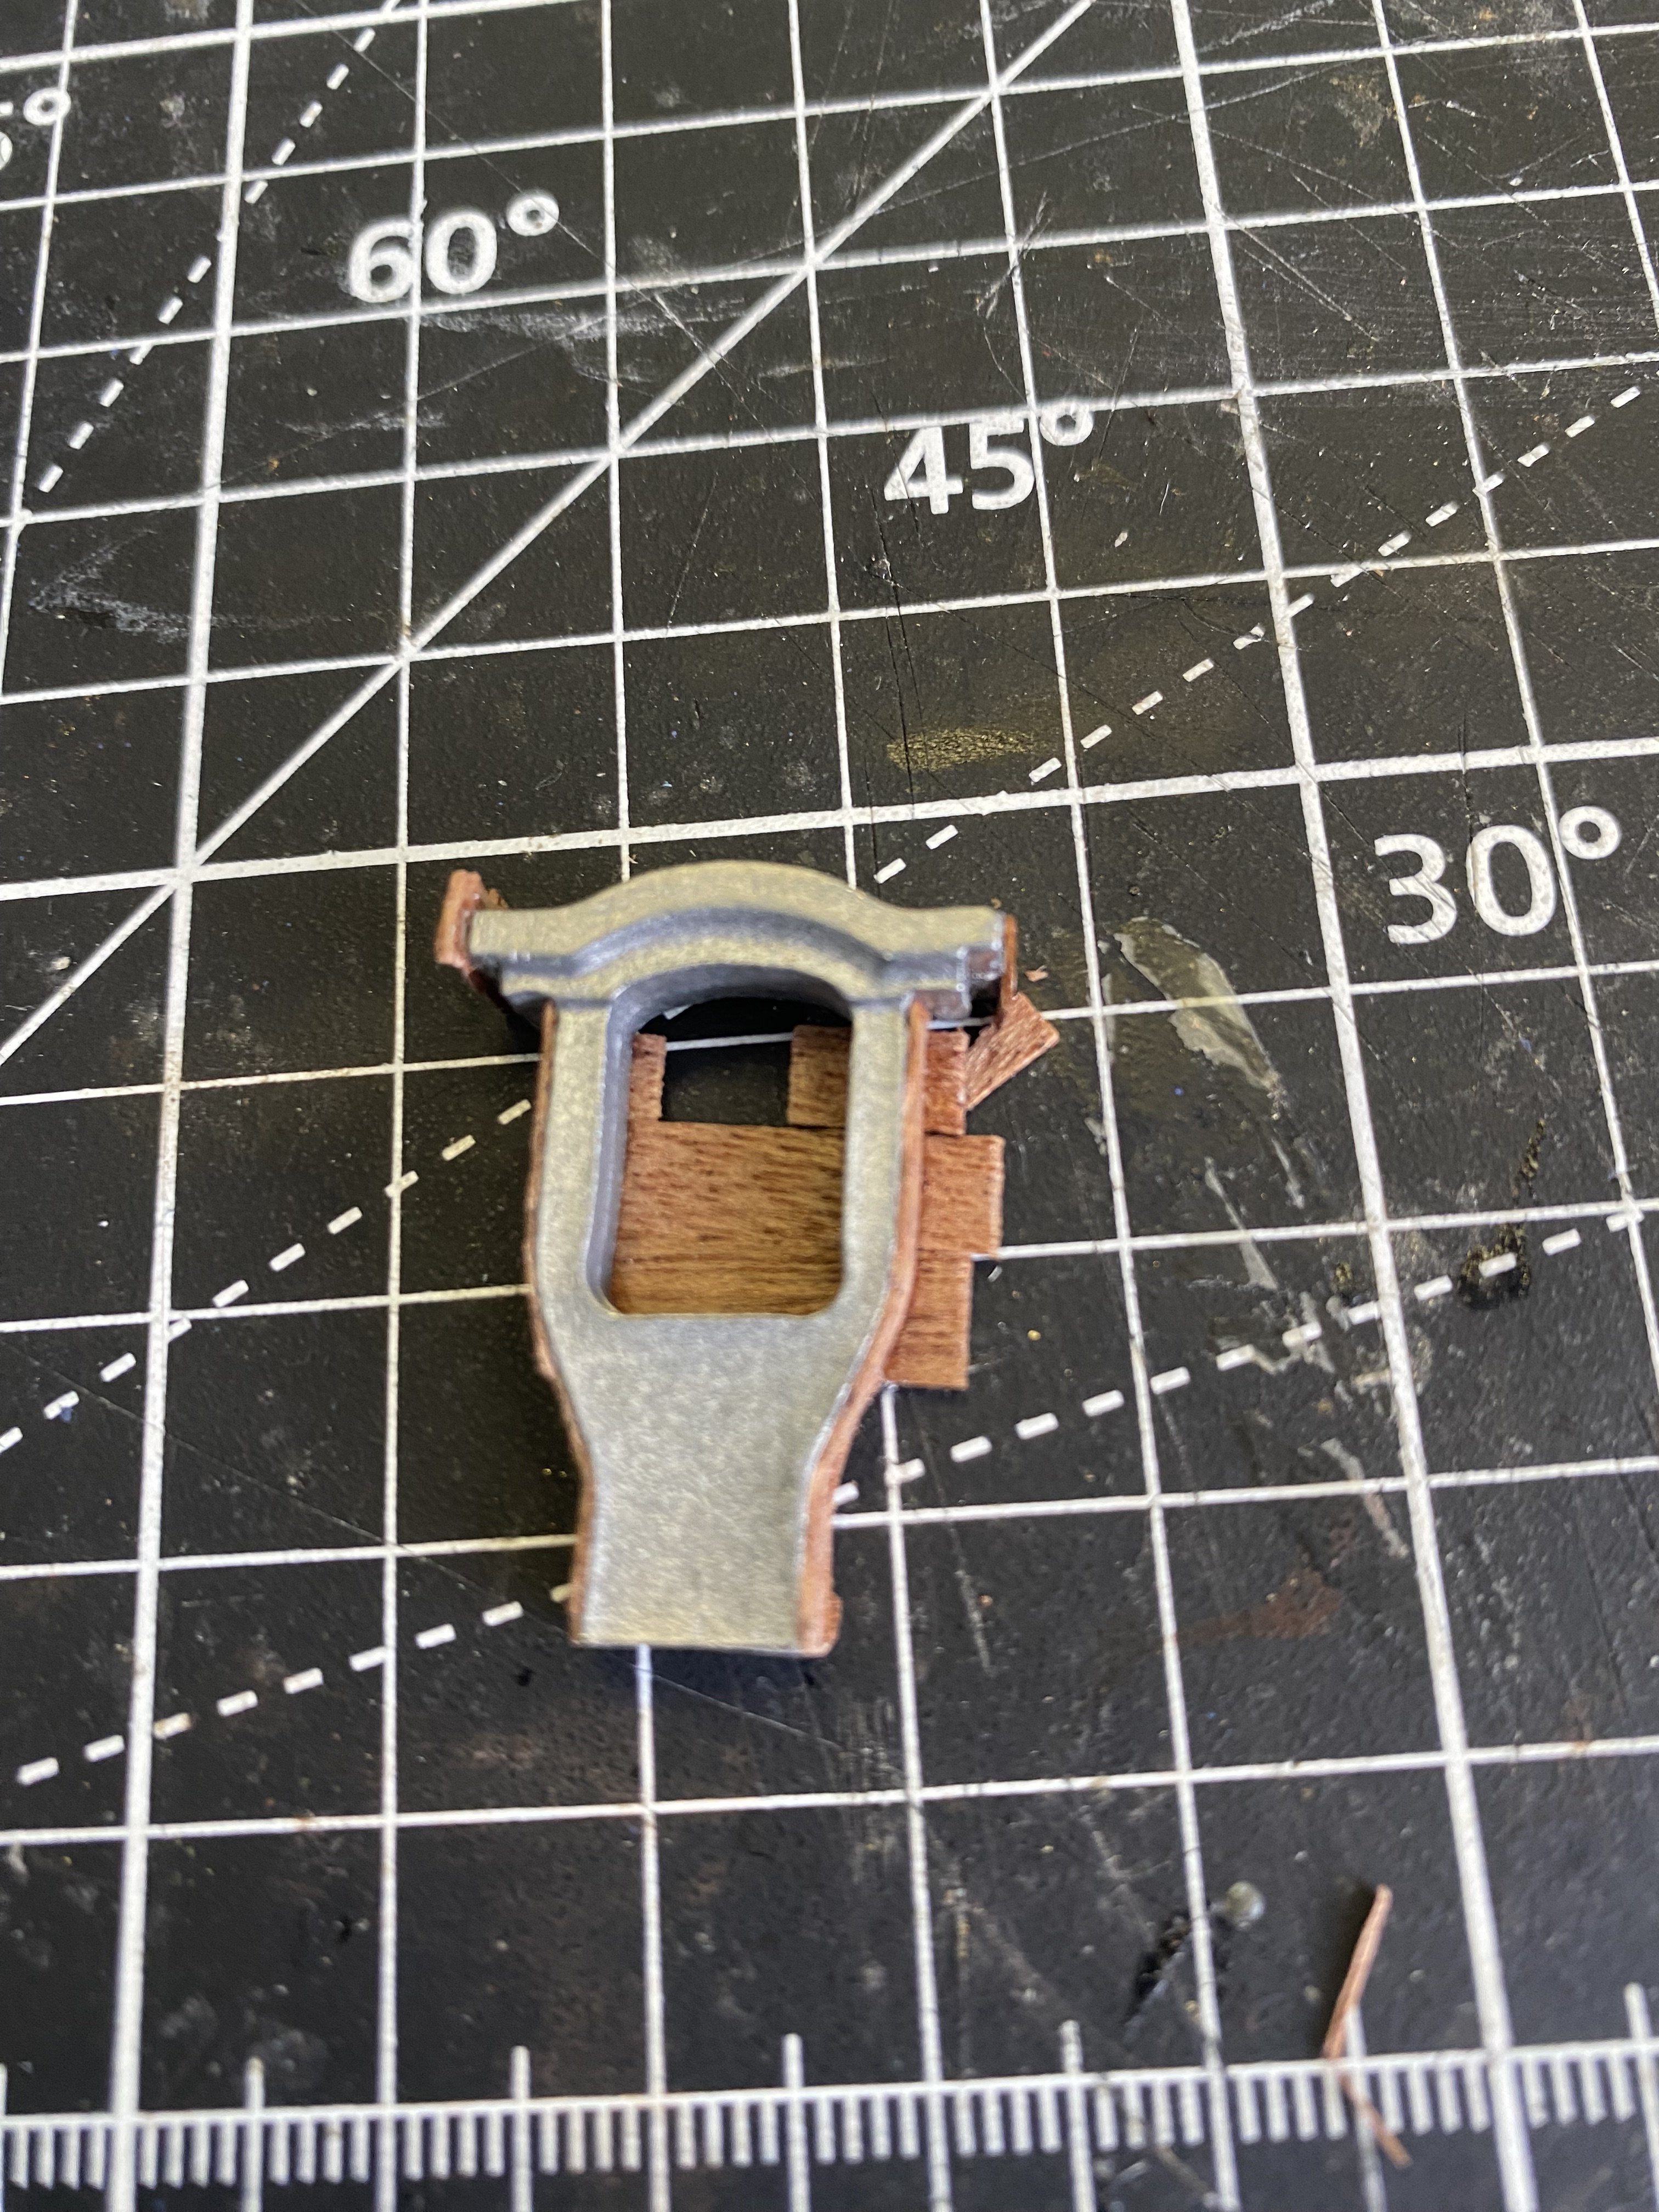
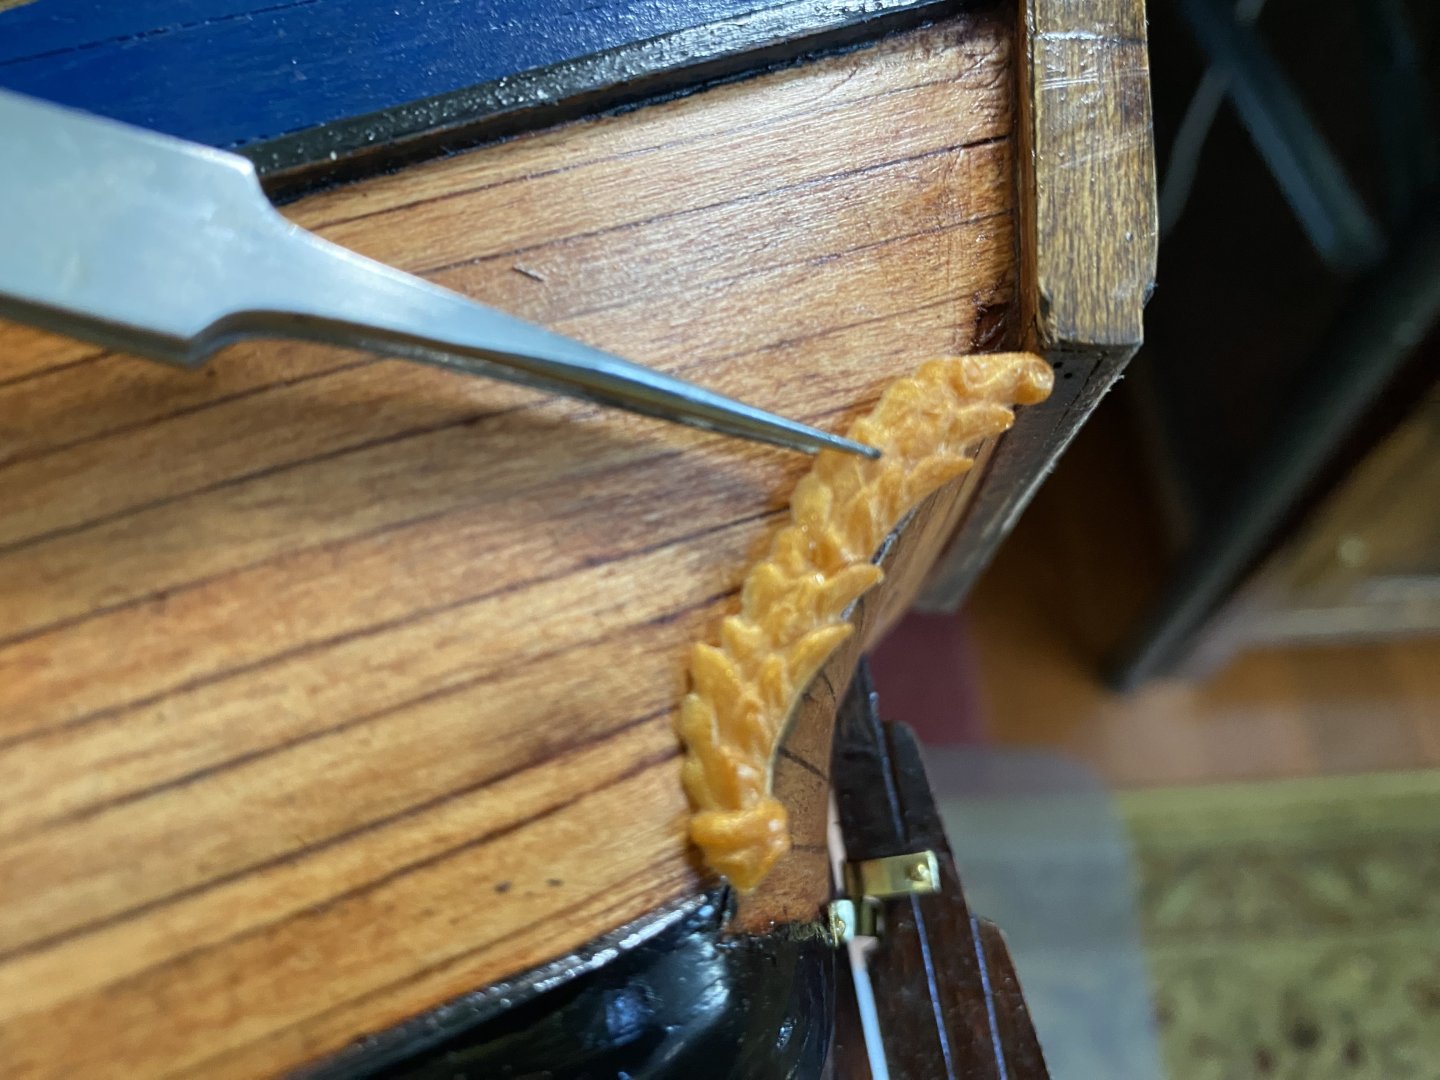
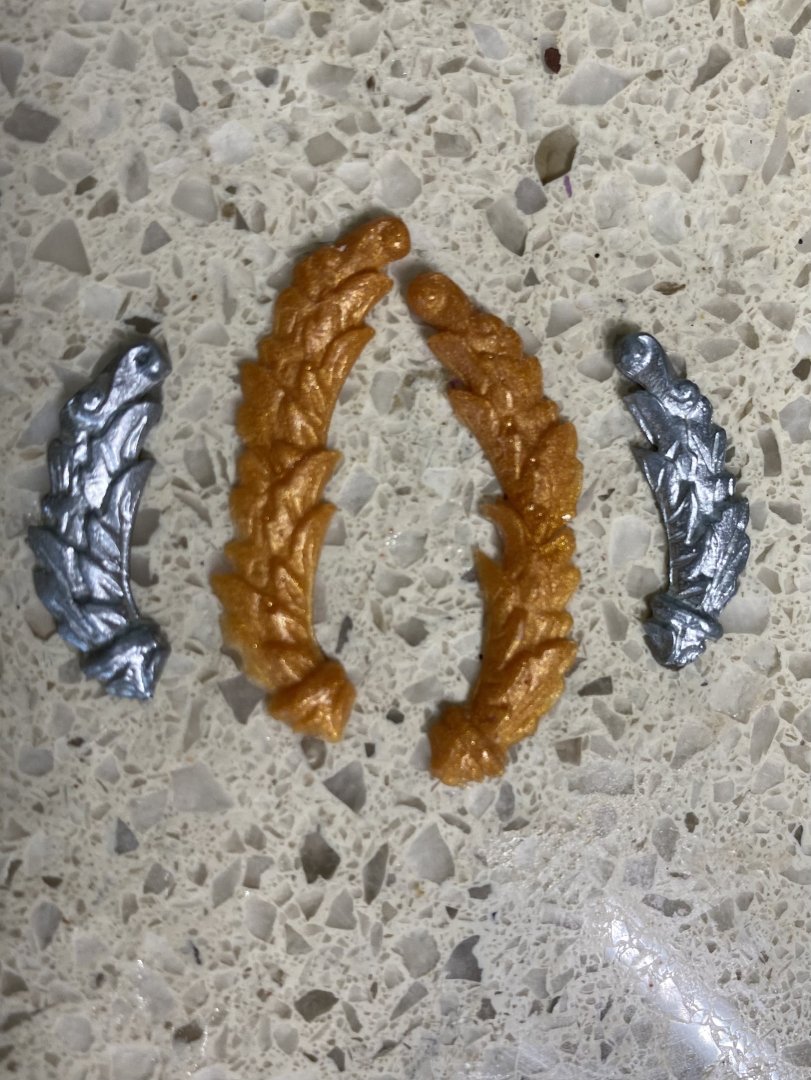
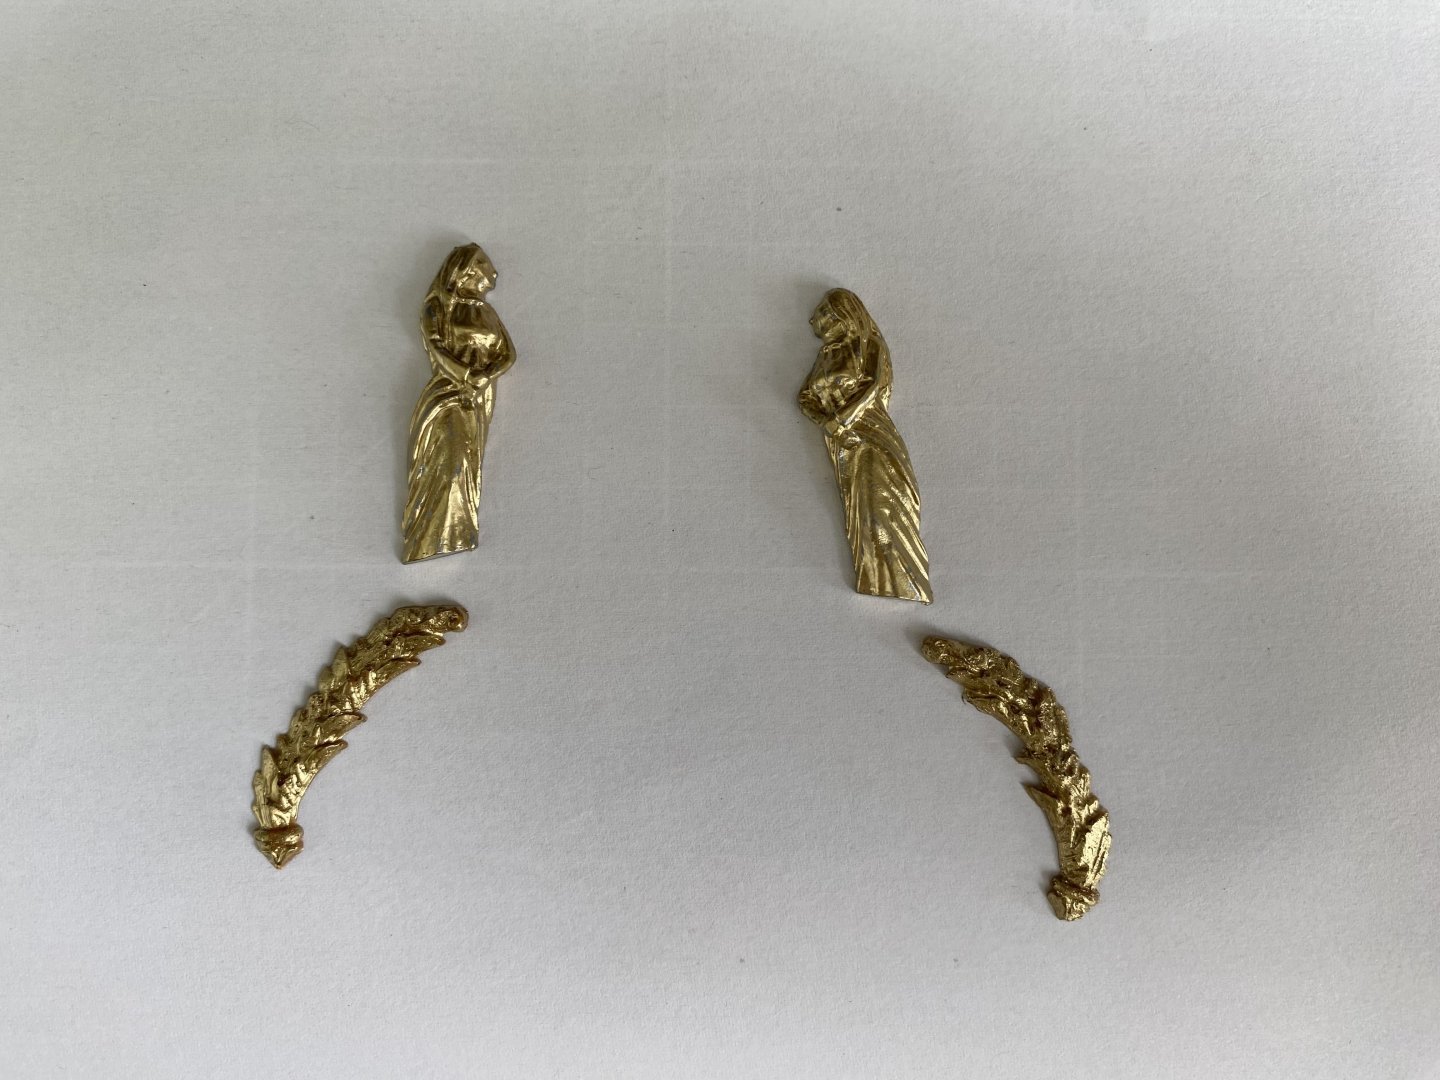
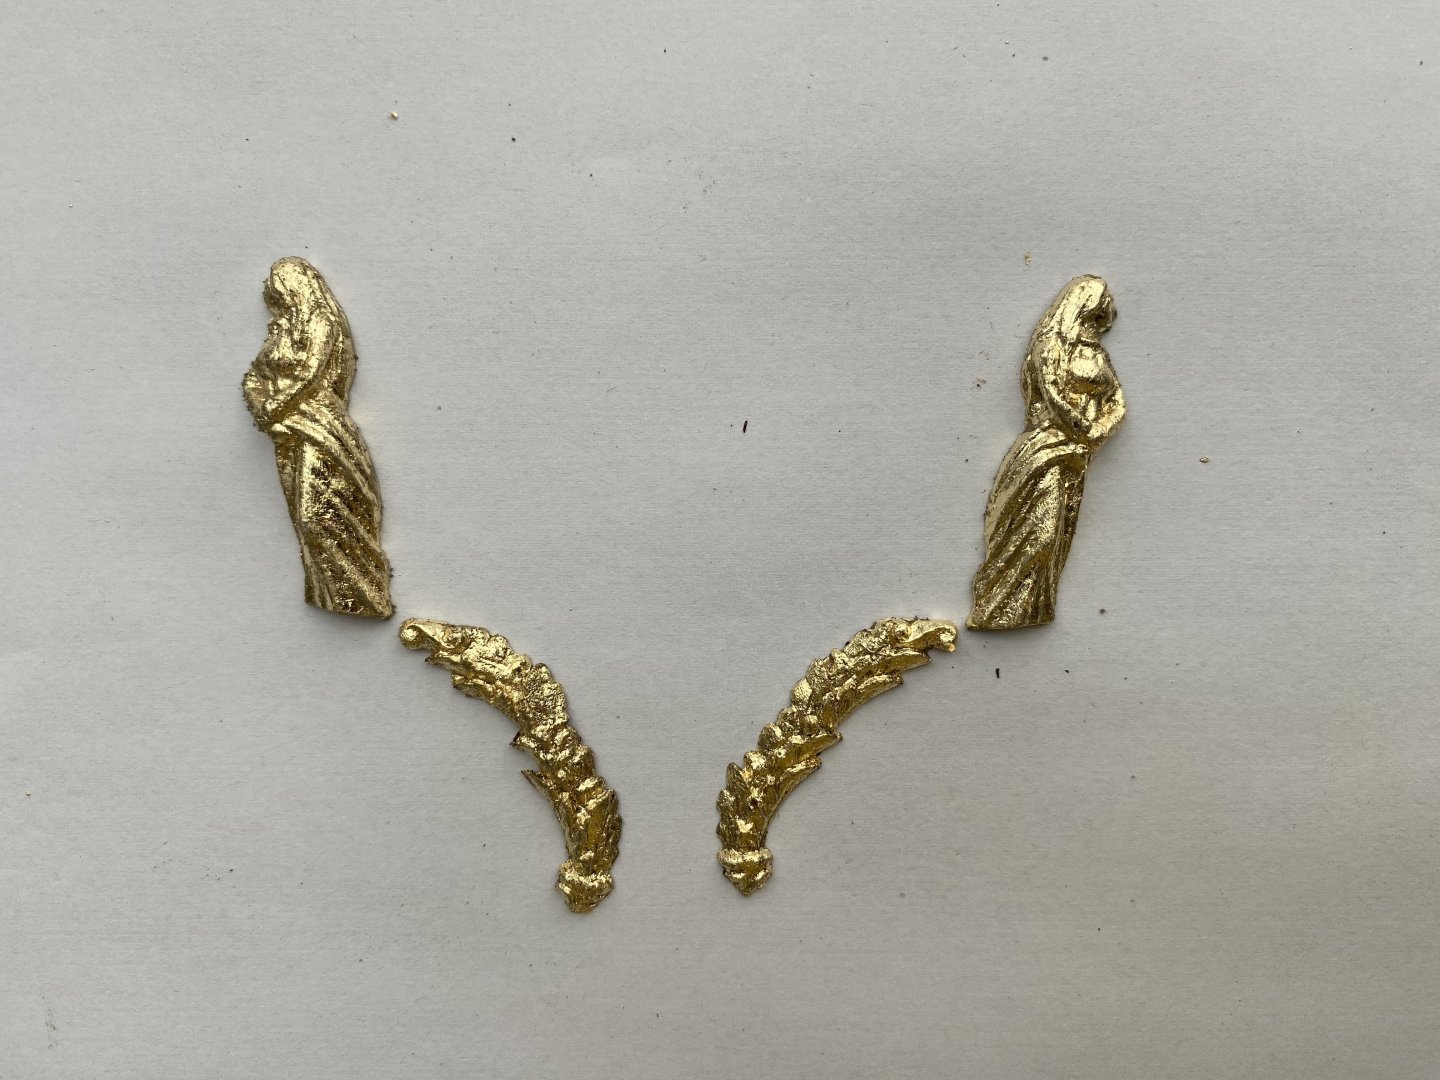
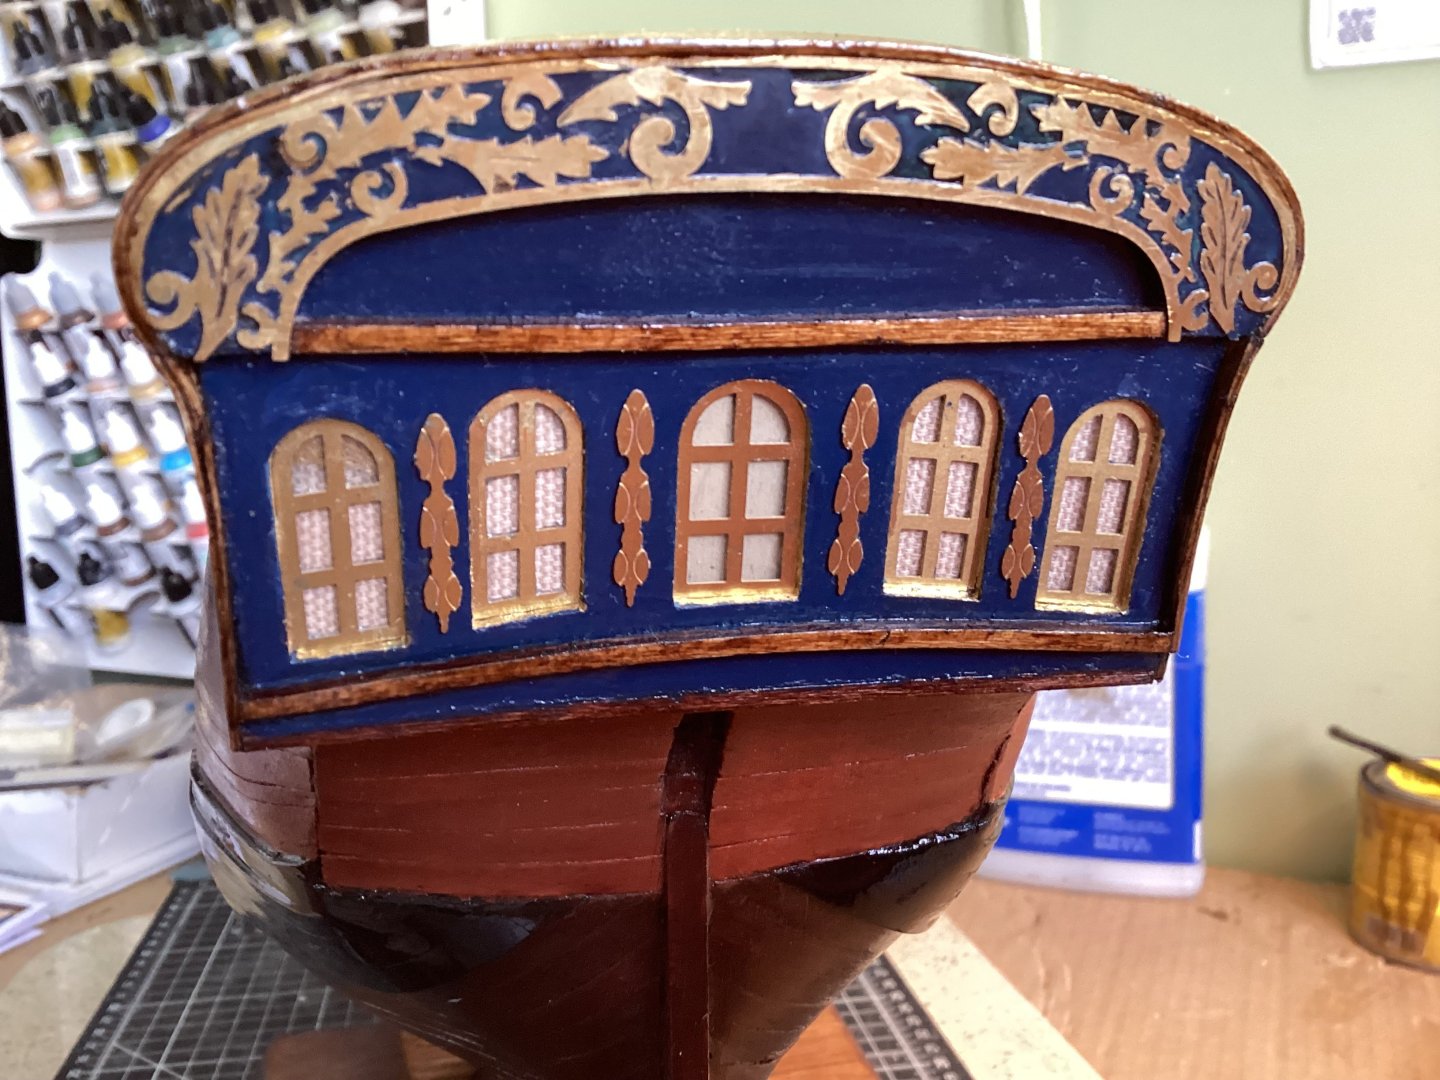
Ok so I started looking at the decorations that go on the sides of the stern. Not sure if I maybe did not curve the wale up high enough. The wreath decoration seems way too short to cover the area needed. I decided to making a resin cast if the wreath to make it longer. I then painted both the casts and the sculptures gold and guided them with gold leaf. Once dry I will attach to the stern.

-
Marc I echo exactly what Chapman said. I looked back to see when you started this masterpiece. This has been a large part of your current life. Incredible job.
- 2,699 replies
-
- 3
-

-
-
- heller
- soleil royal
- (and 9 more)
-
Thanks Phil. So if that is the case with a support under the capstan, OcCre is not completely accurate in the model design. I can fix that. The skylight, companion way, and capstan are made from laser cut pieces from the kit so their height is predetermined. The second picture above in my comment is actually from the instructions, not my model (not my fingers 😊) . As you said that will raise it to a logical level. Thanks.
-
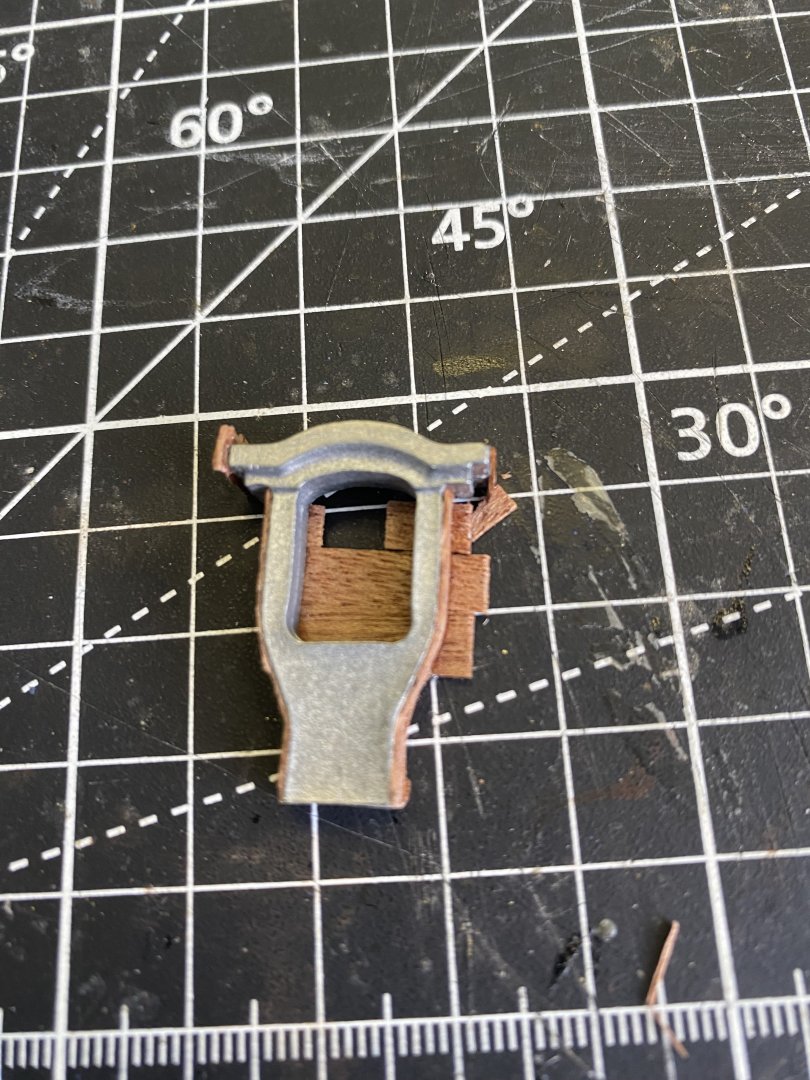
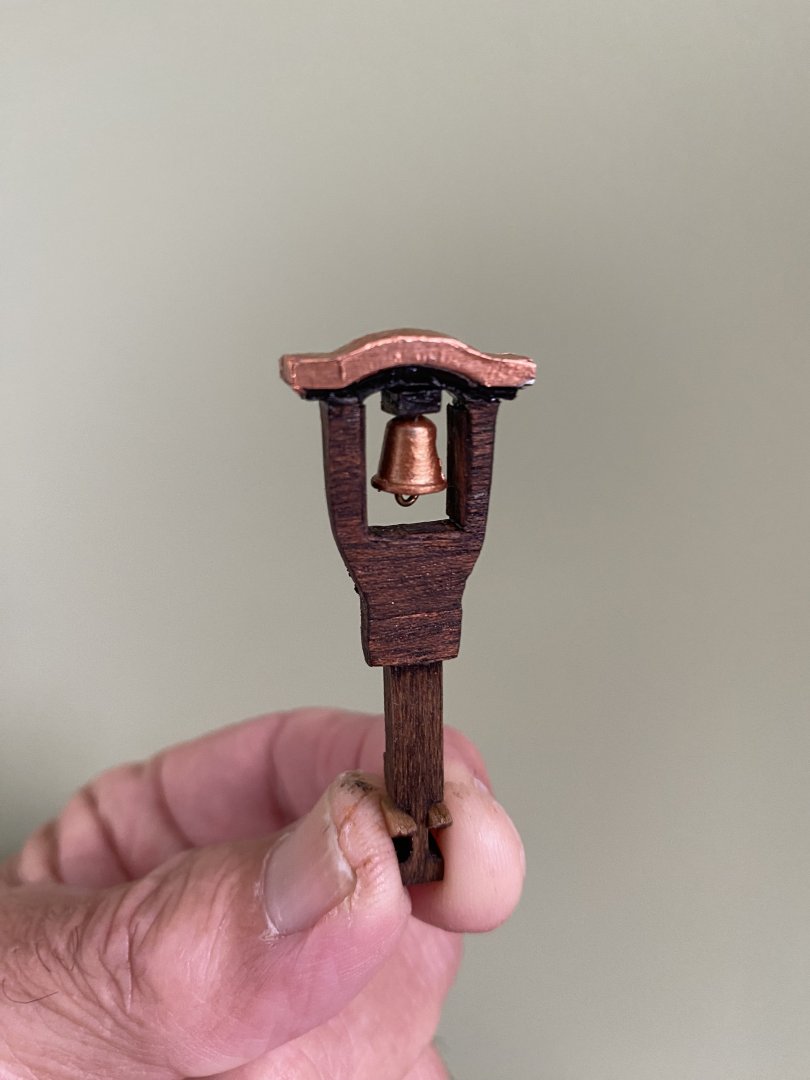
Steve I expect your idea may be more correct. May give some thought to changing mine OcCre provides a metal bell tower of sorts. It is to be painted a wood color. I decided to cover it with wood veneer and stain it instead.

-
Hi Marc. Hope all has been going well with you. Thanks for your confirmation about the color of the strakes. That was my exact thought about the capstan. As I mentioned I referred to Marquardt’s AOTS and his explanation. I have scrolled through pages of pictures of the replica in Sydney but have not been able to find one showing this section of the deck.
-
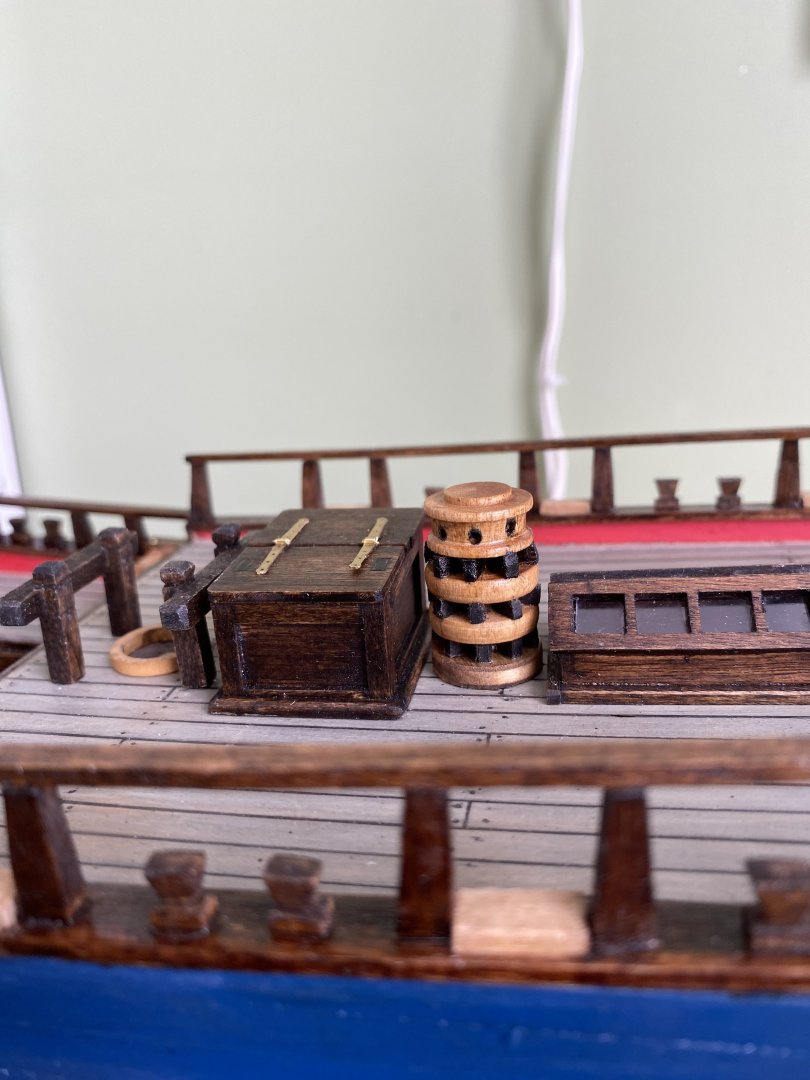
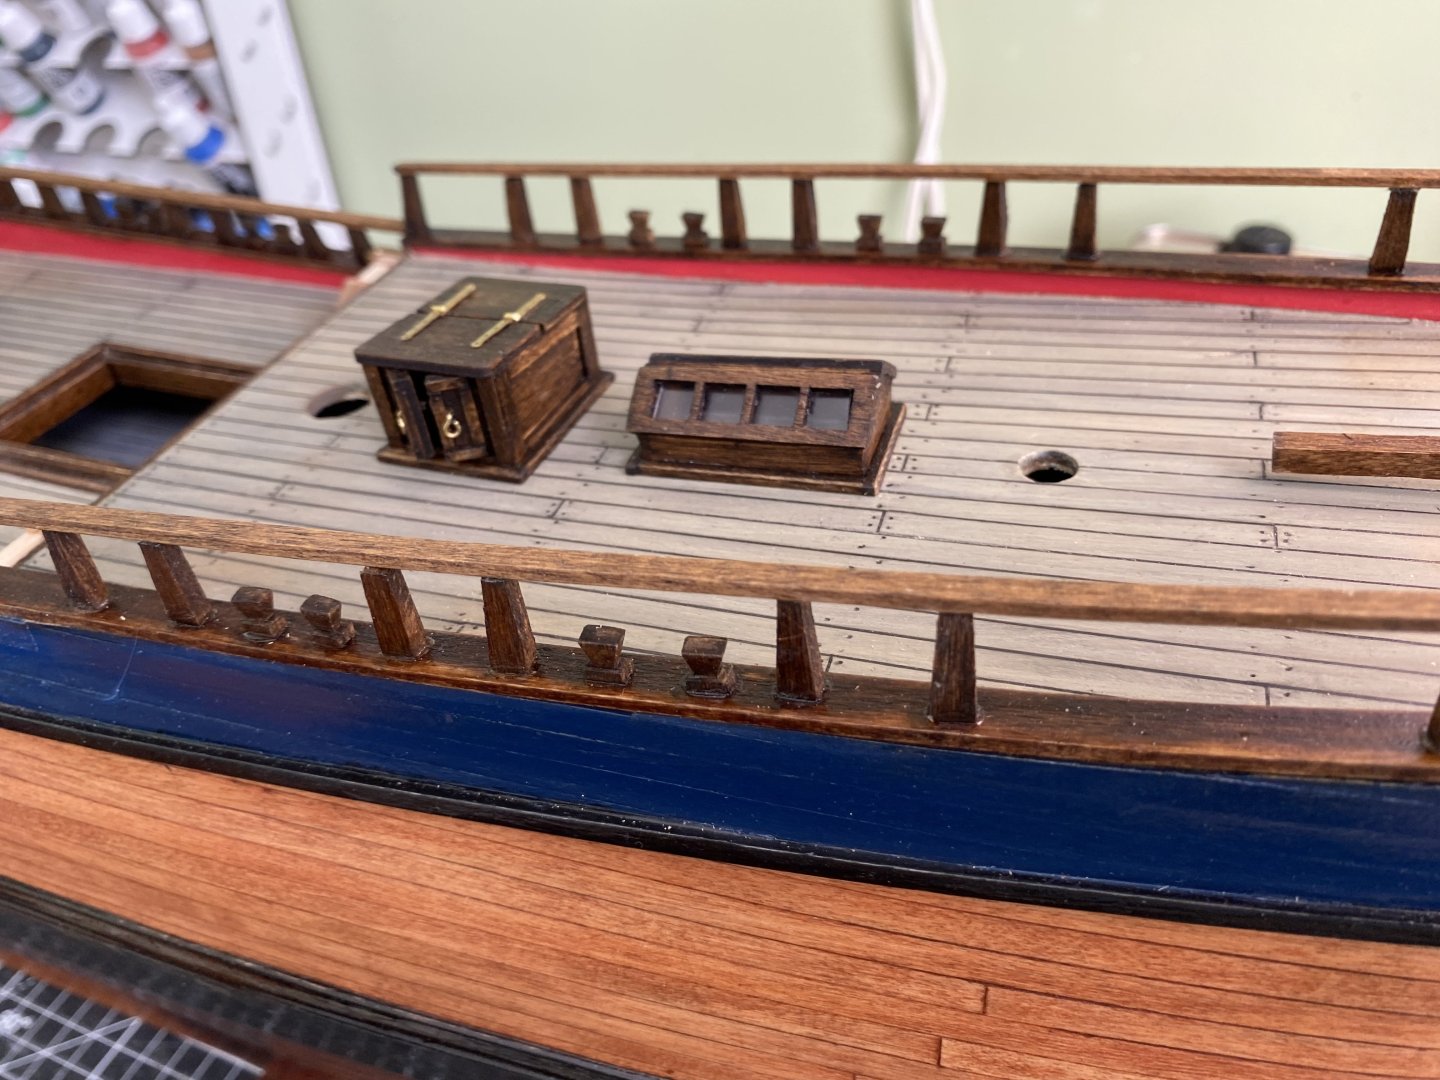
Ok gentlemen here is a curiosity. The Endeavour has the single capstan positioned between the skylight and the companionway. In Marquardt’s Anatomy of the Ship he addresses it saying “The capstan was not moved during the refit, and the newly-fitted companionway afore it and the skylight aft of it interfered with the easy operation, as the men on the bars had to step aside when the bars passed the obstacles.” It seems as if this would have been very inconvenient and inefficient. Of course I will build my Endeavour accordingly and accurately but it seems very odd the Endeavour would have been refitted this way.

-
Thanks Veszett. That has been a struggle deciding on what stain colors I want to use. I am trying to avoid paint when possible. There are a few places where it can’t be helped but otherwise I am using various stains. It will be just a couple colors once I move up into the masts and yards.
-
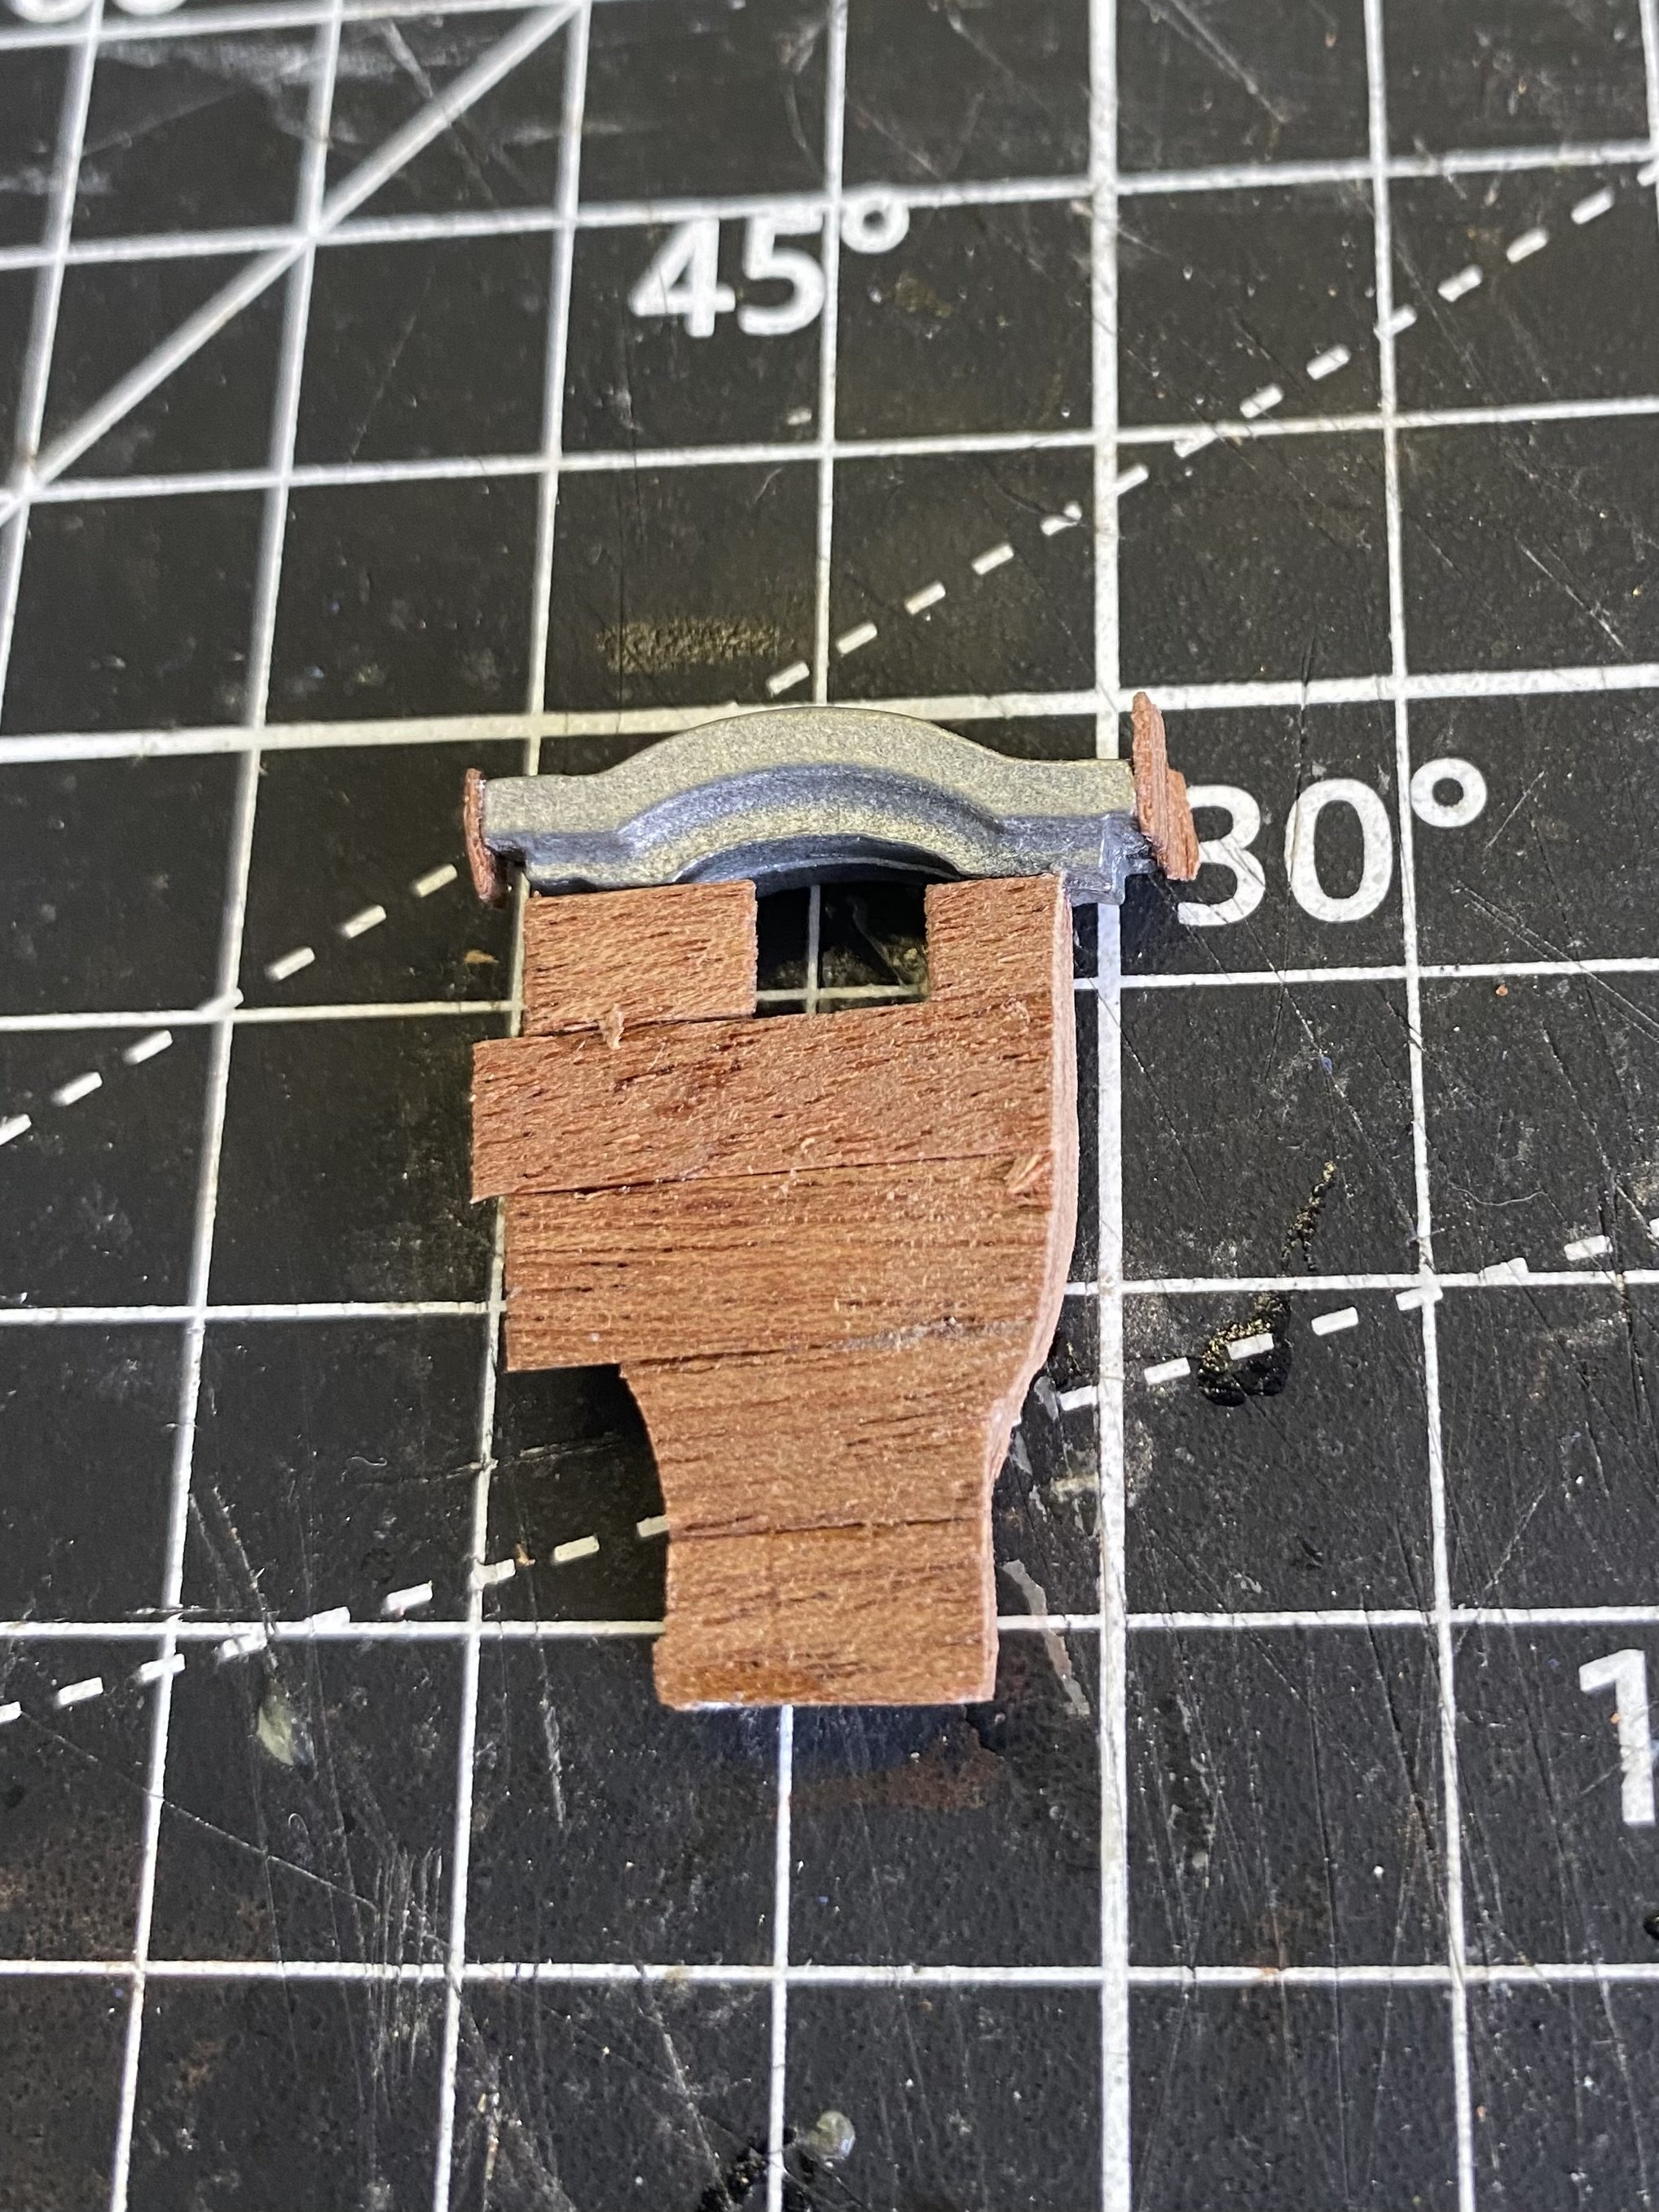
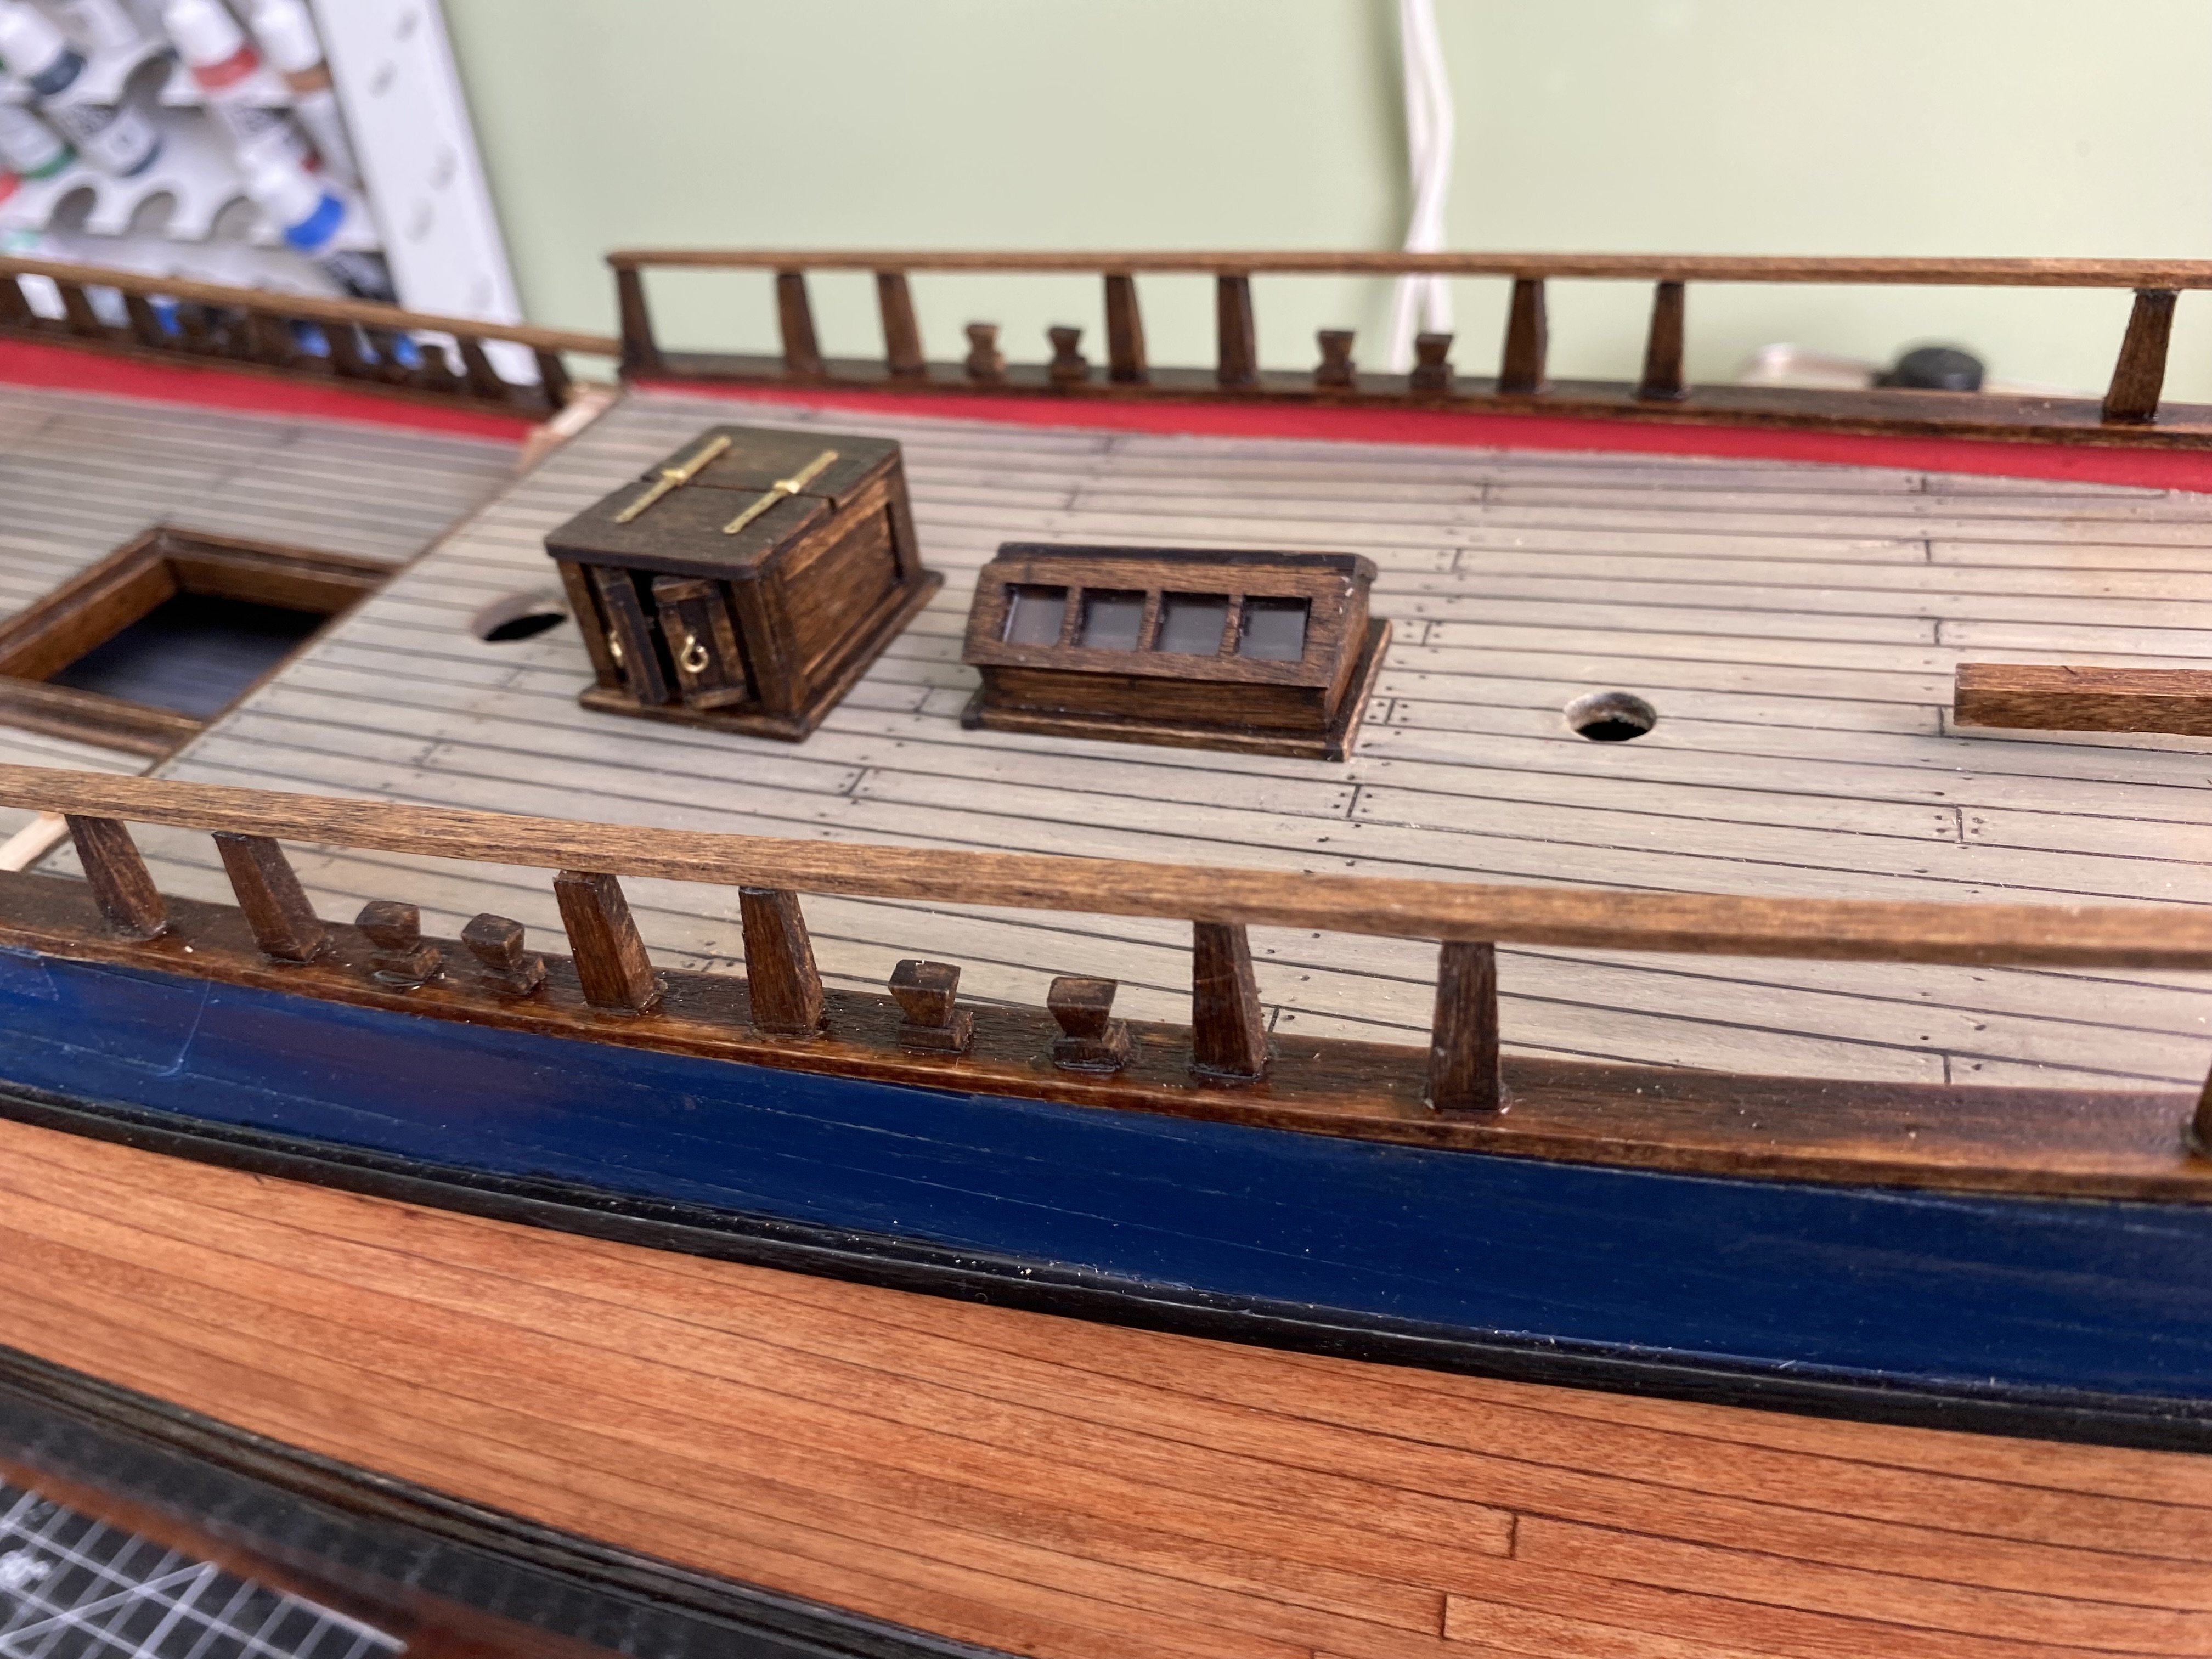
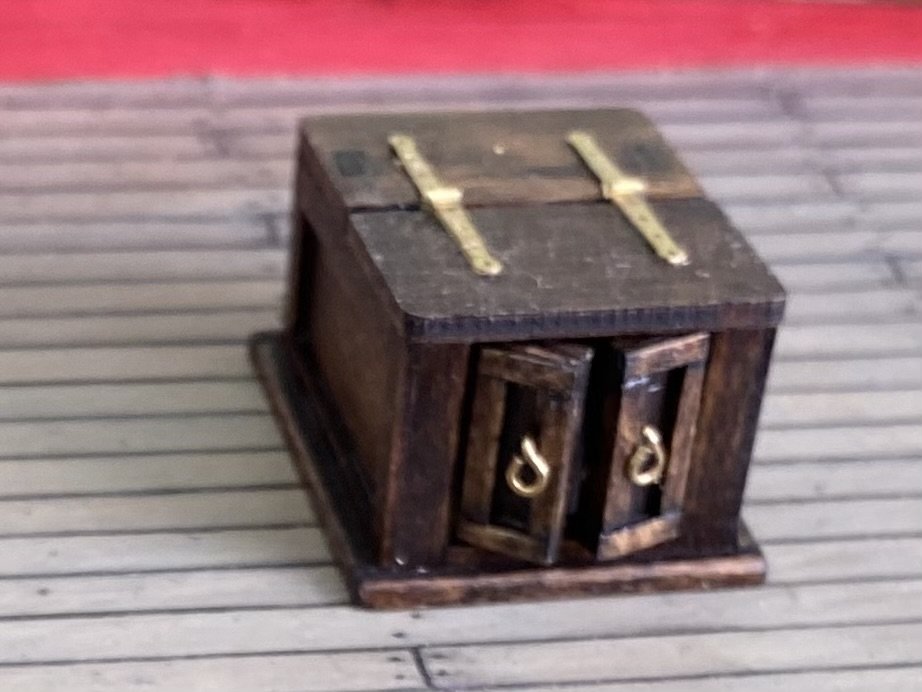
Been a couple weeks since my last update. Was away from the ship yard on a little family vacation. Back to work on deck pieces. Built CPT Cook’s skylight and the two hatch “houses” (I guess). Not sure of their nautical name.

-
My friend it is such a pleasure and inspiration to ch close in on your build! Any time I feel just a little bit unduly proud of my ship building accomplishments I take a quick glance at your SR build. The unbelievable amount of research and patience you have employed in your build quickly reminds me I am but an amateur in comparison to the likes of you and Henry. Well done my friend.
- 2,699 replies
-
- 3
-

-
-
- heller
- soleil royal
- (and 9 more)
-
Maggs I don’t know if you are still out there some 8 years later. If so I want to tell you just how beautiful your Endeauvor is. I have your build bookmarked as my go to for pictorial advice and inspiration. I am building the the OcCre model as well (Bill or Bill97 on MSW) and am at the point of making all the deck decorations. I am seriously thinking of saving all your photos to an easy access file for easy reference. Again beautiful job.
-
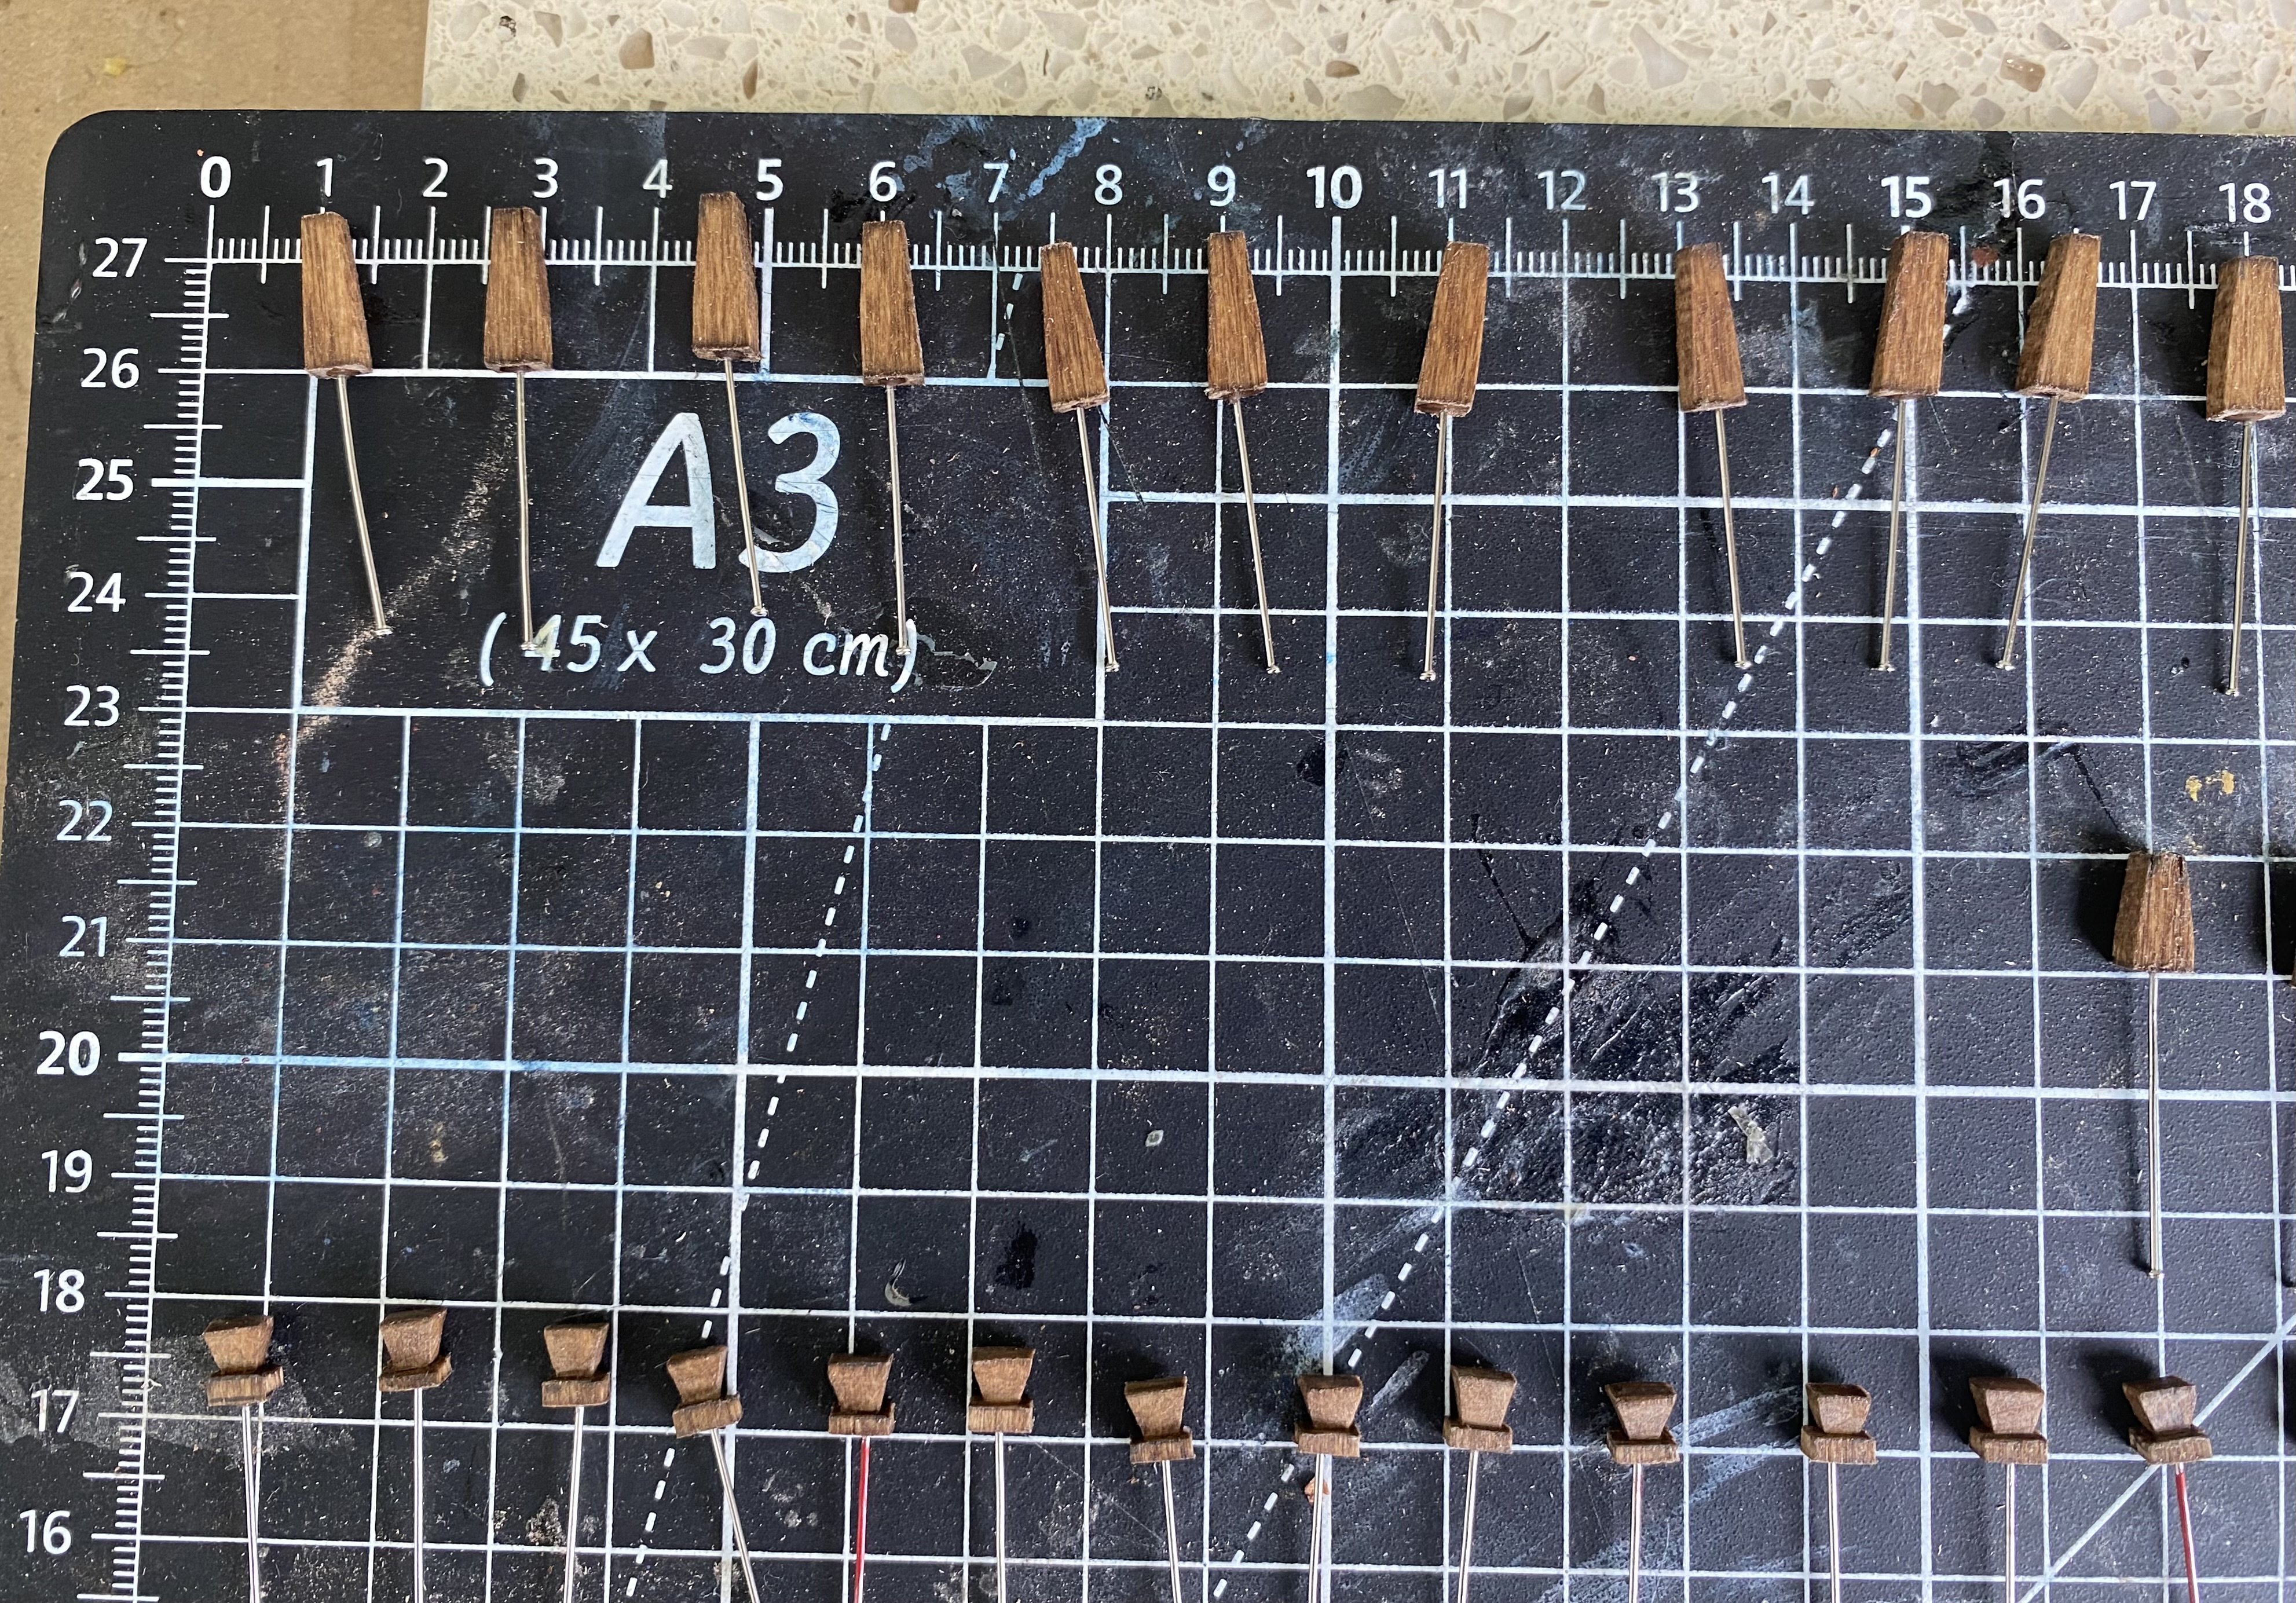
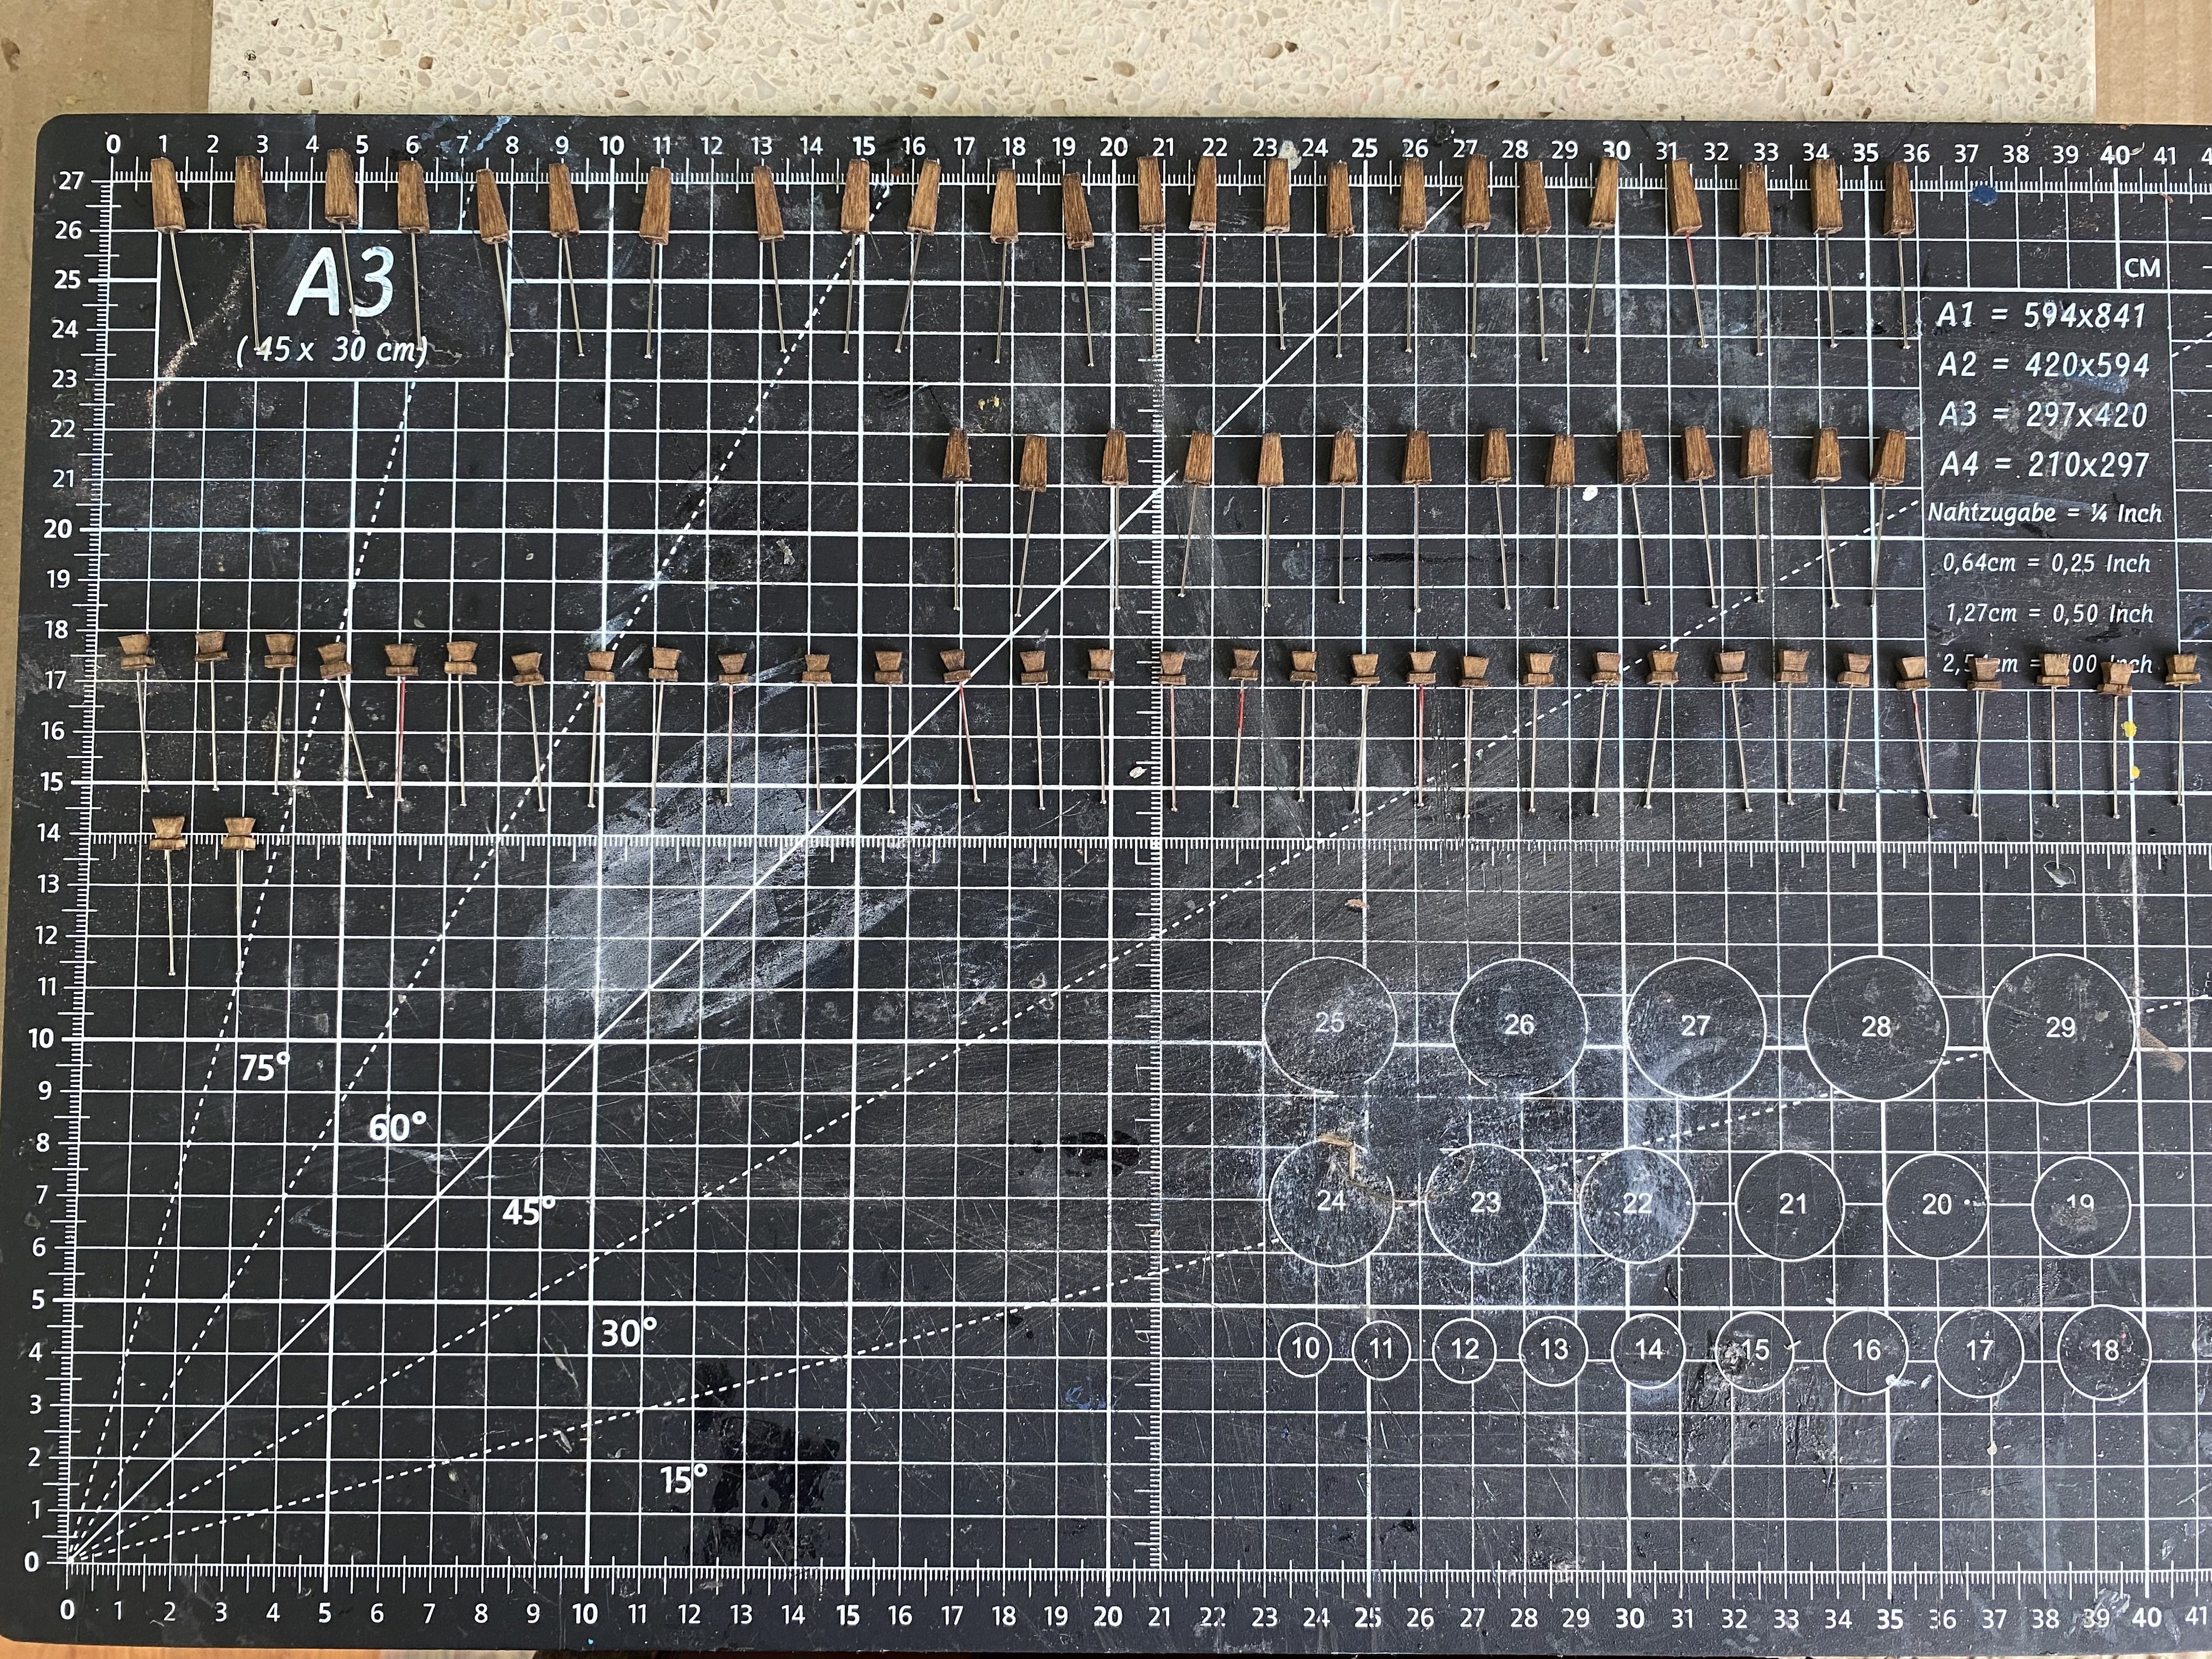
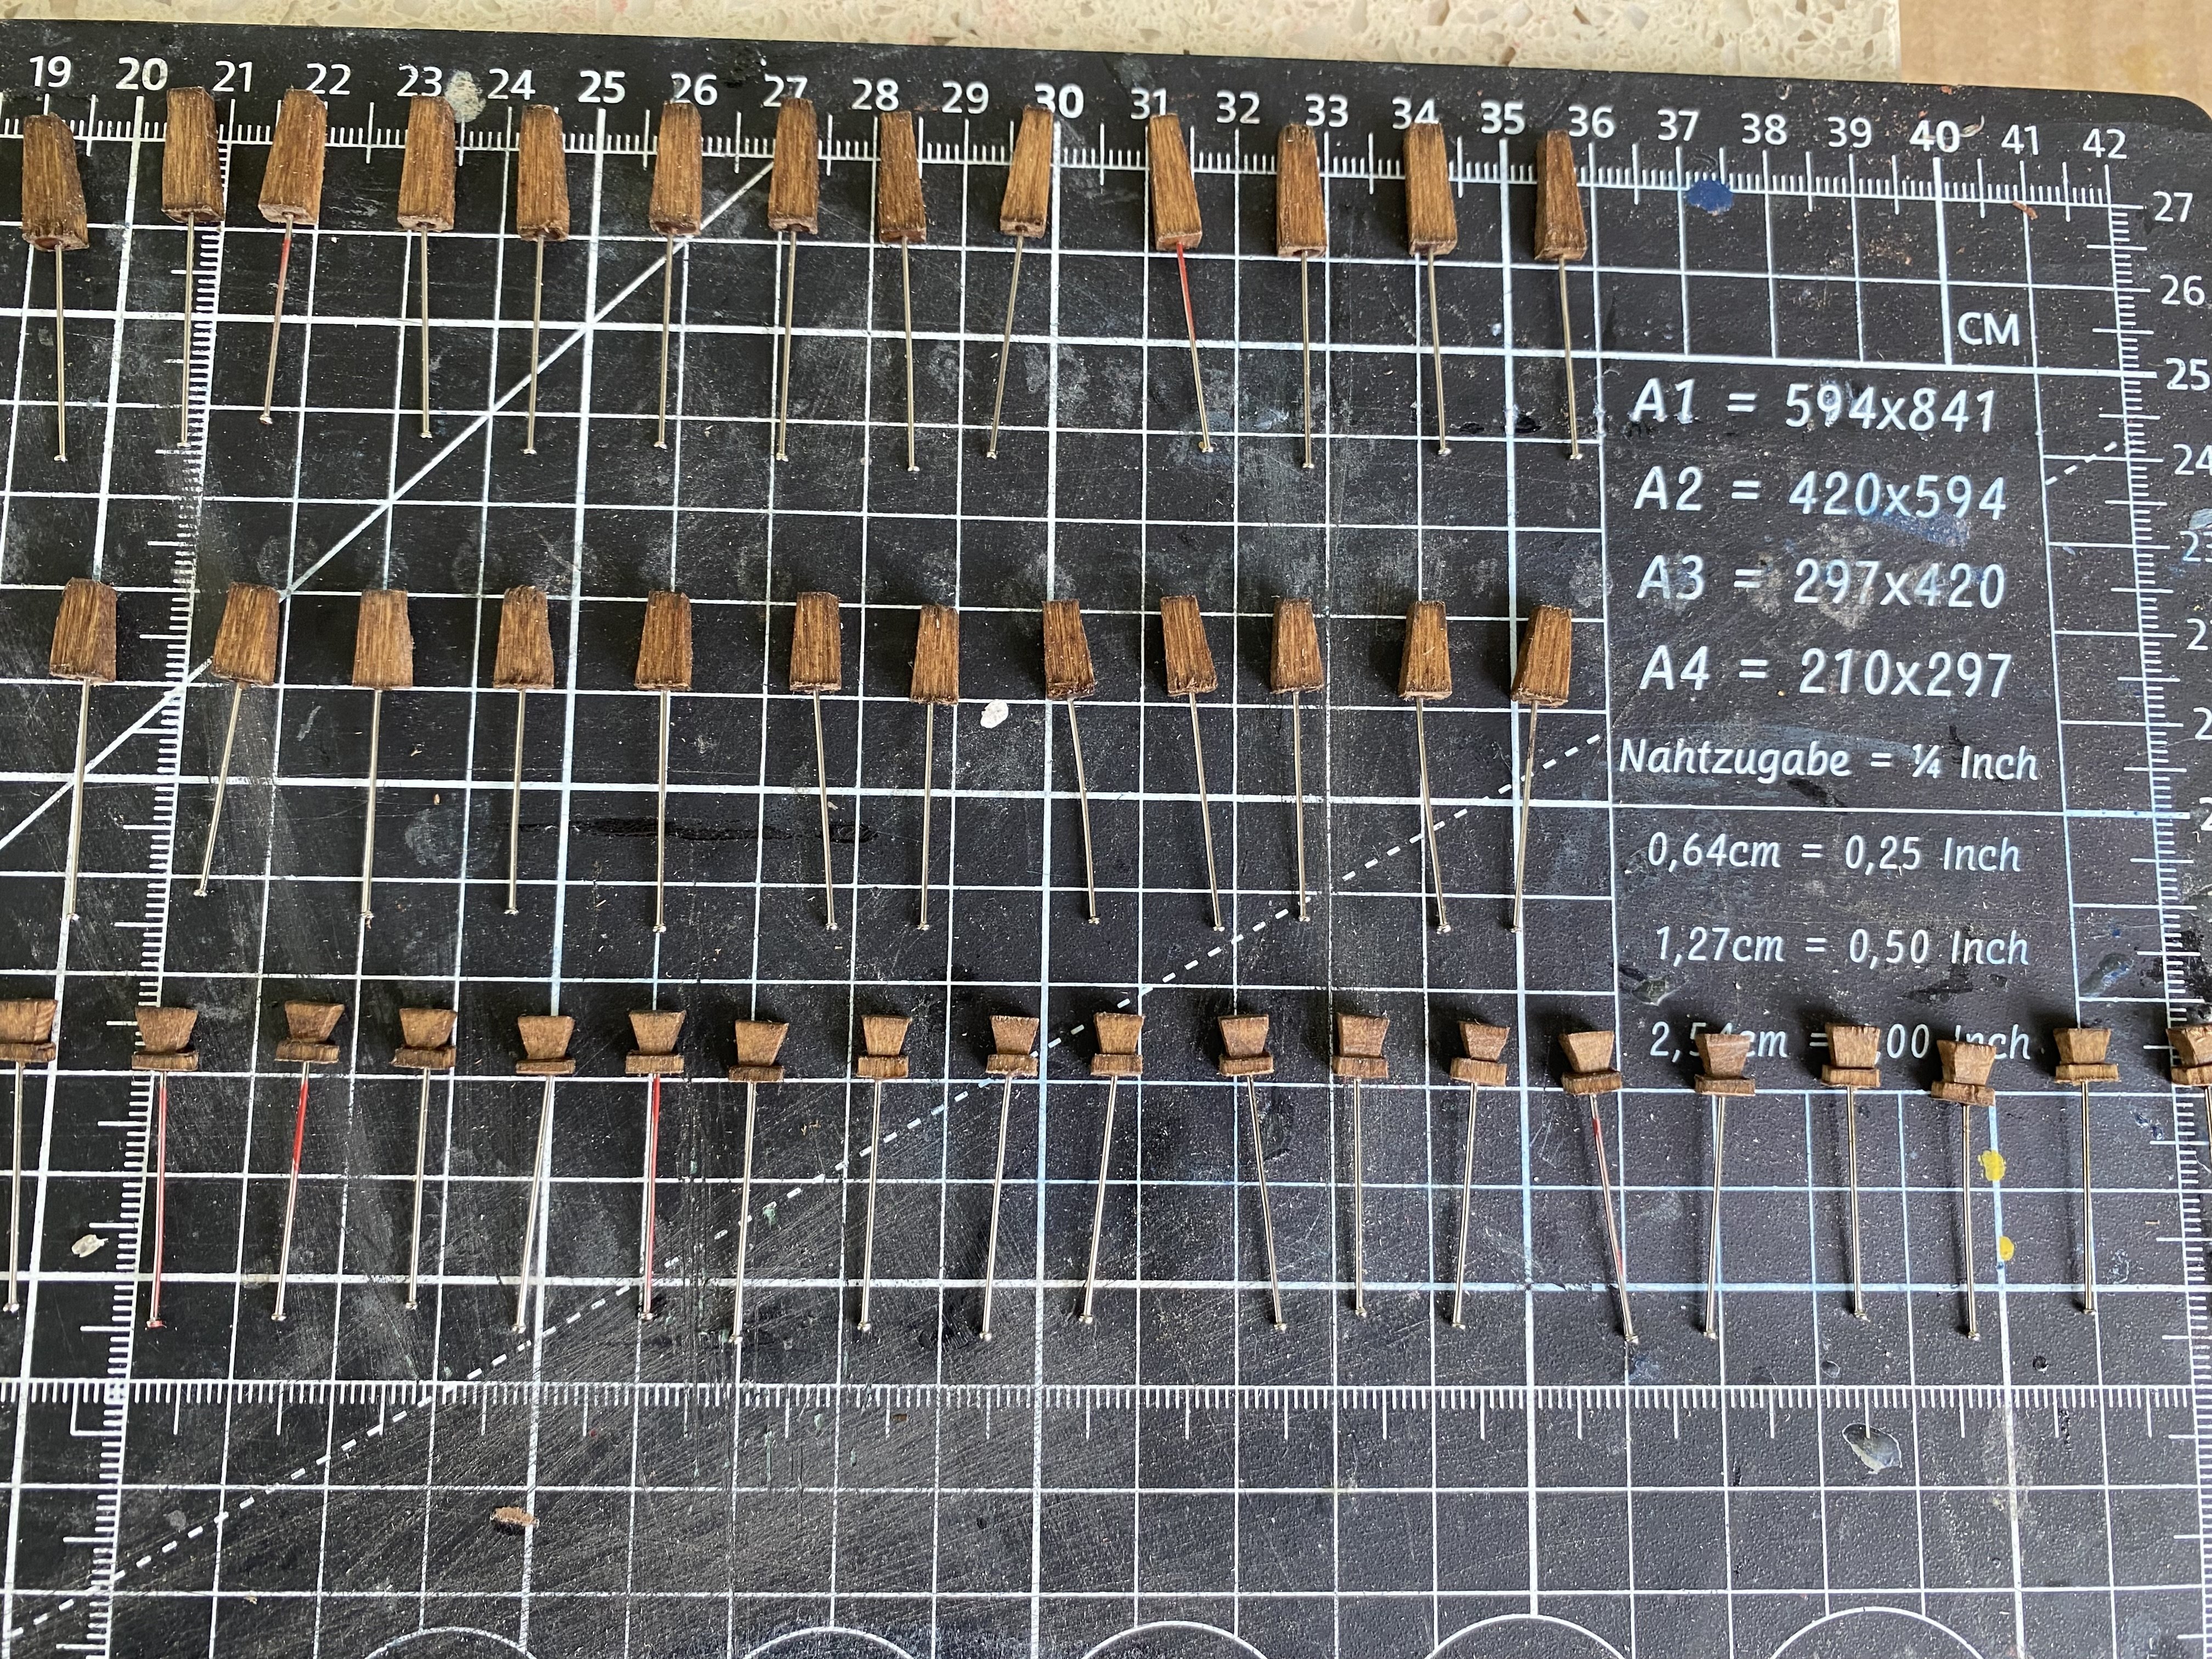
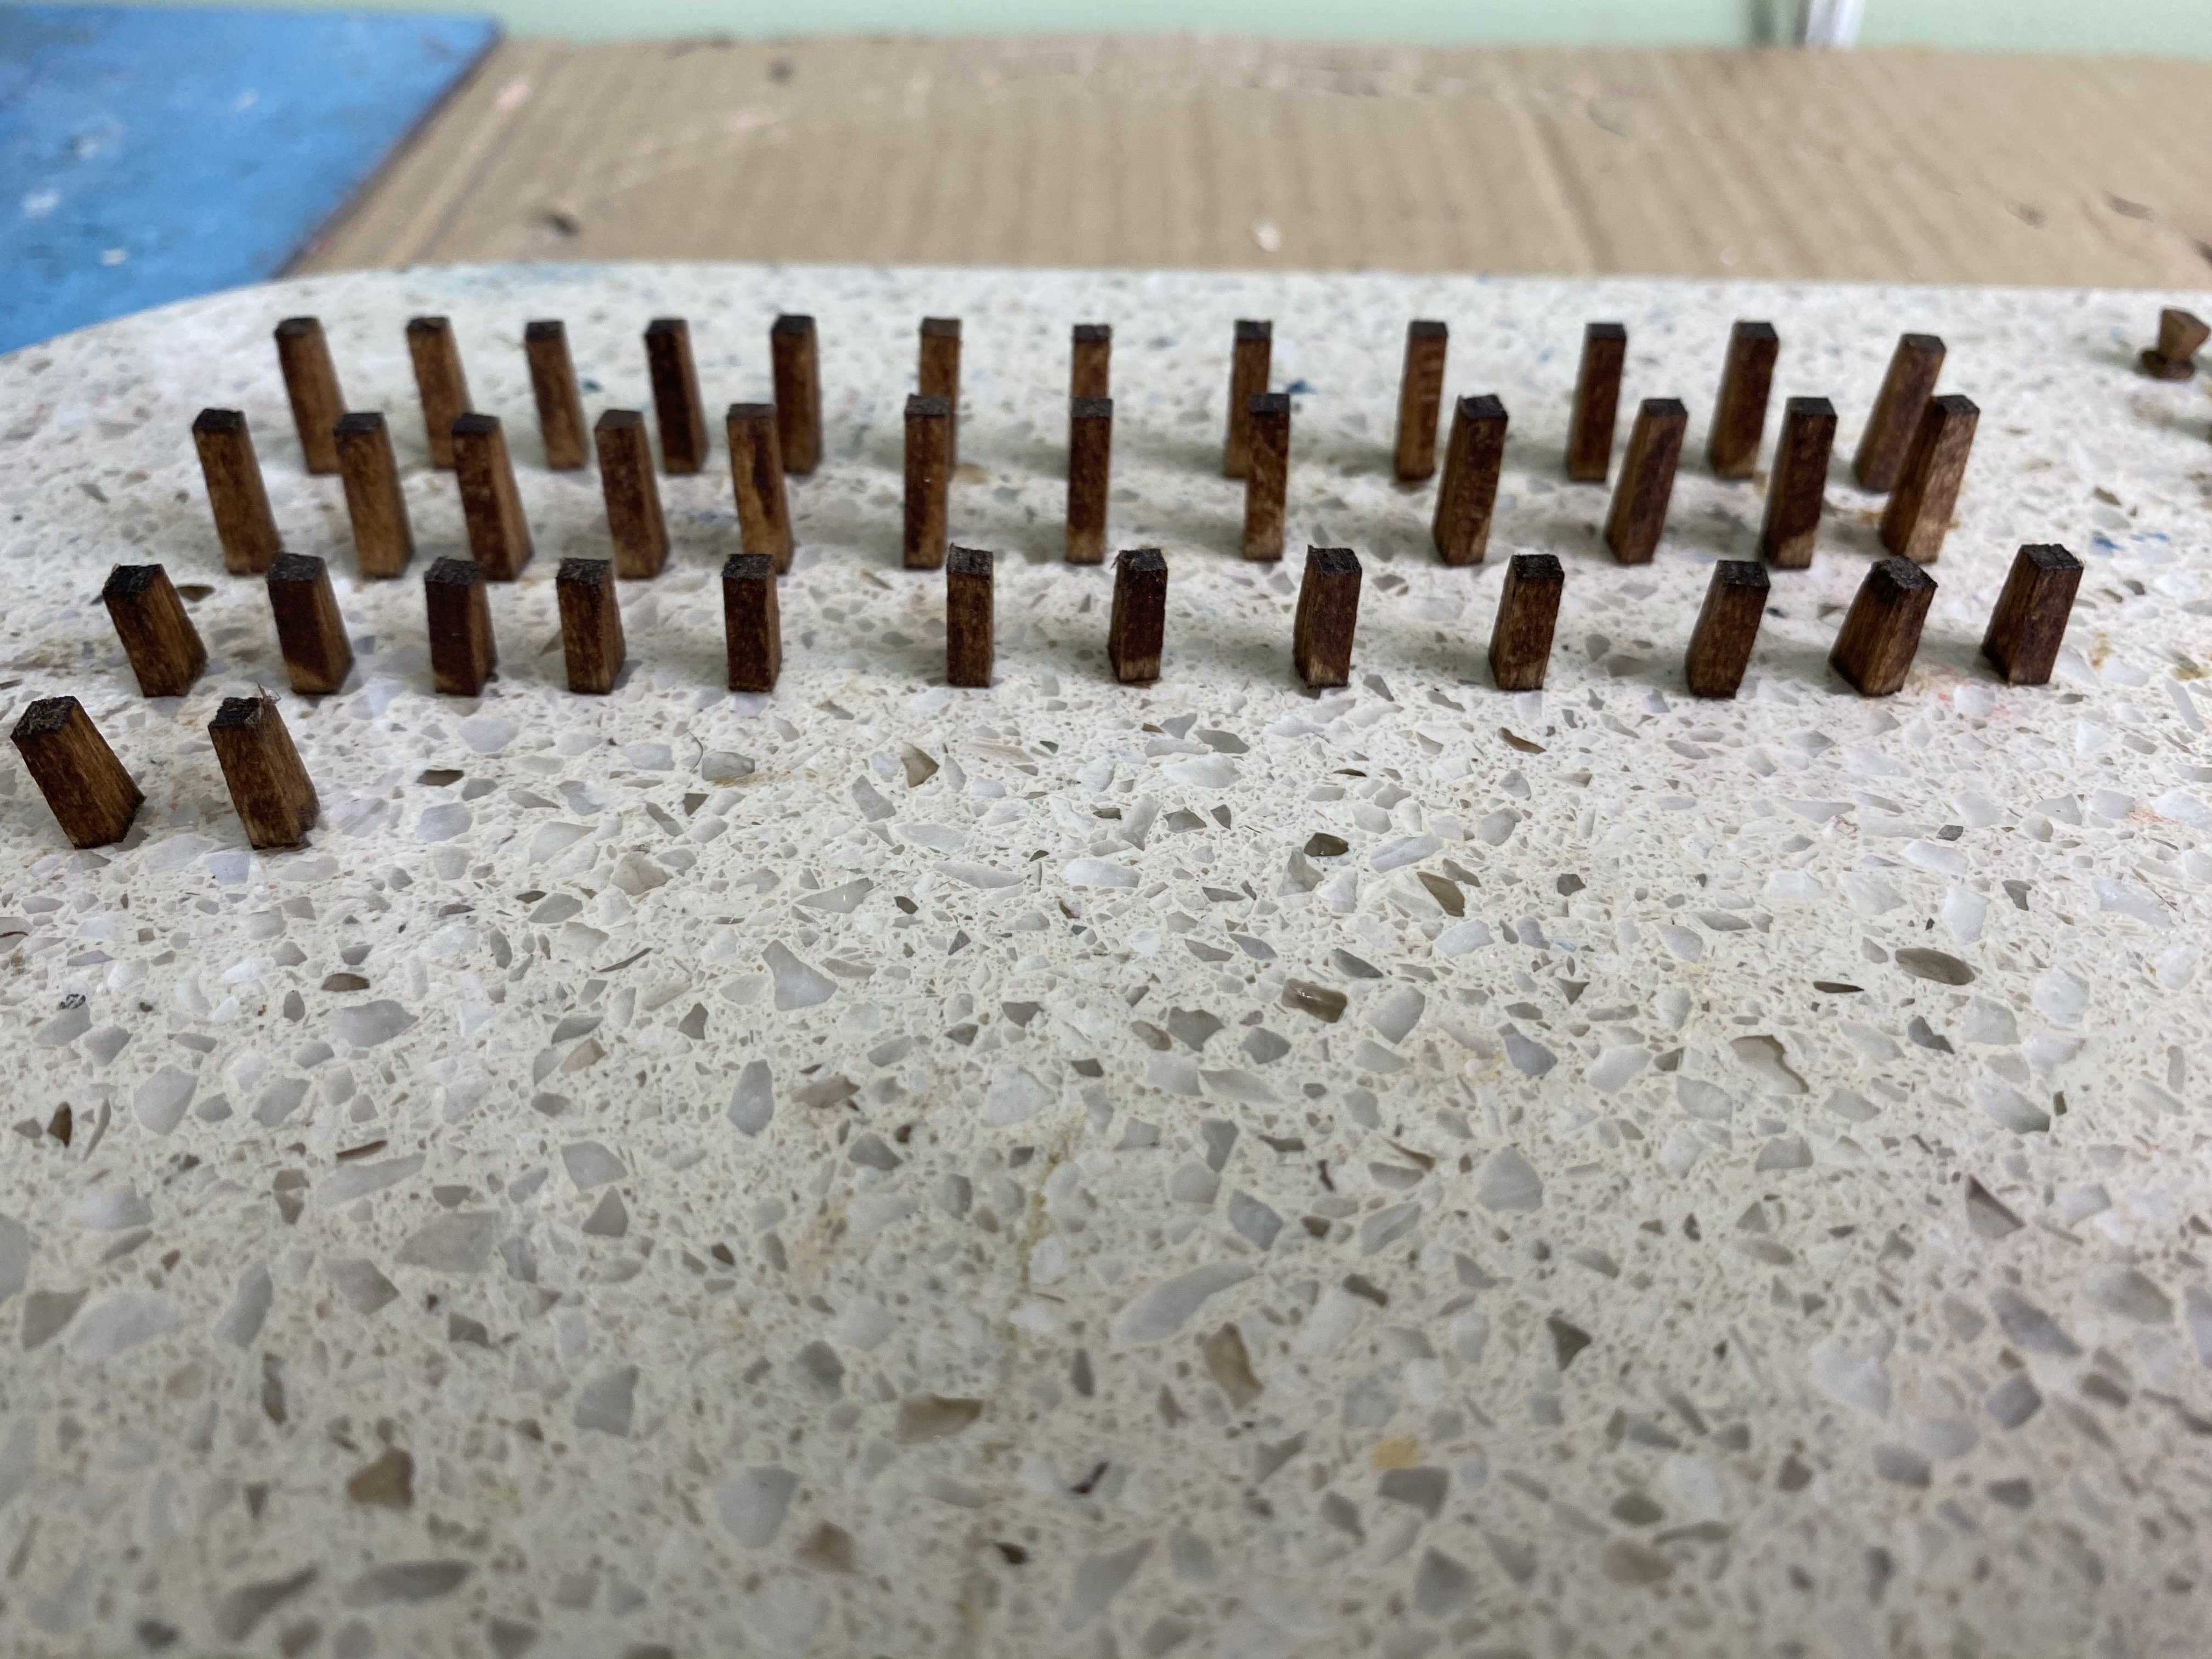
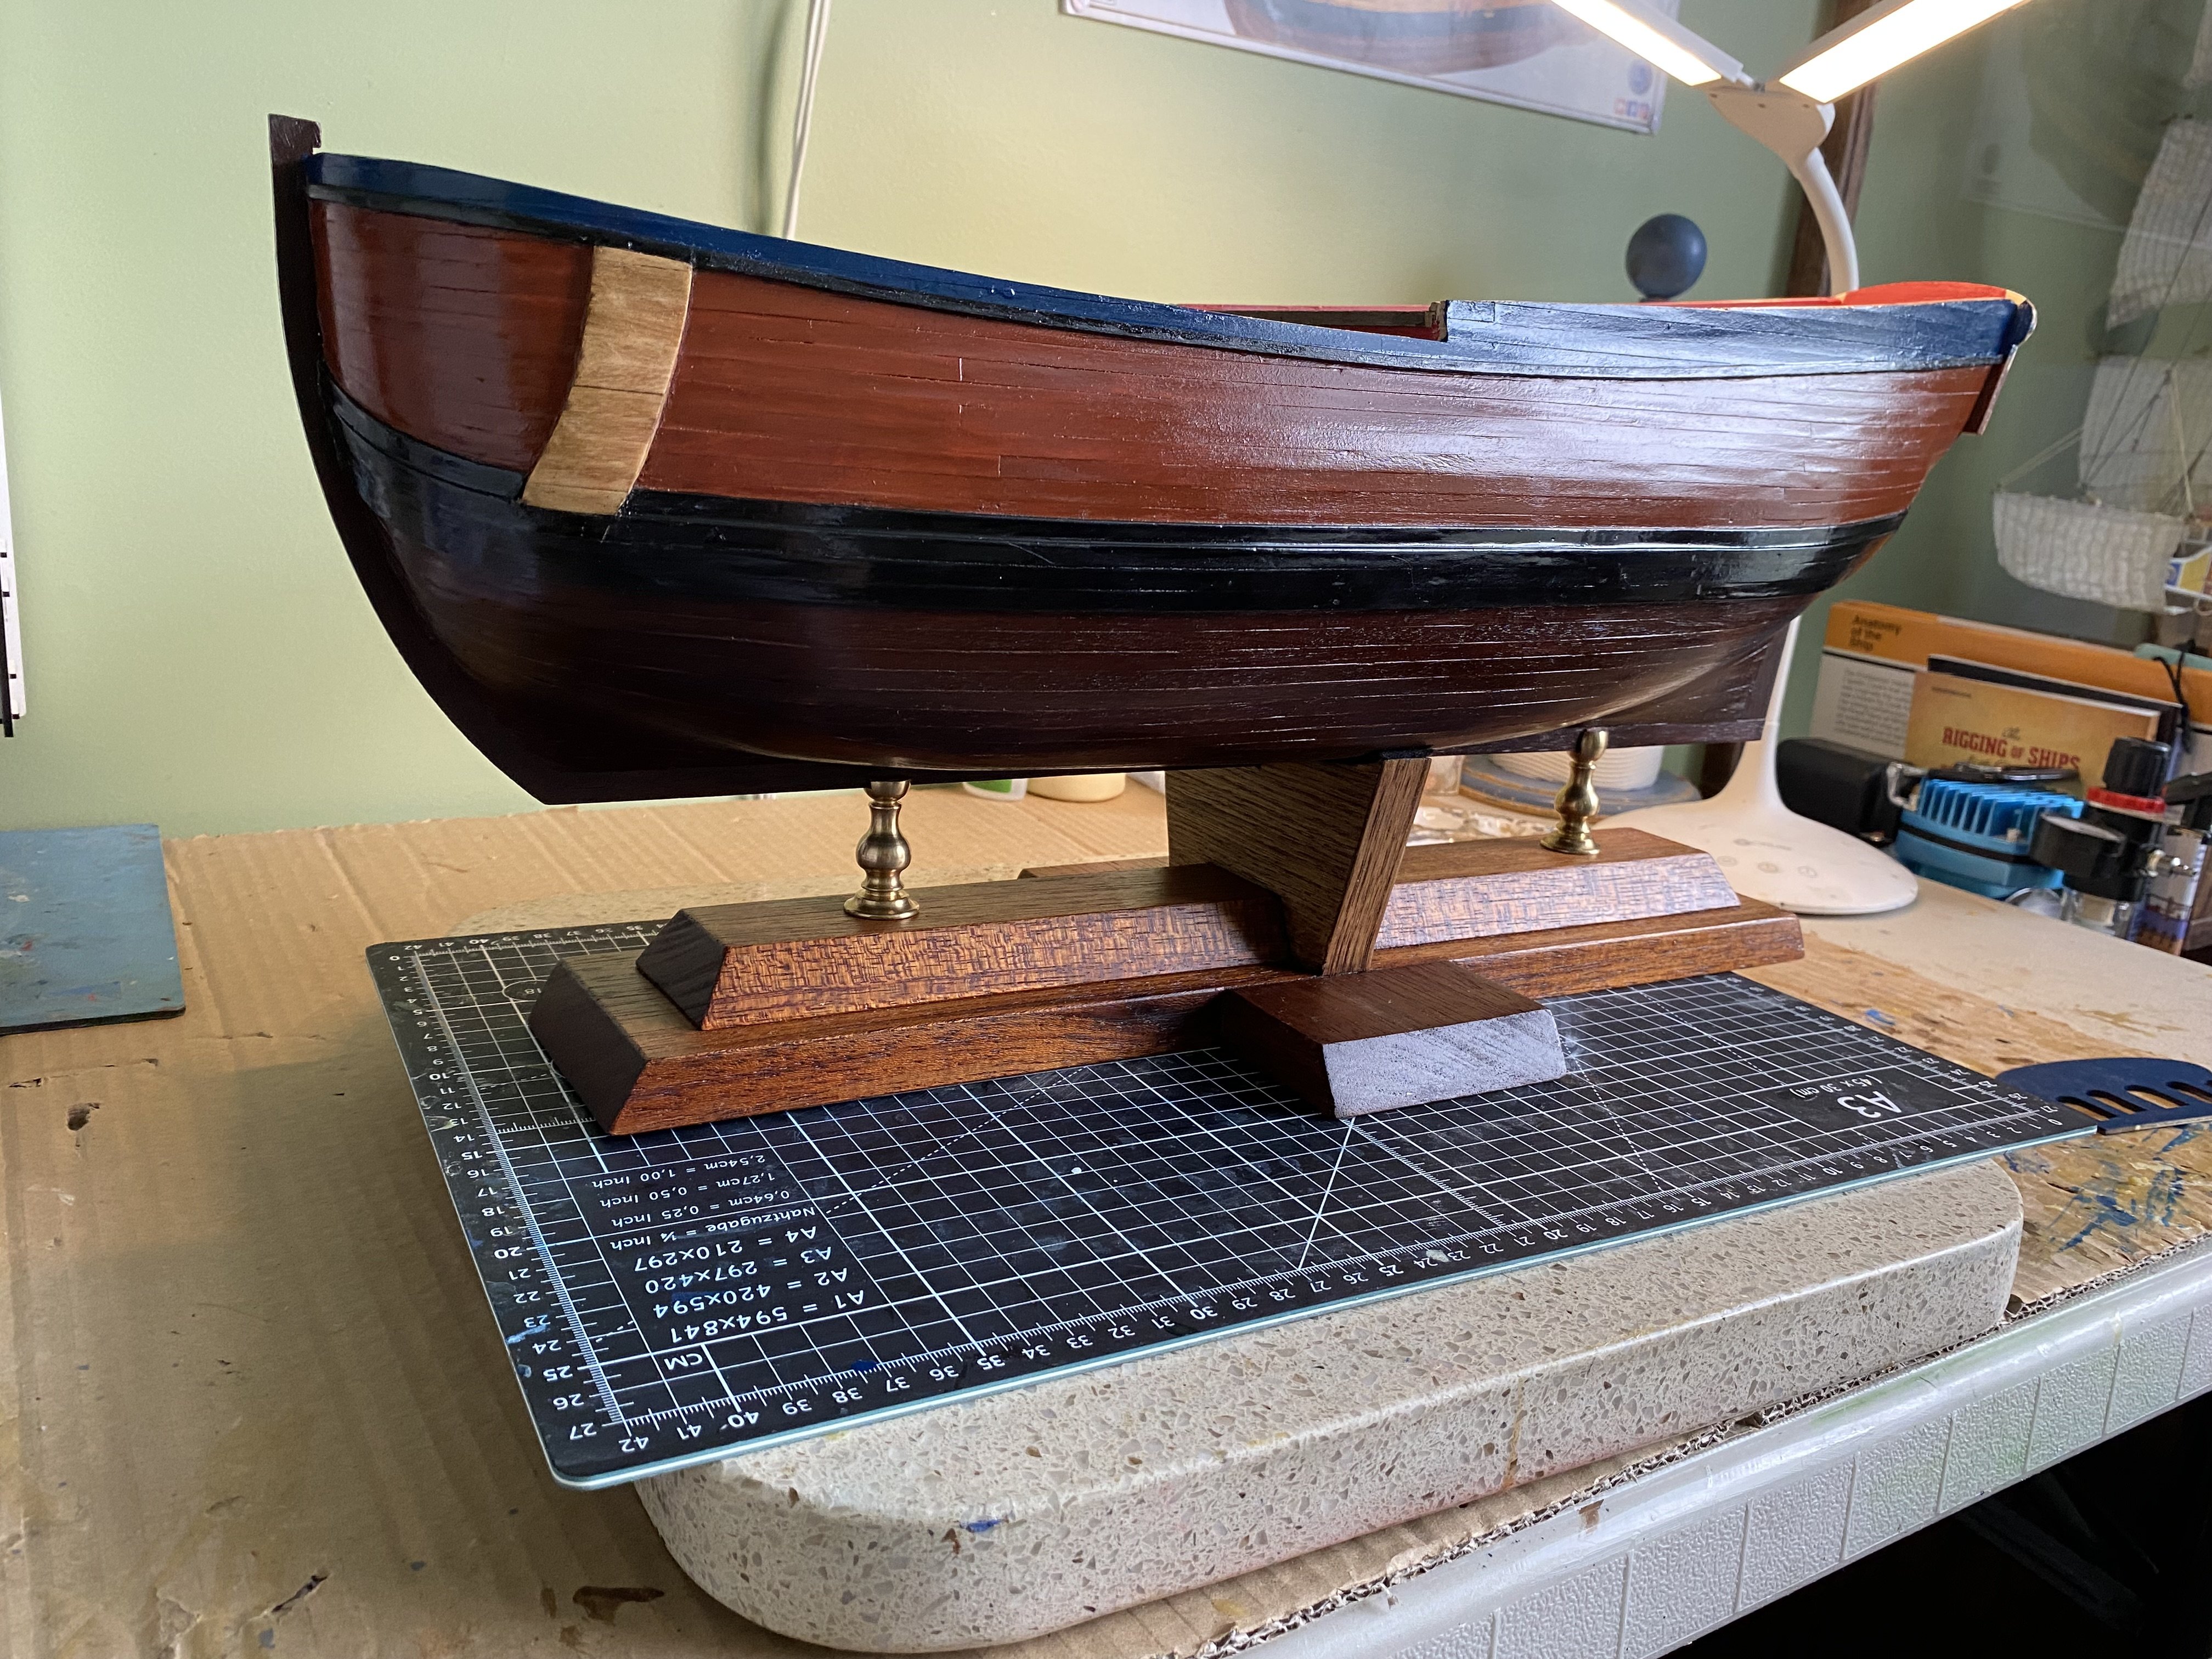
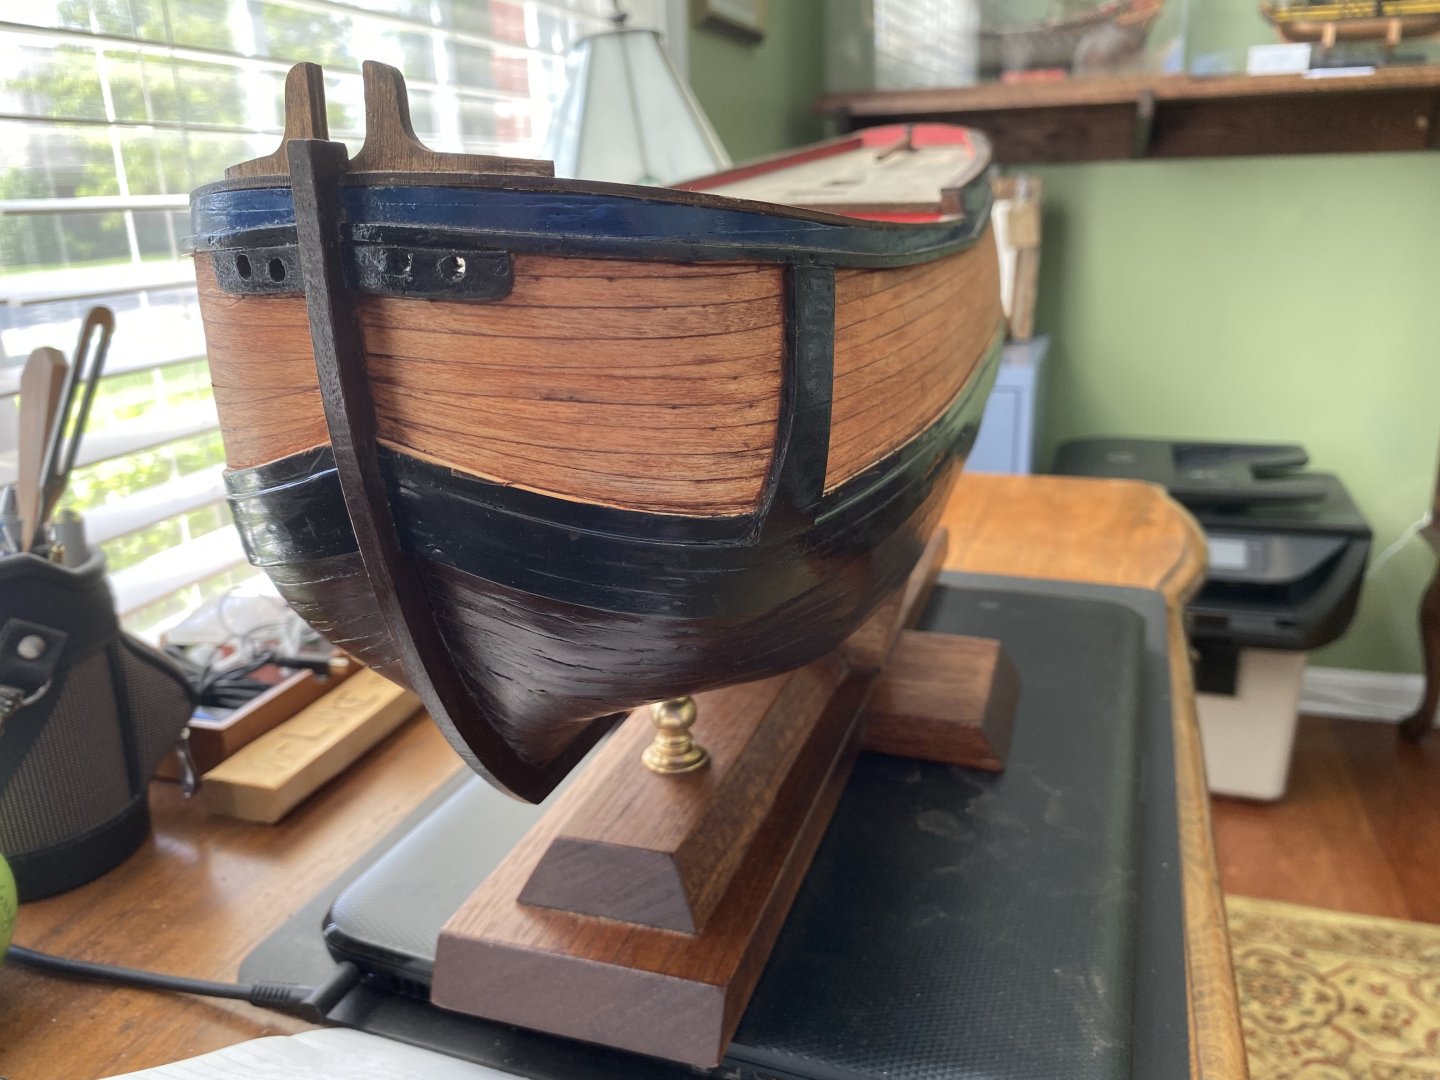
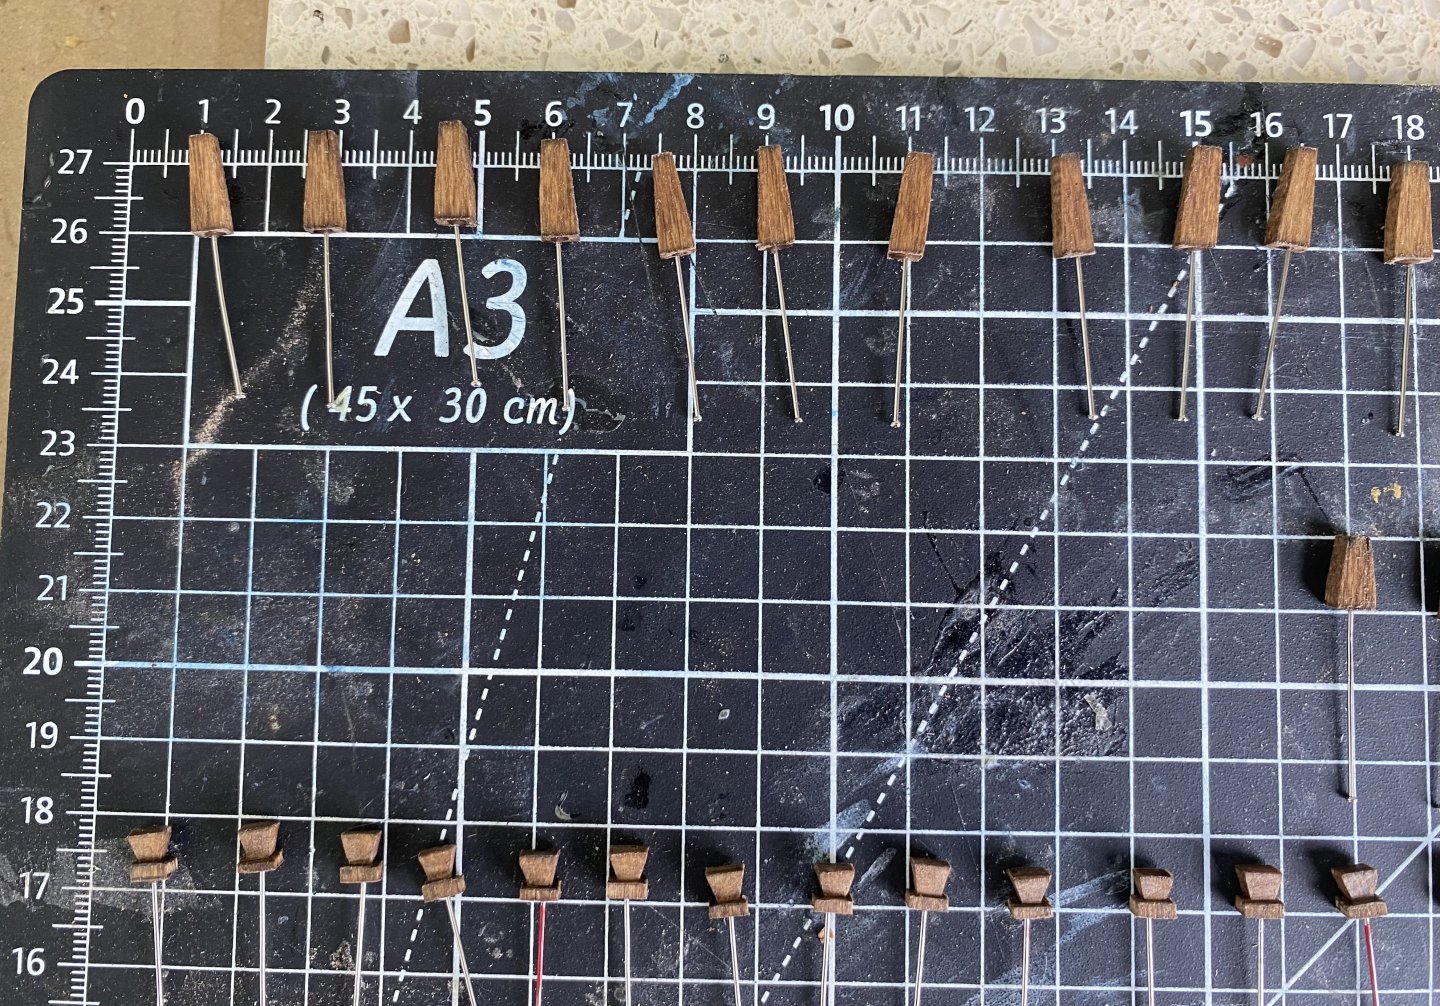
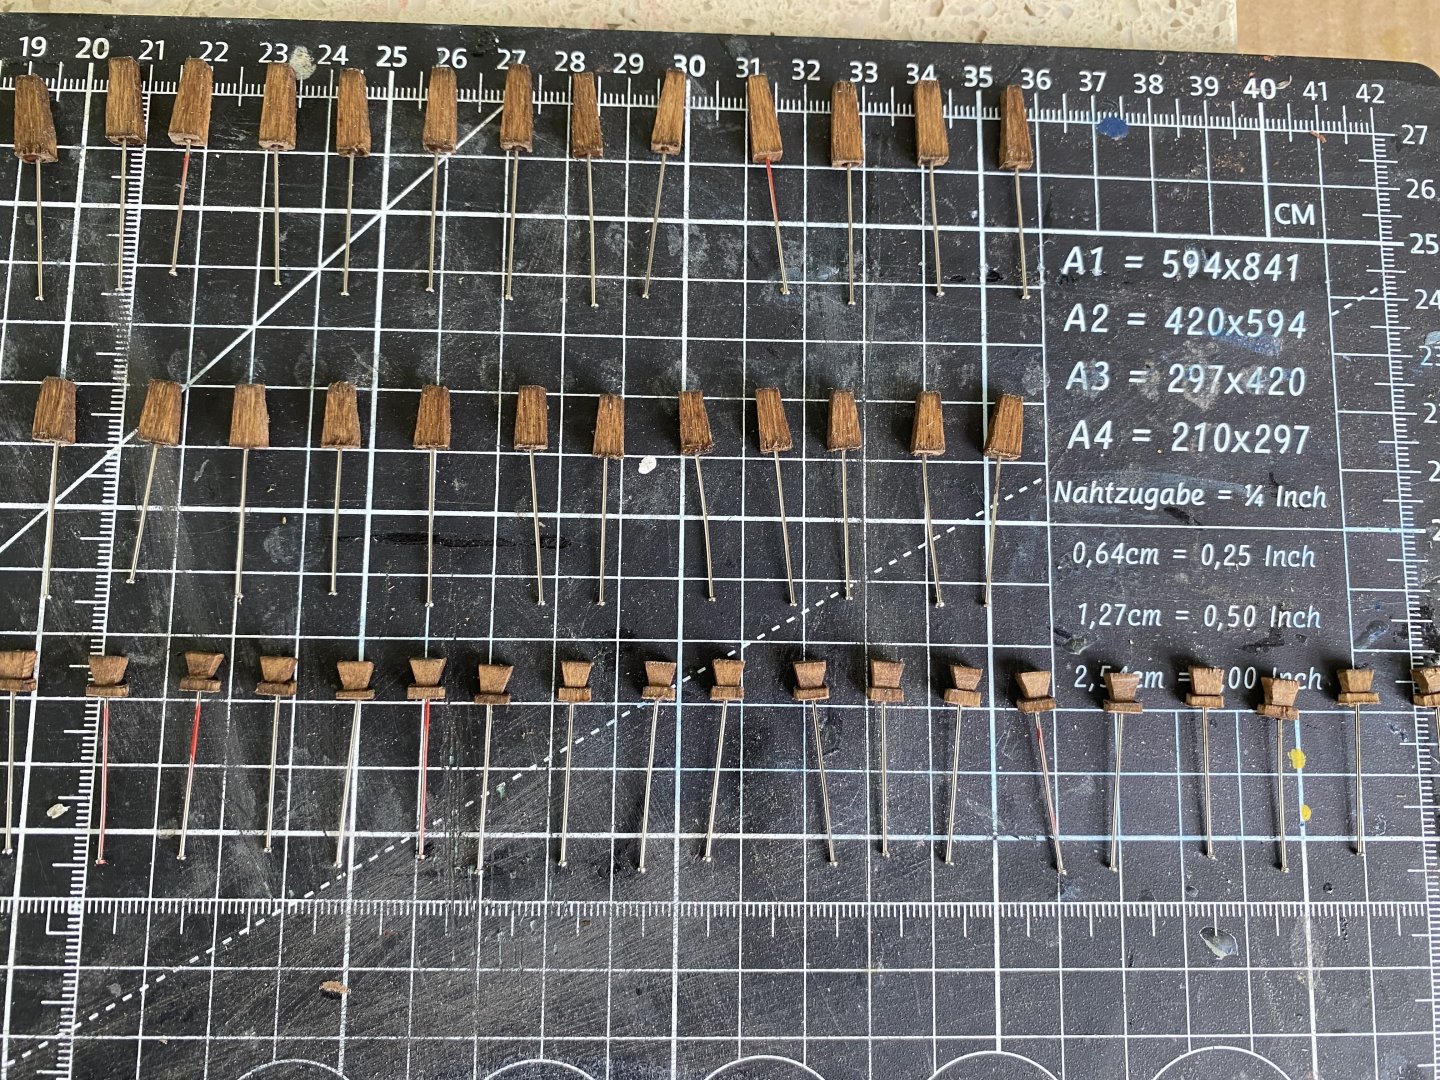
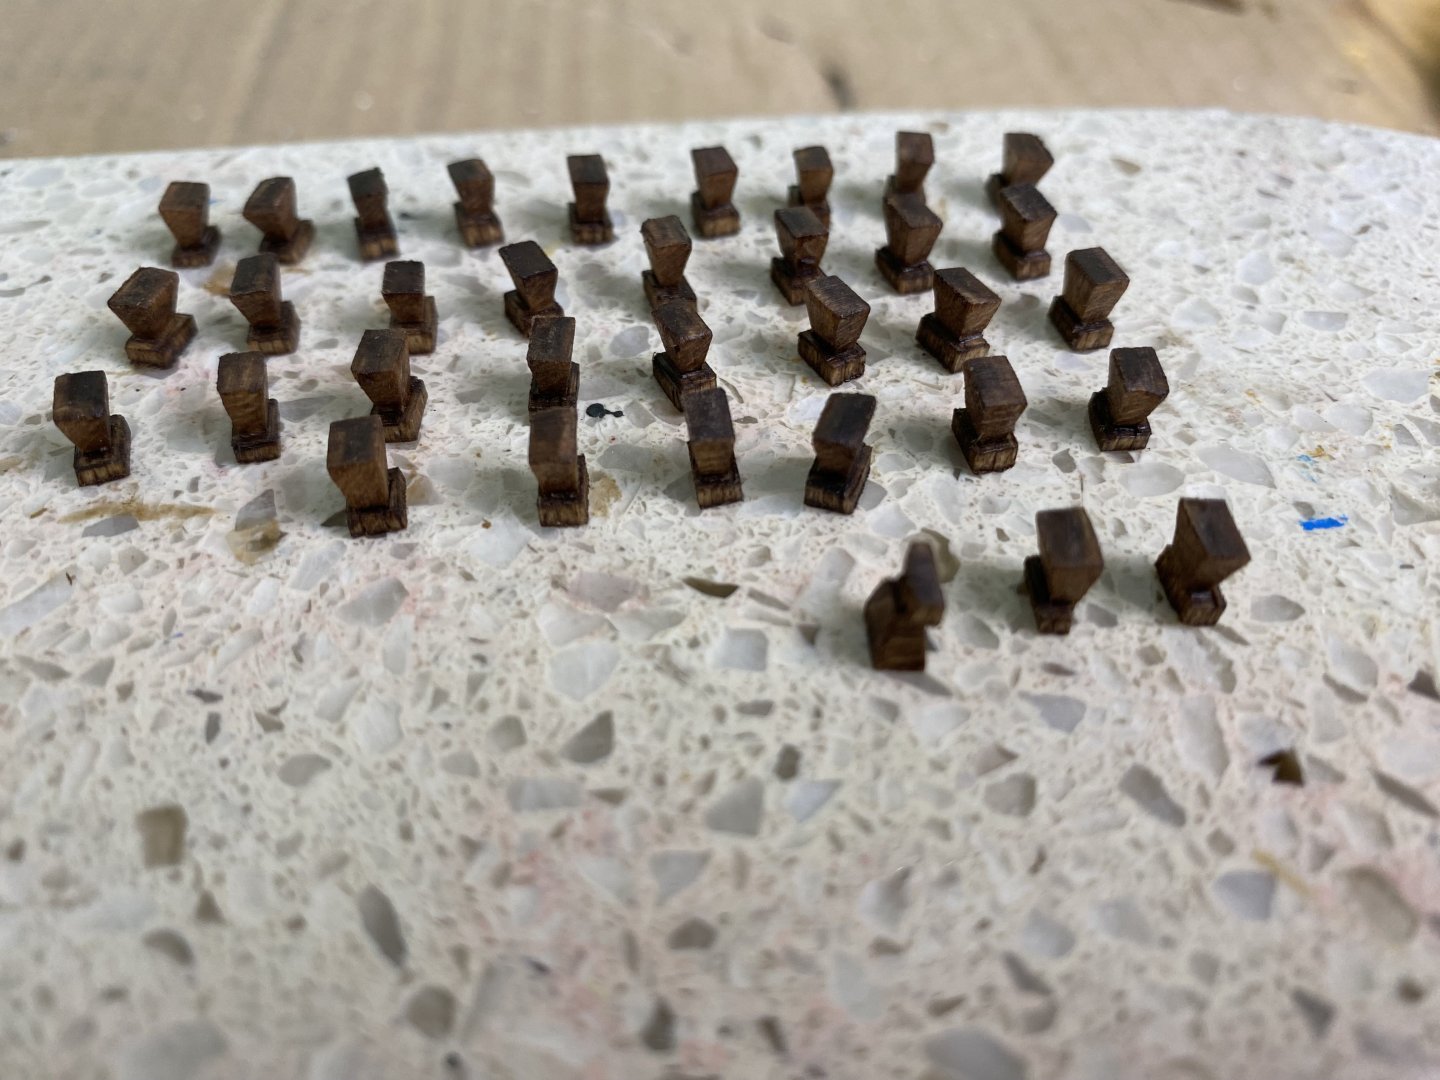
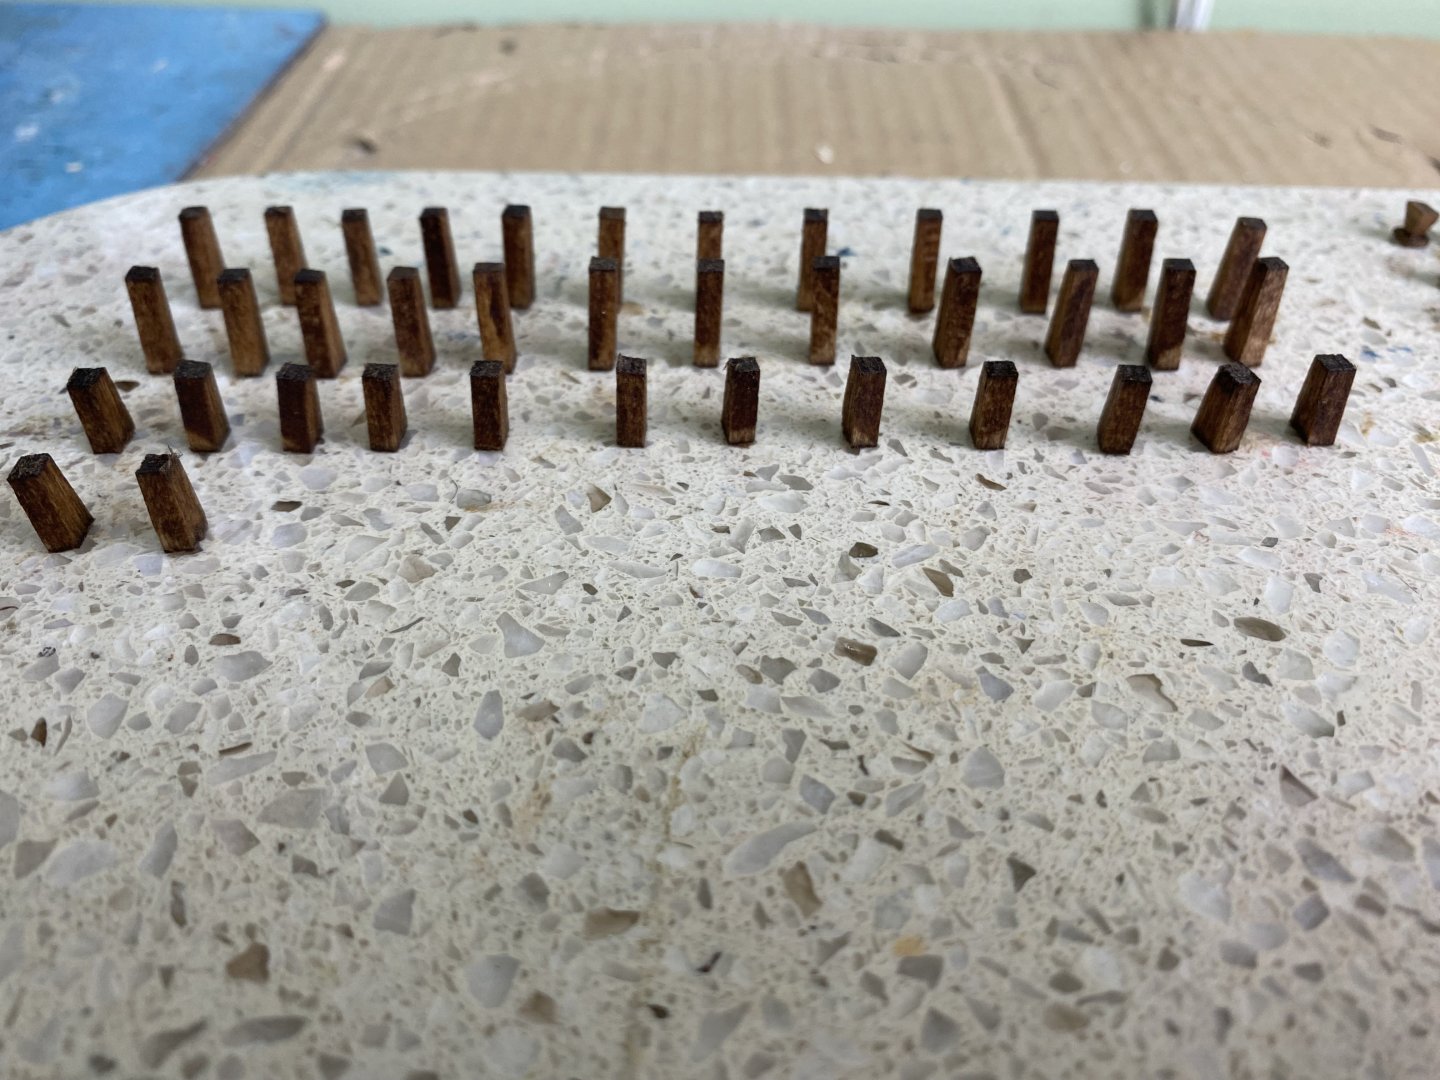
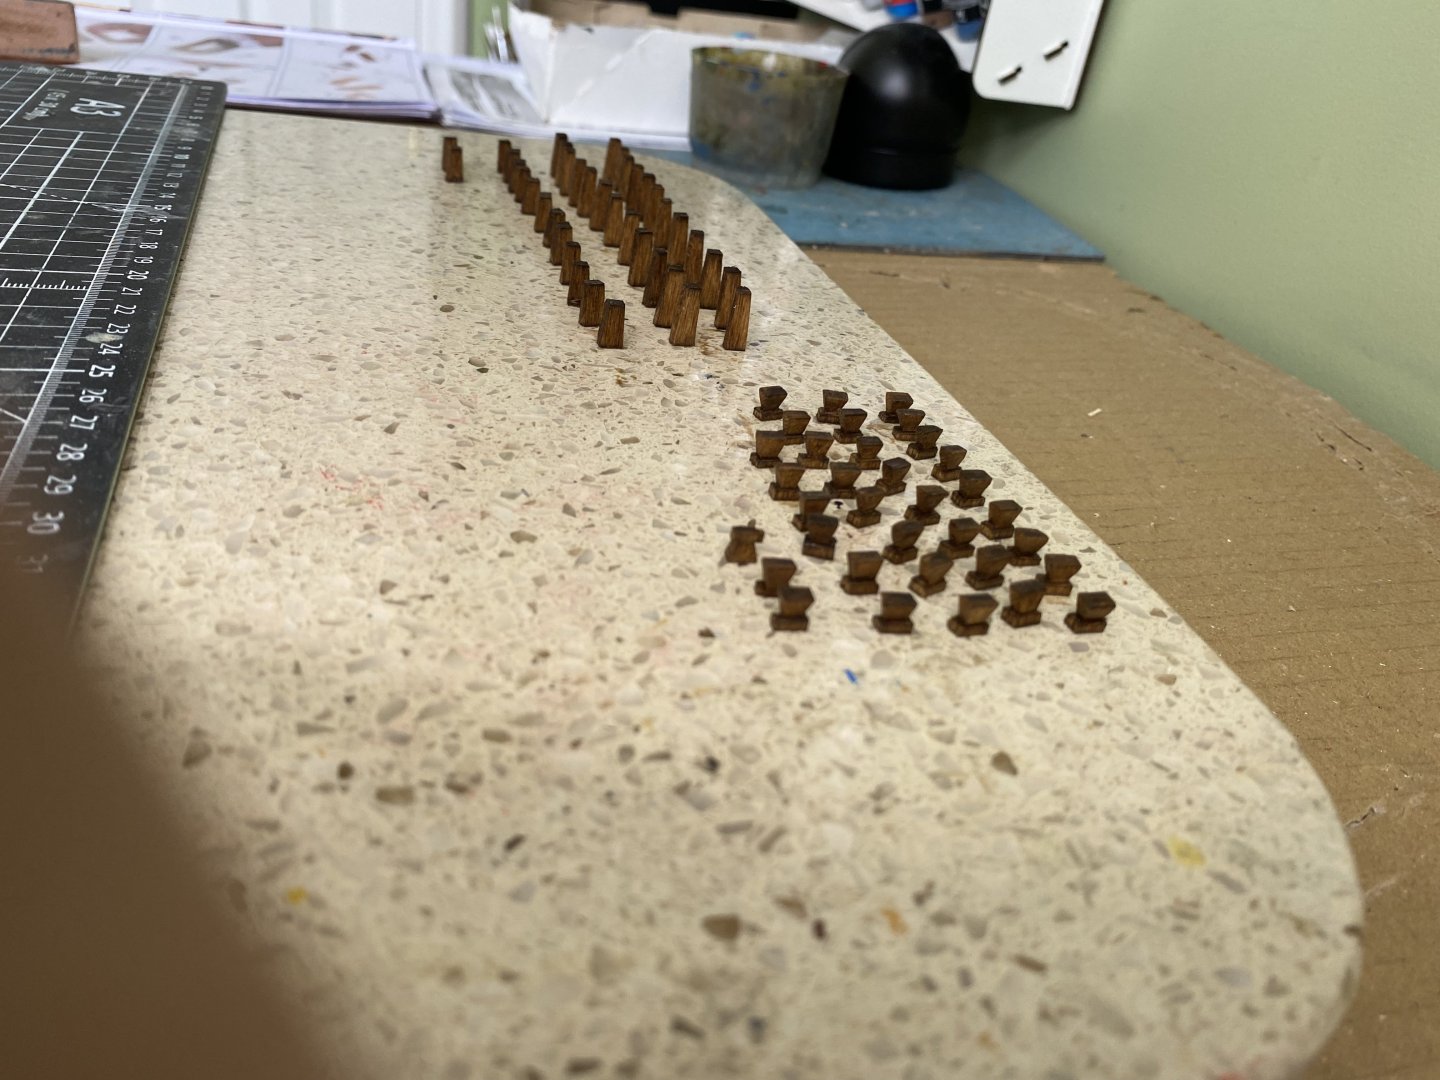
I have been not completely satisfied with the upper haul staining I did. I did not feel the grain in the planking showed as much as I had hoped. Finally I bit the bullet and decided to sand it down and redo it. After much work I got all stripped. I then stained the upper section again. It will still receive a satin clear top coat and I will genes to touch up the black on the wales. But I am much more pleased. I also added pins to the bottom of all the pieces I have made that will line the rails. The pin will hopefully reinforce the strength of the glue attachment.

-
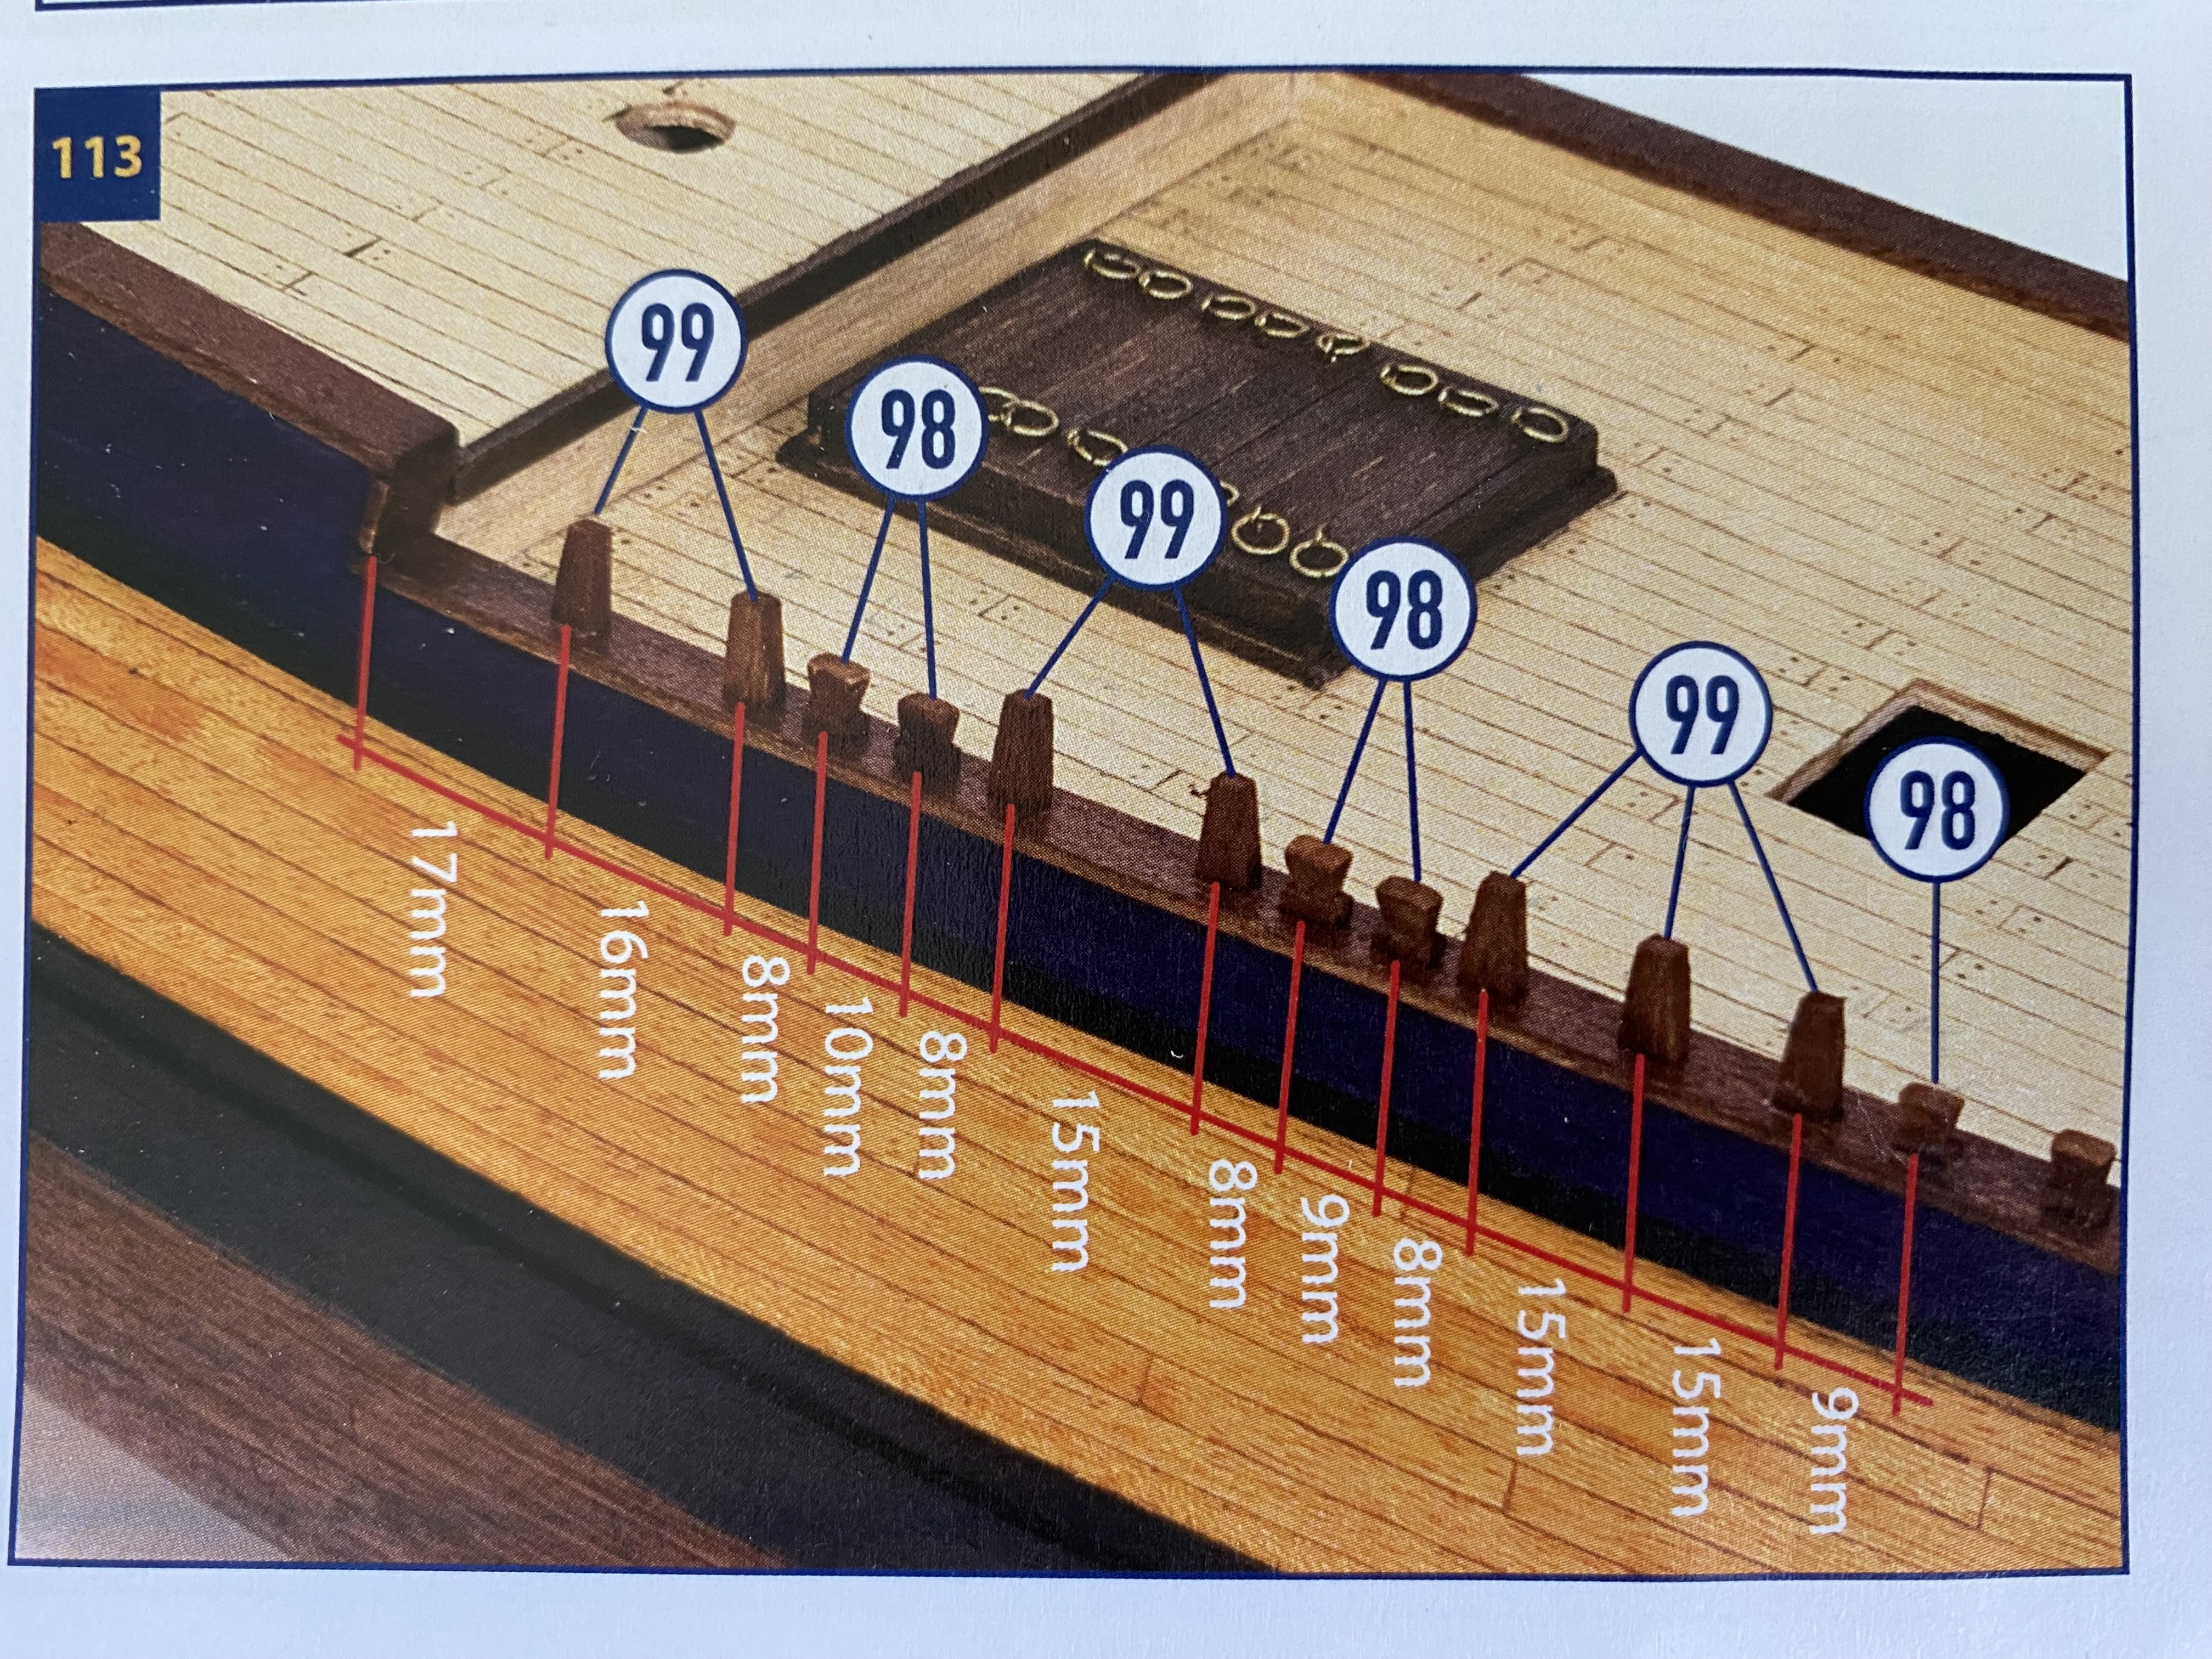
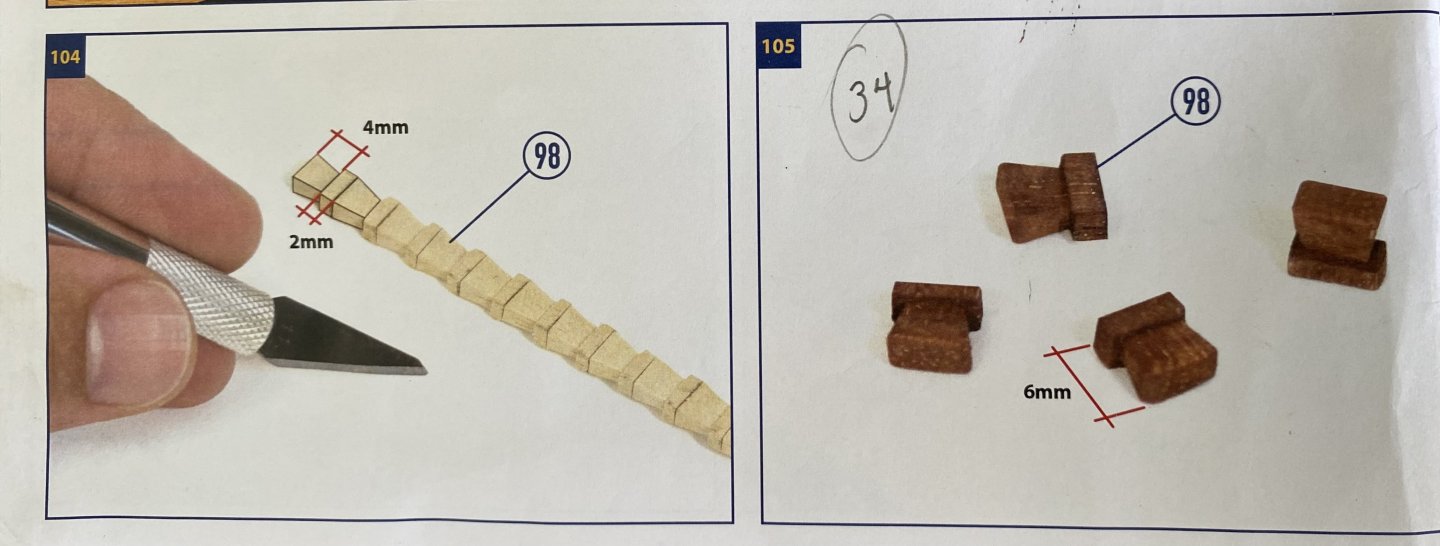
Carved and shaped and stained all the wooden Sampson post and rail columns. Different when one decides to build a wooden model vs a plastic is that there are very few molded or preshaped pieces. Most everything, except for very specific pieces, are left to the builder to carve and shape.

-
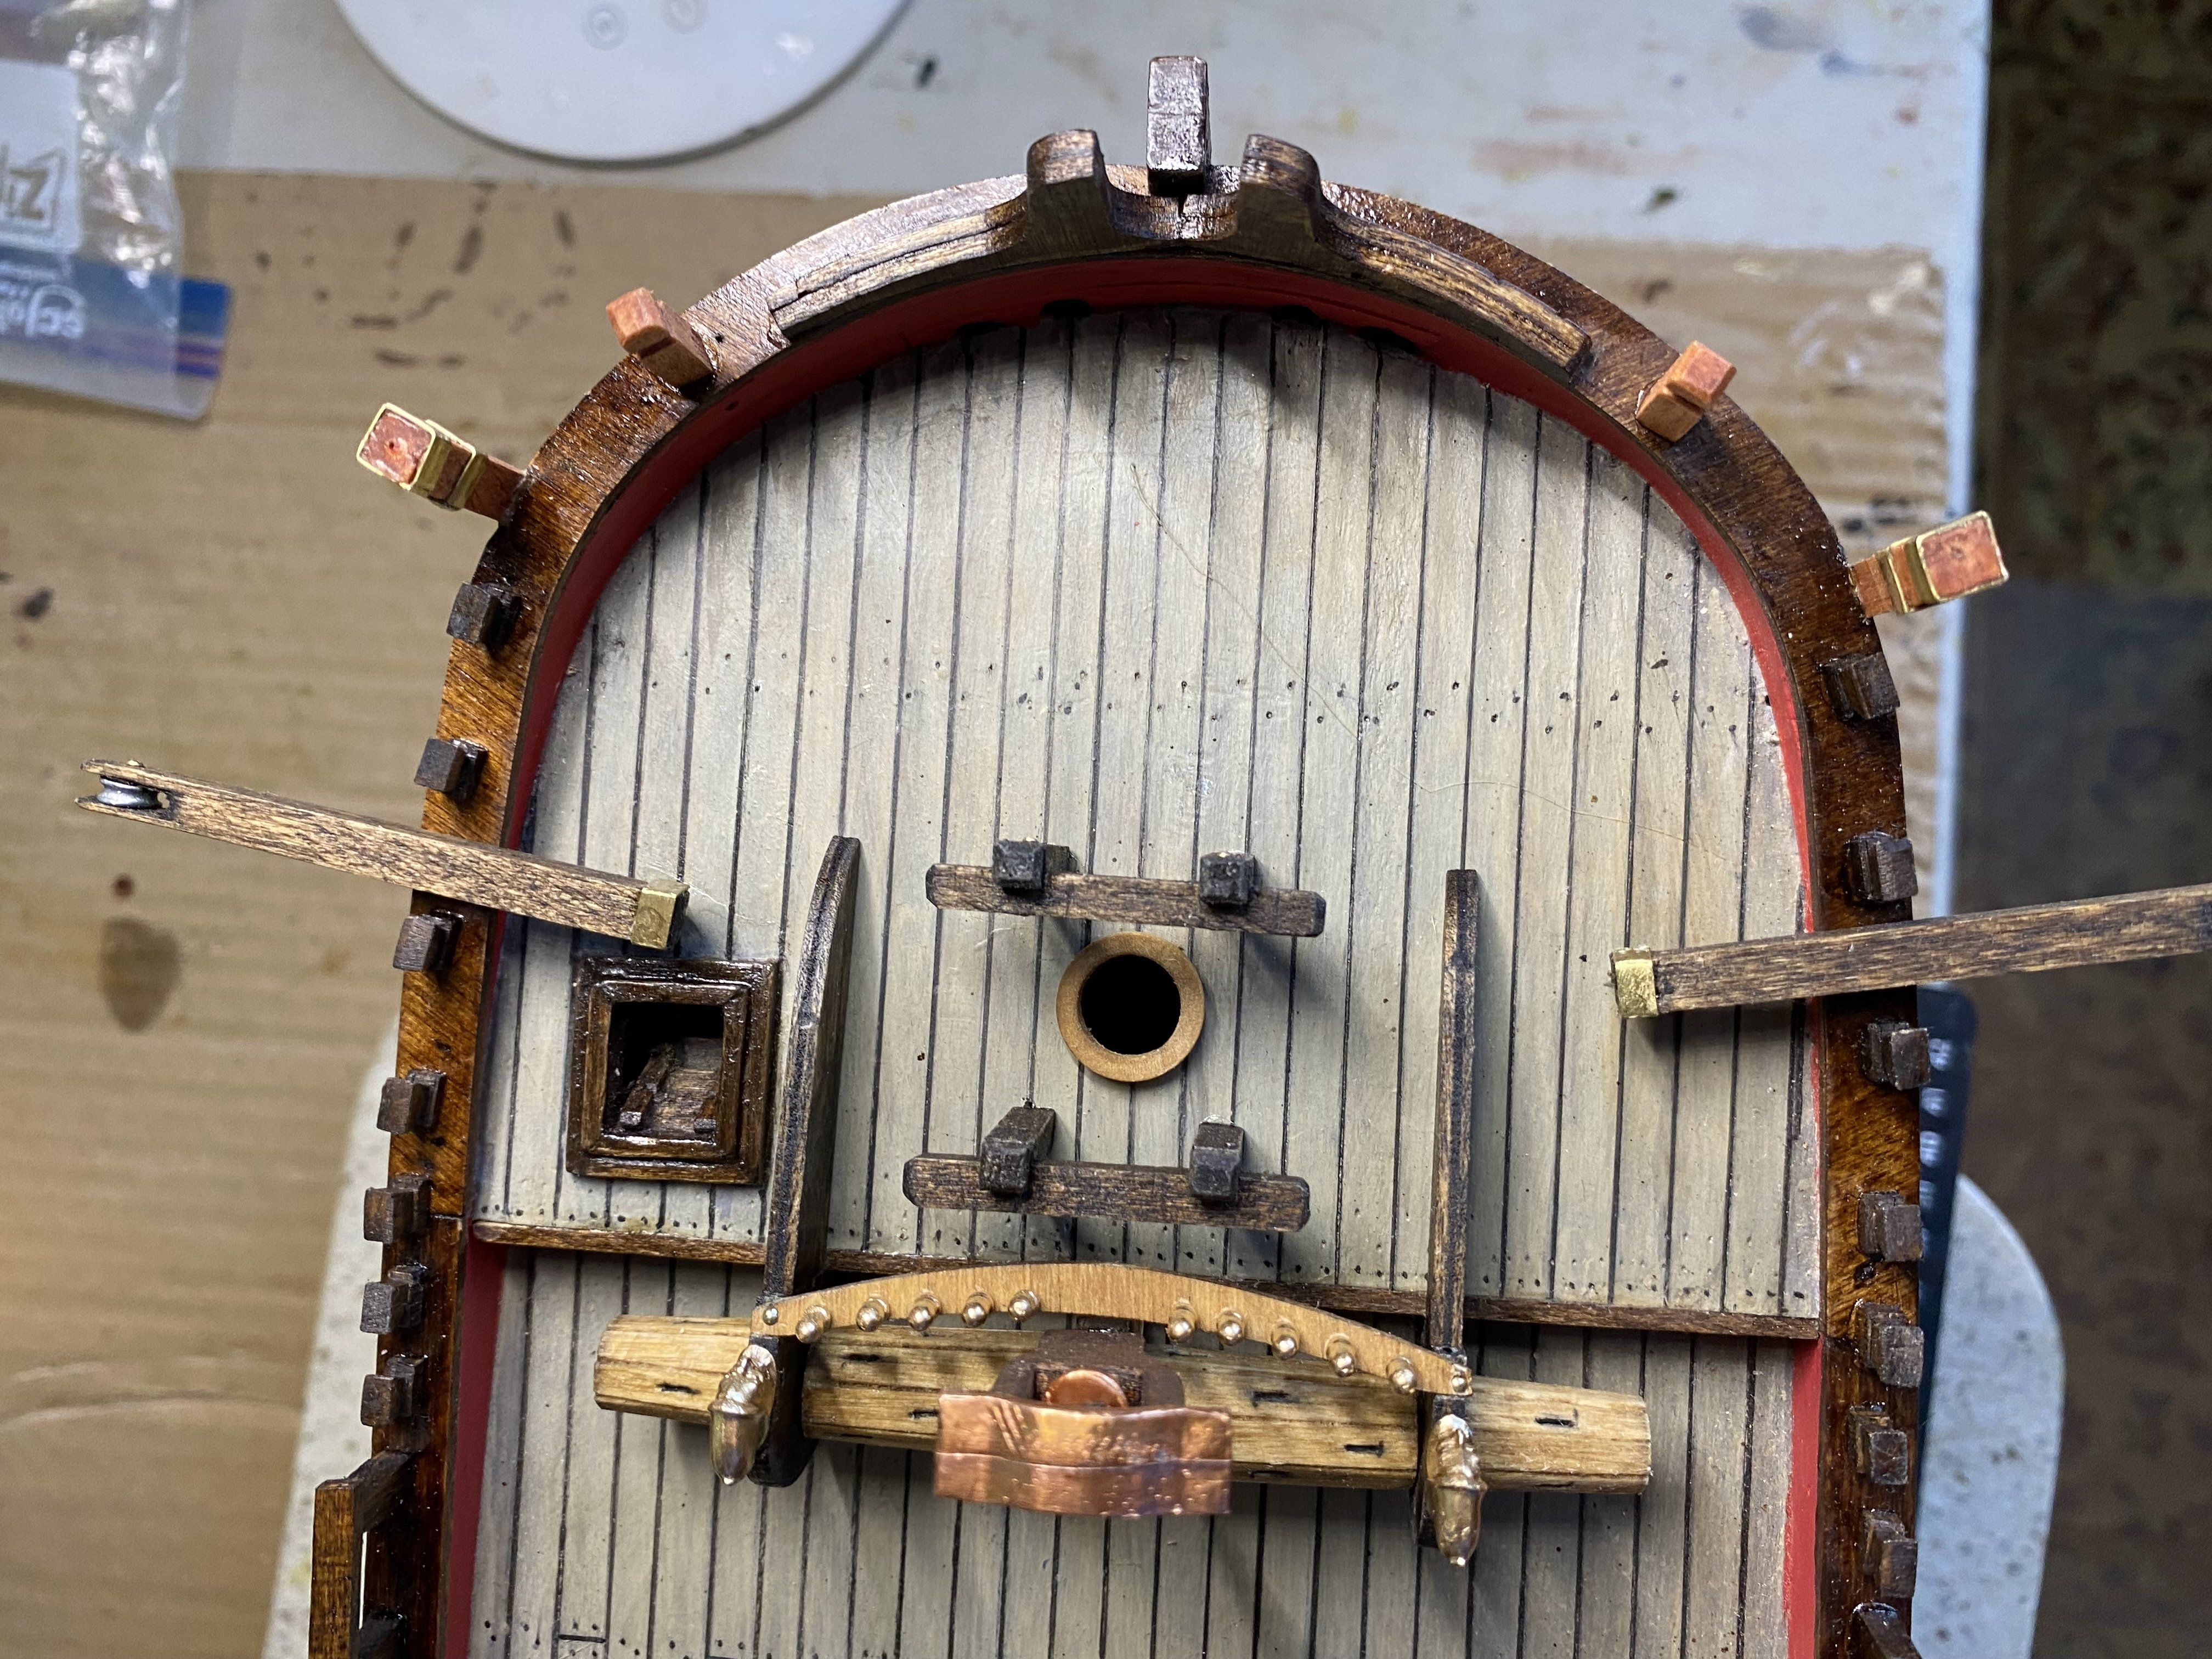
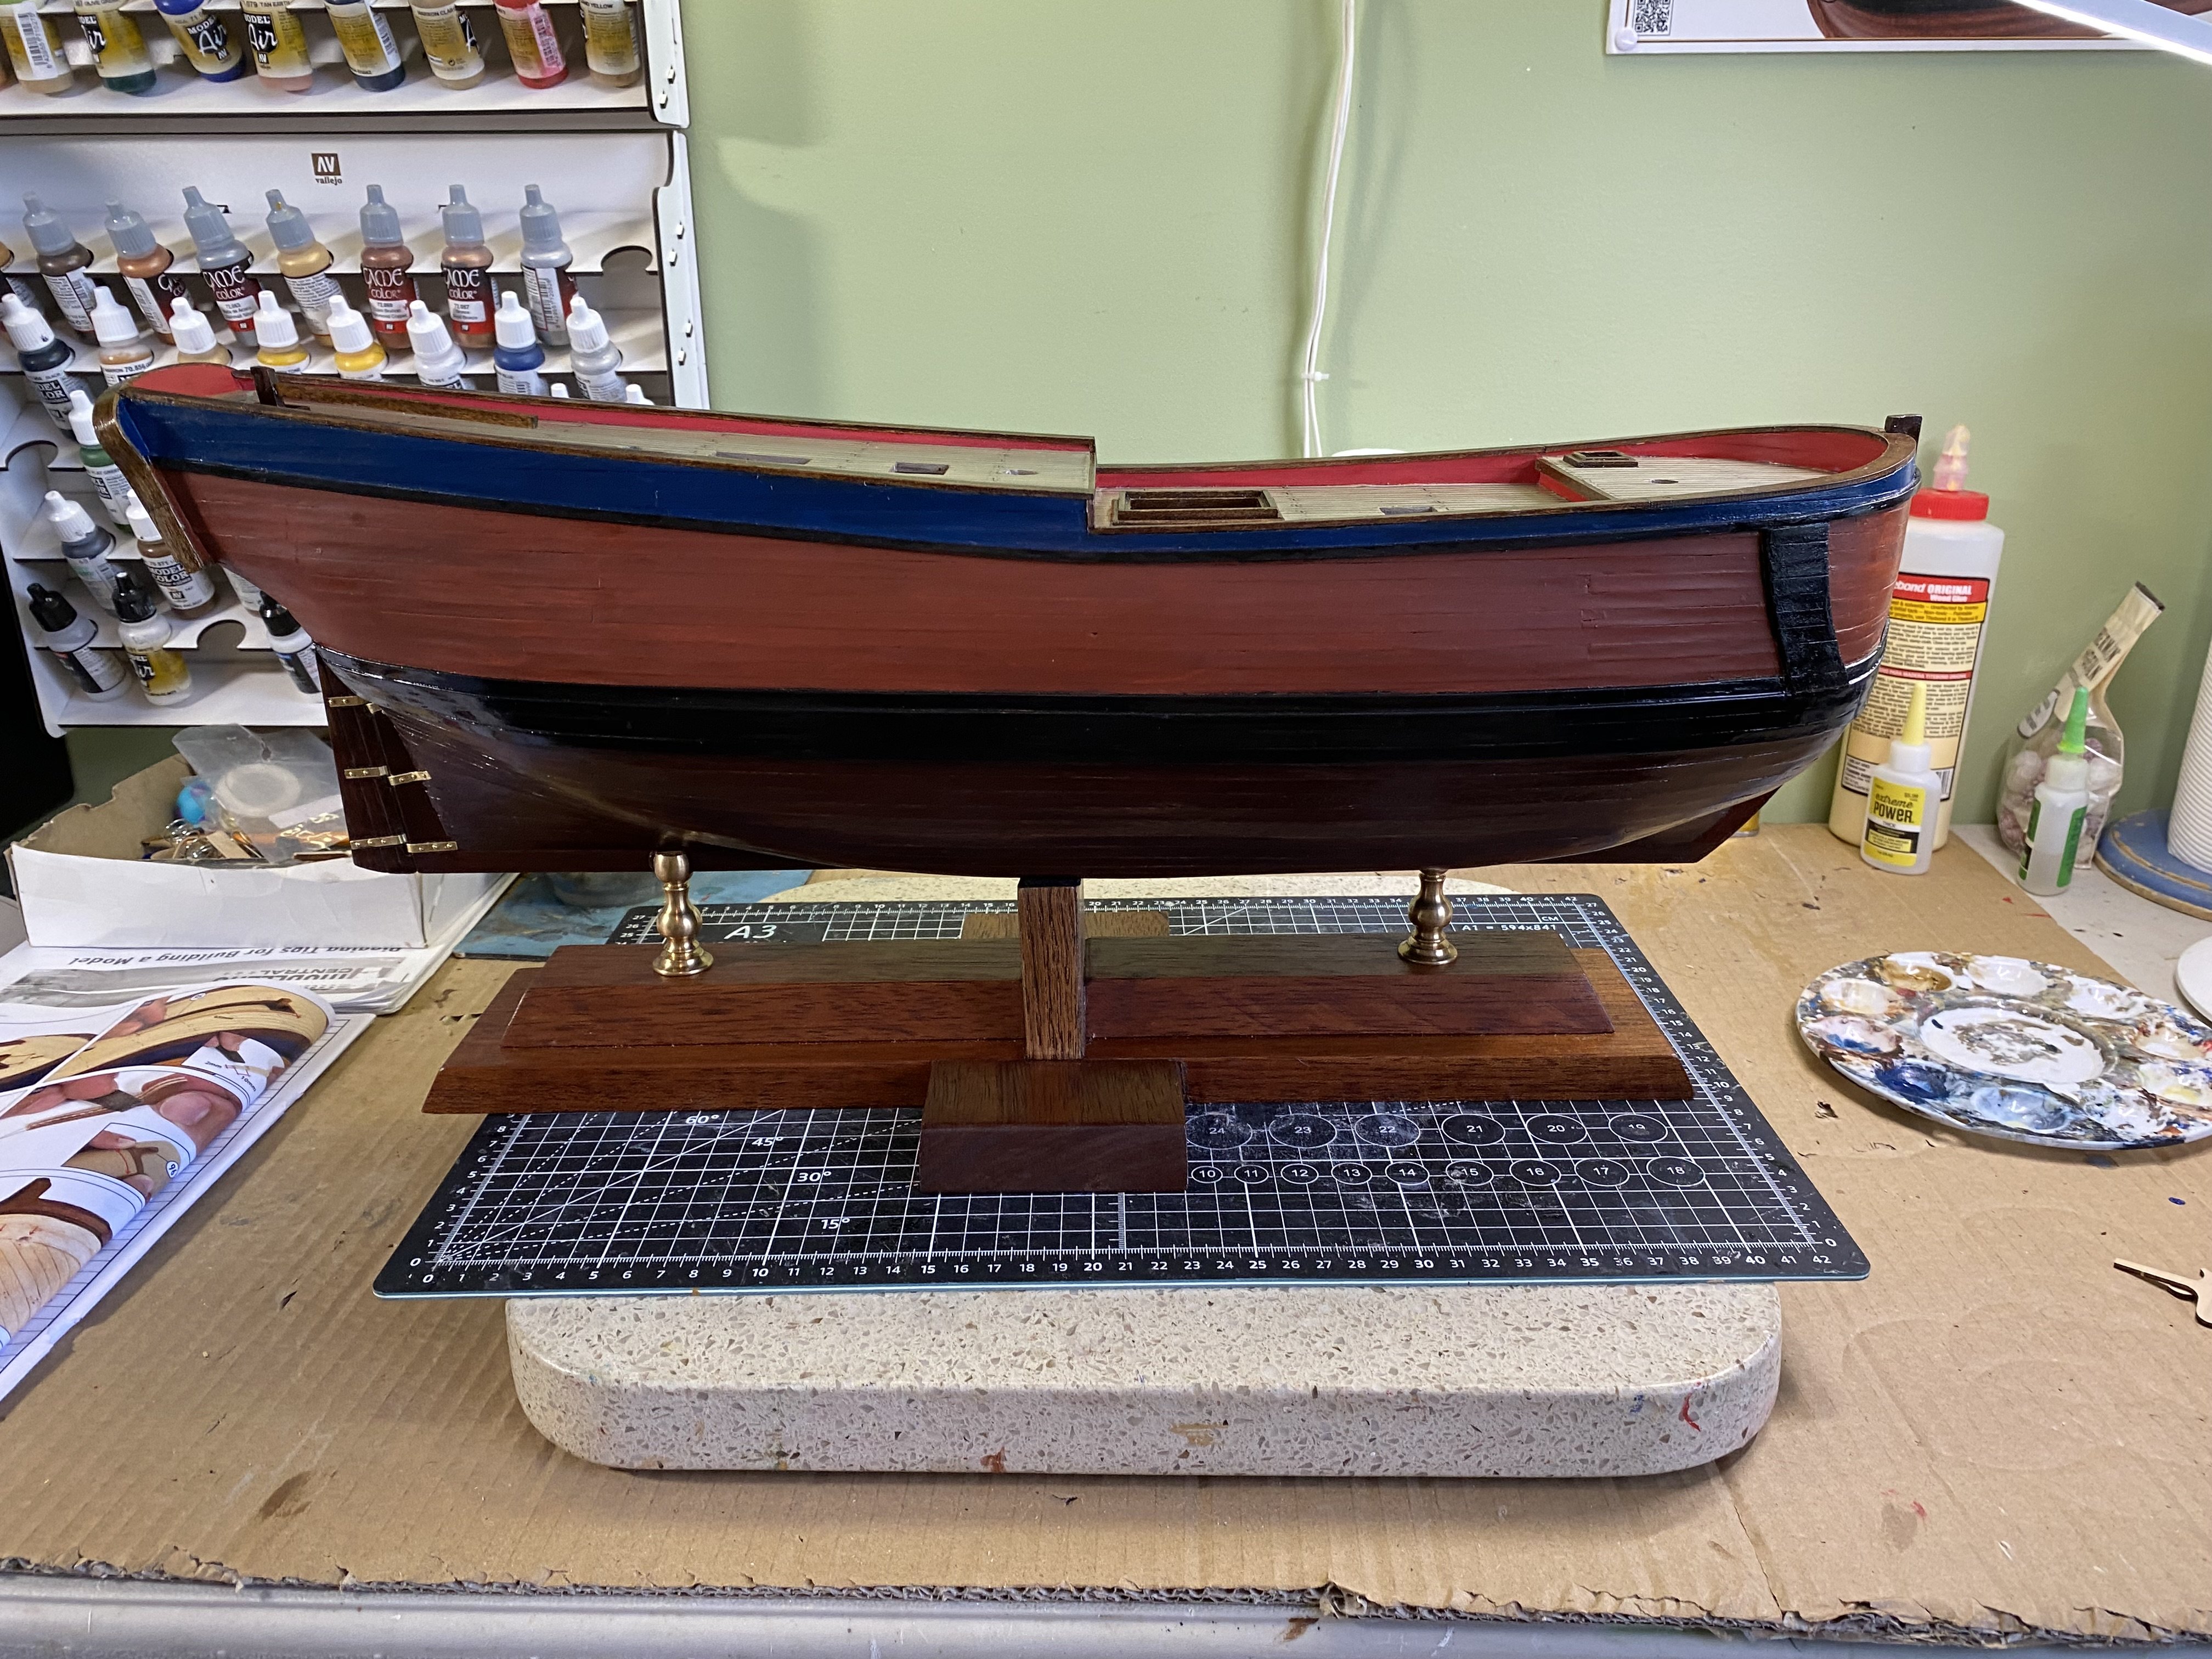
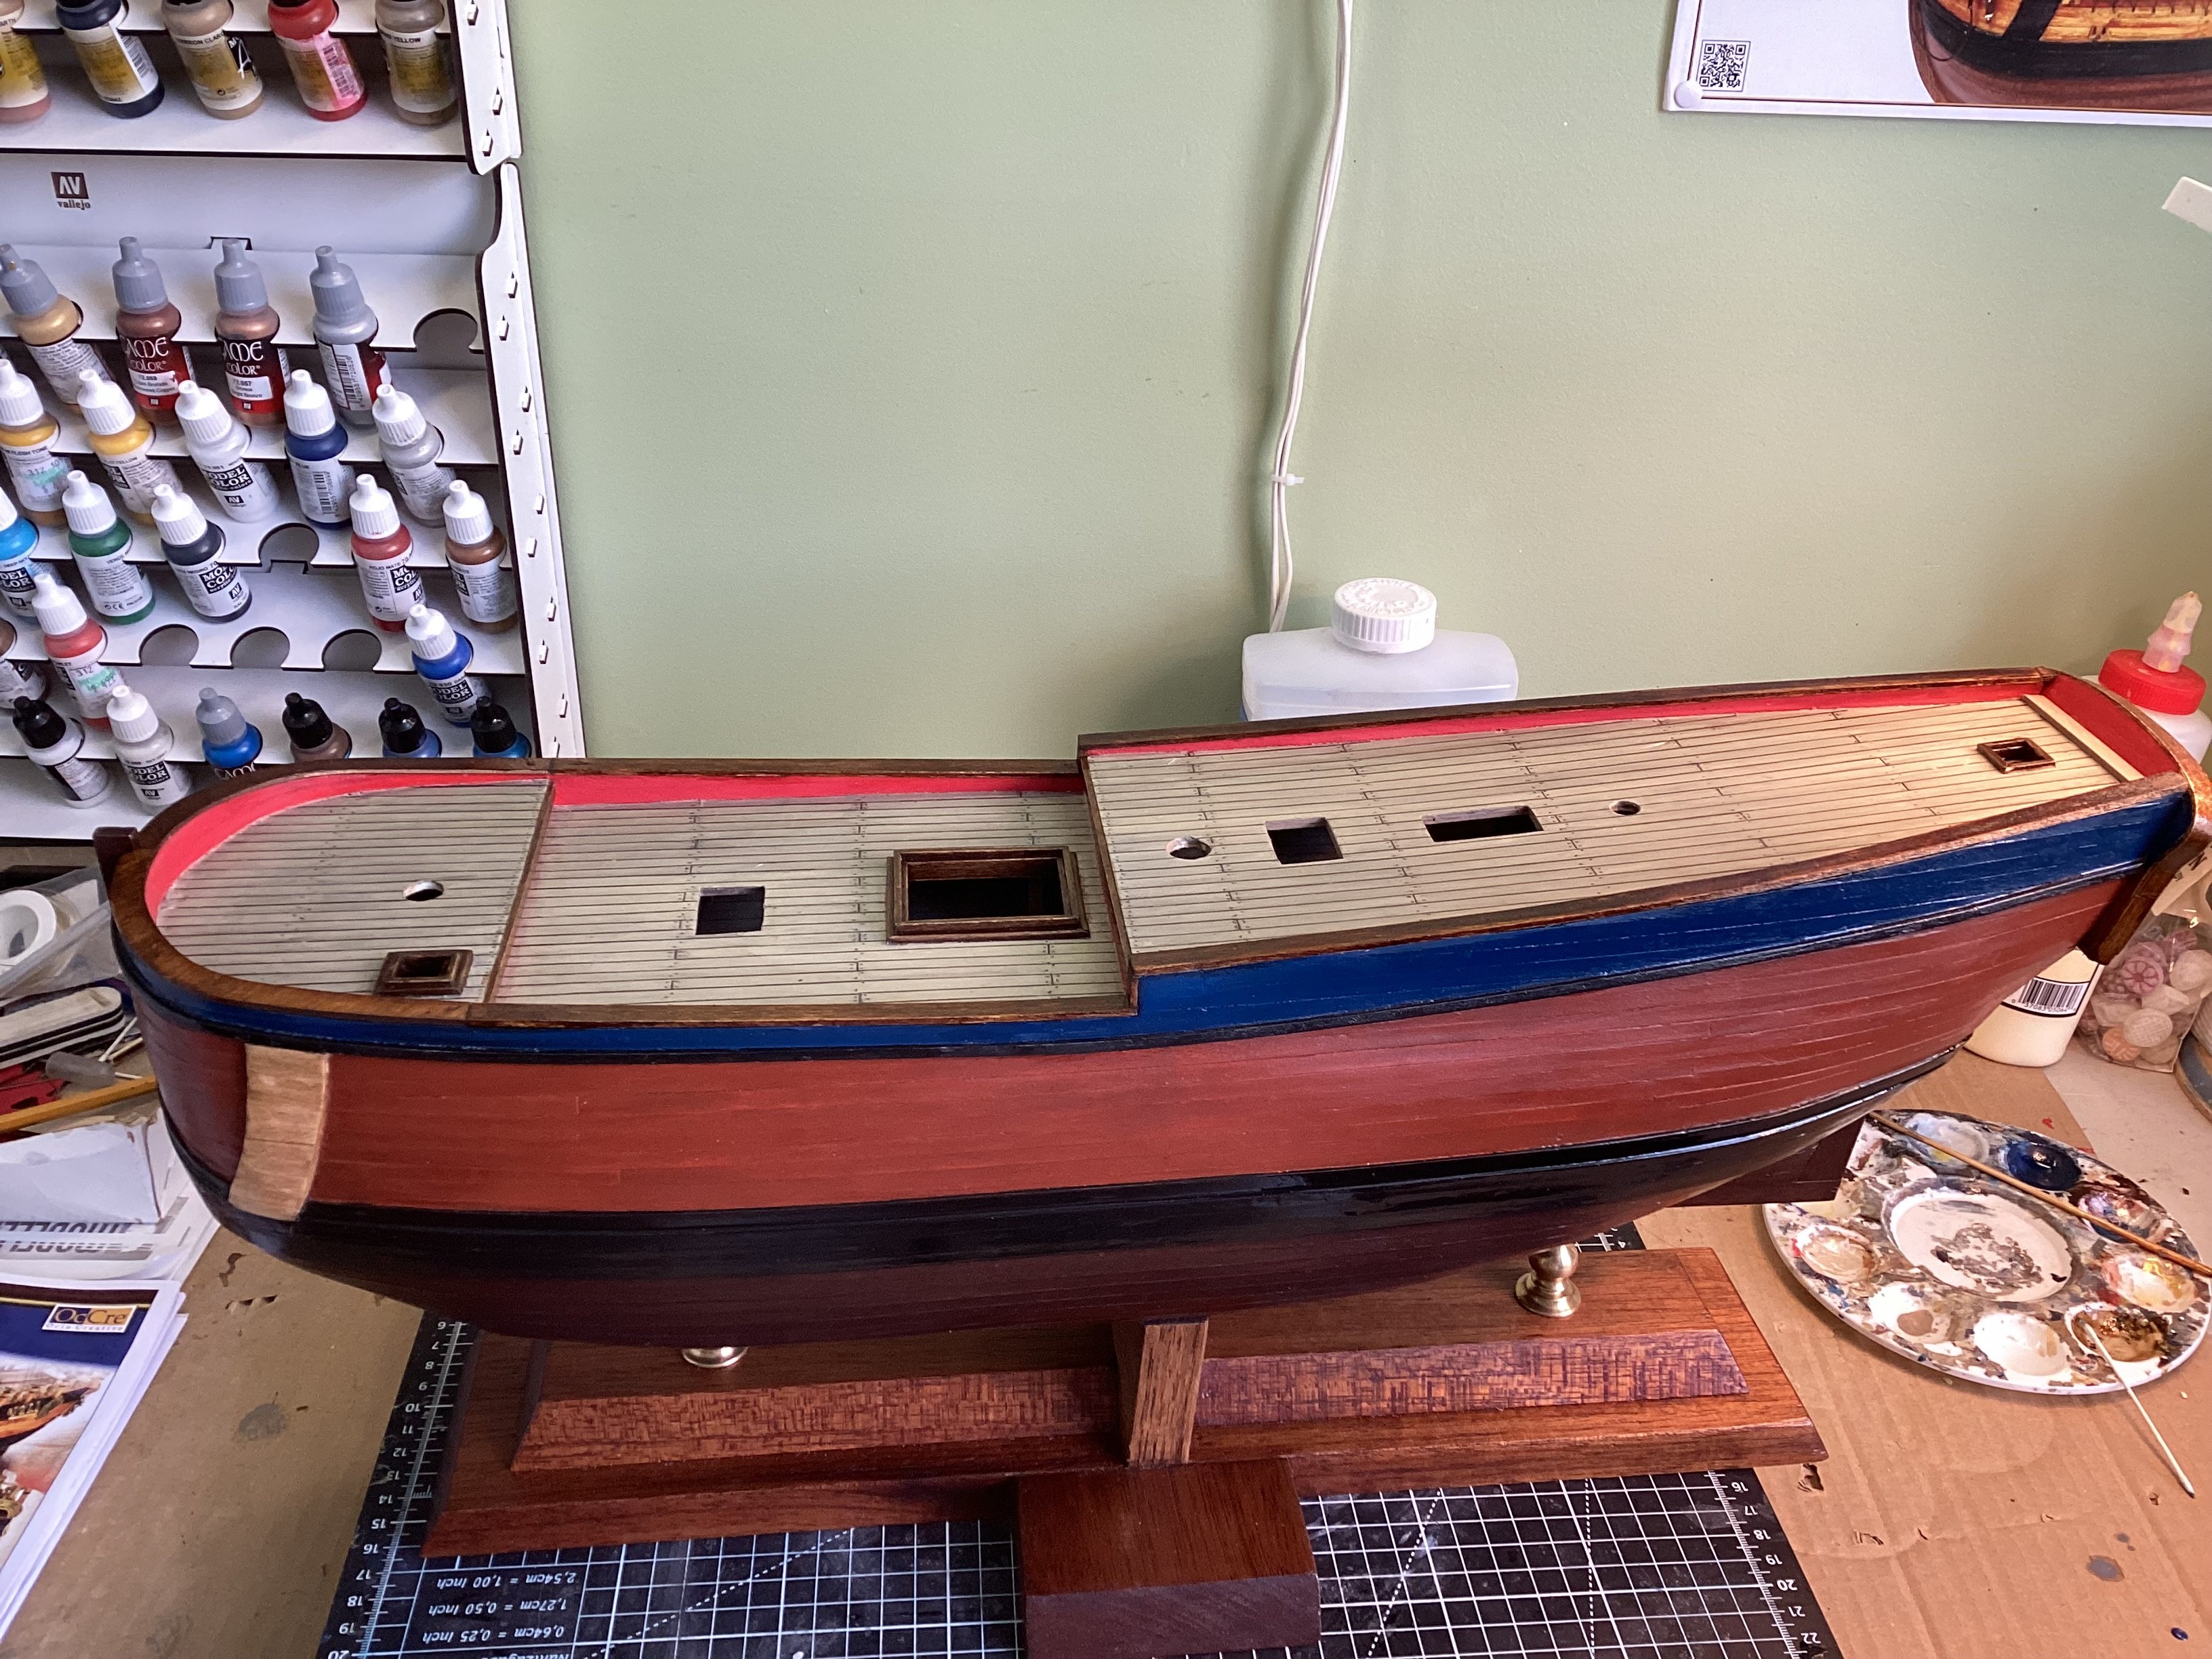
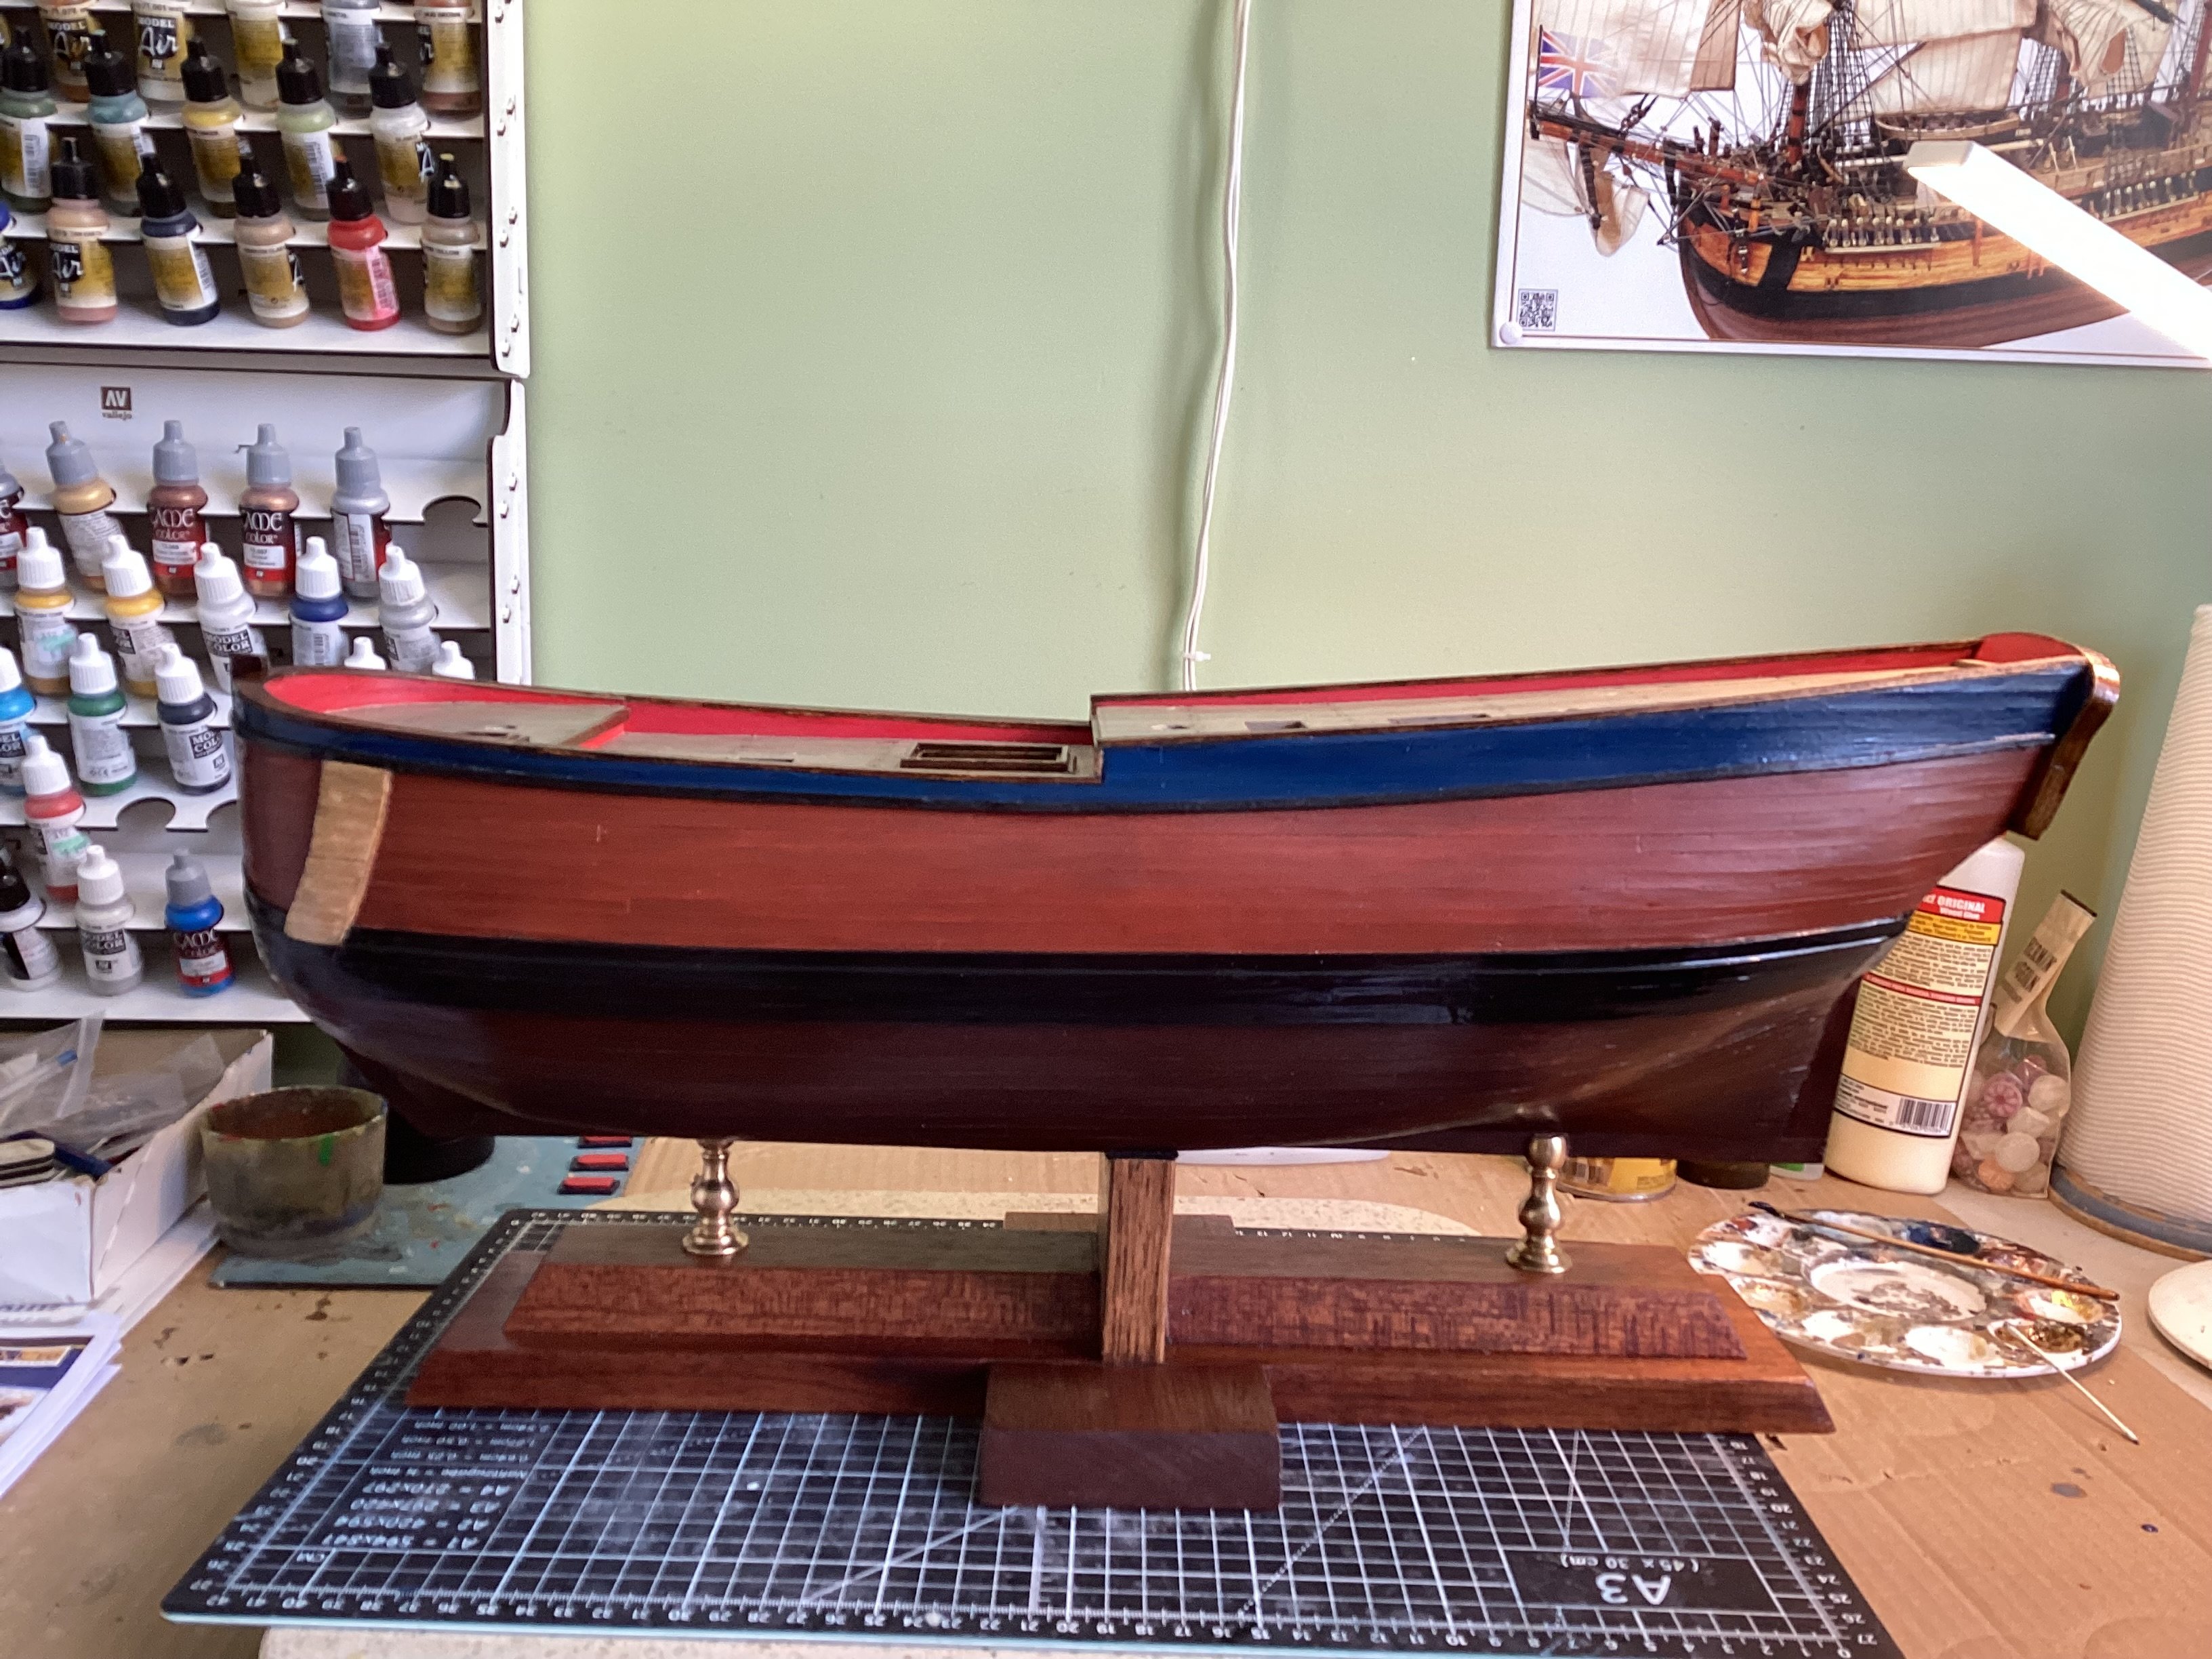
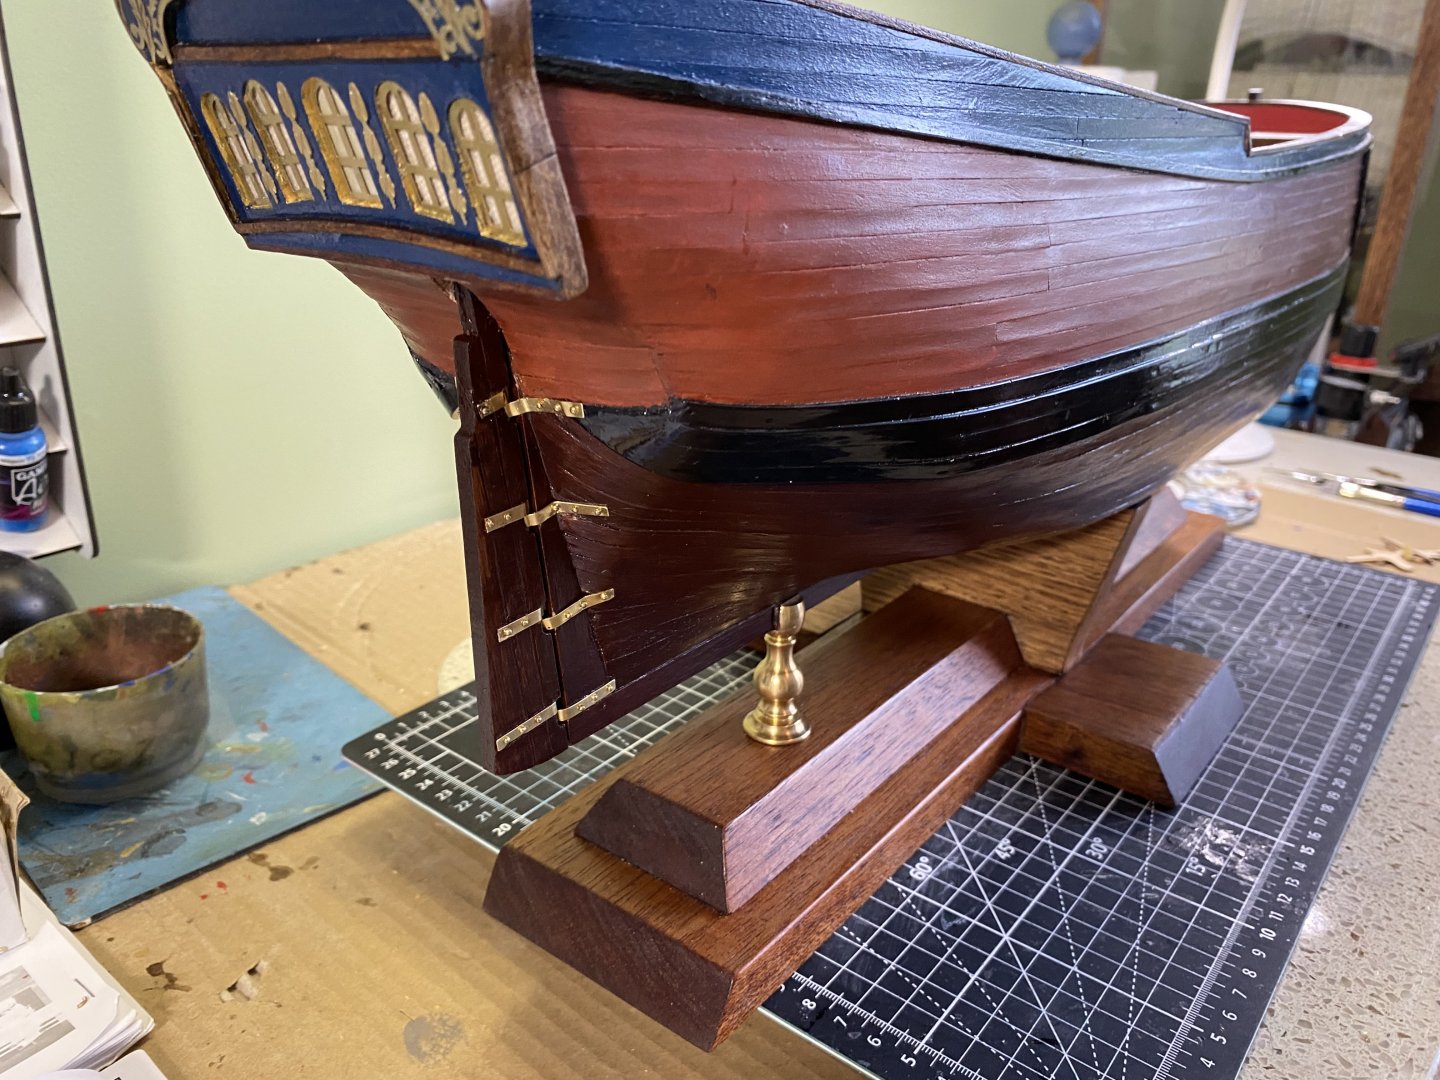
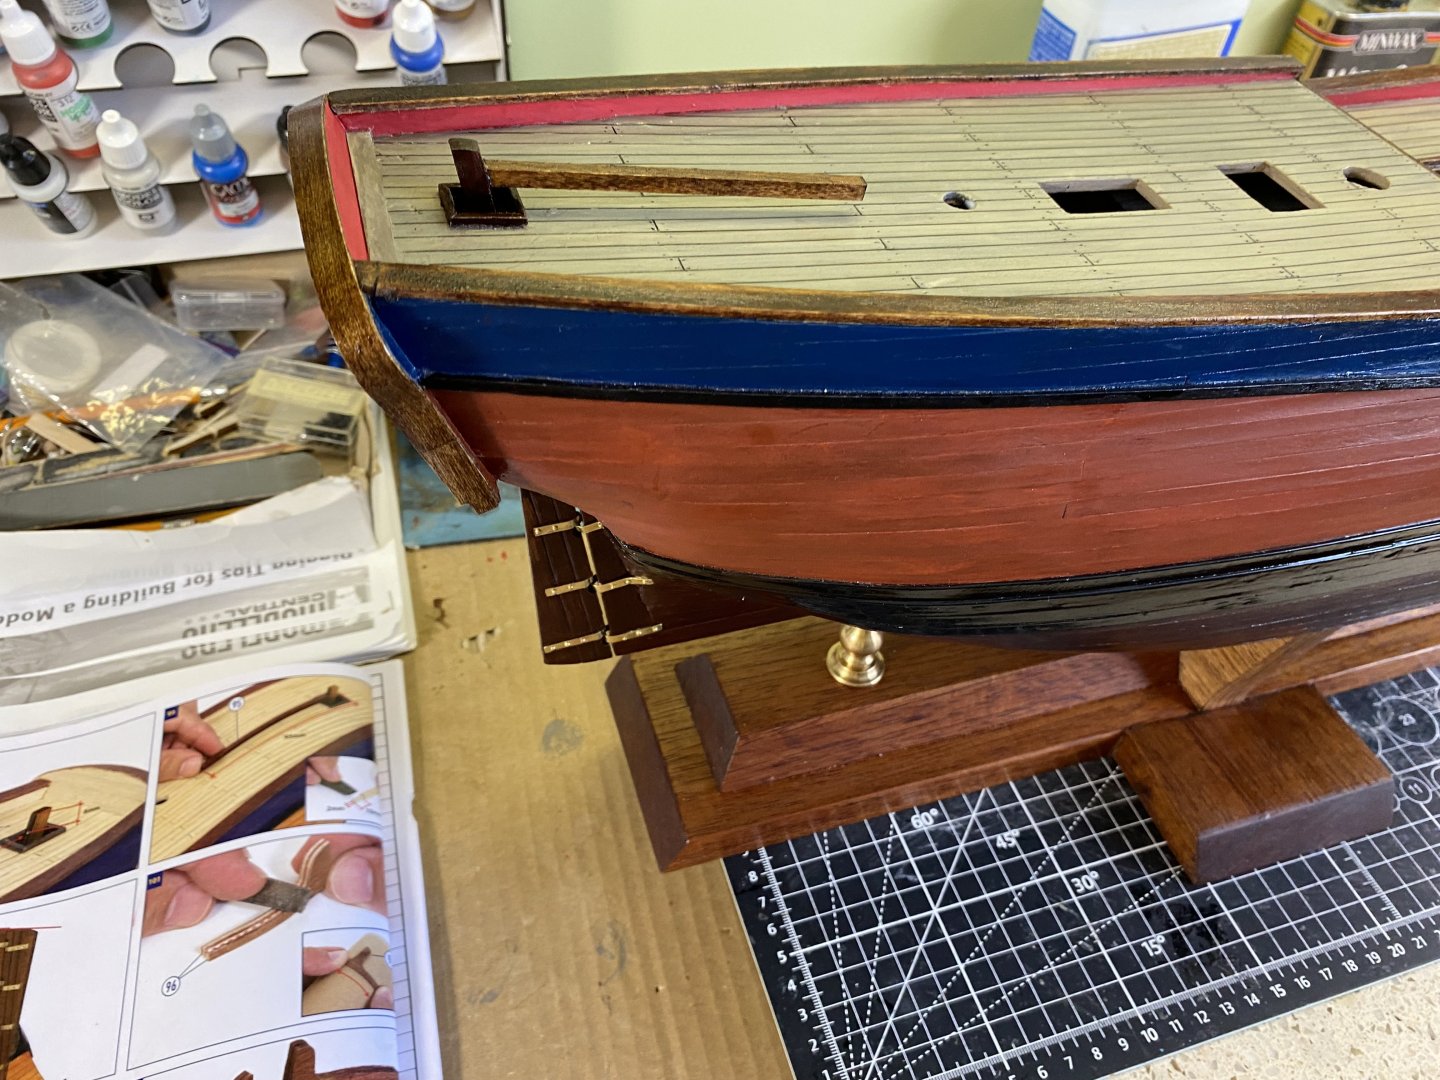
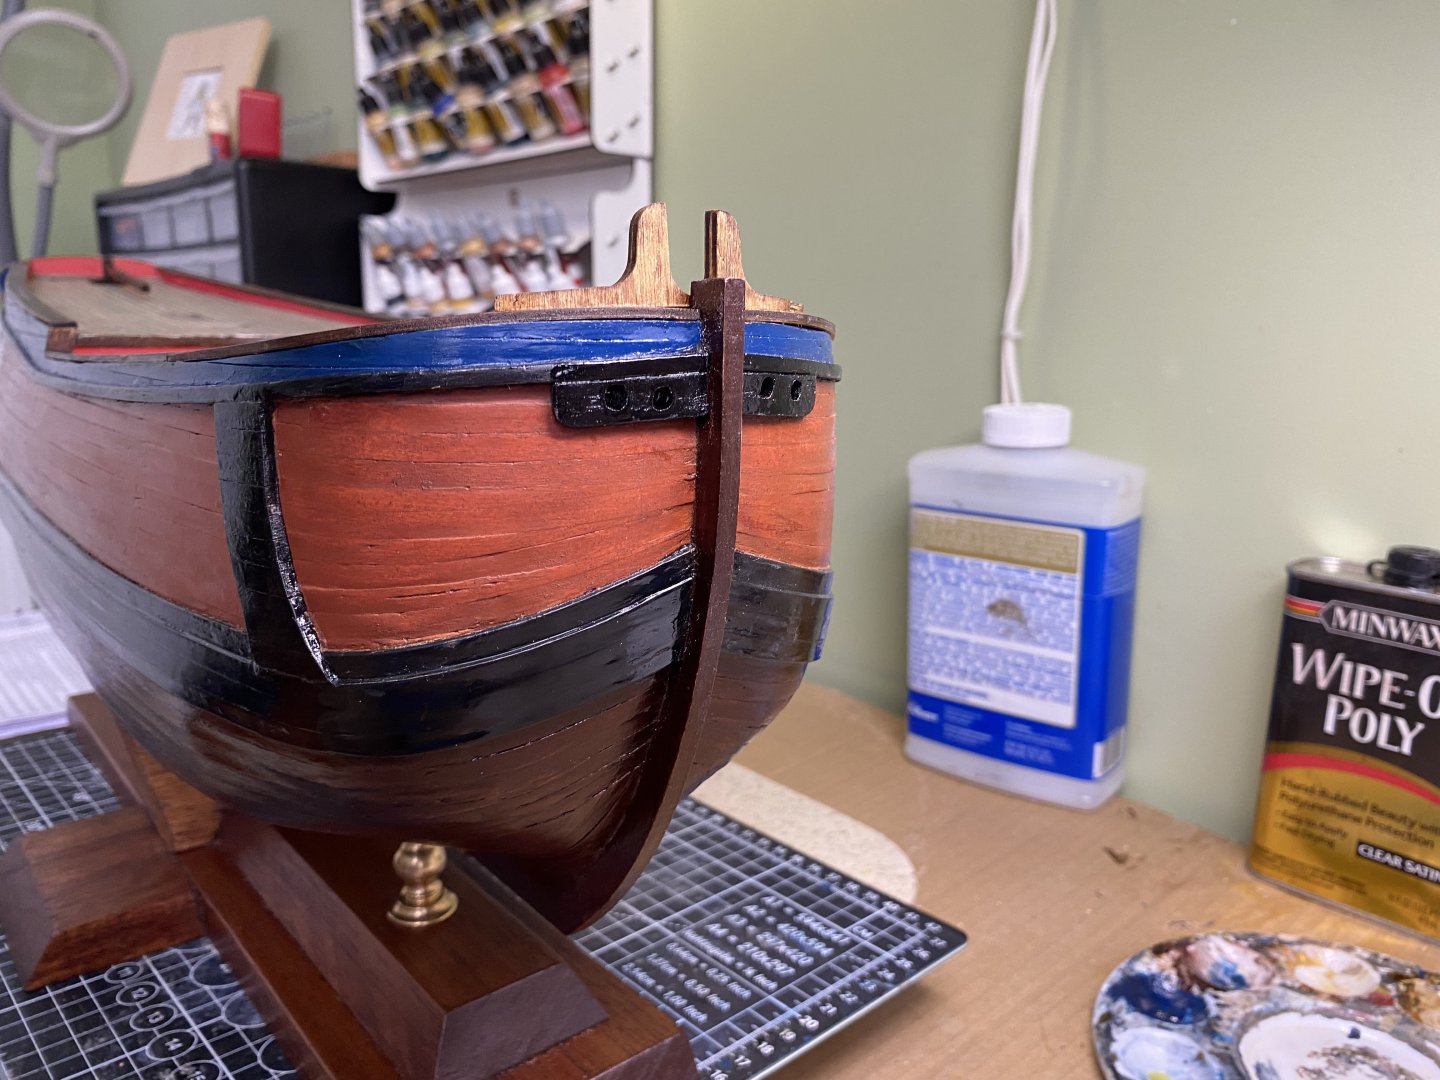
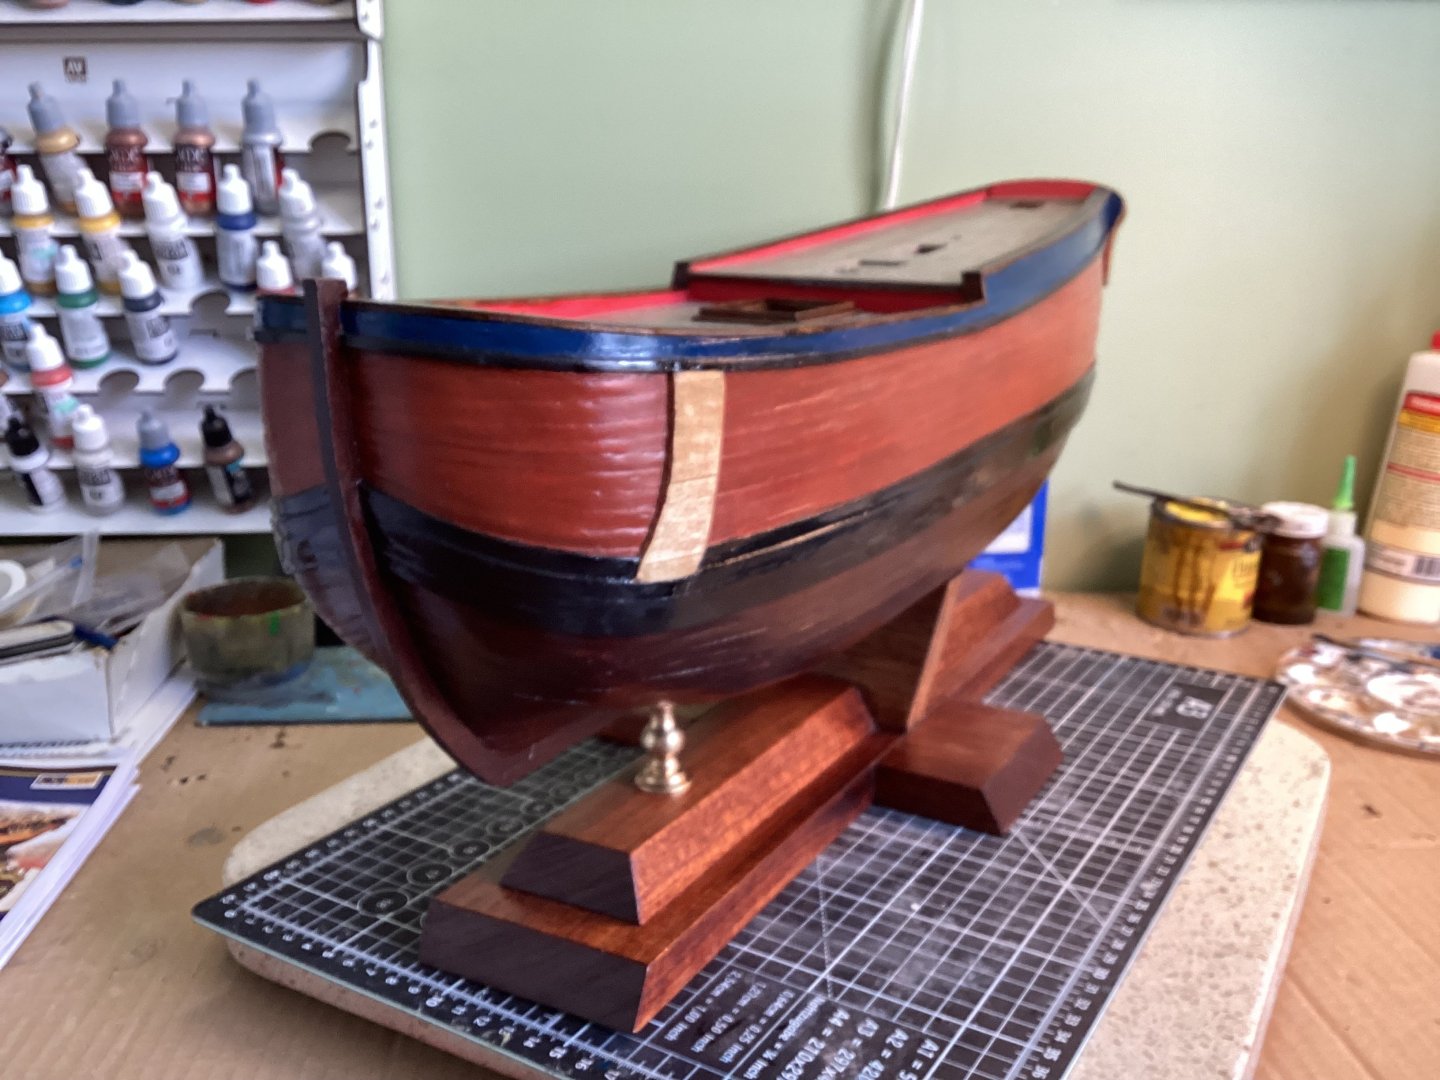
My Endeavour can now be steered with the addition of the rudder. Also added the hawse holes at the bow for the future anchor ropes. Since it has caused several questions, and I have no definitive answer, I decided to paint the rubbing strakes black instead of leaving them the natural wood they were. Slowly but surely I am completing the bow.


-
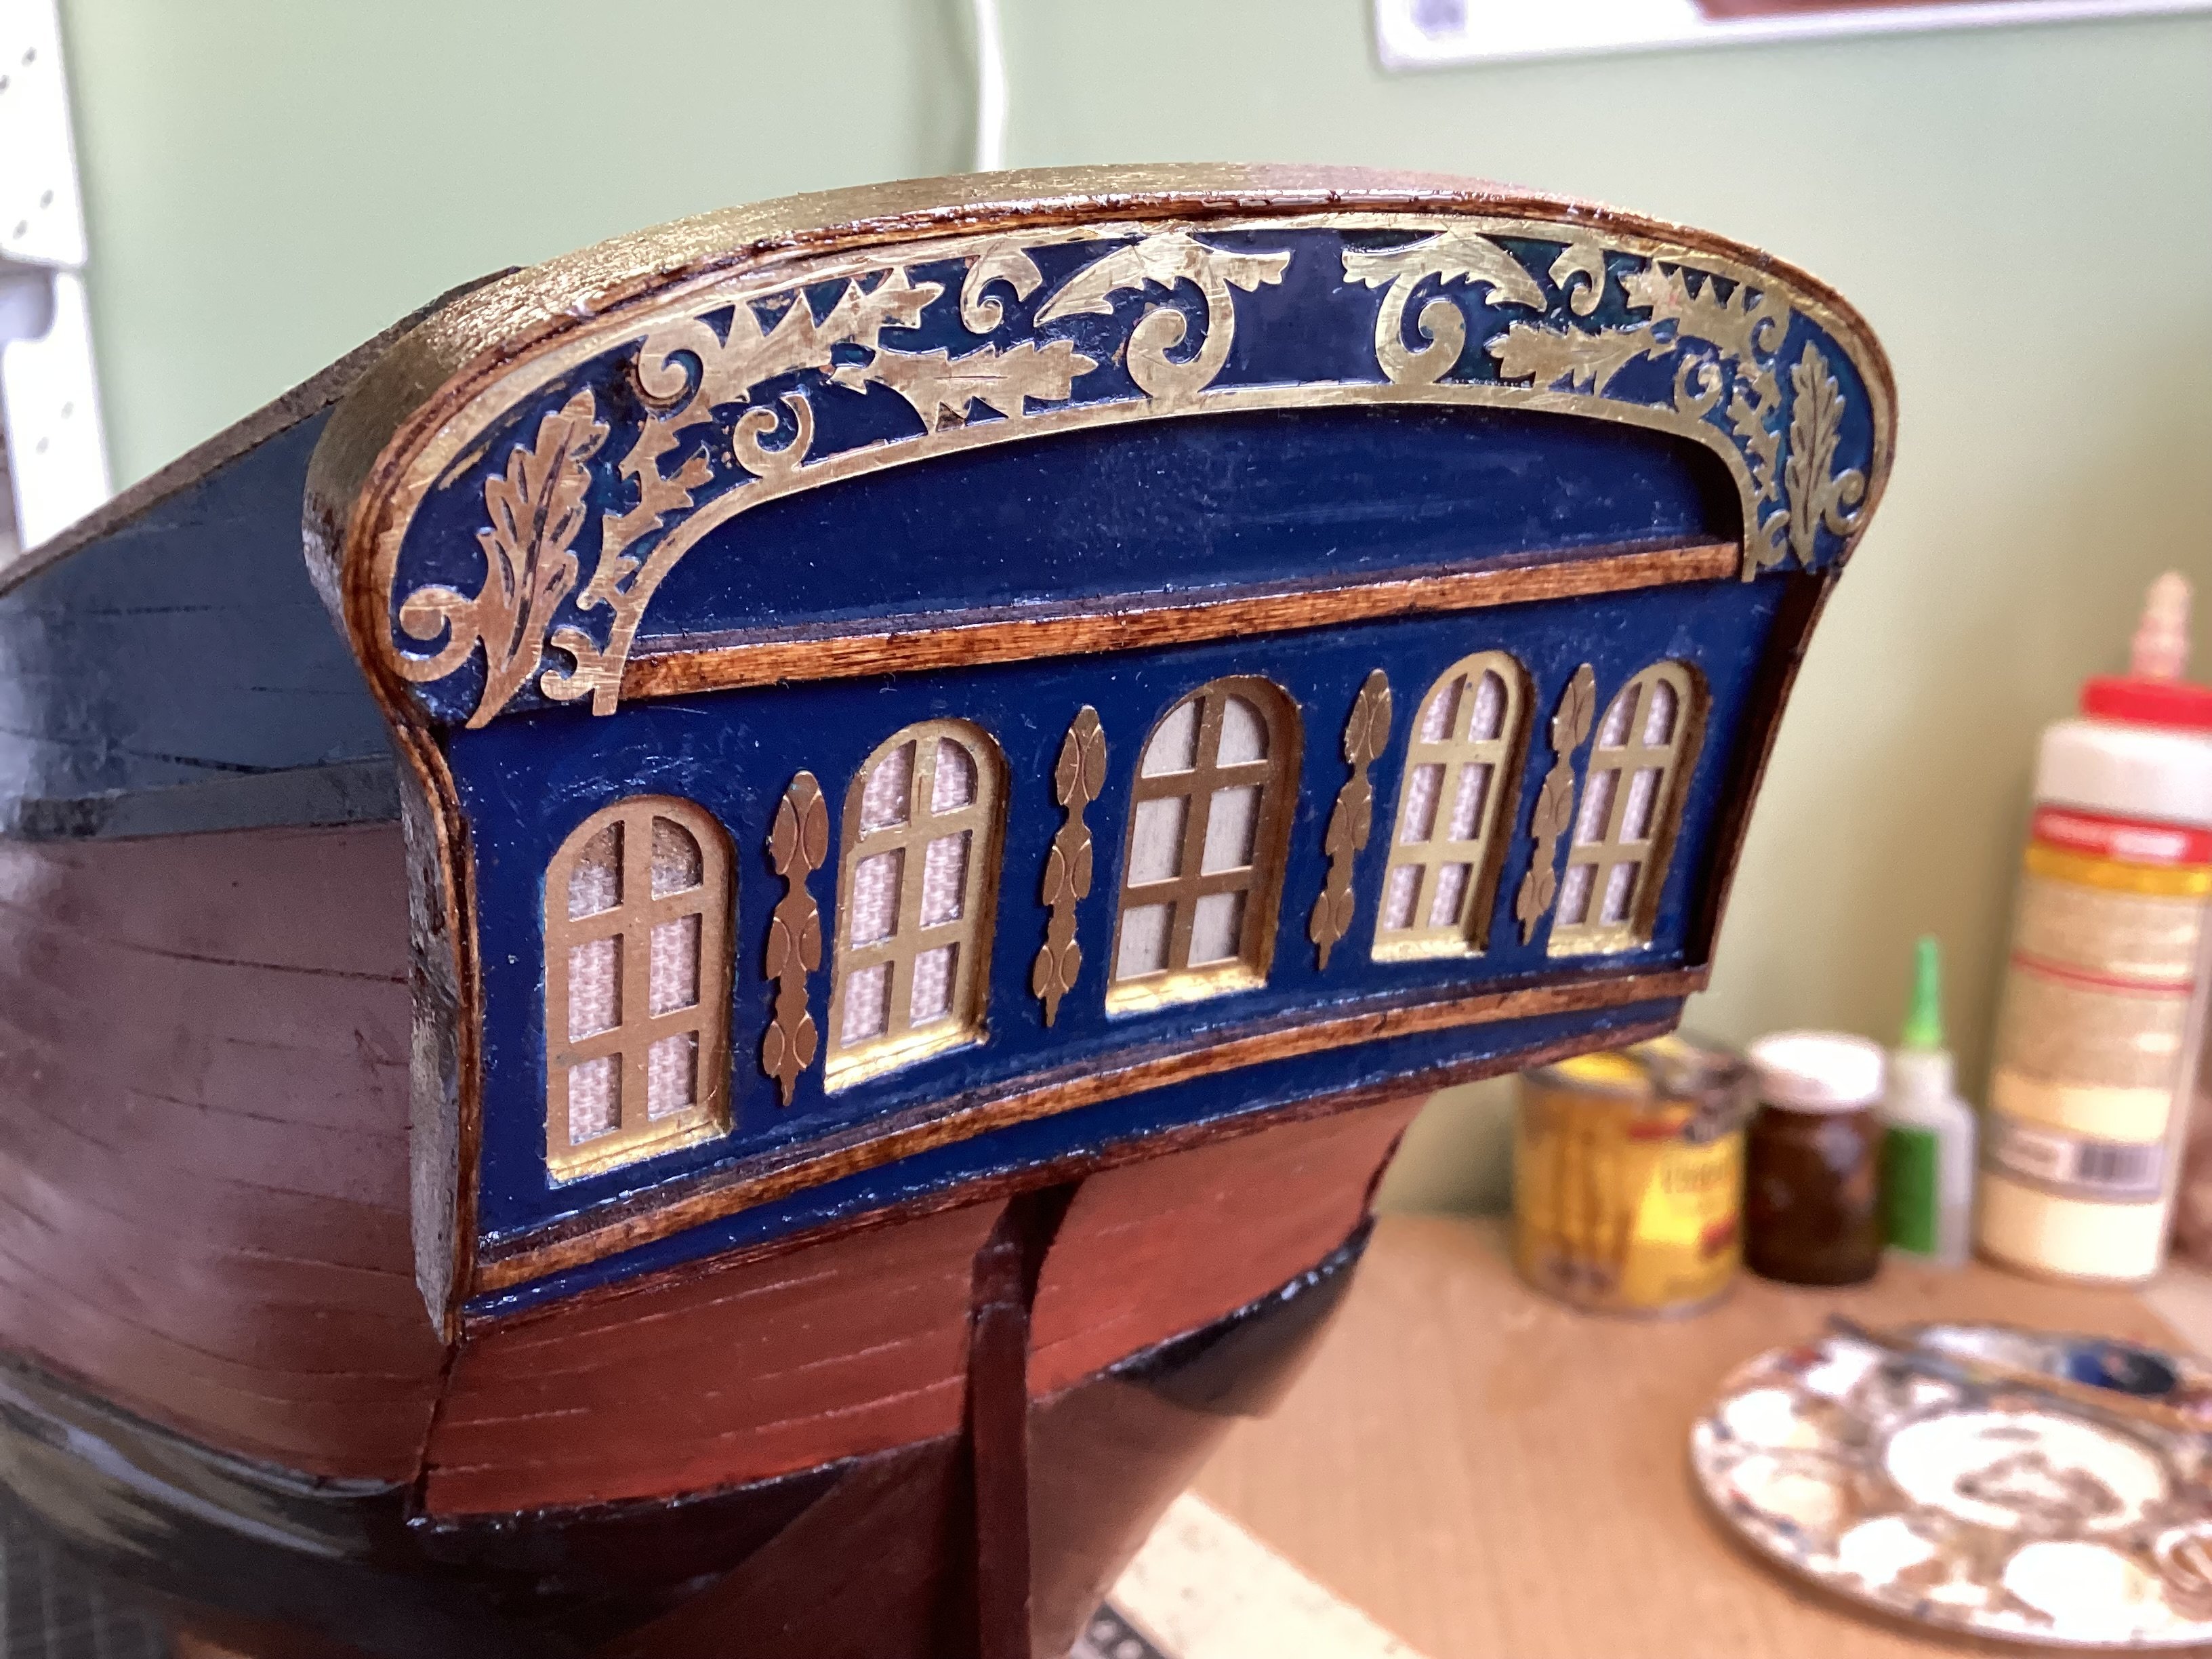
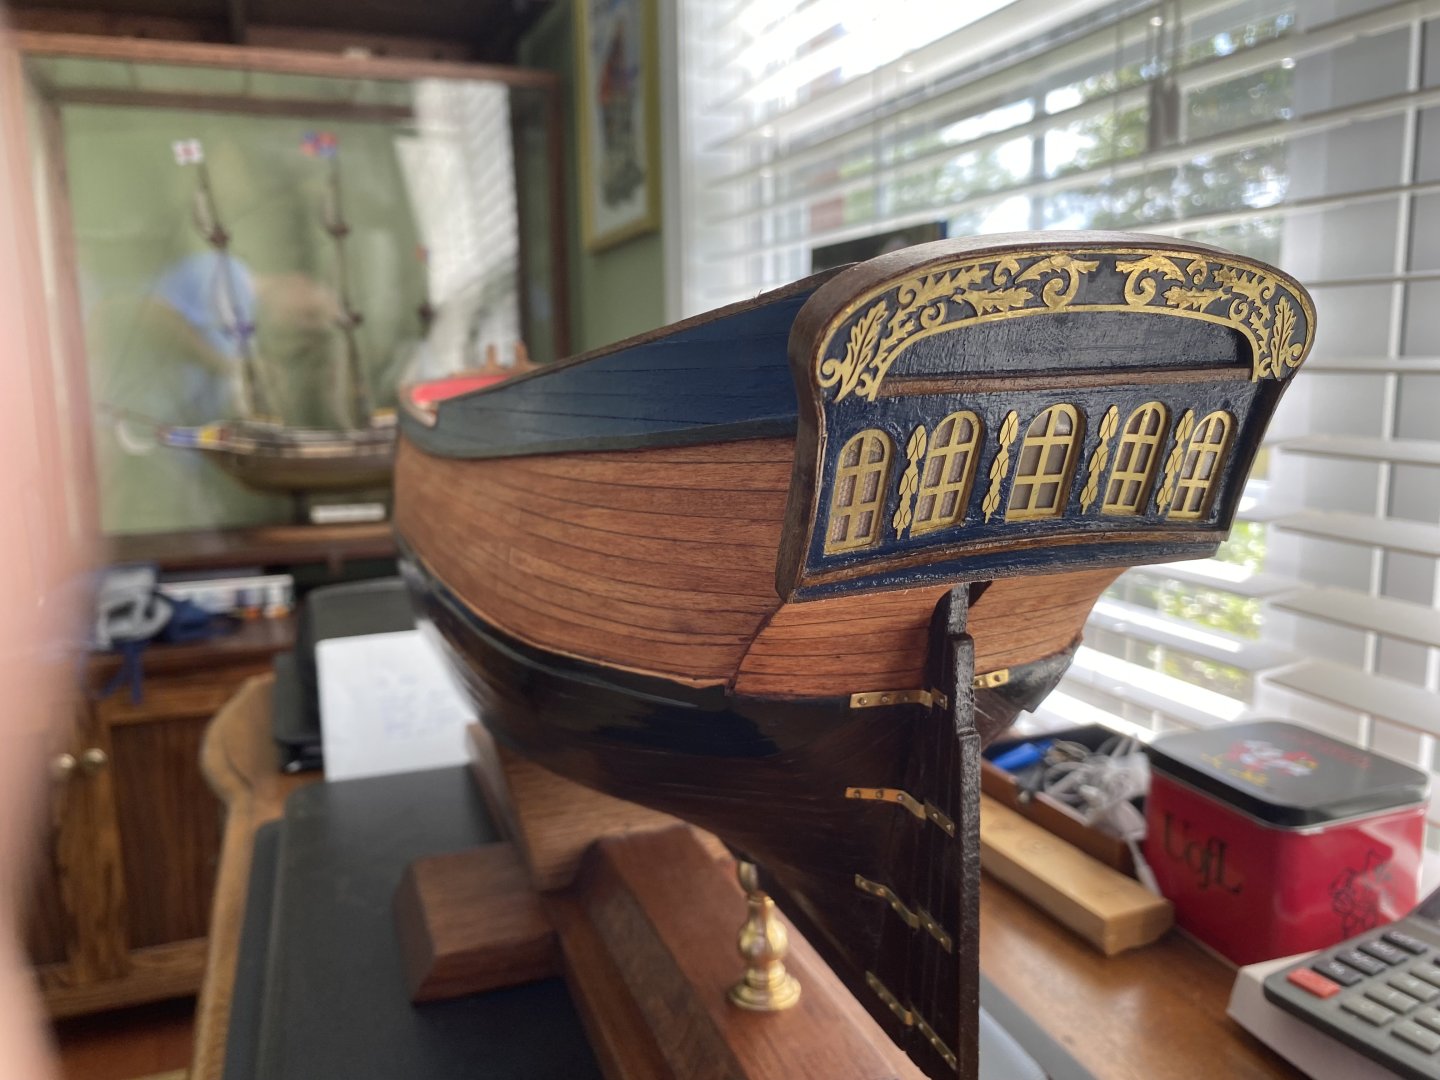
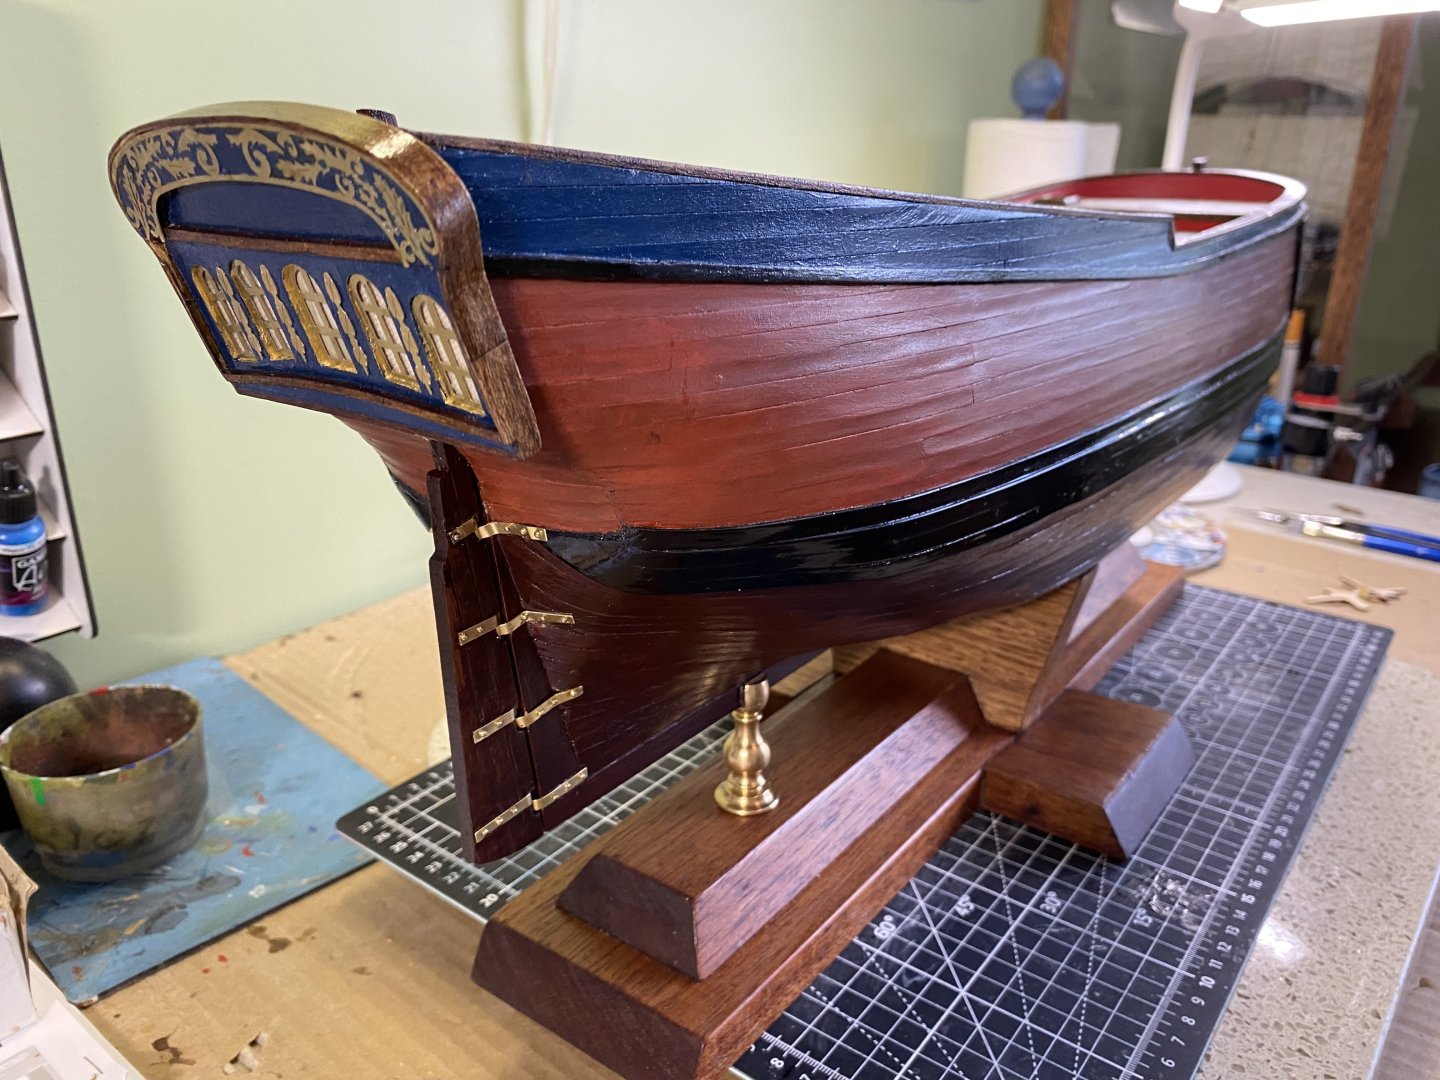
Question for you guys that are more nautical than me. The rubbing strakes at the side of the bow. The replica of the Endeavor in Australia shows the strakes as a natural color. The model photo and other builds show them black. A number of people viewing the progress of my model have asked what color I planned to paint the stakes. They assumed since the strakes were a lighter color wood I just had not painted them. I explain that the replica shows them a lighter wood. What is correct? I have made a great deal of progress since my last update. Stern is complete. I added plastic windows behind the metal frames and drapes. No doubt CPT Cook at times wished for less sun light in the cabin. I made fold down shutters I have yet to decide if I am going to attach them or not. You may notice a little discoloration in the palladium part of the far port window. If you are like me you are sometimes your own worst enemy. I had the stern pretty much finished perfectly. But of course, as I am guilty of doing, I thought one little touch up would make it even better. I decided I needed to touch up a couple spots inside the window frames. And of course I got a small bit of gold paint on the top of the window plastic on that window 😫. My only recourse was to clean it up best I could. I think a bit got behind the plastic. As I said, sometimes my perfection is my enemy.


-
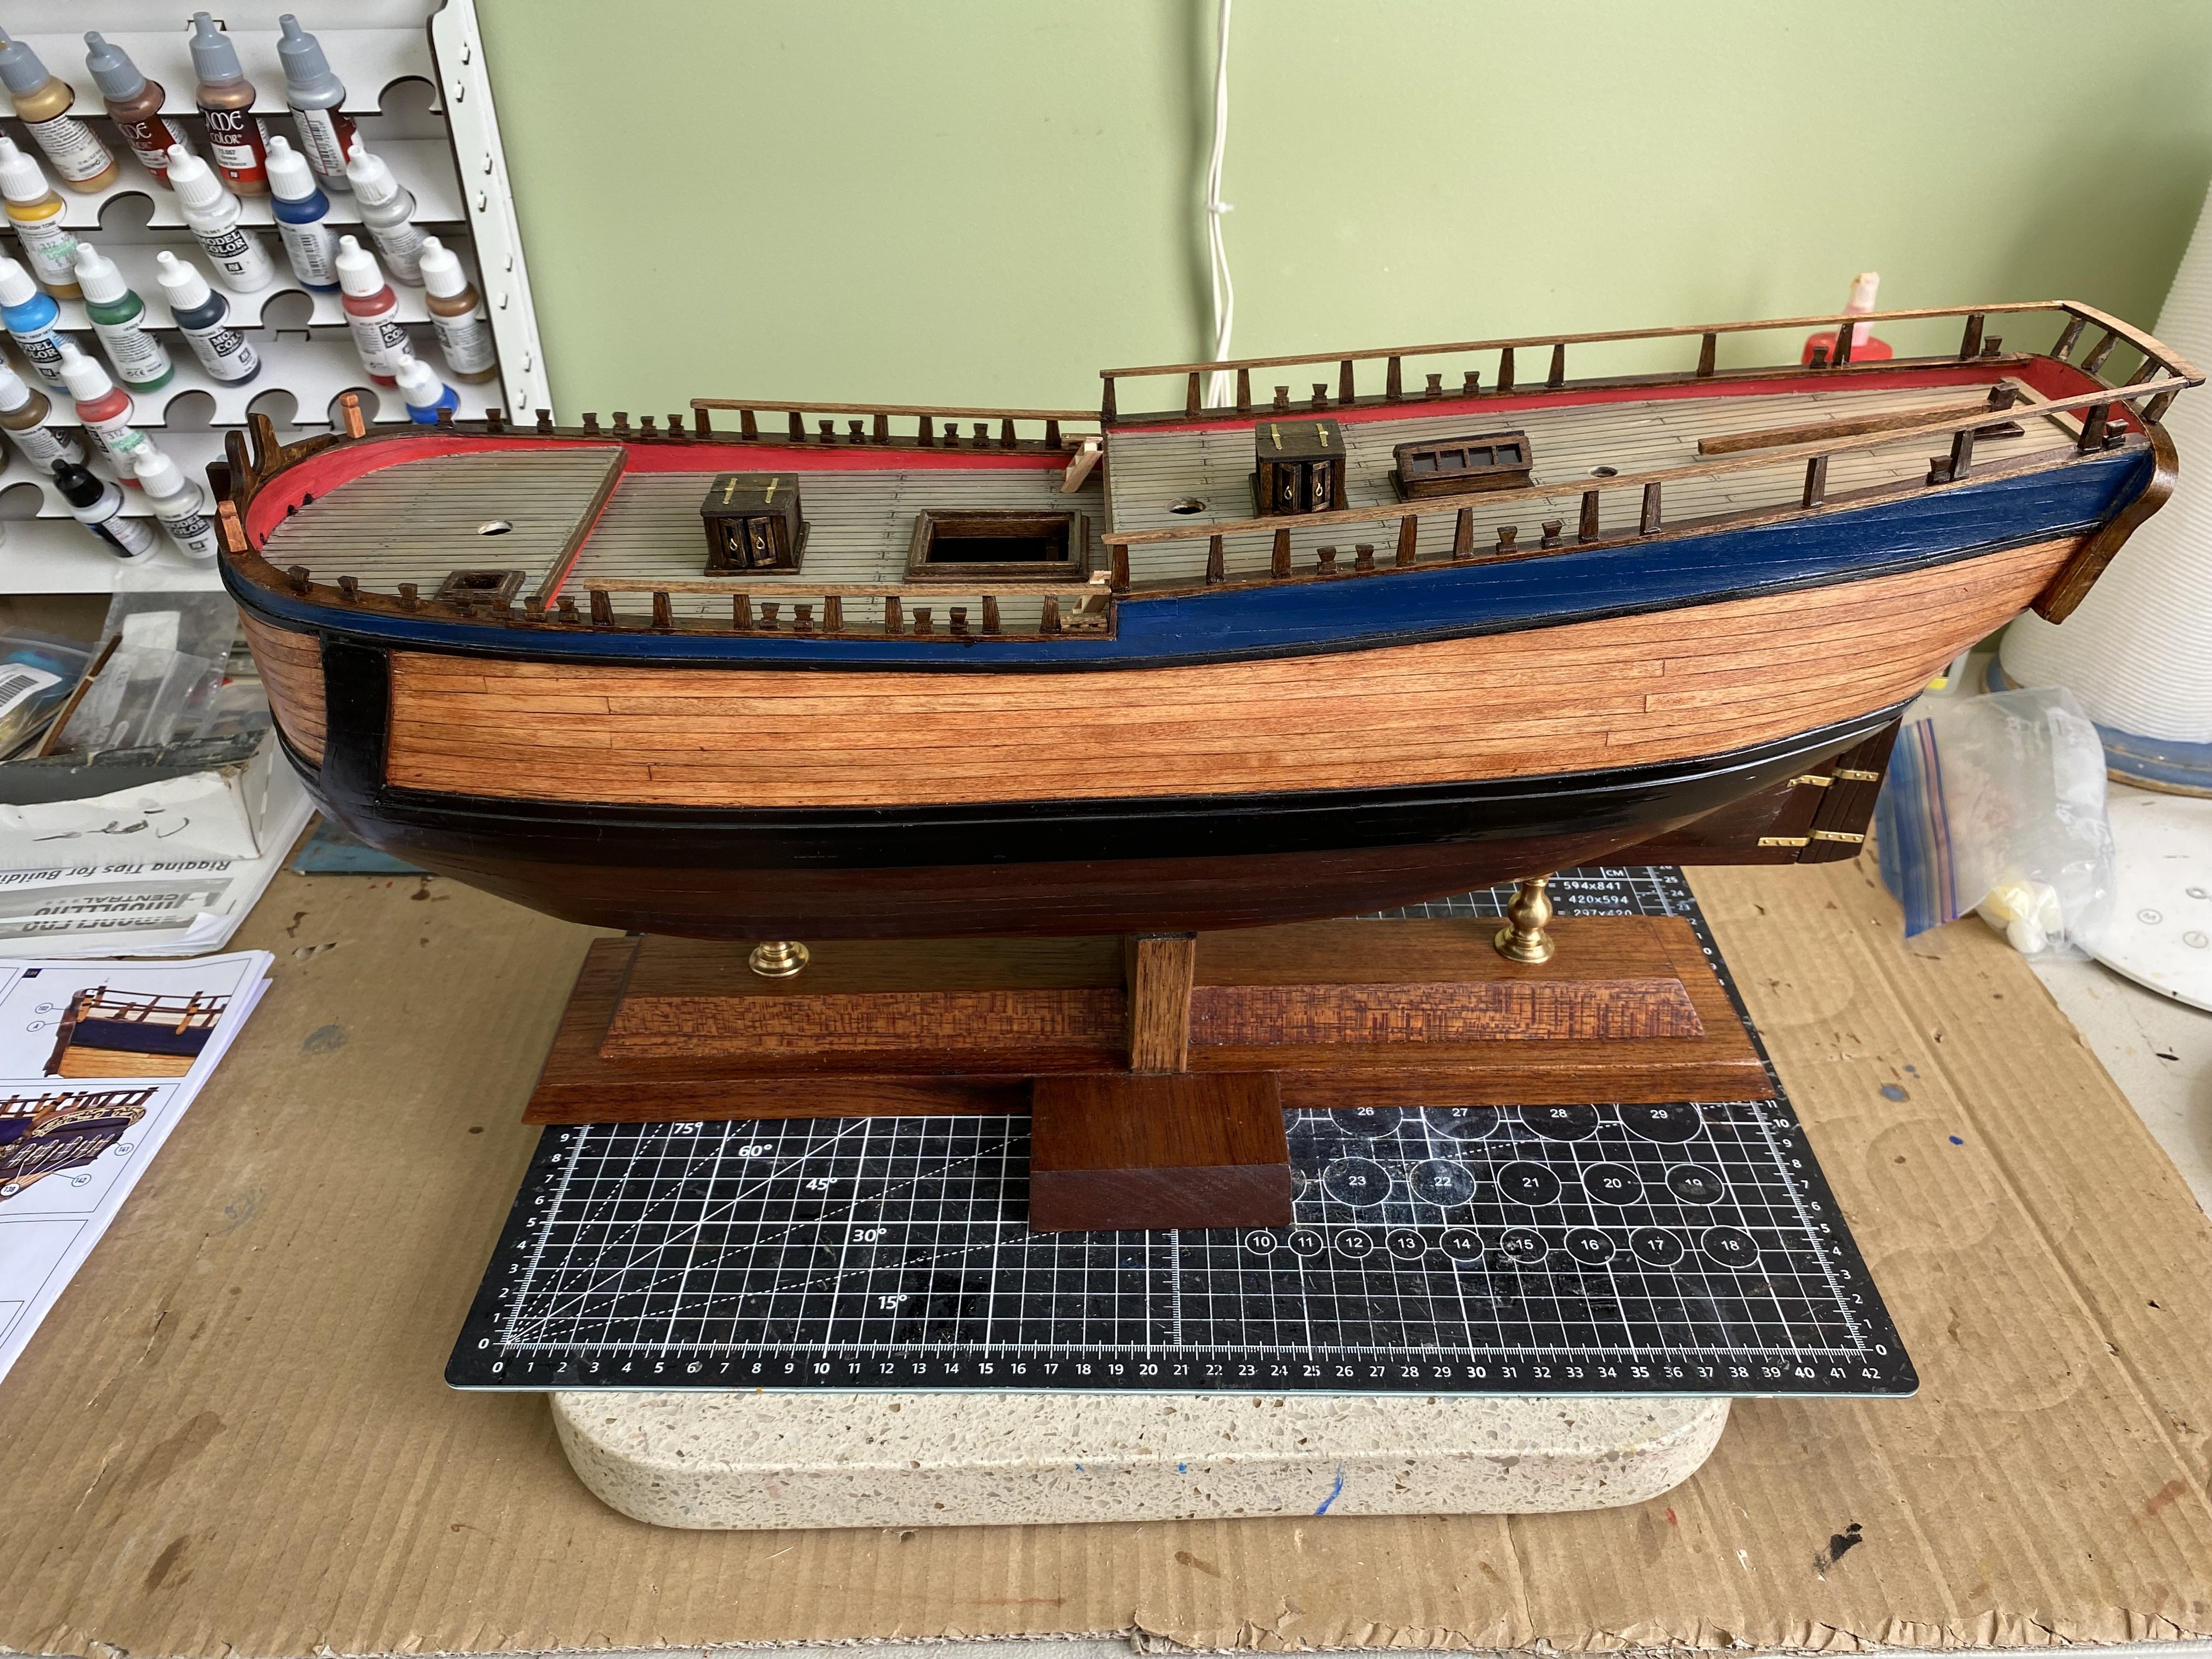
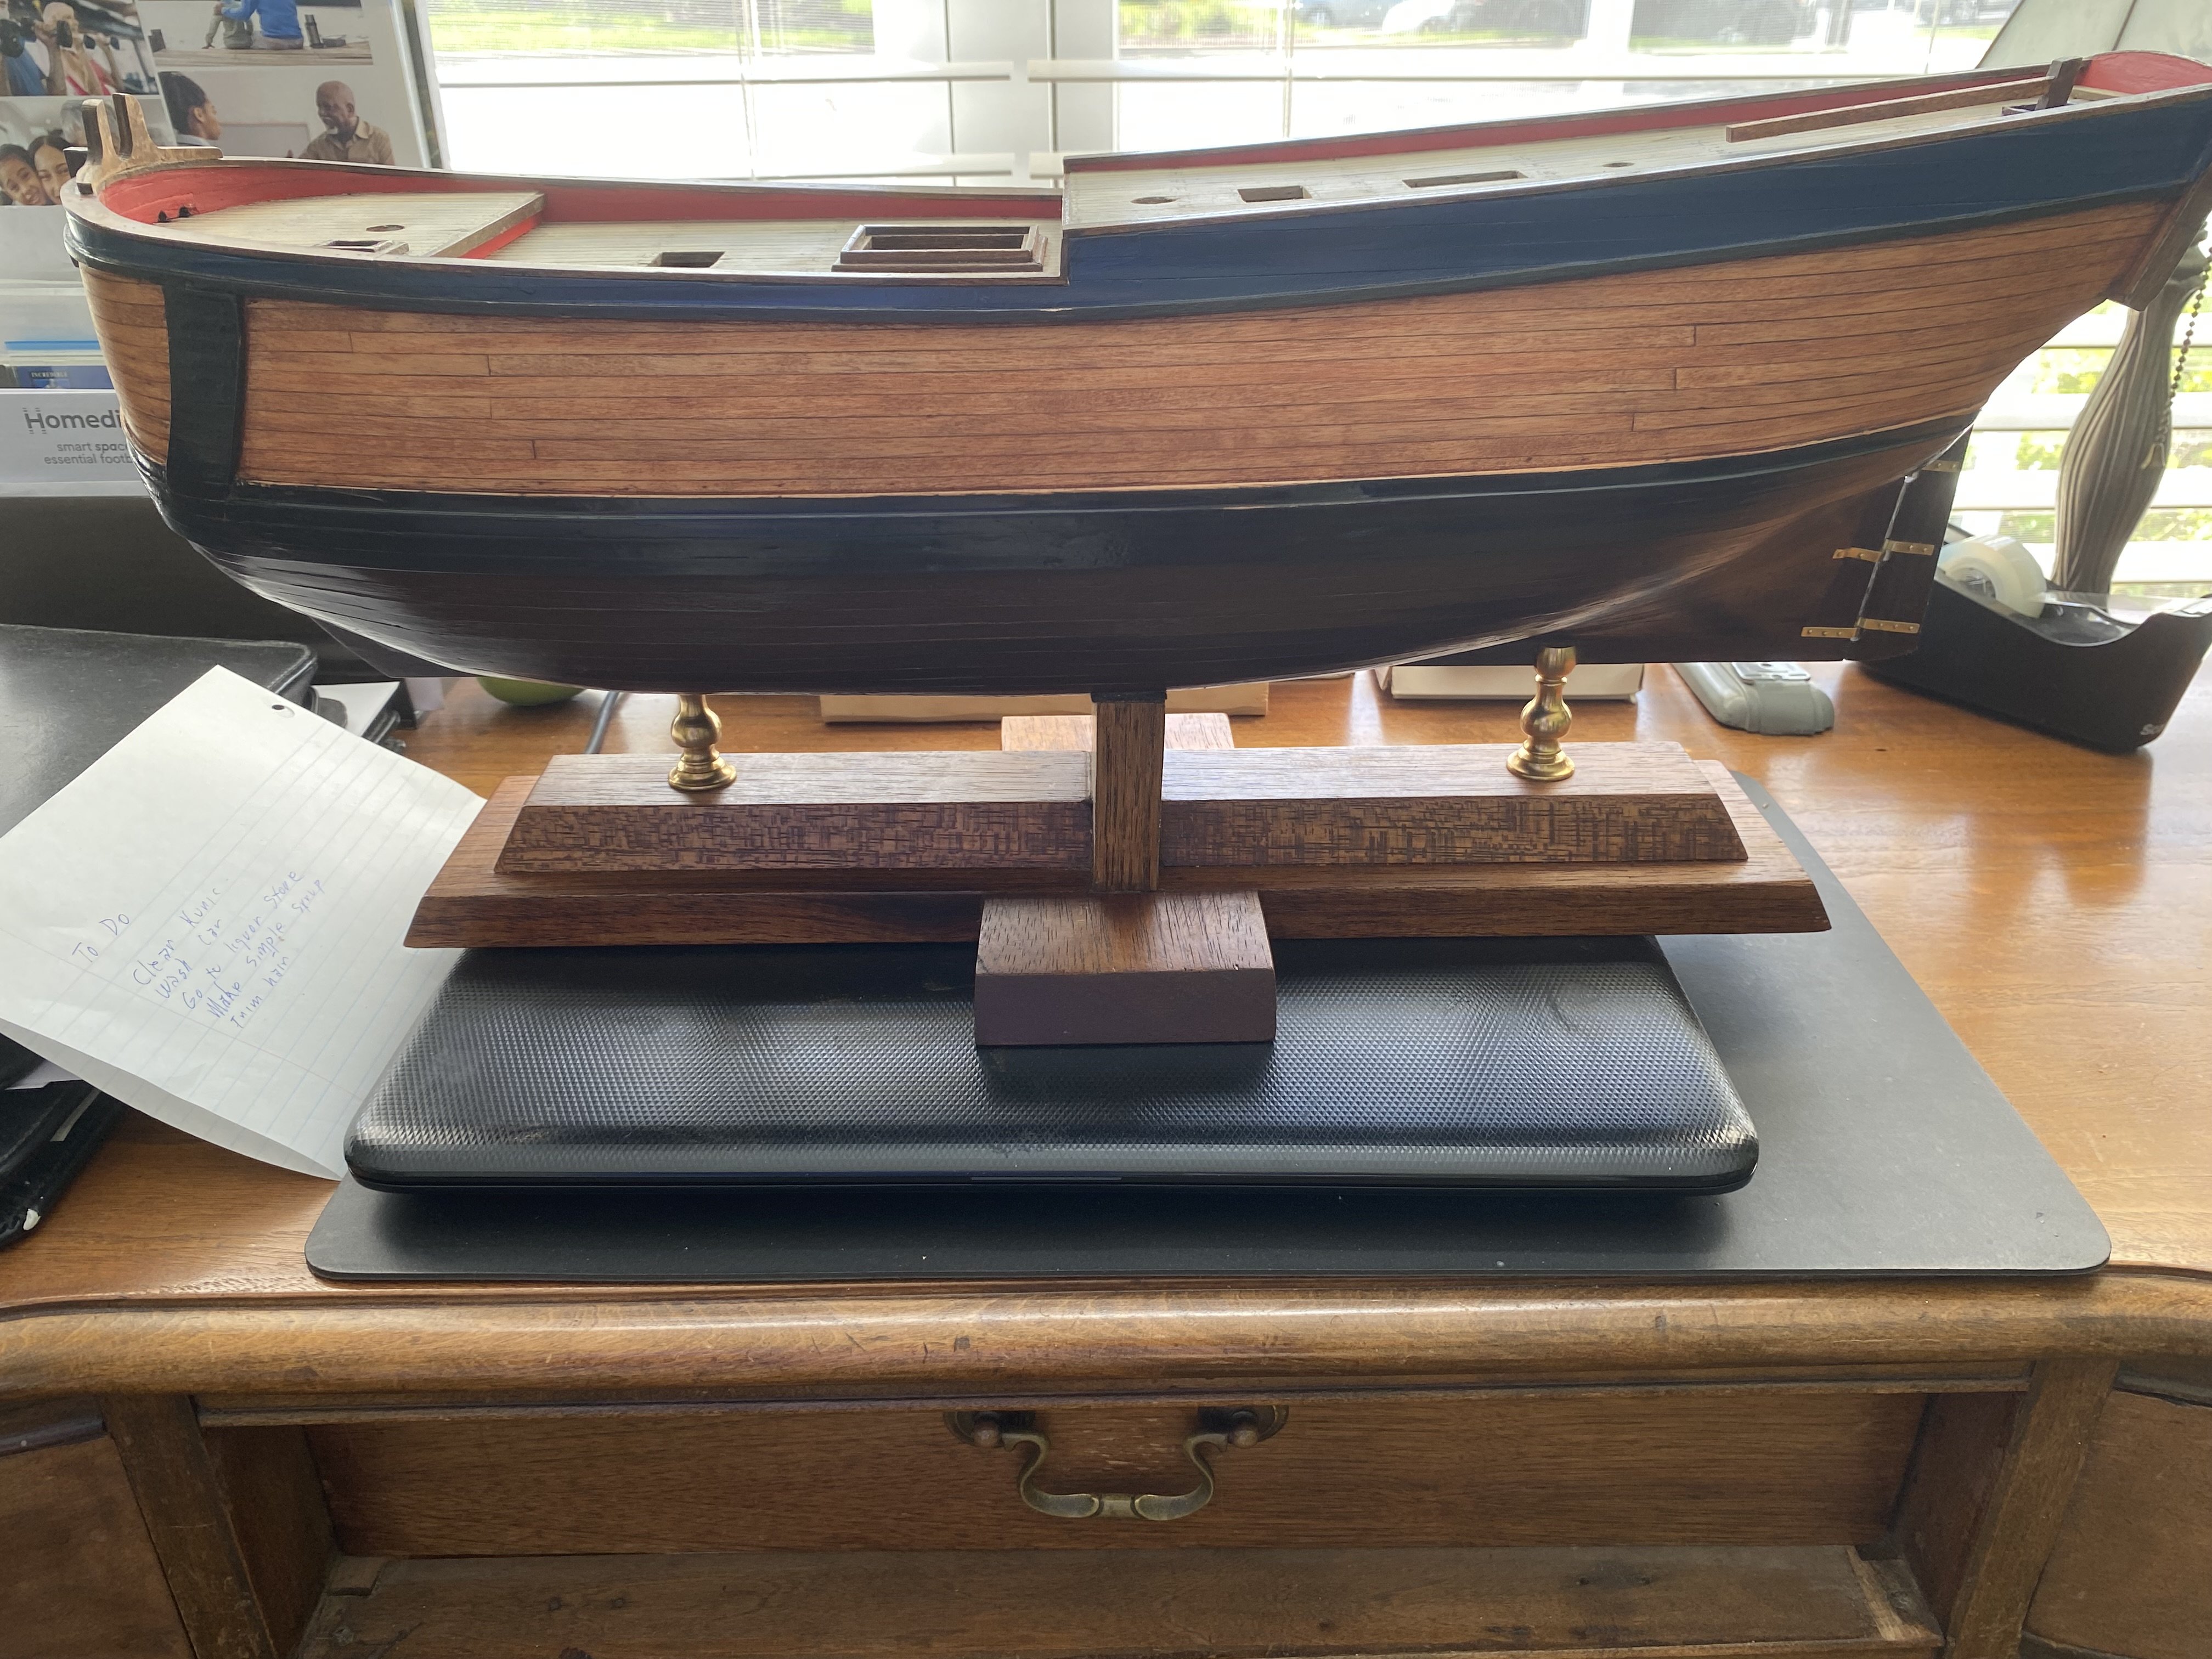
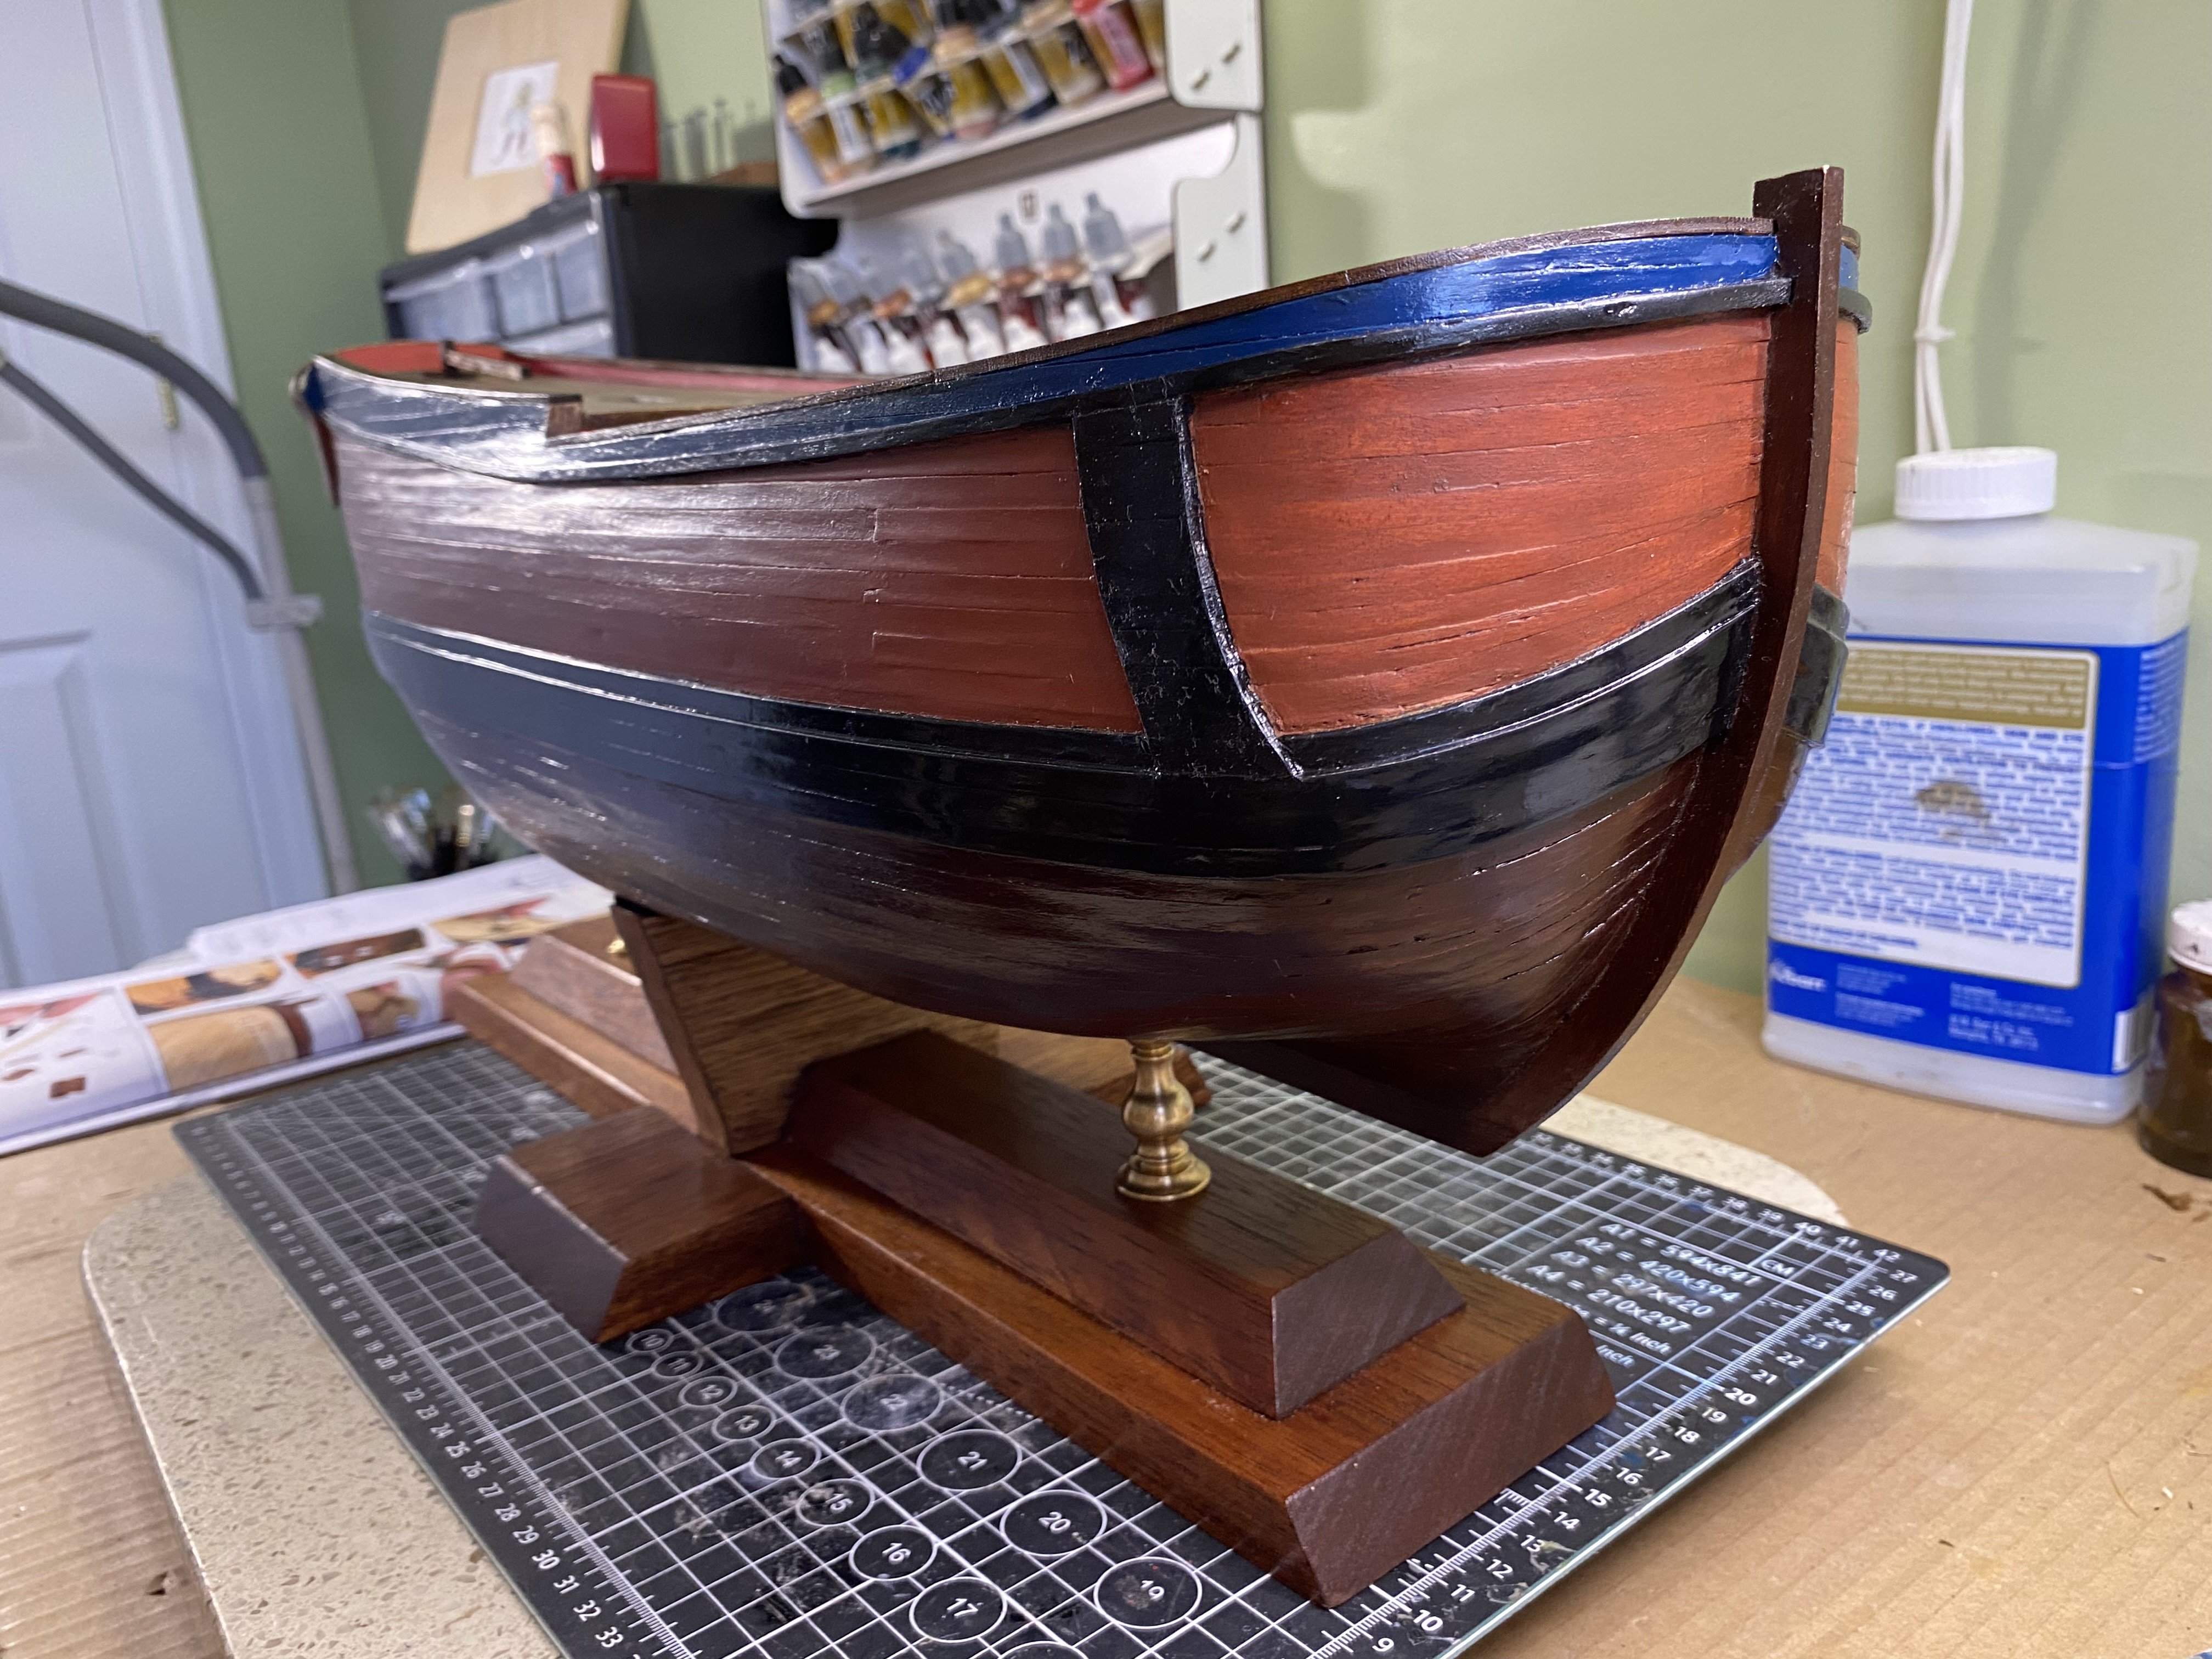
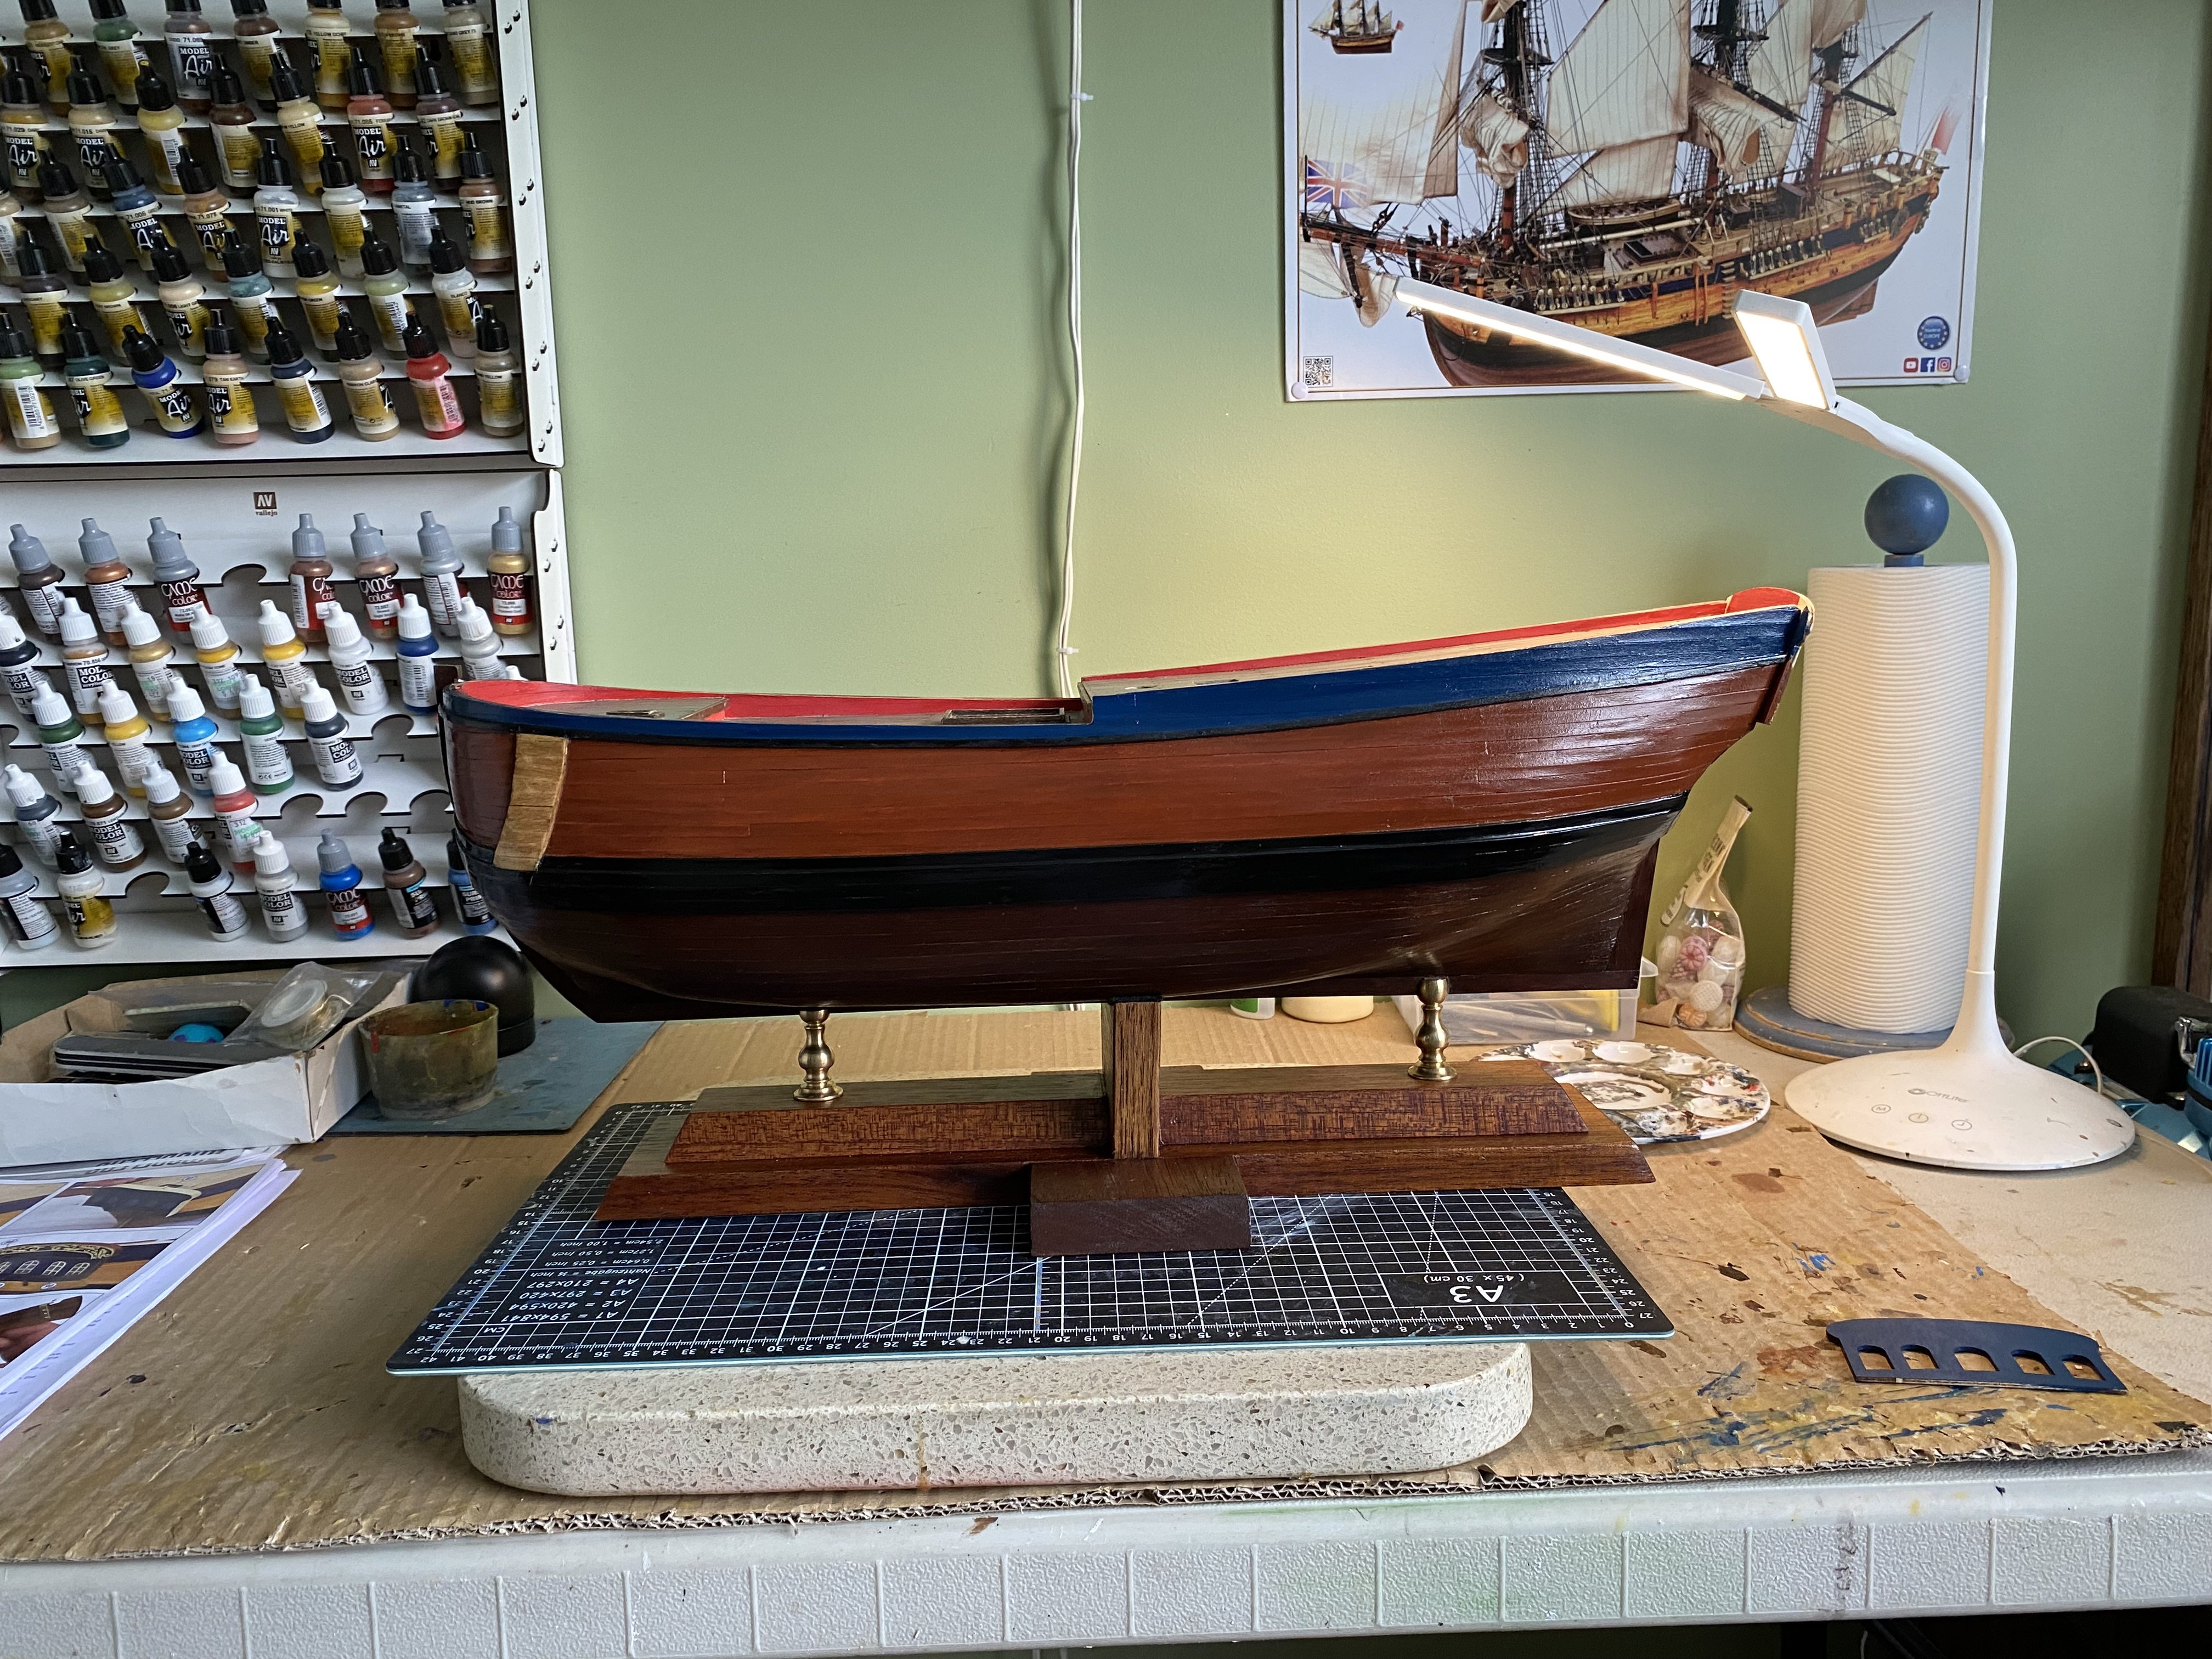
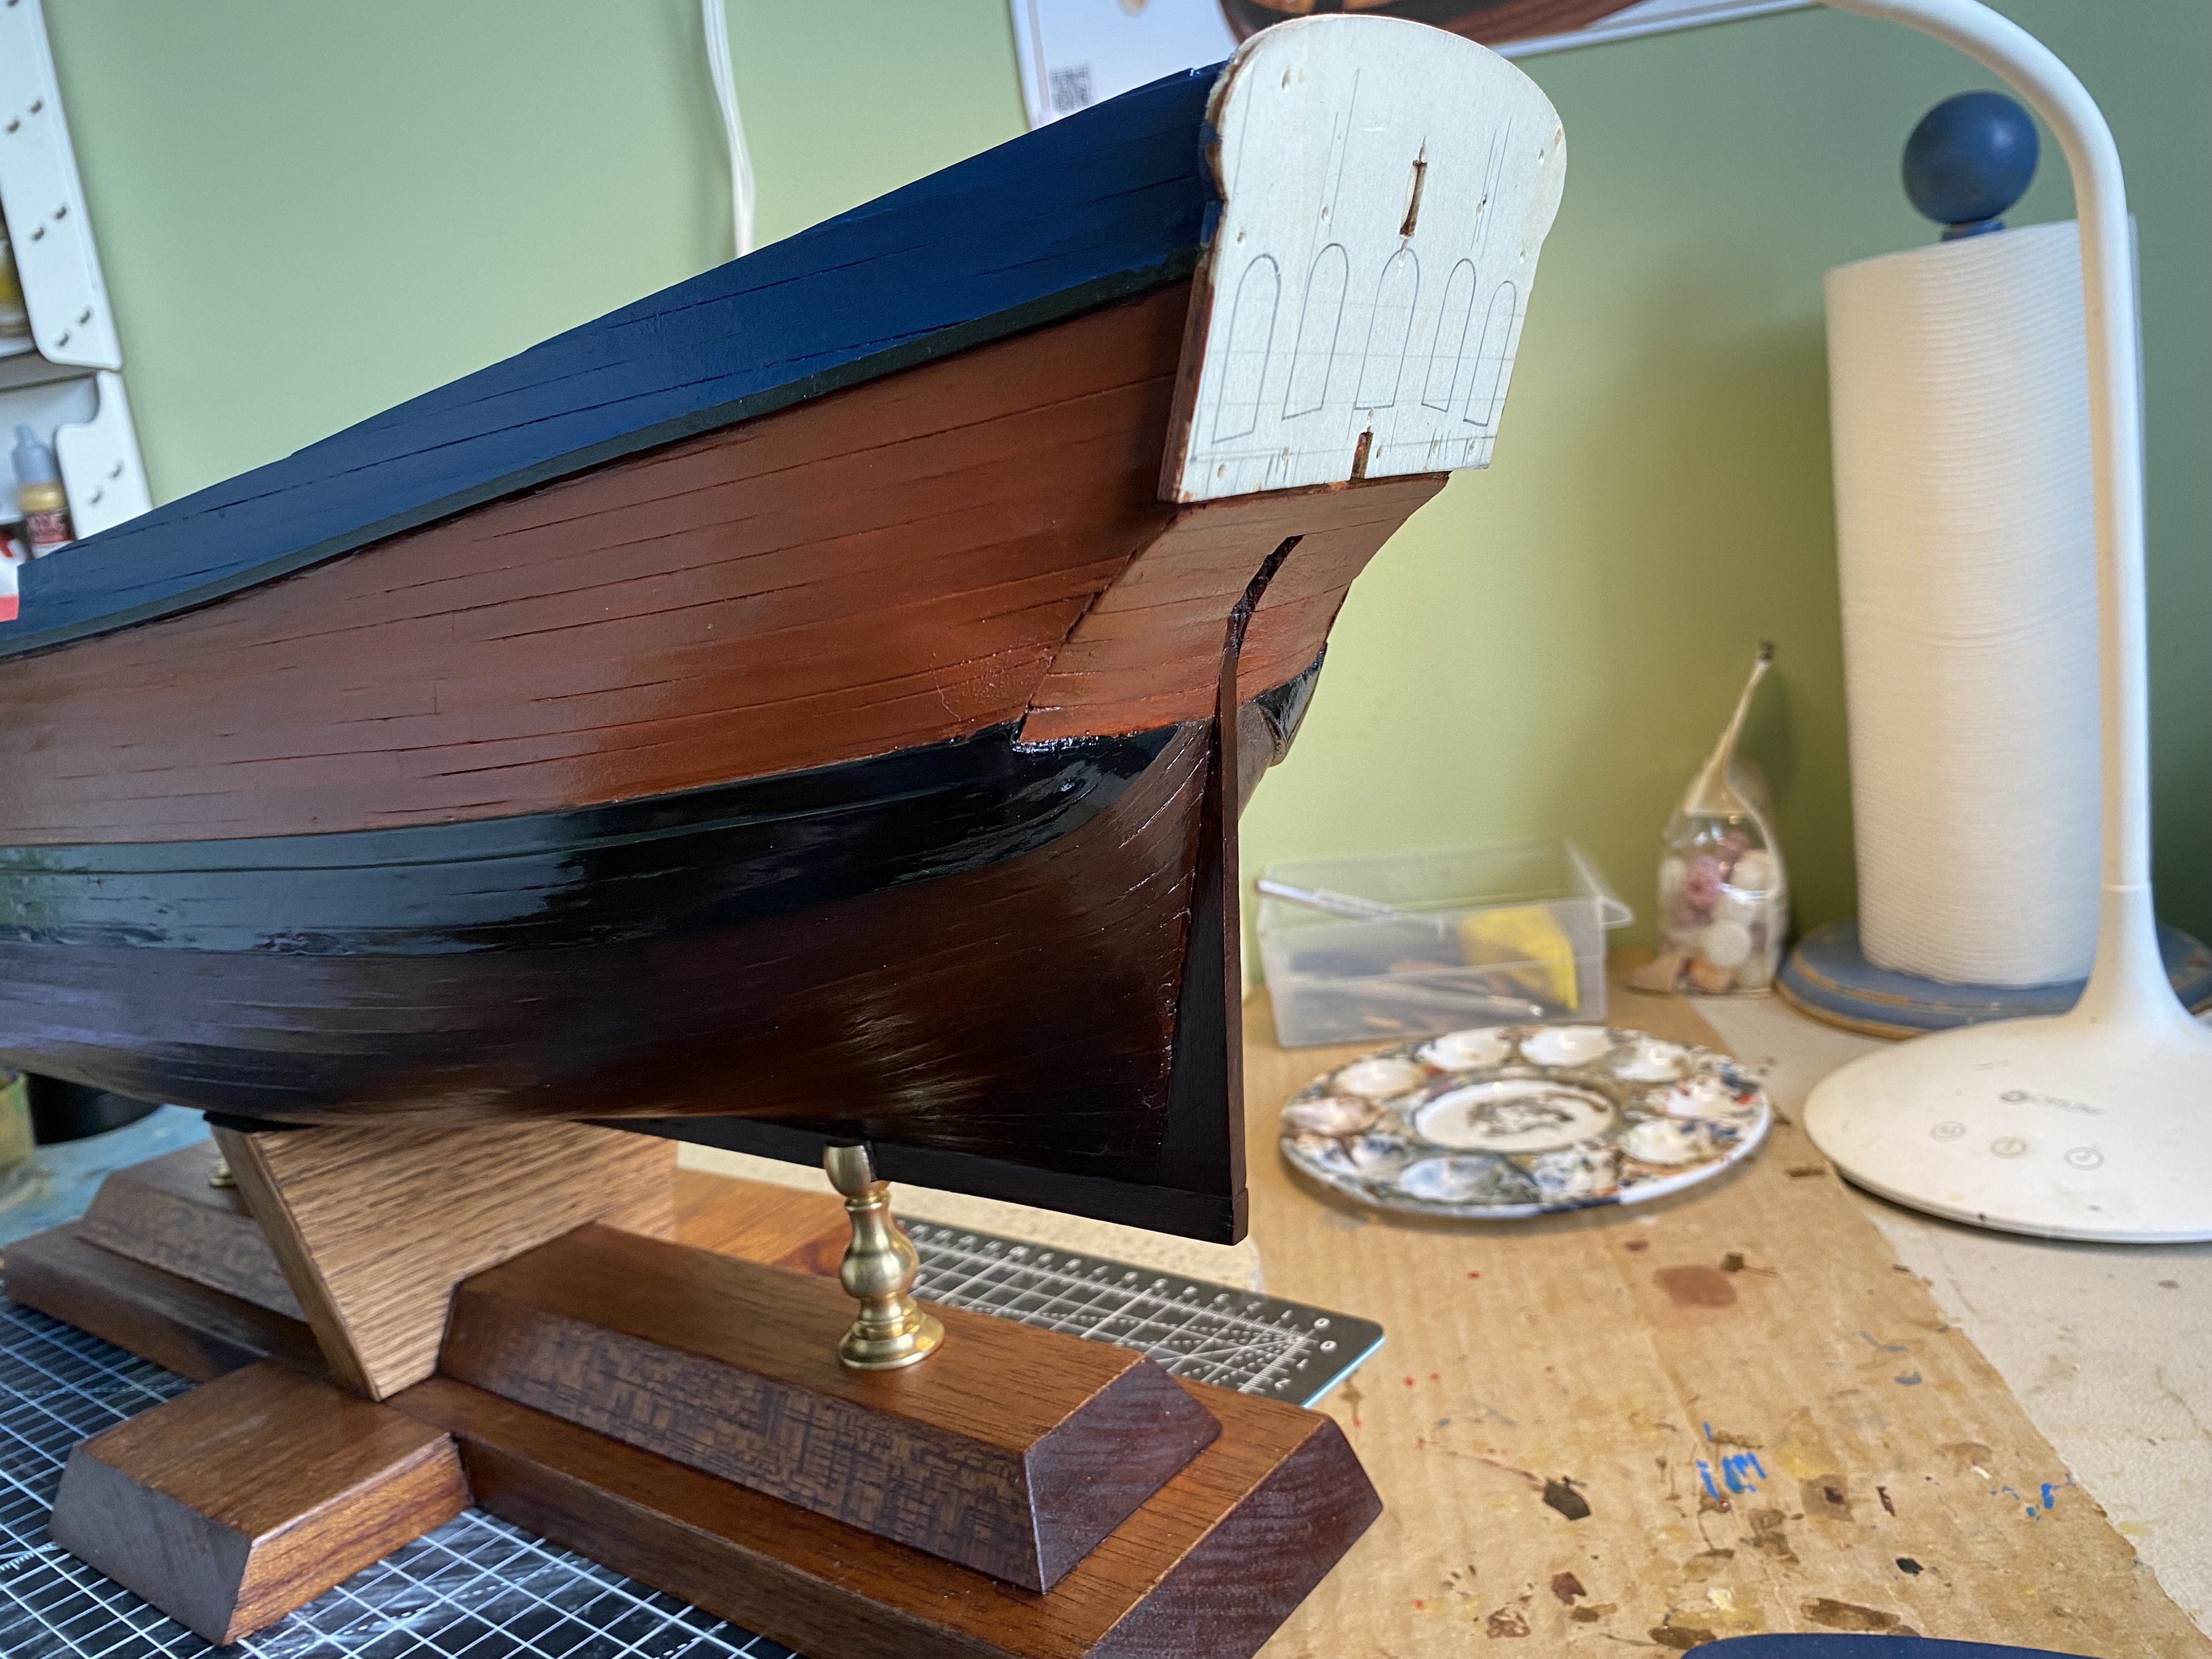
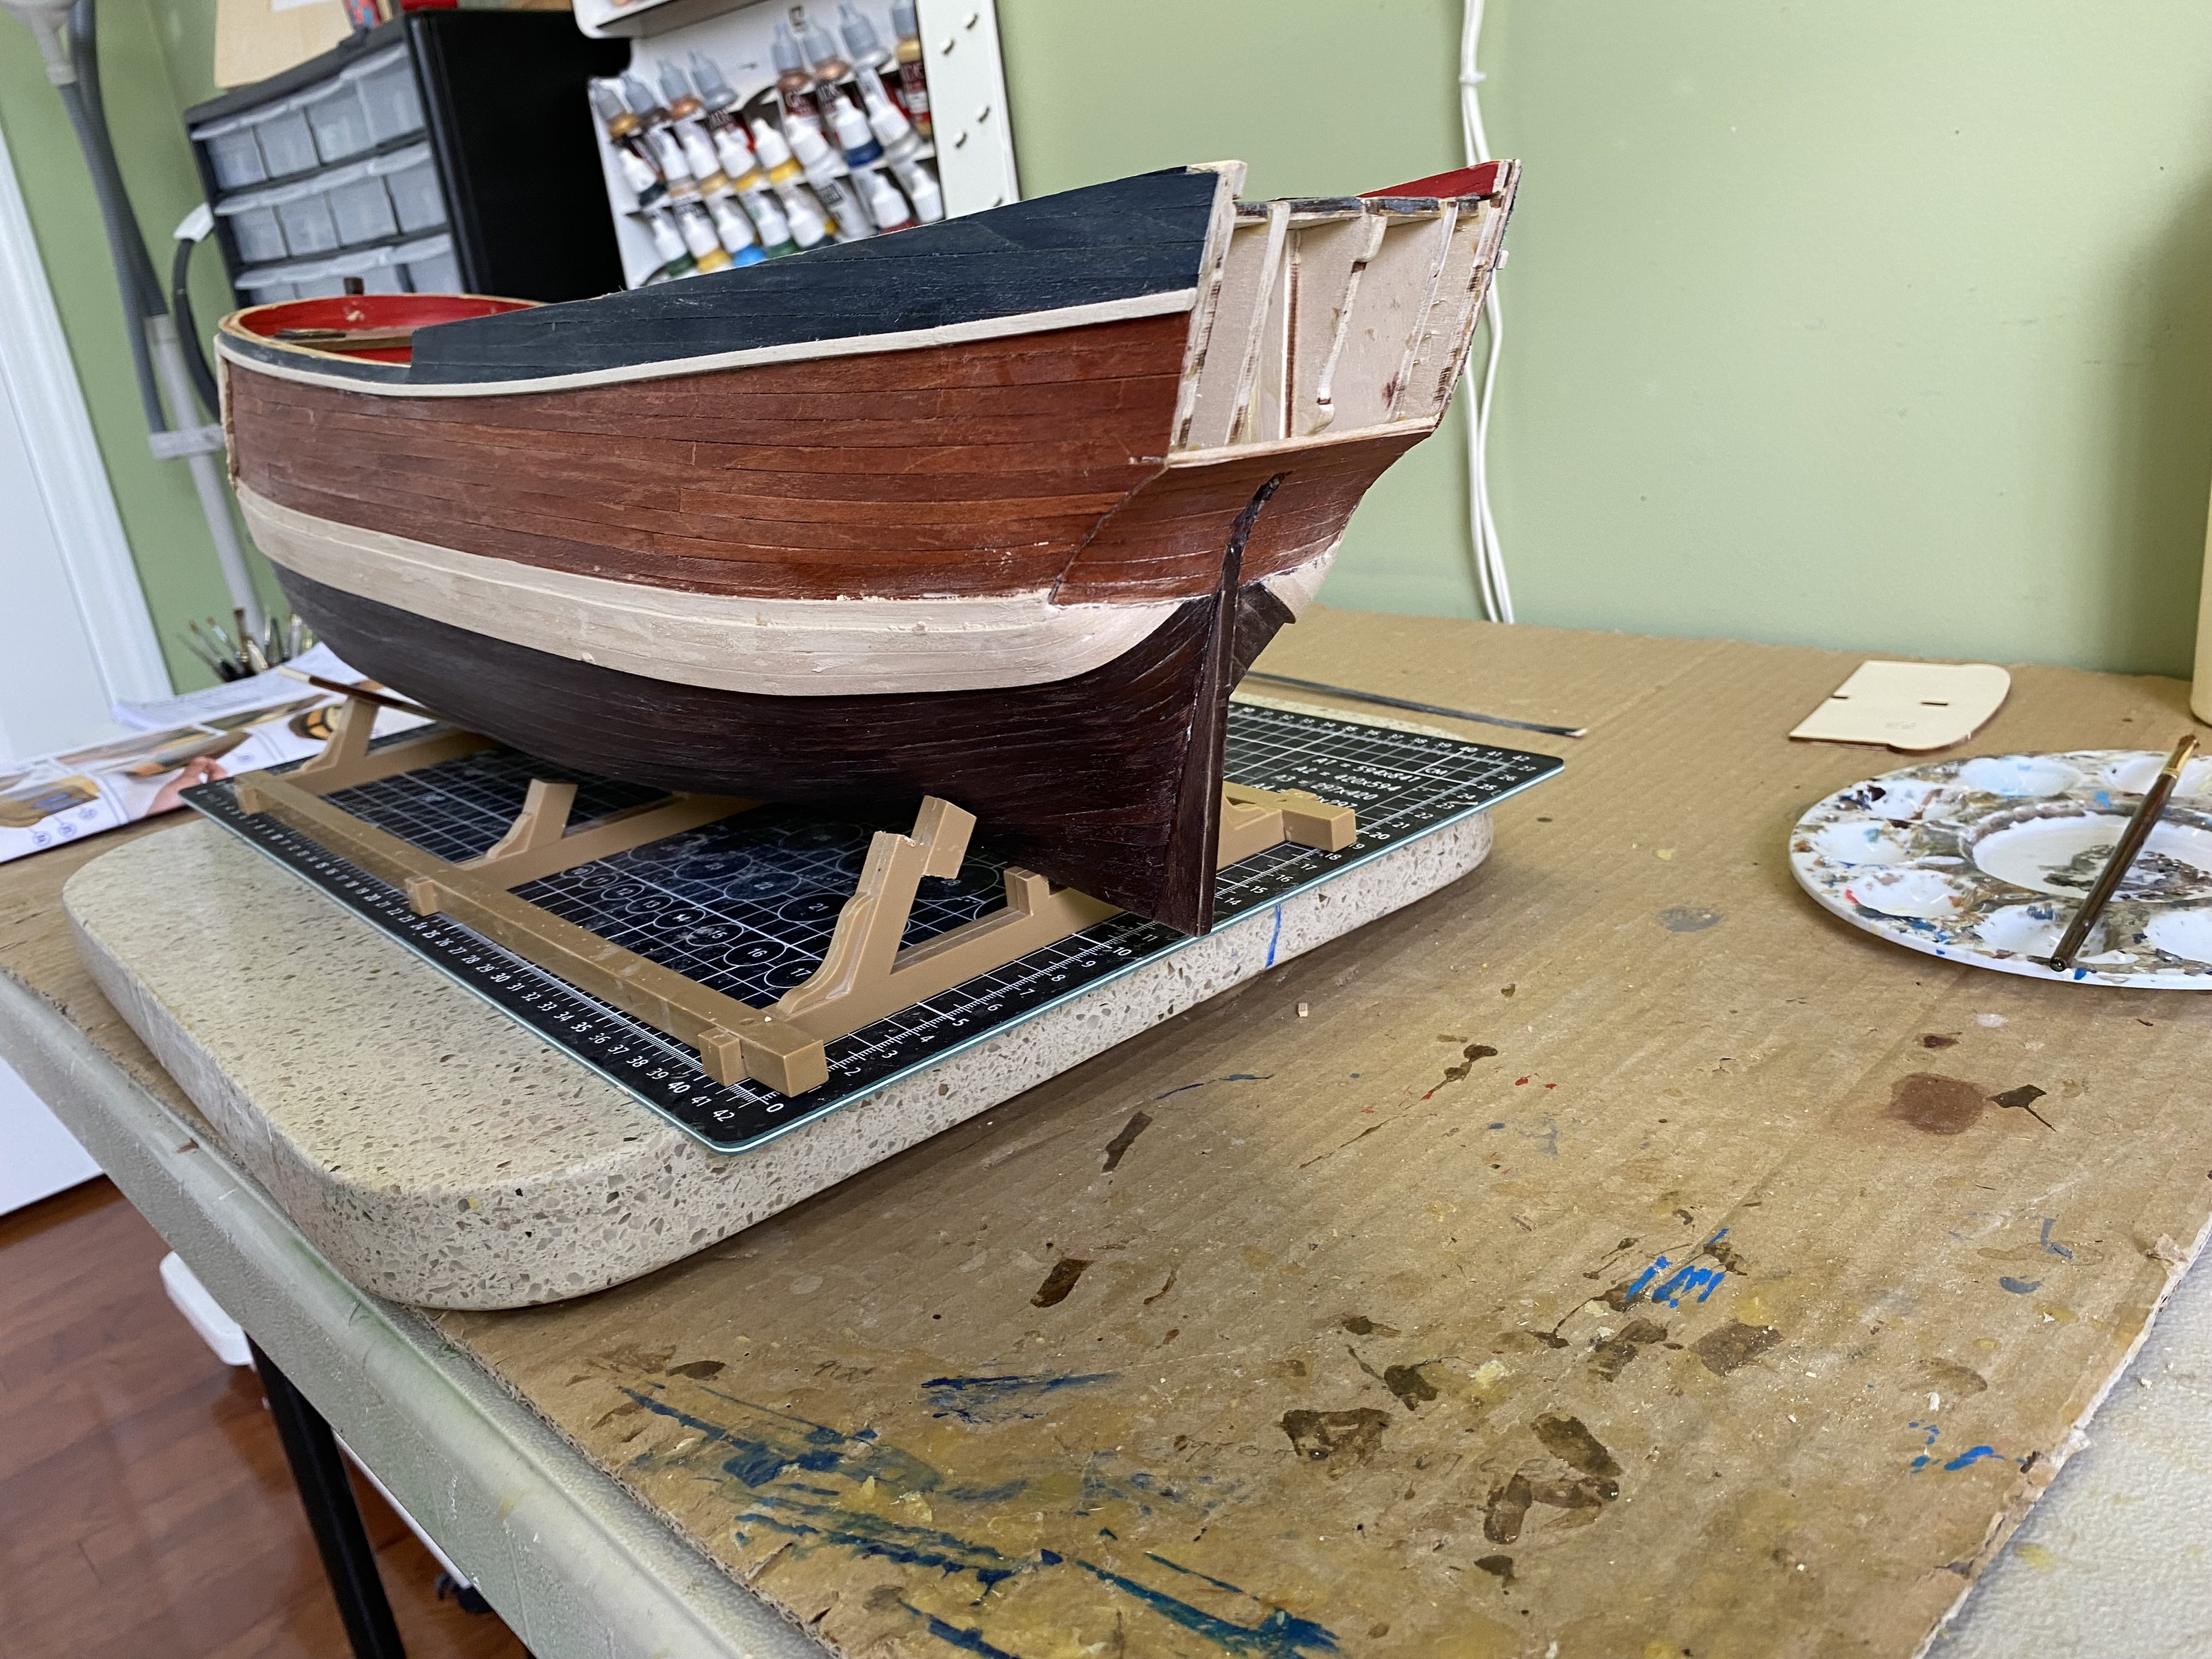
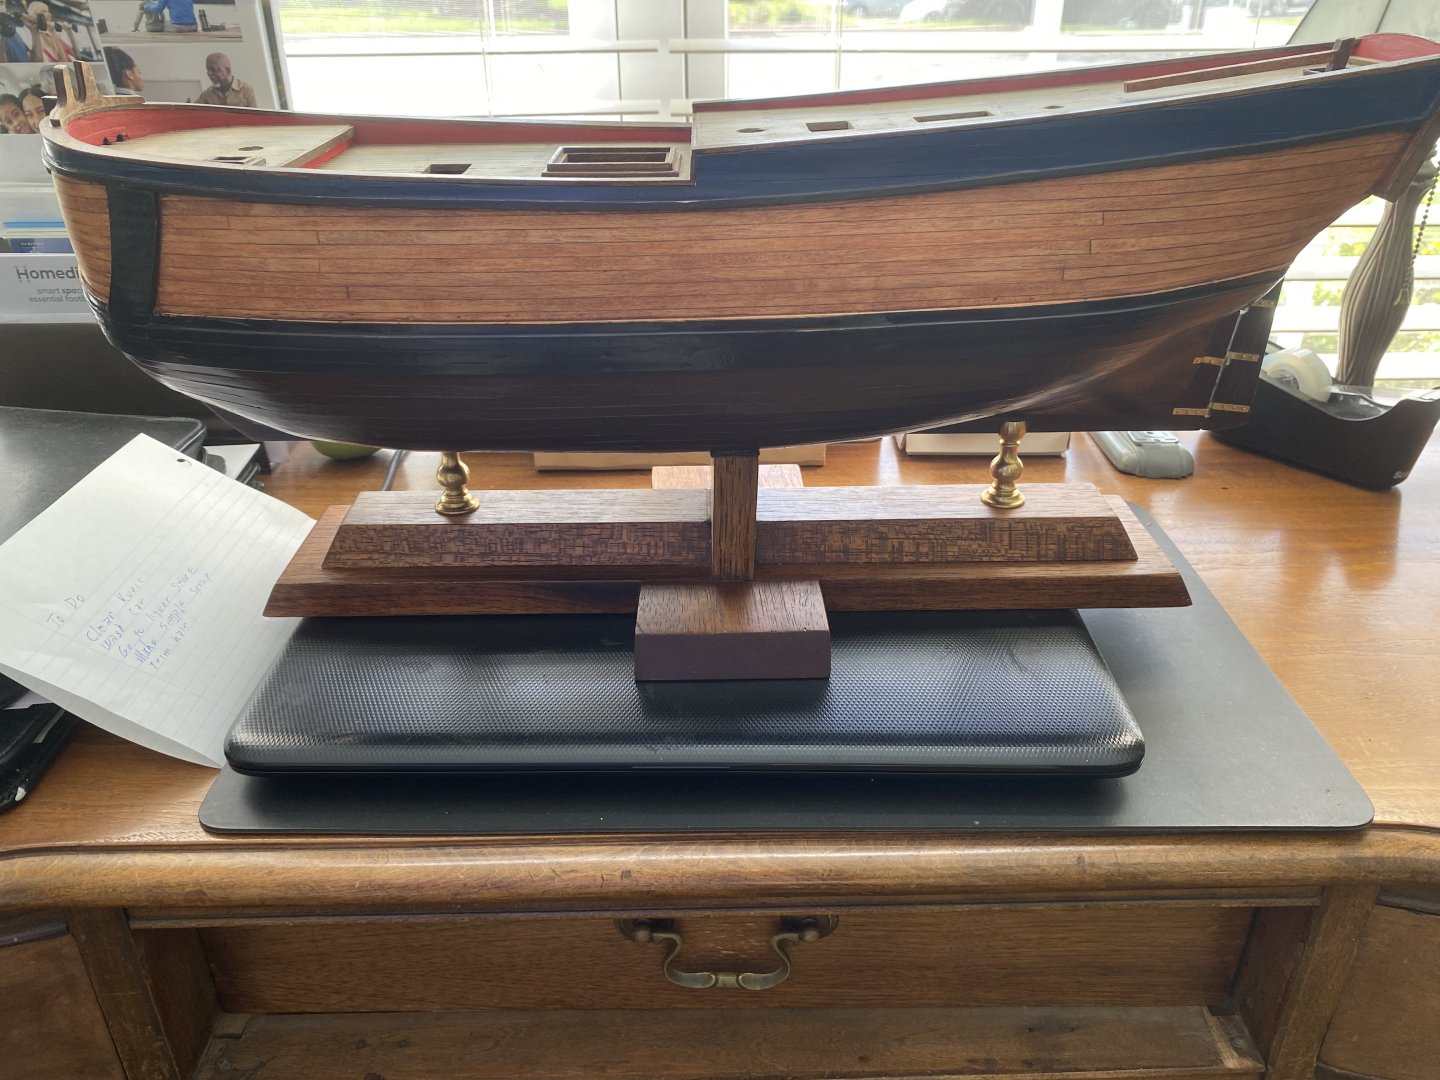
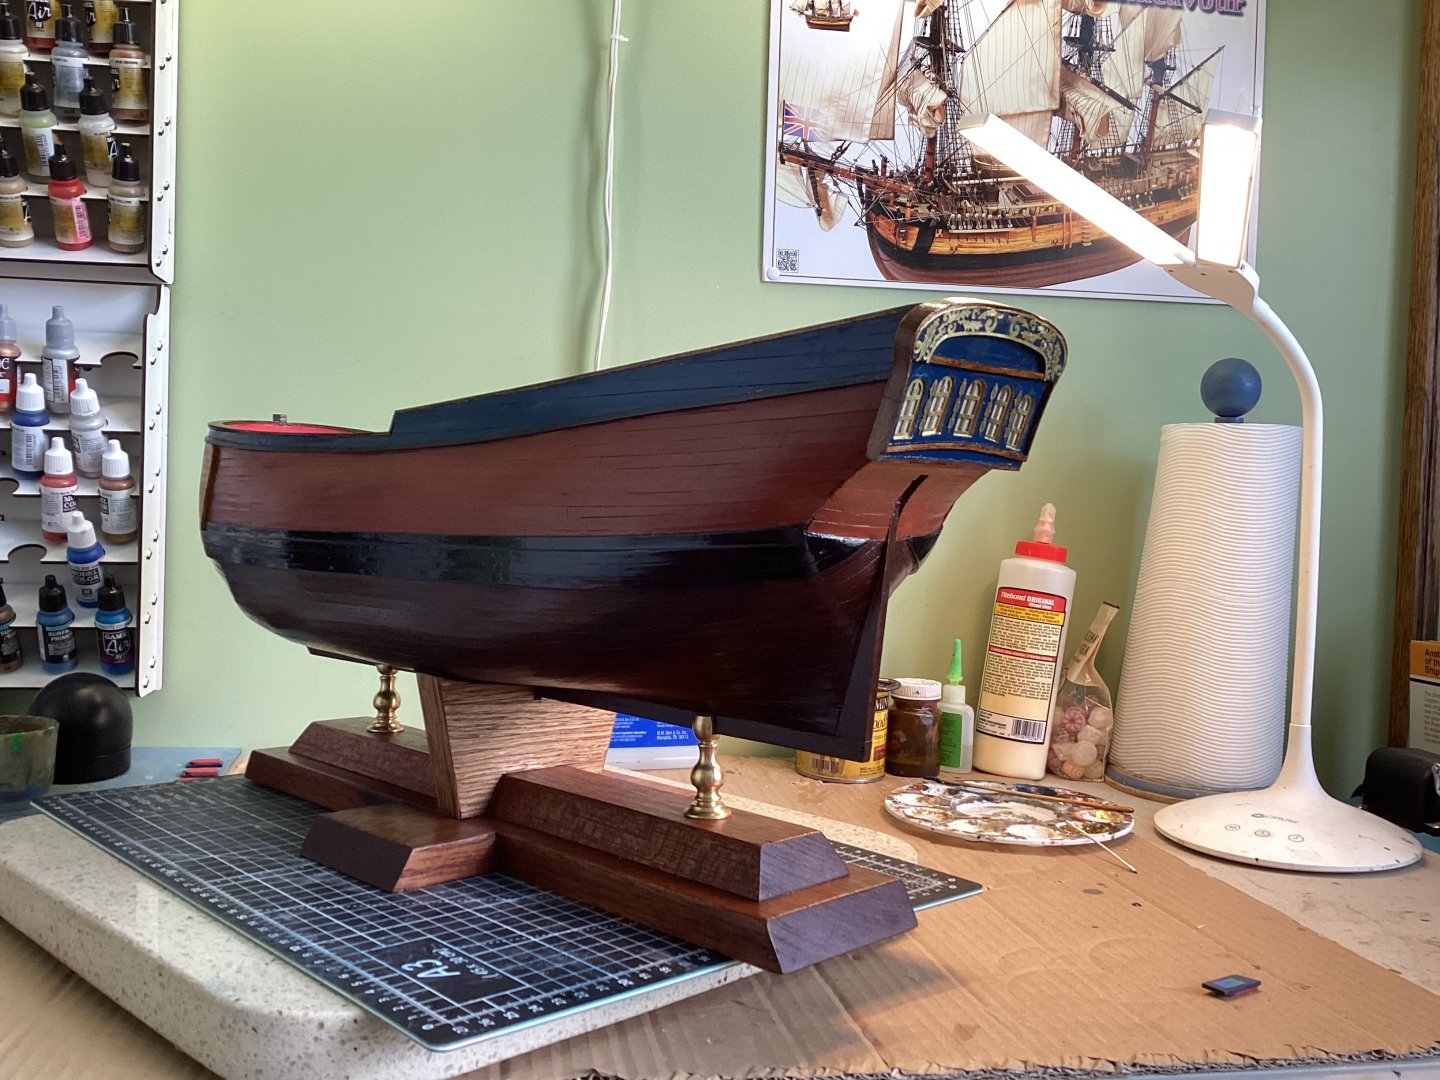
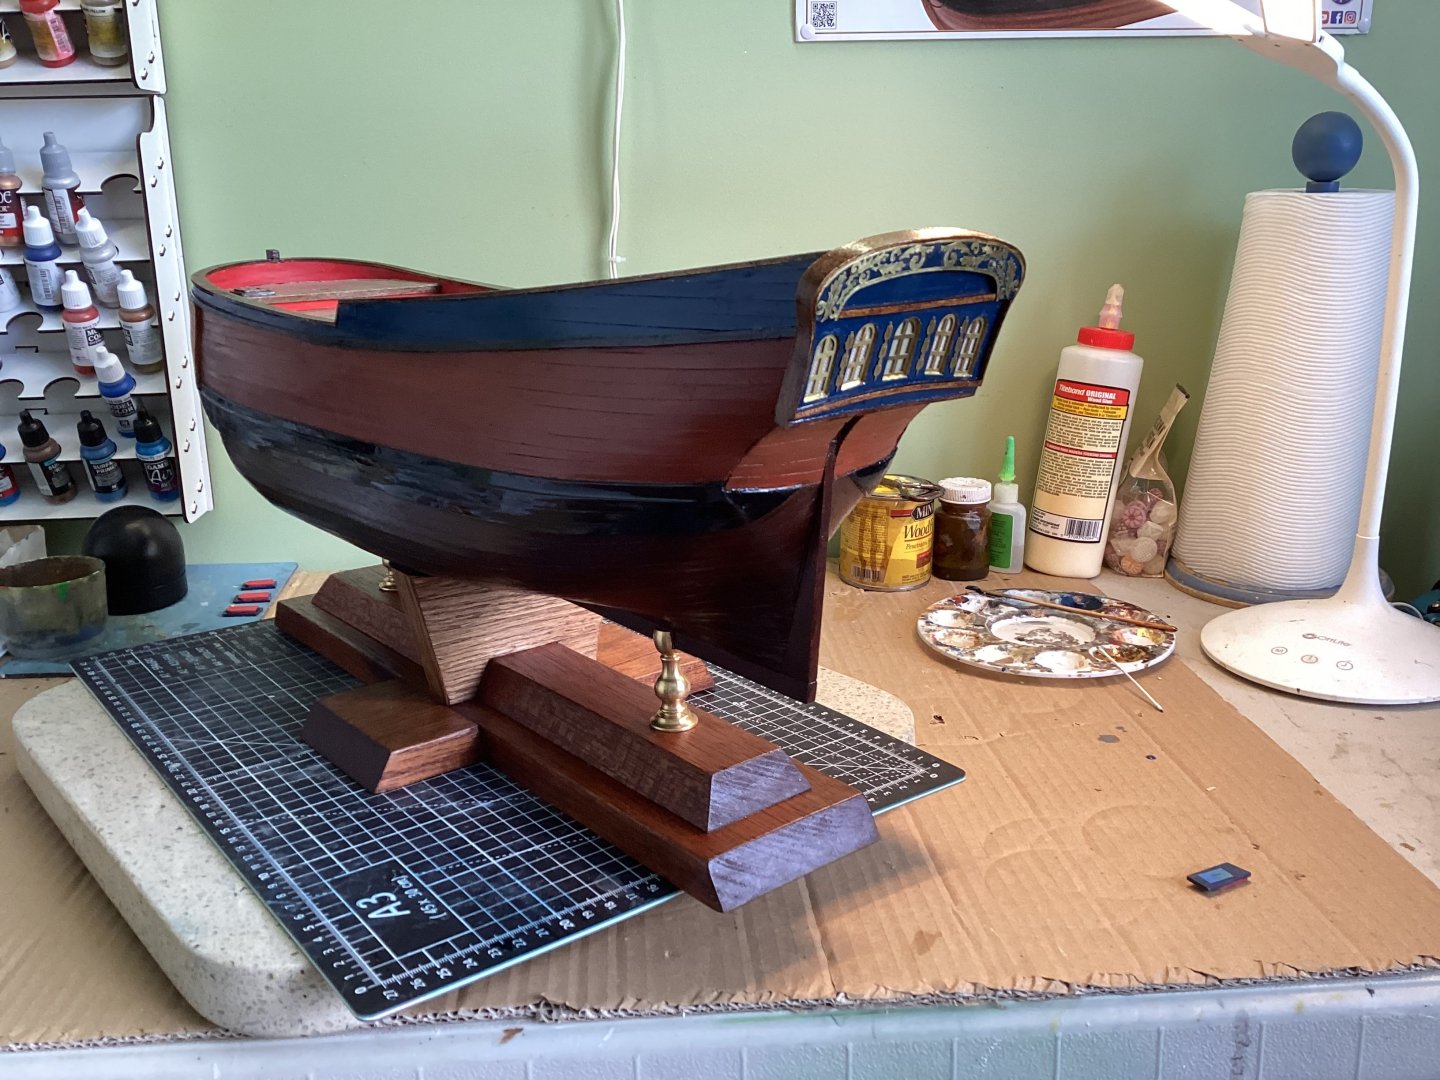
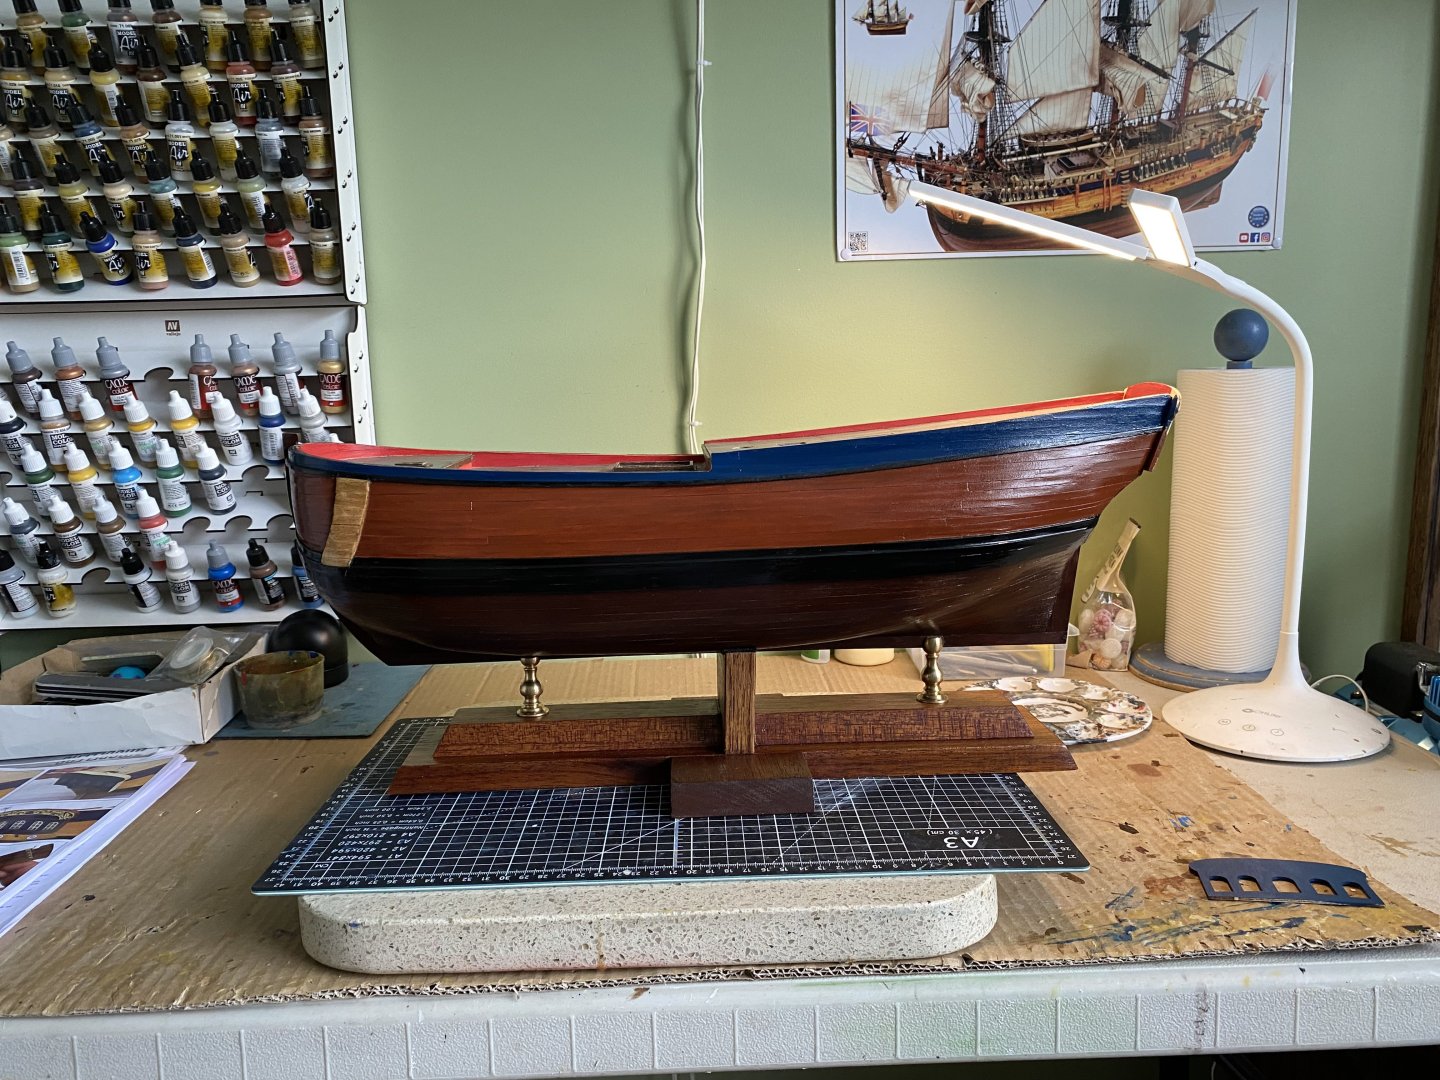
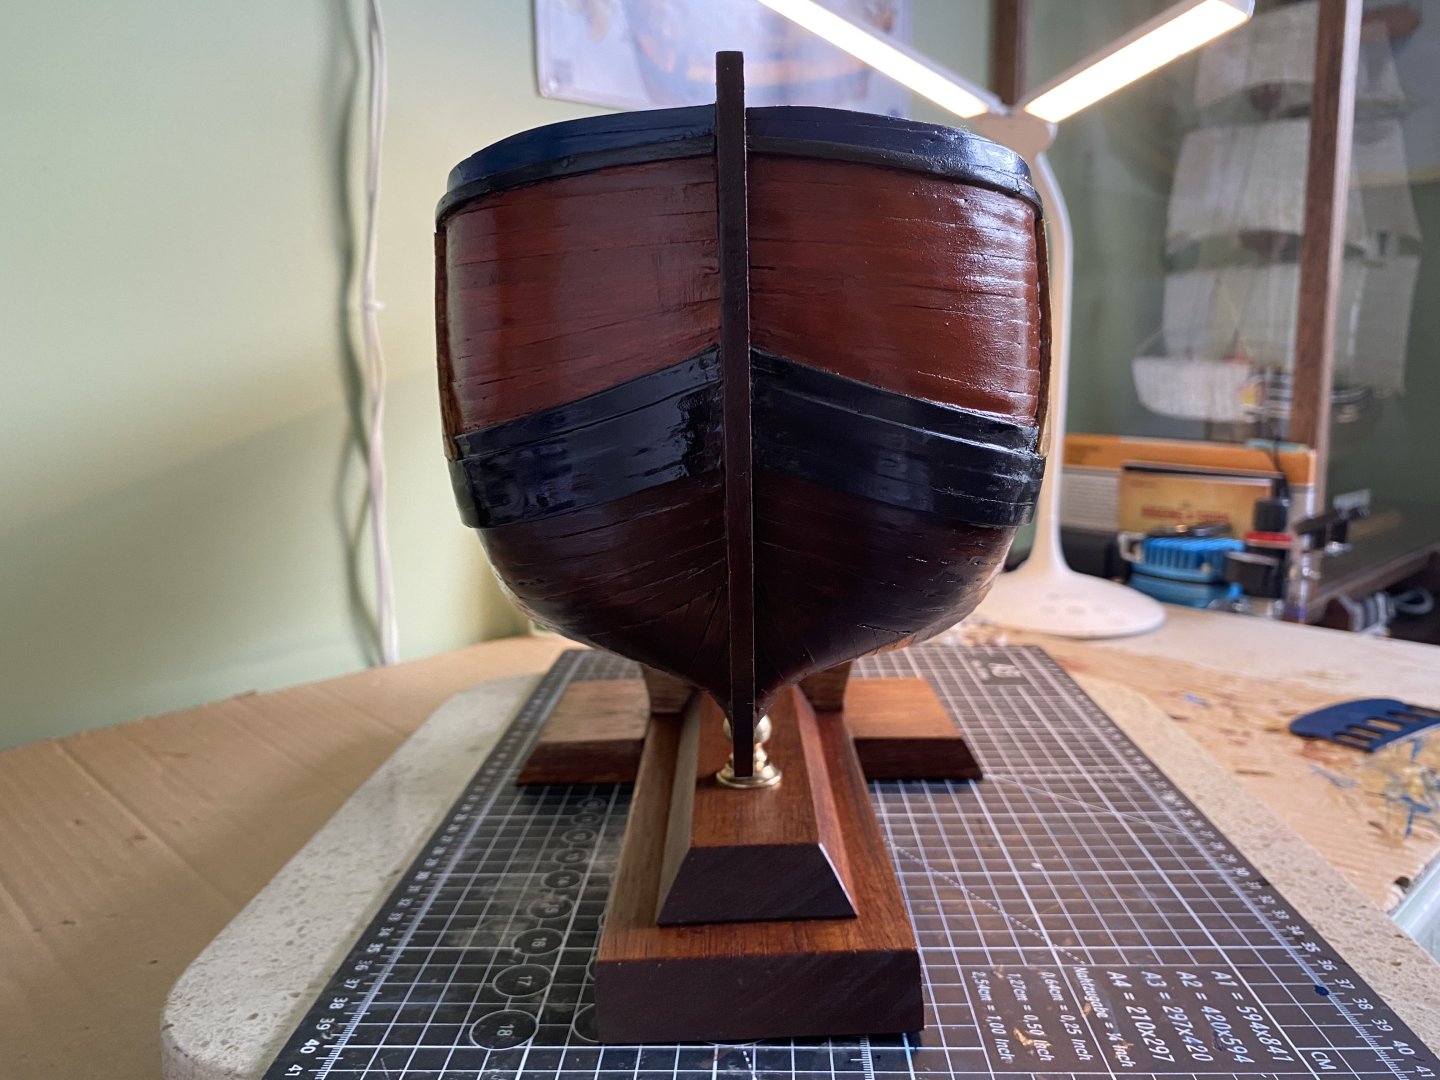
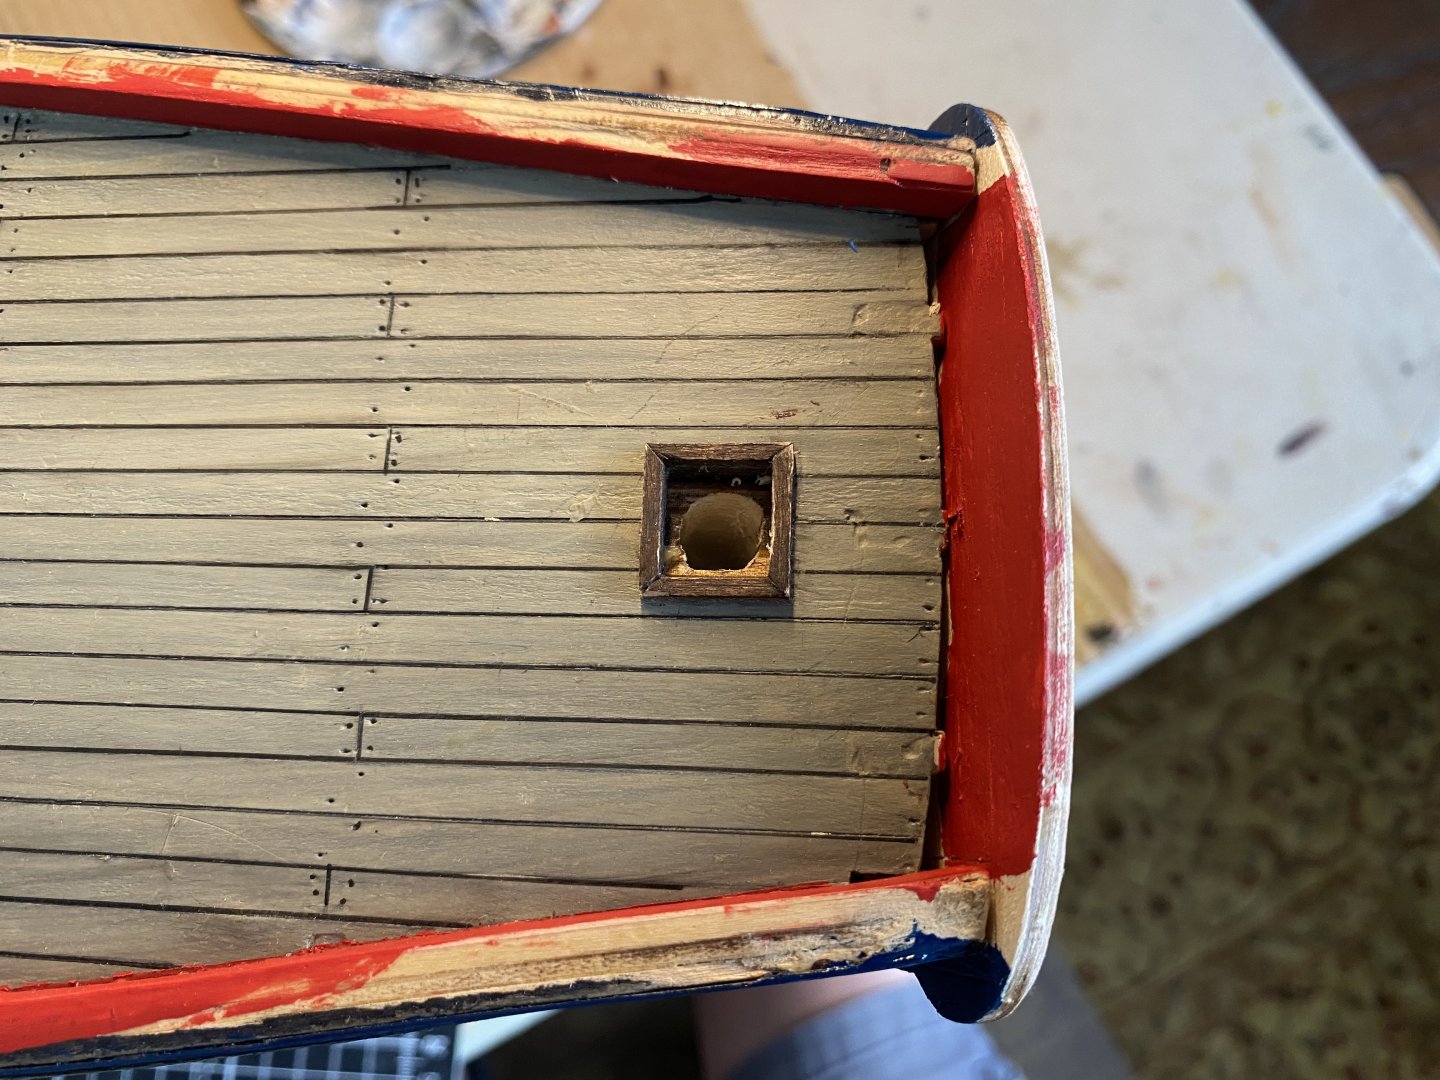
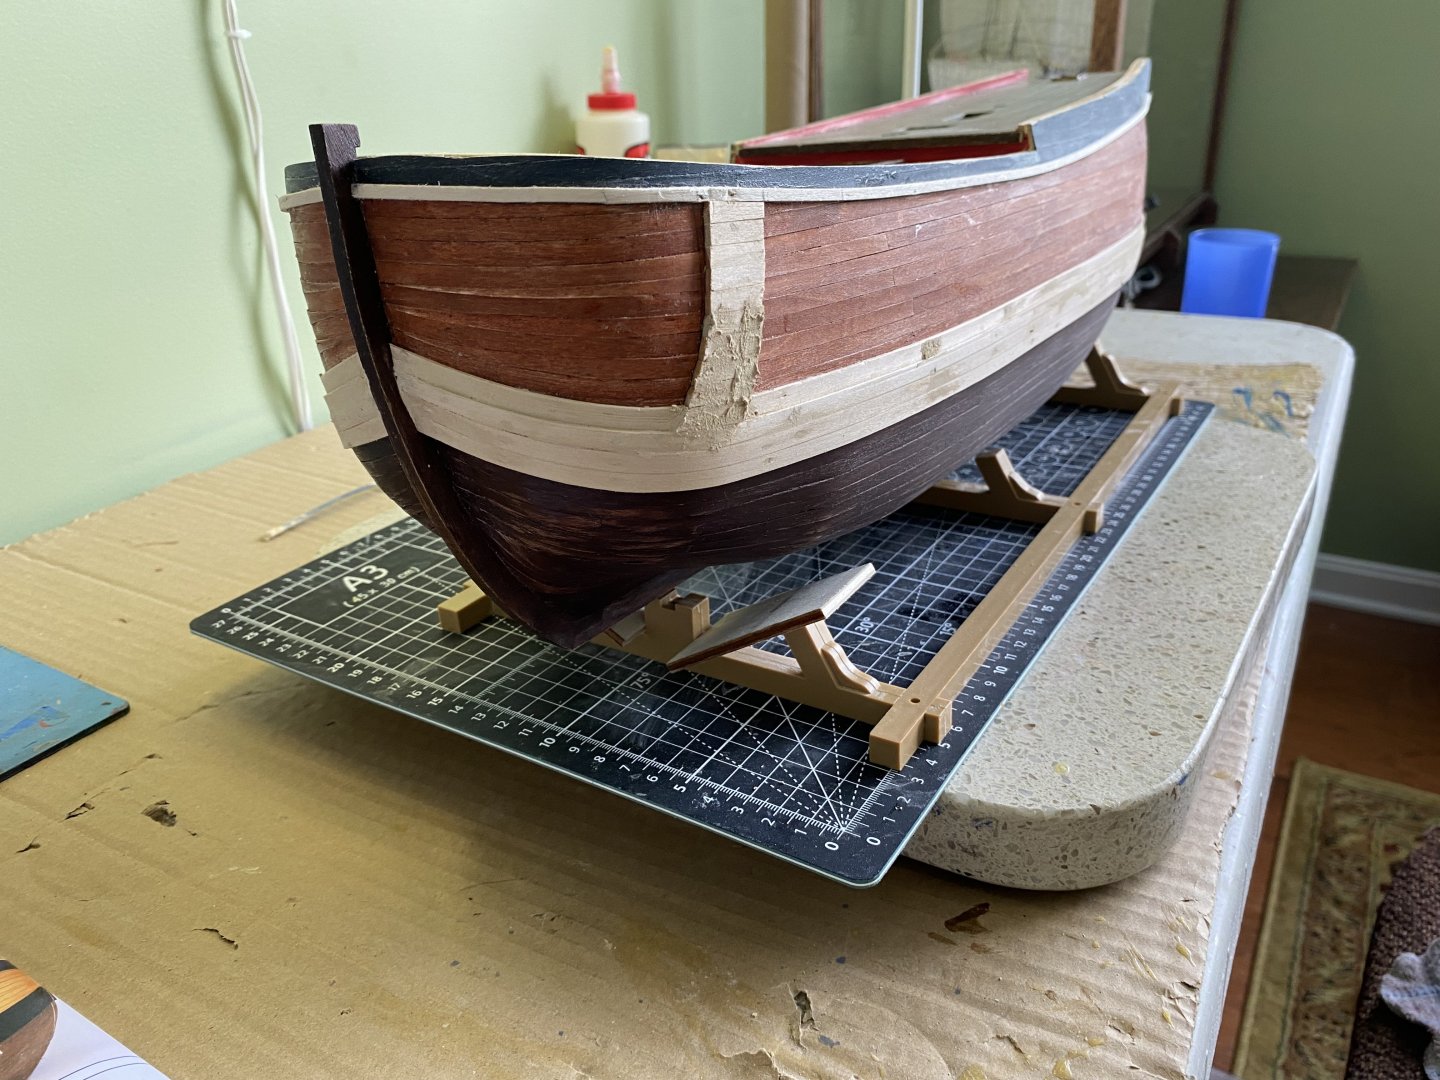
It has been about a week or so since my last update. Some nice progress since then. Completed the planking and painting. Then I repurposed the base I previously made for my Soleil Royal. Had to change out the center cradle since the Endeauvor has a much more flat bottom. I discovered one glitch, I guess, since I cannot see where I made a mistake fitting the decks. The upper deck does not meet flush with the stern plate. I assumed there was going to be a filler piece here but the instructions do not show such. Instruction picture show the inside of the stern flush to the end of the upper deck. Hope my upper deck is not off a bit in lining up the mast holes.


-
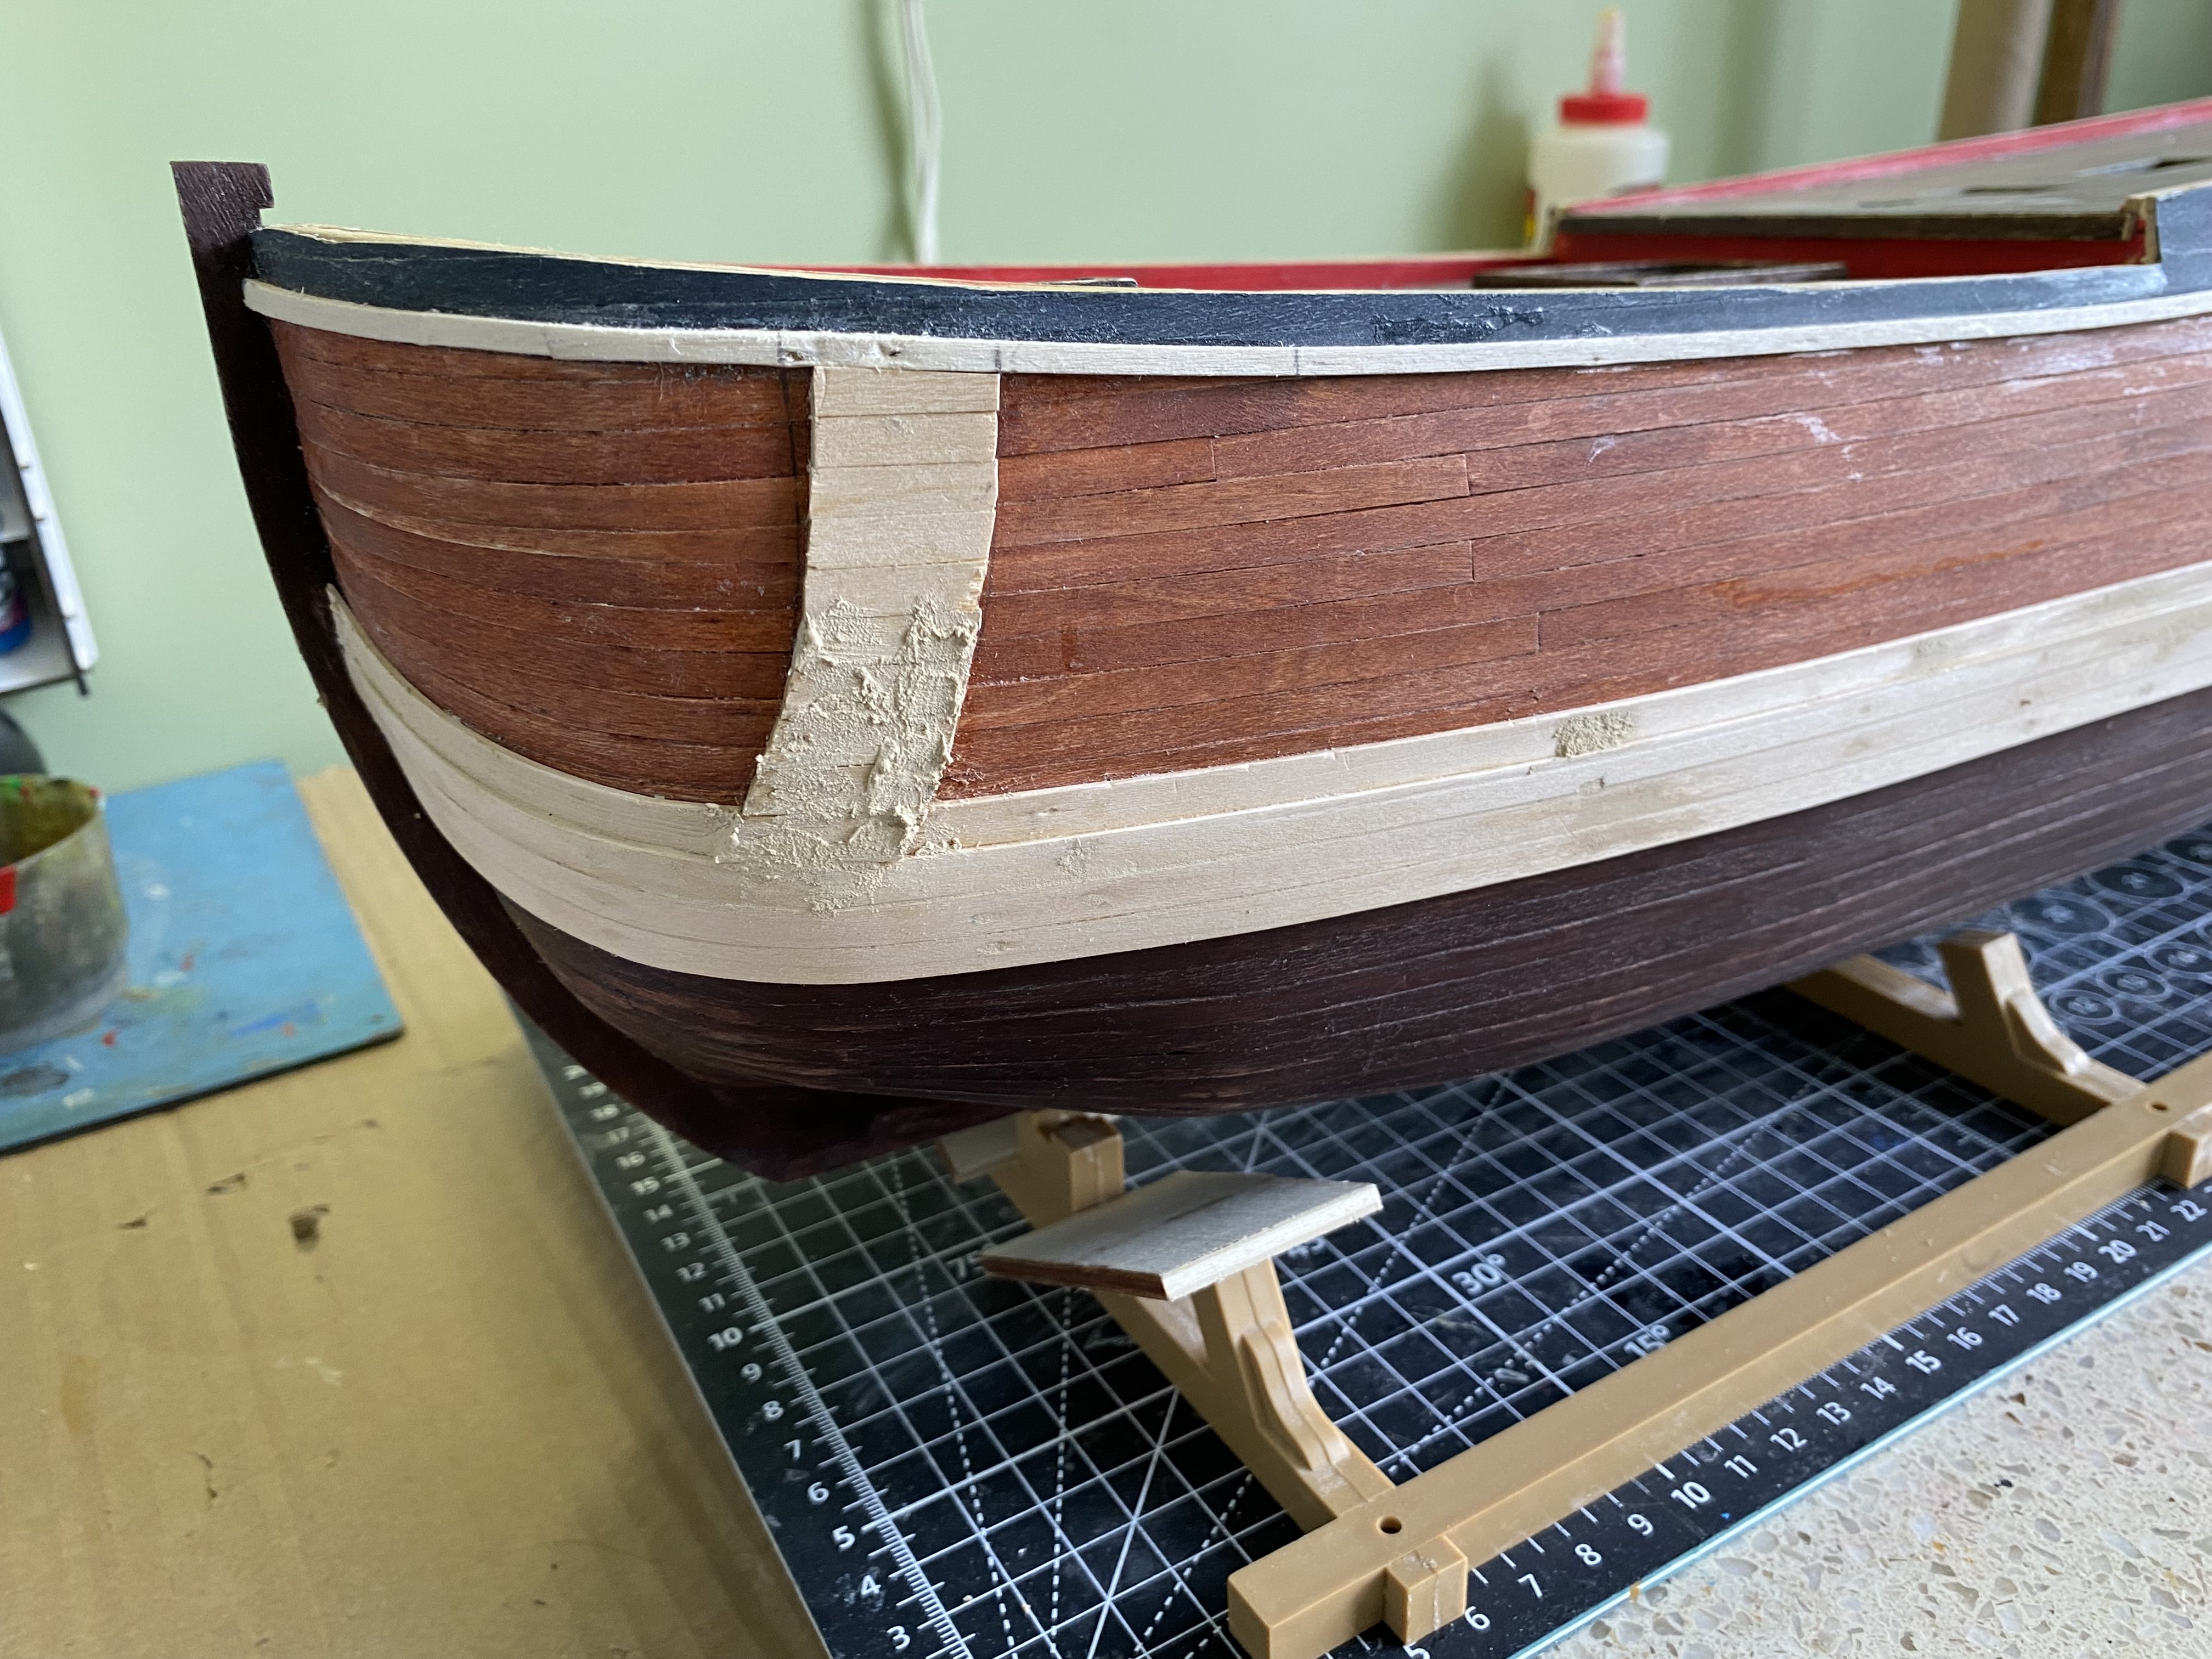
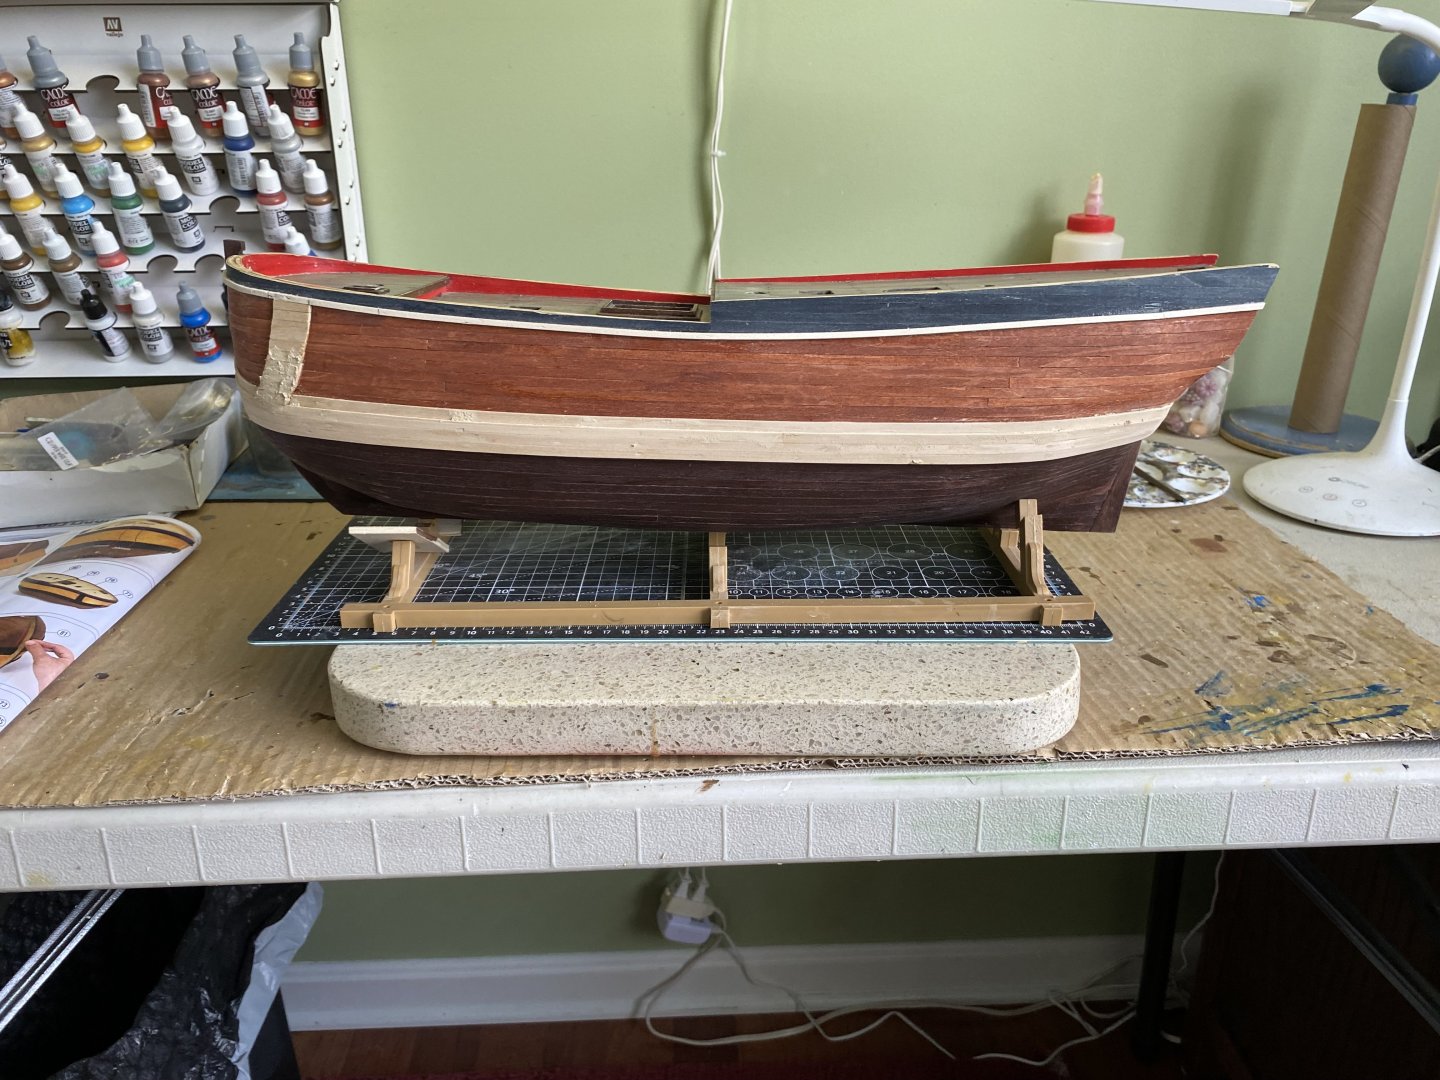
Continuing along with my OcCre Endeavour build. Finished the second planking and working on the rubbing strakes. The 3 different stain colors will be touched up, the strakes painted black, and a semi gloss clear top coat of varnish will be added later.


-
Thanks Ian. It has actually been quite enjoyable employing my years of woodworking experience. There have truly been some challenges so far but I hope I have overcome them successfully. Now once I get into making everything that goes on the deck, and above the deck, we will see if I still feel the same!