Bill97
Members-
Posts
2,731 -
Joined
-
Last visited
Content Type
Profiles
Forums
Gallery
Events
Everything posted by Bill97
-
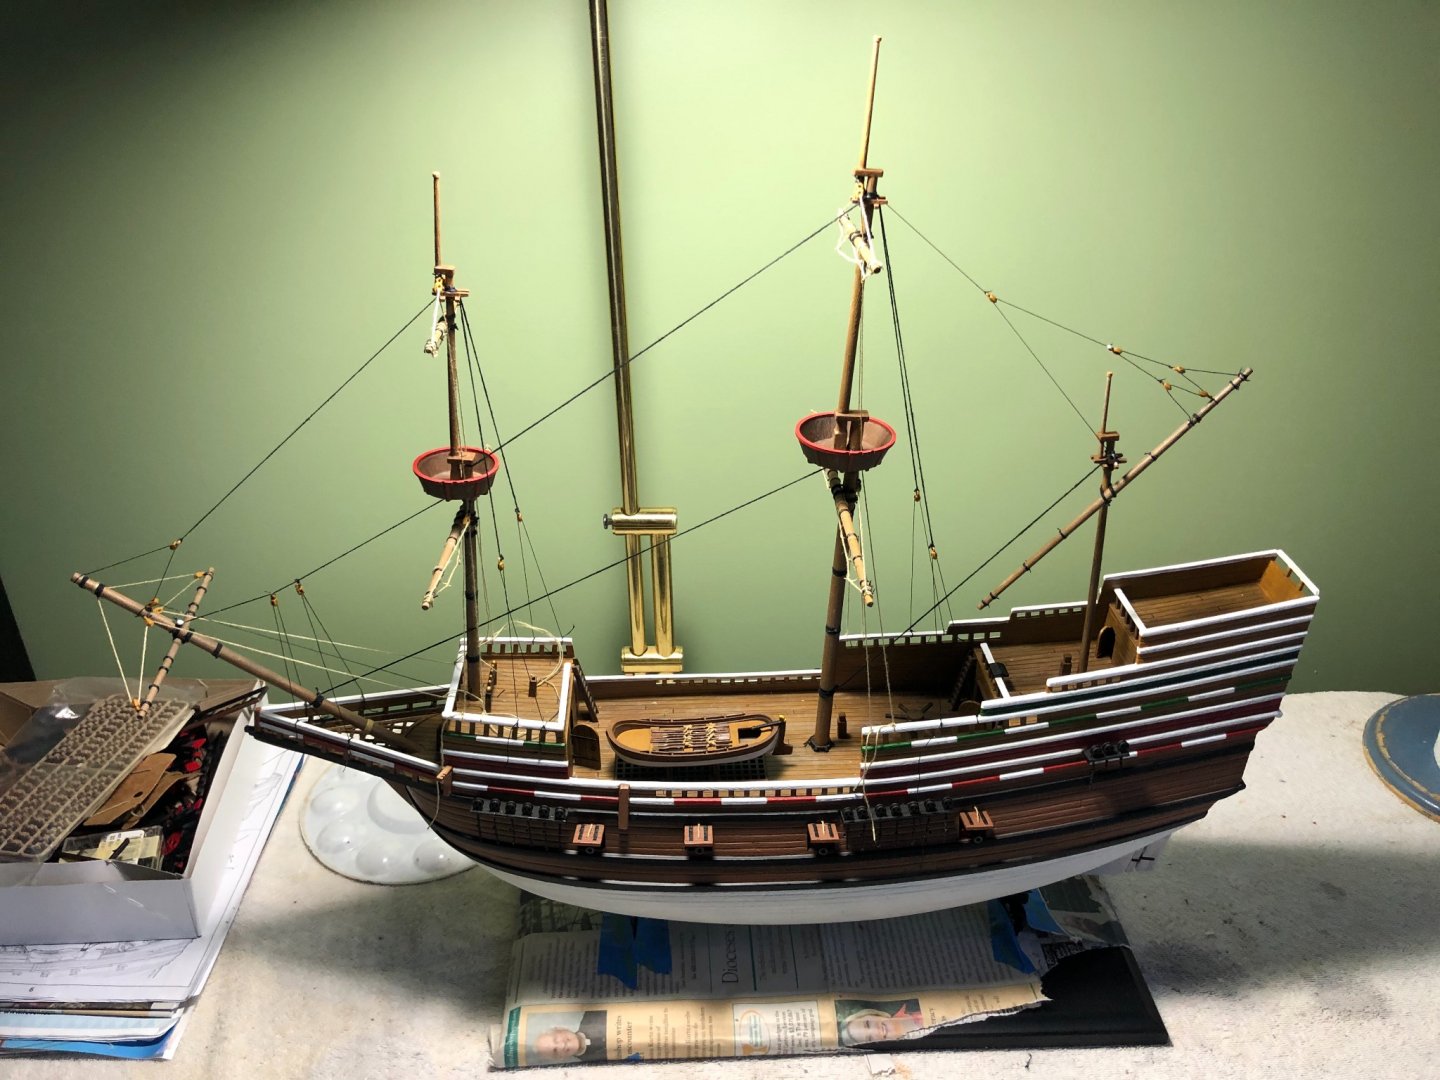
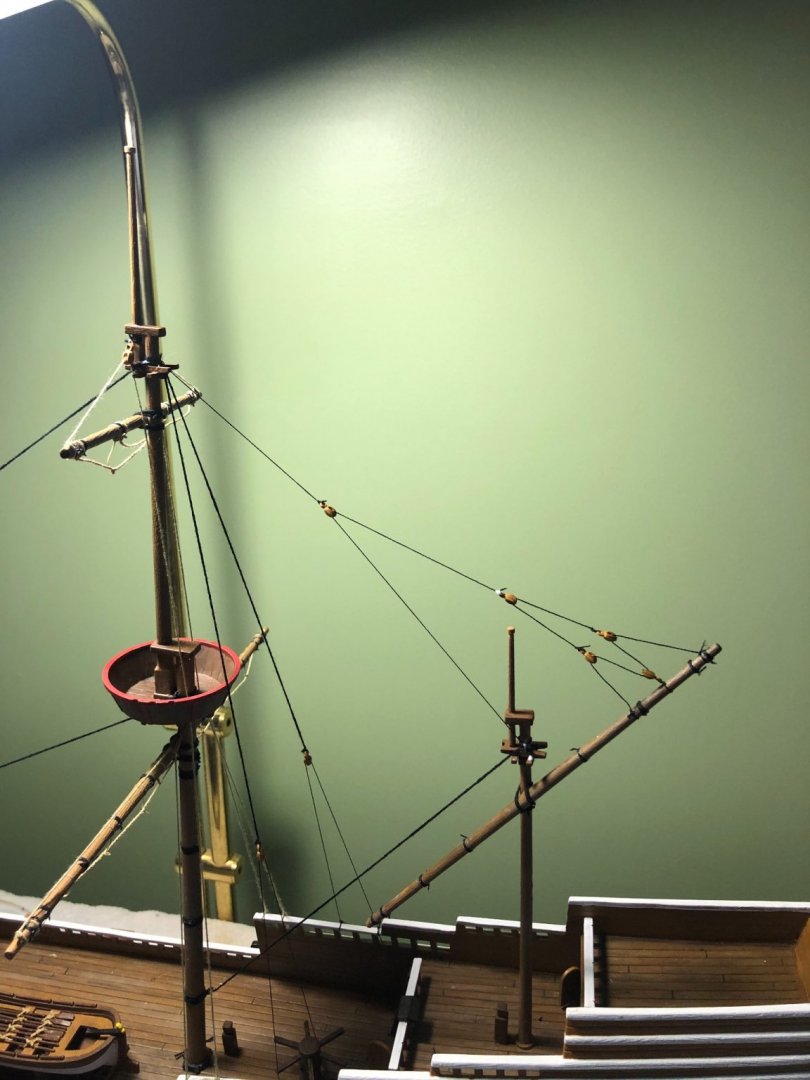
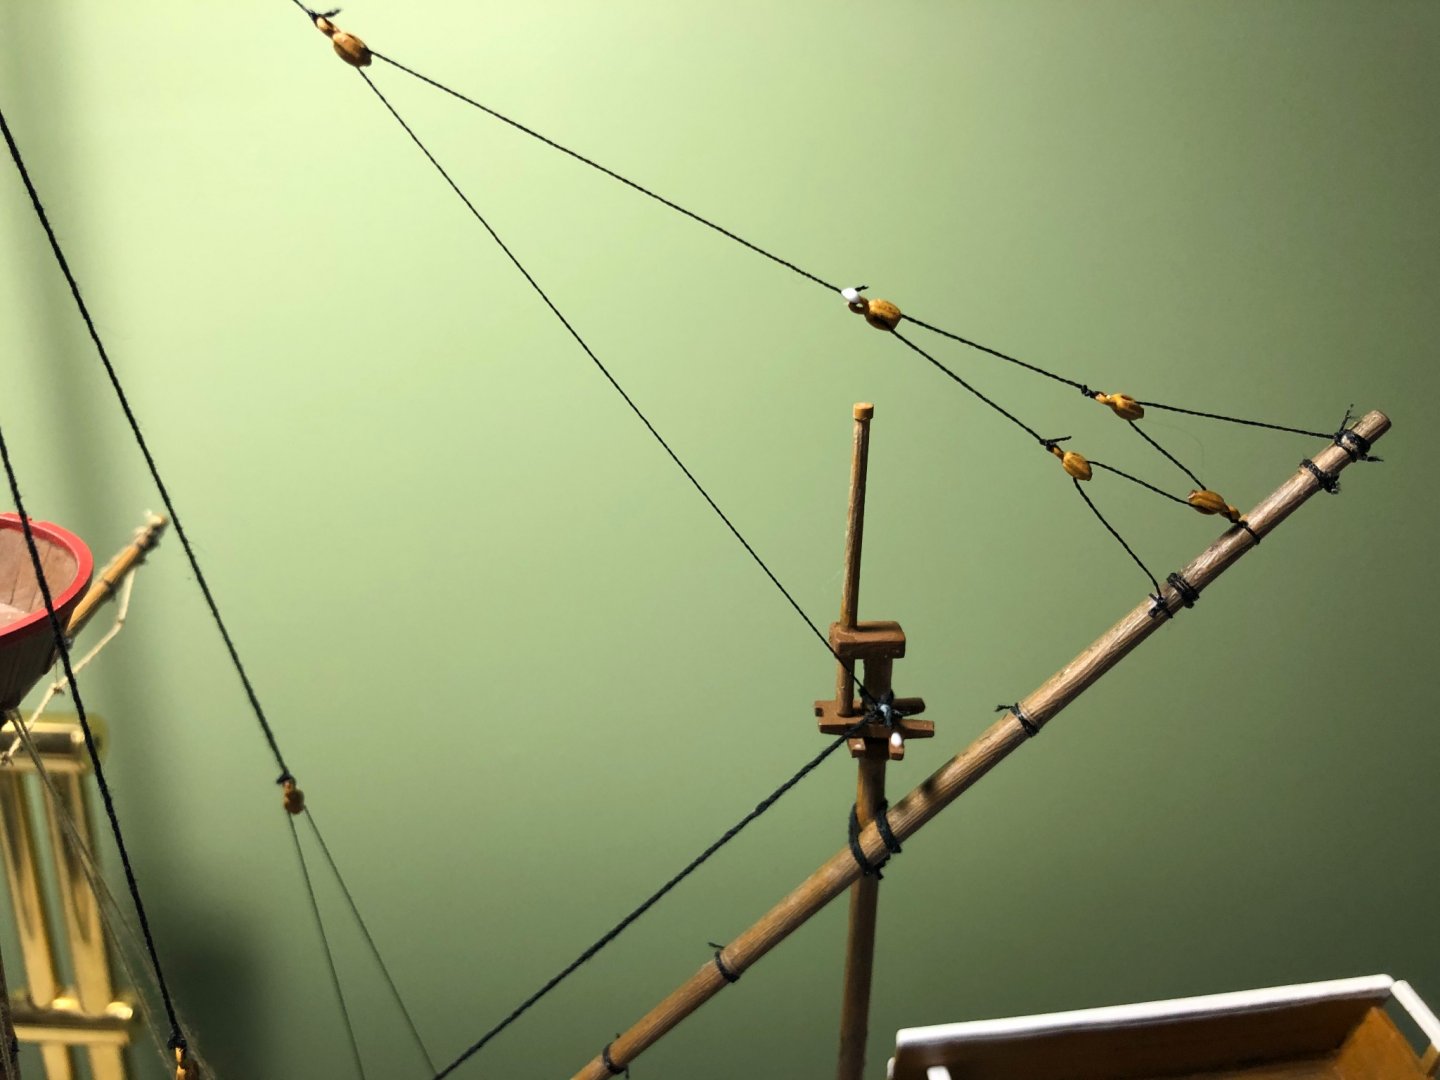
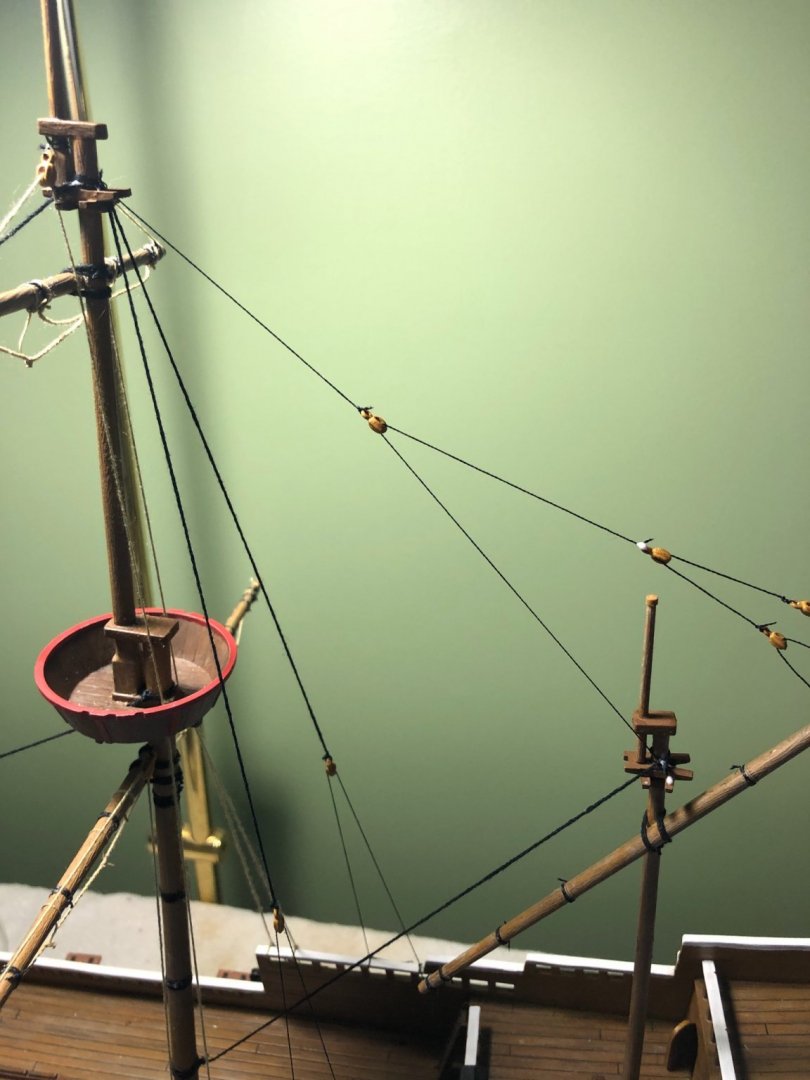
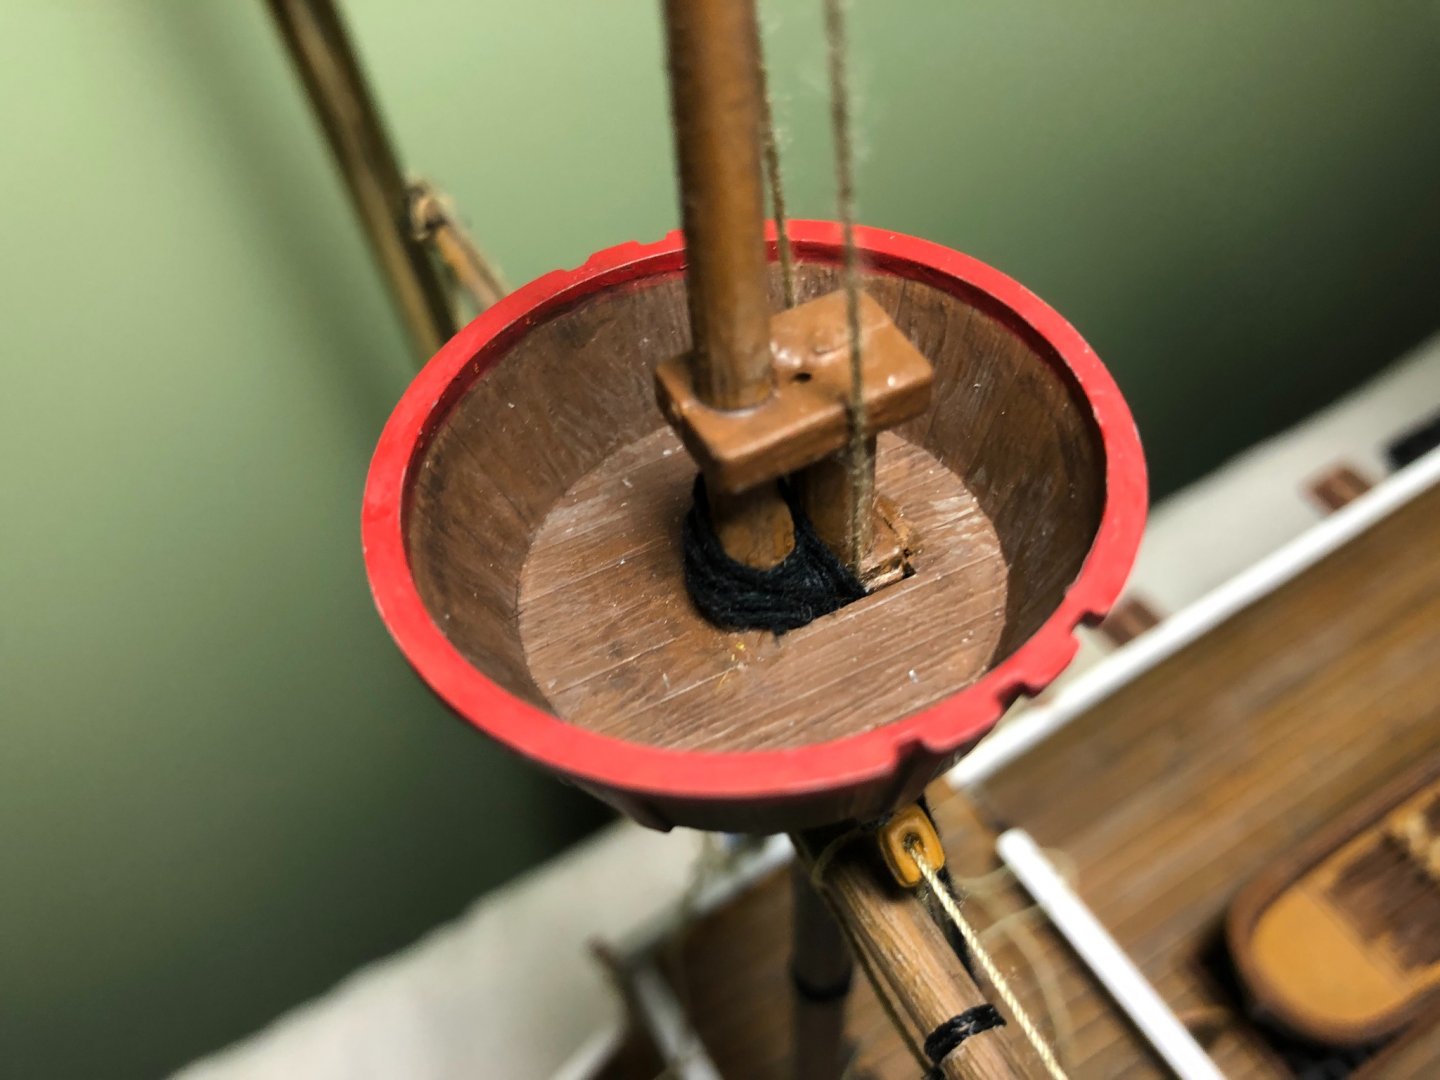
After removing the incorrectly installed shrouds I decided to work on the standing rigging. I do have some very dark thread in a few different sizes so I was able to use it.
-
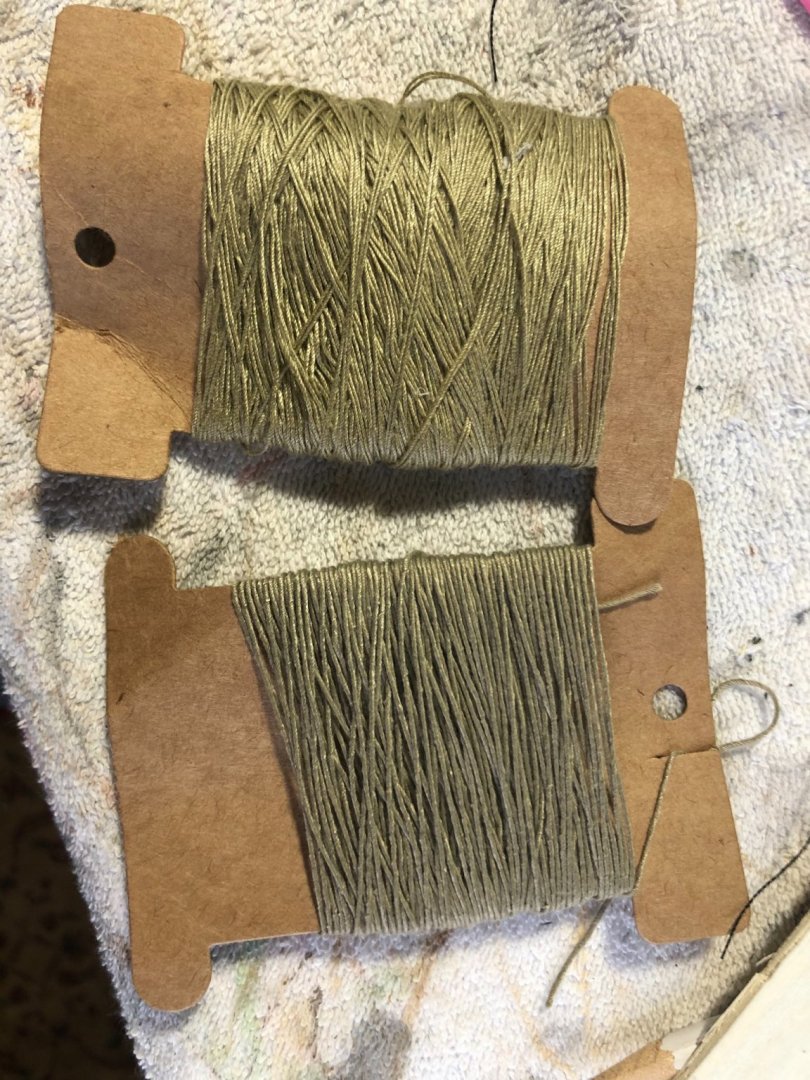
Next Trumpeter issue. They only supply two sizes of thread for rigging. One thin and one thick. Both tan. No black. I know standing rigging was black and running rigging was tan. Should I purchase two sizes of black thread, dye some of the tan, or just go all tan?
-
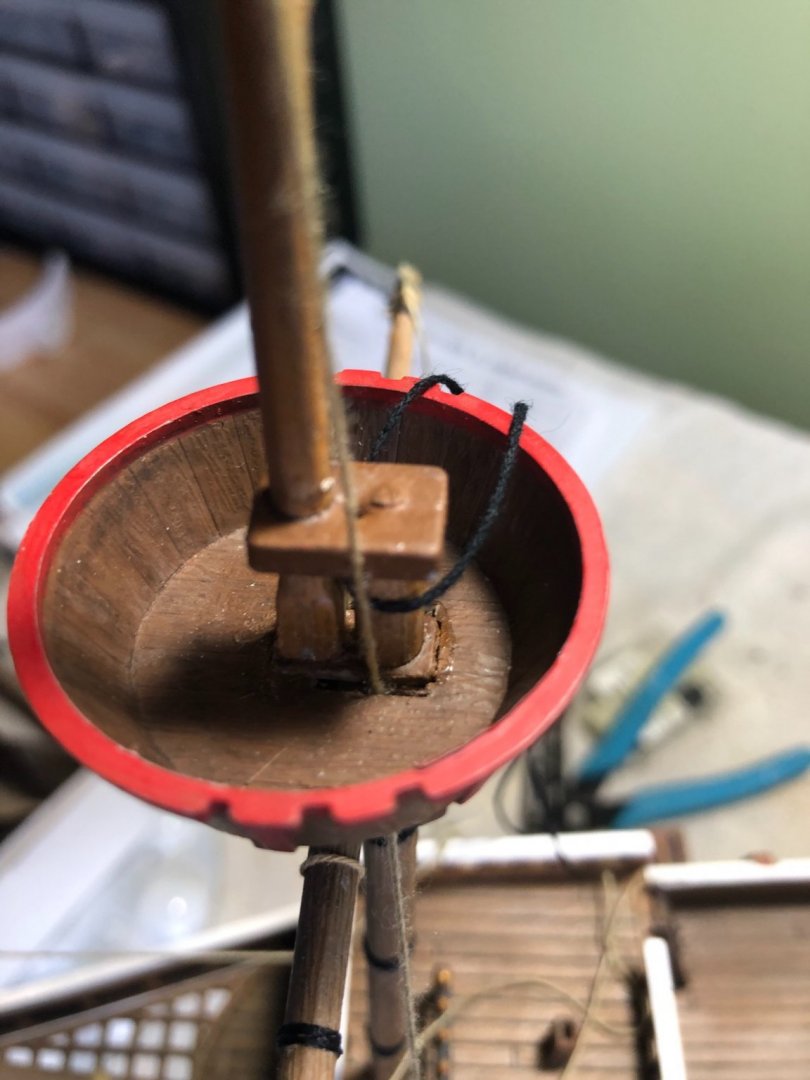
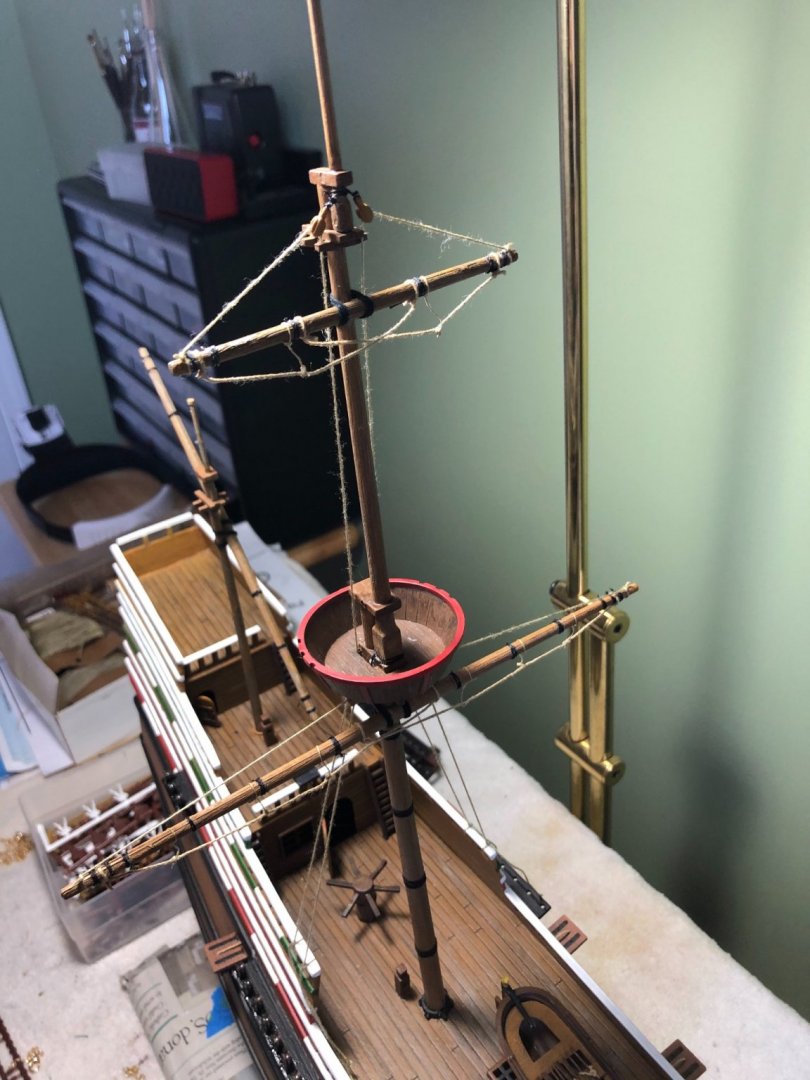
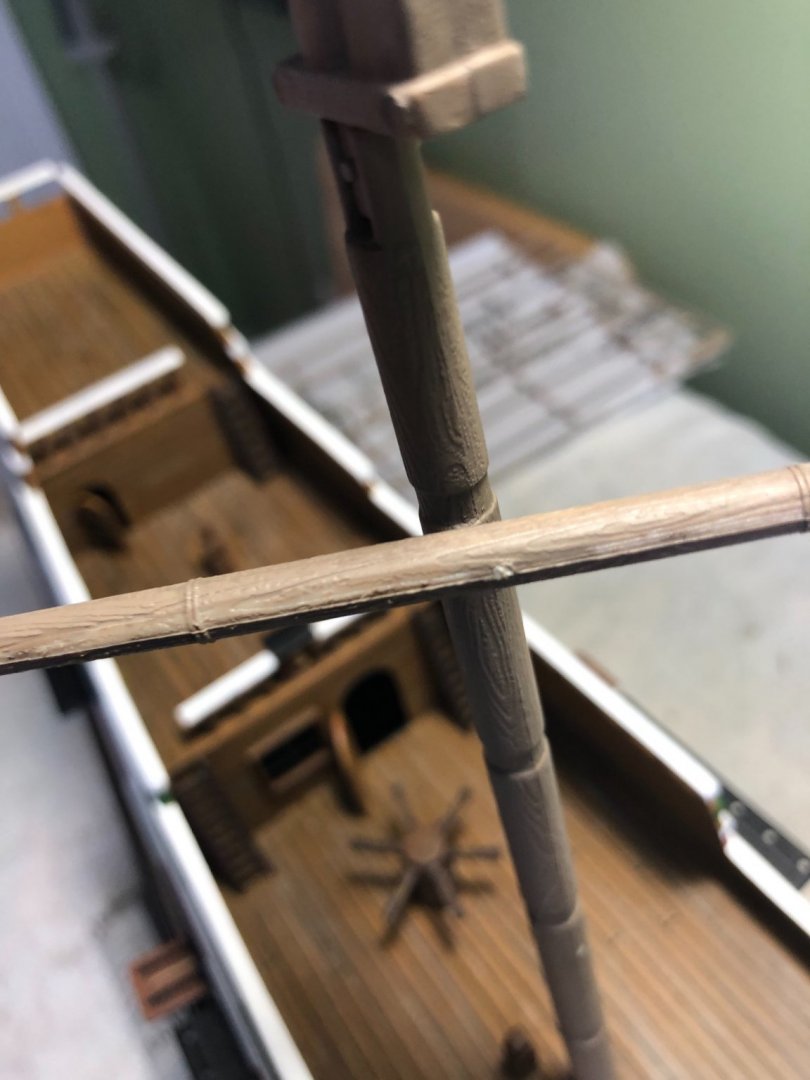
Loop around the top of mast like this, right? I suppose their should actually be no rigging around the base of the top mast like I had it? Never gave that any thought before.
-
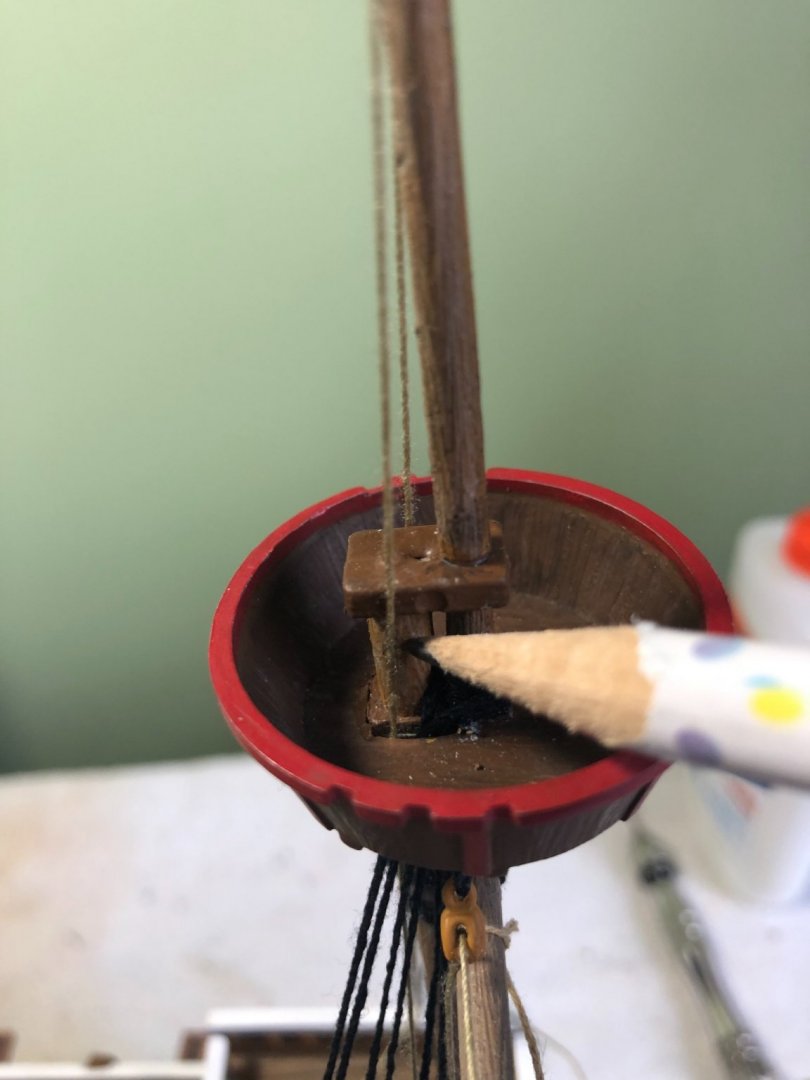
Kirill4 now I see what I did wrong. Thanks. Shroud loop should be around the top of the main part of mast. Where I am pointing with the pencil. That makes complete since.
-
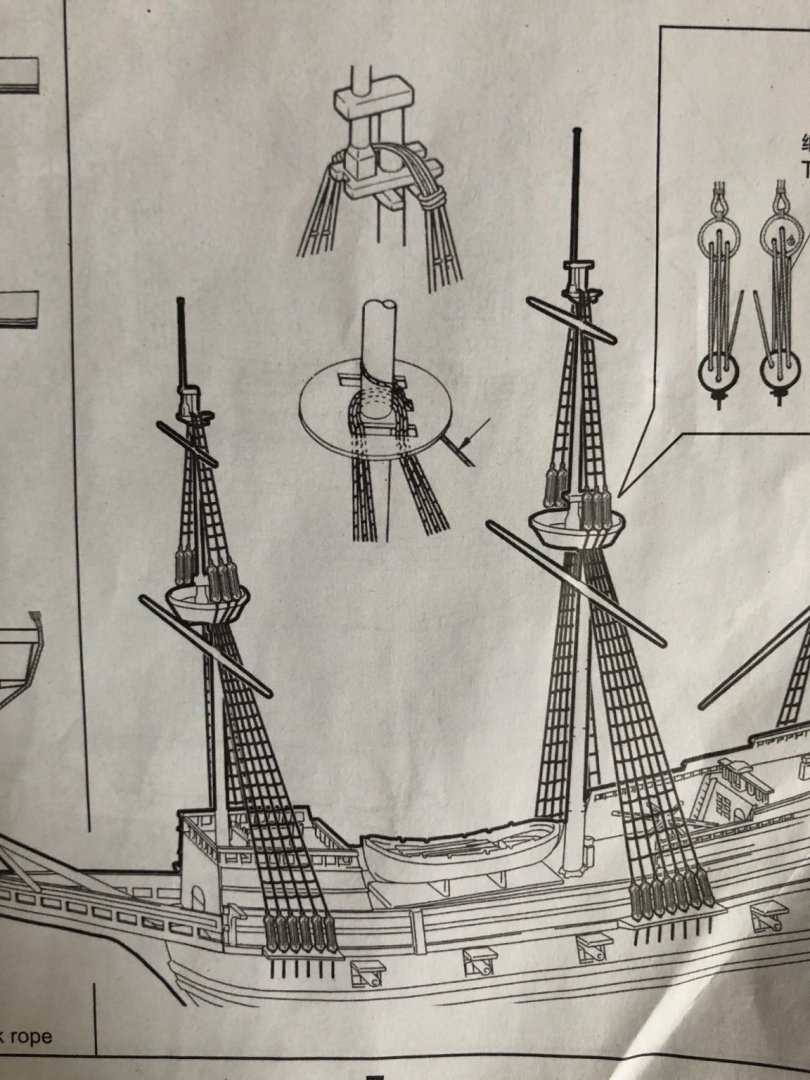
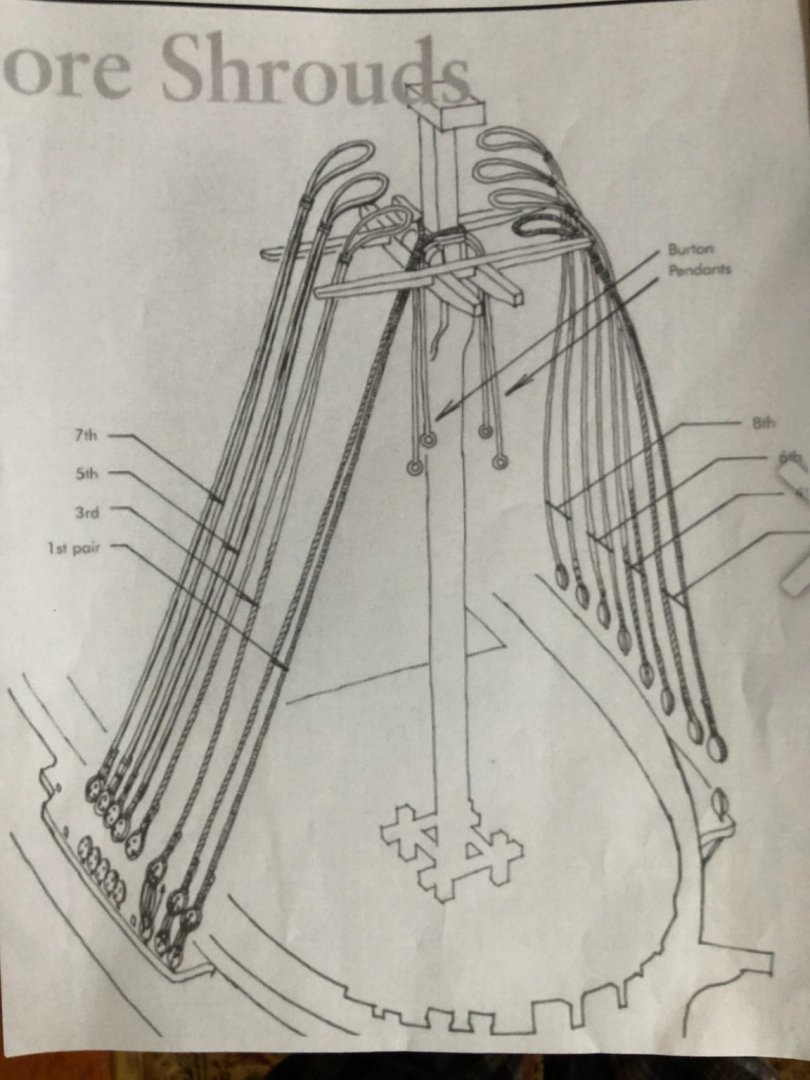
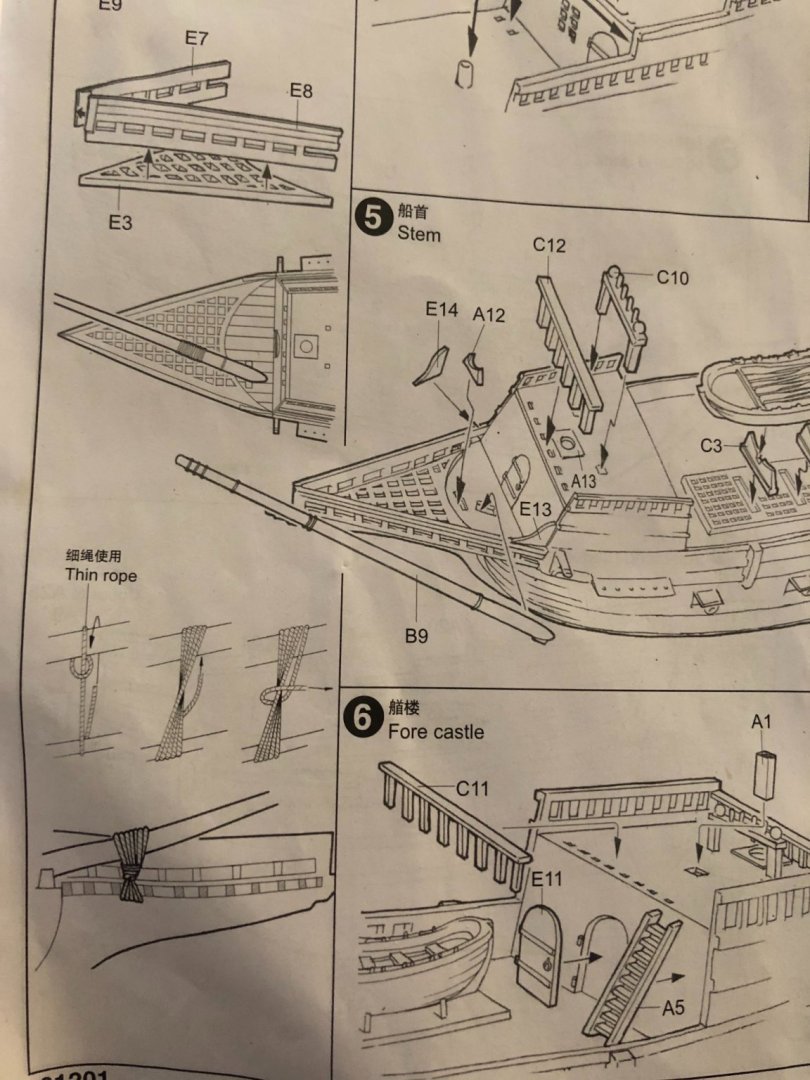
Ok gentlemen I am confused. What are you telling me? These are the assembly instructions I am following. Is this wrong?
-
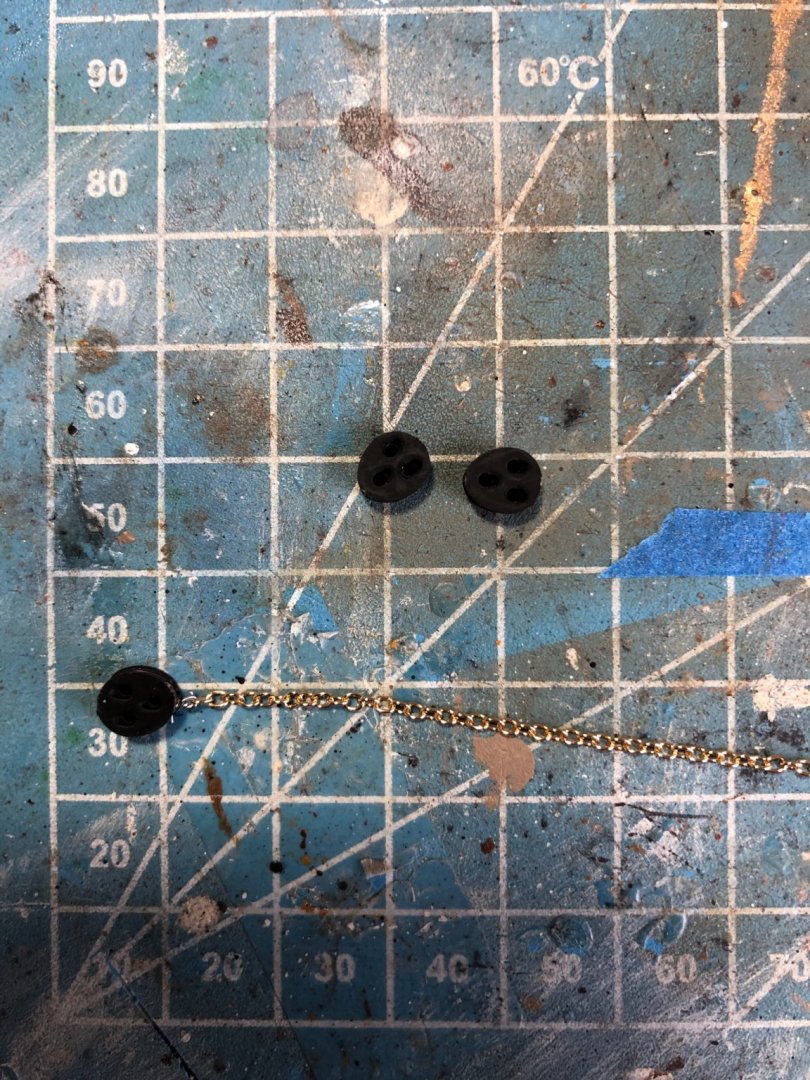
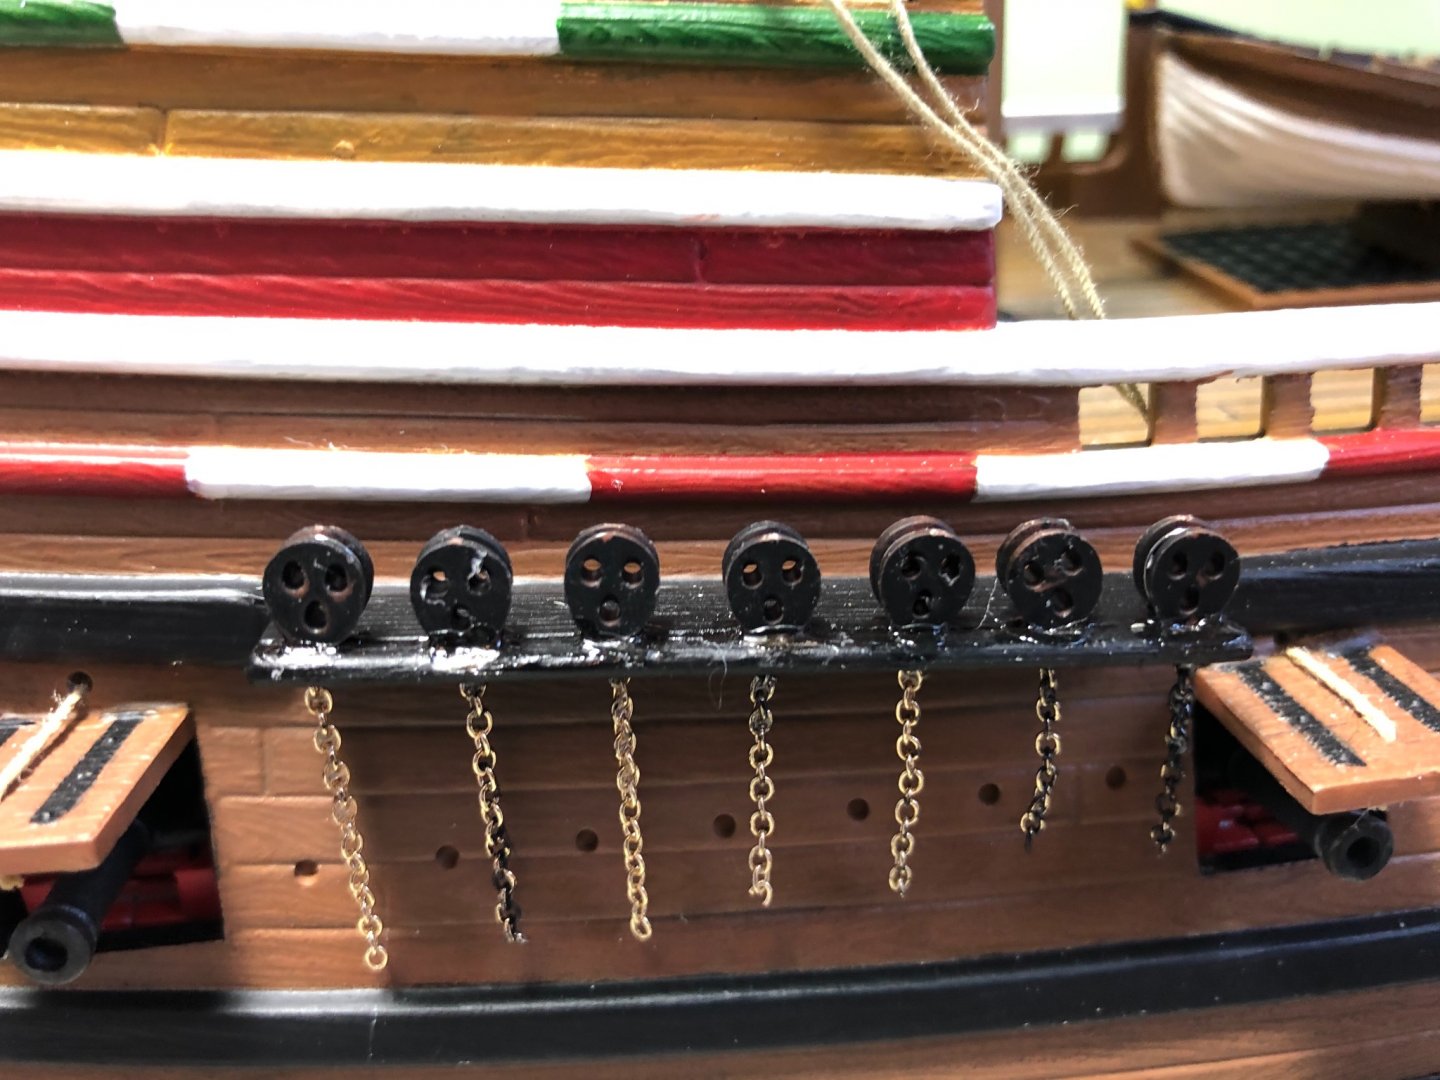
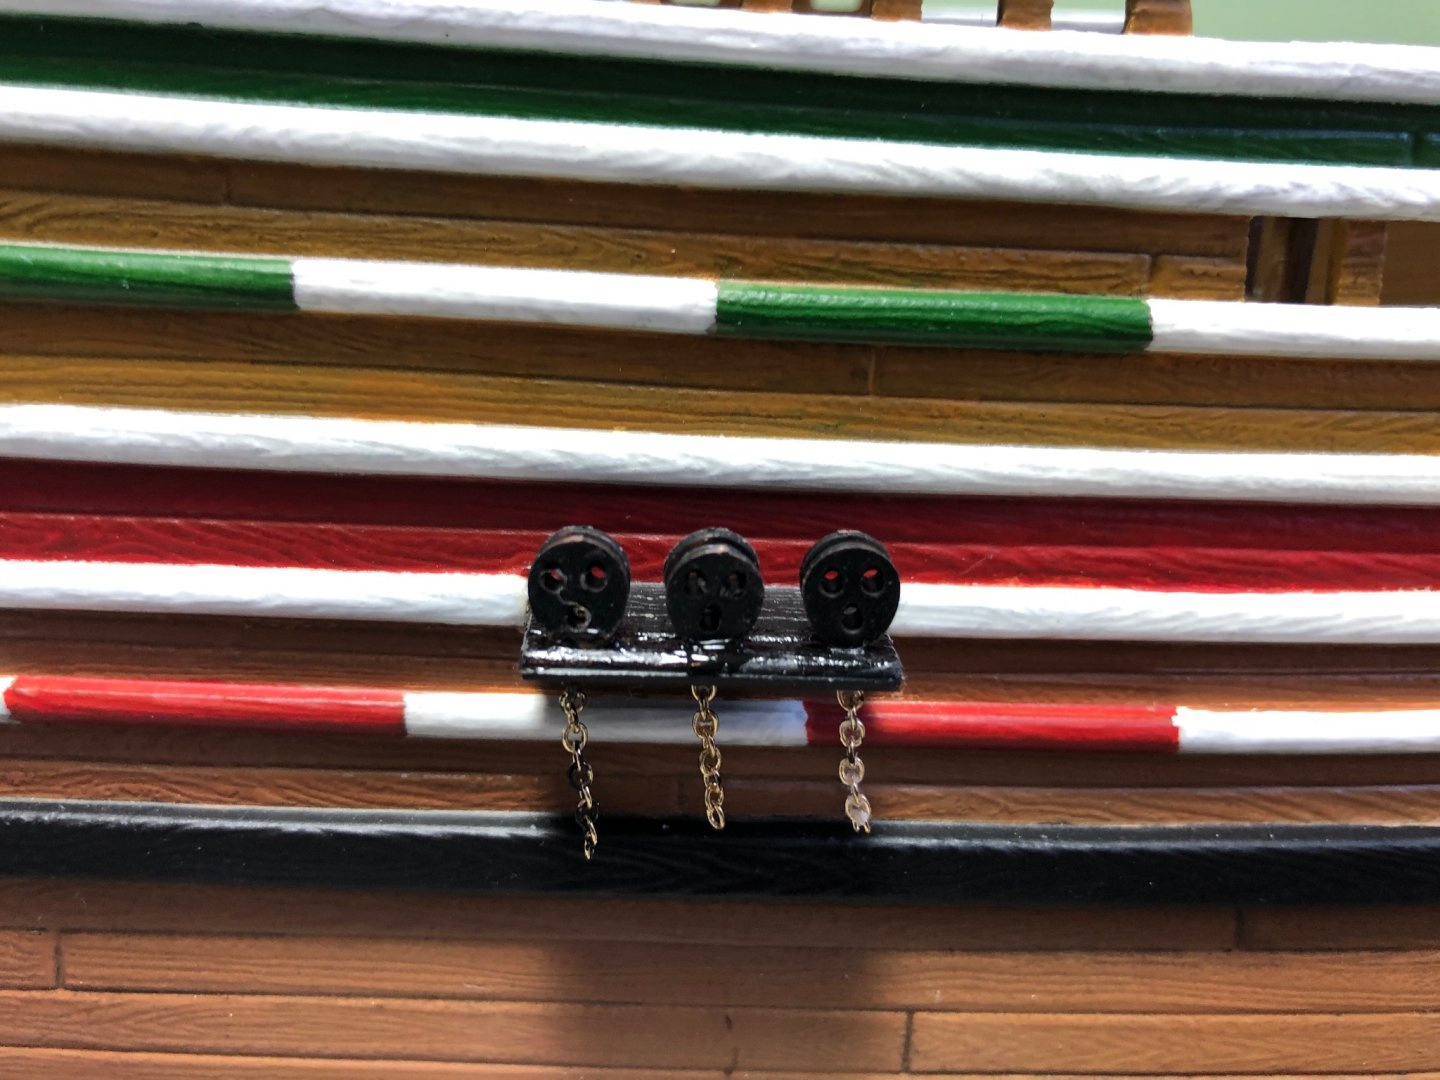
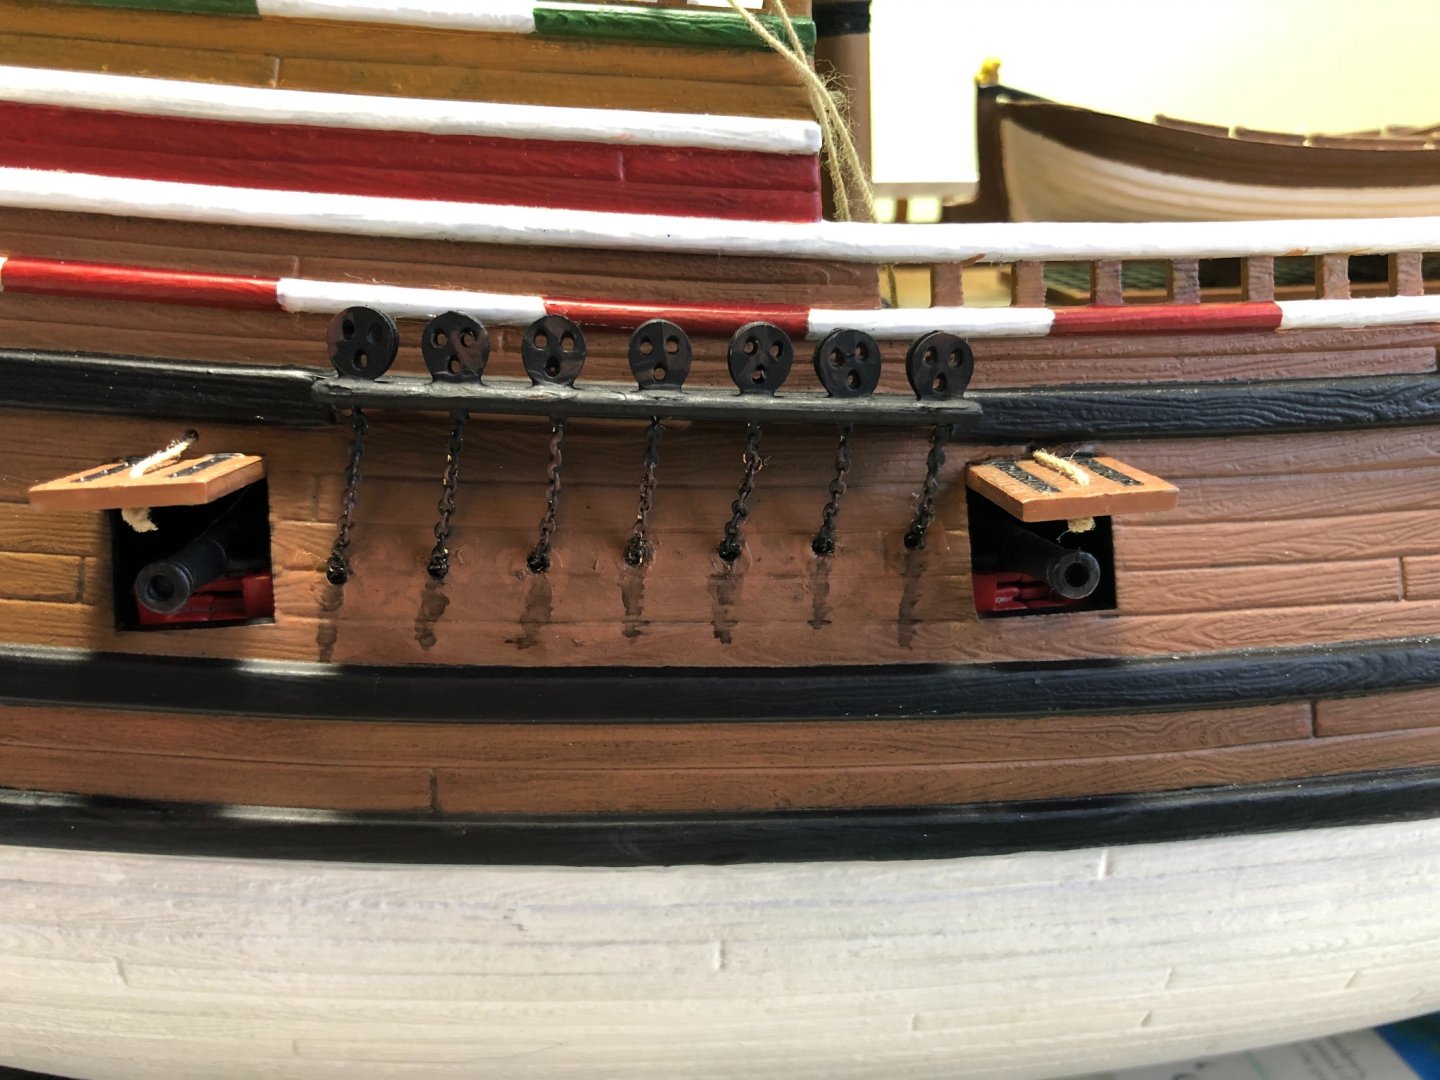
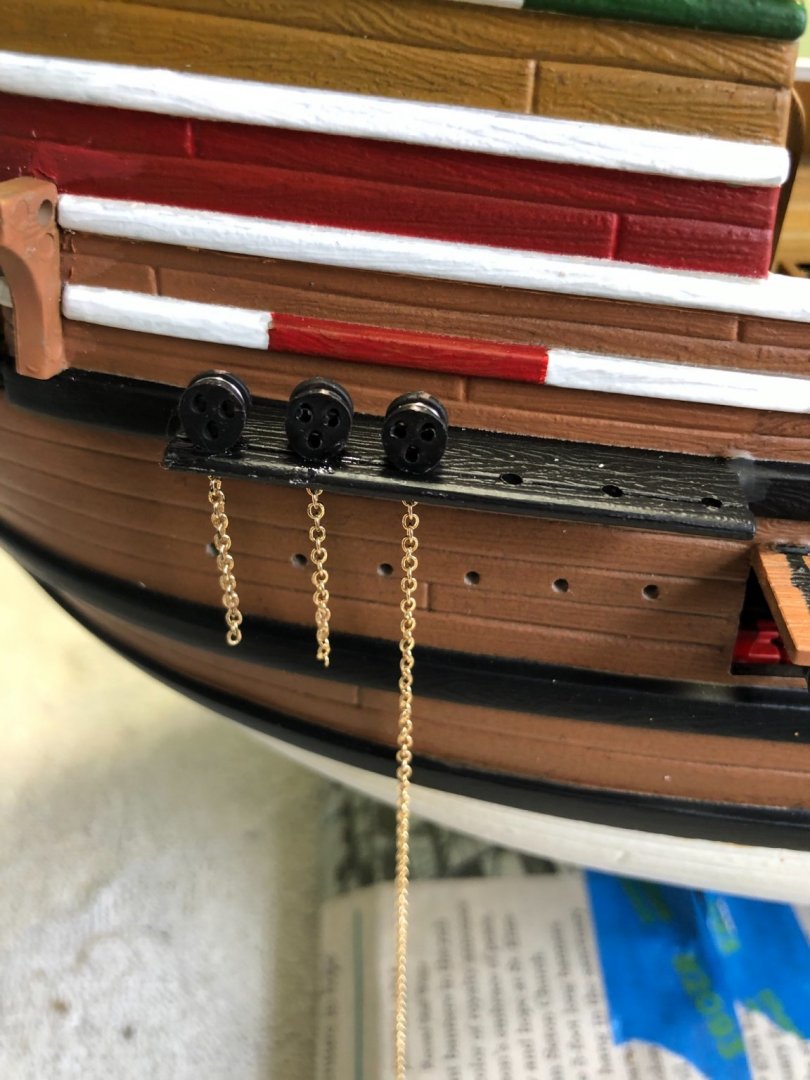
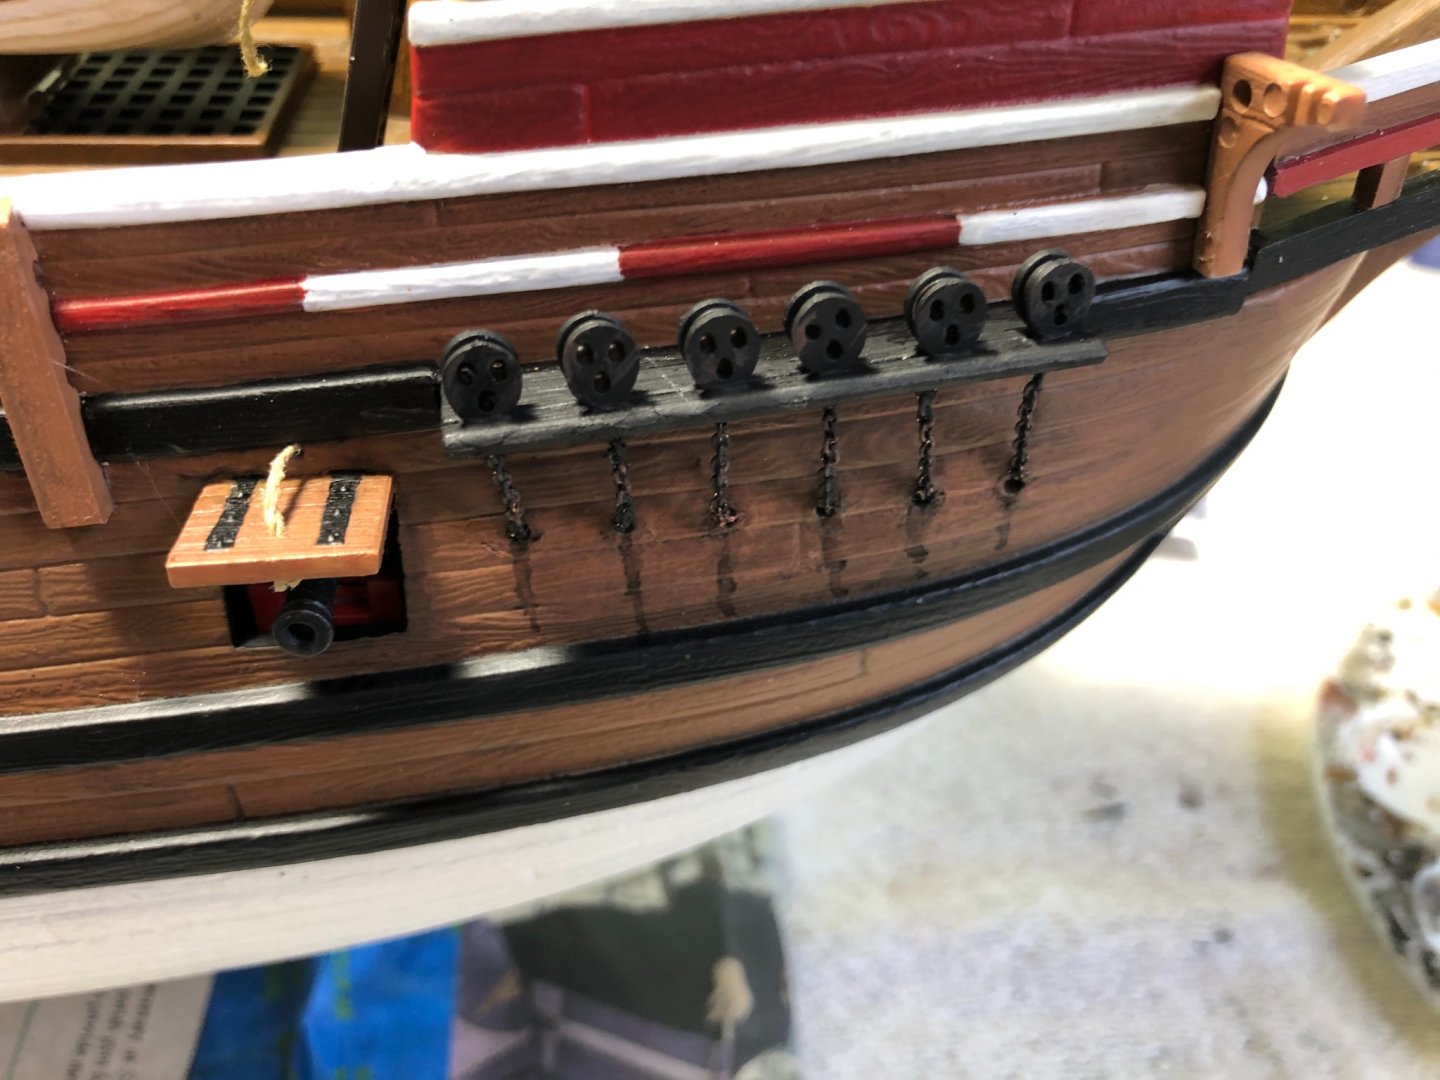
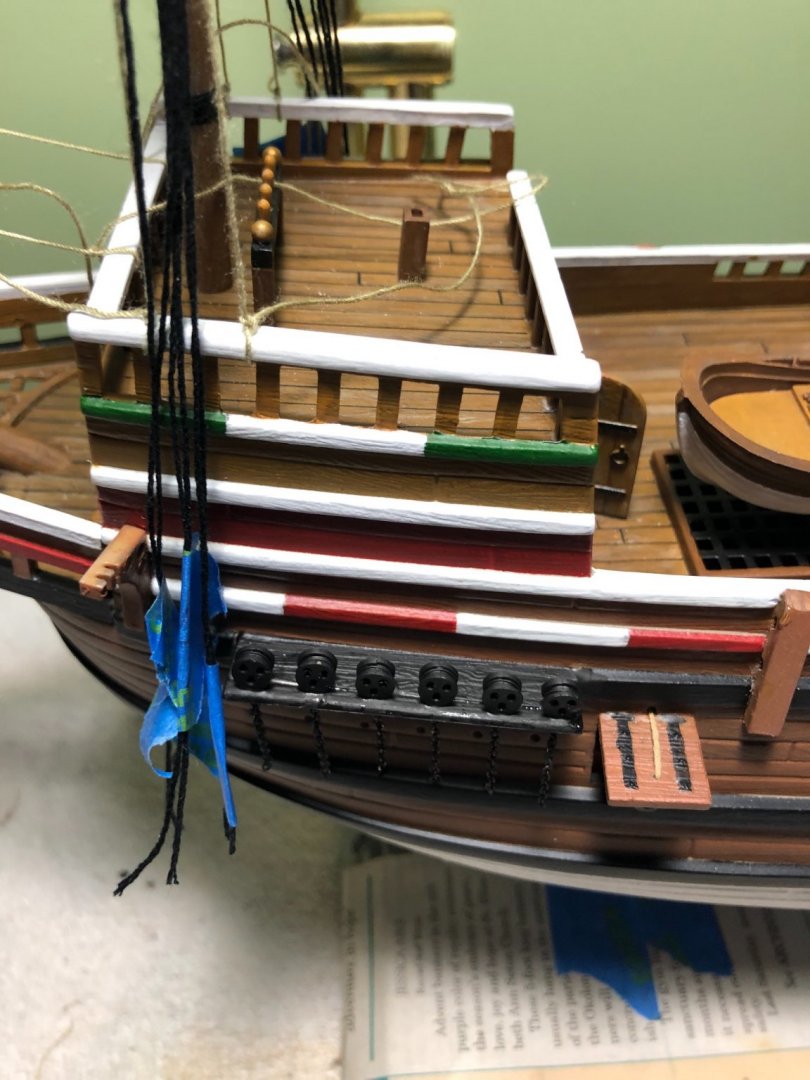
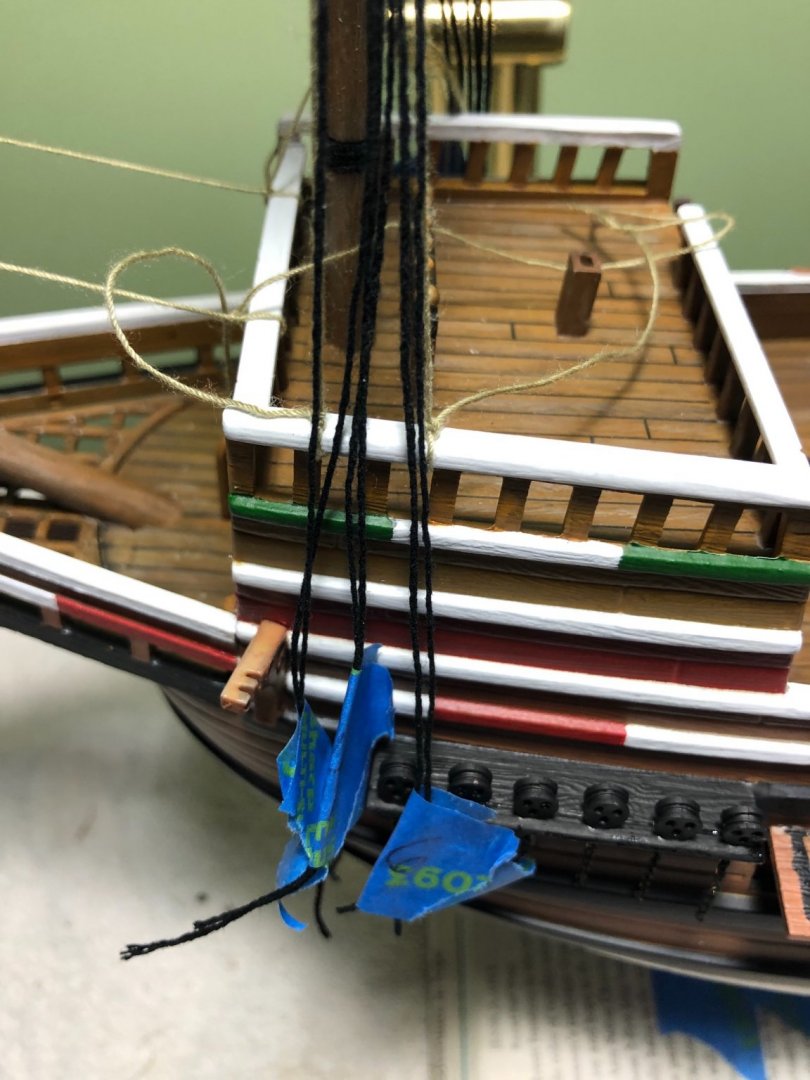
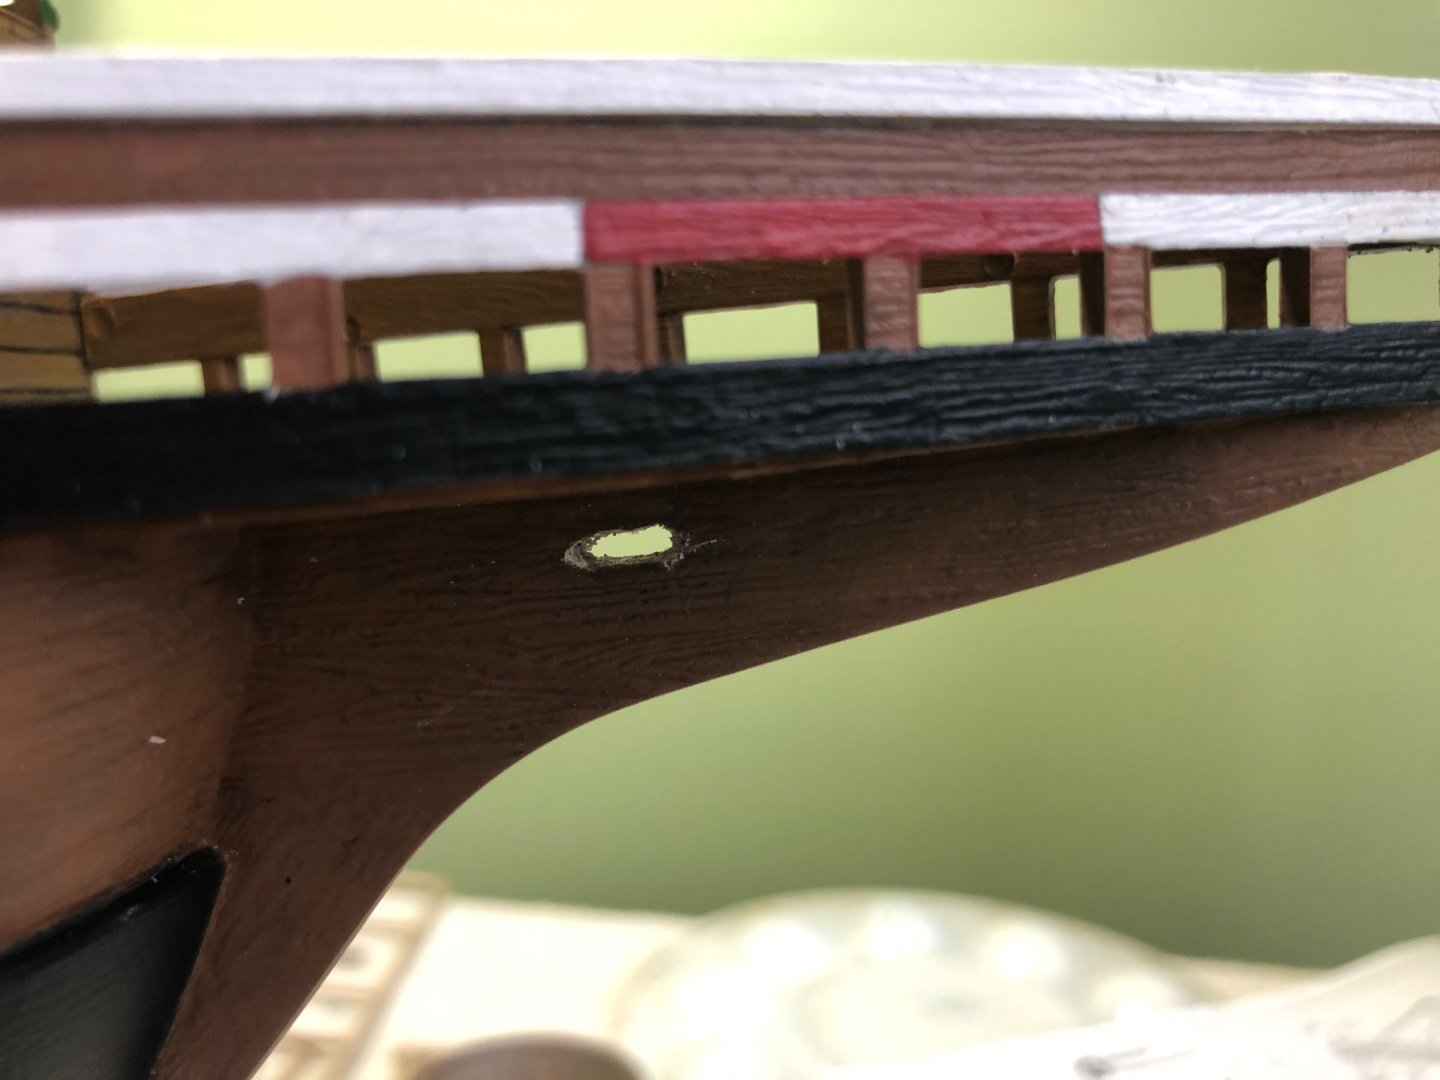
Completed a little more rigging and started installing the lower deadeyes for the shrouds. The Trumpeter model did not come with molded or otherwise supplied chains to attach the bottom deadeyes to the hull! I have some small link chain so I decided to use it. I attached a short length to each deadeye, ran the chain down through the support on the side of the ship and inserted it into a small hole I drilled in the hull below each deadeye. I antiqued the chain with a little black wash and rust color. I also added a little trail of weathered stain below each chain on the side of the ship. I then attached the pairs of lower shrouds to the mast. I will be using the piece of wood jig technique to establish the proper position for the upper deadeyes that I will tie the shrouds too.
-
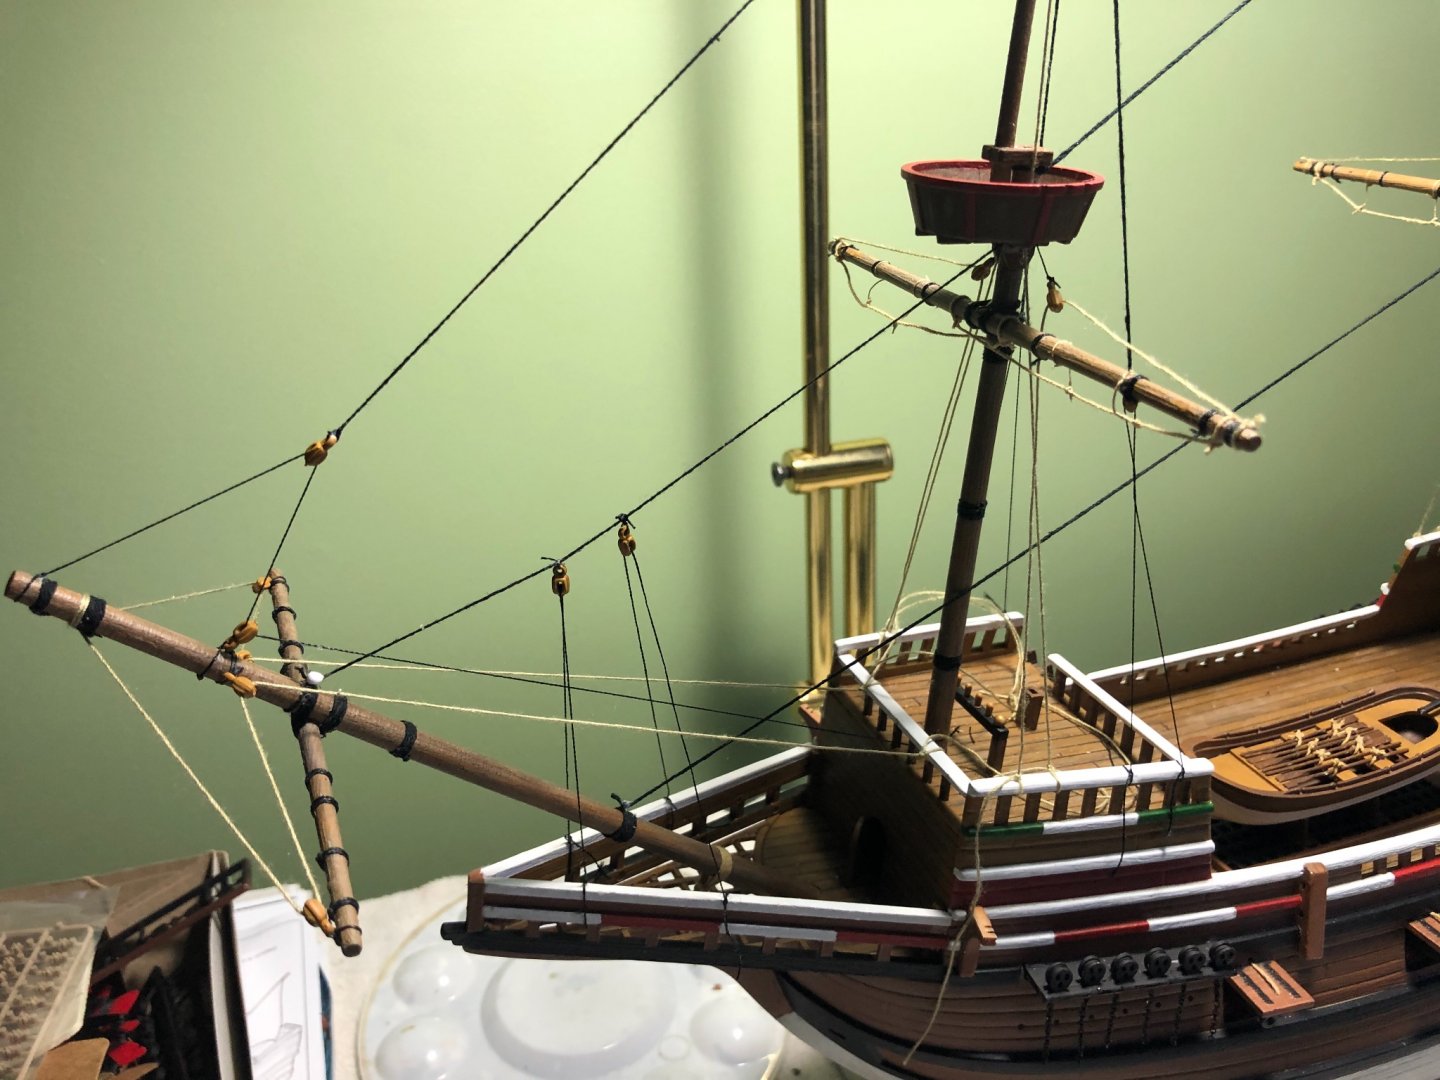
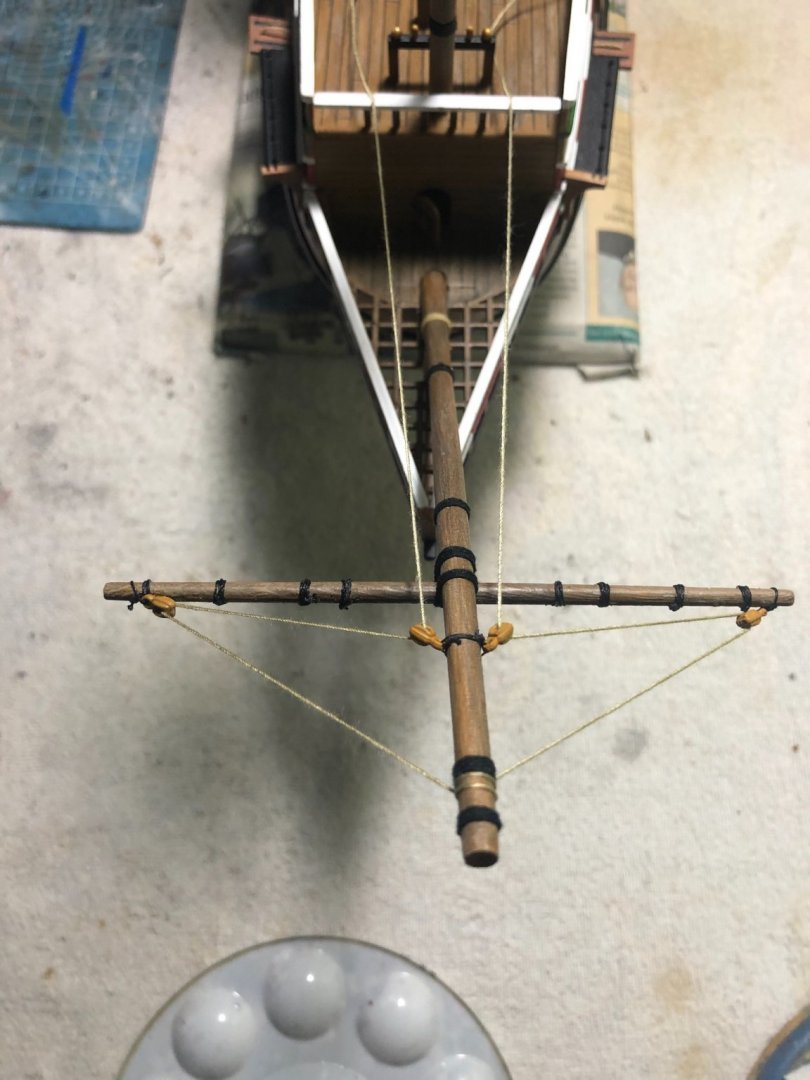
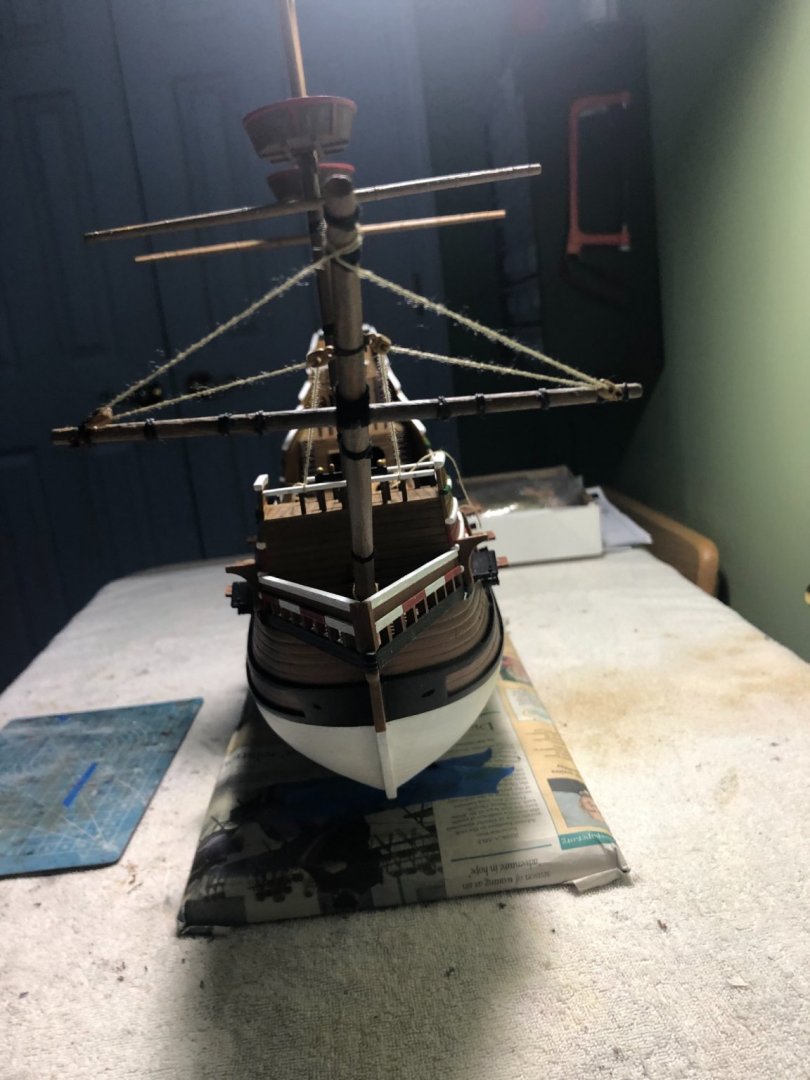
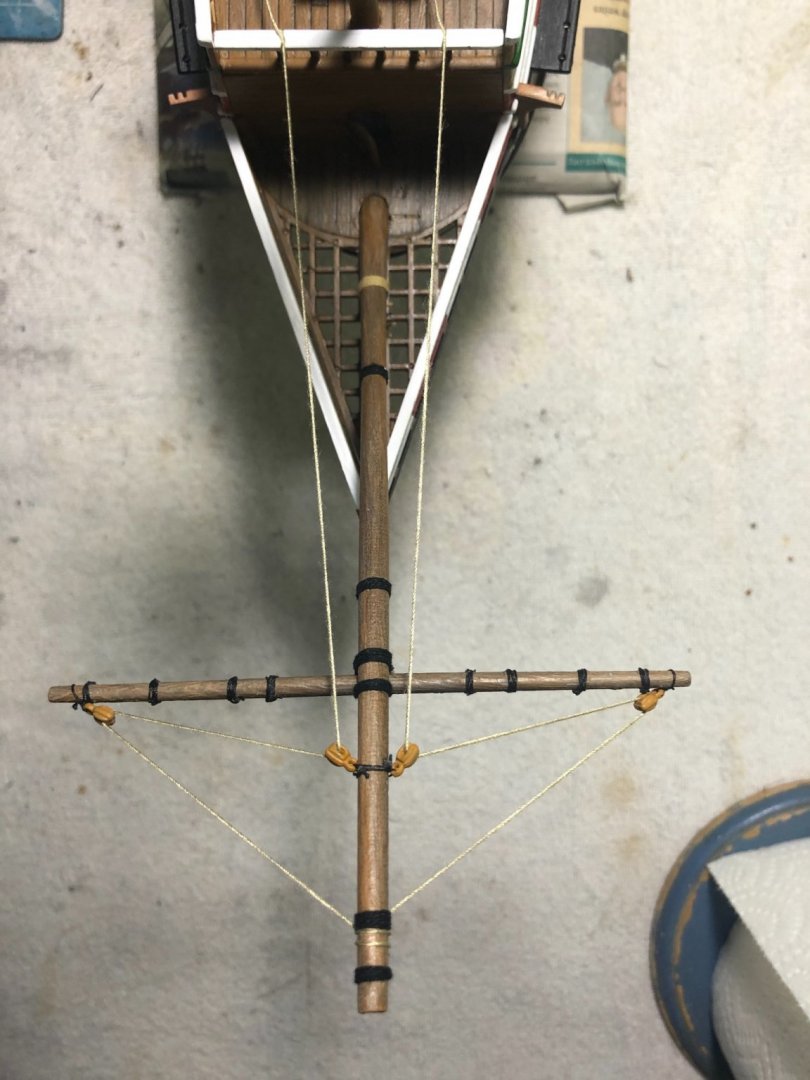
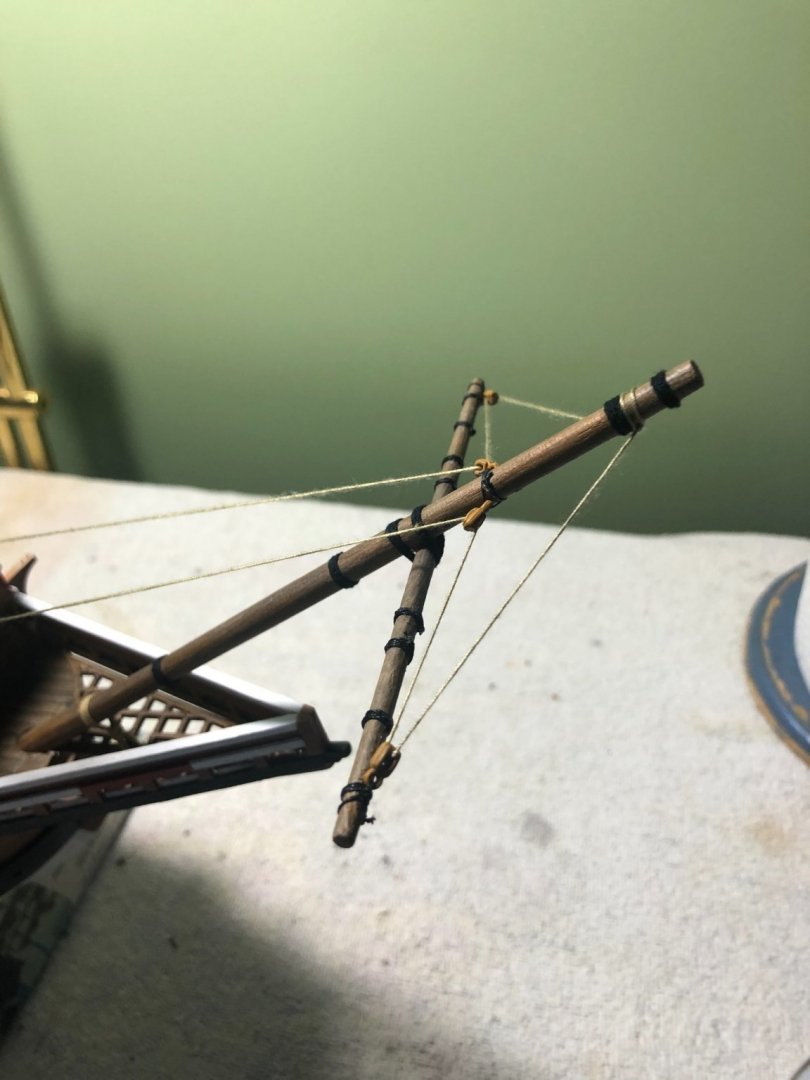
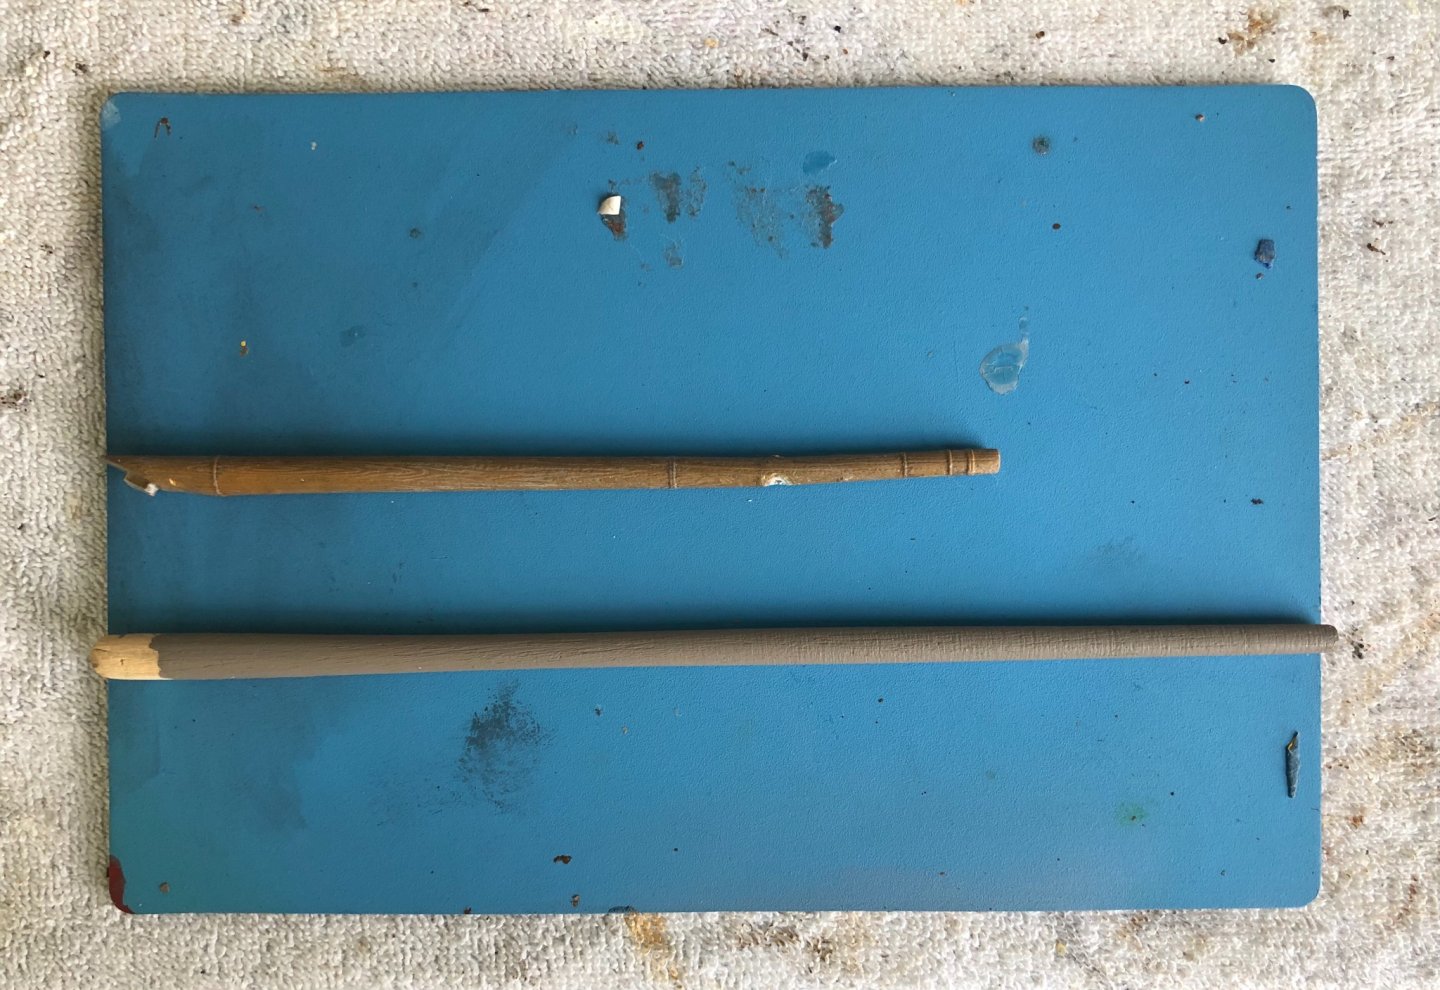
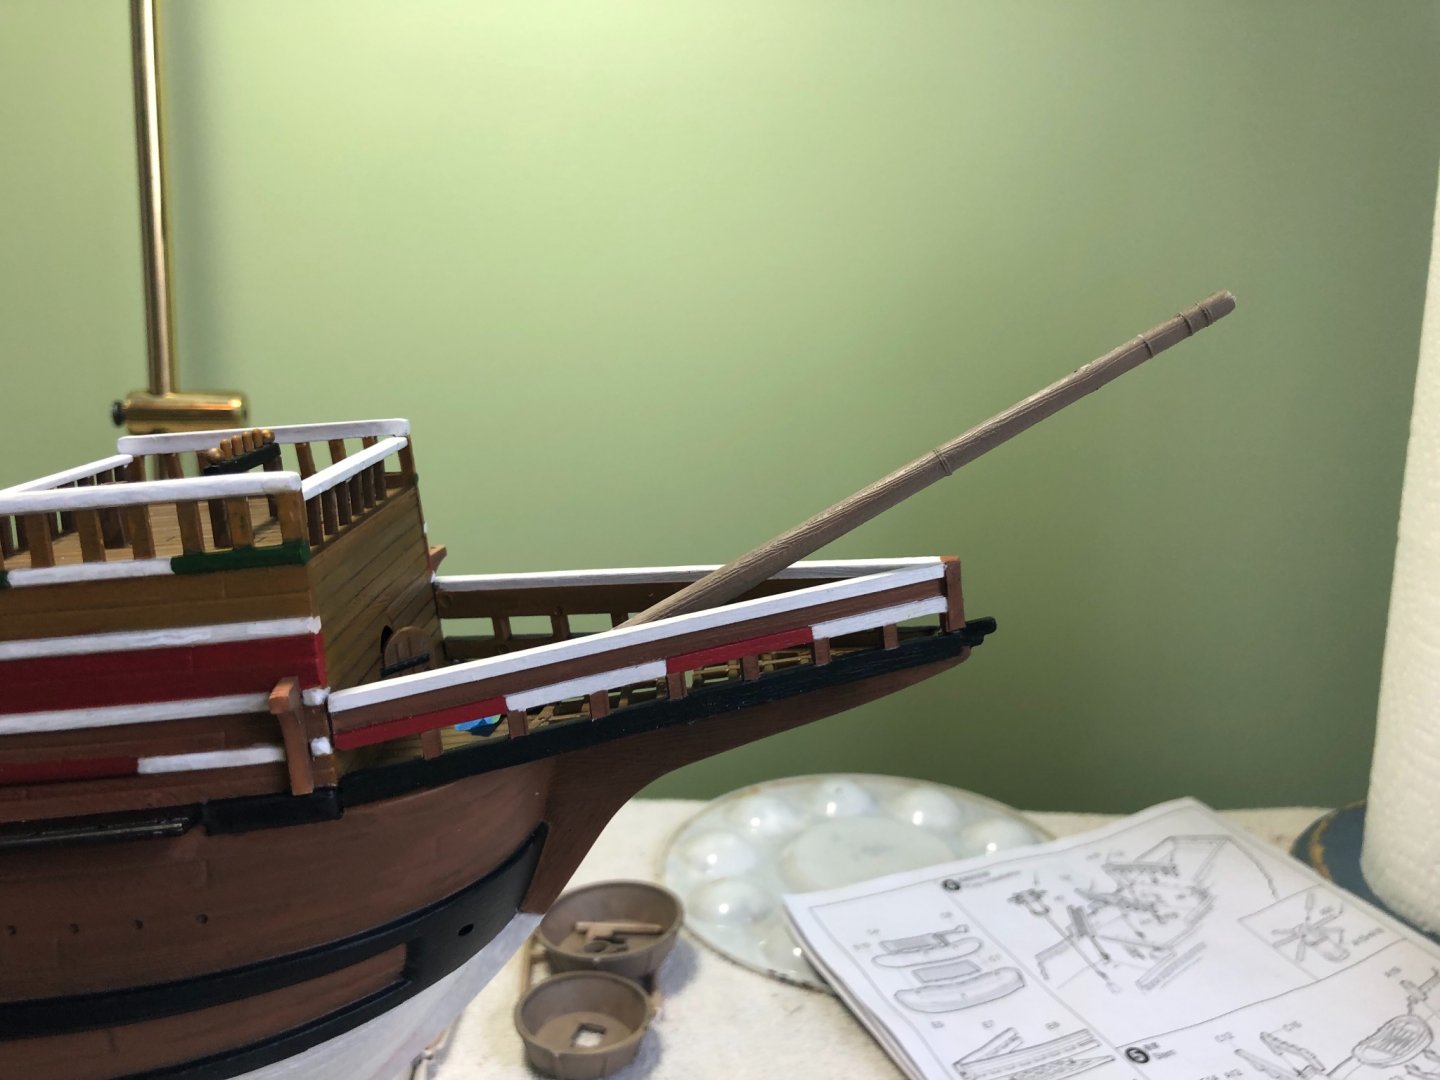
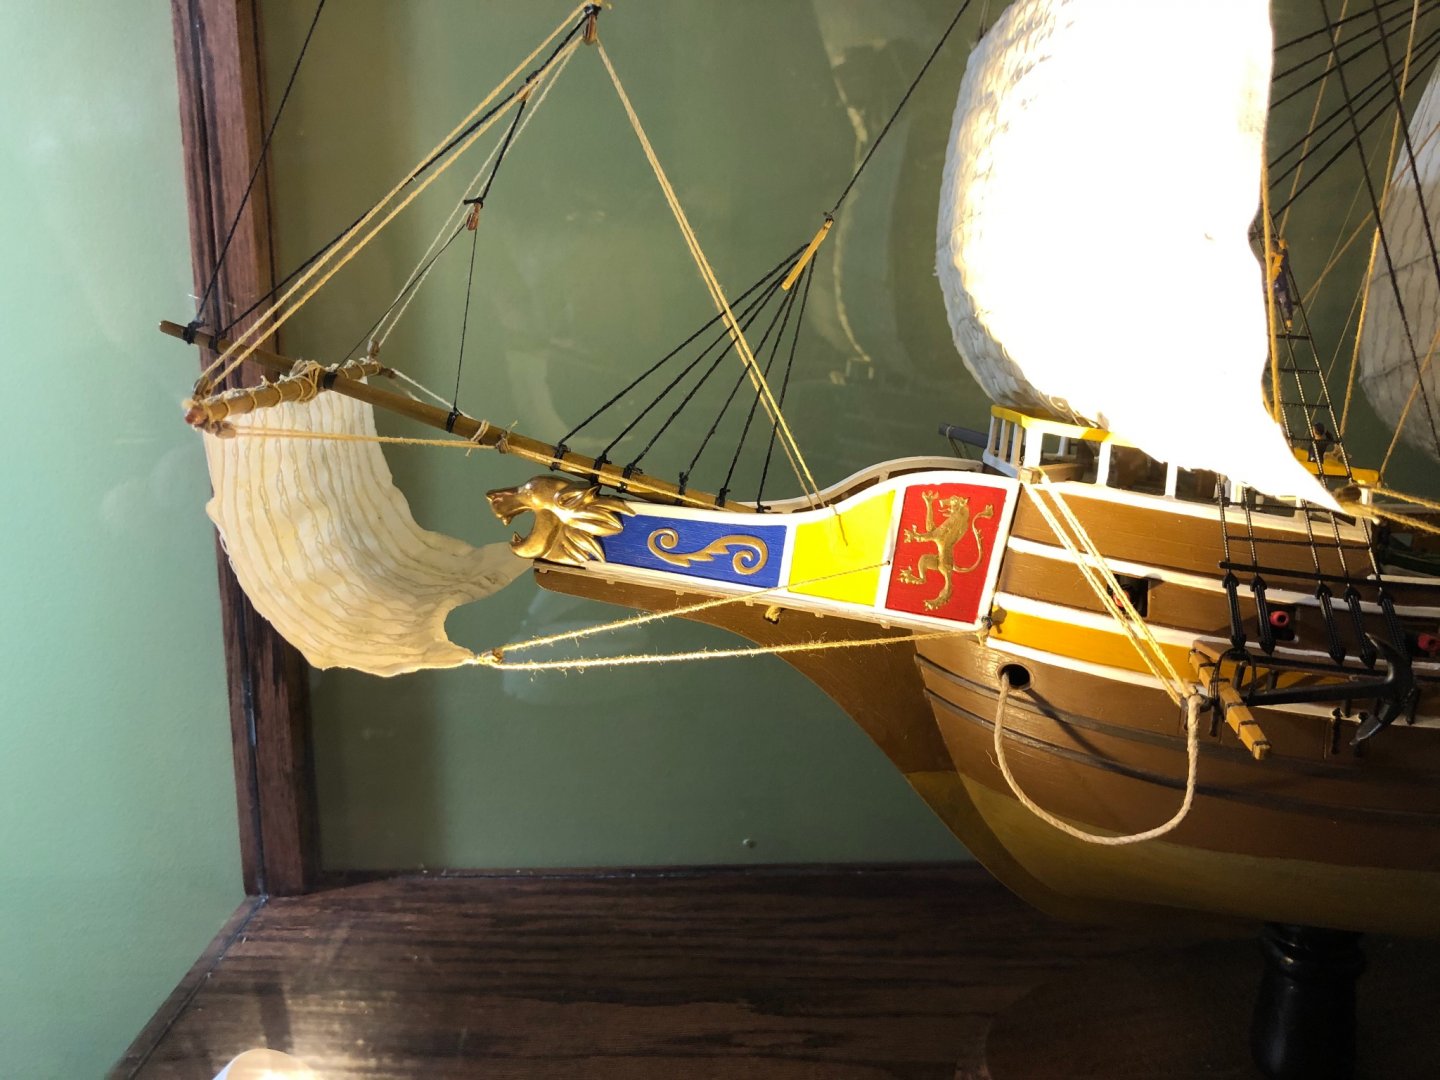
Got my new bowsprit painted and installed along with the sprit sail yard and a little rigging! Thanks guys for your help and advice. Not sure how new builders can do it without help from guys like you.
-
Thanks gentlemen. That is helpful information. Will follow assembly instructions showing rigging lines tied to rails. kirill4 I have my new bowsprit made from wood. I measured the angle and length of the bowsprit on the Golden Hind to get the right measurements. After I paint it I think it will work much better.
-
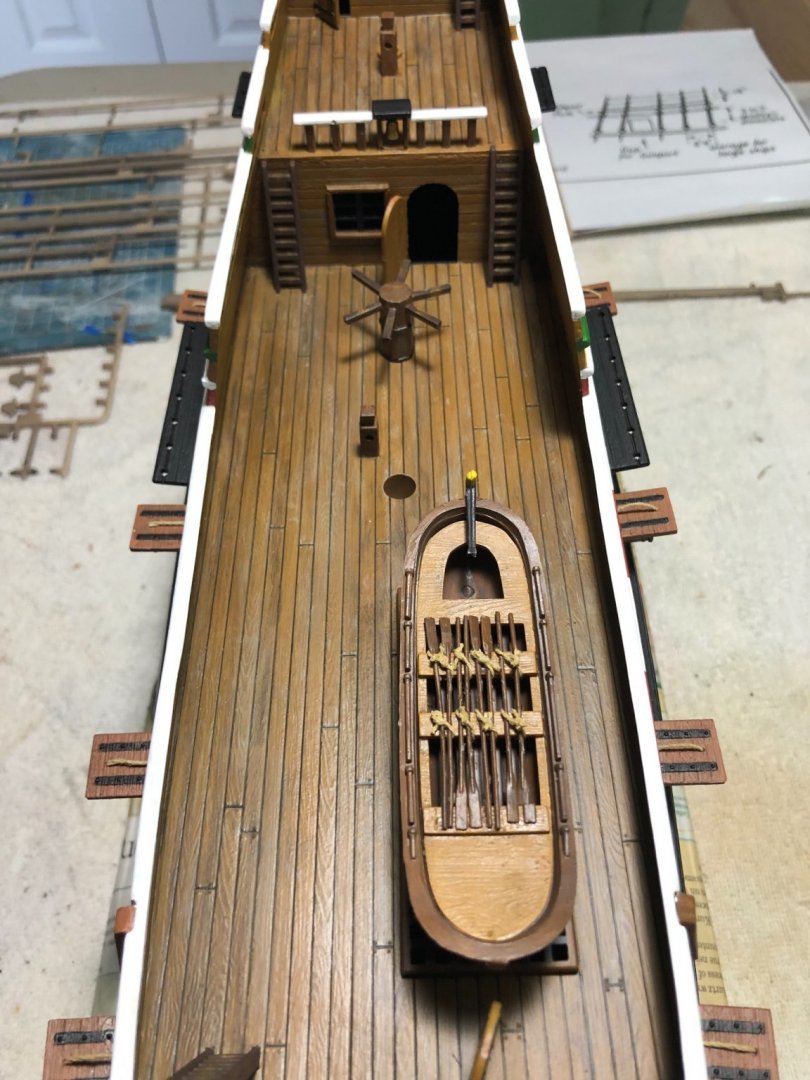
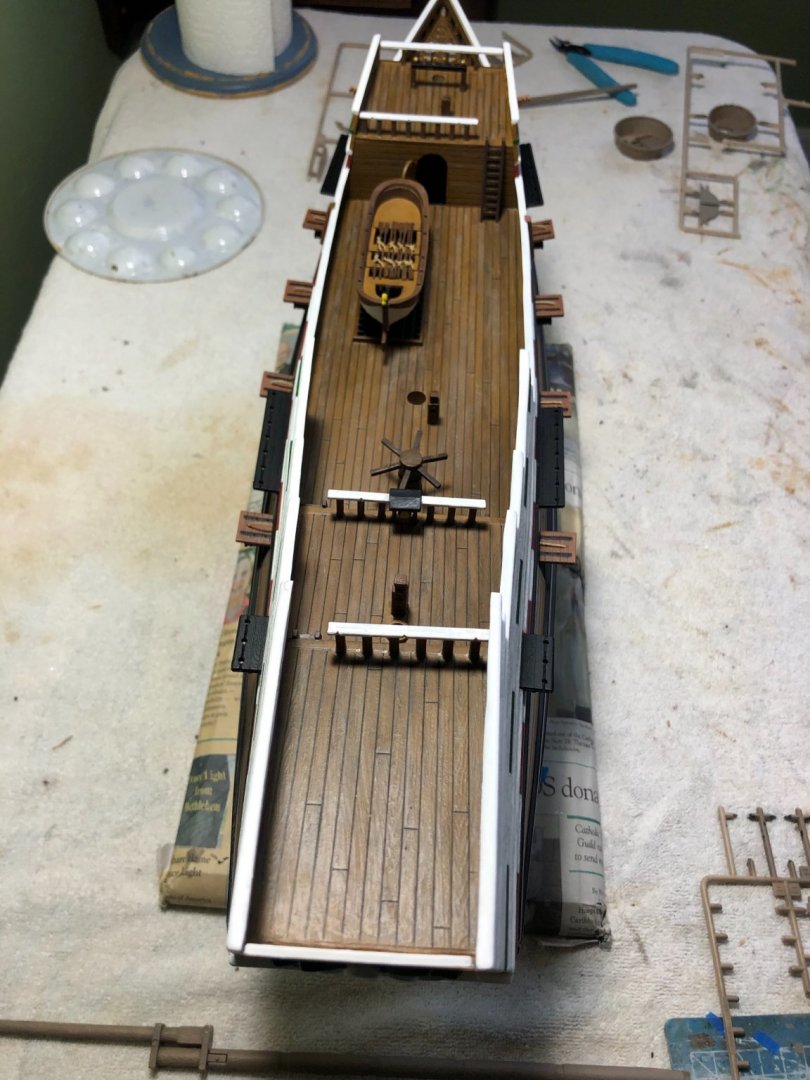
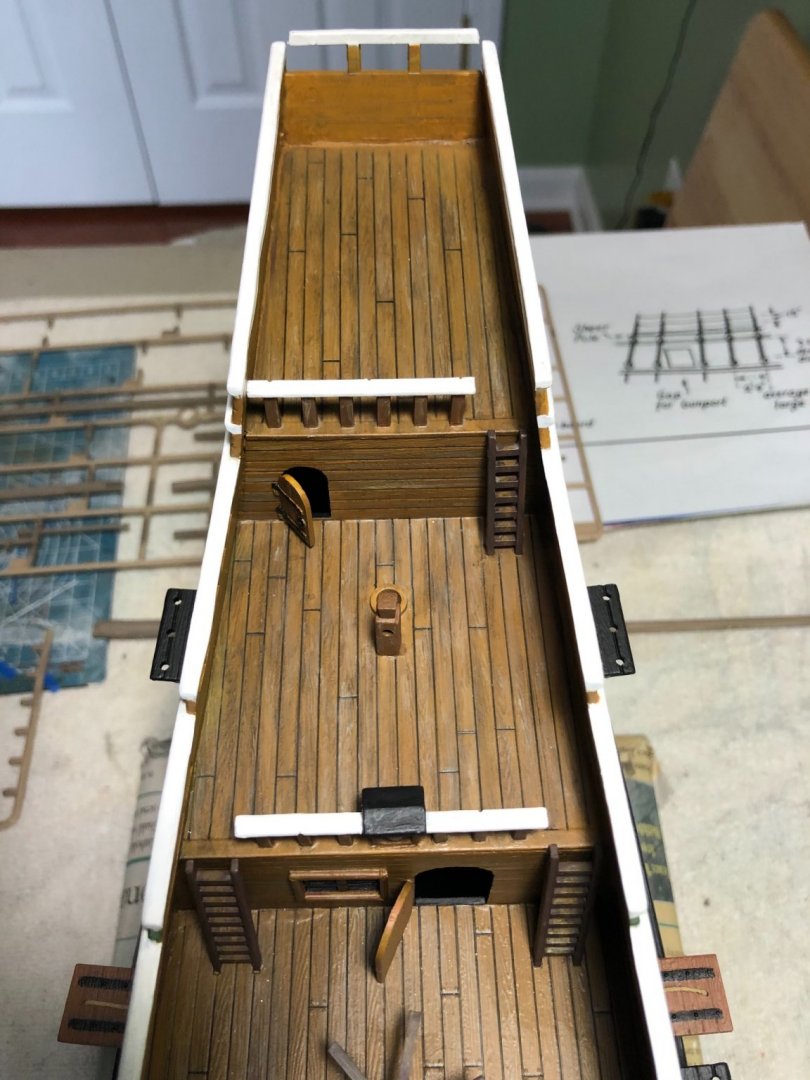
What is also interesting about this model is there is only one pin rail on the entire model and it is at the base of the foremast. No others along the inside of the hull walls. Also no other belaying pins anywhere else on the ship. Assembly instructions have all the rigging lines tied to rails on the ship.
-
Kirill4 do not apologize for your translation. It is fine. I have been able to follow your advice without issue. I do have the Golden Hind rigging instructions. I have that model still unopened. Planned for the future. Will get the instructions out to view rigging.
-
Kirill4 are the model pictures you are including in this discussion pictures from models you have completed? If so, your work is incredible! Even the precision in your rigging lines is fantastic. The more I work with this Trumpeter Mayflower the more I am thinking it does lack authenticity. I am going to make a longer bowsprit. After you mentioned it, I checked and it is to short. In looking ahead in the instructions I also see the rigging is pretty limited as compared to my other builds and photos of the Mayflower II replica. A definite benefit of building this ship has been my learning to fabricate corrections. Learning a lot from you and others. I plan to use the rigging instructions that I used to rig my English Man O War to rig the Mayflower. It may not be totally authentic but will definitely look better than the minimal rigging included in the instructions.
-
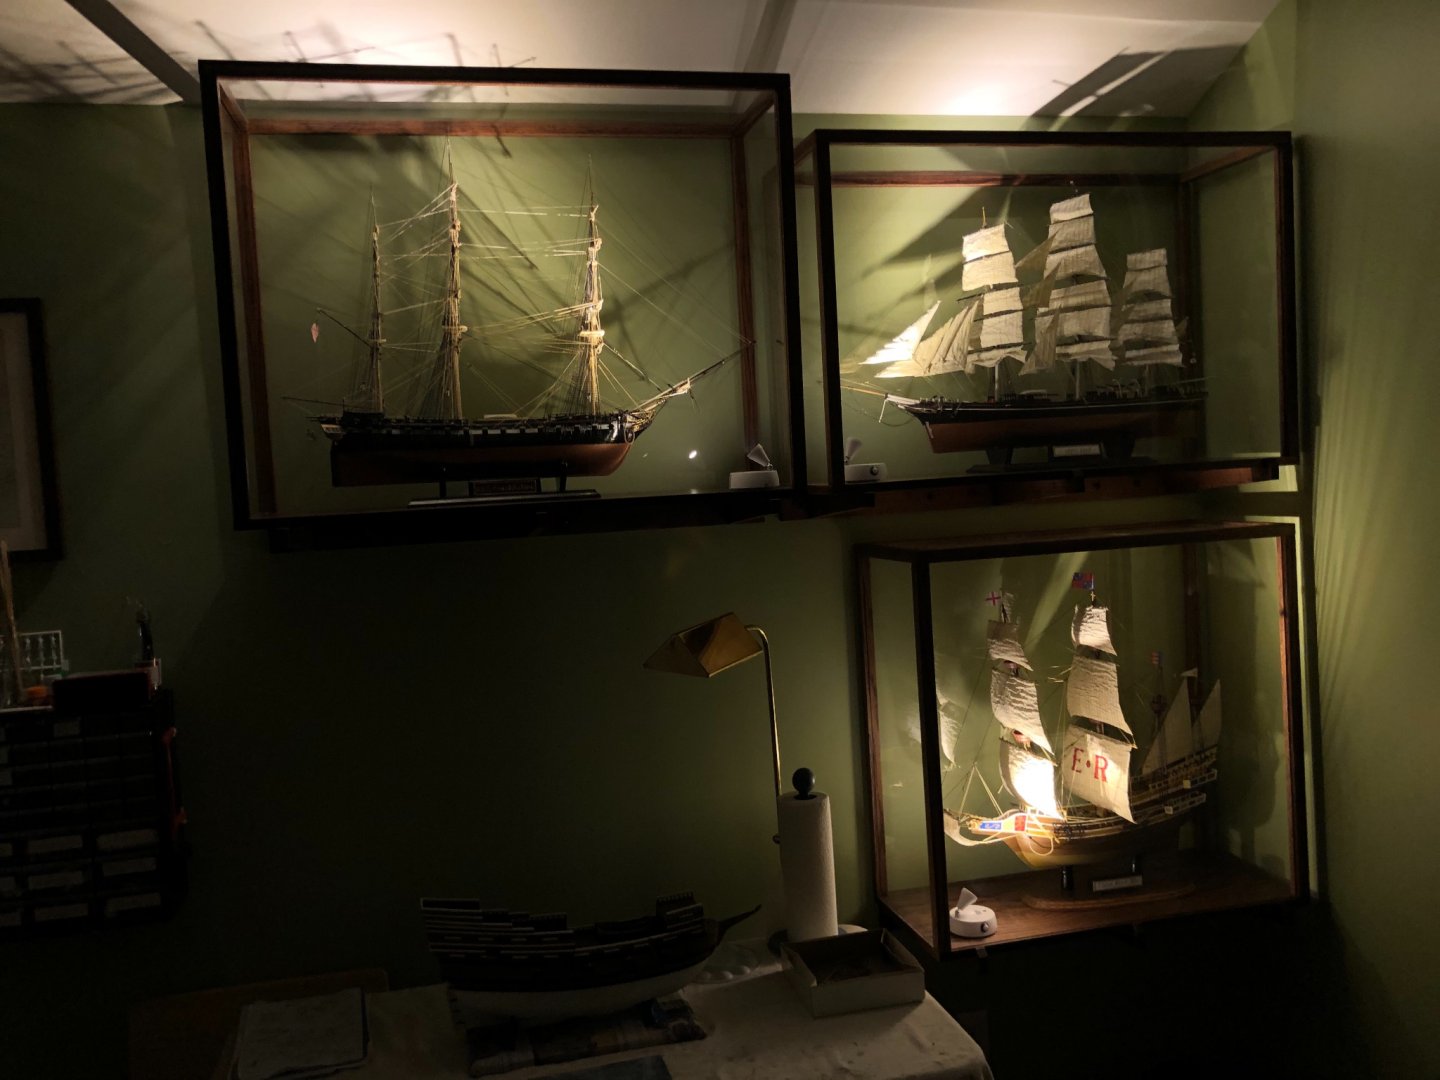
Thanks Ian. That helps a lot. I have the model now and will start it in the next few months. Your case size will be the same size I make my case. It will fit perfectly in the space I have planned for it. Will fit in the bottom left to go along with my USS Constitution, Cutty Sark, and English Man O War.
-
Thanks again kirill4. I did not check the length of the bowsprit. It is just what the out of the box length is. I think I am learning Trumpeter ship models may lack some authentic. This Mayflower is my first Trumpeter model. Over all I think the pieces are high quality but the overall model lacks accuracy. I now understand what you meant by your he position of the he bowsprit. Since I have not glued it in place or repaired the forward bulkhead yet, if you were me would you move it again to your positioning or just leave it alone now? Could you explain making the parrels for yard attachment?
-
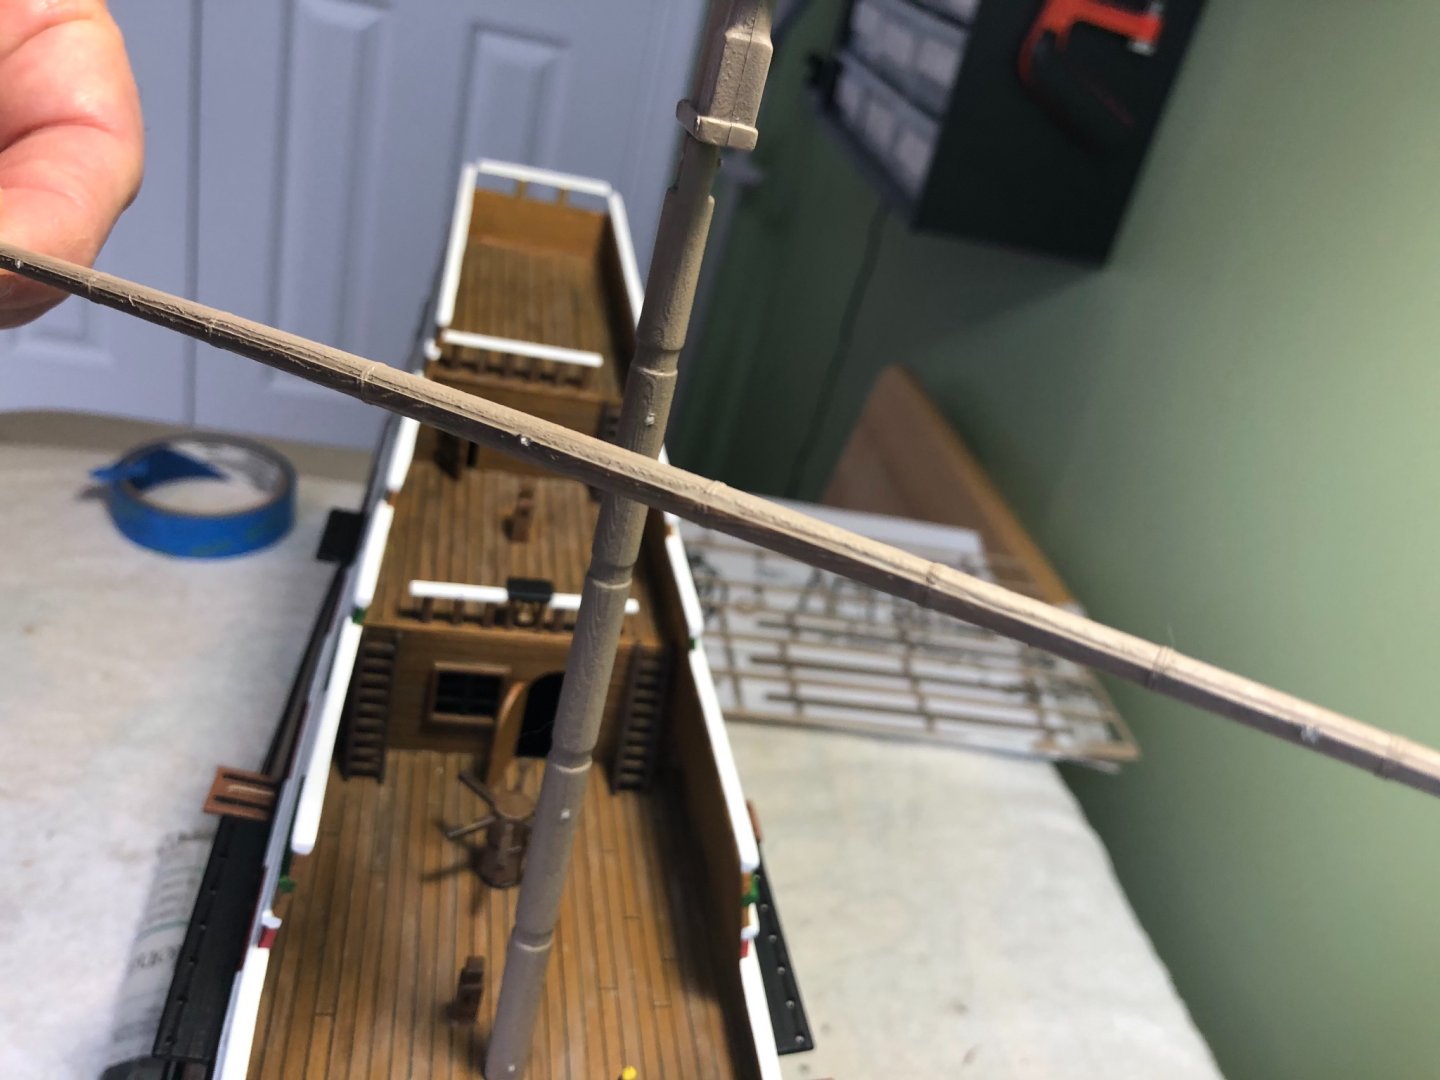
Now for my next issue going forward. Something new with Trumpeter. There are no designated places molded into the yards or masts for connecting them together. On other models there was a “C” shaped mold on the back of the yard that would go around the mast at the appropriate place. This model does not have that. How do you attach the yards to the mast in this case?
-
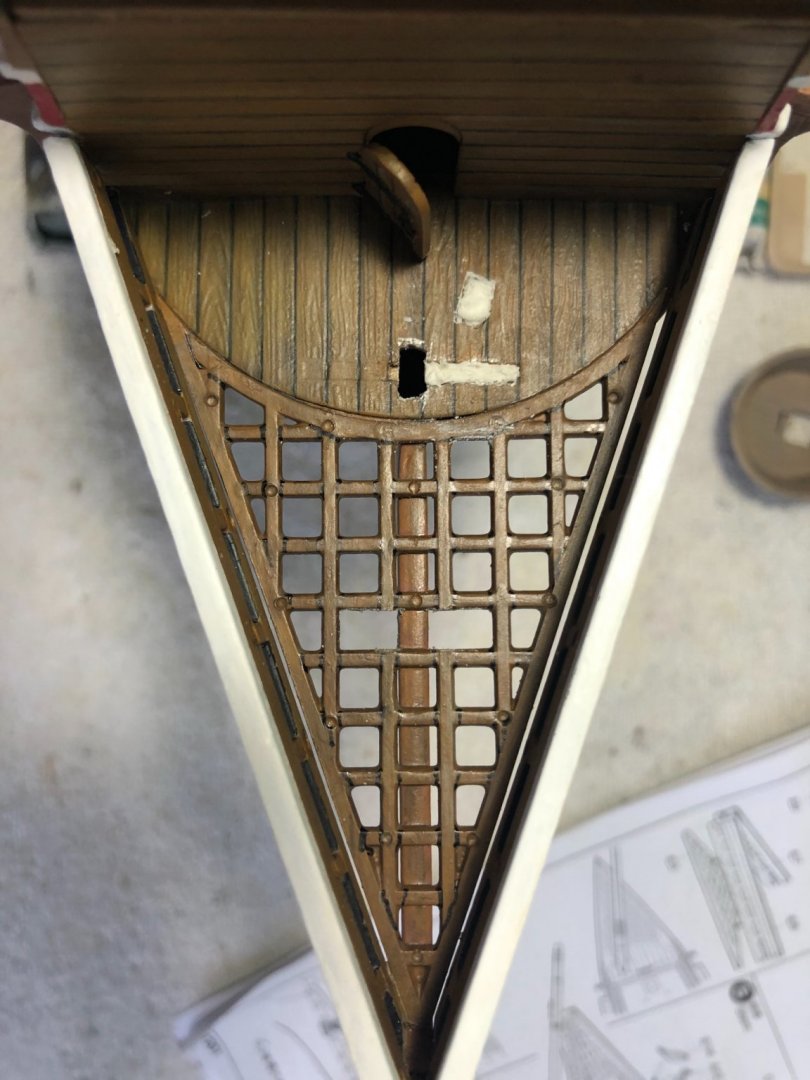
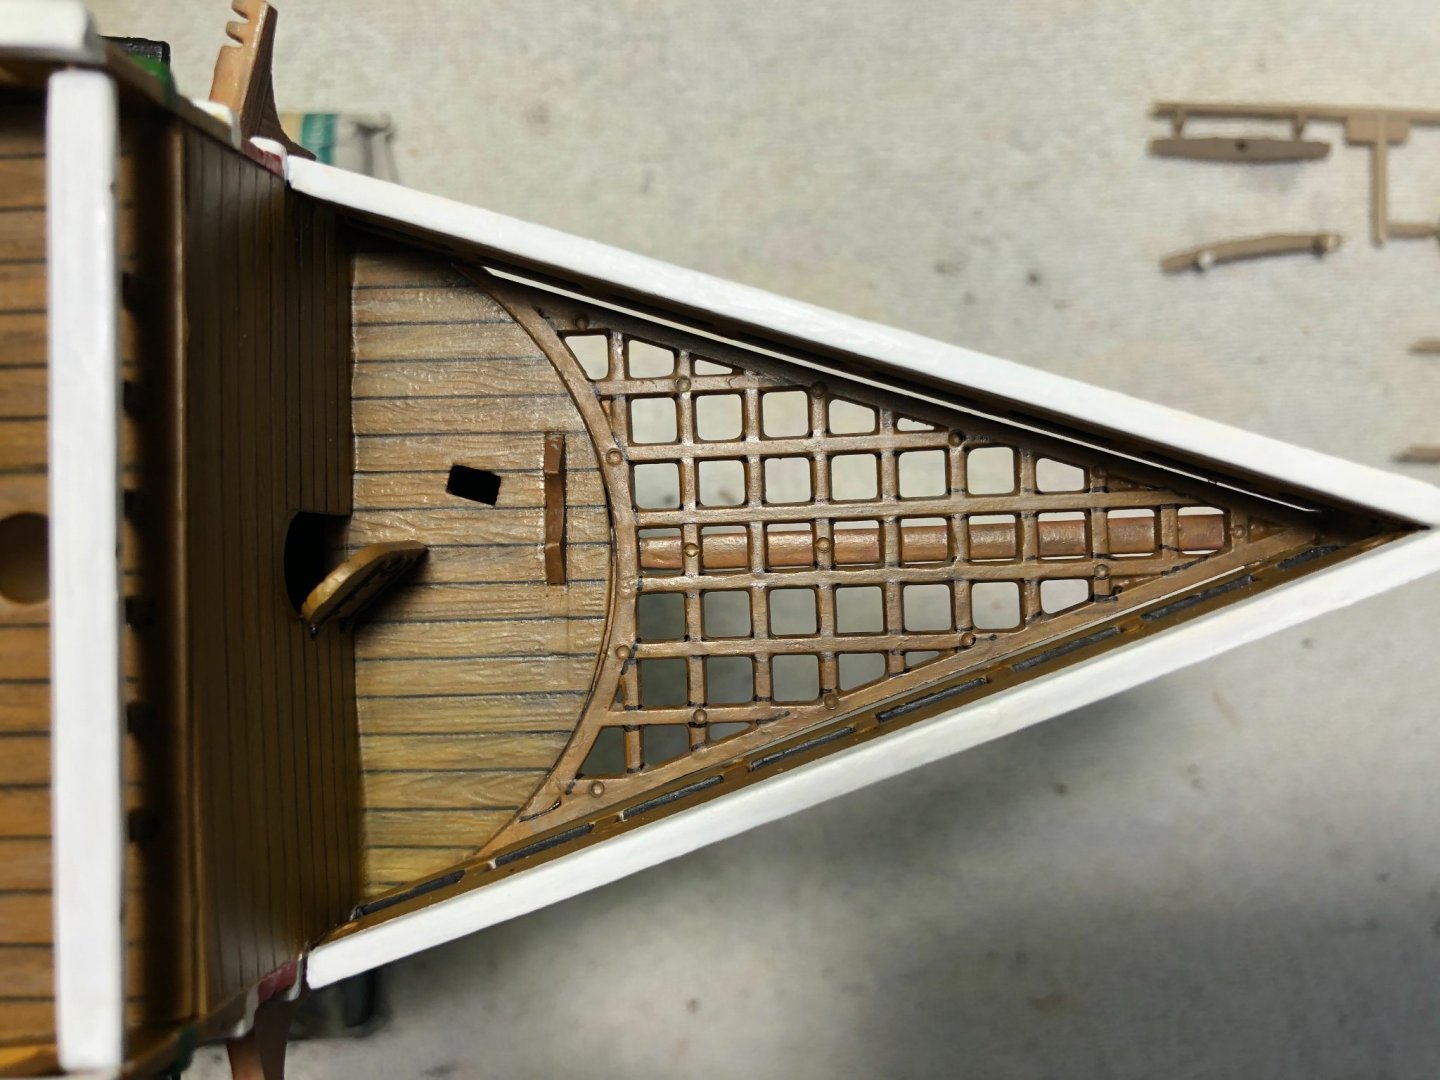
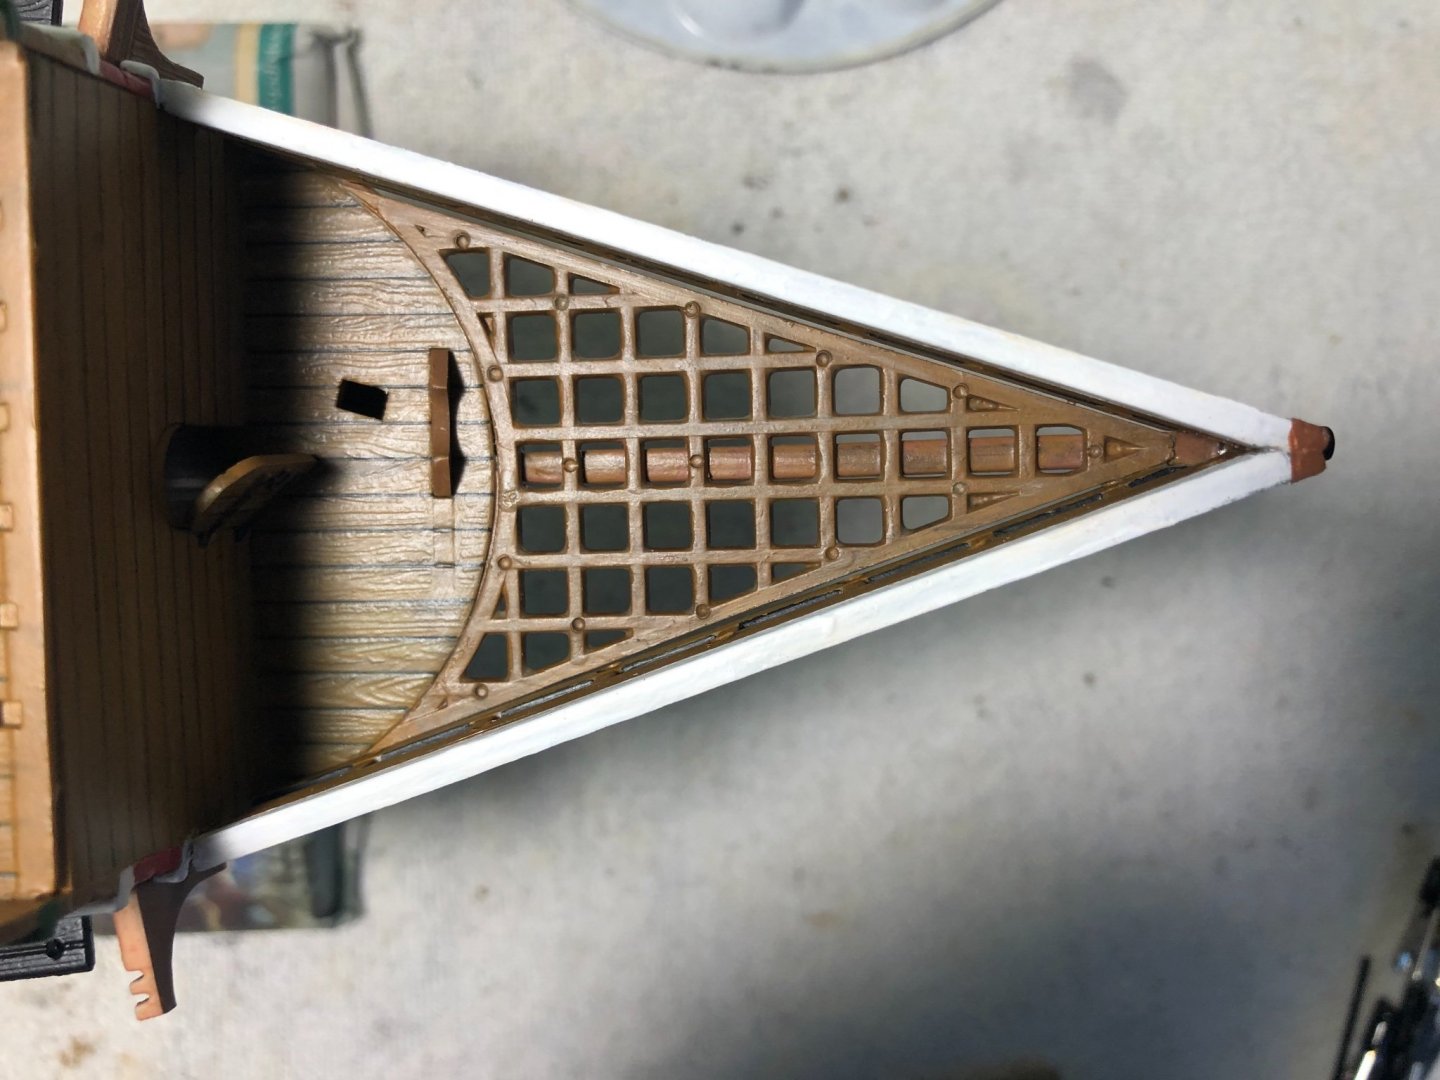
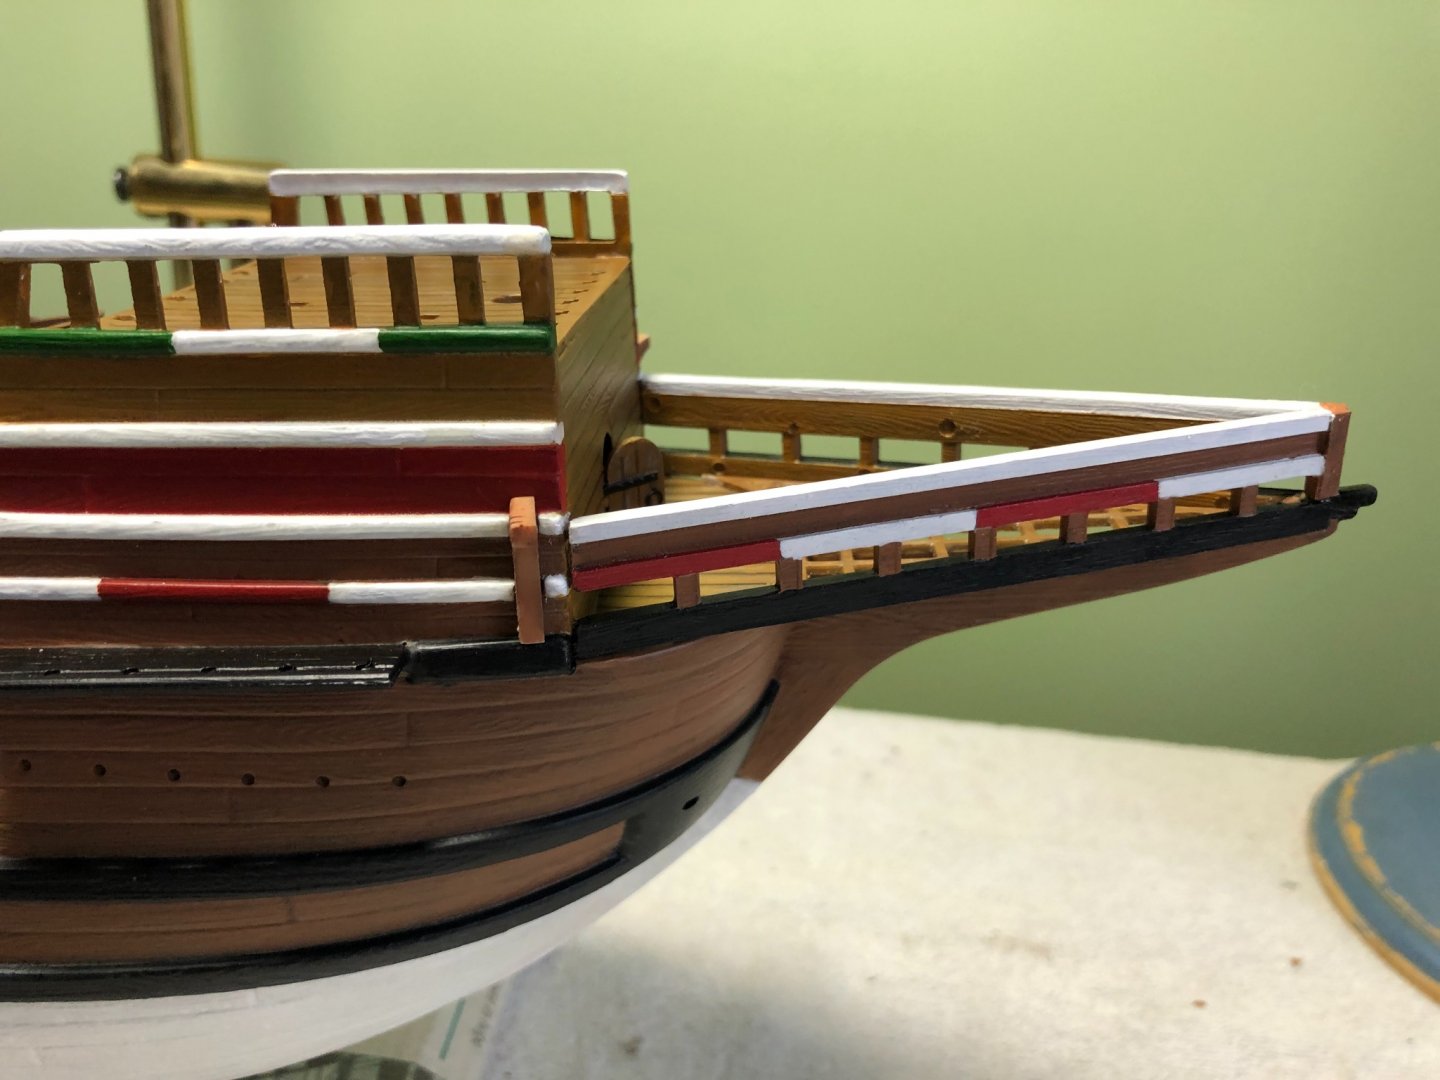
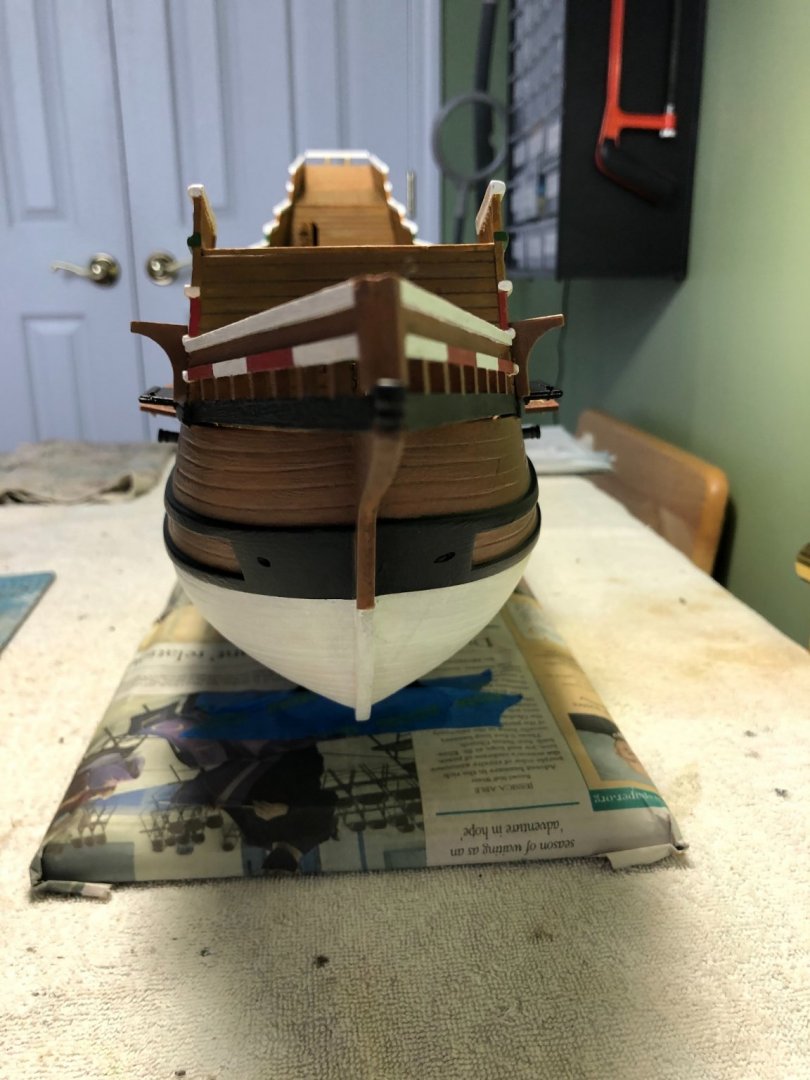
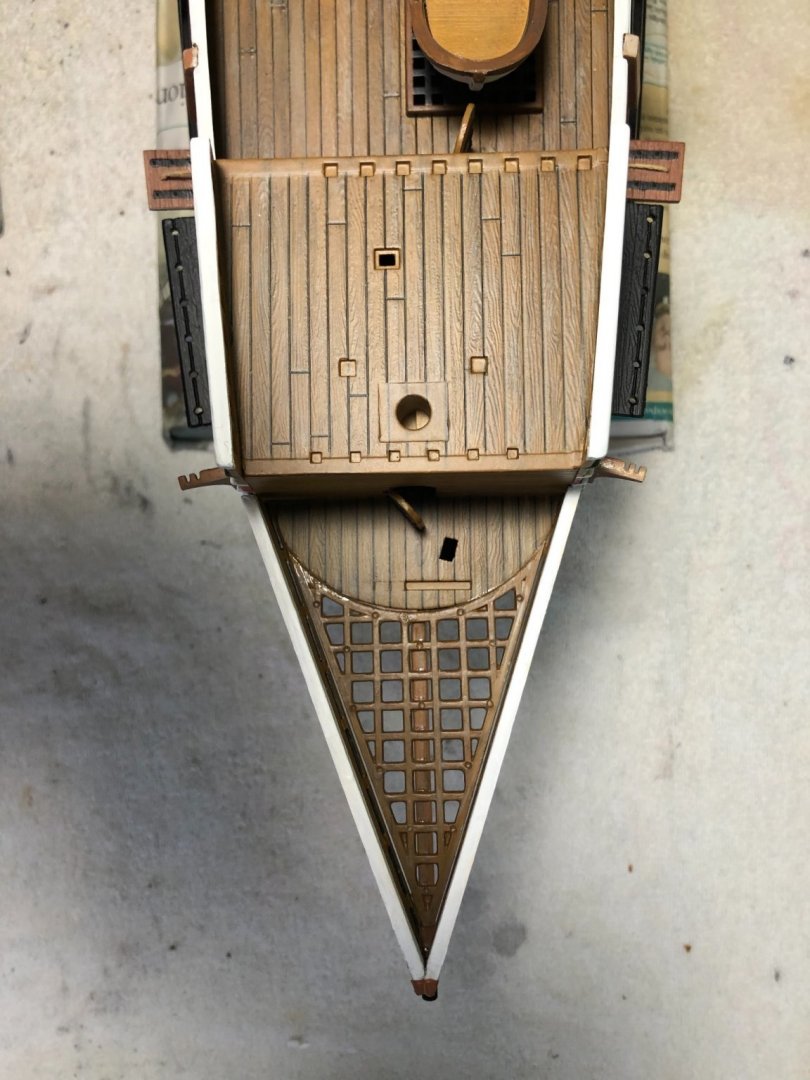
Thanks kirill4. I have made corrections to the model which will align the bowsprit correctly. I cut a new hole in the forward bulkhead to accept the modified end of the bowsprit forward of the hatch door. I removed two sections of the grating and cut an elongated hole in the beakhead. These two steps will allow for proper placement of the gammoning rope. Now I will need to do repair sanding and repainting of the forward bulkhead to hopefully disguise where I made the changes. As far as the main hatch being off center I guess I will just live with that. That would be major work to try to change that. Thanks Kirill4 for the book information. I have access to a good number of books on the ship. Will let you know if I could use what you have.
-
This is my English Man O War. Similar design and era. I think I can scratch build a change on the Mayflower to about this angle for the bowsprit. We will see.
-
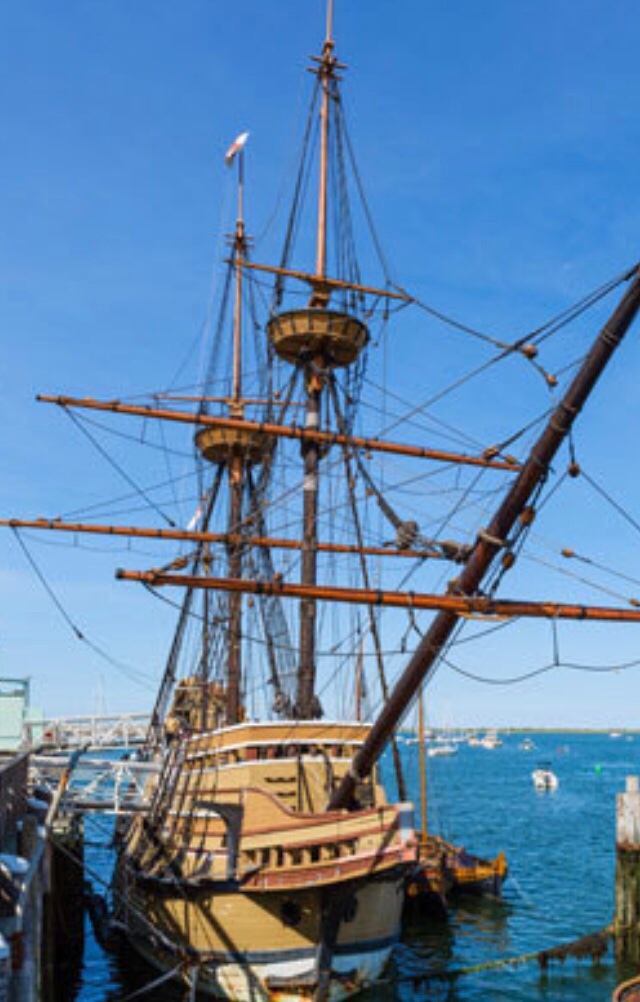
Found a number of pictures of the Mayflower II on line (replica of the original ship). Photos clearly show bowsprit coming straight forward as you guys say. Not sure what Trumpeter was thinking. Will have to do some changes.
-
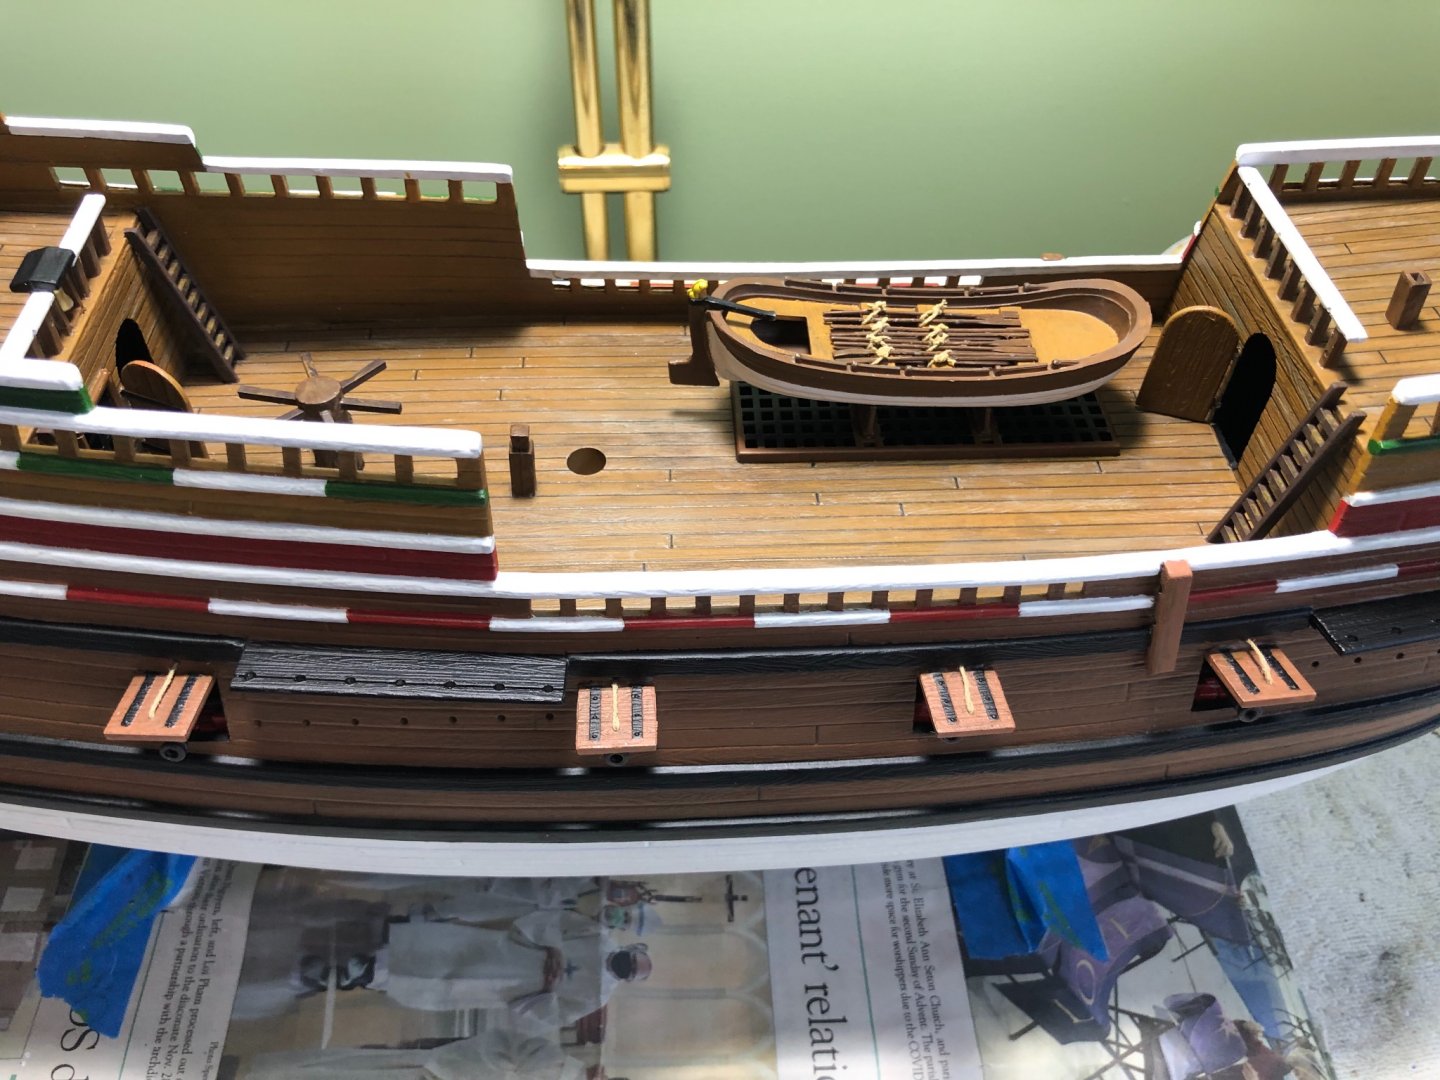
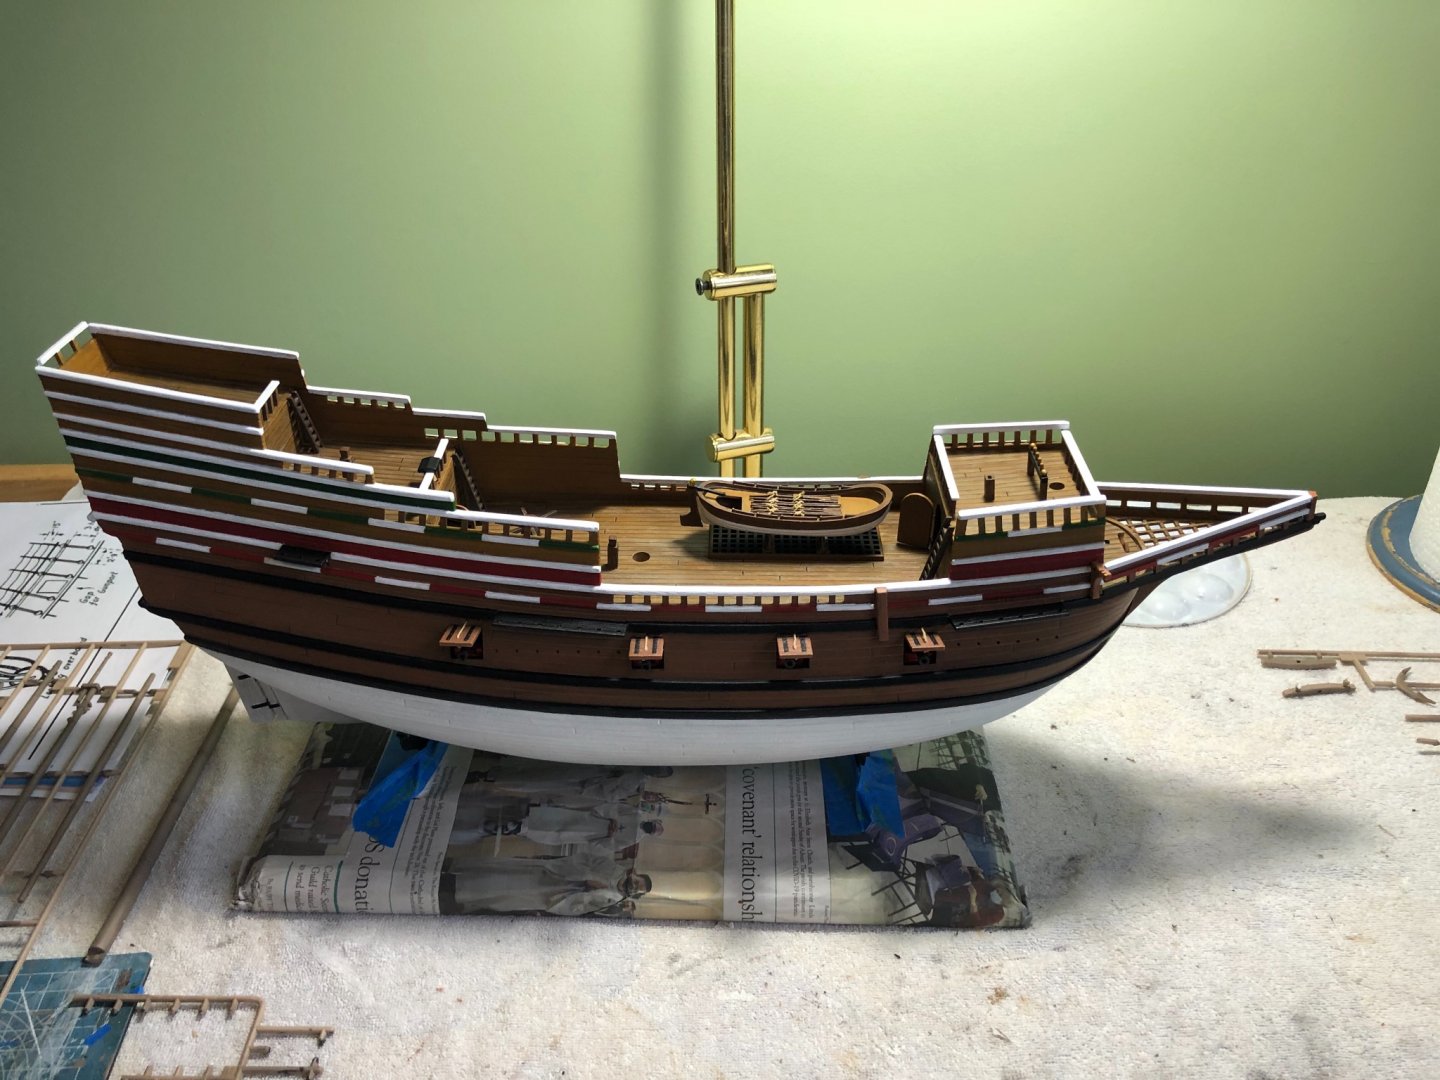
That was my exact curiosity. As you can see in the assembly instructions Trumpeter clearly shows the bowsprit angled across the front and the whole that the end of the bowsprit goes in is clearly off center. All of my previous builds had the bowsprit straight forward as you guys show. I agree with you but wondered if ships of Mayflower design had it angled? I completed painting the ship. Like the way it came out. Ready to start the masts. Got to figure out this bowsprit configuration first. Also, Trumpeter did not include glue points or other molded connection points for attaching the yards to the masts. Just a round yard and a round mast. Any advice on how to attach them together if you have experienced this same issue?
-
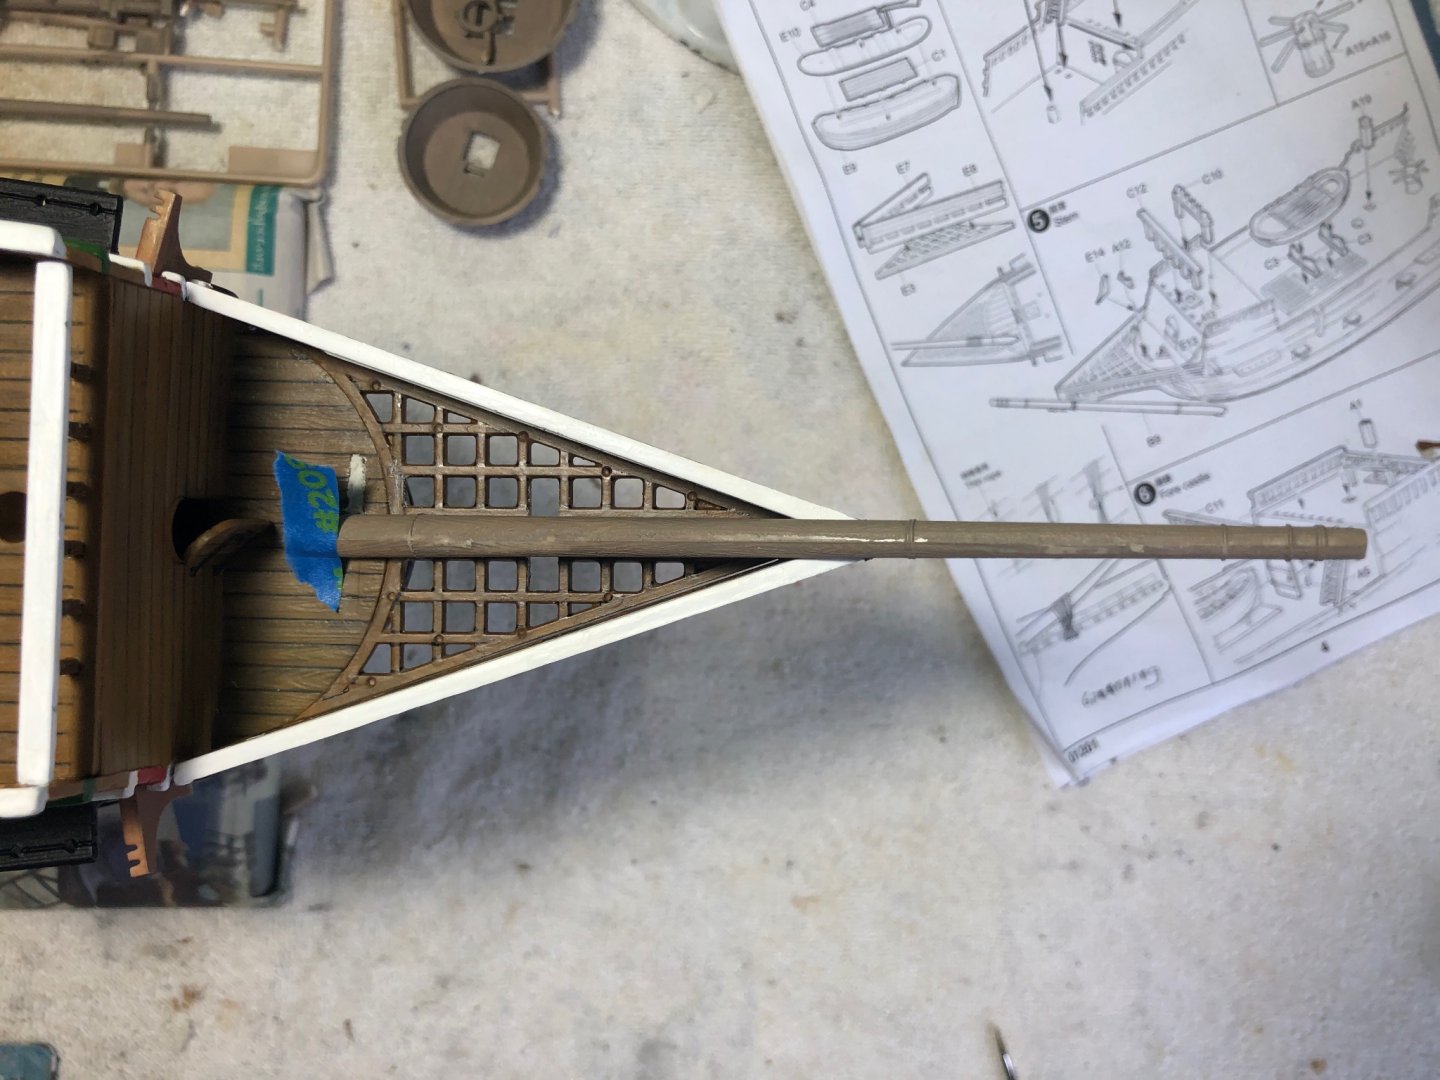
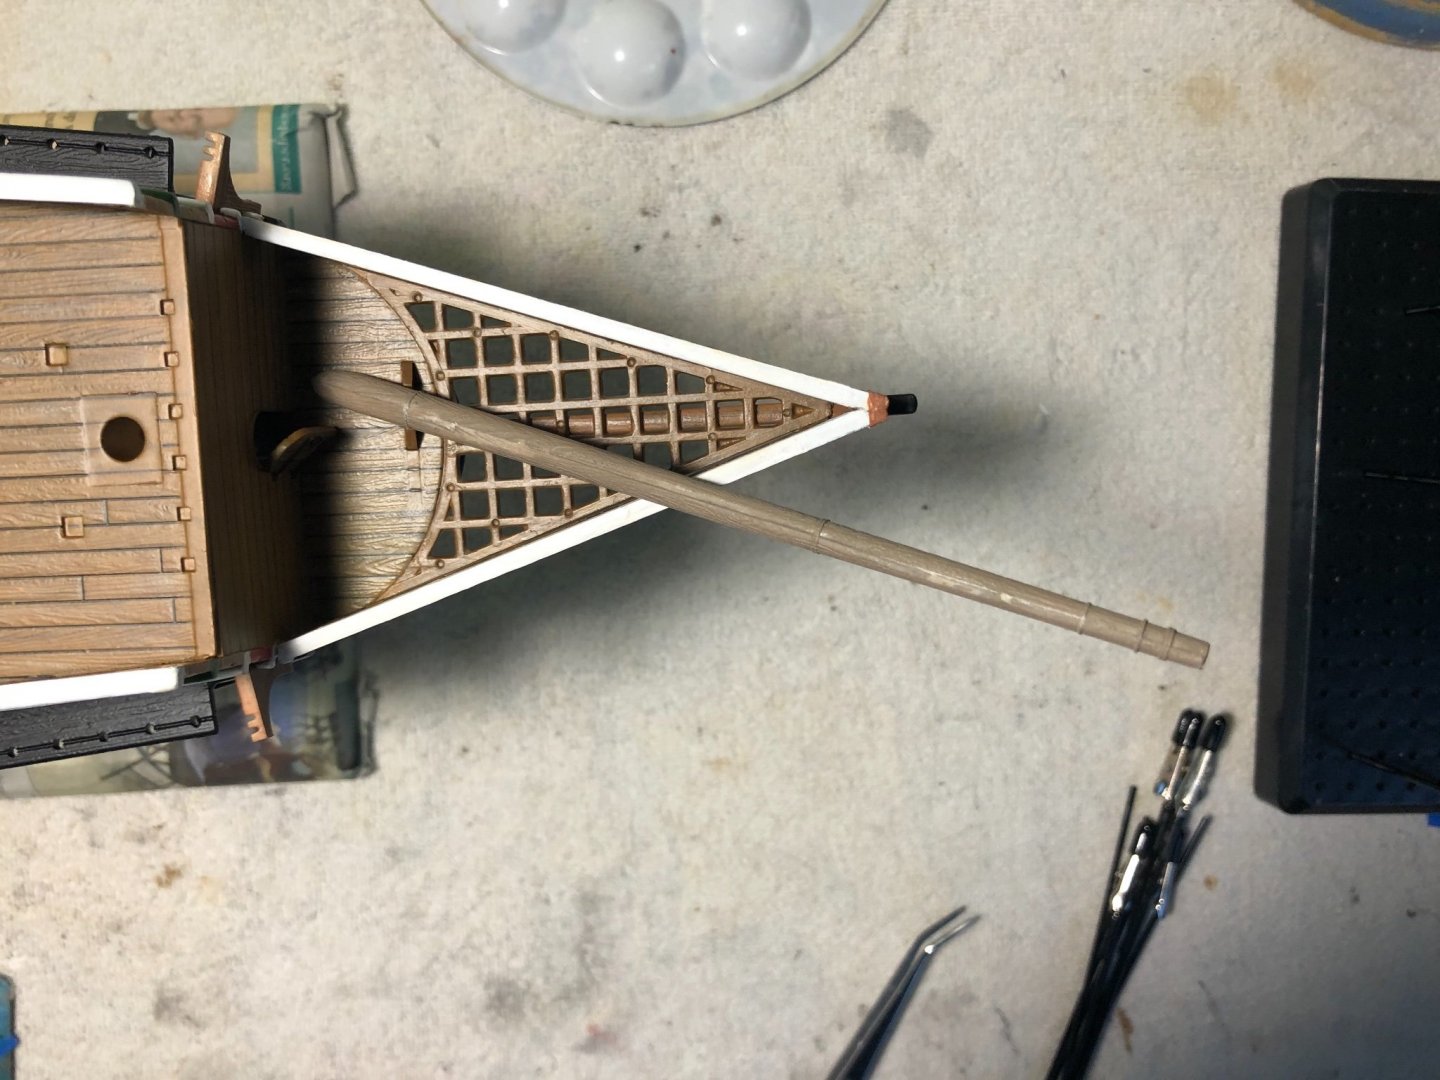
Thanks guys. I have not painted or mounted it yet but this is how the pieces line up. Does this look correct?
-
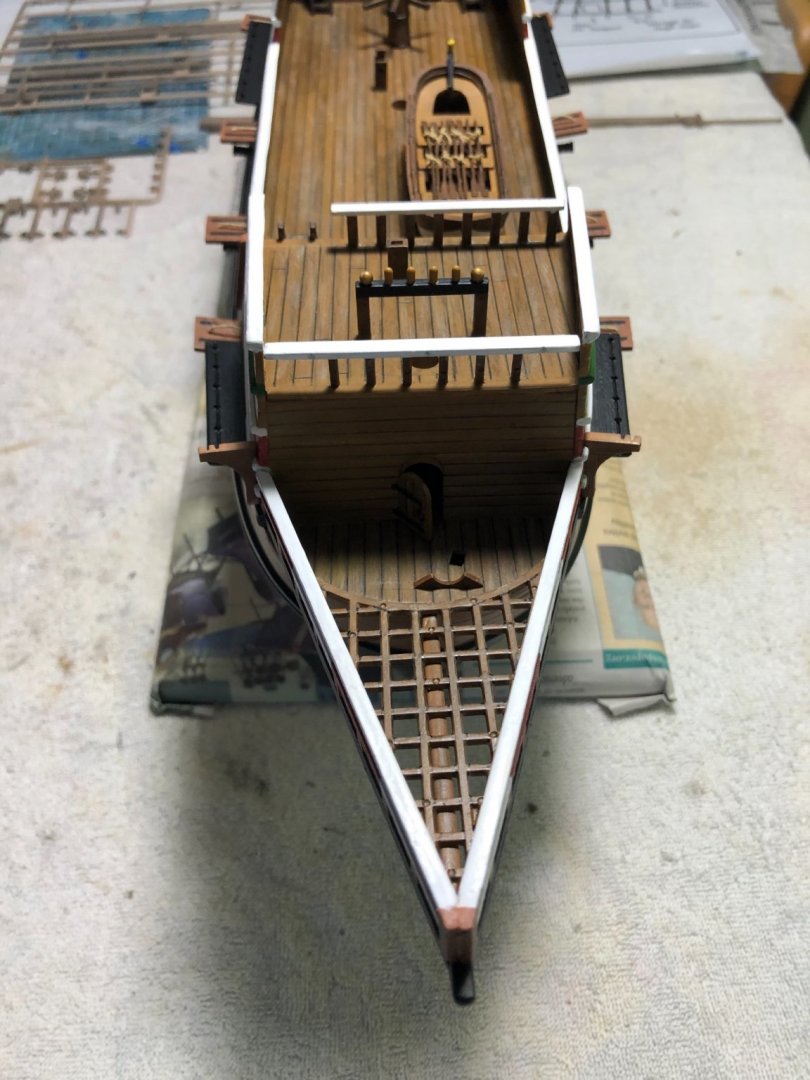
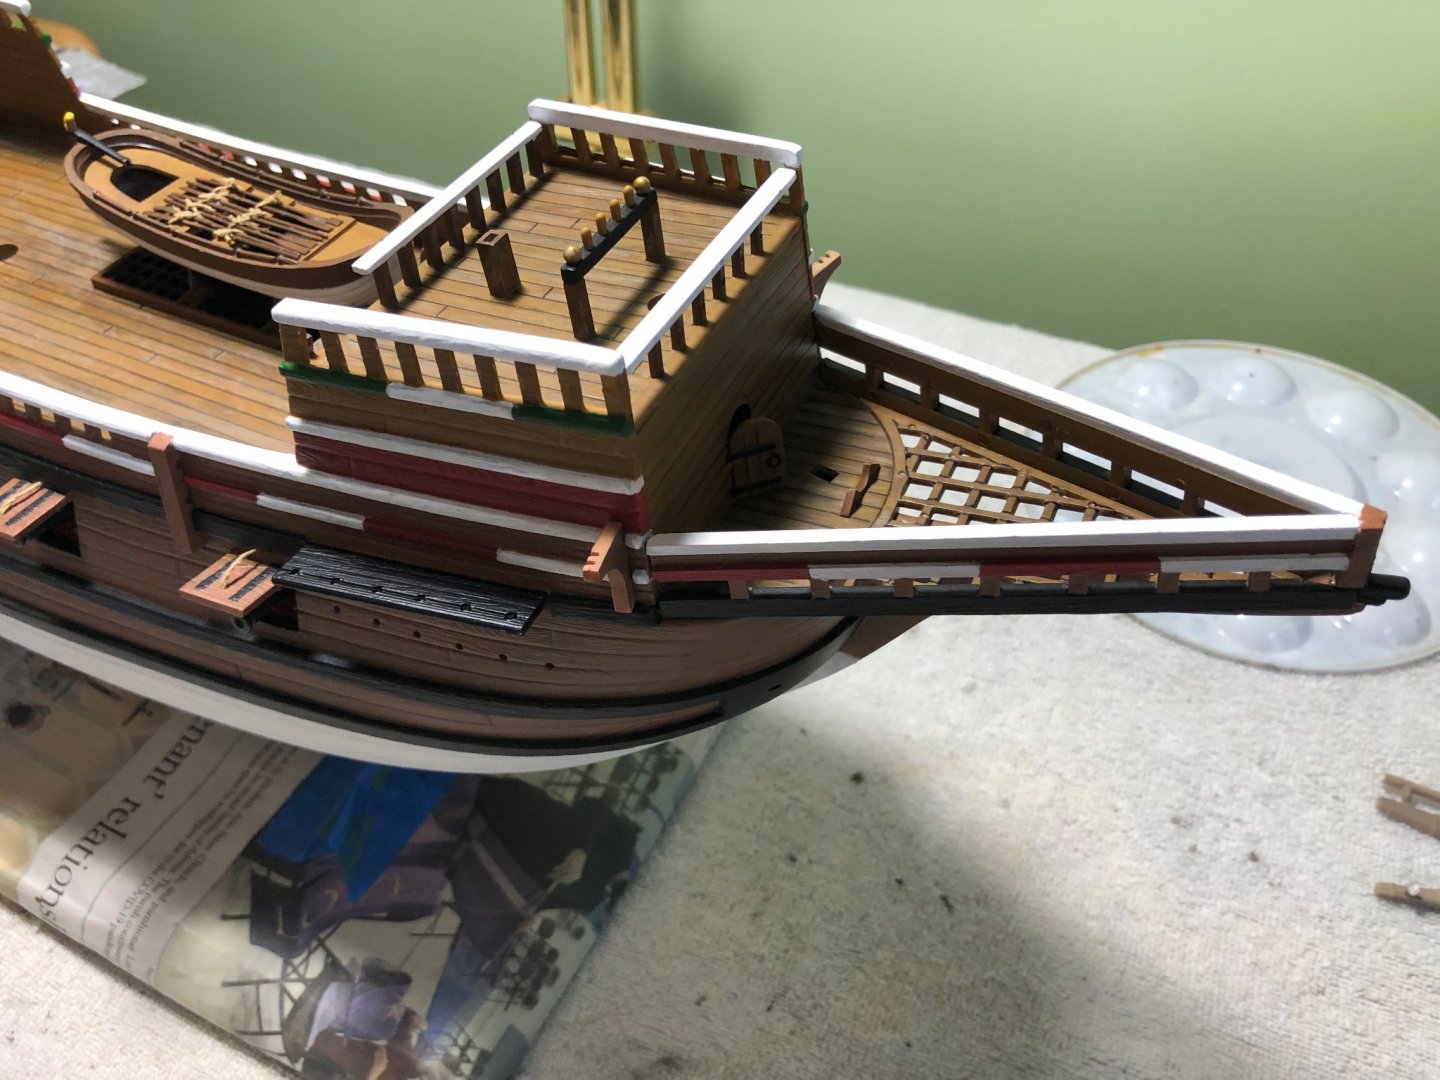
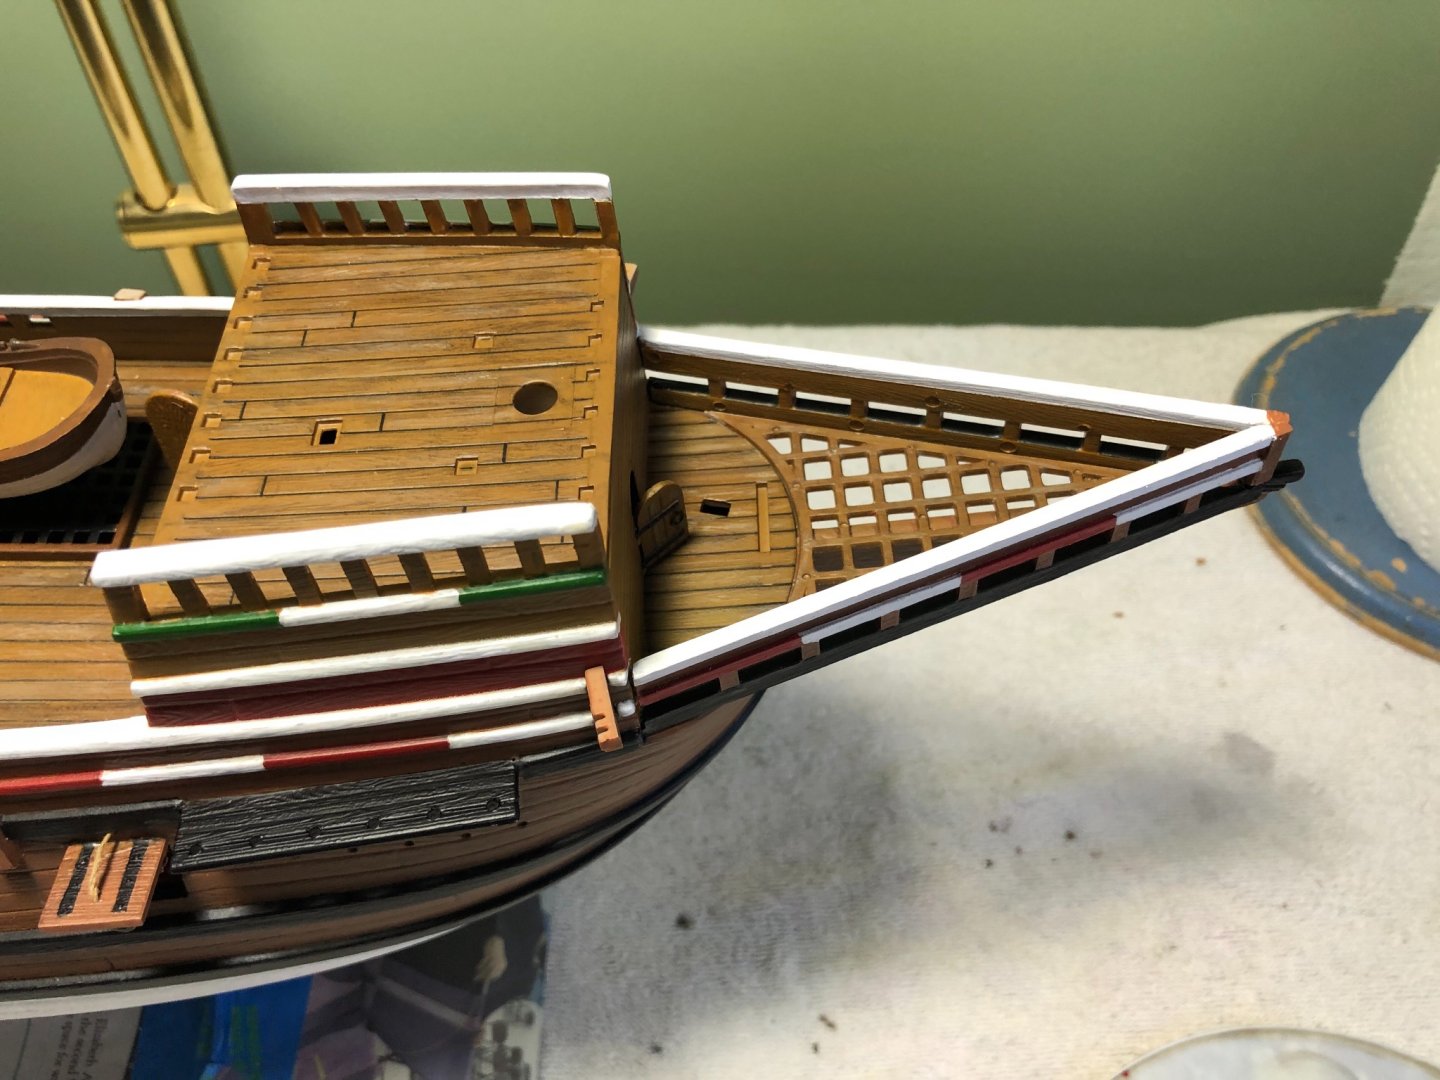
A little work on the front of the Mayflower today. I really like how she is coming along. Looking ahead in the assembly instructions I notice that the bowsprit is angled instead of straight and parallel with the ship. Does anyone know why this ship, and maybe others of that period, had the bowsprit this way?
-
Vallejo packages a number of their colors into packages for specific effects. Of course you can purchase the colors individually. But they also package certain colors together they have previously determined best to use to produce a certain effect. They also include step by step instructions to attempt to achieve the desired effect. (Apply this color then this color, etc). I have a set for Old and new wood effects and a set for weathering.
-
I use Vallejo acrylics, both Model Air (if using airbrush) and Model Color (if brush painting). I like their coverage and ease of use. I am curious of your process to get the weathered look on the cannons and other ship parts. They look so realistic.
-
Great idea kirill4. May give that a try. That is some incredible paint work you have on the ship you are working on! I really like the weathering on the cannons. What is your process to achieve that great look. I thought I did OK painting my models, but you are in a class for better than me. Congratulations!
About us
Modelshipworld - Advancing Ship Modeling through Research
SSL Secured
Your security is important for us so this Website is SSL-Secured
NRG Mailing Address
Nautical Research Guild
237 South Lincoln Street
Westmont IL, 60559-1917
Model Ship World ® and the MSW logo are Registered Trademarks, and belong to the Nautical Research Guild (United States Patent and Trademark Office: No. 6,929,264 & No. 6,929,274, registered Dec. 20, 2022)
Helpful Links
About the NRG
If you enjoy building ship models that are historically accurate as well as beautiful, then The Nautical Research Guild (NRG) is just right for you.
The Guild is a non-profit educational organization whose mission is to “Advance Ship Modeling Through Research”. We provide support to our members in their efforts to raise the quality of their model ships.
The Nautical Research Guild has published our world-renowned quarterly magazine, The Nautical Research Journal, since 1955. The pages of the Journal are full of articles by accomplished ship modelers who show you how they create those exquisite details on their models, and by maritime historians who show you the correct details to build. The Journal is available in both print and digital editions. Go to the NRG web site (www.thenrg.org) to download a complimentary digital copy of the Journal. The NRG also publishes plan sets, books and compilations of back issues of the Journal and the former Ships in Scale and Model Ship Builder magazines.

