Bill97
-
Posts
2,731 -
Joined
-
Last visited
Content Type
Profiles
Forums
Gallery
Events
Everything posted by Bill97
-
Oh no Trippwj the HMS Victory is a planned future build. I have the Revell USS Constitution, the Revell Cutty Sark, the Revell English Man O War completed and my current build of the Trumpeter Mayflower. The Airfix Wasa, Airfix Golden Hind, and the Heller HMS Victory are in my stash for future builds. None I have done yet had me build the ratlines/shrouds and the deadeye elements.
-
Ok Gregory thanks. So the paper clip technique would not work if I decided to make the deadeye parts in advance off the ship because I would not be tying them to the channel or shrouds yet, right? Again I am getting educated here. As Justin said above it may be an advantage for me to purchase a book.
-
Thanks Trippwi. That appears to be a good way as well and makes since. I have seen the paper clip technique on this blog but wondered if it caused a problem trying to get through the hole that had the clip in it when rigging the deadeyes? I have the Heller 1/100 HMS Victory on my list and watching the open box review on YouTube I see it comes with a jig to make the ratlines/shrouds units off the model. Does this idea work well or is it better to rig them in the ship?
-
Thanks VTHookie. By the way I am guessing your name says you are a Virginia Tech fan? I am a Univ of Louisville fan. Enjoy being in the same conference with you guys. But I digress. I guess I had the names of the lines reversed. I thought the ratlines were the vertical lines and the shrouds were the horizontal lines. So do I understand you to say that when you do the shrouds you take the total number needed for one side, divide it evenly if possible, and then run that number of lines up and loop around the mast and then back down to the same side. After tying the lines off to the deadeyes you then tie the ratlines through the shrouds? What do you do if you have an uneven number of shrouds? It looks like one of my places has 3 shrouds on each side. VTHookie what technique do you use to make your deadeye pieces off model?
-
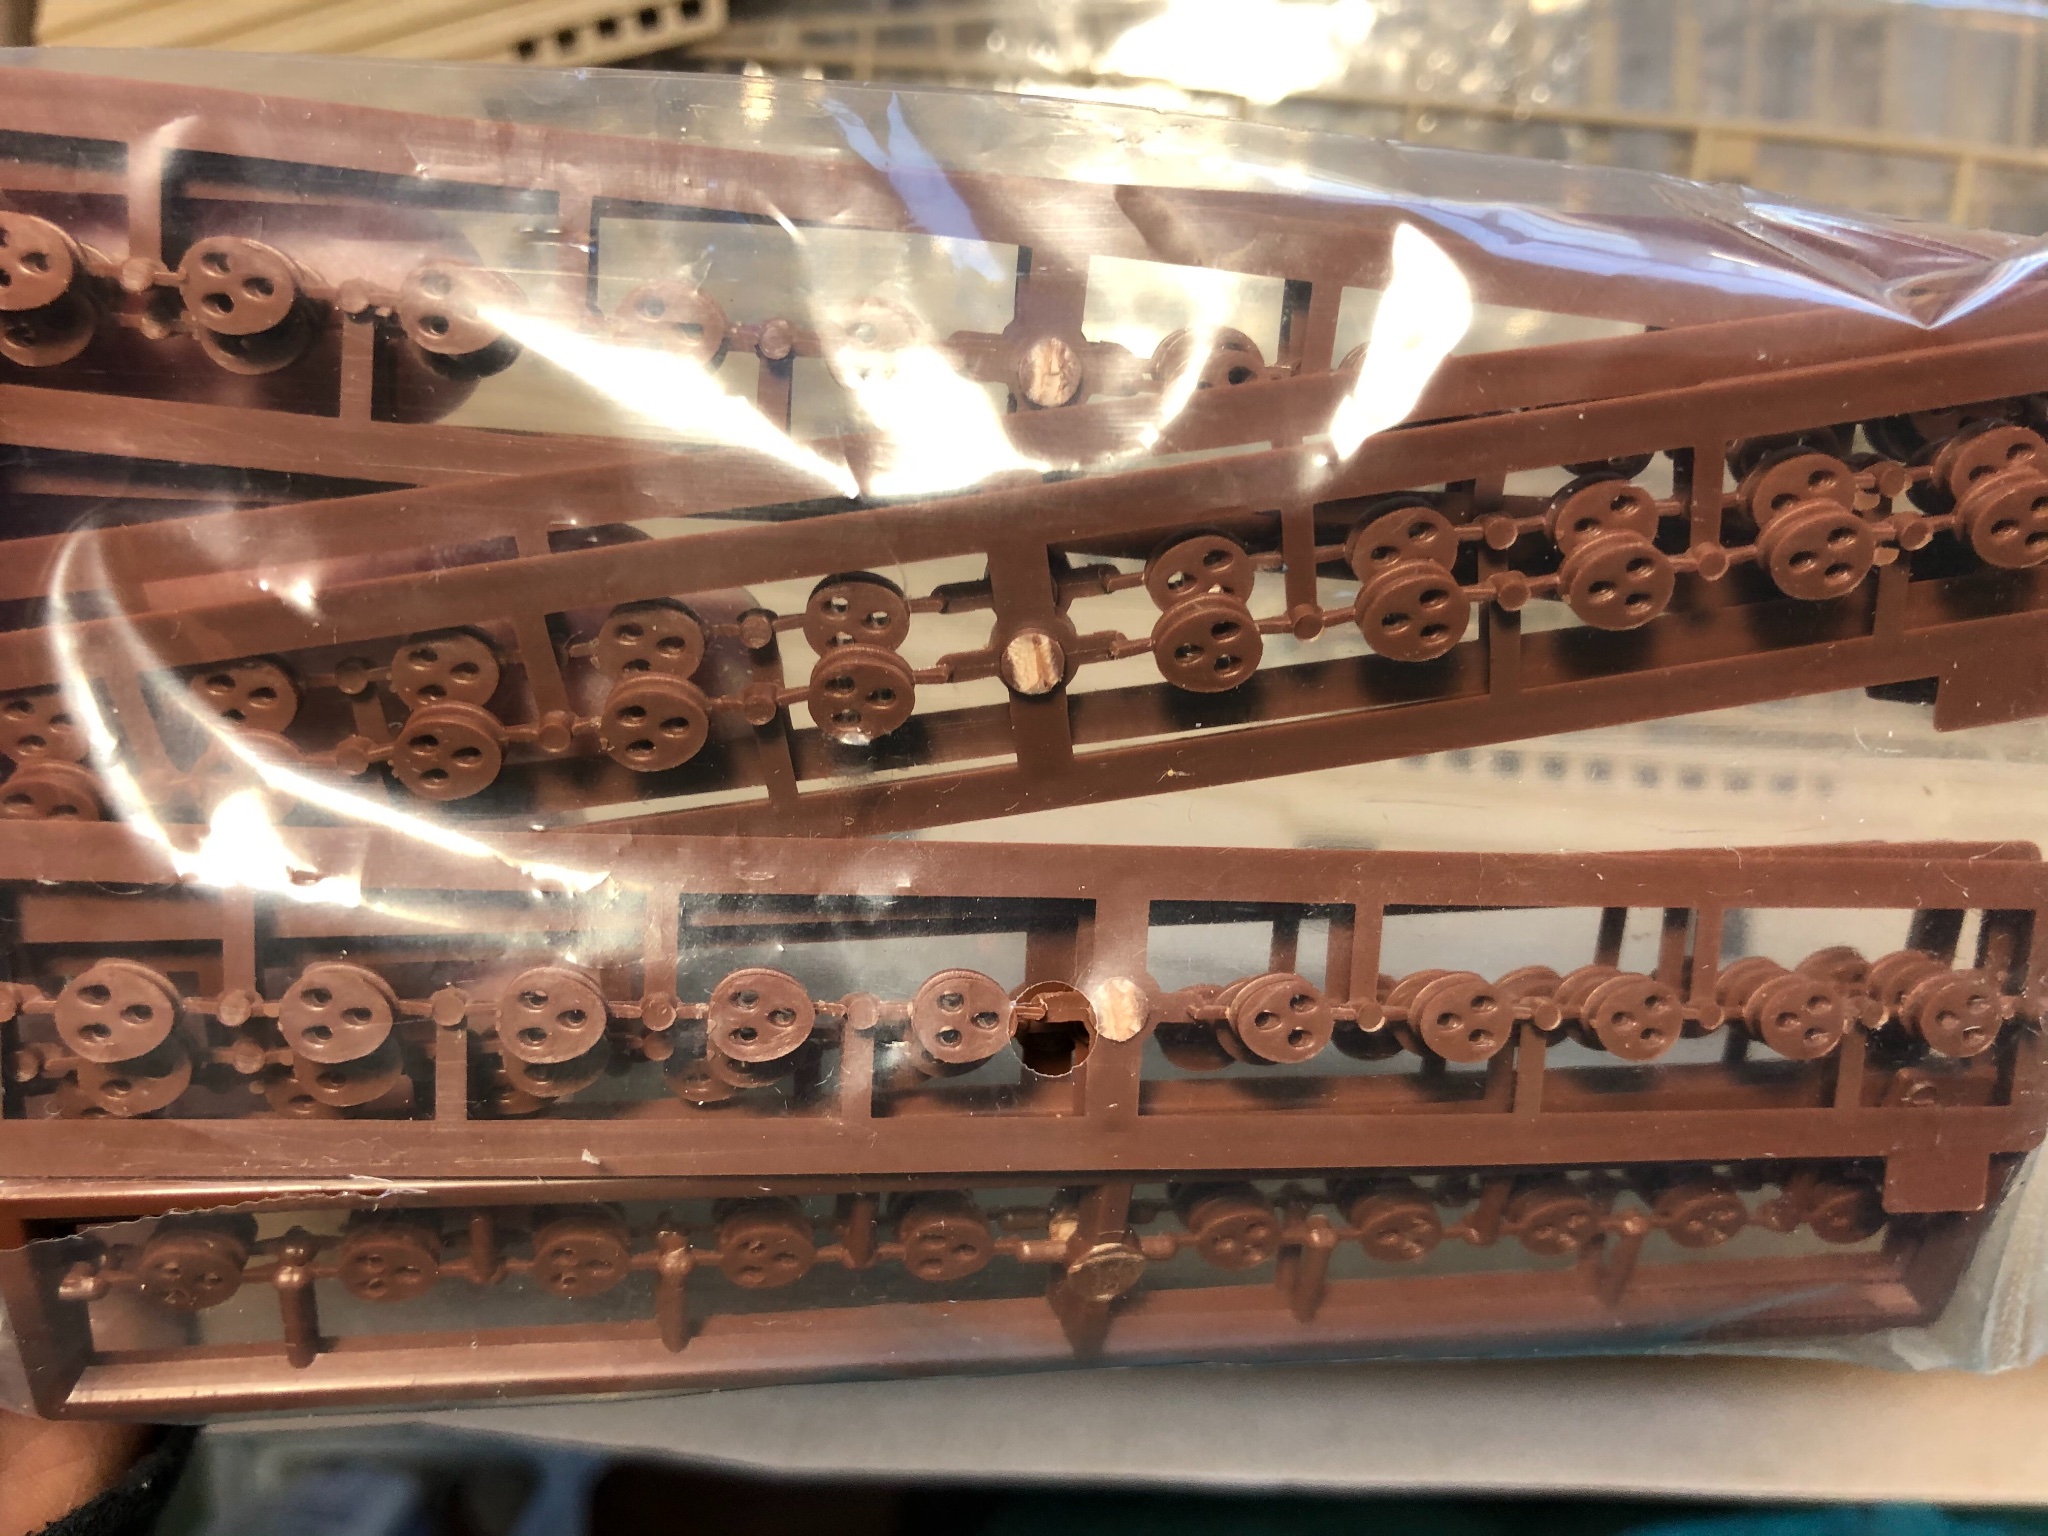
HELP! I am beginning my first ship build where I will need to make my own ratlines and the deadeye element at the bottom of the ratlines where you use 2 deadeyes to connect the ratlines to the channel on each side if the ship and up in the mast (whatever they are called). My instructions are very limited as far as telling me what to do. As a result I have done a lot of research on MSW to see what you guys do. There appears to be a number of different homemade jigs that some of you use to make both of these rigging items. A couple questions I can’t seem to figure out are: 1. Do you make separate ratlines for each side of mast (like the black plastic molded ones that come with kits) or do you make them as a pair connected at the top and run them up from one side through the mast top and then down to the channel on the opposite side? Hope this question makes since. Second question. My research seems to show that when you make the deadeyes for the ends of the ratlines to connect them to the channel it looks like some connect a deadeye to each ratlines thread and a corresponding one to the channel. Then lace them together through the 3 holes in the deadeyes pulling the ratlines snug. It also appears that others make the deadeyes as a separate part ahead of time with two deadeyes rigged together using a jig or mooring tool. I need advice and guidance. A while before I get to that part but want to begin learning and practicing.
-
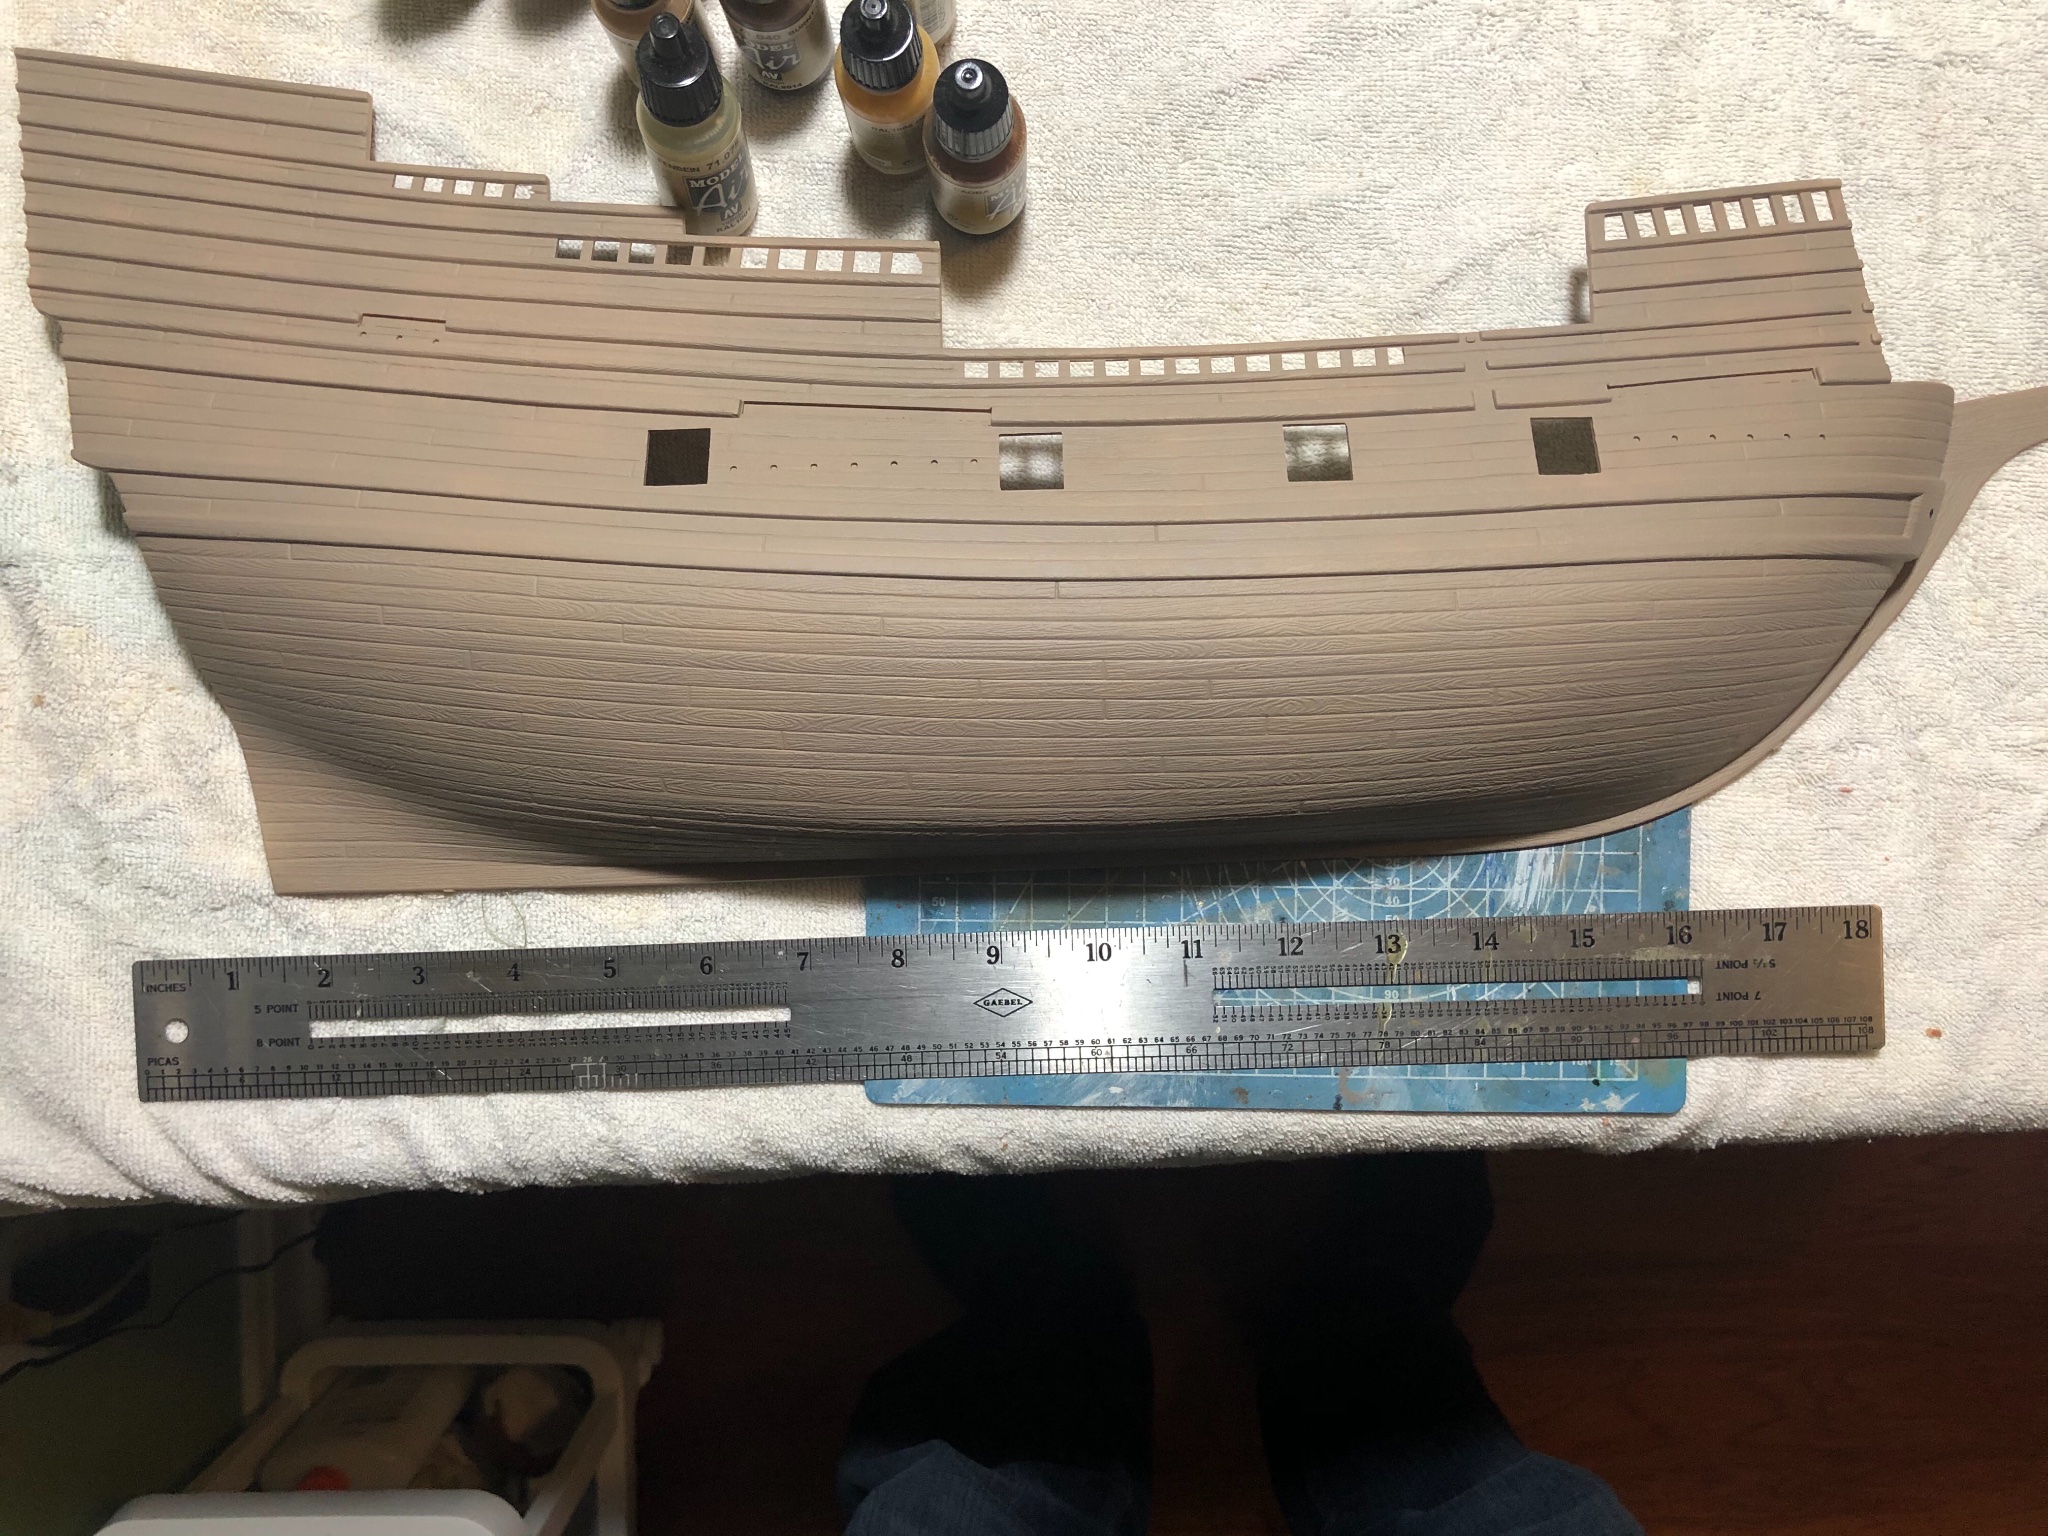
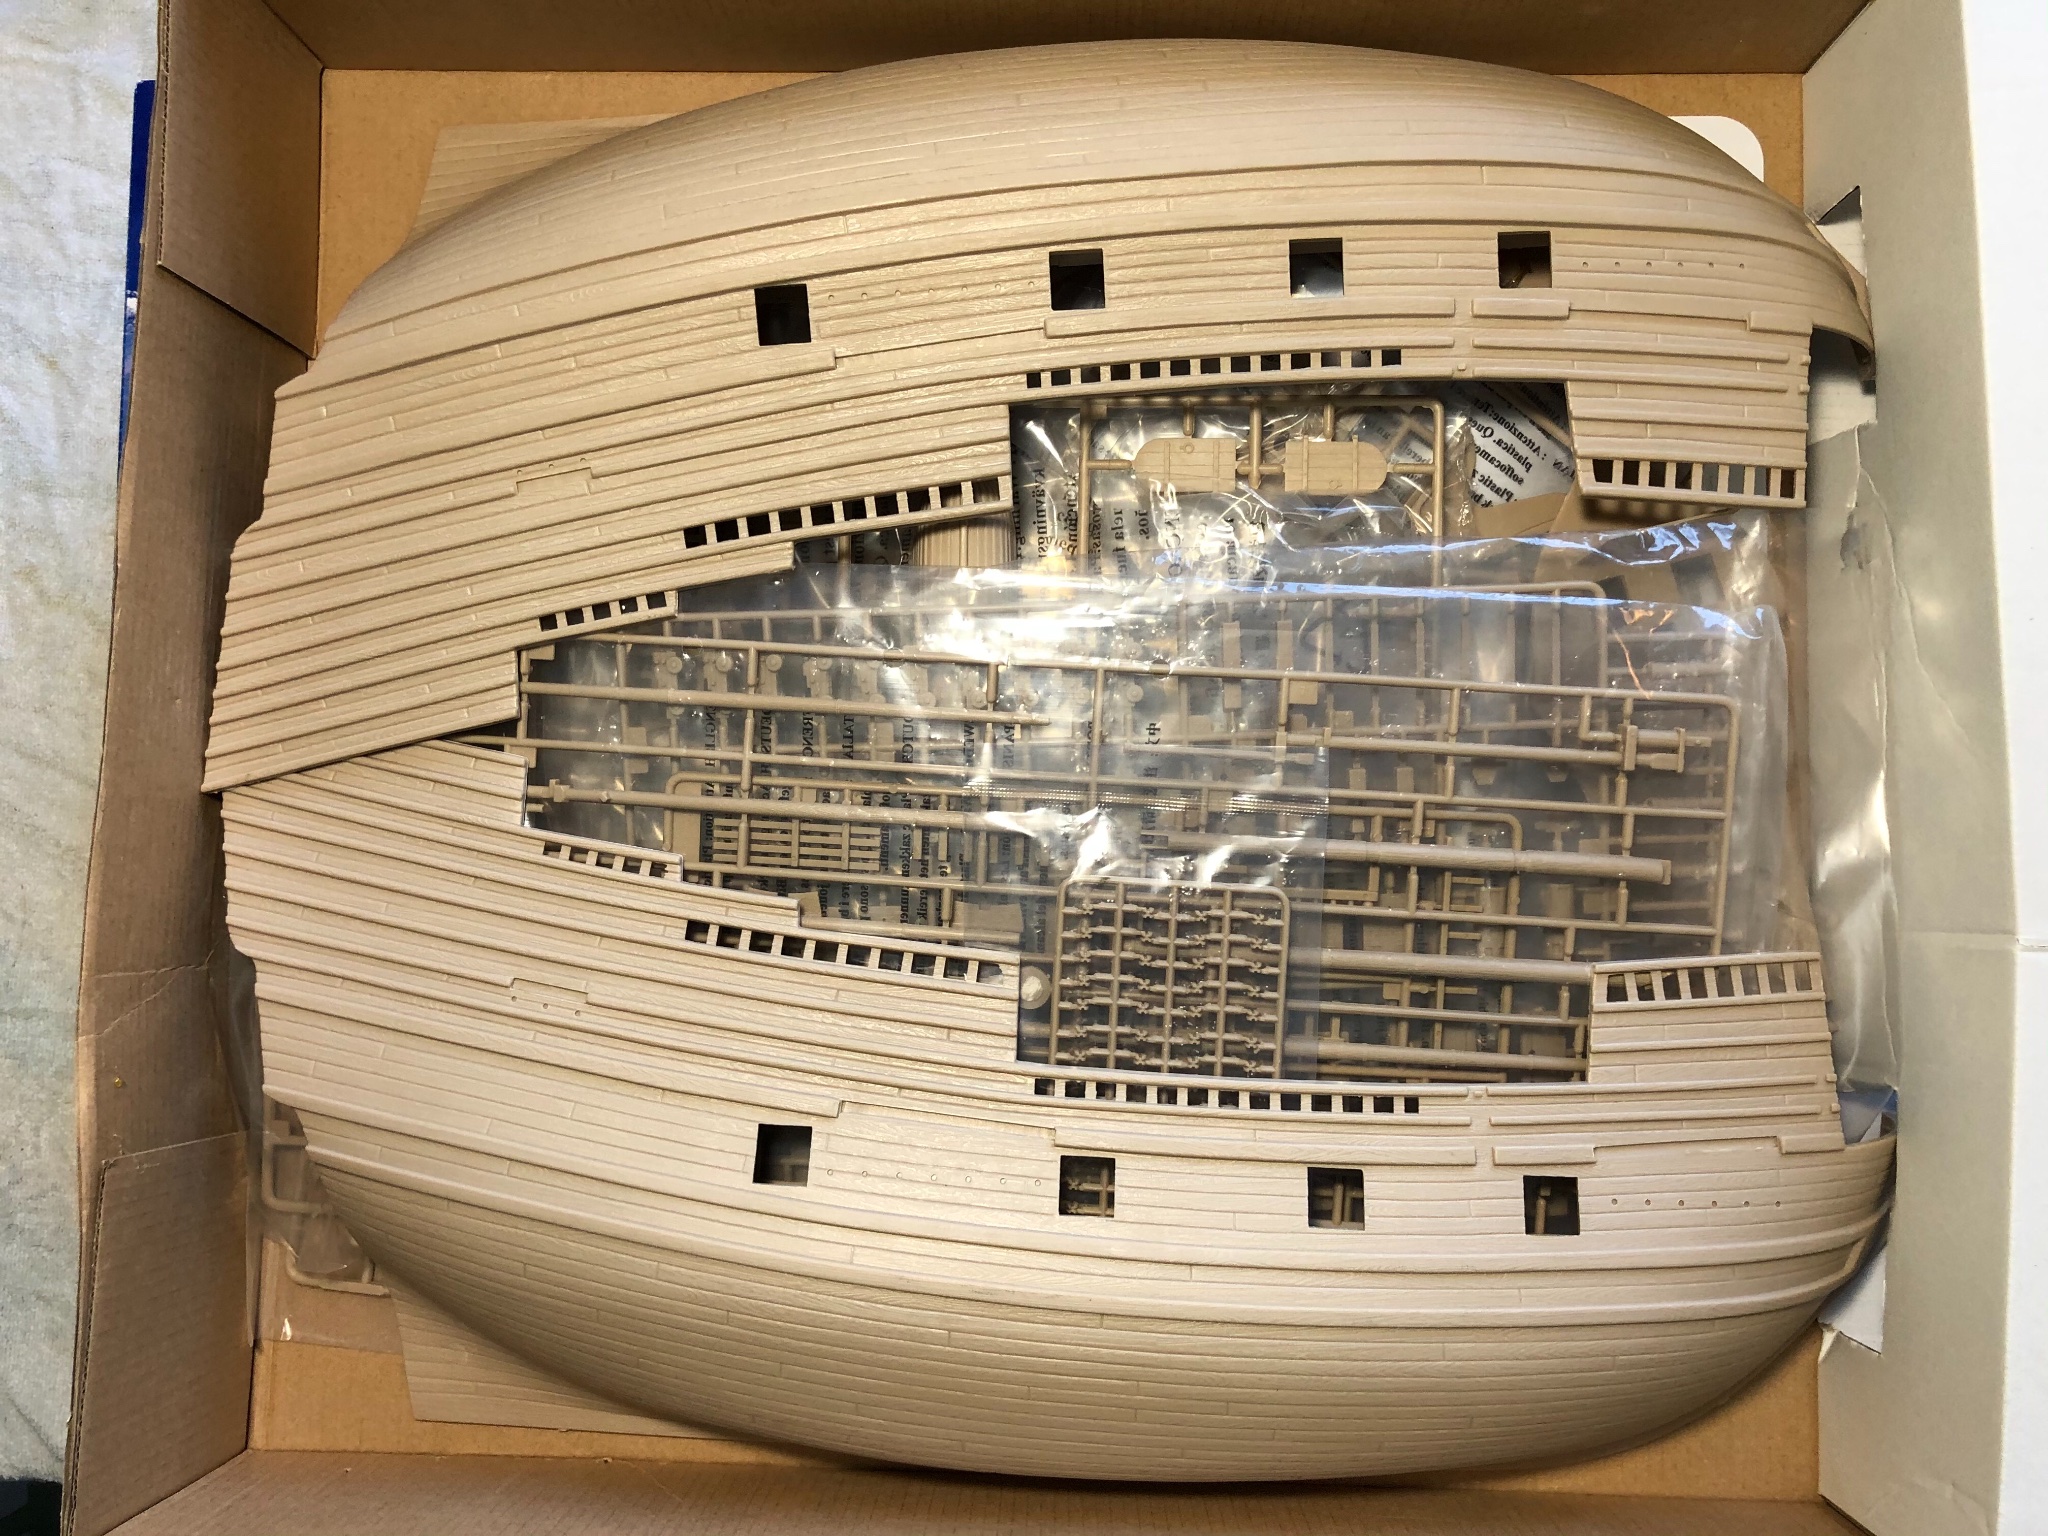
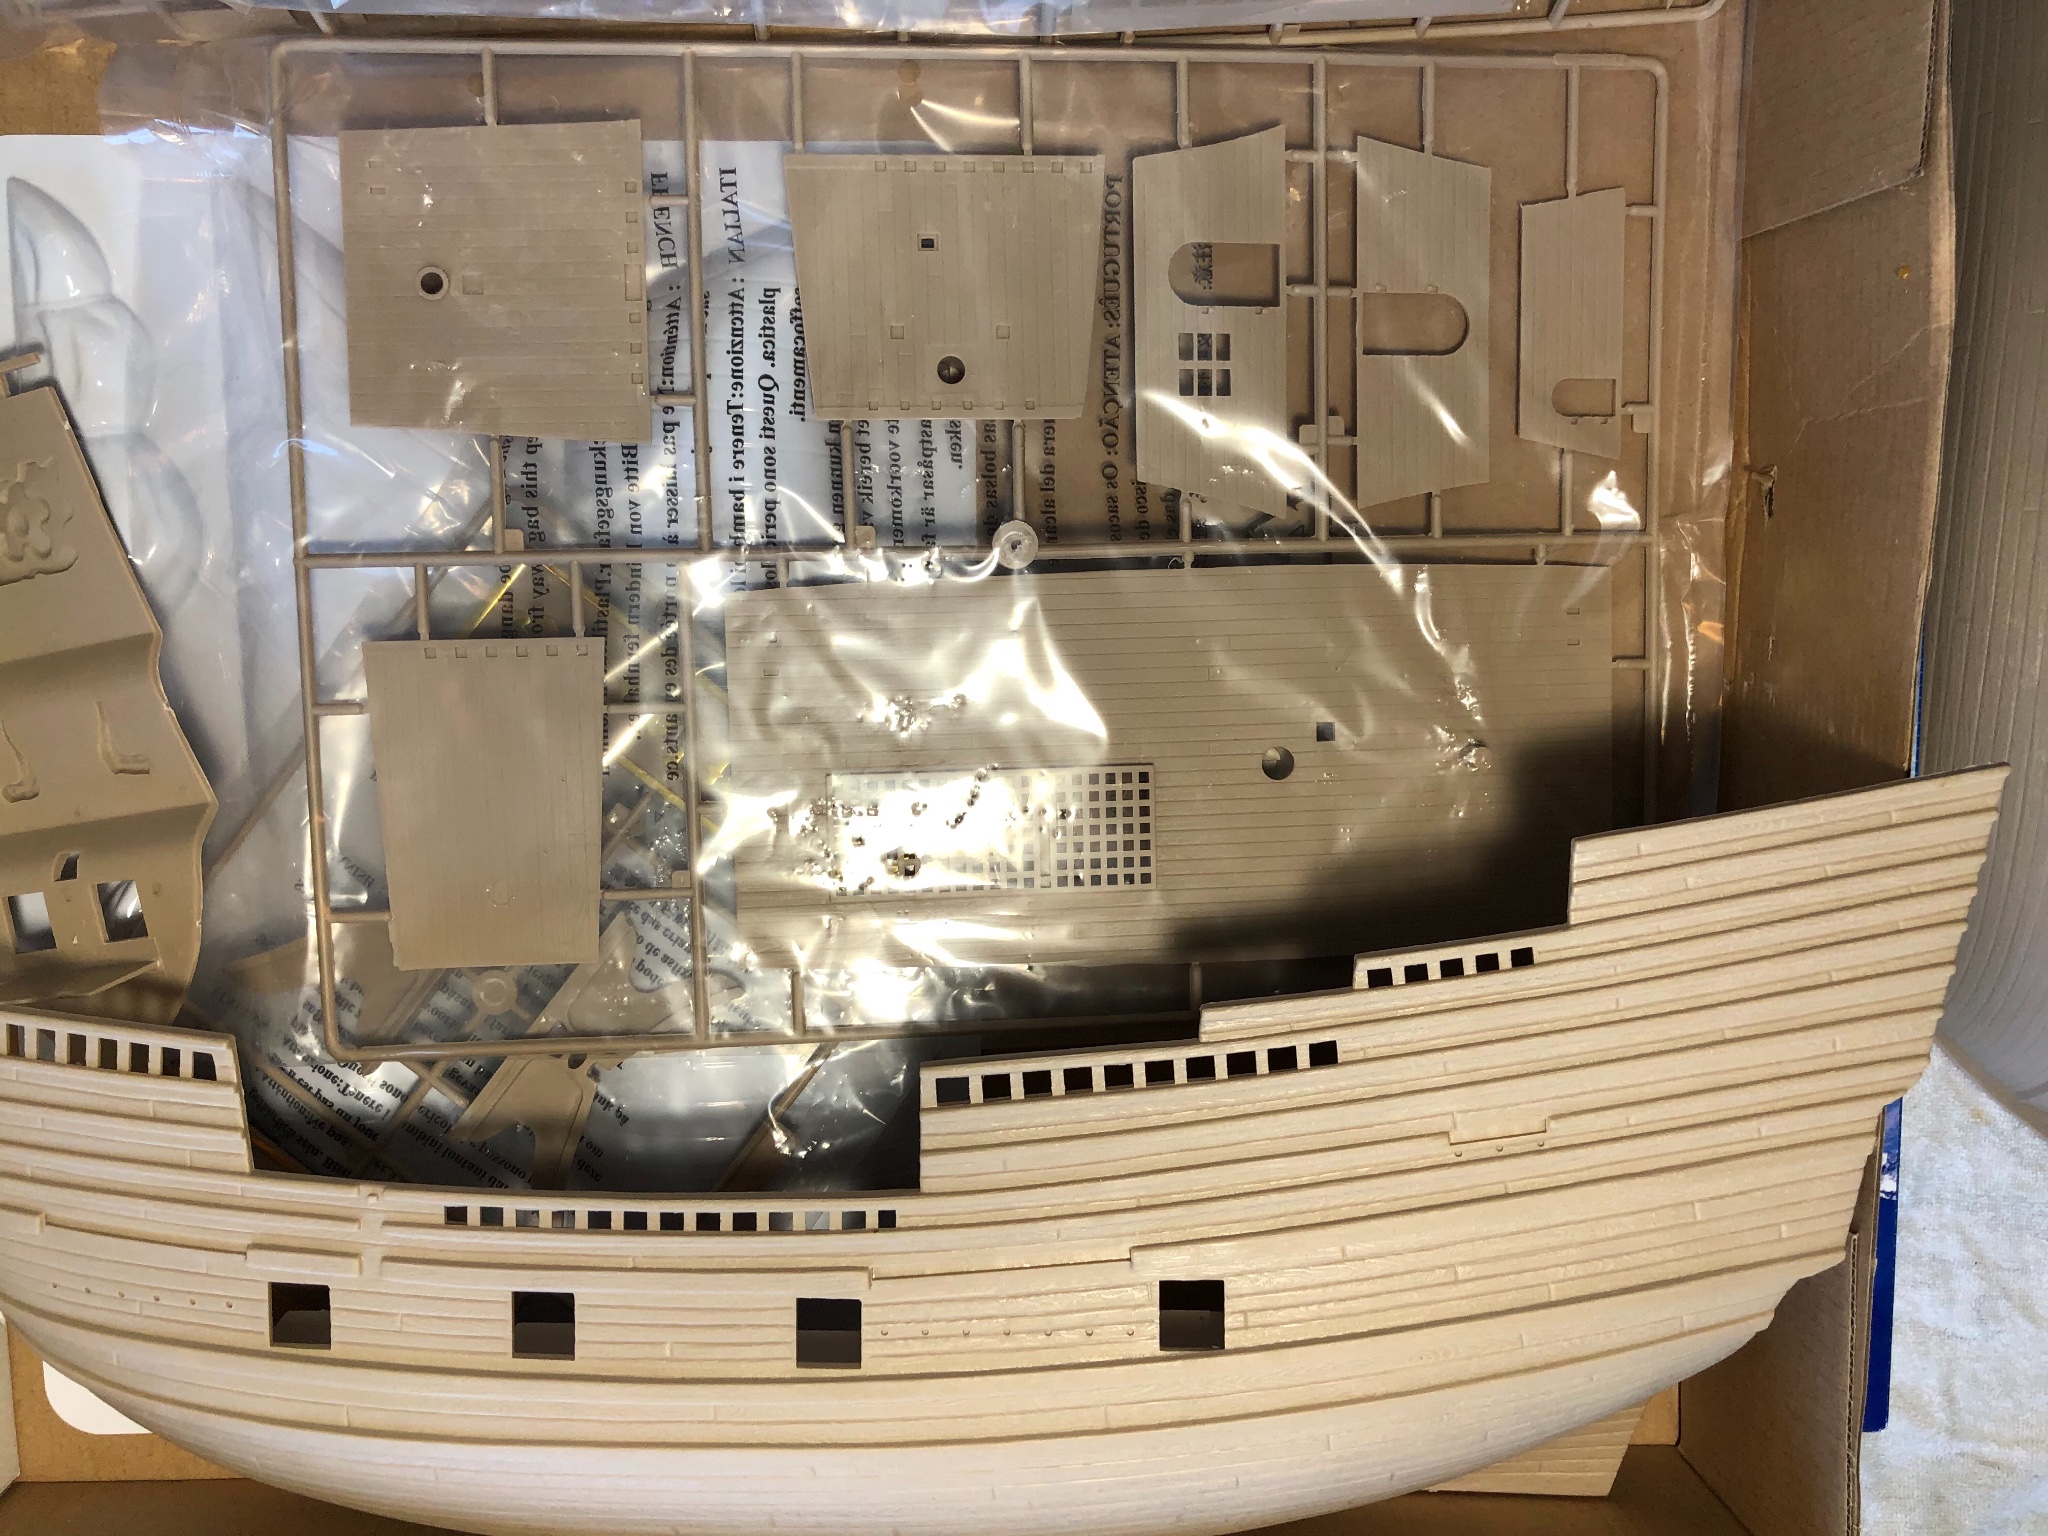
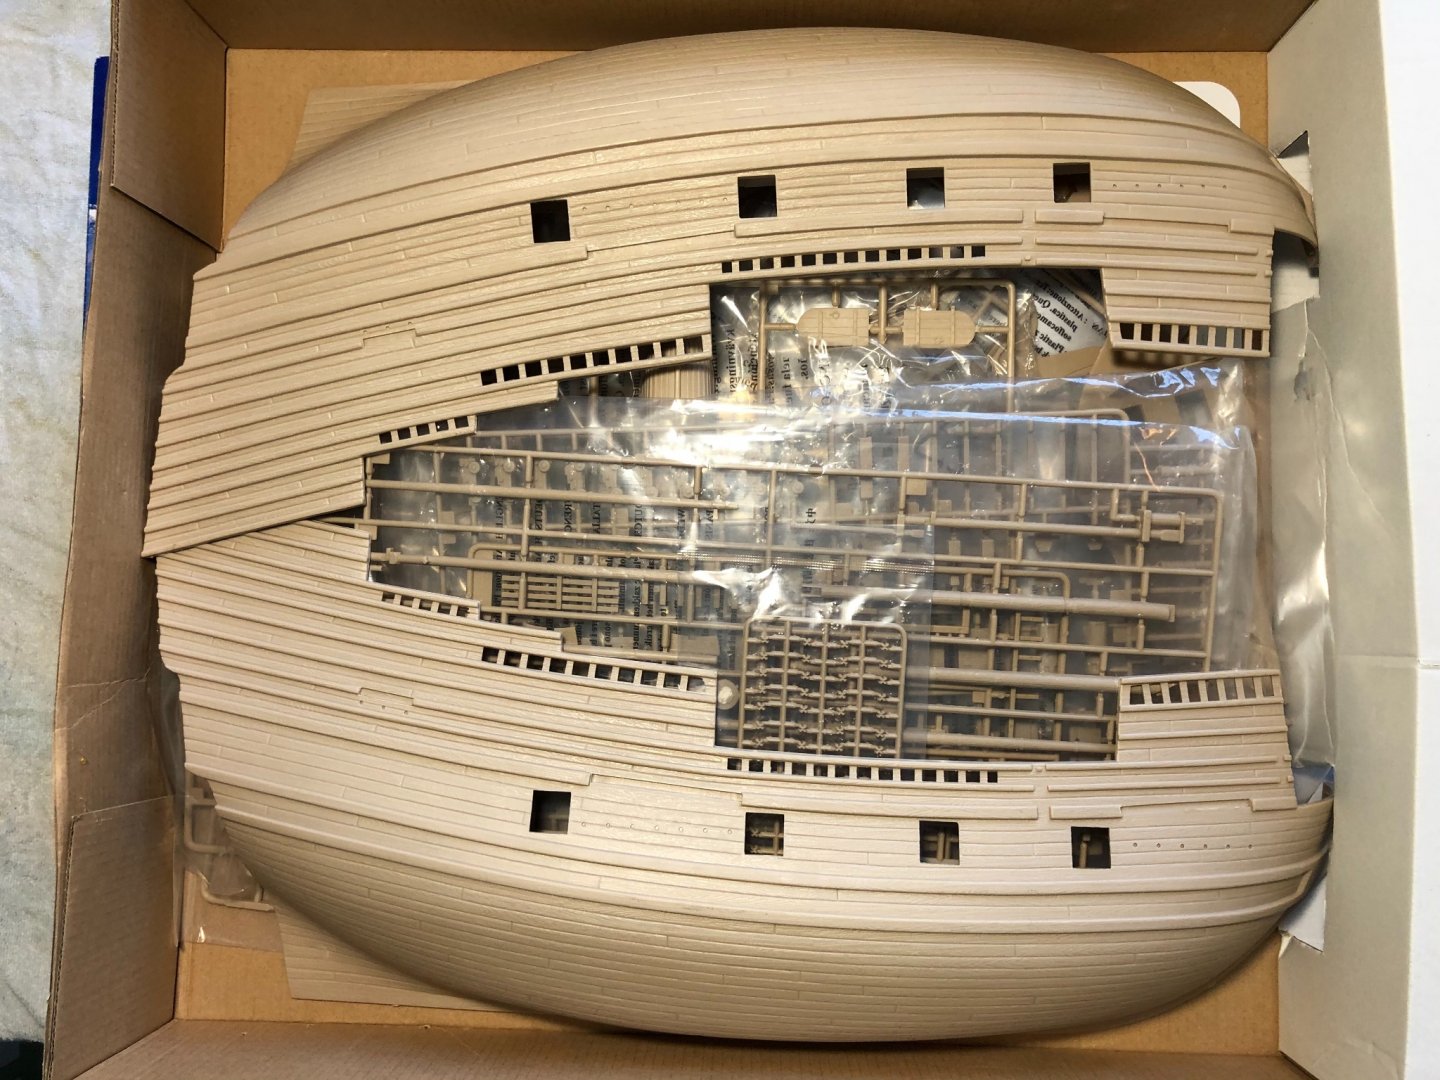
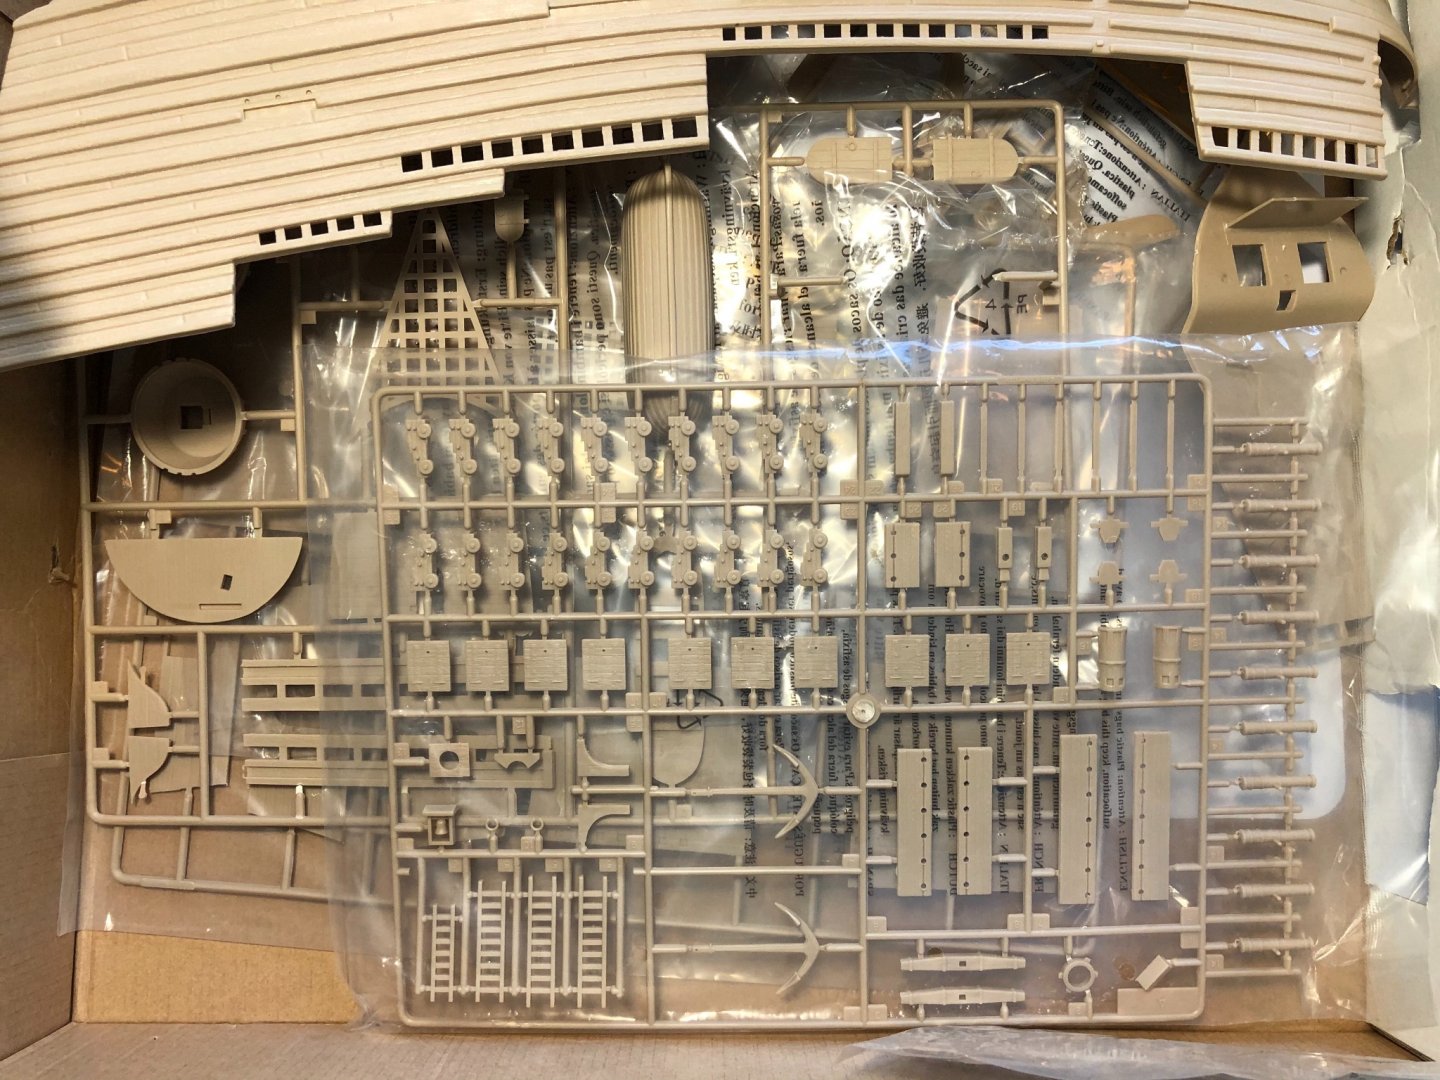
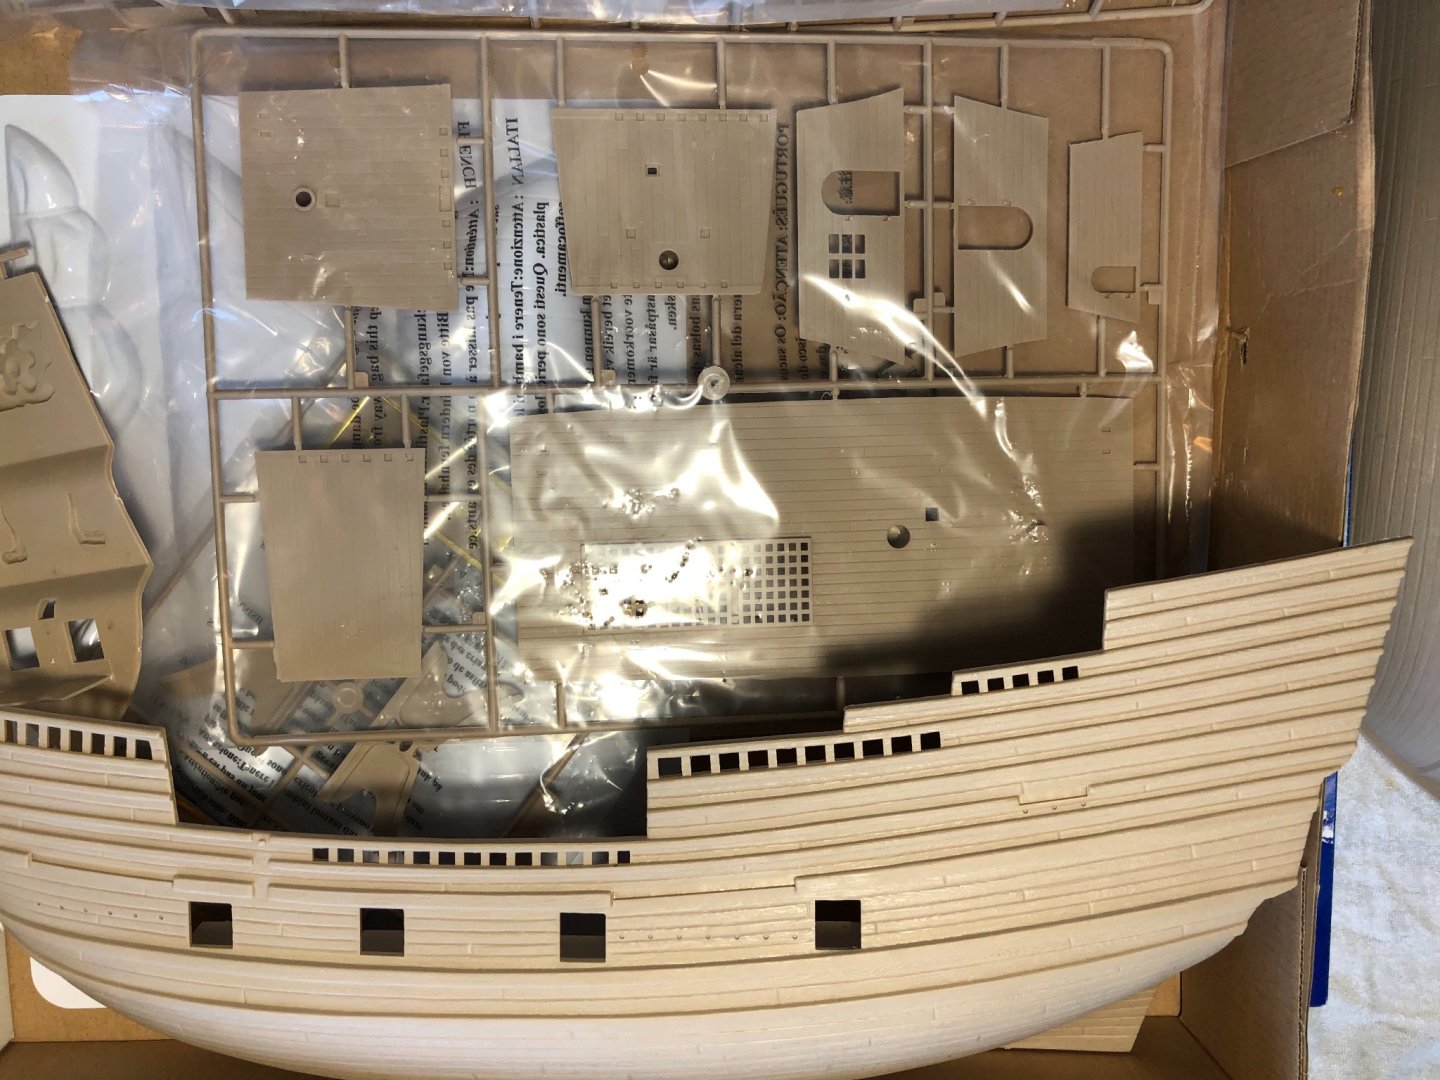
Well here goes! I received the Trumpeter 1/60 Mayflower as a surprise gift. I patiently waited as a finished my Revell 1/100 Man O War. Now that it is finished and proudly displayed in it’s case I am ready for the Mayflower. I have never built a Trumpeter model, and in fact had not heard of the company prior to receiving the kit. I understand this Mayflower is the largest scale of the historic ship. It is huge with the hull being over 18” long. I have yet to begin gluing parts together so I don’t yet know how well Trumpeter model pieces fit together. Once I start I will report on that. However on first examination I am very pleased with the molding of the parts. Little or no flash to speak of. Parts clearly labeled. the instructions are simple drawings with arrows and numbers. Very limited text instructions so having experience from other builds will certainly be helpful. I would have found this very difficult if it were my very first build because of the limited text. There are 2 new techniques I will need to learn for this build. I will have to make my own ratlines. My previous builds had the premolded ratlines. I also will have to rig the deadeyes to attach the ratlines to the side of the ship and up in the masts. I will definitely be referring to MSW for technical advice on doing these two new skills. I began priming hull and deck sections with Vallejo surface primmer. Will be painting with Vallejo acrylics.


-
Dafi I have discovered that I am getting the Heller 1:100 HMS Victory as a Christmas gift! This model has been on my bucket list for some time. Since my discovery I have been reading all the MSW post of builders of this model. Anxious to get started. I will definitely refer to your build for reference and ideas. Would you mind to tell me the dimensions of your completed Victory (length, height, and width)? Even though I know it will take quite a long time to complete it I am already designing the case I am going to make for it, and where I plan to display it while under construction, and after.
-
Do any of my fellow modelers on this fantastic site that have built, or are currently building, the Heller 1/100 HMS Victory know the dimensions of the completed model? I could sure use help knowing the total length, height, and width. I assume the greatest width would be the bottom yard on the main mast. I can take the measurements in inches or metric. Which ever you may know. Long boring story as to why I need this information. I have researched the model on line and am surprised of the variations I am getting. Moved by moderator to proper sub-forum.
-
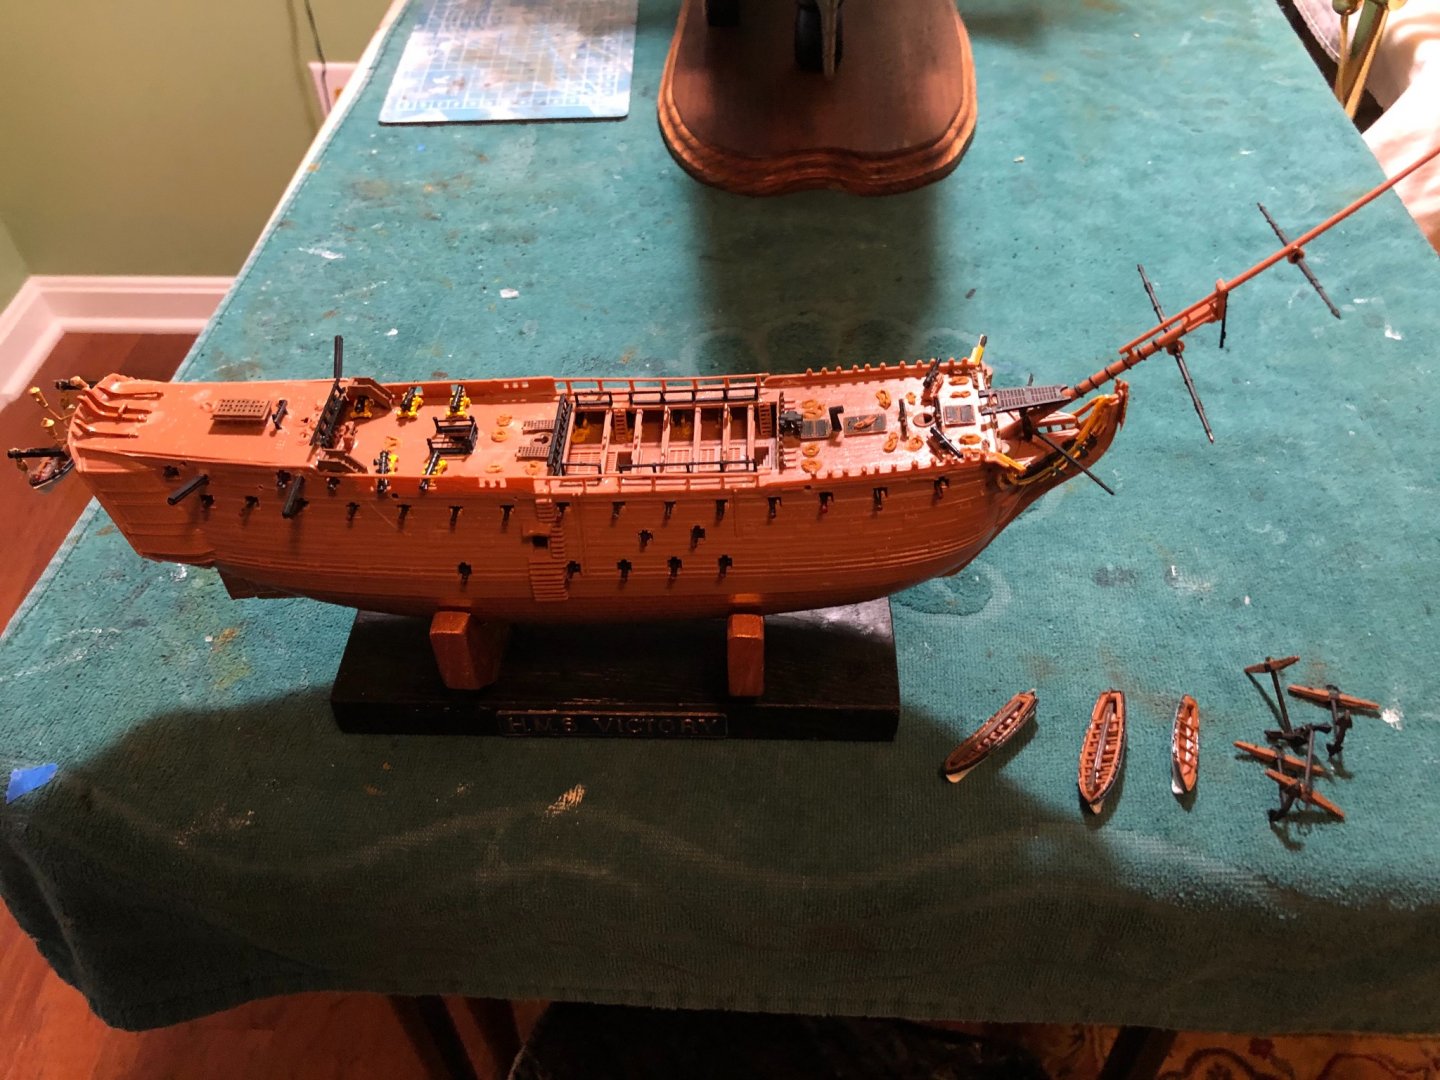
Thanks Yves. I will start a build log. Is the picture you included a build you are working on?
-
Hit submit before I added a photo of his Victory. As you can see he does not want to waste a lot of time painting. He just wants to build it.
- 35 replies
-
- 3
-

-
- english man o war
- revell
- (and 2 more)
-
Thanks Louie. My little guy who is 6 is really getting into watching and helping me. Recently he needed to draw a sailing ship for Thanksgiving in his kindergarten class. I guess to represent the Mayflower. His had sails, masts, anchor, and even ratlines! 😊 I got him the Revell 1/225 HMS Victory that we build together when he comes over. I let him do most of it with just my guidance and assistance with little tiny parts.
- 35 replies
-
- 2
-
-
- english man o war
- revell
- (and 2 more)
-
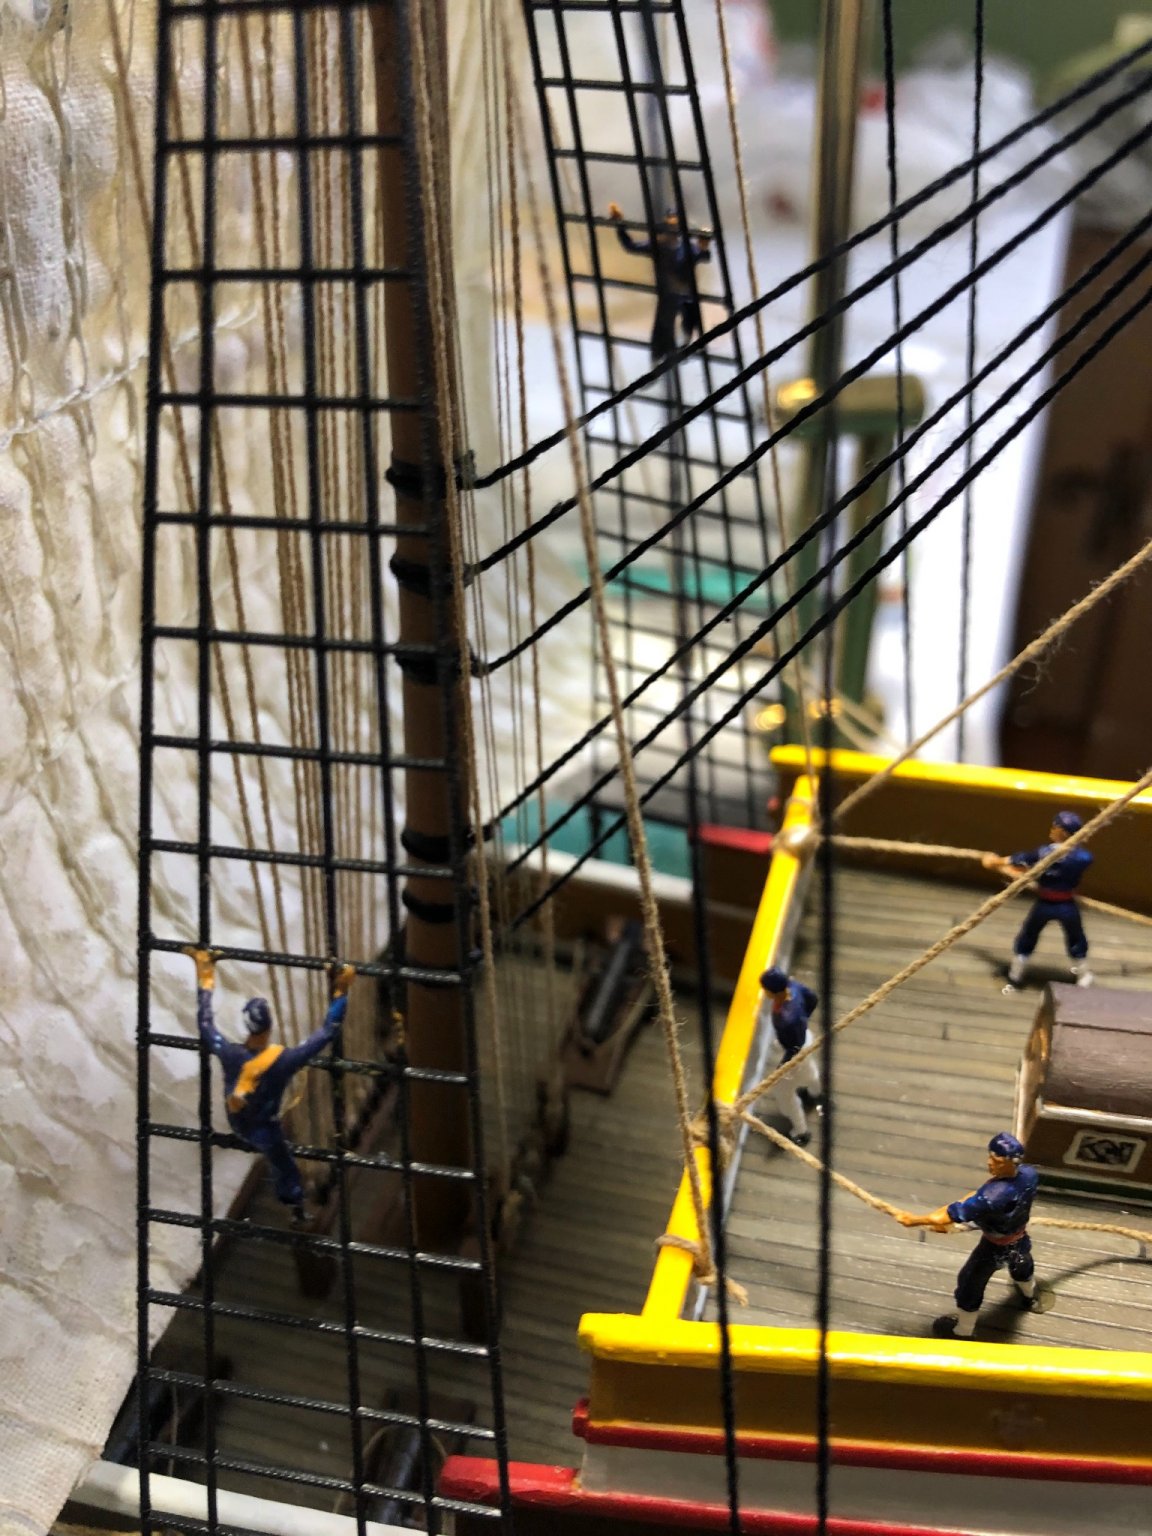
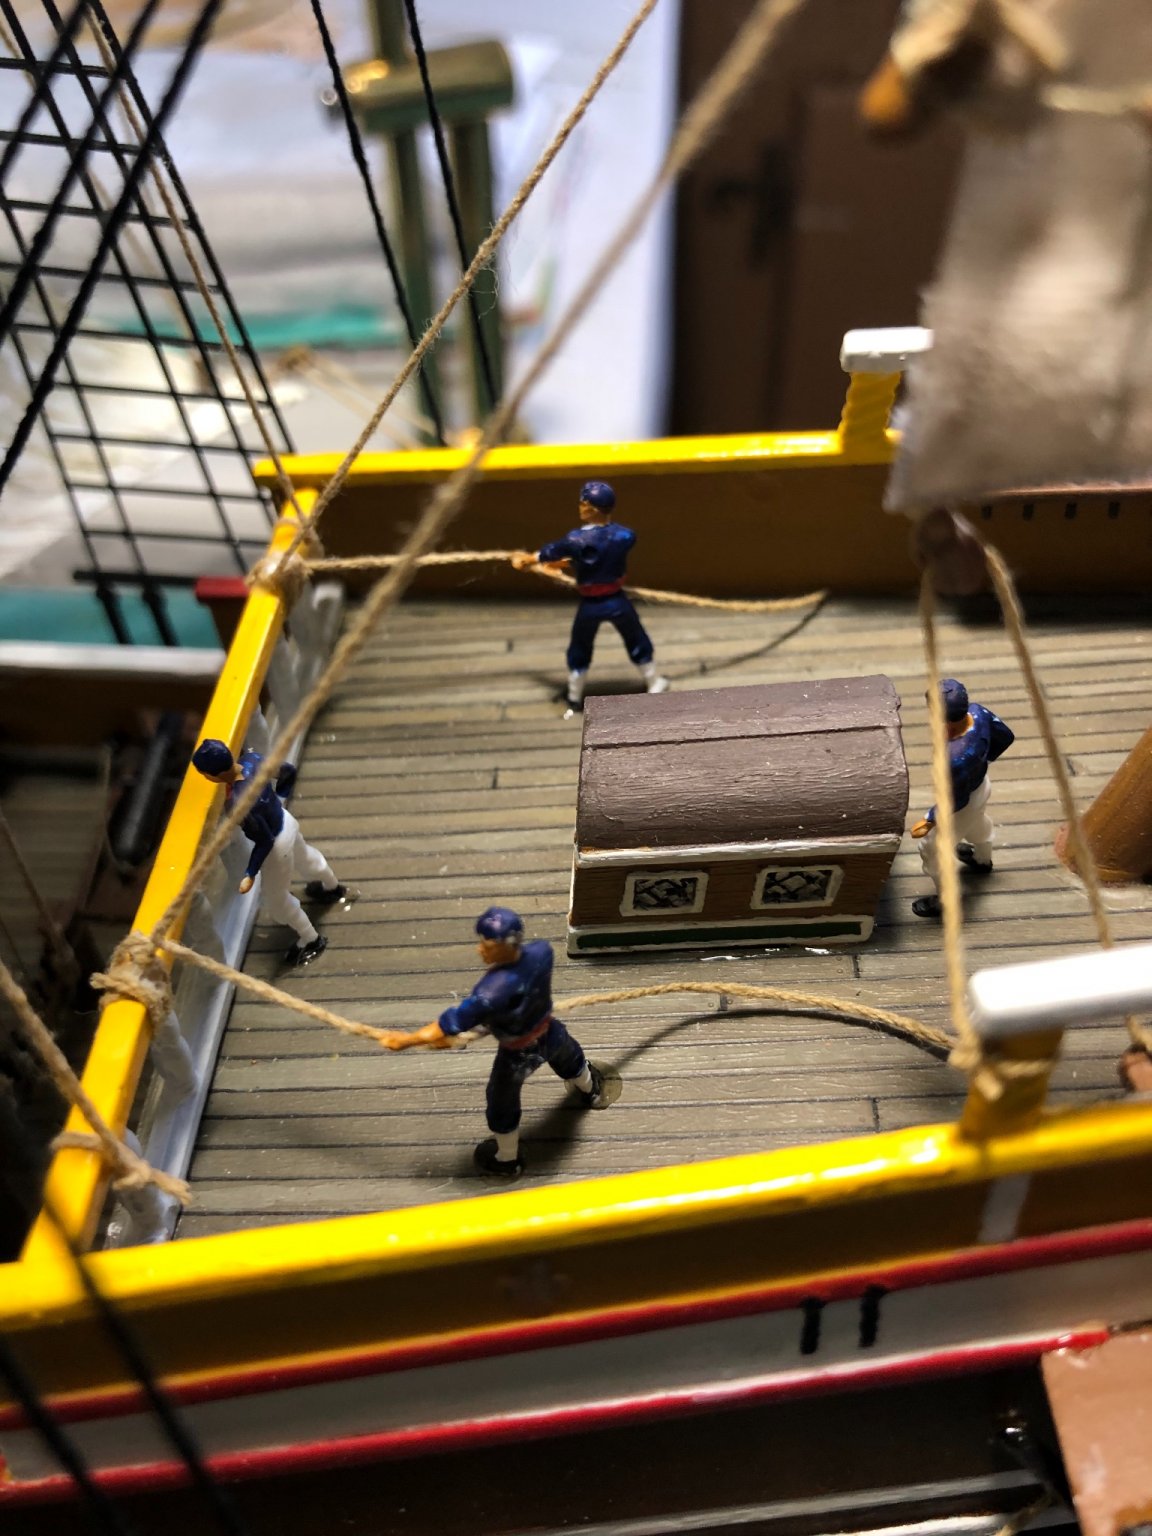
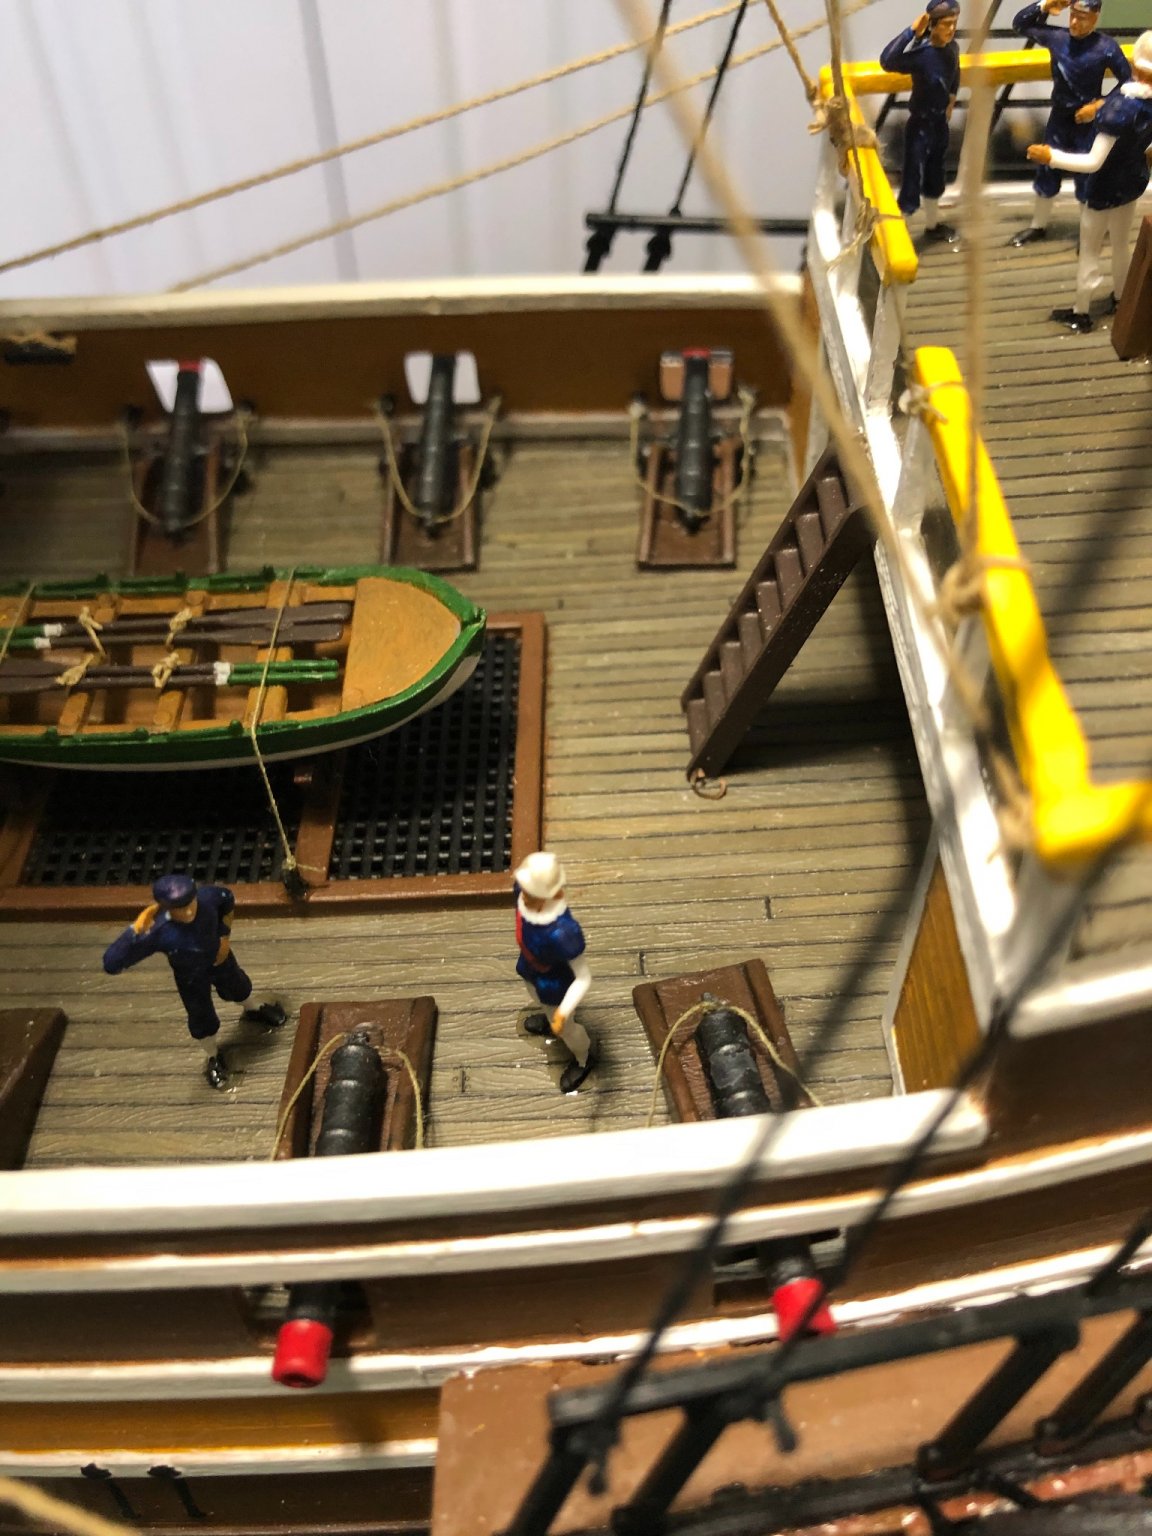
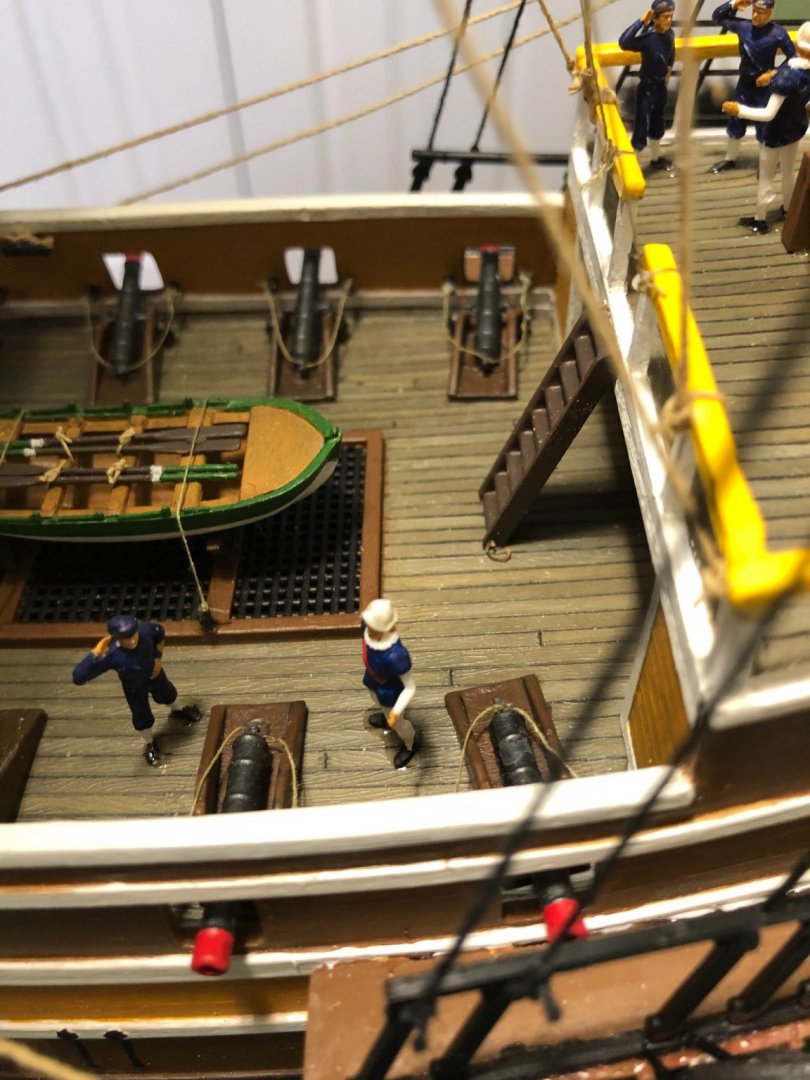
For the final touch before putting my Man O War in the display case is to add a number of sailors for my grandsons to look for and count.


- 35 replies
-
- 4
-
-
- english man o war
- revell
- (and 2 more)
-
Thank guys. Robert I have a few in my stash now, and more to come. I recently picked up a Trumpeter Mayflower. The harrowing voyage of the Mayflower has always interested me. Now that I am back to model building I did some research and found Trumpeter makes the largest model of it. Had never heard of Trumpeter models. It is due to be delivered this week. So I will see what I think. Based on your recommendation I now have the Airfix Wasa which I have not opened yet. And then the big boy comes for Christmas. Heller HMS Victory. So I am no sure where I want to go next.
- 35 replies
-
- 1
-
-
- english man o war
- revell
- (and 2 more)
-
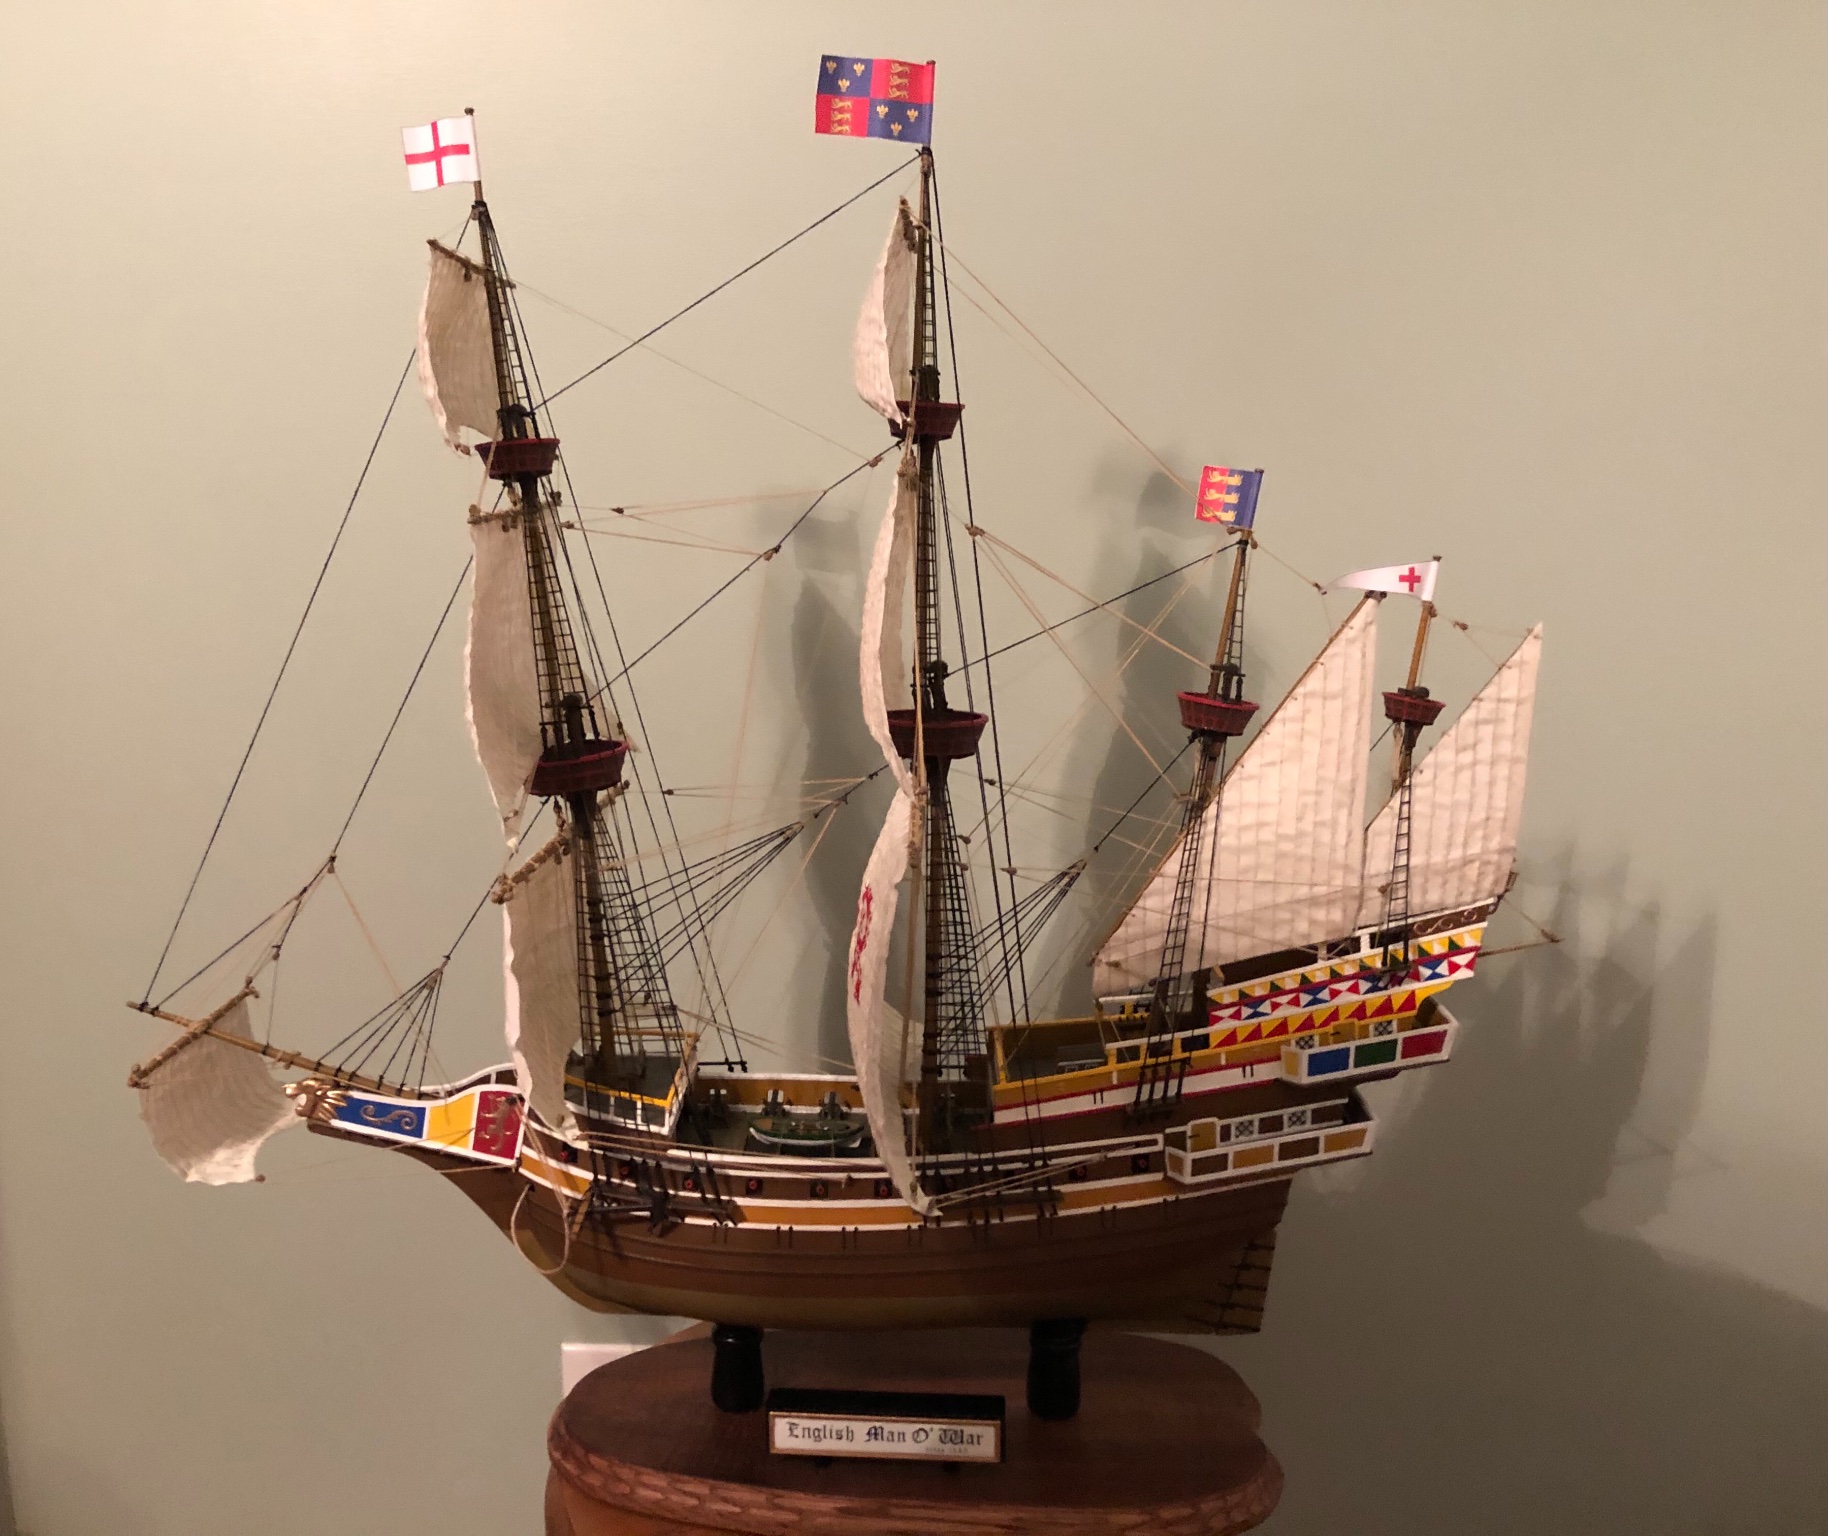
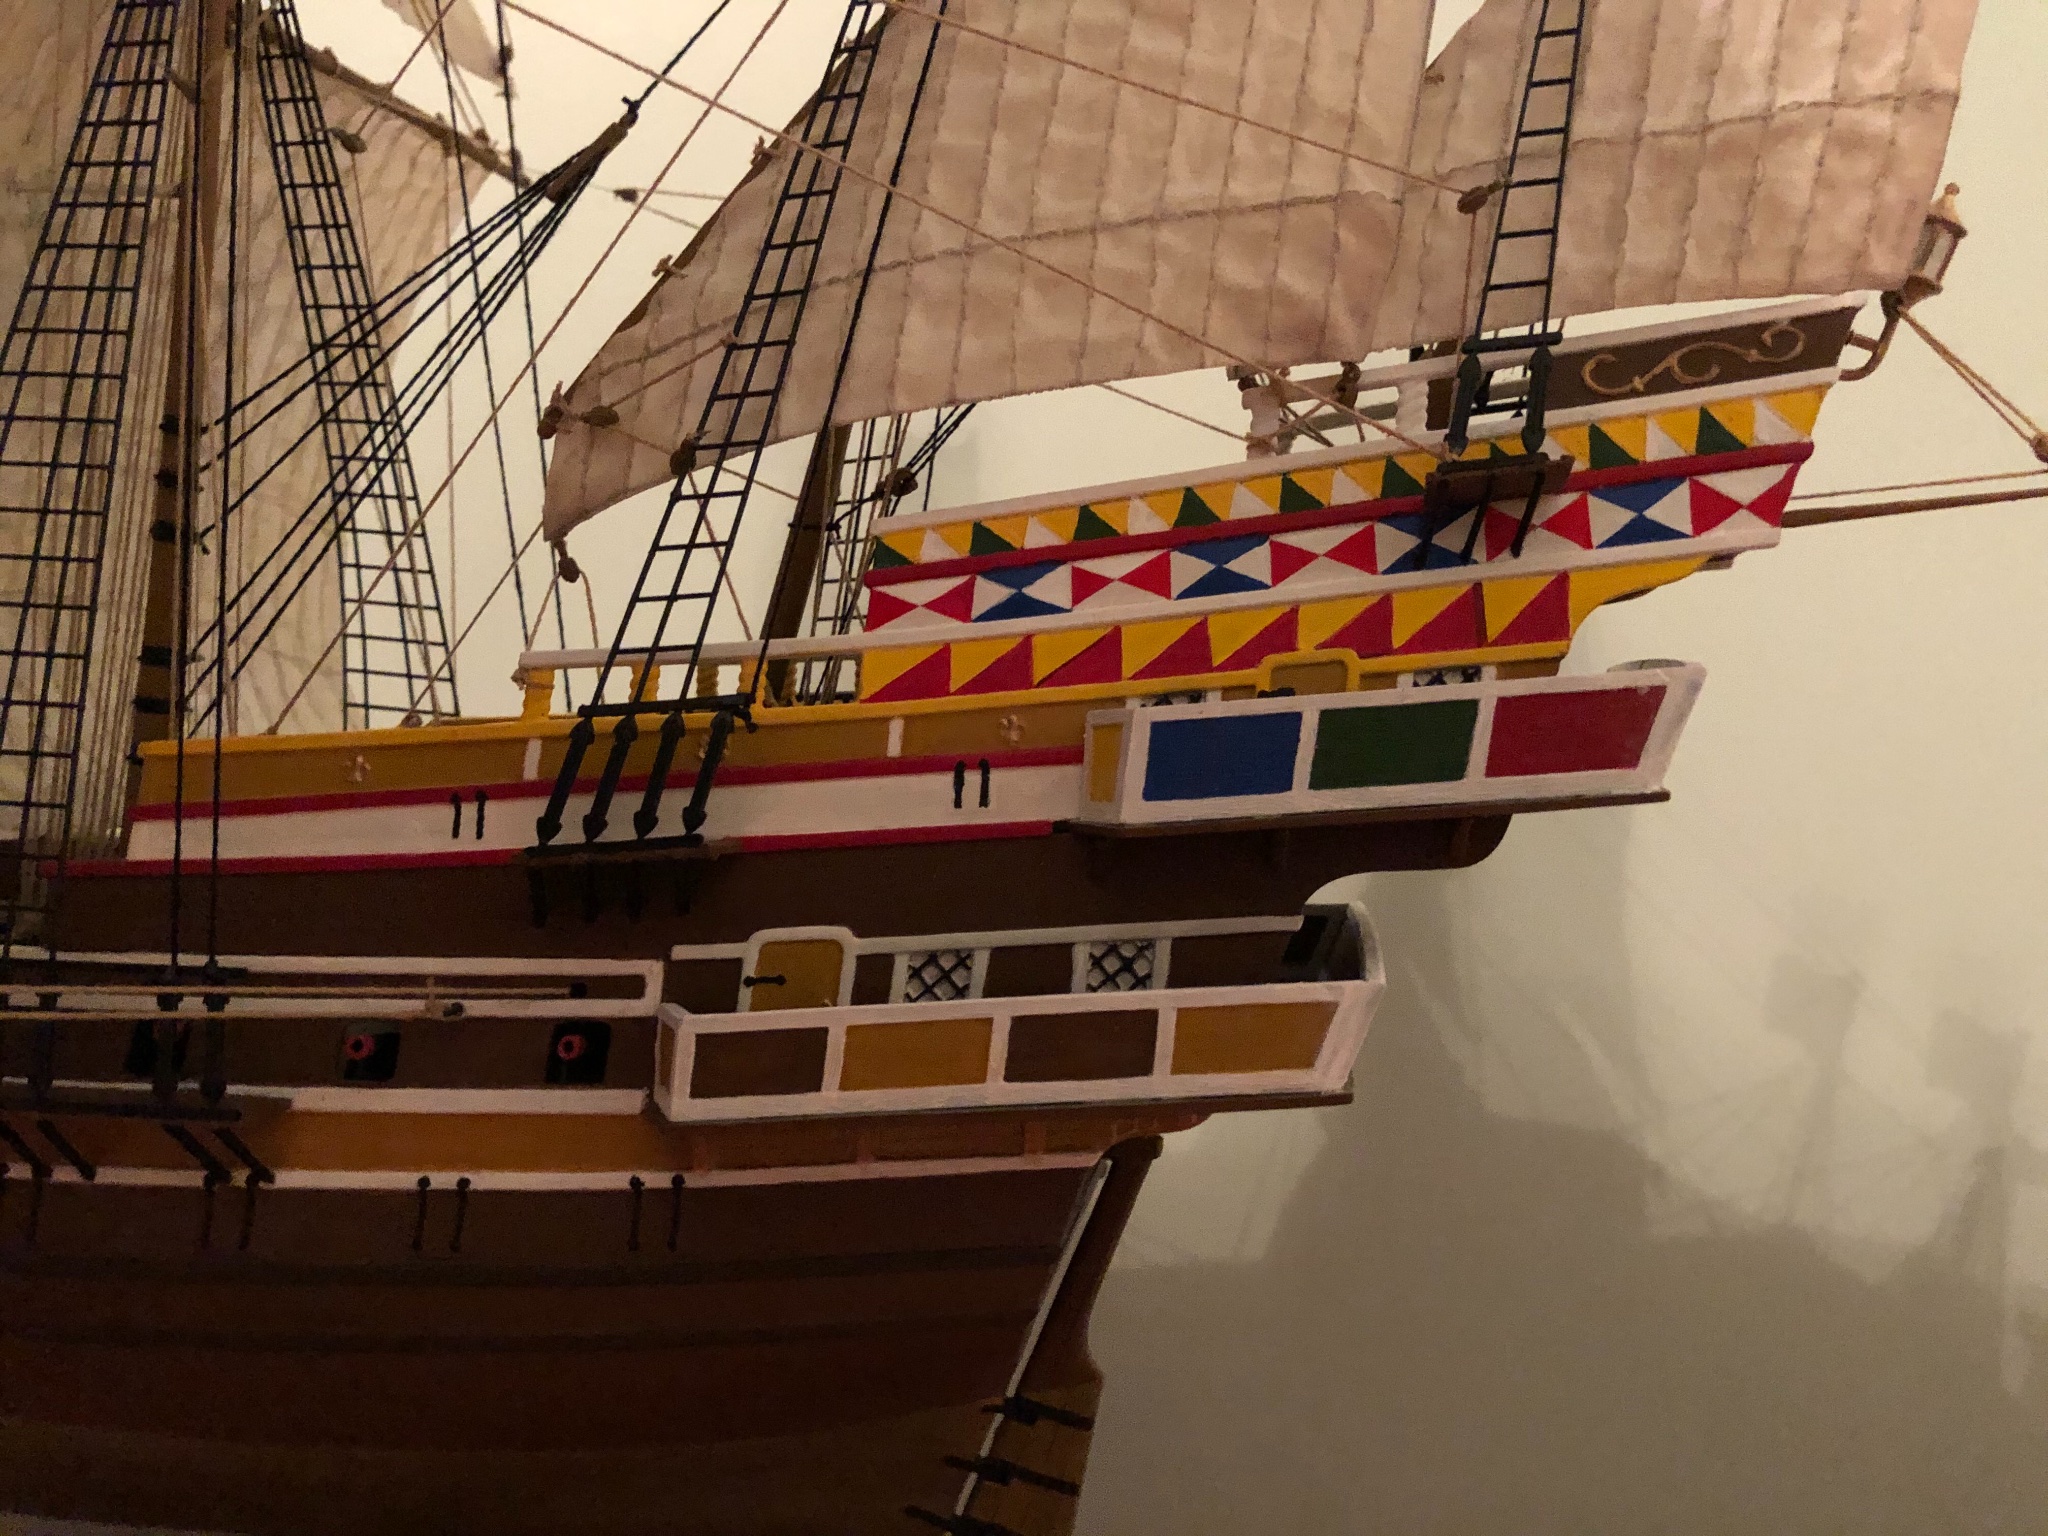
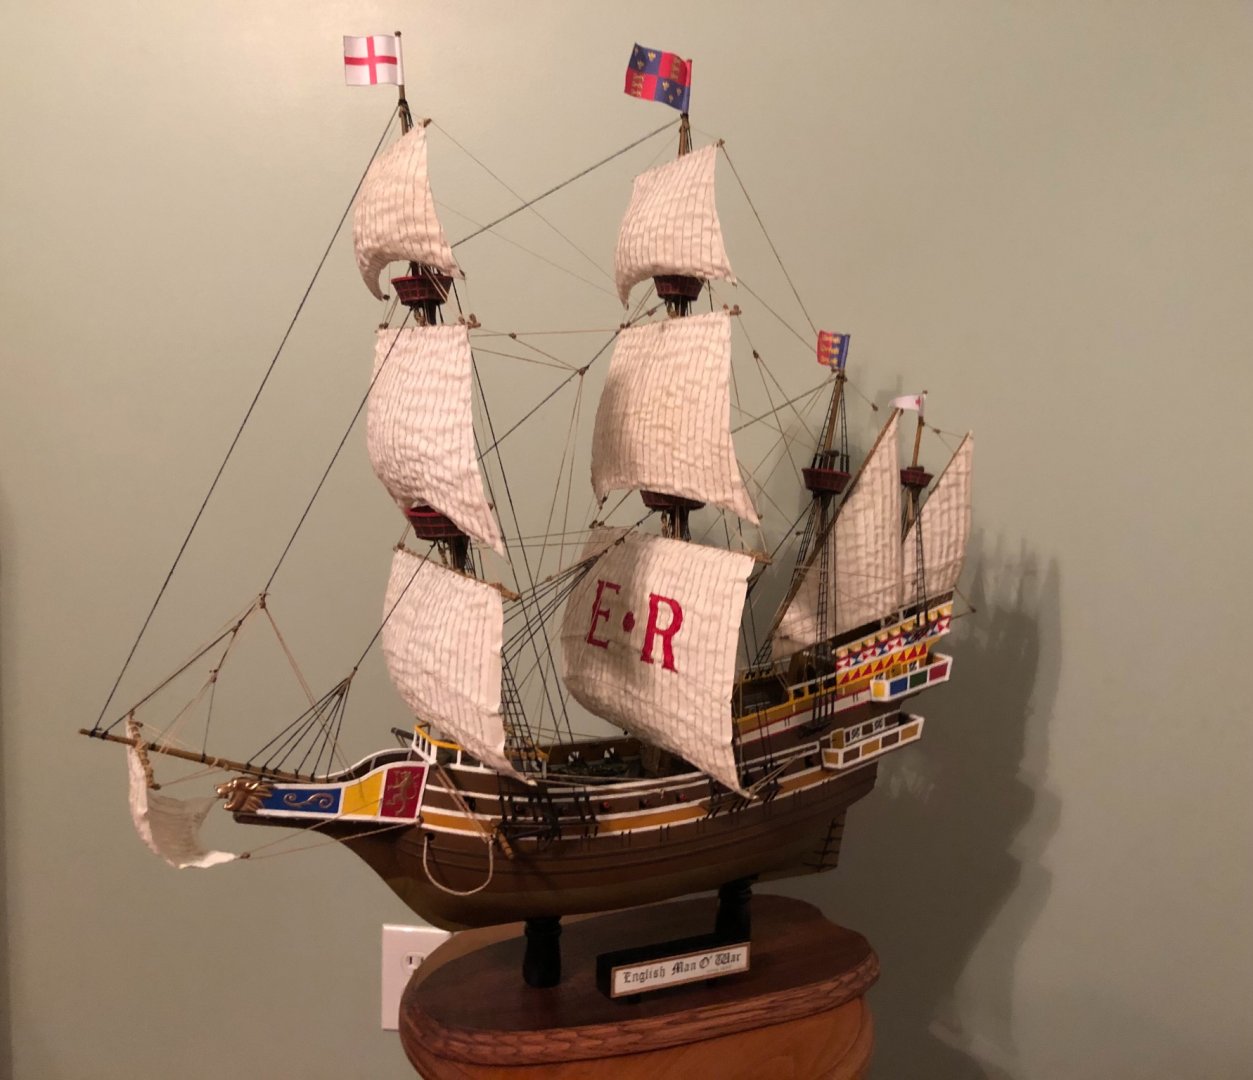
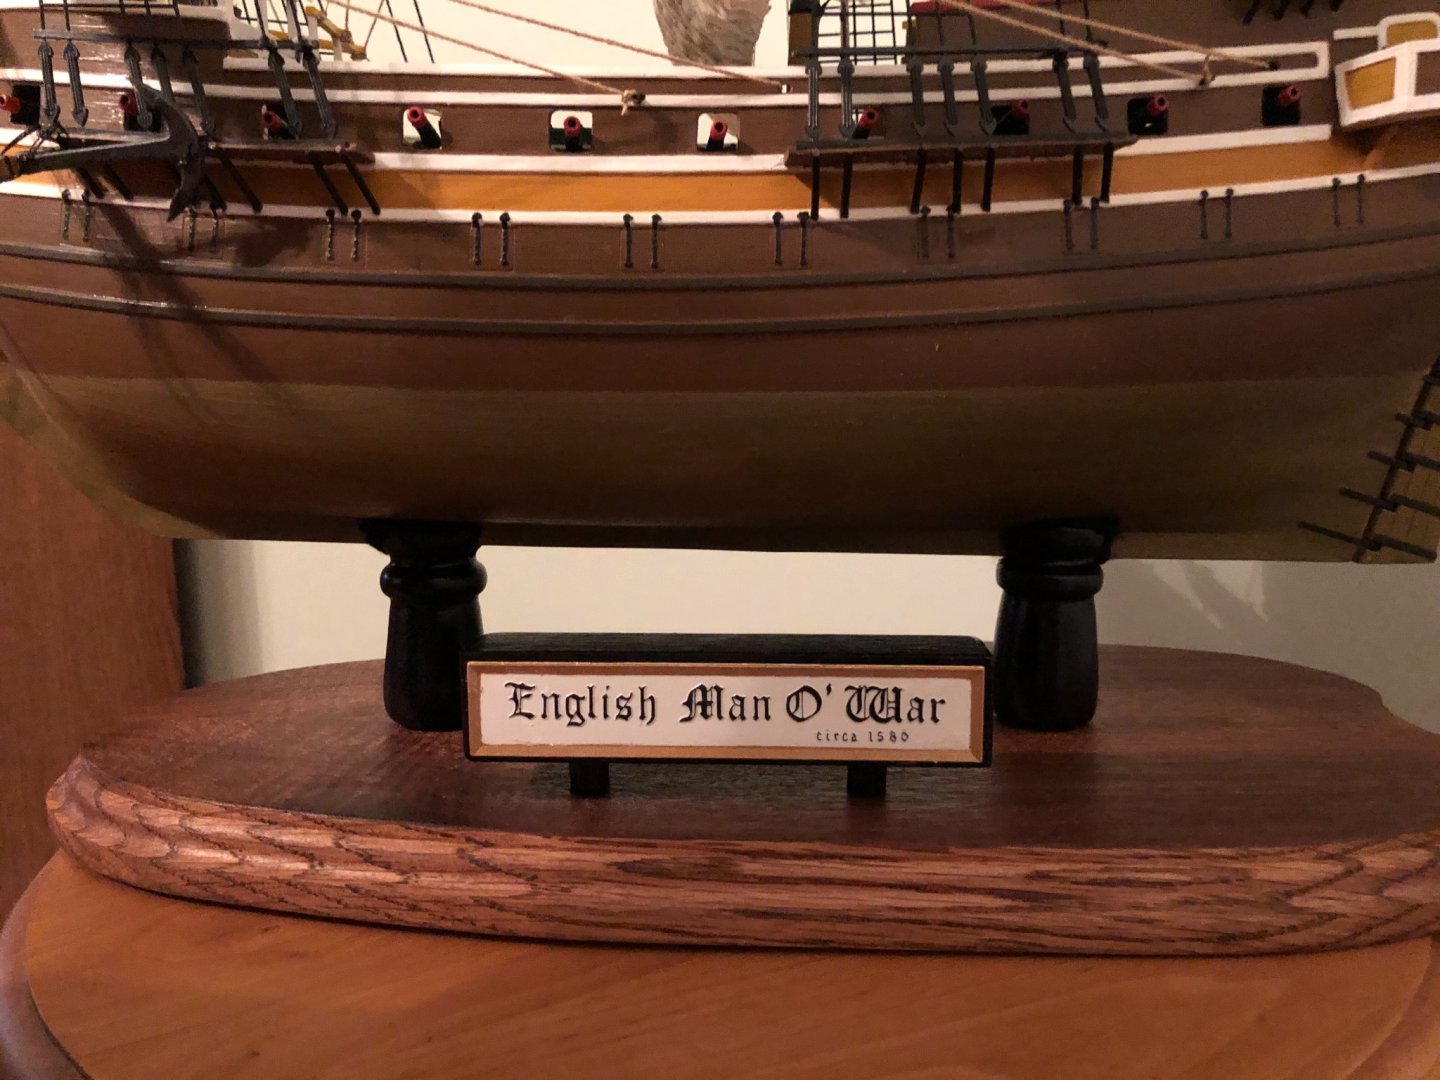
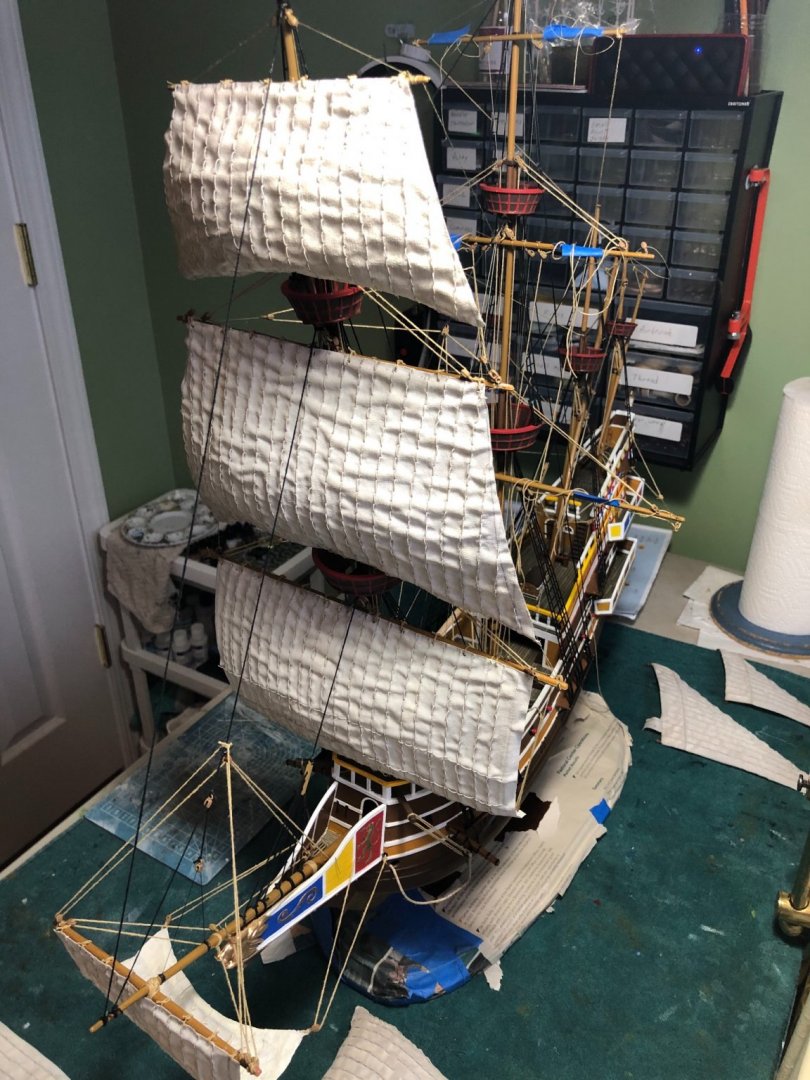
She is finished! Definitely a work of love. Enjoyed very much building the Revell English Man O War. Kind of disappointed I am finished. Learned so much more on this build I will carry forward to my next, and future builds. Thanks to all who shared advice and suggestions, especially my friend Robert Taylor.


- 35 replies
-
- 5
-
-
- english man o war
- revell
- (and 2 more)
-
I received as a gift the Trumpeter 1/60 Mayflower. Until receiving this gift I have had no knowledge or experience with this manufacturer. Has anyone had experience with building their sailing ships, and if so, what did you think? I have not opened it as I am finishing up my Man O War. Any thoughts or advice will be greatly appreciated.
-
Same with me Robert. This was my first galleon and I found I really enjoy the vessel that they are. Once I build my case it will be displayed right beside my USS Constitution and Cutty Sark in their case. The Man O War was not as complicated as either of the other two and my skill level is definitely improving. Of the three I would probably say the Man O War was my favorite build. Also thanks for your excellent advice along the way. Should finish it this week. Will post the final pictures.
- 35 replies
-
- 2
-
-
- english man o war
- revell
- (and 2 more)
-
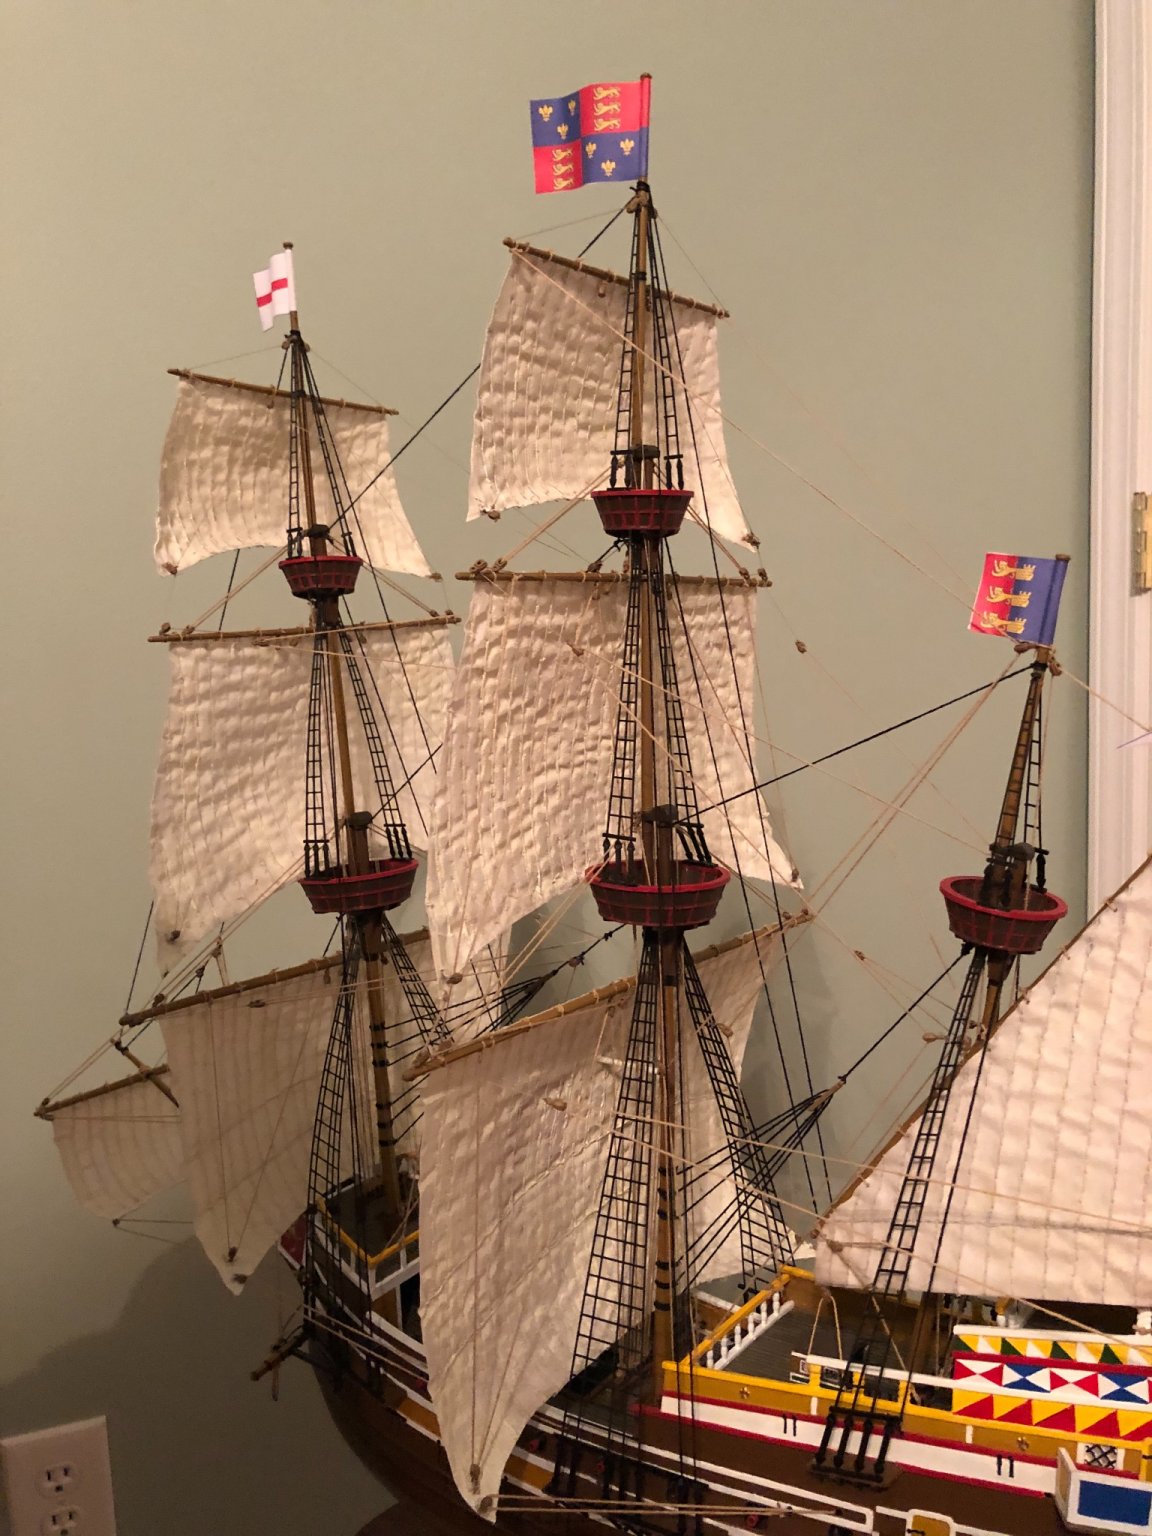
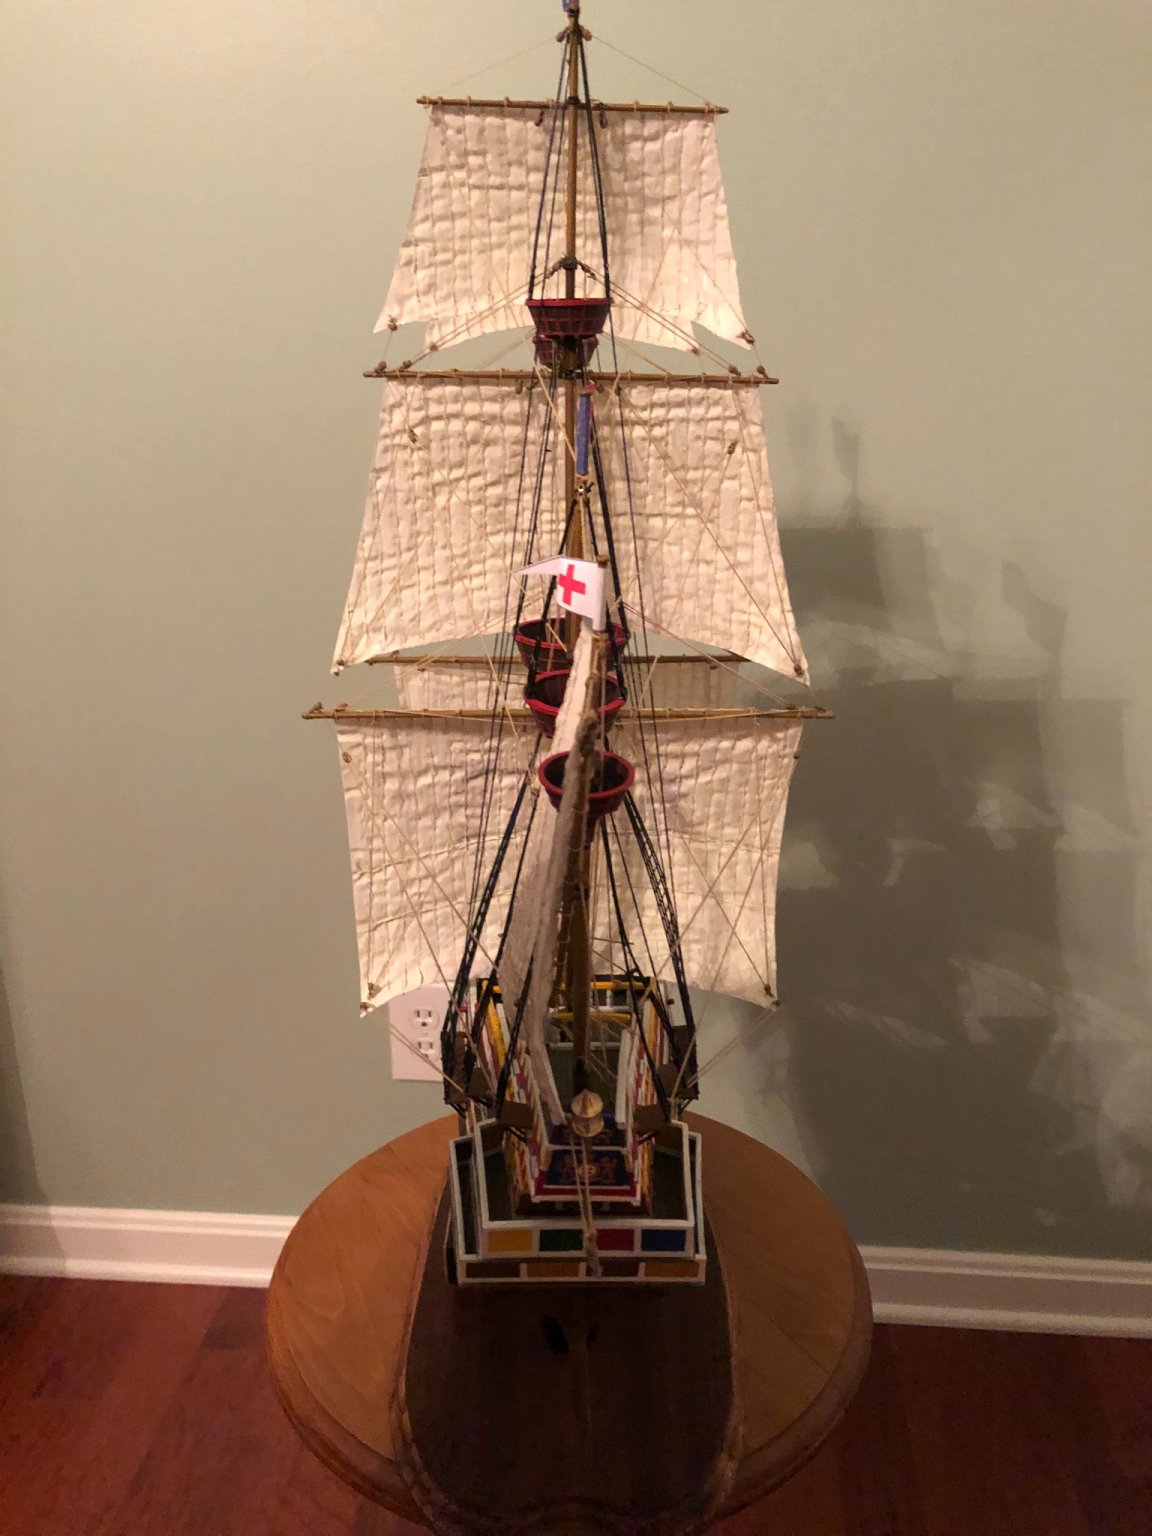
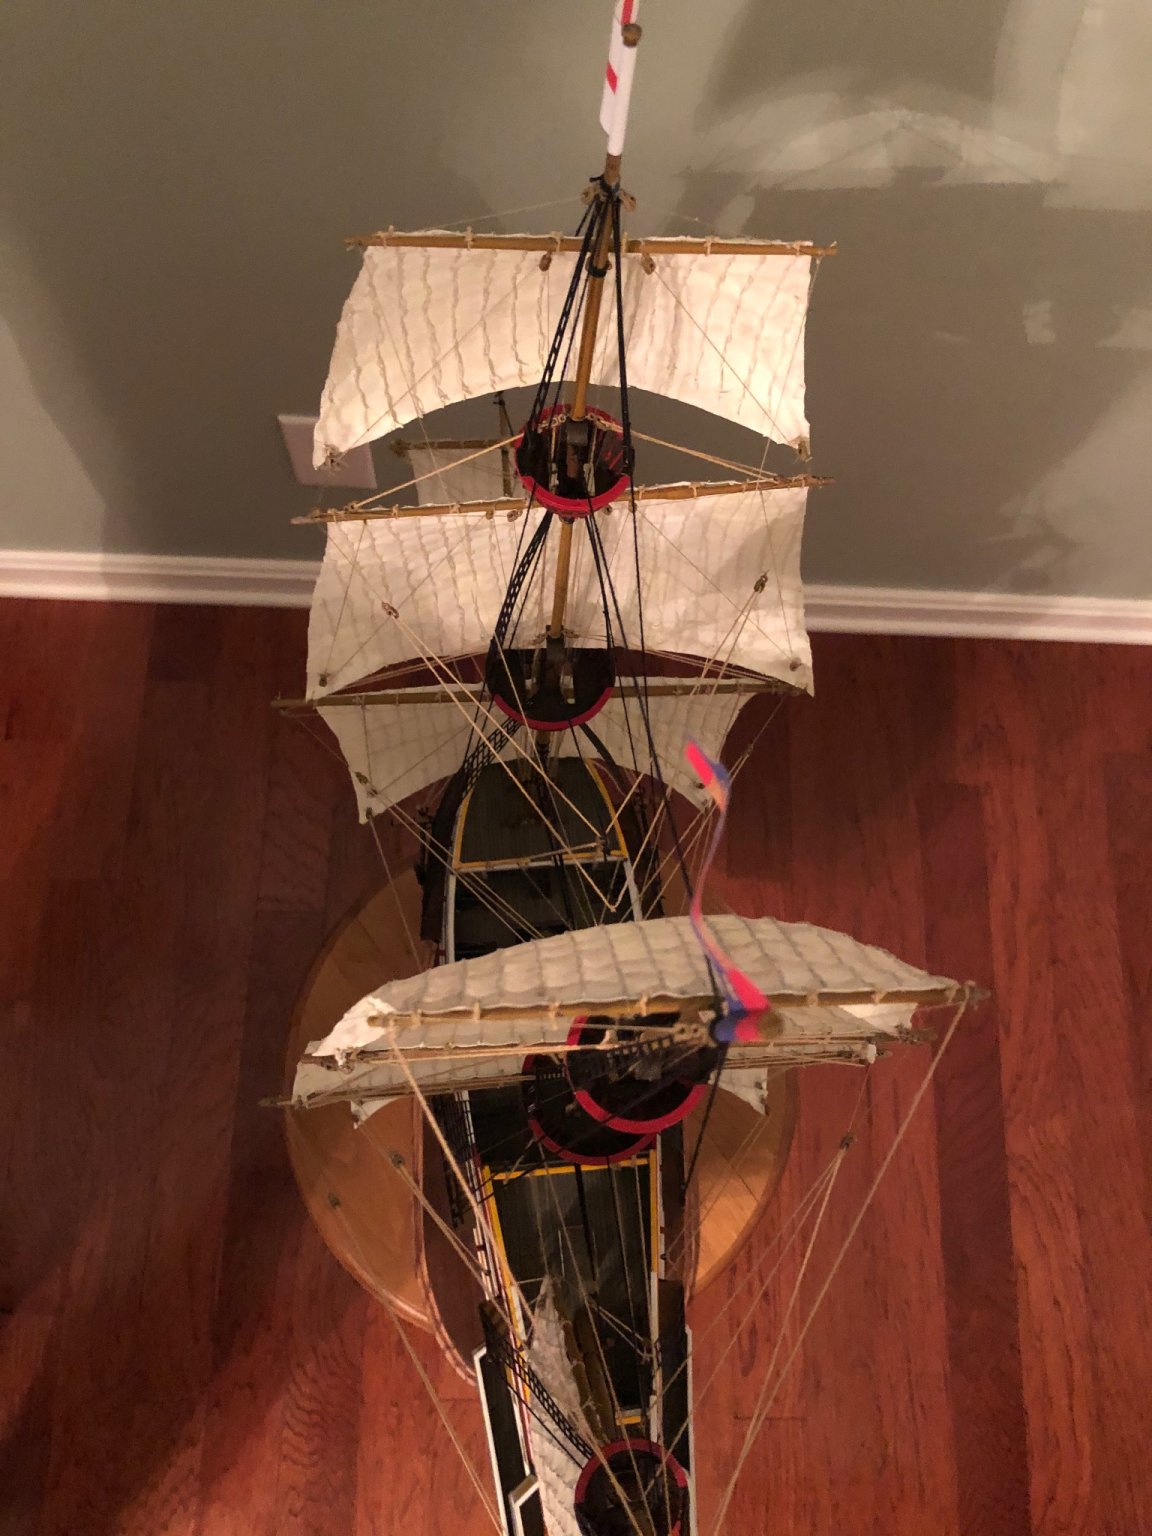
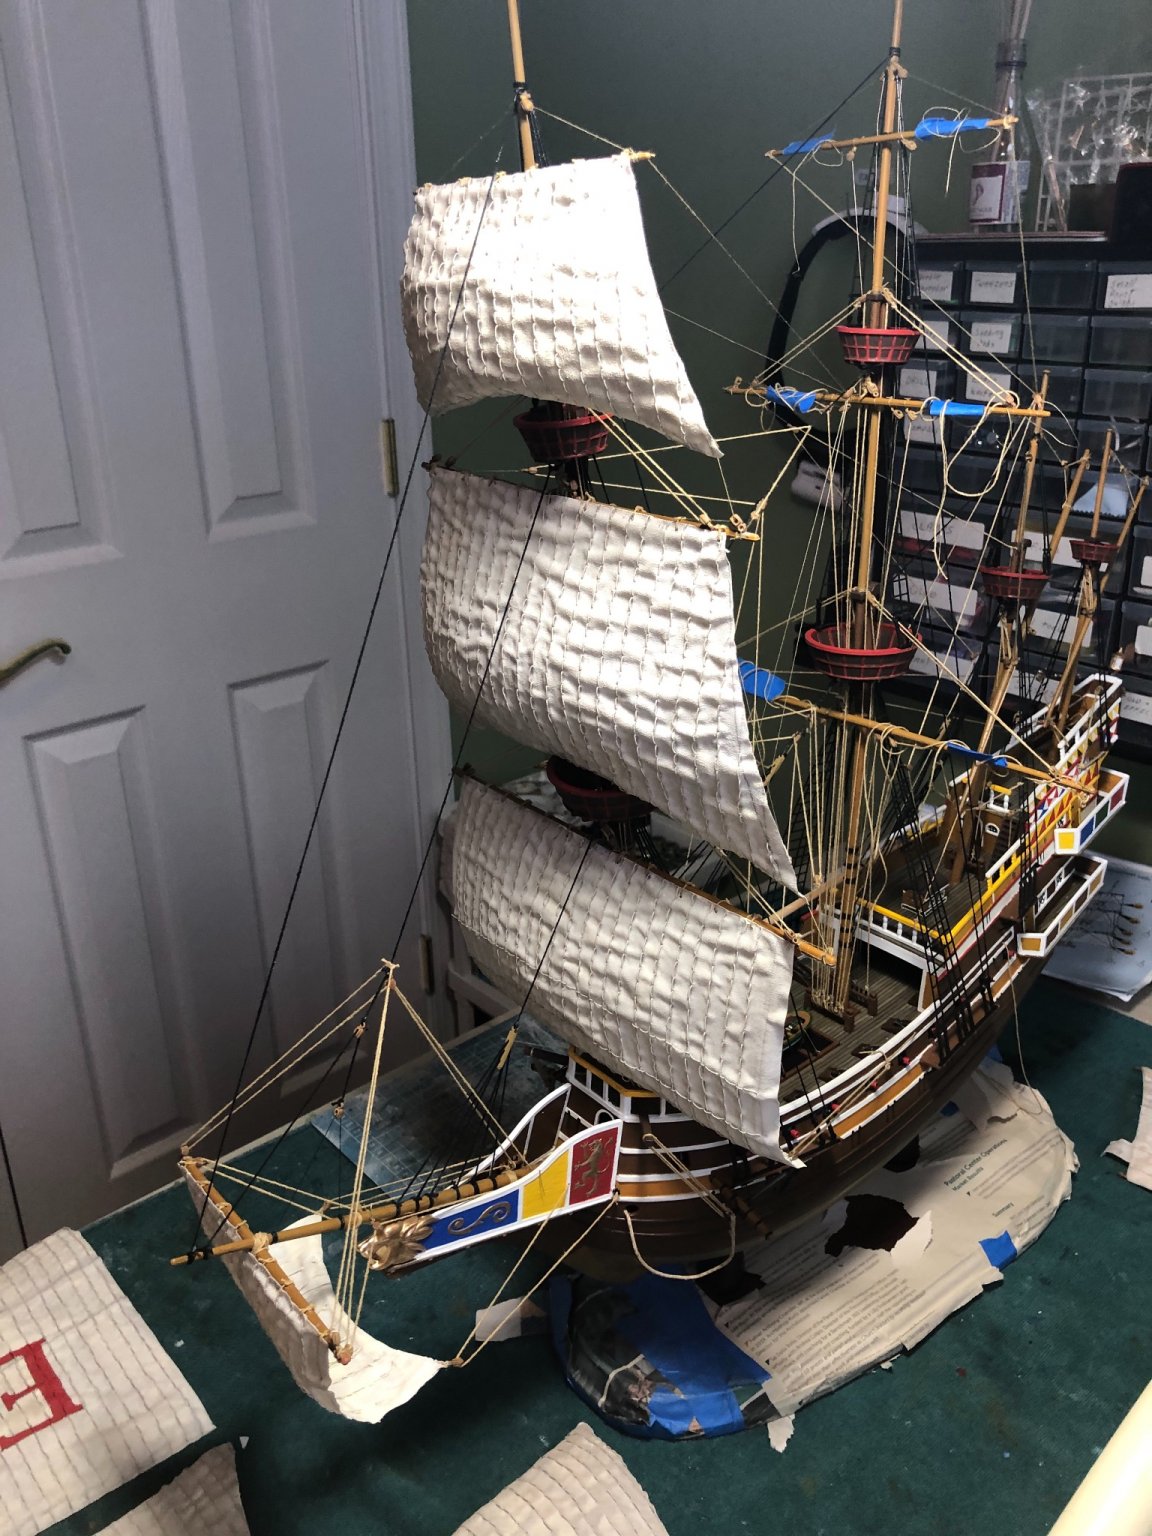
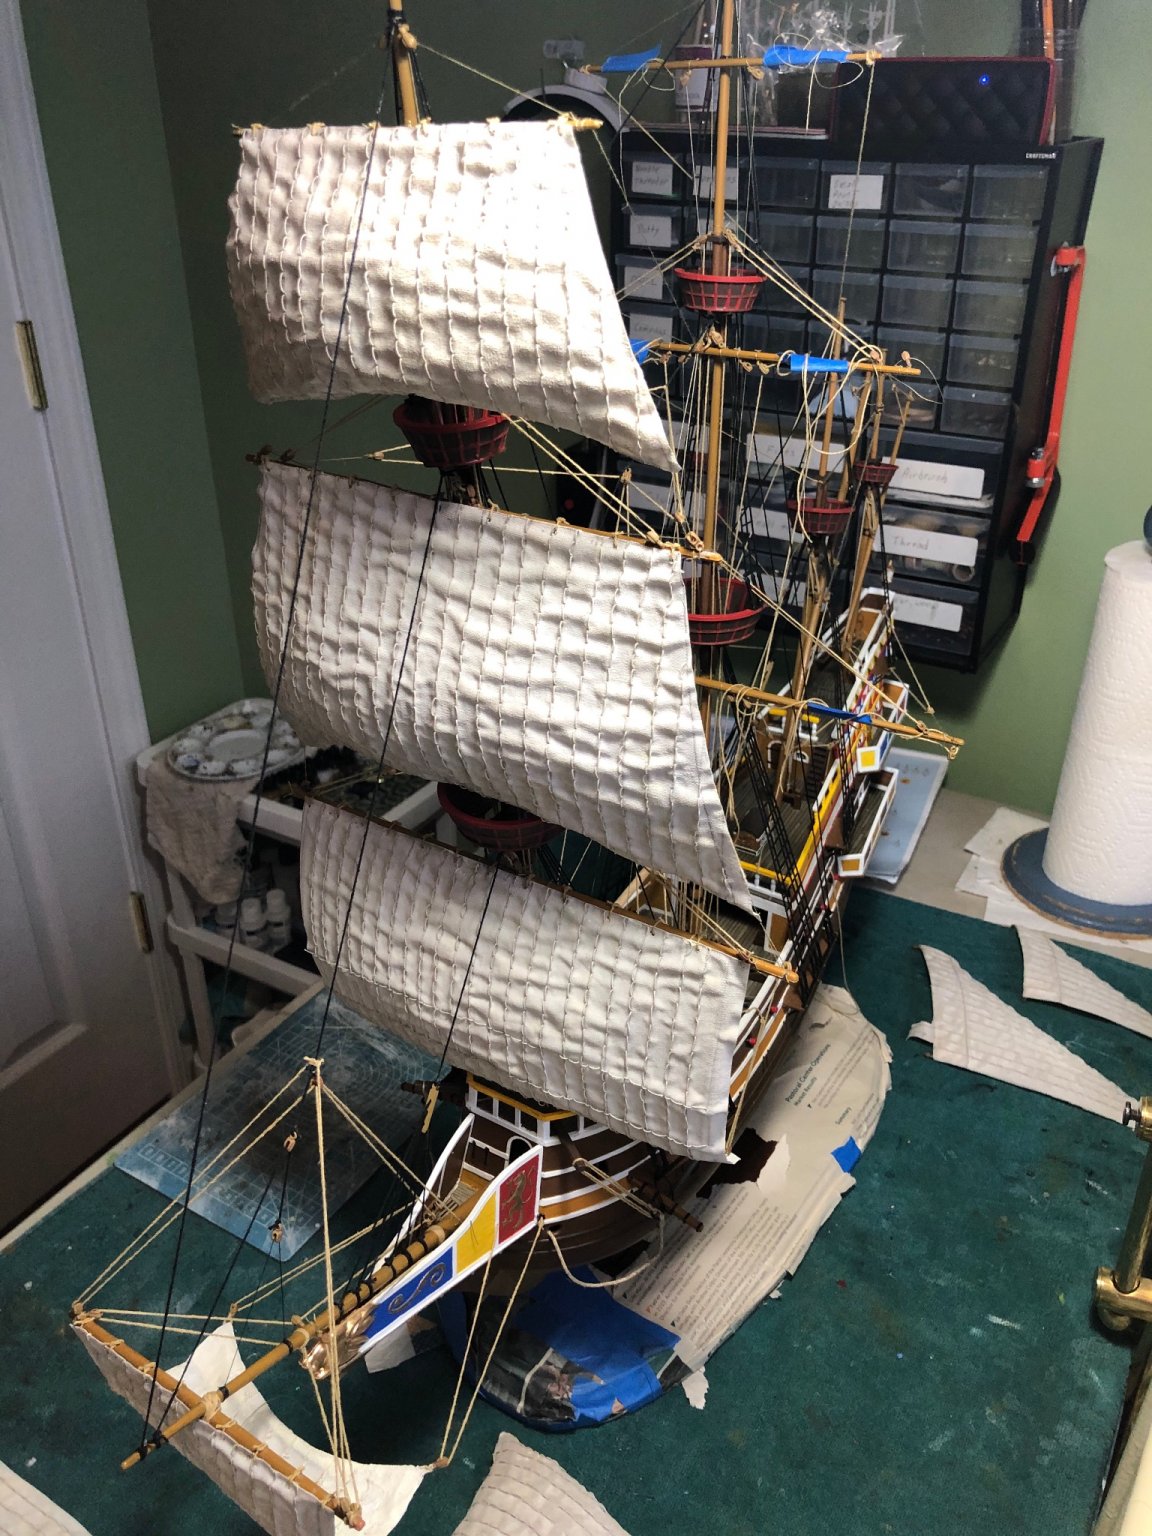
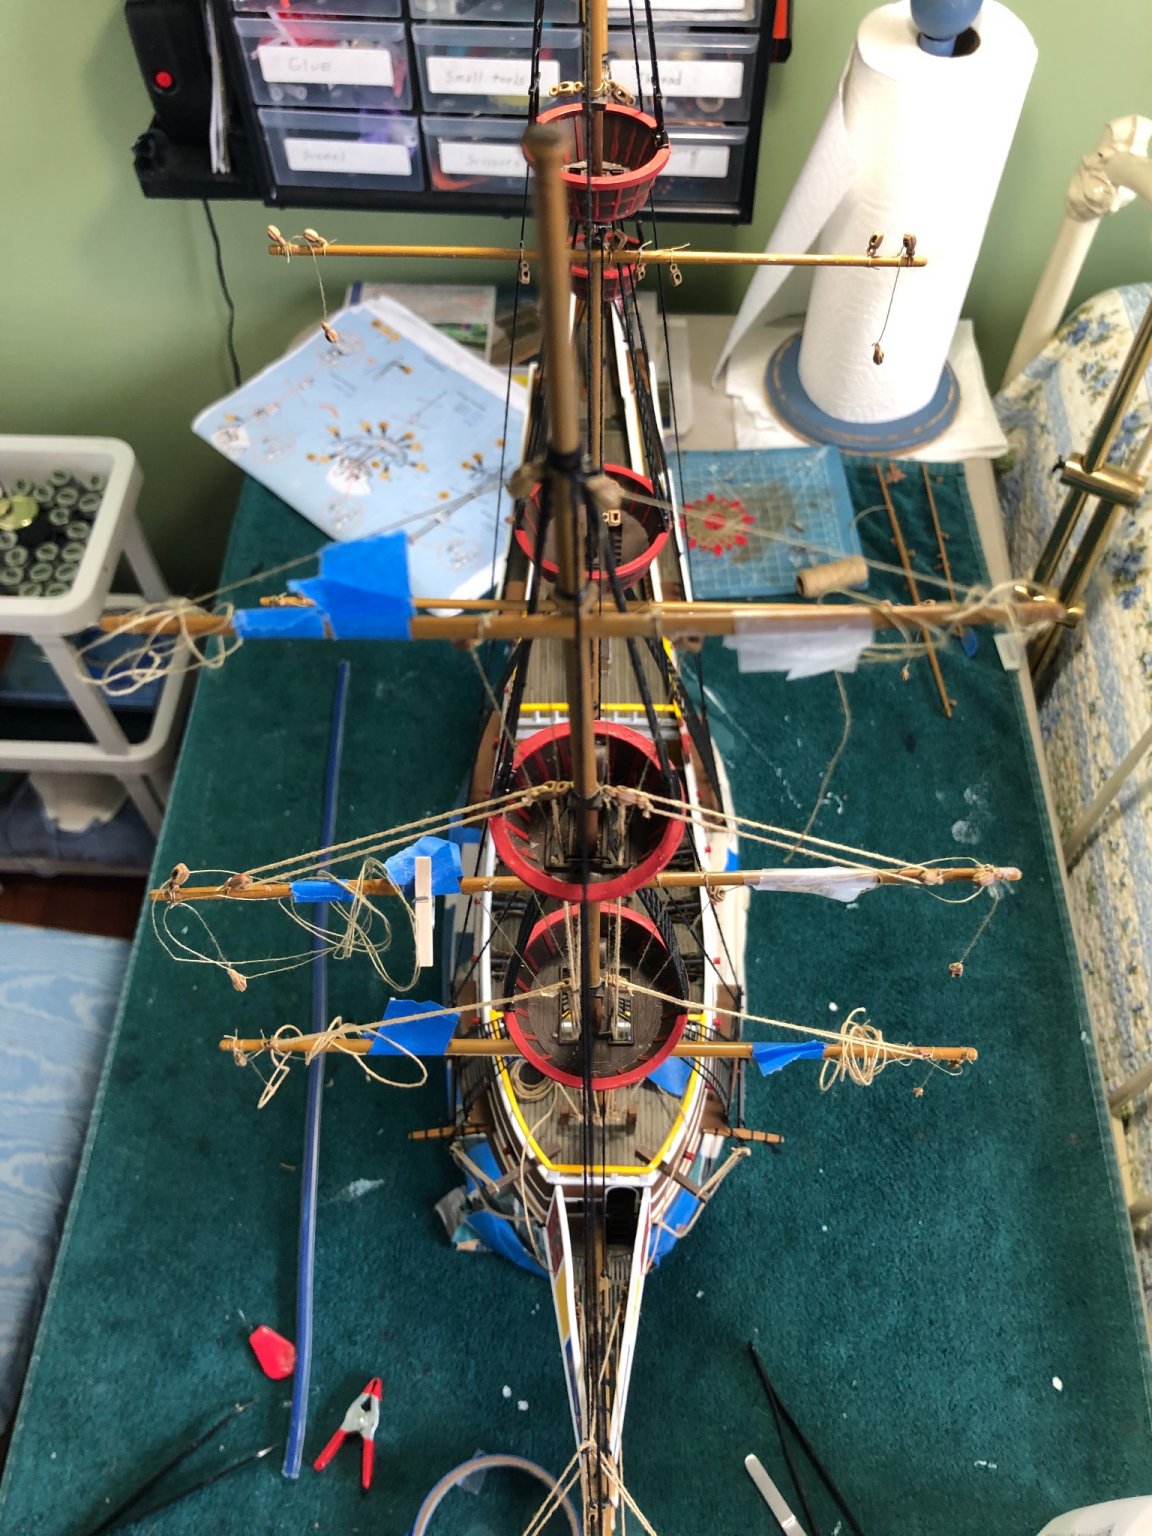
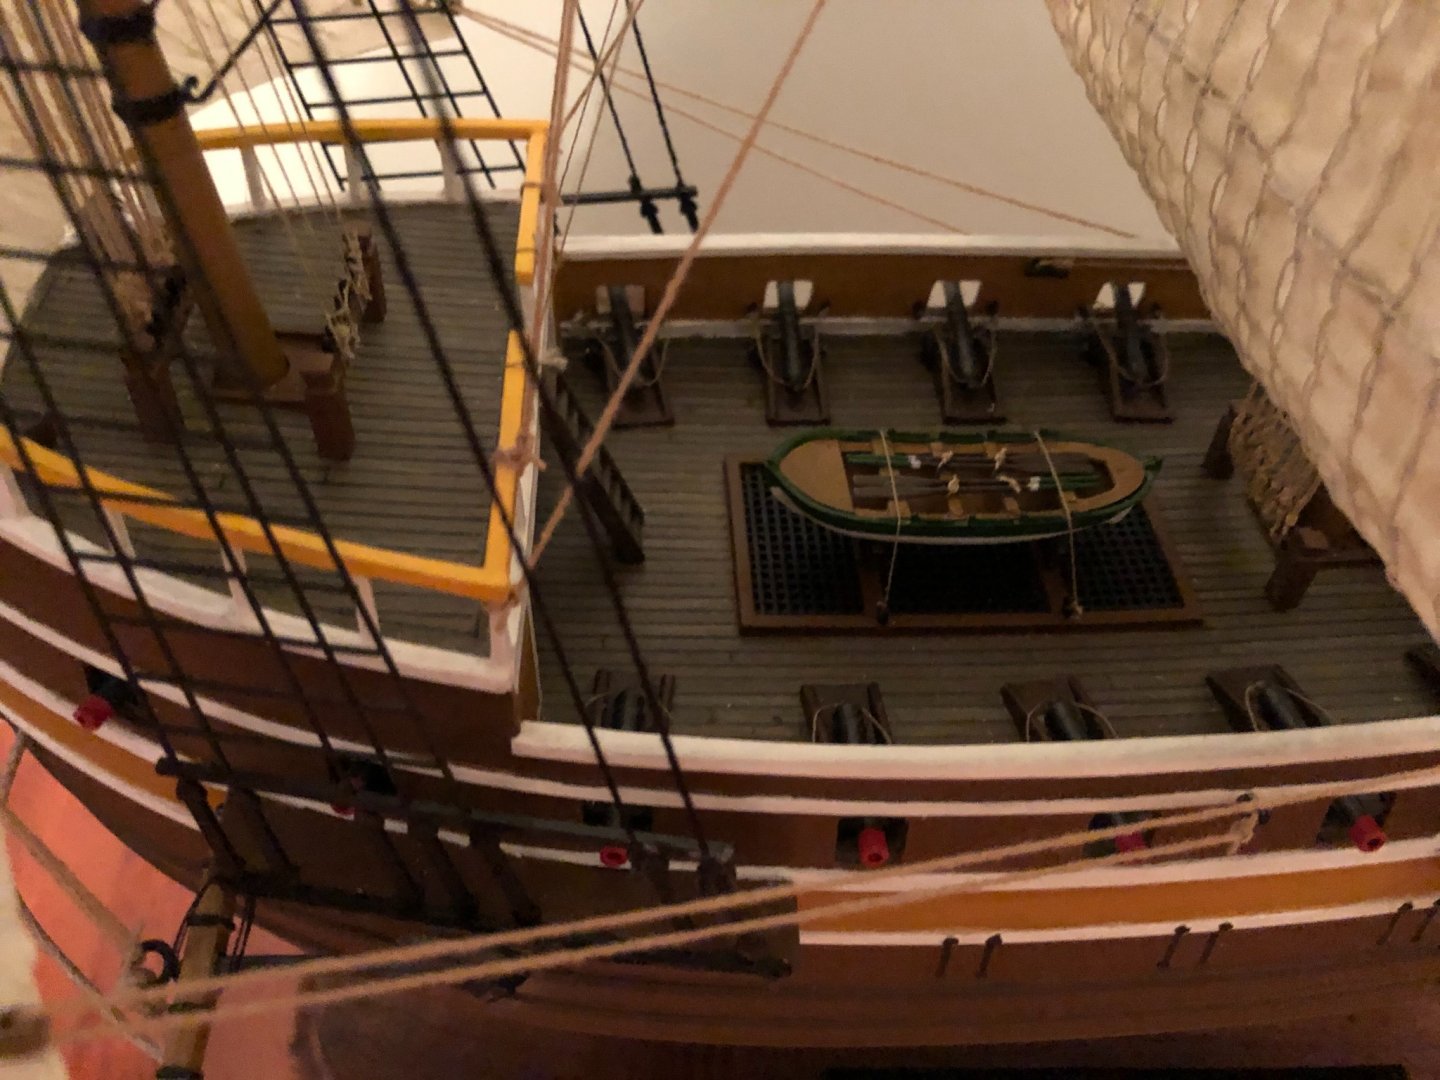
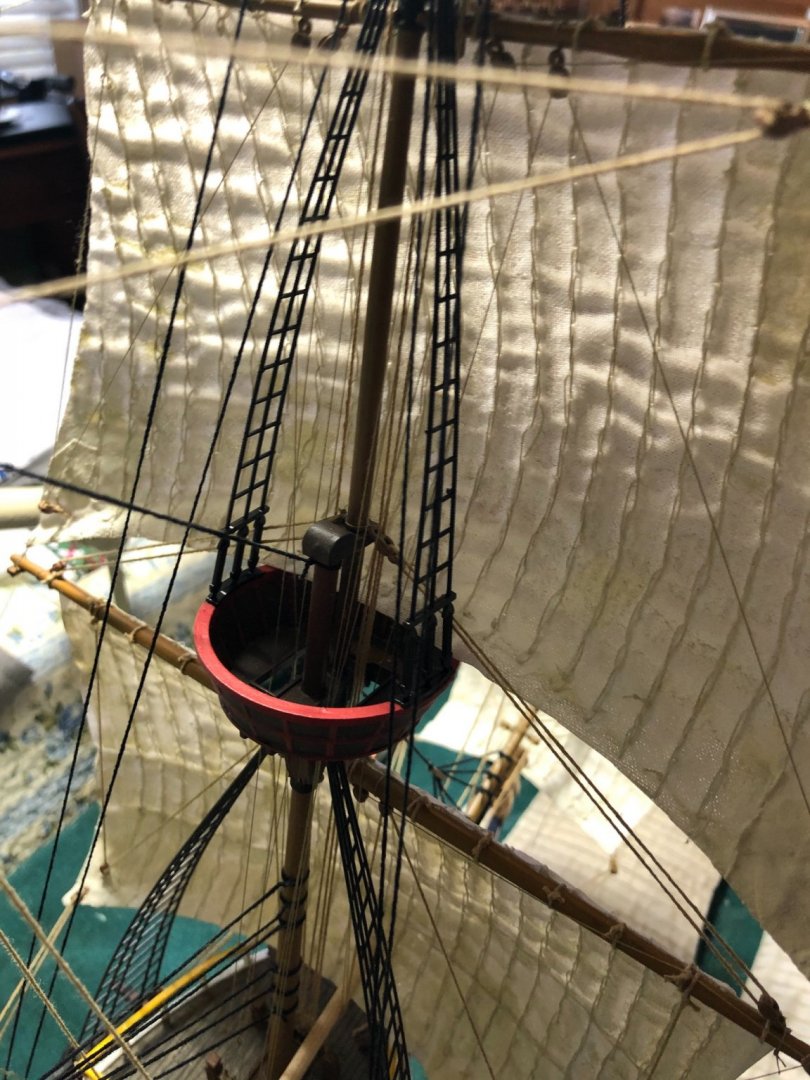
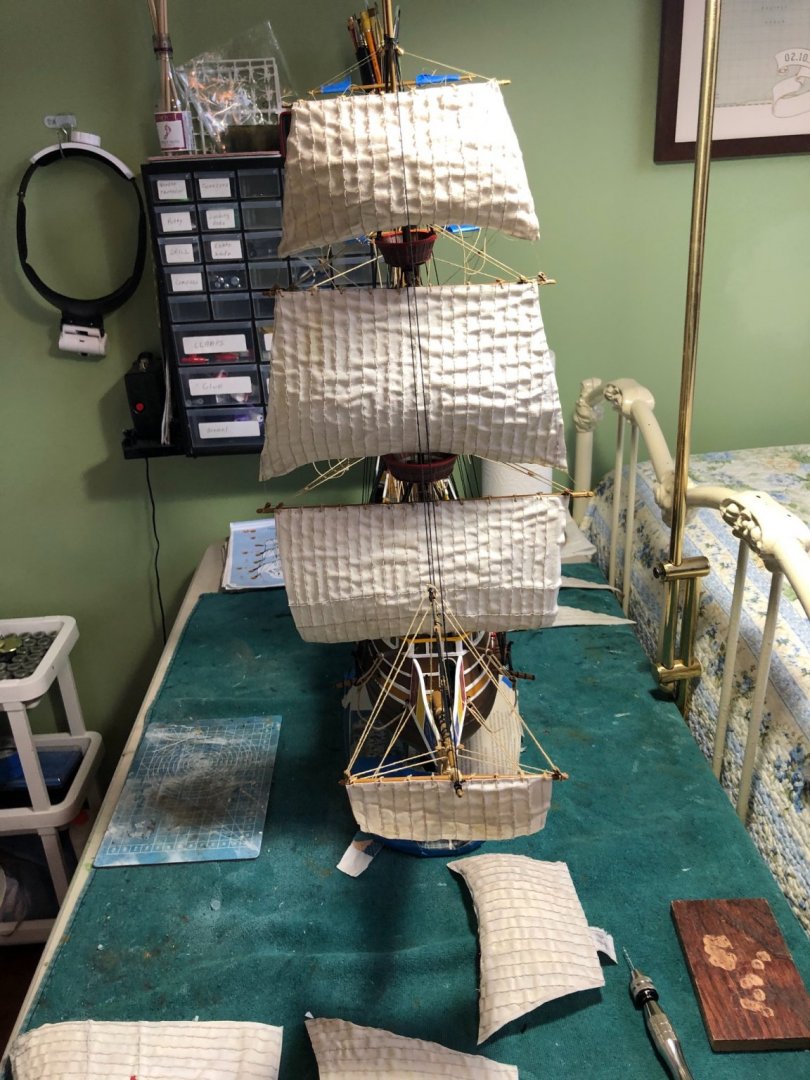
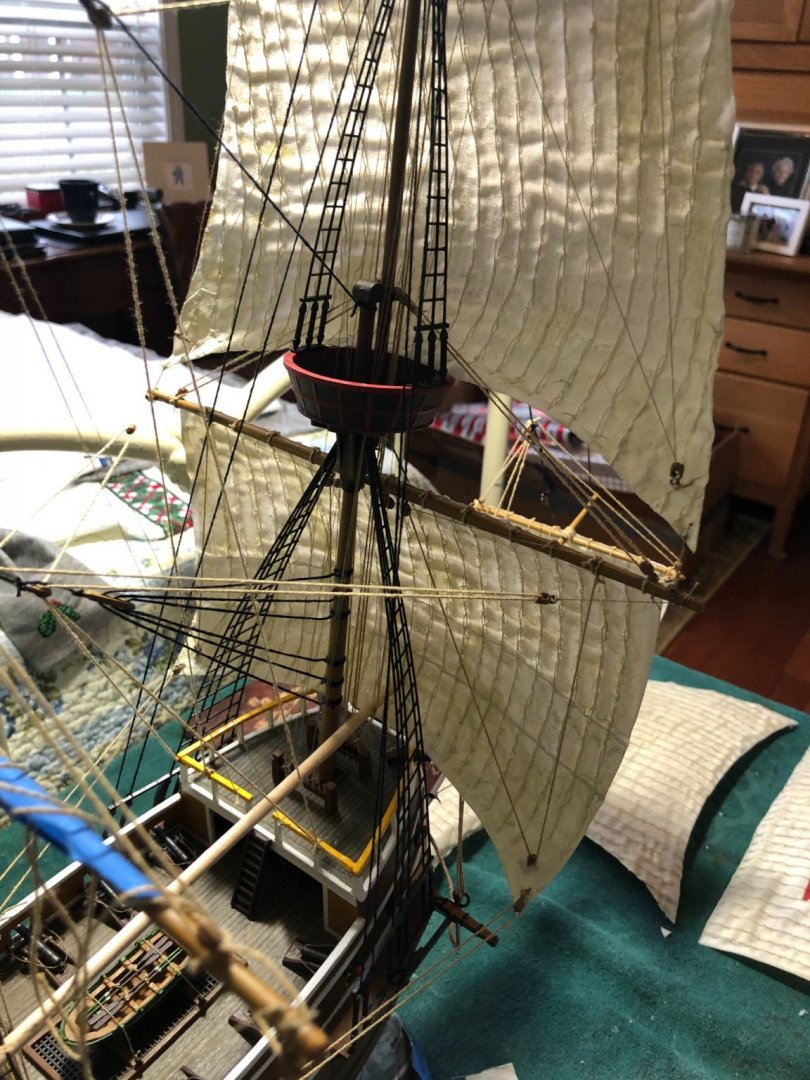
Main mast rigged with sails today. Moving right along. Will actually hate for this build to be finished.

- 35 replies
-
- 6
-
-
- english man o war
- revell
- (and 2 more)
-
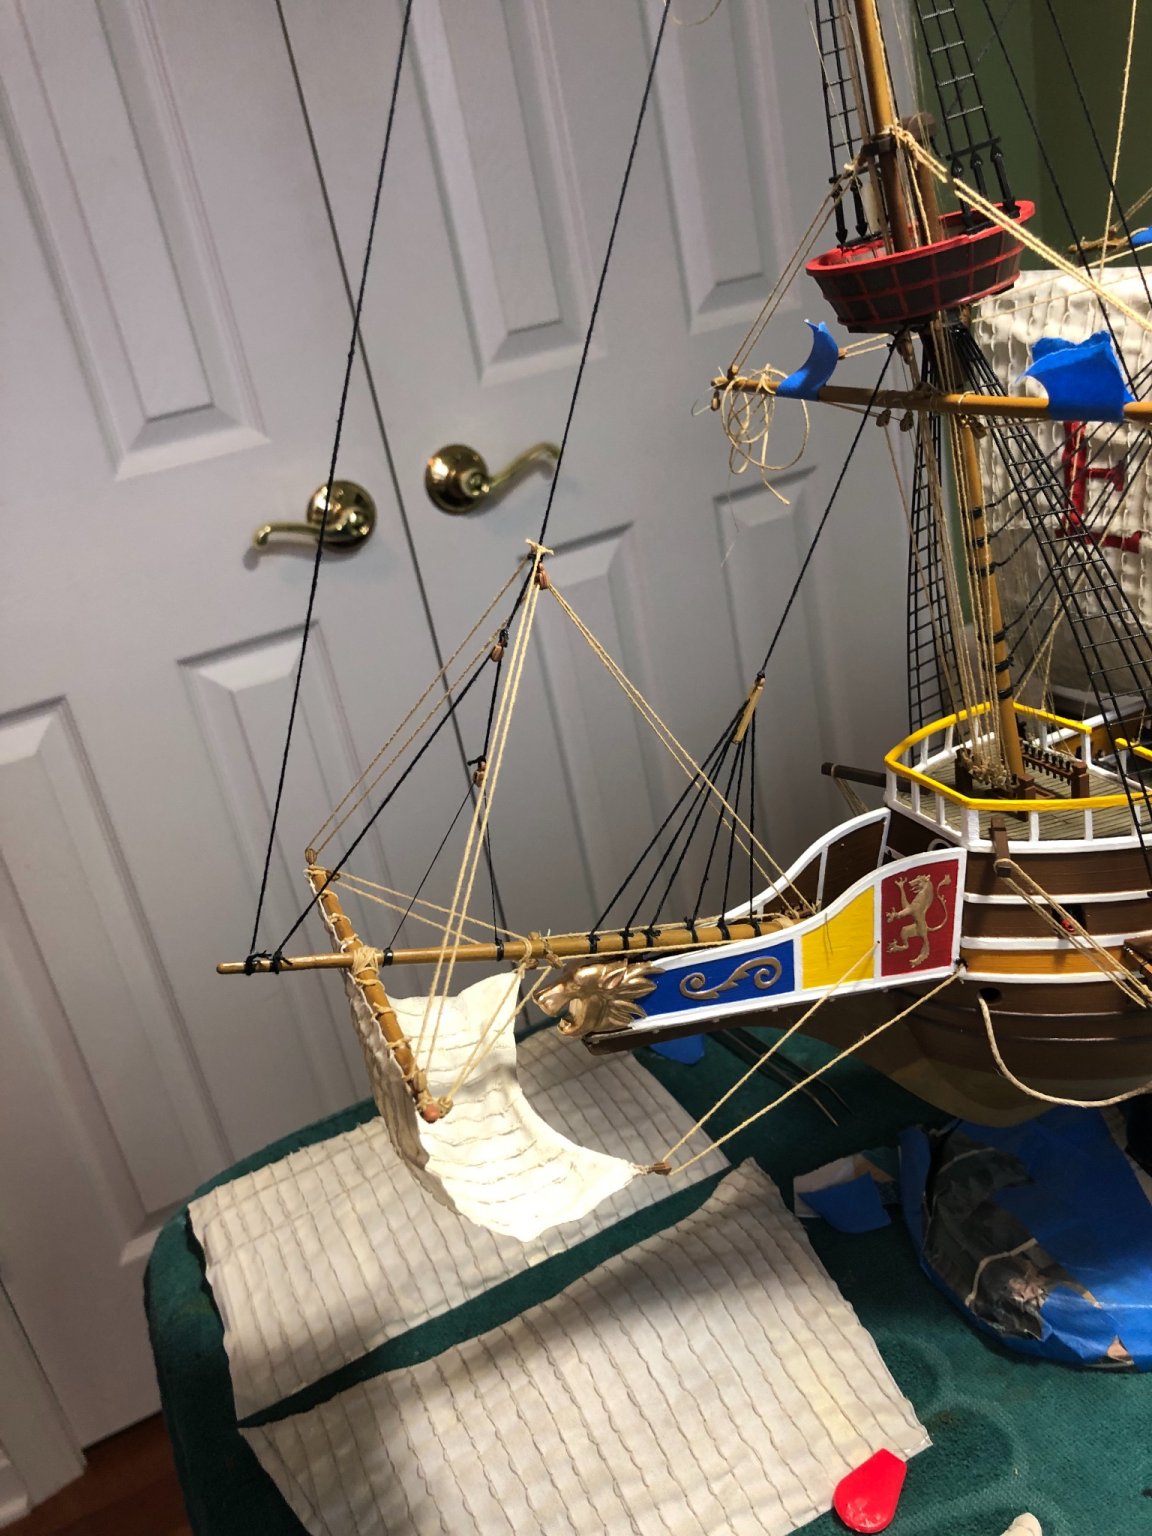
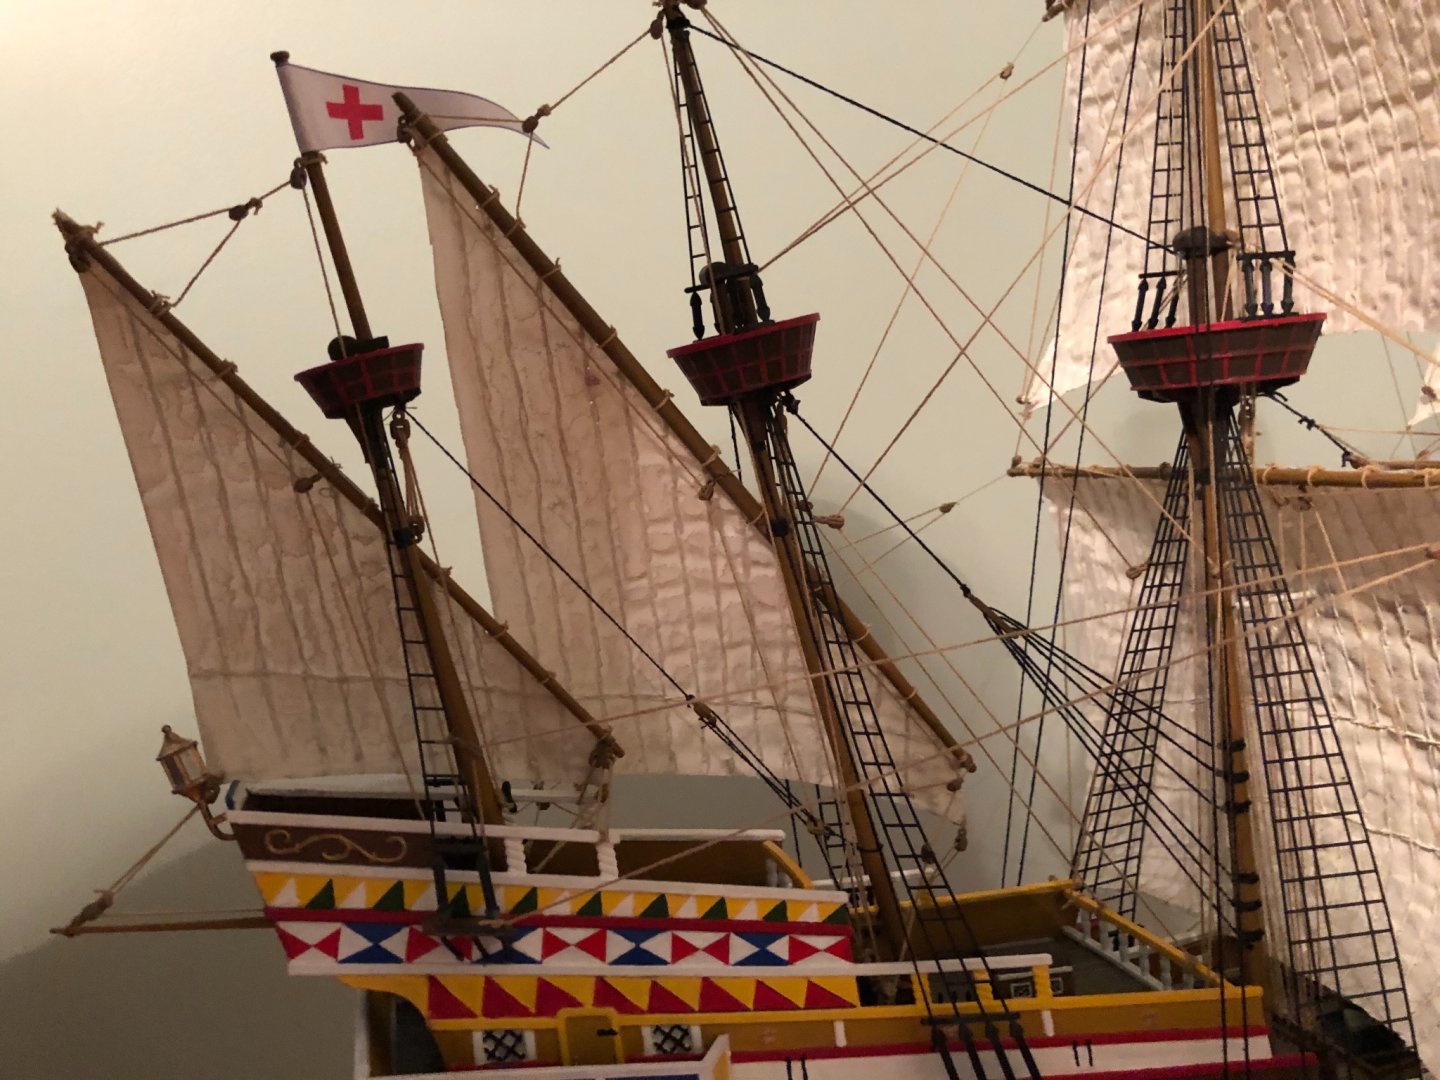
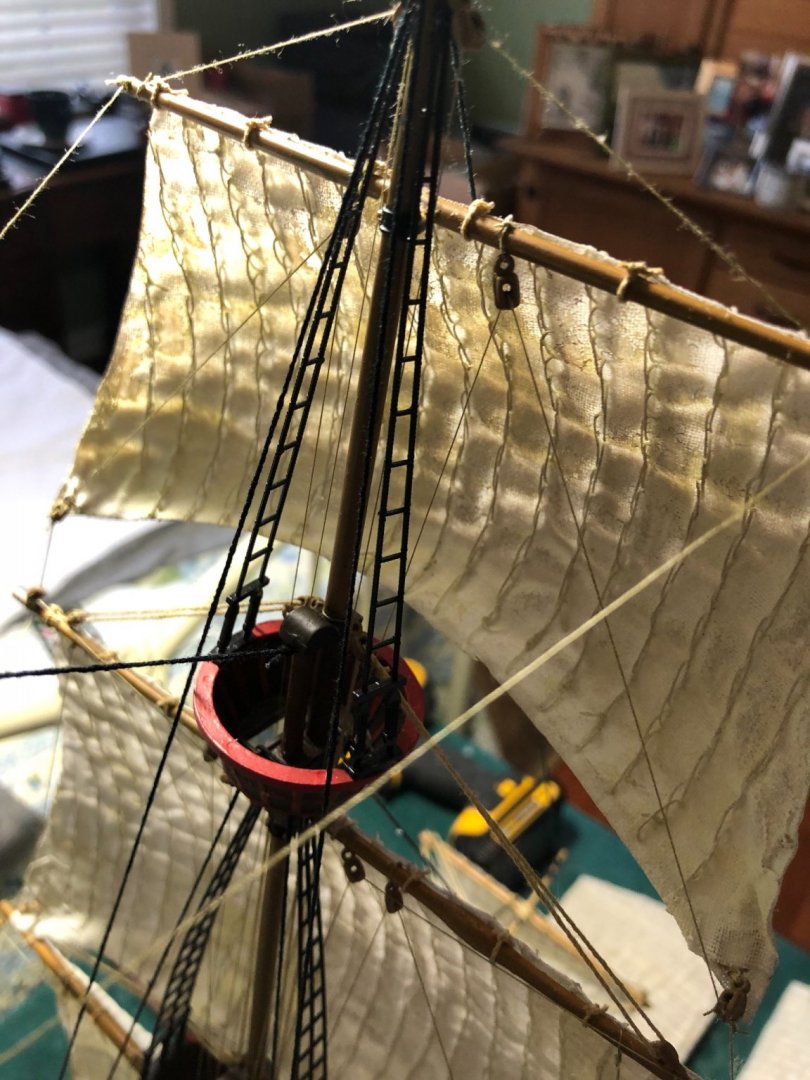
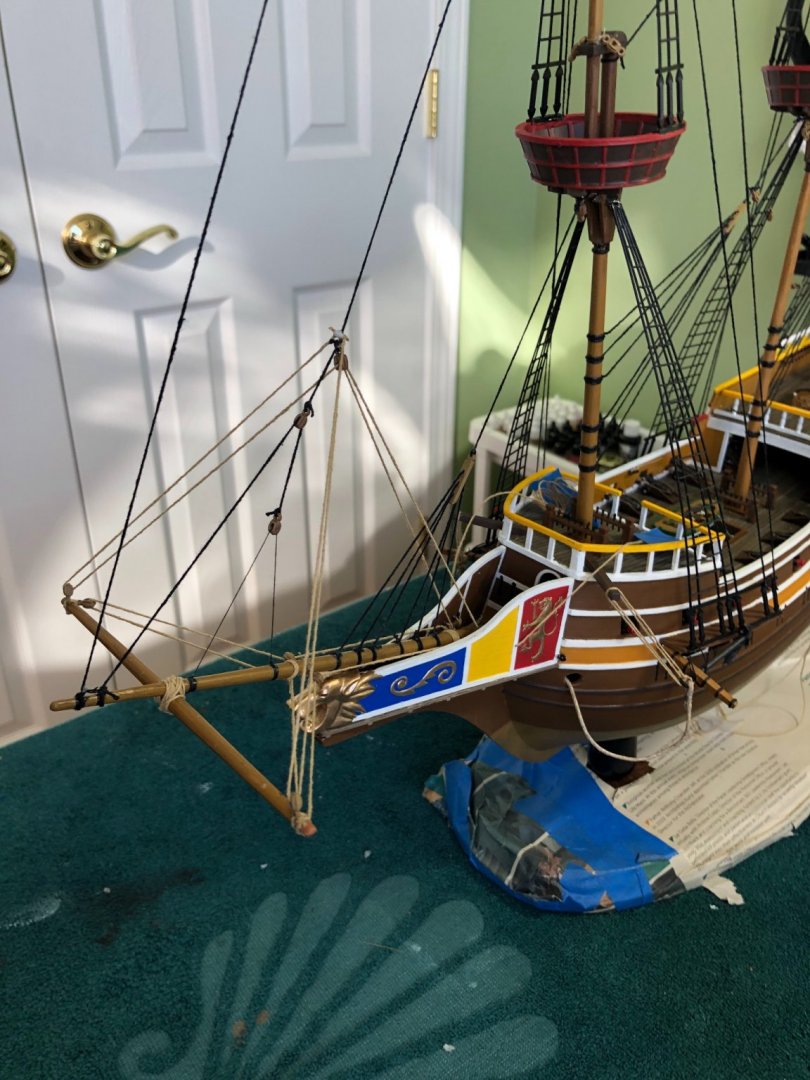
With the sails now completed and blocks attached I have begun hanging the sails and rigging. Completed the foremast today. Really enjoying this build. Actually more than I expected.


- 35 replies
-
- 4
-
-
- english man o war
- revell
- (and 2 more)
-
Thanks my friend. The grandsons love looking for all the little men and counting until they find all of them so I will include some. Kit came with 40! Got my foremast rigged with sails today. This is starting to be my favorite ship build so far.


- 165 replies
-
- 4
-
-
- english galleon
- revell
- (and 2 more)
-
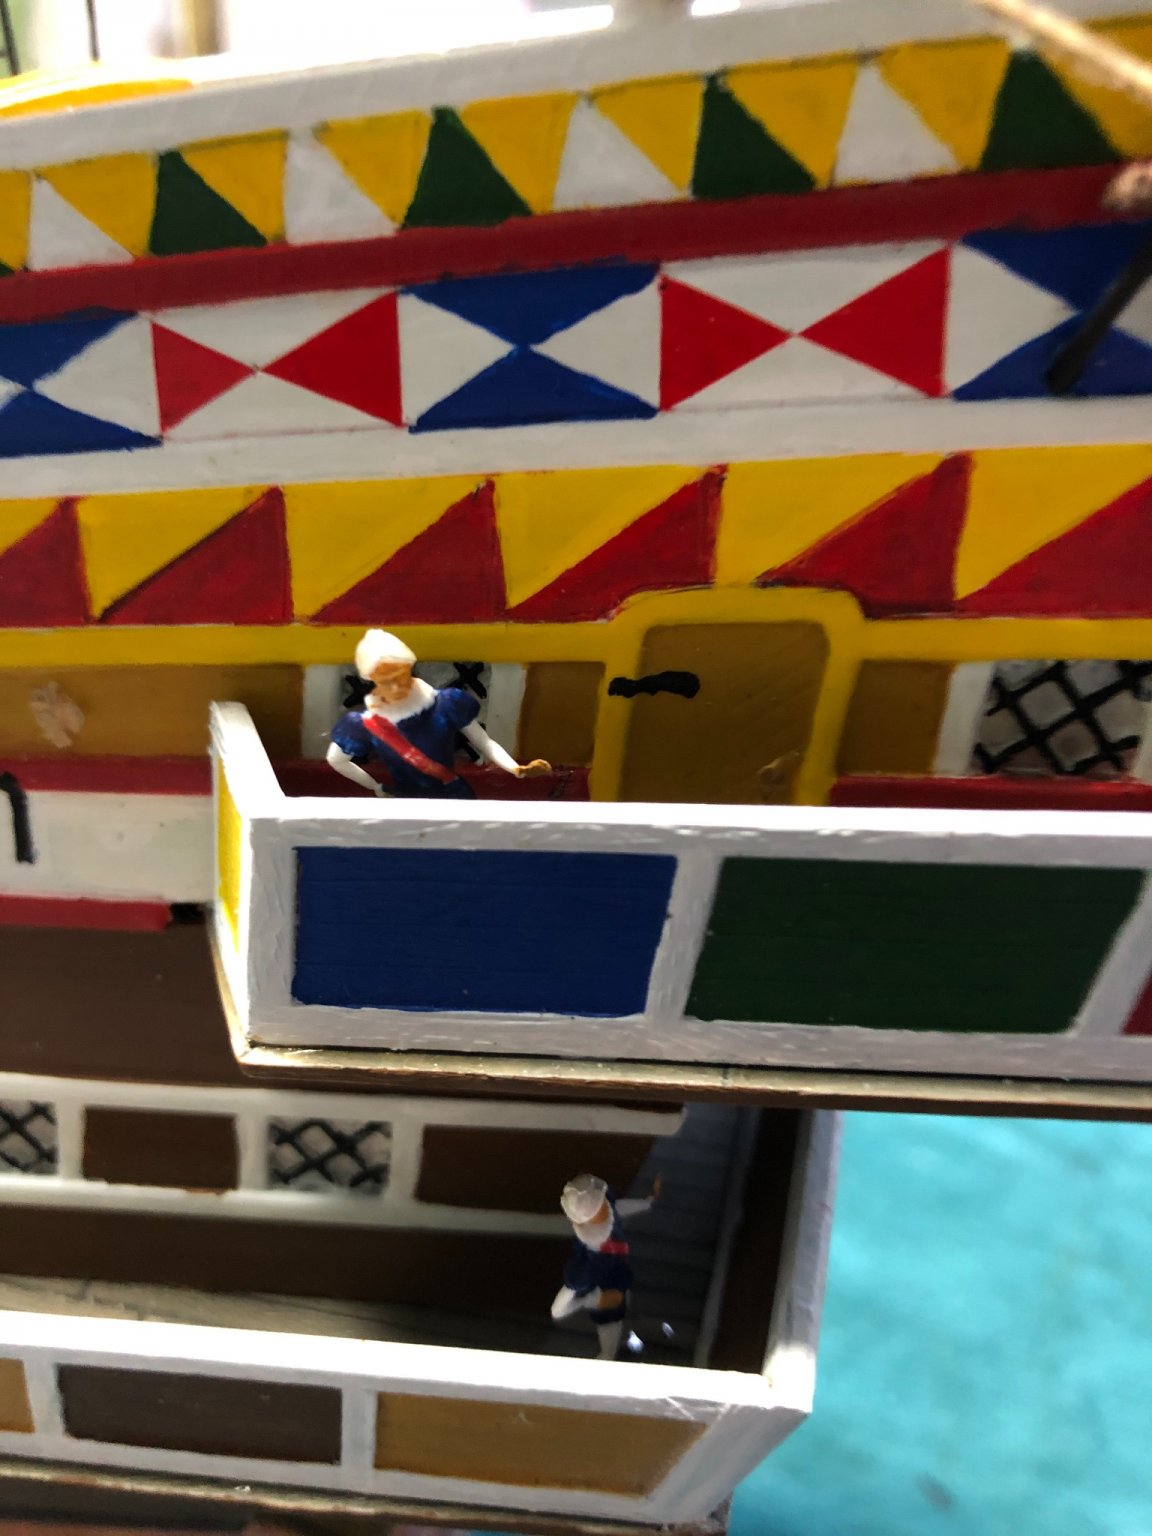
Robert I like to detail paint the little figures Revell includes with their models. That will be the same with the Man O War. I have tried looking online for period British naval uniforms I am guessing 1600’s time frame. Any suggestions?
-
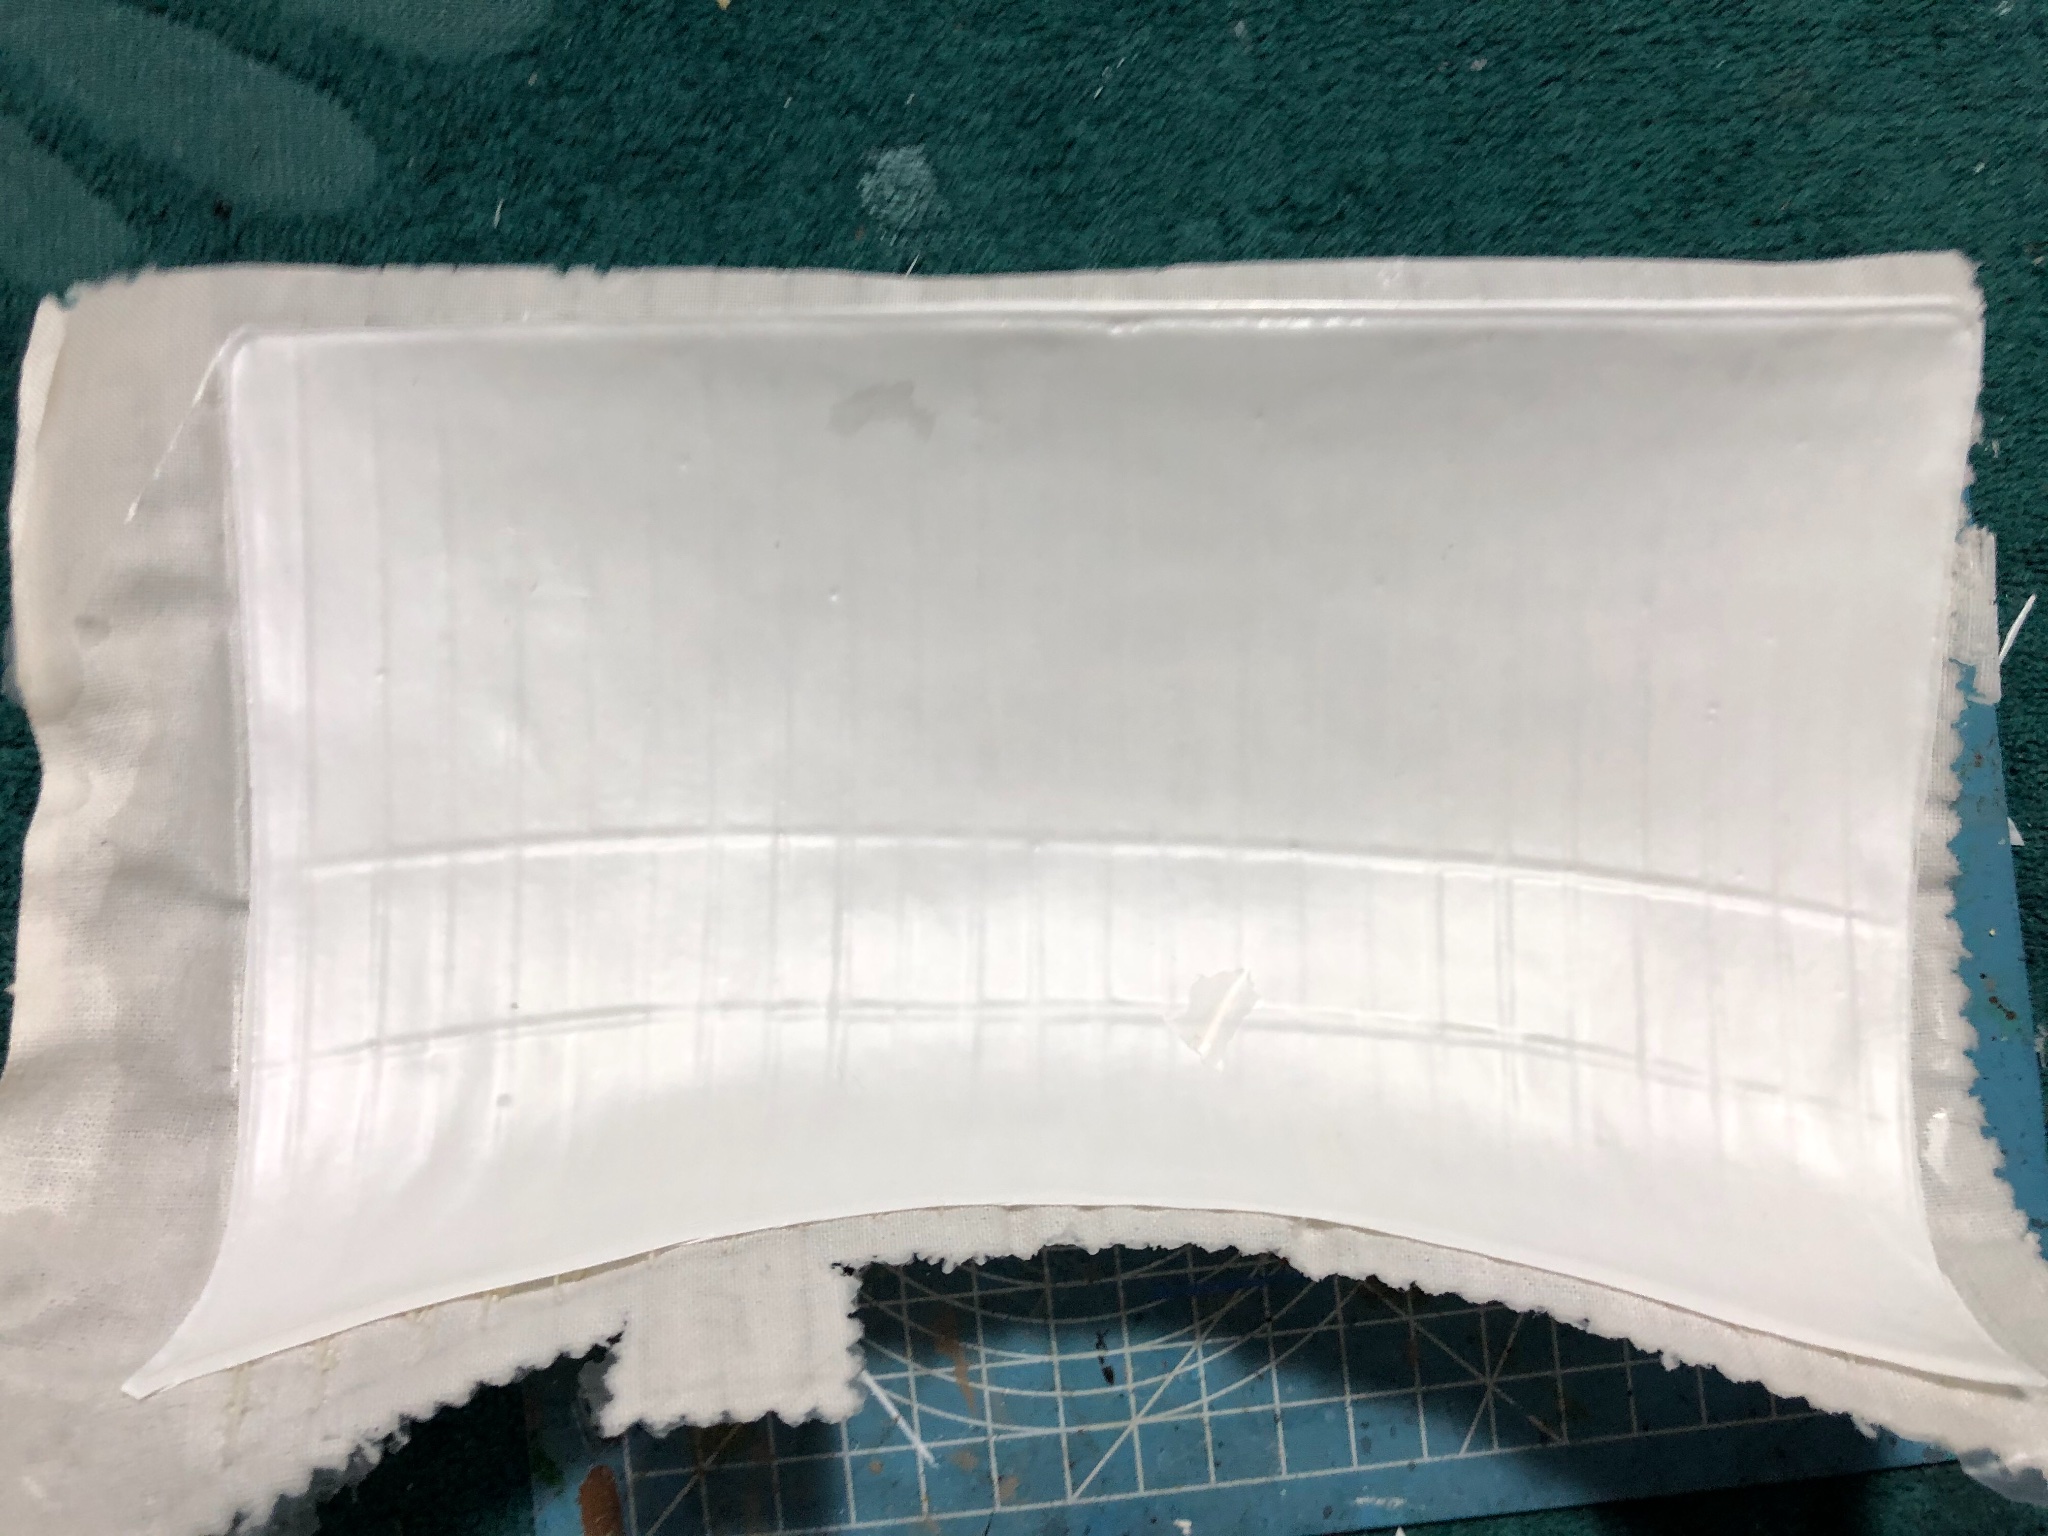
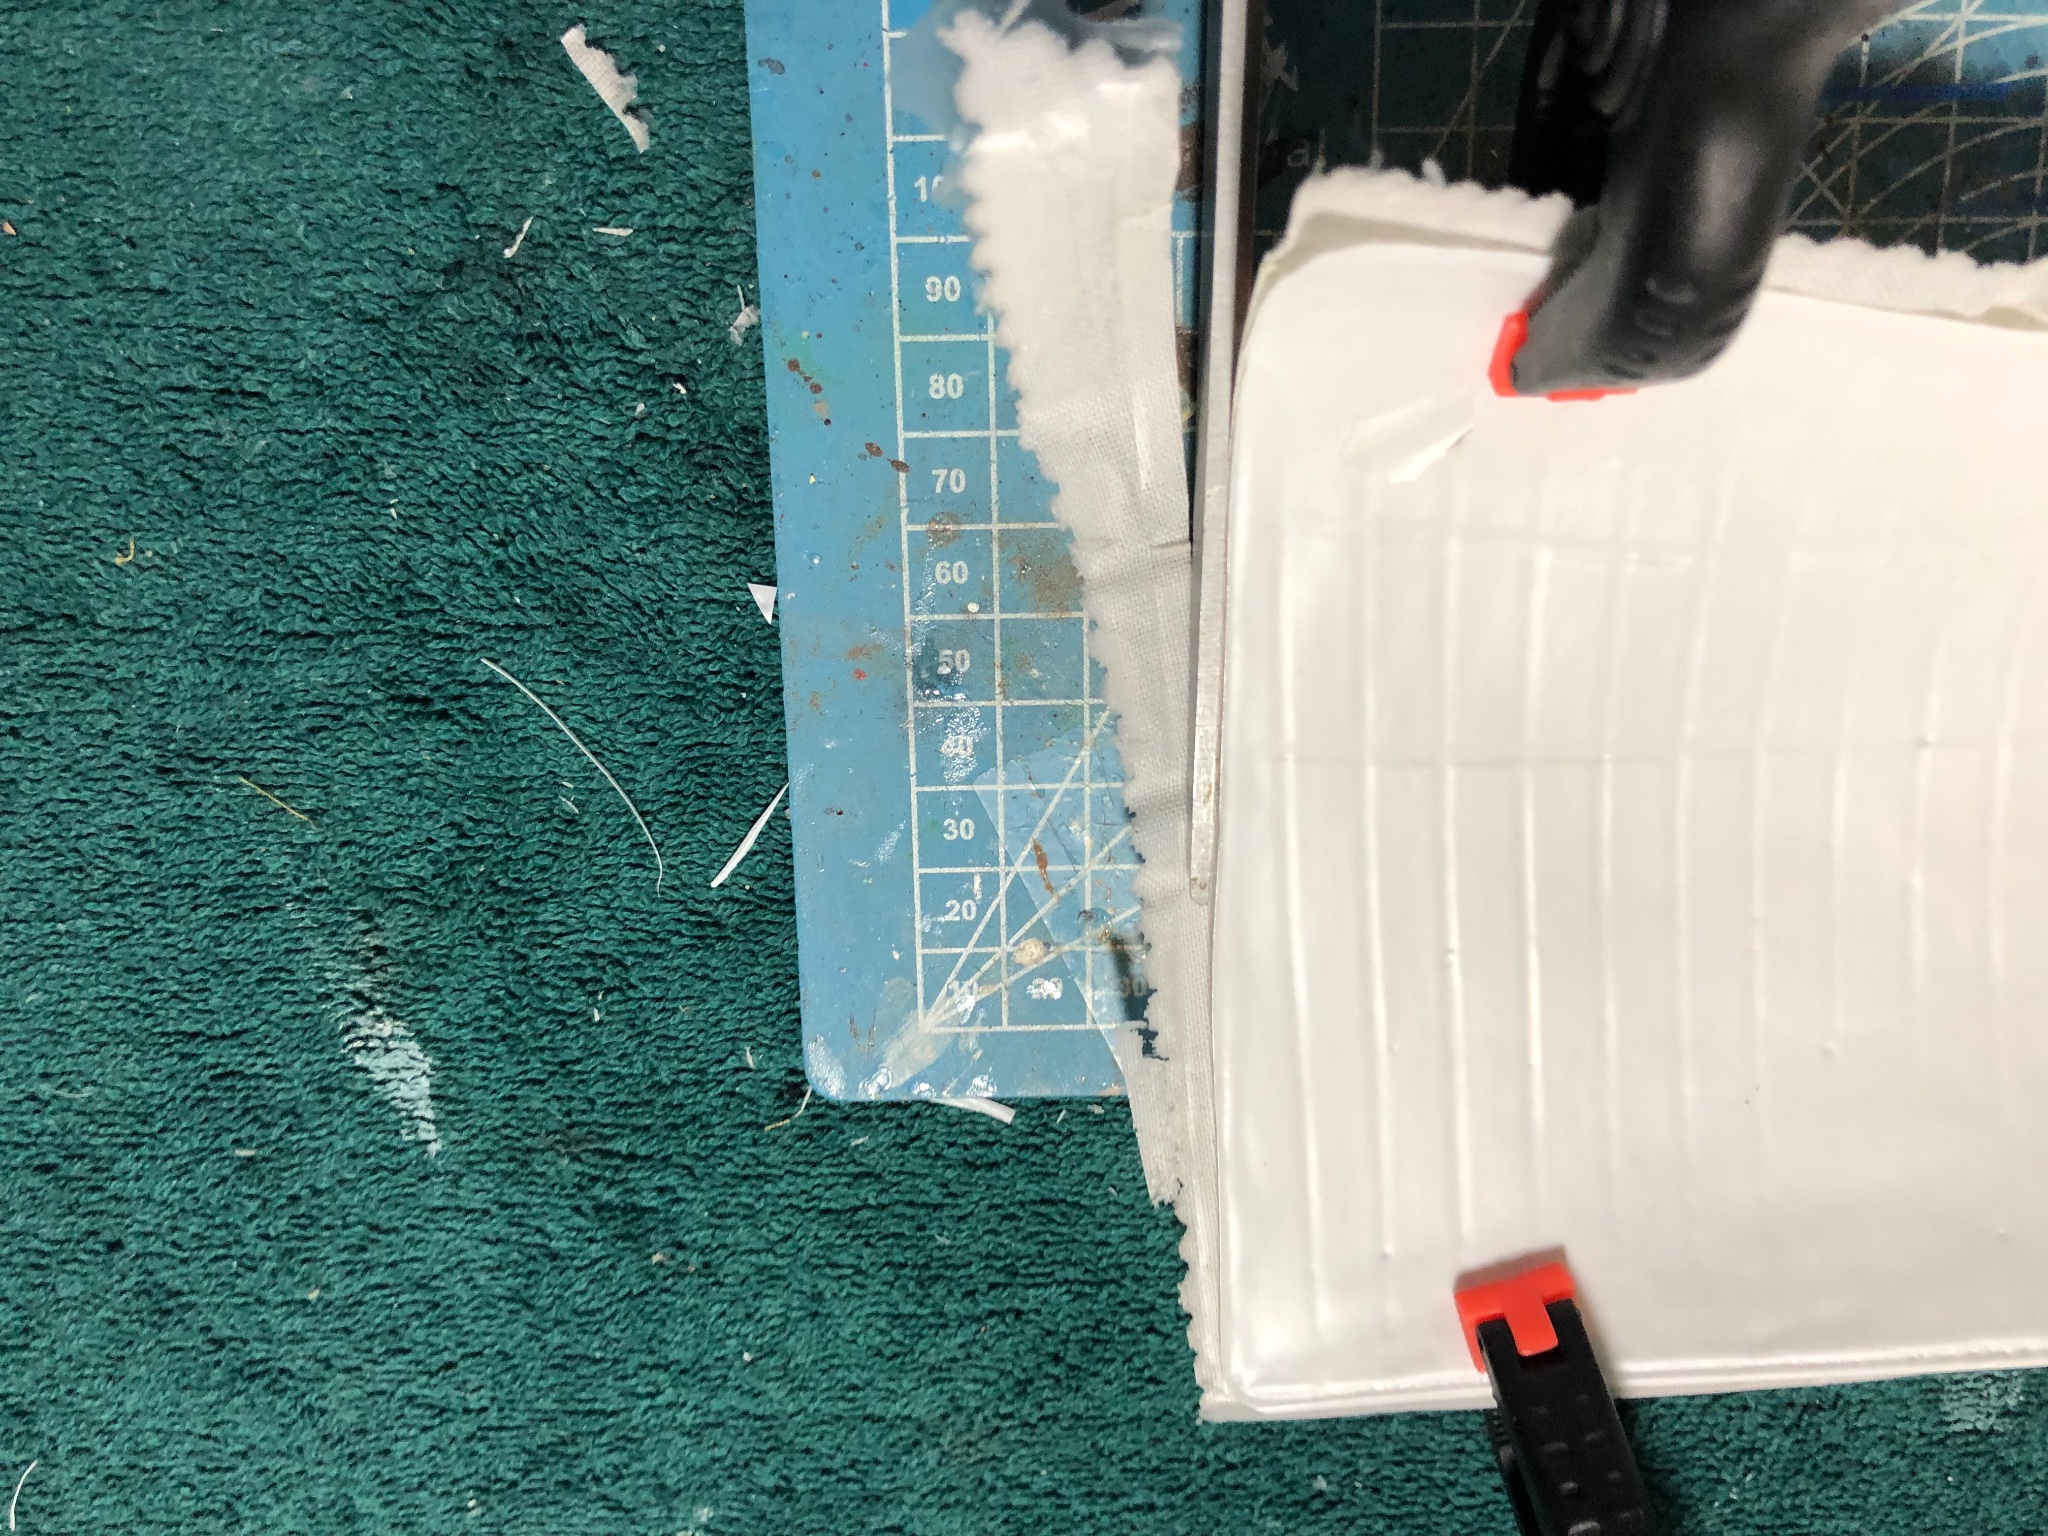
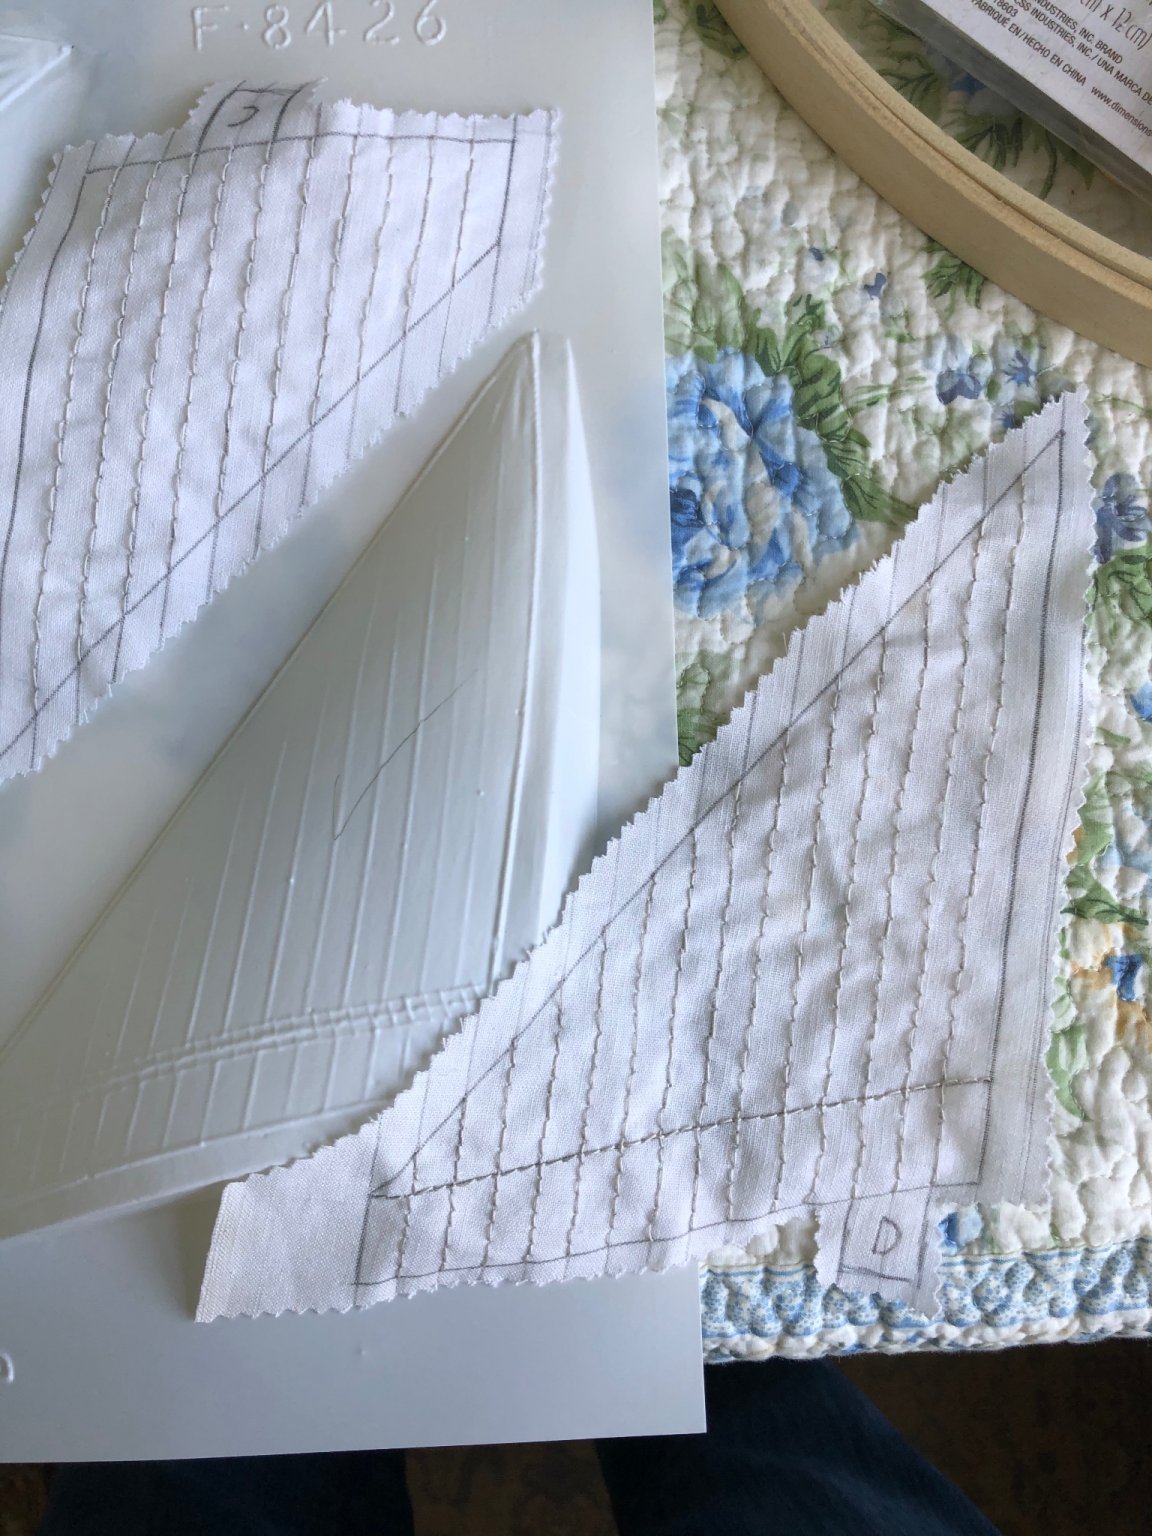
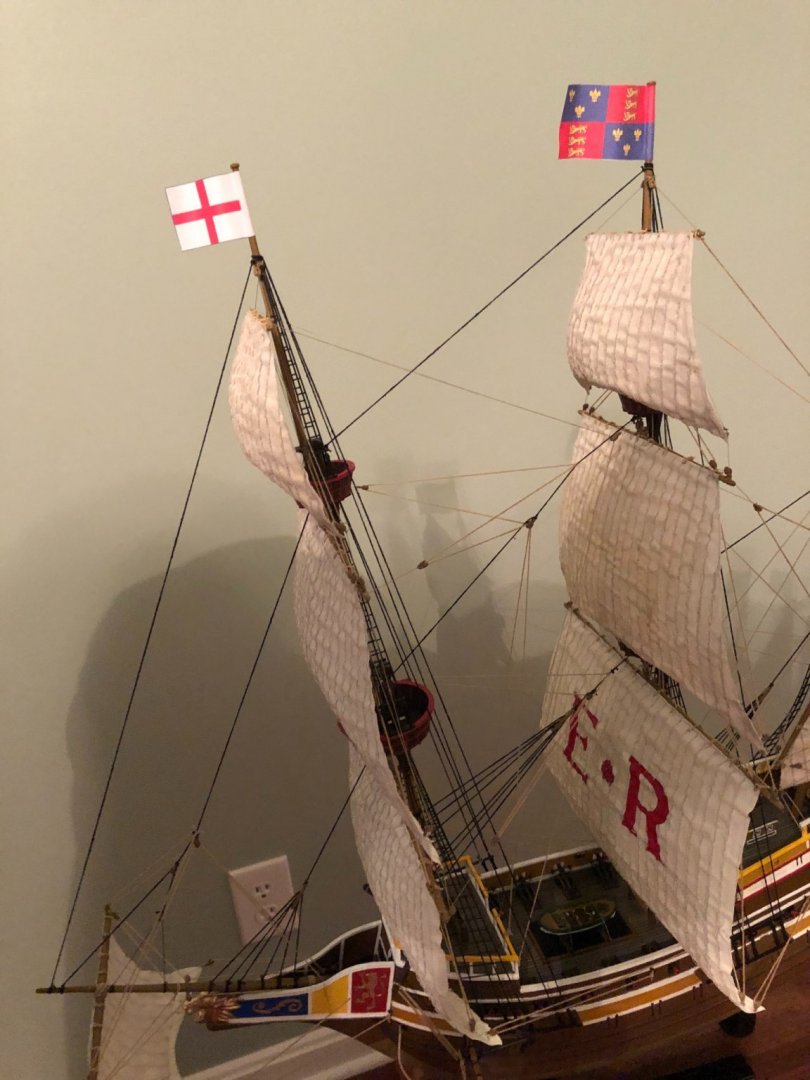
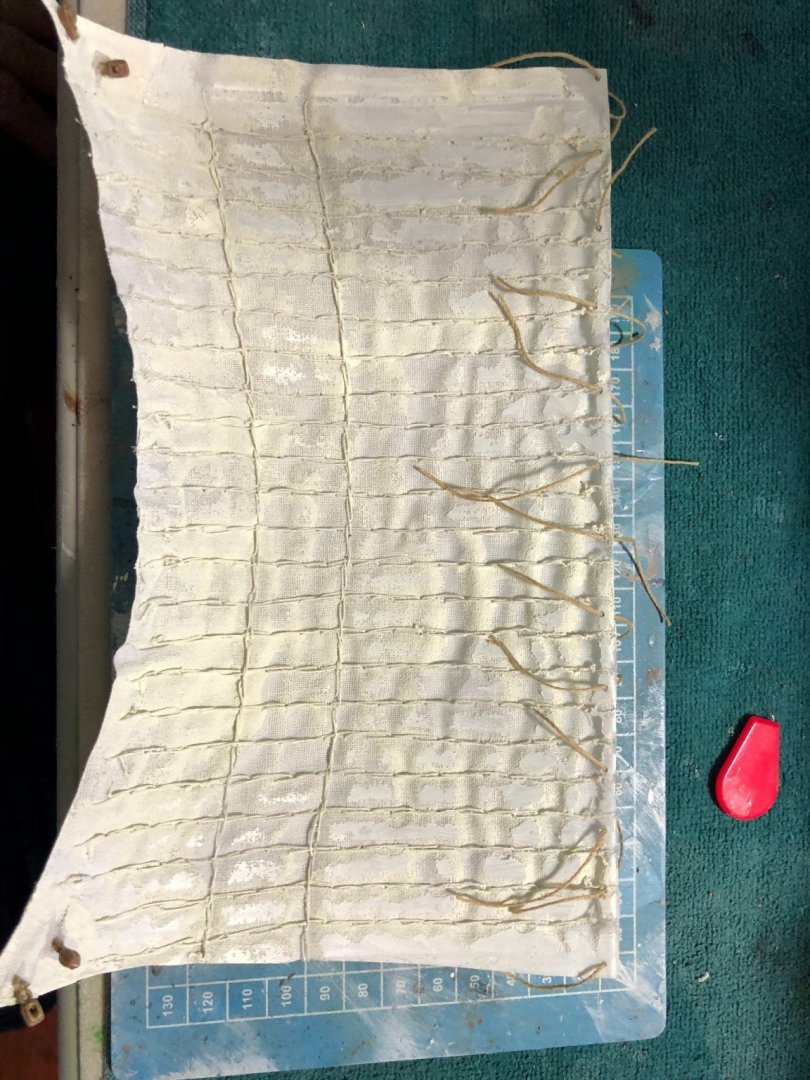
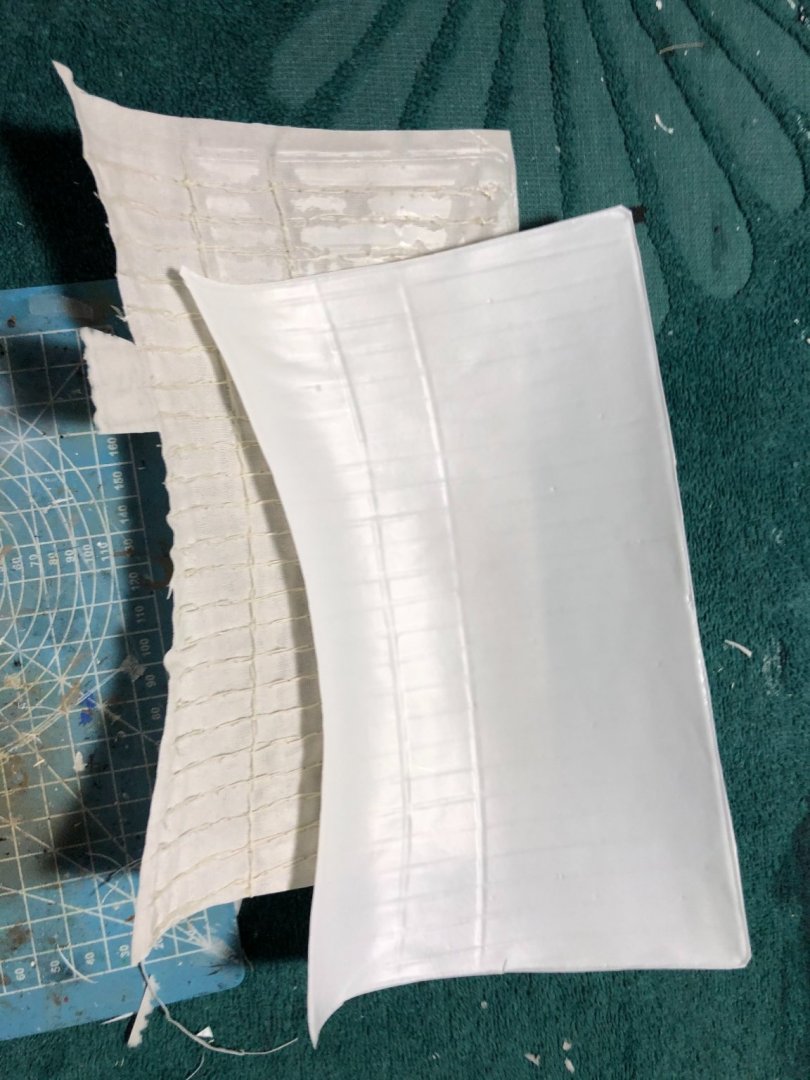
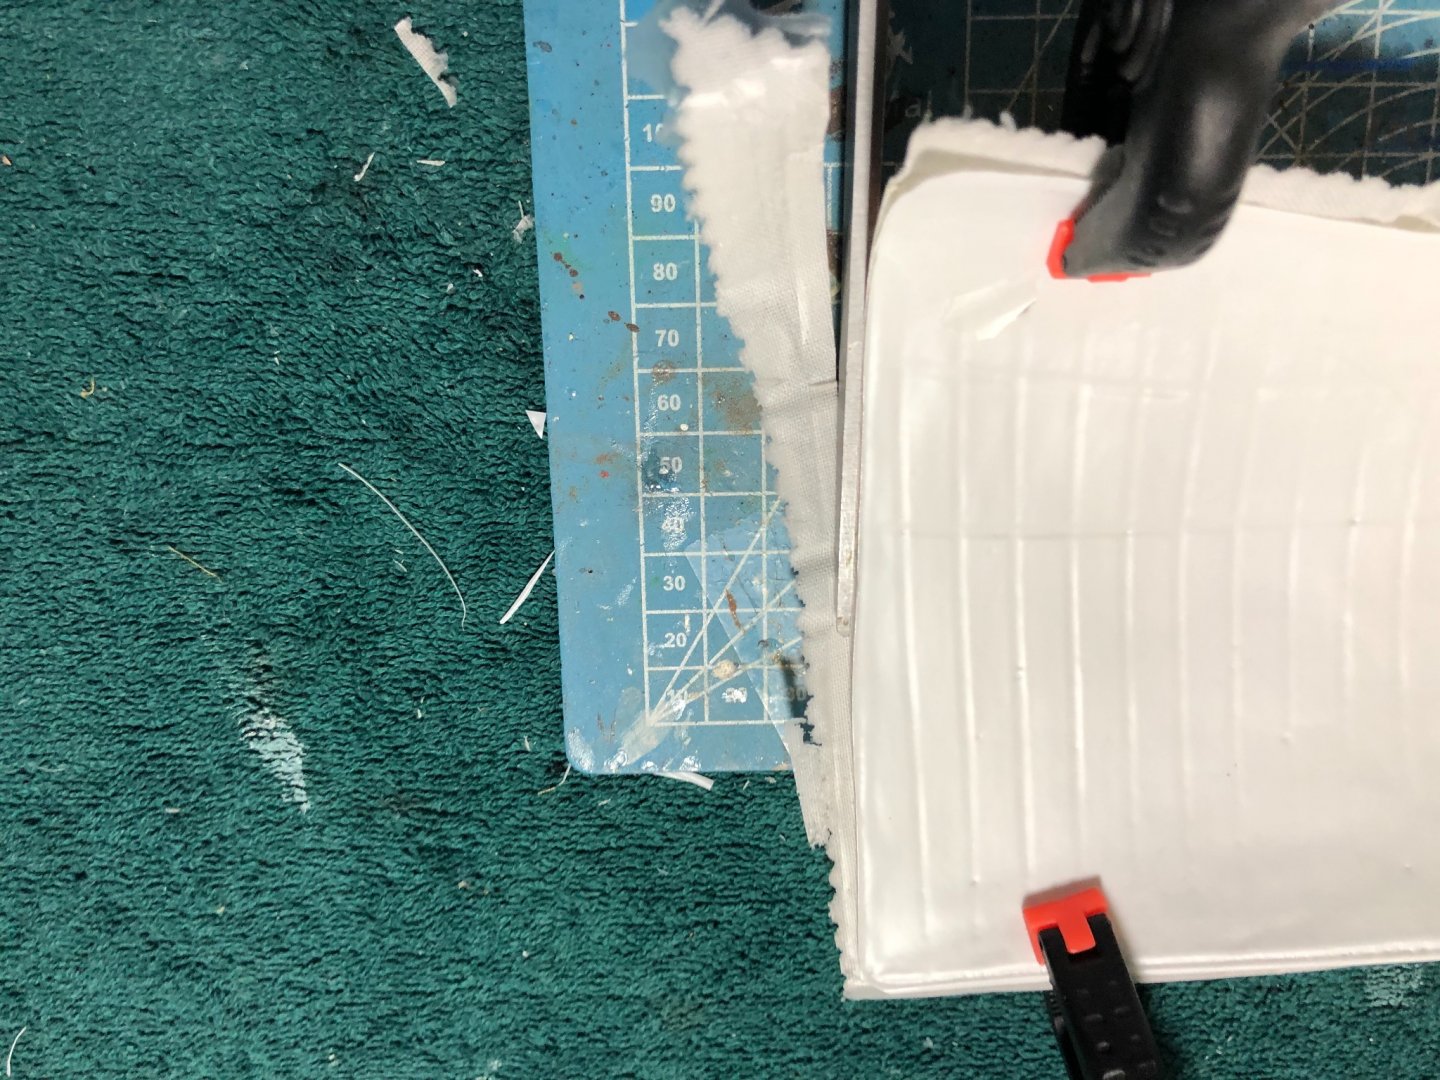
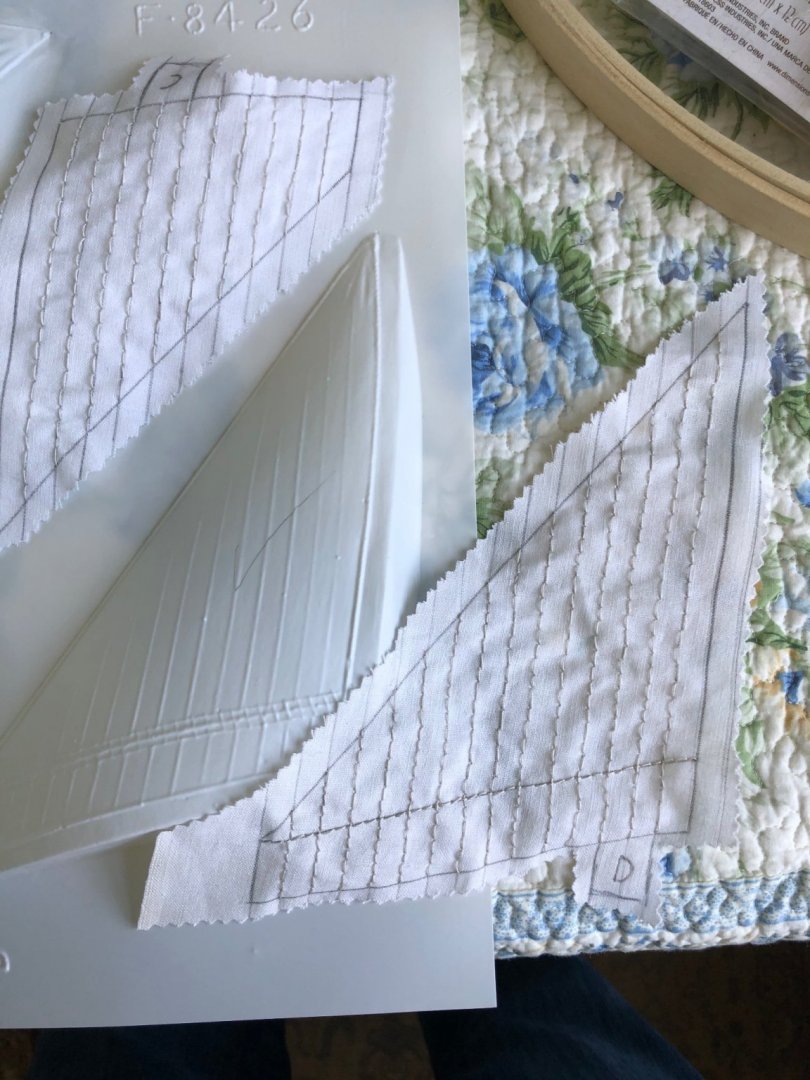
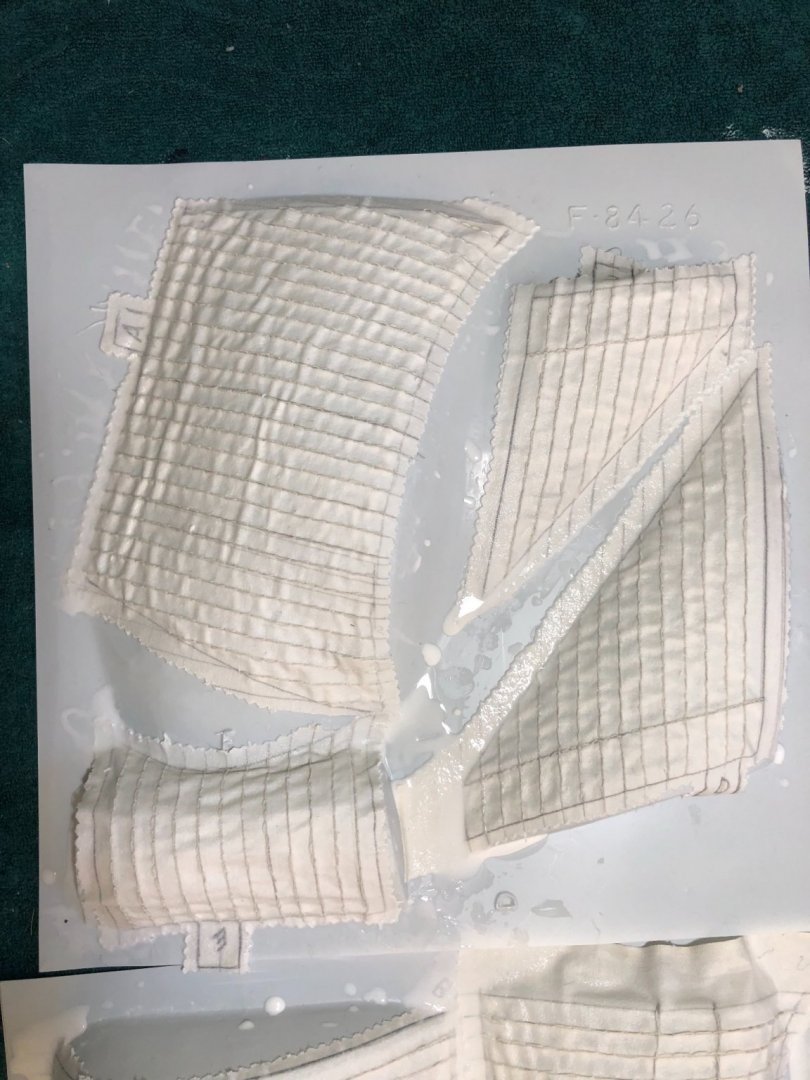
Next step with the sails is to pop the them off the plastic molds. Then cut out each of the plastic sails. After cutting them out I again place the cloth sail over the corresponding plastic sail to form an exact template to trim the new cloth sail to size. Once finished I have a complete set of hand made cloth sails that match the formed plastic sails in size and billowing. Next will be to add the necessary rigging components and a bit of paint.


- 35 replies
-
- 5
-
-
- english man o war
- revell
- (and 2 more)
-
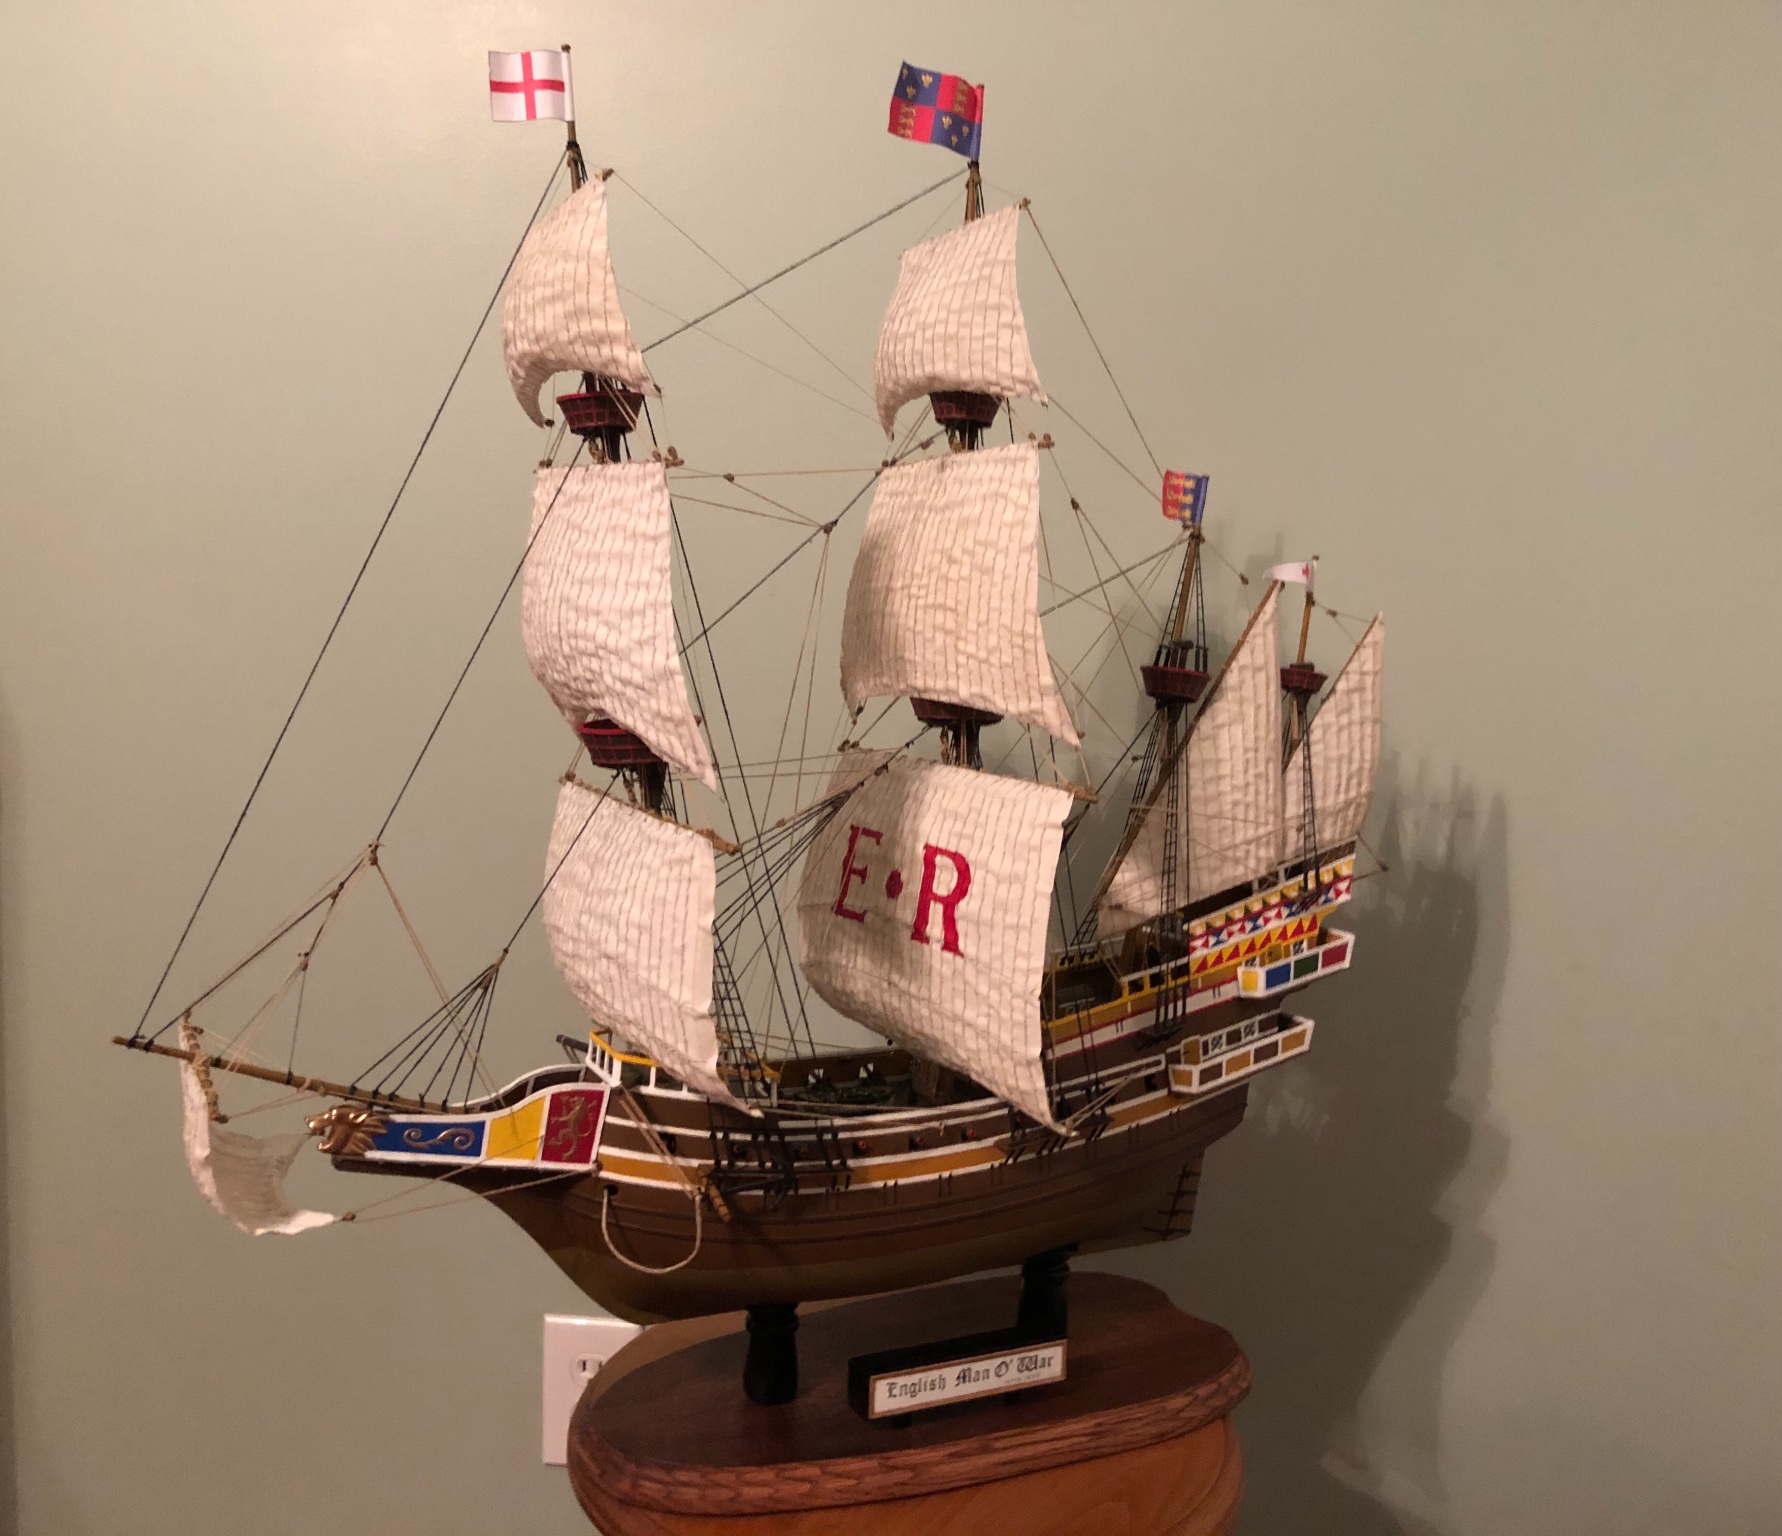
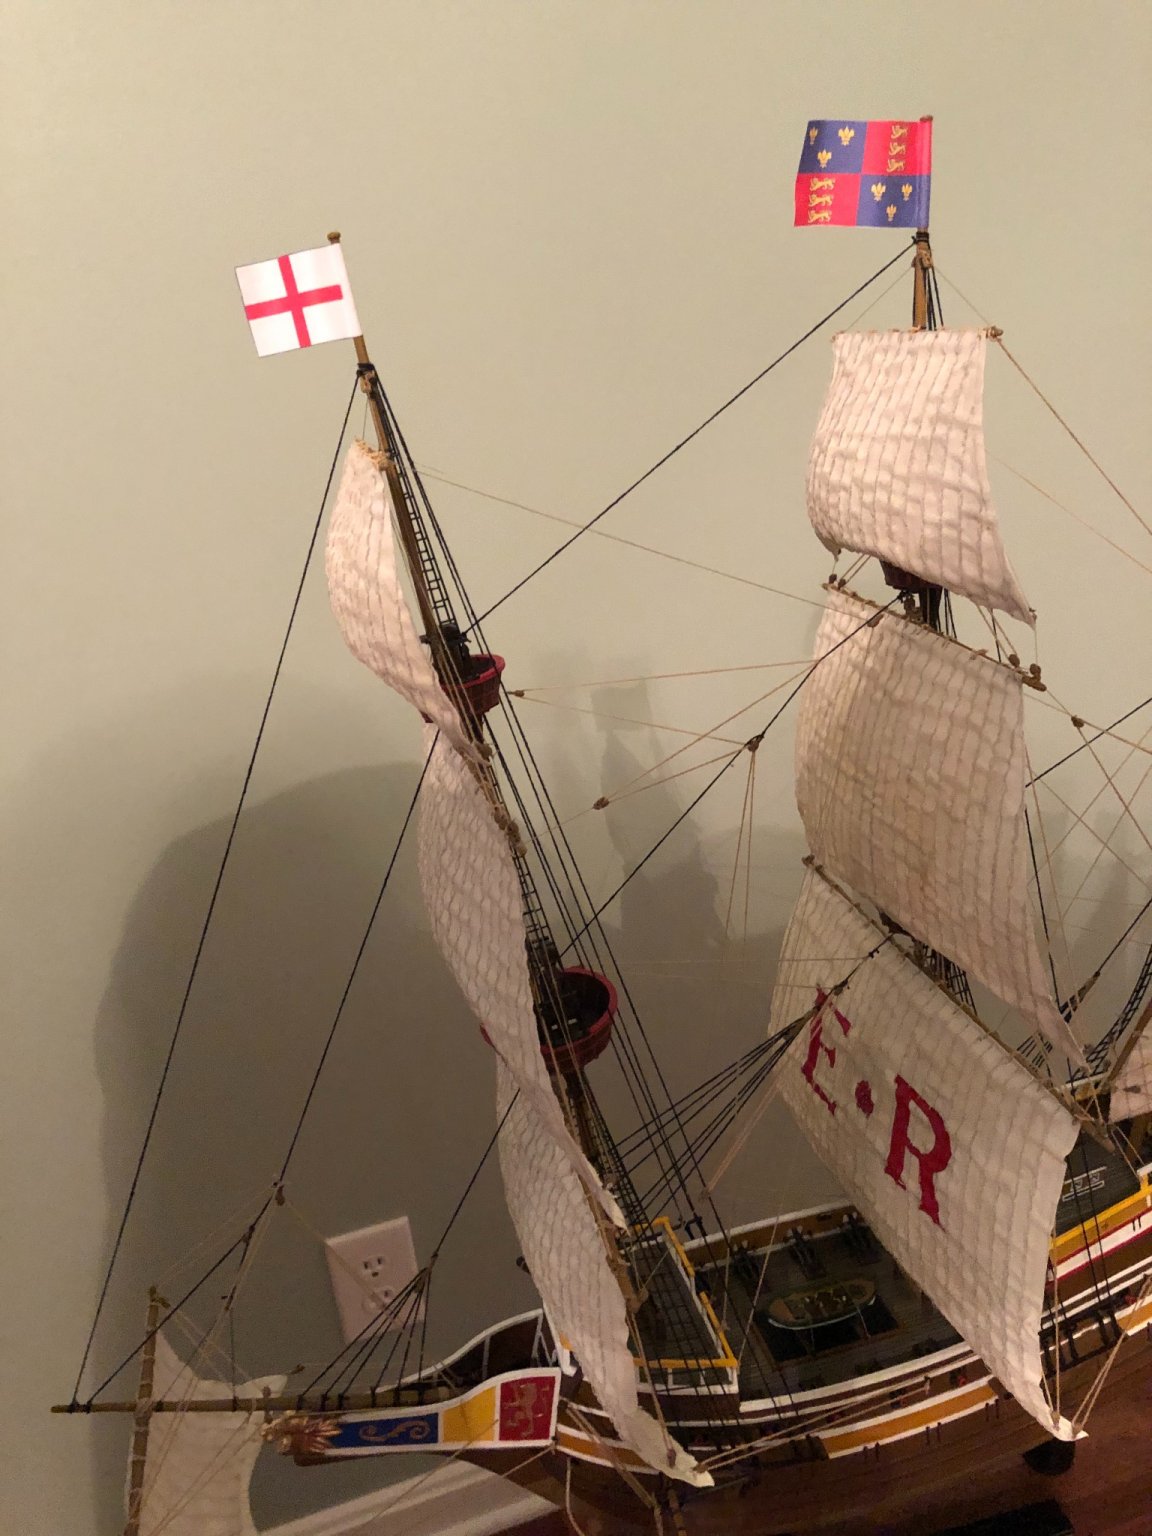
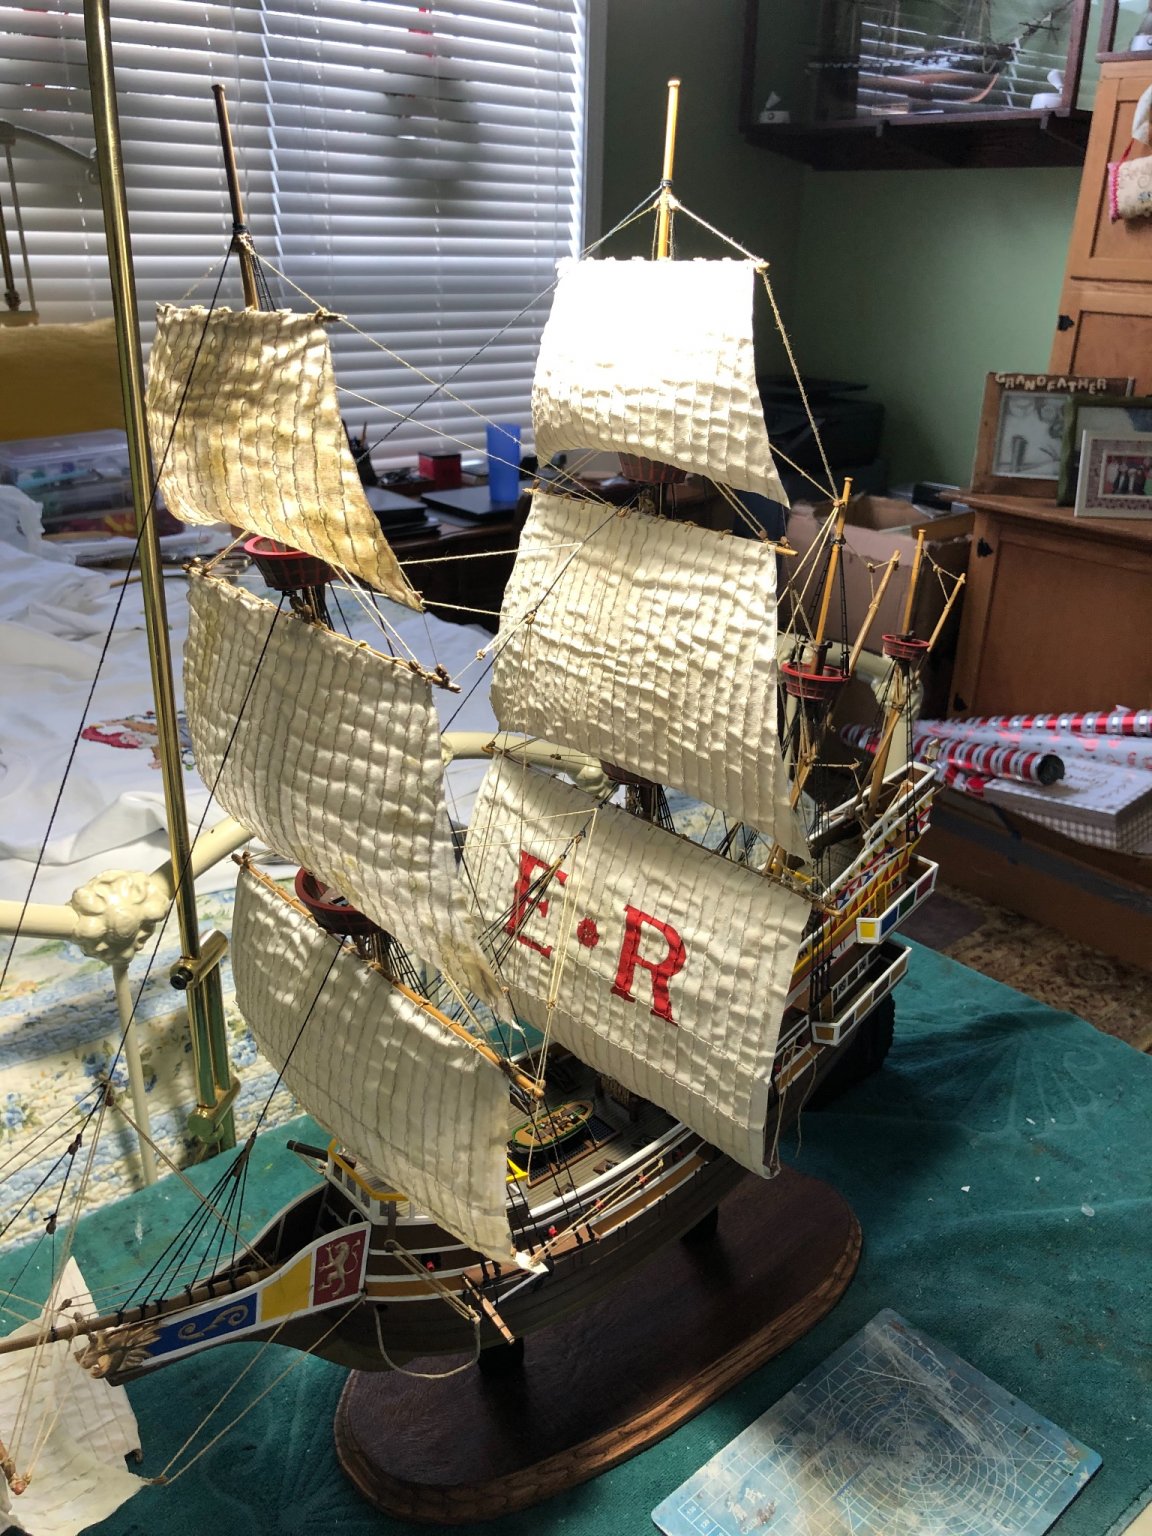
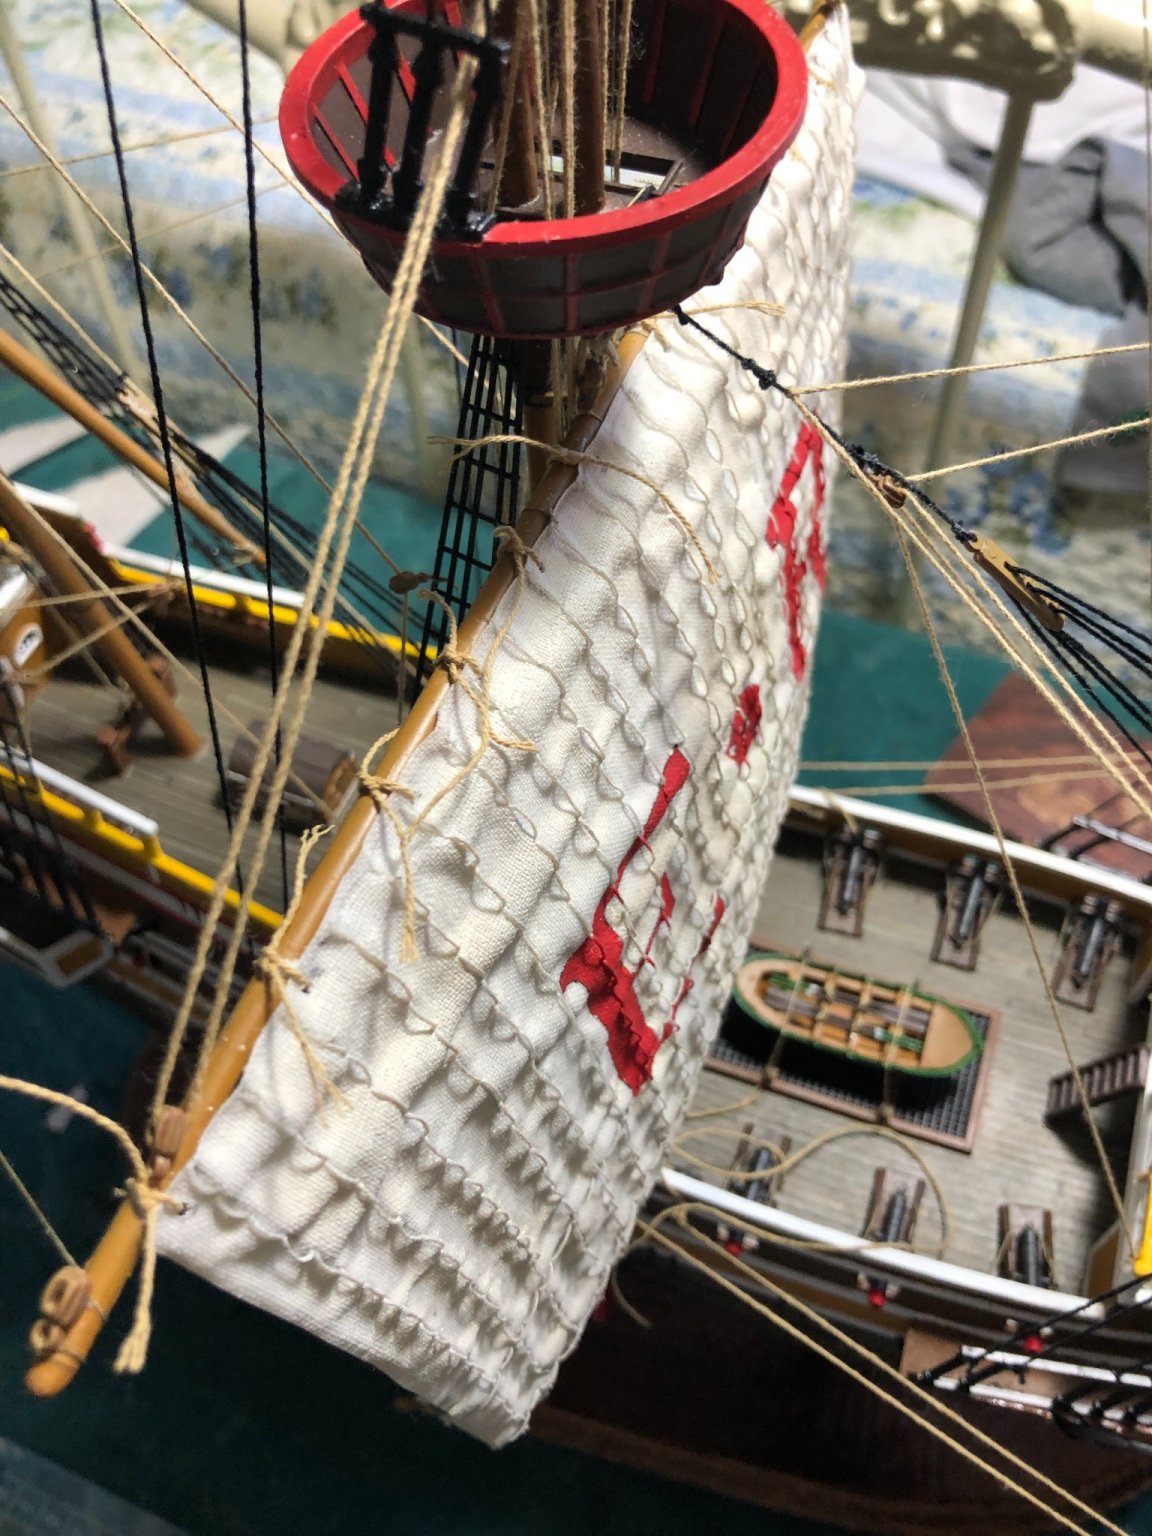
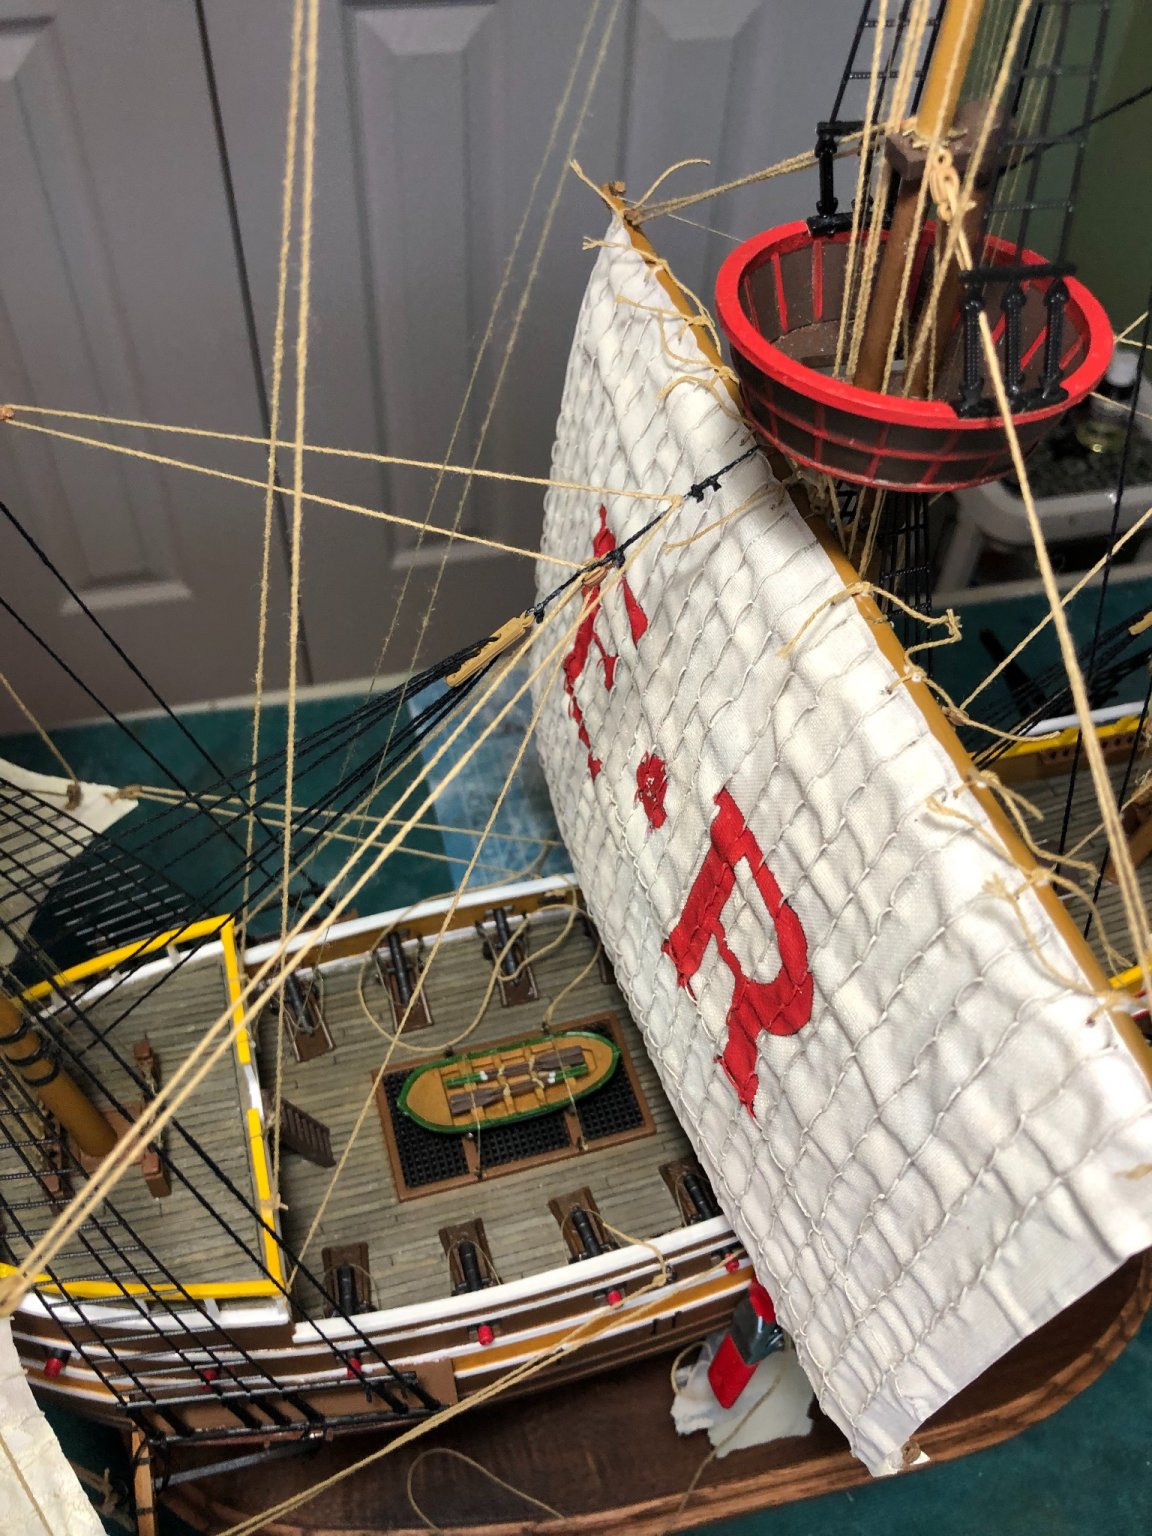
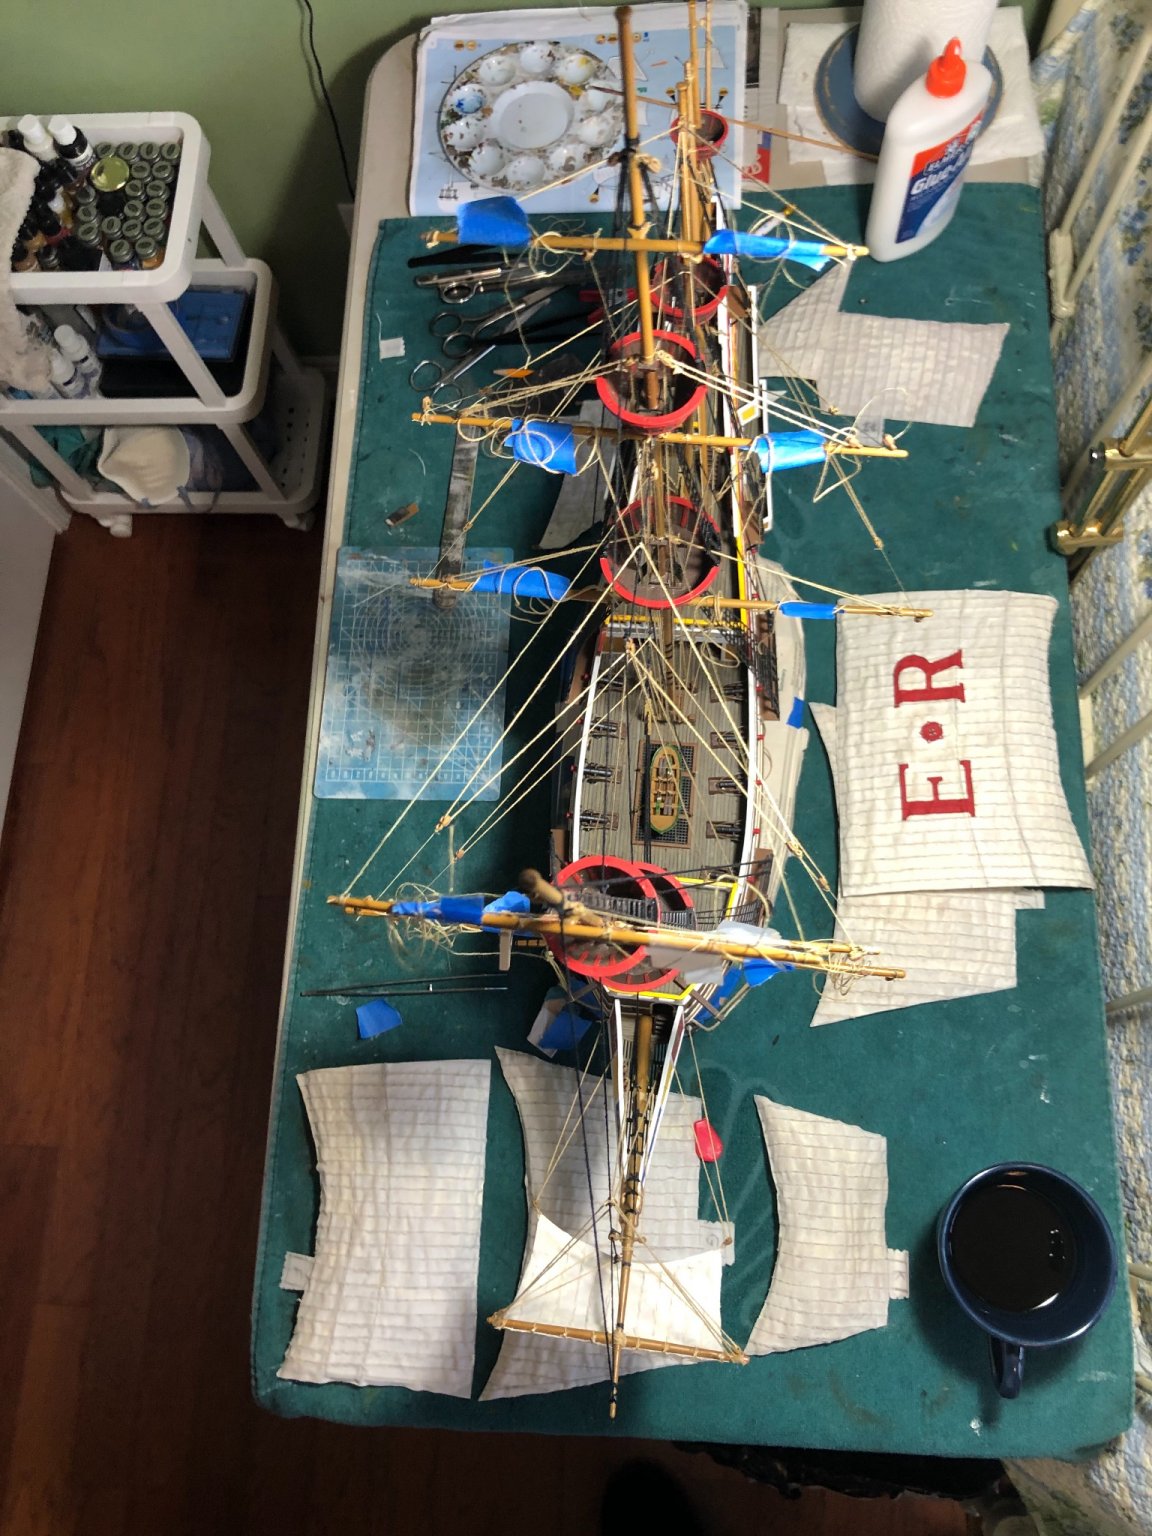
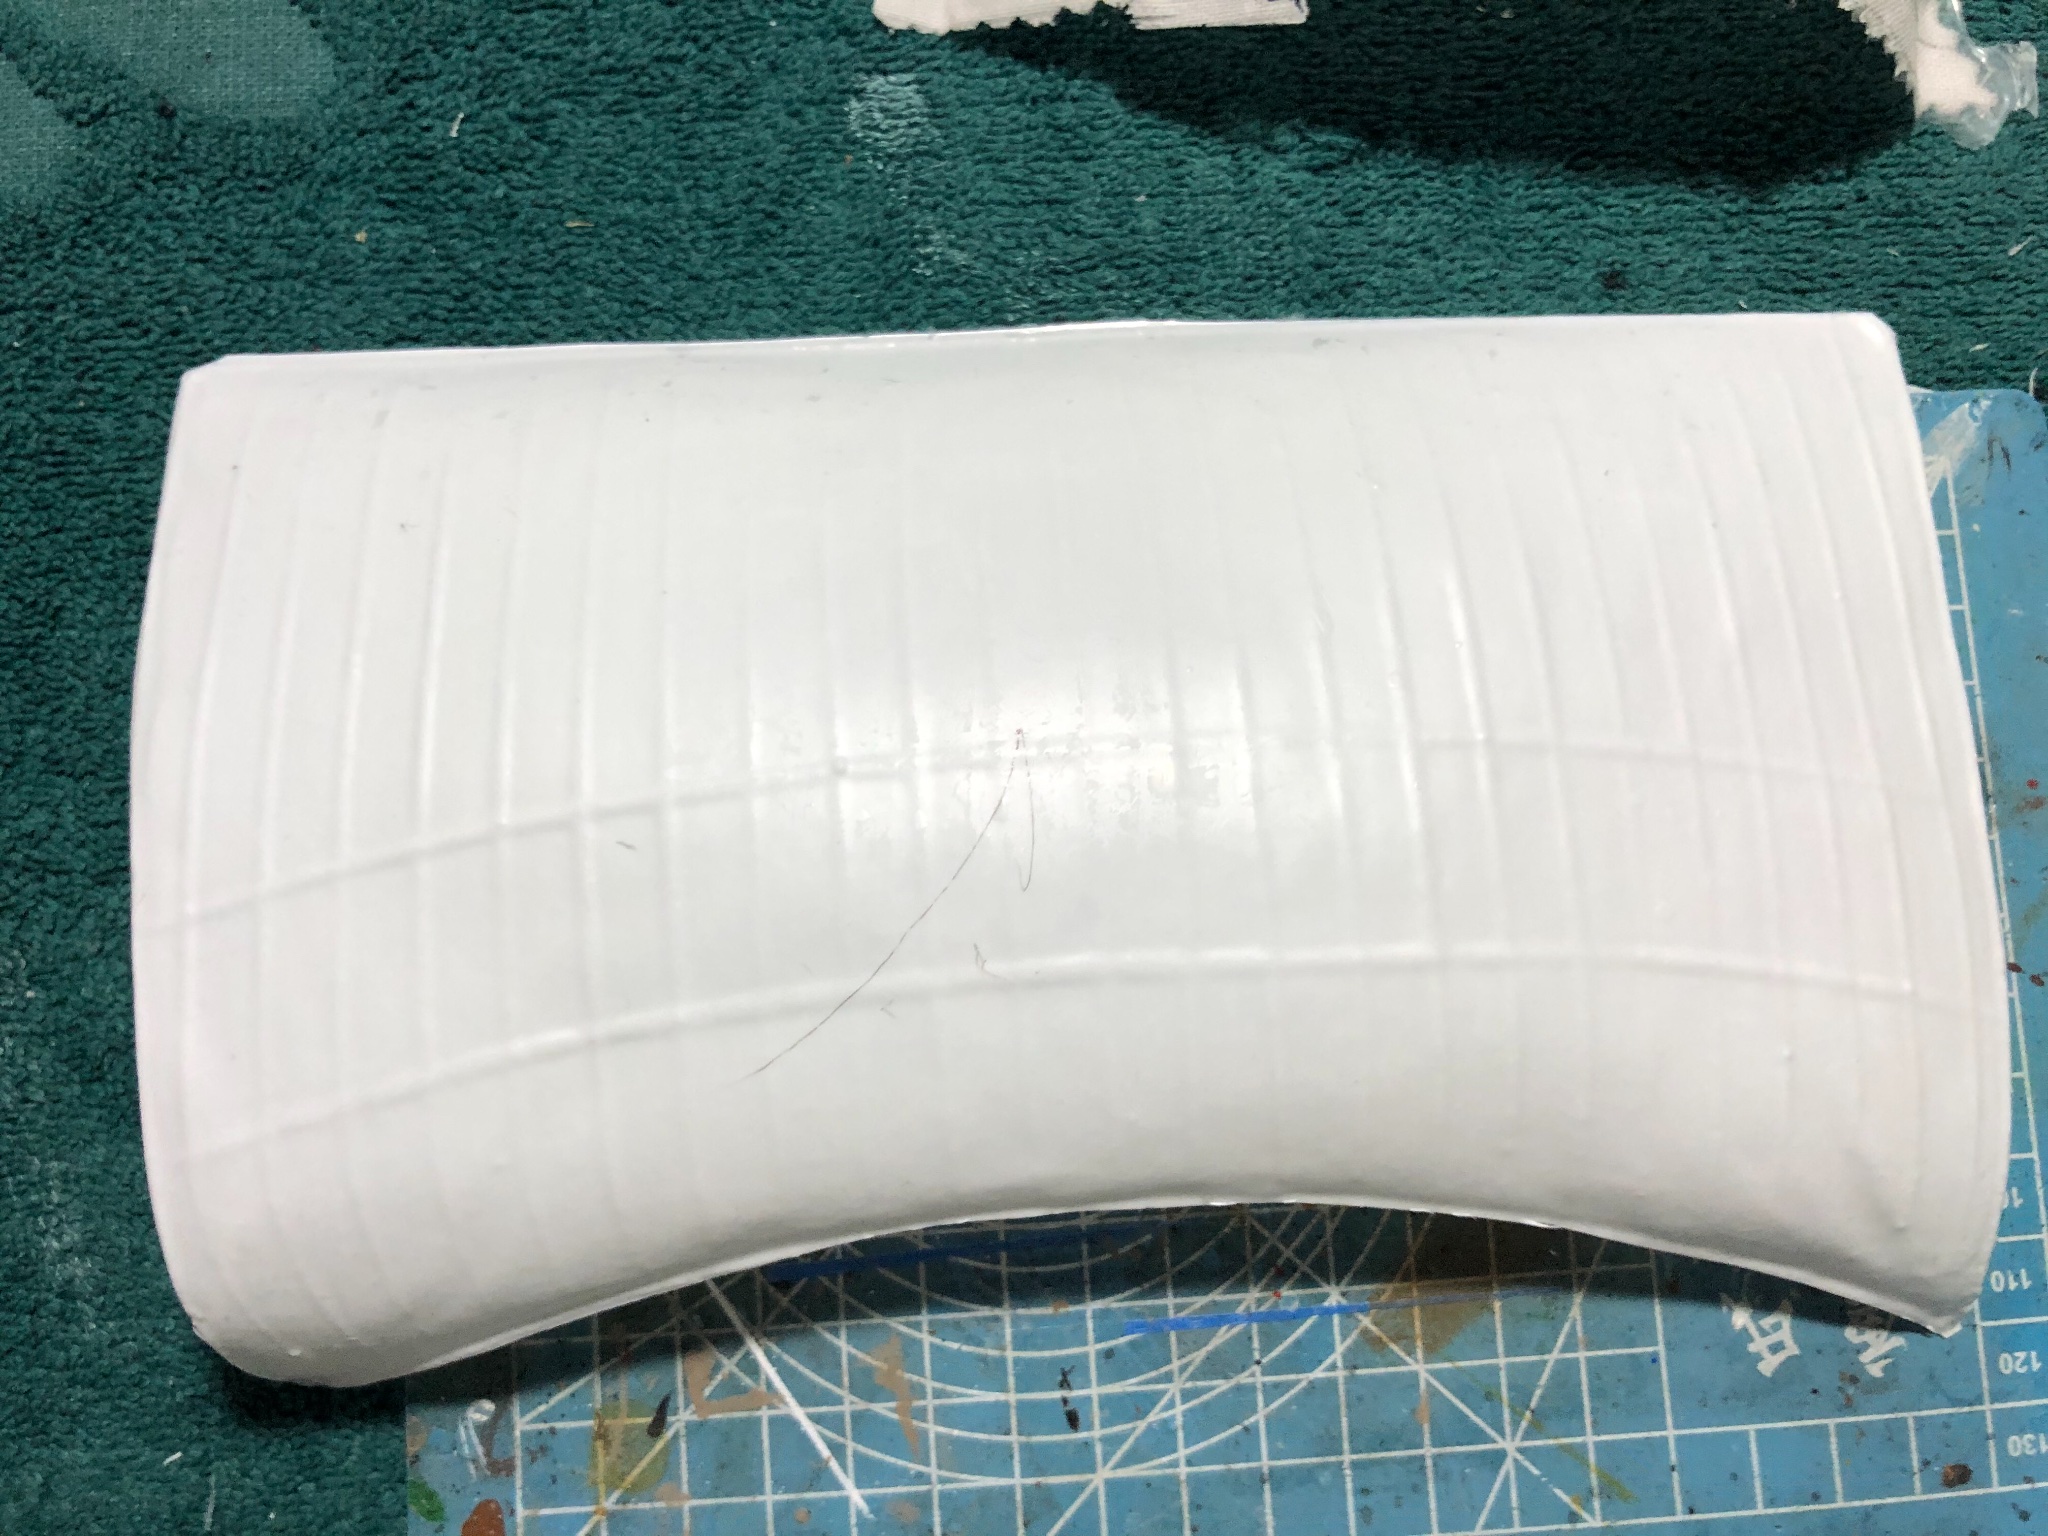
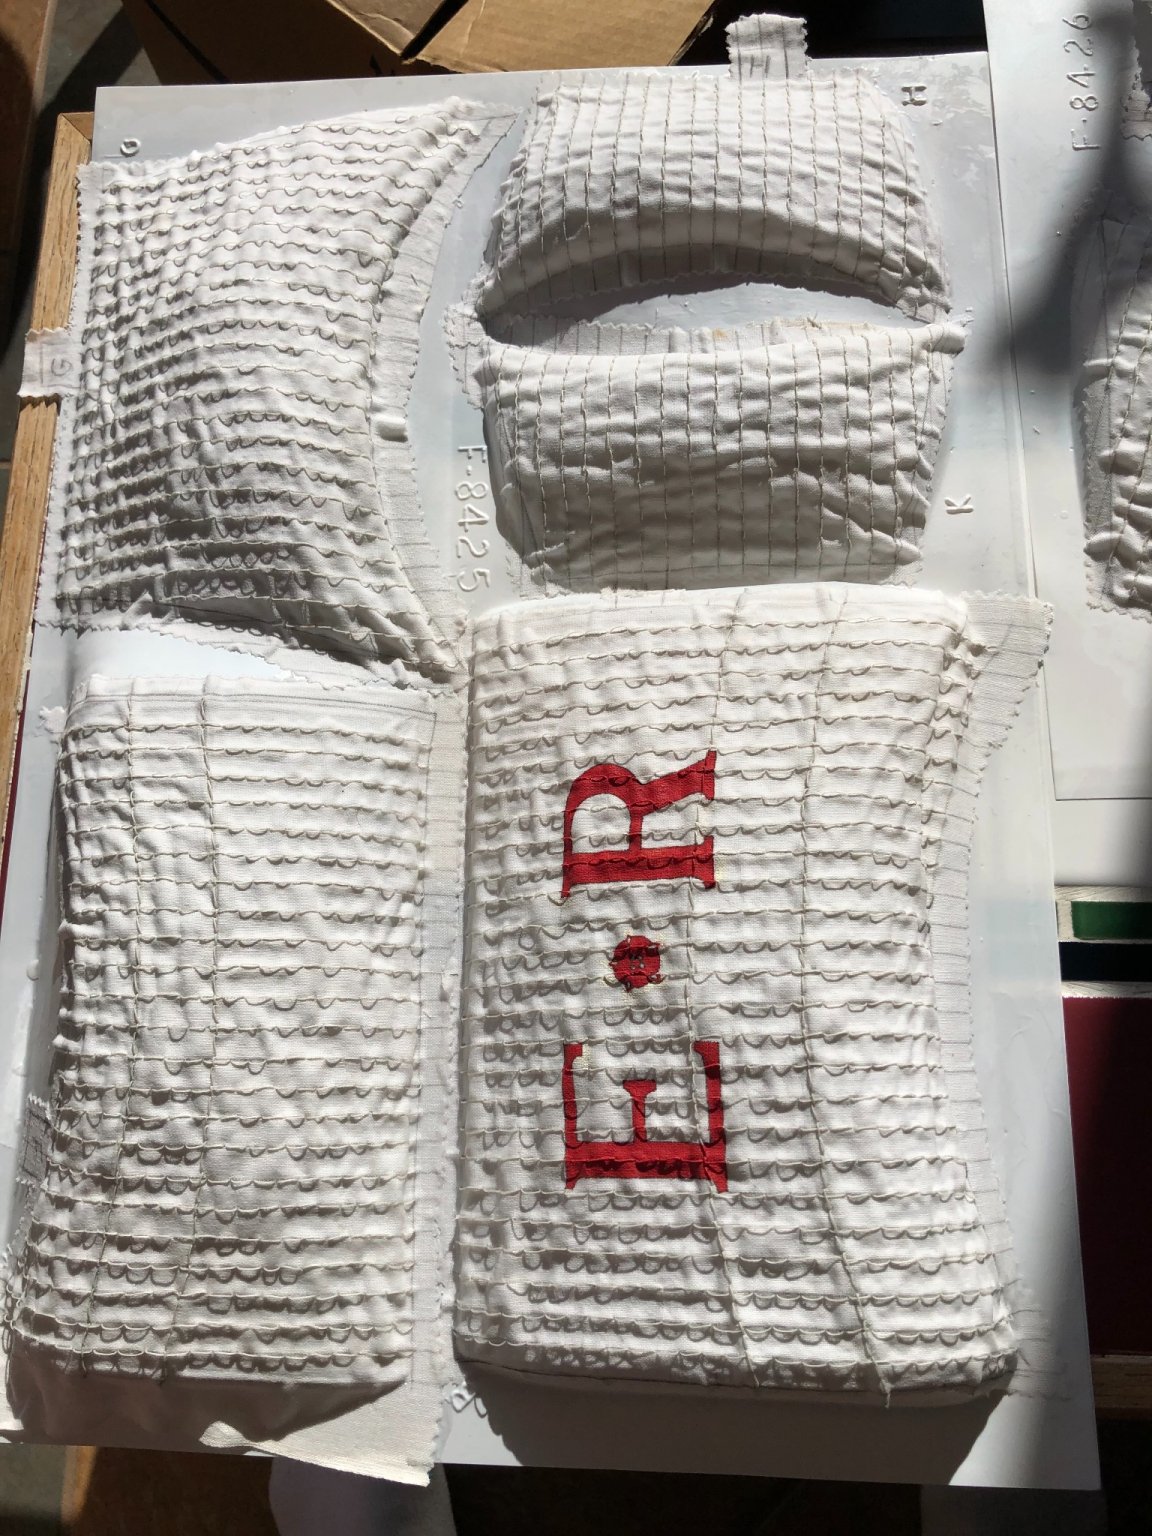
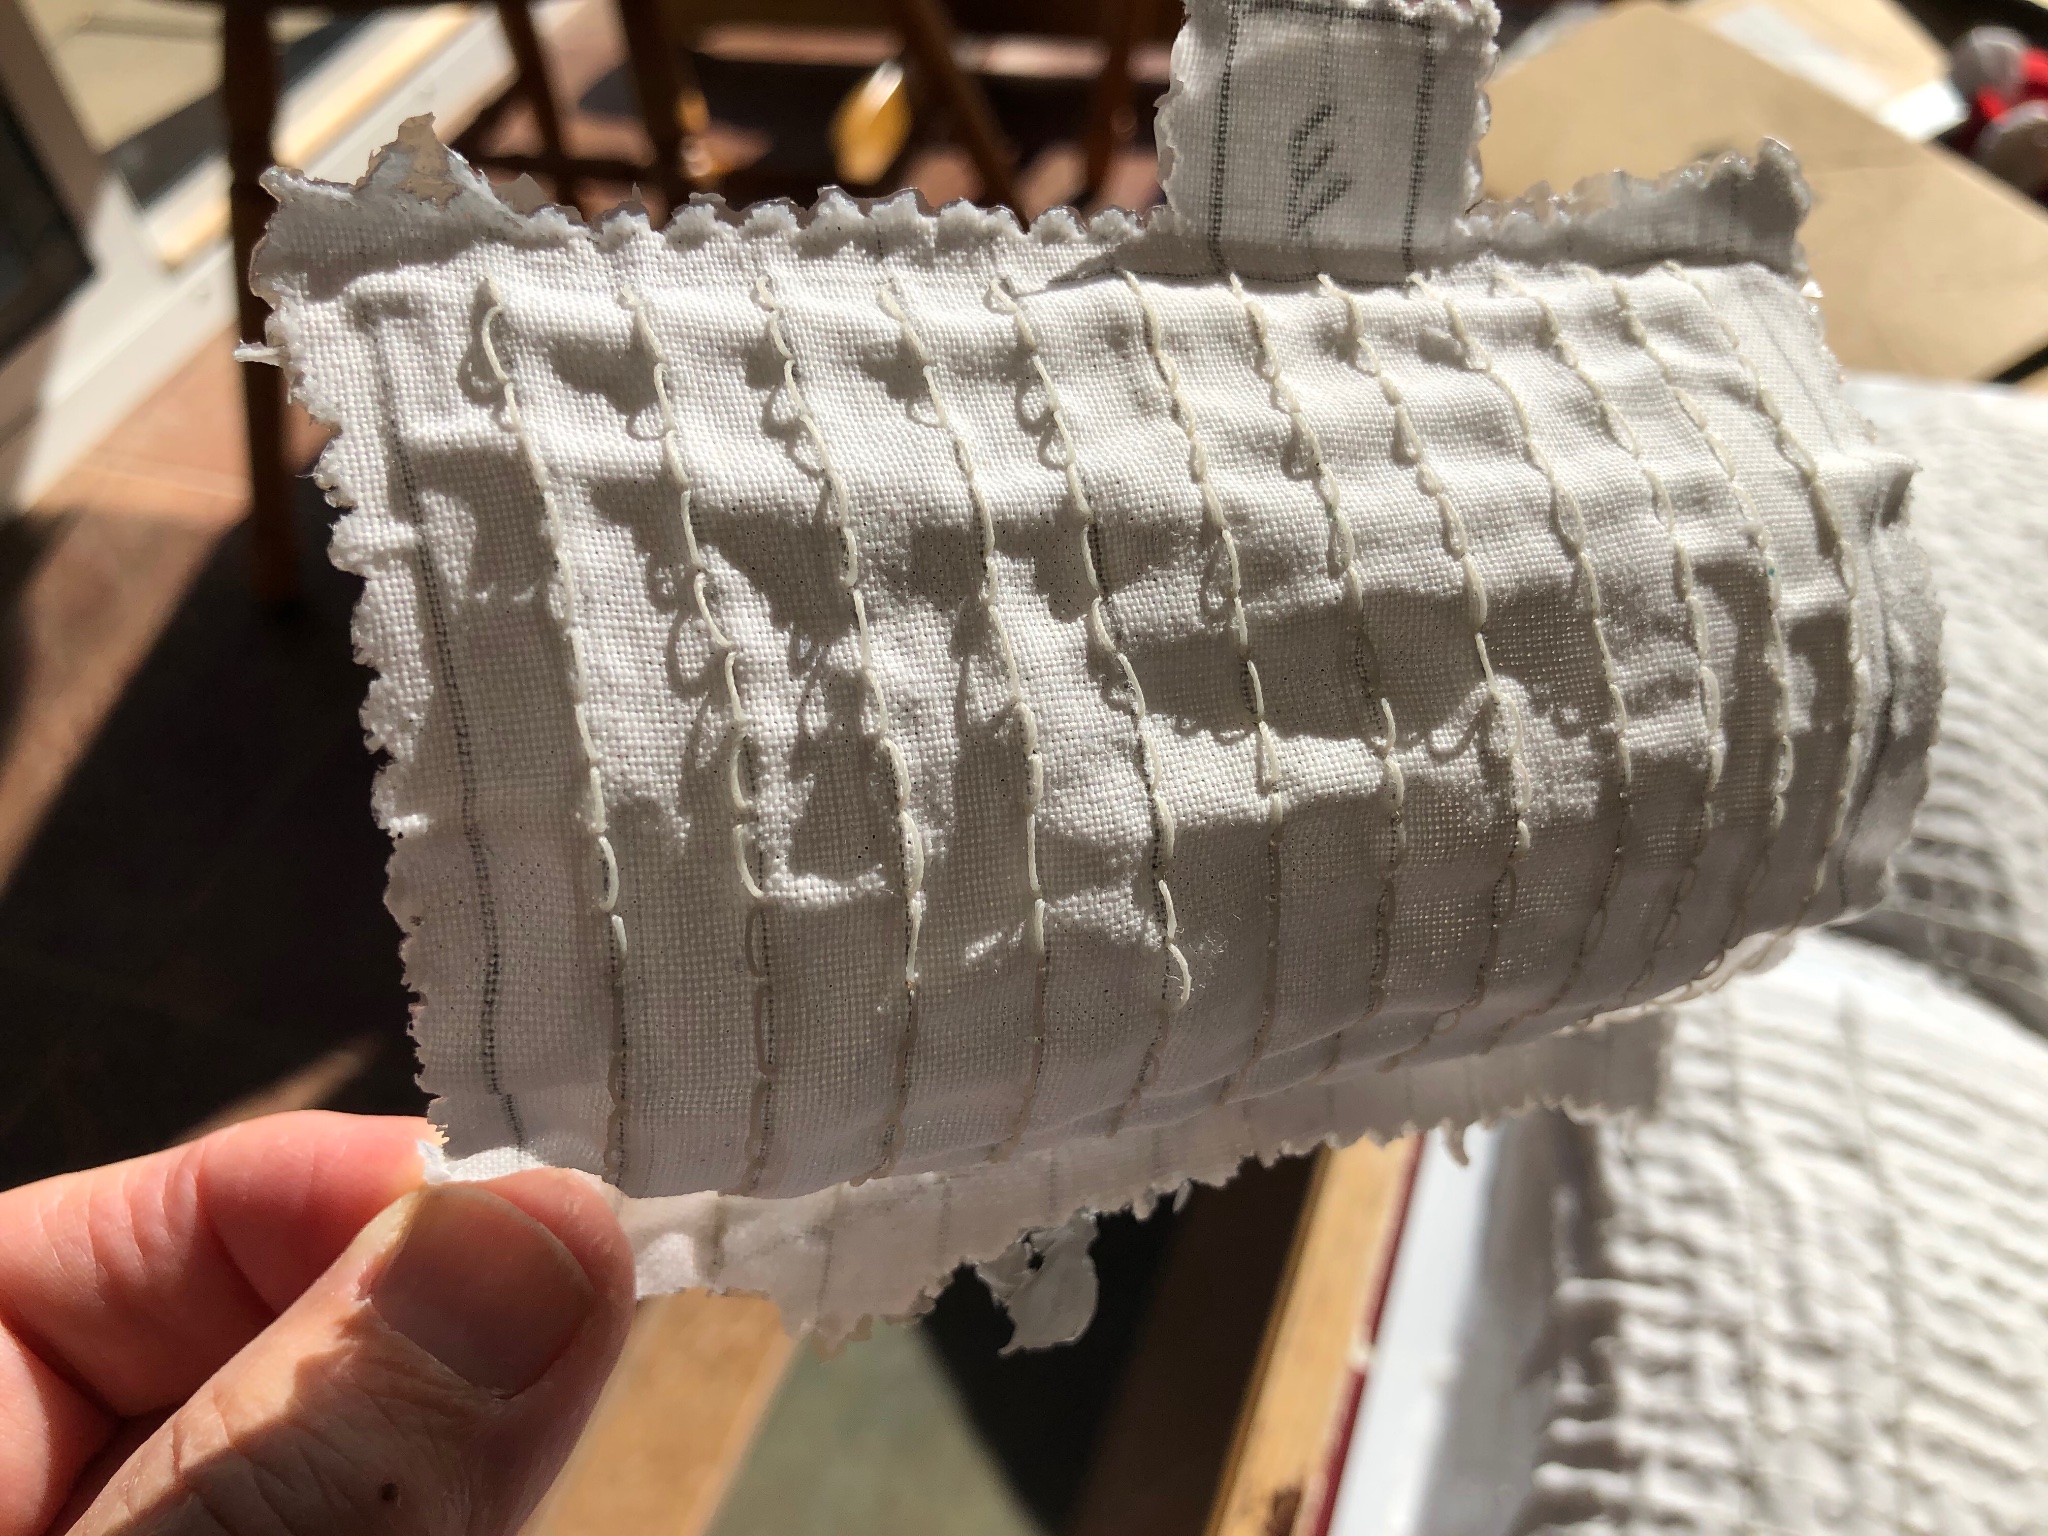
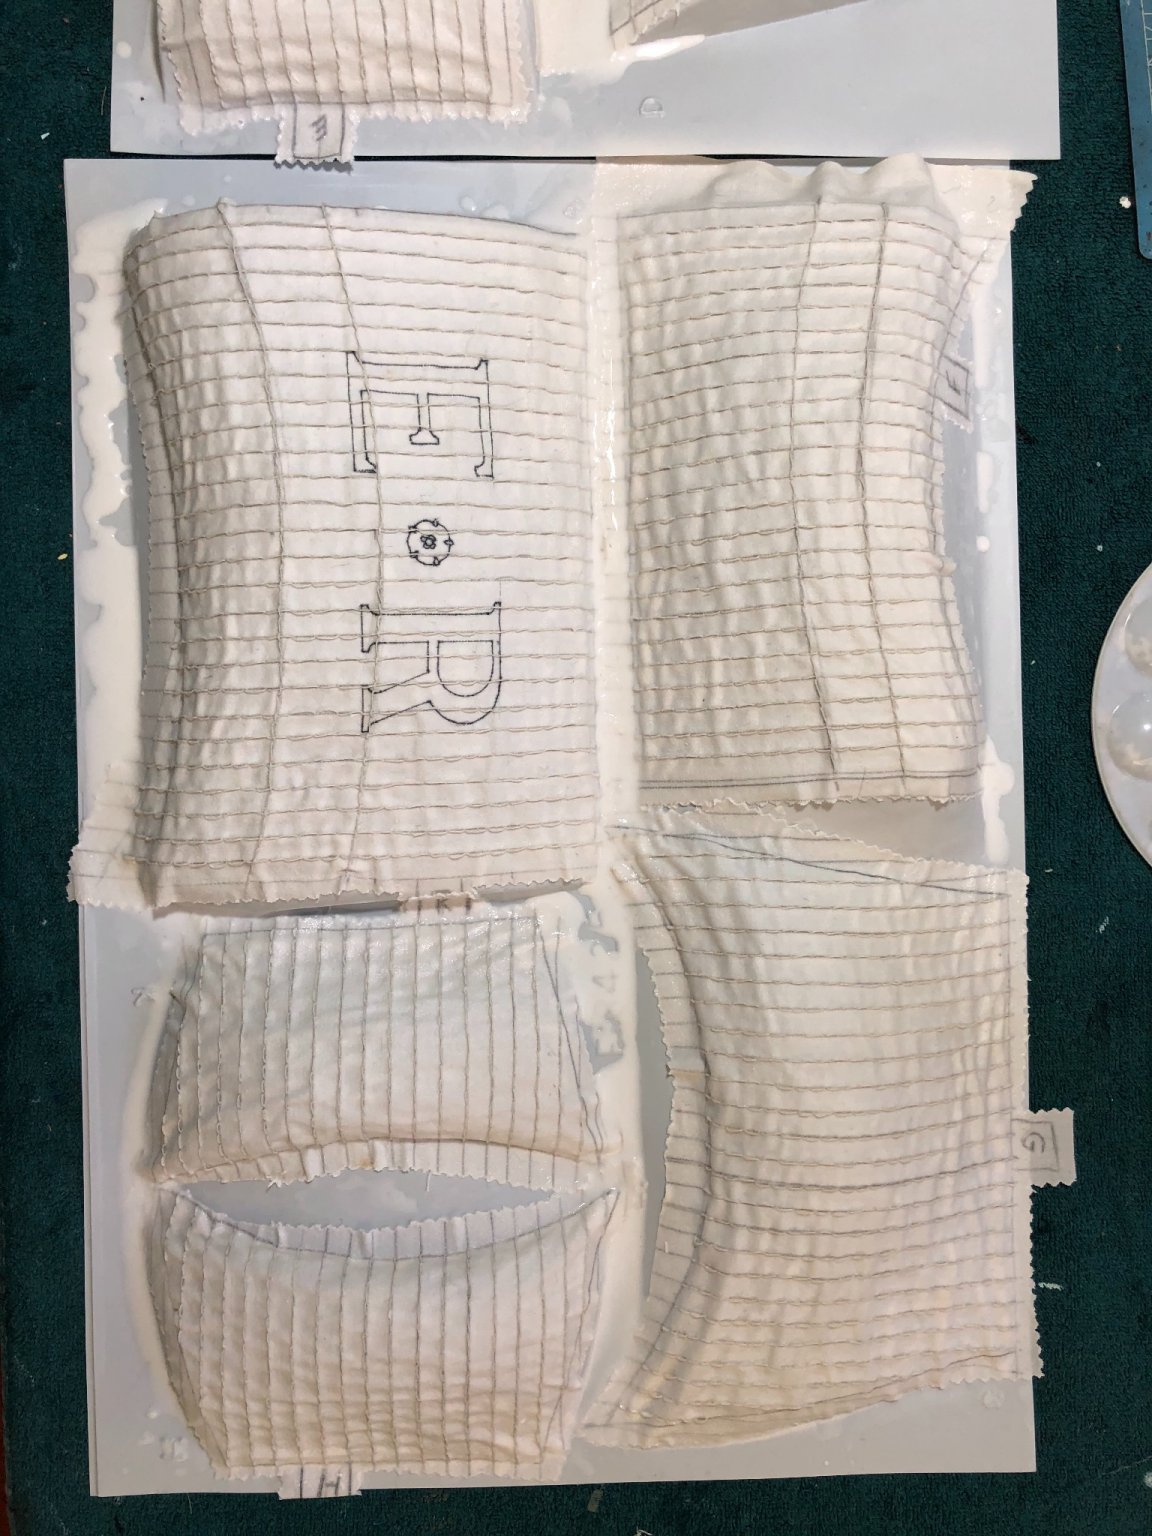
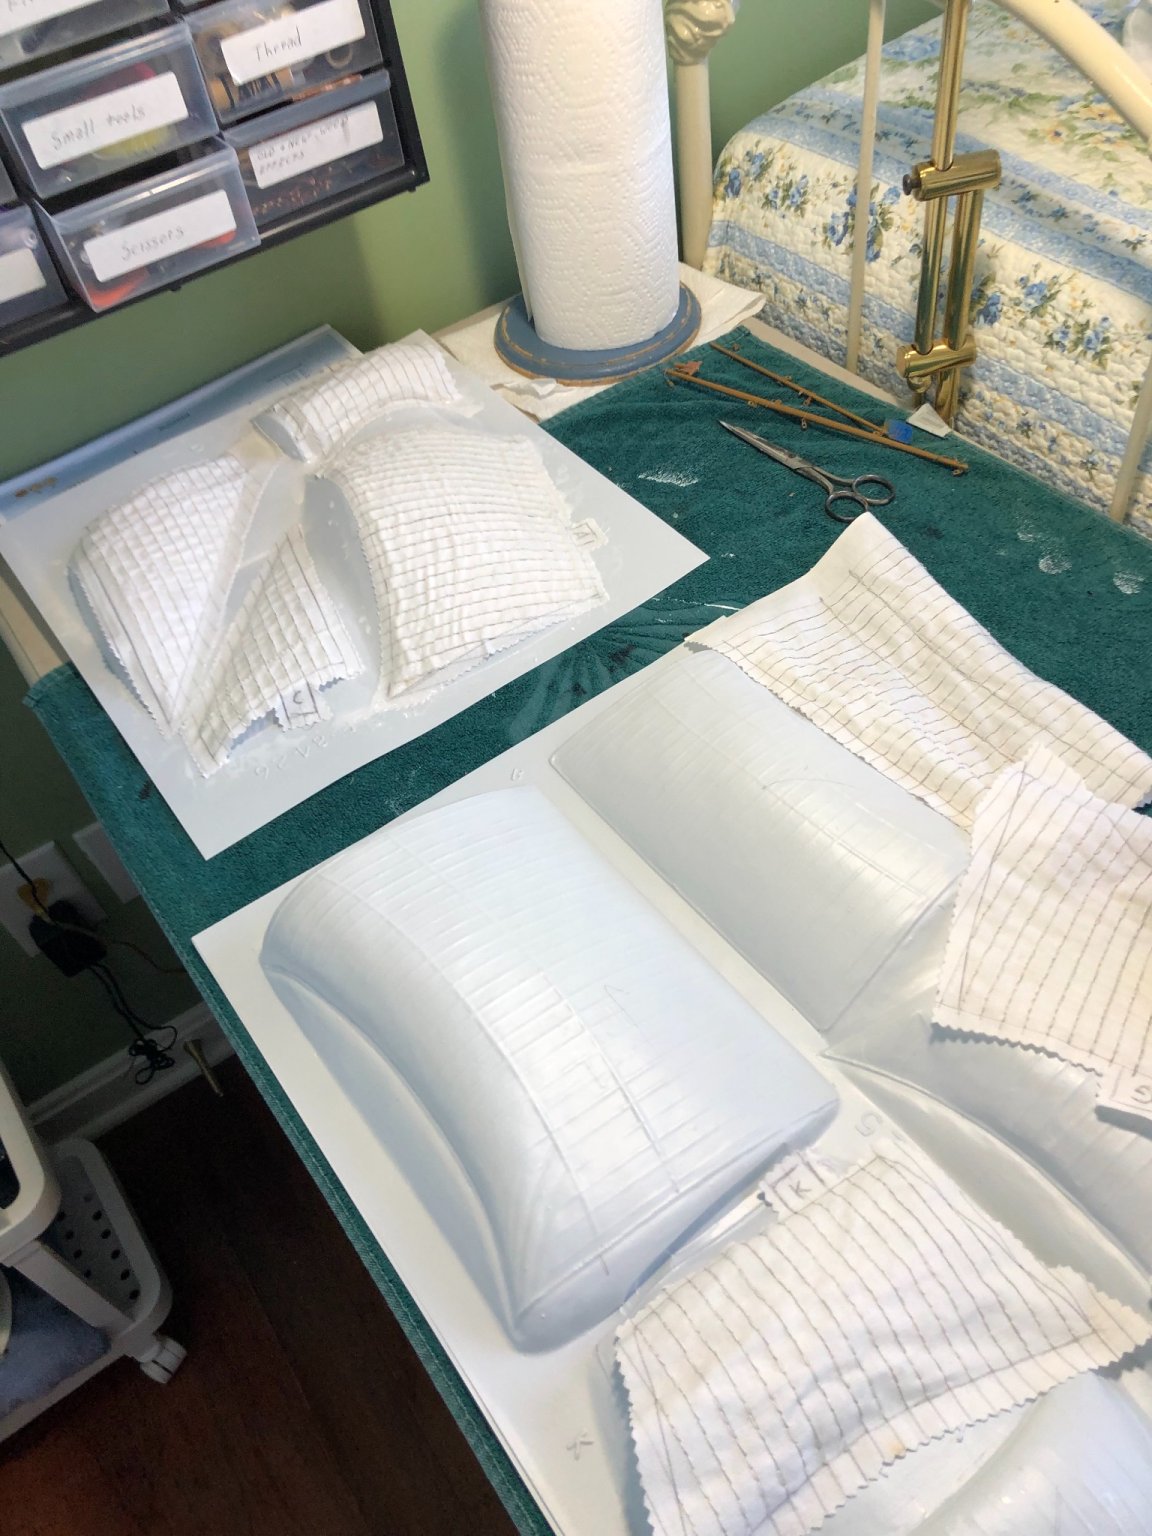
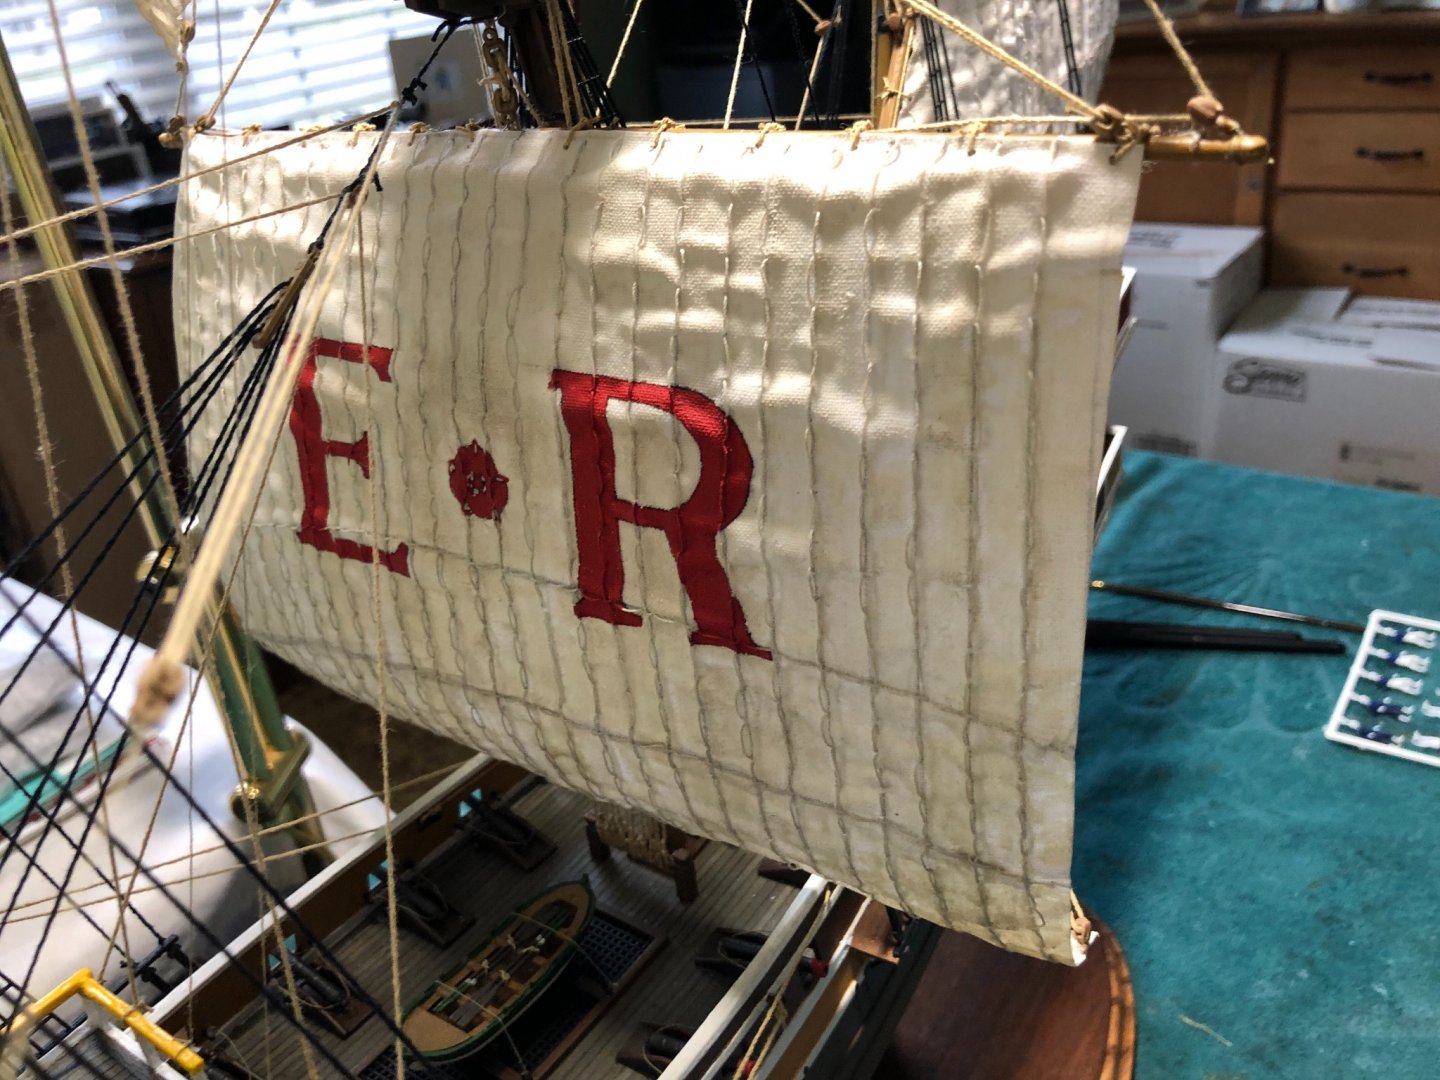
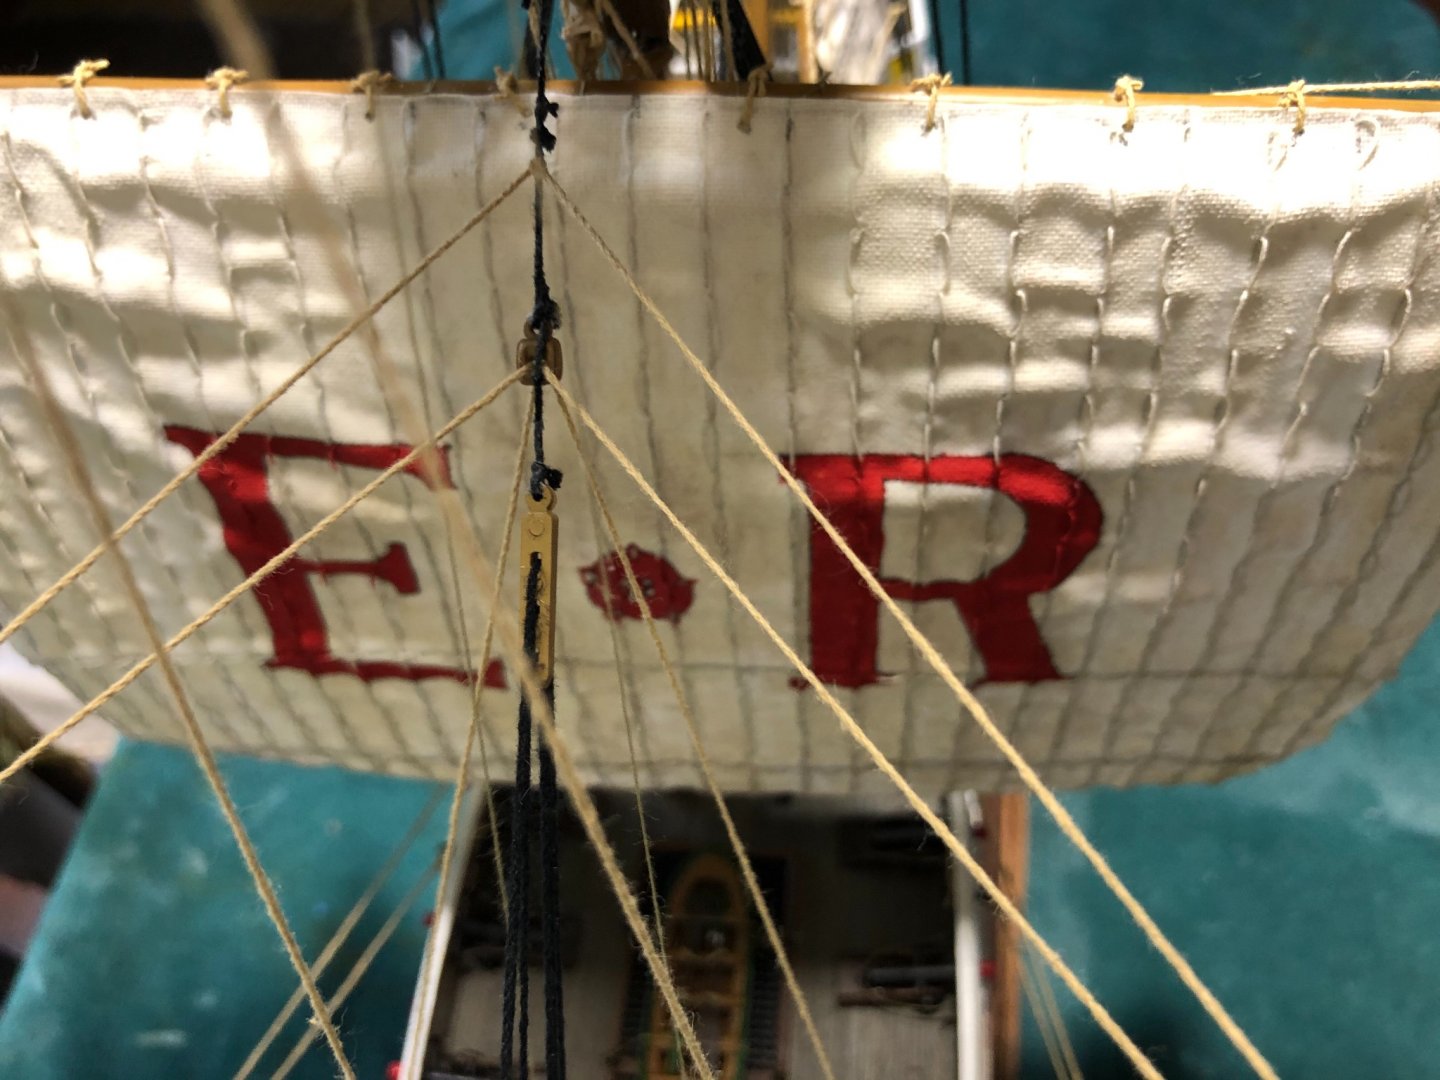
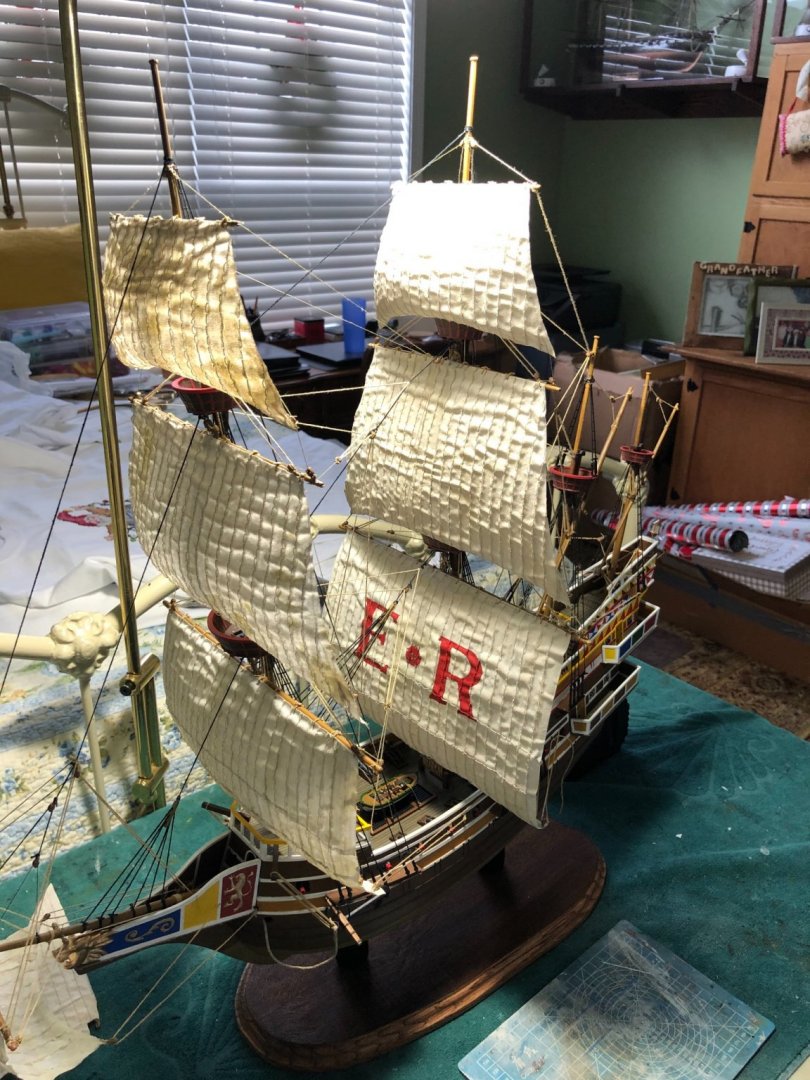
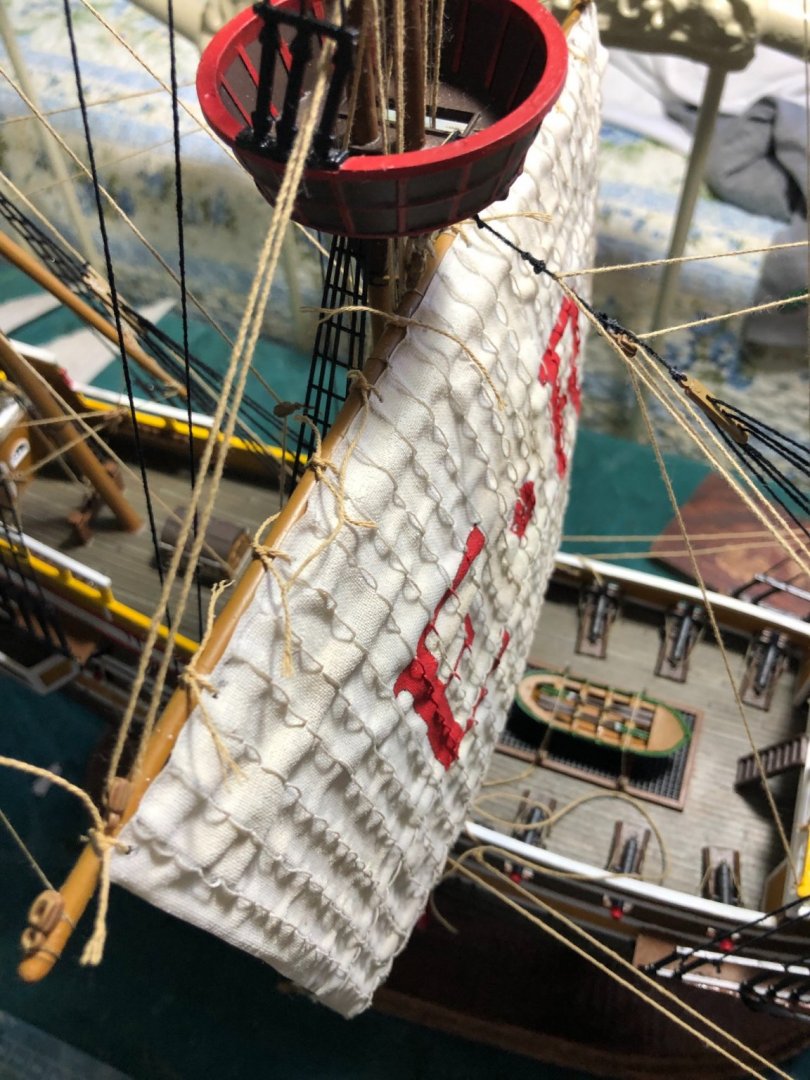
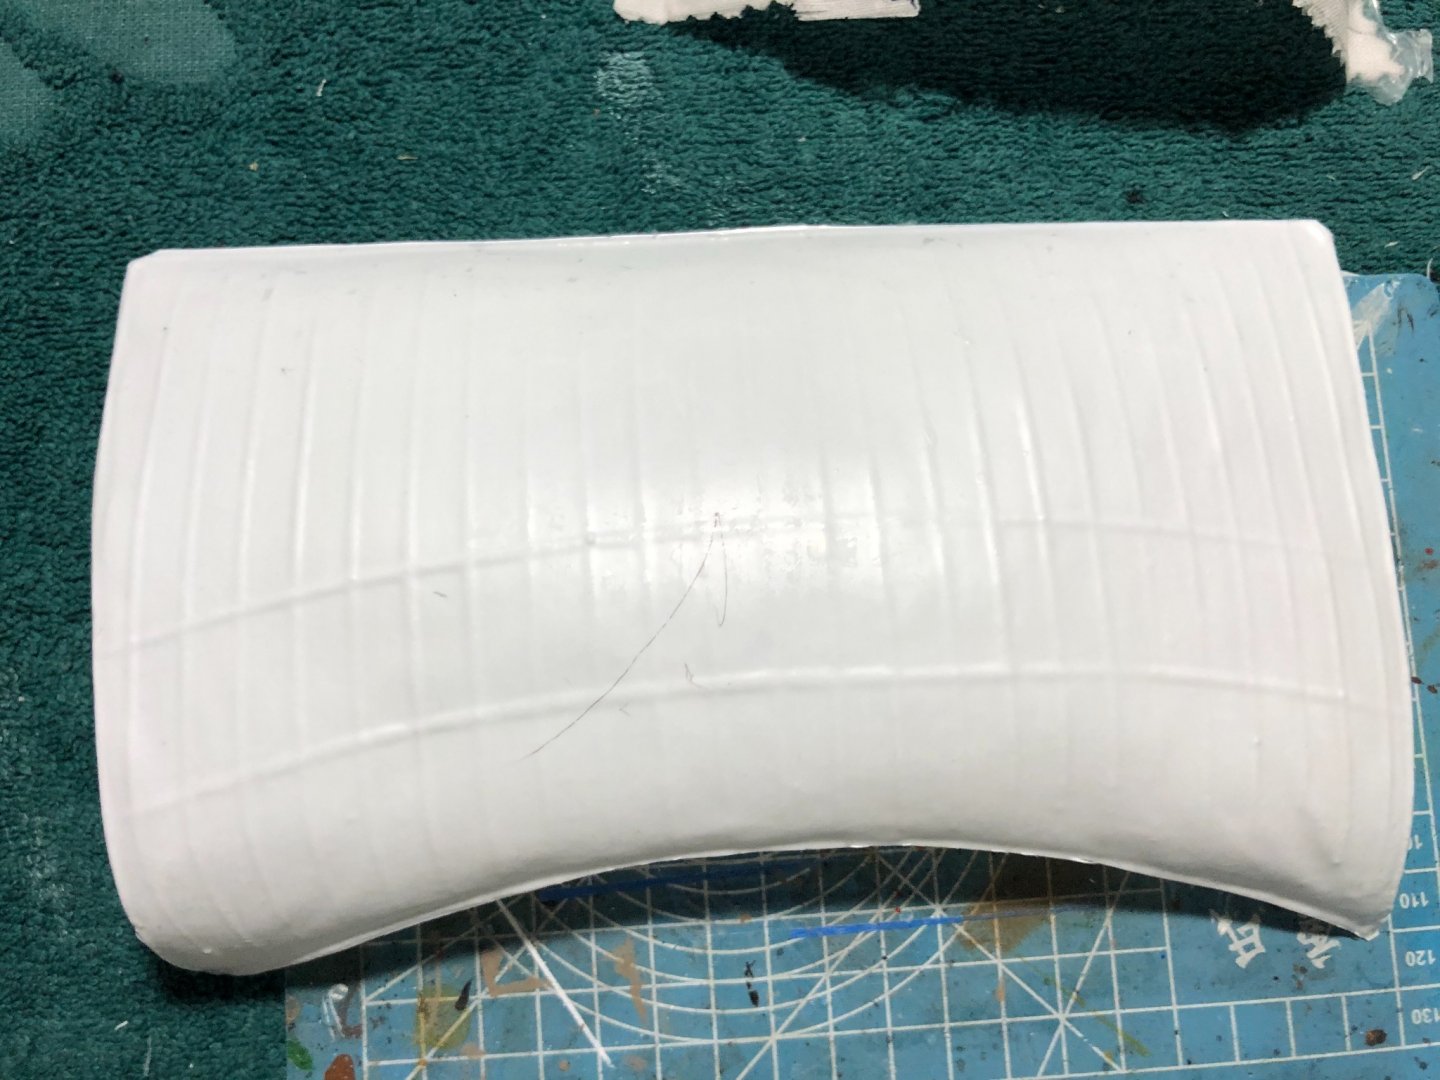
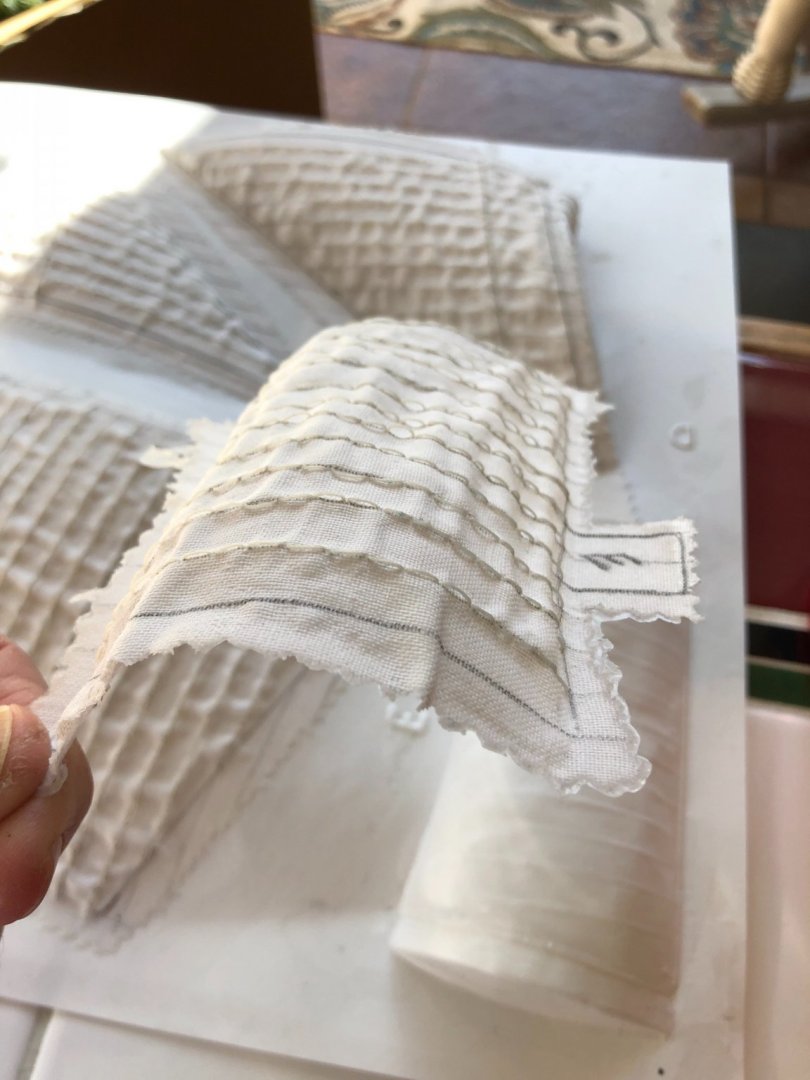
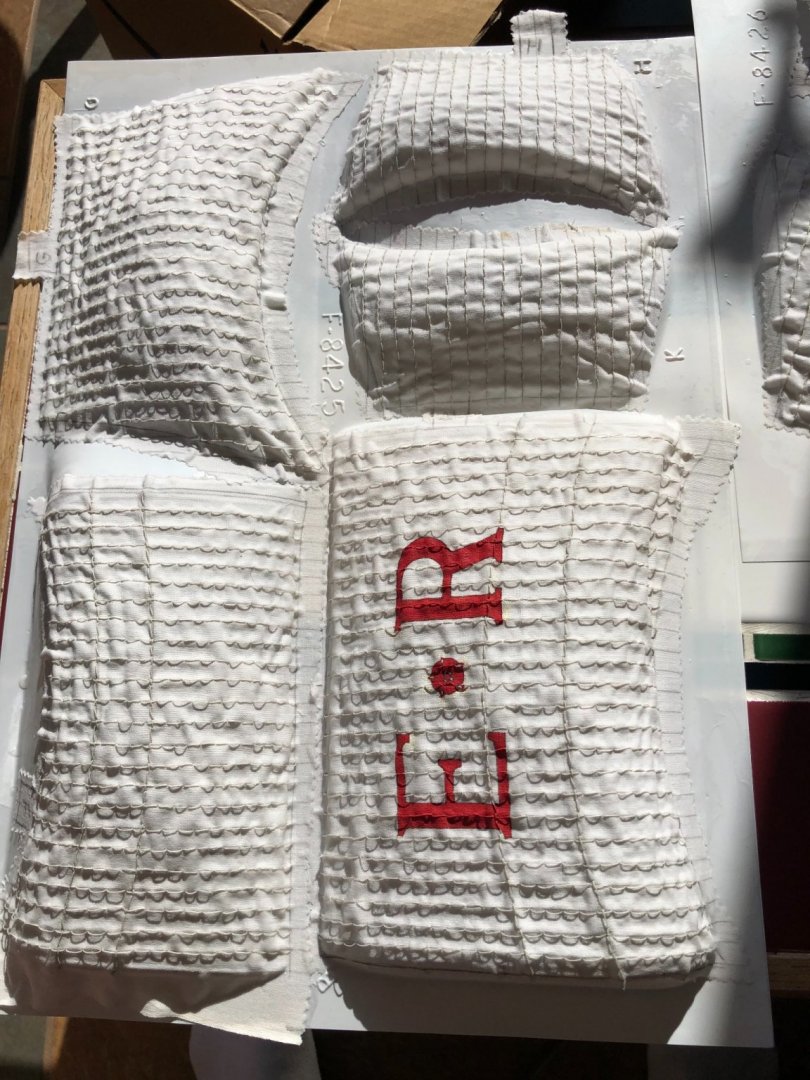
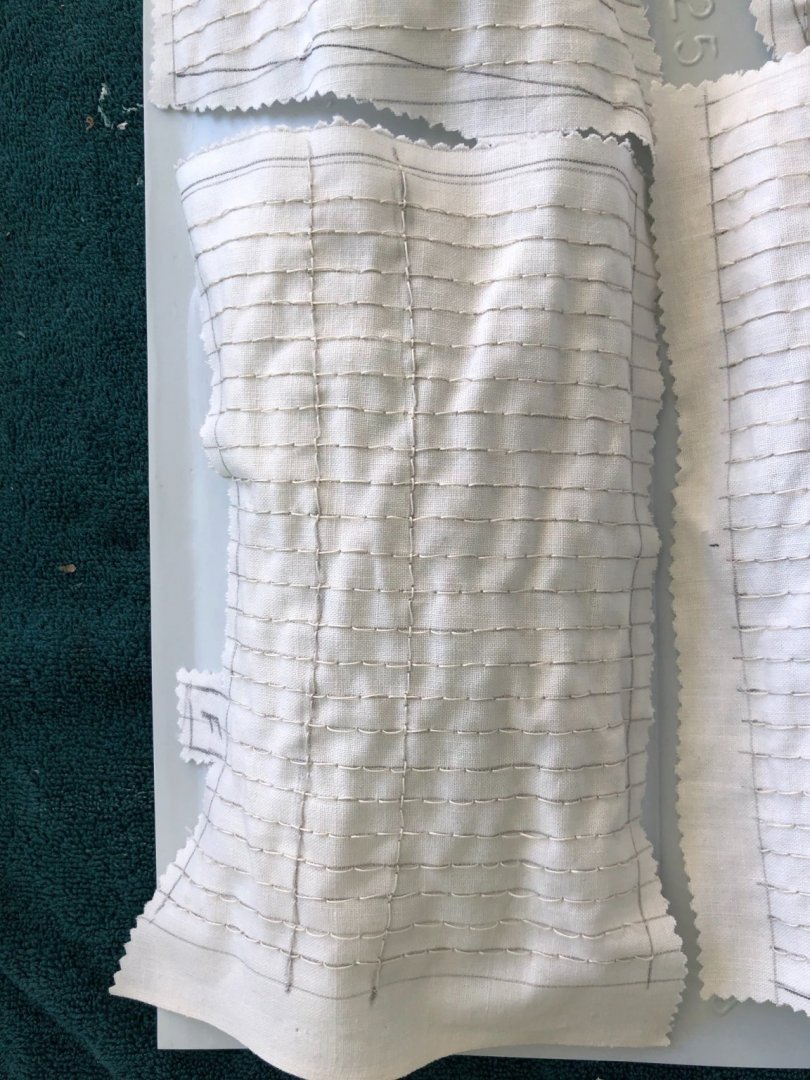
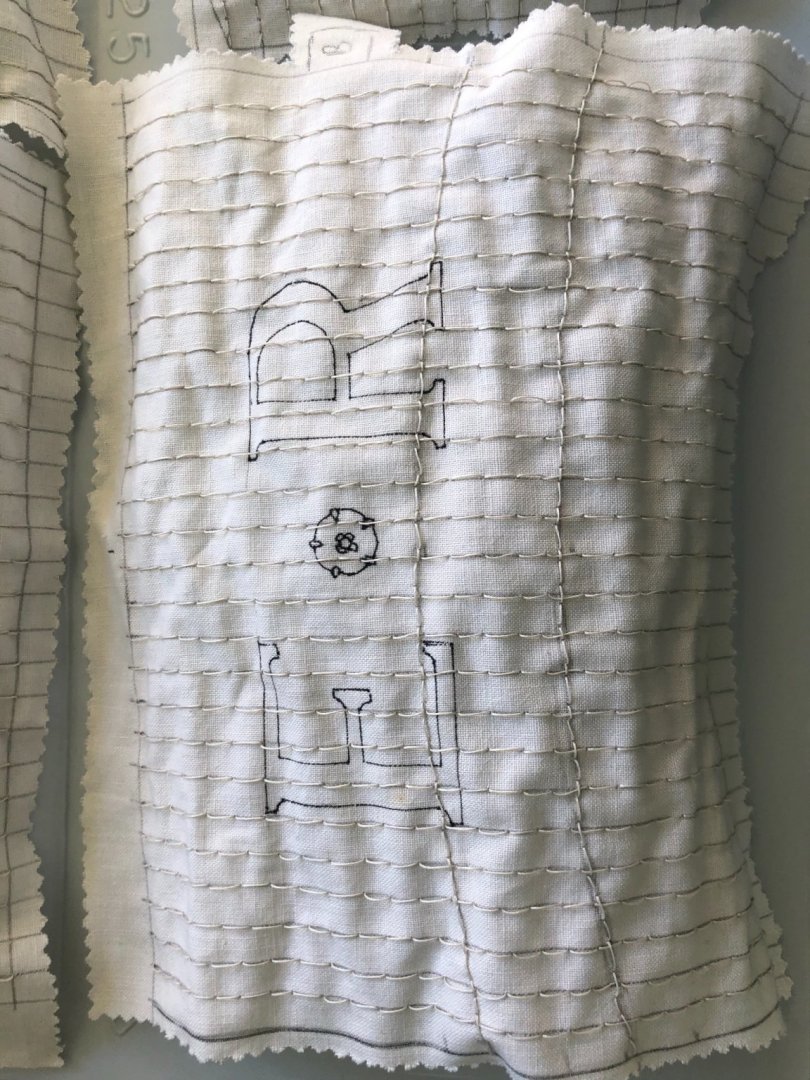
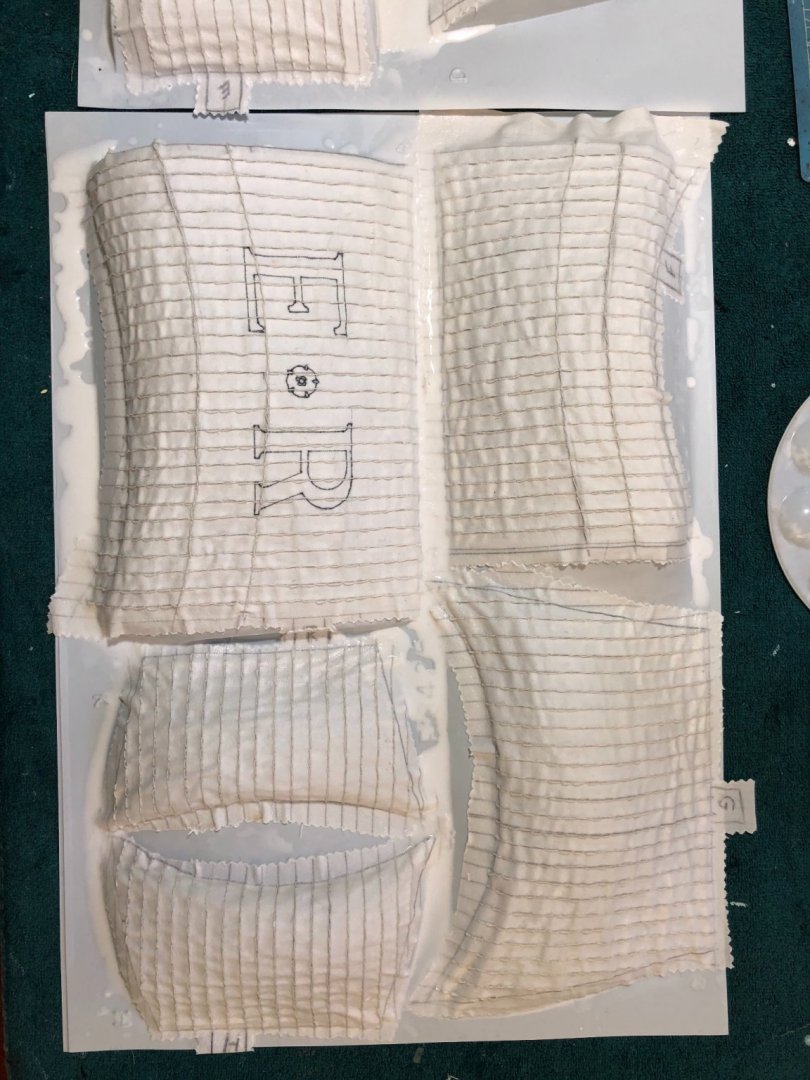
Sails are dry now. When removed from the plastic molds they hold their shape and have a look as if rippling in the wind. Next I will add a touch of color here in there for aging and then trim them to match the plastic sails, and add some rigging points in the bottom corners. They will then be ready for for the ship when the time comes in assembly. I also hand painted the large E and R on the main sail.

- 35 replies
-
- 4
-
-
- english man o war
- revell
- (and 2 more)
-
Thanks Robert and Jeff. Robert are you talking about the big E and R on the main sail when you talk about the transfer? If so, as you can see I drew them on the sail before I stitched it and applied the white glue. Once they are dry I am going to hand paint the letters red.
- 35 replies
-
- 2
-
-
- english man o war
- revell
- (and 2 more)
-
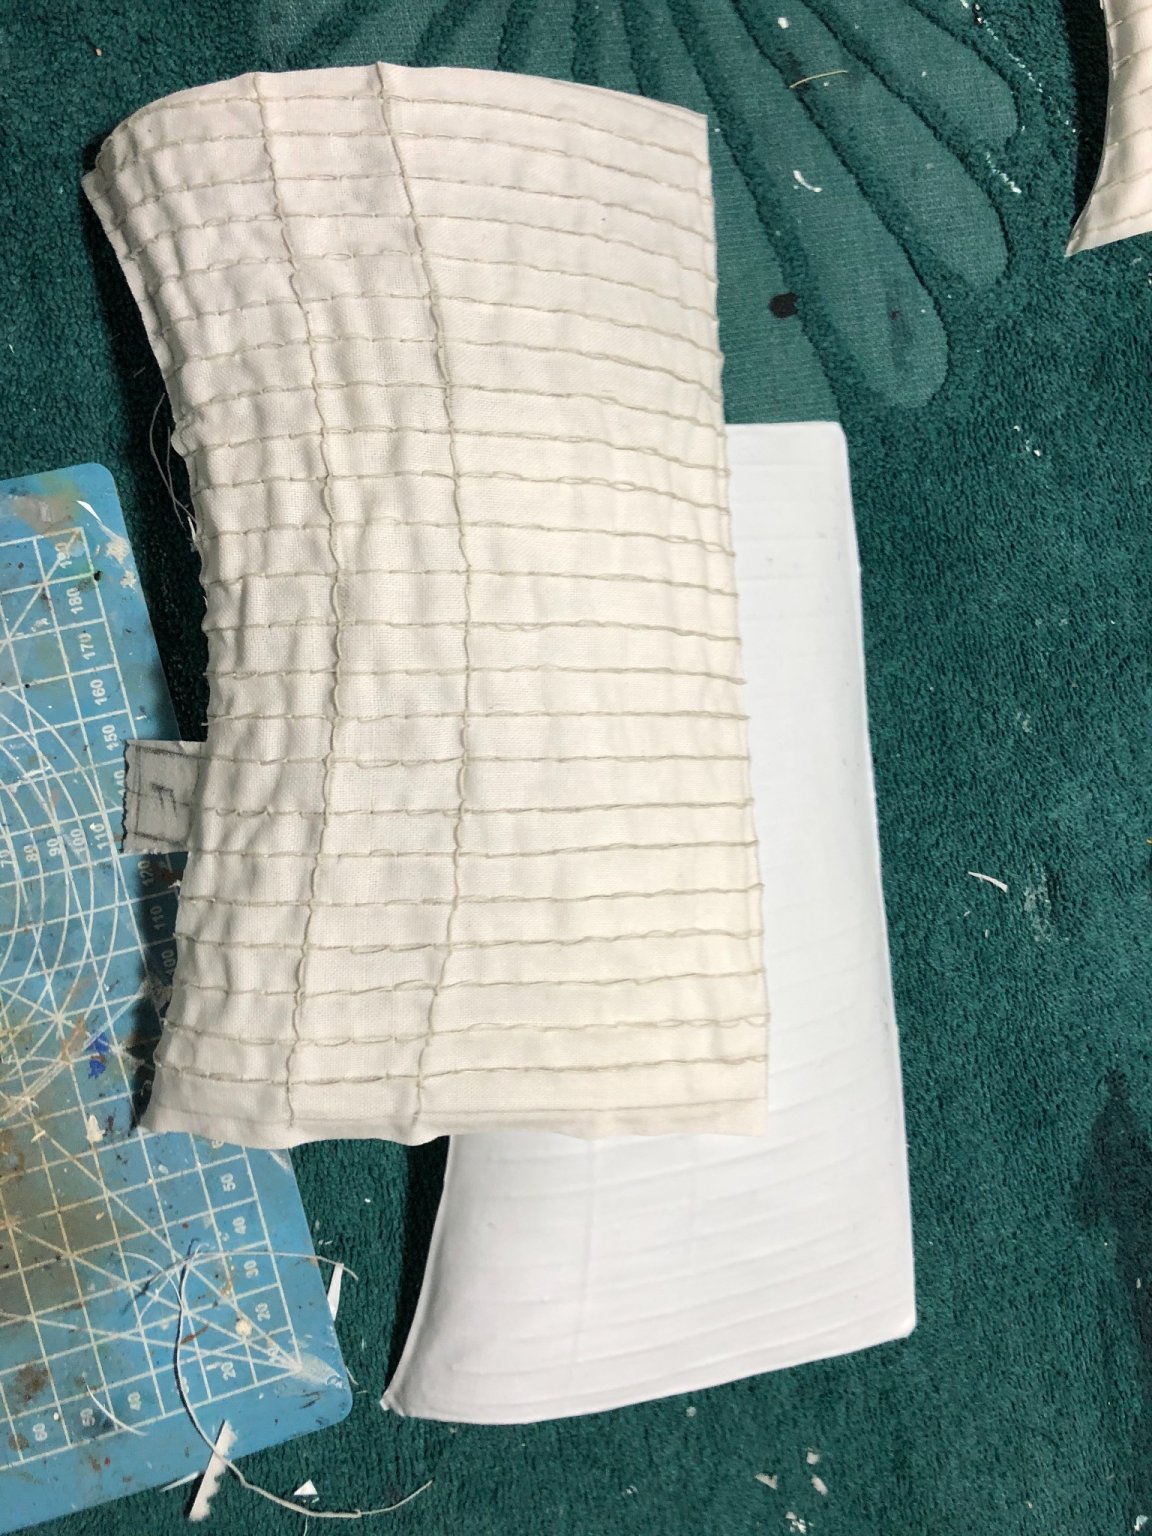
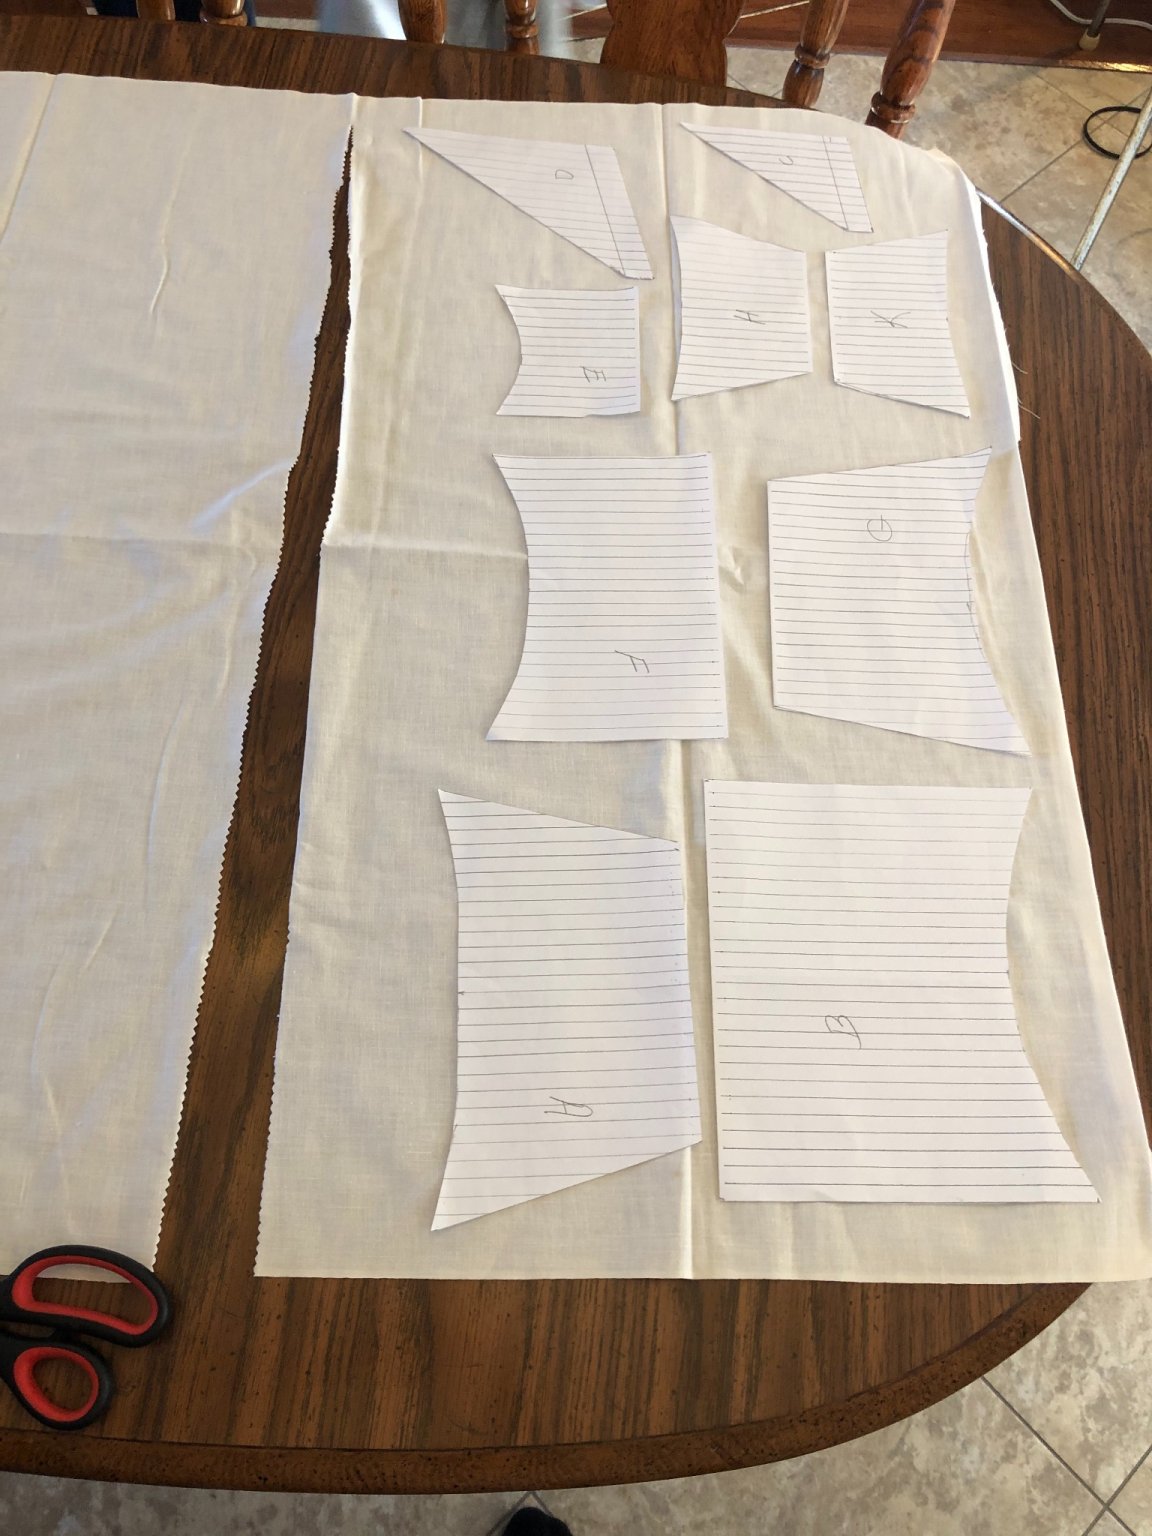
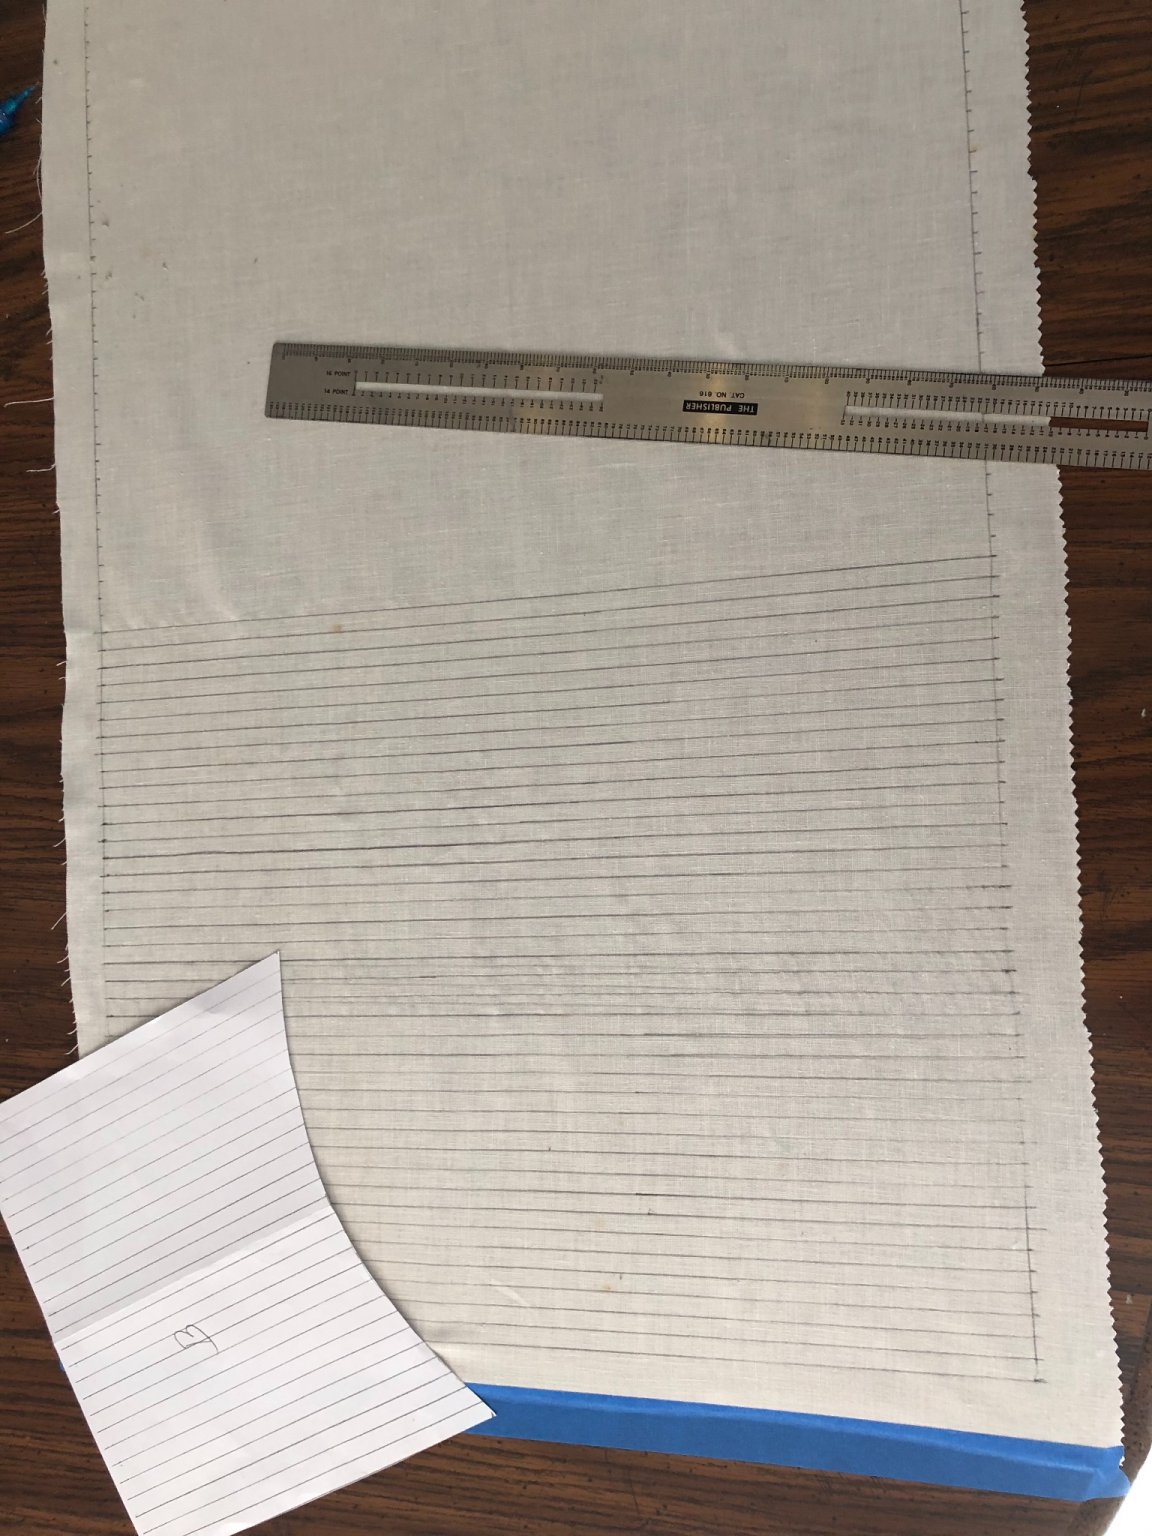
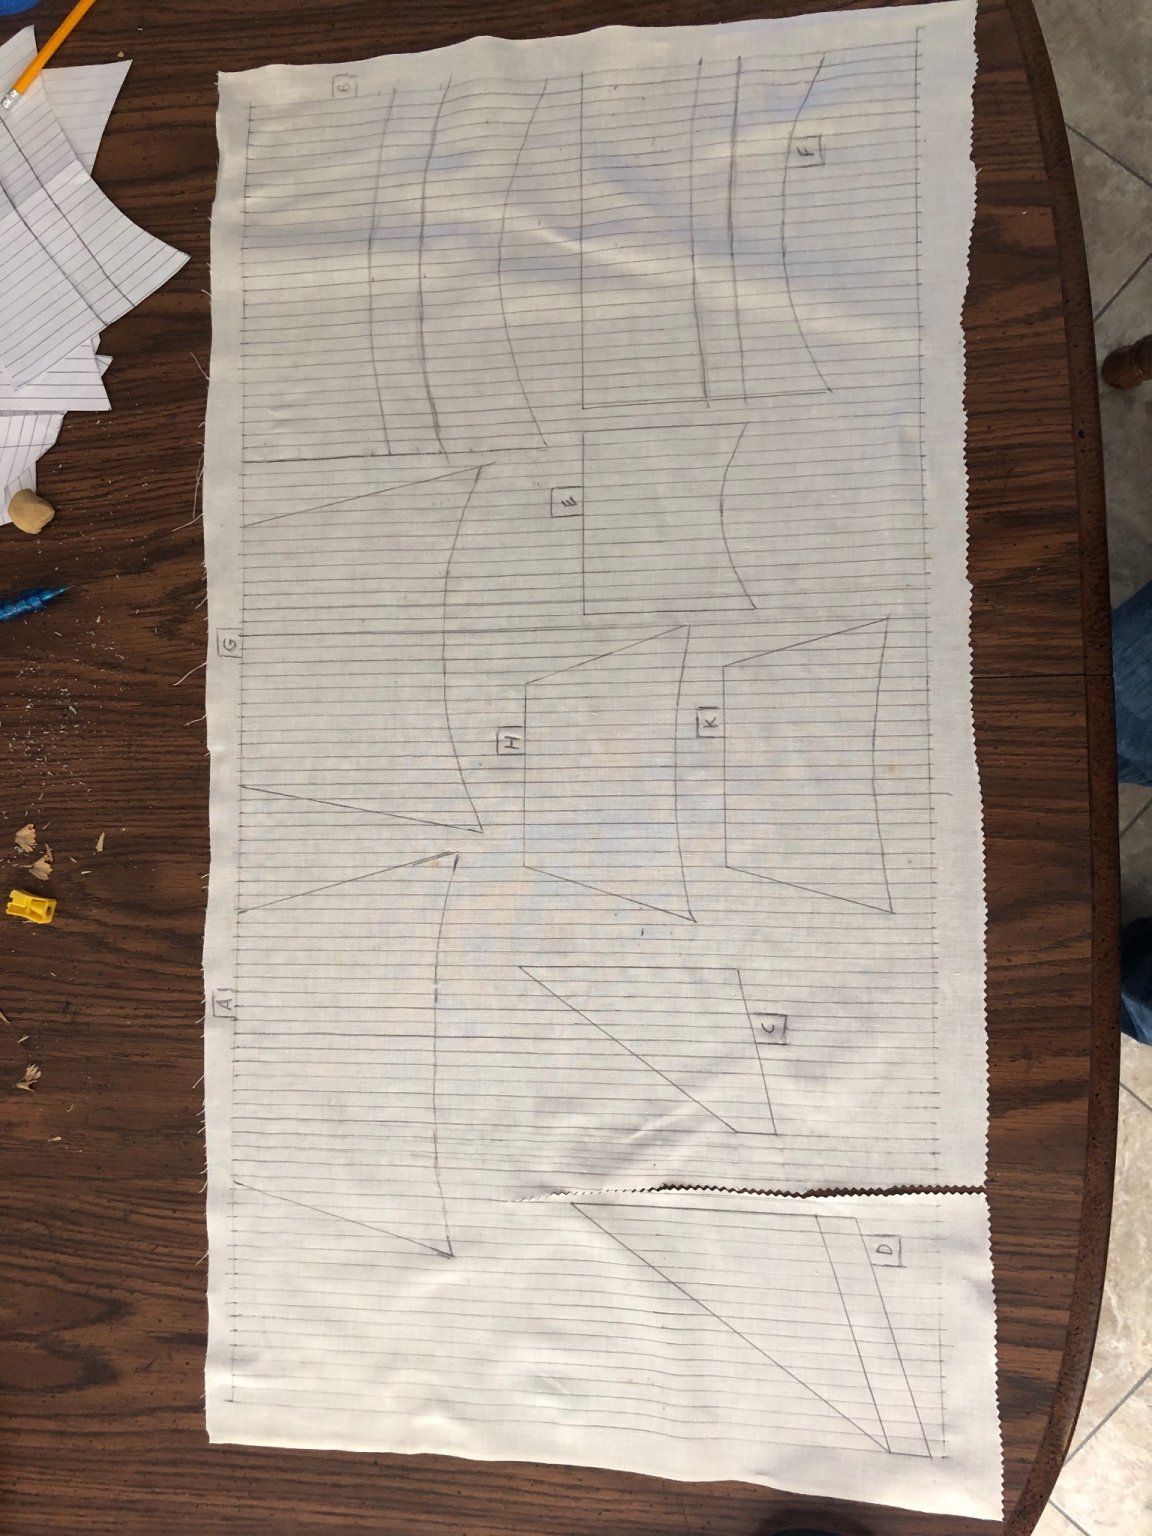
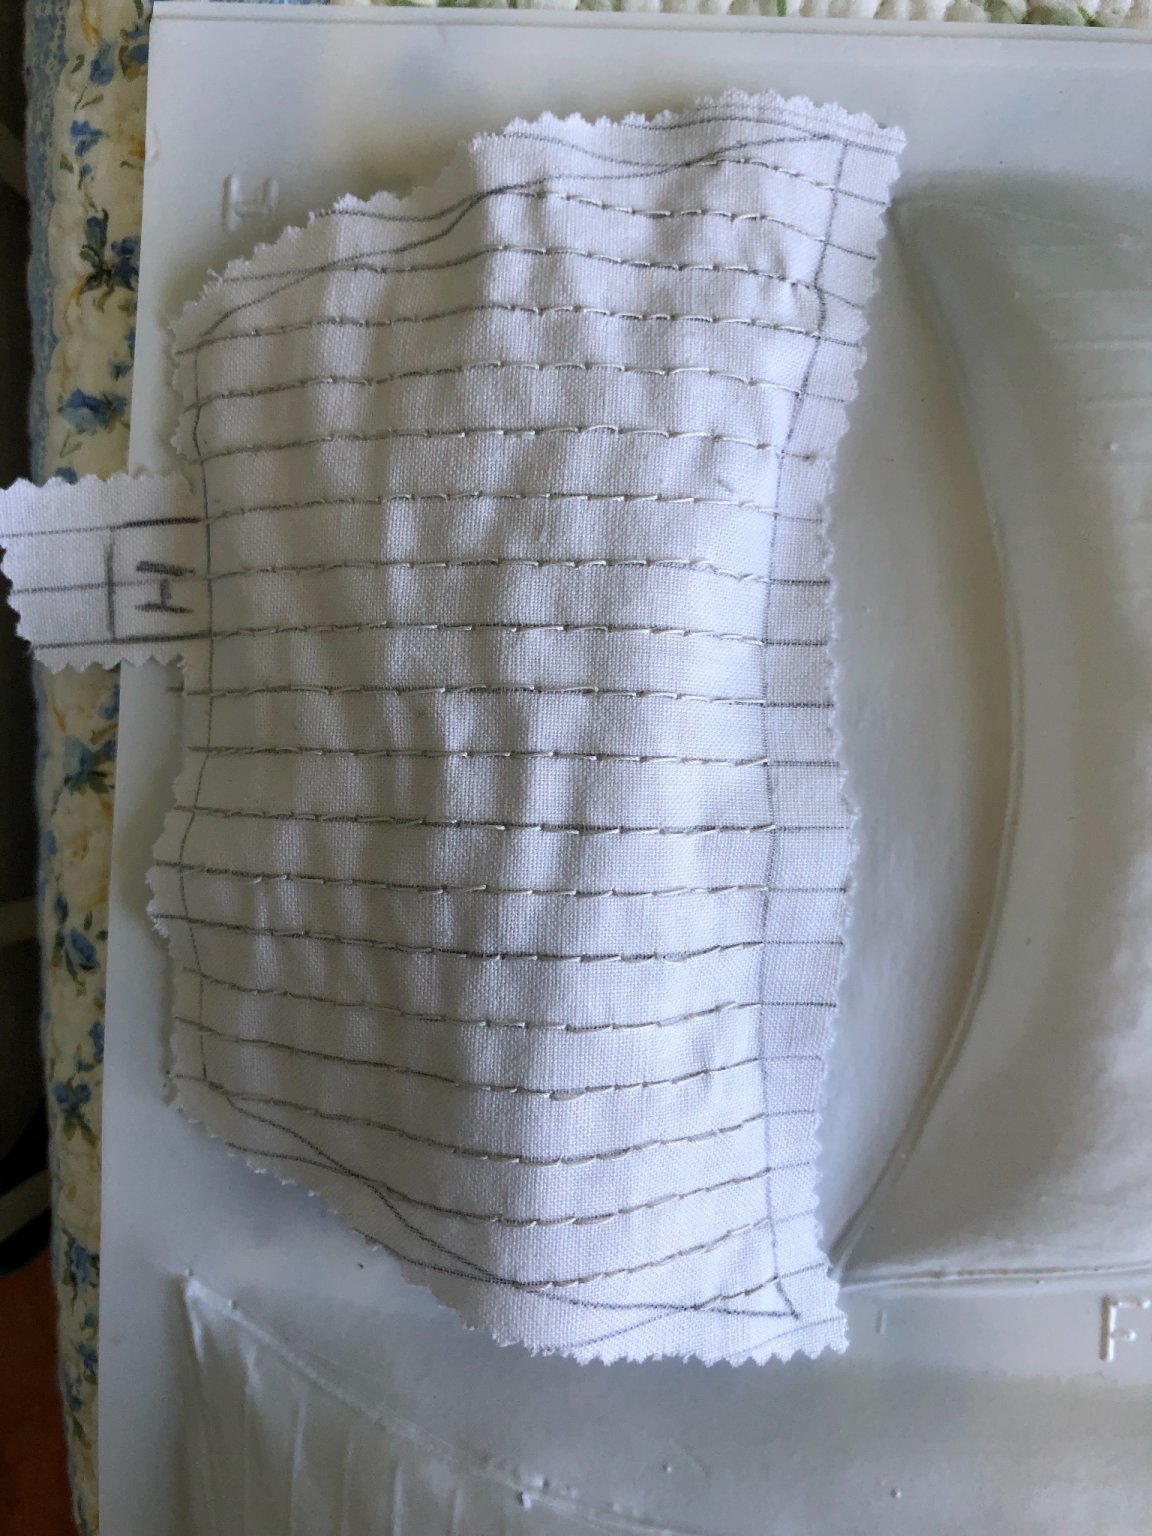
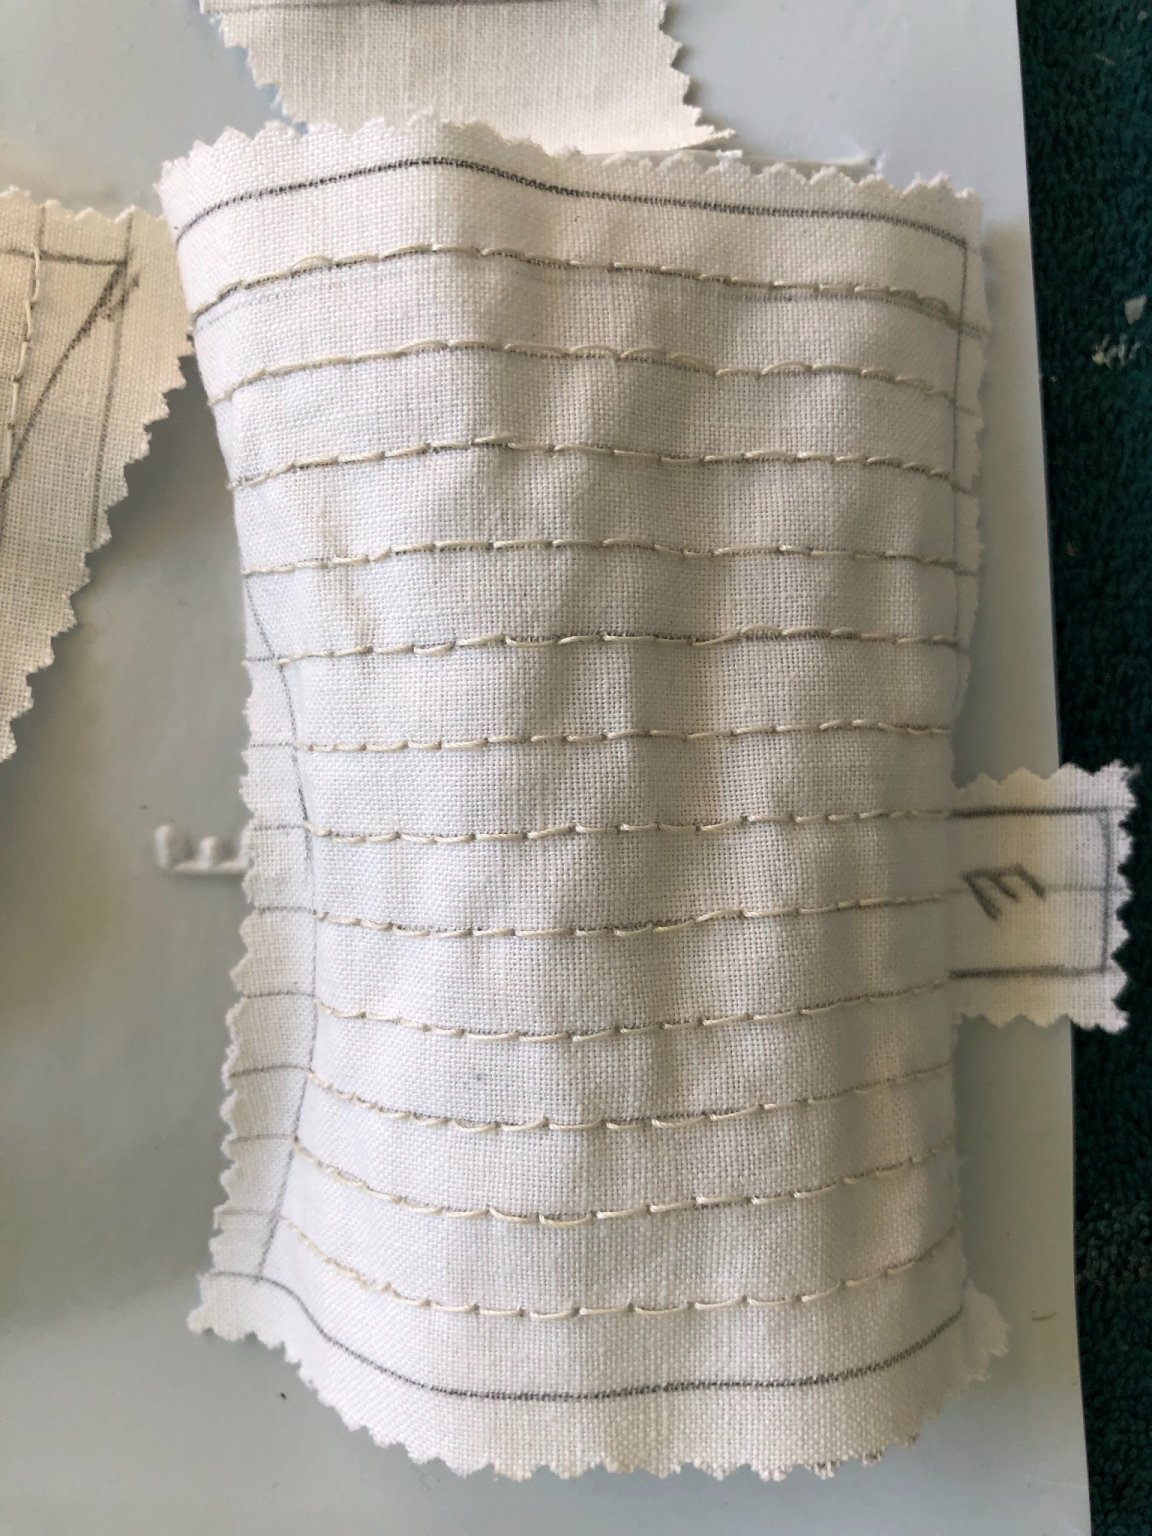
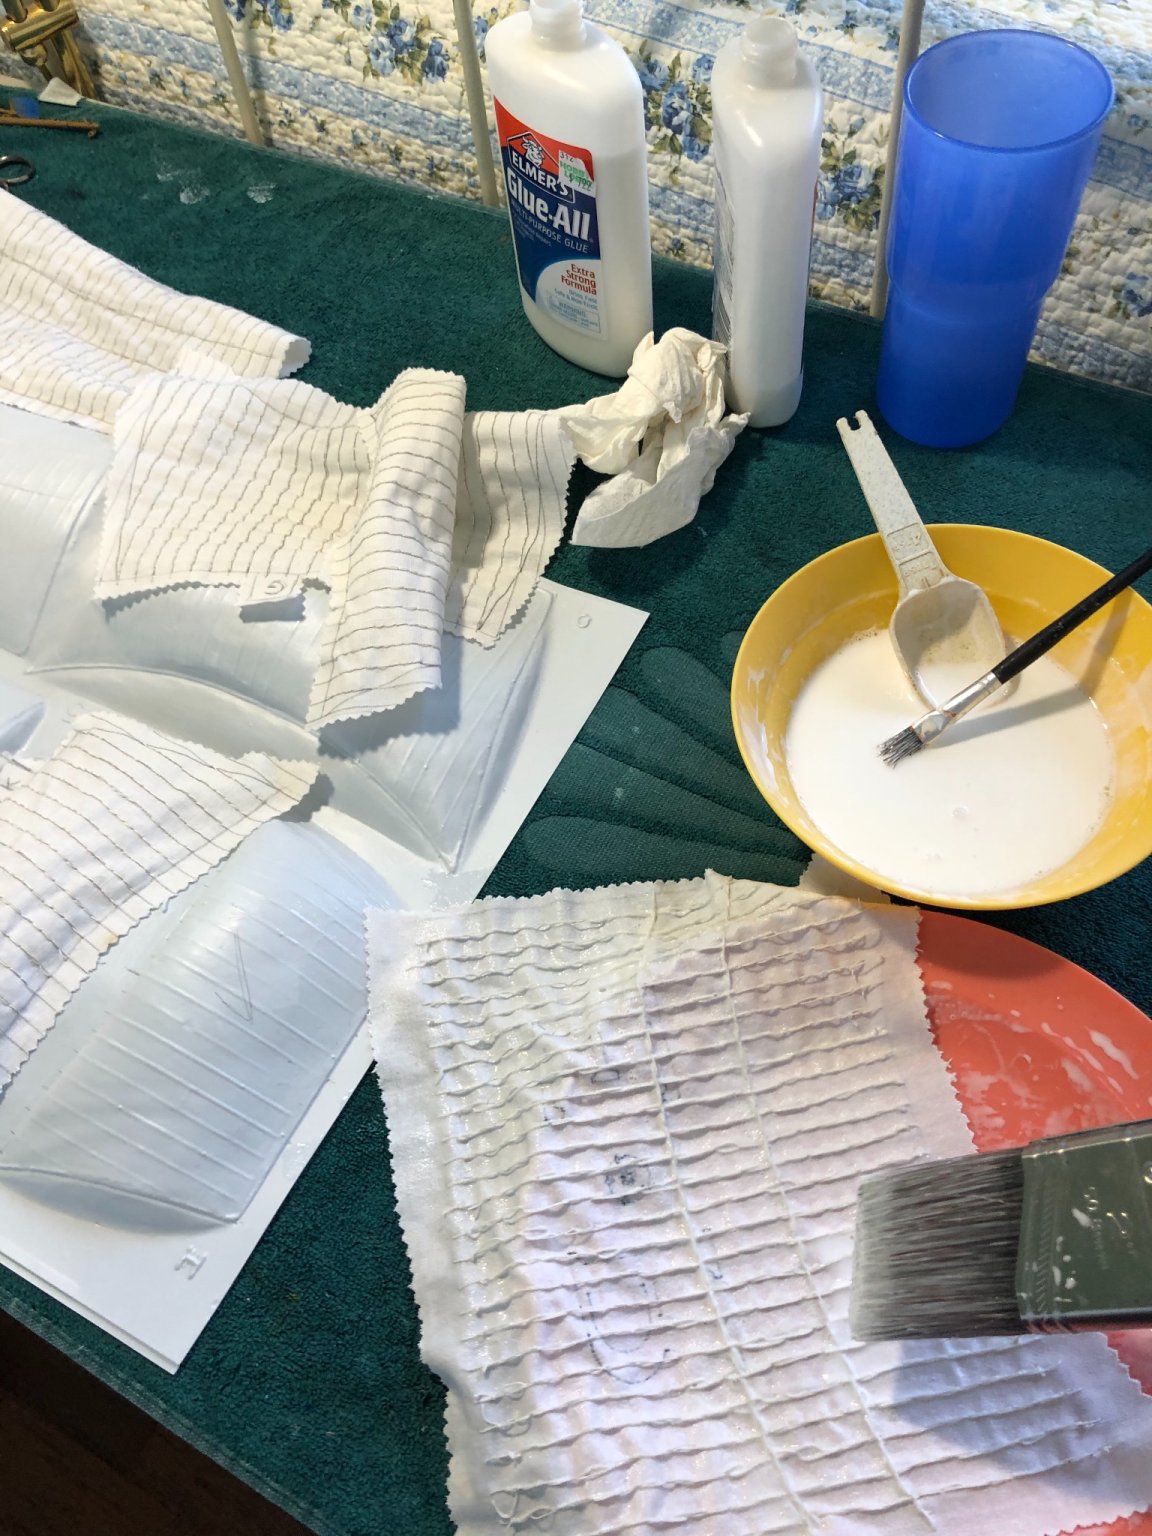
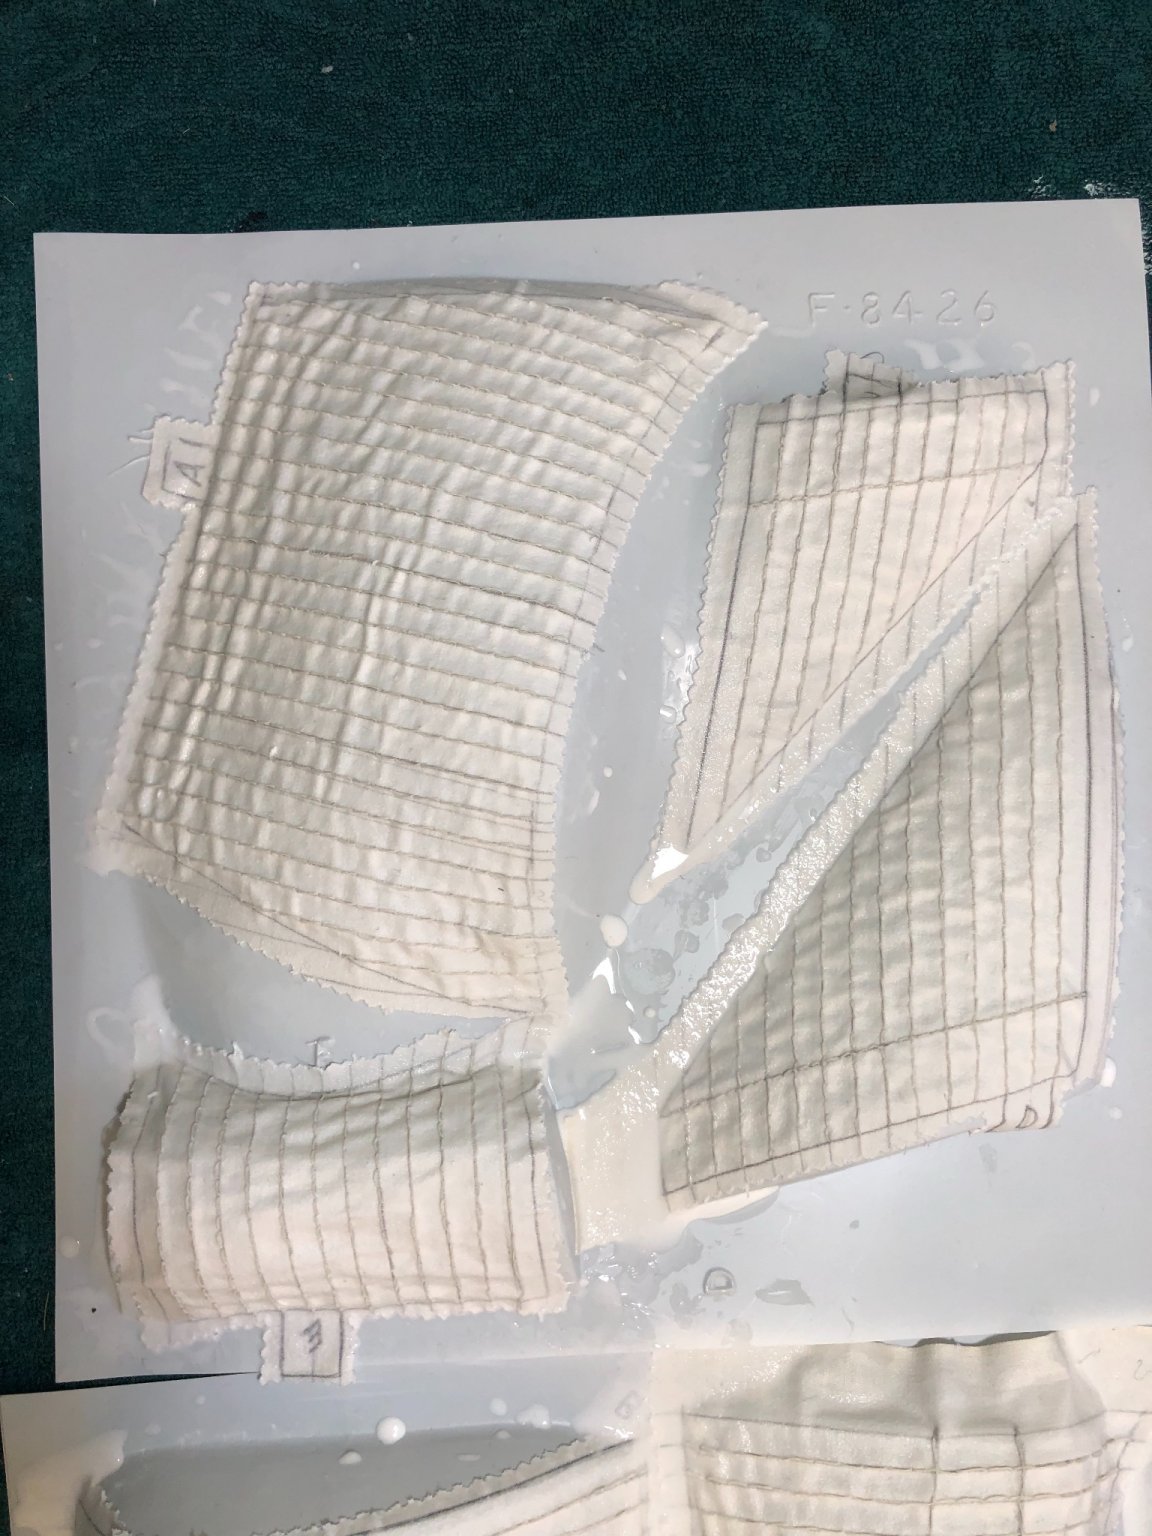
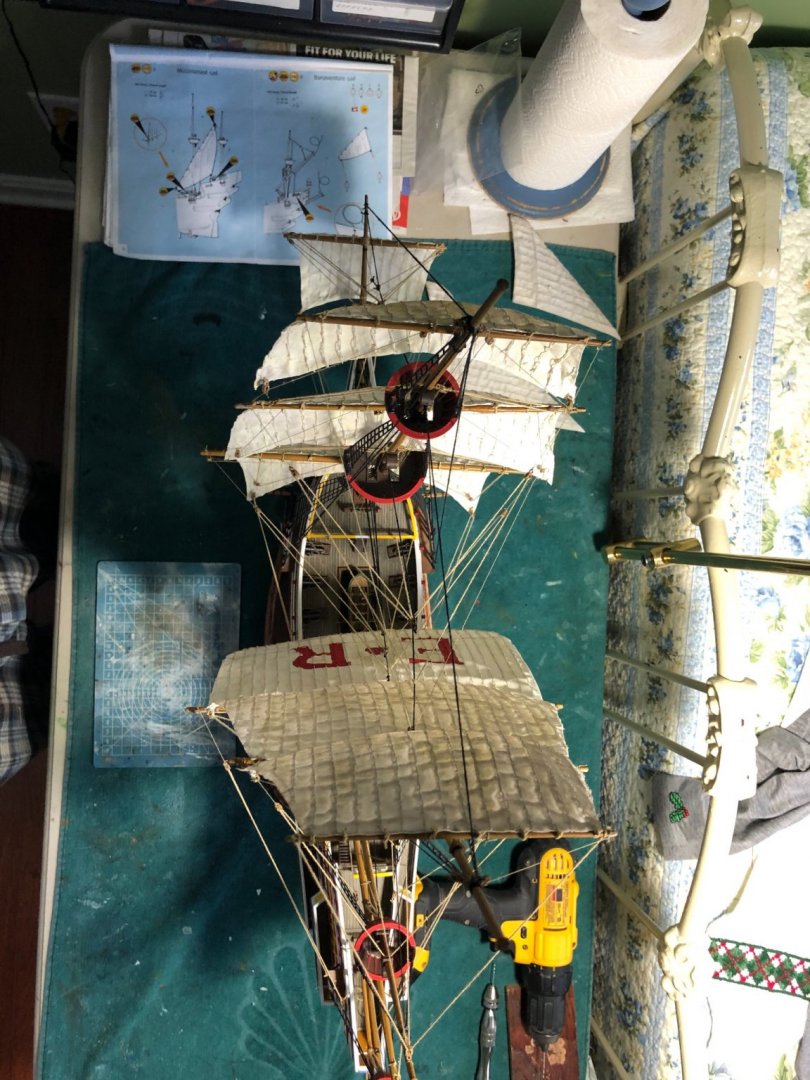
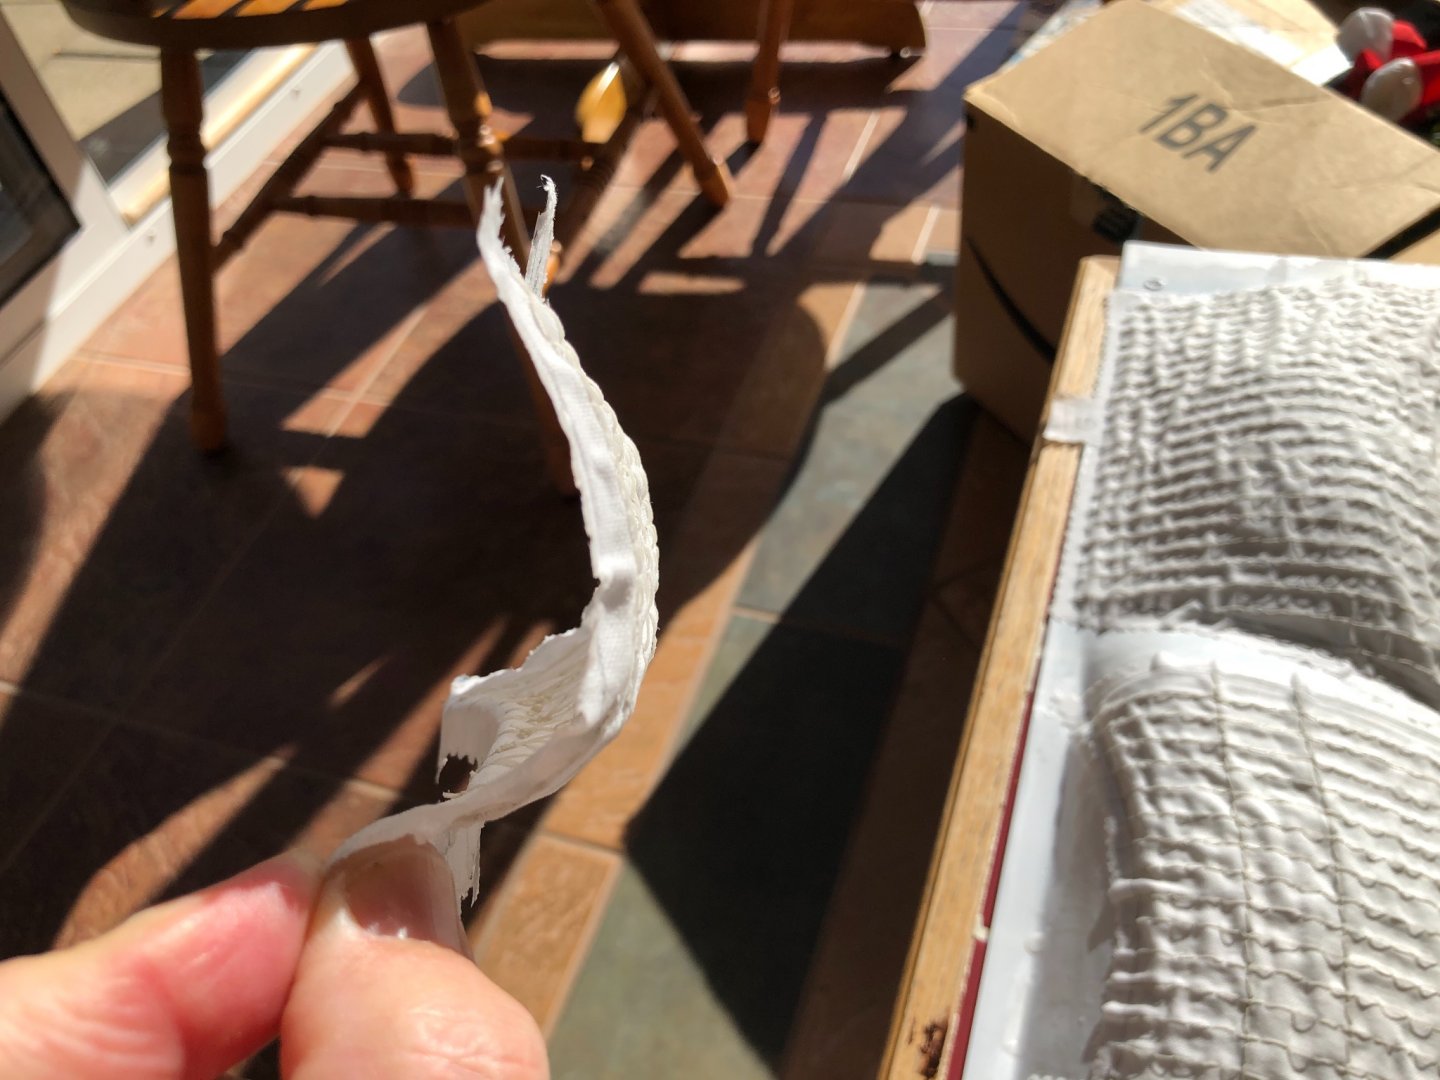
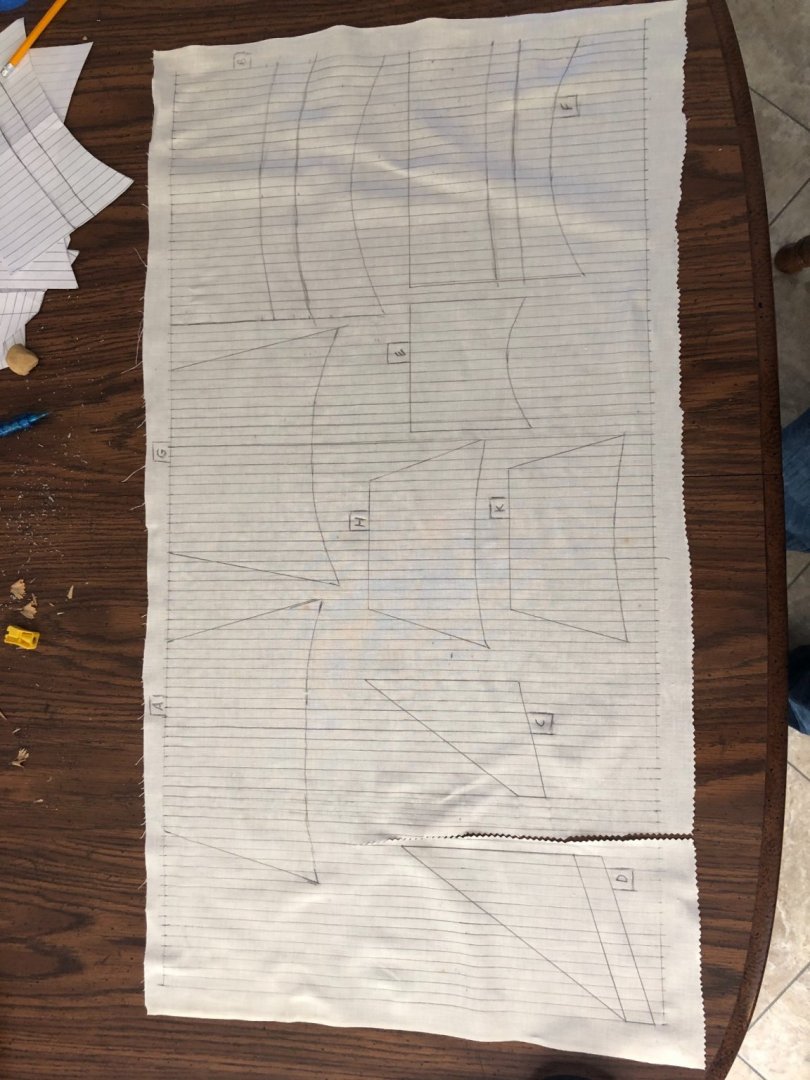
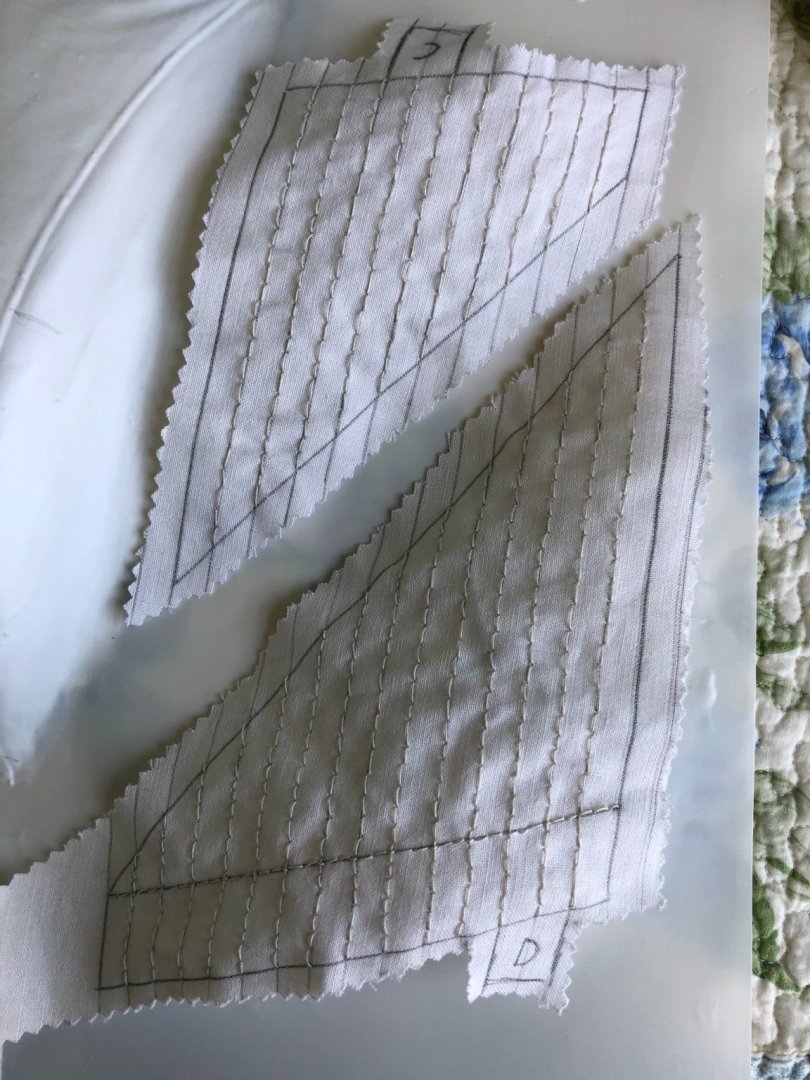
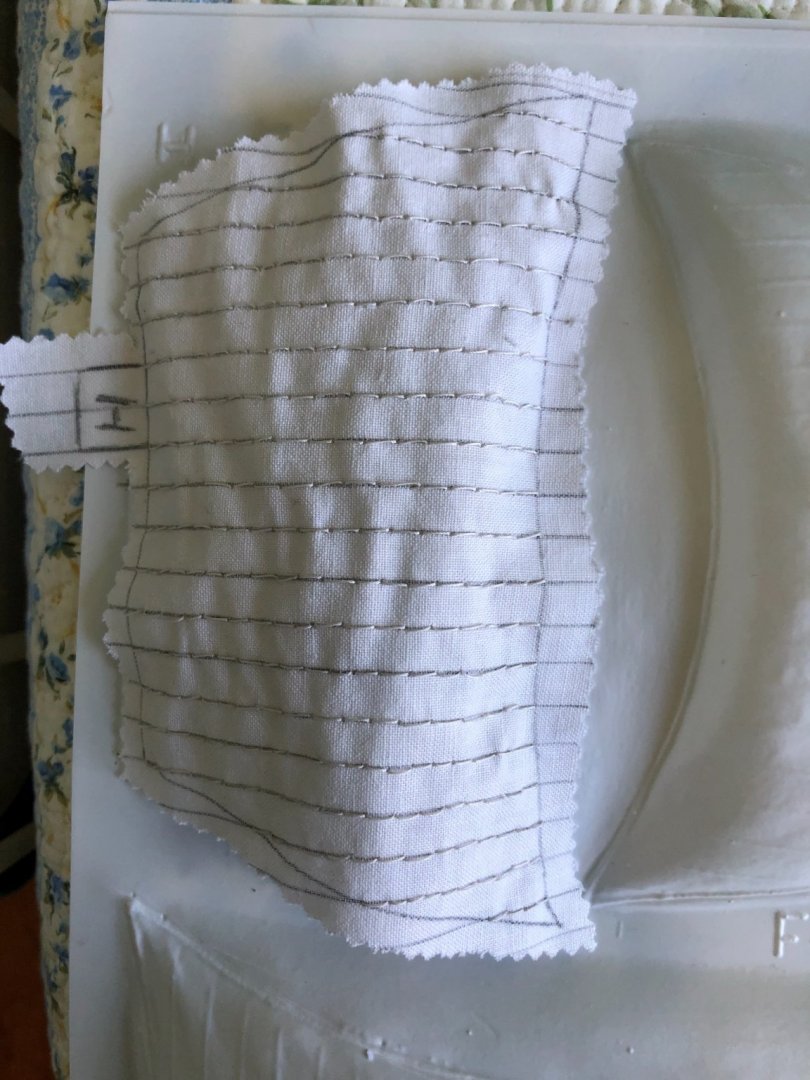
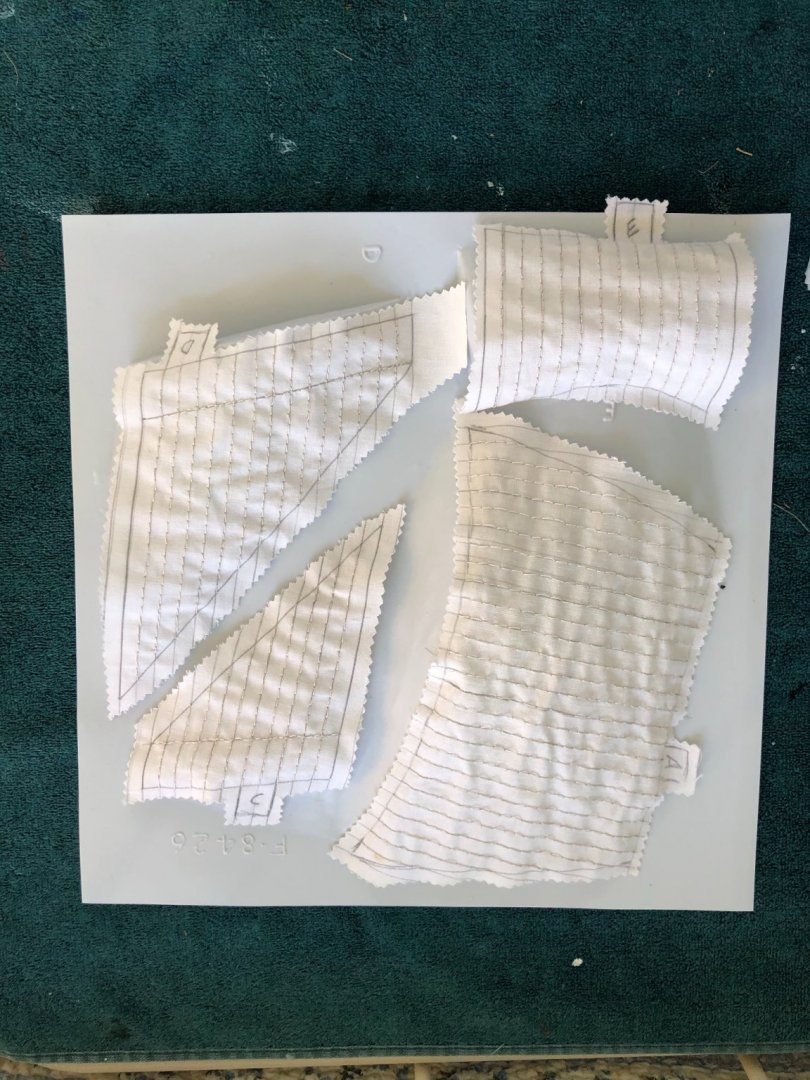
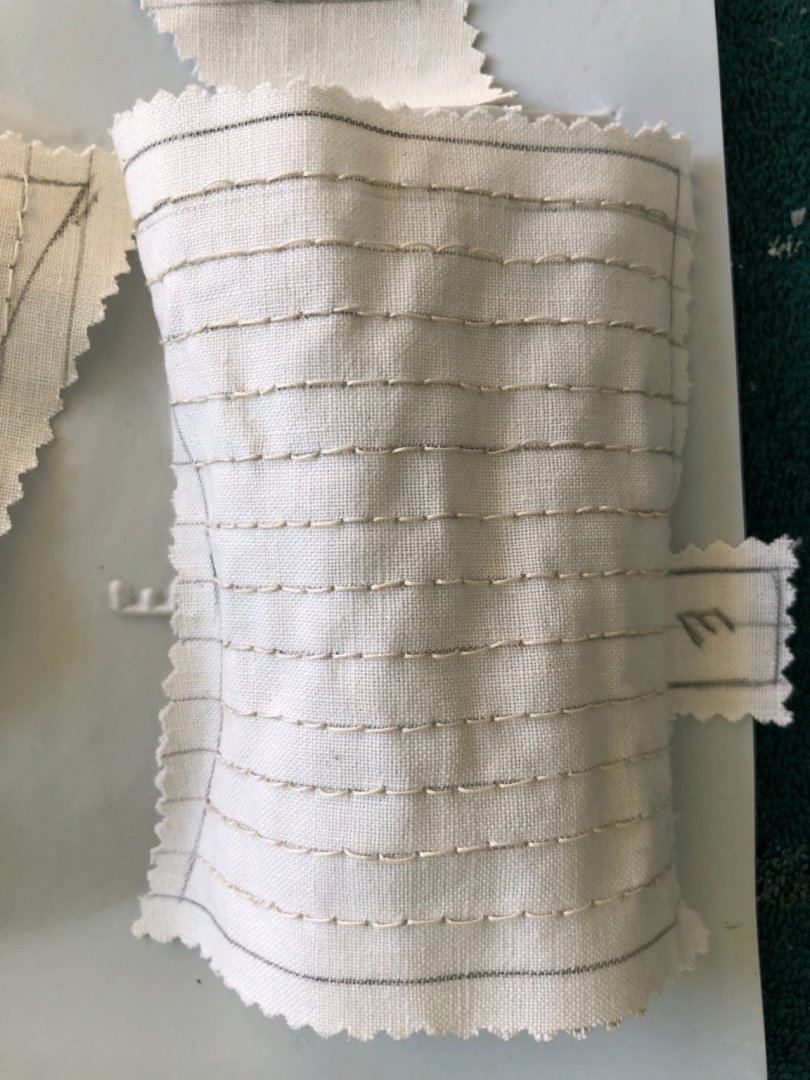
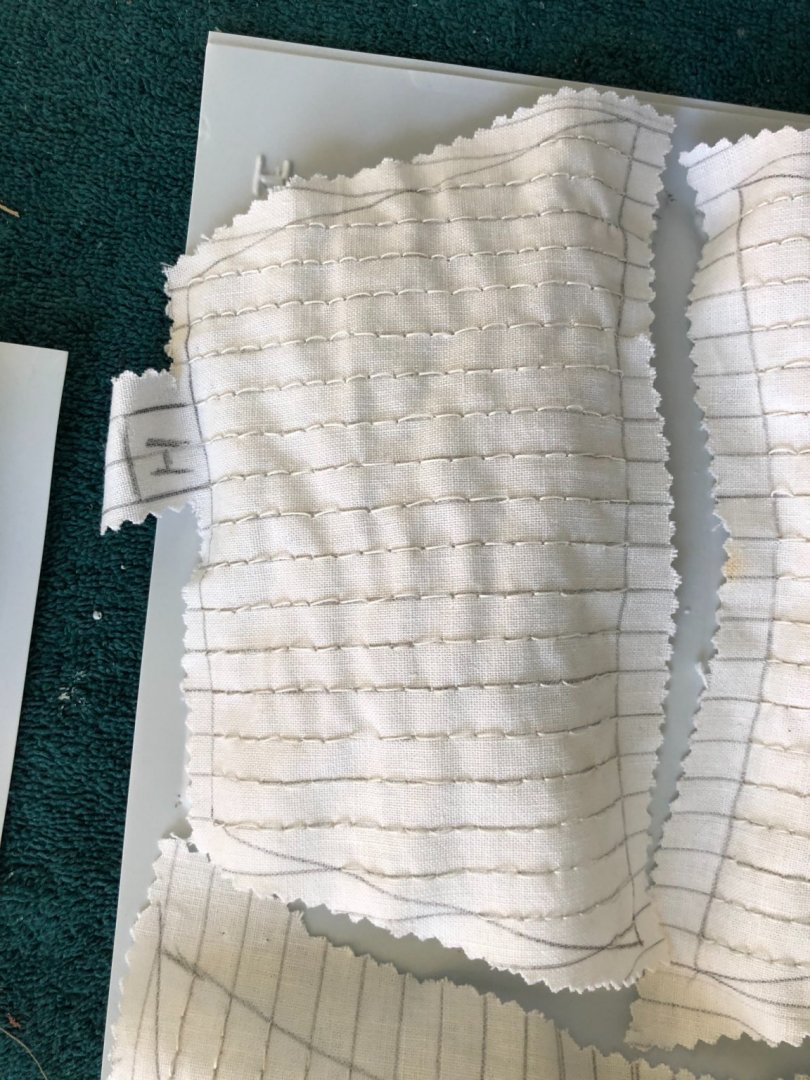
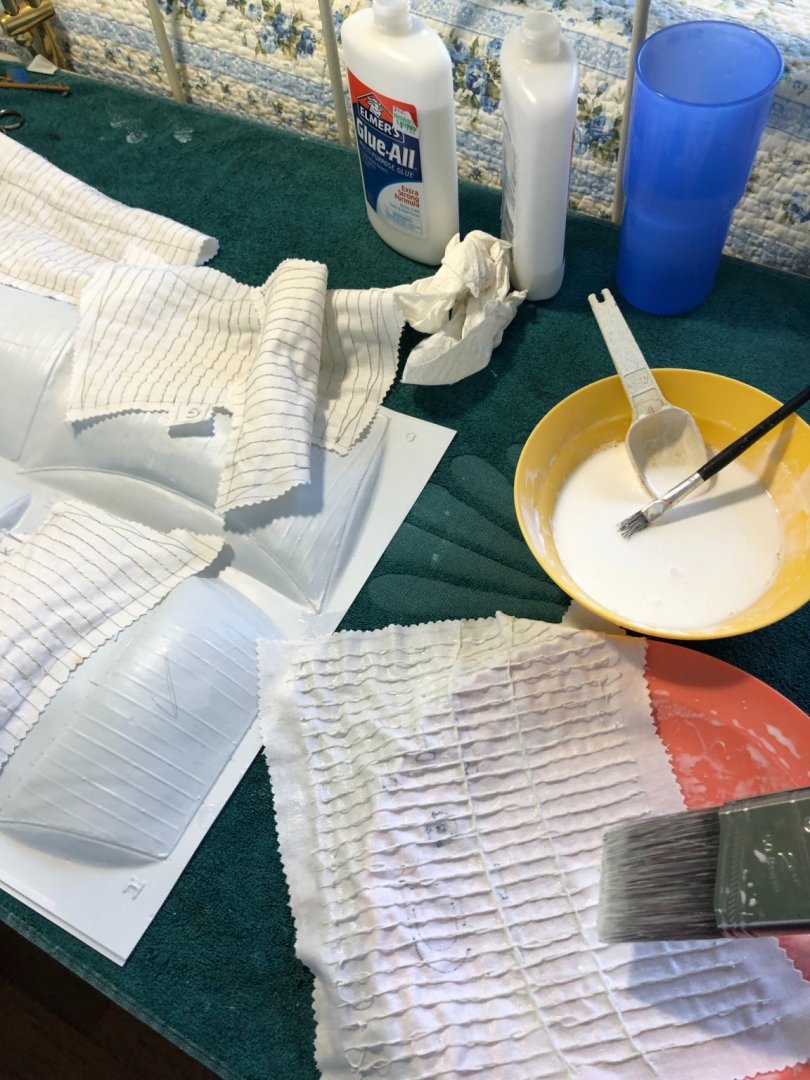
Completed rigging my foremost and started rigging the mainmast. Also started working on my sails. I like to make my own since I don’t care for the plastic formed sails that come with the kits. The is my second ship using the technique I do to make my sails. It is a combination of a few different techniques I I picked up on MSW. I first measure the distance between the molded lines on the plastic sails of then transfer that measurement to some standard printer paper and fill the entire sheet with lines spaced the determined width. Once done I make a bunch of copies in my printer. I then take a sheet of the lined paper and lay it over one of the formed sails making sure the lines on the paper match up with the lines in the plastic sail. Holding it in place I carefully draw out the pattern of the sail under the paper. I add a small tab on a side where I write the number or letter of the sail. Once I have all my paper patterns I lay them aside and get the cloth I am using for the sails. For my Man O War I found some light weight antique cloth I thought would make nice sails. I then stretch out the amount I need and line it the same way I did the paper. This is now ready to transfer the patterns to the cloth. I line up each paper sail on the cloth matching the lines and draw around the perimeter. I now have all my sails layer out on cloth. After that the monotony begins. I do not have a sewing machine so I hand stitch all the lines on all the sails with a medium weight thread in a matching color. Once I have all the sails sewn I cut them out and prepare to make my billowed sails. I make a solution of half and half white glue and water. I then paint the back of a sail with the solution an lay it over the plastic formed sail as a mold. Follow that up with a heavy coat of the solution on the top side and shaping the cloth sail to match the mold carefully smoothing it it to resemble a sail billowed from the wind. I will the molds set over night and apply a second coat to the top side tomorrow. Once they dry completely I will pop them free of the molds and trim to size. They will then be ready for some airbrush antiquing and adding rigging components as necessary. I liked the way they came out for my Cutty Sark and am anxious to see this finished product.


- 35 replies
-
- 6
-
-
- english man o war
- revell
- (and 2 more)
-
Thanks Robert. Seeing your pictures of the Golden Hind next to your Man O War (a model I actually have) helps me visualize how big it and the Wasa are. I have both on my Christmas list.
- 165 replies
-
- 1
-
-
- english galleon
- revell
- (and 2 more)