.jpg.44b4c10f4615fd46cc20721867b8f1f1.jpg)
DispleasedOwl
-
Posts
52 -
Joined
-
Last visited
Recent Profile Visitors
590 profile views


-
 ccoyle reacted to a post in a topic:
San Juan Nepomuceno's Boat by DispleasedOwl - FINISHED - Artesania Latina - by Hugo Bosque
ccoyle reacted to a post in a topic:
San Juan Nepomuceno's Boat by DispleasedOwl - FINISHED - Artesania Latina - by Hugo Bosque
-
Boerscht reacted to a post in a topic:
San Juan Nepomuceno's Boat by DispleasedOwl - FINISHED - Artesania Latina - by Hugo Bosque
-
Начинающий судомоделист reacted to a post in a topic:
Jolie Brise by DispleasedOwl - Artesania Latina
-
Cathead reacted to a post in a topic:
Jolie Brise by DispleasedOwl - Artesania Latina
-
yvesvidal reacted to a post in a topic:
Jolie Brise by DispleasedOwl - Artesania Latina
-
AJohnson reacted to a post in a topic:
Jolie Brise by DispleasedOwl - Artesania Latina
-
AJohnson reacted to a post in a topic:
Jolie Brise by DispleasedOwl - Artesania Latina
-
AJohnson reacted to a post in a topic:
Jolie Brise by DispleasedOwl - Artesania Latina
-
DispleasedOwl reacted to a post in a topic:
Jolie Brise by DispleasedOwl - Artesania Latina
-
ccoyle reacted to a post in a topic:
Jolie Brise by DispleasedOwl - Artesania Latina
-
DanB reacted to a post in a topic:
Jolie Brise by DispleasedOwl - Artesania Latina
-
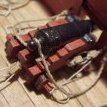
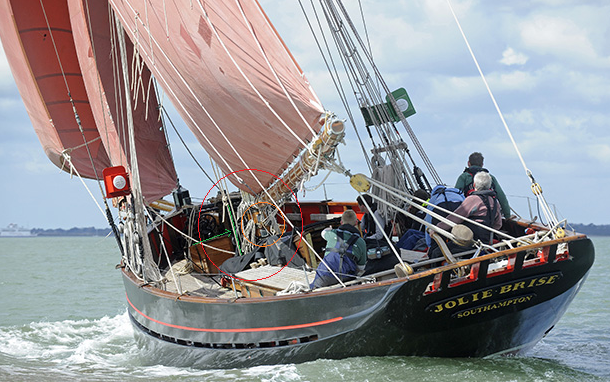
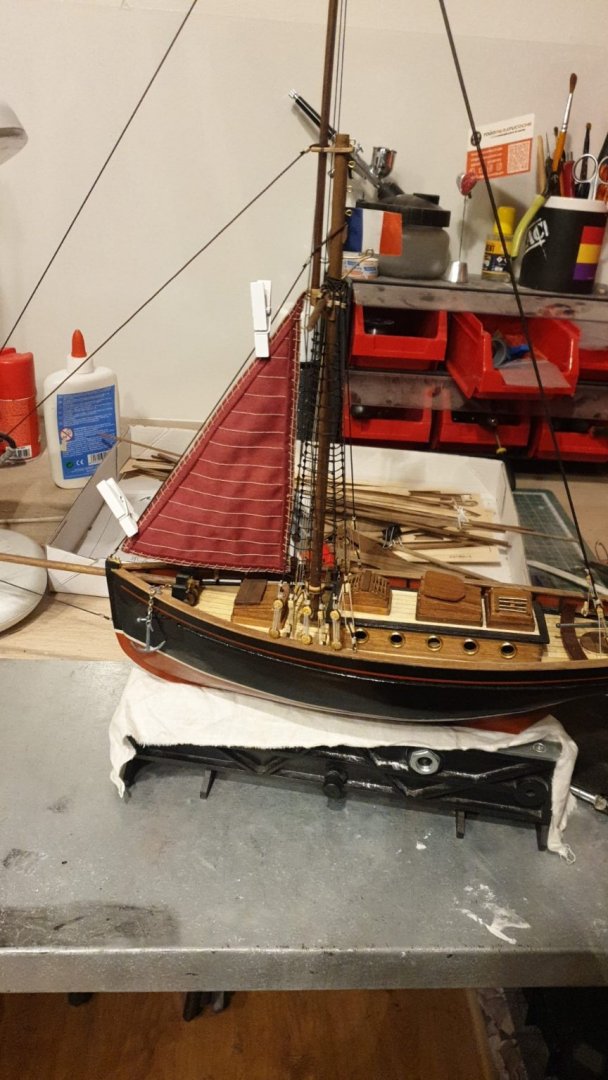
.thumb.jpg.5a33ce11c7bd2c0f448734dd2e7ea95b.jpg) Updates, the Gaff Topsail is done. I found some plans and the gaff topsail extends a little bit further down the gaff alongside the mast: Also i found some photos regarding how the gaff is rigged, and i found this: You can barely see it, but in the red circle you can see a pulley and a block, and thats how the gaff is rigged to the deck. It is secured against a hook and a pin on the deck. I did not make this 100% accurately, but its a detail i wouldve missed some weeks ago. This is how it turned out: I am now sewing the spanker sail. I am considering whether or not to add a job topsail. What do you guys think?
Updates, the Gaff Topsail is done. I found some plans and the gaff topsail extends a little bit further down the gaff alongside the mast: Also i found some photos regarding how the gaff is rigged, and i found this: You can barely see it, but in the red circle you can see a pulley and a block, and thats how the gaff is rigged to the deck. It is secured against a hook and a pin on the deck. I did not make this 100% accurately, but its a detail i wouldve missed some weeks ago. This is how it turned out: I am now sewing the spanker sail. I am considering whether or not to add a job topsail. What do you guys think?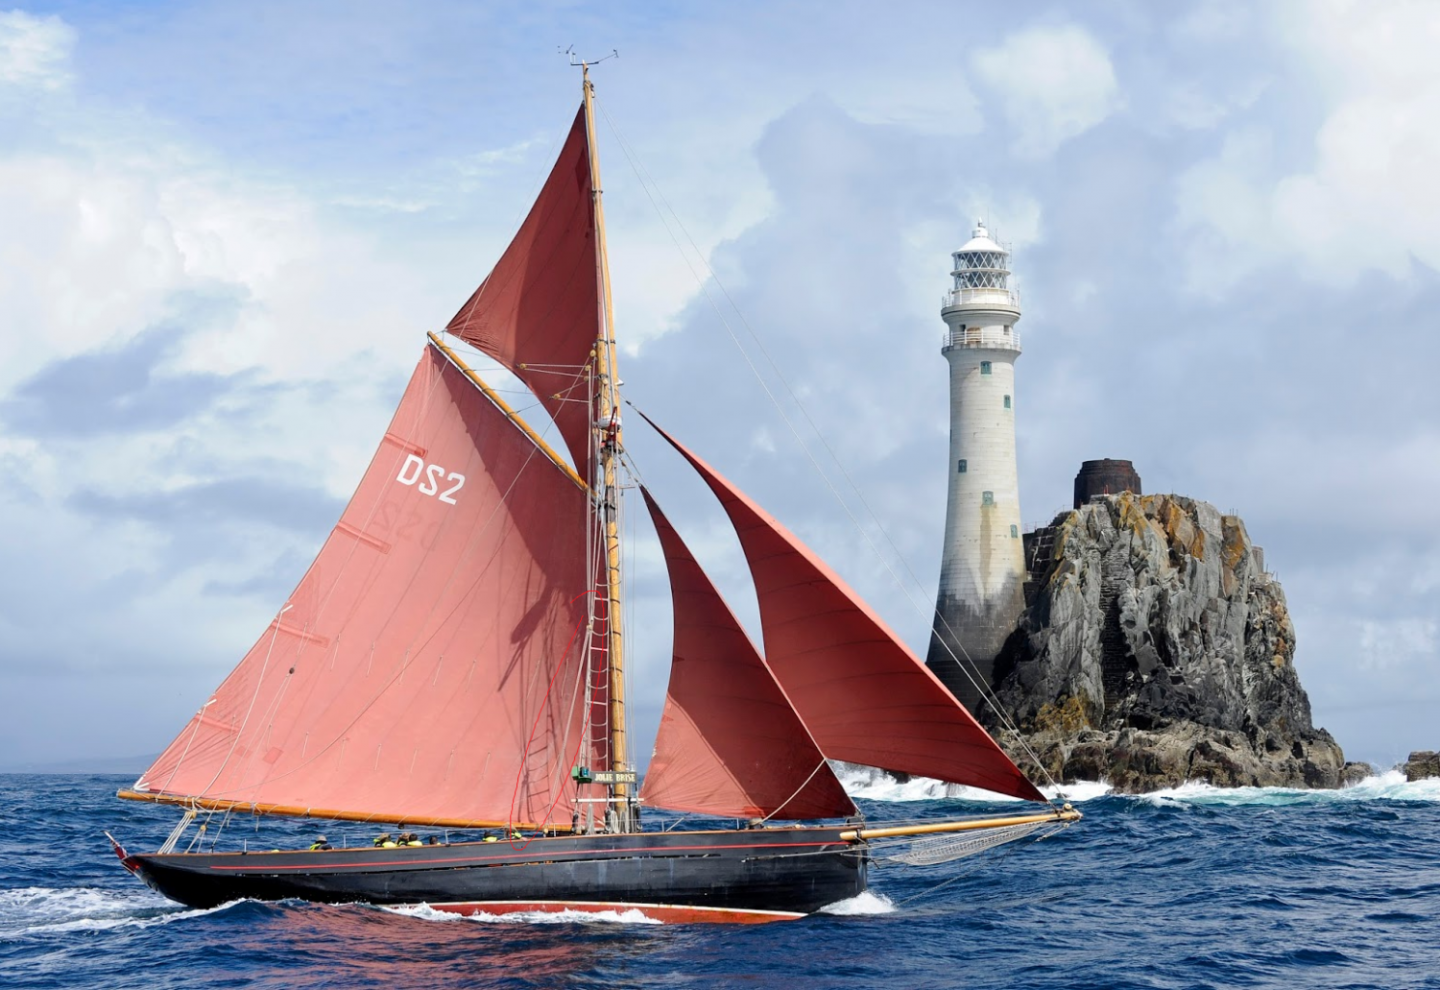


.thumb.jpeg.fd0243d1d6a07e658f55587802a3b2da.jpeg)
.thumb.jpeg.def647471ac67b13222c117d286a1a48.jpeg)
-
DispleasedOwl reacted to a post in a topic:
Jolie Brise by DispleasedOwl - Artesania Latina
-
 DispleasedOwl reacted to a post in a topic:
Jolie Brise by DispleasedOwl - Artesania Latina
DispleasedOwl reacted to a post in a topic:
Jolie Brise by DispleasedOwl - Artesania Latina
-
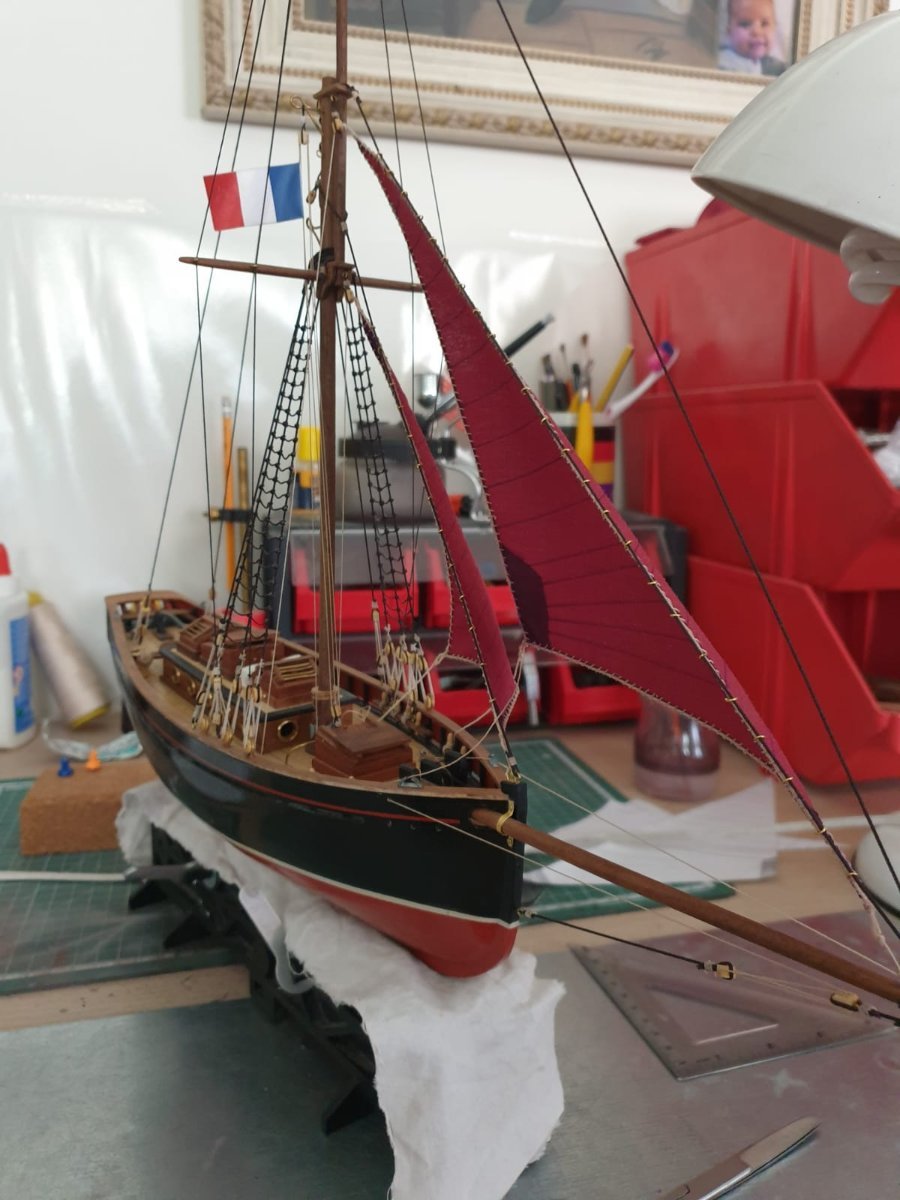
FJOO: Flying Jib Officially On!
.thumb.jpeg.9ead128bbac29b193ba4670adb7903f5.jpeg)

.thumb.jpeg.641f83a7bf63b8effd984ba24d0b50ac.jpeg)

-
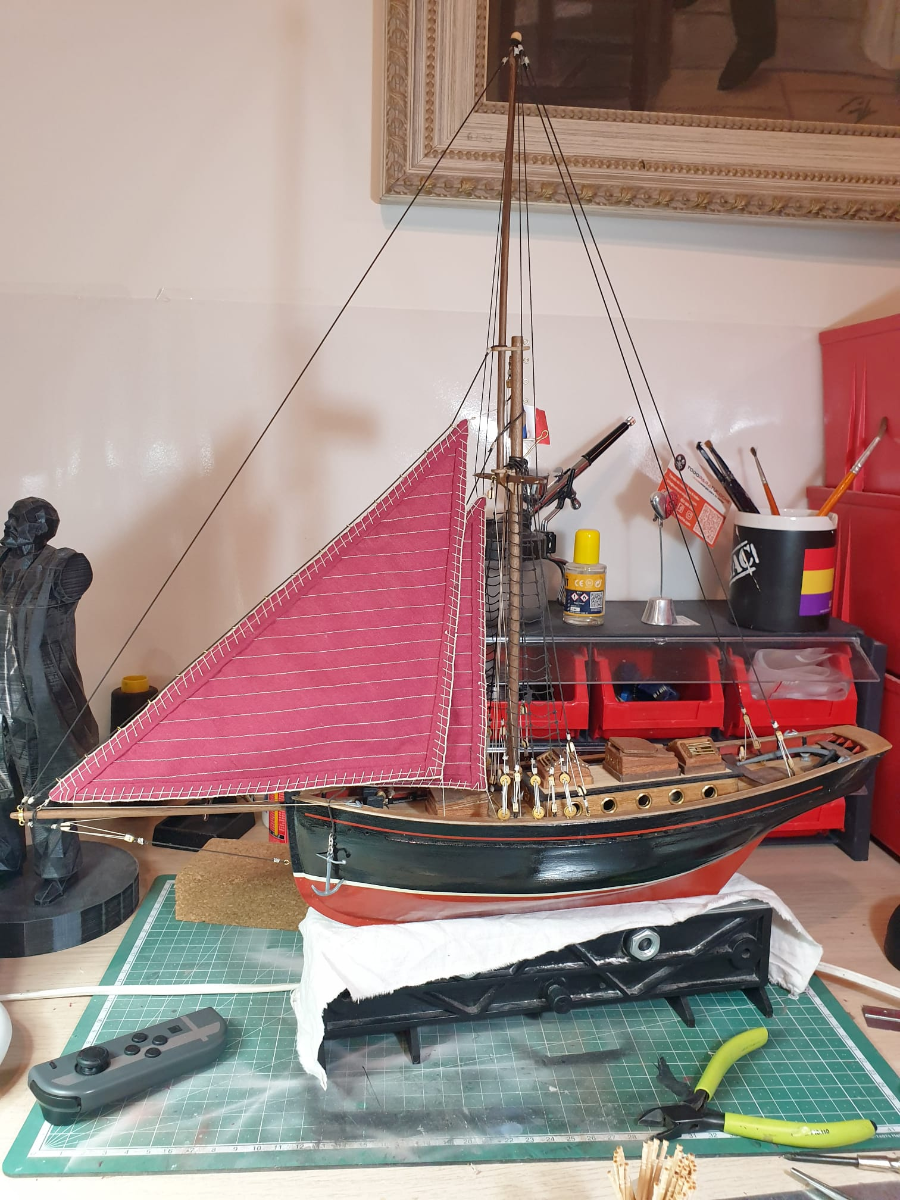
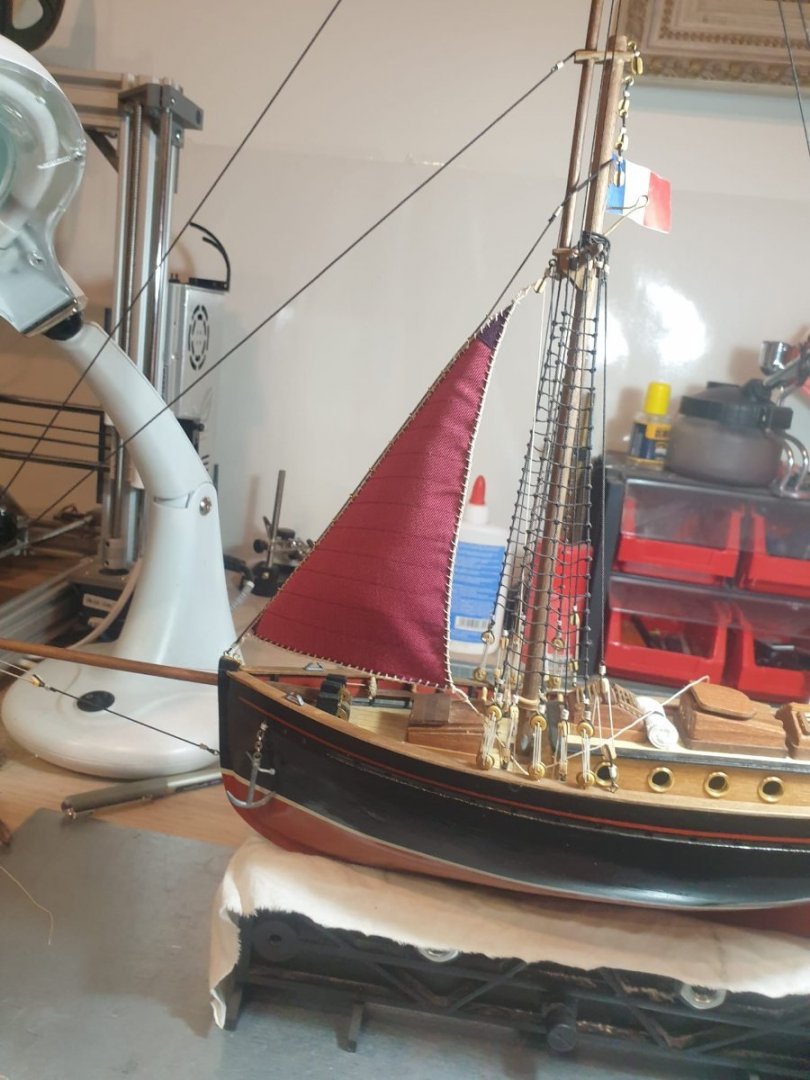
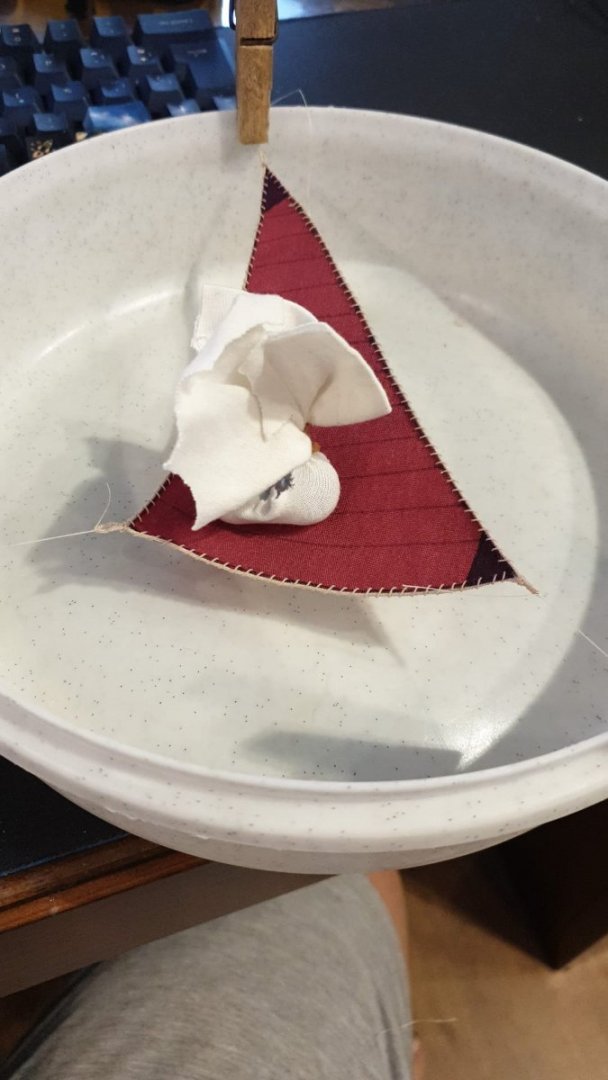
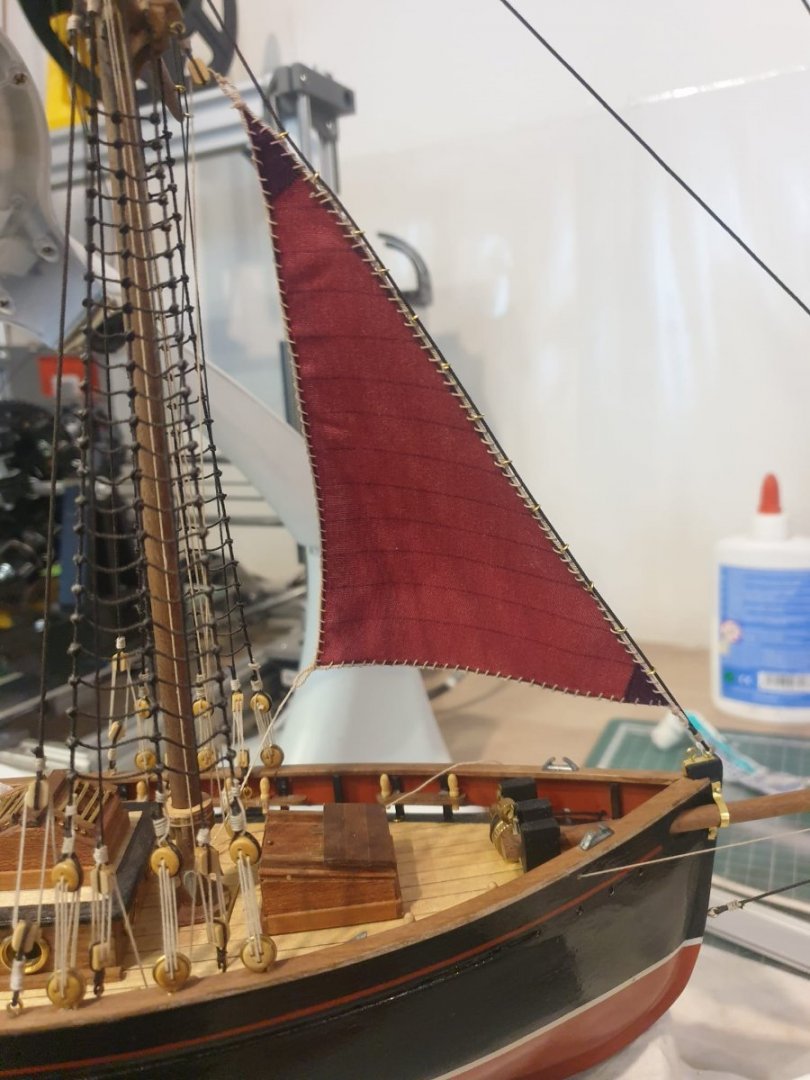
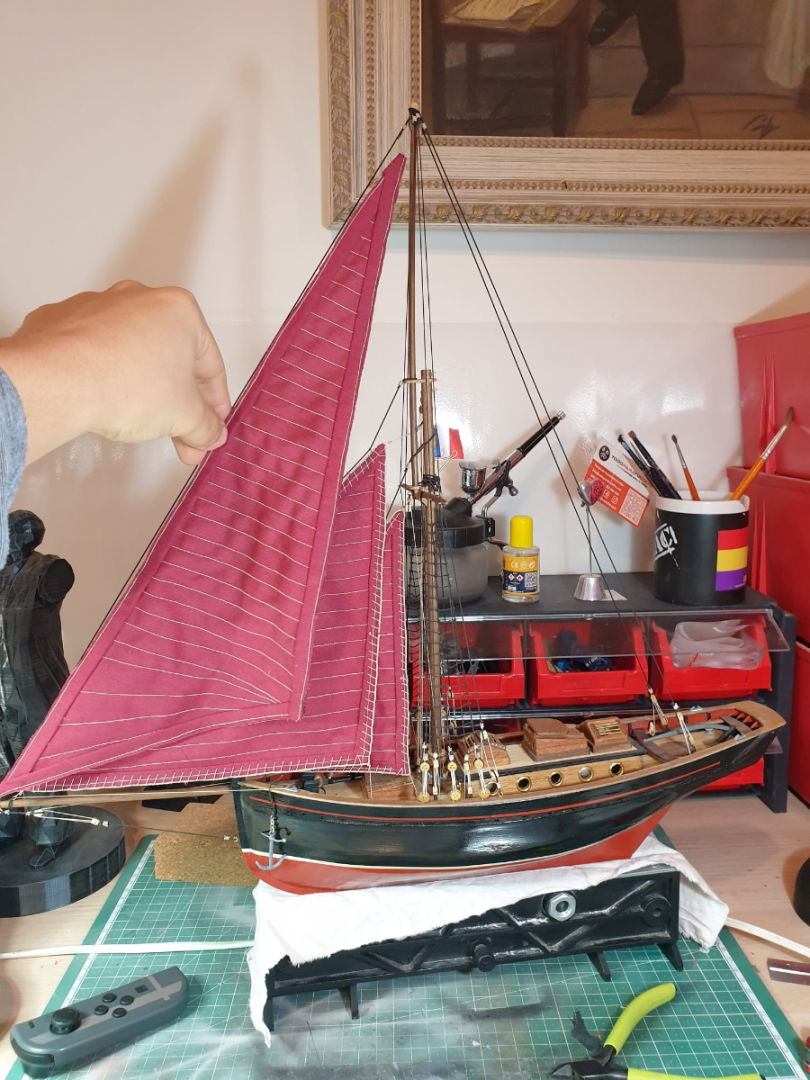
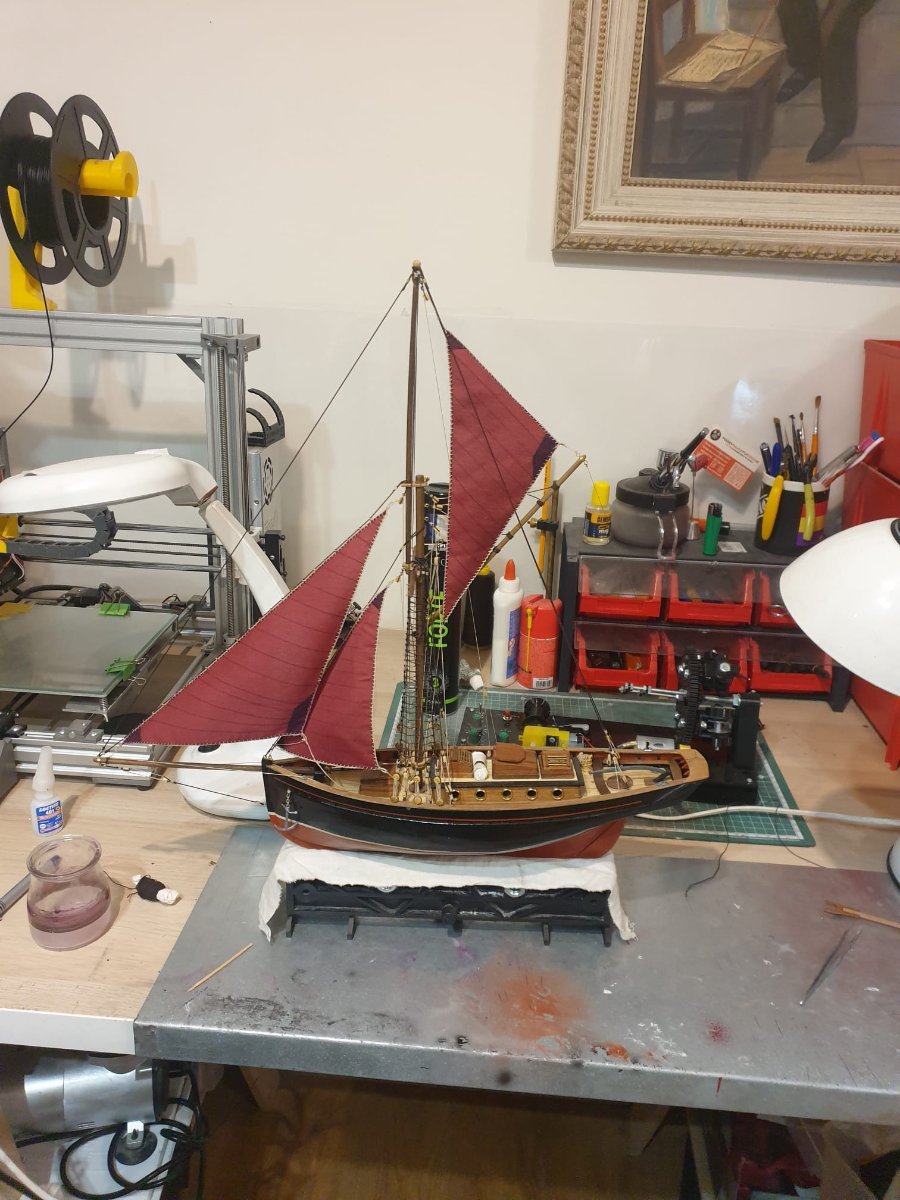
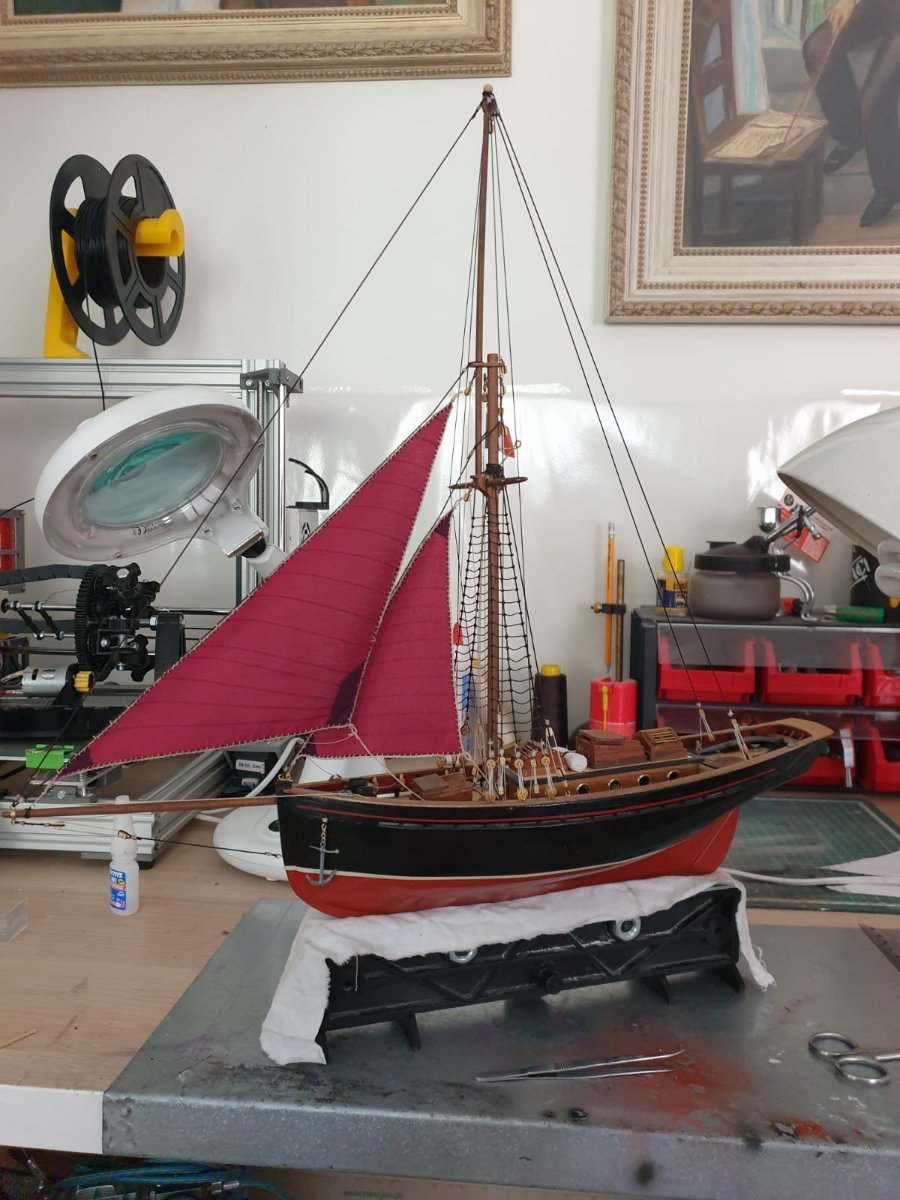
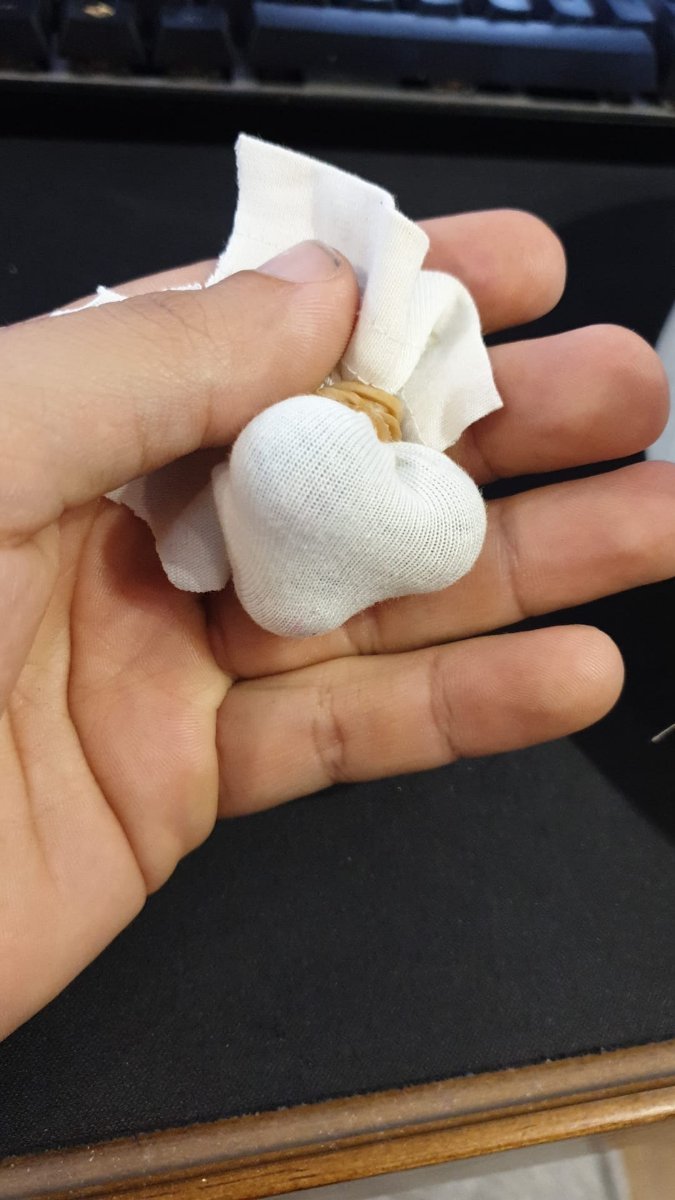
So, after looking at more pictures of the Jolie Brise, i realized i wanted my model to look alive. Sails full of wind, sailing across the waves! I started investigating on how to do exactly that, to simulate the sails in a way that looks realistic. Just look at them, i wanted to emulate that look. This is the gig that i made. After the sail was completed, i tied its corners to the edges of a bow using some clips. I then took some marbles, put them inside a piece of cloth and tied it so they dont move. I then sprayed hairspray, and before it hardened i put the marbles in there to act as a weight. The hairspray does not change the color of the fabric, which was my biggest fear. This is the final result. In order to also support the sail, the rope that connect the 90 degree angle of the sail to the deck had to be rigid as well. I thought of a small metal cable, but at this scale it would be too noticeable. So what i ended up doing is hardening the rope with some cyanocrylate glue. It worked well enough, and this are the results: Next sail is the flying jib. I will be doing it today.


.thumb.jpeg.d3067b05b2b96af8772b0718836d7854.jpeg)
-
 DispleasedOwl reacted to a post in a topic:
Domanoff's PL4 Upgrades
DispleasedOwl reacted to a post in a topic:
Domanoff's PL4 Upgrades
-
DispleasedOwl changed their profile photo
-
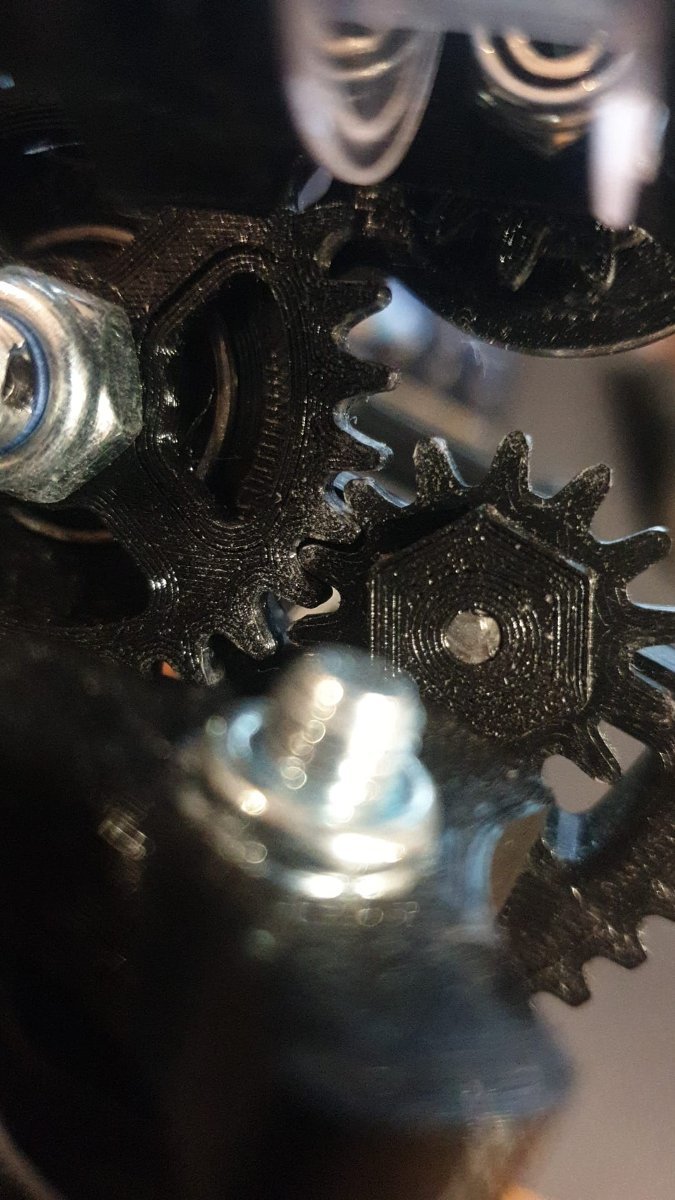
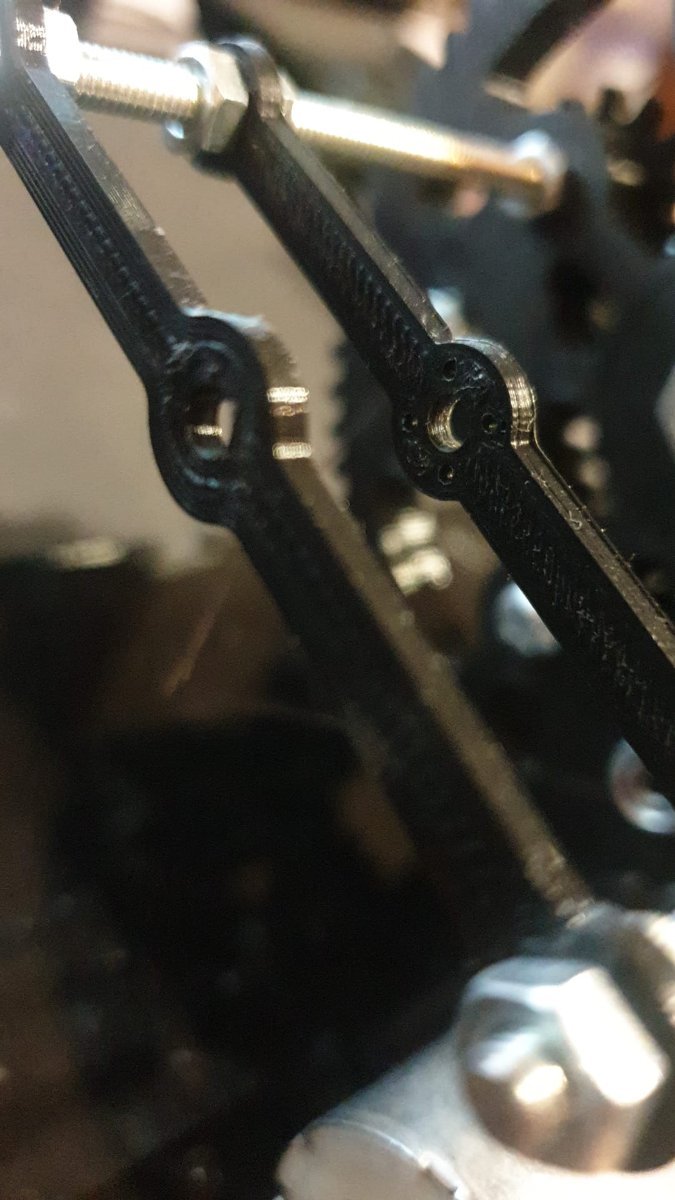
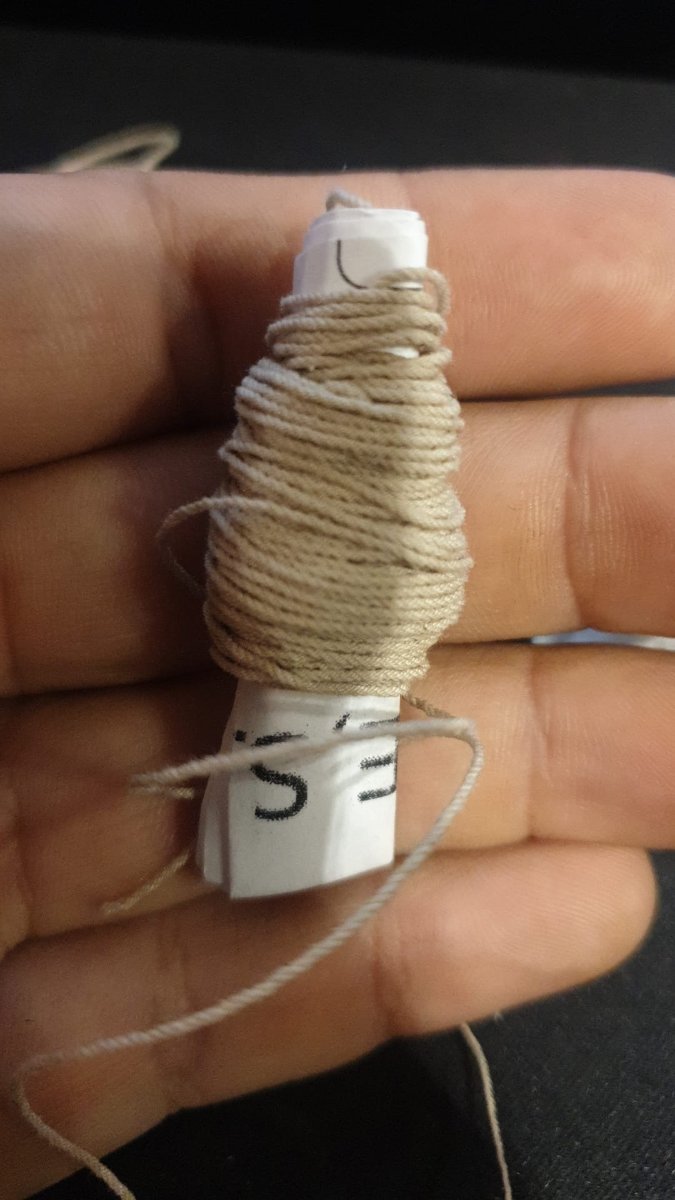
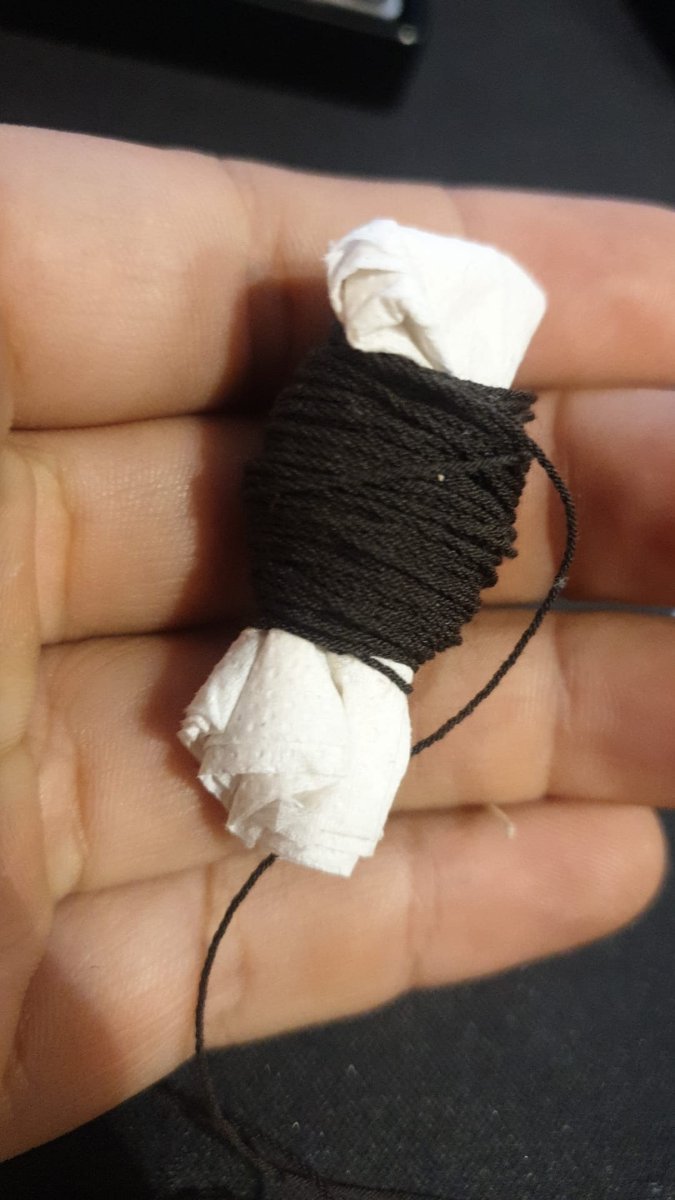
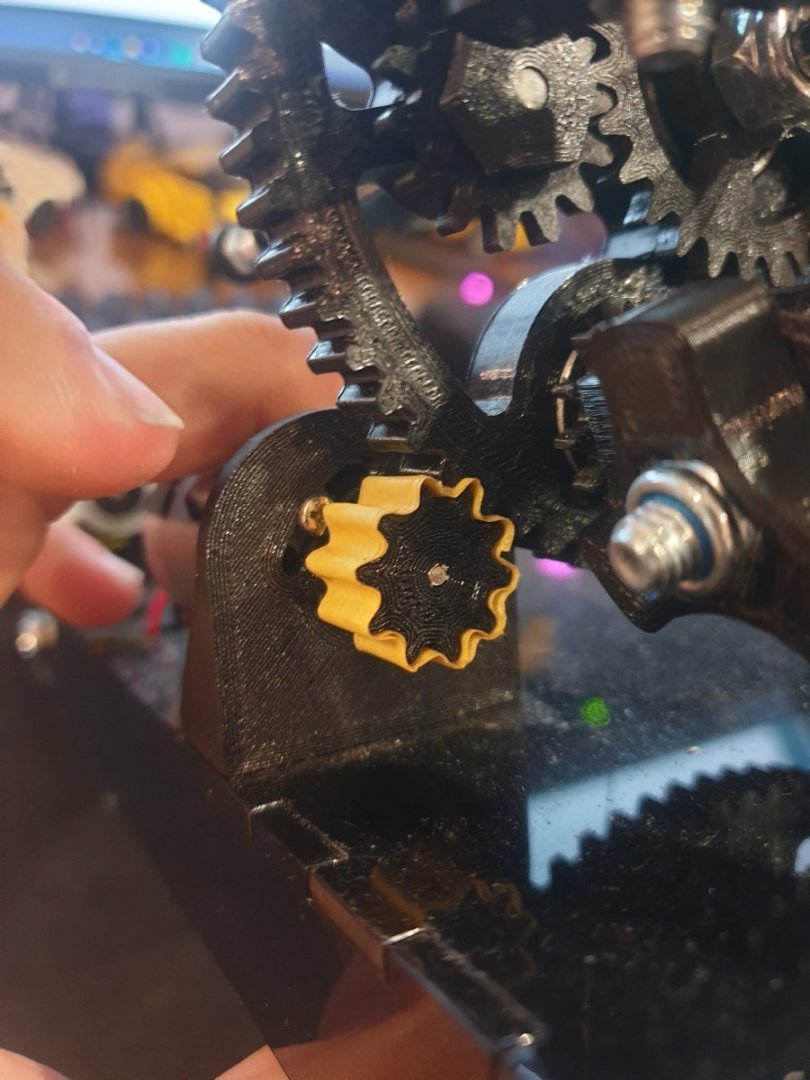
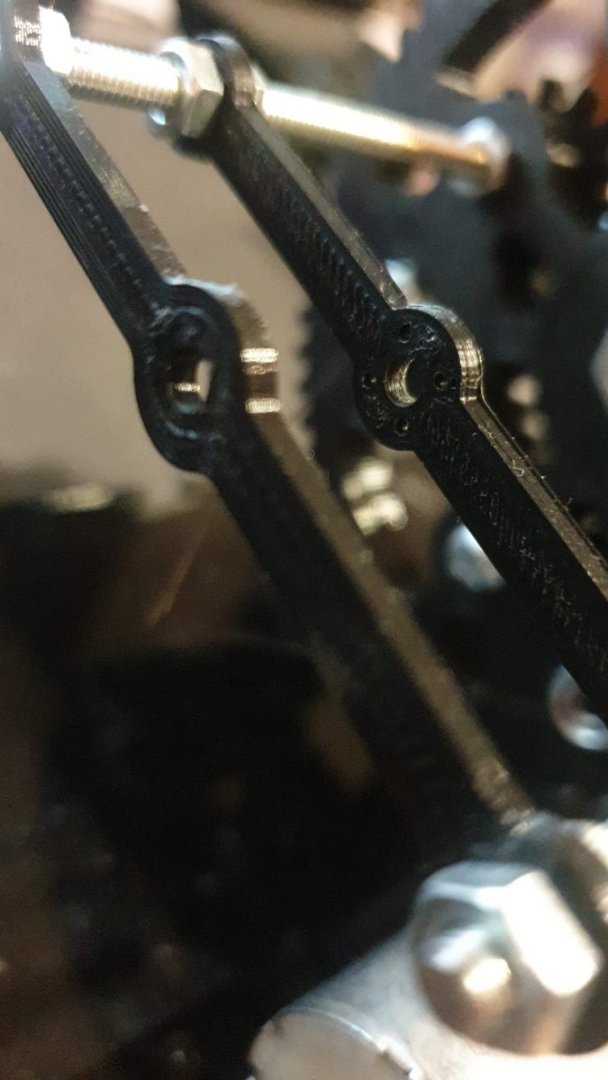
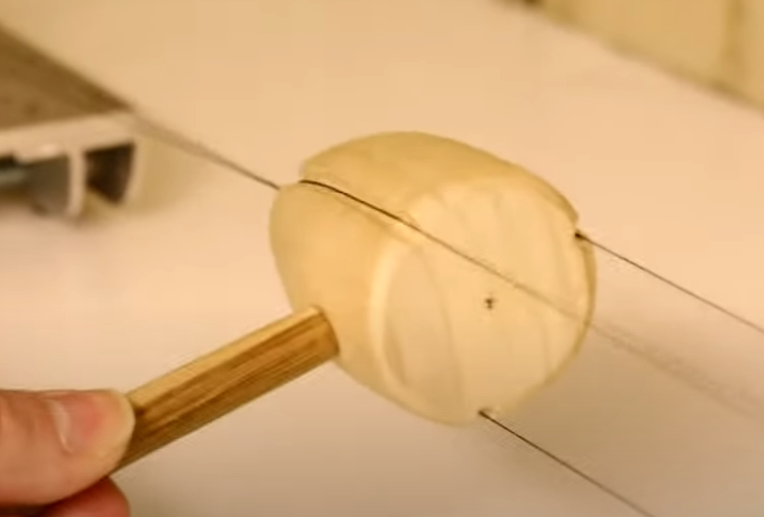
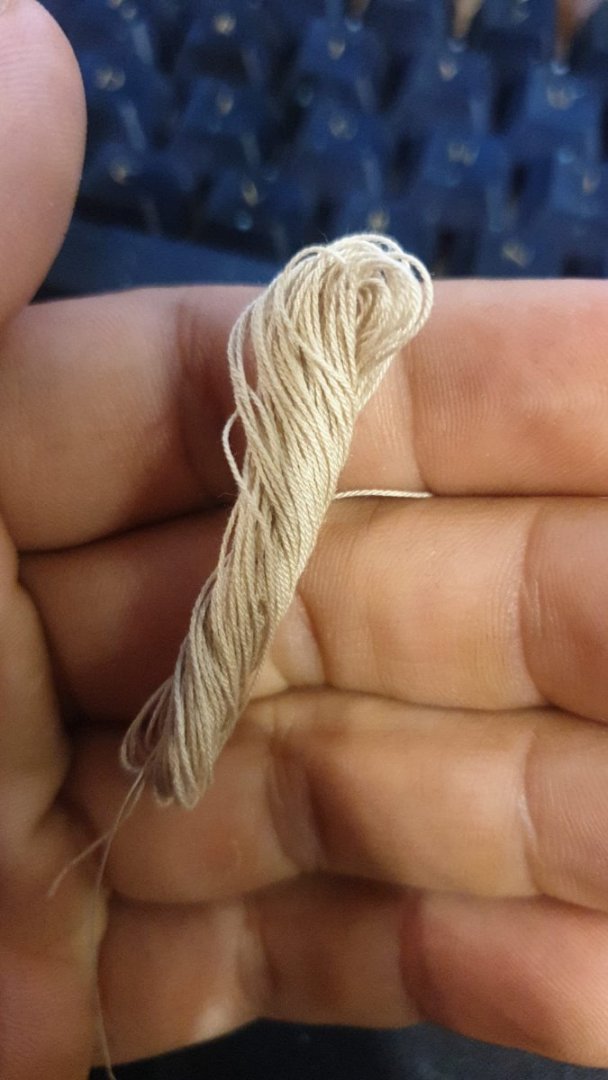
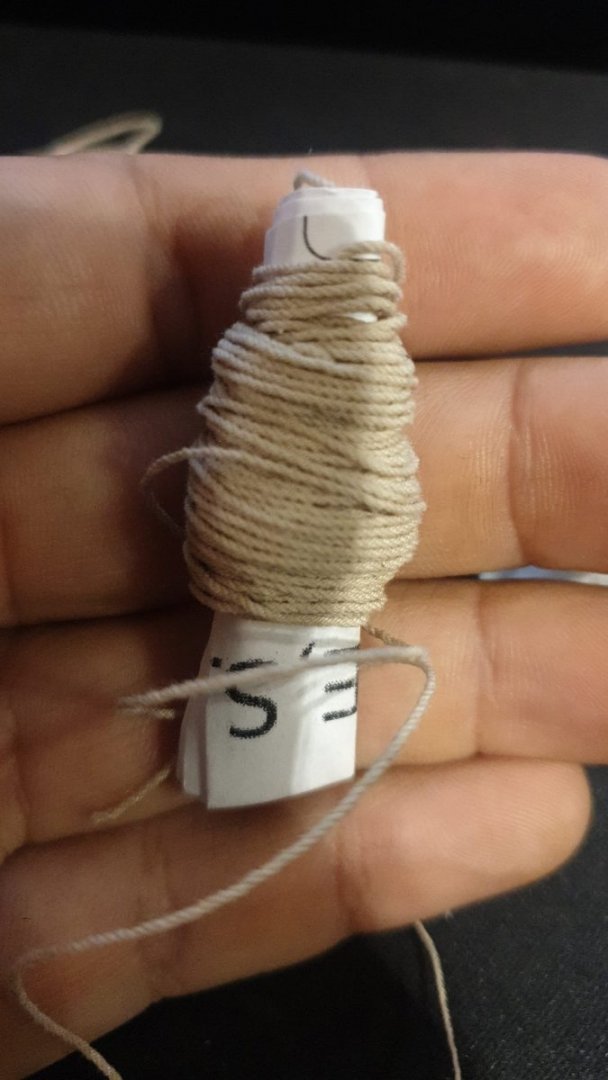
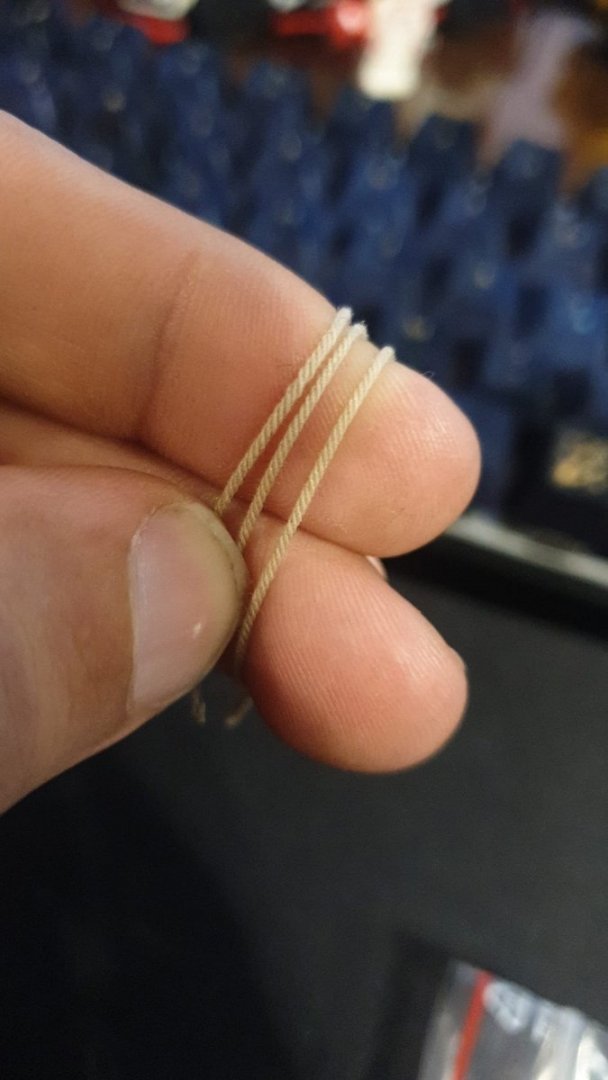
Hi everyone, As requested by @bruce d, i am posting here the upgrades i did to my PL4 machine to make it quieter and deliver higher quality rope. After multiple test runs of the machine, i found that adequate tension from the spools is what secures a well laid rope. That being said, i usually run it for a few spins, tightening or loosening the nuts that apply pressure to the spools until i find the perfect tension where the rope does not just unwind freely from the spool and encounters a little bit of resistance. I believe, after a few weeks of use, that this tension and experimentation is what caused the first cog to break. This is when the upgrades started. First, i had my girlfriend (thanks honey, i know you read this) design a model of a cog similar to the one that broke in order to change it. But i noticed that quite the noise came from this cogs moving, since they are not a perfect "match" with the rest of the cogs they are connected with. This "freedom" of movement is what, at high speeds, causes that terrible noise that everyone who owns this machine knows. So we designed this replacement cog with teeth that are slightly thicker. This reduces the wiggle room the cogs have, which in turn reduces noise. Also, i printed them with a smaller layer size, so they are sturdier than the original ones. I have attached the .stl of this piece, if anyone wants to print it. It requires no supports, and i recomend a generous infill. In this image you can see how the teeth of this 2 cogs fit snugglier with each other: Another place where a lot of noise is generated is between the connection of the cog that is connected to the motor and drives the main cog. The connection between this two cogs has a lot of wiggle room, but the problem is that i didnt want to bother my gf again designing a main cog with thicker teeth, so what i did is i wrapped the cog connected to the motor in some masking tape. This turned out to be even better, since after a few layers it leaves a more squishy finish than plain plastic. This results in more noise absortion when the teeth of this 2 cogs are rotating at high speeds. This greatly reduces noise, and is a cheap (and replaceable) solution to the noise. It is a must do in my opinion. Also, another issue i had is with the rope laying location. We know that, for a high quality rope, the laying needs to happen between this 2 pieces. Problem is, nothing is preventing it. I found myself laying rope outside this spot, closer to the spools, which just ruins it. It turns from strands intertwining themselves to 1 rope acting as the "core" and the rest going around it. (I know a strand is needed to act as a core in 3 and 4 laid rope, this mostly prevents this issue in 2 strand laid rope) This following upgrade only "forces" you to do the right thing. It is a replacement for the first, closer to the laying spools, black piece. It has 4 holes in it, in which the individual strands go through, and does not allow the laying to go beyond this piece. Consider it as a guideline. It keeps the original sized hole, in case you dont want to use the smaller holes/use a core strand. This also acts as this wooden guide block which is used in traditional model rope walk machines. After this upgrades, and most important, LEARNING HOW TO USE AND OPERATE THE MACHINE, this is the quality of rope that im consistently getting: Im quite happy with the results. This ropes have just been laid, they are missing some massaging with bees wax, to fully bring the shine in them. This is a close up of a sail i made using this same ropes: Here are the files: PL4_guide.stlPL4_cog.stl Thanks for reading


- 1 reply
-
- 5
-
-

-
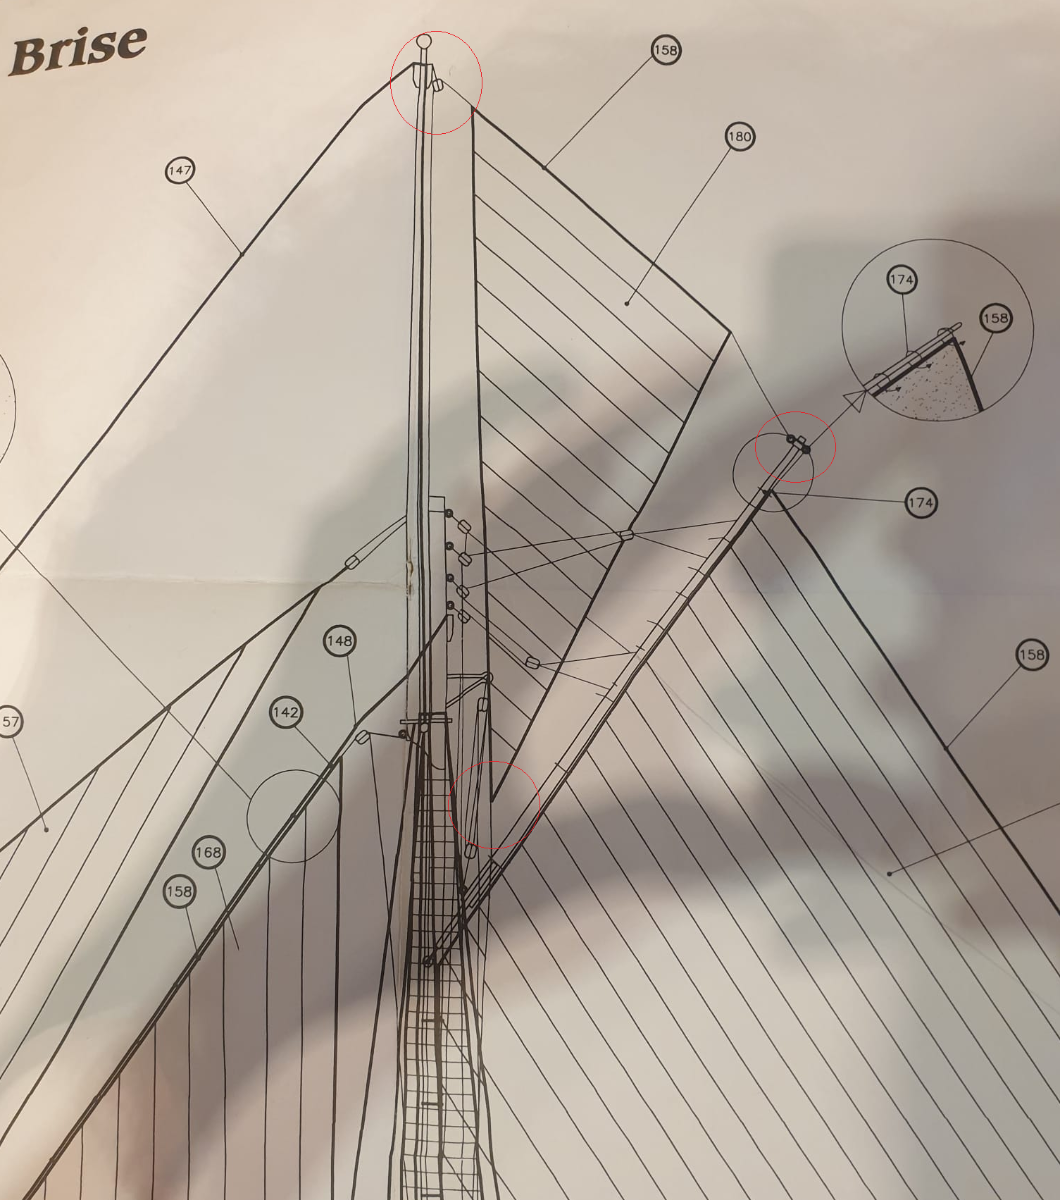
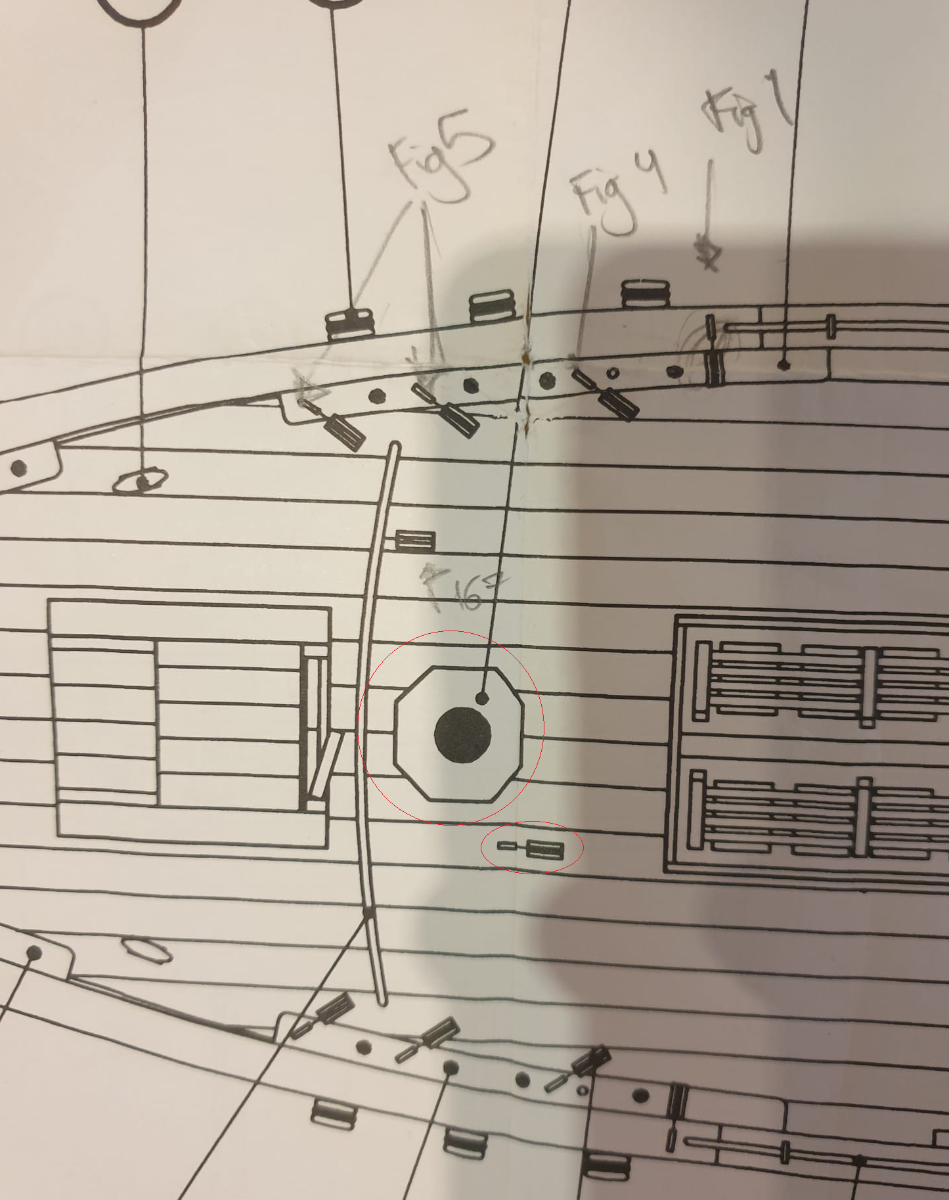
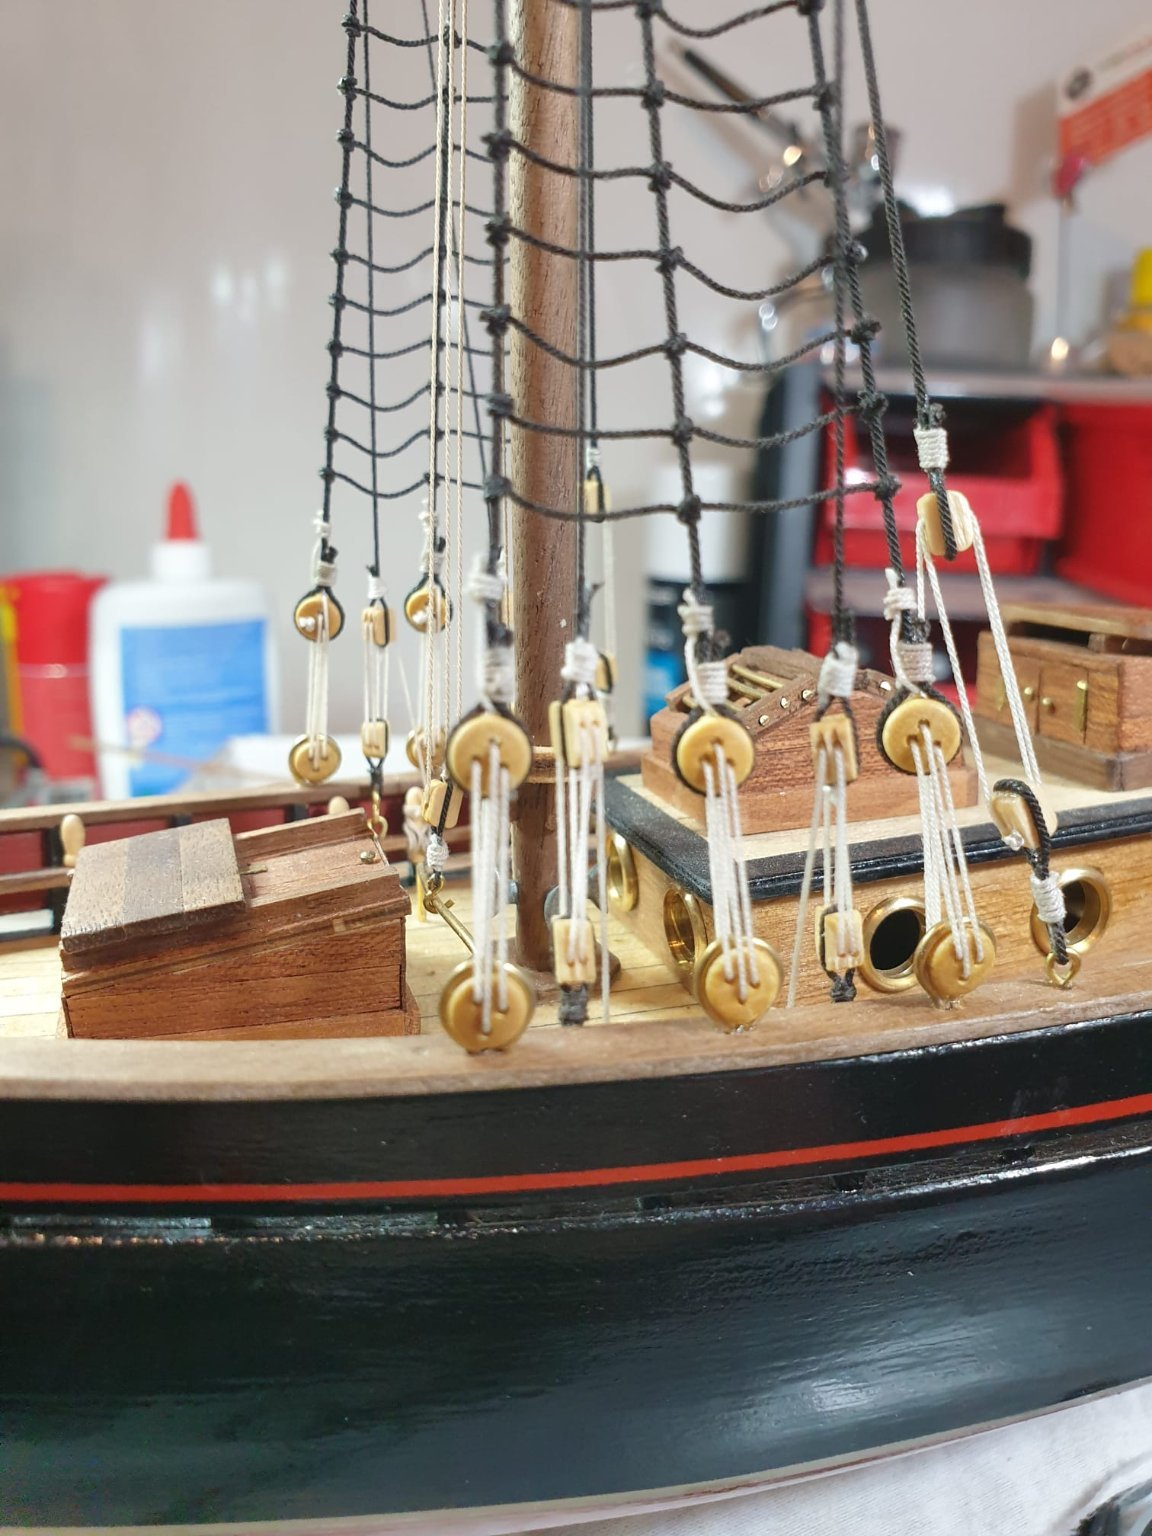
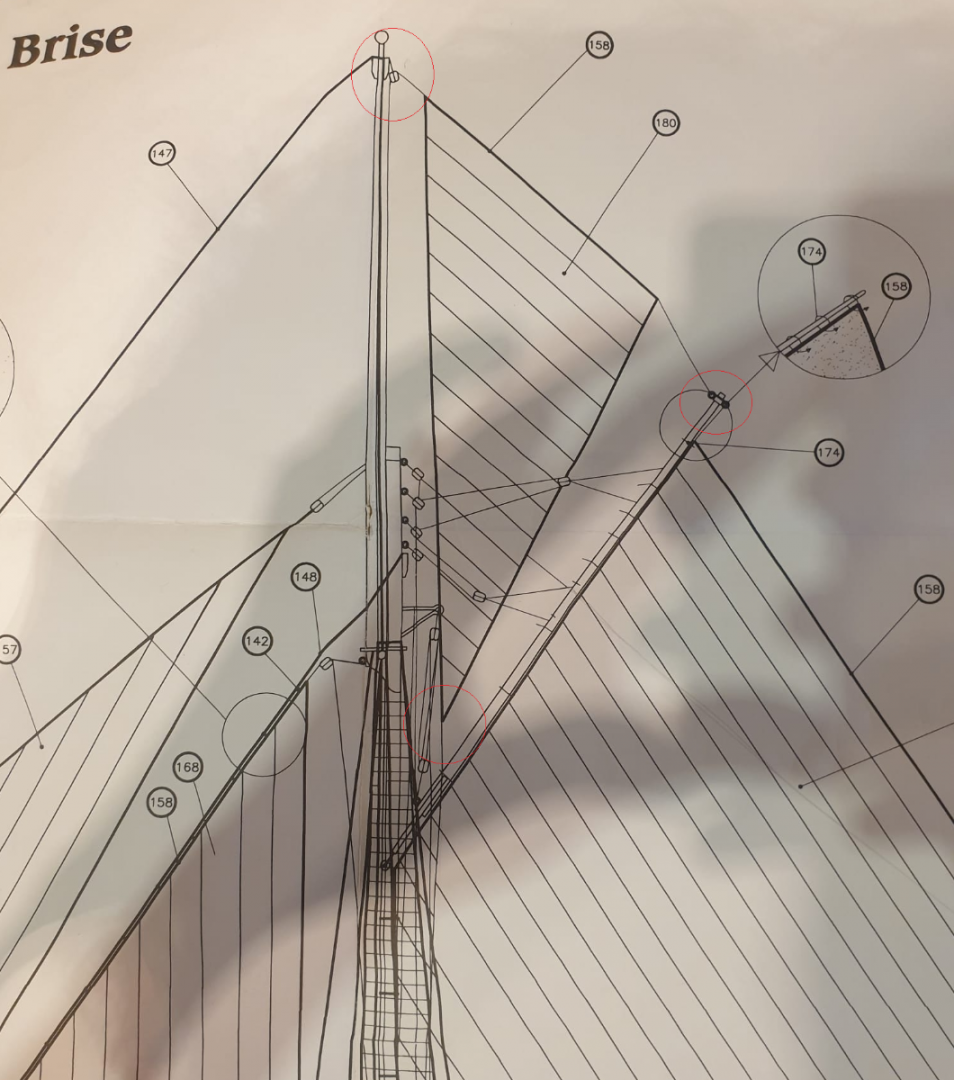
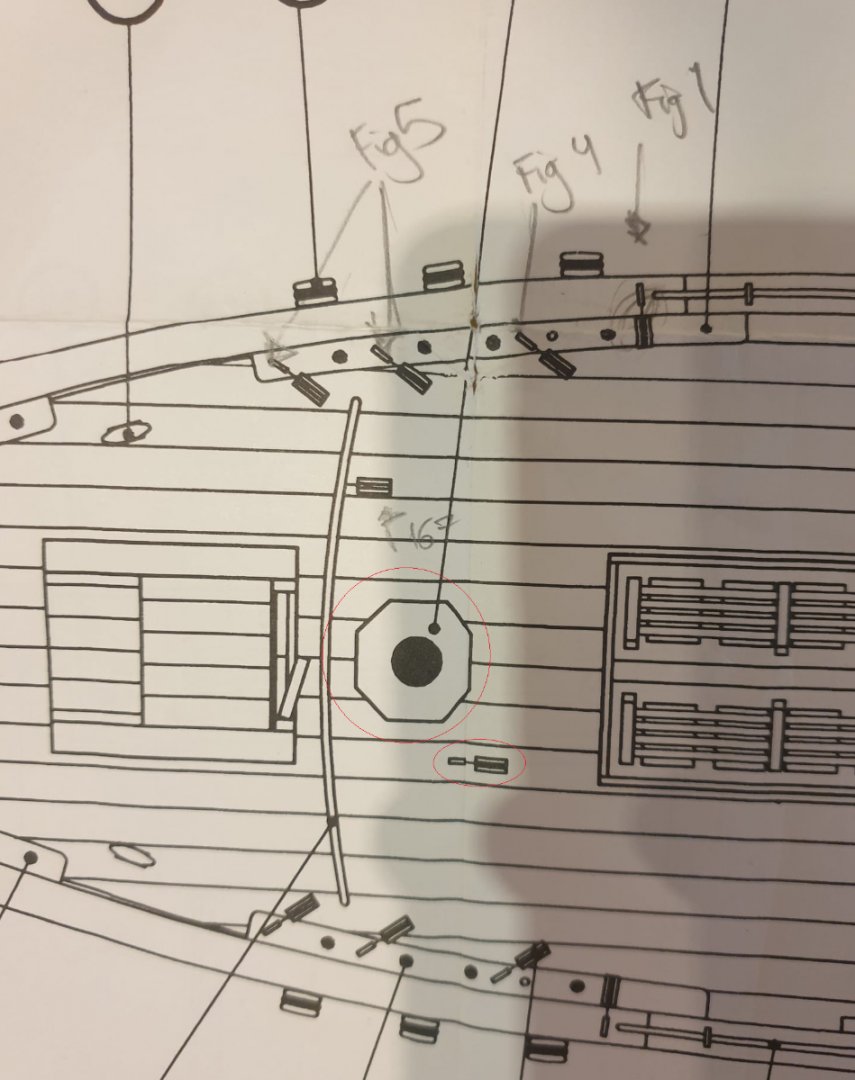
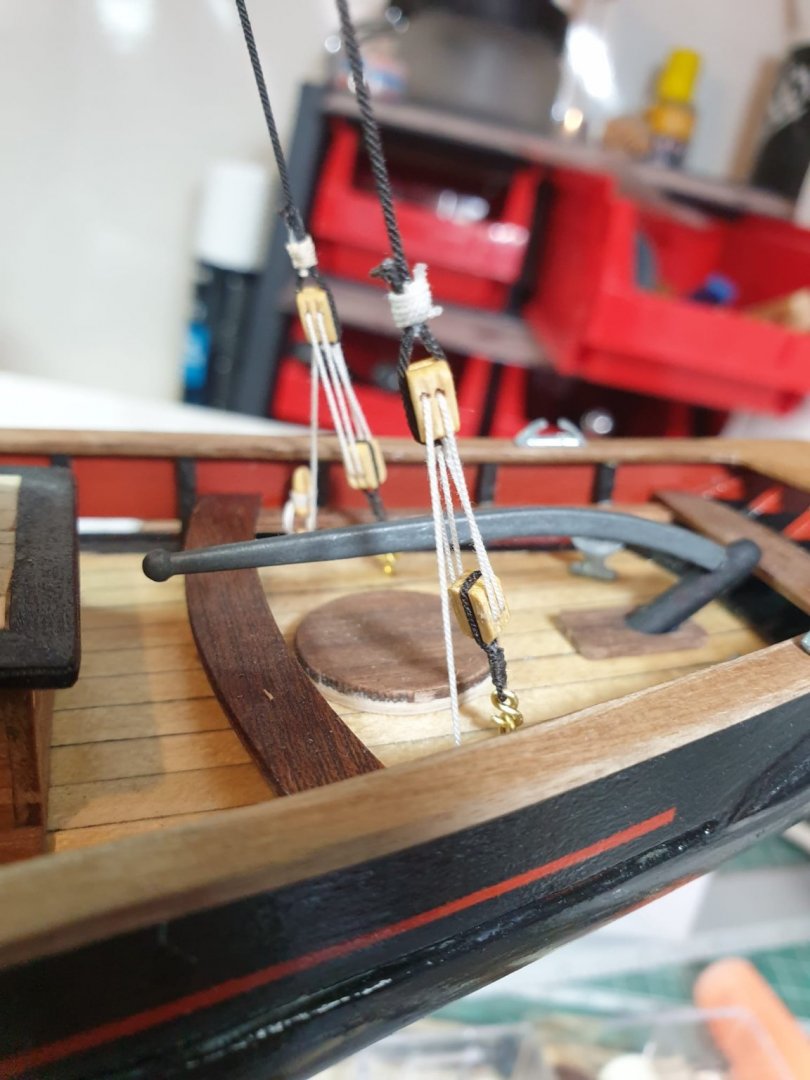
More or less so, one of the vertices of the sail is secured to the gaff, the other one goes through a block at the top of the mast and then down to the base, where there are some belaying pins where you can secure it. The other one goes from the bottom vertex straight to a pin in the deck, and then secured to the main mast base as well. Let me pull some pictures for you. Here are the plans that come with the kit. Notice the 3 vertices: And here you can see, from a top-down perspective, the main mast base and the pin in the deck Here you can see a picture of the real deal. In green, you can see the line that comes down from the lowest vertex of the topsail, which secures to the deck pin. In orange, you can see all the lines that are secured to the belaying pins in the mast base, which one of them must be the one that comes from the block at the top of the mast. Sorry for the low quality picture, its the best i could find.
-
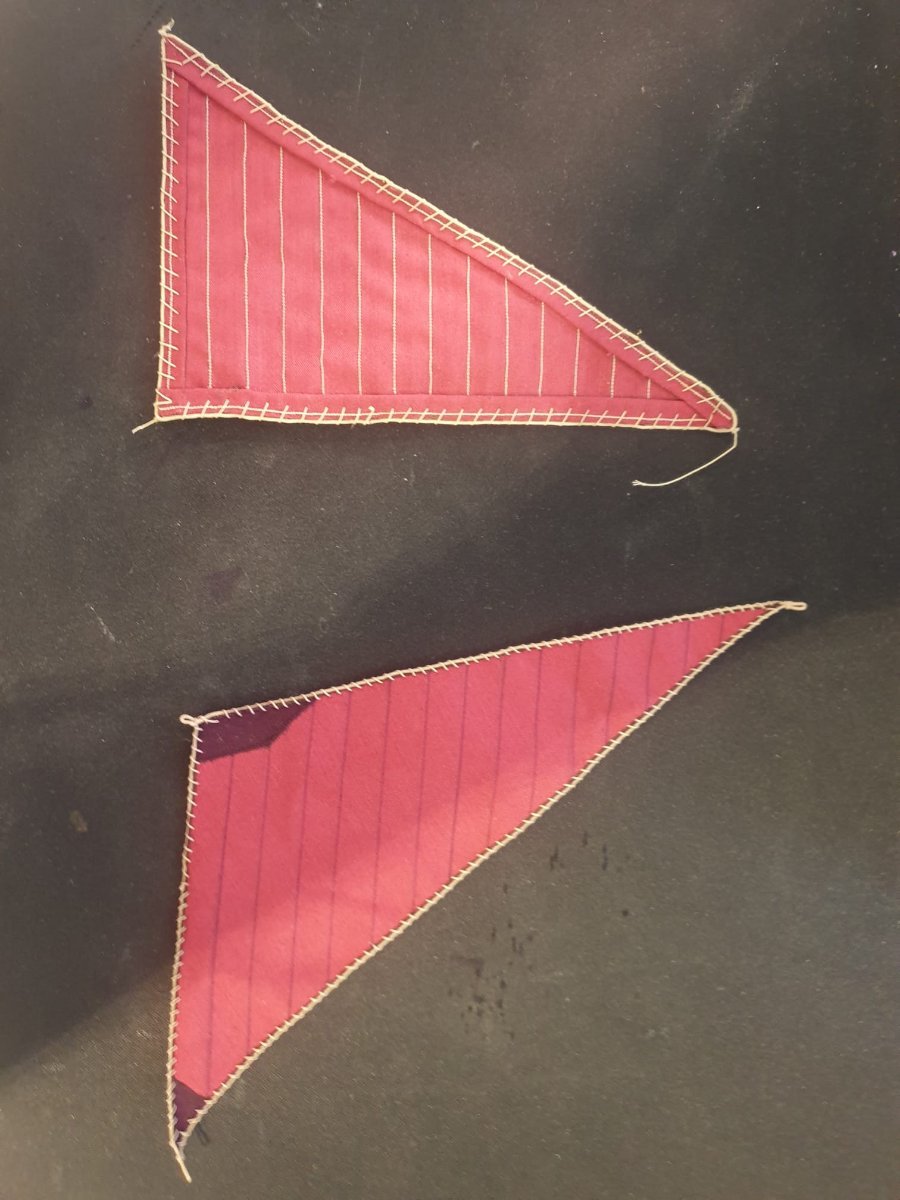
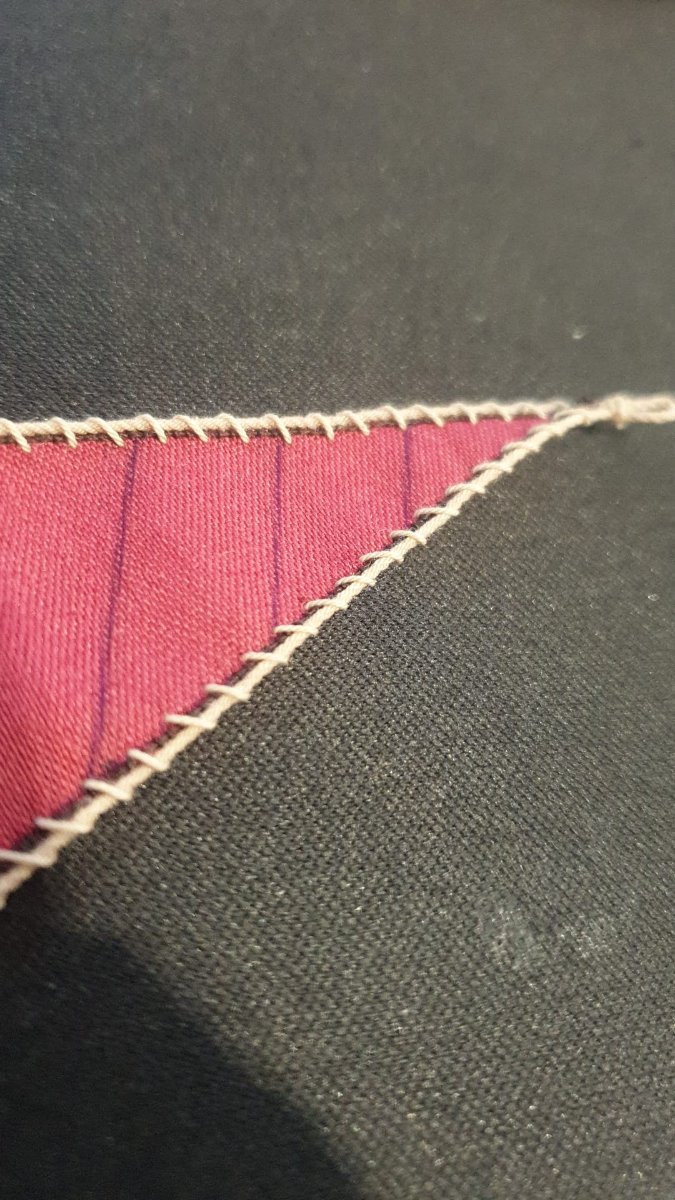
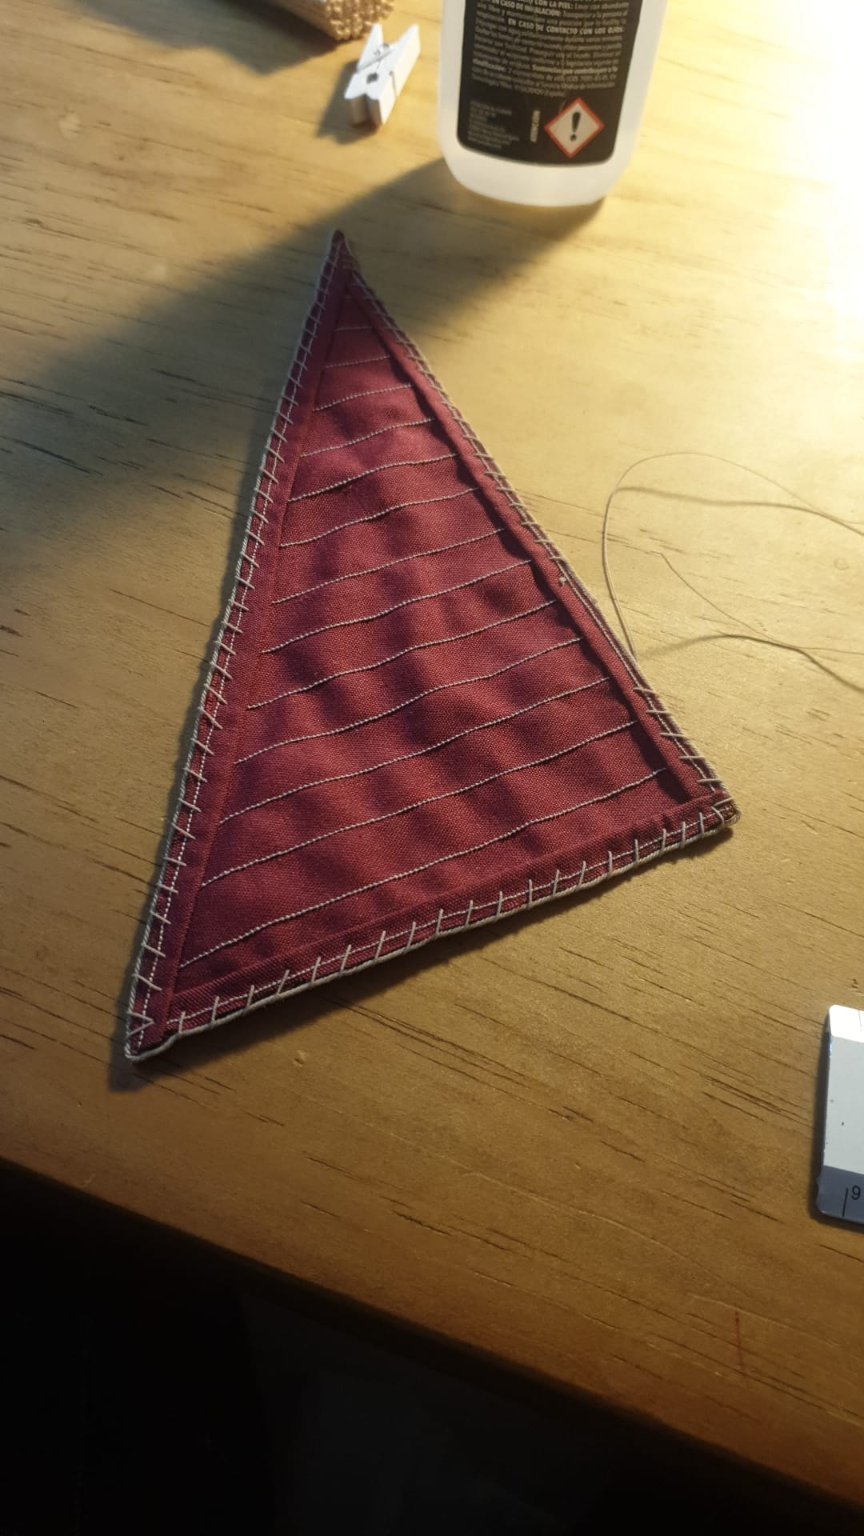
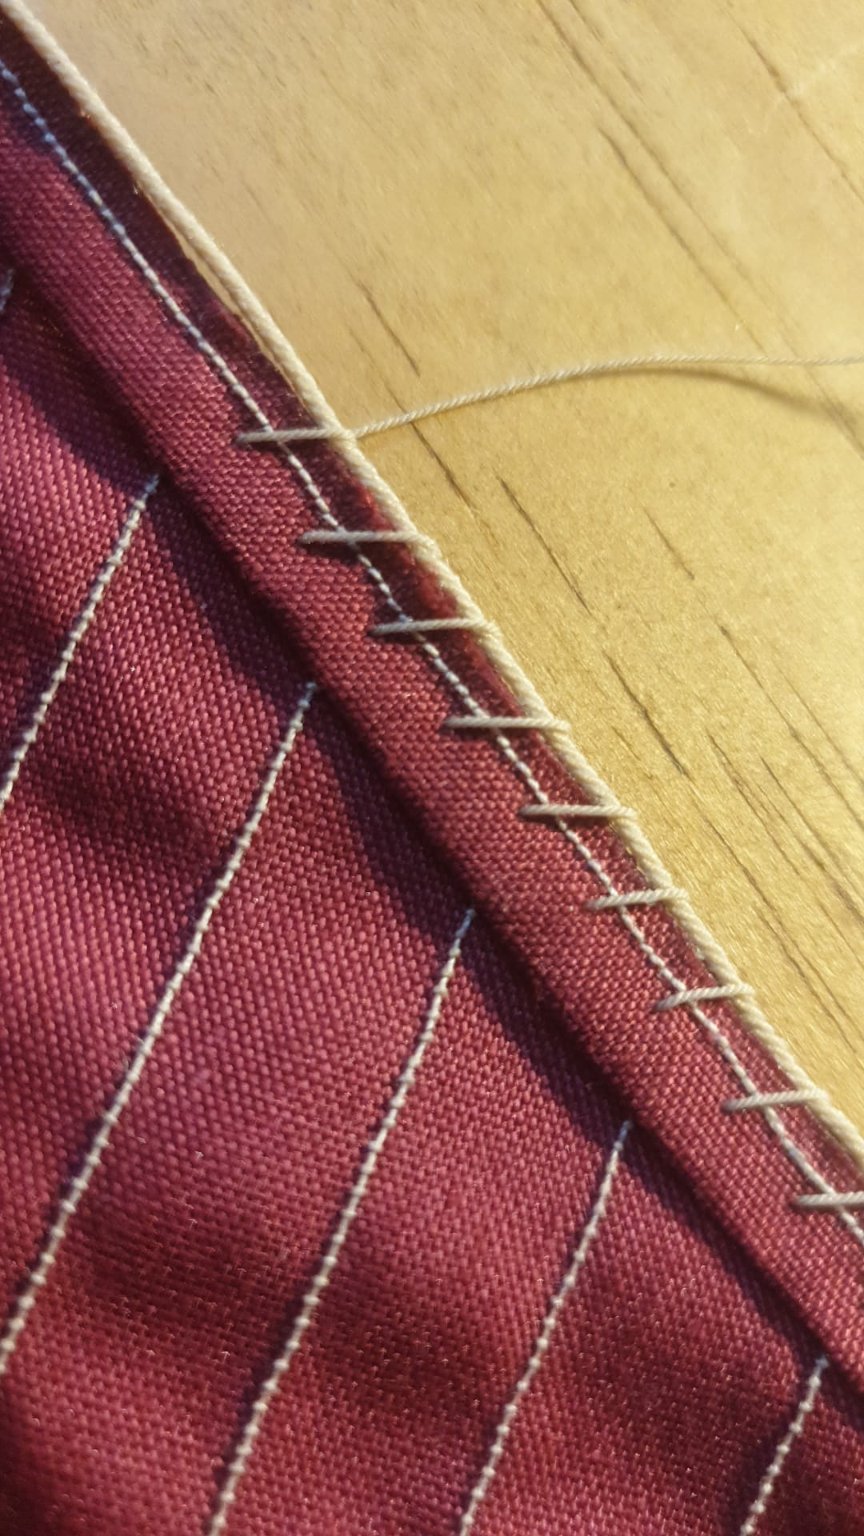
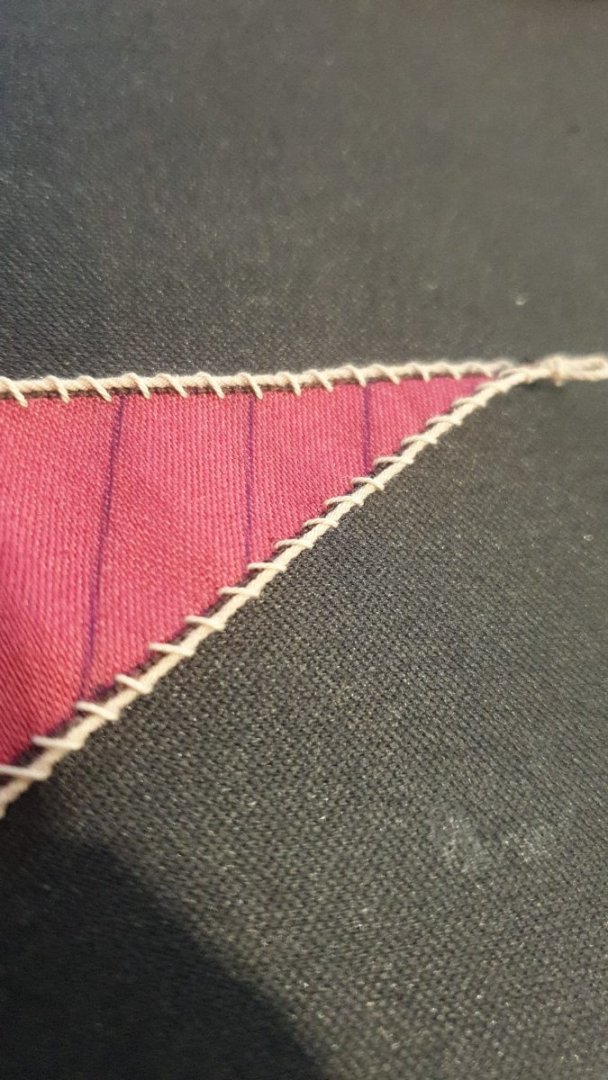
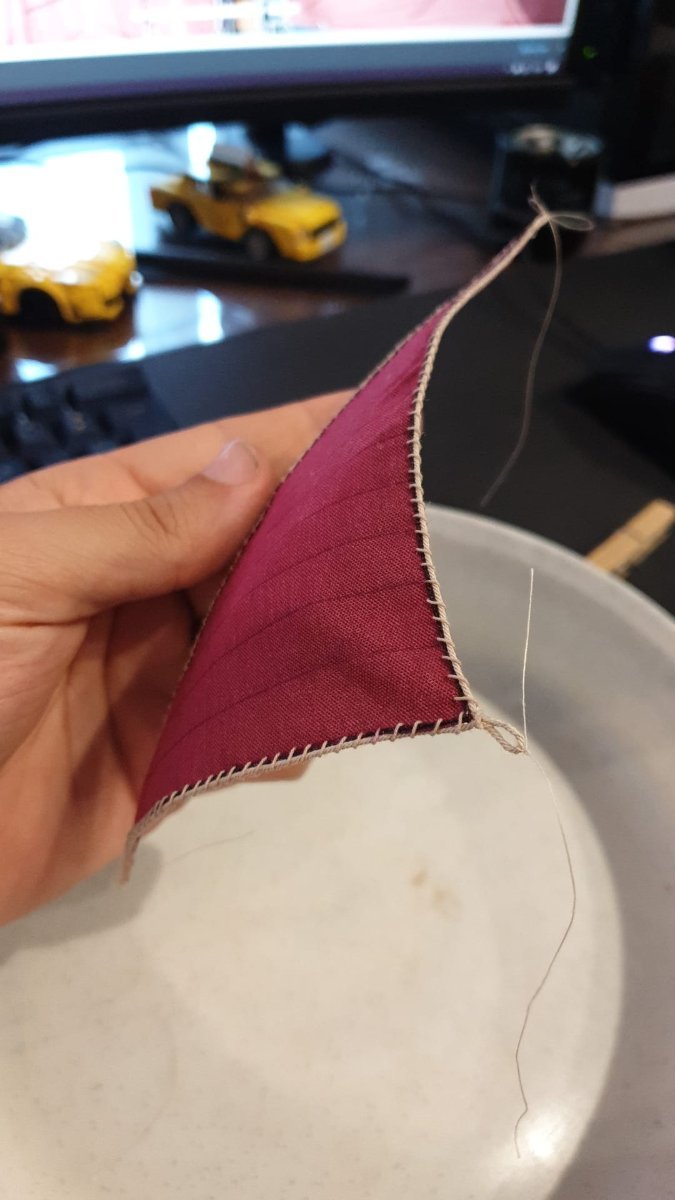
I will post images and the .stl files this afternoon in the subforum, once i get off work. I am open to feedback and any discussion Also, yesterday i finished making the topsail, and i am comparing it to the old staysail. You can see the difference: slimmer trims, and the look less heavy, which make sense for a racing boat. Also, the reinforcing lines running alongside the sail are not sewn, since my sewing machine is not that precise, but are drawn; and are of a darker color instead of a light-ish brown color. All rope used in this sail was made using Domanoff's machine: Here is a close-up of one of the vertices. If anyone is interested in knowing my technique, let me know and ill gladly explain: Also they look way more alike to the ones the real Jolie Brise: Cheers


-
Updates on this build, i have bought Domanoff's Rope Making Machine. I have upgraded it thanks to my girlfriend who very kindly designed some improved parts so its less noisy and delivers higher quality rope. Also, after 3 sails done i realized i didnt like the look of them, so i am redoing them again. Trial and error, i suppose Will update with pictures as soon as i have the sails redone. I have been refining my method and now its faster, so it should take that long. Sorry for the delay, im not giving up just yet!
-
DispleasedOwl reacted to a post in a topic:
Jolie Brise by DispleasedOwl - Artesania Latina
-
DispleasedOwl reacted to a post in a topic:
Jolie Brise by DispleasedOwl - Artesania Latina
-
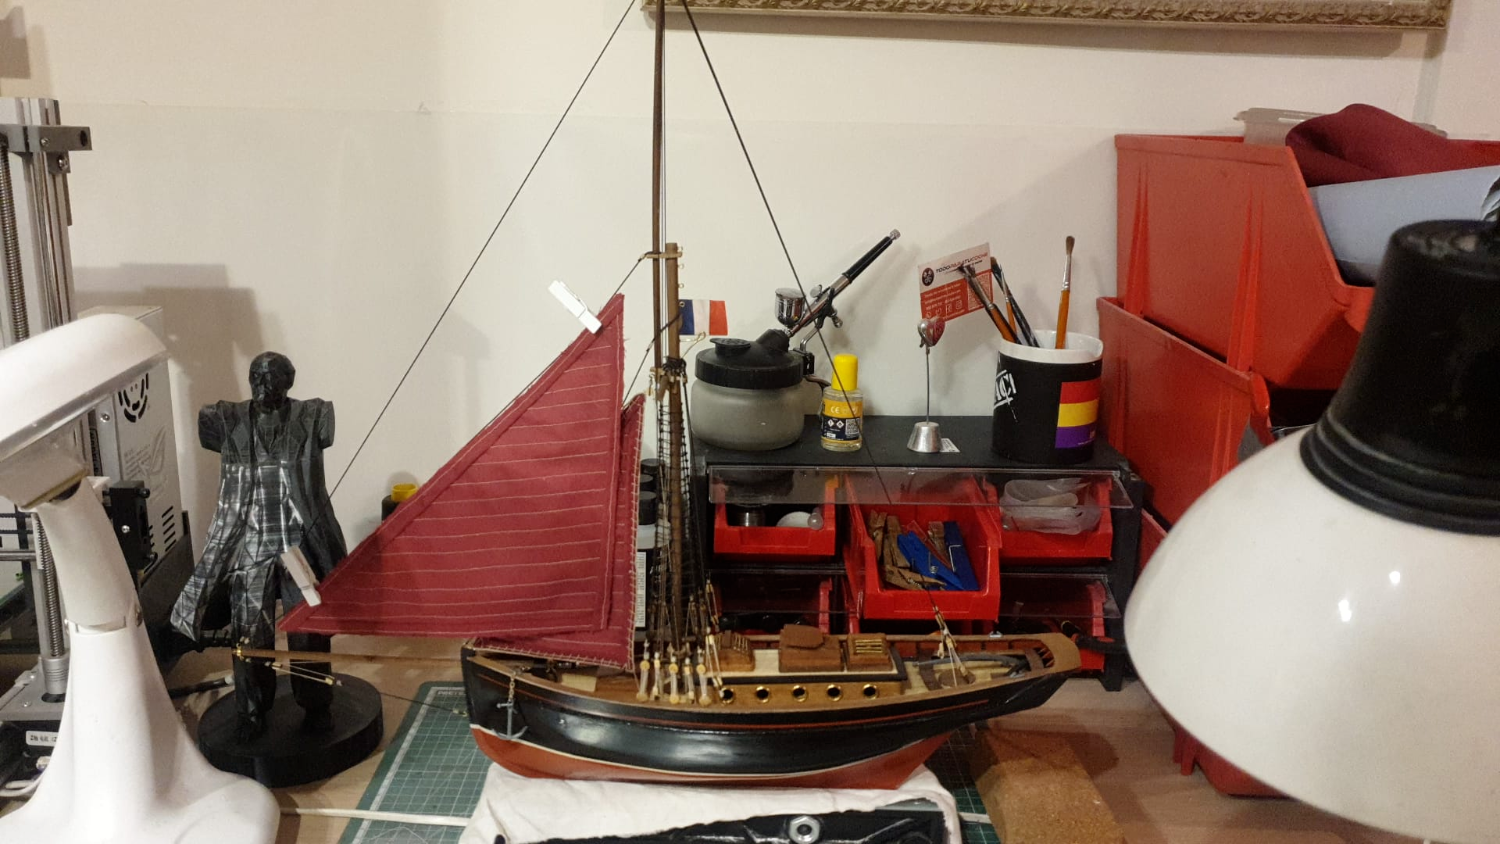
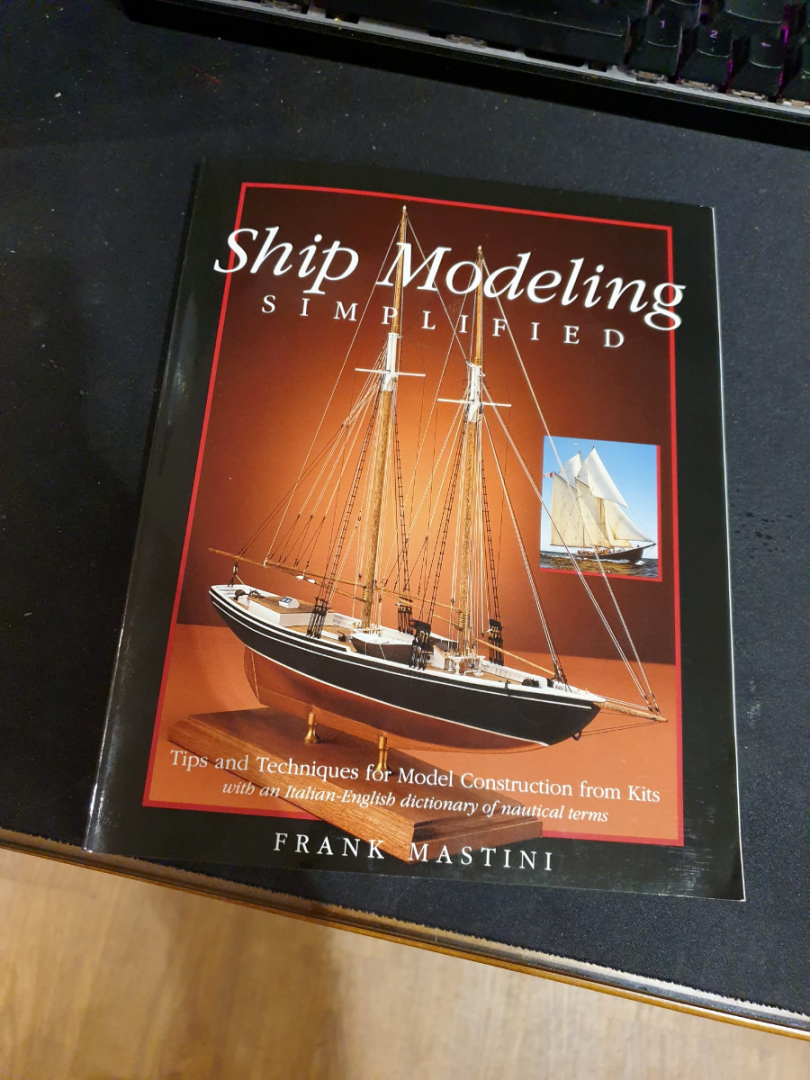
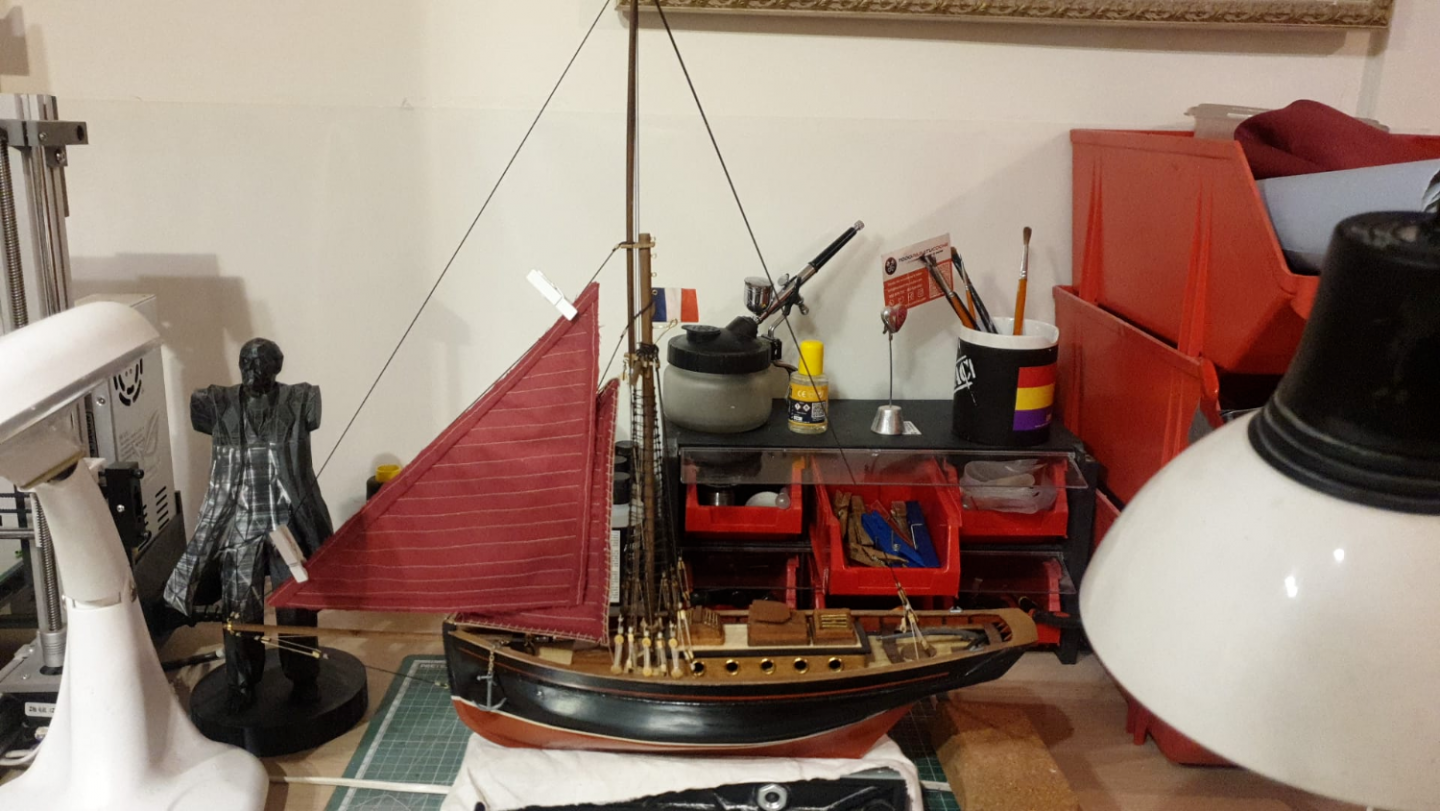
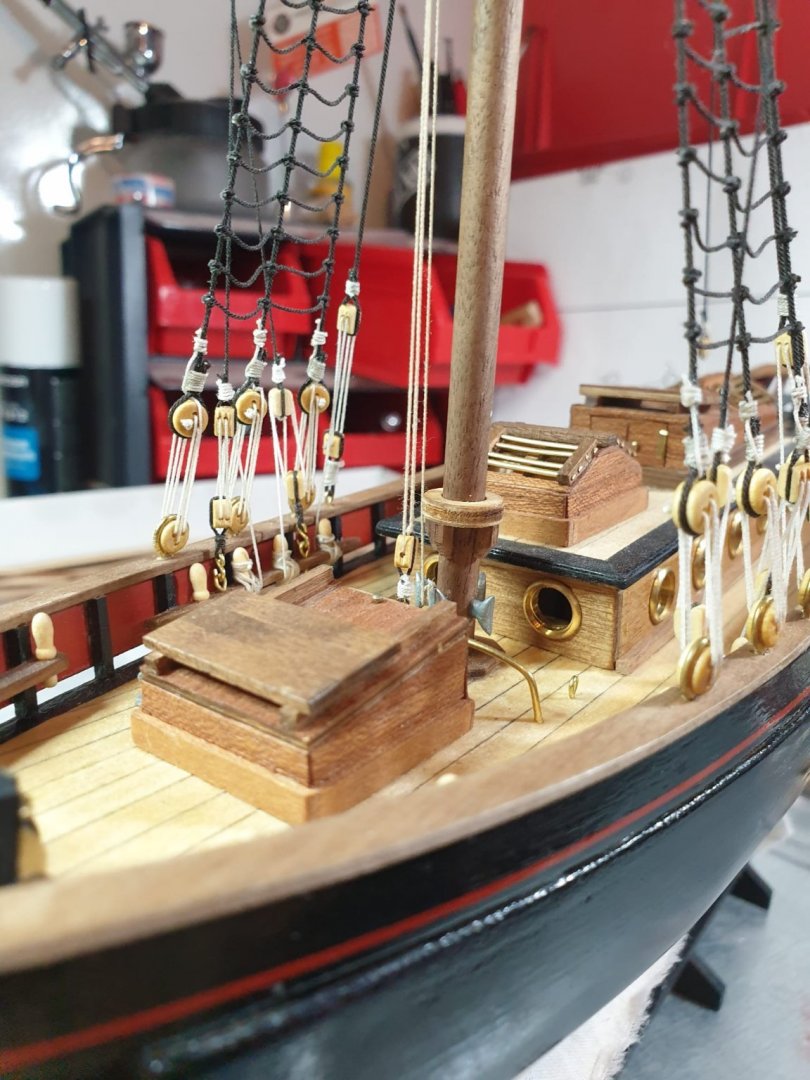
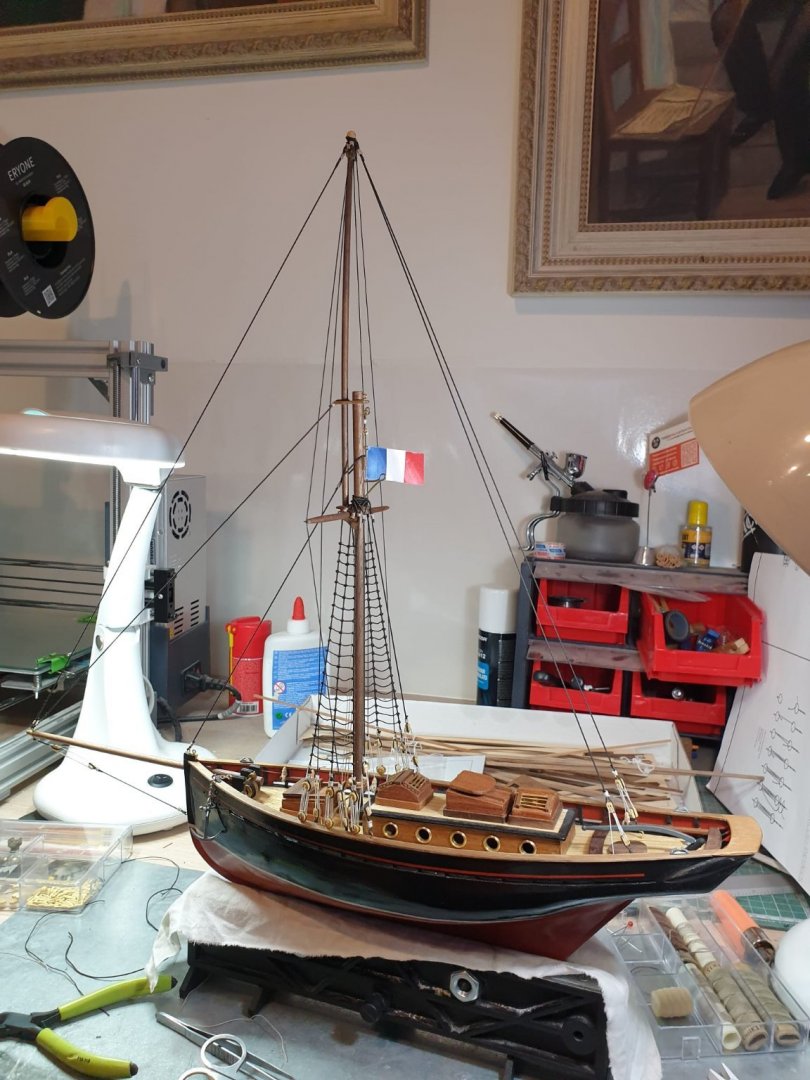
Long time no update! I have been a little bit busy. Recently i had some free time again so i continued working on the ship again. Here are some photos: I also changed the way the anchor rests on the side of the ship. Now it goes through a hole, which makes more space for more lines to be rigged through. I also bought this book, which i have heard very good things about and has very detailed pictures and concise explanations.

-
Thank you all! Very usefull information, and gorgeous pictures! Theres not a day i dont learn something new.
-
DispleasedOwl reacted to a post in a topic:
Cringles
-
Yes! Sorry i mixed up the terms, my bad. Do you make them by cutting a brass tube?
-
Hi everyone! I want to know where do you buy/how do you make cringles for your model sails. Thank you!
-
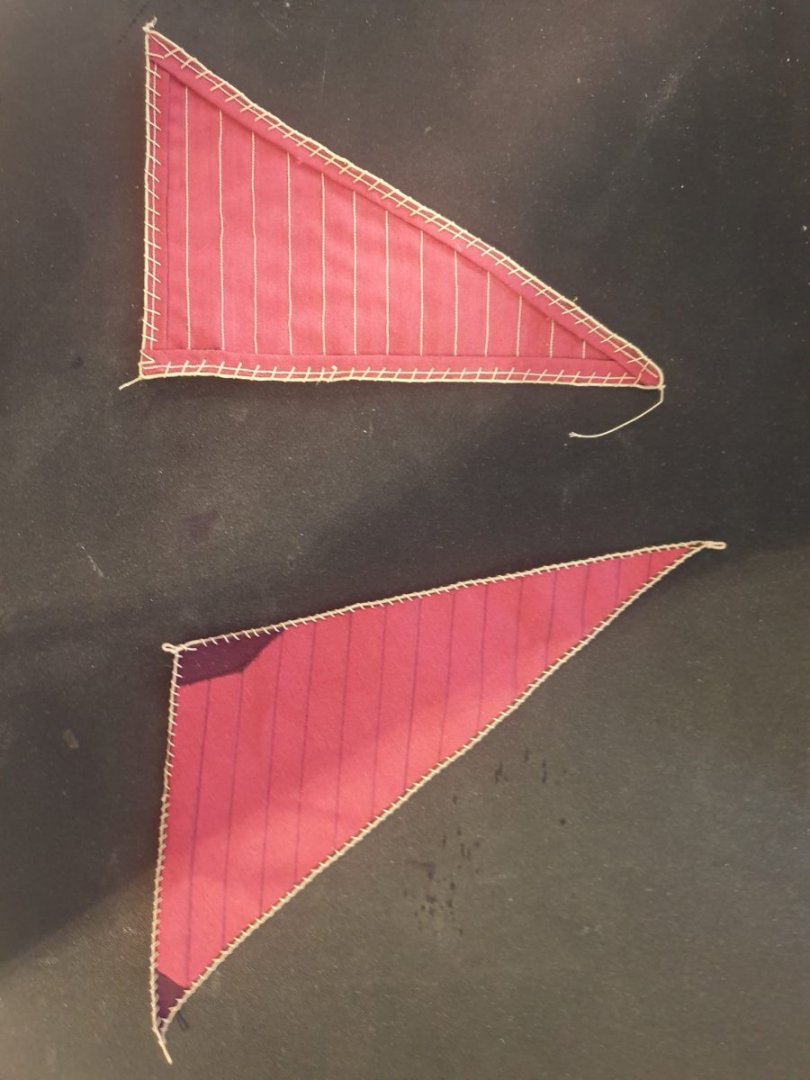
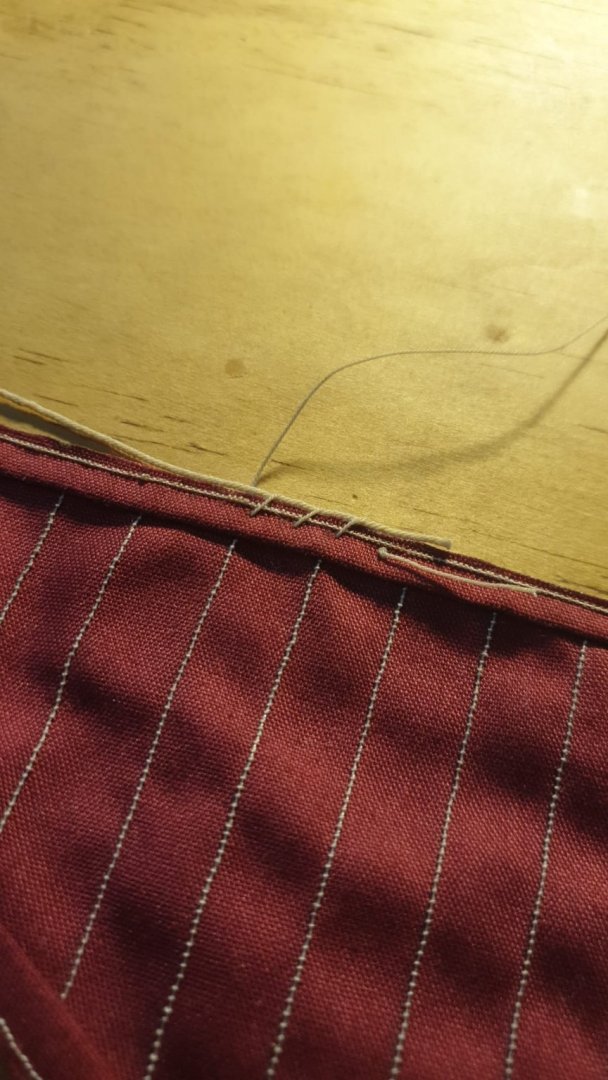
So, after a lot of trial and error (more than im proud to admit), i found the result that i was looking for. I did only one sail to test if i liked it, now that i know what i am looking for i will do the rest all at once. I did some things differently from the video. I did not do the fold in the lines running through the sail, and i did not sew the bolt rope to the sail by going through it. I also did not do any reef points, since i dont know how to make them (any comments on this matter are greatly appreciated). Still, i think it turned out great. Here are some photos of the process:


-
Welcome to MSW! I am also doing AL's Jolie Brise. Feel free to check my build log and ask me anything! Cheers
-
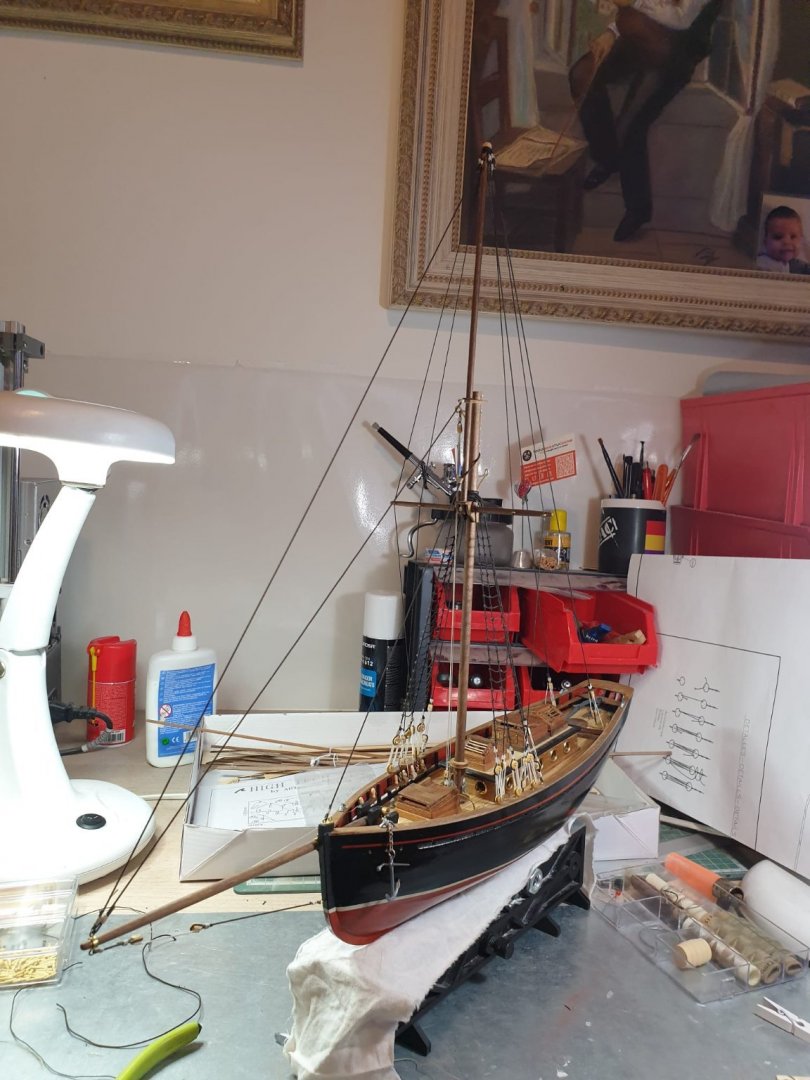
Main mast structural rigging done! Just some photos to show you guys. I will start sewing later today.

-
DispleasedOwl reacted to a post in a topic:
Jolie Brise by DispleasedOwl - Artesania Latina
-
So, quick update with no photos, i have been doing my research about Jolie Brise's rigging and rope layout and i found out theres a lot of rope missing on the plans for this kit. I have been looking at photos and i have added a lot of extra ropes, mainly for the support of the mast. If youre curious, i found my references here: https://www.marinetraffic.com/en/photos/of/ships/shipid:183542 Also i have been learning how to sew and how to make my own sails. I tried to dye some cotton fabric for the sails, but it did not end well. I opted for the easy way out and went out and bought it. Also i found some very high quality videos on how to make high quality sails for any kit. I will be using these as a guide when i make my sails. I will link them below: Hopefully some of you may find this a good watch and learn something, as i have. Kind regards


.jpeg.b85da8c7fccf6a8daa76994a5f4ba8f1.jpeg)
.jpeg.3c099de4a533d3ac601acc3dba7f0e95.jpeg)
.jpeg.e56c901f4fb9f9559b01cbb2a7079455.jpeg)
.jpeg.681e396018cee7a58f6394f9e405c468.jpeg)


.jpeg.97ef33a5645627ade2833caf1775dd17.jpeg)