marsalv
-
Posts
620 -
Joined
-
Last visited
Content Type
Profiles
Forums
Gallery
Events
Everything posted by marsalv
-
A joy to watch this build. Hats off.
-
Beautiful work, hats off.
-
L'Amarante by marsalv - 1:36 - POF
marsalv replied to marsalv's topic in - Build logs for subjects built 1501 - 1750
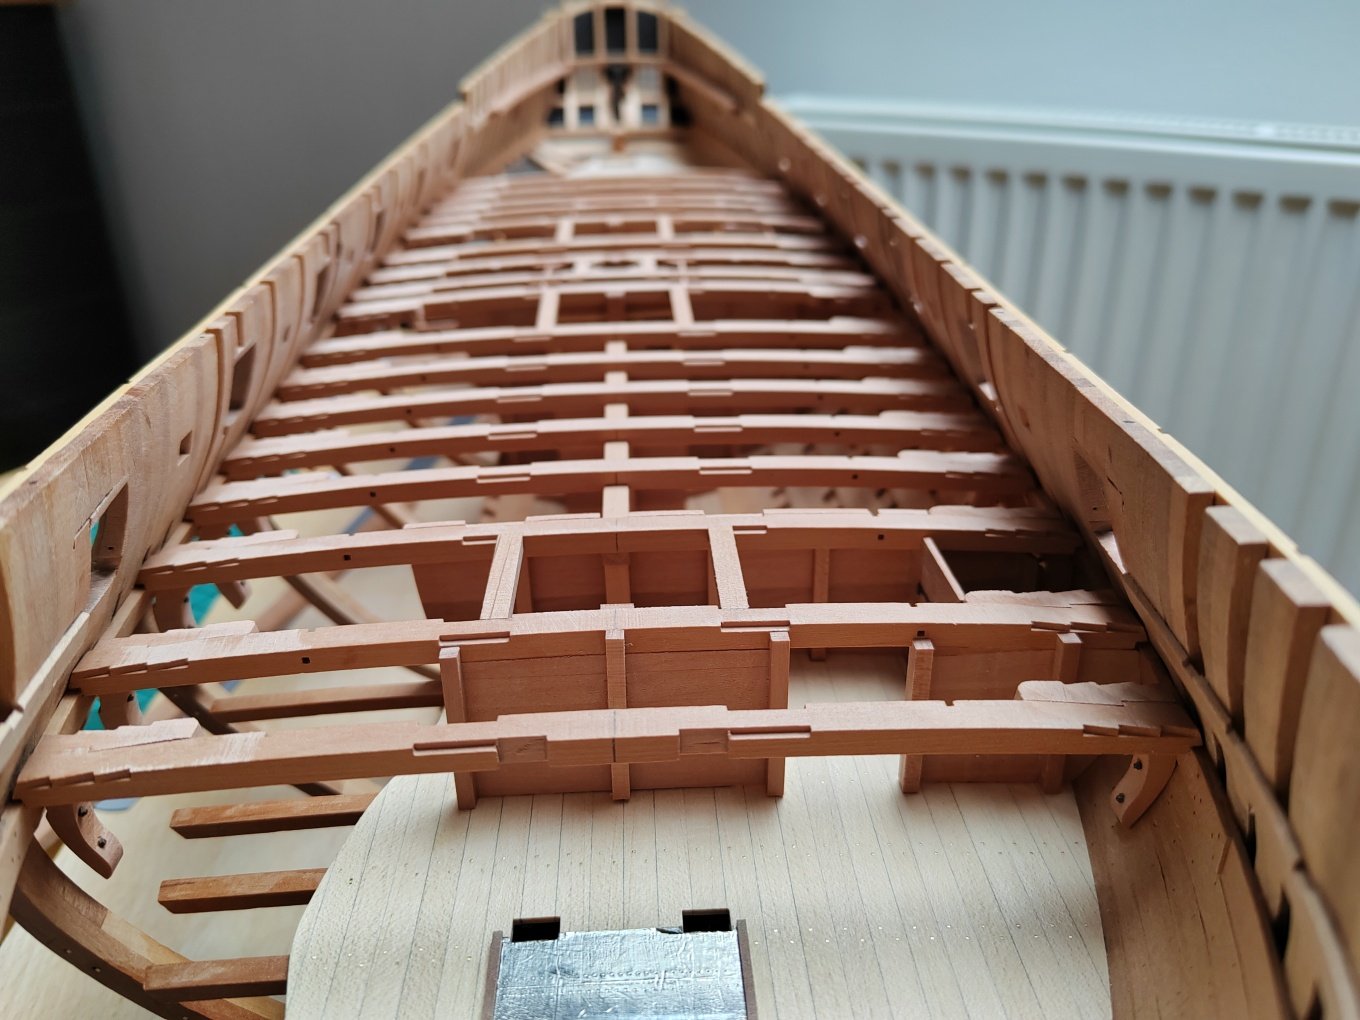
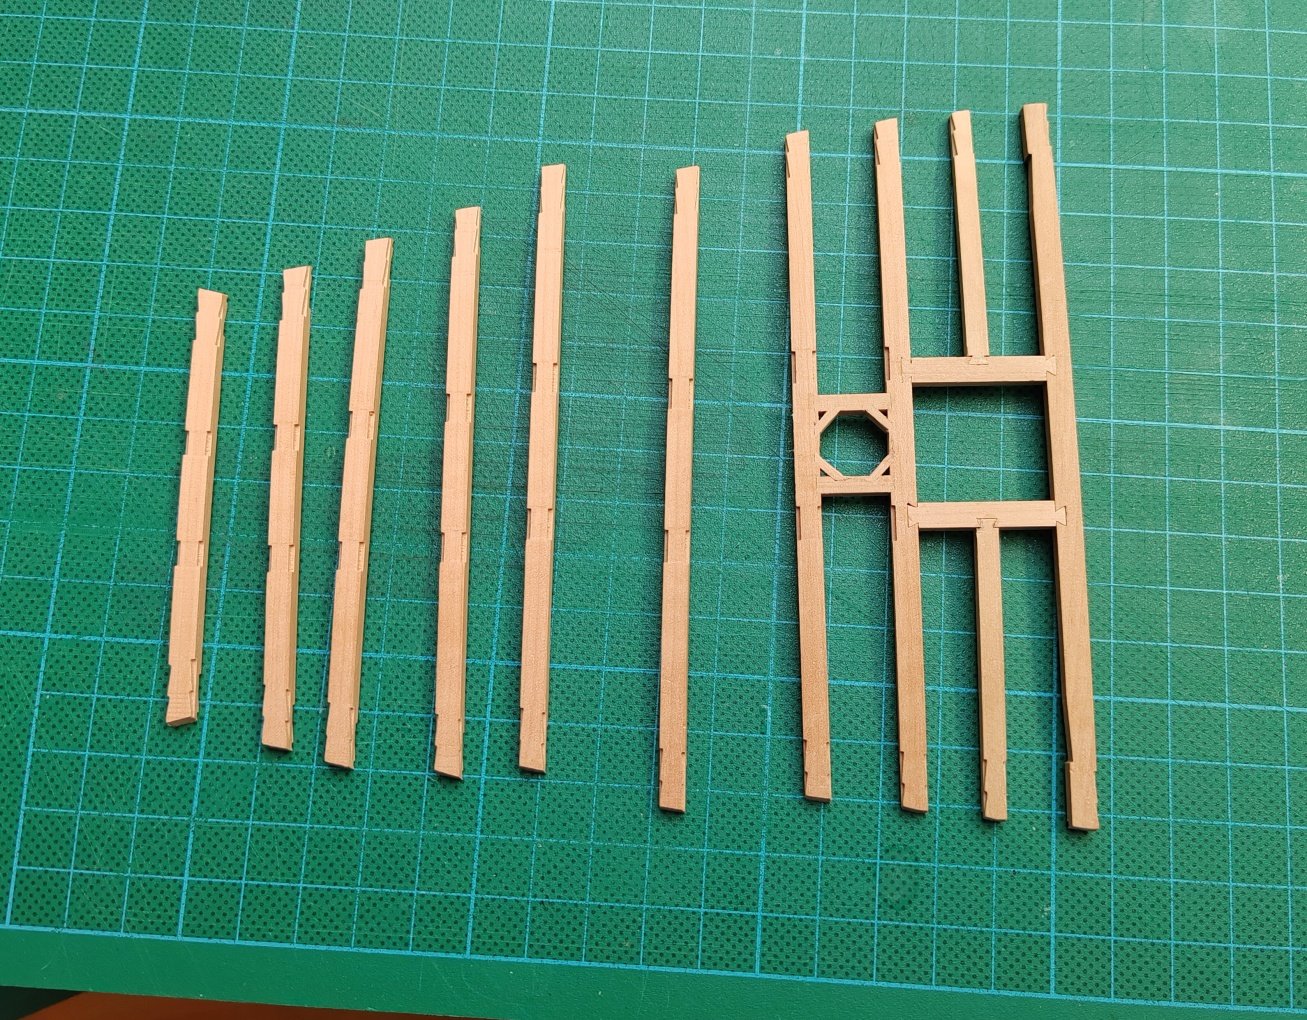
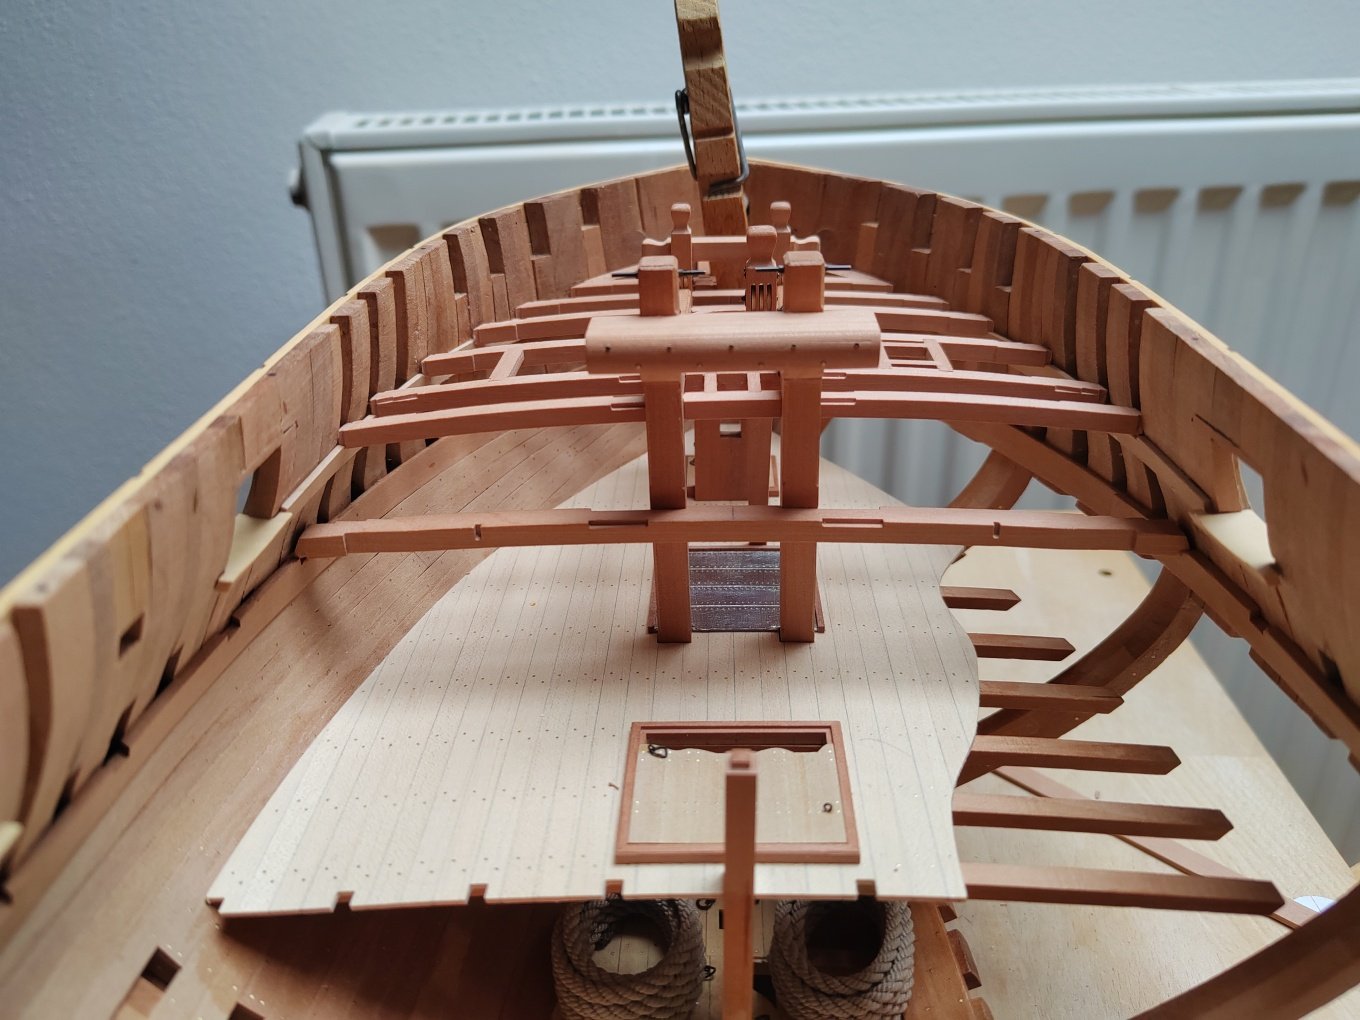
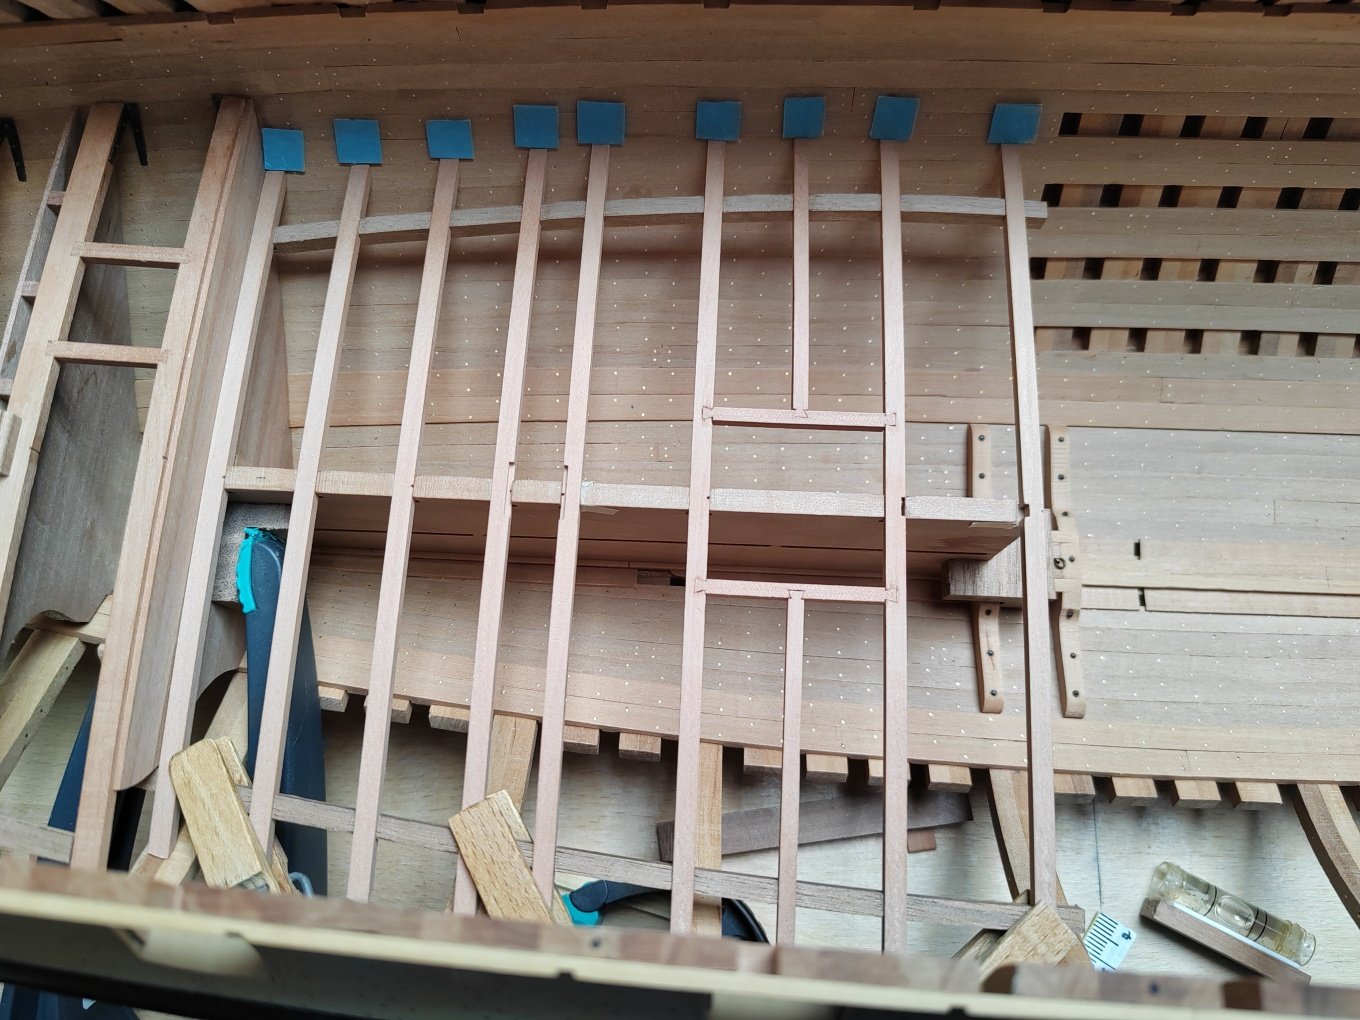
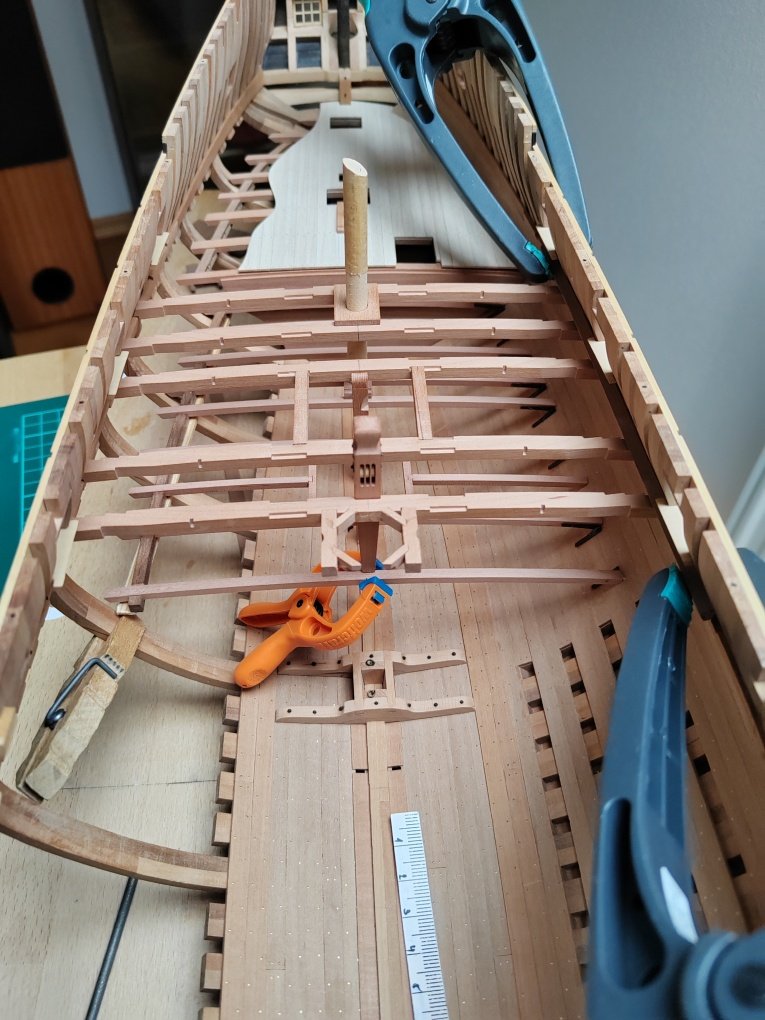
Thank you guys for nice comments . I gradually finished the remaining bulkheads in the center section of the hull and attached all the deck beams.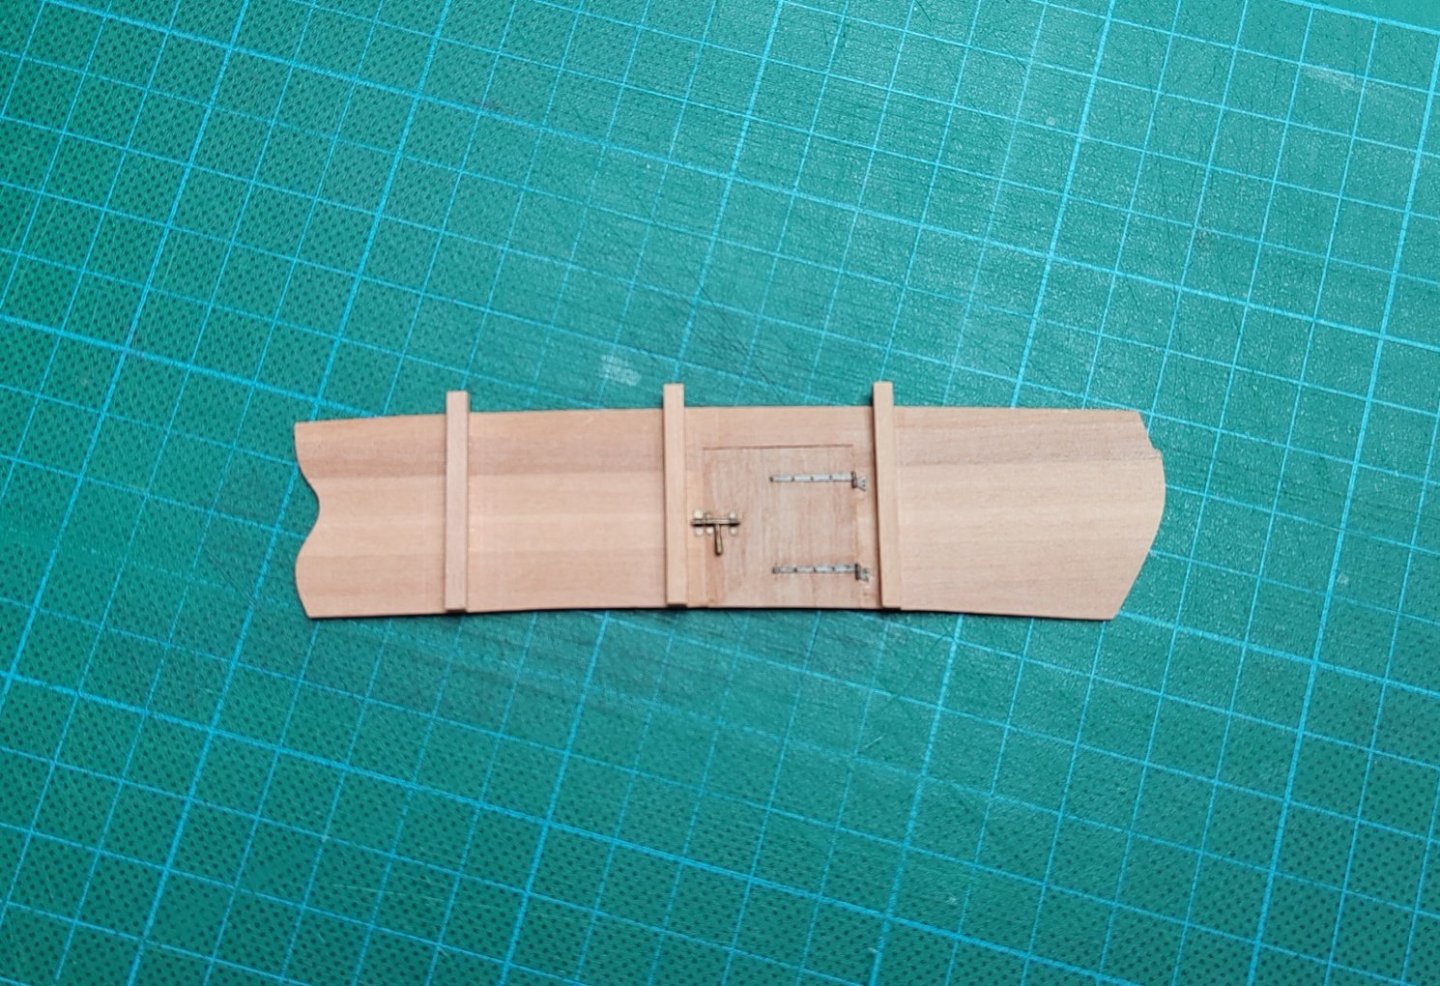

-
L'Amarante by marsalv - 1:36 - POF
marsalv replied to marsalv's topic in - Build logs for subjects built 1501 - 1750
Next part of deck beams and bulkheads.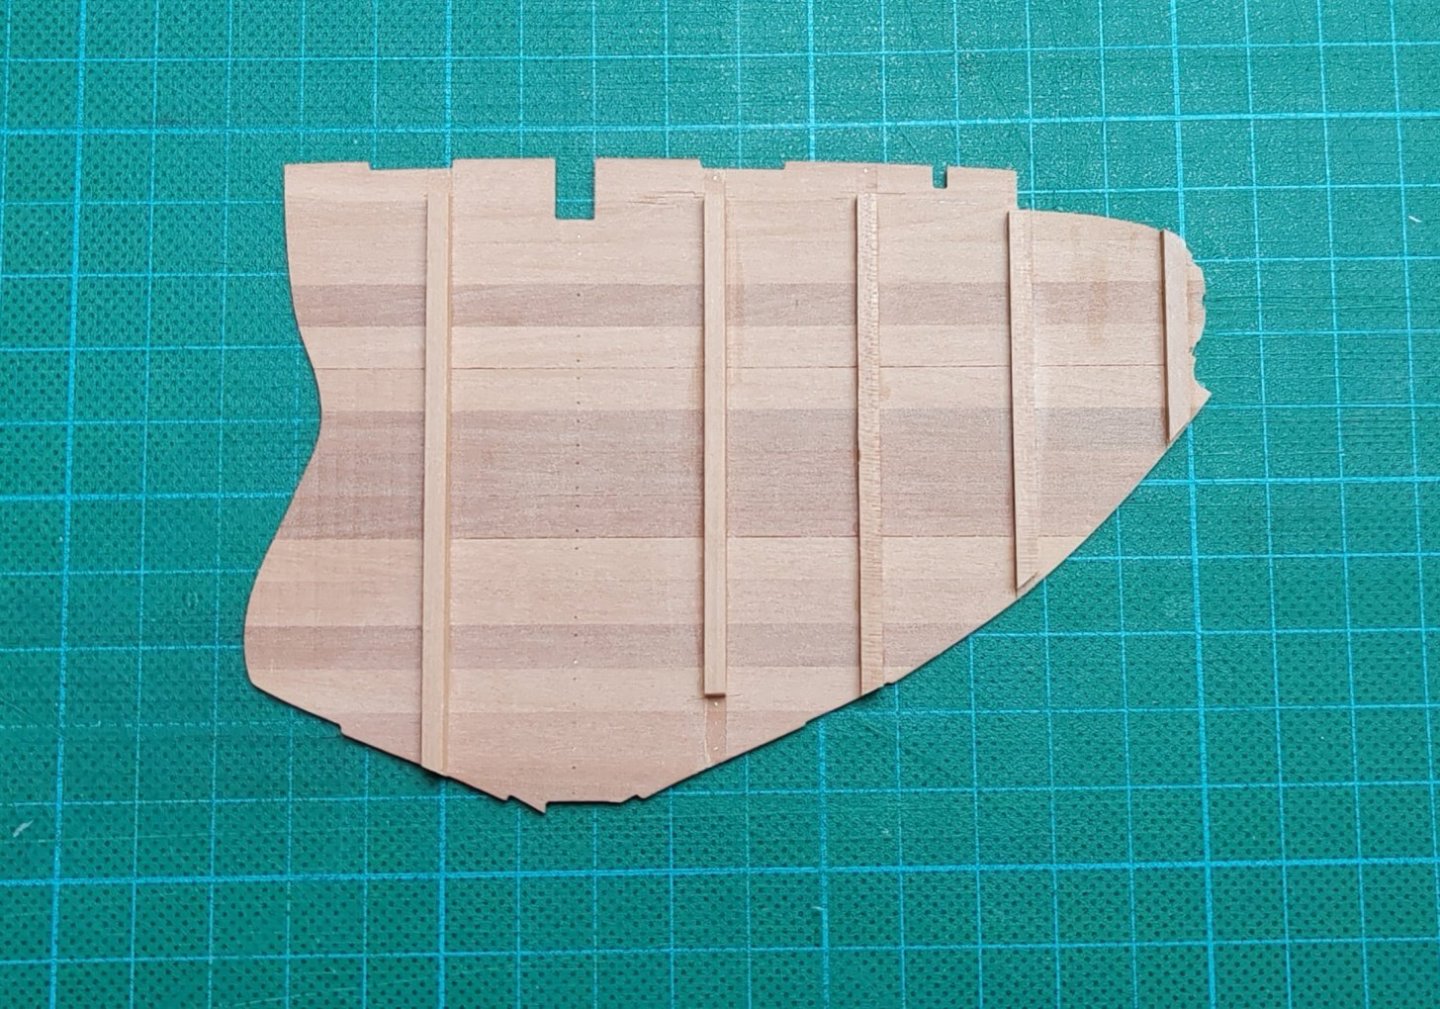

-
L'Amarante by marsalv - 1:36 - POF
marsalv replied to marsalv's topic in - Build logs for subjects built 1501 - 1750
Thank you John and Happy New Year to all. -
L'Amarante by marsalv - 1:36 - POF
marsalv replied to marsalv's topic in - Build logs for subjects built 1501 - 1750
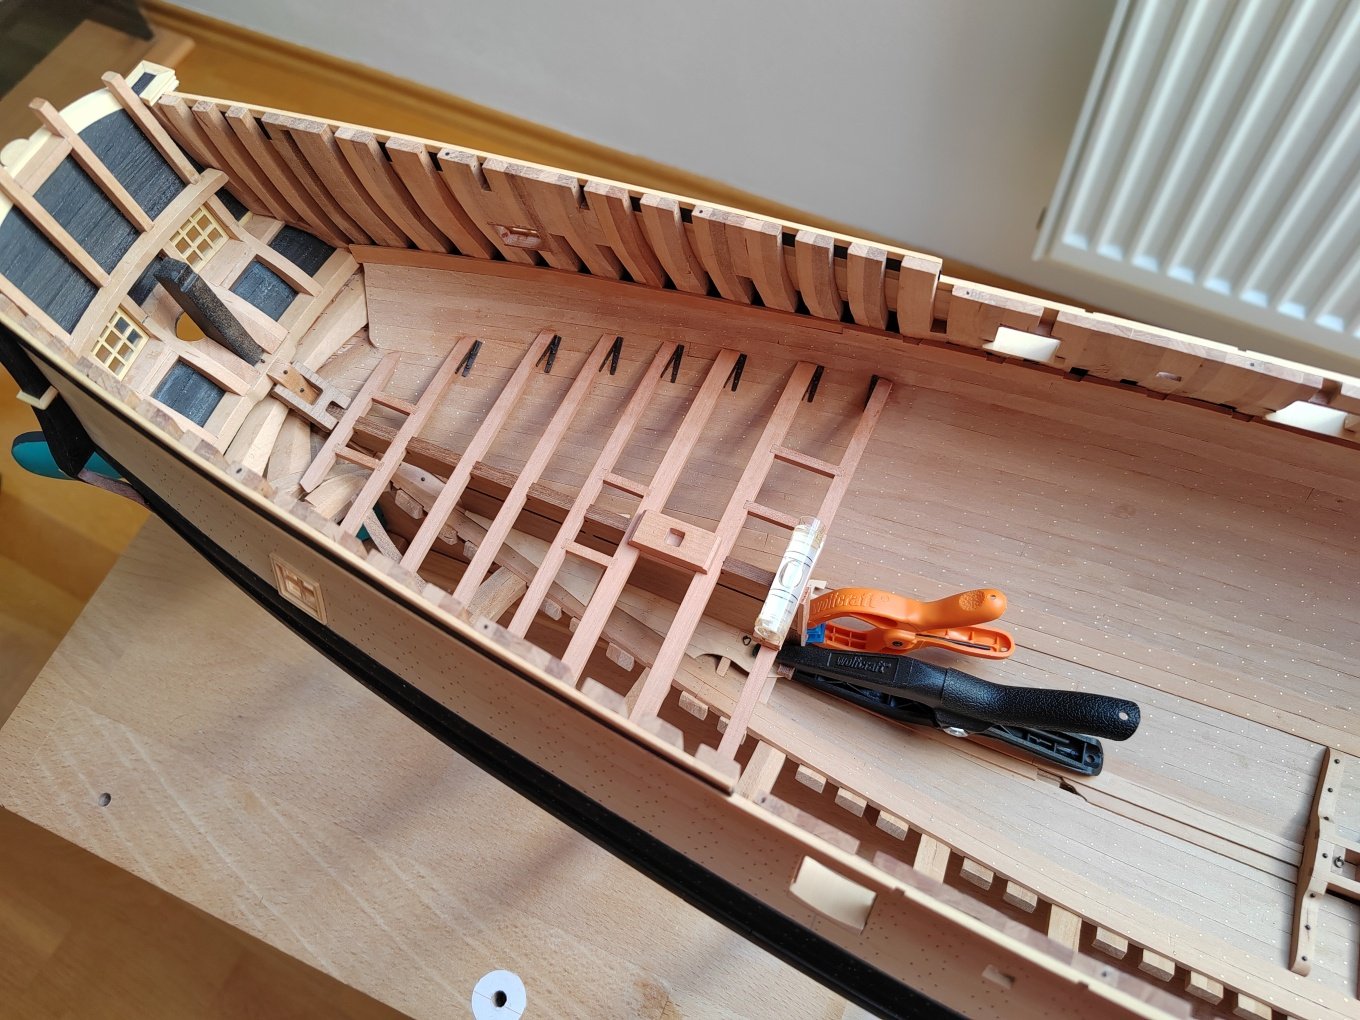
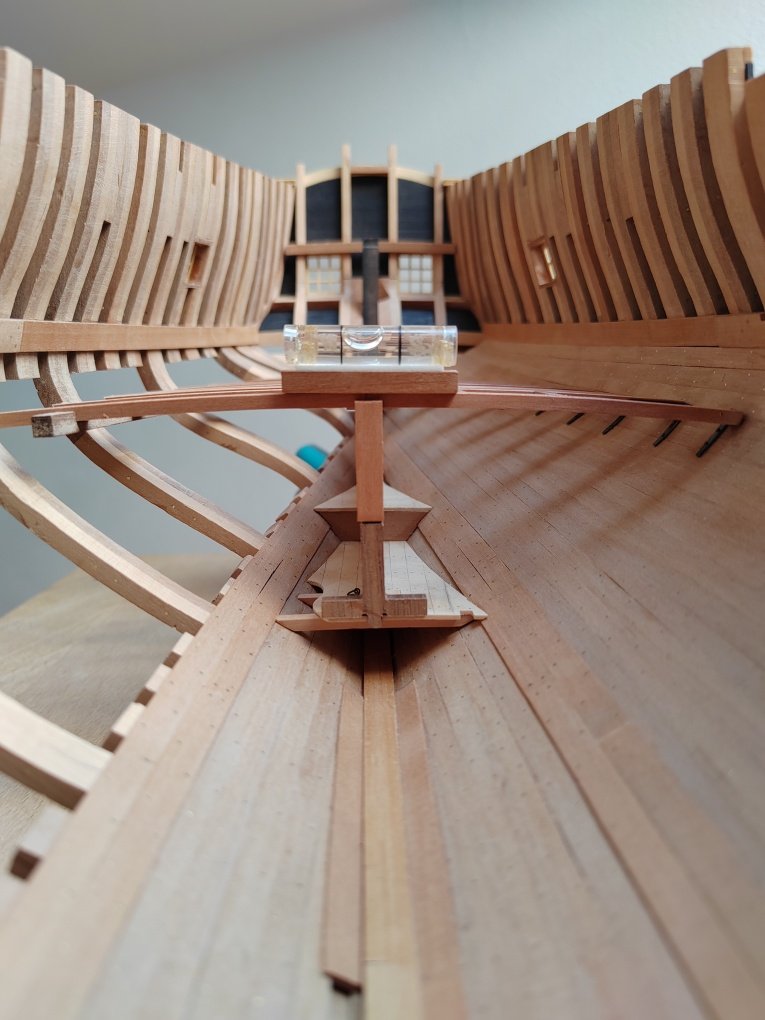
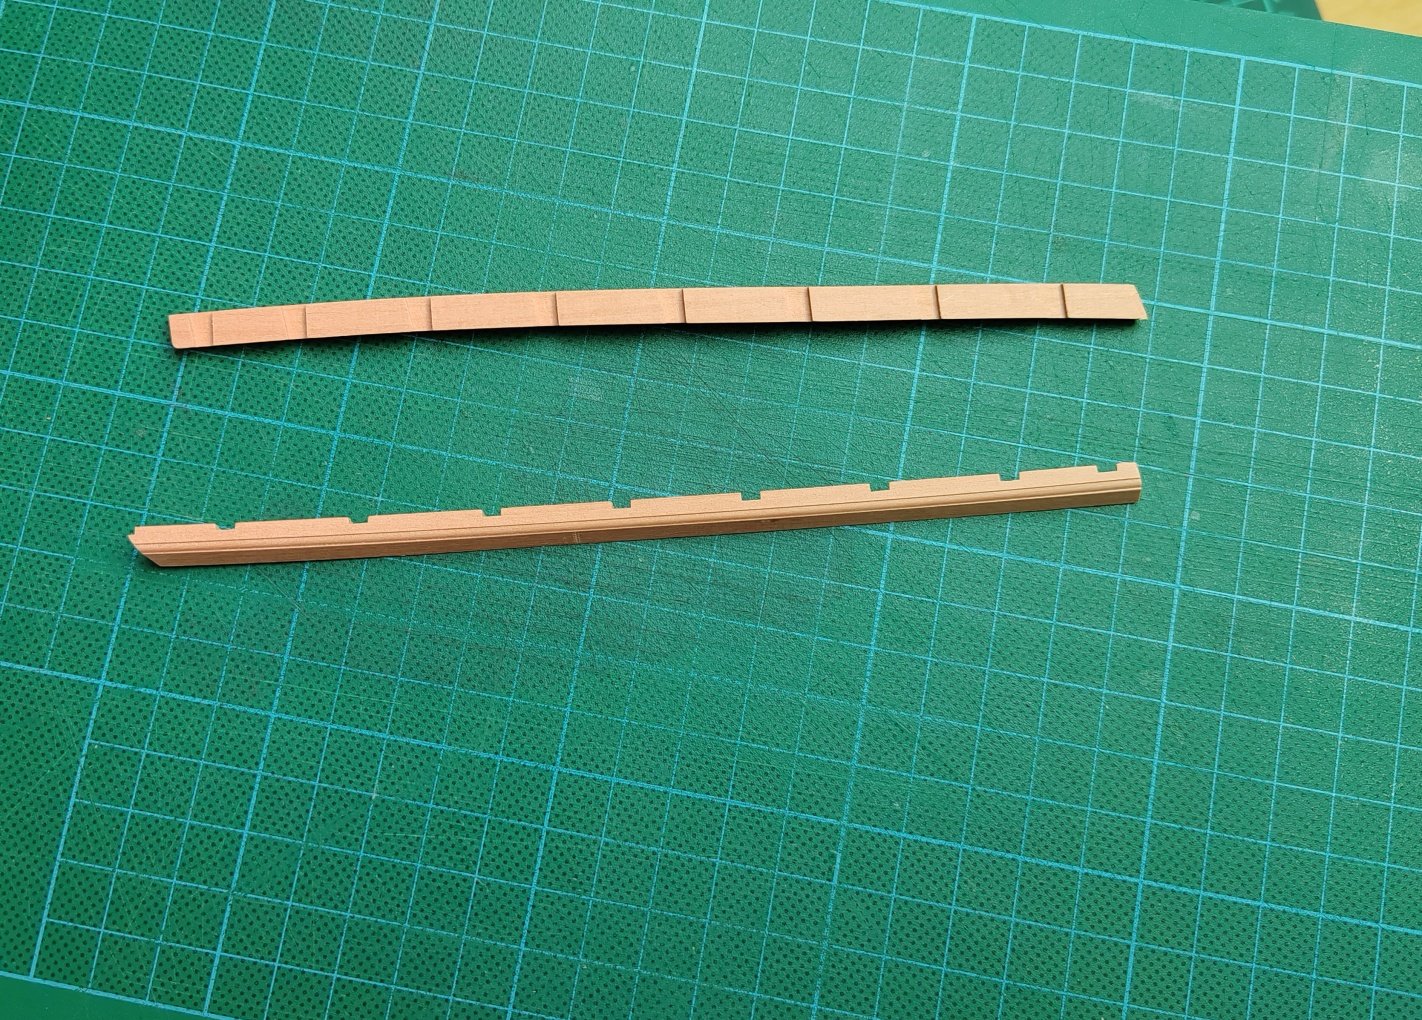
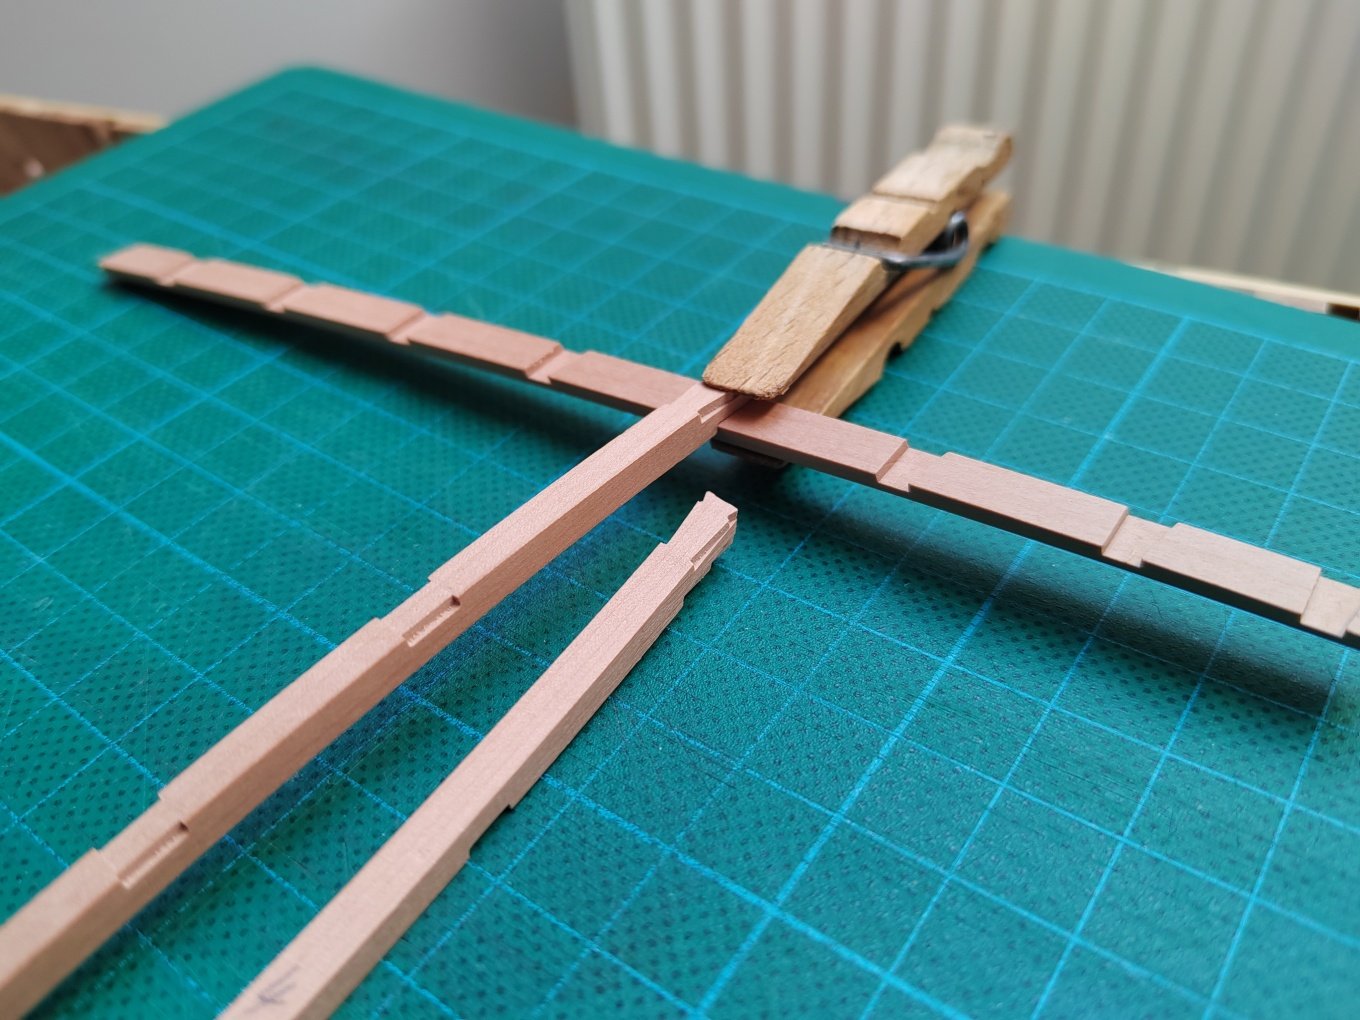
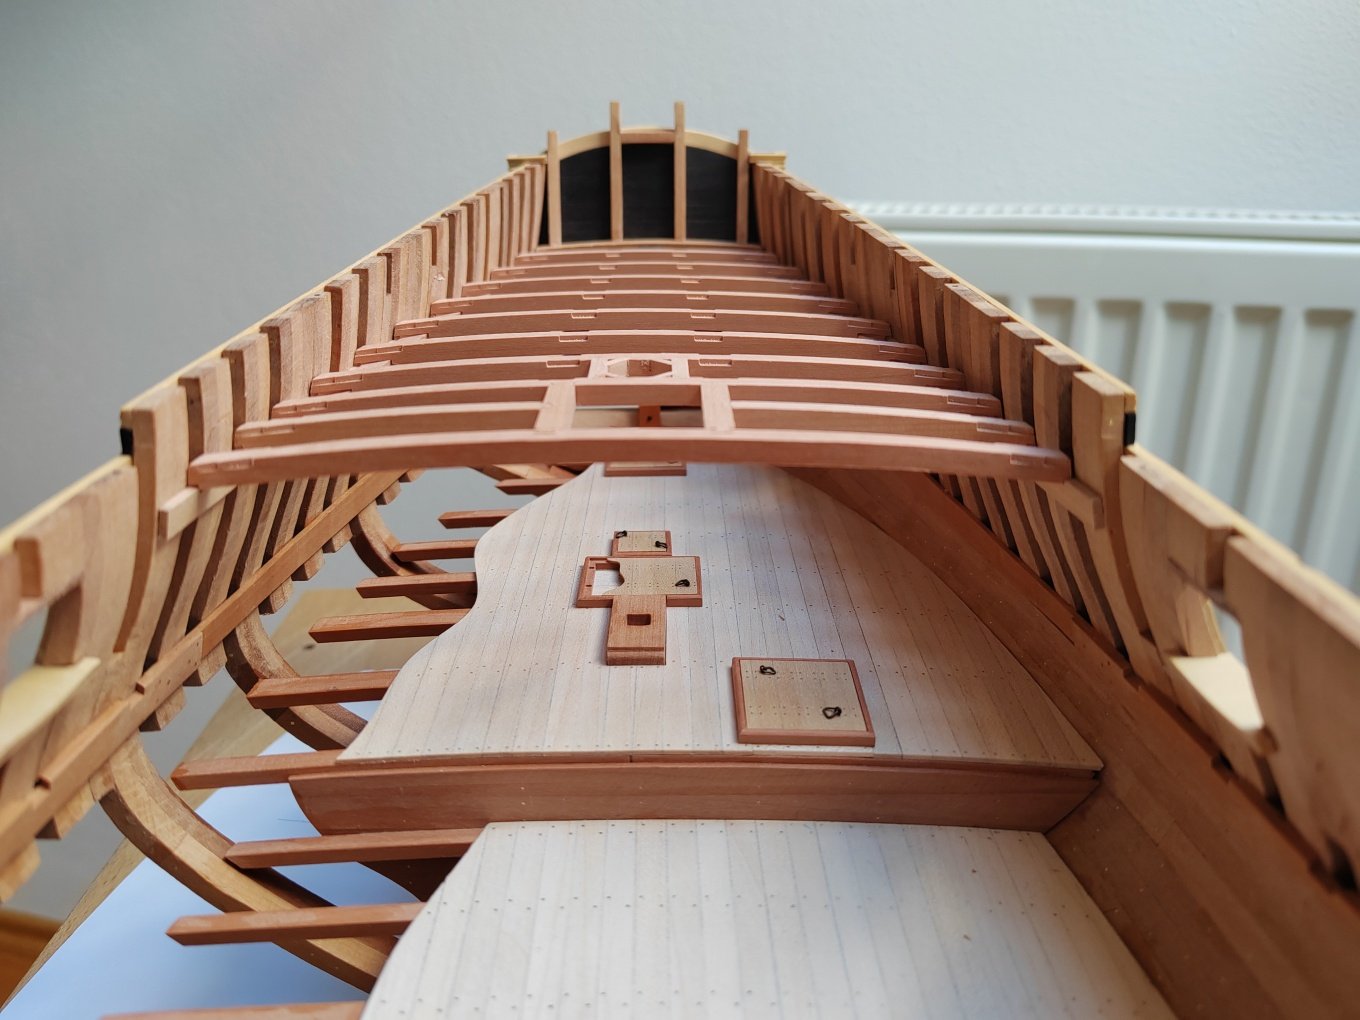
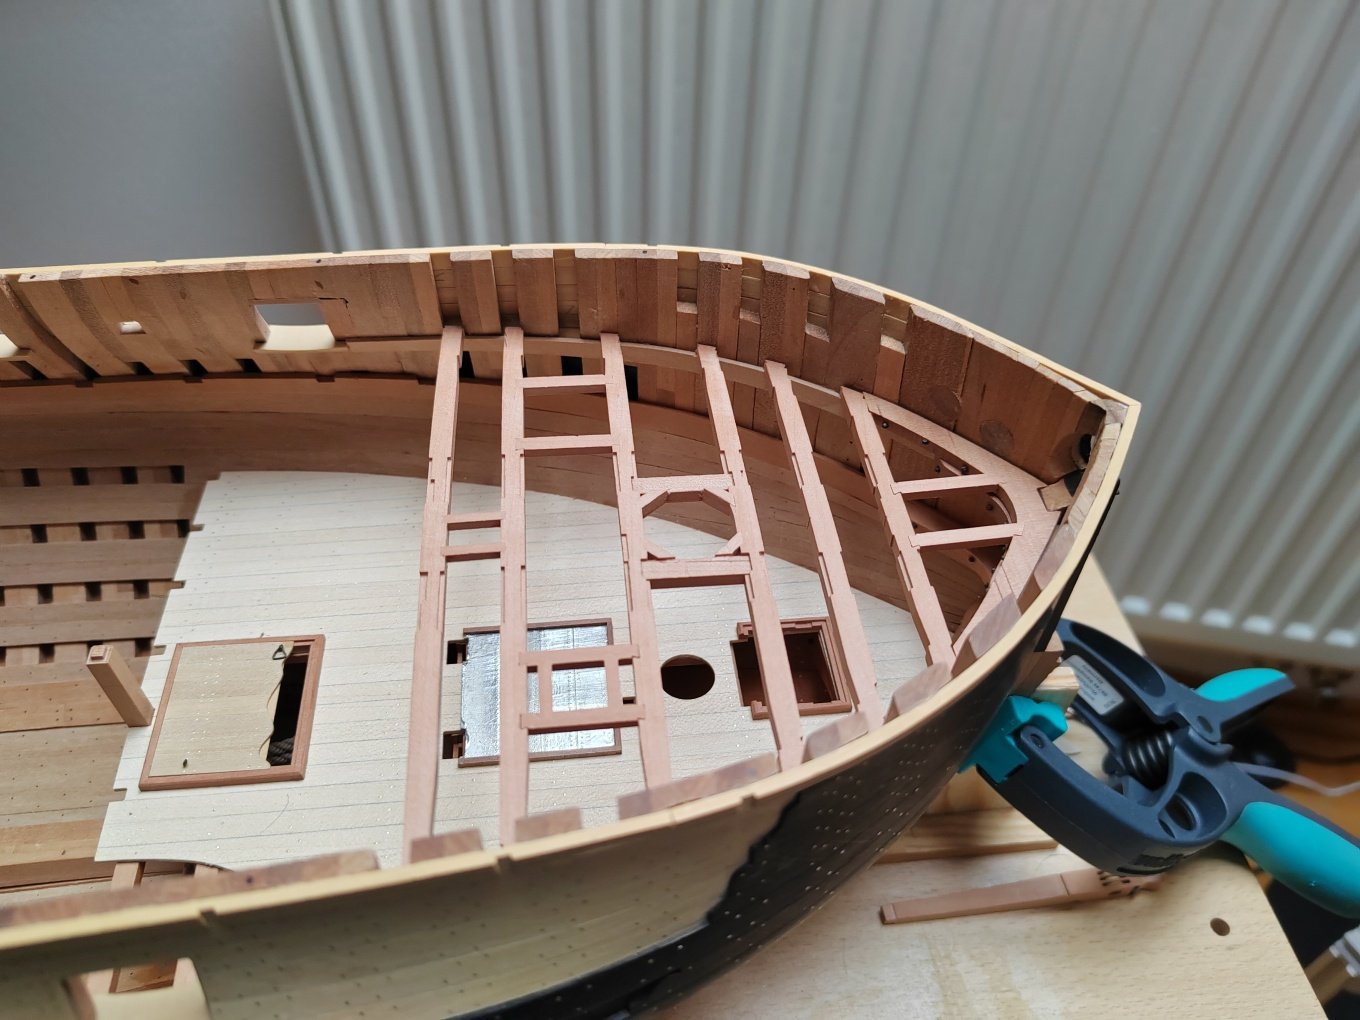
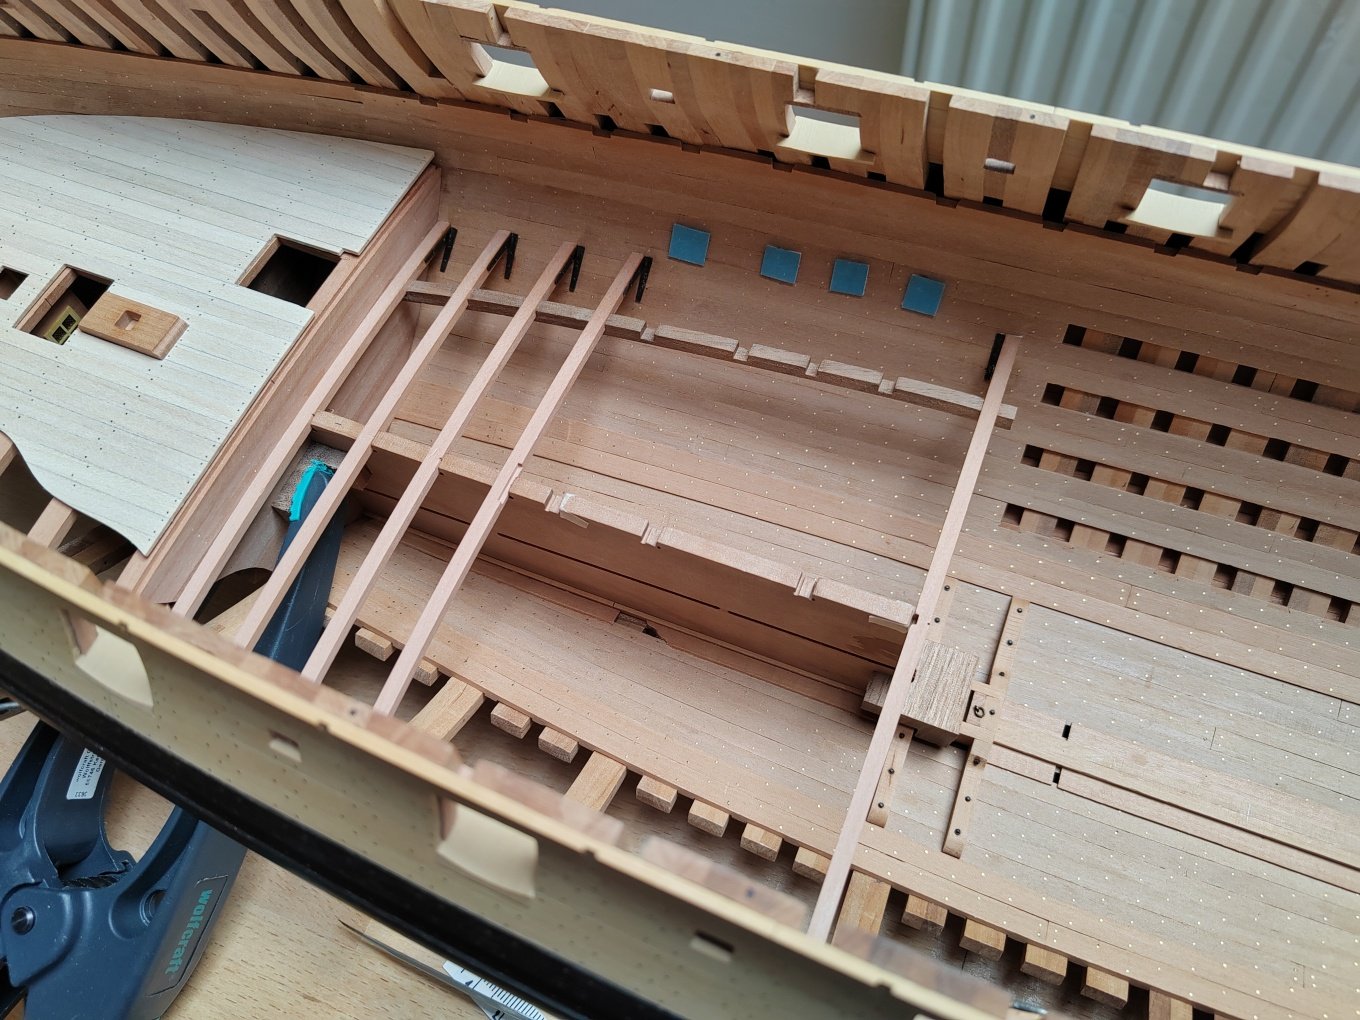
I continue to install deck beams and bulkheads in the center section of the hull.

-
L'Amarante by marsalv - 1:36 - POF
marsalv replied to marsalv's topic in - Build logs for subjects built 1501 - 1750
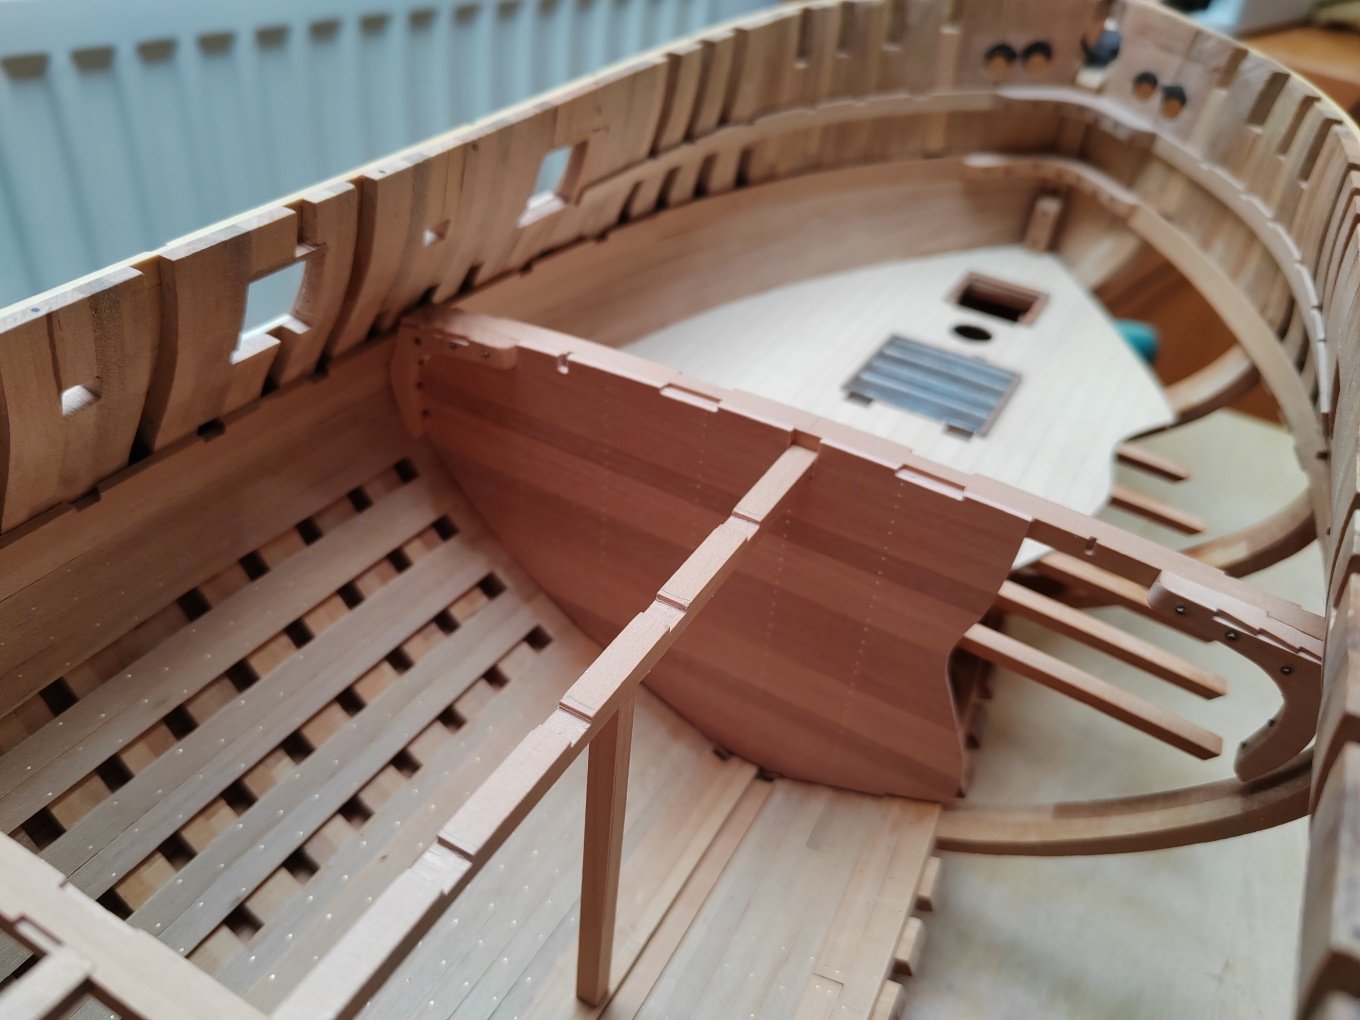
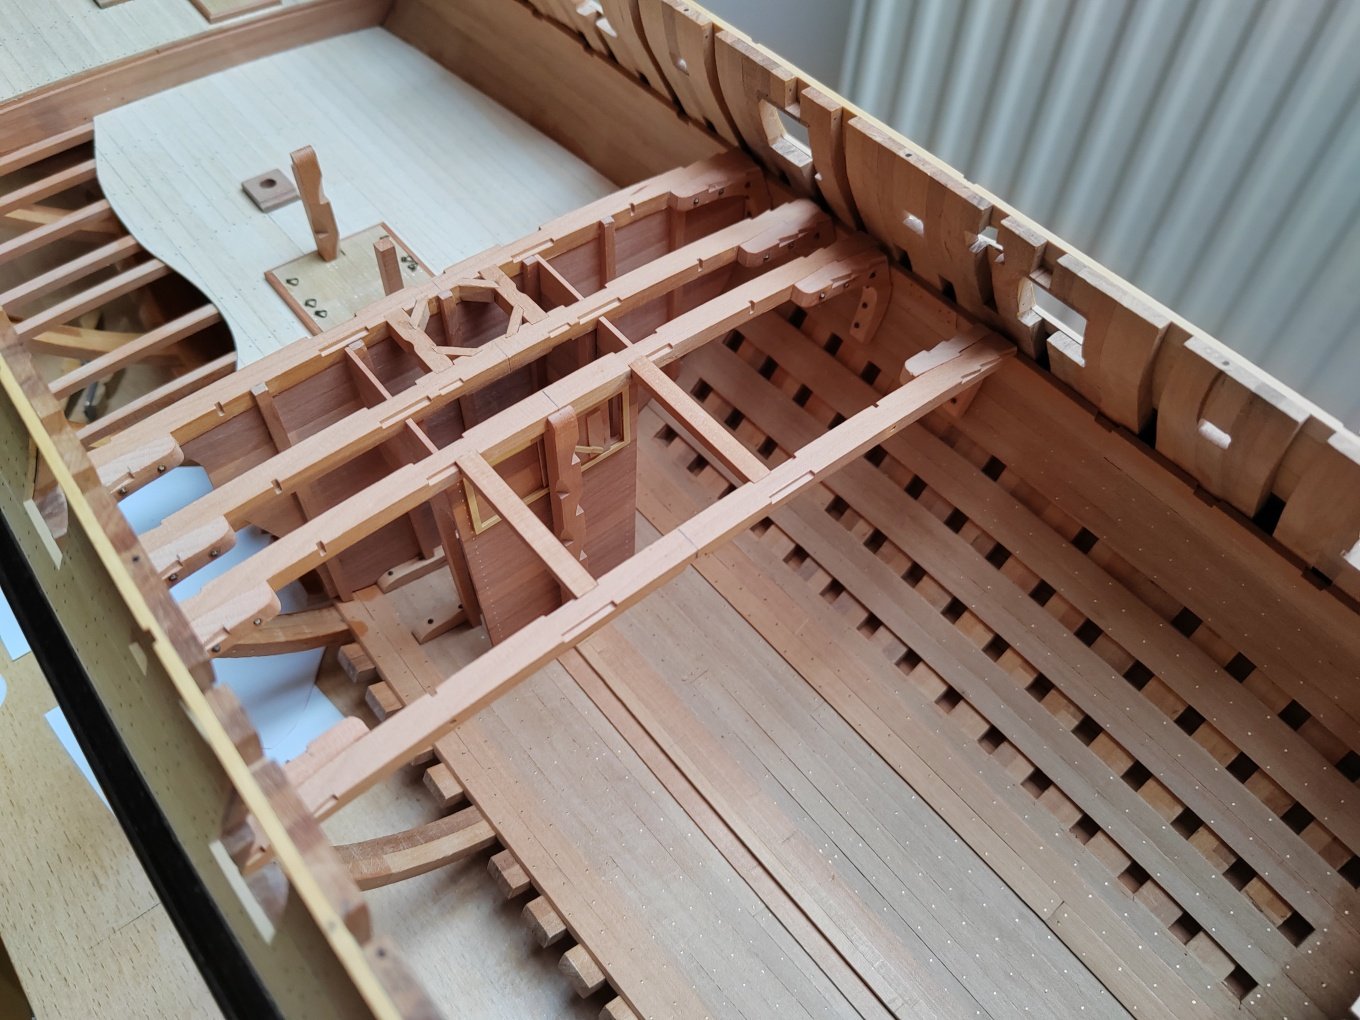
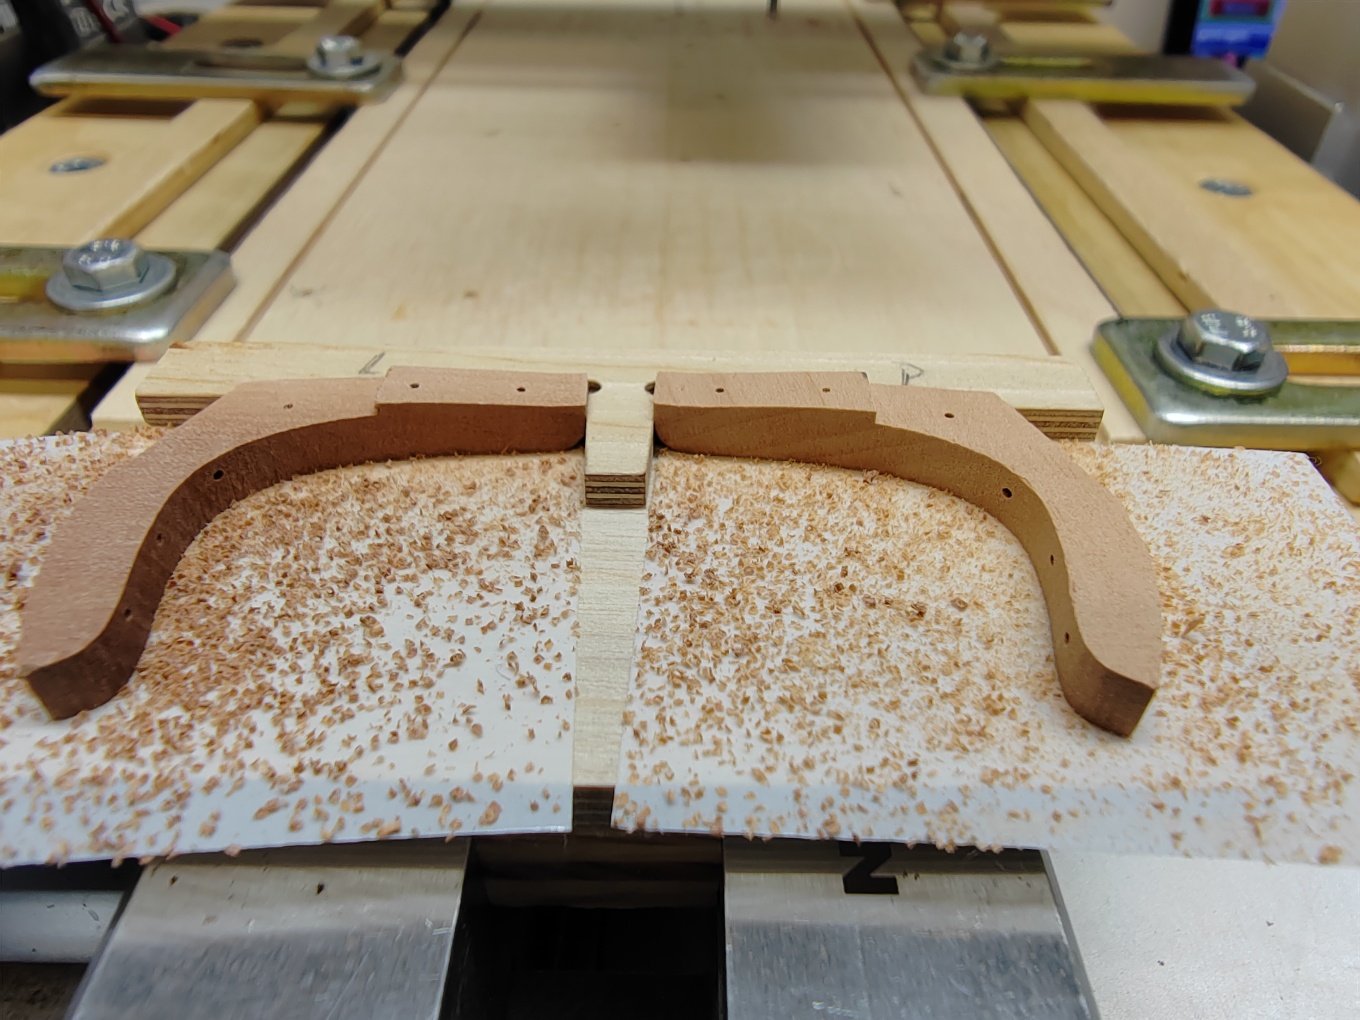
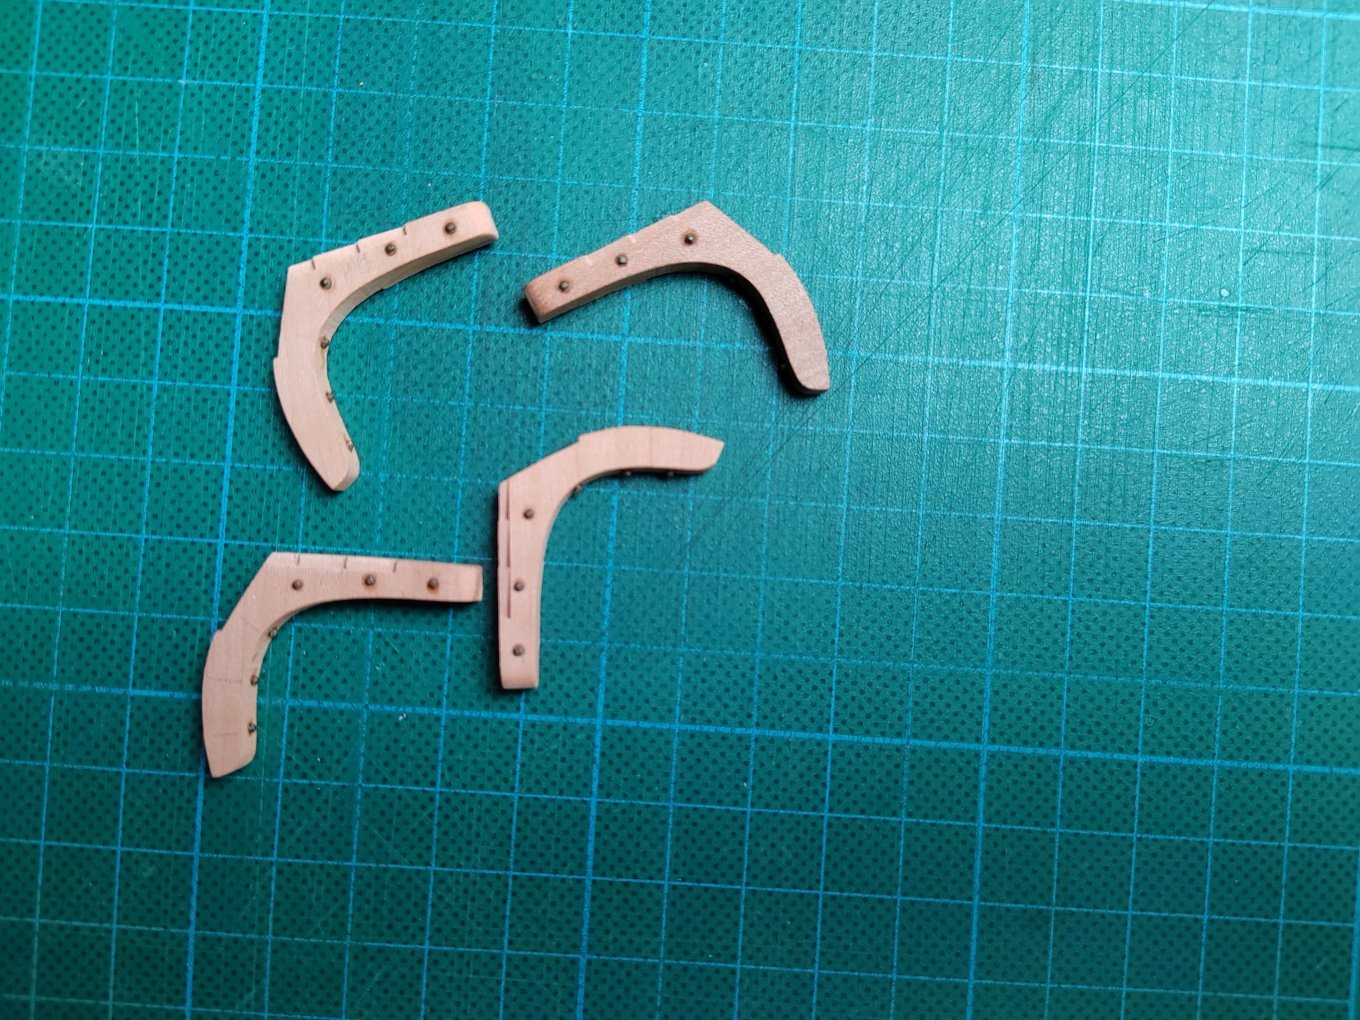
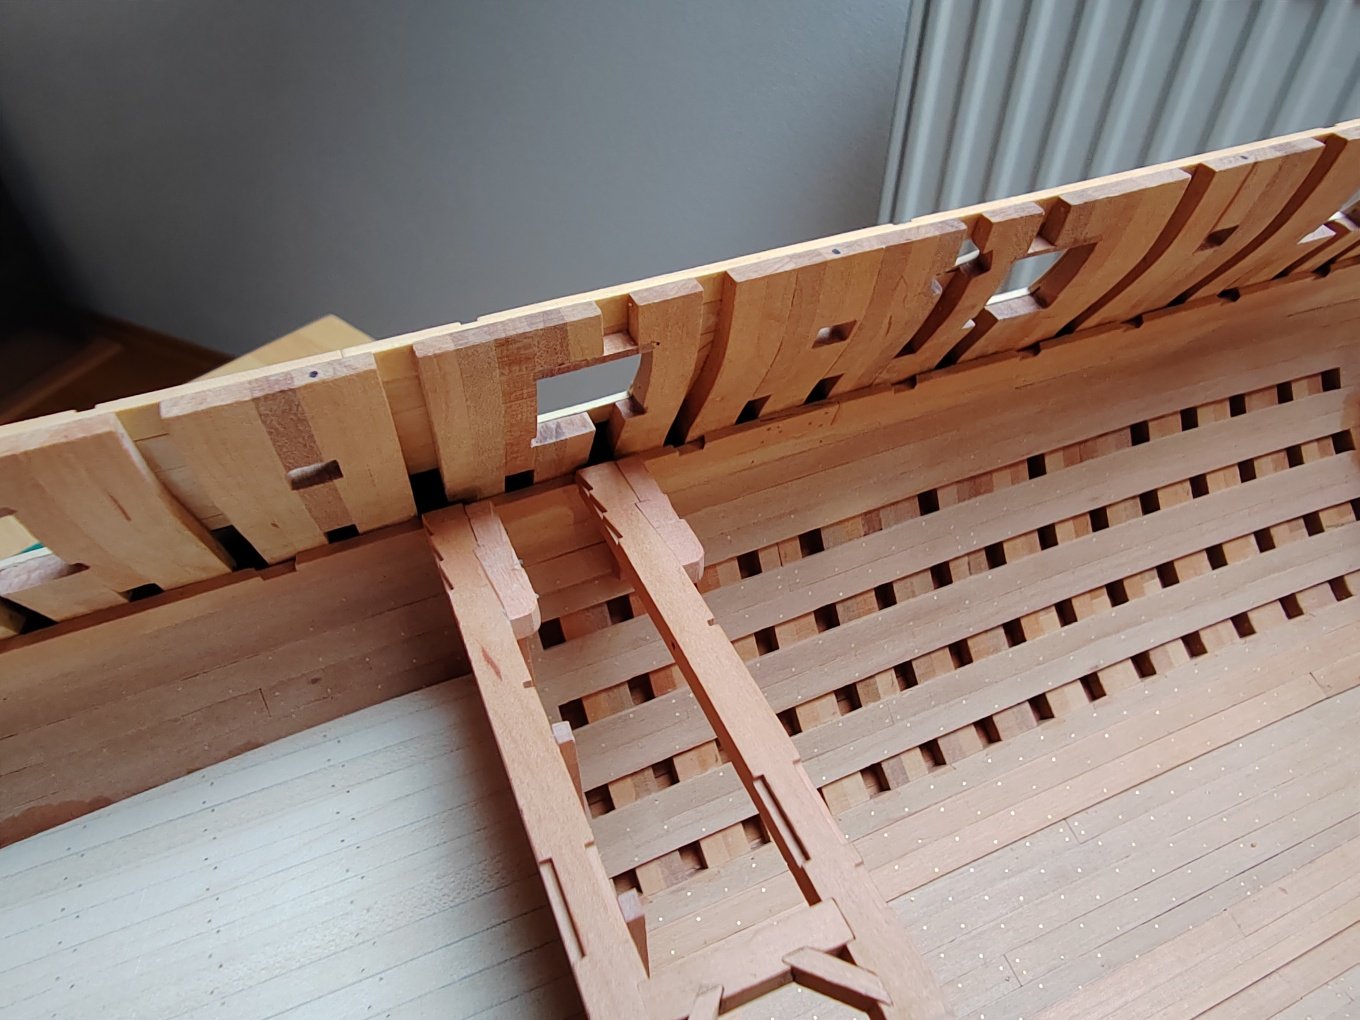
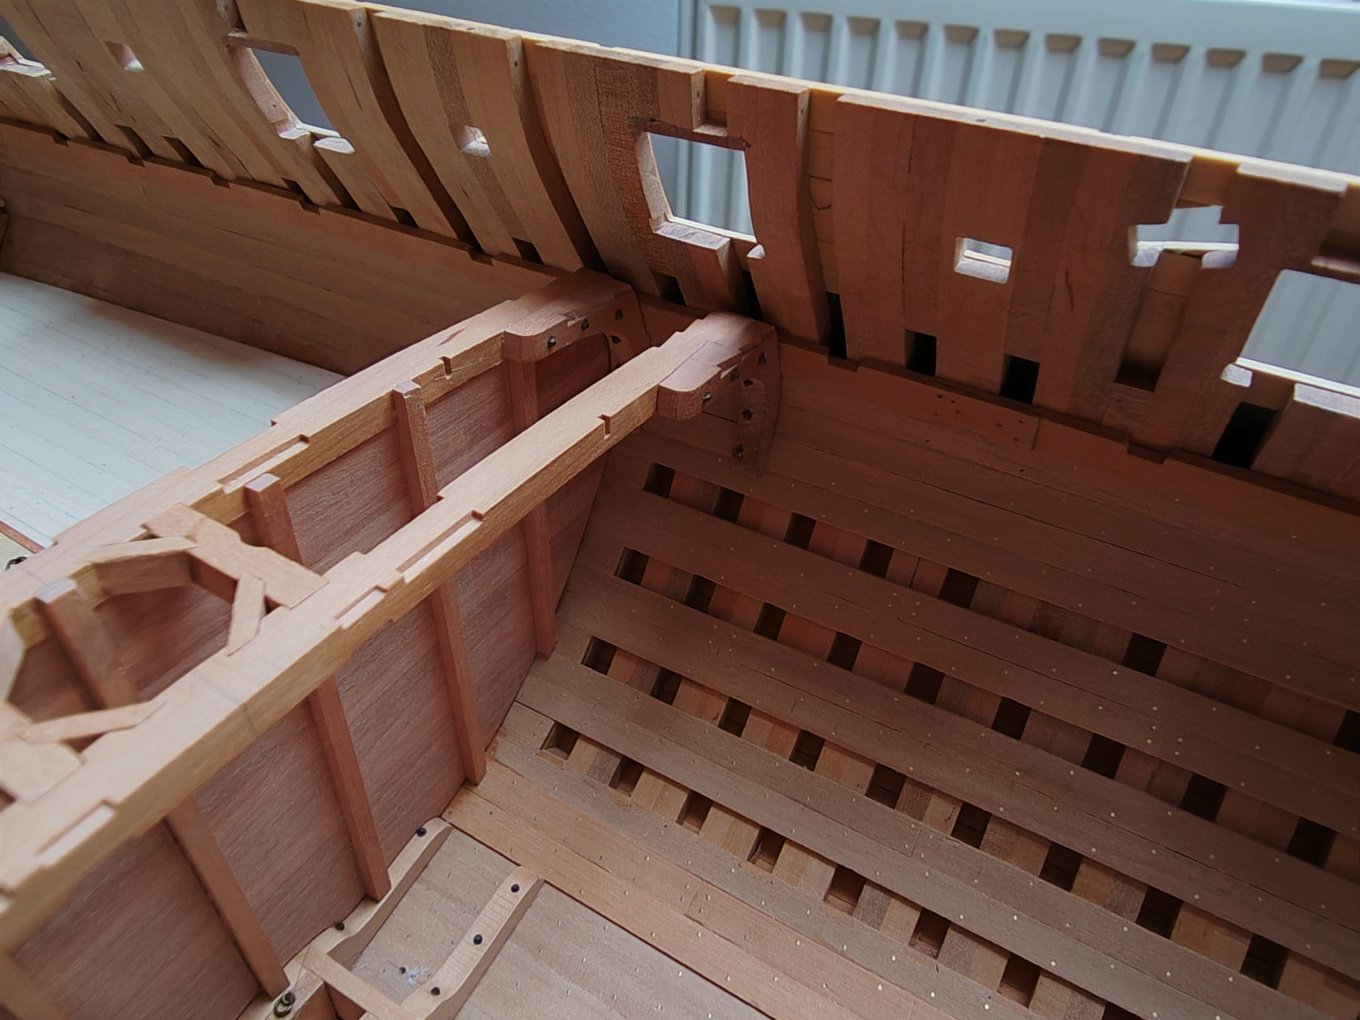
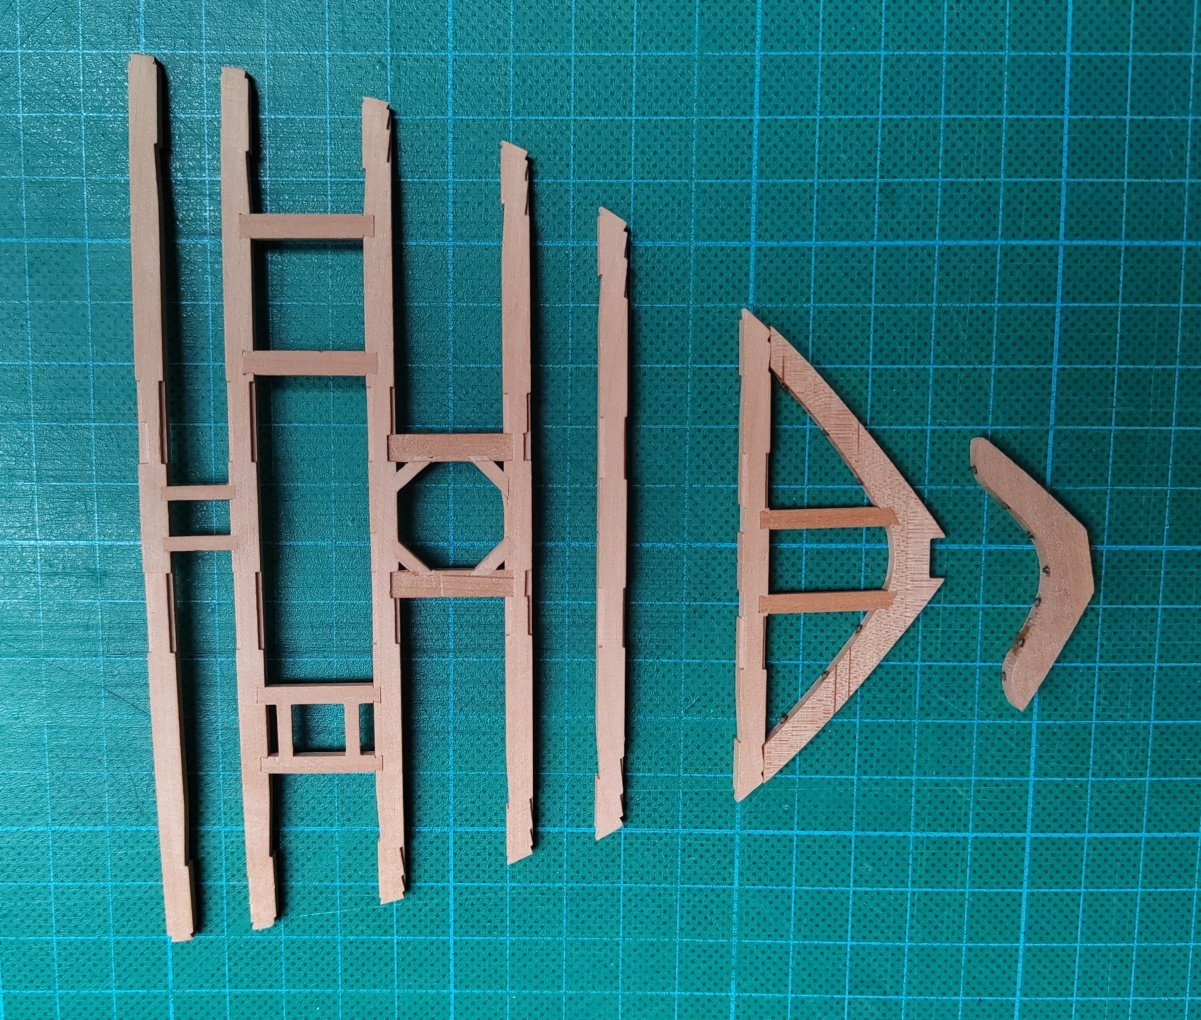
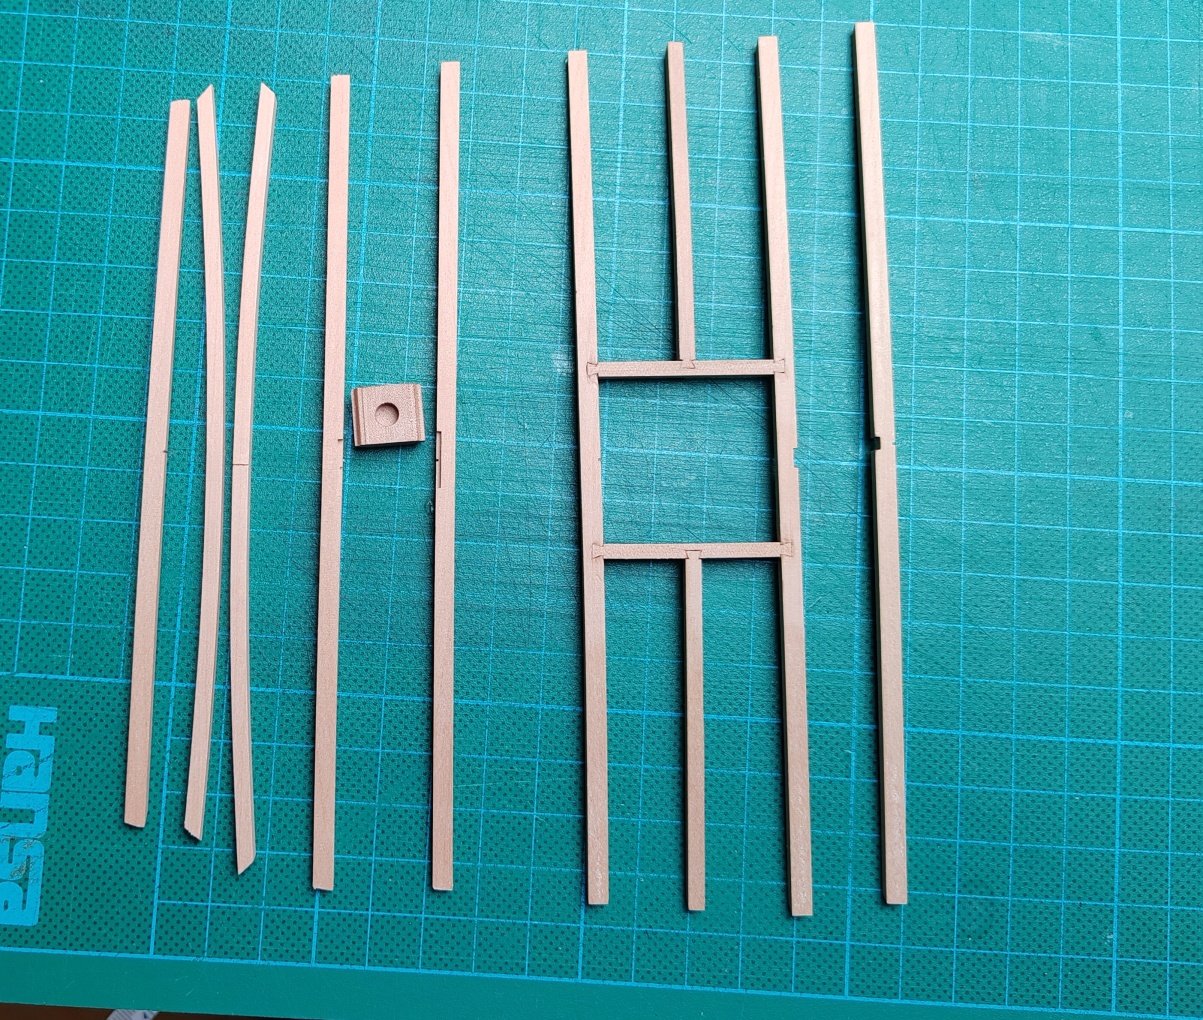
To Some Idea - Thank you for your very kind words. I agree with you that this is where the future of this hobby will go. I moved inside the hull. I made wooden knees and gradually started attaching individual deck beams, bulkheads and other internal structures.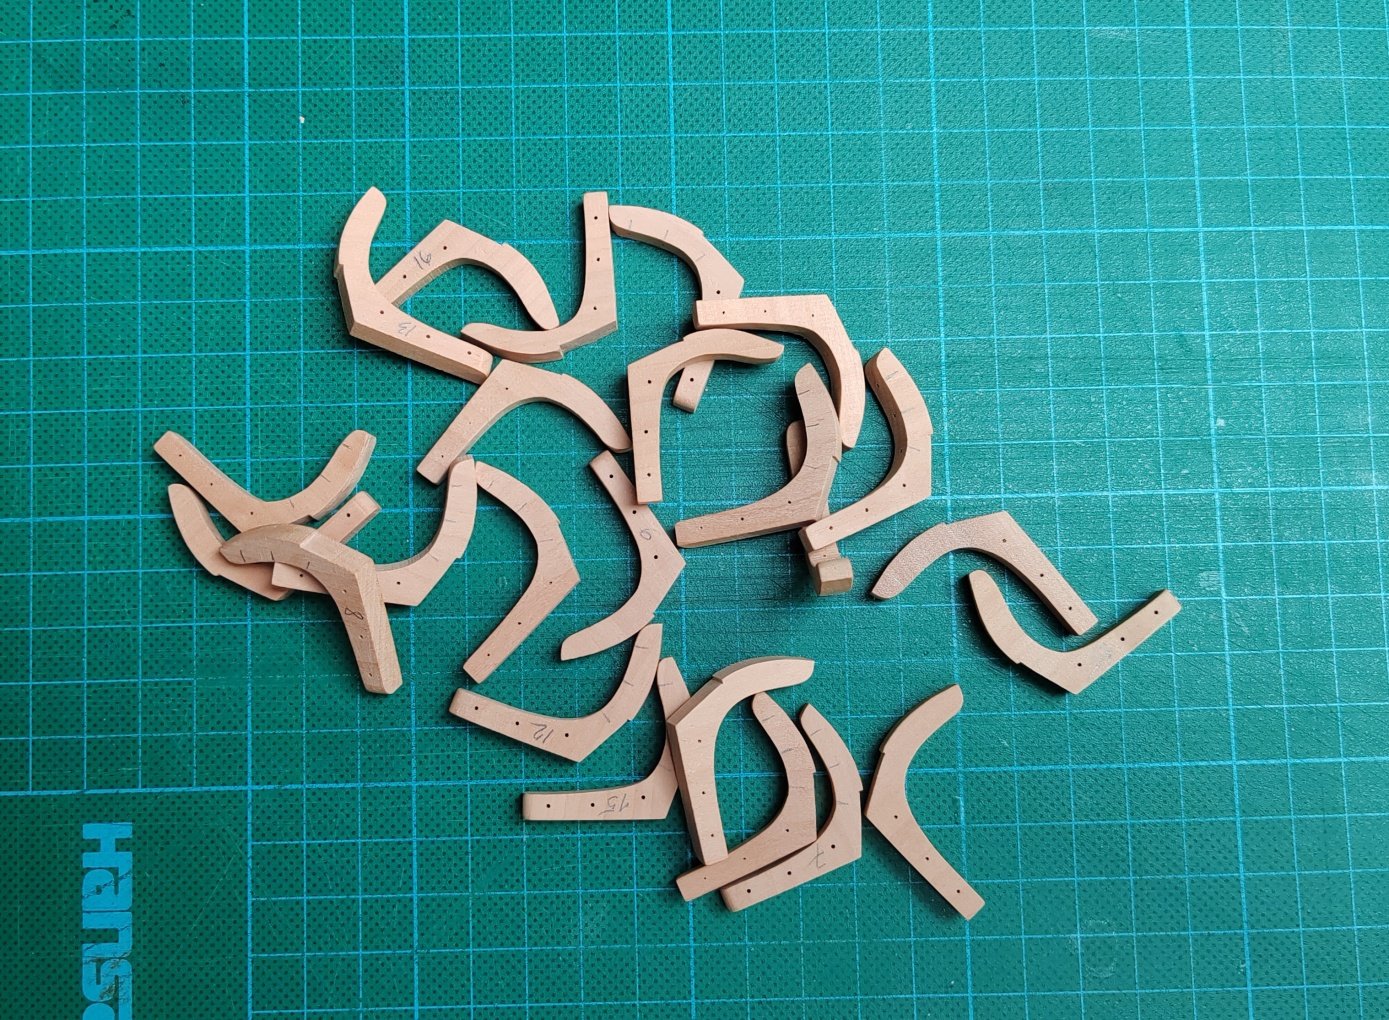
-
L'Amarante by marsalv - 1:36 - POF
marsalv replied to marsalv's topic in - Build logs for subjects built 1501 - 1750
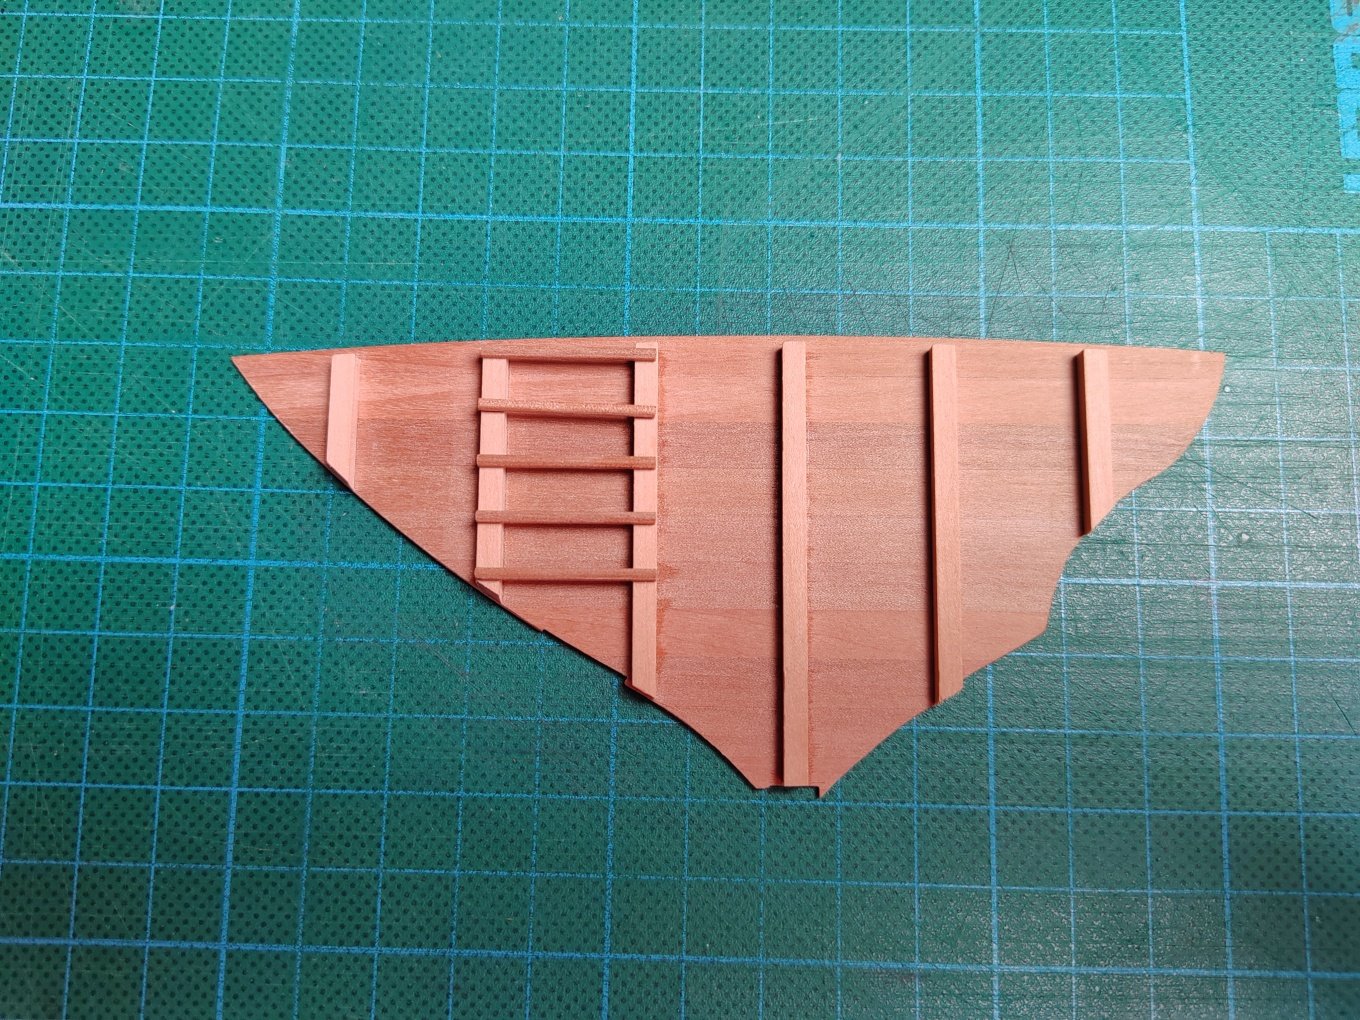
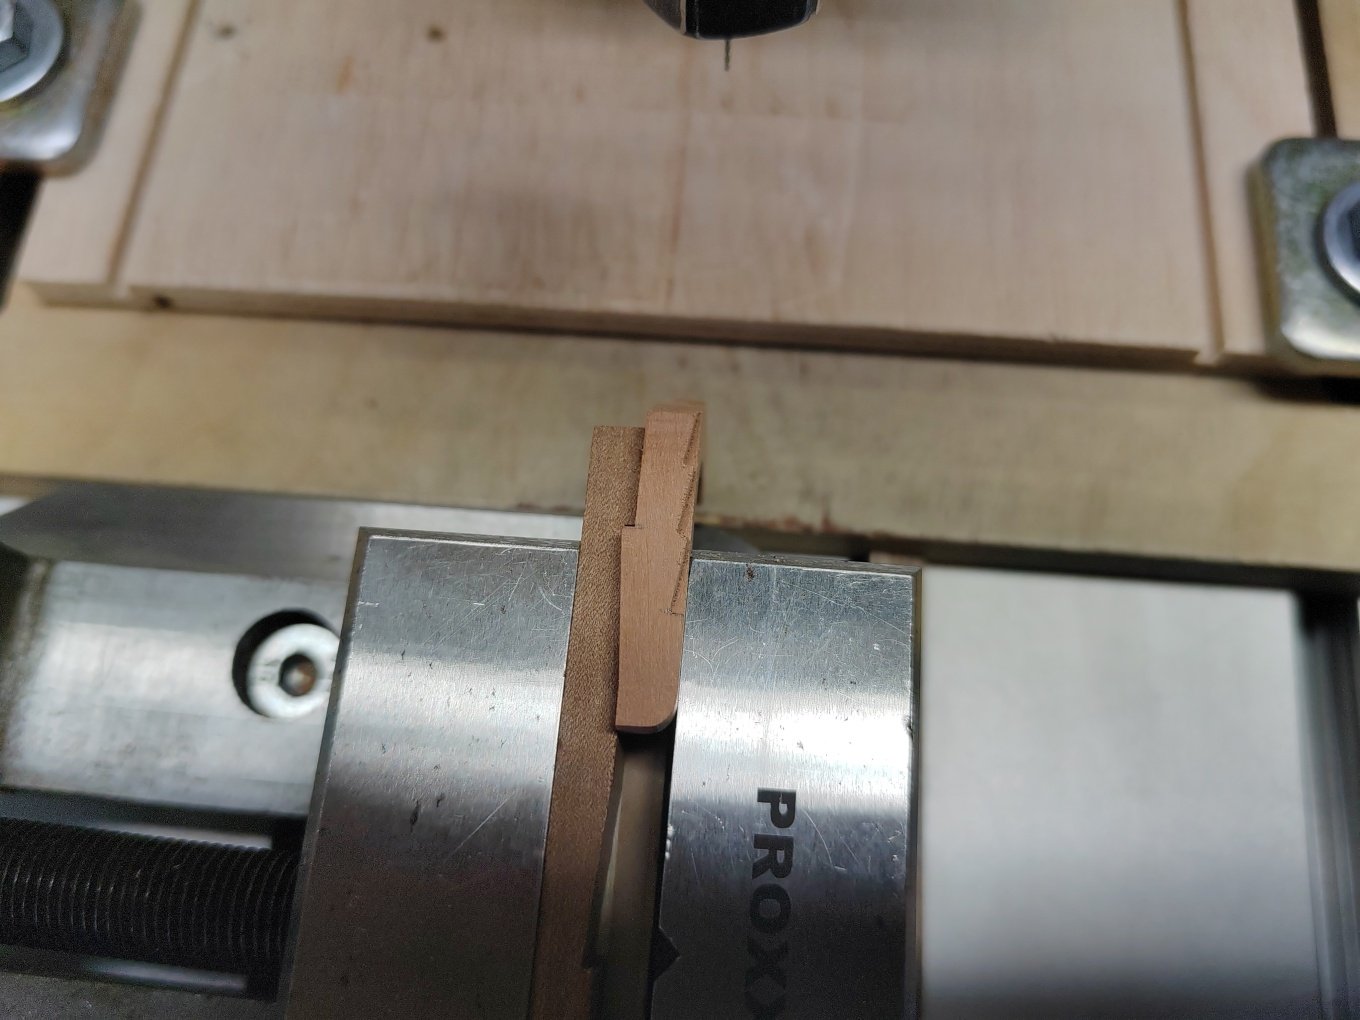
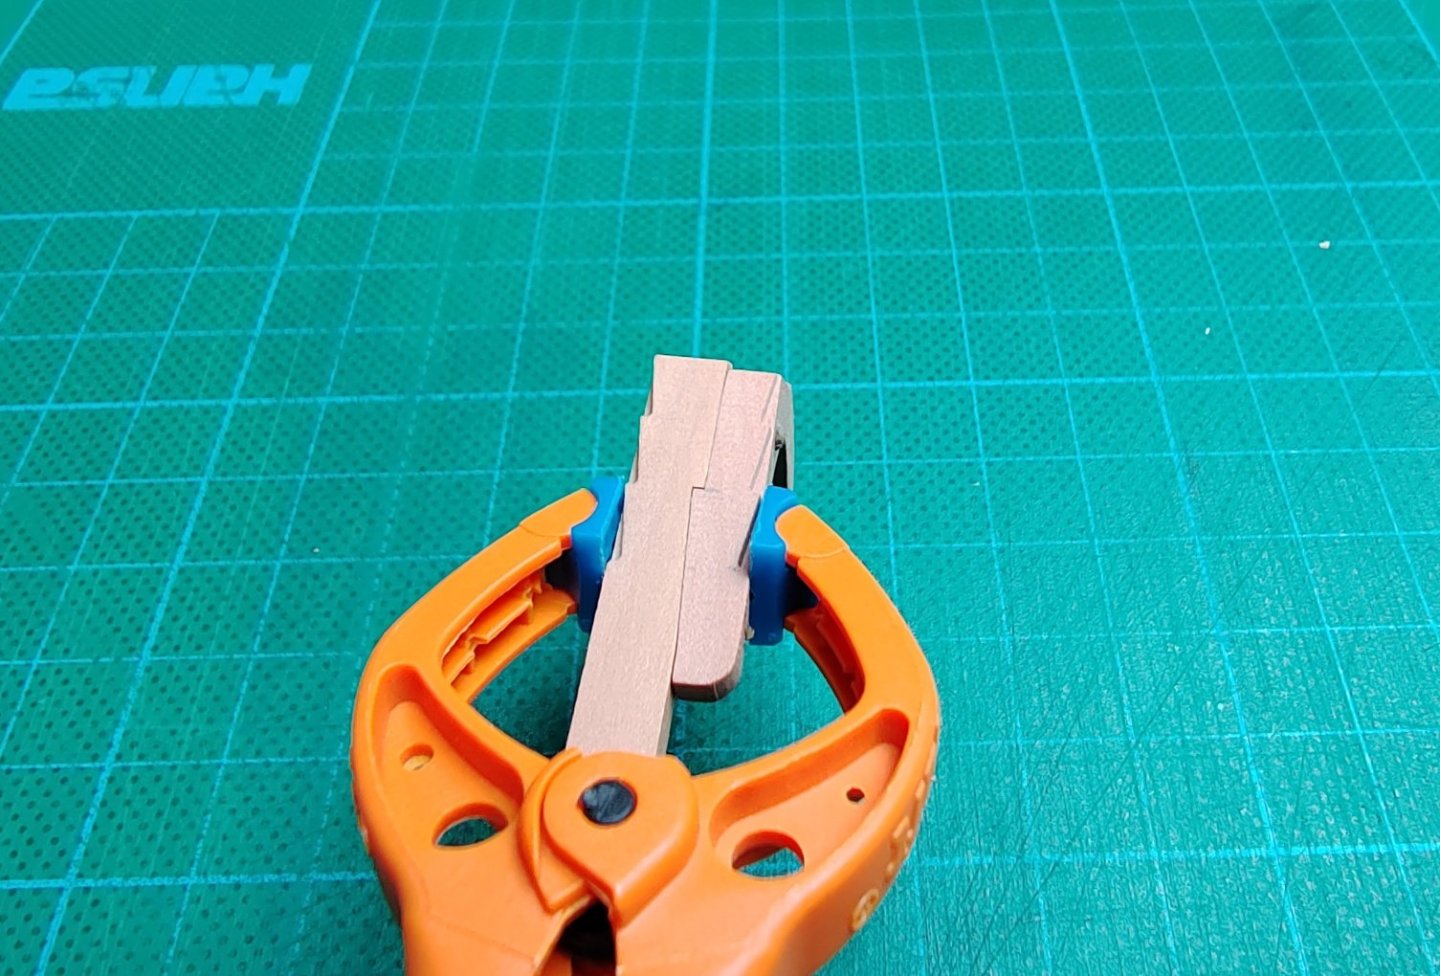
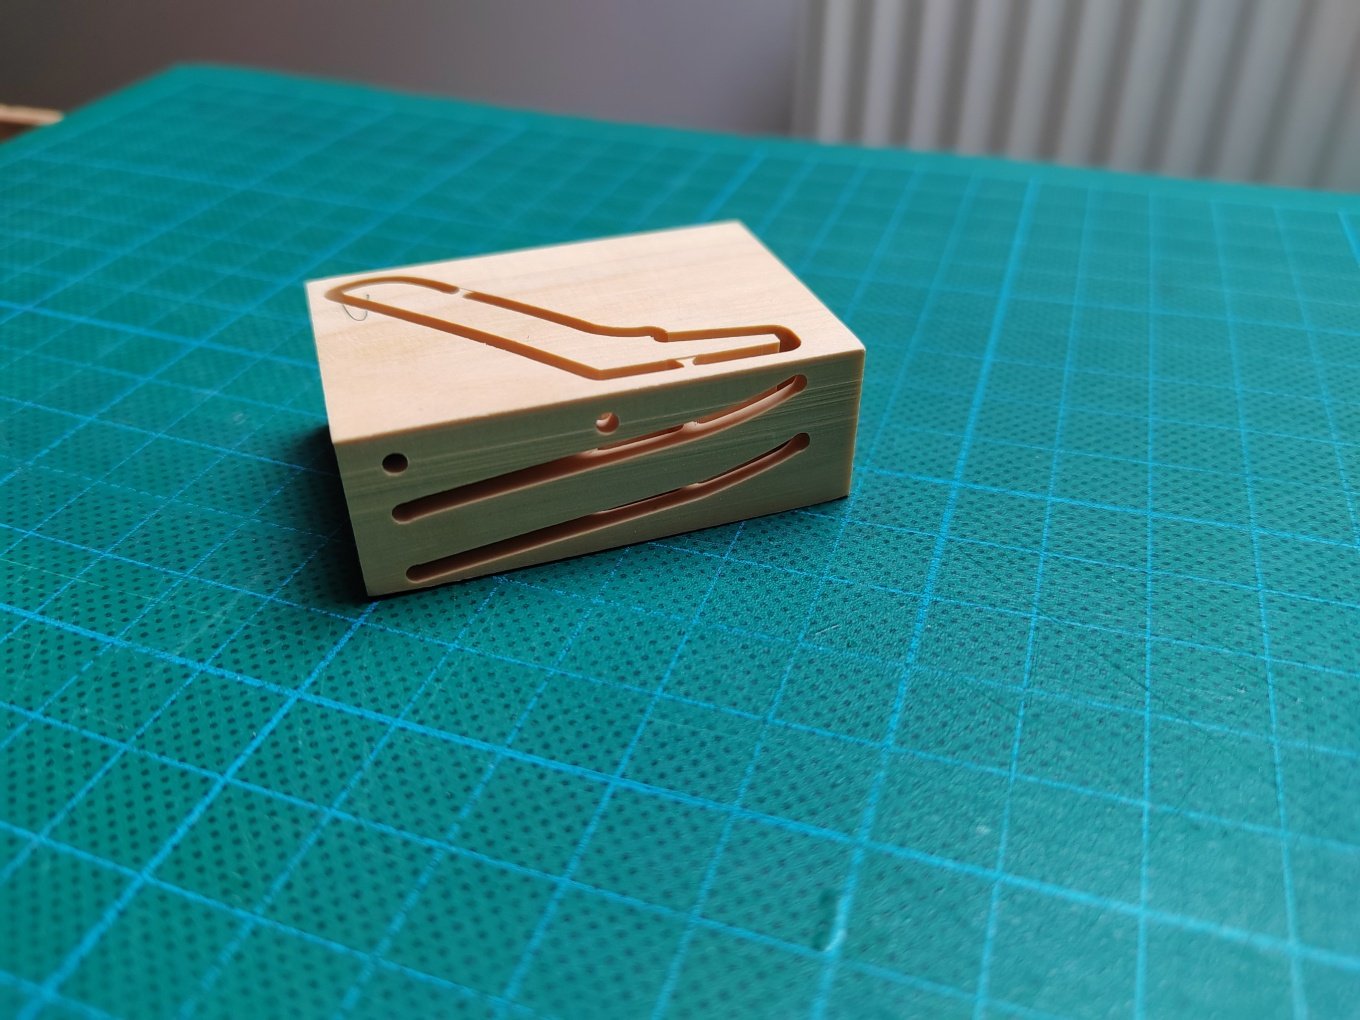
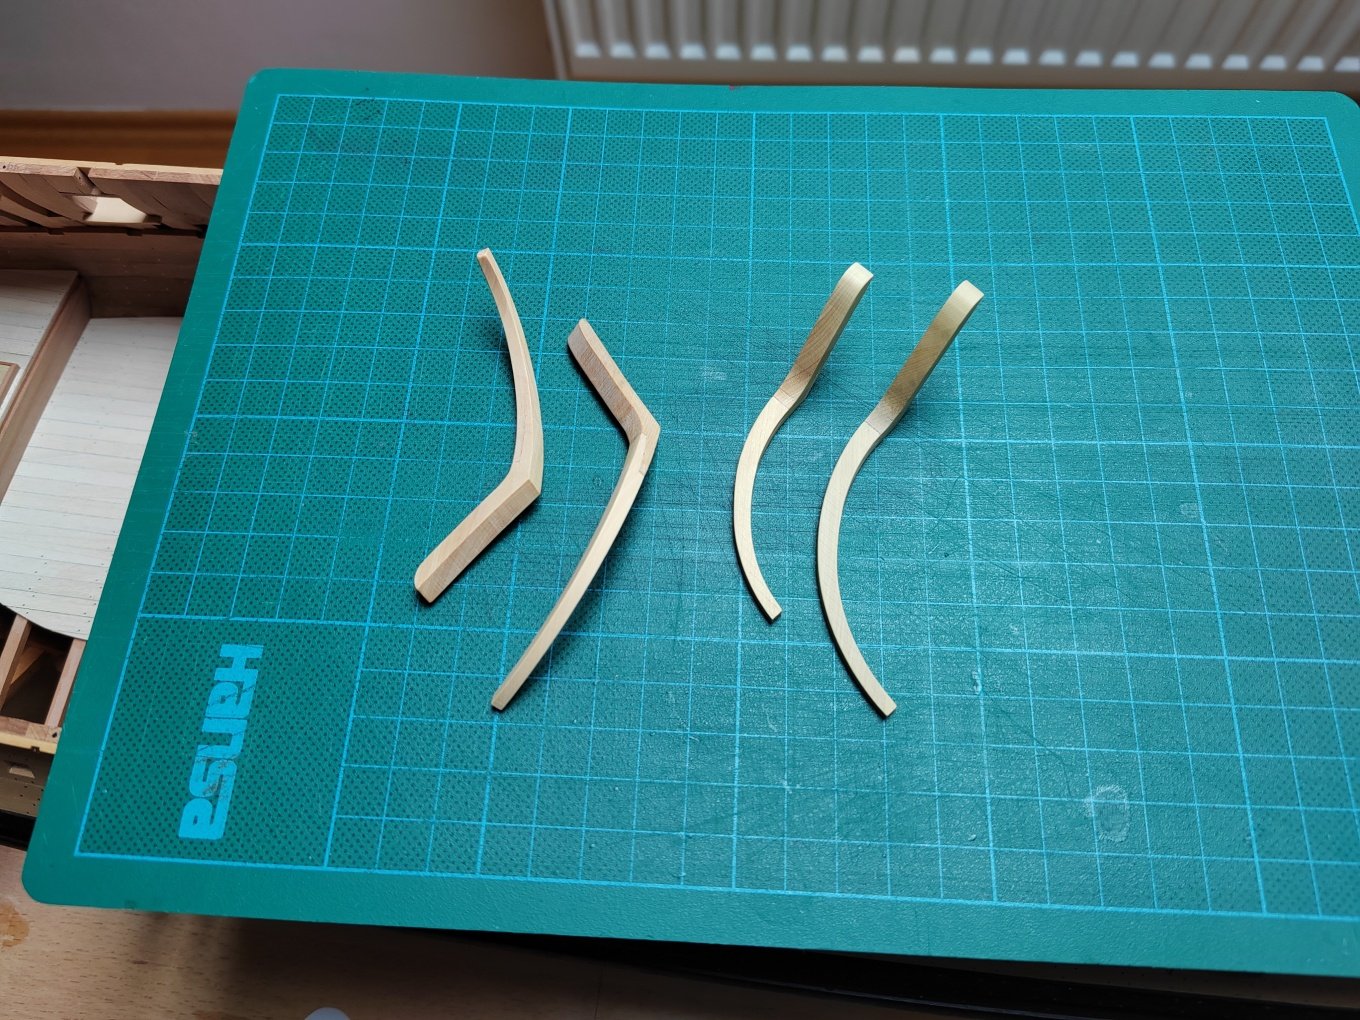
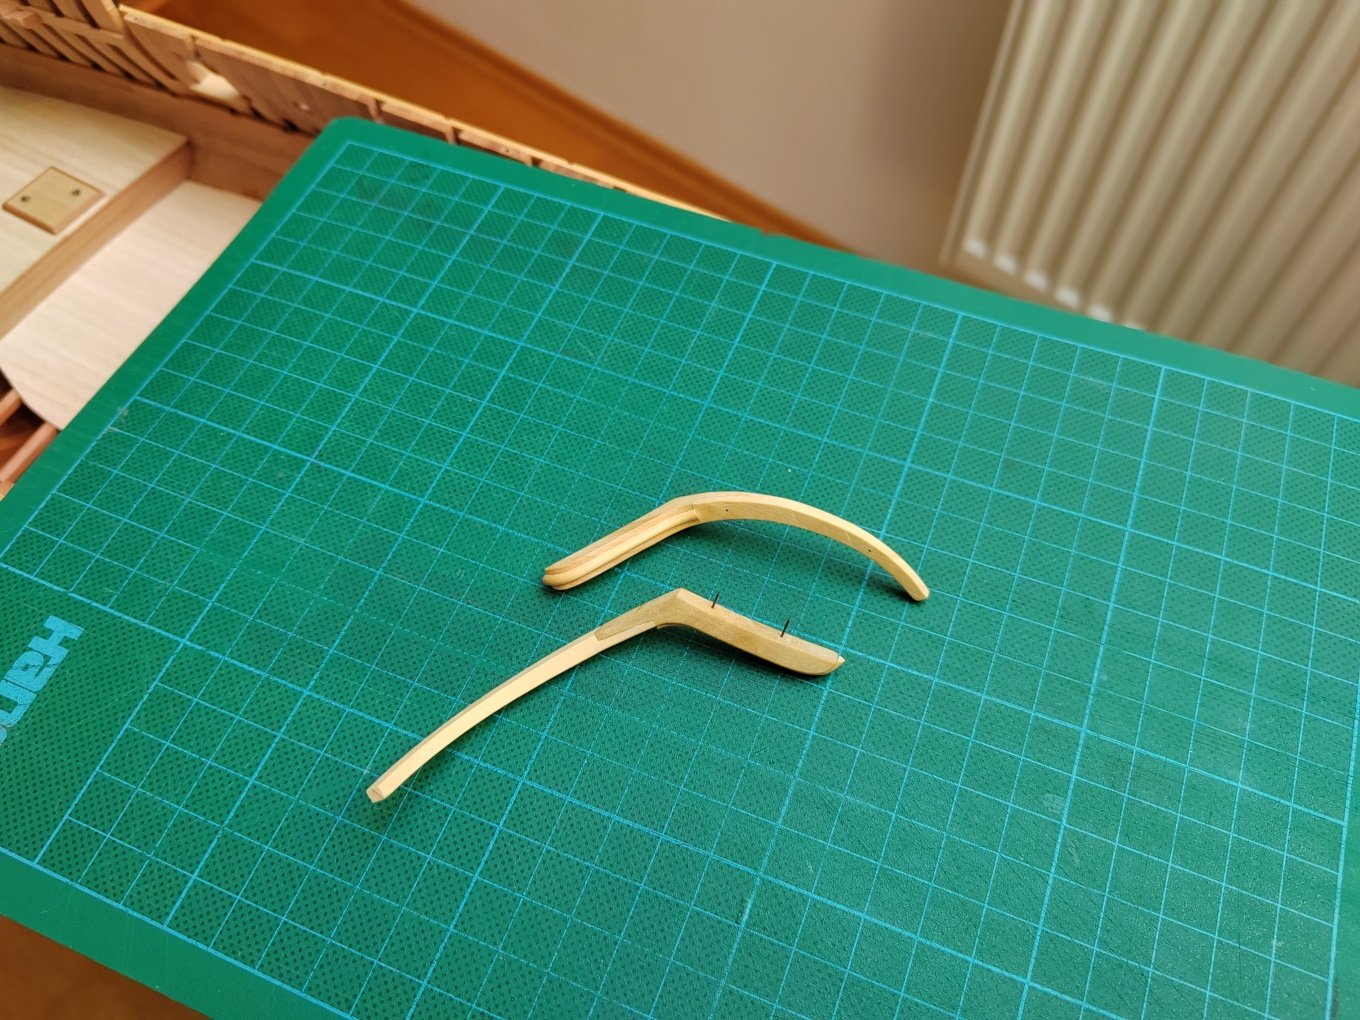
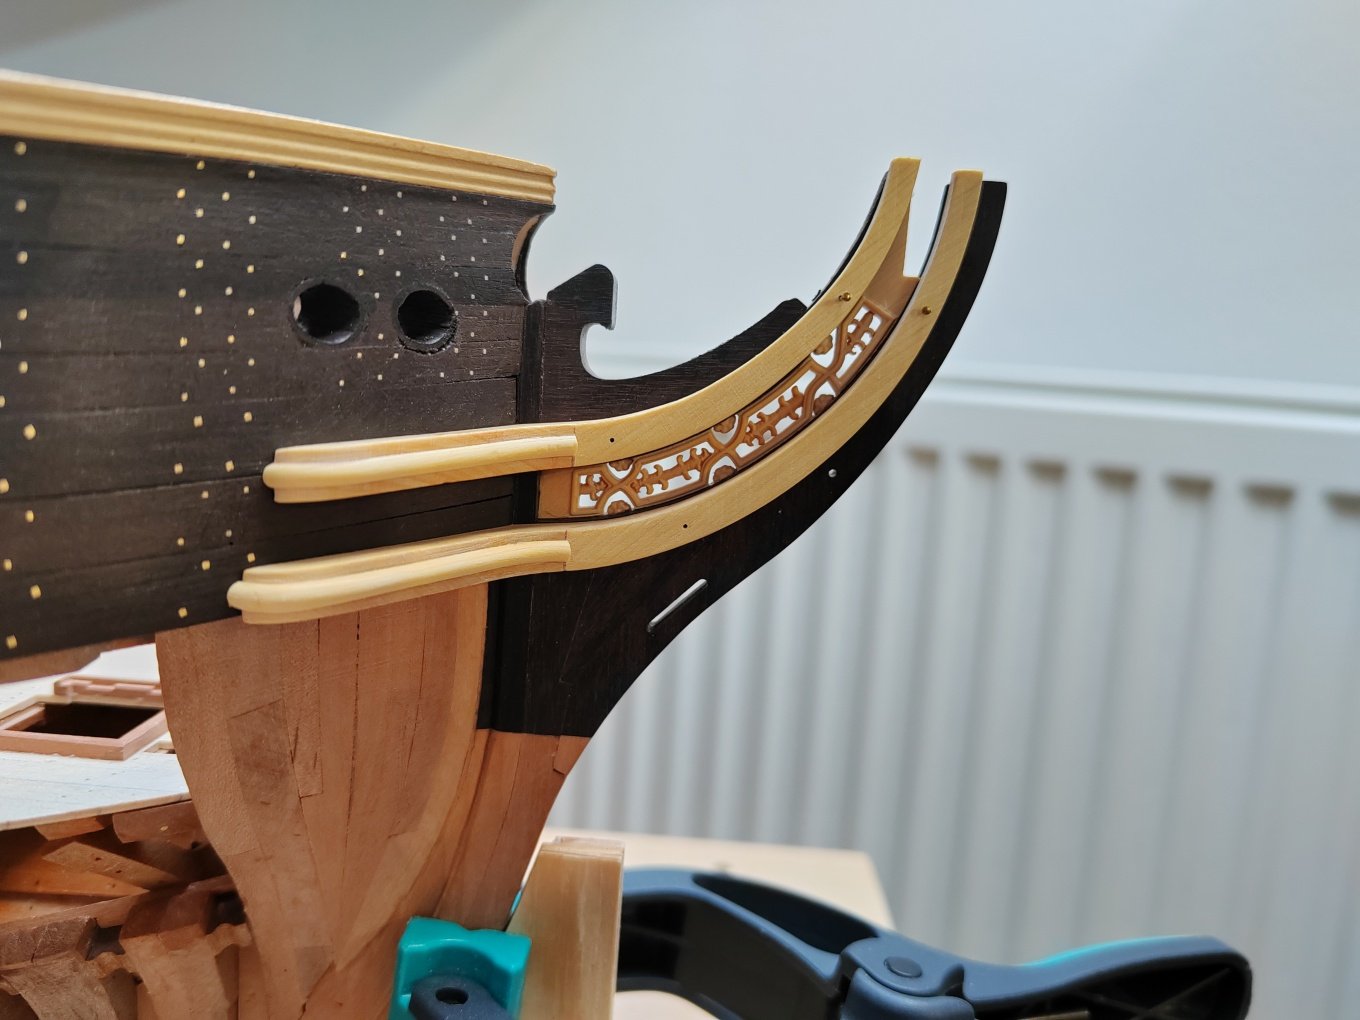
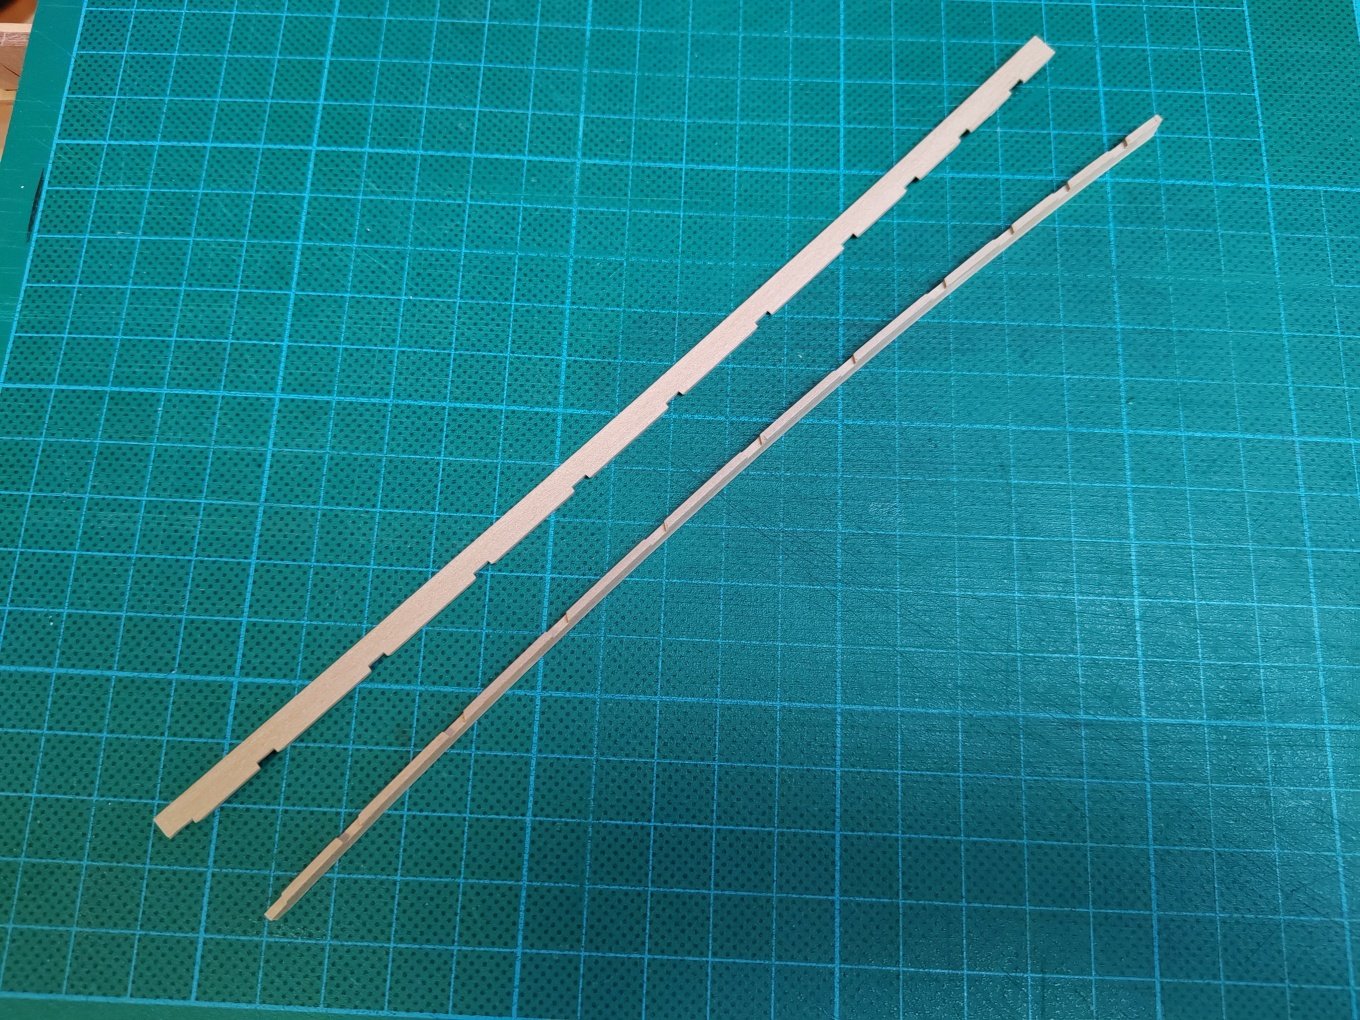
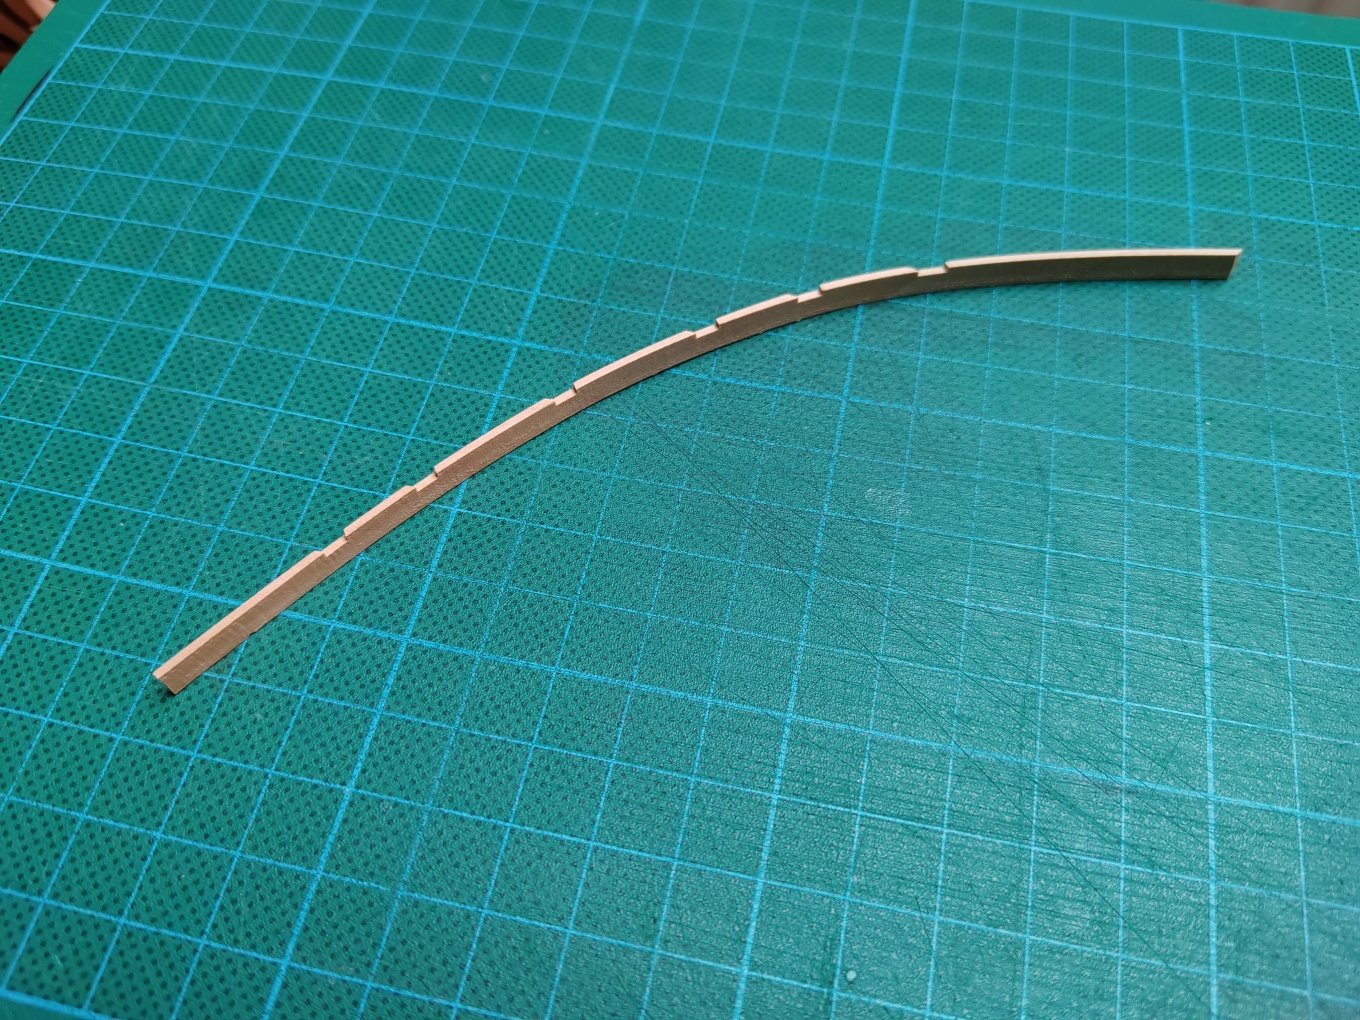
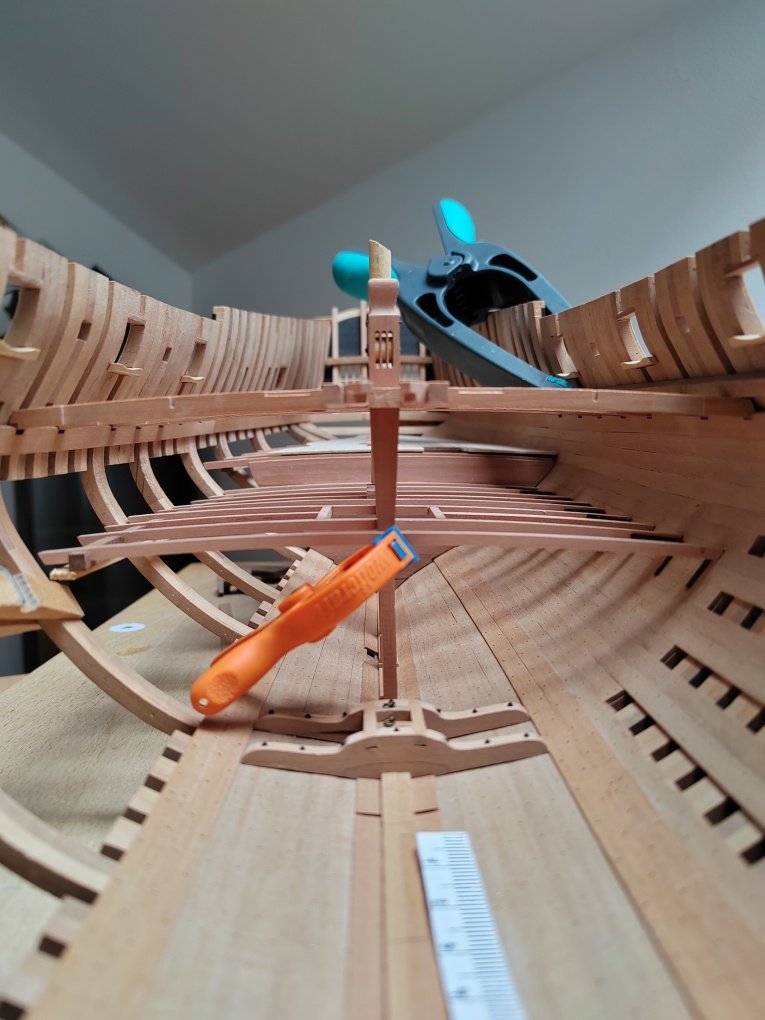
Thanks for the positive responses. The downside of using this technique is that you spend more time at the computer figuring out how to make the part as efficiently as possible. Added a few details on the bow - bolster, gammonig "pillow" and wash-piece.


-
L'Amarante by marsalv - 1:36 - POF
marsalv replied to marsalv's topic in - Build logs for subjects built 1501 - 1750
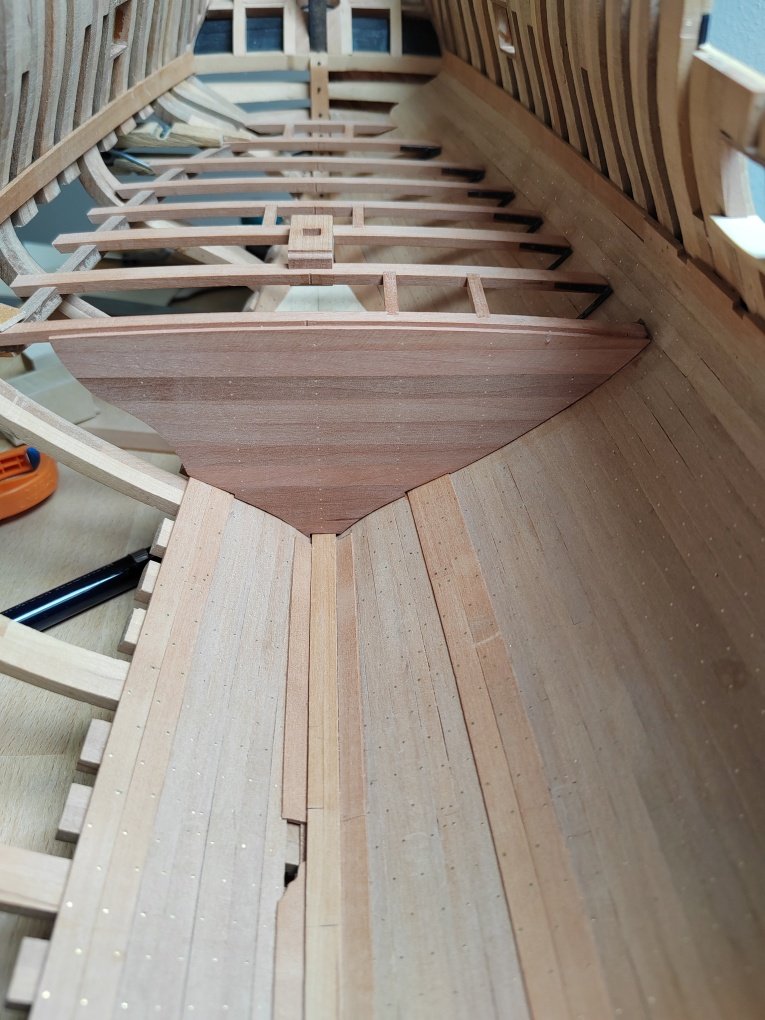
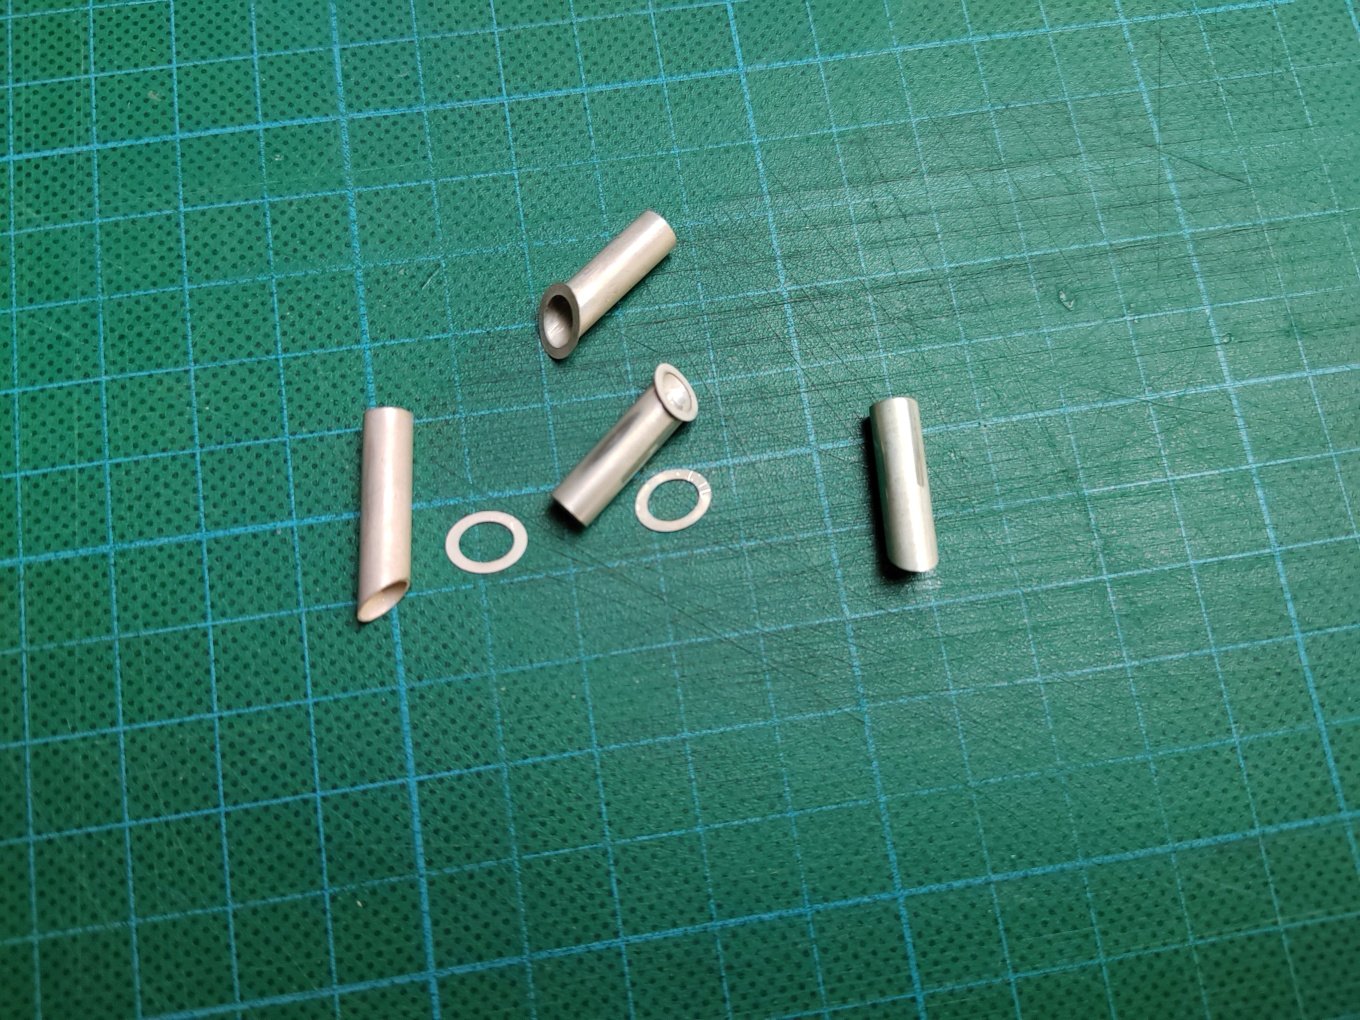
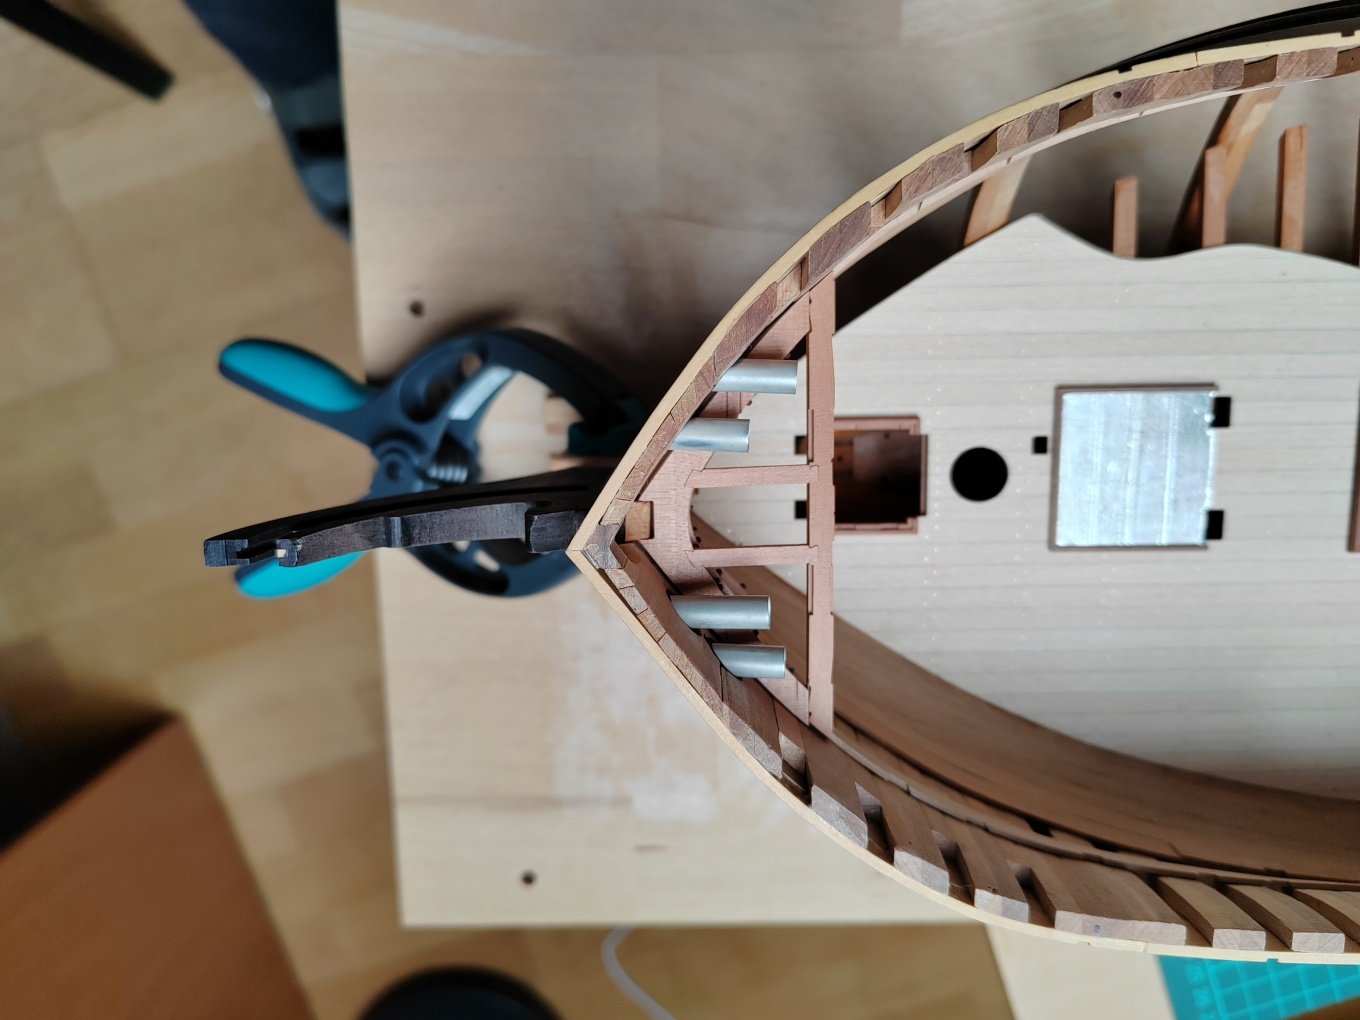
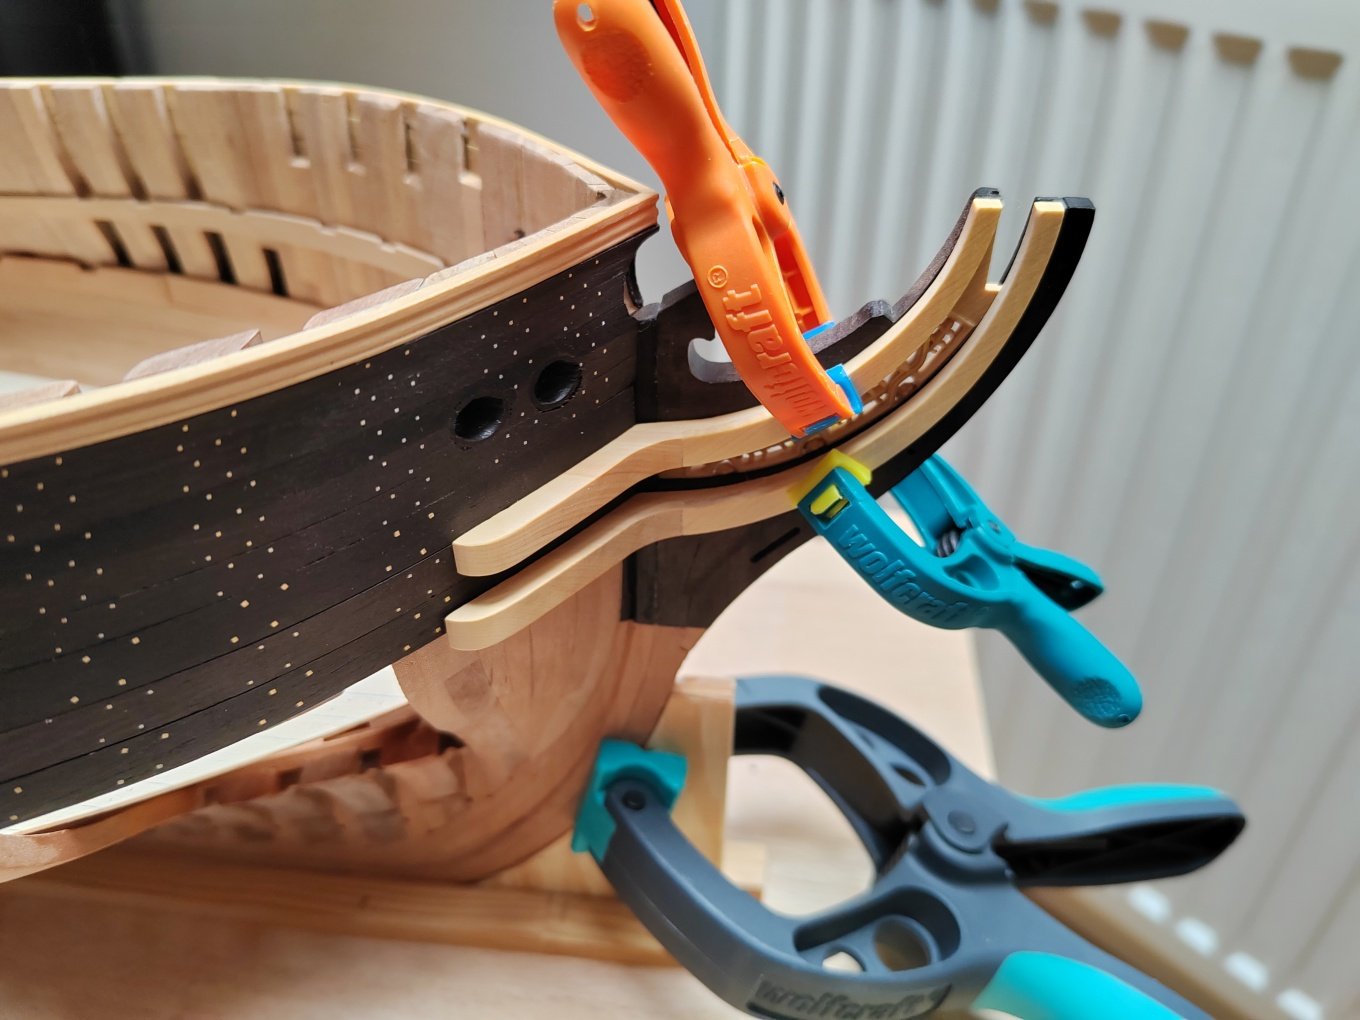
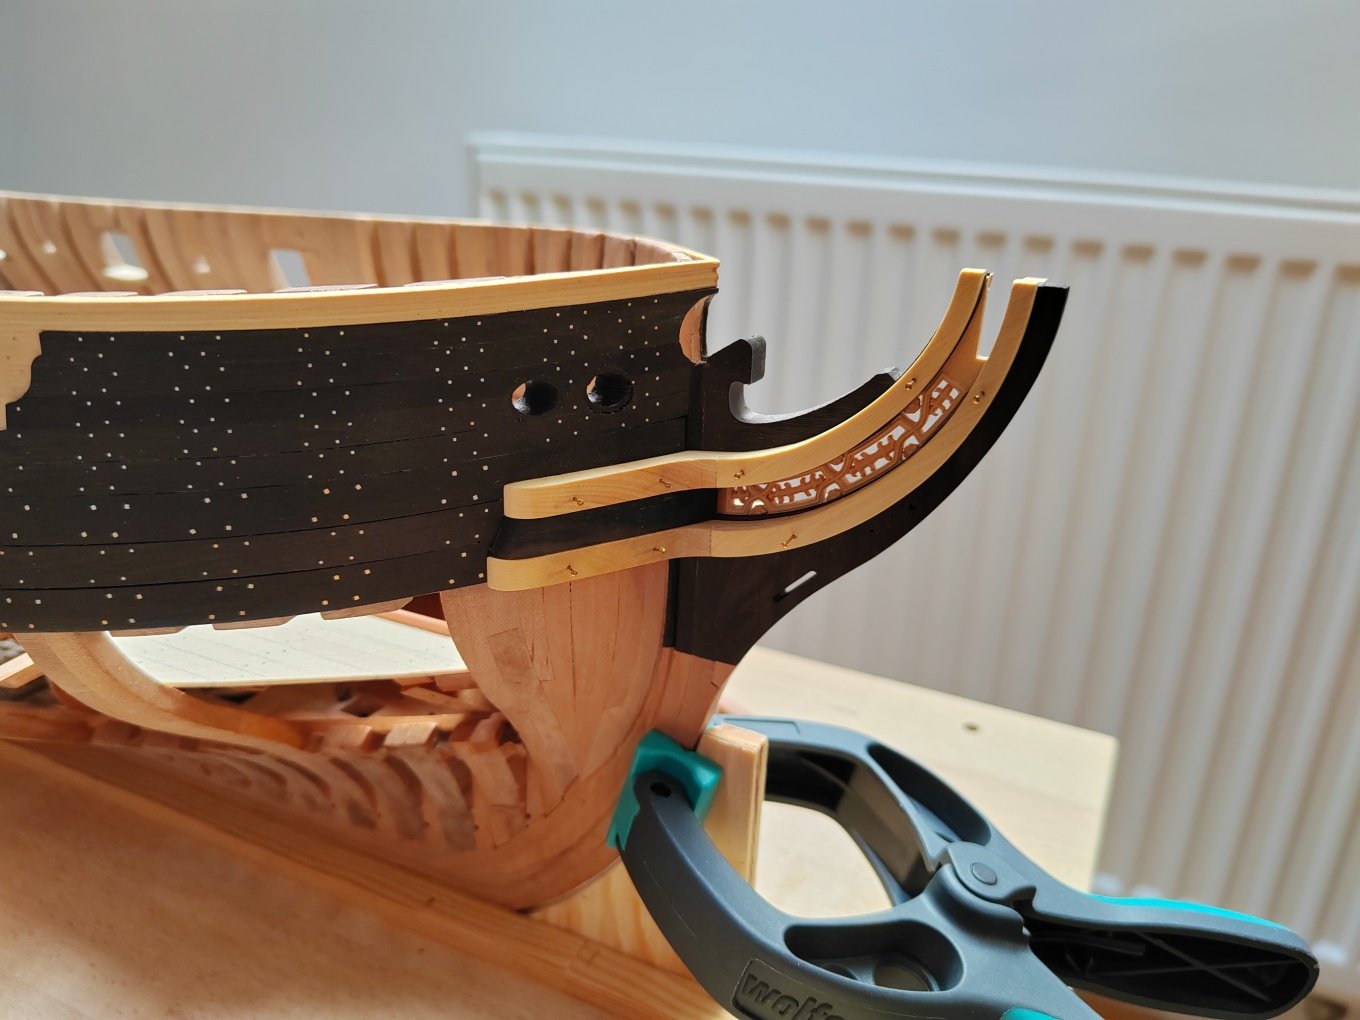
I continue on the bow - hawse holes and cheeks of the head.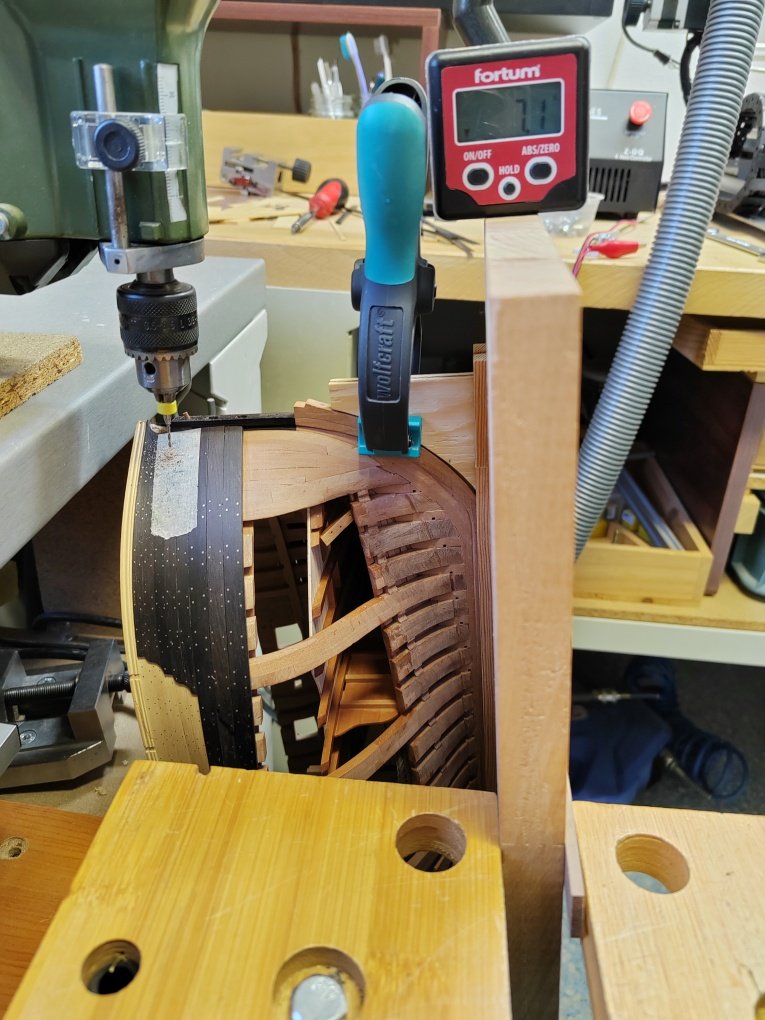


-
L'Amarante by marsalv - 1:36 - POF
marsalv replied to marsalv's topic in - Build logs for subjects built 1501 - 1750
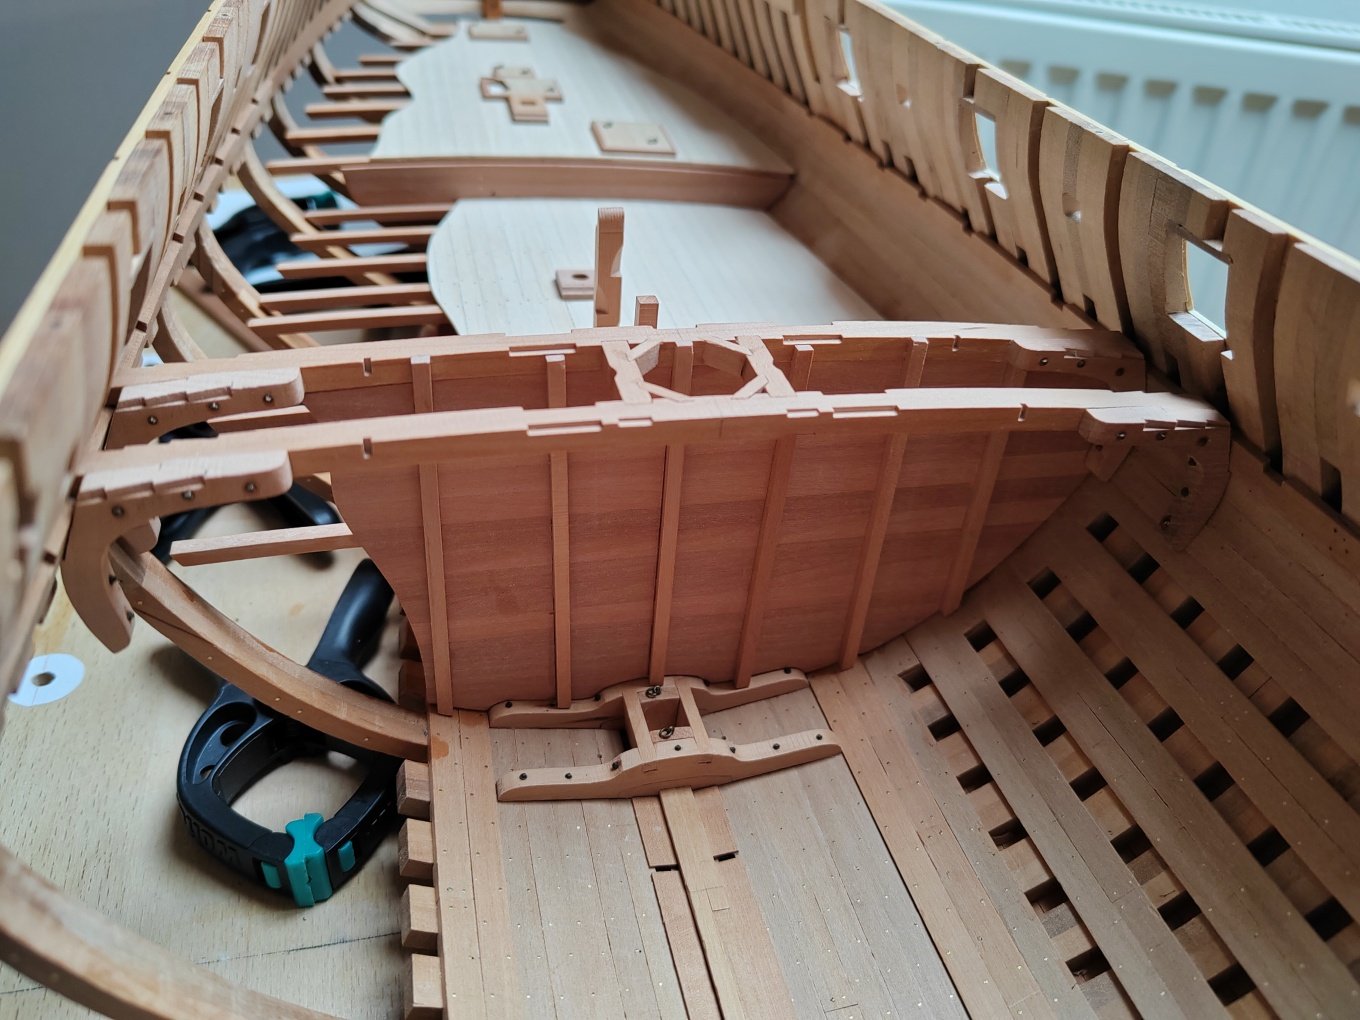
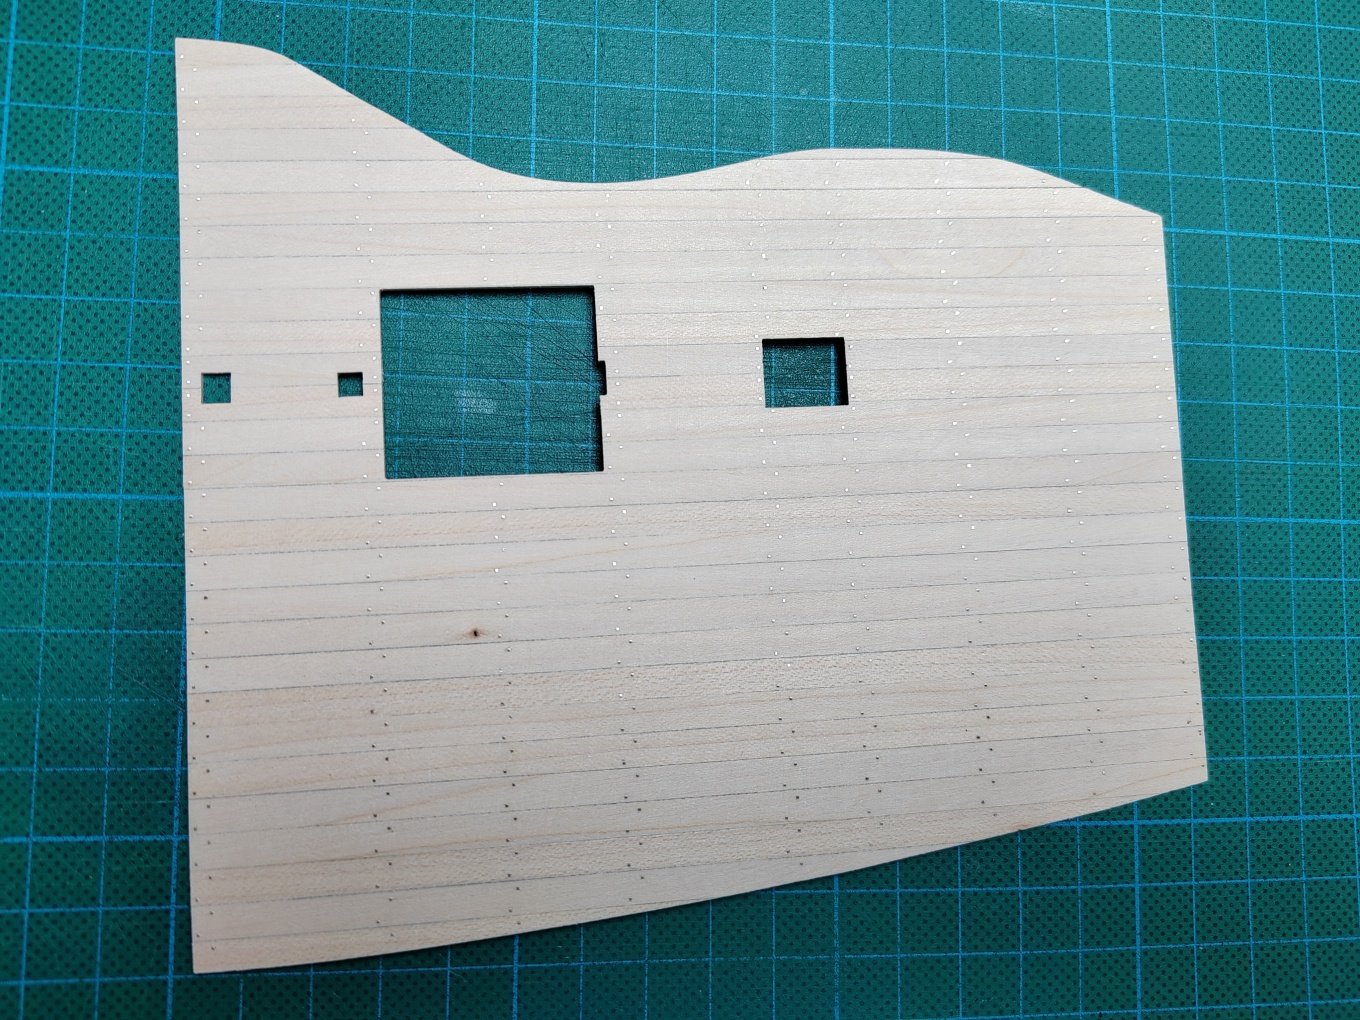
Thank you guys for very nice comments. But I definitely don't deserve such words of praise. I continue to prepare the deck beams for the aft upper deck in the same way.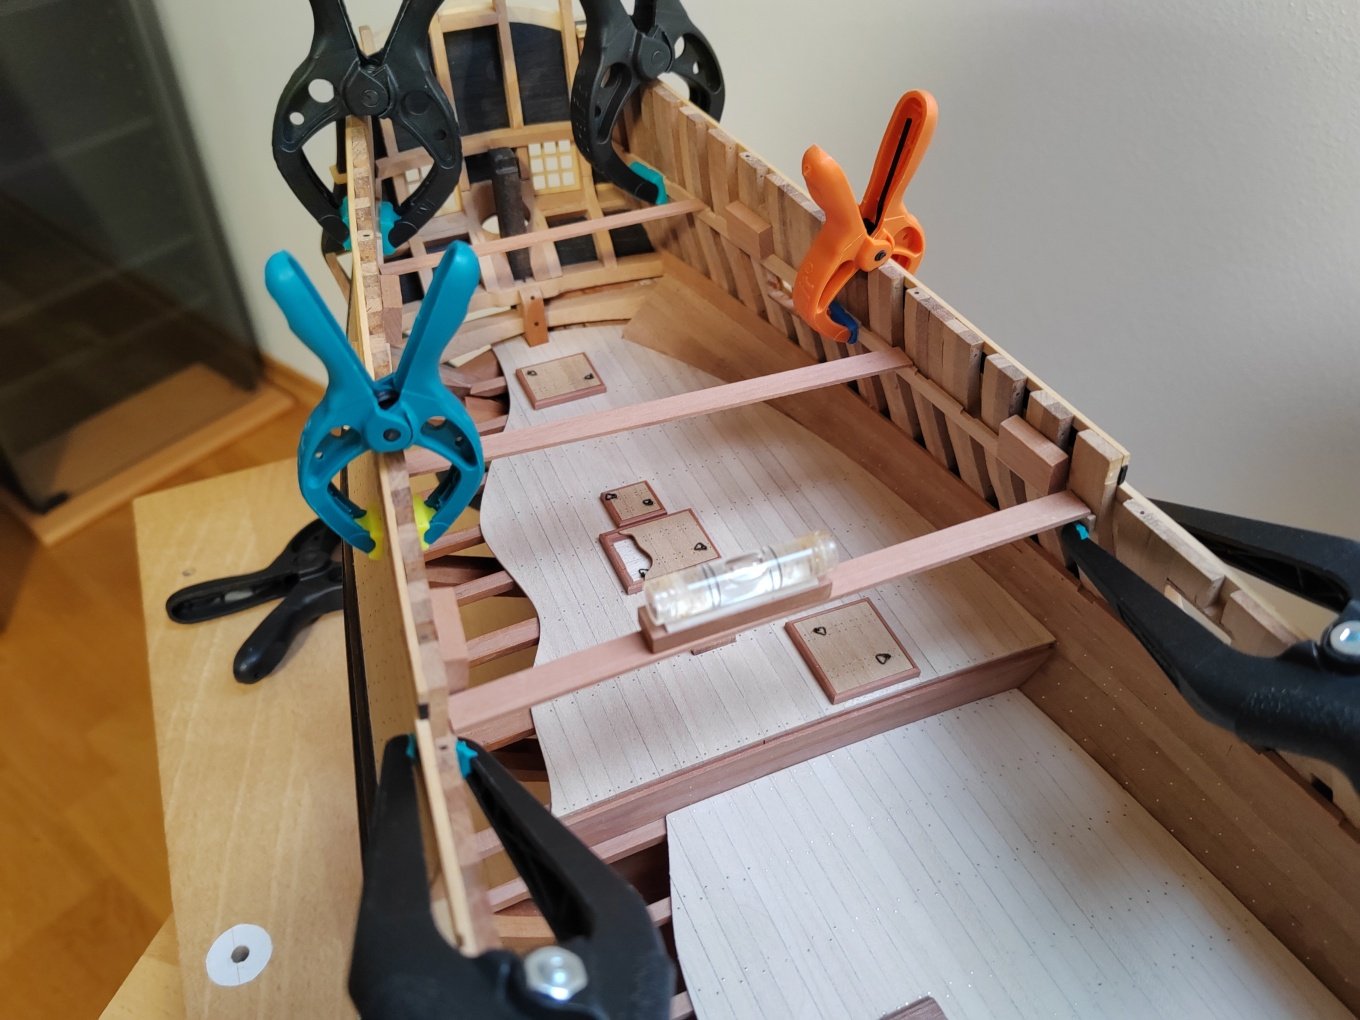
-
L'Amarante by marsalv - 1:36 - POF
marsalv replied to marsalv's topic in - Build logs for subjects built 1501 - 1750
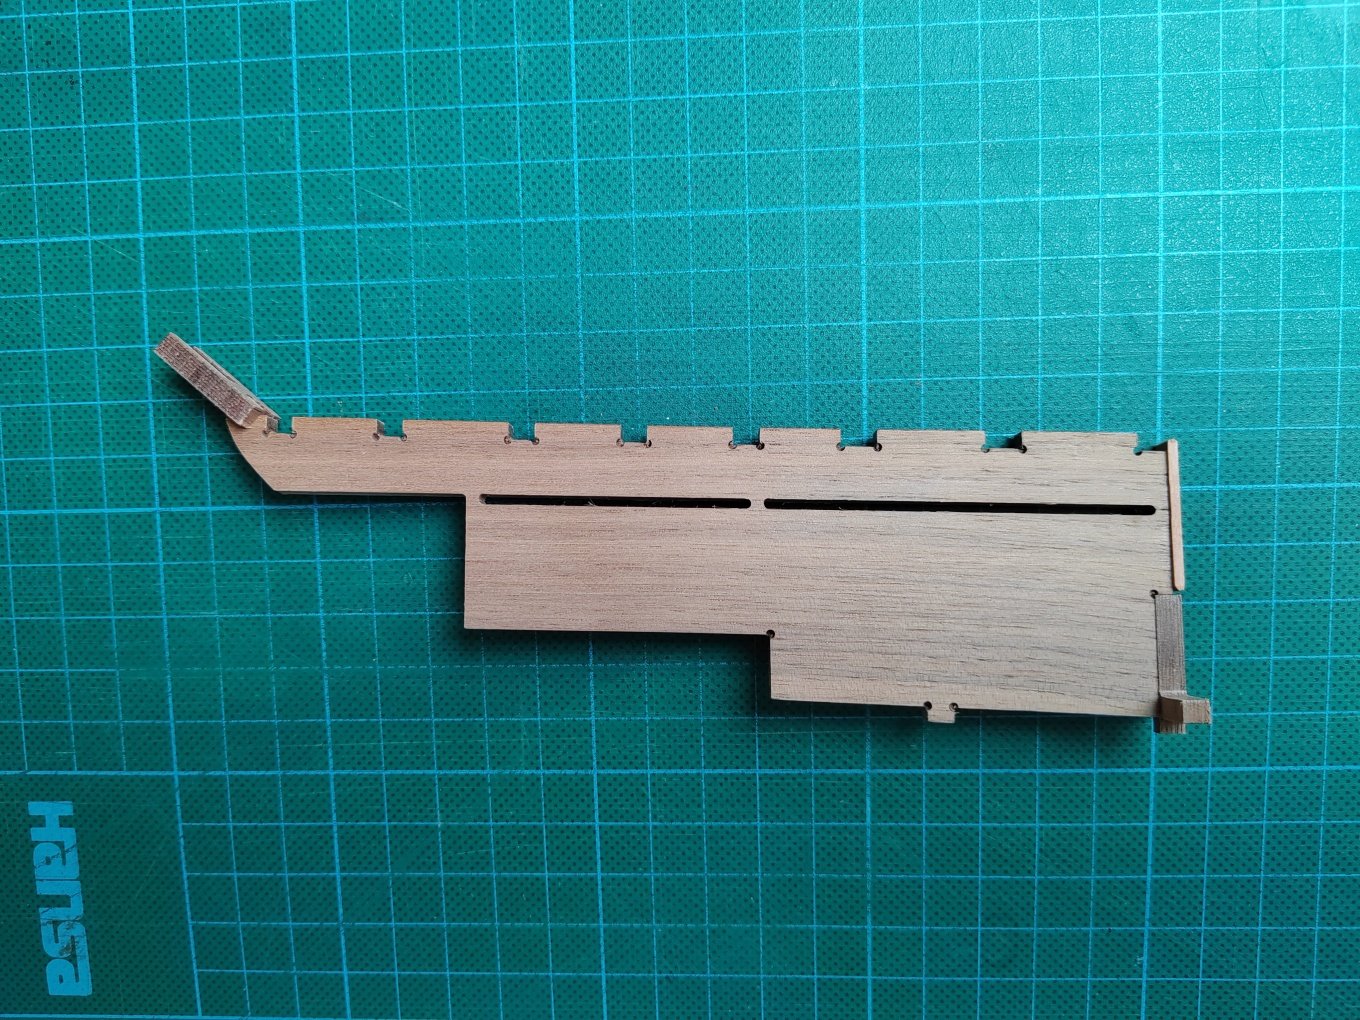
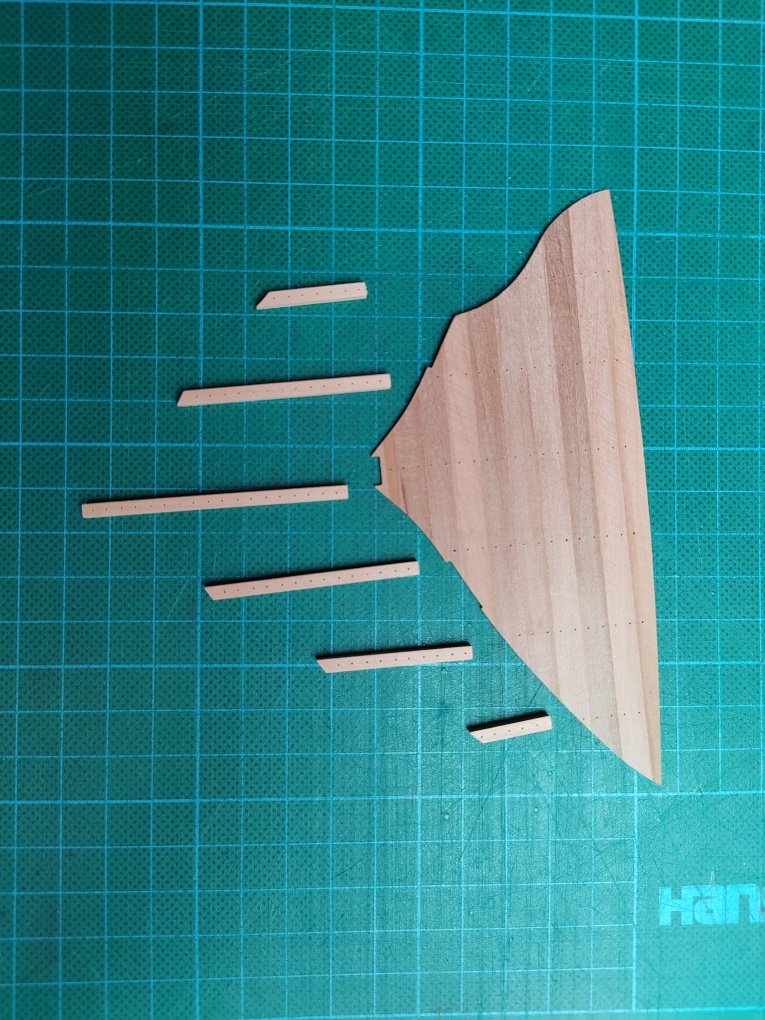
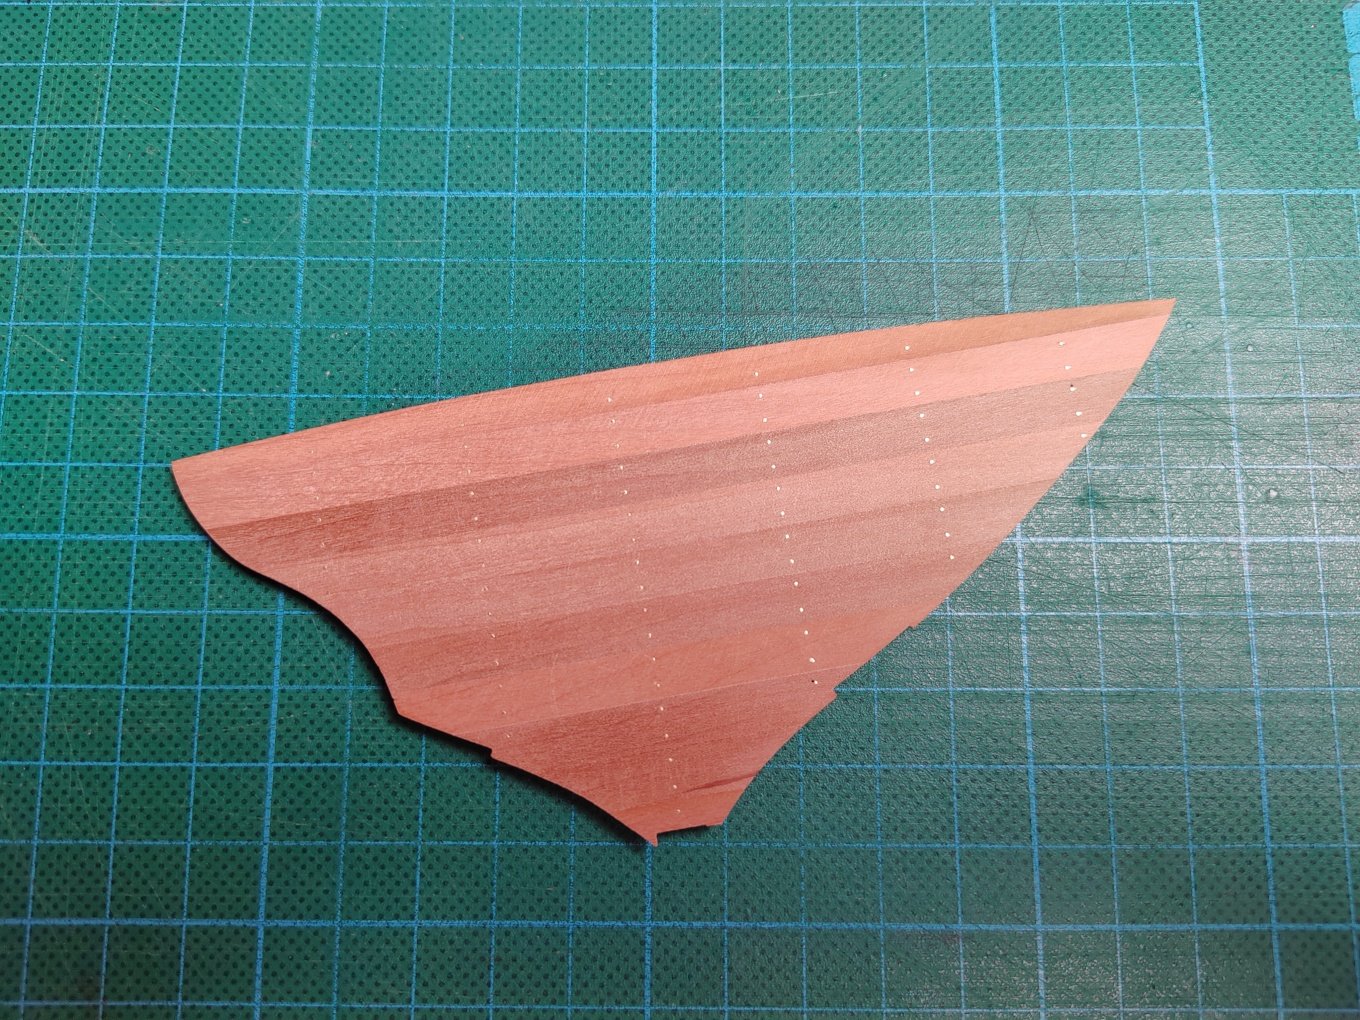
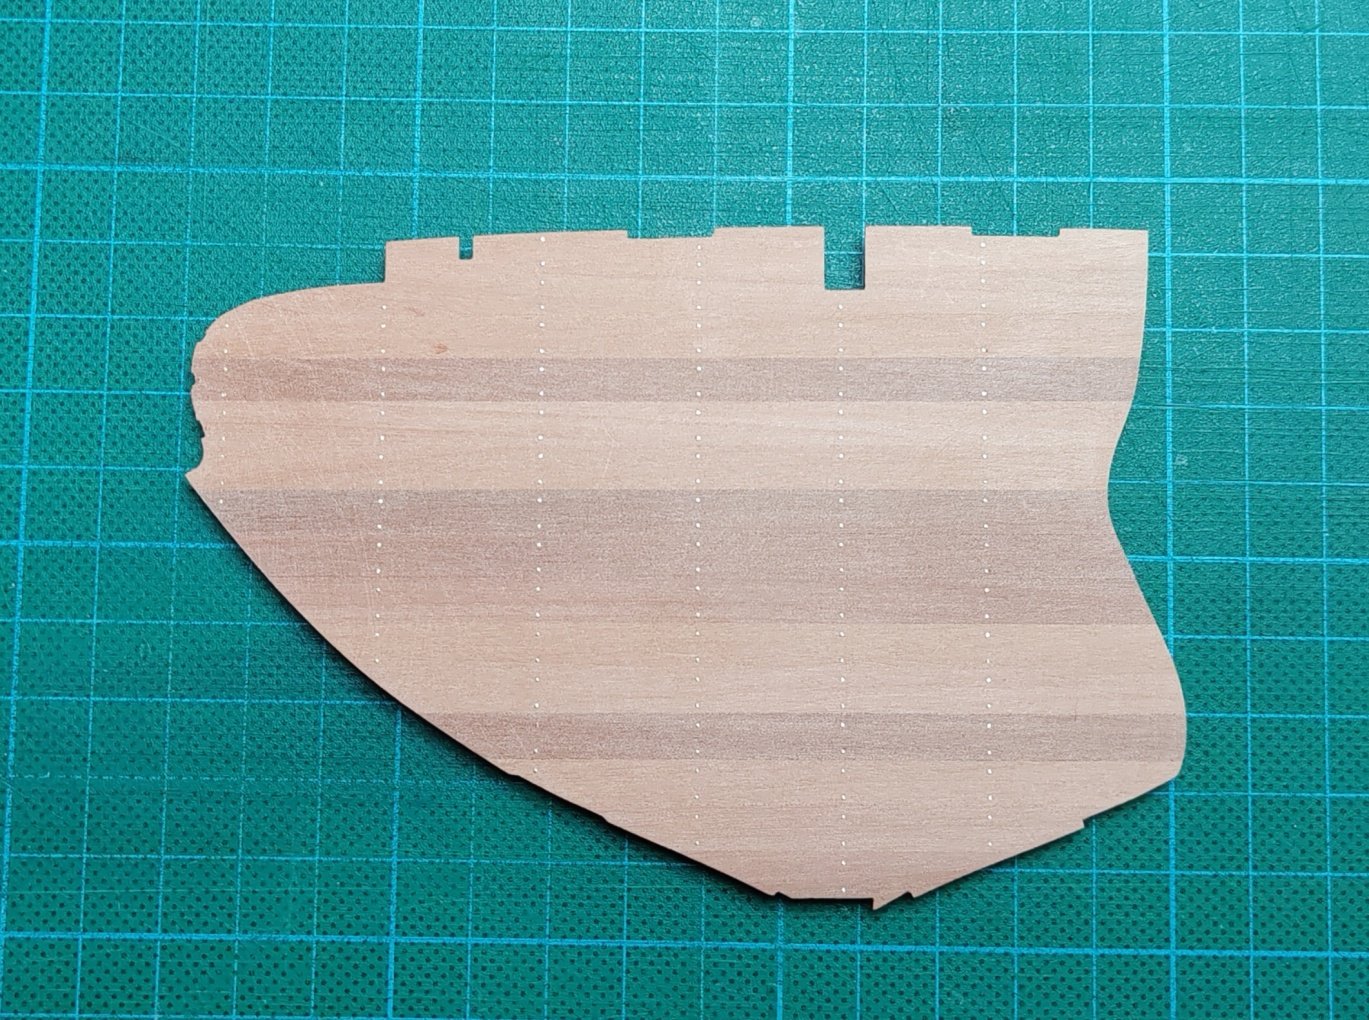
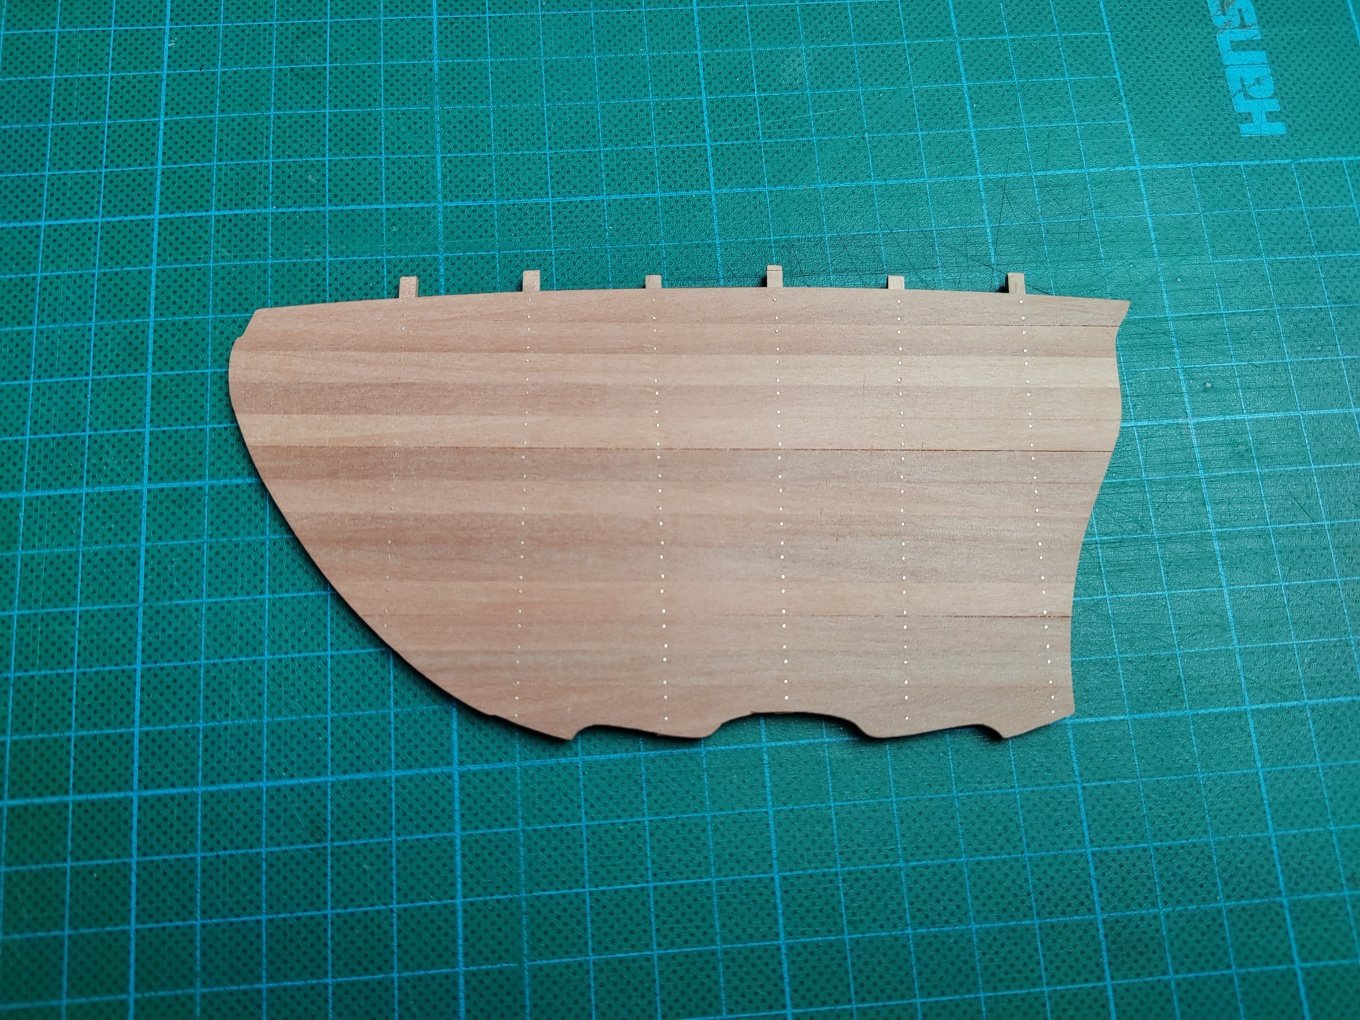
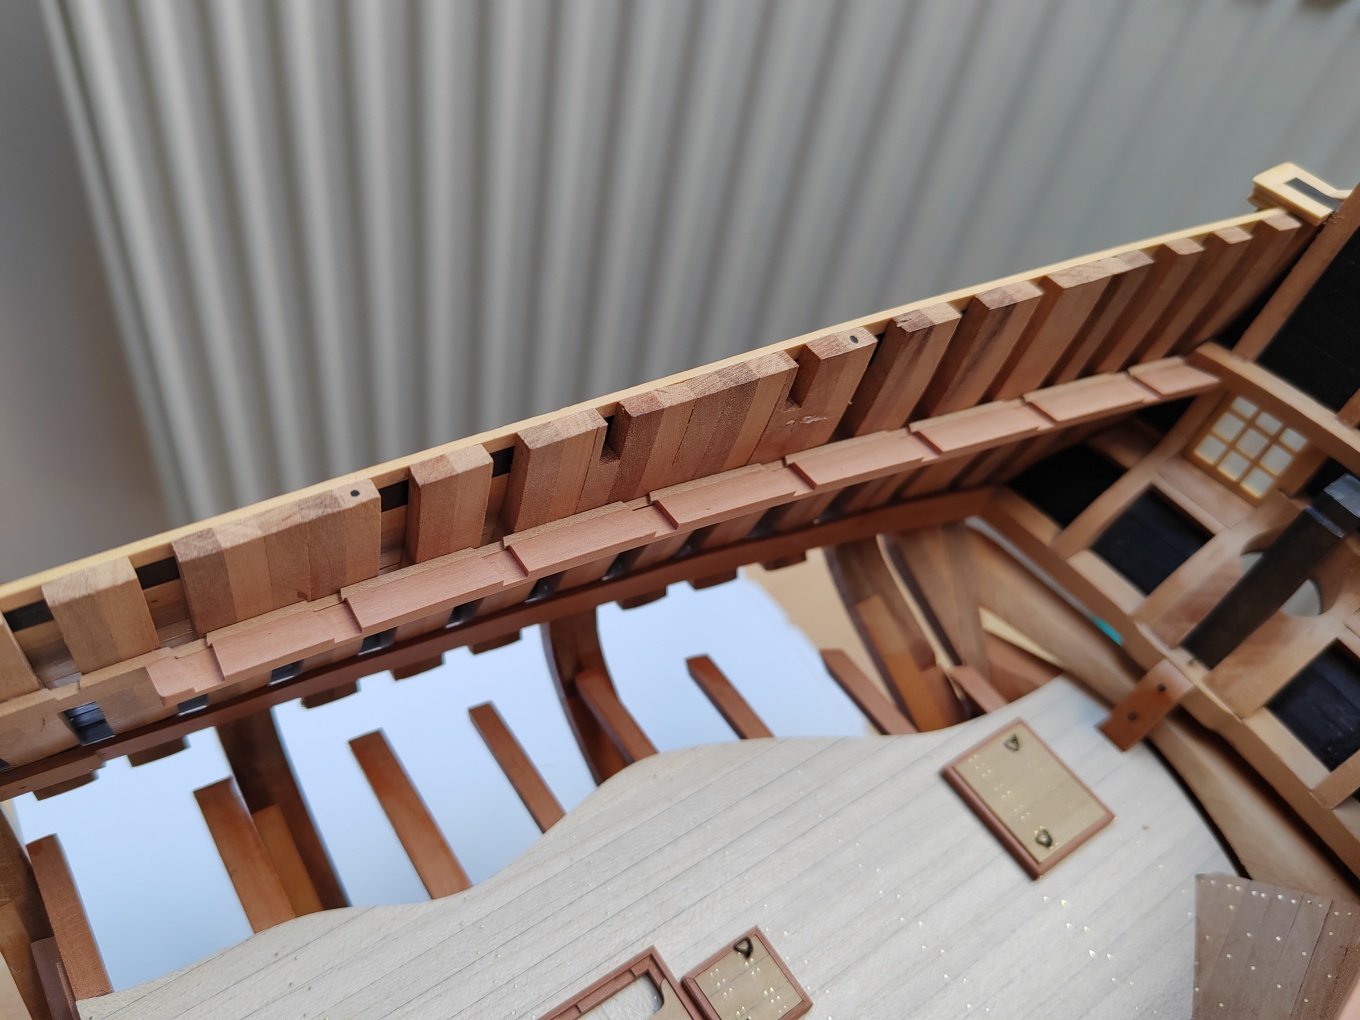
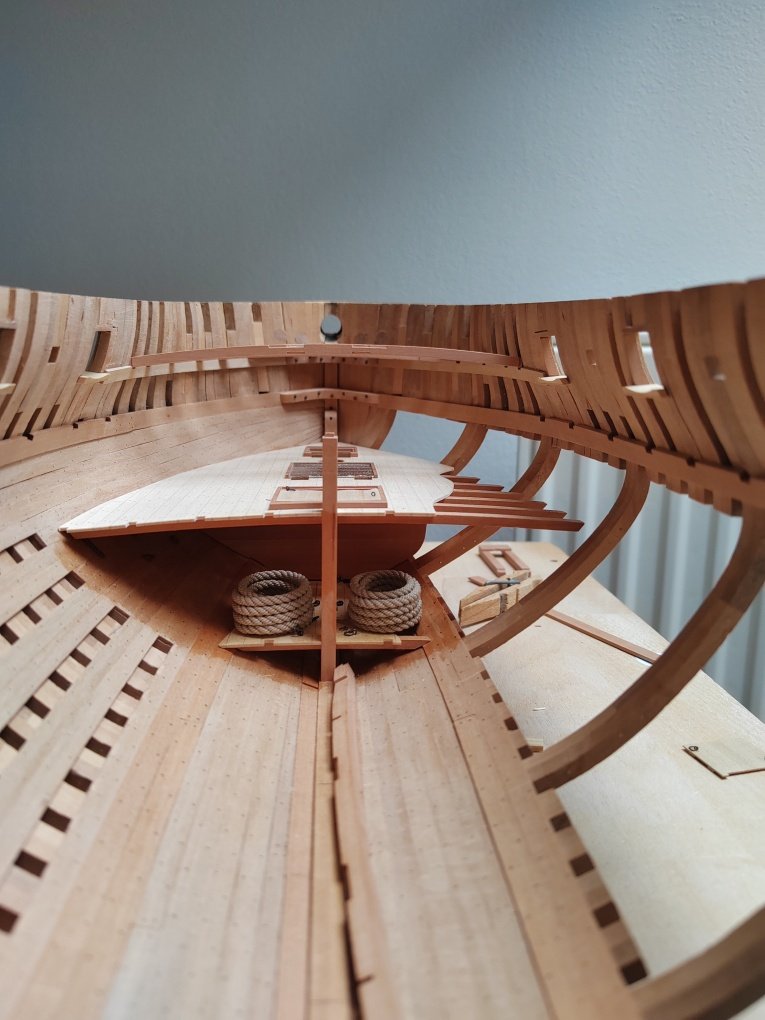
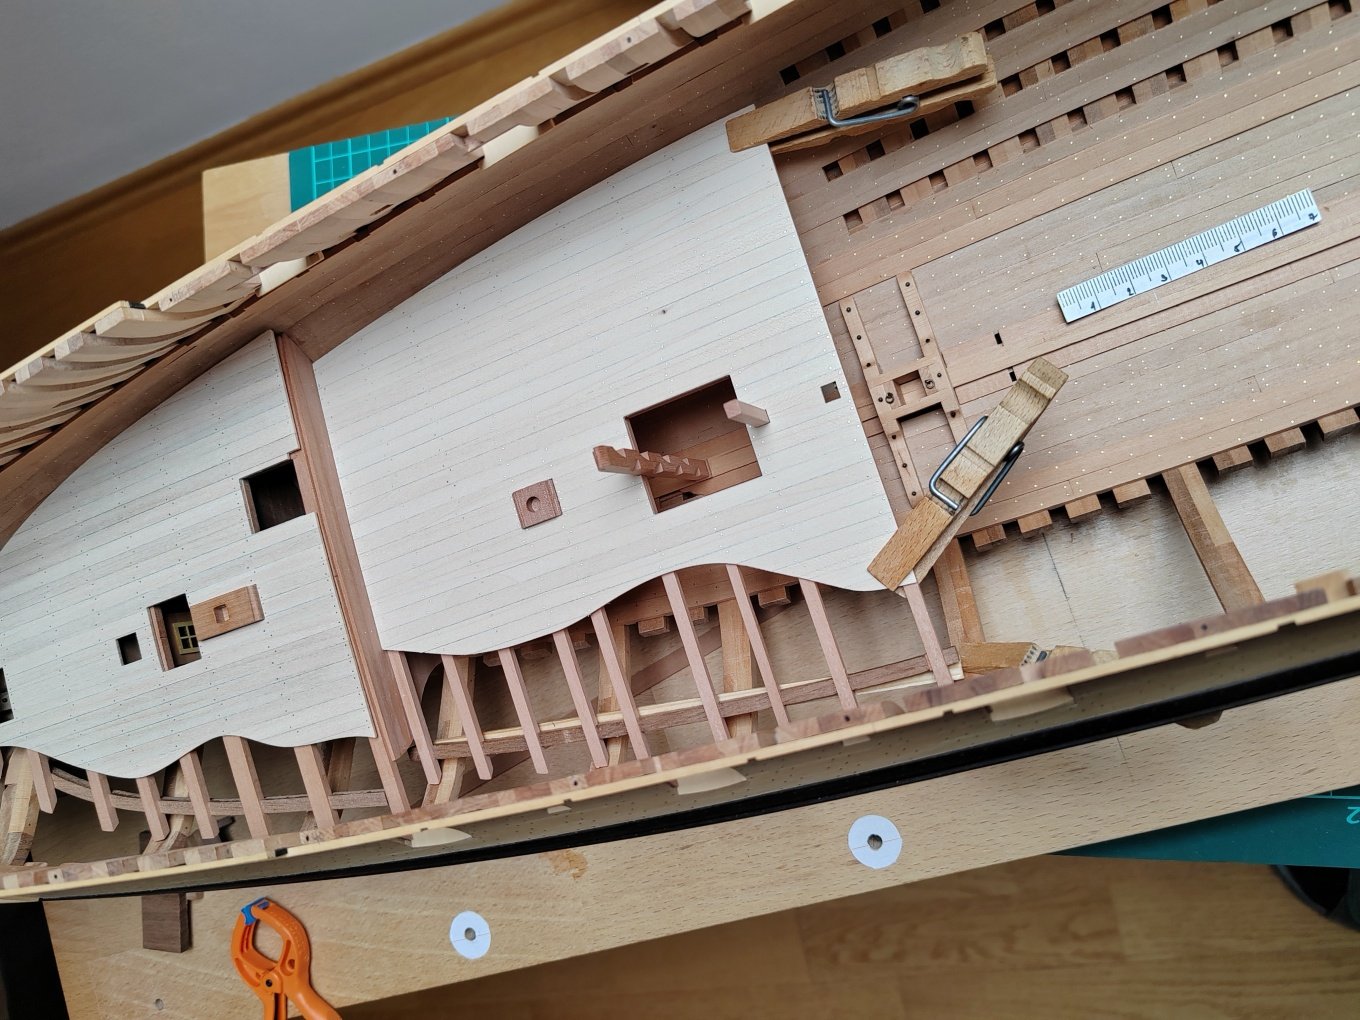
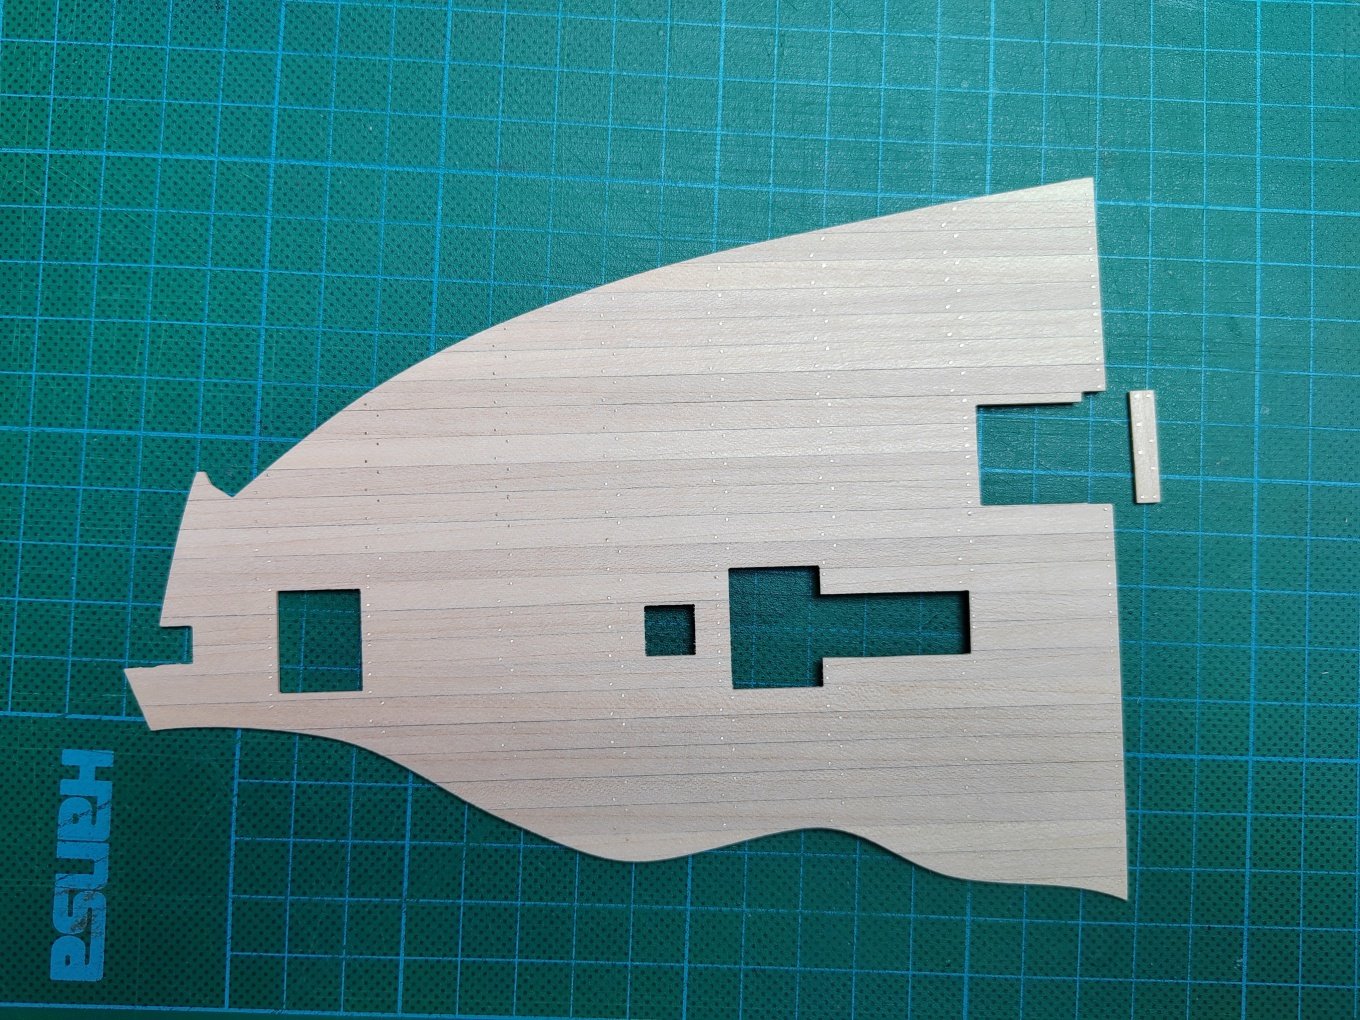
Front deck - deck clamps, deck beams.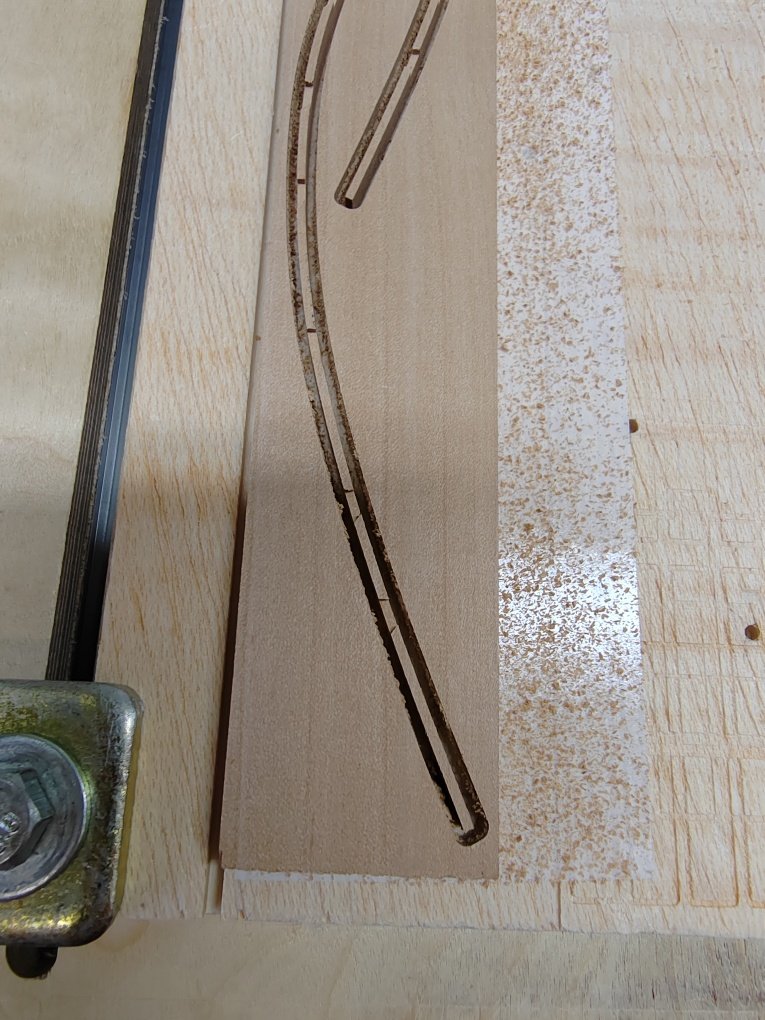
-
L'Amarante by marsalv - 1:36 - POF
marsalv replied to marsalv's topic in - Build logs for subjects built 1501 - 1750
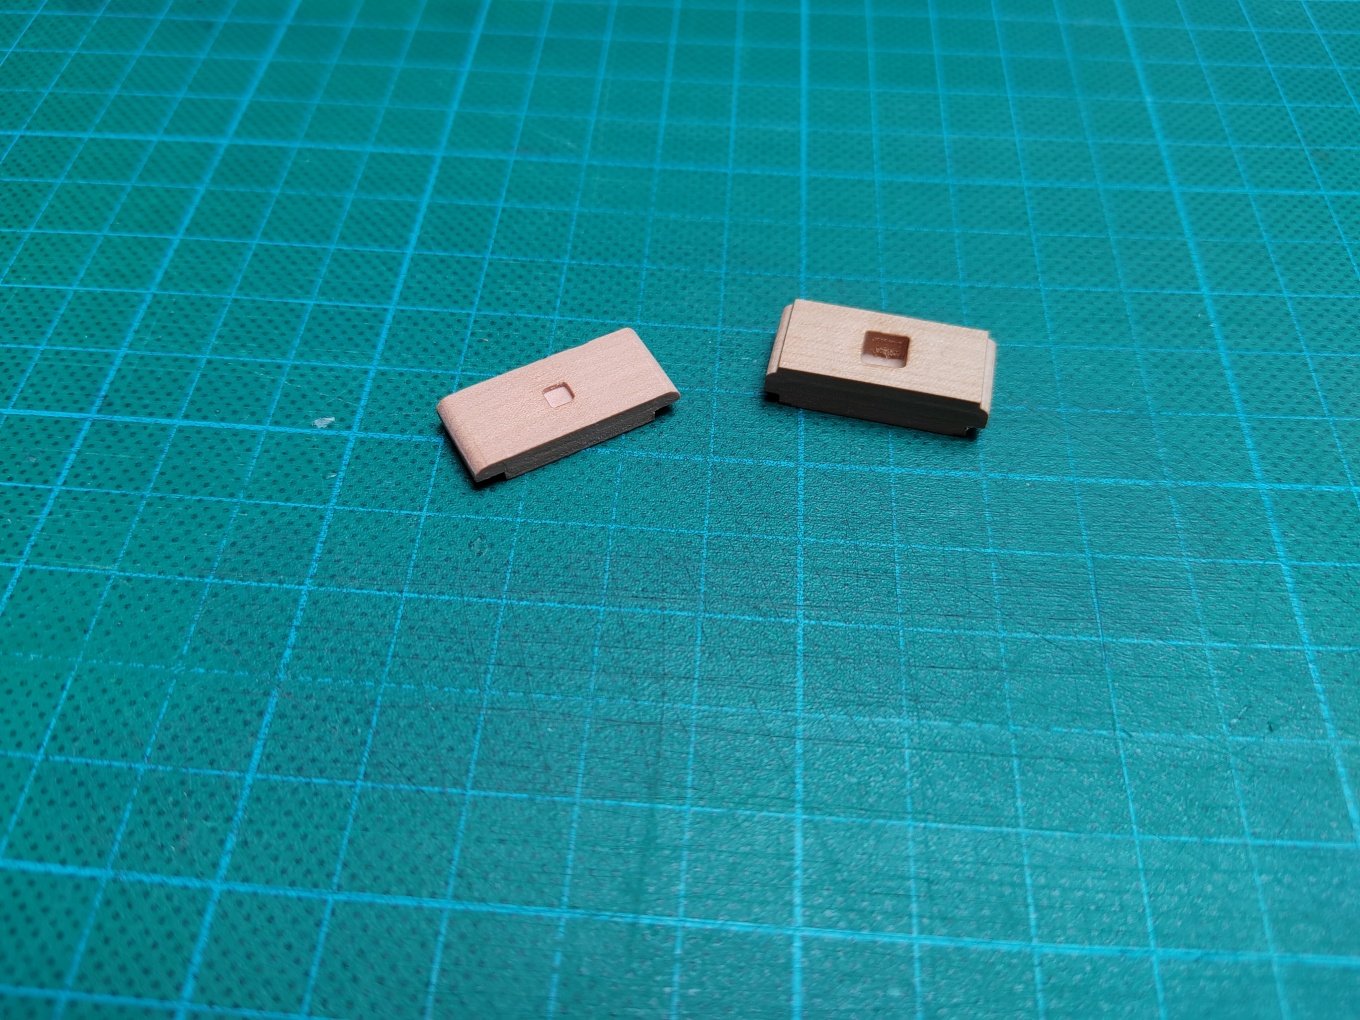
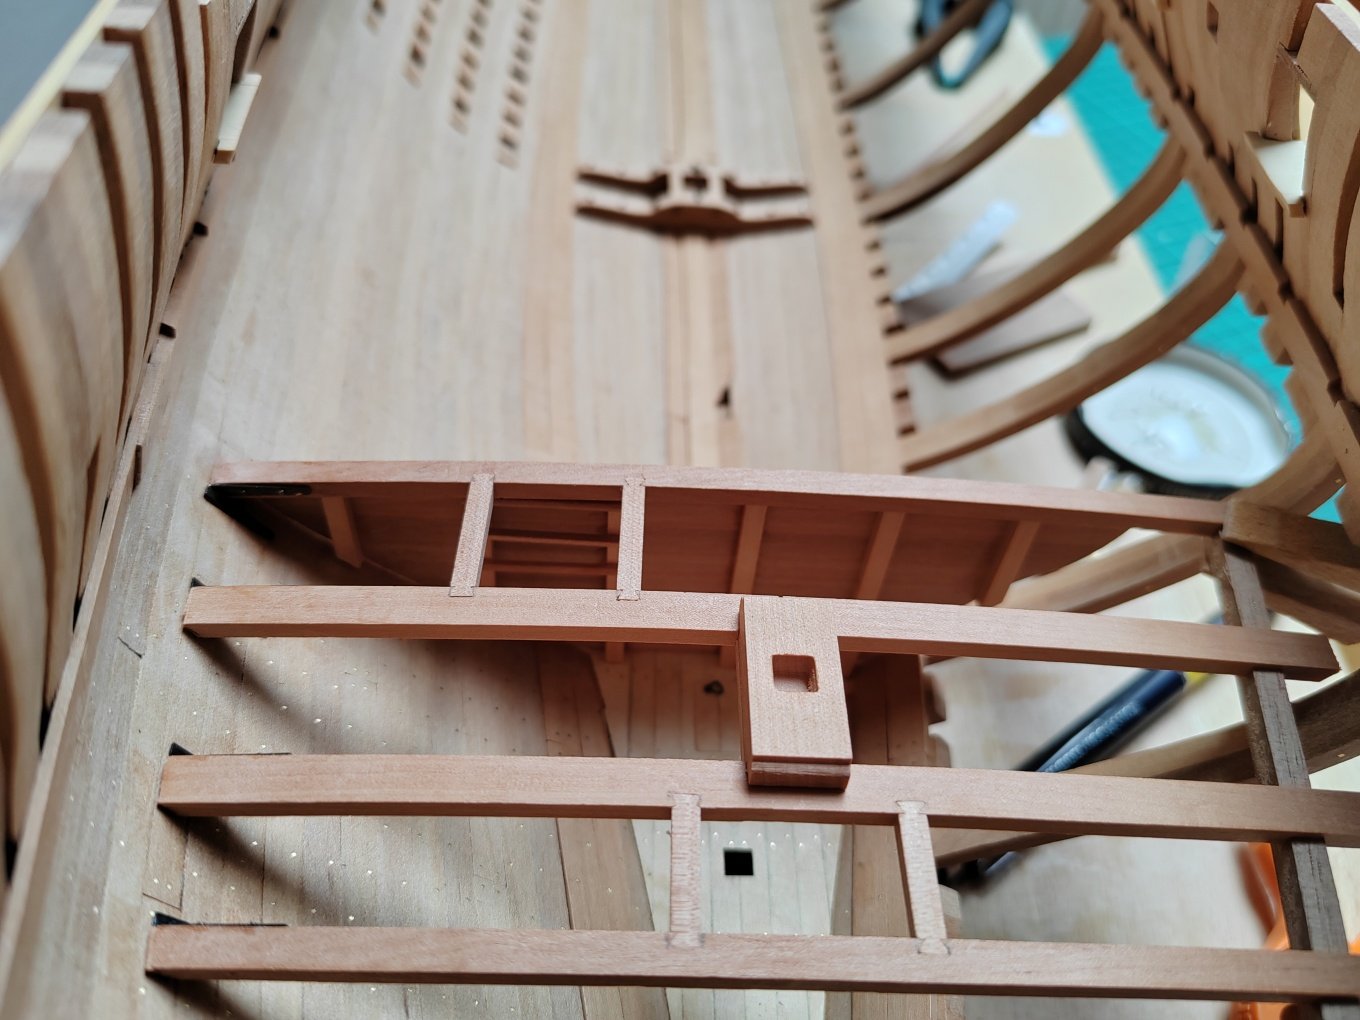
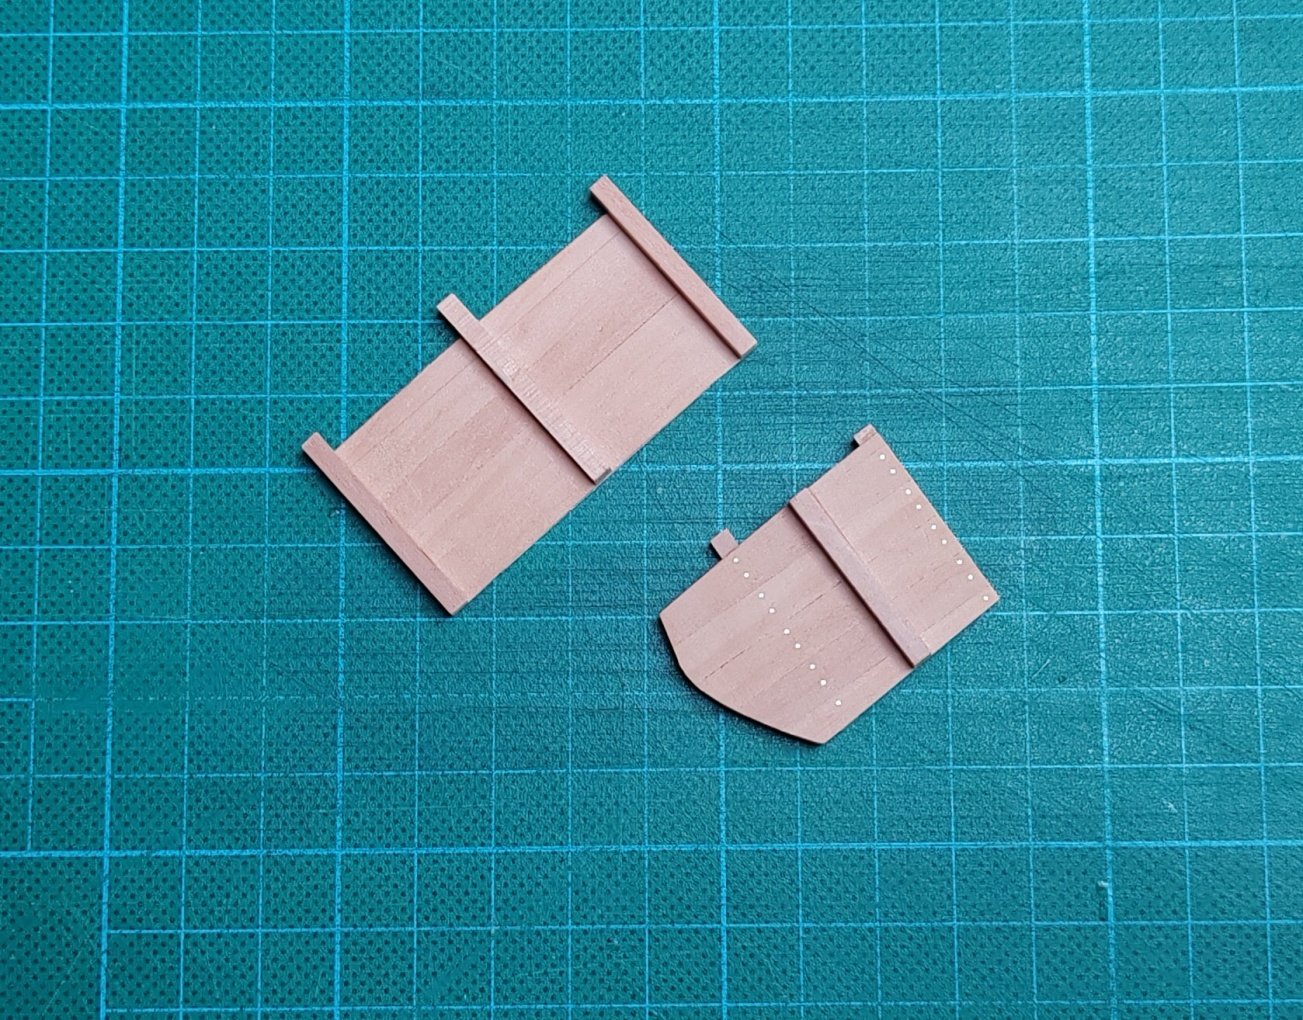
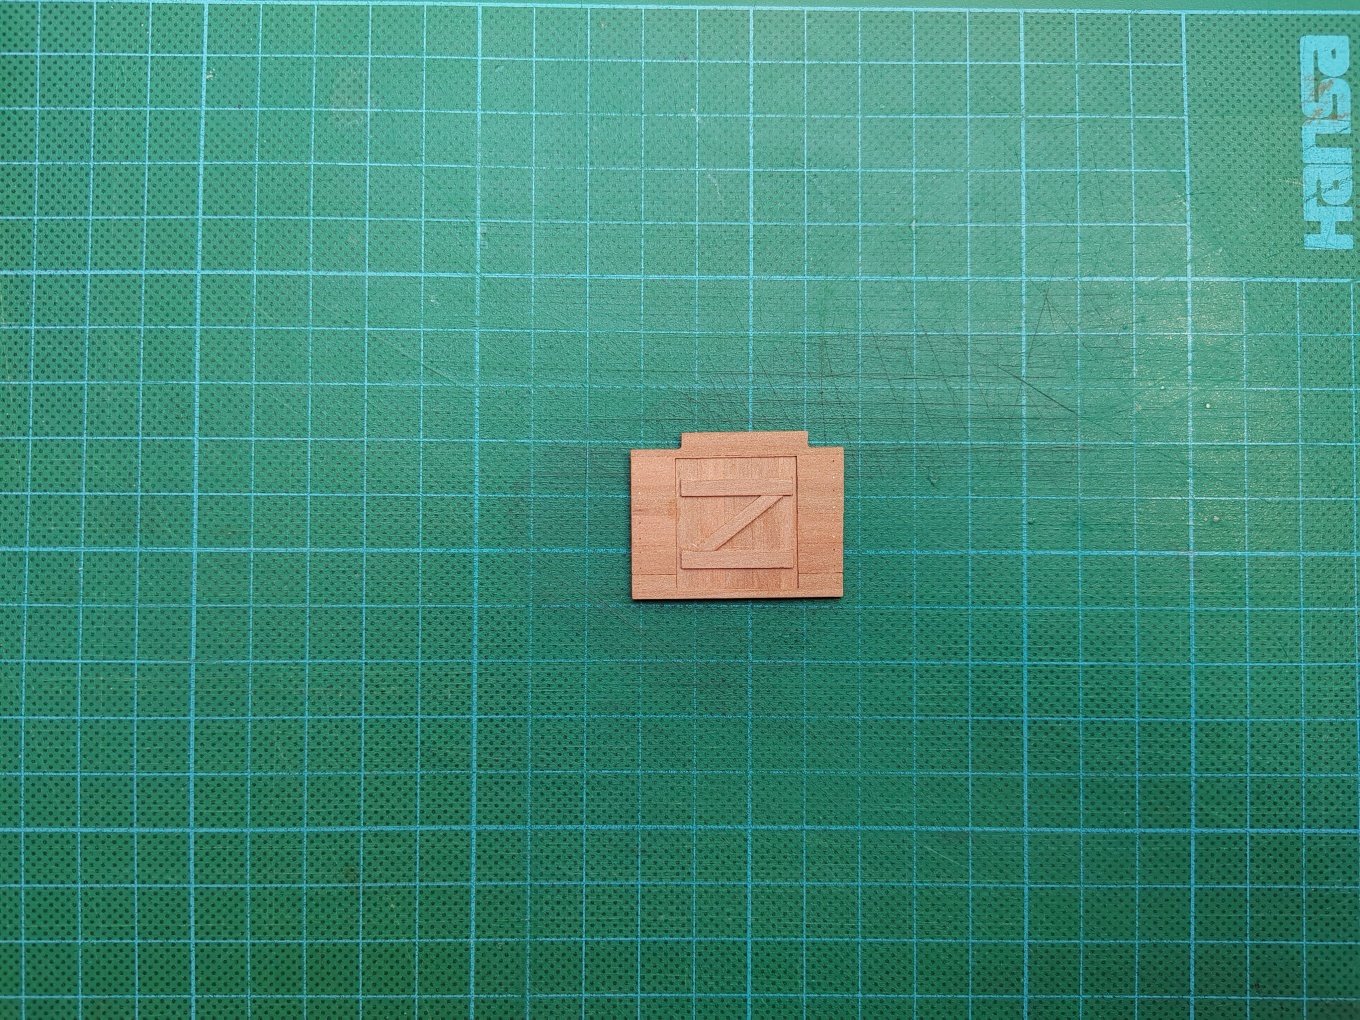
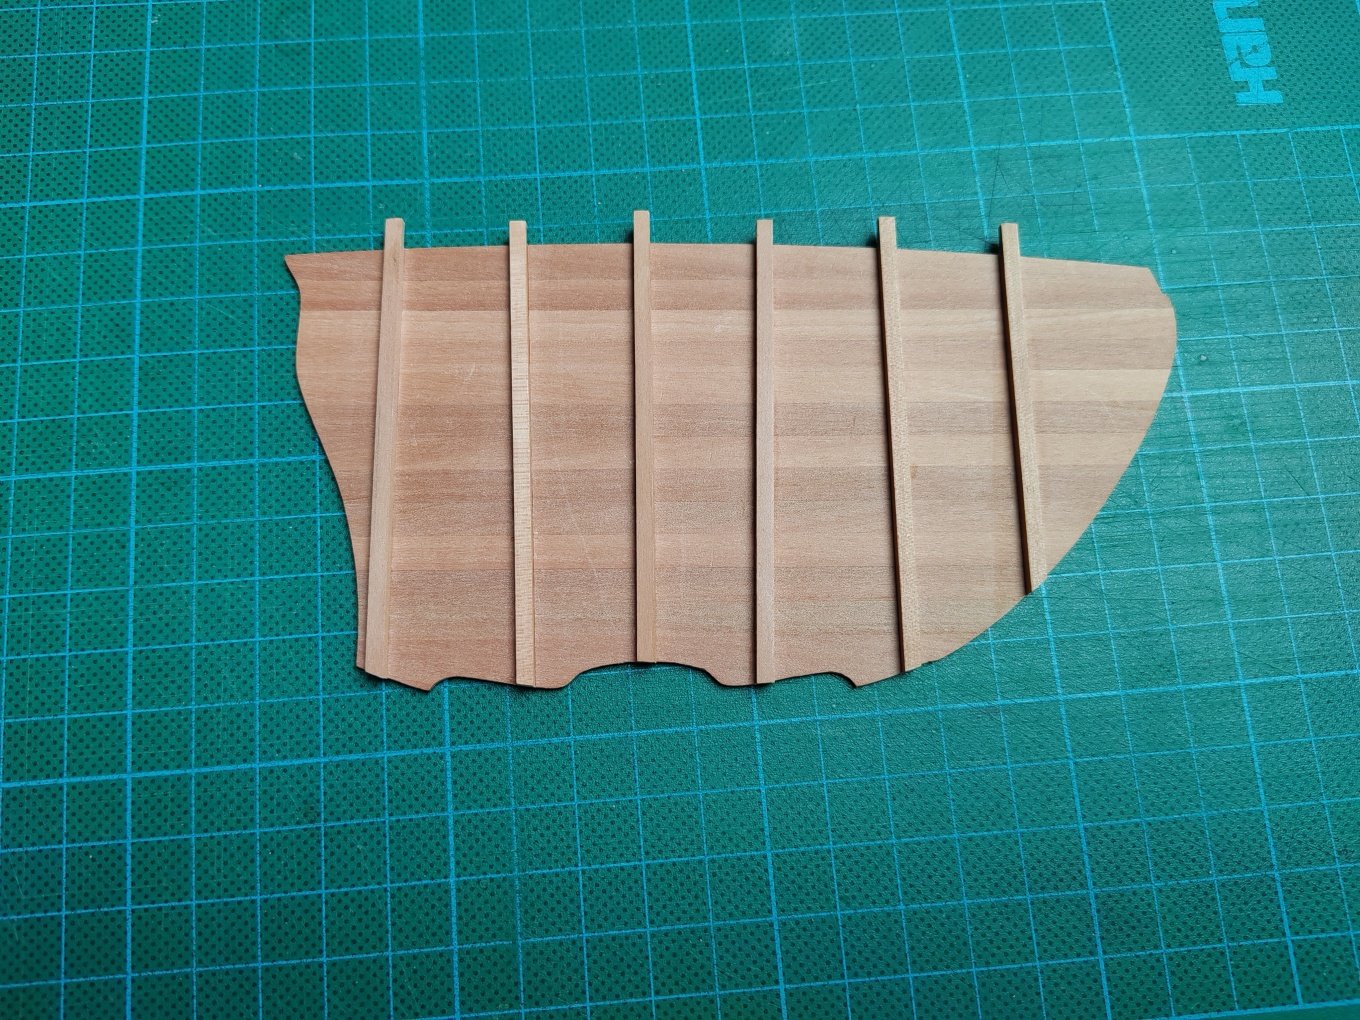
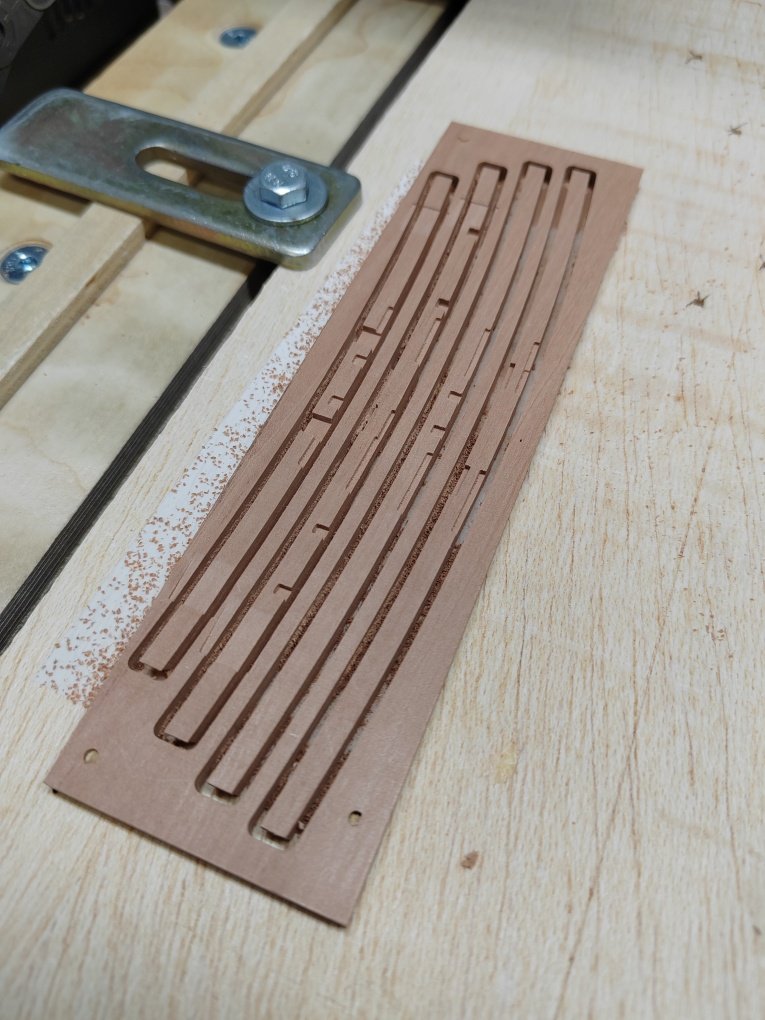
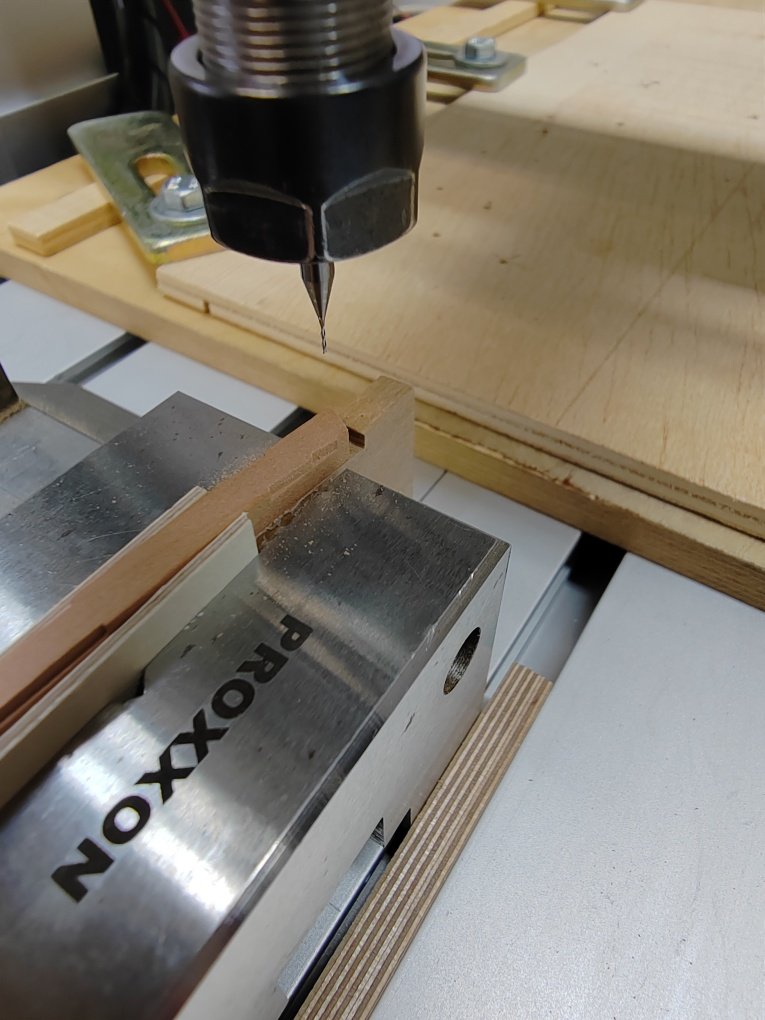
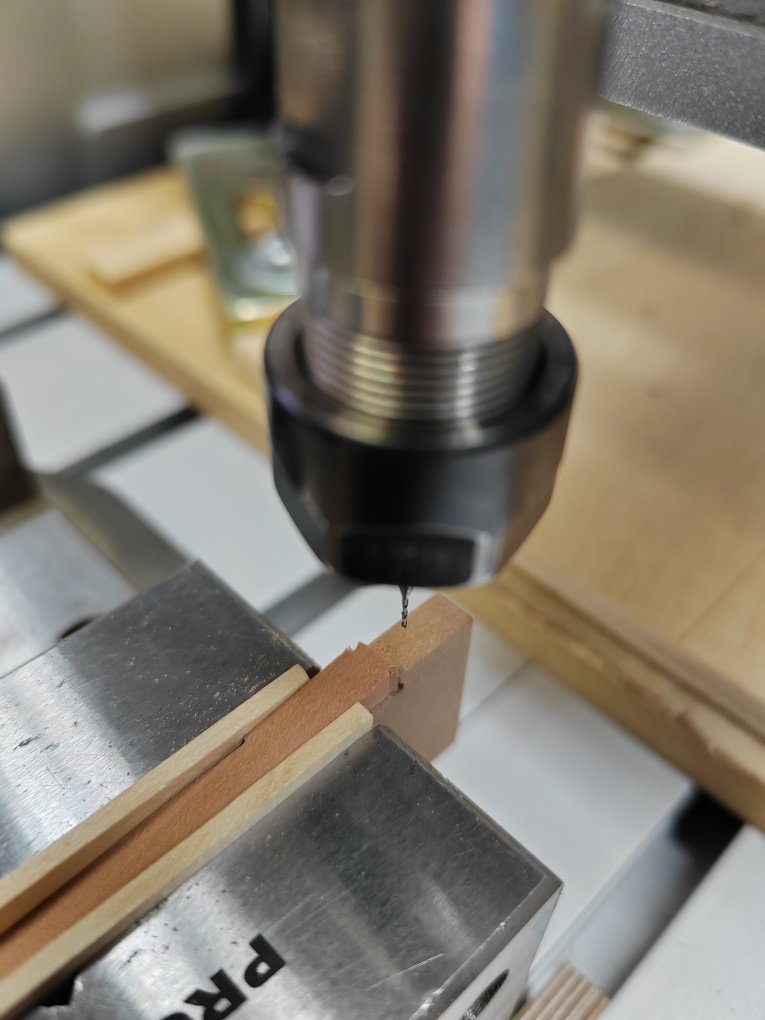
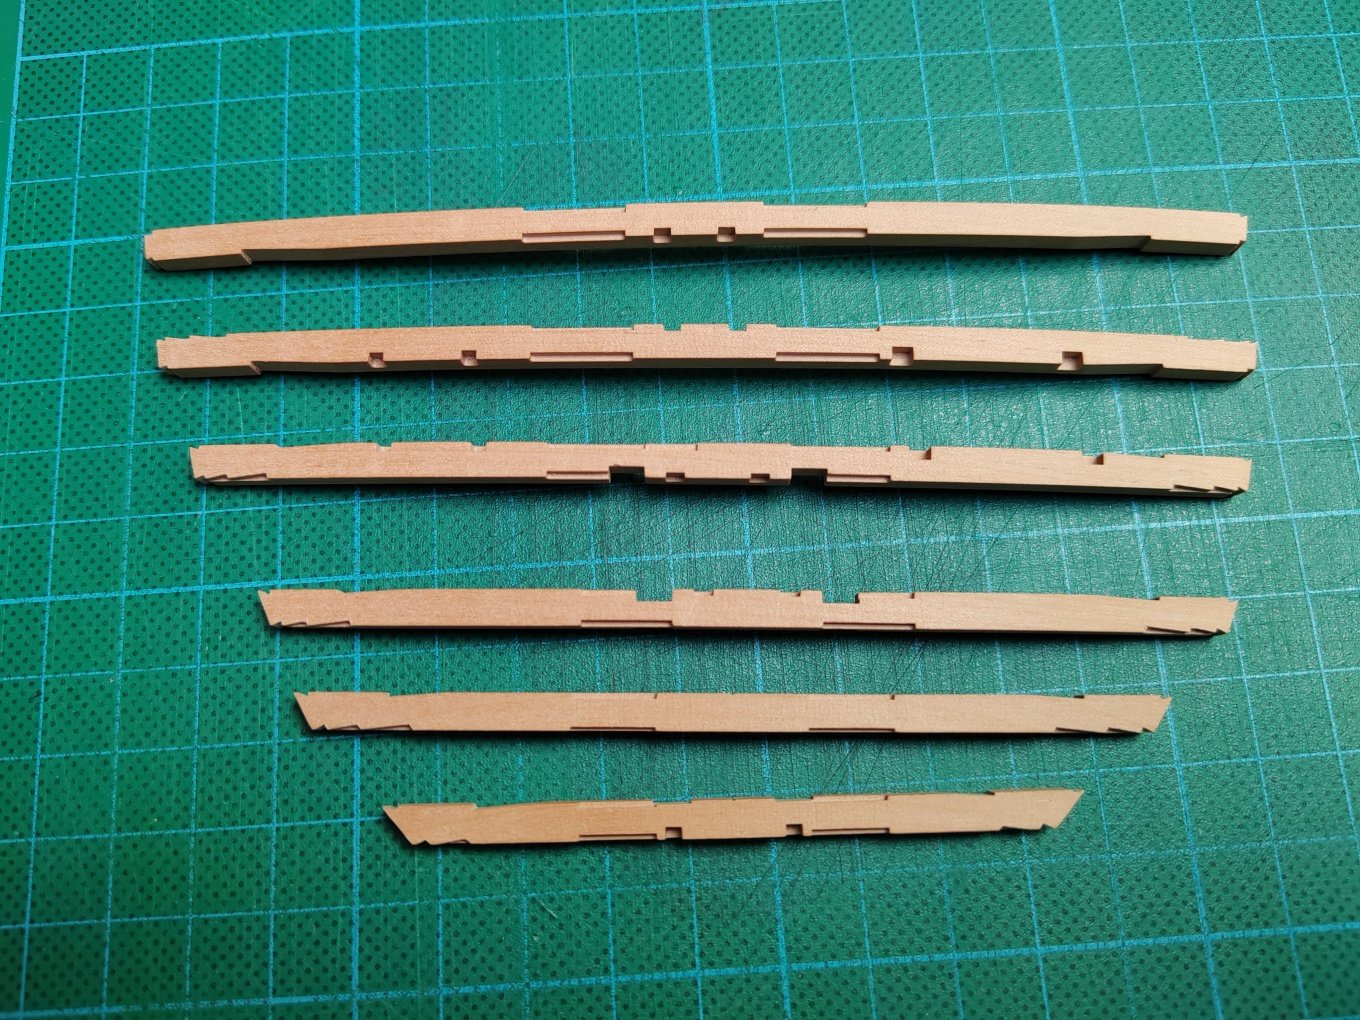
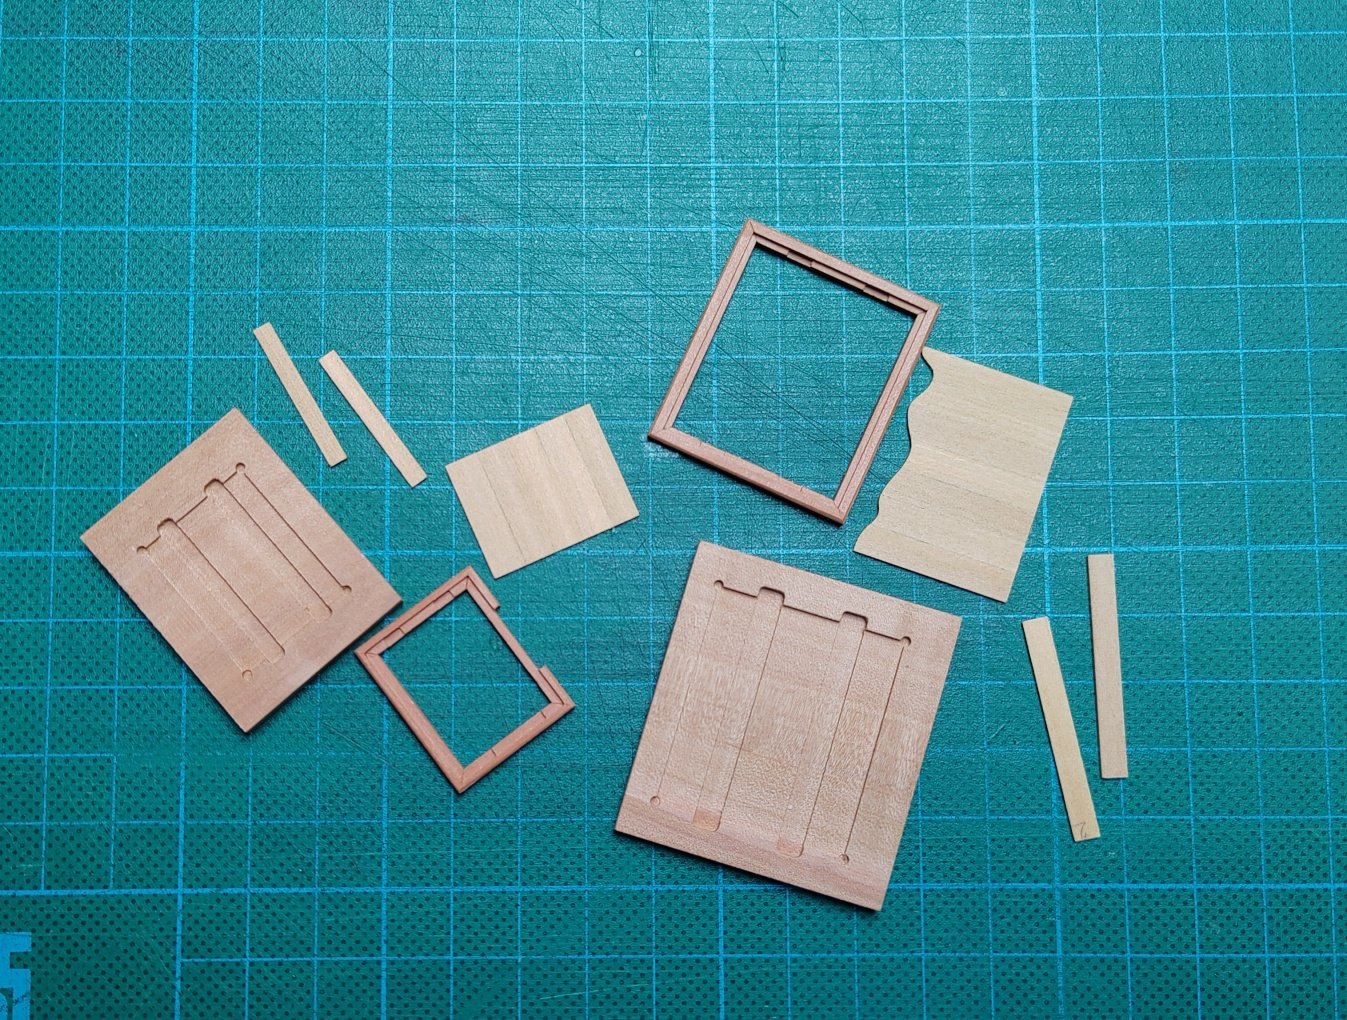
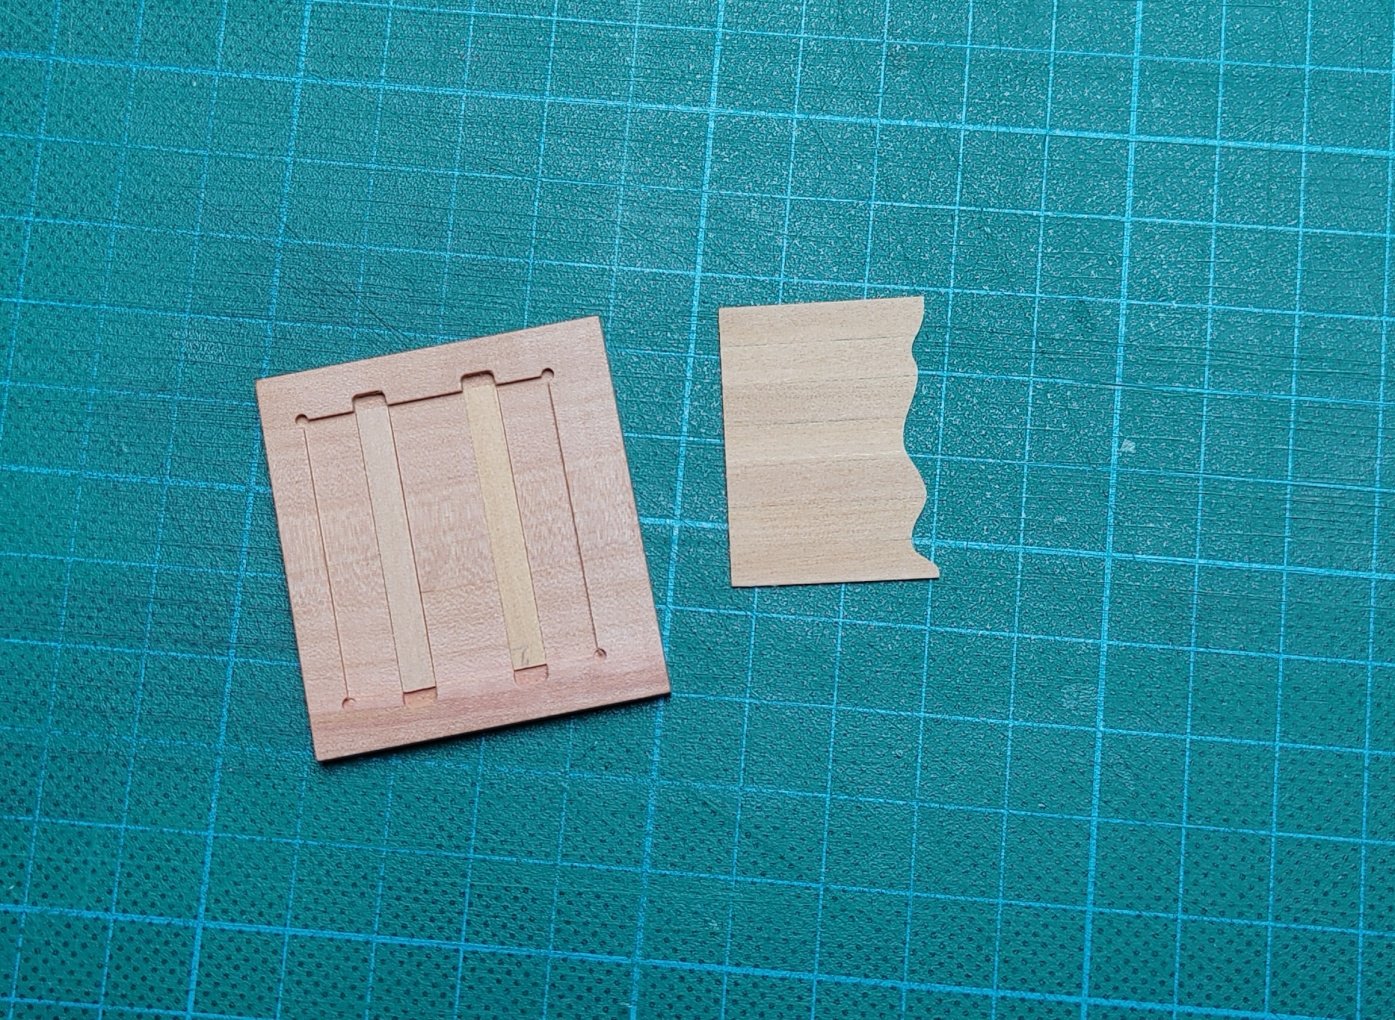
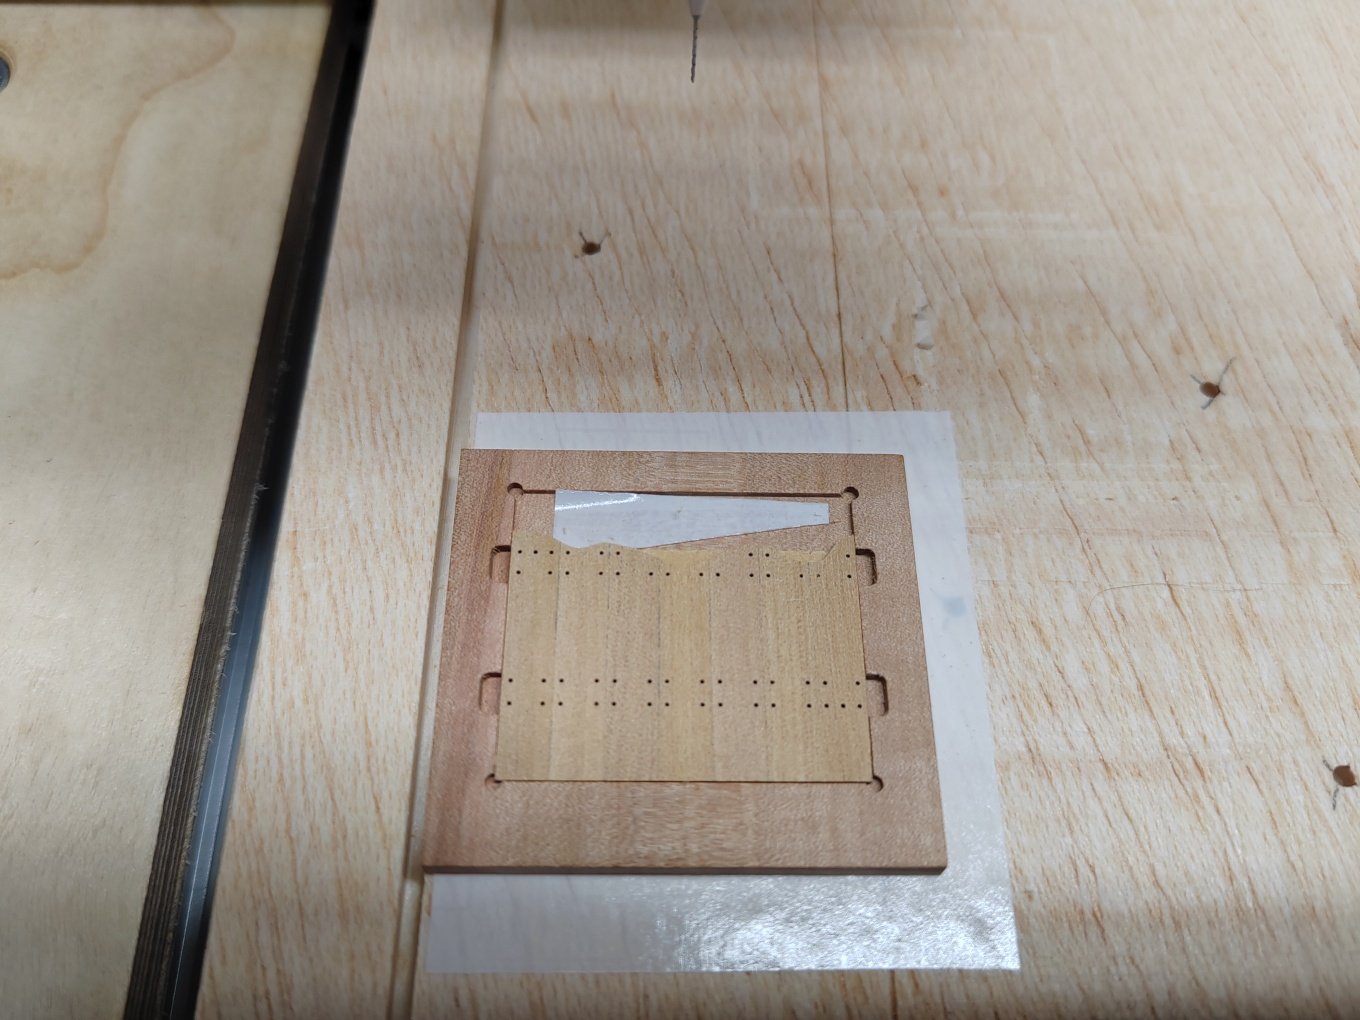
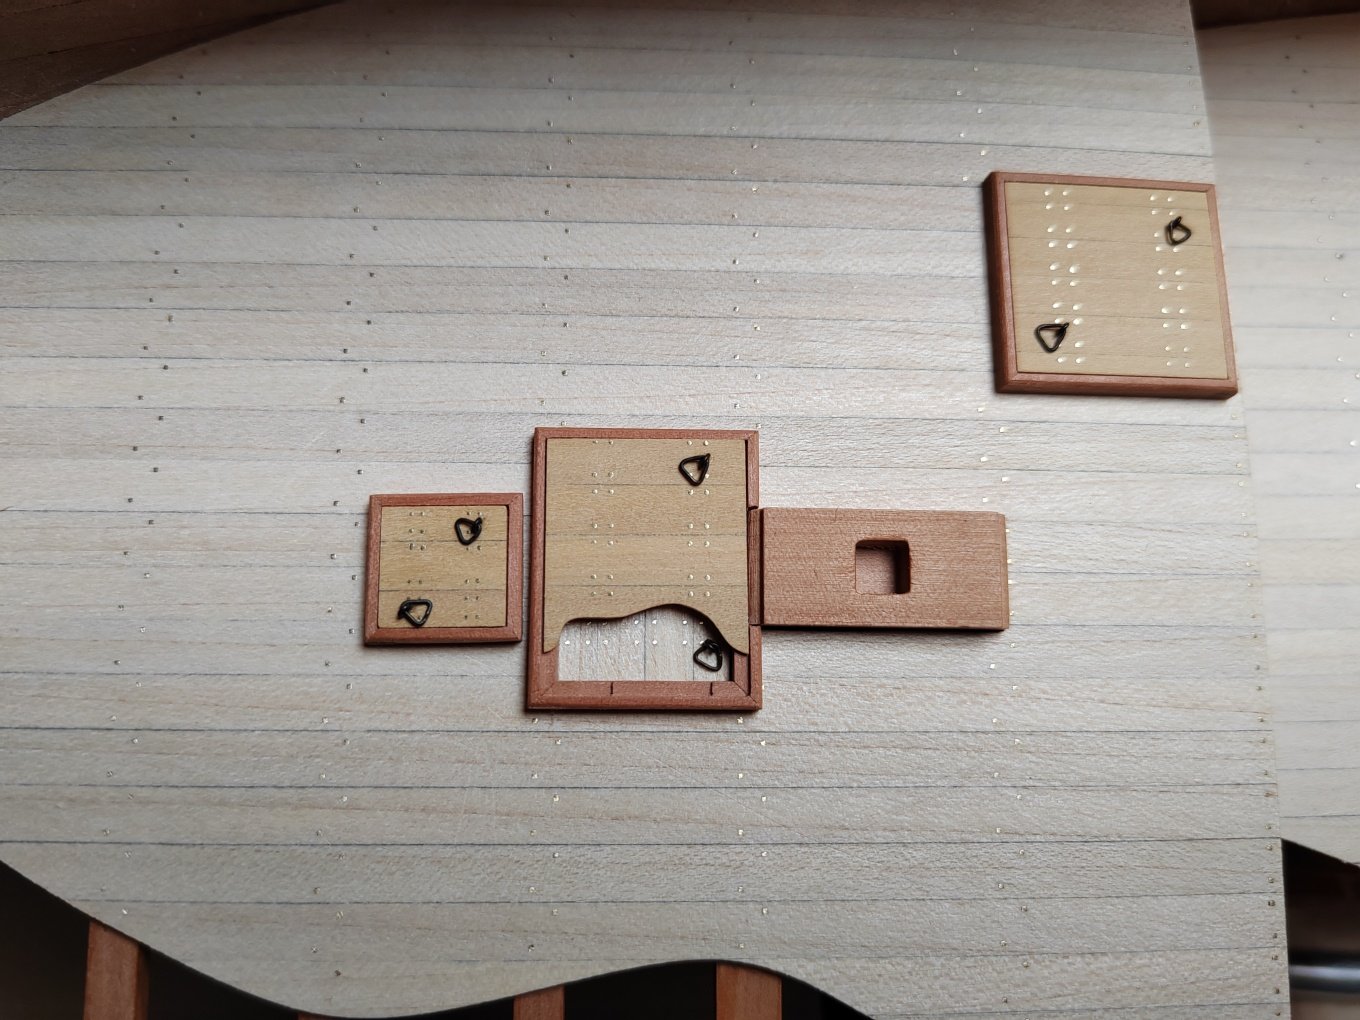
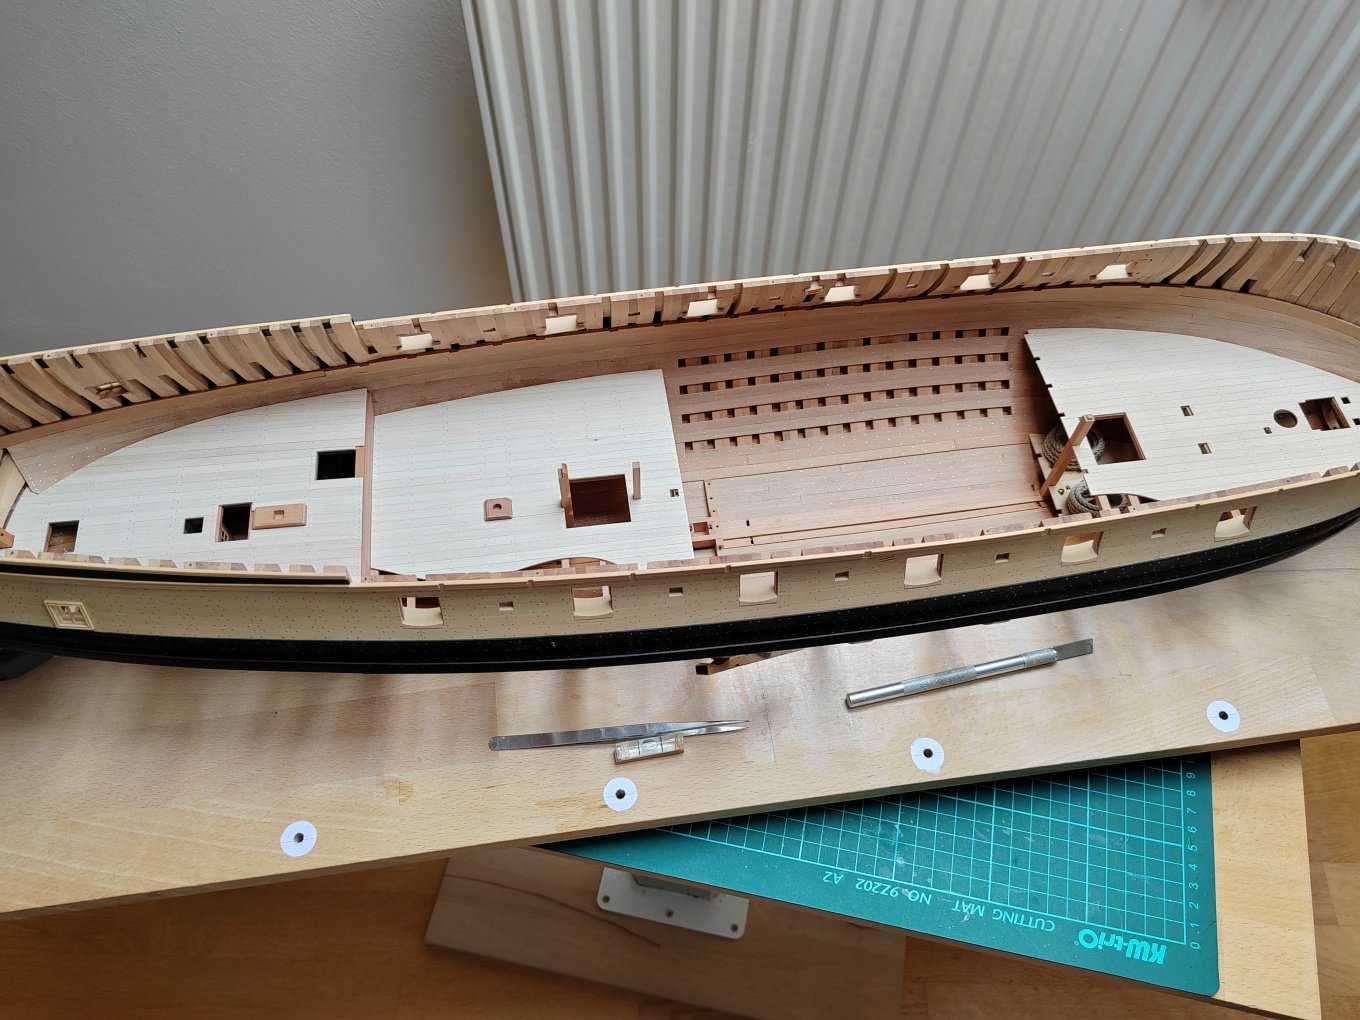
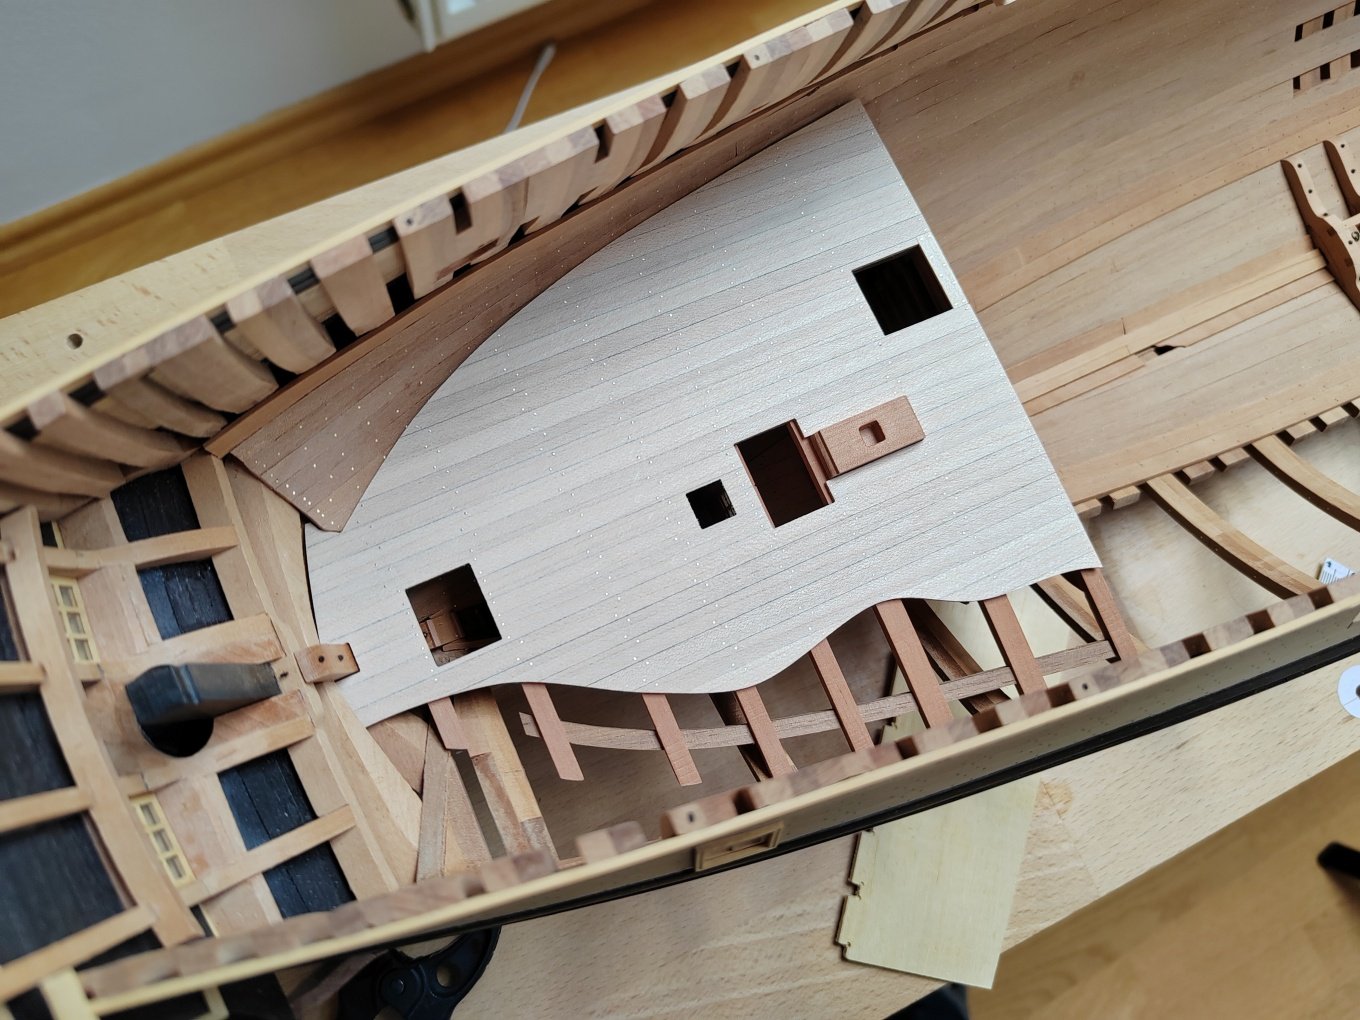
Finishing hatches - covers, sheeting for the galley stove.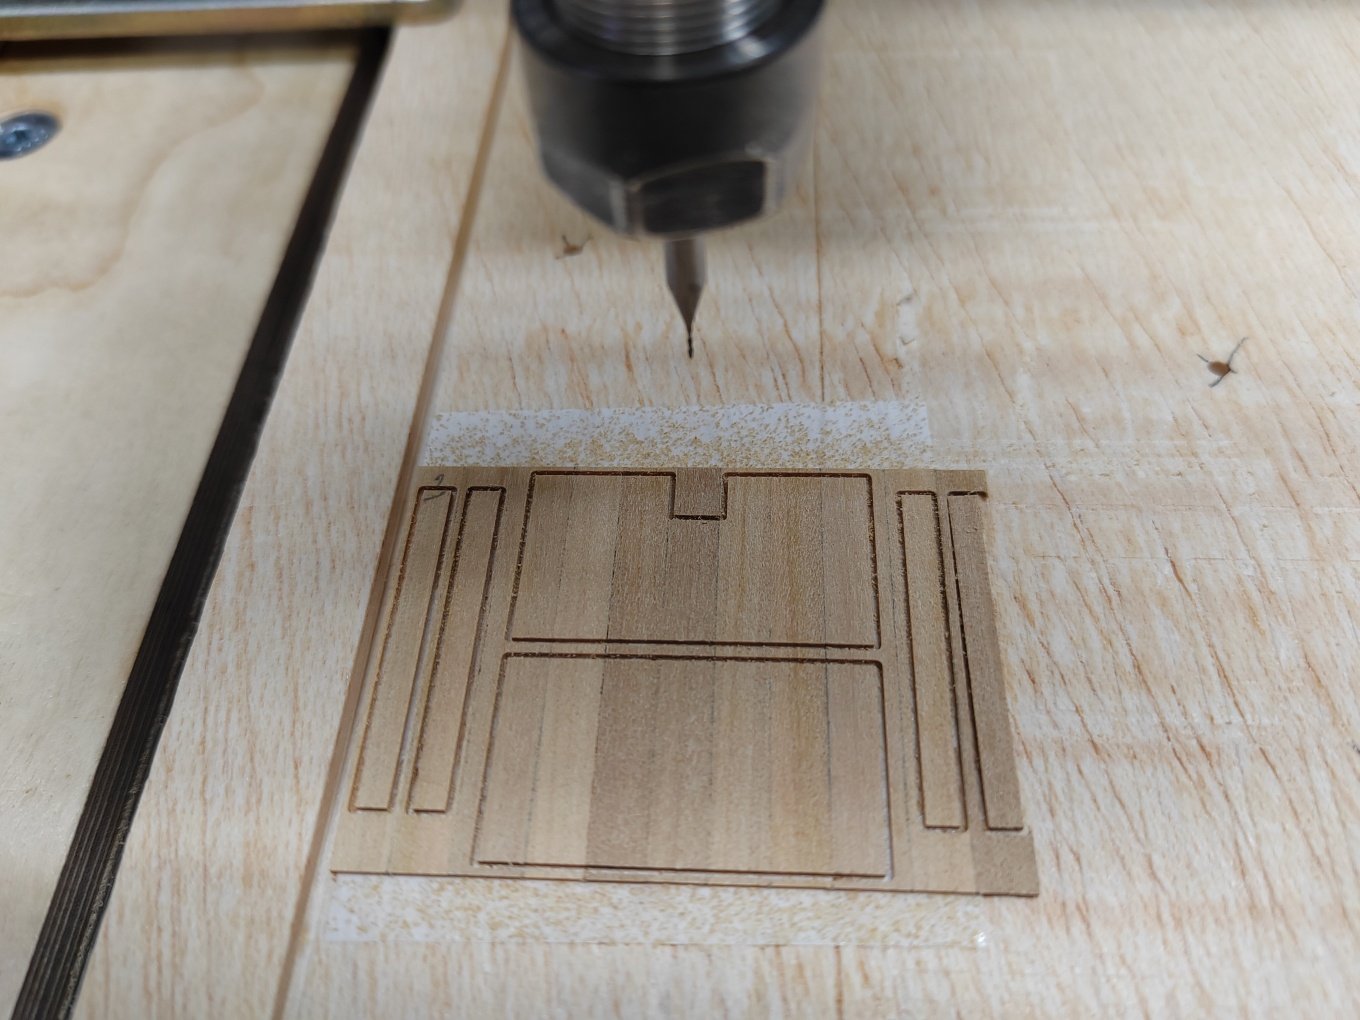


-
L'Amarante by marsalv - 1:36 - POF
marsalv replied to marsalv's topic in - Build logs for subjects built 1501 - 1750
Hi Chris, thank you for compliment. I must say that the work you are doing at Le Renommee is fantastic. You probably have a good teacher . So that the decks don't look so "poor", I started making hatches.


-
L'Amarante by marsalv - 1:36 - POF
marsalv replied to marsalv's topic in - Build logs for subjects built 1501 - 1750
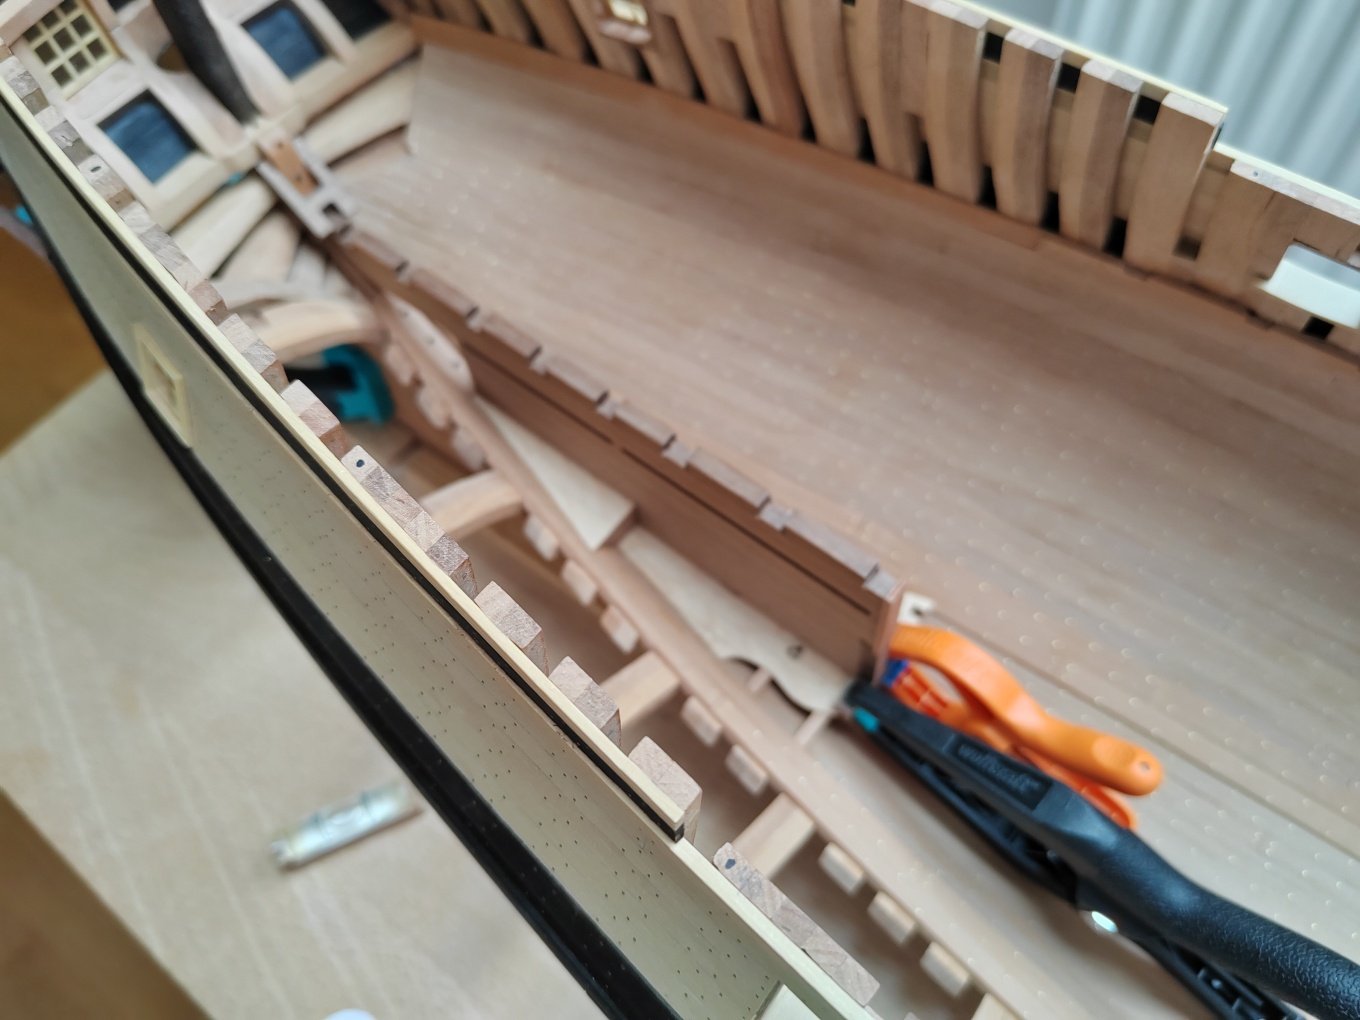
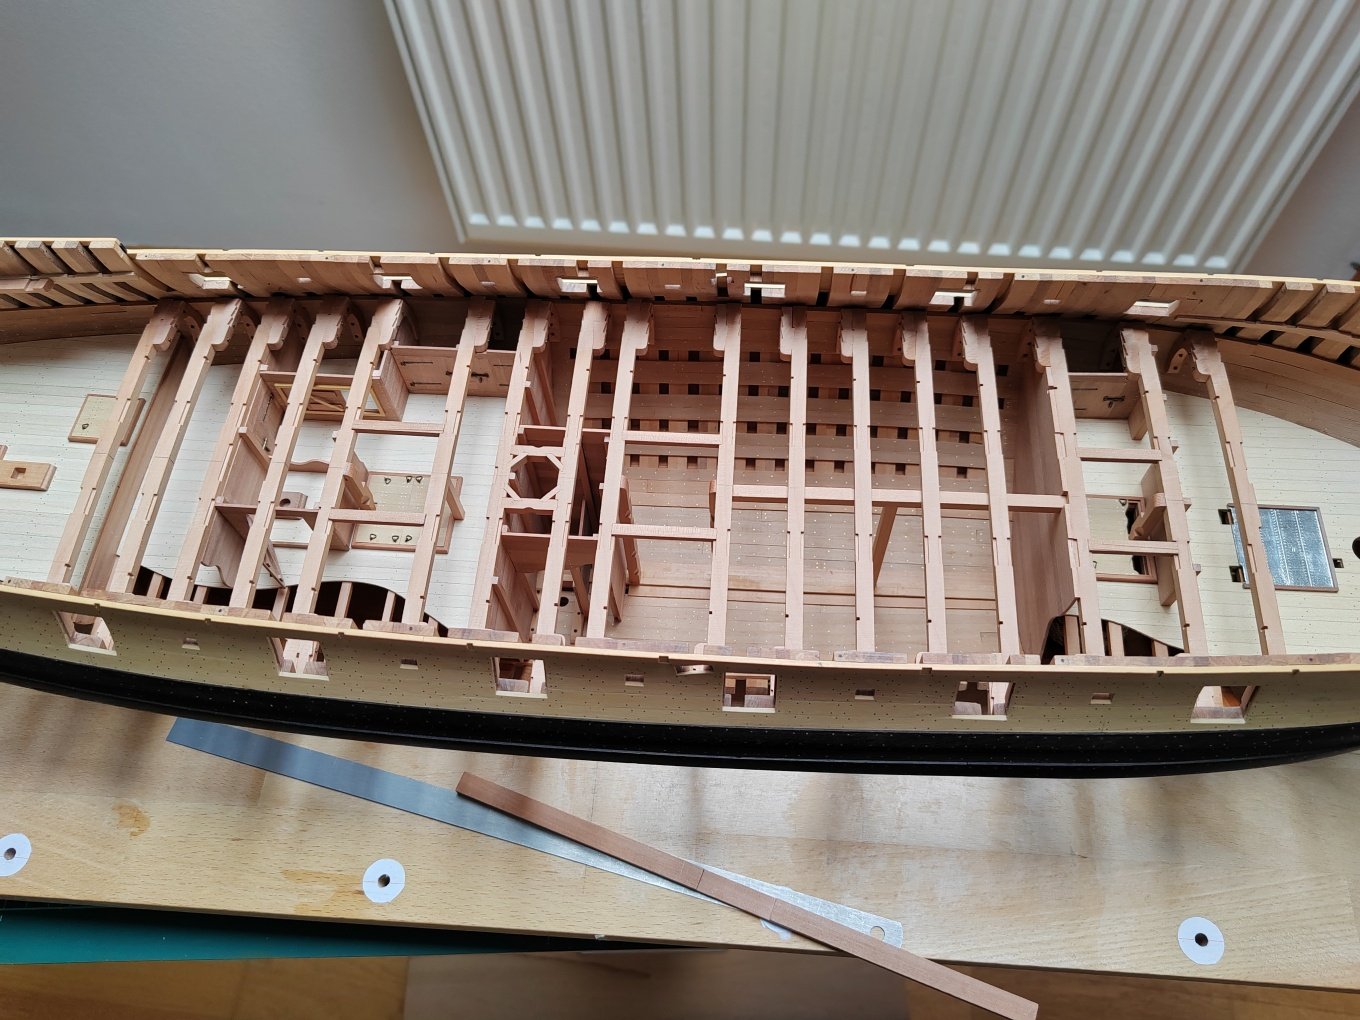
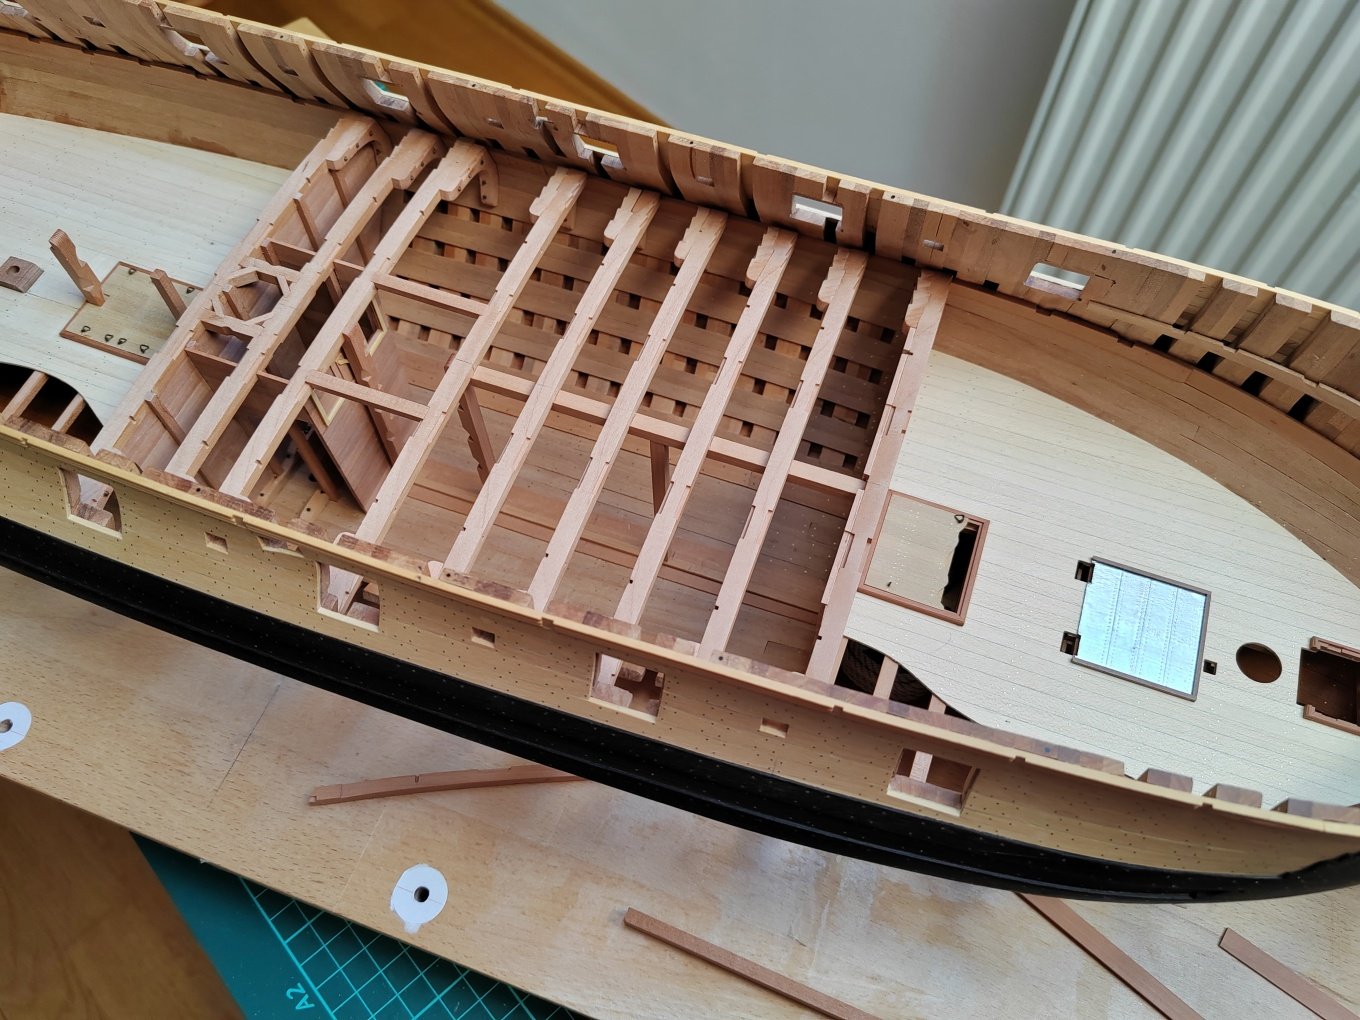
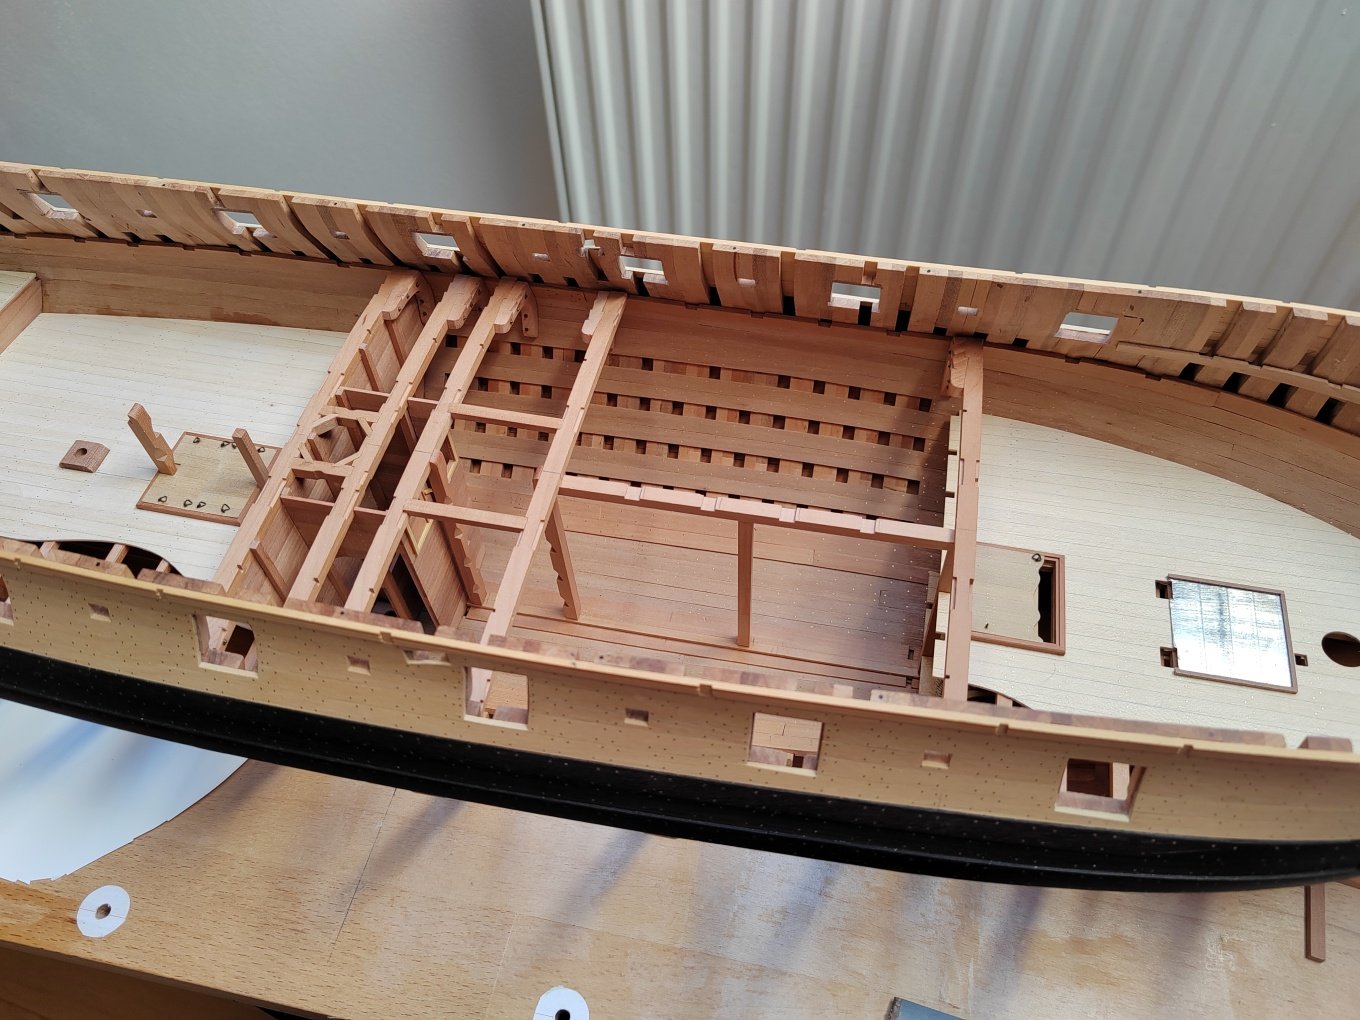
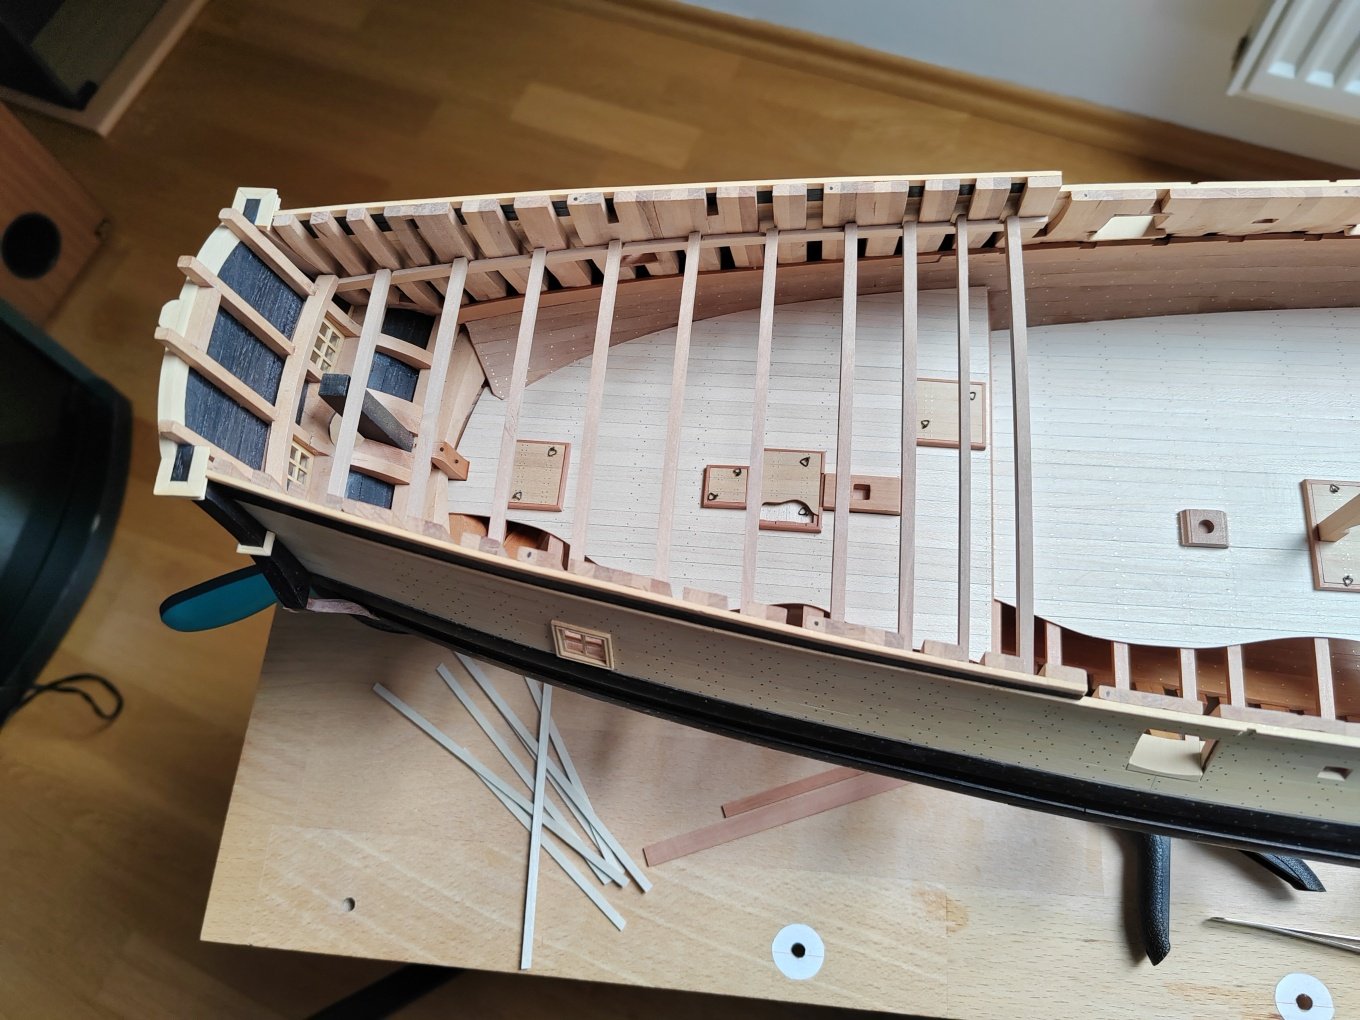
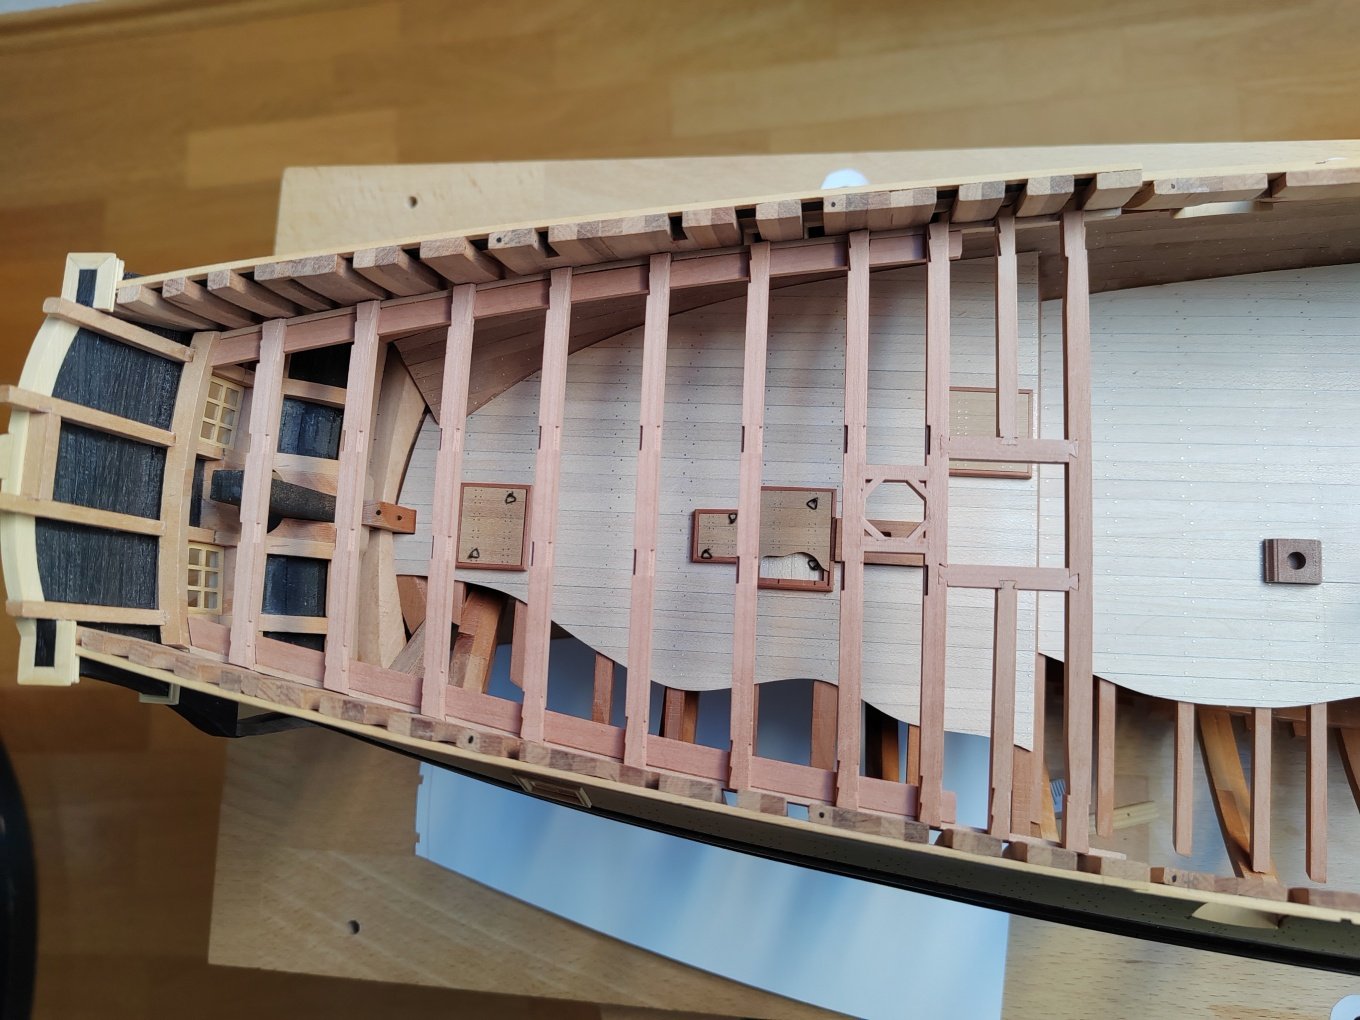
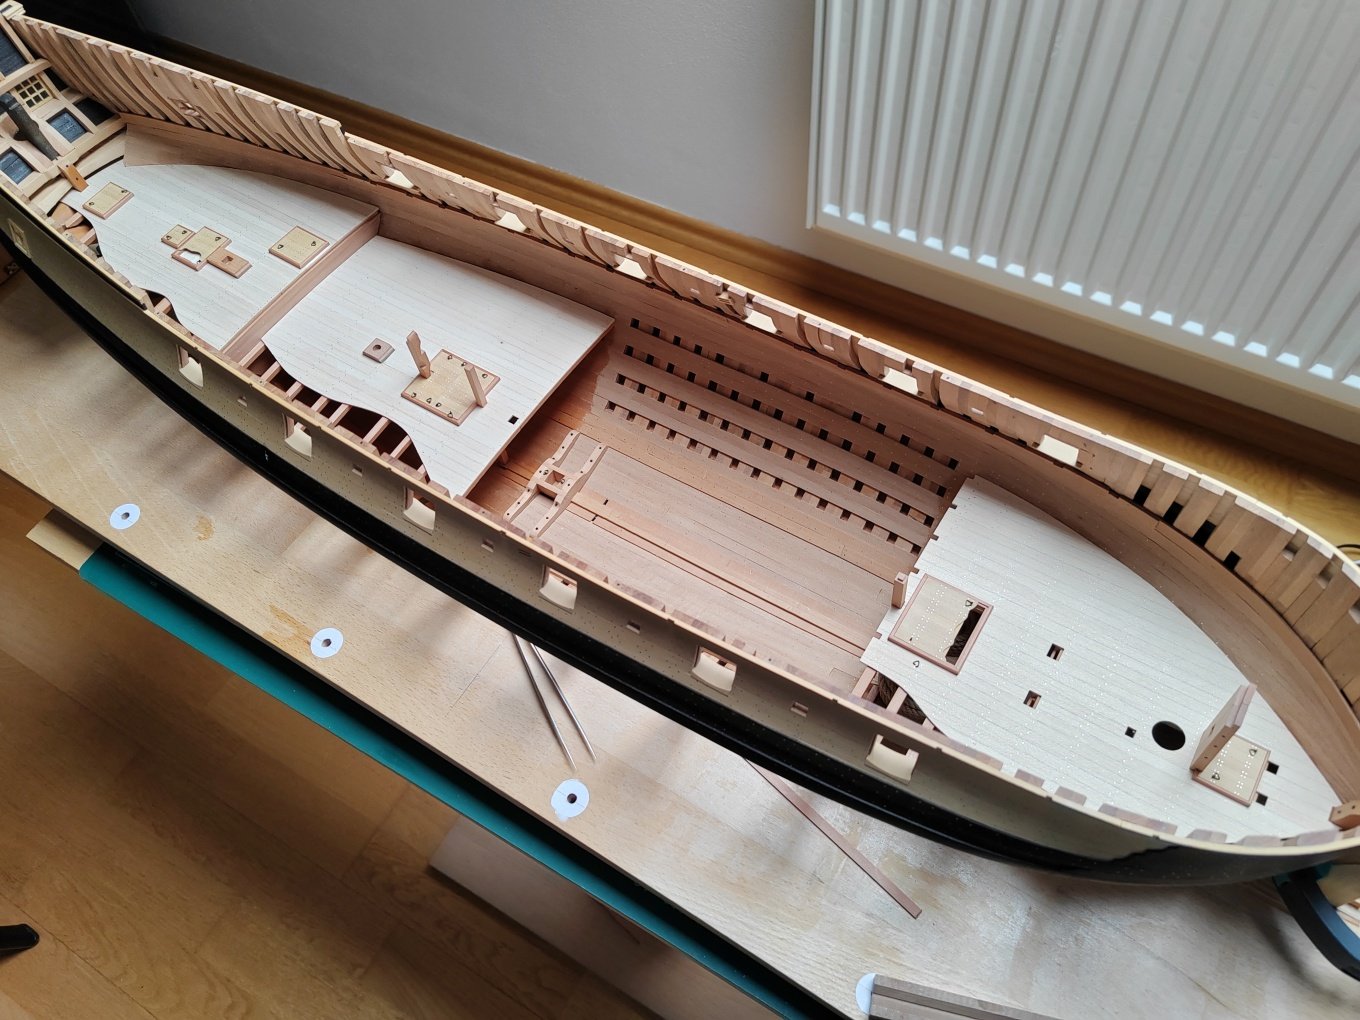
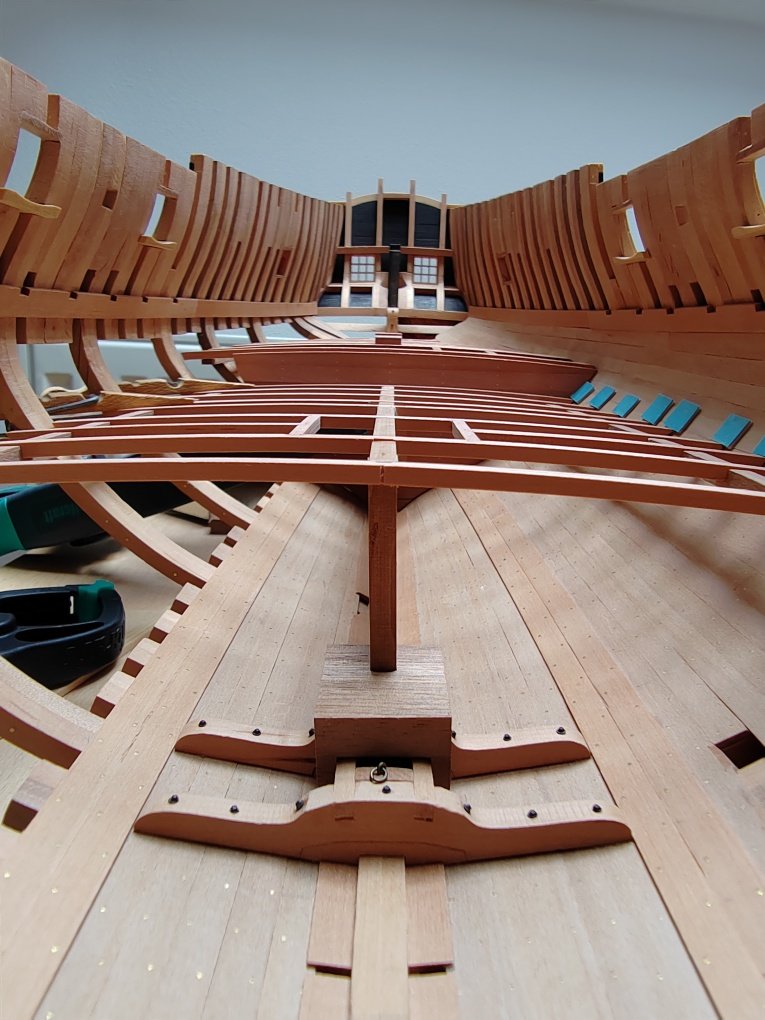
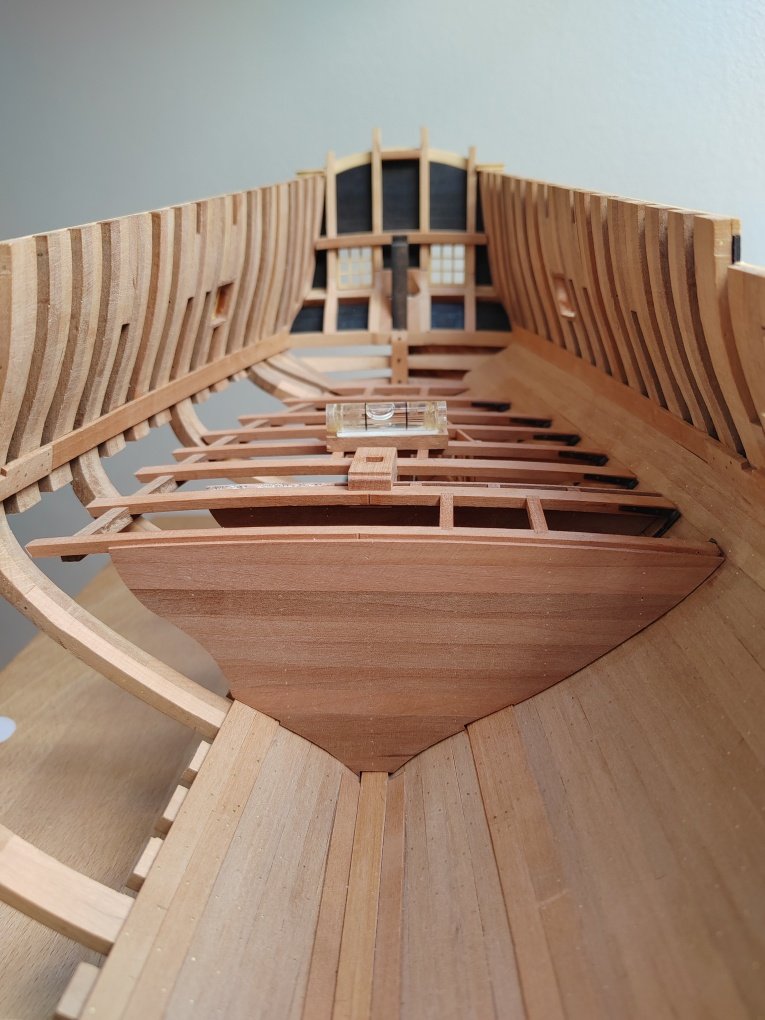
Below deck completed, all lower decks are glued in place.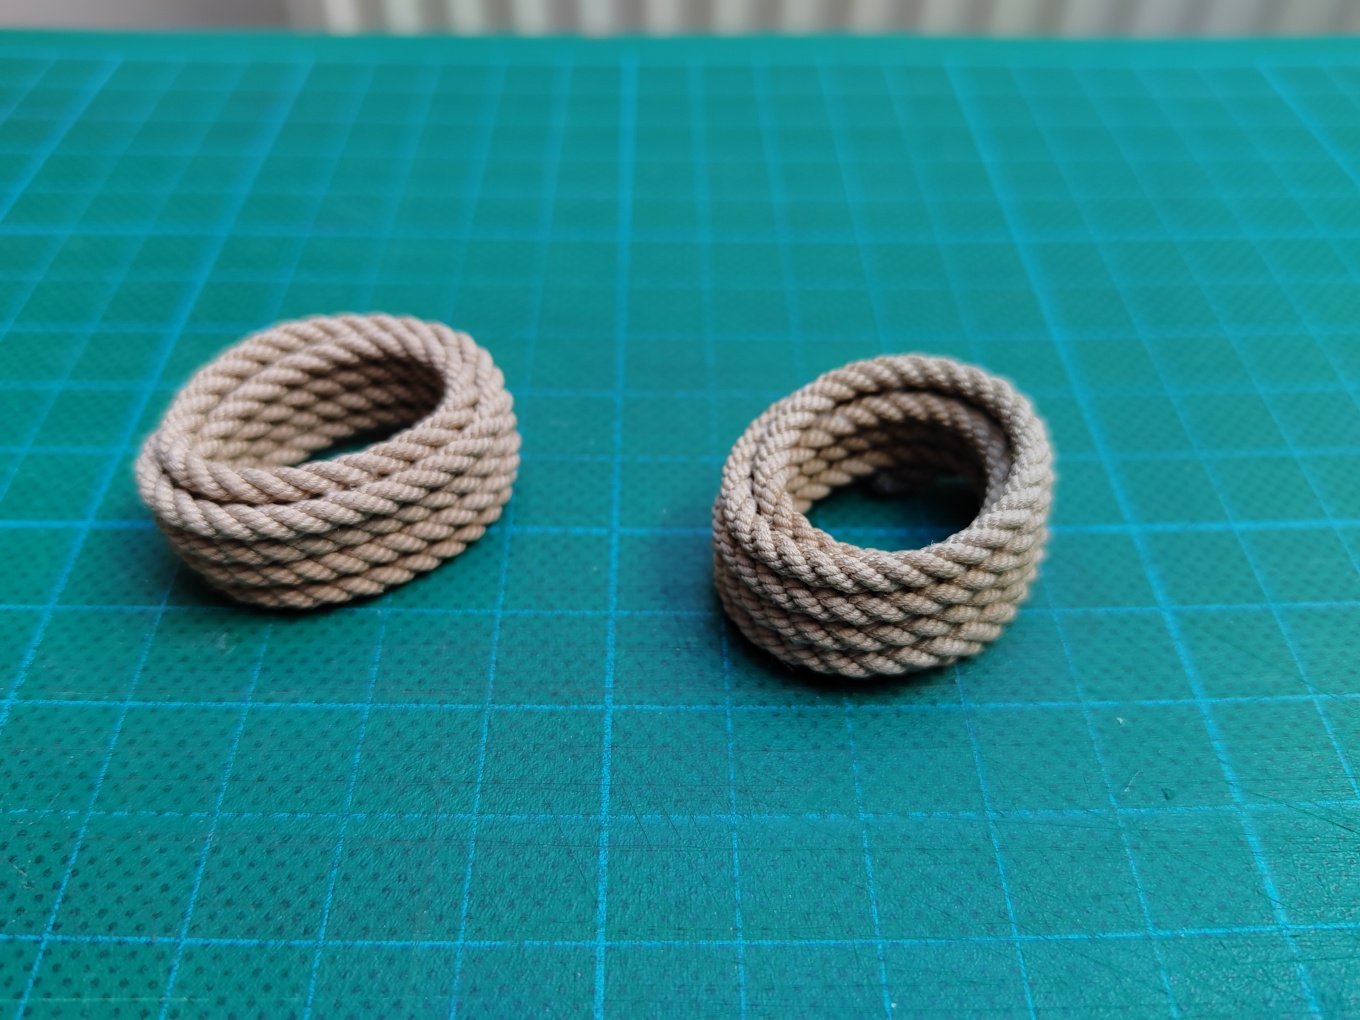

-
Roter Löwe 1597 by Ondras71
marsalv replied to Ondras71's topic in - Build logs for subjects built 1501 - 1750
Fantastic work. -
L'Amarante by marsalv - 1:36 - POF
marsalv replied to marsalv's topic in - Build logs for subjects built 1501 - 1750
Deck beams and middle deck (orlop deck?) completed.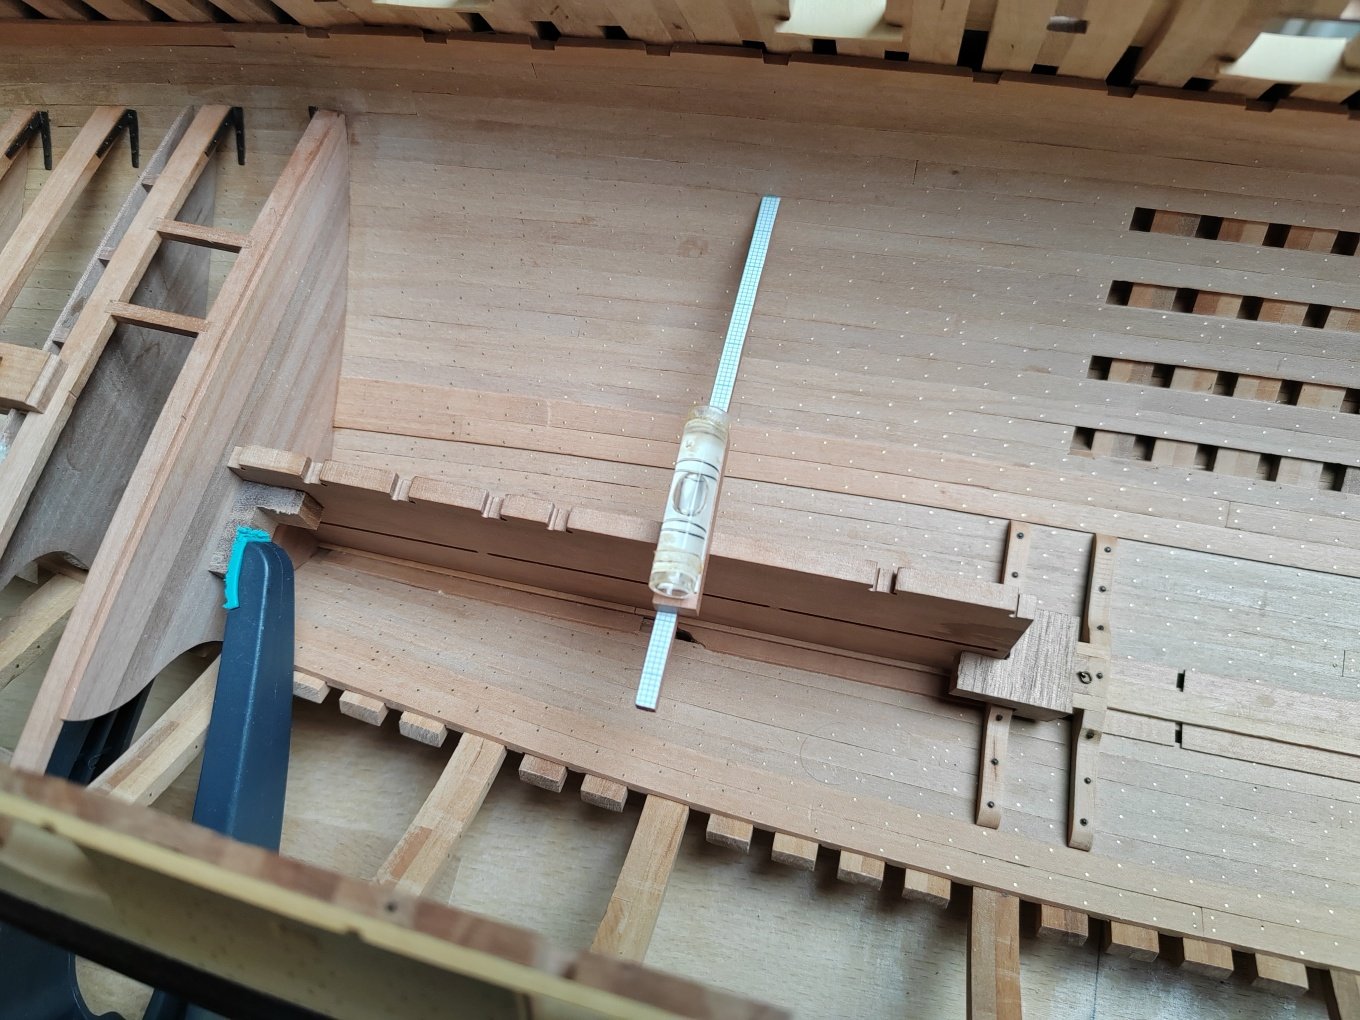

-
L'Amarante by marsalv - 1:36 - POF
marsalv replied to marsalv's topic in - Build logs for subjects built 1501 - 1750
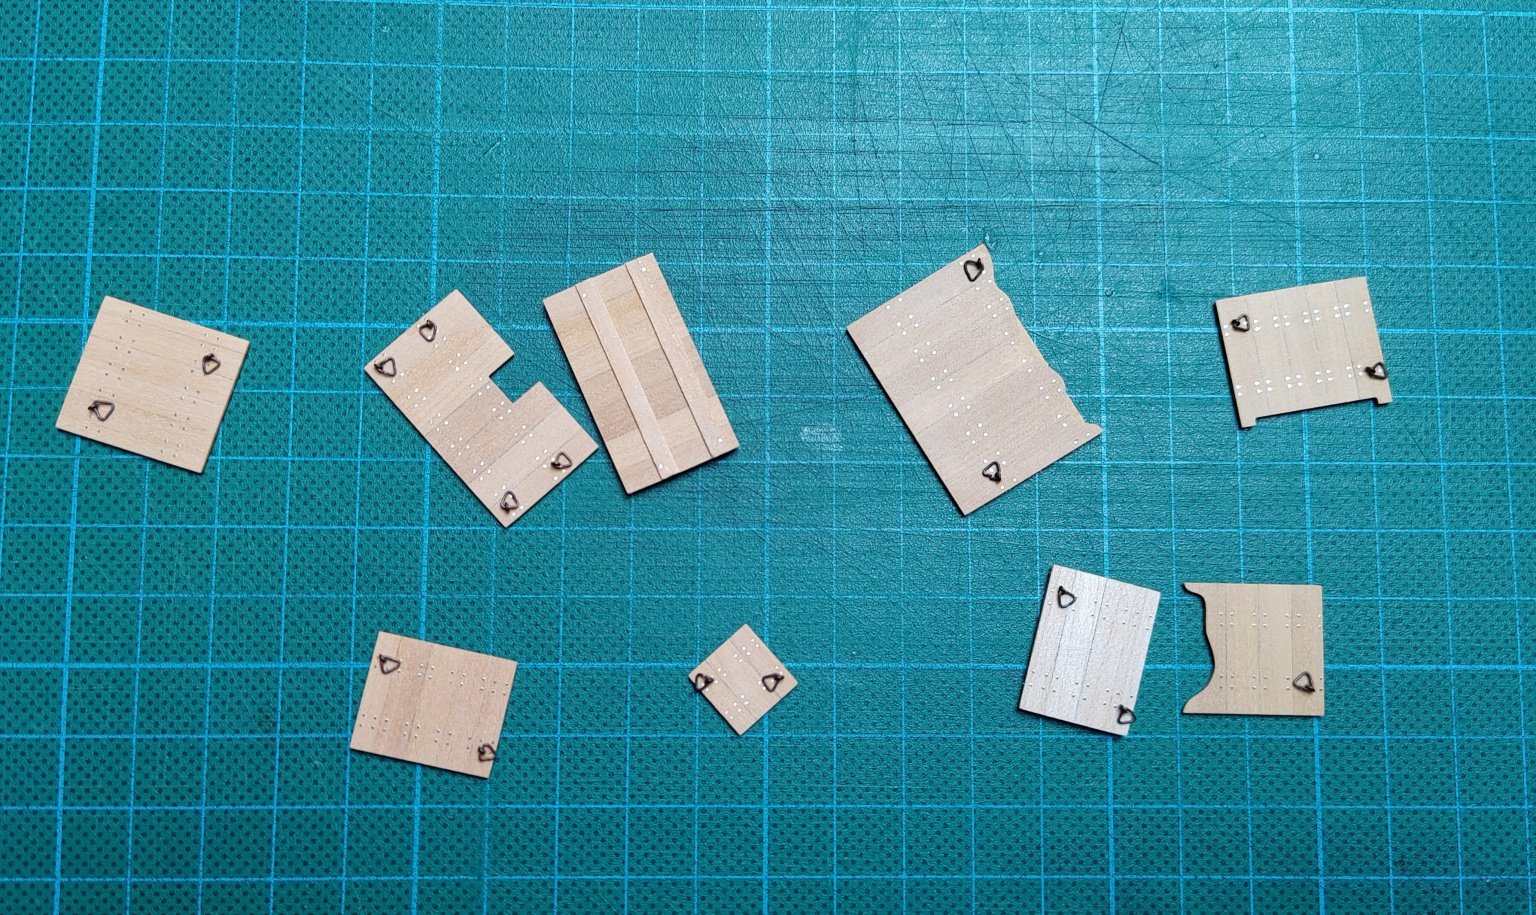
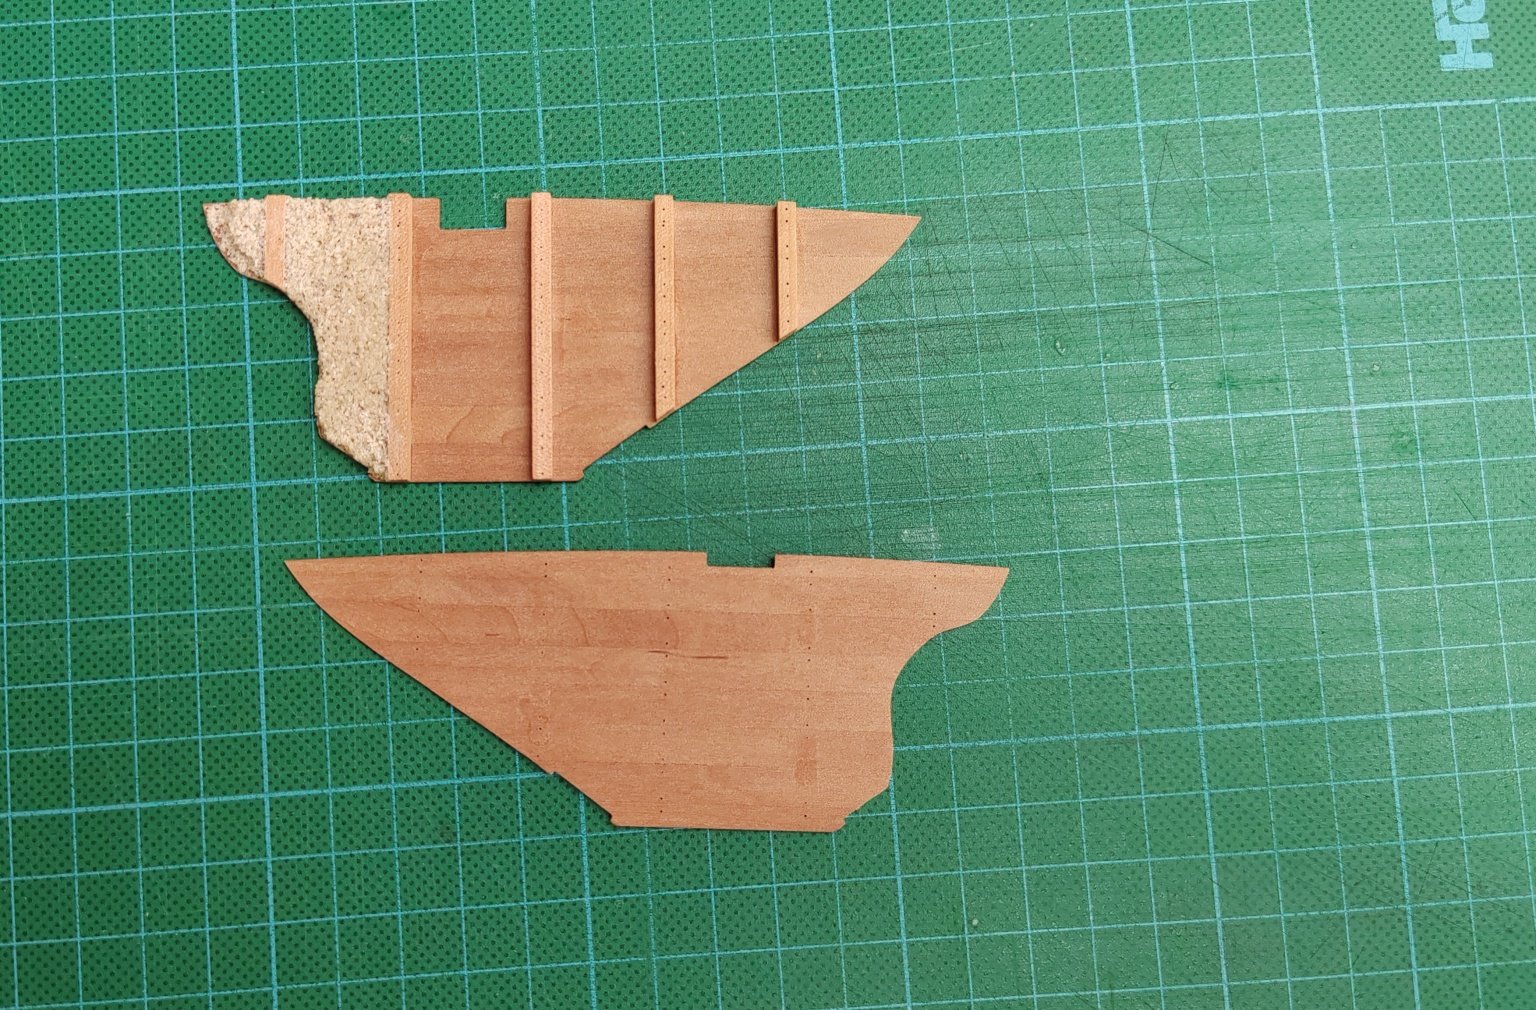
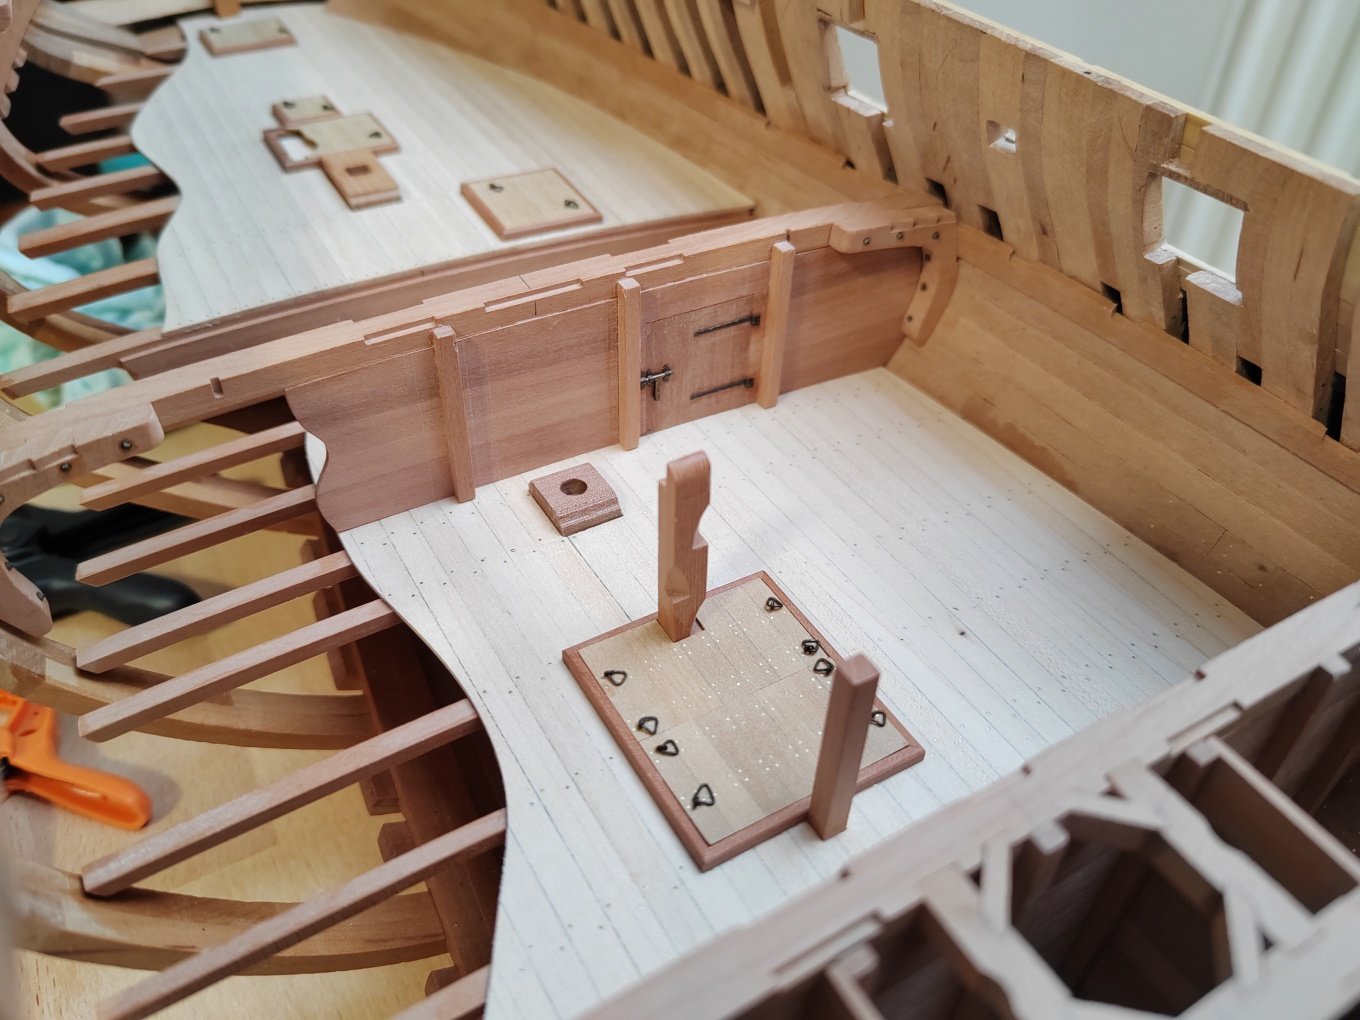
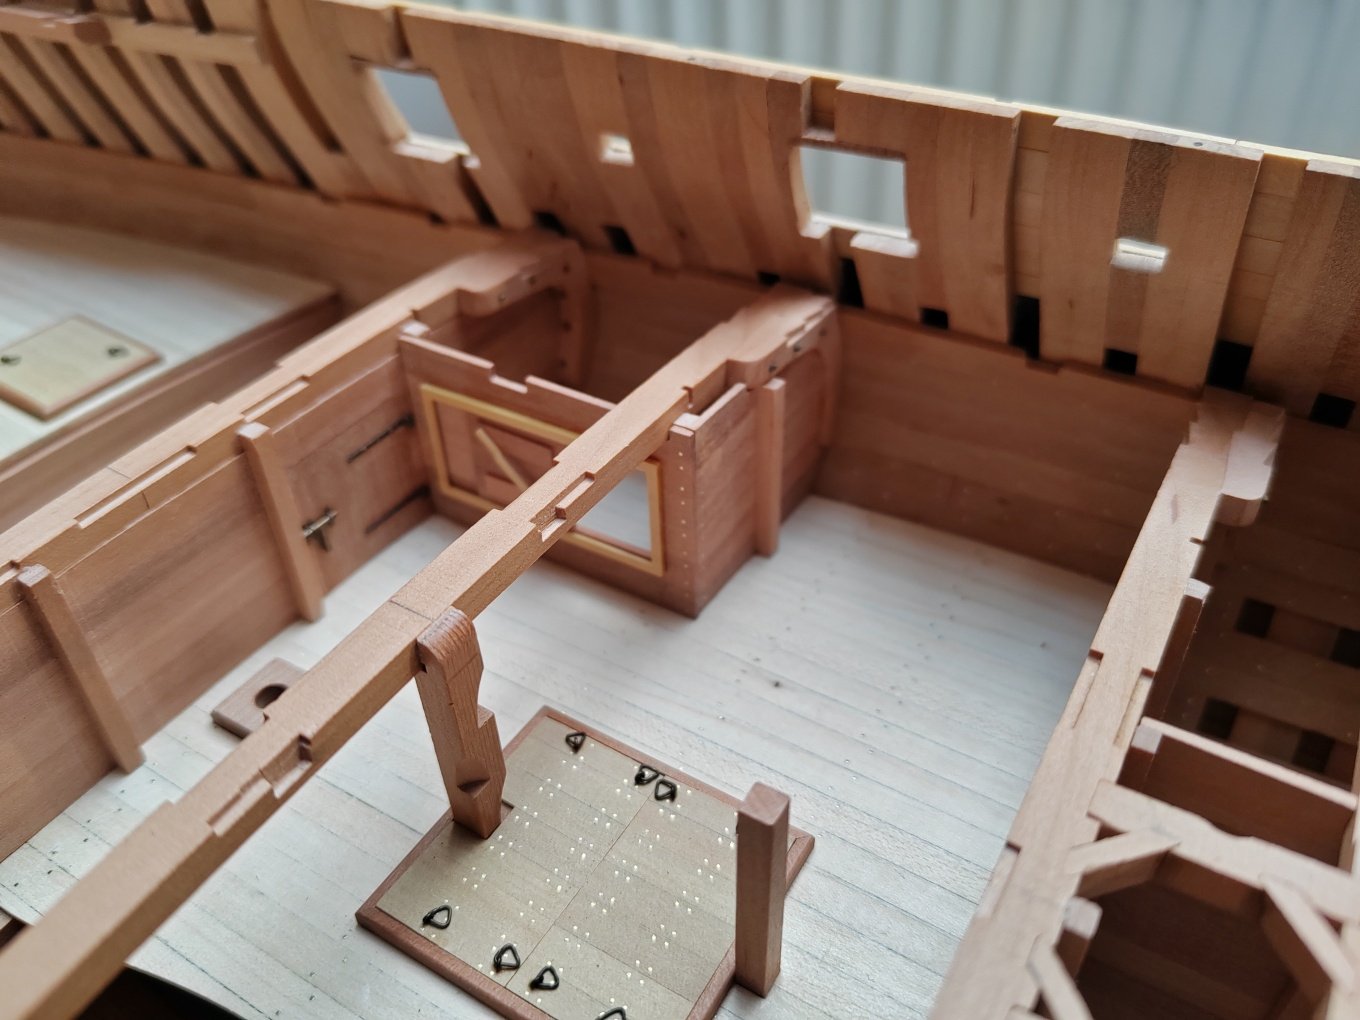
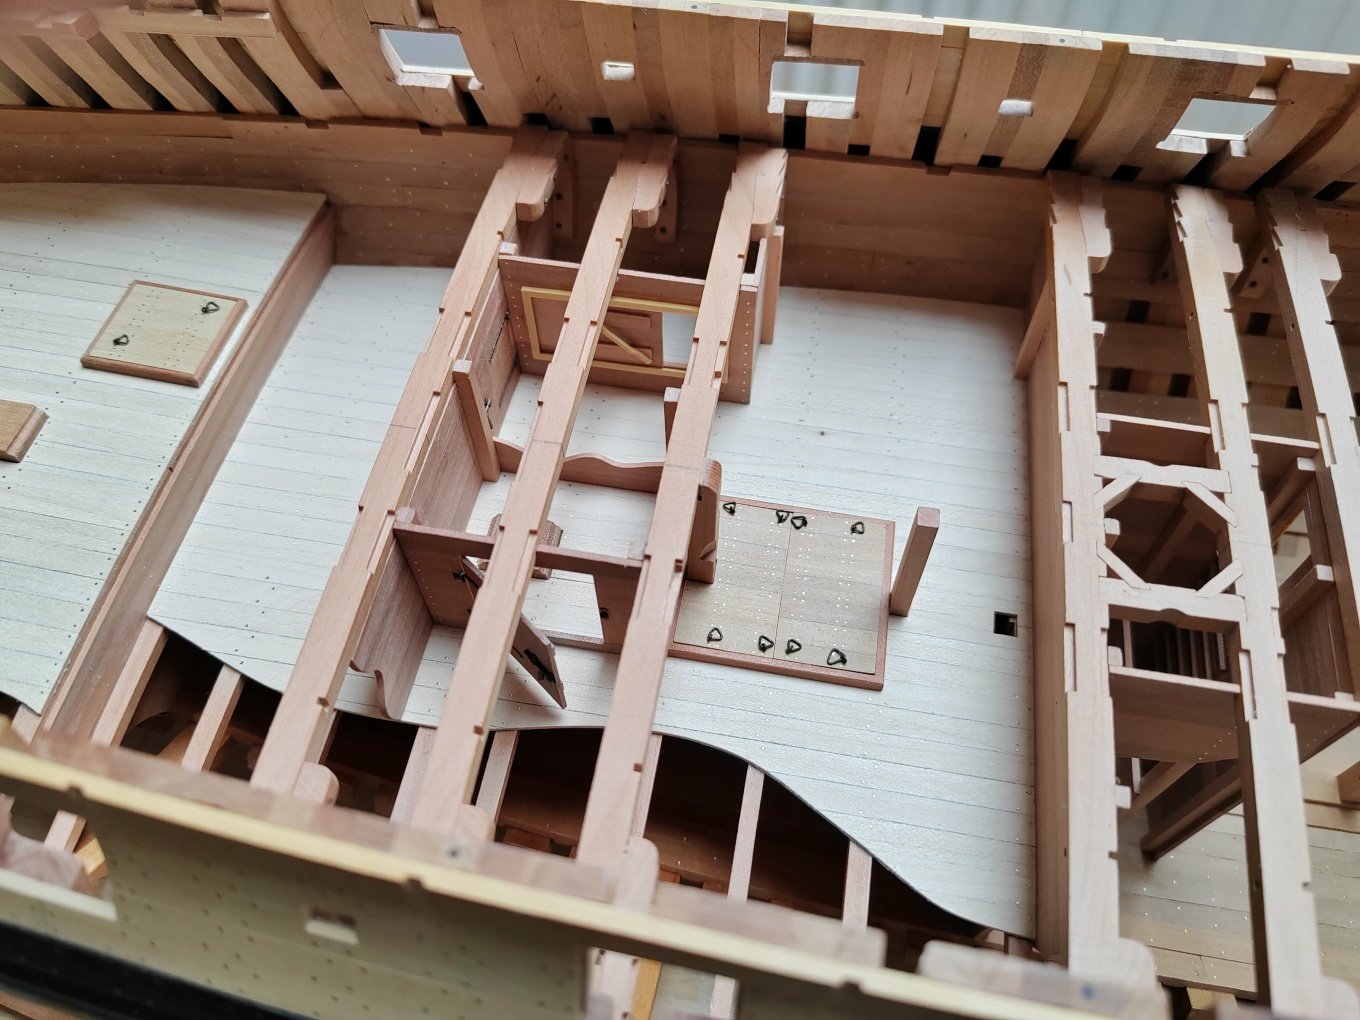
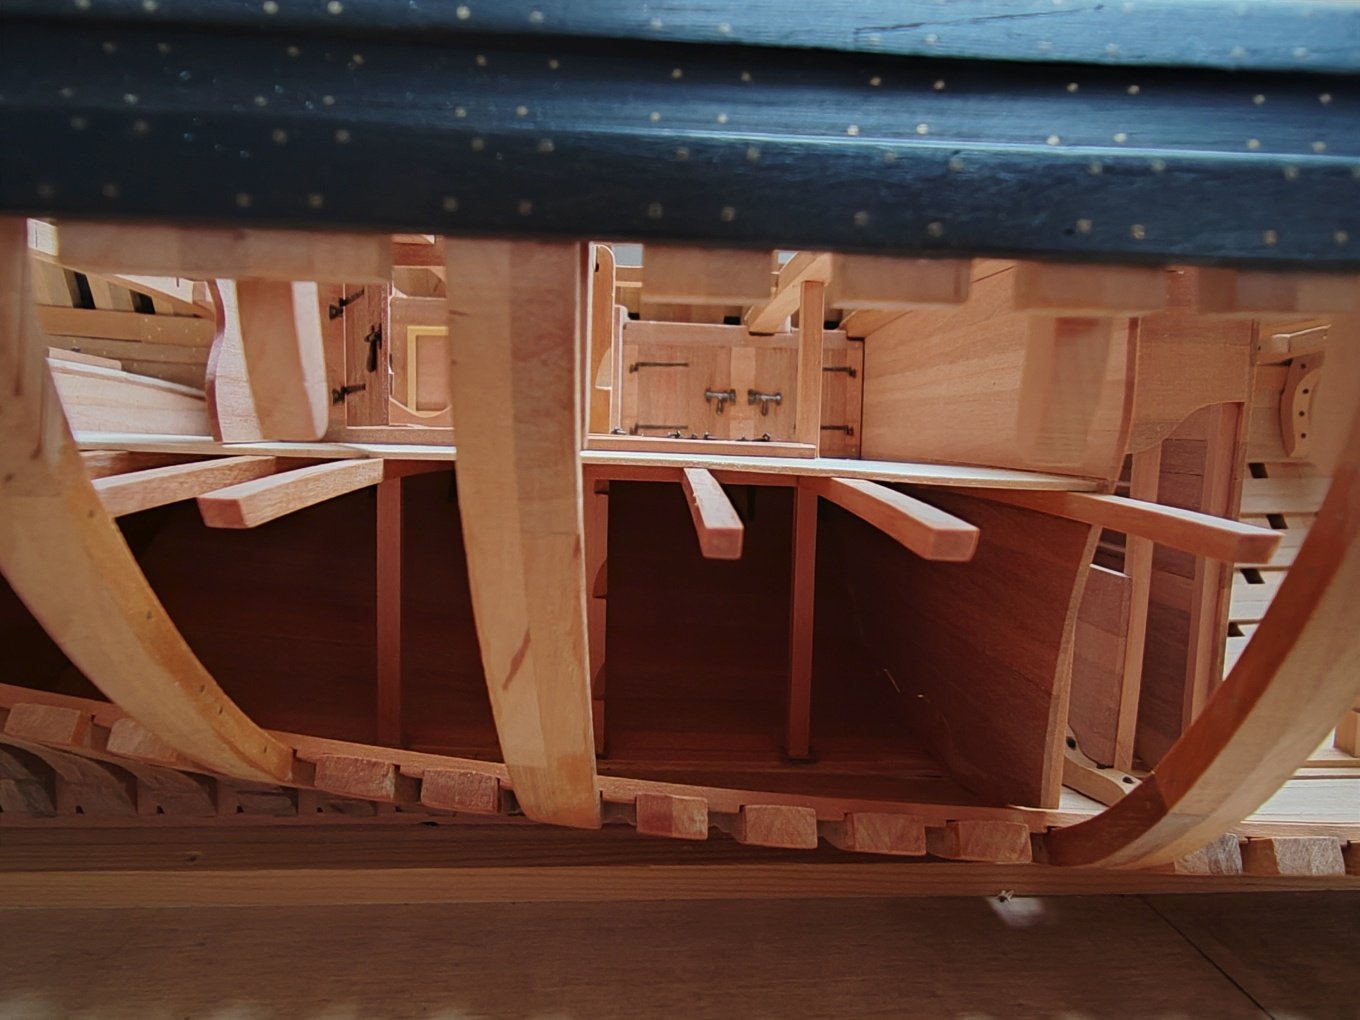
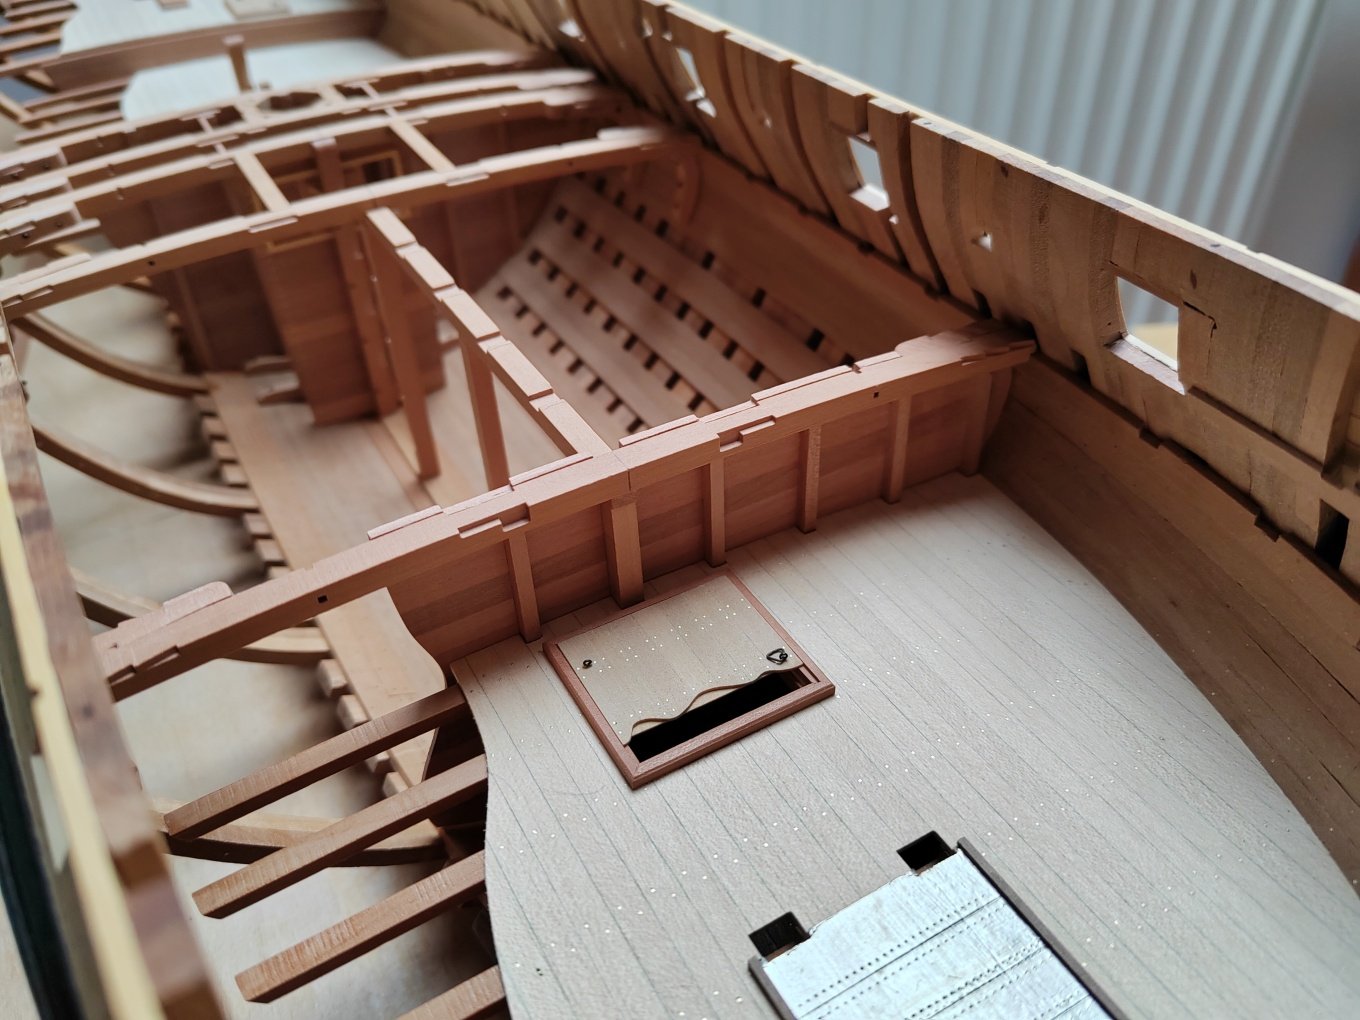
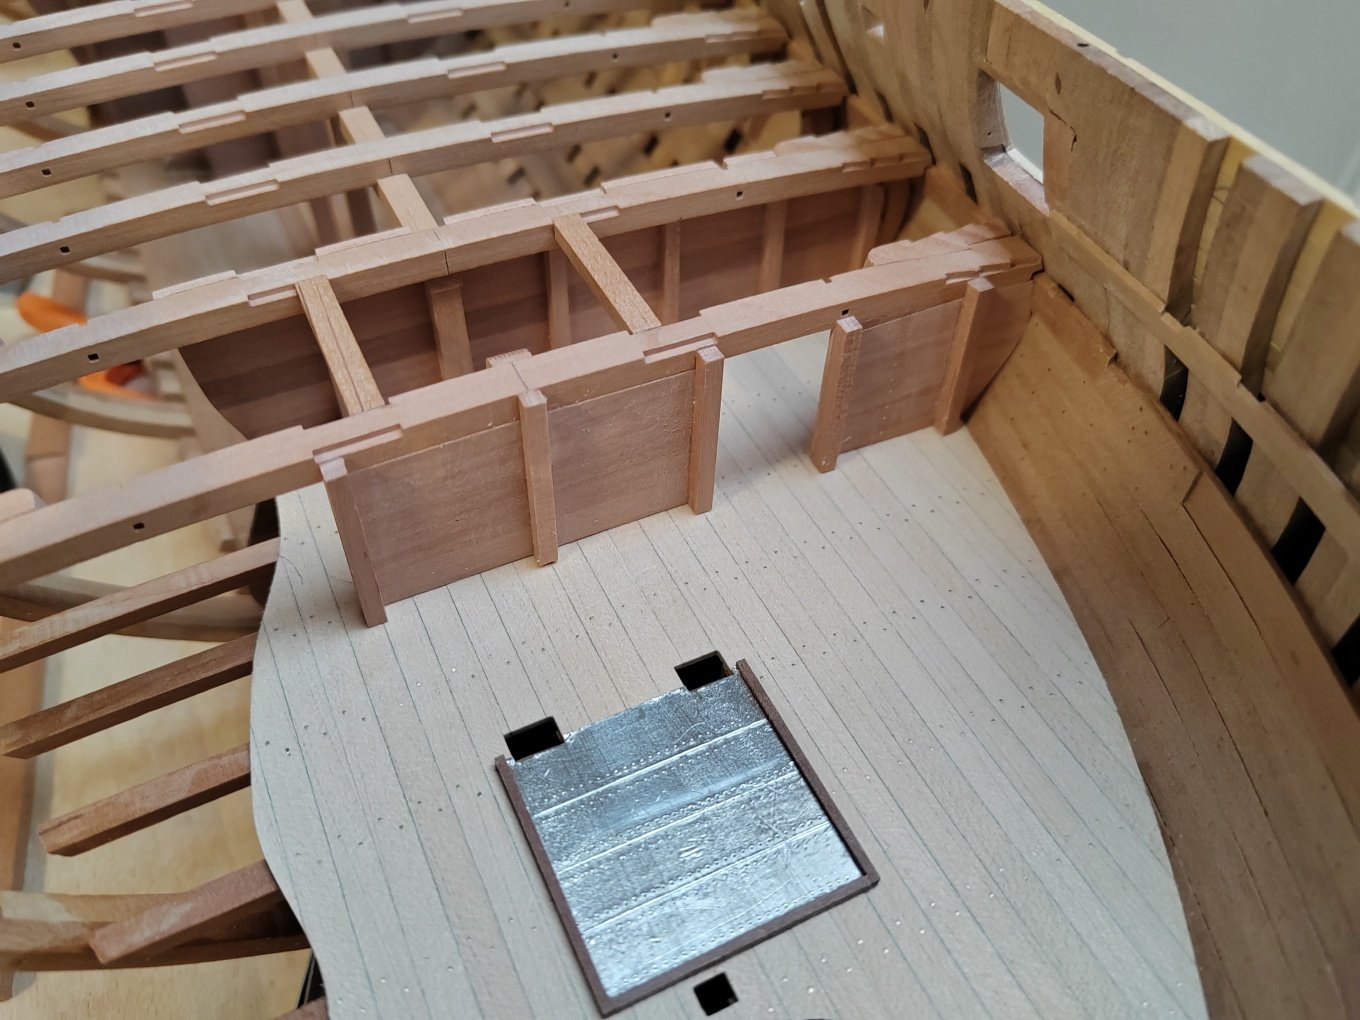
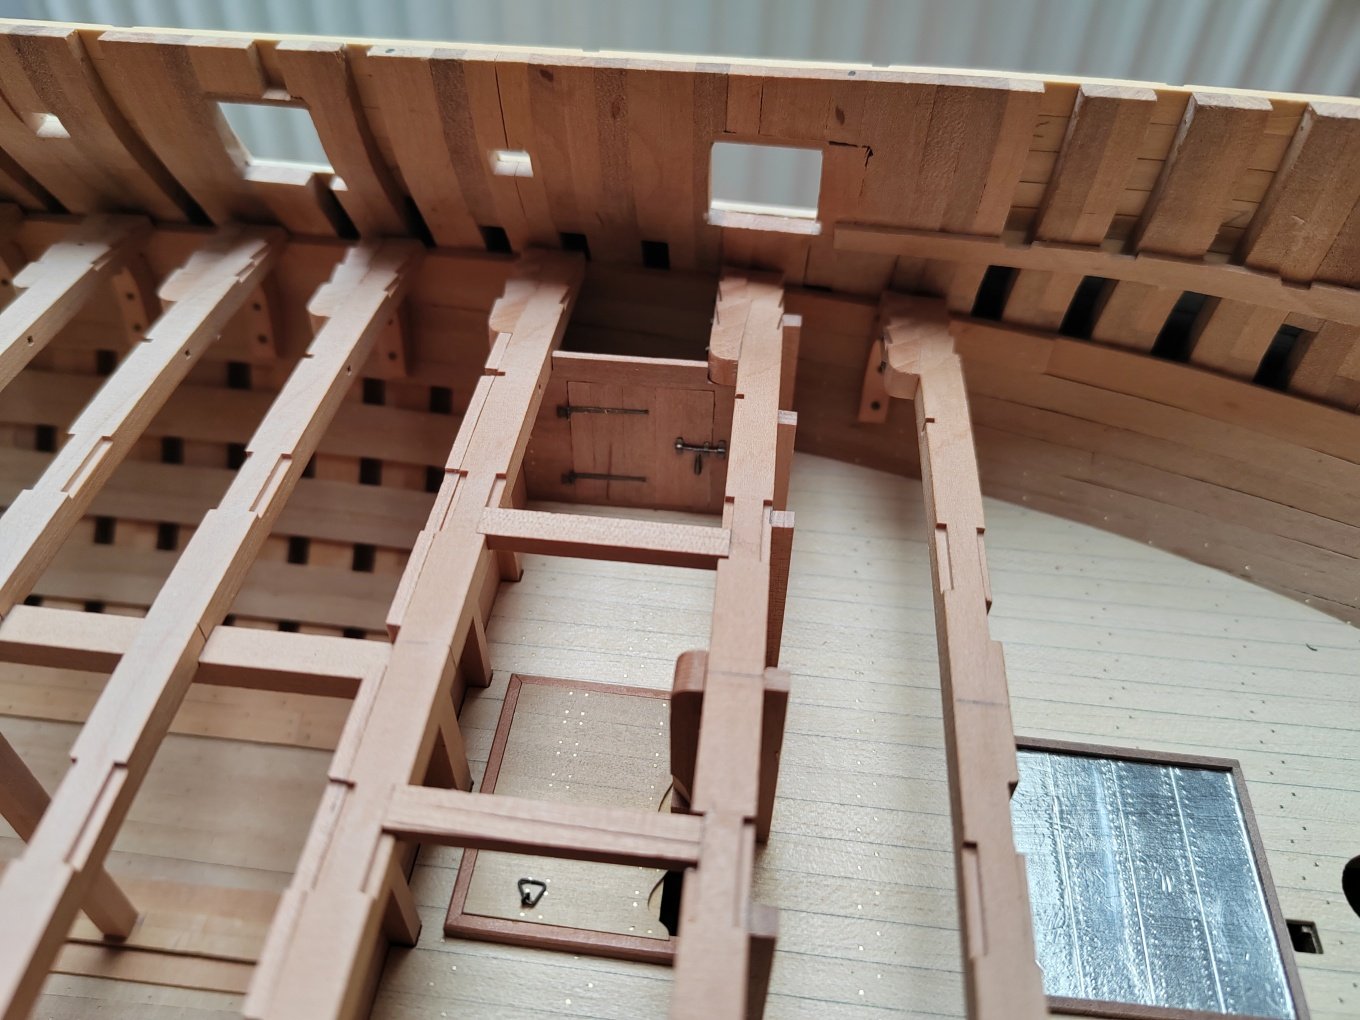
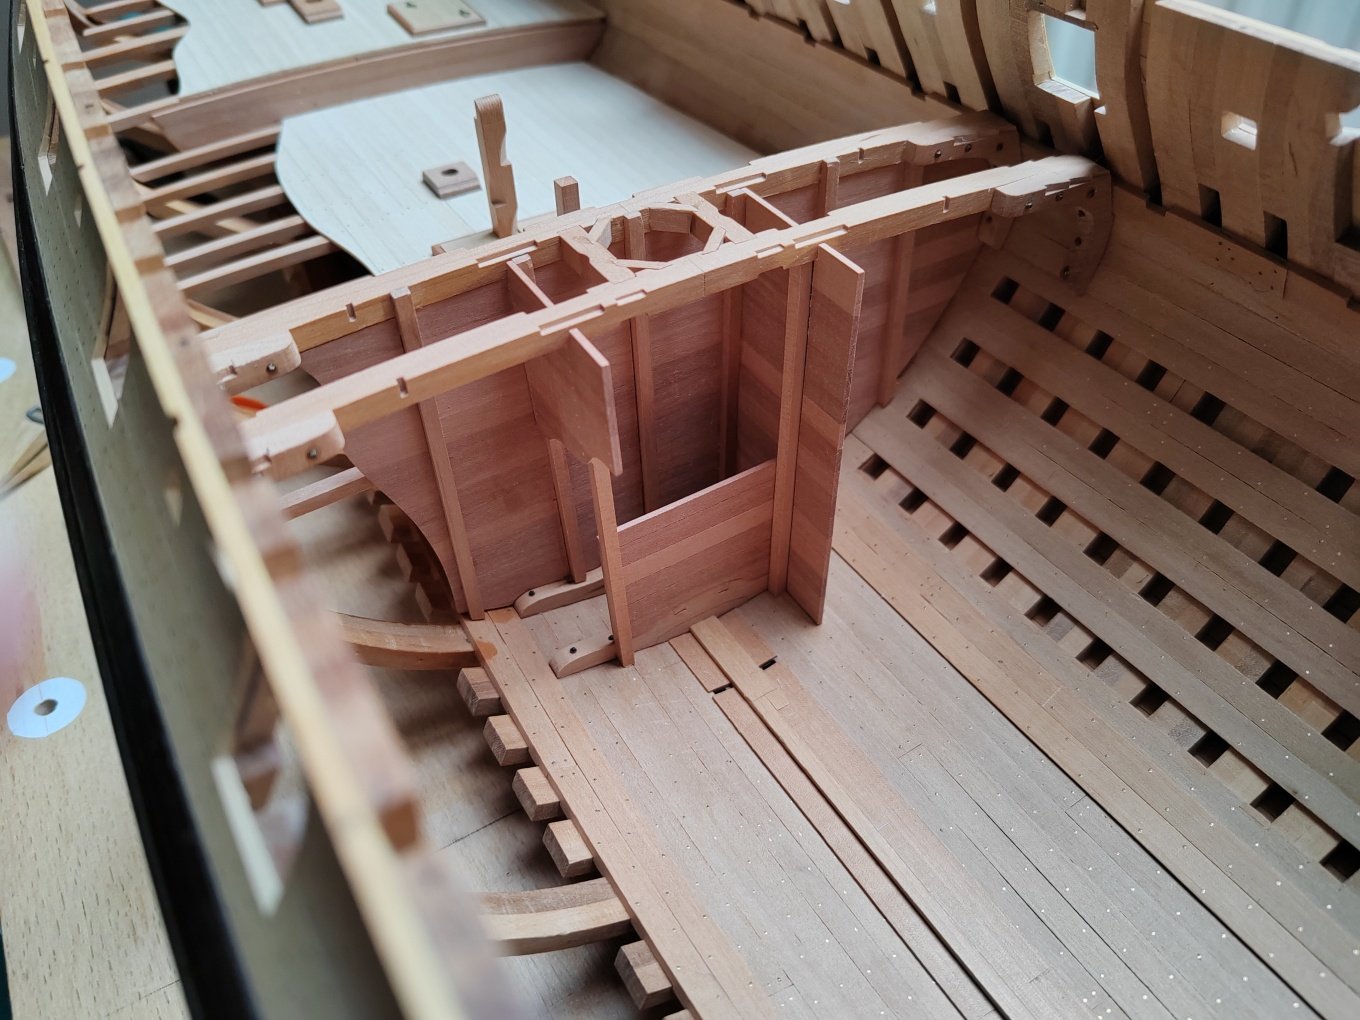
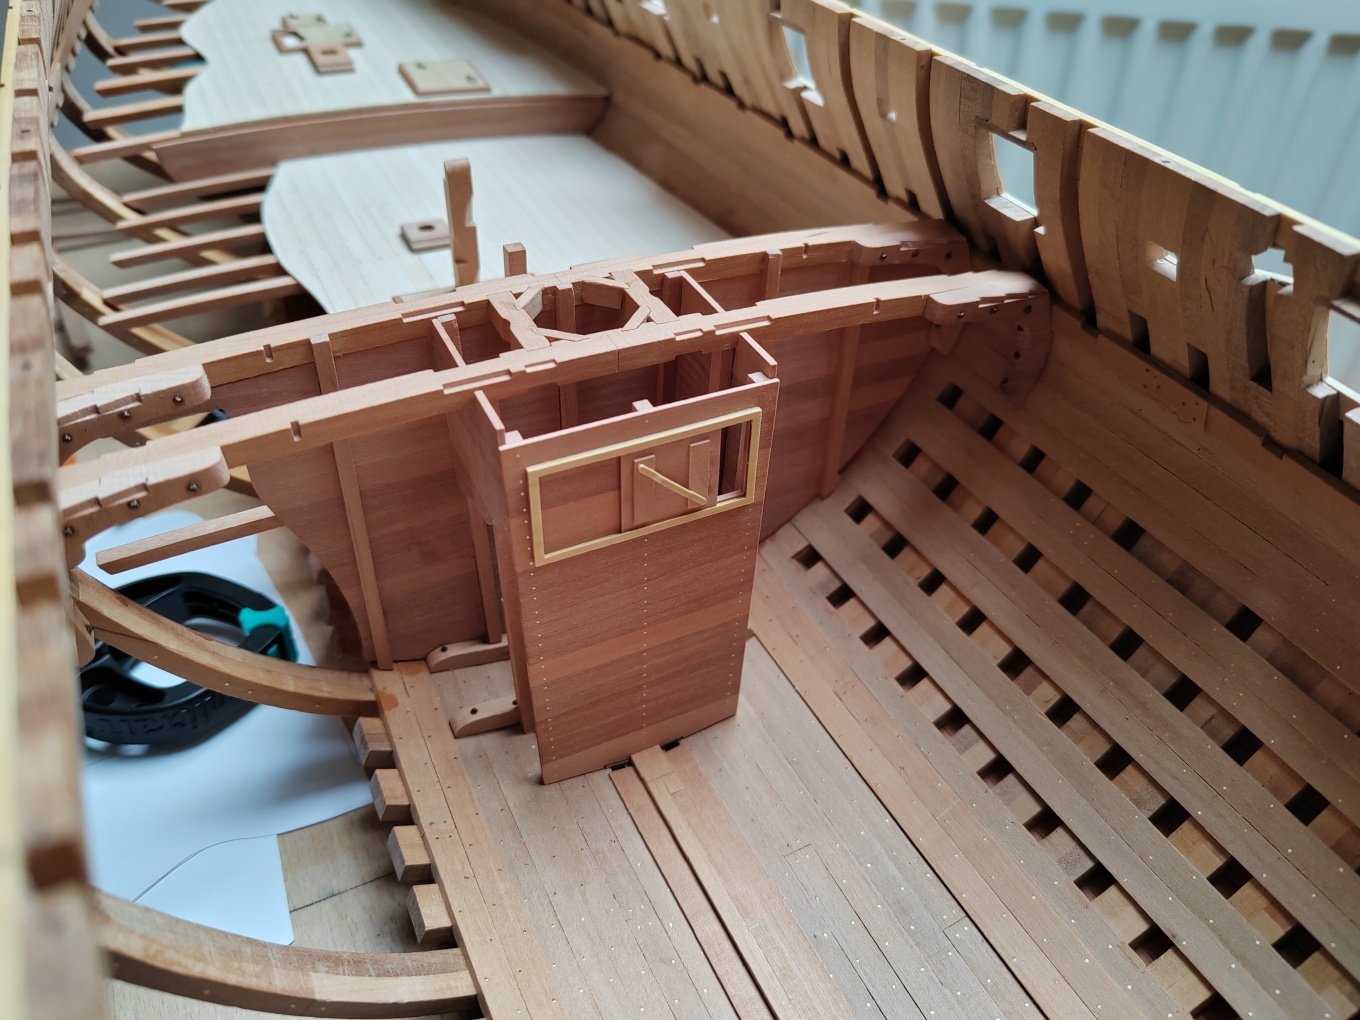
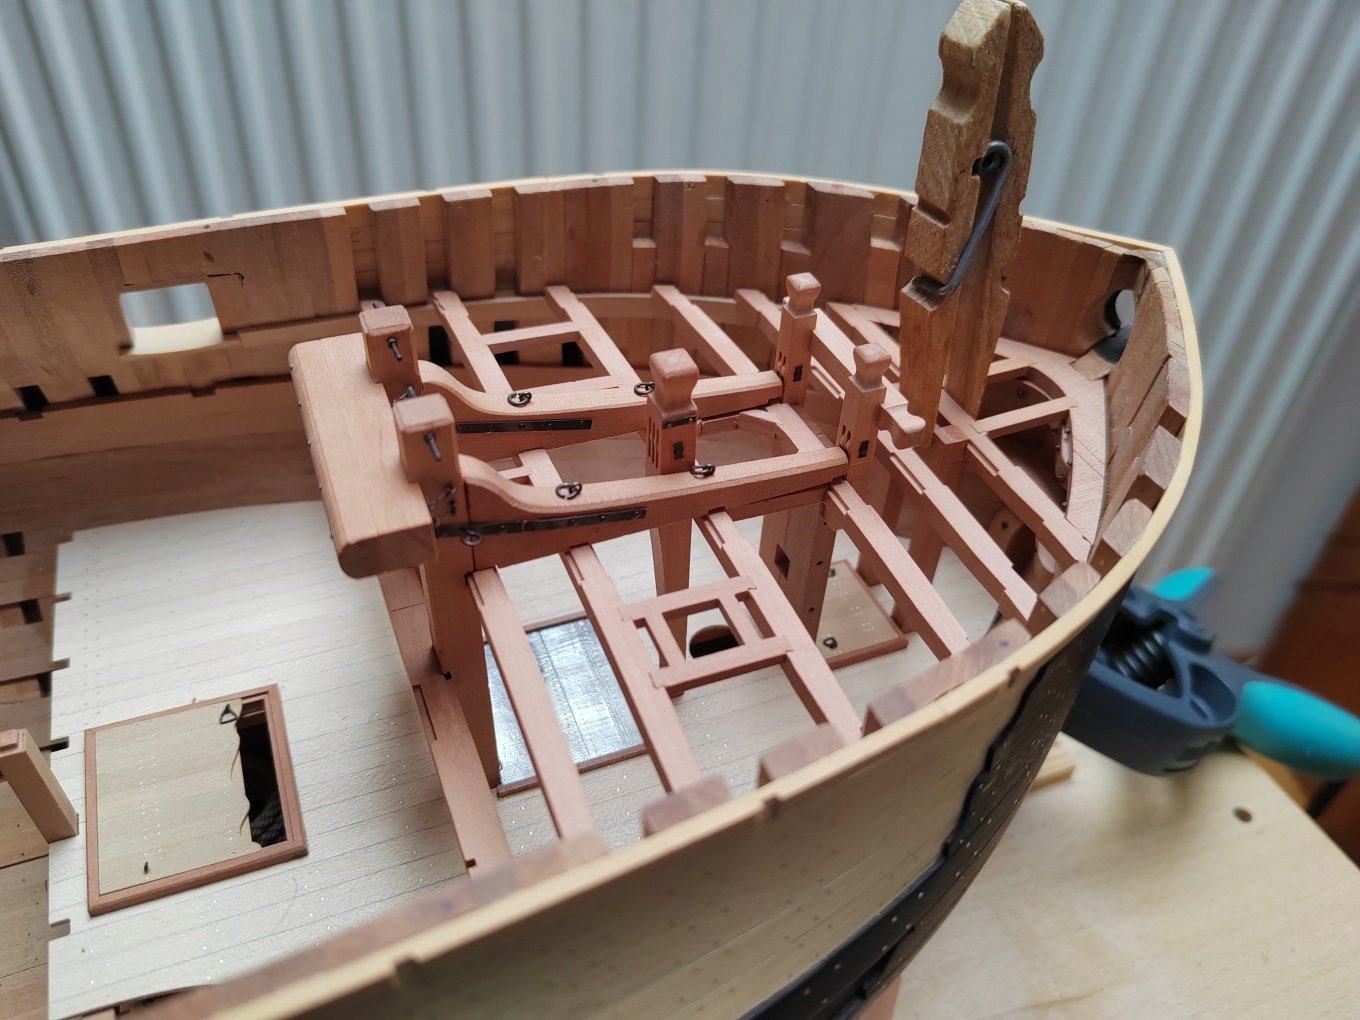
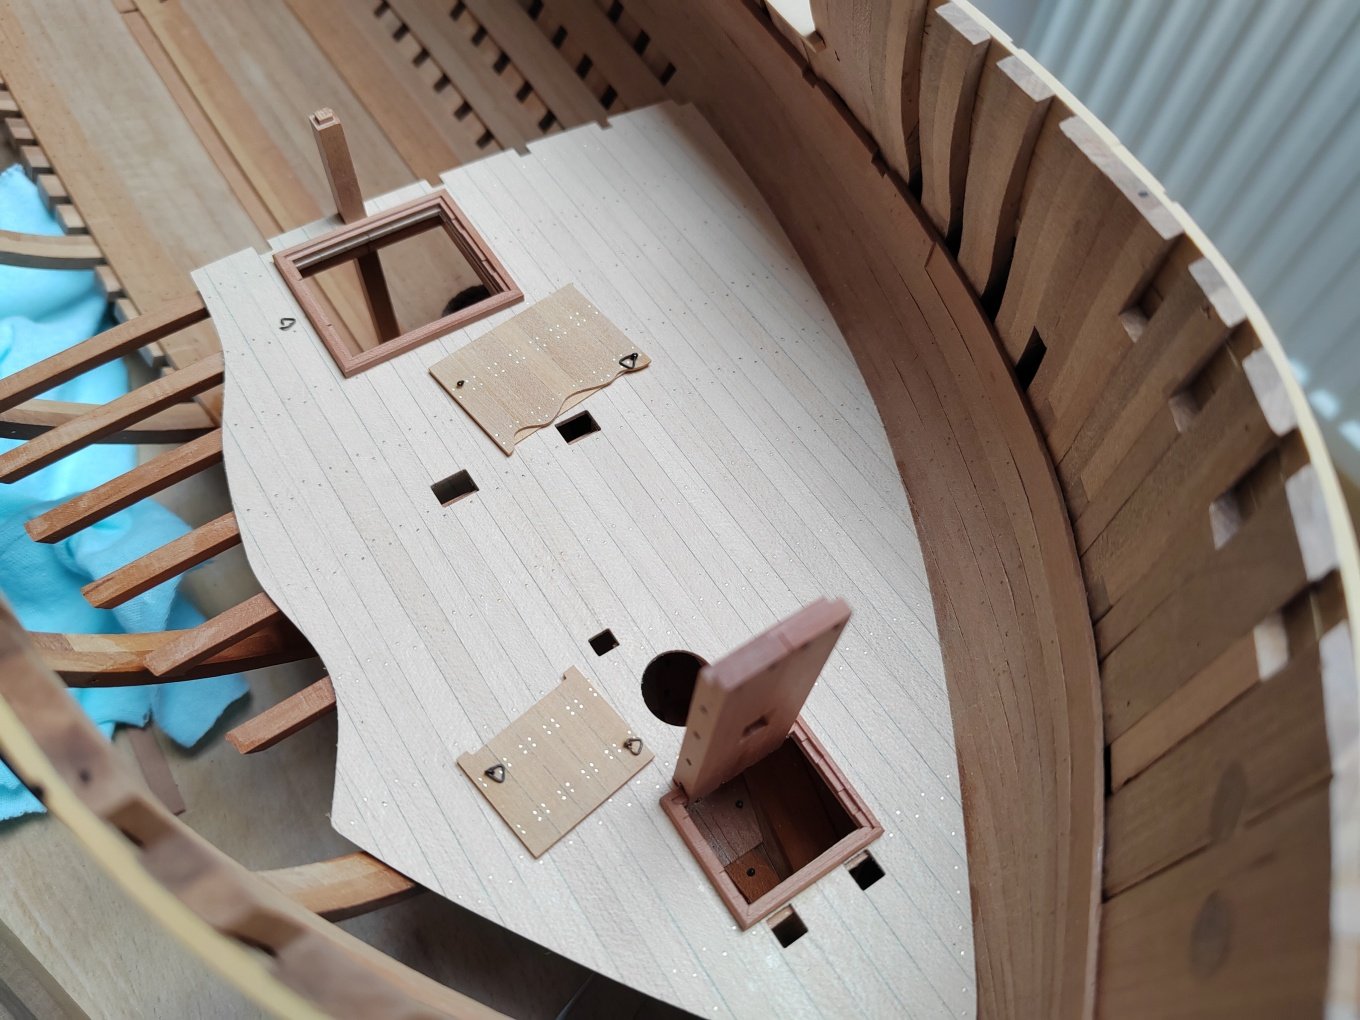
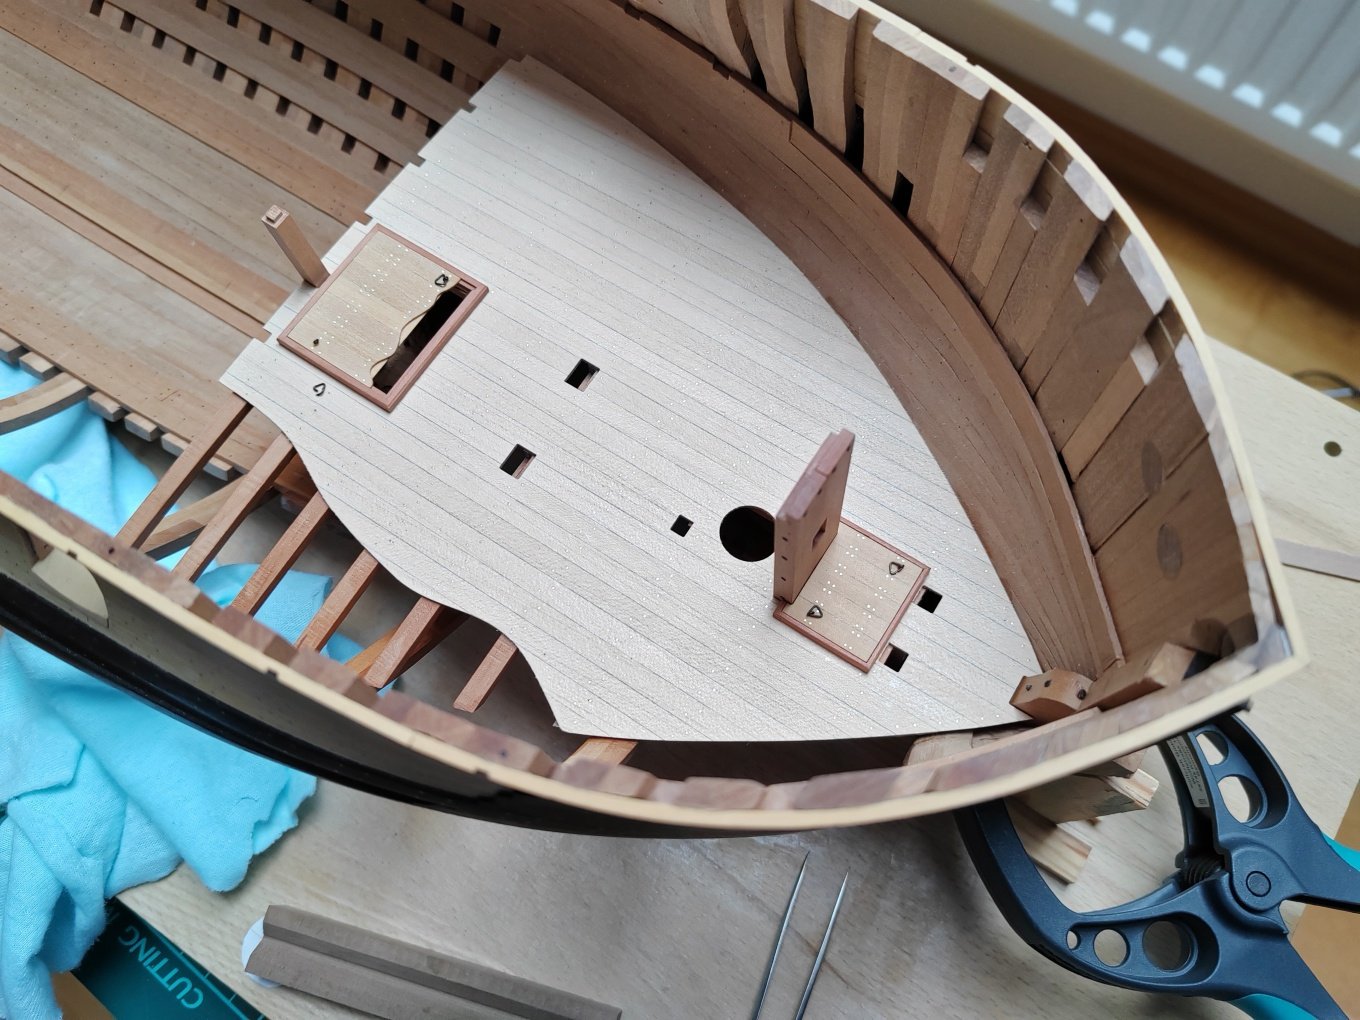
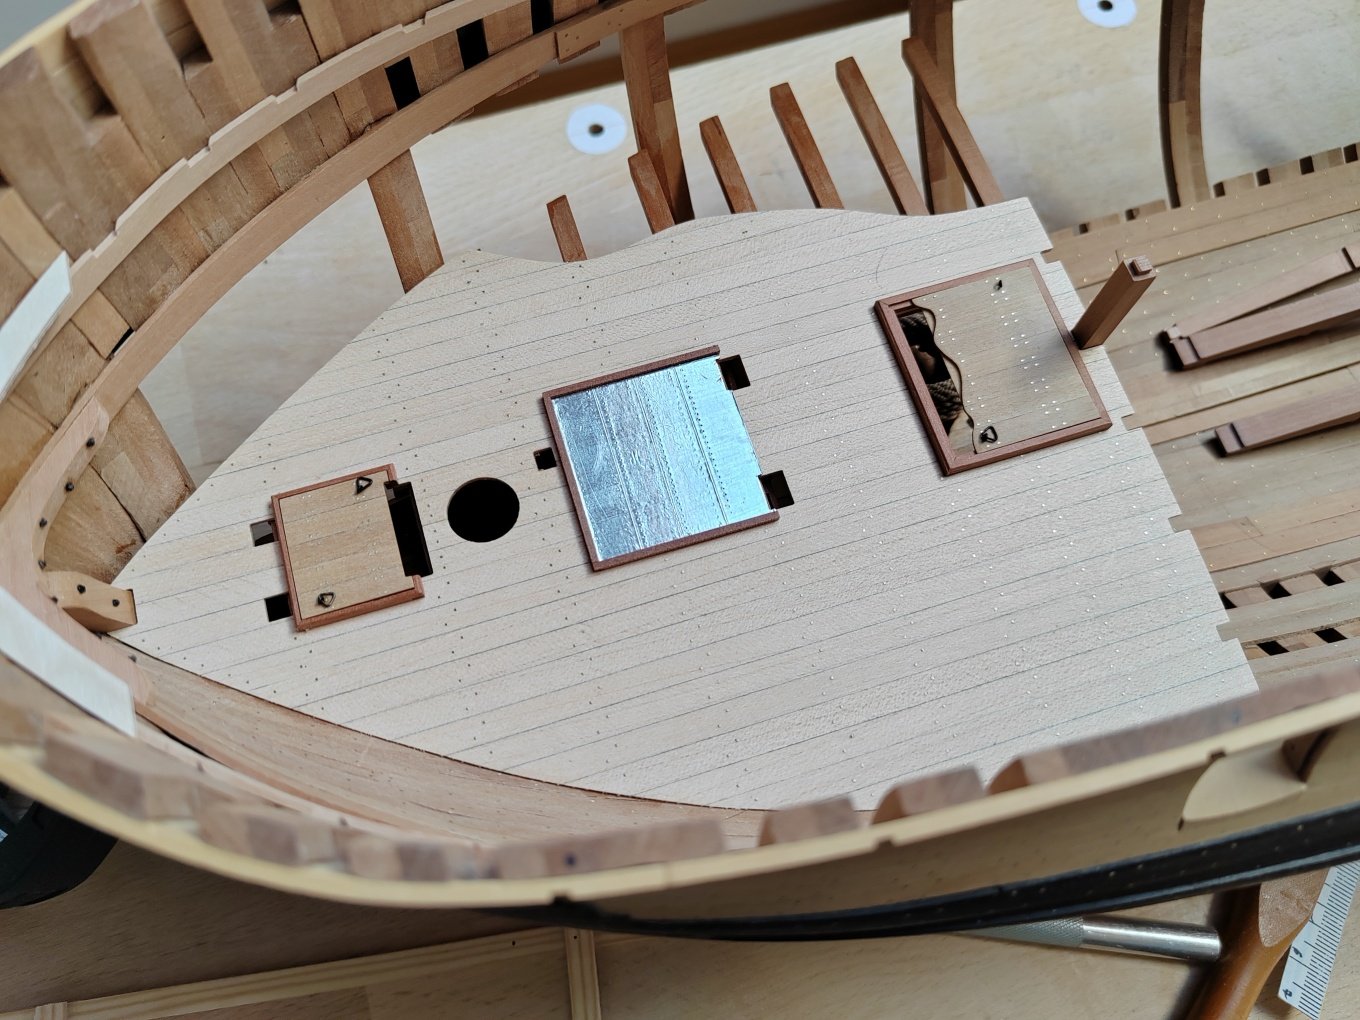
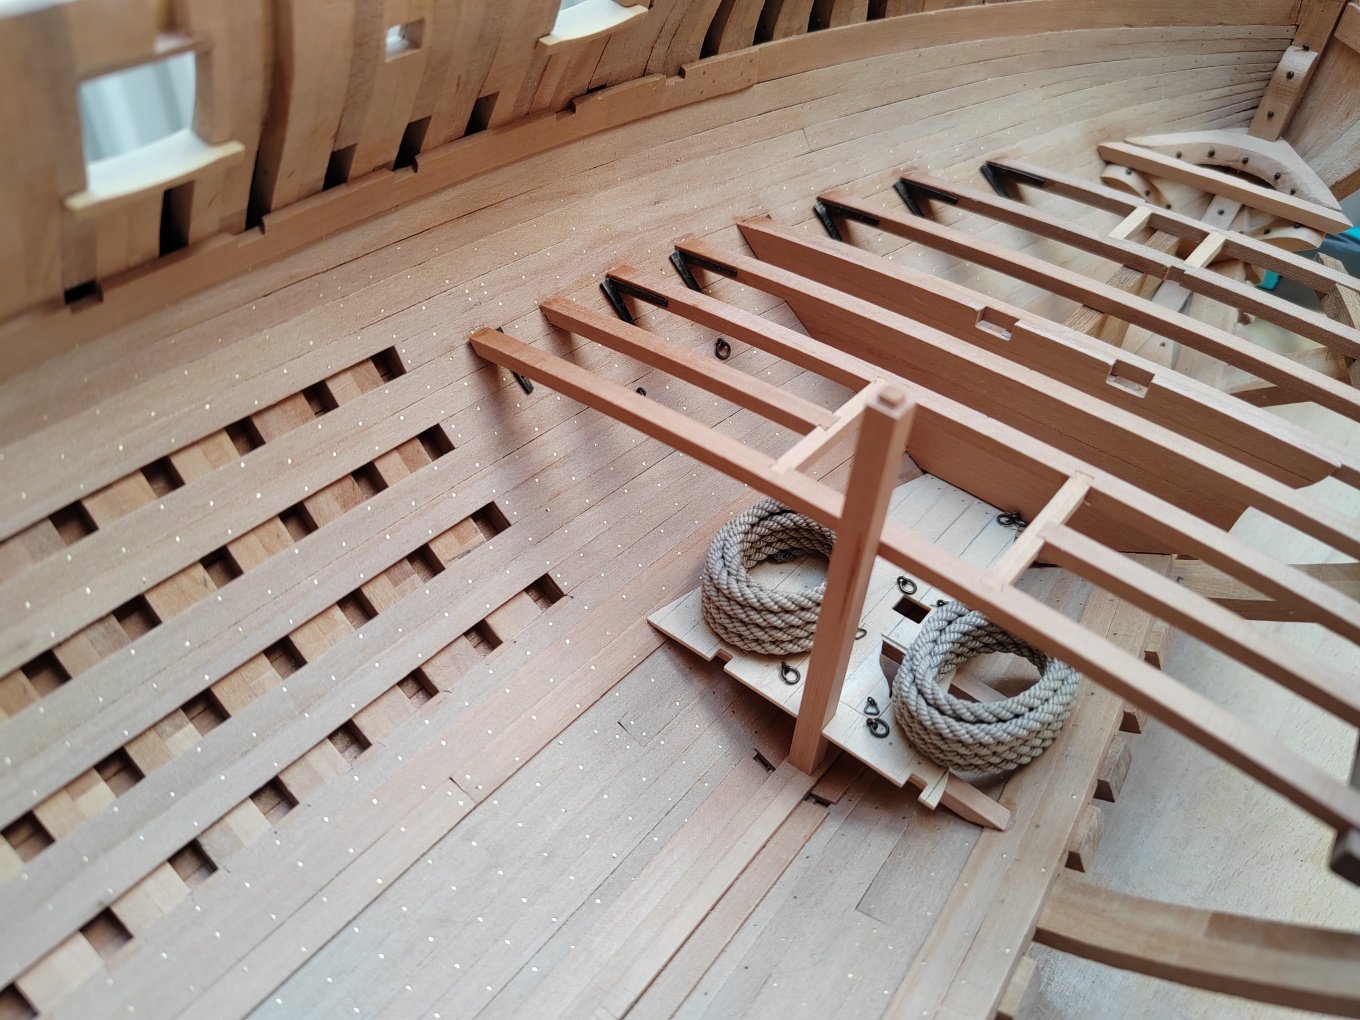
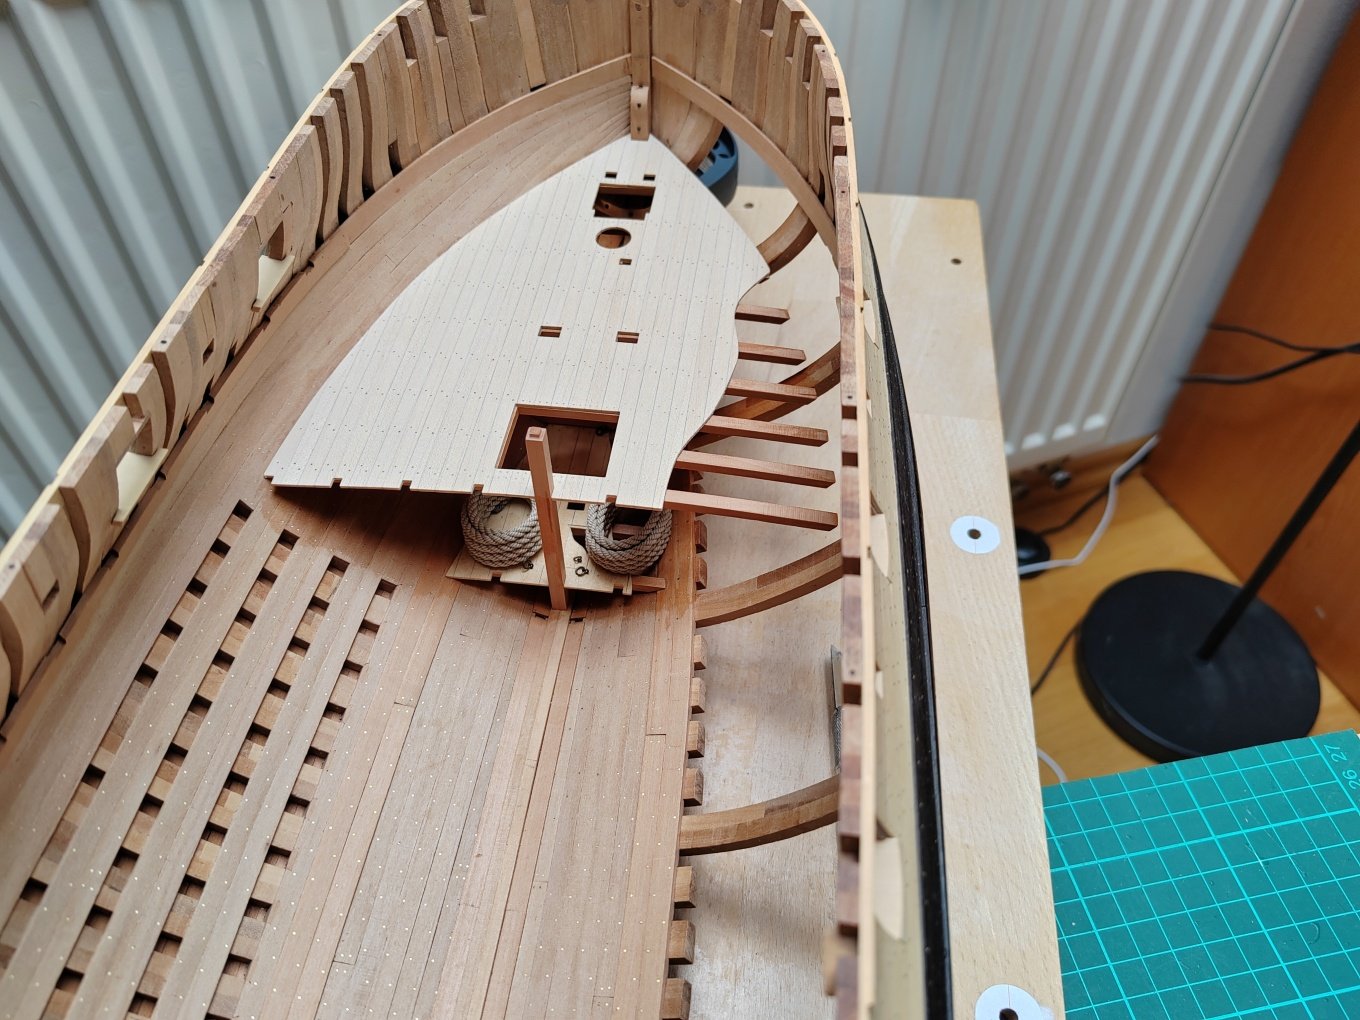
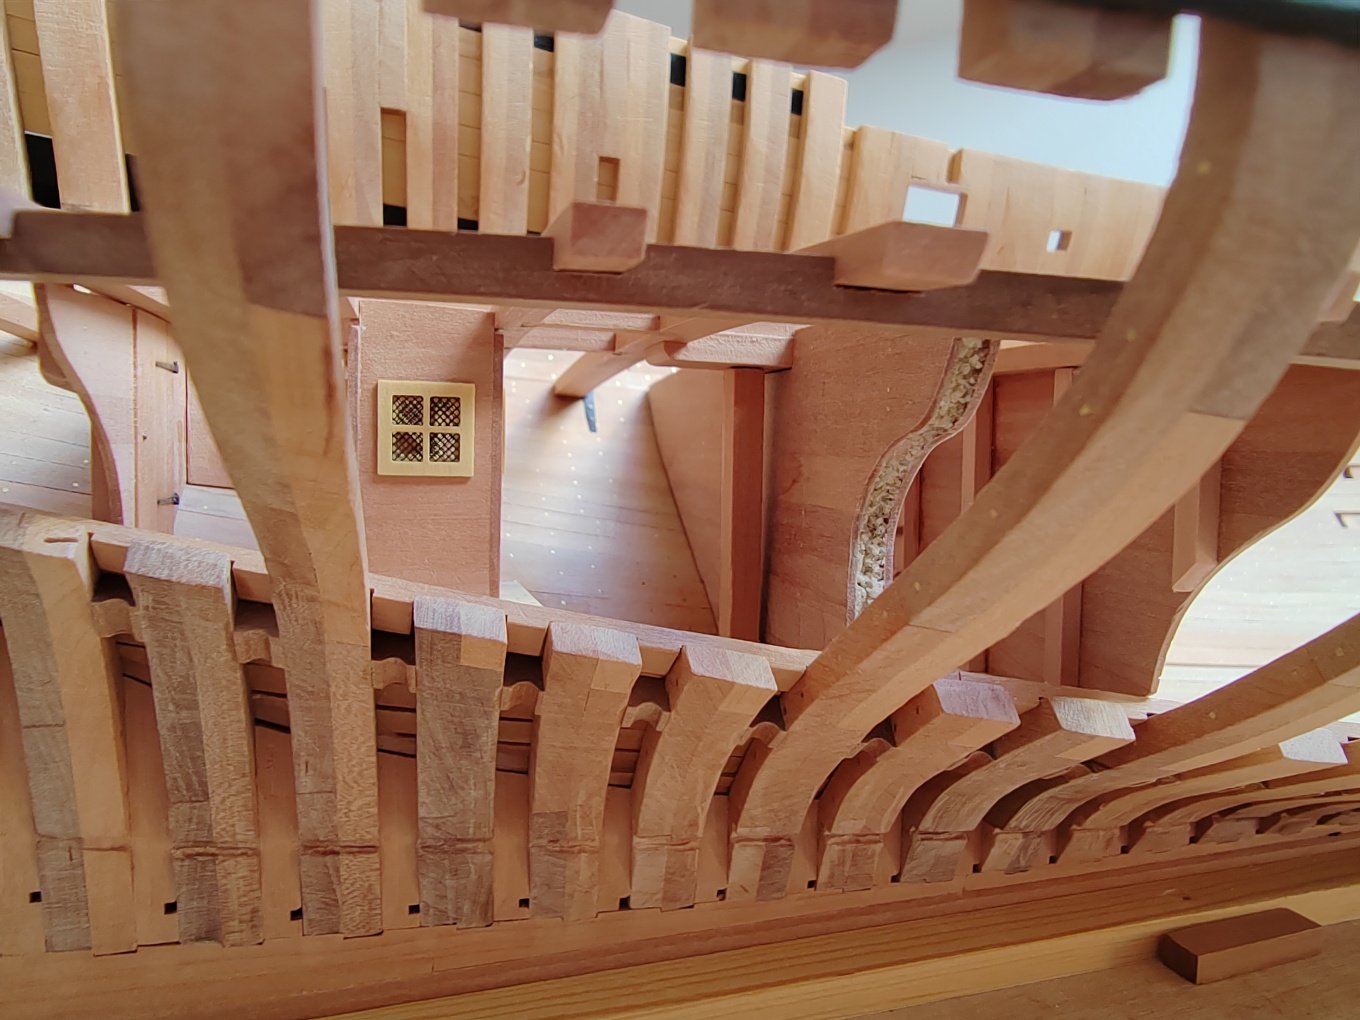
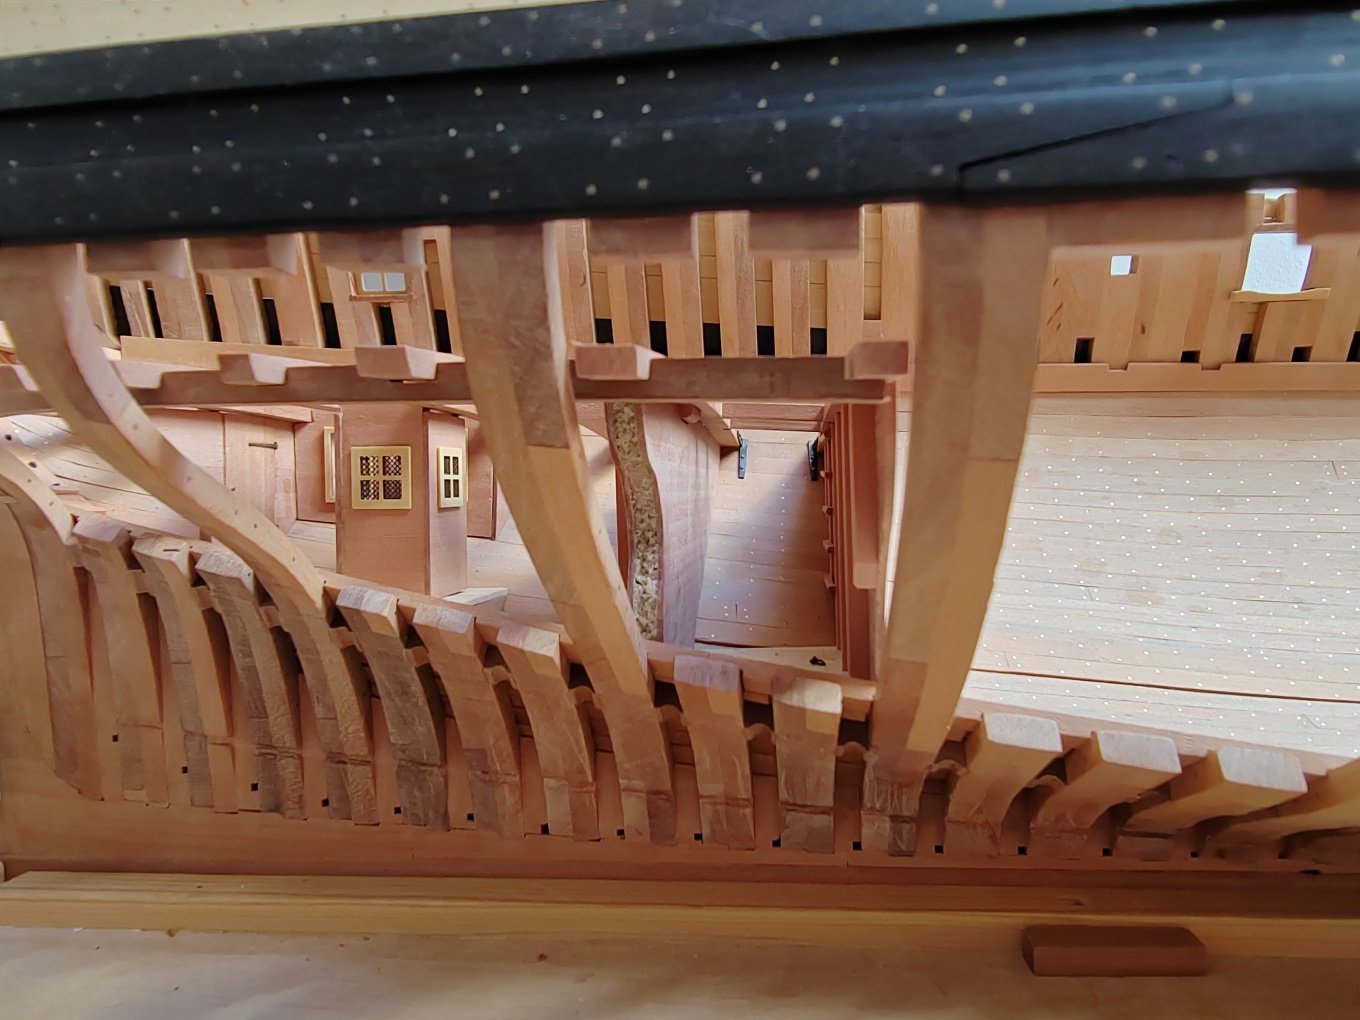
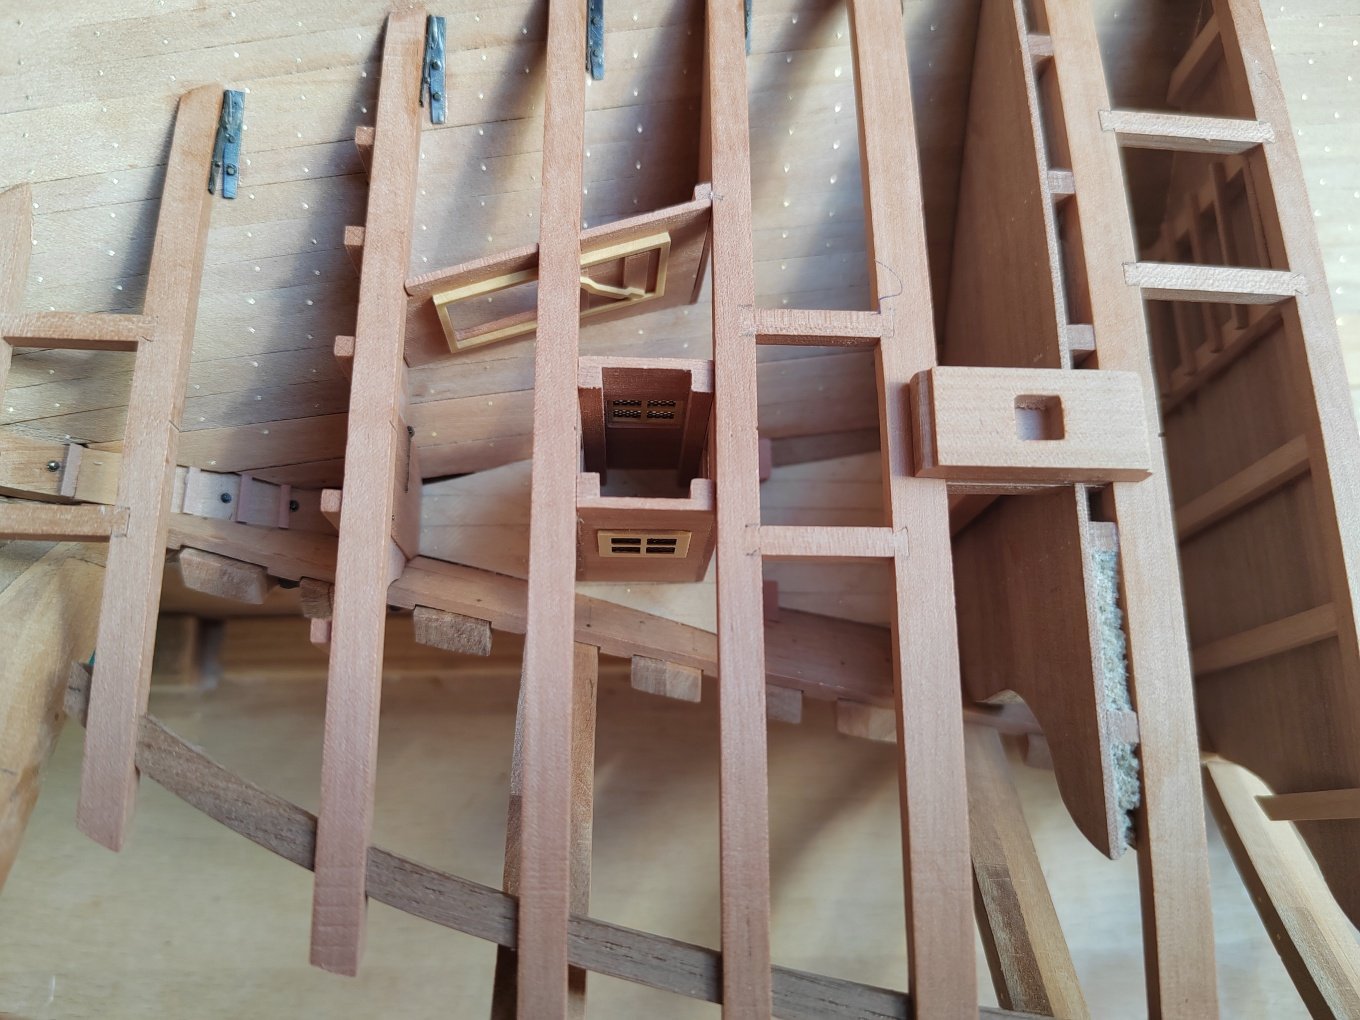
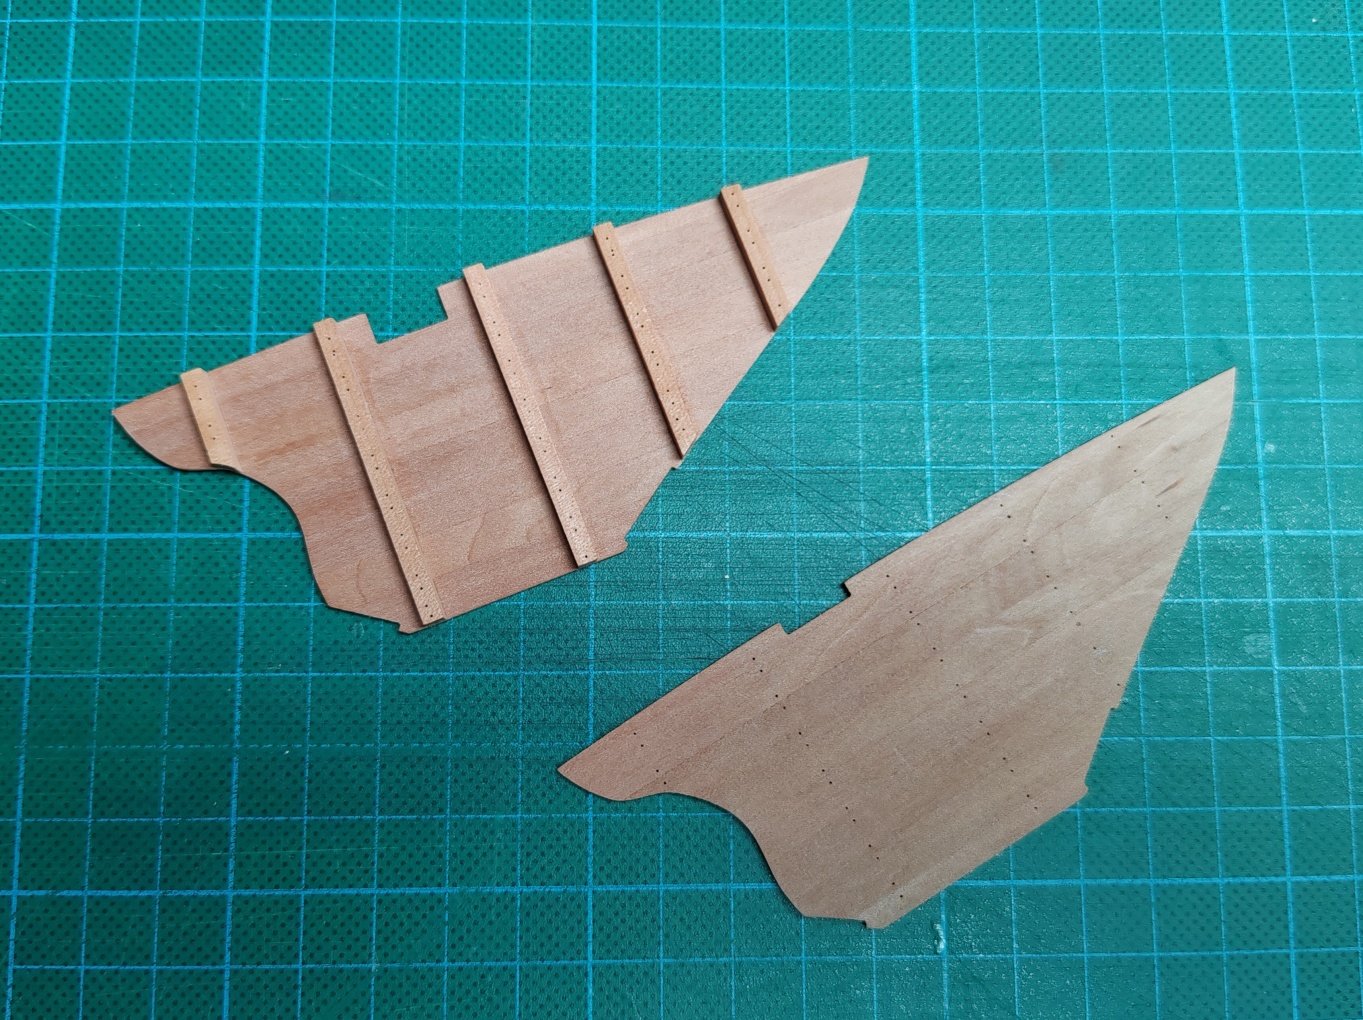
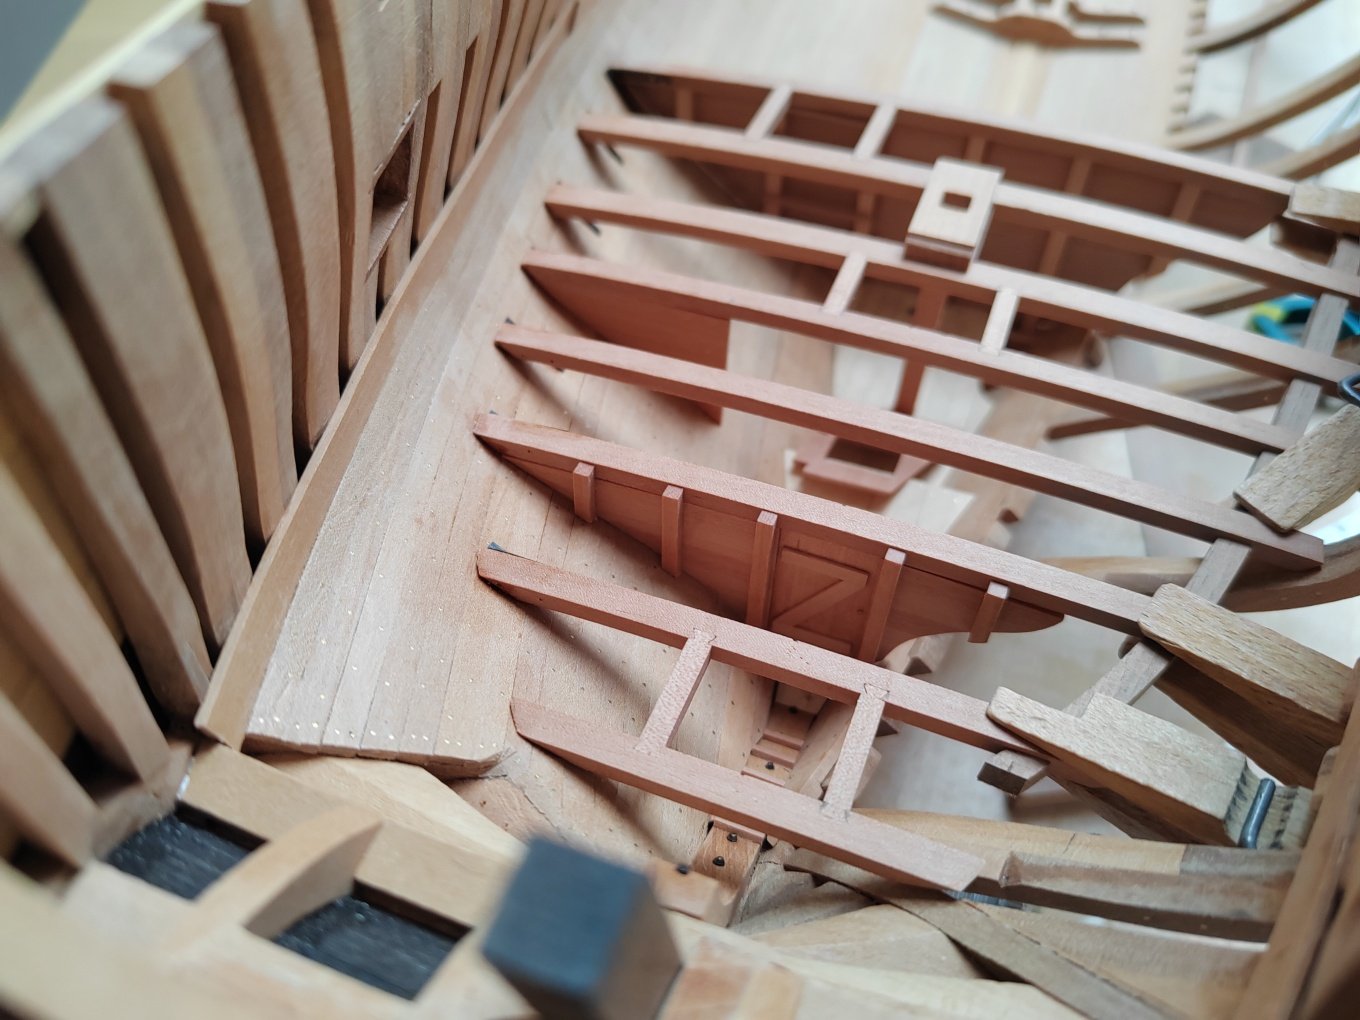
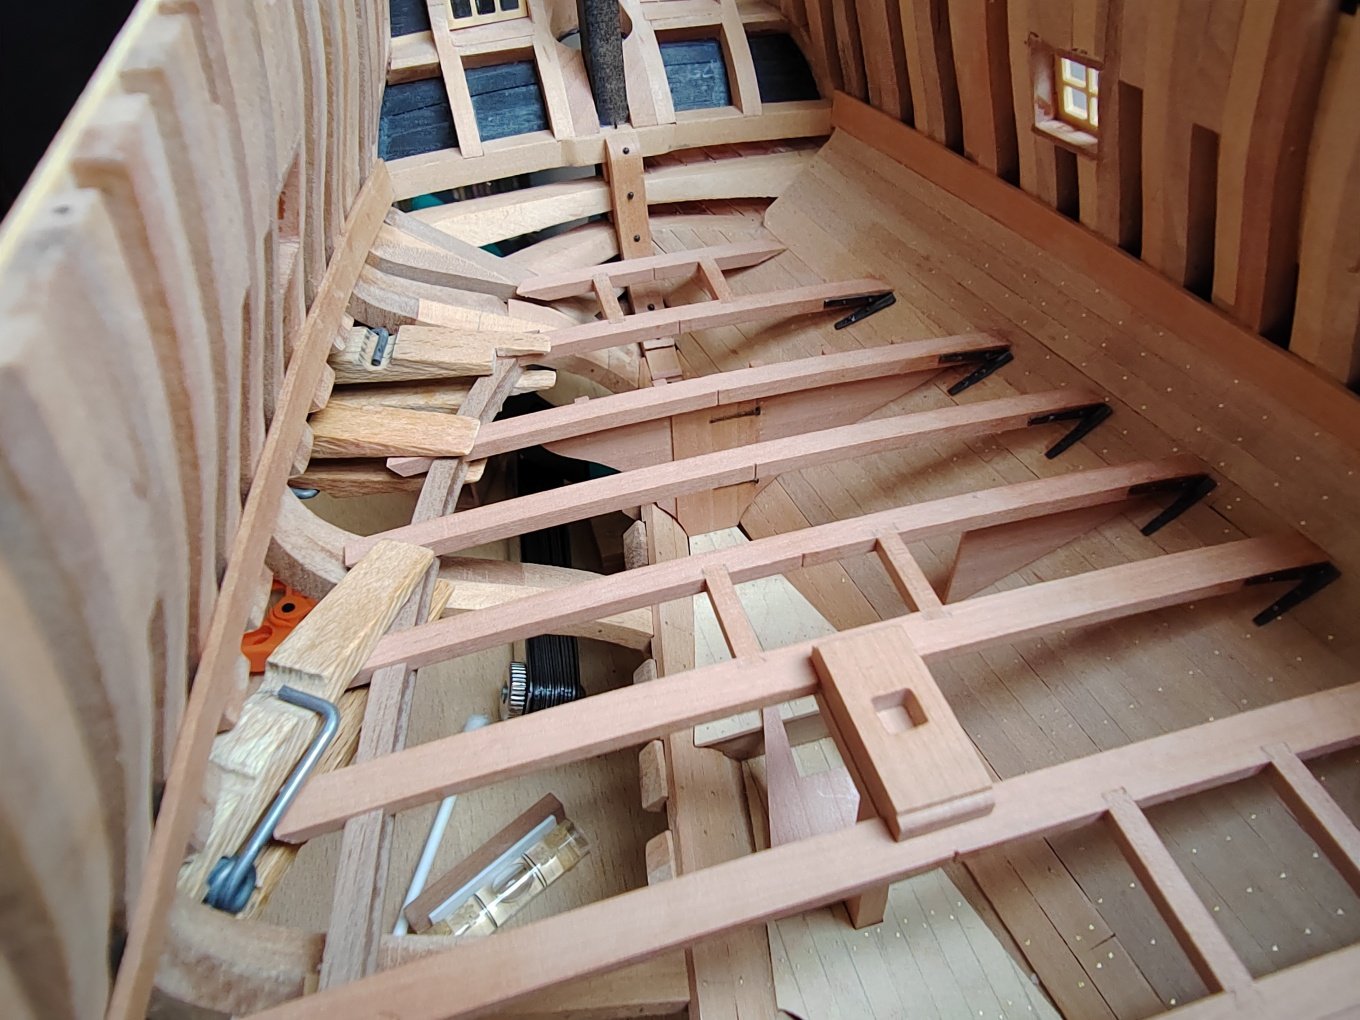
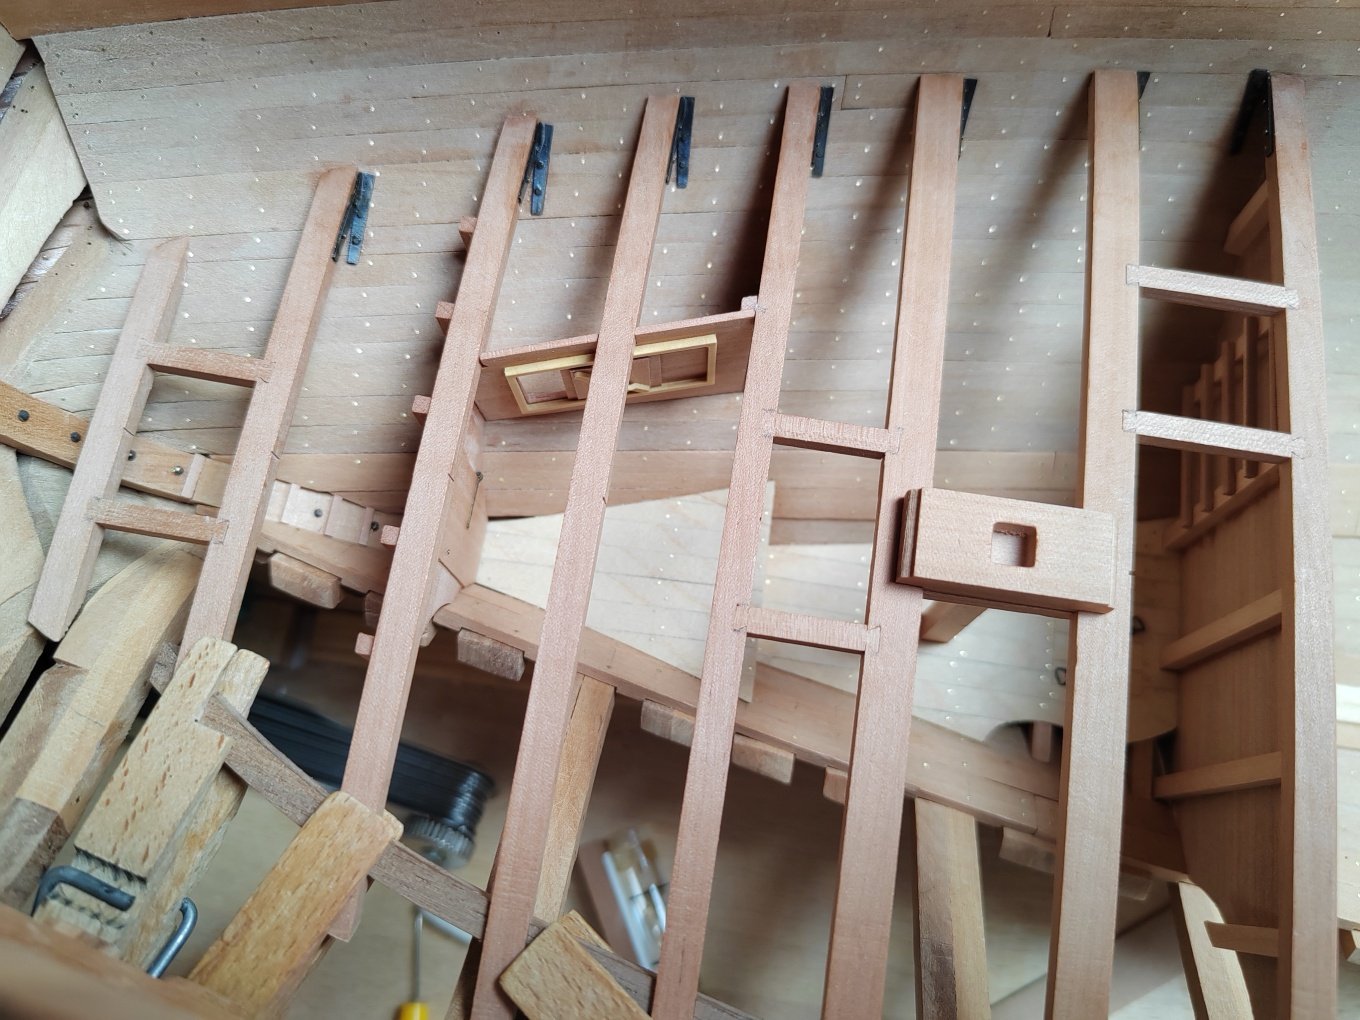
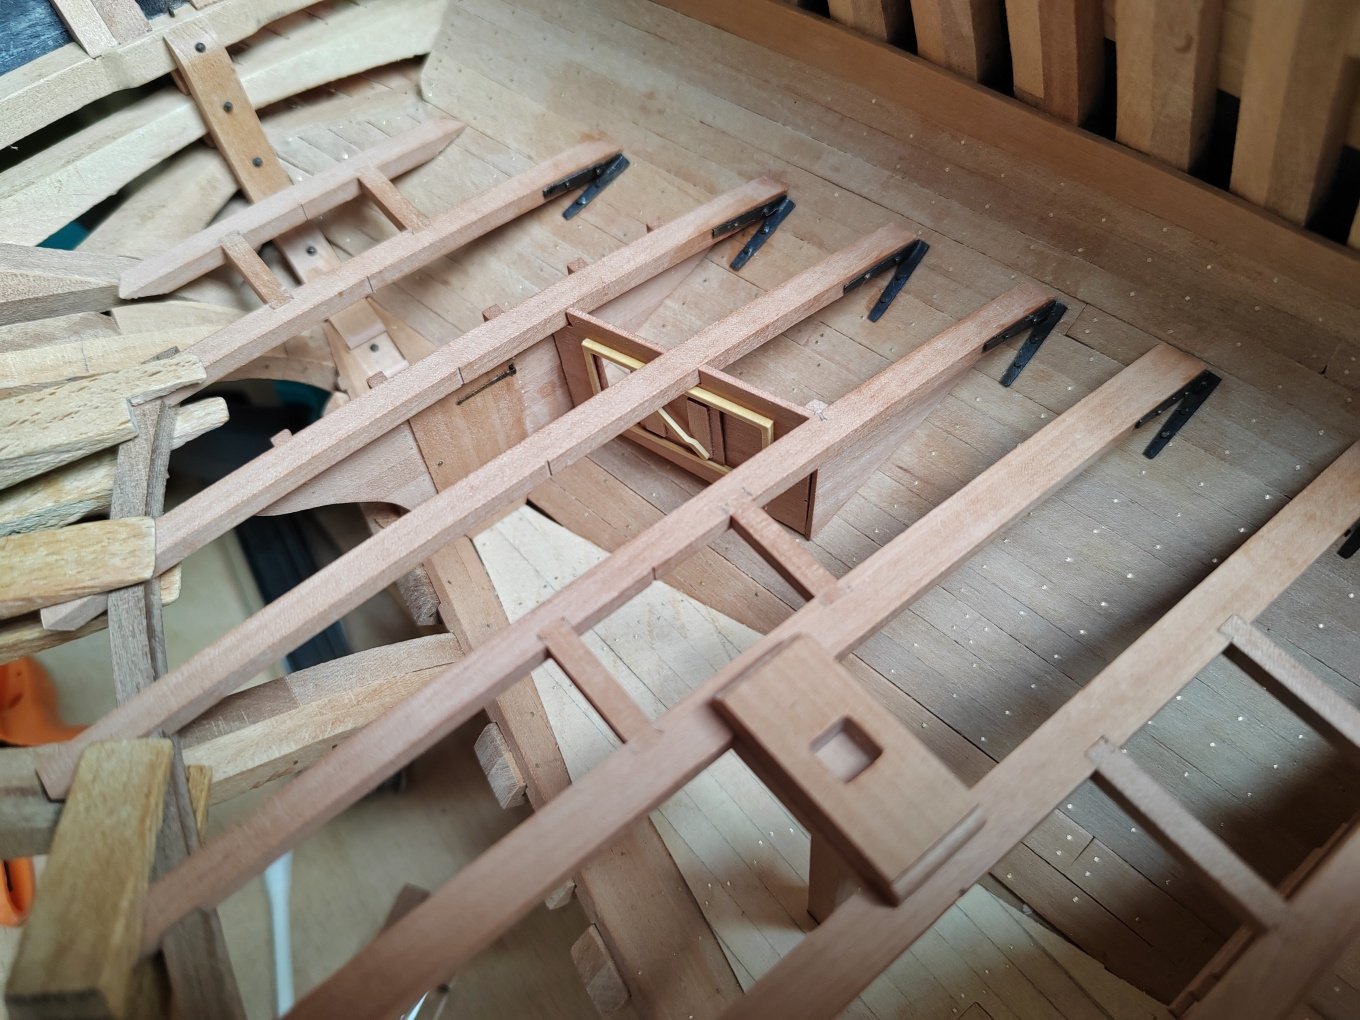
Installation of light well and fireproof bulkhead, completion of rear deck.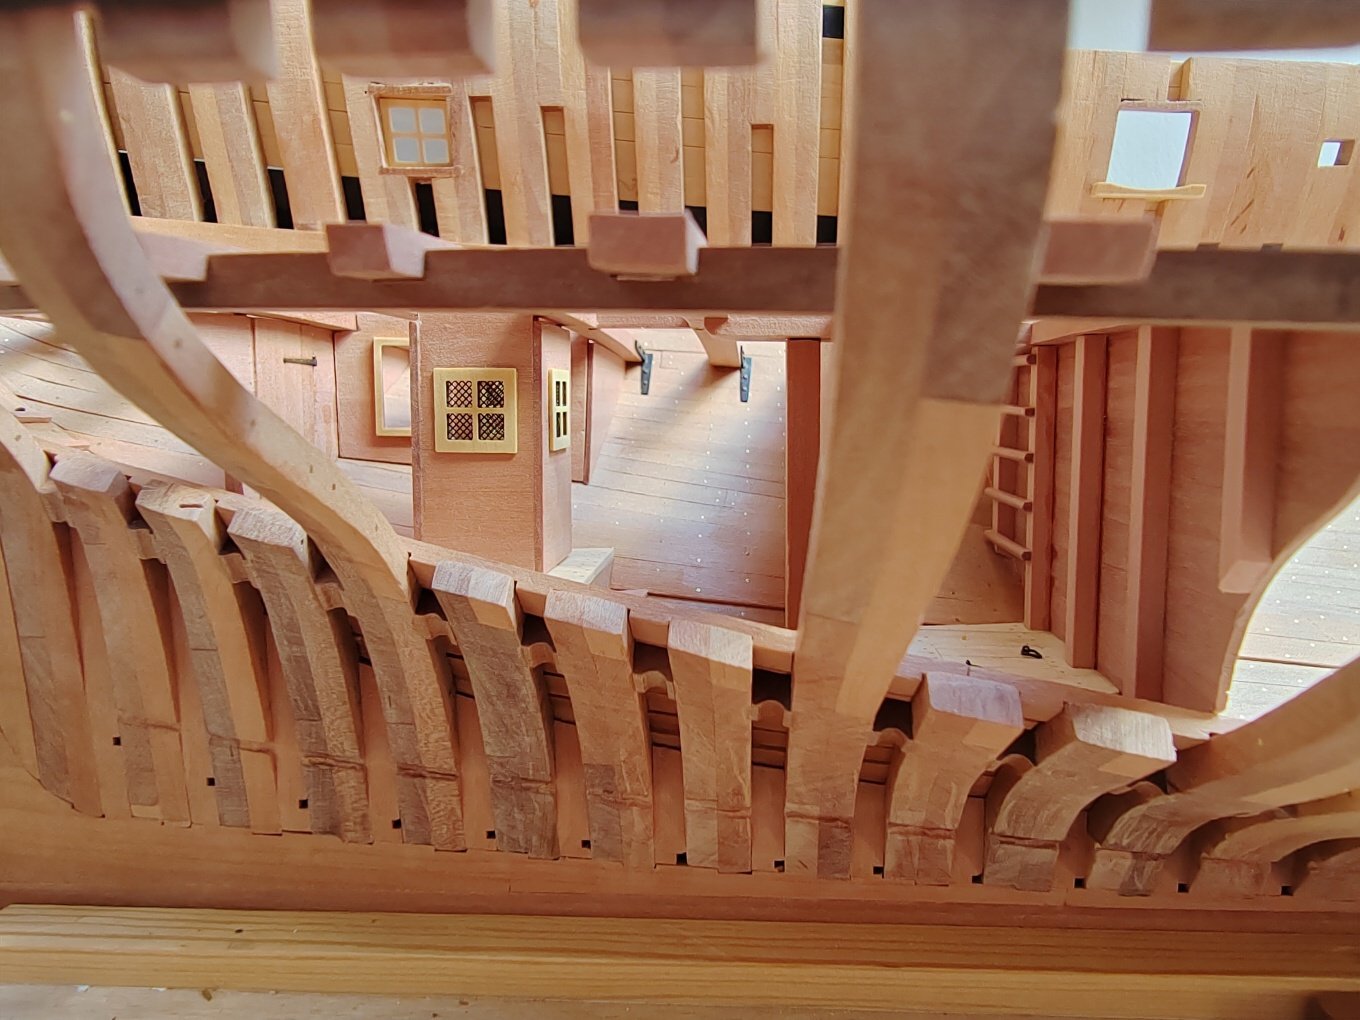
-
L'Amarante by marsalv - 1:36 - POF
marsalv replied to marsalv's topic in - Build logs for subjects built 1501 - 1750
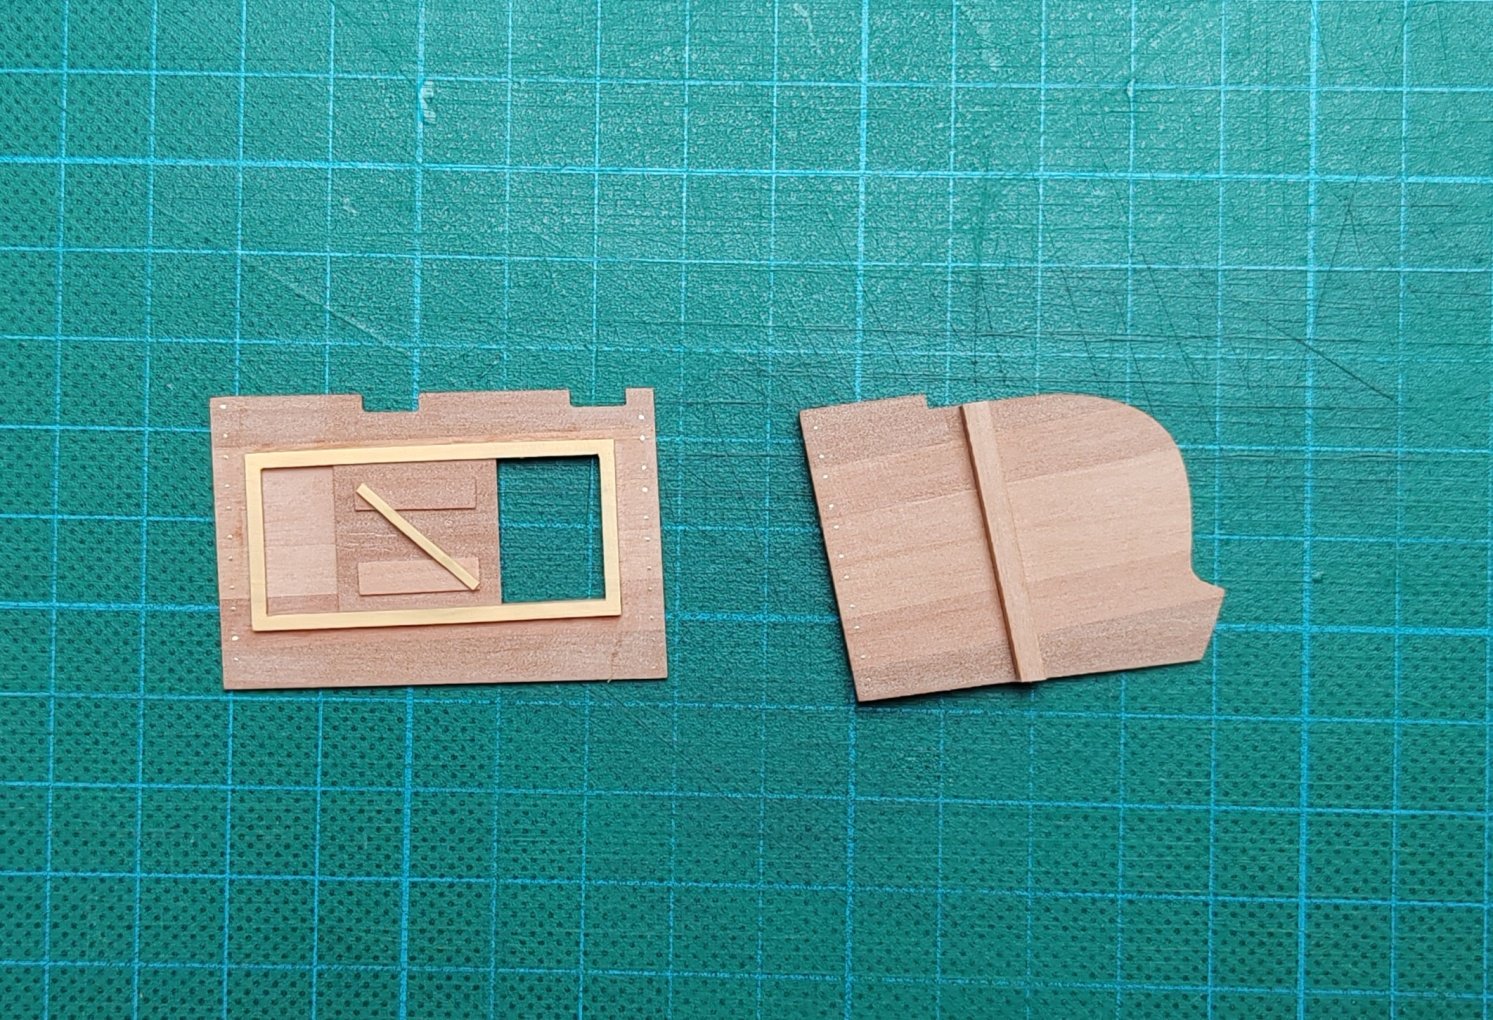
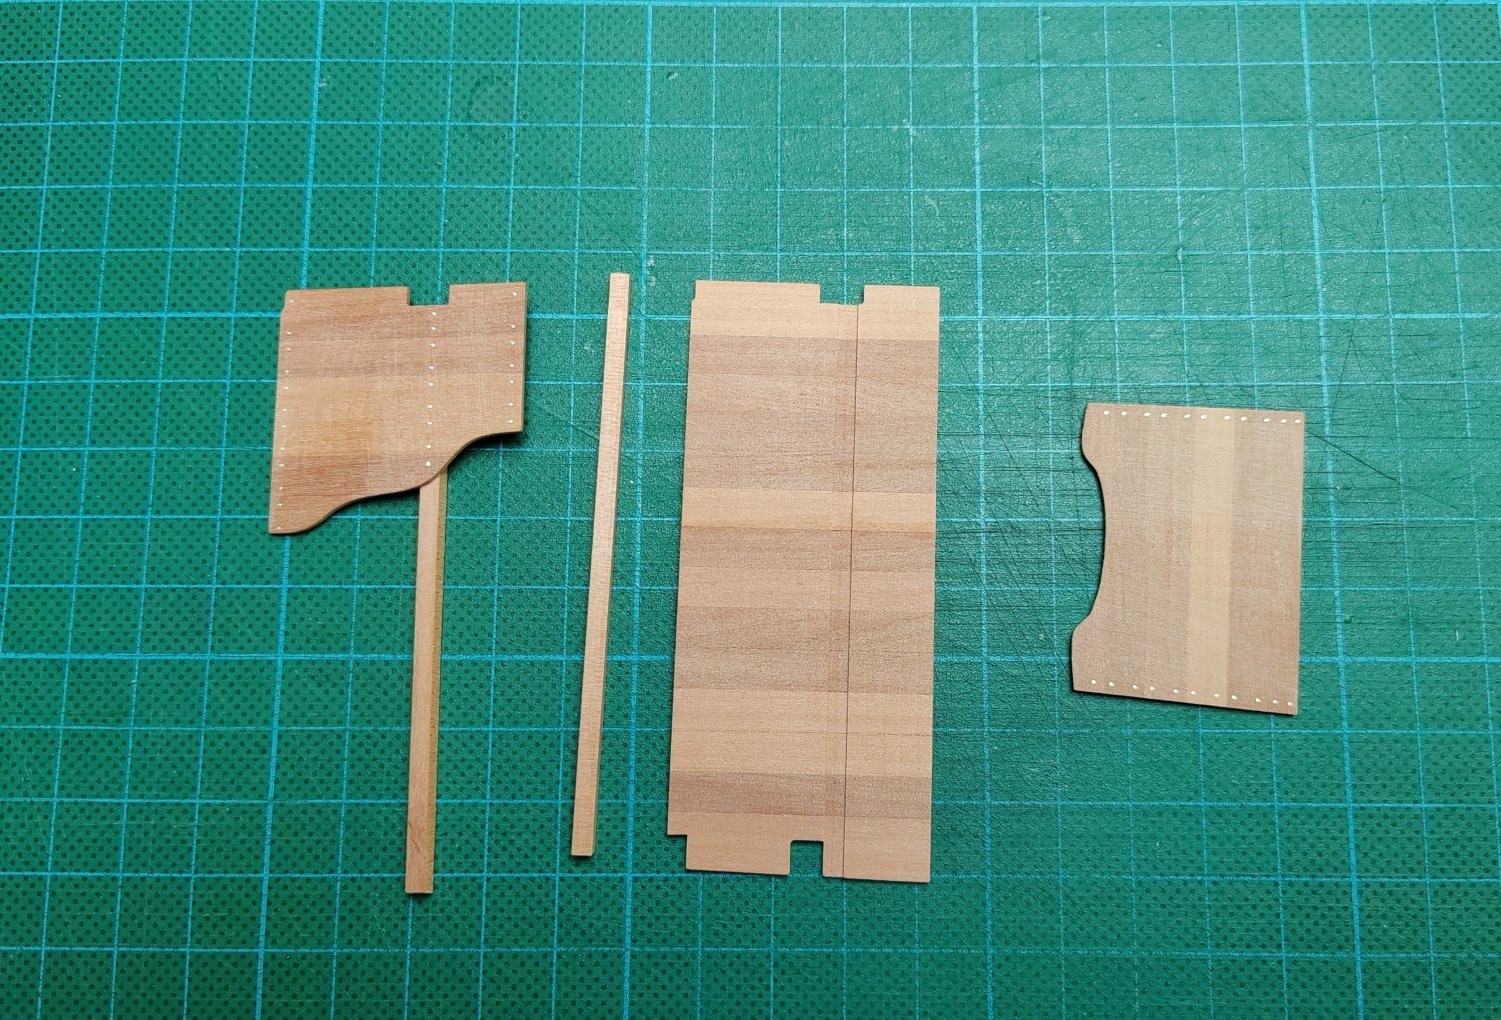
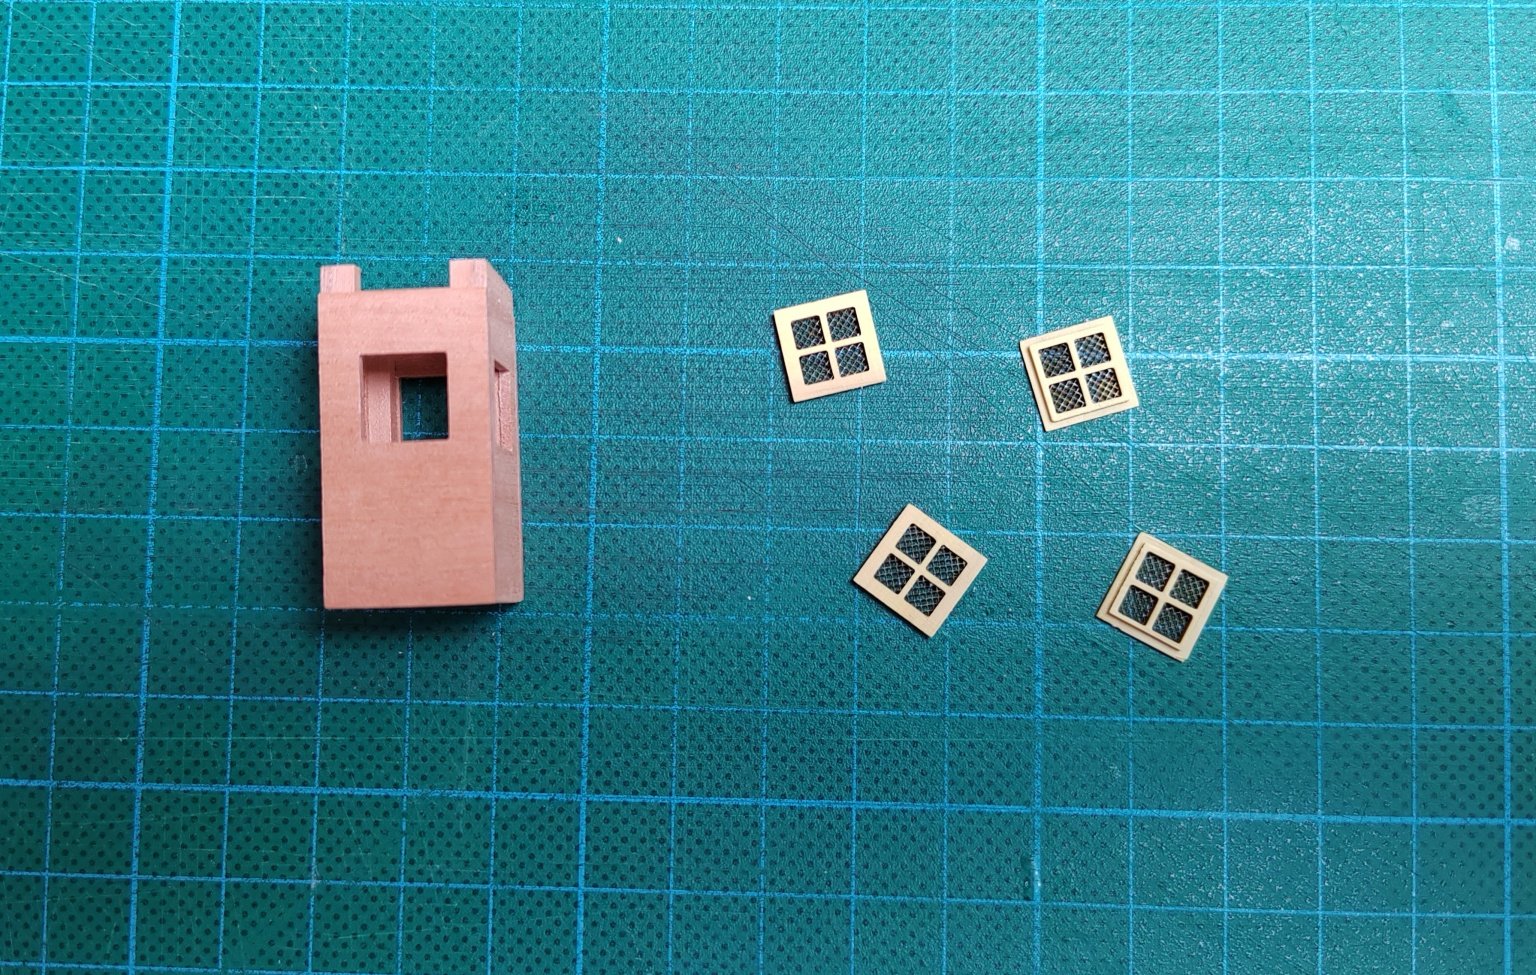
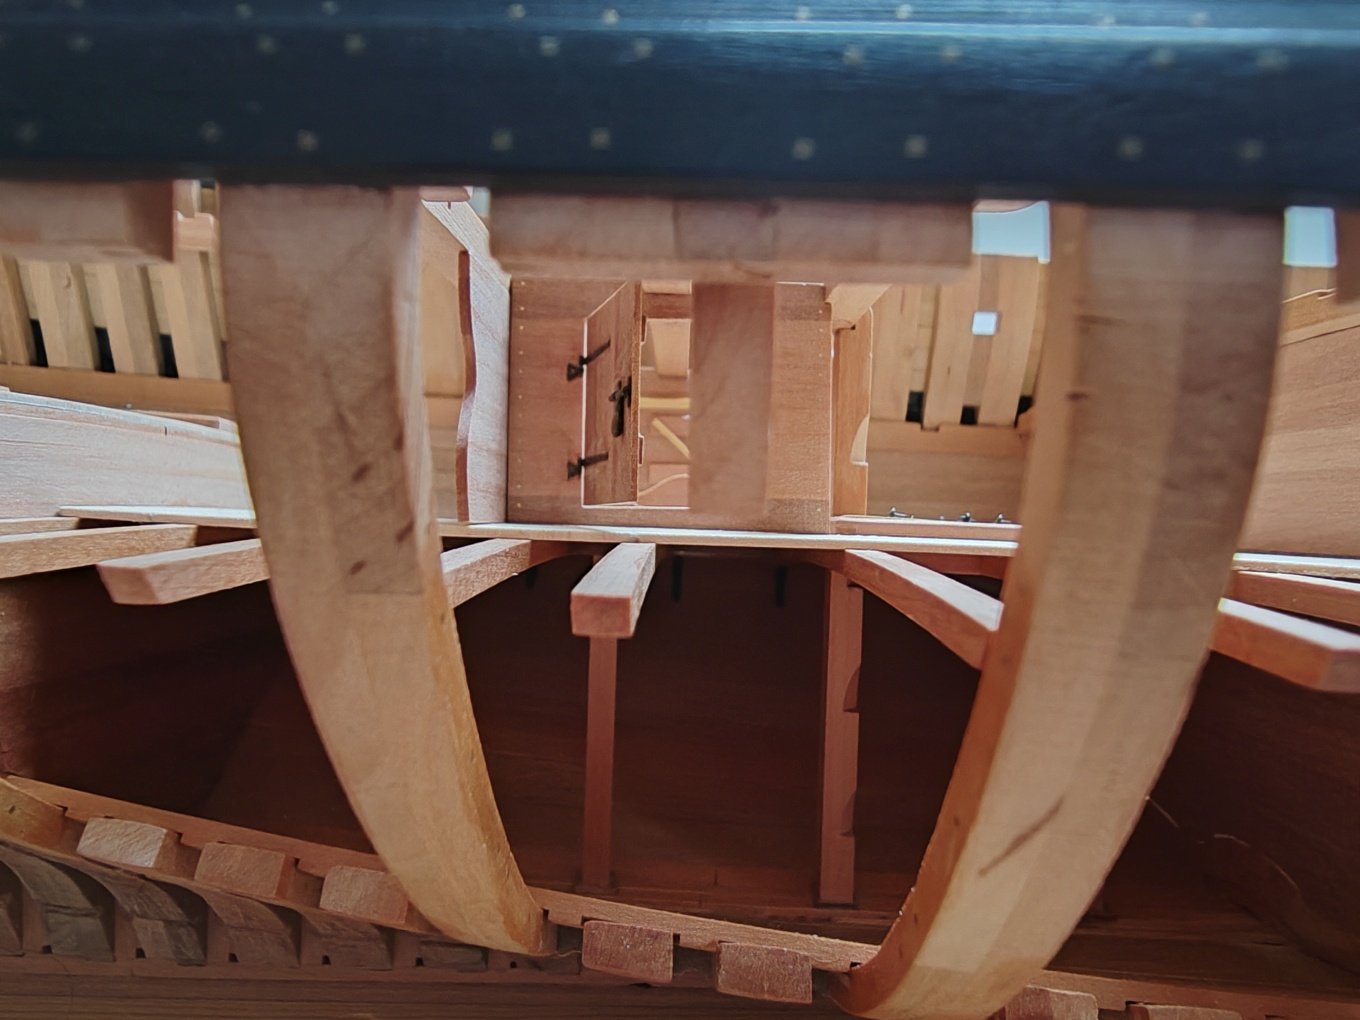
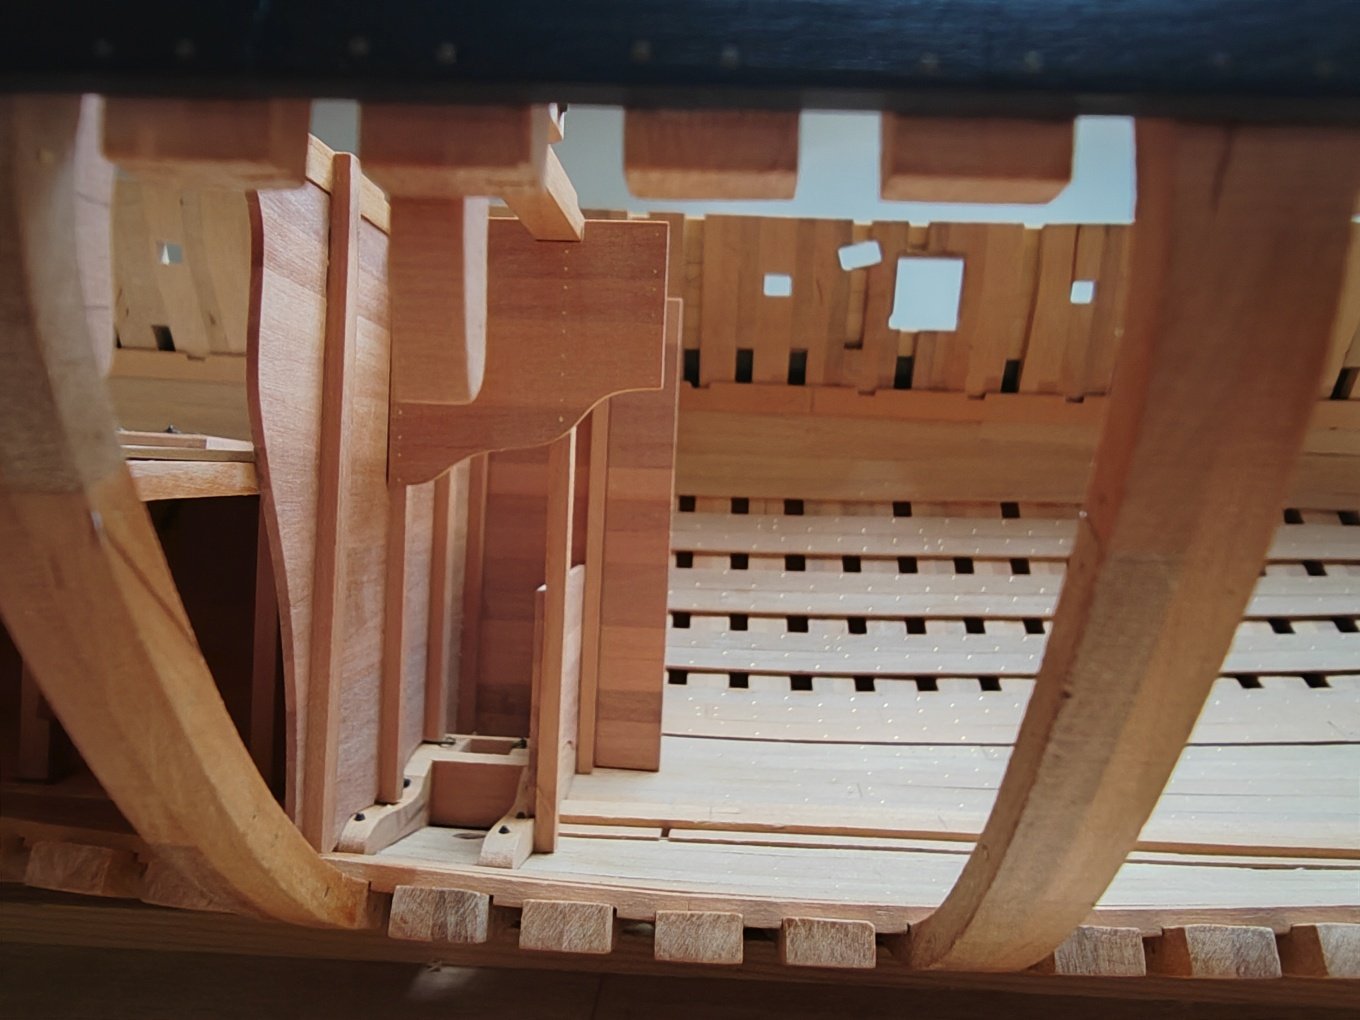
To Mr. Delacroix - thank you for the explanation. To Willi - I'm sorry, you were right. Since after covering it with the deck, it will be virtually impossible to see whether the door is complete or whether a threshold is present, I decided to leave it as it is . -
L'Amarante by marsalv - 1:36 - POF
marsalv replied to marsalv's topic in - Build logs for subjects built 1501 - 1750
Hi Willi, thanks for your comment. It is quite possible that you are right. But I was based on drawing 16-F. The door is not drawn here, but the bulkhead ends with the door border and the threshold is not drawn here. That is why I chose the solution I presented. Considering the fact that the author of the plans, Mr. Delacroix, is following the construction on the French forum and he had no comments, this is probably not a serious mistake. The last parts for the rear space have been made - the light well and the fireproof bulkhead.


-
L'Amarante by marsalv - 1:36 - POF
marsalv replied to marsalv's topic in - Build logs for subjects built 1501 - 1750
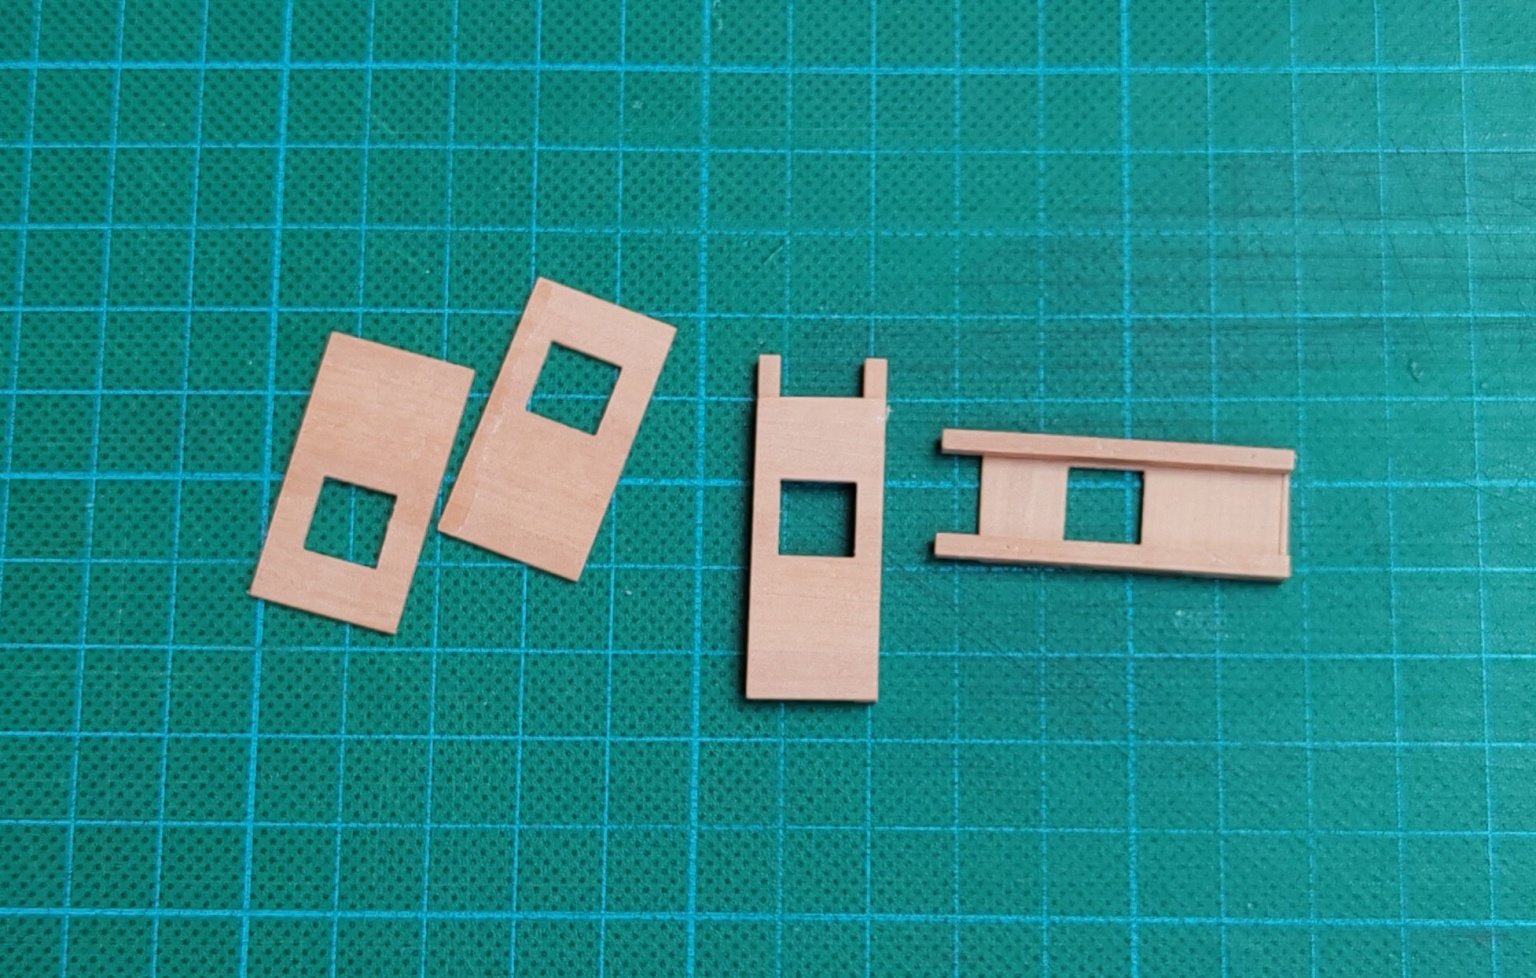
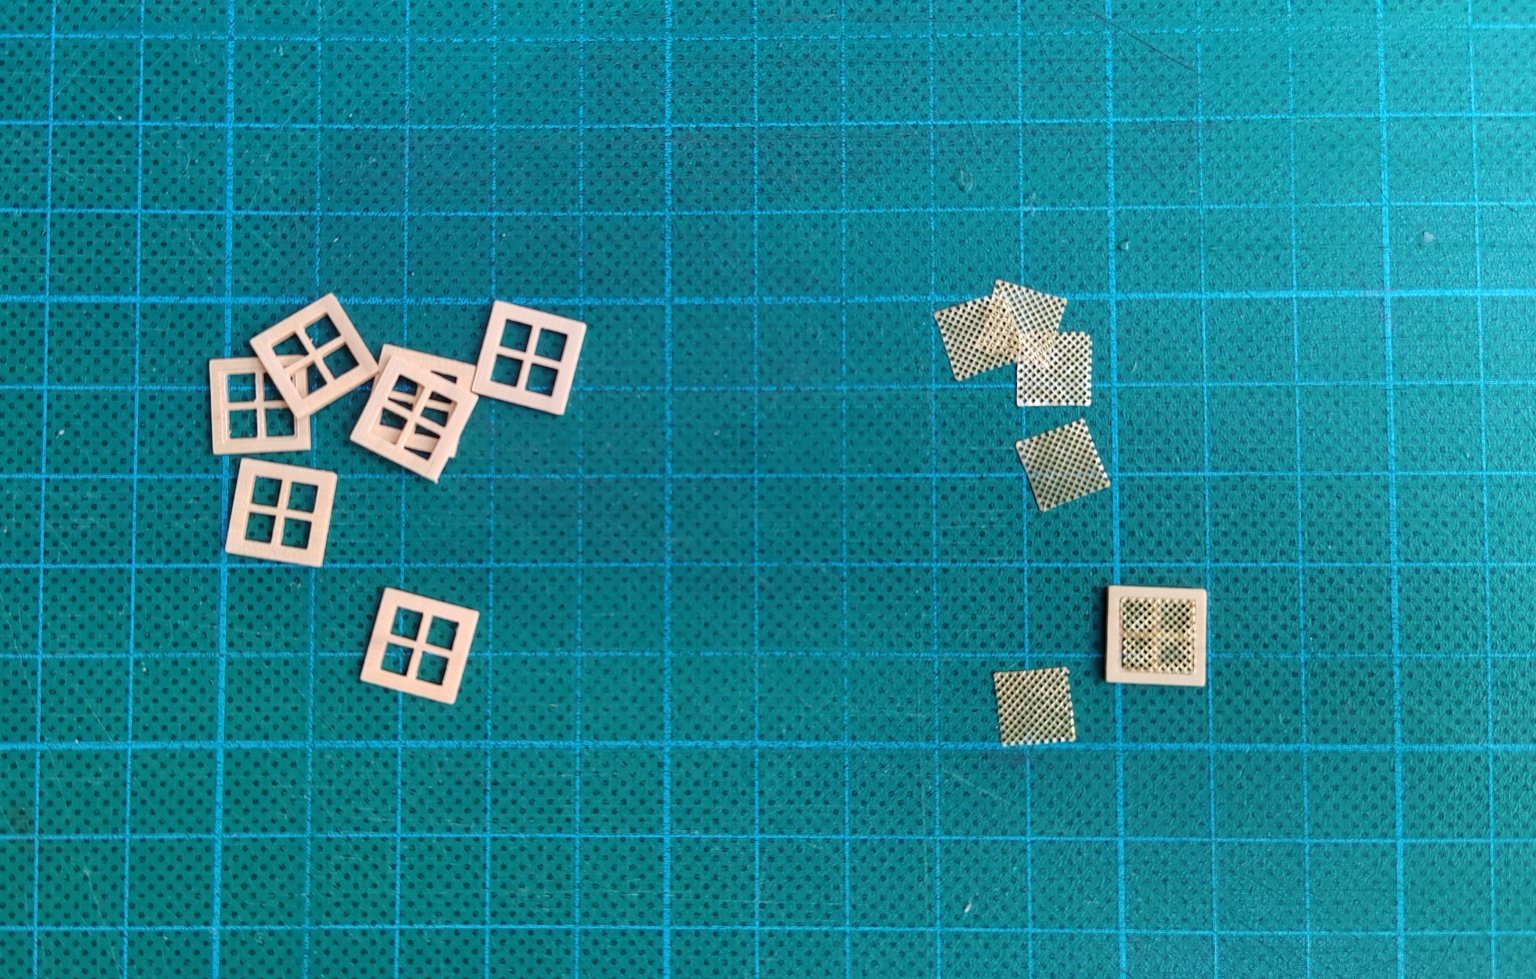
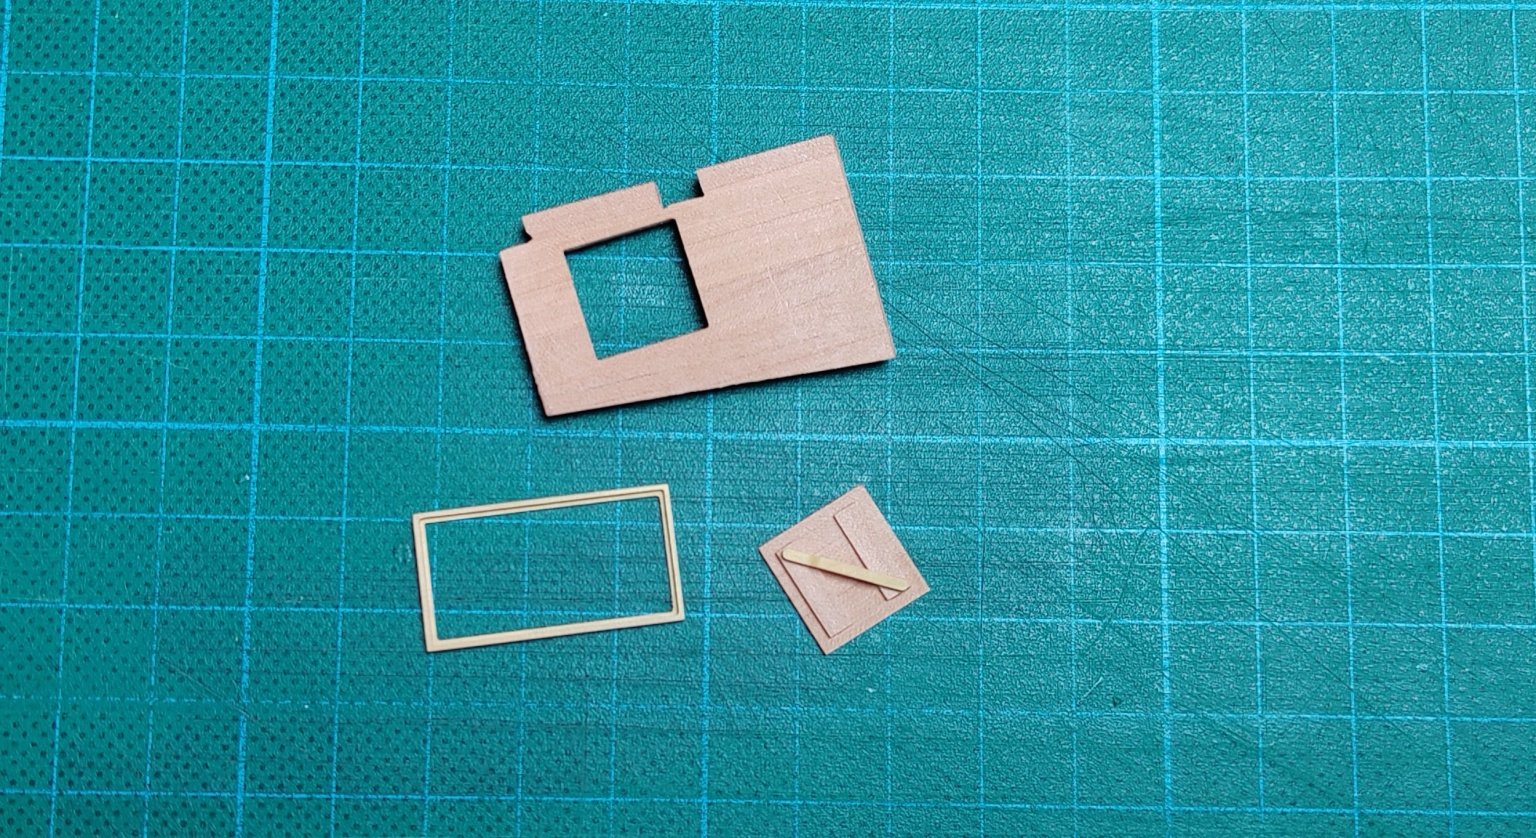
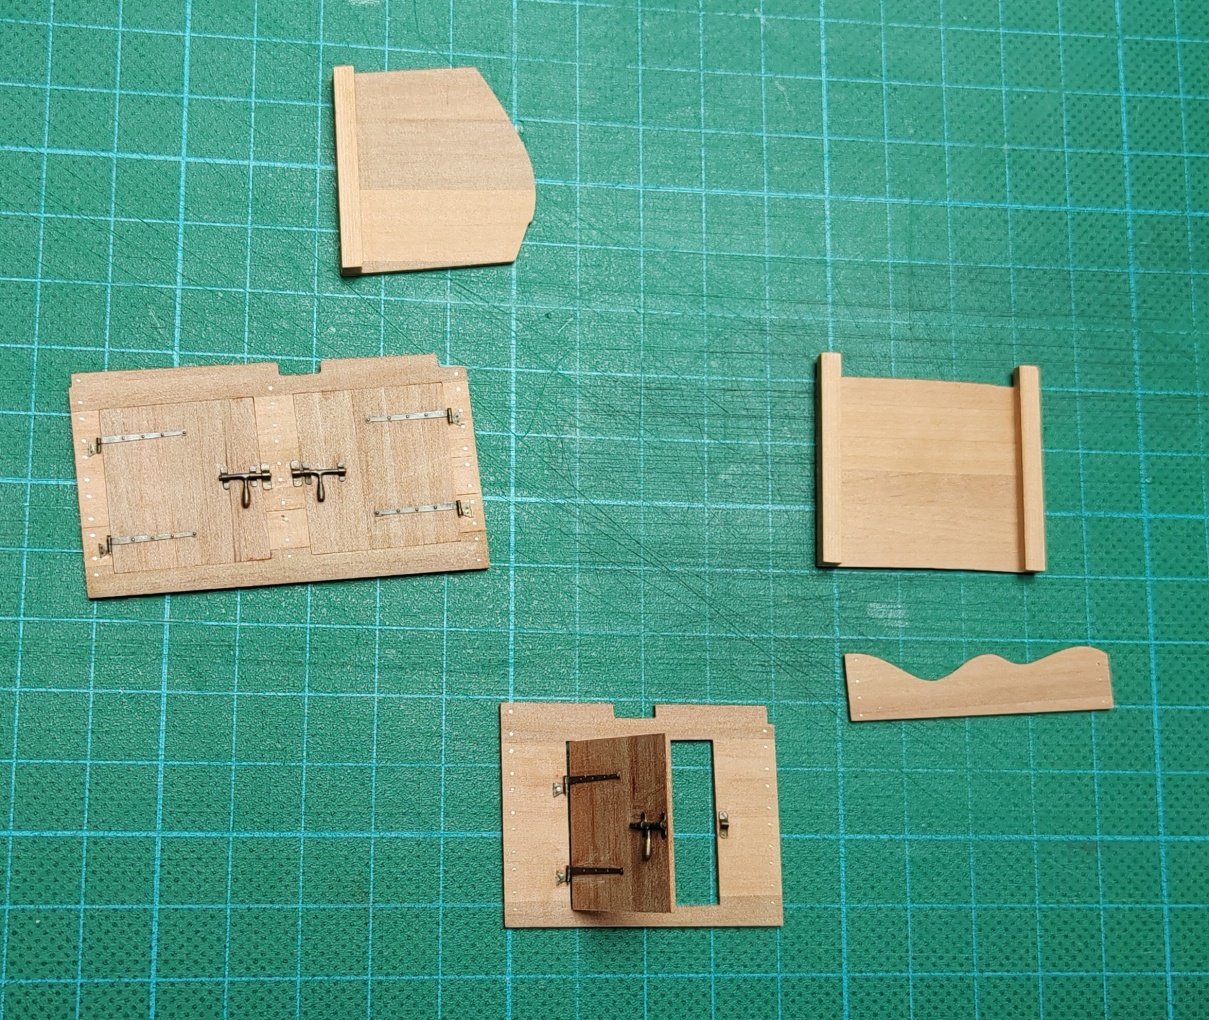
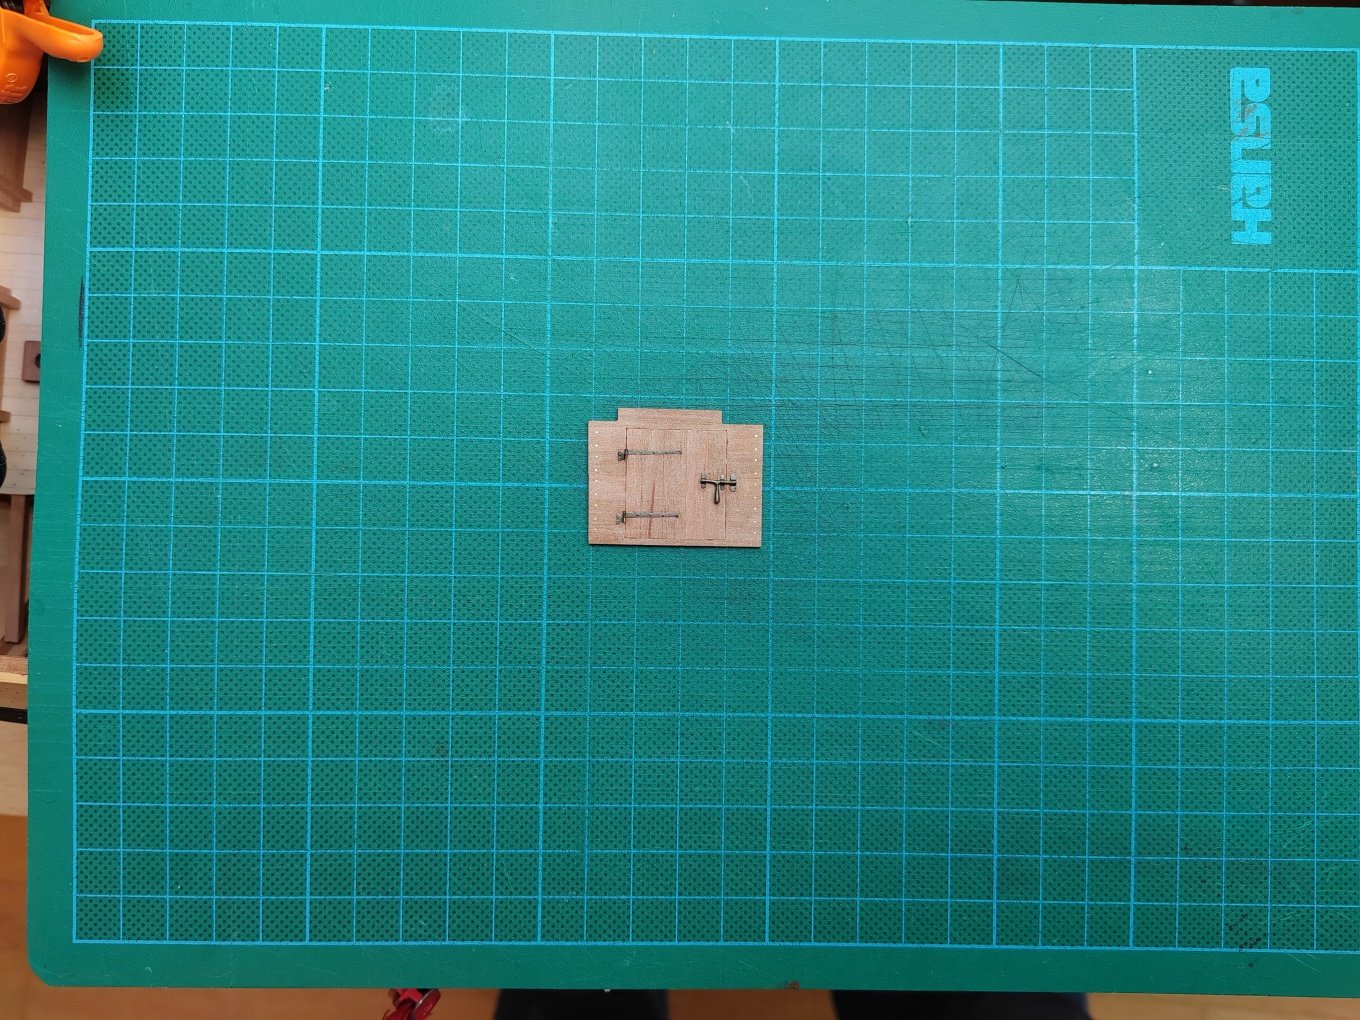
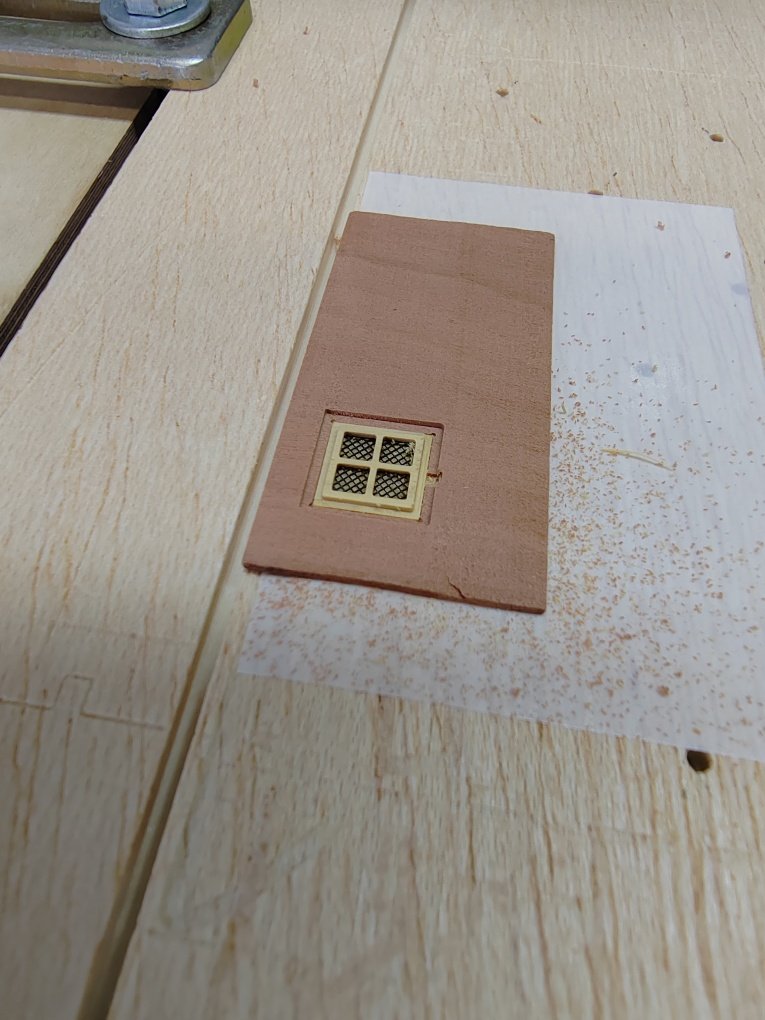
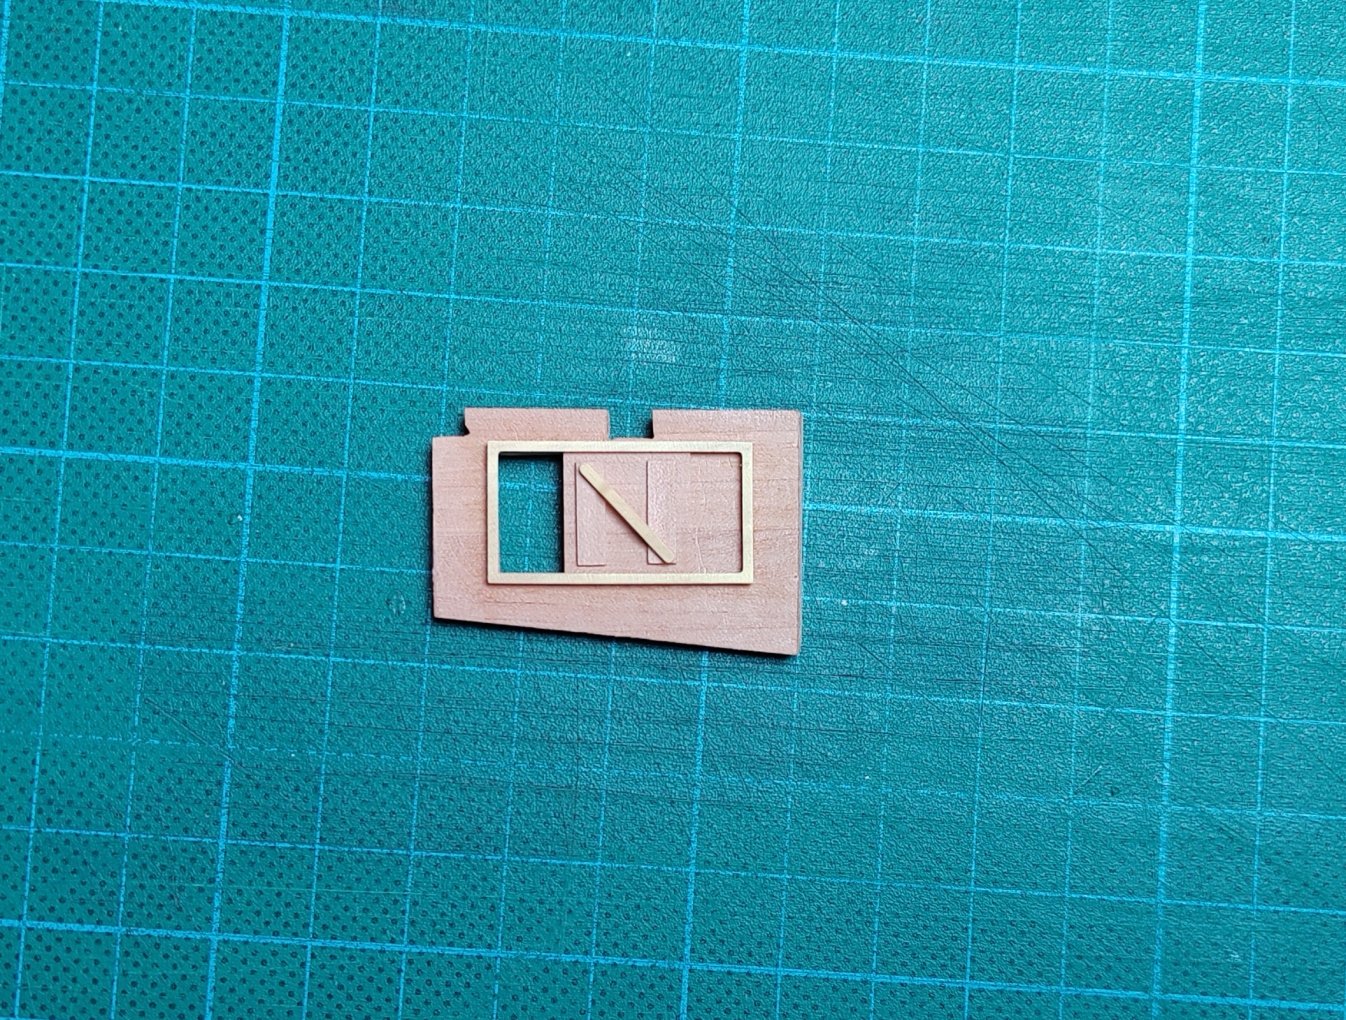
The etchings are made by a Czech company that is professionally engaged in the production of etchings. But the design of the etchings is my own, i.e. the company will make the etchings exactly according to my requirements. -
L'Amarante by marsalv - 1:36 - POF
marsalv replied to marsalv's topic in - Build logs for subjects built 1501 - 1750
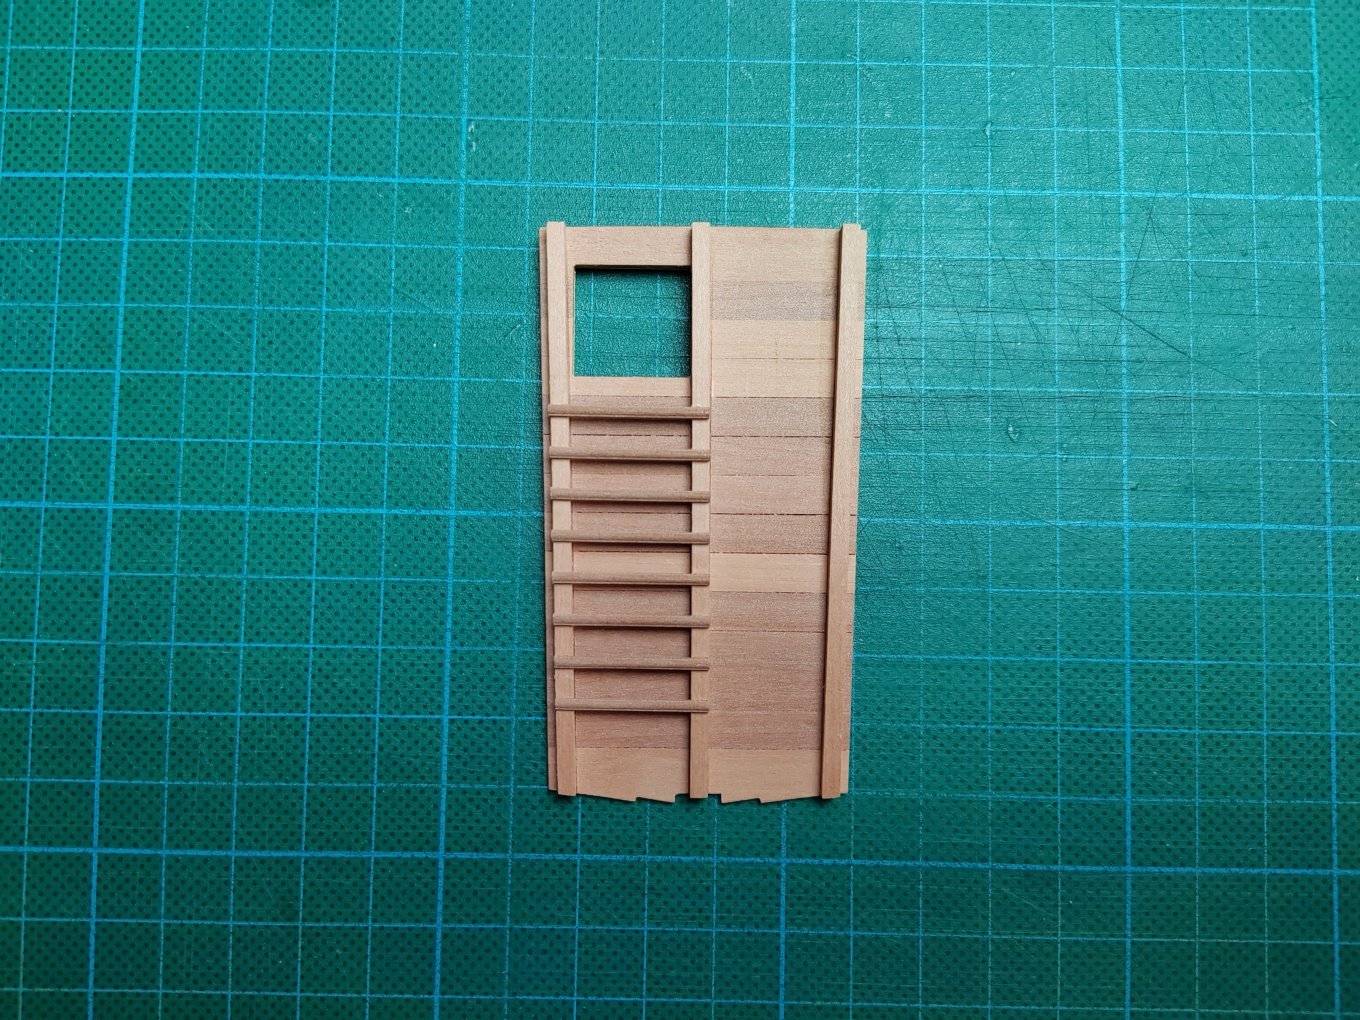
Hi Mark, the metal hinges are made from brass etched parts. Vladimir -
L'Amarante by marsalv - 1:36 - POF
marsalv replied to marsalv's topic in - Build logs for subjects built 1501 - 1750
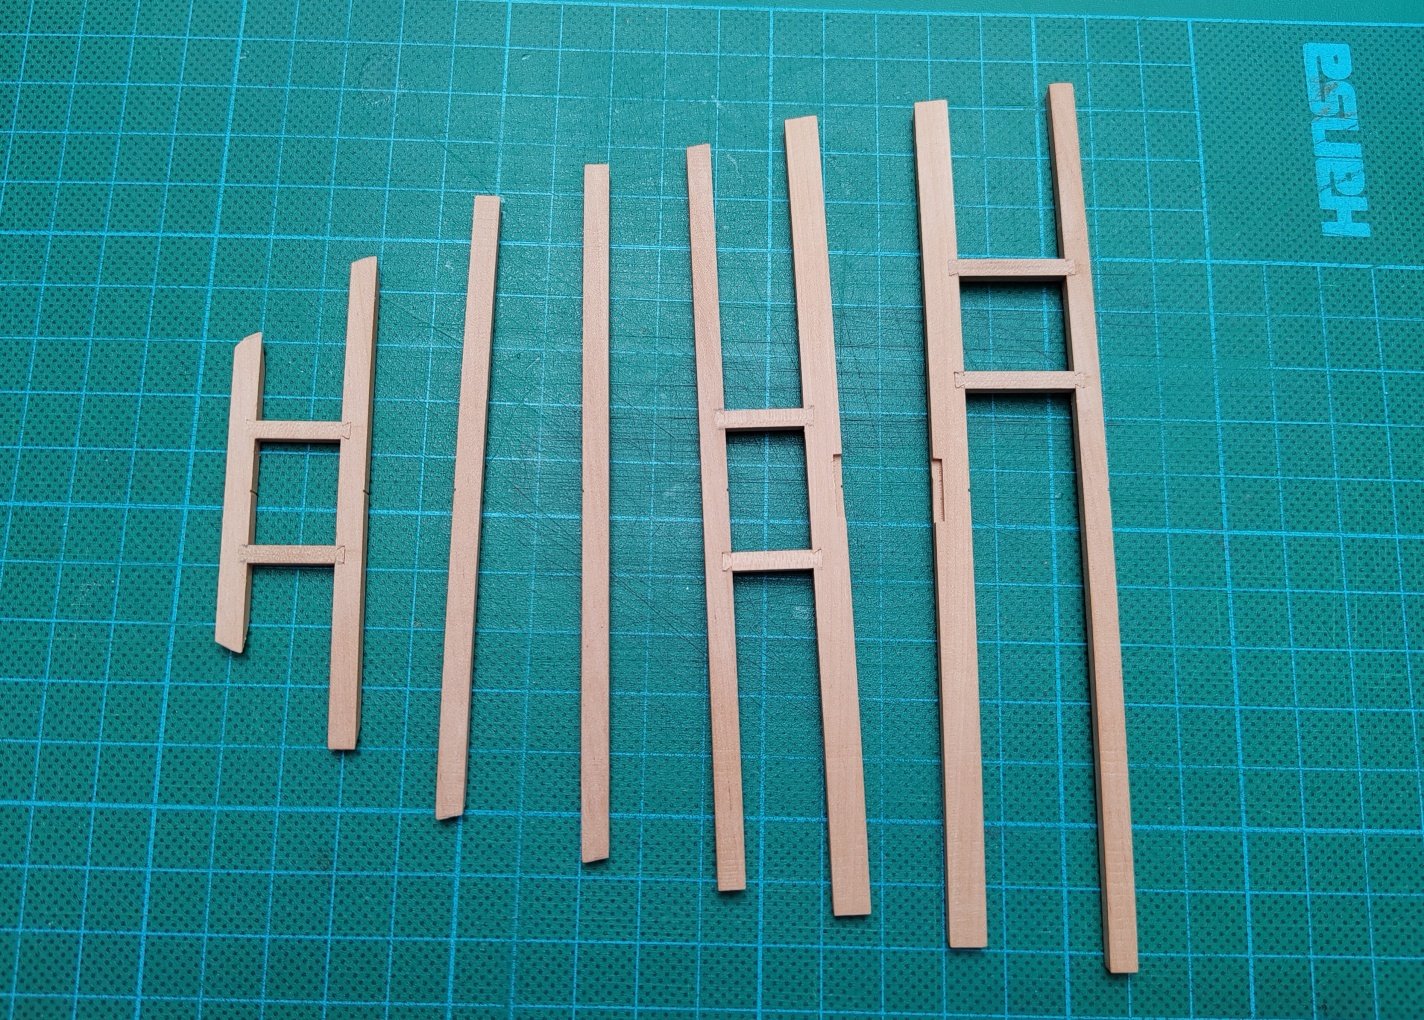
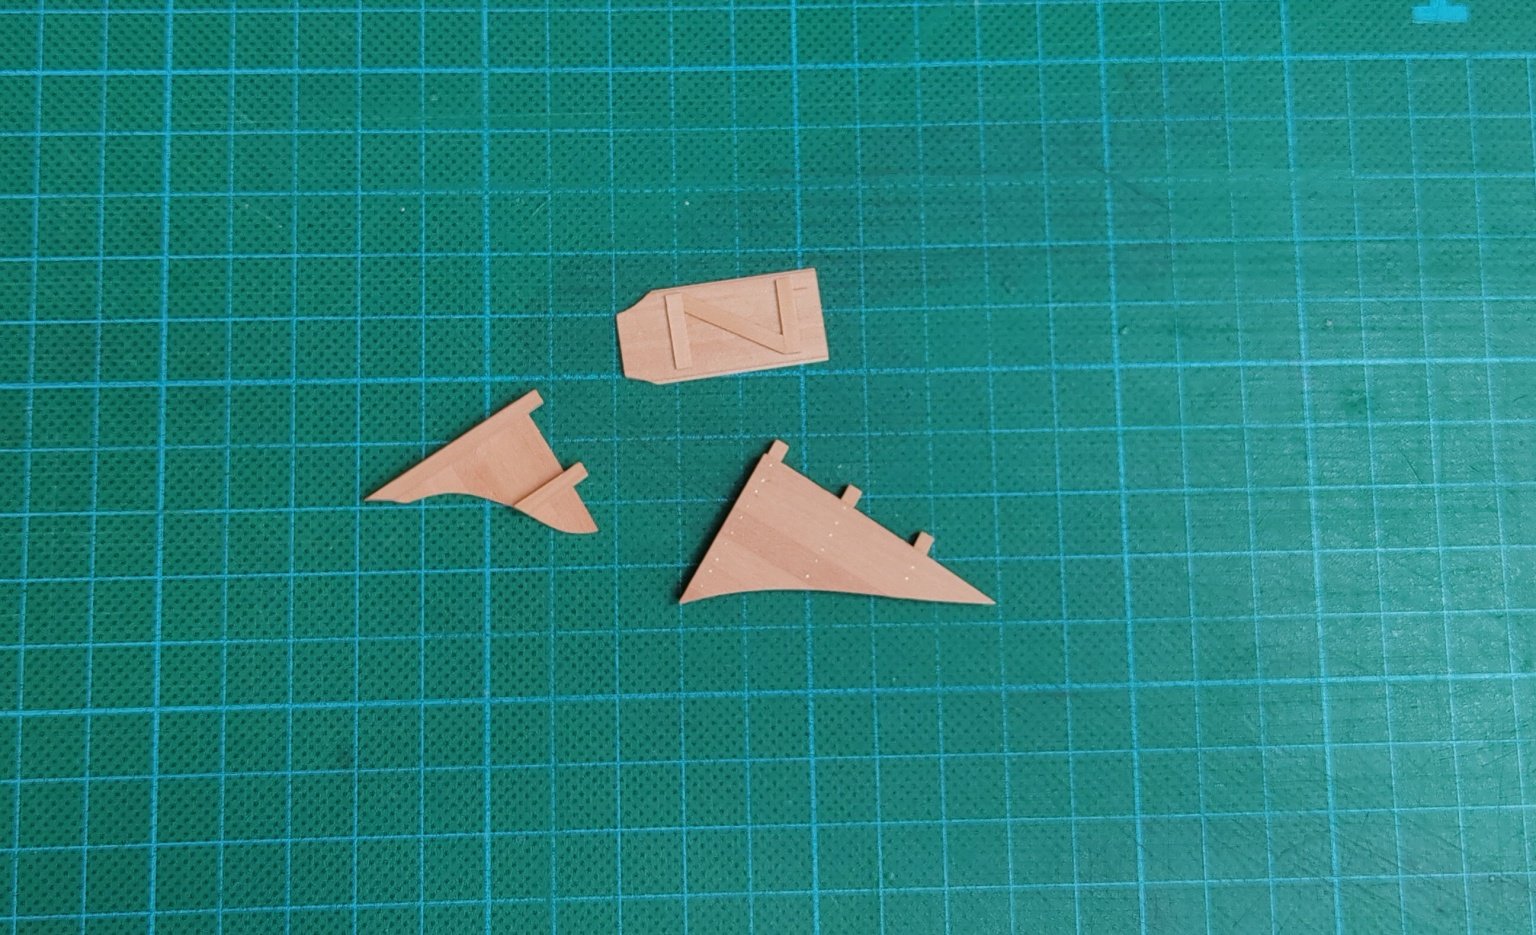
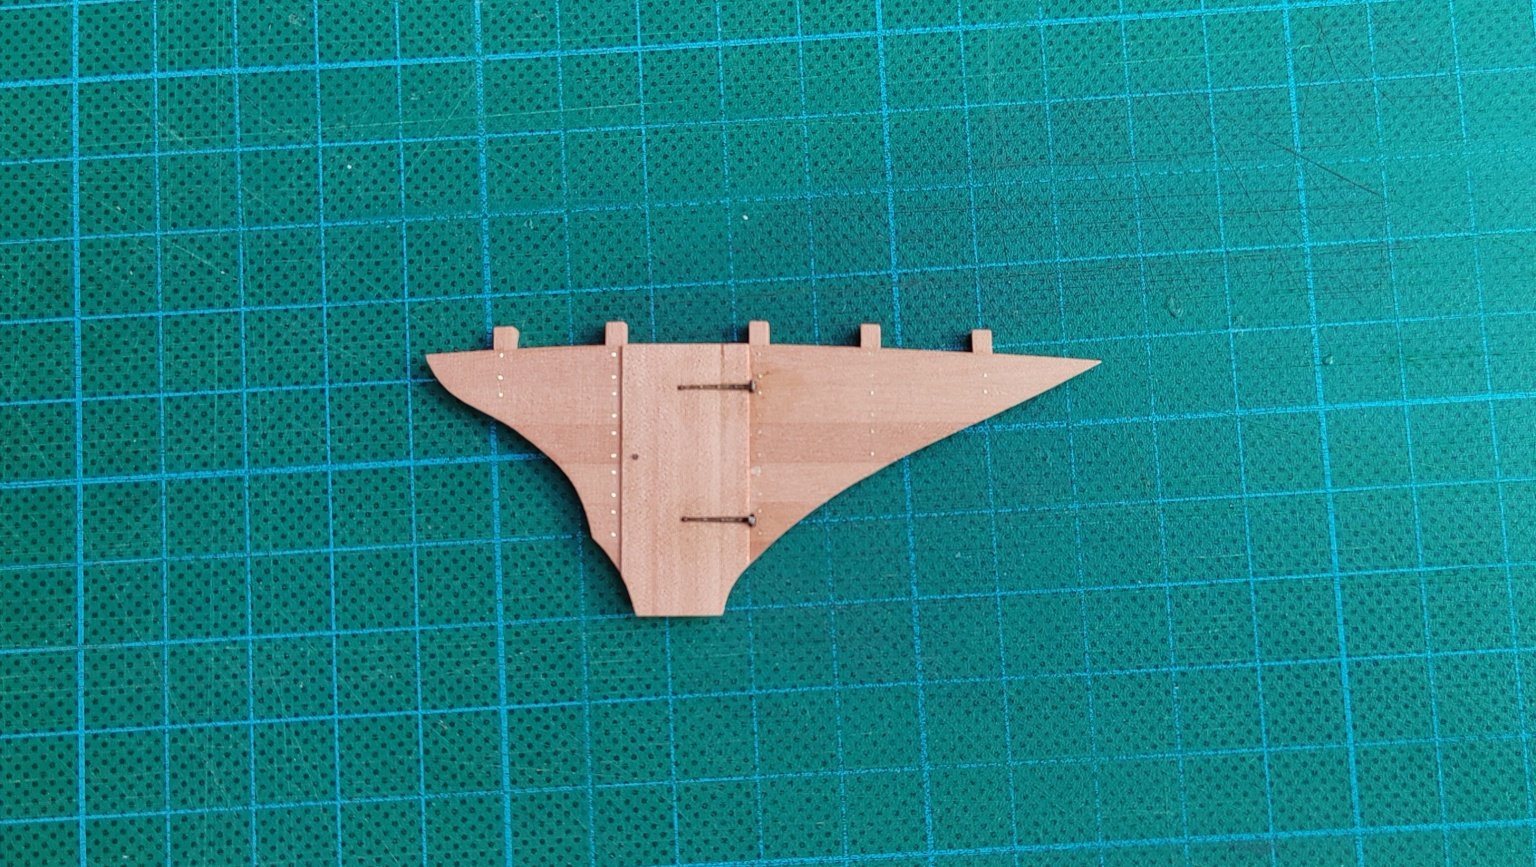
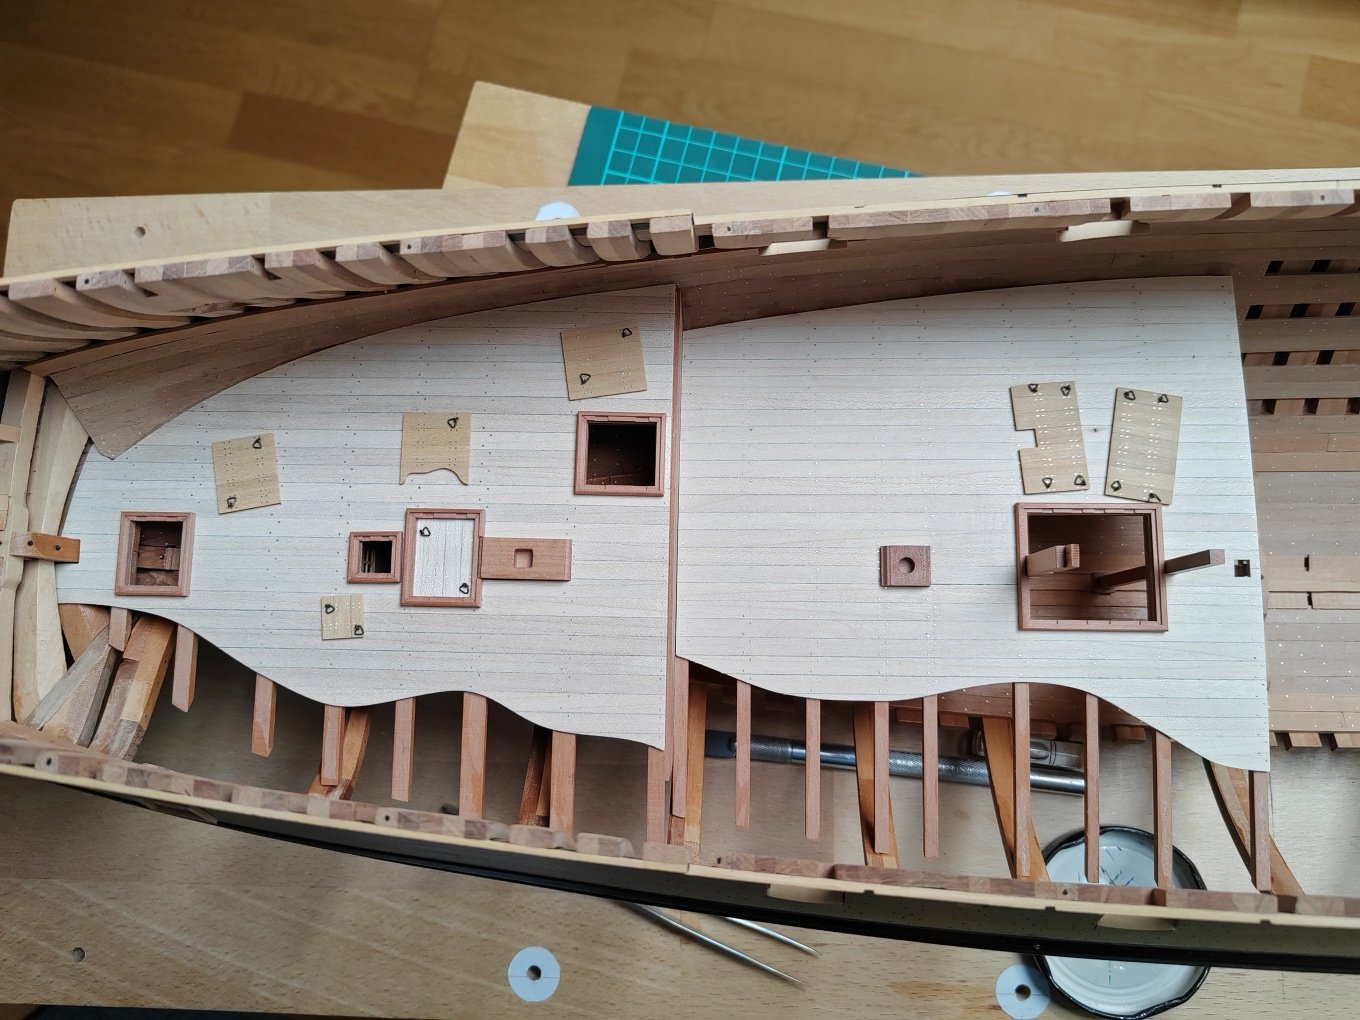
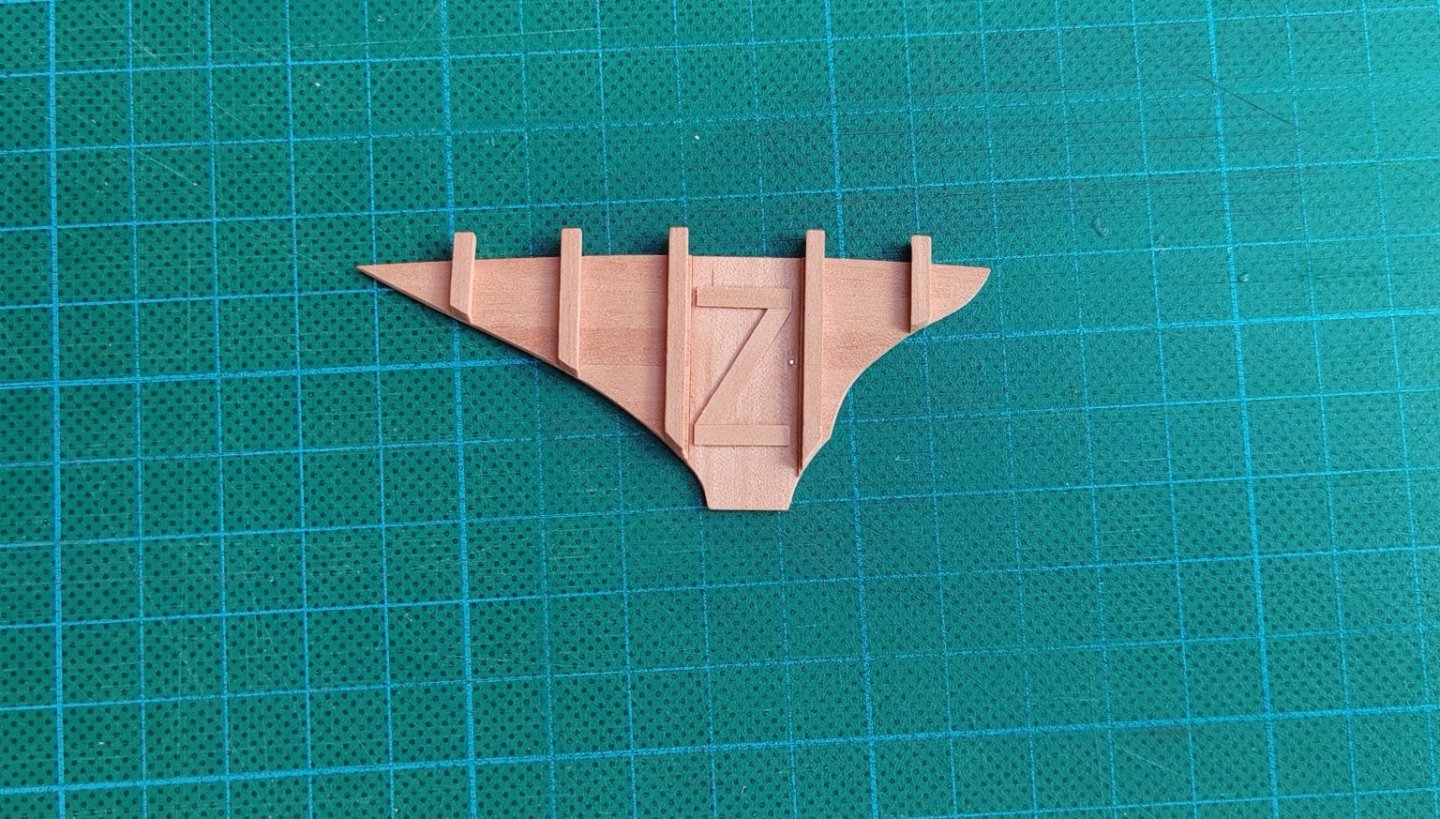
Another bulkhead under the rear deck.


-
Fantastic work.
-
L'Amarante by marsalv - 1:36 - POF
marsalv replied to marsalv's topic in - Build logs for subjects built 1501 - 1750
I continue with the aft deck. The "production" procedure will basically copy the procedure for the fore deck.