marsalv
-
Posts
617 -
Joined
-
Last visited
Content Type
Profiles
Forums
Gallery
Events
Everything posted by marsalv
-
Pandora by marsalv - FINISHED - 1:52
marsalv replied to marsalv's topic in - Build logs for subjects built 1751 - 1800
Little progress.

- 625 replies
-
- 22
-

-
Pandora by marsalv - FINISHED - 1:52
marsalv replied to marsalv's topic in - Build logs for subjects built 1751 - 1800
Slowly moving forward.

- 625 replies
-
- 18
-
-
Pandora by marsalv - FINISHED - 1:52
marsalv replied to marsalv's topic in - Build logs for subjects built 1751 - 1800
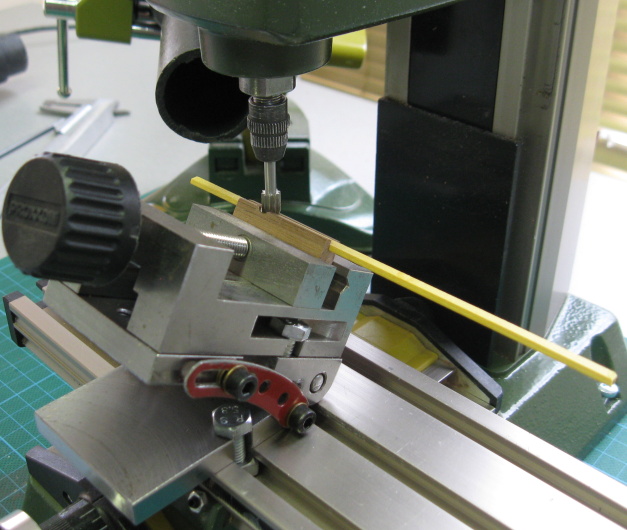
Thanks guys! The milling machine is Proxxon M7 70. -
Pandora by marsalv - FINISHED - 1:52
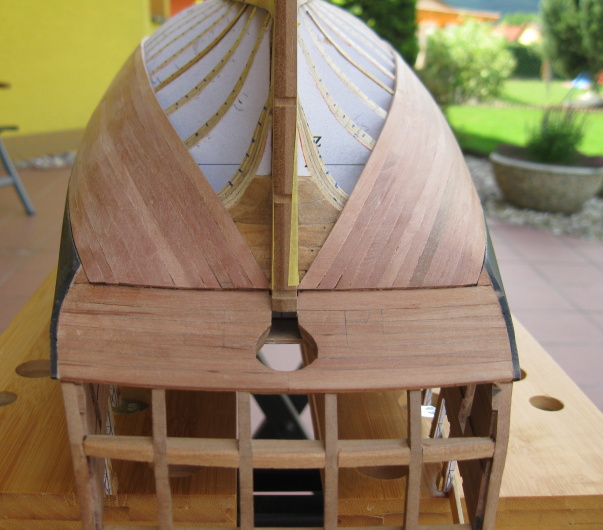
marsalv replied to marsalv's topic in - Build logs for subjects built 1751 - 1800
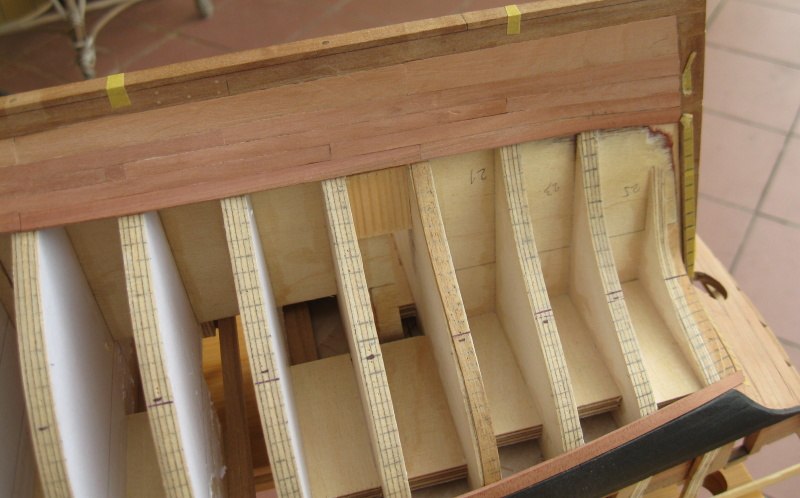
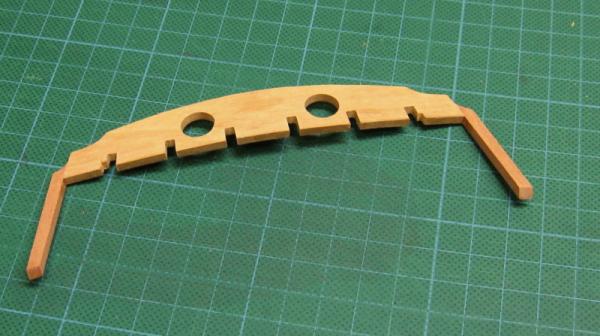
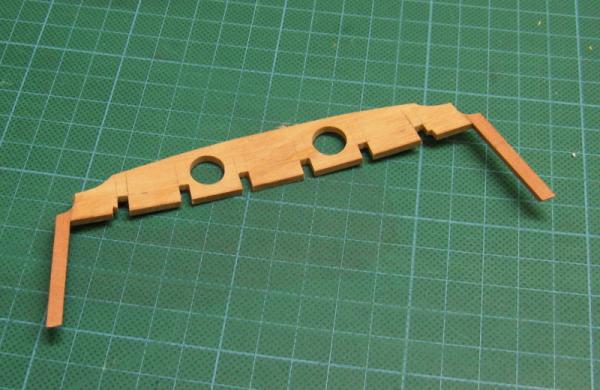
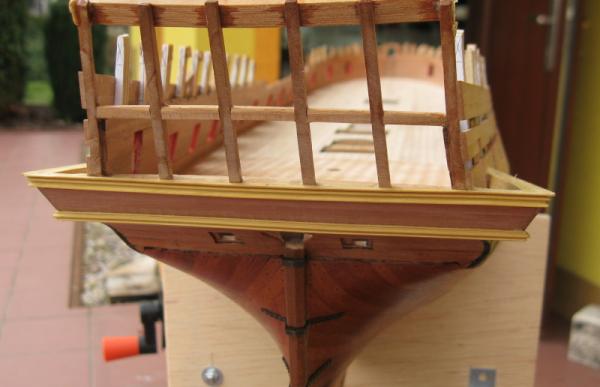
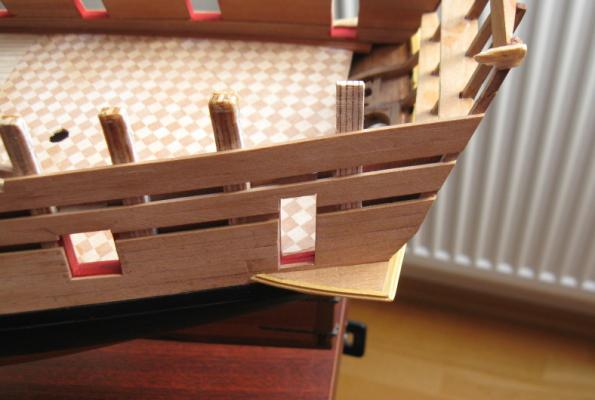
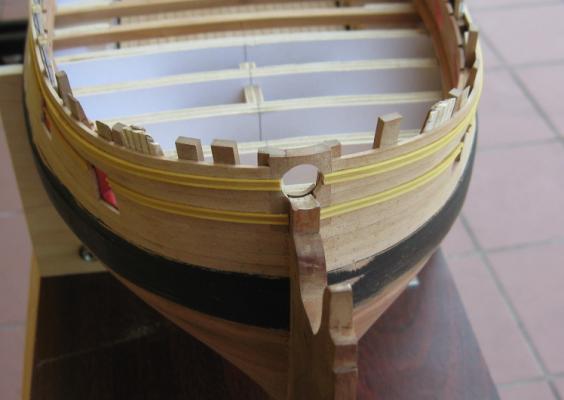
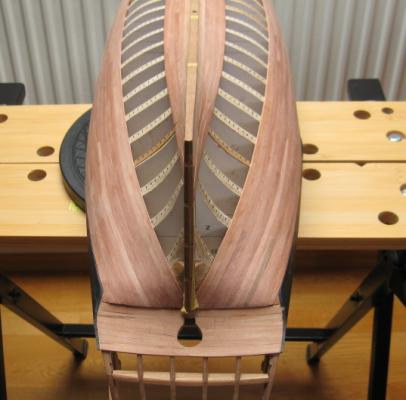
Thank you Dirk . I have started assembling the stern, it will be quite hard work.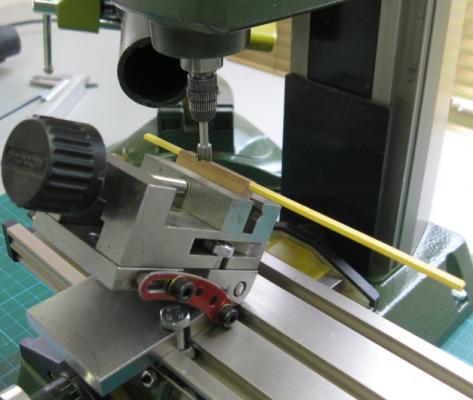

- 625 replies
-
- 20
-
-
Pandora by marsalv - FINISHED - 1:52
marsalv replied to marsalv's topic in - Build logs for subjects built 1751 - 1800
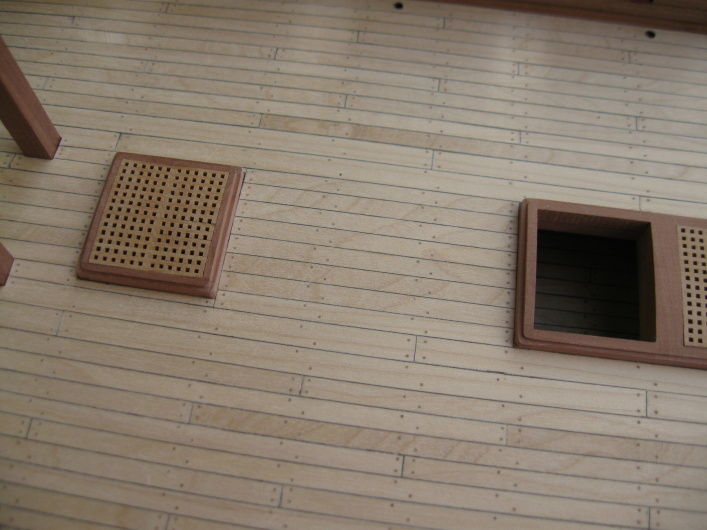
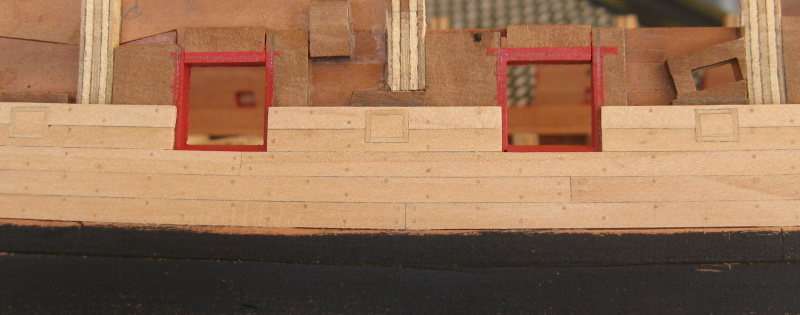
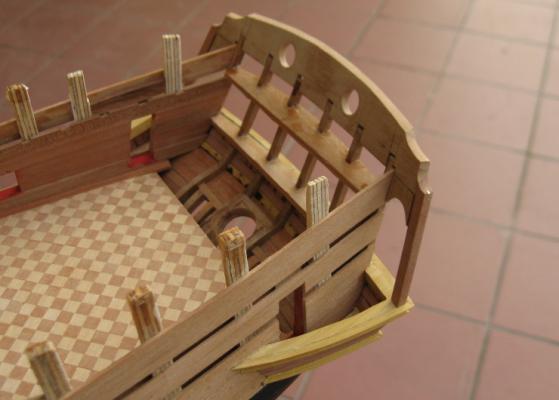
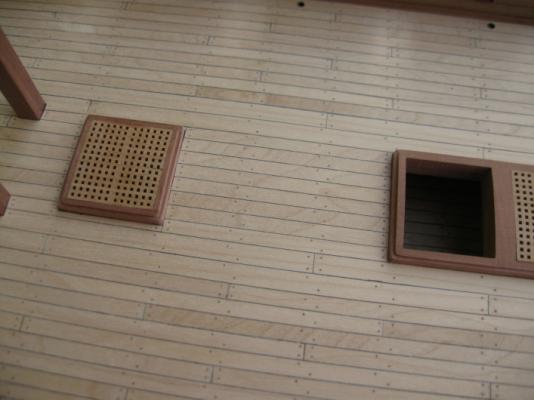
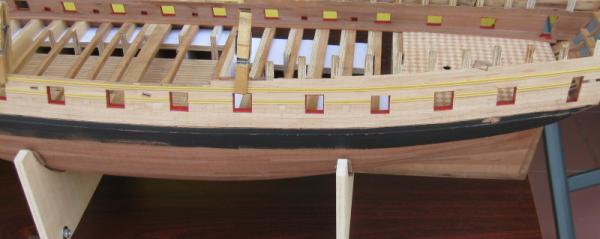
Thank you to all for very nice comments! I finished the deck, including treenailing and attachment of the sculpers.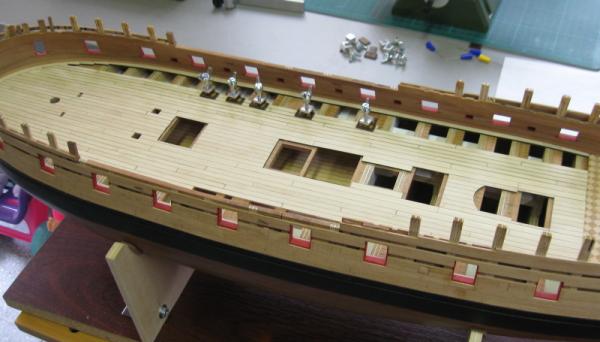
- 625 replies
-
- 16
-
-
Pandora by marsalv - FINISHED - 1:52
marsalv replied to marsalv's topic in - Build logs for subjects built 1751 - 1800
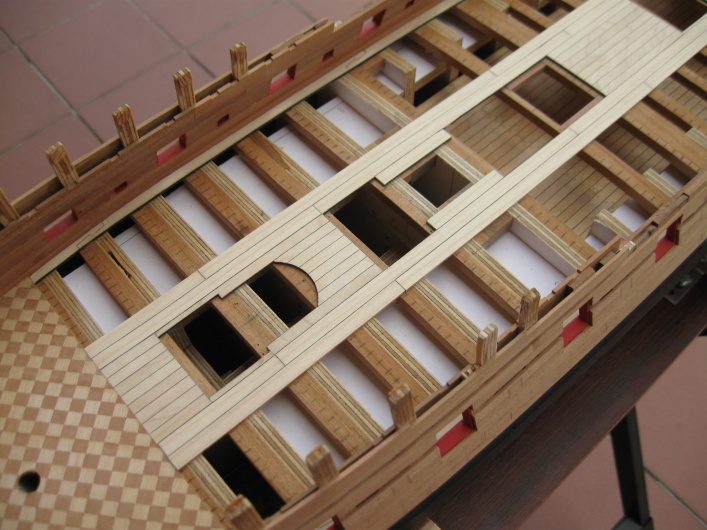
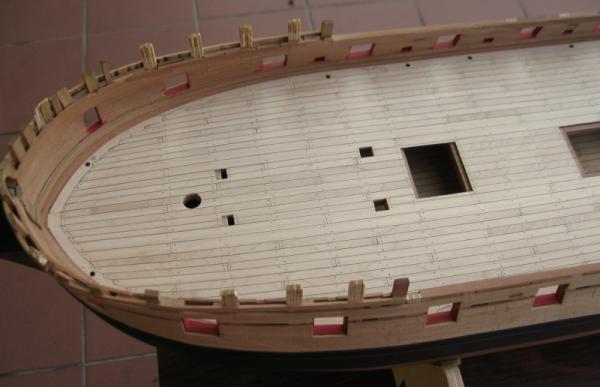
Thank you guys! I finished the planking of the central belt of main deck.

- 625 replies
-
- 19
-
-
Pandora by marsalv - FINISHED - 1:52
marsalv replied to marsalv's topic in - Build logs for subjects built 1751 - 1800
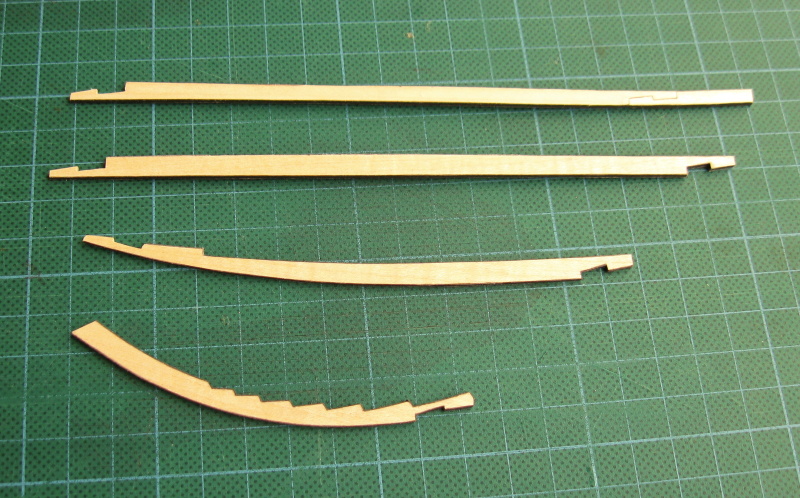
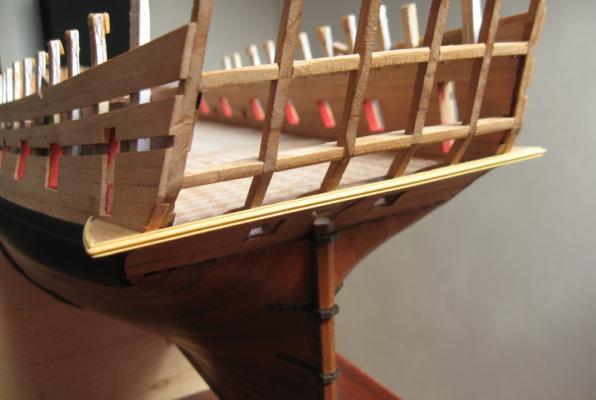
Thank you aviaamator . Margin plank.

- 625 replies
-
- 17
-
-
Pandora by marsalv - FINISHED - 1:52
marsalv replied to marsalv's topic in - Build logs for subjects built 1751 - 1800
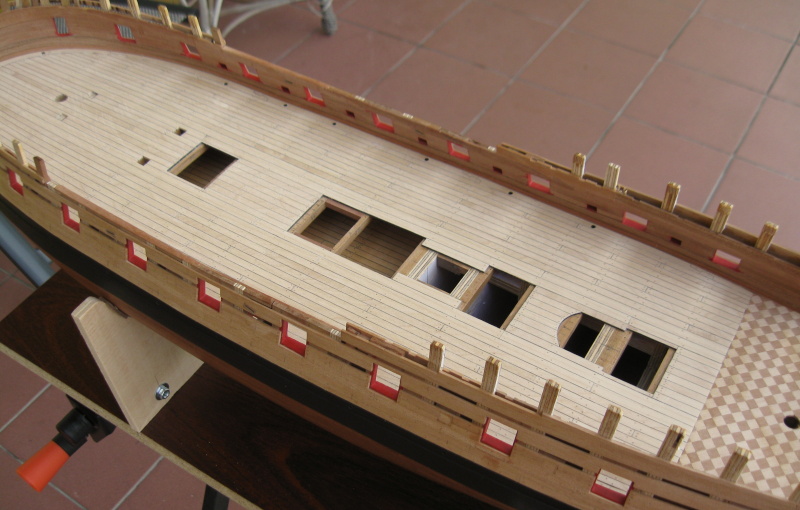
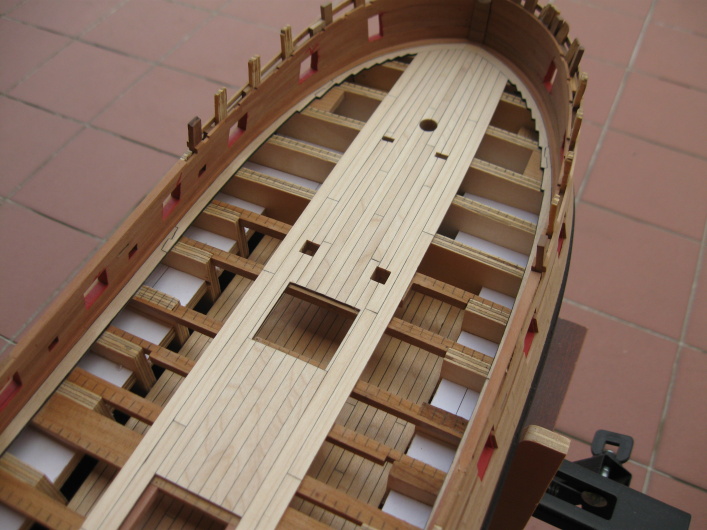
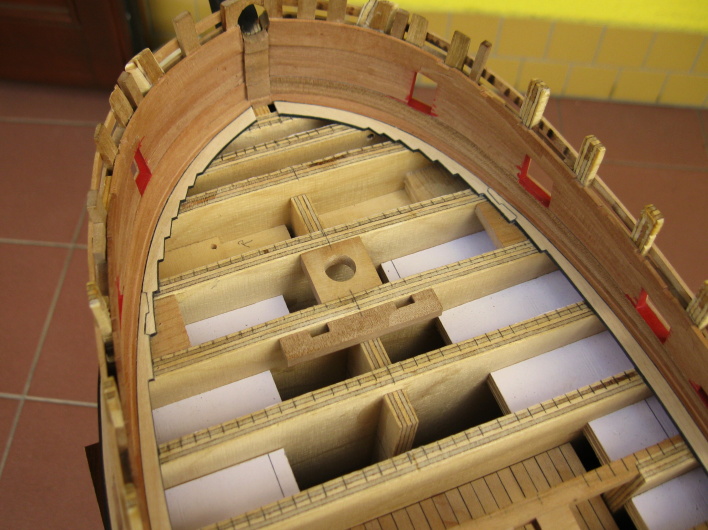
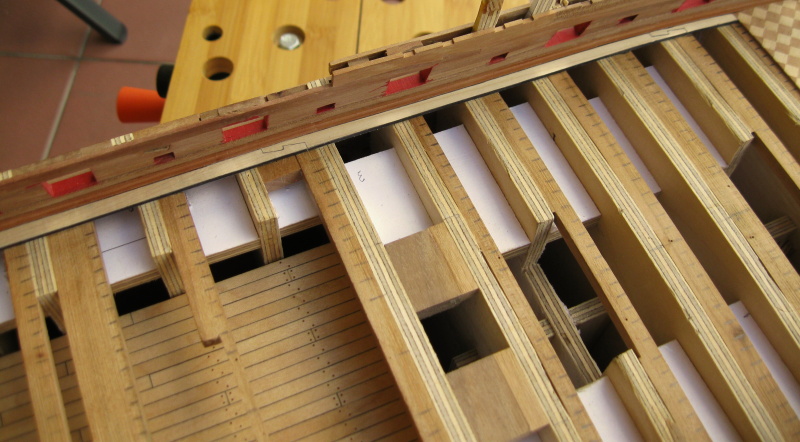
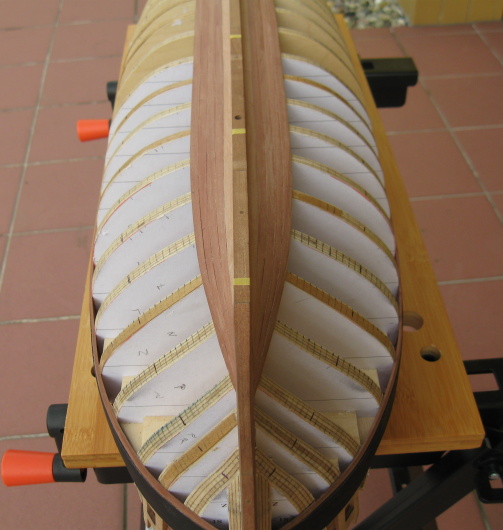
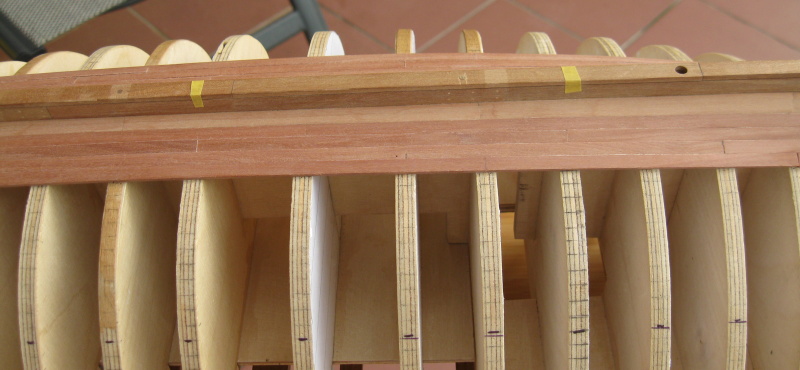
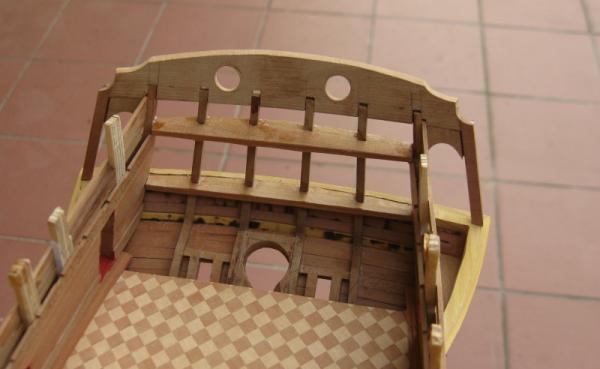
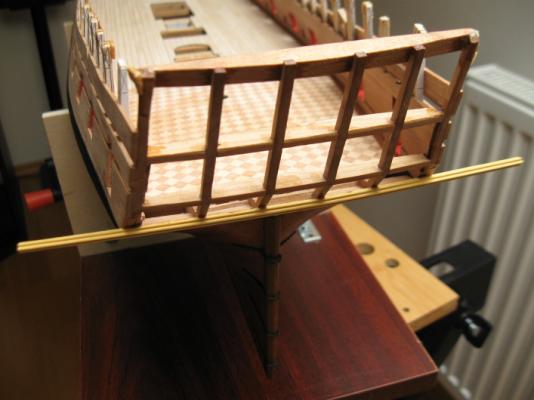
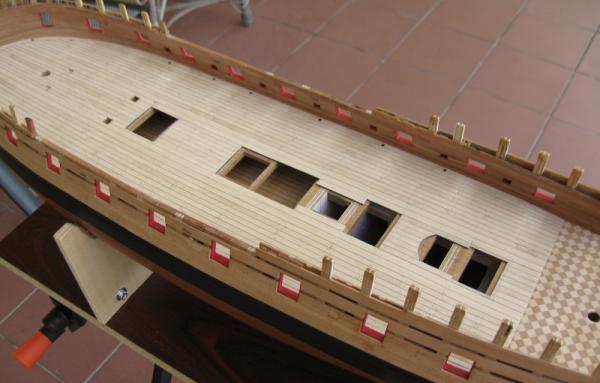
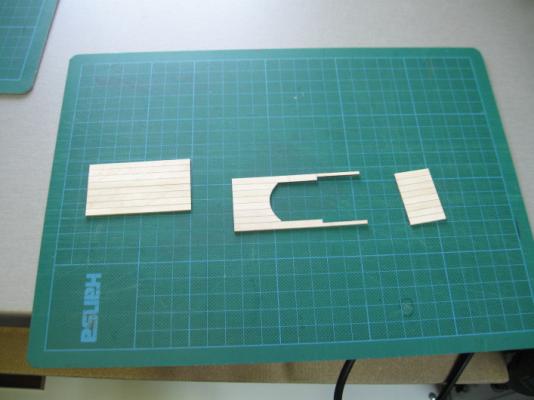
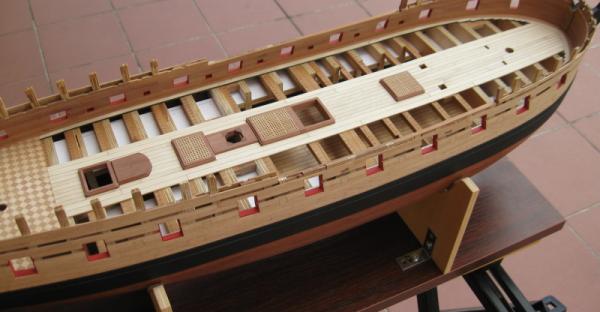
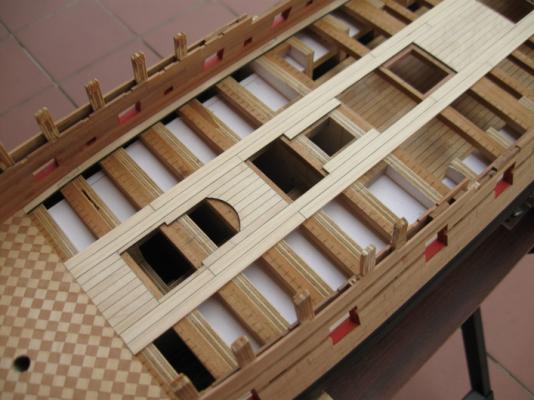
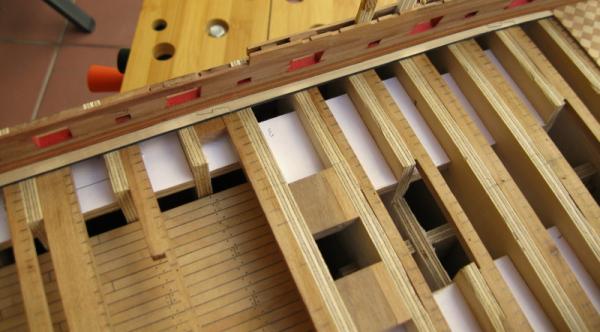
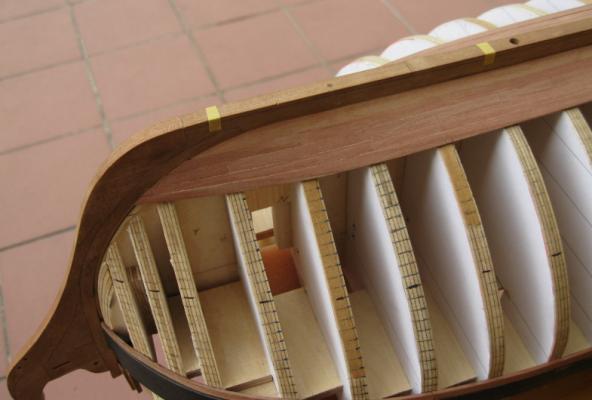
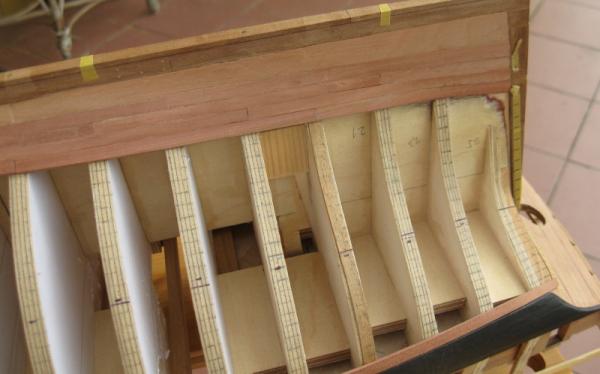
Thank you Nigel . Preparation before planking of the main deck.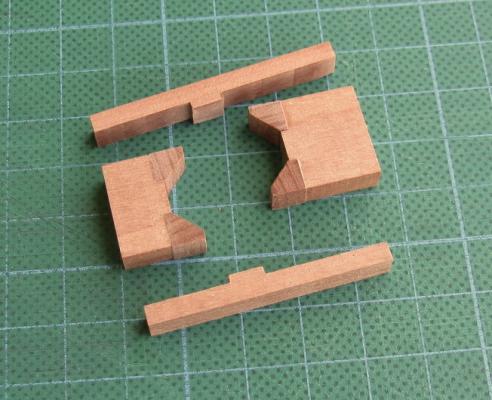

- 625 replies
-
- 24
-
-
Pandora by marsalv - FINISHED - 1:52
marsalv replied to marsalv's topic in - Build logs for subjects built 1751 - 1800
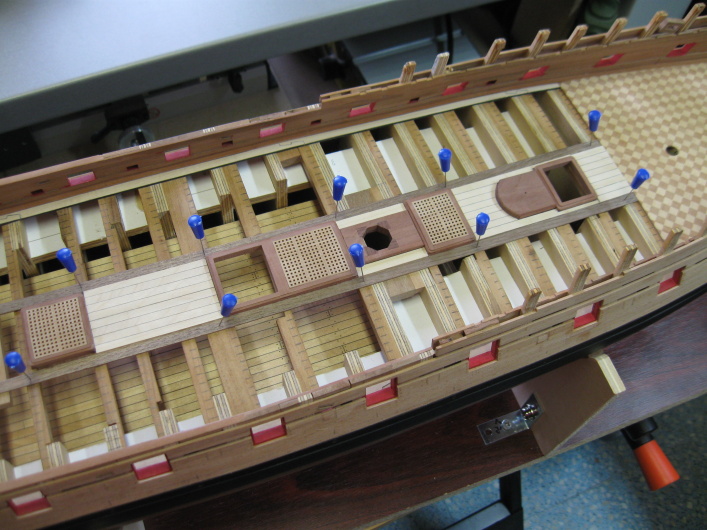
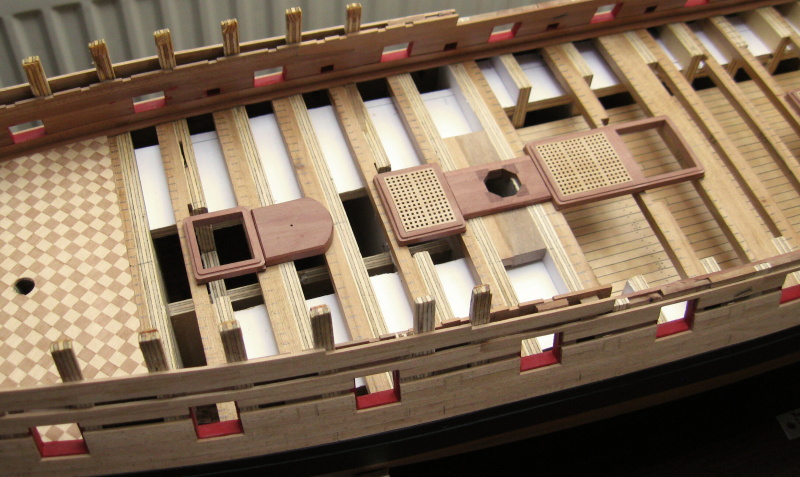
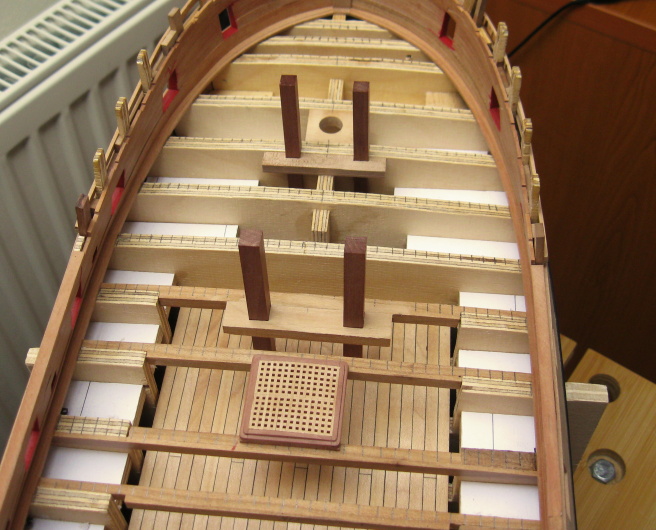
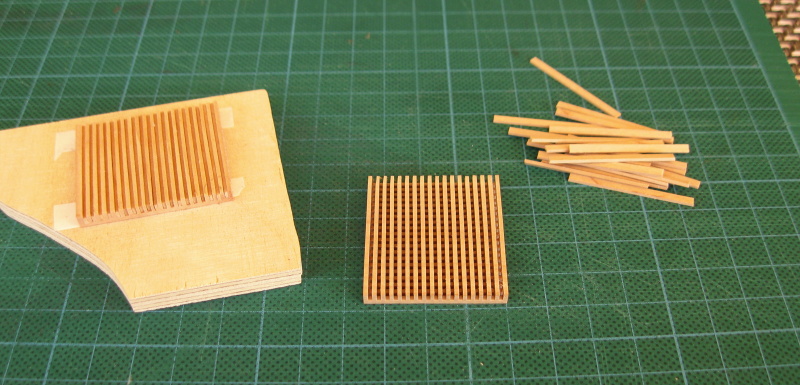
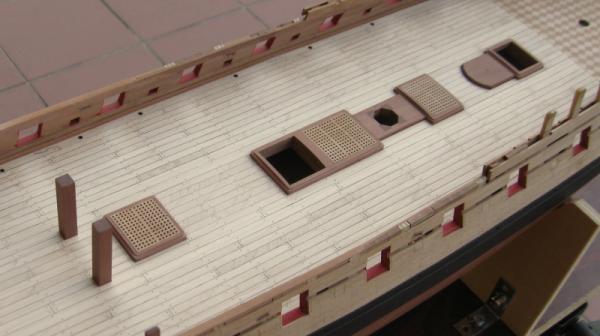
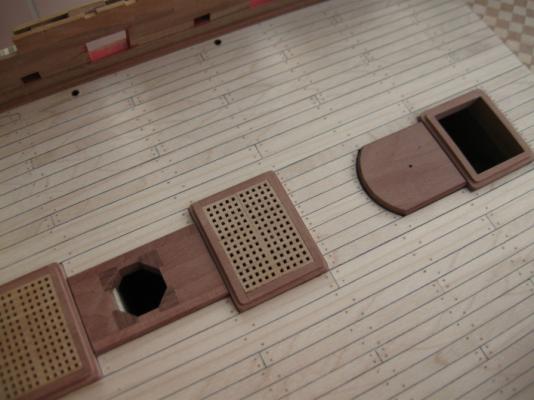
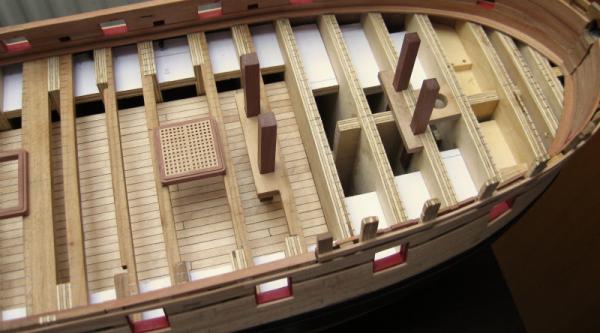
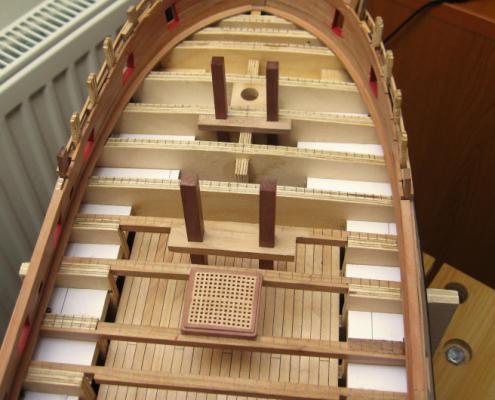
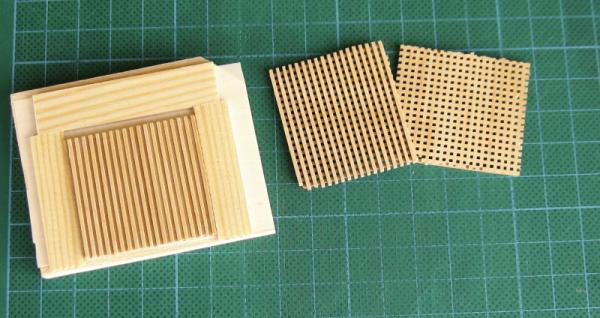
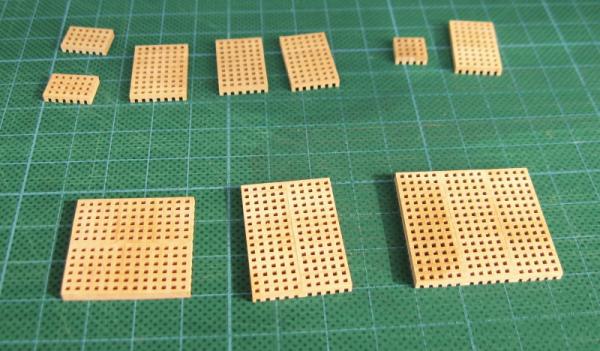
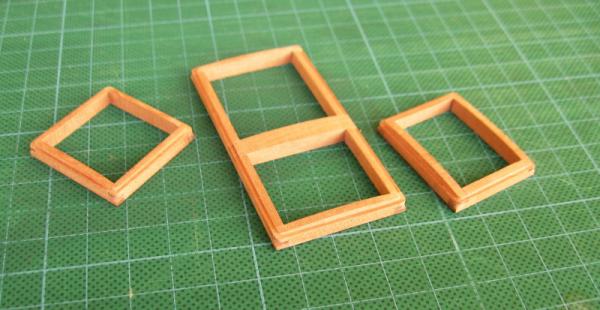
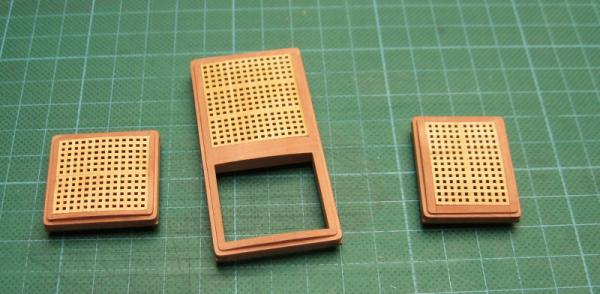
Gratings.
- 625 replies
-
- 17
-
-
Pandora by marsalv - FINISHED - 1:52
marsalv replied to marsalv's topic in - Build logs for subjects built 1751 - 1800
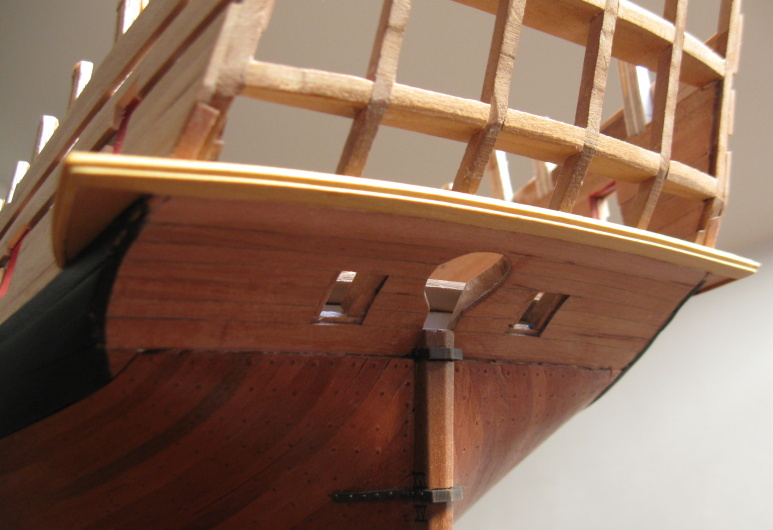
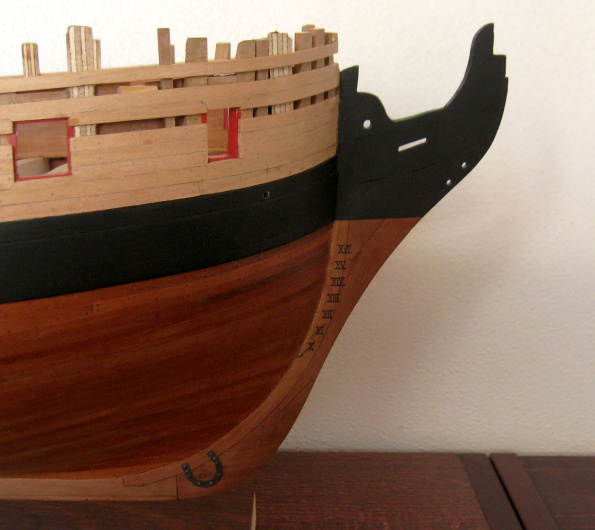
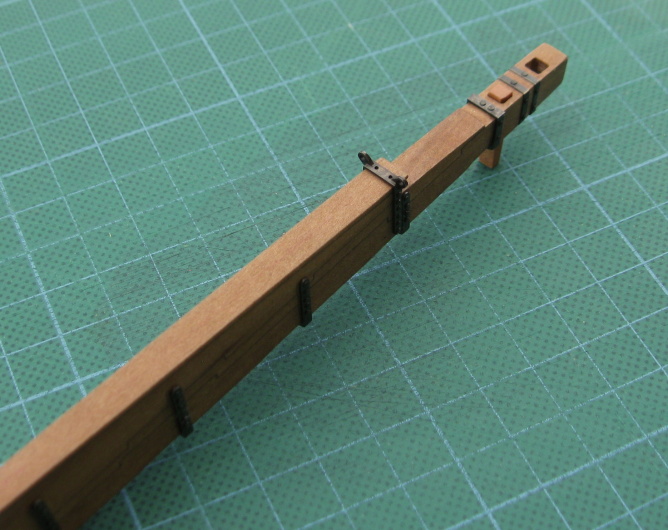
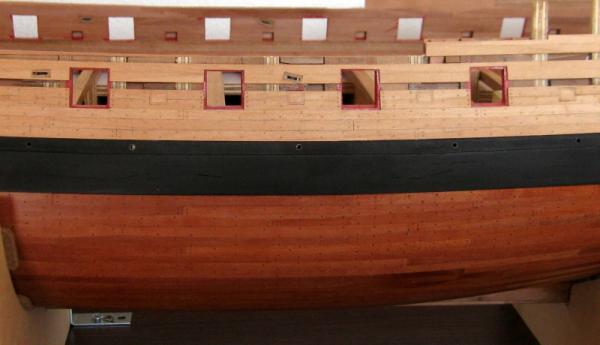
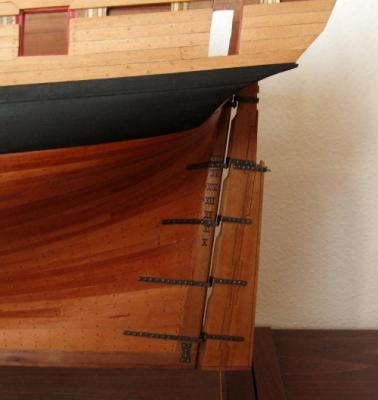
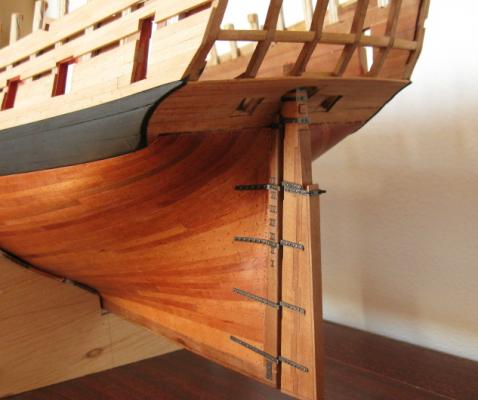
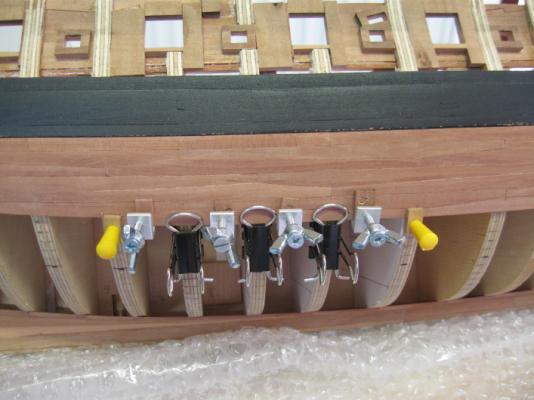
Attaching metal parts, rudders and draught marks on the hull.

- 625 replies
-
- 29
-
-
Pandora by marsalv - FINISHED - 1:52
marsalv replied to marsalv's topic in - Build logs for subjects built 1751 - 1800
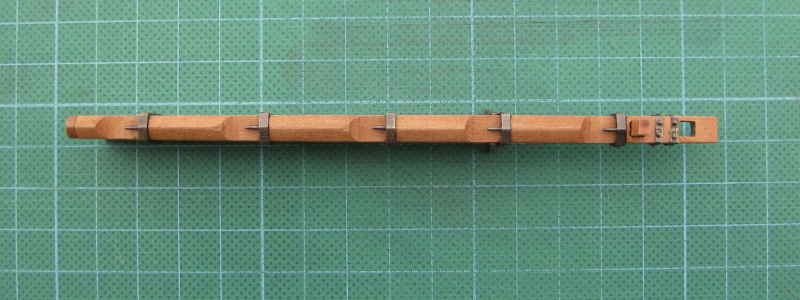
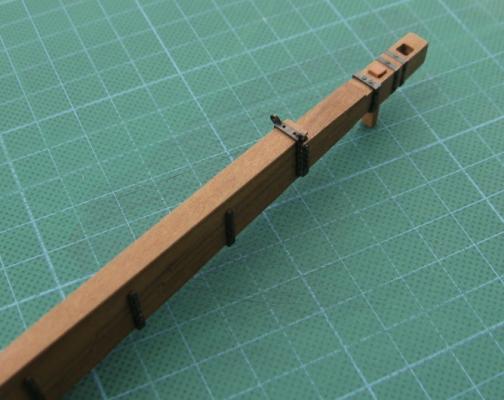
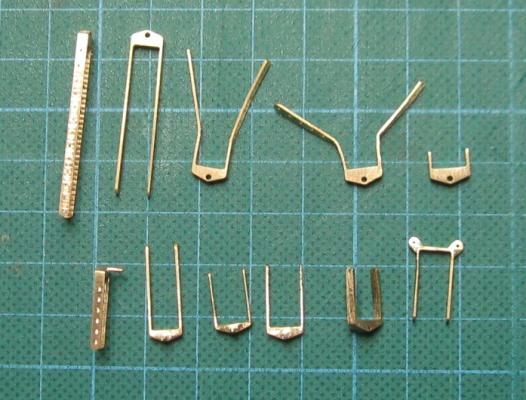
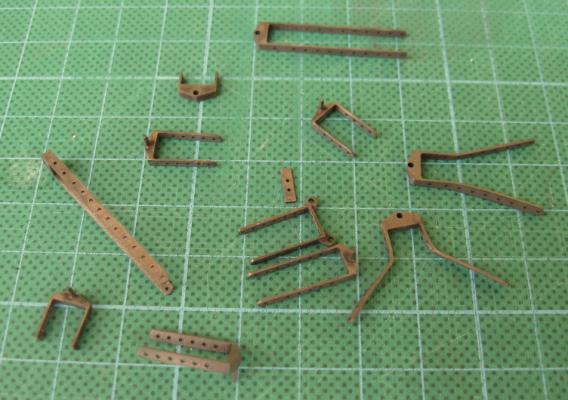
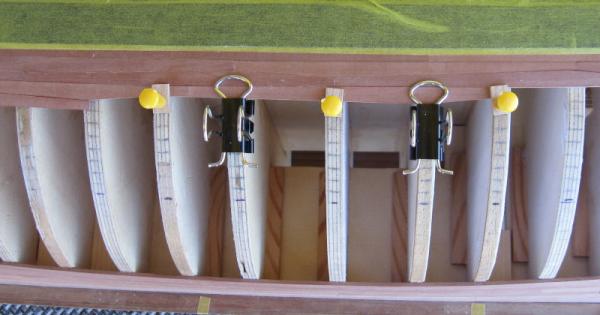
Pintles are fastened to the rudder.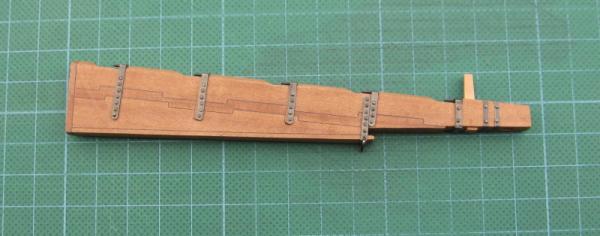
- 625 replies
-
- 21
-
-
Pandora by marsalv - FINISHED - 1:52
marsalv replied to marsalv's topic in - Build logs for subjects built 1751 - 1800
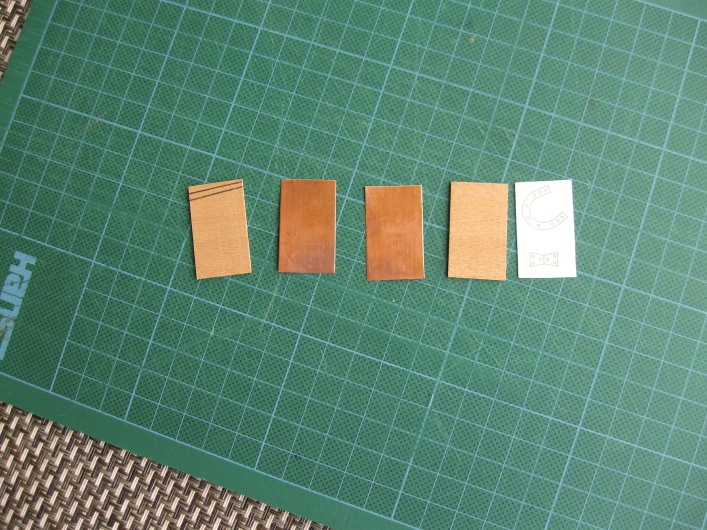
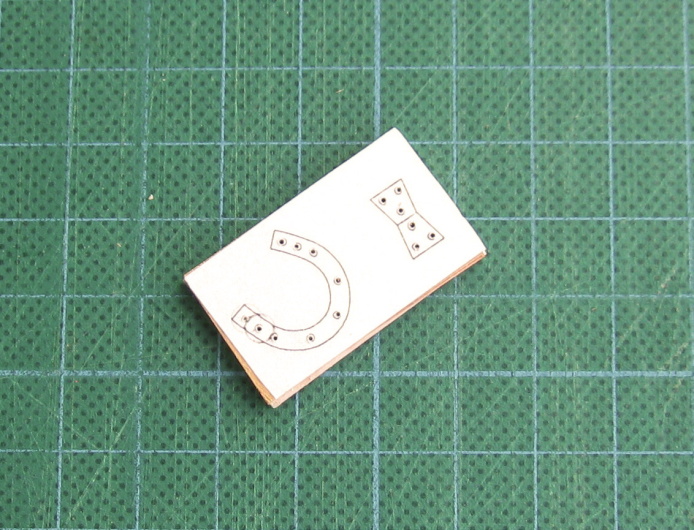
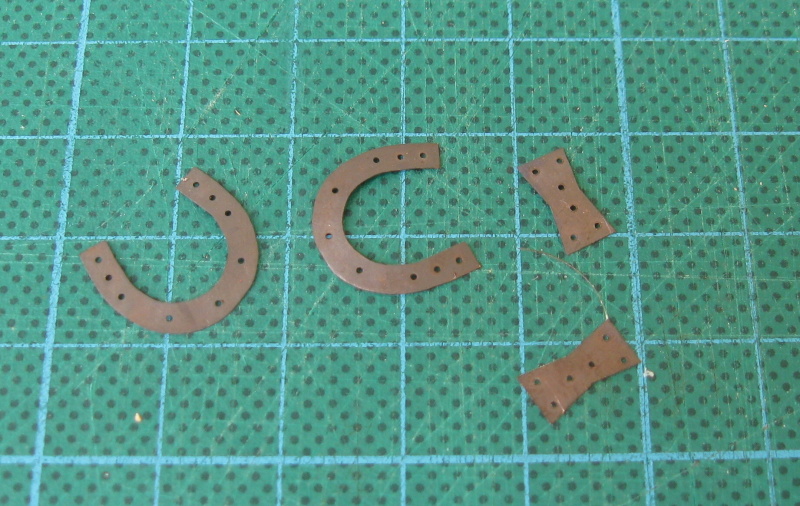
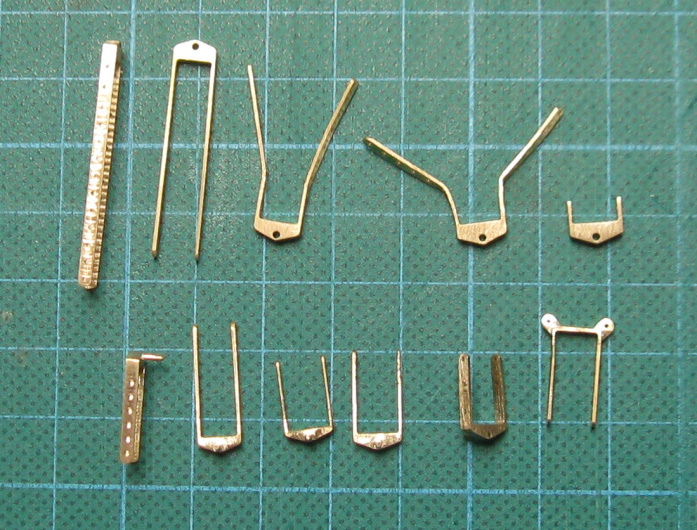
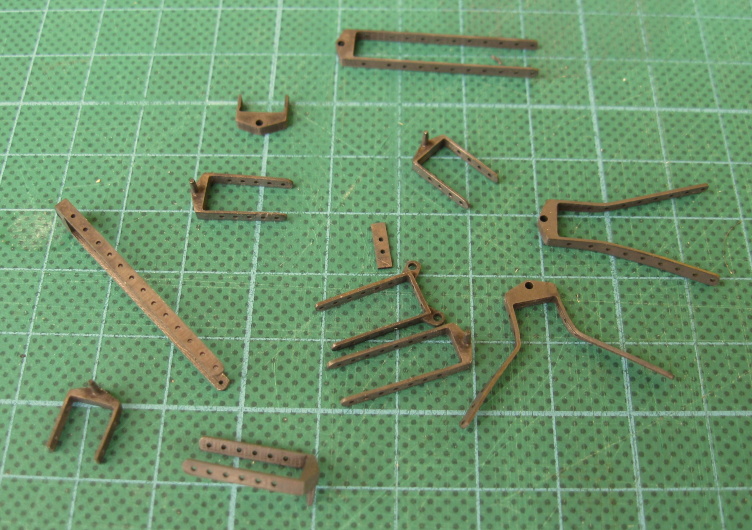
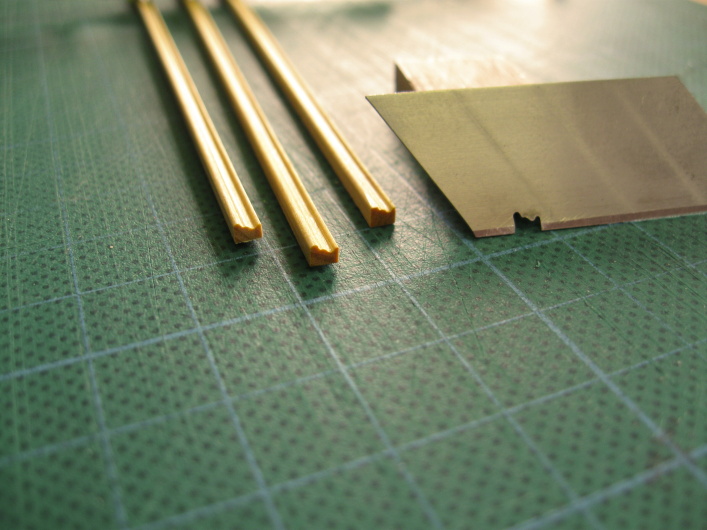
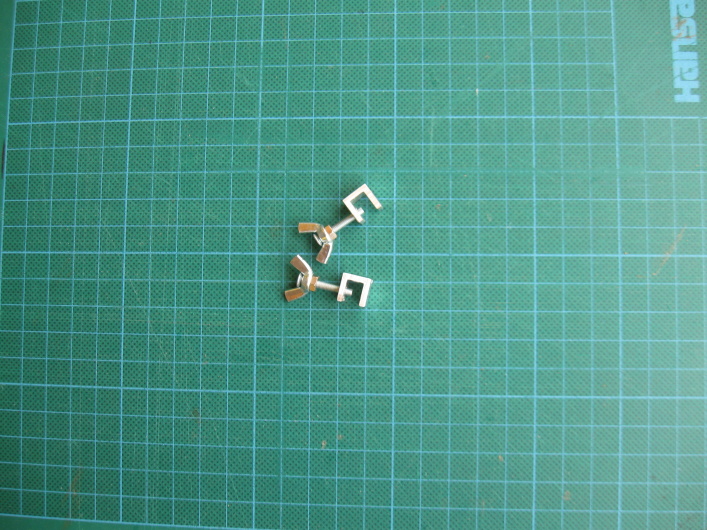
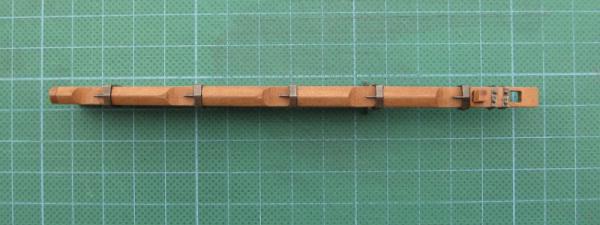
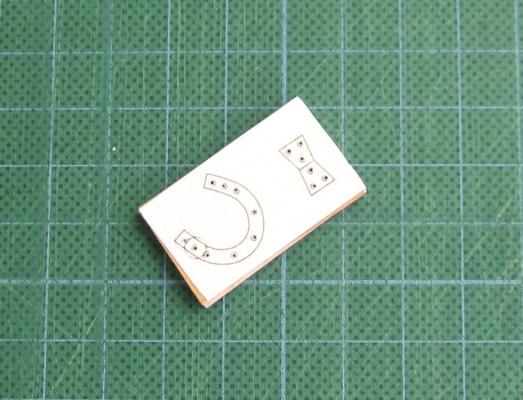
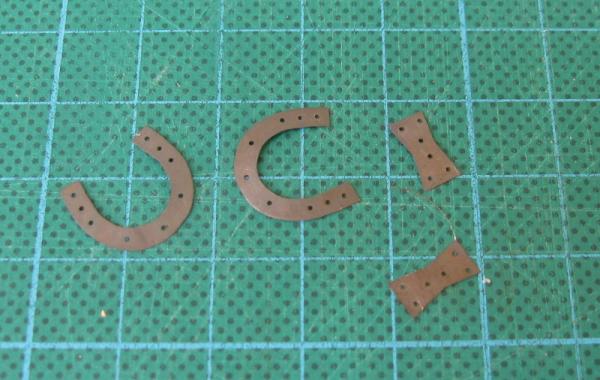
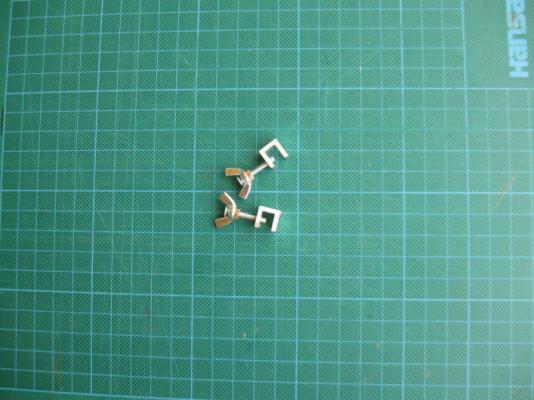
Preparation of metal parts.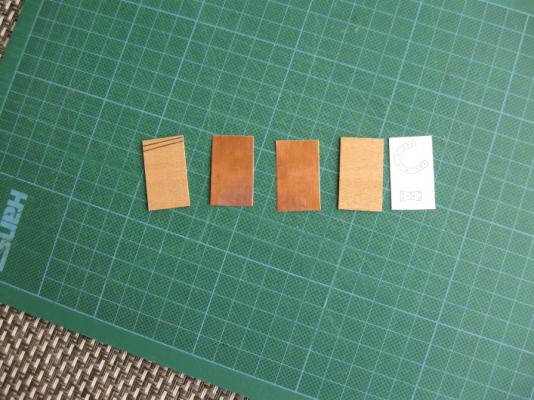

- 625 replies
-
- 20
-
-
Pandora by marsalv - FINISHED - 1:52
marsalv replied to marsalv's topic in - Build logs for subjects built 1751 - 1800
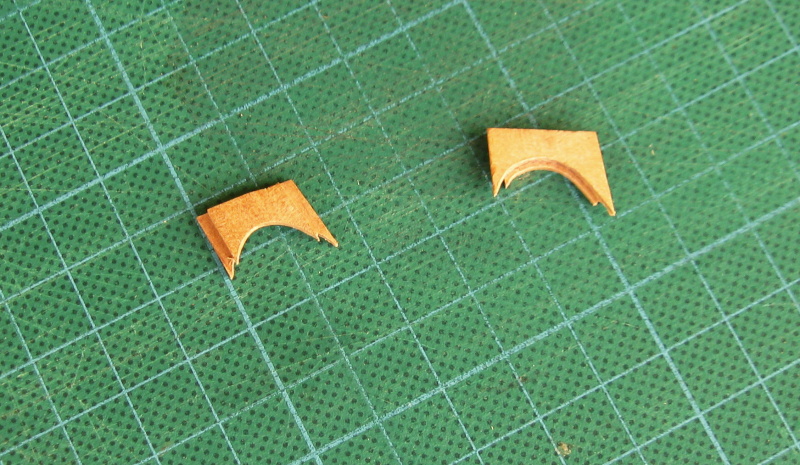
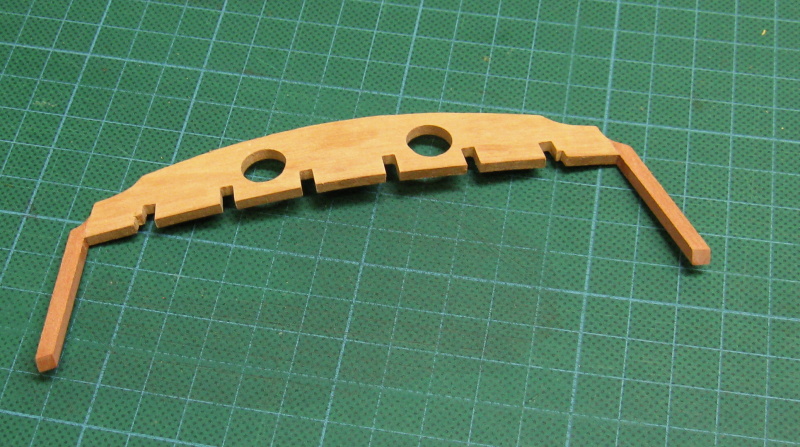
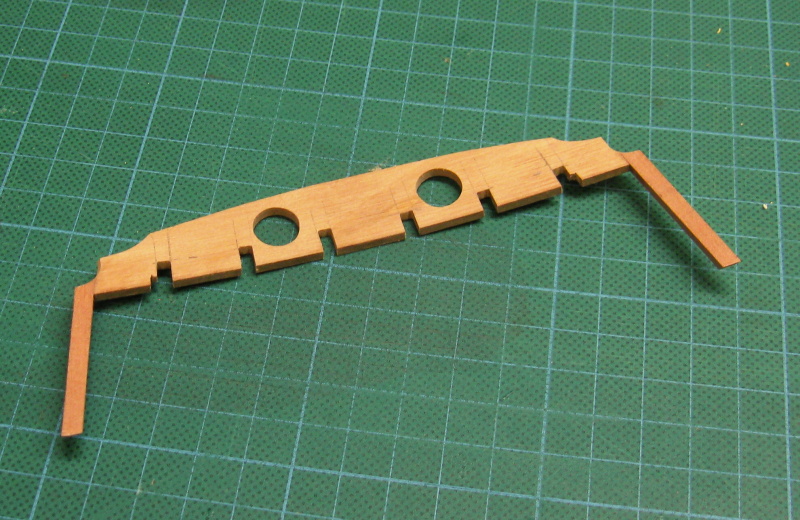
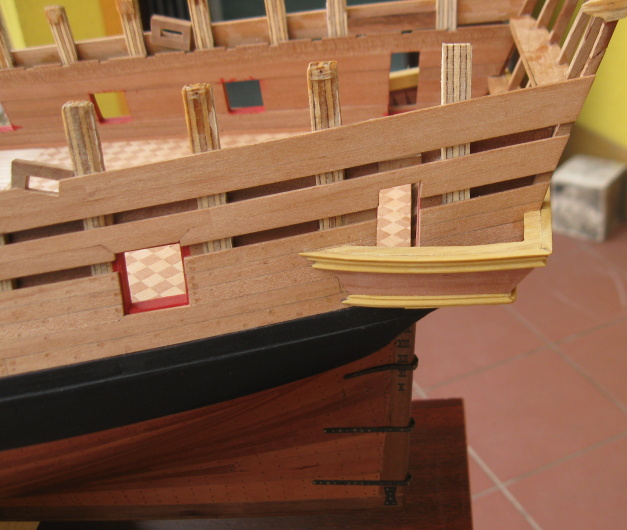
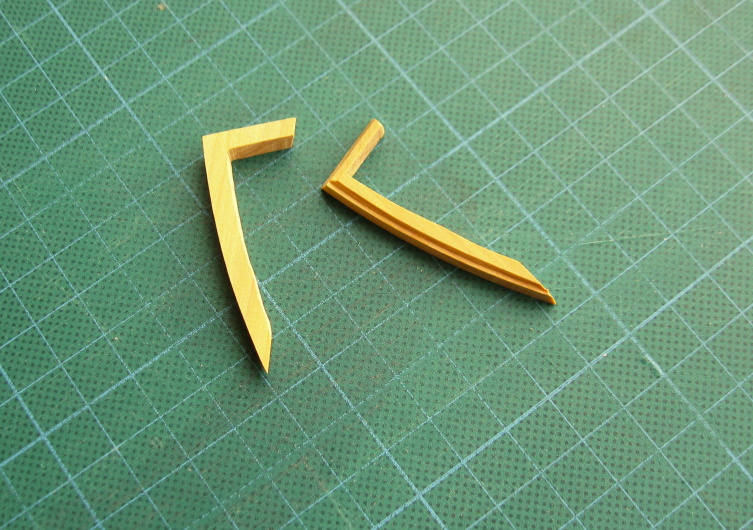
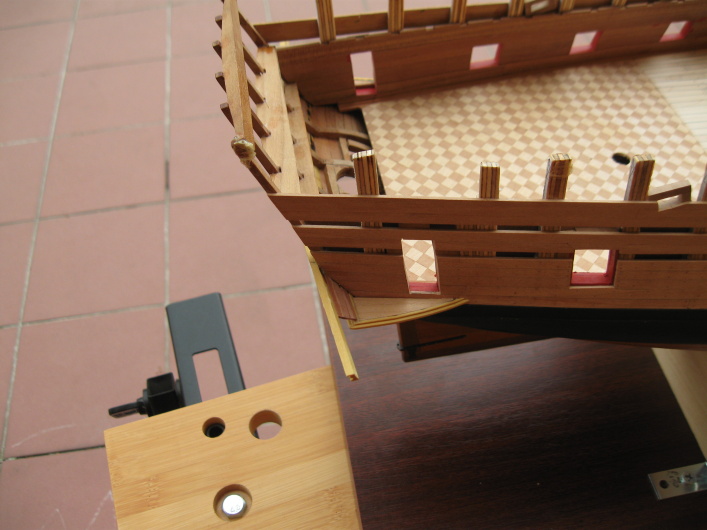
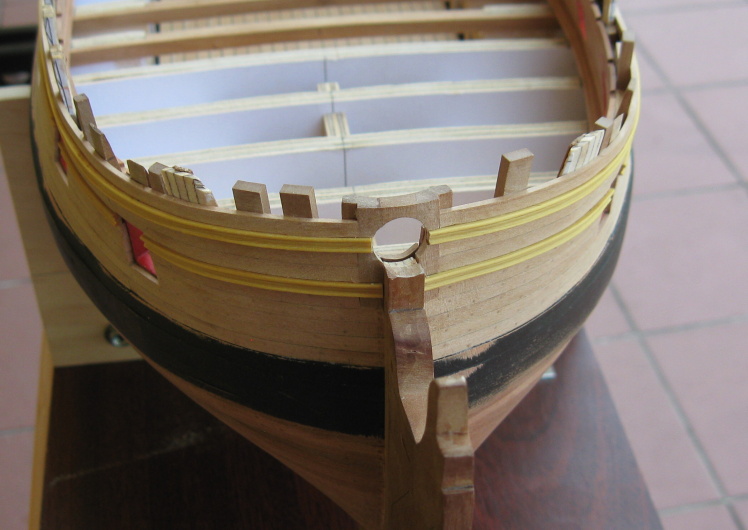
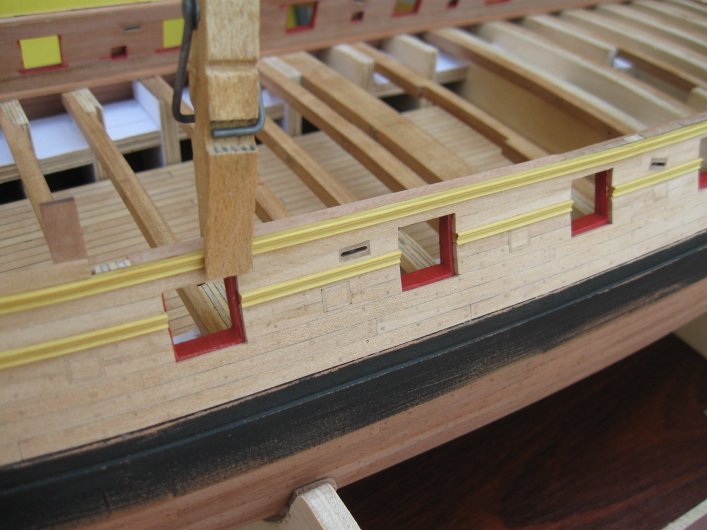
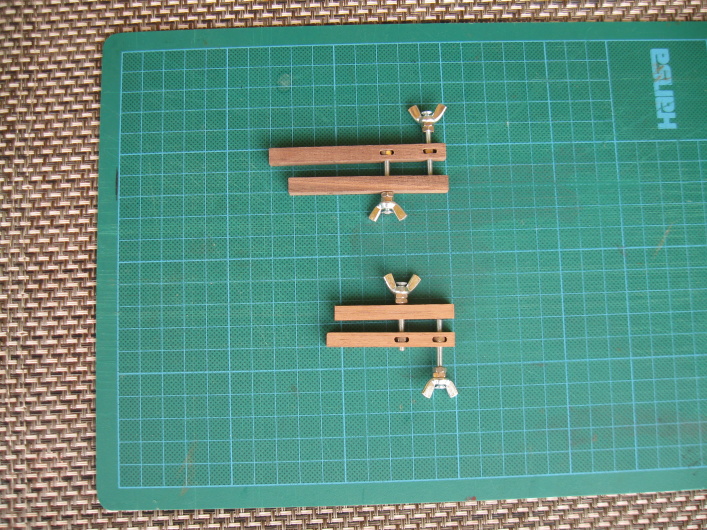
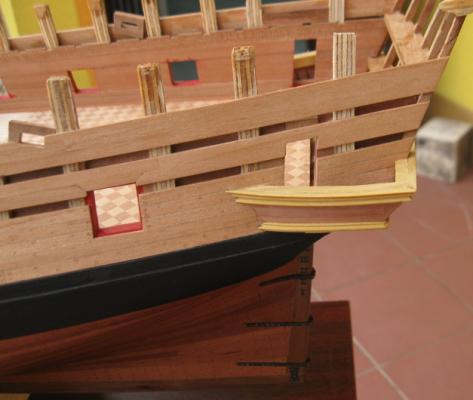
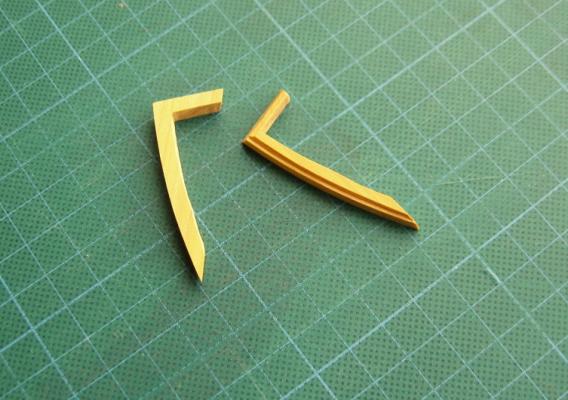
Thank you Jason! Moldings from boxwood - yet only temporary fastening.

- 625 replies
-
- 18
-
-
Pandora by marsalv - FINISHED - 1:52
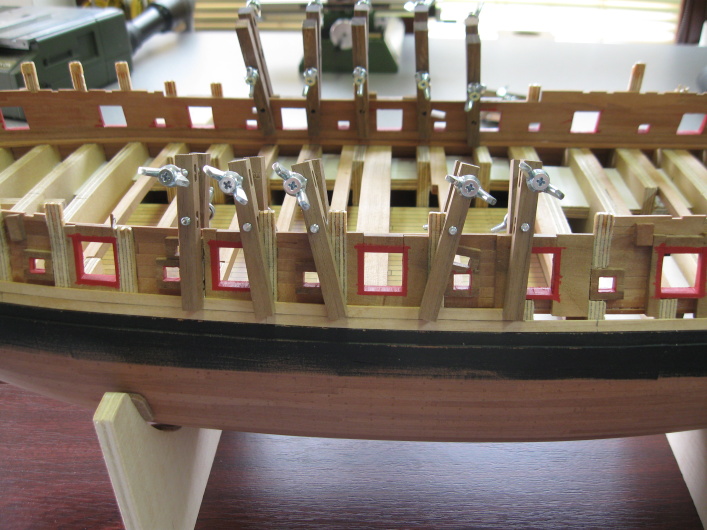
marsalv replied to marsalv's topic in - Build logs for subjects built 1751 - 1800
Thanks to all for nice comments. I added the top part of the planking above the wales with free space for decorative moldings.


- 625 replies
-
- 12
-
-
Pandora by marsalv - FINISHED - 1:52
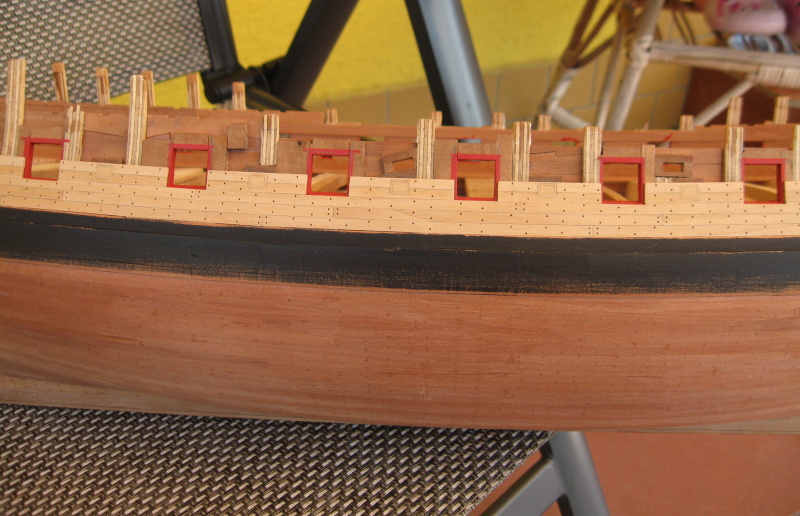
marsalv replied to marsalv's topic in - Build logs for subjects built 1751 - 1800
Thanks Greg, you are right - not hours but days . I finished the first part of planking above wales. This part will not be colored, so I used here the treenails.


- 625 replies
-
- 16
-
-
Pandora by marsalv - FINISHED - 1:52
marsalv replied to marsalv's topic in - Build logs for subjects built 1751 - 1800
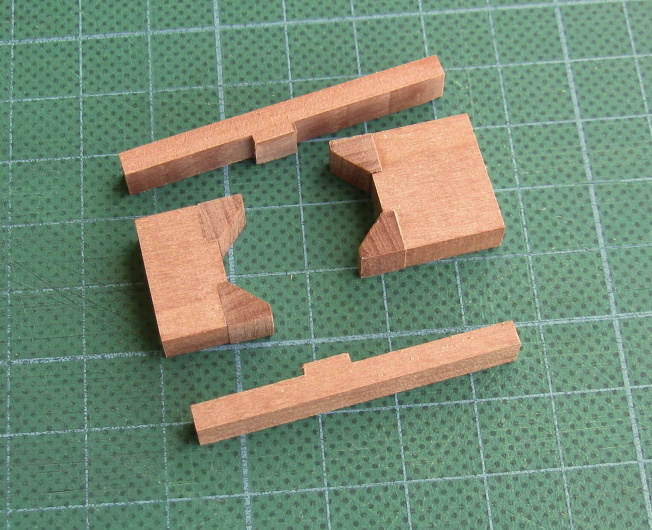
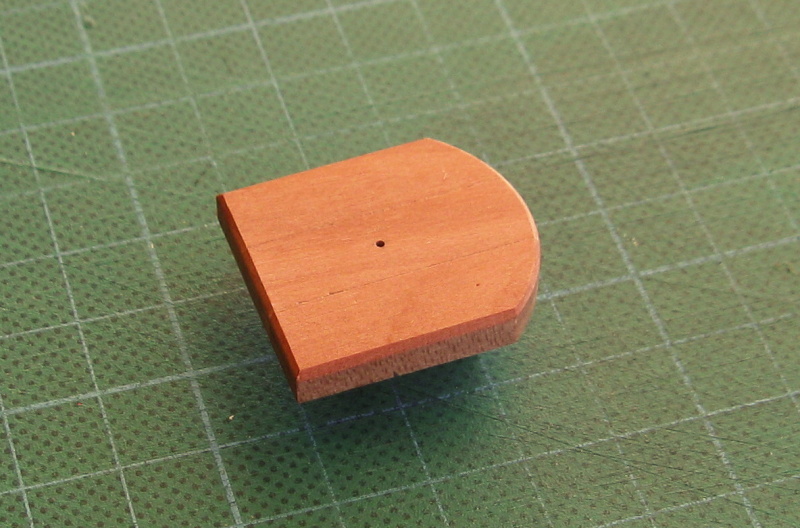
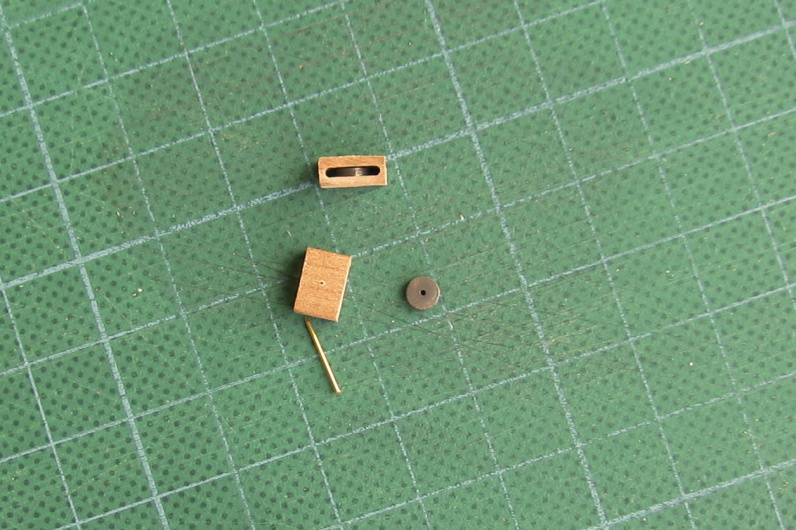
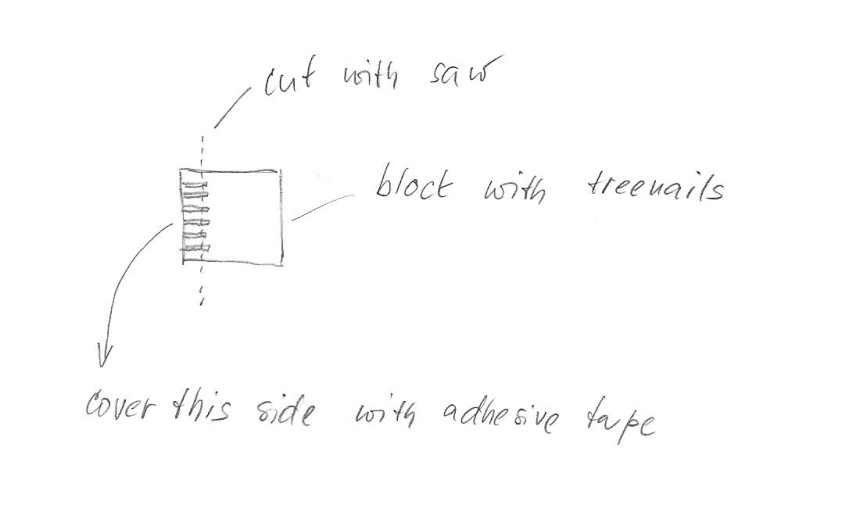
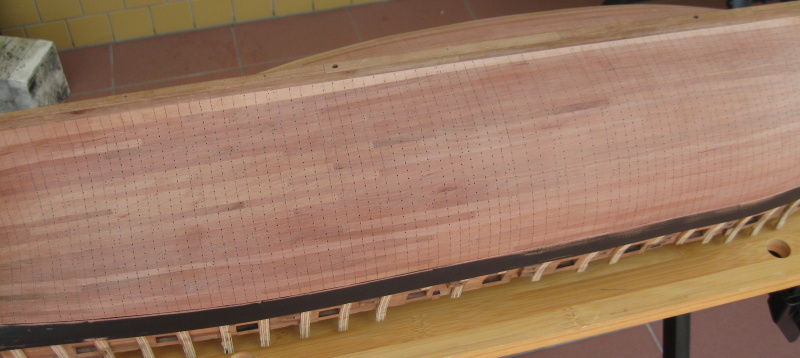
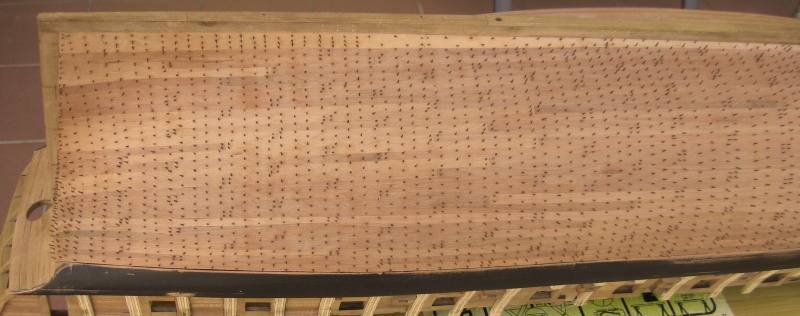
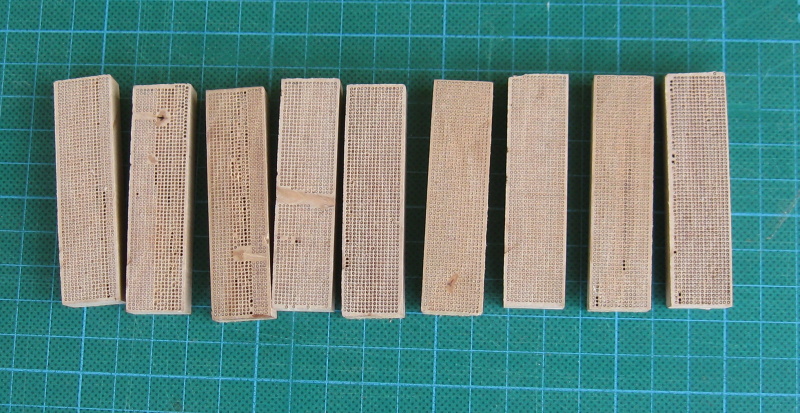
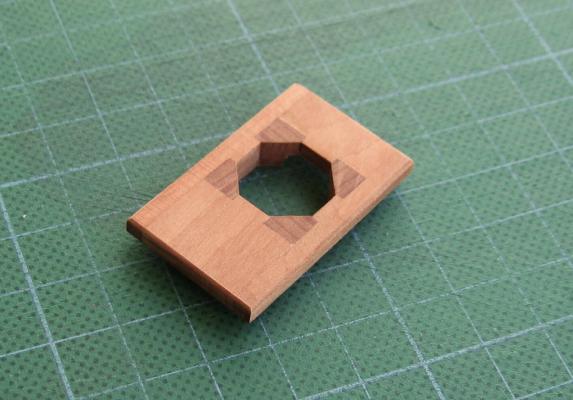
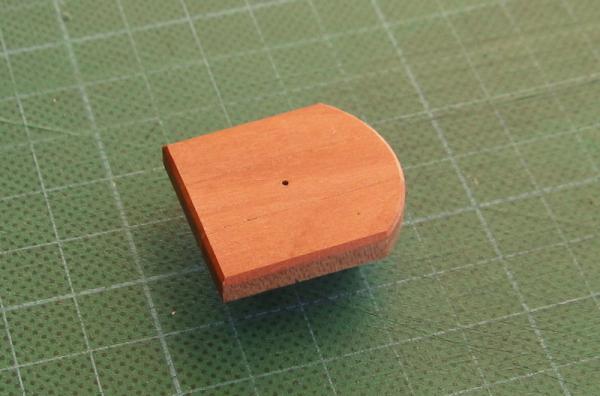
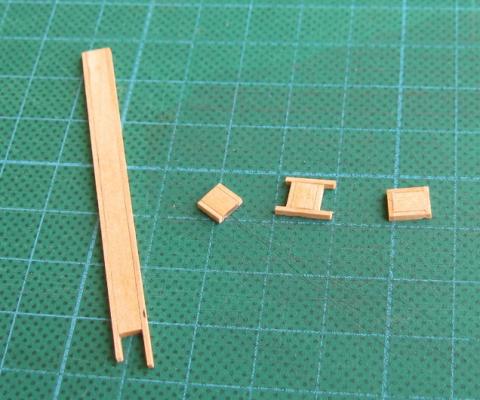
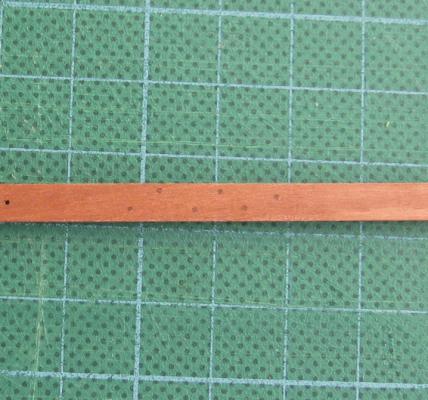
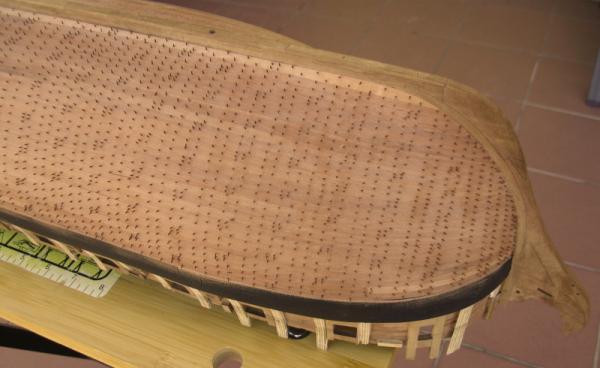
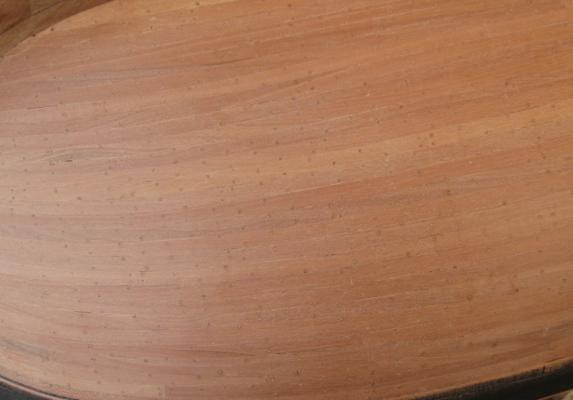
Thanks to all. The idea for making treenails with needle is not mine, I learned this method from russian modelers . To rtropp: see enclosed picture - front side of the block with treenail is covered with masking tape, block is cuted off with saw. After removing tape you can easily eject treenails from the block. After endless hours I finished the hull treenailing. Result will be more visible after waxing.


- 625 replies
-
- 19
-
-

-
Pandora by marsalv - FINISHED - 1:52
marsalv replied to marsalv's topic in - Build logs for subjects built 1751 - 1800
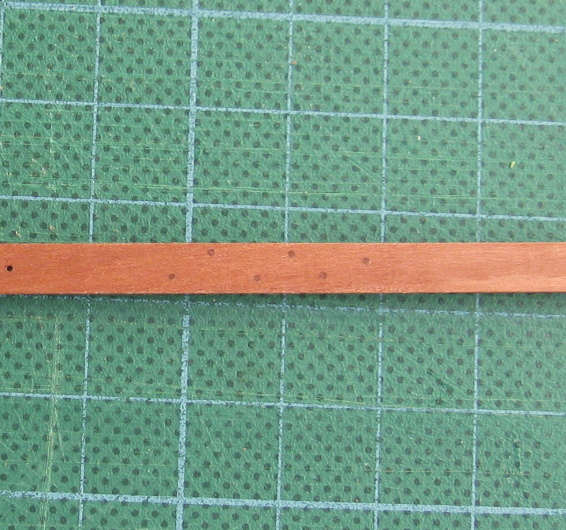
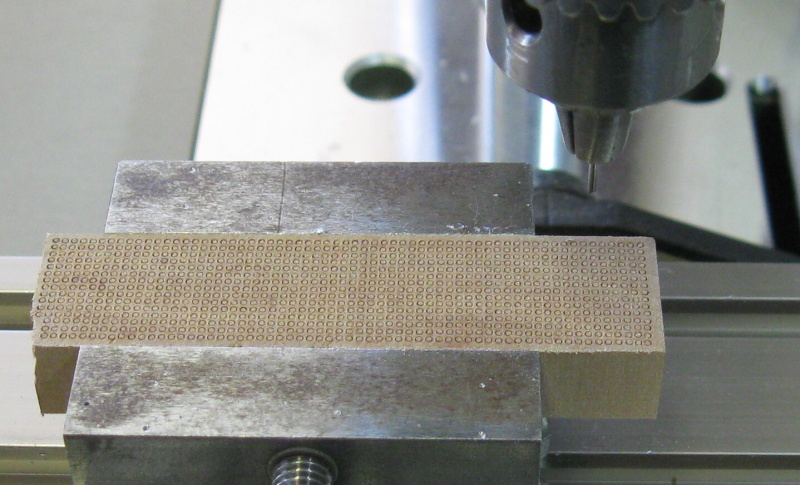
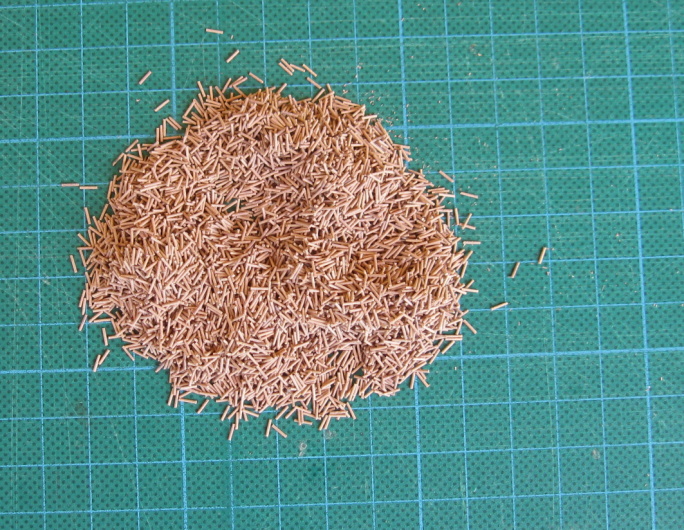
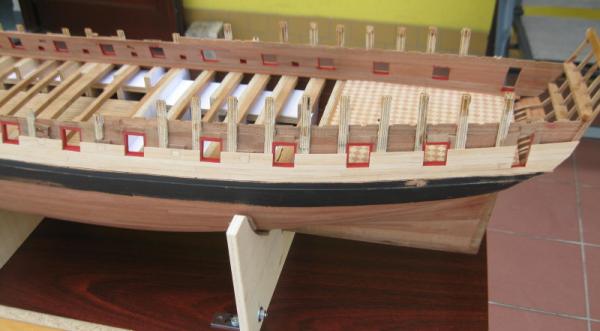
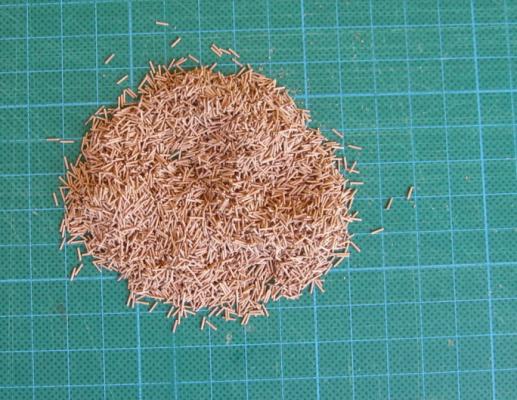
Thank you Greg. Although it is not historically accurate, I decided to leave the hull without copper plating. On the other hand, the whole hull will be with treenails. So I started the "mass" production of the pins (about 8,000 pieces).

- 625 replies
-
- 22
-
-
Pandora by marsalv - FINISHED - 1:52
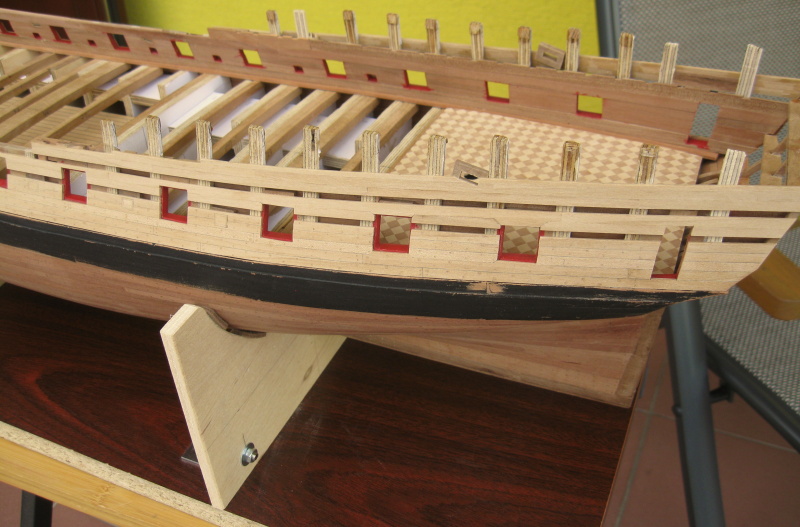
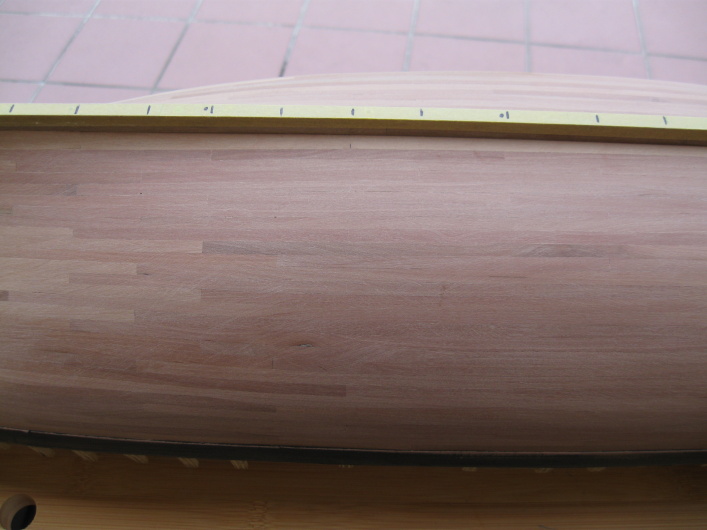
marsalv replied to marsalv's topic in - Build logs for subjects built 1751 - 1800
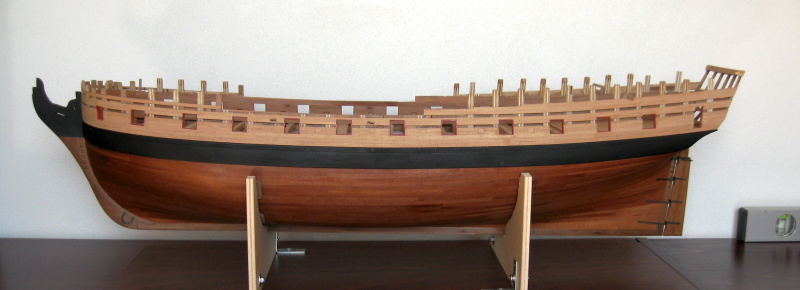
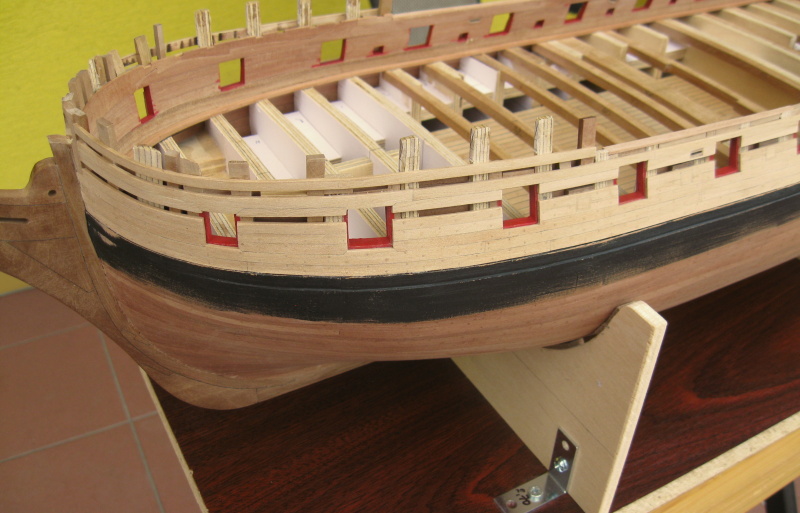
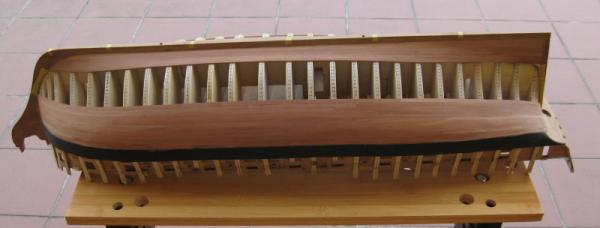
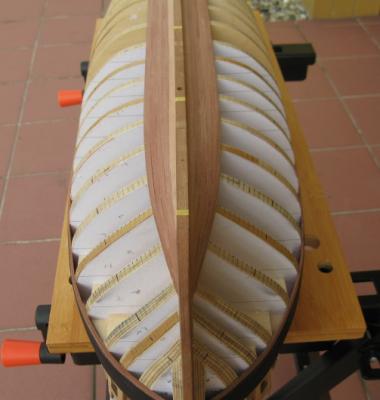
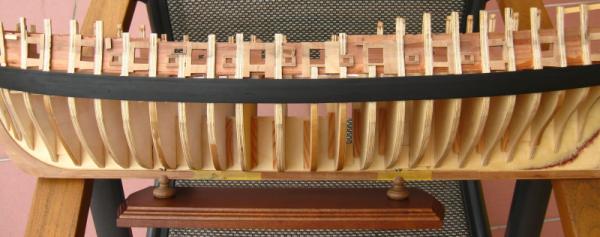
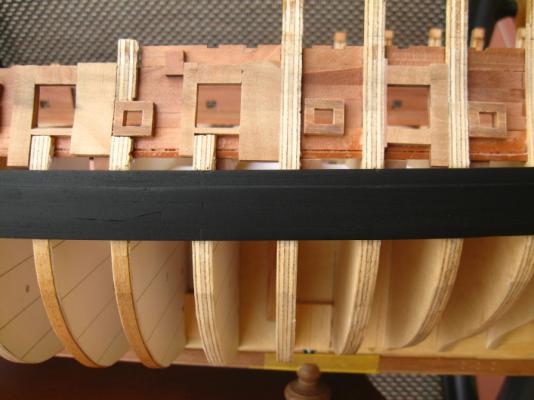
Thanks to all for nice comments . So after about a month of hard work is the planking of the hull under wales finally done.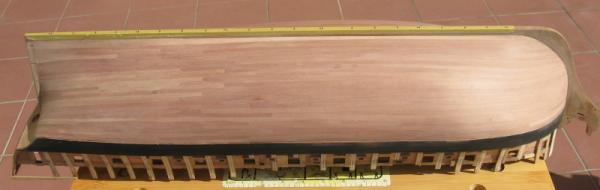


- 625 replies
-
- 19
-
-
Incredible work (as usual )
-
Pandora by marsalv - FINISHED - 1:52
marsalv replied to marsalv's topic in - Build logs for subjects built 1751 - 1800
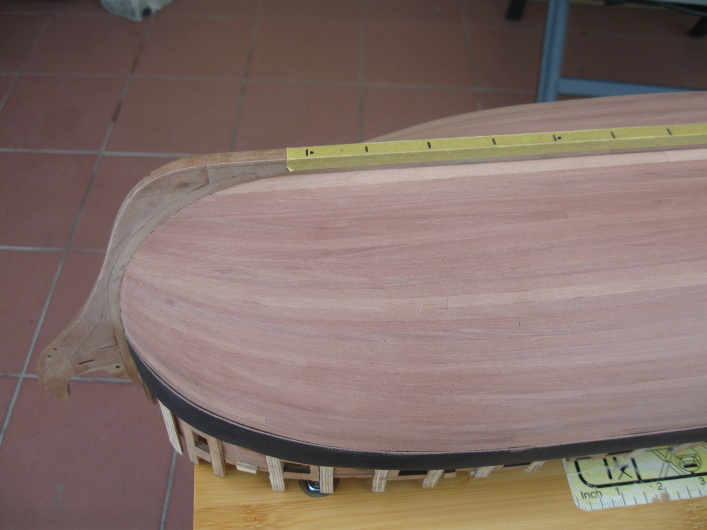
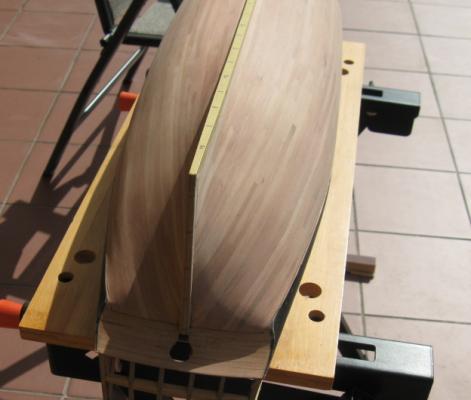
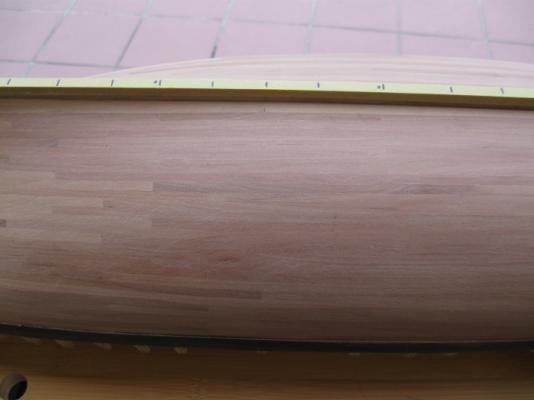
Thanks to all for nice comments. I slowly continue with planking, about one half is done.


- 625 replies
-
- 22
-
-
Pandora by marsalv - FINISHED - 1:52
marsalv replied to marsalv's topic in - Build logs for subjects built 1751 - 1800
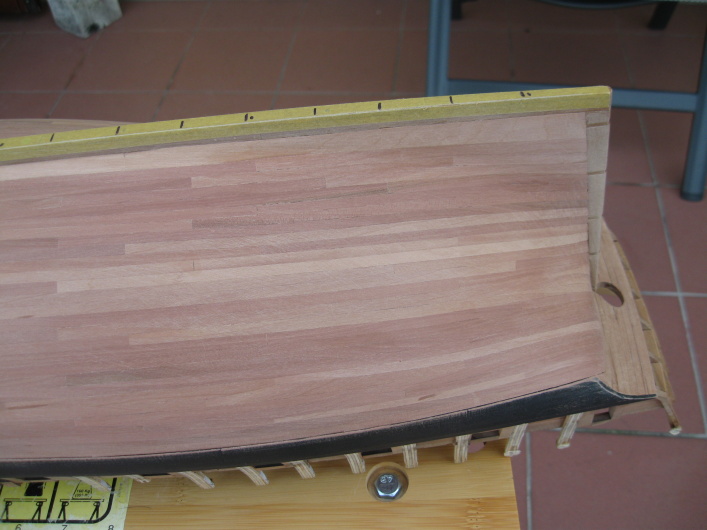
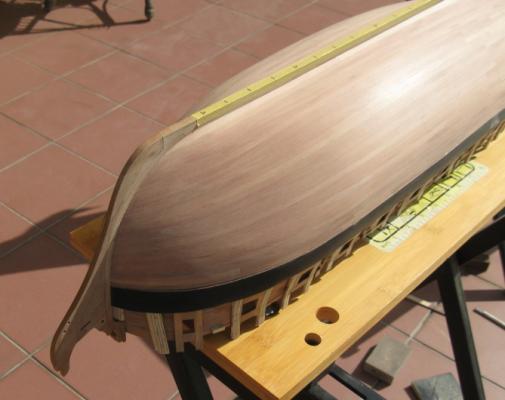
Thank you Greg . I continue with planking from the opposite side.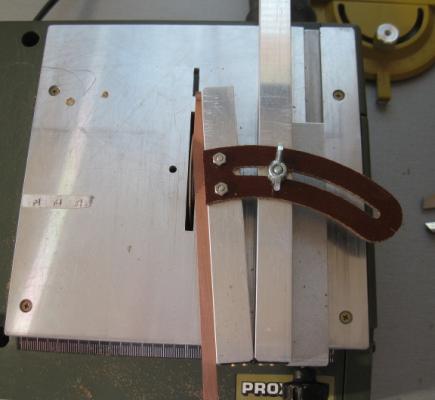


- 625 replies
-
- 16
-
-
Pandora by marsalv - FINISHED - 1:52
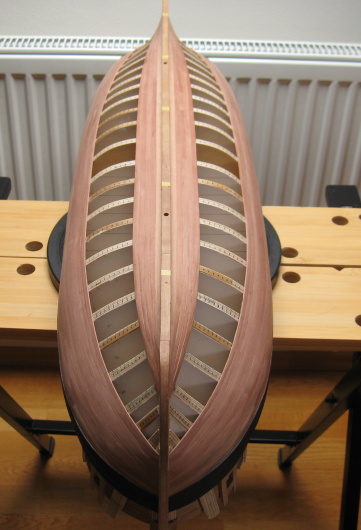
marsalv replied to marsalv's topic in - Build logs for subjects built 1751 - 1800
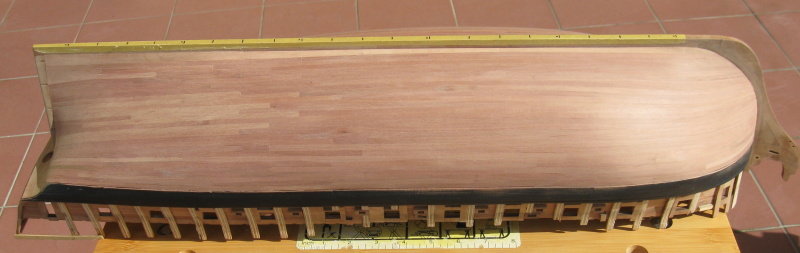
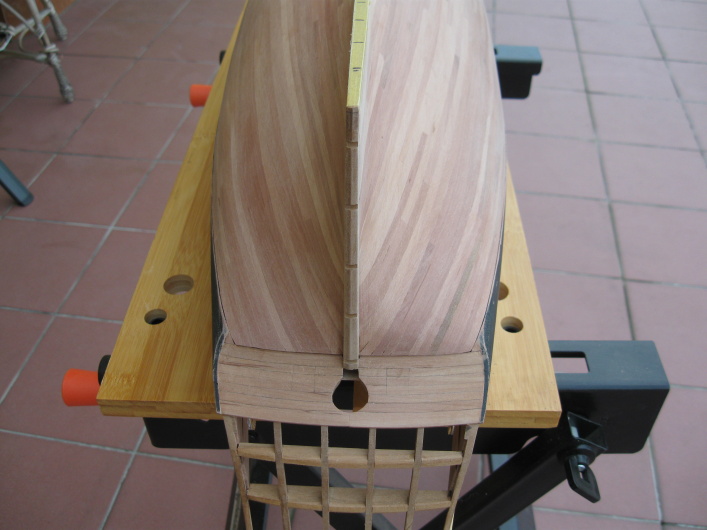
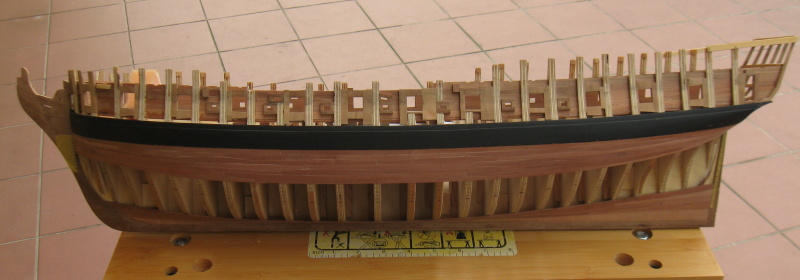
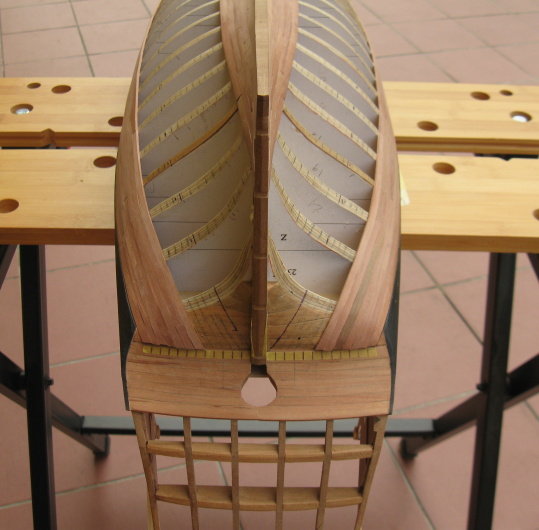
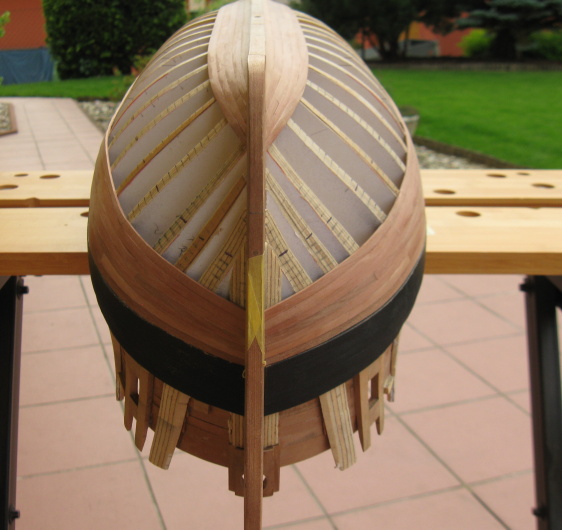
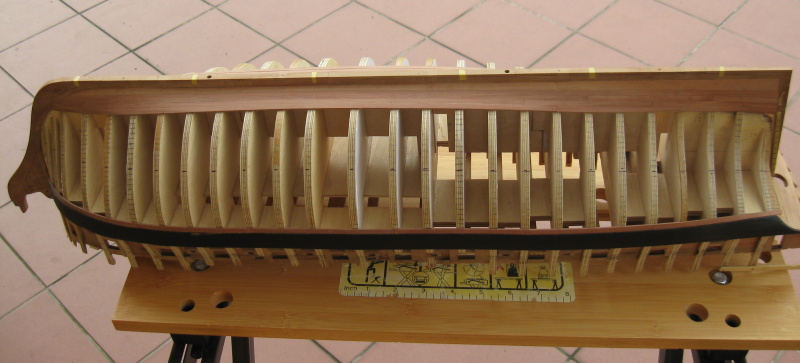
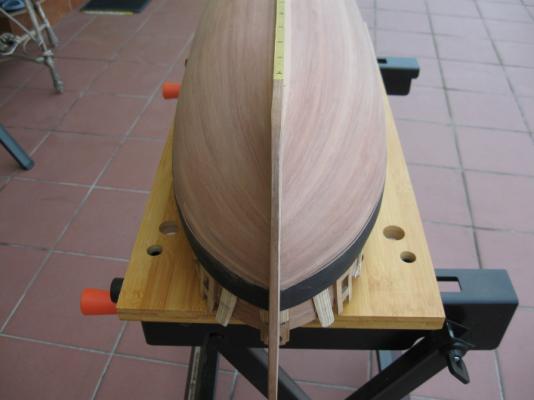
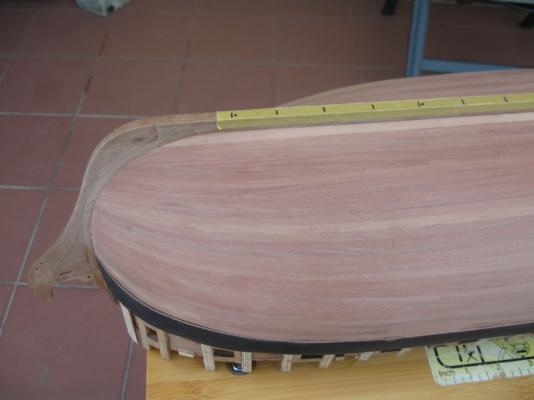
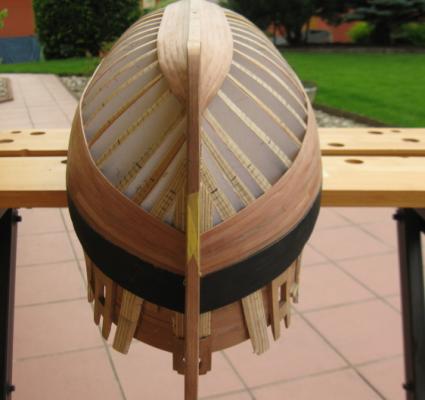
So I began planking the hull. It's my first attempt planking in one layer. I'll see what happens, and depending on the result I will decide whether to make copper protection or not. I started with a few plank in keel area.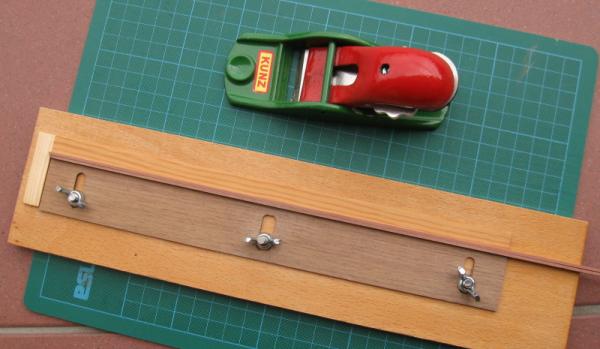


- 625 replies
-
- 15
-
-
Pandora by marsalv - FINISHED - 1:52
marsalv replied to marsalv's topic in - Build logs for subjects built 1751 - 1800
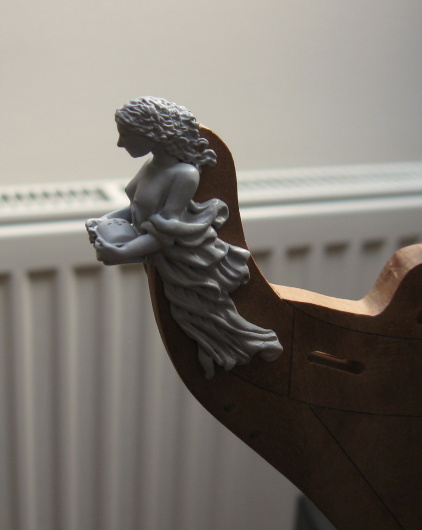
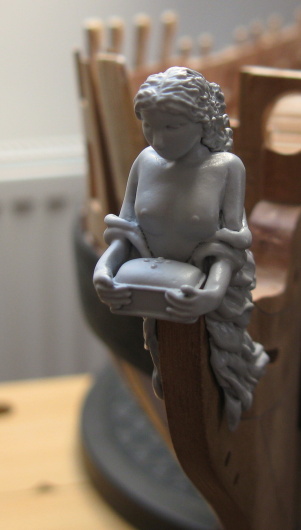
Thanks to all . To amateur: I wanted to build a model in scale 1:48. But due to space limitation I chose a compromise scale 1:52. Now is the time to show the figurehead which made for me Doris (for those who do not know her work http://modelshipworld.com/index.php/topic/854-royal-caroline-by-doris-card-1749-140/?hl=doris).I appreciate very much this assistance because my attempt would probably ended very pathetic.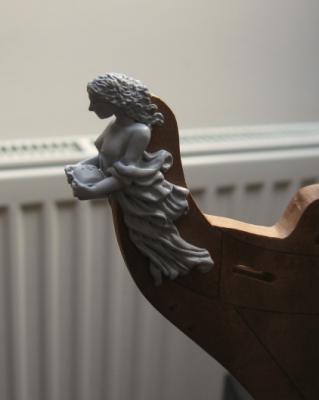

- 625 replies
-
- 17
-
-
Pandora by marsalv - FINISHED - 1:52
marsalv replied to marsalv's topic in - Build logs for subjects built 1751 - 1800
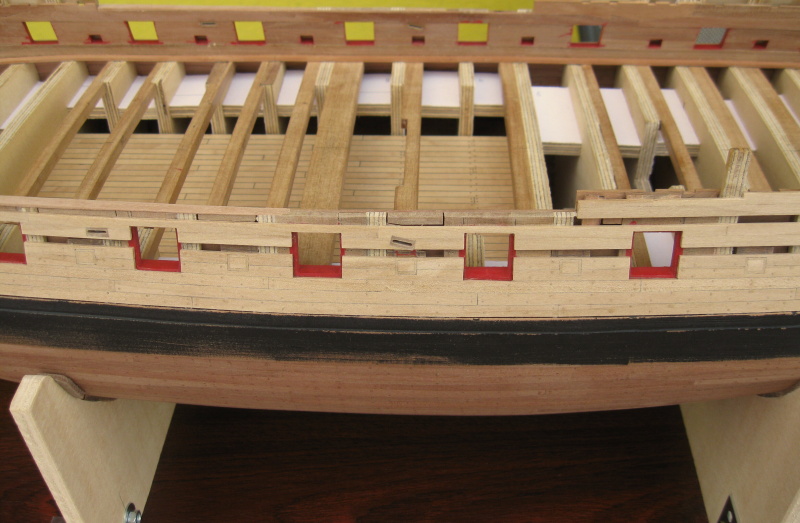
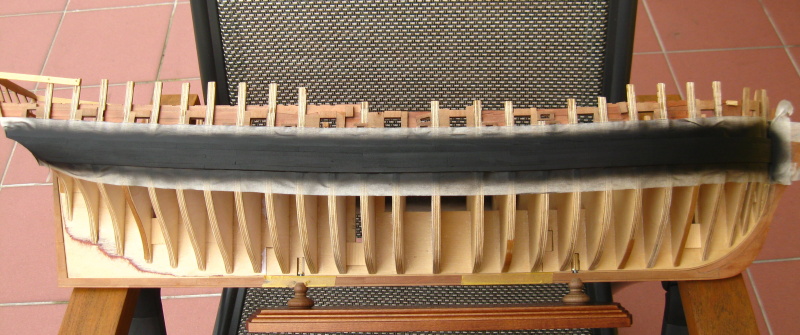
So I decided to continue on Pandora. I solved before winter whether to use color or not. Finally, the choice fell on a partially colored model and started to spray wales. On the first attempt with airbrush it does not look bad.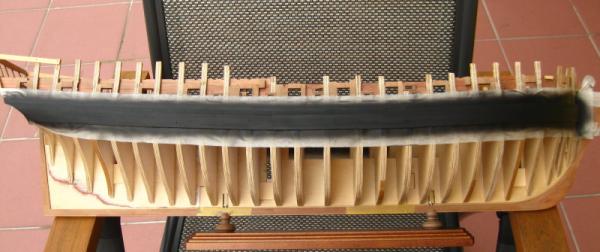
- 625 replies
-
- 16
-
-
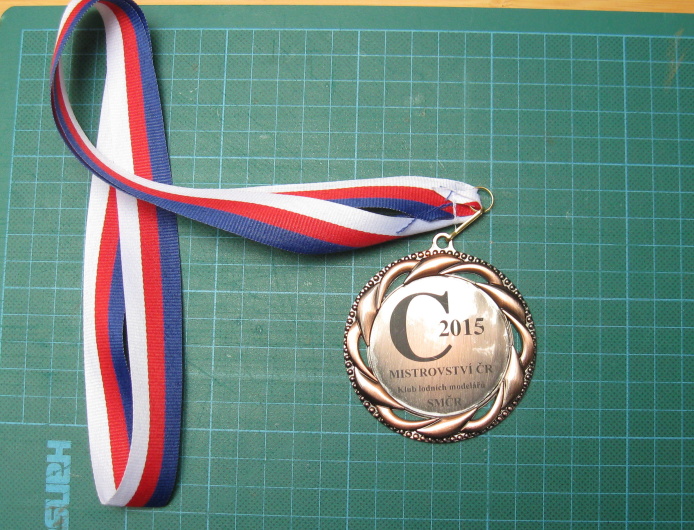
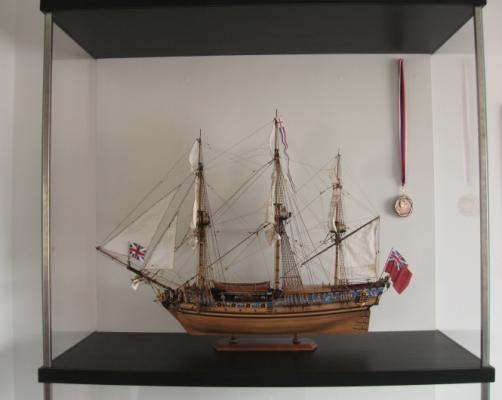
So I returned from my first participation in the national championship, where I won the bronze medal. Thanks to everyone on this forum for your support. The model is placed in a display case, and now I am going into the continuation of another model - http://modelshipworld.com/index.php/topic/7073-pandora-152-by-marsalv/?hl=marsalv

- 206 replies
-
- 6
-
-
-
- royal caroline
- panart
- (and 1 more)