marsalv
-
Posts
620 -
Joined
-
Last visited
Content Type
Profiles
Forums
Gallery
Events
Everything posted by marsalv
-
Pandora by marsalv - FINISHED - 1:52
marsalv replied to marsalv's topic in - Build logs for subjects built 1751 - 1800
Thank you. After longer break a little step forward.


- 625 replies
-
- 24
-

-
Pandora by marsalv - FINISHED - 1:52
marsalv replied to marsalv's topic in - Build logs for subjects built 1751 - 1800
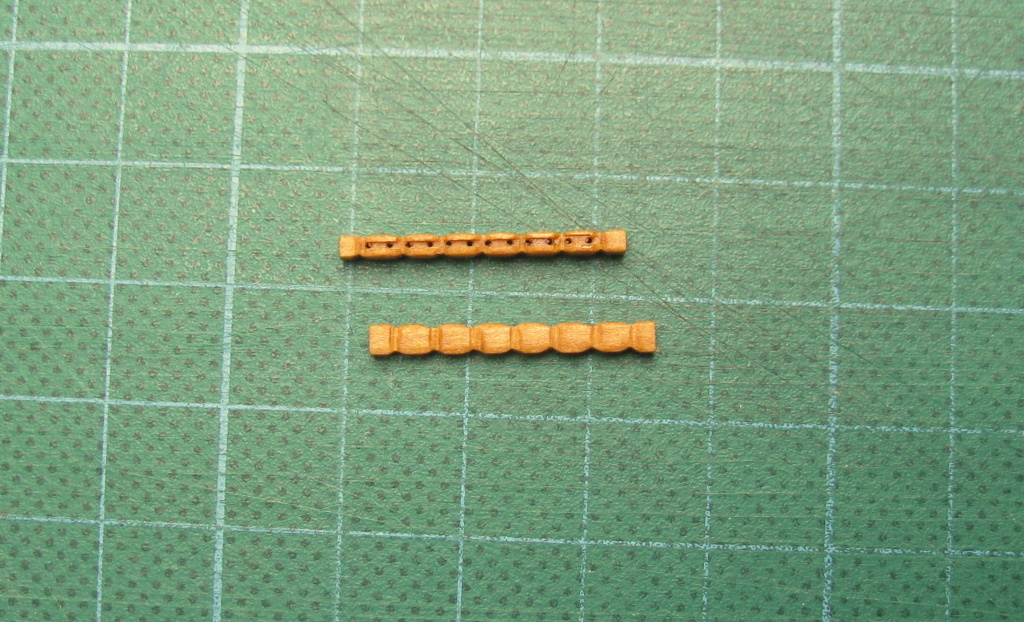
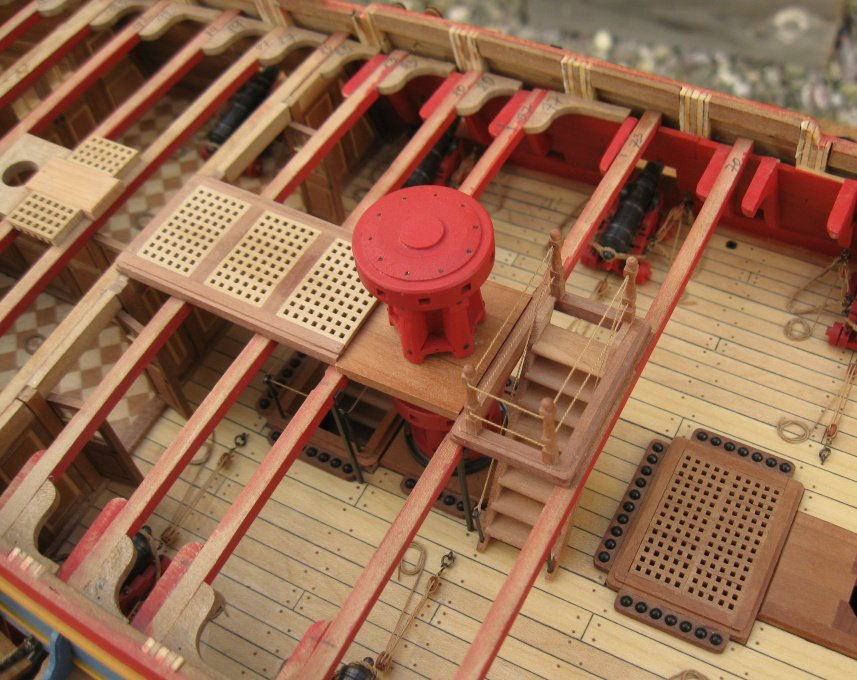
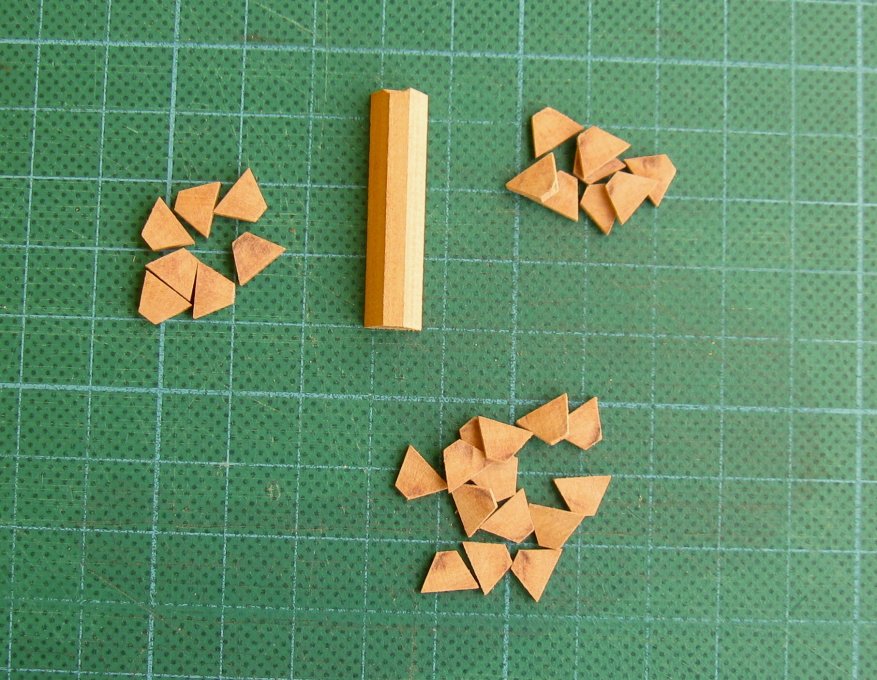
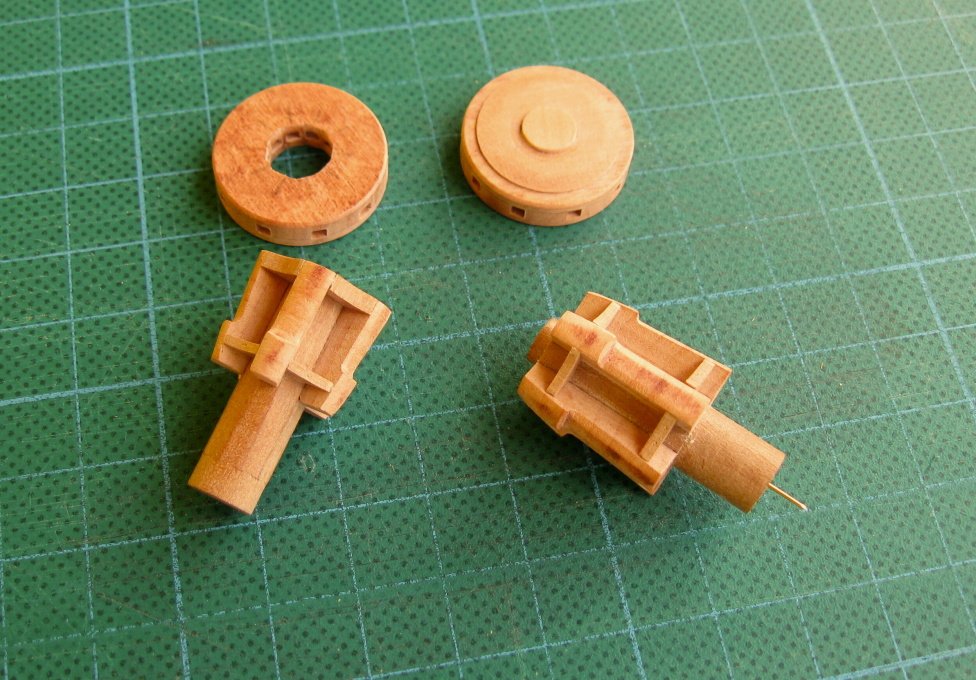
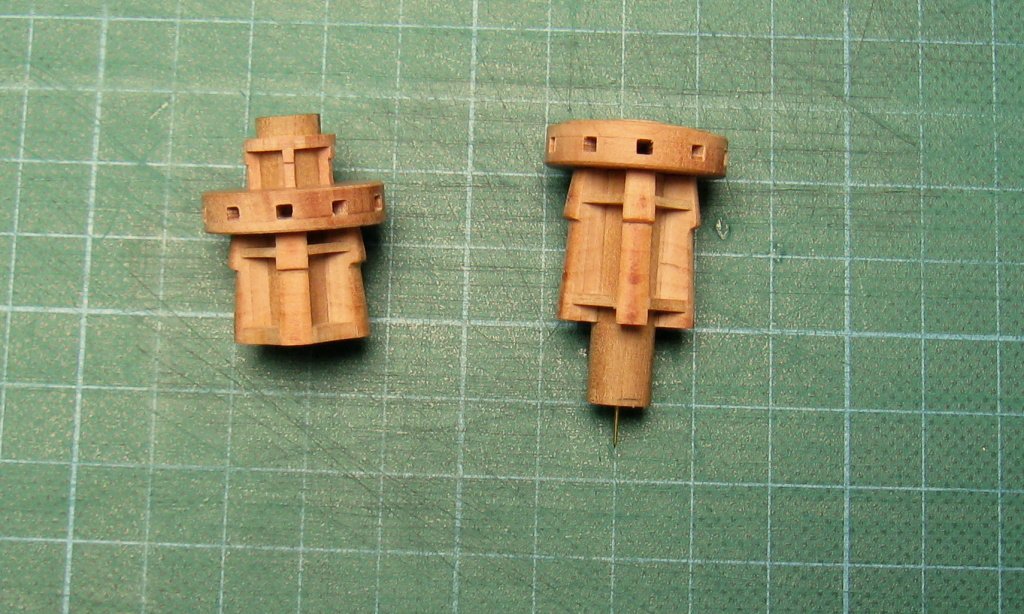
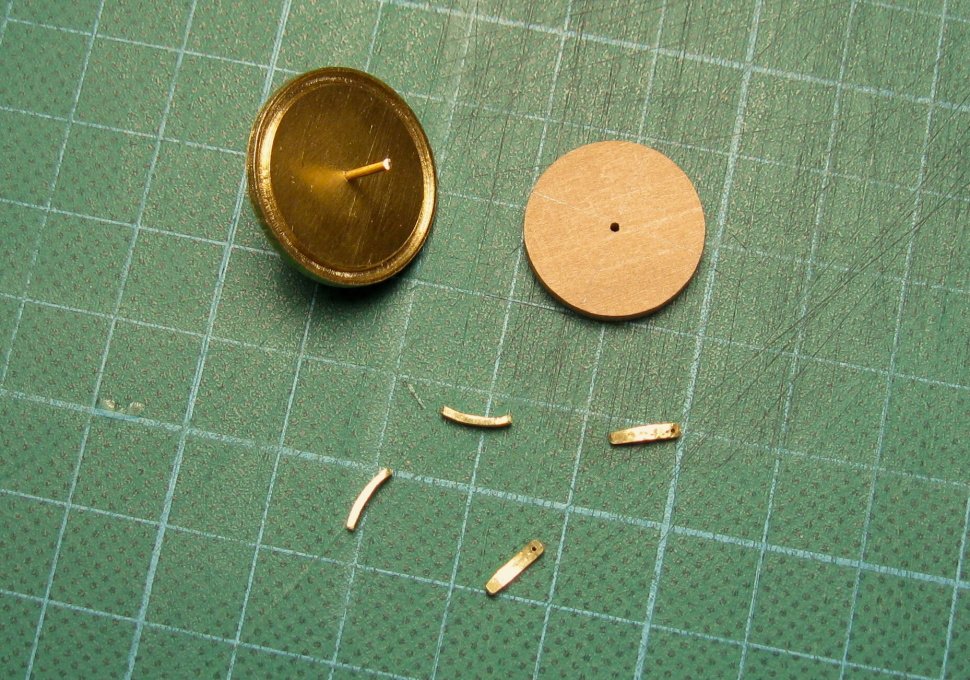
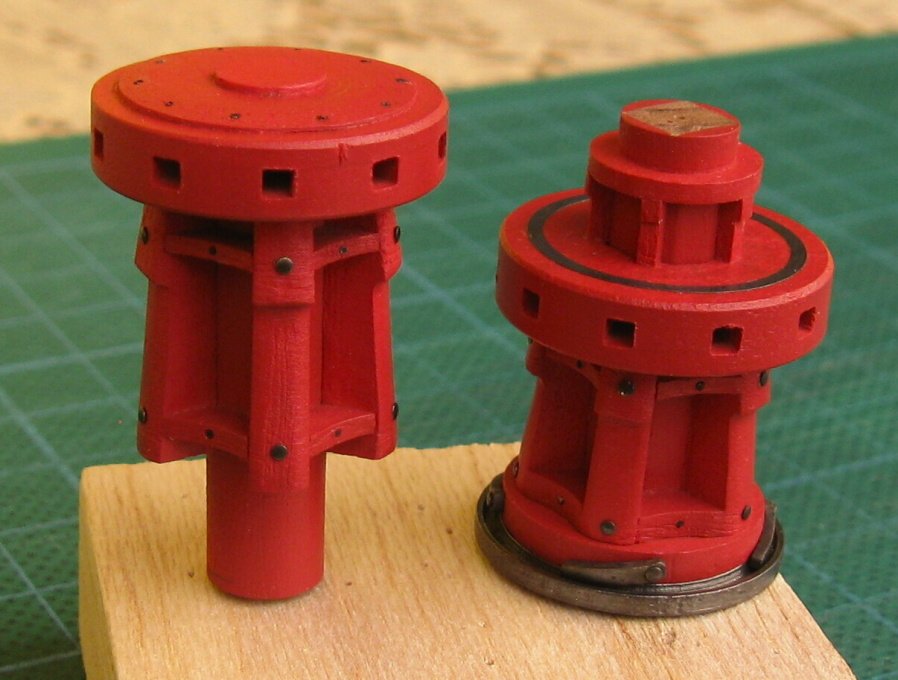
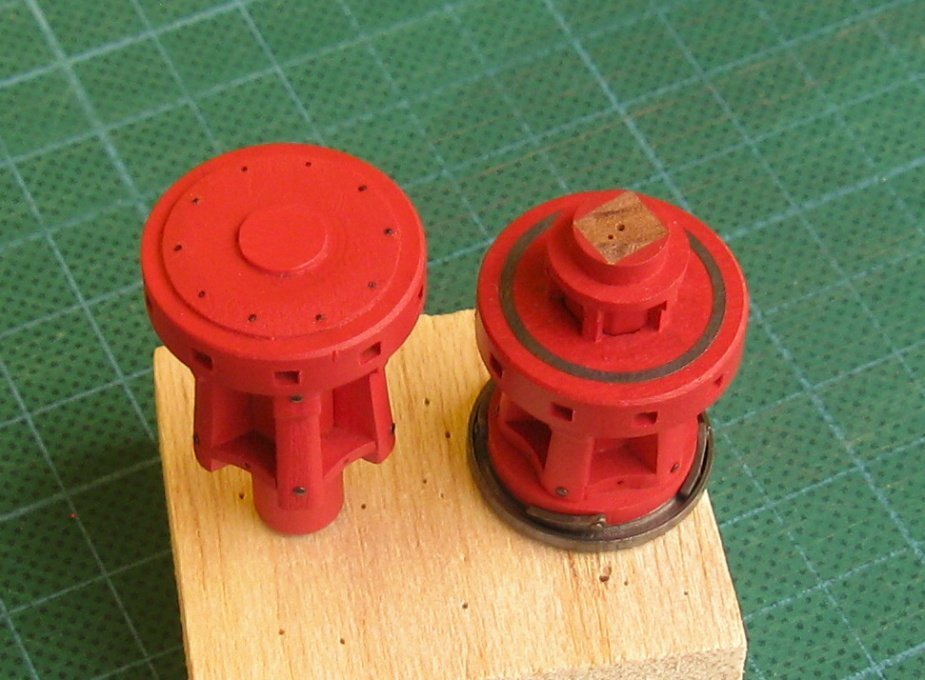
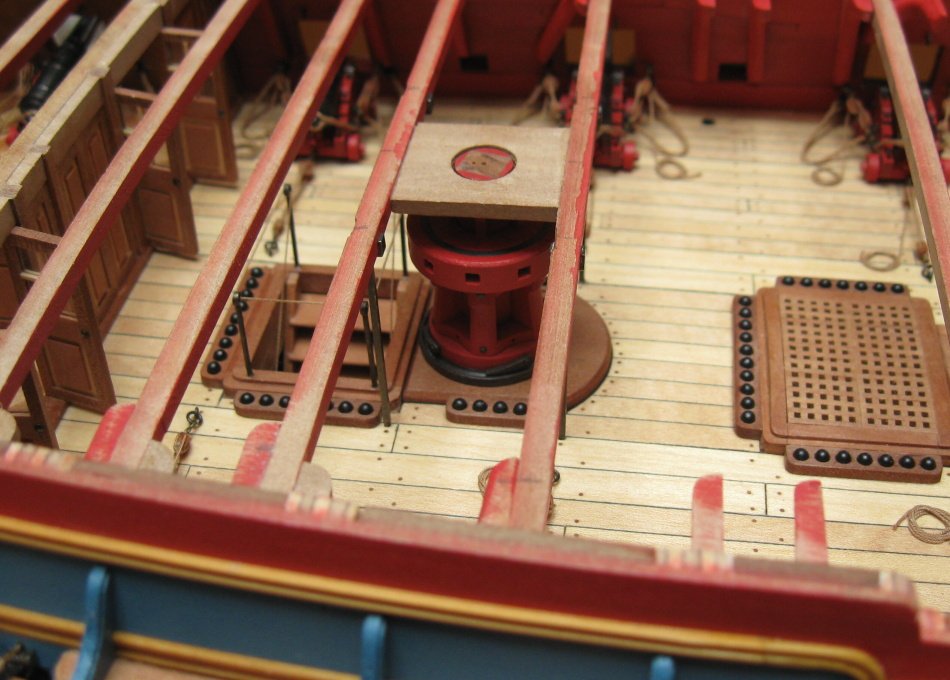
According to the information that I obtained, only the upper capstan was used for weighing the anchor. The lower capstan was propably used only for the control of messenger rope and in case of upper capstan damage (only exceptionally). In this case, it was necessary to remove the pillars and ladder (both were removable). -
Pandora by marsalv - FINISHED - 1:52
marsalv replied to marsalv's topic in - Build logs for subjects built 1751 - 1800
Thanks to all. Next part - lower and upper capstan.

- 625 replies
-
- 22
-
-
Pandora by marsalv - FINISHED - 1:52
marsalv replied to marsalv's topic in - Build logs for subjects built 1751 - 1800
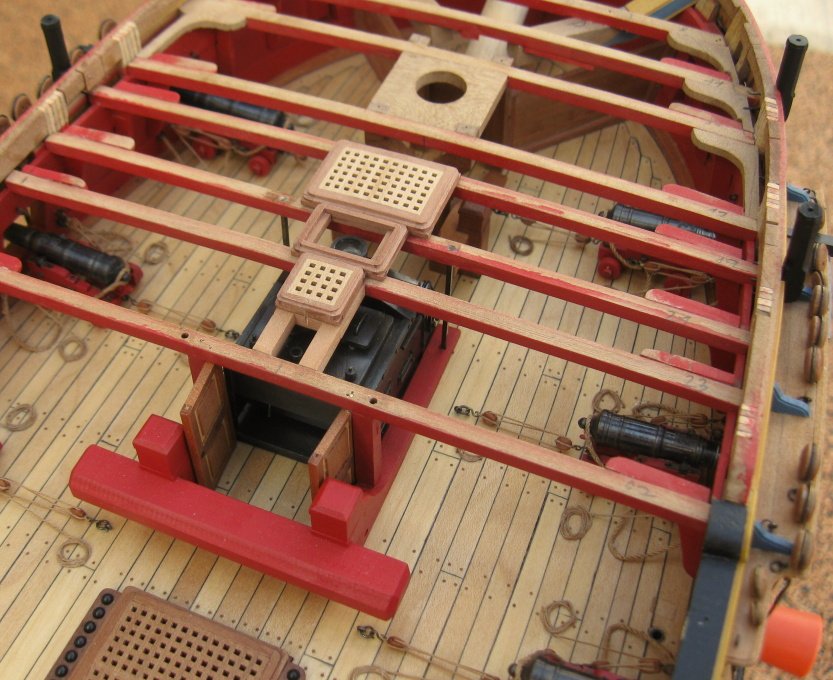
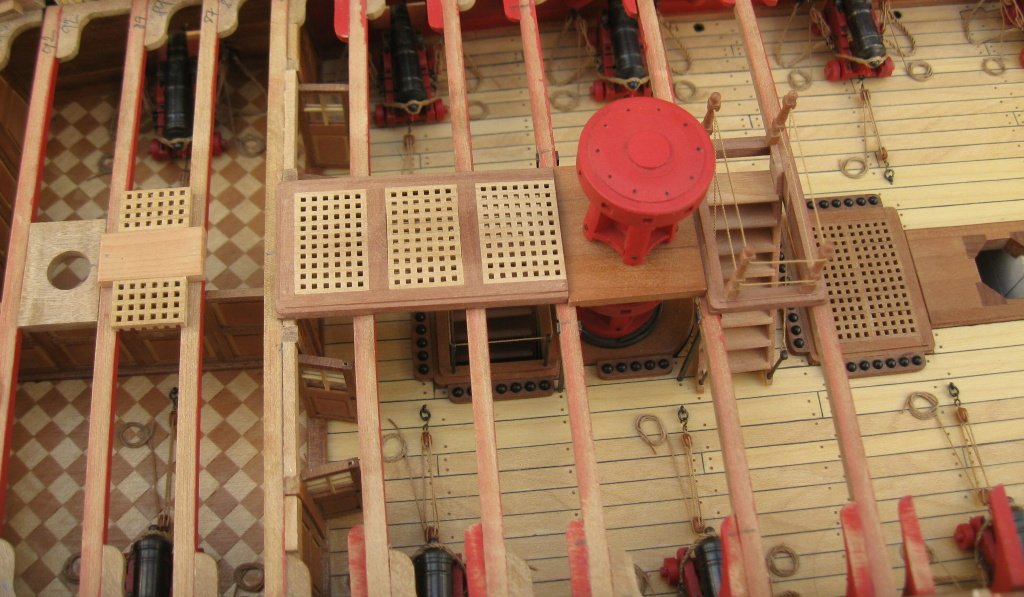
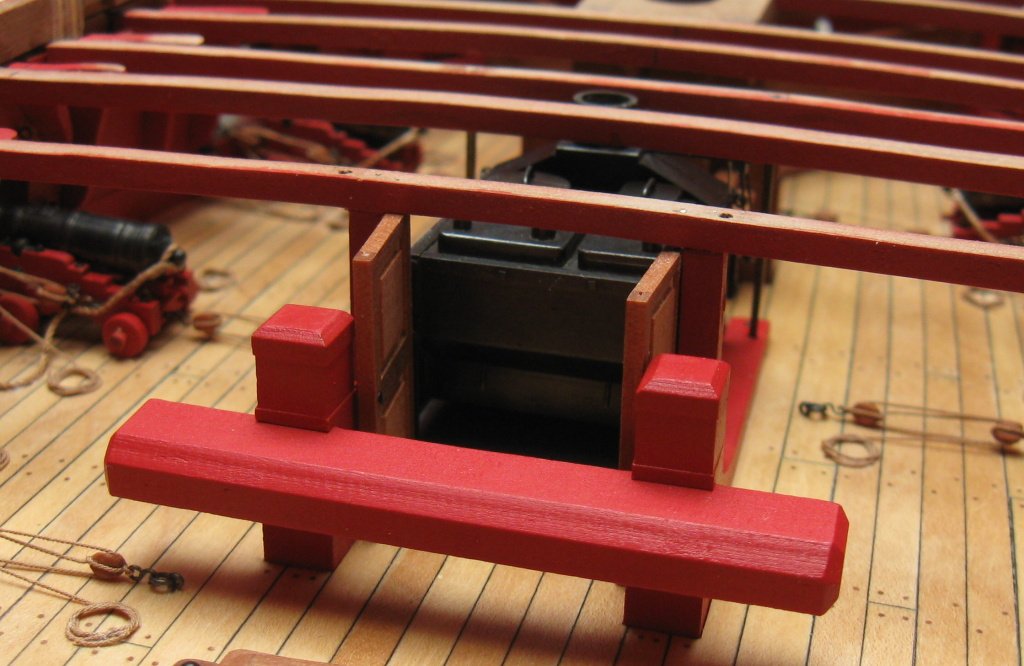
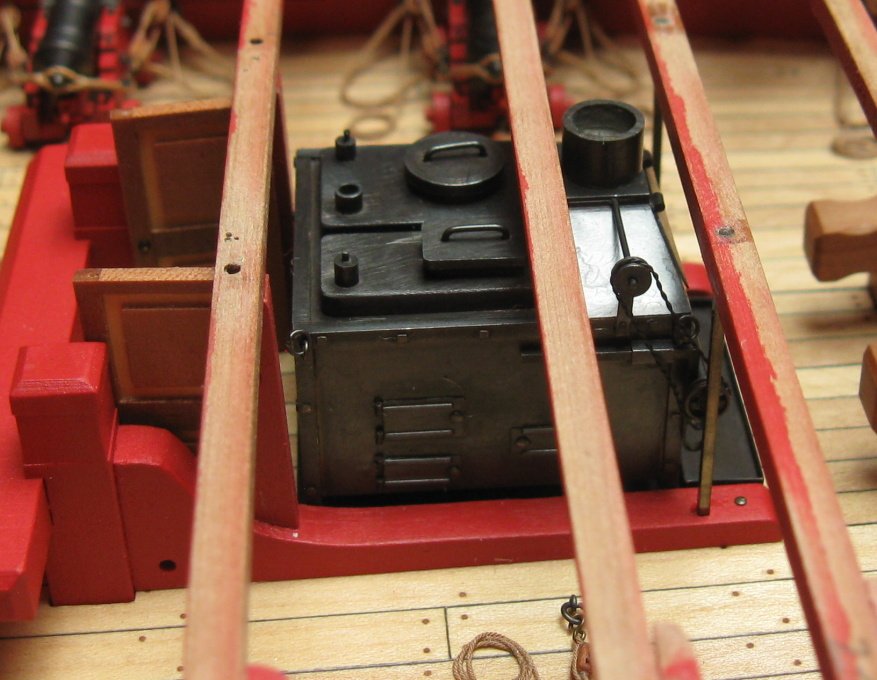
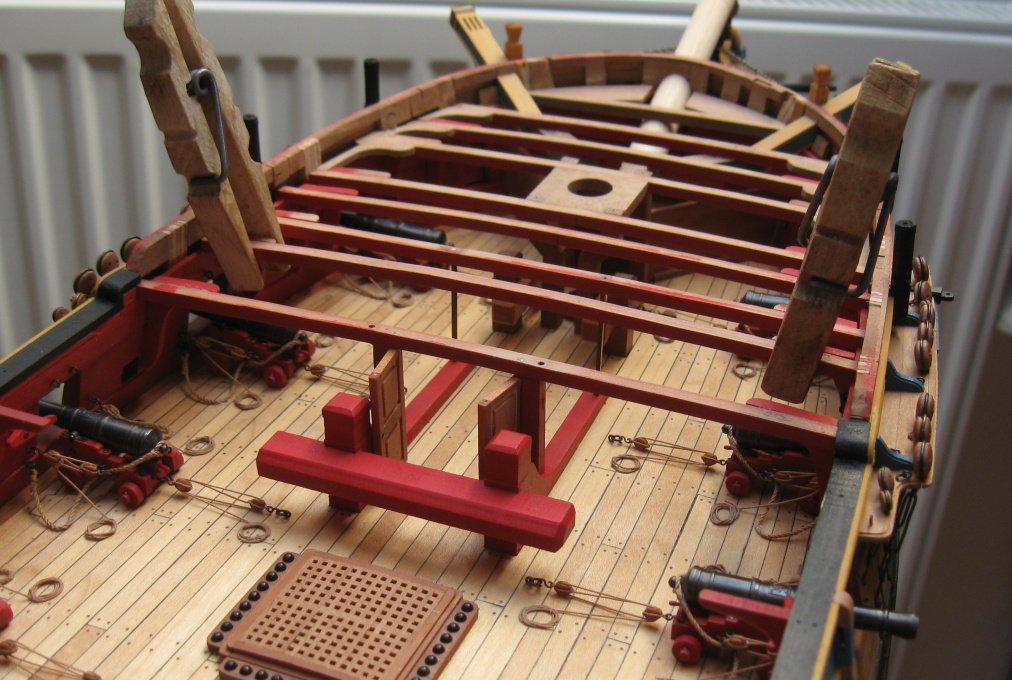
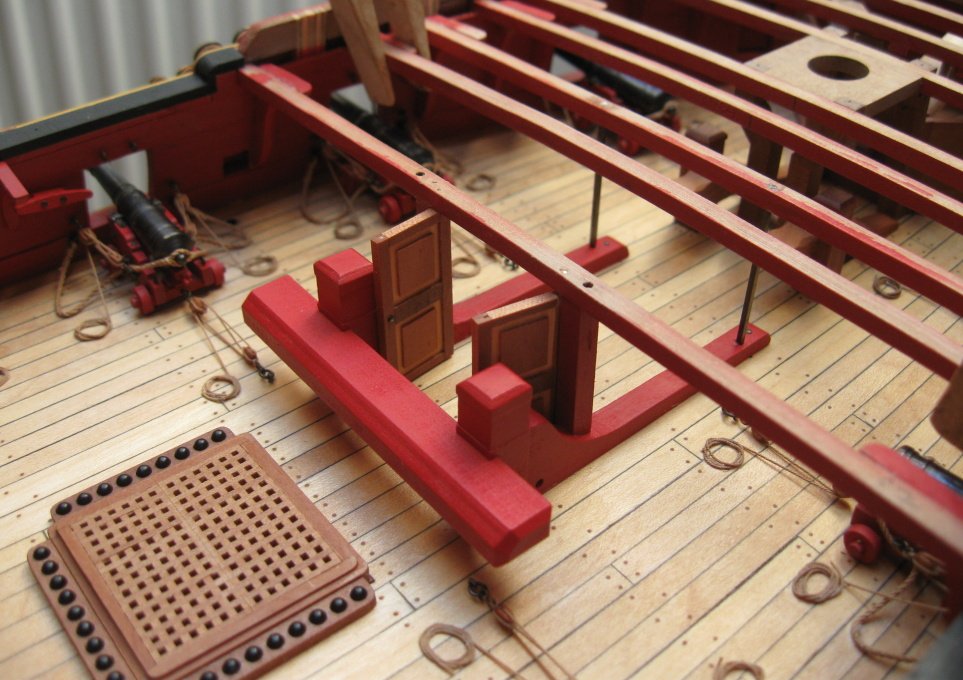
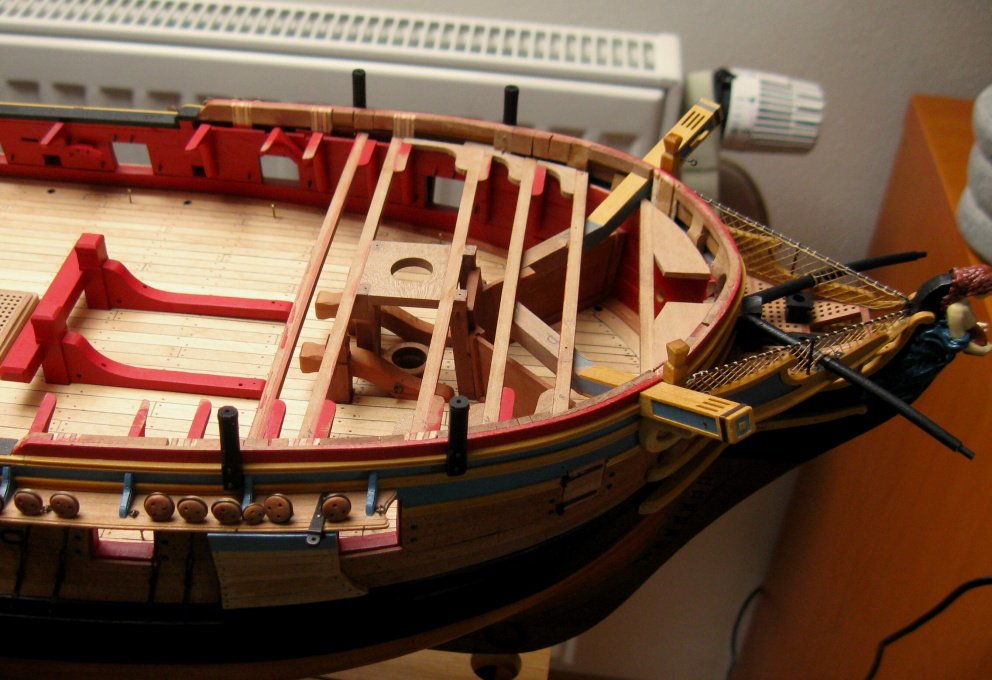
Thank you very much guys. Denis - the red frame in front of the stove is called riding bitts. Citation from the Peter Goodwin´s book The Construction and Fitting of English Man of War: These large timbers acted as securing point for cables which held the ship while riding at anchor. And why is the stove so close to the riding bitts - I have no idea. Some new parts - ladders.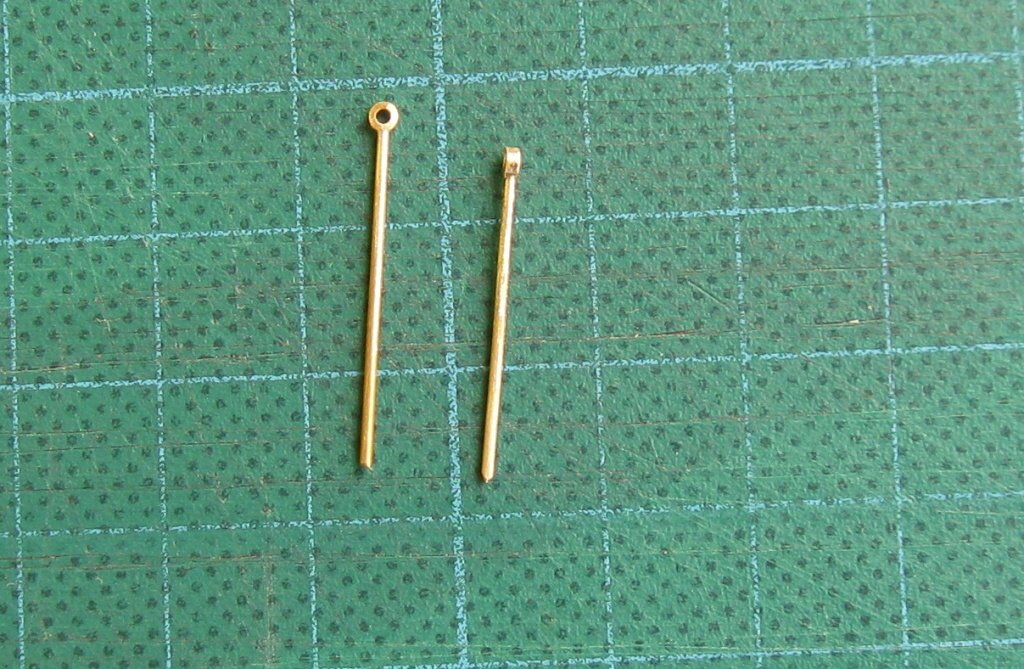

- 625 replies
-
- 28
-
-
Pandora by marsalv - FINISHED - 1:52
marsalv replied to marsalv's topic in - Build logs for subjects built 1751 - 1800
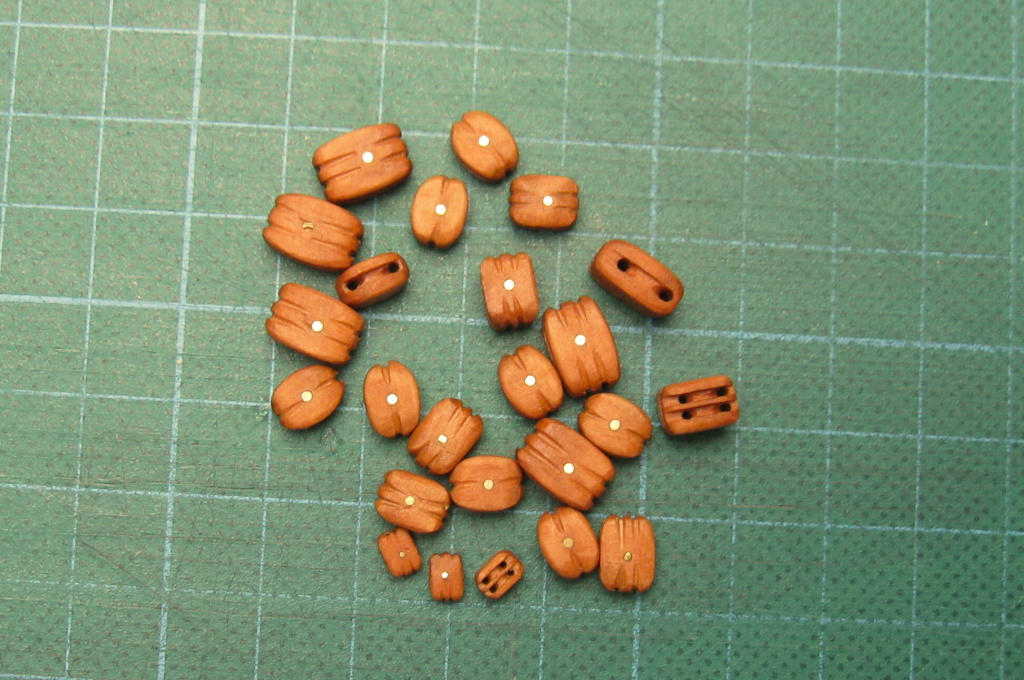
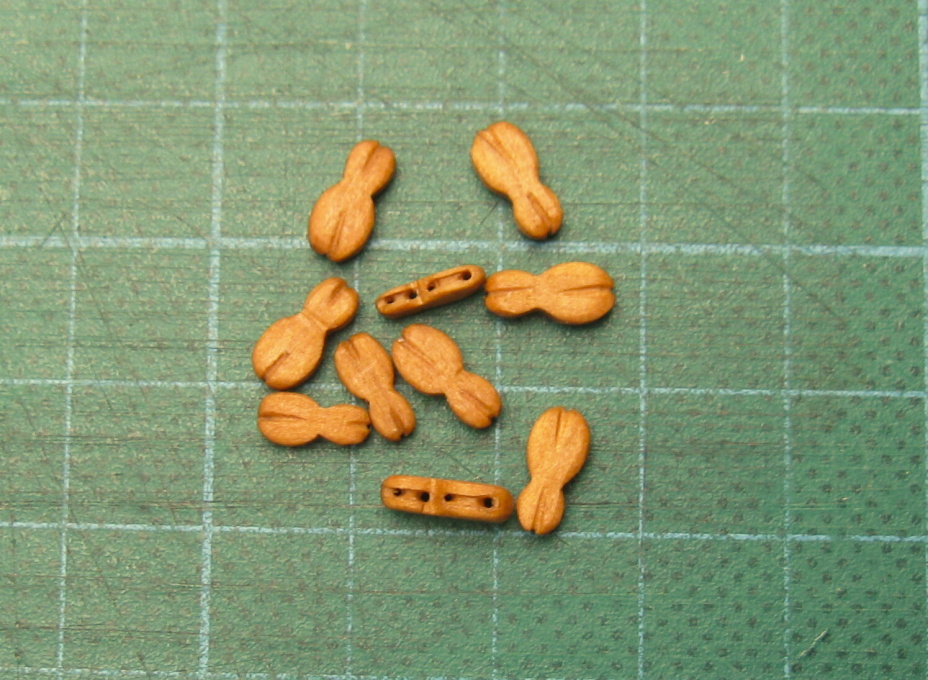
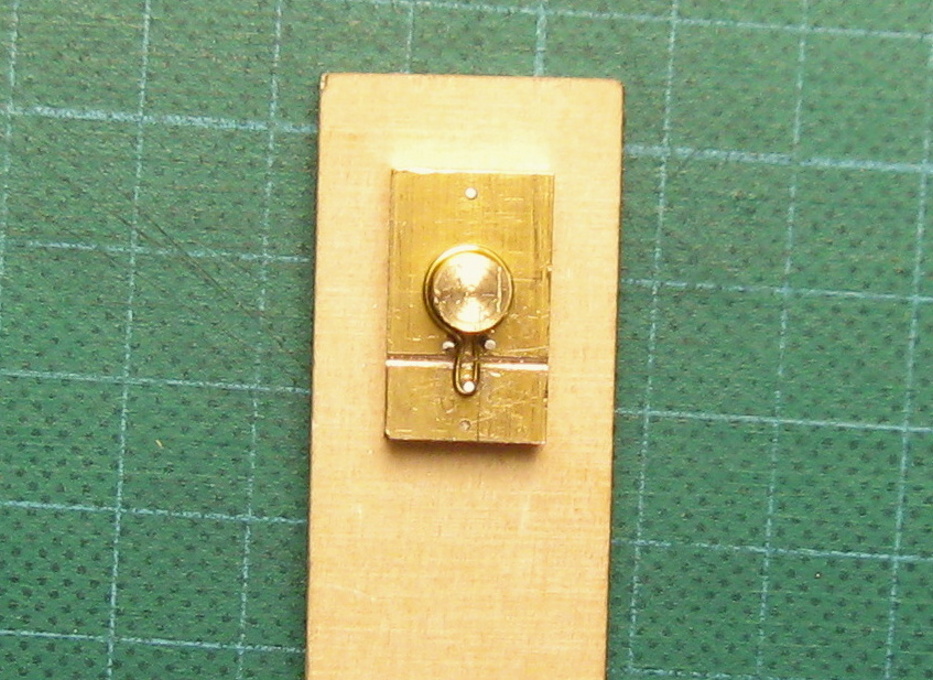
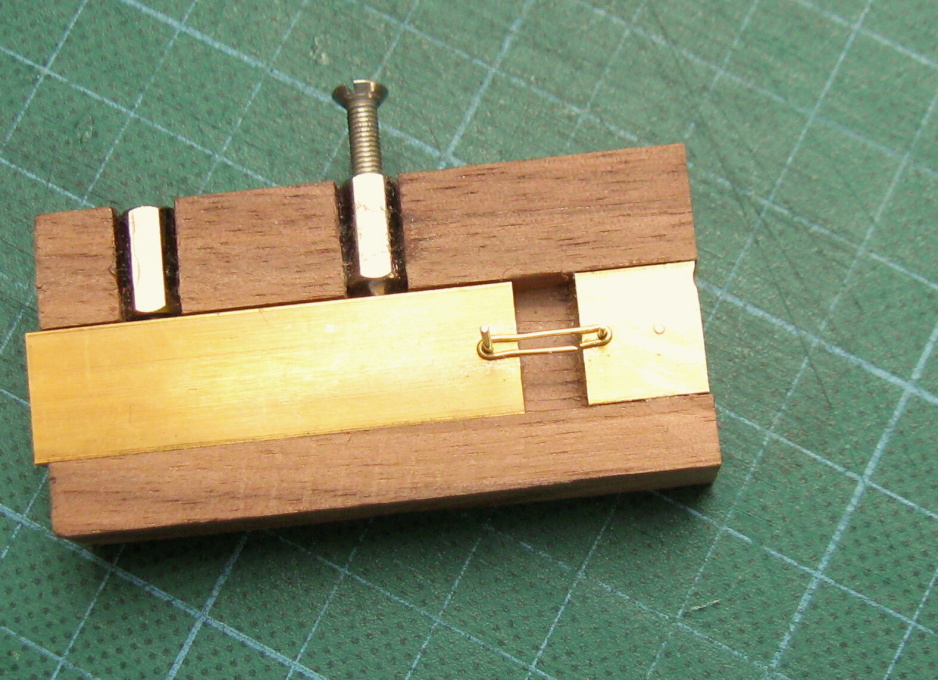
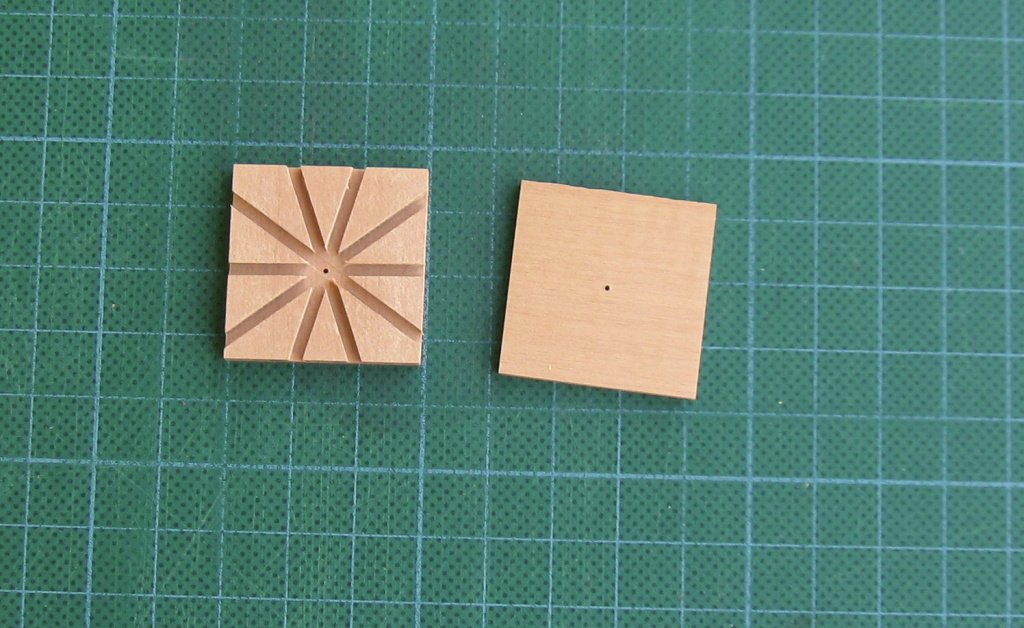
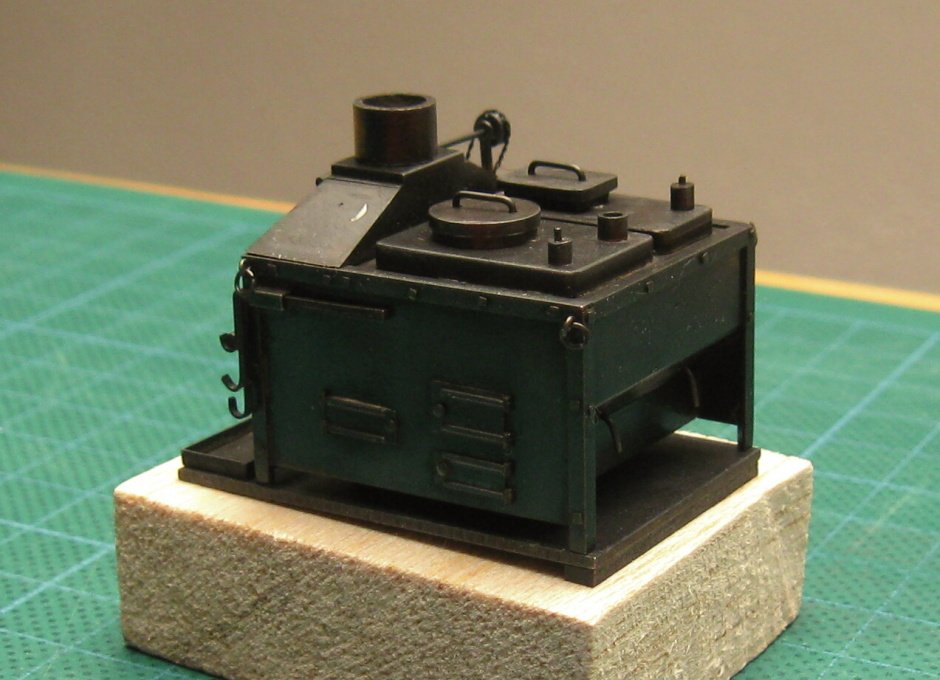
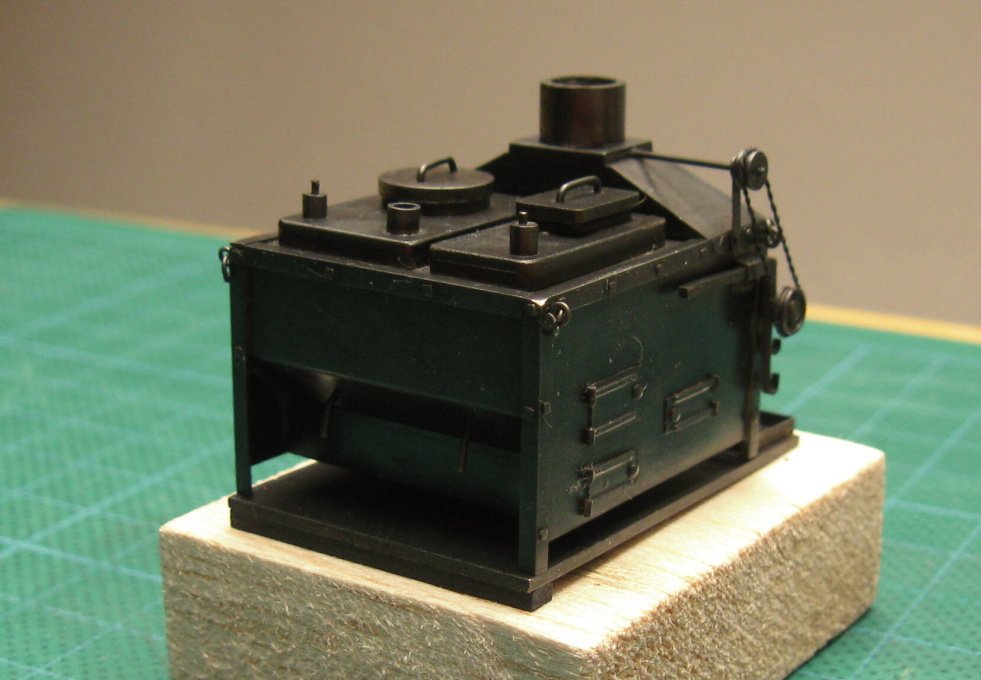
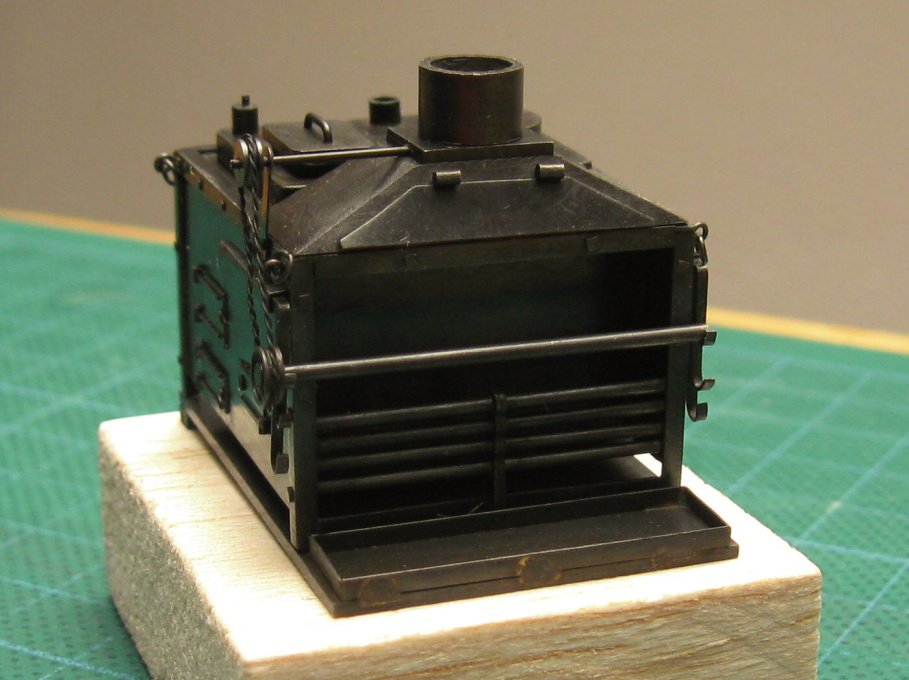
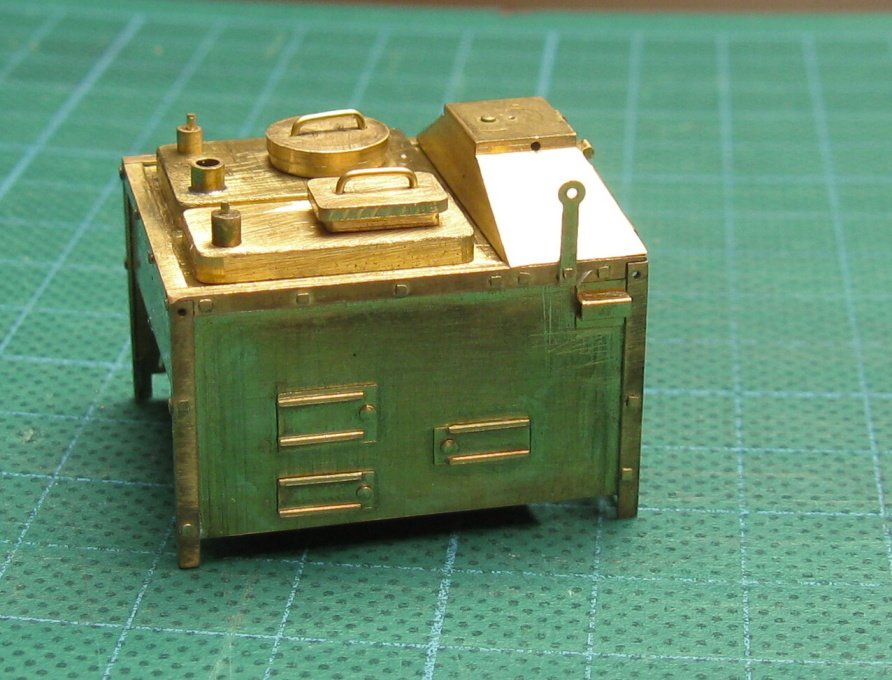
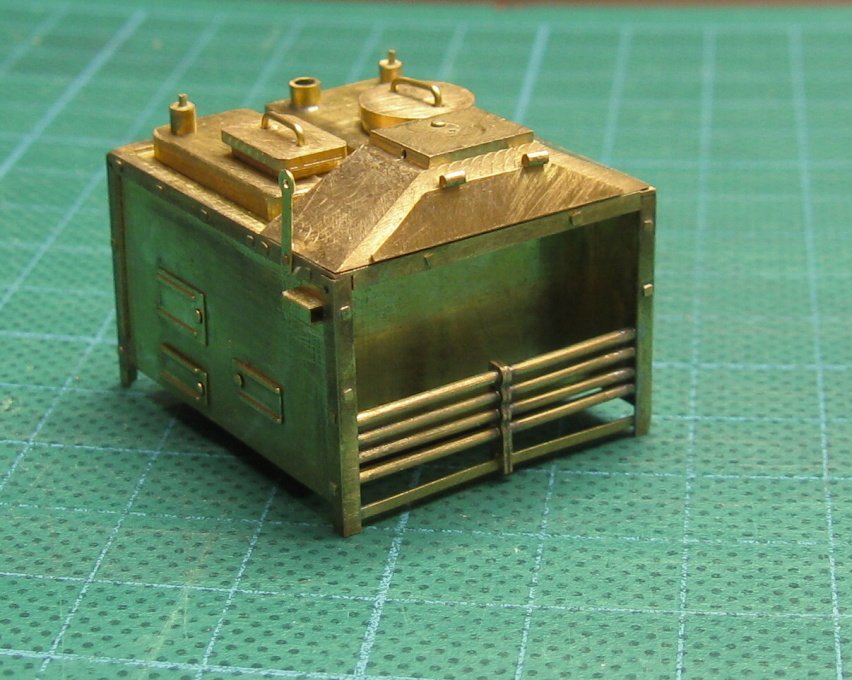
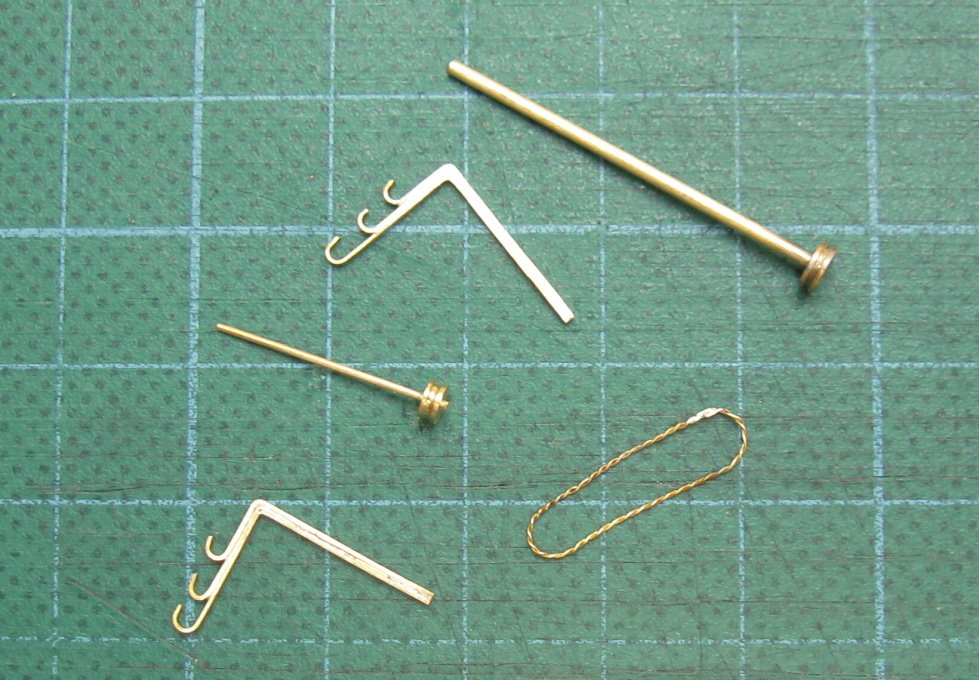
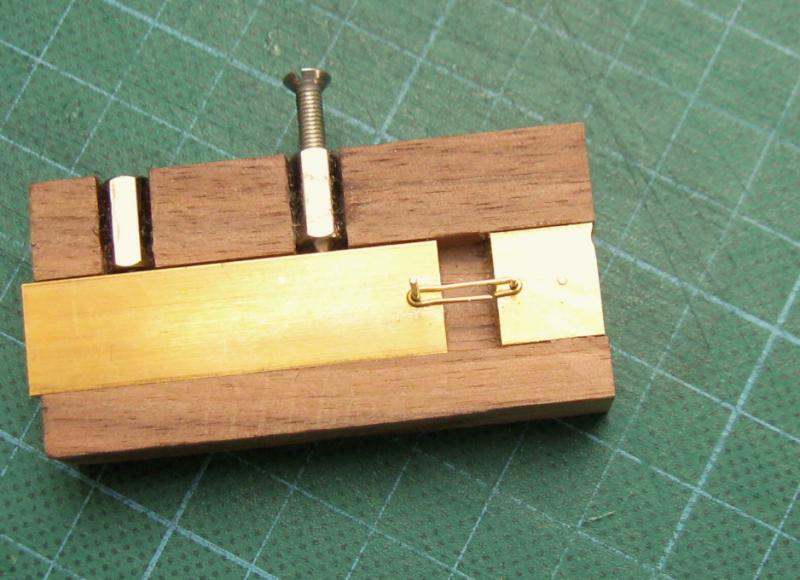
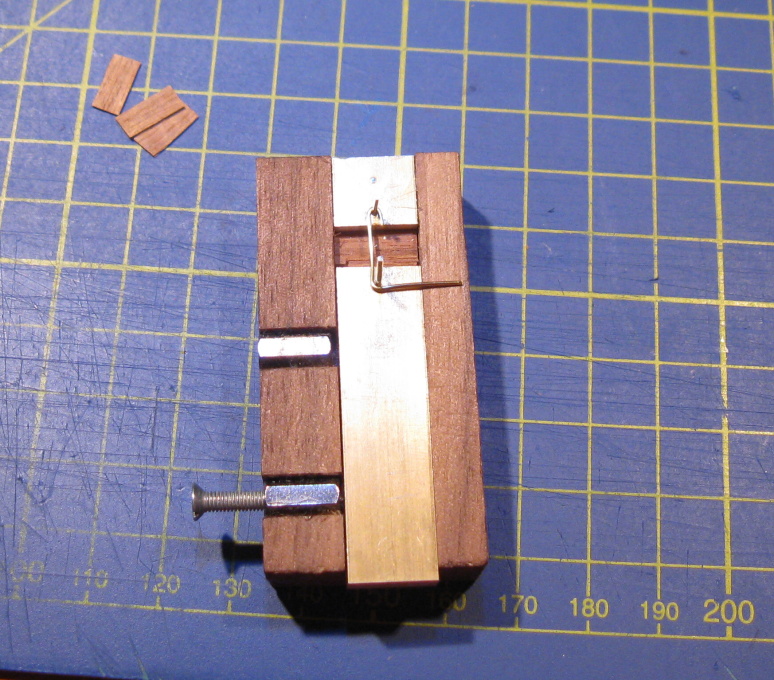
Thank you very much, I am very happy that you like my build. To Karl: The grid on the green mat (the white lines) is 1 cm. The screw heads are made form brass pins (see next picture), some part are etched, some parts are made with milling machine from brass sheet (different thickness). So, the chemical blackening is done and the stove is now installed on the deck. I just regret that the stove will be almost impossible to see after deck planking..


- 625 replies
-
- 26
-
-
Pandora by marsalv - FINISHED - 1:52
marsalv replied to marsalv's topic in - Build logs for subjects built 1751 - 1800
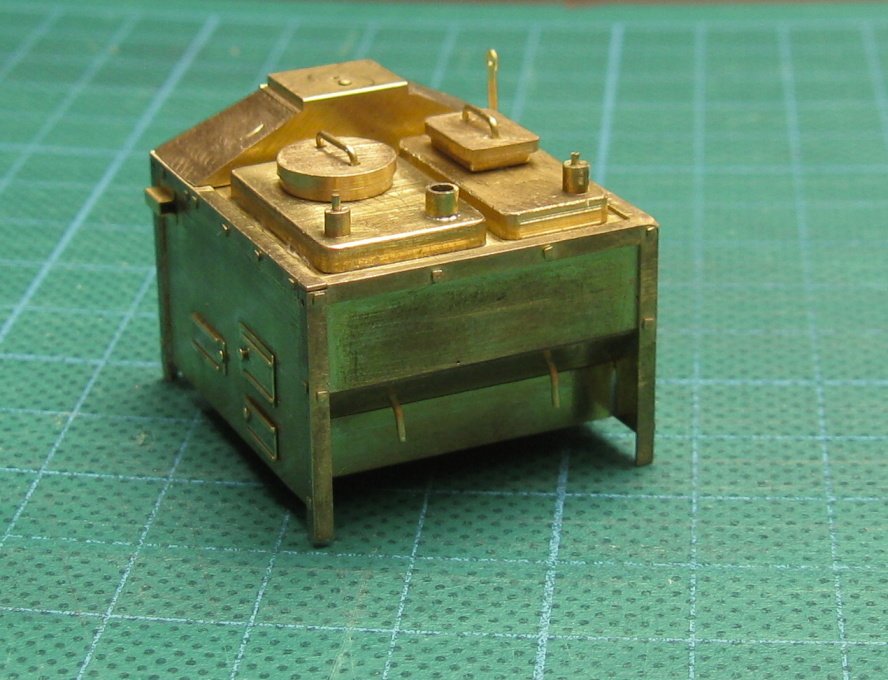
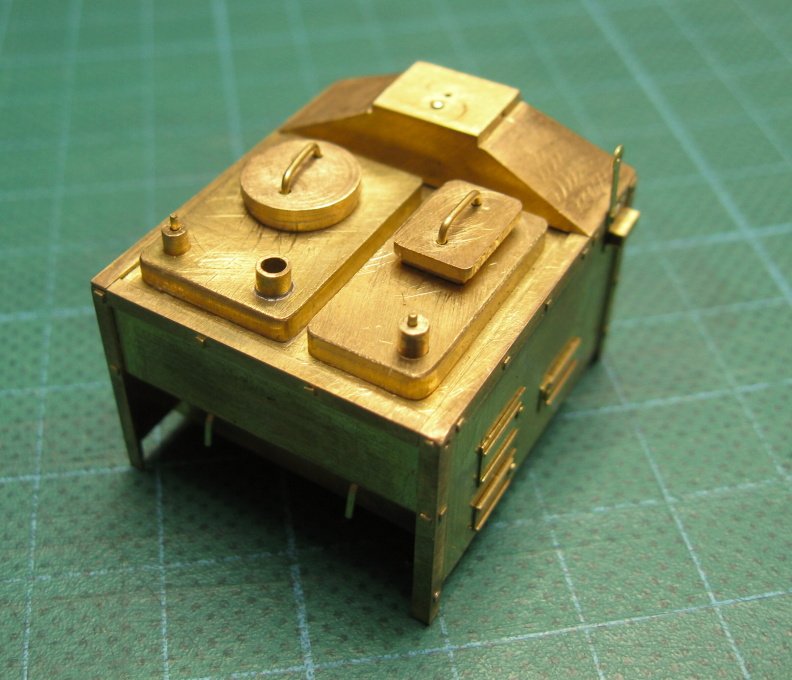
Thank you guys, the galley stove is ready, it remains only to finish a few details and make the blackening.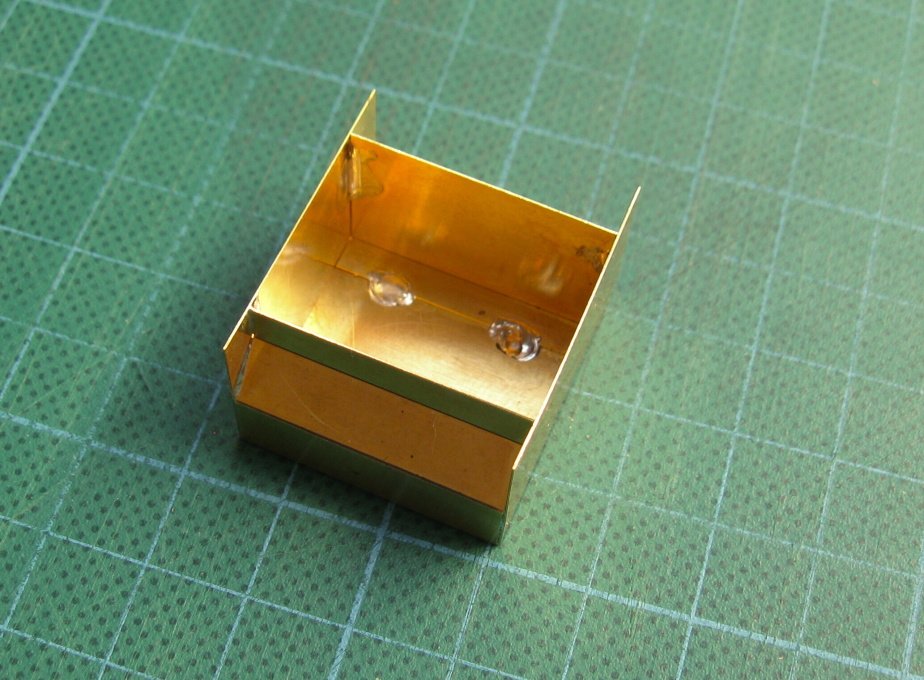

- 625 replies
-
- 25
-
-
Pandora by marsalv - FINISHED - 1:52
marsalv replied to marsalv's topic in - Build logs for subjects built 1751 - 1800
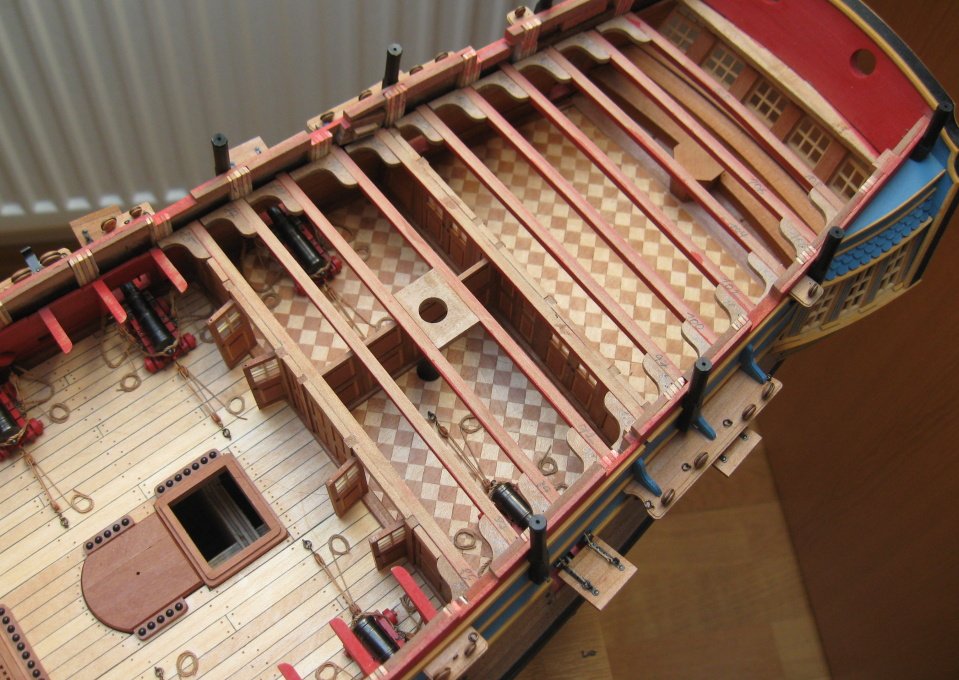
Thank you for nice comments. I installed some quarter deck beams, fore deck beams and the doors. As a next comes the making of galley stove.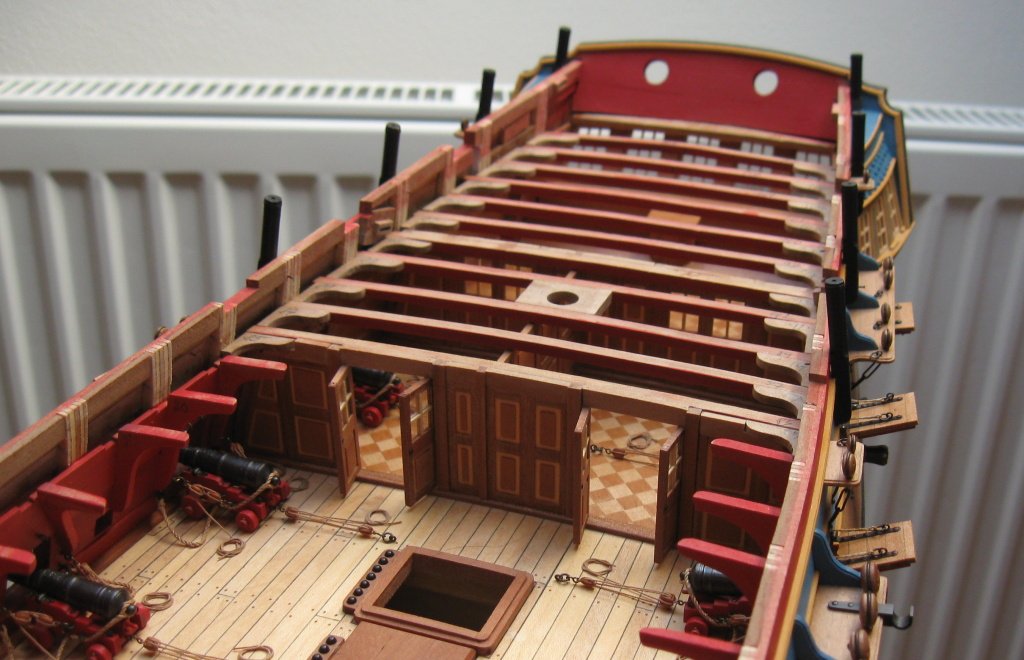
- 625 replies
-
- 26
-
-
Pandora by marsalv - FINISHED - 1:52
marsalv replied to marsalv's topic in - Build logs for subjects built 1751 - 1800
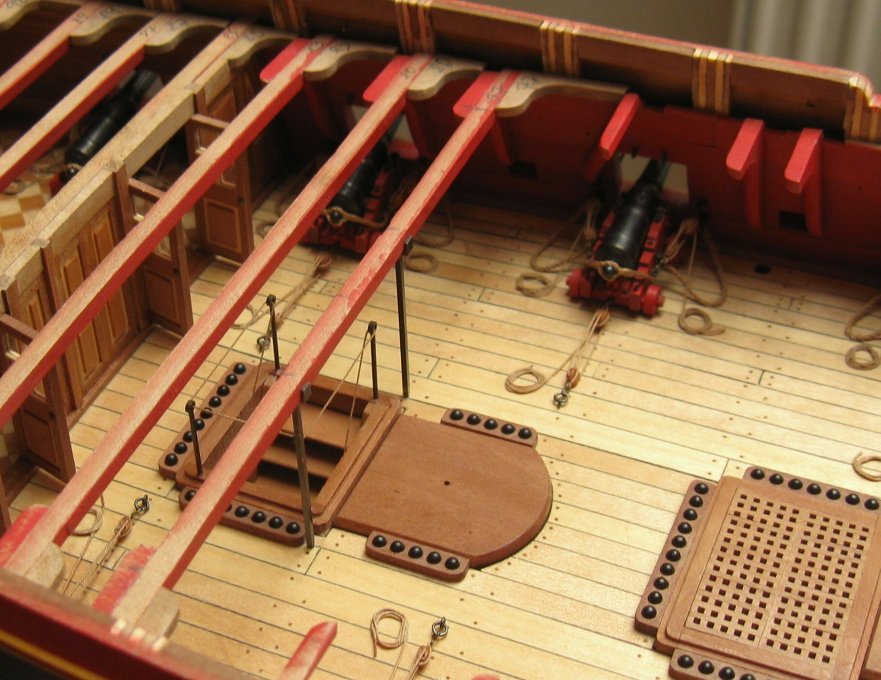
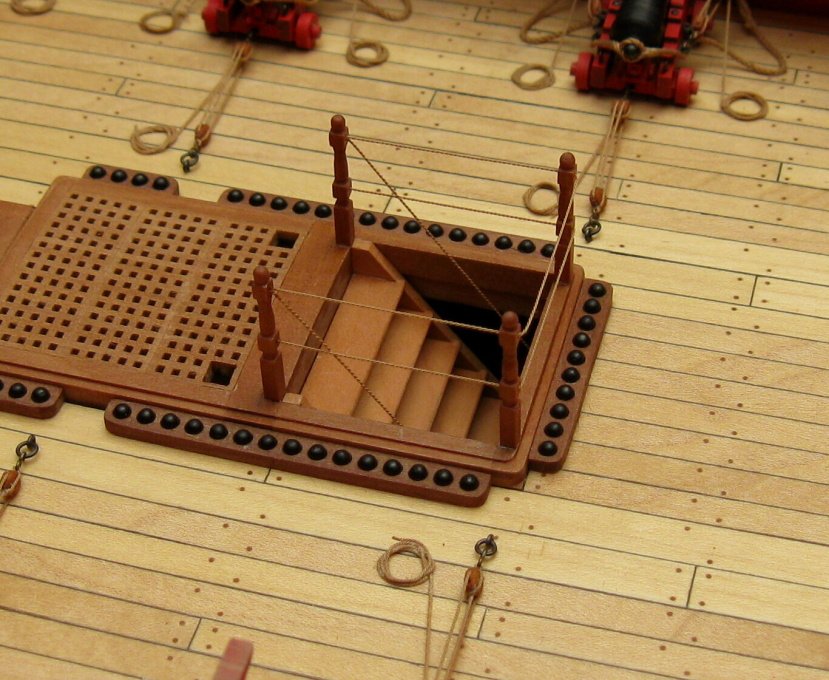
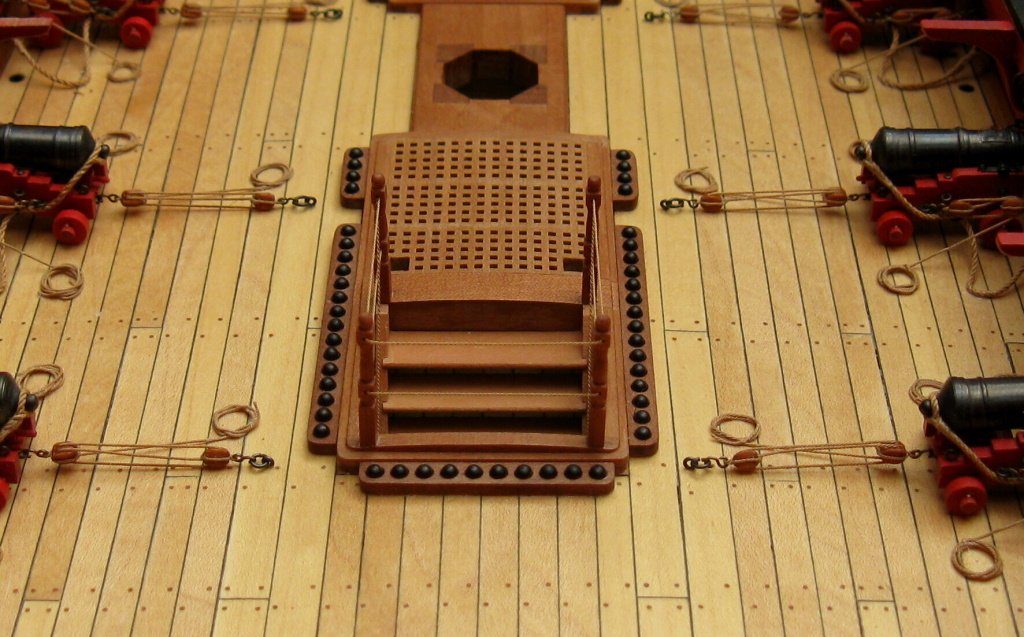
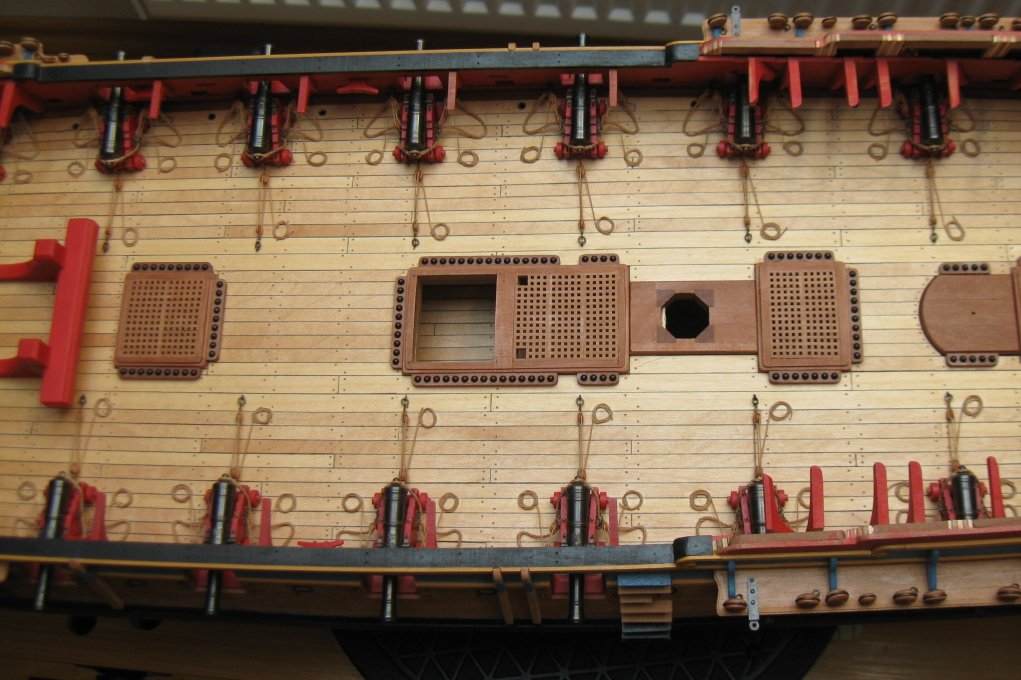
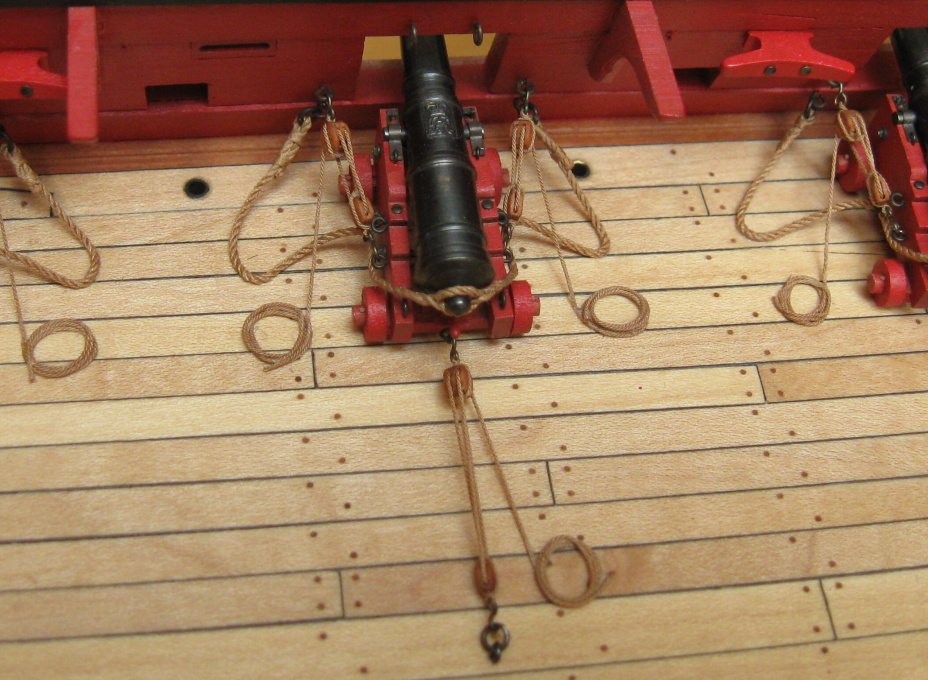
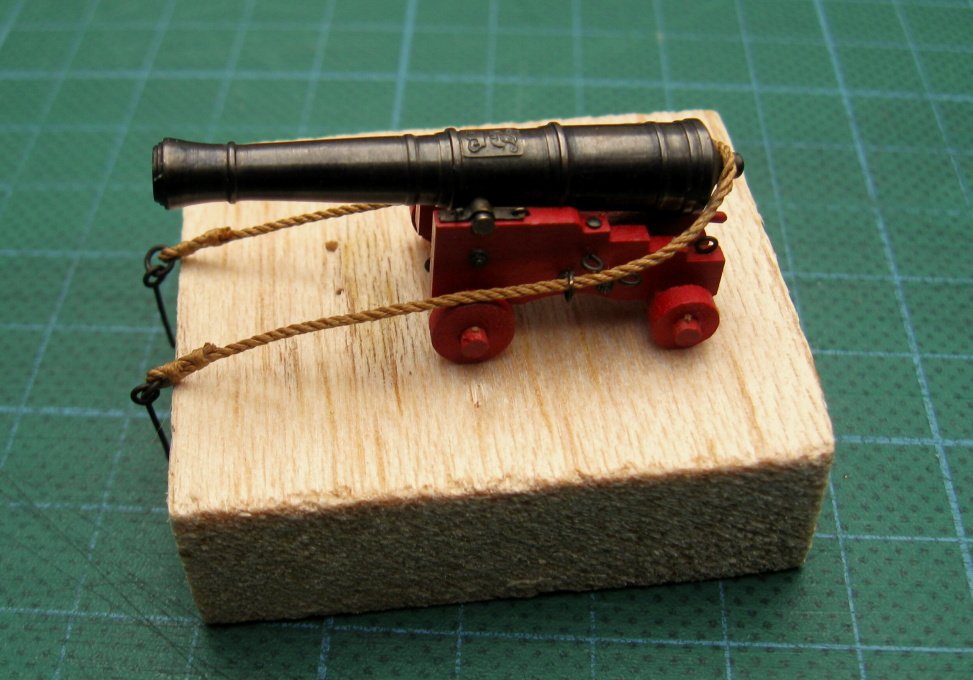
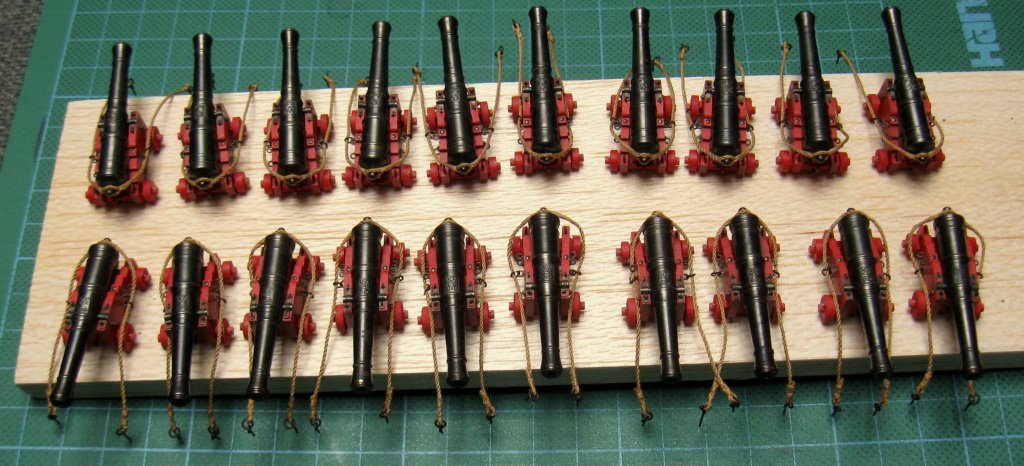
Gun rigging is done, all guns are now mounted on the deck.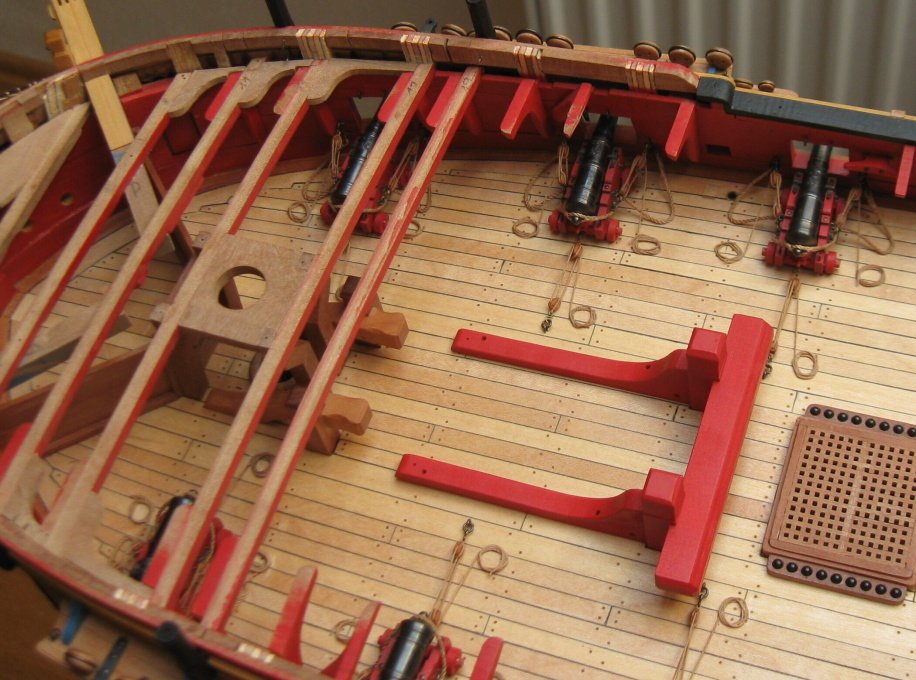

- 625 replies
-
- 33
-
-
Pandora by marsalv - FINISHED - 1:52
marsalv replied to marsalv's topic in - Build logs for subjects built 1751 - 1800
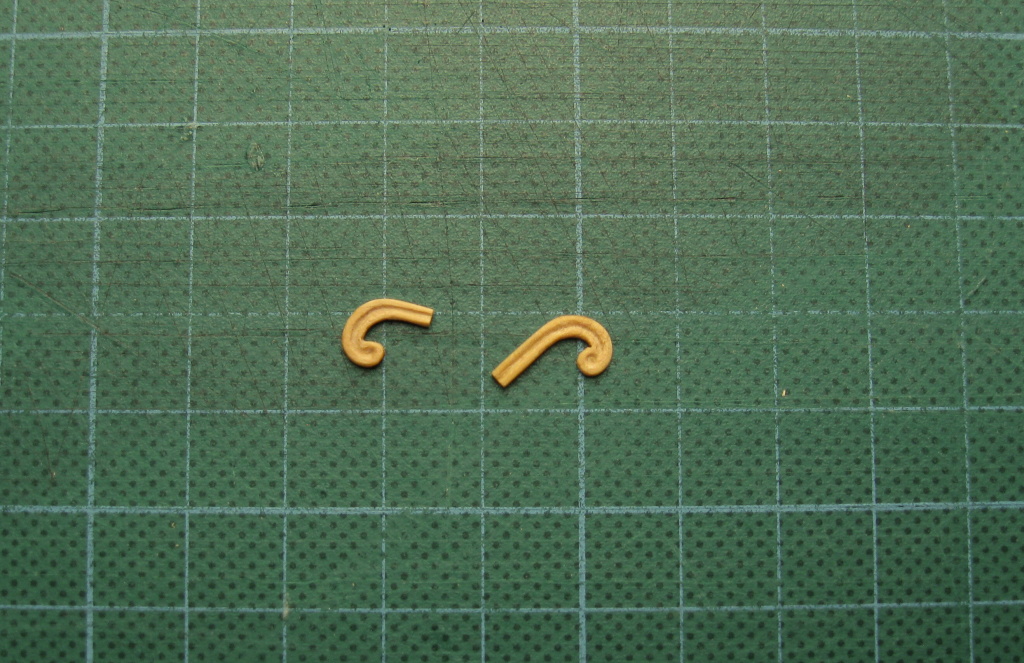
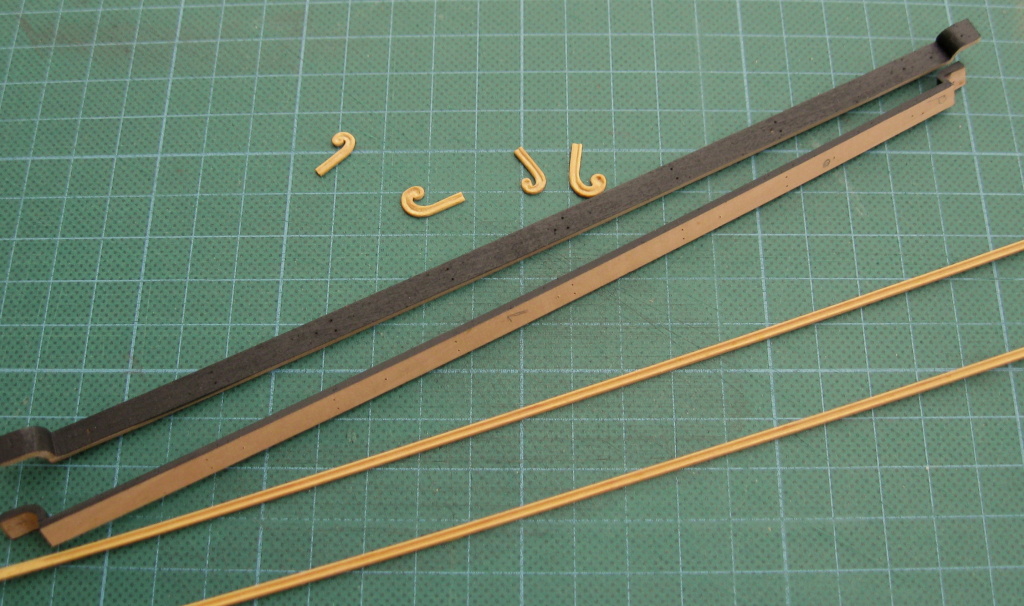
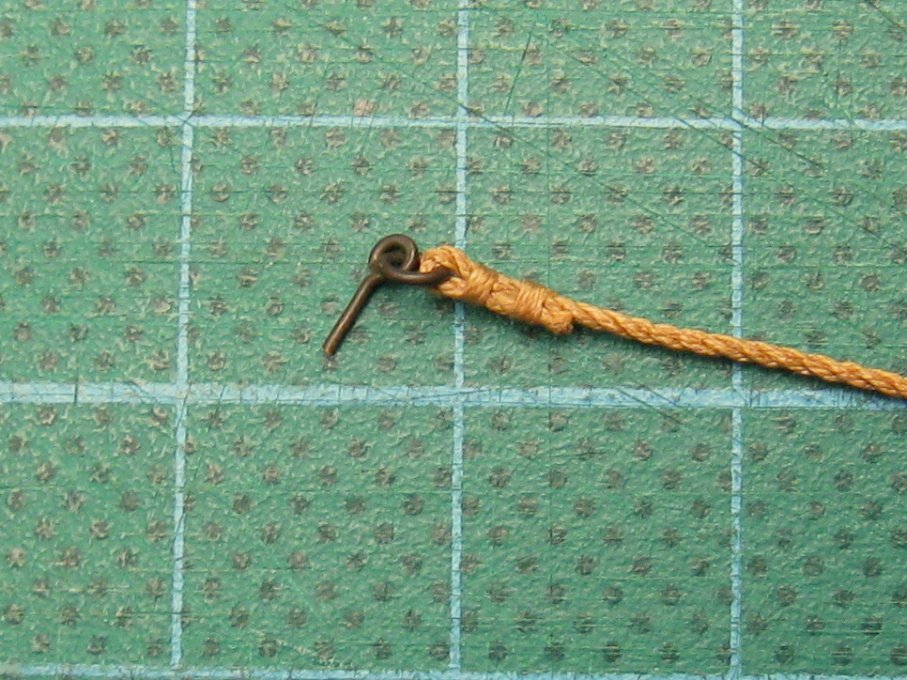
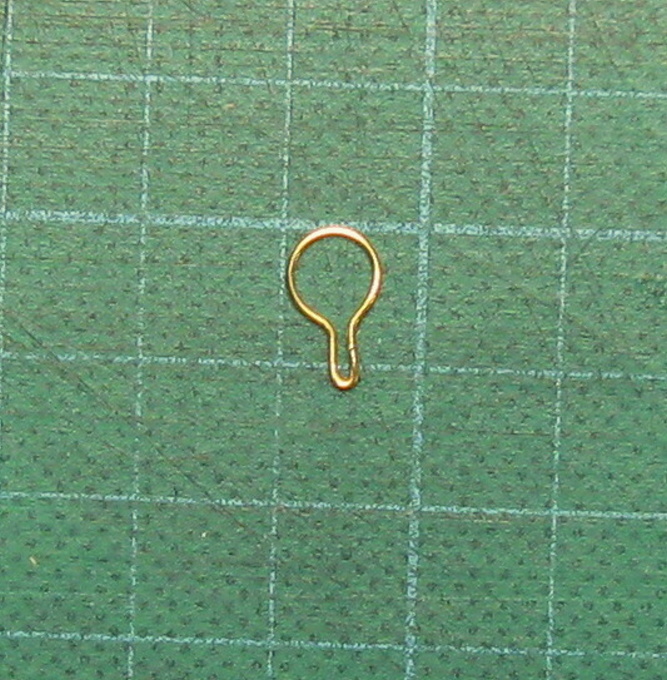
You are right giampieroricci. The hooks are 3 mm long and should be long about 2,5 mm. I tried to make this hooks little bit smaller but no success. -
Pandora by marsalv - FINISHED - 1:52
marsalv replied to marsalv's topic in - Build logs for subjects built 1751 - 1800
Gun rigging is prepared, I can start to install the guns.

- 625 replies
-
- 25
-
-
Pandora by marsalv - FINISHED - 1:52
marsalv replied to marsalv's topic in - Build logs for subjects built 1751 - 1800
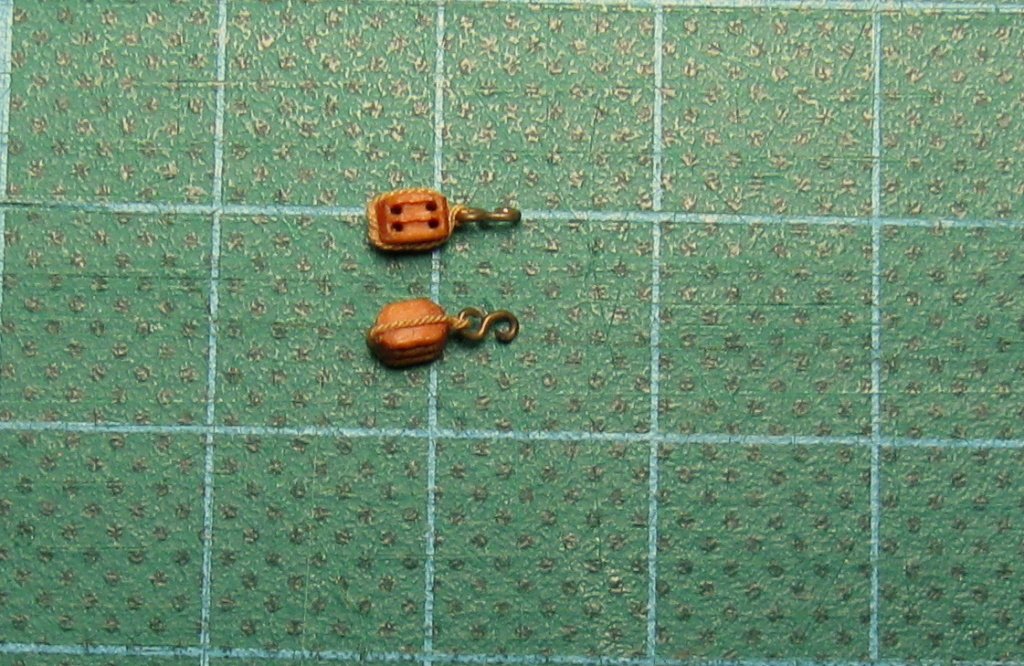
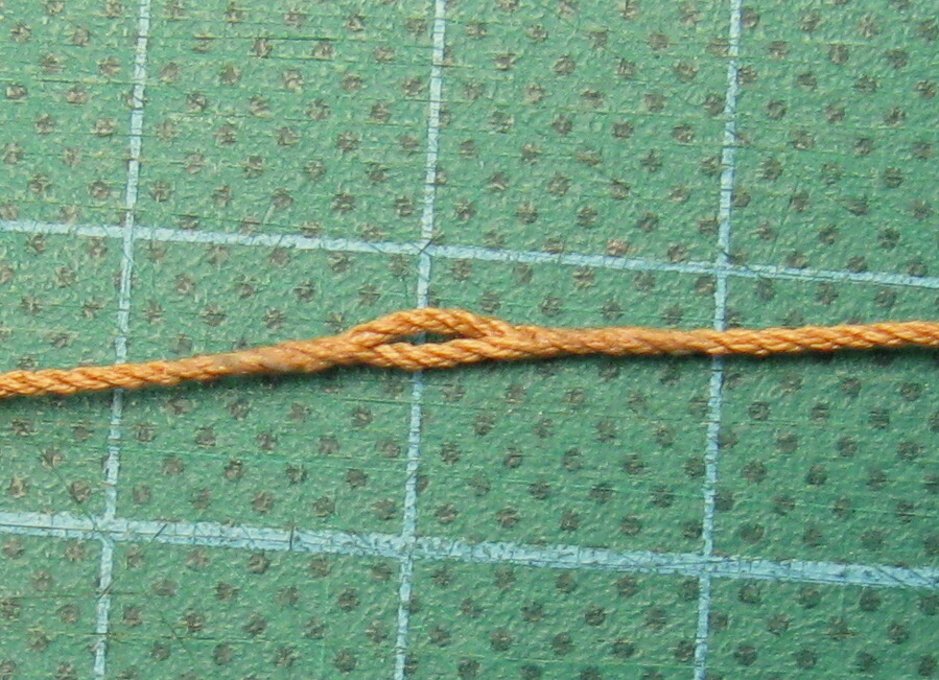
Thank you to all. I started with rigging for guns. First part - breeching is ready.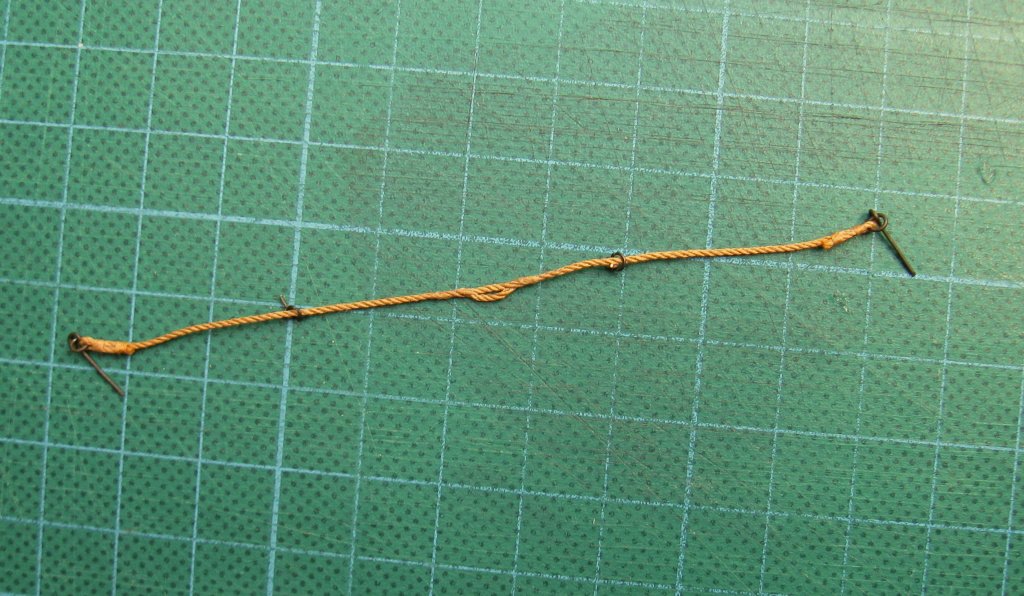
- 625 replies
-
- 24
-
-
Pandora by marsalv - FINISHED - 1:52
marsalv replied to marsalv's topic in - Build logs for subjects built 1751 - 1800
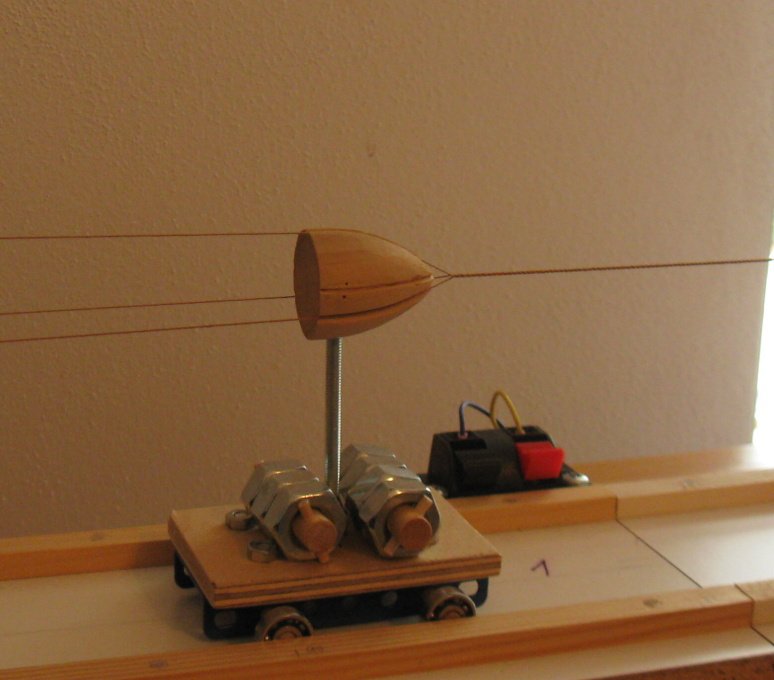
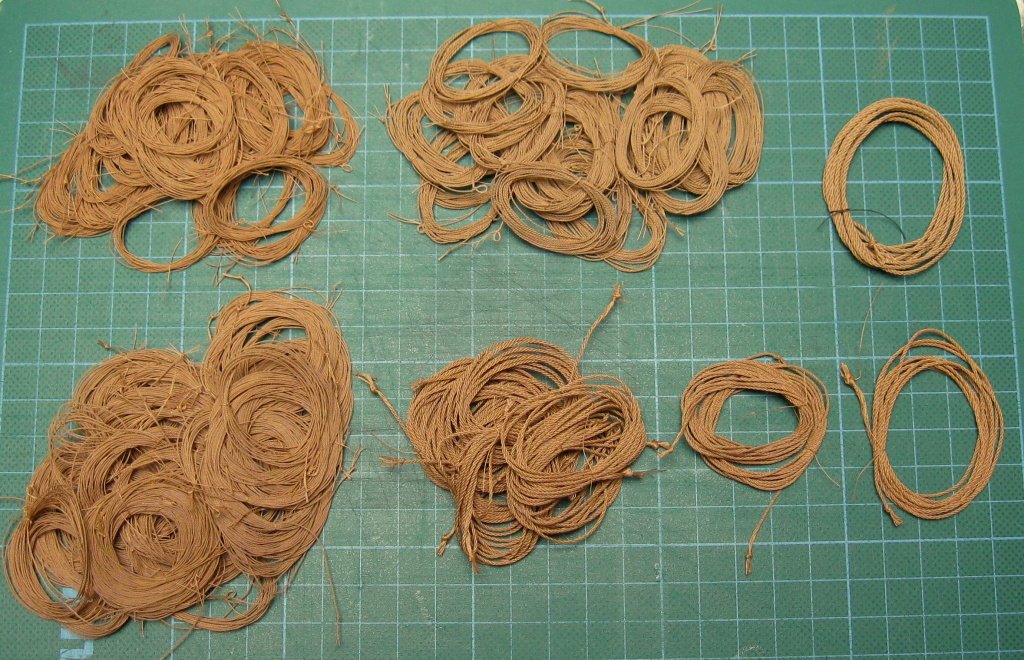
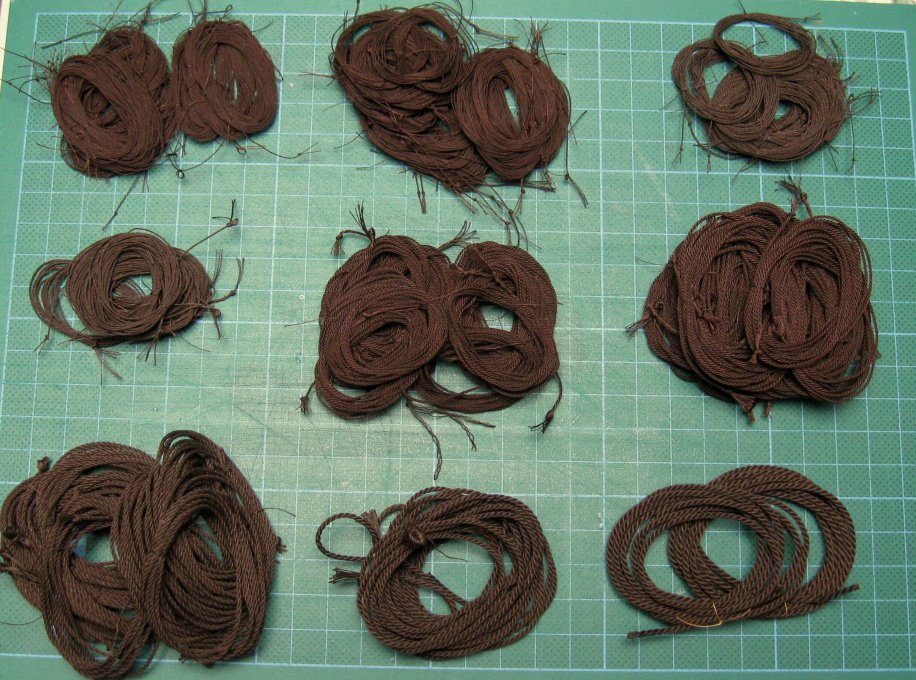
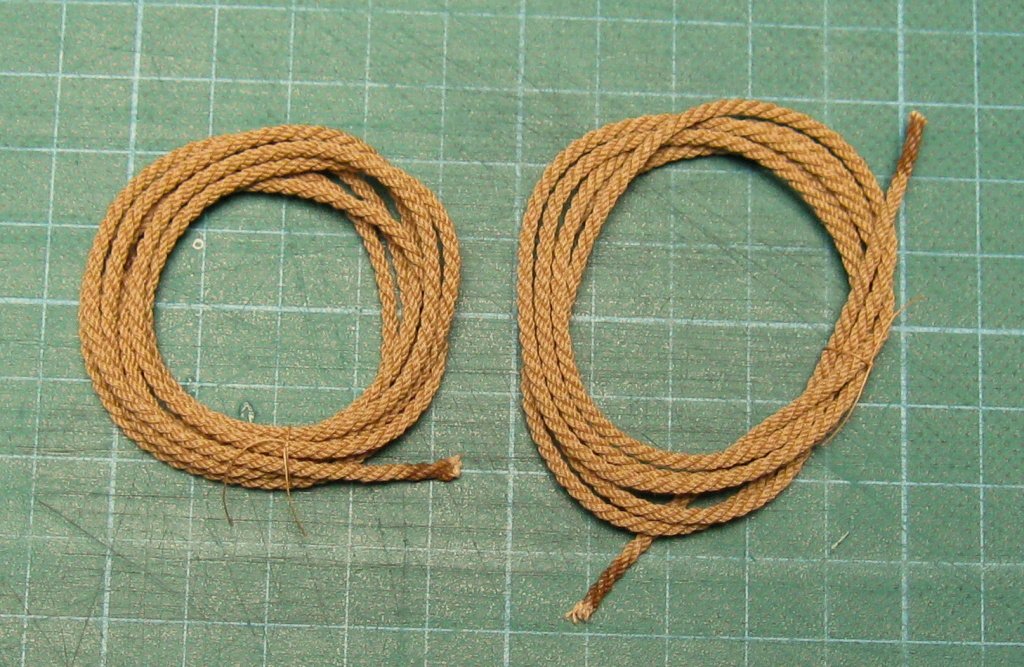
Thank you. Preparations for rigging - ropes for standing rigging, running rigging and anchor cables. Total cca 300 pcs of ropes.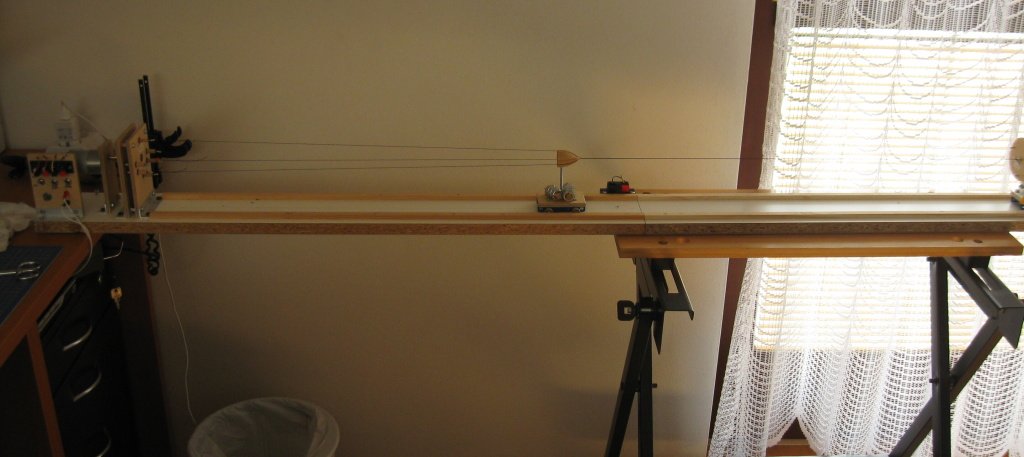

- 625 replies
-
- 32
-
-
Pandora by marsalv - FINISHED - 1:52
marsalv replied to marsalv's topic in - Build logs for subjects built 1751 - 1800
Thank you to all for very very nice comments. It is great pleasure for me to present my work on this forum. Next part - the swivel gun mounts.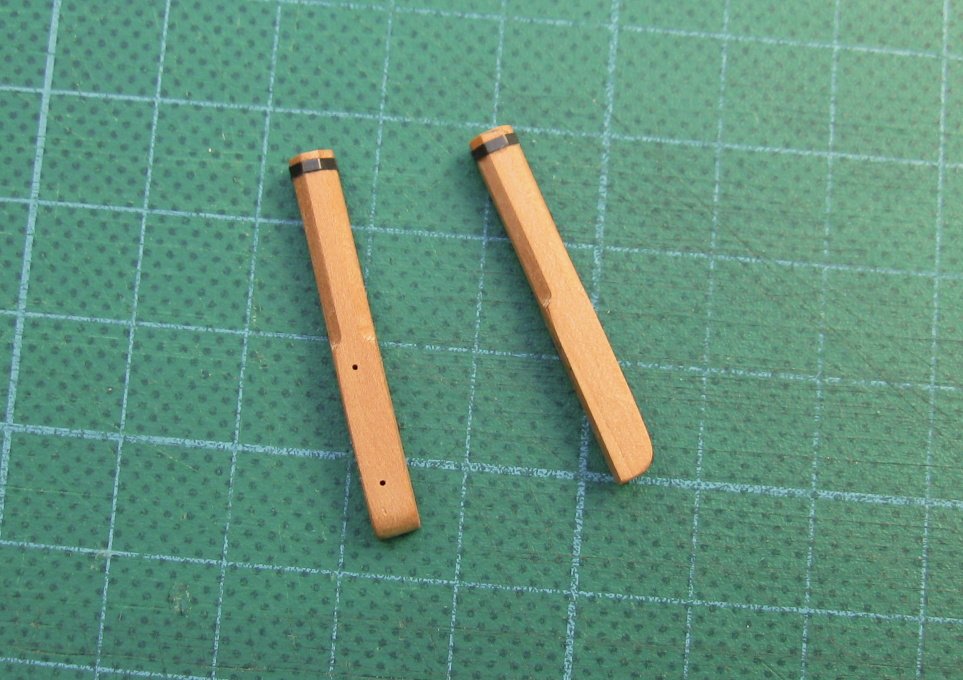

- 625 replies
-
- 29
-
-
Pandora by marsalv - FINISHED - 1:52
marsalv replied to marsalv's topic in - Build logs for subjects built 1751 - 1800
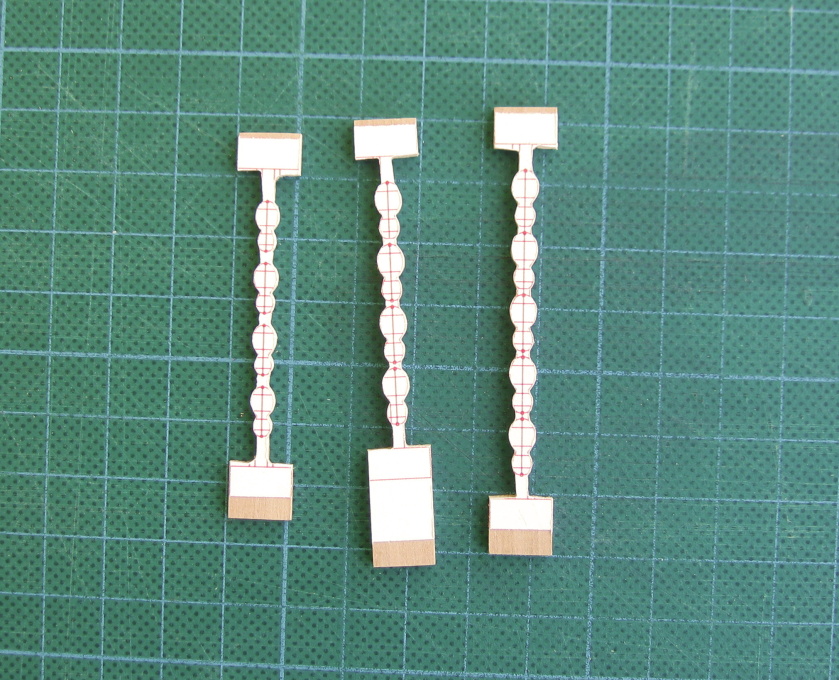
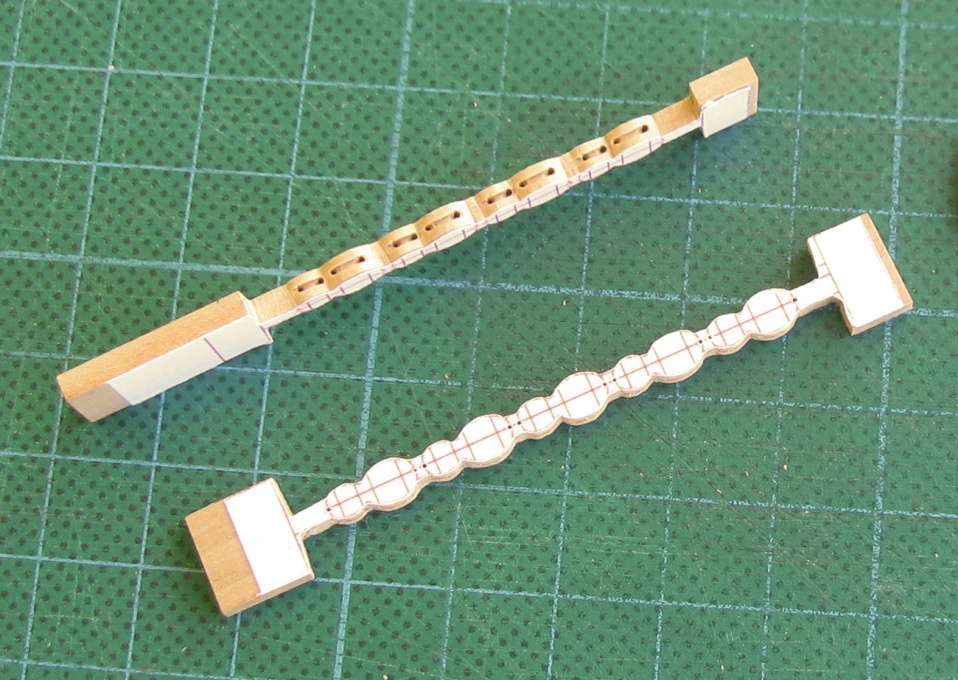
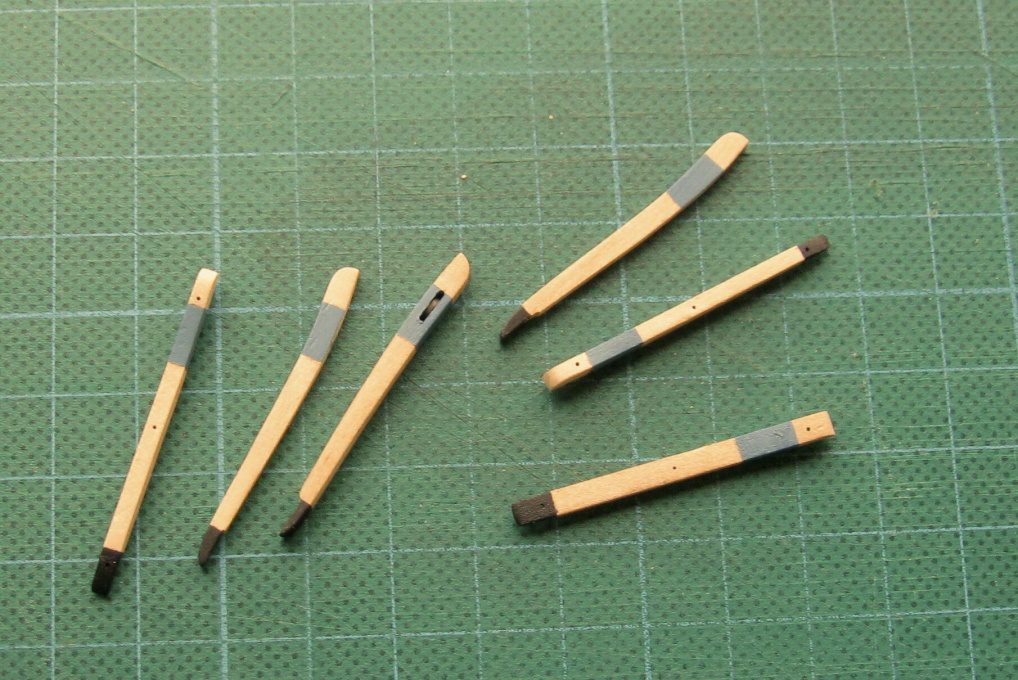
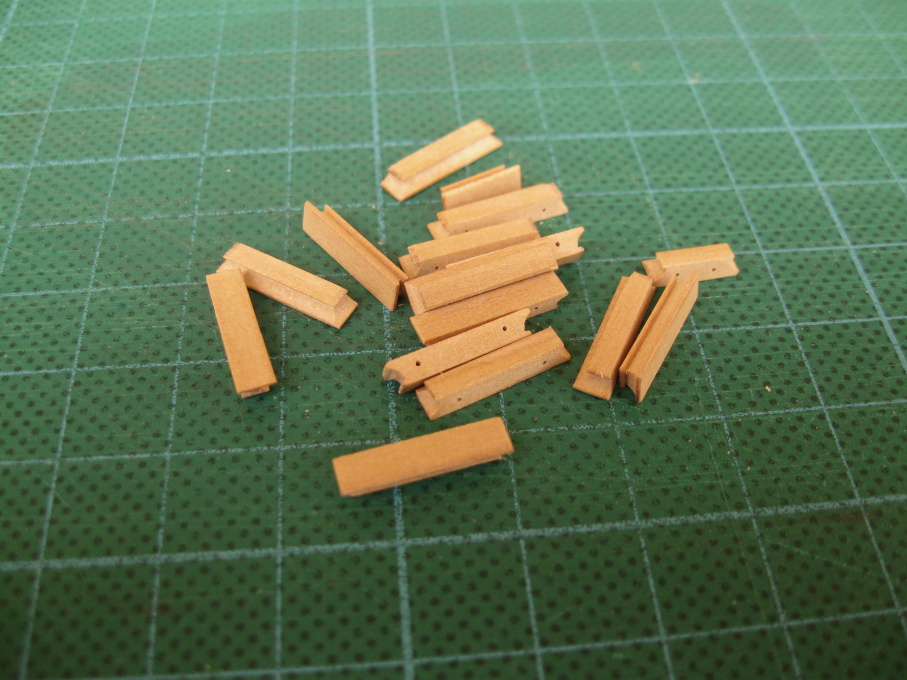
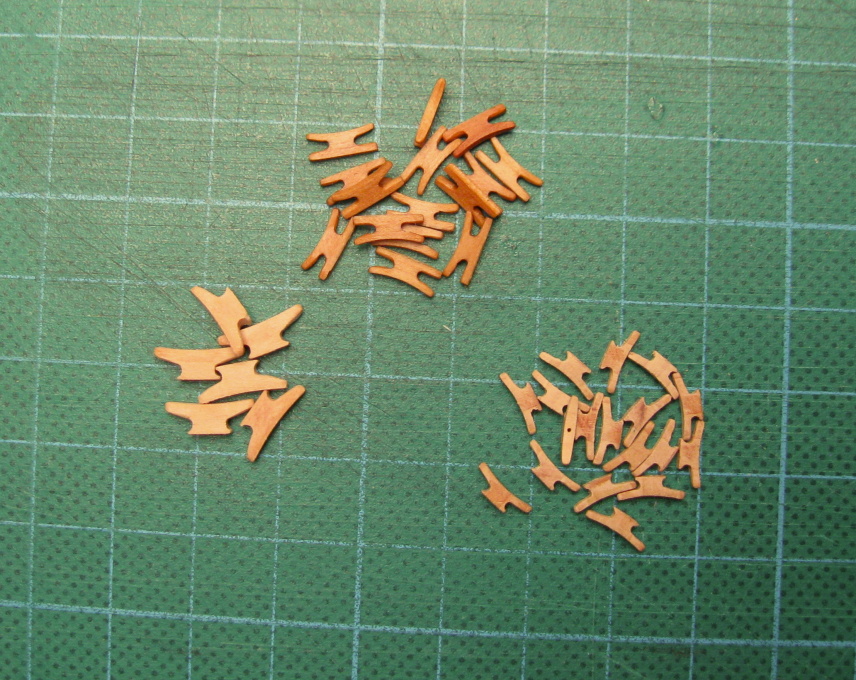
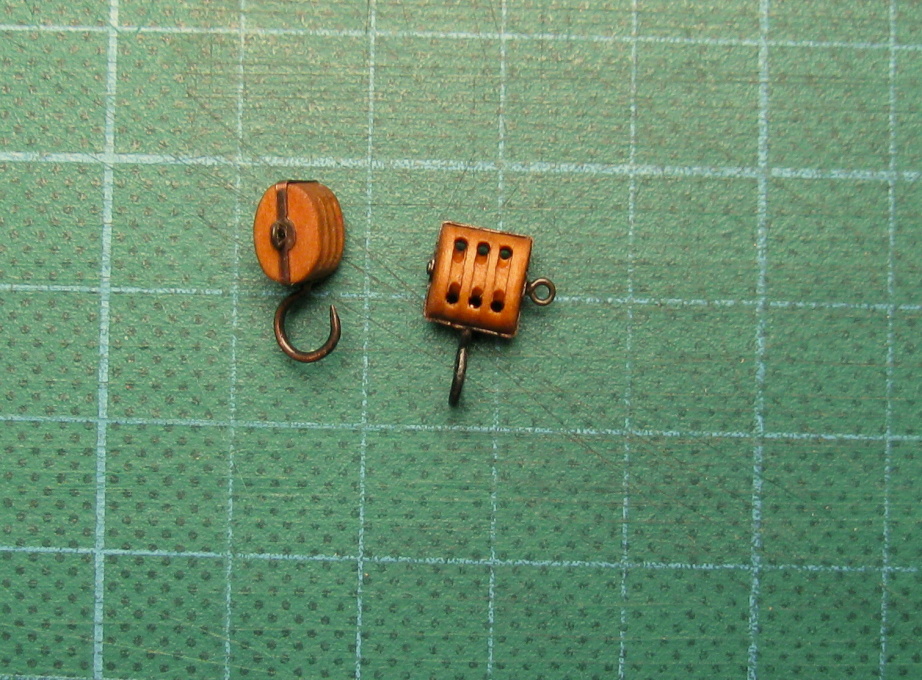
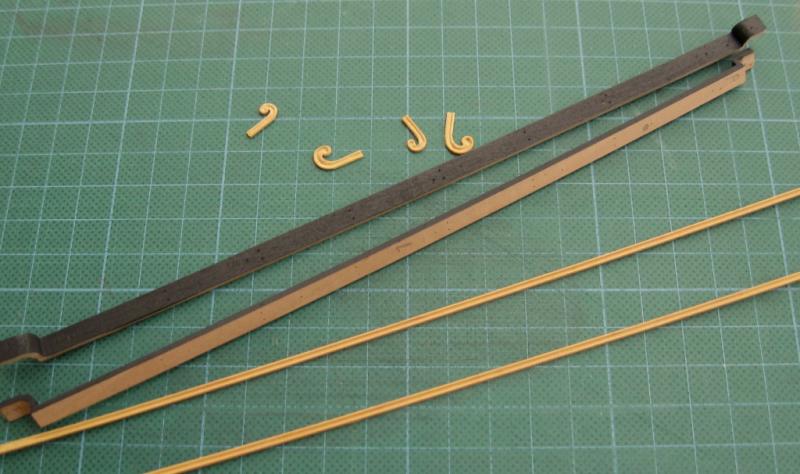
Last part of the small details - euphroes, parrel ribbs, cleats, rack blockas, cathead blocks.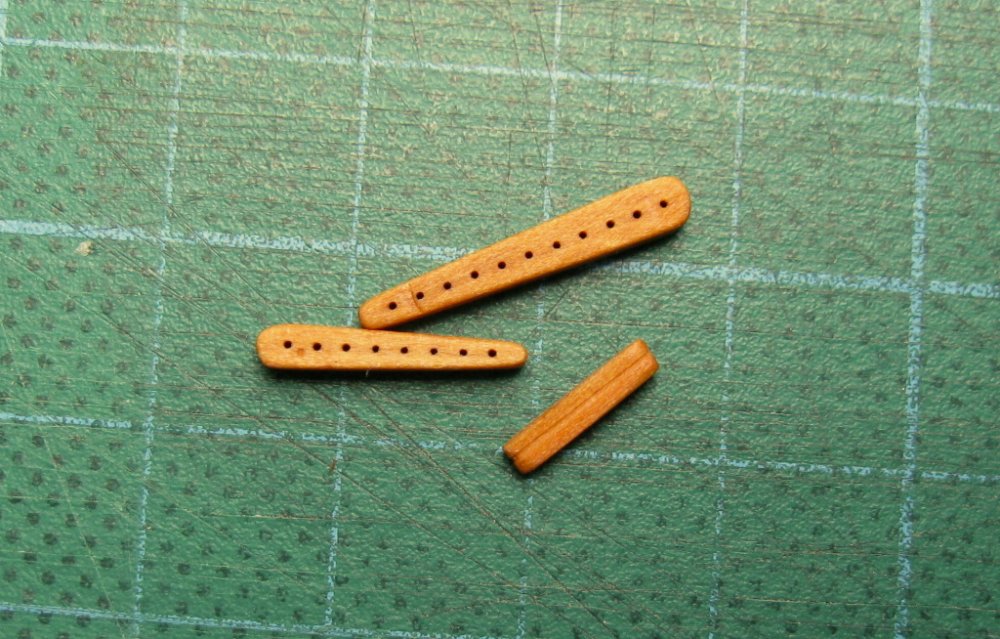


- 625 replies
-
- 34
-
-
Pandora by marsalv - FINISHED - 1:52
marsalv replied to marsalv's topic in - Build logs for subjects built 1751 - 1800
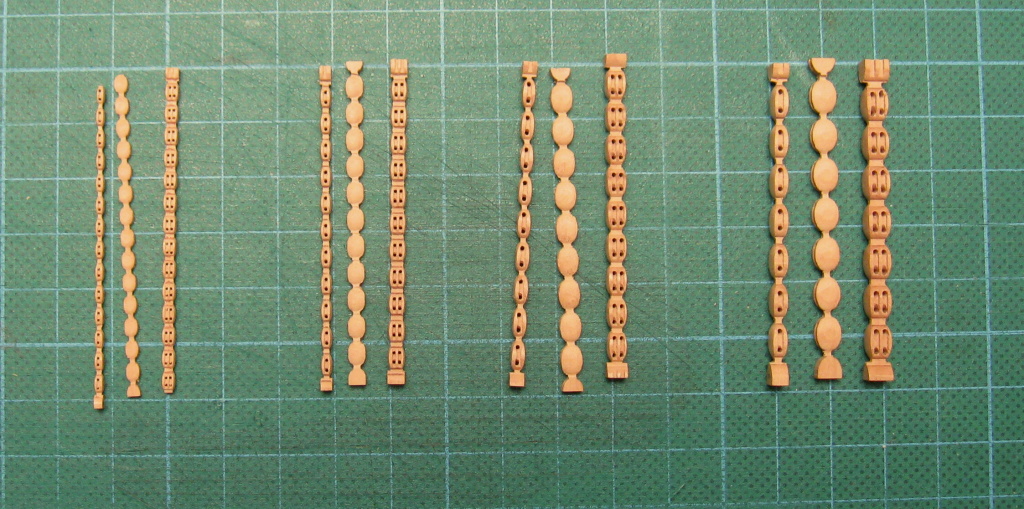
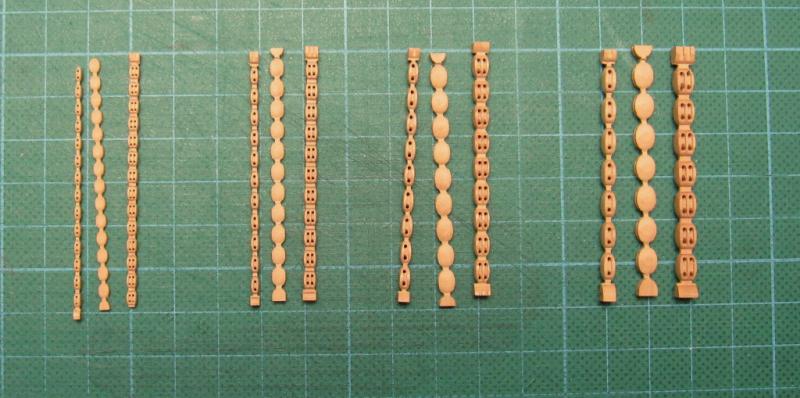
Thank you Rob . Some other small part are ready - yard tie blocks, jeer blocks, sheet quarter blocks, single shoulder blocks, long tackle blocks, hearts.


- 625 replies
-
- 21
-
-
Pandora by marsalv - FINISHED - 1:52
marsalv replied to marsalv's topic in - Build logs for subjects built 1751 - 1800
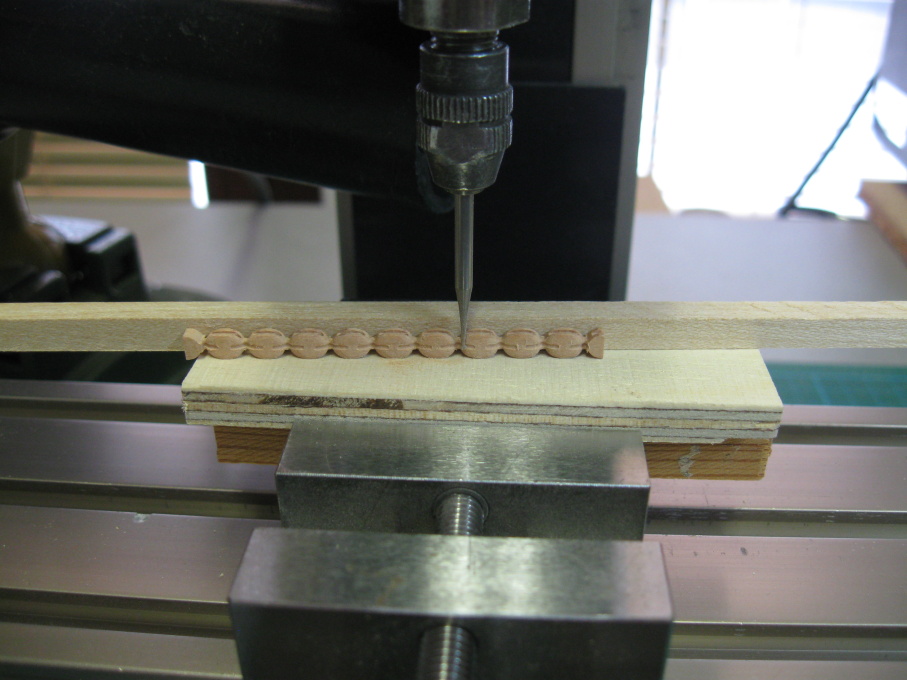
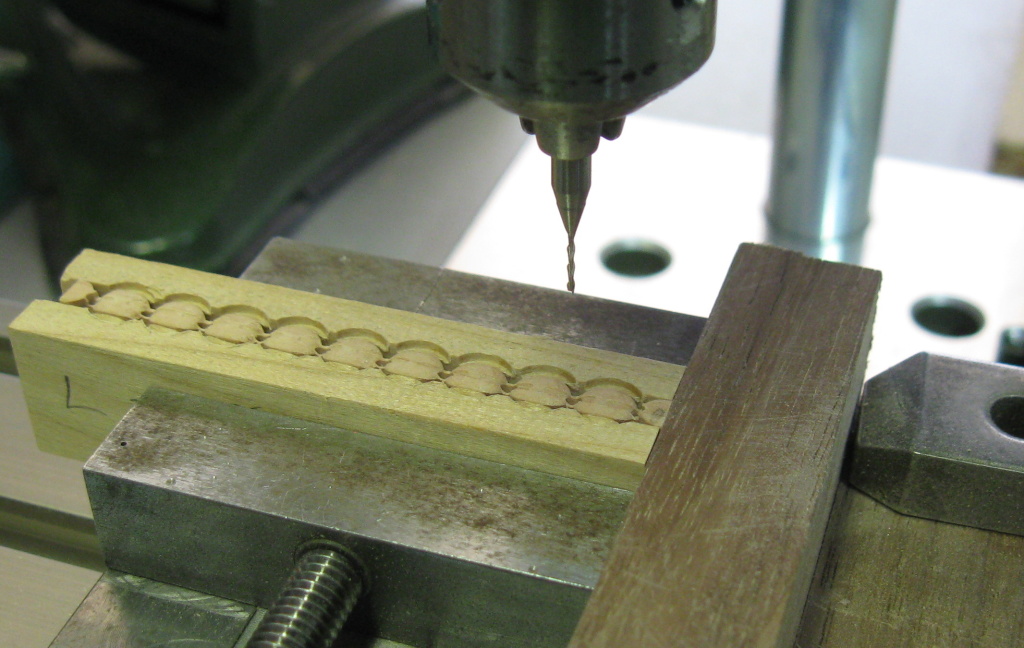
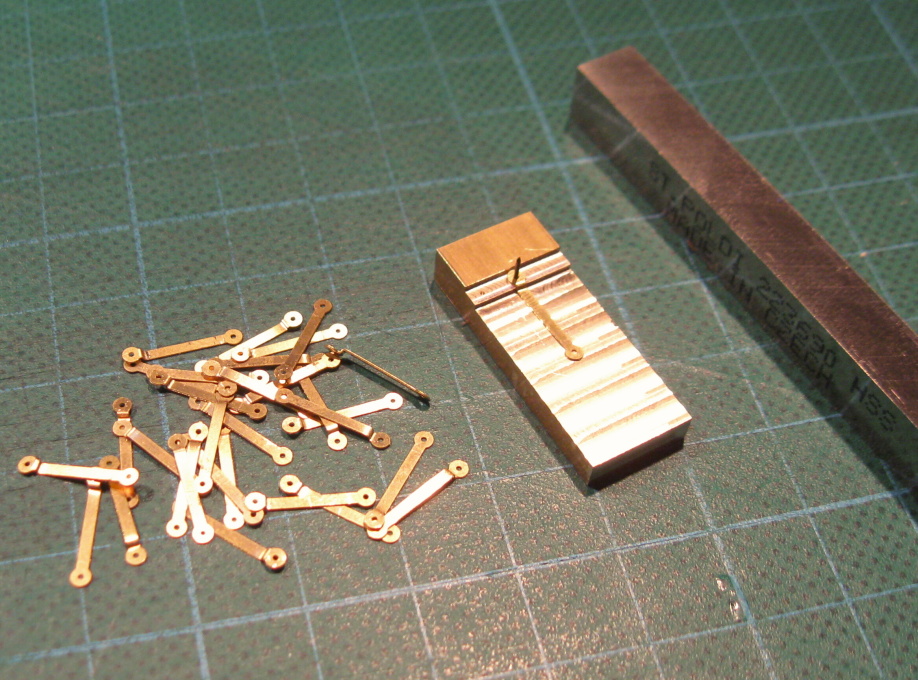
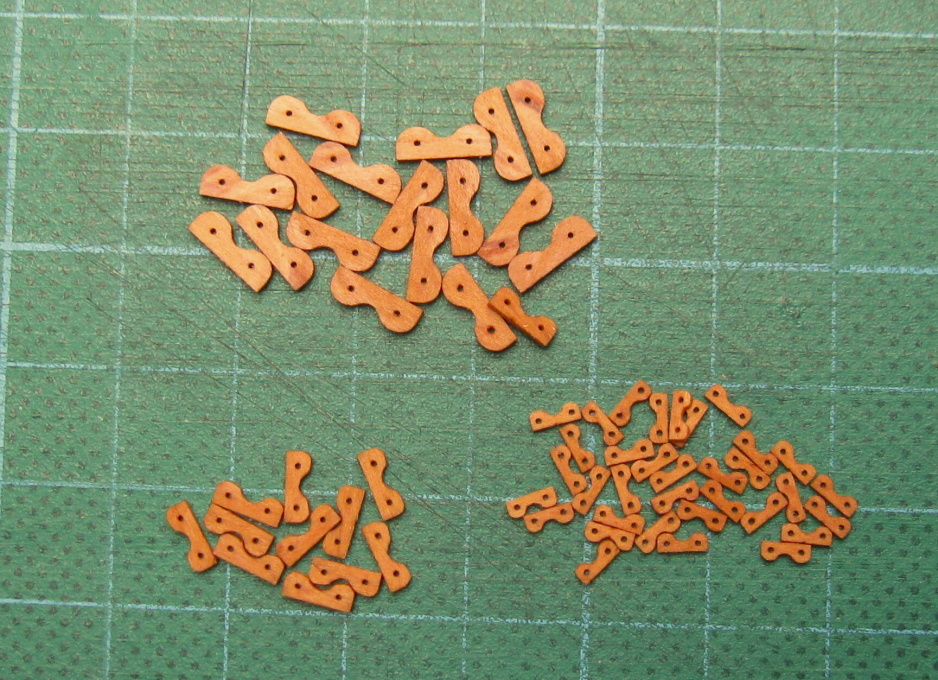
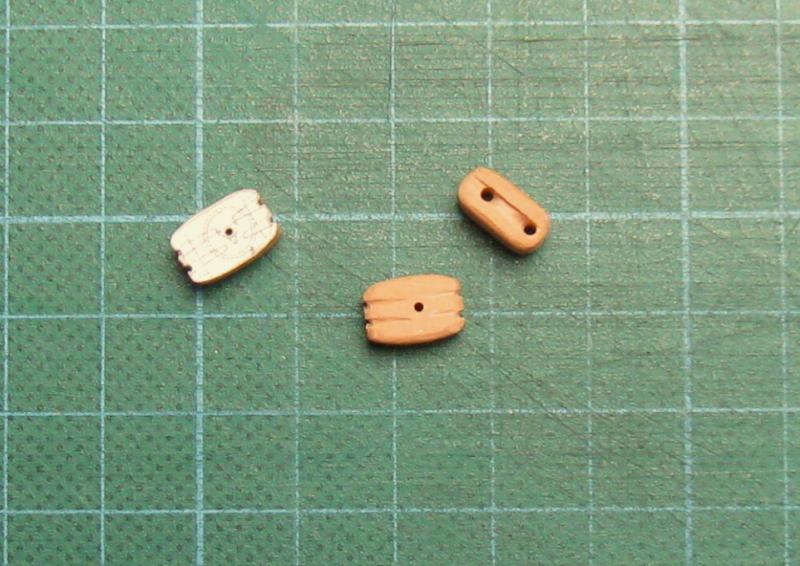
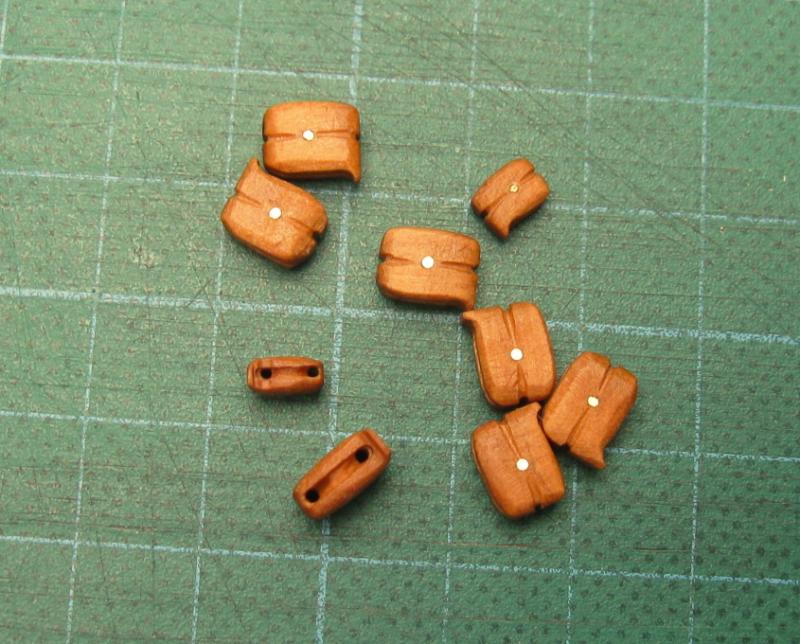
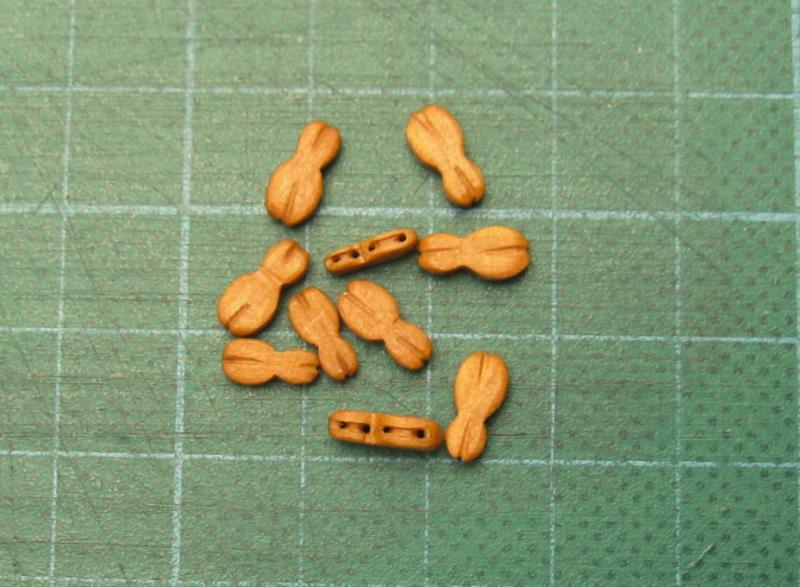
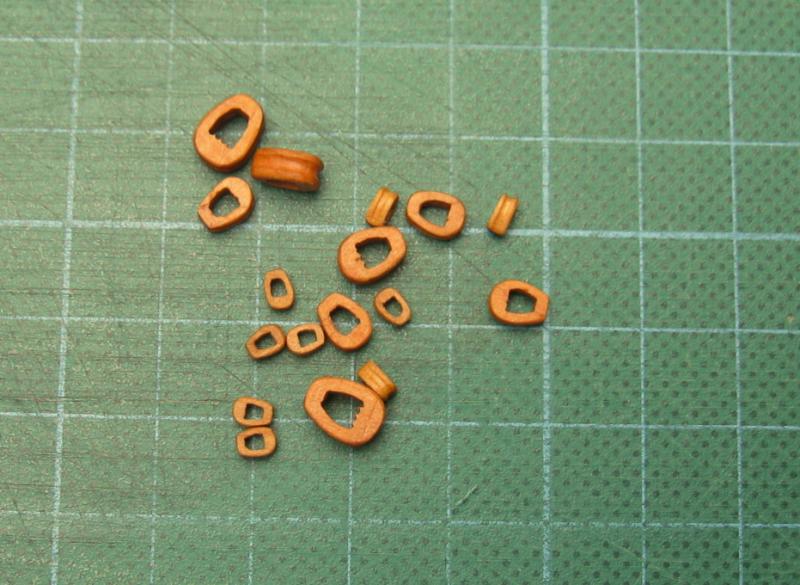
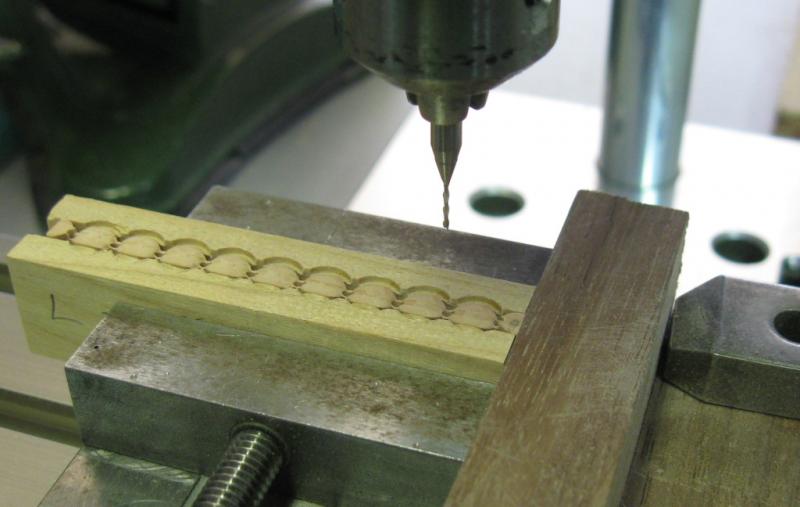
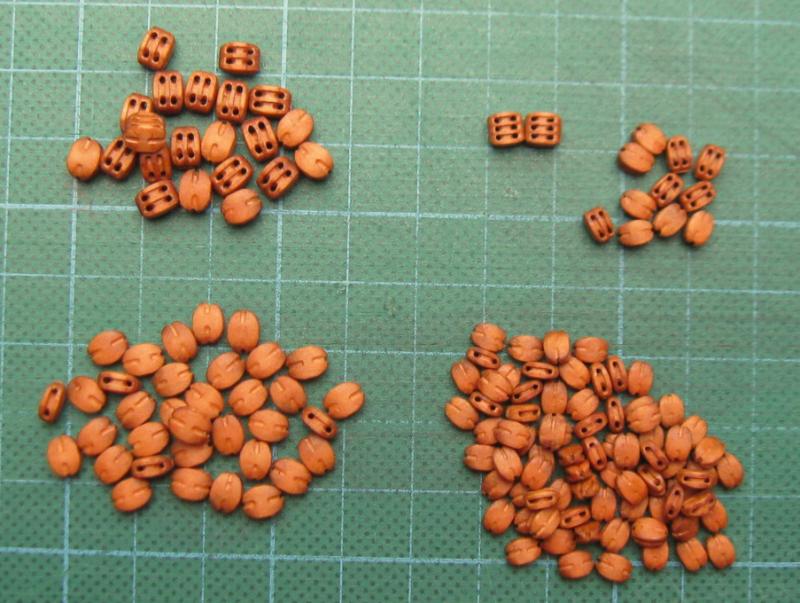
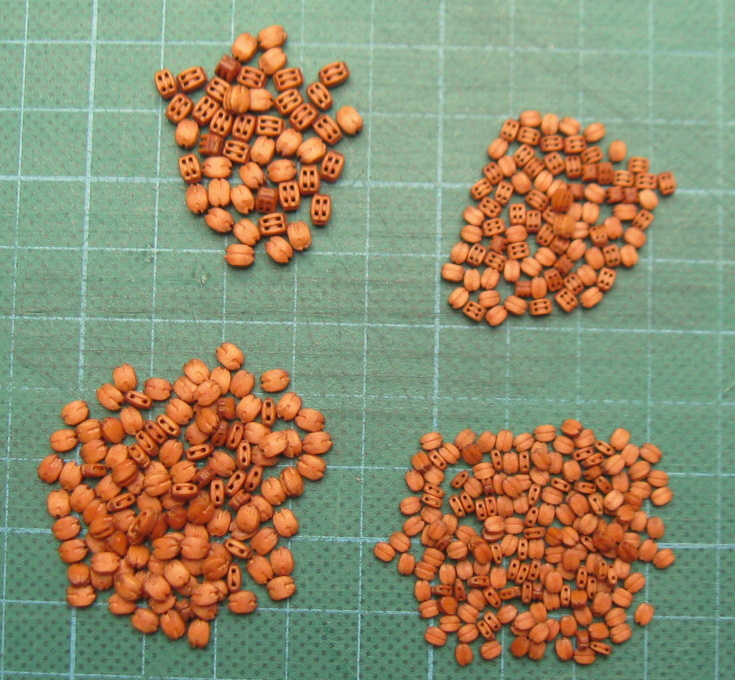
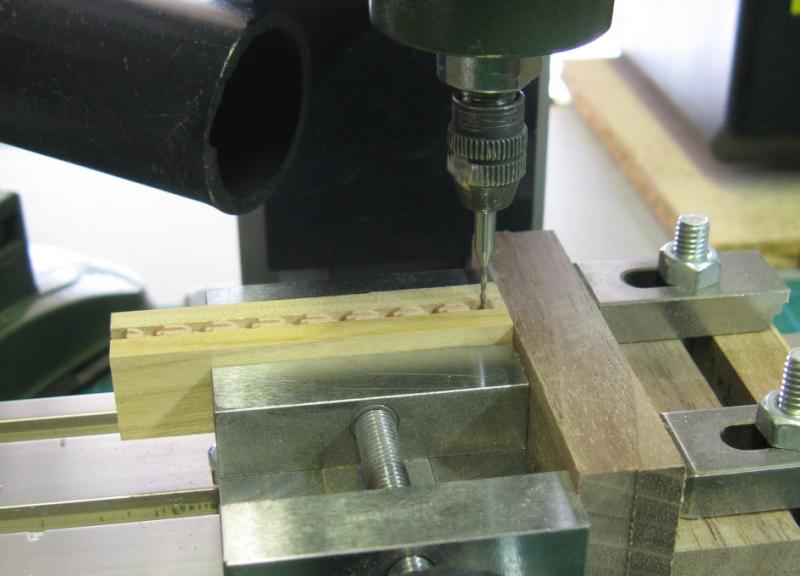
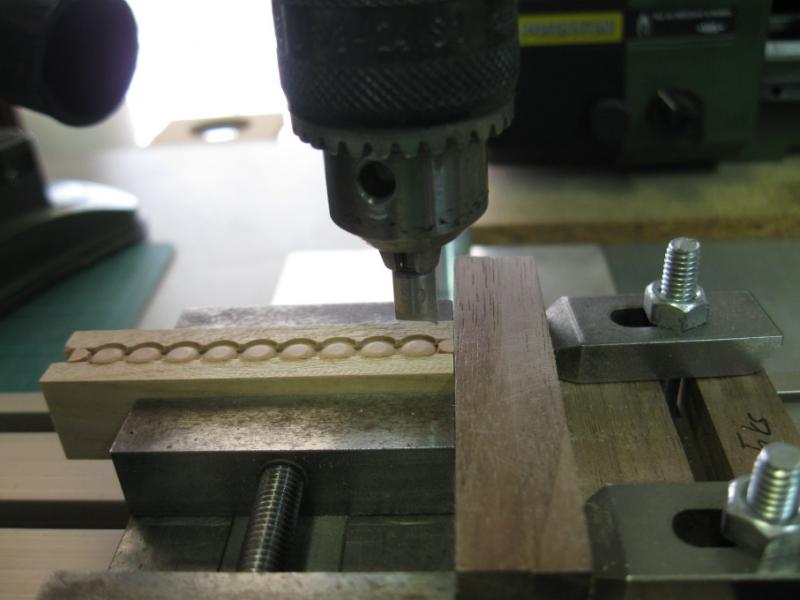
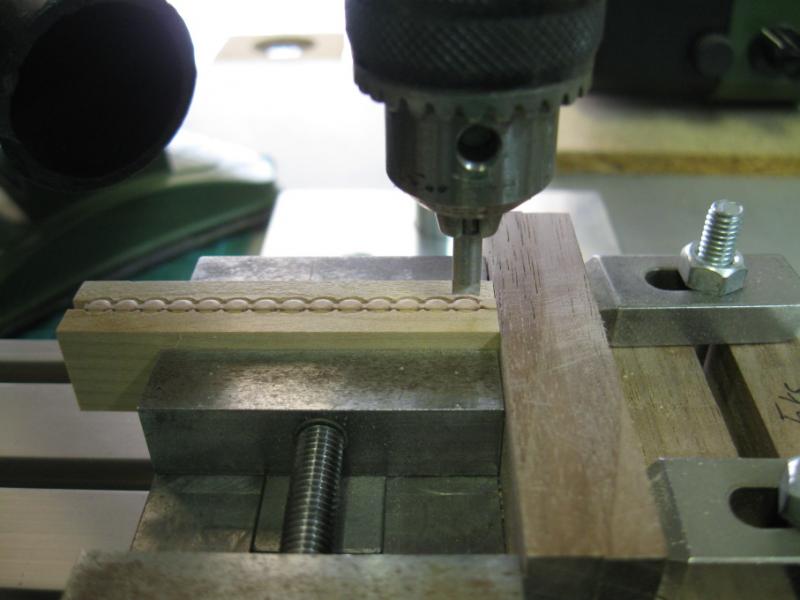
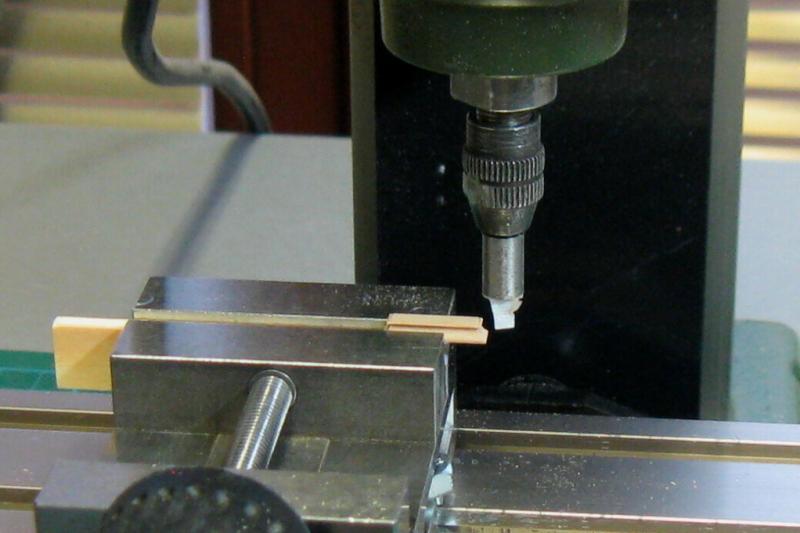
Thank you guys. To Mike Y - chuck on Proxxon mill is PM 40 (No. 24260 in Proxxon catalog). The milling bitts are selfmade. In this moment is about 560 blocks finished, it remains to complete a few atypical blocks.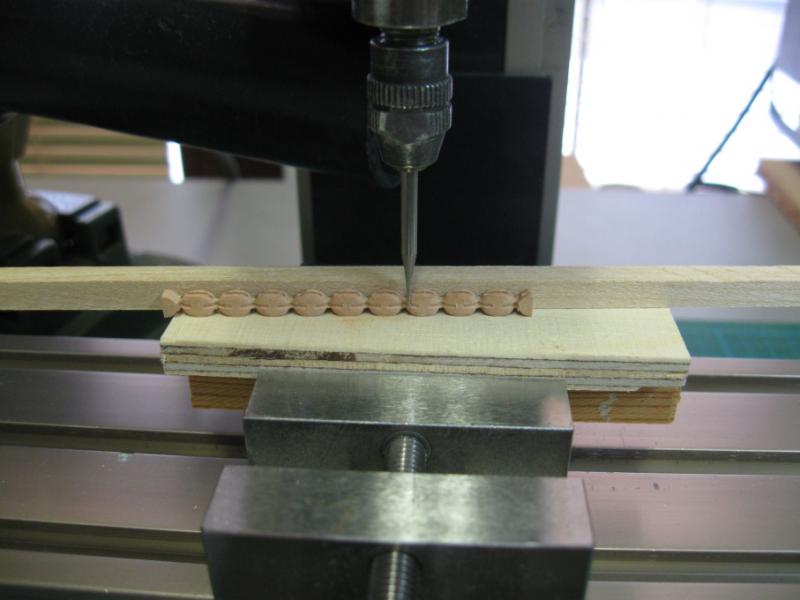

- 625 replies
-
- 26
-
-

-
Pandora by marsalv - FINISHED - 1:52
marsalv replied to marsalv's topic in - Build logs for subjects built 1751 - 1800
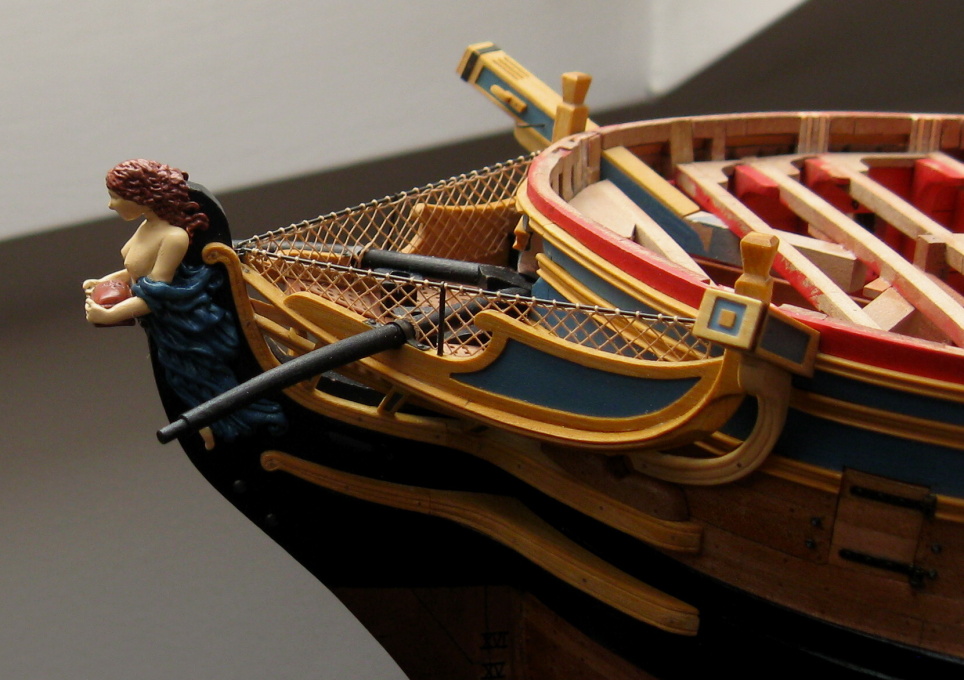
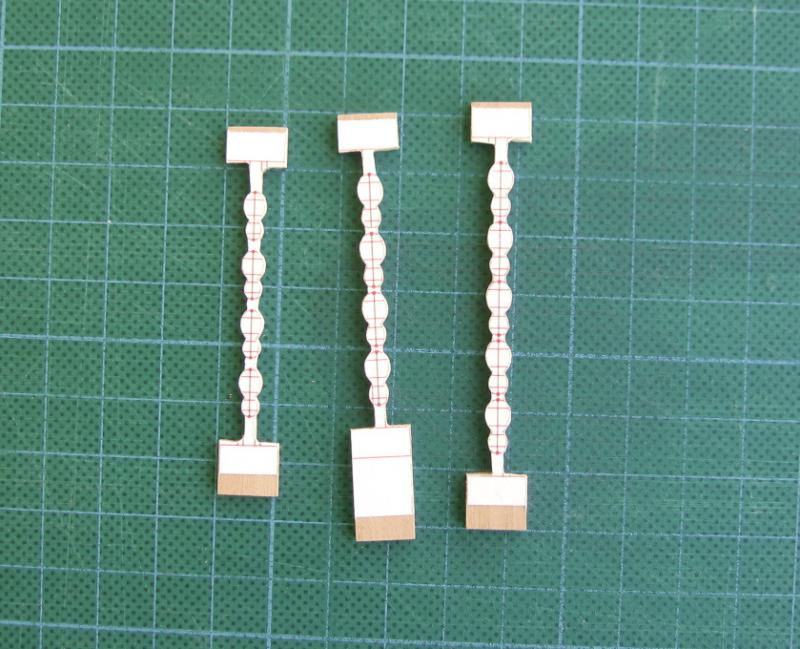
Thank you for all nice comments. The figurehead is made from modeling clay. Because I am not good im sculpting from clay I asked Doris and she made for me this beautiful figurehead (her work you can see here - http://modelshipworld.com/index.php/topic/854-royal-caroline-by-doris-card-1749-140/?hl=doris).Thank you Doris once more . So, after long break I continue with production of the rigging blocks. Blocks are made with method that comes from russian modelers.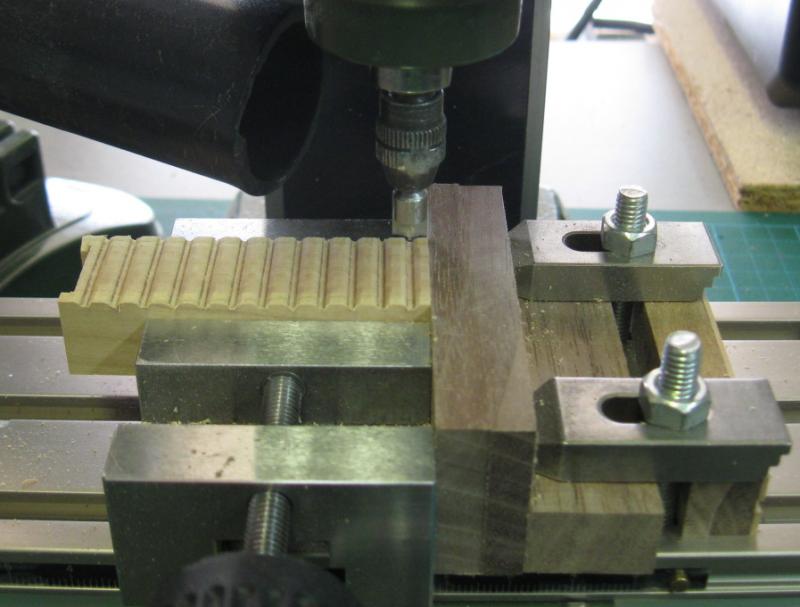
- 625 replies
-
- 24
-
-
-
Perfect, nice and clean work. I like it .
-
Pandora by marsalv - FINISHED - 1:52
marsalv replied to marsalv's topic in - Build logs for subjects built 1751 - 1800
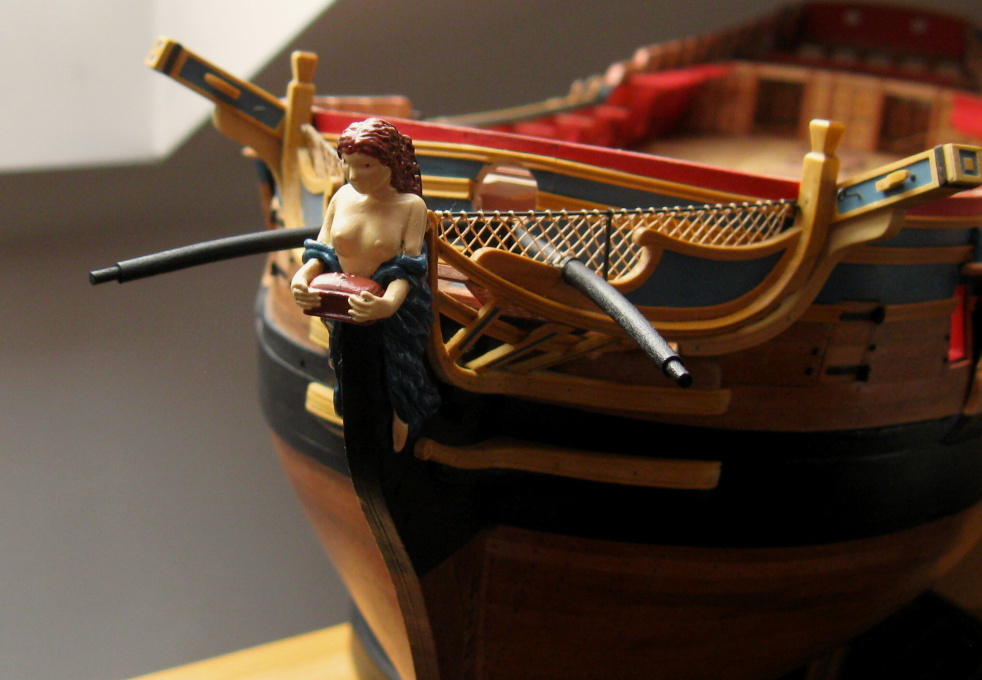
I wish Merry Christmas and Happy New Year to all followers of my log . And last post of this year - figurehead.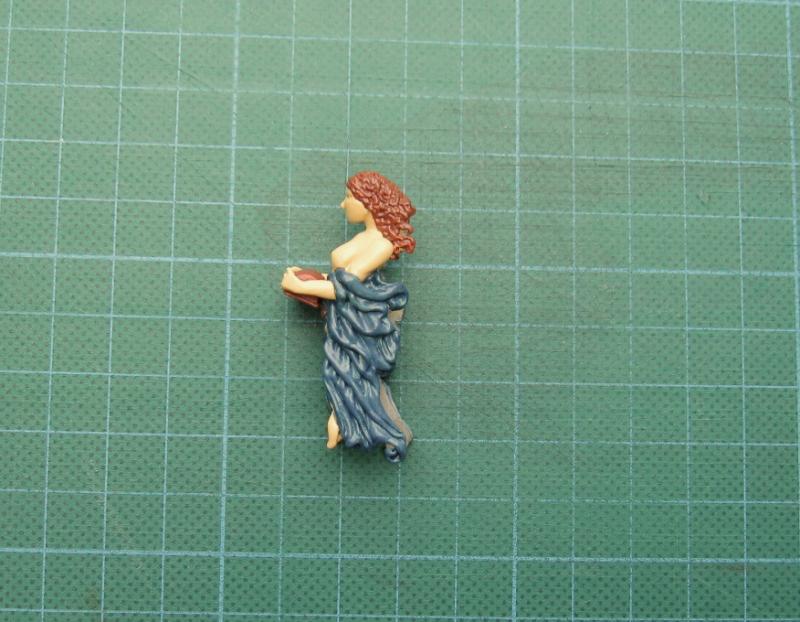


- 625 replies
-
- 36
-
-
Pandora by marsalv - FINISHED - 1:52
marsalv replied to marsalv's topic in - Build logs for subjects built 1751 - 1800
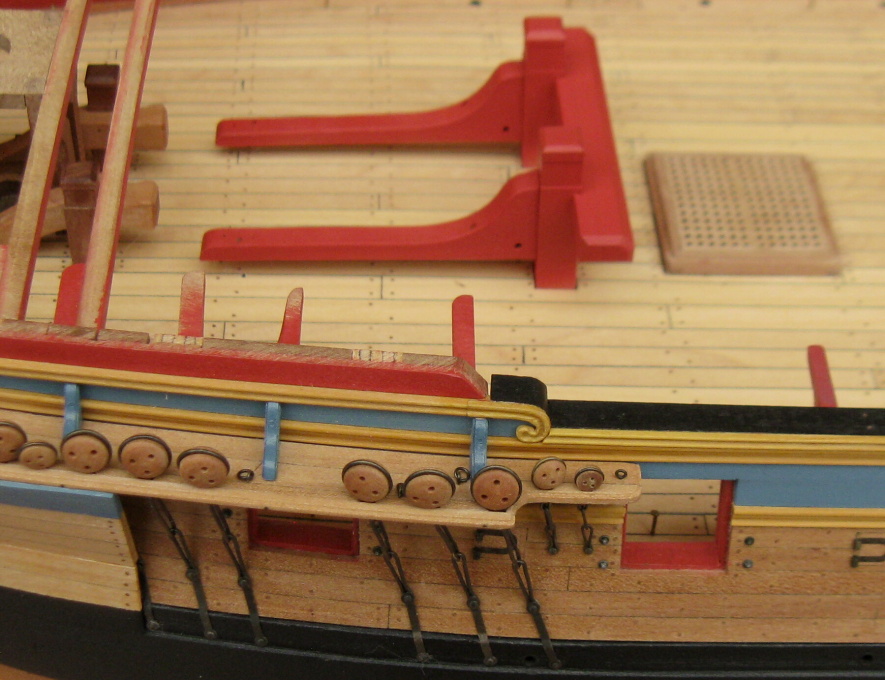
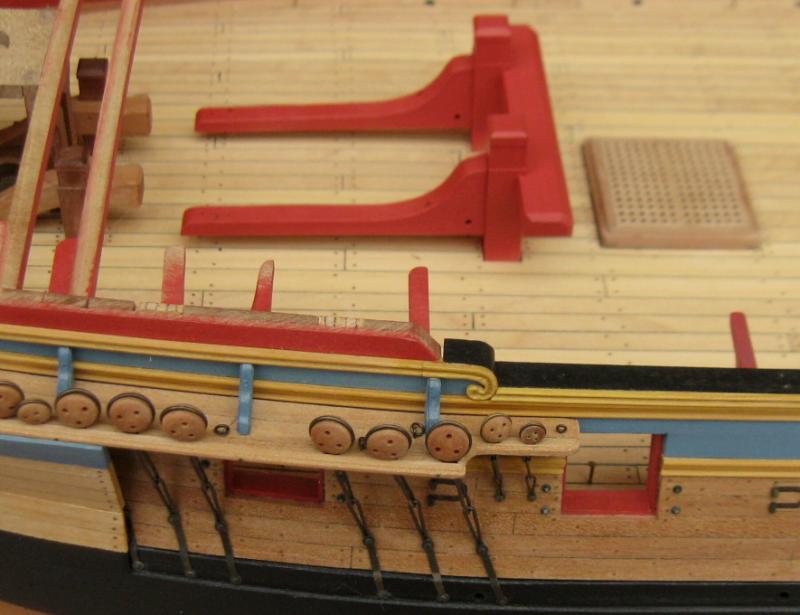
Thank you. Only few details for today - chesstrees and fenders.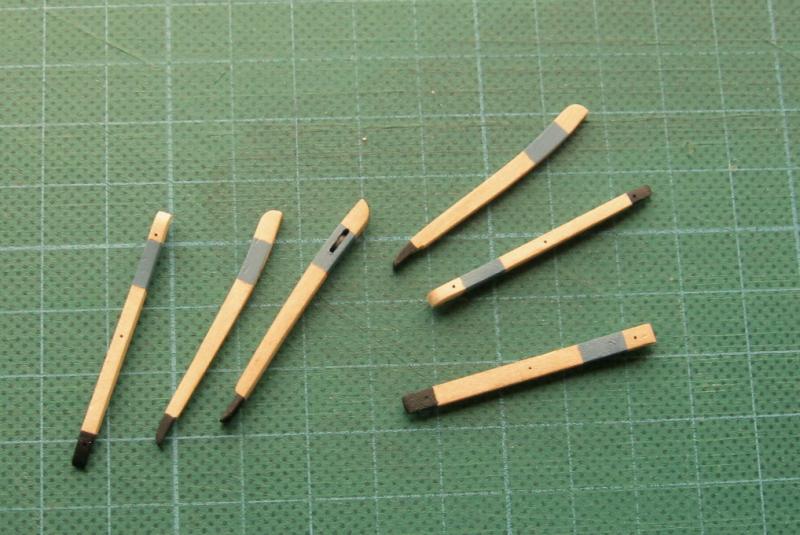


- 625 replies
-
- 30
-
-
Pandora by marsalv - FINISHED - 1:52
marsalv replied to marsalv's topic in - Build logs for subjects built 1751 - 1800
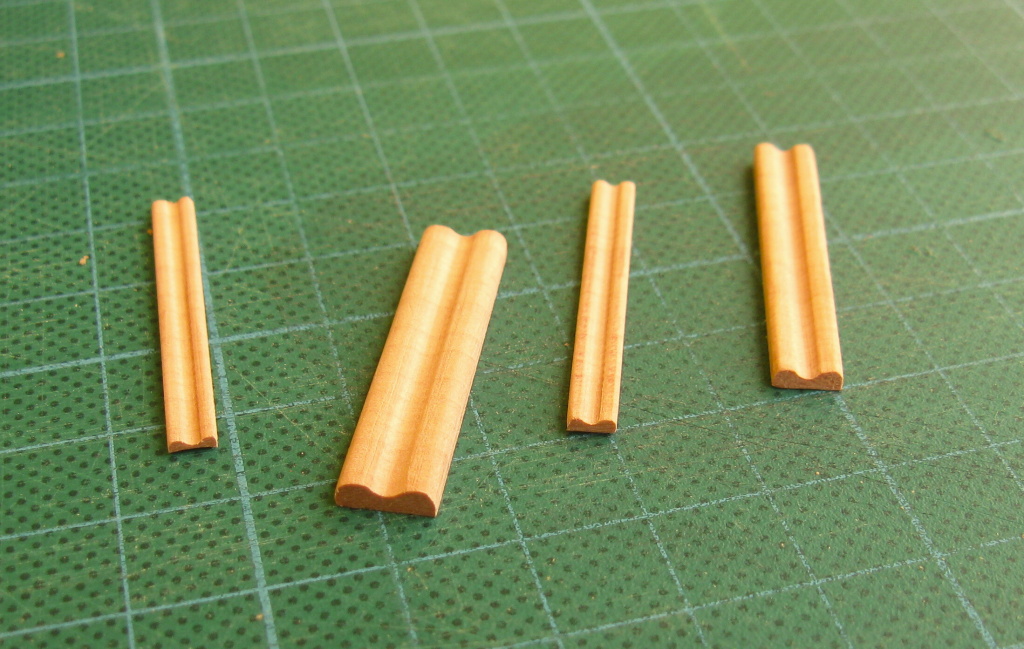
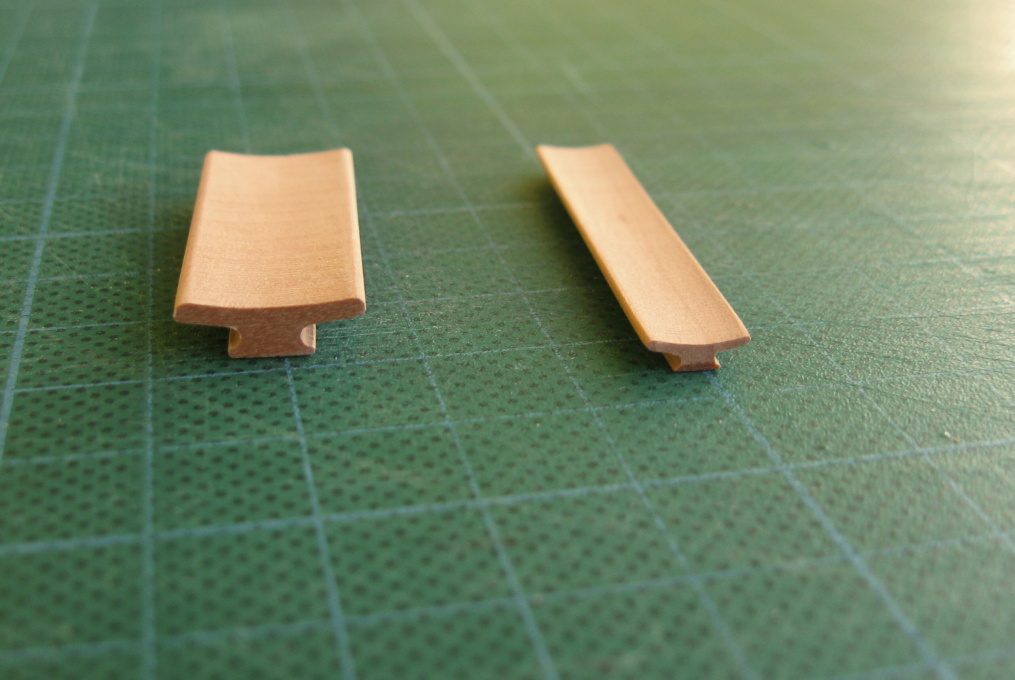
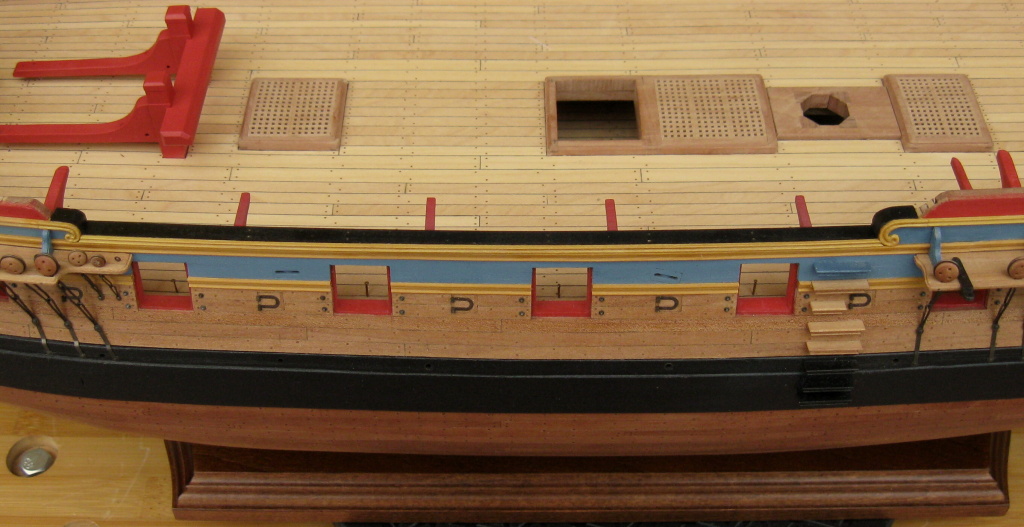
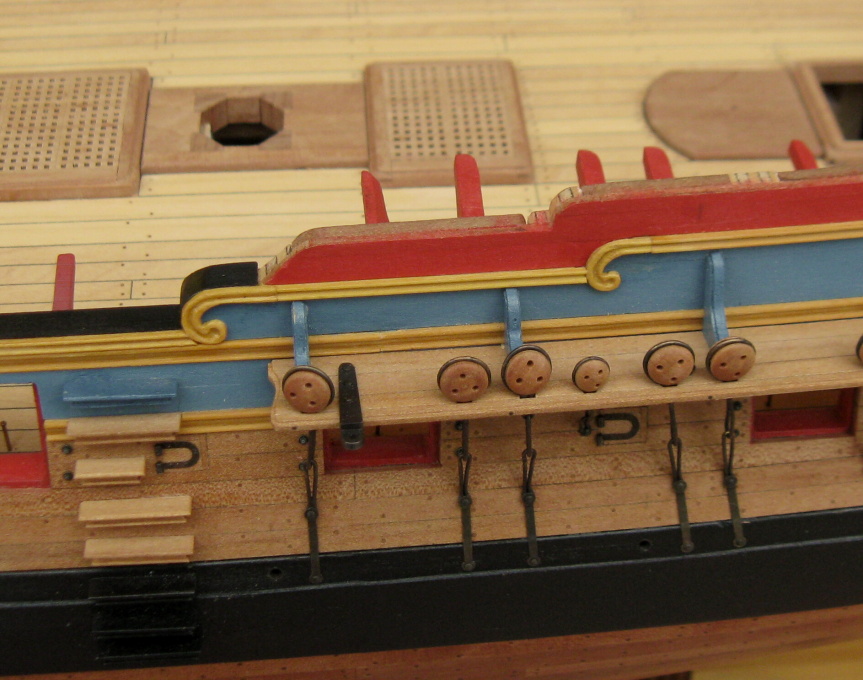
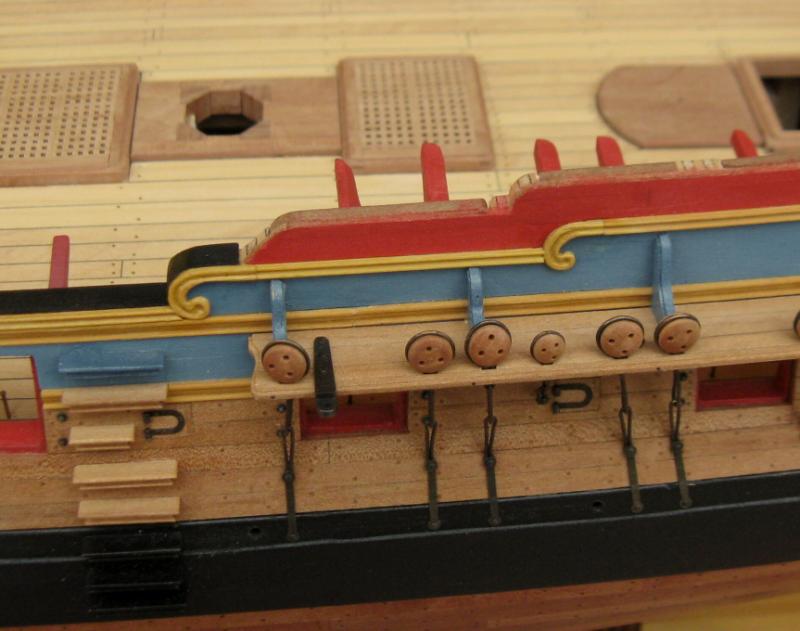
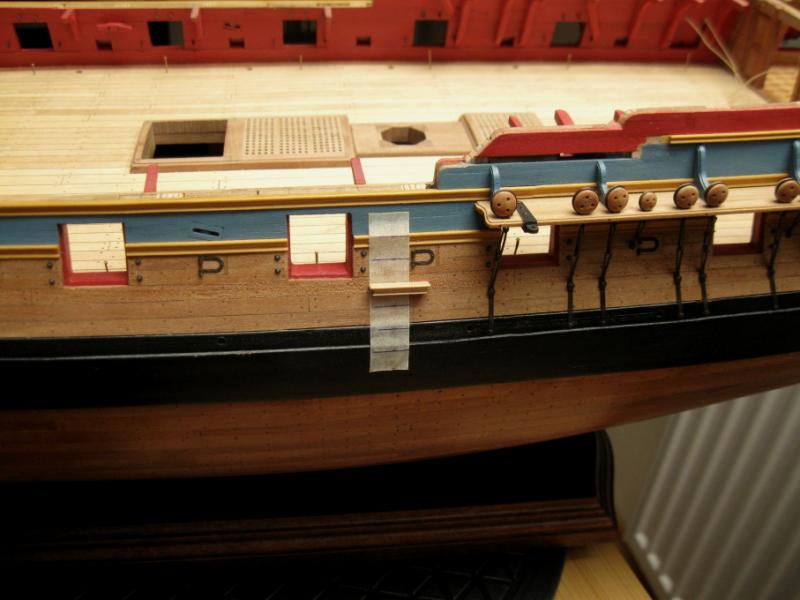
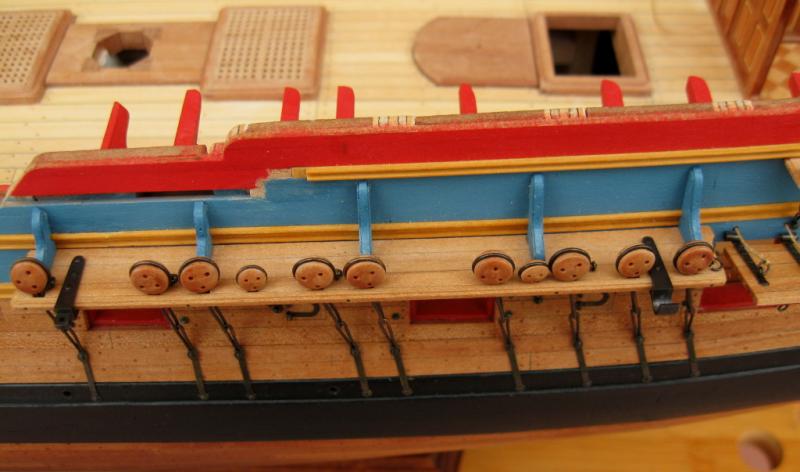
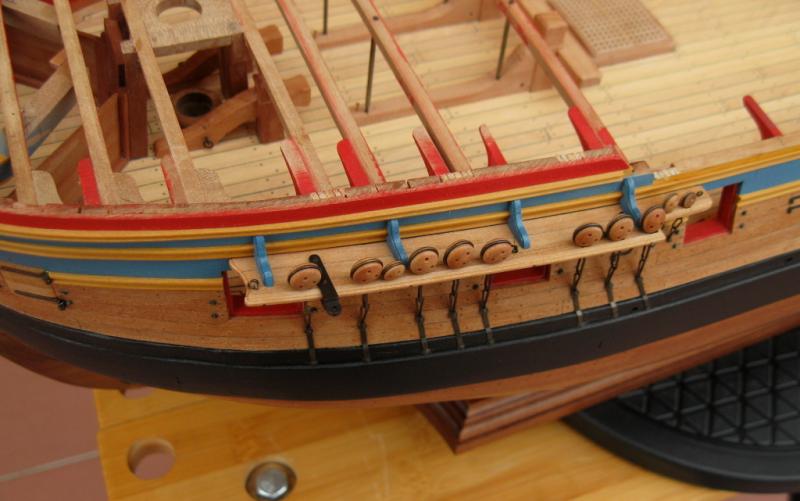
Thank you to all guys for very nice comments. Building of ship models is my big hobby that brings me a lot of joy. I am very happy that my model can bring some pleasure to you. Next part - planksheer in the waist.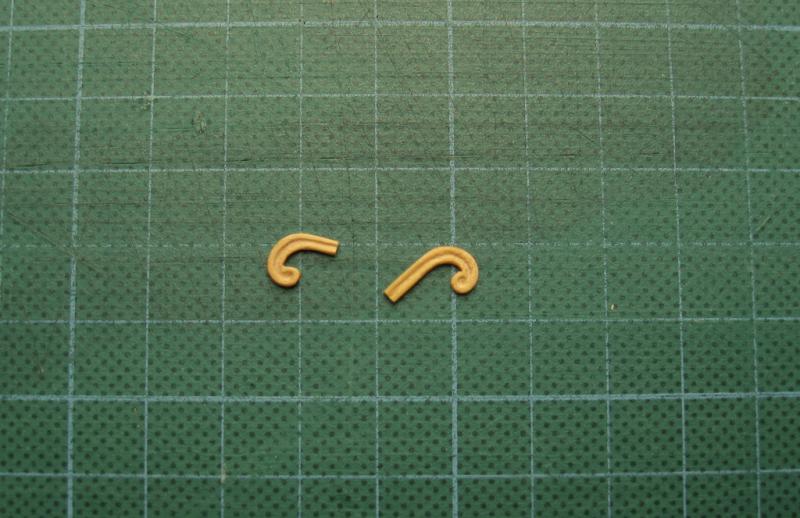

- 625 replies
-
- 31
-
-
Pandora by marsalv - FINISHED - 1:52
marsalv replied to marsalv's topic in - Build logs for subjects built 1751 - 1800
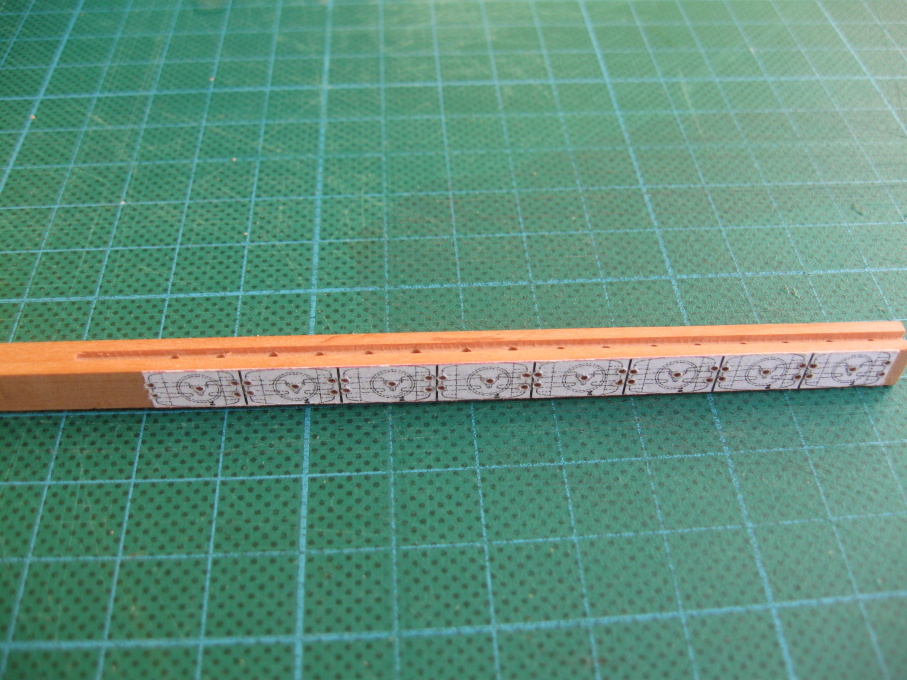
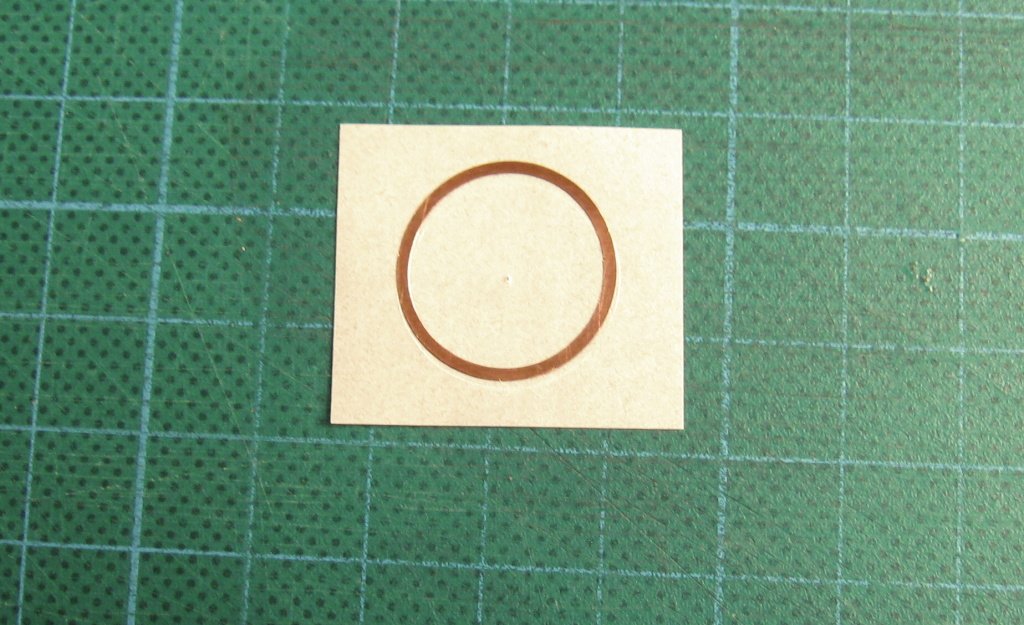
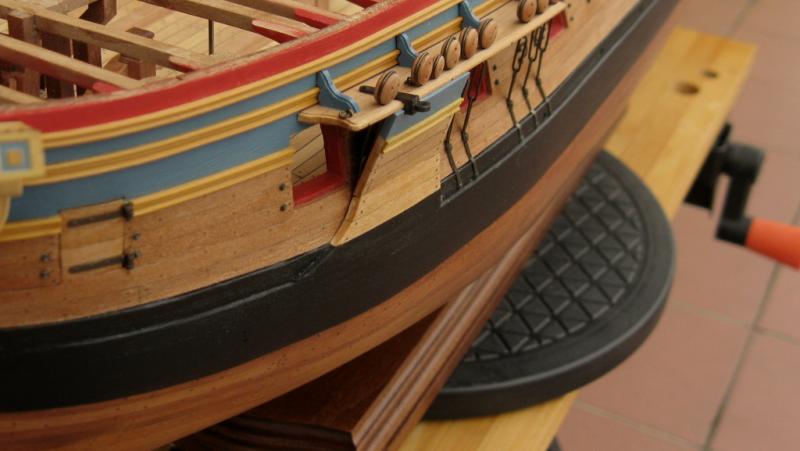
Some picture of anchor lining.

- 625 replies
-
- 19
-
-
Pandora by marsalv - FINISHED - 1:52
marsalv replied to marsalv's topic in - Build logs for subjects built 1751 - 1800
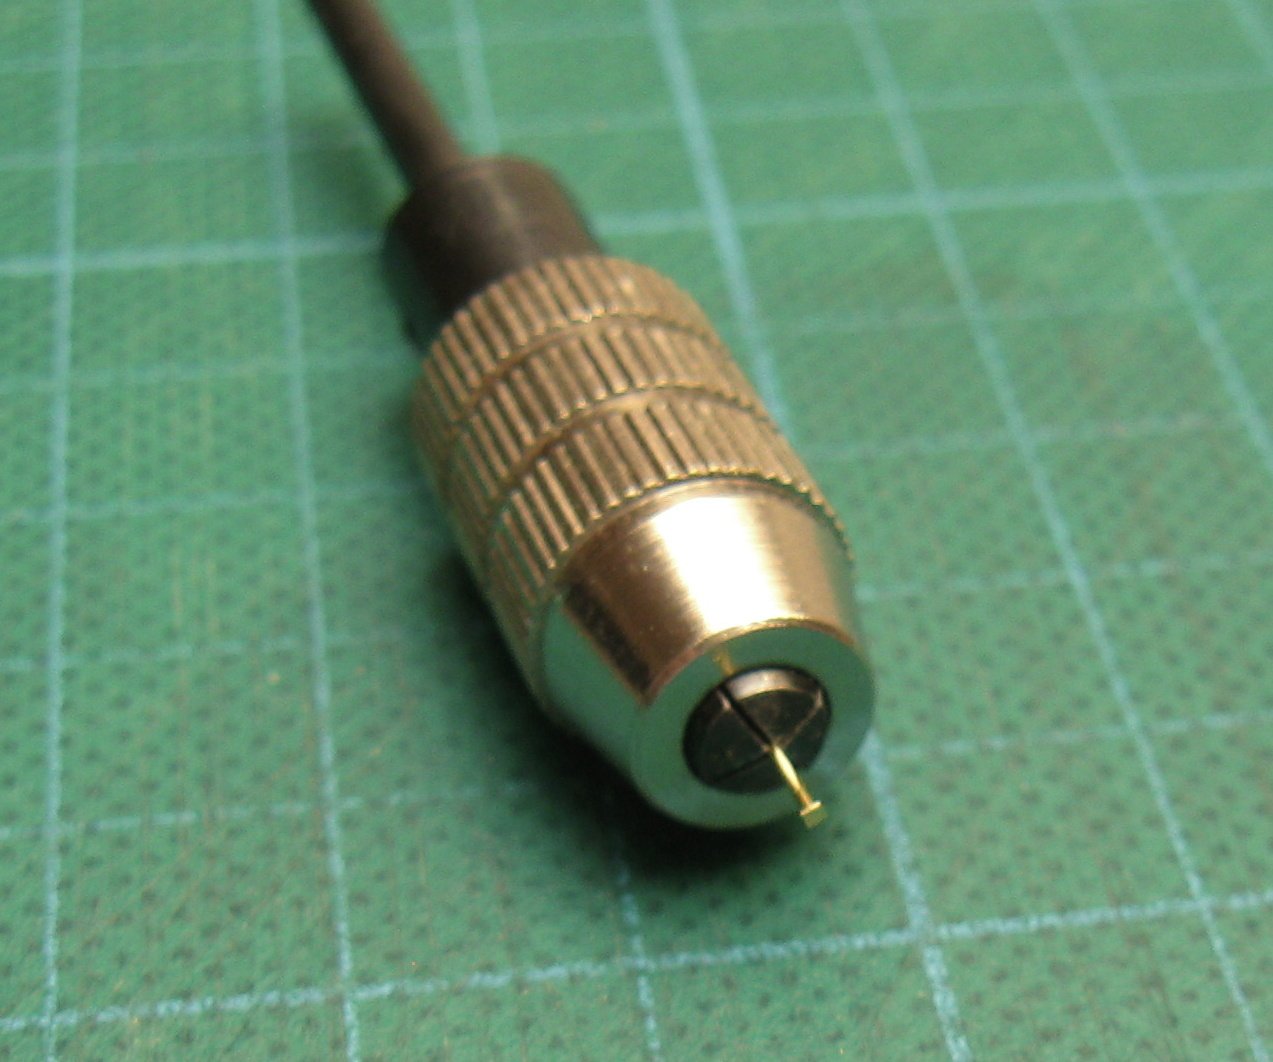
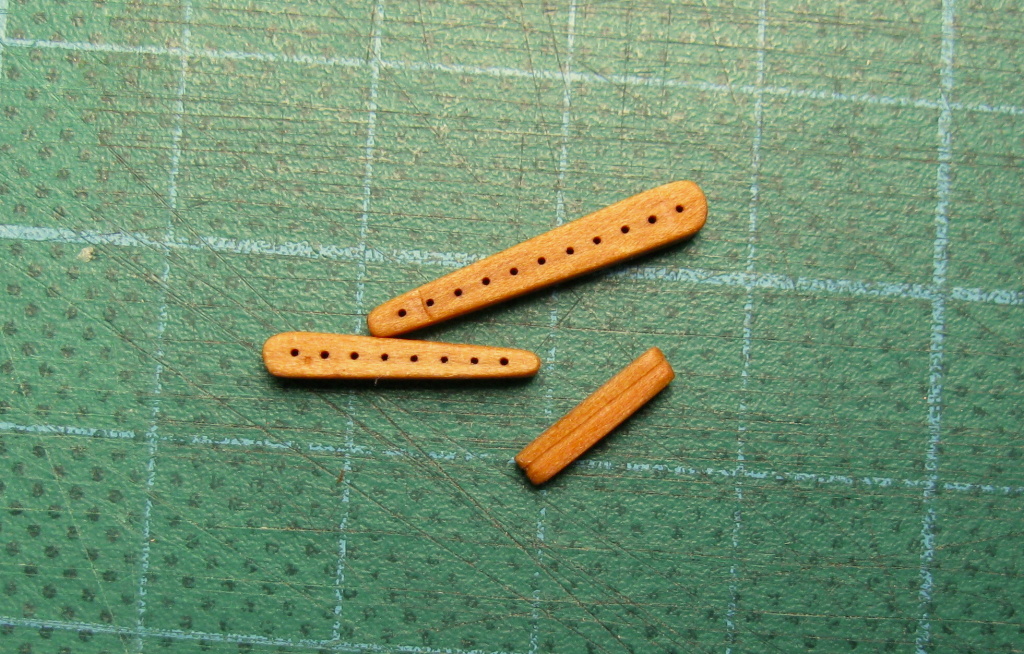
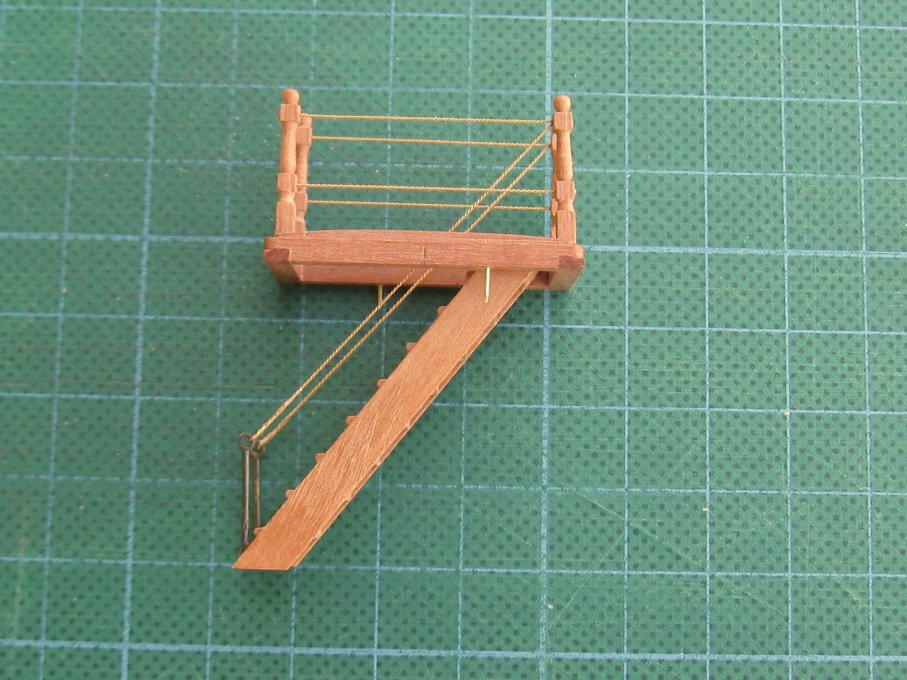
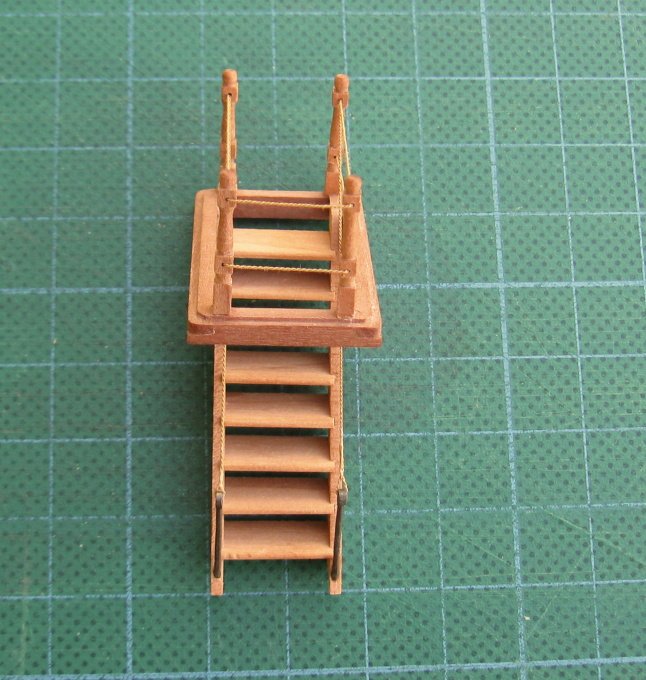
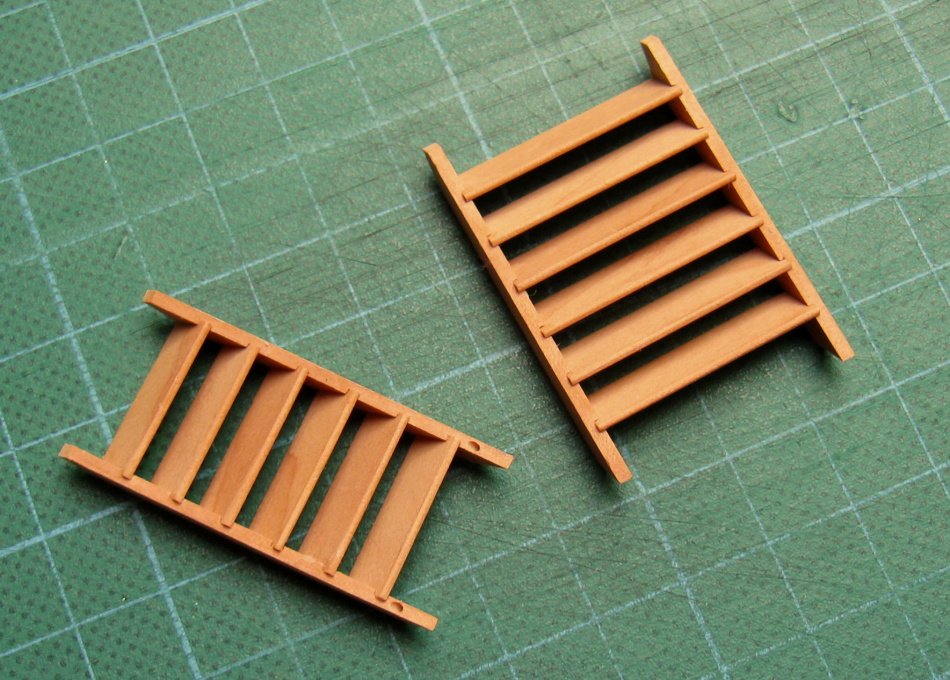
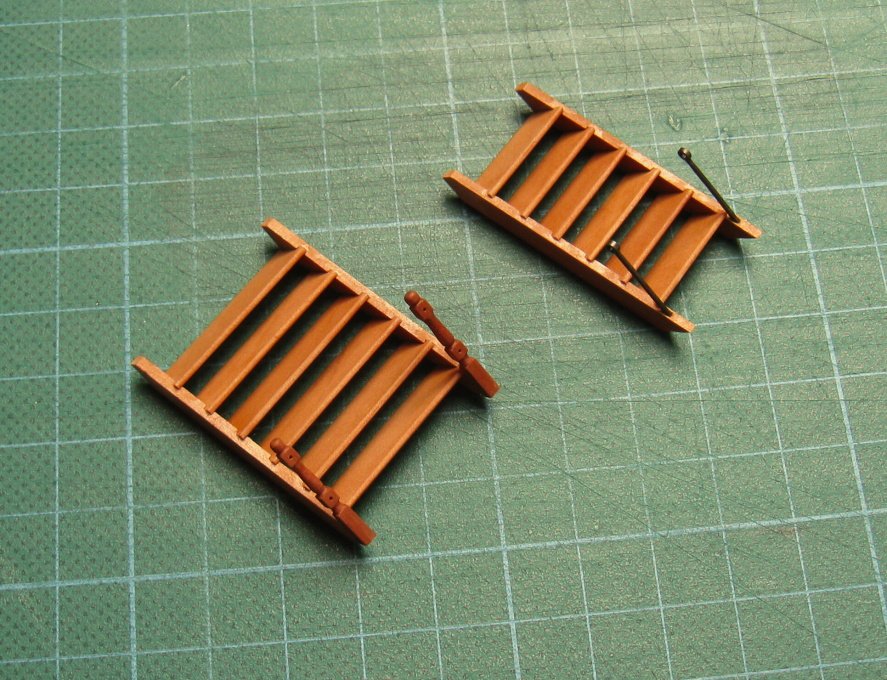
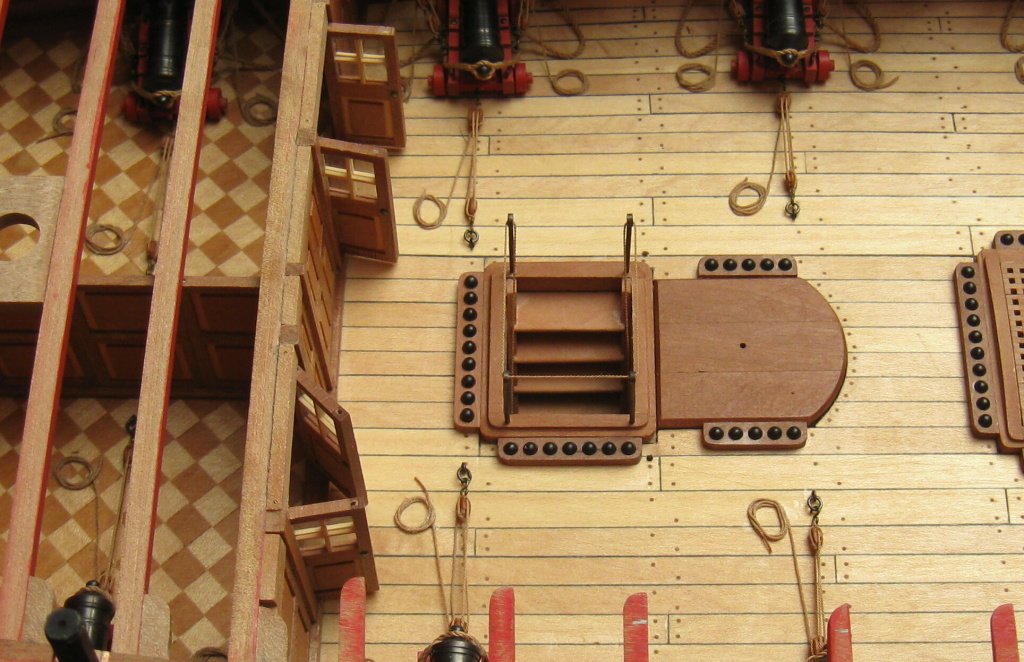
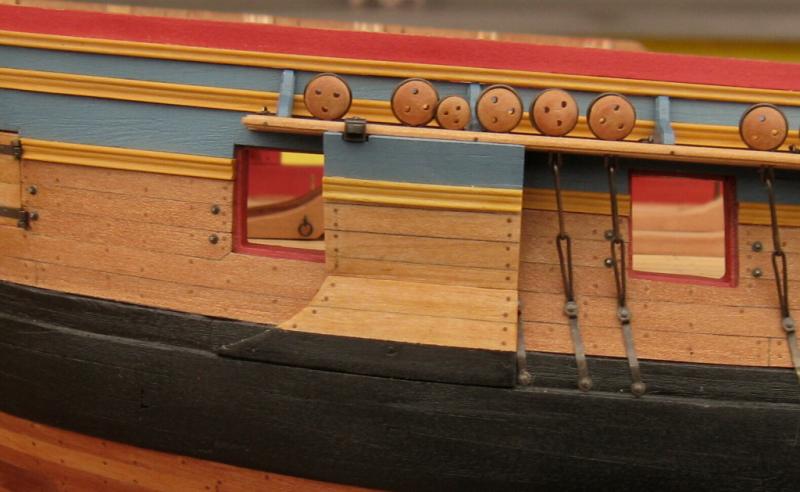
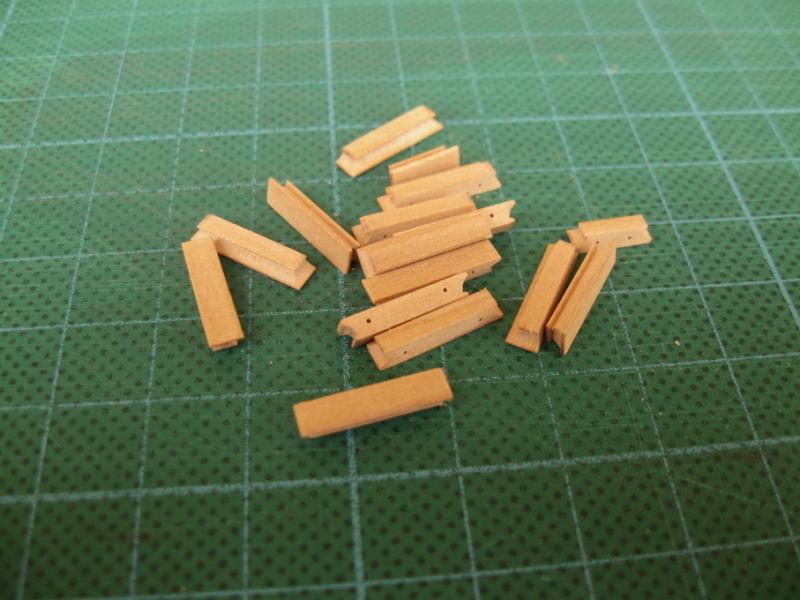
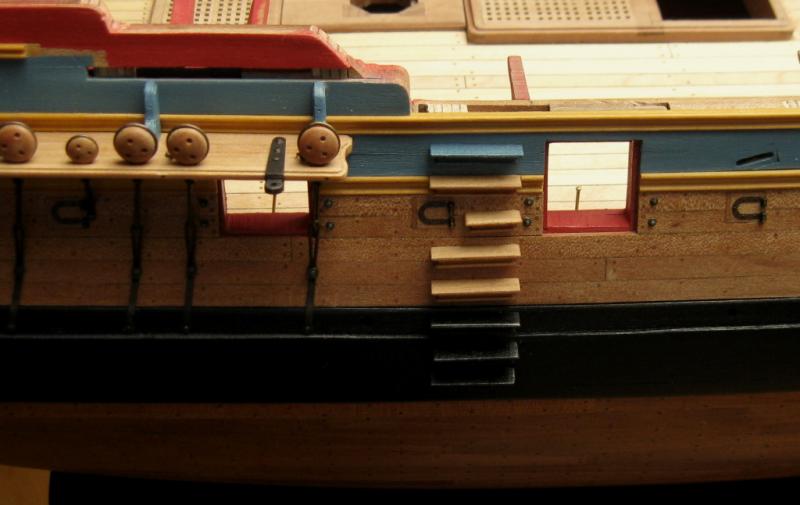
Thank you very much. I am very happy that you like my build . Only small detail for today - the entry steps.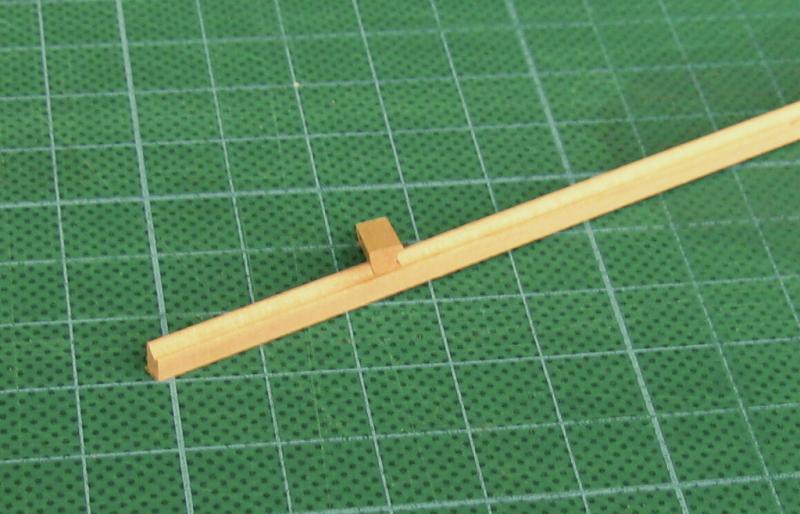

- 625 replies
-
- 17
-
-
Pandora by marsalv - FINISHED - 1:52
marsalv replied to marsalv's topic in - Build logs for subjects built 1751 - 1800
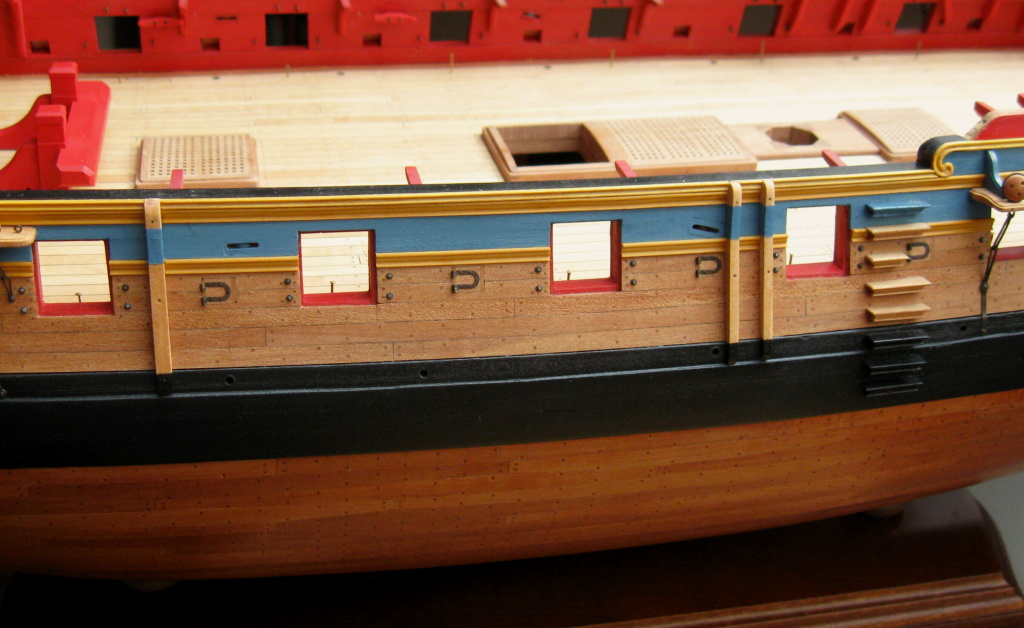
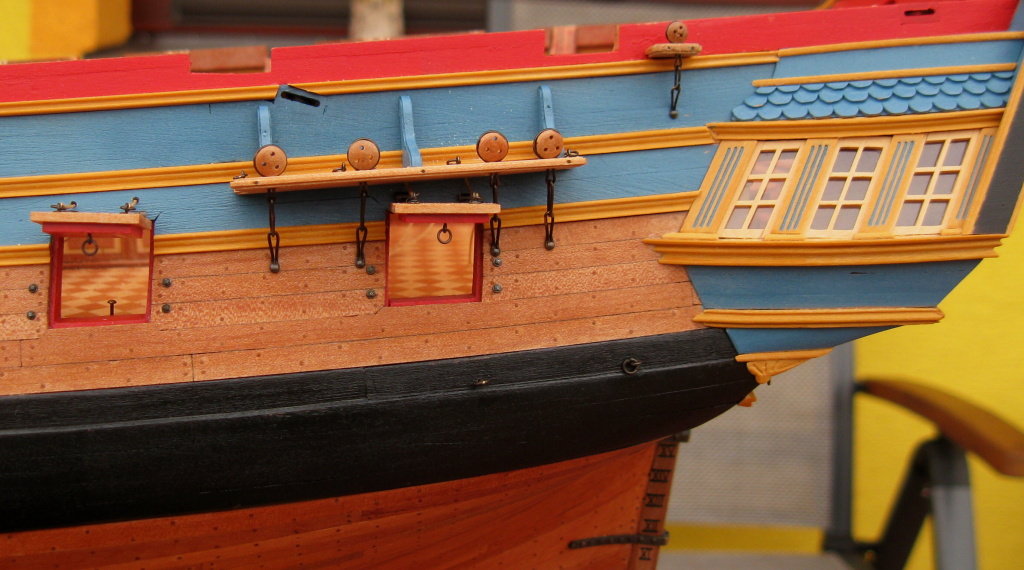
Thank you to all for nice comments . To allanyed: your question - answer is correct. All parts are now mounted on the hull.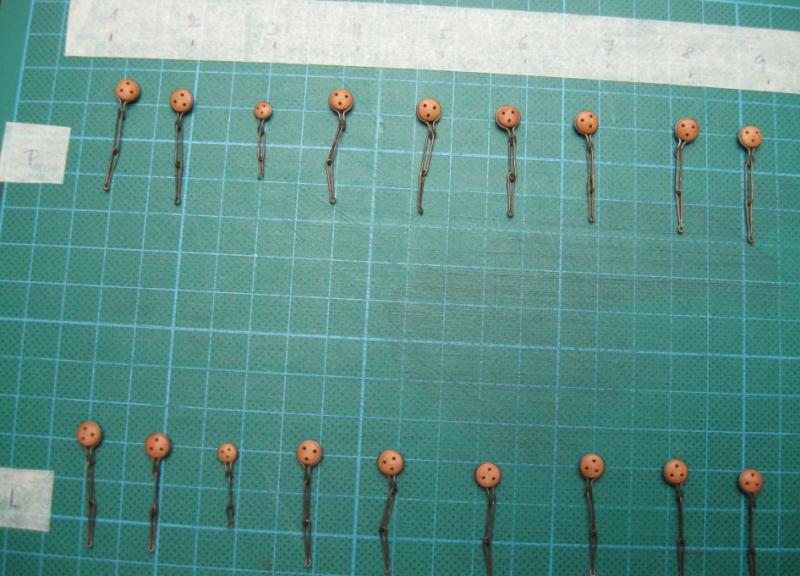

- 625 replies
-
- 28
-
-
Pandora by marsalv - FINISHED - 1:52
marsalv replied to marsalv's topic in - Build logs for subjects built 1751 - 1800
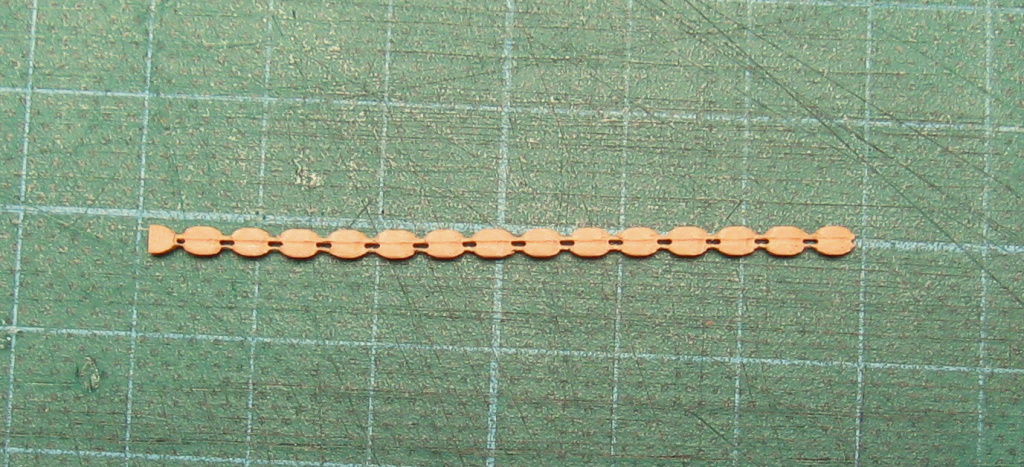
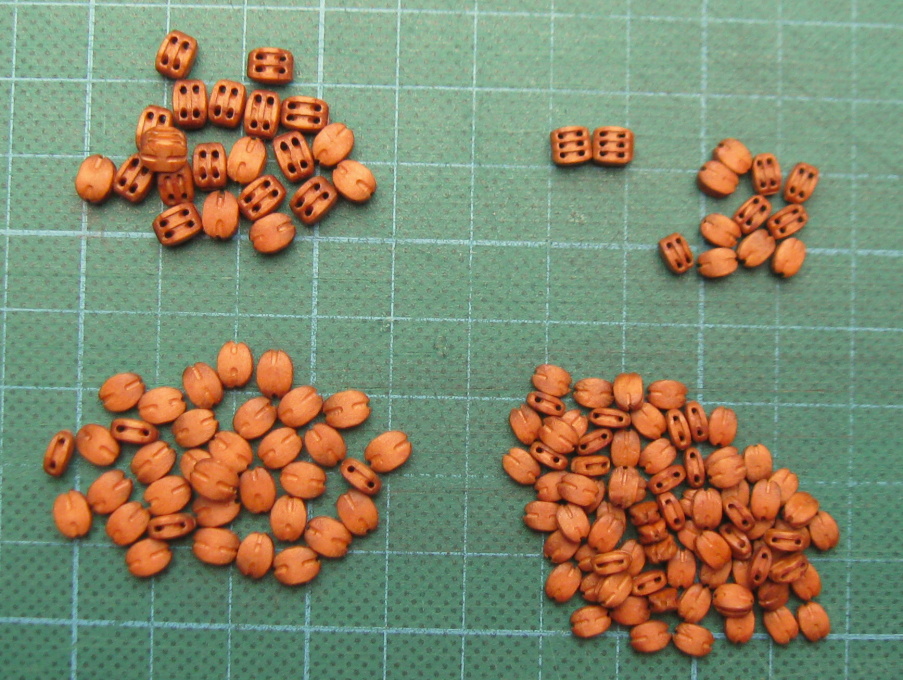
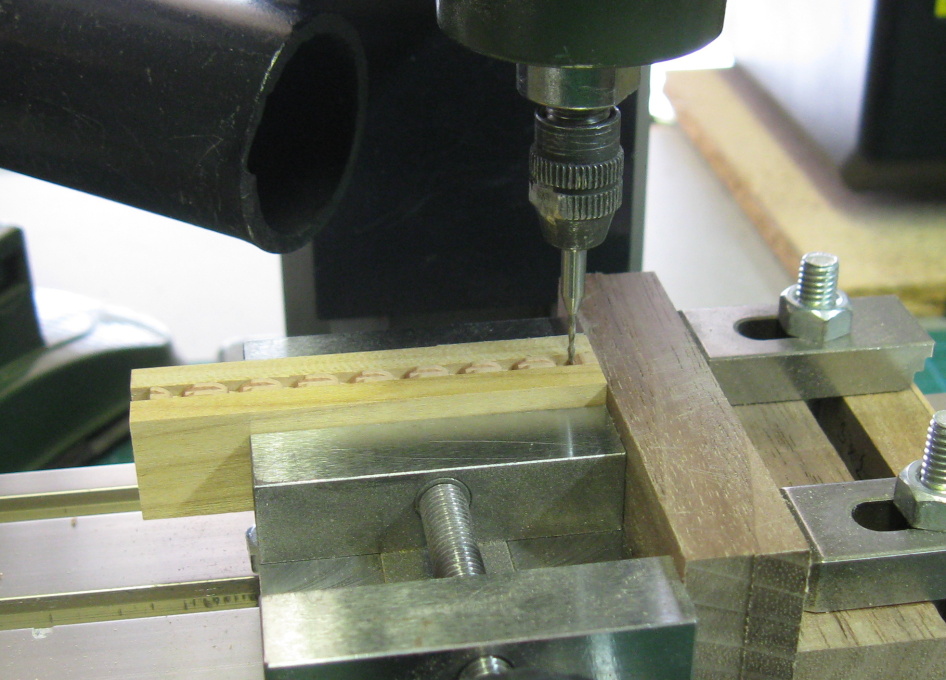
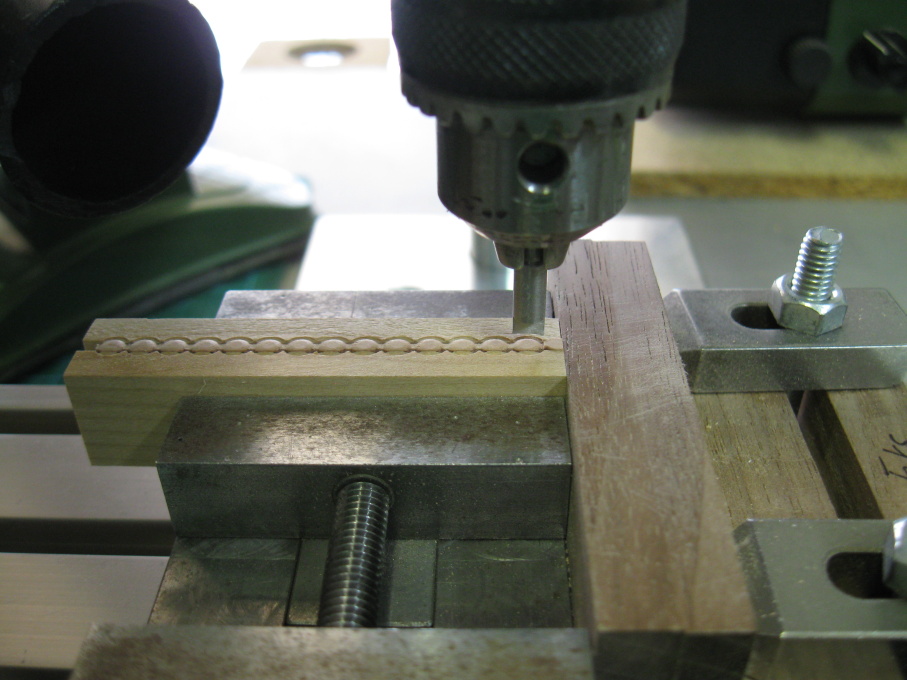
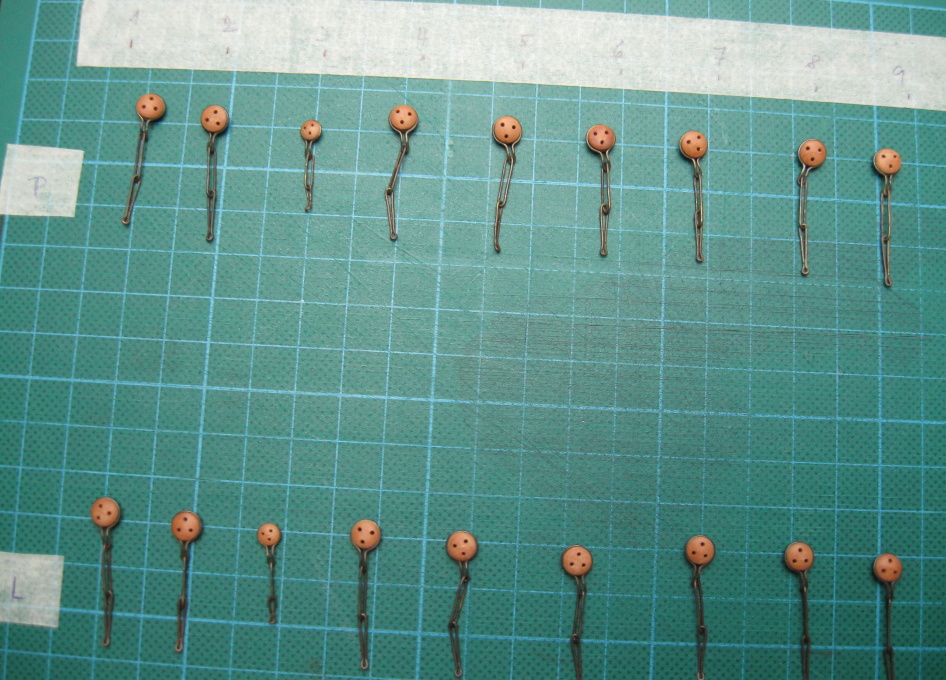
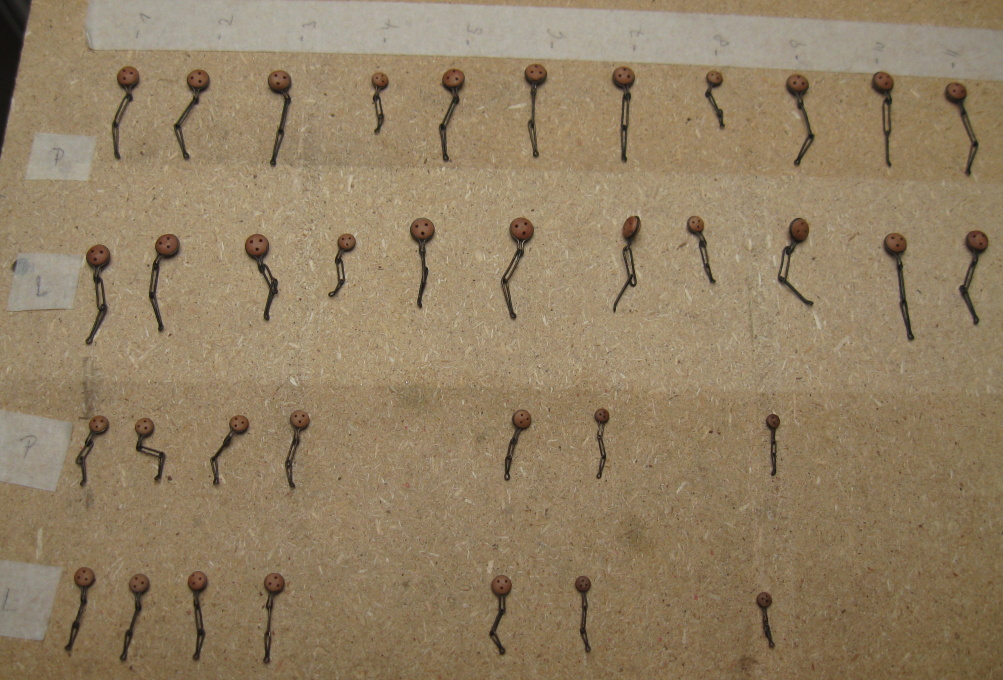
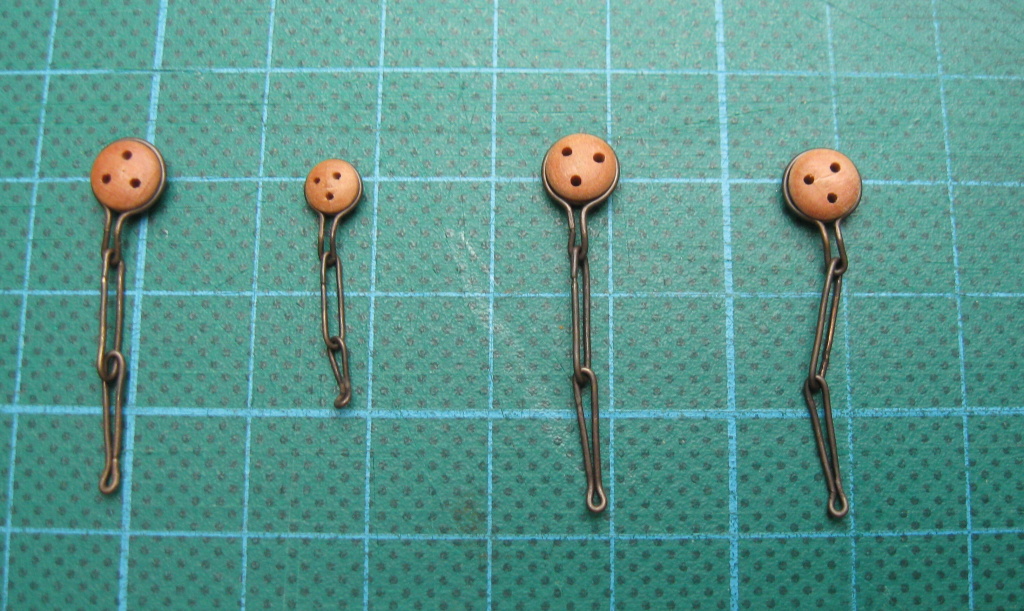
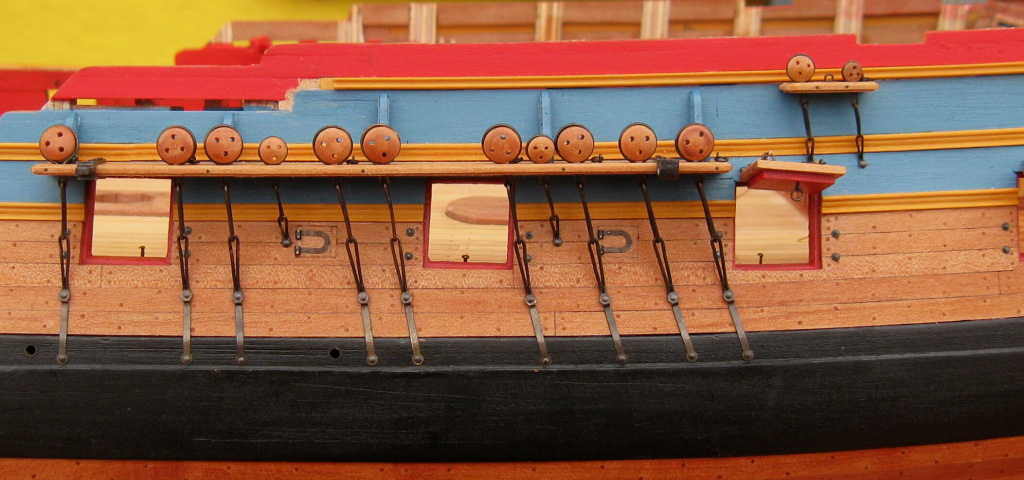
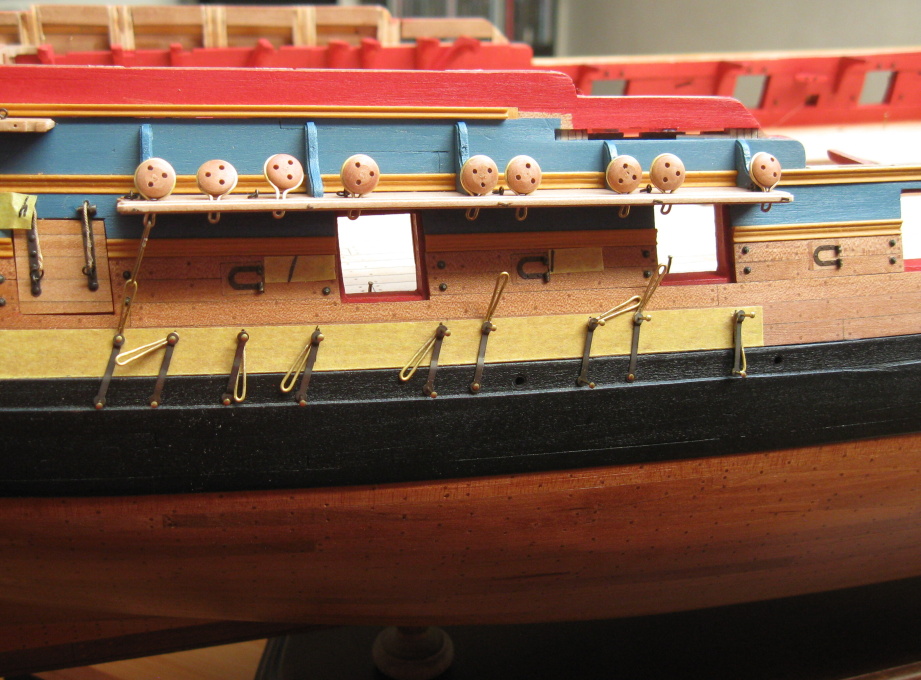
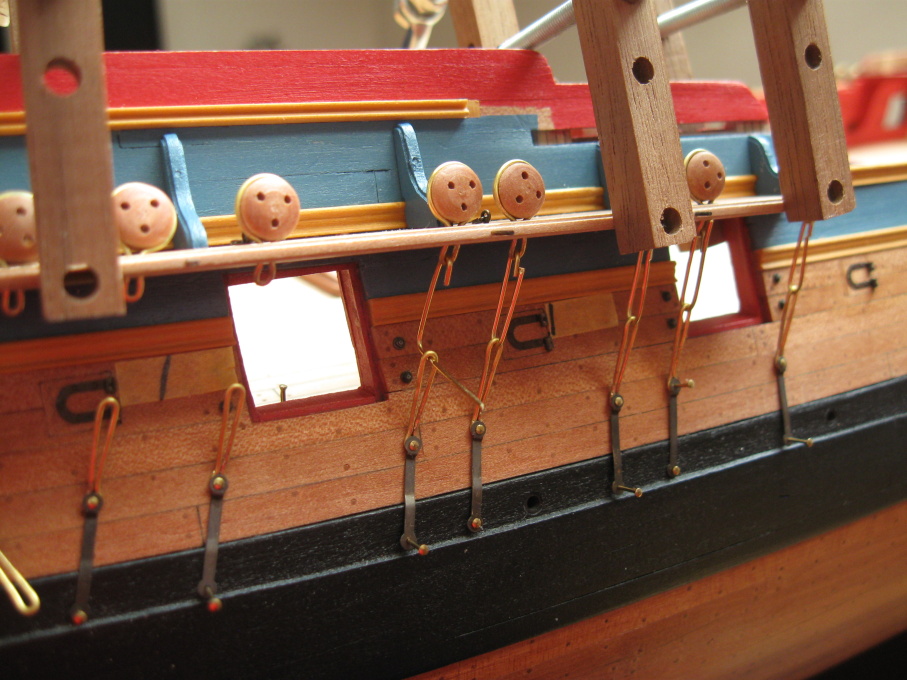
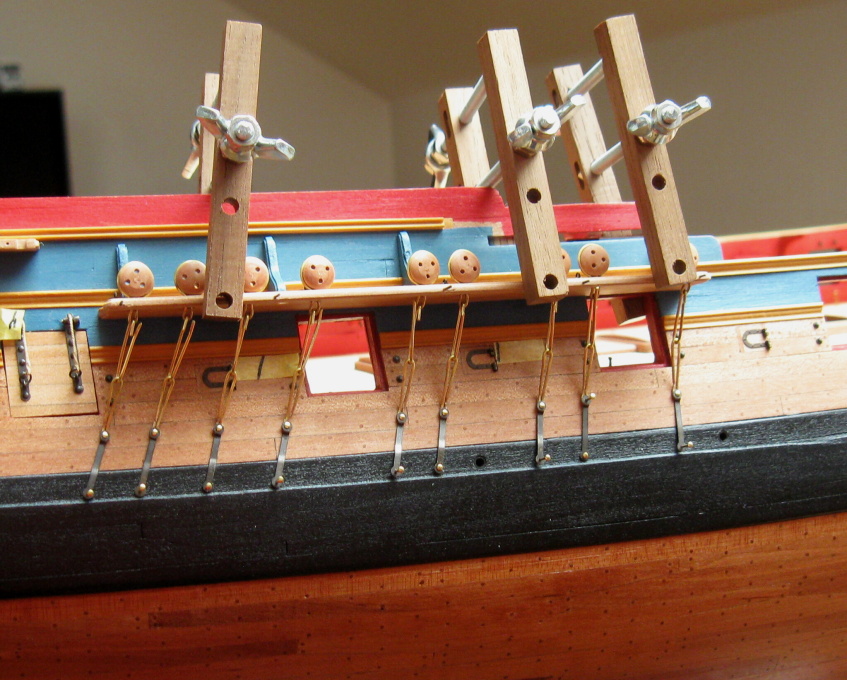
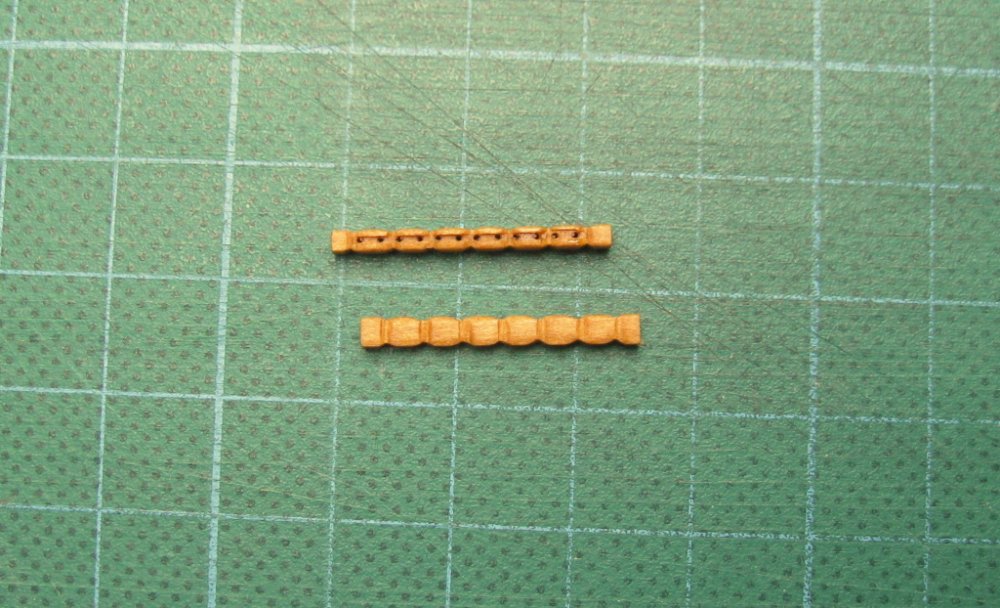
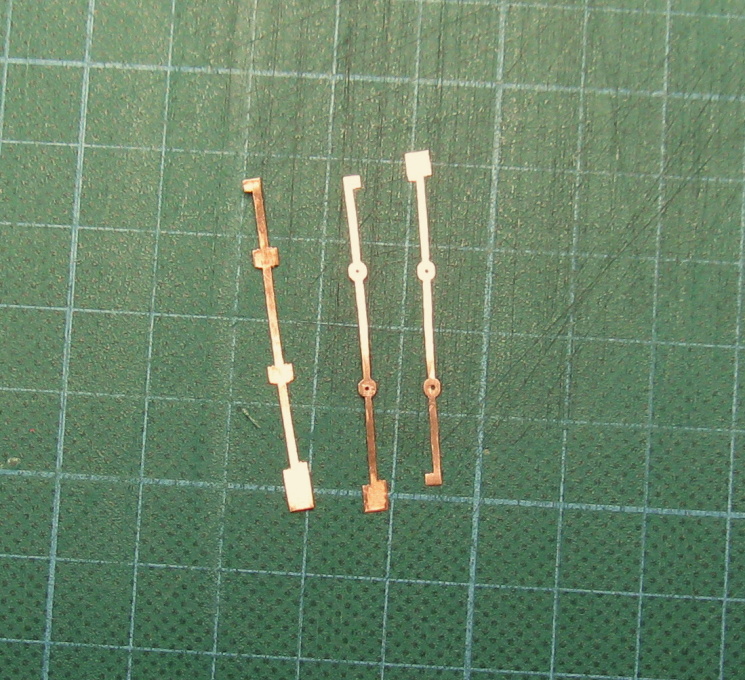
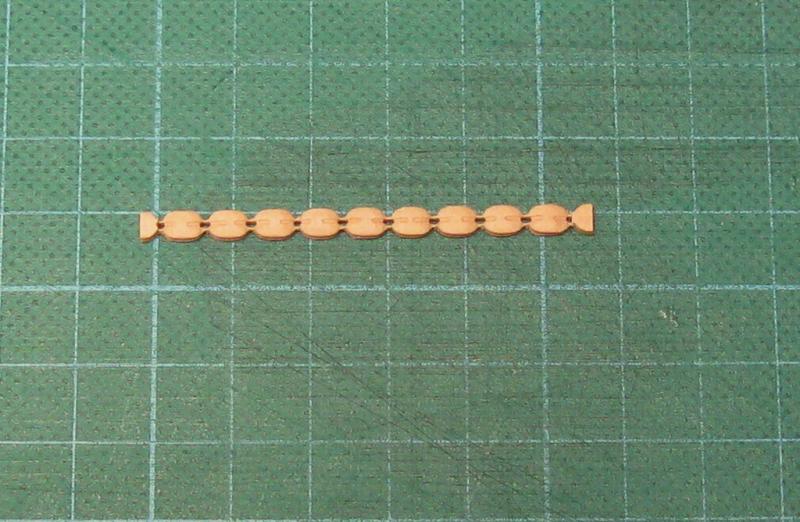
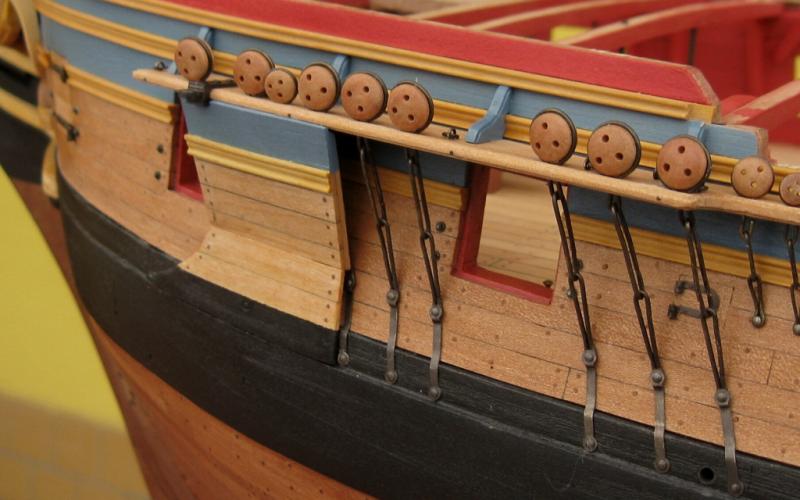
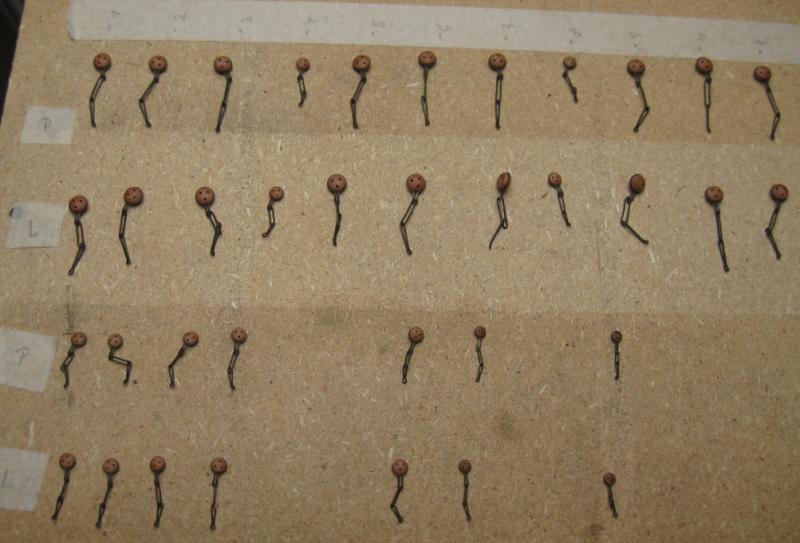
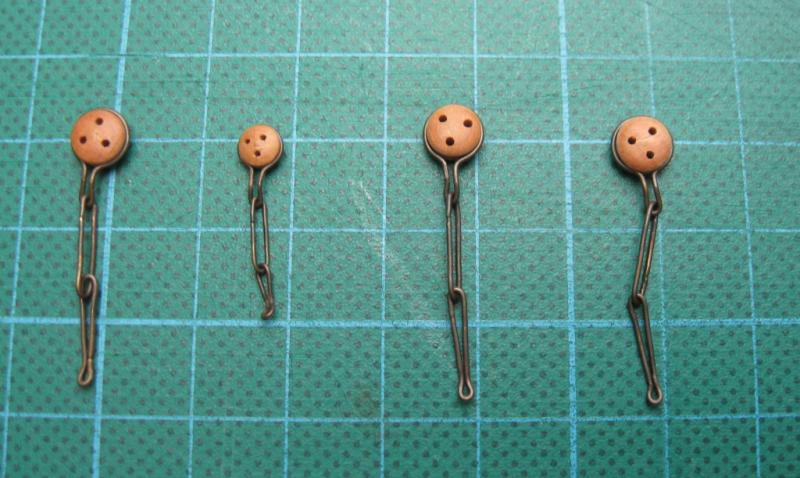
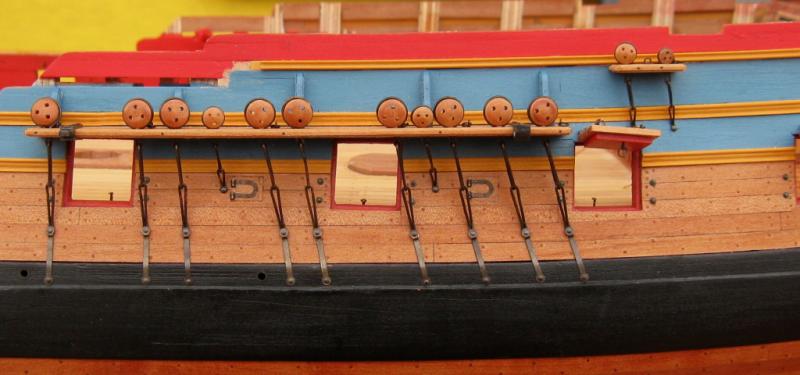
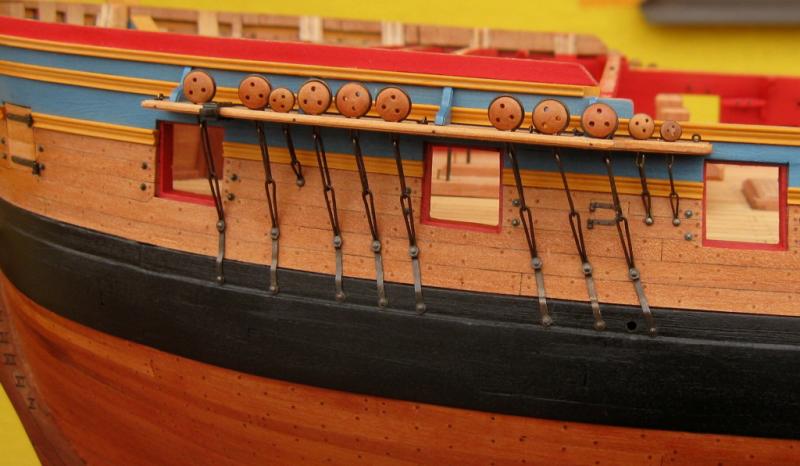
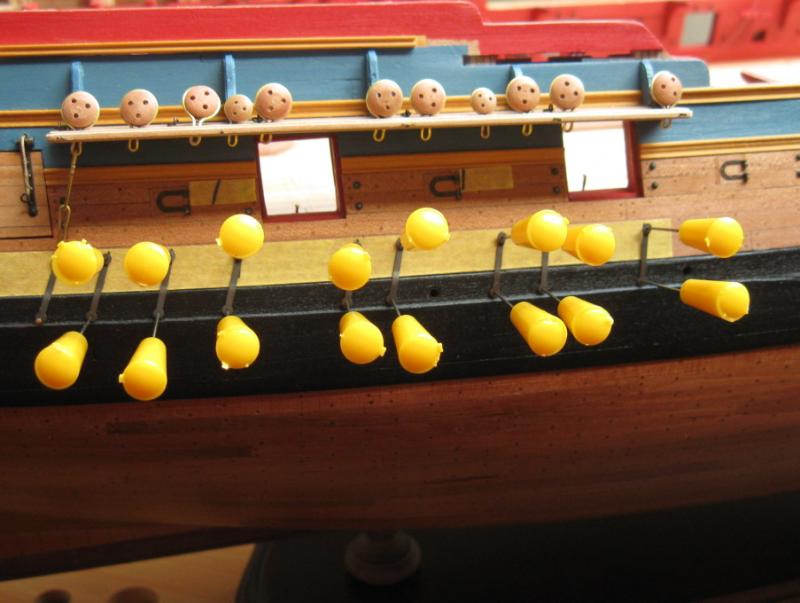
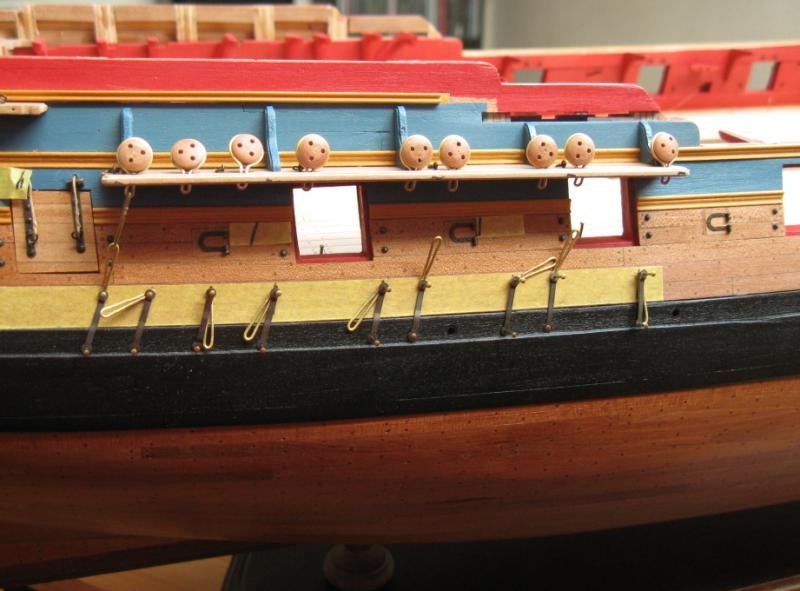
Omar CS, Albert - thanks . Another part of build - chains for deadeyes. All parts are made from brass with silver soldering.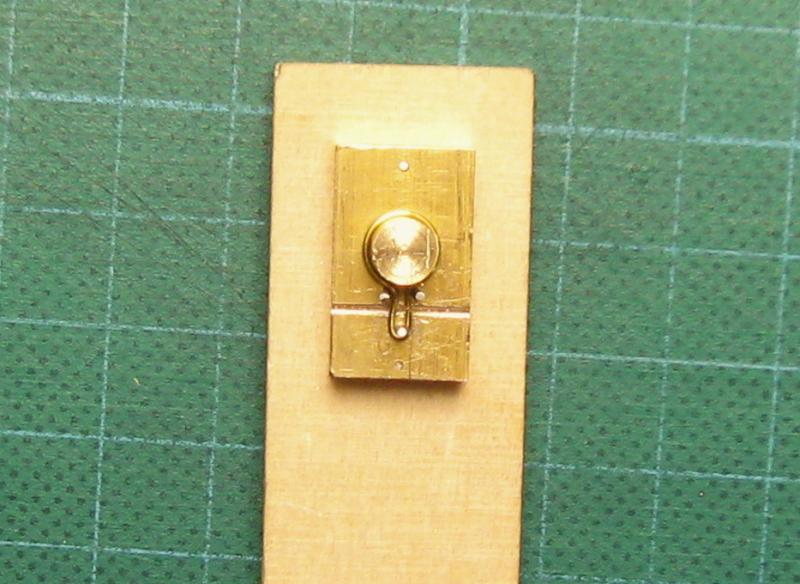


- 625 replies
-
- 23
-