marsalv
NRG Member-
Posts
617 -
Joined
-
Last visited
Content Type
Profiles
Forums
Gallery
Events
Everything posted by marsalv
-
- 206 replies
-
- royal caroline
- panart
-
(and 1 more)
Tagged with:
-
- 206 replies
-
- royal caroline
- panart
-
(and 1 more)
Tagged with:
-
- 206 replies
-
- royal caroline
- panart
-
(and 1 more)
Tagged with:
-
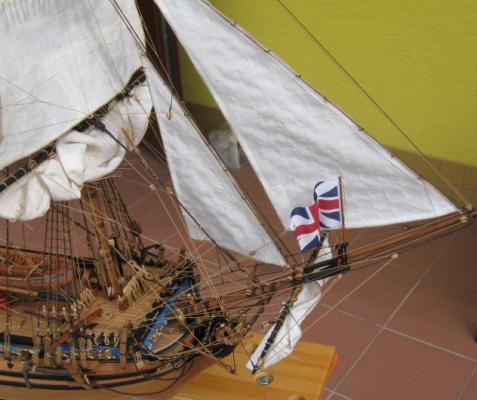
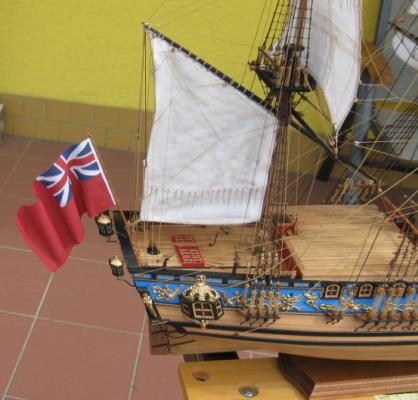
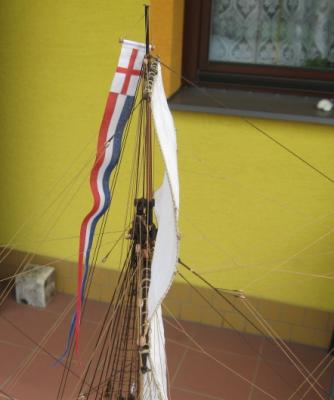
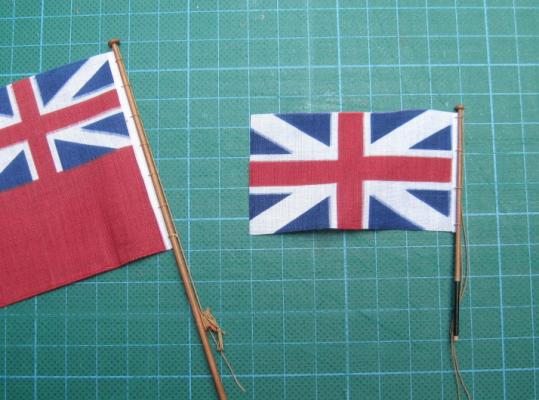
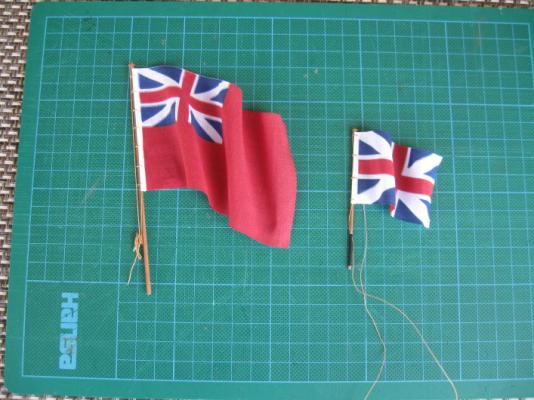
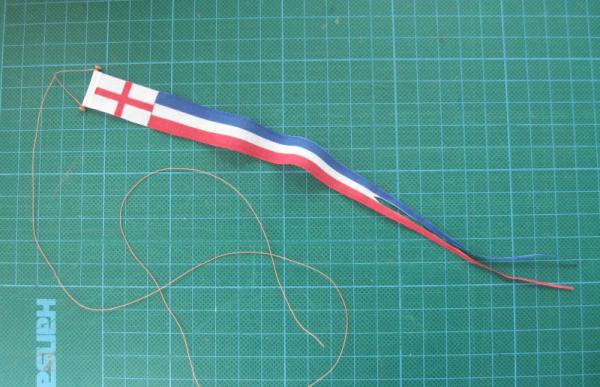
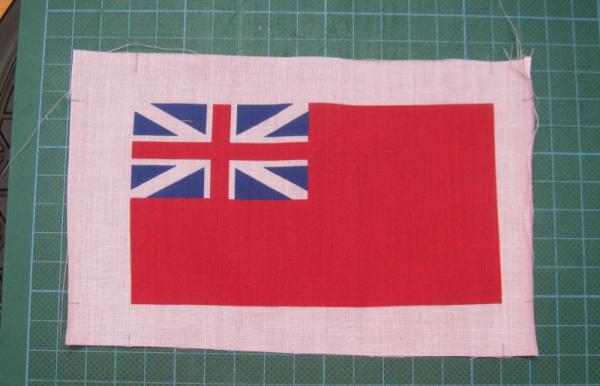
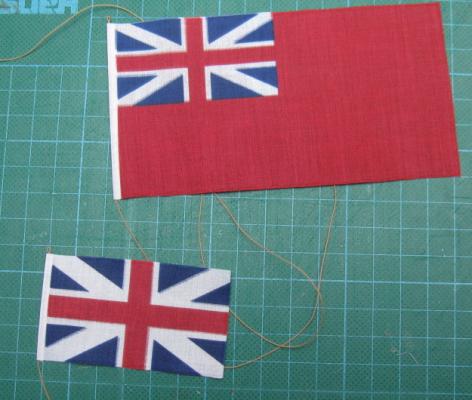
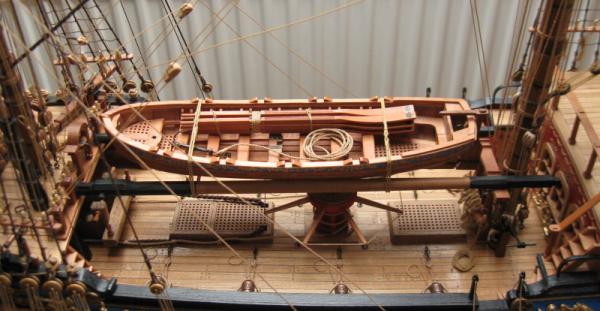
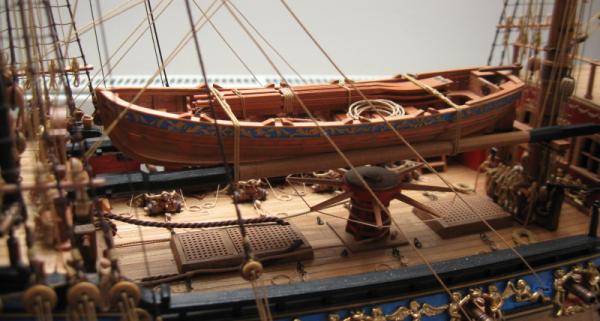
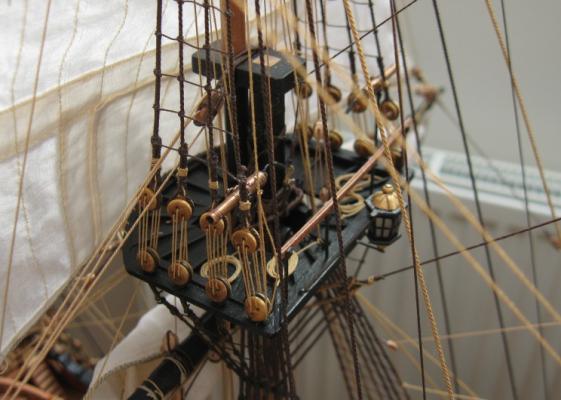
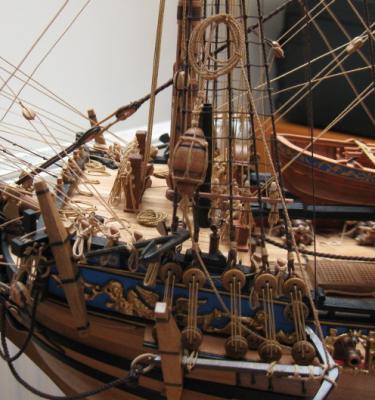
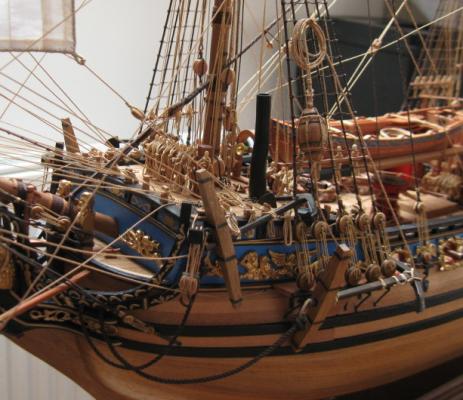
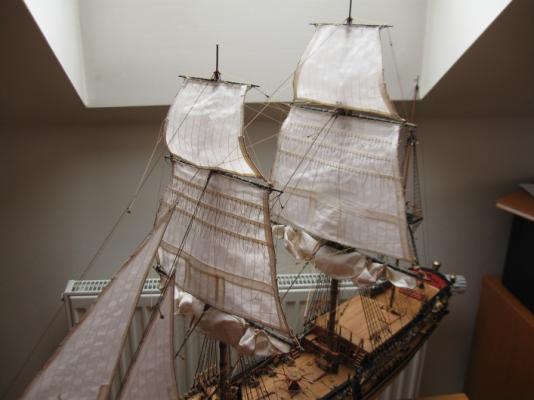
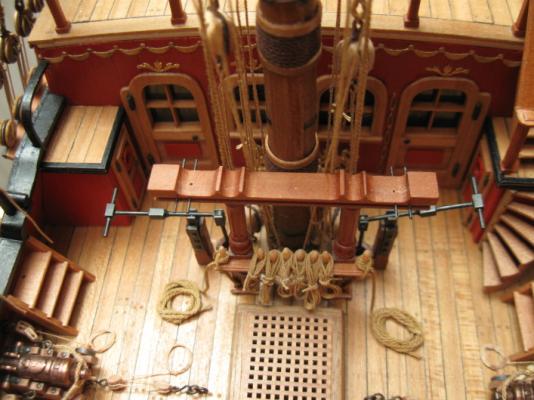
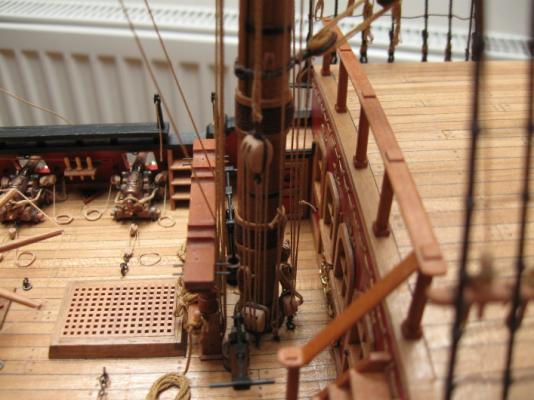
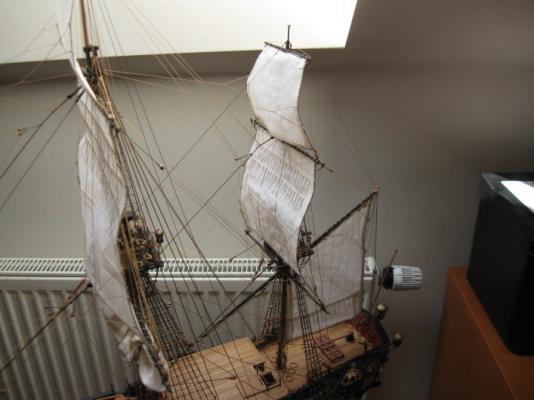
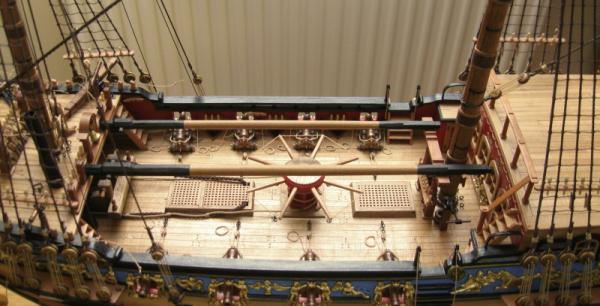
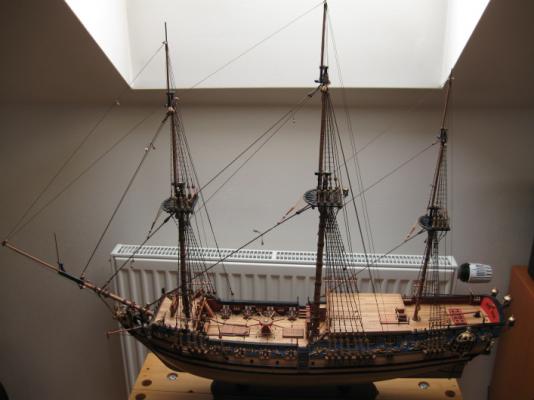
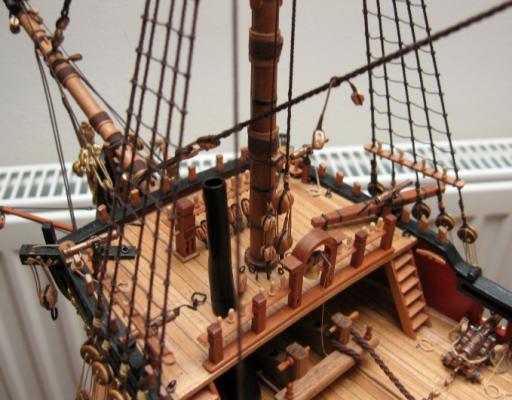
Thanks everyone for the feedback . It's my 8th model, but the first with whom I am satisfied (although there are a lot of things that could be definitely improved). Even so, my model building took more than 2,000 hours of time. I installed top guns, a boat and anchors. So now only leaves me to make and attach the flag. My plan was to complete the model by the end of April, which I had now definitely catch. The reason for this term is my first participation in the Championship section C, which takes place from 9th to 10th of May at the museum in Hradec Králové. So if anyone from Czech modelers has a desire to see this model in reality, there will be an opportunity.
- 206 replies
-
- royal caroline
- panart
-
(and 1 more)
Tagged with:
-
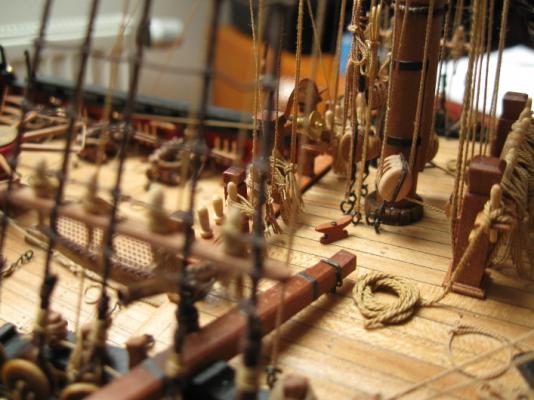
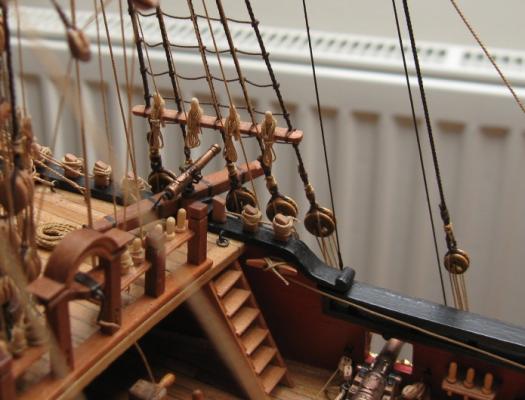
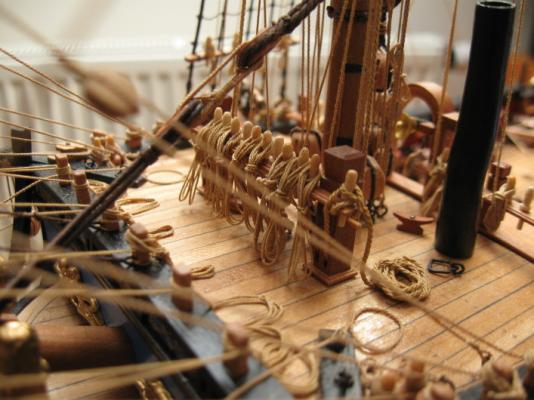
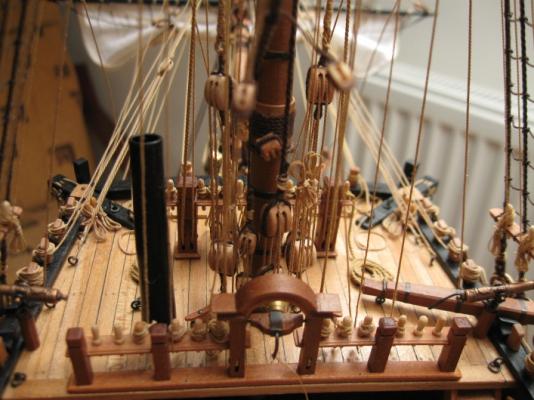
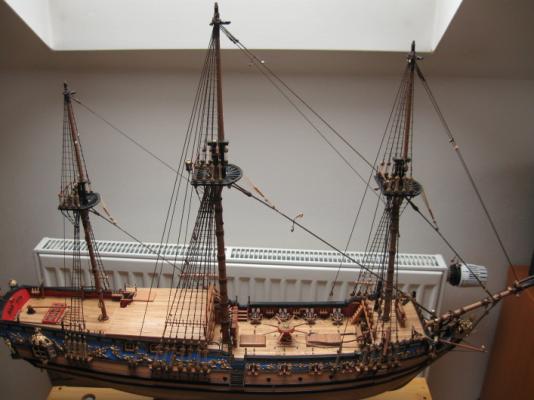
Thanks for compliments . So I finally completed a rigging and I am glad that this phase of the construction is done. Not that I did not enjoy it, but it's incredibly demanding job - especially tying ropes on belaying pins and cleats located on the inside of the shrouds. Well, but it has slowly but surely coming to an end. It remains to attach boat, anchors, top cannons and flags .
- 206 replies
-
- royal caroline
- panart
-
(and 1 more)
Tagged with:
-
- 206 replies
-
- royal caroline
- panart
-
(and 1 more)
Tagged with:
-
- 206 replies
-
- royal caroline
- panart
-
(and 1 more)
Tagged with:
-
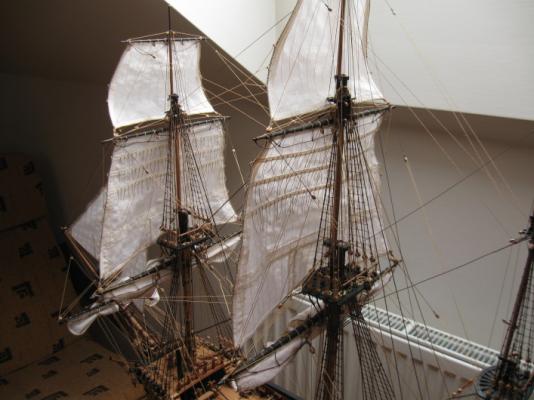
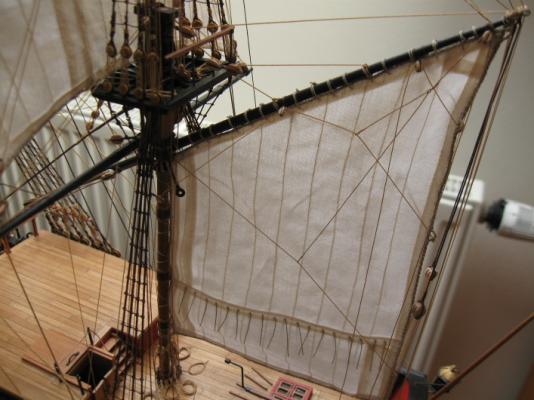
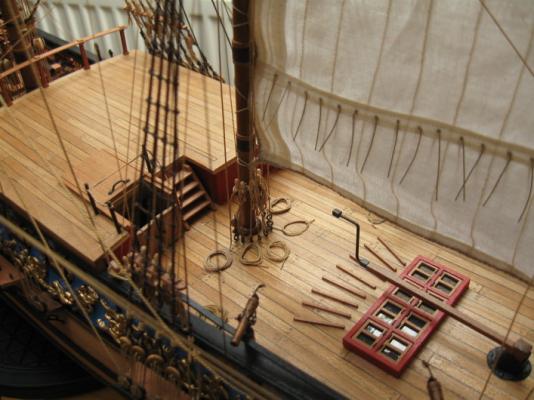
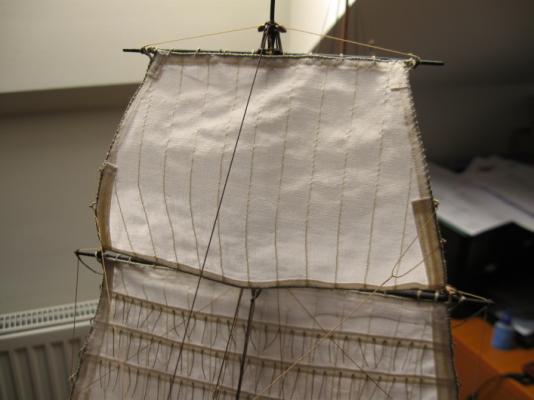
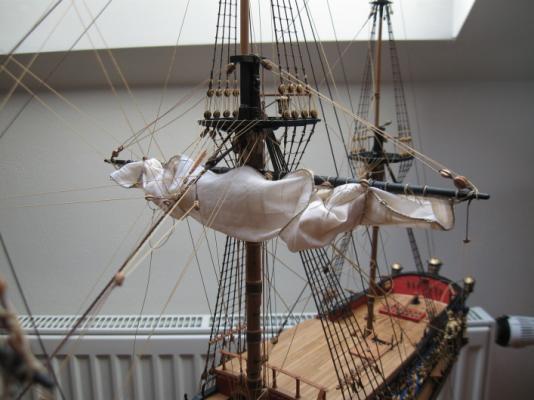
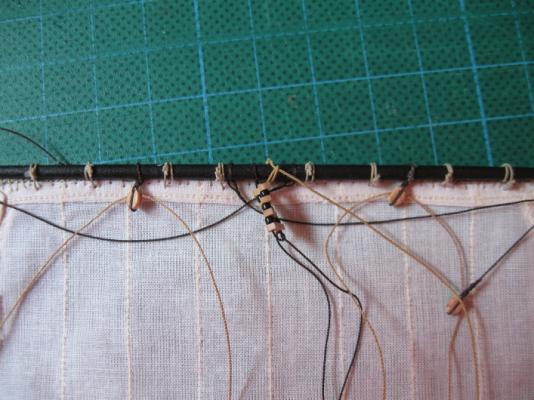
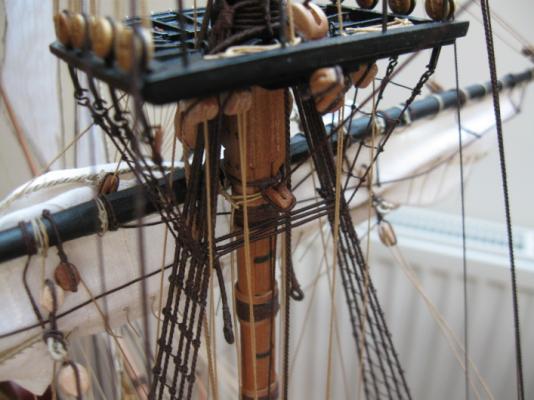
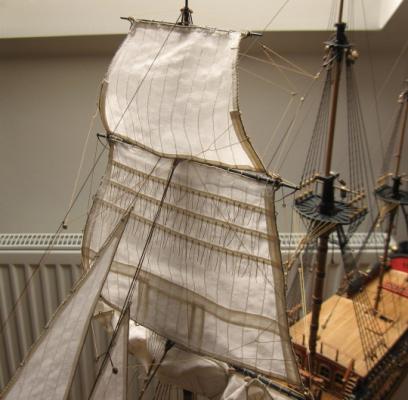
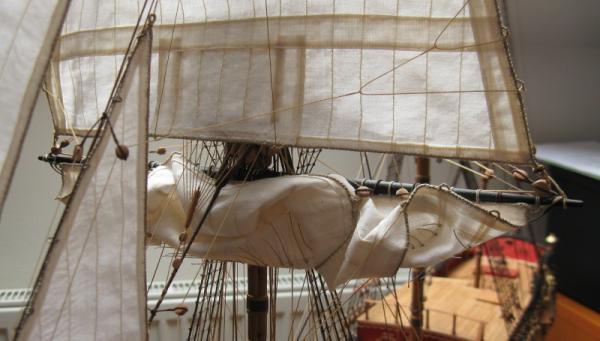
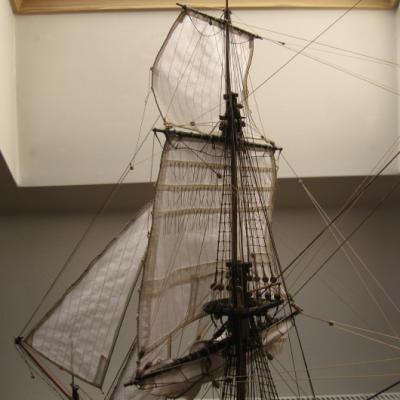
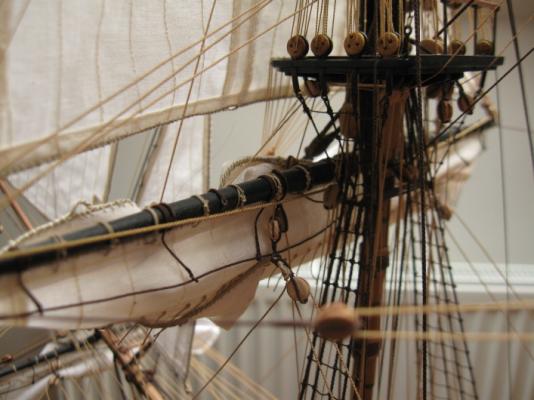
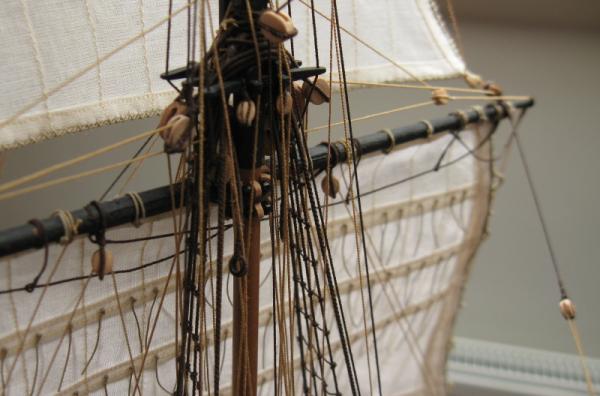
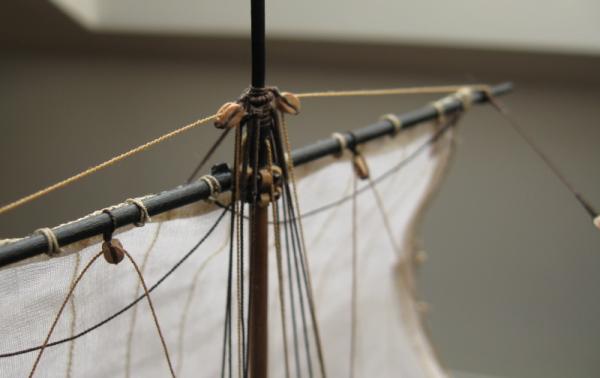
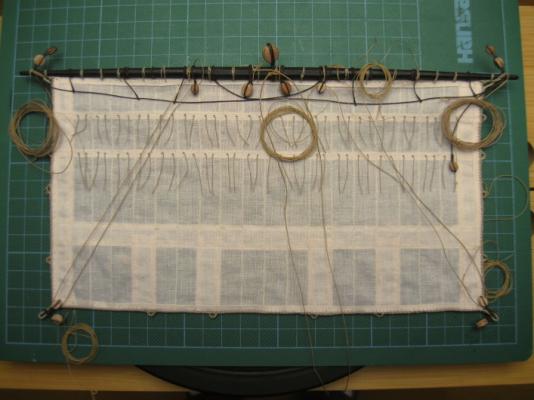
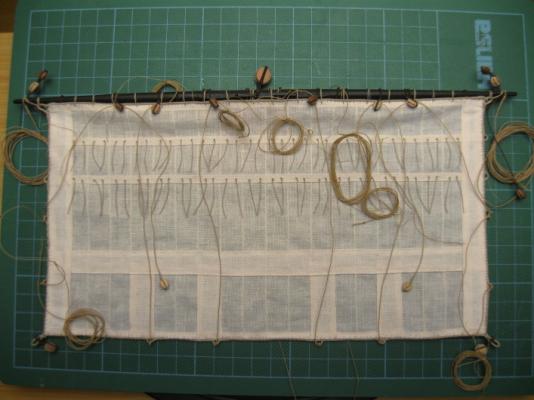
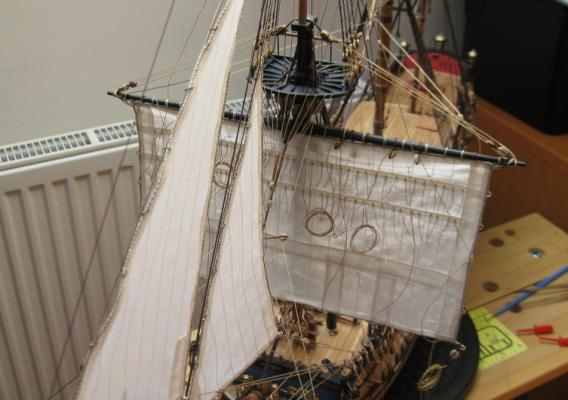
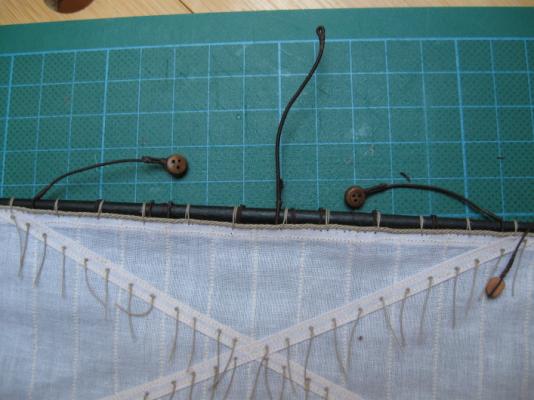
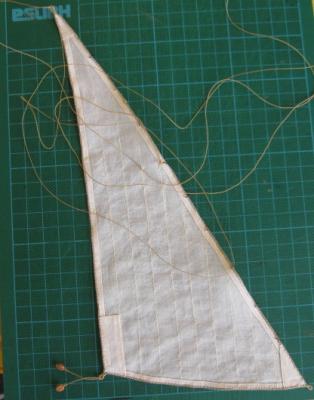
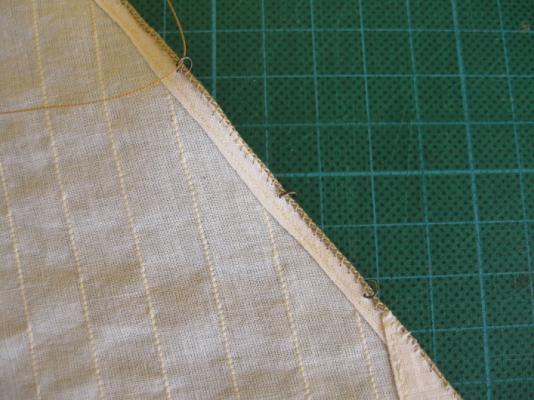
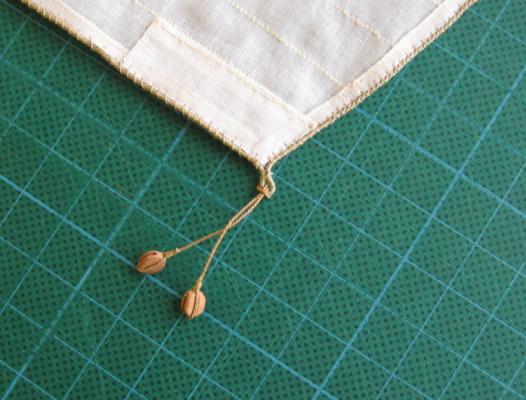
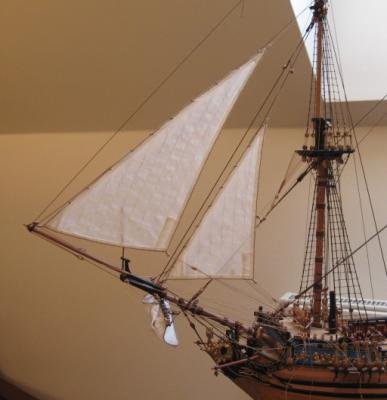
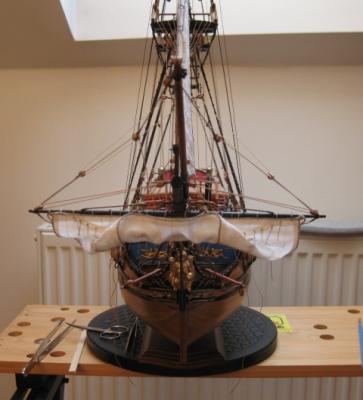
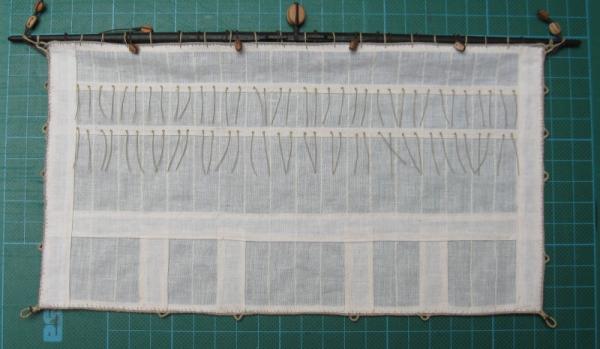
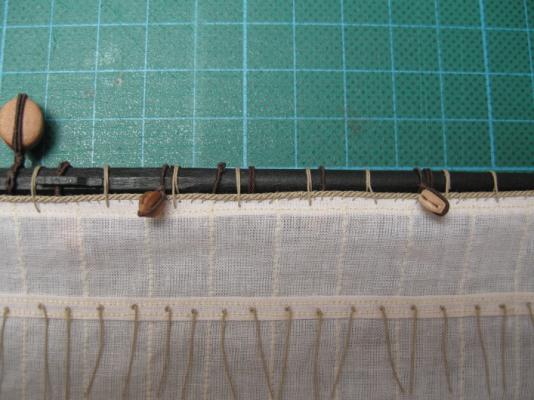
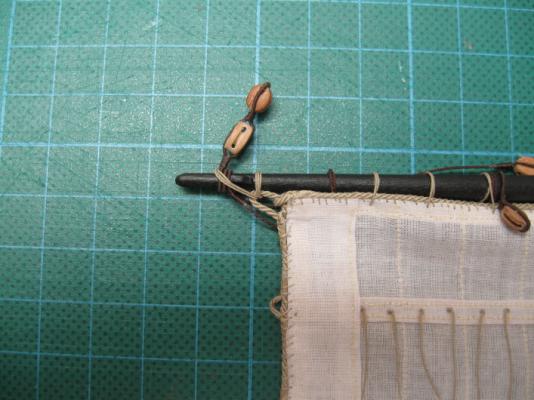
I started hanging sails on masts. In advance, I tied all the necessary ropes to sail, which somewhat simplifies the installation.
- 206 replies
-
- royal caroline
- panart
-
(and 1 more)
Tagged with:
-
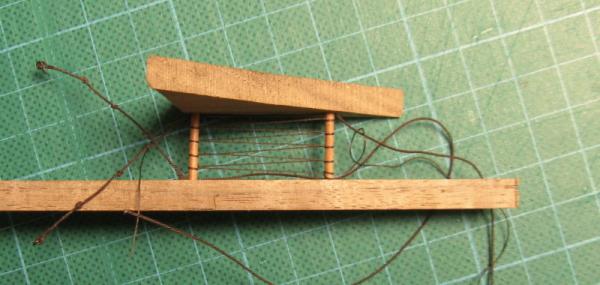
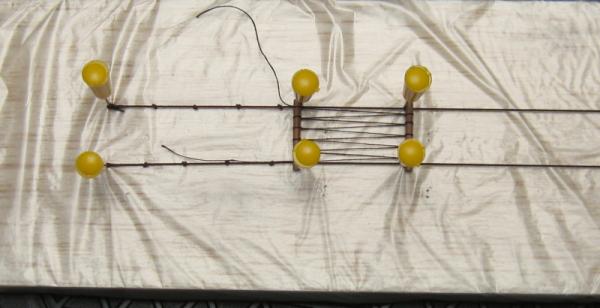
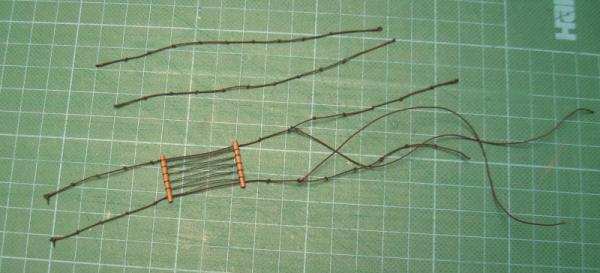
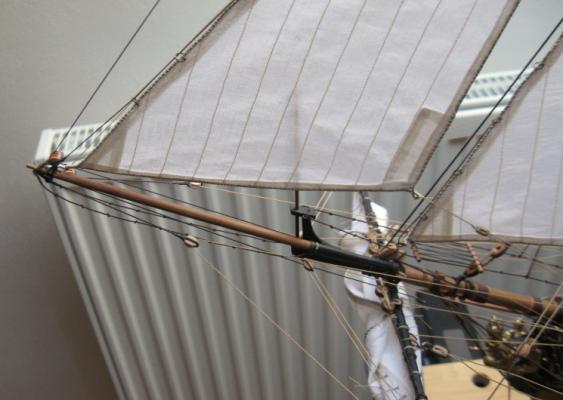
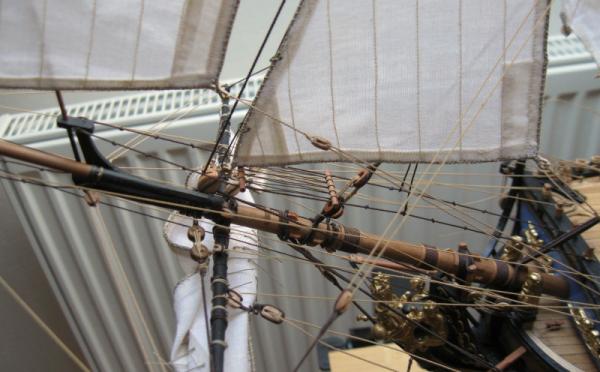
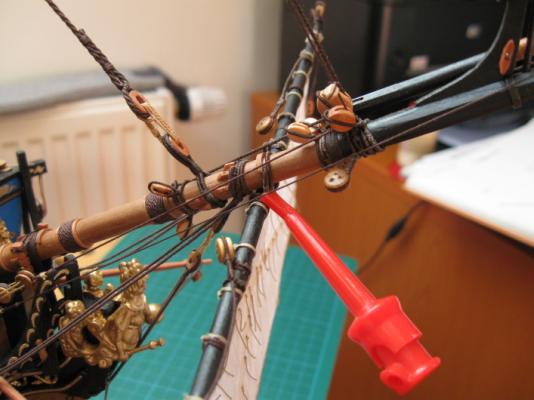
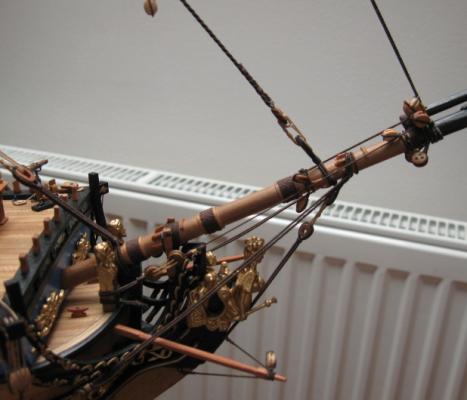
Thanks David for your kind words . Little bit progress - preparing for attaching the boat + bowsprit and jibboom footropes (including fore staysail net).
- 206 replies
-
- royal caroline
- panart
-
(and 1 more)
Tagged with:
-
- 206 replies
-
- royal caroline
- panart
-
(and 1 more)
Tagged with:
-
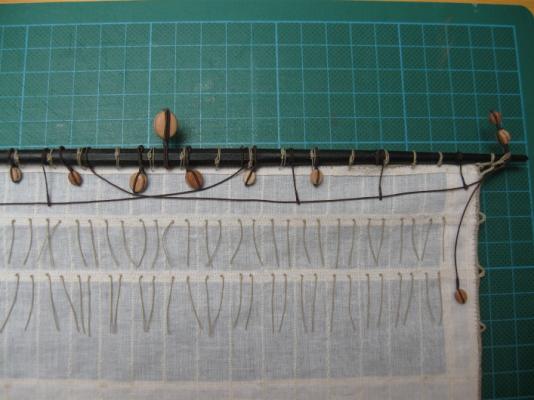
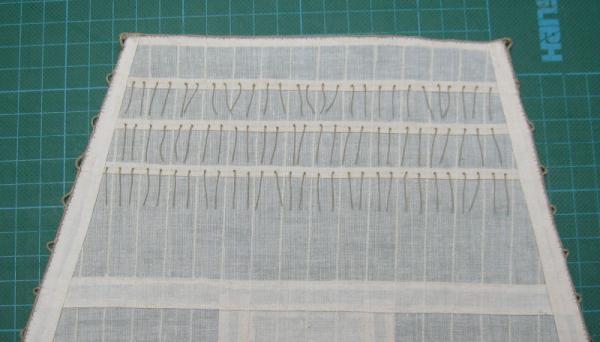
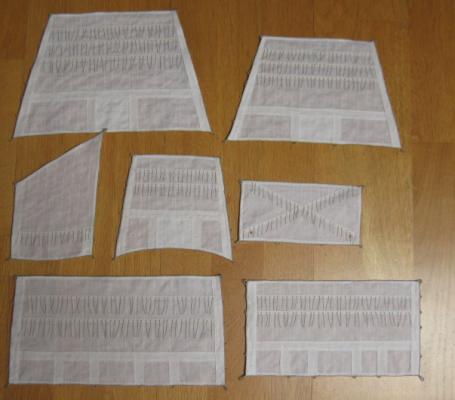
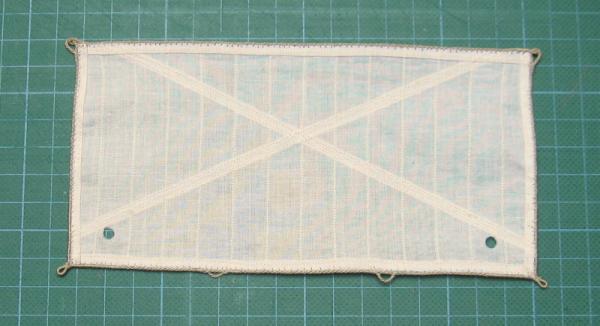
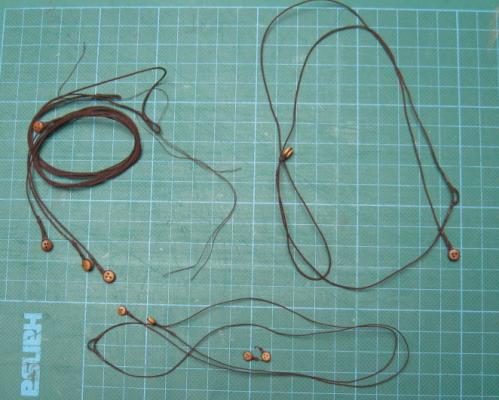
toms10 - your welcome . I tied all sails to the spars and now they are prepared to install them on the model.
- 206 replies
-
- royal caroline
- panart
-
(and 1 more)
Tagged with:
-
- 206 replies
-
- royal caroline
- panart
-
(and 1 more)
Tagged with:
-
- 206 replies
-
- royal caroline
- panart
-
(and 1 more)
Tagged with:
-
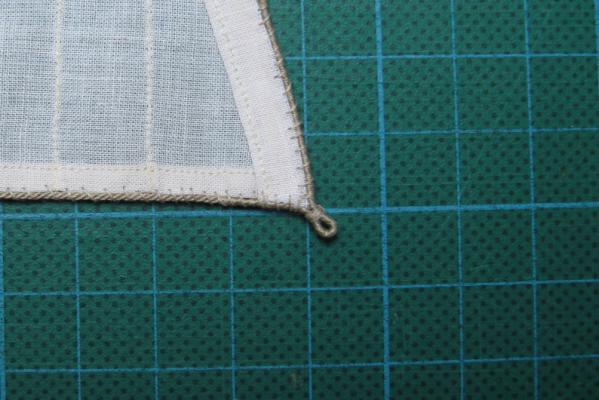
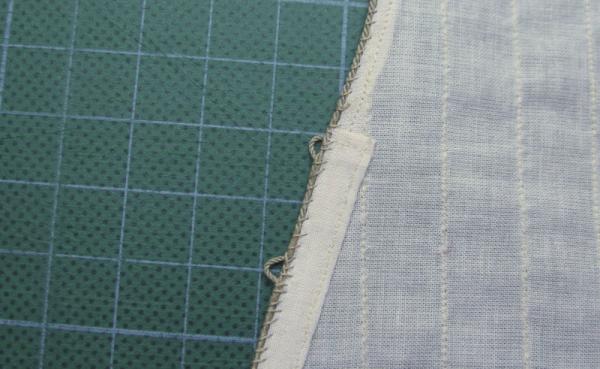
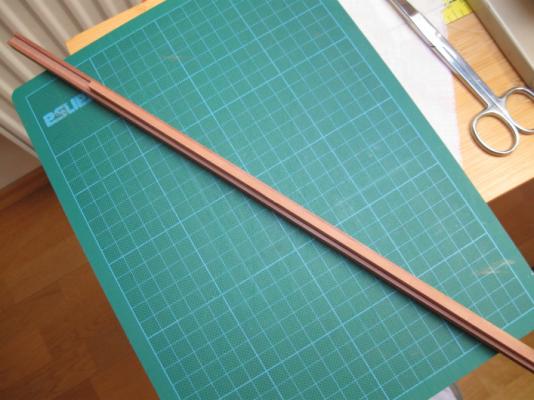
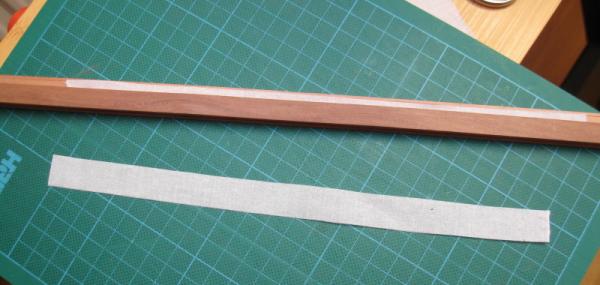
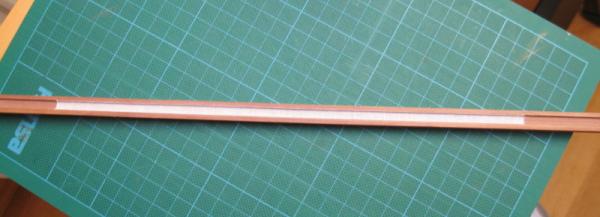
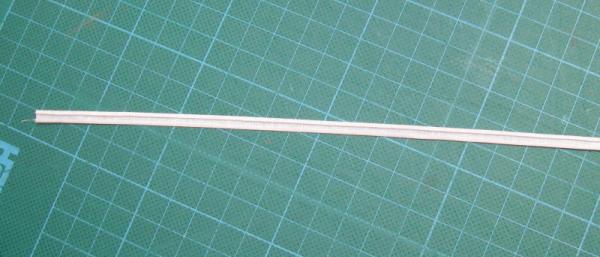
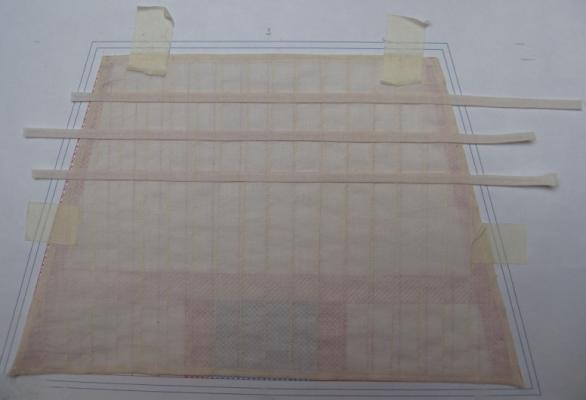
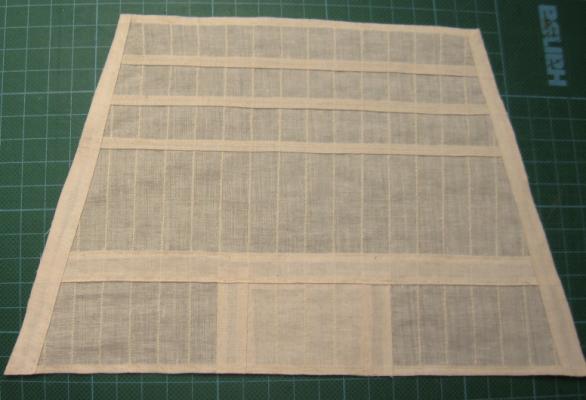
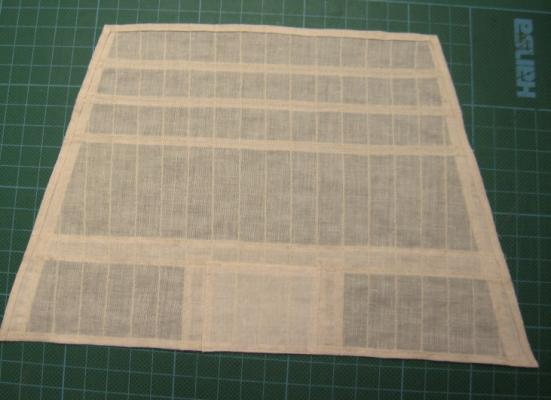
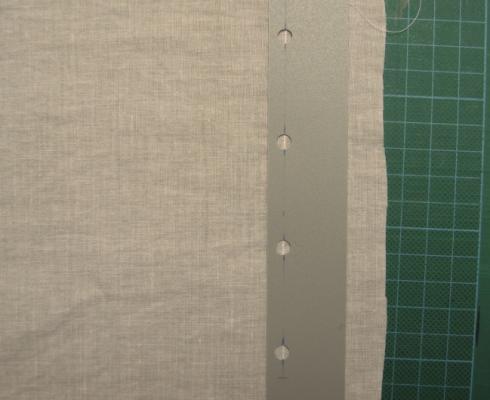
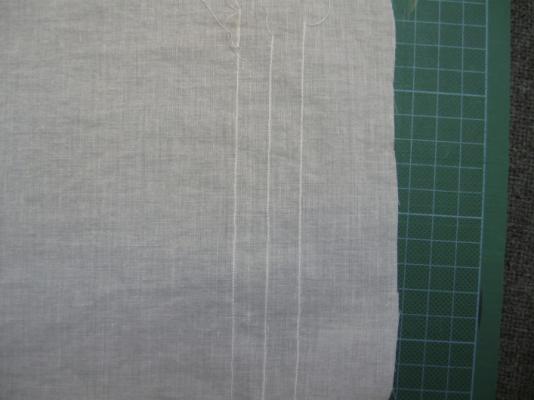
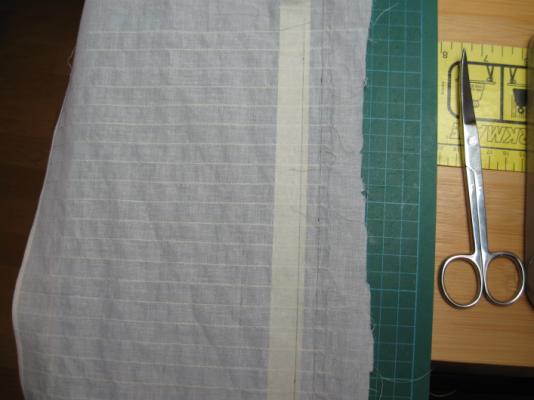
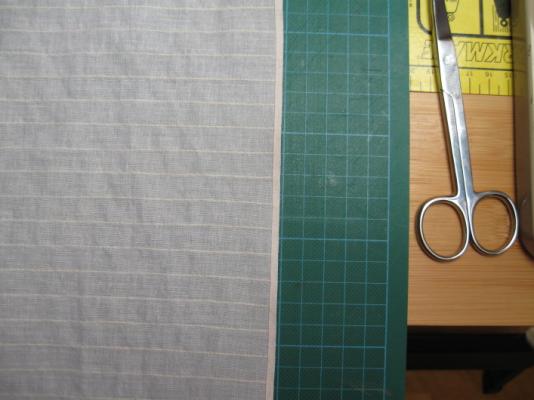
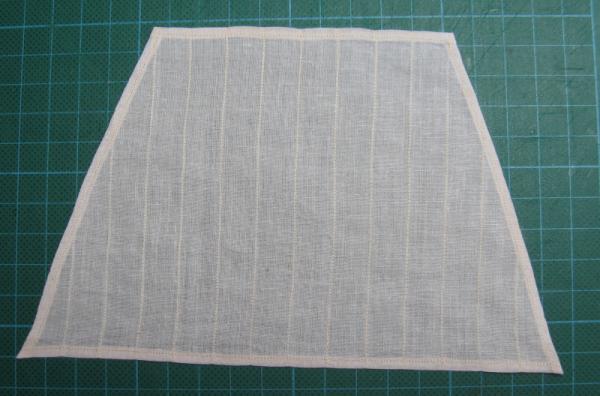
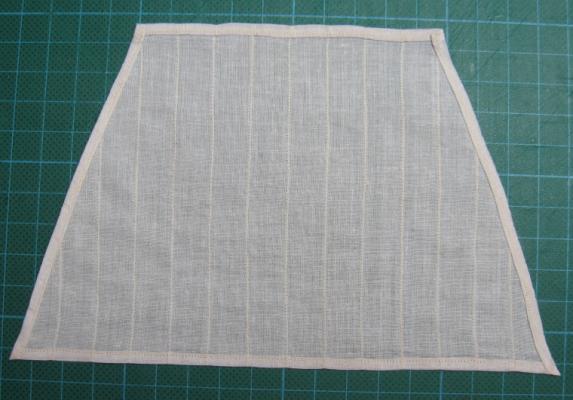
robert22564: thank you for your kind words KeithW: sails without puckering is no magic, bottom and top thread tension must be equal and not too big. If the tension is too big you can see puckering. I completed all reef bands, buntline cloths, middle bands, leech linings and mast cloths. I hid the sewing machine again in a cabinet with the hope that at least two years I will not need it. Next phase - bolt ropes.
- 206 replies
-
- royal caroline
- panart
-
(and 1 more)
Tagged with:
-
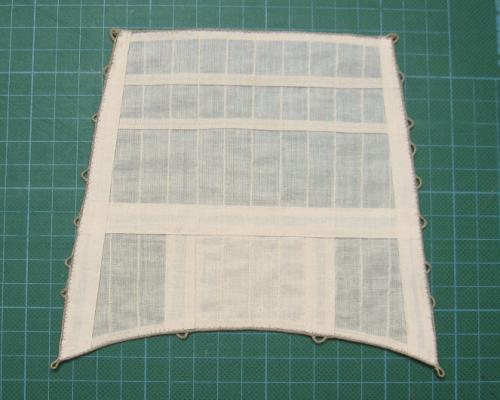
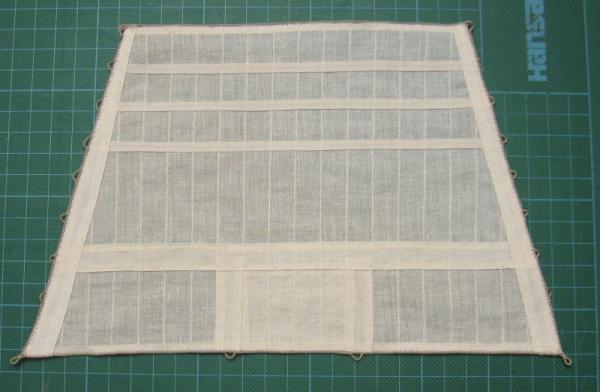
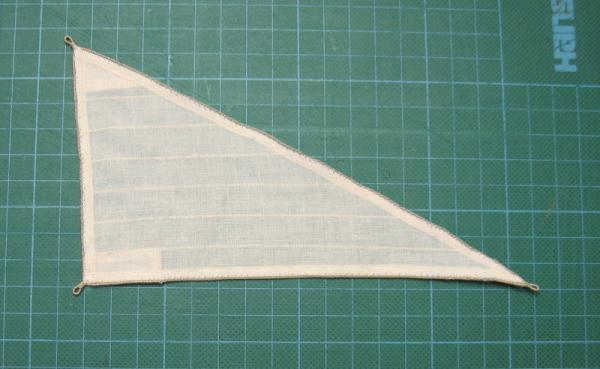
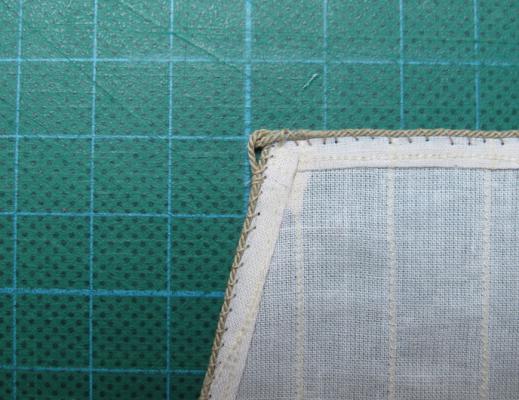
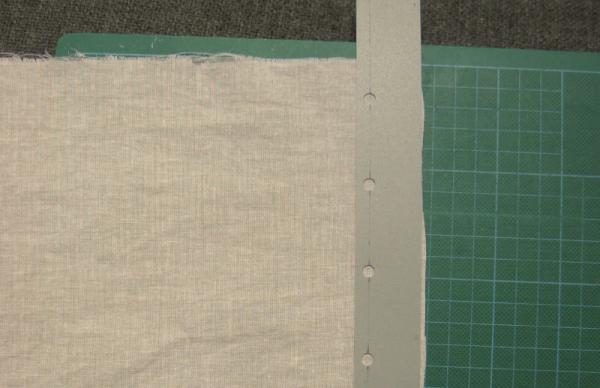
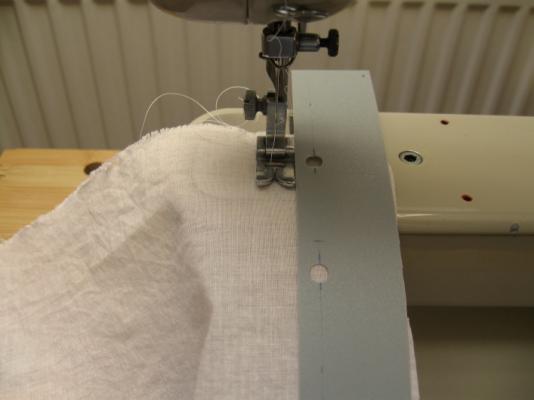
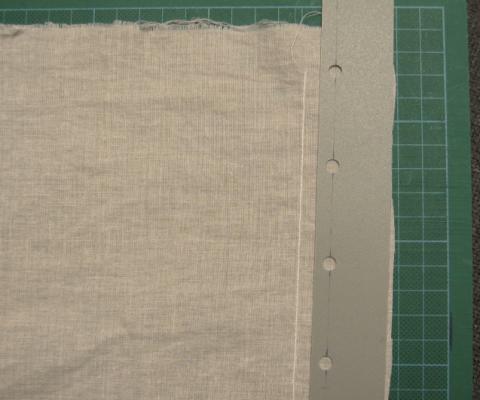
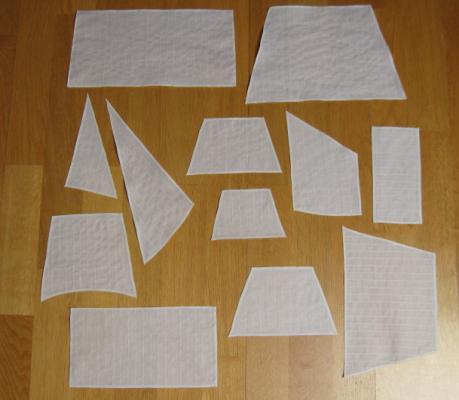
I finished the first phase of sails production - tabling. Now I will continue with the reef bands, middle bands, leech linings etc.
- 206 replies
-
- royal caroline
- panart
-
(and 1 more)
Tagged with:
-
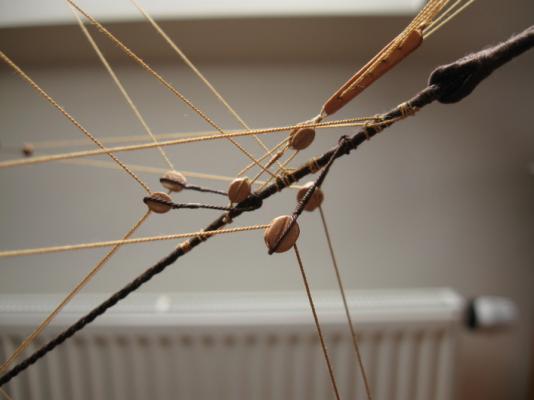
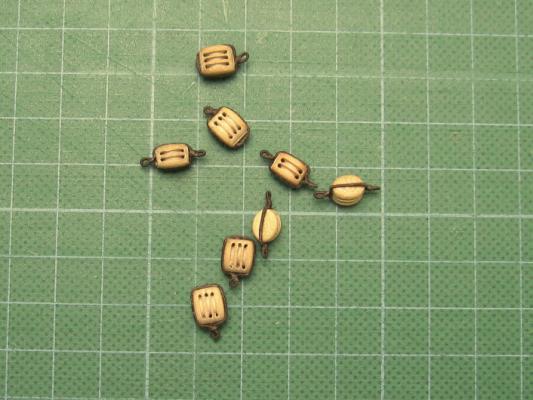
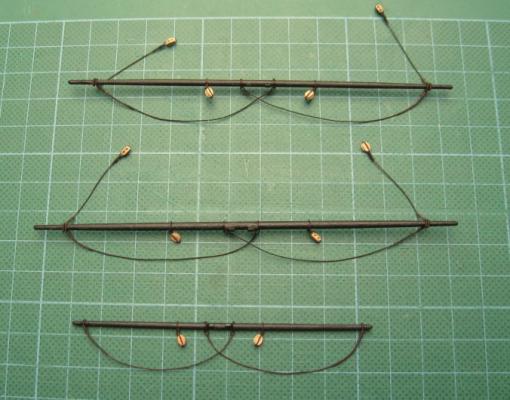
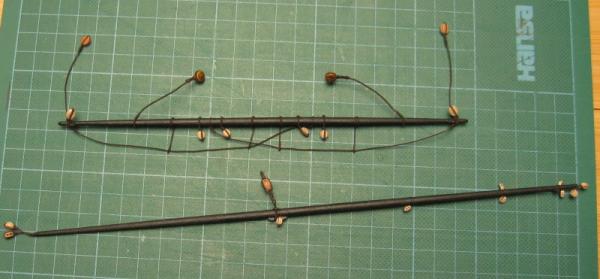
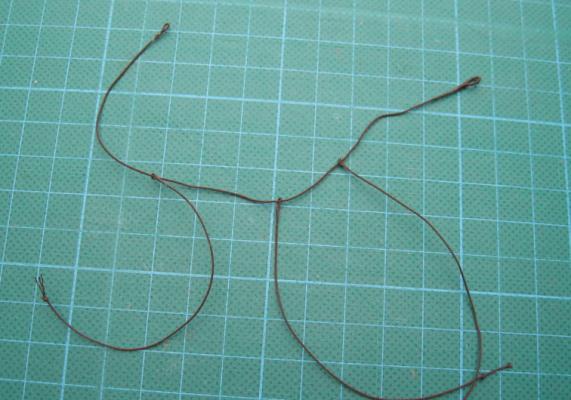
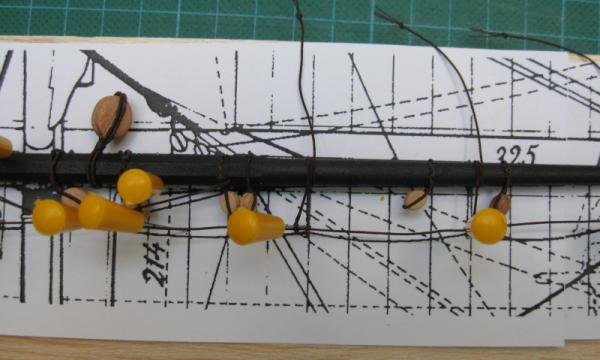
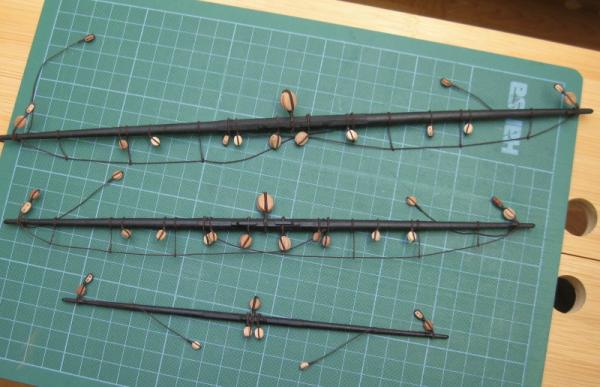
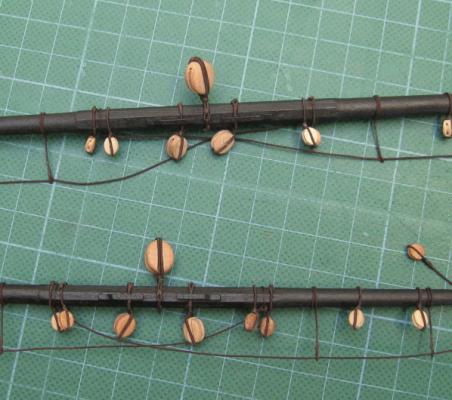
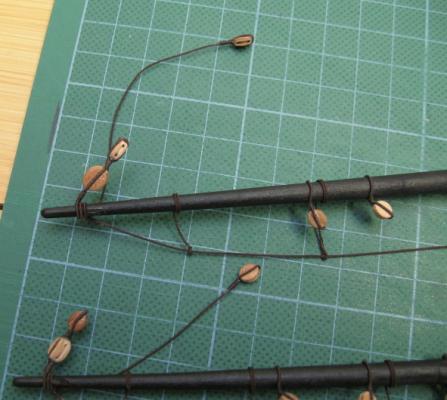
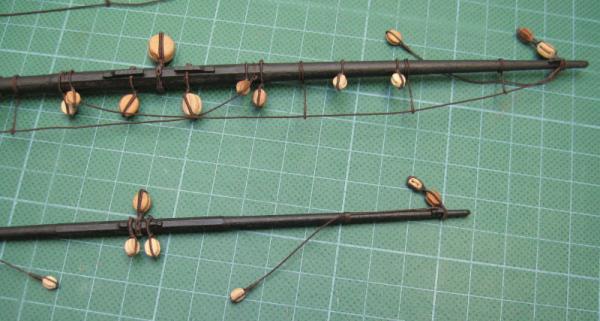
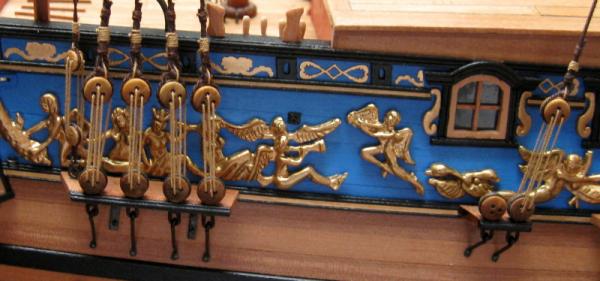
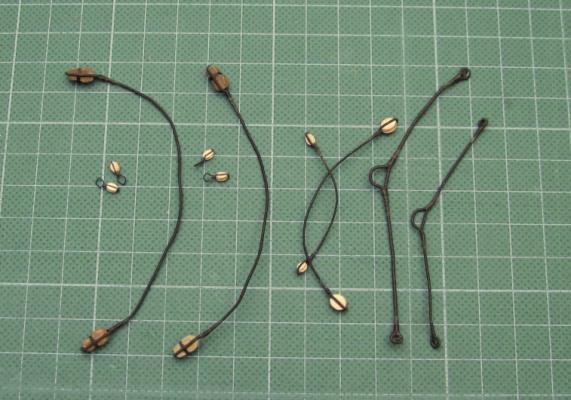
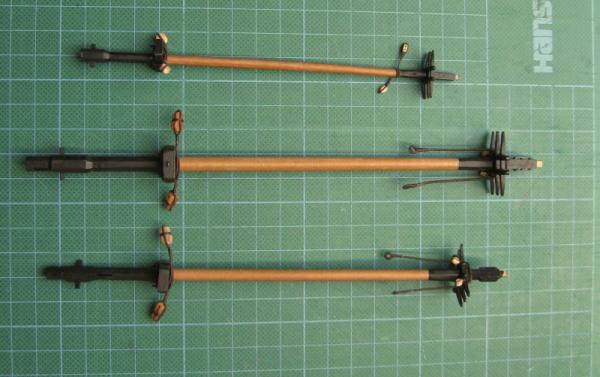
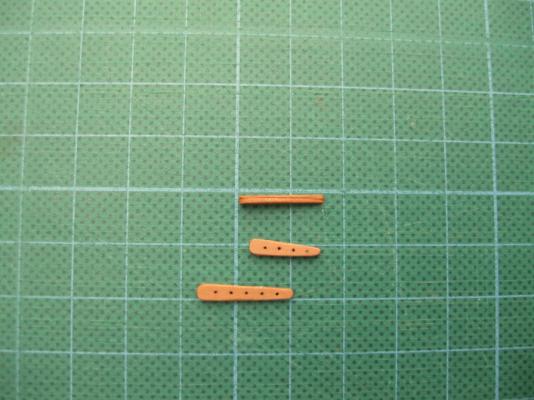
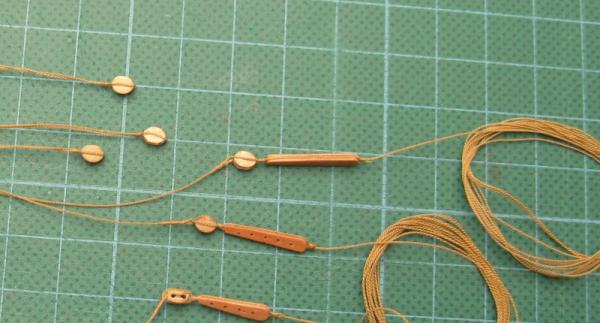
So I finished installation of blocks on the yards (cca 100 pieces). Most of them are fixed with served ropes, so it took a while.
- 206 replies
-
- royal caroline
- panart
-
(and 1 more)
Tagged with:
-
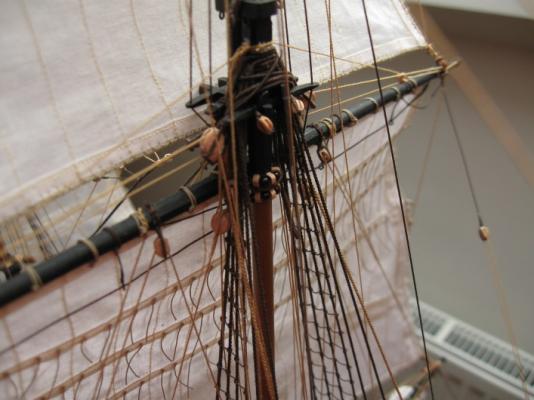
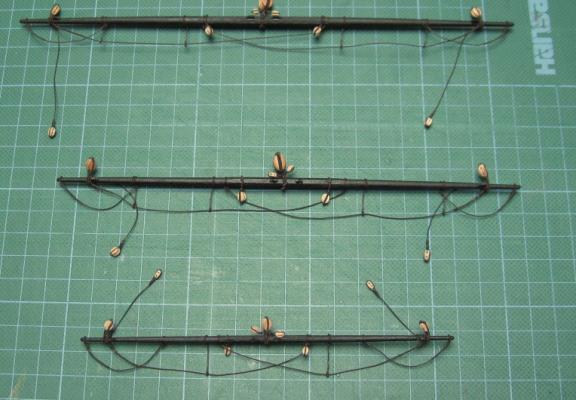
Works continues with installation of footropes and blocks on individual yards - it is tedious and monotonous work. But I am coming to an end, yet few pictures of lower yards.
- 206 replies
-
- royal caroline
- panart
-
(and 1 more)
Tagged with:
-
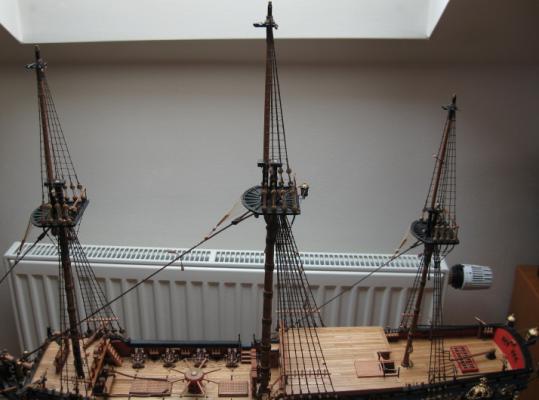
I finally finished the standing rigging. It took me more time than I expected, but I'm satisfied with the result. Now, going into the next phase of construction - hanging blocks on the yards.
- 206 replies
-
- royal caroline
- panart
-
(and 1 more)
Tagged with:
-
- 206 replies
-
- royal caroline
- panart
-
(and 1 more)
Tagged with:
-
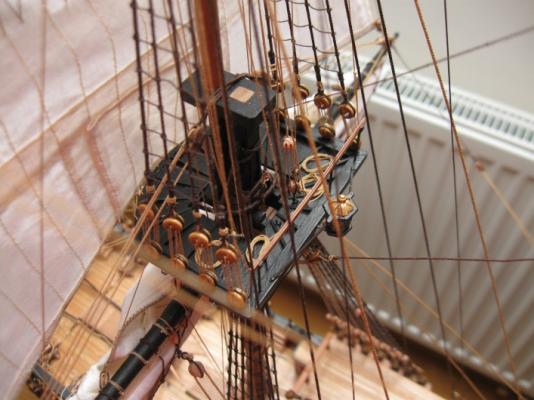
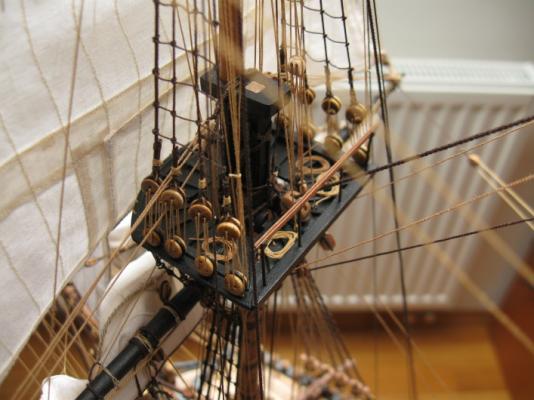
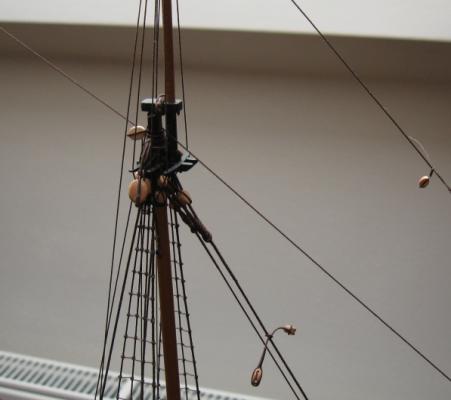
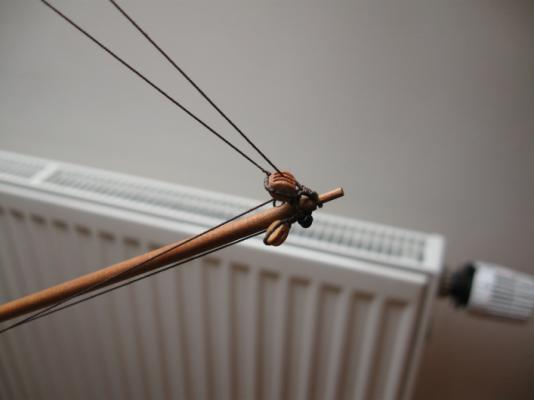
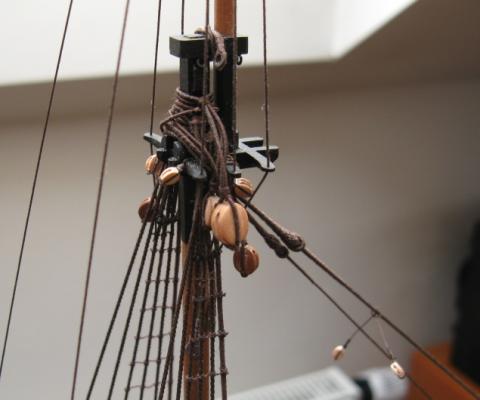
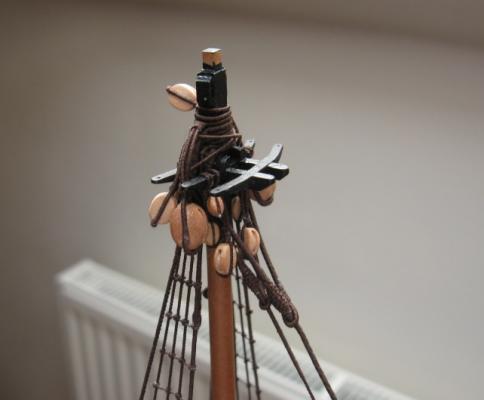
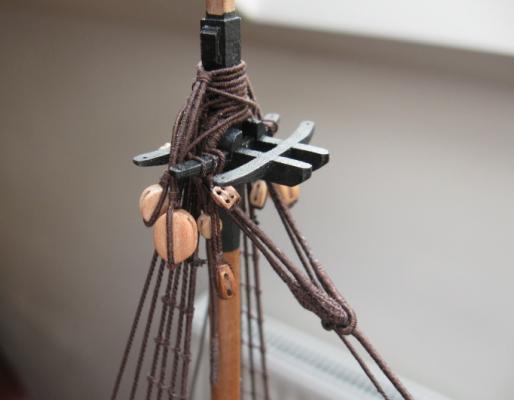
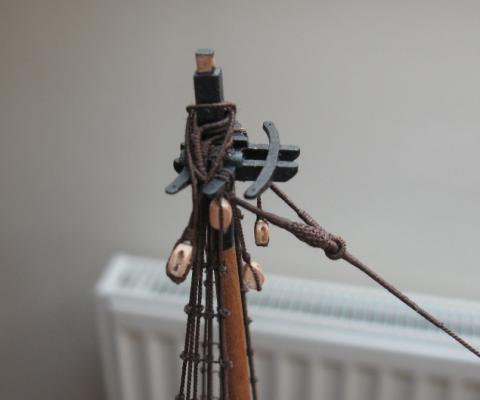
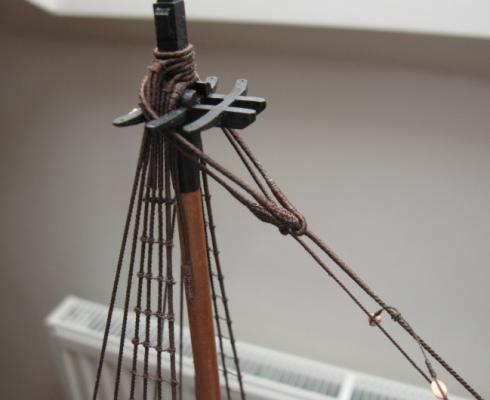
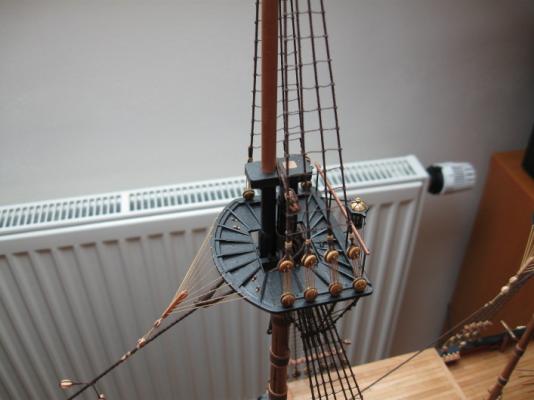
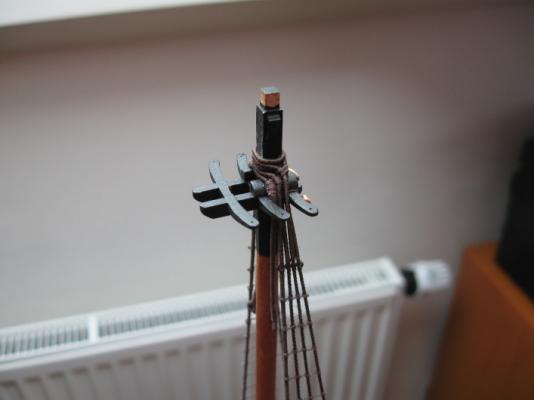
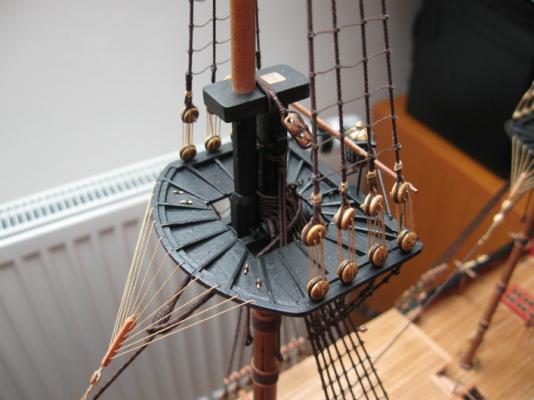
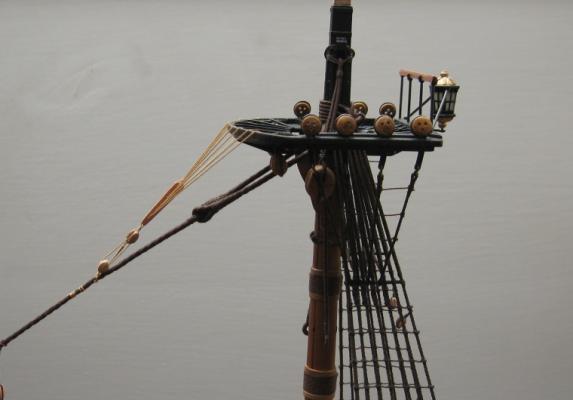
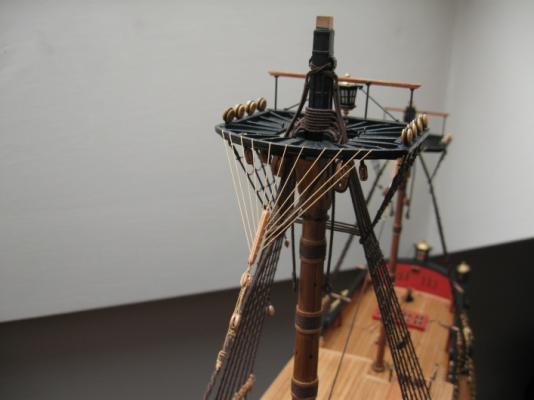
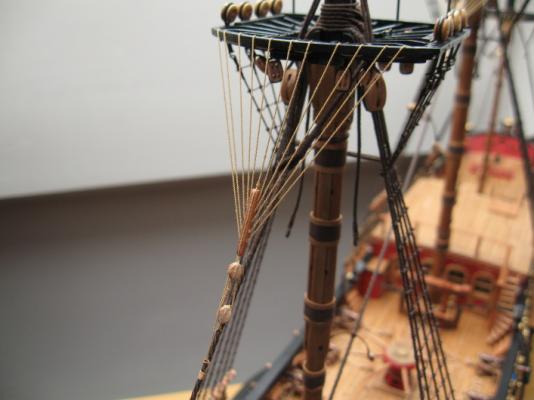
I installed top mast stays and backstays. I had little fear of small mice, but in the end it went quite well. Now I await installation a lot of blocks to the top mast top area. There are many blocks in limited space.
- 206 replies
-
- royal caroline
- panart
-
(and 1 more)
Tagged with:
-
Thank you Joe . You´re right. All futtock staves are made from brass wire (diameter 0,5 resp. 0,3 mm) and the served with thread.
- 206 replies
-
- royal caroline
- panart
-
(and 1 more)
Tagged with:
-
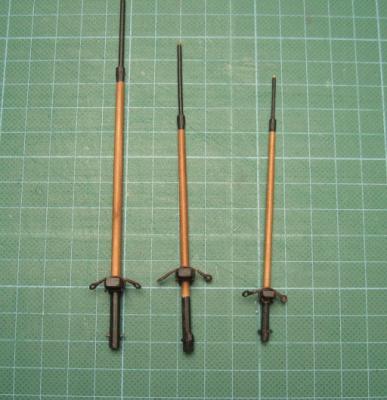
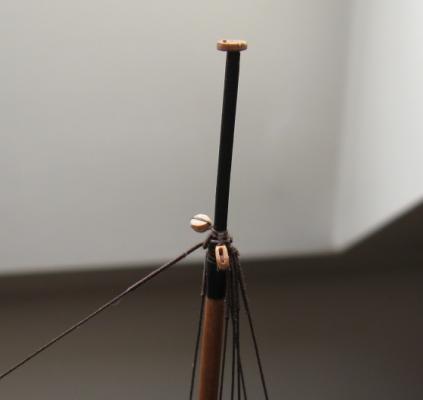
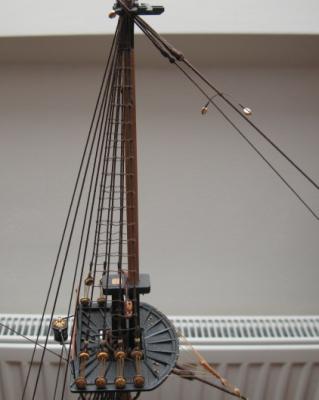
I continue with top masts, shrouds and ratlines. Work goes slower than I expected. But the model starts to increase in height.
- 206 replies
-
- royal caroline
- panart
-
(and 1 more)
Tagged with:
-
So I finished perhaps the worst part of standing rigging (at least for me) - crowsfeet. I had to redo it several times before I achieved at least partially satisfactory look - ie. crowsfeet rope stretched as far as possible without "lifting" the stay.
- 206 replies
-
- royal caroline
- panart
-
(and 1 more)
Tagged with:
About us
Modelshipworld - Advancing Ship Modeling through Research
SSL Secured
Your security is important for us so this Website is SSL-Secured
NRG Mailing Address
Nautical Research Guild
237 South Lincoln Street
Westmont IL, 60559-1917
Model Ship World ® and the MSW logo are Registered Trademarks, and belong to the Nautical Research Guild (United States Patent and Trademark Office: No. 6,929,264 & No. 6,929,274, registered Dec. 20, 2022)
Helpful Links
About the NRG
If you enjoy building ship models that are historically accurate as well as beautiful, then The Nautical Research Guild (NRG) is just right for you.
The Guild is a non-profit educational organization whose mission is to “Advance Ship Modeling Through Research”. We provide support to our members in their efforts to raise the quality of their model ships.
The Nautical Research Guild has published our world-renowned quarterly magazine, The Nautical Research Journal, since 1955. The pages of the Journal are full of articles by accomplished ship modelers who show you how they create those exquisite details on their models, and by maritime historians who show you the correct details to build. The Journal is available in both print and digital editions. Go to the NRG web site (www.thenrg.org) to download a complimentary digital copy of the Journal. The NRG also publishes plan sets, books and compilations of back issues of the Journal and the former Ships in Scale and Model Ship Builder magazines.

