marsalv
-
Posts
621 -
Joined
-
Last visited
Content Type
Profiles
Forums
Gallery
Events
Everything posted by marsalv
-
I finished the fish davit and finally began to assemble the finished parts on board, which gradually filled up. Model starting to look good .


- 206 replies
-
- 5
-

-
- royal caroline
- panart
- (and 1 more)
-
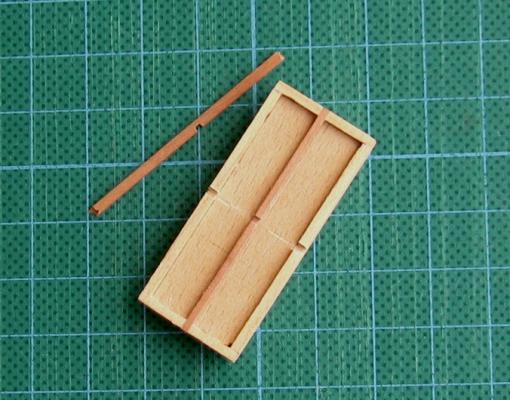
Thanks Jan Stropped bocks - I used my serving machine. Method of producing I learned from the Russian (Ukrainian?) modeler.


- 206 replies
-
- 4
-
-
- royal caroline
- panart
- (and 1 more)
-
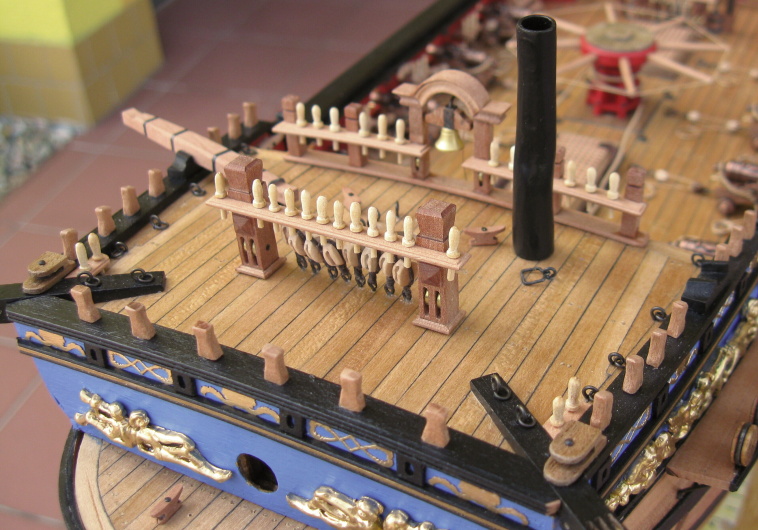
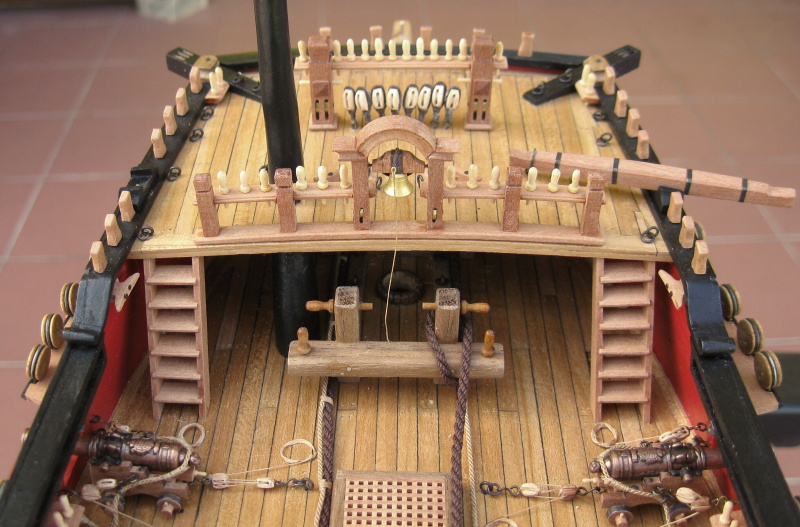
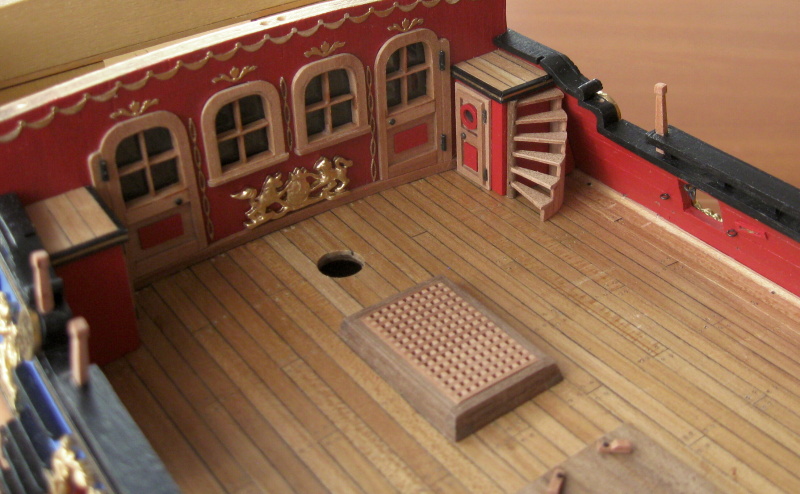
Thanks to ZyXuz and mtaylor - I'm glad you like it I finished the belfry. I was a little angry at that, but in the end it looks pretty good. The most difficult was the production of the upper arch for me.


- 206 replies
-
- 6
-
-
- royal caroline
- panart
- (and 1 more)
-
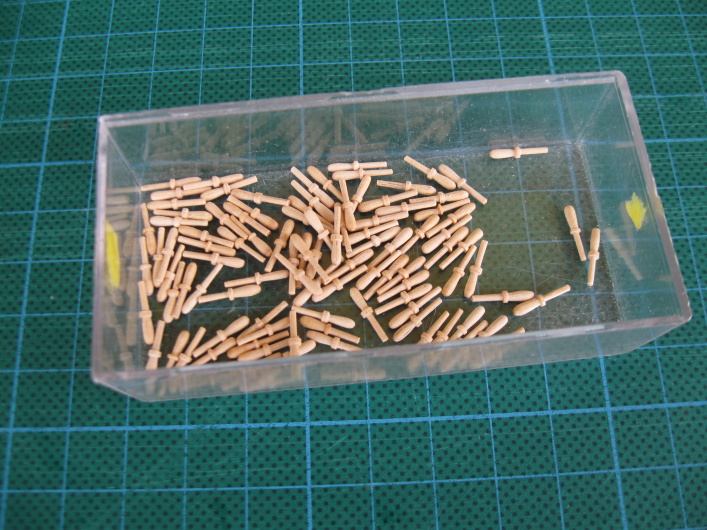
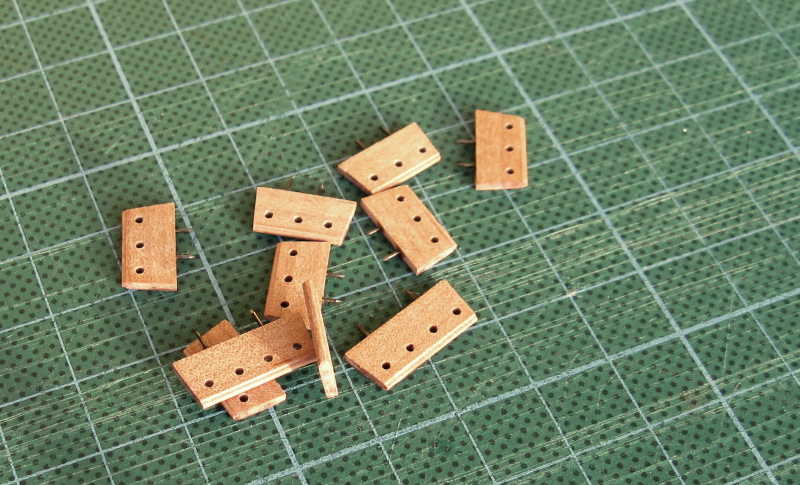
And the last two pictures sheet bitts with belaying pins. Belaying pins were a little bigger, so I decided to reduce their length.


- 206 replies
-
- 6
-
-
- royal caroline
- panart
- (and 1 more)
-
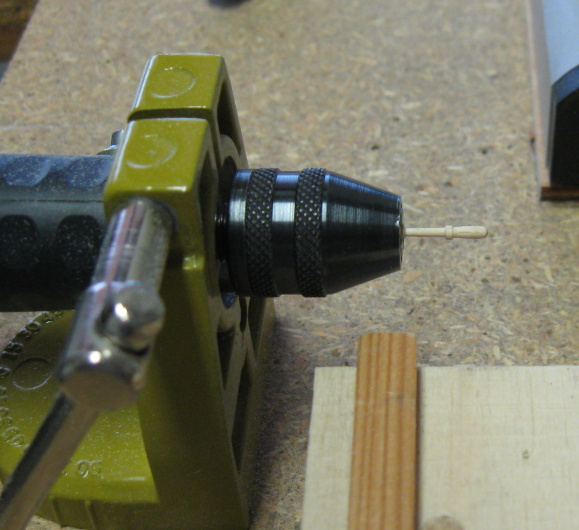
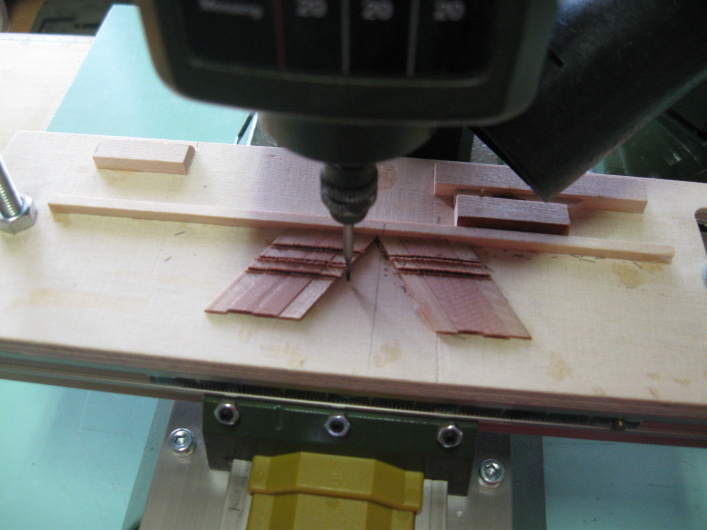
Thanks for all your compliments Edwin - the hold down for the drill is part of Micromot drill stand MB 140/S (http://www.proxxon.com/en/micromot/28606.php?list). Today I will post some pictures from sheet bitts production. It was a great challenge for me, what I can make from the wood. The result you can judge for yourself.


- 206 replies
-
- 6
-
-
- royal caroline
- panart
- (and 1 more)
-
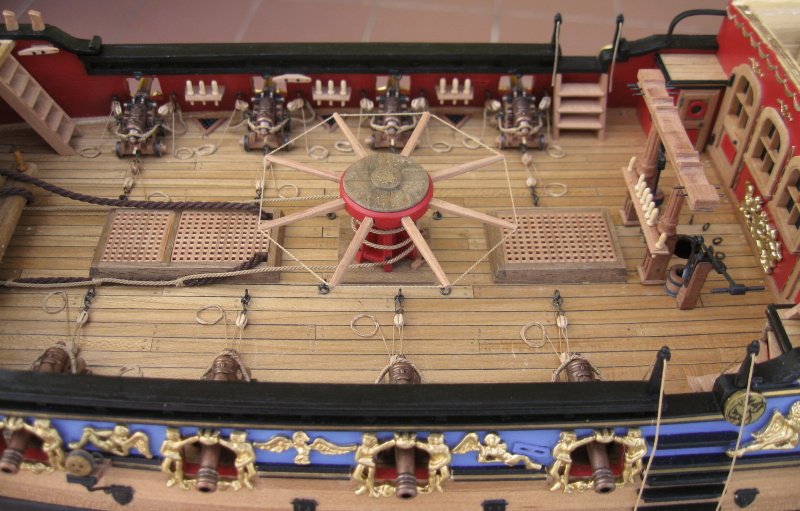
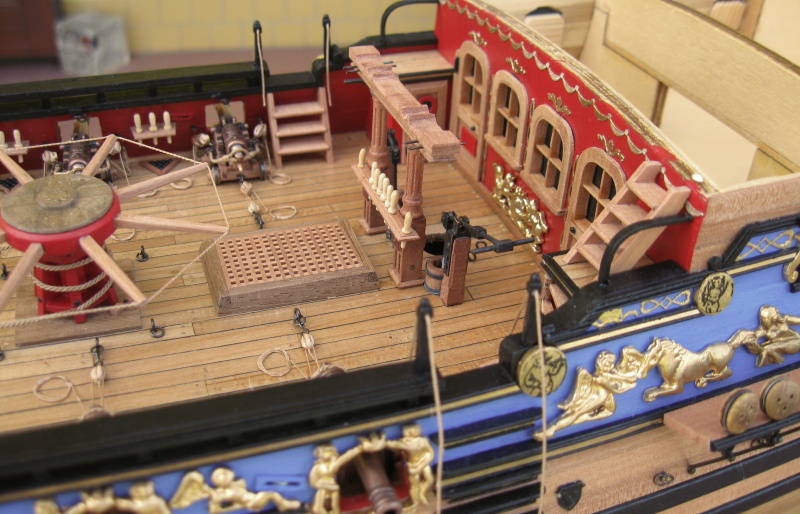
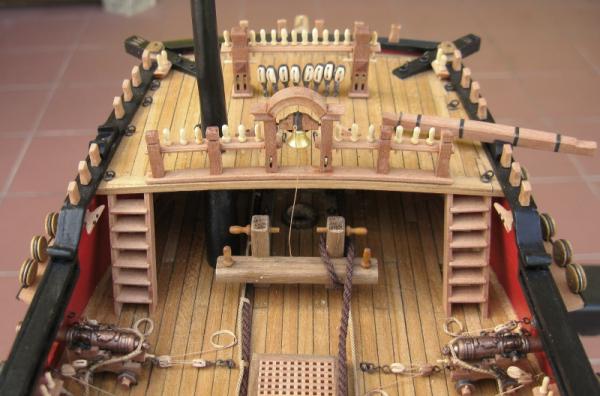
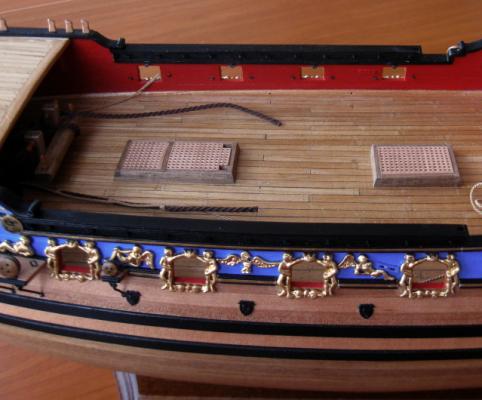
Guns and tackles are installed on the deck, shot garlands (?) are completed. I am very happy to have this part of the building successfully behind. It was quite a lengthy and difficult phase of bilding. I think the result is quite good.


- 206 replies
-
- 3
-
-
- royal caroline
- panart
- (and 1 more)
-
Thanks friends for your kind words, they are great motivation for further work on the RC for me. Work continues with the preparation of gun tackles - breechings, side and train tackles. It goes slowly in this size, thank God, there are only 8 guns on RC


- 206 replies
-
- 1
-
-
- royal caroline
- panart
- (and 1 more)
-
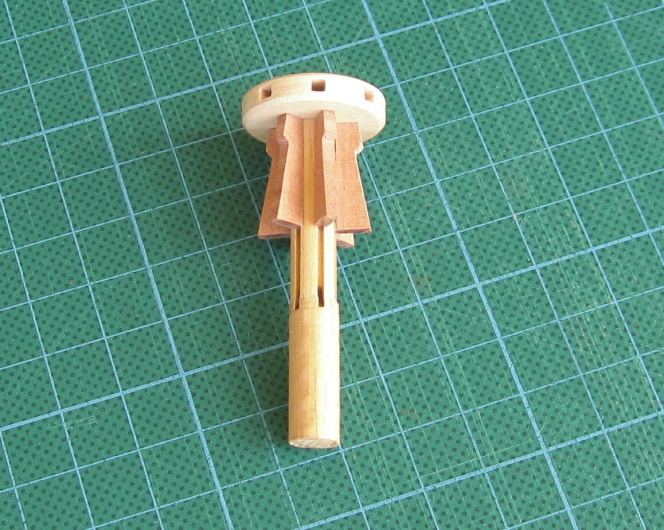
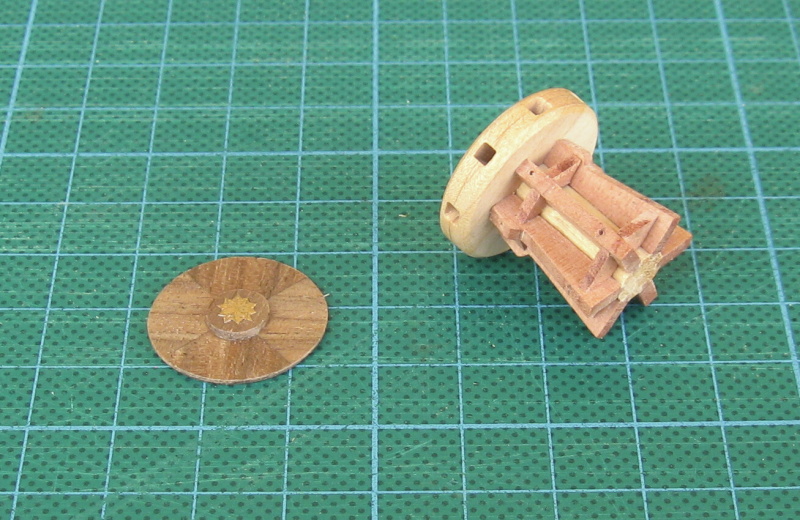
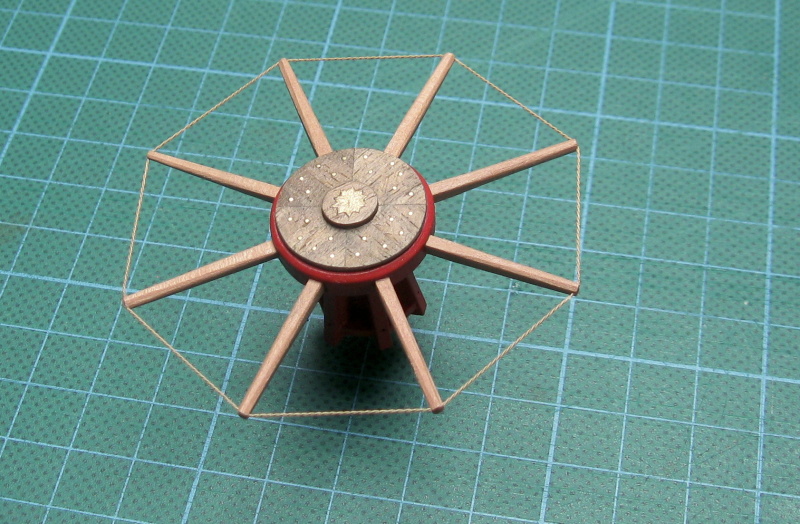
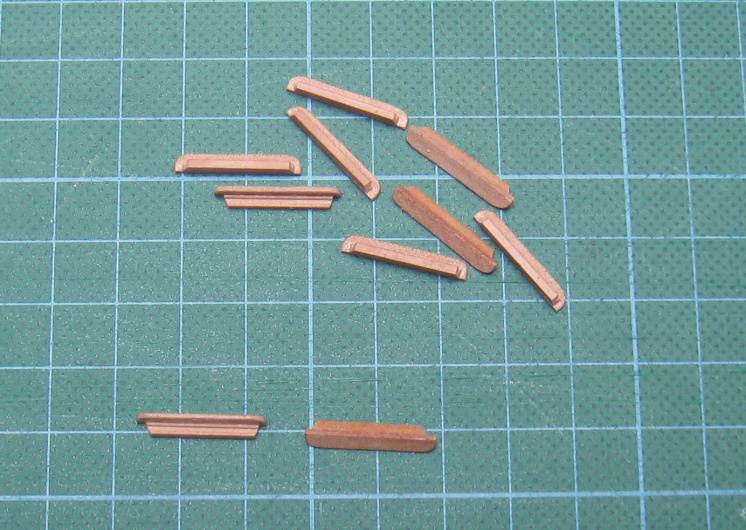
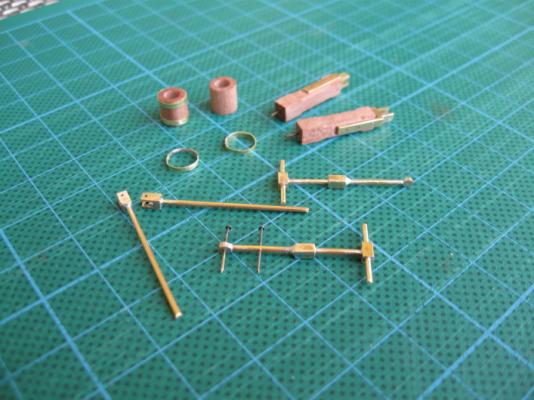
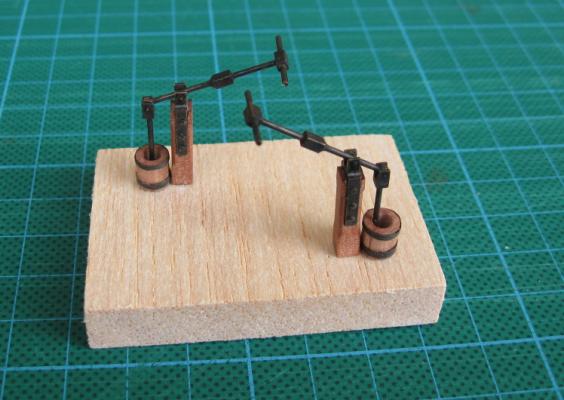
Hand pumps are finished. It was quite hard work (at least for me), but I like the result.
- 206 replies
-
- 3
-
-
- royal caroline
- panart
- (and 1 more)
-
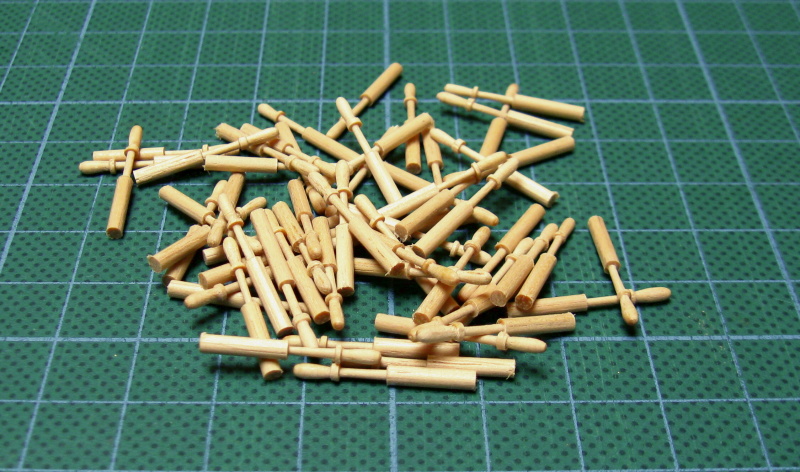
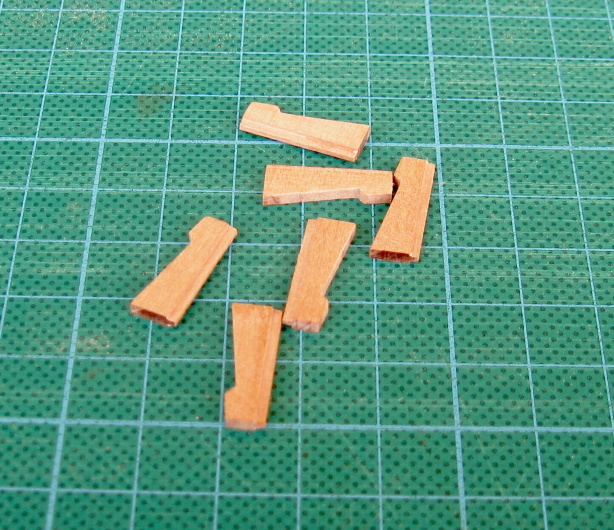
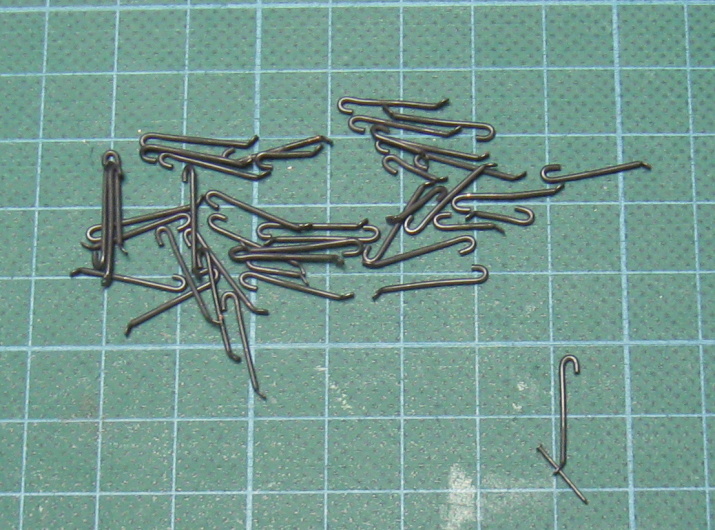
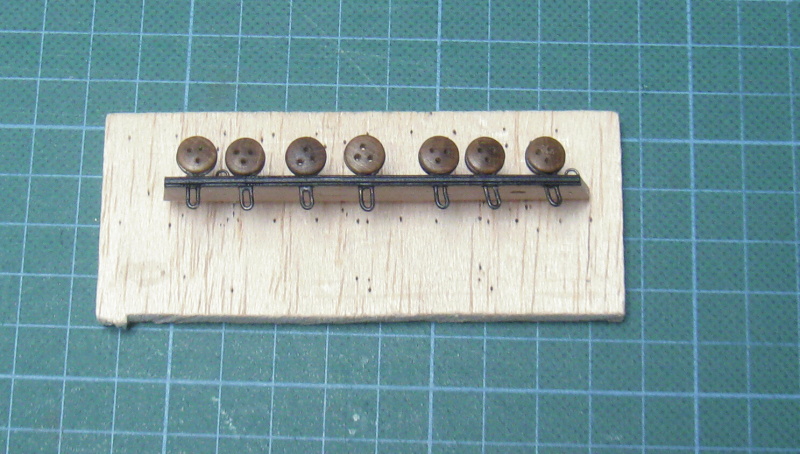
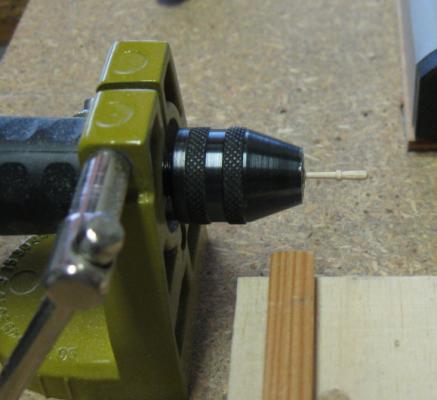
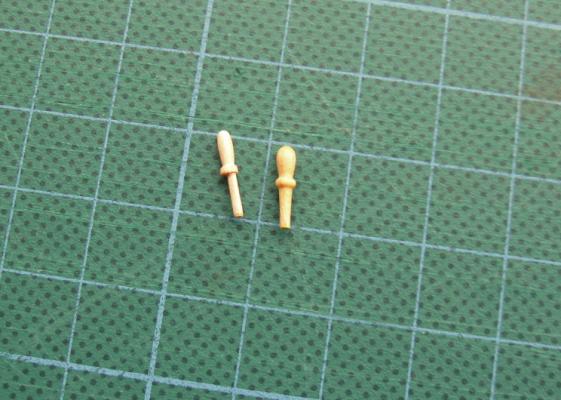
Thanks for compliment. Belaying pins - at first I only intended to modify the belaying pins from the kit. Because I will need more of them, I decided to make my own. They are a little bigger, but at the first attempt it is not so bad.


- 206 replies
-
- 4
-
-
- royal caroline
- panart
- (and 1 more)
-
Thanks John, I´m glad you like my work Capsquares are now done, cannons are completed. I did not use guns from the kit, I replaced them with Amati guns.


- 206 replies
-
- 2
-
-
- royal caroline
- panart
- (and 1 more)
-
Hi sparow - I have sent you PM with answer. Second part of pictures - brackets.


- 206 replies
-
- 3
-
-
- royal caroline
- panart
- (and 1 more)
-
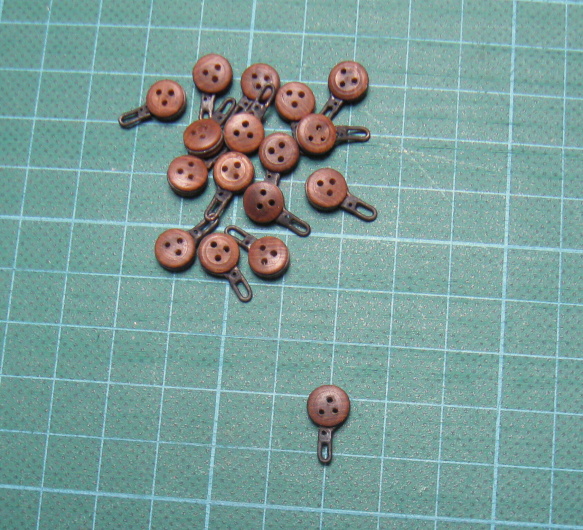
Thanks to all for nice comments Gun carriages - first part of pictures - axletree, truck and pins for truck fastening (I dont know the correct english word )


- 206 replies
-
- 1
-
-
- royal caroline
- panart
- (and 1 more)
-
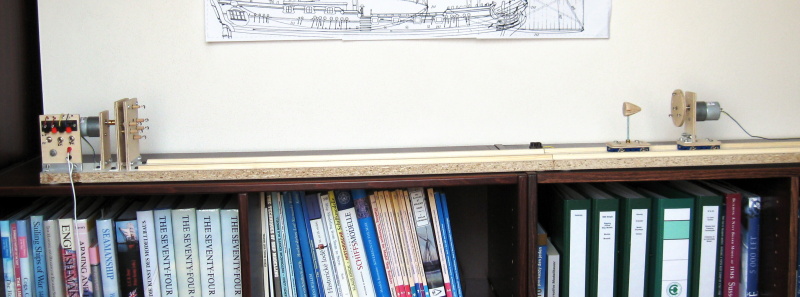
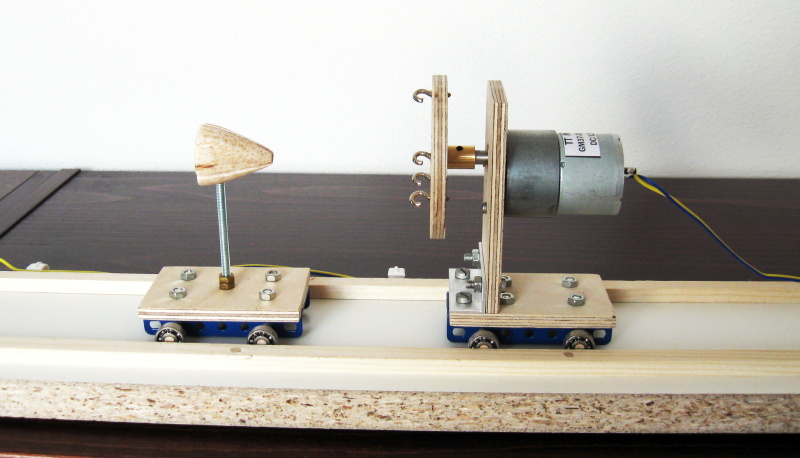
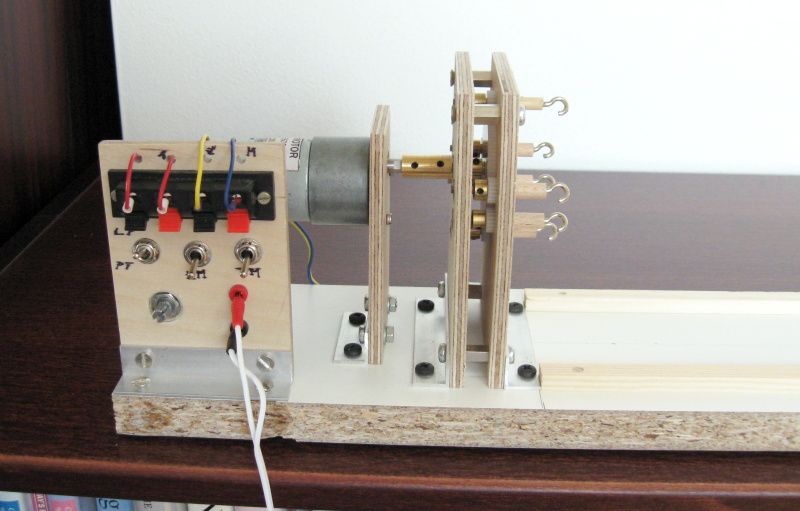
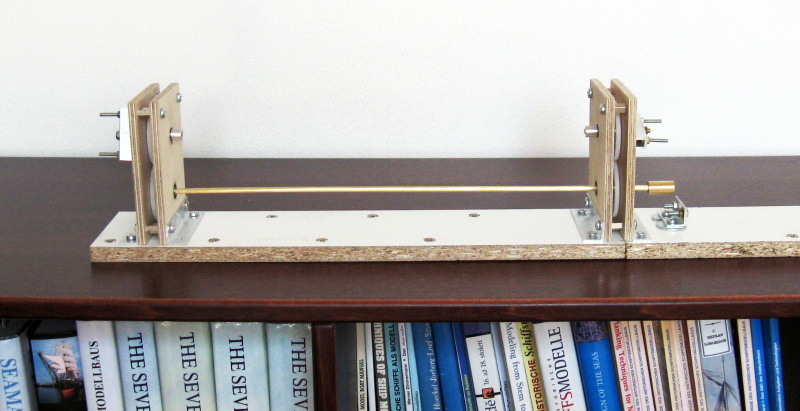
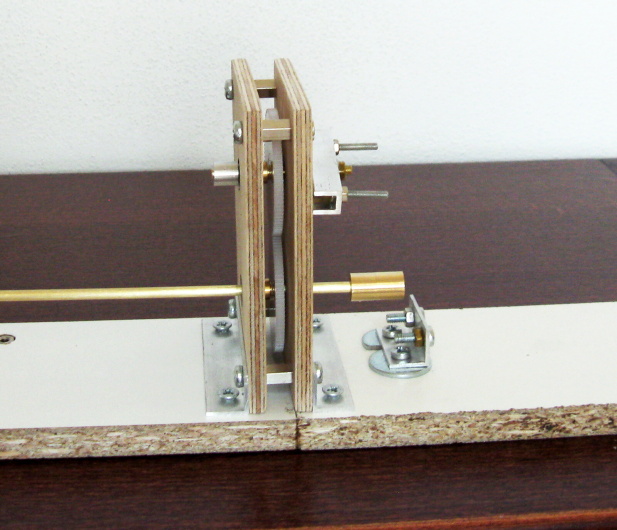
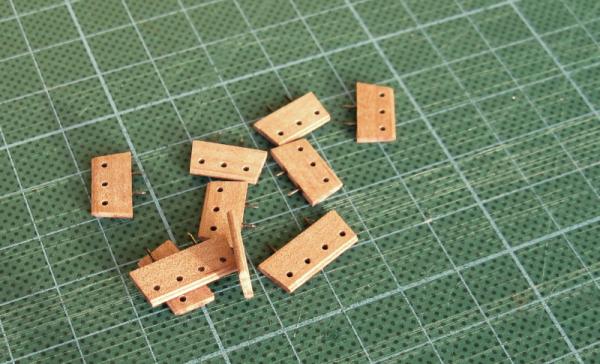
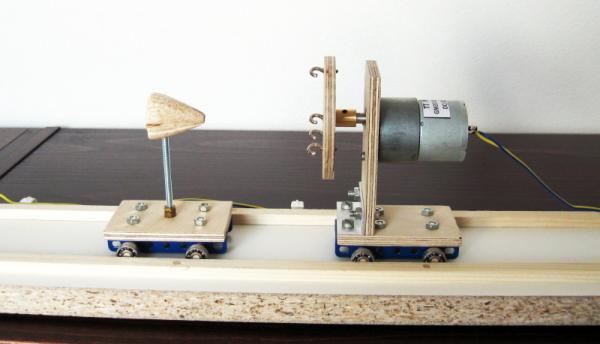
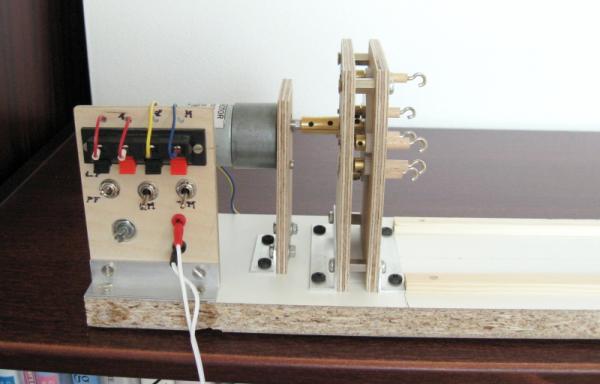
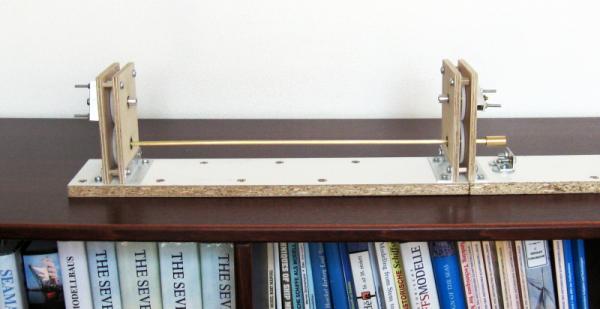
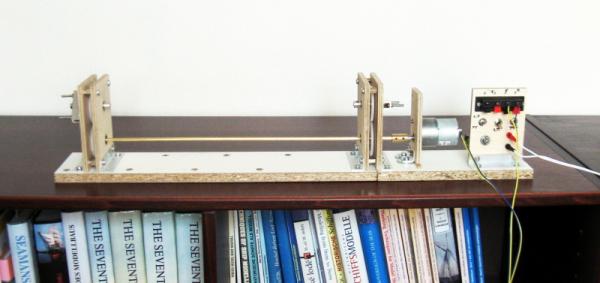
Tarbrush - thank you for watching my log Today I wanted to post some photos of my home-made ropewalk and serving machine.


- 206 replies
-
- 2
-
-
- royal caroline
- panart
- (and 1 more)
-
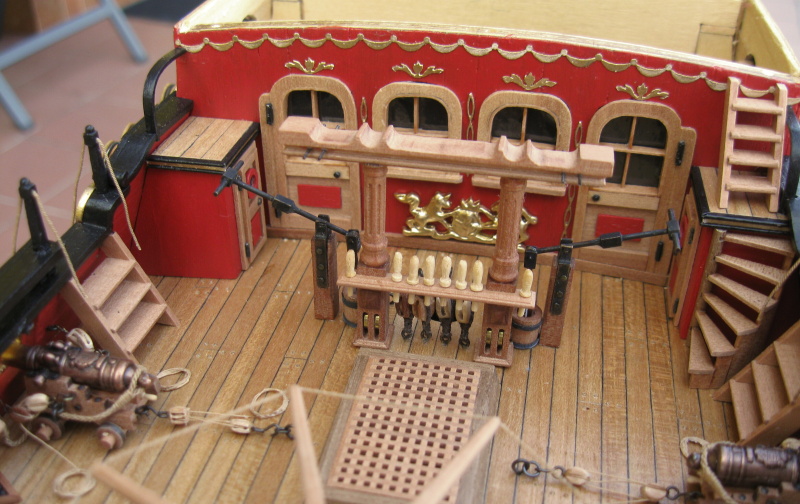
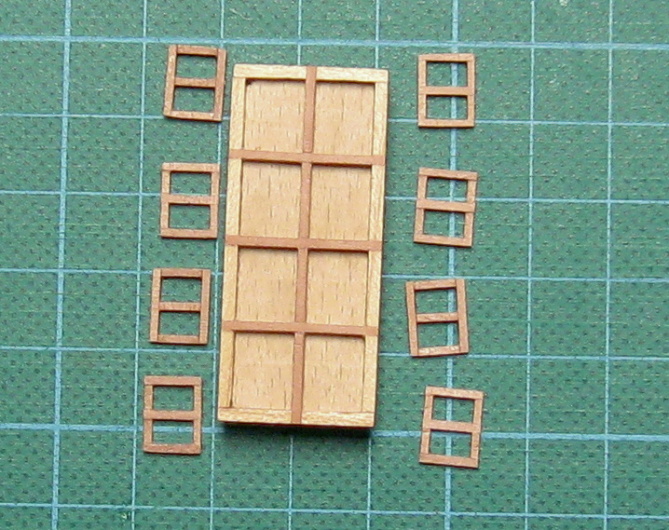
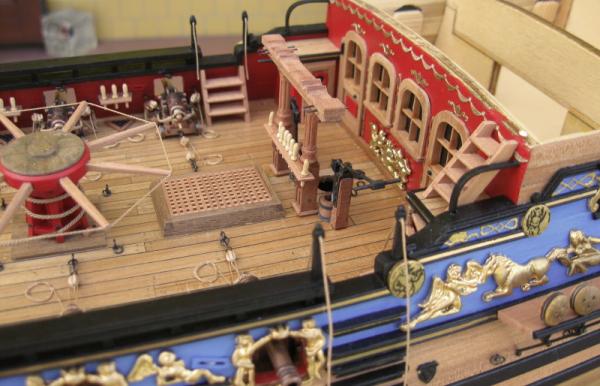
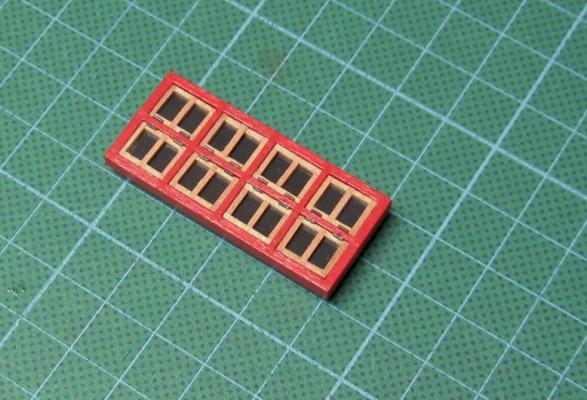
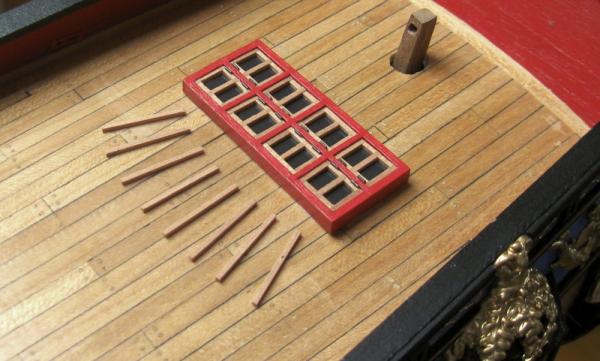
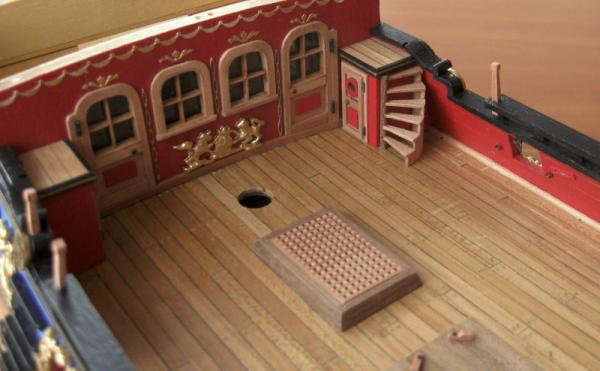
Thanks for the encouraging comments. Proxxon equipment is not cheap, but allows the production of components very efficiently and reproducibly. Here are a few new pictures - window of great cabin.

- 206 replies
-
- 5
-
-
- royal caroline
- panart
- (and 1 more)
-
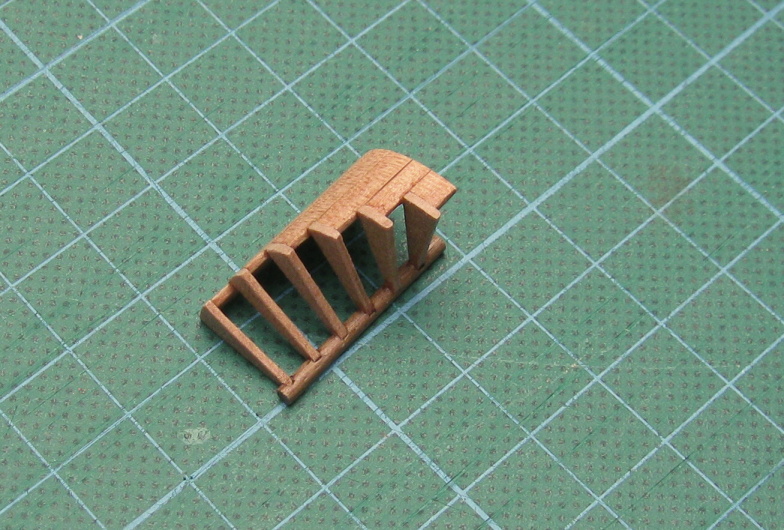
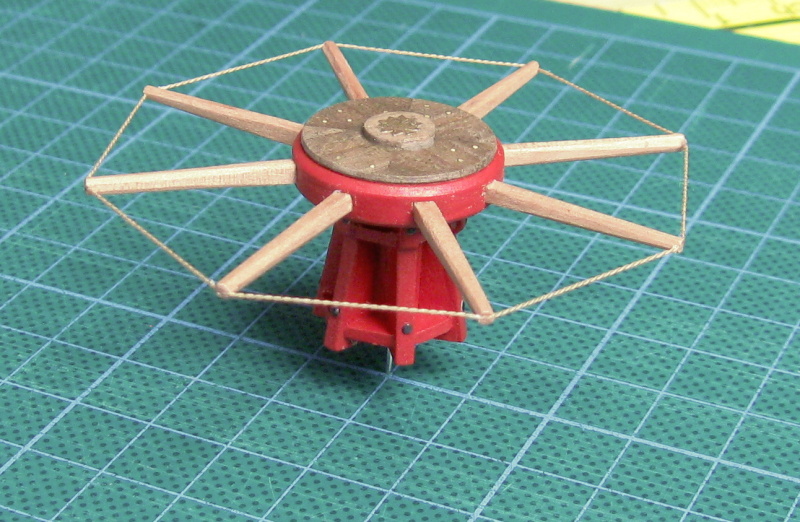
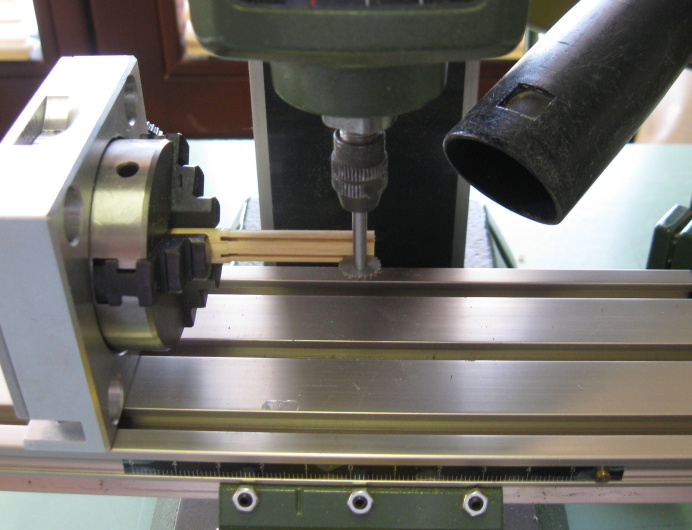
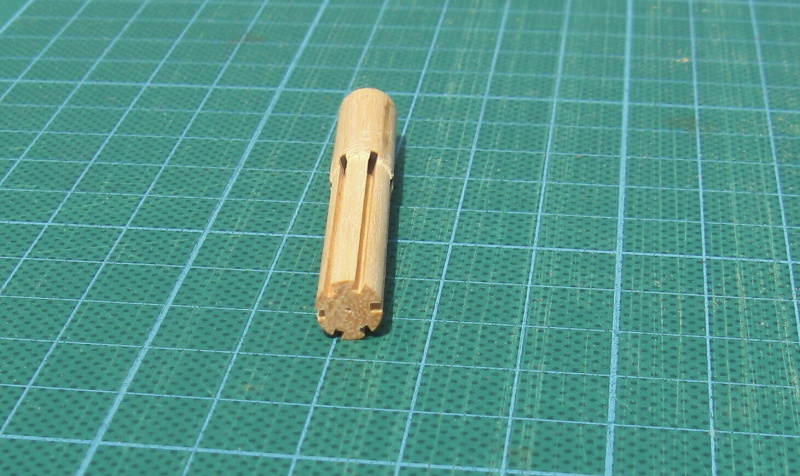
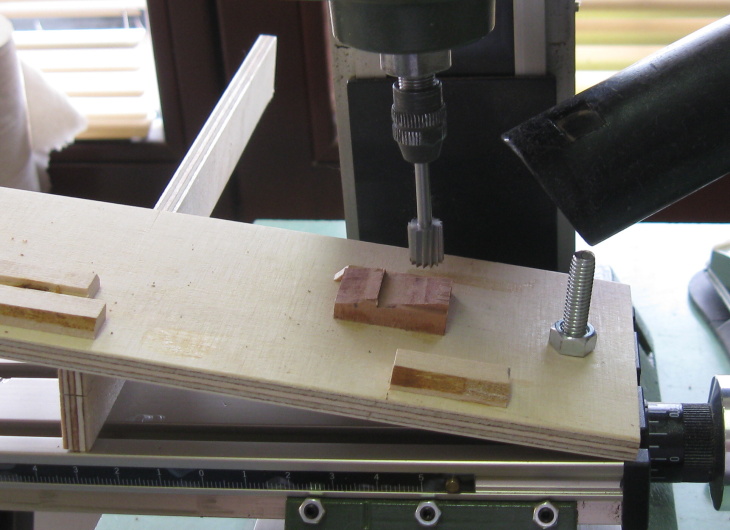
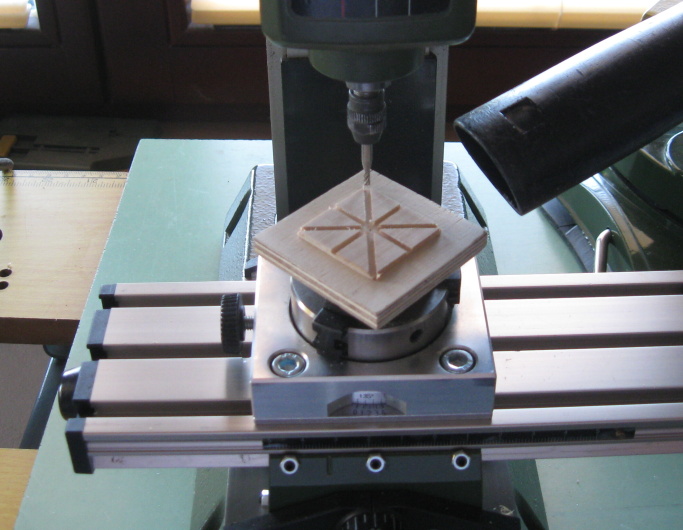
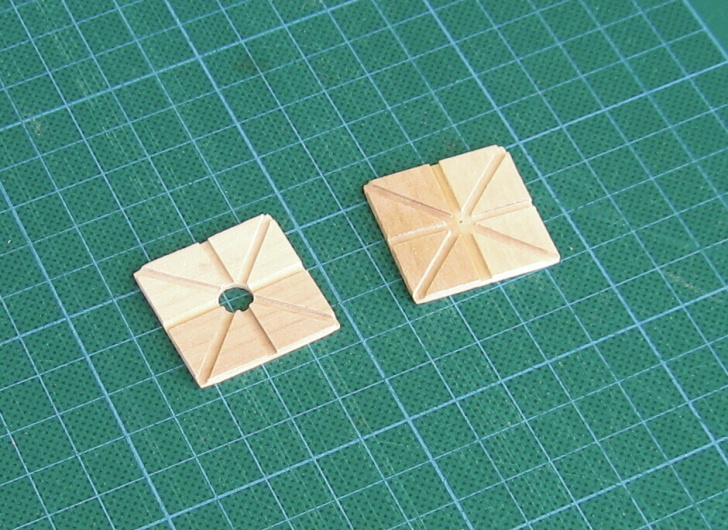
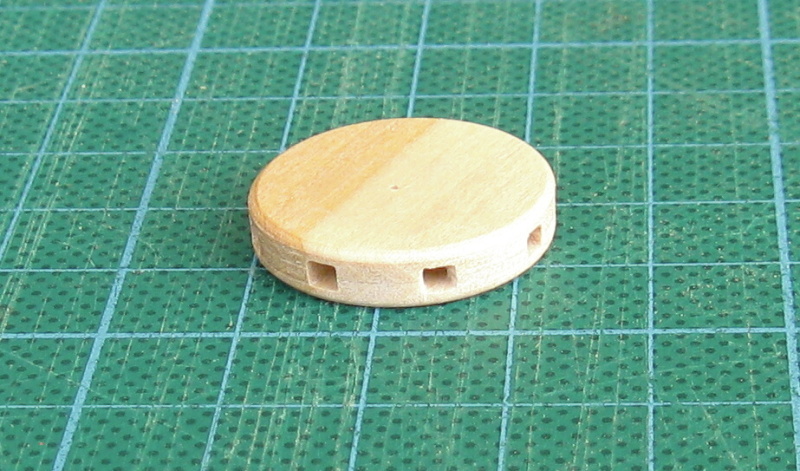
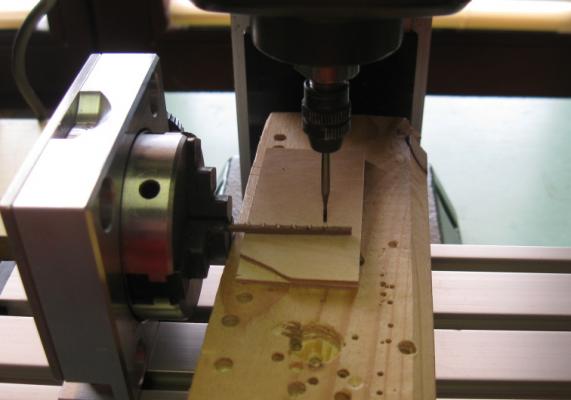
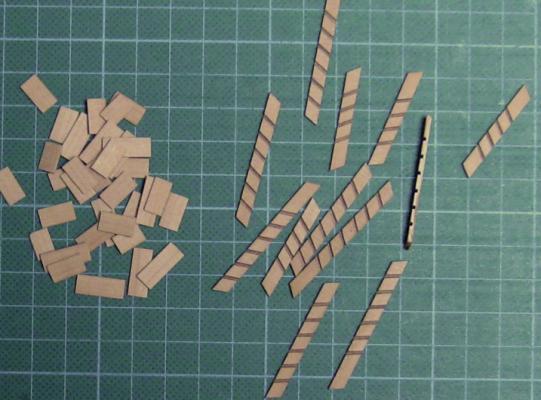
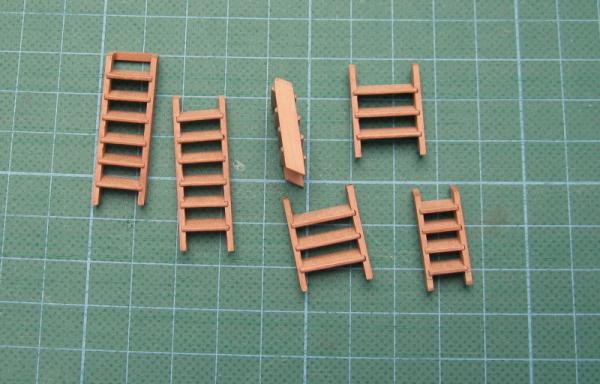
The rotary table for the mill is very useful accessory - I used it for the next part - the stairs.


- 206 replies
-
- 8
-
-
- royal caroline
- panart
- (and 1 more)
-
I can not find words. Great idea, wonderfull result. I look forward to continuing.
-
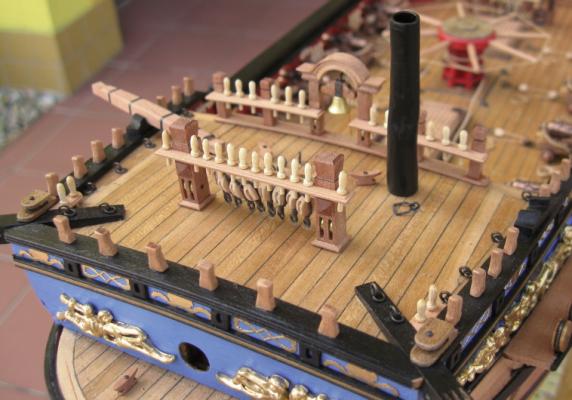
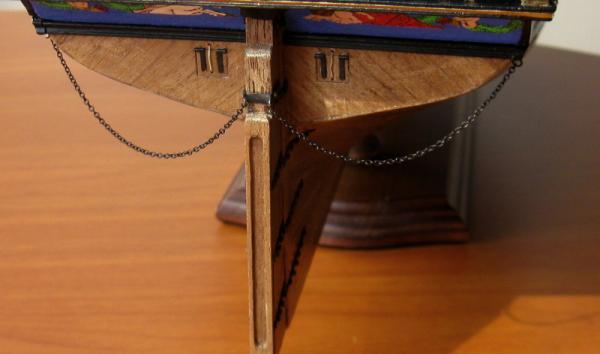
Thanks for nice comments. Some small details are added on the hull - the side stairs, anchor lining and the rudder chain.


- 206 replies
-
- 3
-
-
- royal caroline
- panart
- (and 1 more)
-
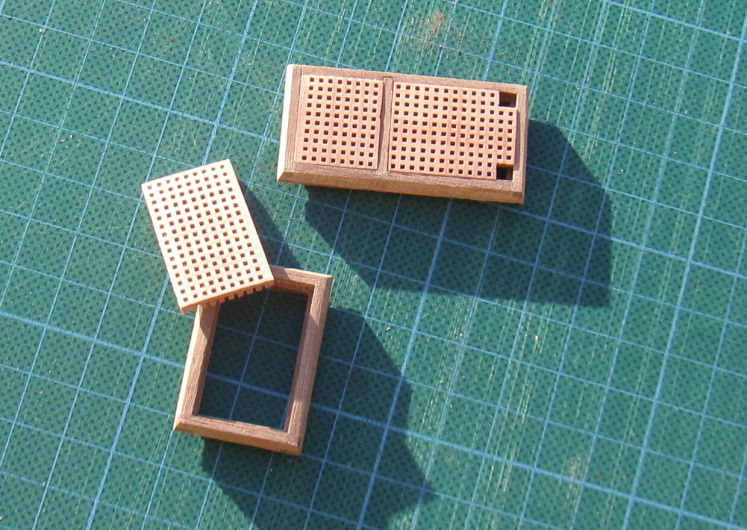
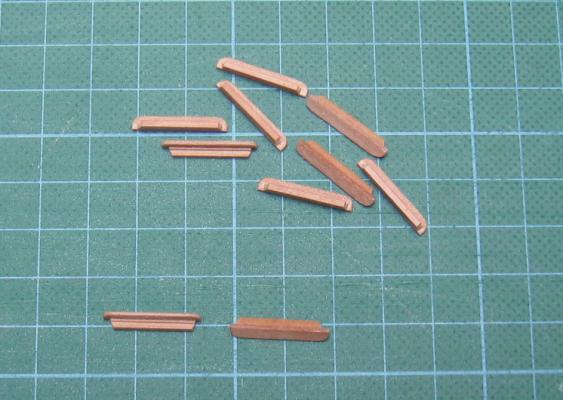
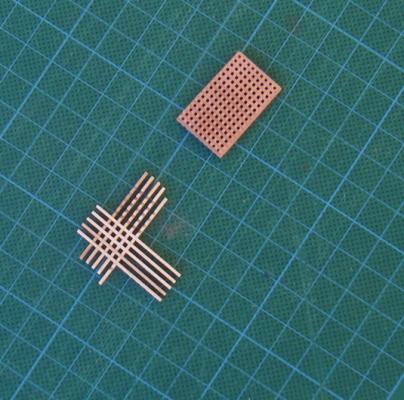
David, Peter - thanks for nice comments. Next part of construction - gratings. This was my first attempt to scratch-build the grating. On the last picture you can see the difference between kit and scratch-built grating.

- 206 replies
-
- 3
-
-
- royal caroline
- panart
- (and 1 more)
-
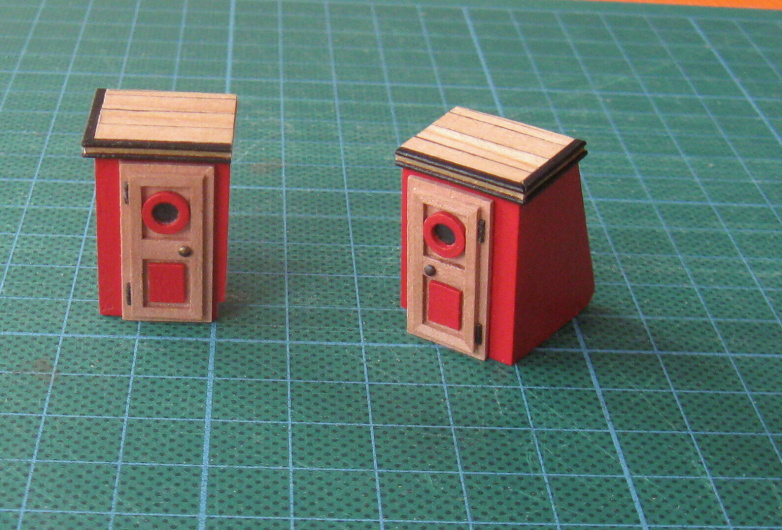
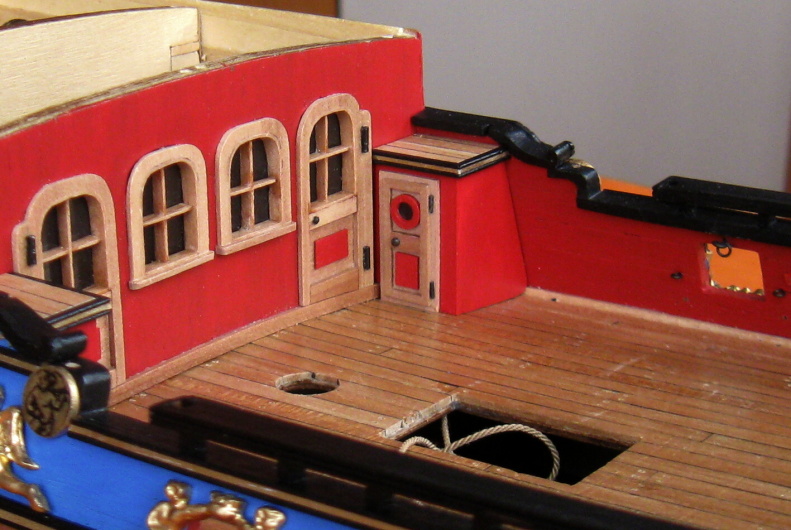
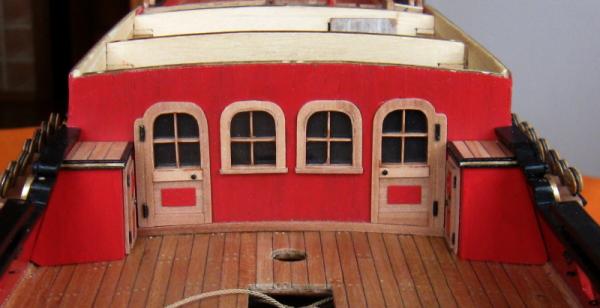
Hi all, thanks for nice comments. Work continues with two small doors.


- 206 replies
-
- 3
-
-
- royal caroline
- panart
- (and 1 more)
-
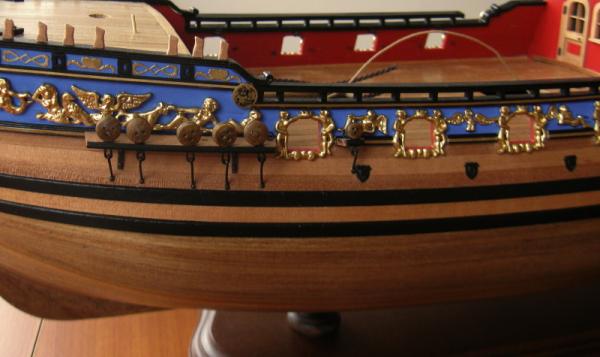
Hi sparrow, nice to see you again here. Your work on new decorations is really fabulous
-
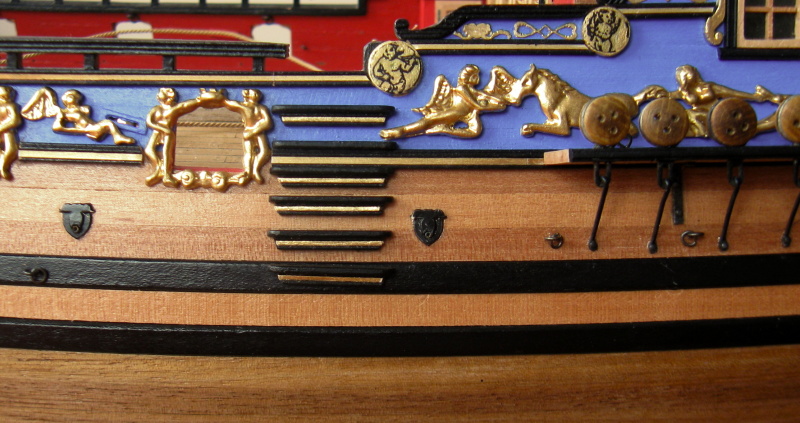
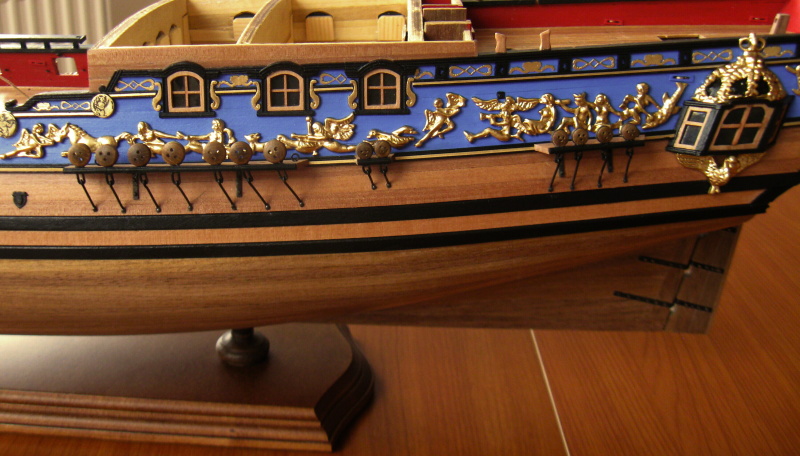
Thanks normanh, work on the details is lengthy, but it makes the model a better look. Chain-plates were finished and whole assembly is mounted on the hull.


- 206 replies
-
- 3
-
-
- royal caroline
- panart
- (and 1 more)
-
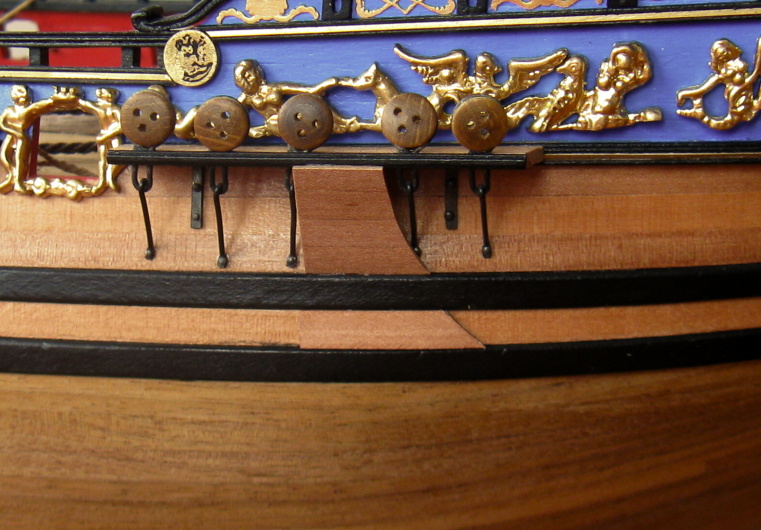
Lower deadeyes are mounted to the chanells - assembly is readdy for installation on the hull.