jct
-
Posts
1,519 -
Joined
-
Last visited
Content Type
Profiles
Forums
Gallery
Events
Everything posted by jct
-
Hey Jerry, Your HM is moving right along...I think it took me 6 months, to get where you are in 6 wks! nice job on the railings...I wouldn't give the painter his rum ration before starting though... J
-
HALF MOON by jct - FINISHED - Corel
jct replied to jct's topic in - Kit build logs for subjects built from 1501 - 1750
Thanks Jerry, This is the first ship I've cased so I think I'll use the same technique for others as they join the fleet...lol THX J -
HALF MOON by jct - FINISHED - Corel
jct replied to jct's topic in - Kit build logs for subjects built from 1501 - 1750
more pics cont.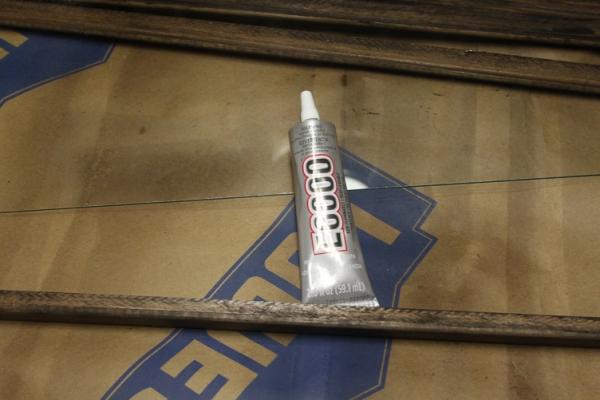


-
HALF MOON by jct - FINISHED - Corel
jct replied to jct's topic in - Kit build logs for subjects built from 1501 - 1750
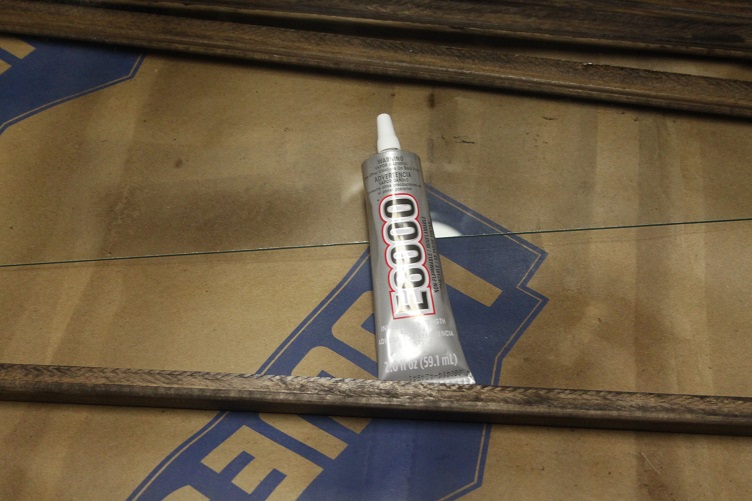
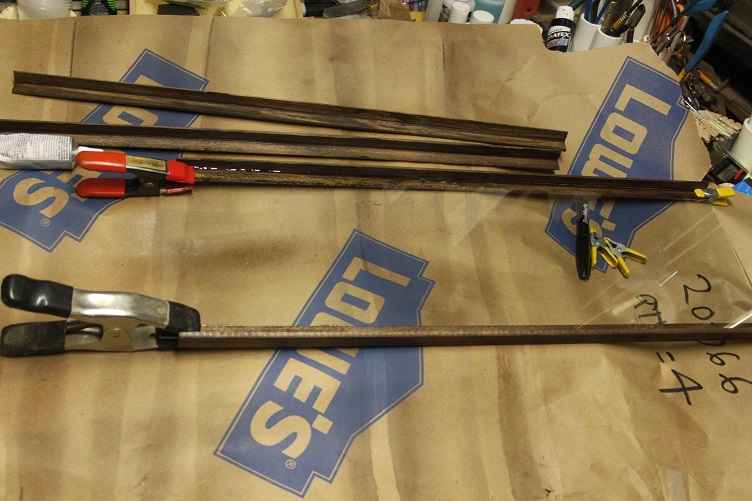
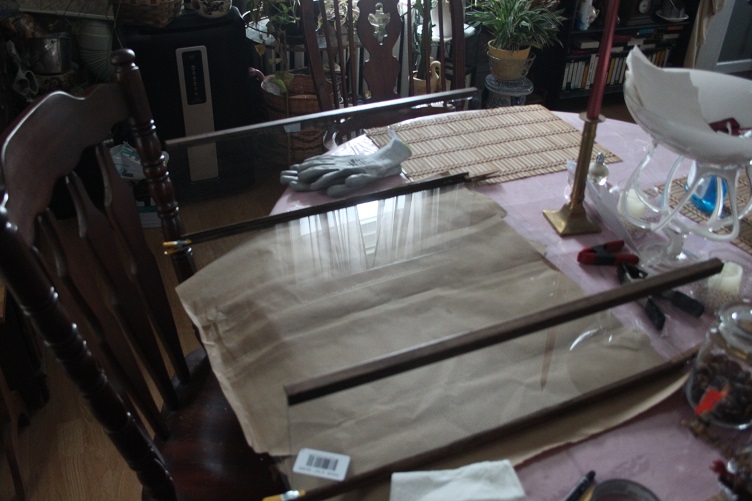
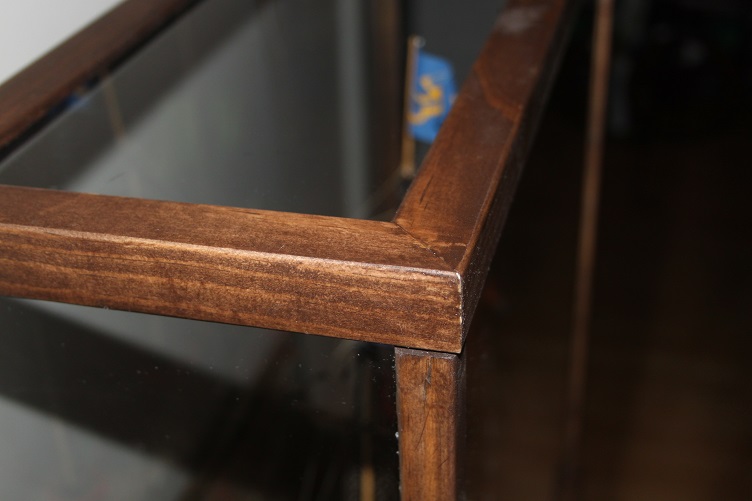
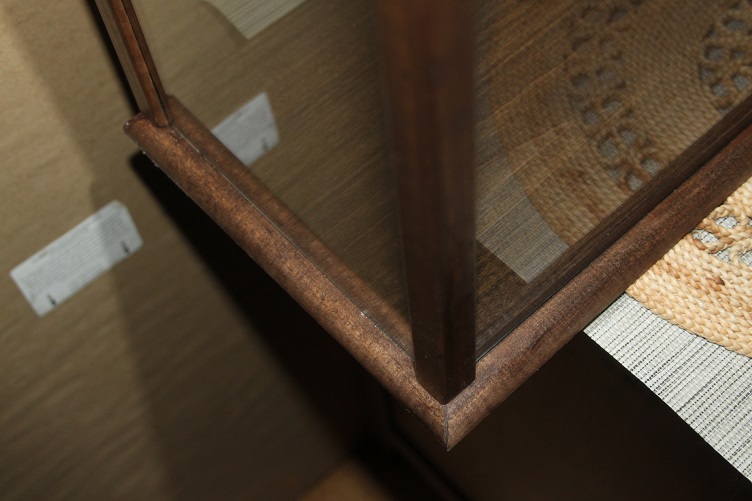
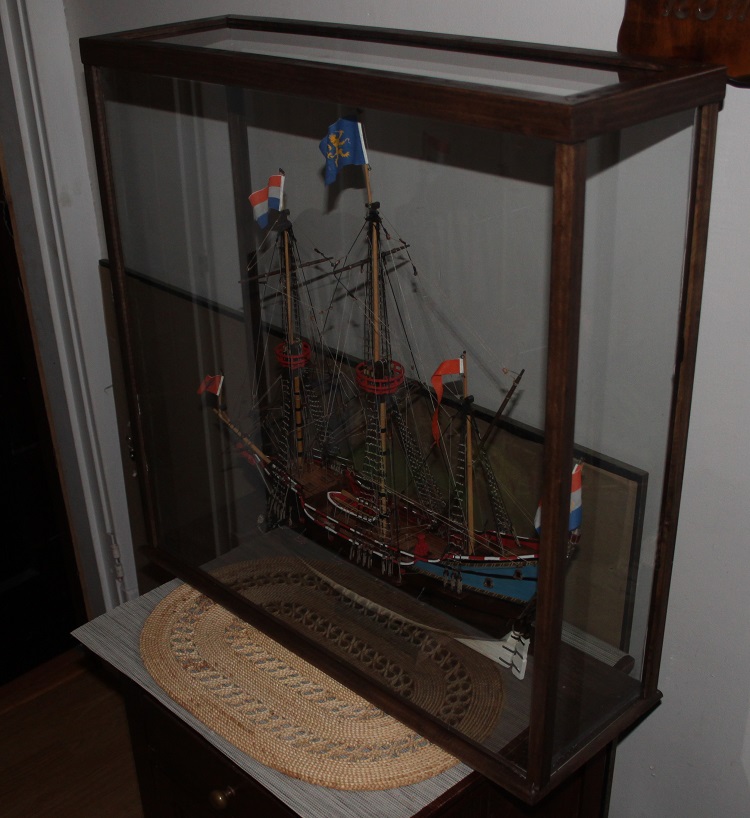
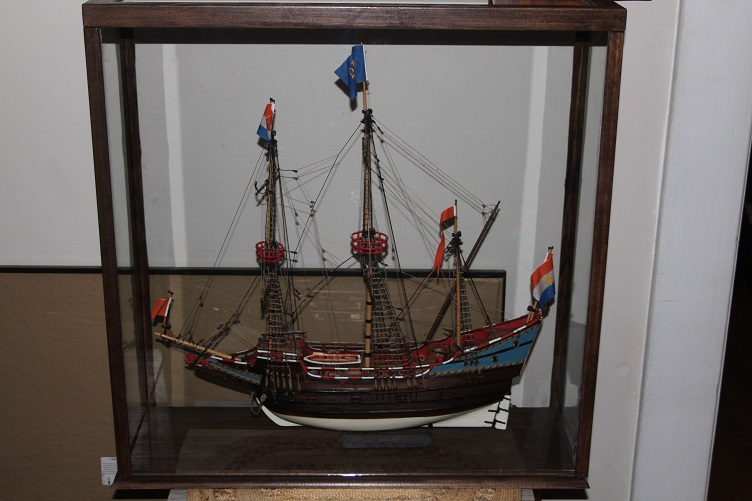
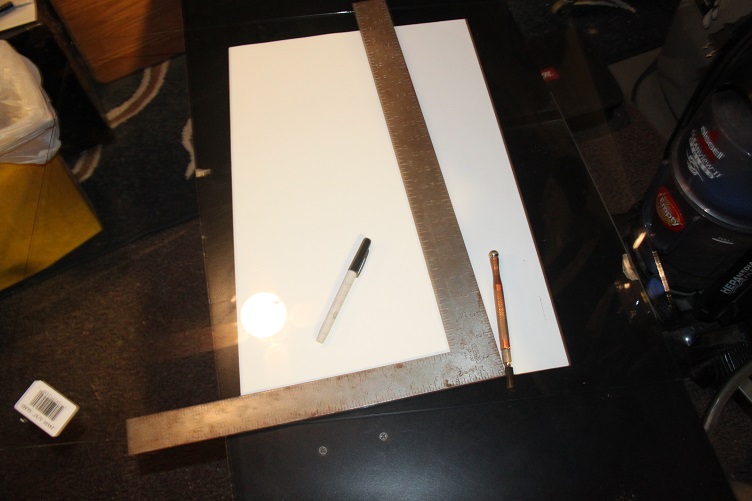
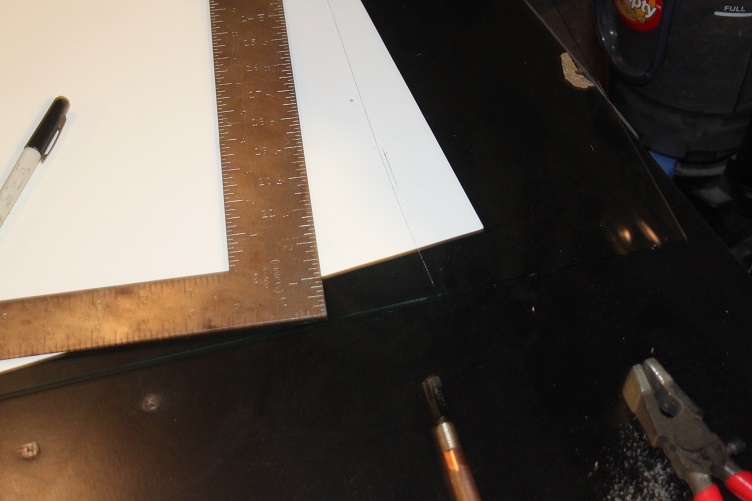
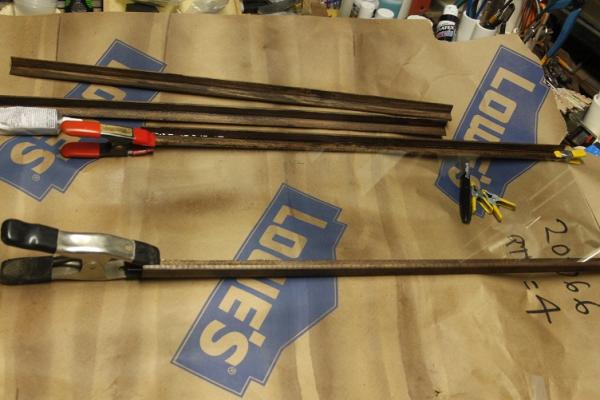
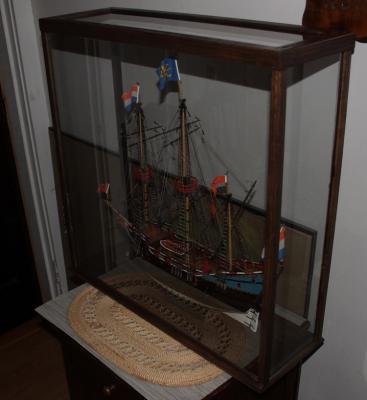
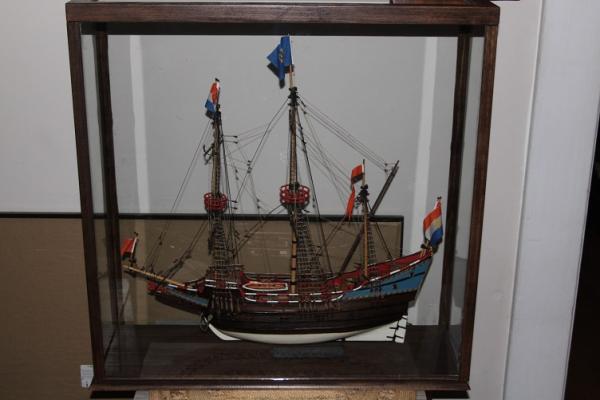
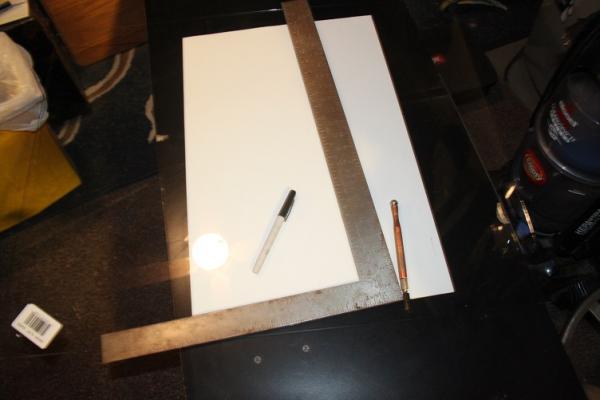
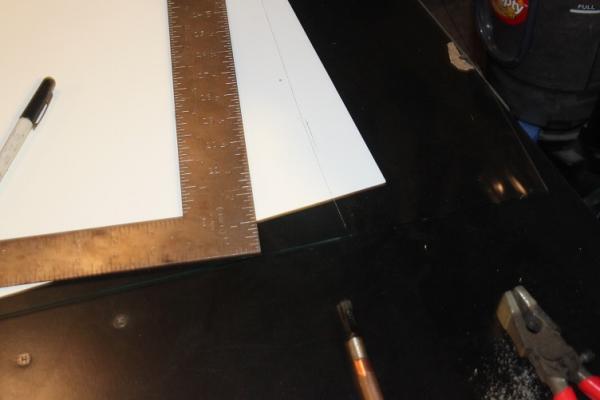
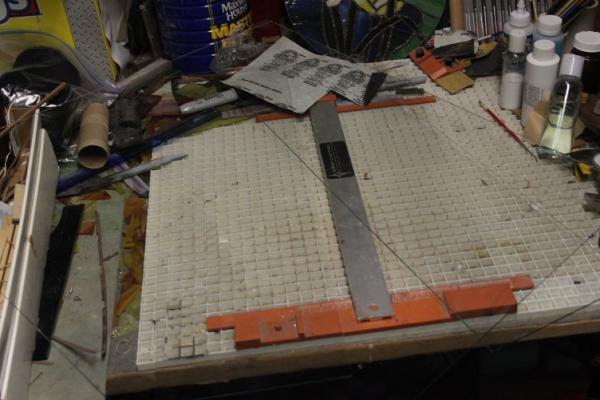
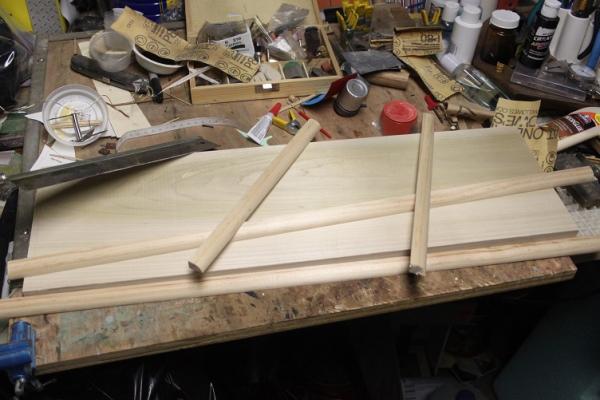
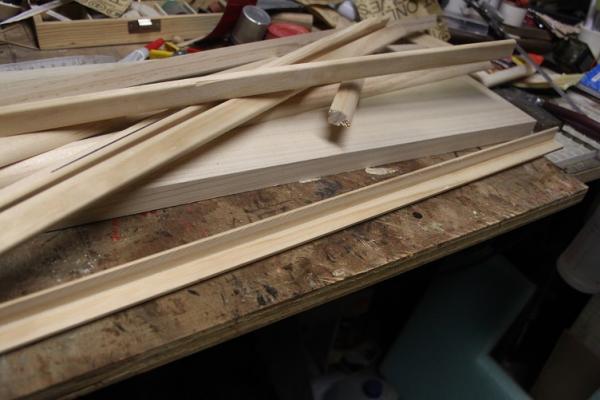
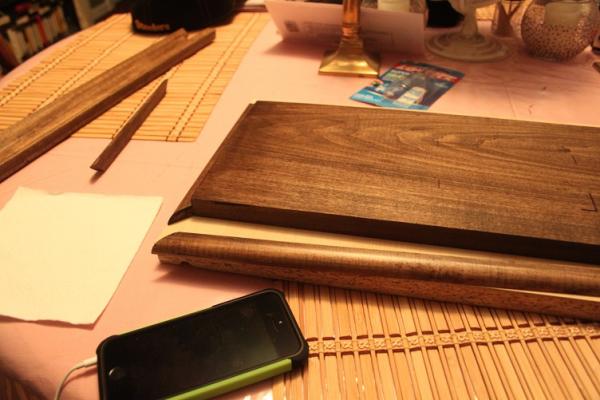
Hey everyone, I have finished the case for the HM... I mulled over the best way to construct the case for a few days and in the process rejected a few different methods. The a-ha moment came when I decided I would use a minimum of woodworking tools and try to do everything based on available stock at the big box store. My thought being that you don't have to be a woodworker with a shop full of tools to construct a similar project, about all you need is a miter box, which can be had for just a few bucks. I started with a poplar board for the base, I got lucky here as it just happened to be the perfect size I needed...but all the big box stores offer a cutting service at no charge so don't worry if you can't find the perfect size. I also bought pine corner molding, ¾ x ¾ and some shoe molding, ½ x ¾. The panels of my case are glass but you could just as easily use acrylic panels. I choose glass as it is a medium I'm familiar with and can cut myself, I also prefer glass as it is easier to clean without scratching. But it is much more breakable and it is heaver than acrylic. If you have young-lings about I would recommend you use a safer alternative acrylic or tempered panels. Here it's just the Admiral and me so I utilized standard plate. The Lowe's I shopped at offered acrylic for about the same cost as plate glass, so there should be a minimal impact of the bottom line. I started by cutting the panels to size, these were set aside while work was started on the base, the shoe was mitered and attached to the sides of the polar base board, there to serve as a base for the glass panels. The corner molding was cut to the proper length once all 4 were done everything was sanded then stained and varnished... I did not do the lid at this time as I wanted to cut it to fit. Once all the parts were dry I attached the glass panels using e6000 adhesive, this is a strong one part epoxy type adhesive...but like most it takes a long time to cure. If you choose to use this material you must exercise patience and give the e6000 time to do its thing. Once cured the stuff is pretty amazing but if moved or fussed with prior to full cure it's libel to fail. So the shorter side panels were built up first then the heaver front and back attached. When all four case sides were done the HM was mounted to the base and the case walls lifted and lowered over the top. Measurements were taken and a glass panel top made using the same technique described above. So there you have it, my rendition of a diy display case, this technique can be used for cases of about any size... the only limitation would be the glass or acrylic panel size that you can acquire. The Half Moon case is 24” x 24” x 8”, fairly large, I priced commercial cases this size and saw costs anywhere from $250 to as much as $700, The materials for the diy was around $60 plus a week of my time. All in all I think it turned out okay and I'm happy with the result. Administrators I'm not sure if this is the appropriate location for this post, feel free to re-locate as you find appropriate. As always thanks for your time and attention, Pics follow. THX J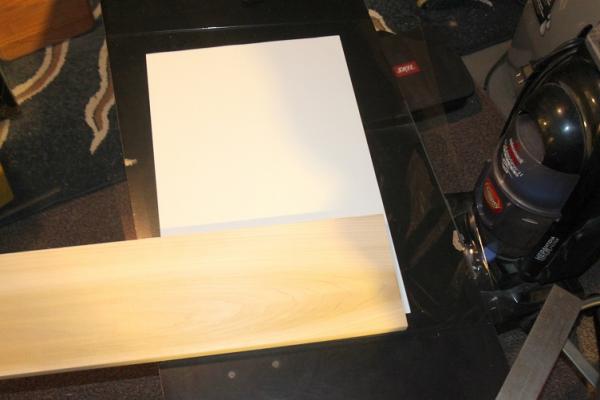
-
Hey Steve, She is really coming together, very nice...I wonder why they would have served the entire shroud line, did your reference say? I just use a couple alligator clips stuck in a board with holes drilled at the proper length, super low tech, is kind of a pita though. J
-
Good progress...those beak side boards were a pita to get symmetrical, I remember the air getting blue all around mine!!! Looking good
-
Hey Steve...she is really coming along and looking very nice in the process, I wouldn't worry to much about the belaying pins, by the time you get rope coils on them they wont show much anyway...the fife looks good, that is its proper name. Some ships used to carry fife players to play while the sailors heaved and hawed, they would stand behind the rail to stay out of the way...thus fife rail J
-
Tis true tis true....I think I'm going to build the 18th Century longboat (Chuck's design for Model Shipways)...I plan to make a couple billowing sails for it so that will be new for me, got to finish the case for the HM first though...it is shaping up and I should be ready to post an update soon THX J
-
That and strong masochistic tendencies...least we can agree your HM is looking fine!
-
Nice work on the railings Jerry and obtw PENGUINS RULE!!
-
Very Nice Jerry, the Admiral obviously has great taste, I would finish the beak prior to adding an oil finish to prevent any problems with adhesives J
-
HALF MOON by jct - FINISHED - Corel
jct replied to jct's topic in - Kit build logs for subjects built from 1501 - 1750
most defiantly will, I know it's gonna be glass as opposed to acrylic, as its a medium I'm familiar with, may pick some material up tonight as the Admiral and I are going to dinner...I'll be sure to get some pics of the process -
Chuck does make some really nice stuff, you sure can't go wrong with it, waiting for some of his cast canon barrels to arrive. I think you will enjoy the process, like I said in another post it's cool to watch it form on the walk and the learning curve is fairly short, nice way to spend a quite afternoon. J
-
HALF MOON by jct - FINISHED - Corel
jct replied to jct's topic in - Kit build logs for subjects built from 1501 - 1750
Thanks Much Sam, Not sure when or even what the next build may be...I'm gonna diy a case for the HM first, then figure it out. THX J -
Hi Jerry, Your gunwales look good, I think you should apply tung oil to them prior to finish with urethane, oil will make that walnut pop, course you would have to wait a few days to apply the final finish. You are makeing some real progress, I think it took me 3 months to get to the stage your at!! J
-
Hi Steve, I think you 'frog' look good, are you using kit supplied rigging line? It looks good in your pics,servings are especially nice J
-
Hey Steve the boot looks good...are the deck rings card stock as well?
-
Good deal... that's got to be much better mine, is variable speed but that doesn't help with the start-up serge...I been thinking about about modifying mine with a sewing machine pedal...would be a diy Frankenstein...got to noodle on it for a while...any why nice work my man looking really fine J
- 569 replies
-
- 1
-

-
- shenandoah
- corel
- (and 1 more)
-
Hi Steve, The mast is a work of art, how are you notching the ends, files?
-
HALF MOON by jct - FINISHED - Corel
jct replied to jct's topic in - Kit build logs for subjects built from 1501 - 1750
-
Hi Jerry, I'm no expert but I think you may want to experiment a little to decide, most solvent based urethane has an amber tint to it that will add that cast to the wood, water based is typically clear...most varnishes I'm familiar with have a tint as well. If you tested on a few scraps you could decide which you preferred. J
-
HALF MOON by jct - FINISHED - Corel
jct replied to jct's topic in - Kit build logs for subjects built from 1501 - 1750
Thank you all very much, Tom...reach out when you start your HM I'd like to follow the build Thanks Danial..,I appreciate your comments Max...thanks I agree it is cool to see how everyone interrupts different kits Carmelo...I hope you do find it helpful Pop...thanks much for your continuing support through out this whole build, it is much appreciated, can't wait to see your HM when you get her done! again thank you all for the kind comments J -
HALF MOON by jct - FINISHED - Corel
jct replied to jct's topic in - Kit build logs for subjects built from 1501 - 1750
Thank you John