jct
-
Posts
1,519 -
Joined
-
Last visited
Content Type
Profiles
Forums
Gallery
Events
Everything posted by jct
-
Hey Charlene...nice scroll saw work! Having fun yet?
-
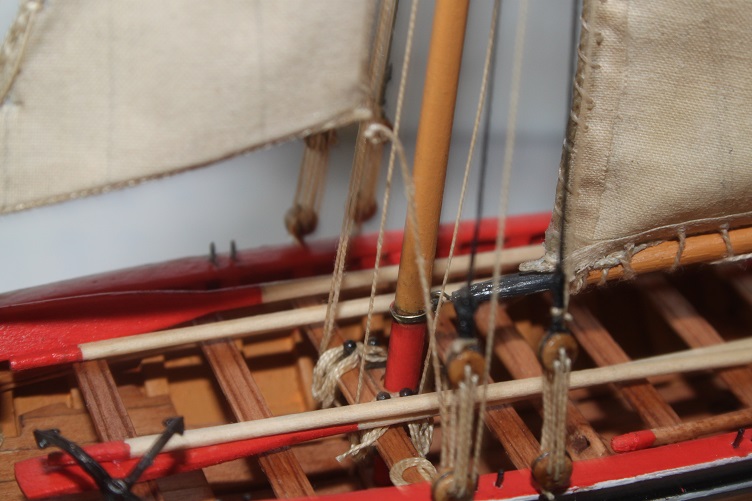
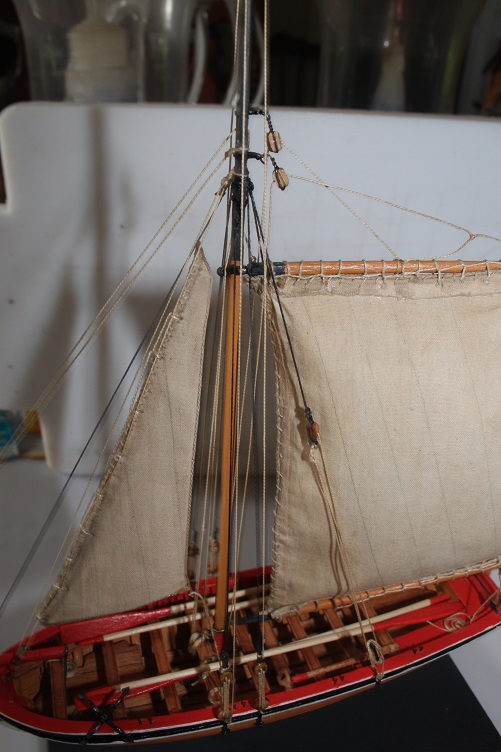
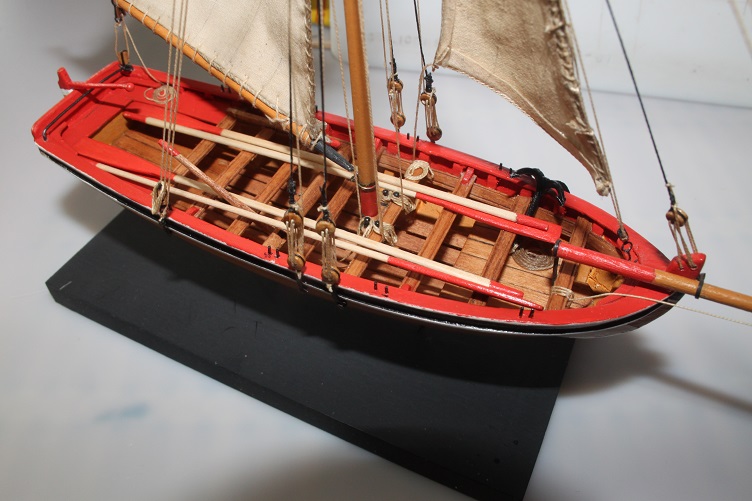
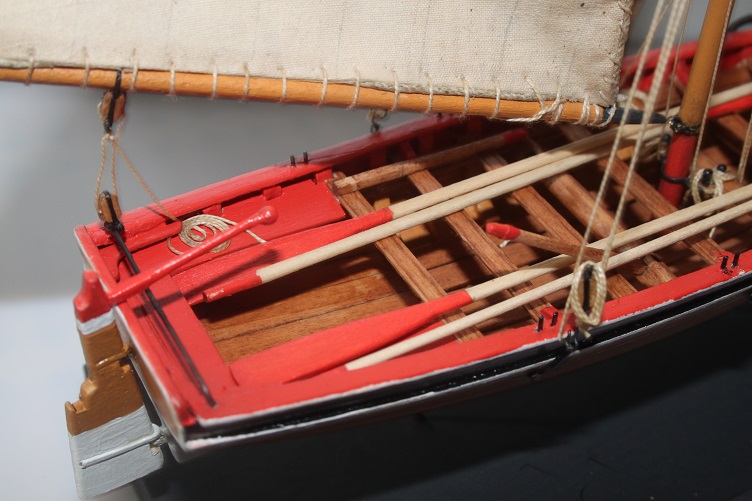
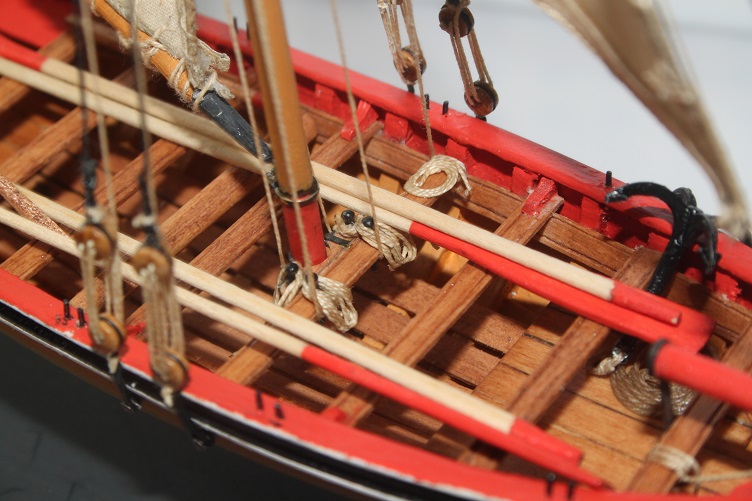
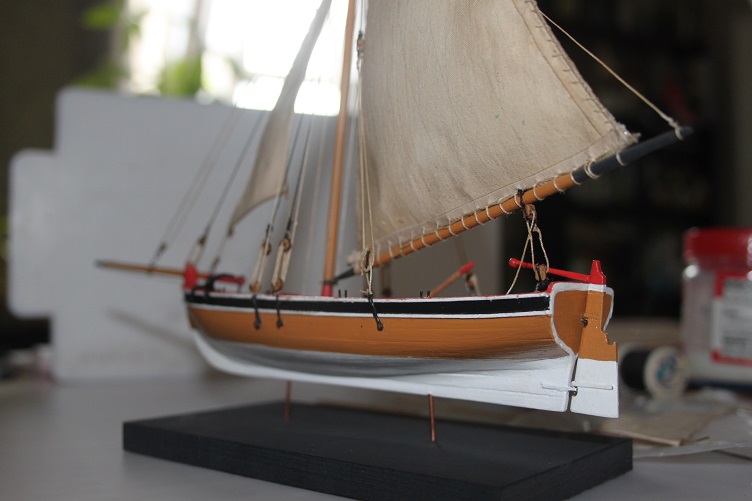
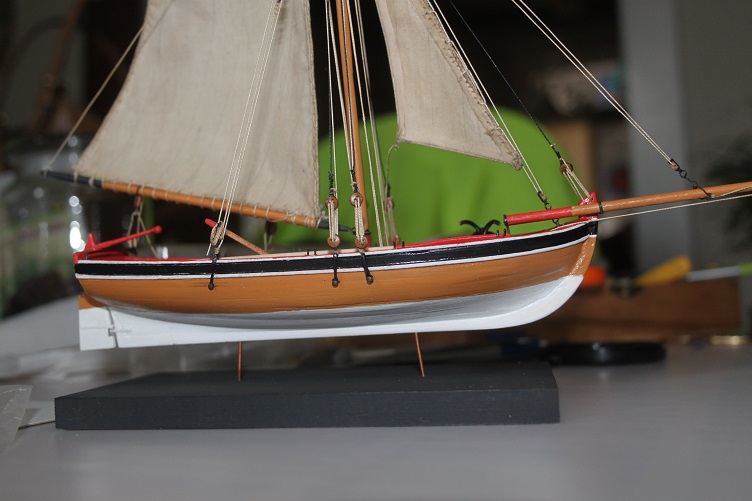
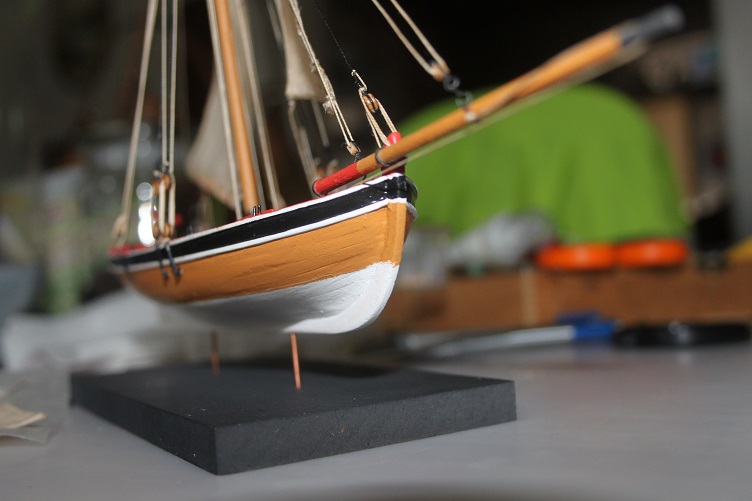
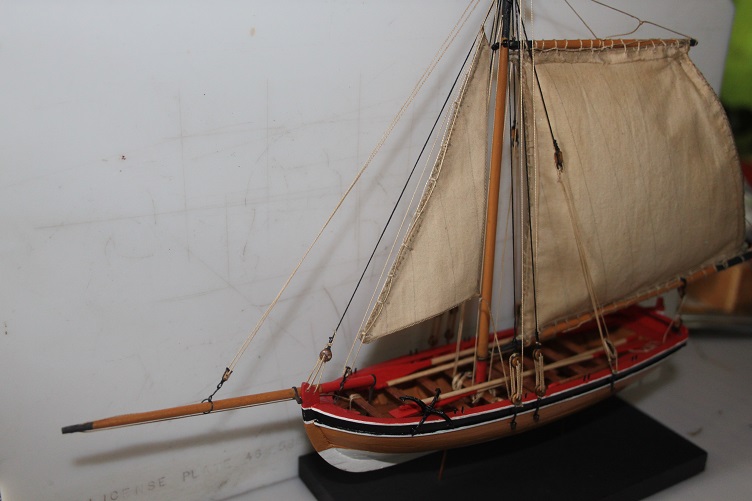
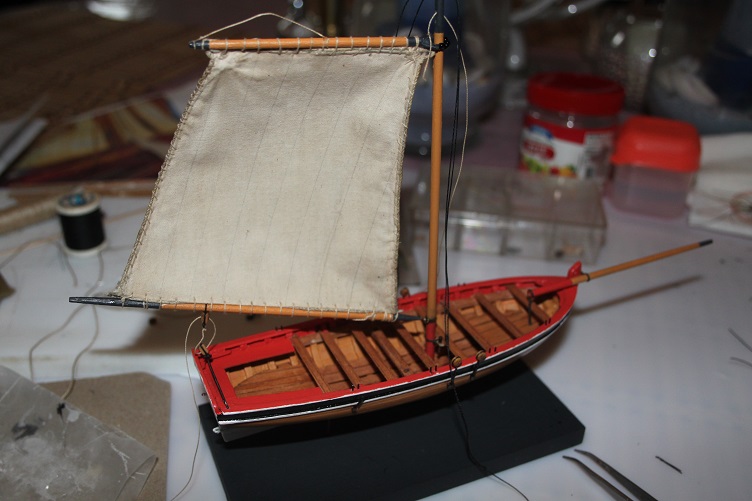
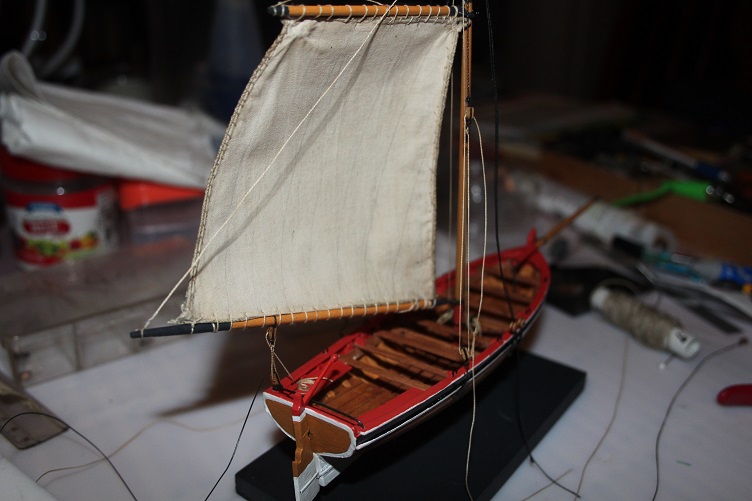
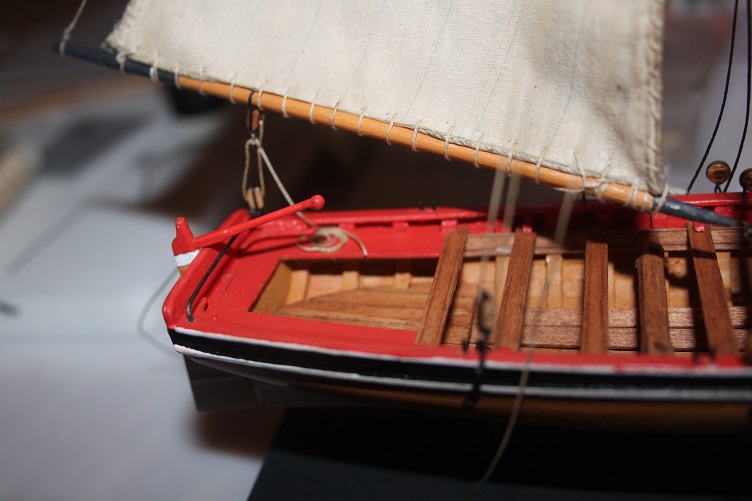
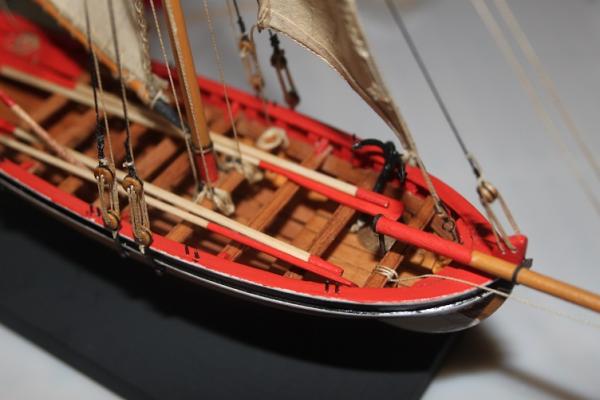
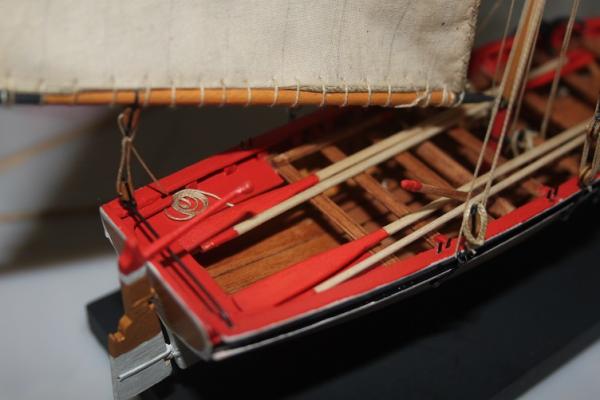
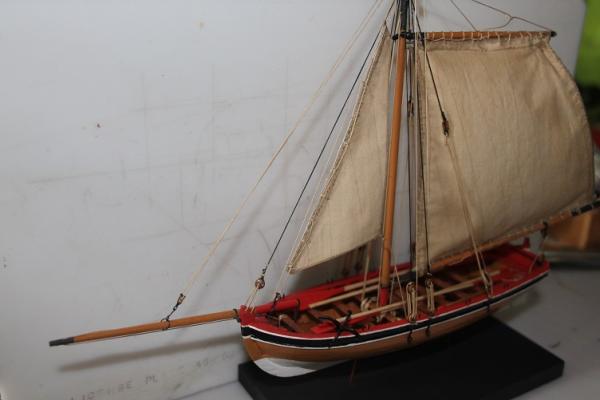
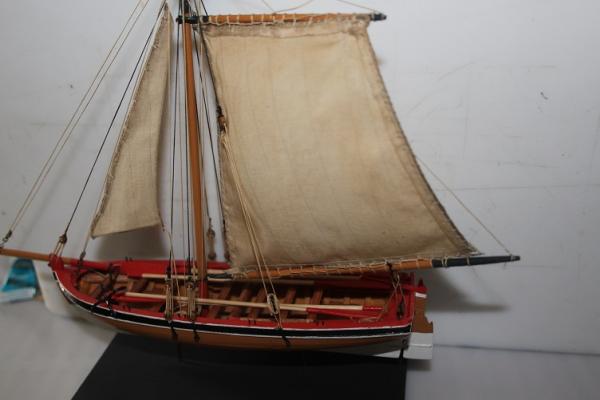
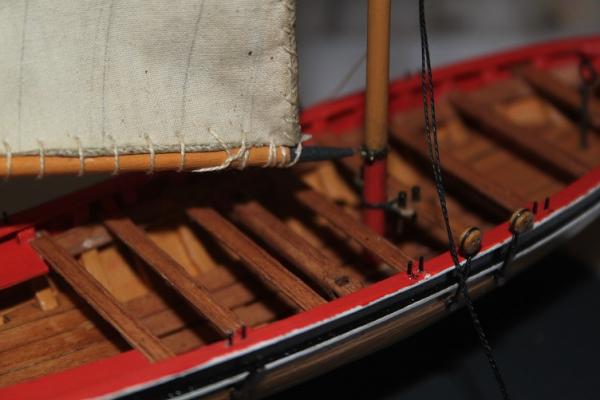
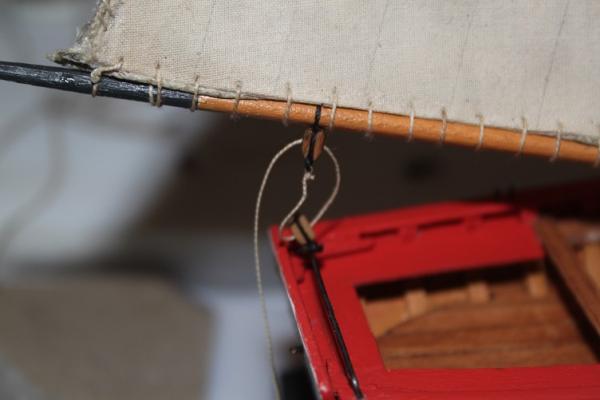
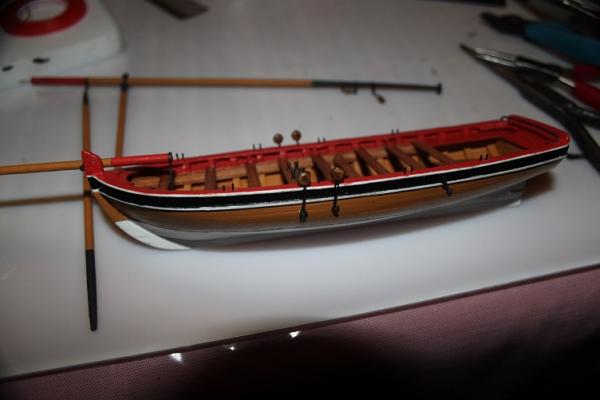
Hello everyone, Well she is finished! All the rigging was completed per the kit practicum, with the exception of adding a second flag halyard on the port side. Rope coils were added in the appropriate places and 4 or the supplied oars placed aboard. I'd originally intended to show two full sails and one either furled or stowed on-board some where, I abandoned that idea as the third sail really blocked a lot of the interior details I'd spent so much time on...So she's running with a main and stay sail and no jib, I think at some time in the history of these little vessels they would have sailed this way. This was really an enjoyable little kit to build, alot of detail in a small package. Thanks to all that followed along and offered support along the way. Pics follow. THX J


- 52 replies
-
- 6
-

-
- model shipways
- 18th century longboat
- (and 1 more)
-
Hey Steve, She is really coming together, the contrasts between your wood chooses and painted details look good. Any luck with your glass as yet? J
-
Congrats on your near completion, she looks good, can't wait to see the finished pics
-
Hi Steve, Your cask looks good, did the hardware come with the kit, or did you make that as well? Really like the stave look, much better then the turning! How did you figure the angle? Looks great on the deck J
-
I think both lok good, very nice work
-
looking good Jerry
-
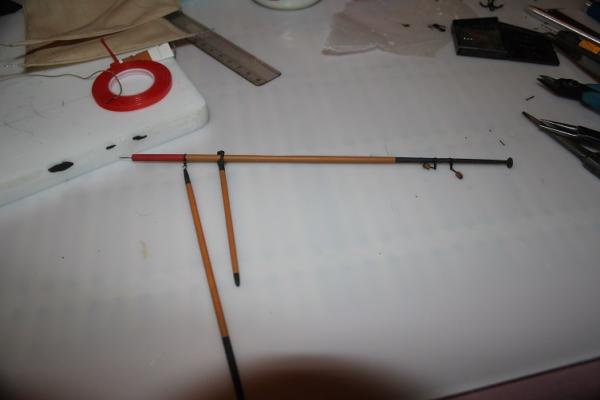
Nirvana and Steve, Thanks much for the kudos, I appropriate your kind words, the technique worked well, but I can't take credit for it, that goes to Hubert Sicard. An update, the build is progressing, though slowly...I snapped the main mast yet again, this time serving the shrouds to it, that repair set me back a bit. The rigging is fairly simple for this little boat but since I've added sails it's slightly different from what Chuck laid out in the practicum. I'm rethinking every step two and three time prior to execution to eliminate any redos...with that said, the mast is up and all the lines associated with the main sail run. Once the boom blocks were installed I set it at the angle seen in the photos and coated the block rigging with ca to stiffen it, allowing it to hold the boom in that position. The shrouds are up but not mounted to the deadeyes as yet, I'm gonna do them last...moving to the bow and jib sail next. As always, thanks for your time and attention, Pics follow J


- 52 replies
-
- 1
-
-
- model shipways
- 18th century longboat
- (and 1 more)
-
Hi Charlene, I'm looking forward to following your build, welcome J
-
I look forward to following her log...post a link for us when she starts
-
The skiff sounds like it will a fun build to follow, I'm reserving my seat now!
- 569 replies
-
- 1
-
-
- shenandoah
- corel
- (and 1 more)
-
OK so lets see...you can't cut it...can't touch it, breath fumes or dust from it...sounds nice? :huh: Seriously the boom jaws look great, have you calculated how many different species you used? J
- 569 replies
-
- 2
-
-
- shenandoah
- corel
- (and 1 more)
-
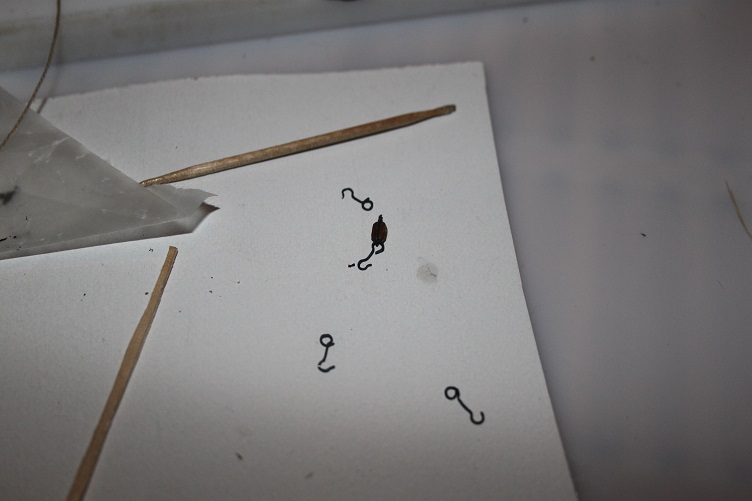
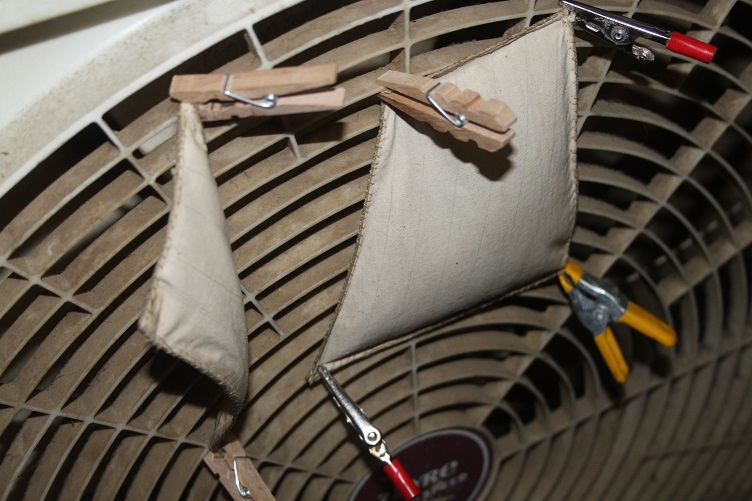
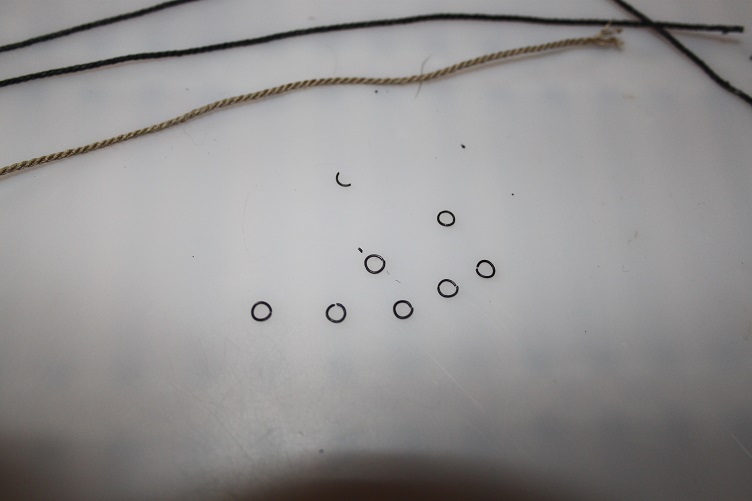
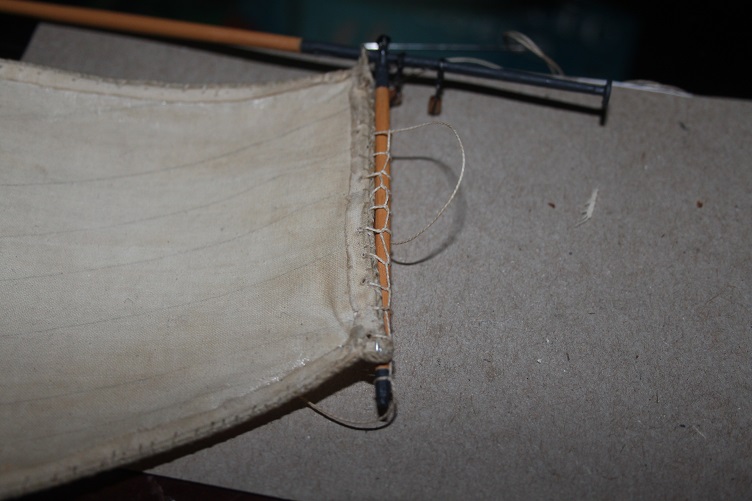
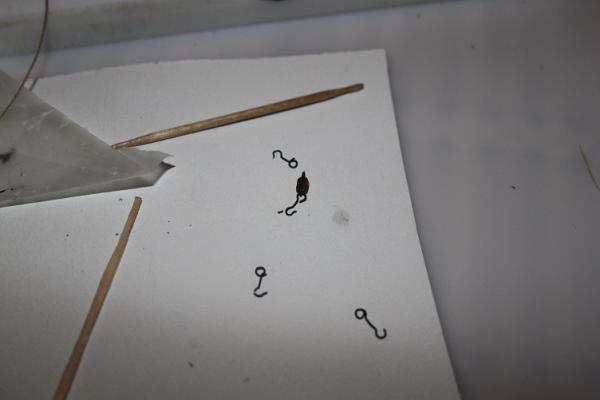
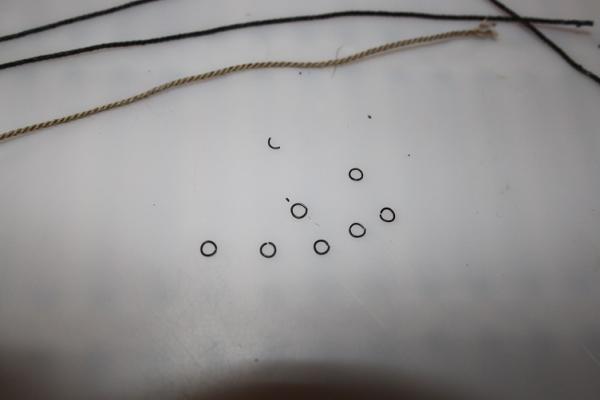
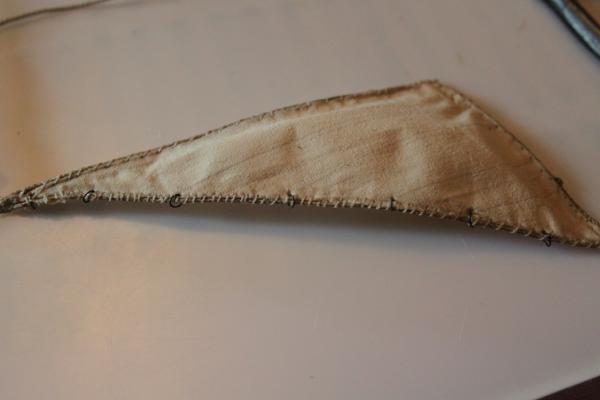
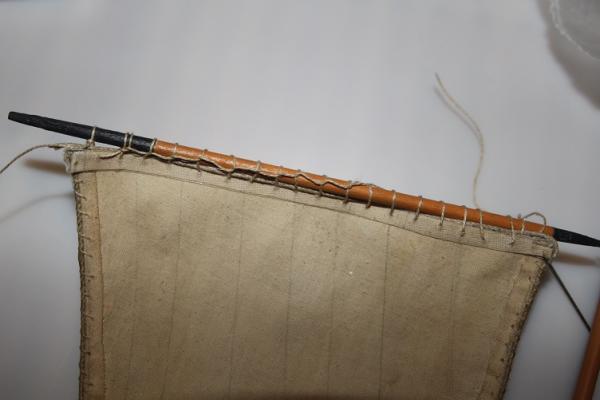
Hi everyone, The gaff and boom were prepared and mounted to the mast and the chains and deadeyes installed, also served the two shrouds. The work on making and mounting the sails continued, after they were stained and hemmed I decided to sew on the bolt rope...I now have a new respect for those who use needle and thread! I lost track of how many times I stabbed myself and getting the stitches close in size and shape proved a real challenge. I think next time I do sails the bolt ropes will be glued on! As I said in my first post I wanted billowing sails... to accomplish that I borrowed a tip from Hubert Sicard's Dummies site and clipped the sails to a fan turned on full, this filled them out nicely. I then painted them with a solution of diluted white glue...three coats were applied allowing each to dry before the application of the next. Worked very well. There will be three sails total but only two, the jib and main will be raised and full...the inner jib will be furled or stowed, haven't decided which yet Hanks were made from 28 gauge wire and installed on the jib through pre-punched holes...then back to stitching to lace the boom and gaff to the main sail. Well that's were she rests at this point, next the mast will be stepped and the rigging started. THX for your interest and time...Pics follow J


- 52 replies
-
- 5
-
-
- model shipways
- 18th century longboat
- (and 1 more)
-
Hi Jerry, No I didn't pin them, I tied off one side of the spar and then just working it around the mast and tied the other side of the spar. I wasn't sure how I want to pose the spars and wanted to option of moving them. So are you planning to just let Char build while you look over her shoulder?
-
Looking good Jerry...almost time to start planning your next build...lol
-
Hi Jerry, Glad to hear Charlene has decoded on a build, I agree with Popeye...many accomplished female builders here! I too look forward for following along. J
-
Hi Jparsley, Thx... it gives a nice look, you can use it to stain thread for rigging as well J
-
Hi Steve, Yes it did, I used a small metal ruler to hold it done and multiple light passes with a 4h pencil, that worked pretty well. J
-
Hi Steve...a good friend had a antique business and he showed me the basics and I took an adult education class to fill in the blanks. I've been doing art glass ever since, as a hobby mostly, gifts and a few commission pieces, nothing huge but enough to keep the skills honed. The true teacher is practice. That little tool you have will work just fine if the scoring wheel is sharp and not rusty, that's the first thing...glass does not cut, you score to create a controlled break...the stuff you see in the movies where they "cut" the perfect circle in the middle of a pane and it just pops out is a lot of BS. The wheel should be lubricated as well, any light weight oil works...I've talked to folks that have used kerosene, though I wouldn't recommend it! If your interested check to see if any community colleges classes are offered in your area, you might also check for stained glass shops, most I've dealt with offer classes as well, and if not the proprietor may well be willing to share info. J
- 569 replies
-
- 1
-
-
- shenandoah
- corel
- (and 1 more)
-
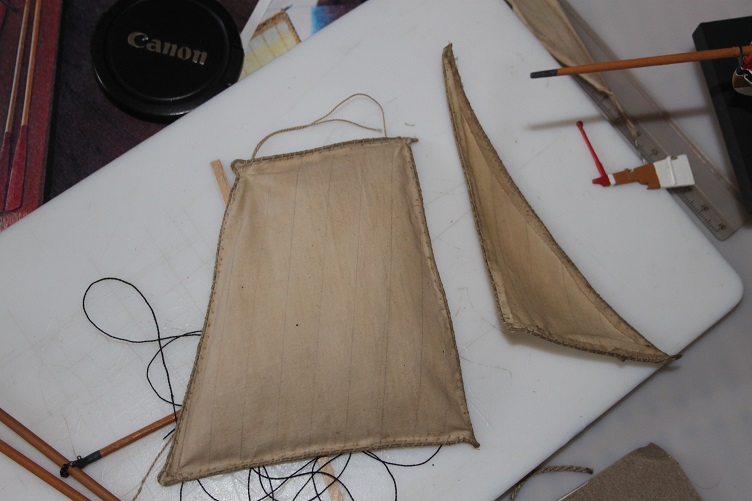
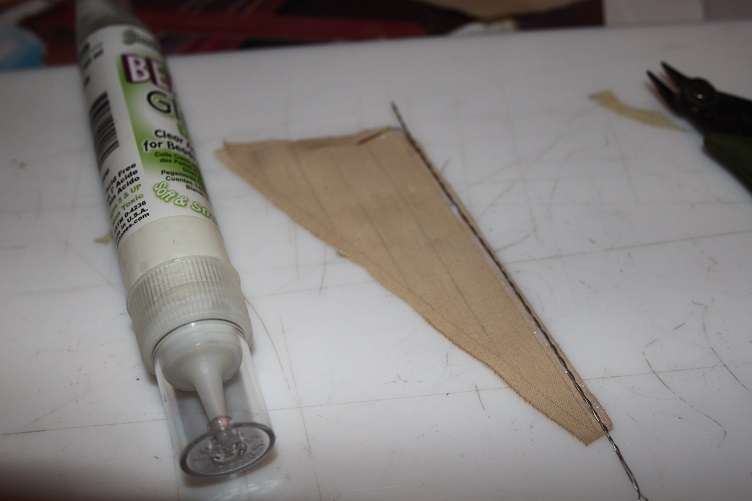
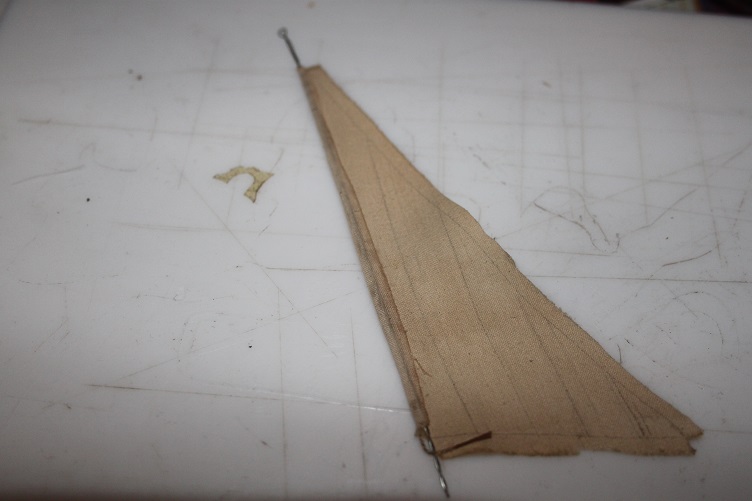
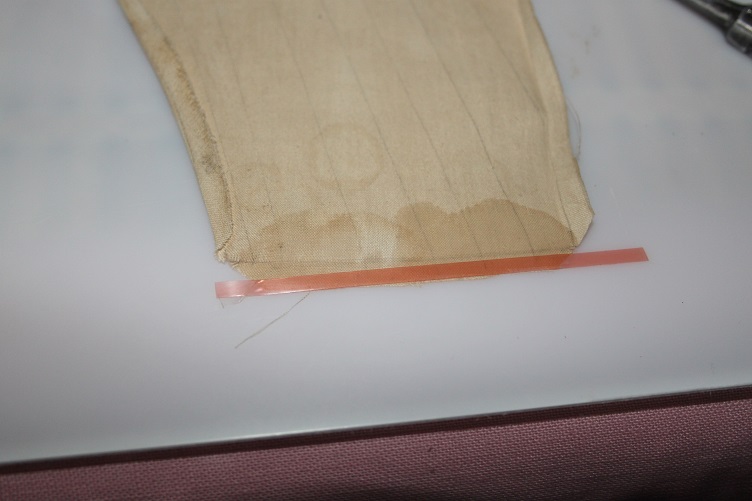
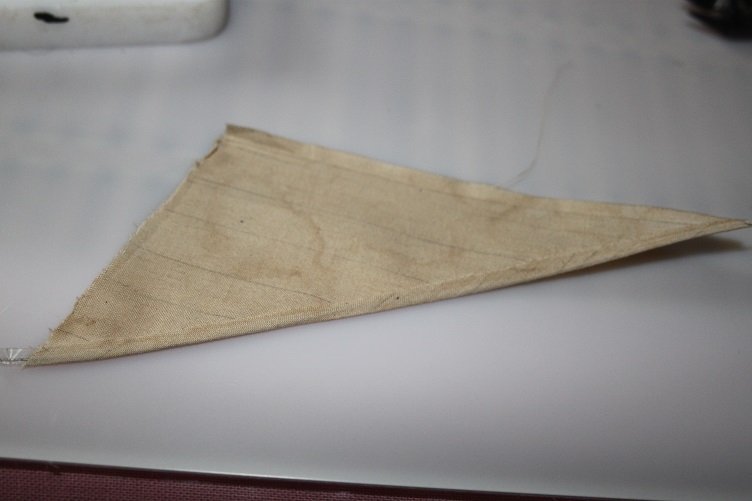
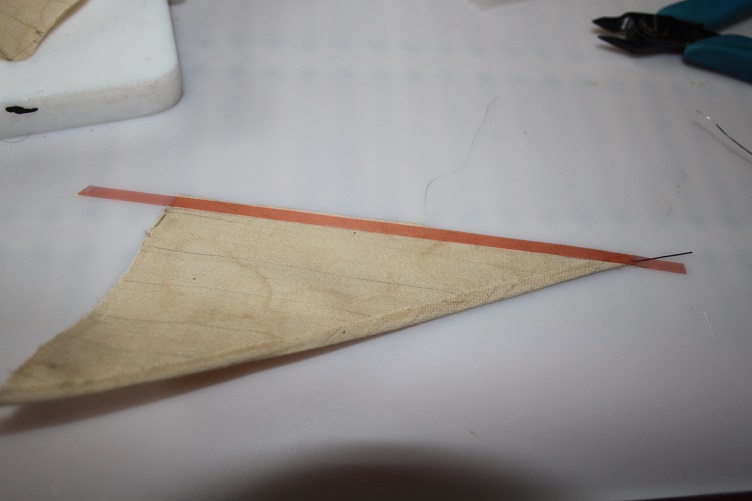
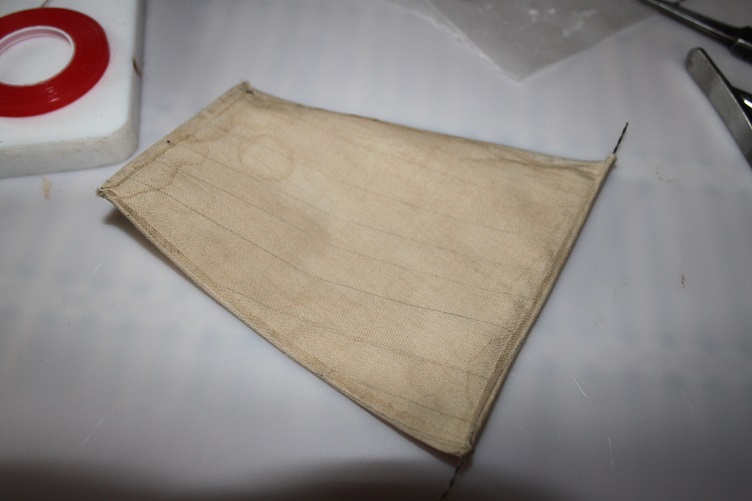
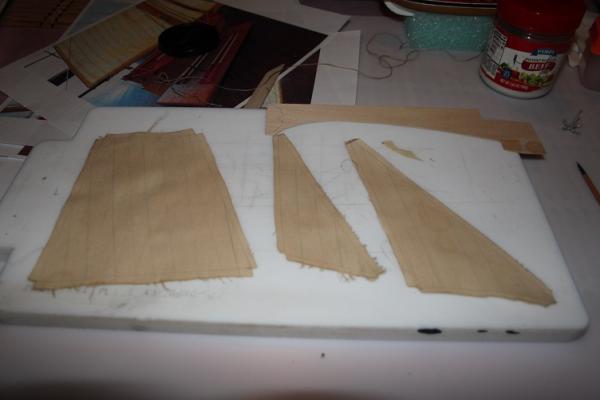
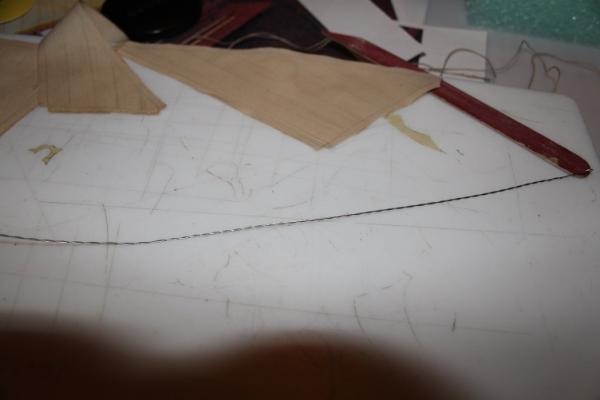
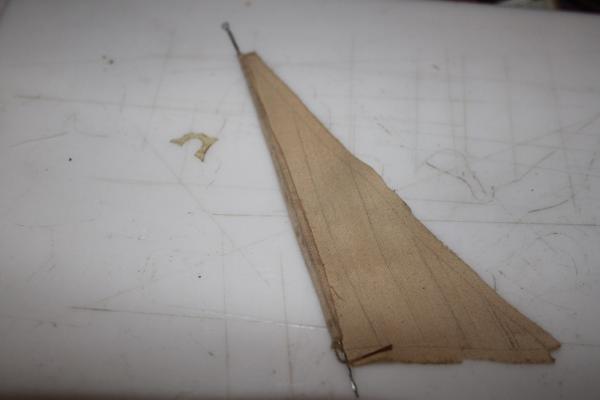
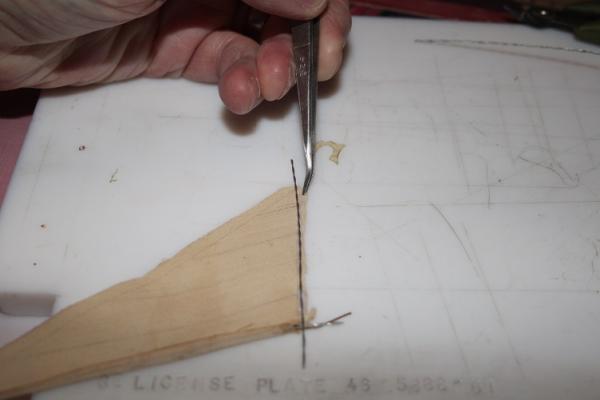
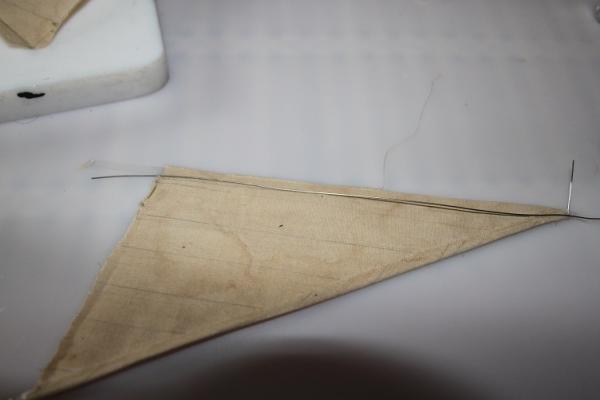
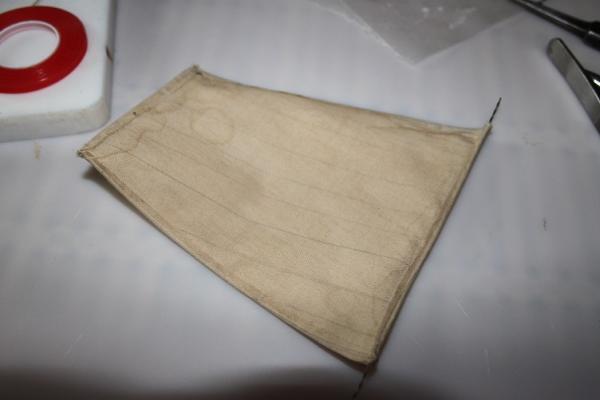
Hey everyone, Another update, I've made some progress with construction of the sails, after dyeing them in coffee I needed to seam them with wire imbedded so they would hold their shape, that proved to be a bit more of a challenge then I had originally thought it would. The wire I'm using is stripped floral wire, twisted to stiffen it some. The first method I tried was to use some craft glue and to place the wire and the fold the seam...seems simple enough in theory but proved to be anything but...the wire wouldn't stay where I wanted it, the fabric would not fold evenly and showed a ragged and frayed edge when It did. Just wasn't happy with the results. The second method was a bit more successful...after ordering double sided tape in 1/8in width from Amazon, the tape itself is very thin and clear once the backing is removed and the backing is heavy enough to help the tape stay where it needs to be and to hold it while the any ragged edges are trimmed. The tape was set just to the inside of the seam edge, a wire was placed at its back edge and then the seam was folded over on itself, capturing the wire at what is now the outside edge or the sail. The tape is supposed to be permanent but we'll see if it losses its adhesive qualities over time, I still to stitch a bolt rope around the perimeters and attach hanks to the jib sail, and as you can see it the following pics the color is a bit blotchy, this occurred when I sprayed the sails with water to iron them flat, I'm hoping to even out the color with another dip in some java! Sorry to be so wordy...pics follow, thanks for your interest and time J


- 52 replies
-
- 2
-
-
- model shipways
- 18th century longboat
- (and 1 more)
-
Nice work on your case Steve, do you work in glass as well?
-
Hey Jerry...the rats and the futtocks look good, are you planing to leave them natural or "tar" them? I drill the lions heads off the ship then mounted them then drill the gunwales worked pretty well...good luck with your technique J