jct
-
Posts
1,519 -
Joined
-
Last visited
Content Type
Profiles
Forums
Gallery
Events
Everything posted by jct
-
True , top sail schooners are pretty nice looking, I kinda like the pole mast look for a schooner myself, a lot easier to rig too. I may just end up using the kit suggestions, not going into my collection anyway. Are you thinking of adding sails to one of yours?
-
That should be cool, with similar/identical hulls rigged differently, I still haven’t made up my mind. All I know at this point is that it will have 2 masts😎
-
Hey Denis have you decided on a rigging scheme?
-
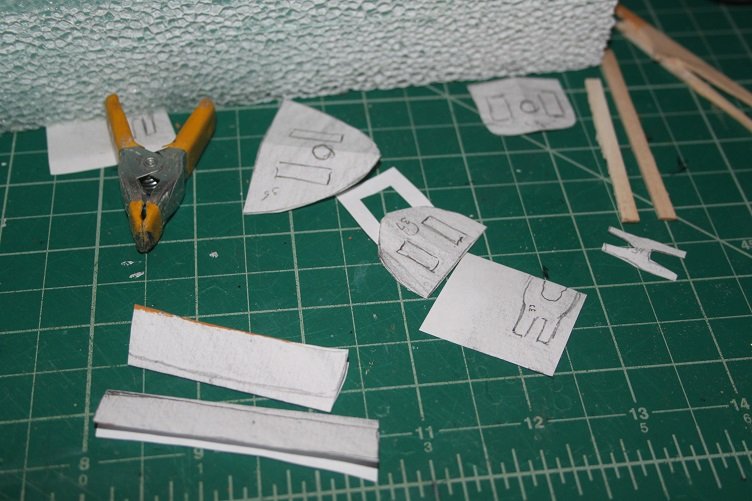
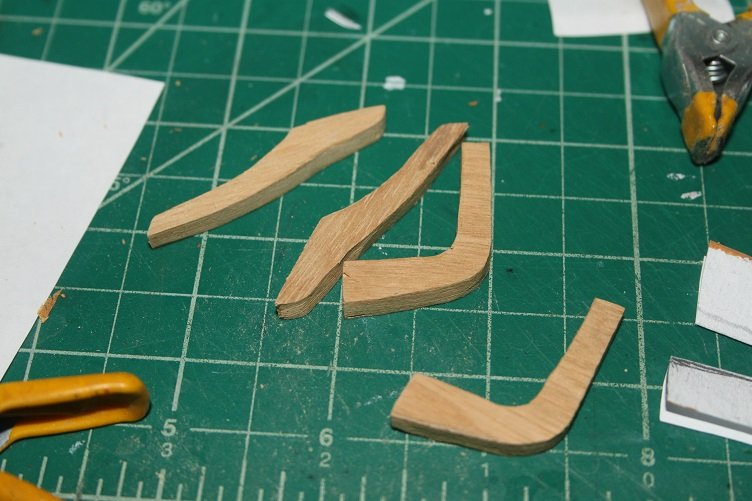
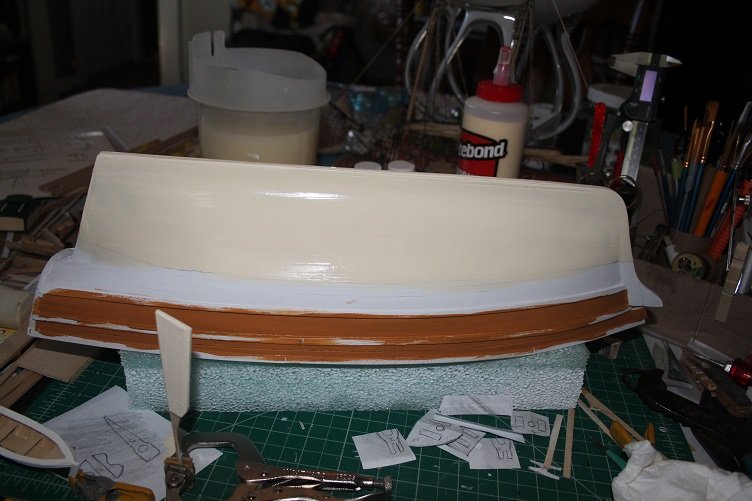
Decided to get a little paint on the hulls The ships boat Still a little touch up needed and the main Hull I decided to go with a tallow bottom, want to finish this by May 1 when the shipyard will slow down/close for RV season I decided to use the kit catheads and davits, they are beefy but the proportions look ok to me, after all this is Jumbo the clipper, so they've been prepared As Denis (Popeye) and I have both mentioned the plywood provided in the kit was very old and did not machine well, so for the kit parts I need to replicate I did some tracings, these were cut out and will be used as patterns to fabricate the new parts Well that's it for today, thanks for the likes and comments
- 211 replies
-
- 5
-

-
- agilis
- steingraeber
- (and 1 more)
-
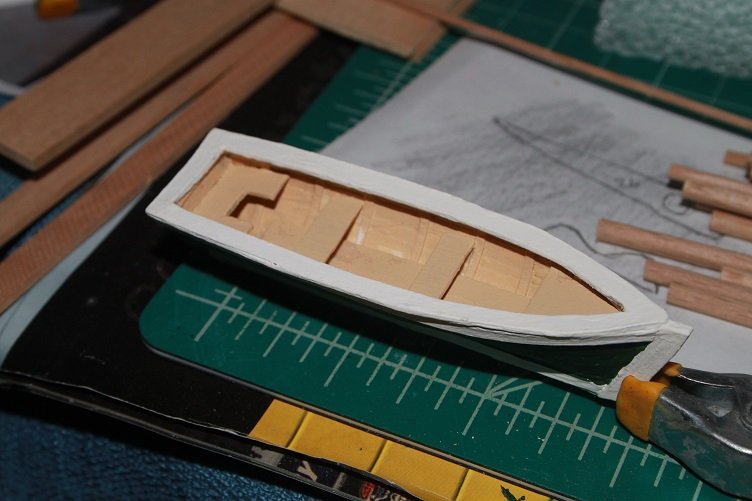
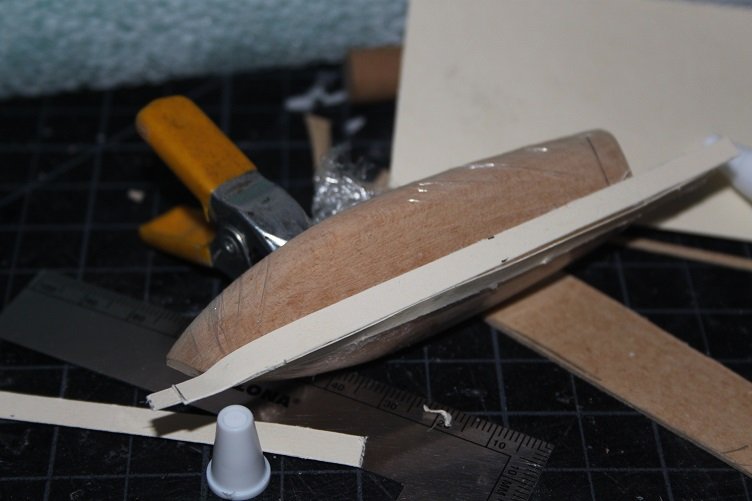
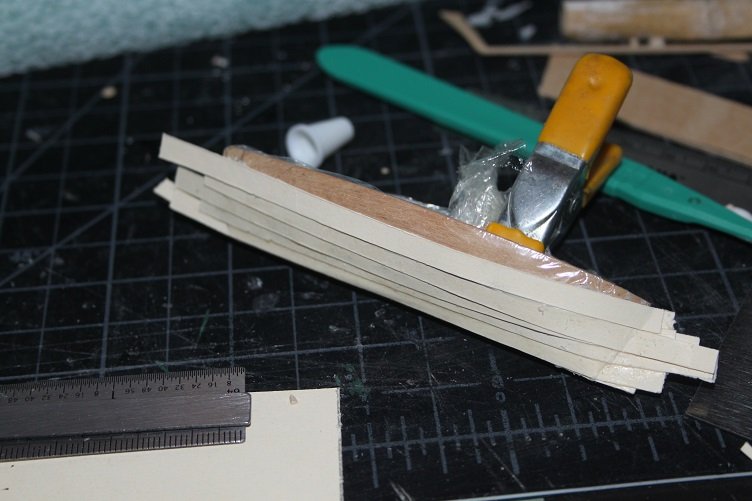
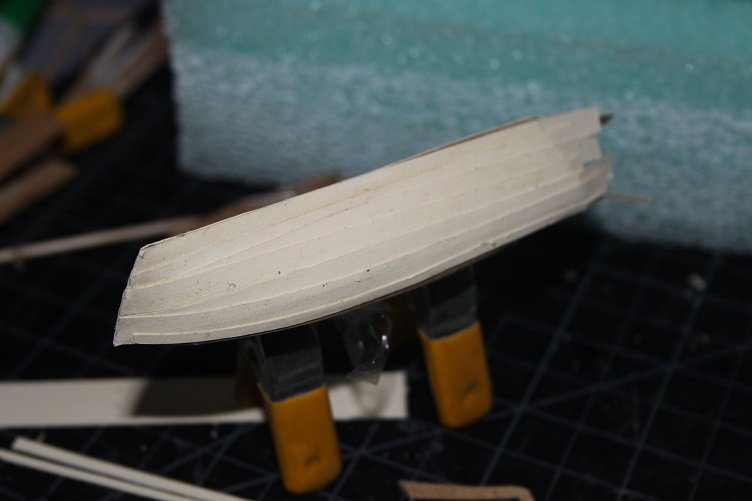
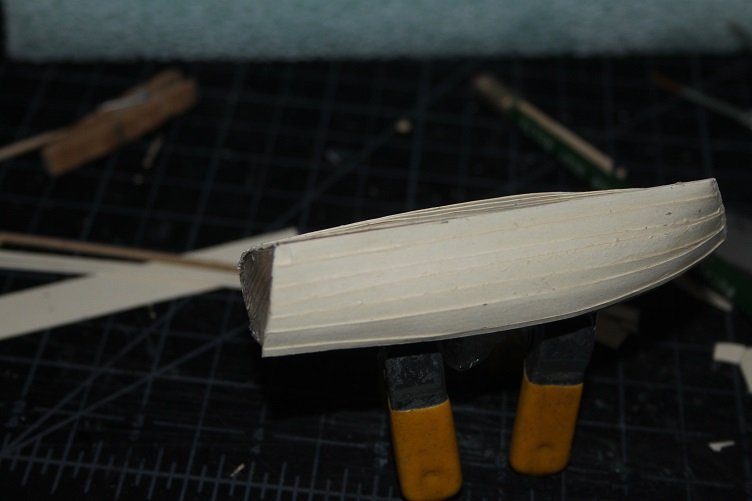
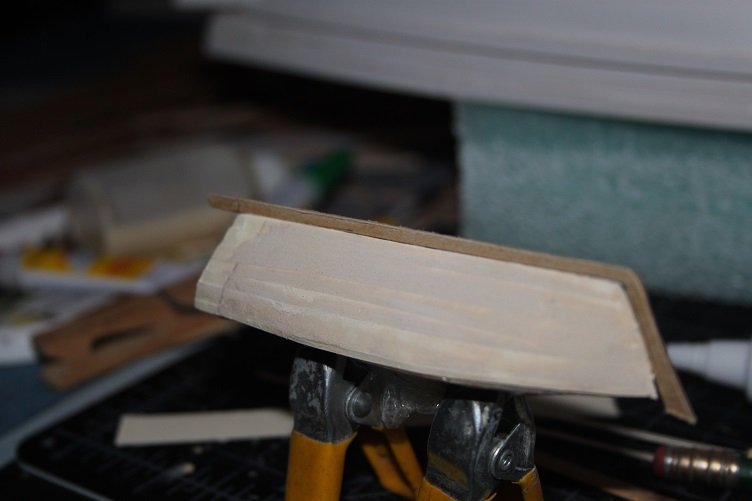
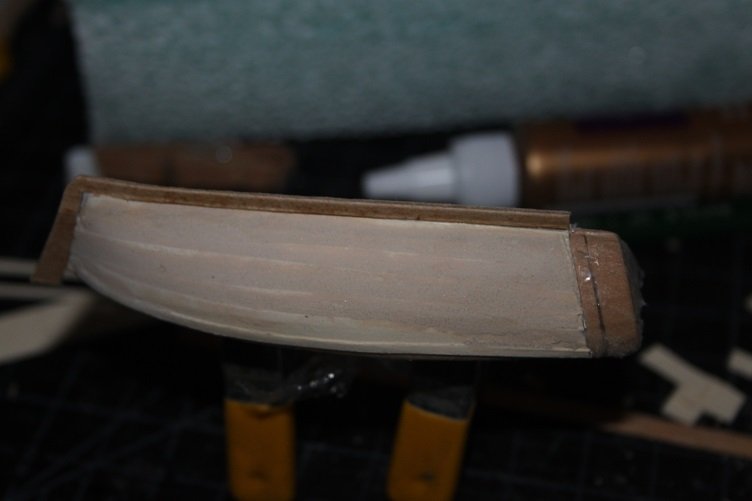
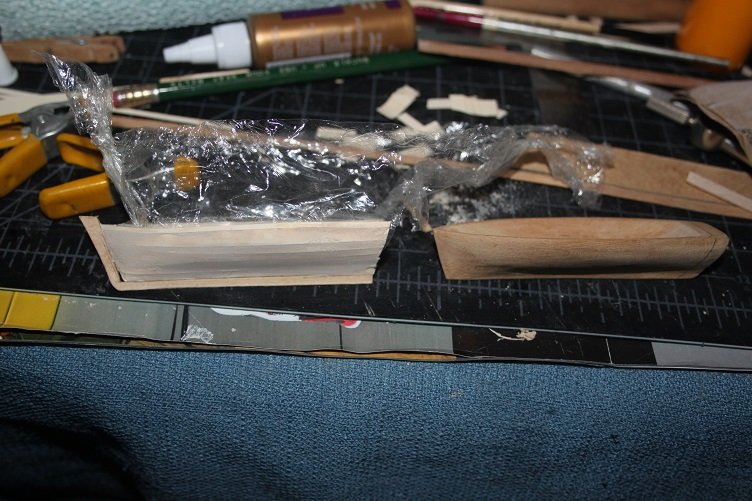
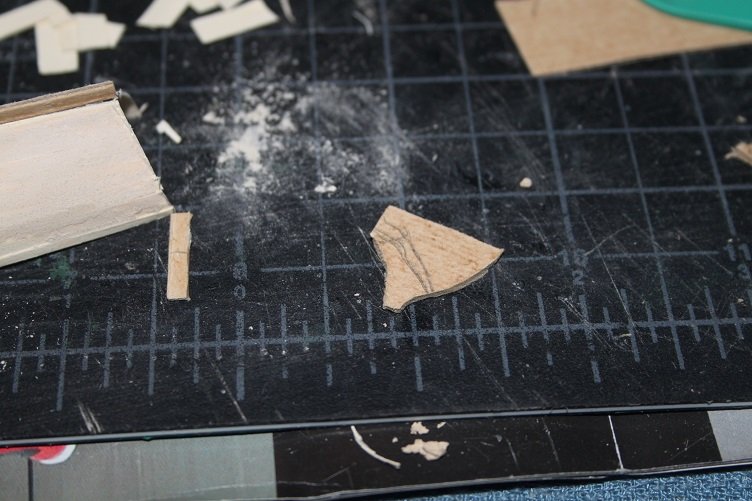
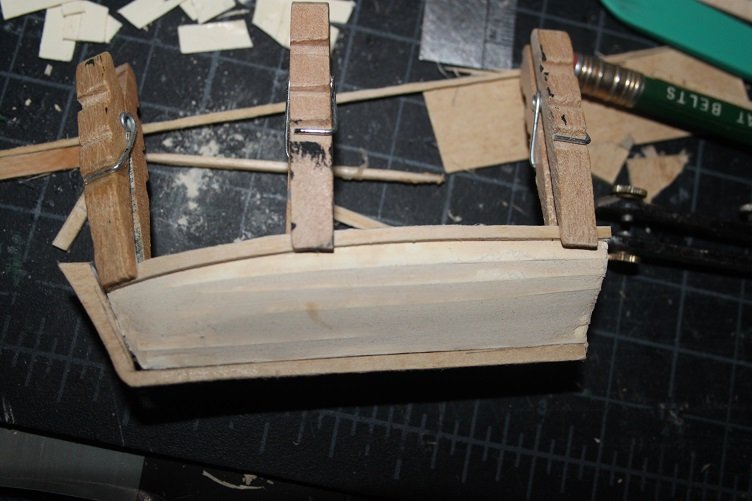
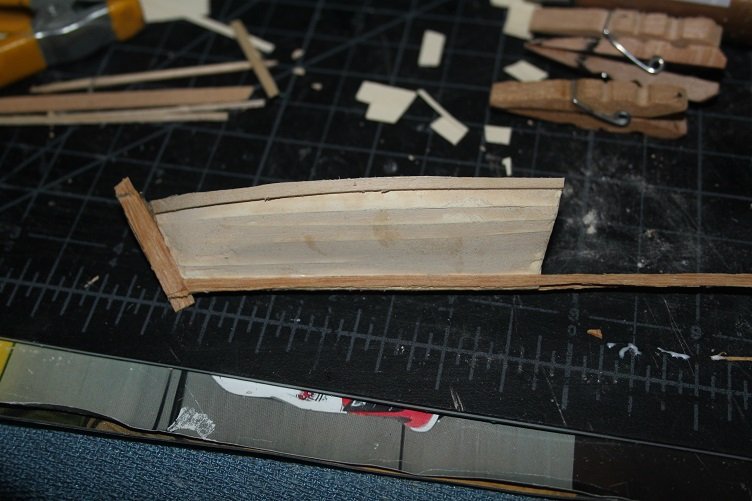
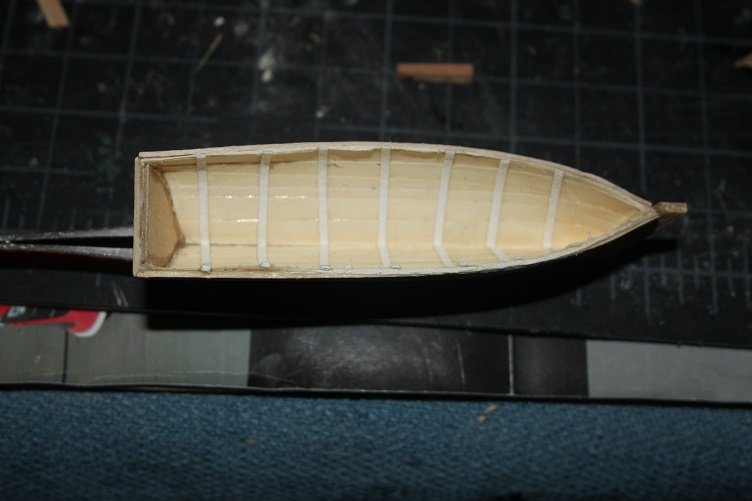
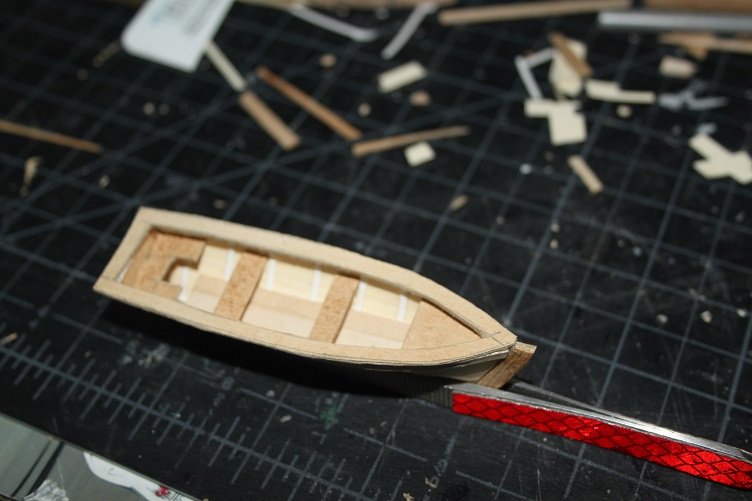
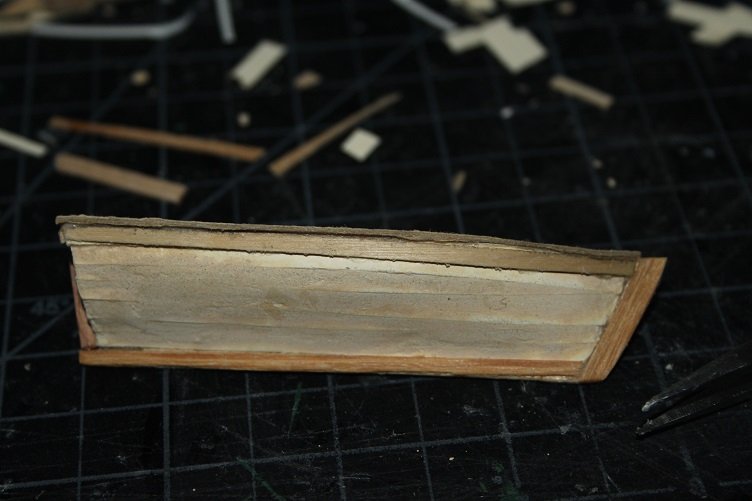
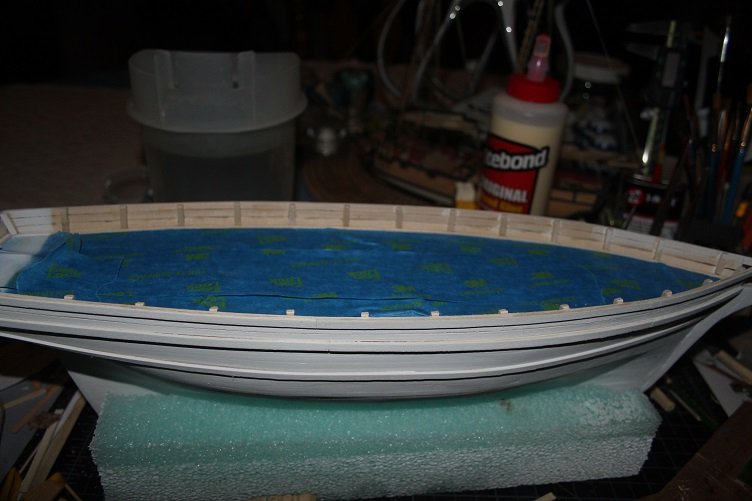
I'm taking Popeye's advise and am coating the hull with diluted pva to help close the gaps and cracks, gonna take a few applications so while I'm waiting for it to dry I figured I'd make the ships boat. I mentioned in a previous post that I thought the boat supplied with the kit was to large, the overall shape was ok but just too big. I decided to try my hand at making a boat using the kit boat as a buck. The technique I'm using is one I tried on my Hannah. The credit for this method goes to Jersey City Frankie. You start off by wrapping your buck very tightly with plastic wrap, I twist it tight and apply a clamp, the you just glue down strips of card, these are manala folder cut to 5mm widths, I'm using super tacky pva continue adding strips till you cover the whole thing here you can see I've trimed the stem, she is still full lenght at this point I decided to cover the sides with wood putty to eliminate the clinker look, I could have left them if I'd been more careful laying out the strakes you can see the boat has been trimmed down to its final size, once all this has dried you can seperated the boat from the buck, the plastic wrap makes it very easy a transom was made and installed then some detail was added and that's about it...still requires a little sanding and paint, may just paint it black or dark green and ochre inside she'll hang off davits at the stern Thanks for the likes and comments


- 211 replies
-
- 4
-
-
- agilis
- steingraeber
- (and 1 more)
-
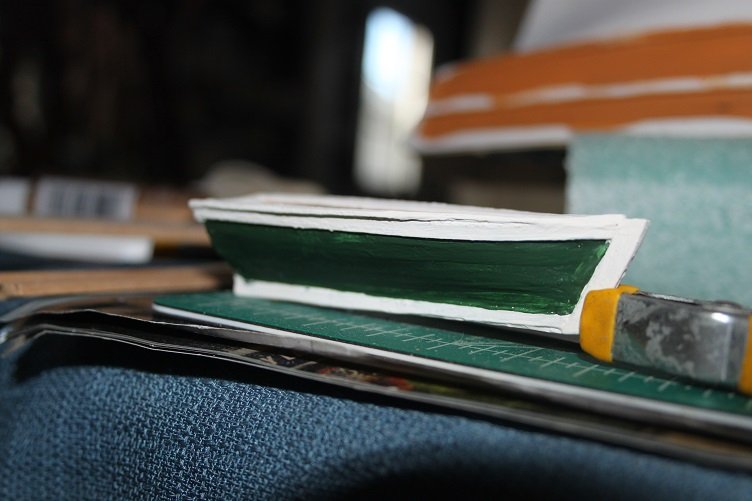
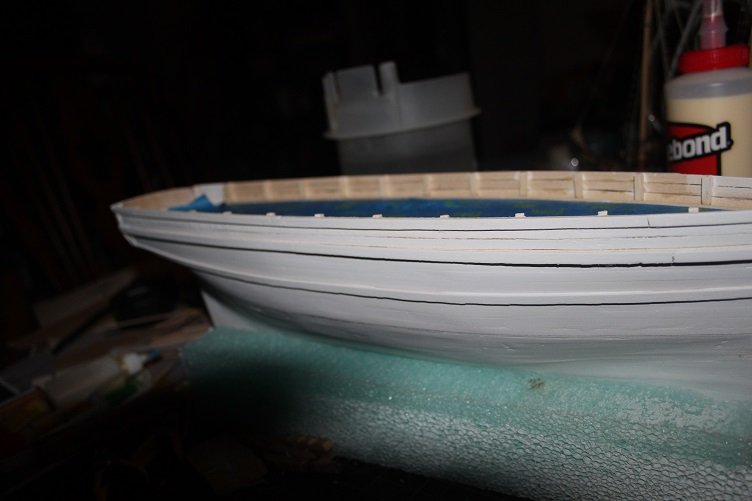
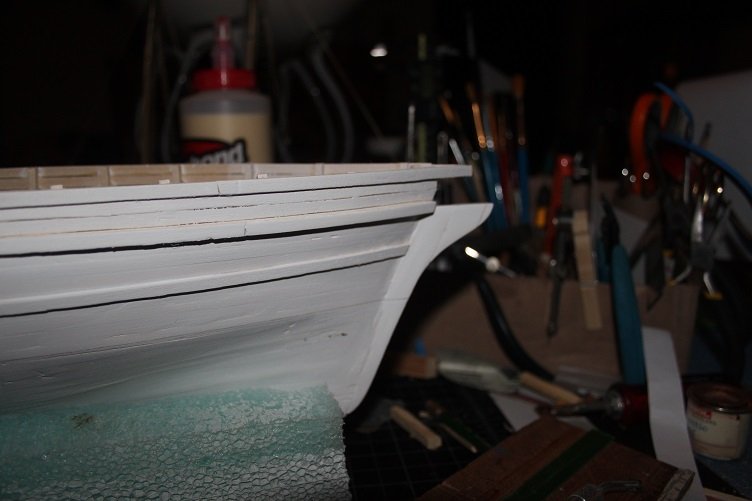
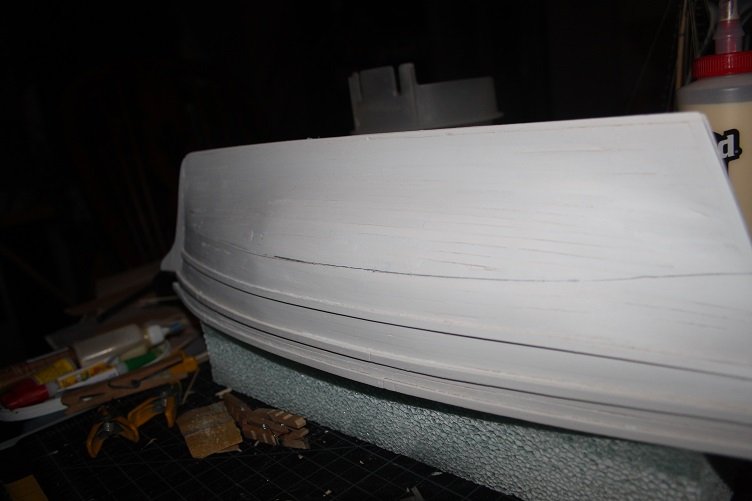
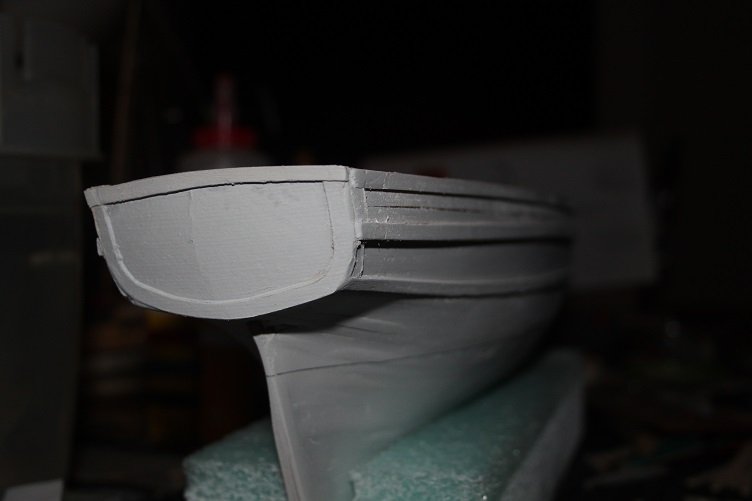
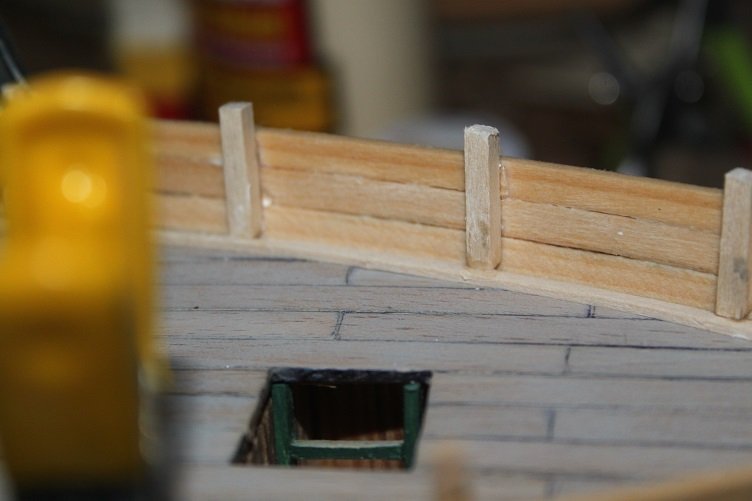
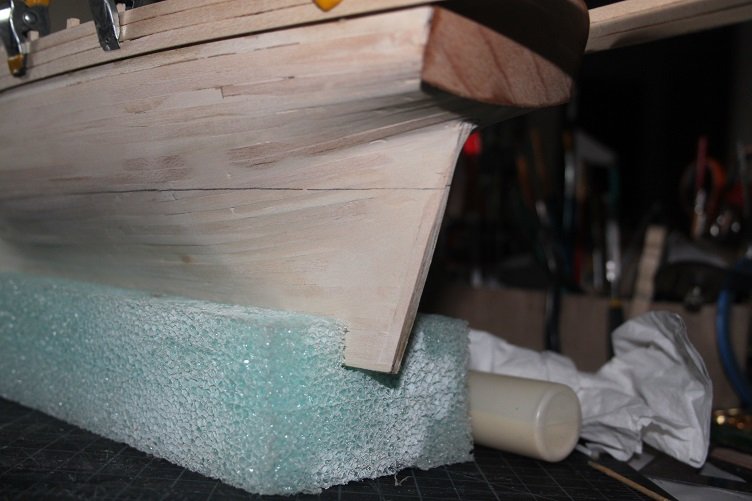
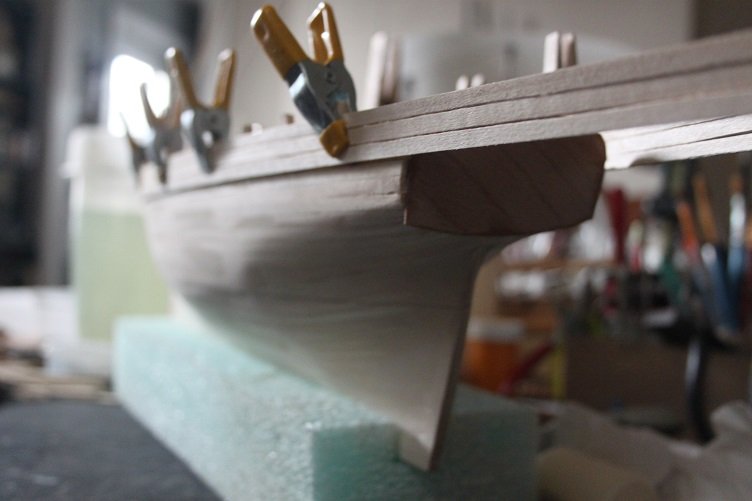
Morning all, todays update. Got the stern completed the rub strakes installed and she is in primer, used automotive primer this time instead of acrylic, seems to dry harder and I don't think the topcoat will react with it, gonna switch gears here the underside still need a bit of work and I'm out of glazing putty, should be here Friday, That will allow me to finish below the waterline and prep it for paint. In the meantime I'll work on all the other stuff, may start on the masts and yards, not sure yet pics follow you can see where additional fill is needed in the next two pics thanks for the likes
- 211 replies
-
- 4
-
-
- agilis
- steingraeber
- (and 1 more)
-
Thanks D, it's ok...not my best work though but it will do, Thanks again, I like to primer but that was a nightmare last time I tried it...think I'm gonna check for hi build in my stash
- 211 replies
-
- 1
-
-
- agilis
- steingraeber
- (and 1 more)
-
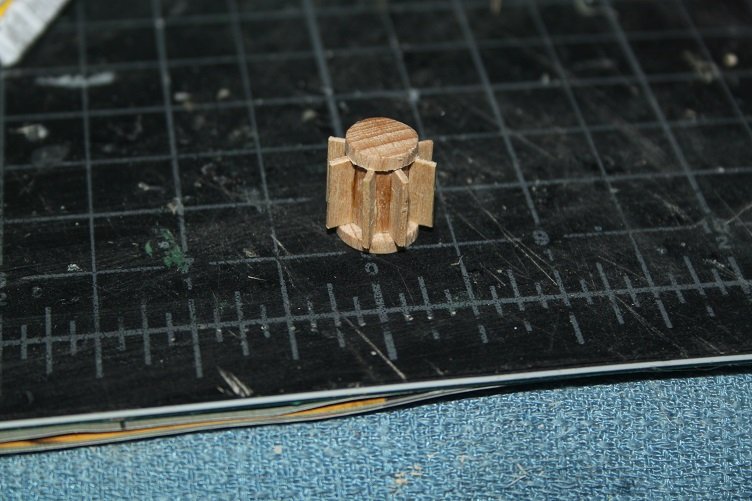
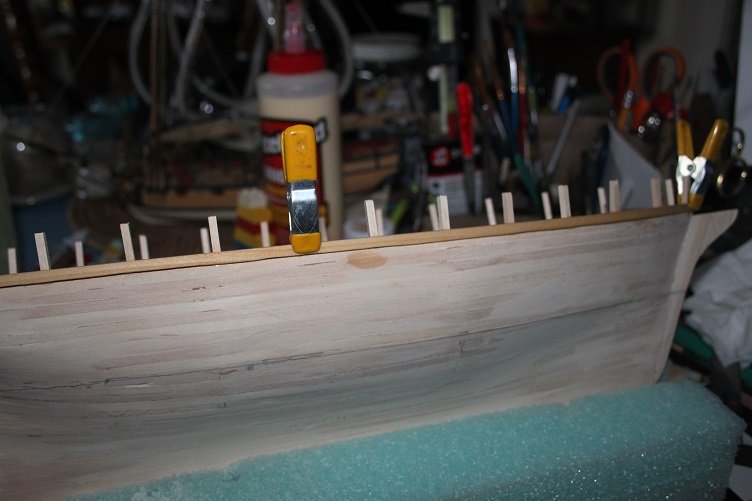
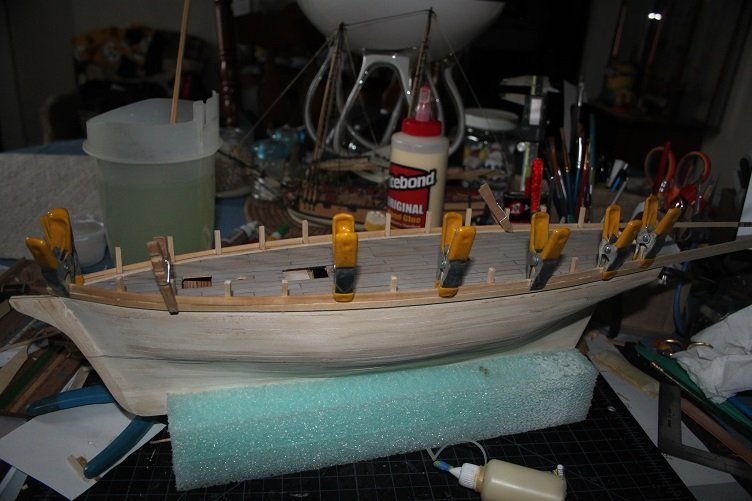
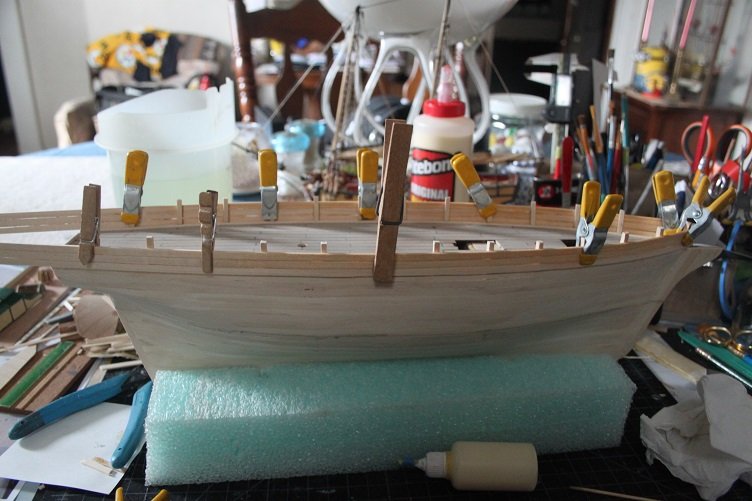
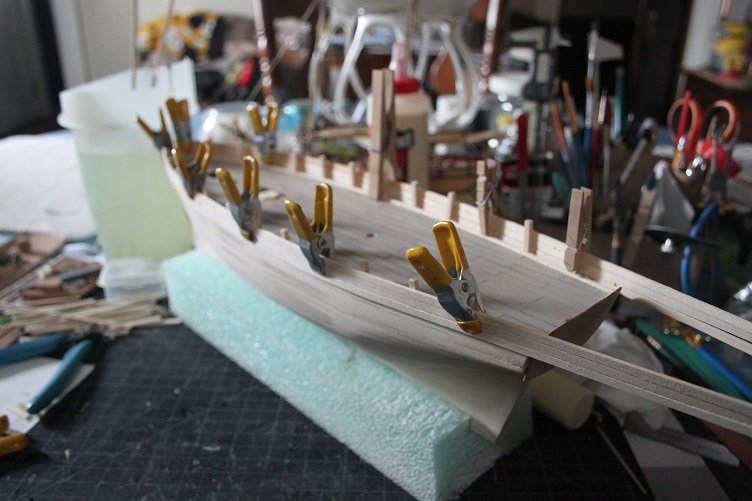
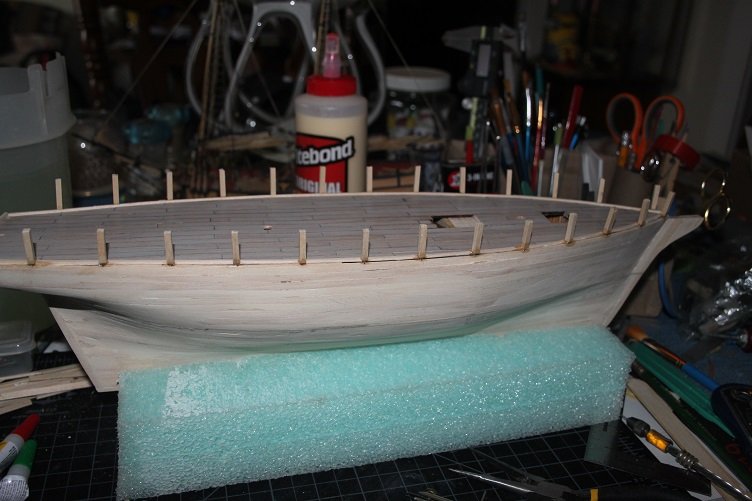
Well not really considering your building two and working on your car and building airplanes all at the same time, sheess Things do look a little better today in the bright sunshine 🌞 and after about two pounds of wood filler So after sanding and sanding and then sanding some more I moved on to marking out for the faux timberheads...they spaced out a 33mm, one thing about this technique it allows you to space the timberheads evenly marked edge before the timberheads were mounted I made and installed waterways, this is just split basswood glued on edge from there the timberheads were mounted using pins and gel ca in predrilled holes after all these set the wales were mounted three runs up each side and they were complete, turned my attention to the stern and mounted the kit supplied stern part...this will serve as the foundation for the stern fashion pieces...once I make them while waiting for glue to set I mounted the ladder in the fwd hatchway and started building up the capstan well that's it for today next will be the addition of the rub strakes...I still have not decided if the hull bottom will be white stuff or copper plates, I liked the way the copper turned out on my Harriet Lane build...but I also remember what a pita it was...time will tell Thanks for all the likes and the words of support
- 211 replies
-
- 6
-
-
- agilis
- steingraeber
- (and 1 more)
-
Ya it’s tapered and tucked and angled and rounded, just fat and ugly. Seems to be a theme 😎
- 211 replies
-
- 2
-
-
- agilis
- steingraeber
- (and 1 more)
-
Thx Phil, I always set out saying this is gonna be the best planking job ever...and then the reality sets in
- 211 replies
-
- 4
-
-
- agilis
- steingraeber
- (and 1 more)
-
Hey Denis did you decide if you are gonna copper plate one of your Jumbos? I'm thinking about it...kinda on the fence at this point, may wait to see how she sands out. Wondered what you decided
-
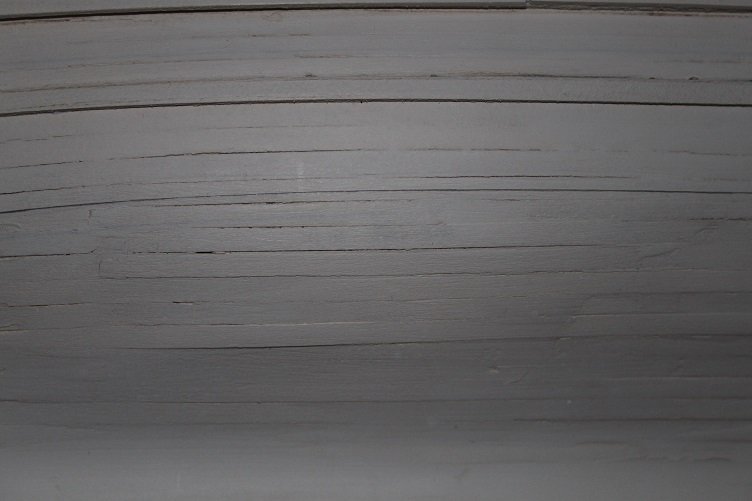
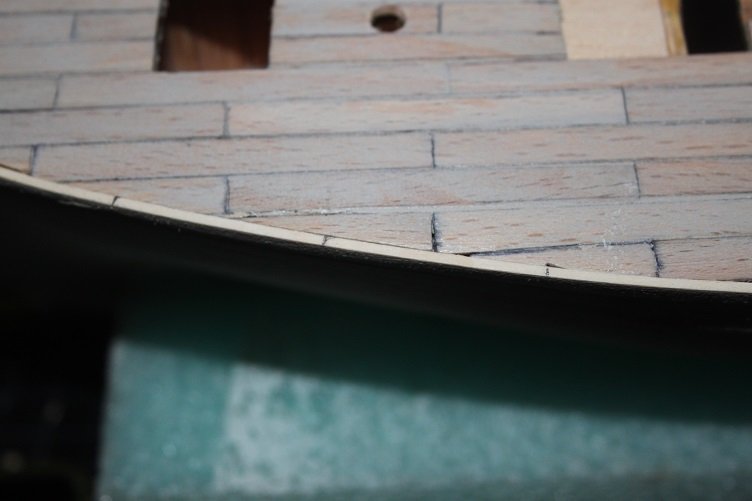
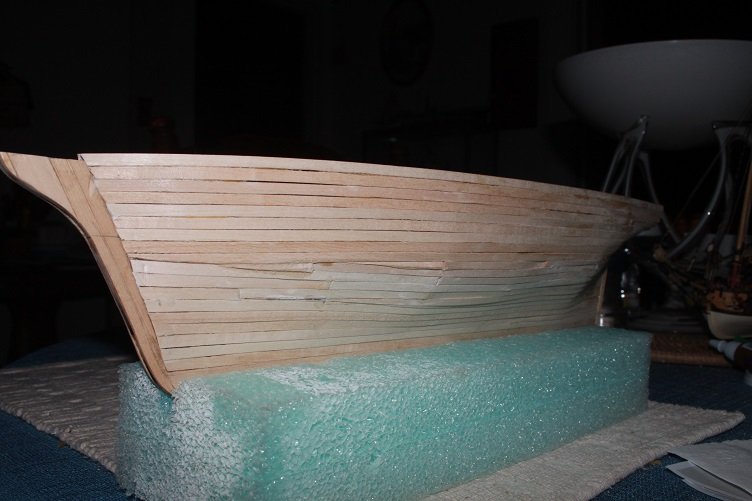
the planking is done...and it is hideous, this is by far my worst planking job EVER, stock market tip...buy Plastic Wood stock I'll be using enough to support the economy of most third world countries!! no pics until it is sanded and filled...well ok just one and this is the good side
- 211 replies
-
- 6
-
-
- agilis
- steingraeber
- (and 1 more)
-
👍 Your planking is very nice...I refuse to post pictures of mine until it is sanded and filled...as I hoping to cover a lot of the ugly
-
Yes, that is it, thanks for sharing this picture, it will help with my deck layout, as the plans are pretty vague. i hope you continue to follow along, and take a look at Popeye’s too, we’re doing simultaneous builds and going in different directions
- 211 replies
-
- 1
-
-
- agilis
- steingraeber
- (and 1 more)
-
Nice job D, very different I like it...by the way, how did the bombing run turn out
-
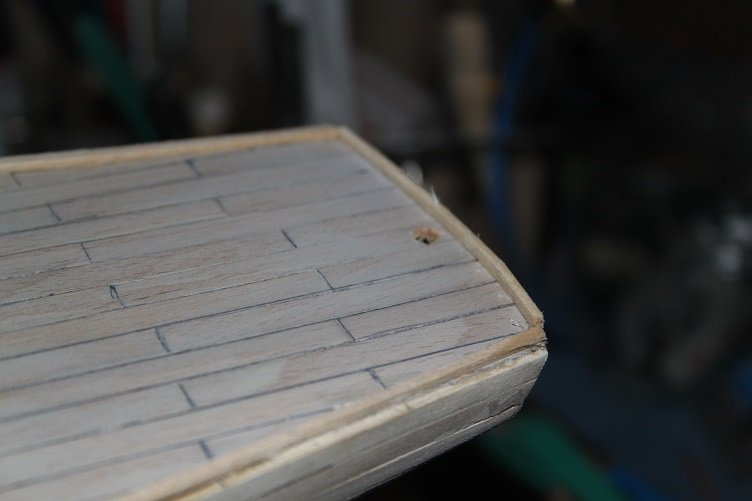
Planking continues...still have about 14 strakes per side to do...stalled one the stern runs...just gotta wrap my head around it. Ok next morning and the planking continues...gonna do my damndest to finish today, there is gonna be a lot of sanding and fill required
- 211 replies
-
- 2
-
-
- agilis
- steingraeber
- (and 1 more)
-
We kinda thought it might be when we planned this, well if you want to call it a plan , Glad you're enjoying the show
-
Dats what this build has been like...least for me
-
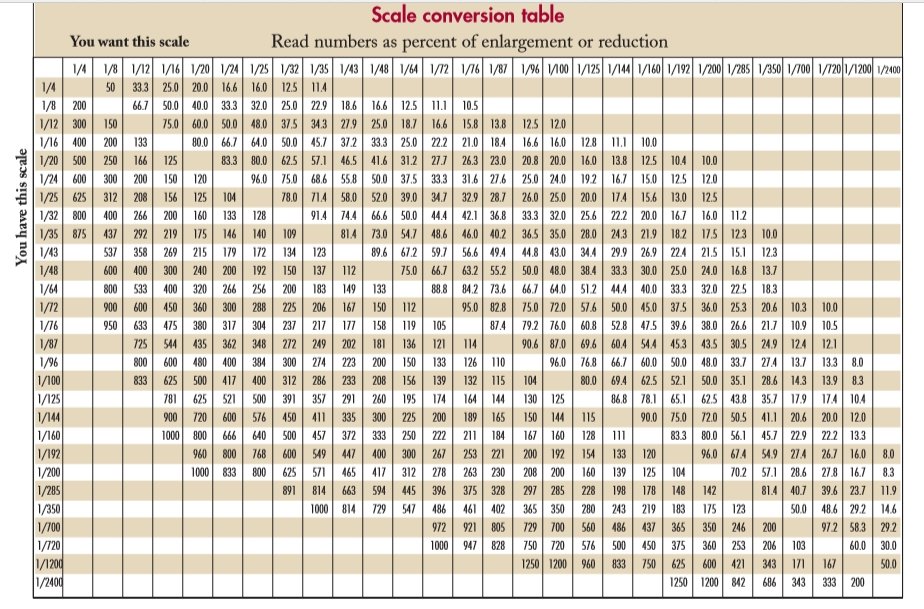
just member what the dormouse said That chart will work if your changing from one scale to another...I used it alot to convert the 1/72 Hannah plans to the finished scale, whatever it turned out to be...you can use it to copy one of the plan drawings to a different scale, it will give you the expansion/reduction factor. Was planking more today but got stalled at the stern...not sure how to run em...got to do more research, how did you decide to finish yours or are you not there yet?
-
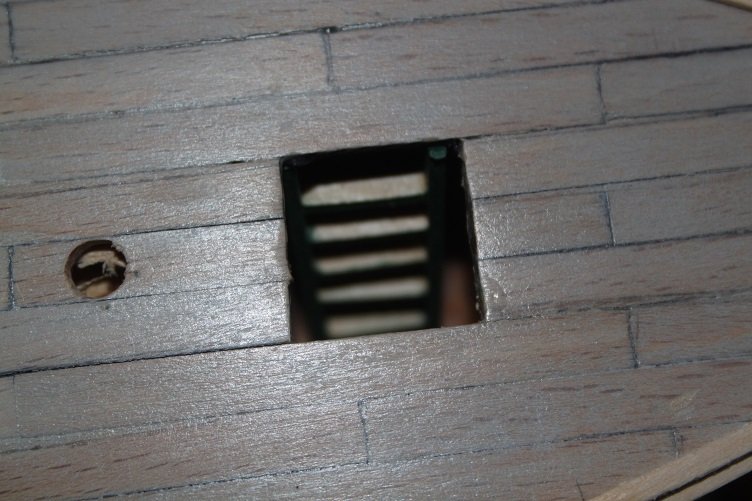
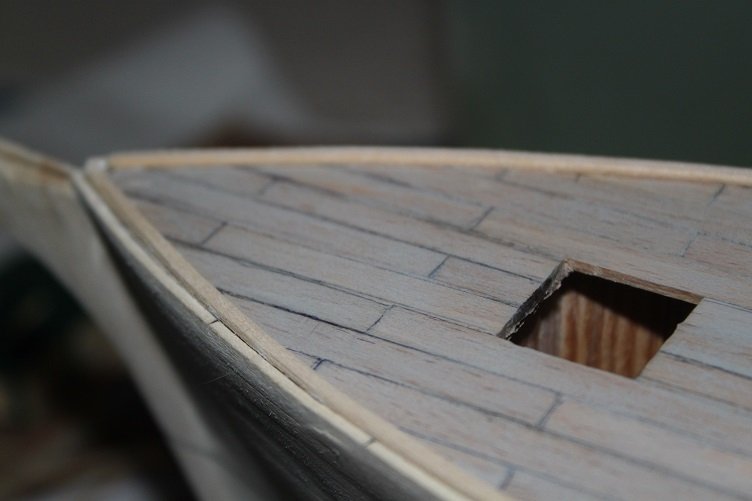
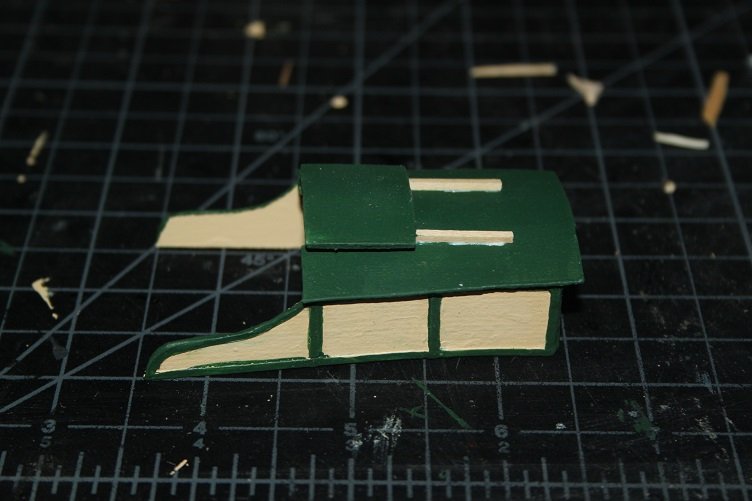
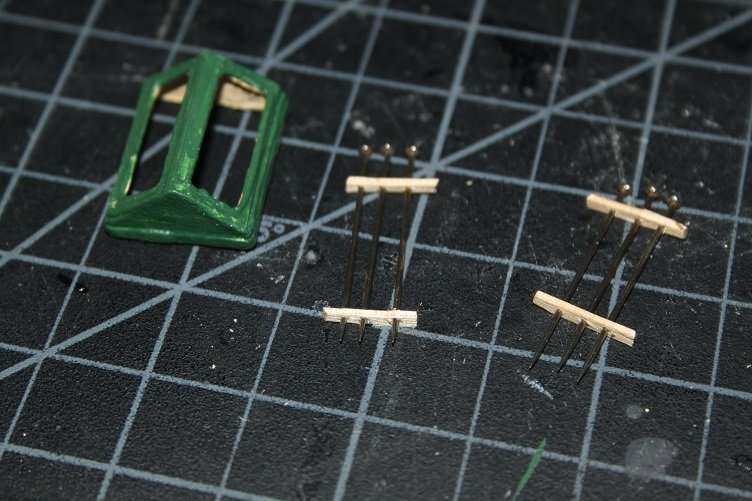
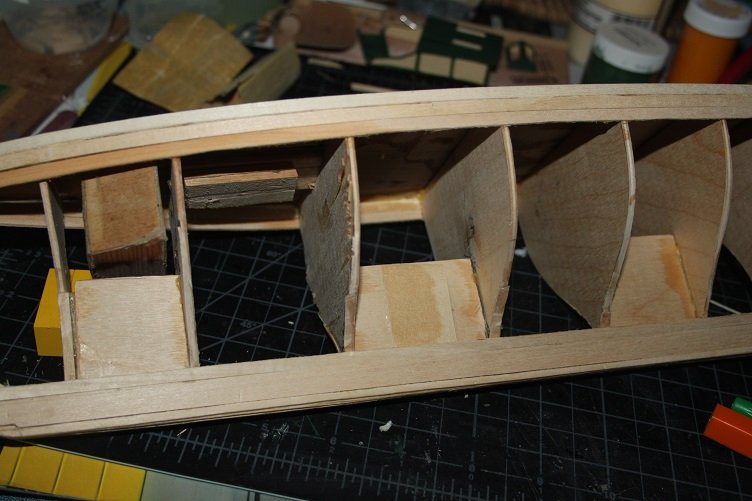
I got the garboard and one plank per side and then started back at the deck edge...establishing a foundation for my faux timberheads to attach to, may get to that tomorrow...so planking progresses So while waiting for the glue to set I been going little odds and ends... finished the deckhouse and started working on guard bars for the skylight drilled holes in thin wood strips and inserted pins, gonna ca them then cut to size Well that's it for today, thanks for the likes and looking in

- 211 replies
-
- 8
-
-
- agilis
- steingraeber
- (and 1 more)